HOLIDAY DONATION DRIVE - SUPPORT MSW - DO YOUR PART TO KEEP THIS GREAT FORUM GOING! (Only 13 donations so far - C'mon guys!)
×

Andrew J.
-
Posts
96 -
Joined
-
Last visited
Content Type
Profiles
Forums
Gallery
Events
Everything posted by Andrew J.
-
 Thanks for the info! I had no idea #1 was in town. Last I knew, the town of Skaneateles had no interest in buying it and it was in a museum in North Carolina or something. Well, I know where I'm going after work tomorrow! Edit: I don't know why I said North Carolina. It was at the Mystic Seaport Museum in Connecticut. It has been on long-term loan from Mystic Seaport since June of 2011.
 -
Quick question: does anybody know if you can see the texture of the deck canvas, or is it so saturated with mold and rot protection goop that it becomes a smooth surface?
-
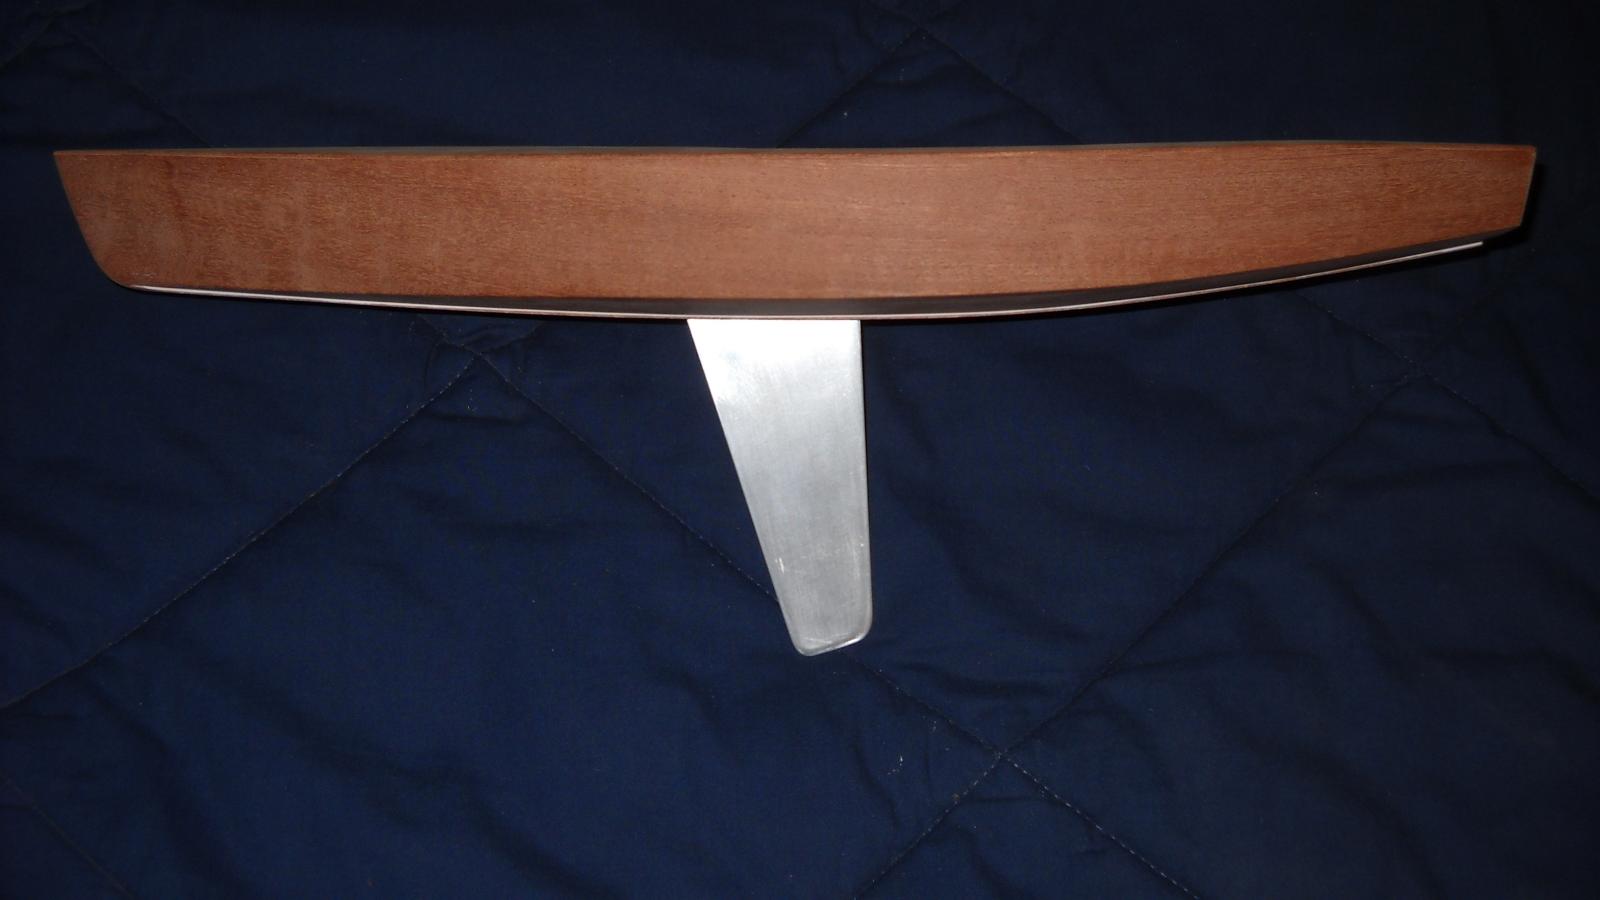
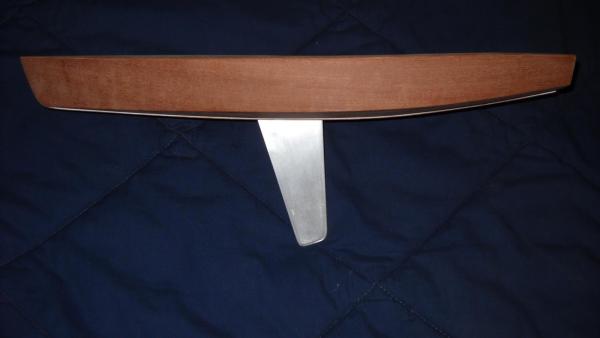
I made and installed the skeg today. It was supposed to be 1/8" balsa, from the same sheet as the frames, but that was both way too flimsy and wildly out of scale. In scale works out to 1/16", so I just used a scrap of mahogany, which is considerably more rigid. The rudder also works out to 1/16", but will need to be made of plywood since it is much bigger. Any suggestions for favorite places to buy 1/16" plywood? From what I've gathered, birch is the most common, but I haven't yet found a good place to get a small piece for a reasonable amount. Anyway, to install the skeg, I carved a small groove in the keel to make sure it's securely attached.


-
Even though I said I don't want to use straight posts, your longboat display just might change my mind. Most of the ones I've seen are too thick and visually distracting, but yours is very tastefully done. Is it quite stable? How far into the hull do the rods go? Mine is [hopefully] going to be displayed in a high-traffic area near the dining room entrance, and will be dusted and cleaned around frequently.
-
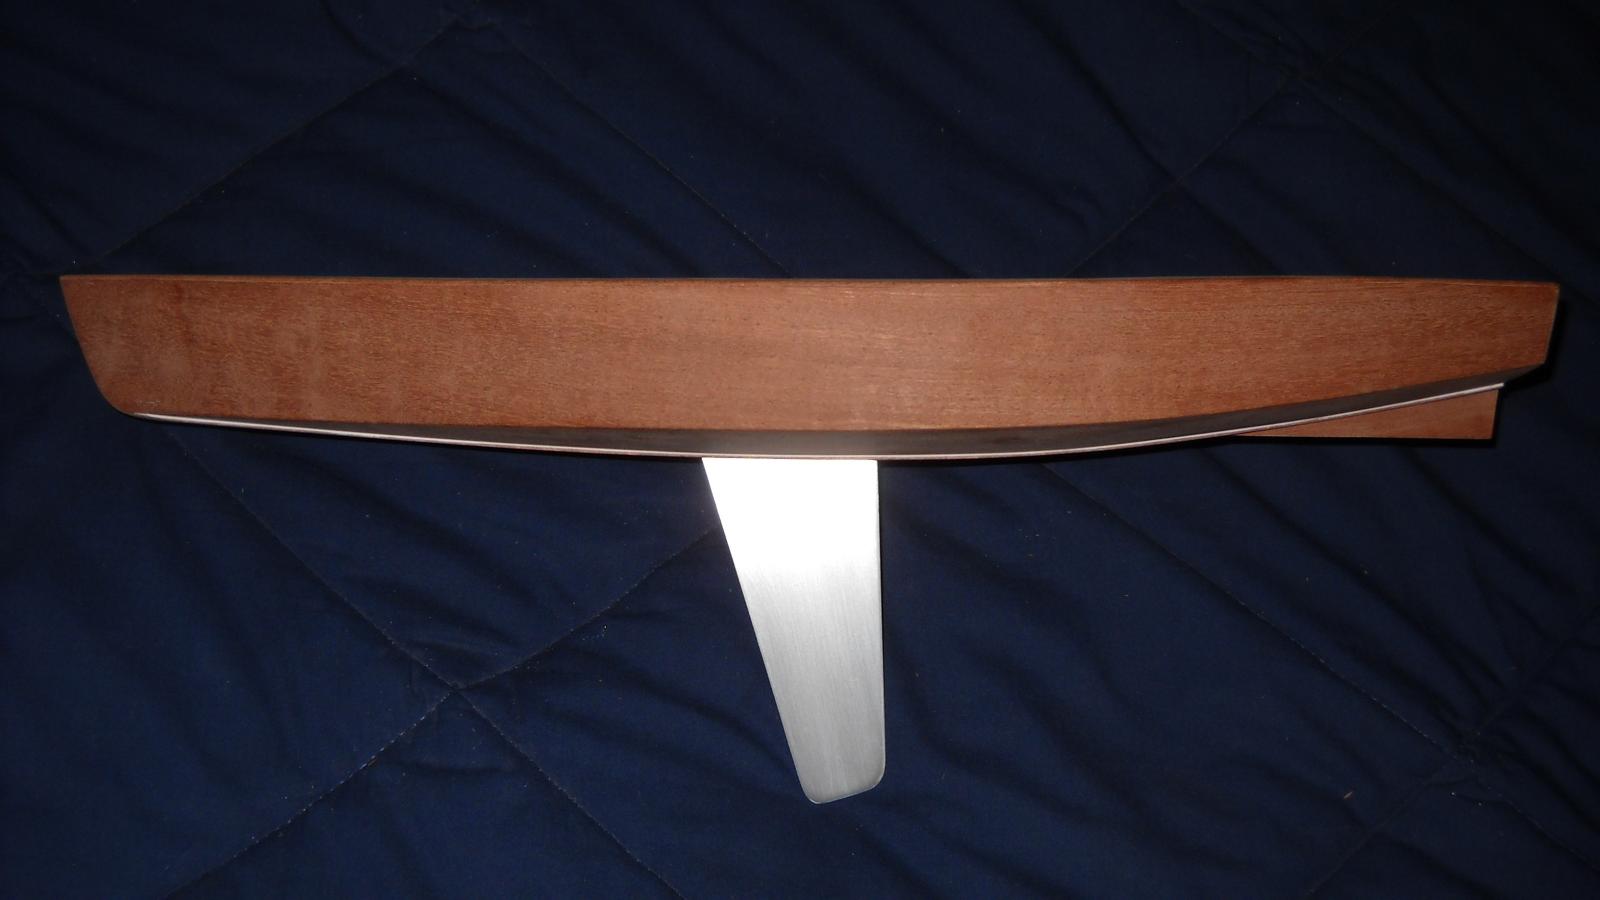
Here's a quick mock-up with the CB in place. It's starting to look like a proper Lightning now!
-
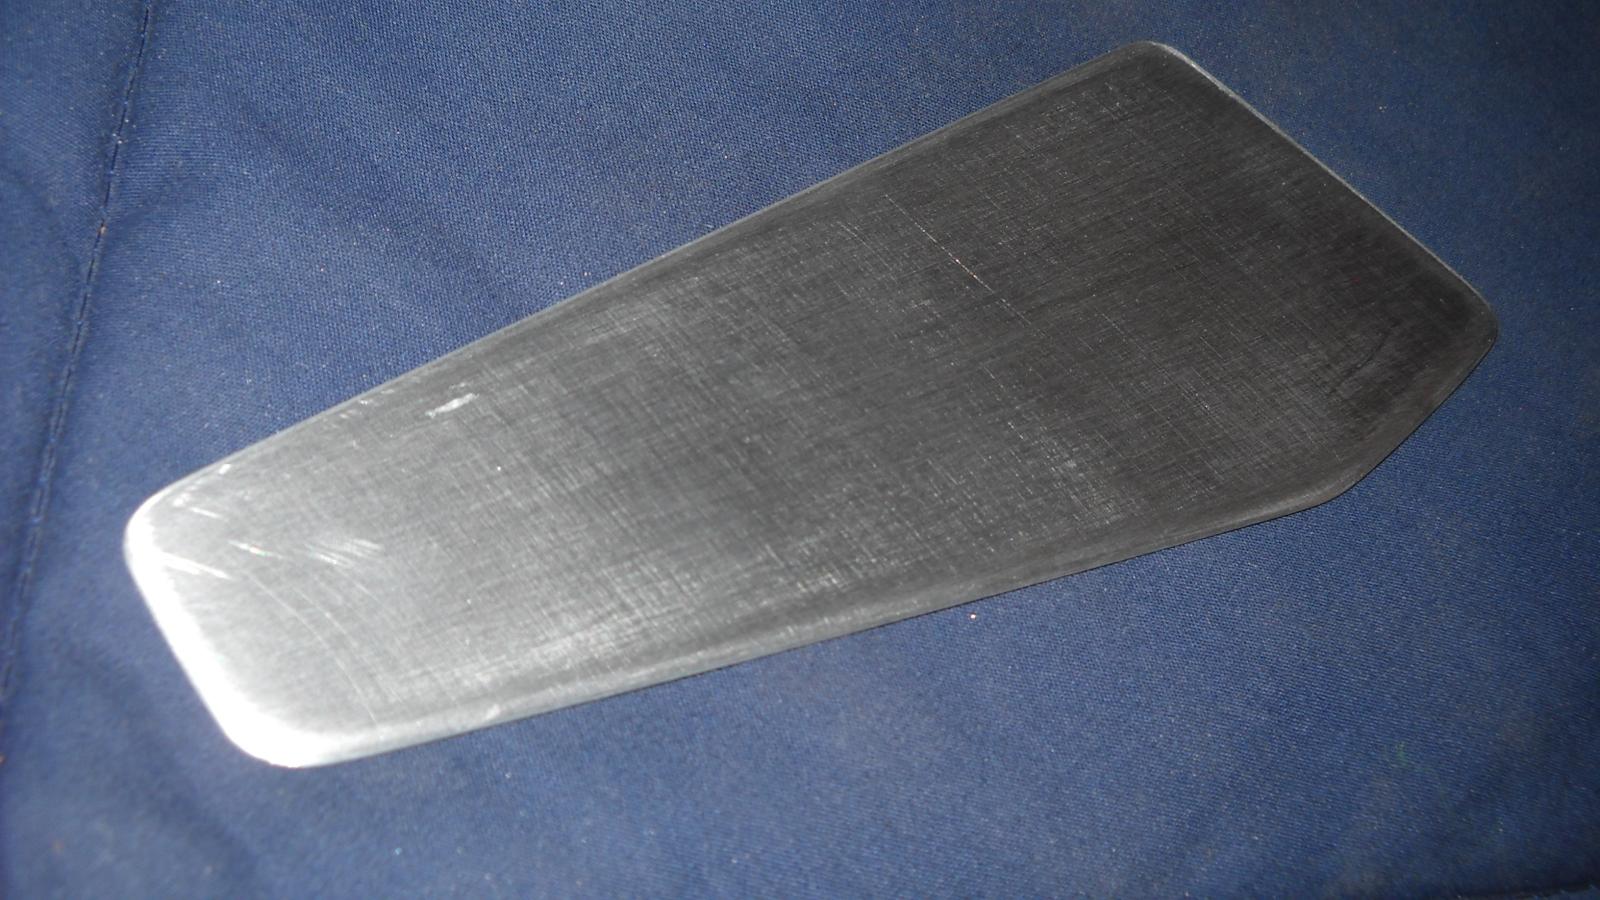
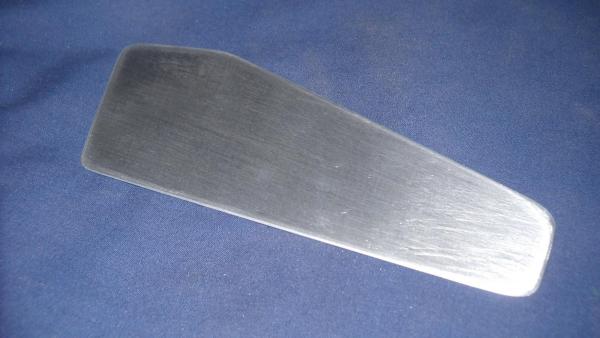
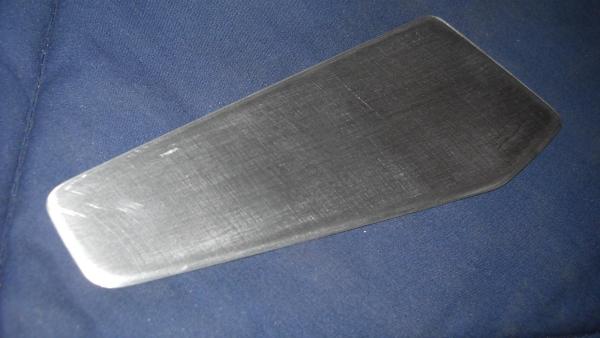
I made my aluminum center board today. I'm actually not quite sure why I decided to use aluminum. Maybe I read about somebody else doing it. I probably should have just used a sheet of styrene. I even considered scrapping the aluminum and switching at many points along the way, but I kept going. After lots of grinding and filing and sanding I eventually came up with this. I've never really done anything with metal before, so I'm quite pleased with how it came out. Hopefully a couple coats of etching and filling primer will cover up the few small dings that still remain.
-
The display issue has come up in my mind several times. I'm not sure exactly what it will look like, but it will probably be some sort of fitted cradle. The keel strip sticks down far enough to fit into a notch and keep it stable. I'm not sure if I want to permanently mount it to the stand, but I definitely know that I don't want to mount it on straight posts or drill holes in the hull.
-
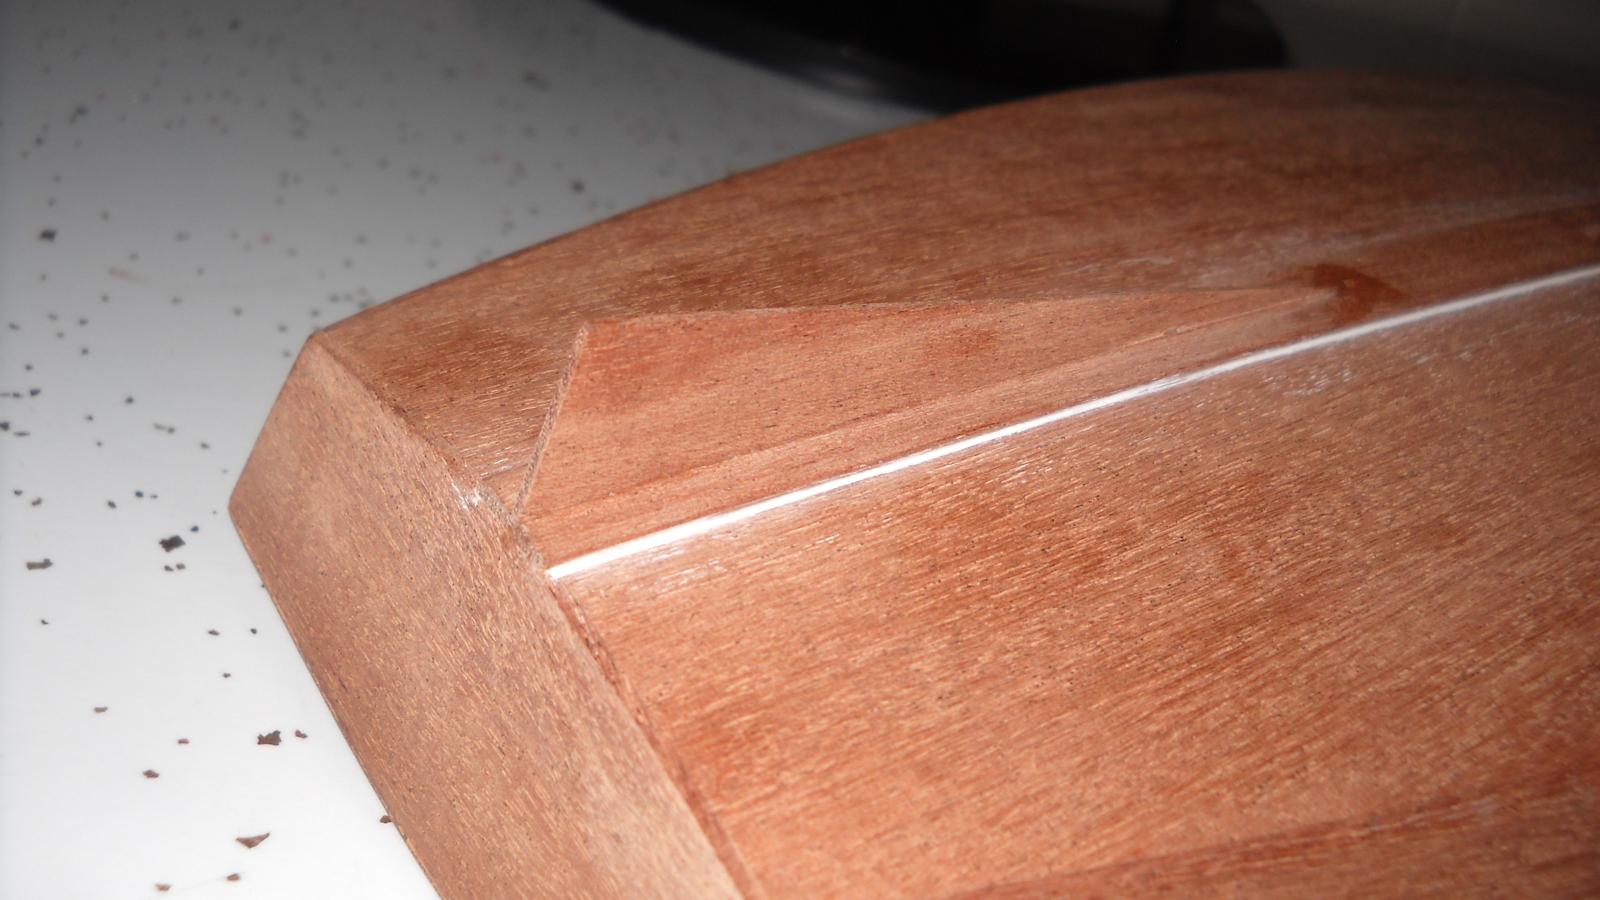
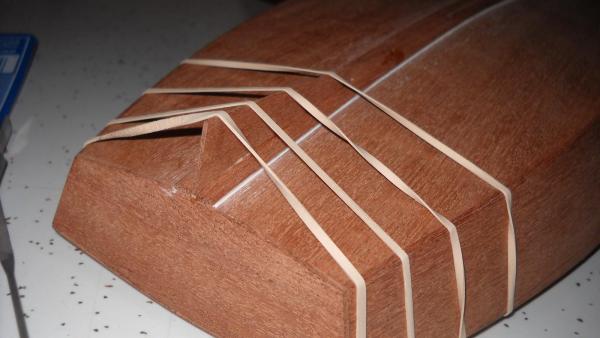
I don't mean to sound argumentative and I hope you don't think me somewhat dense, but I see no option to buy the plans without paying for the number. When I click 'add to cart', it comes up as one total of $150. There seems to be no way to buy one without the other. Anyway, I have gotten this thread off-topic. I have installed the keel strip and cut the center board slot. The thickness of the kit-provided center board is comically out of scale, so I'll be heading to my local hobby shop to pick up a piece of aluminum sheet to make a new one. To fill small gaps, such as that which remained between the hull and the keel strip, I am using Elmer's 'color change' wood filler. It's extremely fine, dries very quickly, and is very easy to sand. It starts out purple and turns white when it's dry, so once it's all white, you know it's dry enough to sand. Fantastic stuff; I highly recommend it.
-
Do you mean the plans for rebuilding an existing numbered lightning? When I first saw that option I figured it would be less detailed because they are for, as stated, rebuilding a boat that already exists, rather than building one up from scratch. Is my thinking incorrect? Are they, in fact, the exact same plans?
-
Well, I suppose you could say they're easy to obtain, but they cost $150, $100 of which are just for the registration of the hull number. It seems you can't buy just the plans without paying for the registration. I'm going to ask around at the country club to see if anybody there still has any laying around.
-
I don't suppose there's any chance you still have the plans for that, would you? I would love to attempt to scratch-build another one of these in the same scale using the real plans.
-
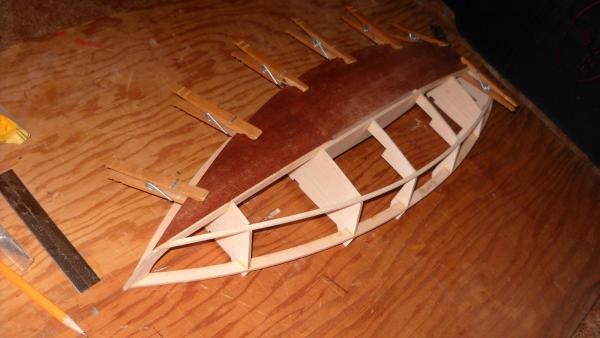
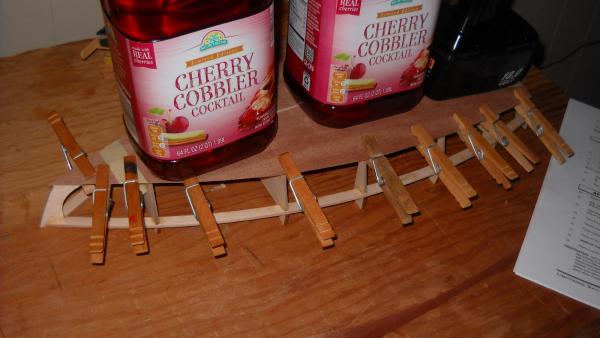
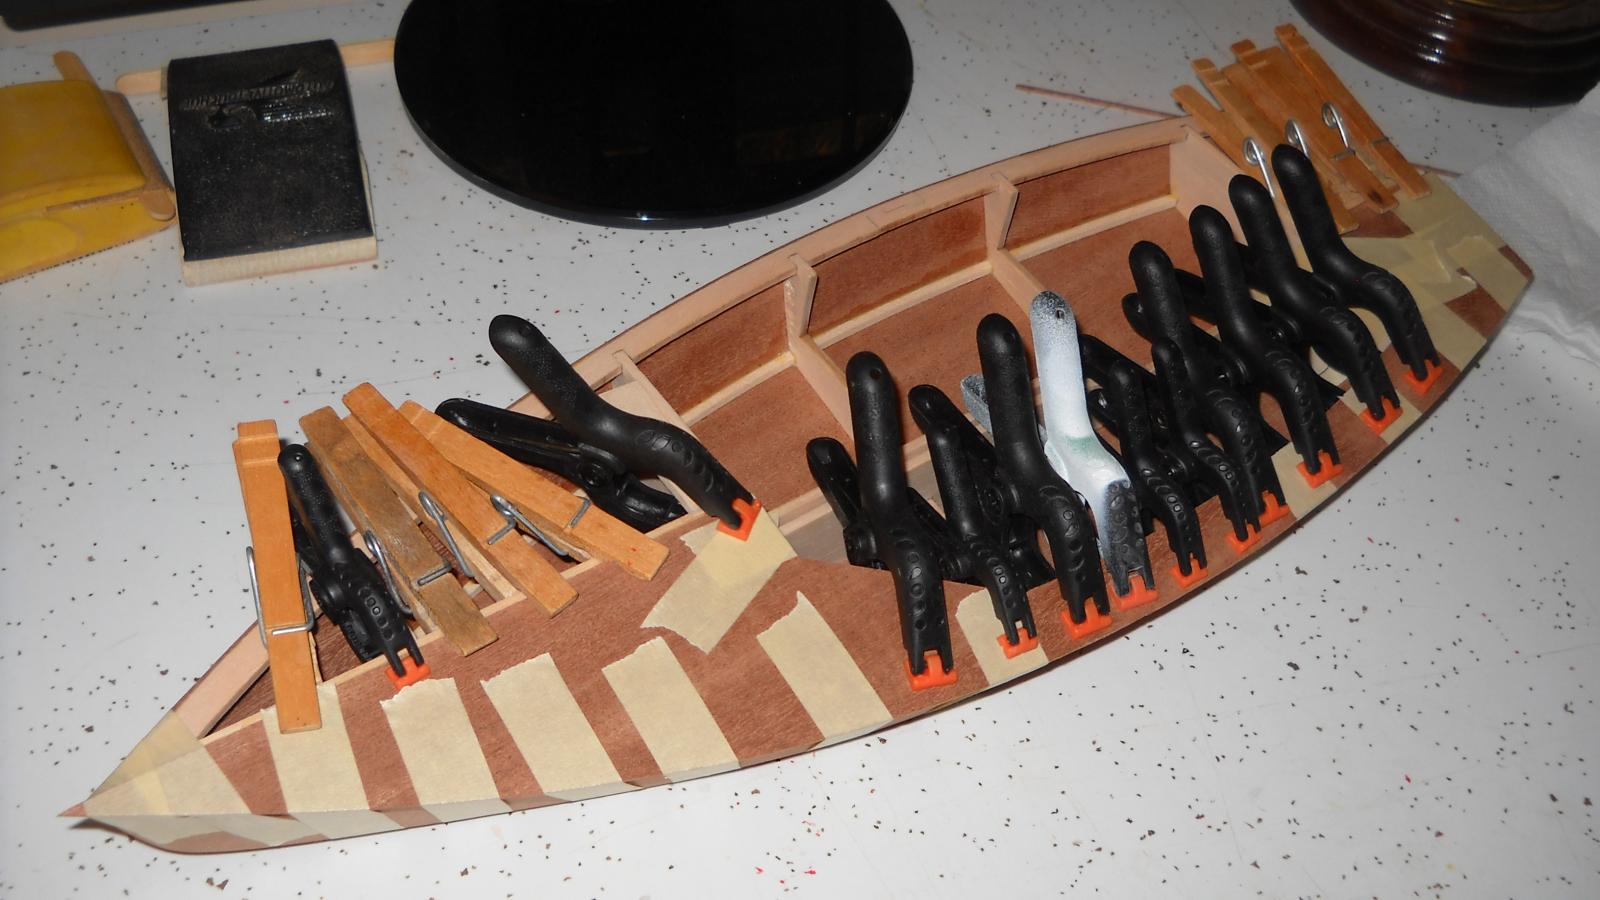
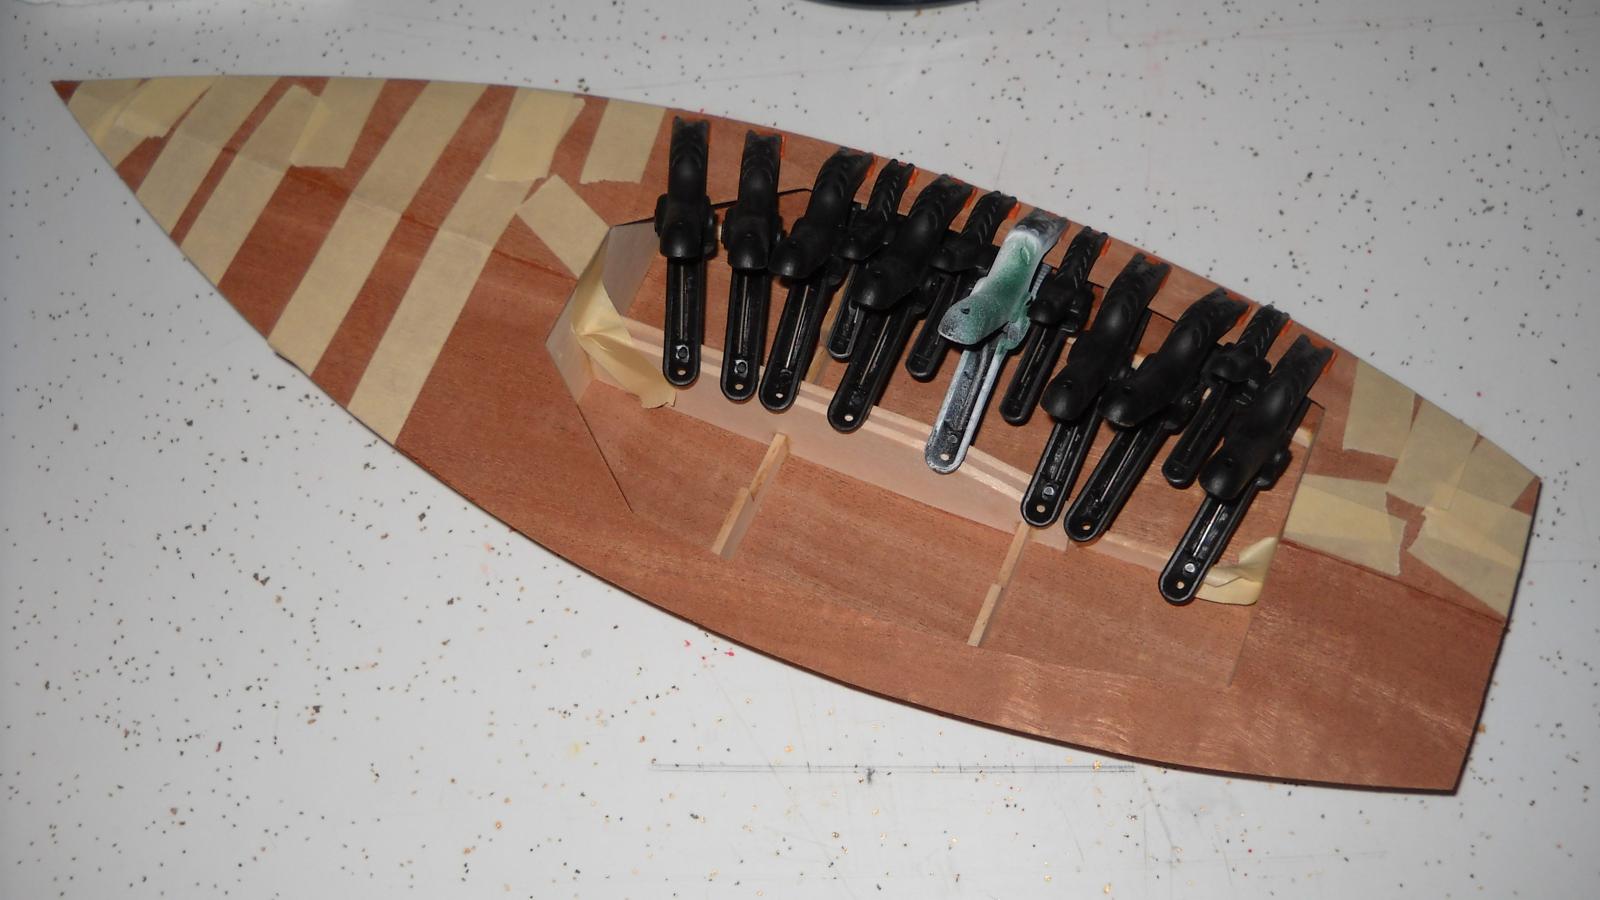
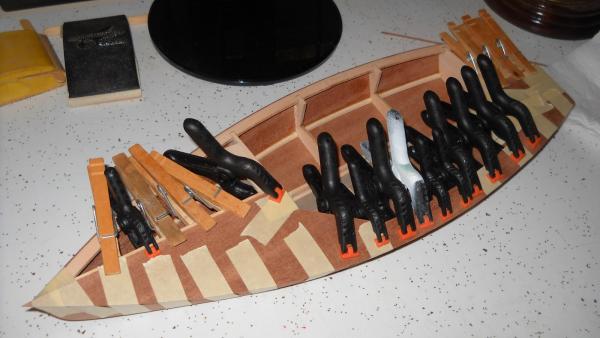
I couldn't agree more. There are never enough clamps! Last week when I was putting one of the sides on, I had to hold a part of it against one of the frames with my own hand for 40 minutes. When it comes to funny angles and having to use only the perfect amount of force, I think there is no better clamp than the human hand. Unfortunately, it gets tired very quickly. Fortunately, it gets numb shortly thereafter! I do plan to get a couple more different kinds of clamps before my next build, though.
-
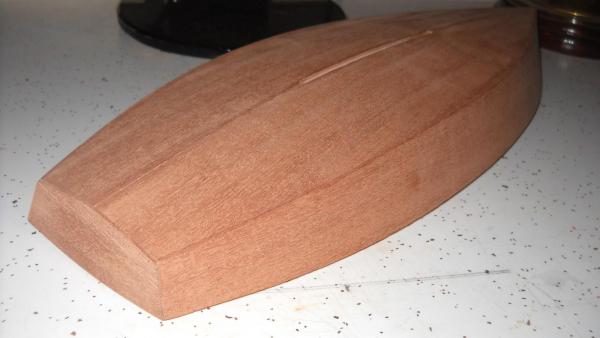
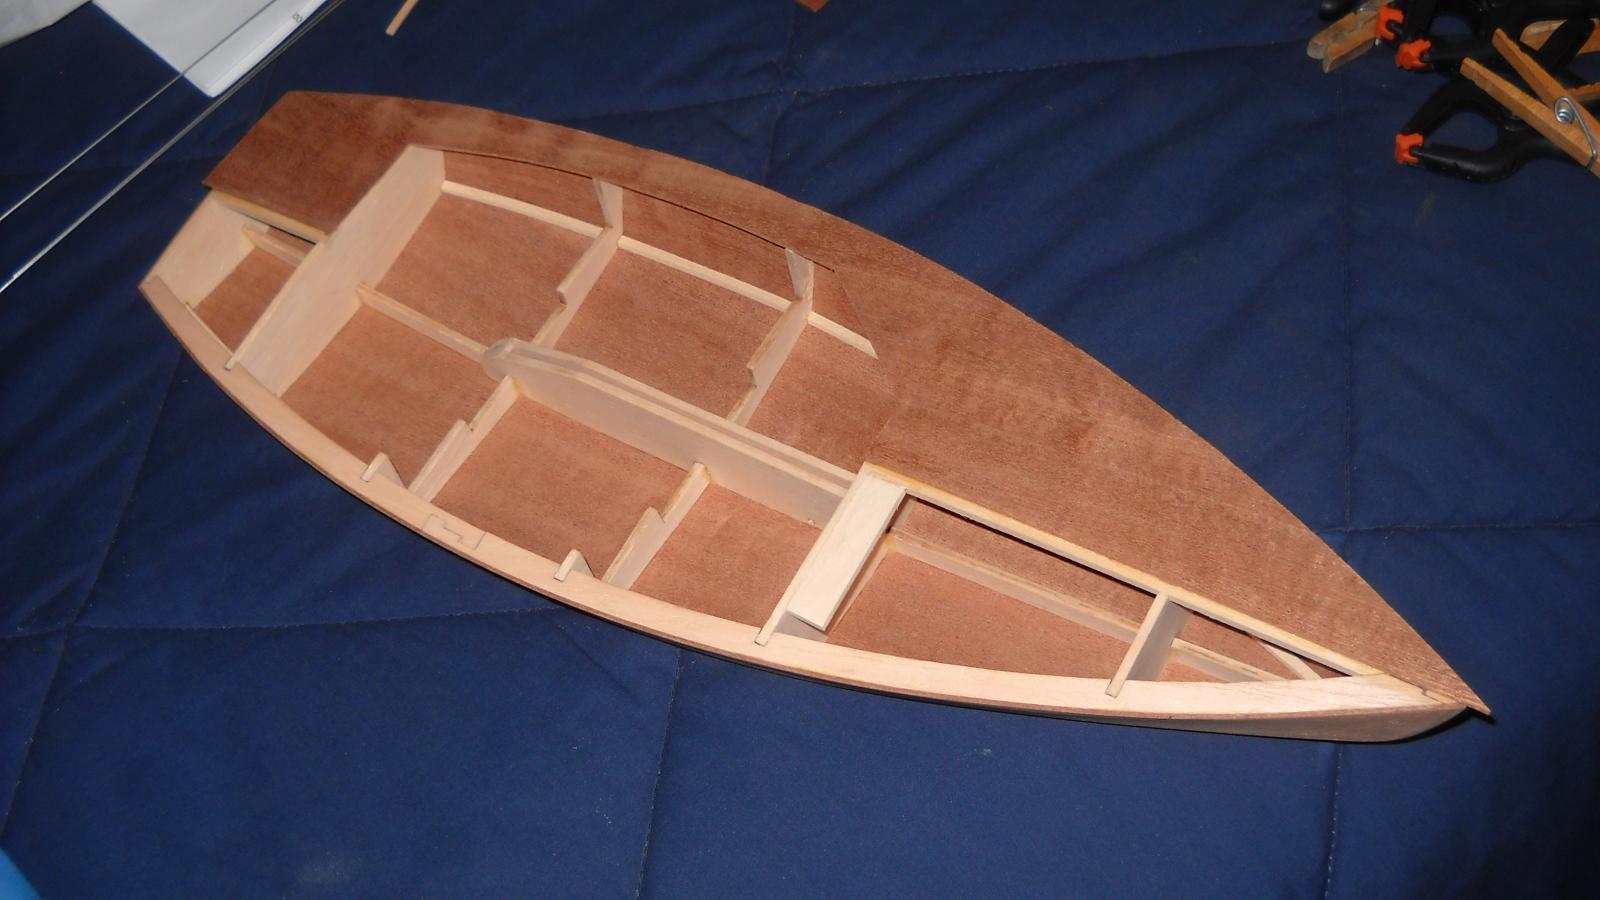
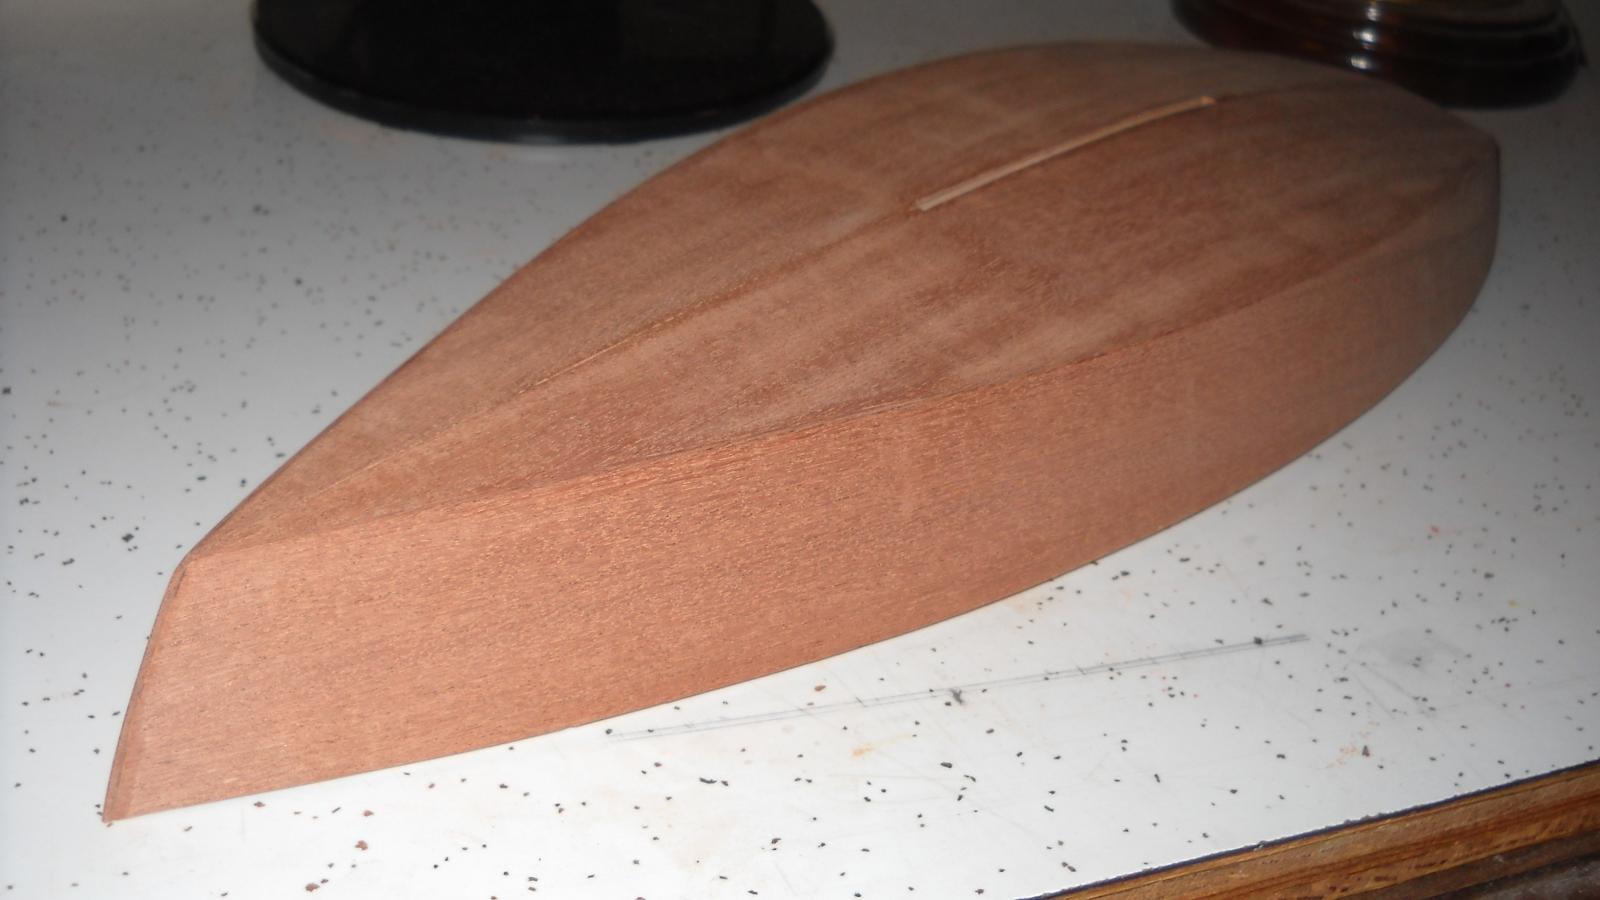
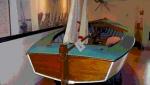
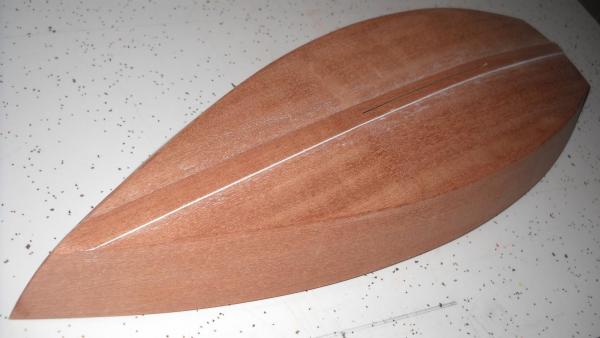
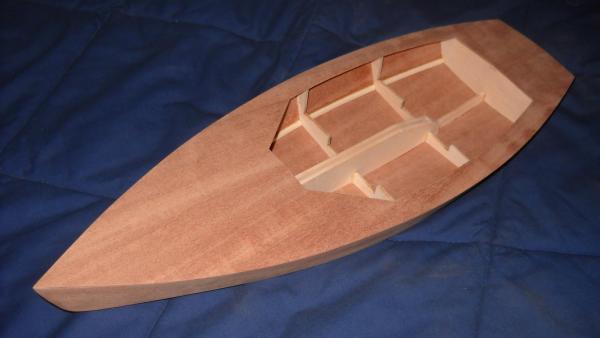
Thank you Dee_Dee for your valuable first-hand information. I am now rethinking the deck and will probably paint it a flat tan or something. Now I can leave the rub rail, coaming, cockpit trim, and seats natural mahogany and they will stand out more.I will also leave the transom natural, as that seems to be fairly common, and I will try to scratch my own rudder out of the mahogany scraps. I would like to try to replicate one of the earliest boats, so I will research as much as I can about how they were originally rigged. Thank you for the recommendation, wlell. I just looked it up and read many great reviews, so I'll pick some up as soon as I can. Anyway, she has a deck now. It comes in two halves and I think I did a pretty good of matching them up so there is barely a seam. Not that it matters, since I'll be smoothing it out and painting it anyway, but I'm still proud of my craftsmanship. I must have done something right because she balances nicely while sitting on a flat surface.


-
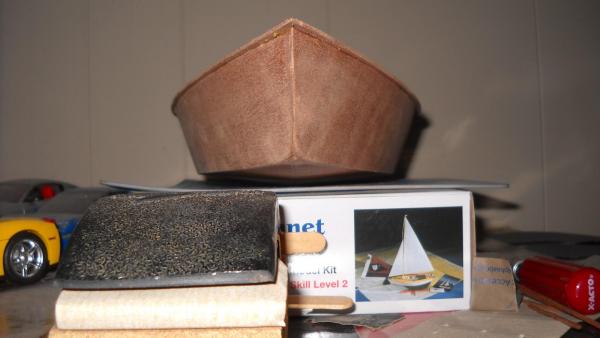
Thank you for the replies! I'm happy to see that there is some interest in this subject. If anybody is looking to get this kit, I highly recommend ordering it from Tower Hobbies; they have them in stock for only $48.99 right now, as opposed to the usual $60-70 that I have seen from many other stores. What would be best for sealing the hull for painting? When I did the Sakonnet, I ended up plastering the whole thing with wood filler and then sanding it down until it was completely smooth. Should I get some actual sanding sealer, or would a couple coats of filler primer be sufficient?
-
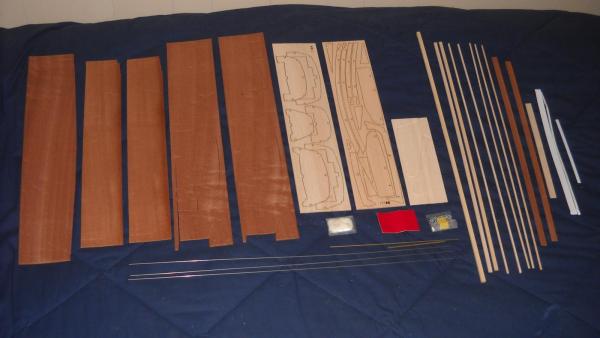
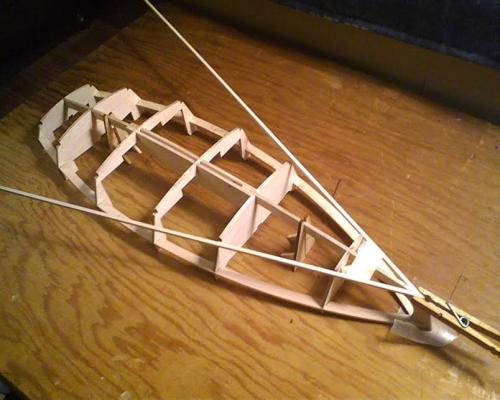
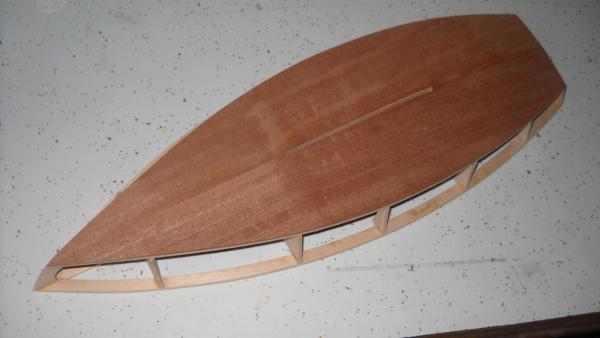
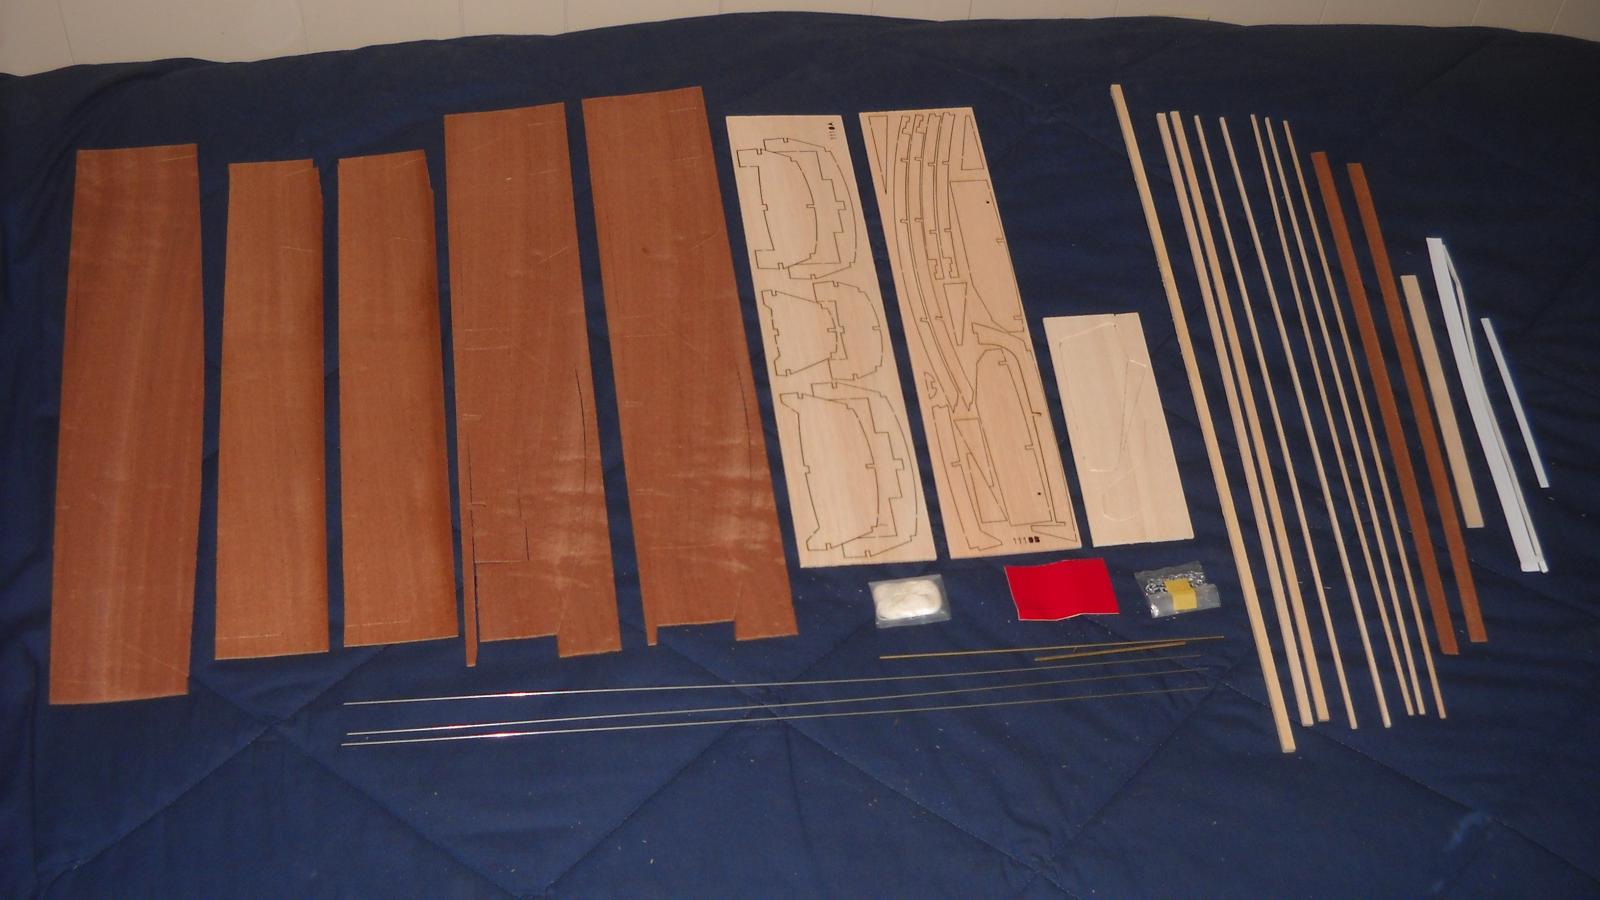
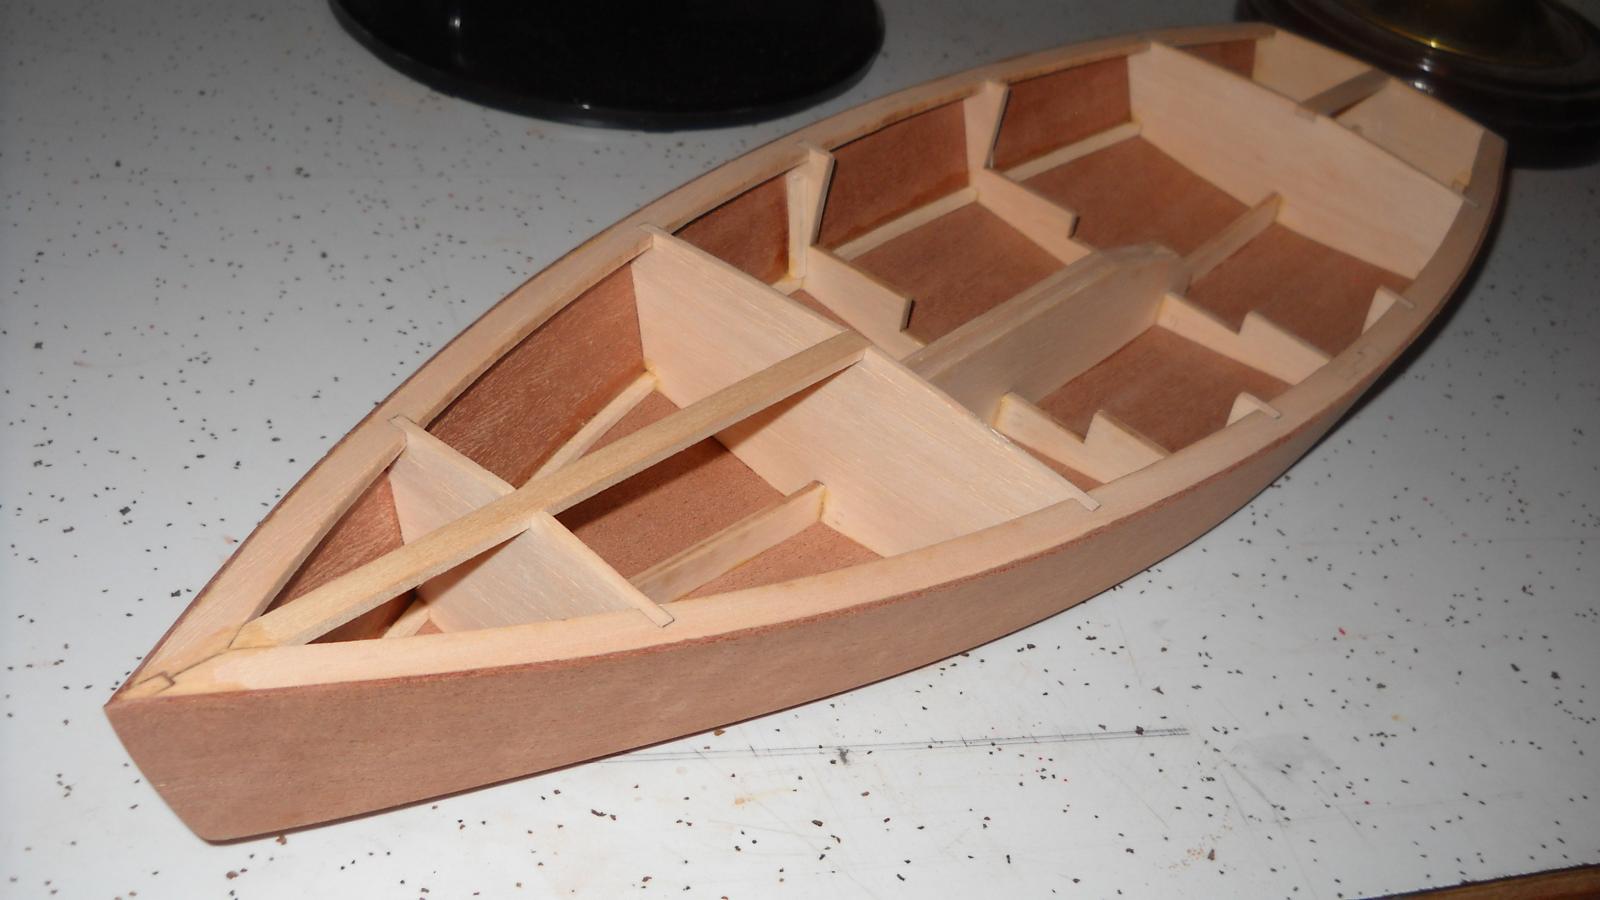
Hello, all. I have been a member here for almost a year now, but this will be my first build log. I normally build model cars, but it's been a good 2 1/2 years since I finished one, although I have started many since then. I thought maybe it was time to just try something completely different. I have always loved working with wood, so I thought I'd take a whack at this. This is my second wooden boat, the first being the Midwest Sakonnet Daysailer. The Lightning has some significance to me, not really personally, as I have never been in one, but I work at the Skaneateles Country Club, where the first Lightning was launched in 1938. My end goal is to have it displayed in the club dining room and replace the tired old Revell 1:96 Cutty Sark that has resided there for many years and has a great many broken pieces and tangled, dusty rigging. My plan is to paint the sides red, the bottom blue, with a white stripe at the water line to mimic the flag in the club's logo. I will leave the deck natural with a satin finish. So far I think this kit is fantastic and I'm surprised it doesn't have more of an online presence. This will be the first build log of it on this site as far as I know. It has pretty standard basswood and balsa framing with mahogany veneer for the hull and deck. The new instructions, revised in 2009, I think, are superb and come with excellent diagrams for every step, much like a Midwest kit. It's made to be sailed, so the rigging is designed to be functional, the drawback being that it is very simple. I hope to find somebody at the club who will provide me with detailed instructions on how to rig a real Lightning, and then I can buy aftermarket blocks and cleats and rope and such. I will also need to make more accurate sails, as the kit comes with pre-made nylon sails that look awful. Any suggestions on material that would suitable in this scale would be much appreciated! If any of you out there have ever built one of these, please feel free to post a picture, and everybody please leave comments and suggestions, as I know I have much to learn from all of you