HOLIDAY DONATION DRIVE - SUPPORT MSW - DO YOUR PART TO KEEP THIS GREAT FORUM GOING! (Only 13 donations so far - C'mon guys!)
×


ir3
-
Posts
336 -
Joined
-
Last visited
Content Type
Profiles
Forums
Gallery
Events
Everything posted by ir3
-
Still available, price dropped to $475 shipped CONUSA.
-
Price dropped to $585 plus shipping. Any interest, please let me know.
-
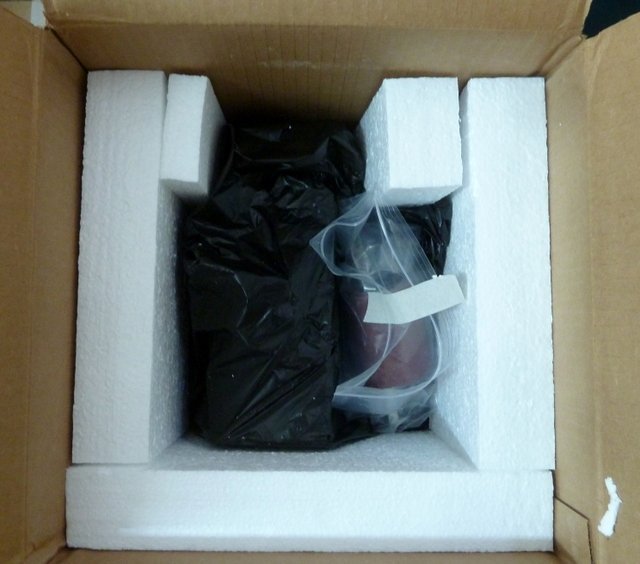
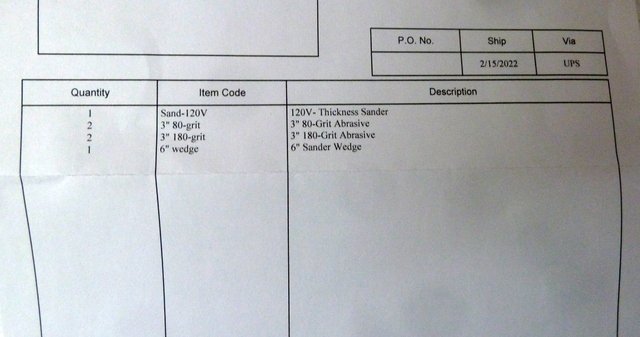
I planned on a scratch build a while back but decided it would be a bit too much for me at this time. Lots of other projects in progress or on the shelf. It is brand new in original packaging including extra abrasives and 6" wedge. I am asking $375 shipped in the CONUSA. That would basically cover perspective buyers shipping costs. Thanks for looking.
-
- 5
-

-
I am dropping the price to 725 plus shipping CONUSA. I really need to part with this kit.
-
I need to part with this kit and the accessories so if interest, make a reasonable offer. I no longer have the eyes and hands for work this intricate.
-
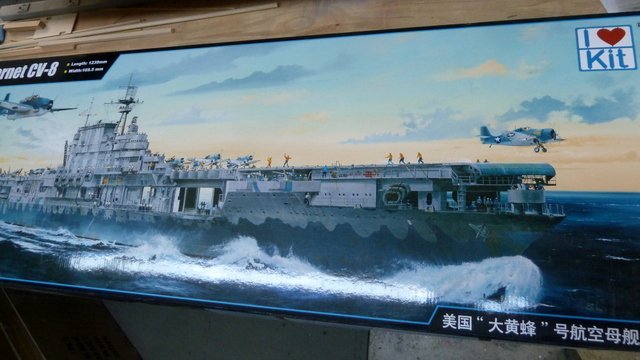
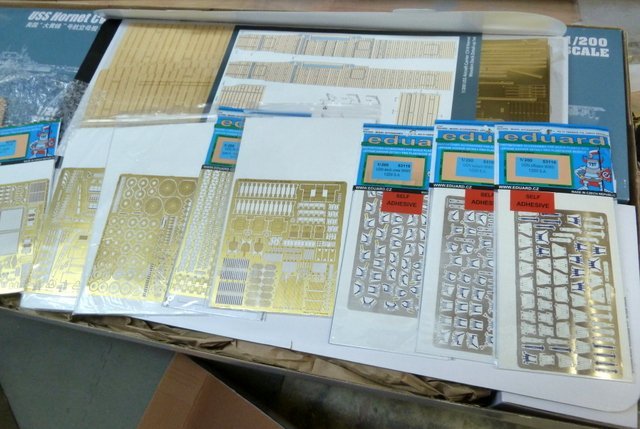
I have collected a Merit I LUV Kit of the 1:200 USS Hornet CV-8. I also have upgrades for the kit. 1:200 Merit USS Hornet CV-8 Kit MK1 Deck, MD20012 (not the DX pack) Eduard Big Ed package including Cranes, Radar Antennas, Lifeboats, Oerlikon AA Guns, AA Quad and 5" guns (No longer available per Eduard site) Crew figures. All new and just opened for inspection. Asking $475 shipped CONUSA. Plese ask questions and thanks for looking.
-
The St. Nectan has been sold.
-
Nolonger available, donated to local library.
-
Kit has been sold!
-
Anyone interested in the Patrick Obrian Aubry Maturin series of books. 20 volumes, $50 shipped in USA. Just finished my second read and ready to pass them on to another Aubry fan.
-
A while back I purchased the Bob Hunt Kingfisher on this site. I had been looking for this kit for many years, ruing the fact that I sold one back in 2011. I have decided that I will not be doing any ship models of this type. I am concentrating on Steam Launches, Trawlers, and Tugs. I would like to part with this kit. I know it is quite expensive, but I am open to reasonable offers. I would also be interested in possible trades for boats mentioned above or even steam engines and steam plants. I had this kit on another site for $1450 including the 4-volume work TFFM shipped within the USA and so that is what I am asking. Once again reasonable offers considered but I will offer the TFFM series separately. Thanks for looking, IR3


- 1 reply
-
- 3
-
-
Anyone planning on building this kit in the future, now is the time to get it. Trades, reasonable offers. It is a great opportunity.
-
Delta Queen by ir3 - Saito - RADIO
ir3 replied to a topic in - Kit build logs for subjects built from 1901 - Present Day
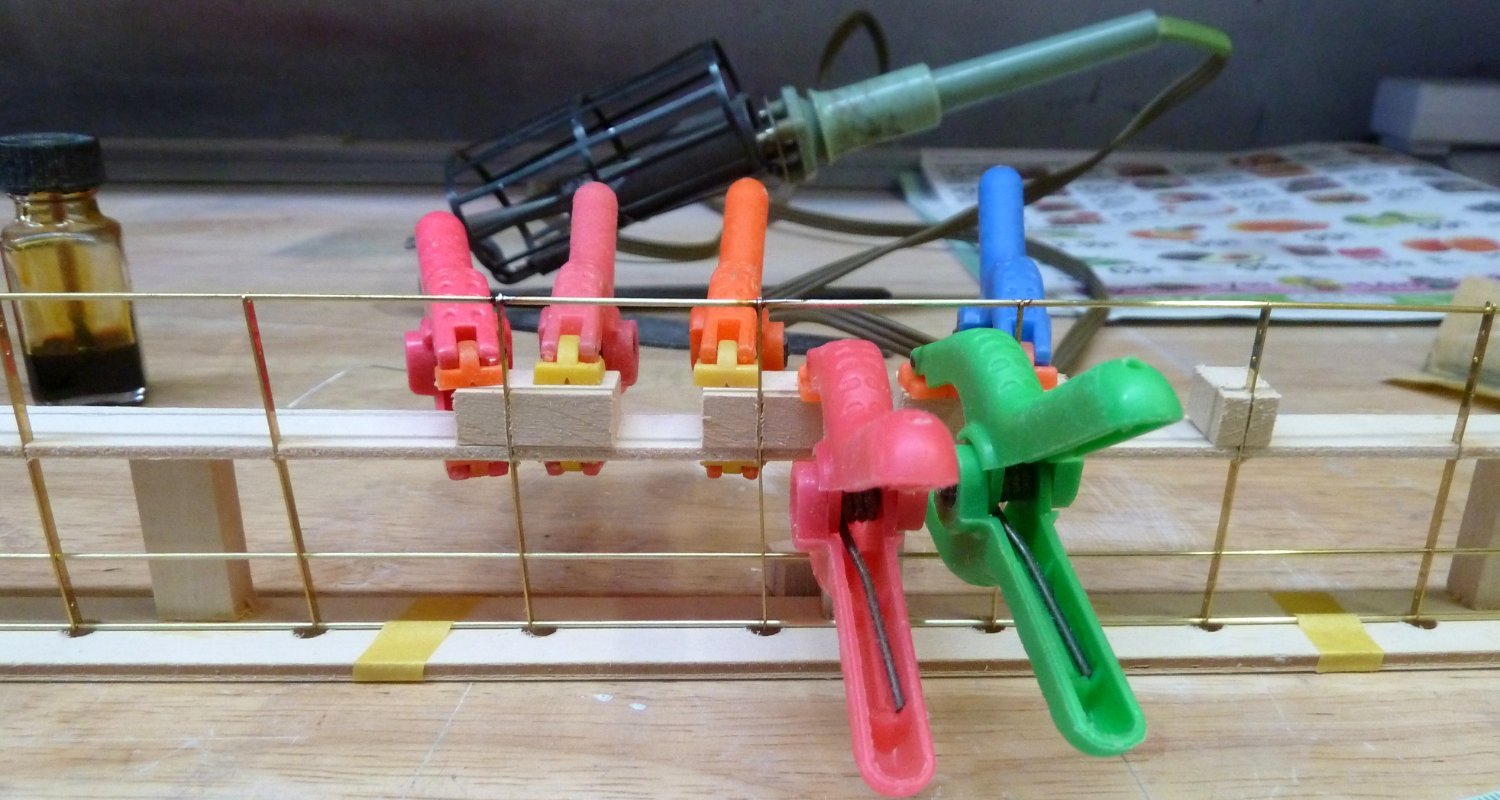
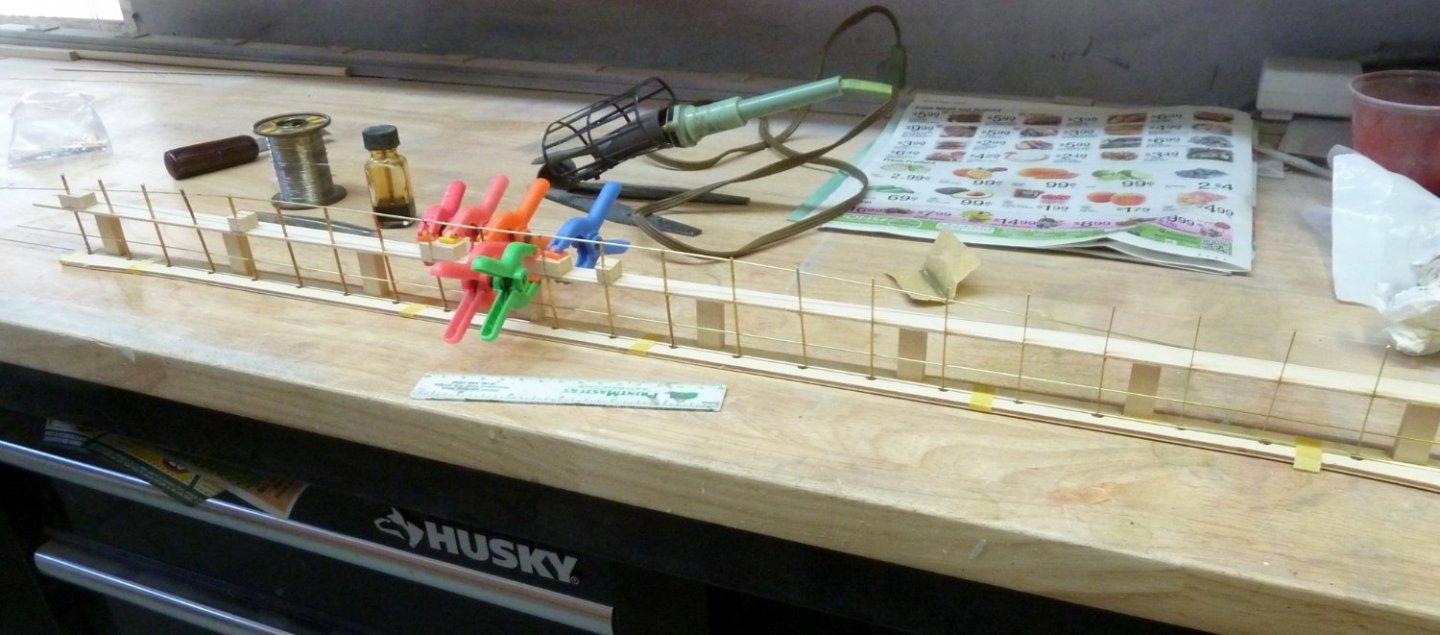
The railings for Decks 2 and 3 have been started. It needed a jig. To build these on the boat would be extremely difficult. The length of the jig takes care of the straight section on decks 2 and 3 and consists of 23 stanchions. Since the railing does not attach to deck 2, there is a 1mm wire at the bottom of the stanchion which rests on deck 2. All the 1mm wires on the top of the stanchions will be soldered as will the 1mm wire on the bottom that sits on deck 2. The 1mm woven through the deck 2 section as well as the .5mm wires will be soldered at the ends and a few points in the middle just to make sure they are fixed. A lot of work. Approximately 60 solder joints per side, 2 sides. More to follow, IR3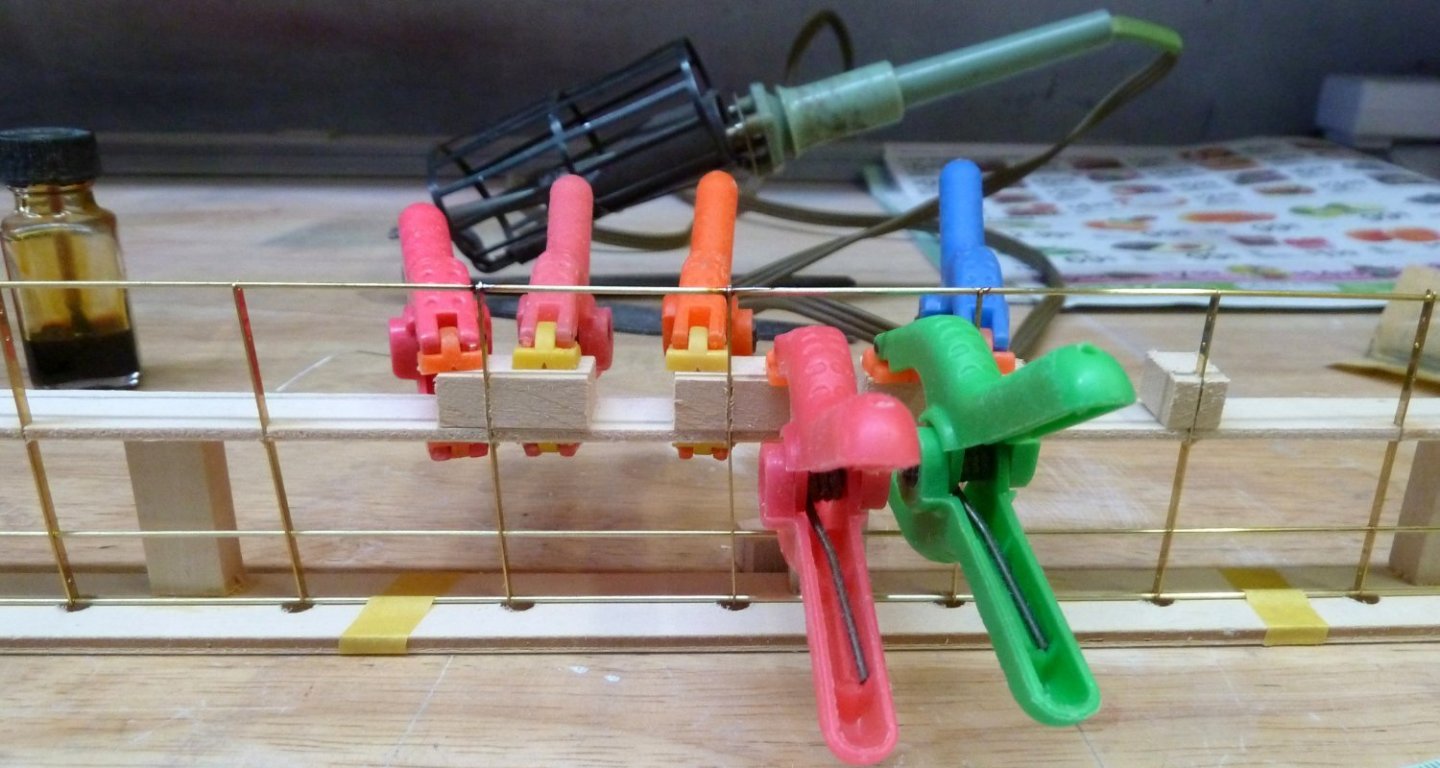
-
Delta Queen by ir3 - Saito - RADIO
ir3 replied to a topic in - Kit build logs for subjects built from 1901 - Present Day
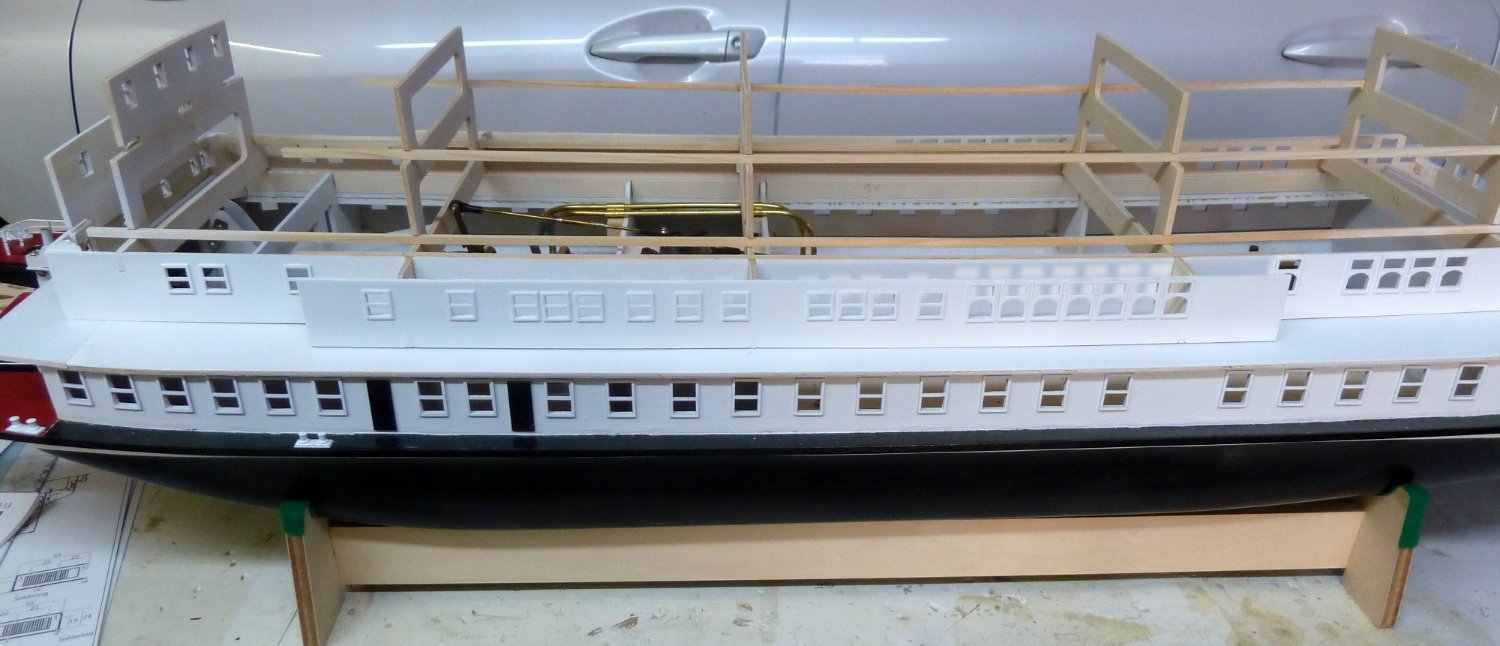
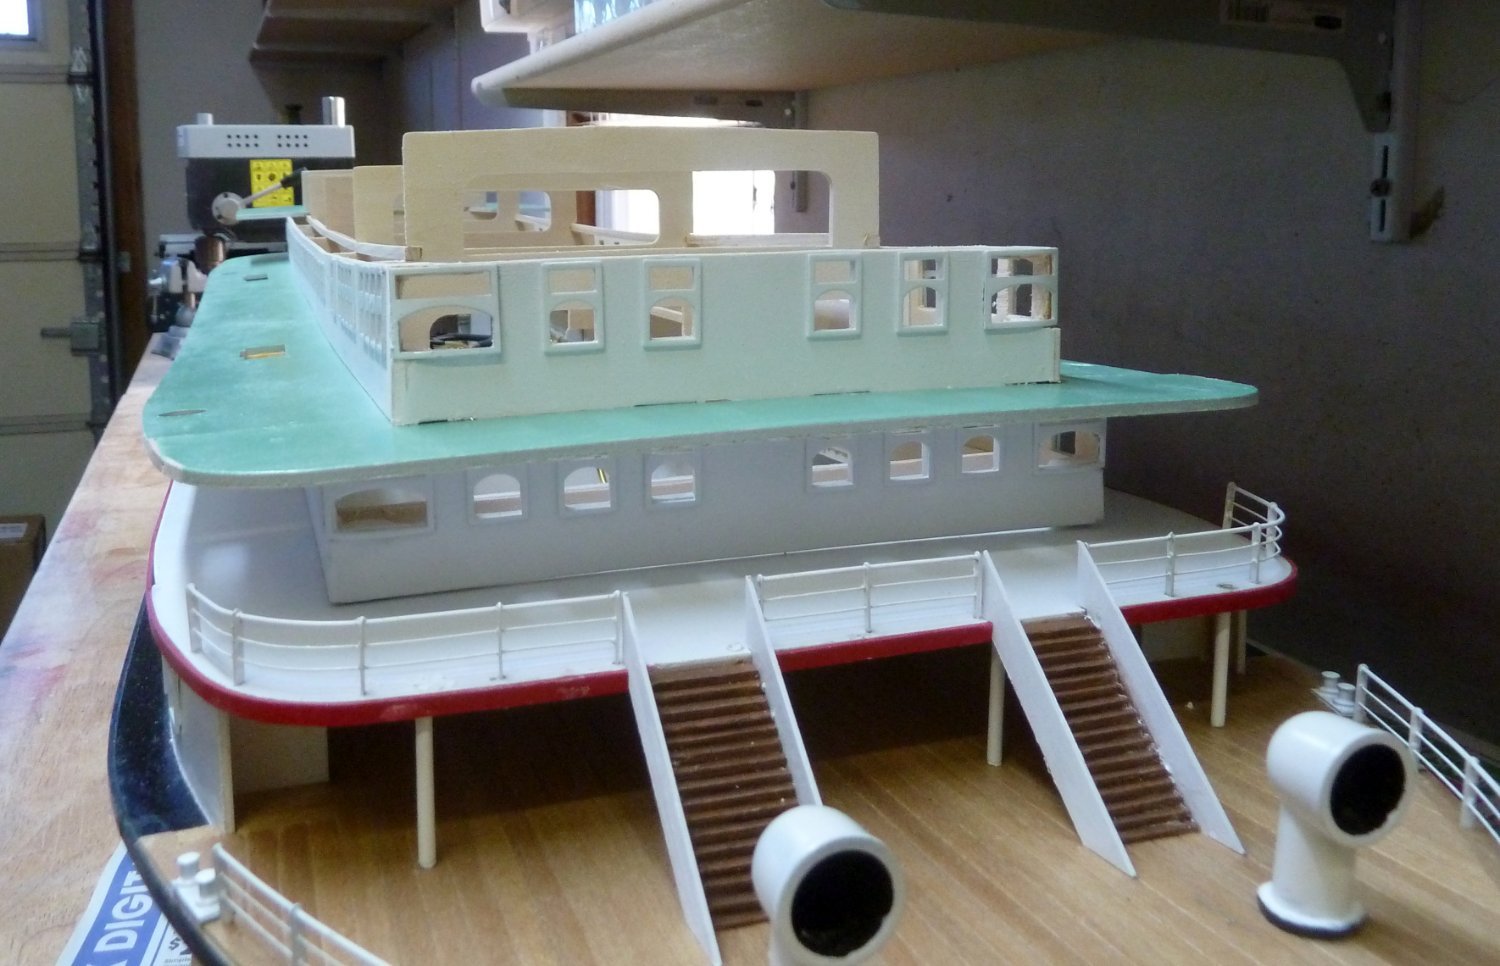
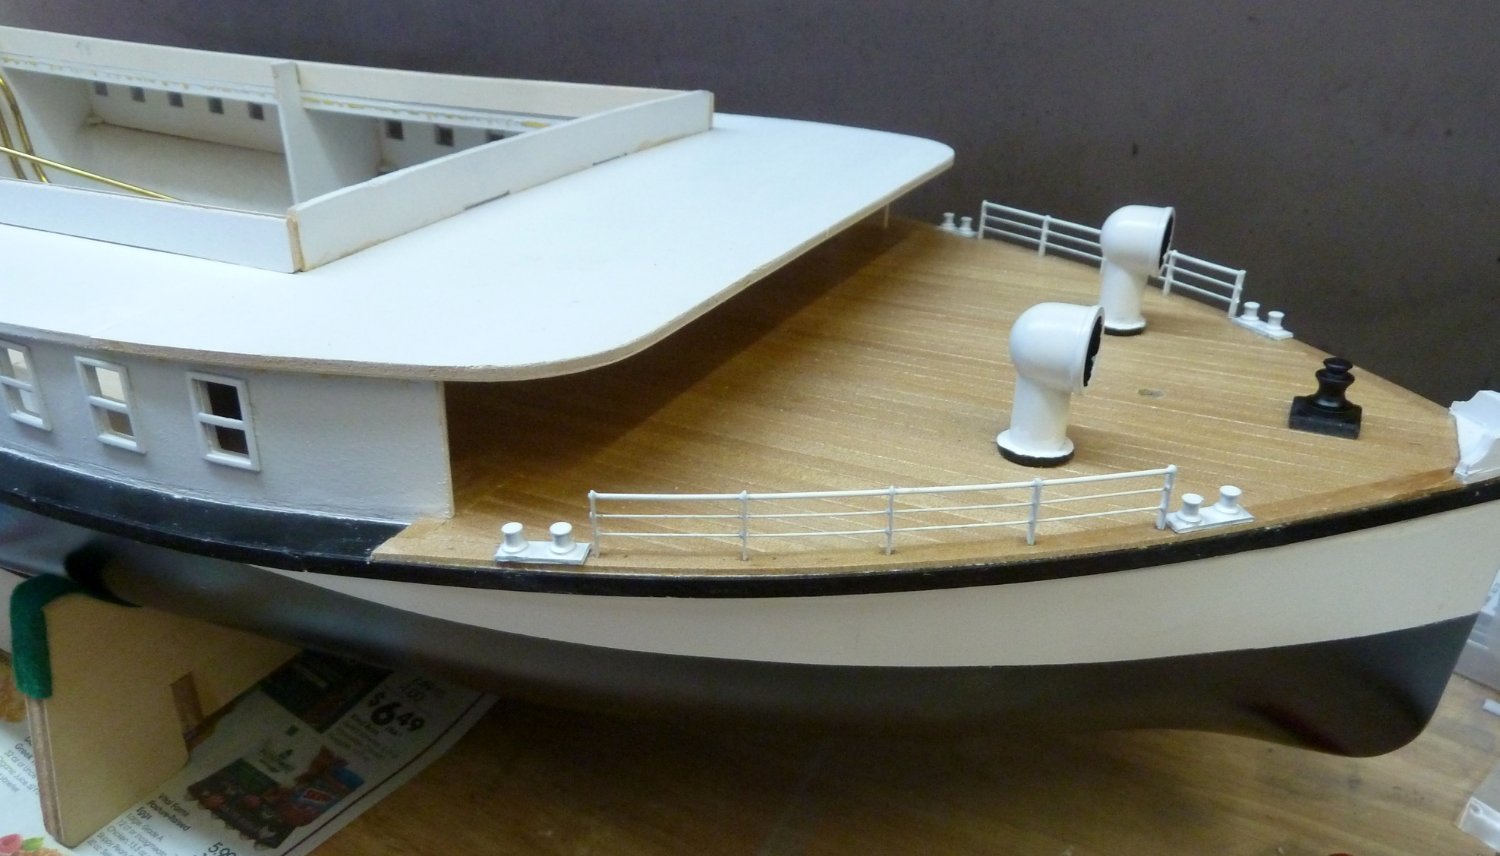
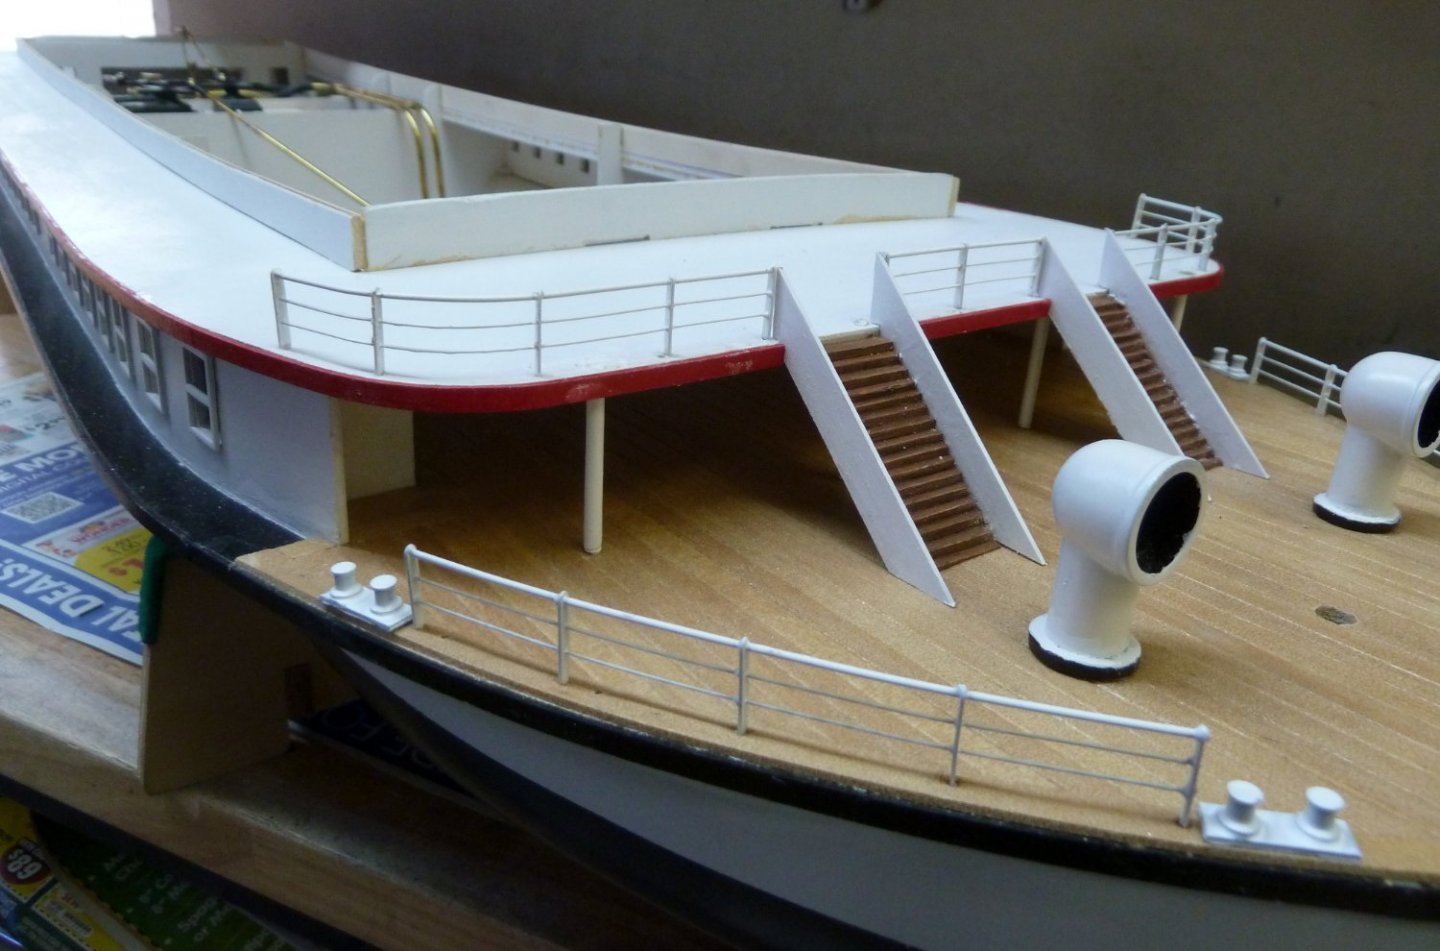
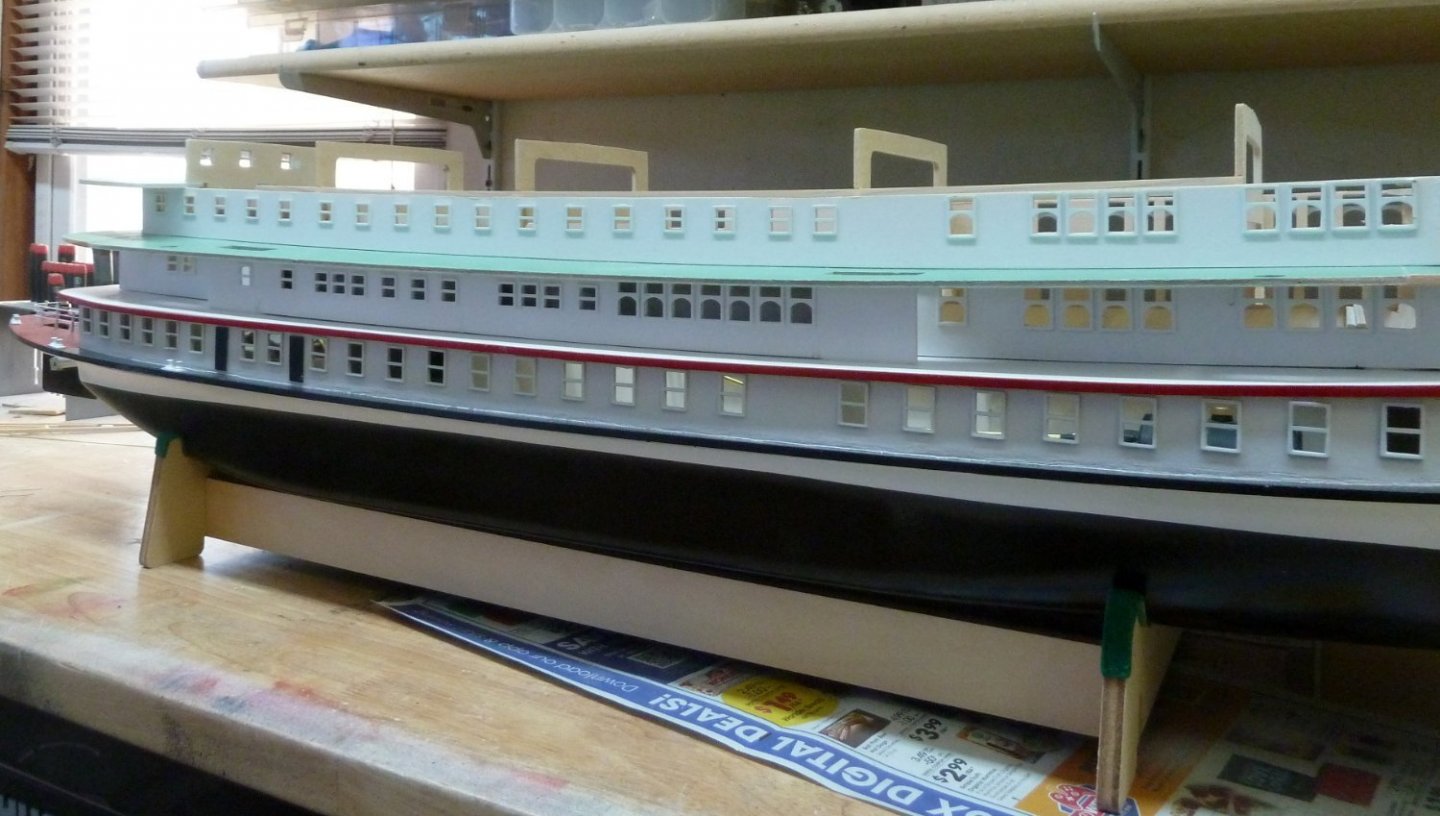
Still a month or so before the new boiler arrives so more work on the main deck and the cabin. With the shear of the hull being different from the main removable cabin the best I can do is get the pieces close to fitting. Once all the railings are on it the gaps will hardly be noticeable. In building up the removable cabin it worked best to get the shear as close as possible, then add windows, paint, and then assemble. This worked out quite nicely. I also added more detail to the main deck and deck 2. The railings on deck 2 are fixed. The railings on the removable cabin will be set so that they just touch the second deck when the cabin is in place. The railings are not easy to assemble and are very time consuming. The ones in the pictures have 5 - 8 stanchions. The removable cabin has 31 stanchions per side. I may just need a padded cell once I start on them. More to follow. The hull and deck two are just about finished. All that is needed is a bit of filler and some paint touch up. Until next time, IR3.


-
Delta Queen by ir3 - Saito - RADIO
ir3 replied to a topic in - Kit build logs for subjects built from 1901 - Present Day
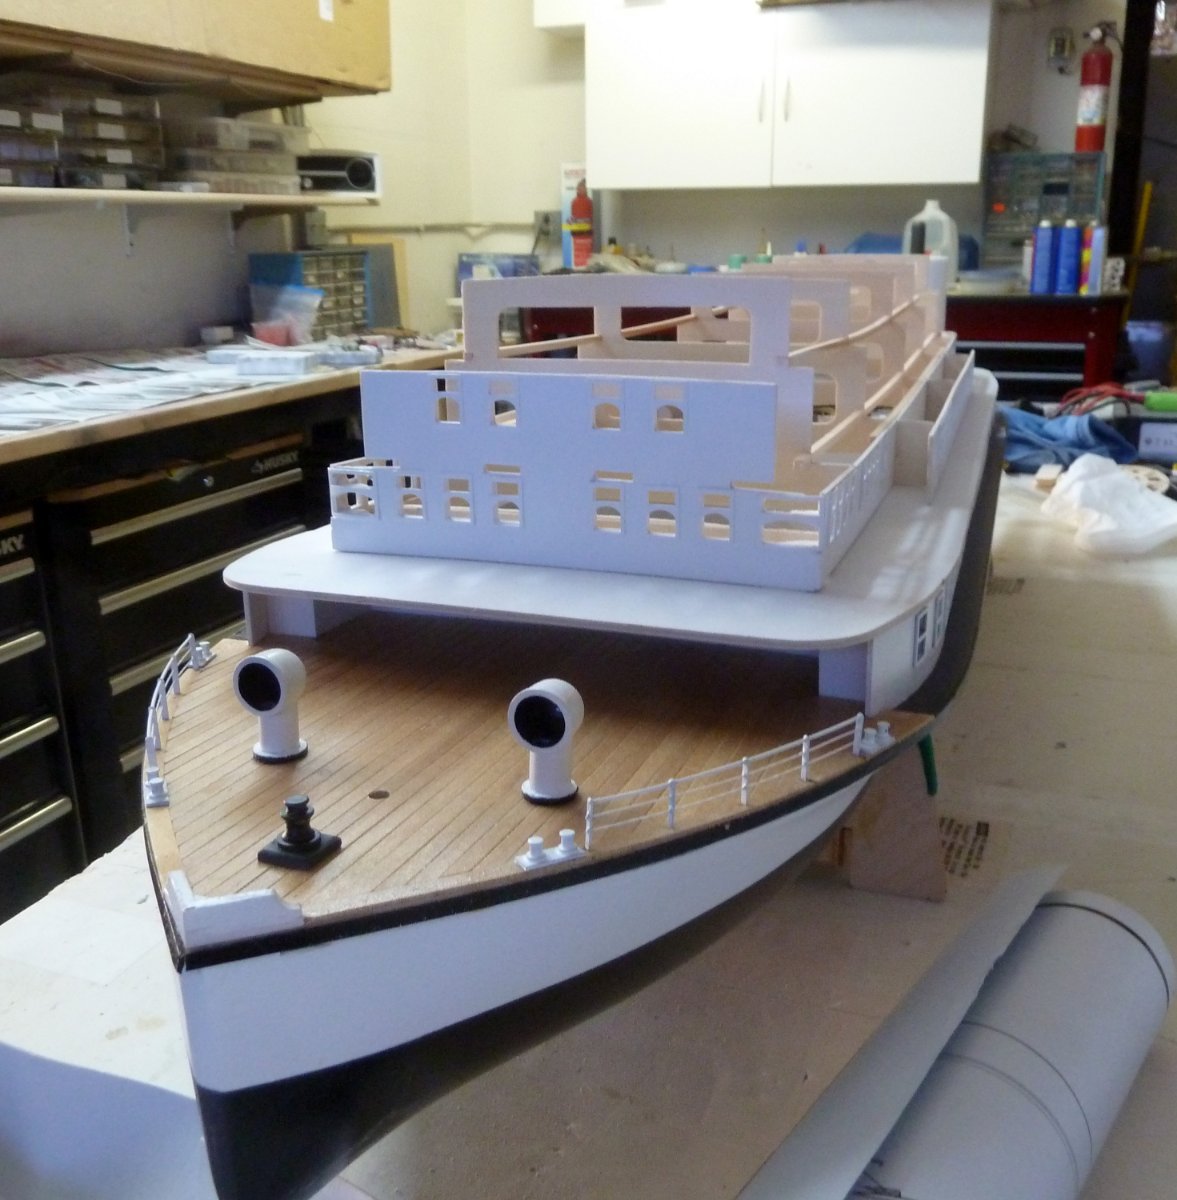
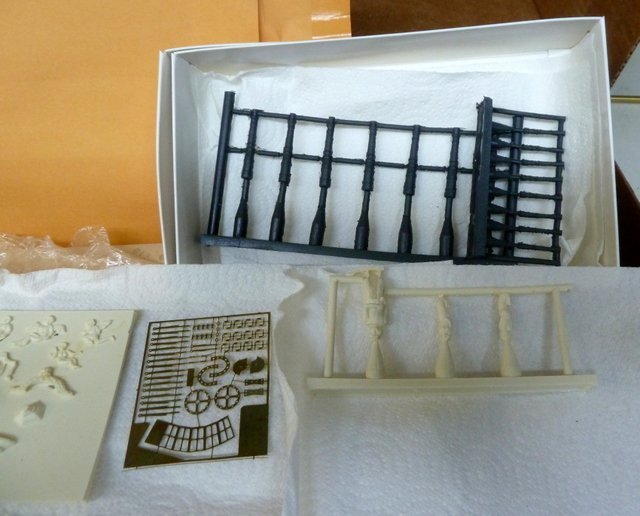
Some more work on the Victoria. Just about finished with the main deck and deck 2. Railings, bollards, vents, and windless are in. Still waiting for the new boiler so I will start on the main cabin. It's a shame that nothing has changed with the DQ/Victoria kits. Still the same poor instructions. One would think that since the late 1990's when the DQ came out that they would change something. Straighten the cutters or improve the instructions. Just to do the railings it takes a lot of study. The instructions do not indicate what stanchions to use. It's a struggle but progress is being made. As far as the colors go, it is a mixture of the DQ, the Victoria, and generic river boats of the same era. Not looking for scale integrity, just to look good when on the water. I am having a custom scale Paddle Wheel made specifically for this boat. It will have 32 floats instead of the 8 on the kit paddle wheel. When you look at videos of the DQ on the water, it looks way too fast. I think it is due to the 8 large floats on the paddle wheel. They take a big bite while turning. With the 32-float paddle wheel, while there are more floats in the water, I believe they will bite much less than the original so it will look closer to scale. It remains to be seen. If nothing else, it will look great on display. Till next time, IR3
- 21 replies
-
- 1
-
-
- saito
- delta queen
- (and 1 more)
-
I would like to see someone buy this kit. The price is well under Model Expo's and is below the price that was posted last year when they had their special. It's a beautiful model when finished and there are many build threads to follow on MSW. If you have plans to do this kit, now is the time. Thanks for looking.
-
Delta Queen by ir3 - Saito - RADIO
ir3 replied to a topic in - Kit build logs for subjects built from 1901 - Present Day
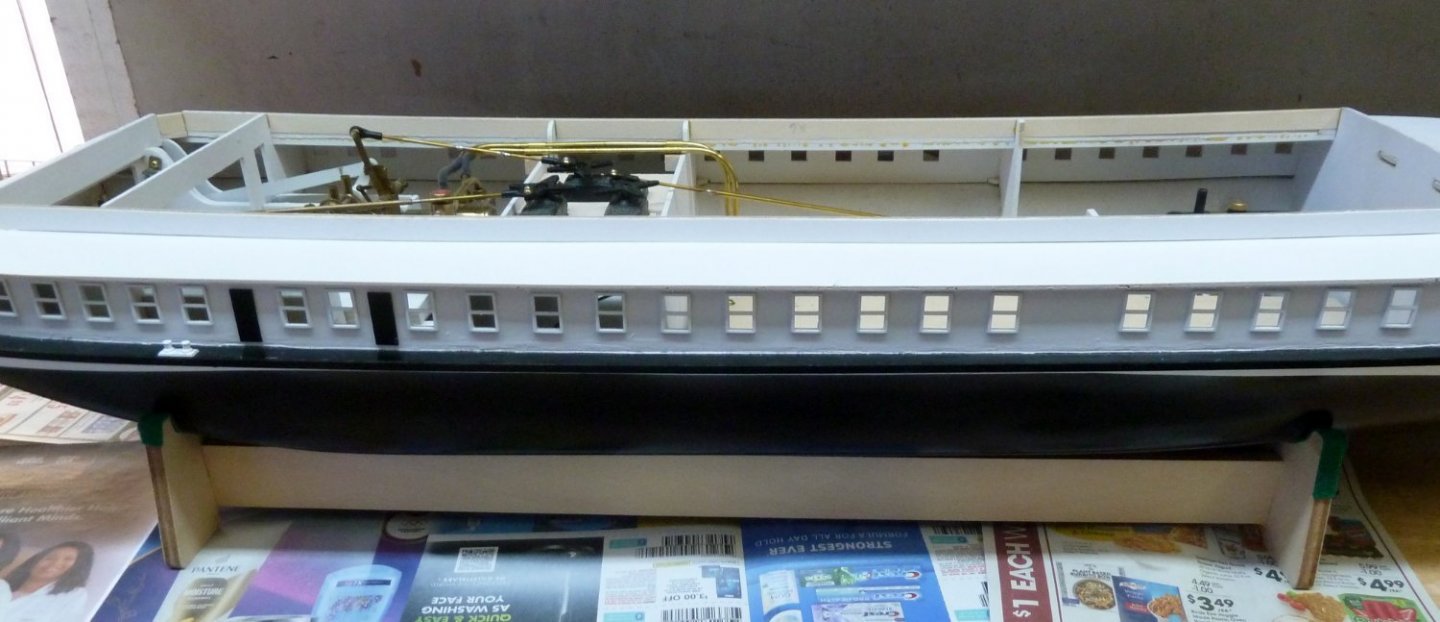
I've installed the steam plant and it is no different than the pictures shown earlier in the thread. I am not happy with the Saito boiler and burner and plan to swap them out for a more robust setup running on a propane/butane mix. The Saito burner is alcohol and very noisy. It will be a few weeks till I receive the new boiler. Till next time, IR3- 21 replies
-
- 1
-
-
- saito
- delta queen
- (and 1 more)
-
Delta Queen by ir3 - Saito - RADIO
ir3 replied to a topic in - Kit build logs for subjects built from 1901 - Present Day
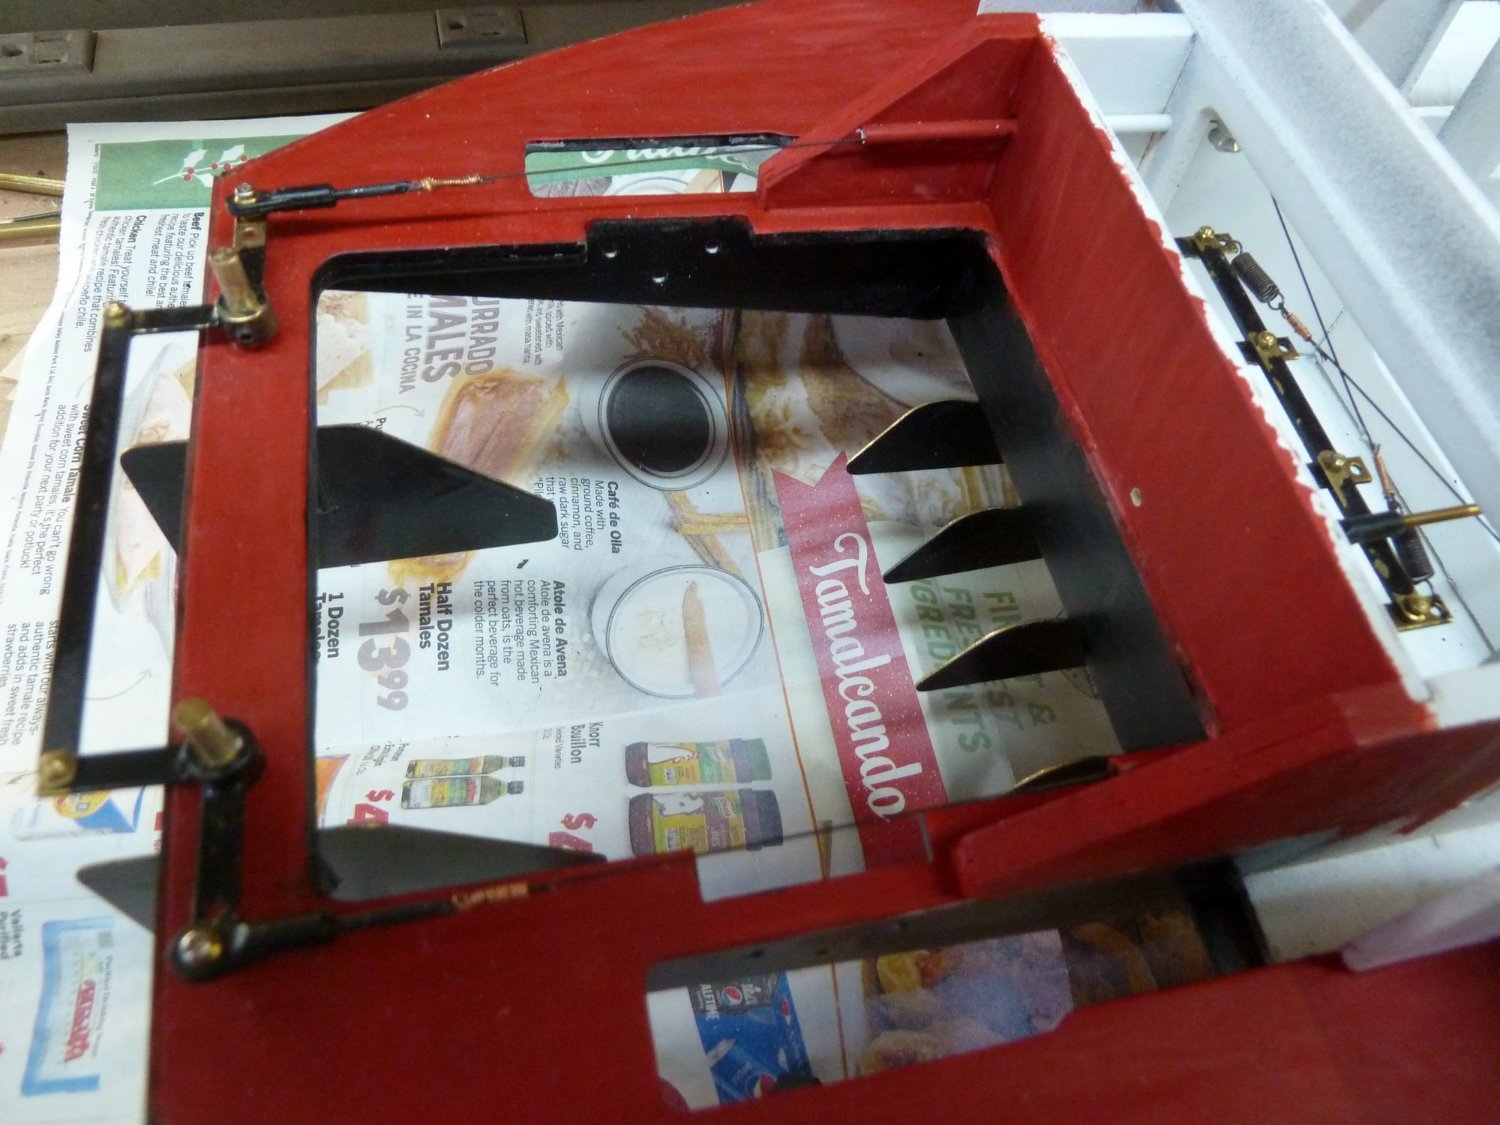
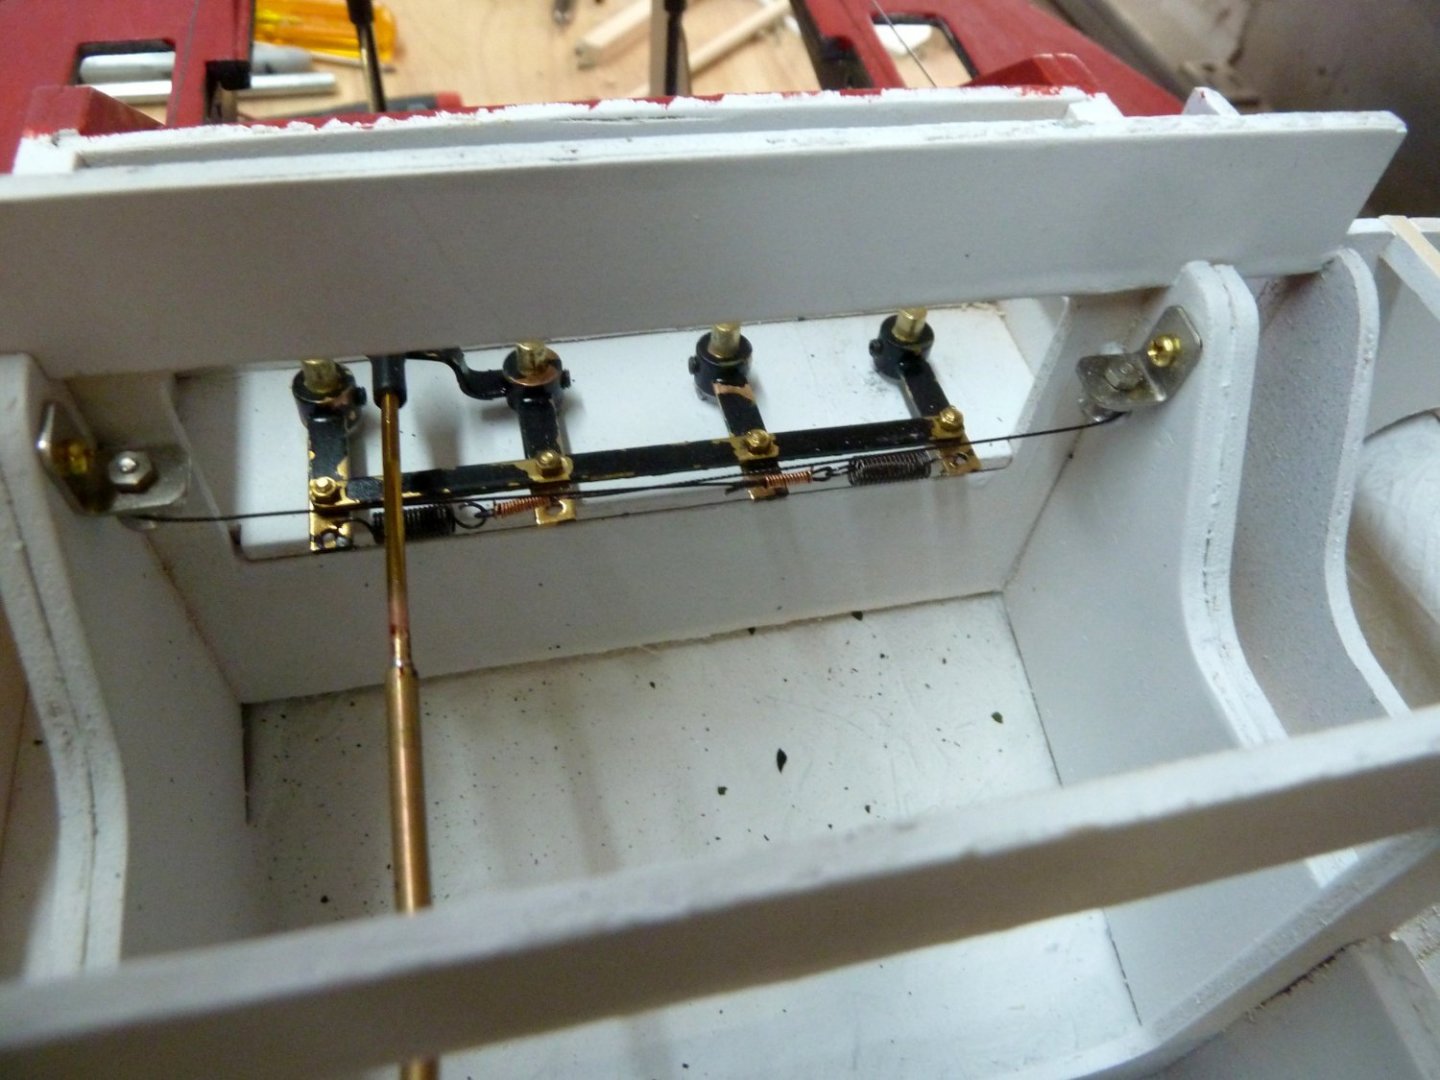
Being a glutton for punishment I considered selling the Steam Plant for the DQ but I managed to acquire a Victoria kit. I just won't give up on building this Paddler. This Victoria kit is not much better than the DQ. There were some design changes probably due to the Delta Queen company complaining about possible copyright infringements. In any case the, the bottom of the model is still exactly the same. A hull where the sheer is different from the sheer of the cabin formers and a host of other problems. By now, I am familiar with them all and just working through each problem as the arise. I worked my way up to installing the rudders and the steering mechanism. The steering mechanism is horrible. The 4 forward rudders under the hull are mechanically linked so when the rudder servo activates, the 4 forward rudders move together. The rear 2 rudders are a different story. They are connected to the steering mechanism using cables and springs. The pictures show the routing of the cables and the attachment springs. The problem is, when the steering is at dead center both springs are under tension. When the servo moves the inner rudders, there is a lag with the outer rudders due to one spring relaxing while the other has increased tension. The lag is minor, and I am sure that it will have no effect on steering the model while under power. If anyone else has done this model I would like to hear if you had the same problems with the steering. I will continue to update the thread as I make significant progress. With the steering mechanism in place, I am moving on to the Steam Plant installation. Until next time, IR3
- 21 replies
-
- 3
-
-
- saito
- delta queen
- (and 1 more)
-
Any trades for this kit? I am interested in Caldercraft Tugs and Mount Fleet Tugs. I need to part with this kit.
-
Reasonable offers considered. Also interested in a trade for Caldercraft Resolve or any twin-screw tug such as Marie Felling. Thanks for looking.
-
Holiday seasons coming up. Good time to get this kit. I will pay for shipping within CONUSA.
-
Any interest at all. I dropped the price to $200 shipped in the CONUSA.
-
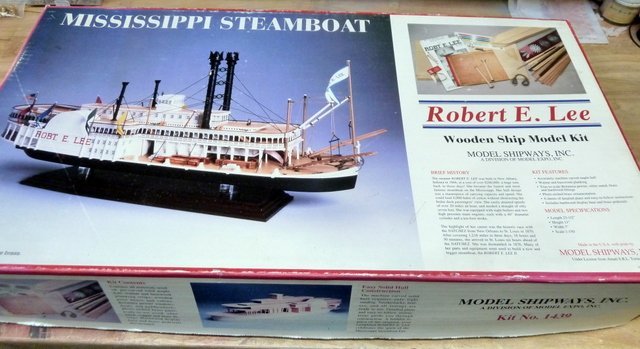
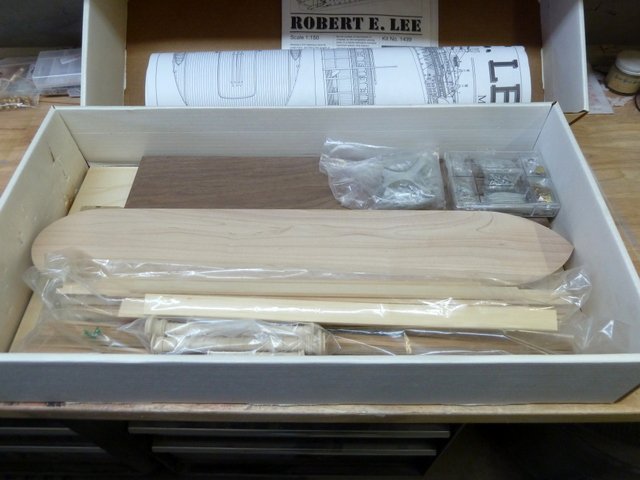
Up for sale is an Amati (Model Shipways) Robert E. Lee kit NIB. It has been sitting on the shelf for a while but is in excellent condition. Asking $200 shipped CONUSA. Thanks for looking.
- 1 reply
-
- 3
-
-
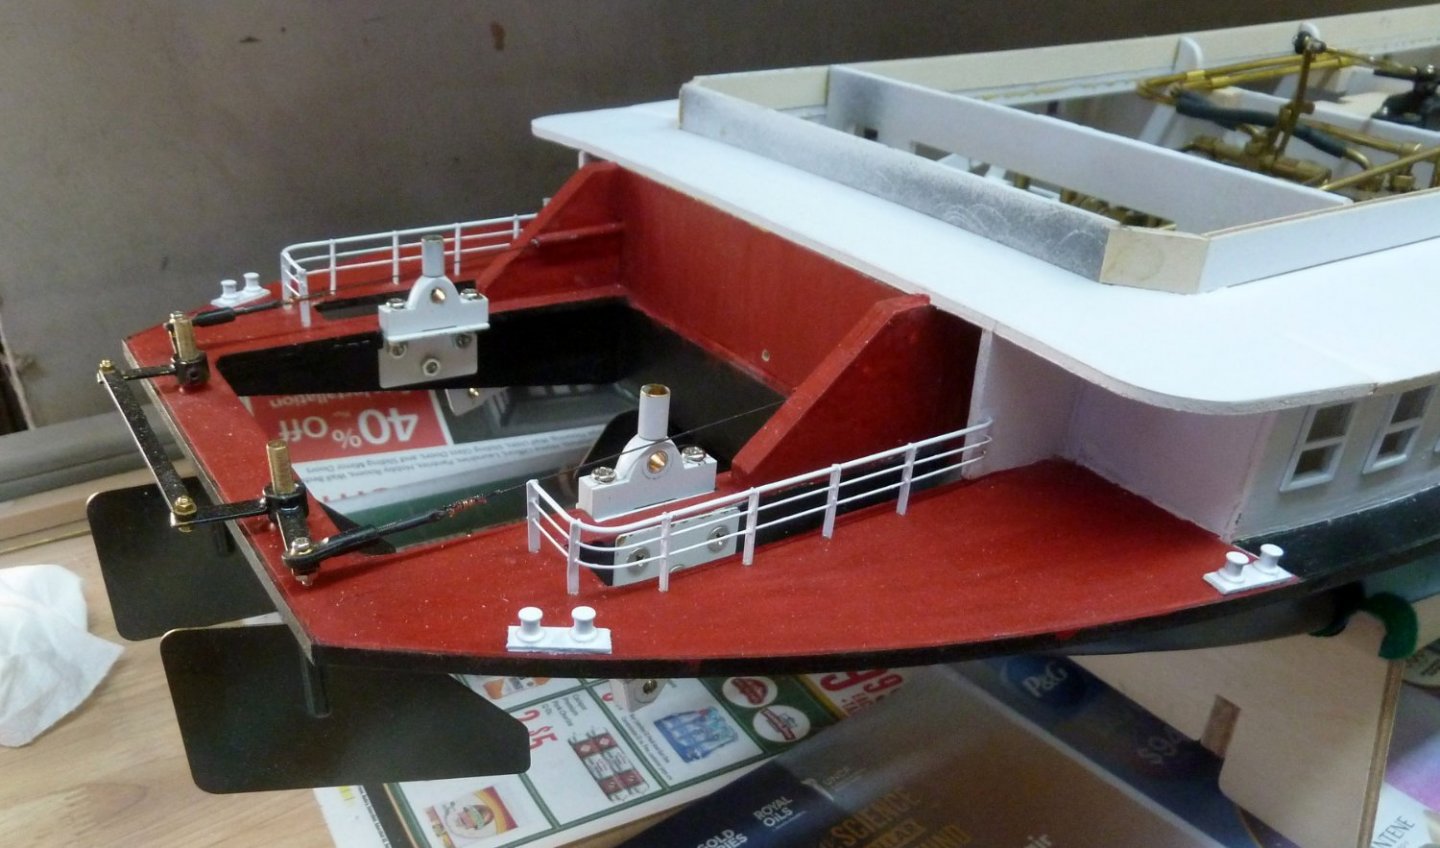
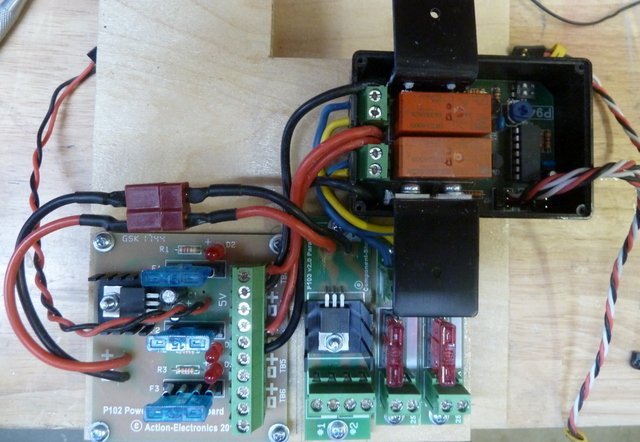
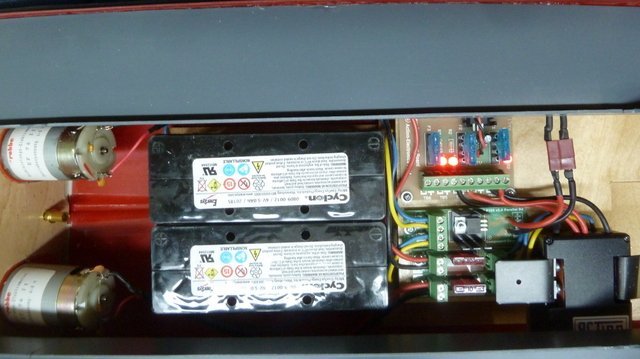
Both my projects and I have been gathering too much dust. Back on the fireboat working on the electronics installation. All the electrical installed so far is to supply power to the ESC's and RX. I installed two 6V batteries from an older project. They go into a Action two battery combiner. From there the battery power goes to an Action Power Distribution Board. The two motor ESC gets separate power for each channel from the Power Distribution board. ESC controlled motor power is passed through two Action fuse blocks. I collected a lot of Action parts in the past. I find them very well designed and easy to hook up. The first picture shows the layout of the power components. This is enough for the RX and ESC's. There is a lot of animation on this model. The dual stick F14 with multi switch modules and appropriate relays will provide all the functionality needed. This will follow. The rear deck is in place and the front deck will be installed next. Until next time, IR3
- 40 replies
-
- 3
-
-
- Robbe
- Dusseldorf Fire Boat
- (and 1 more)