HOLIDAY DONATION DRIVE - SUPPORT MSW - DO YOUR PART TO KEEP THIS GREAT FORUM GOING! (Only 24 donations so far out of 49,000 members - C'mon guys!)
×


Grey seal
-
Posts
22 -
Joined
-
Last visited
Content Type
Profiles
Forums
Gallery
Events
Everything posted by Grey seal
-
 3D printer rules! Wonder when (not if) we’ll see a new section on this site for “Build Logs for 3D PRINTED MODEL PROJECTS”?
 -
OOOOooooooooooh!!!!! I salute that effort.
-
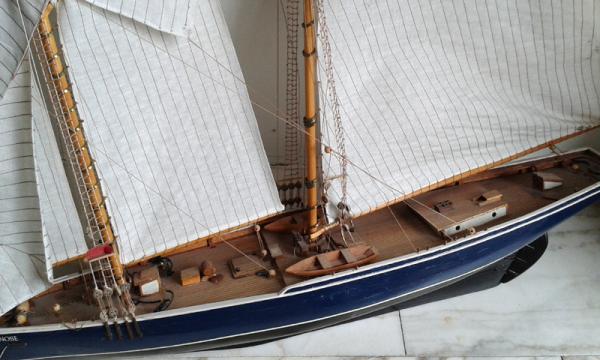
Looks great! I wonder if the decking on the original ship ever looked as fine as this. One explanation for the cantilevered sections around the masts is to divert water away from the base of the mast, a crucial area where you don’t want any rust, rot or whatever comes with the damp. This is an iron-hulled ship without the “natural ventilation” you get through all the cracks and joints on a wooden-hulled ship. I bet they tried to keep below deck as sealed off and dry as possible.
-
Try to get hold of that on a Saturday evening in this little backwater suburb where I live...
- 30 replies
-
- 2
-

-
- bluenose
- billing boats
- (and 1 more)
-
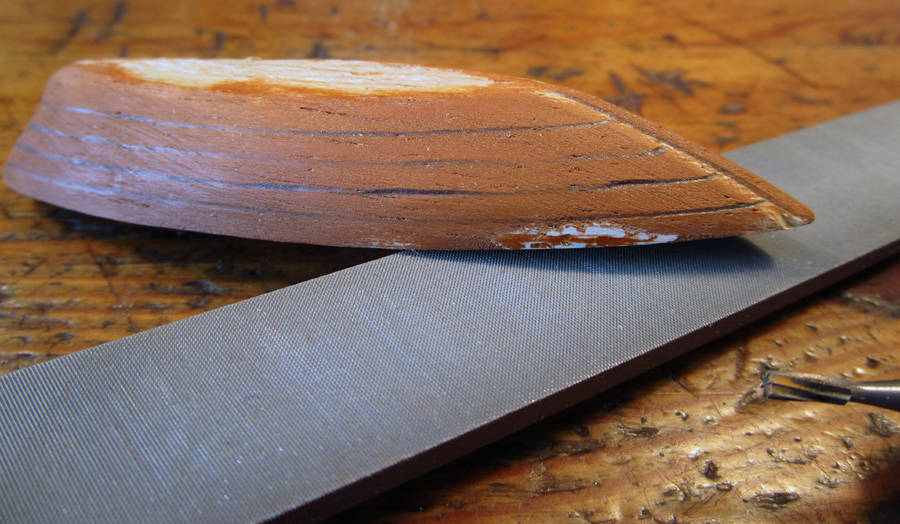
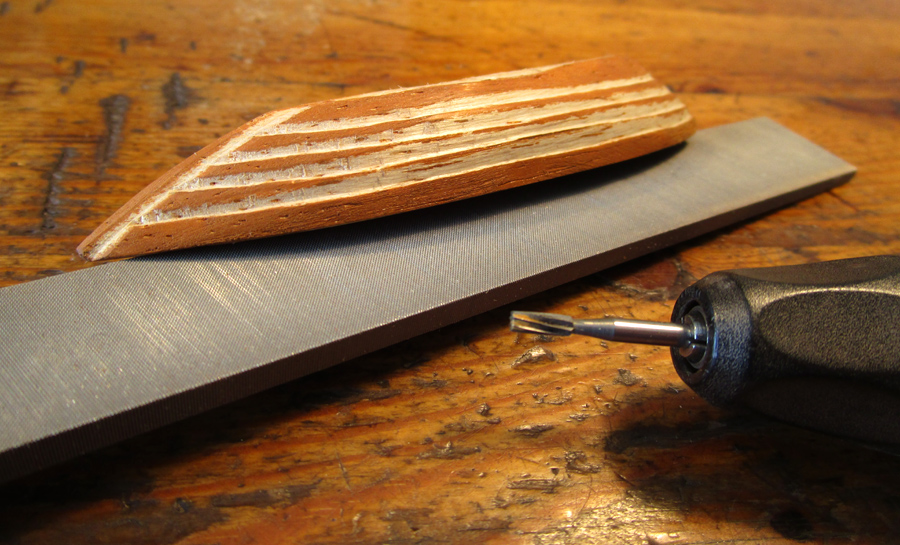
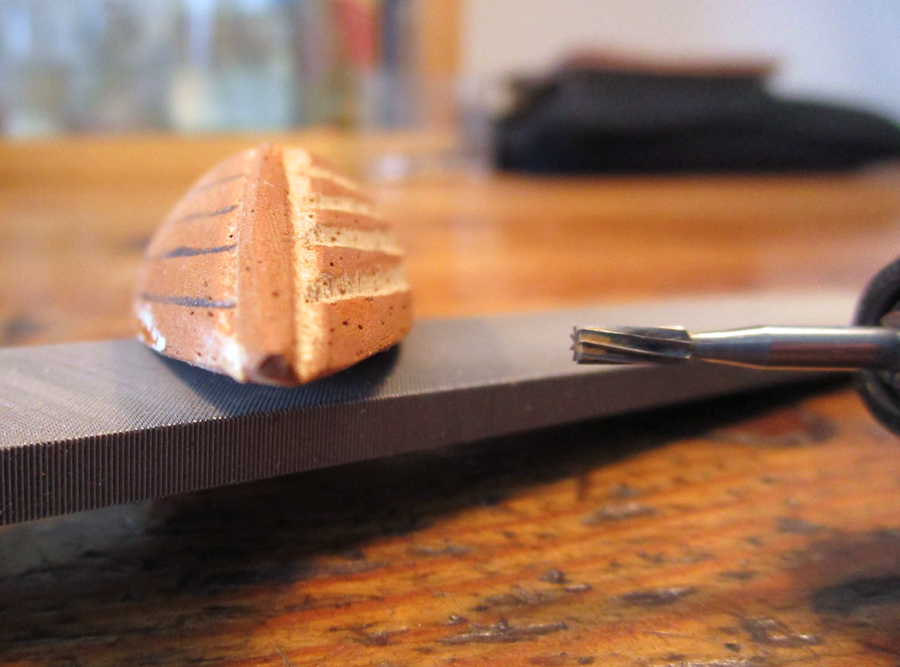
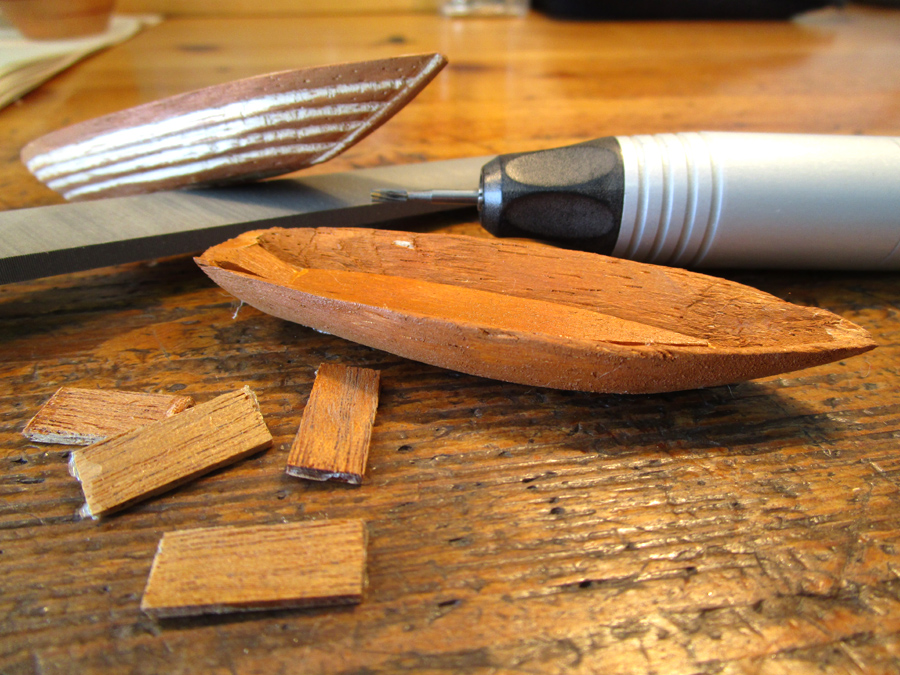
Starting to fix up the dinghies by sculpting plank-like ridges on the outside. Maybe these little boats should be at the scratch build forum. They are cut from a block of balsa. Marking. Milling and filing. Comparing.
- 30 replies
-
- 5
-
-
- bluenose
- billing boats
- (and 1 more)
-
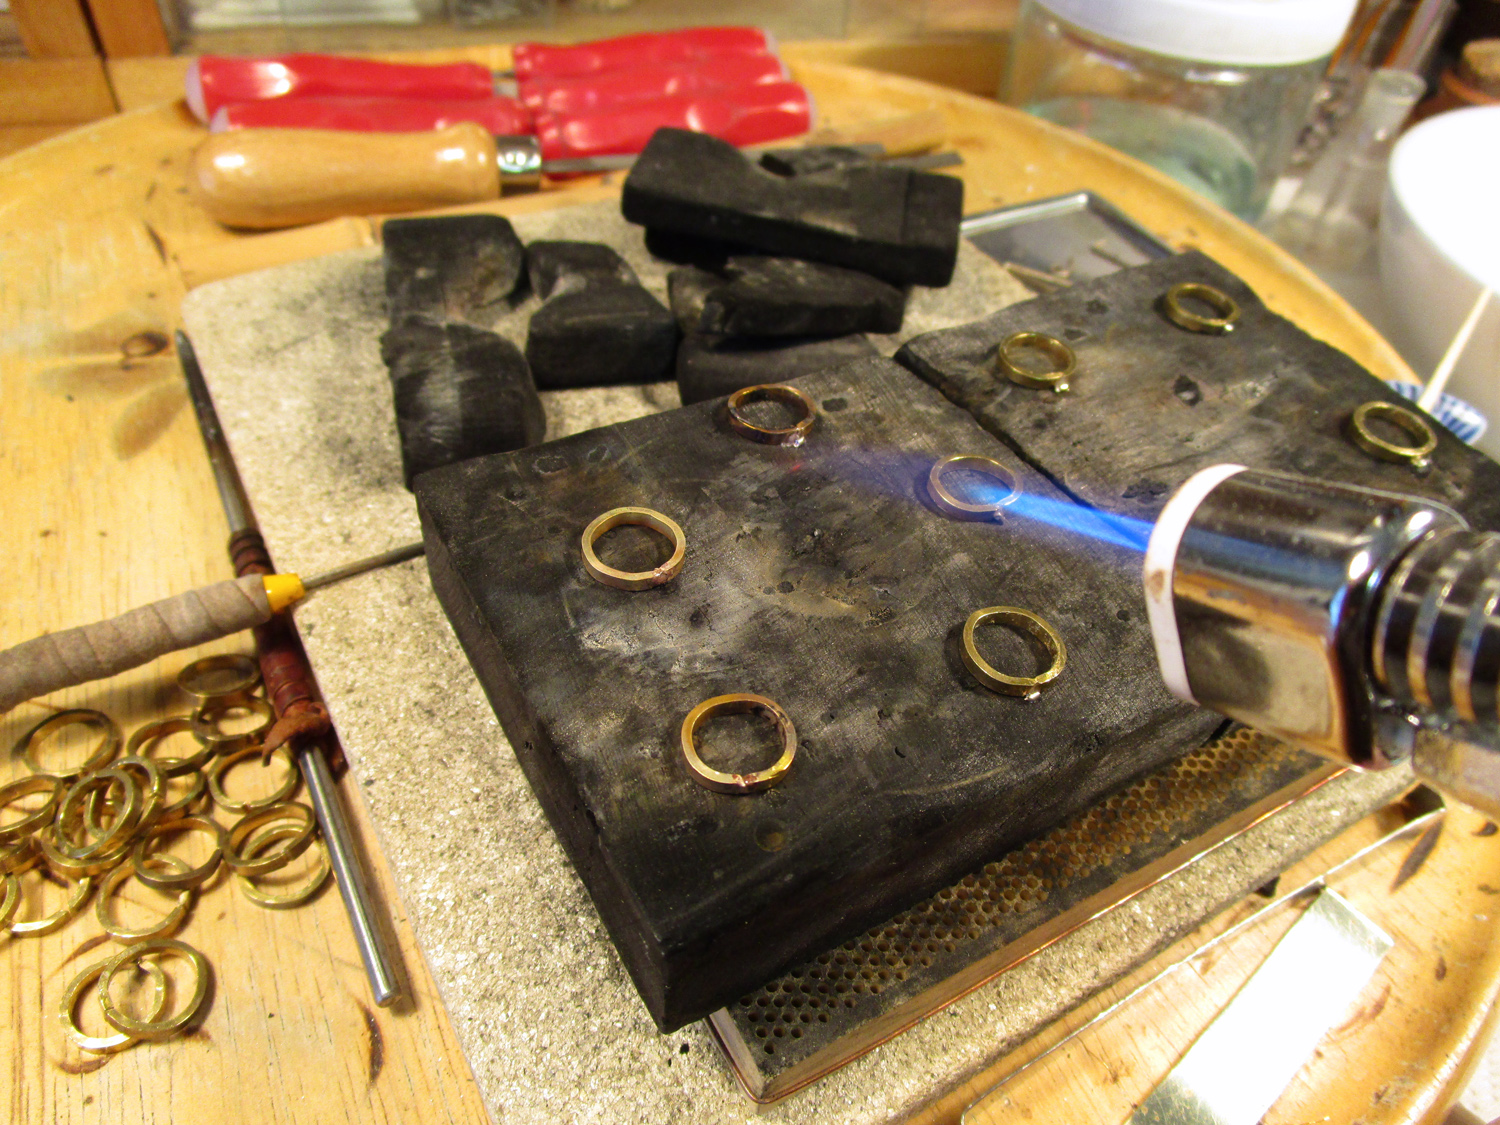
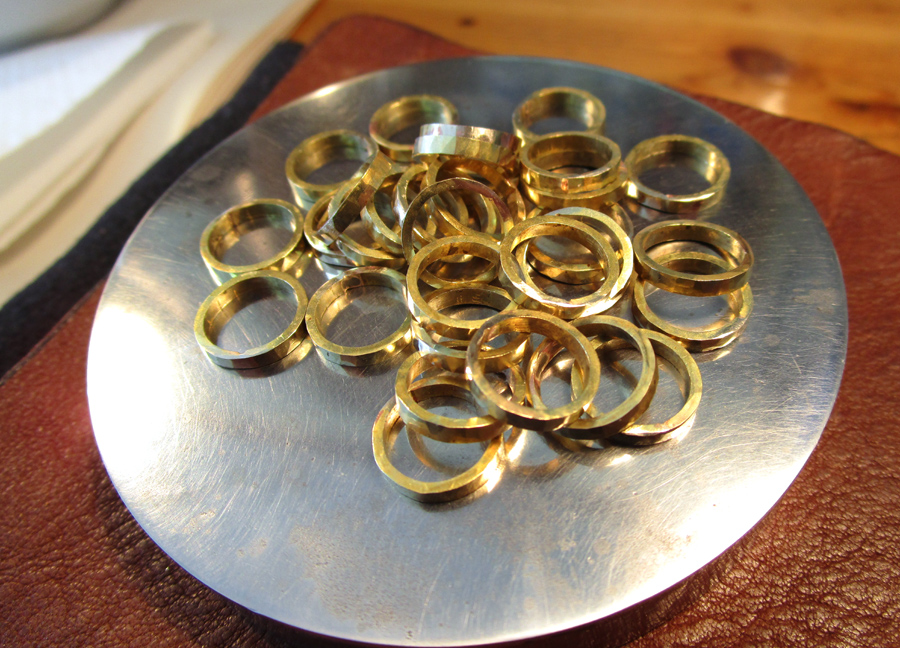
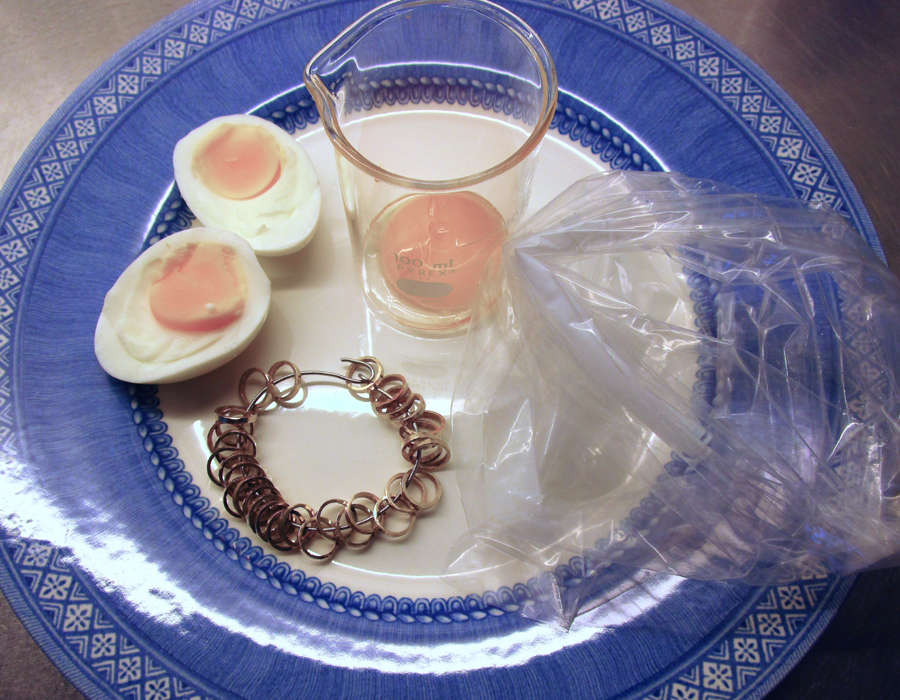
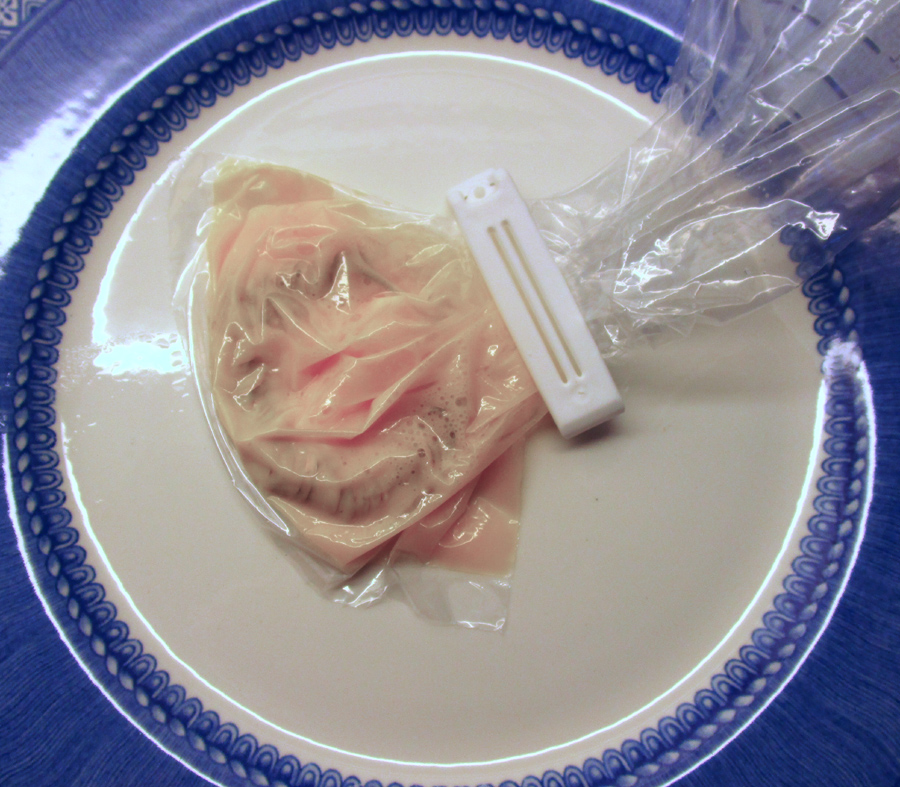
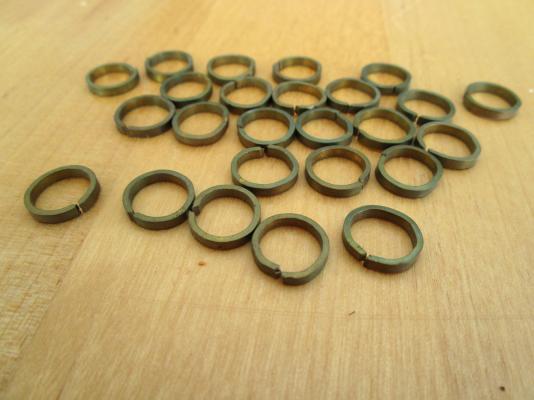
Rings are now closed and round but a bit too shiny after the pickelling. Since I want them looking "weathered" and not totally blackened, I opt for the gooey way of aging them. Two egg yolks (no whites they dont have any sulphur), one boiled to get the right sulphur chems and one raw for additional sulphur but also to act as an electrolyte. Put in a plastic bag and leave overnight. After rinsing, leave on a sunlit warm windowsill for a couple of days while there is still some sulphur on the surface. After that they are "as good as old" again. (Again with the gigantic pics... I guess I'll have to live with that.)
- 30 replies
-
- 4
-
-
- bluenose
- billing boats
- (and 1 more)
-
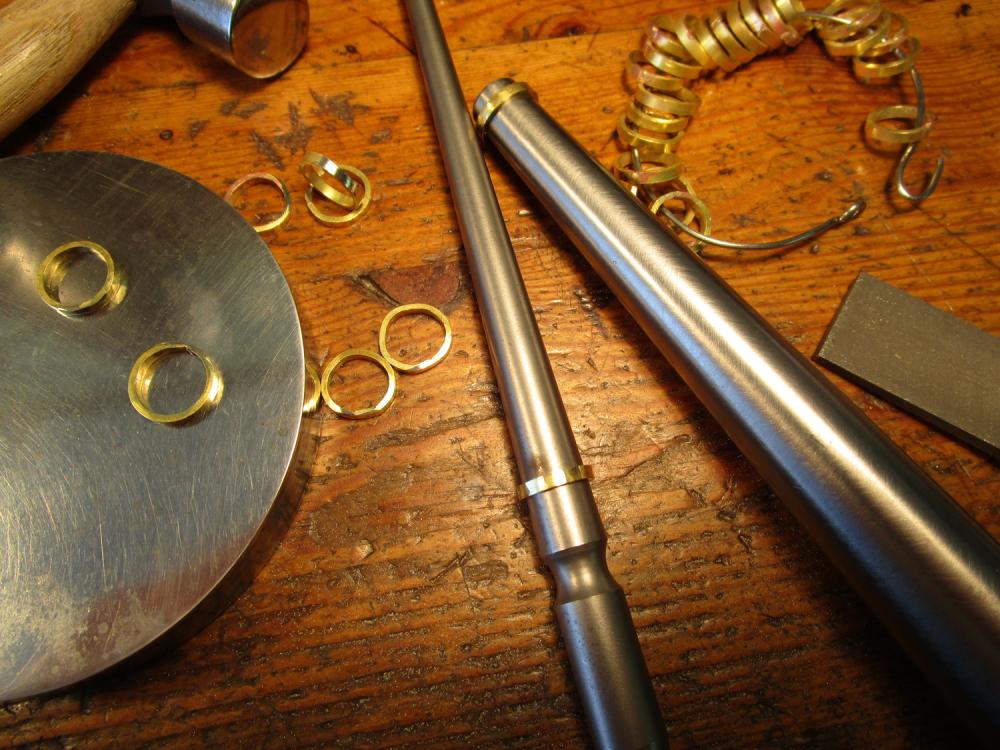
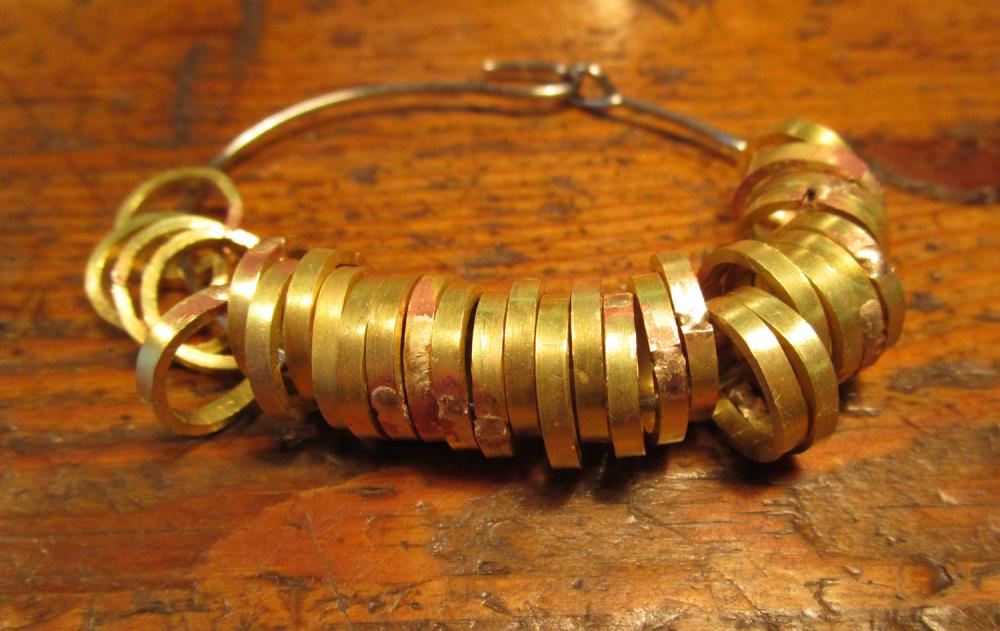
Filing away and hammering the rings into nice round shape.
- 30 replies
-
- 6
-
-
- bluenose
- billing boats
- (and 1 more)
-
Now why are these photos displayed in such a gigantic scale? At least on my computer. I've used the same settings on the camera as before. Hmmm...
- 30 replies
-
- 1
-
-
- bluenose
- billing boats
- (and 1 more)
-
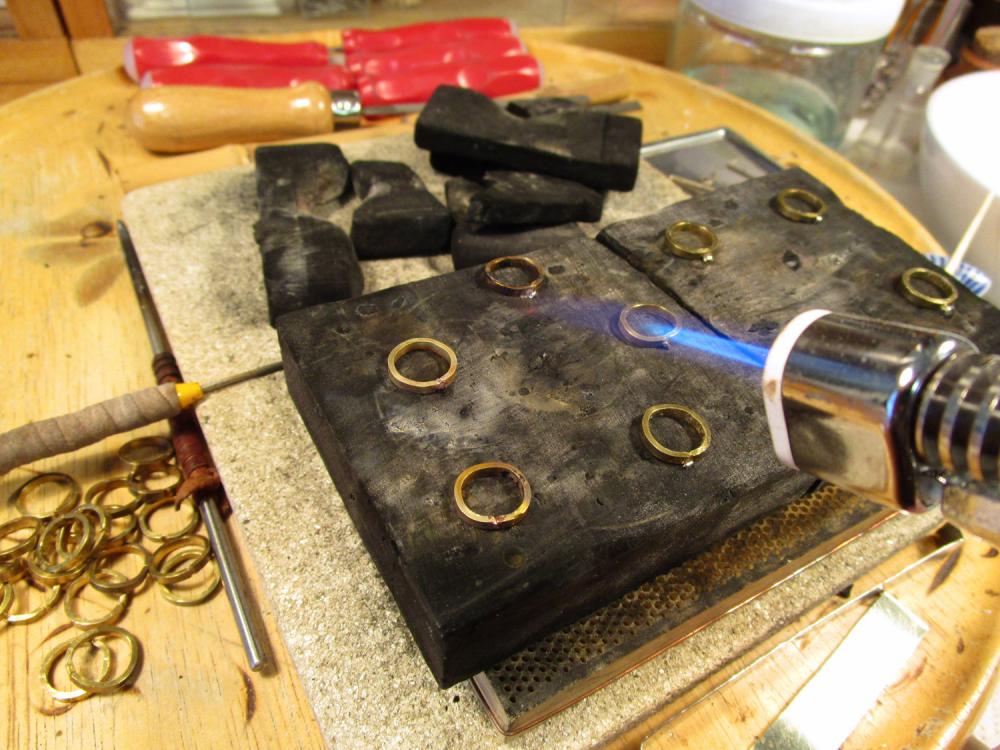
The brass rings have been detached from the masts. They have been more properly joined and then hard soldered using an easy flow 50% silver solder with a rather low melting point (about 650 °C) and pickled in sulphuric acid. Now comes the tedious part of filing down the solder globs... oh joy.
- 30 replies
-
- 3
-
-
- bluenose
- billing boats
- (and 1 more)
-
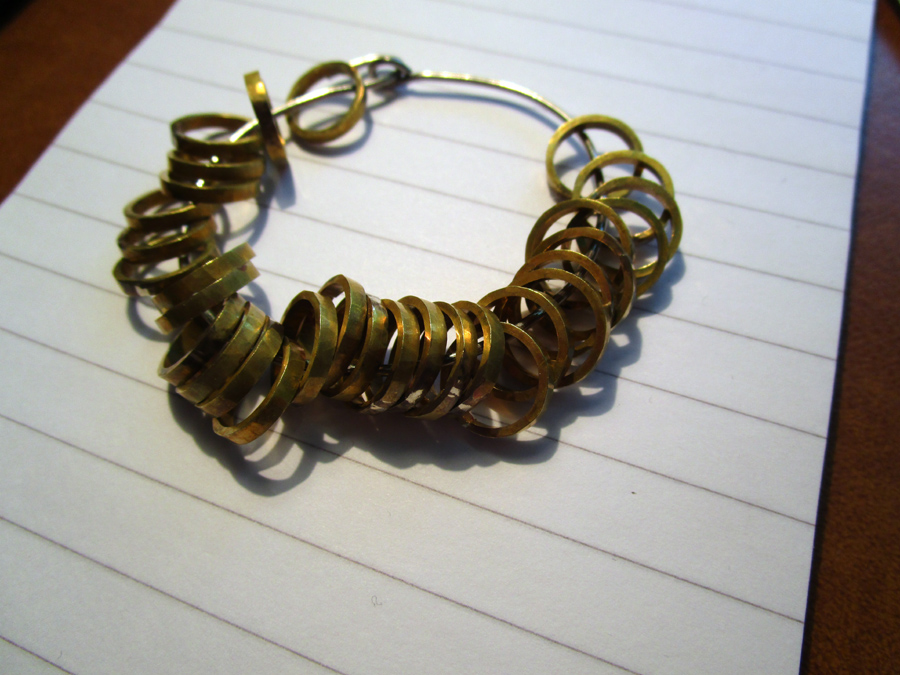
Yep, torsion it is. Let's call it a special feature. It's even more evident in this pic.

- 30 replies
-
- 2
-
-
- bluenose
- billing boats
- (and 1 more)
-
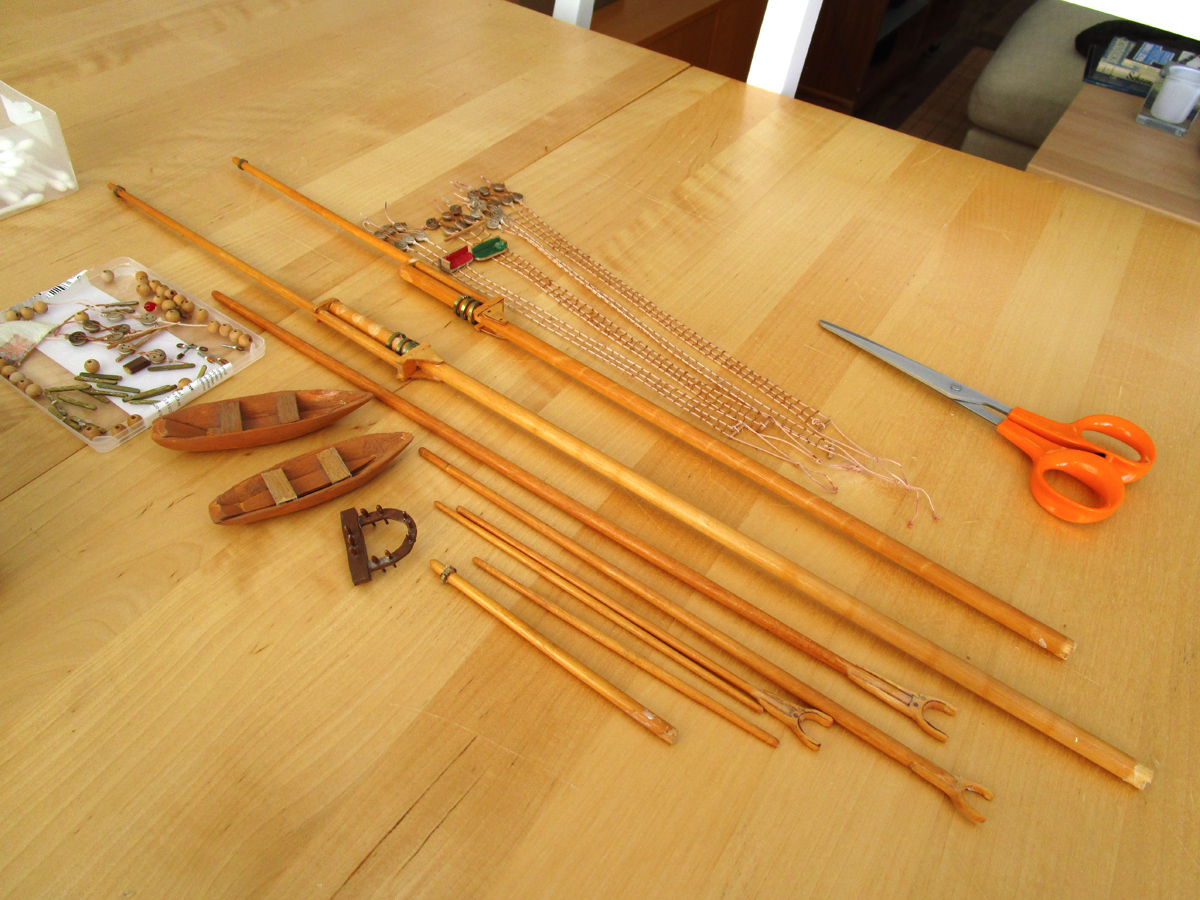
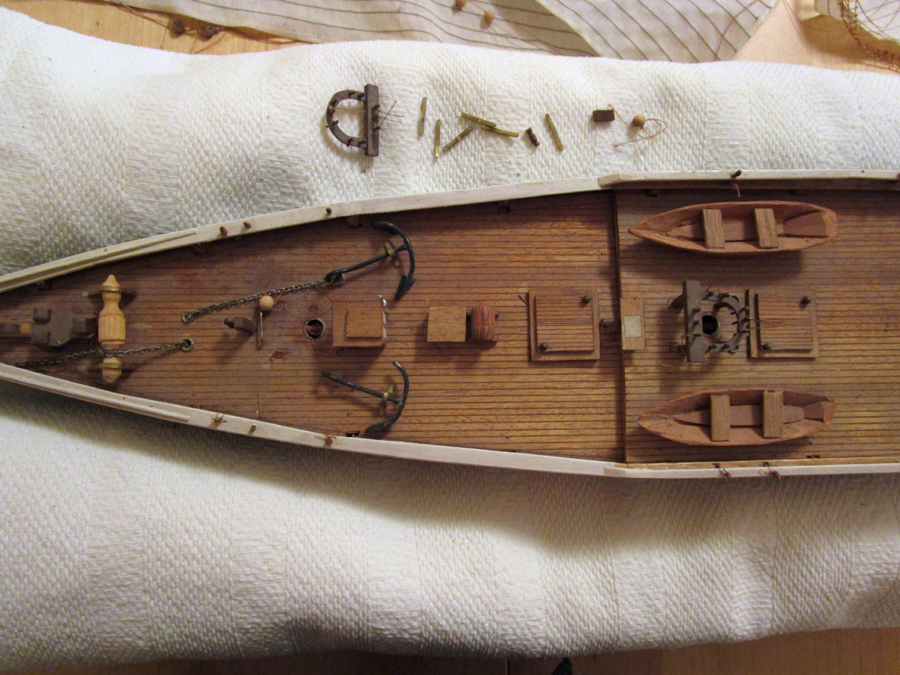
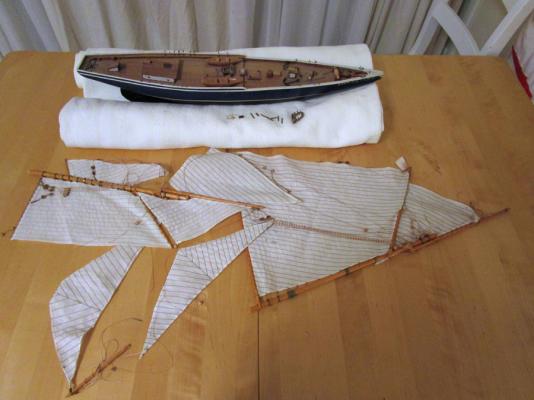
Masts, sprits and spars are now detached from the rigging and sails. I'll see what I'll do with the assorted little bits. The brass mast rings are now very lopsided and open. They will have to be welded shut and made into more, well, rings. I made the belaying pins from thick wire dipped in a glob of Plastic Padding and painted them. Think I will continue with that technique, but this time I'll file the ends to get rid of the pointy ends left by the cutters. The dinghies are very rudimentary. The are carved from a block of balsa and could definitely be improved.


- 30 replies
-
- 3
-
-
- bluenose
- billing boats
- (and 1 more)
-
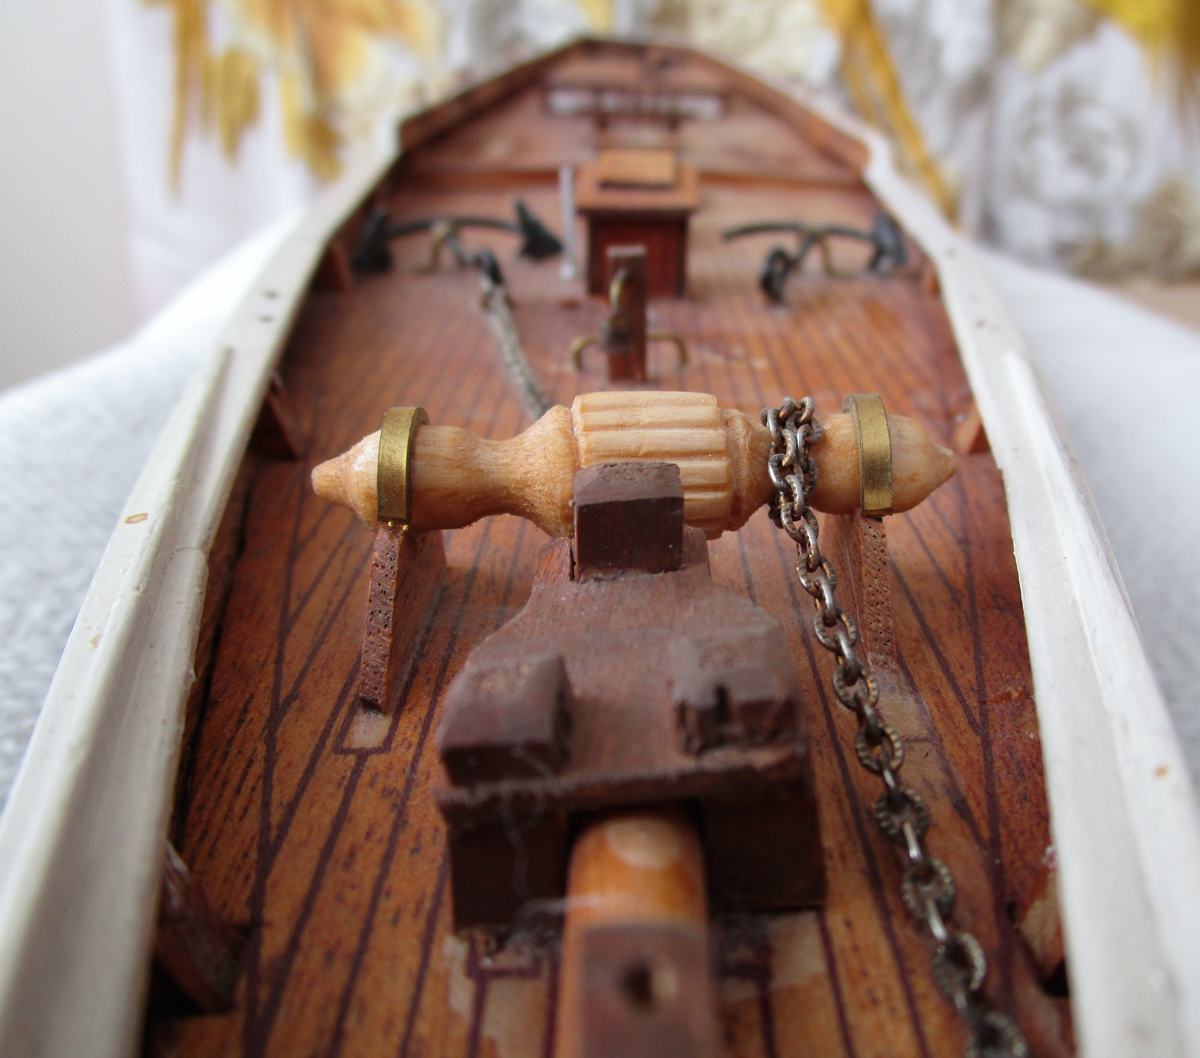
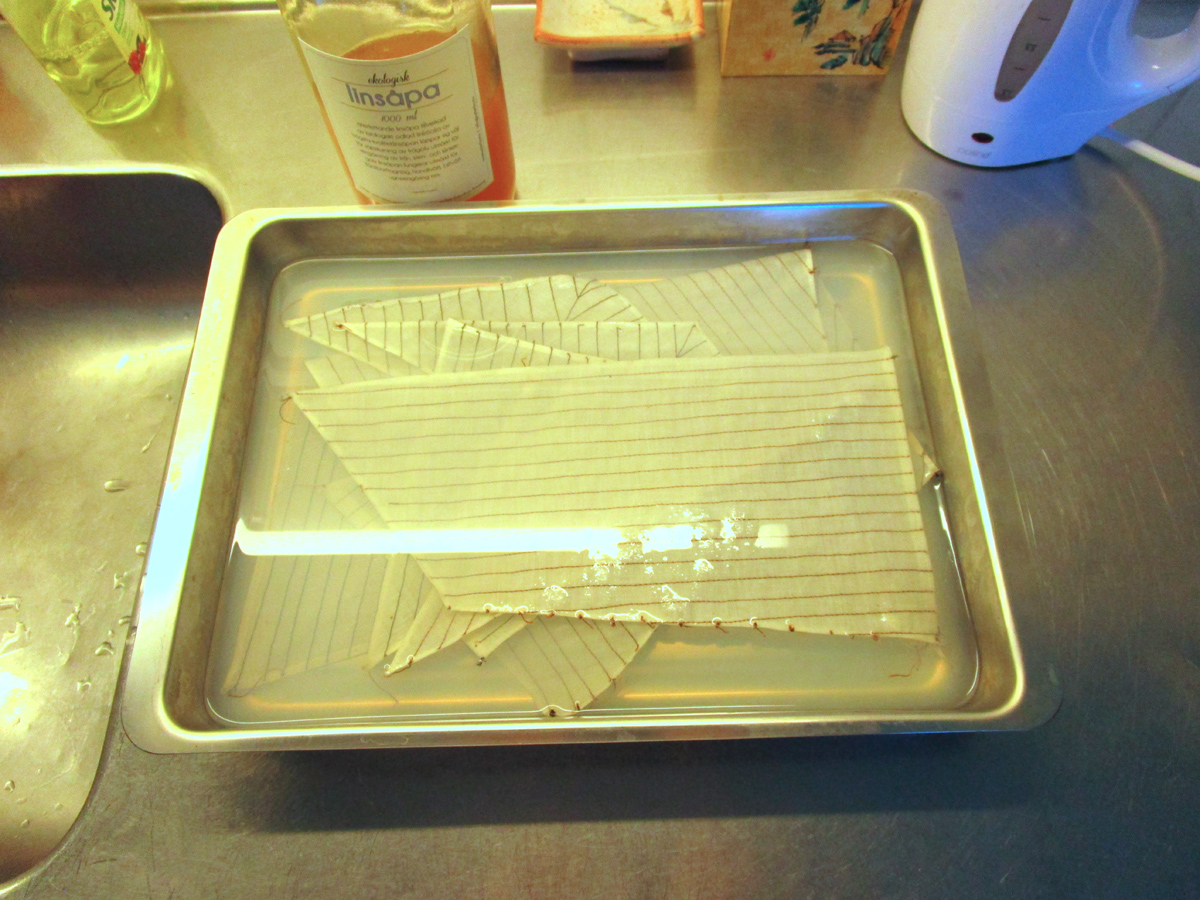
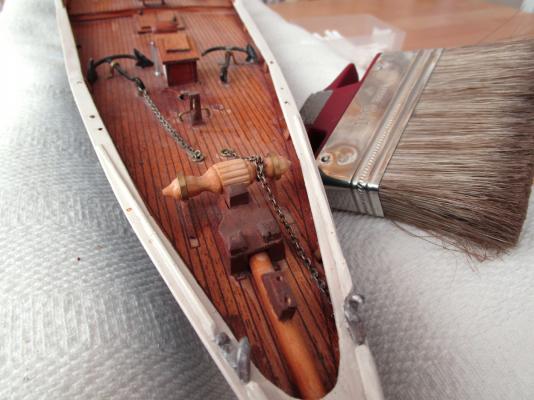
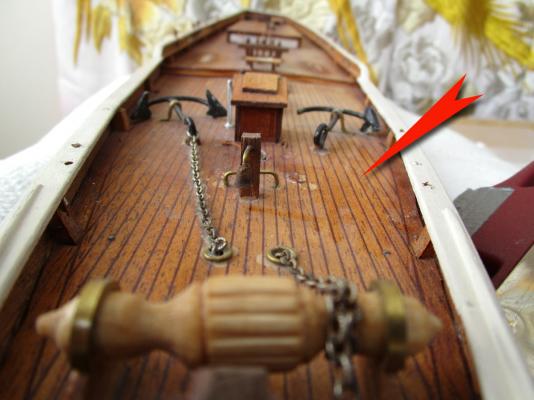
All the rigging has now been removed and the sails are soaking in cold water with some "linsåpa". If that method is good enough for medieval textiles, I guess it's good enough for my sails. I have given the deck a thorough dusting with a large soft brush and I've started to pry loose whatever I can. If I knew what glue I was using when I made this, I would be recommending it to the people trying to come up with materials for final deposition of nuclear waste, since it seems like it will hold strong for the next 30,000 years... I also tested the spit polish recommended by jbshan above. It worked like a charm (see by the red arrow where it looks like a drunken snail has been skidding about) but the amount of "cotton mouth" it seems to develop makes me want to move on to more sanitary cleaning methods.

- 30 replies
-
- 3
-
-
- bluenose
- billing boats
- (and 1 more)
-
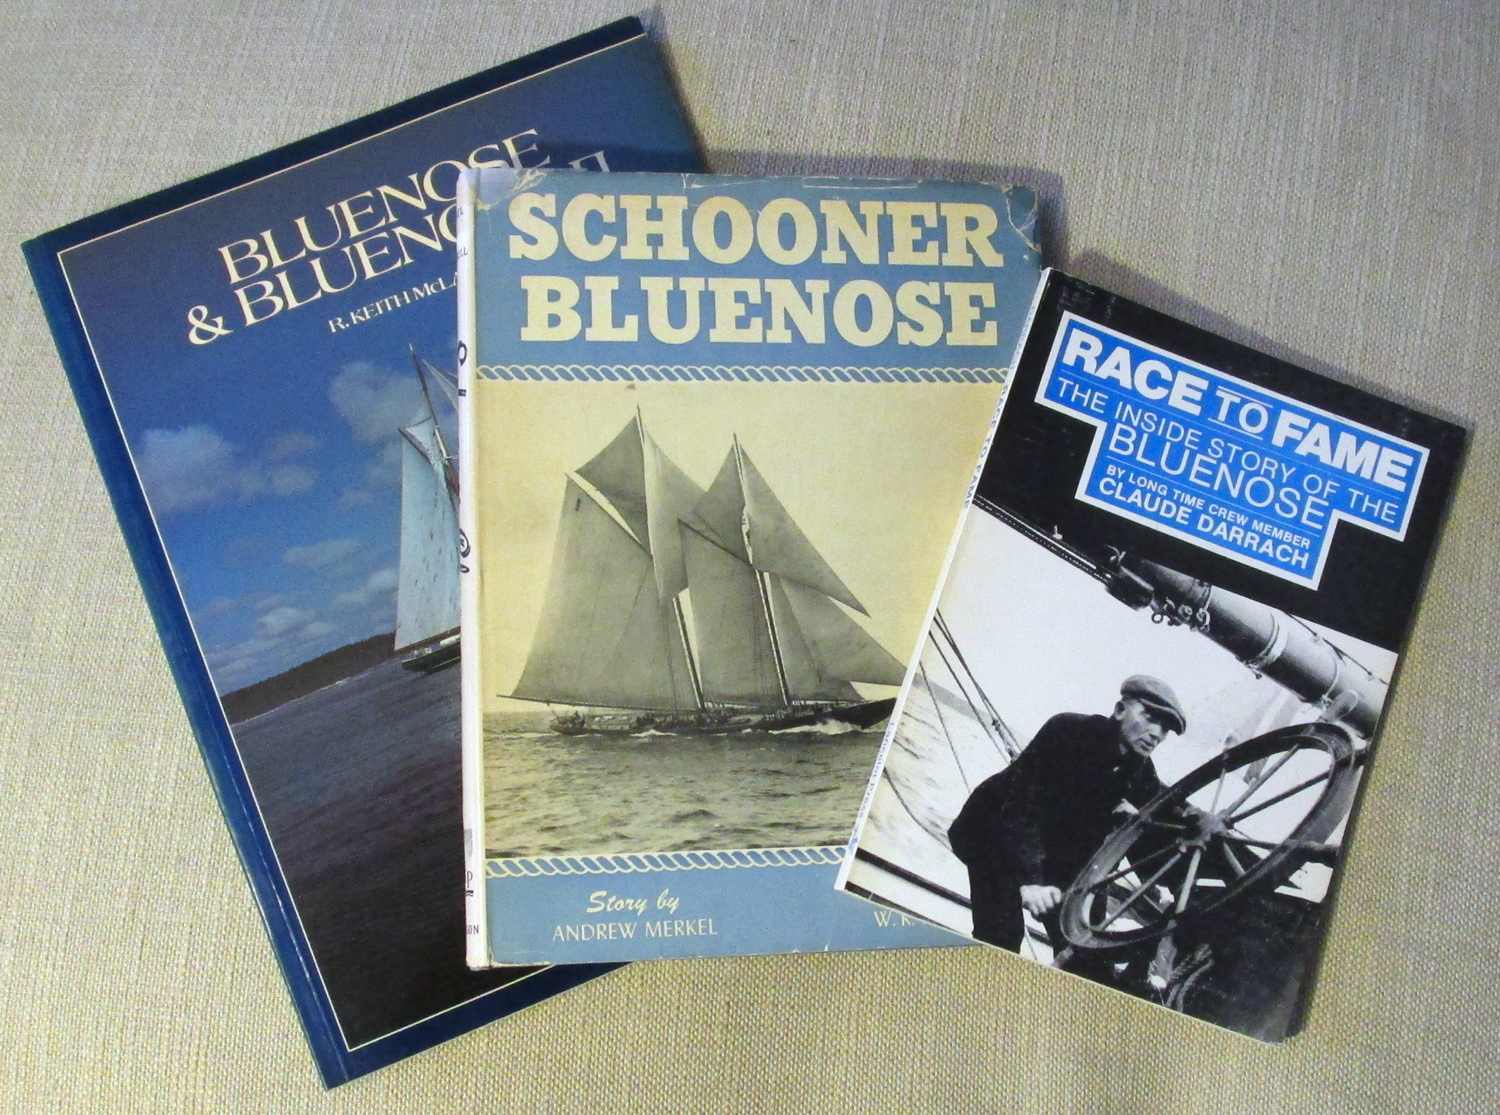
The books just arrived! The middle one, “Schooner Bluenose”, seems to be the most interesting one with most pictures of the original ship. At first glance the main difference between no. I and II seems to be that the deck of the first ship was much more cluttered (read interesting). The original ship also seems to have had at least two sets of sails: one with “fringes” of ropes and one without. Maybe I’ll add those to my models since it is now the plain version. I think they look rather cool. To be continued after I’ve had a better look at the books.

- 30 replies
-
- 2
-
-
- bluenose
- billing boats
- (and 1 more)
-
Don’t worry Jan-Willem, I’m not offended at all. I’m an easy going person and I read it as directed mostly at the kit. I remember how disappointed I was that there were so few details in the plans, not even a picture of the original ship. Back then, getting books from outside the country was a huge project so I had nothing else to go on. Building models have certainly evolved since then. Thanks for your support! Grey
- 30 replies
-
- 2
-
-
- bluenose
- billing boats
- (and 1 more)
-
Thanks for the tip Joel, I knew the expression “spit polish” had to come from somewhere. It’s in line with a tip I got from a photographer a long time ago: When screwing in lenses in cameras, or lubricating other parts of very, very fine machinery, just touch your nose and smear what little grease you get on your fingertip on the thread. Gross? Yes. Effective? Very. Grey
- 30 replies
-
- 2
-
-
- bluenose
- billing boats
- (and 1 more)
-
Thanks for identifying it. "Shaky" it is, but as I said, I built it when I was a kid and didn’t know much about authenticity, and while some details are not perfect I will keep them as nostalgia and do my best with the rest. It will be good enough for my living room at least. If this was a new build, my approach would be very different. Grey
- 30 replies
-
- 2
-
-
- bluenose
- billing boats
- (and 1 more)
-
True to form, (I like the research part as well) I've also just ordered some books about the ship from an online used book store: * Darrach, Claude: Race to fame, 1985, ISBN 0889992800 * McLaren, R. Keith: Bluenose &Bluenose II, 1984, ISBN 0888820429 * Merkel, Andrew; Schooner Bluenose, 1948 I saw that there were more books on the subject, but these will do for starters. I think I want to go with the design of the original ship rather than the modern vesion (Bluenose II). Hopefully the books will reveal which version the kit was for originally.
- 30 replies
-
- 2
-
-
- bluenose
- billing boats
- (and 1 more)
-
Haha Mark, no, no buckets of water will be involved. I've been present at some conservation/renovation/cleaning work of artifacts at museums and that usually involves a lot of soft brushes and pads plus a year's supply of q-tips. I think I'll borrow some of those methods. A mild detergent, preferably what we in Sweden call "linsåpa", a kind of liquid soap made from linseed oil which also contains glycerol, is preferred. It is made for cleaning wooden things especially. That way you get rid of the grime without damaging anyhting. (Finally!!! I had to switch to another browser to get the paste + quote-box thing working.)
- 30 replies
-
- 4
-
-
- bluenose
- billing boats
- (and 1 more)
-
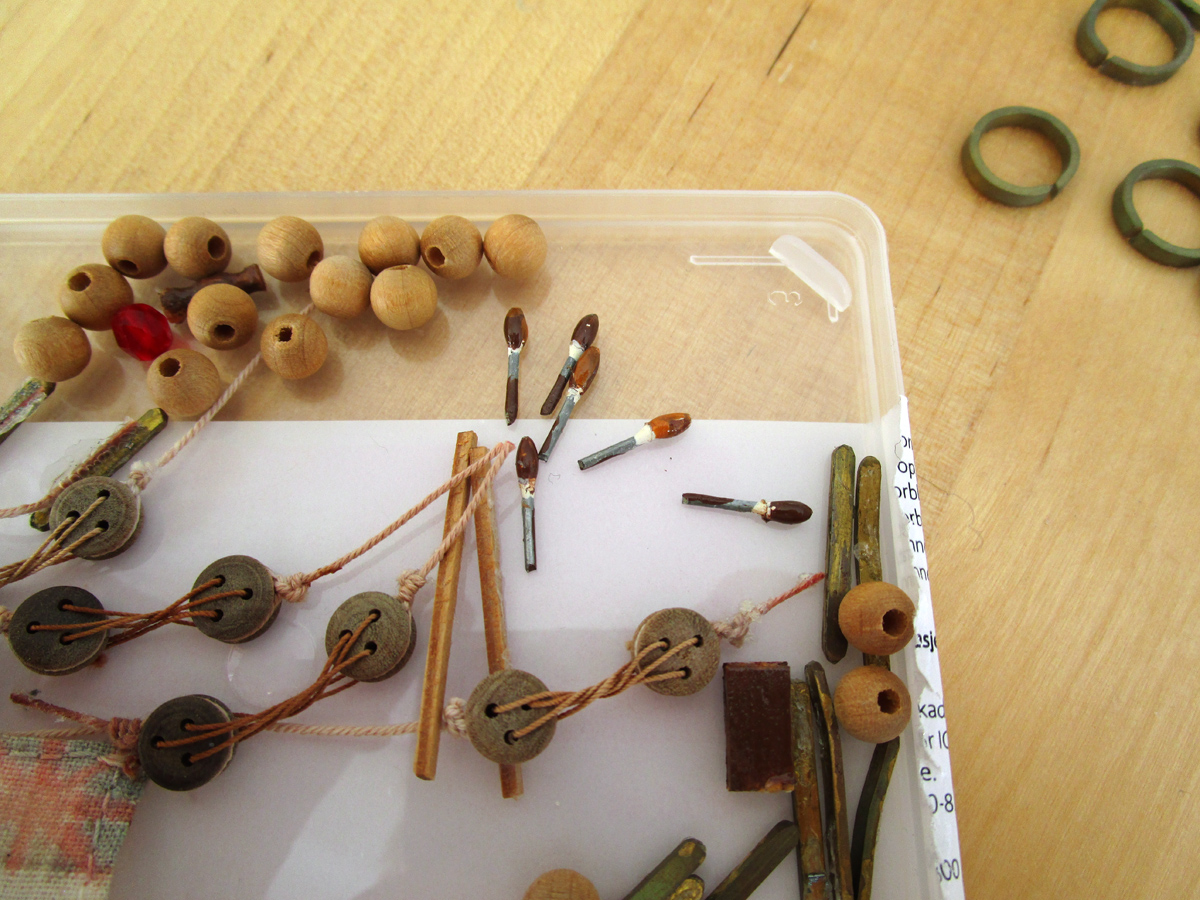
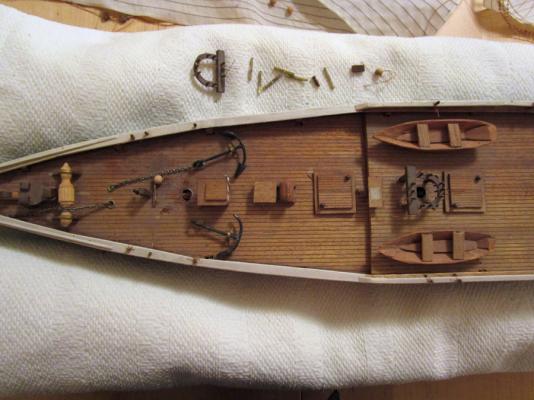
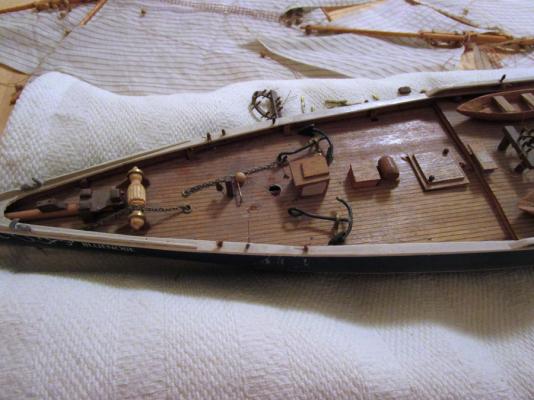
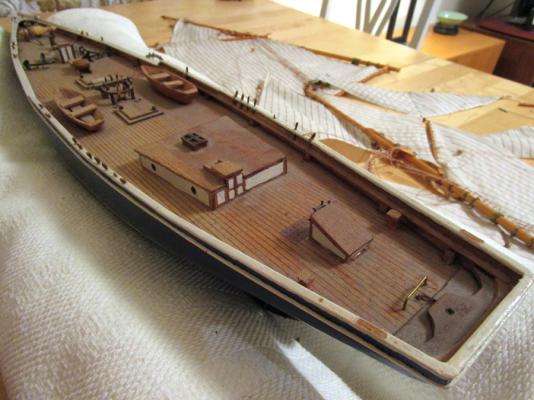
Let's hope I do this right, I've not yet got the hang of how to post on this site and my computer is most uncooperative since it has Swedish settings. Please tell me if I go about this the wrong way. I've detached the mats, sails, strings and all from the hull. (Atchooo!!) Think I'll just cut away all the strings and beads. It's going to be replace anyway. So this is what it looks like "raw".
- 30 replies
-
- 3
-
-
- bluenose
- billing boats
- (and 1 more)
-
So here we go! This is a model I built way back in my teens. I found it last week when I cleaned out my father's garage. It's been knocked about but it is in better condition than I thought, although there is 20 years of garage dust and spider nests on it. The kit was a very basic one and I have no idea who made it back in the mid 70s. I made all the little details myself and felt quite proud of it. (still am... ) I'm going to renovate it (I got the go ahead for a restoration log from the community at the "New Member Introduction) and at the same time upgrade it and add things to it that I did not have the money or skills to do when I was a kid. There is no grand plan at the moment and I guess I'll think of things to fix as I go along. First order of the day is a thorough cleaning! In order to get it home, I had to lower the masts. They had come loose anyhow, as had a lot of the smaller items on deck. But the easiest way to do this is to disassemble it as much as possible and after that see what needs to be done. I want to keep many of the original details for senitmental reasons, even if I could replace them with better things now, but some things irked me even back then. Things like the wooden beads I had to use since I could not afford "real" blocks, the crappy anchors I soldered from some wire hangers, the lack of oars in the dingies, and so on. We'll see where it all ends up. I also have to get hold of plans and pictures to work from. Any tips are welcome. I'll be looking for some inspiration on other Bluenose builds here as well. It will be slow work since I have a lot of other things to do, but it will be nice to have something to relax with from time to time.

- 30 replies
-
- 4
-
-
- bluenose
- billing boats
- (and 1 more)
-
Beautiful work!!
-
Respect! Looks like you'll need a dry dock rather than a workbench for that one.