HOLIDAY DONATION DRIVE - SUPPORT MSW - DO YOUR PART TO KEEP THIS GREAT FORUM GOING! (89 donations so far out of 49,000 members - C'mon guys!)
×


Winlich
-
Posts
66 -
Joined
-
Last visited
Content Type
Profiles
Forums
Gallery
Events
Everything posted by Winlich
-
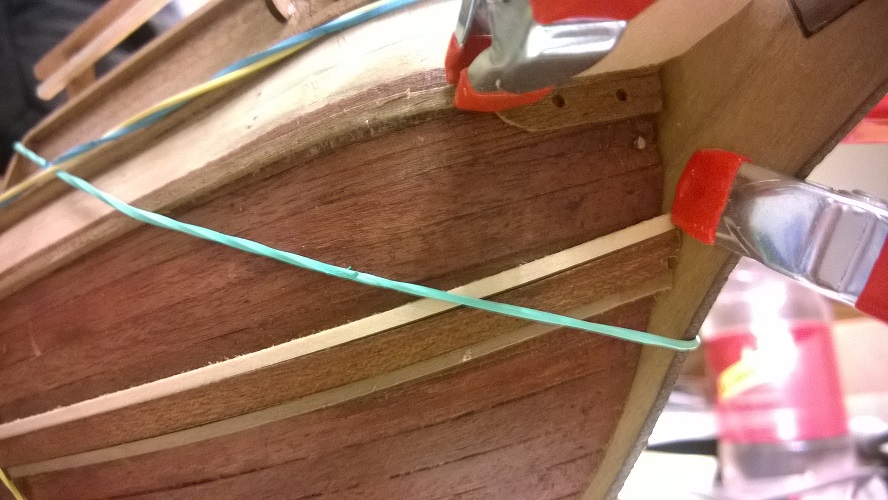
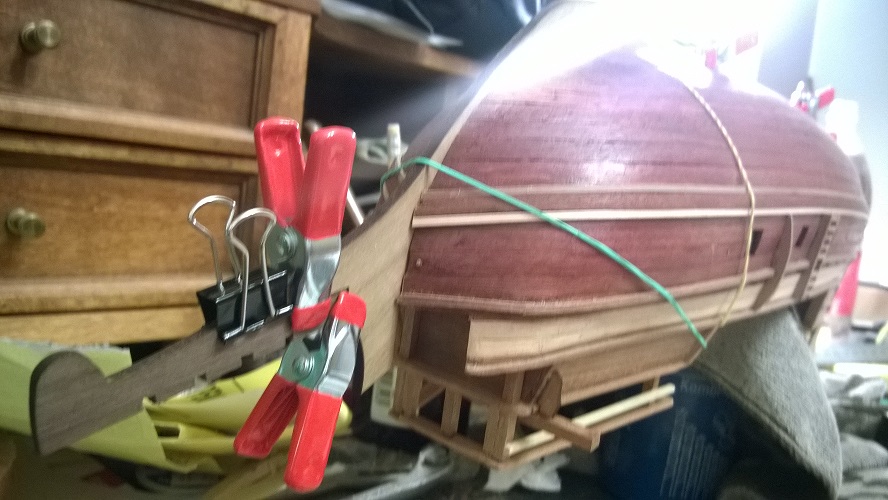
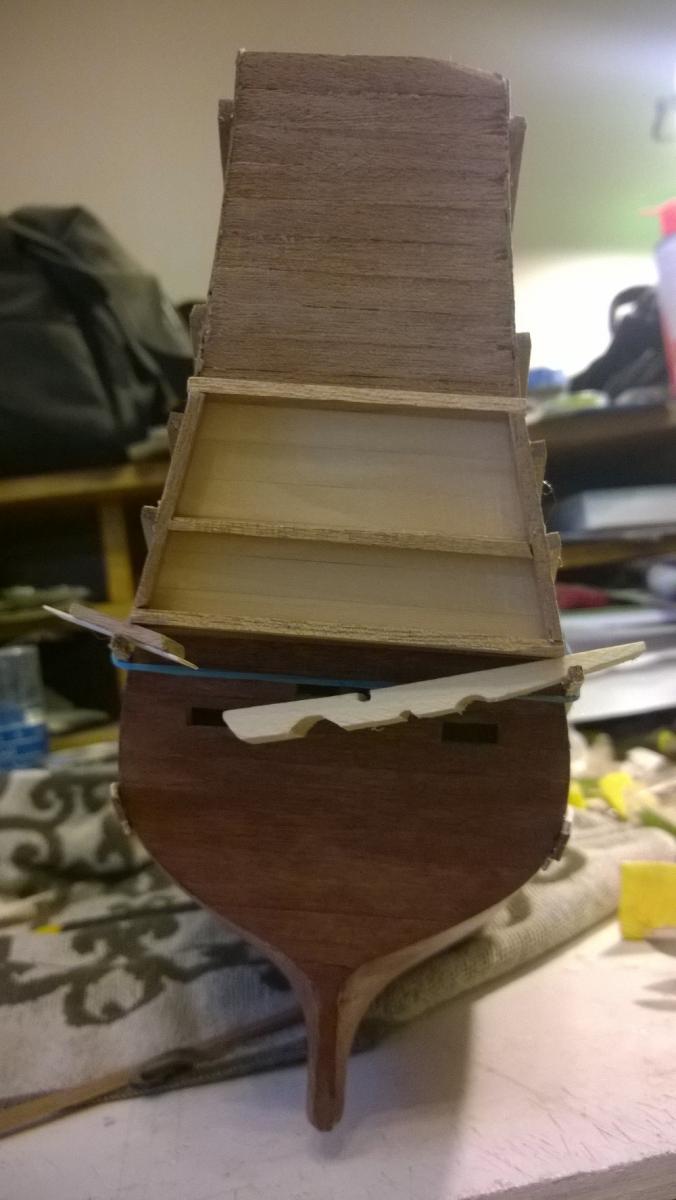
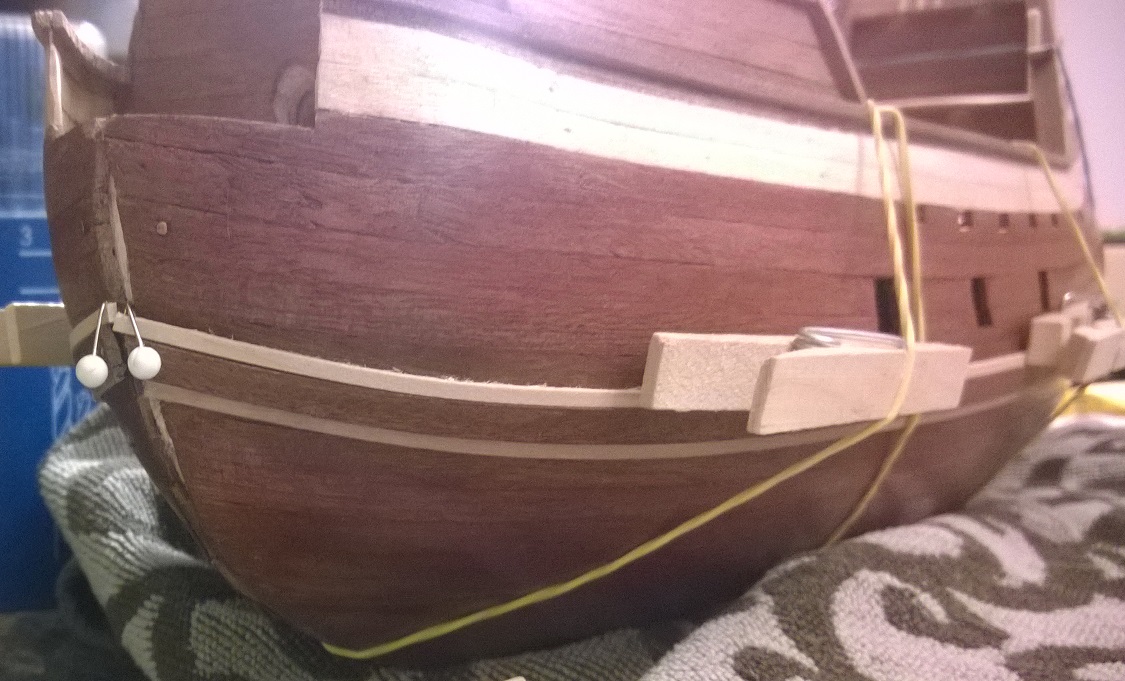
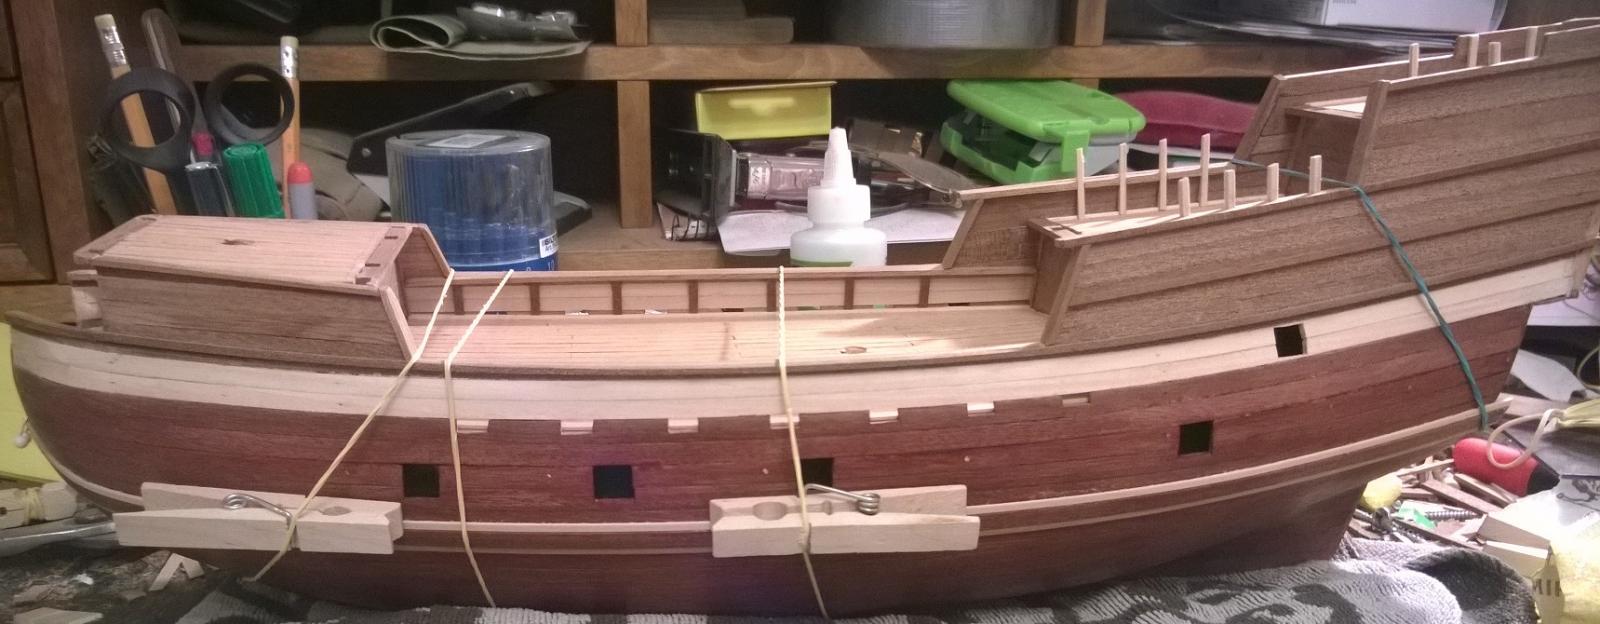
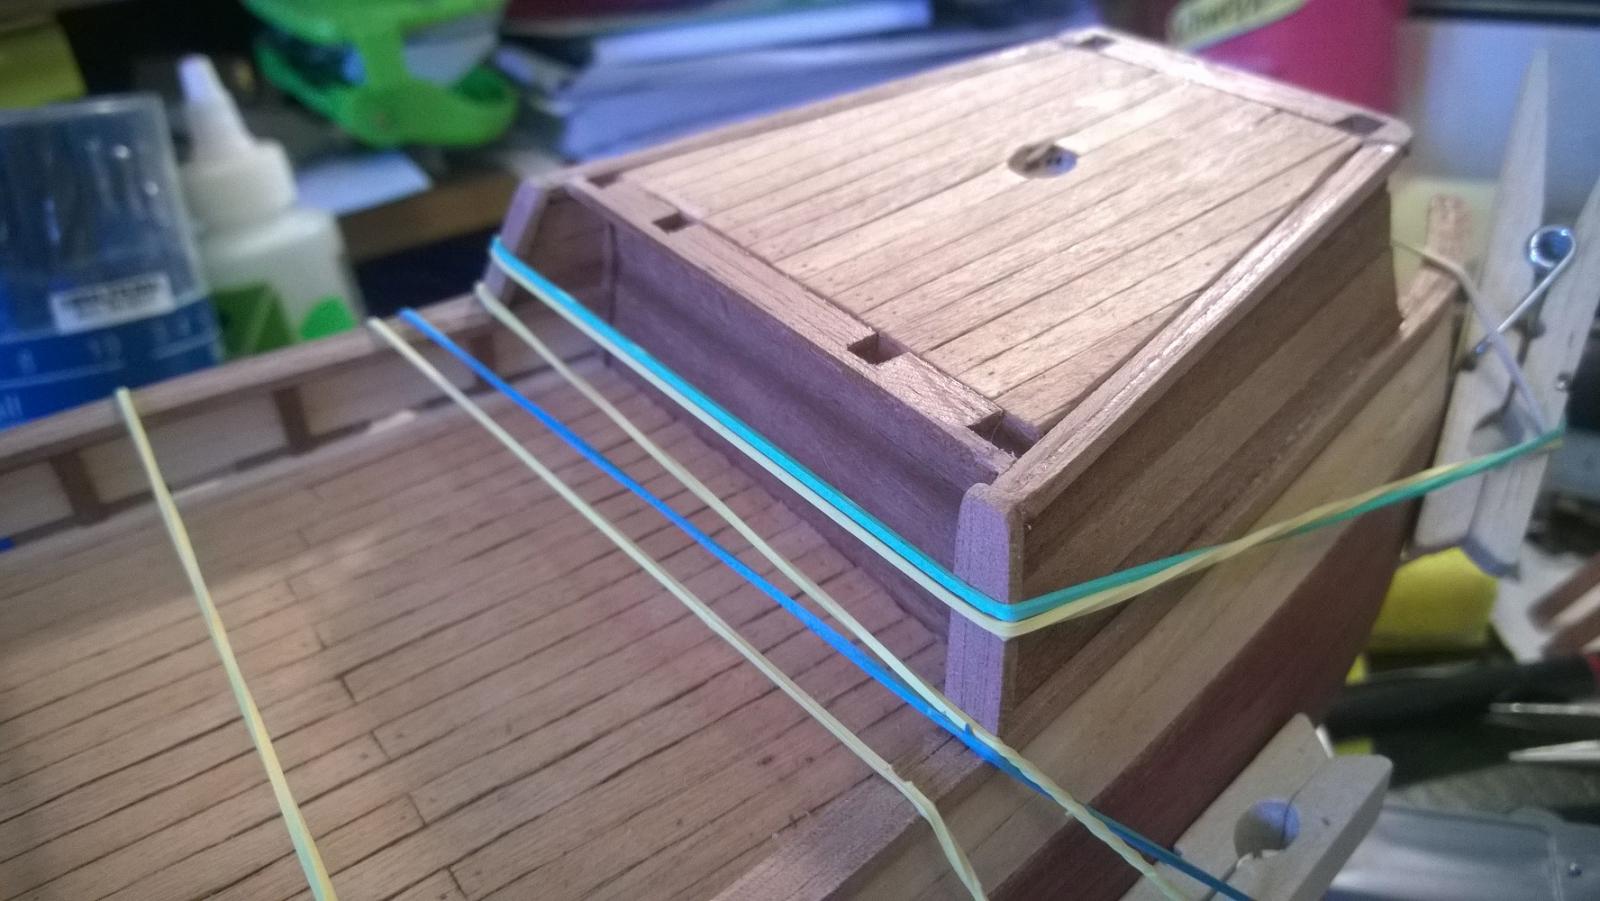
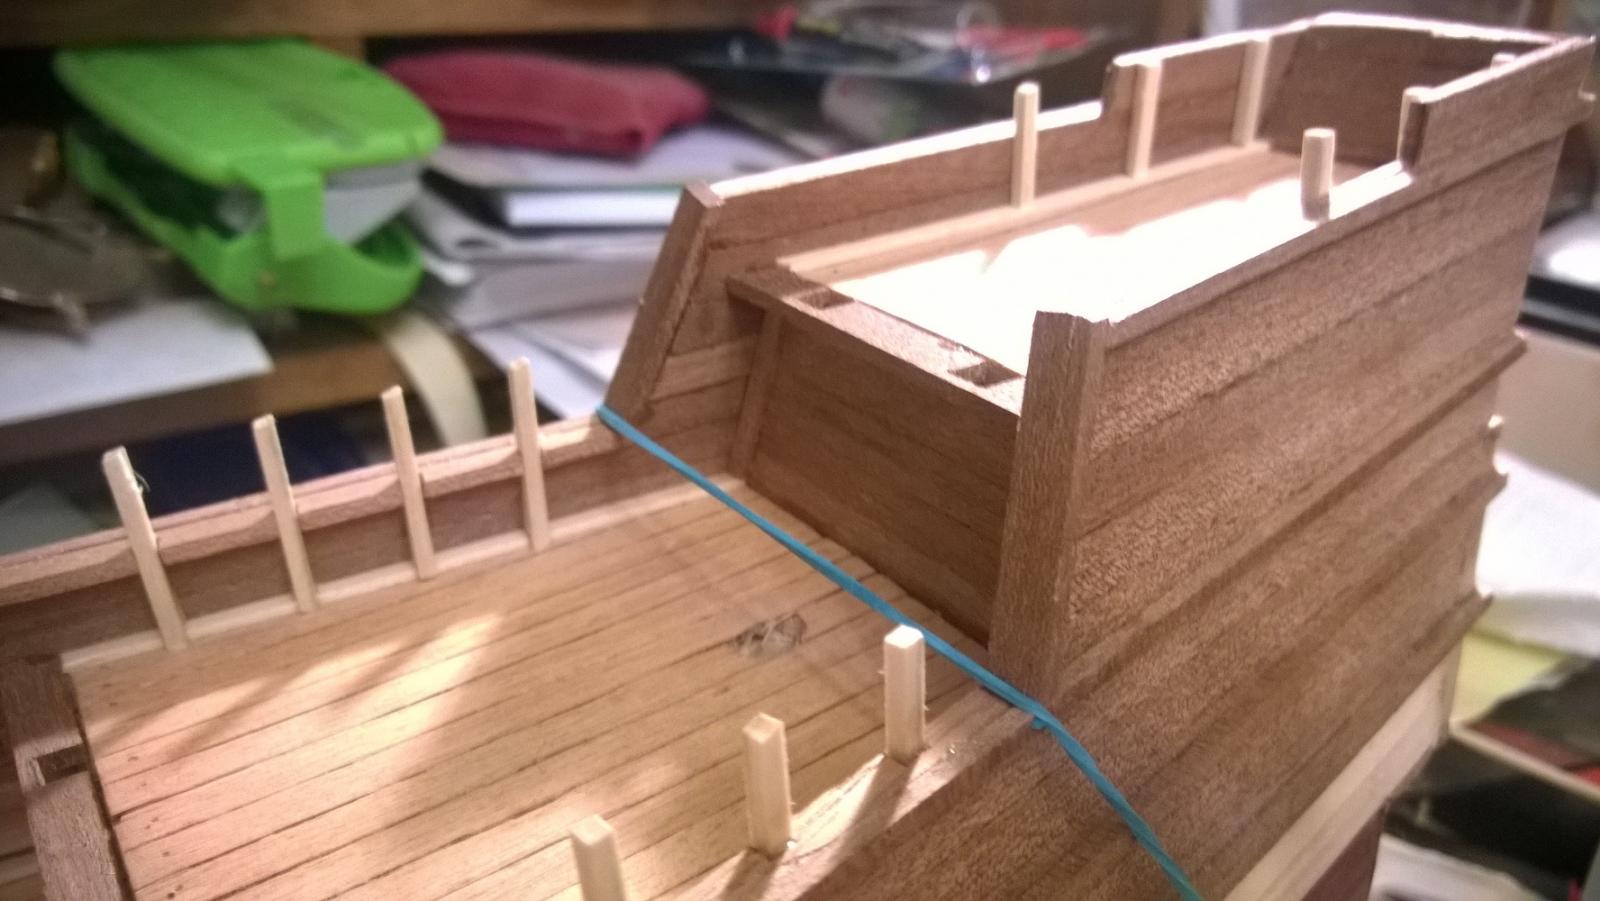
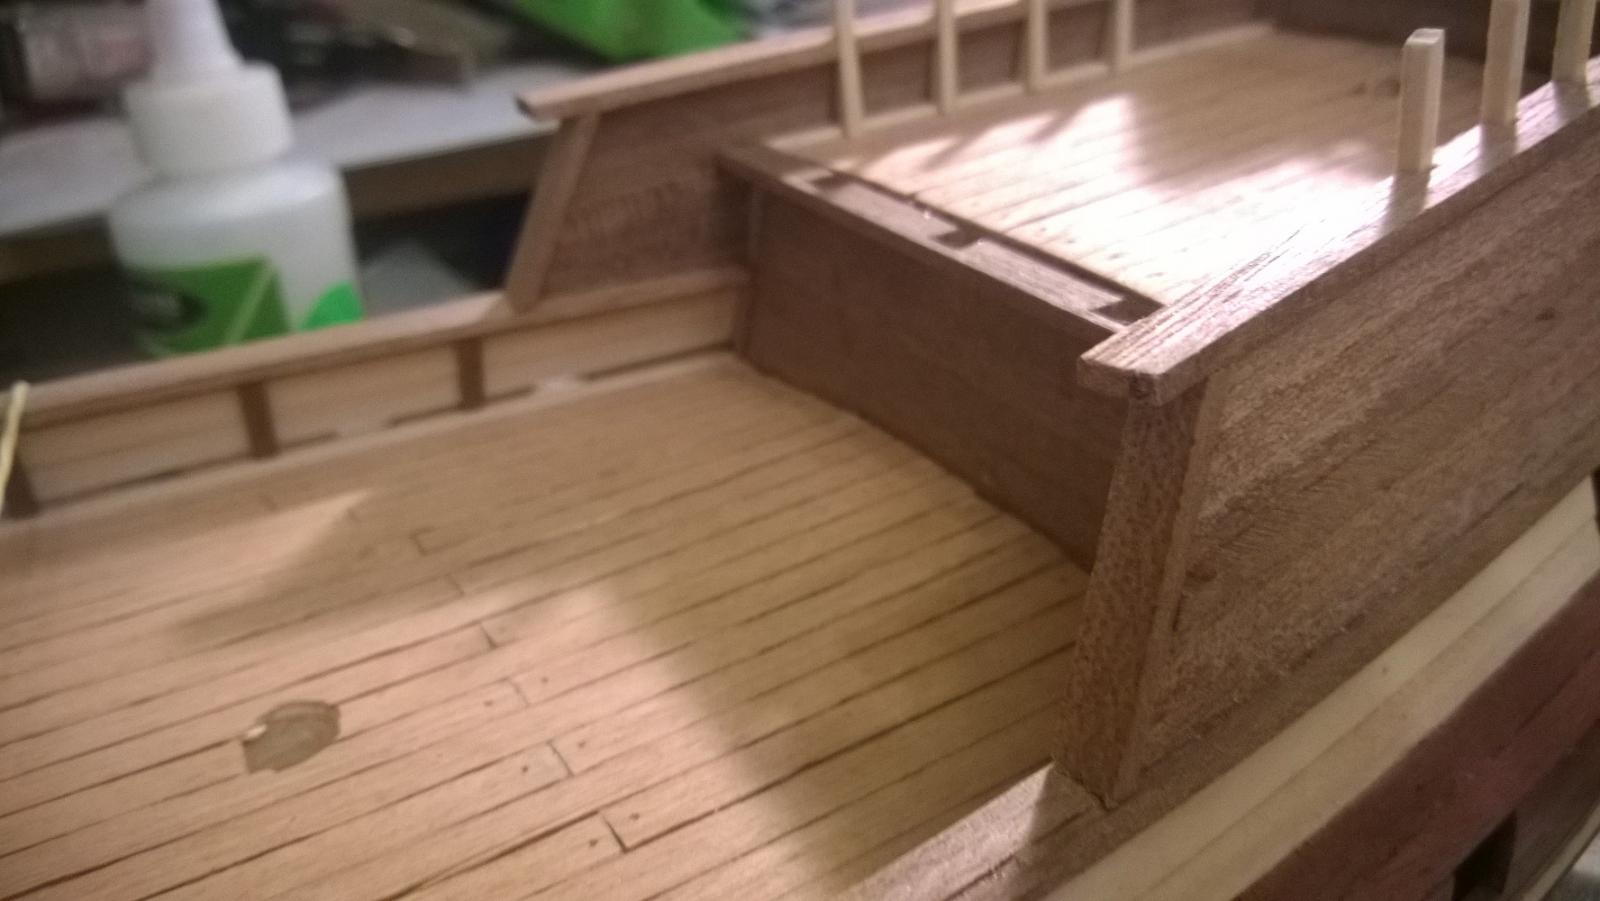
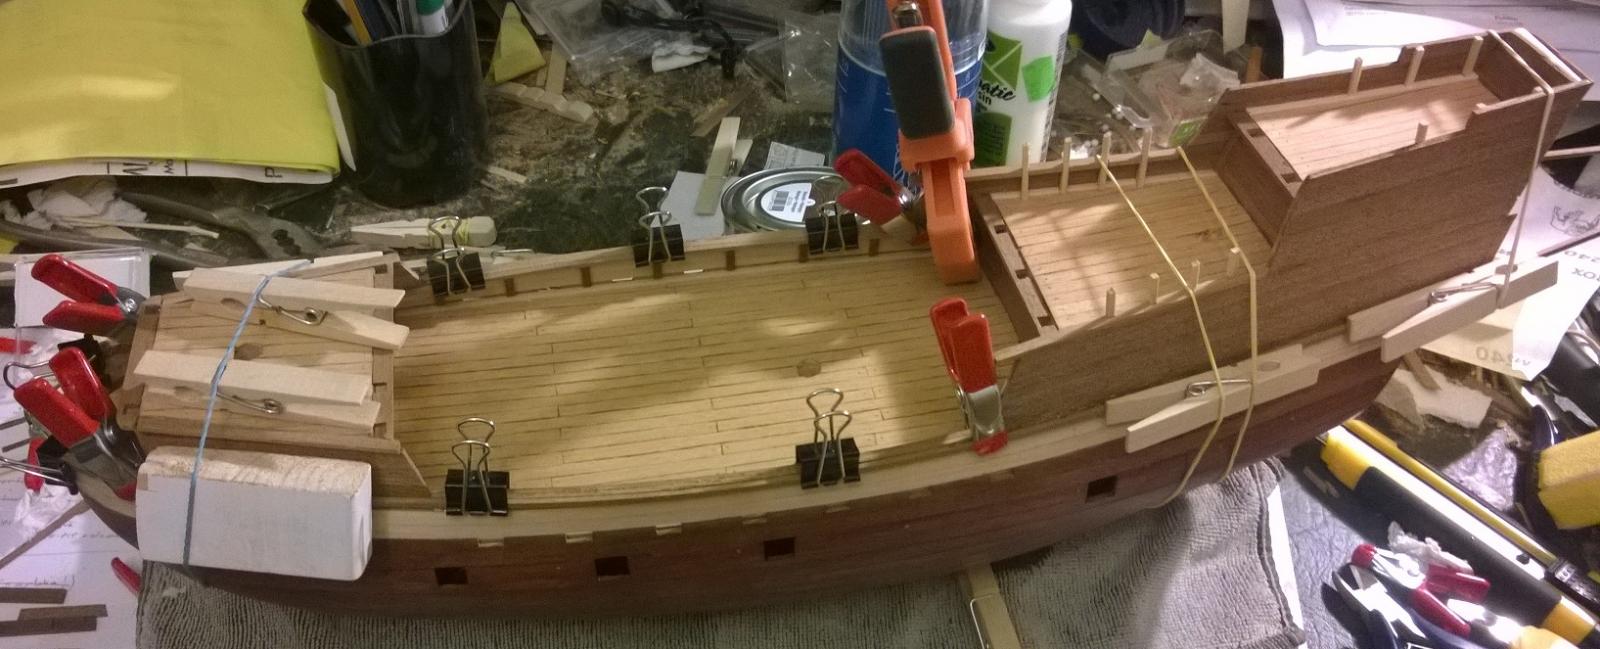
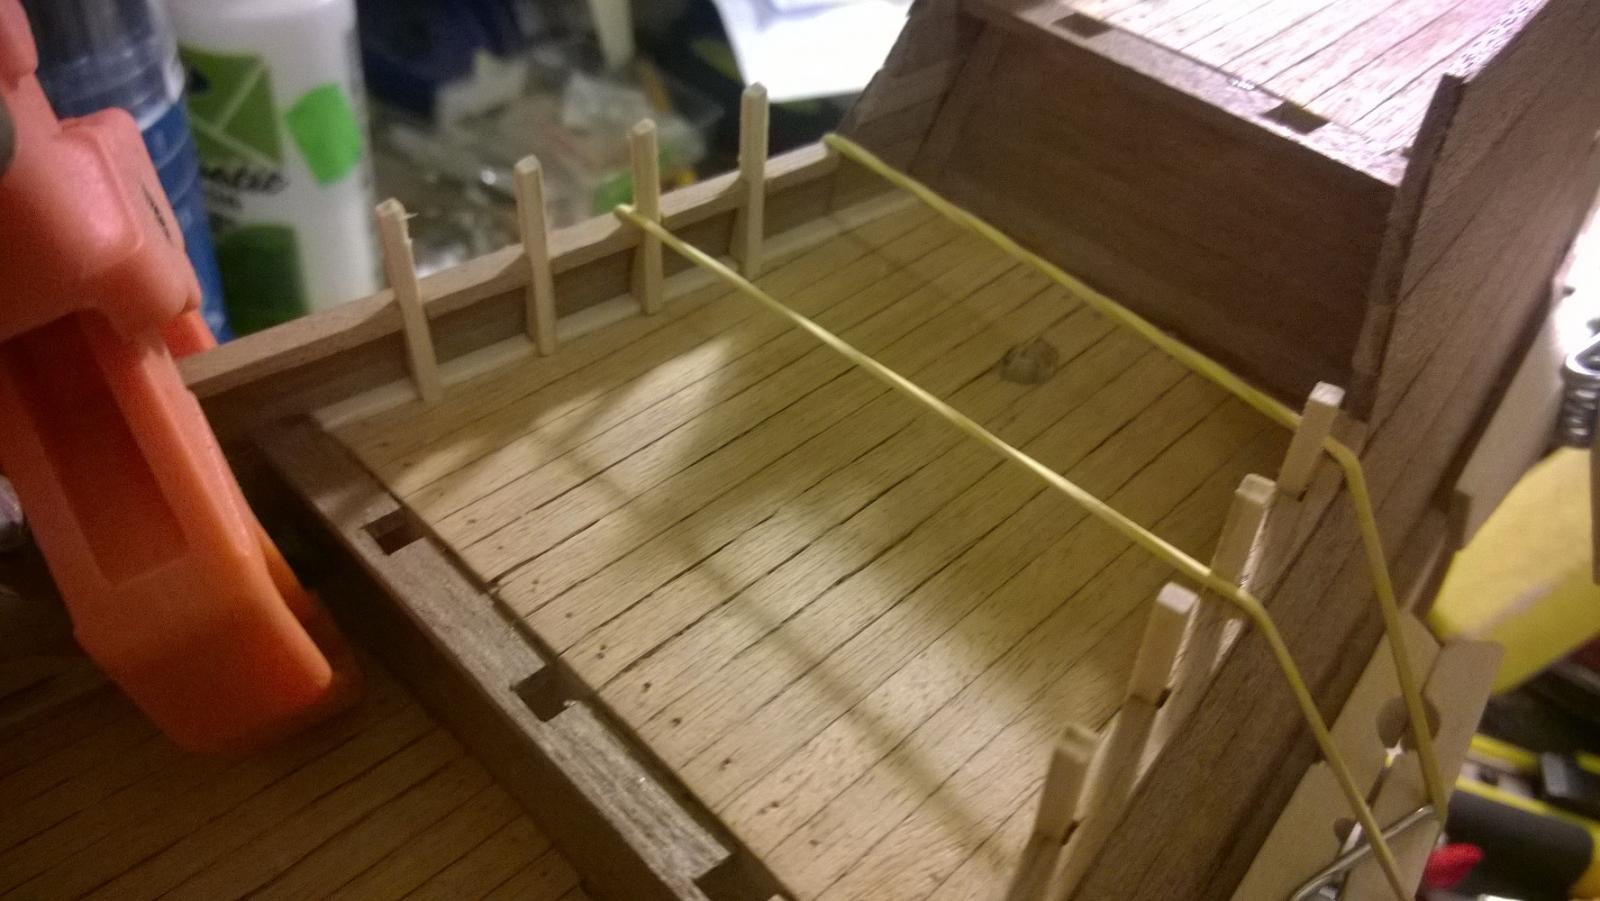
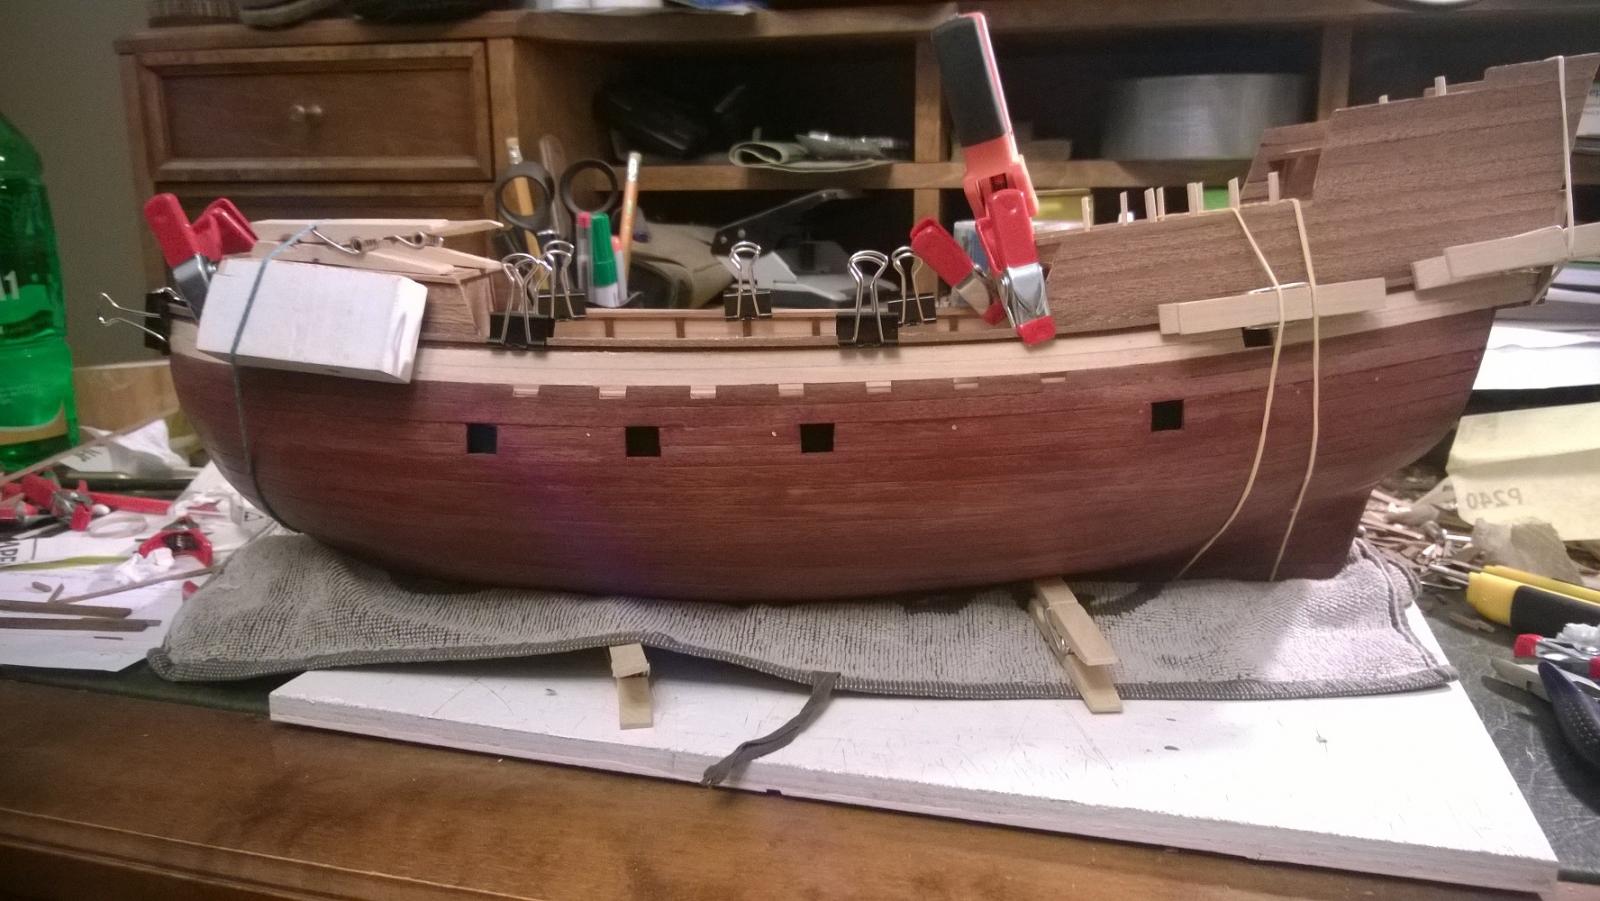
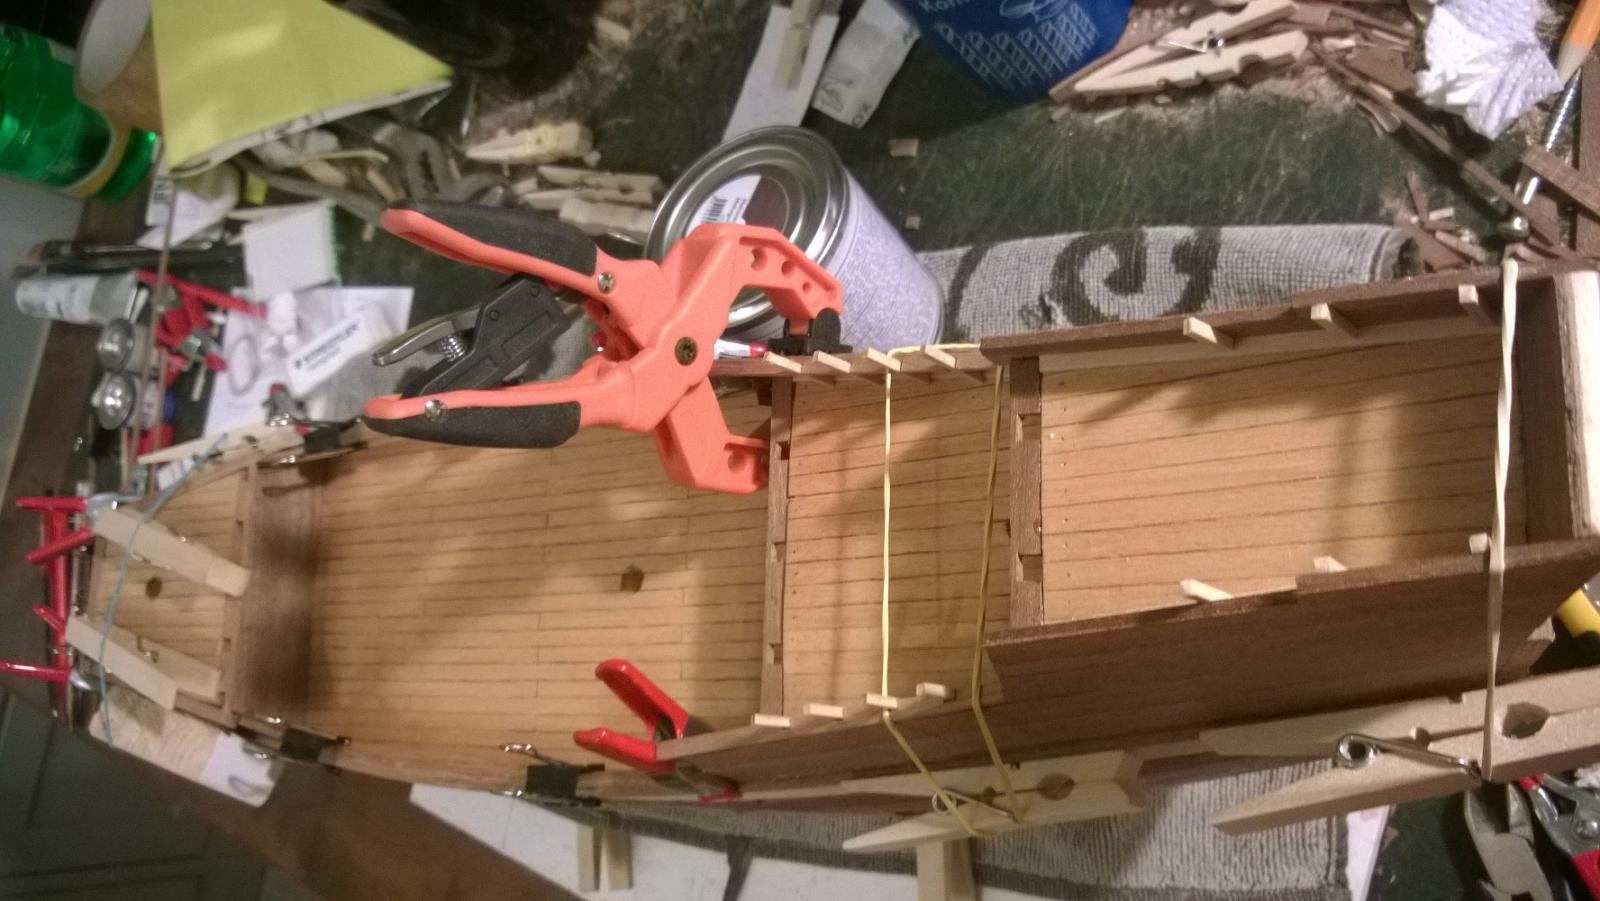
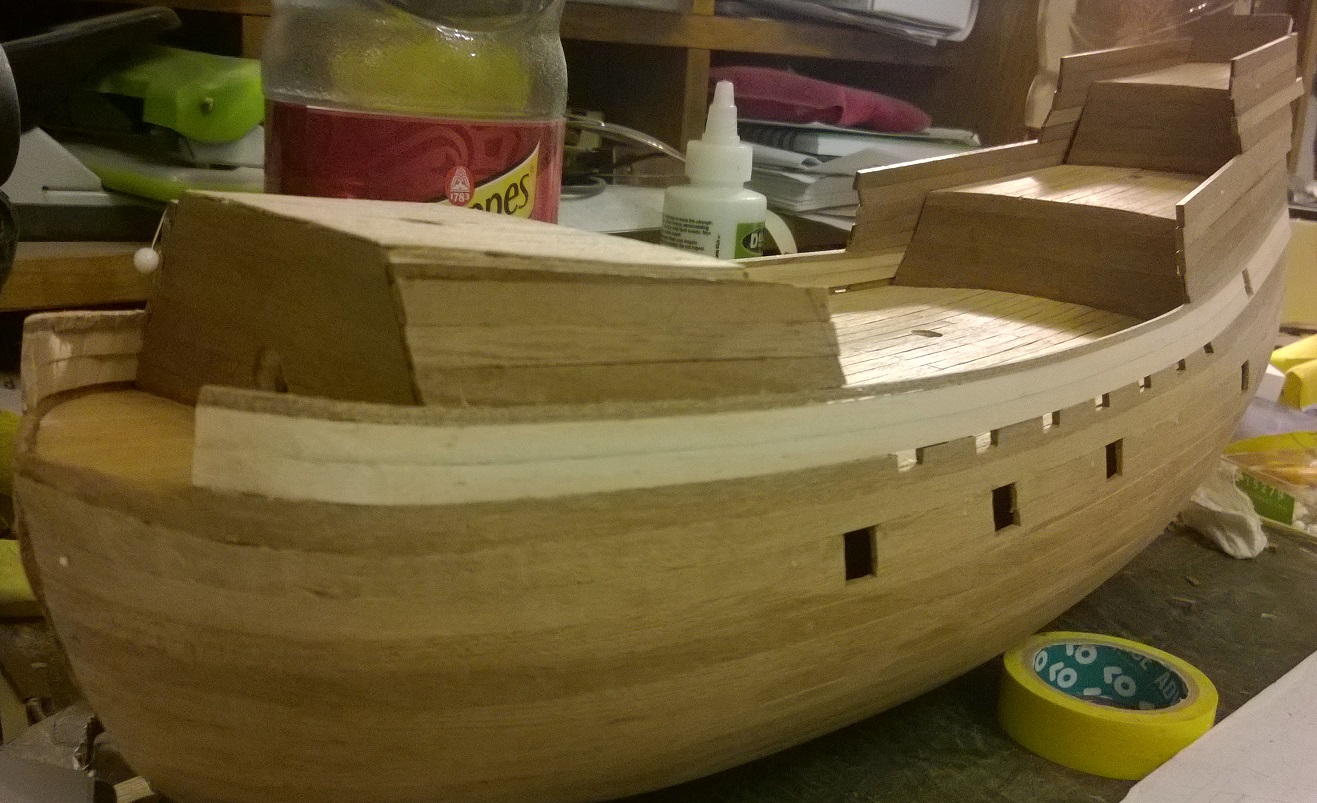
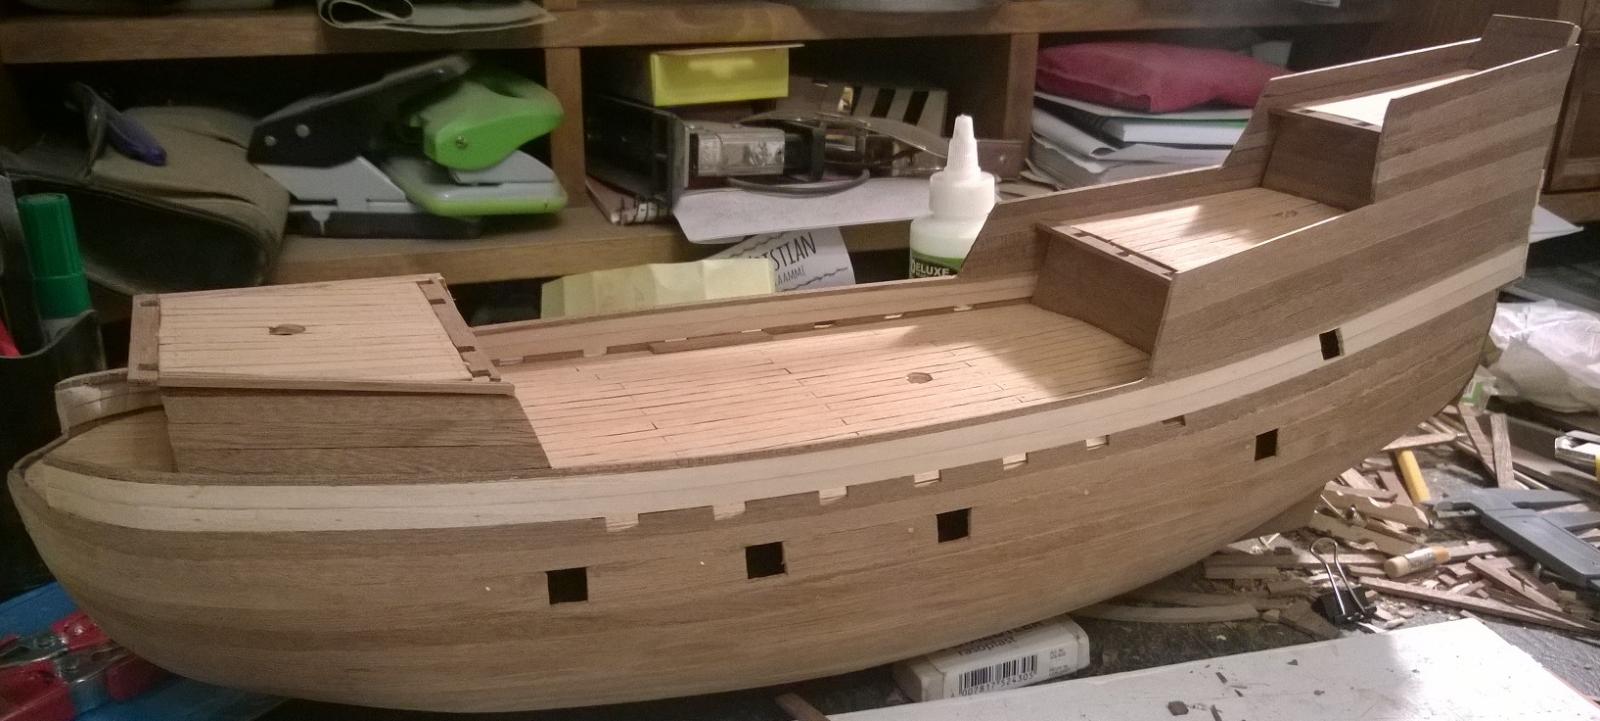
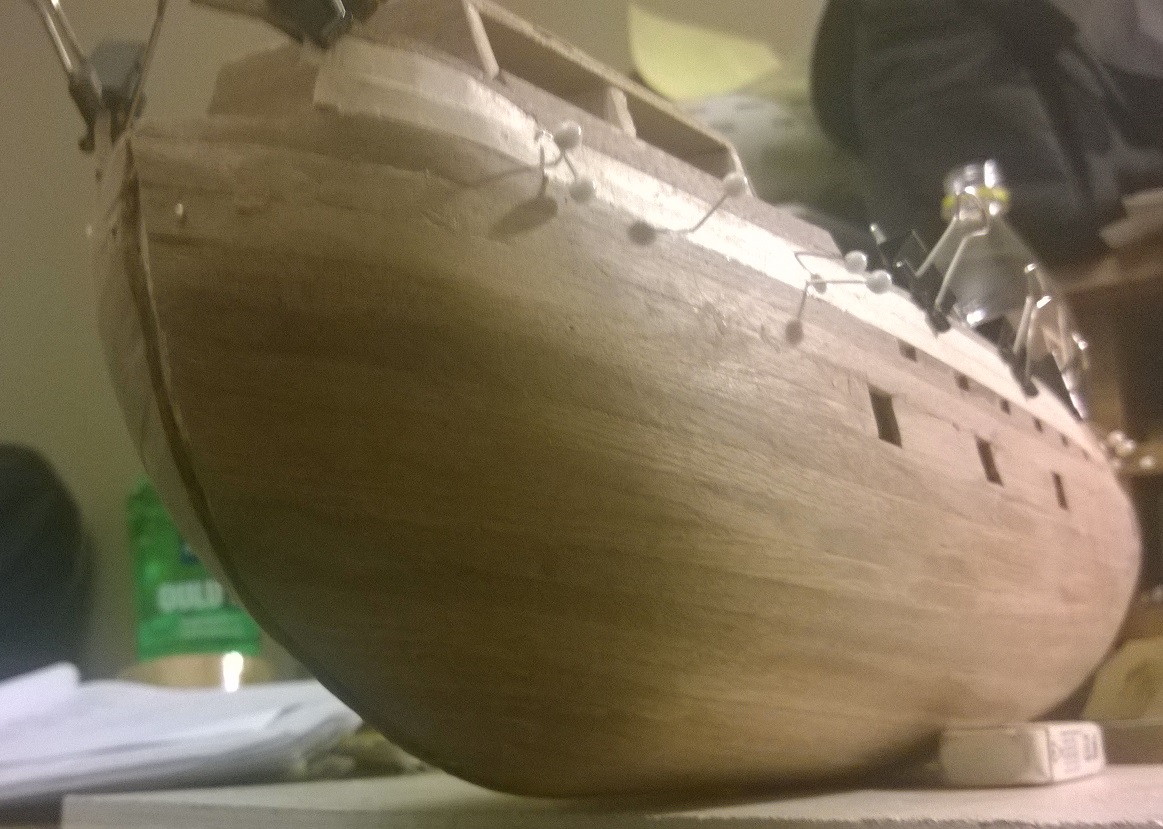
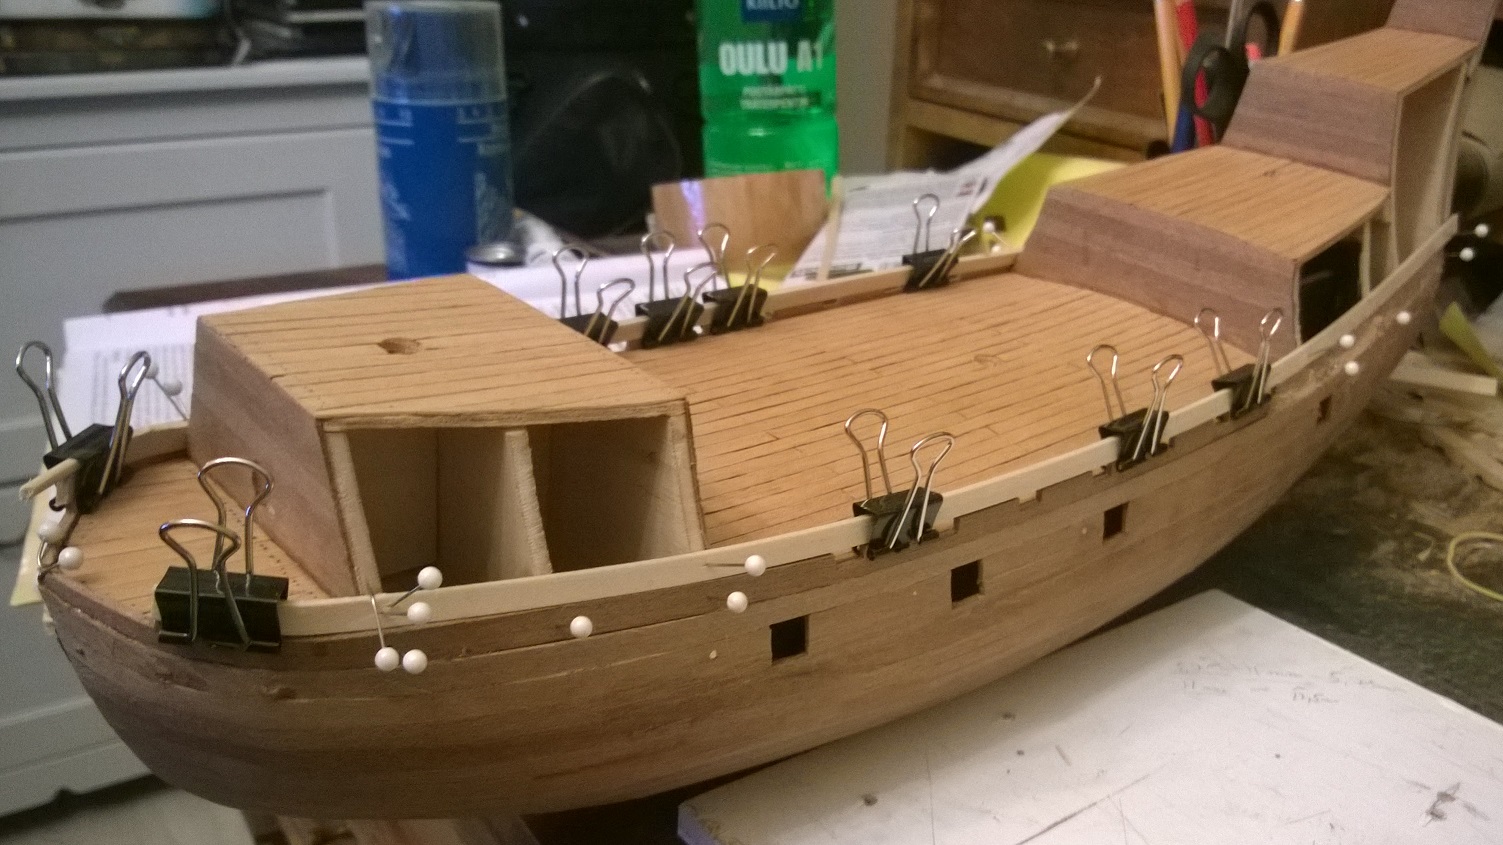
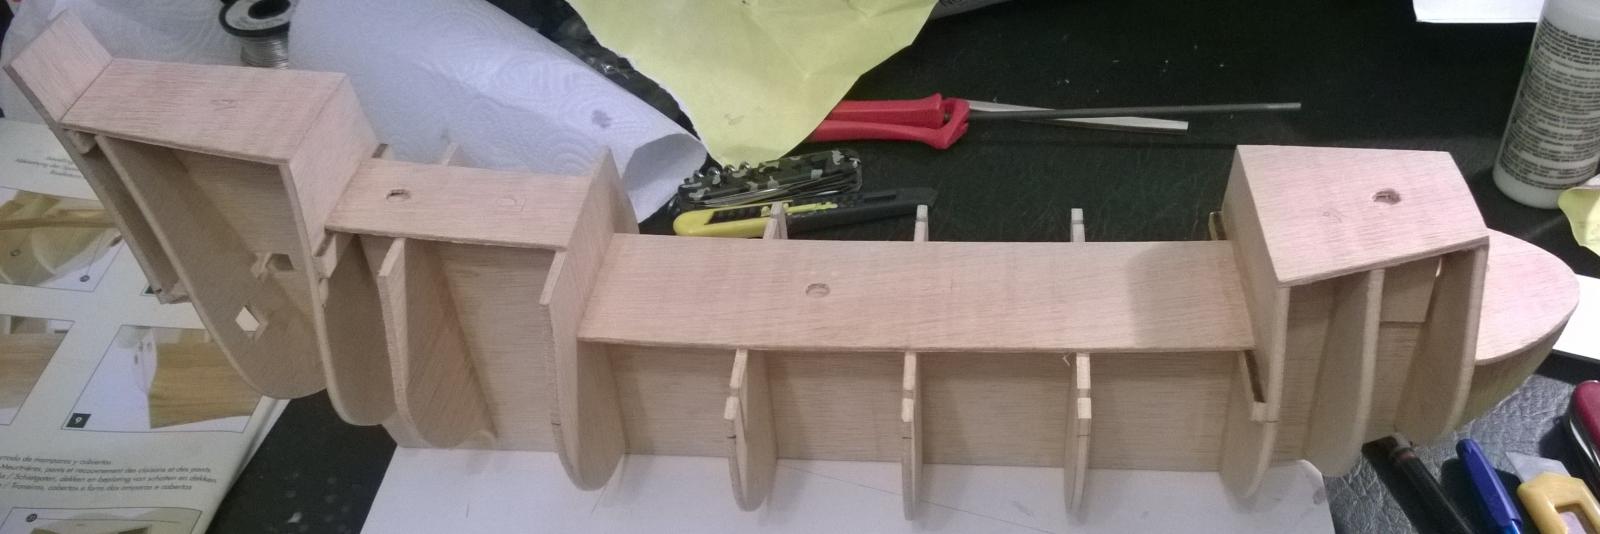
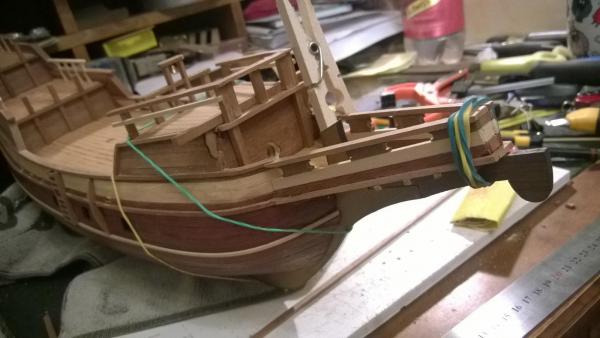
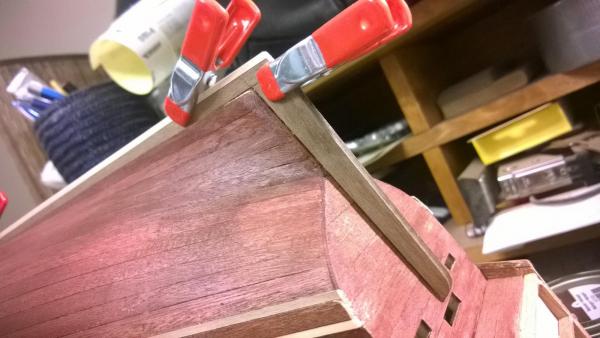
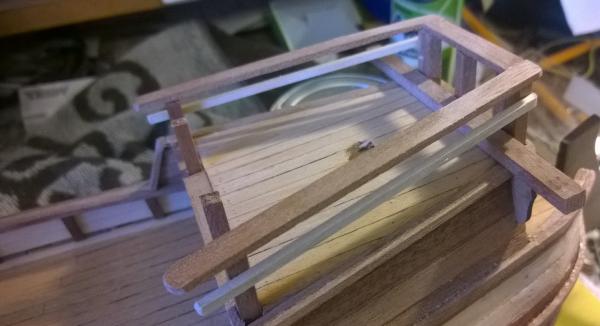
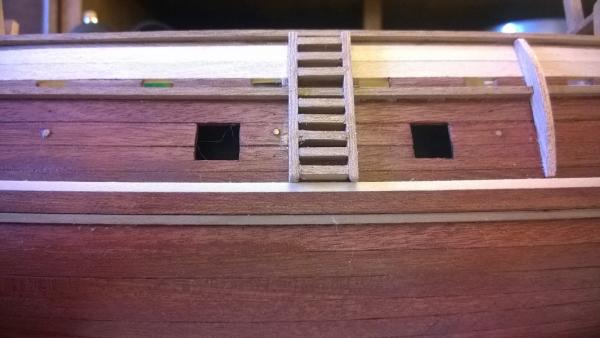
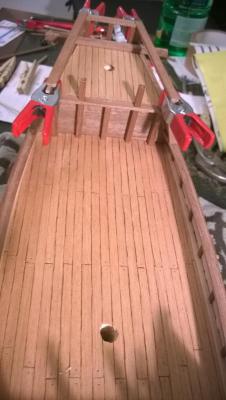
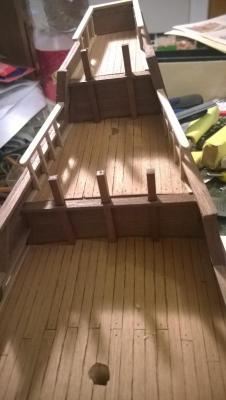
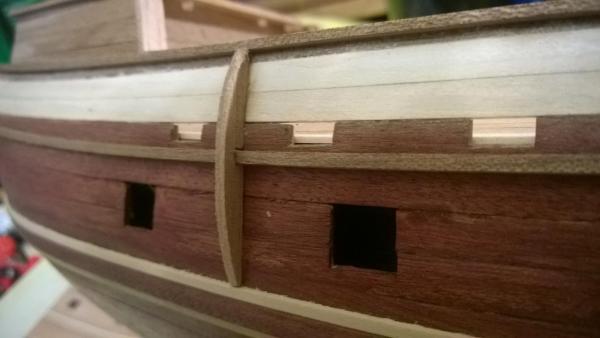
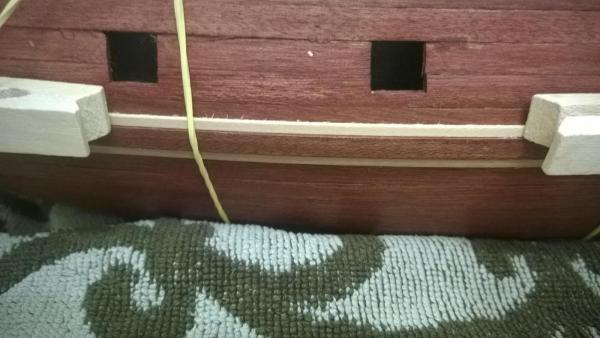
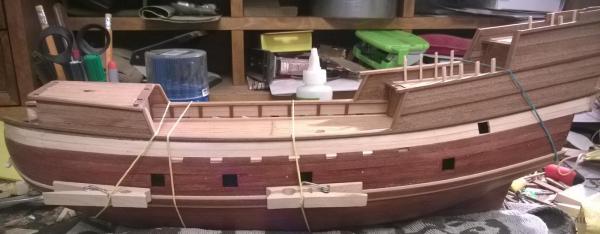
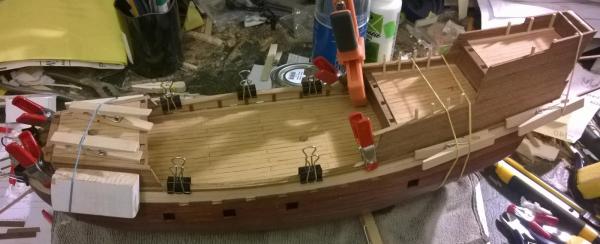
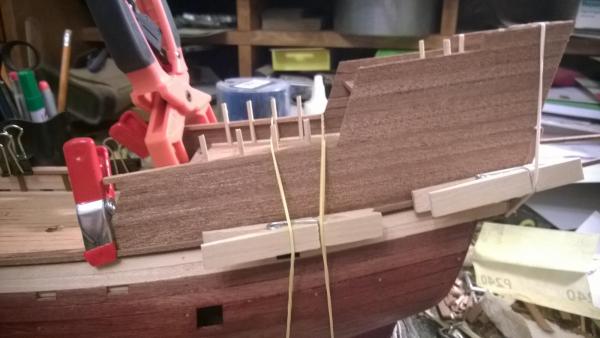
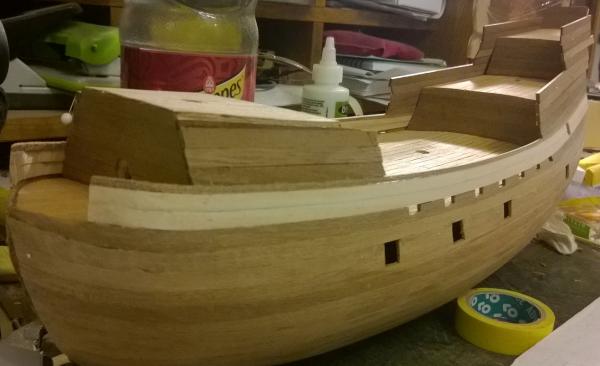
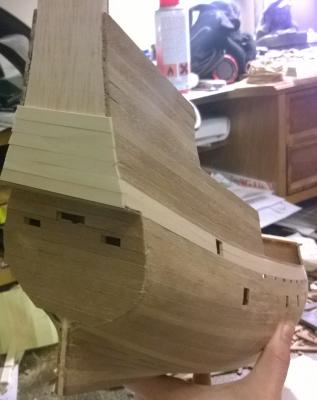
 18.5. Building pinrails and starting on gun ports. Have to find a way to secure the boat's position since tomorrow probably I will start on chainales and cannot lay the boat sideways anymore. In addition had to skip rudder at this point because don' want to break it when turning the boat while keel touches the desk all the time.

- 80 replies
-
- 1
-

-
- mayflower
- constructo
- (and 2 more)
-
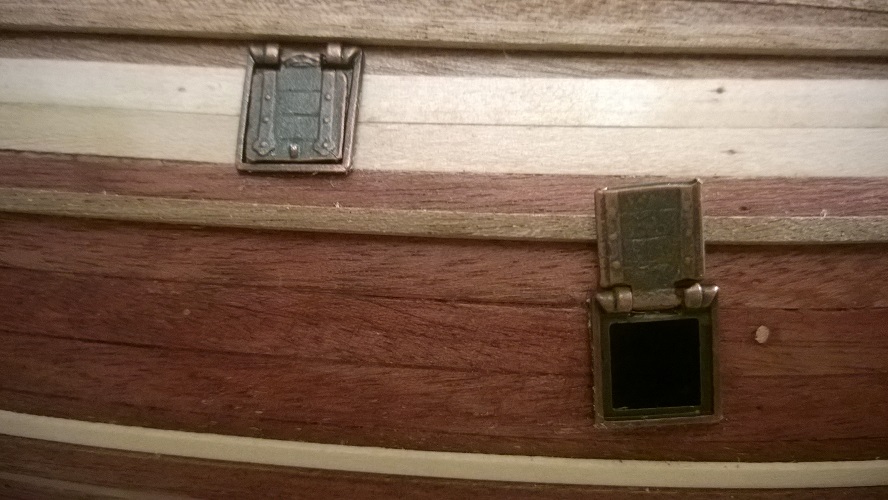
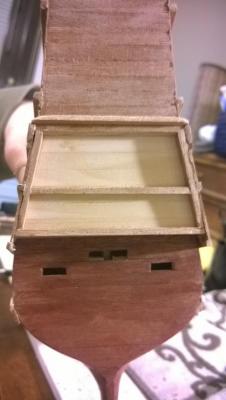
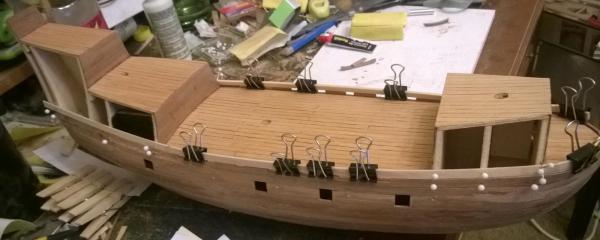
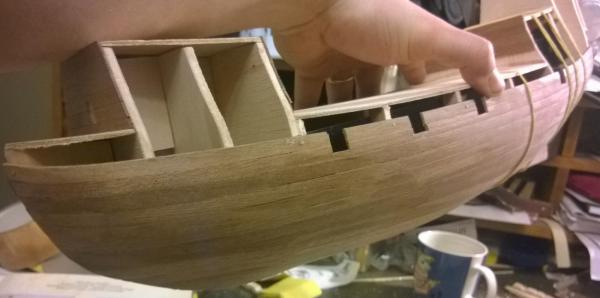
Thank you Drake! I actually did second layer planking only to the side of the bulkheads in the rear. Only reason was because the original bulkhead was build on same strips I used in hull and I didn't notice the color difference between different planks (some were lighter and some darker) so it seemed a bit off. I'm going to put doors and windows to the bulkheads, but at this point I think I'll use the parts that came with the kit (only glue the door+frame on the bulkhead without carving actual holes). I'll put pictures when I'm there (I think in 2-3 days) so you can see. the doors are plain colored at the moment so I think I need to put some color before inserting them. Btw. How did you manage to make your deck planks so "old" looking, did you use some washing technique or some colored coat of varnish?
-
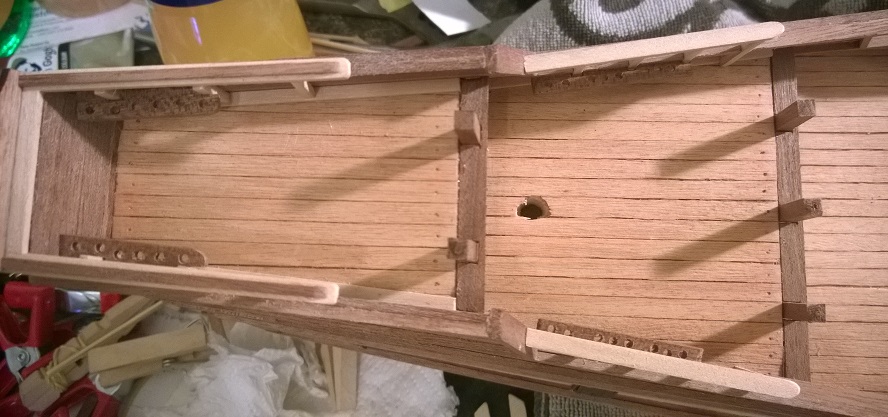
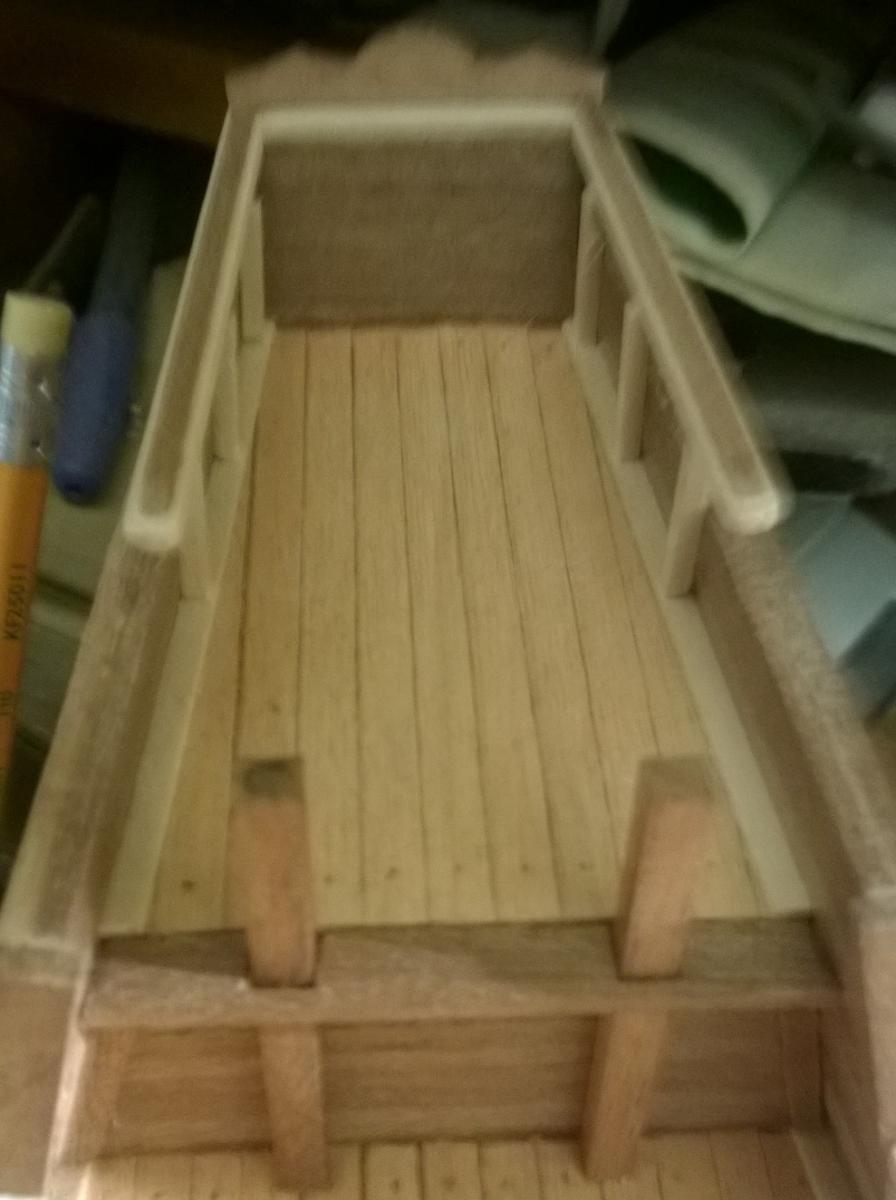
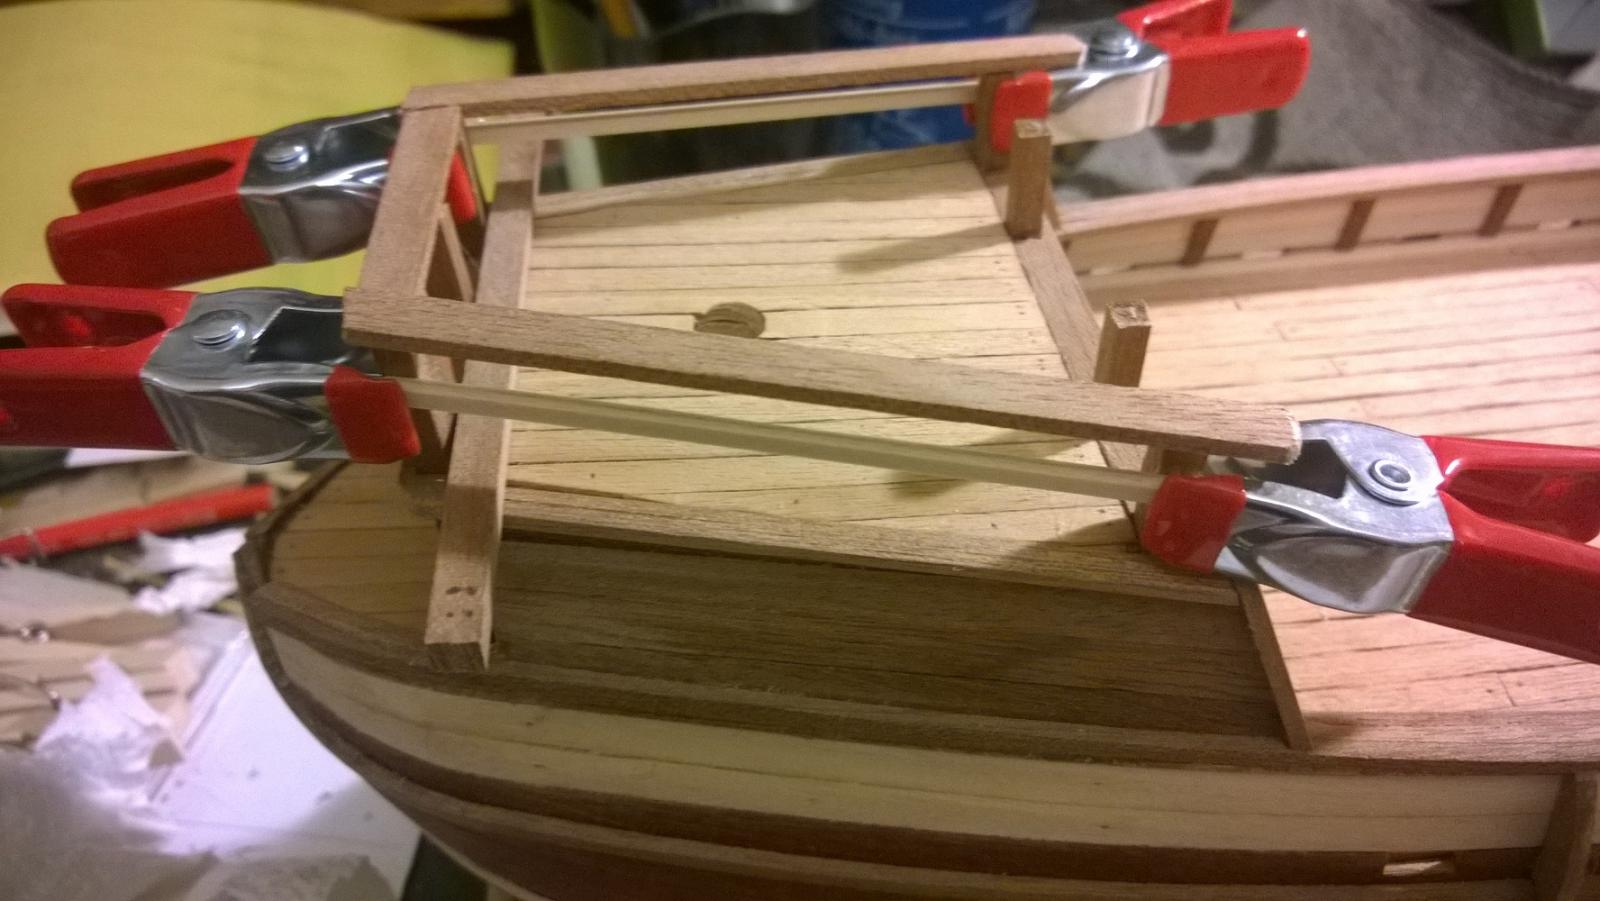
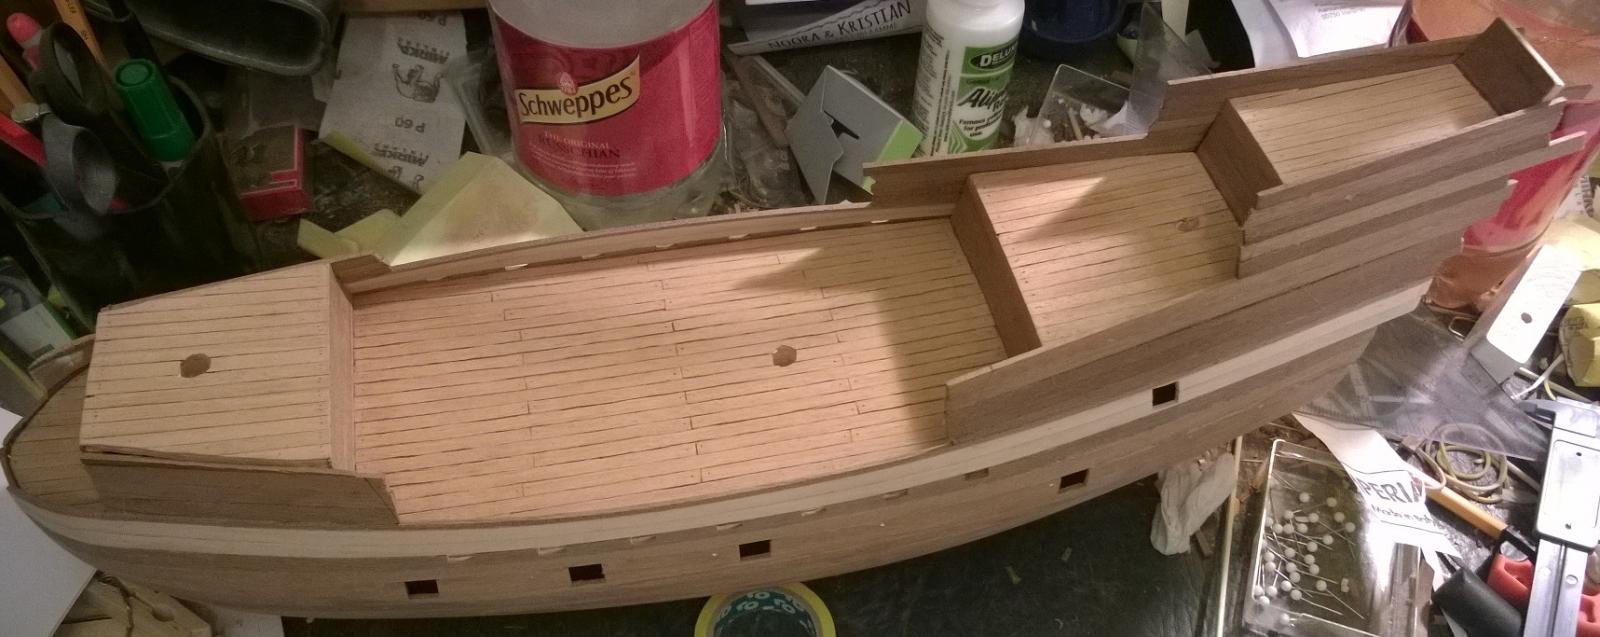
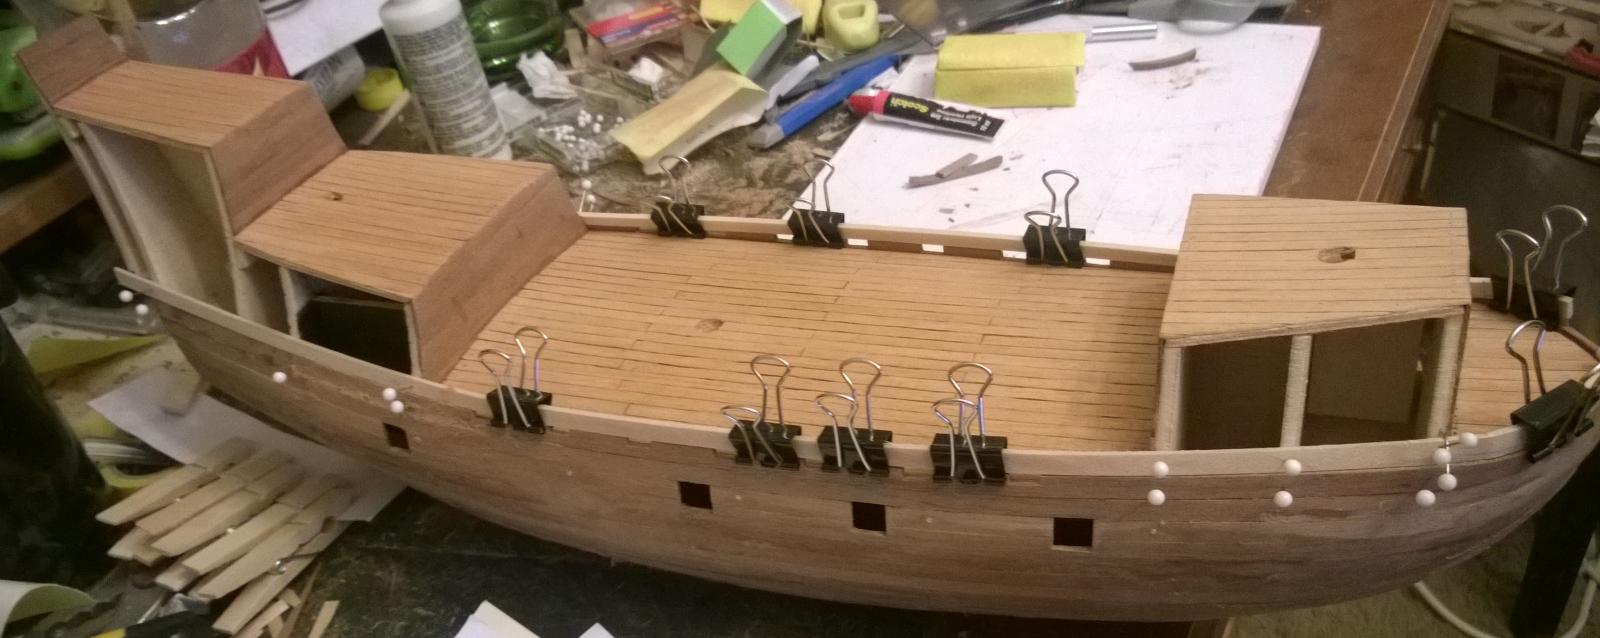
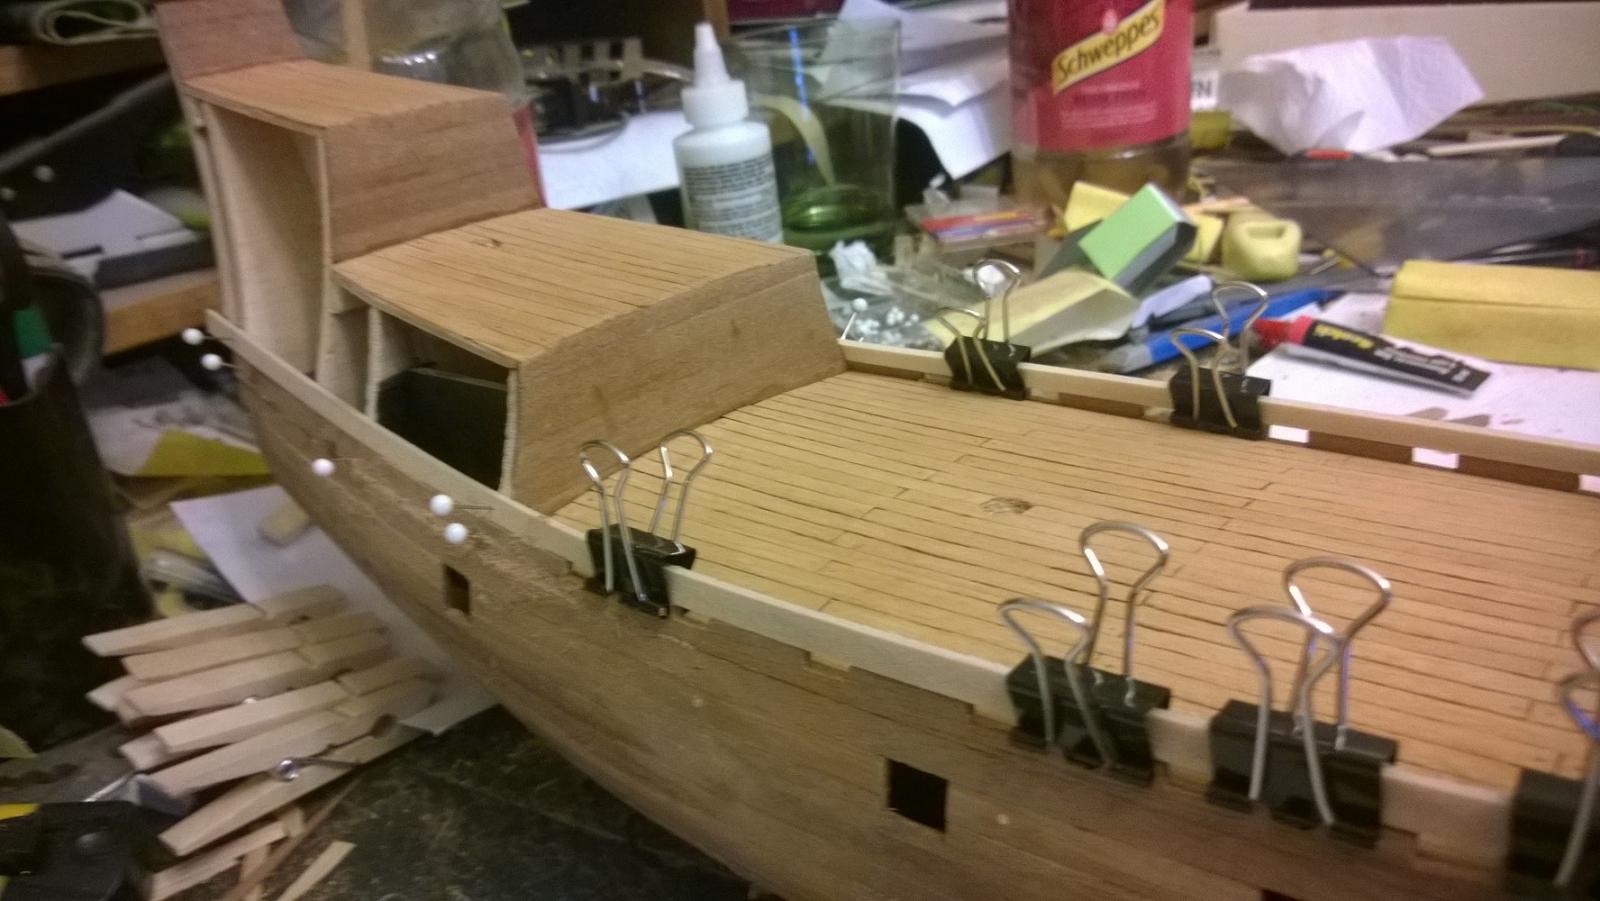
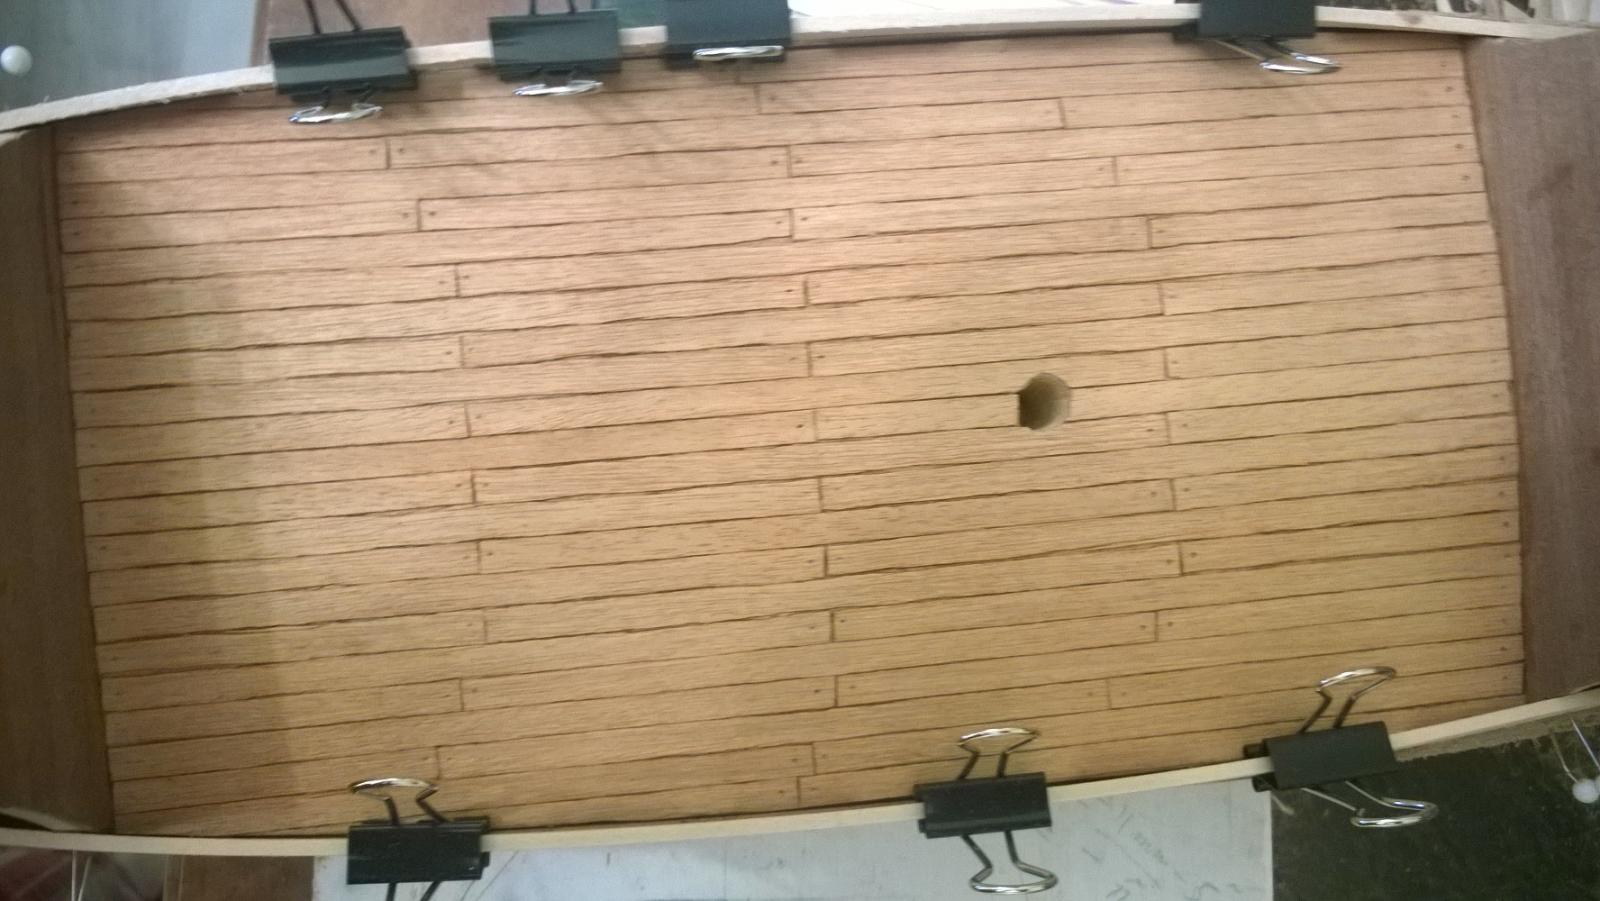
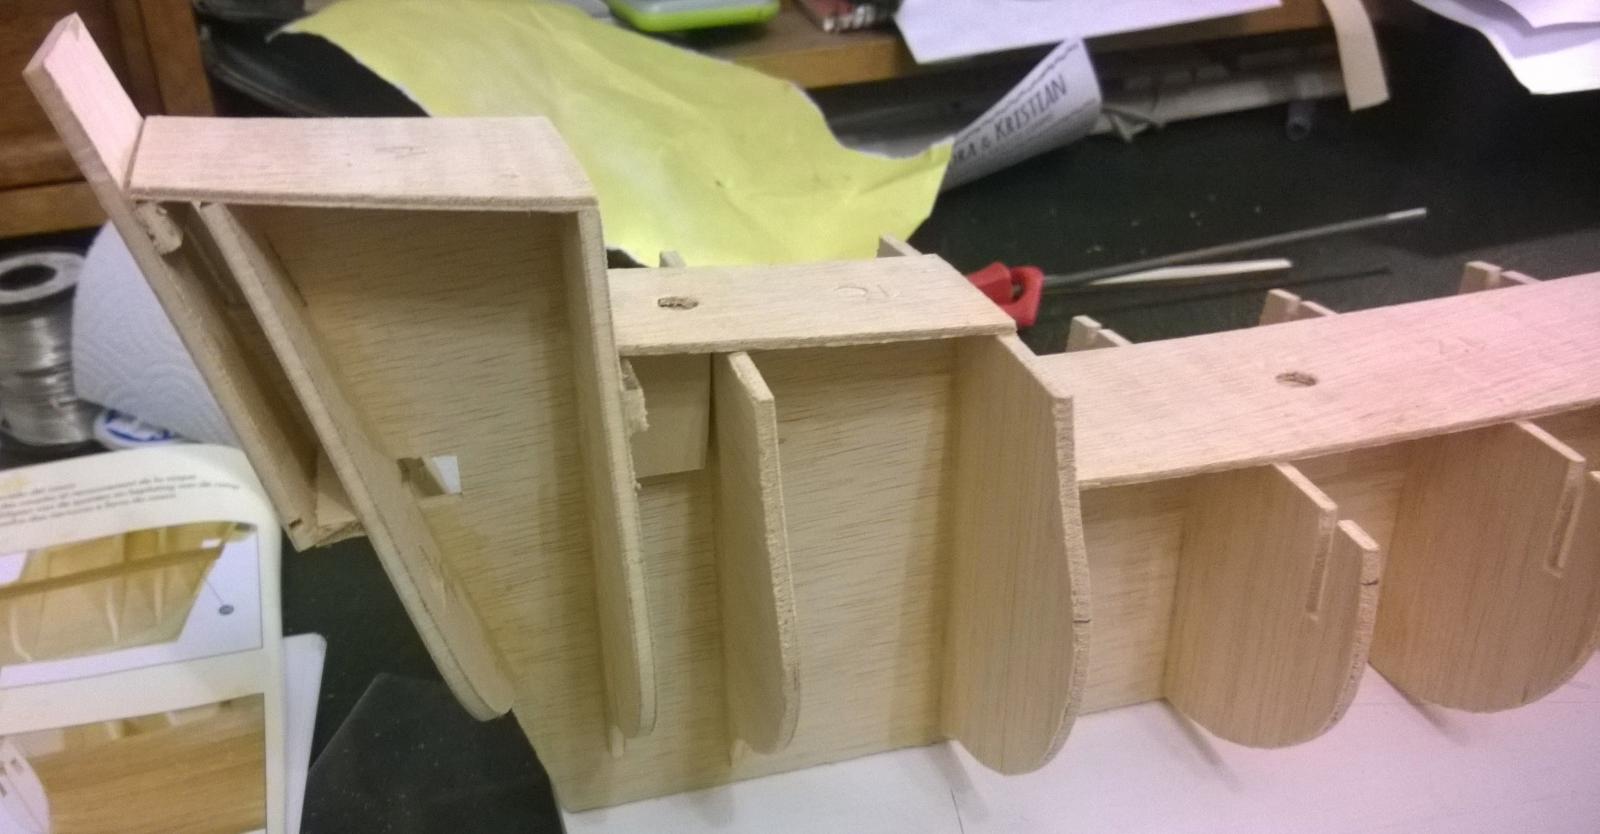
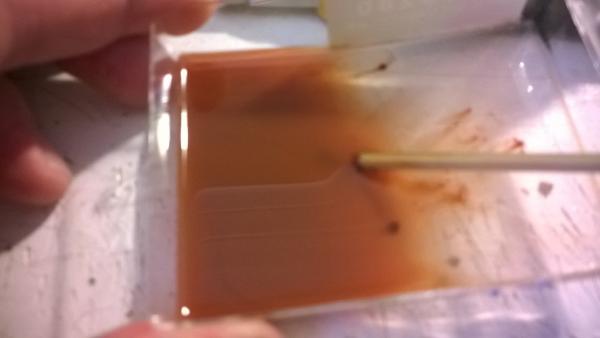
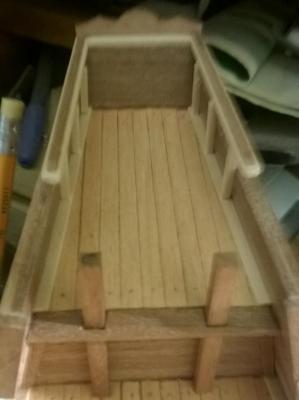
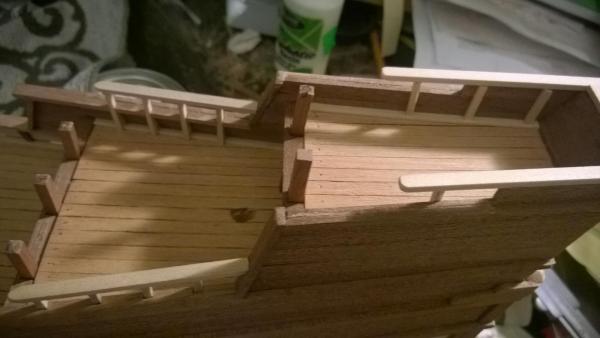
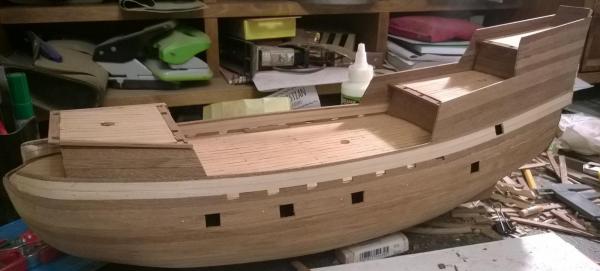
17.5.2015 Building ram. Continuing from yesterday, today was first planking the ram. I used again soft pencil to darken the sides of the planks. After planking I used 5% Sienna color "washing" the deck to give darker color to nail pressings and to planks. Pictures 1 and 5 shows the difference. After planking it was more or less building the sides to the ram. Again building too much in a row caused small mistakes I need to correct tomorrow... again little sanding dust

- 80 replies
-
- 2
-
-
- mayflower
- constructo
- (and 2 more)
-
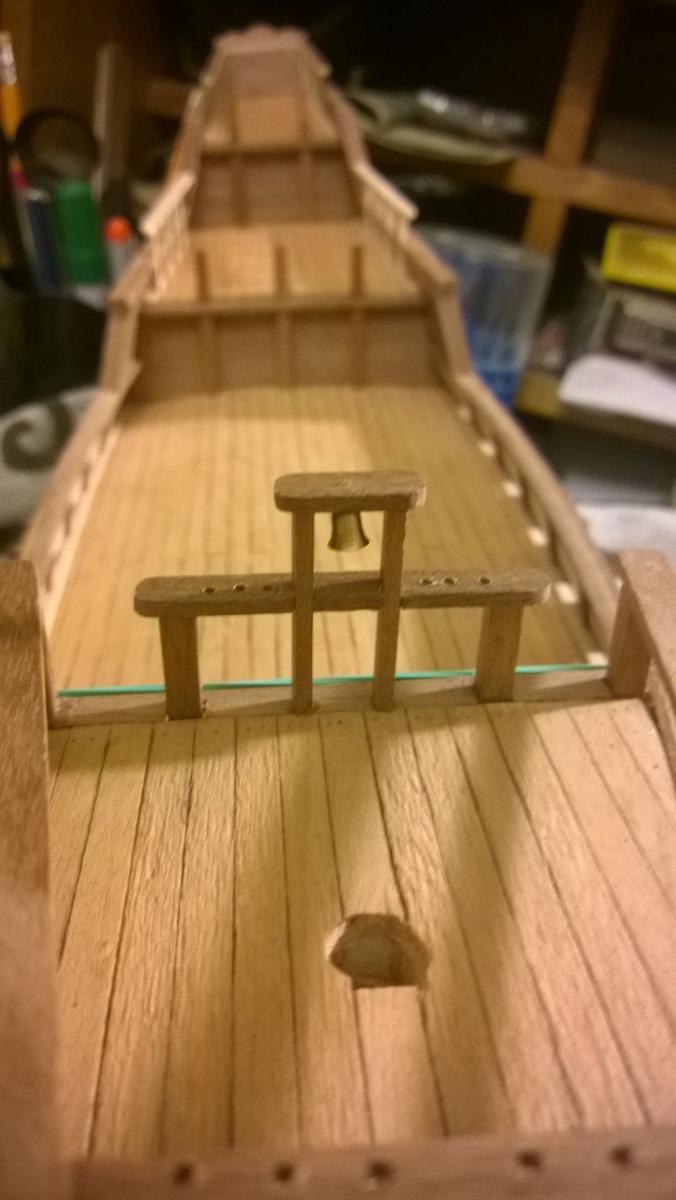
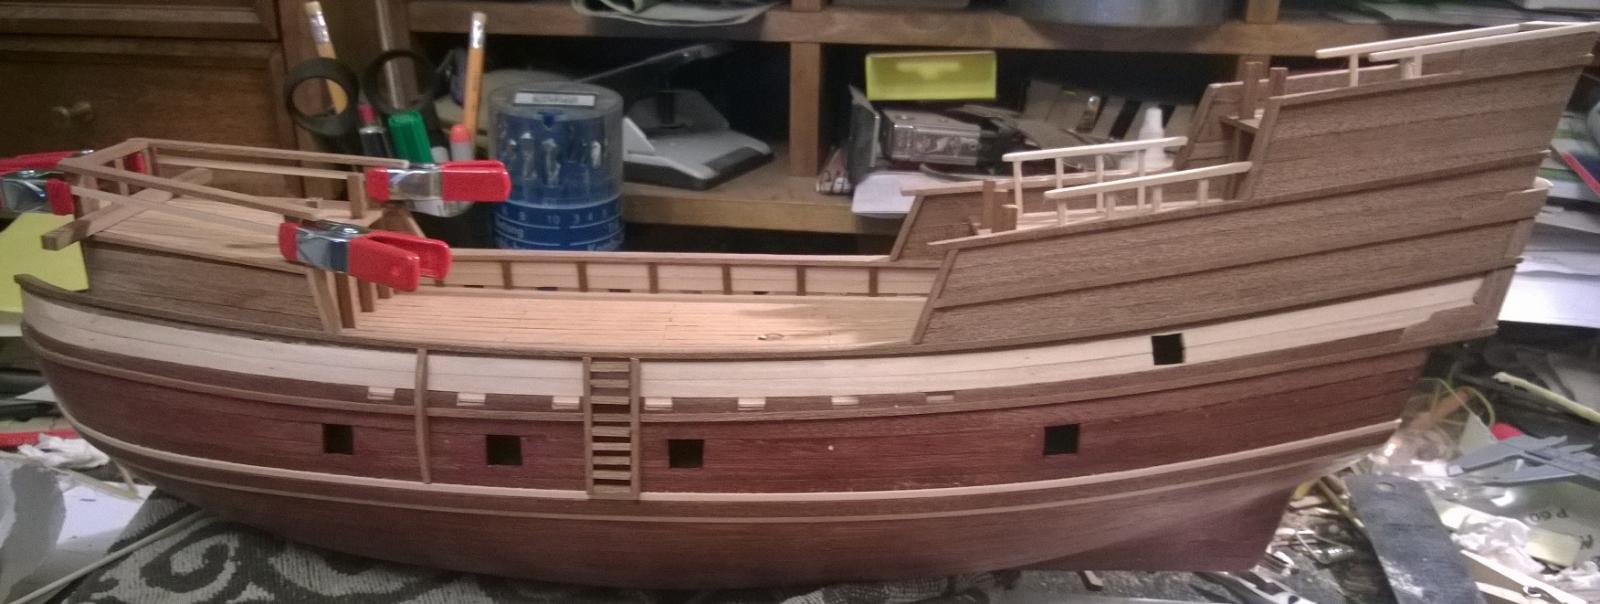
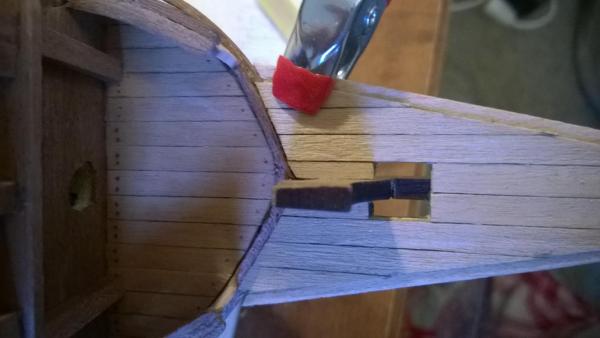
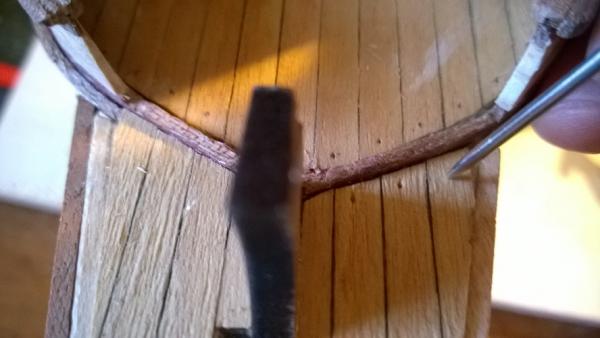
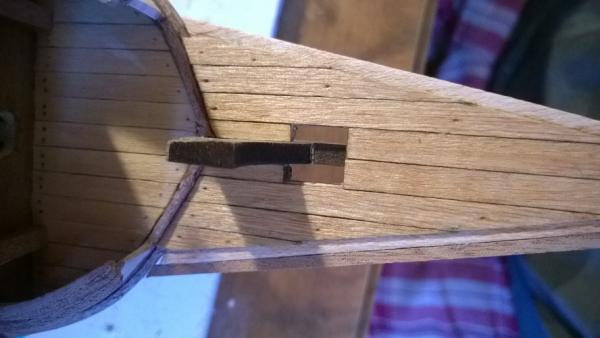
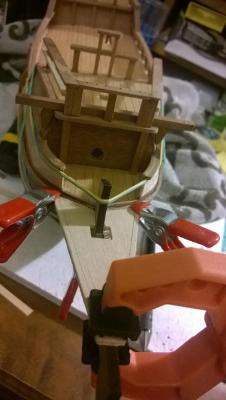
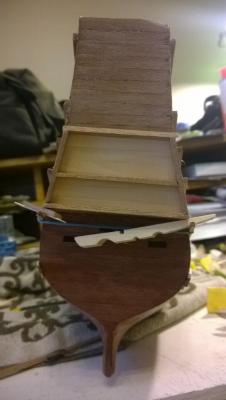
16.5. Finishing uprigts, and front bell. Starting of build Rammsporn/front. Learning: Again, the better result you do in the initial front hull plaking/wails needing pending, the easier it is to later insert pieces top of those. In addition in when starting the rammsporn, its difficult to start fixing pieces that are not fully pend to the front. At this point I started using scotch 3m glue (2mins to hold, 24h final). Its not the best for sanding but... Earlier I was using Aliphatie resin (20mins to hold, 18h final), but it takes quite a long time get the initial hold (Maybe I should be more patient).. Instructions didn't say anything whats the diameter of holes I should drill in pinrails + for example anchor holder, but I figured 2mm. (Any pointers here?) (atleast 0.3, 0.5, 0.8, 1 seemed too narrow if I should try to put a rope later through them)


- 80 replies
-
- 1
-
-
- mayflower
- constructo
- (and 2 more)
-
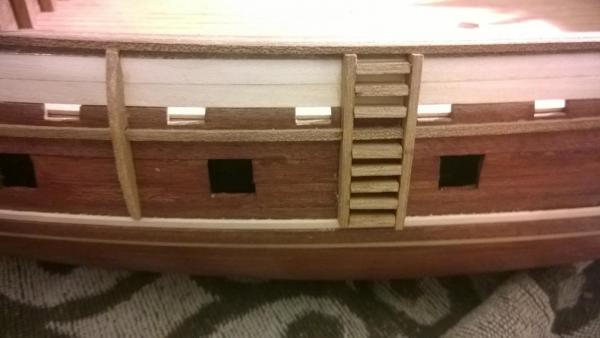
15.5. Sanding side ladders and uprights and starting stem, keel and sternpost. Lessons learned: The better you finish your parts, much better results and easier to build parts on top. Cutting corners in one stage will probably bite you back next stage by either: a) difficult position to fix the underlaying part. you need to re-modify your next part more. In addition now I'm starting to suffer from my working station -> not good enough place/holders to fix the ship steady without hands.


- 80 replies
-
- 1
-
-
- mayflower
- constructo
- (and 2 more)
-
14.5. Wow, taking pictures really makes you notice all the small errors . Anyways, finally caught this day and continued to build Fo'c's'le railings and uprights. Also put some sanding dust to the stern to fill small gaps, lets see how it turns out. I also want to sand the side stairs a bit to give them a smooth fit tomorrow as I probably try to build the keel and stem.


- 80 replies
-
- 3
-
-
- mayflower
- constructo
- (and 2 more)
-
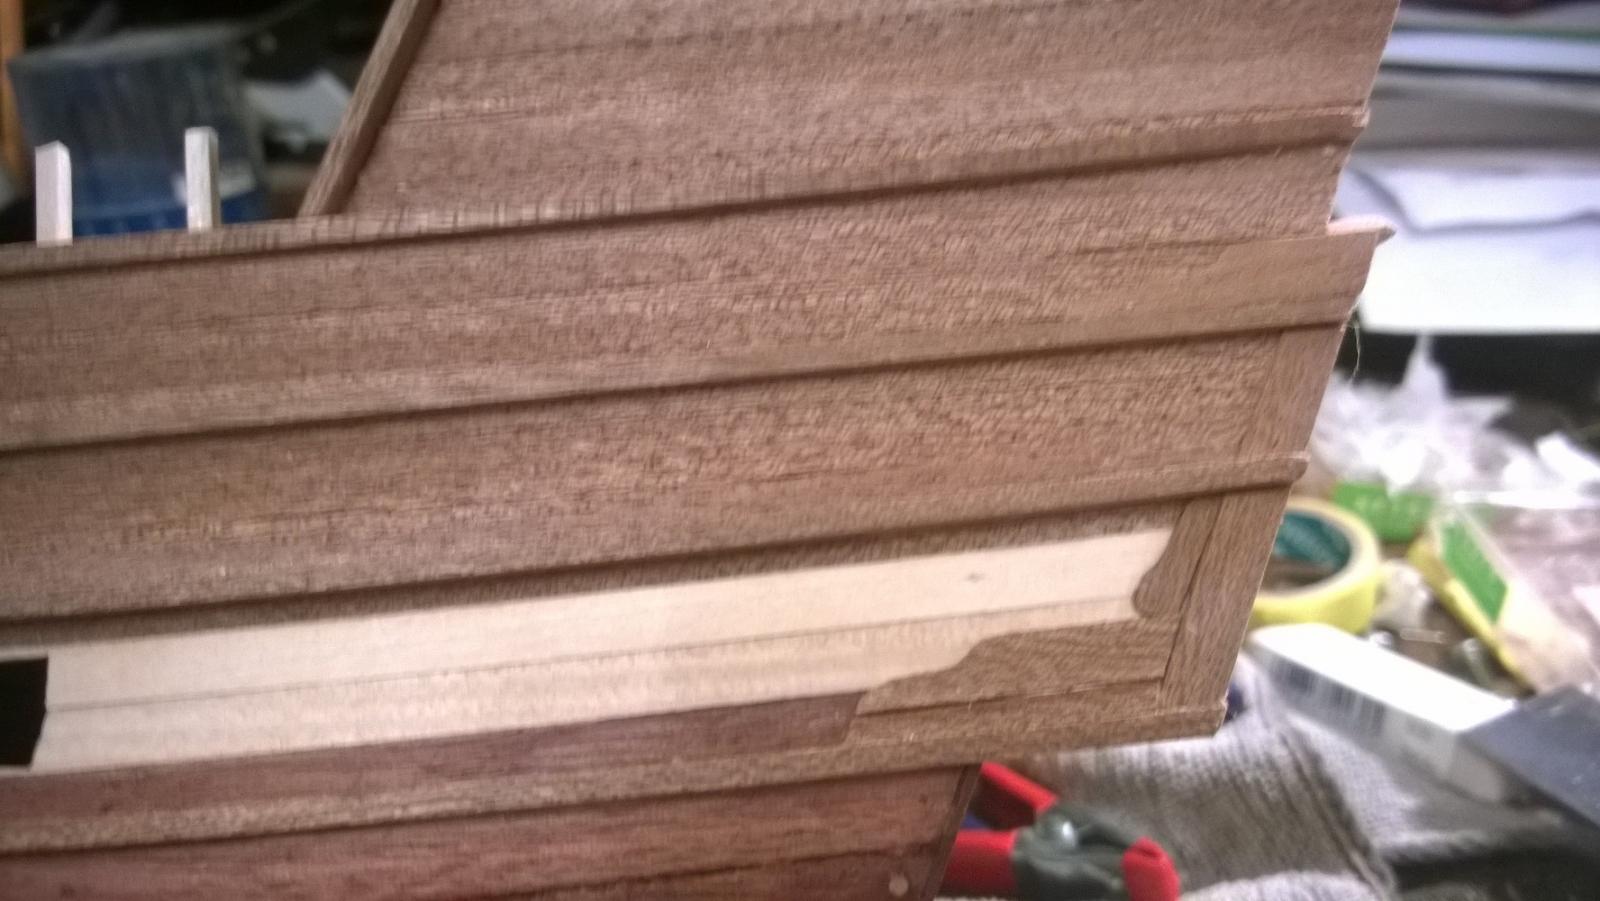
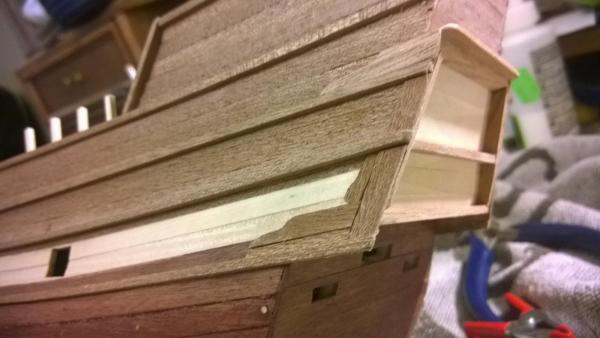
13.5. Building the stern. I had to make few additional "decorations" to the back side because I had left few gaps to the back...

- 80 replies
-
- 1
-
-
- mayflower
- constructo
- (and 2 more)
-
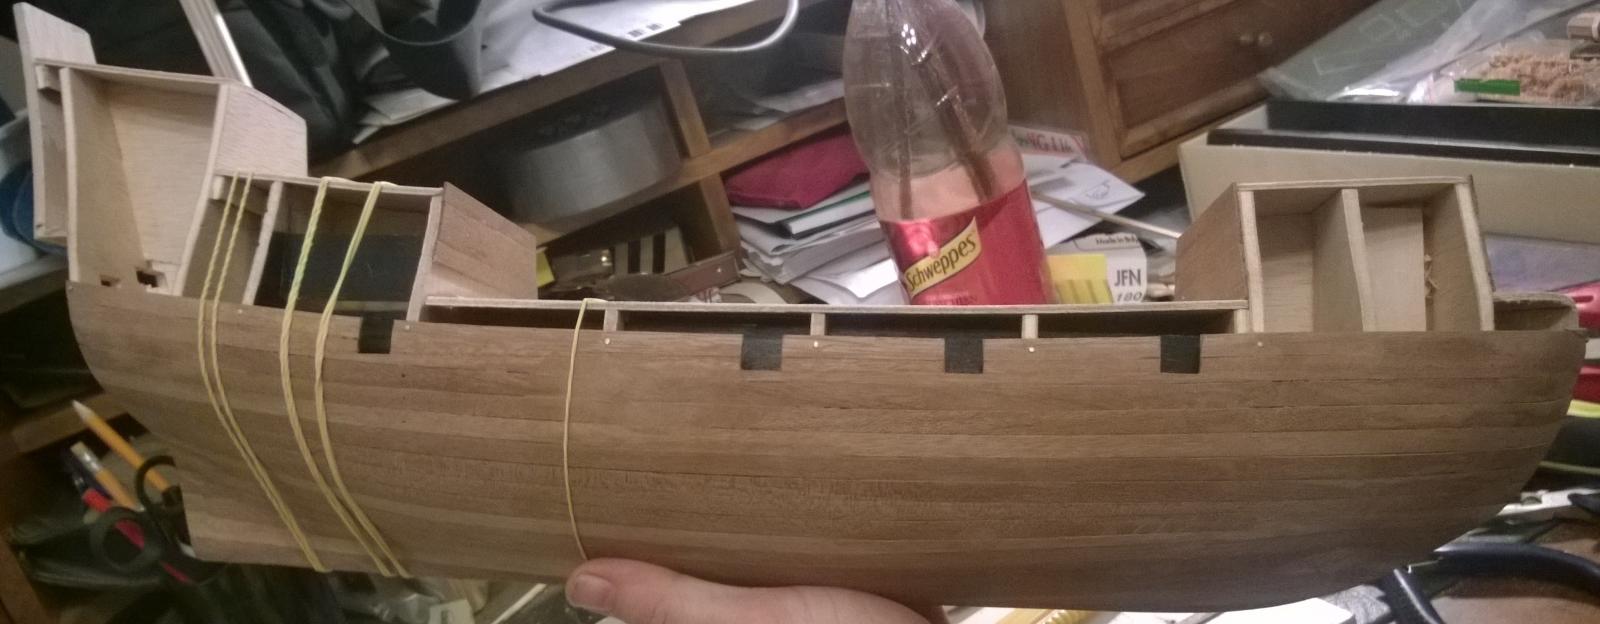
11.5 and 12.5. measuring and gluing the stringers into the hull (not sure what they are called, I'm having hard time with these instructions since I'm don't speak english natively).

- 80 replies
-
- 1
-
-
- mayflower
- constructo
- (and 2 more)
-
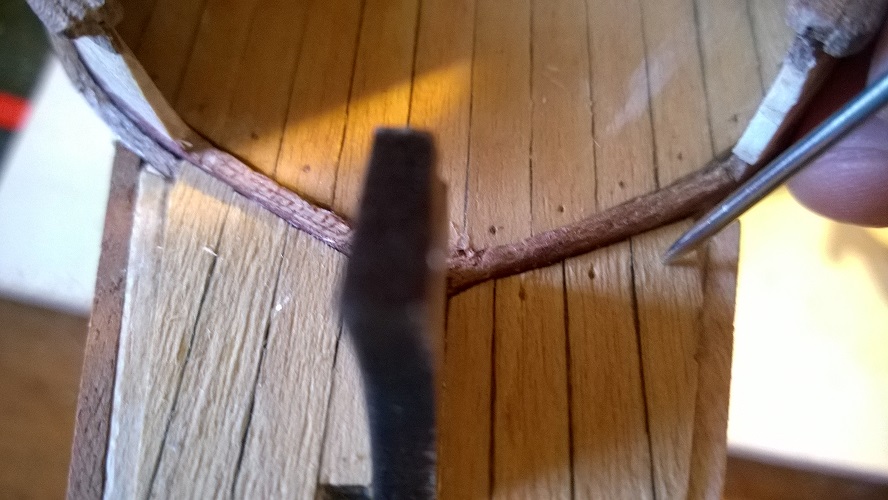
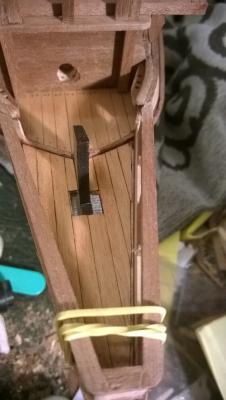
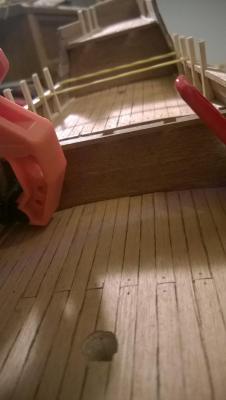
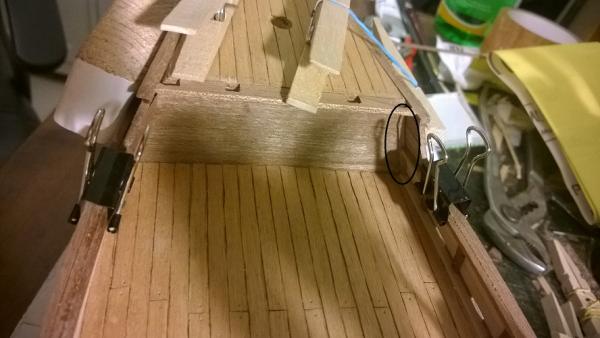
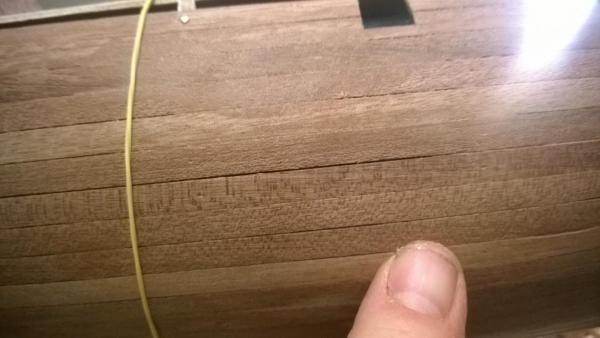
11.5. Started making hand rails and the hand rail pillars. There was a slight gap in the hull planking and keelson which was visible to the deck. I put small additional slices of wood to cover that gap (draw a black circle around to the last picture).


- 80 replies
-
- 1
-
-
- mayflower
- constructo
- (and 2 more)
-
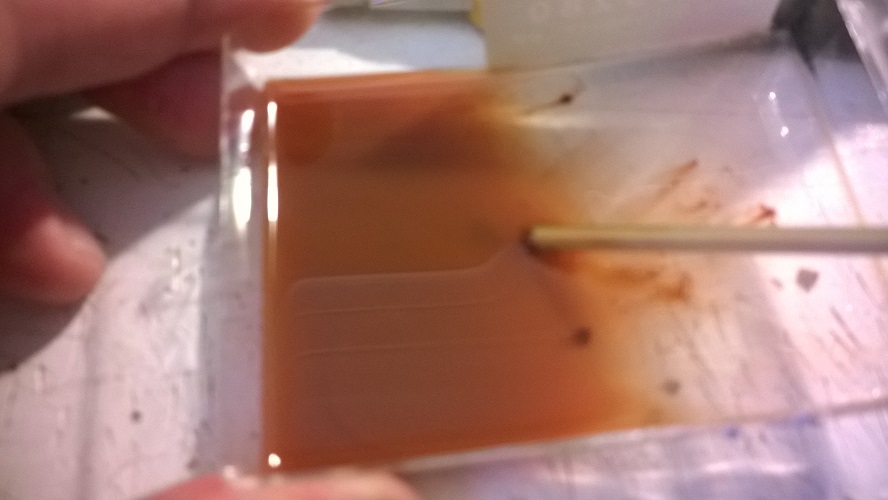
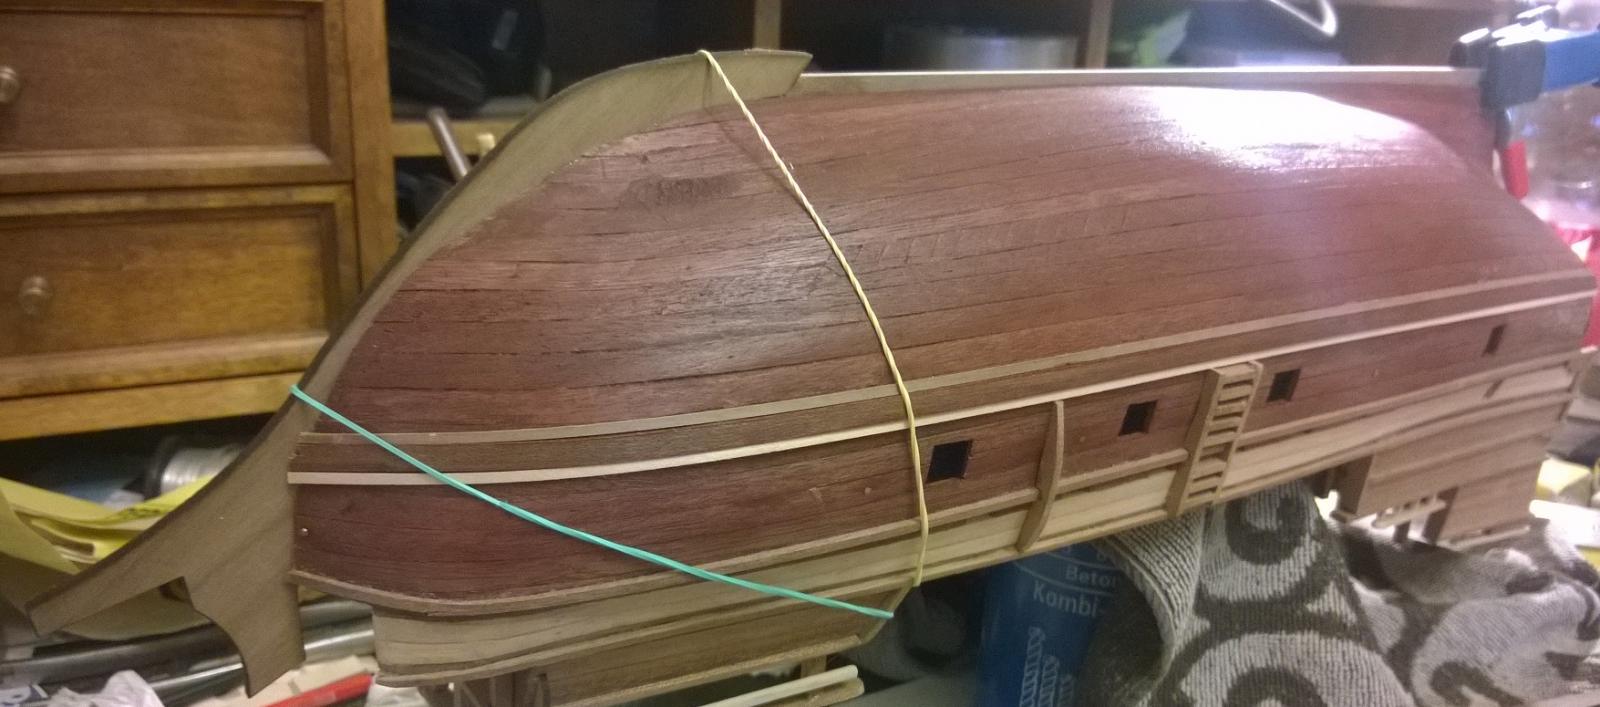
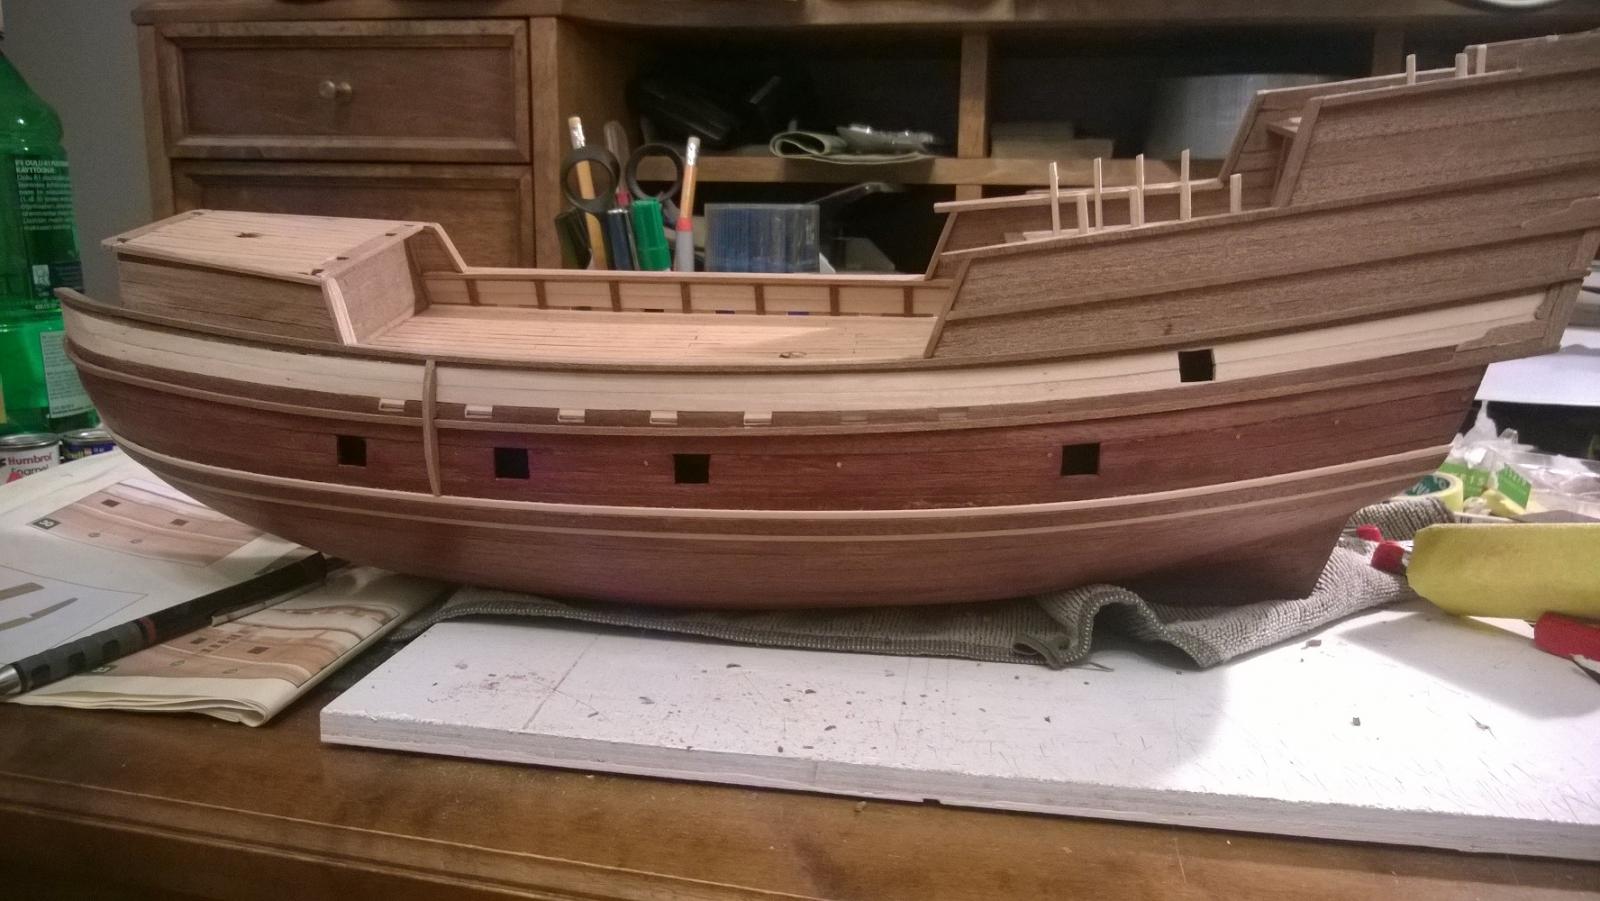
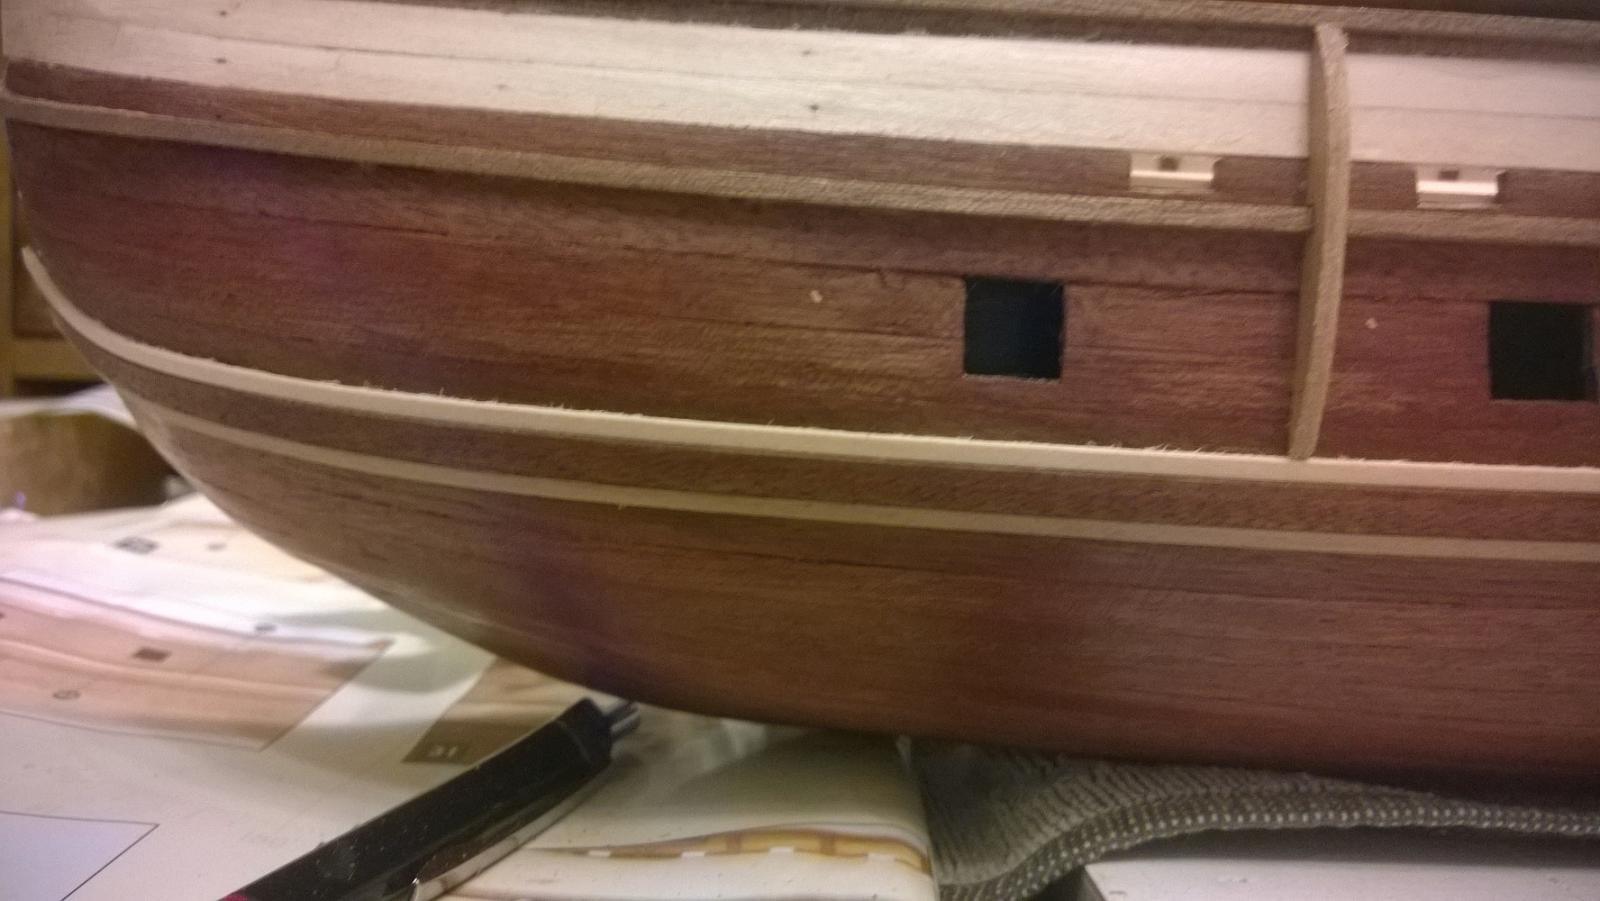
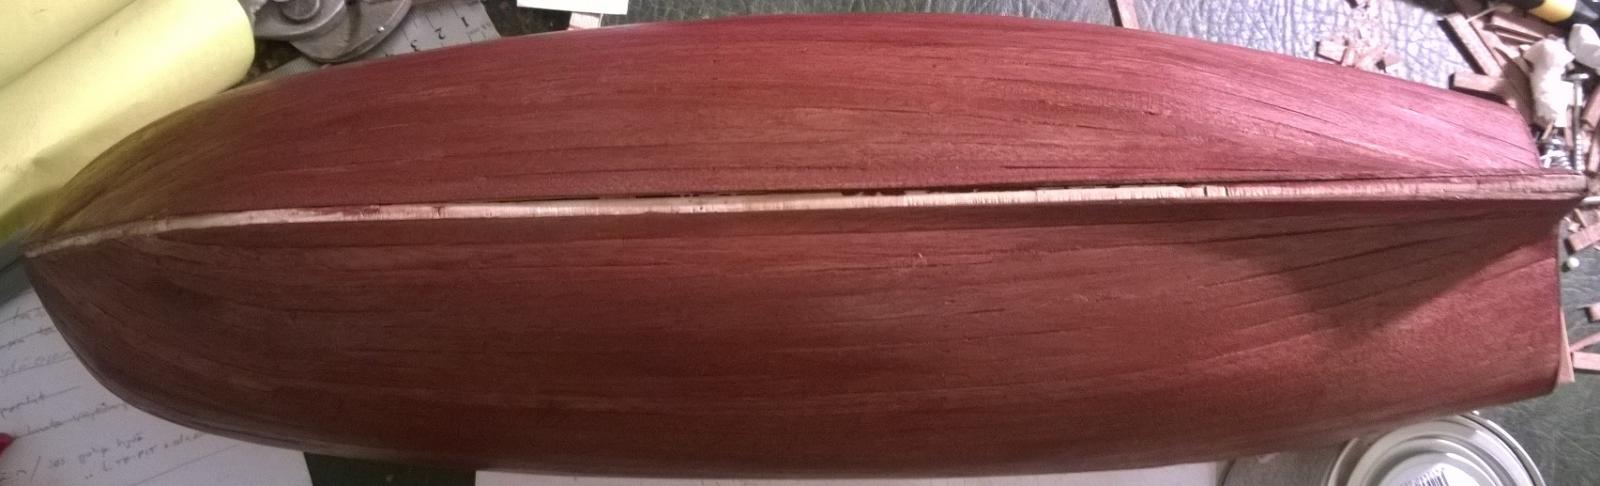
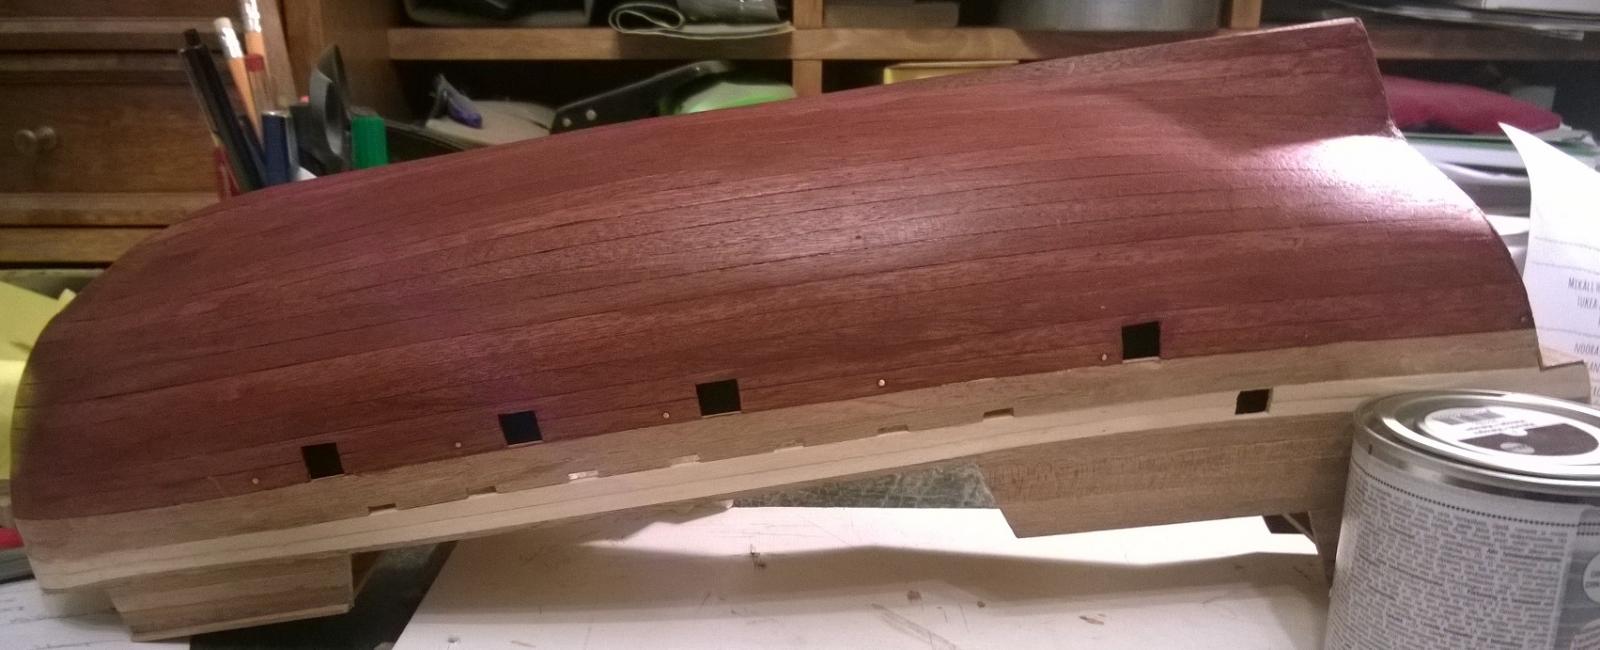
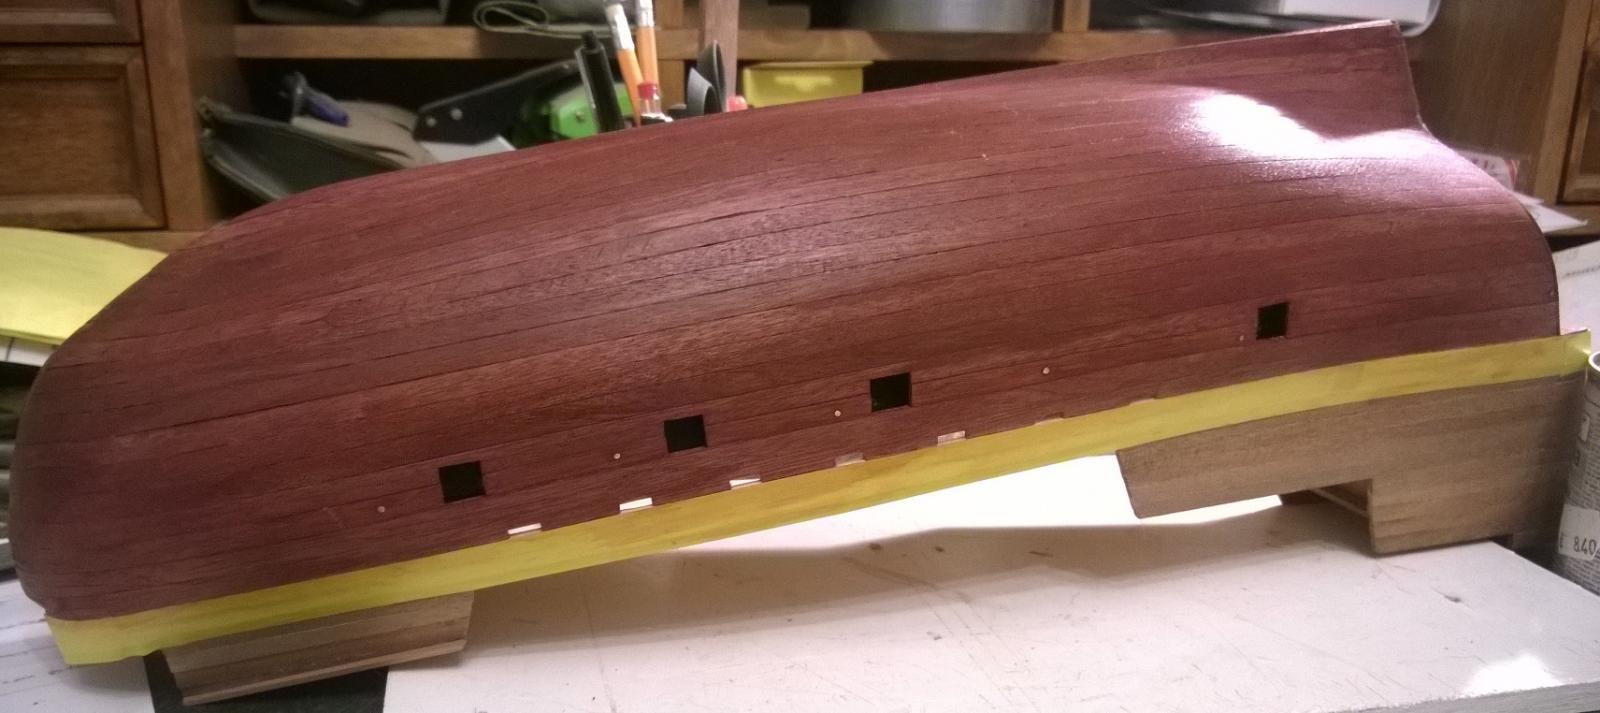
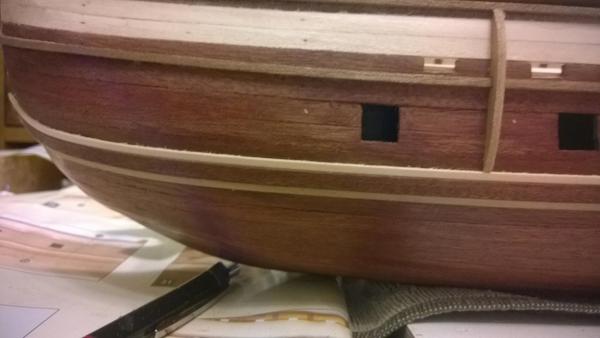
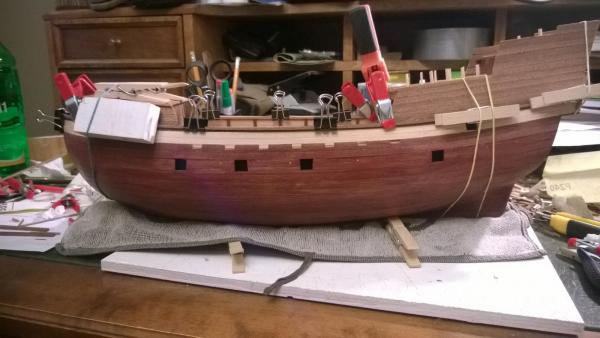
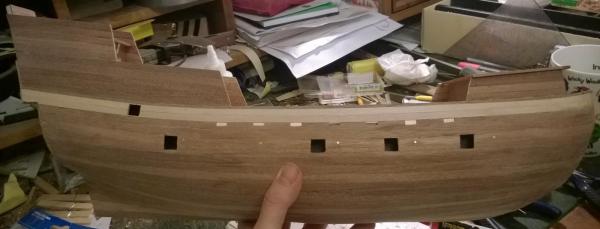
7.5. Final decision on not to make second layer in the hull. I felt the hull was good and I was afraid I would screw it up by putting second layer (and my spiling wasn't good). I decided to put a coat of varnish to the hull and bought mahogany color. I got scared when putting it down -> how RED it was.... In addition I first put it only until the upper side of the gun ports and found out that it really looked stupid -> so put the coat of varnish a bit higher. Well, my eye got pretty used to the mahogany color so I decided not to do any remediation actions at this point


- 80 replies
-
- 2
-
-
- mayflower
- constructo
- (and 2 more)
-
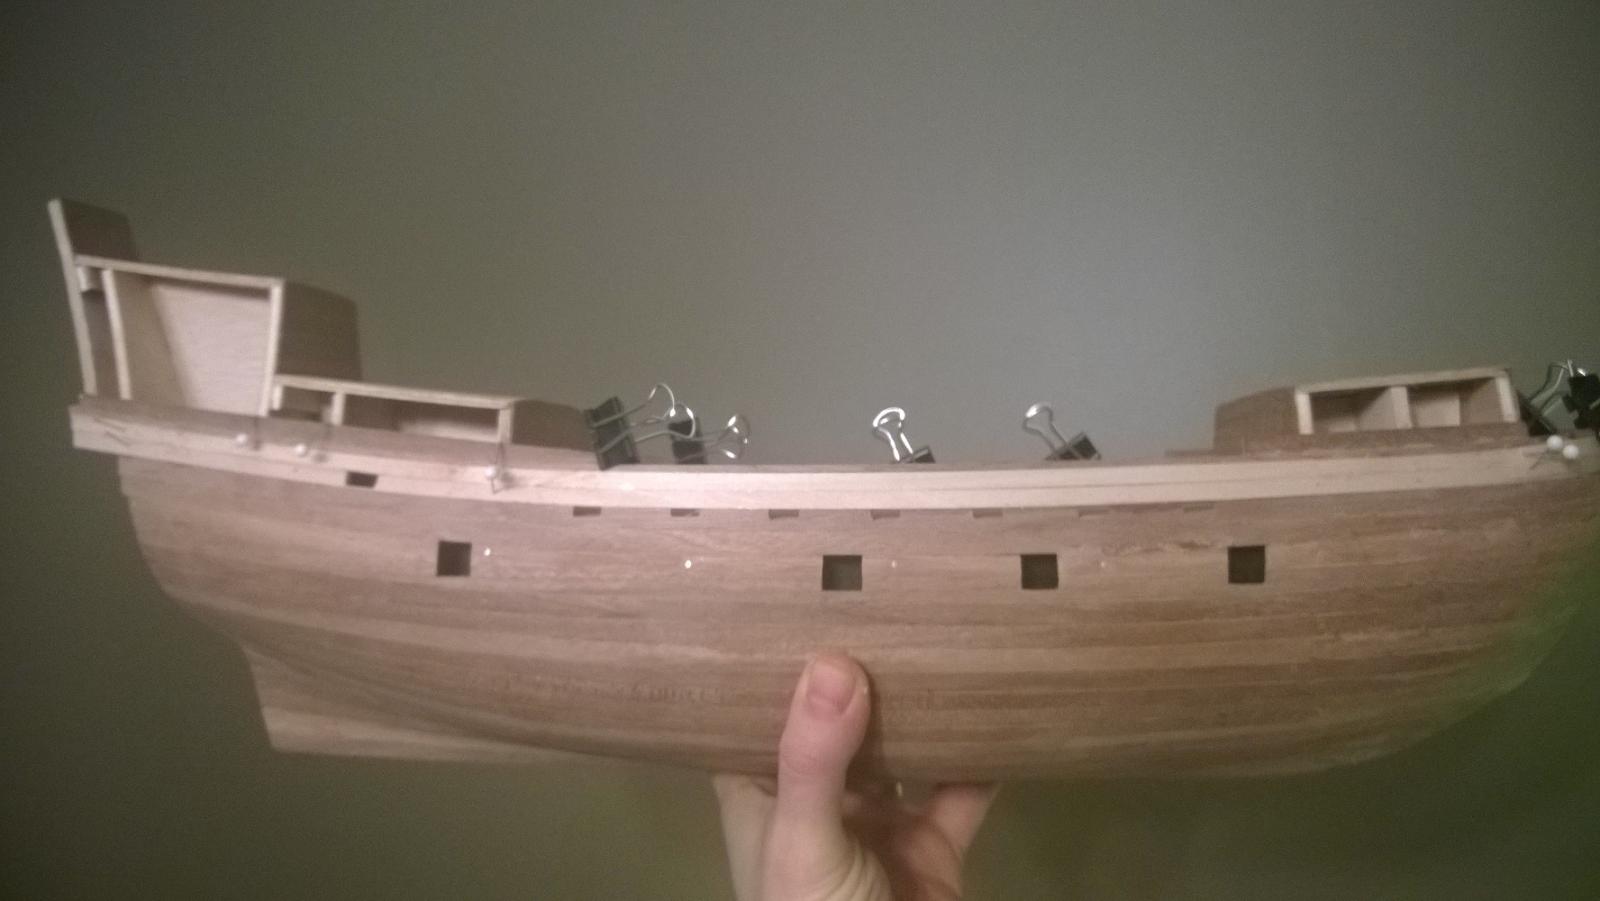
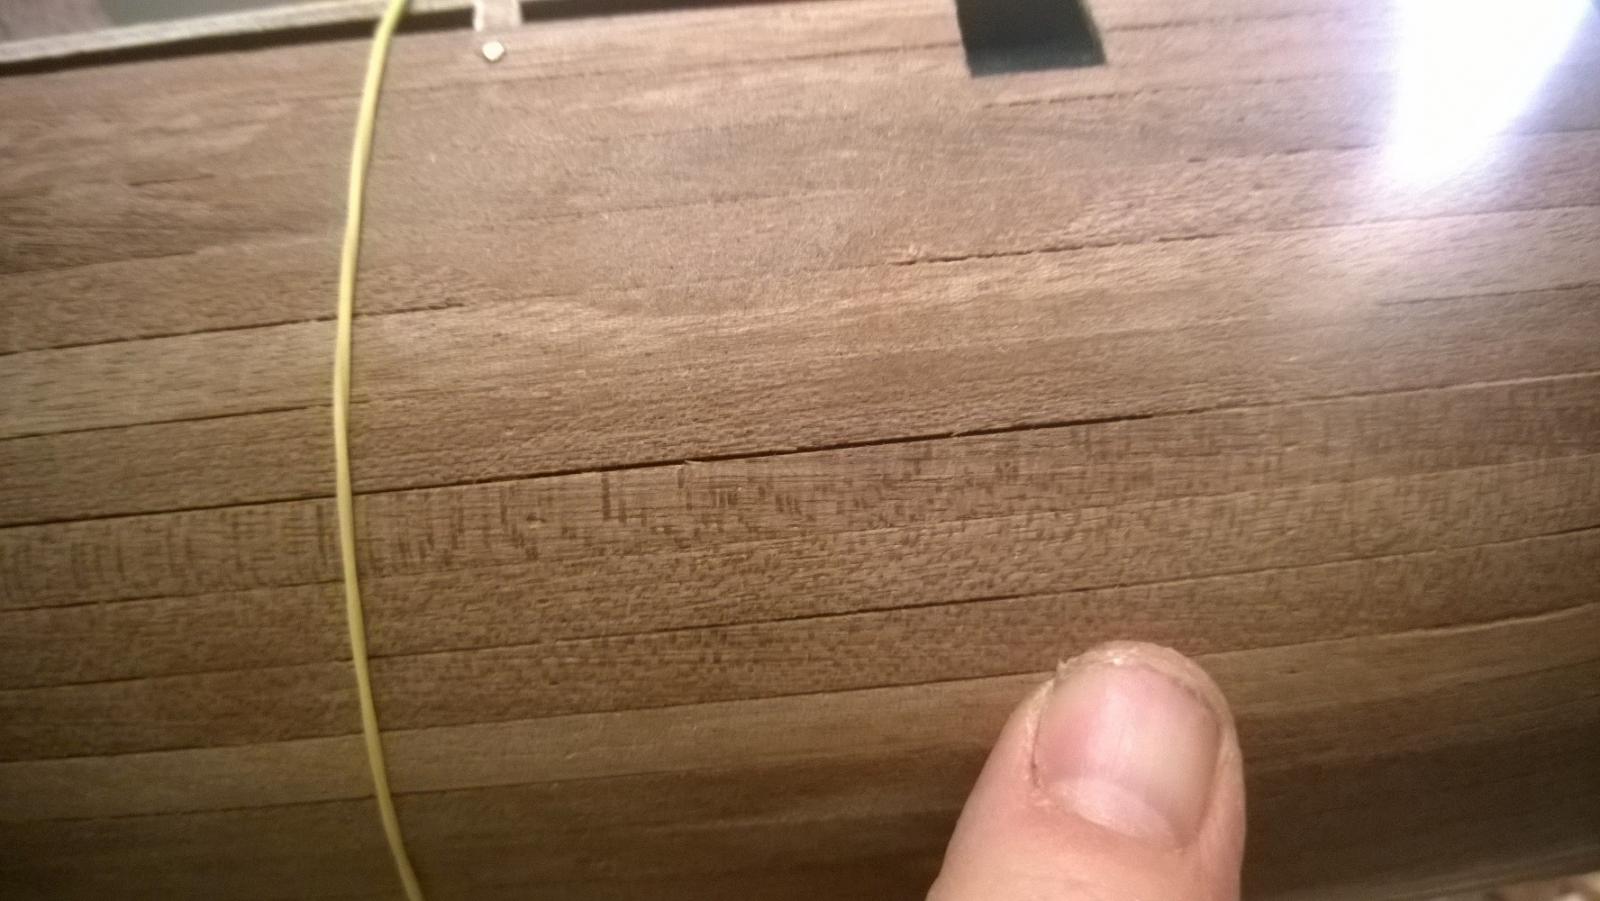
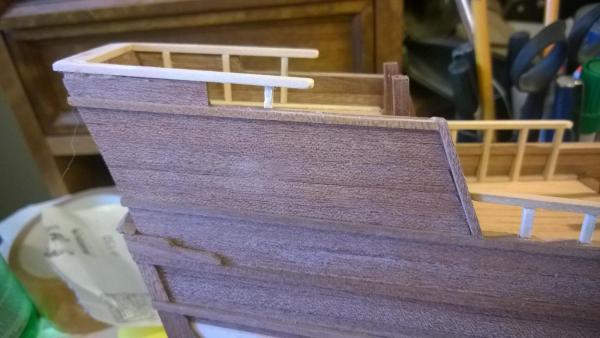
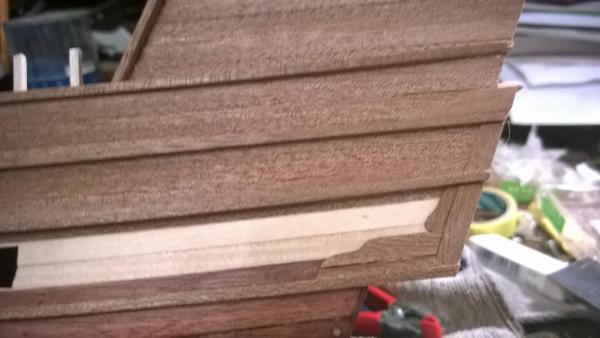
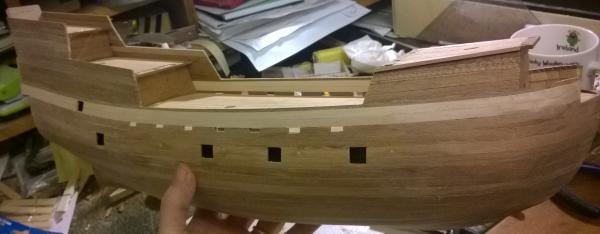
5.5. Finished the bulwark planking and continued filling gaps in the hull and re-sanding, re-sanding, re-sanding..... Lessons learned: check the planking color before cutting and clueing. As you can see, the shade of the planks are different in the back. I did second layer of planking to the bulwark after seeing how different color the same planks can be...


- 80 replies
-
- 2
-
-
- mayflower
- constructo
- (and 2 more)
-
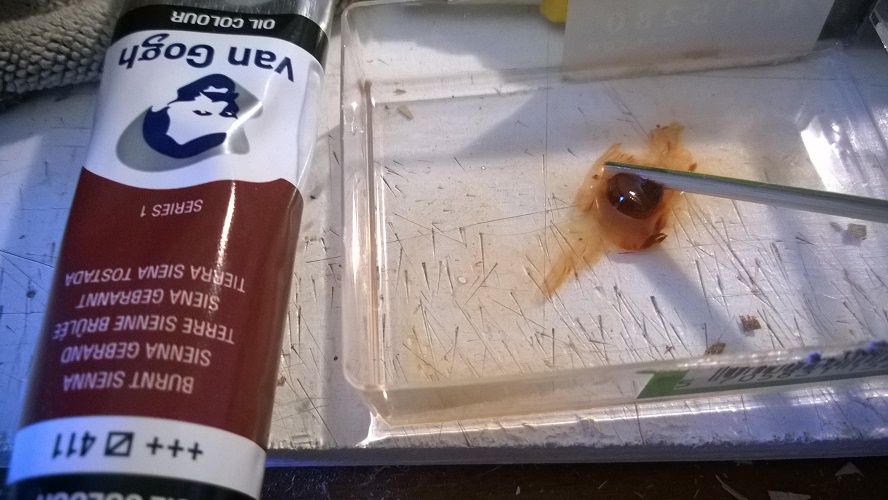
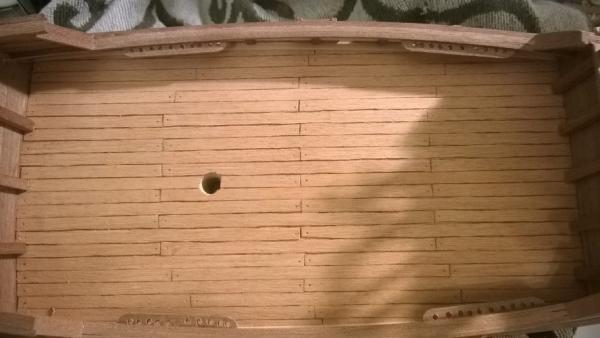
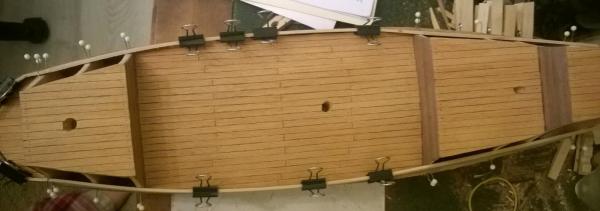
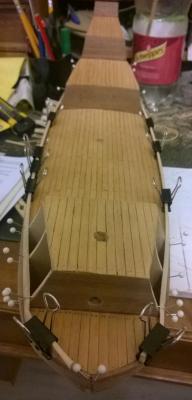
3.5.2015. Hull starts to be ready and finished the false deck. Also planking is finised. Learnings from this period was that: - Ramin is much softer wood that bokapy. - Save all the dust from sanding -> you need this to fill the gaps unless you are sure to make second layer to the hull. - Stop using pins after this point -> you cannot sand visible parts anymore as you could with the base hull planking which in this kit was 2 x 6 x 600 mm. - At this point I started thinking hull second layer, I was pretty sure that I will make that. Later after glueing sand dust to gaps and sanding the hull several times I decided not to do second layer planking to the hull. Lets see later if it was smart decision or not I used coal pen to mark the sides of the planks before gluing them. After gluing I used 5% Van Gogh Burnt Sienna color to Wash the deck to give more contrast to the shadows. After "washing" the planks, I put 2 layers of matt coat of varnish. I also continued to put sand dust in few remaining gaps in the hull and little sanding the next day.


- 80 replies
-
- 1
-
-
- mayflower
- constructo
- (and 2 more)
-
29.4. Hull first player planking starts to take shape. Sorry I missed day-by-day pictures but I it'll get more frequent. Few learnings: - Don't glue wet wood, gaps starts to appear in few days - Don't use much force in bending (this might have caused my hull slightly pending toward left) - It don't help if you soak the wood 1 days compared to 1 week, in my opinion at least bokapy the result was the same - 1 day soaking didn't give good enough pending base, and I wasn't that successful with the hot iron either. so I made myself a plank pending tool, since where I'm from, there were no ready made available. Soaking few hours and using plank pending tool gave me the best result. - Put in place and let it dry -> glue only after that. No force needed and you can control the gaps. In addition you can see immediately if some sanding is needed. The hull planking techniques for beginners instructions was the best thing that helped me. For example how to use full stealers. I needed 2 full stealers to get everything in place. - I used lots of pins (~400) to get the hull planks in place, and after sanding the hull only few were visible so I think it was a good decision to put pins right through the wood, even I read that pro's don't put the pins through the wood cause it will leave visible marks.


- 80 replies
-
- 3
-
-
- mayflower
- constructo
- (and 2 more)
-
Reading this forum has helped me so much, so I though of sharing my first build project with Mayflower by Constructo kit. Specially pictures have been great help because these instructions (at least for a newbie) has been awful. Secondly I didn't exactly know what I actually started, before I needed to do first hull plank pending... Since I started this project few weeks ago, I try to put dates to different phazes that might help some newbie like me getting the understading how long it takes . Project starting 10.4. 12.4. Keelson, frames and false decks glued. These were ready cut parts so it was simple. First mistake: At this point I measured ~ish by eye that everything was in 90 degress angle (I come to this later, but it might be that this caused a slight pending of the hull later (or the fact that I used slightly force in hull plank pending).


- 80 replies
-
- 2
-
-
- mayflower
- constructo
- (and 2 more)