CDW
-
Posts
7,747 -
Joined
-
Last visited
Content Type
Profiles
Forums
Gallery
Events
Everything posted by CDW
-

White Freightliner DD by CDW - AMT - 1:25 Scale - PLASTIC
CDW replied to CDW's topic in Non-ship/categorised builds
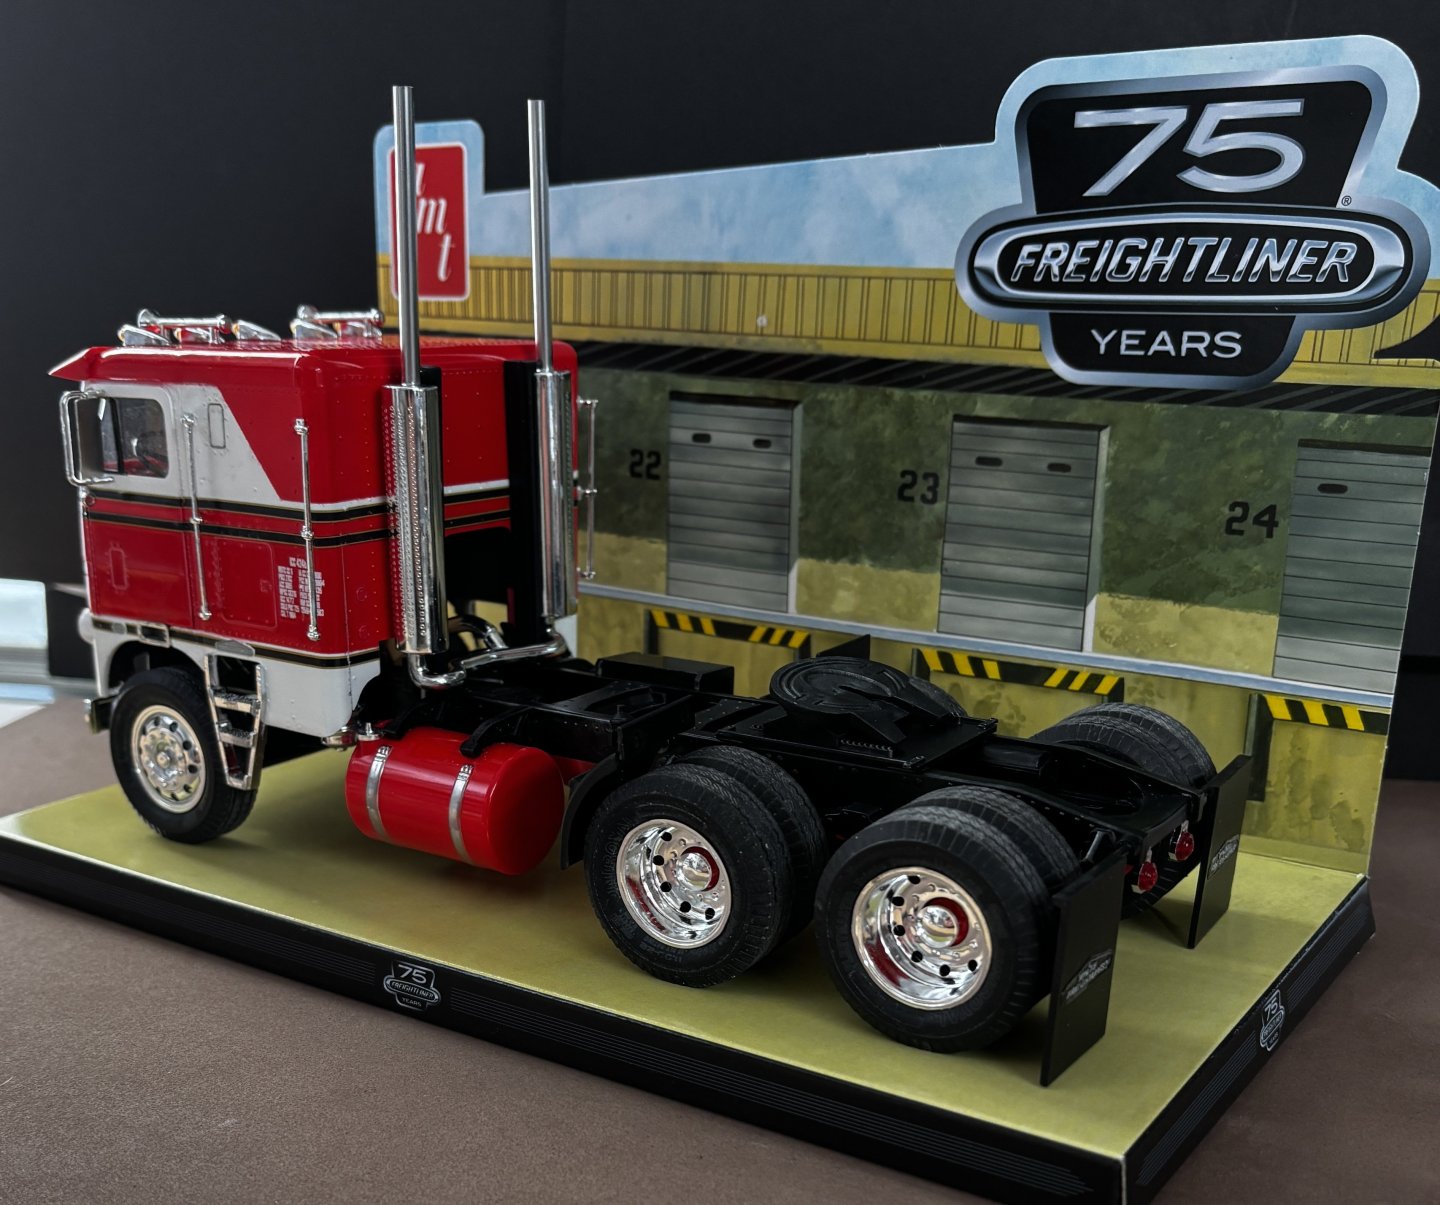
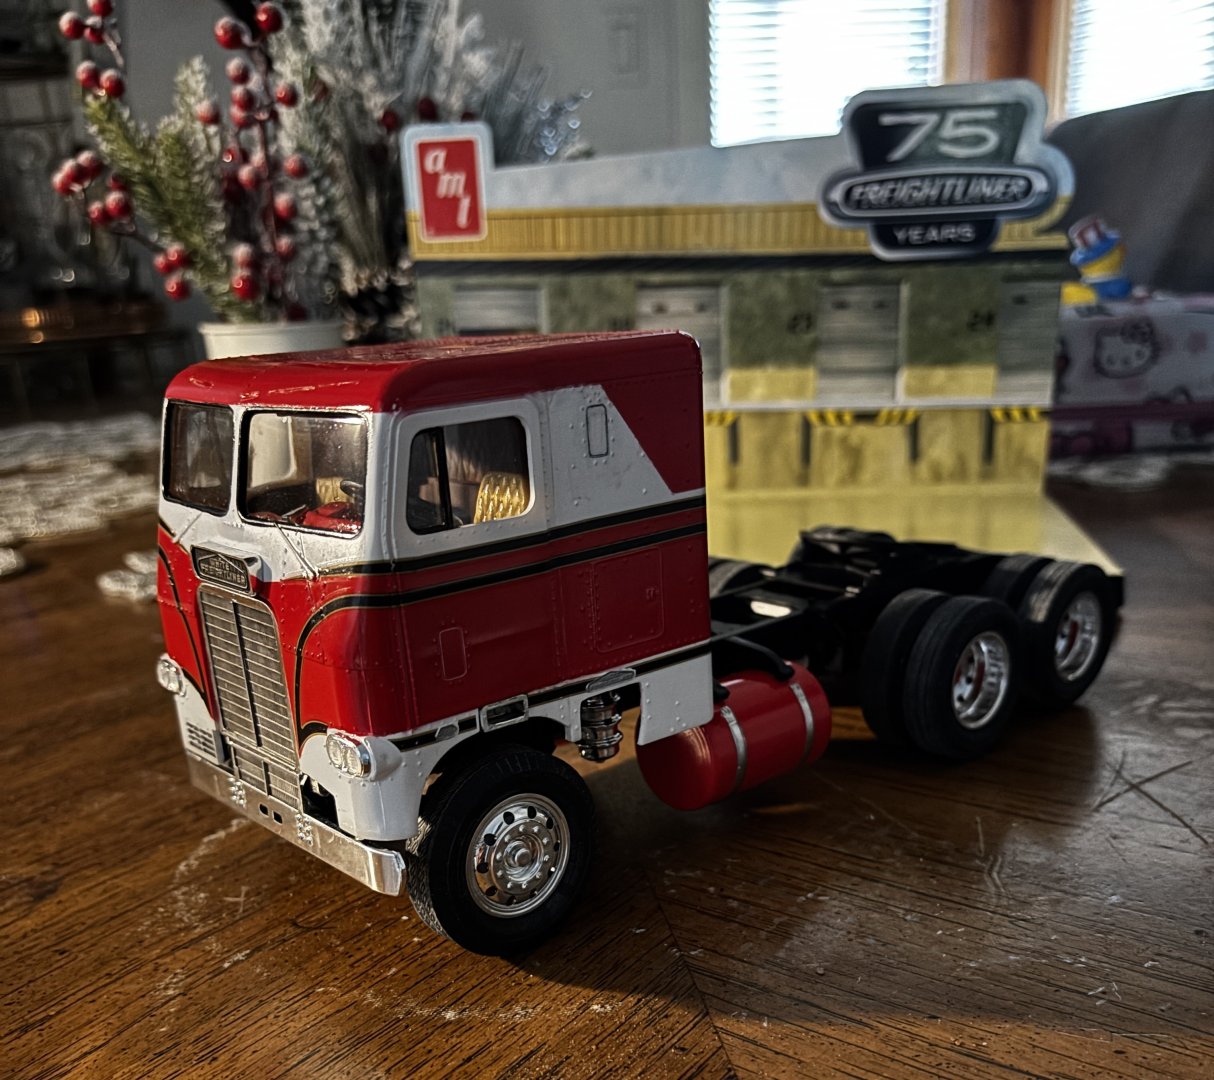
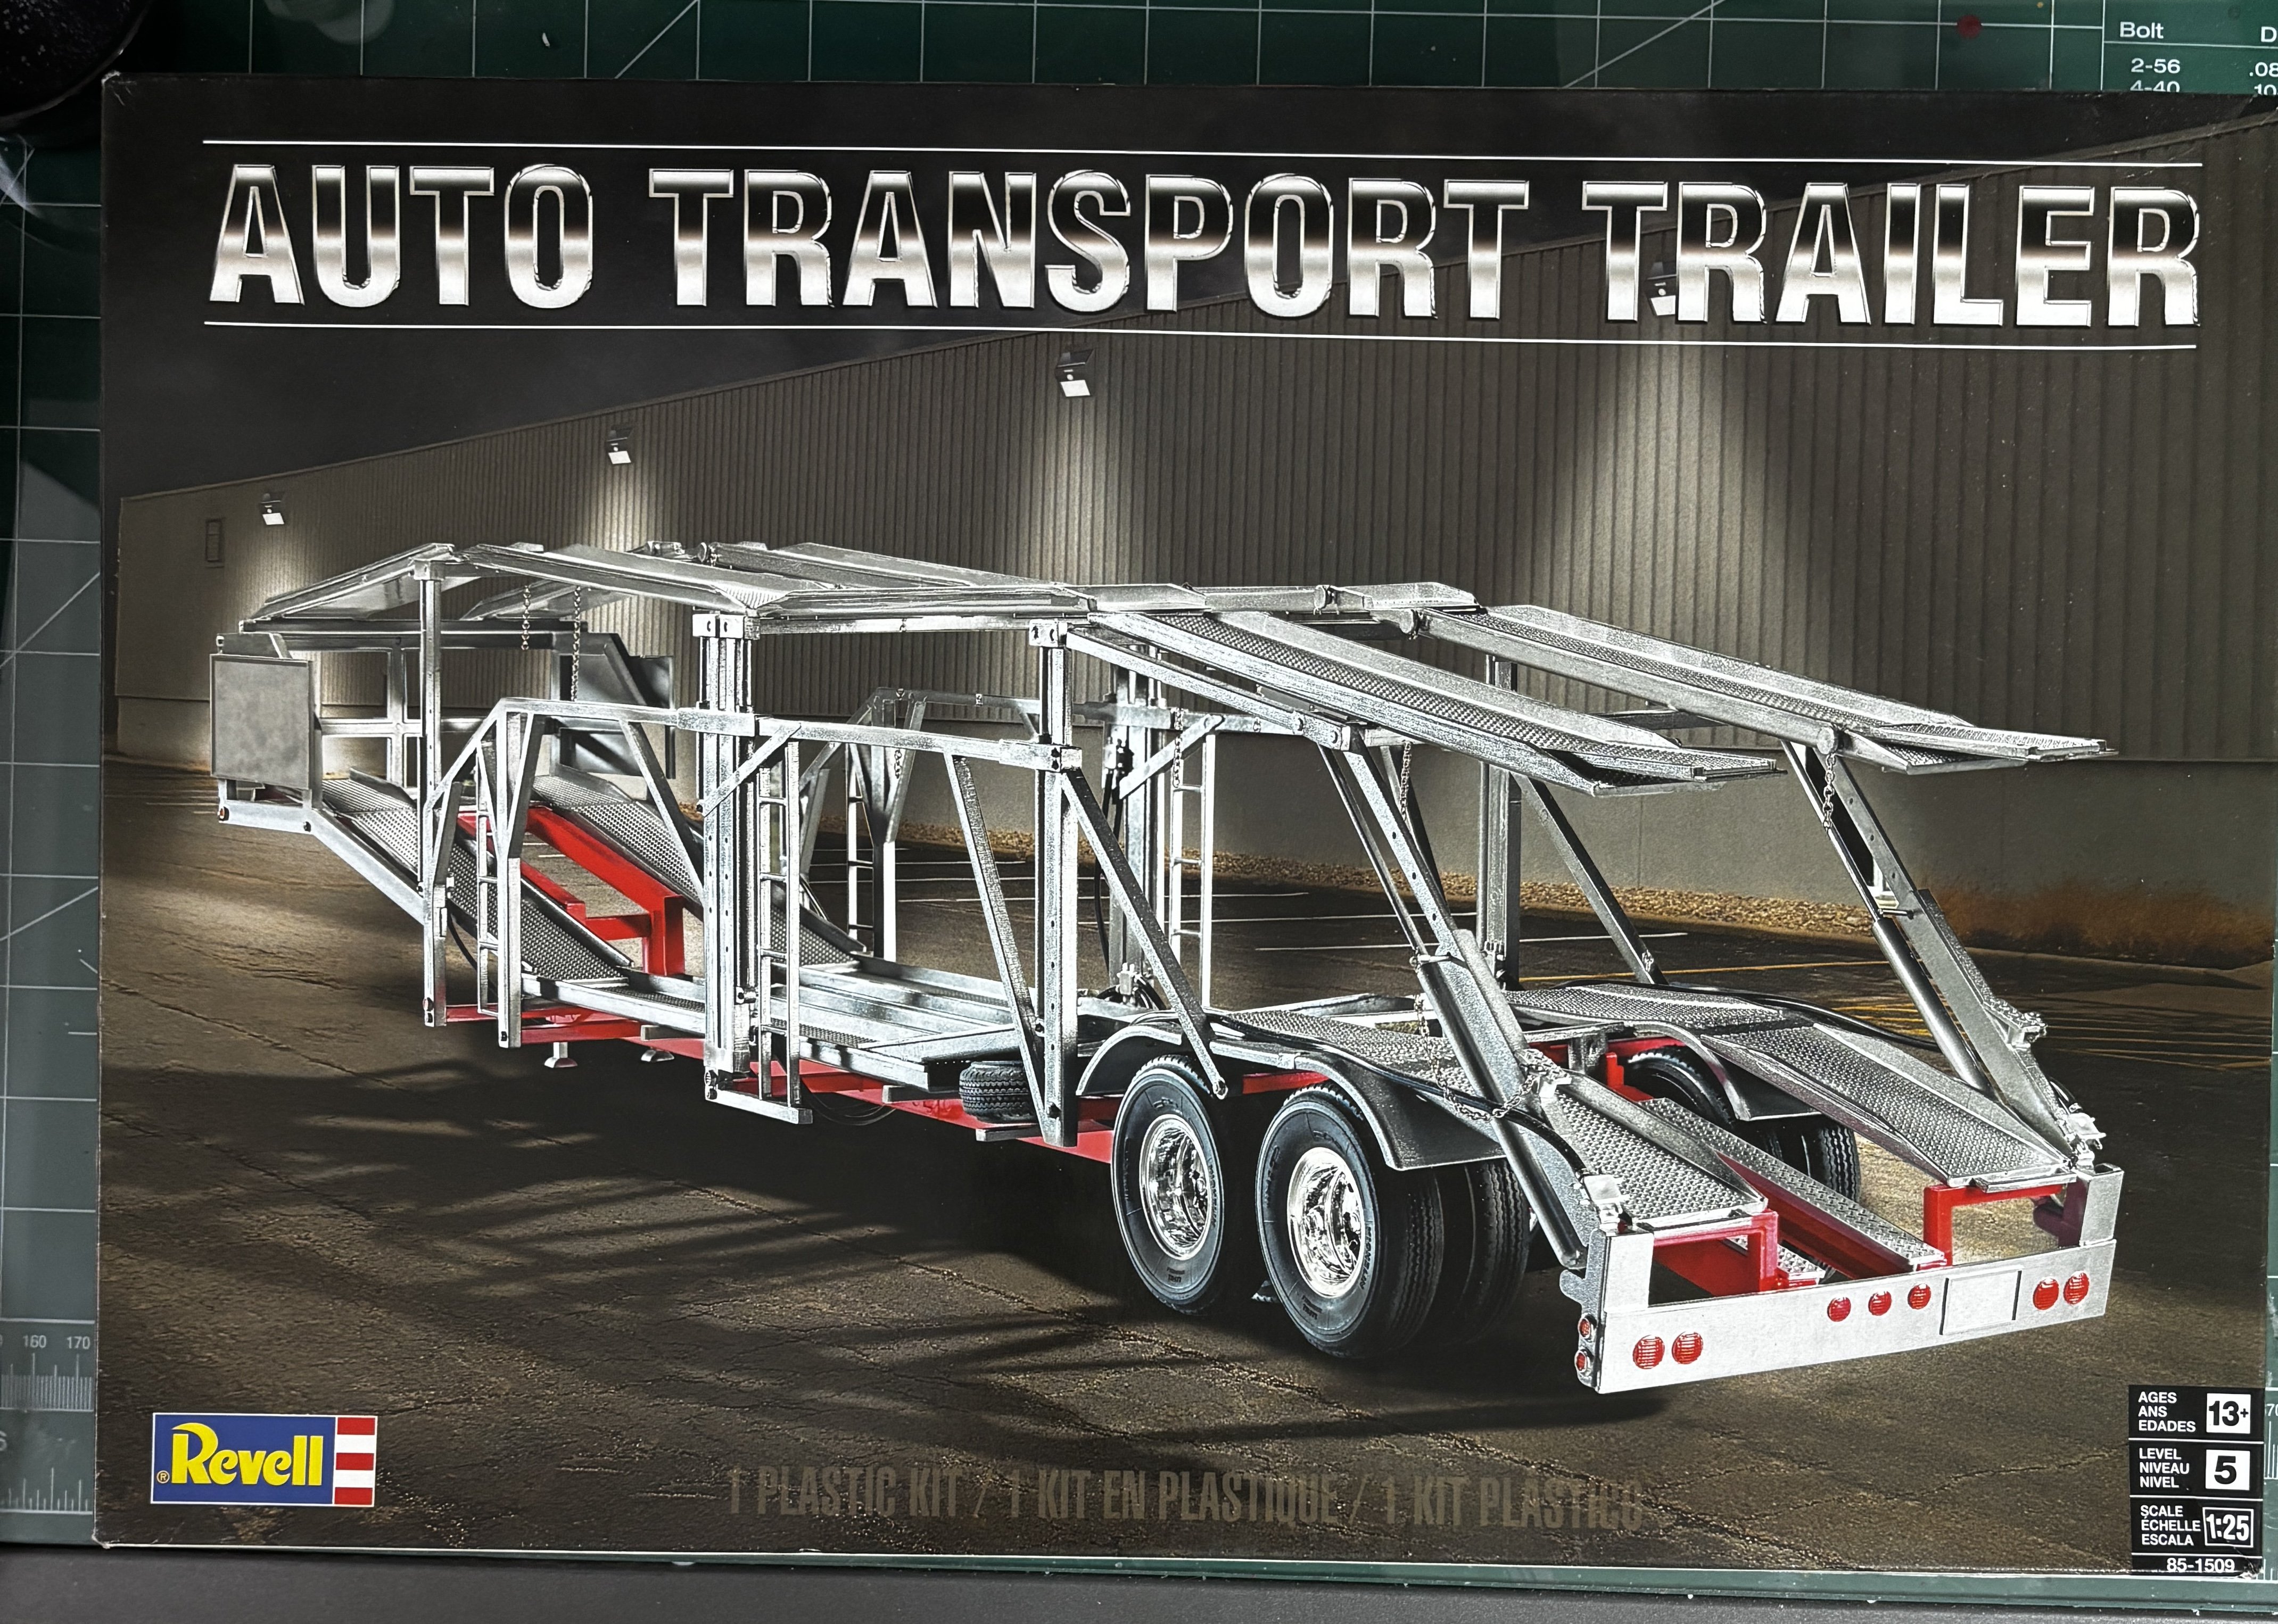
This might be the right load for the Freightliner. Besides, up to eight car models can fit on the trailer, freeing up the shelf space the truck-trailer combo would require.
-
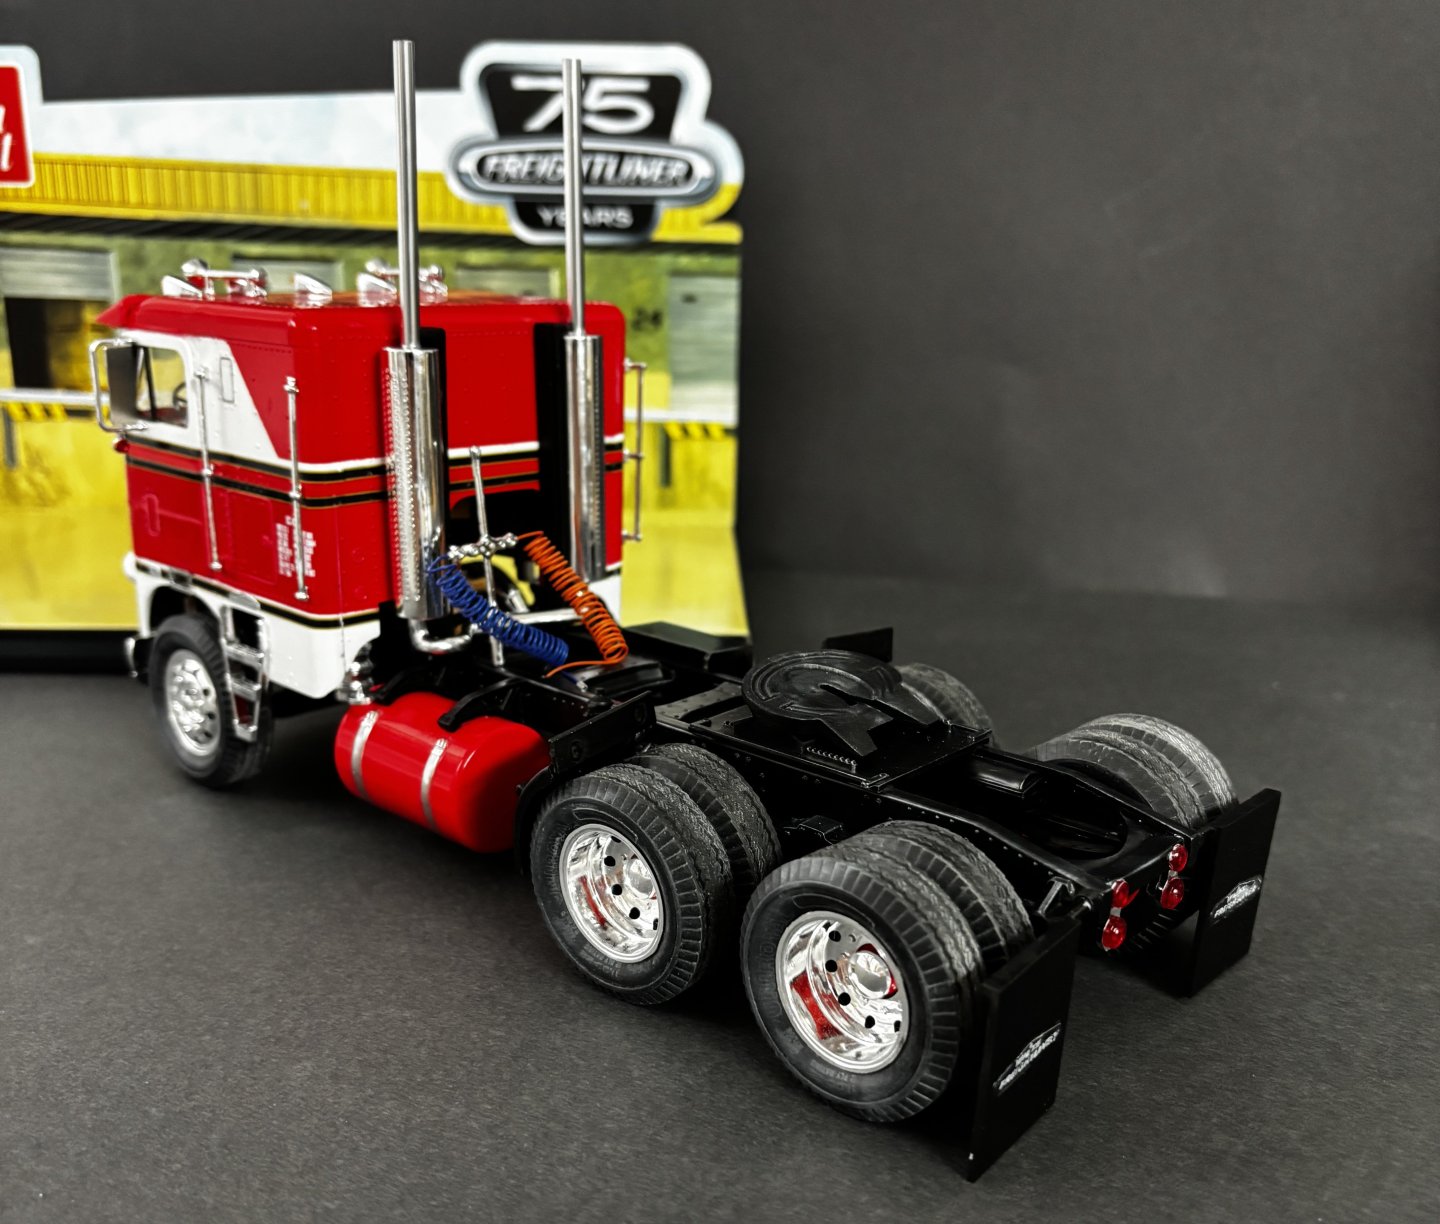
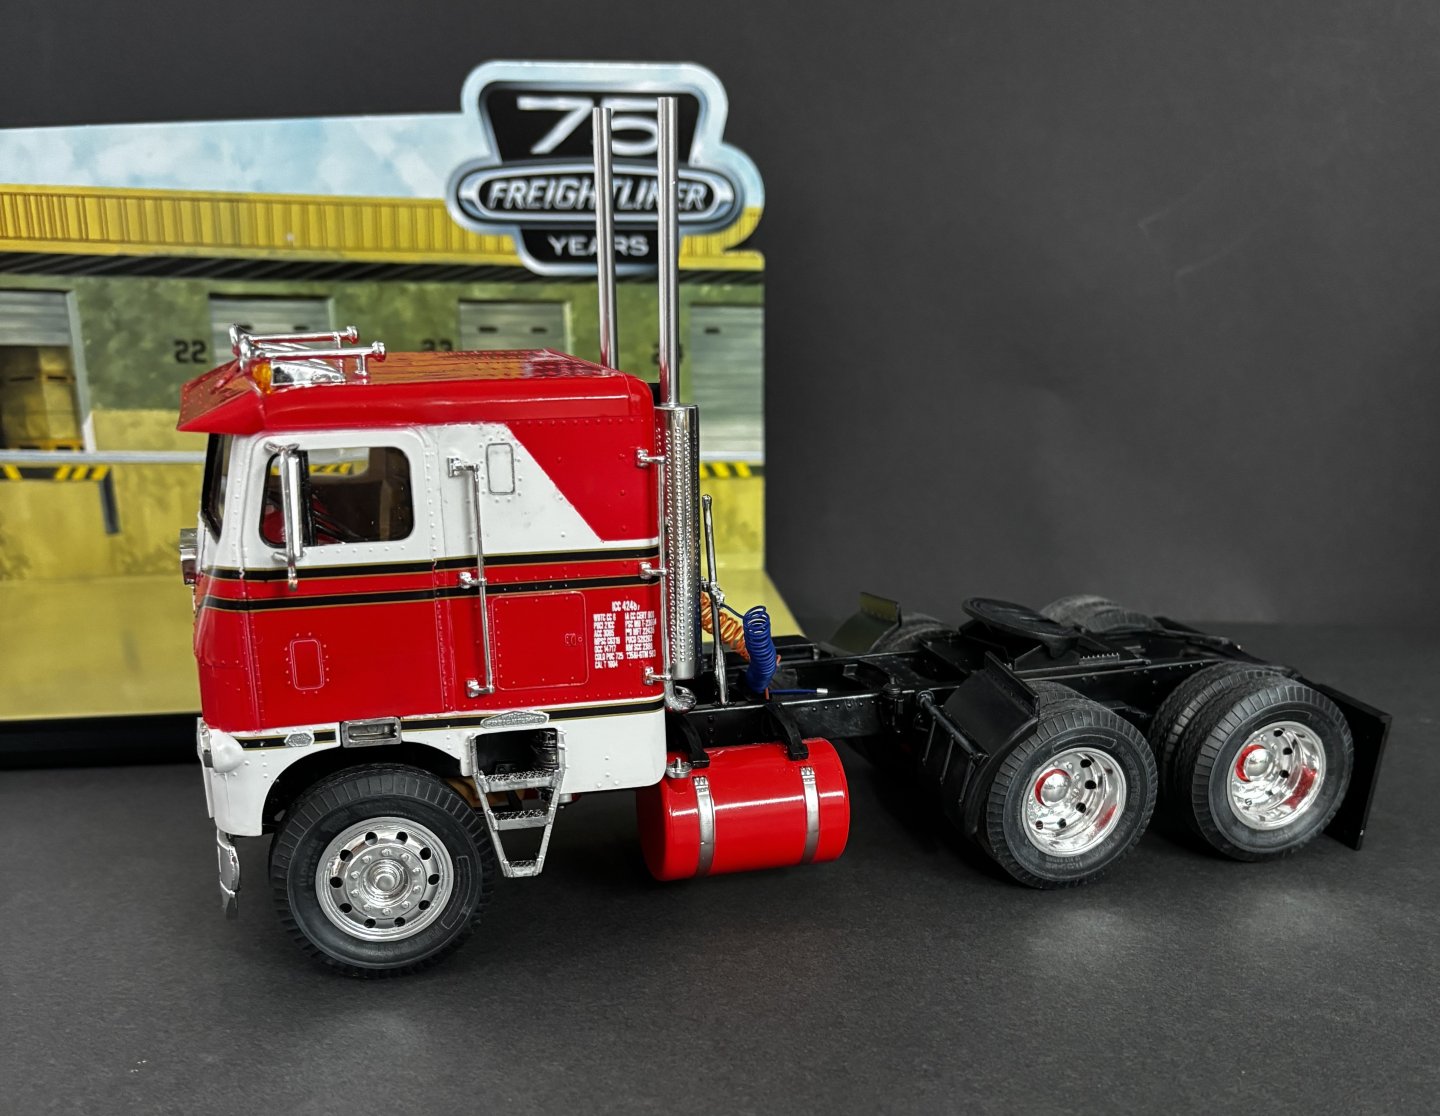
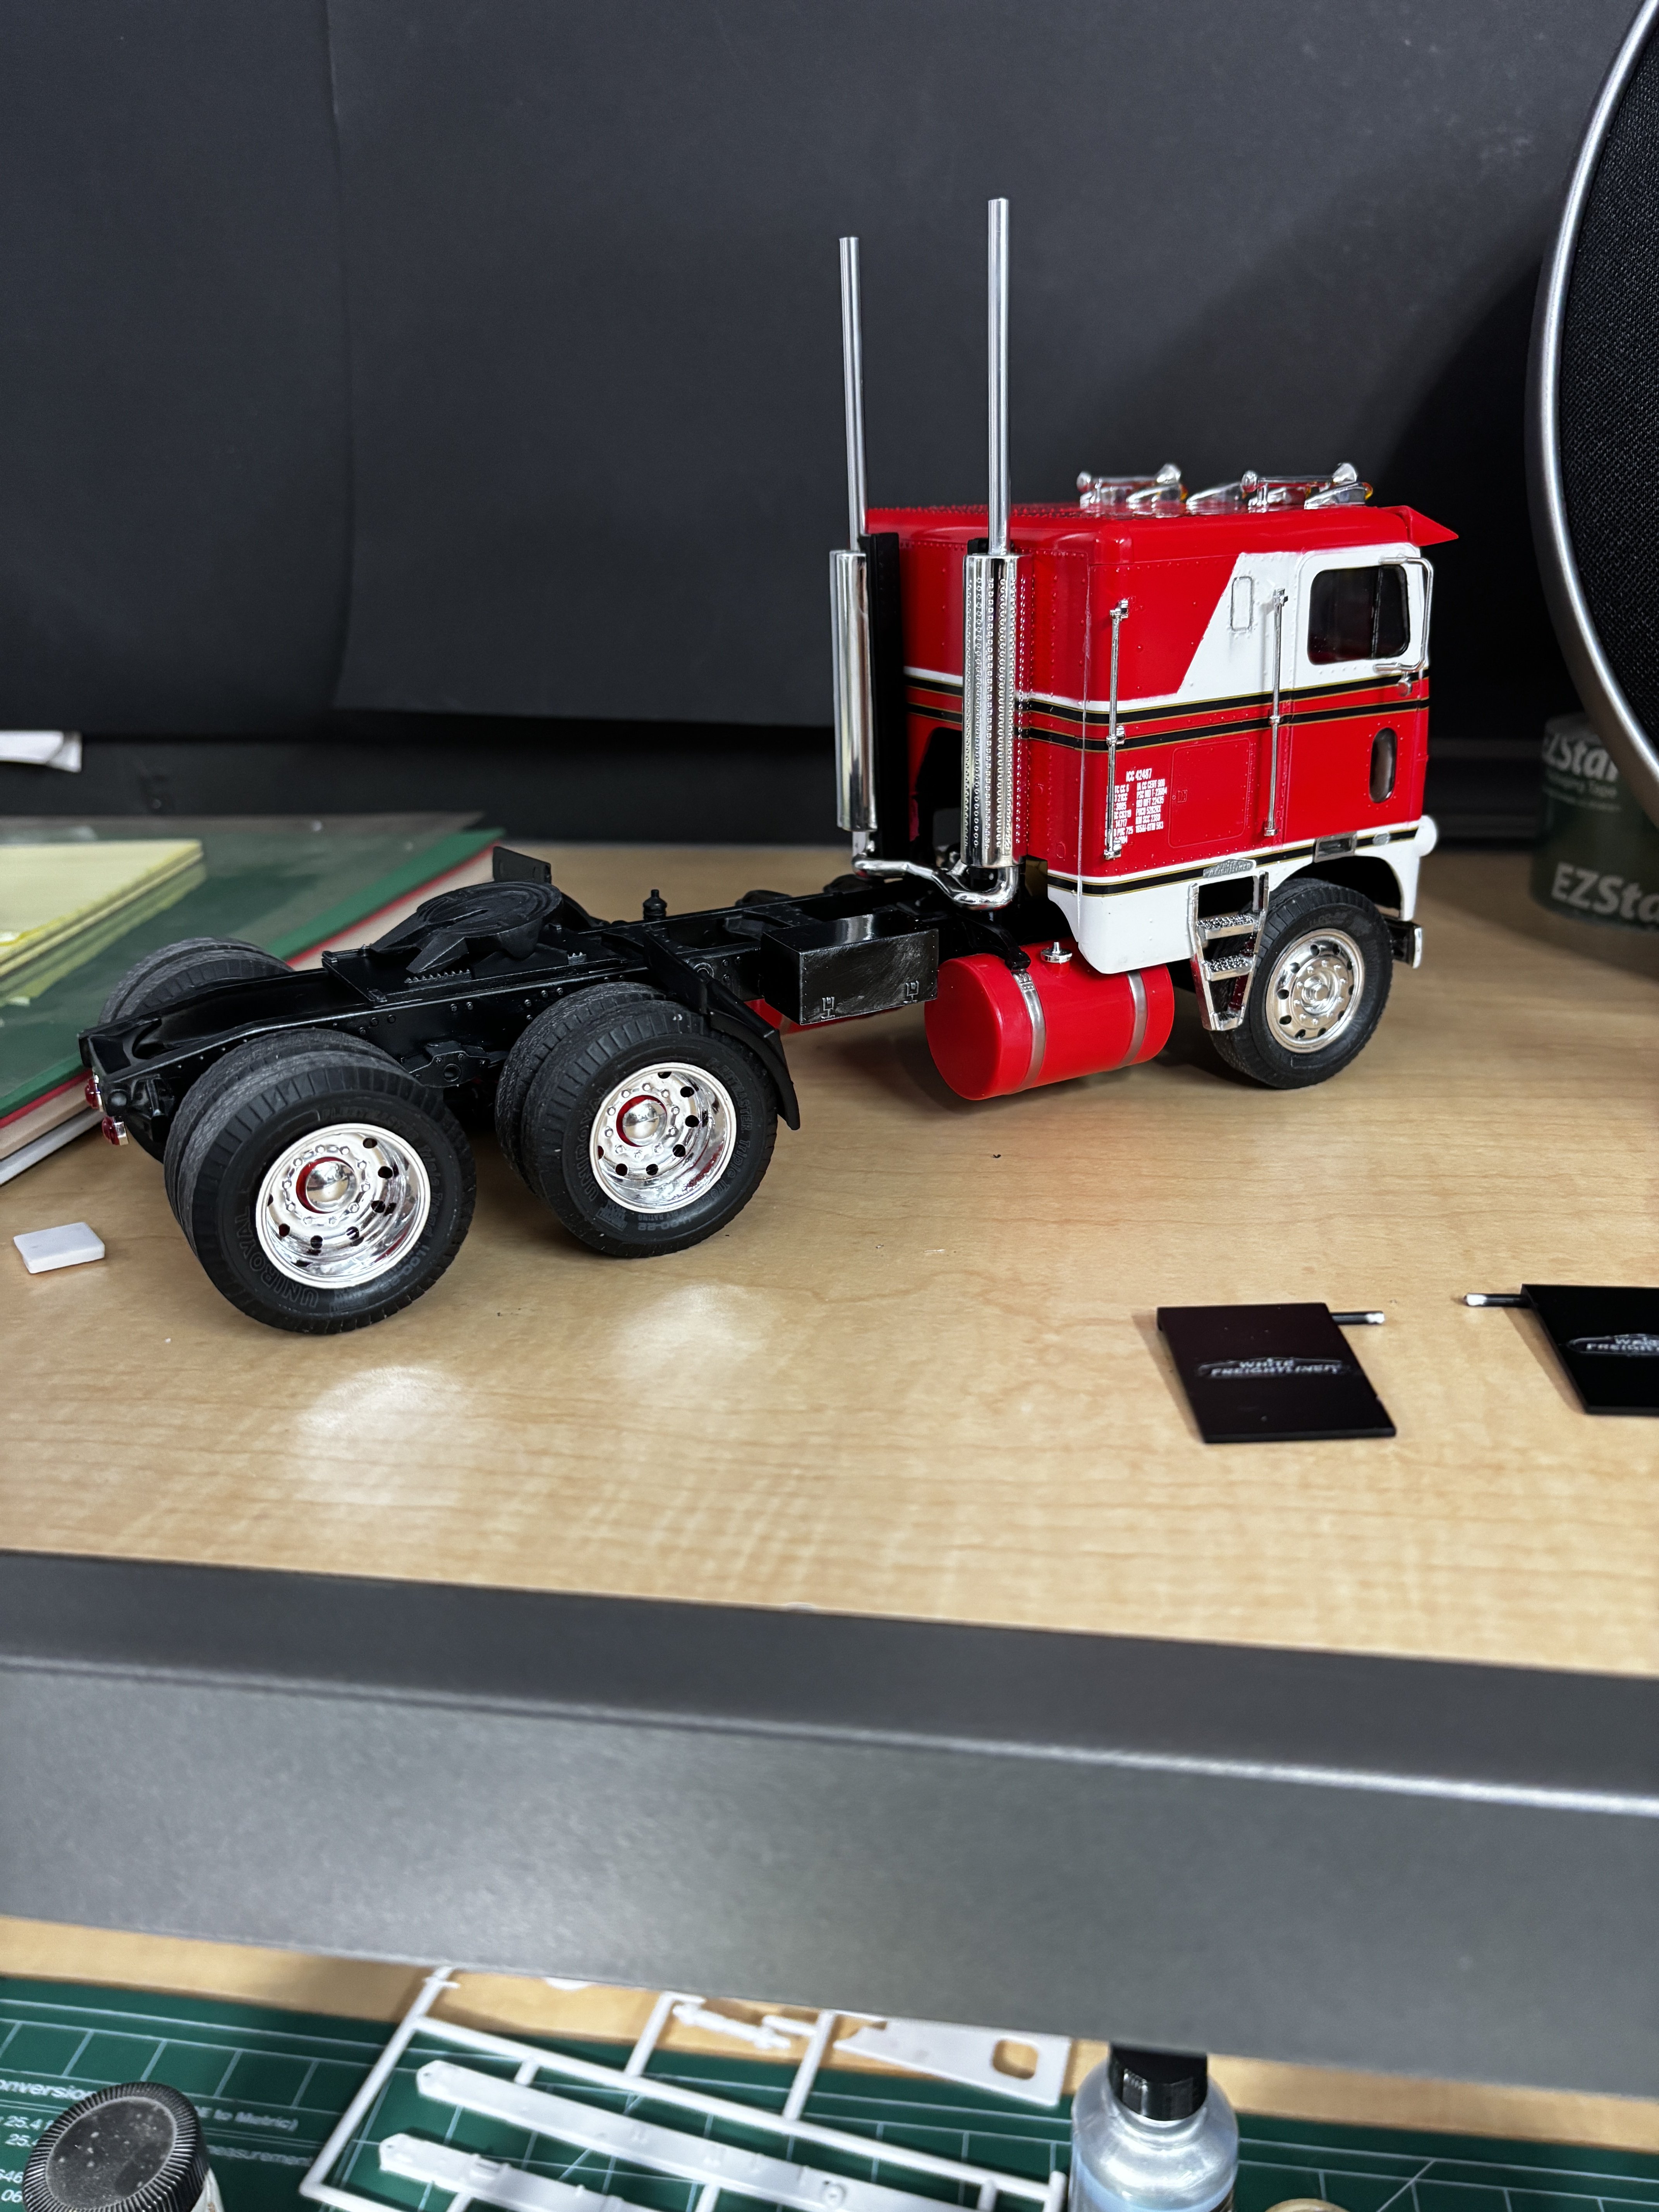
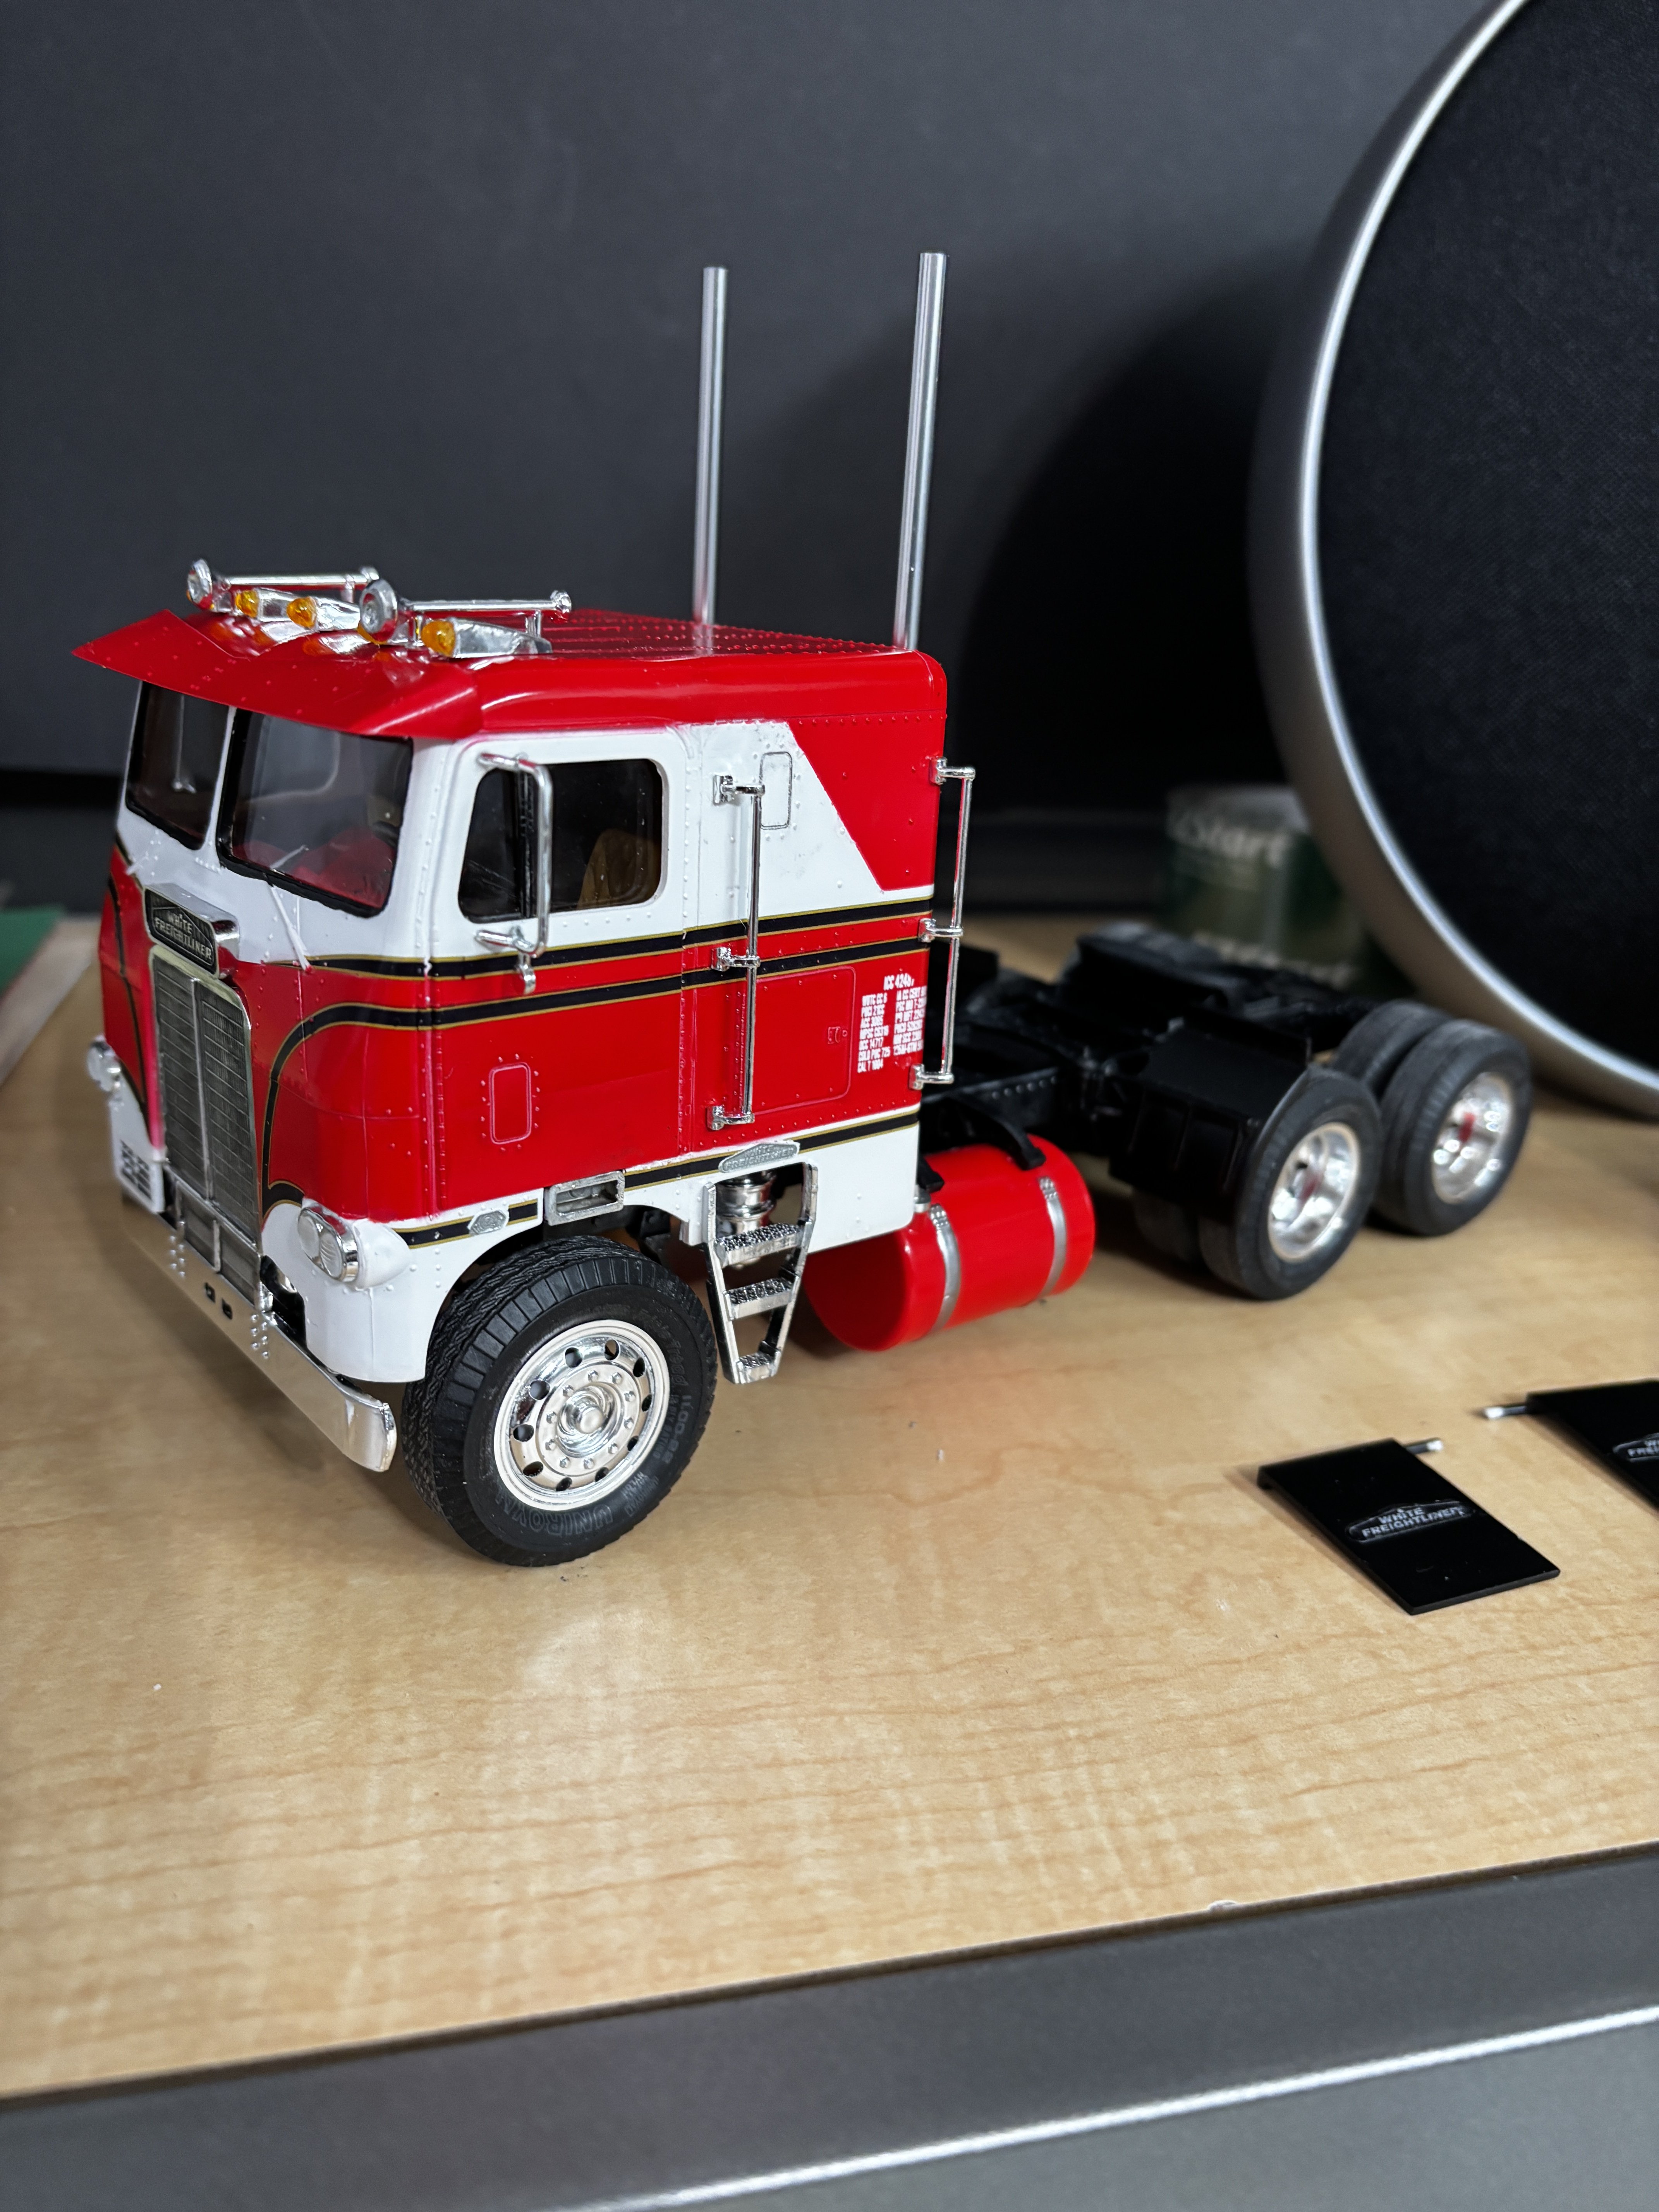
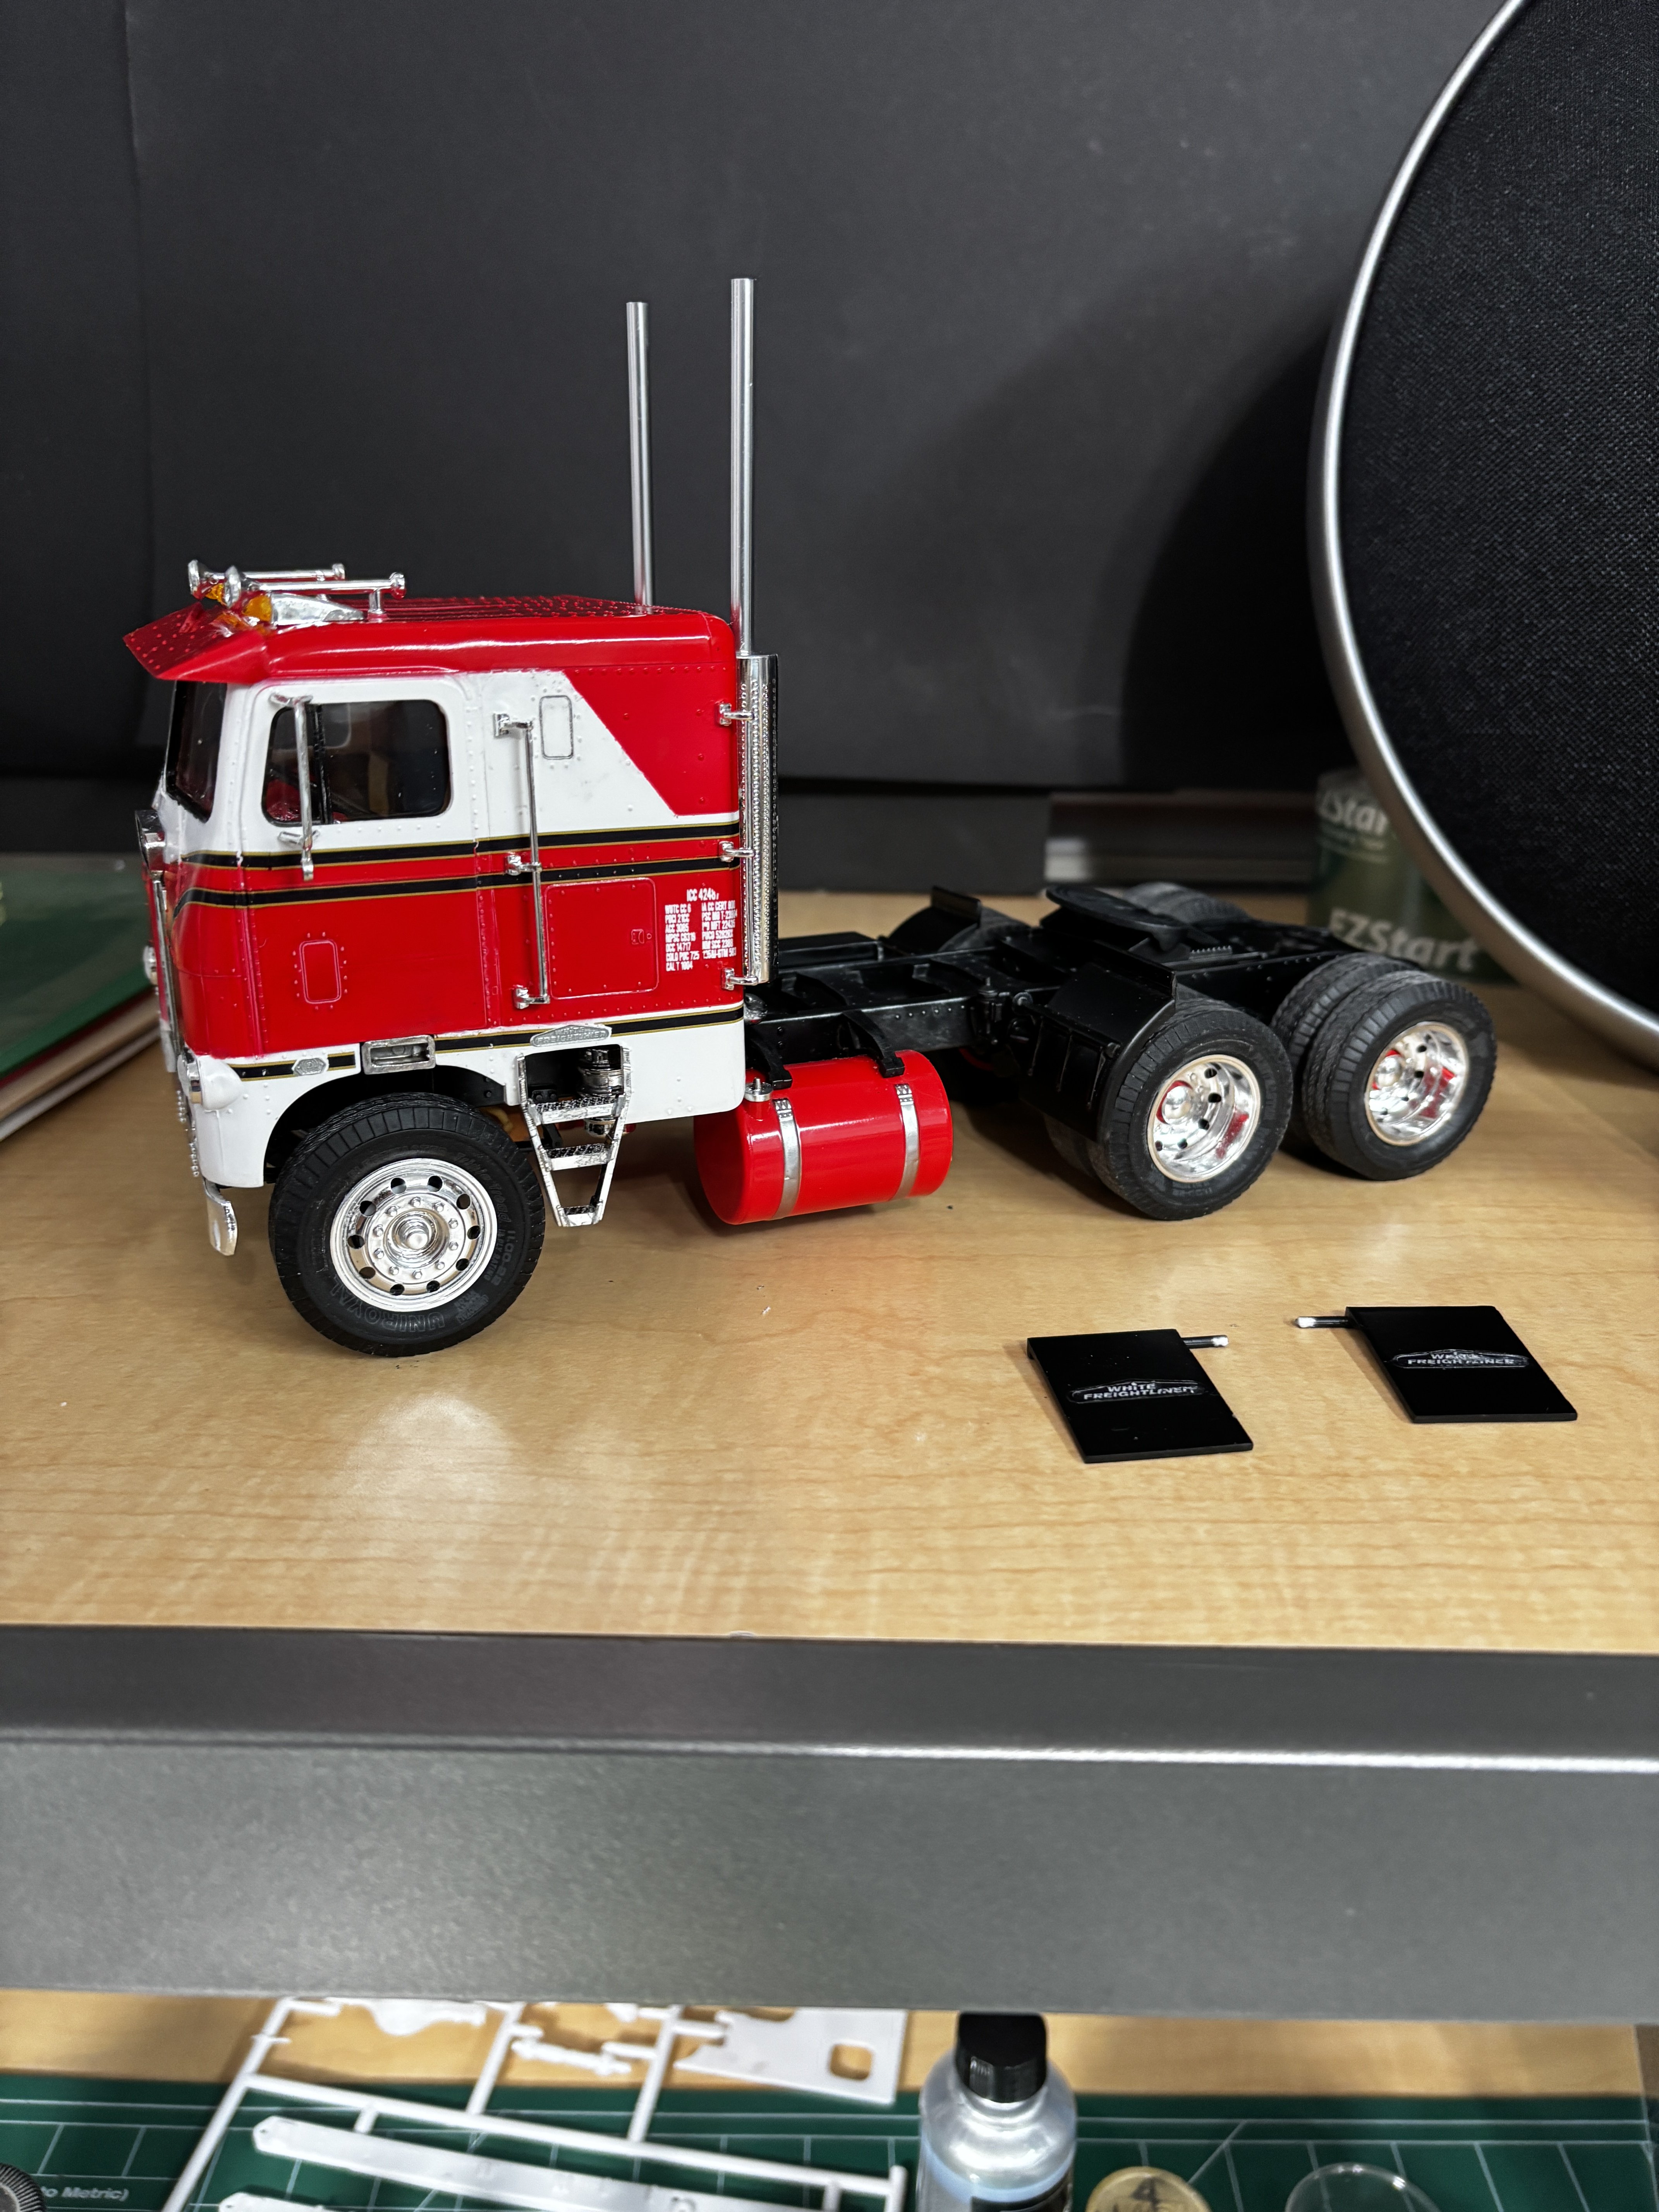
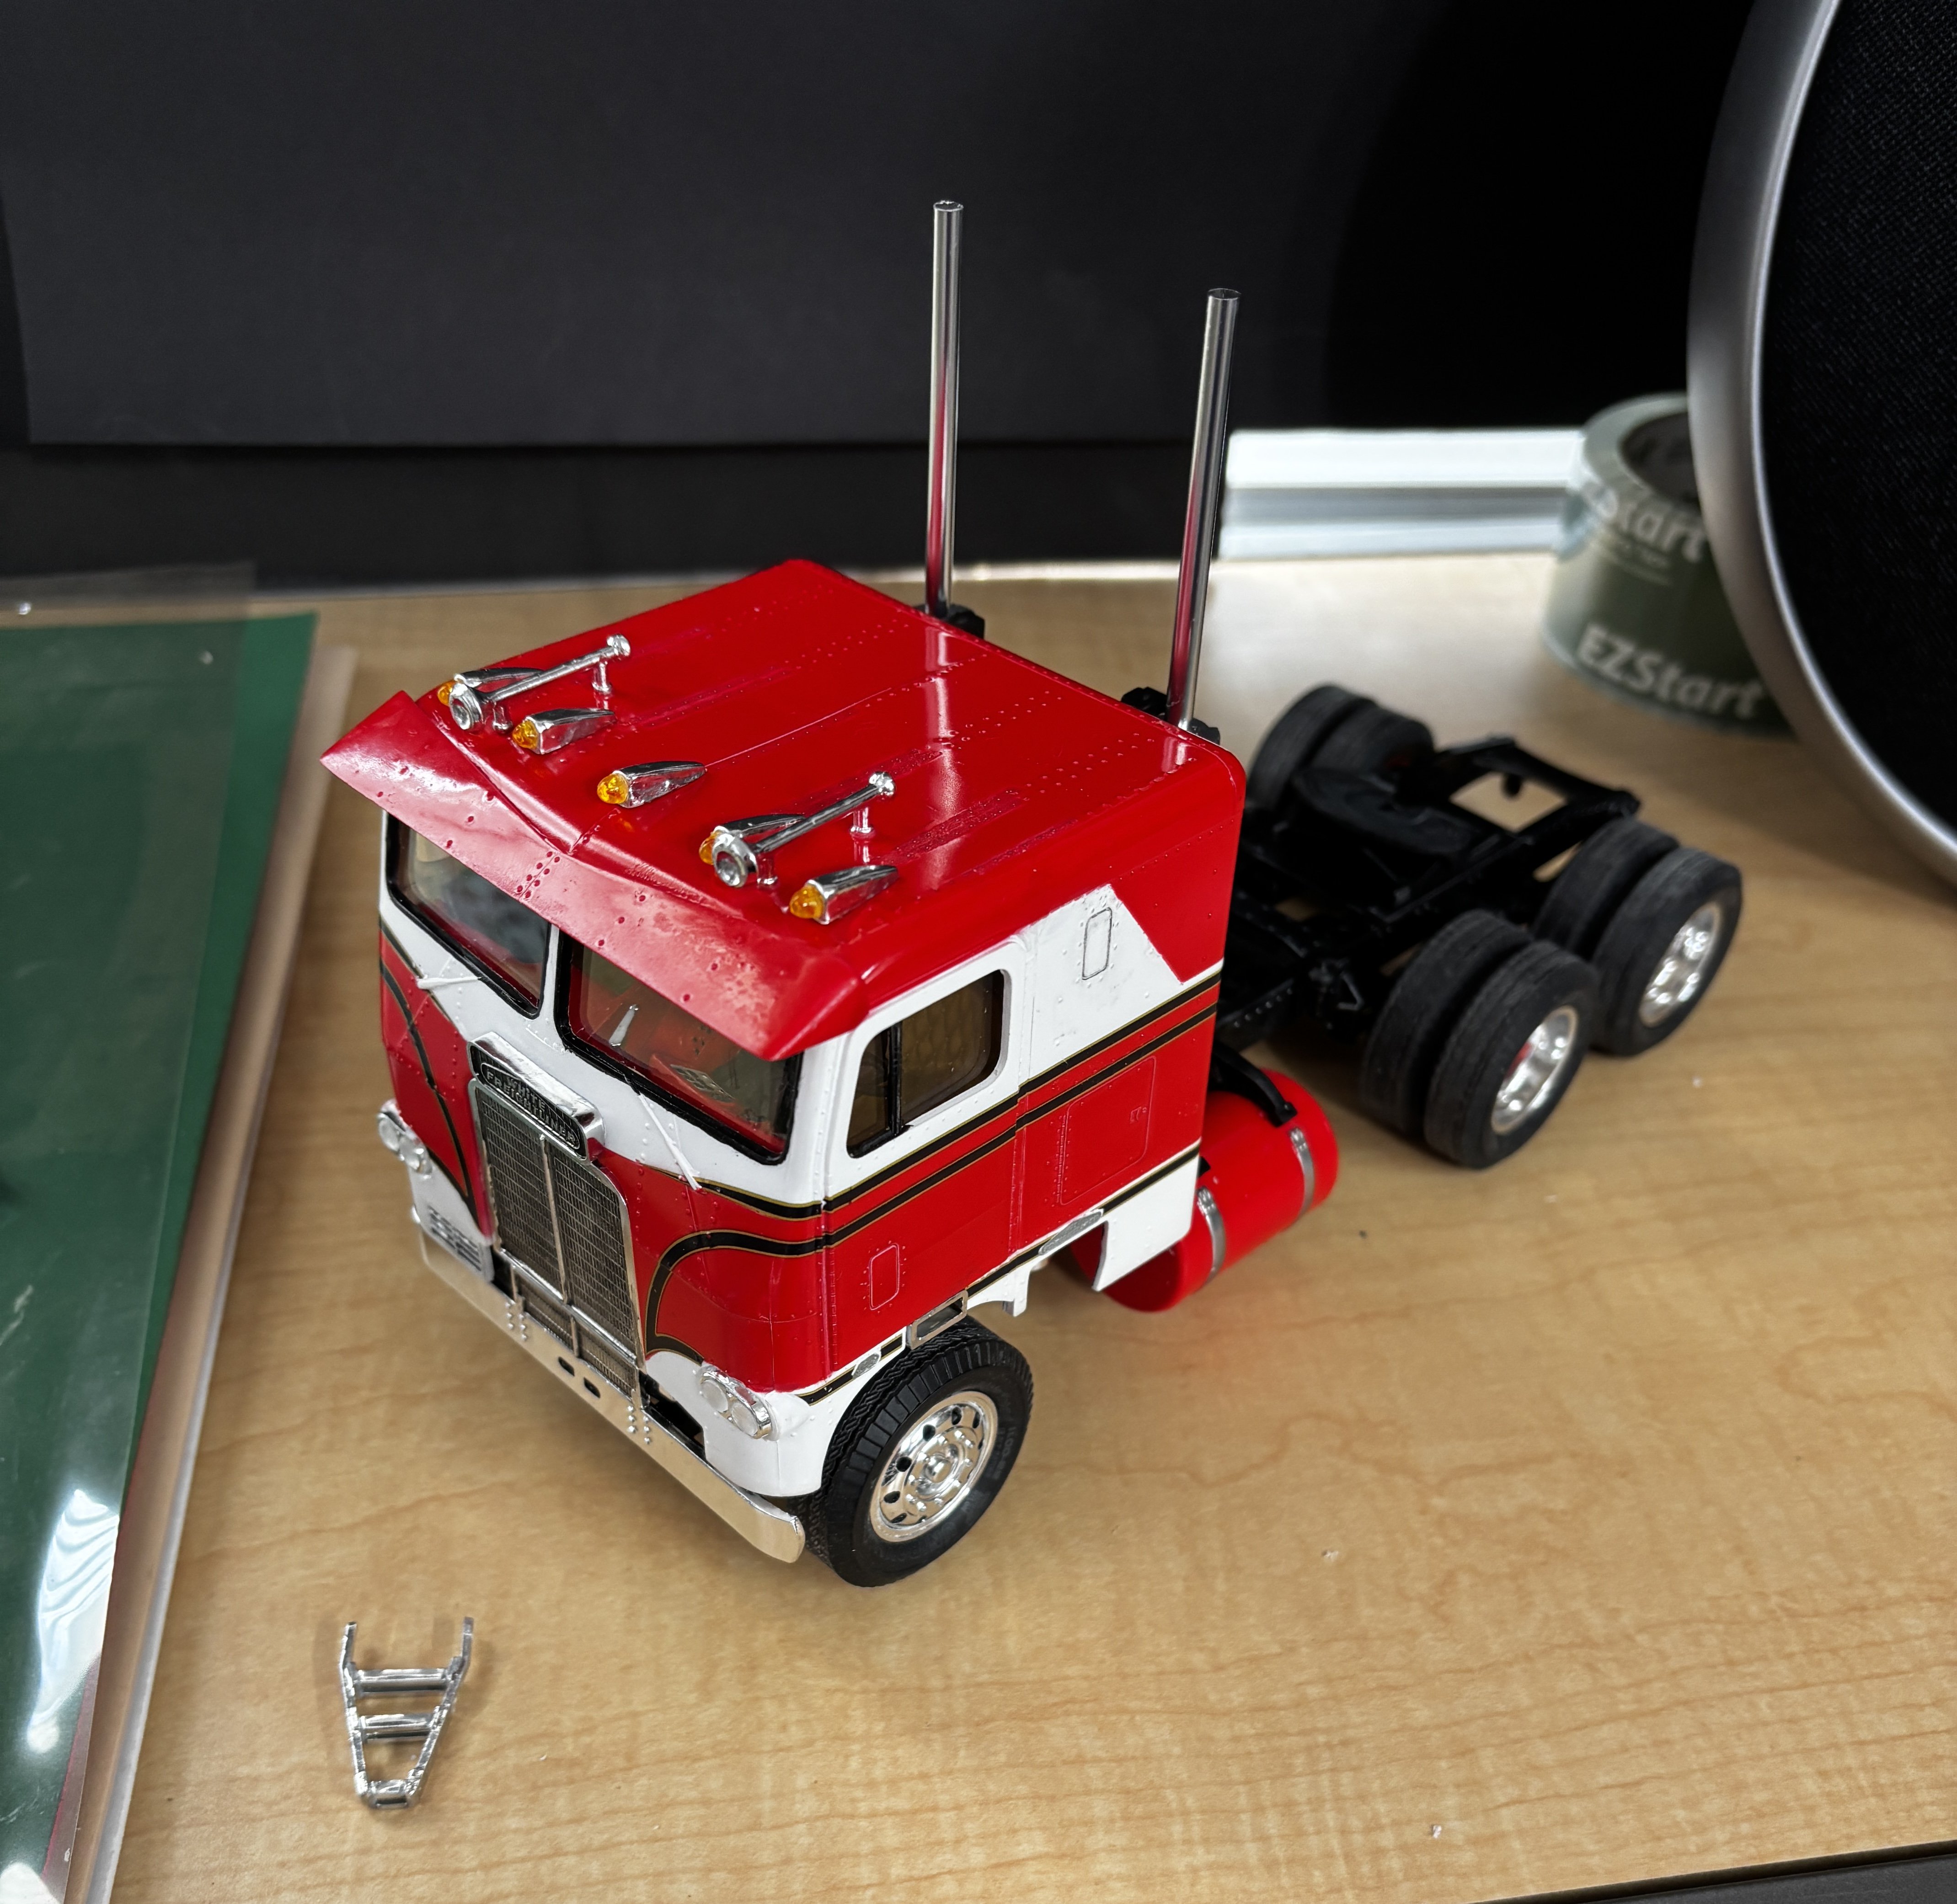
White Freightliner DD by CDW - AMT - 1:25 Scale - PLASTIC
CDW replied to CDW's topic in Non-ship/categorised builds
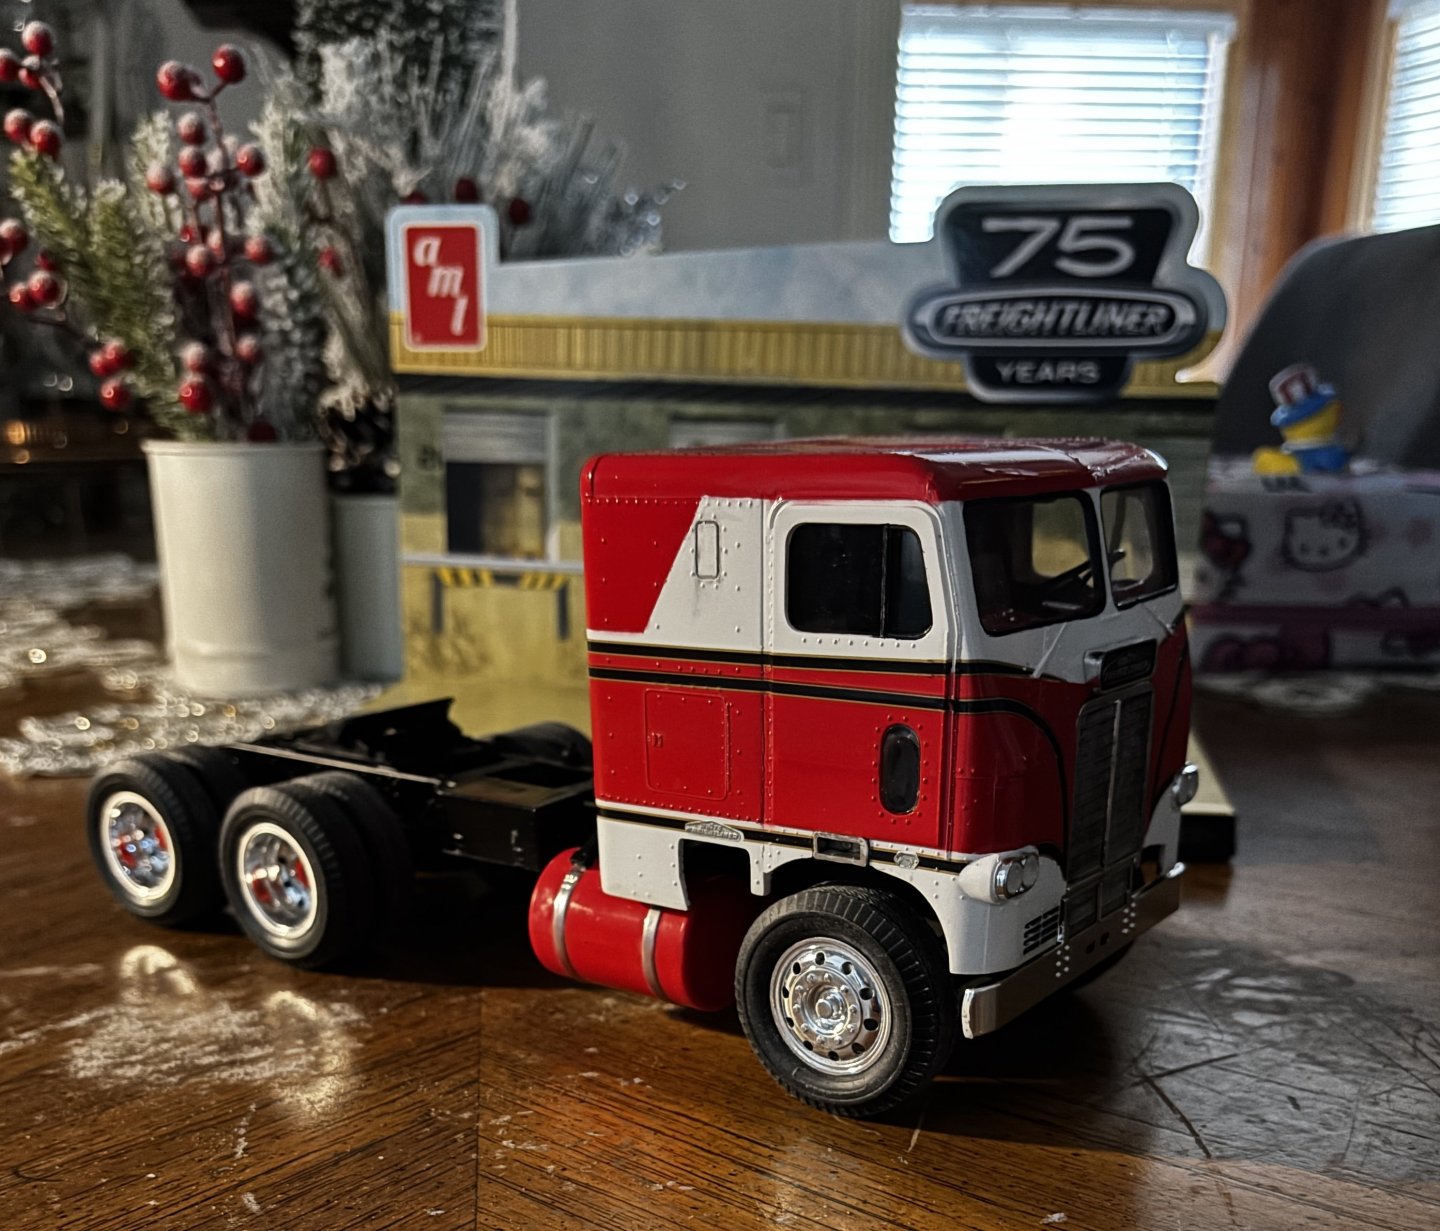
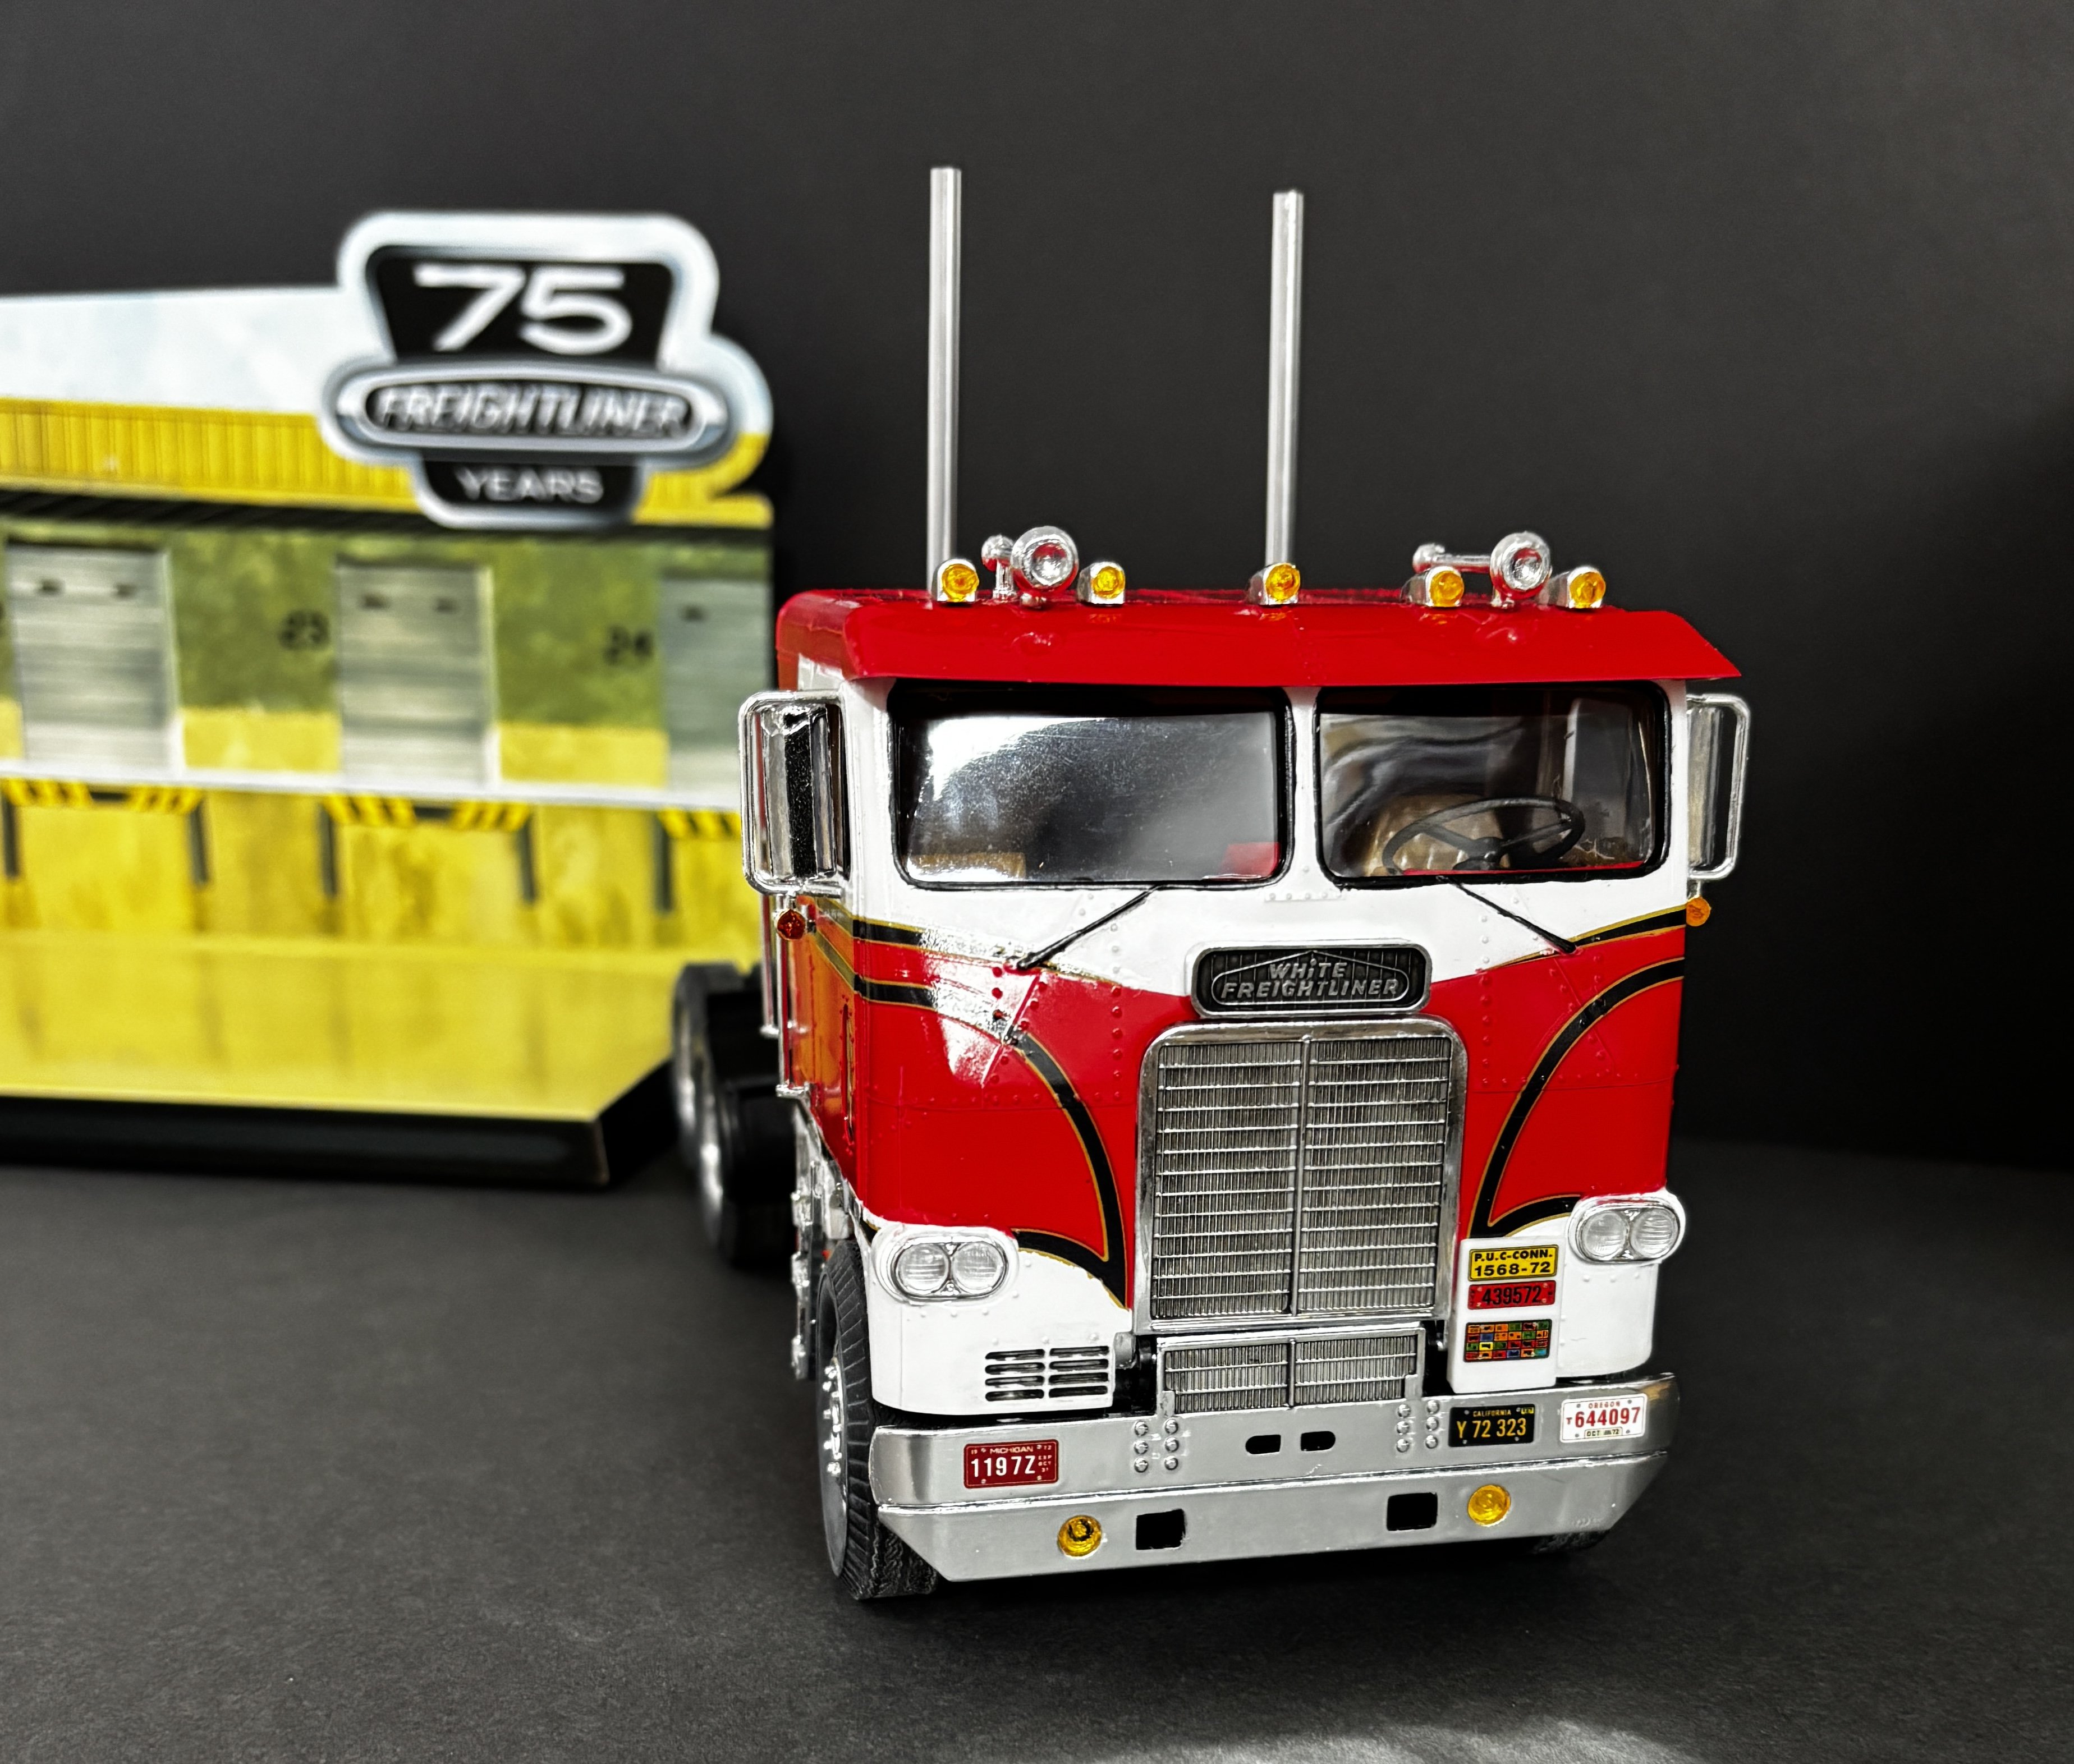
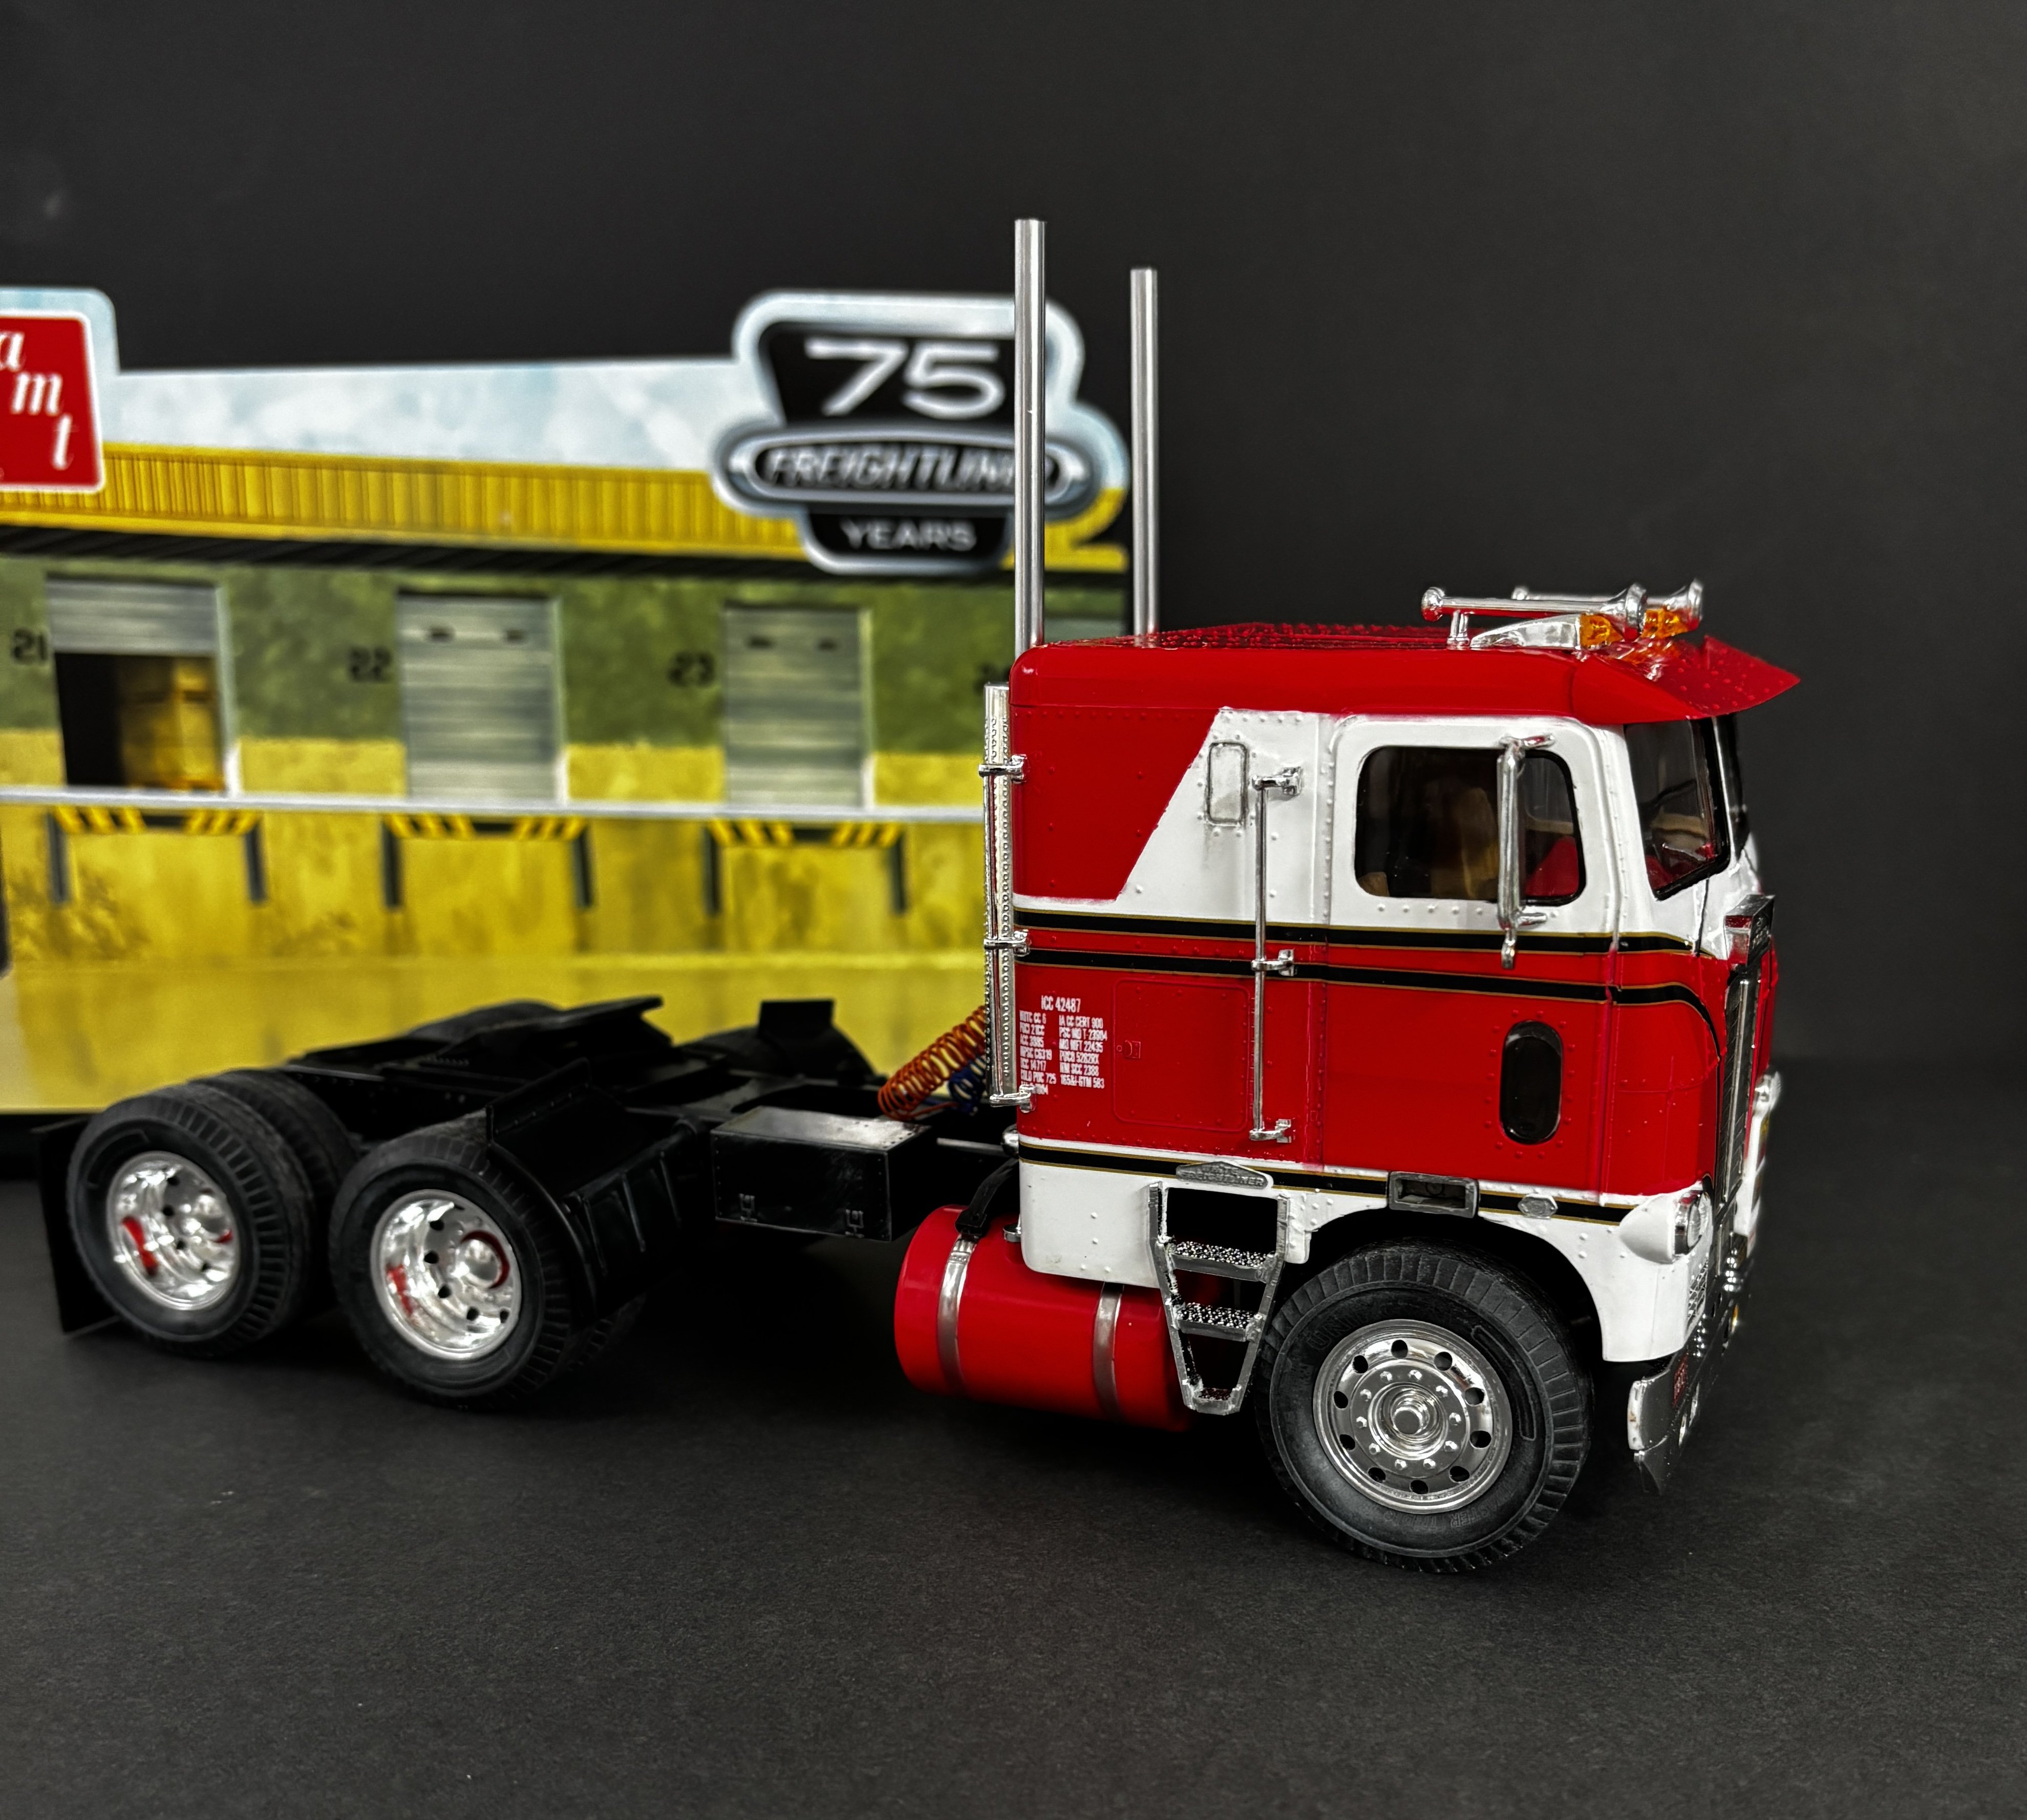
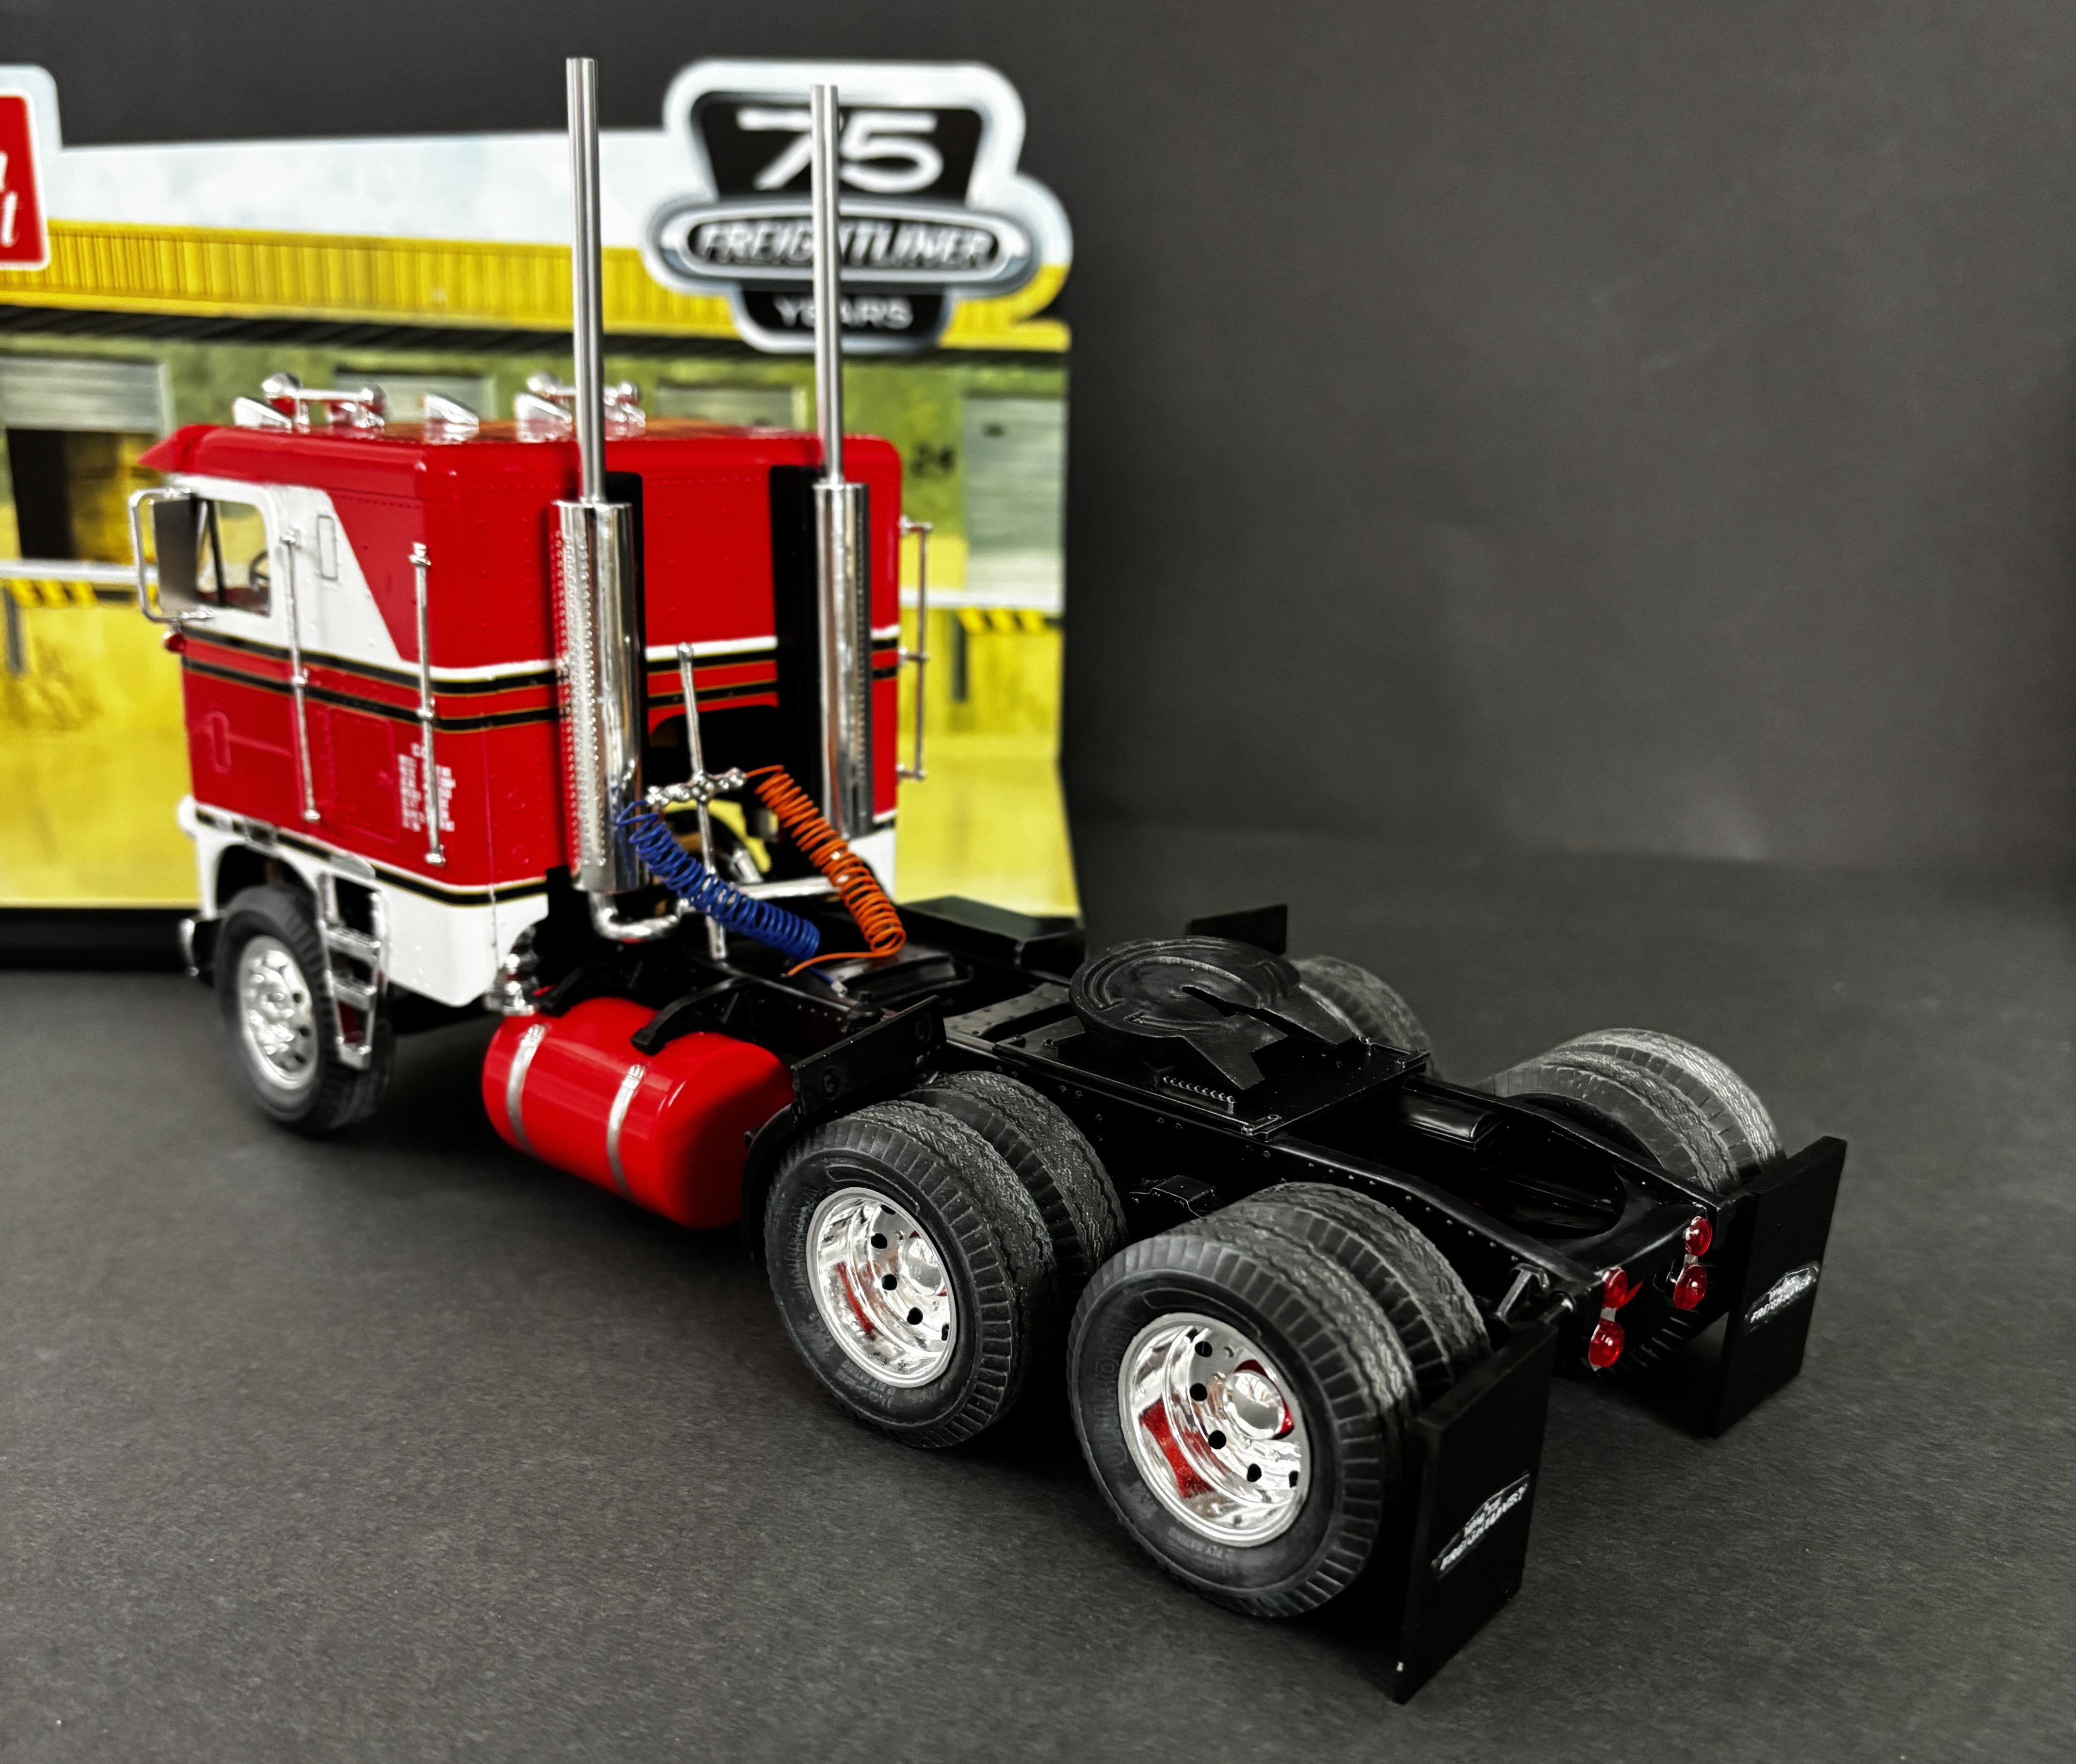
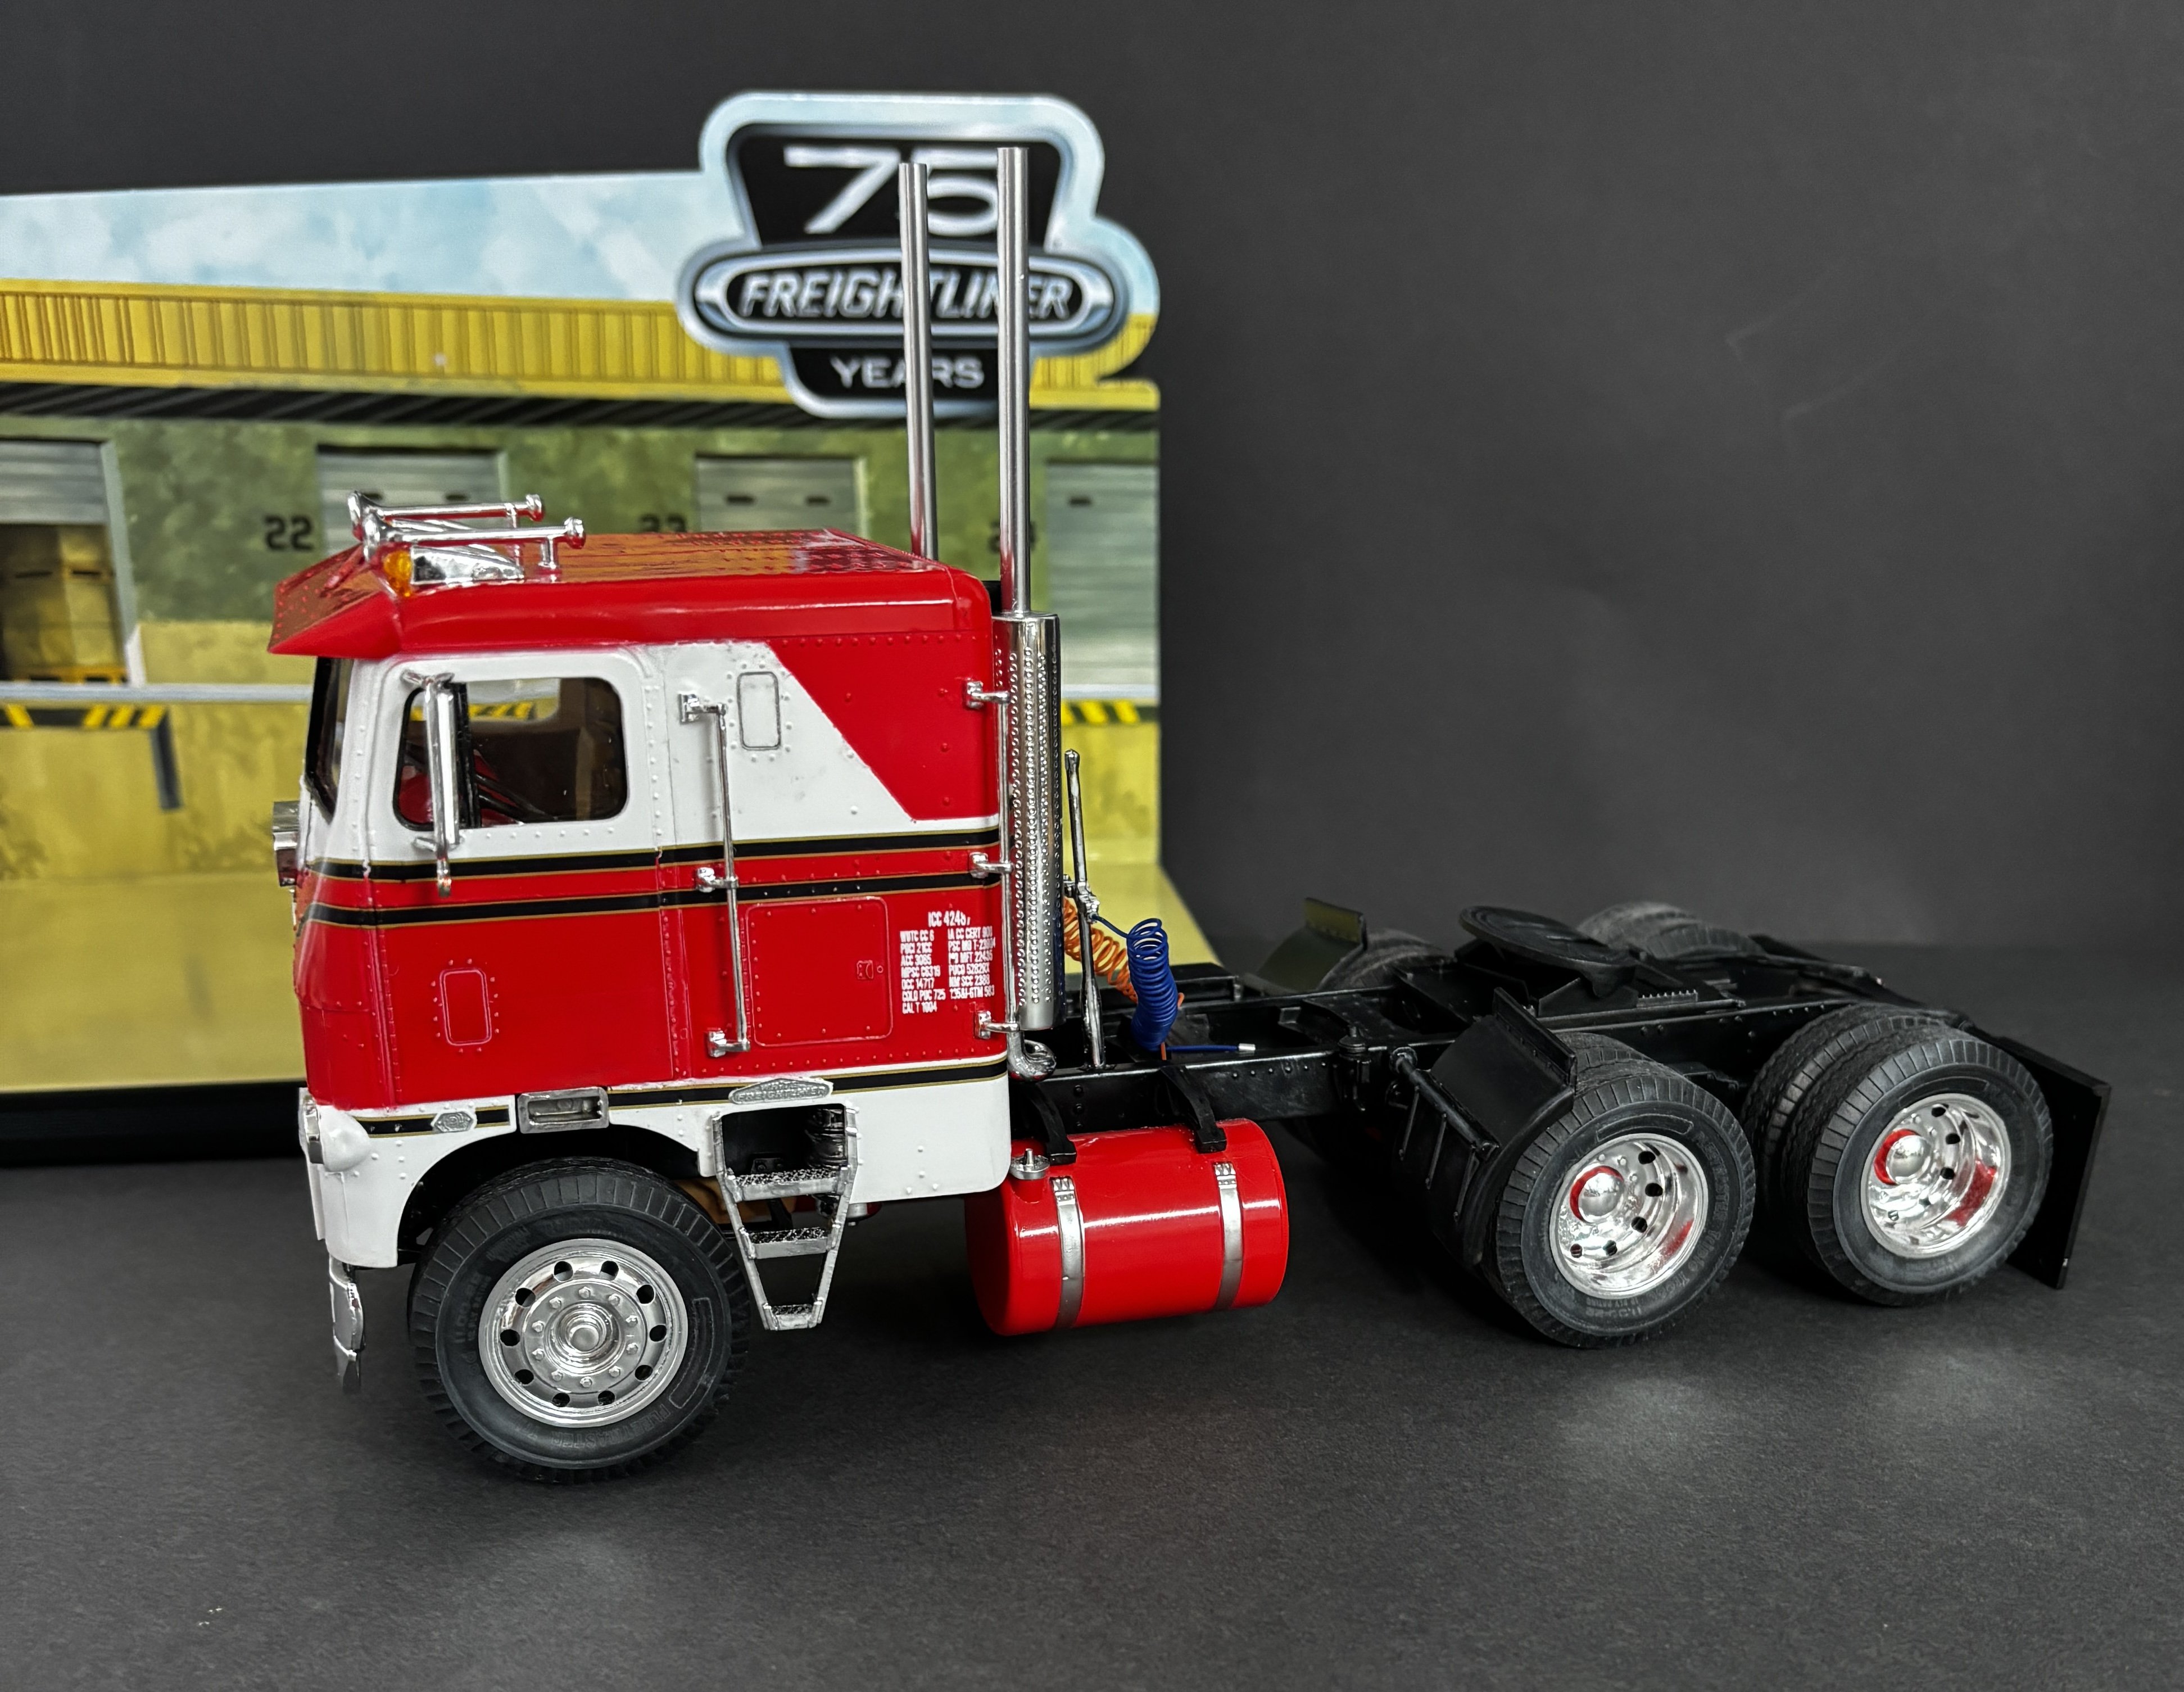
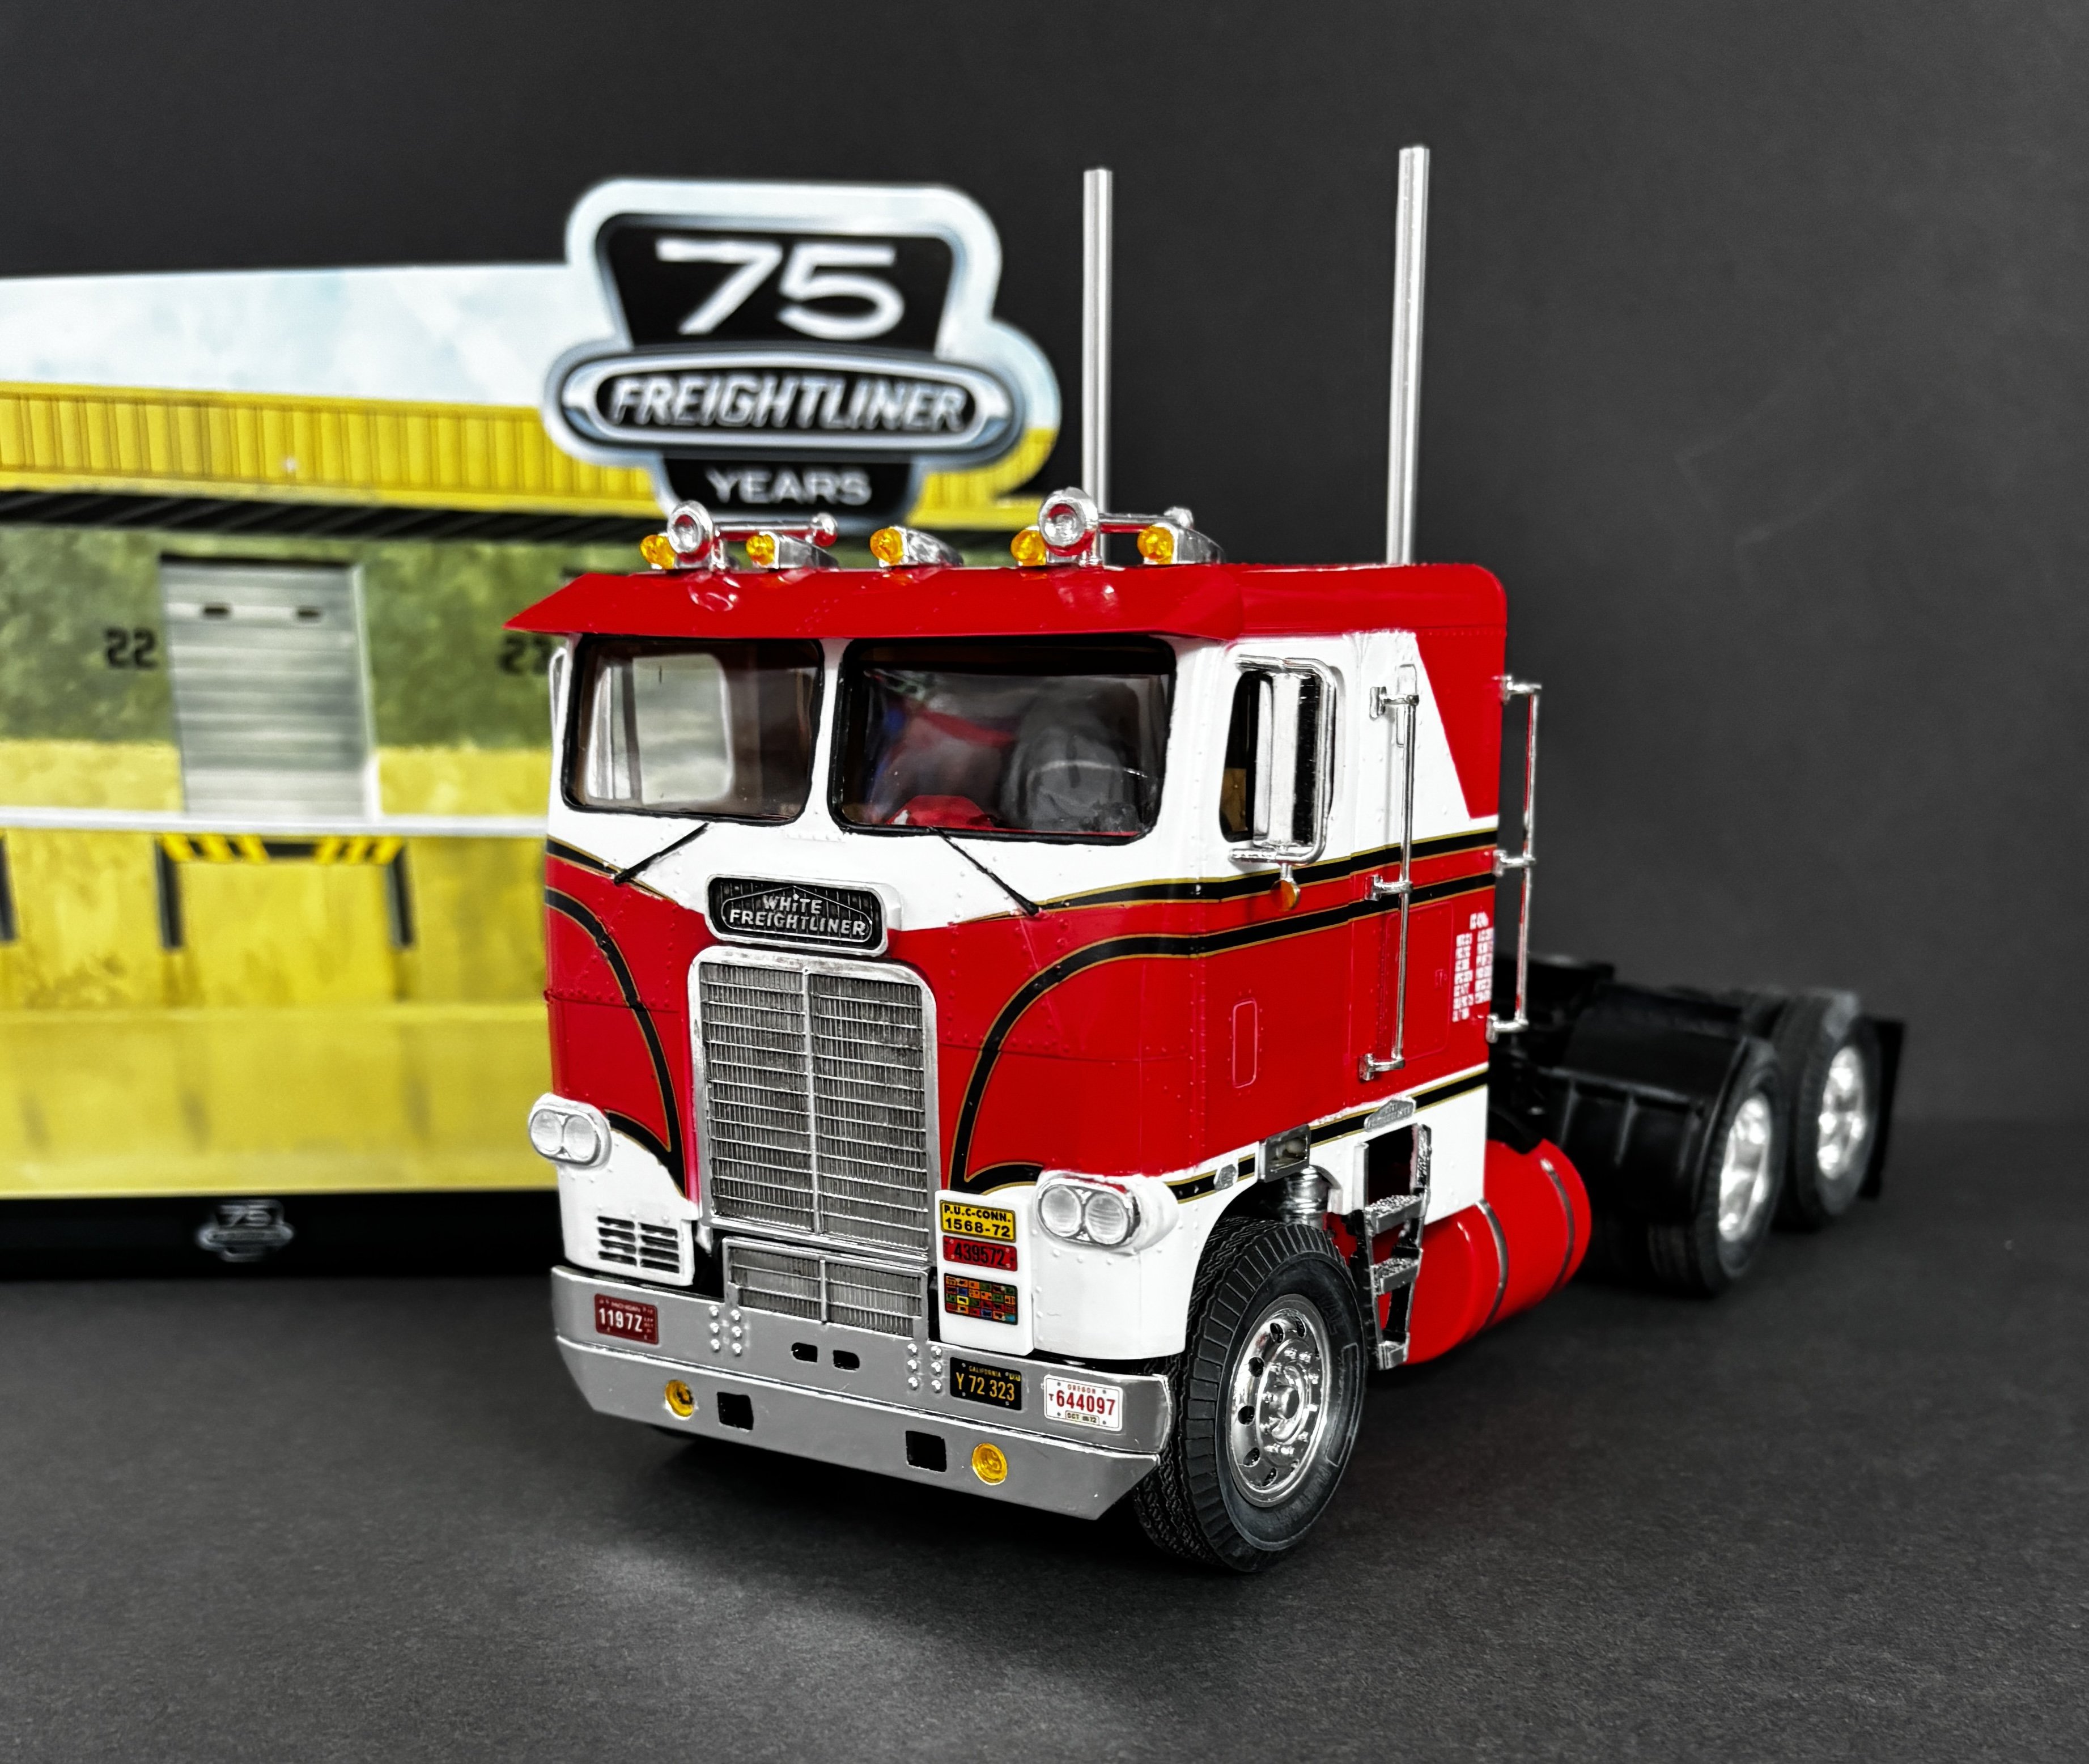
Gonna call this finished. Could have spent more time and effort but wanted to get my feet wet with a first ever big rig build for me. Learned a lot with is kit and look forward to more similar kits in the future. Thanks for following along and for all your likes and comments.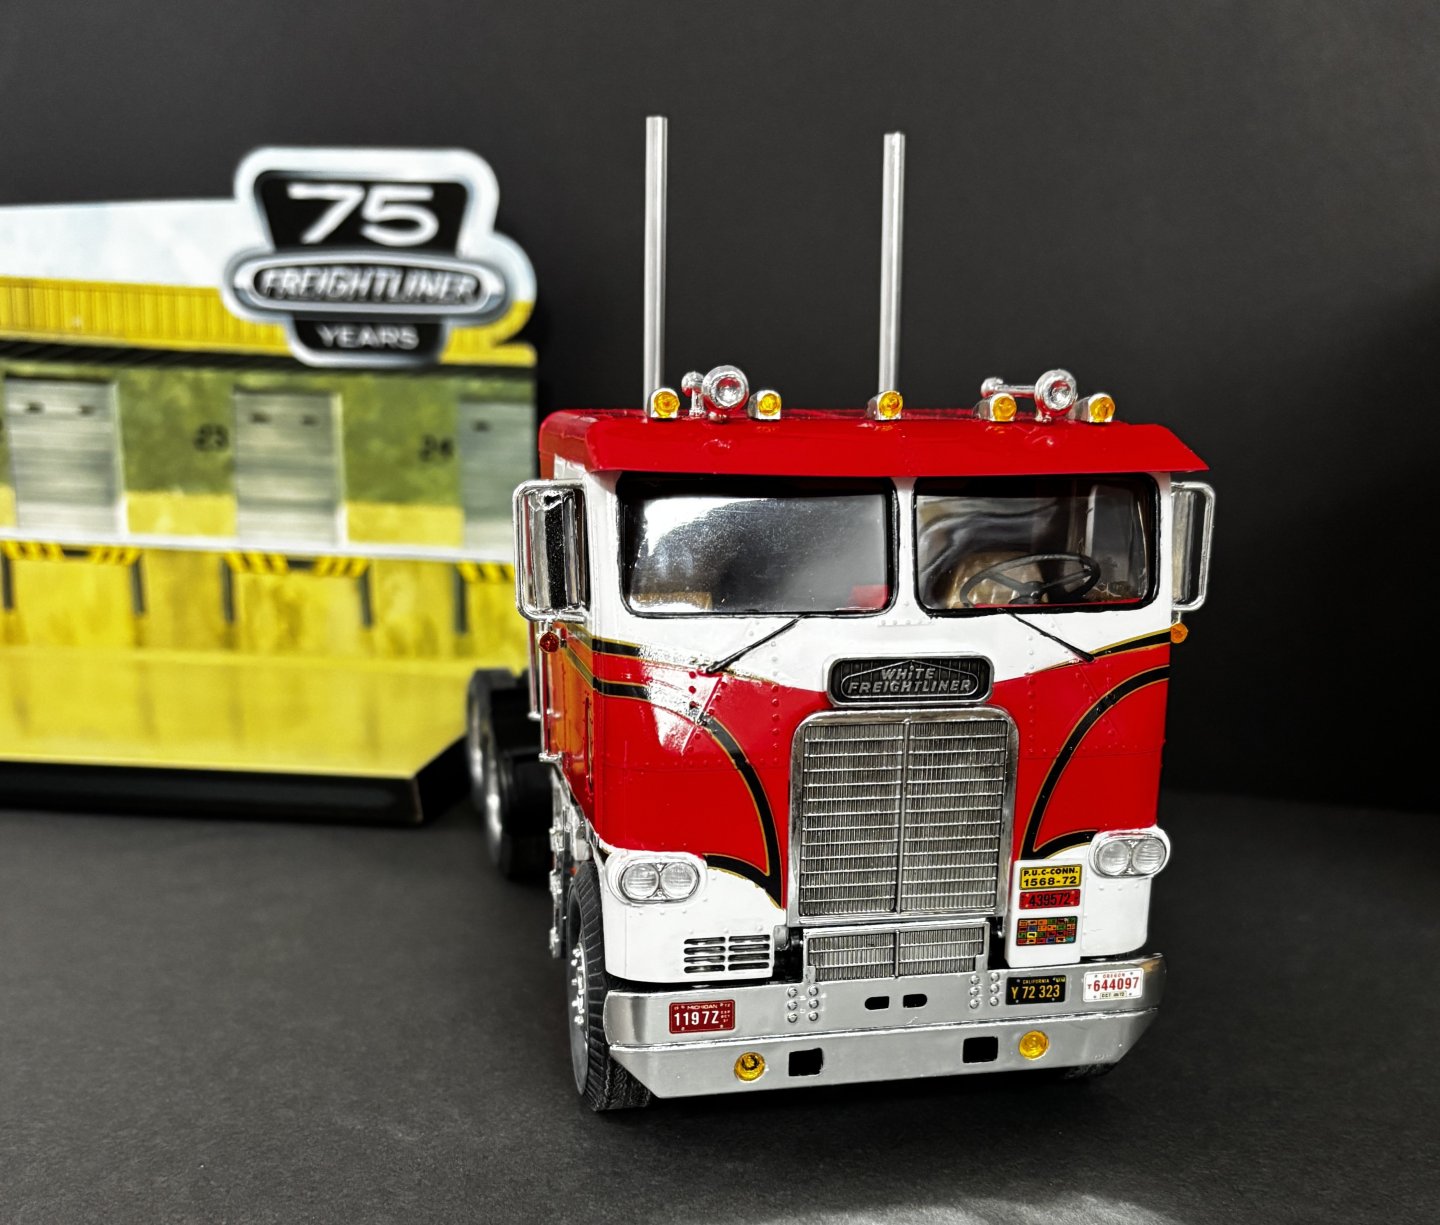


- 30 replies
-
- 11
-

-

-
White Freightliner DD by CDW - AMT - 1:25 Scale - PLASTIC
CDW replied to CDW's topic in Non-ship/categorised builds

-
White Freightliner DD by CDW - AMT - 1:25 Scale - PLASTIC
CDW replied to CDW's topic in Non-ship/categorised builds
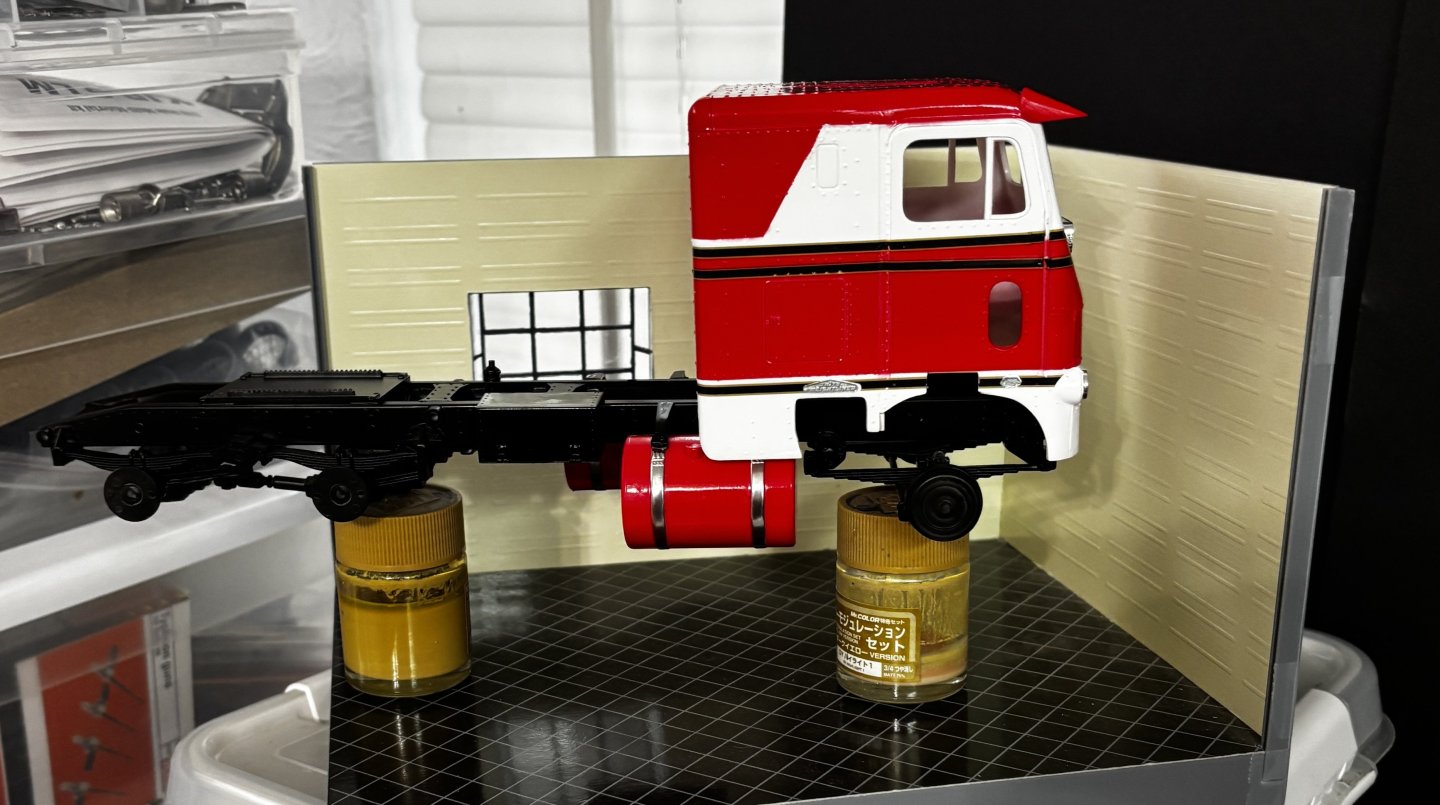
More remains to be done but it’s getting closer to conclusion.


- 30 replies
-
- 10
-
-
-
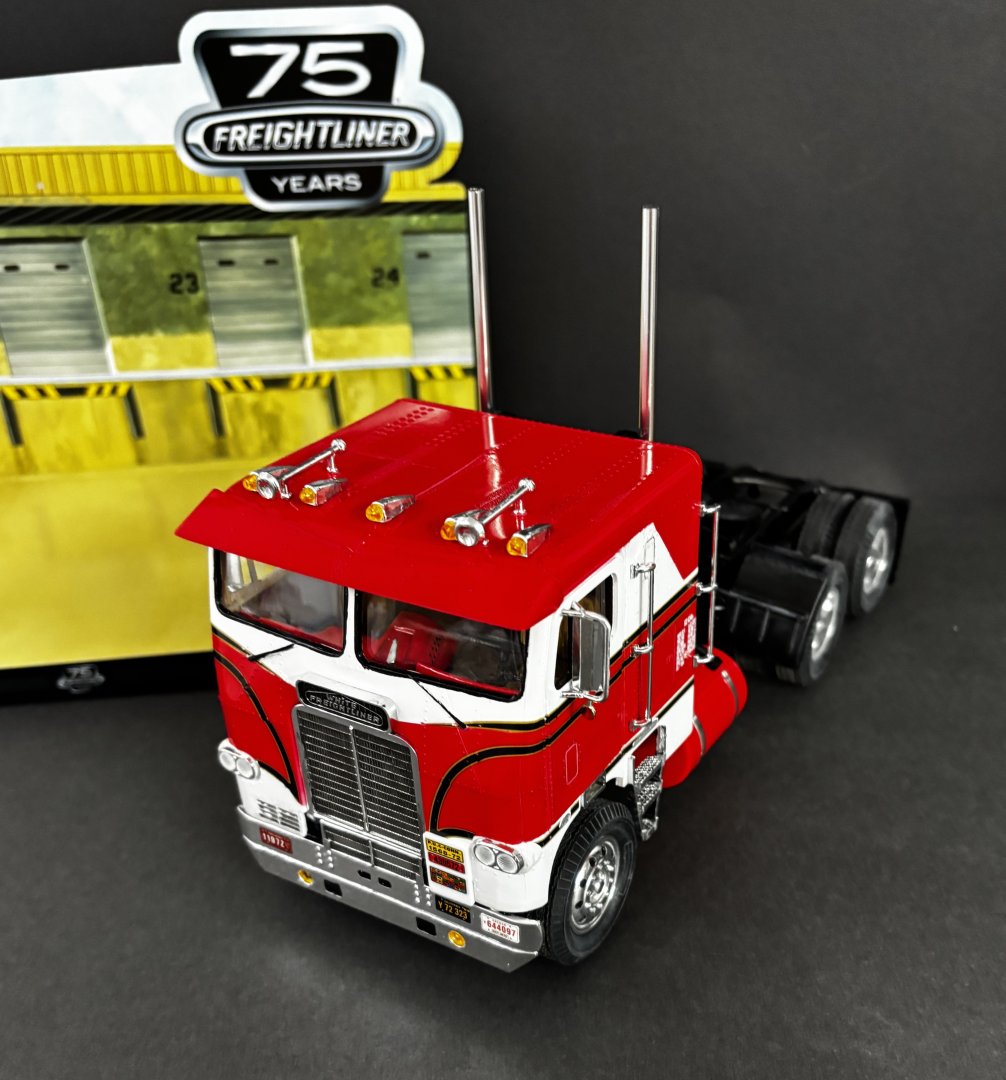
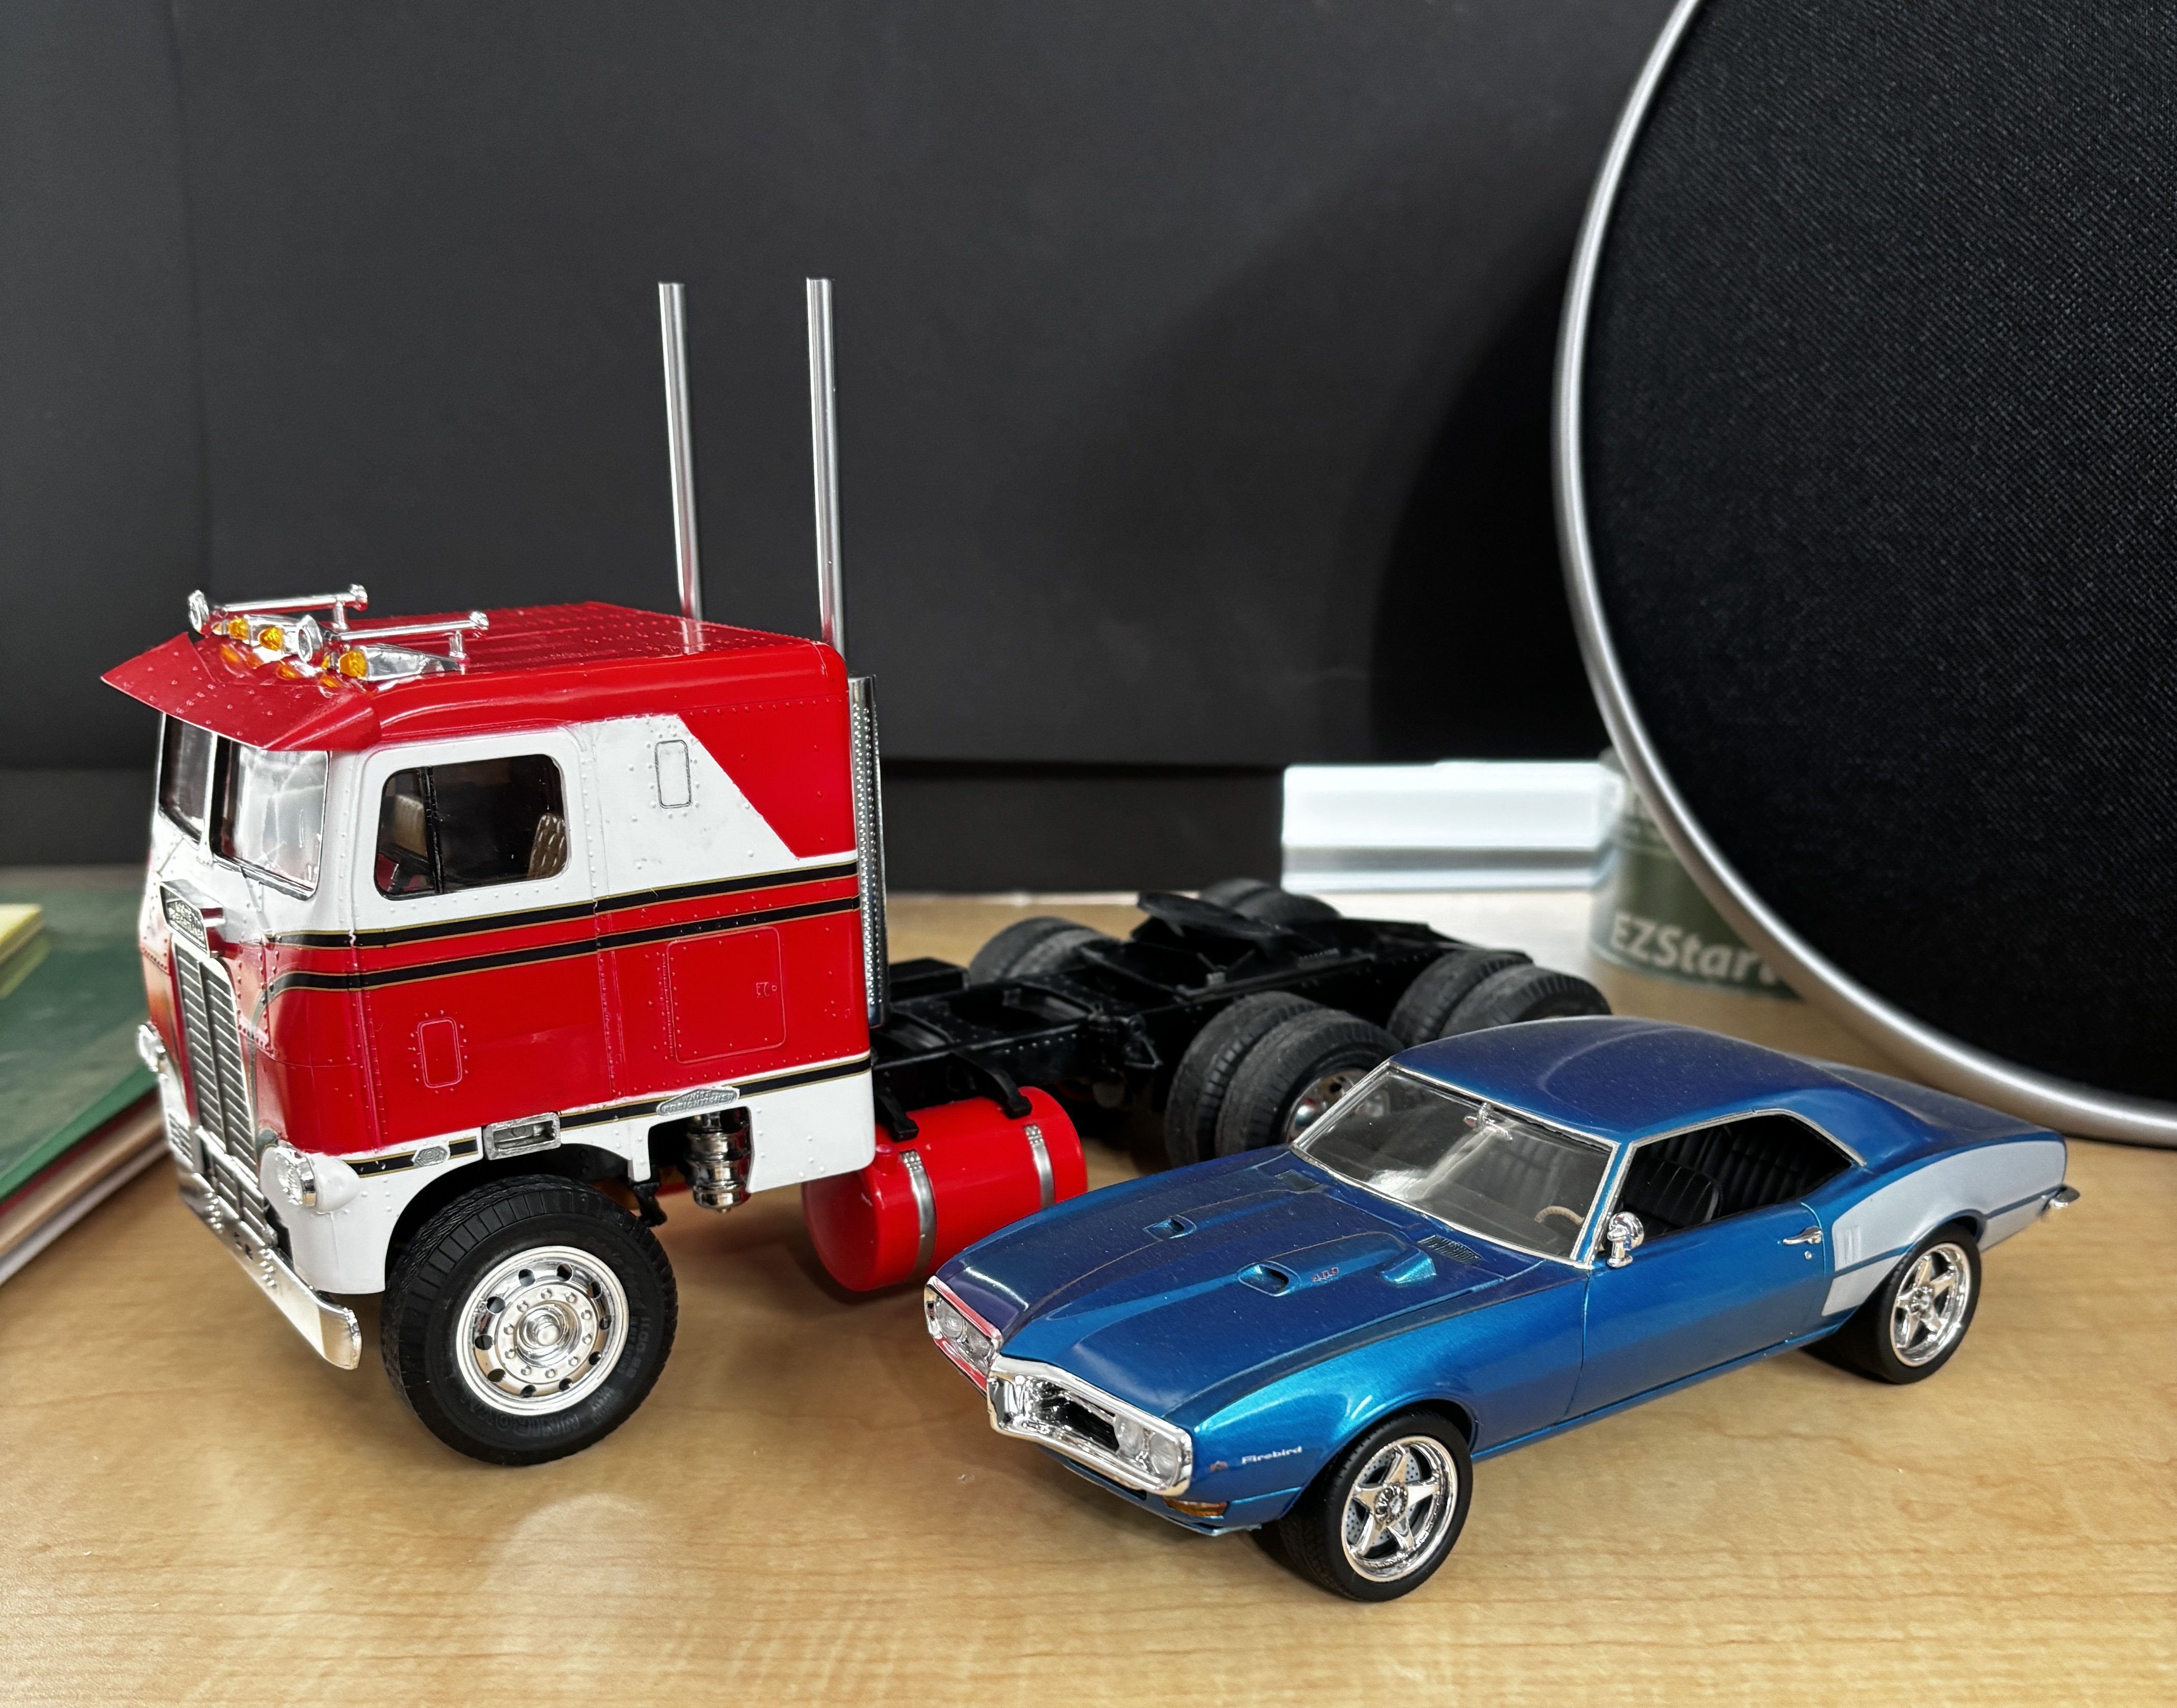
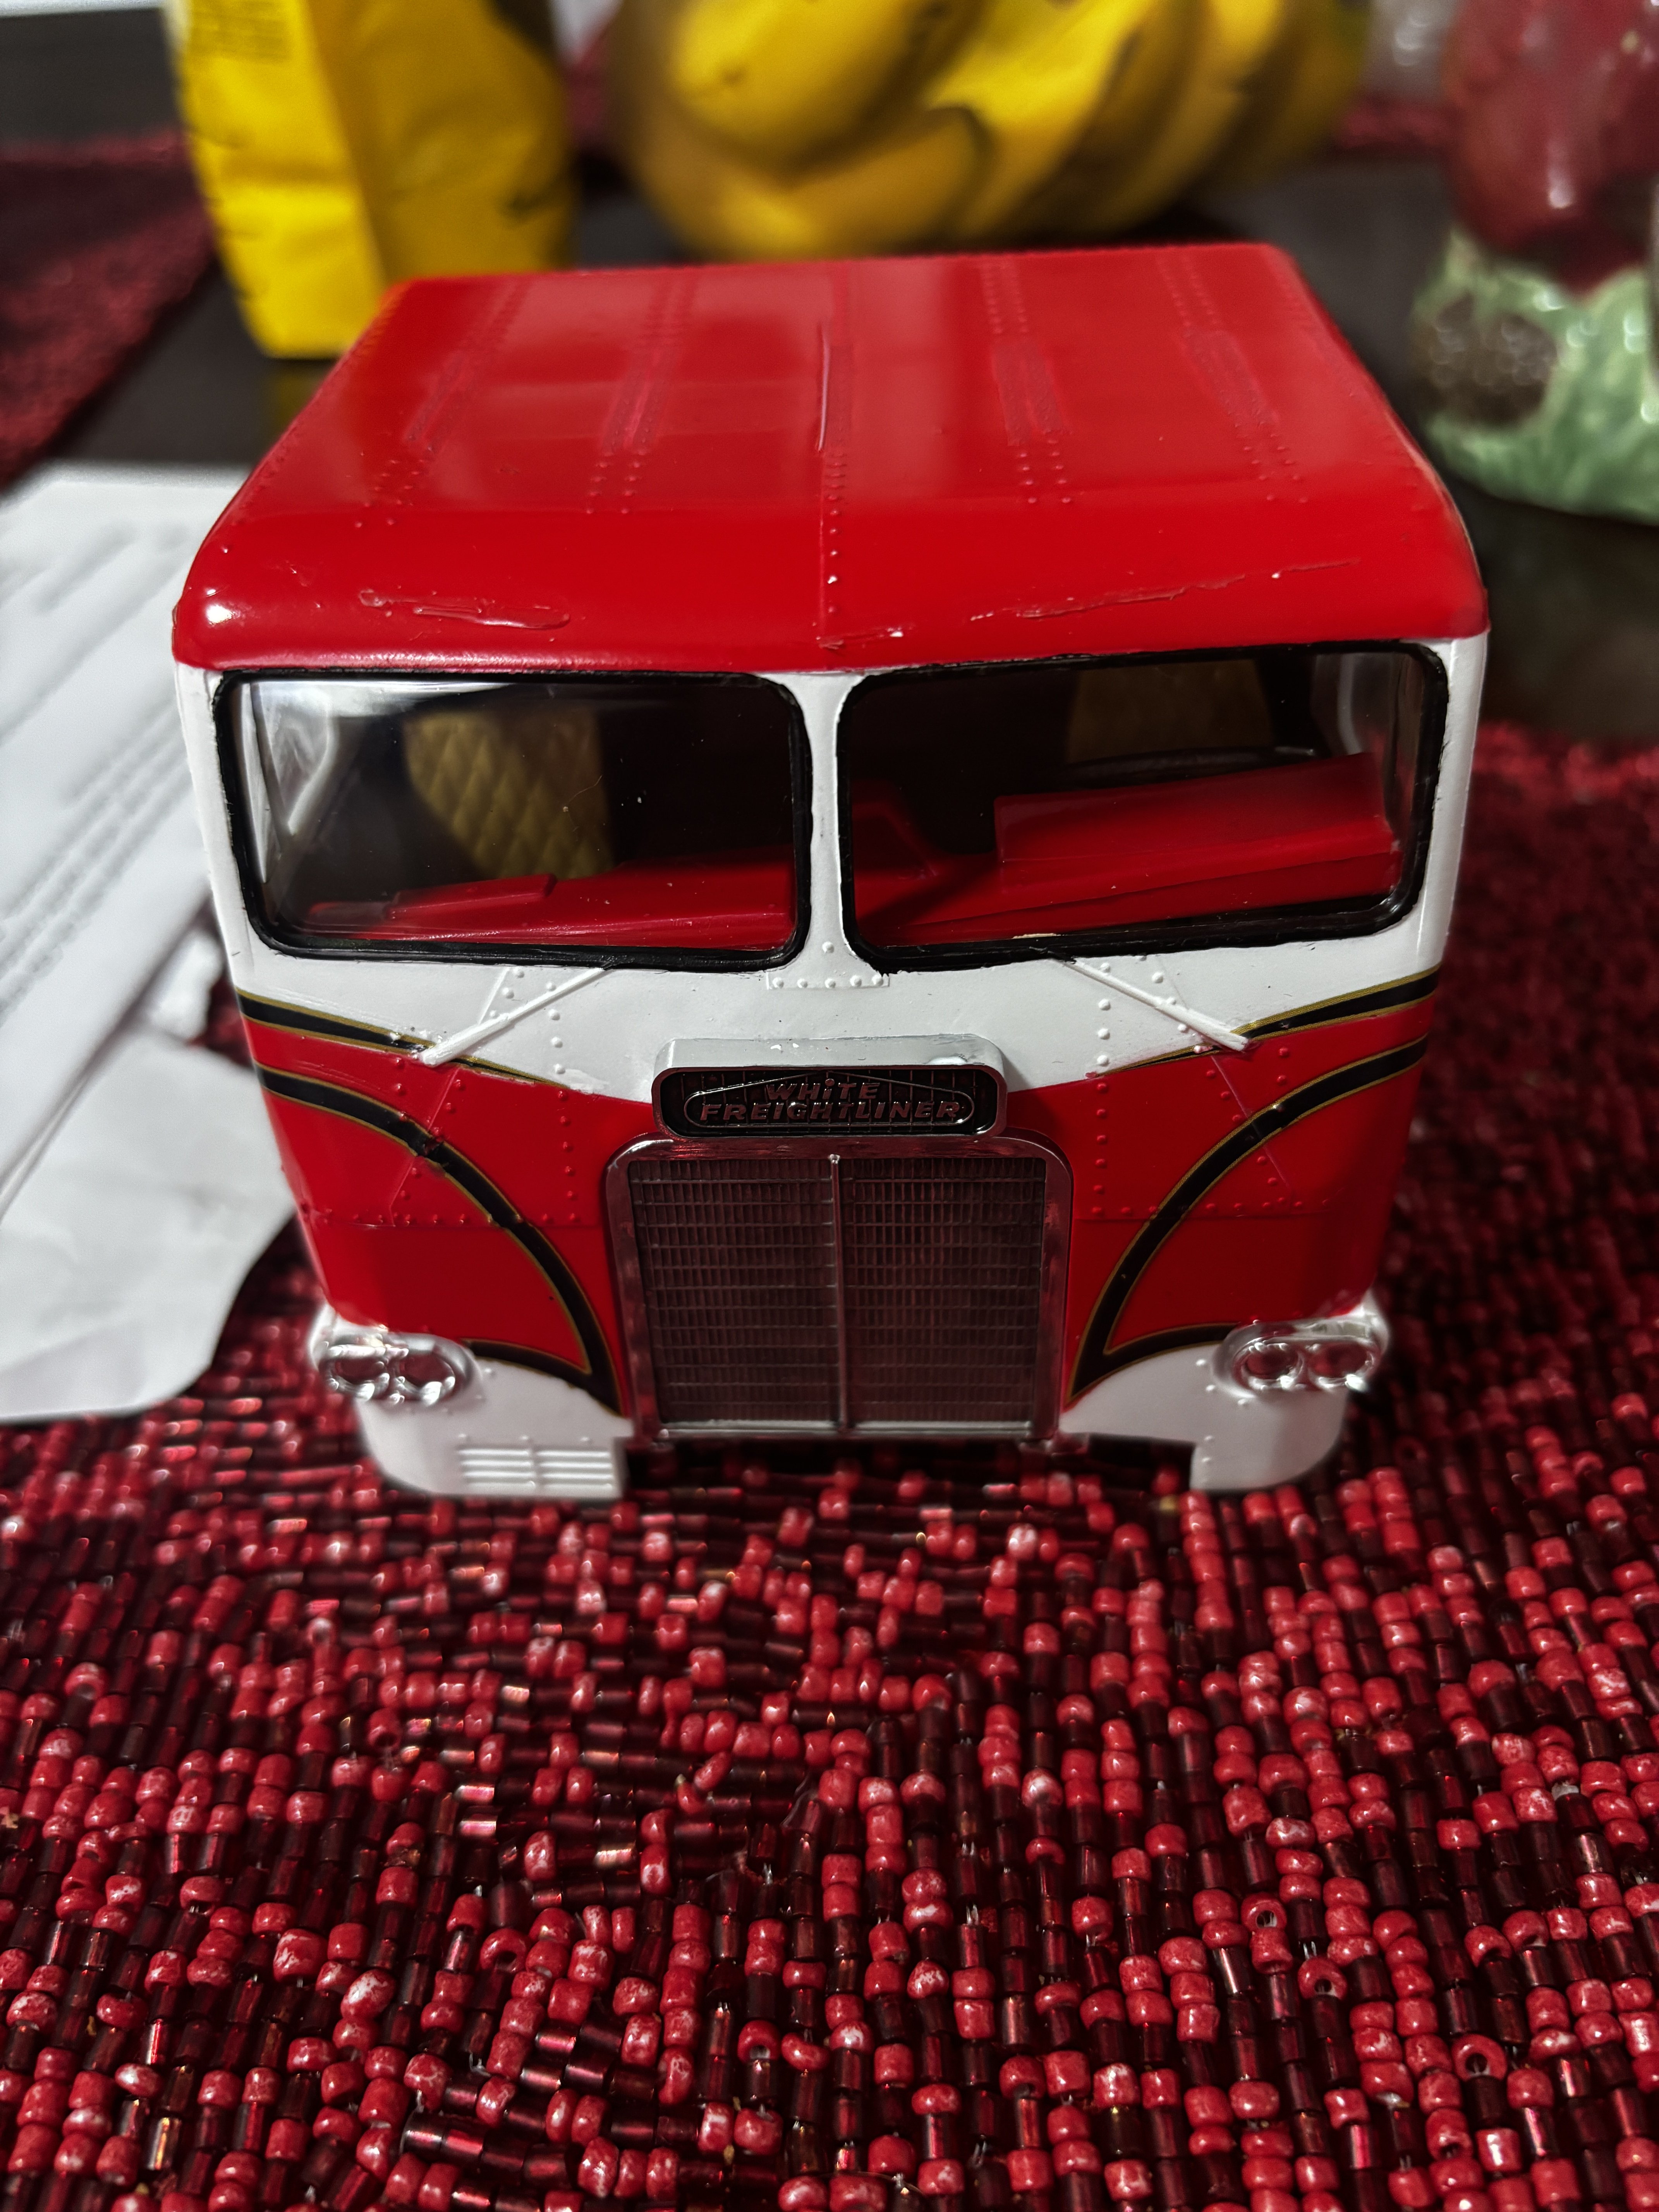
White Freightliner DD by CDW - AMT - 1:25 Scale - PLASTIC
CDW replied to CDW's topic in Non-ship/categorised builds
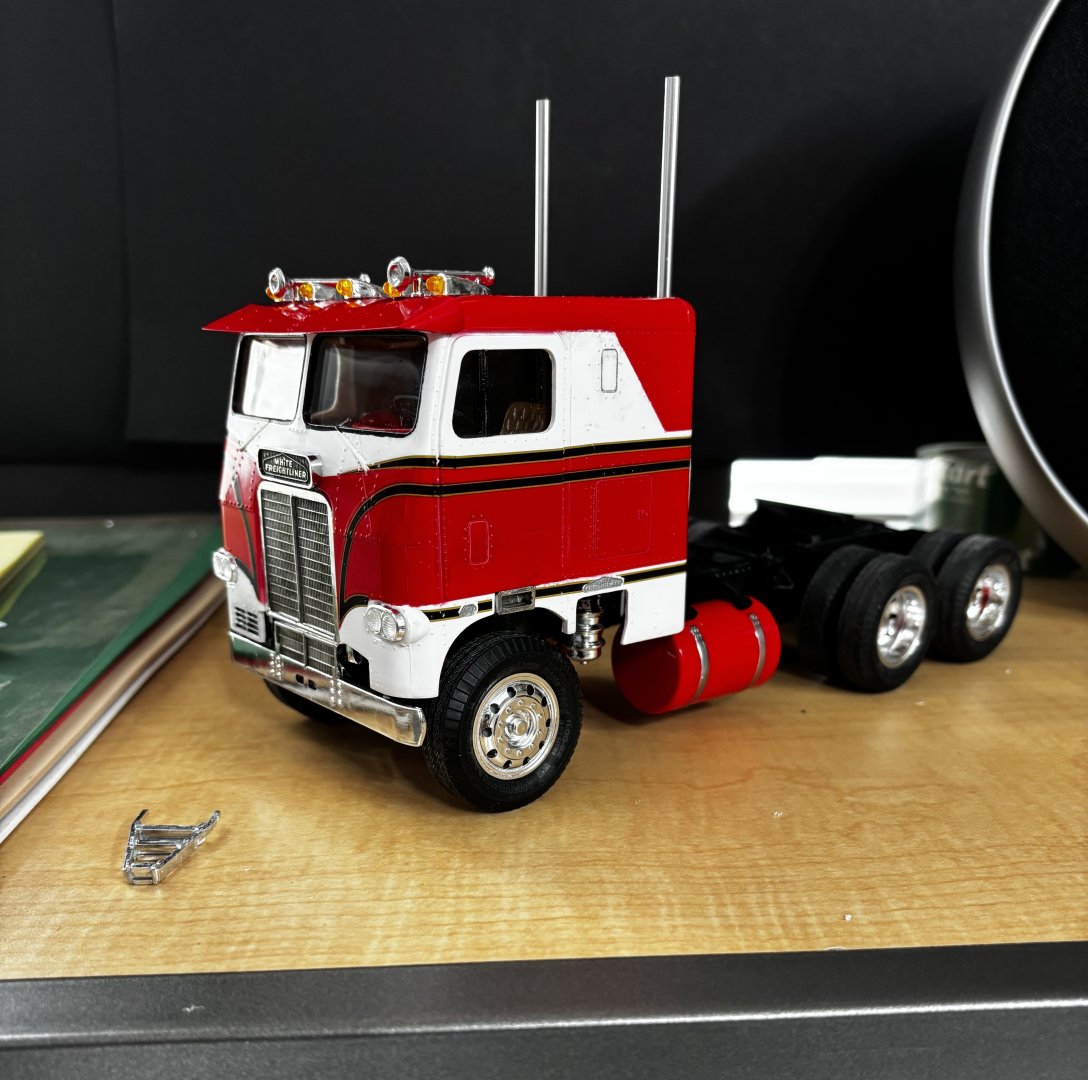
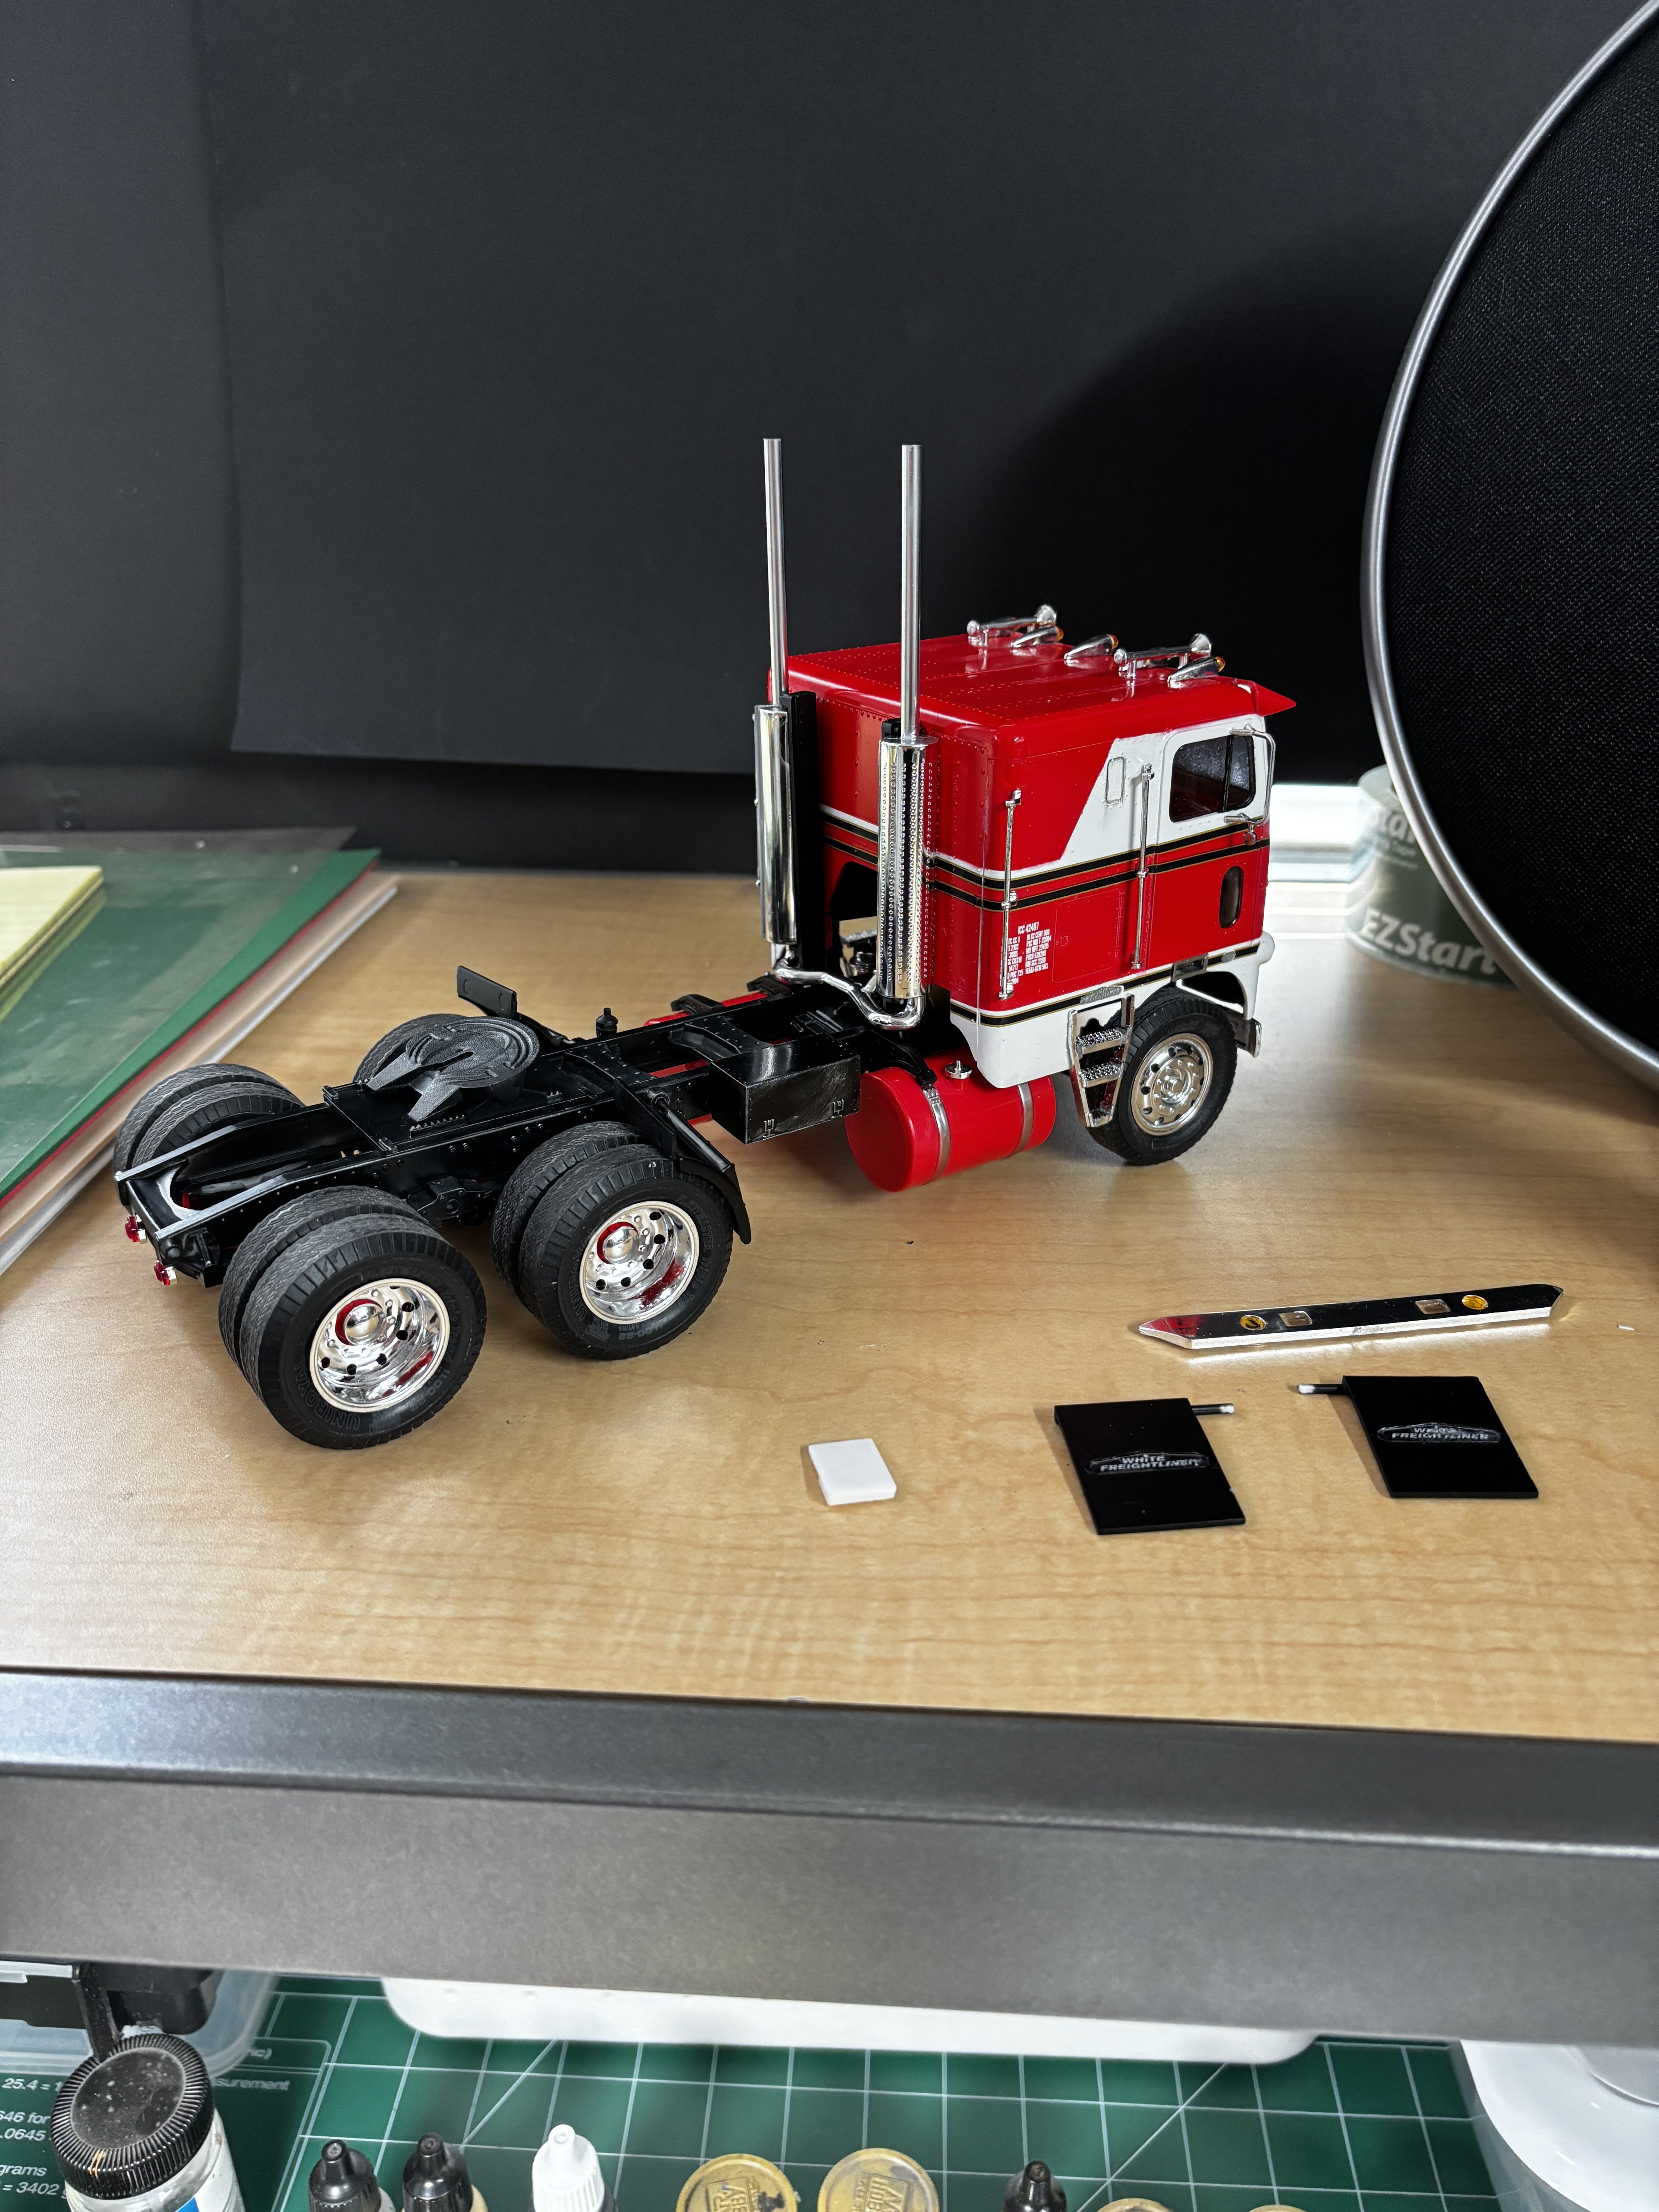
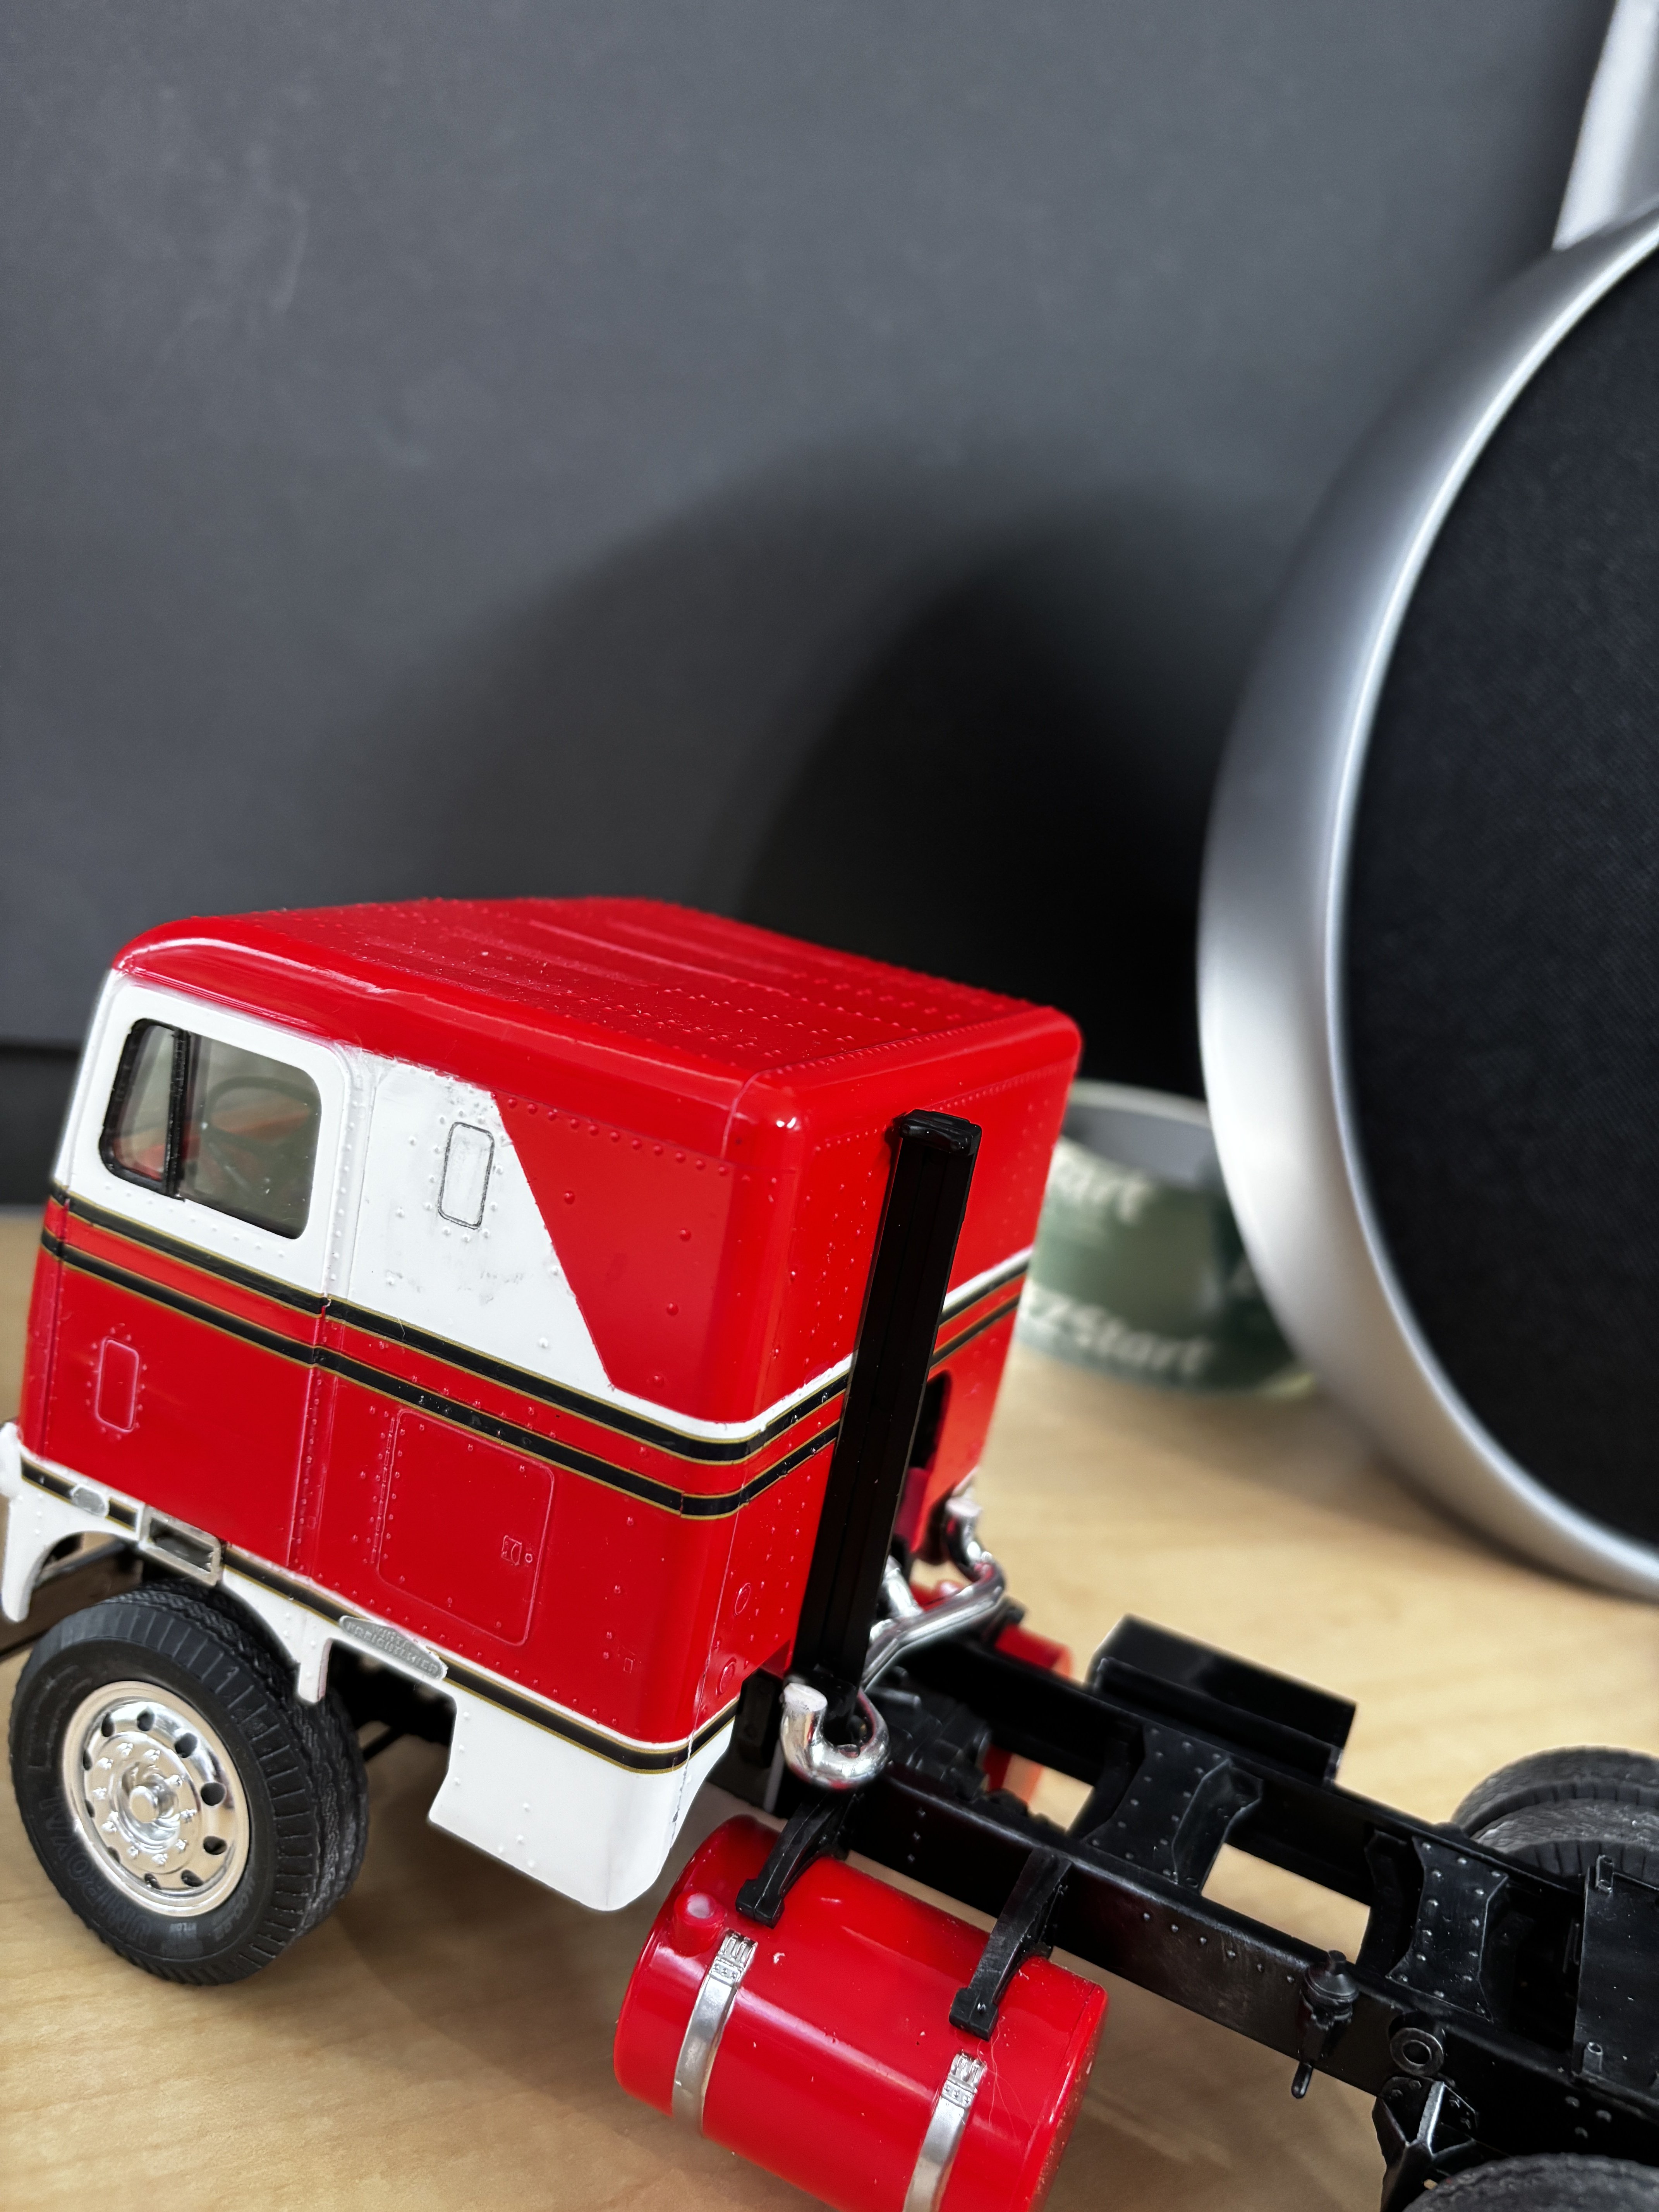
Horns, cab running lights, visor added. Baby moon hub covers on rear hubs. 68 Firebird sits along side for size comparison.

-
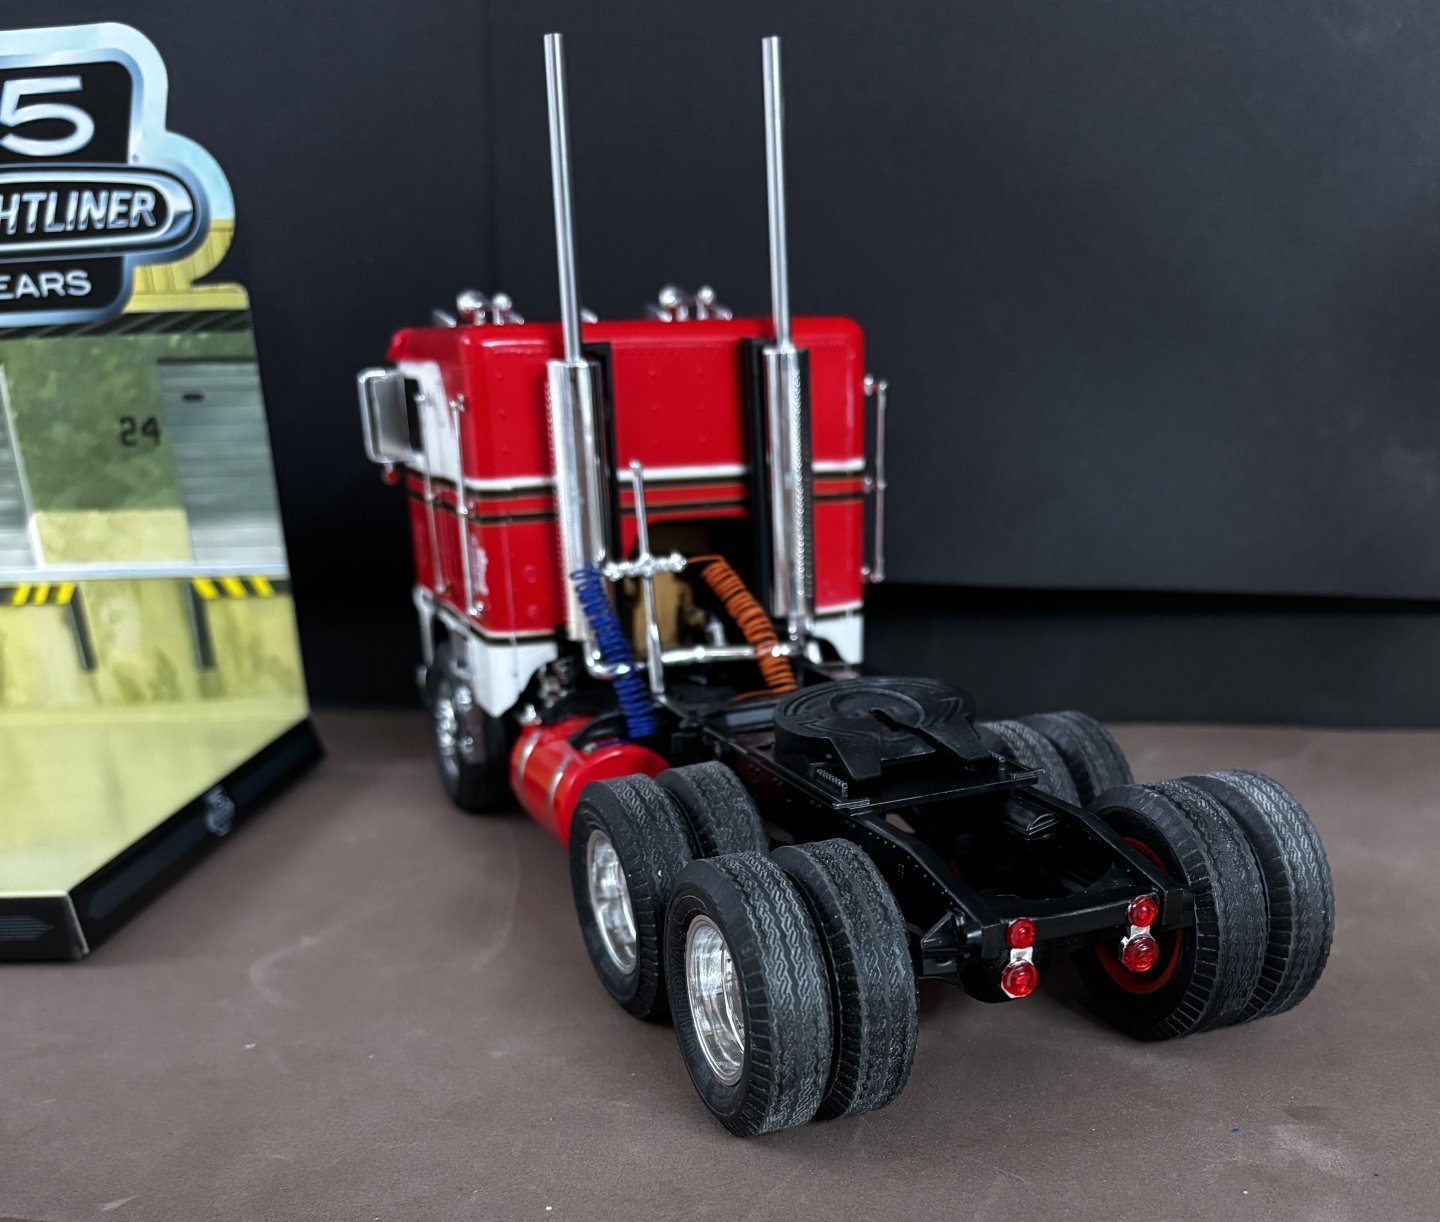
White Freightliner DD by CDW - AMT - 1:25 Scale - PLASTIC
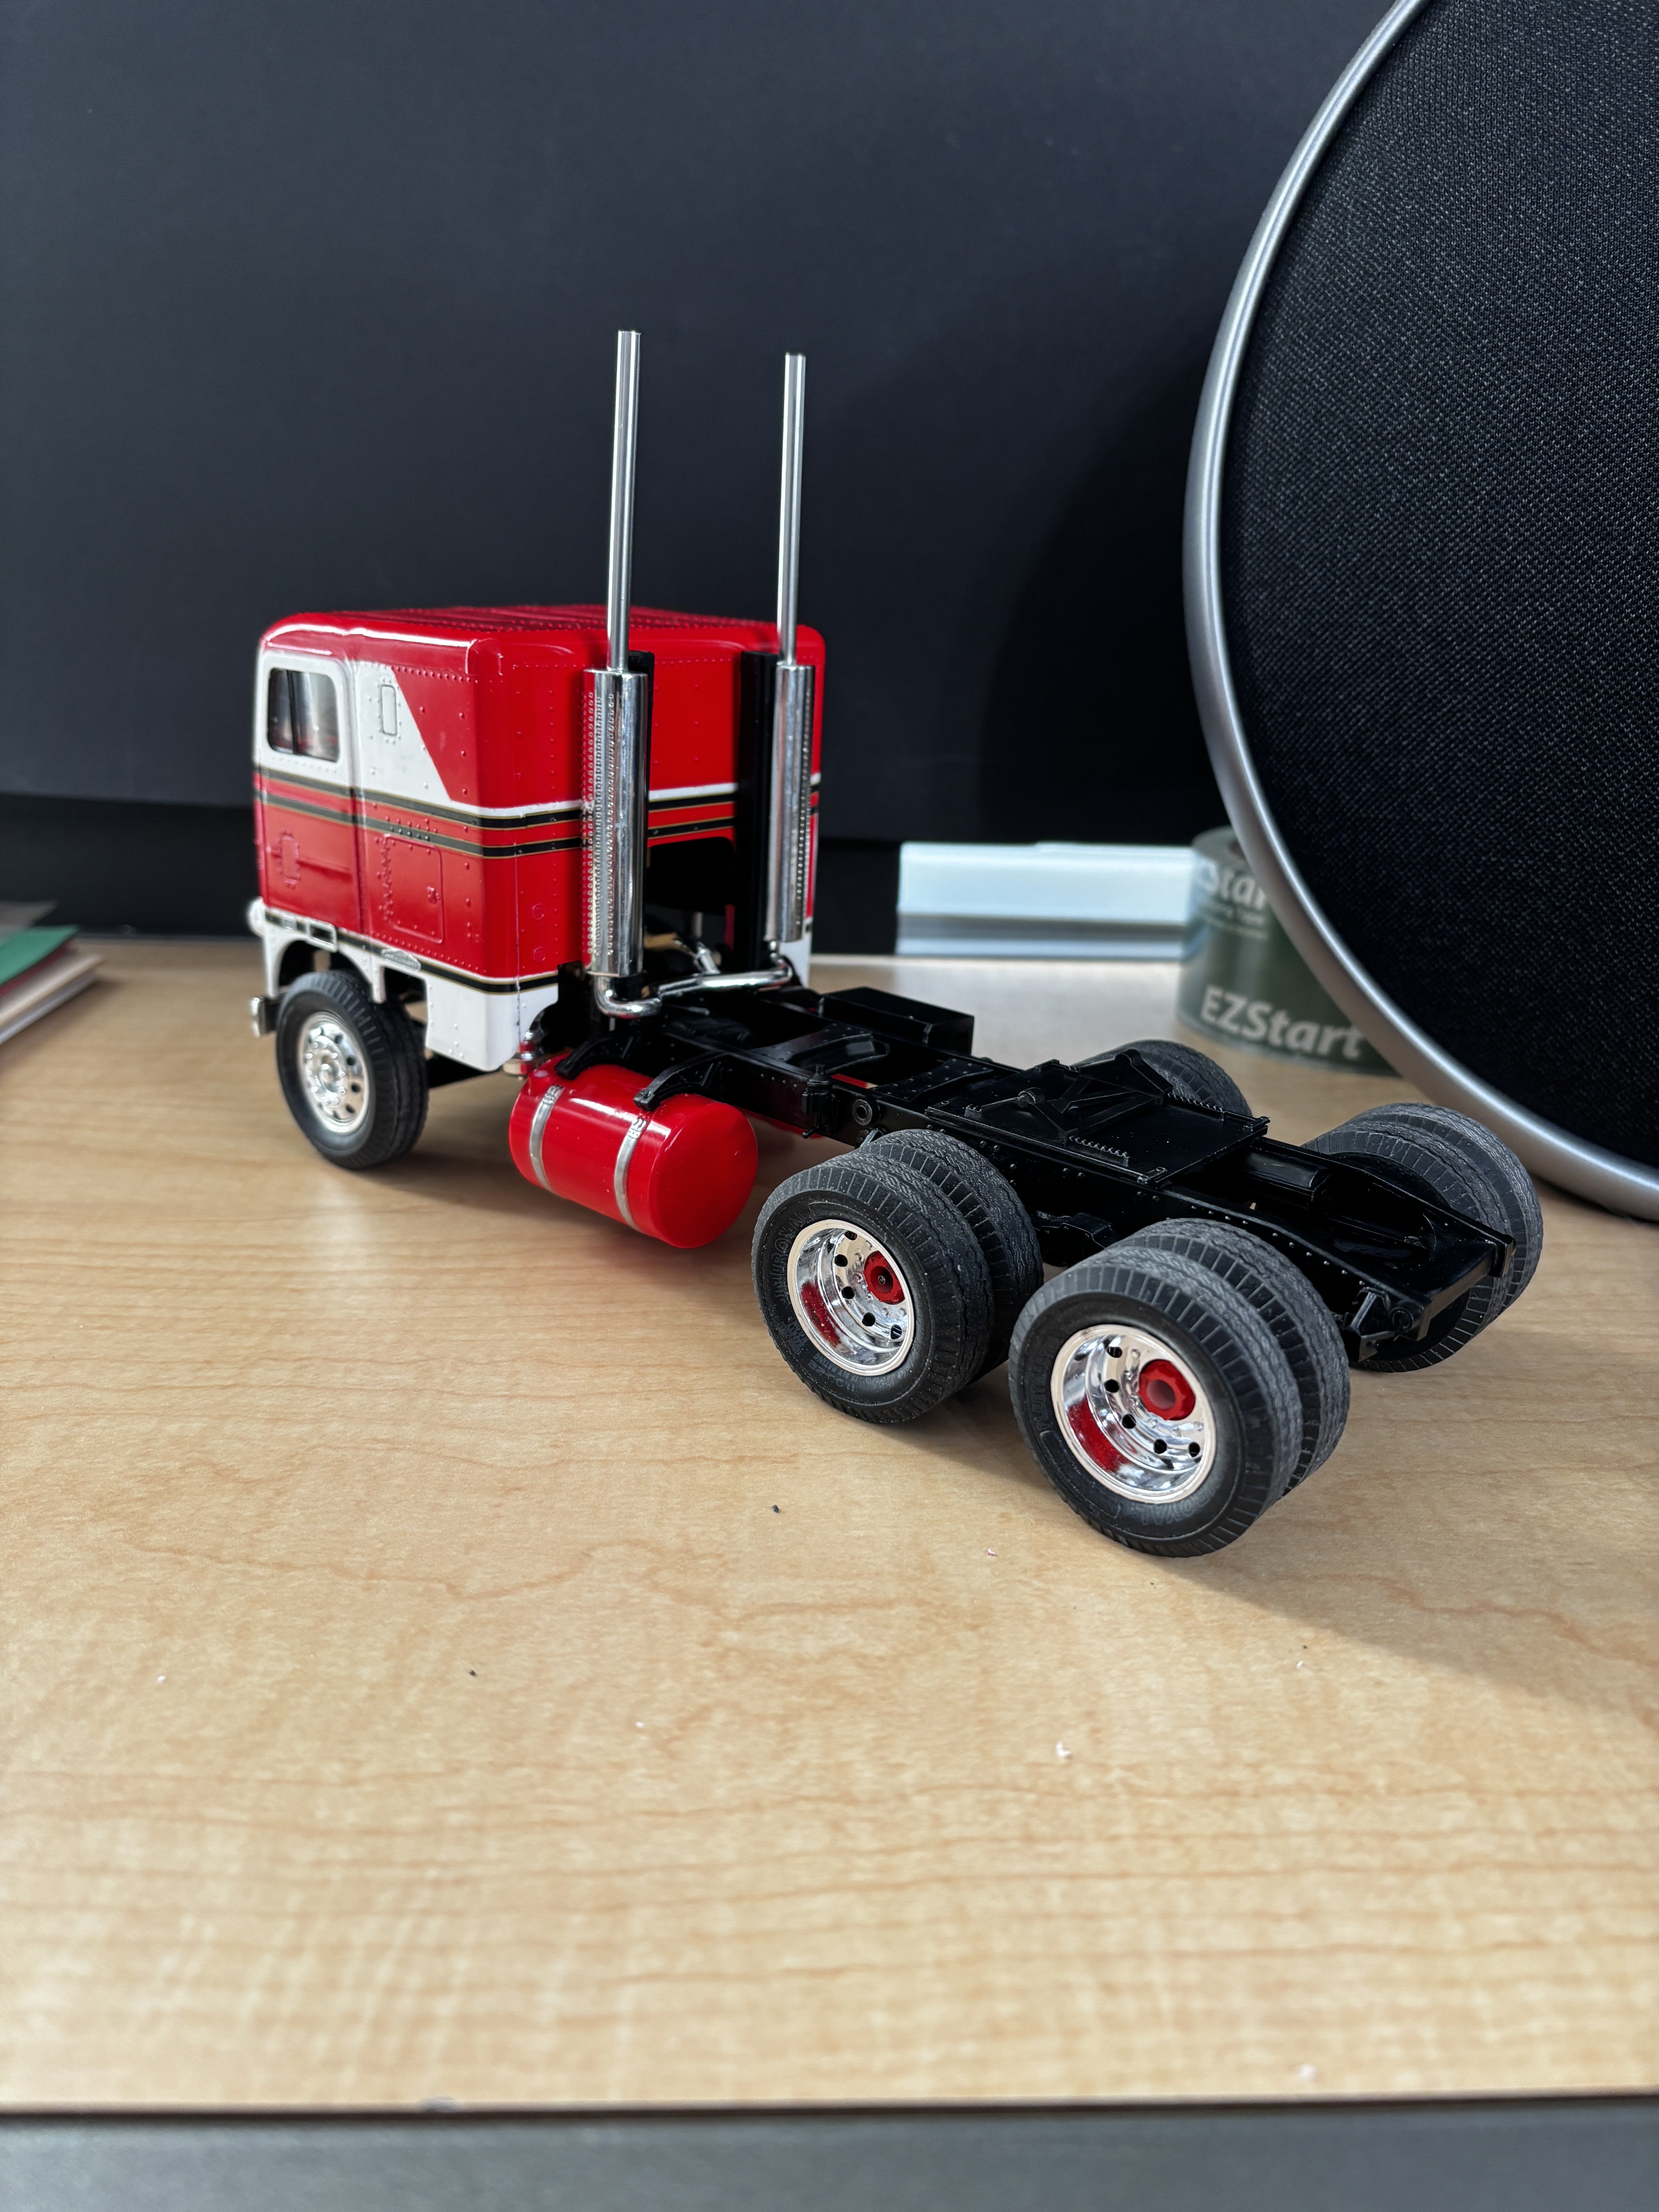
CDW replied to CDW's topic in Non-ship/categorised builds
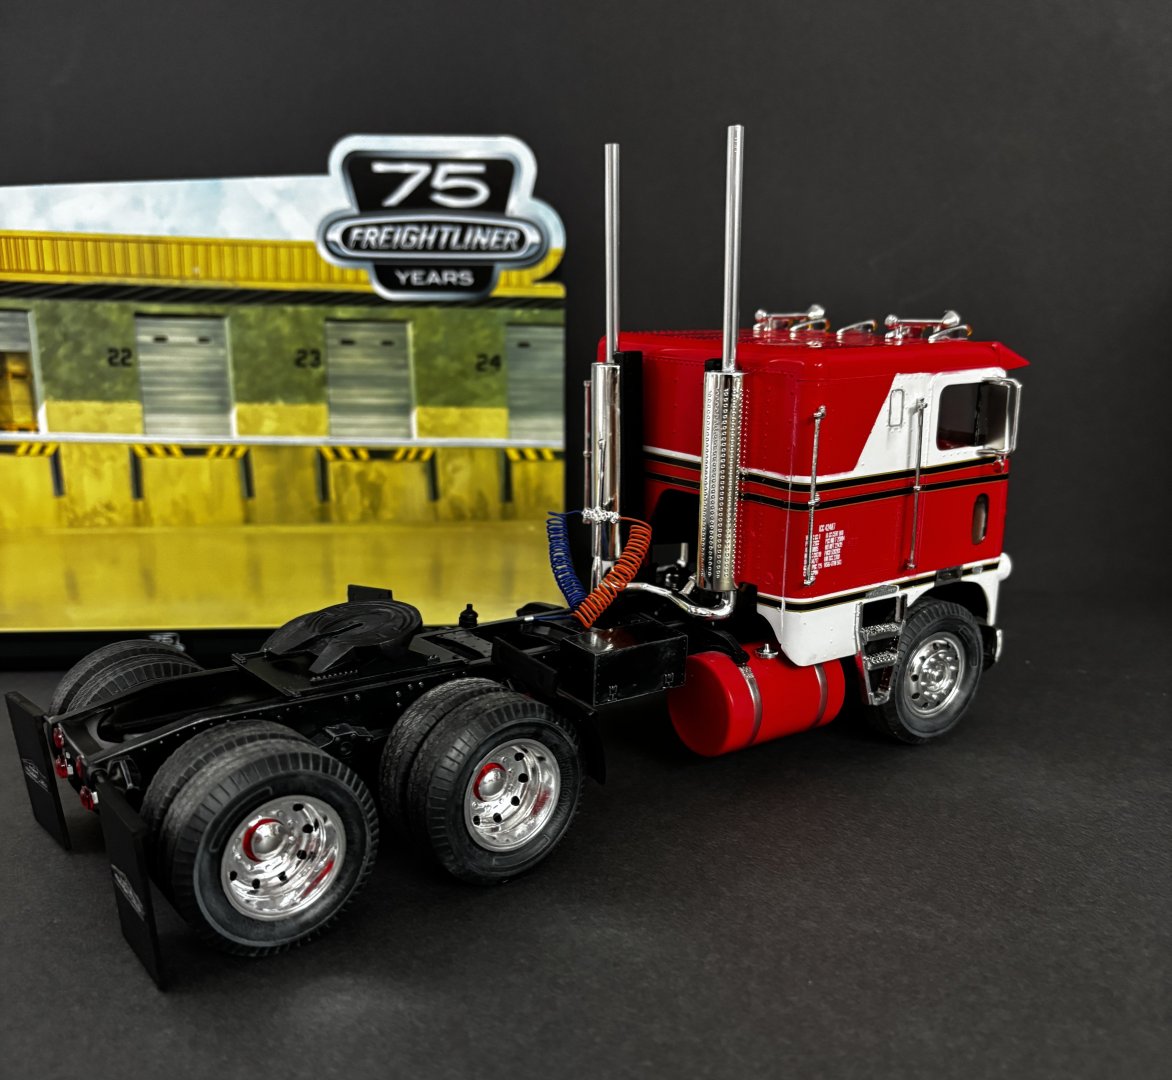
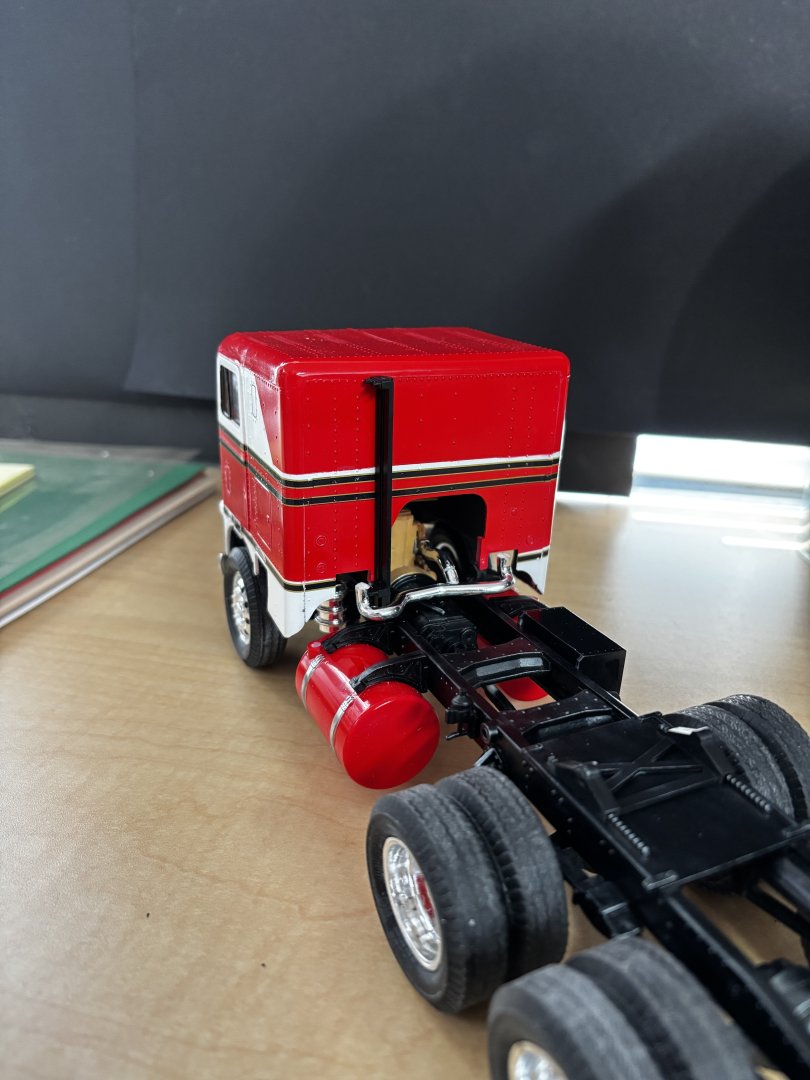
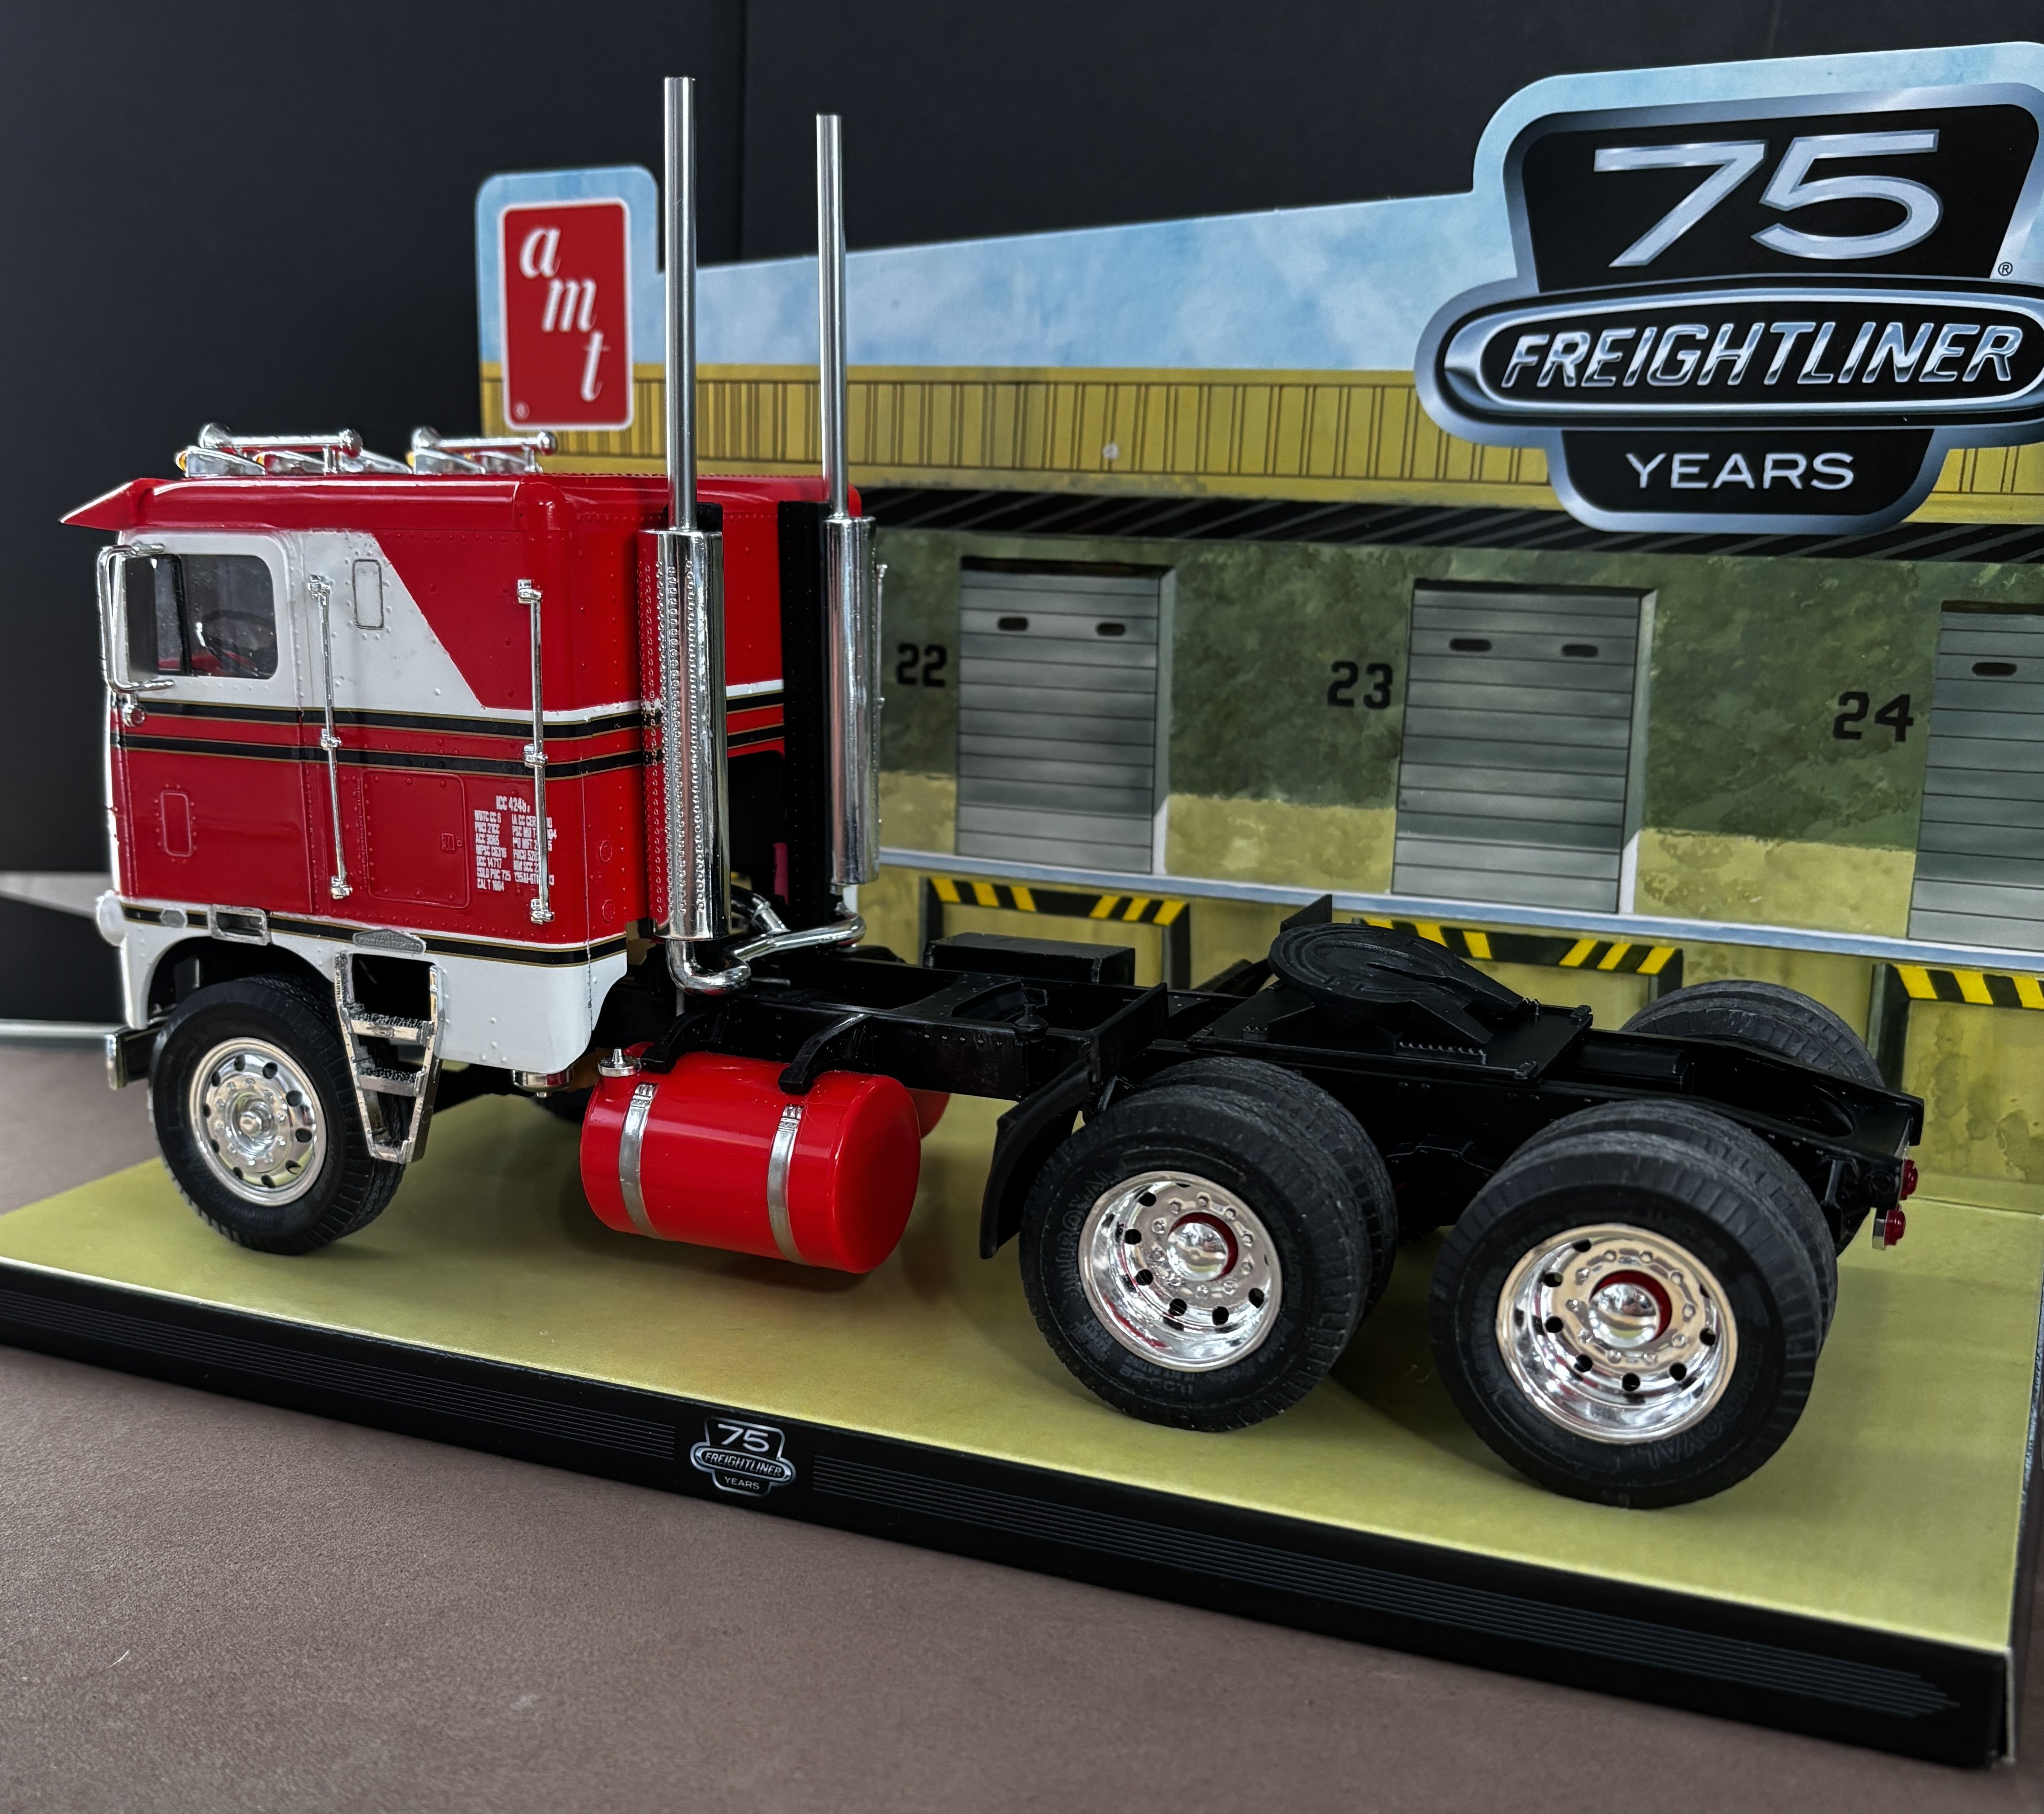
She’s got stacks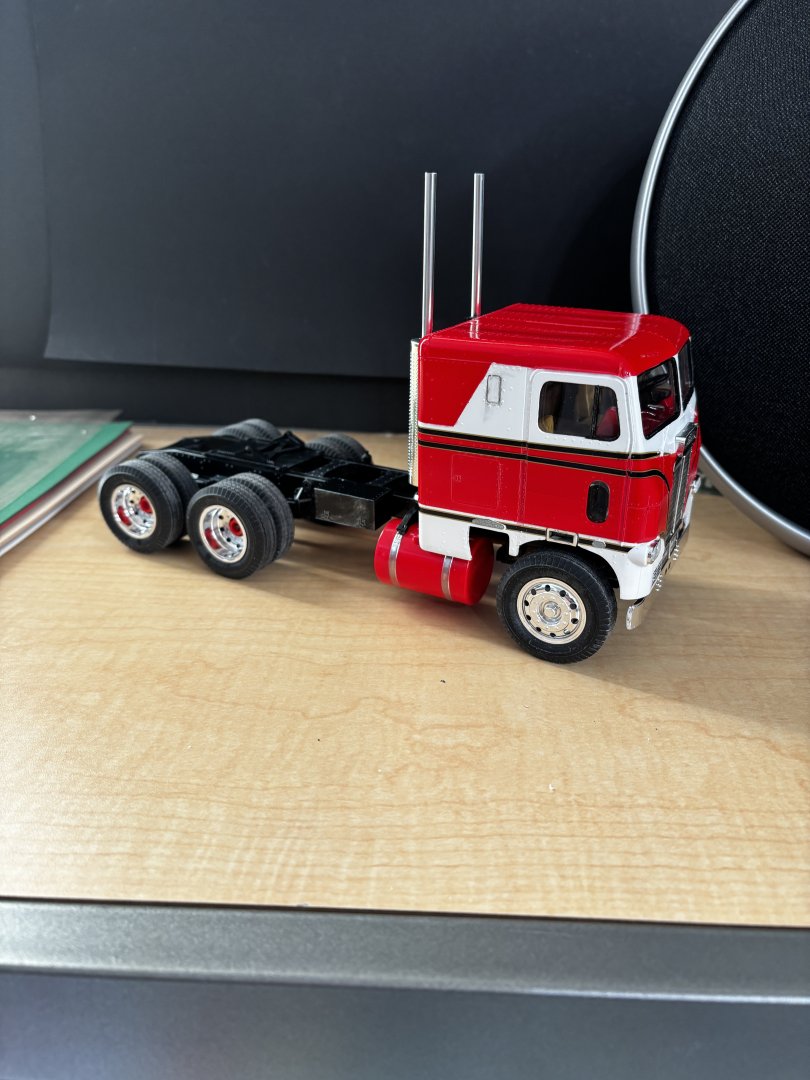

- 30 replies
-
- 10
-
-
-
White Freightliner DD by CDW - AMT - 1:25 Scale - PLASTIC
CDW replied to CDW's topic in Non-ship/categorised builds
I’ll do something with tire weathering at the end when I’m sure handling of the model is almost finished. i still need to drill location holes in the cab to install all the bits. That will take some time. More wreathing in general as well. -
White Freightliner DD by CDW - AMT - 1:25 Scale - PLASTIC
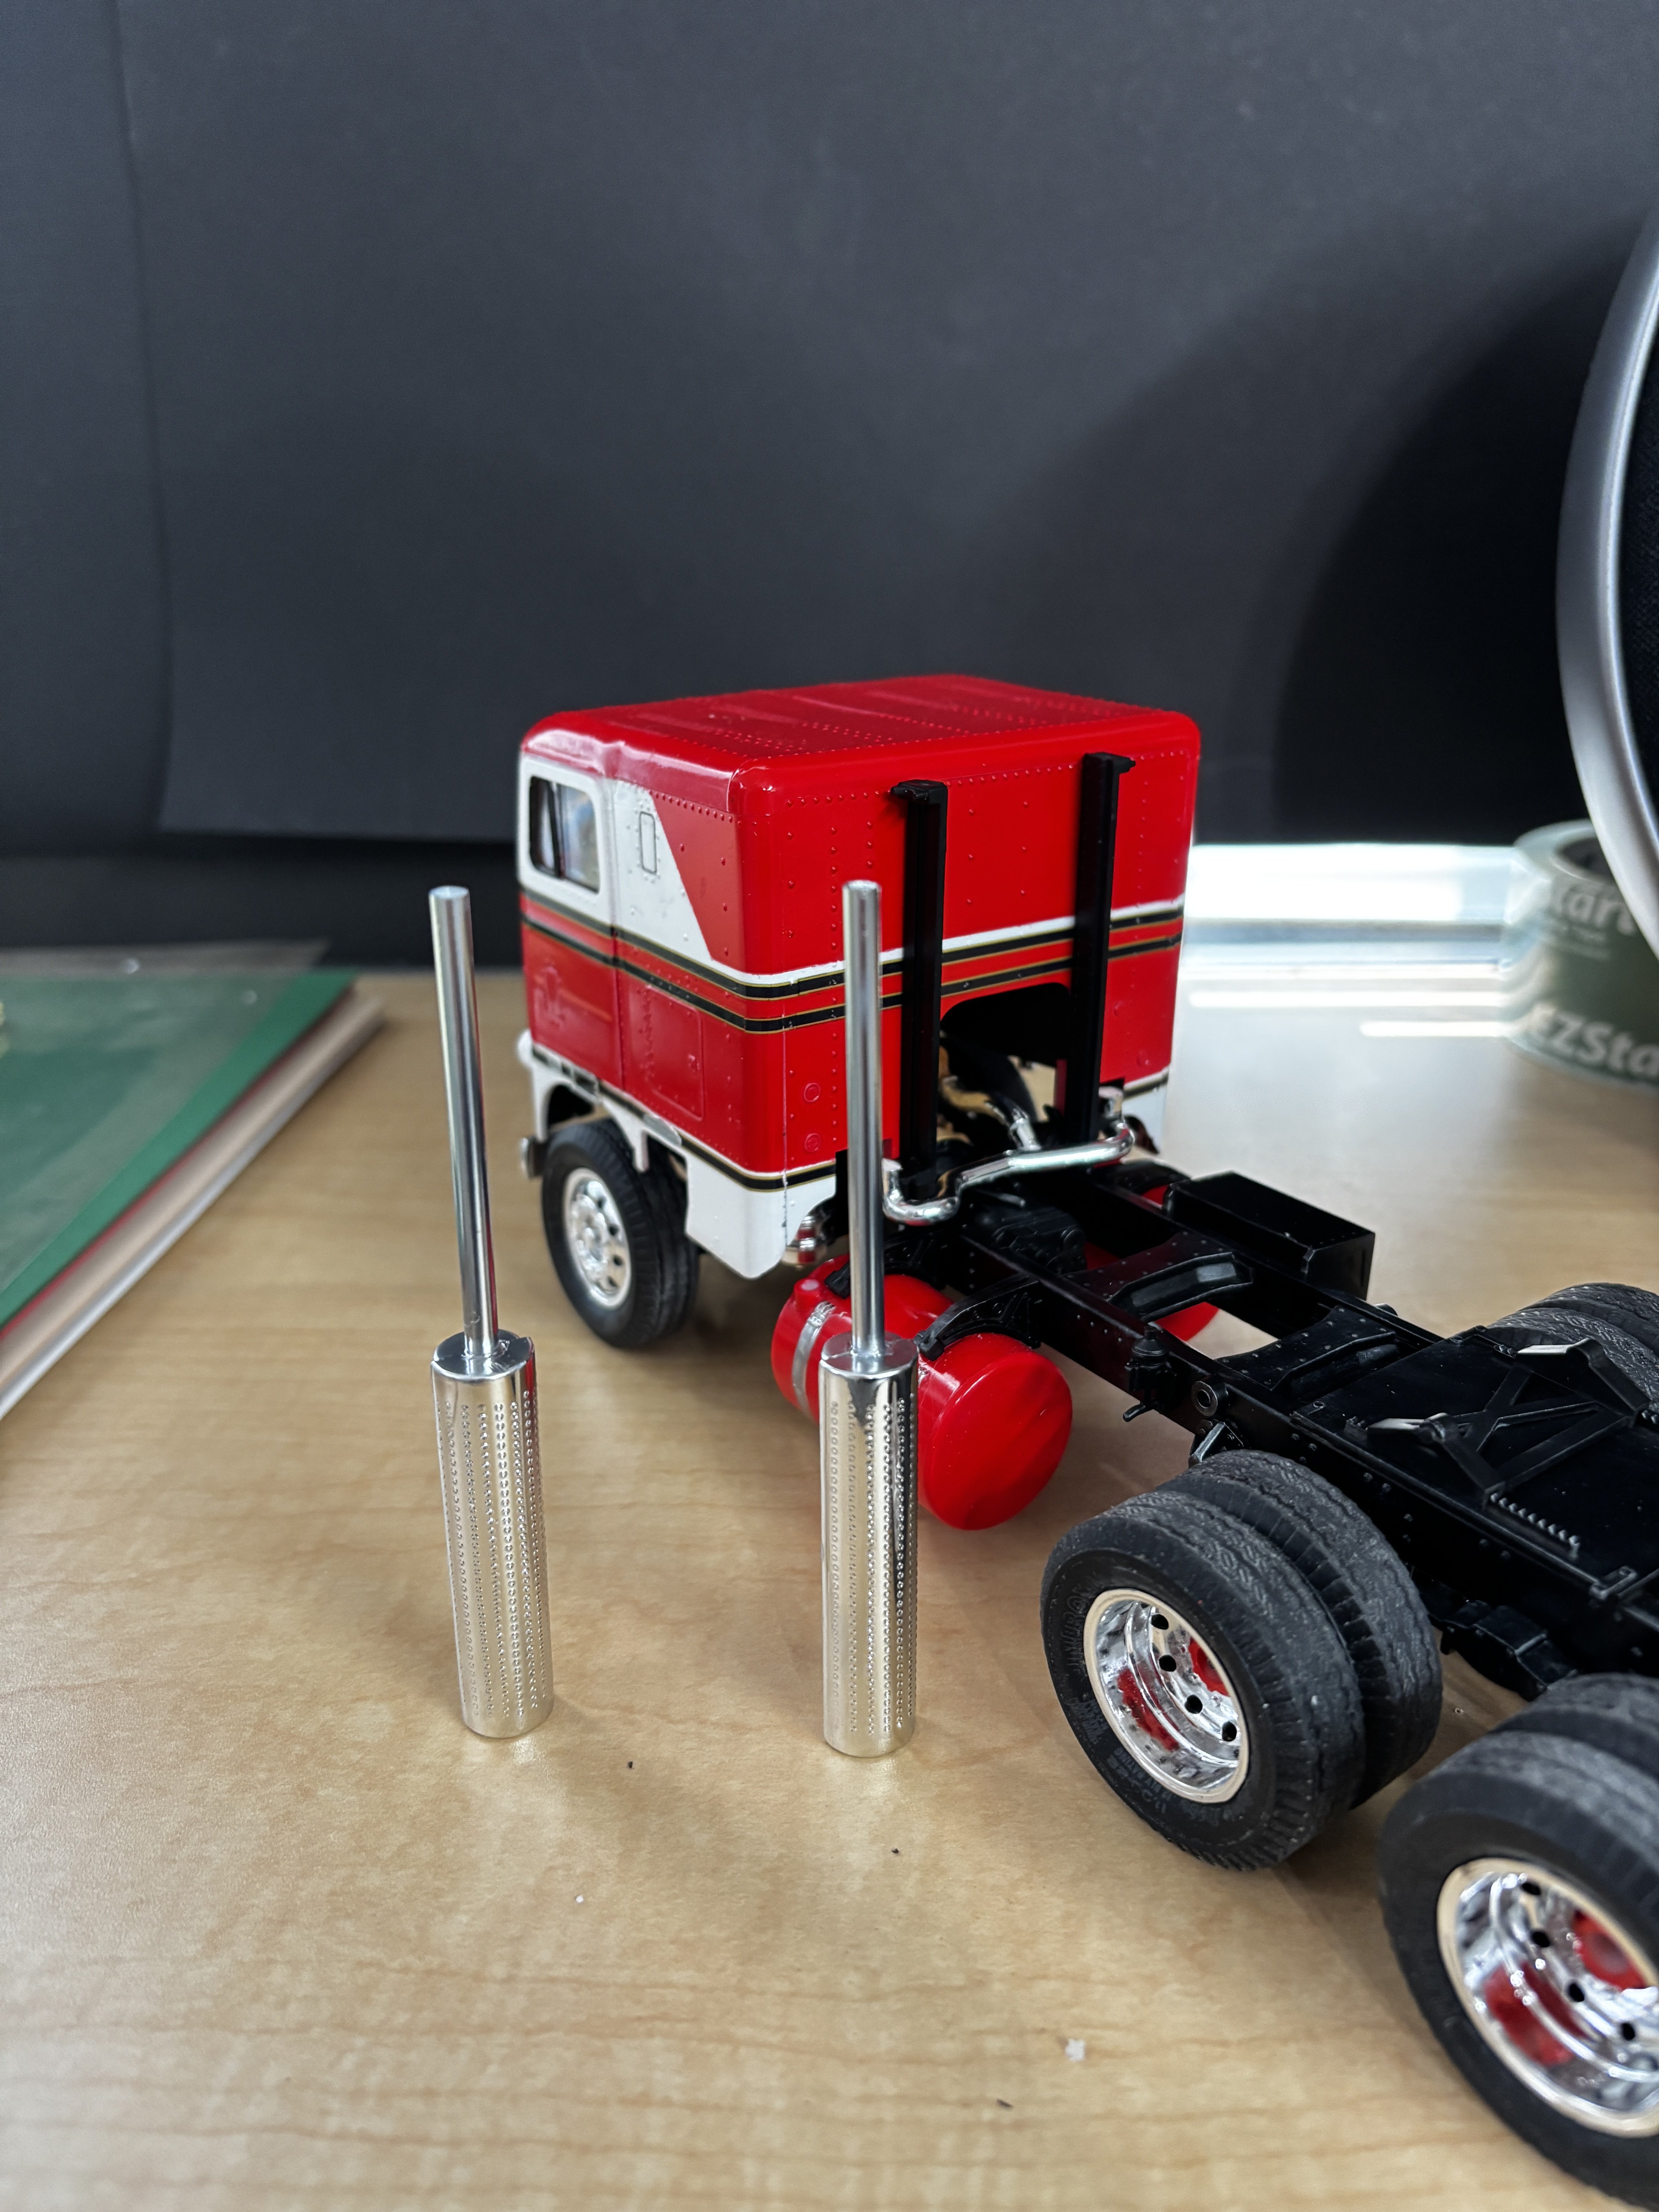
CDW replied to CDW's topic in Non-ship/categorised builds
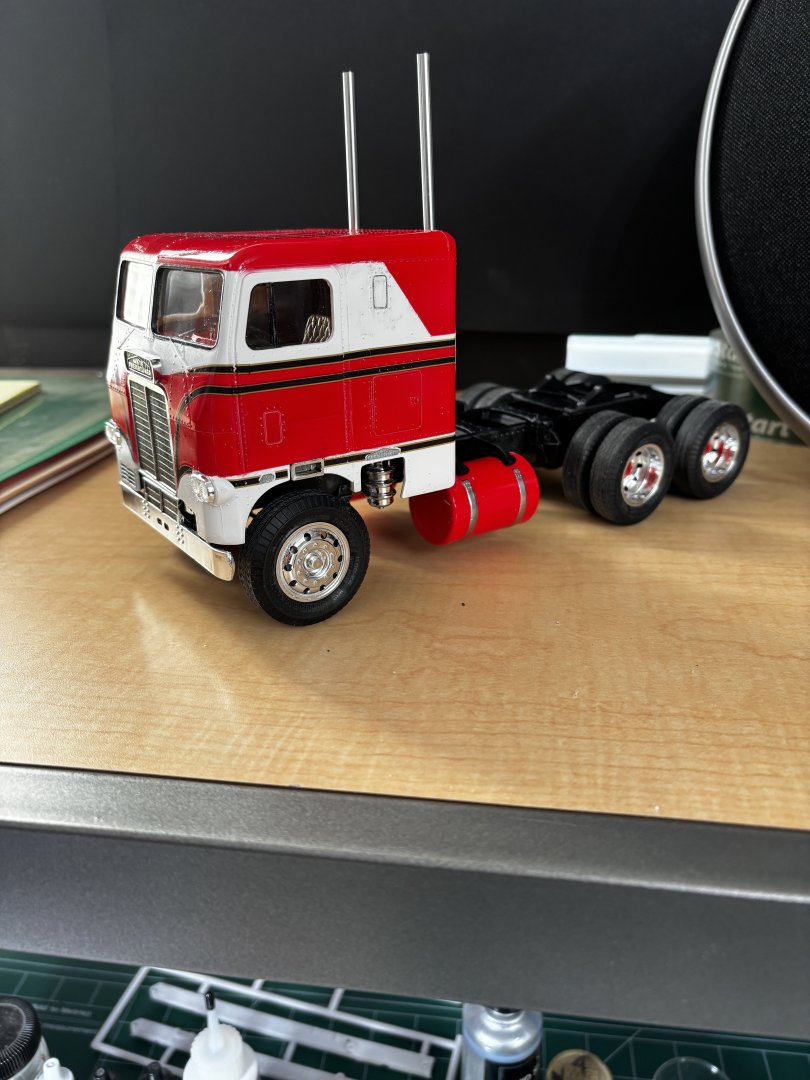
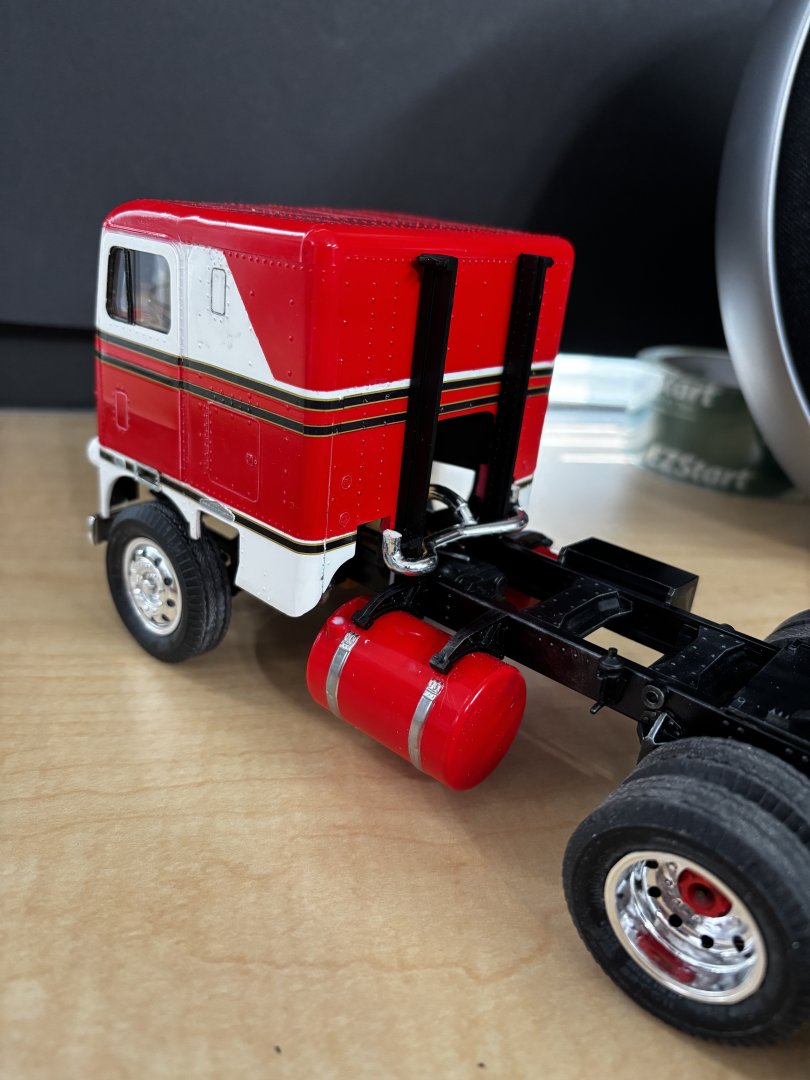
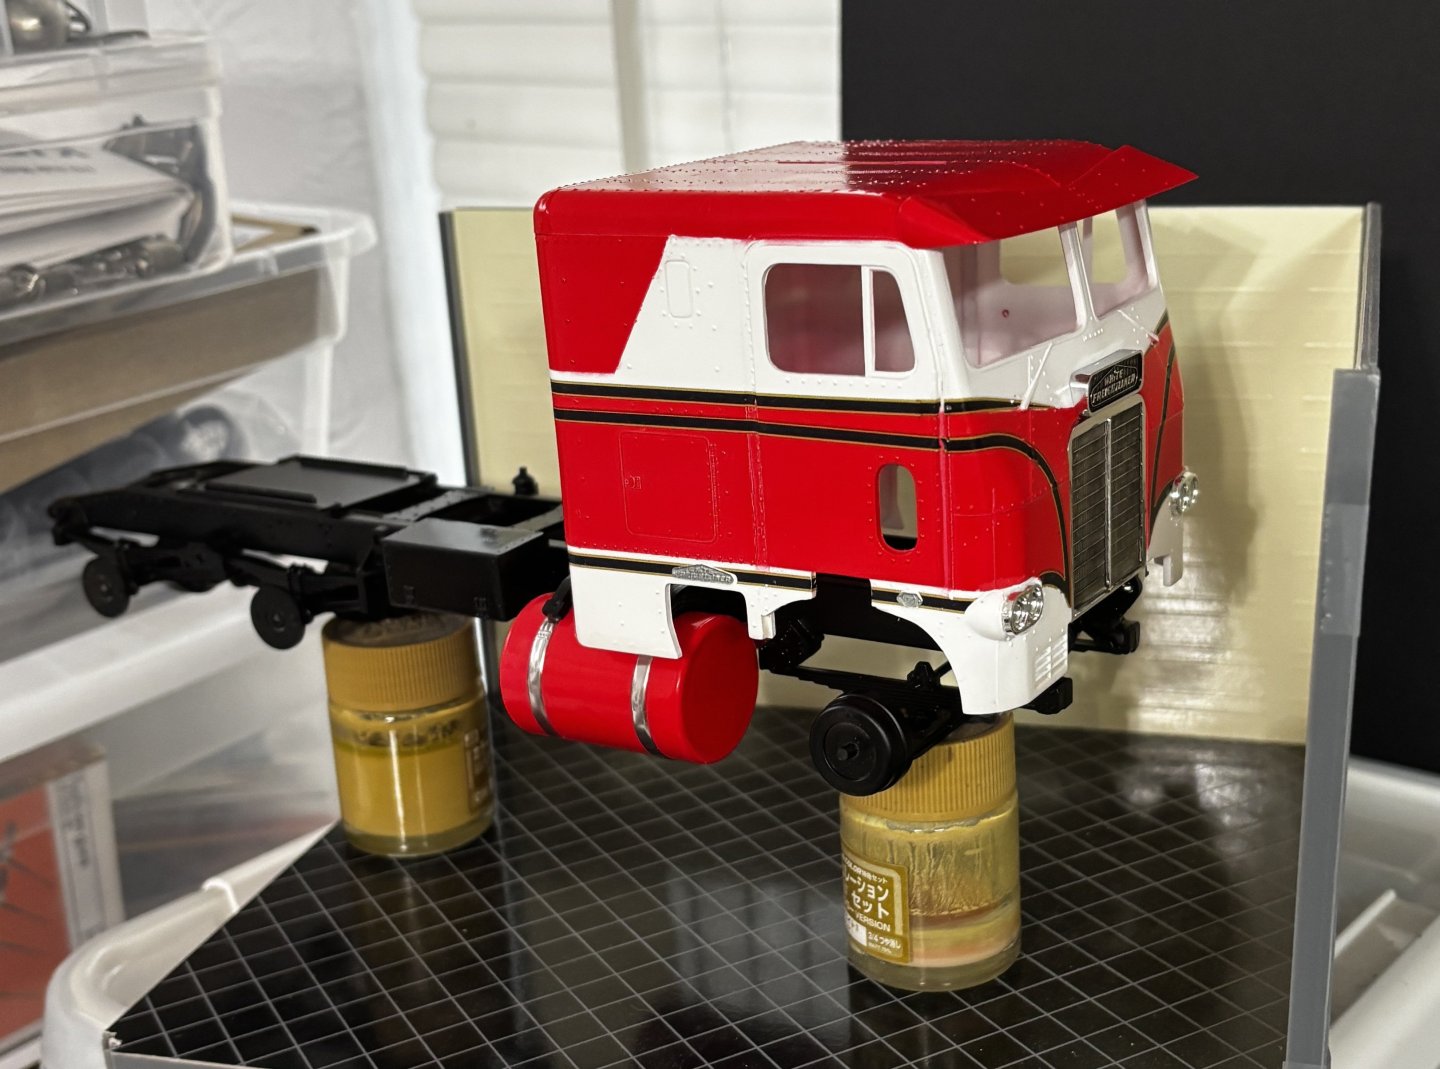
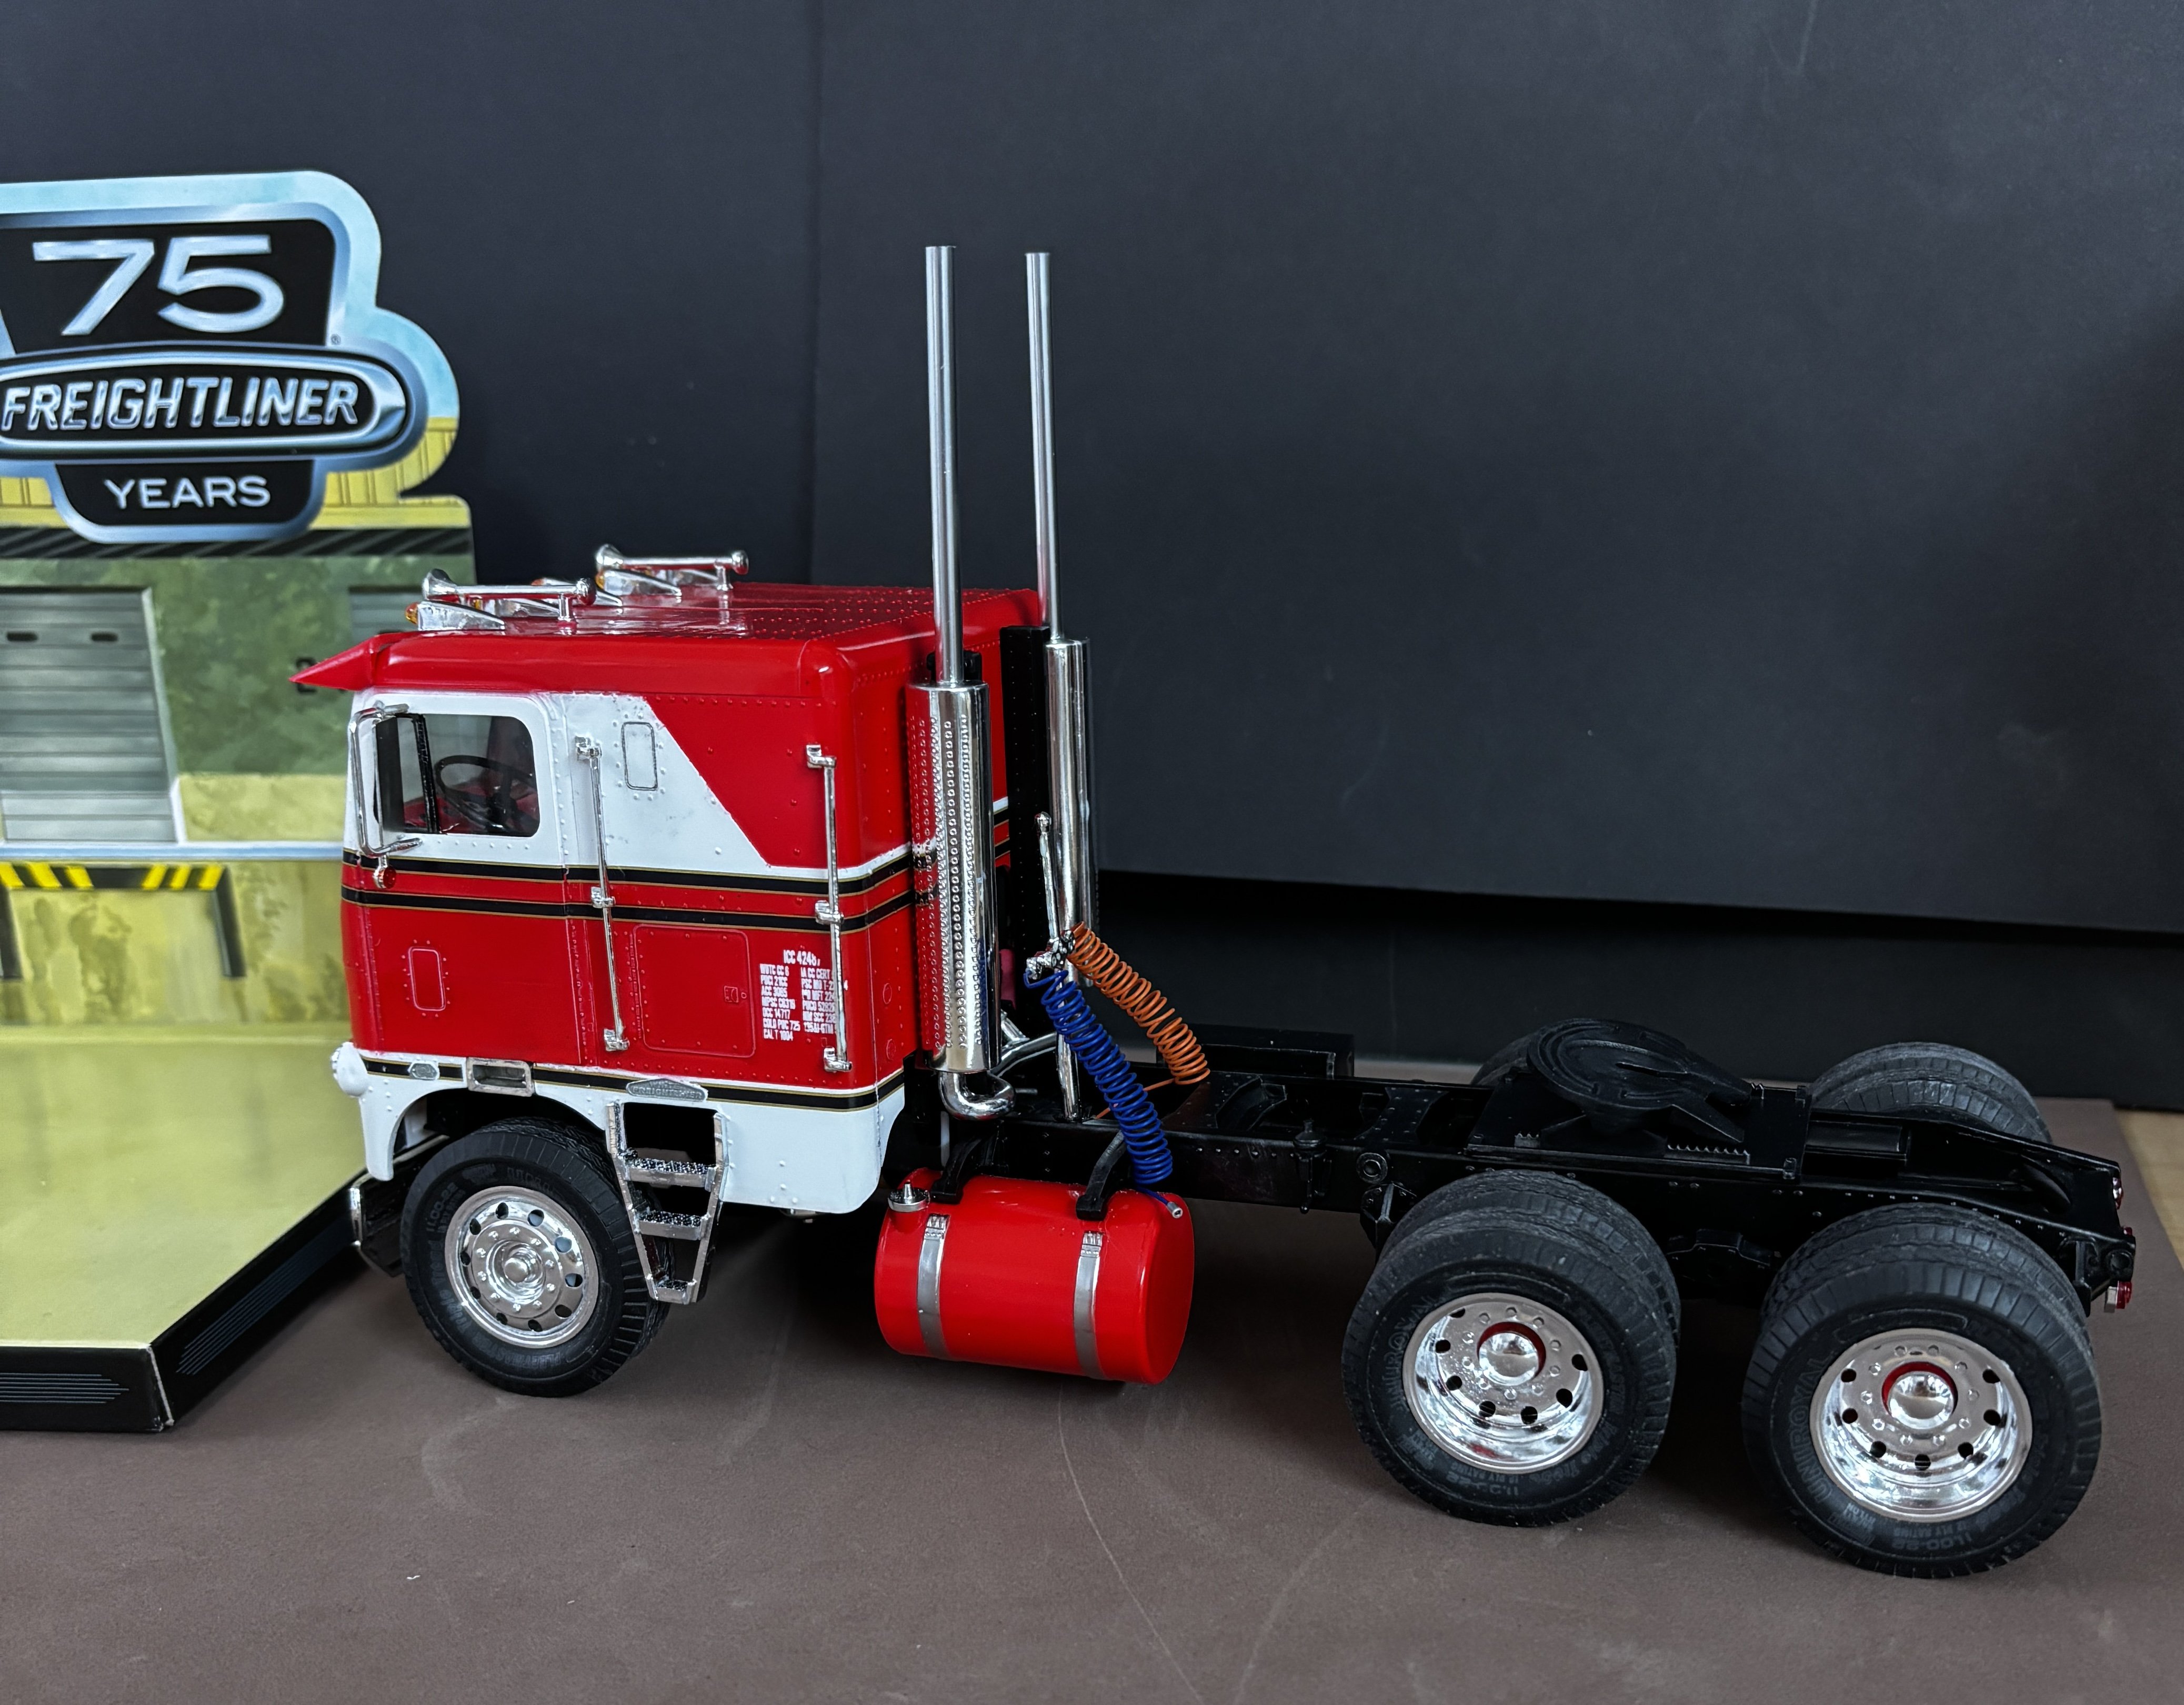
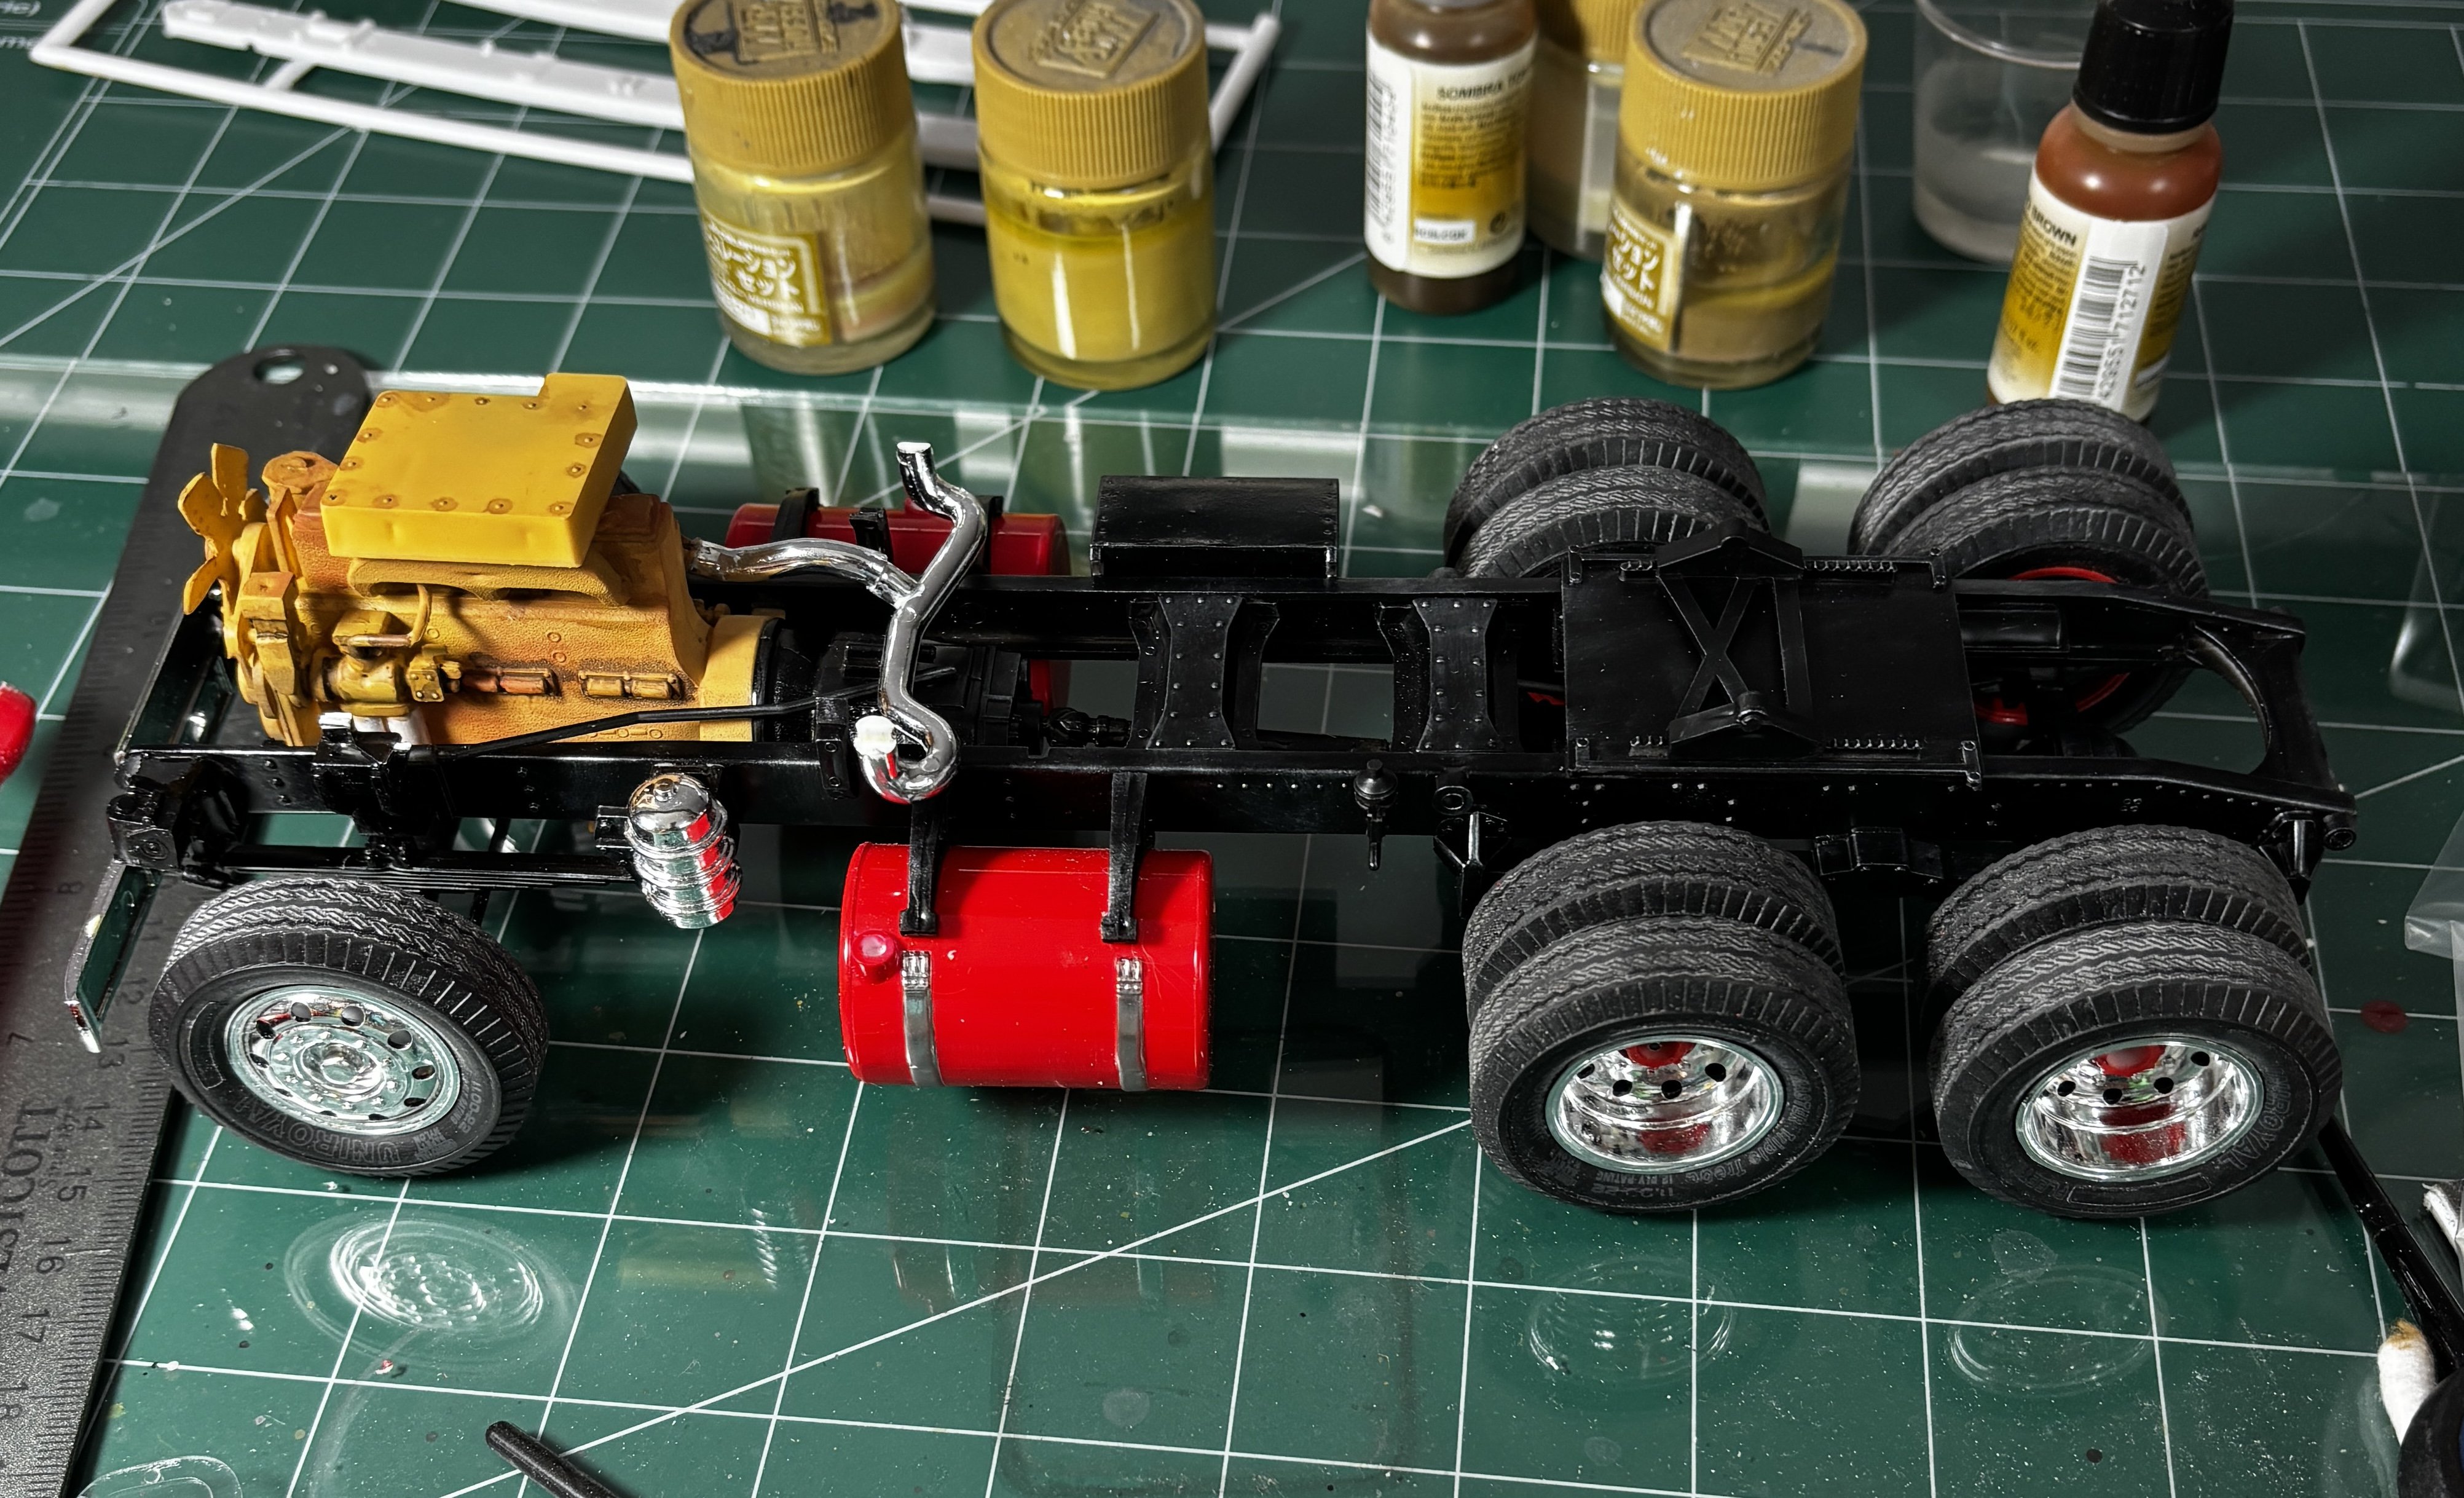
turning attention to the exhaust stacks. Remember, this is an old tool kit. As such, many parts need TLC to make them fit. The exhaust stack supports are no exception. Careful fitting to make sure they line up properly with the cab and the exhaust pipe is required. My exhaust stacks had big, ugly dink marks in the pipes rising above the heat shields, plus they were solid plastic, not hollow as they should be. I just cut them off and replaced with plastruct tubing, then painted the tubing with AK Super Chrome. The stacks will get attached later after the glue on the supports sets up well.


-
White Freightliner DD by CDW - AMT - 1:25 Scale - PLASTIC
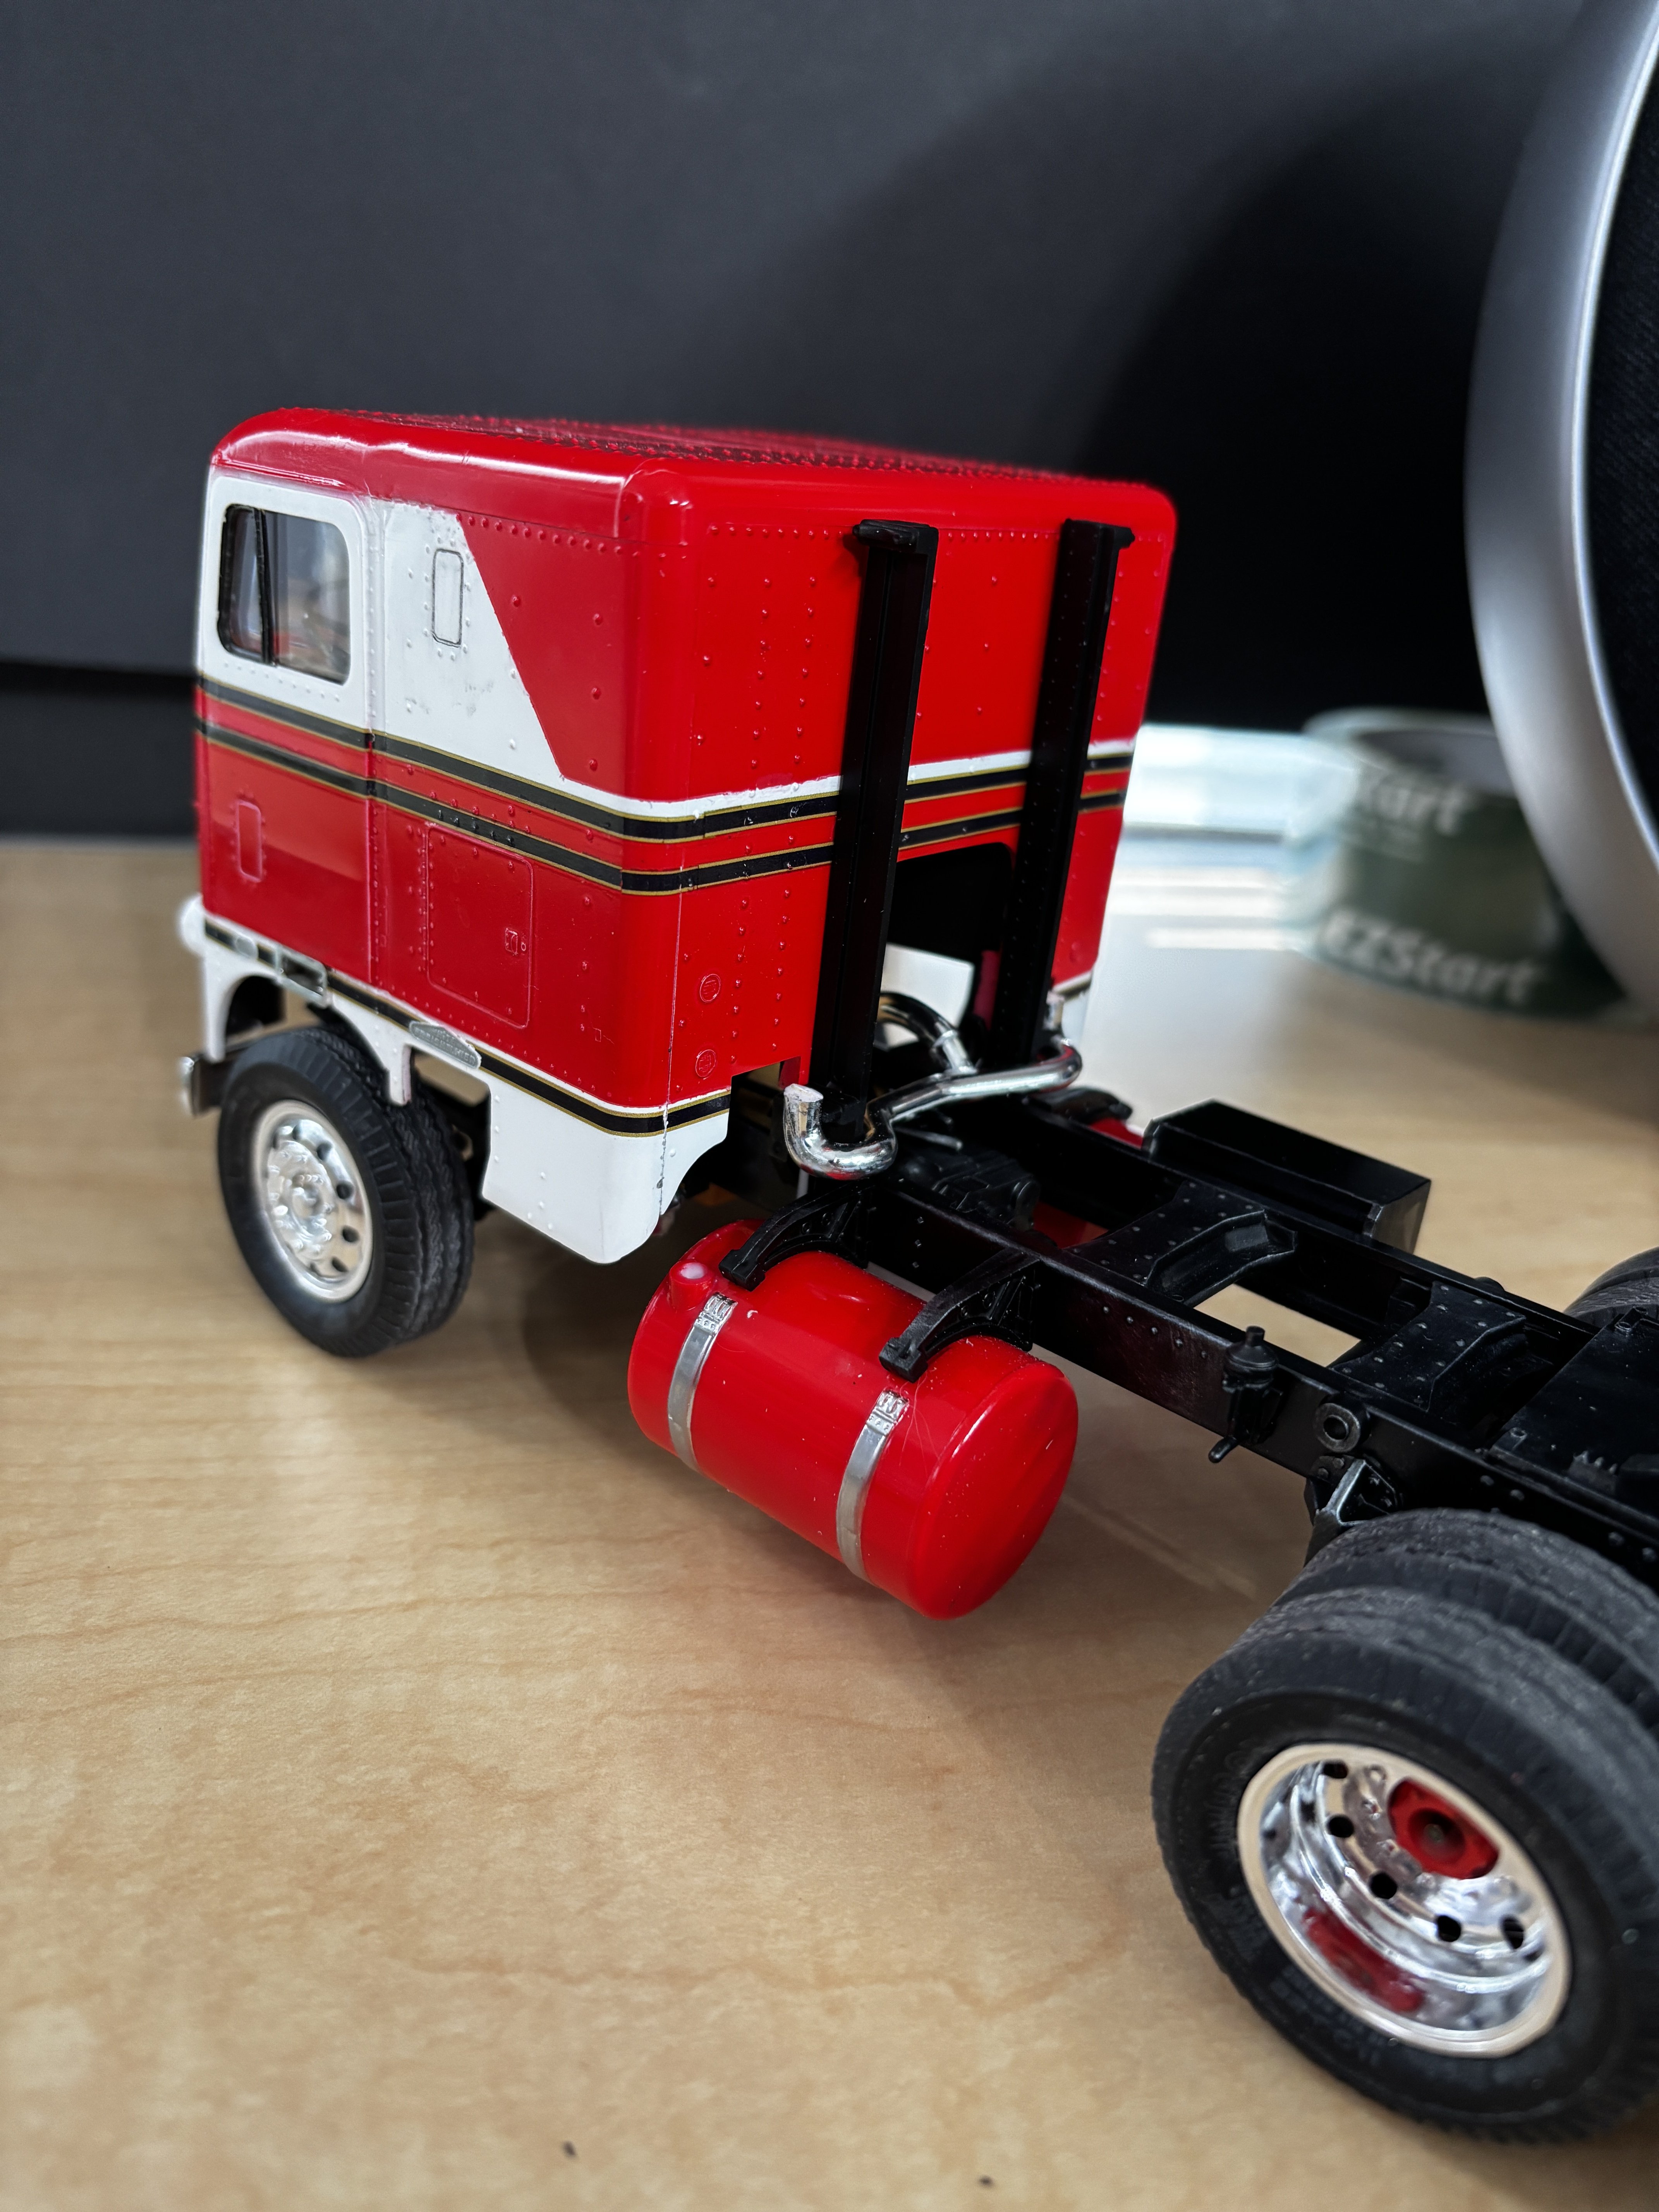
CDW replied to CDW's topic in Non-ship/categorised builds
A little dry brushing on the chassis before the exhaust stacks go on.
-
White Freightliner DD by CDW - AMT - 1:25 Scale - PLASTIC
CDW replied to CDW's topic in Non-ship/categorised builds
Slowly shaping up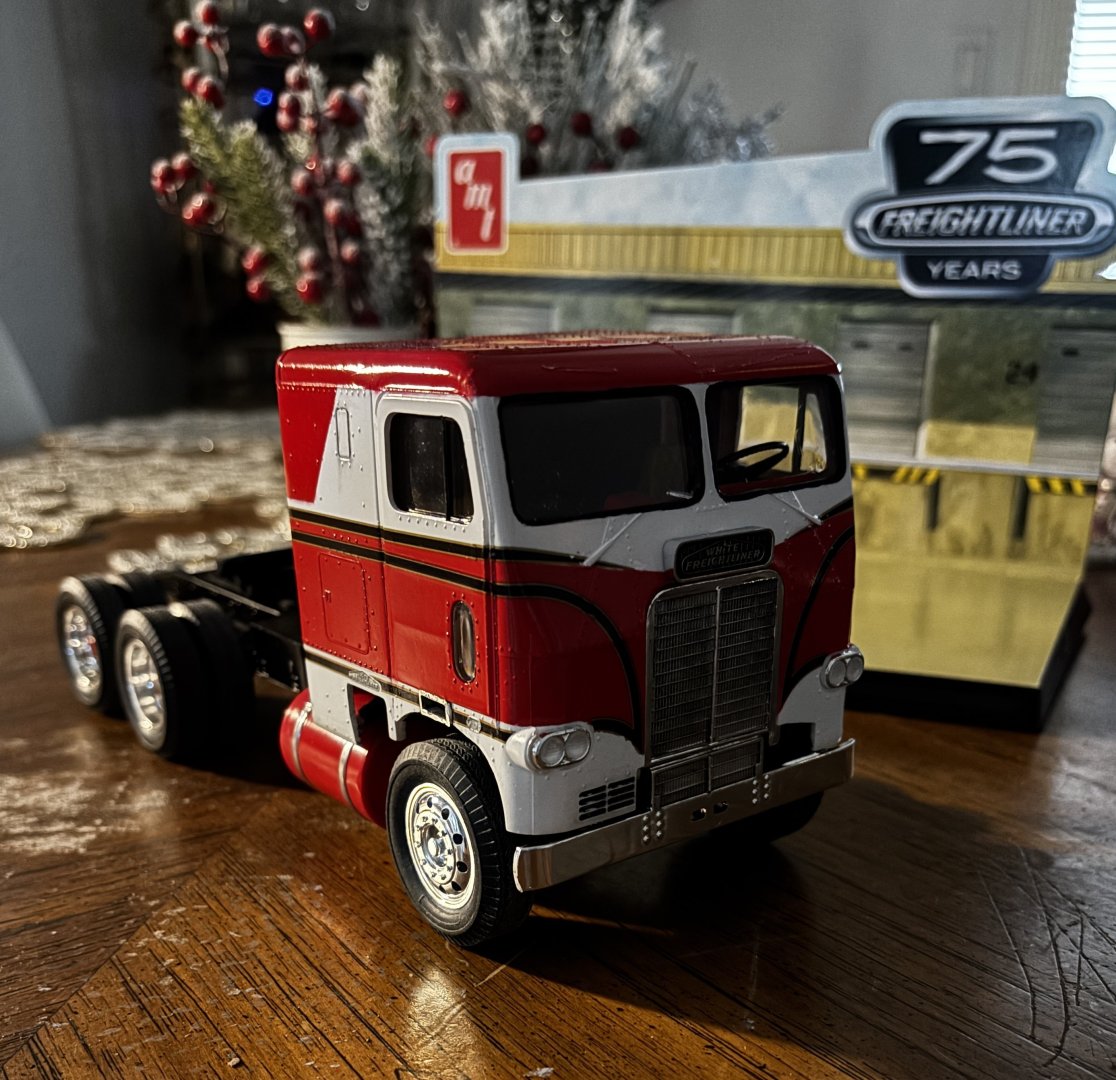
-
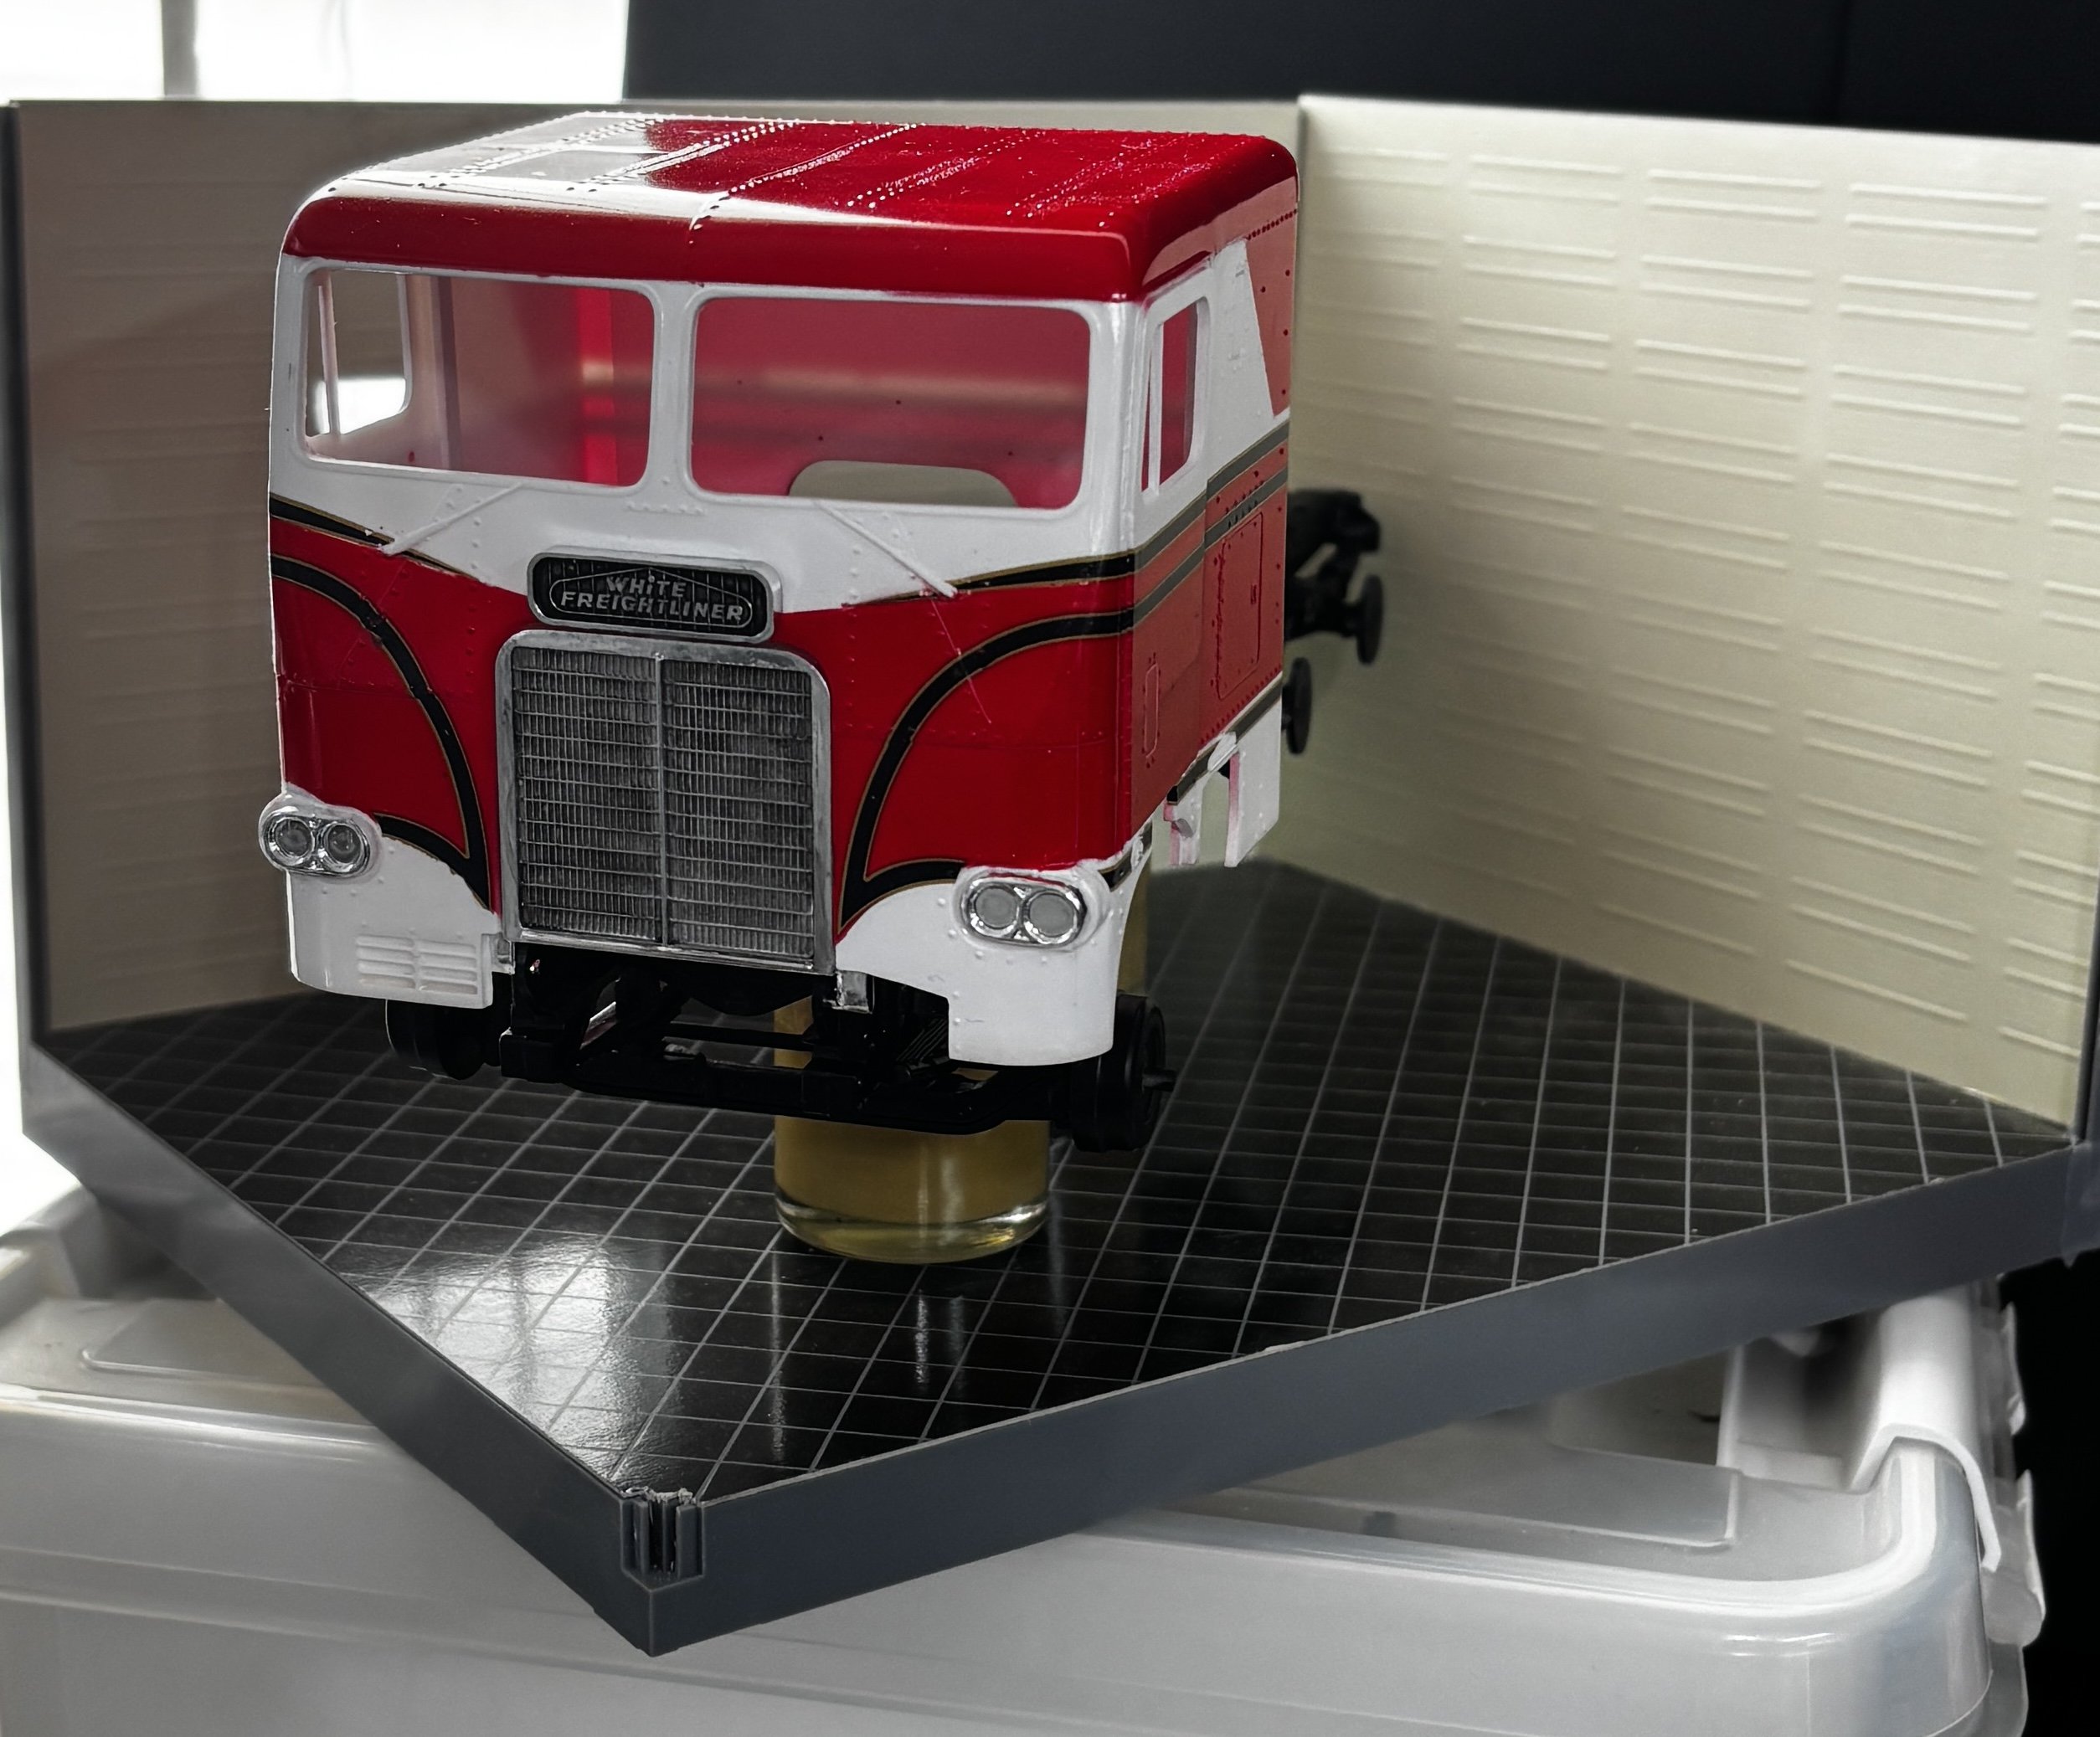
White Freightliner DD by CDW - AMT - 1:25 Scale - PLASTIC
CDW replied to CDW's topic in Non-ship/categorised builds
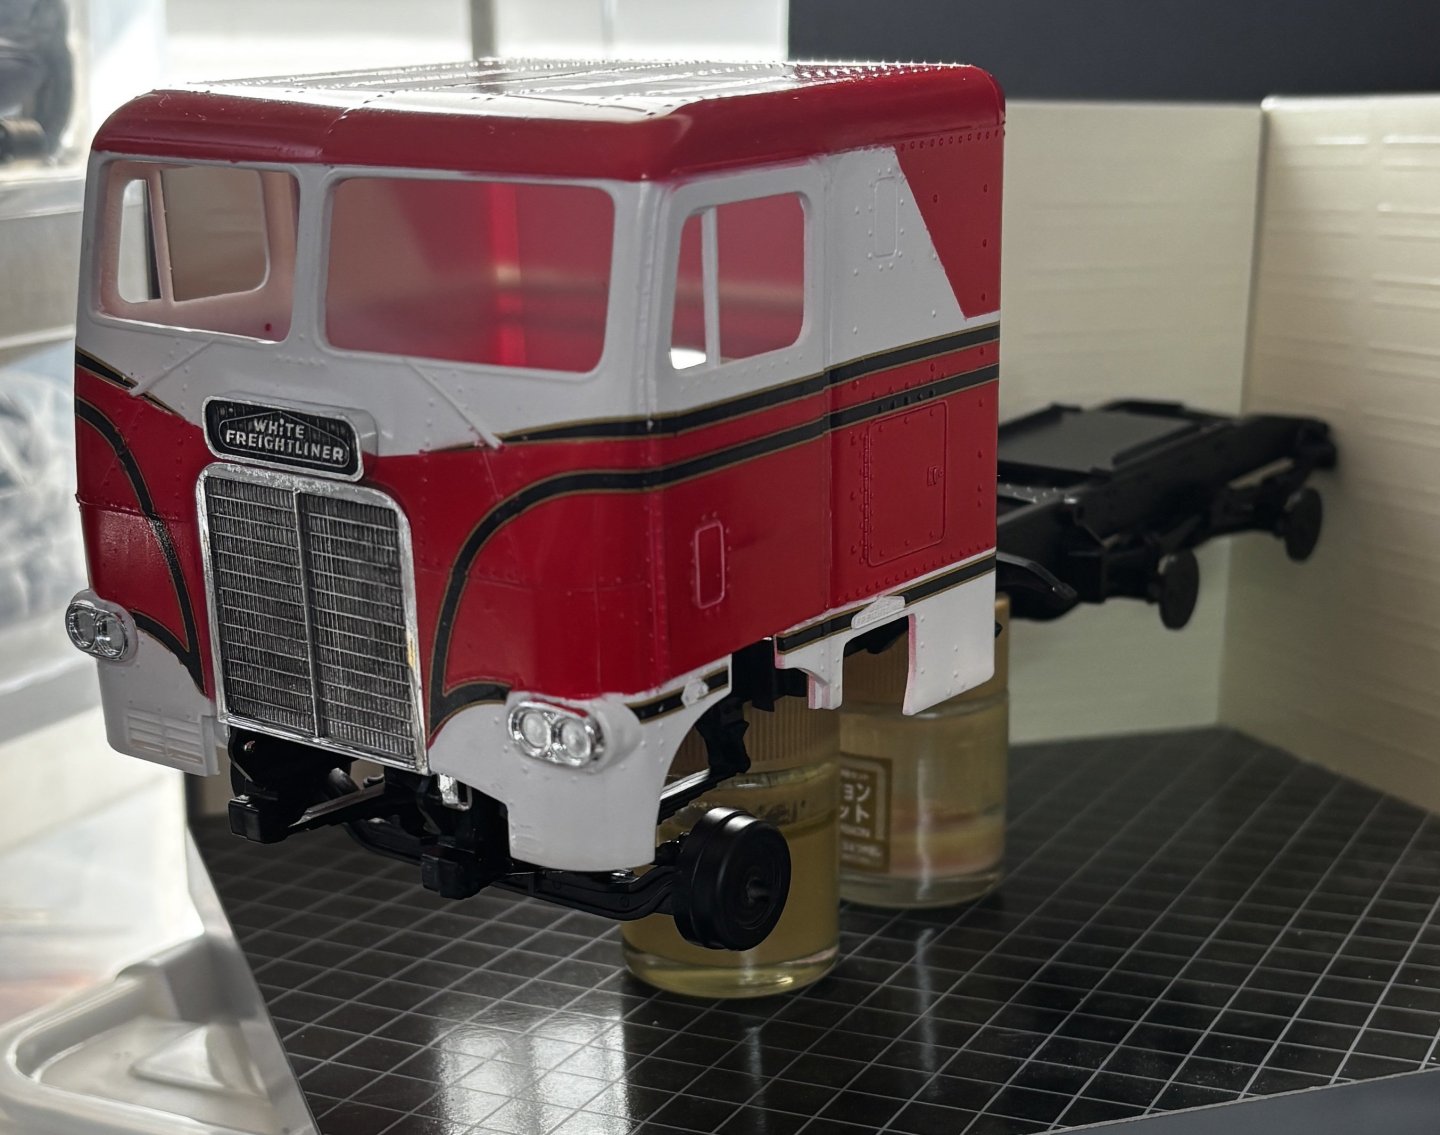
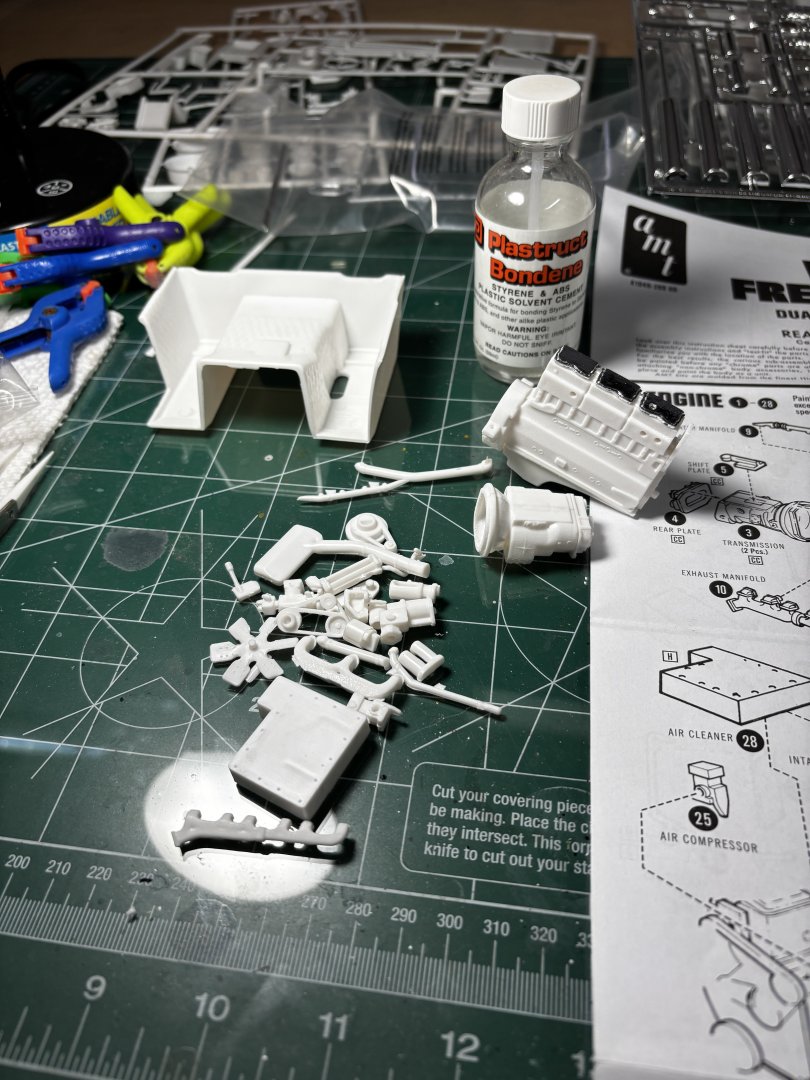
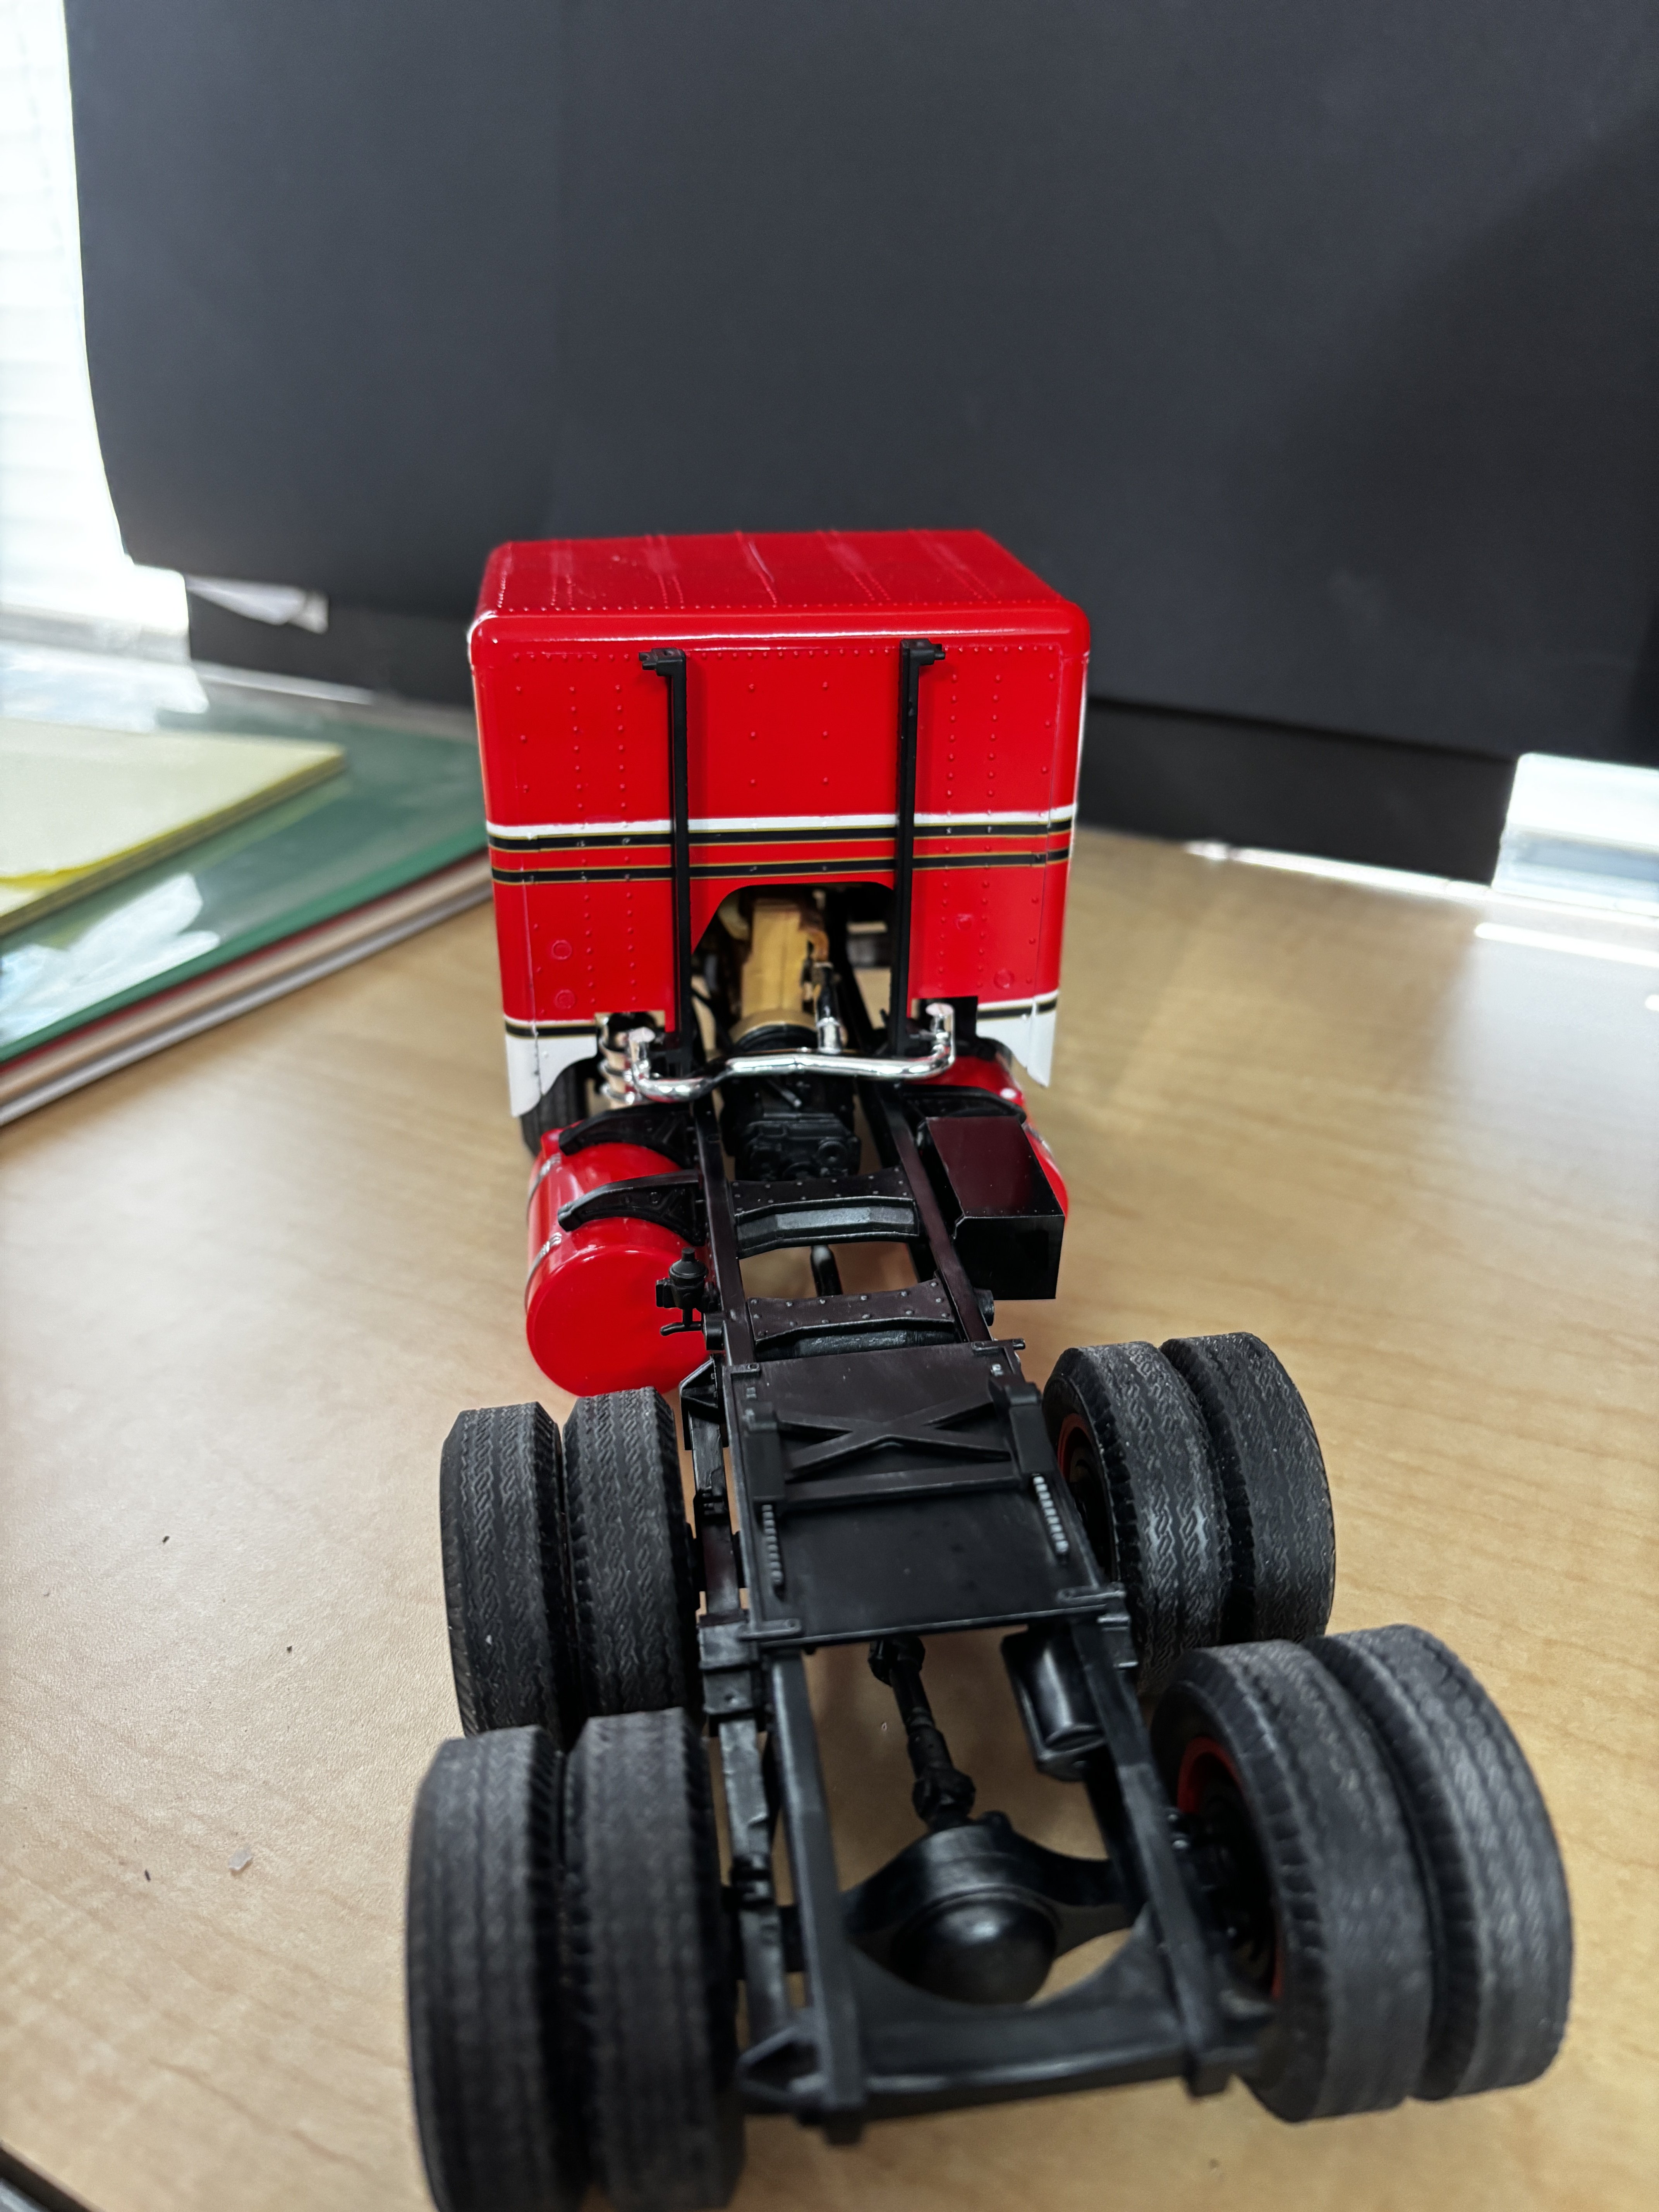
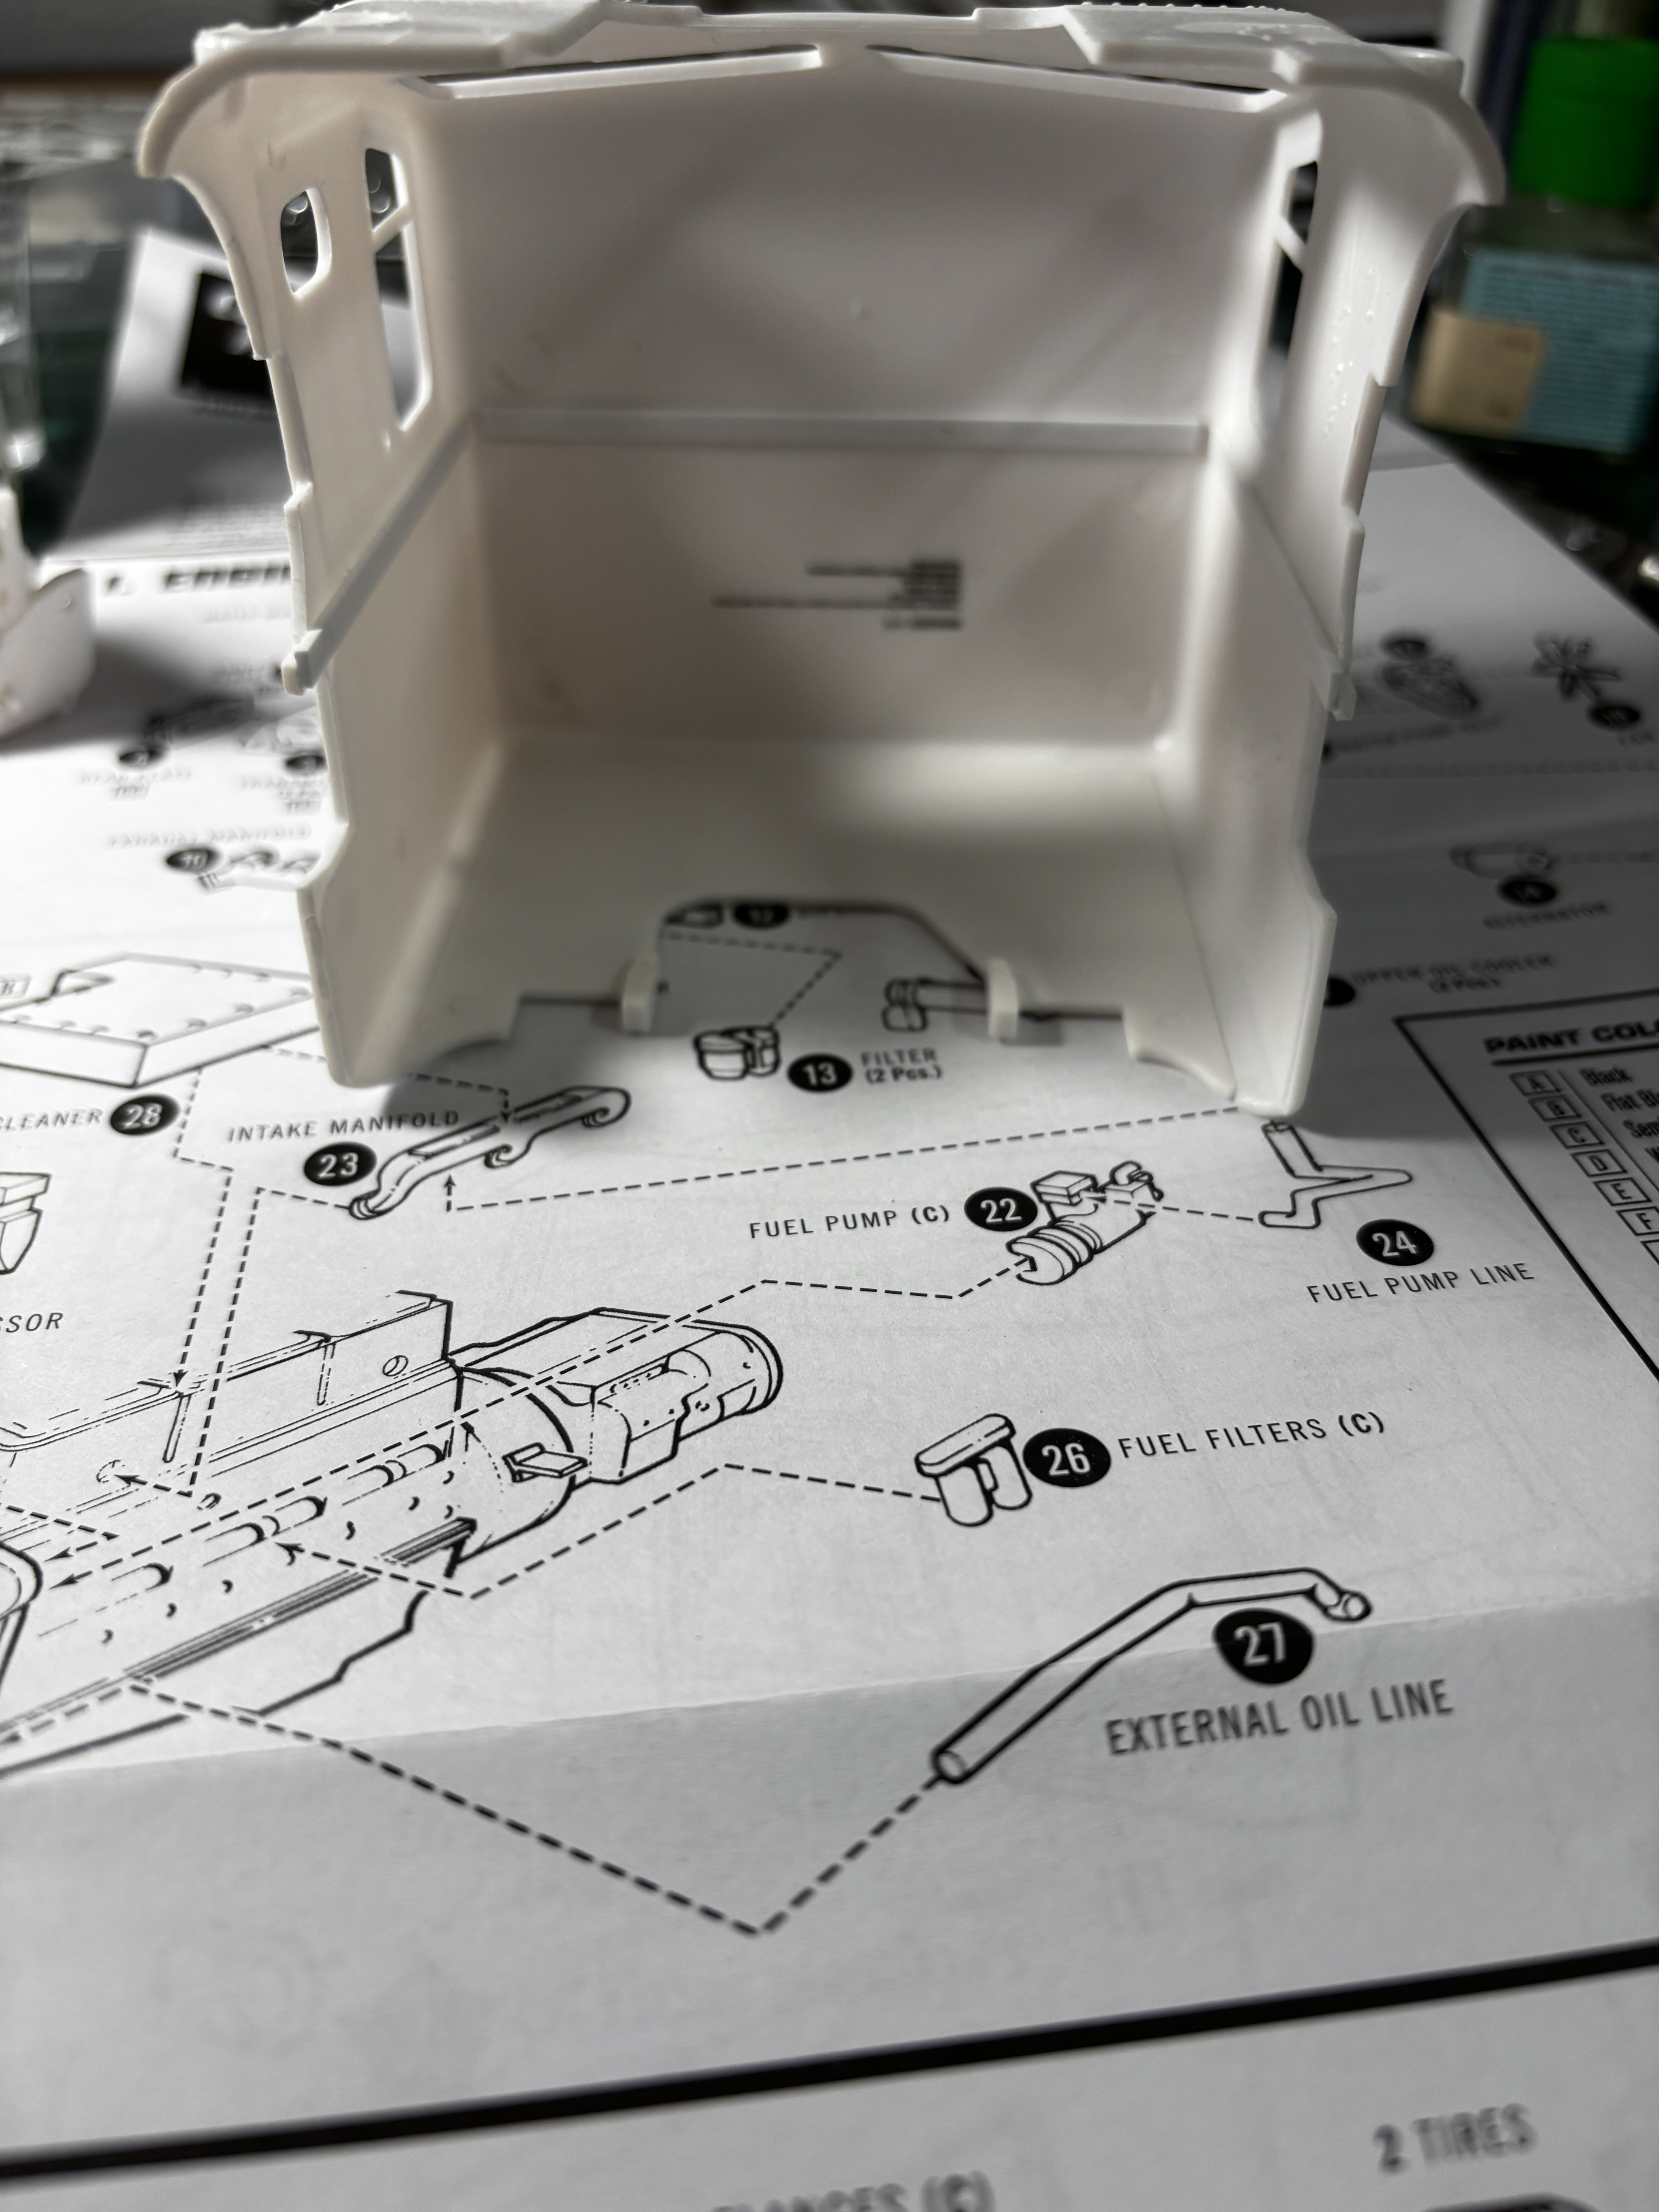
The Freightliner is a very old kit. As such, there are multiple well documented fit issues that I didn’t read about soon enough. One of those issues is the fit of the interior tub inside the cab. It’s one of many but one that seems most difficult to correct without building a new interior from scratch. I’m going to make it work but as such it will be a 10-footer. One of those models that will look okay sitting on the shelf 10 feet away. Nevertheless, I am having fun with it. Some progress photos.


- 30 replies
-
- 11
-
-
White Freightliner DD by CDW - AMT - 1:25 Scale - PLASTIC
CDW replied to CDW's topic in Non-ship/categorised builds
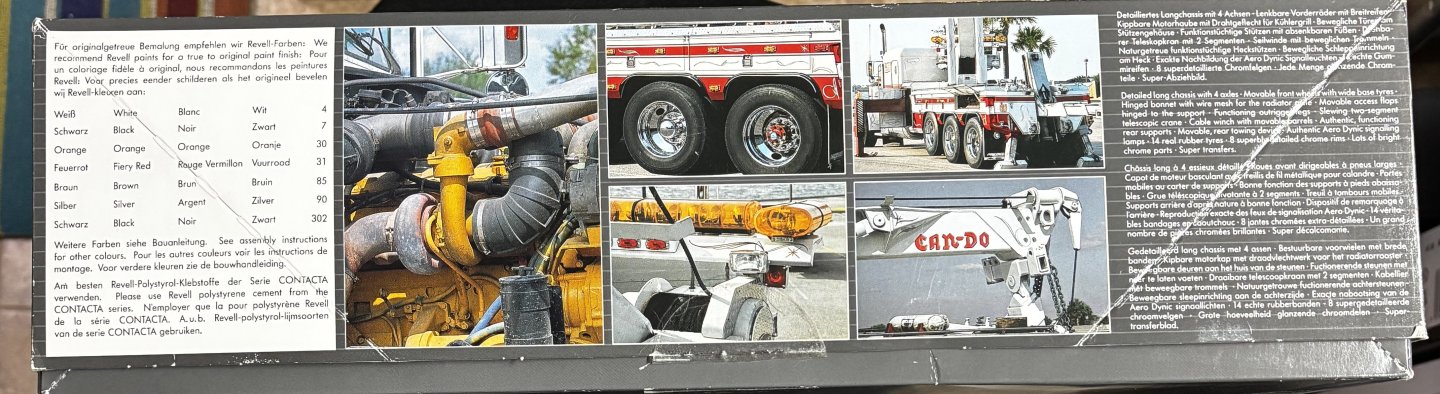
I haven't seen Highway Through Hell (AFAIK) but I have watched some awesome recovery vehicle videos on YouTube. Some where there were two of these same type of large wreckers used to recover and haul away big rig wrecks. Those men operating the wreckers are highly skilled at what they do. it must cost a small fortune to have a vehicle recovered like that. Takes hours sometimes. -
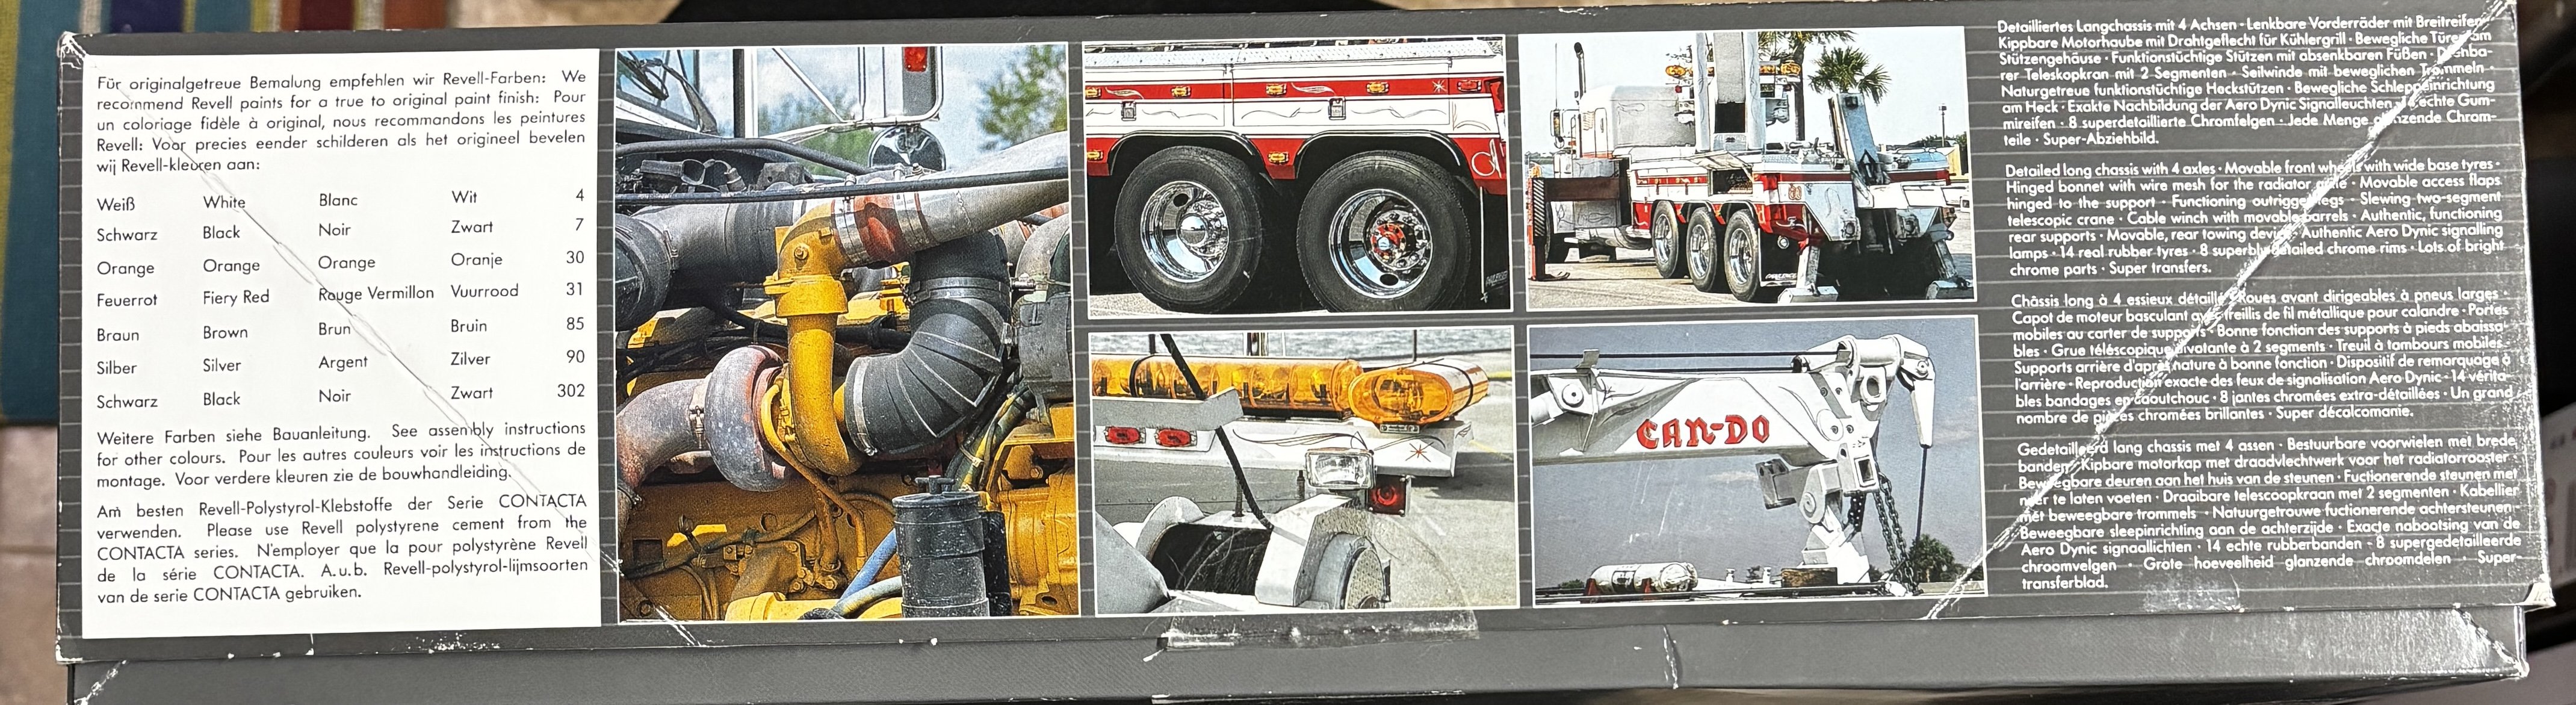
White Freightliner DD by CDW - AMT - 1:25 Scale - PLASTIC
CDW replied to CDW's topic in Non-ship/categorised builds
The kit has three big chrome trees -
White Freightliner DD by CDW - AMT - 1:25 Scale - PLASTIC
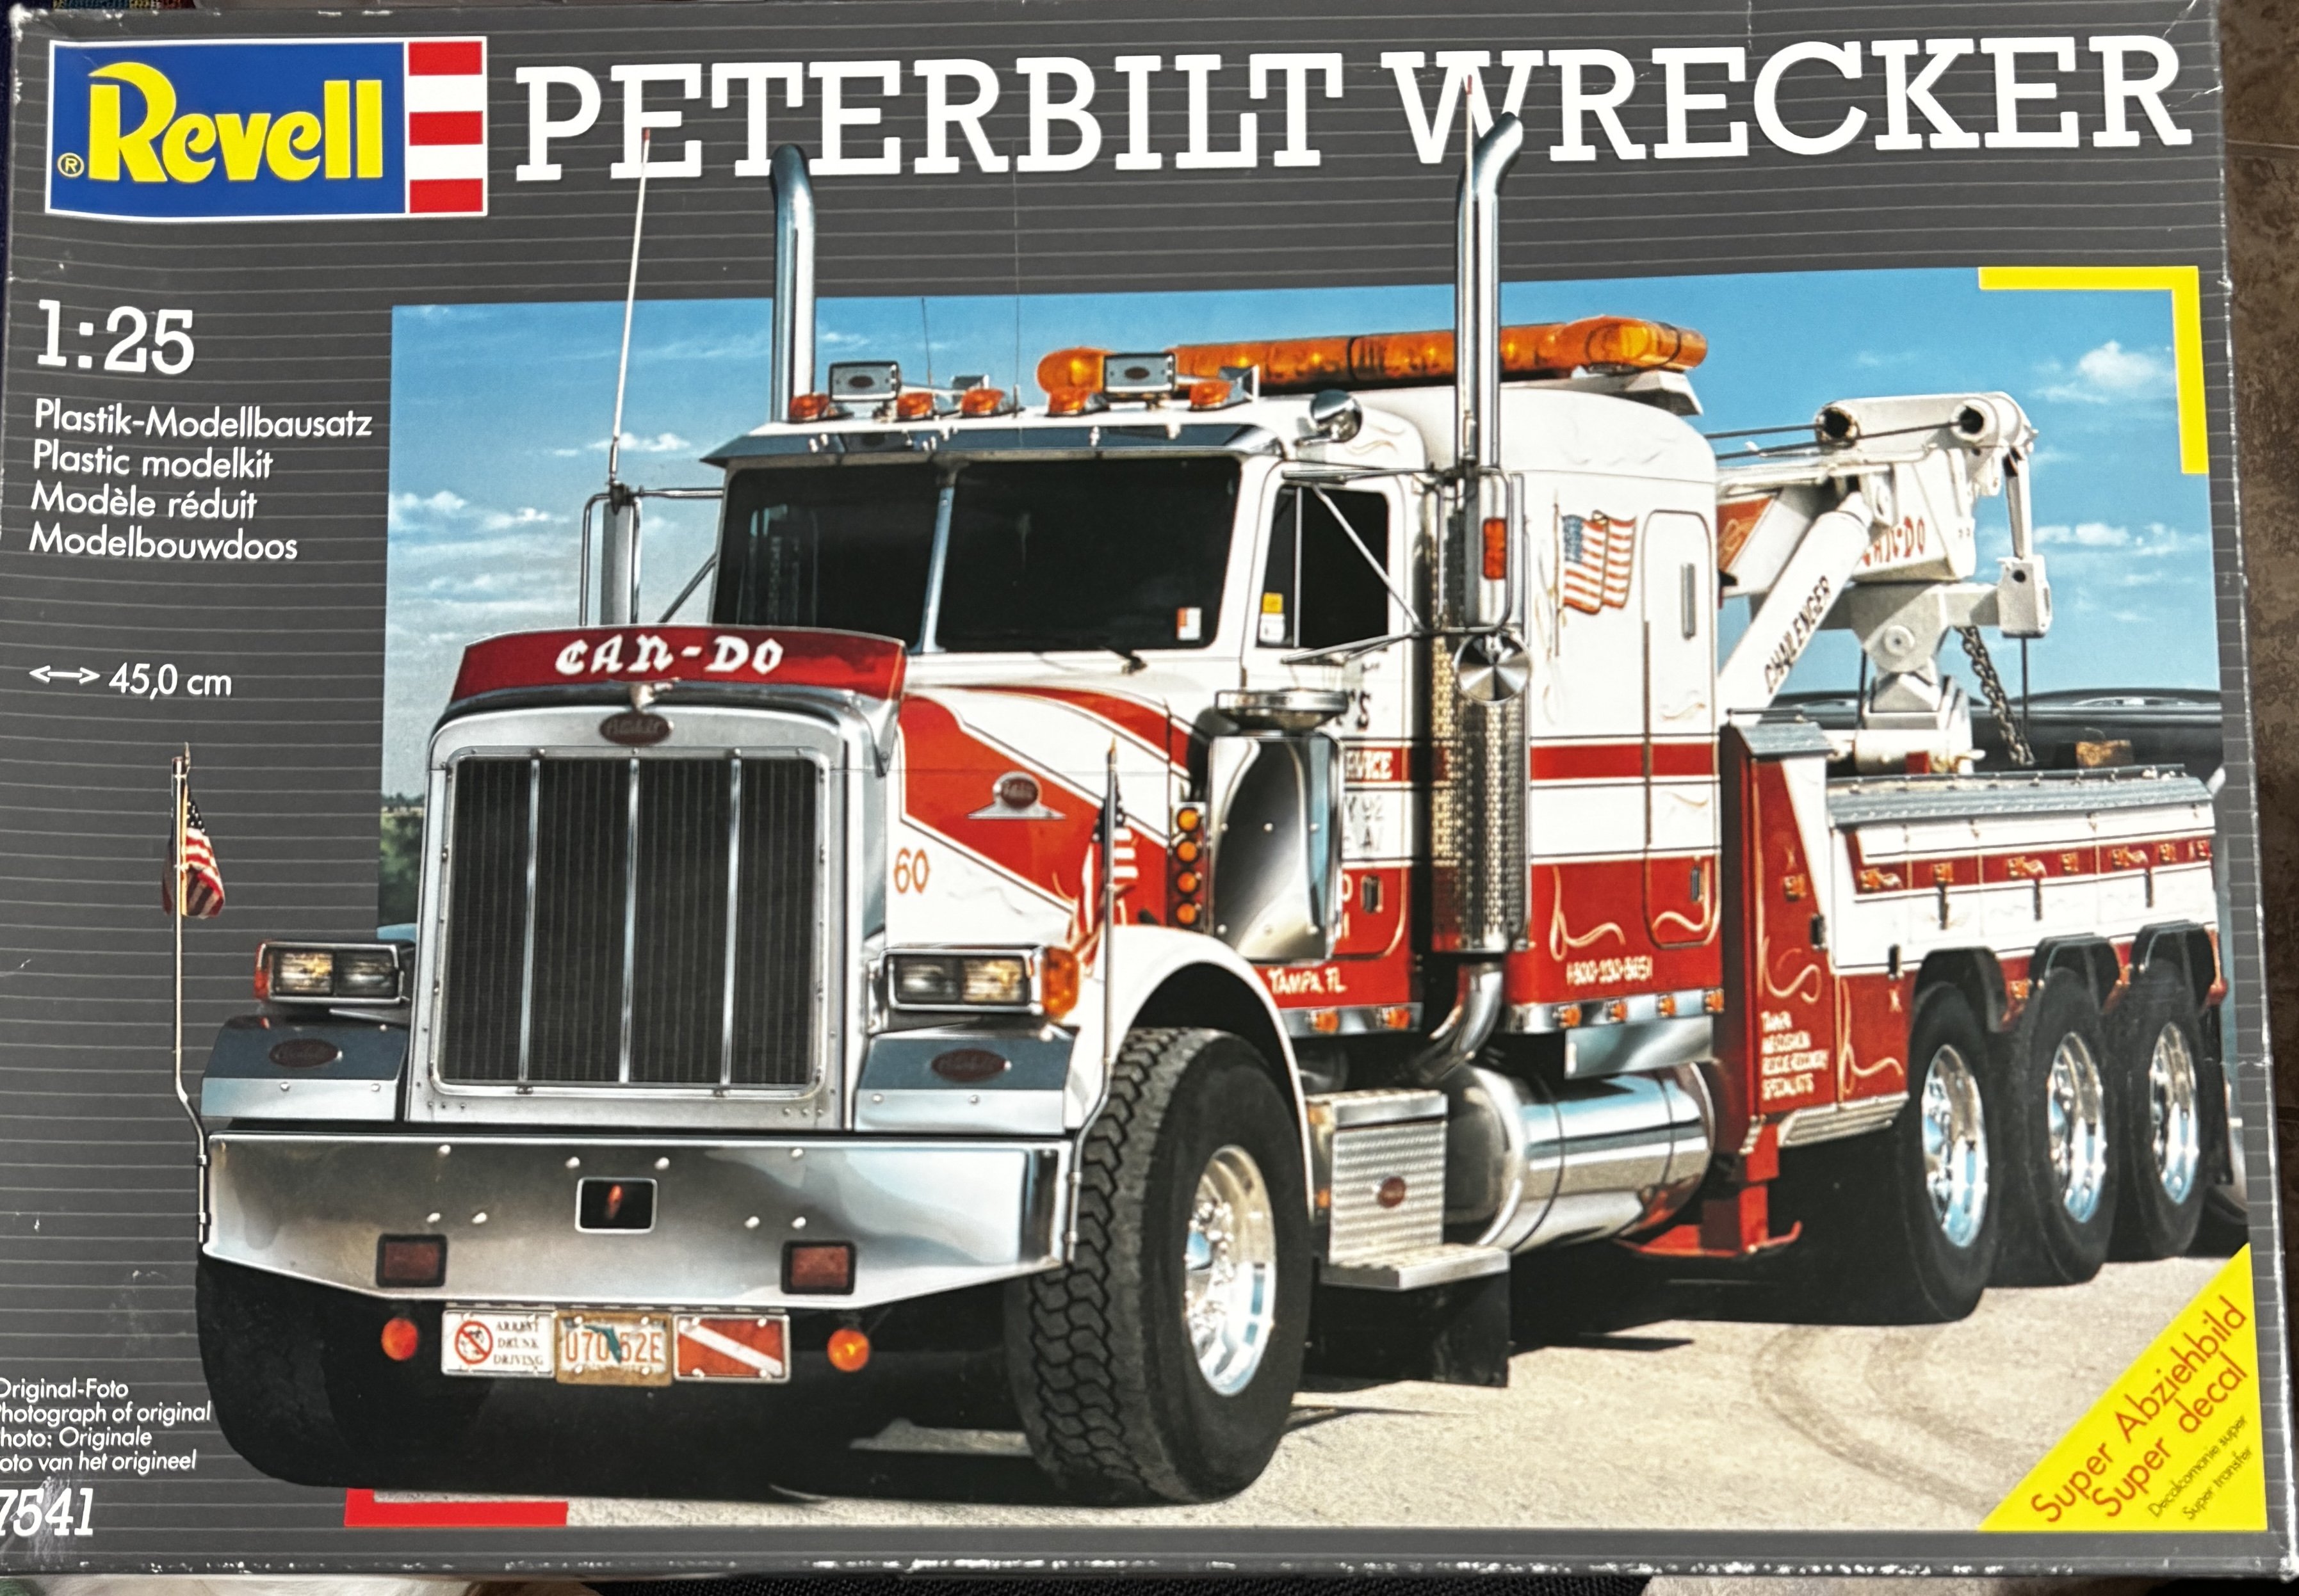
CDW replied to CDW's topic in Non-ship/categorised builds
I recently acquired this kit. If you attend a swap meet and see one for sale, grab it. Truly outstanding kit. The model is based on a wrecker that operates from my hometown in Tampa, Fl.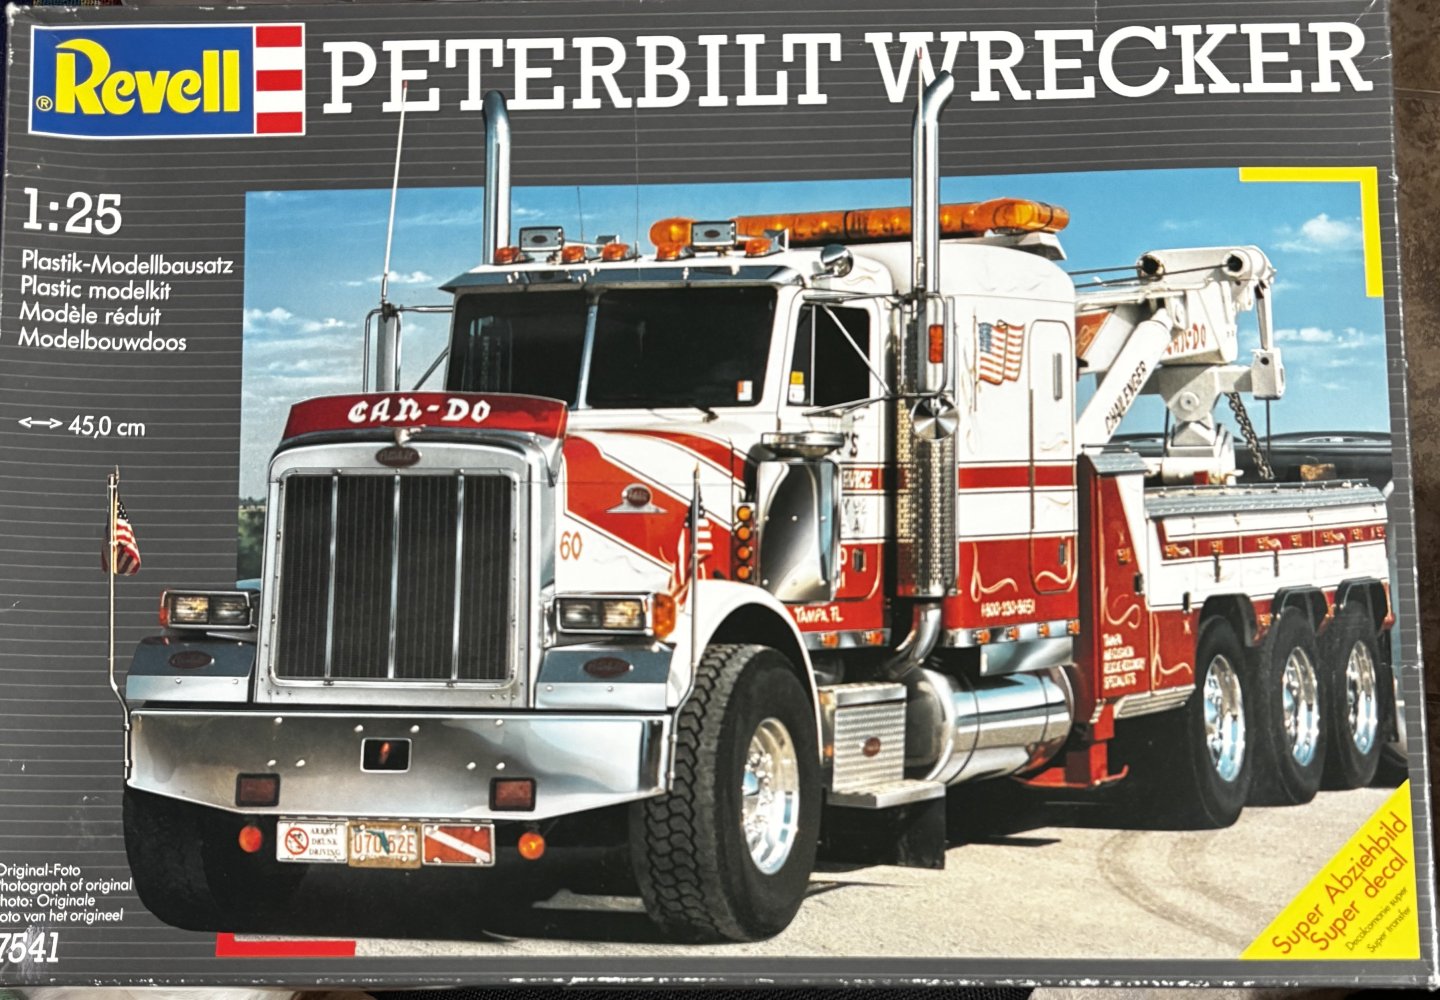
-
White Freightliner DD by CDW - AMT - 1:25 Scale - PLASTIC
CDW replied to CDW's topic in Non-ship/categorised builds
An update on progress. Lots left to do. I need a larger garage. 😀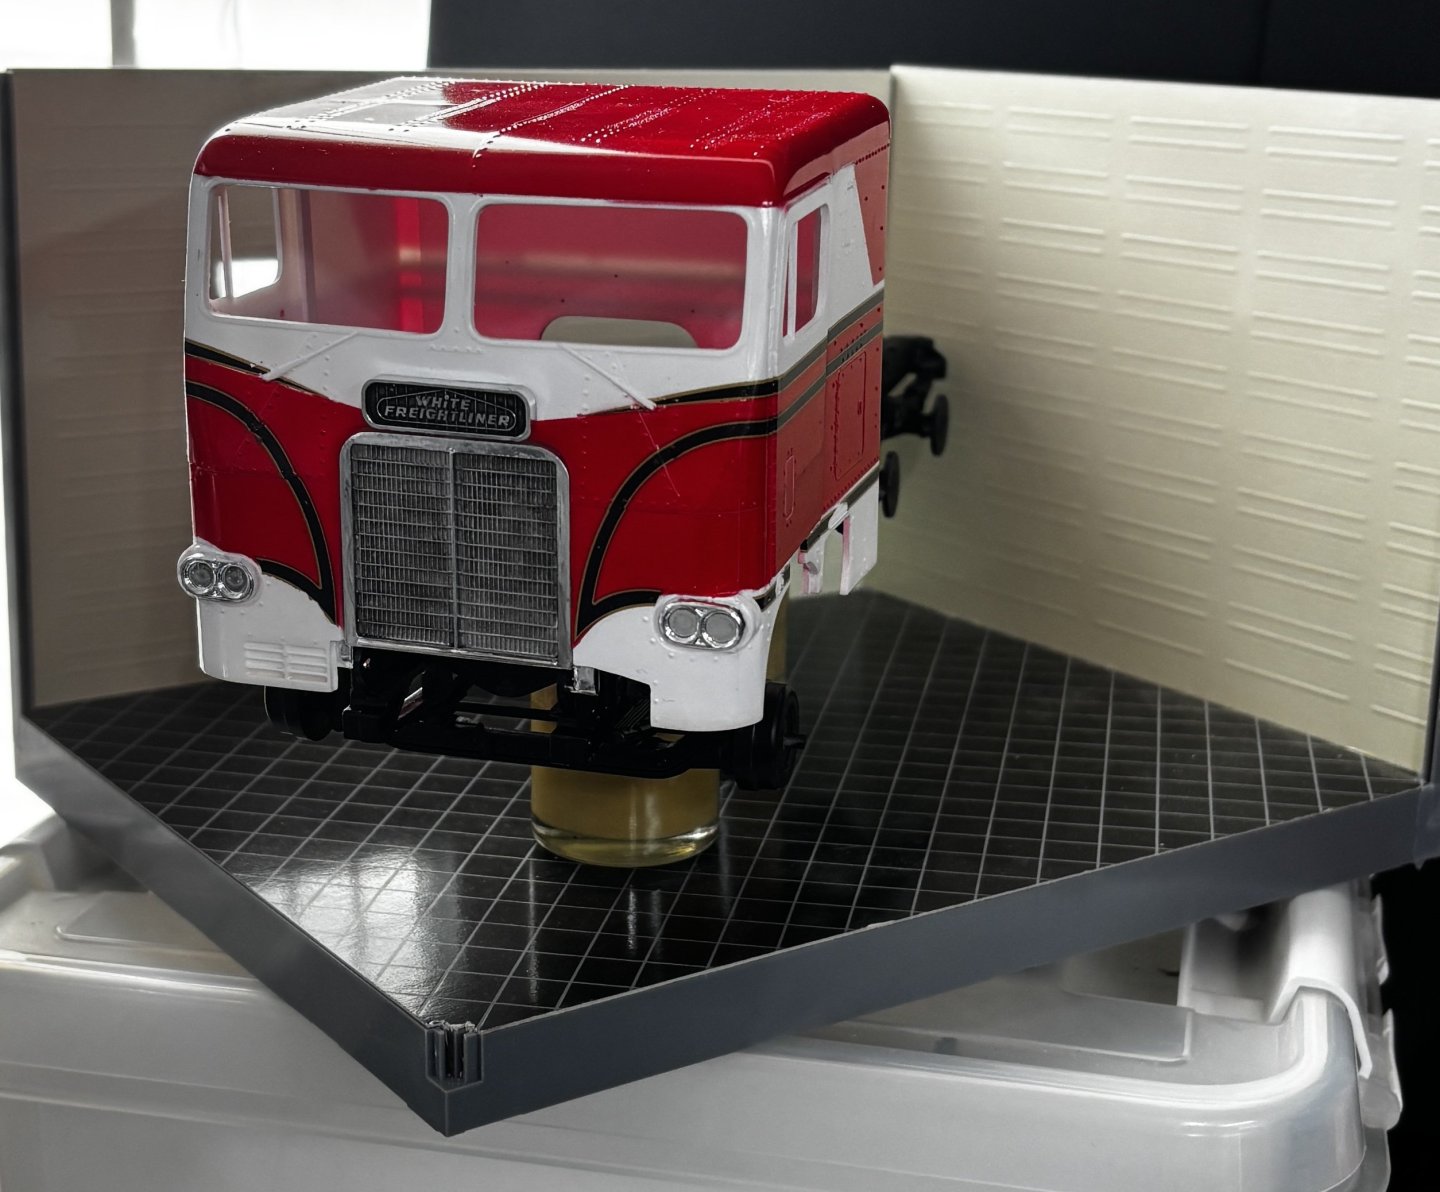
- 30 replies
-
- 10
-
-
White Freightliner DD by CDW - AMT - 1:25 Scale - PLASTIC
CDW replied to CDW's topic in Non-ship/categorised builds
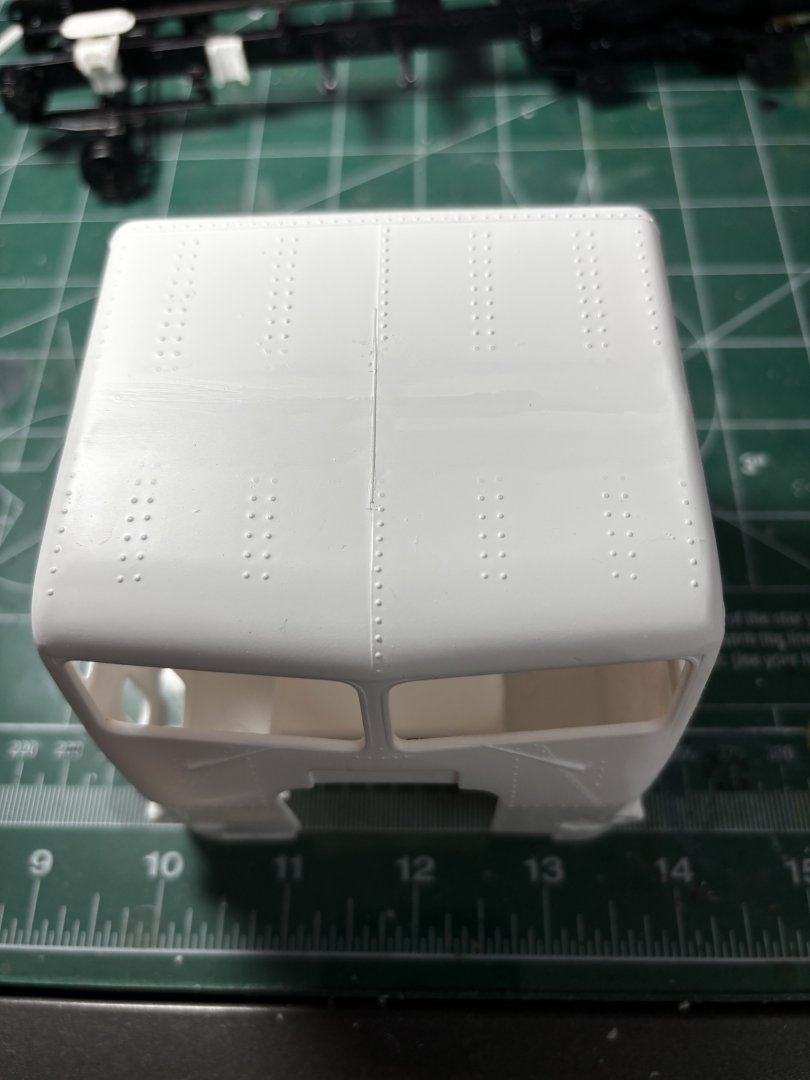
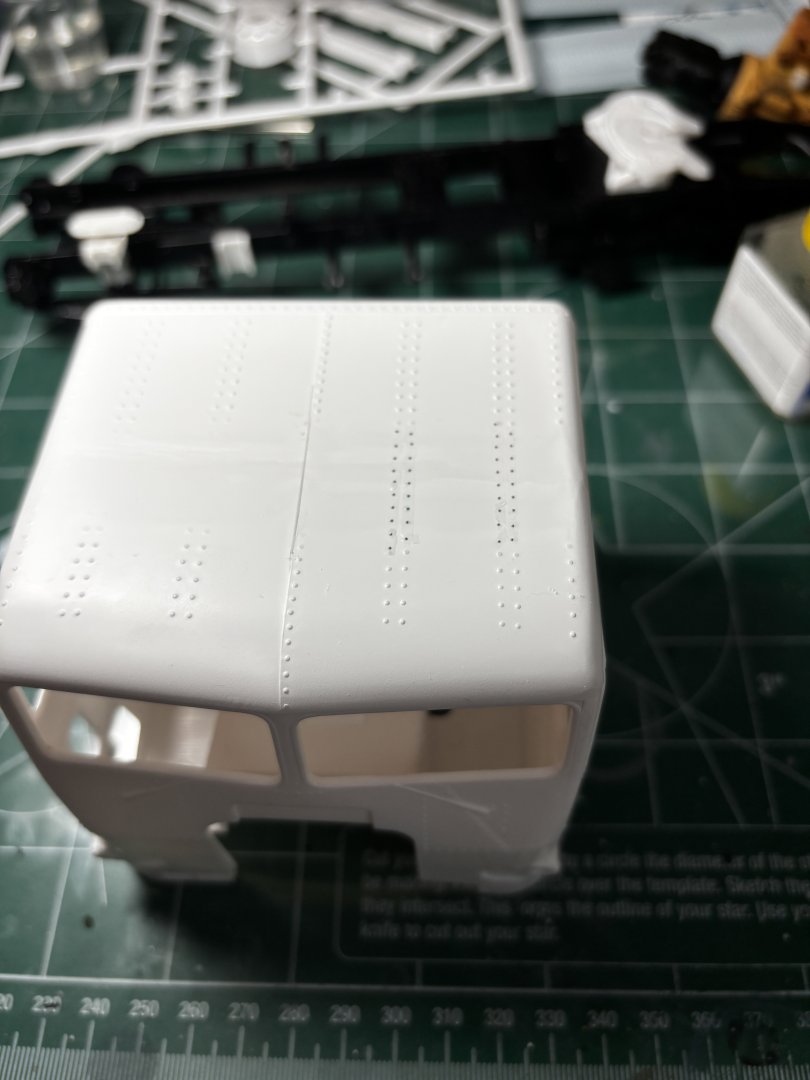
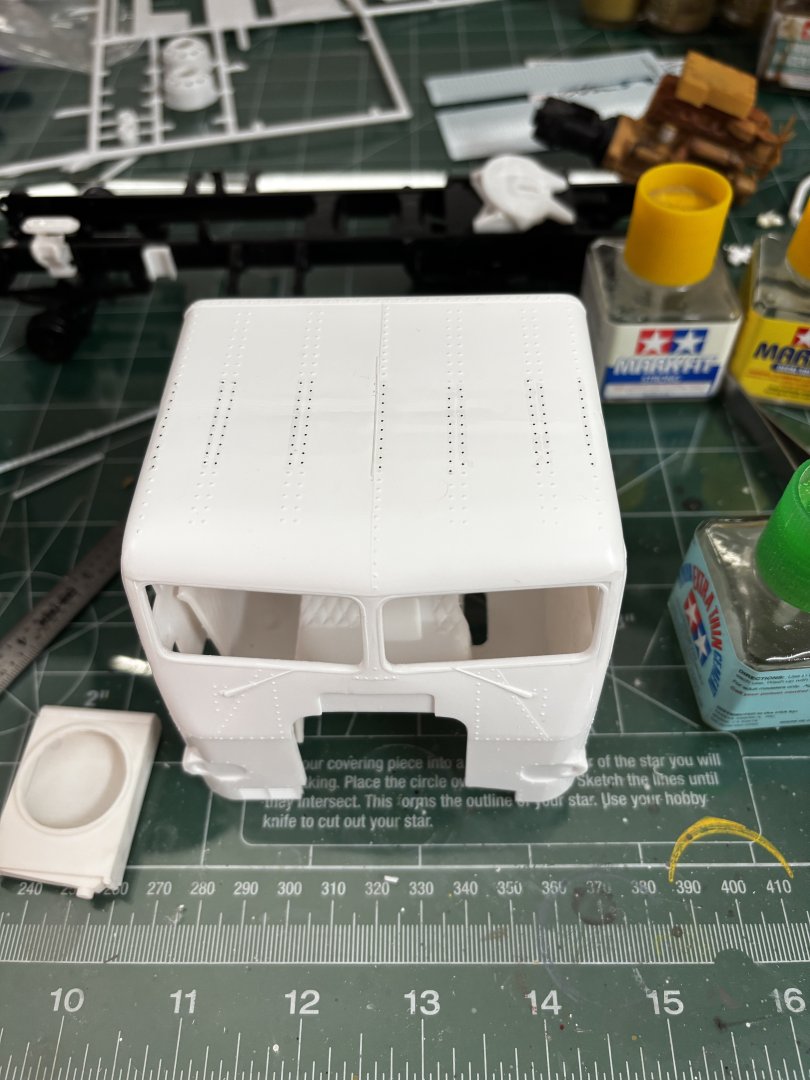
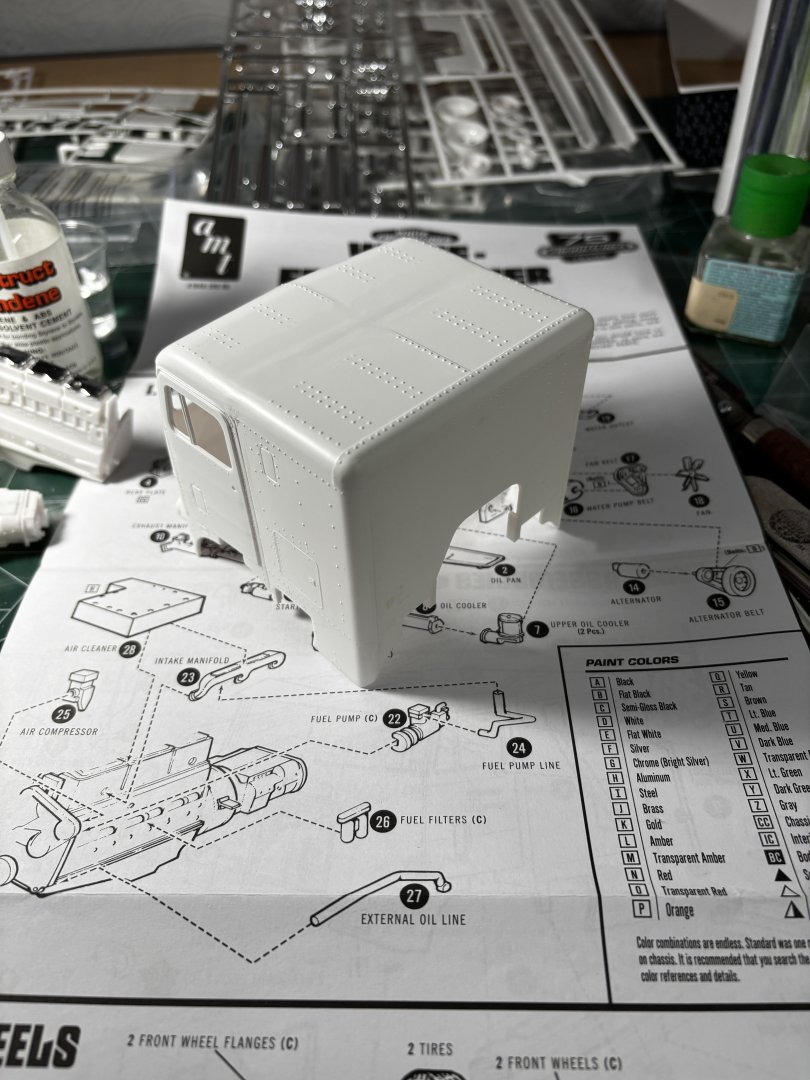
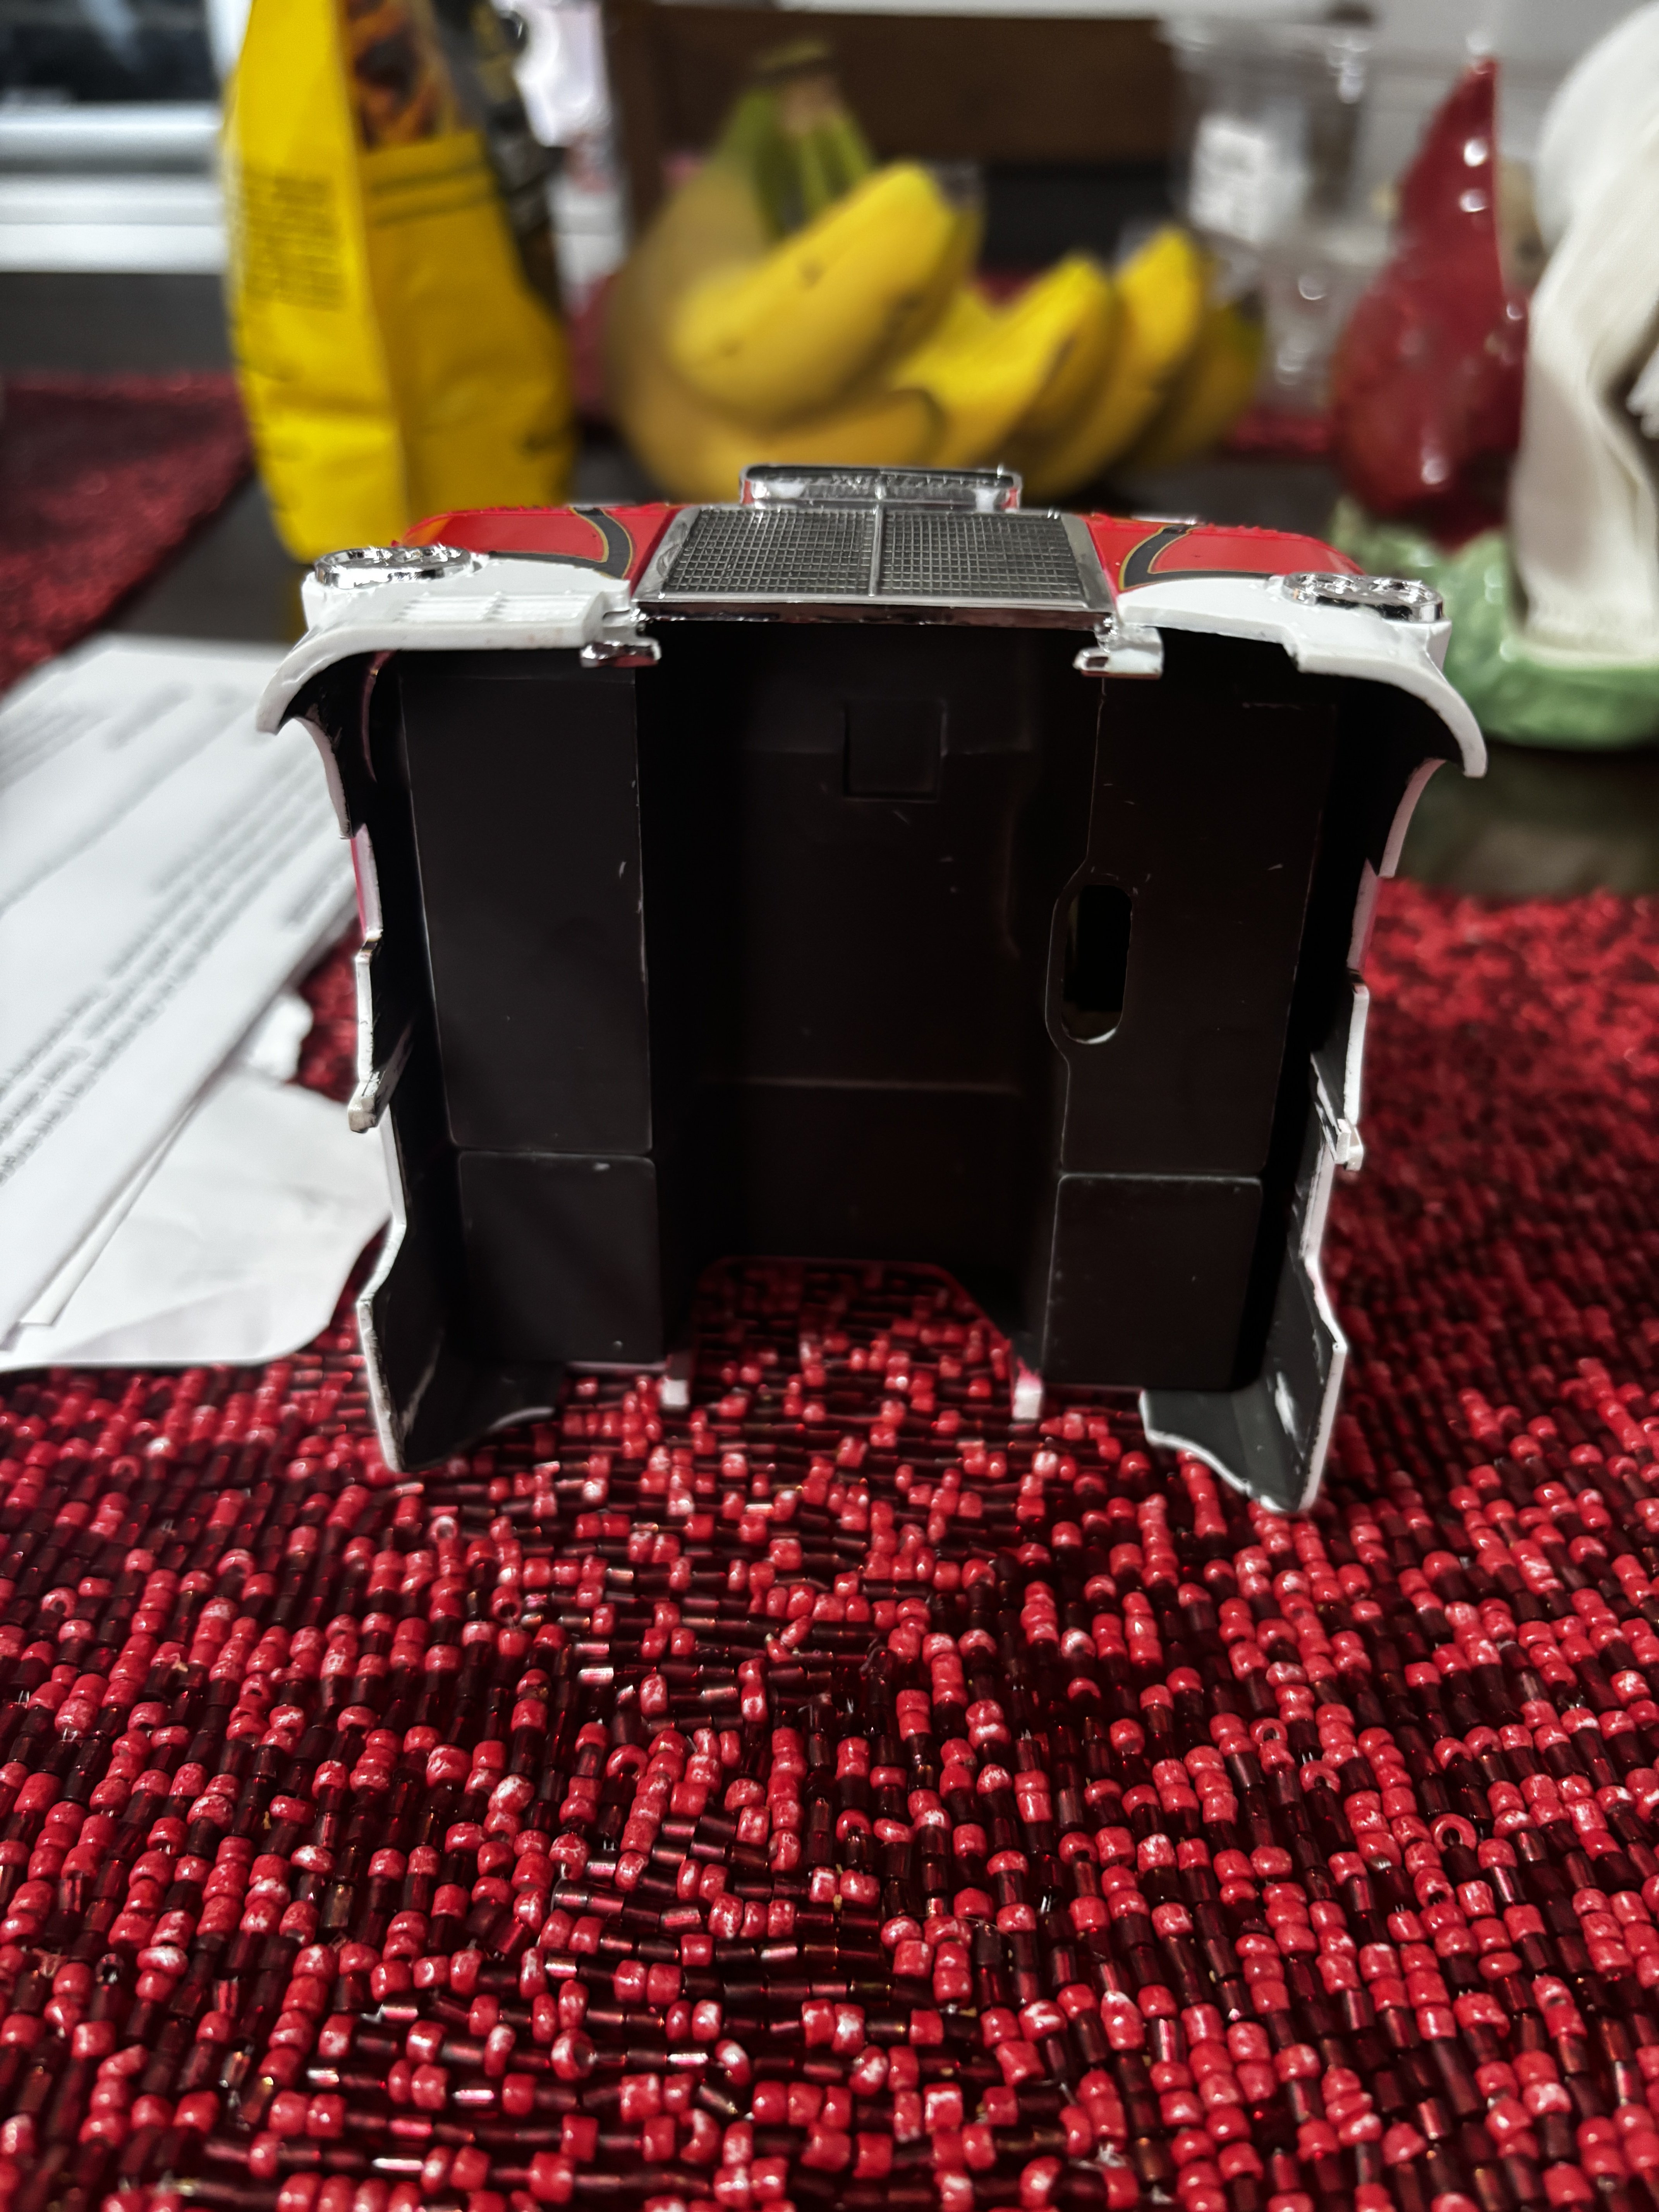
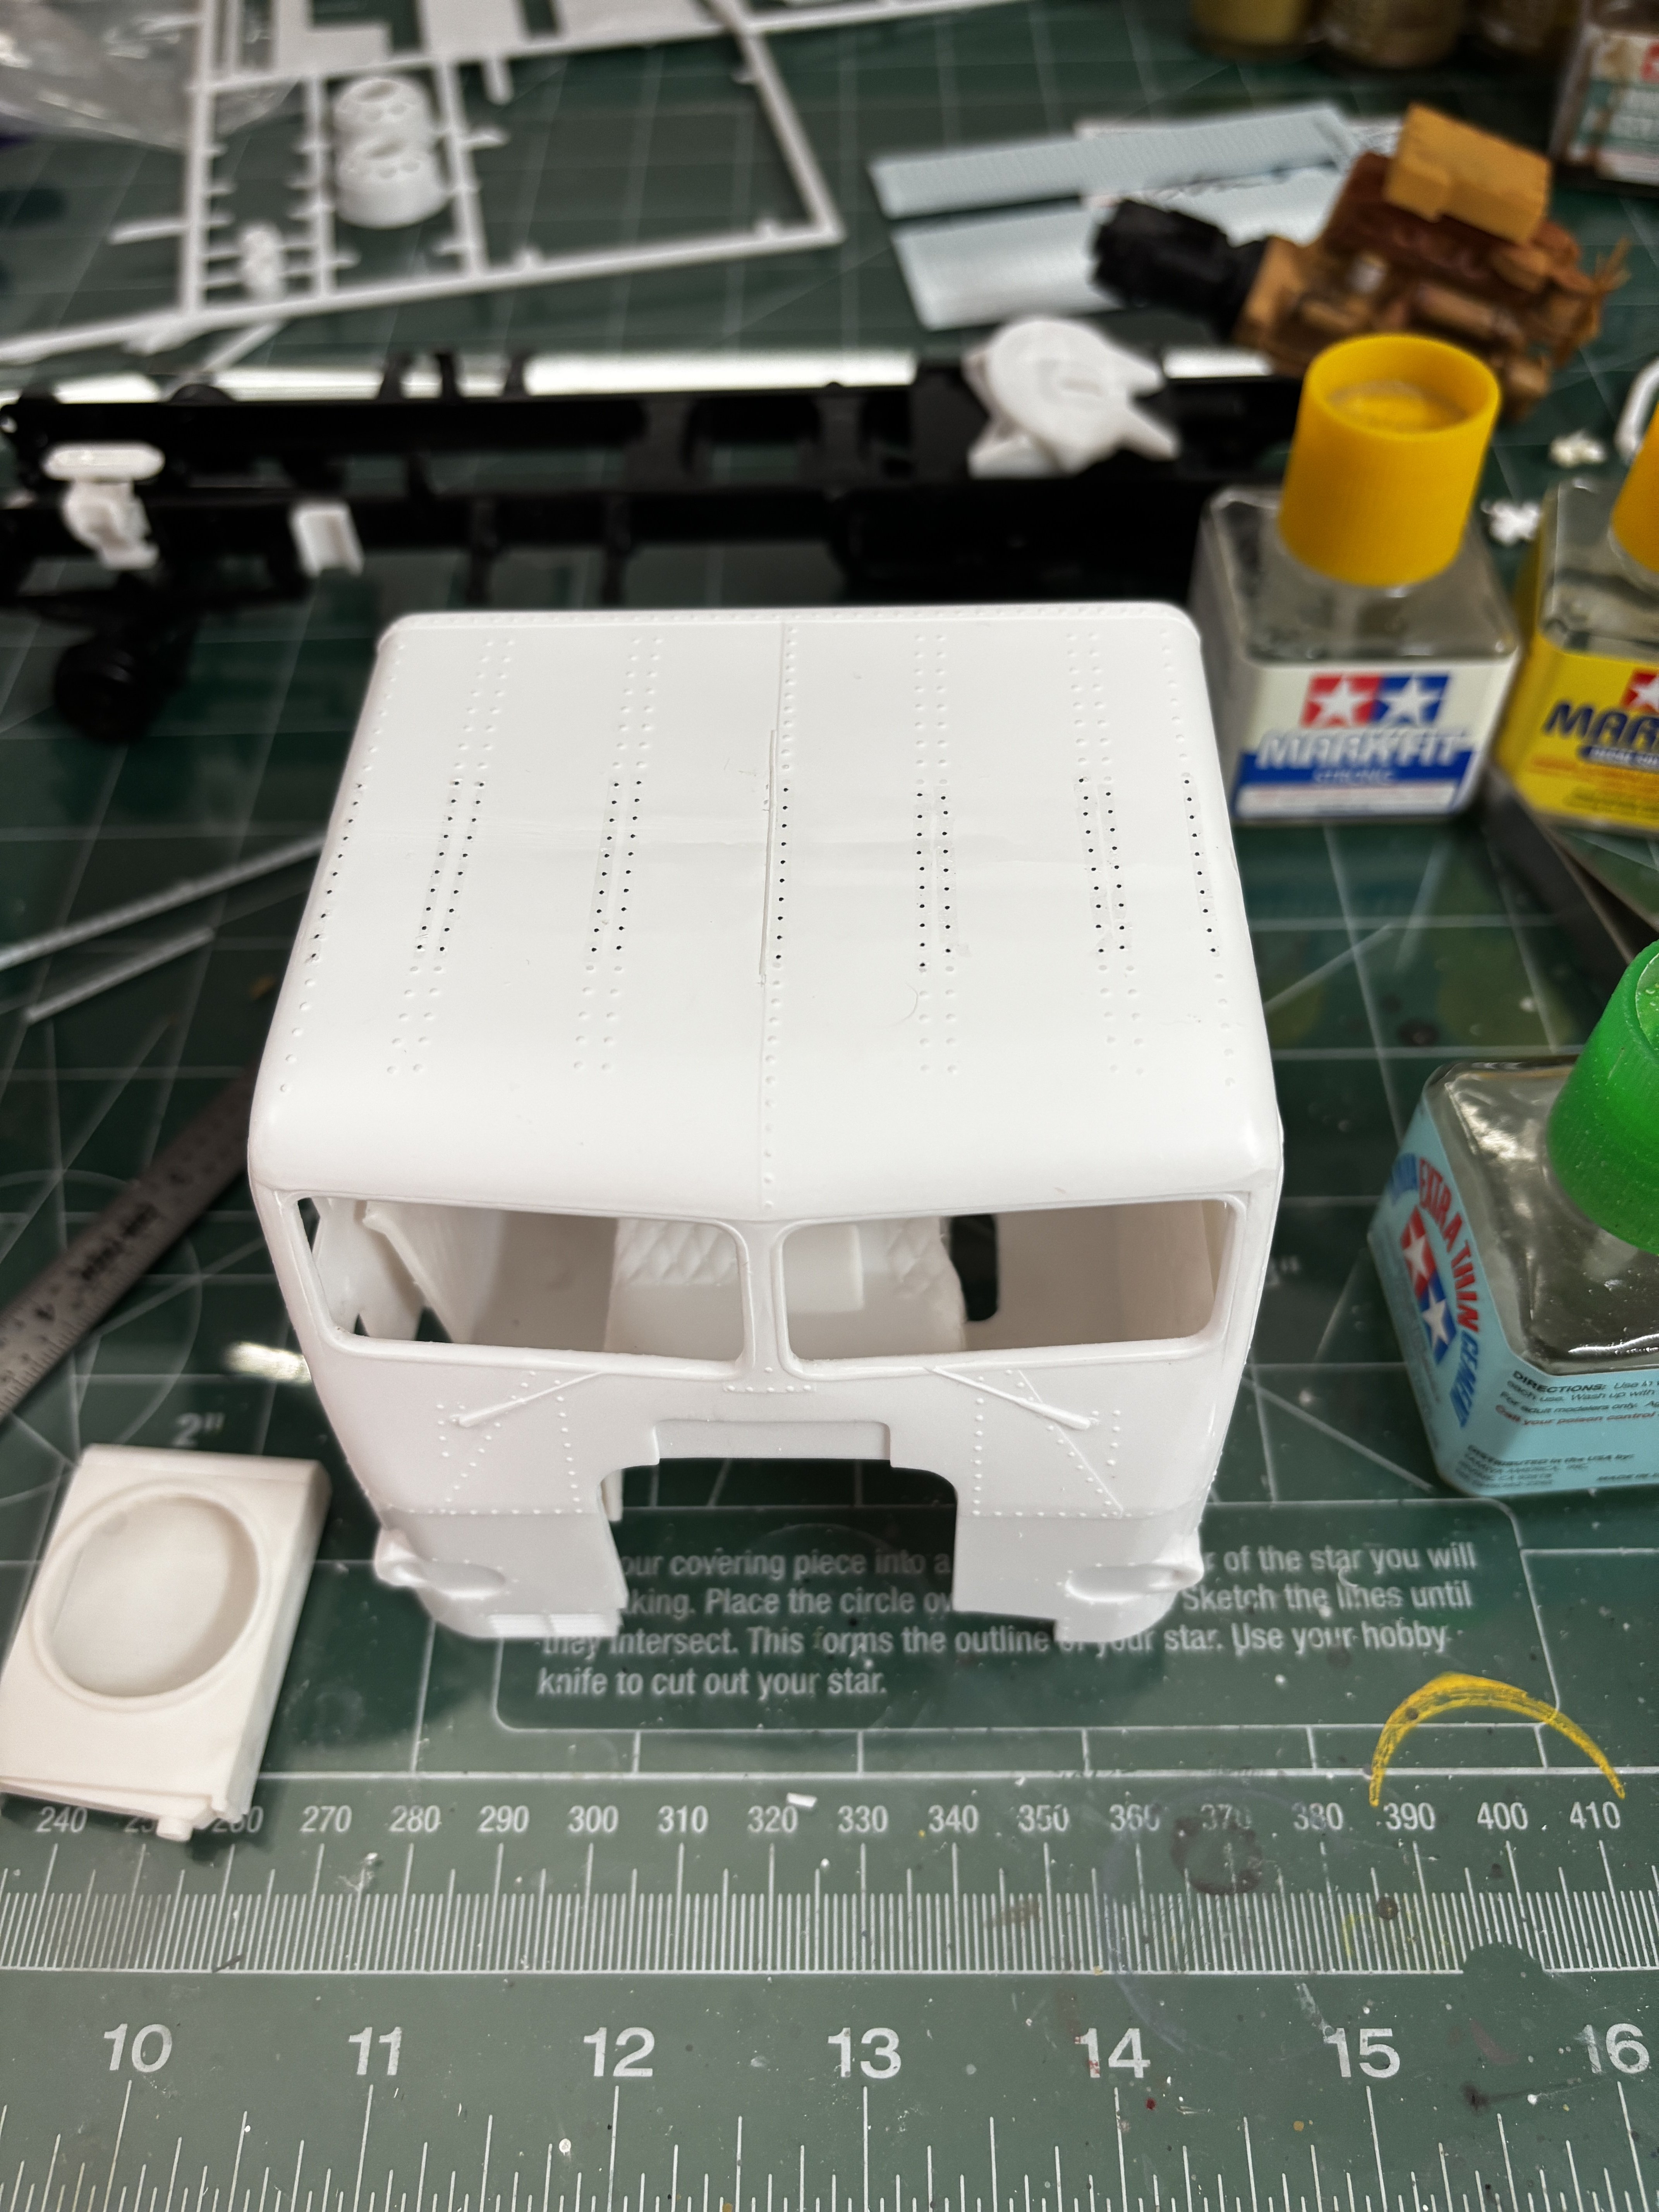
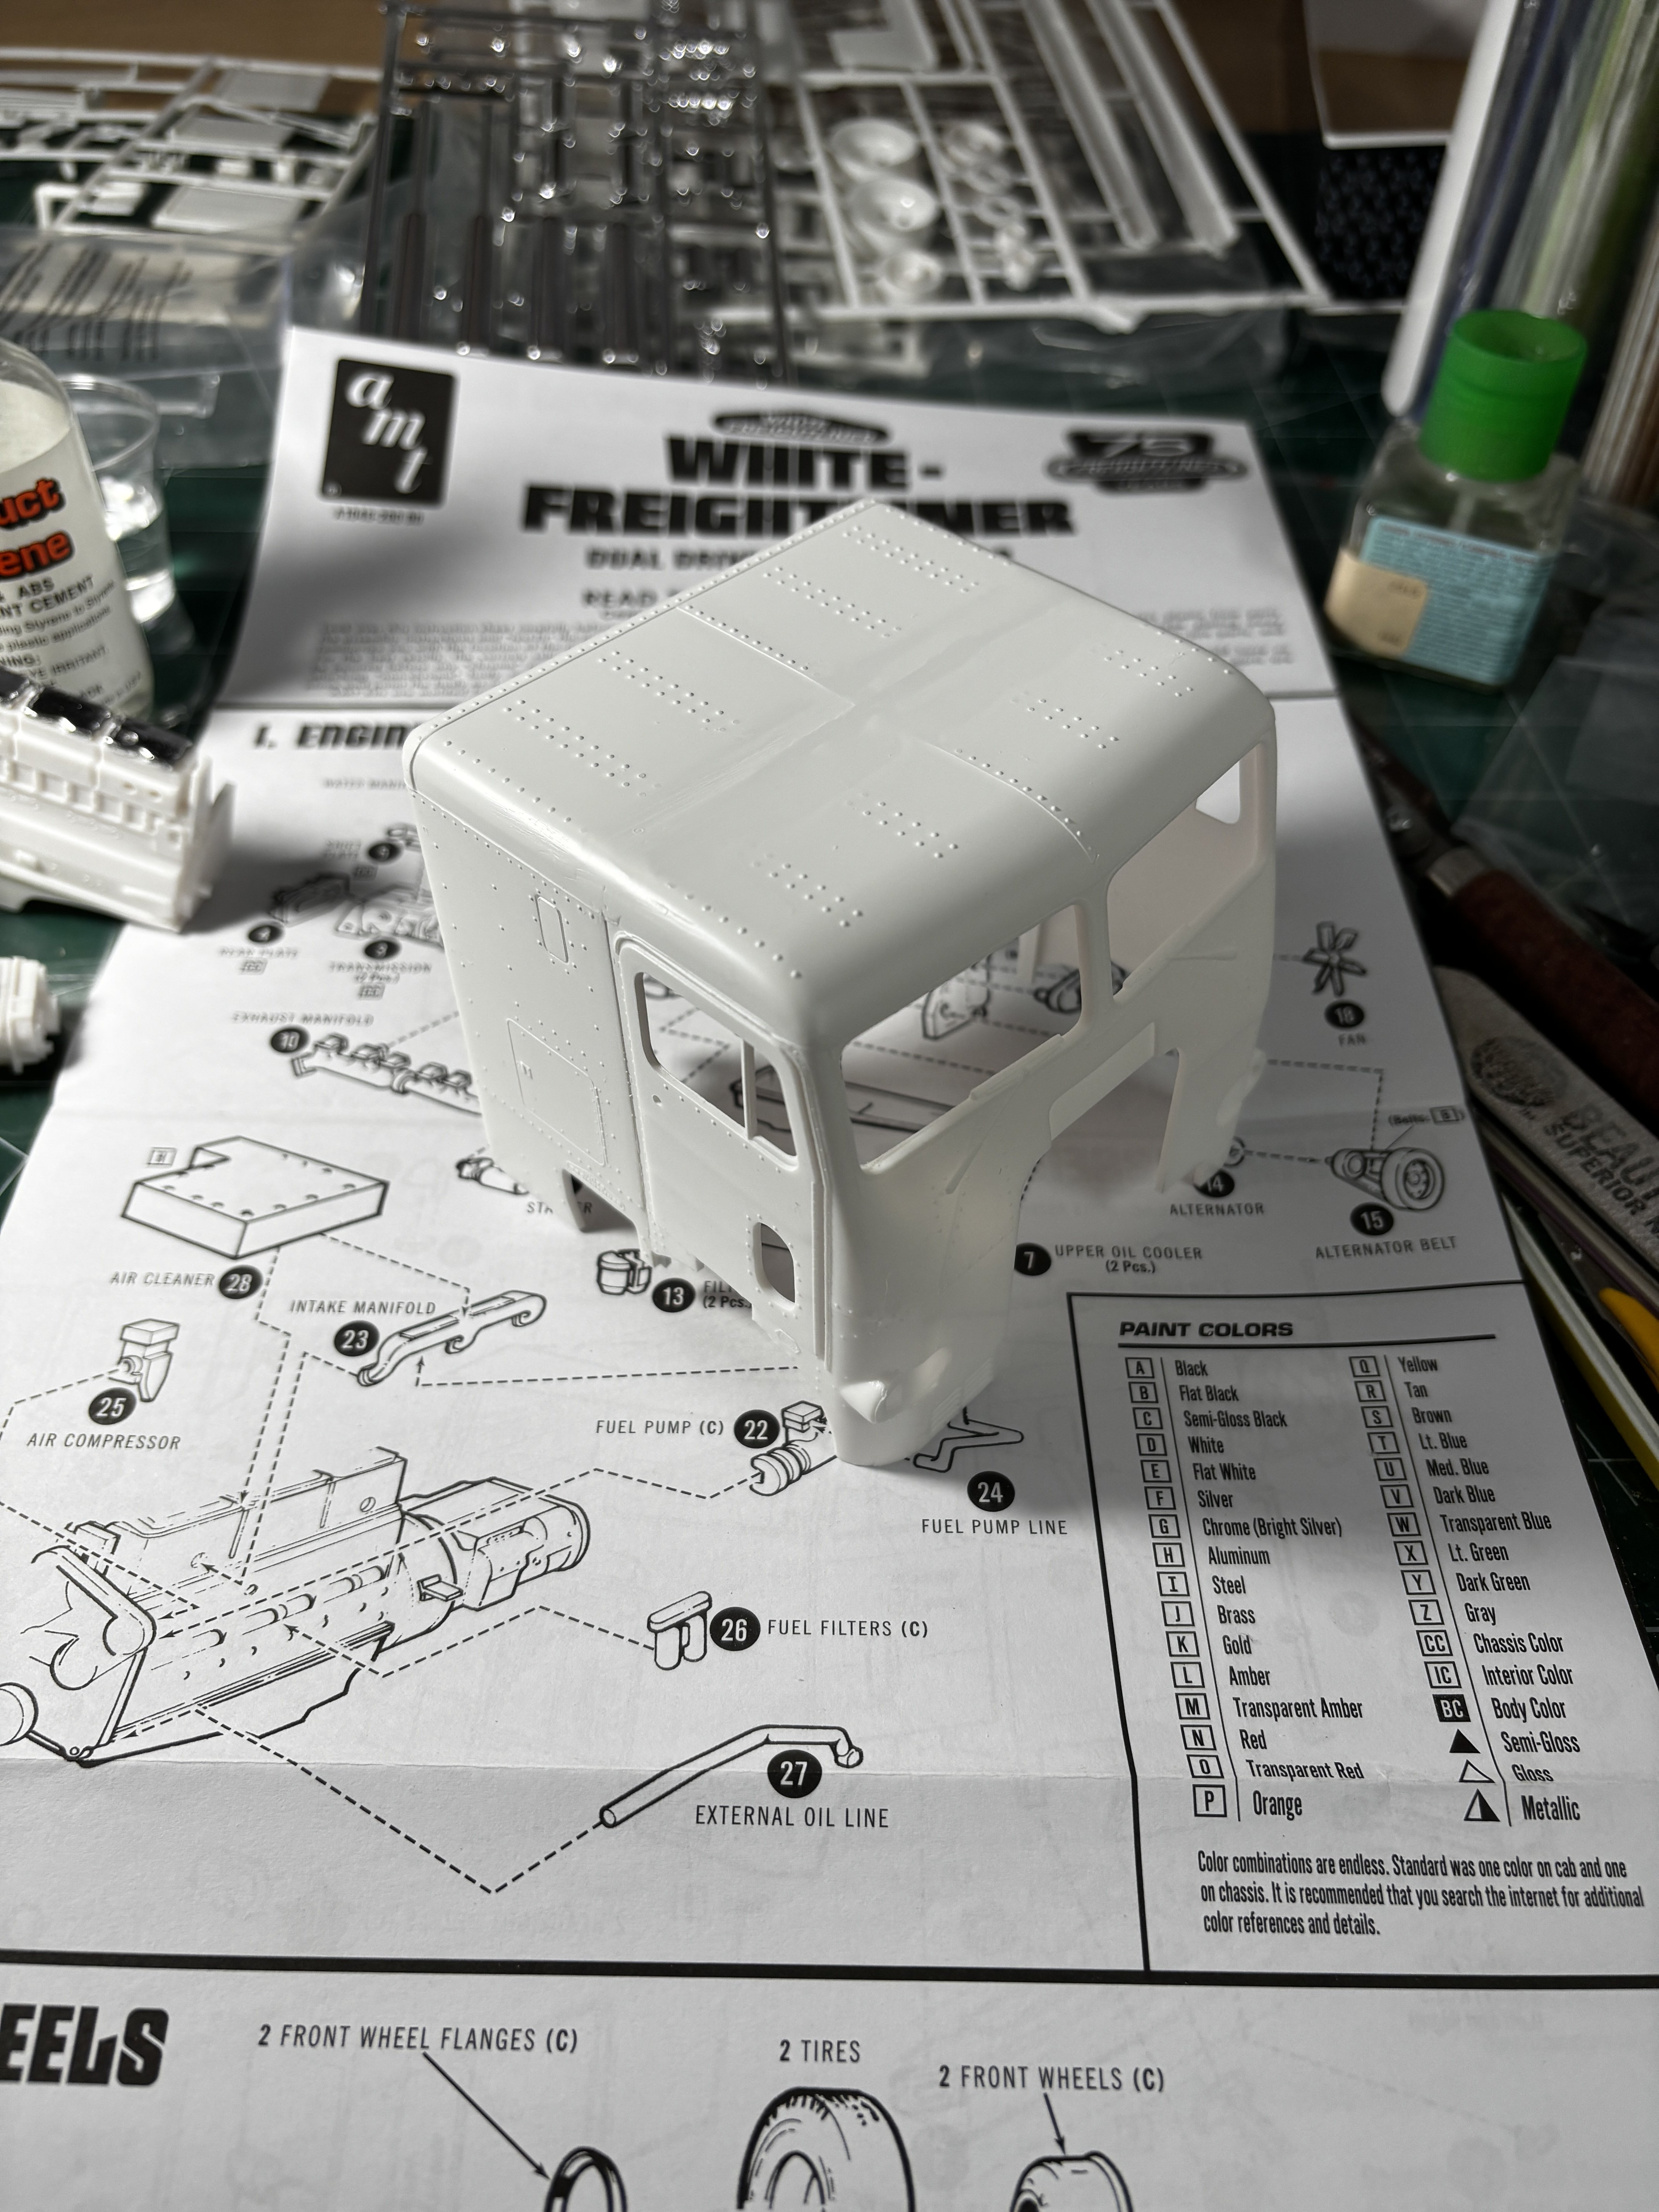
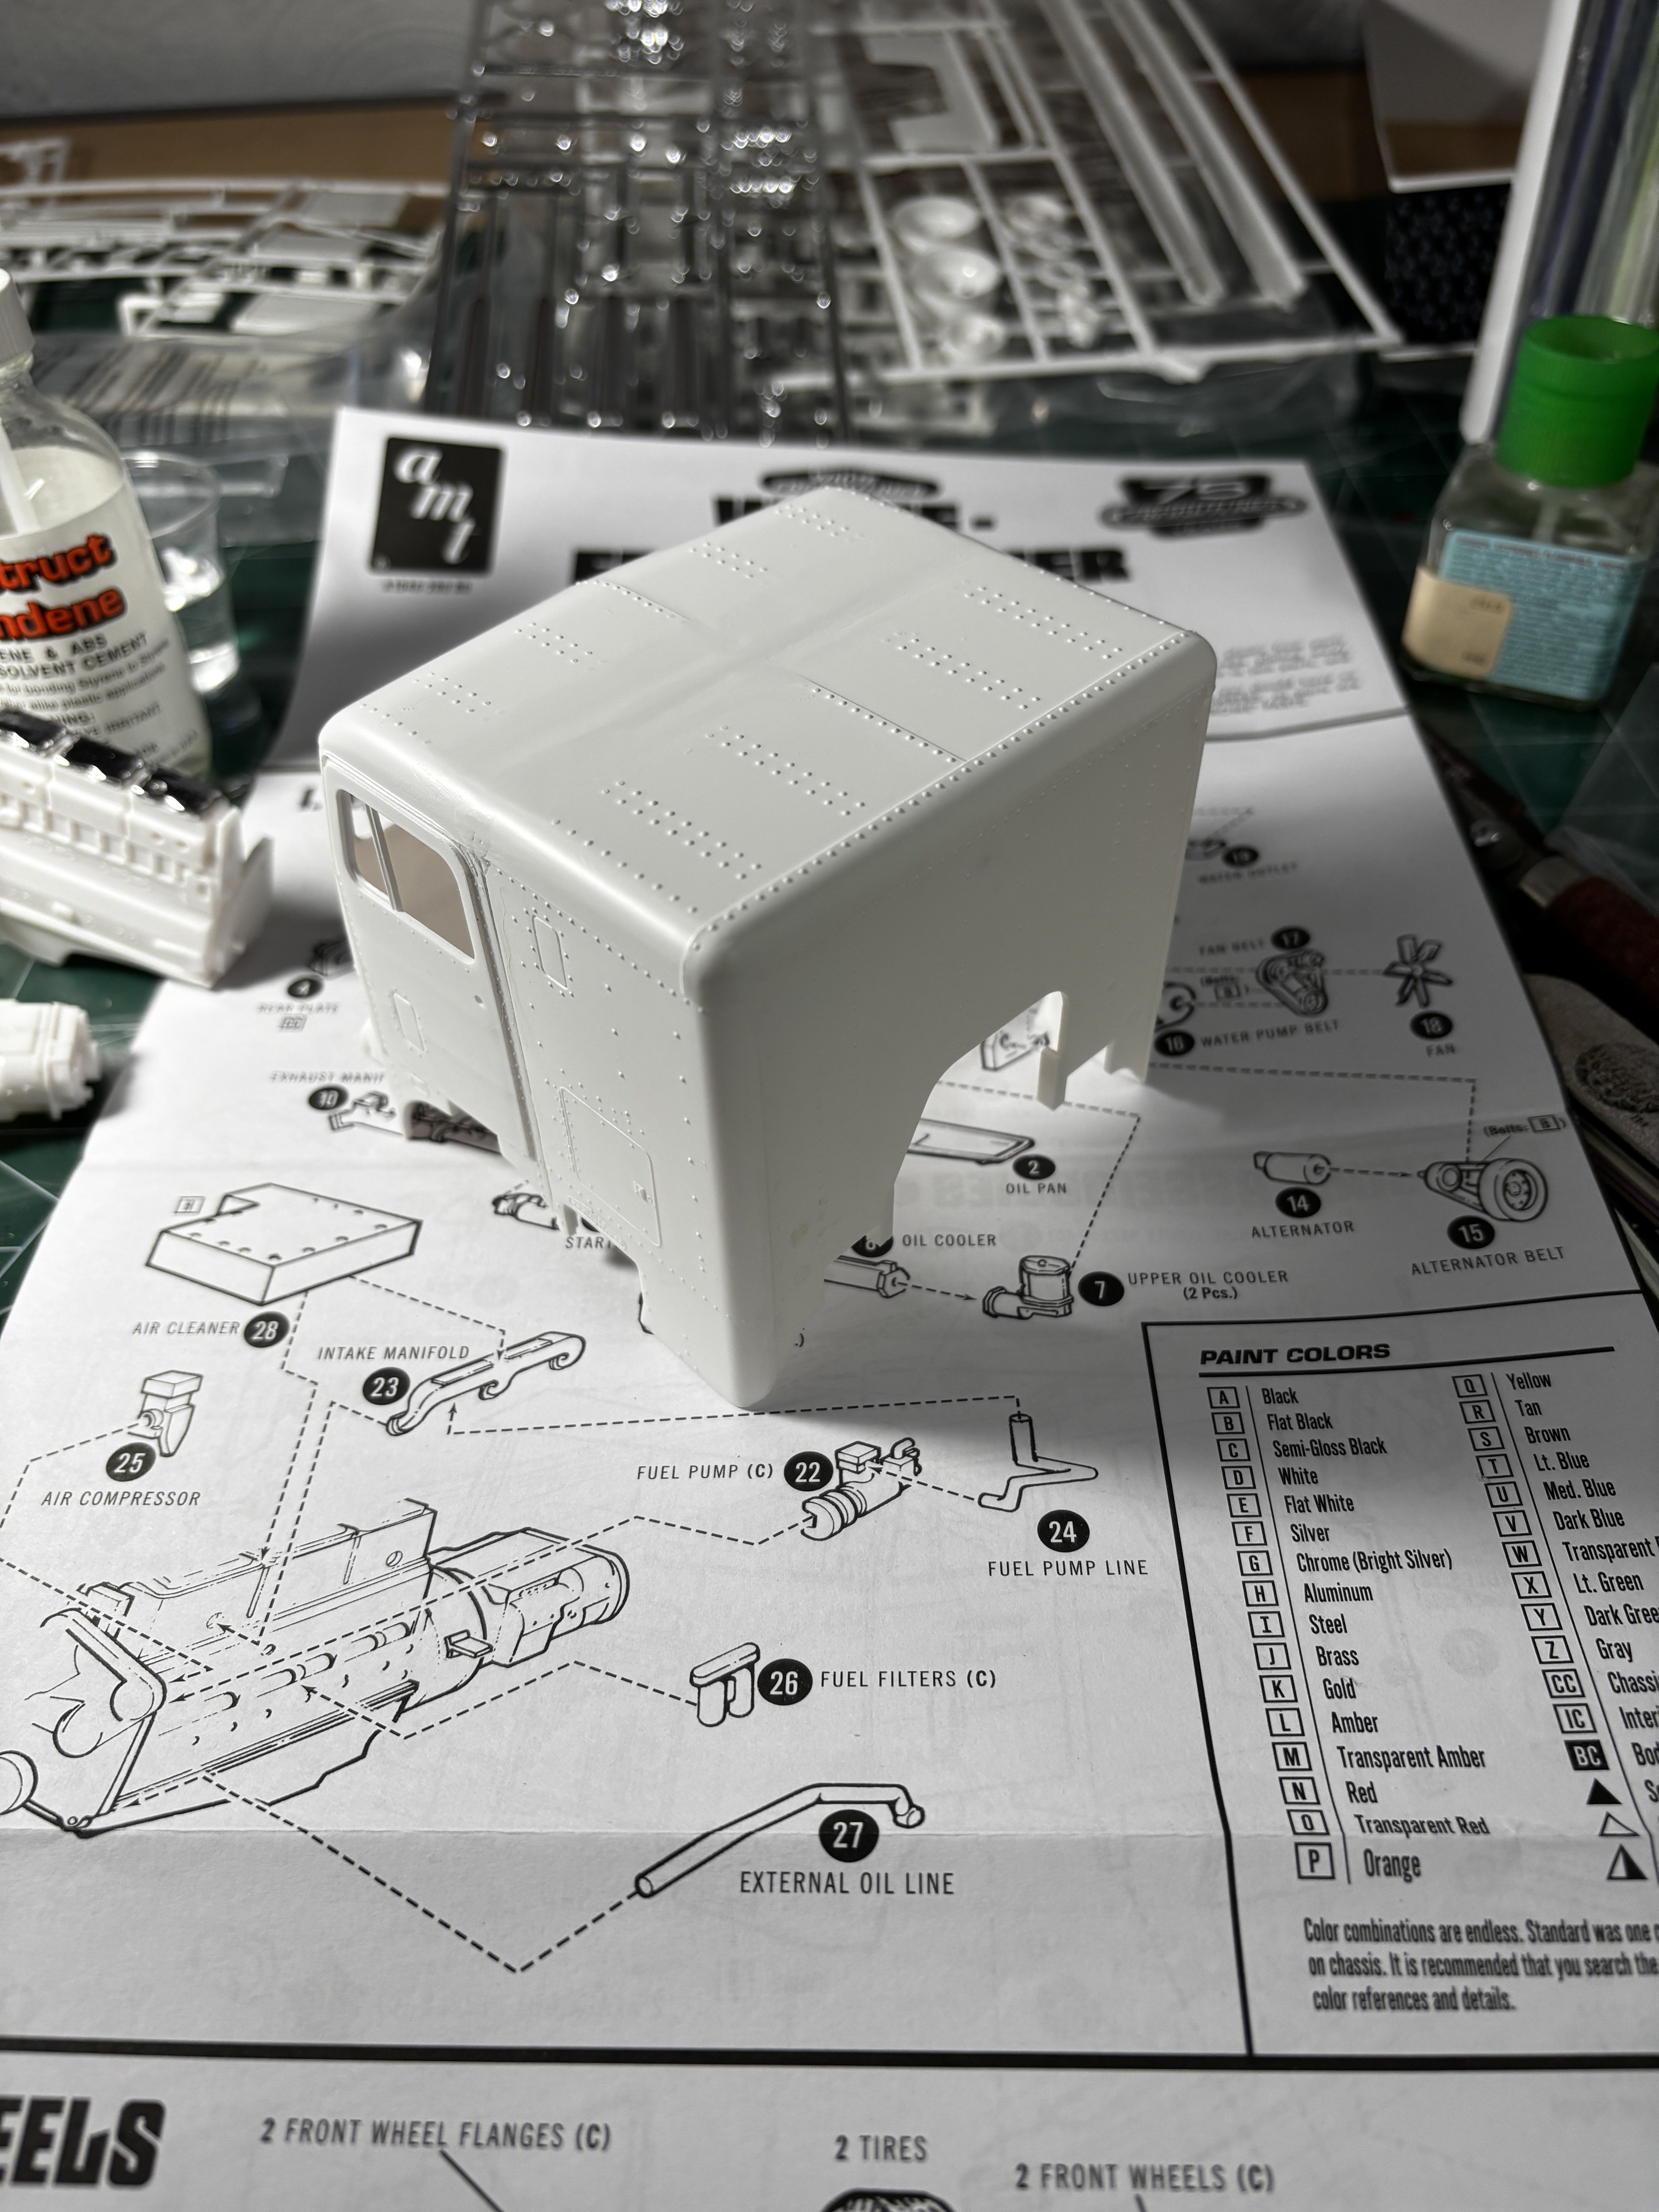
My Archer rivet decals arrived yesterday and were used to replace the rivets that were obliterated from filling and sanding the gap between the cab and sleeper. For those who have never used them, the decals are water slide variety with resin printed rivets as seen by the black dots.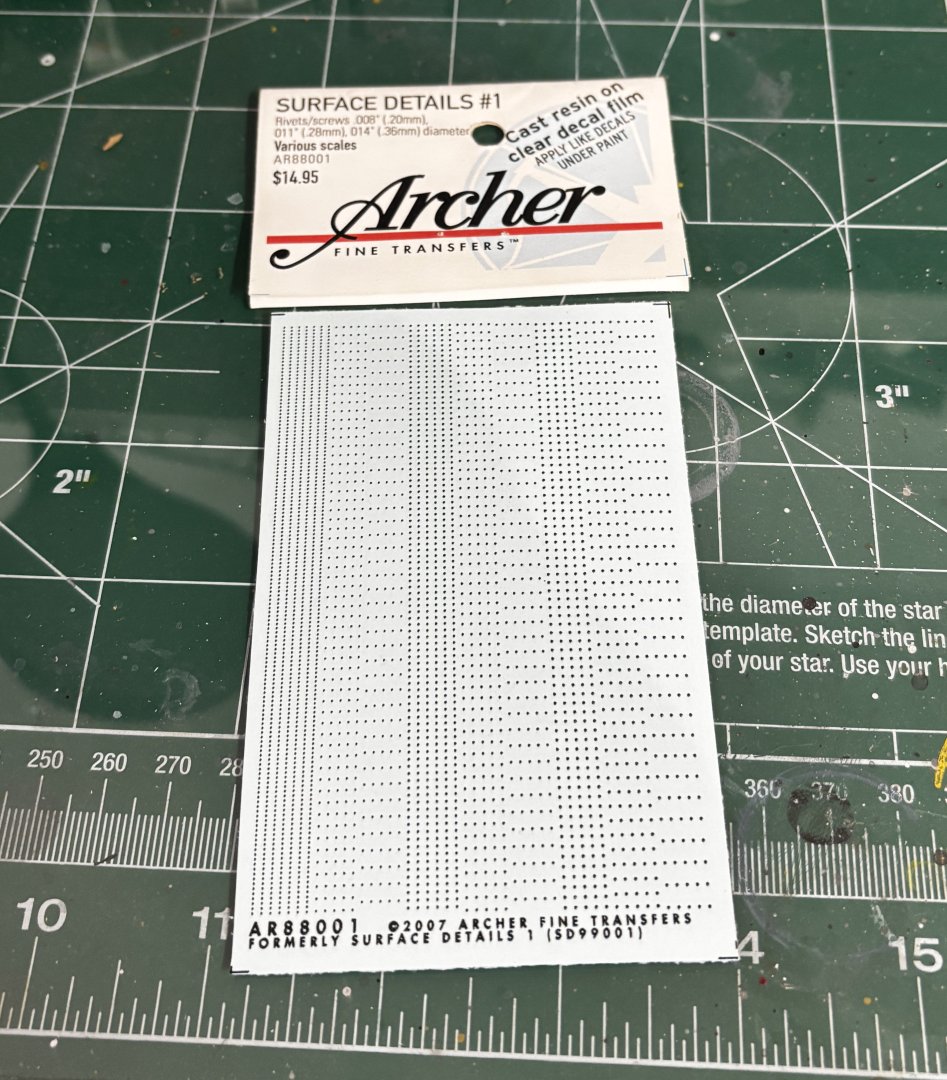
-
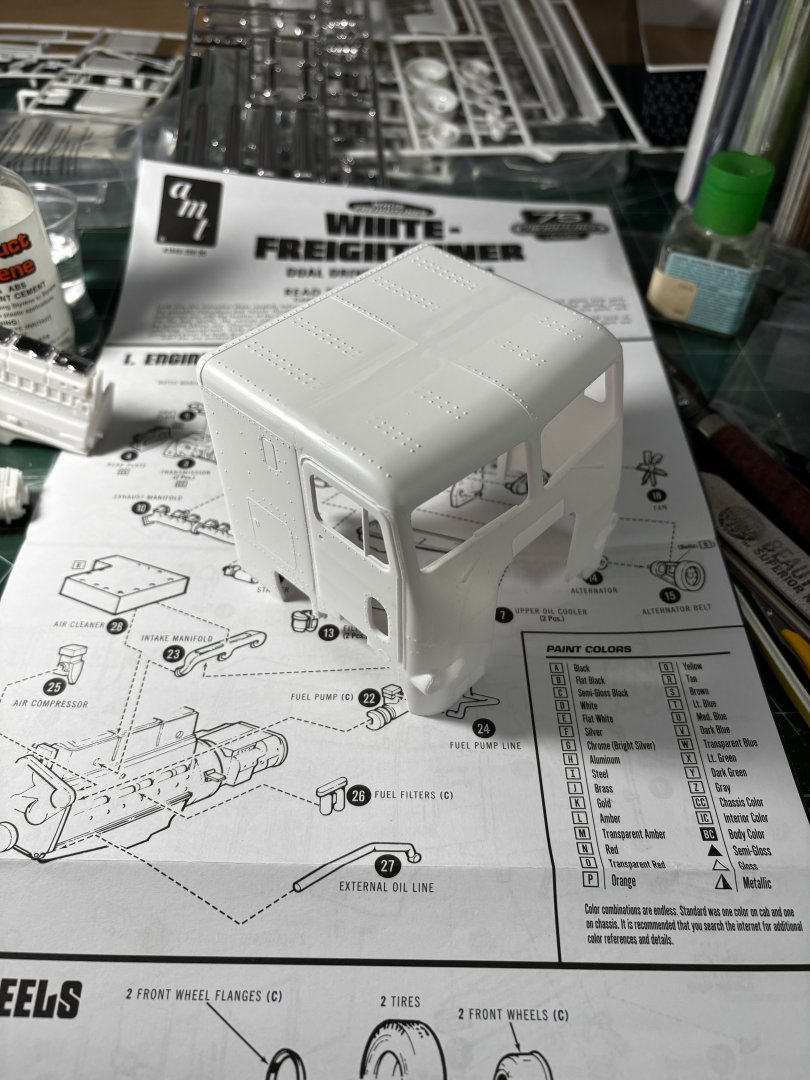
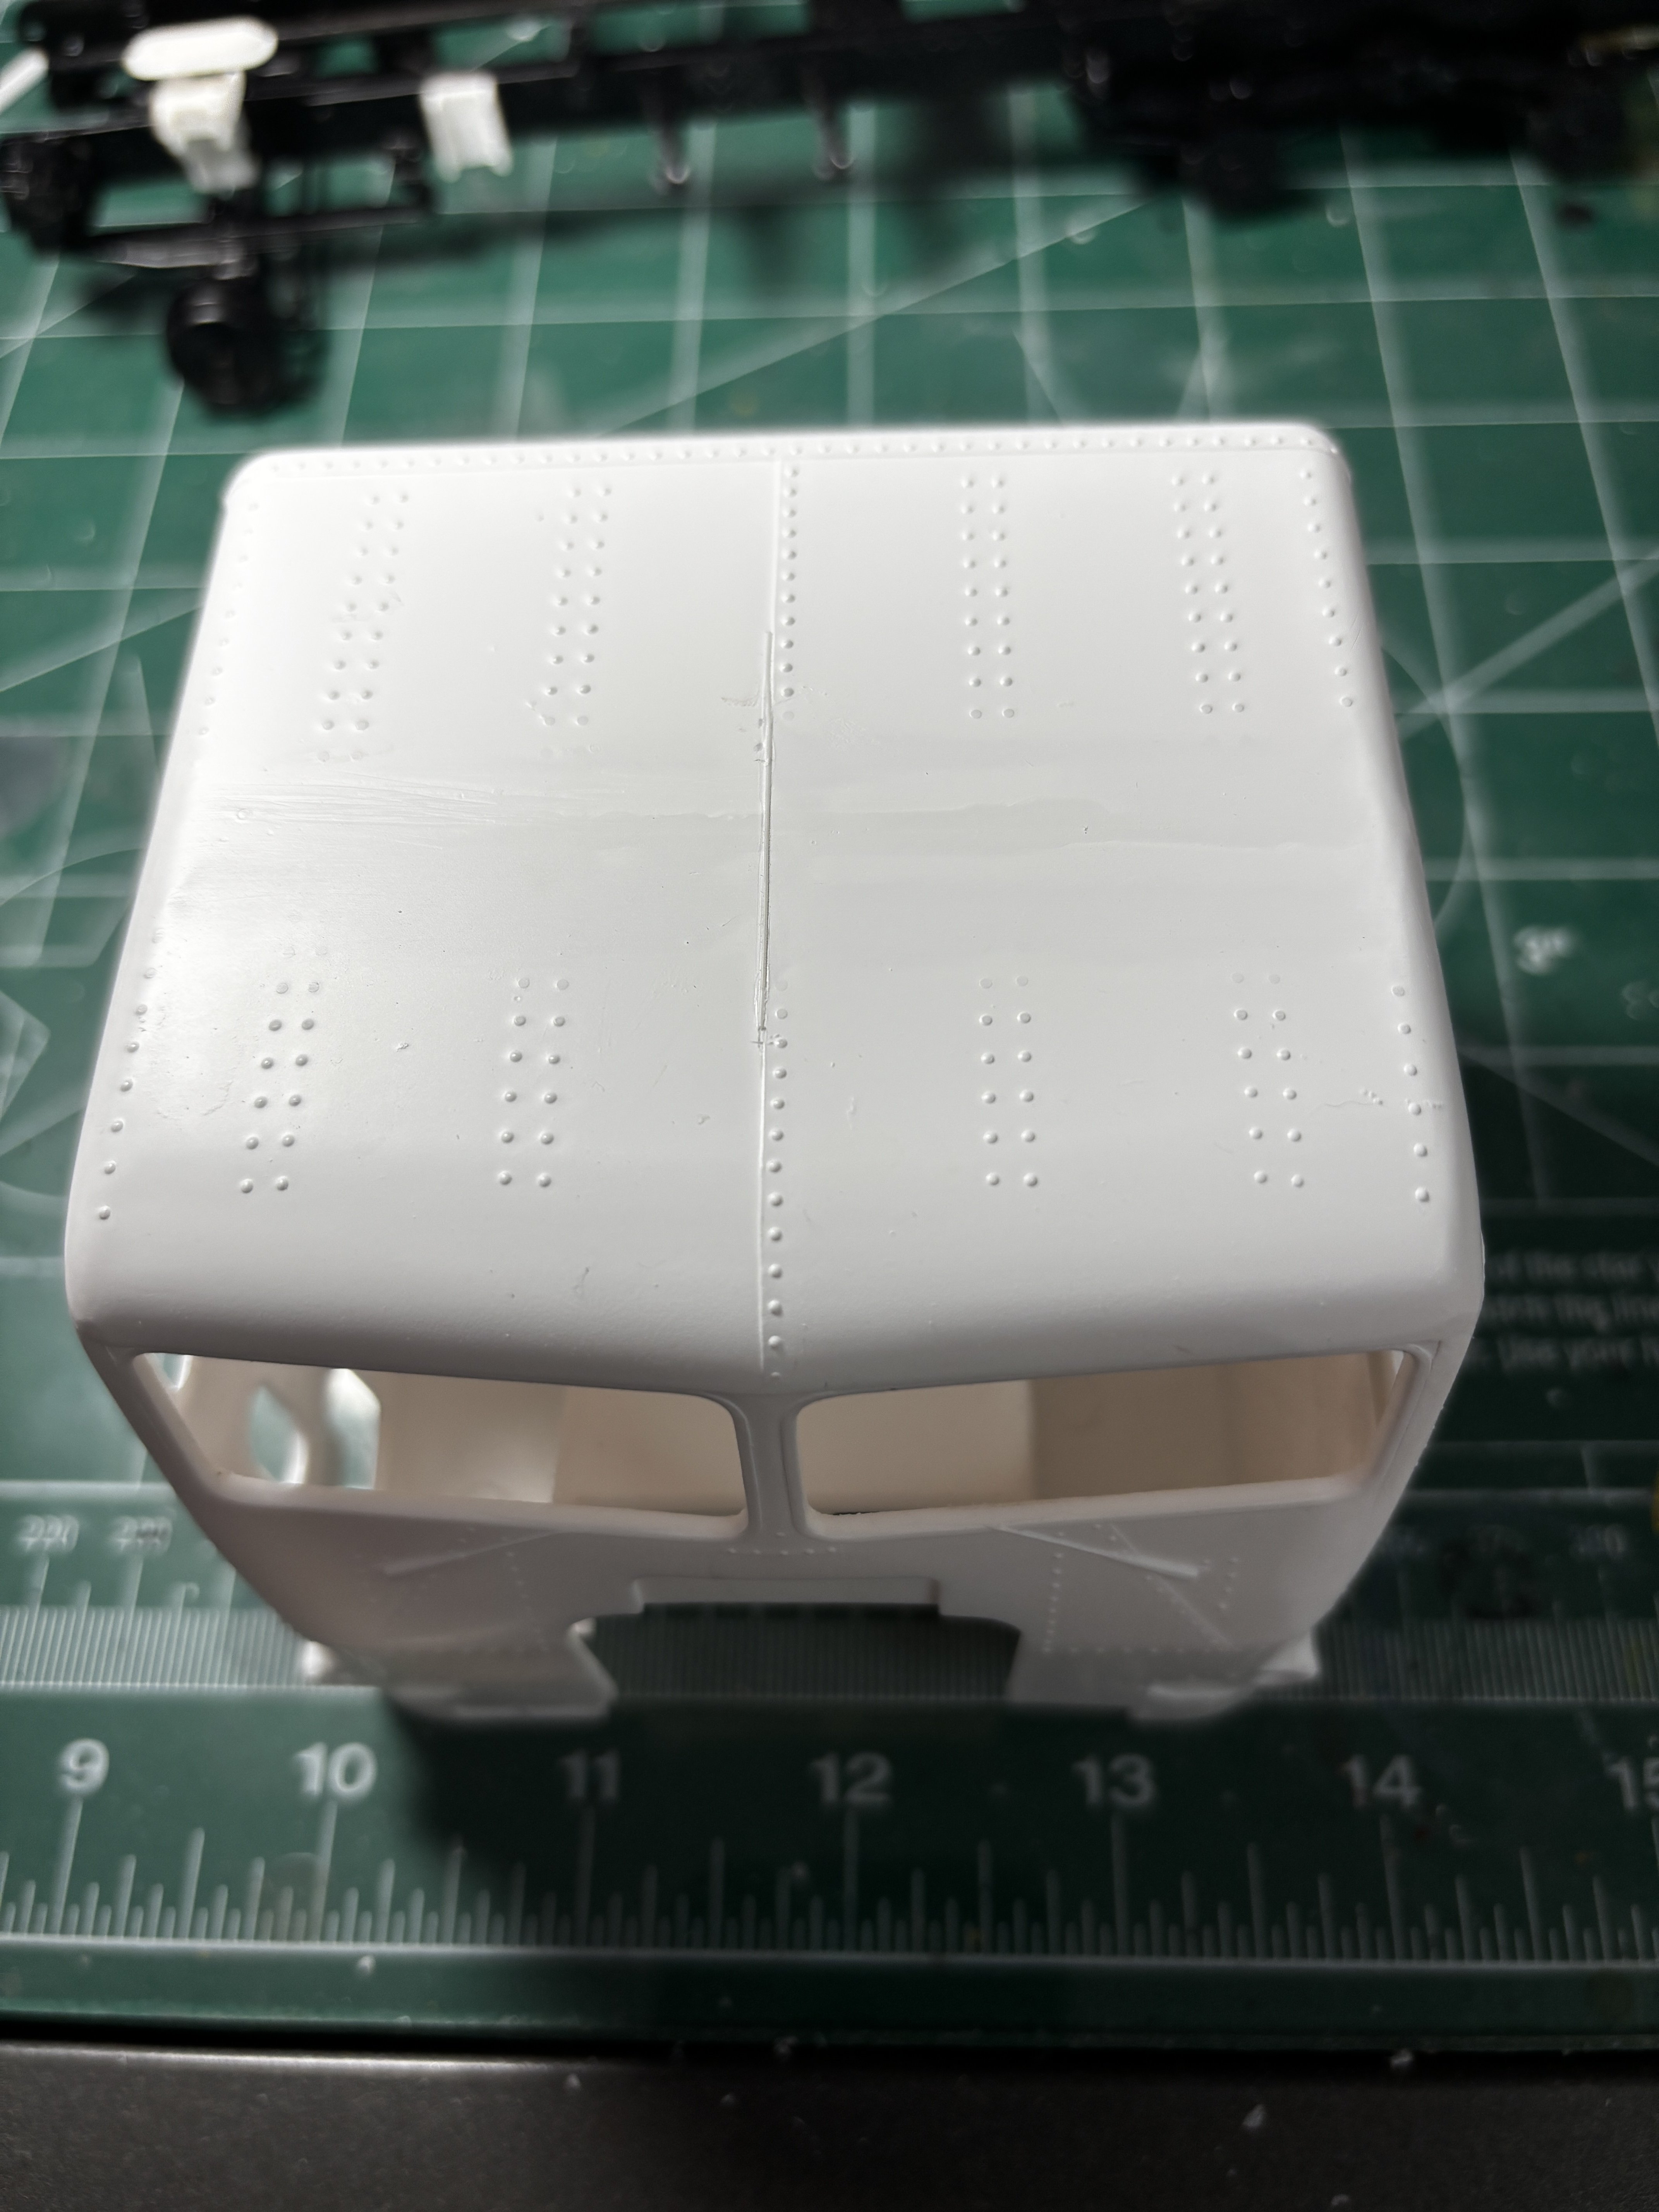
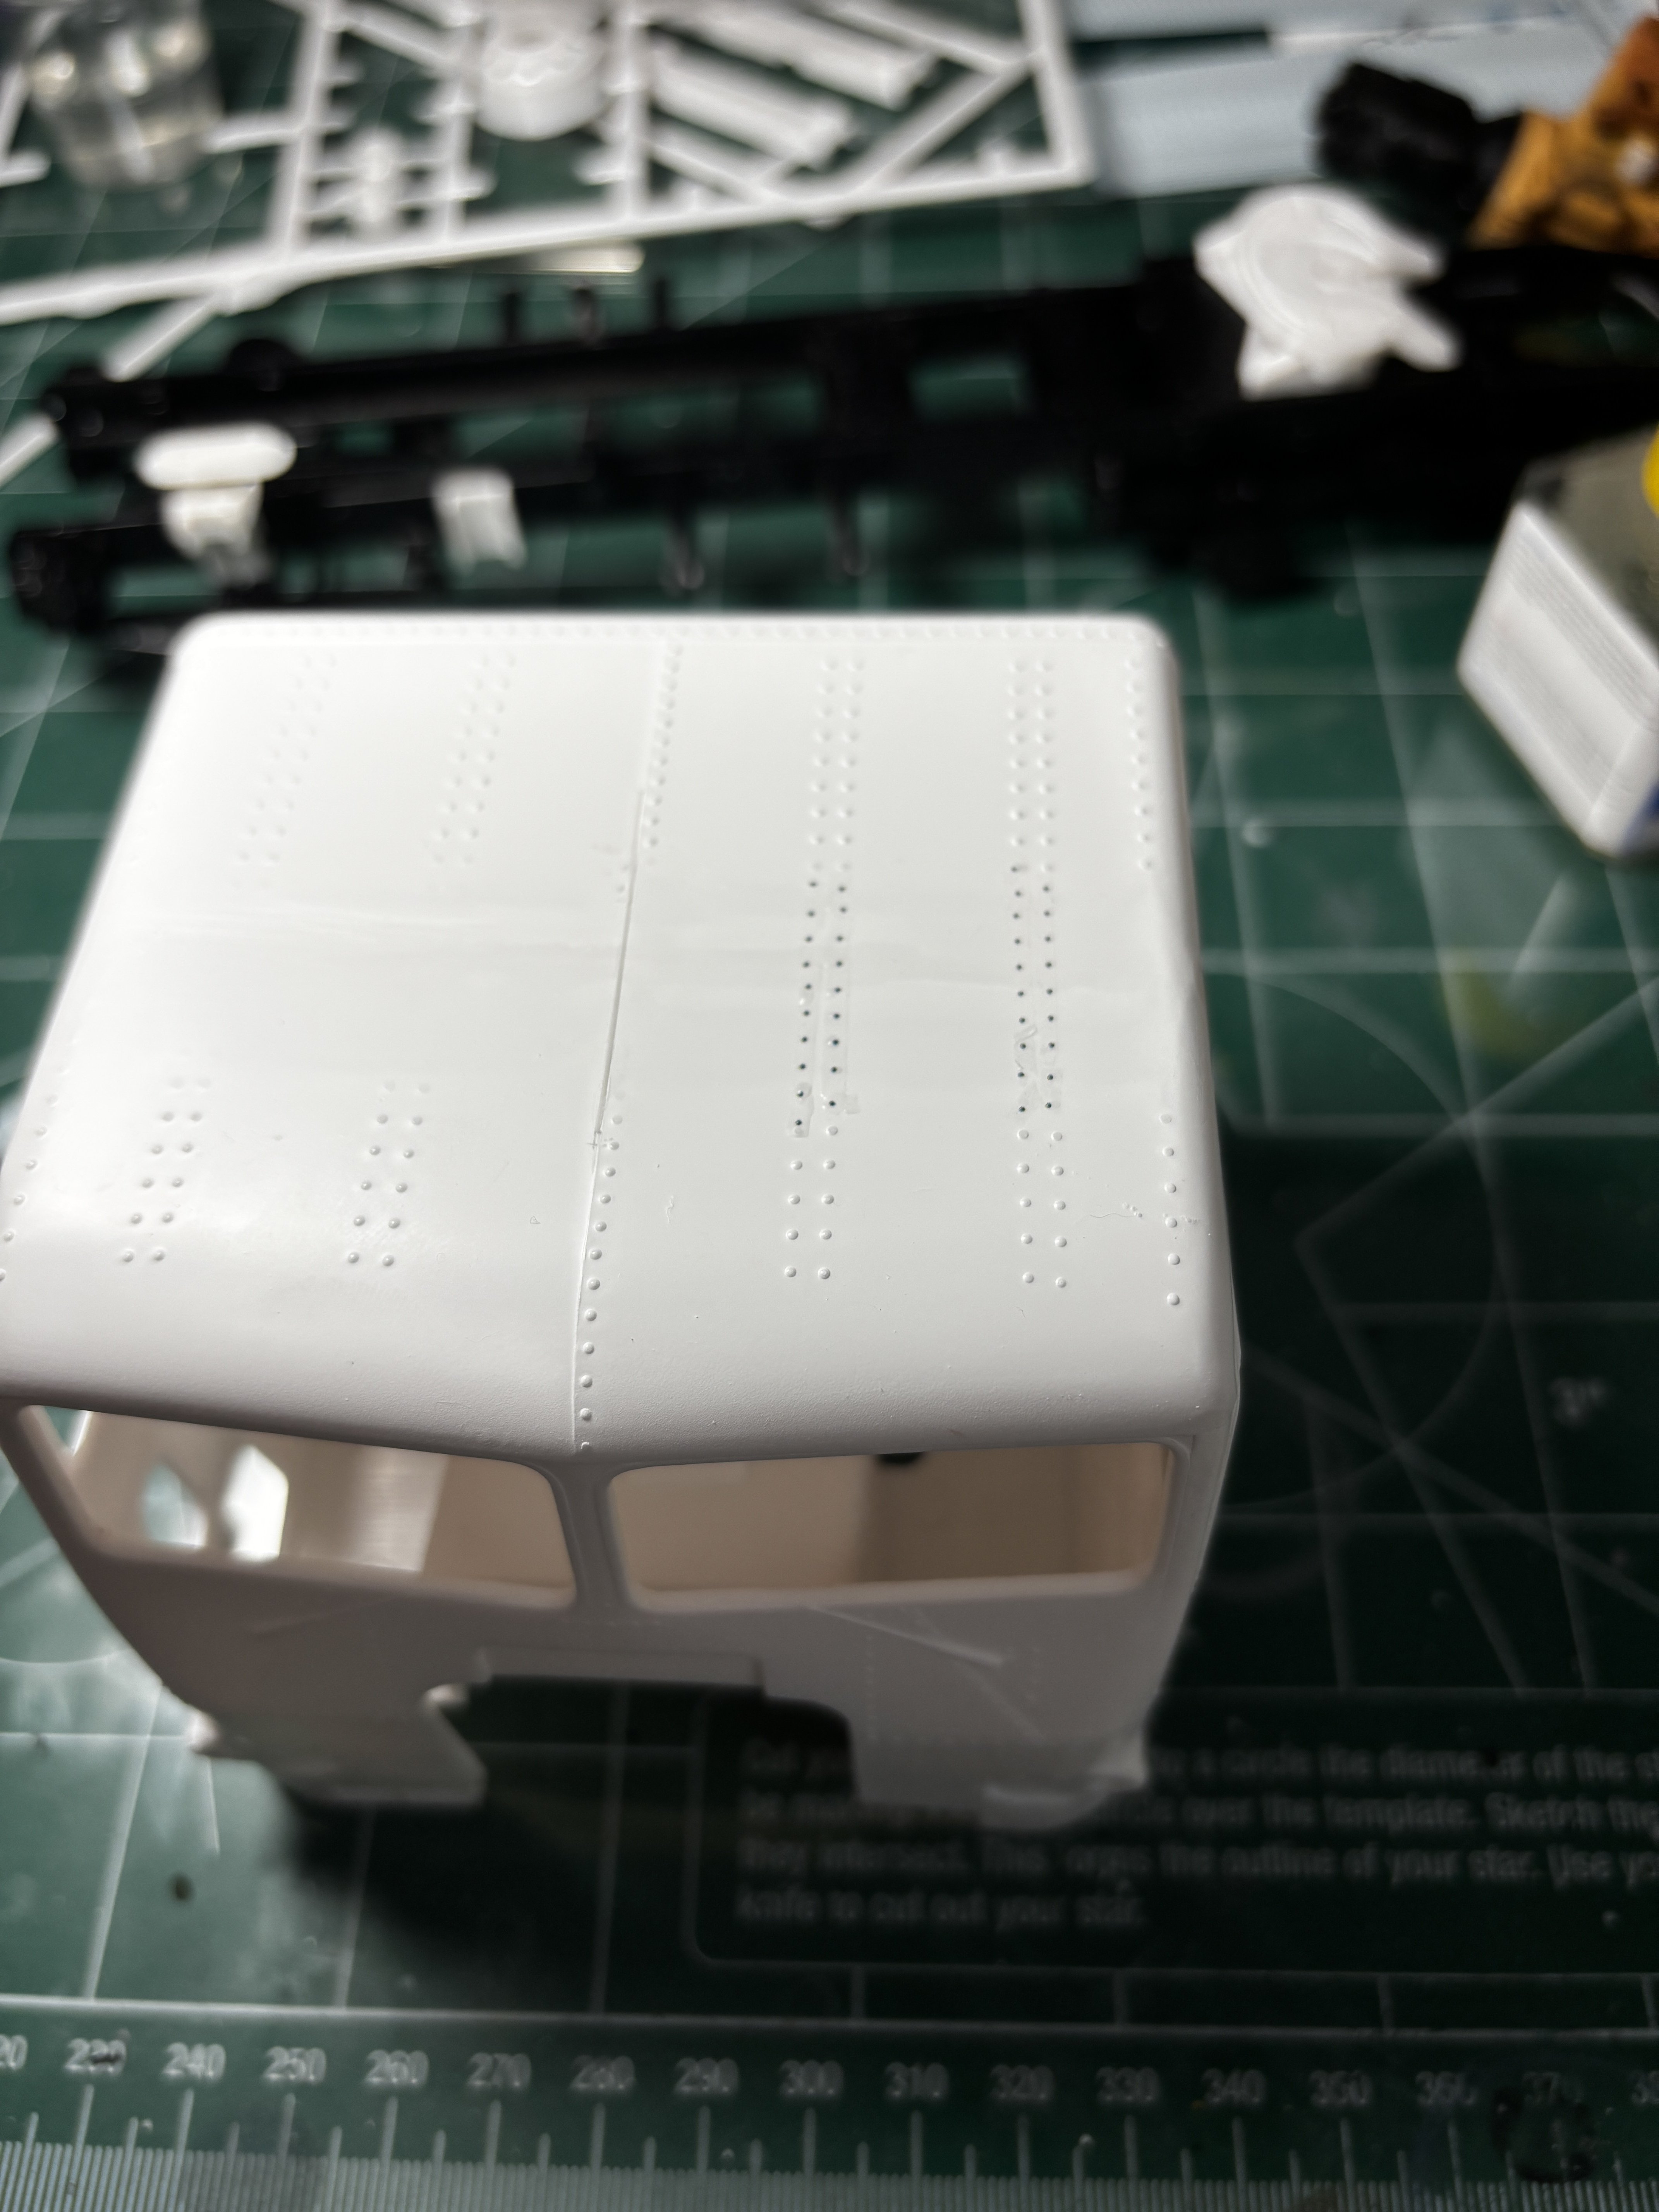
After all these years, this is the very first time I have ever attempted to build a semi tractor model. This one is a re-released, very old mold of the White-Freightliner. It can be built as an SD model (short cab) or as the DD model (extended cab with sleeper). Mine will be built as the extended cab DD model. The first thing I noticed was the troublesome seam created by attaching the sleeper to the cab. Because there is raised rivet detail, it's going to take some work to smooth out the join area, particularly the top. Will probably need to sand off all the rivet detail then replace it with some Archer decal rivets. I didn't have any of those on hand but placed an order for some that should arrive later this week. I used styrene strip stock to reinforce the joint and help keep it in alignment. The strip stock will create some issues when later fitting the interior tub inside the cab, but that can be overcome with a little work. For the time being, I will work on the engine, transmission and frame assemblies. I plan to follow the box art as my painting guide. This re-release does include a nice decal sheet to recreate the graphics as seen on the box.


- 30 replies
-
- 11
-
-
Costa Passenger Coach by yvesvidal - FINISHED - OcCre - 1/32
CDW replied to yvesvidal's topic in Non-ship/categorised builds
It’s been long gone for a number of years. That shop was less than 2 blocks from my old house, not too far from MacDill AFB. It was packed full of model RR things! -
Costa Passenger Coach by yvesvidal - FINISHED - OcCre - 1/32
CDW replied to yvesvidal's topic in Non-ship/categorised builds
How long have you lived there, Yves? There is just one hobby shop remaining in Tampa, Fl right now. I don't know of any model railroad shops in Tampa anymore. -
Ferrari 315S by CDW - Model Factory Hiro - 1:12 Scale - Multi Media
CDW replied to CDW's topic in Non-ship/categorised builds
Thanks Yves. Glad to be back. Life has a way of reminding us that we are not here forever, our days are numbered. I think I have learned to appreciate my allotment of days even more. -
Ferrari 315S by CDW - Model Factory Hiro - 1:12 Scale - Multi Media
CDW replied to CDW's topic in Non-ship/categorised builds
My wife is constantly reminding me of what am not supposed to do. I feel so good, I get carried away and forget sometimes. Thanks guys, much appreciated. -
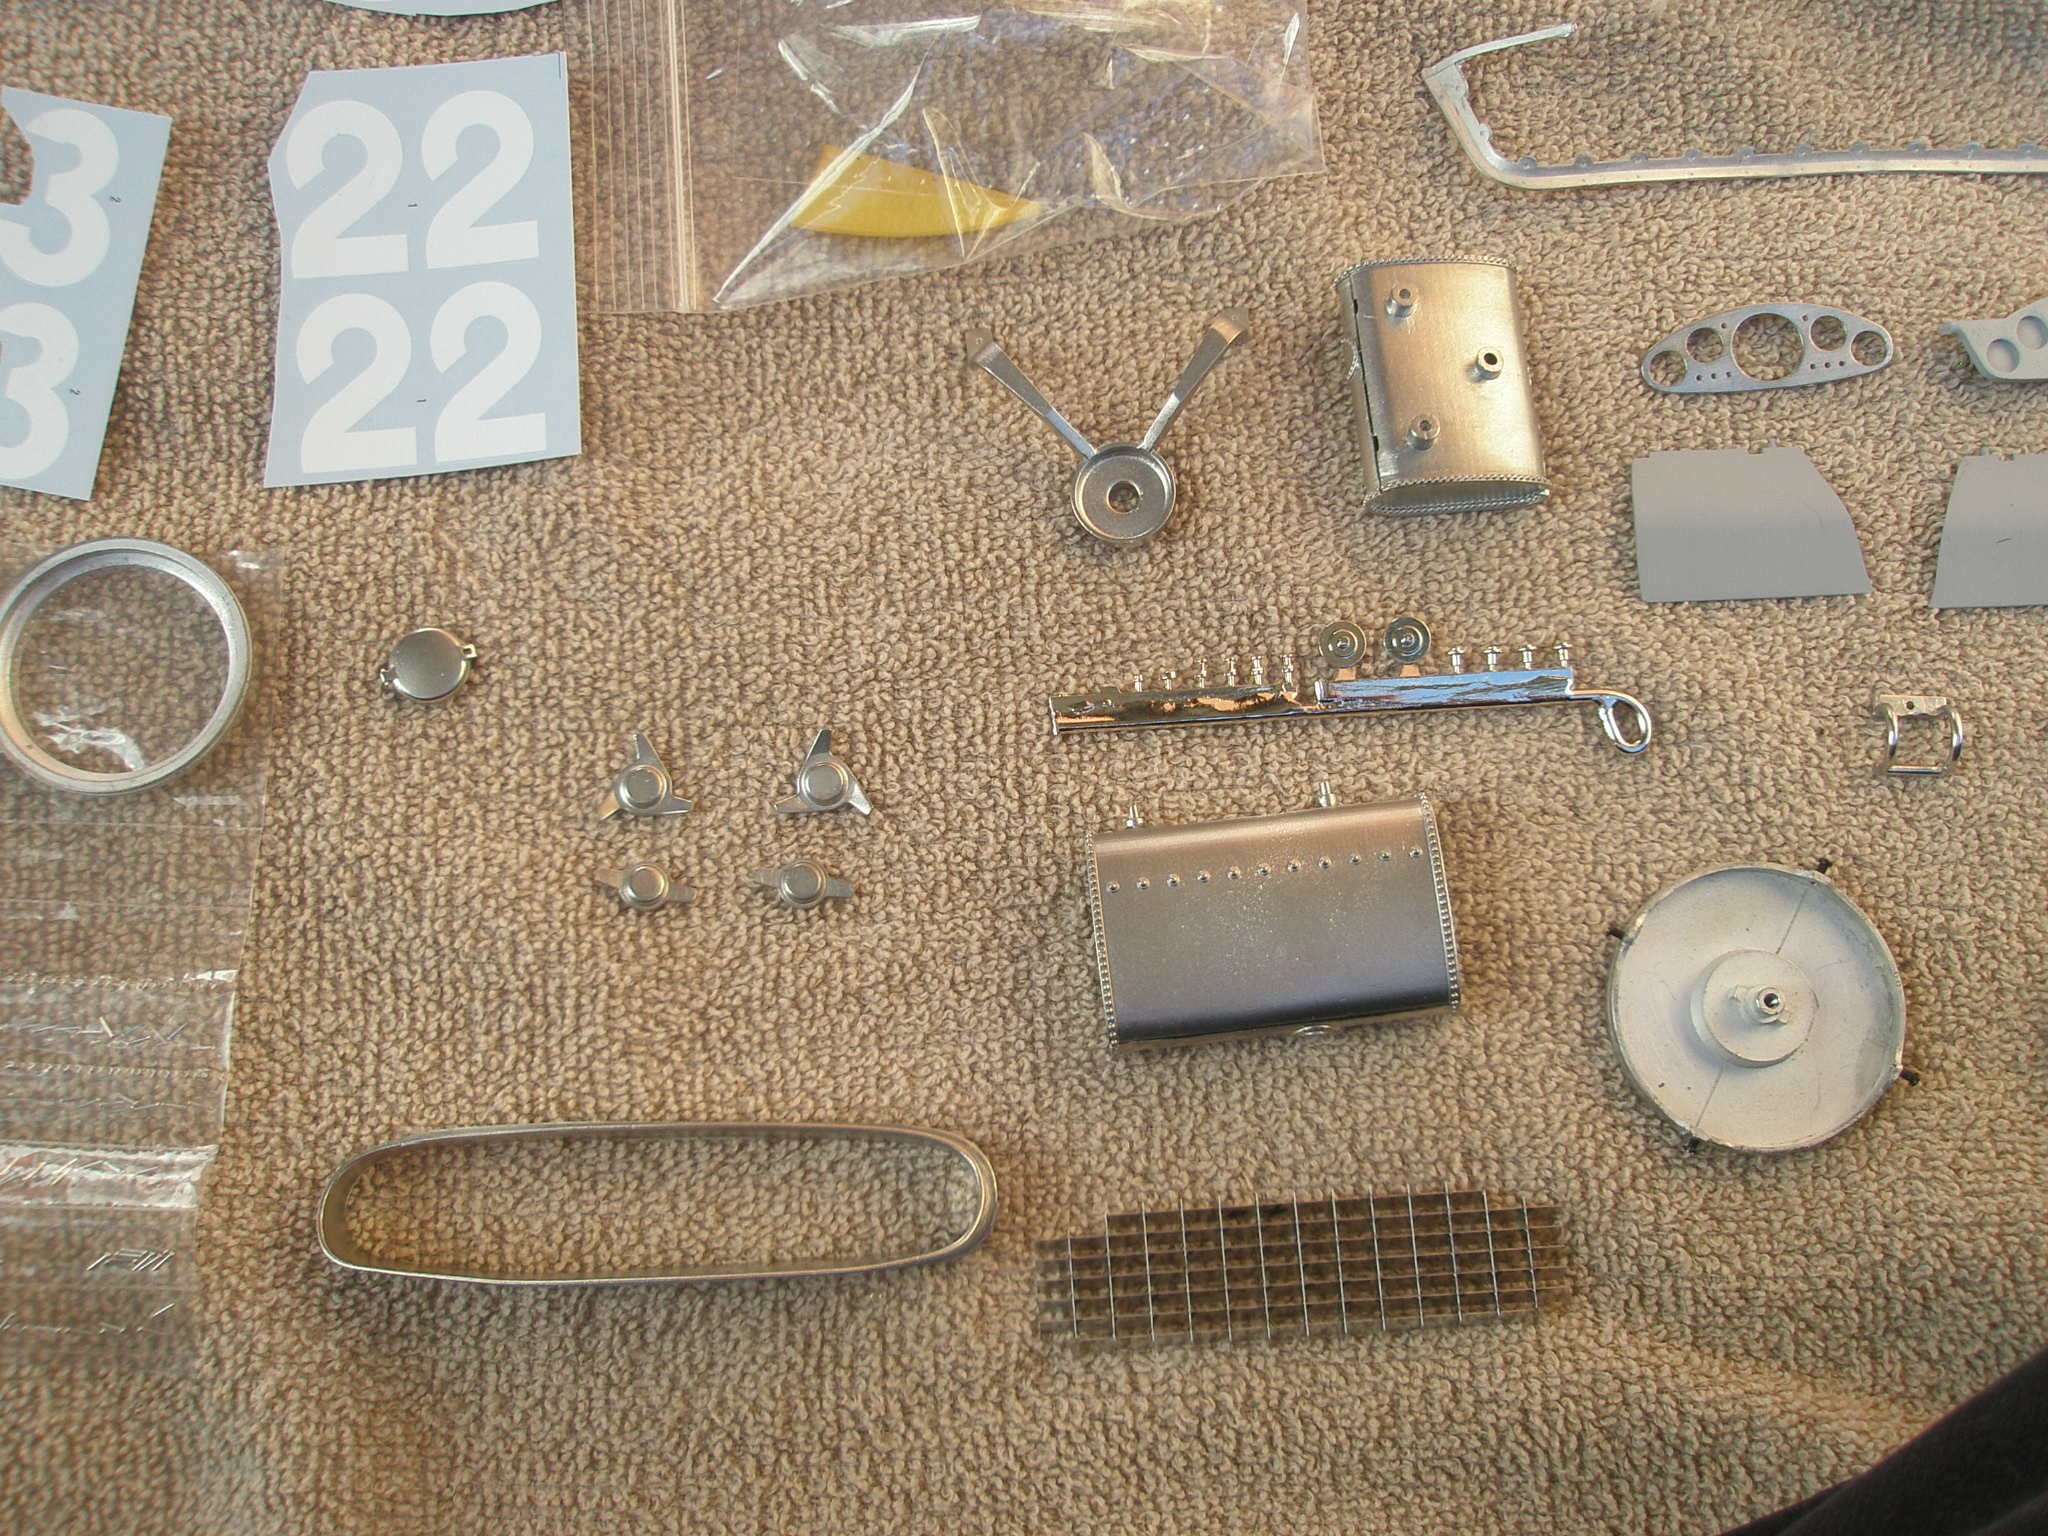
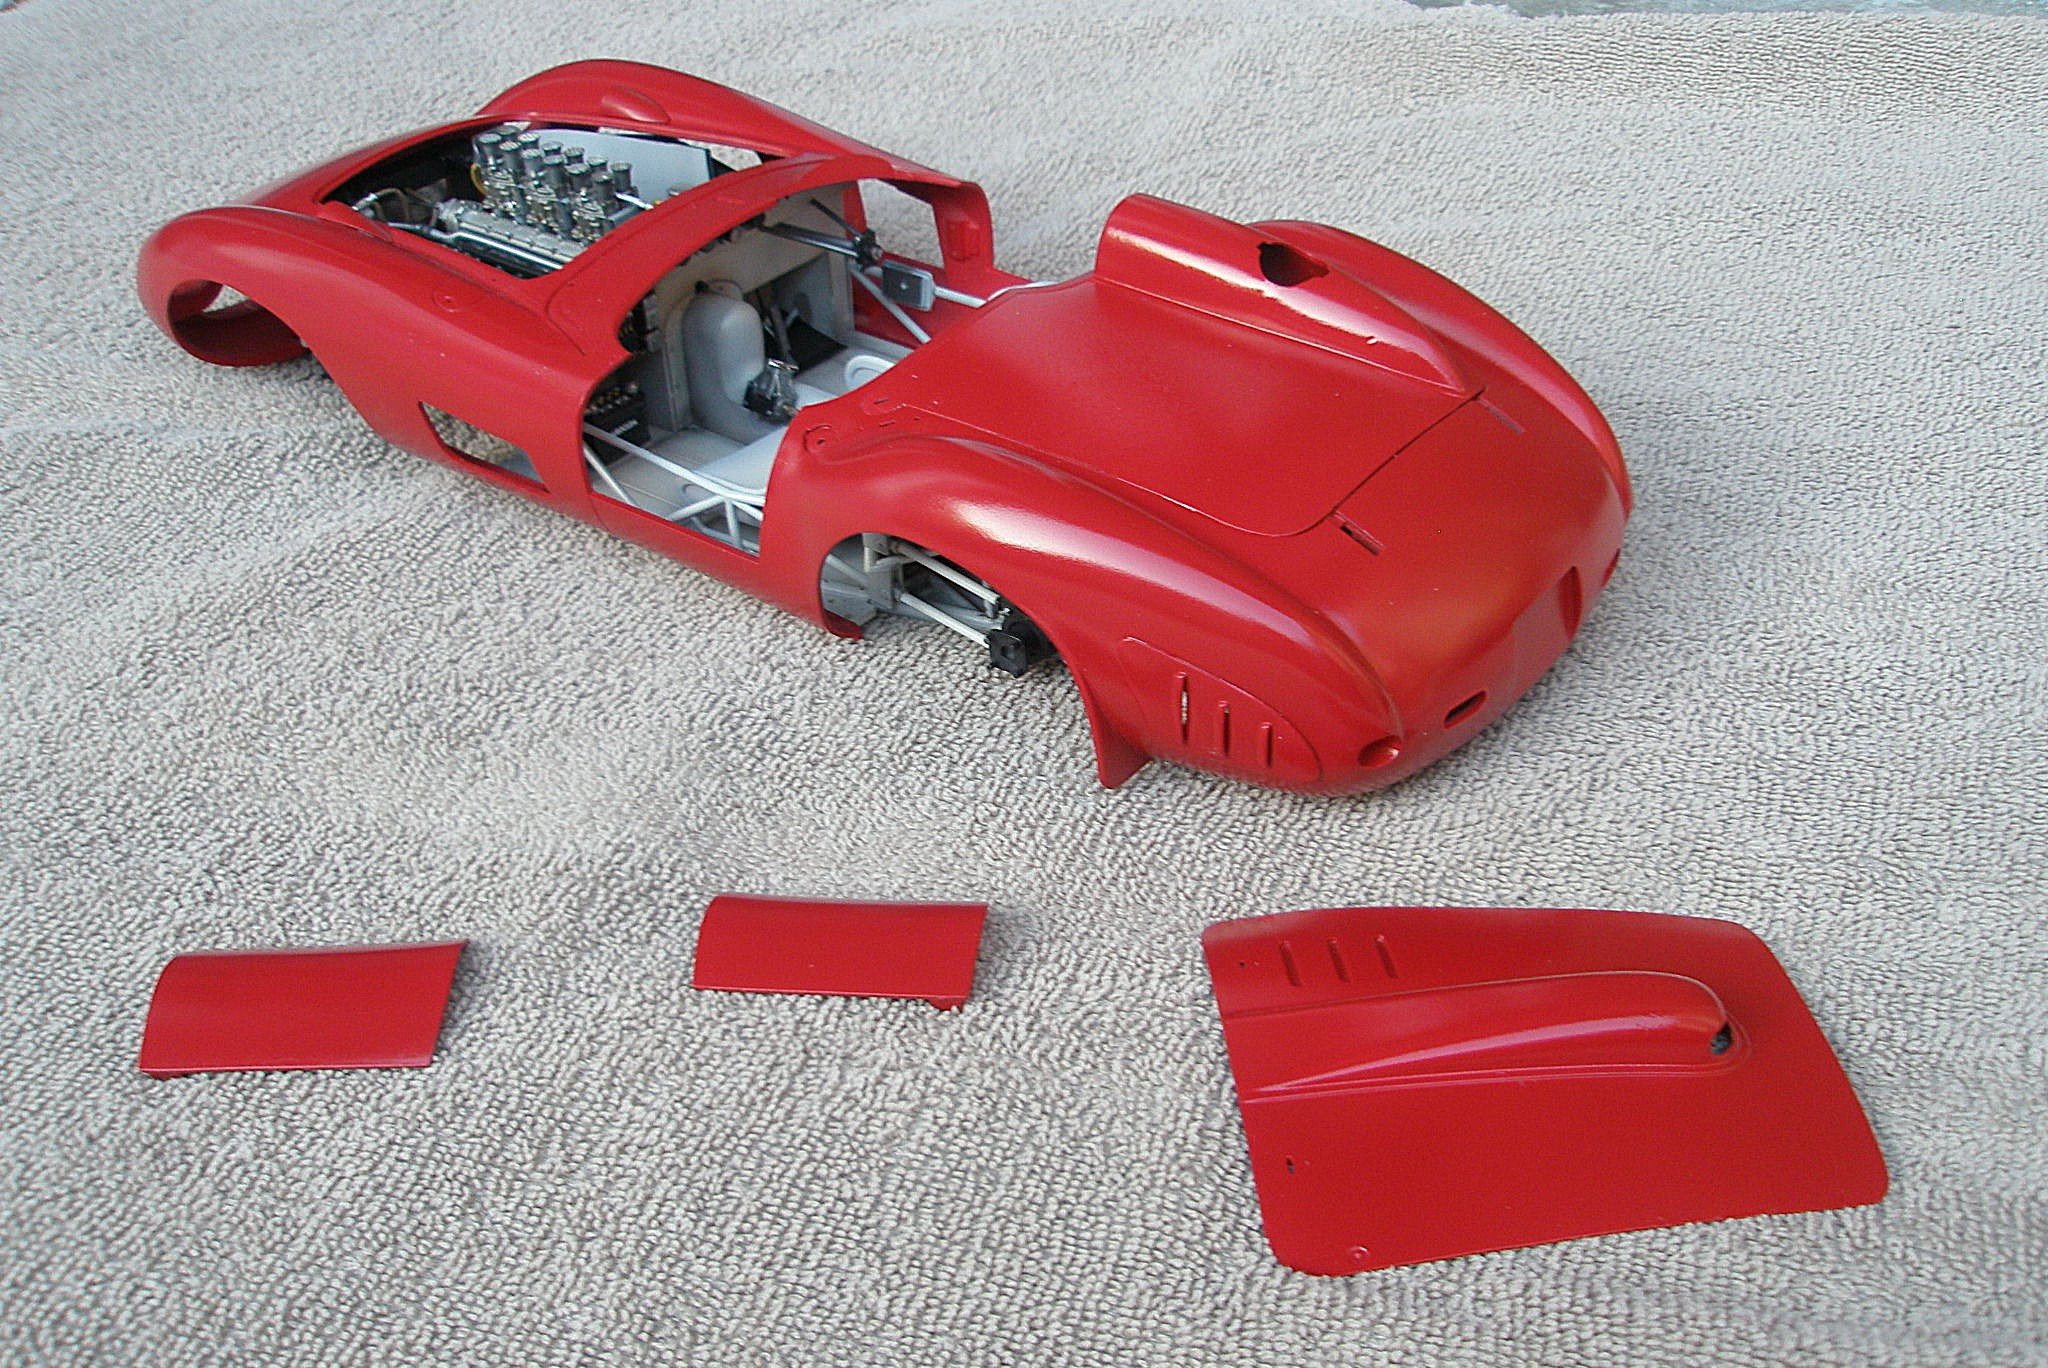
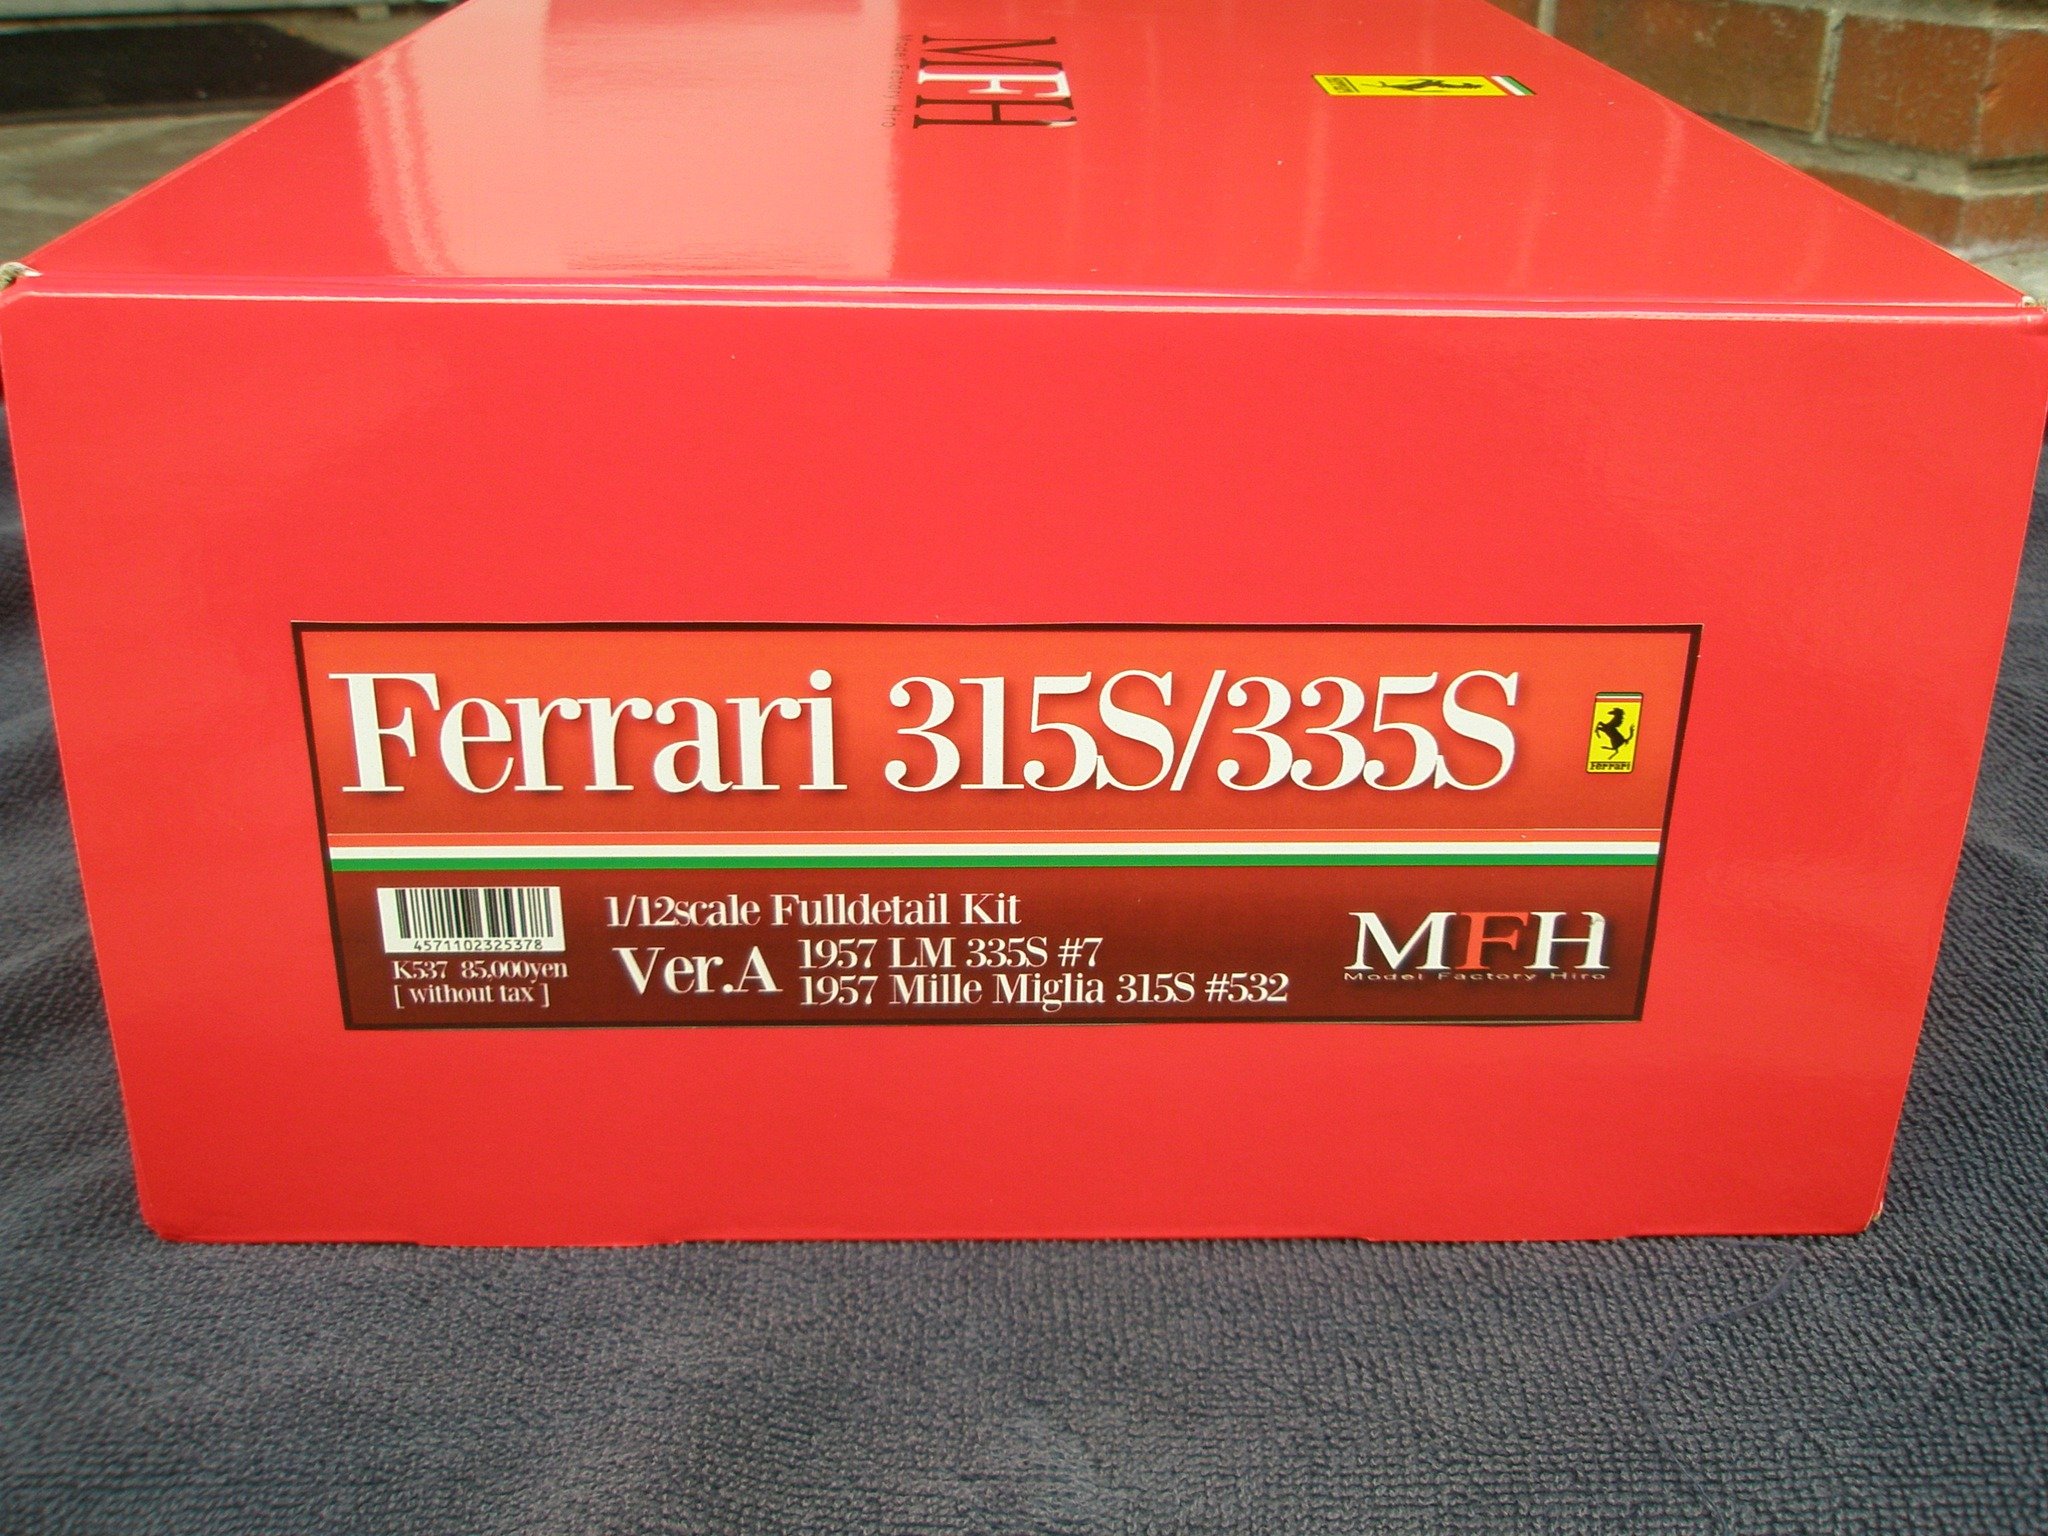
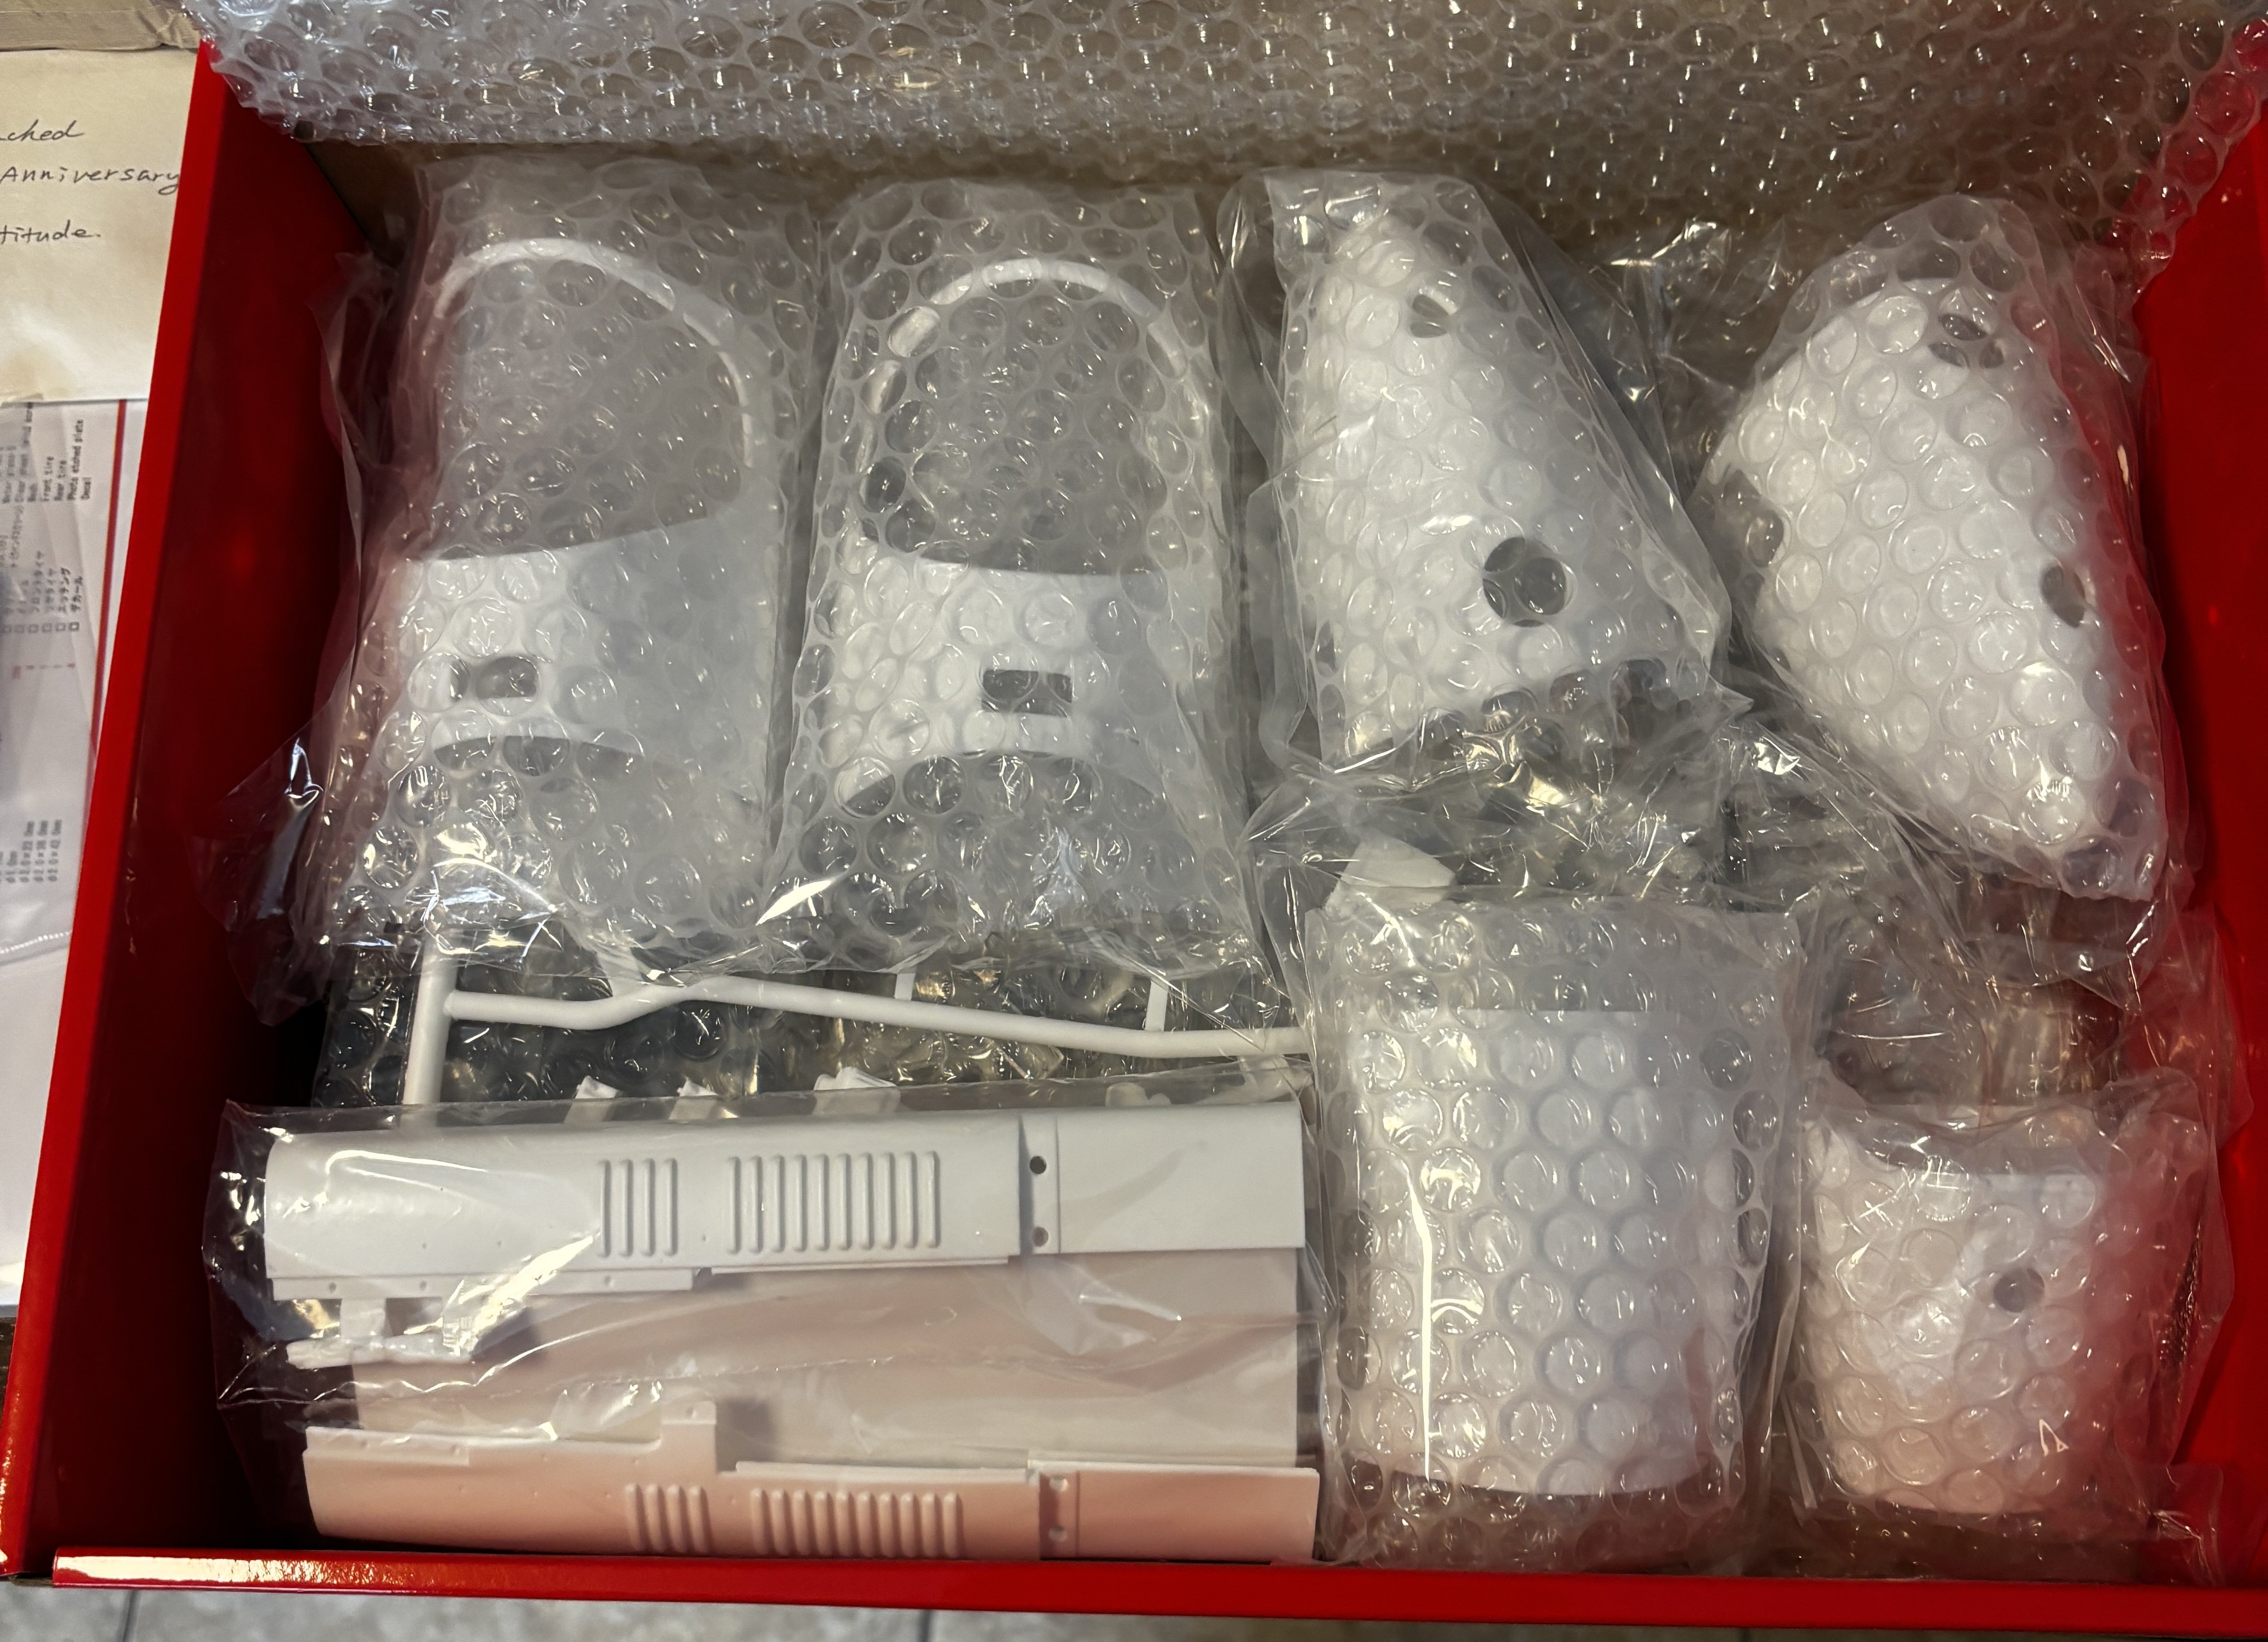
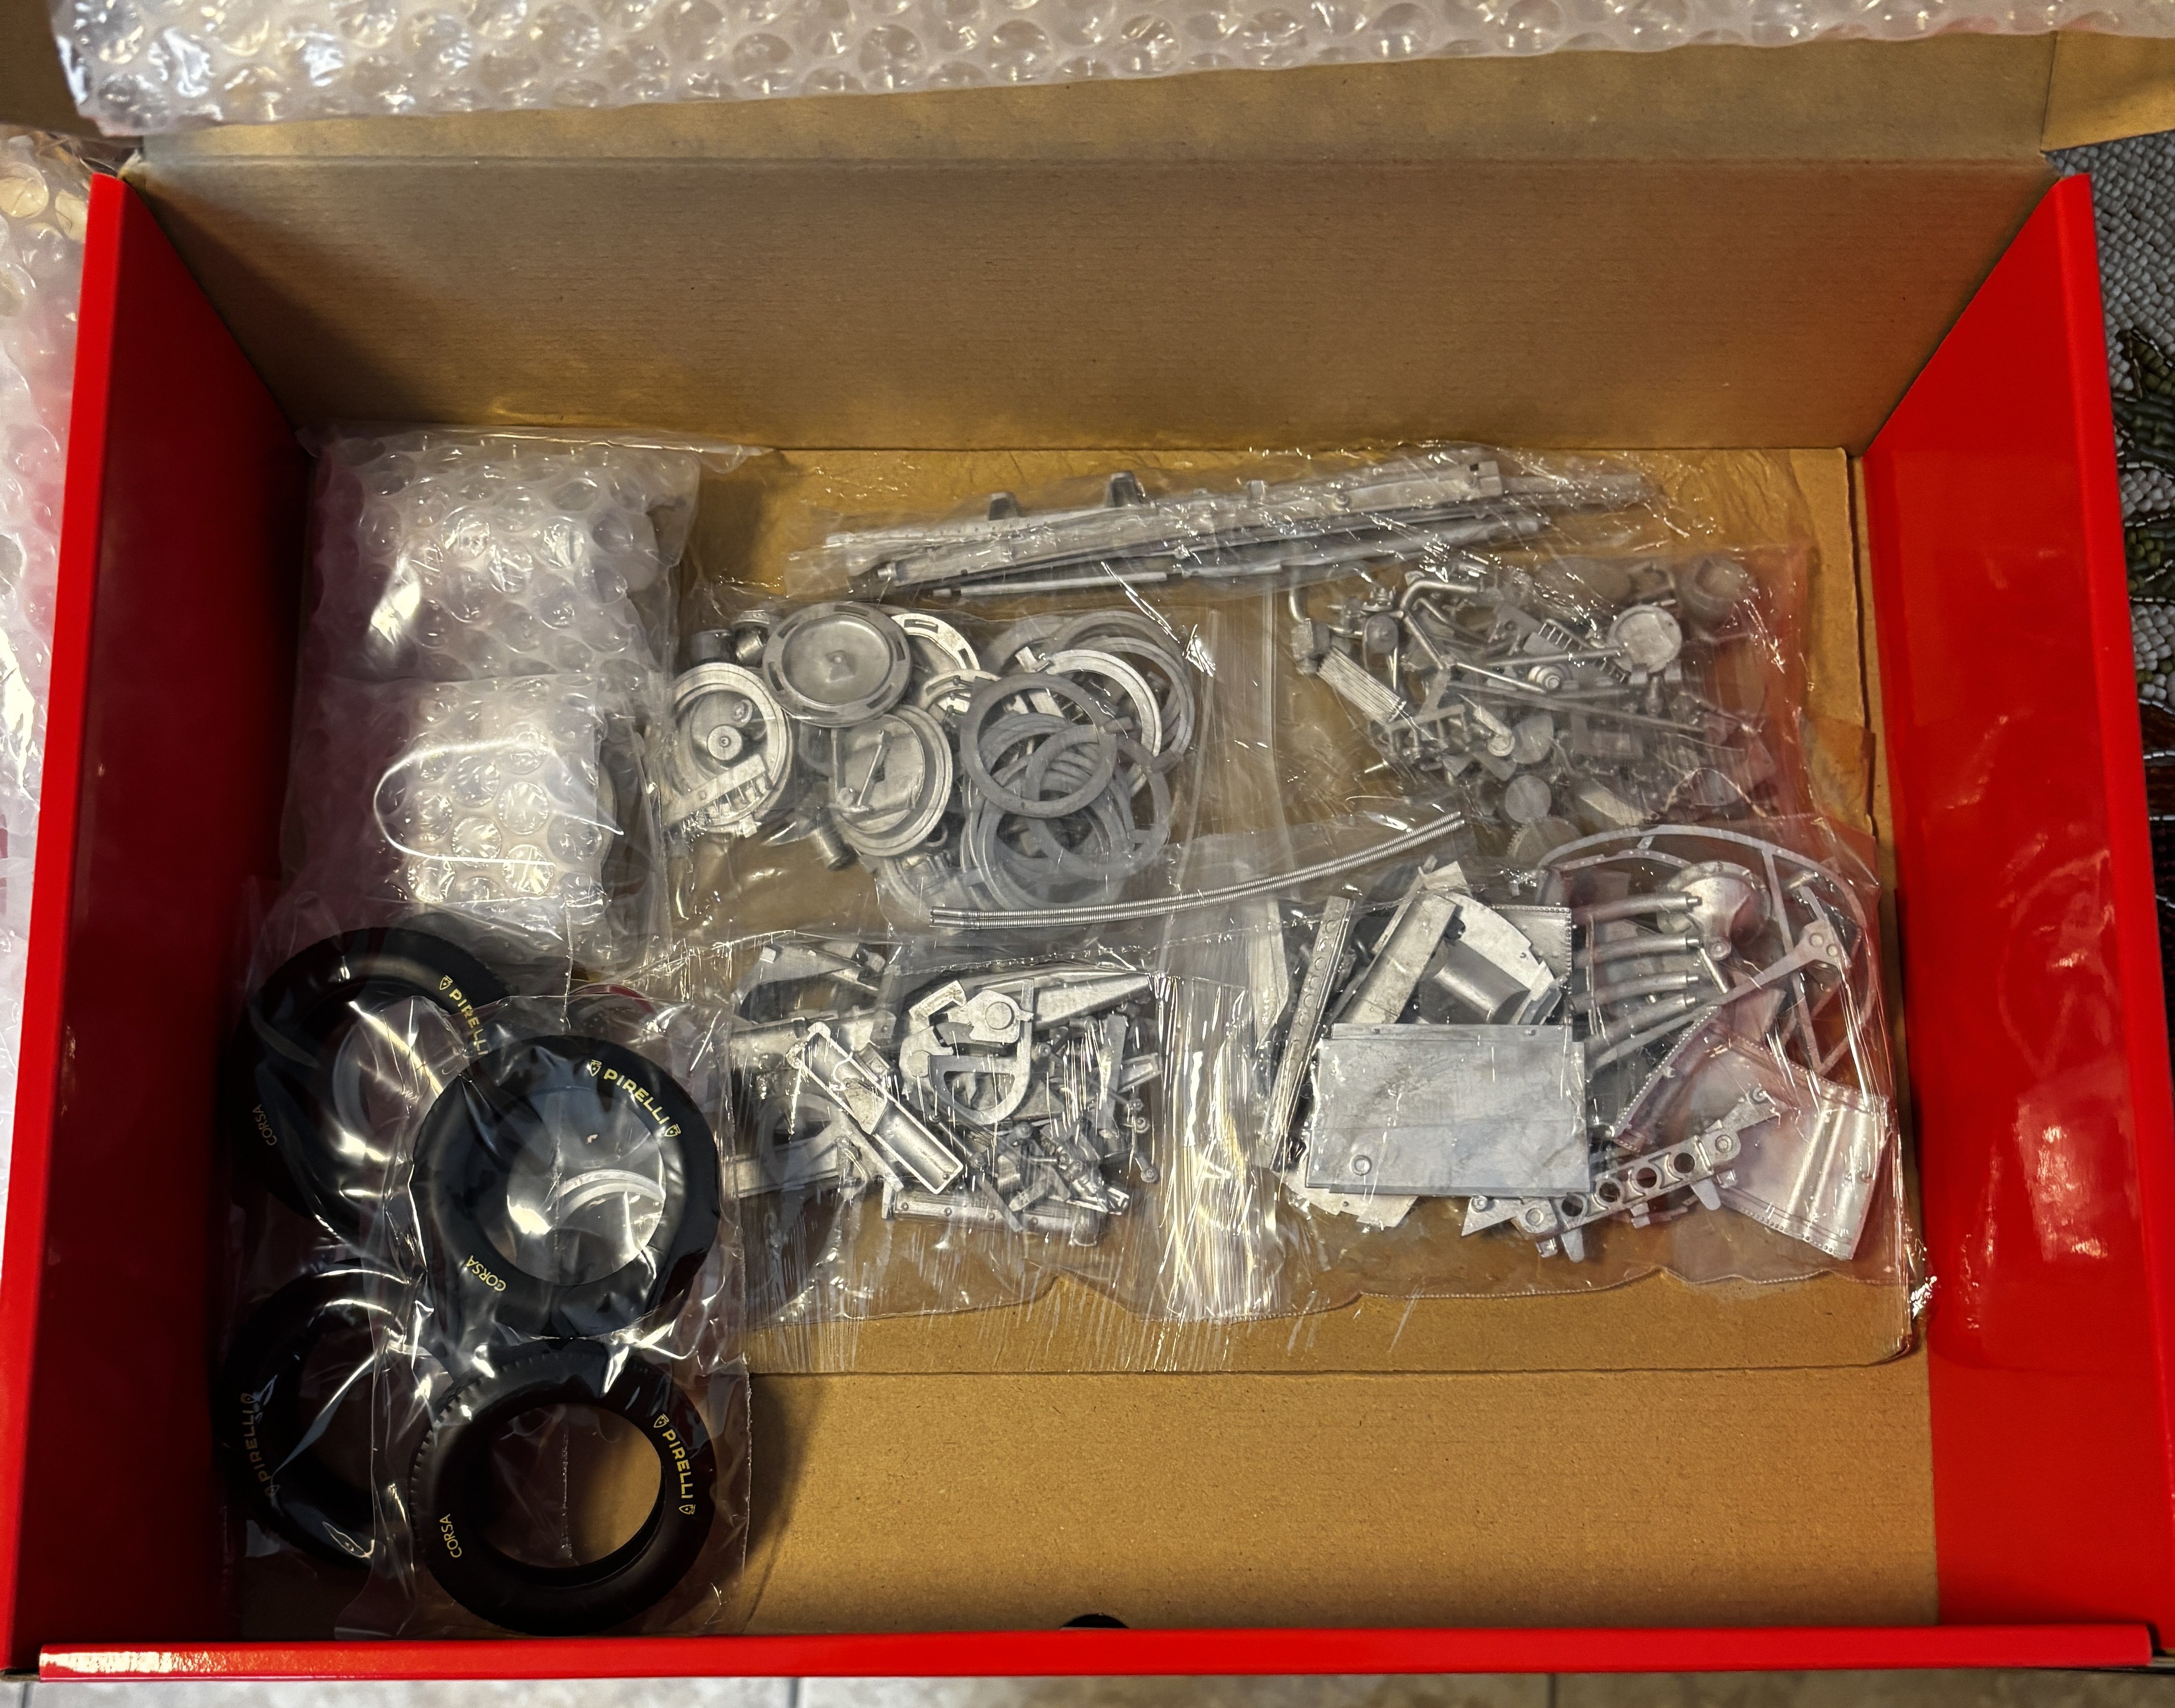
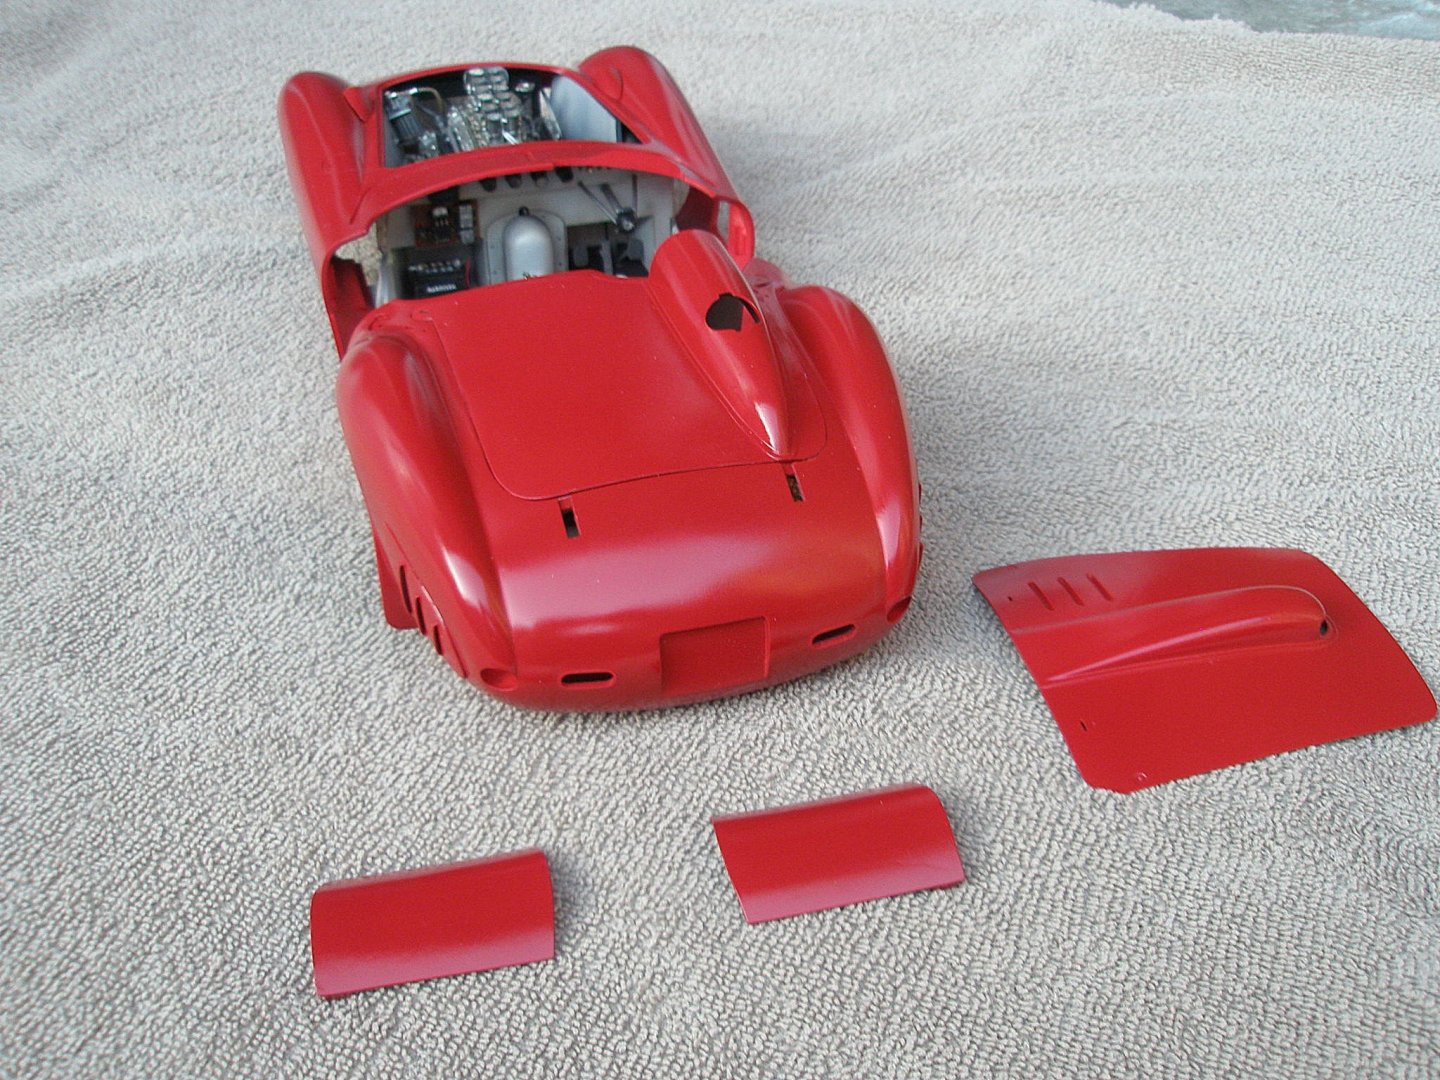
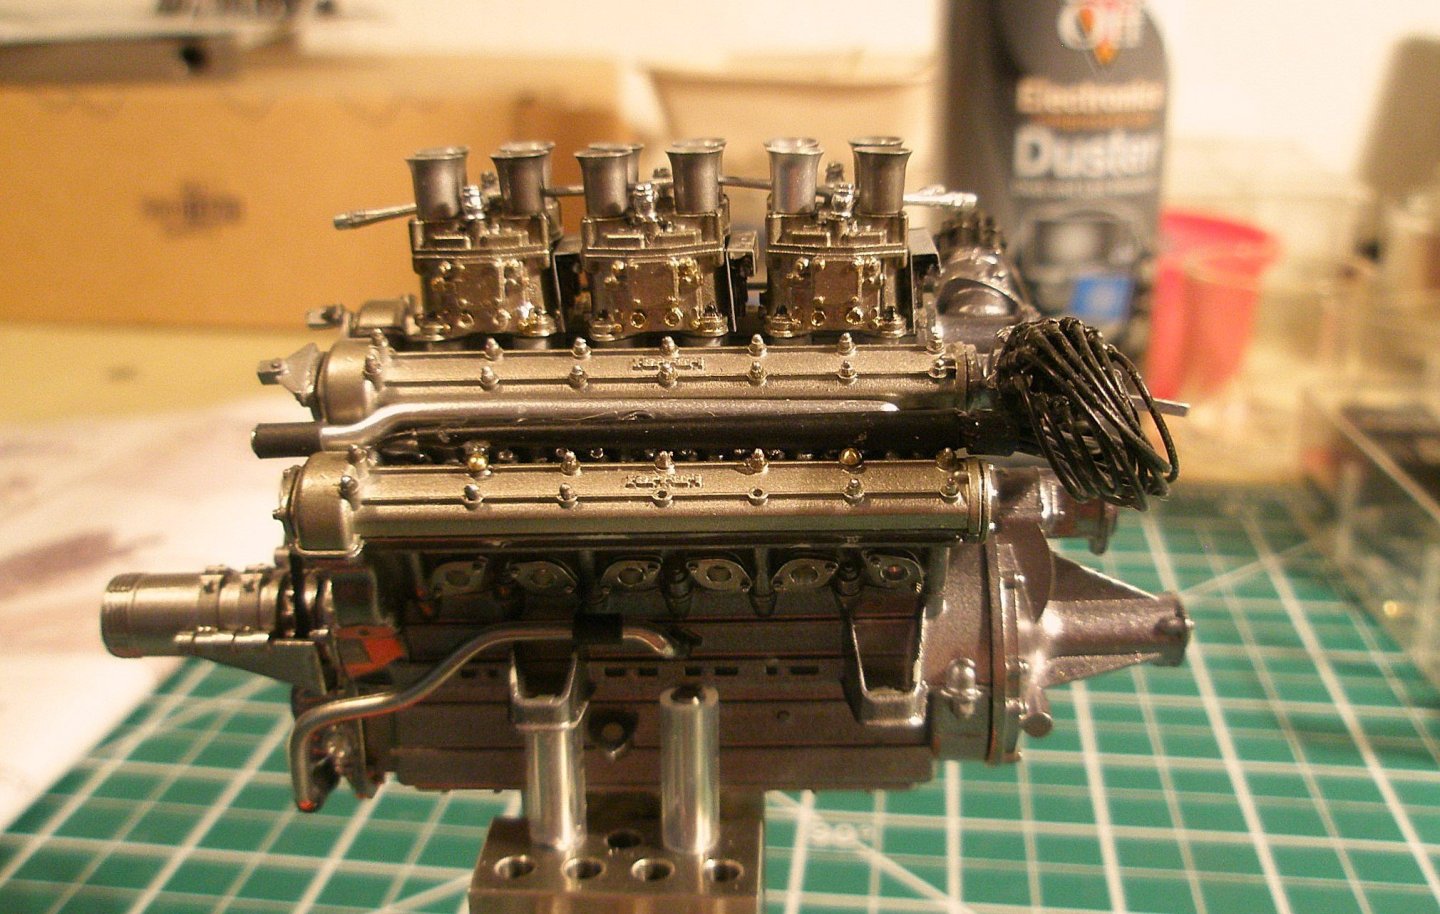
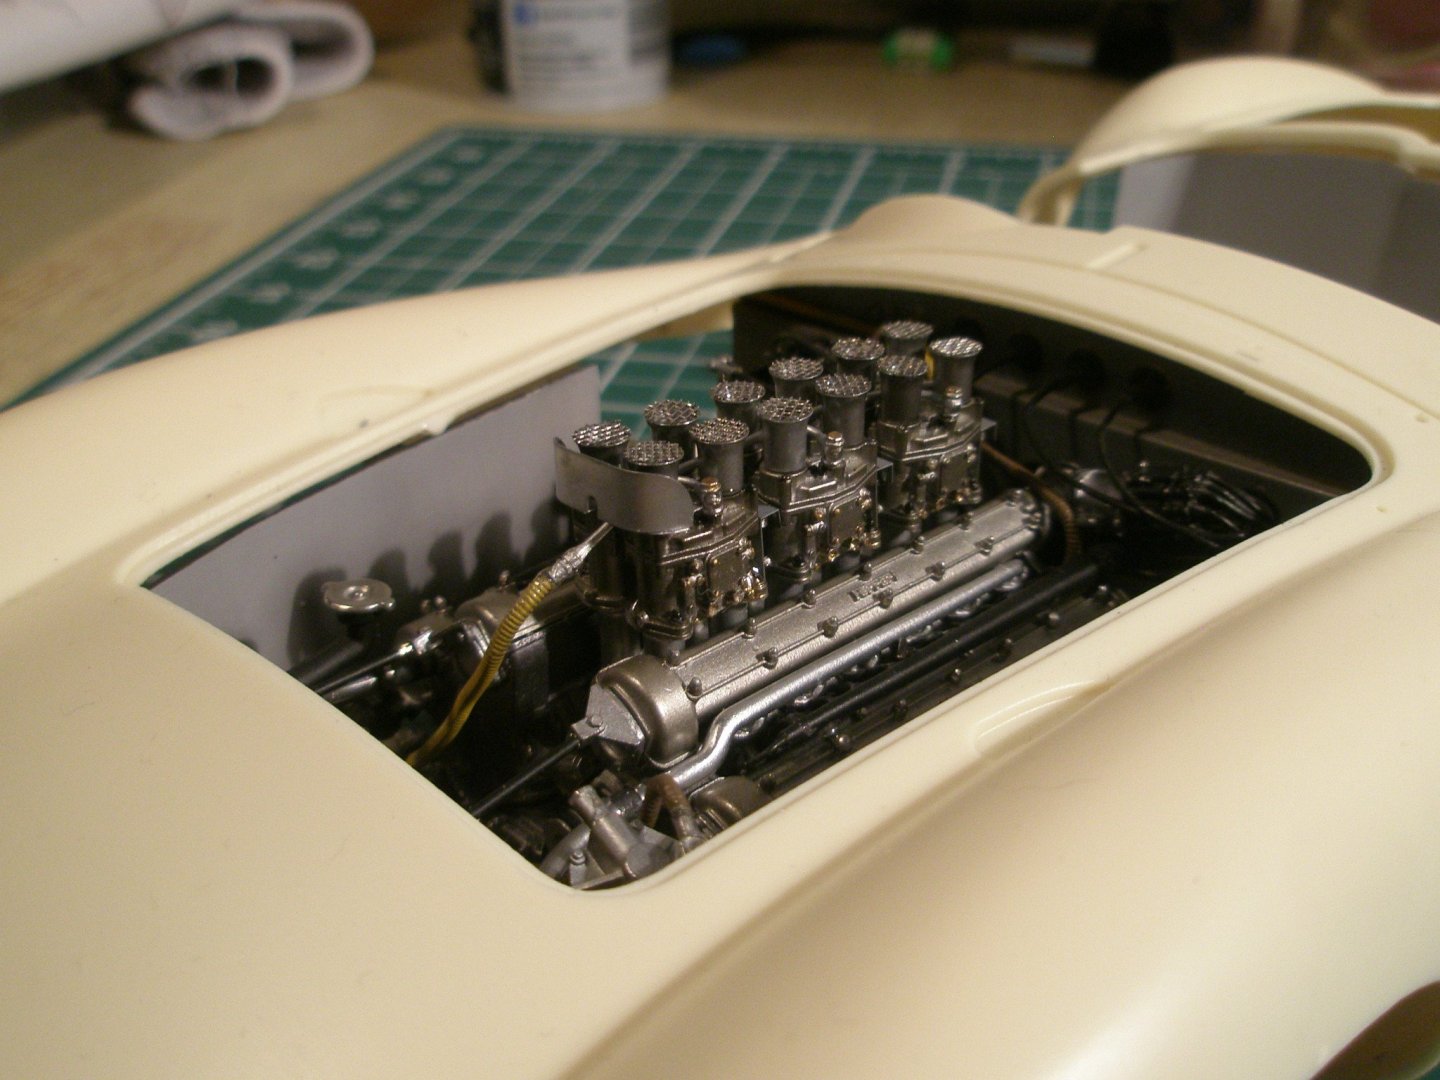
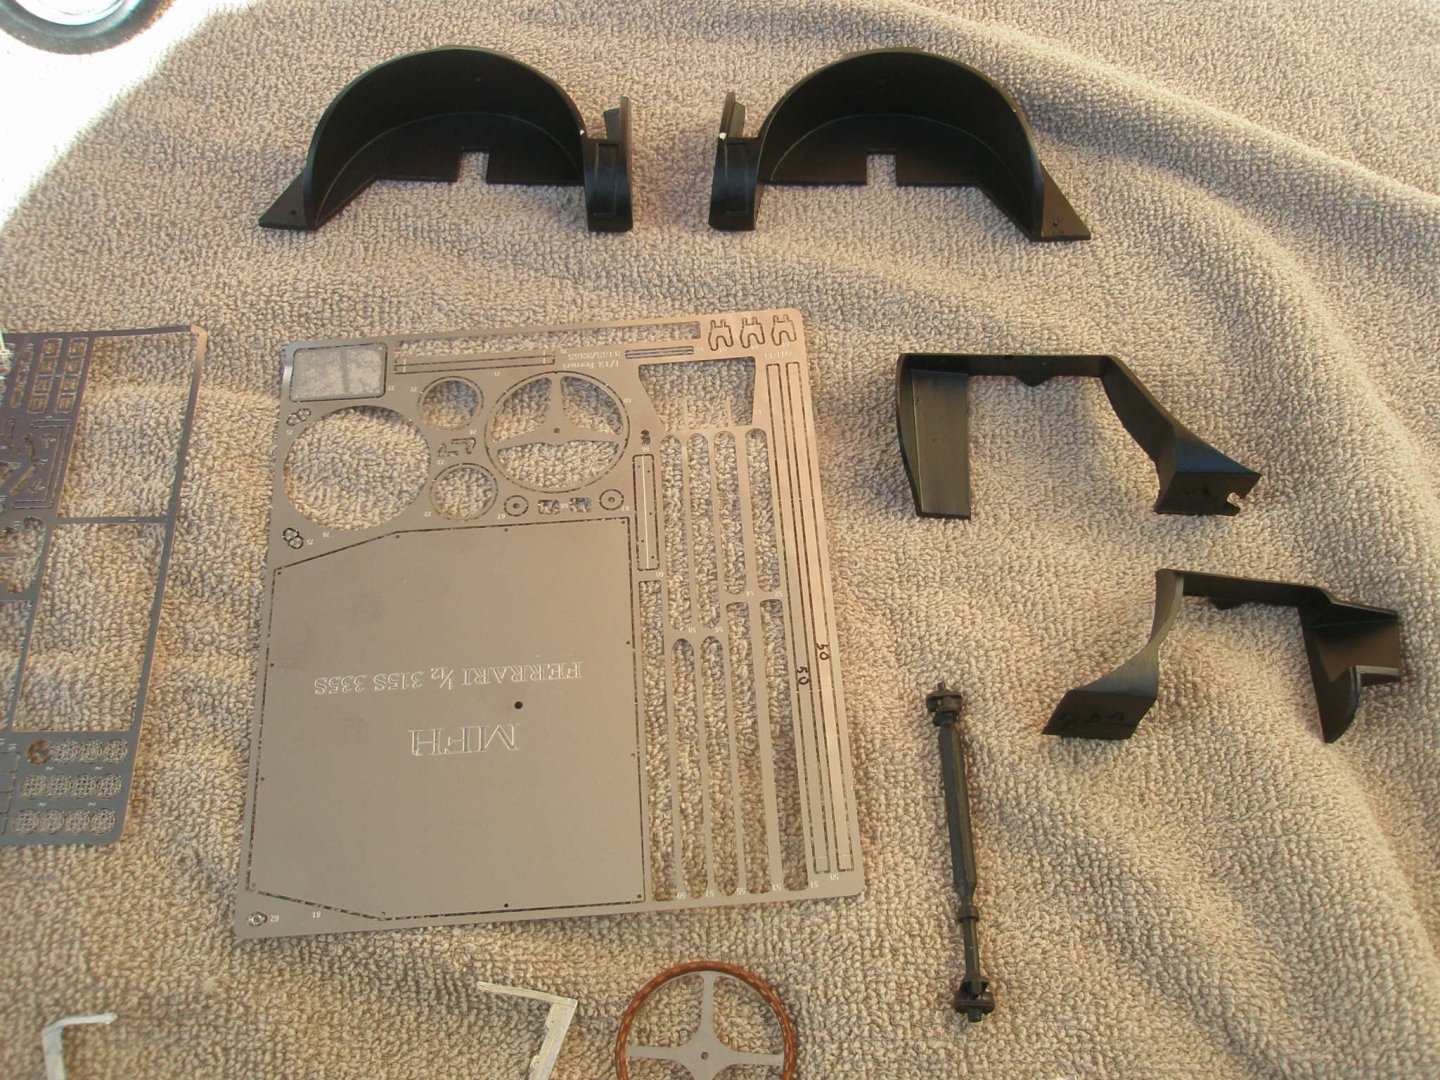
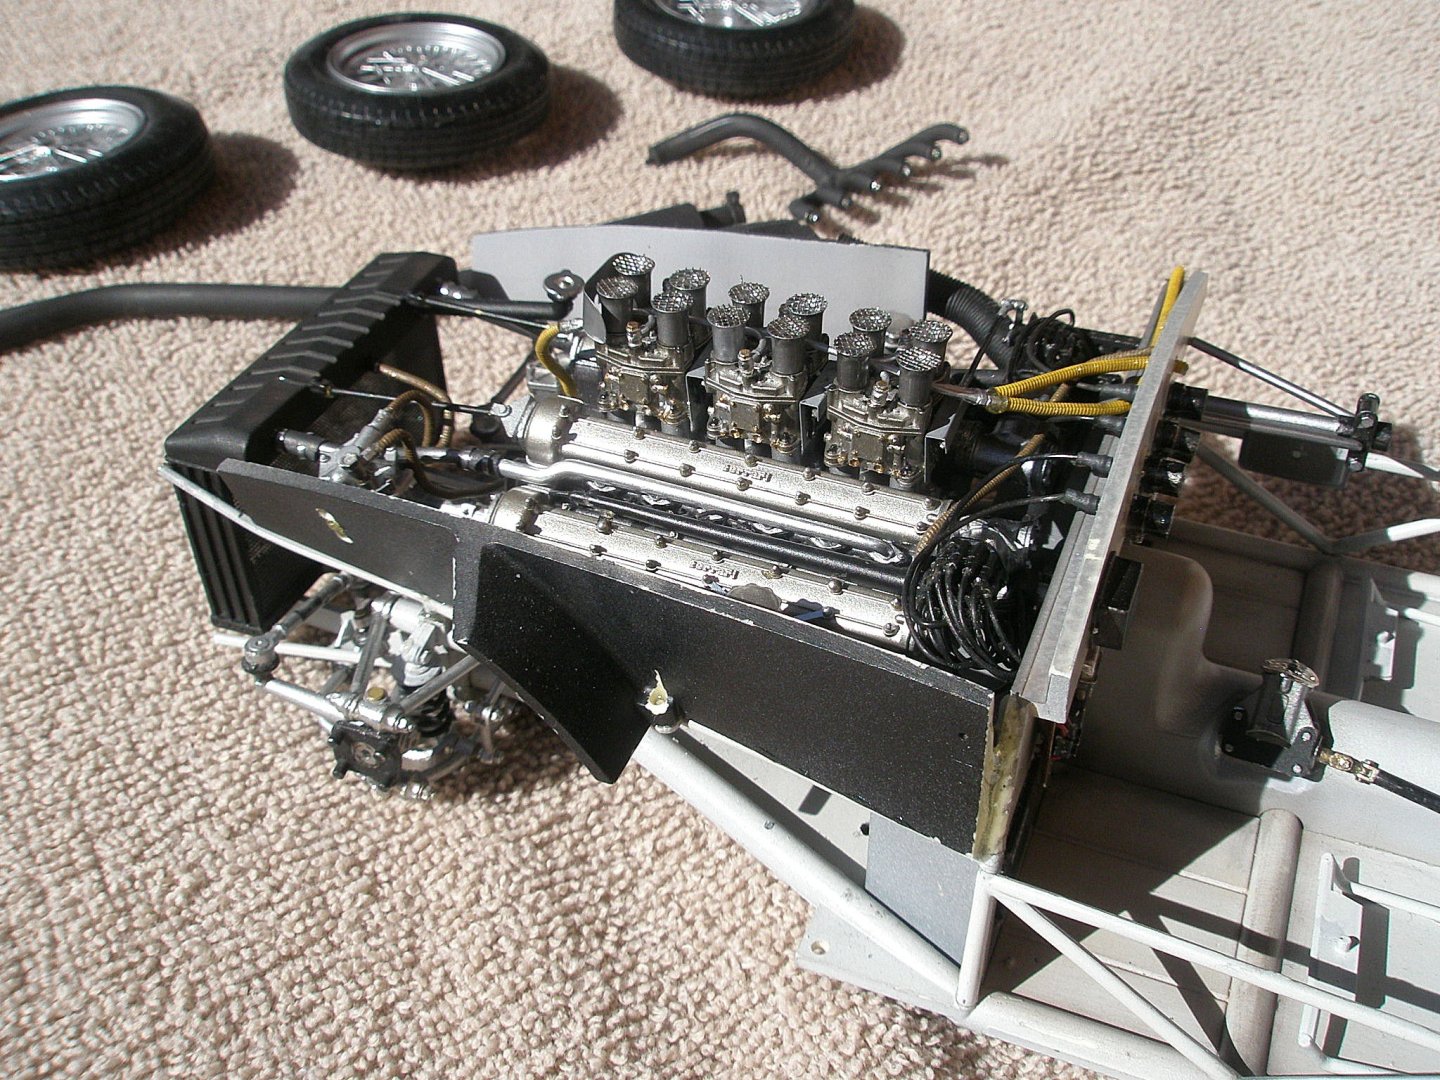
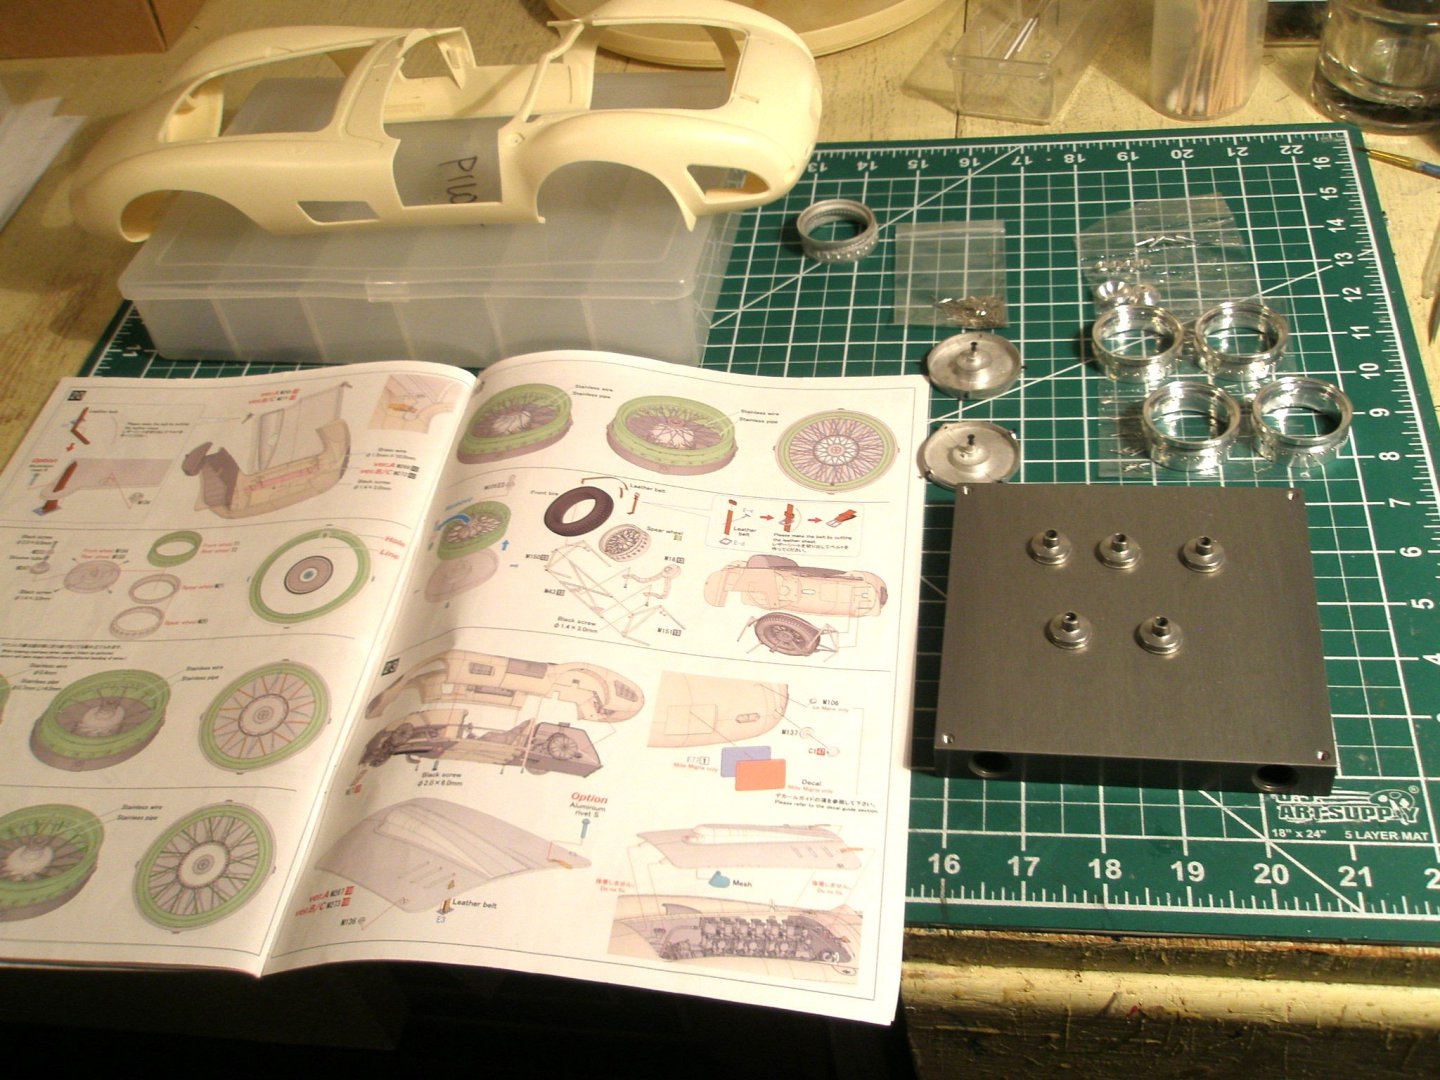
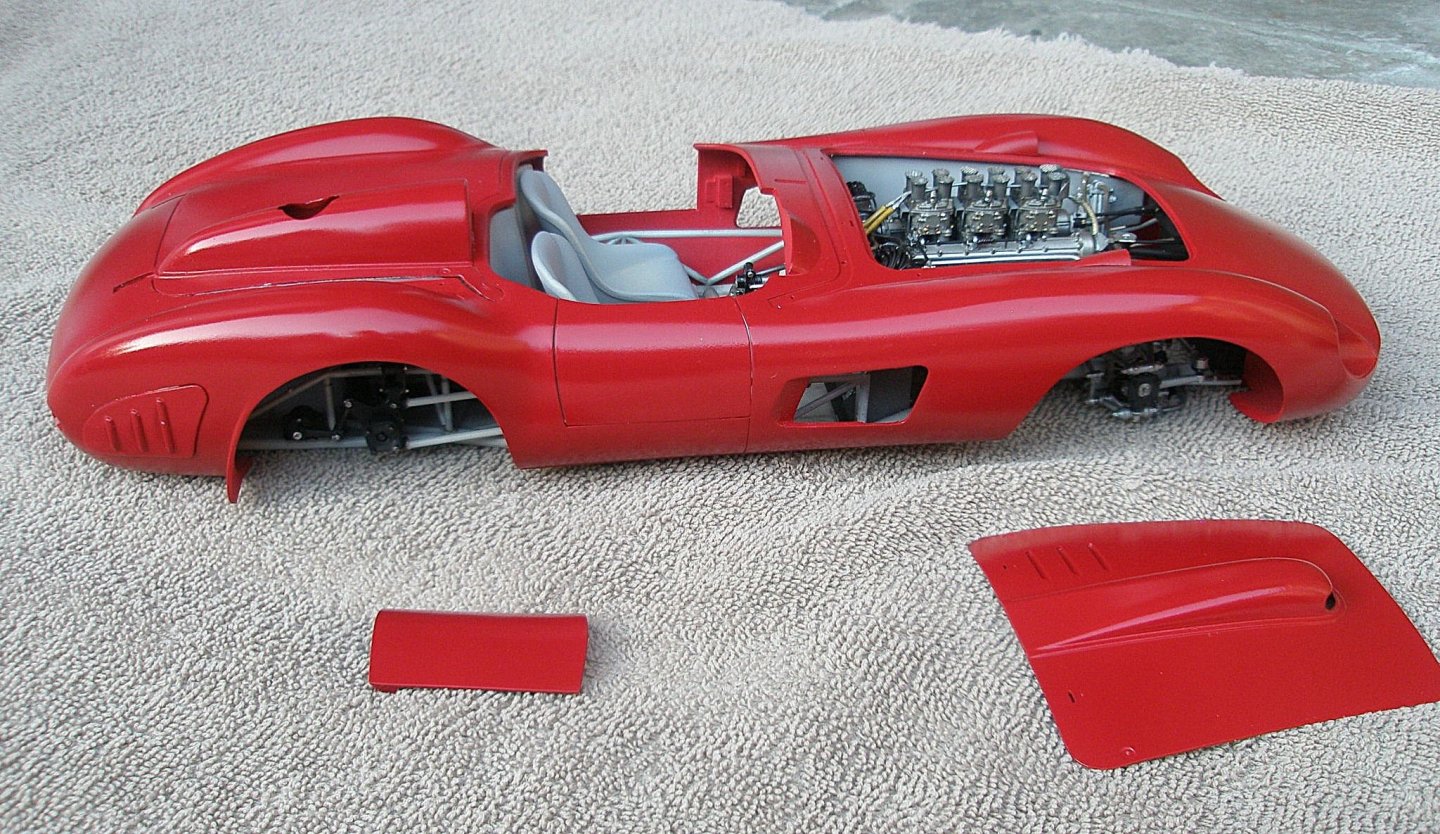
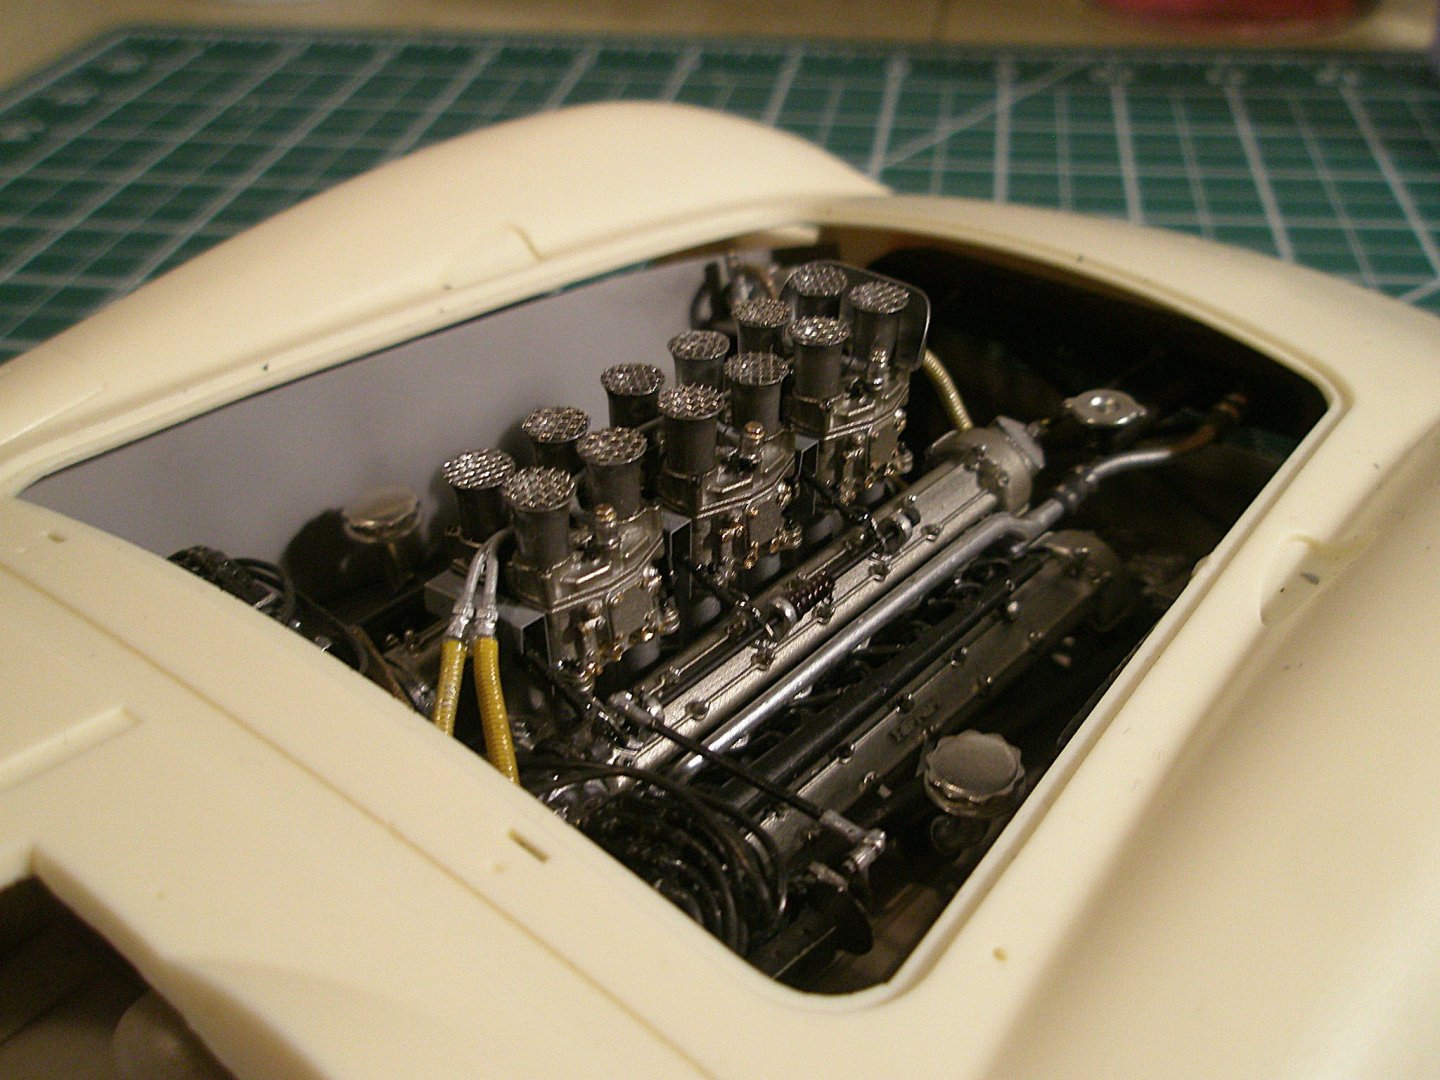
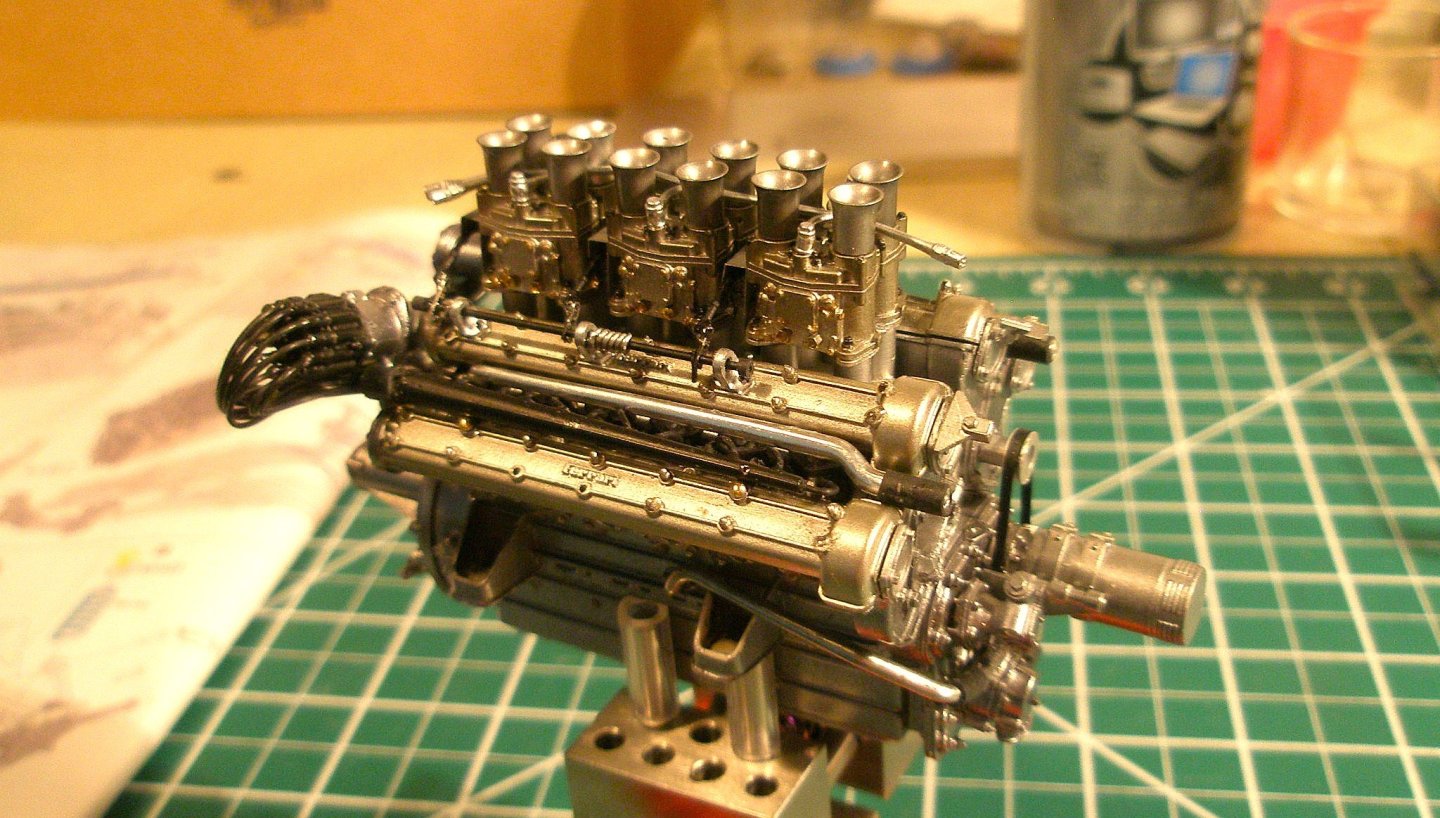
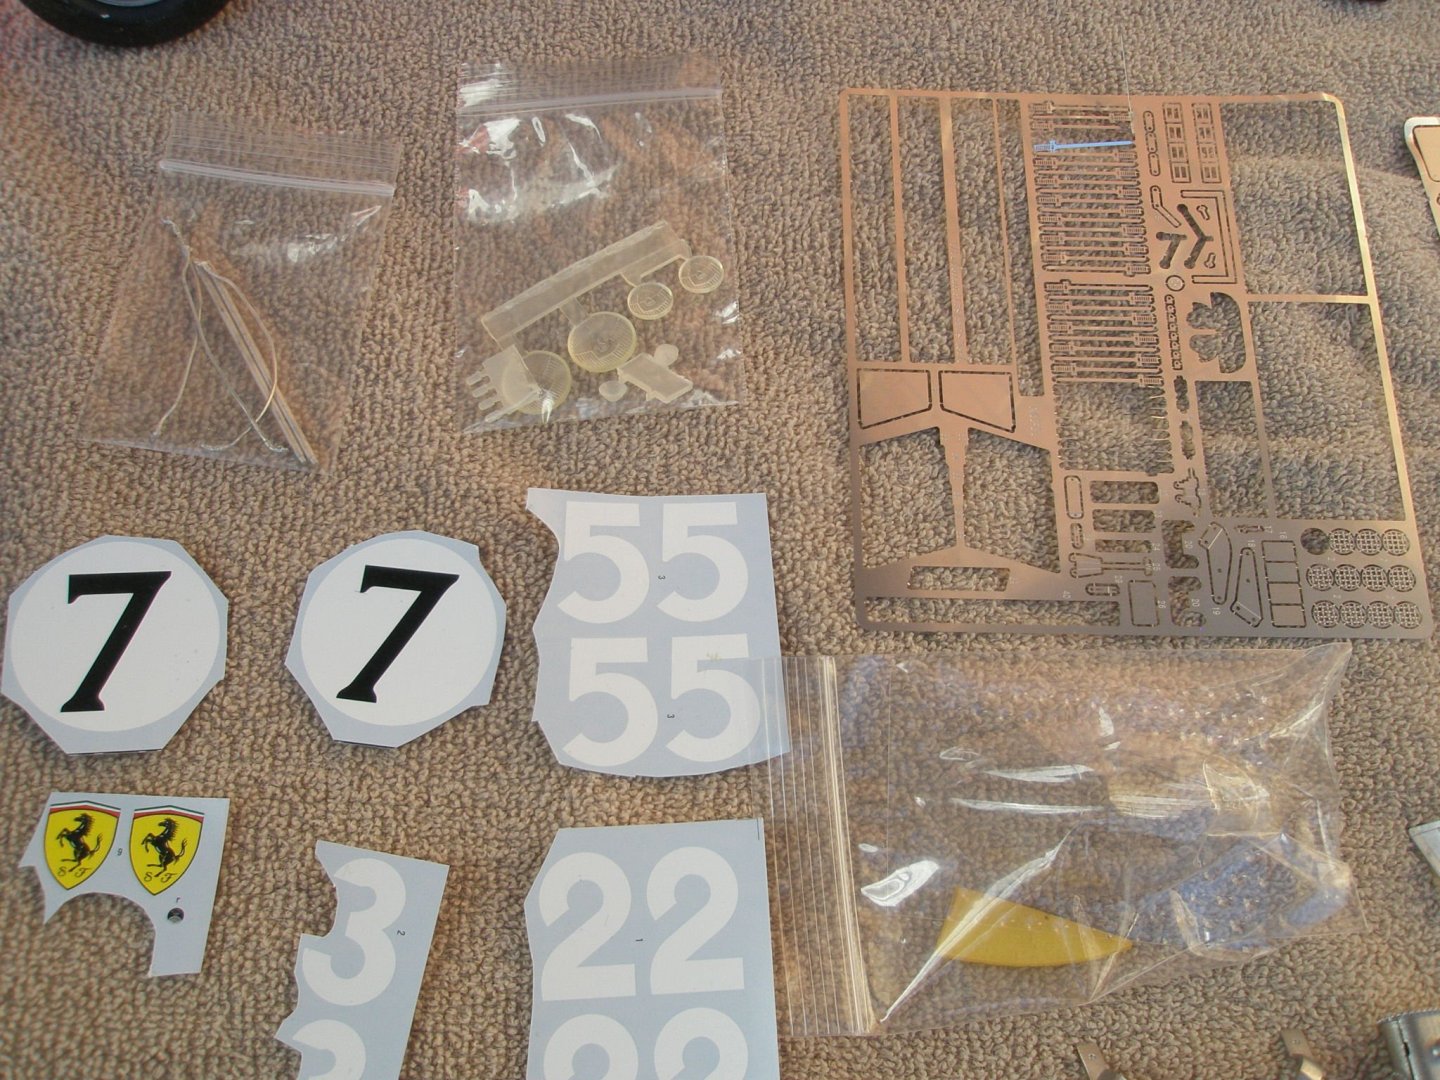
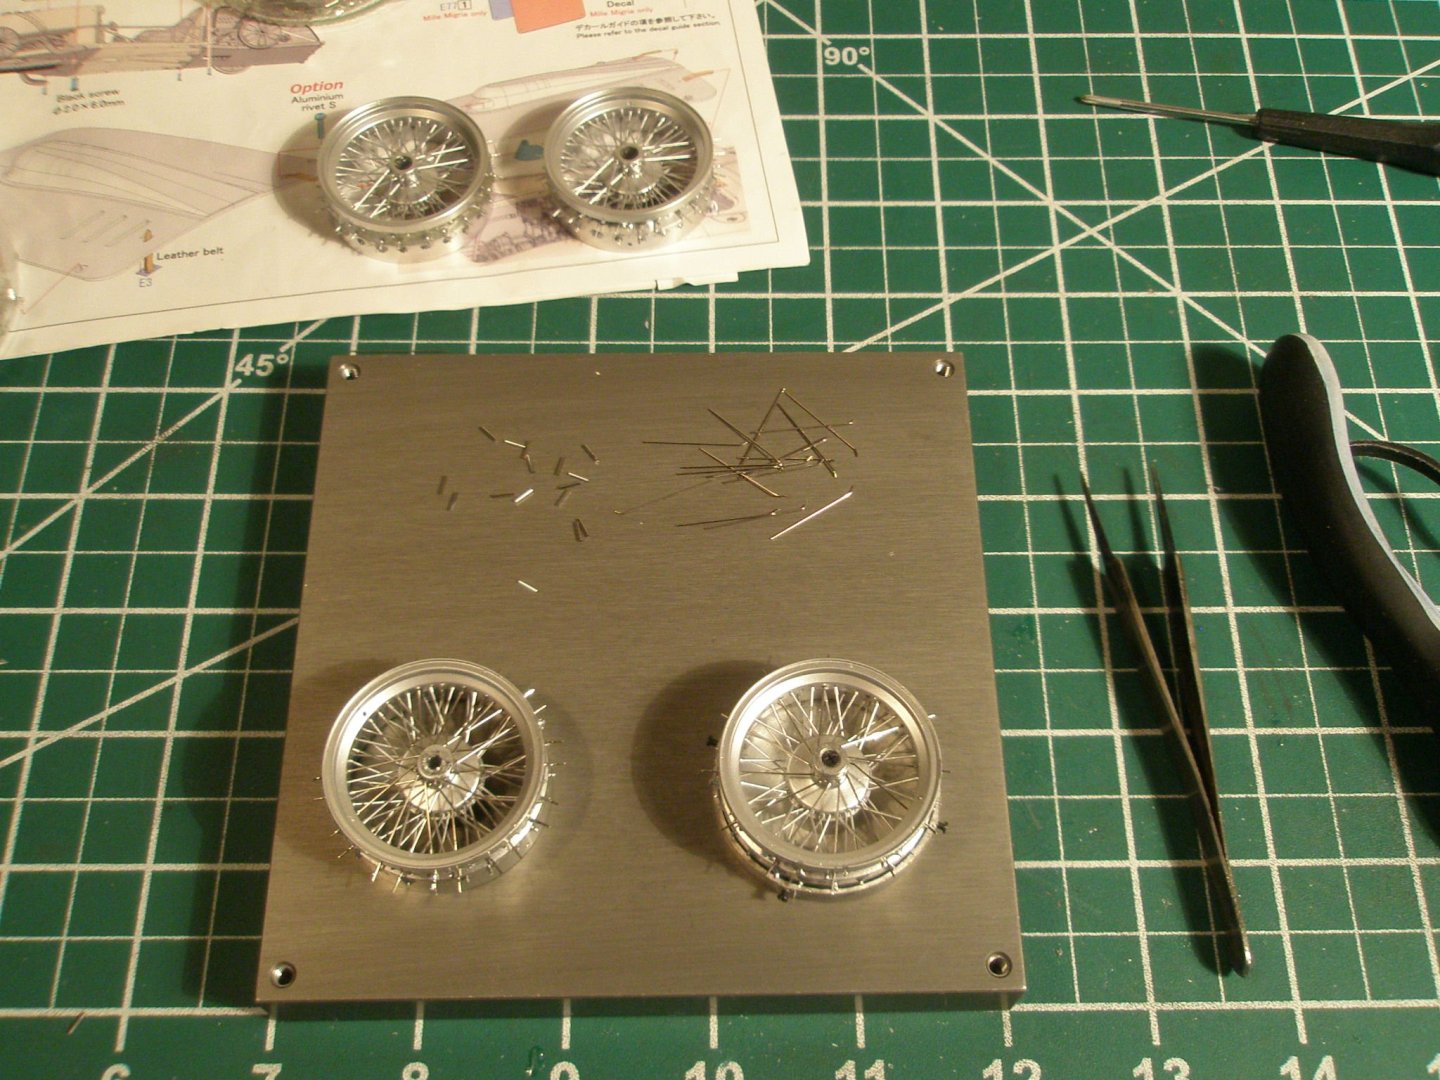
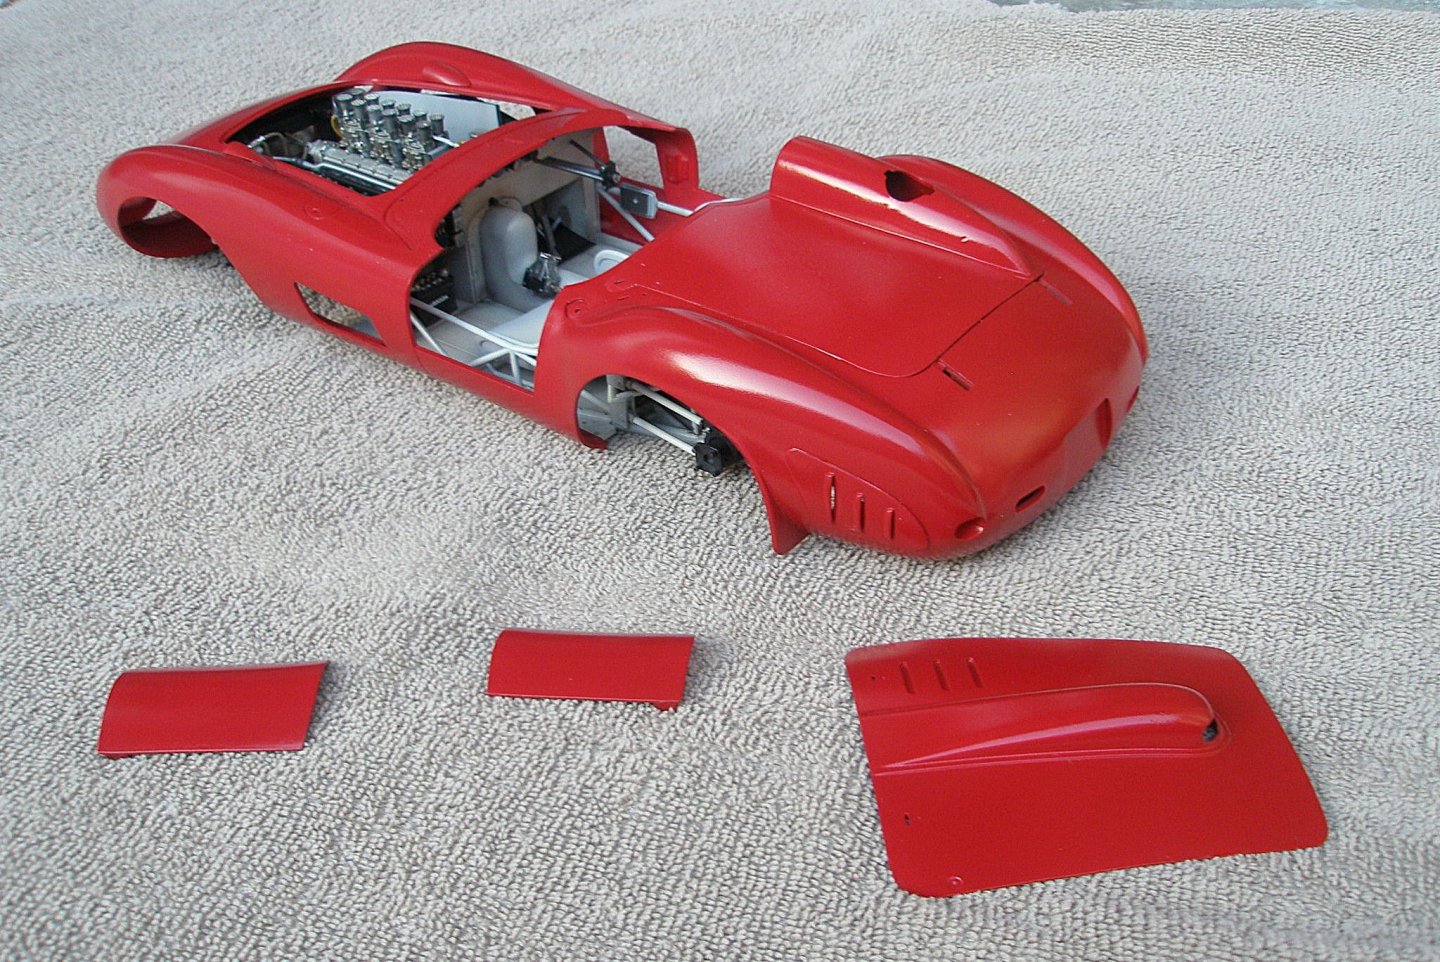
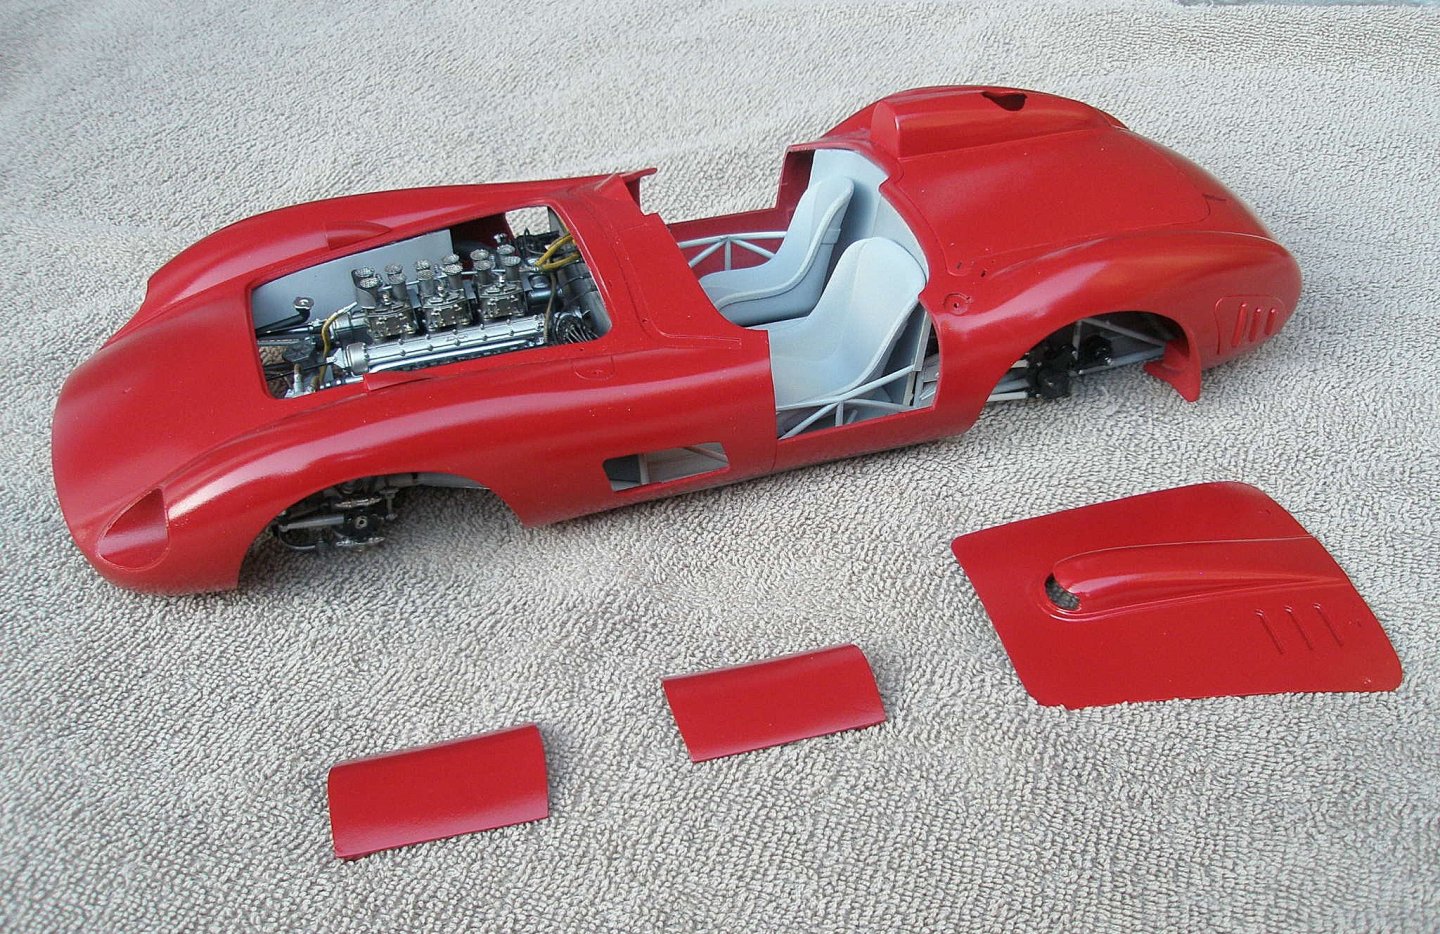
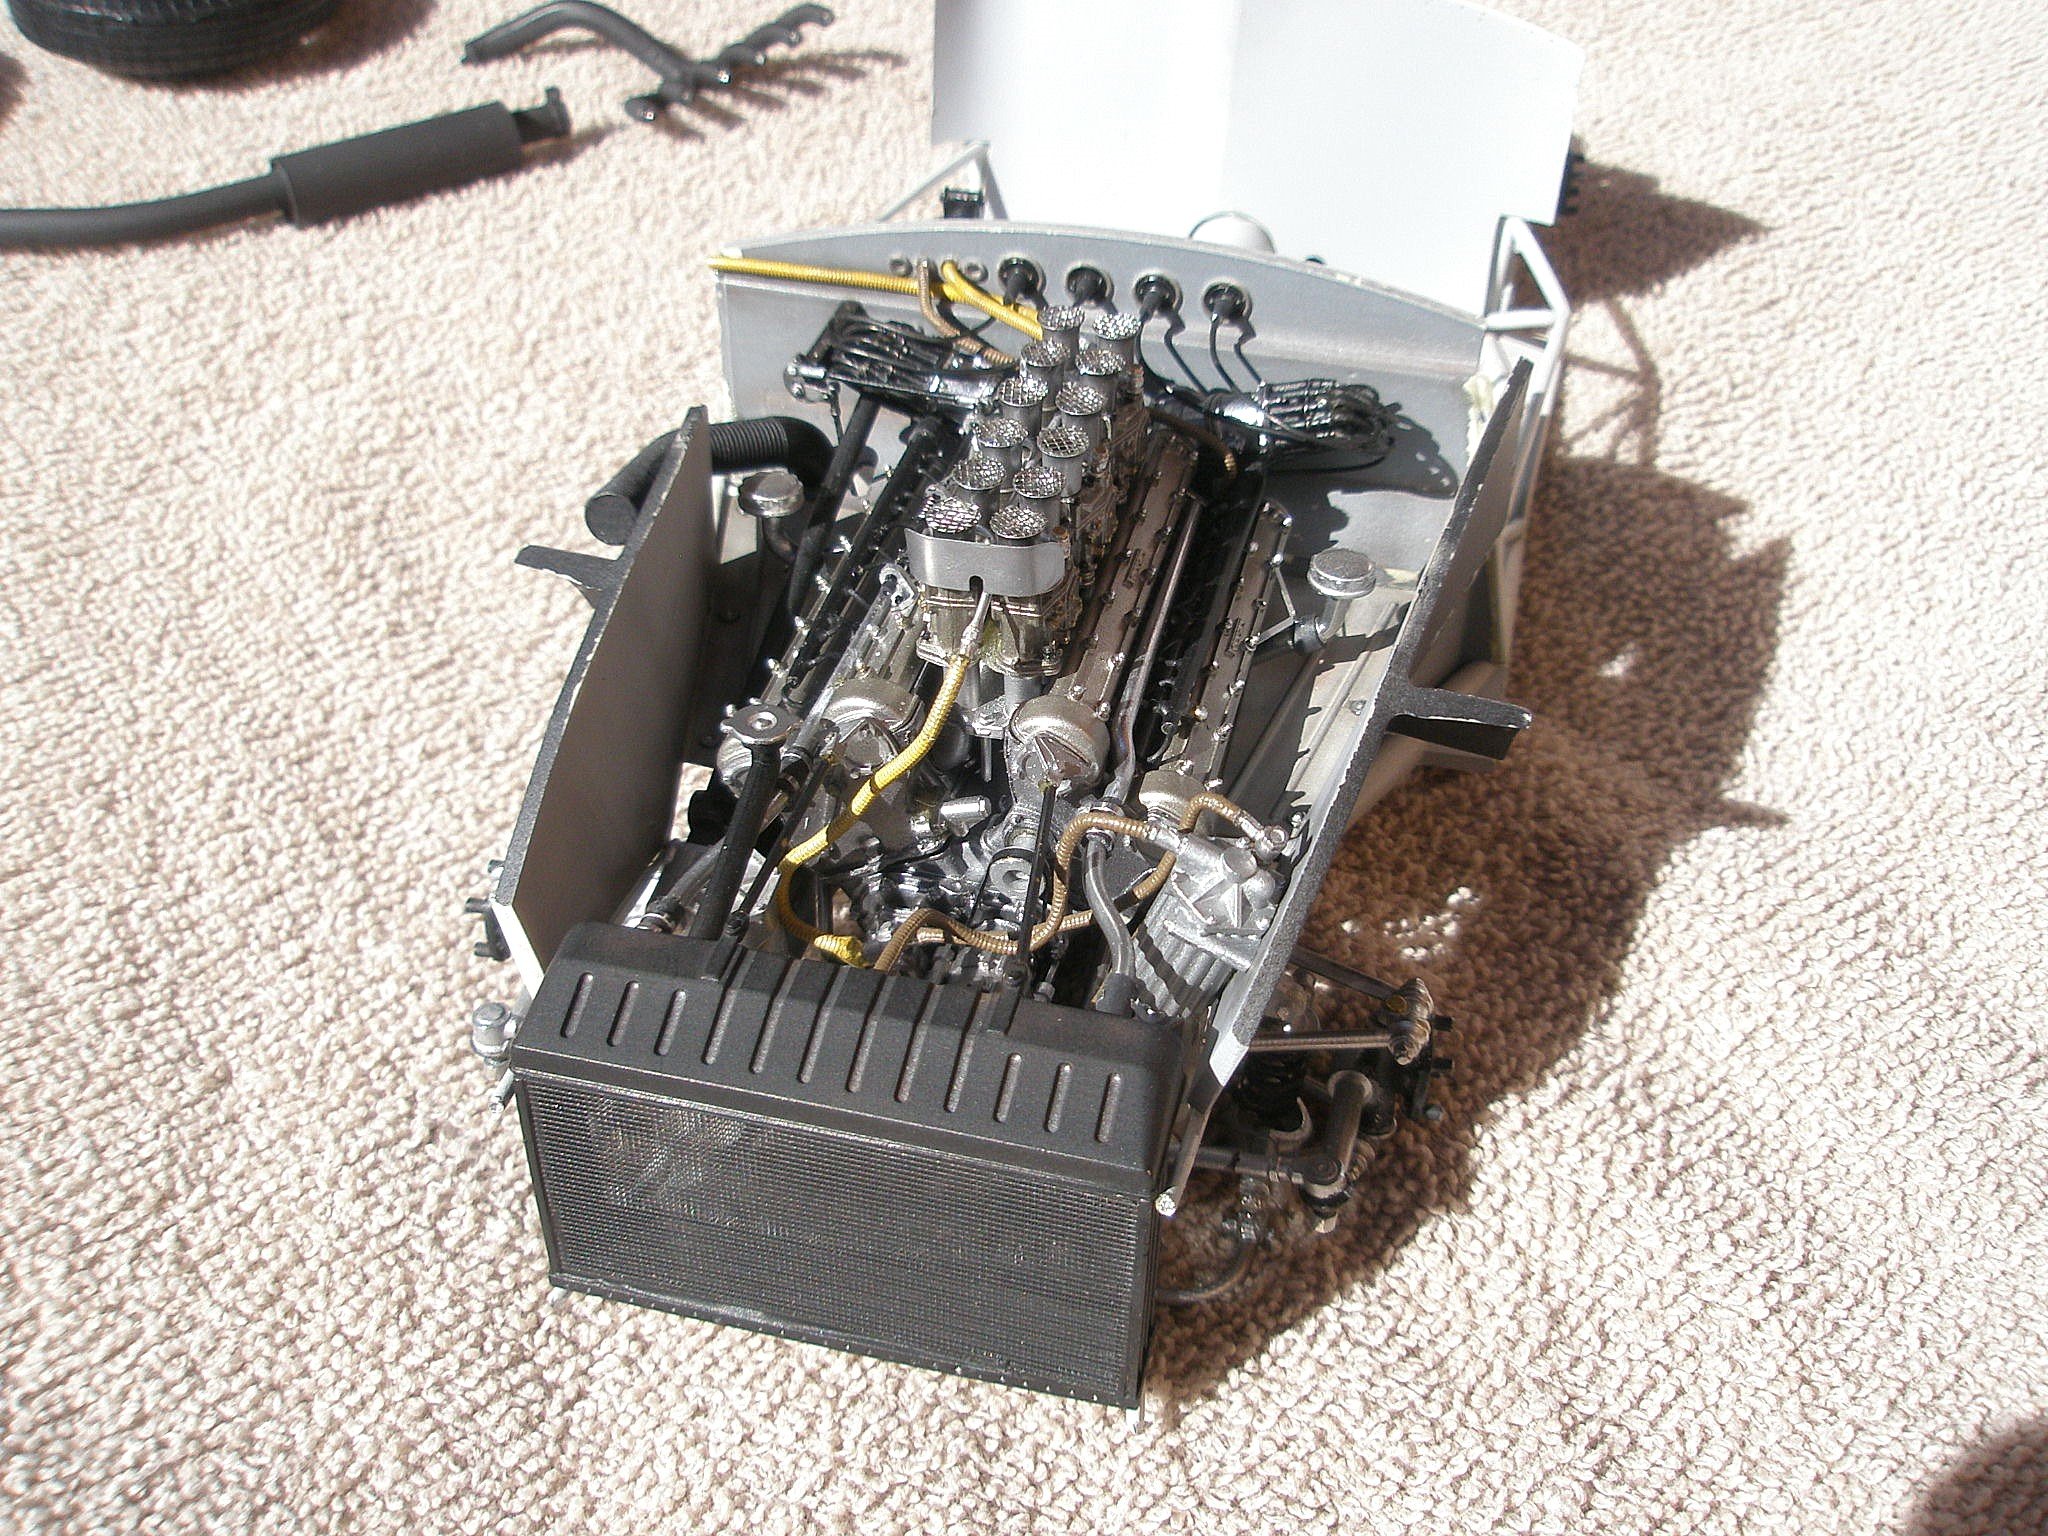
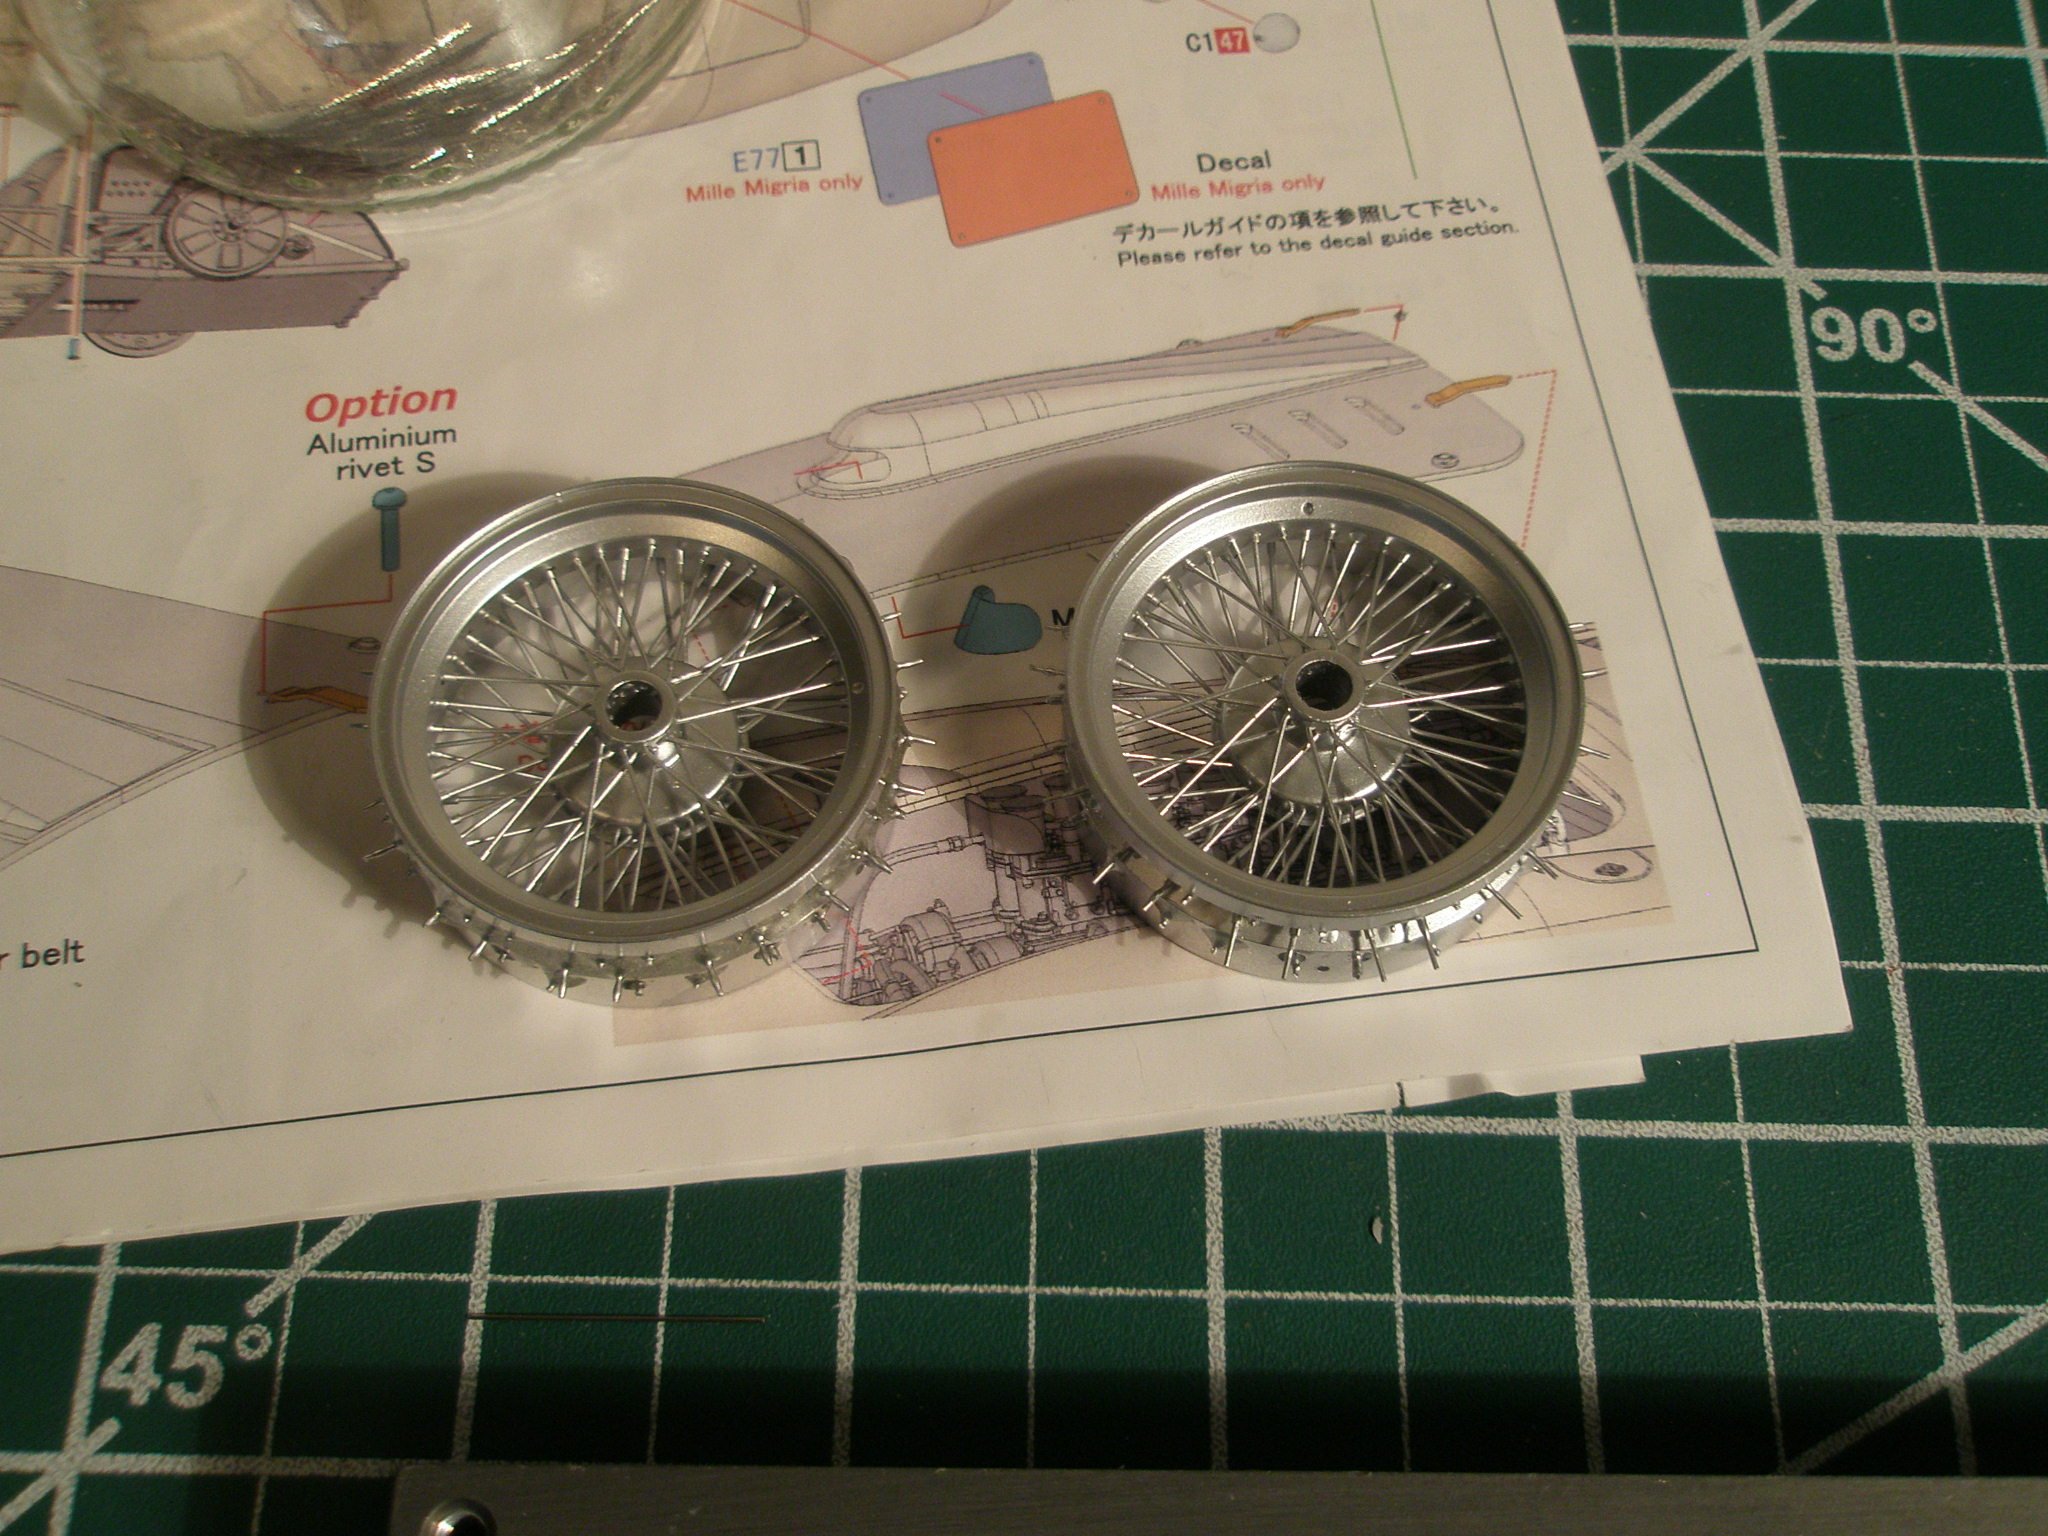
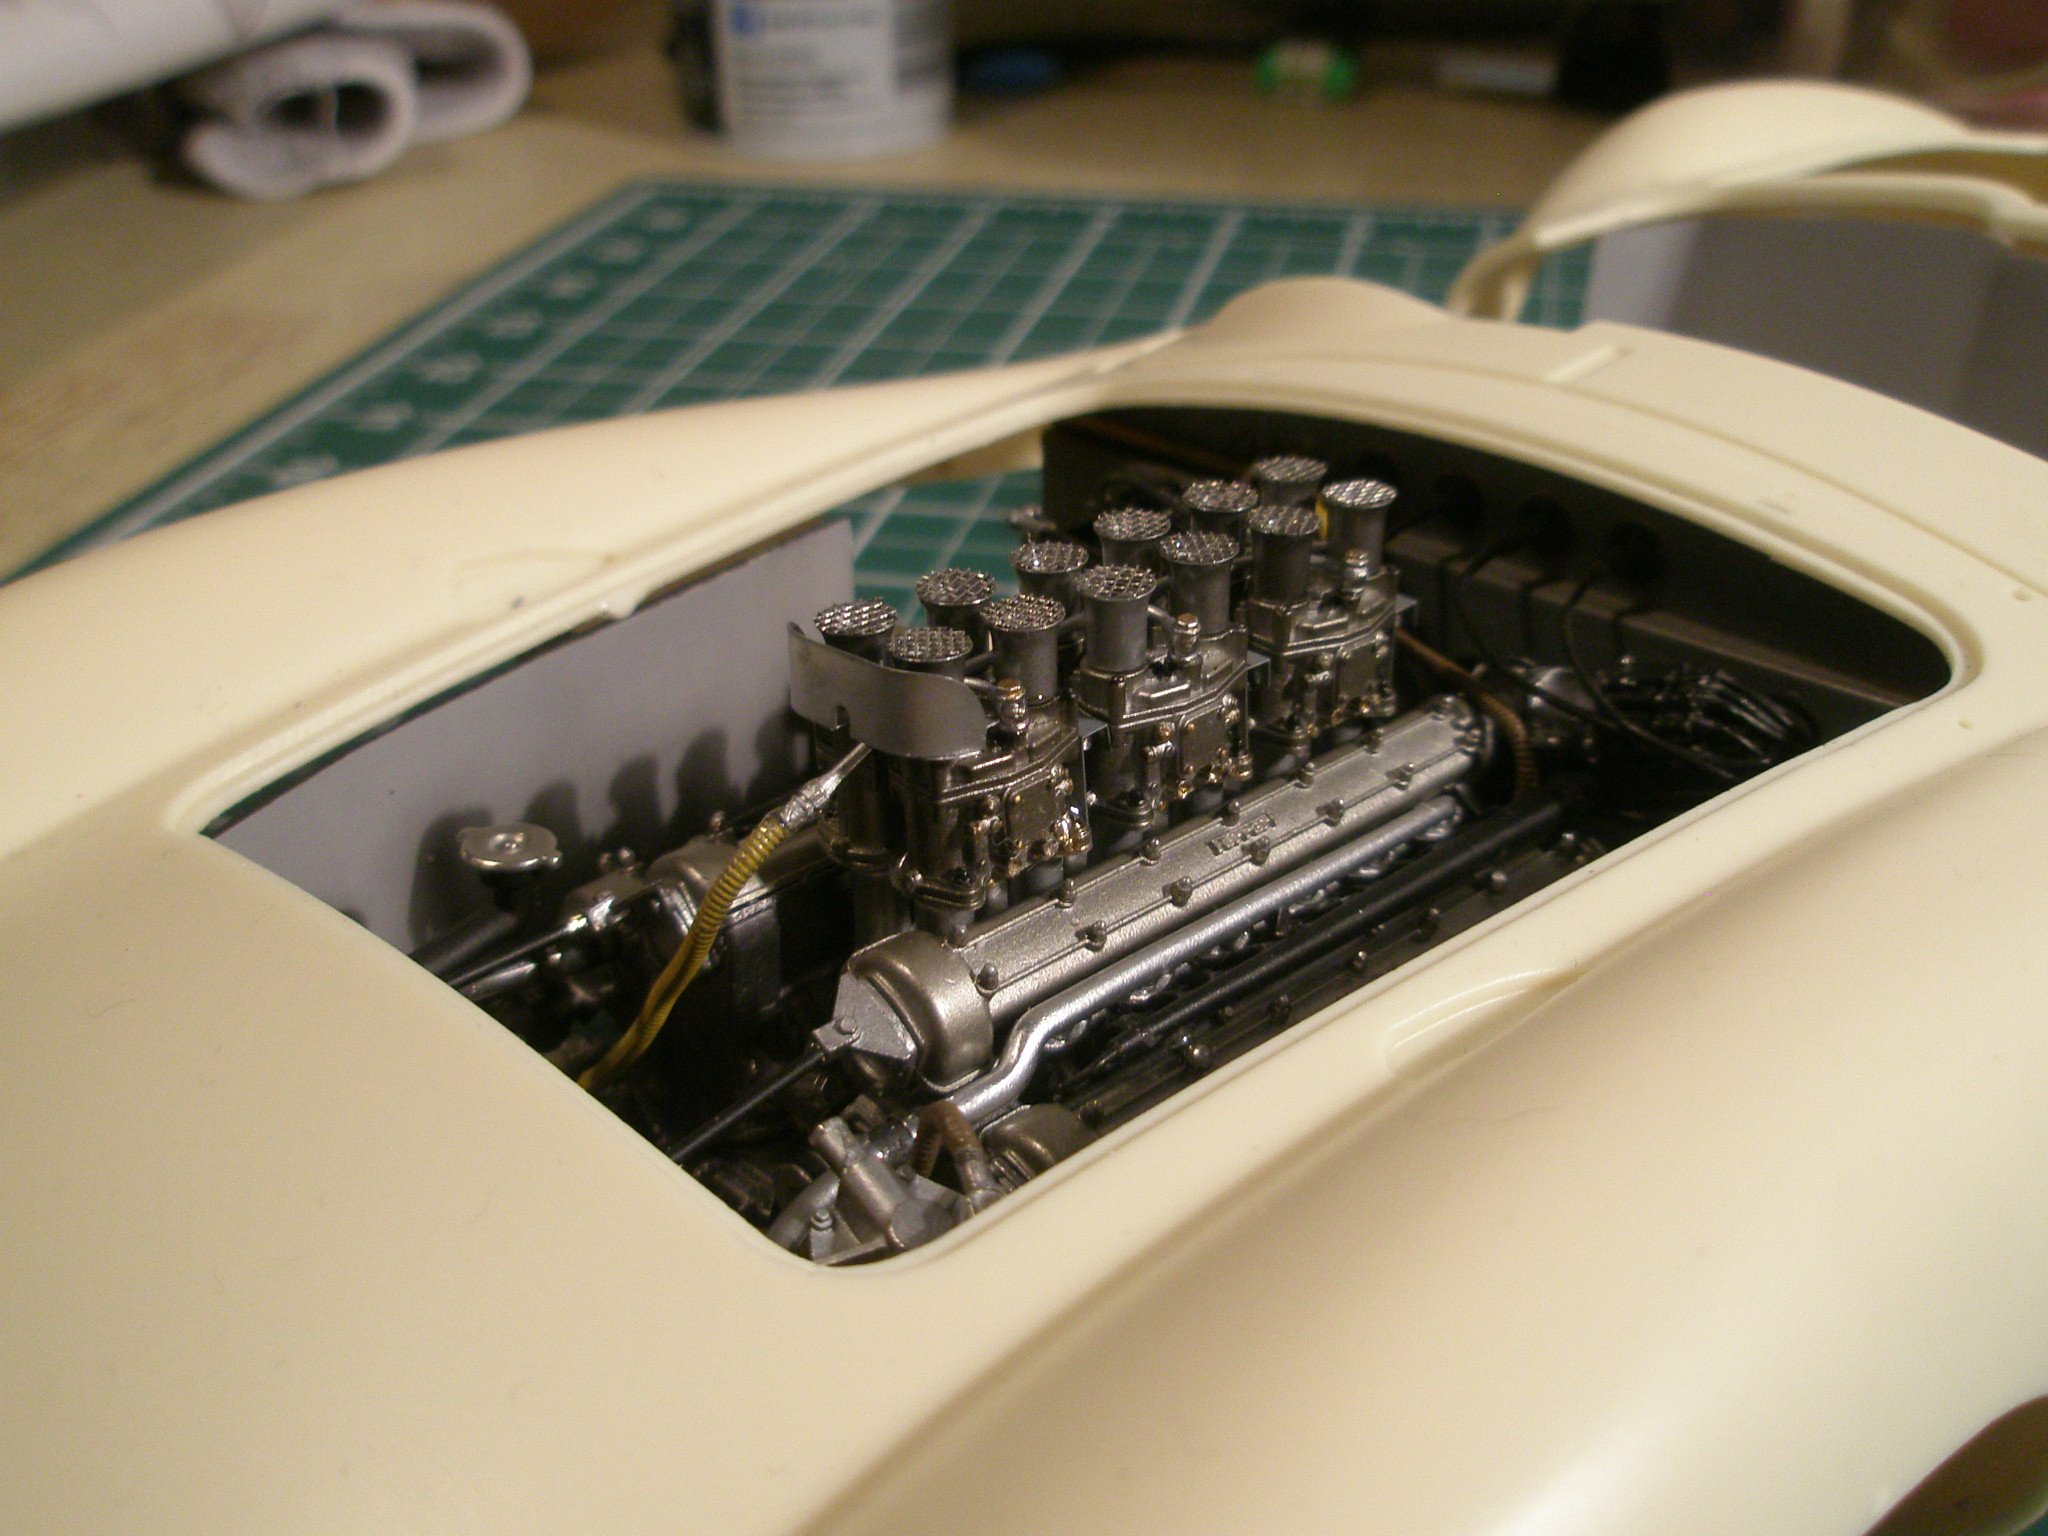
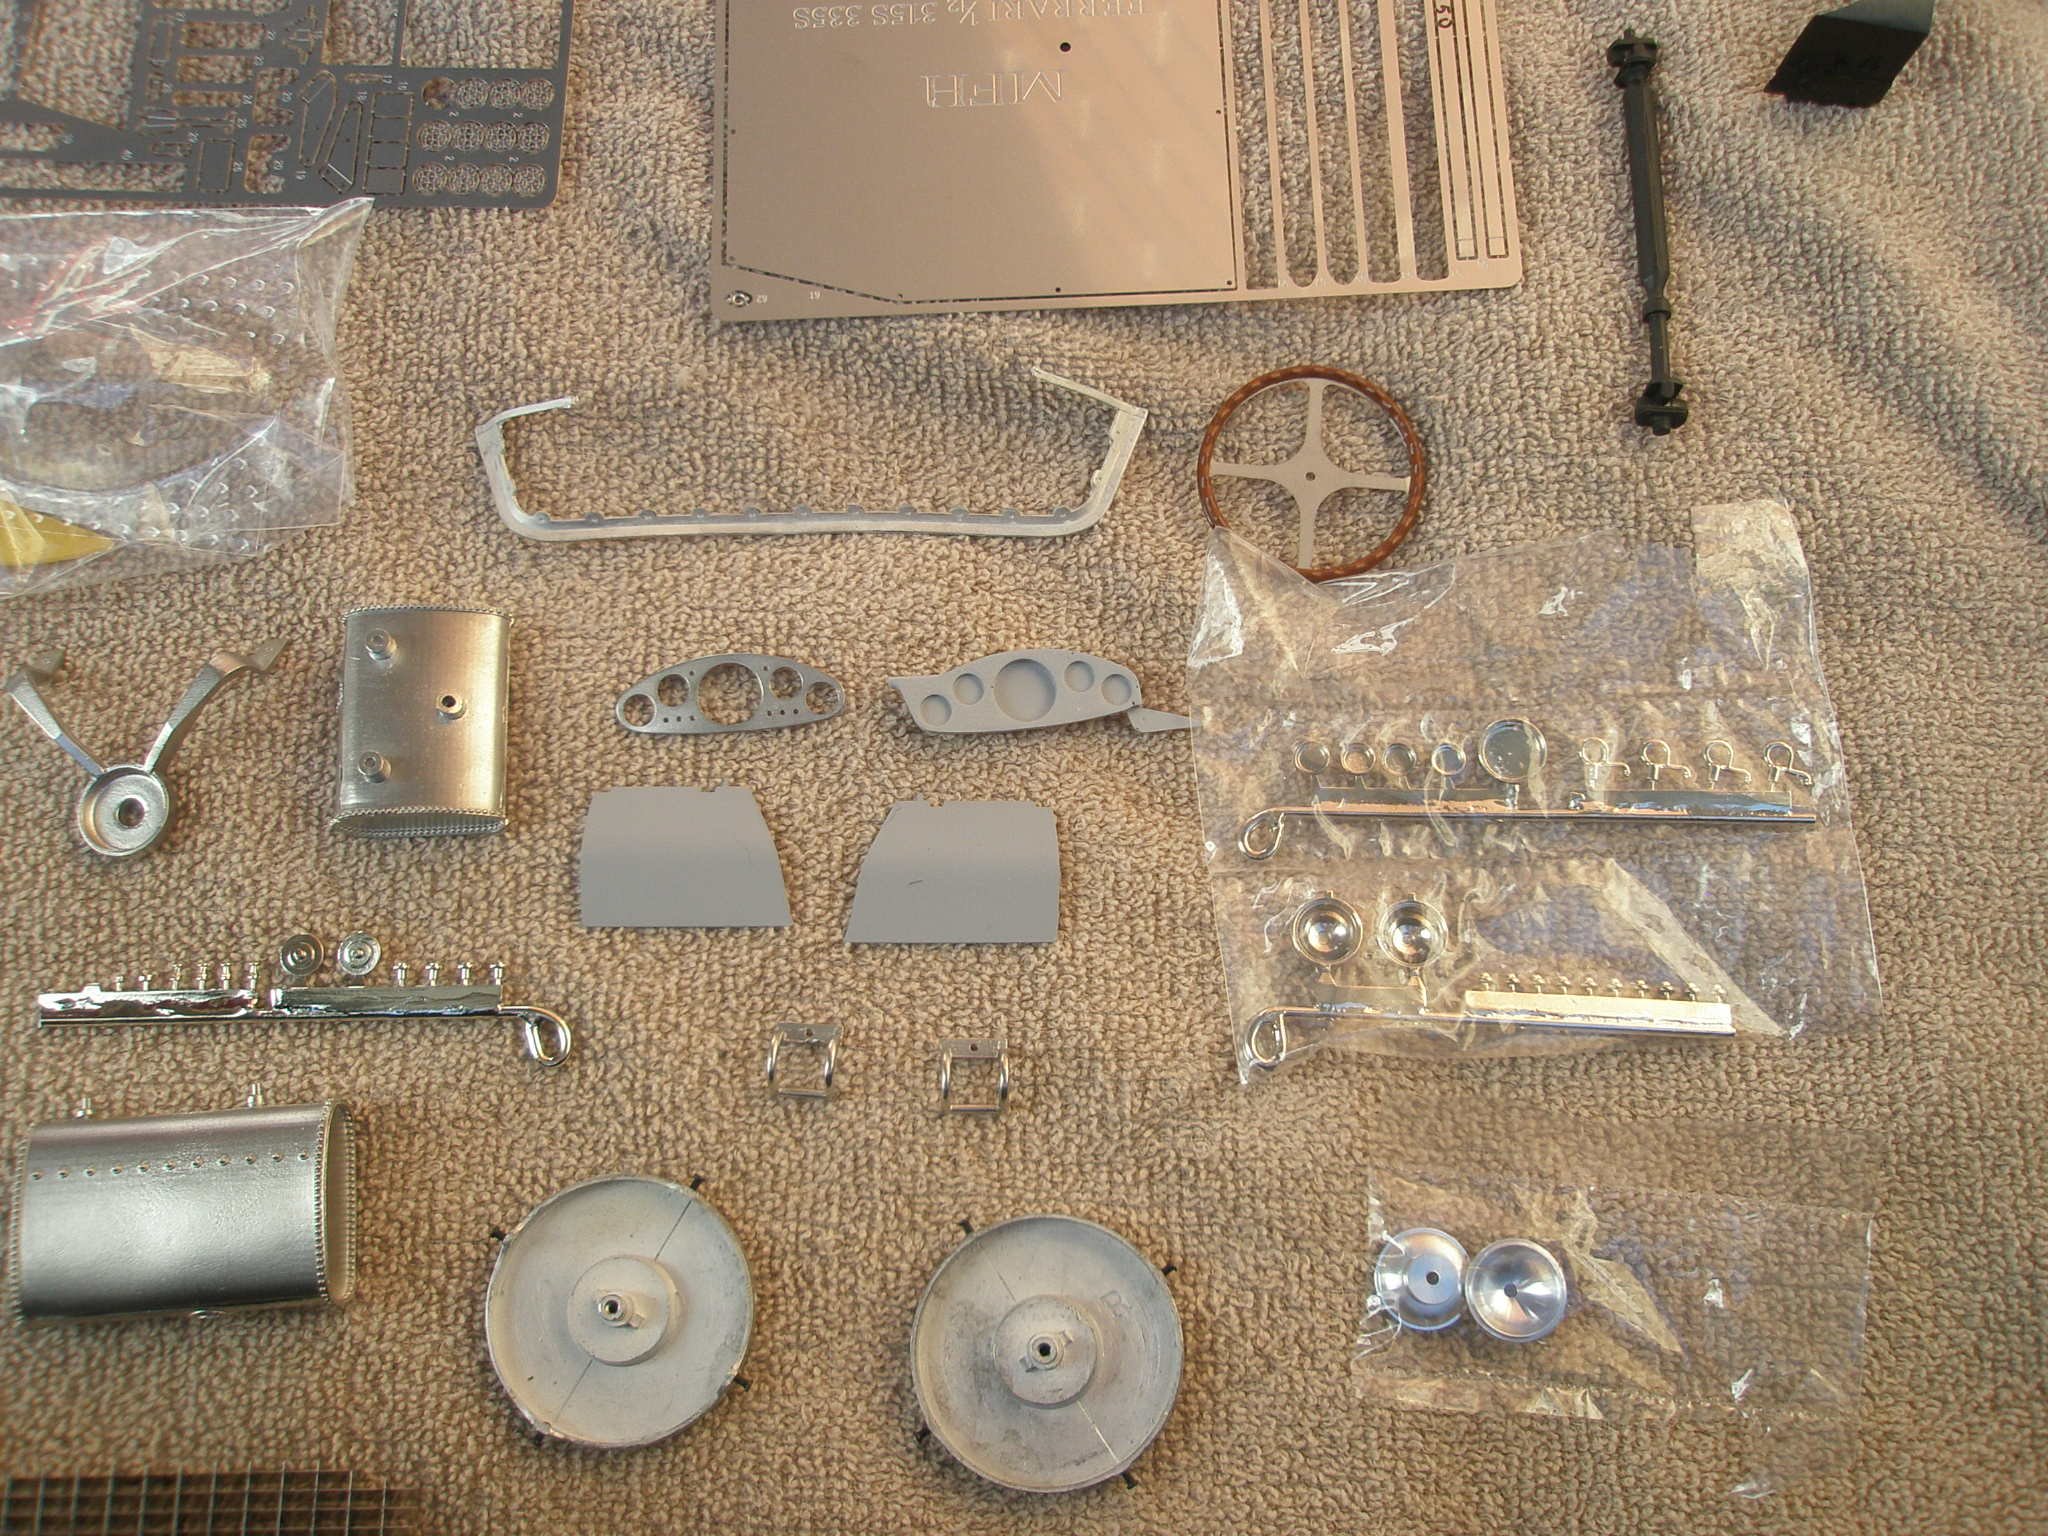
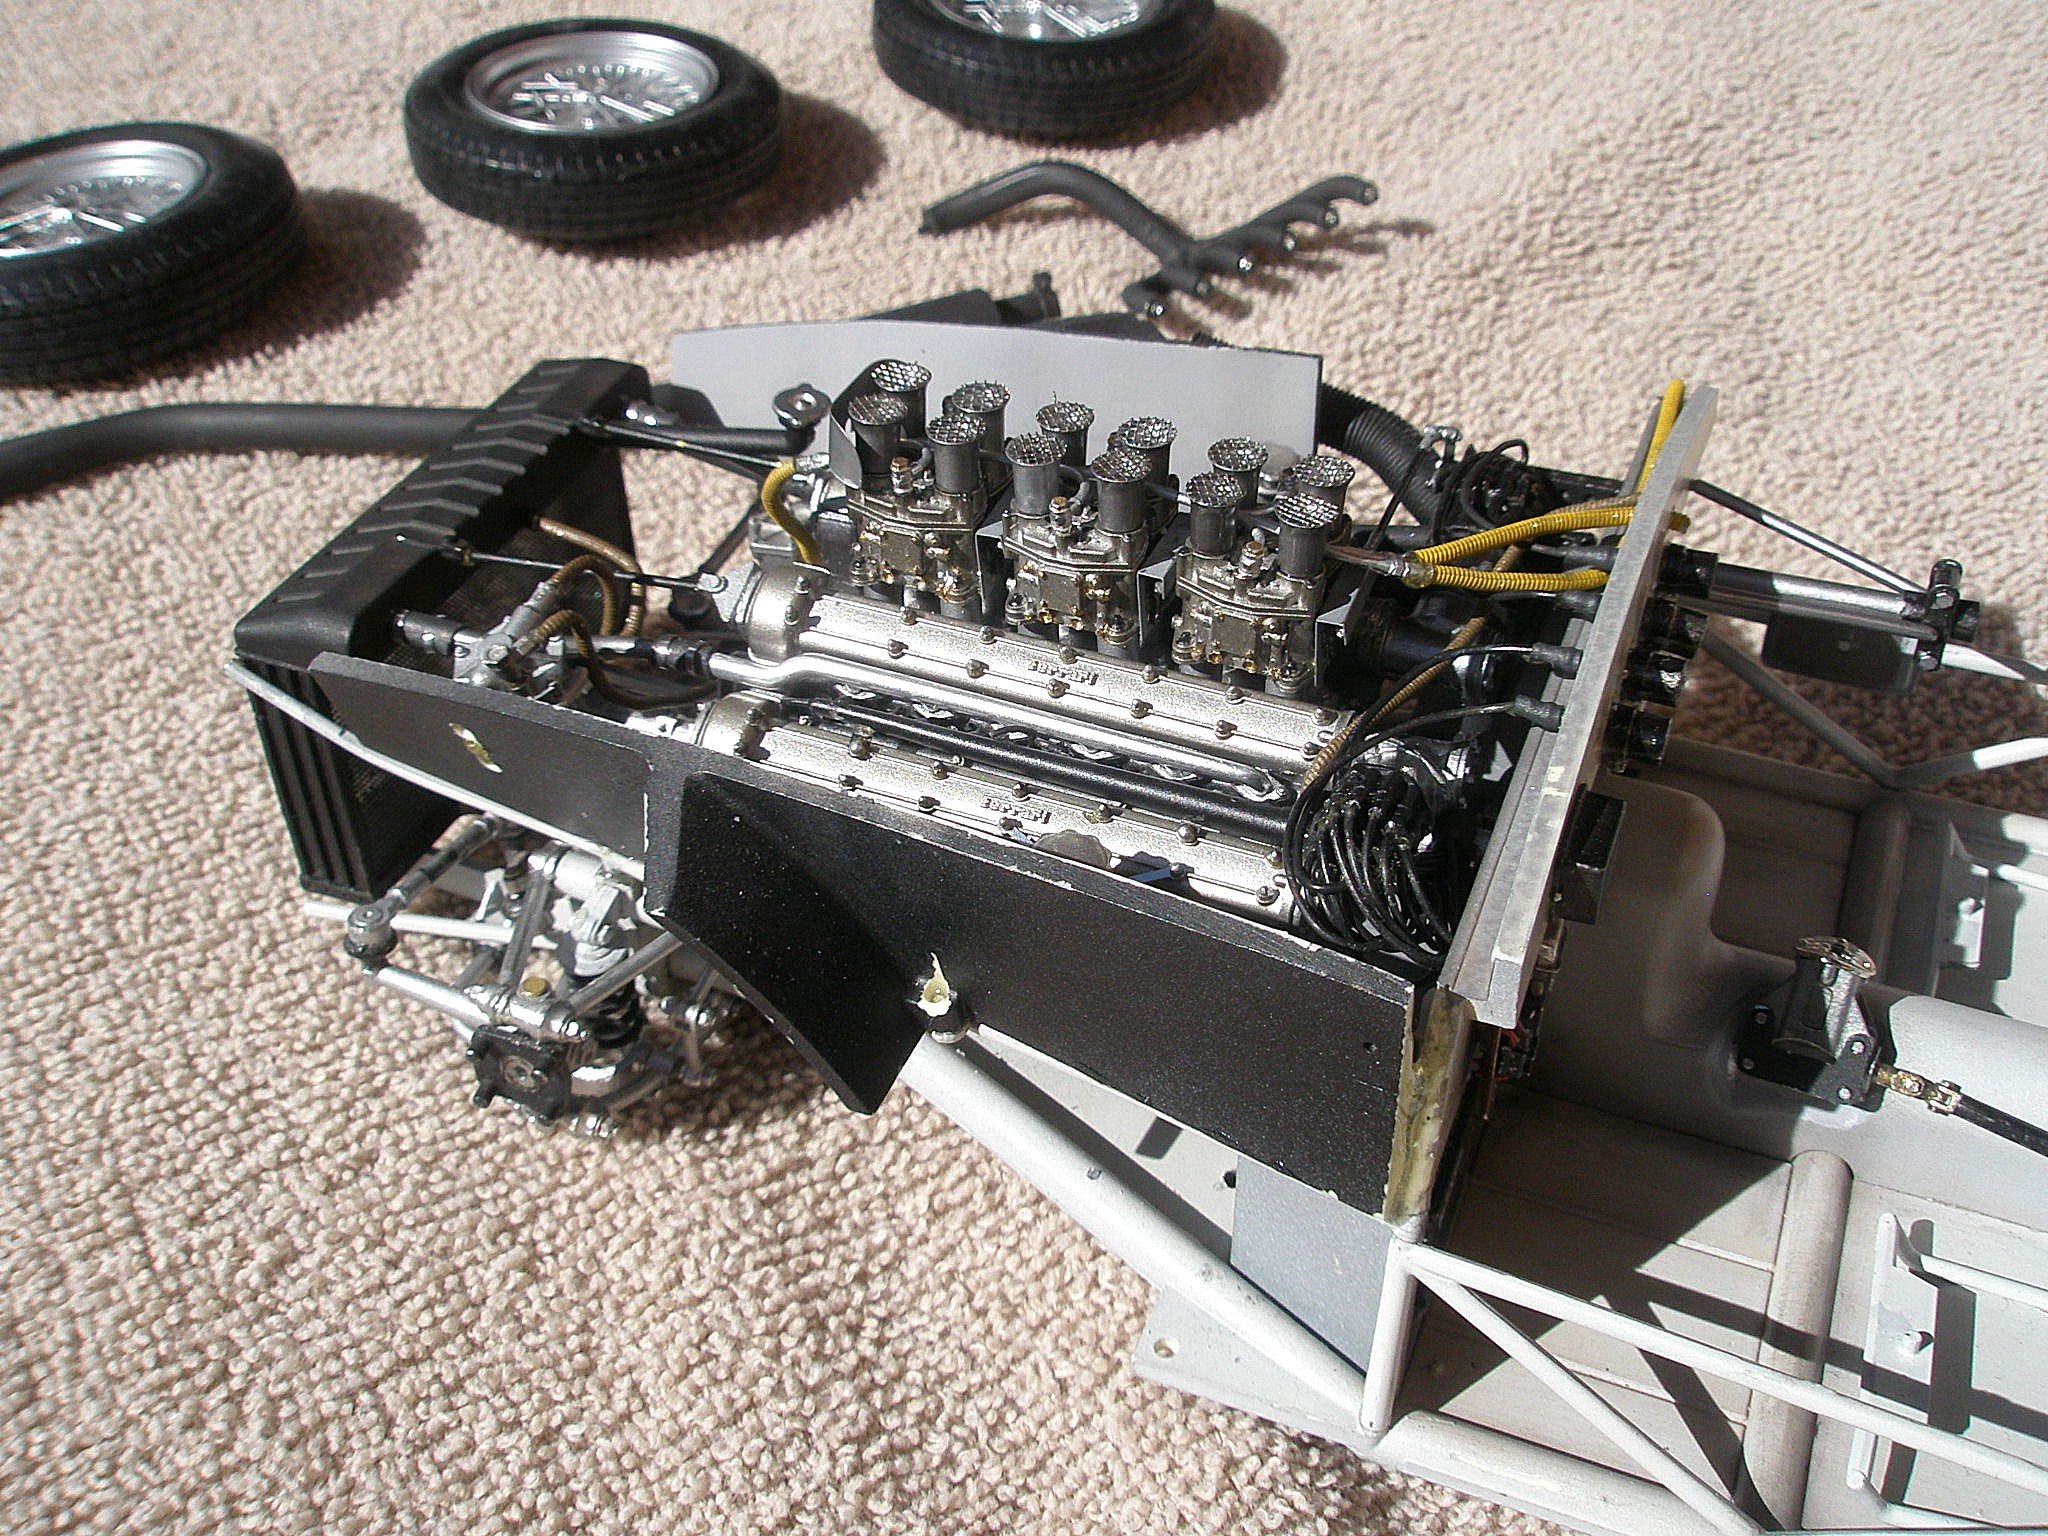
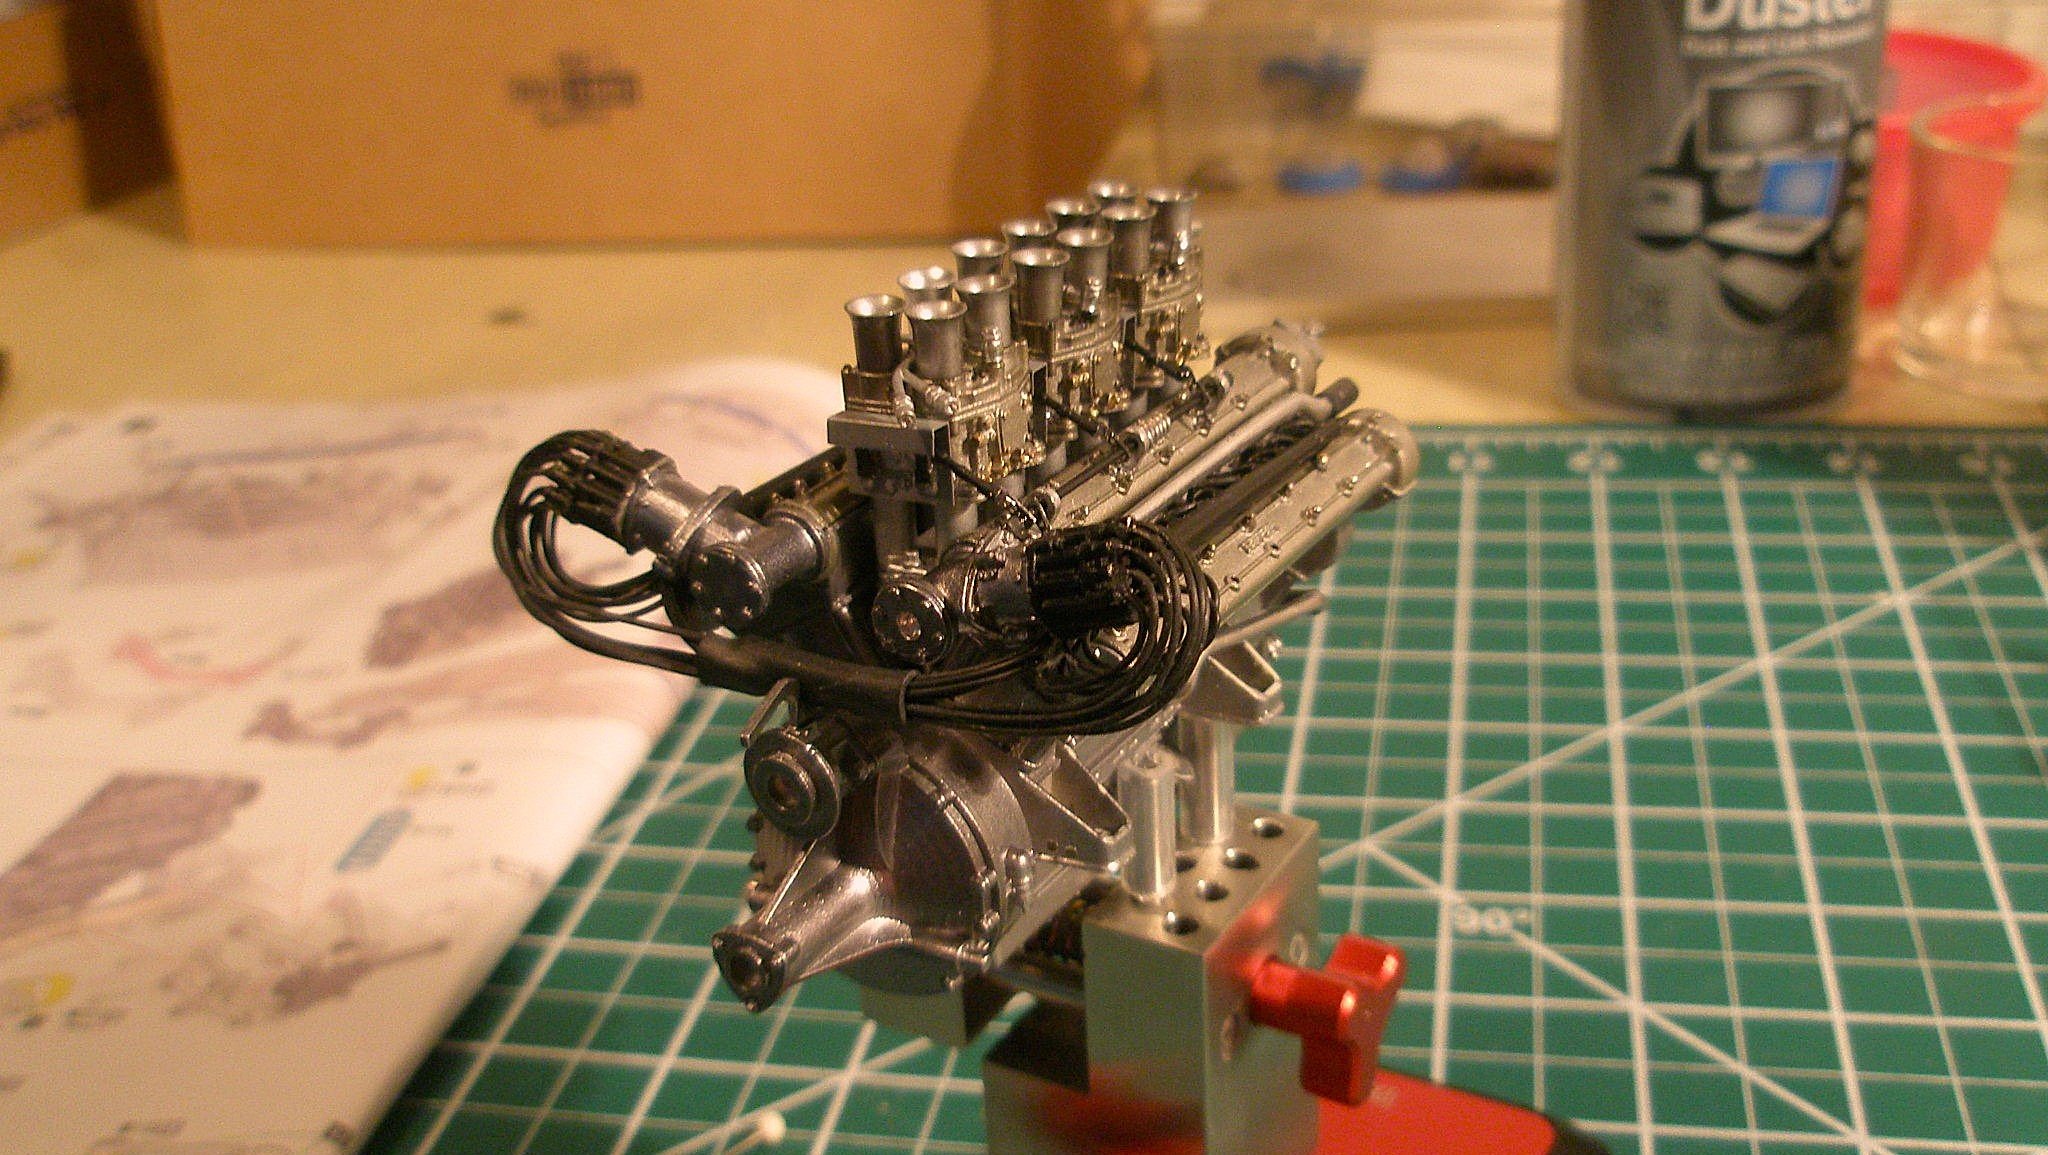
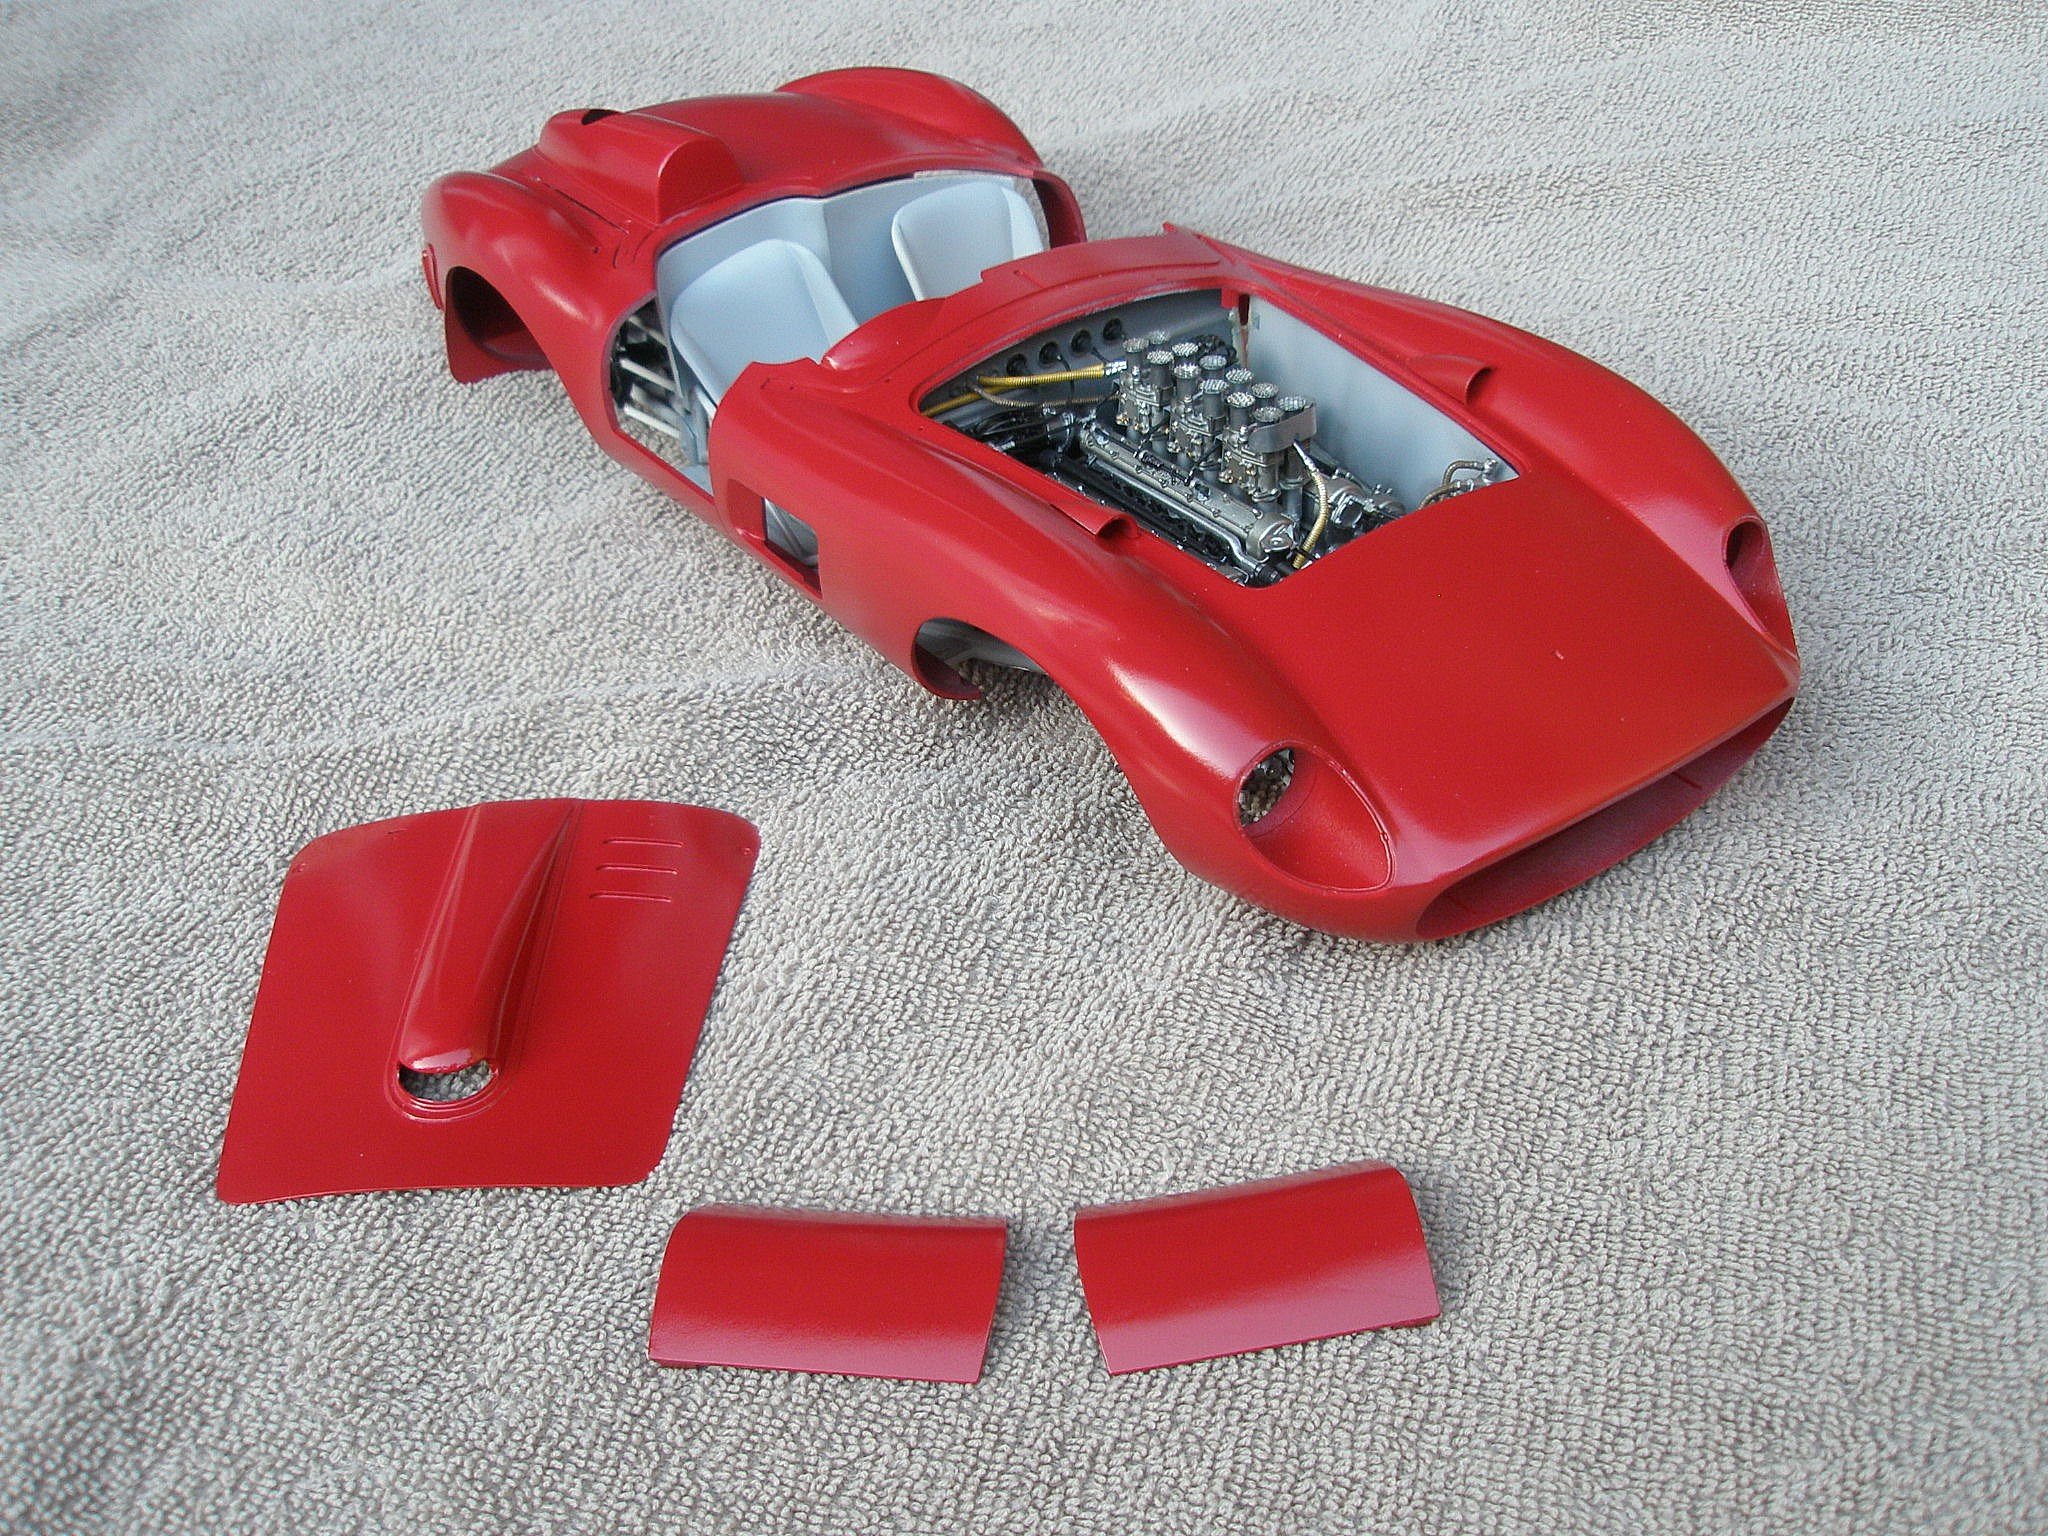
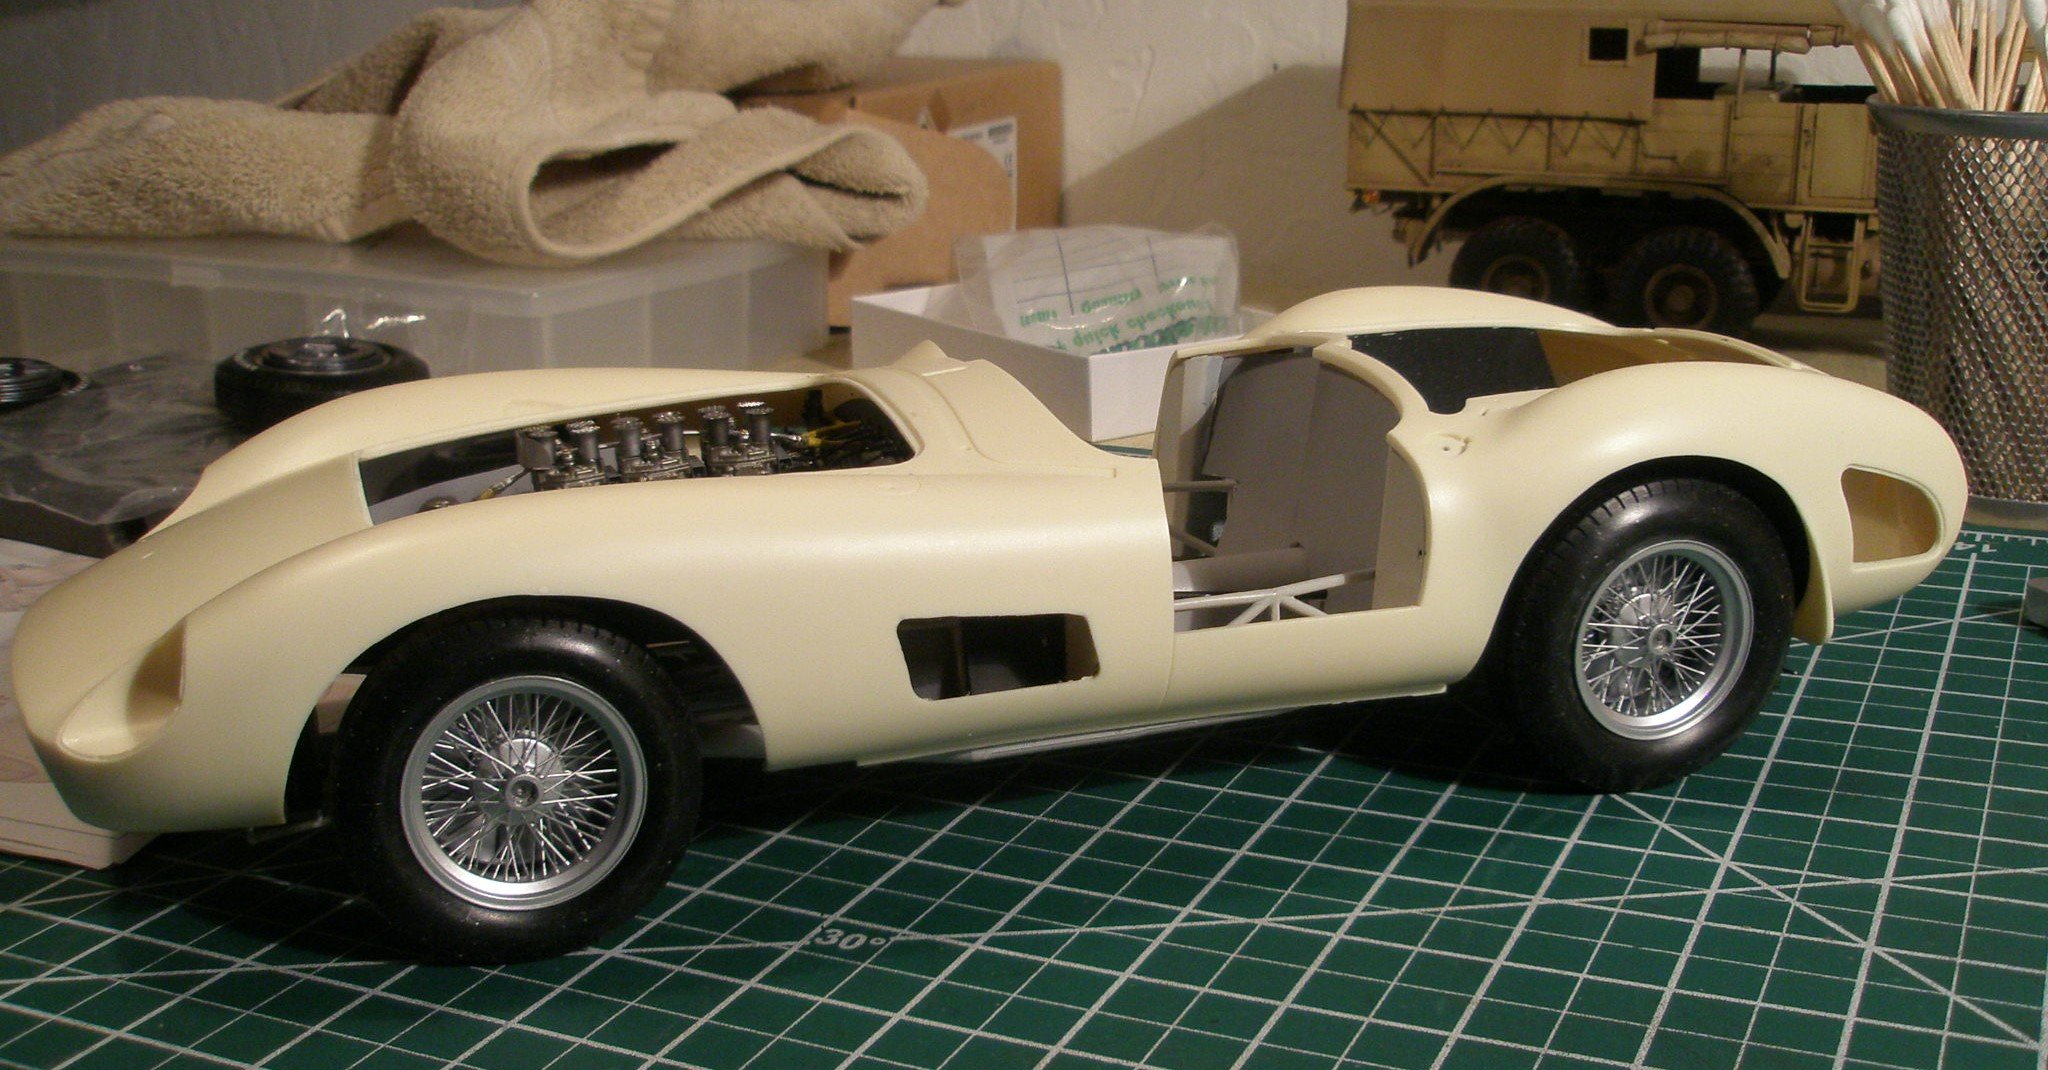
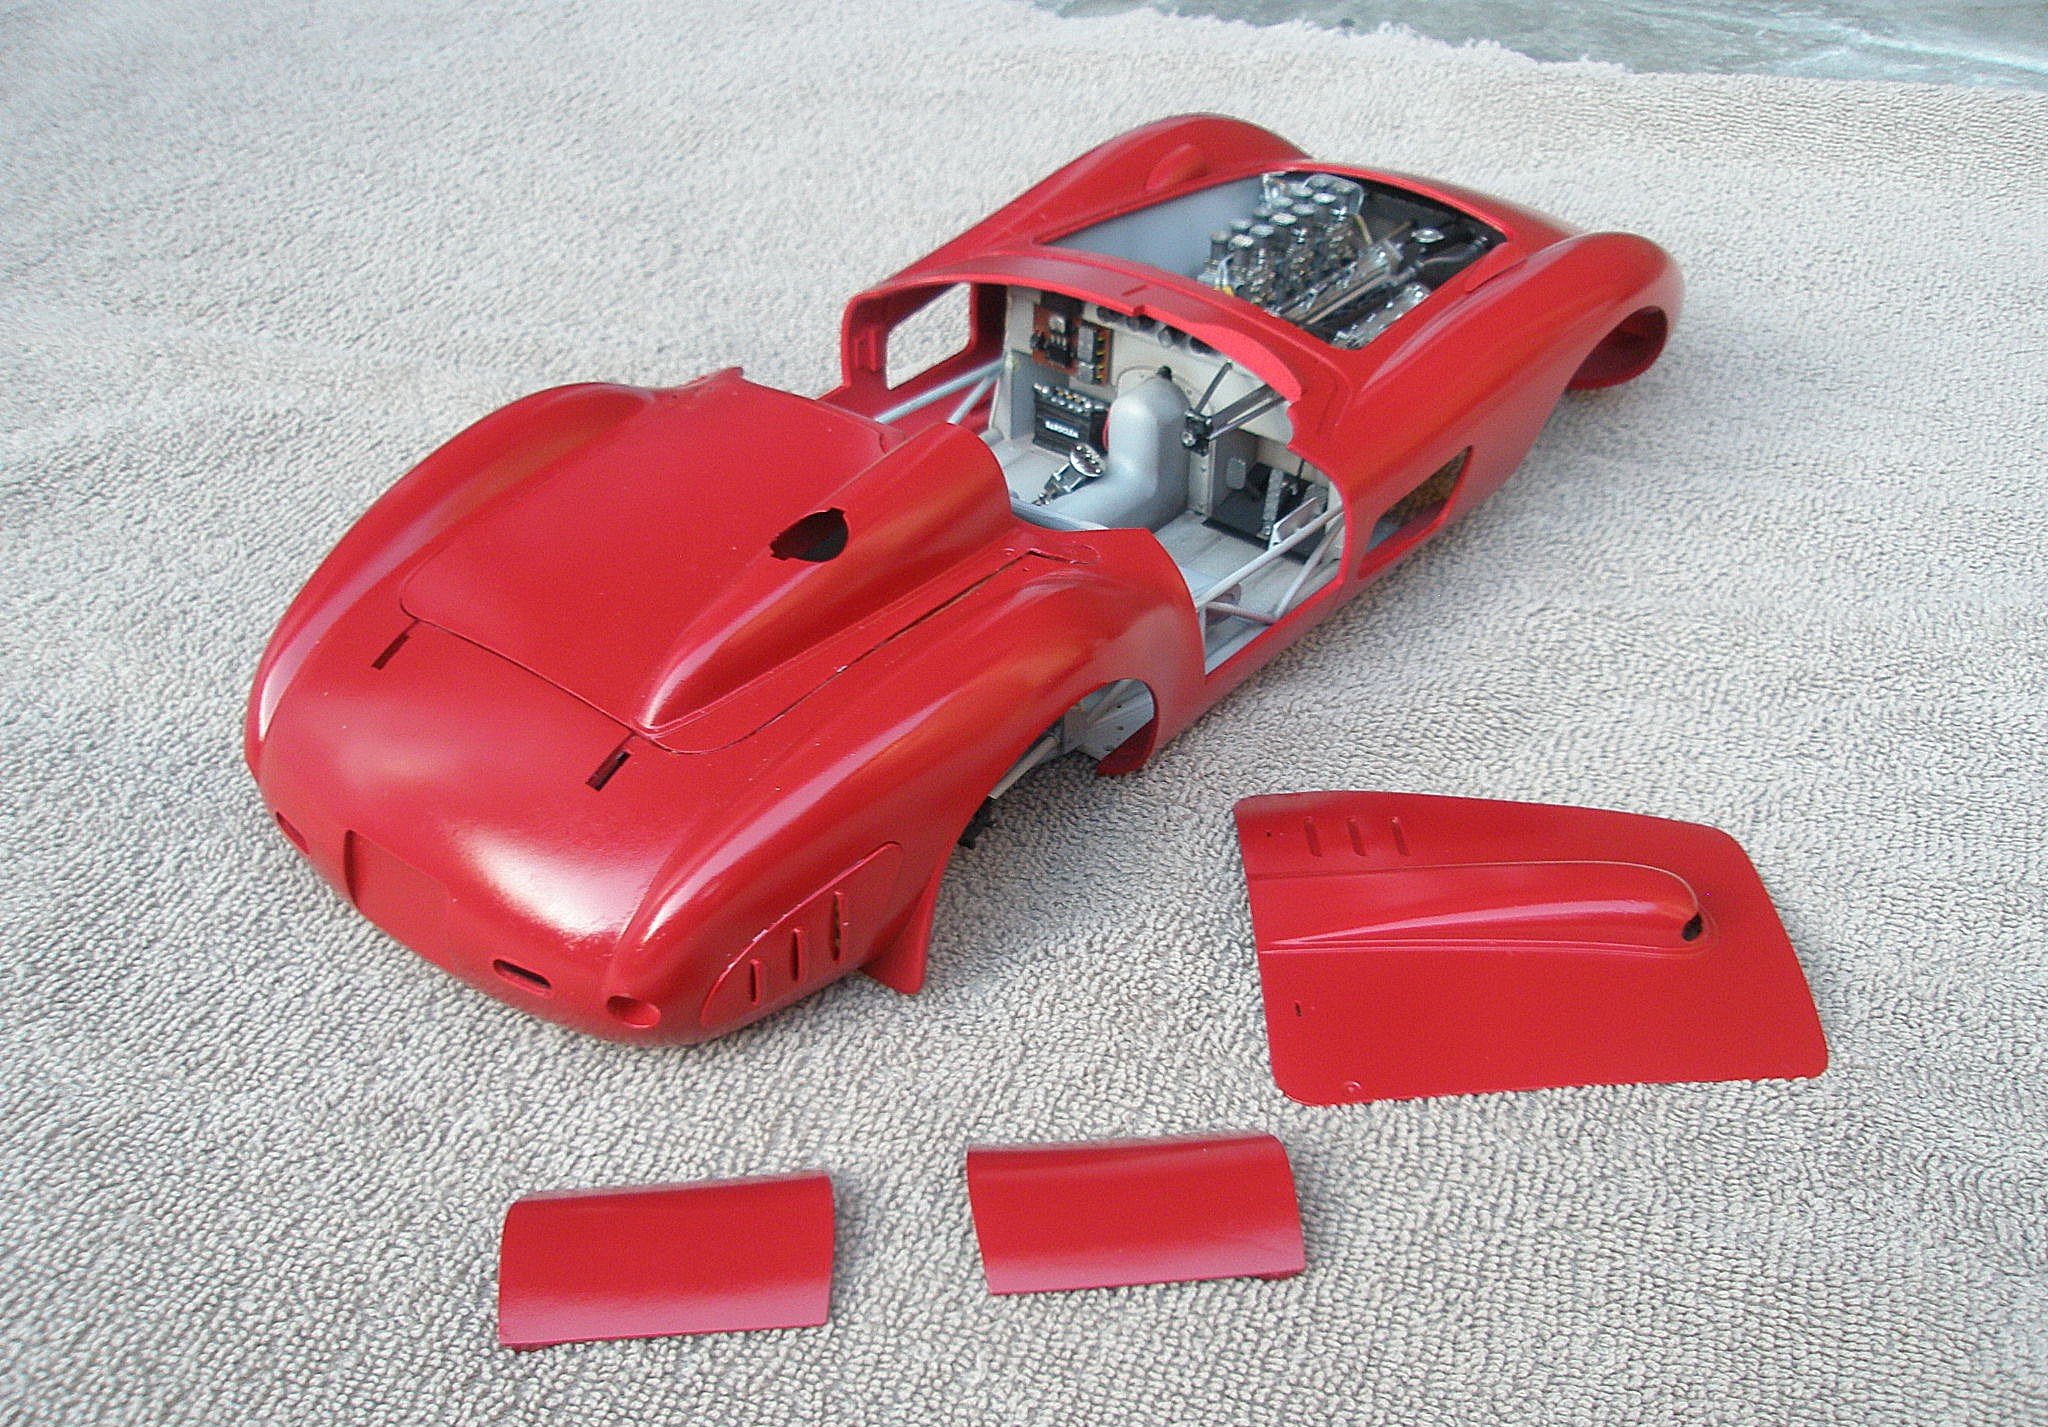
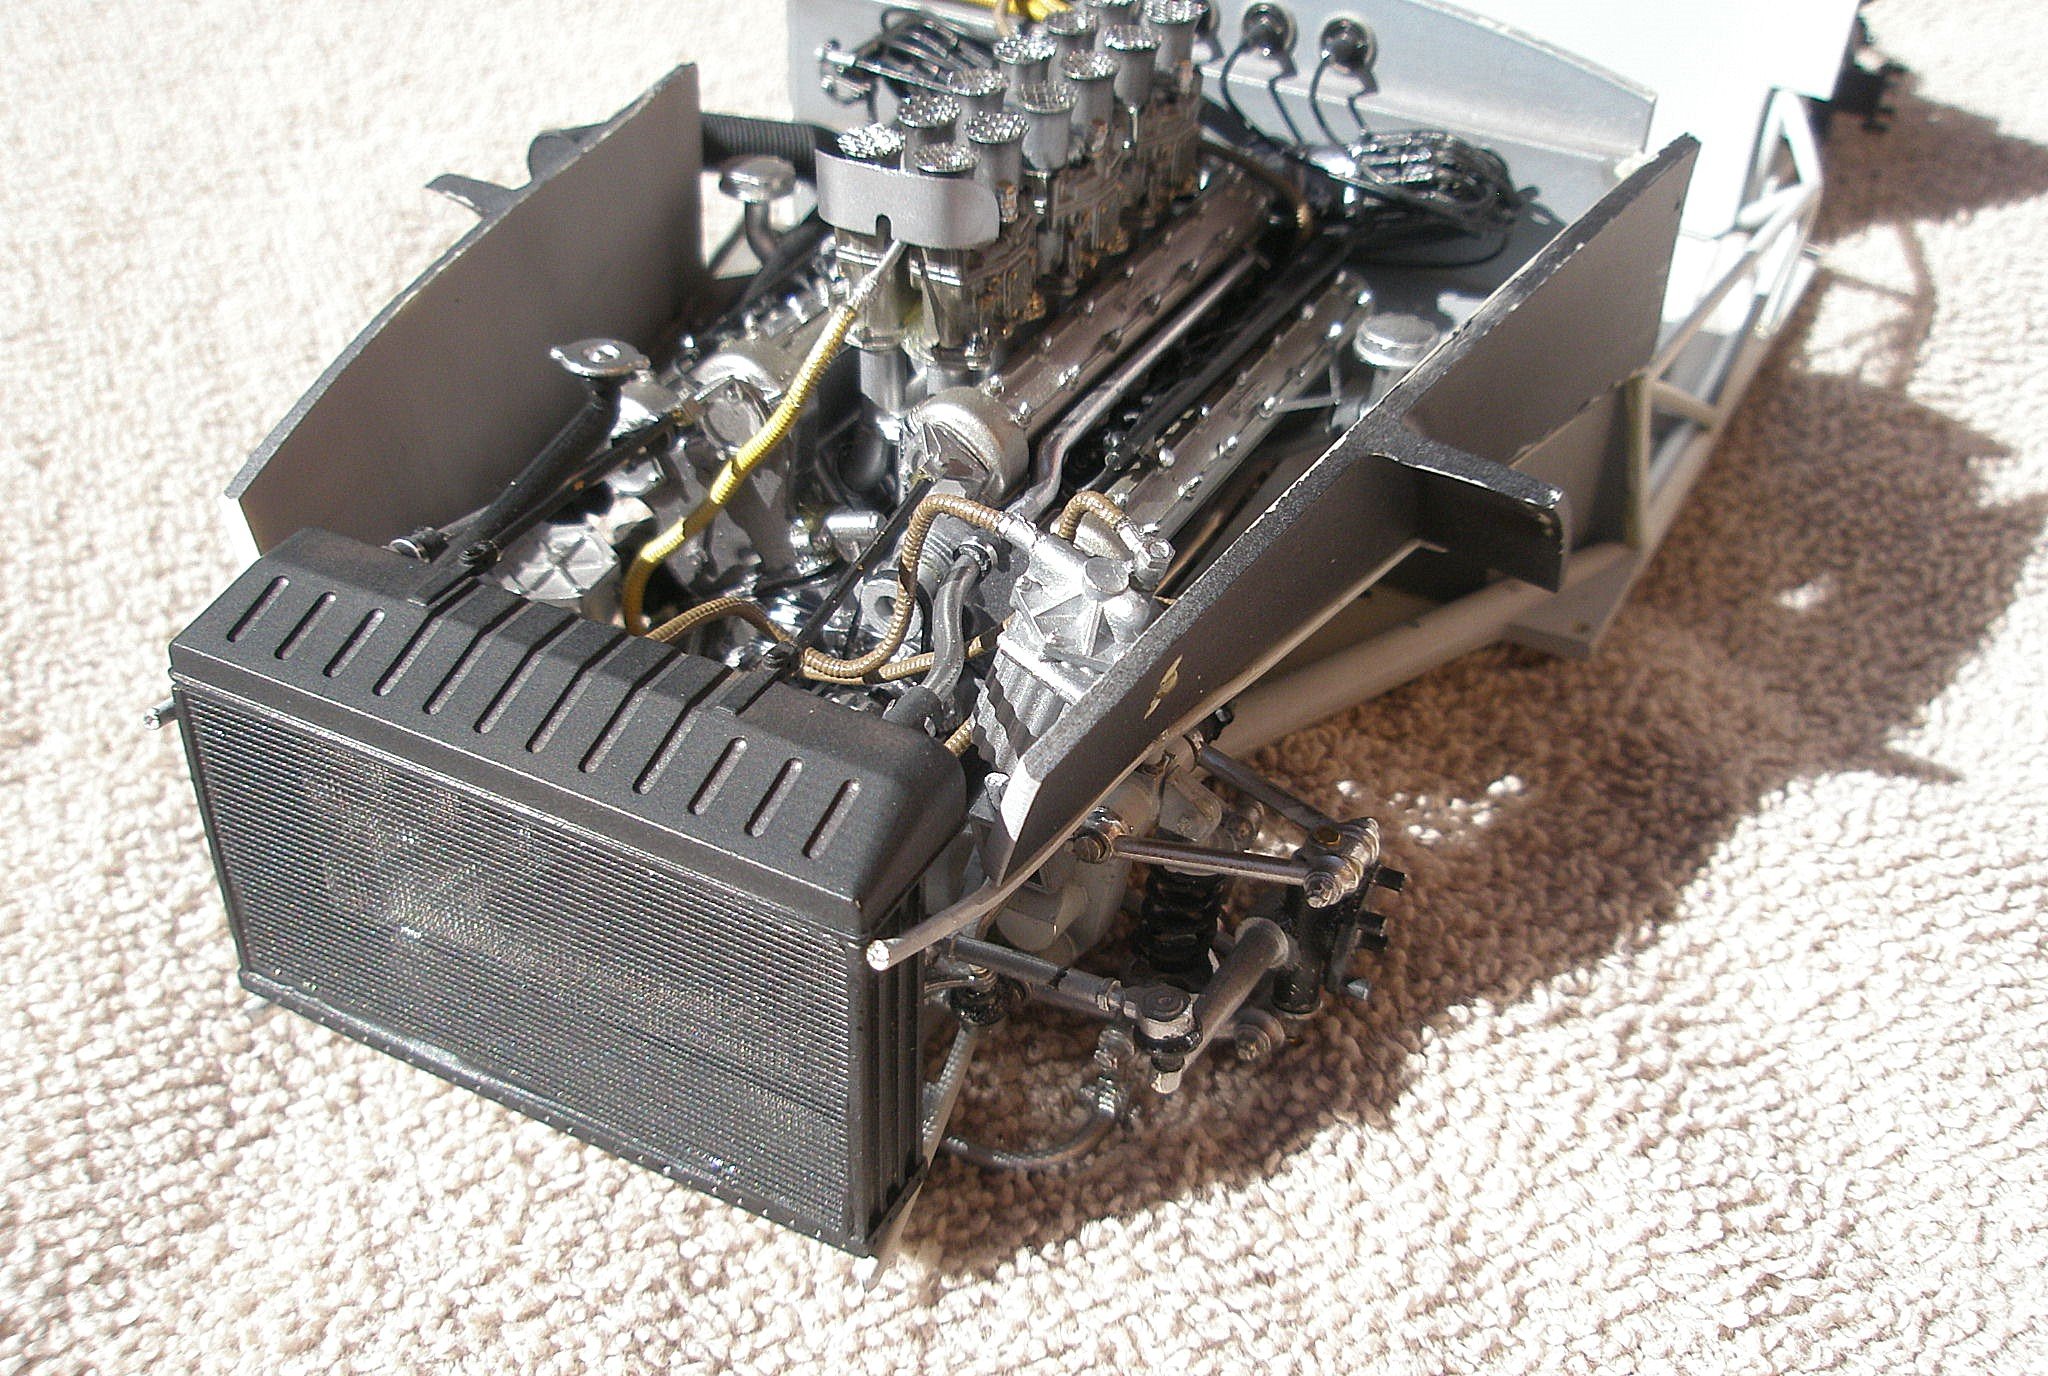
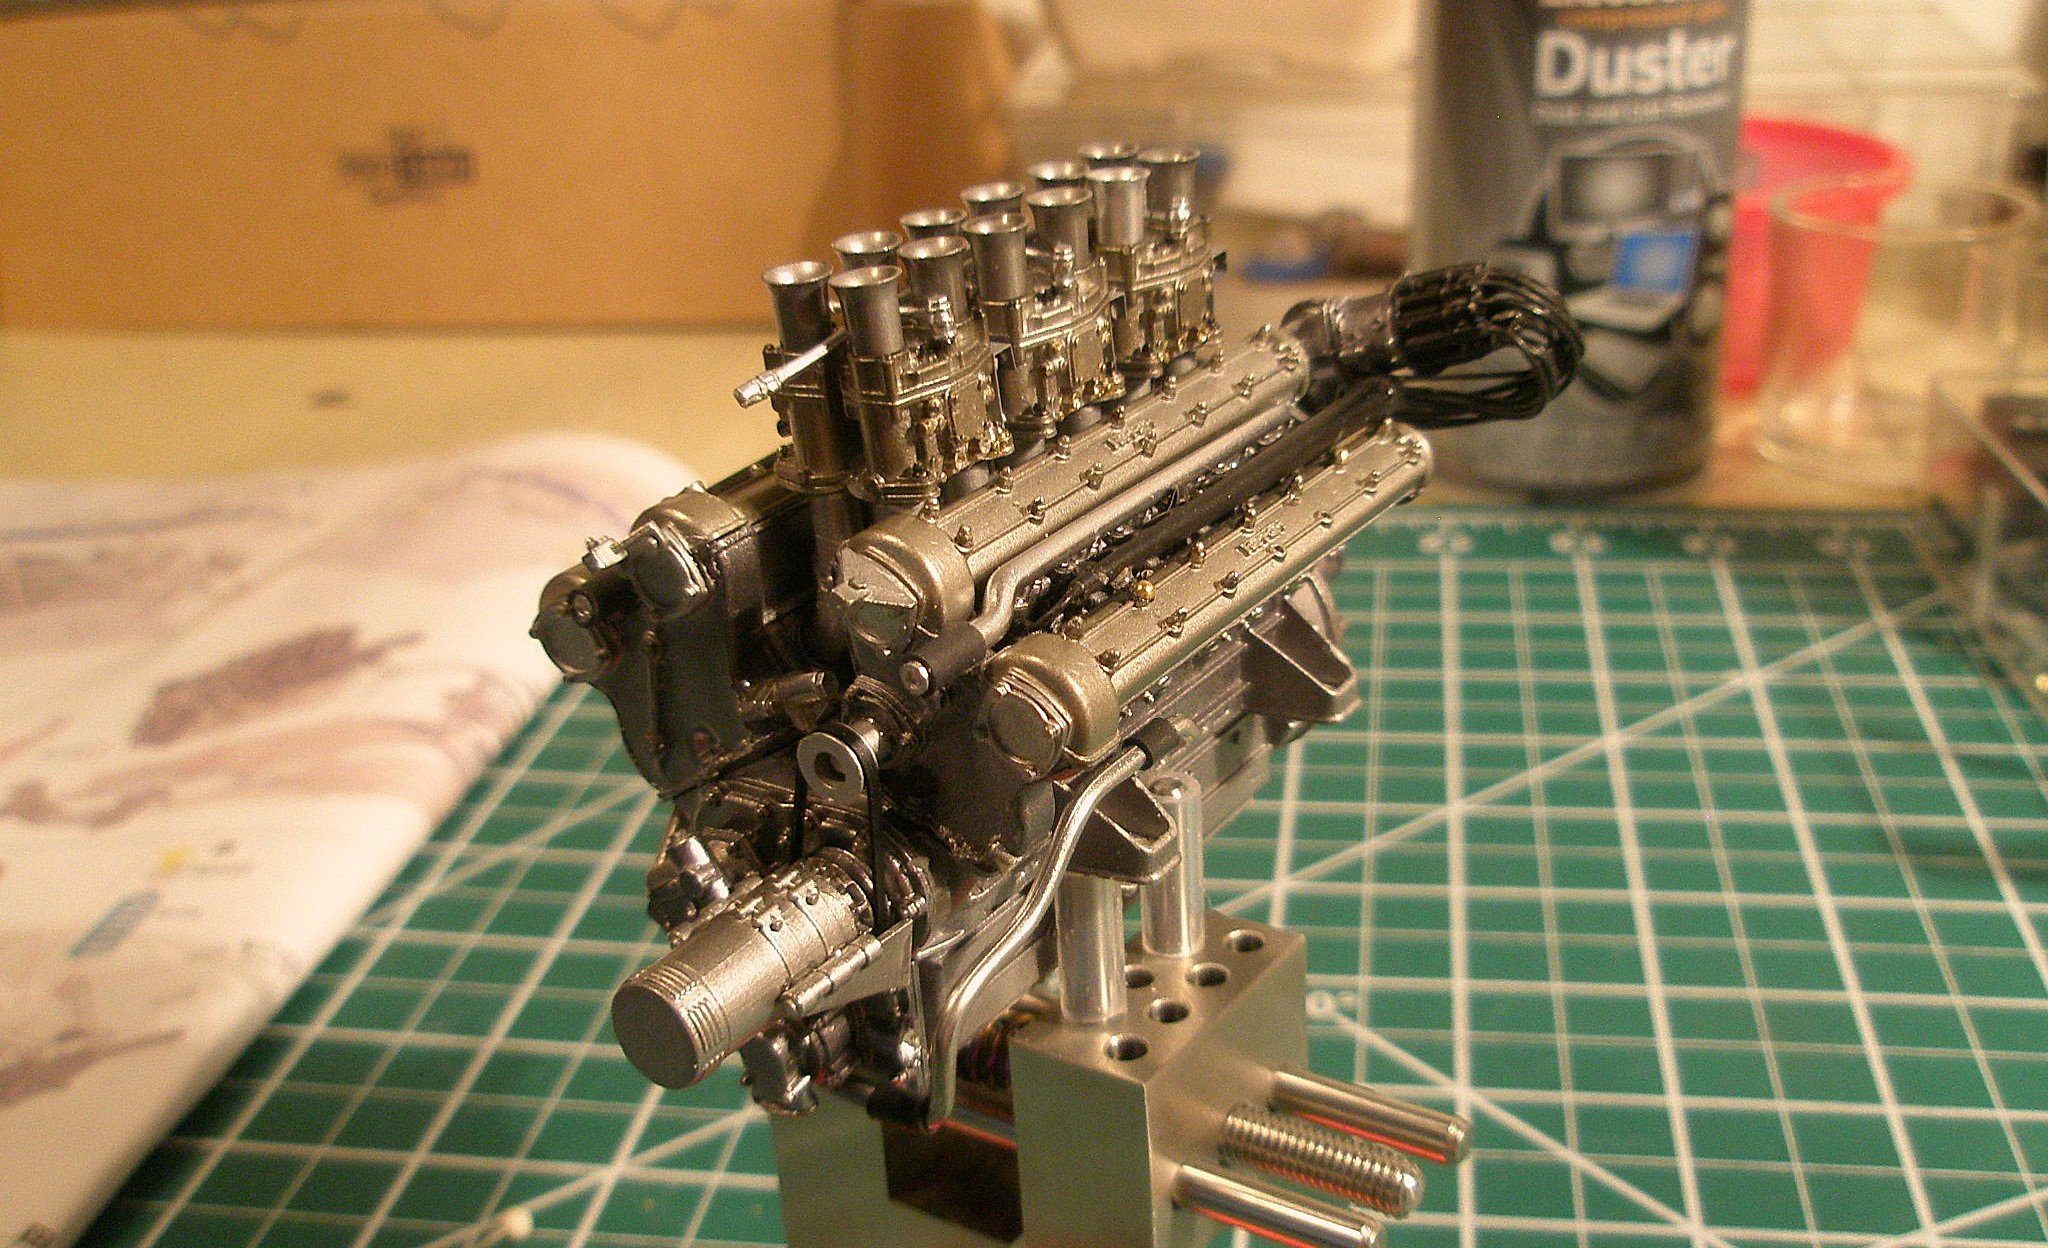
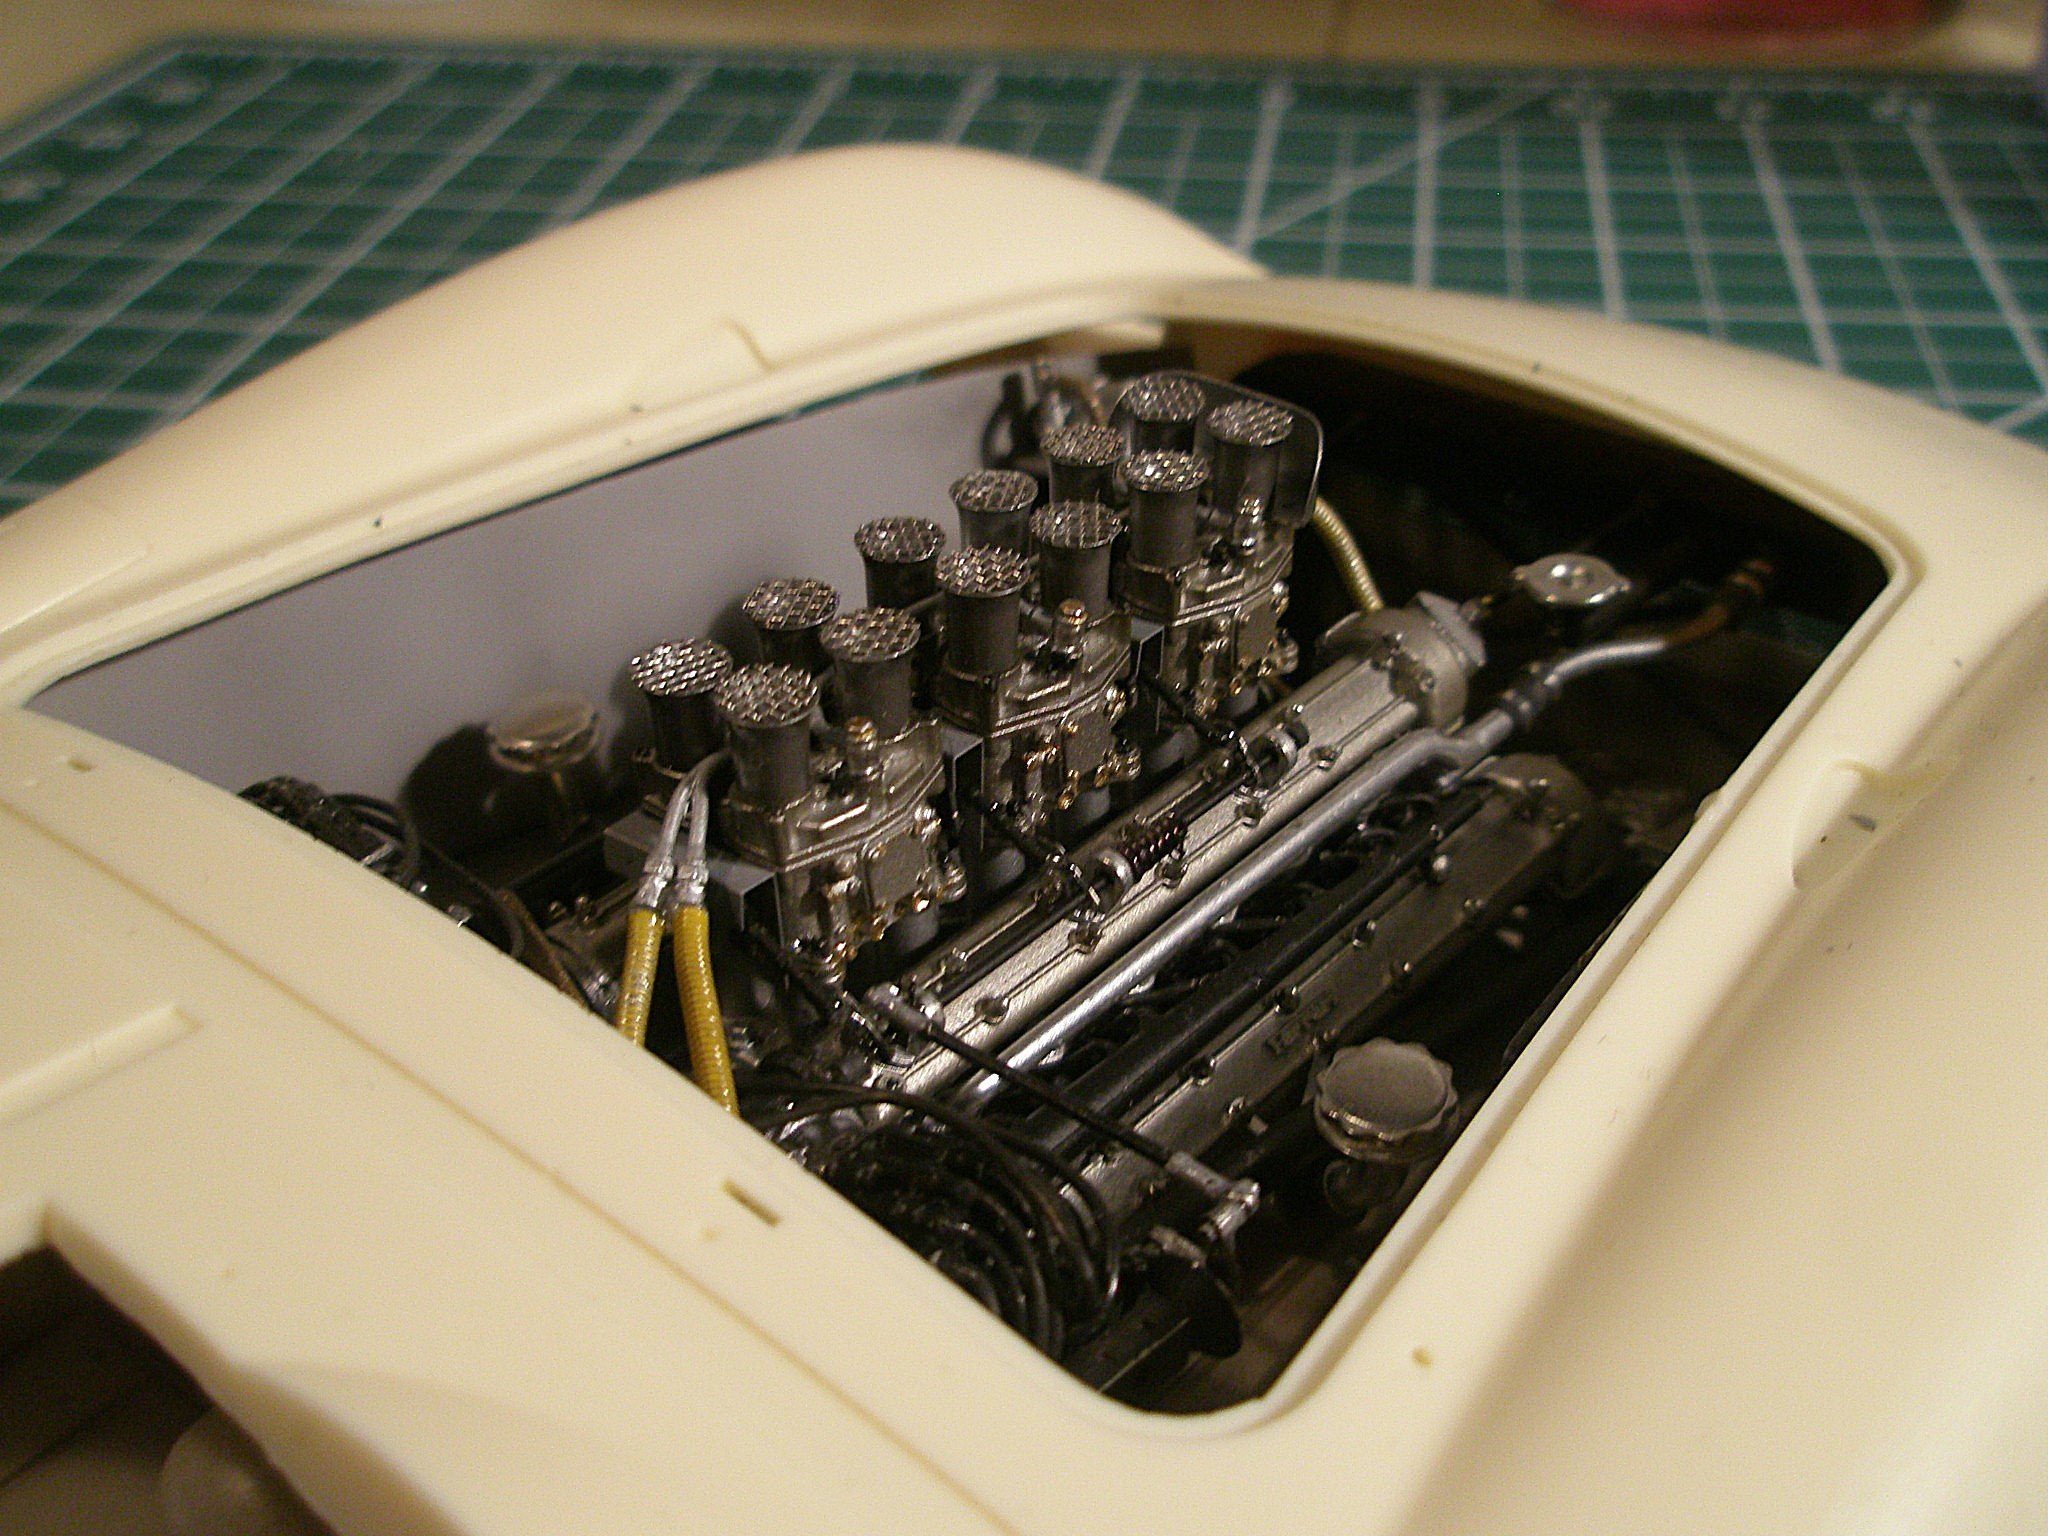
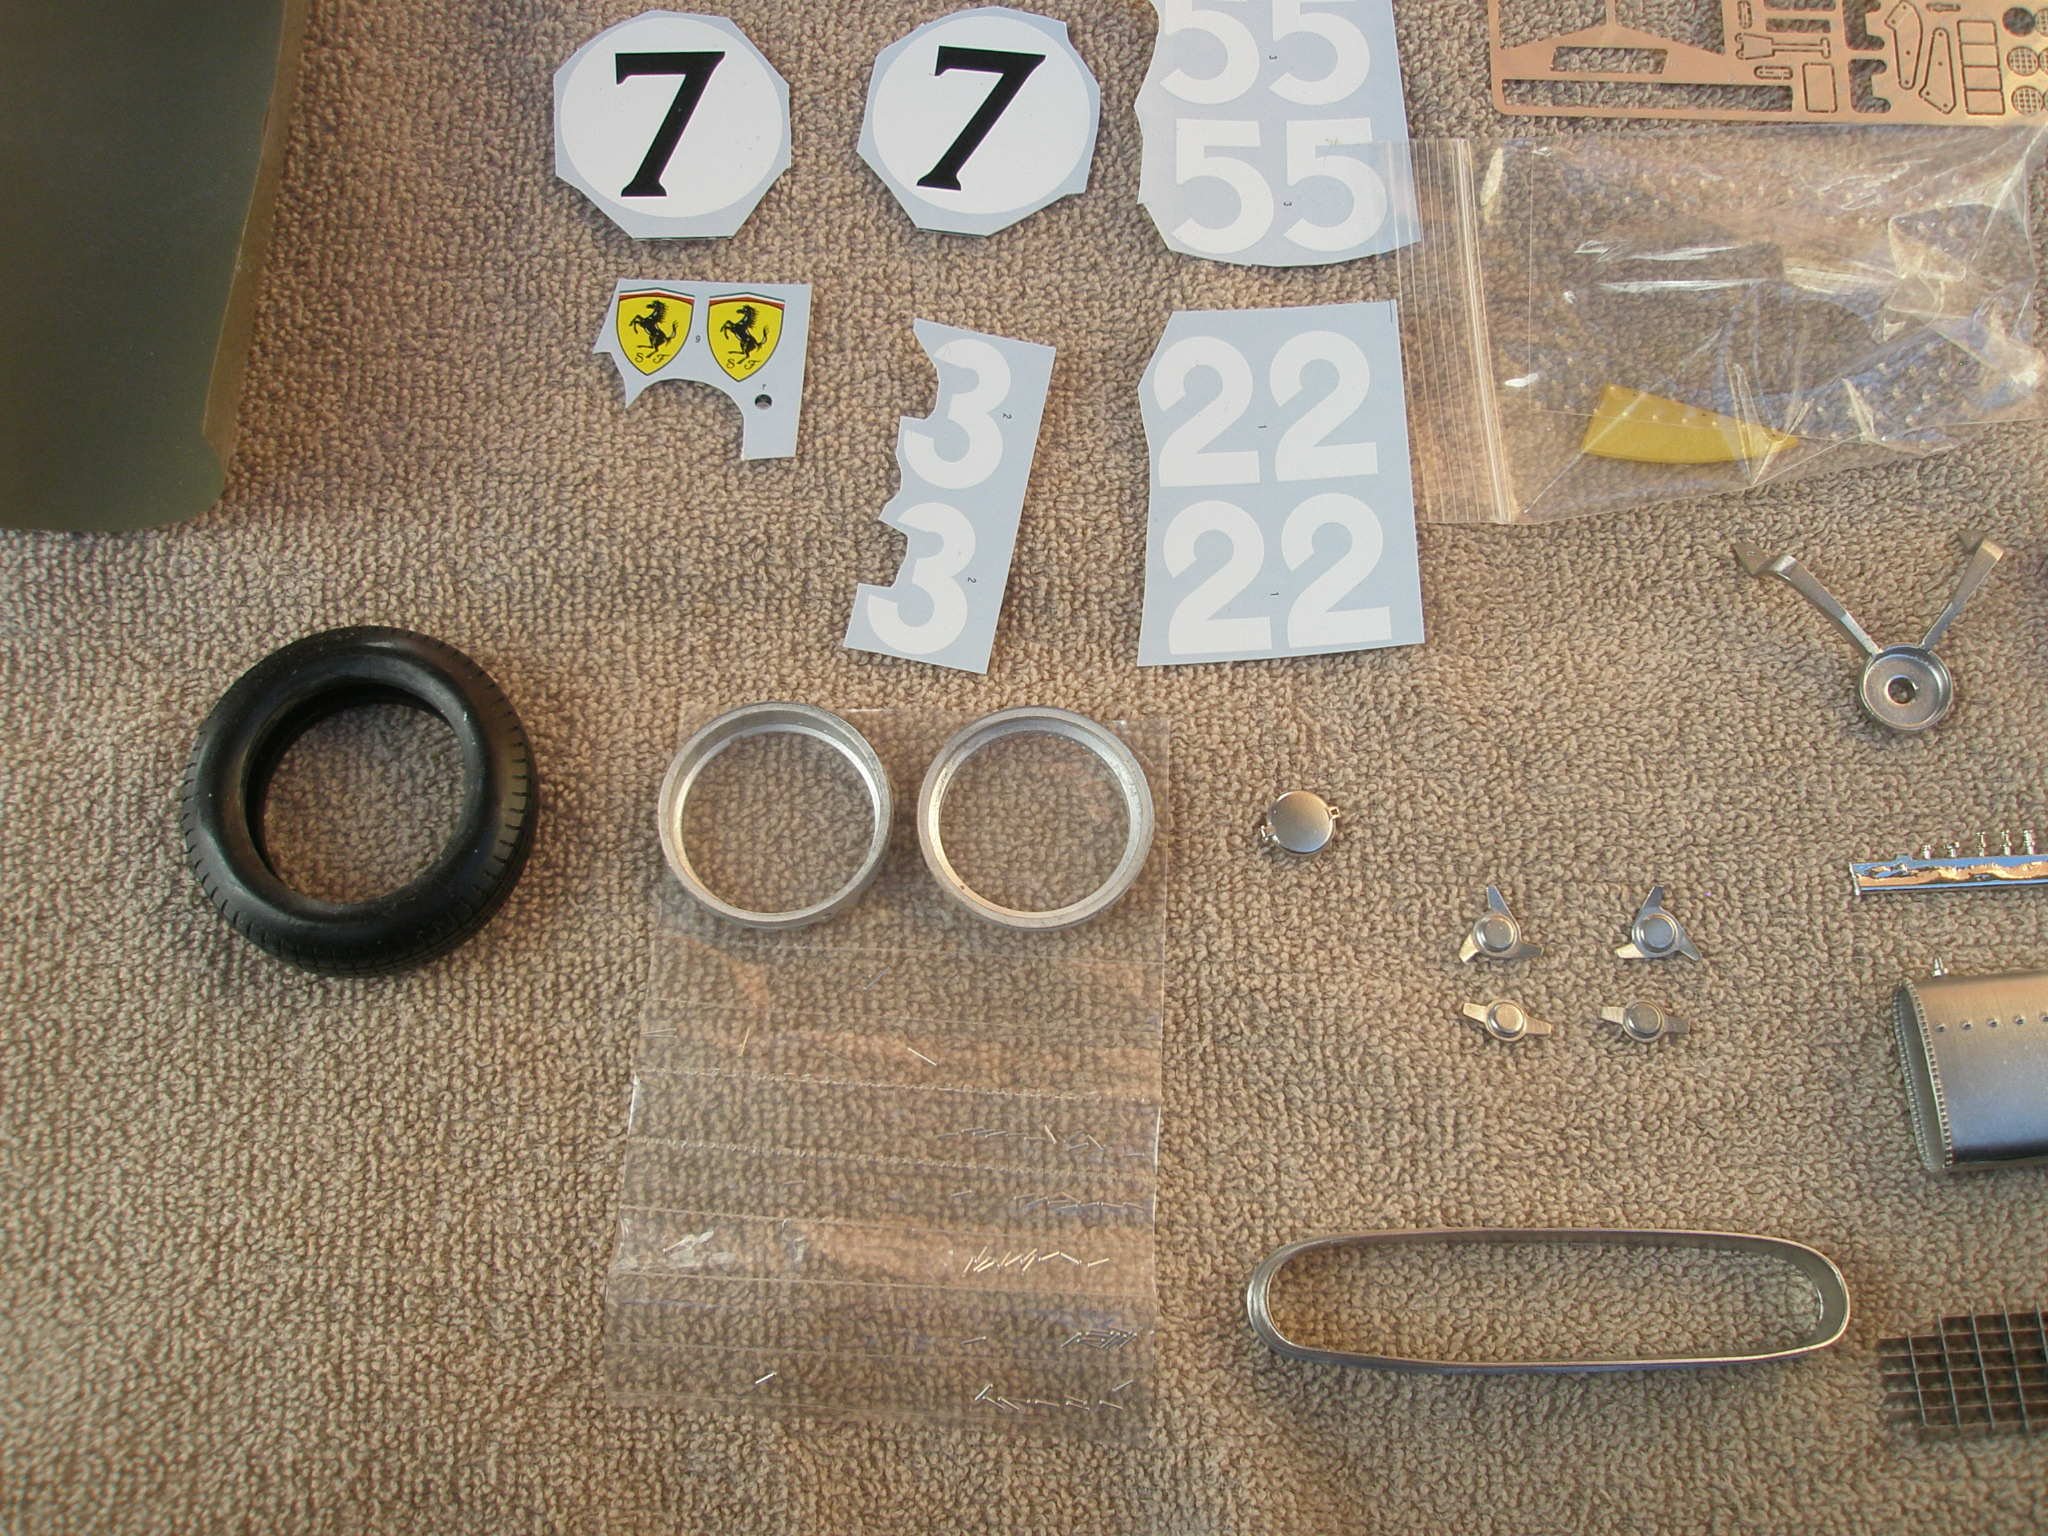
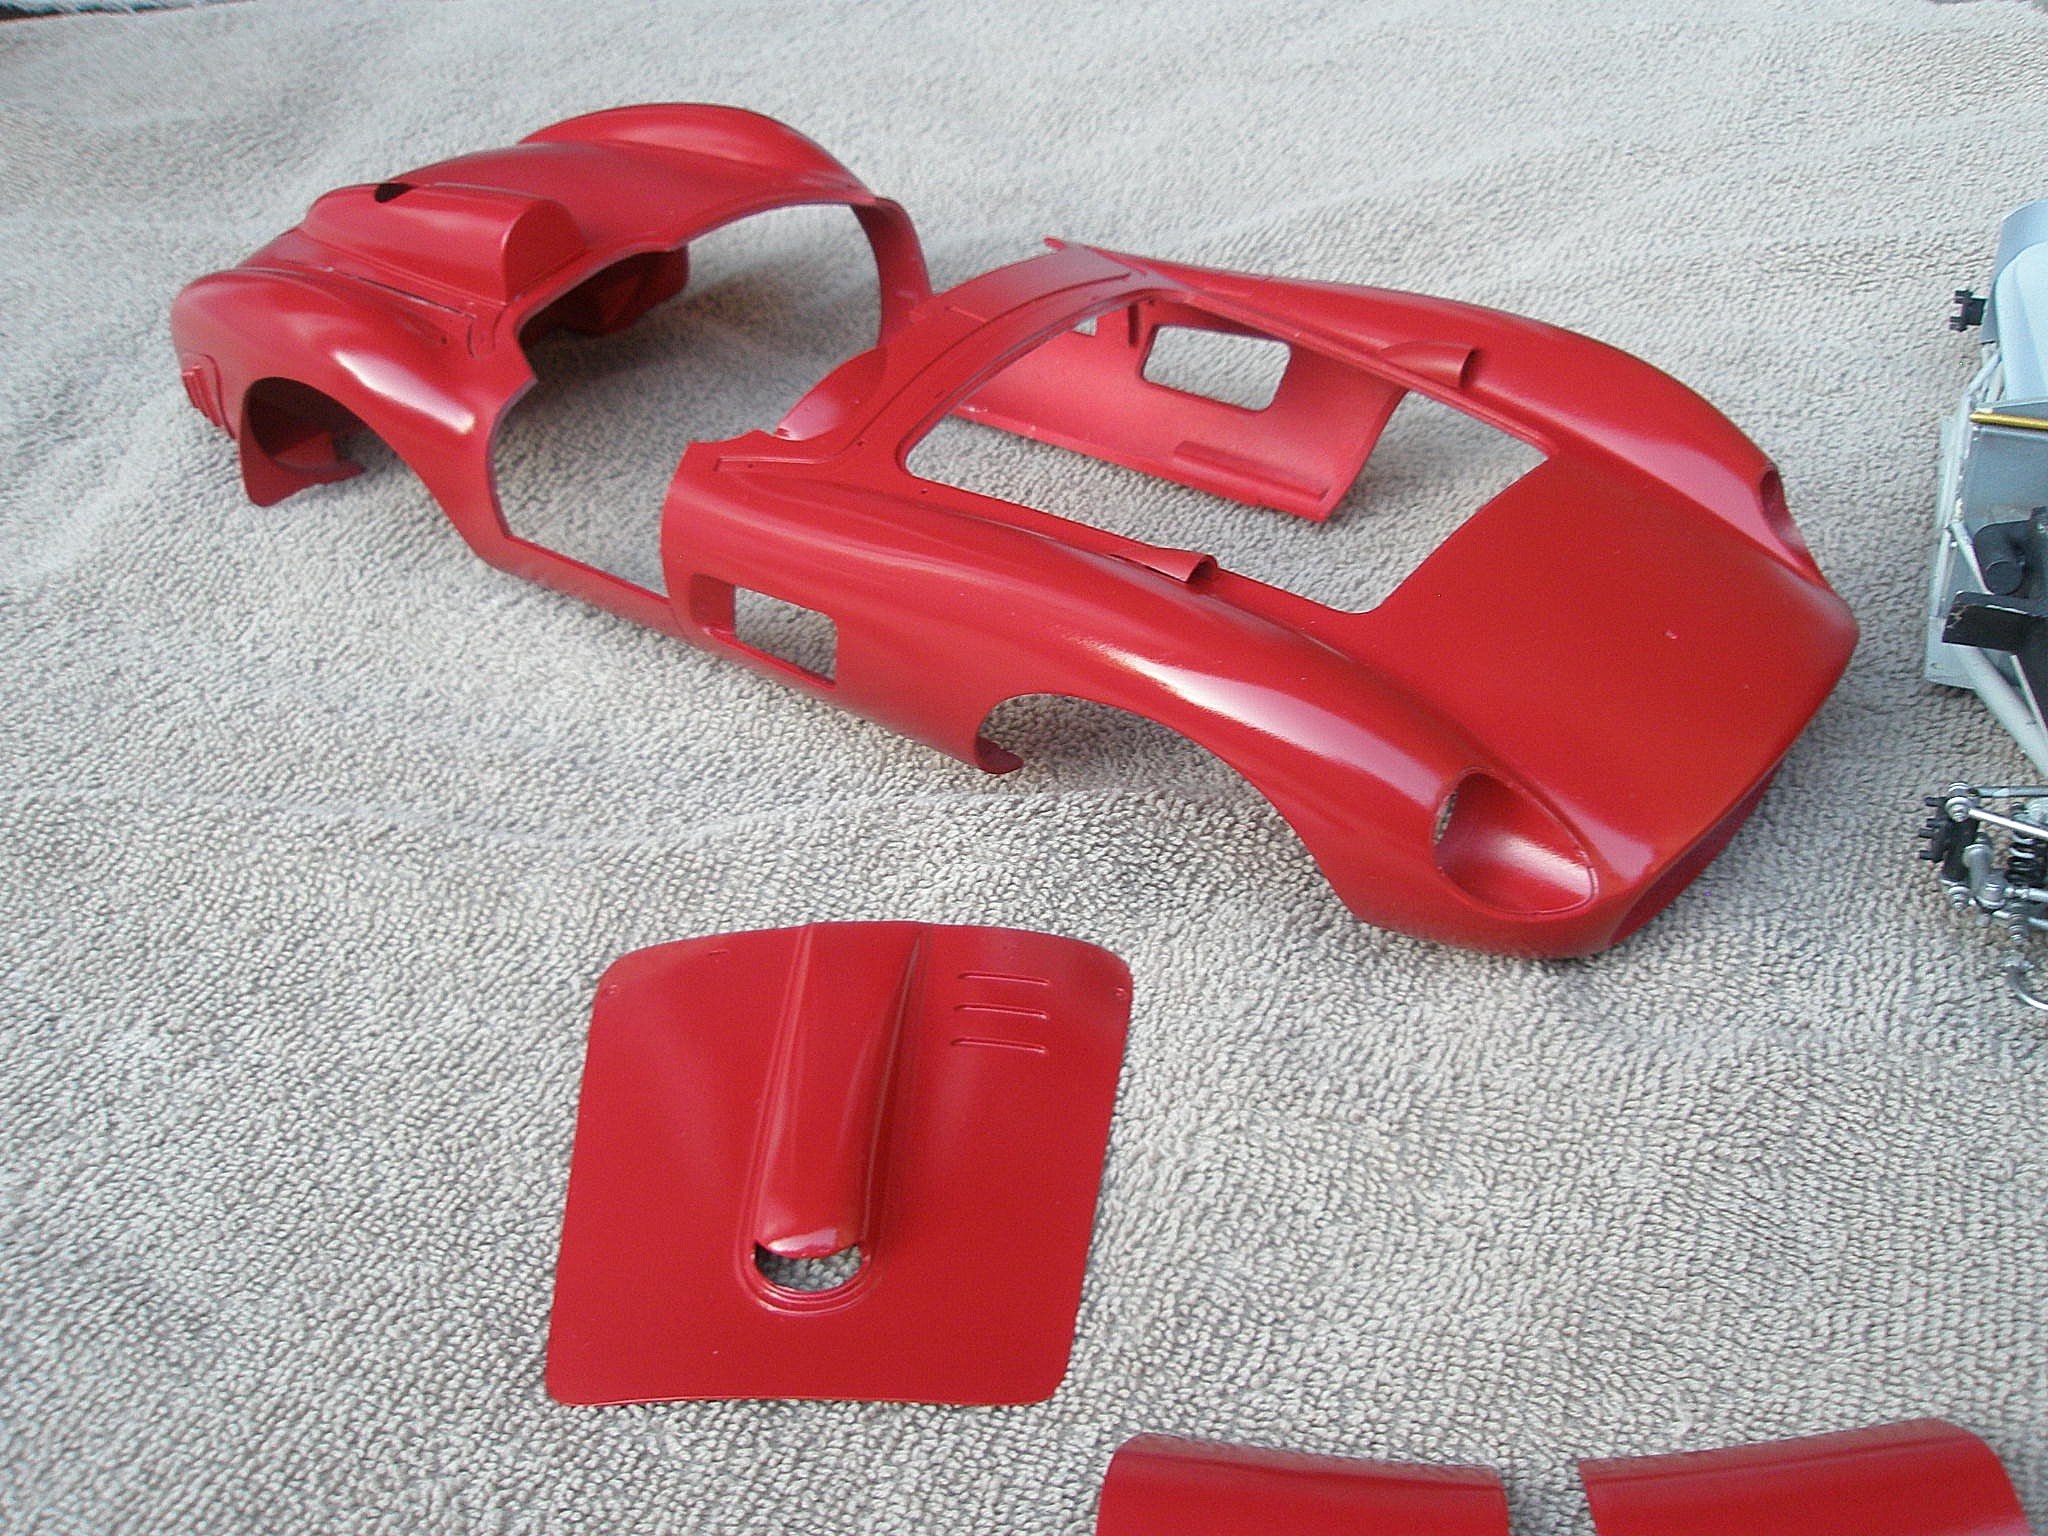
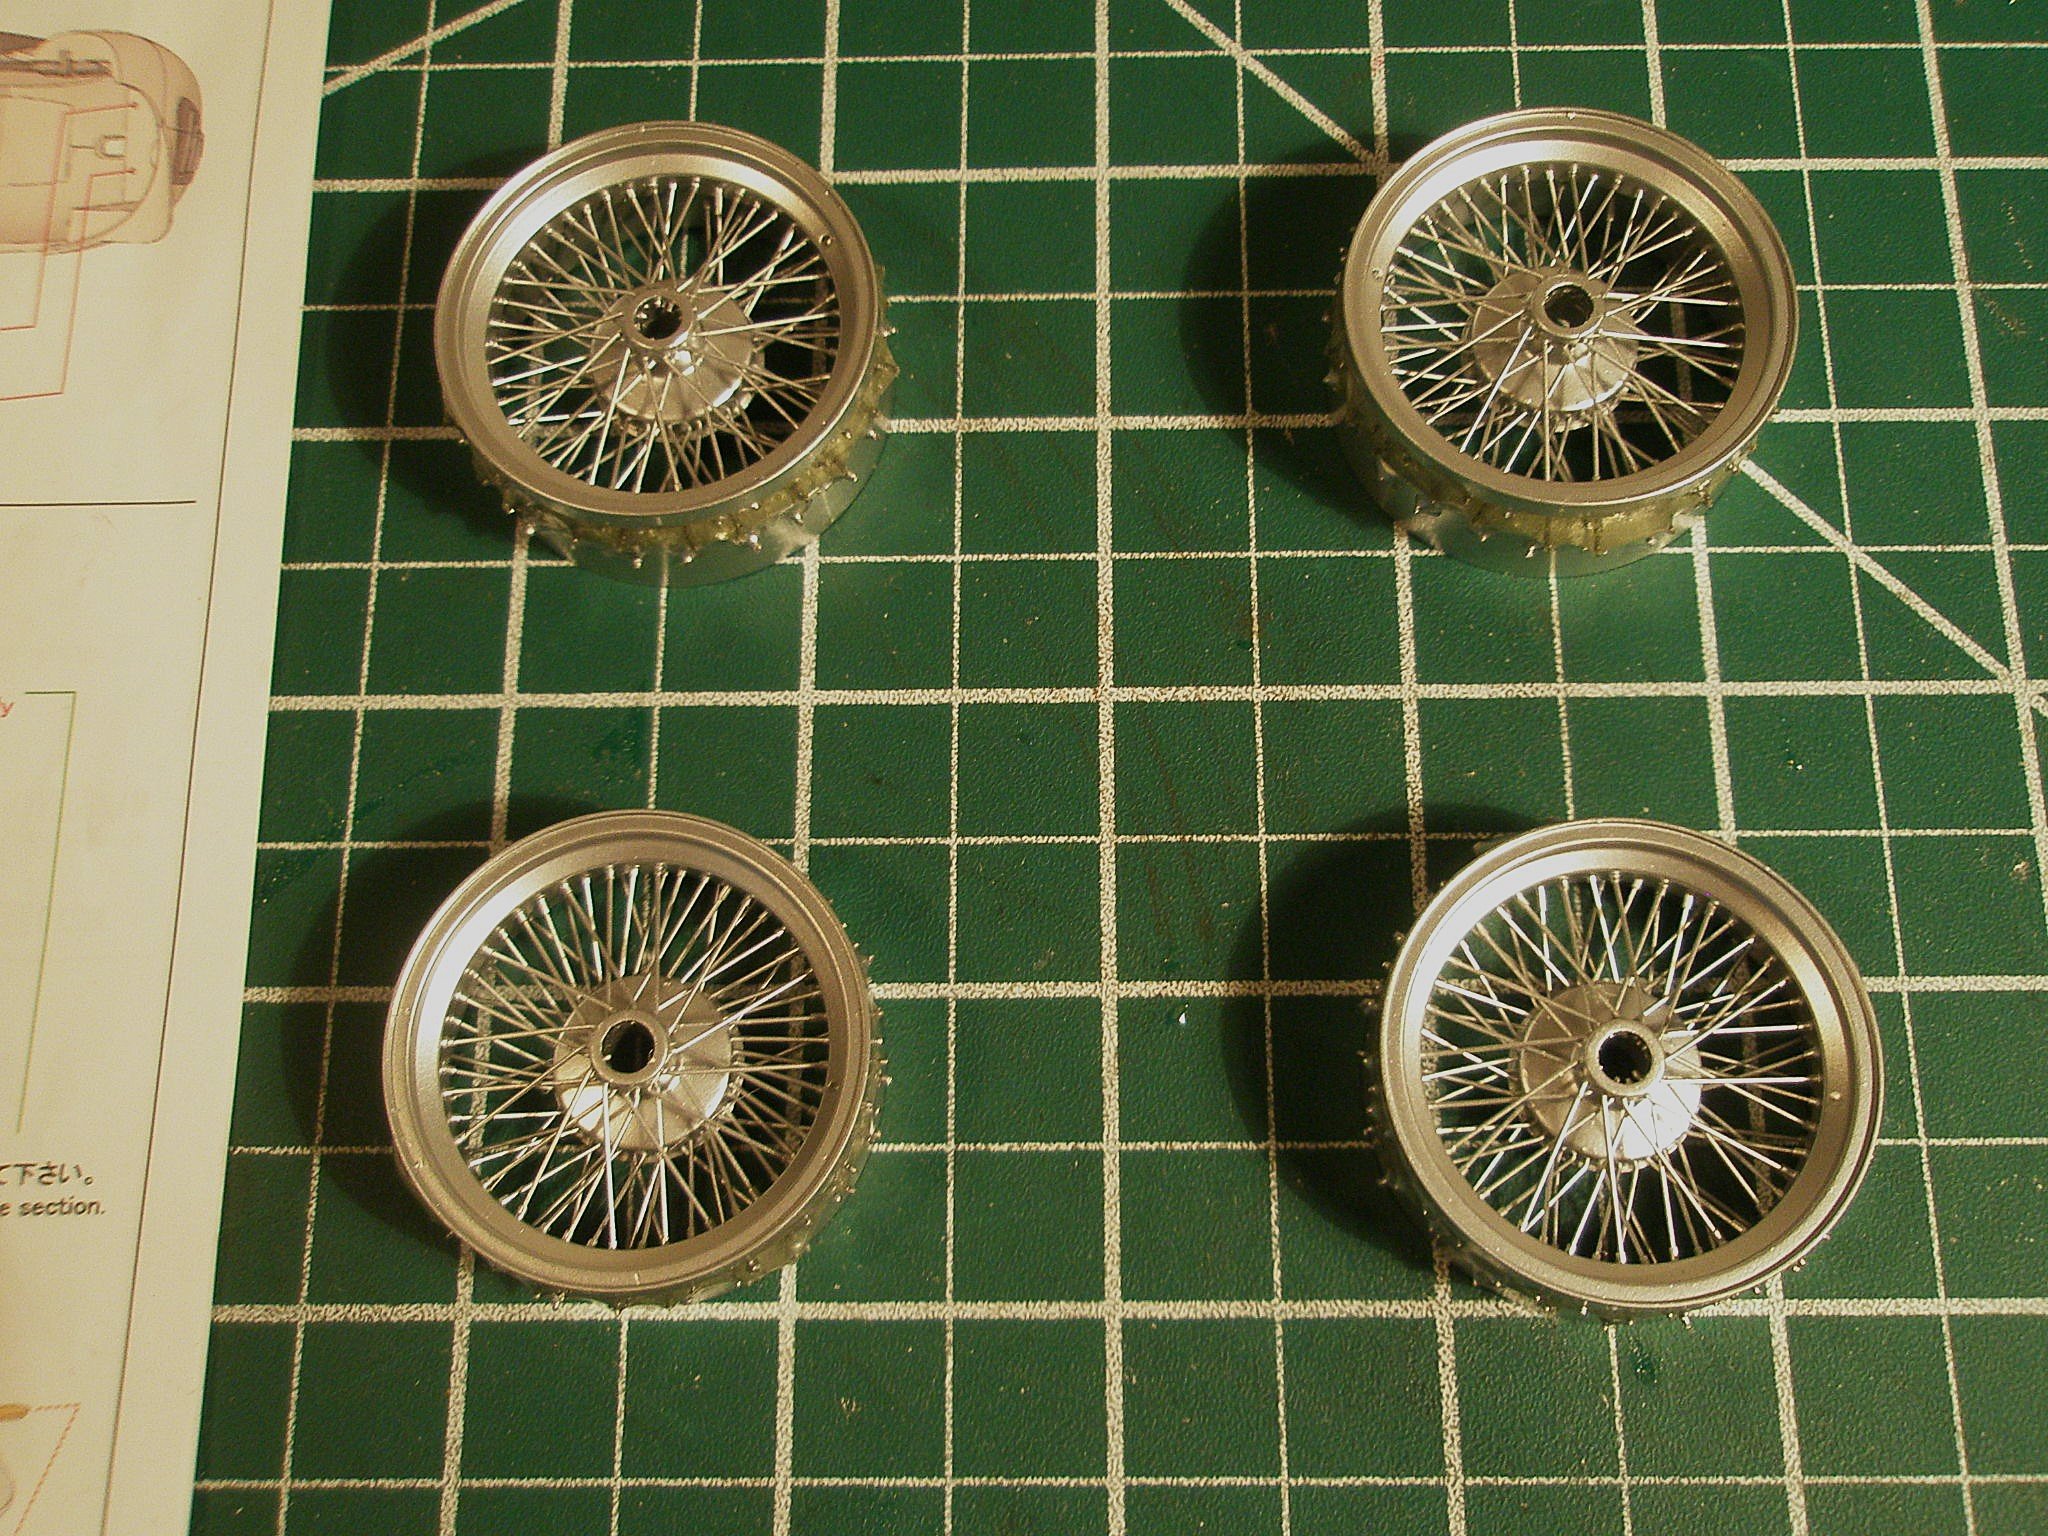
This is my recently acquired 1:12 MFH Ferrari 315S under construction. The model came to me as you see it here, the modeler decided to part out his MFH collection. For the time being, modeling time has been at the back of the list of important things to do while I recover from surgery and my wife and I take care of our baby great granddaughter during weekdays. Will get back in the swing of things, hopefully soon. Here are some photos of what has been done on her so far.


.thumb.jpg.32a4896738365018f986403240b072dc.jpg)


.thumb.jpg.3a7999e412ff97df8c5969cb6543a3ca.jpg)


.thumb.jpg.4725ba0d64350ada4656d5d51333e3f8.jpg)


- 8 replies
-
- 11
-
-
Ferrari 250 GTO by CDW - Model Factory Hiro - 1:12 Scale
CDW replied to CDW's topic in Non-ship/categorised builds
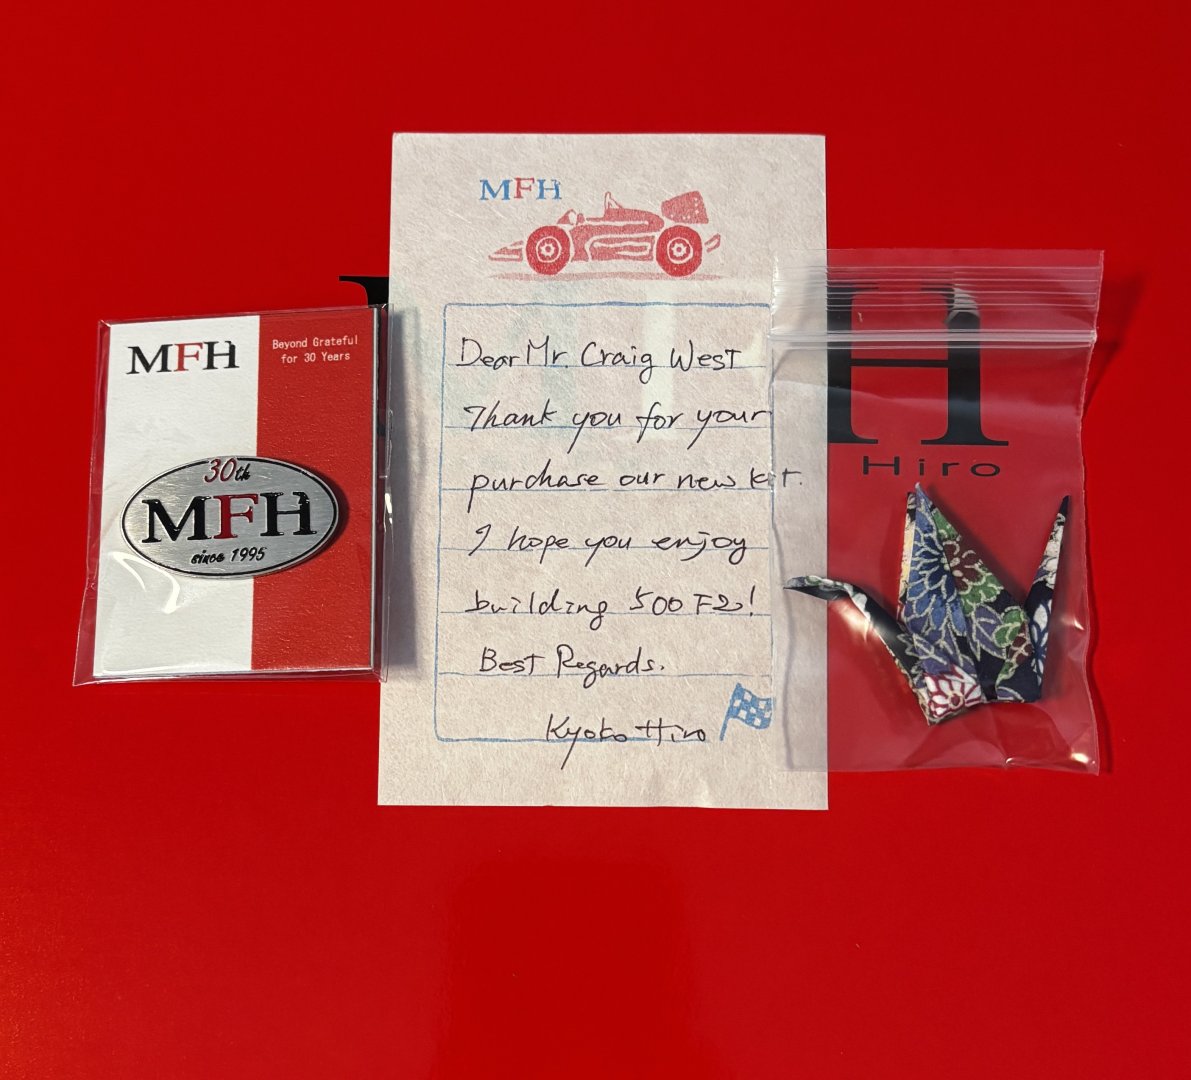
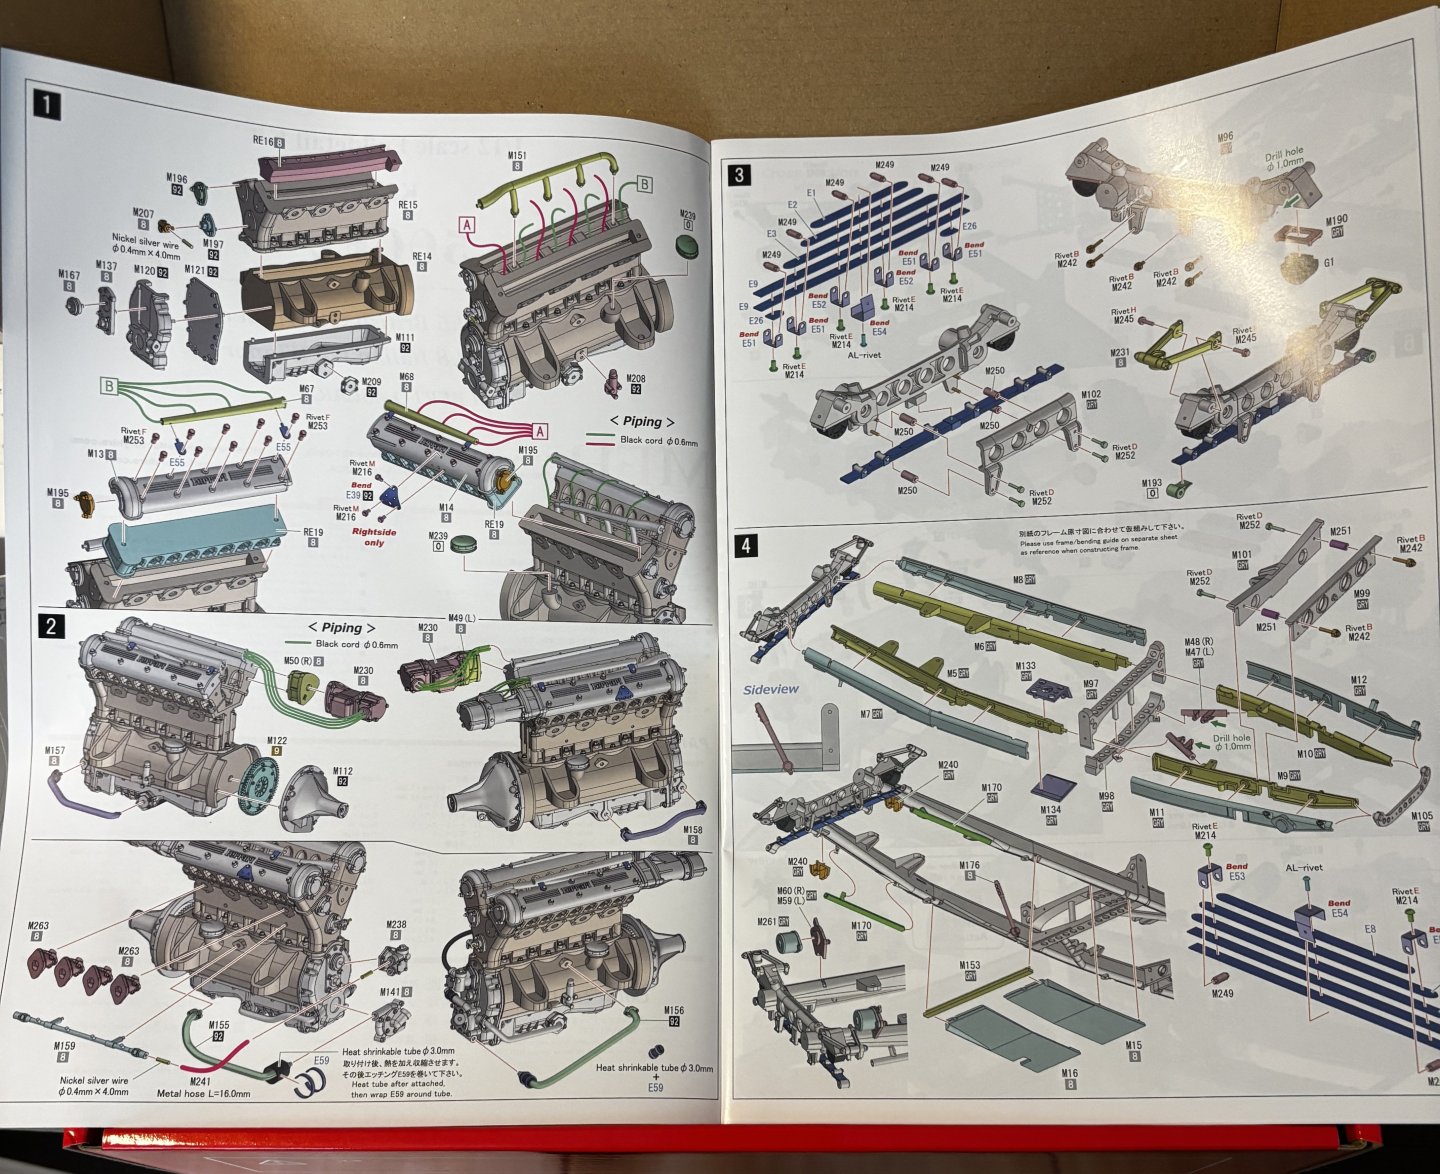
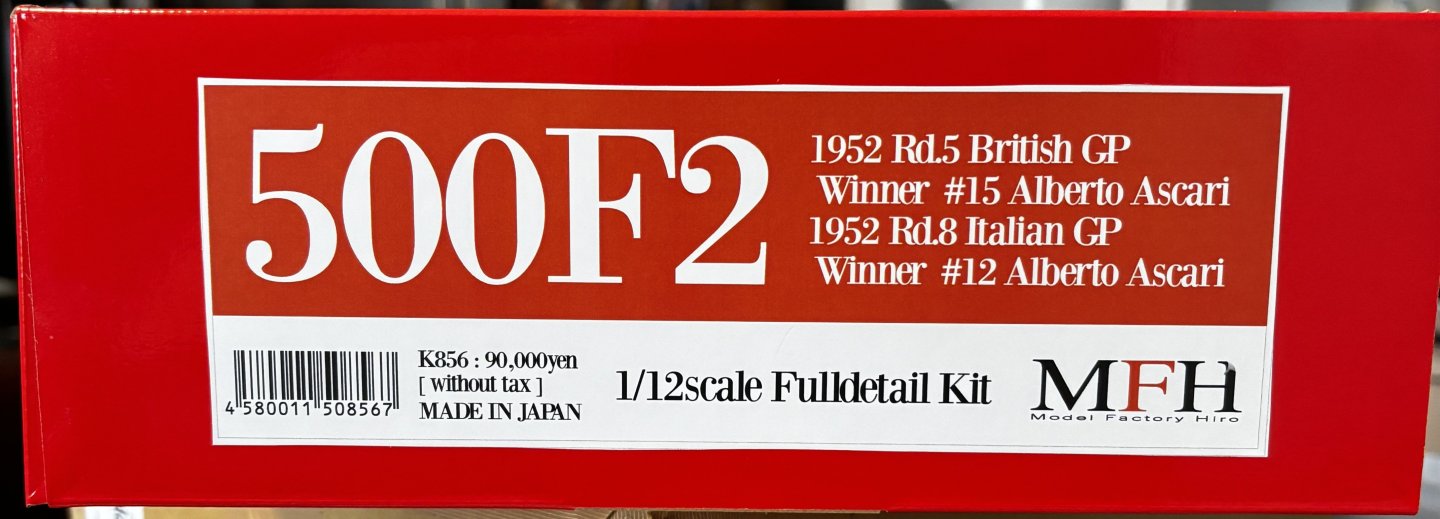
I'm neck deep in 3D resin printing at the moment and haven't contemplated a start date yet. I often read where modelers will say how expensive these kits are when MFH releases another issue, but then as months go by, the price nearly doubles on the open market. The MFH business model keep their product in short supply and frankly, there is nothing much out there that can match the realism of their kits. My newest acquisition is the 1:12 Ferrari 500F.2, just released in August.


-
Ferrari 288 GTO by gsdpic - Fujimi - 1/24 - PLASTIC
CDW replied to gsdpic's topic in Completed non-ship models
You did a masterful job on her, Gary. She looks beautiful in red with that black trim. -
A truly gorgeous model, Rob. Superb in every way.


.jpg.8f237ee65a9797e280e98d5dad9143be.jpg)


.jpg.91f400661f916463ed44c2f4a122327a.jpg)


.jpg.5cf166c0263a318cb6f8143075146528.jpg)