HOLIDAY DONATION DRIVE - SUPPORT MSW - DO YOUR PART TO KEEP THIS GREAT FORUM GOING! (Only 13 donations so far - C'mon guys!)
×

CDW
-
Posts
7,743 -
Joined
-
Last visited
Content Type
Profiles
Forums
Gallery
Events
Everything posted by CDW
-
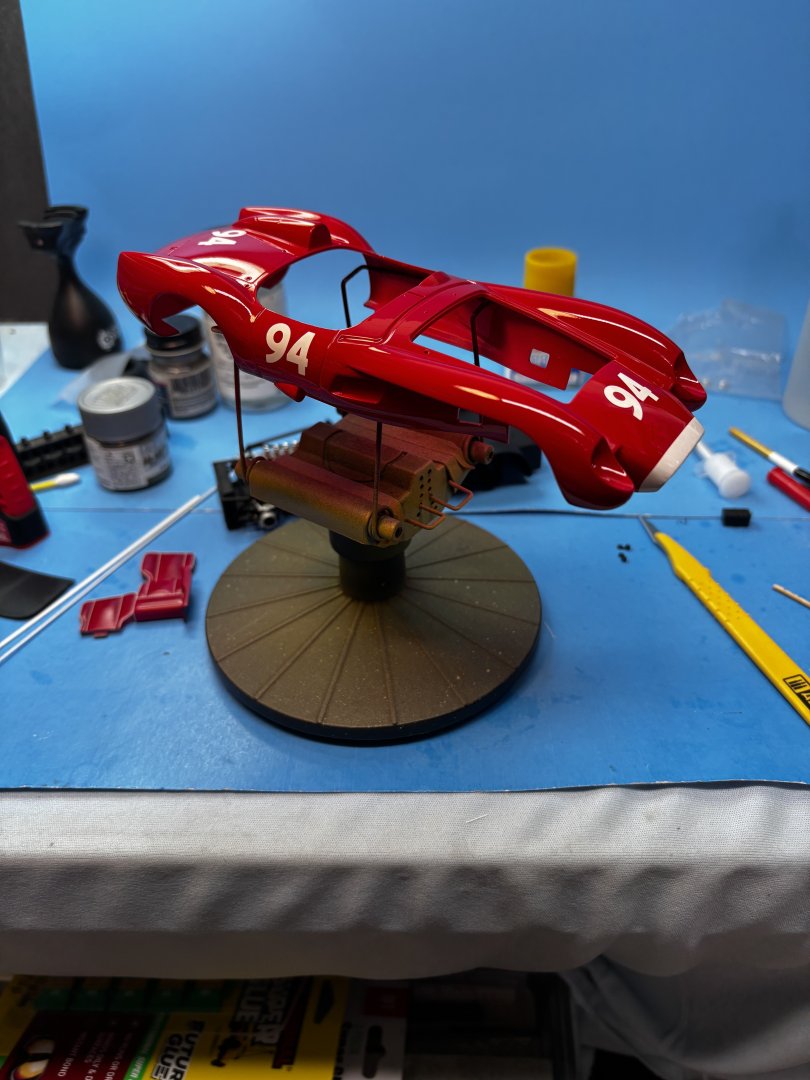
 I might rethink and use Alclad instead of Chrom. Polished aluminum may look better than chrome.
 -
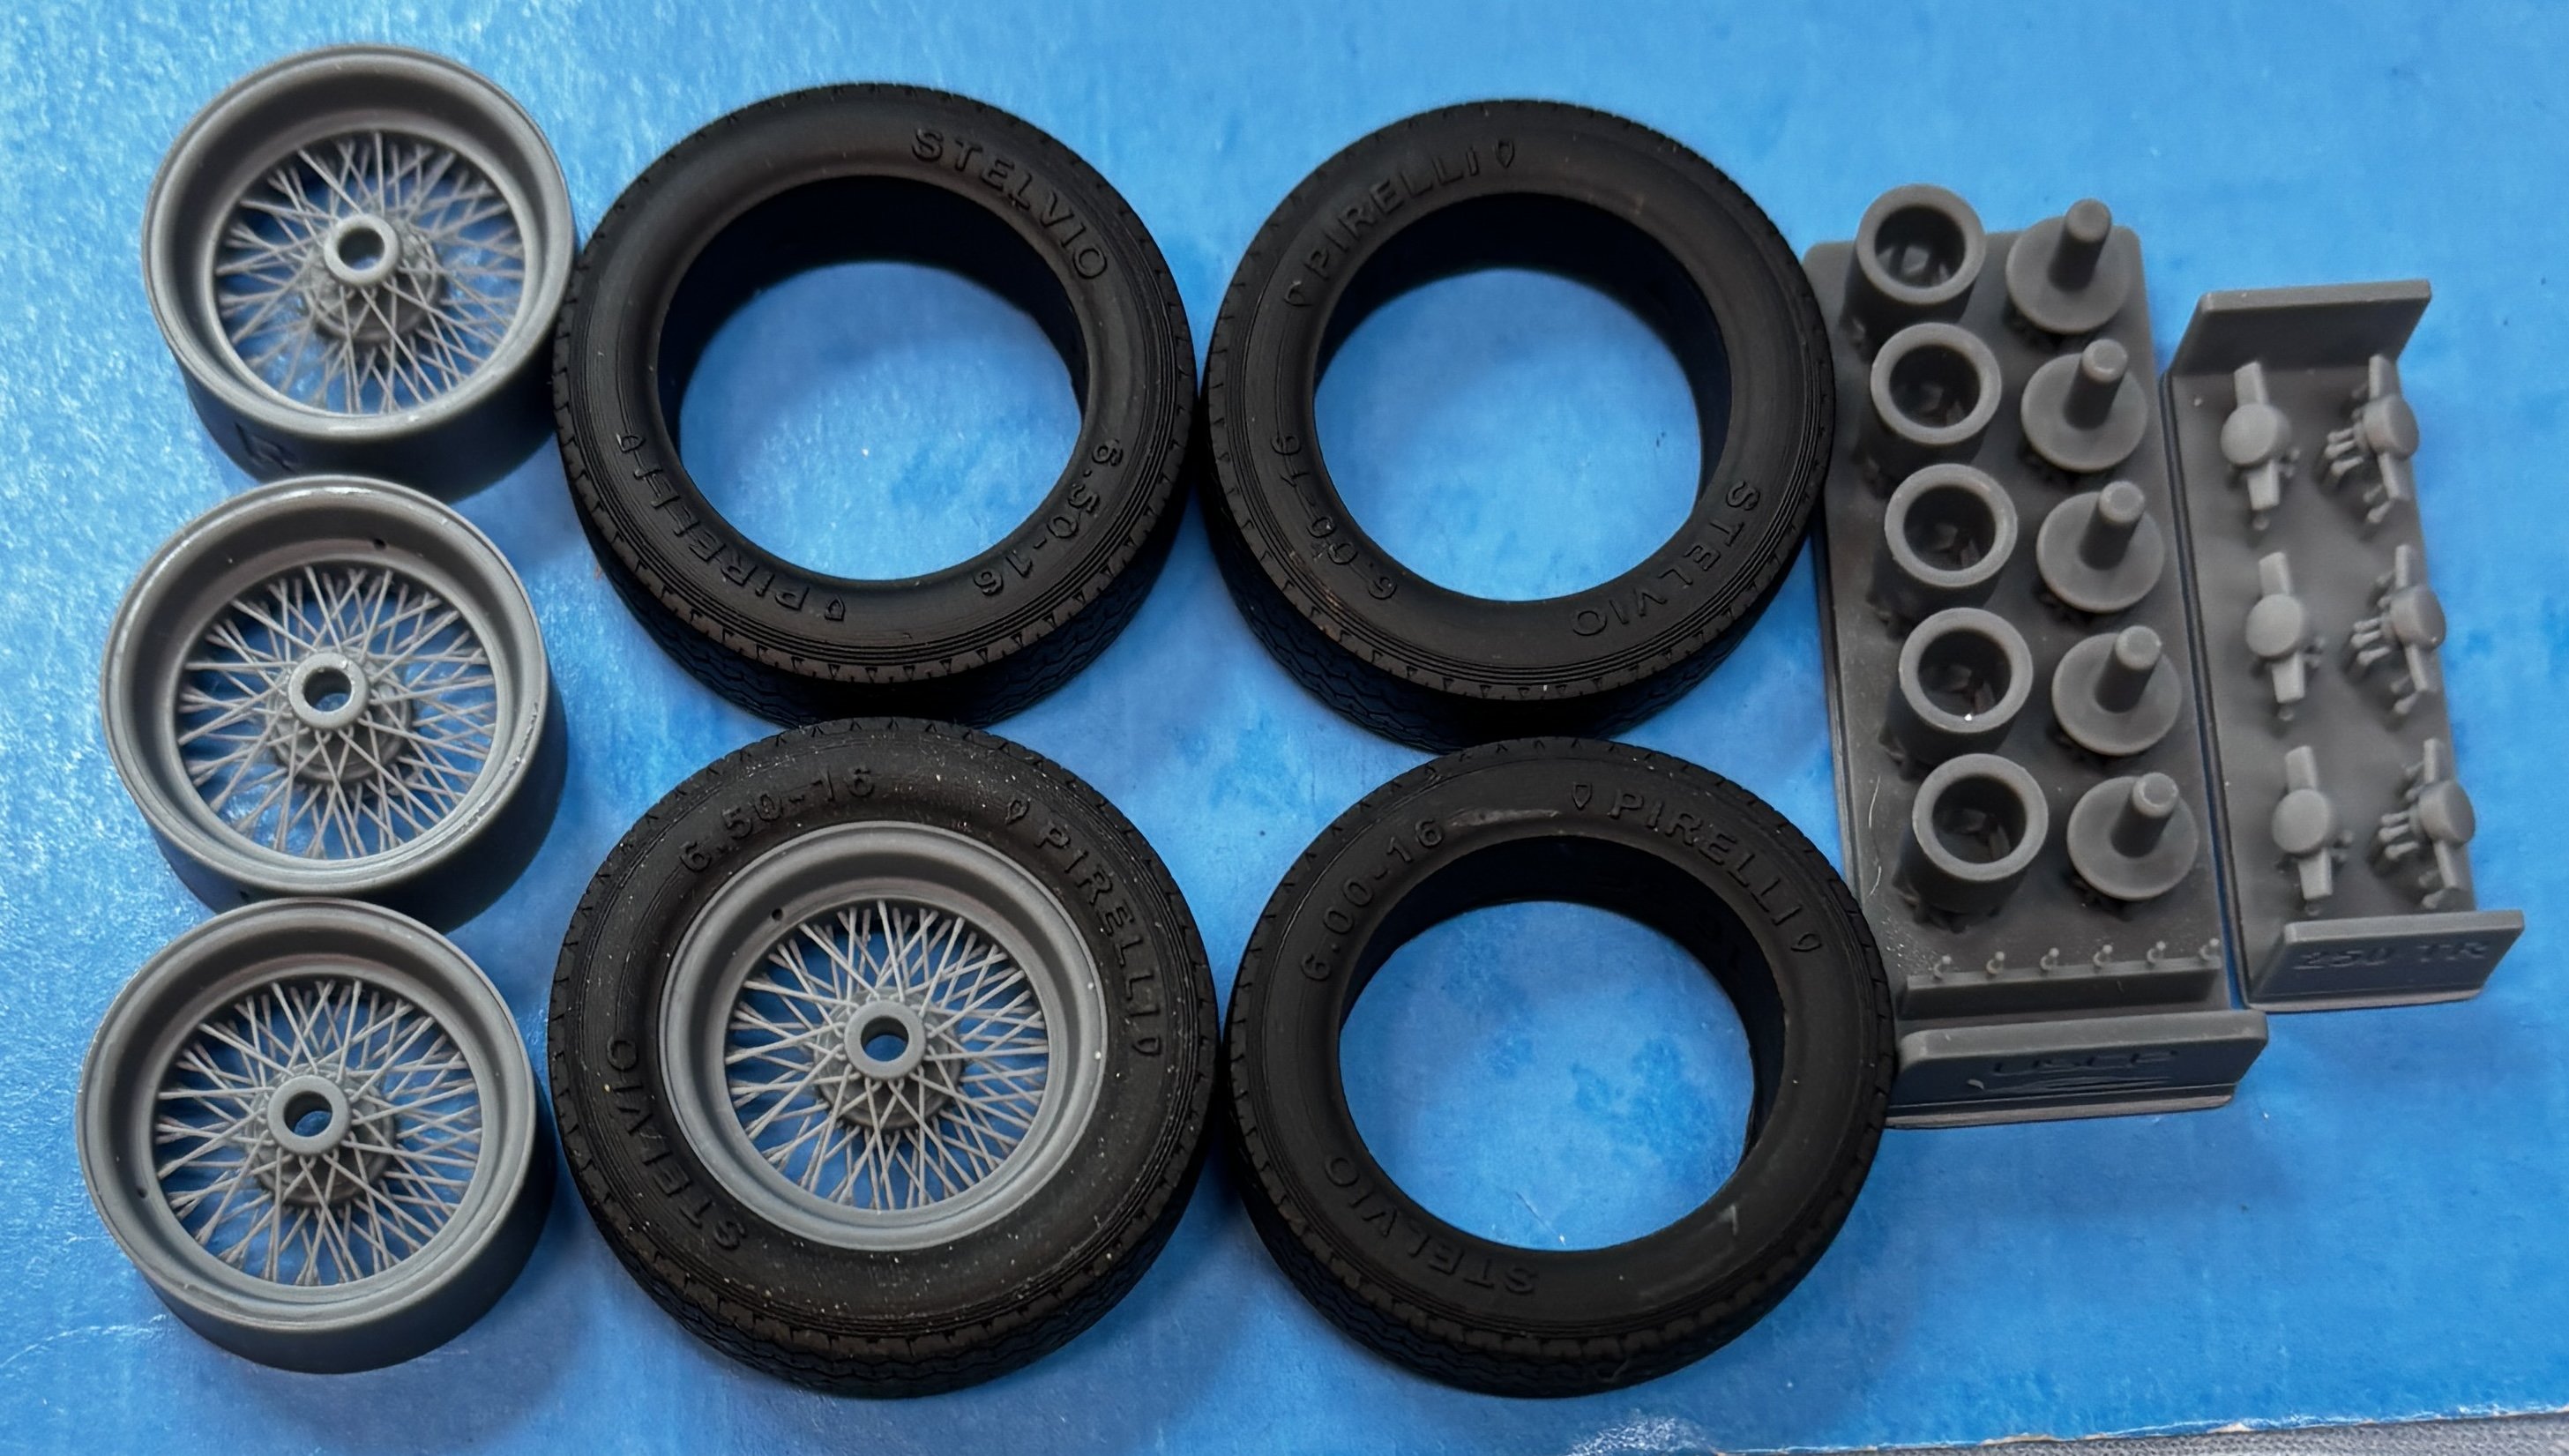
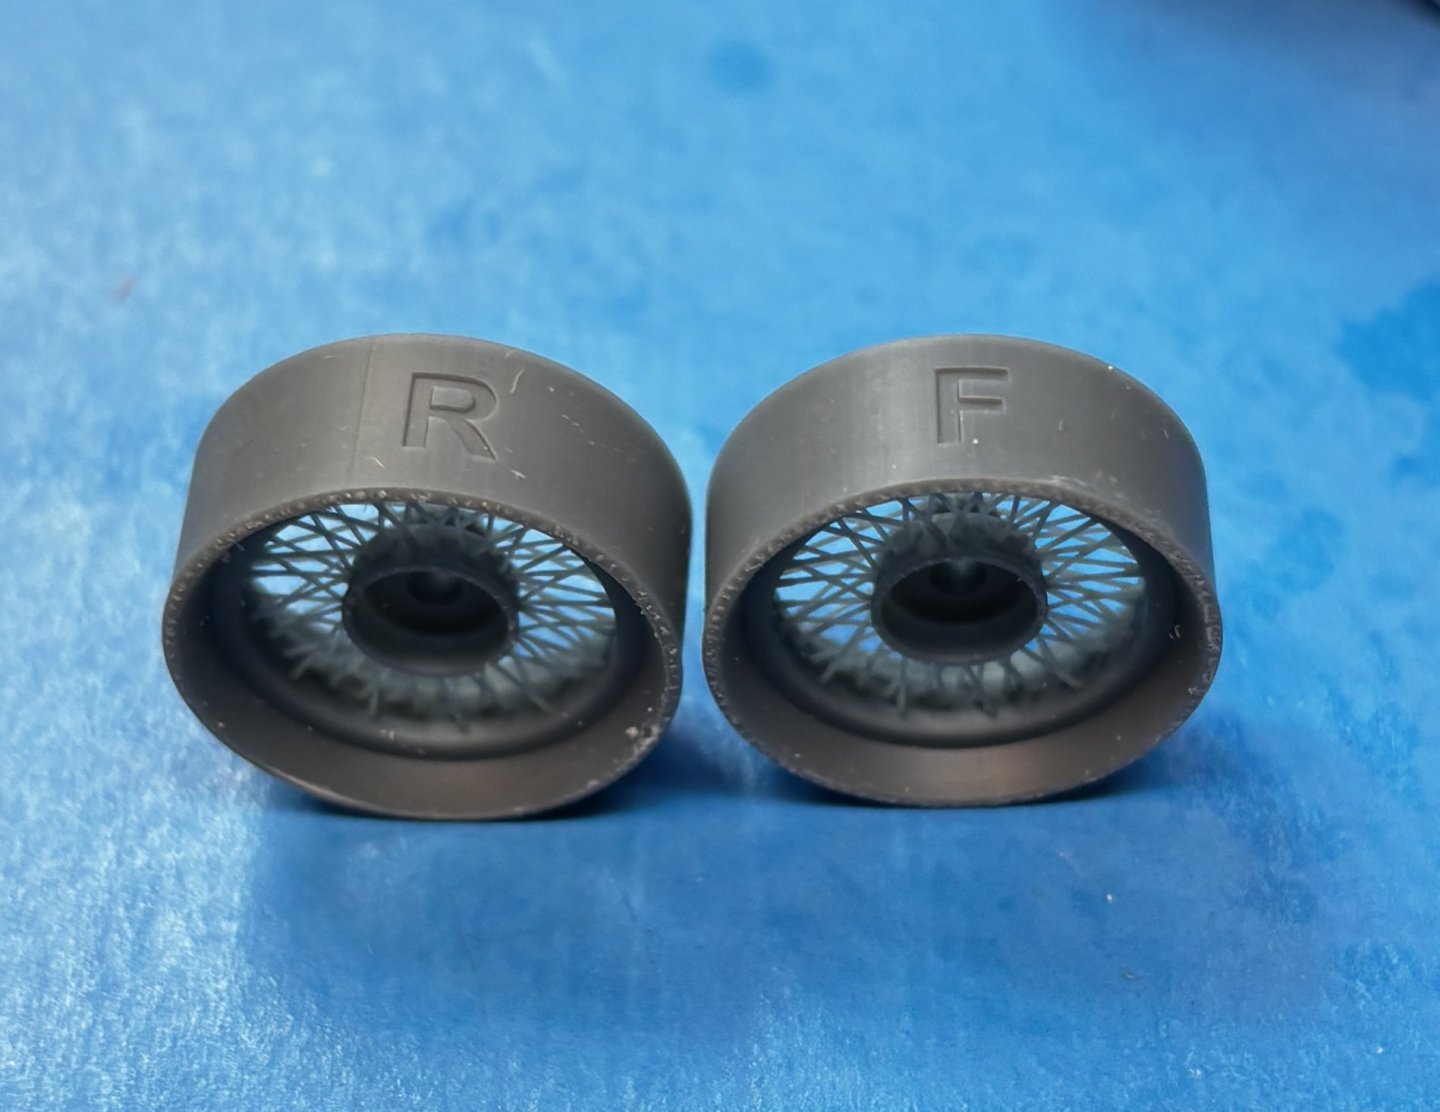
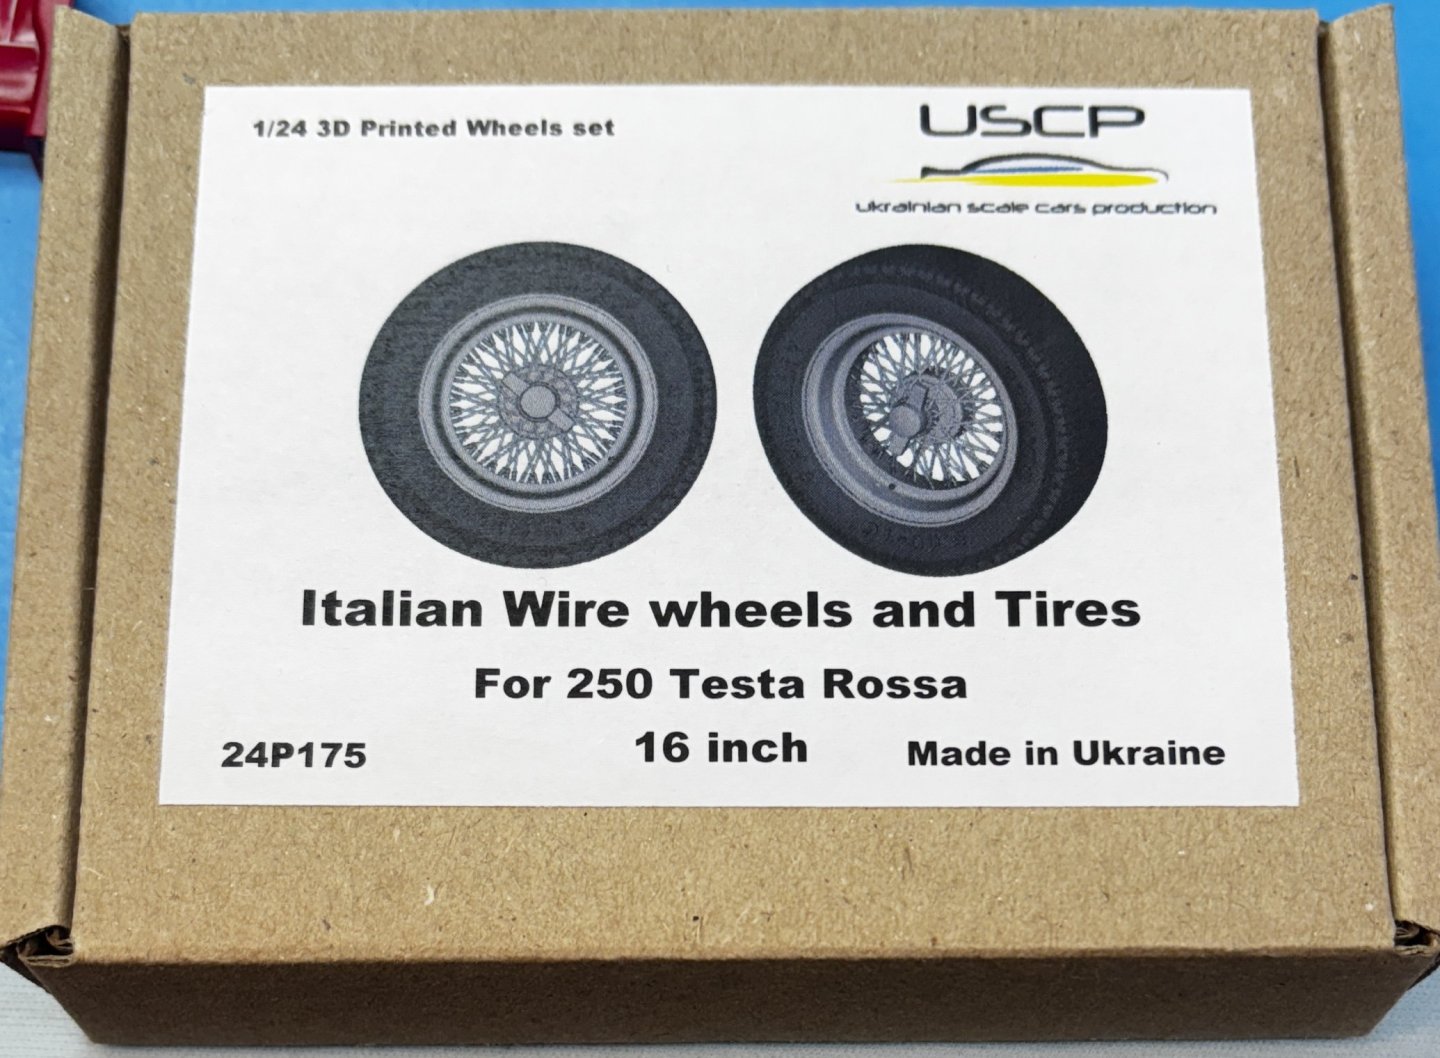
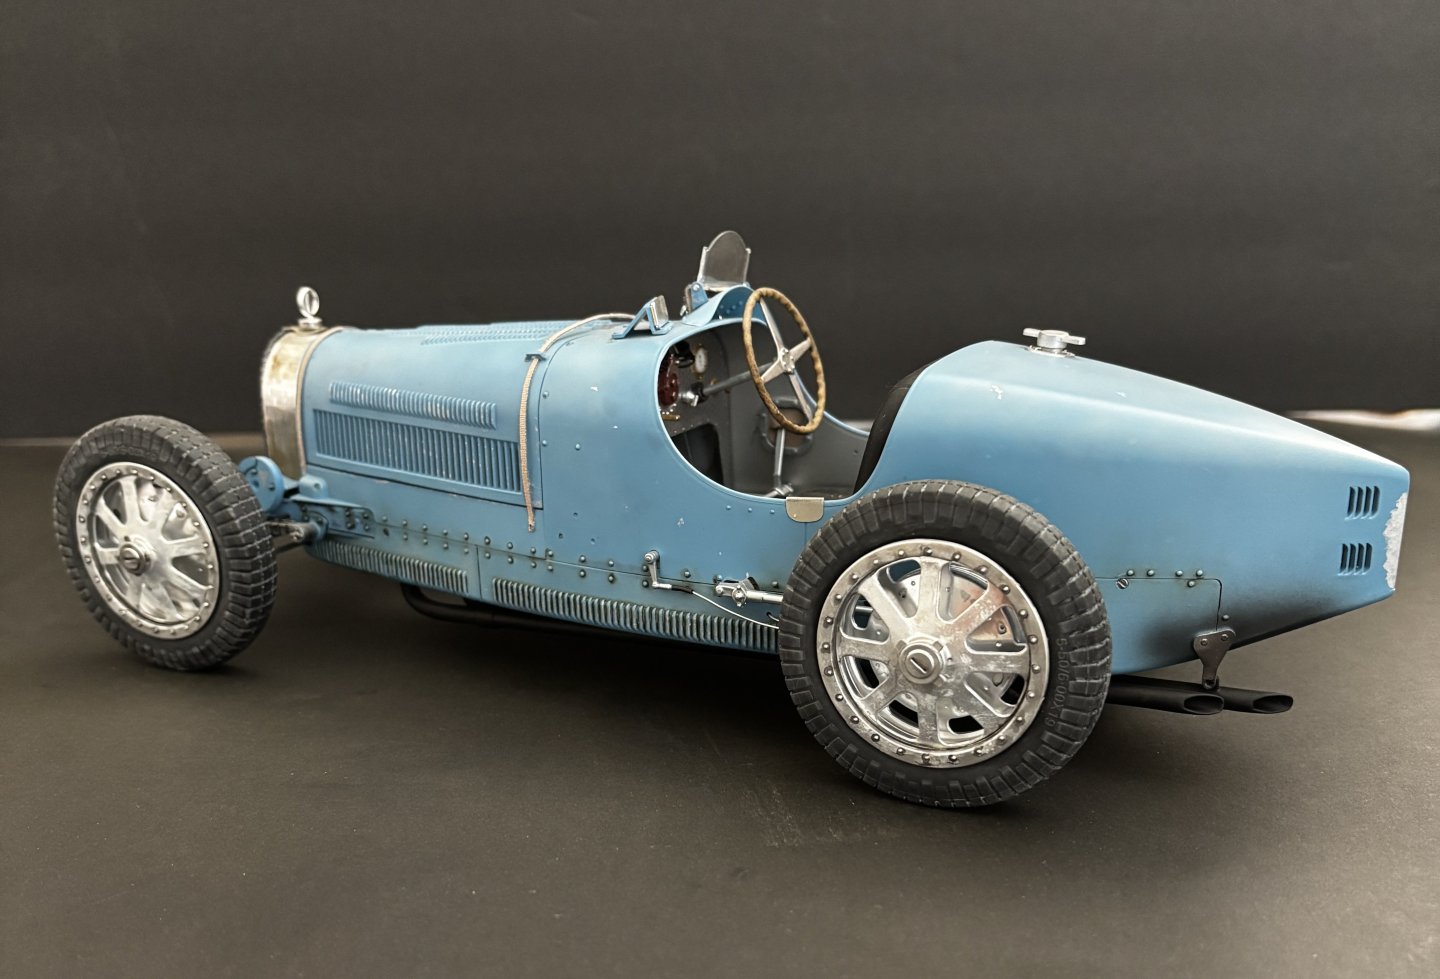
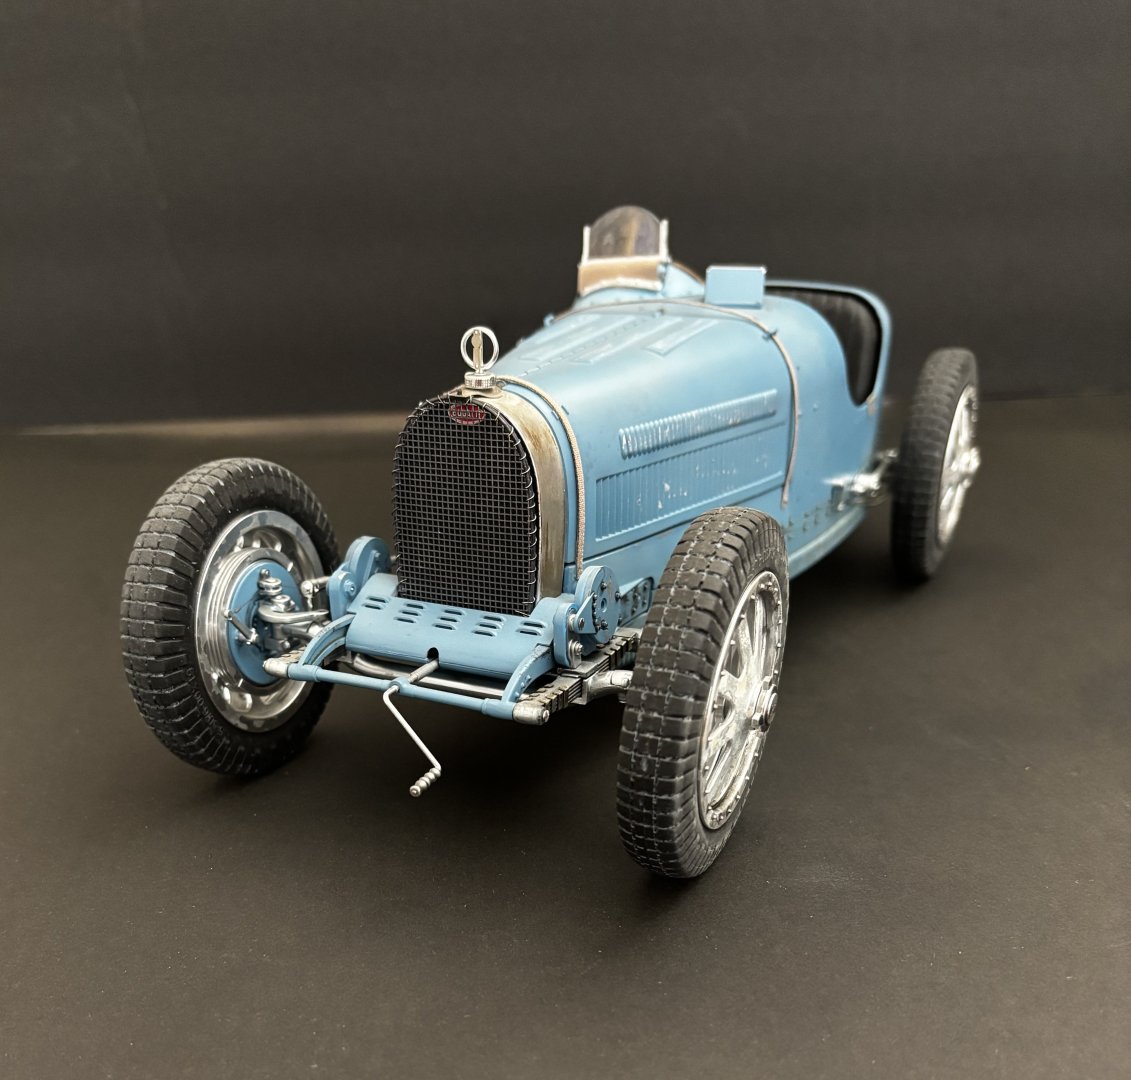
An interesting note about the wheels and tires; the wheels are labeled front and rear, the tires are 6.00 - 16 (front) and 6.50 - 16 (rear). That slight difference in size, front and rear) is reflected in the parts.
- 73 replies
-
- 10
-

-
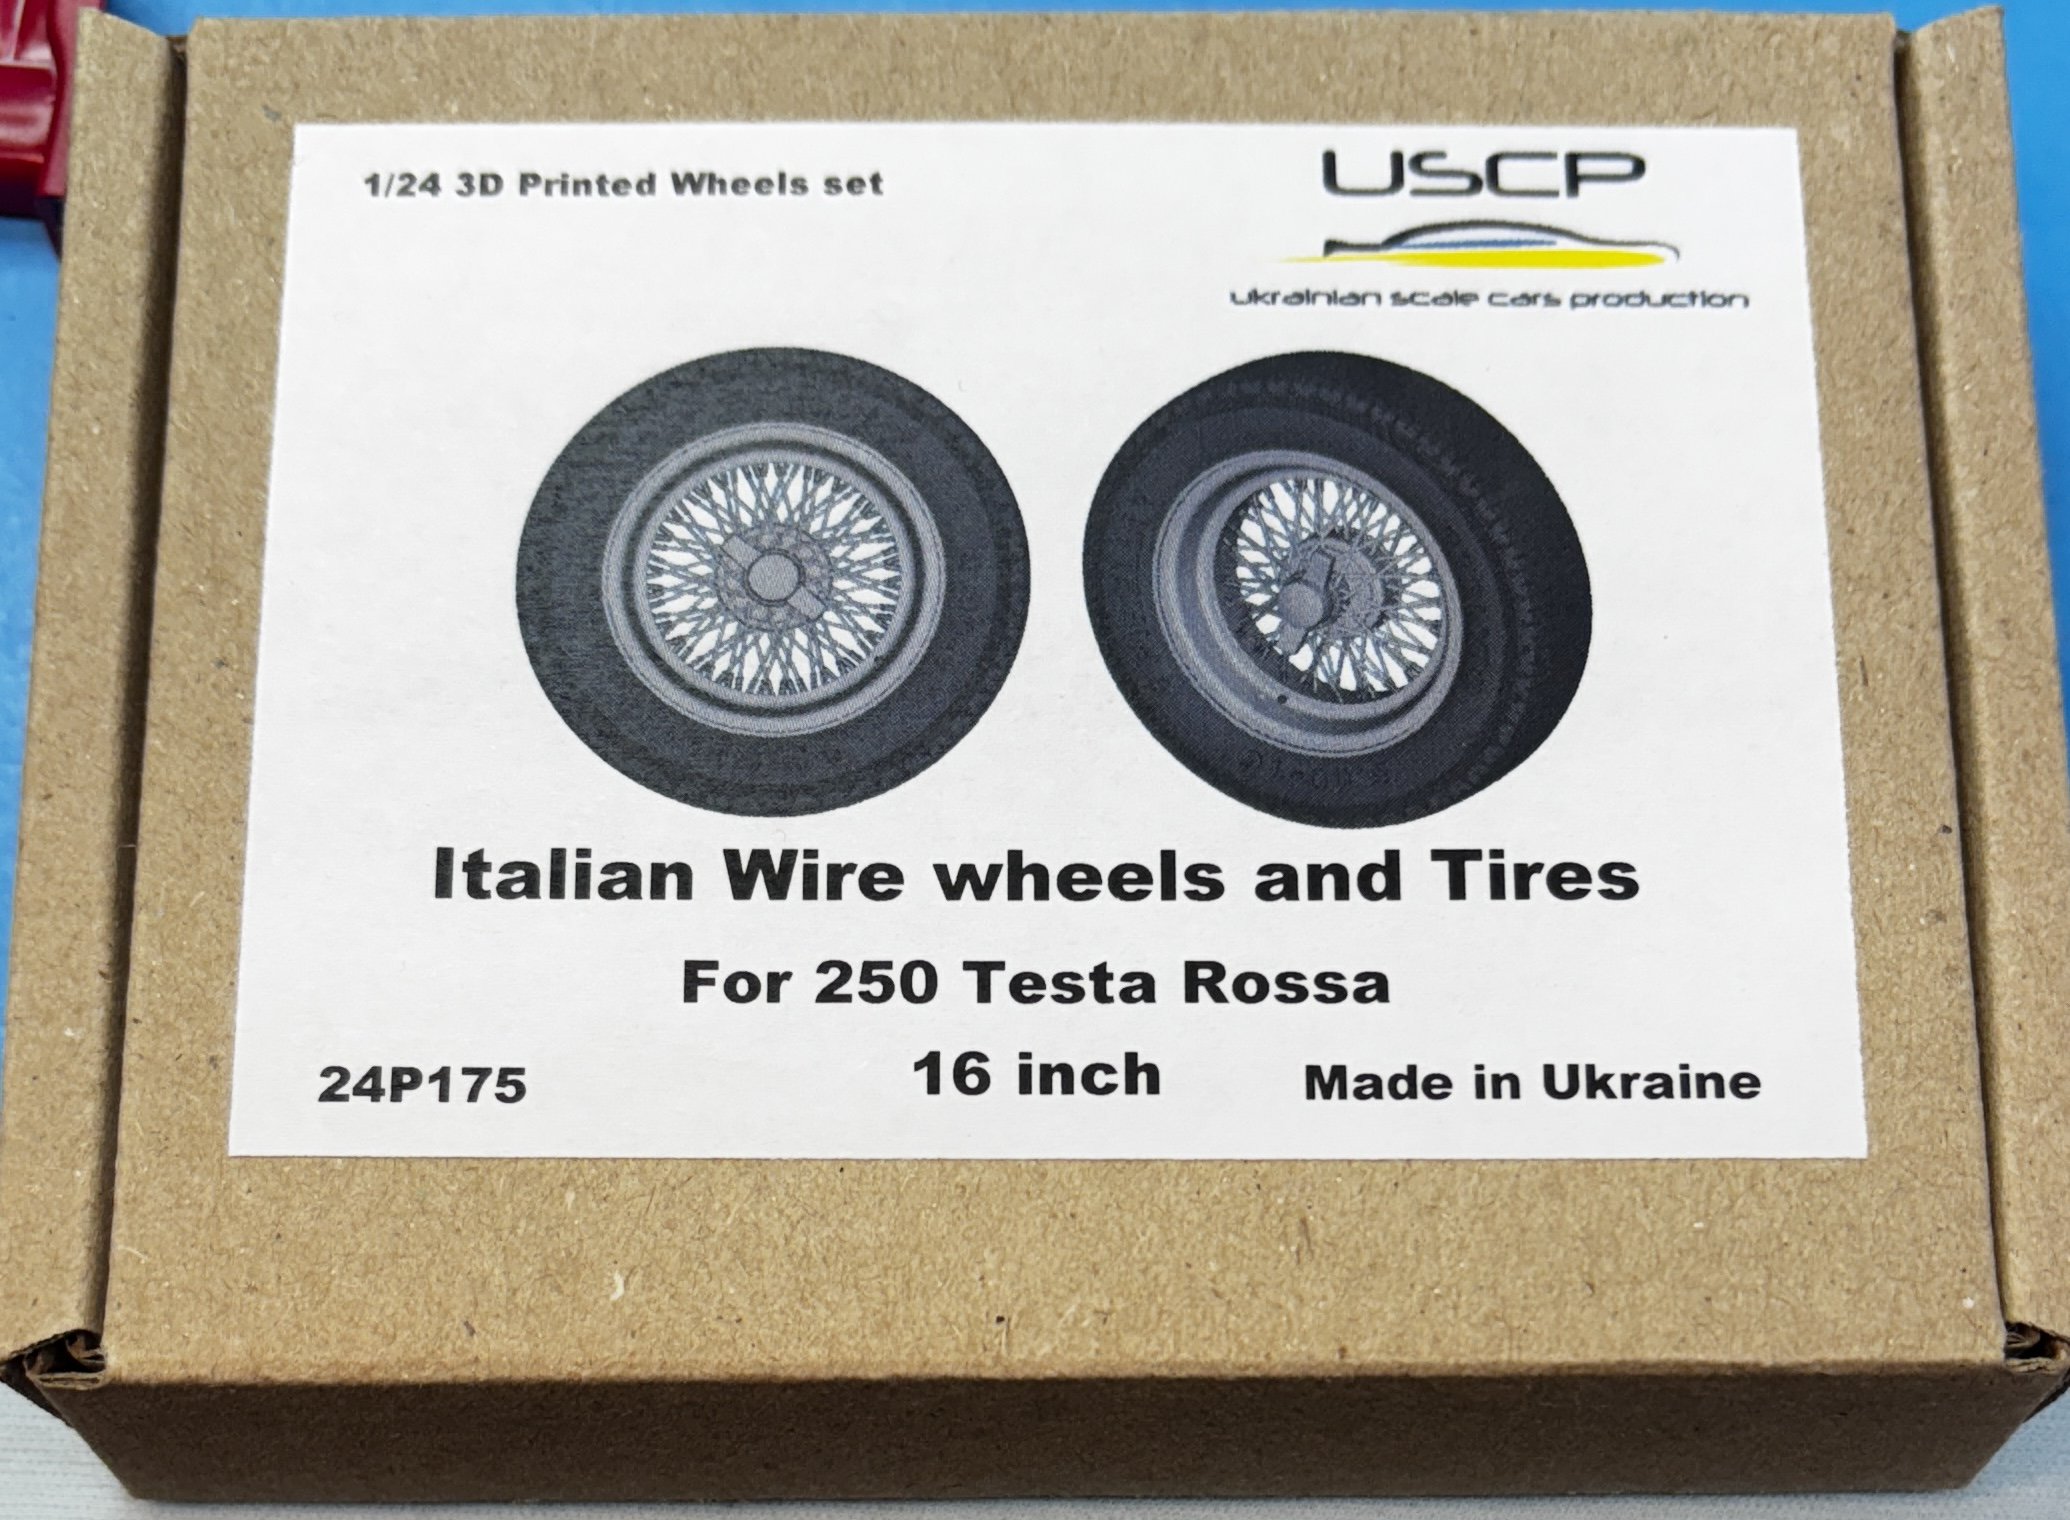
A set of period-correct wheels and tires for the Testa Rossa. Tires are branded Pirelli Stelvio 6.00 - 16. Will paint the wheels with Revell Chrom spray.

- 73 replies
-
- 11
-

-
-
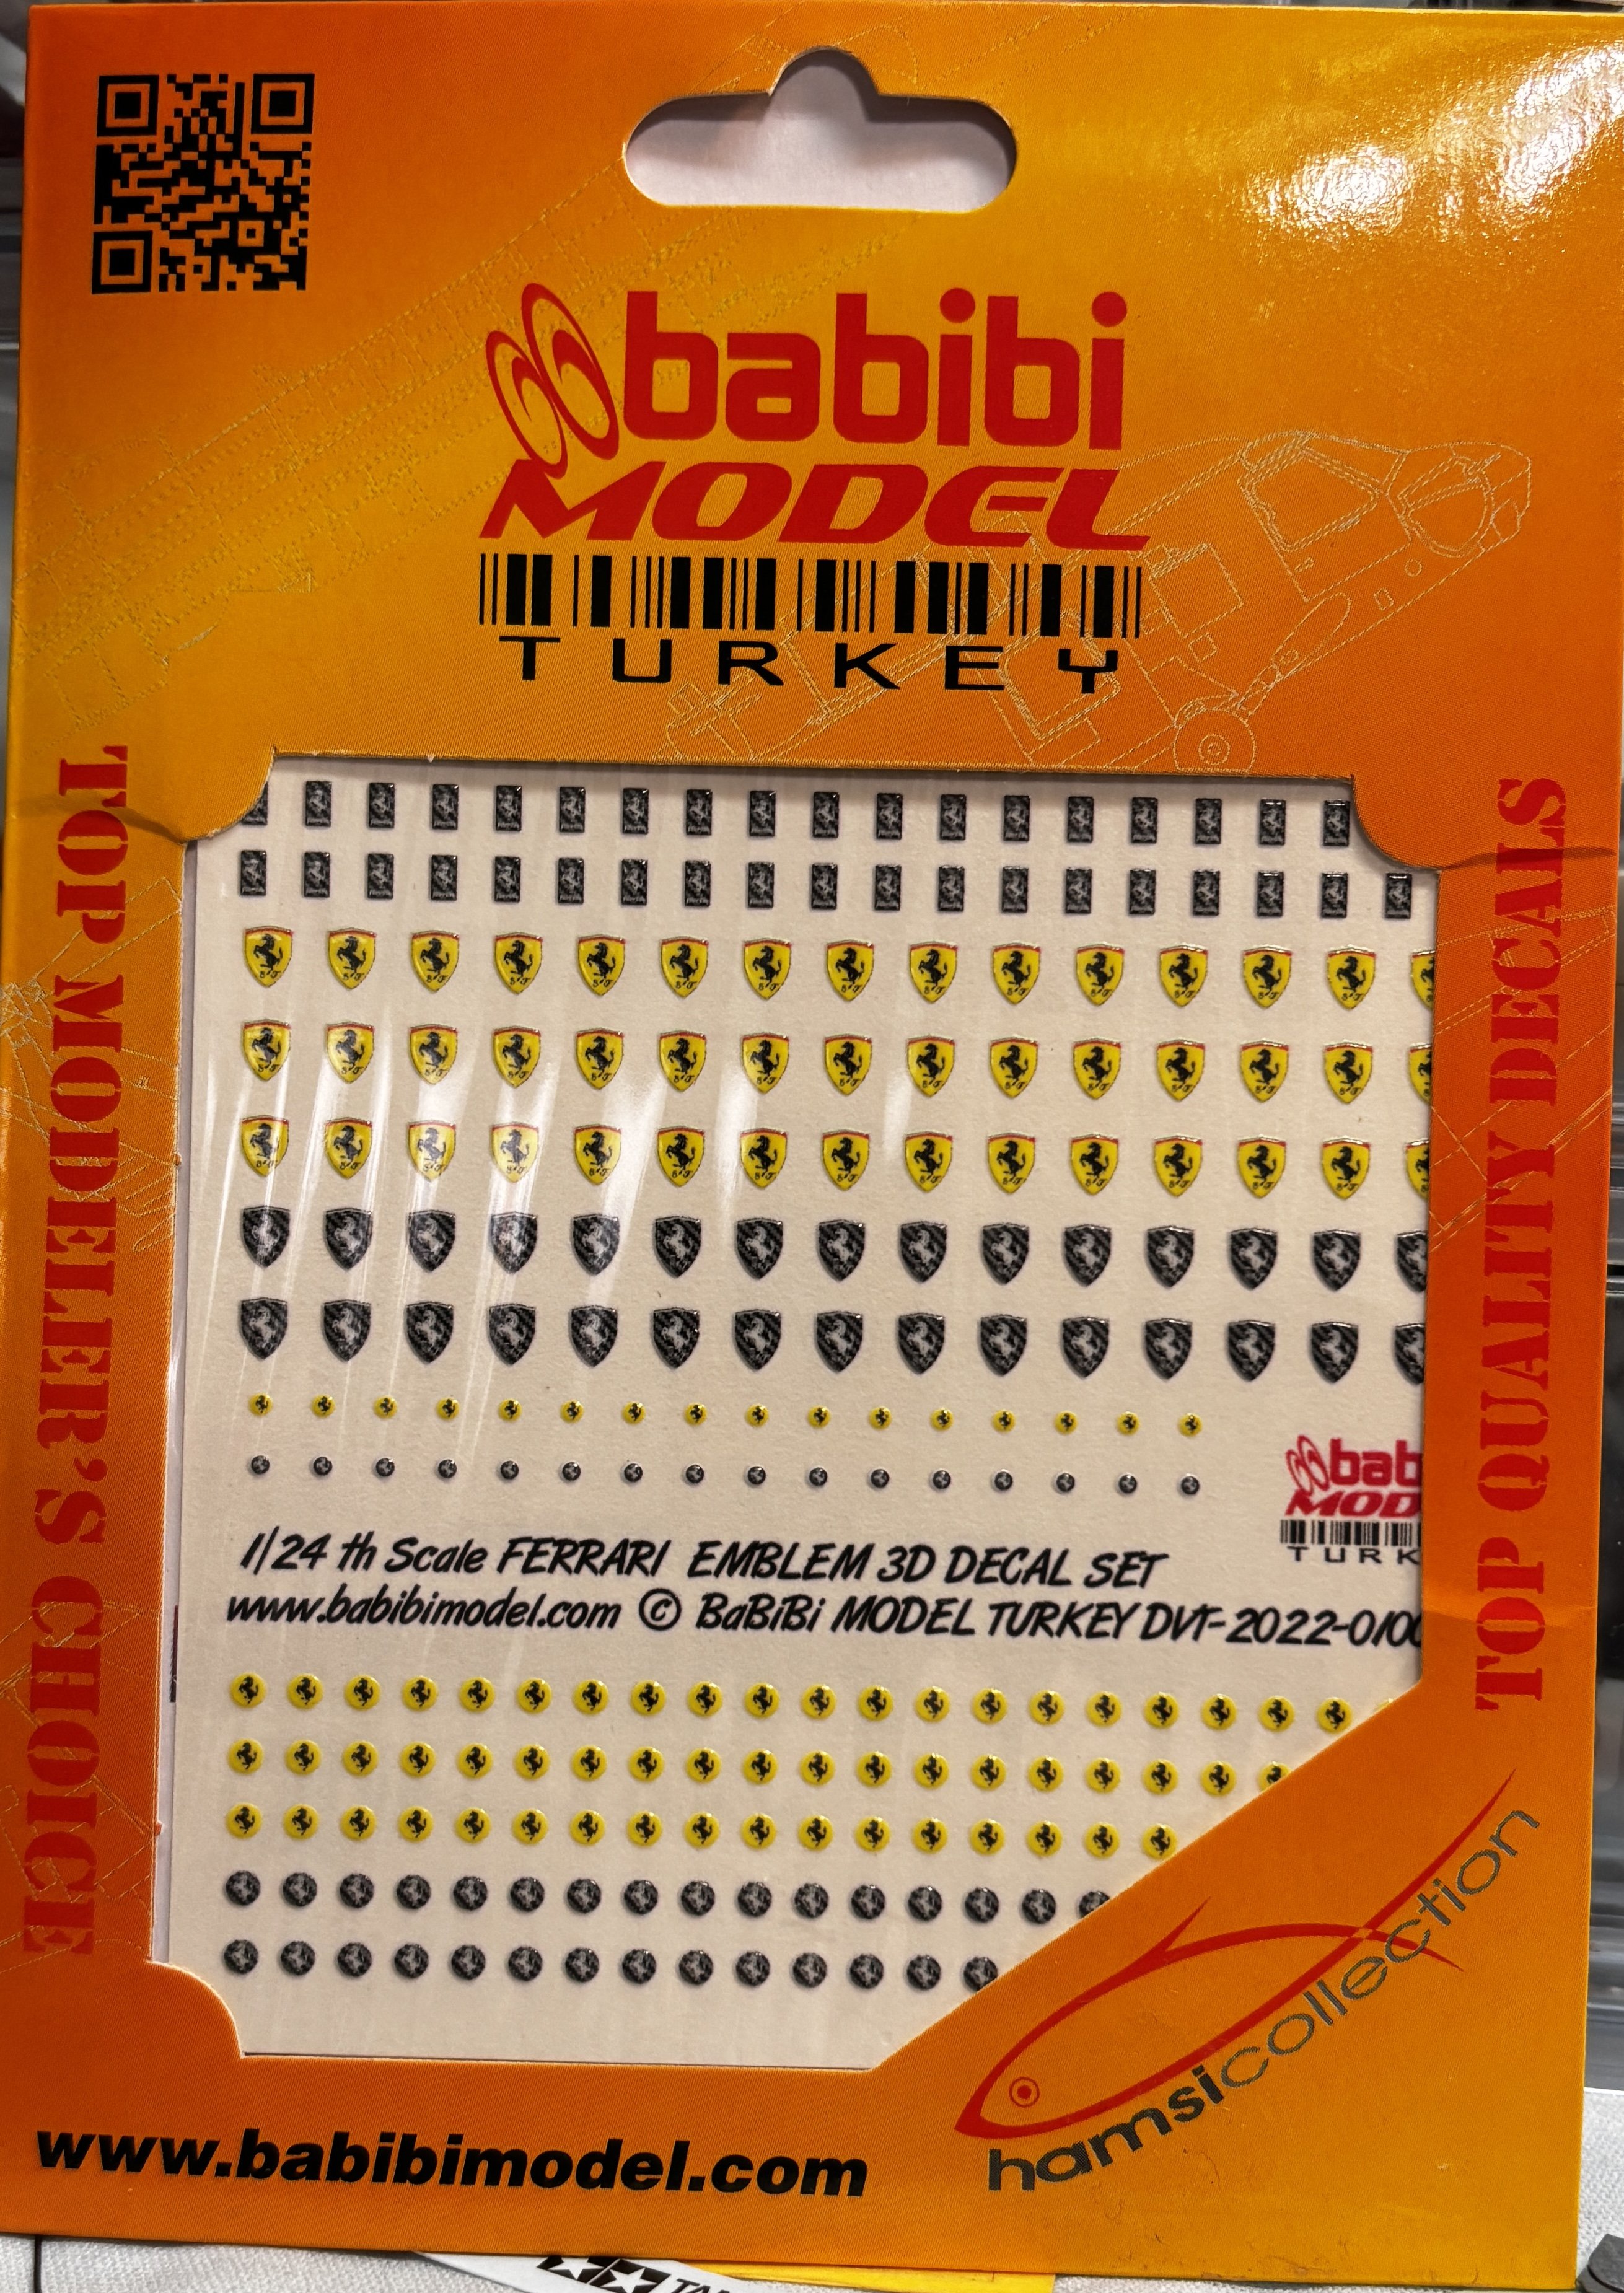
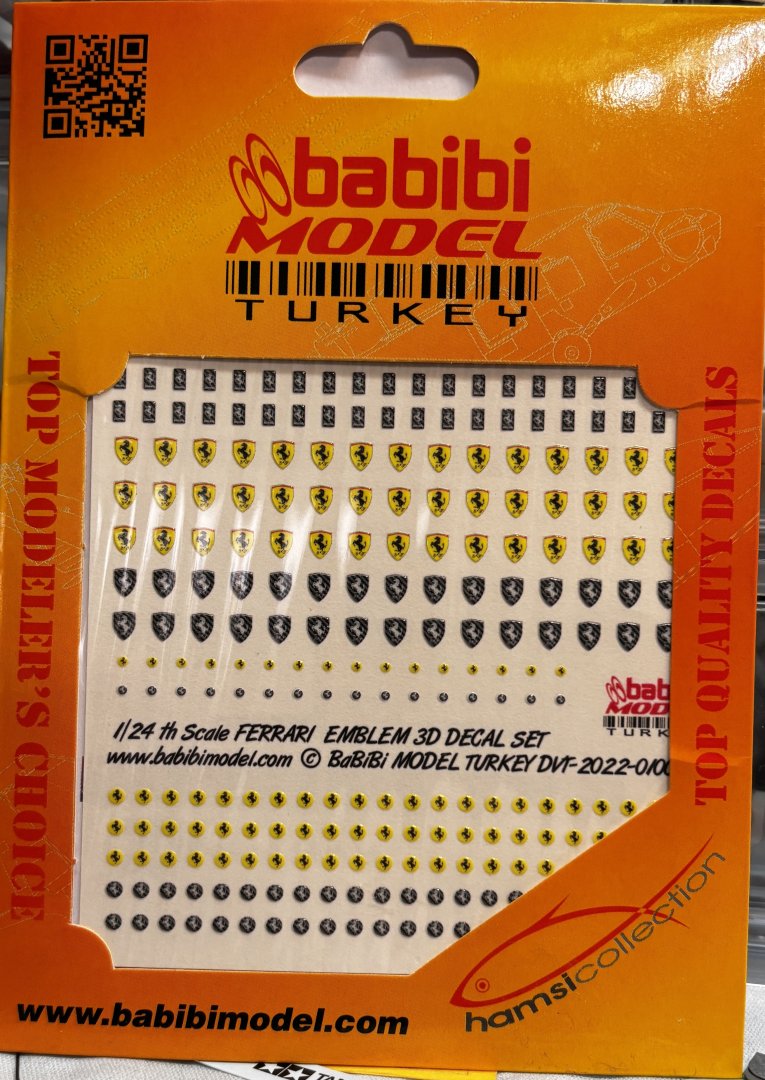
There is a company out of Turkey who sell these 3D Ferrari badges for scale models. In various scales, too. As their name implies, their main focus is F4 Phantom related: Phantom Phreaks. The badges will look nice on the Testa Rossa
-
That's certainly a convincing example of what a finished ZM can be in the hands of a skilled modeler. Beautiful is not enough superlative to describe it. Magnificent!
-
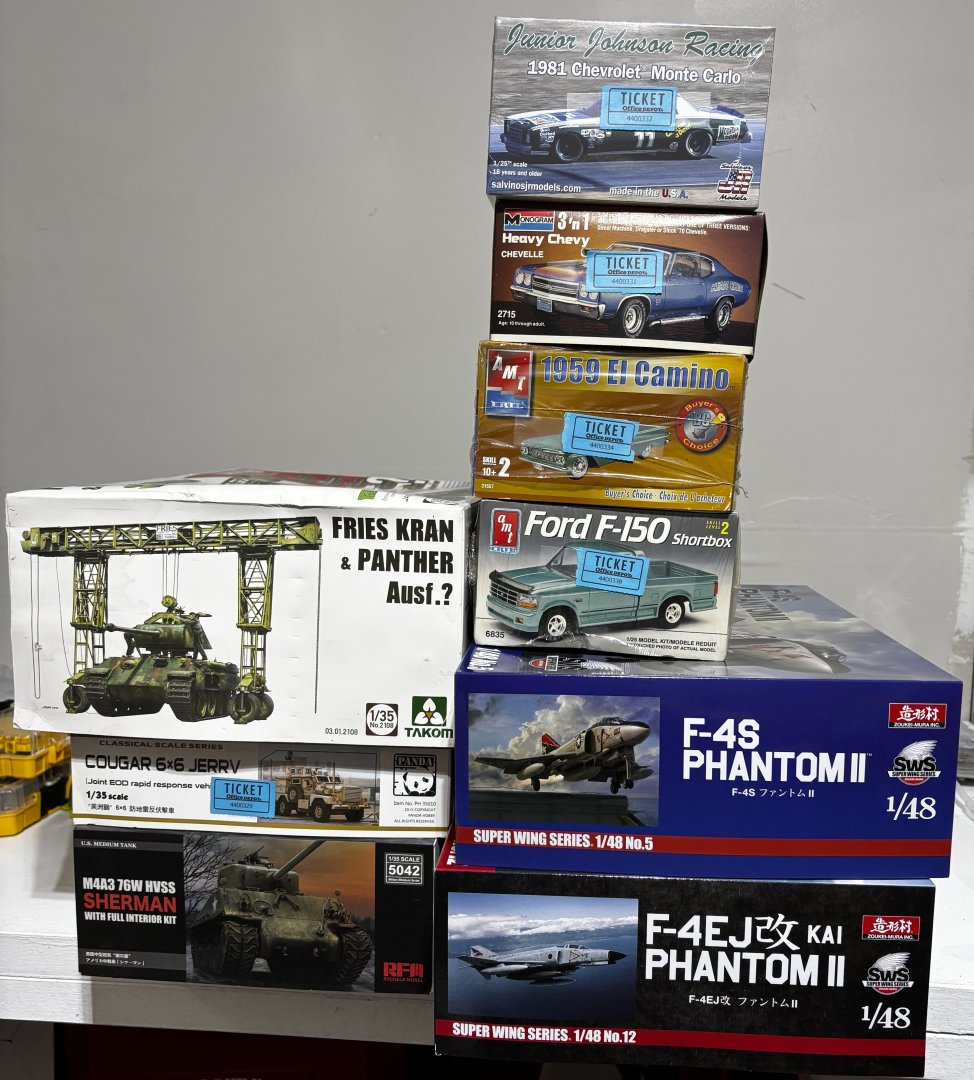
With the exception of the Sherman tank at the bottom left, these are all the kits I won in the raffle drawings at the Pelicon 2025 model show last Saturday. The Panther and Crane kit has a ton of plastic sprues inside. The vendor selling the Sherman was asking a price I could not turn down, so I brought it home via a purchase.
-
Decals are Cartograph, clear coat is Mr Color Super Clear III lacquer reduced with Mr Color leveling thinner.

- 73 replies
-
- 12
-
-
-
Outstanding model Kevin. I really love the chipping affects you achieved.
-
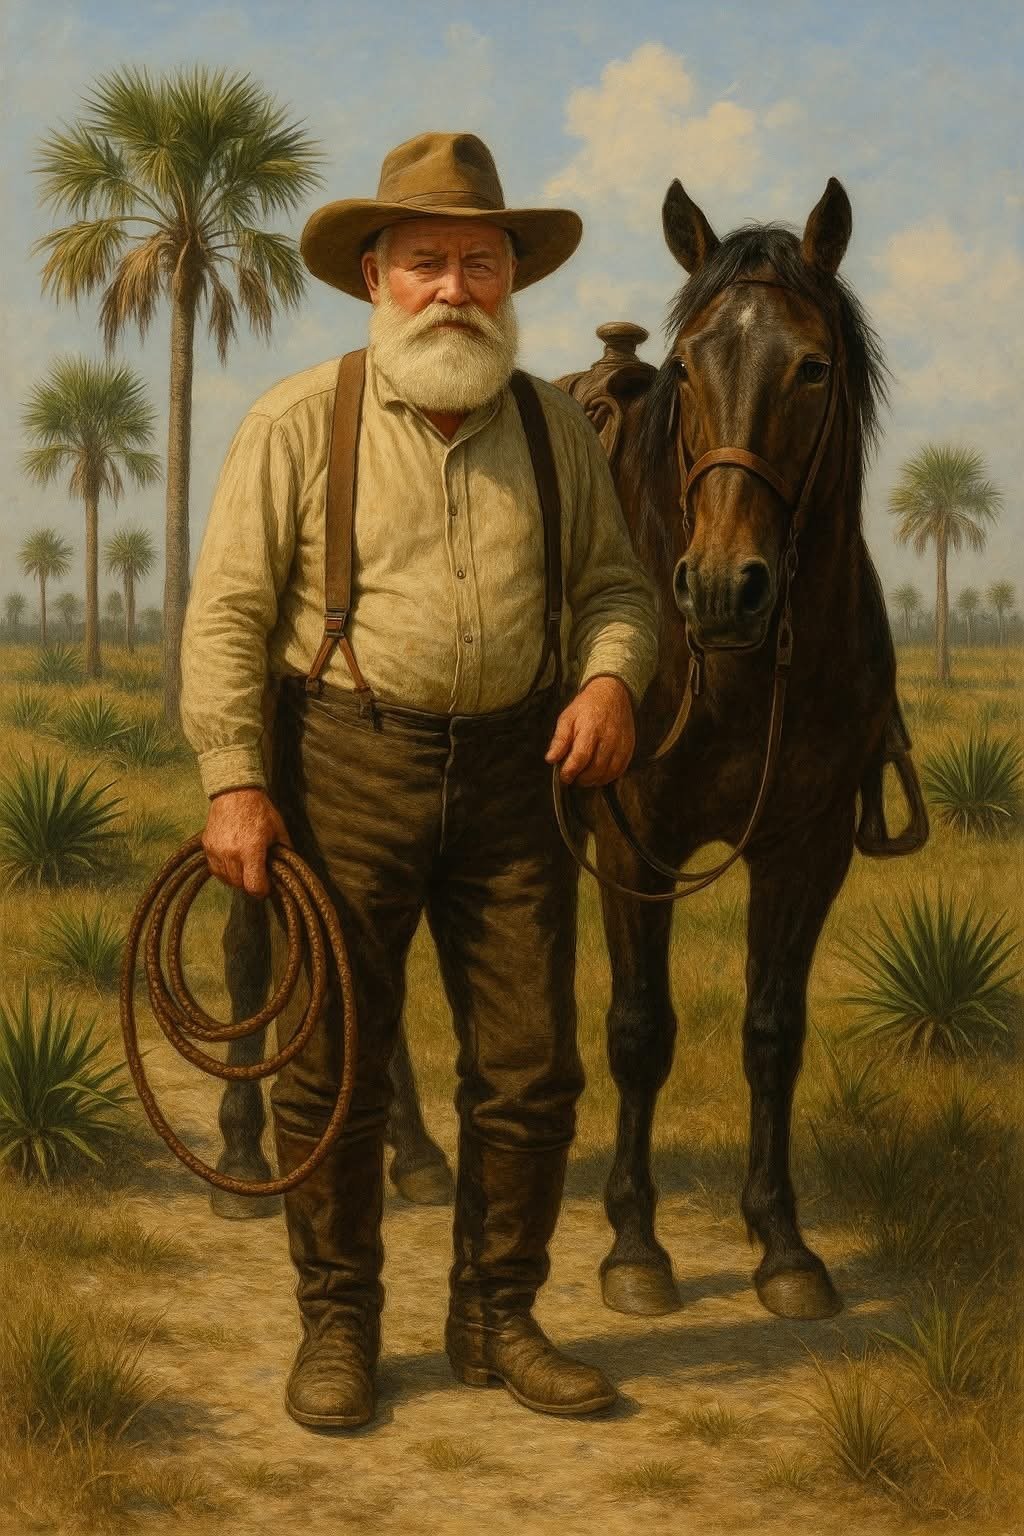
Instrument panel. Not a lot to work with, rather spartan.


-
Managed to get the piping laid down on the seats. Tedious. Seatbelts next.

-
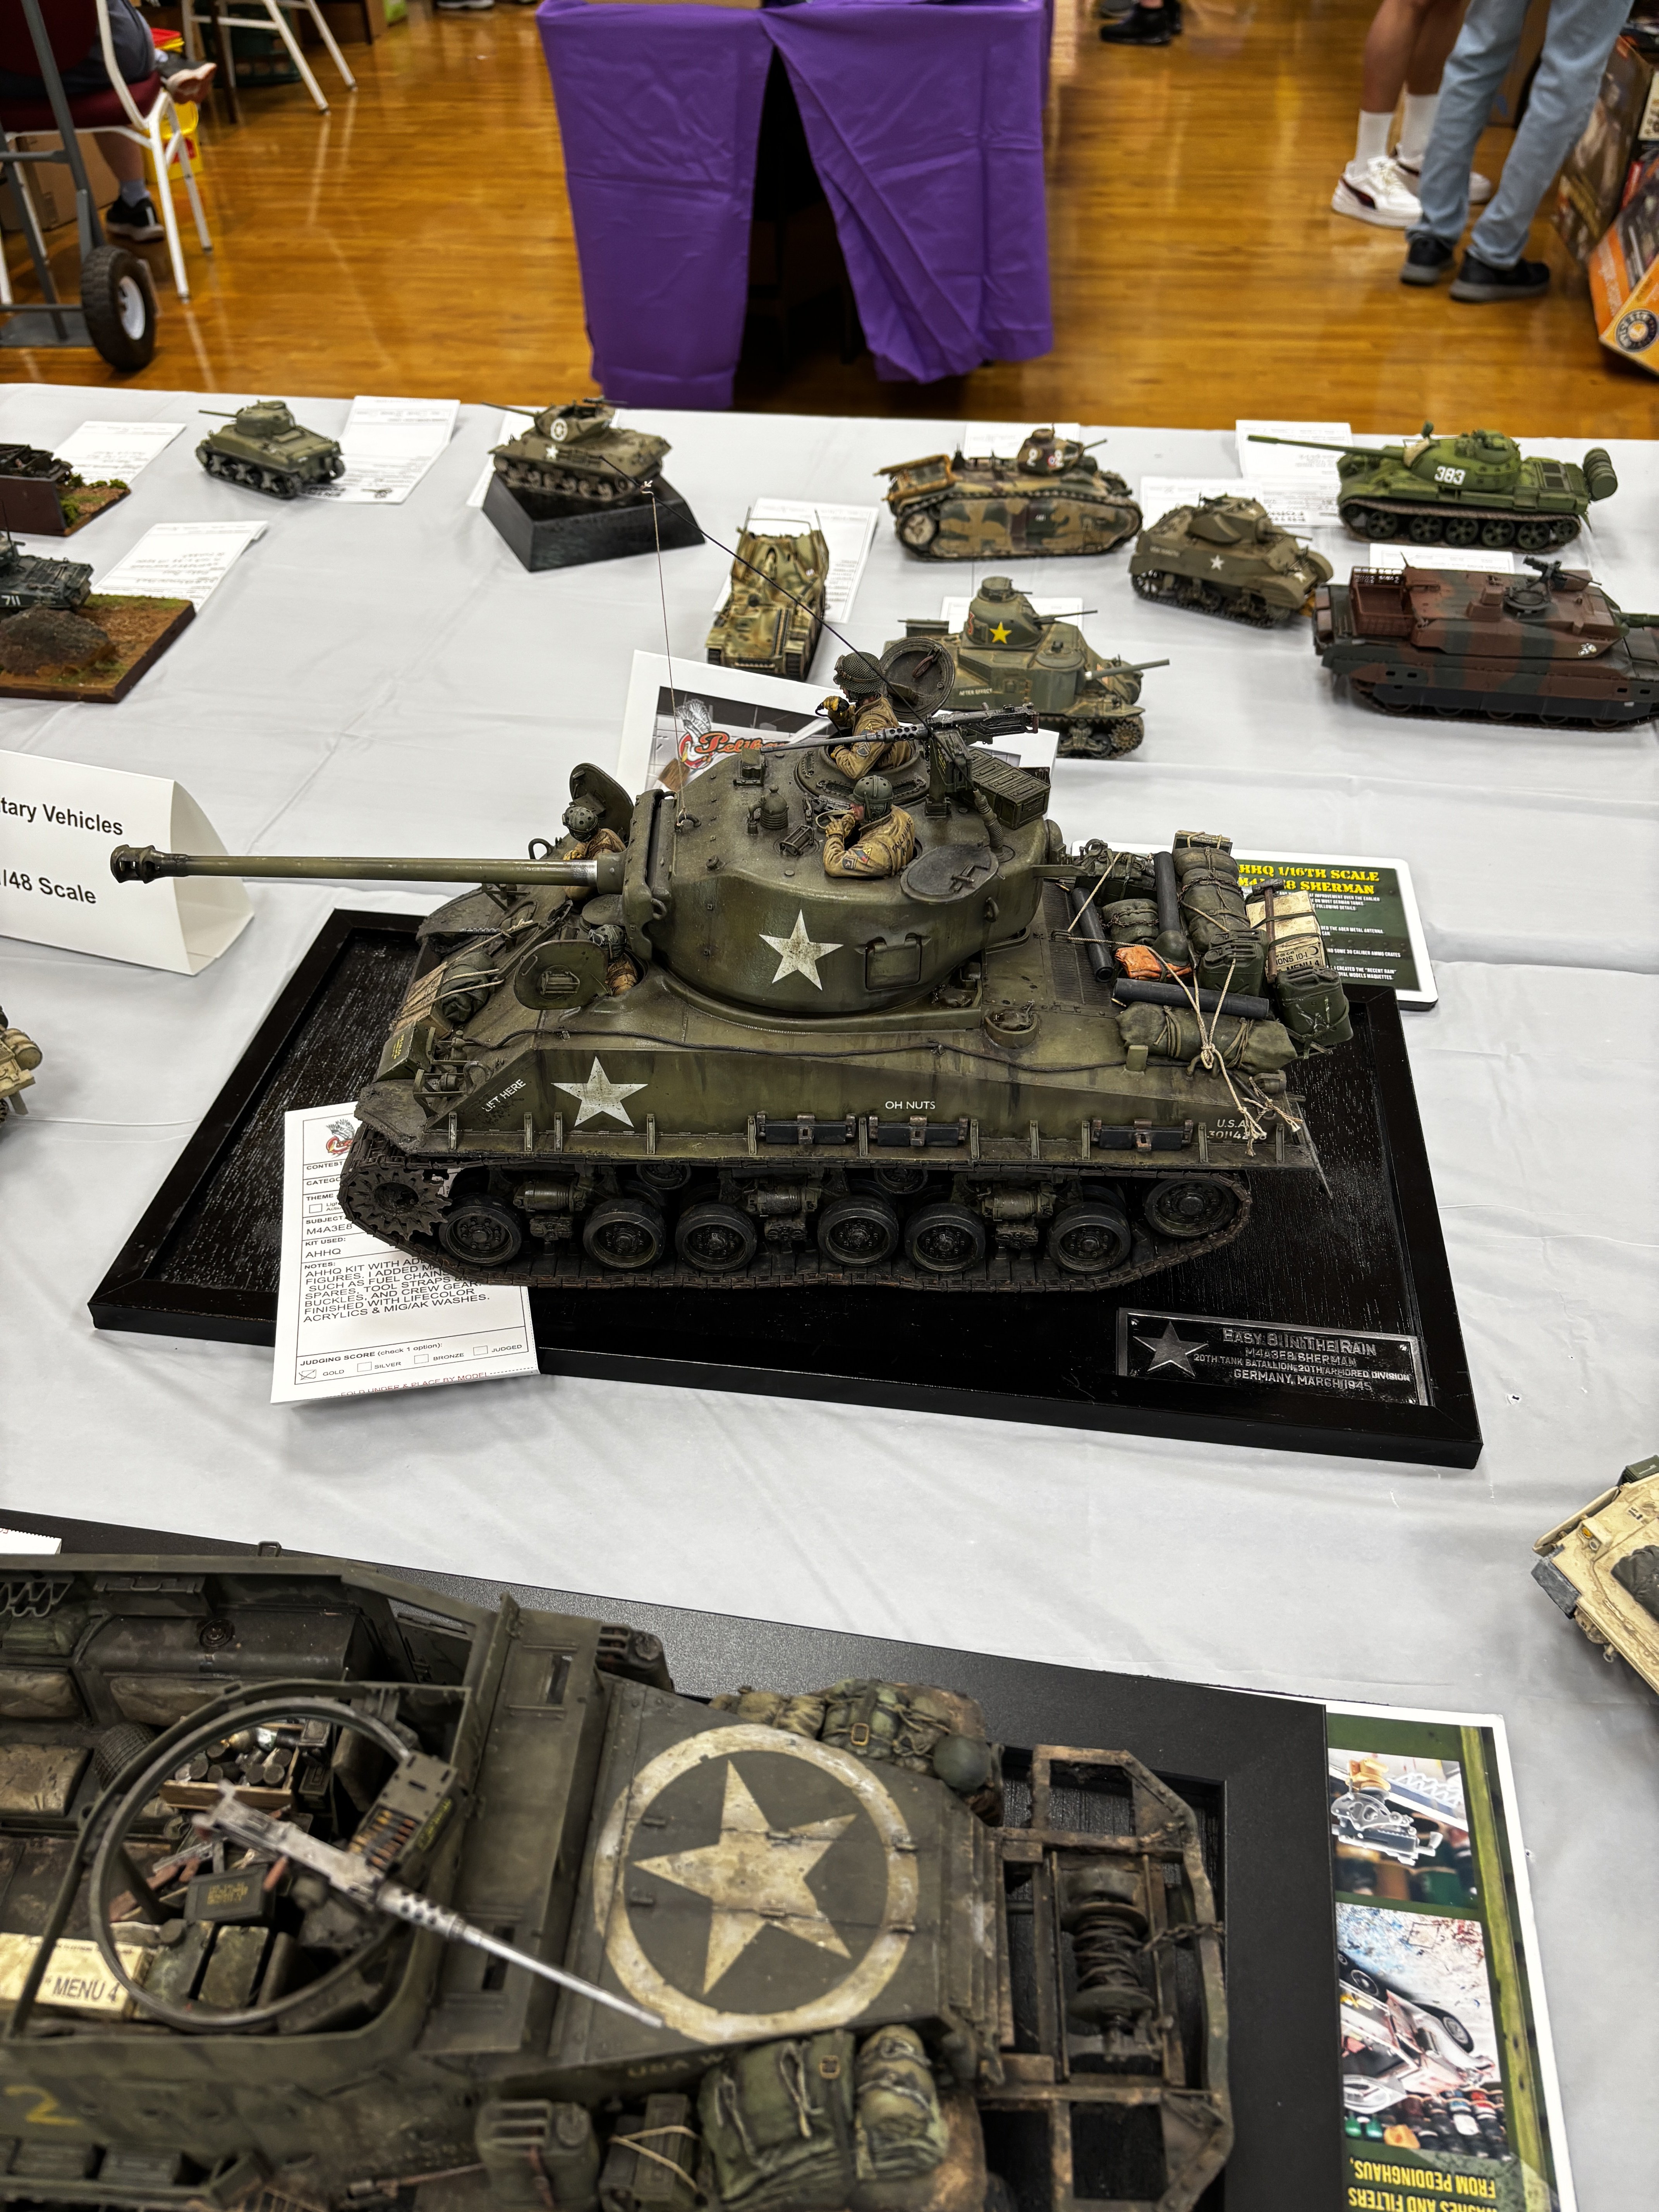
Best of Show winner at Pelicon 2025

-
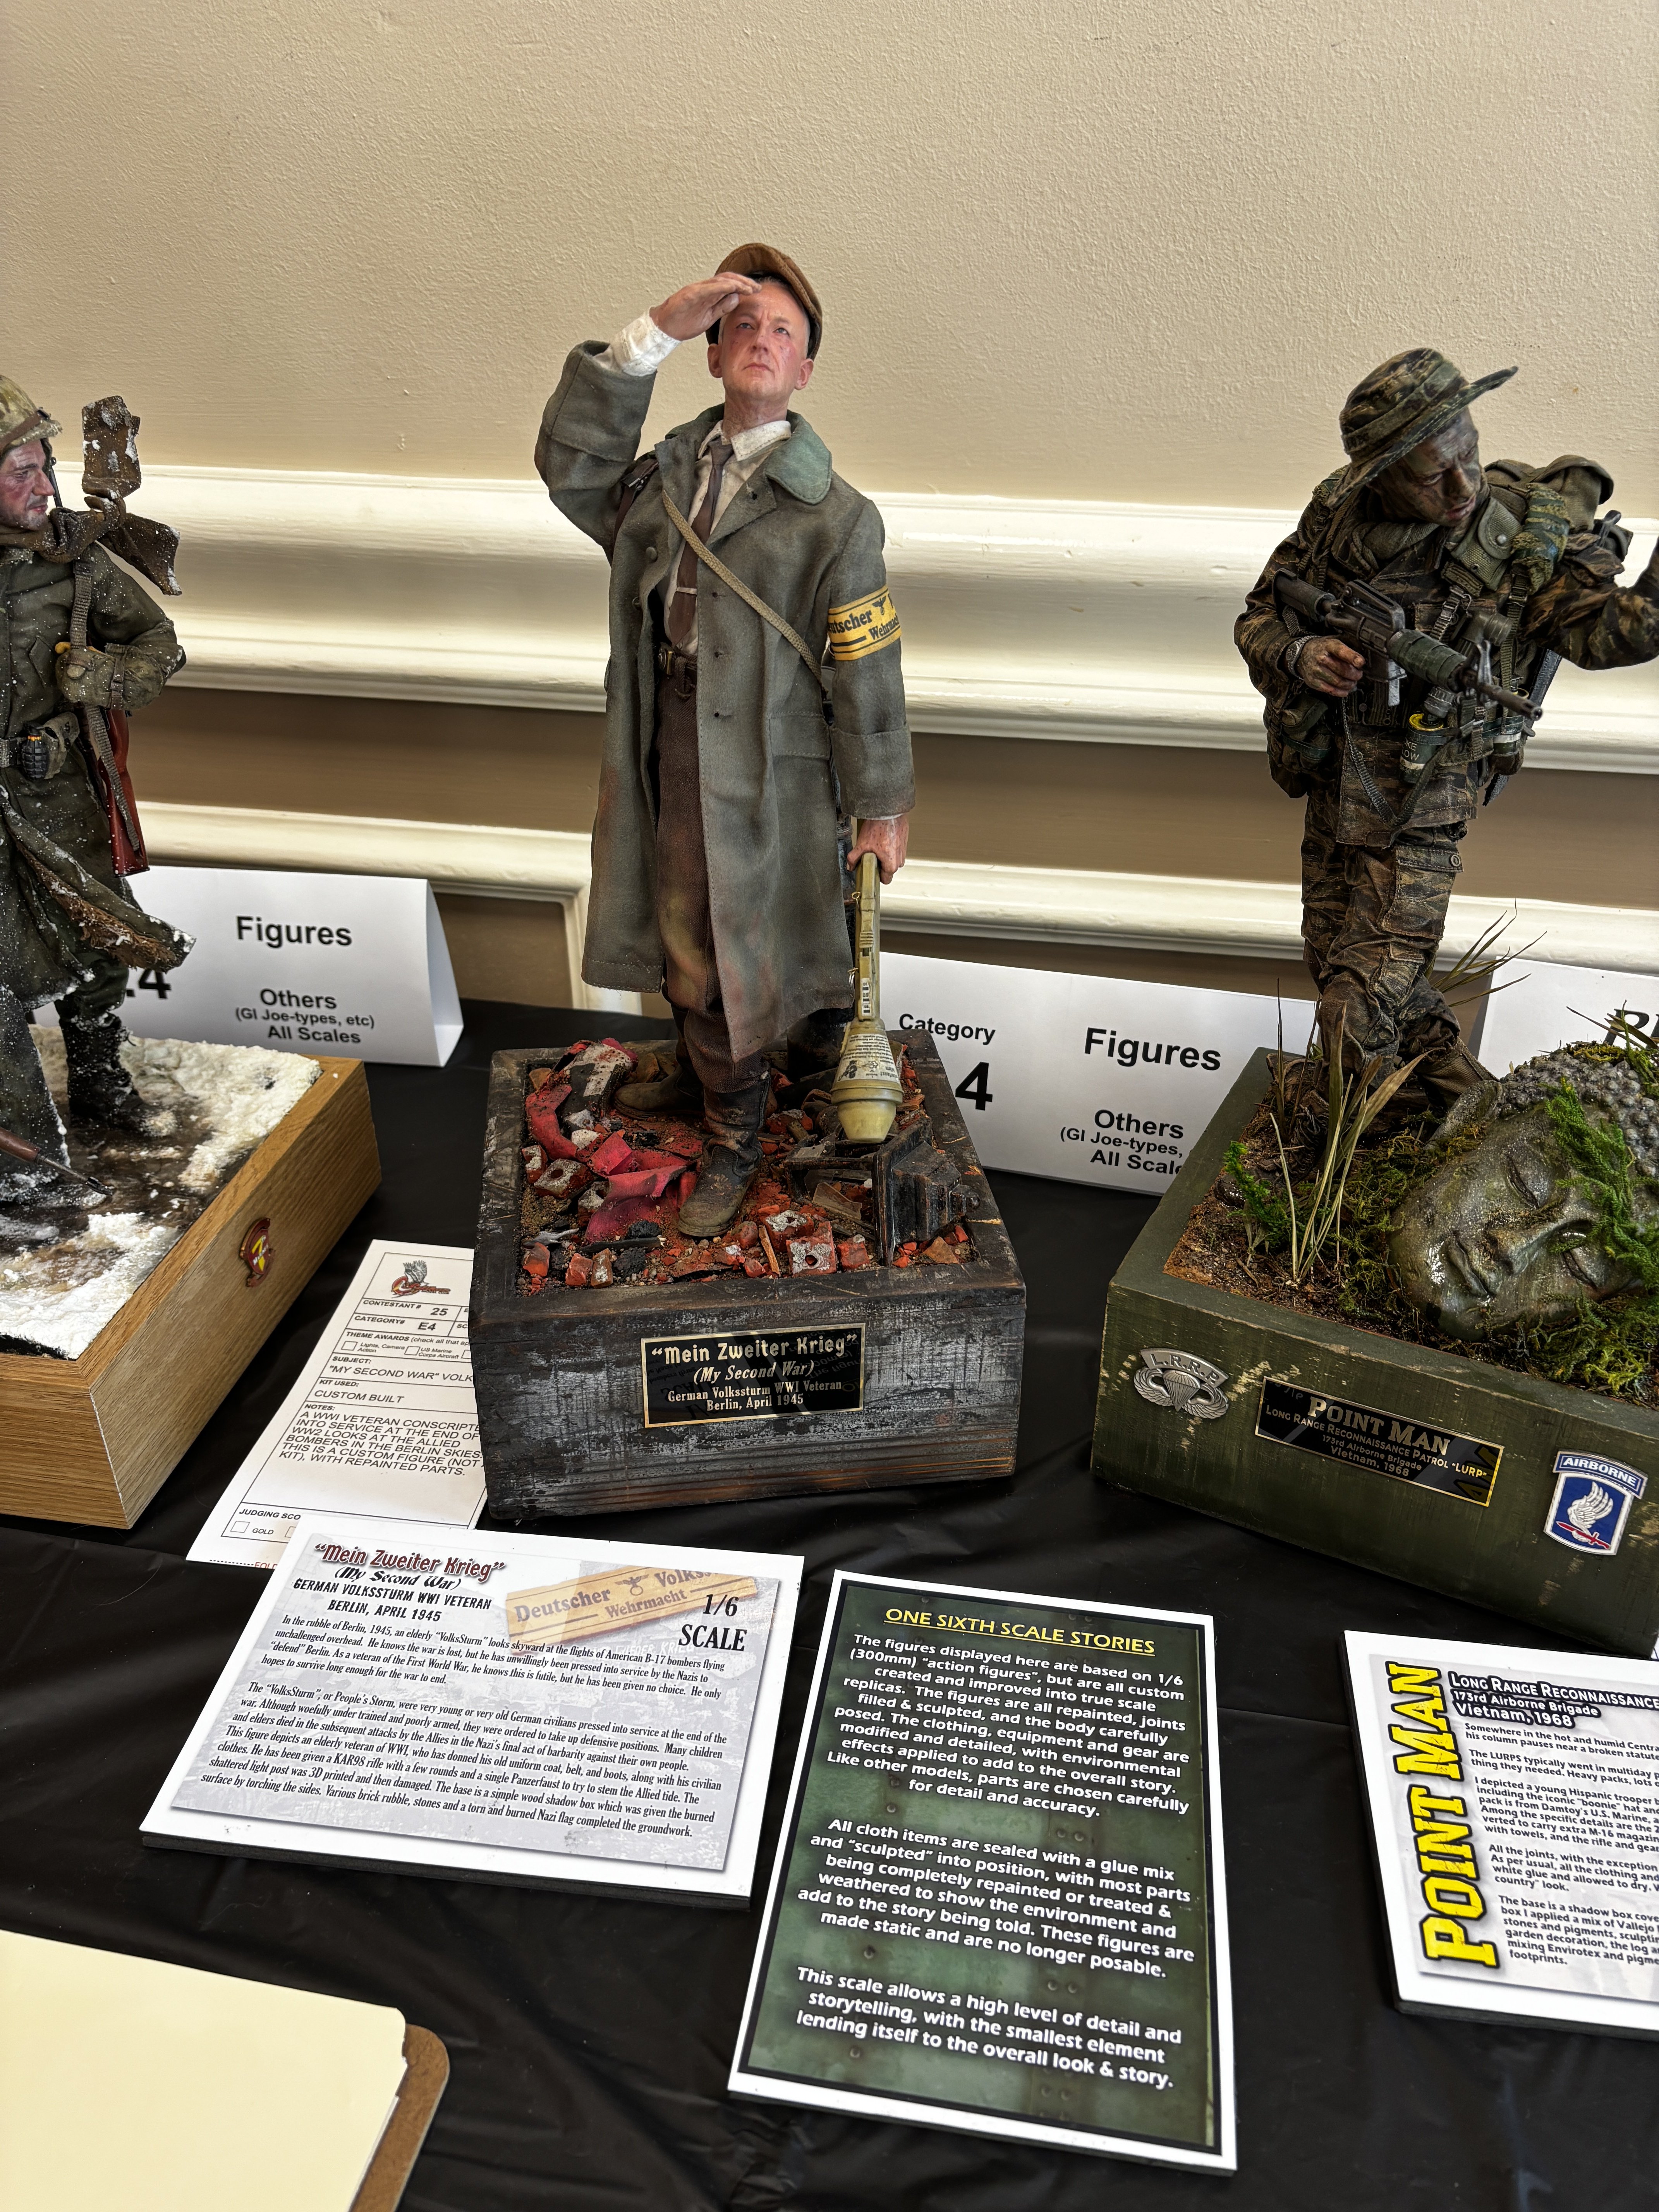
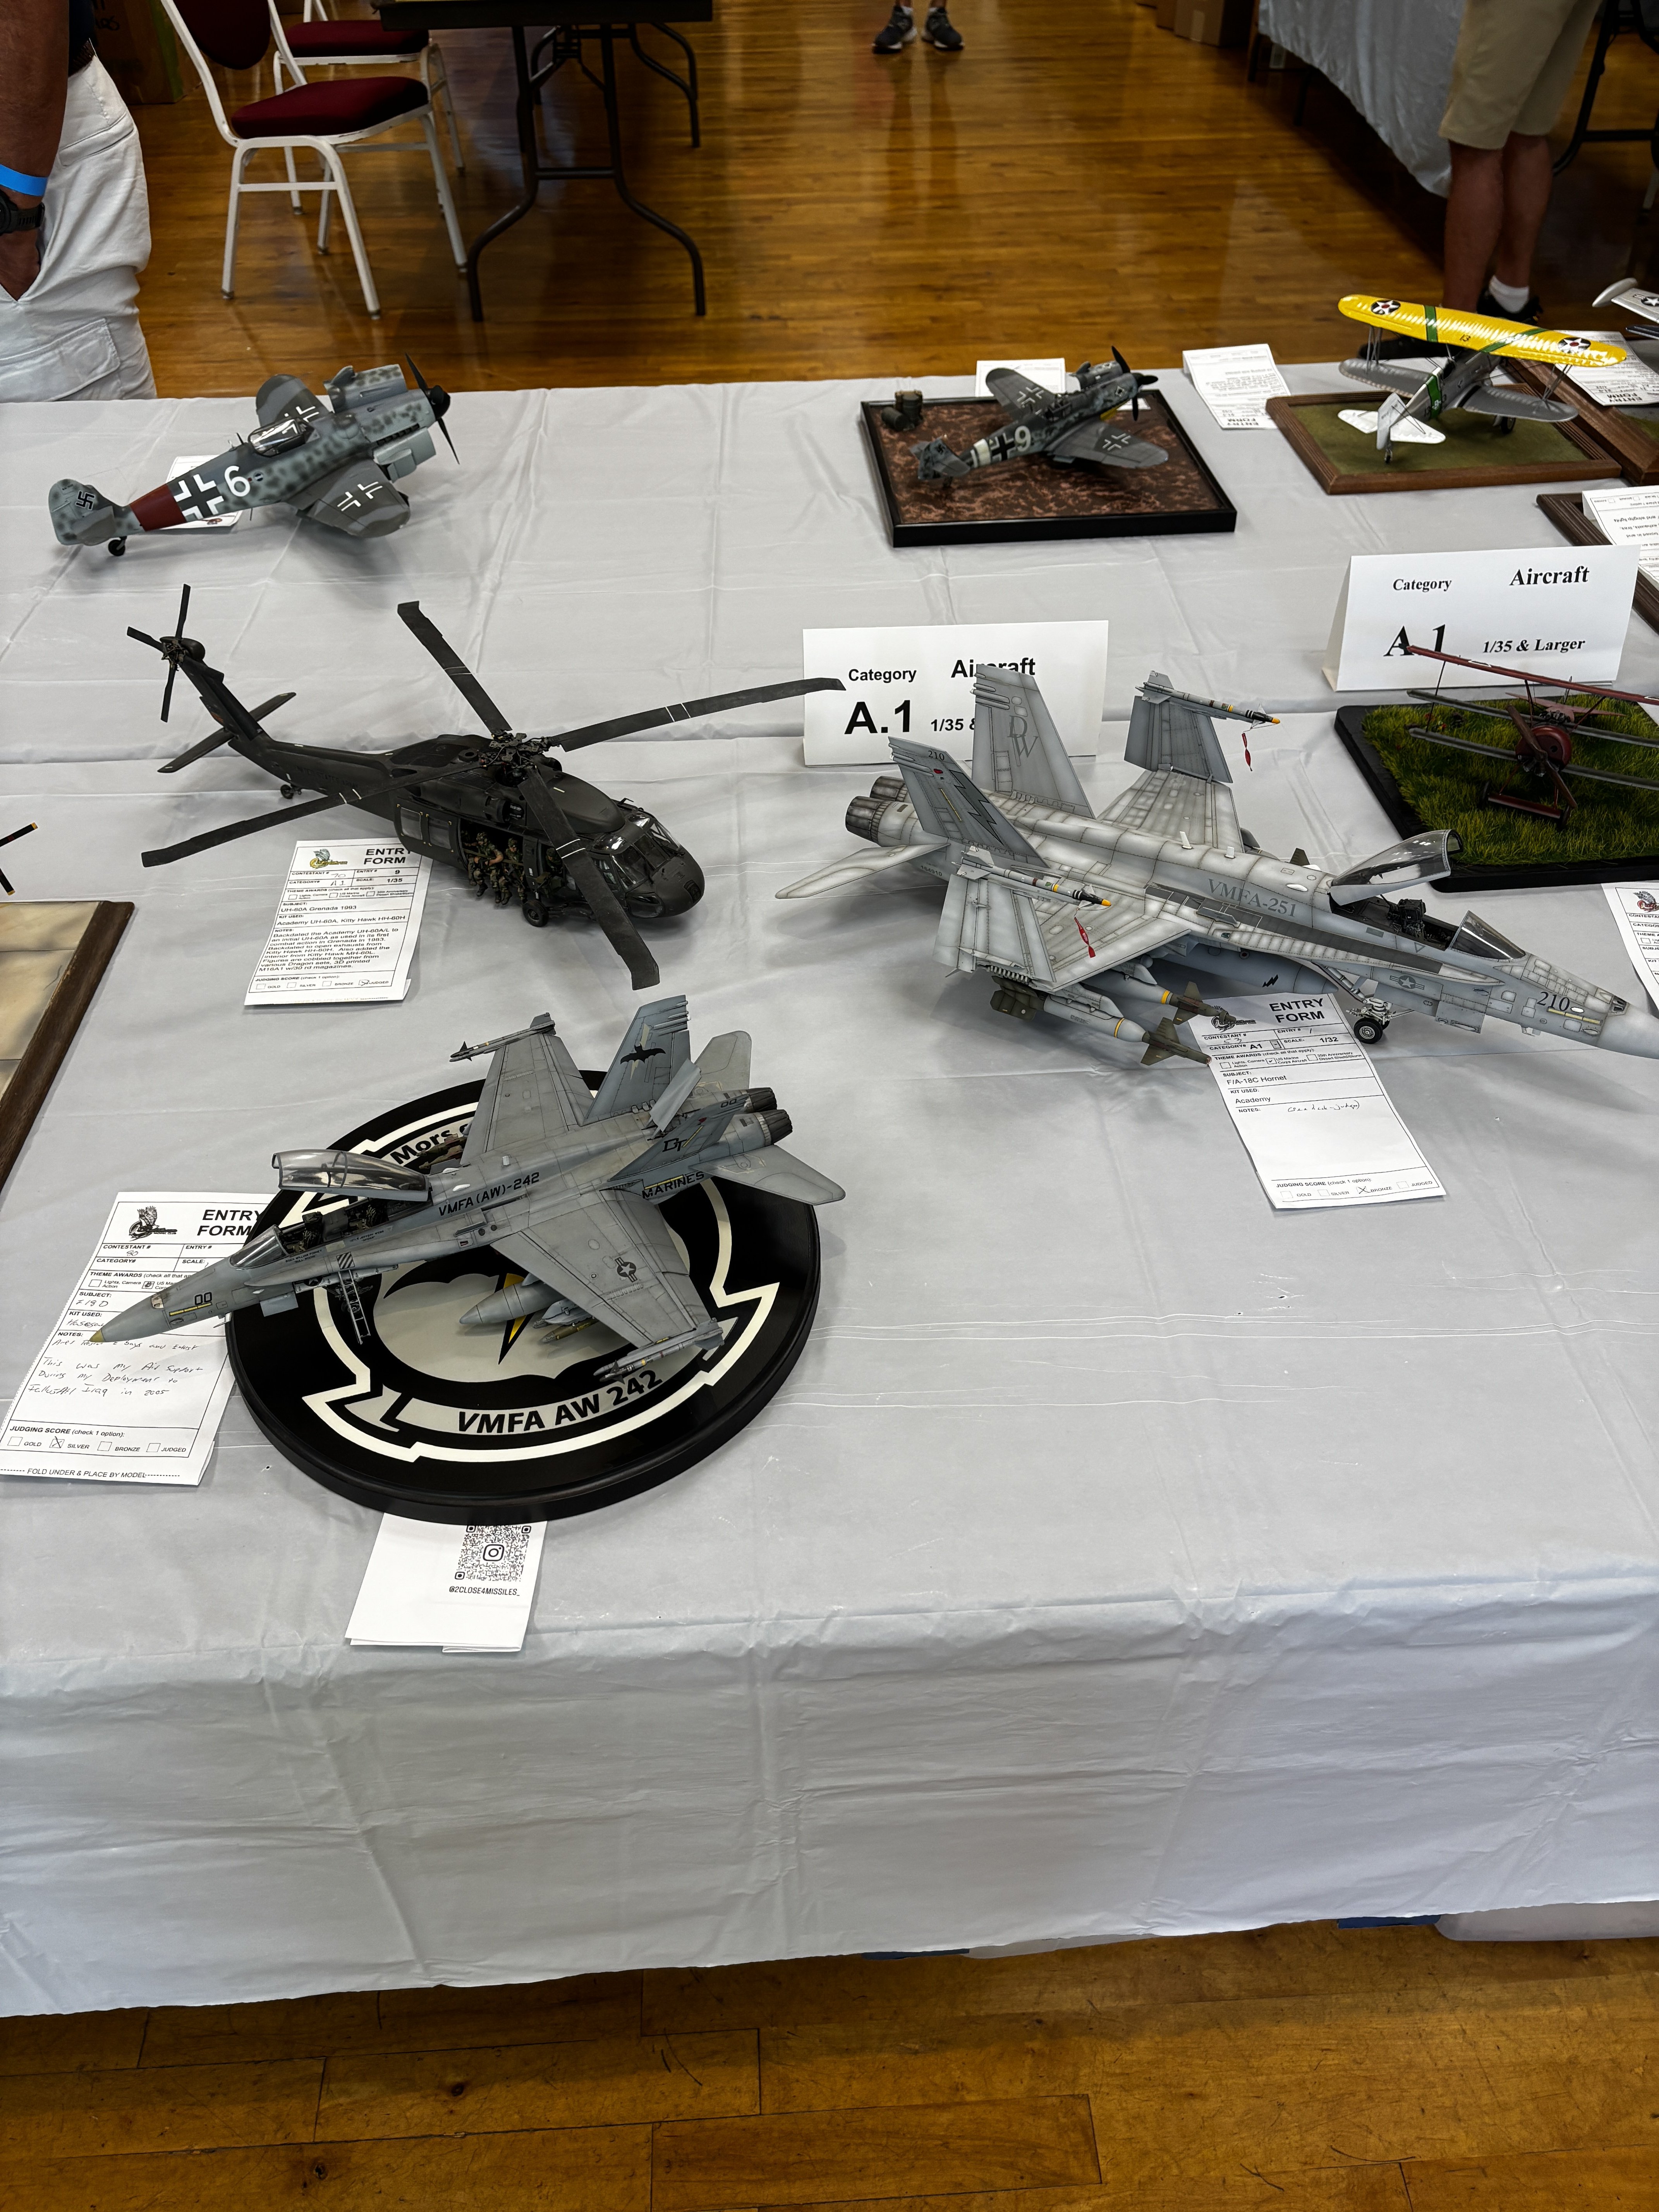
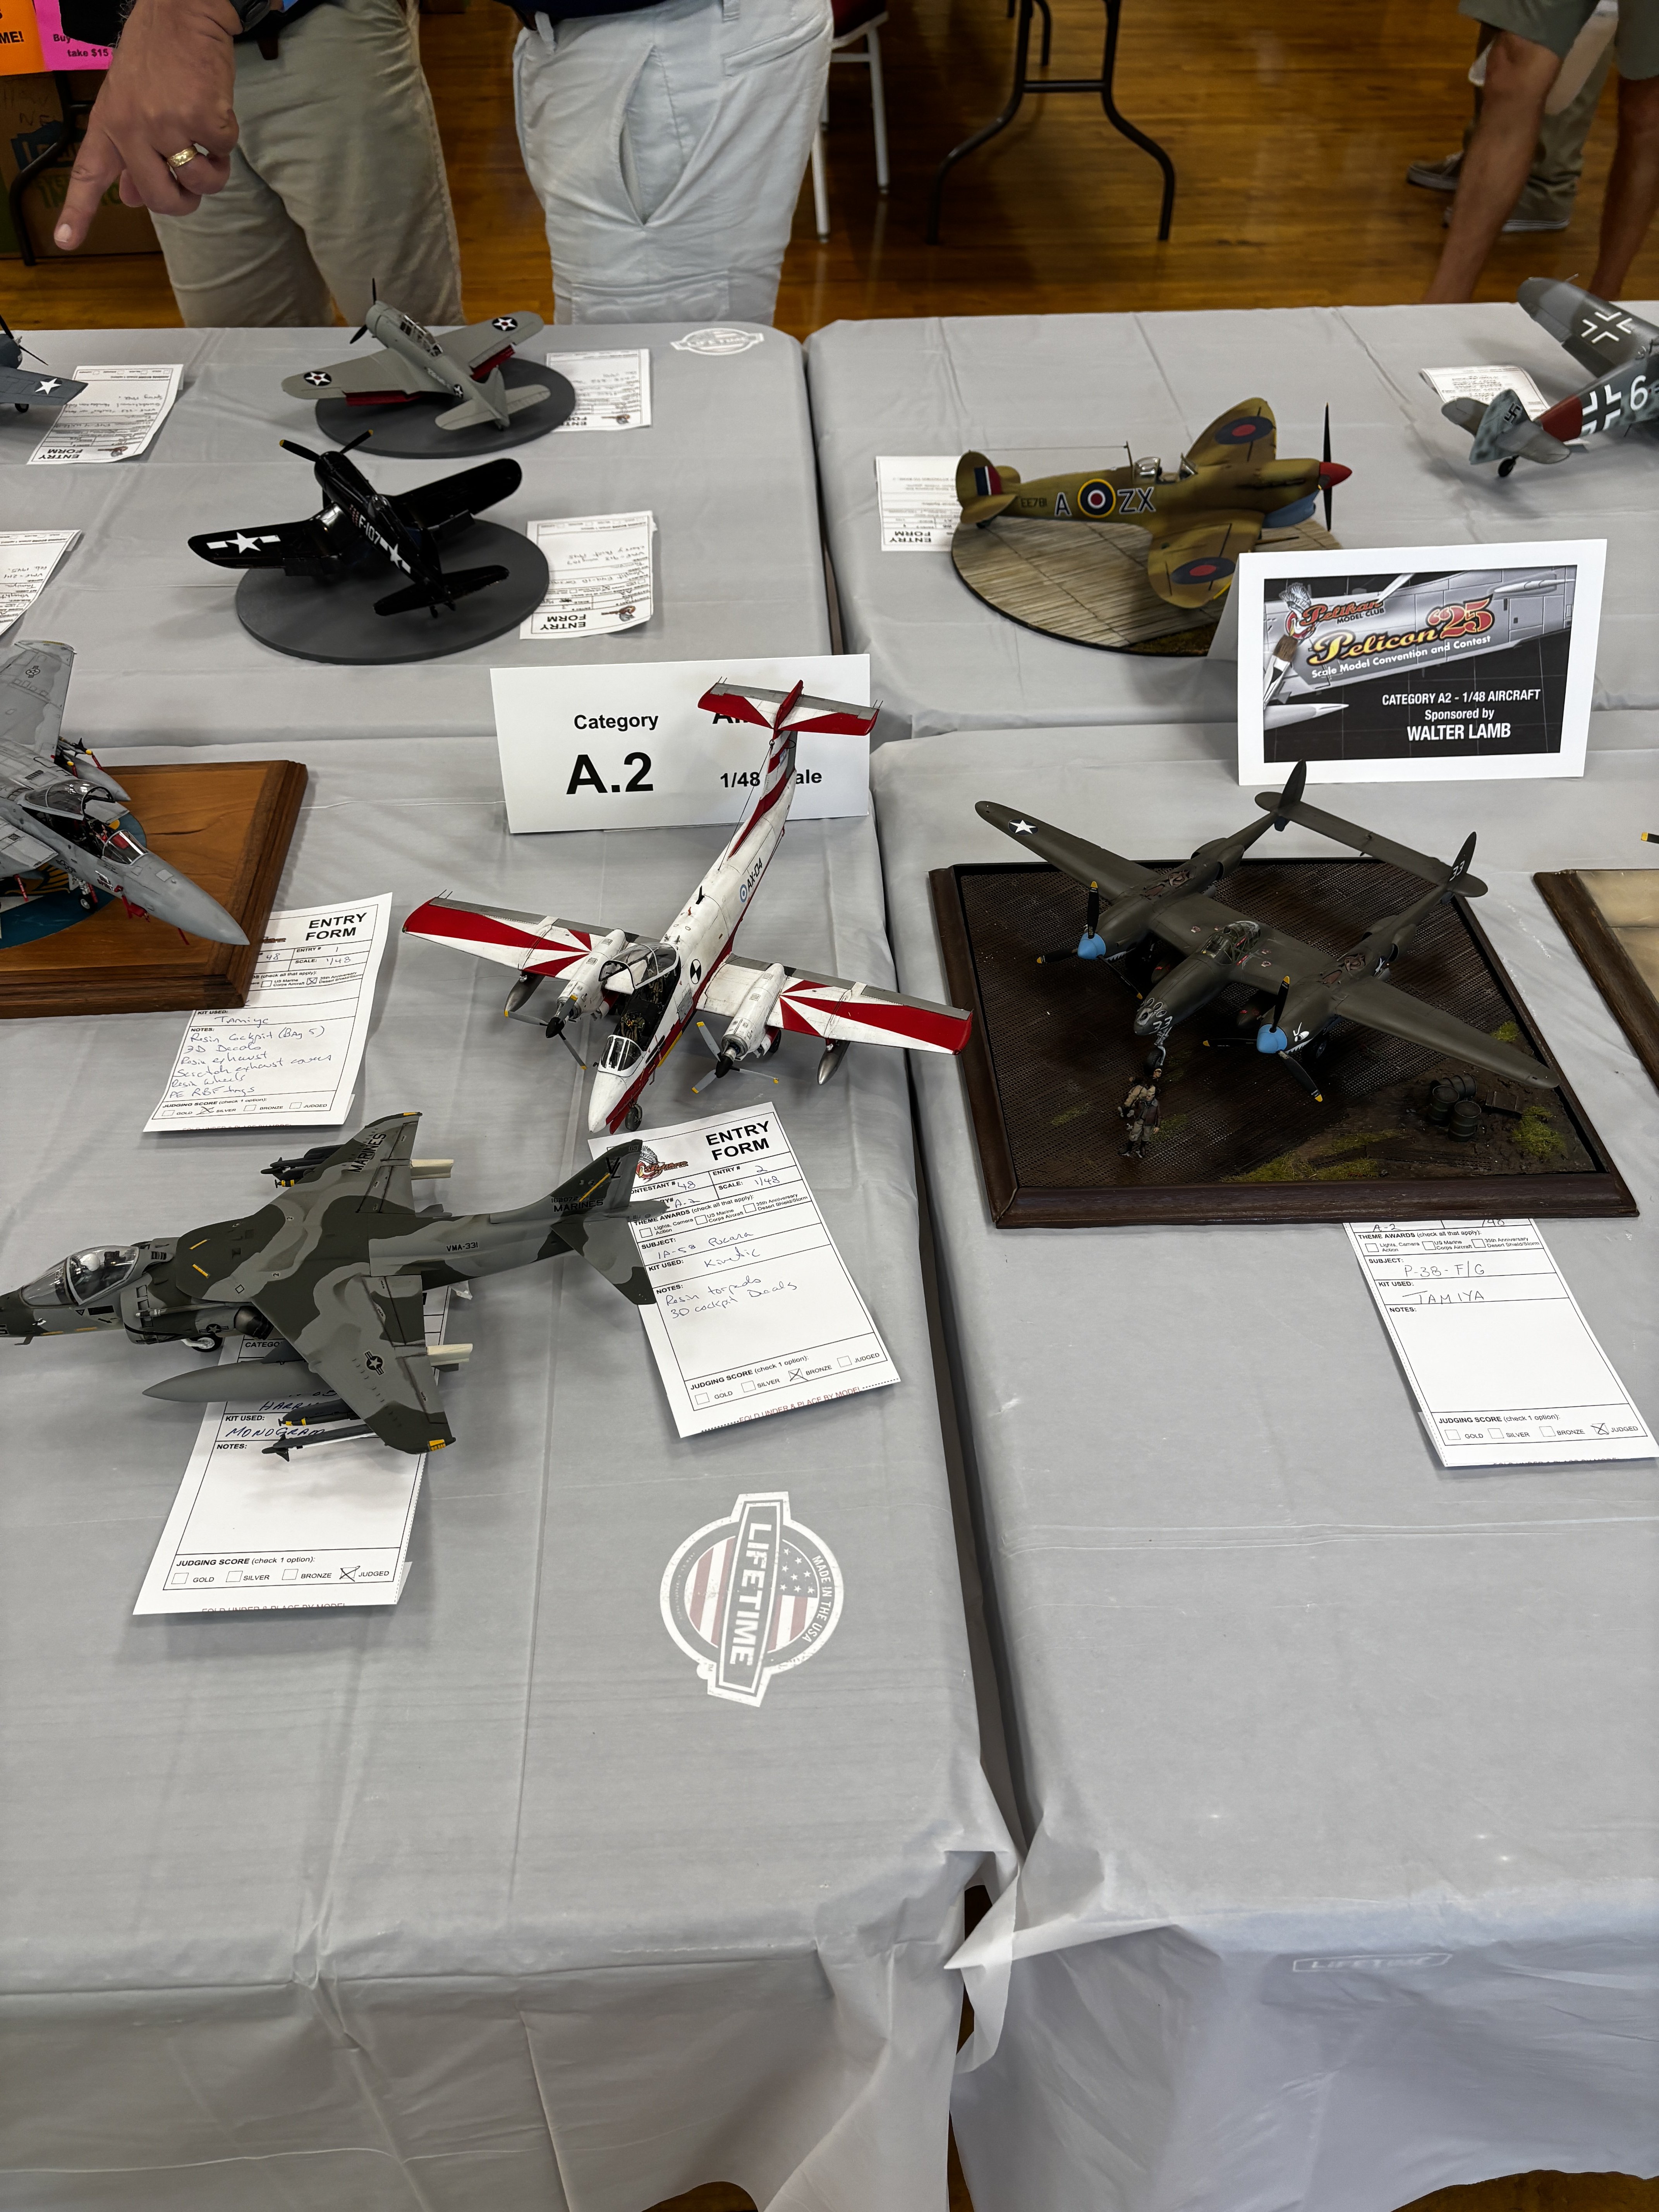
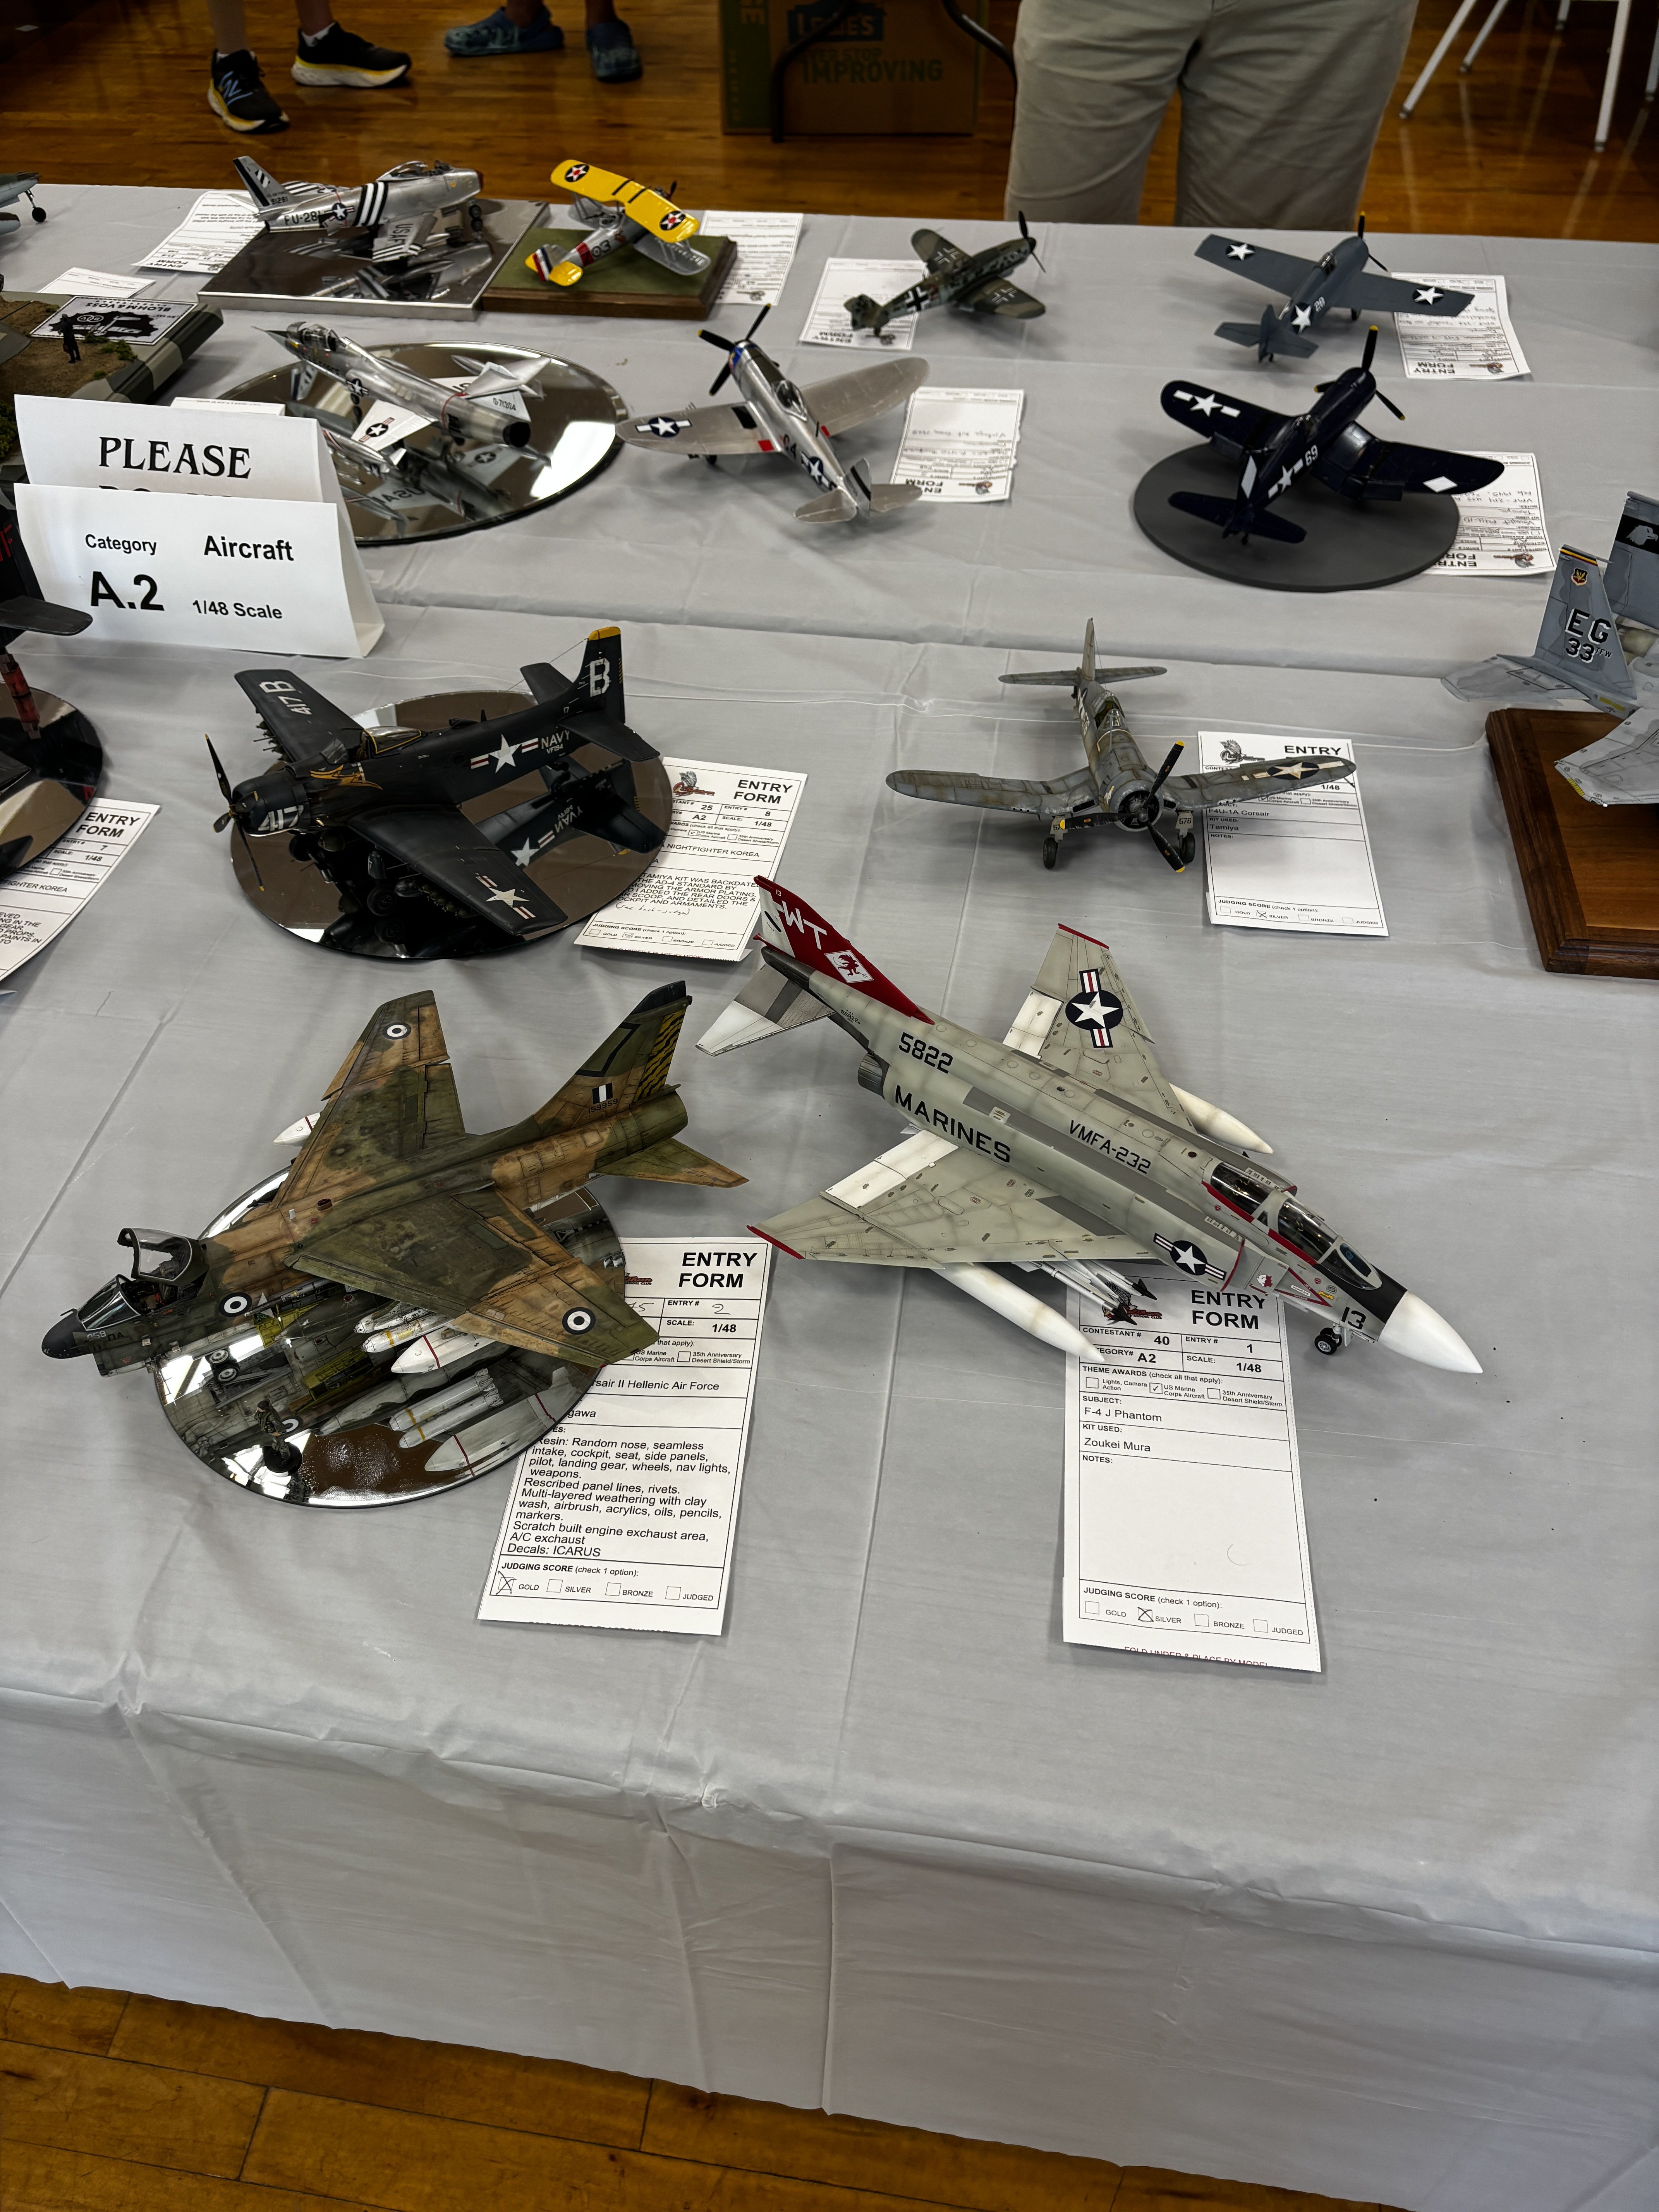
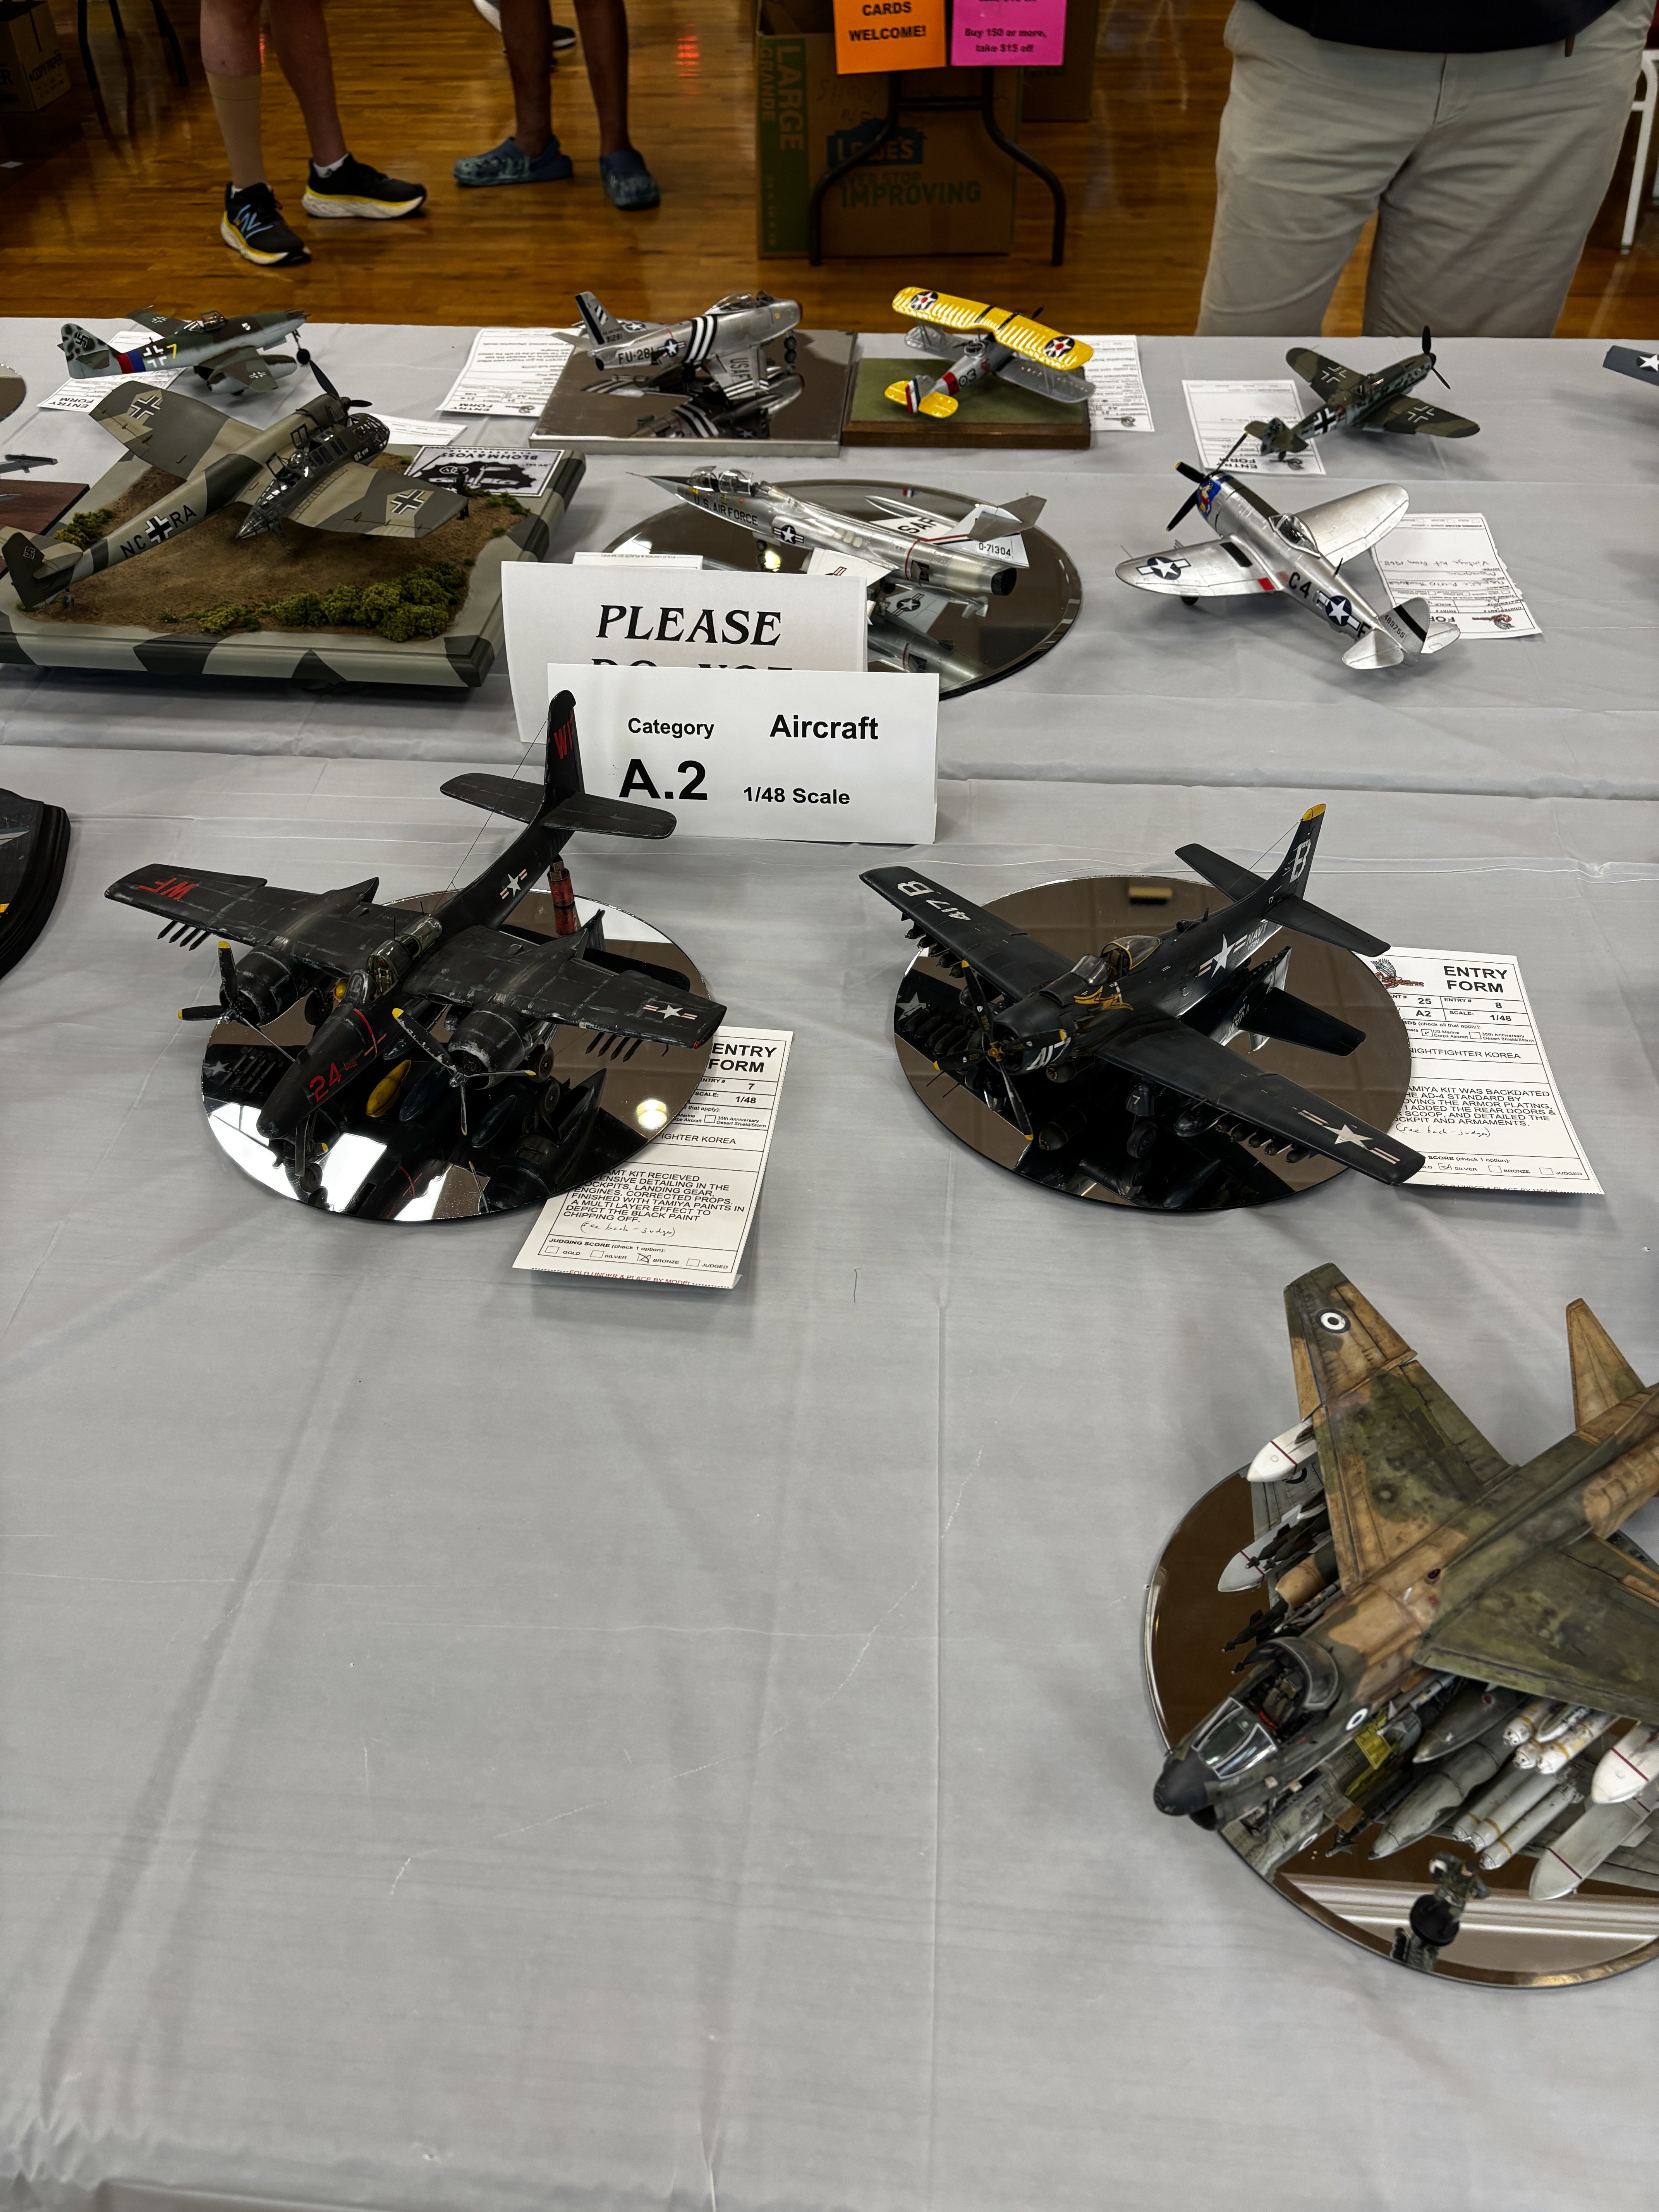
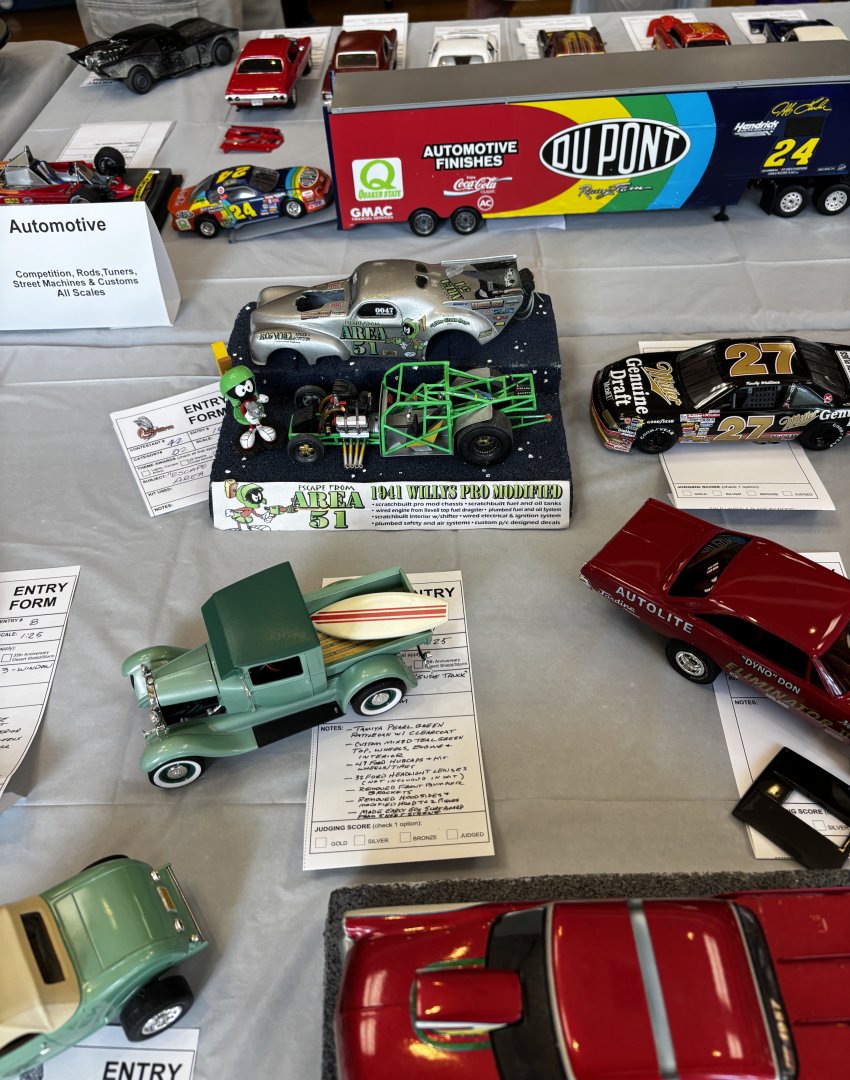
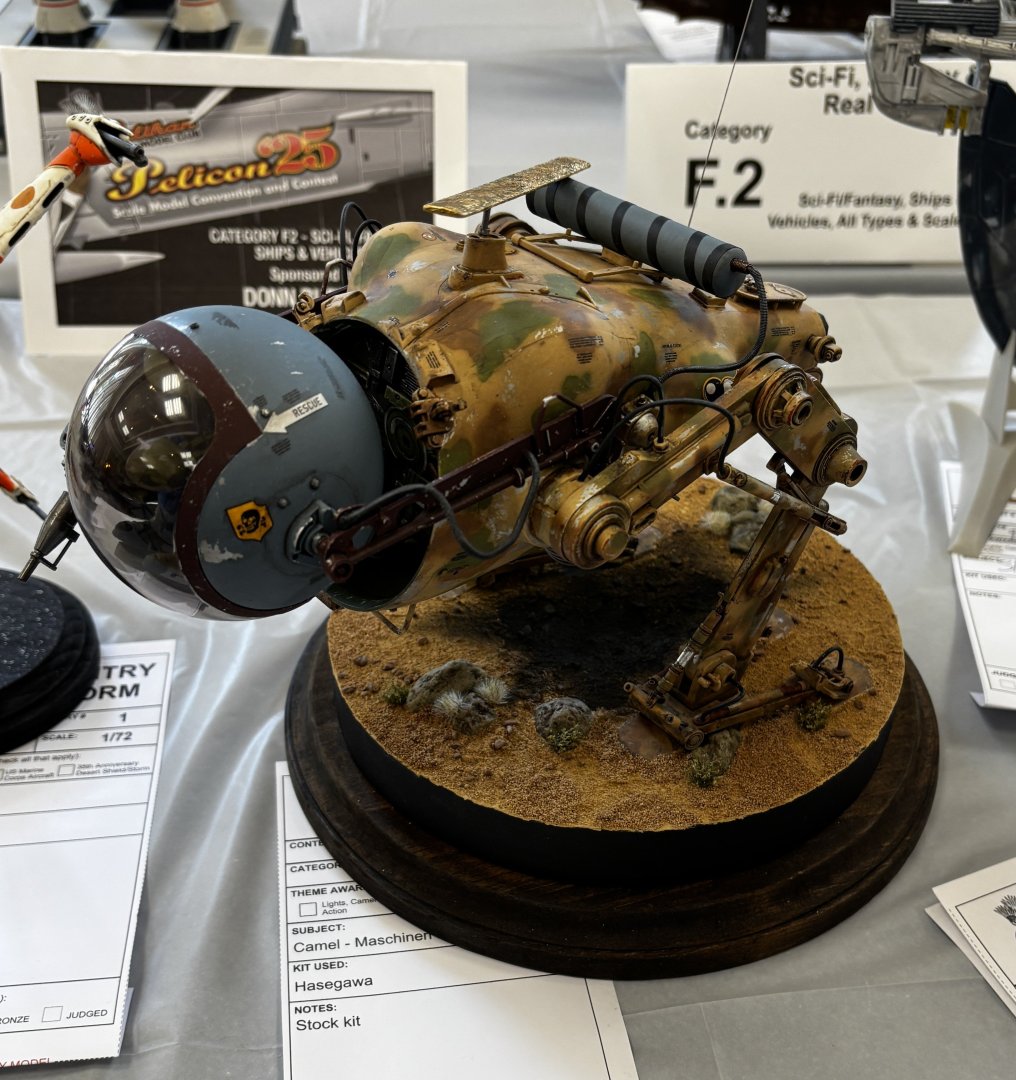
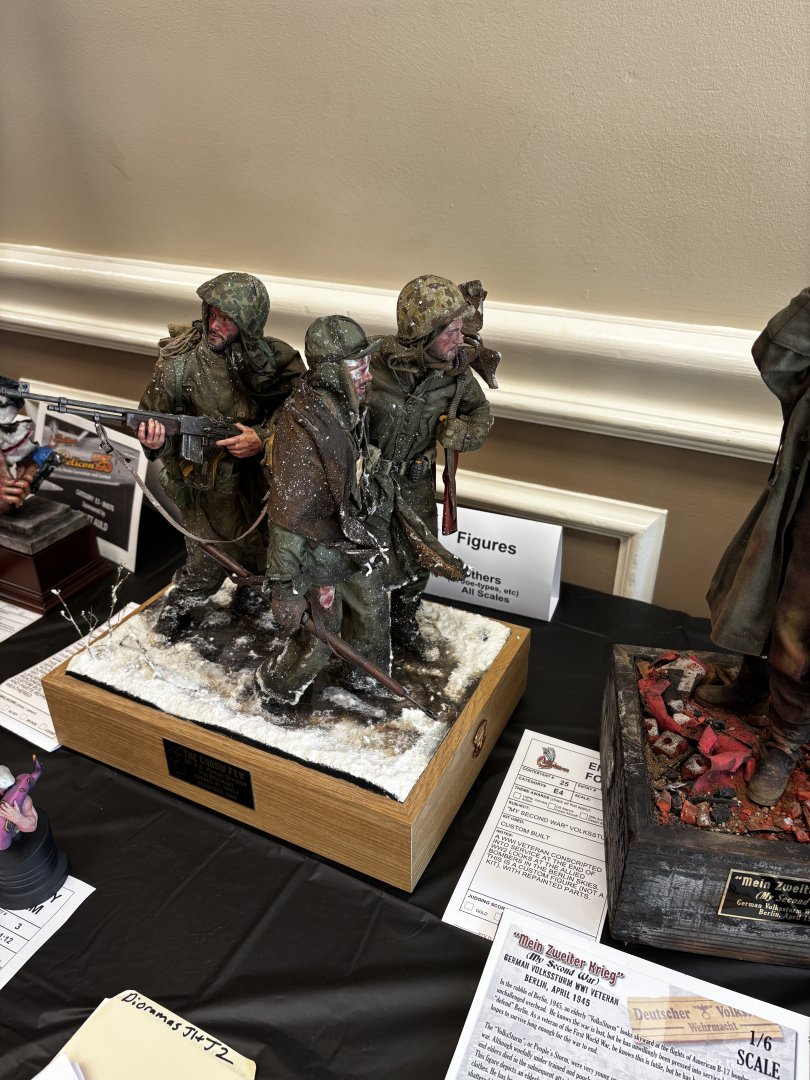
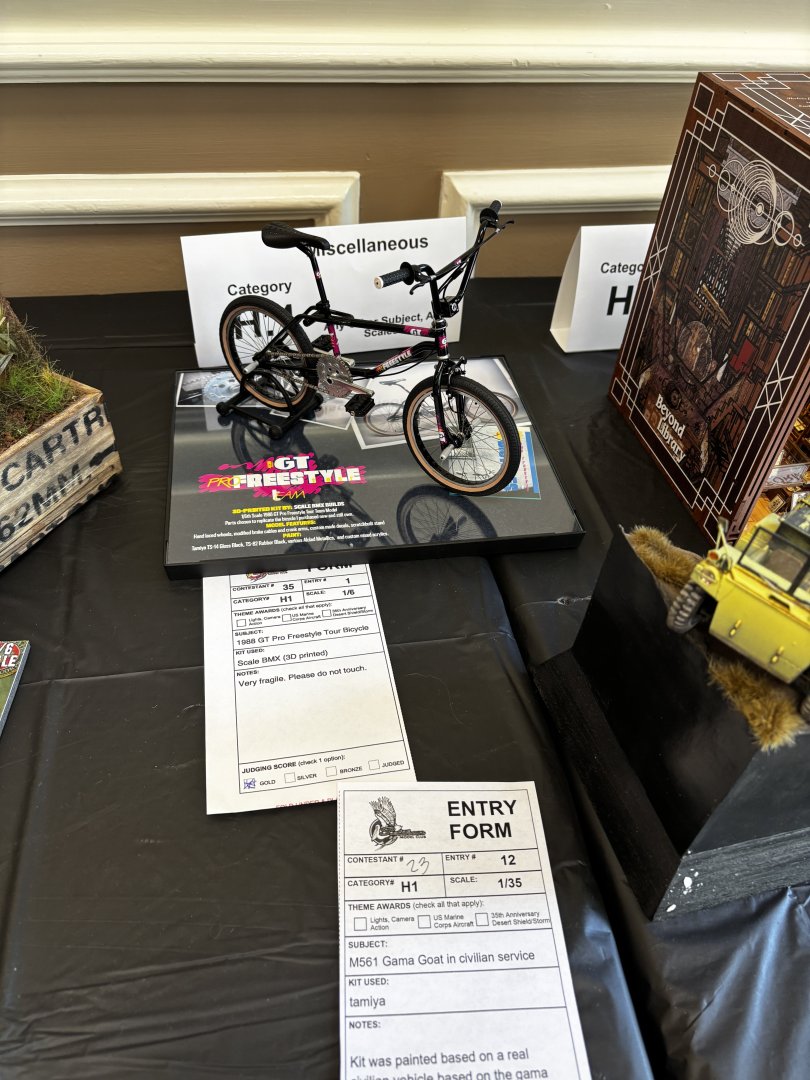
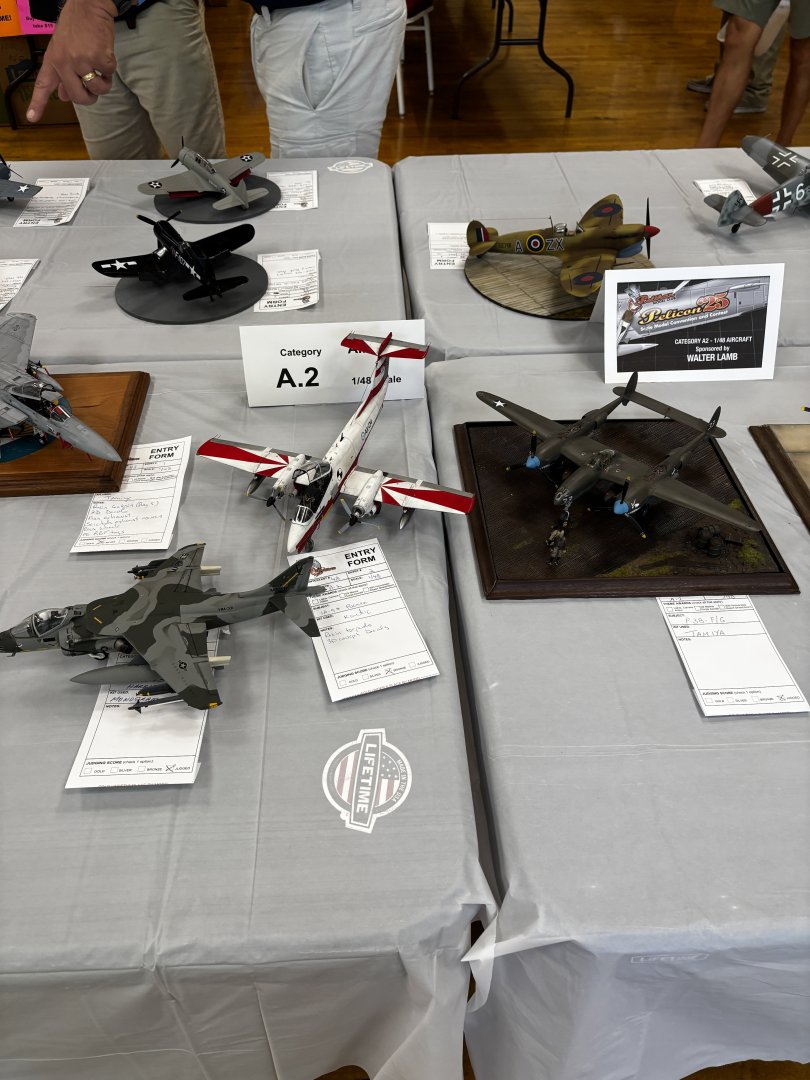
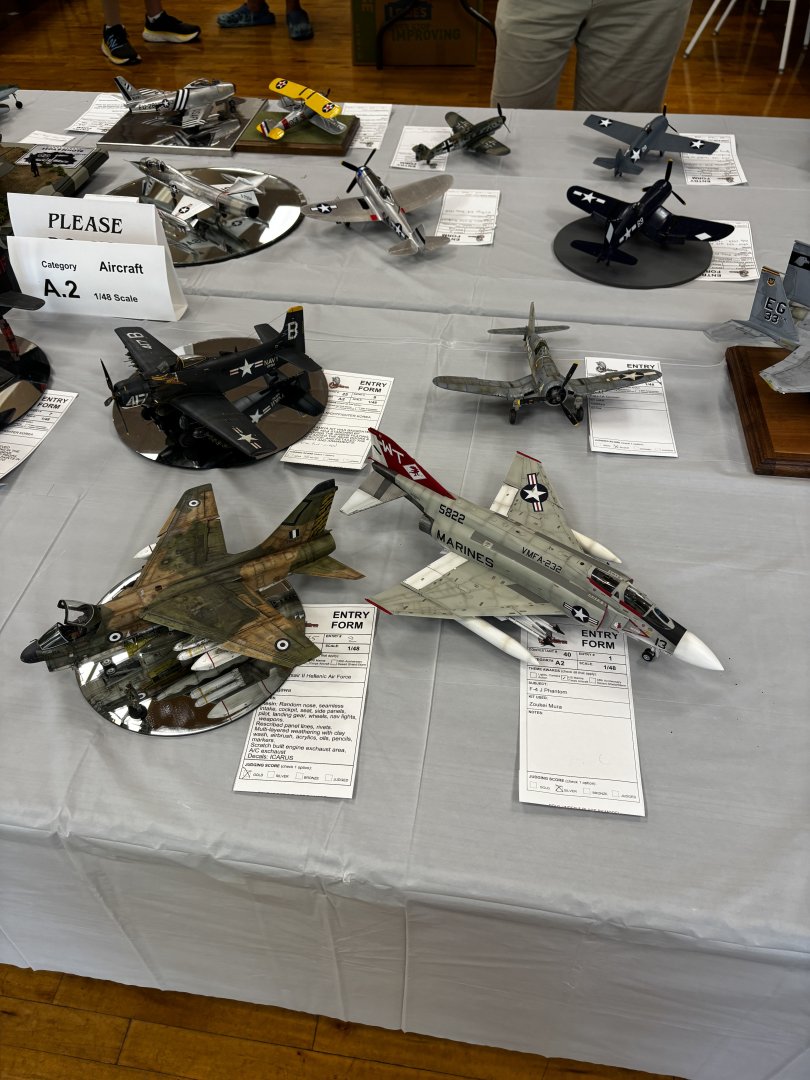
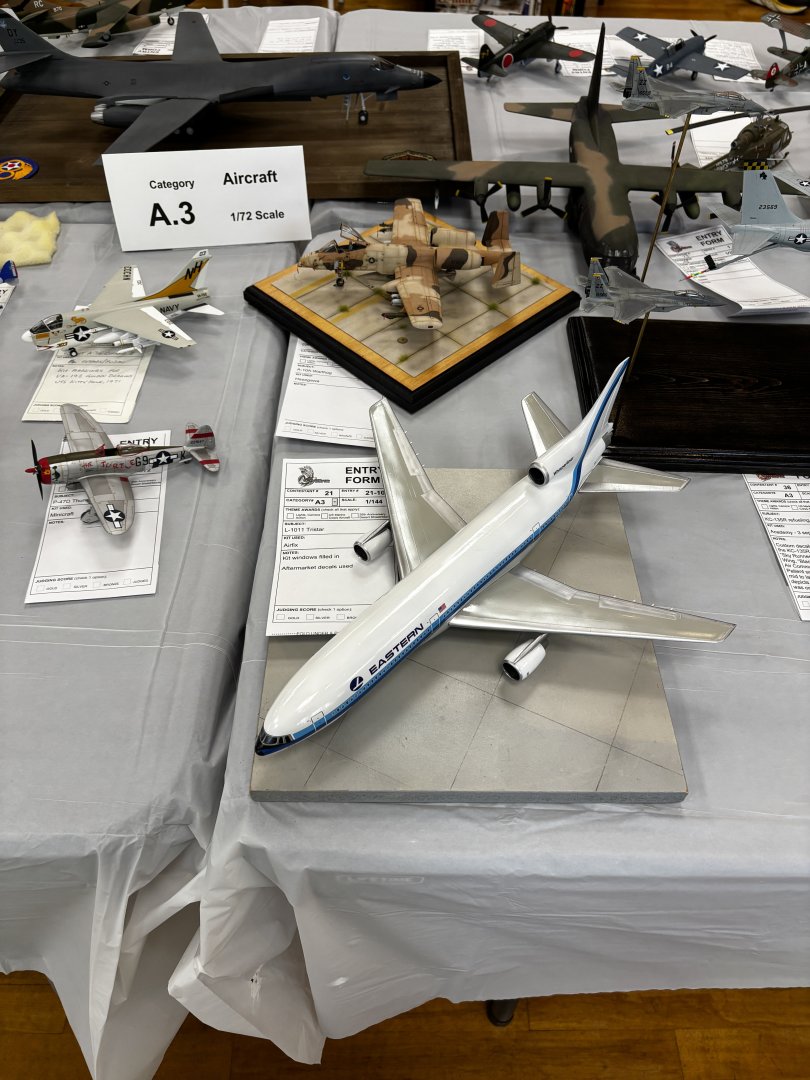
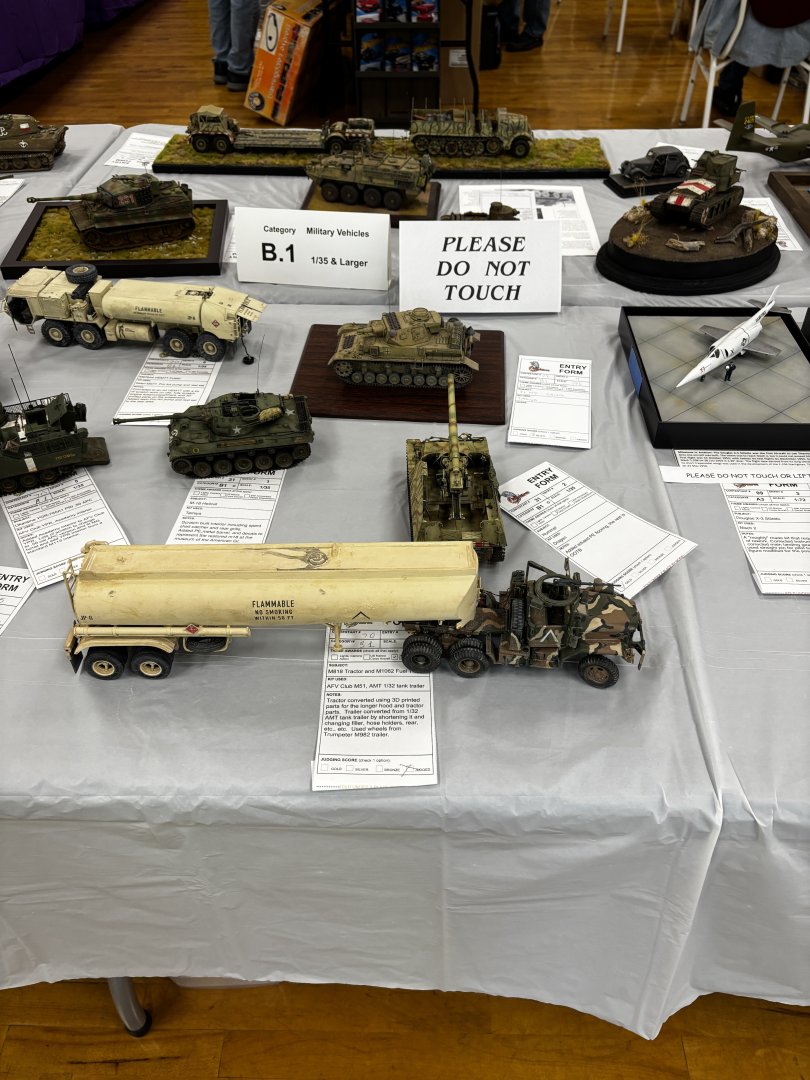
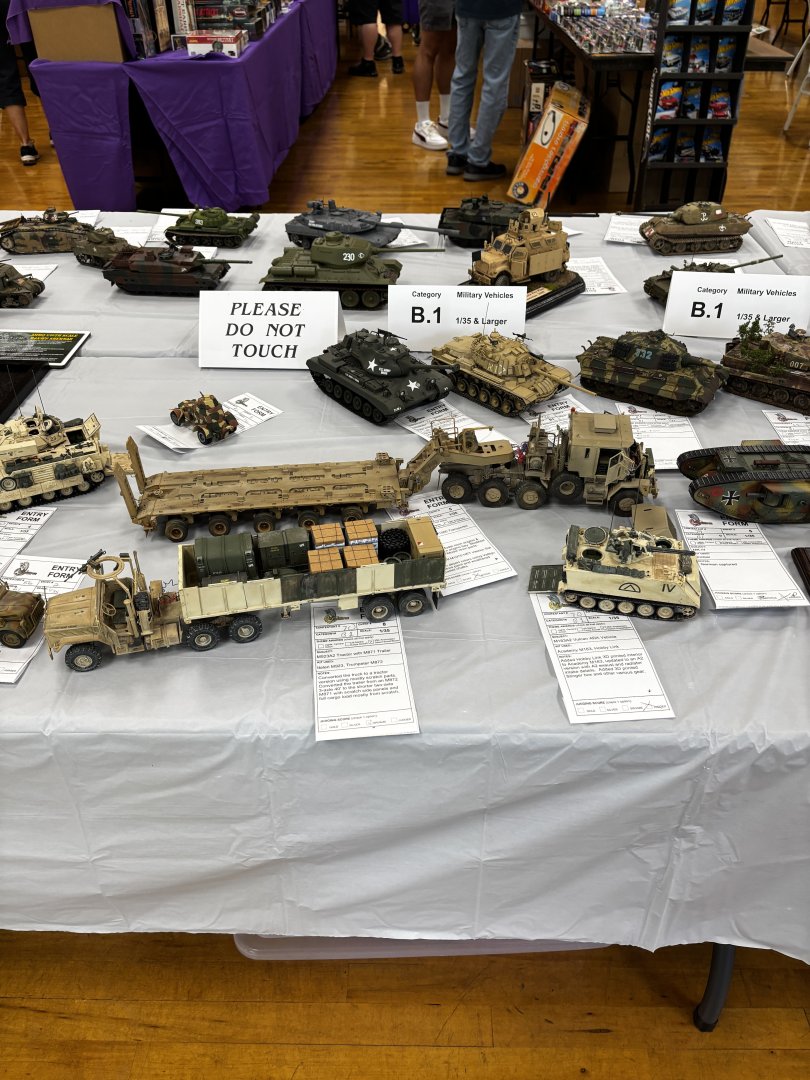
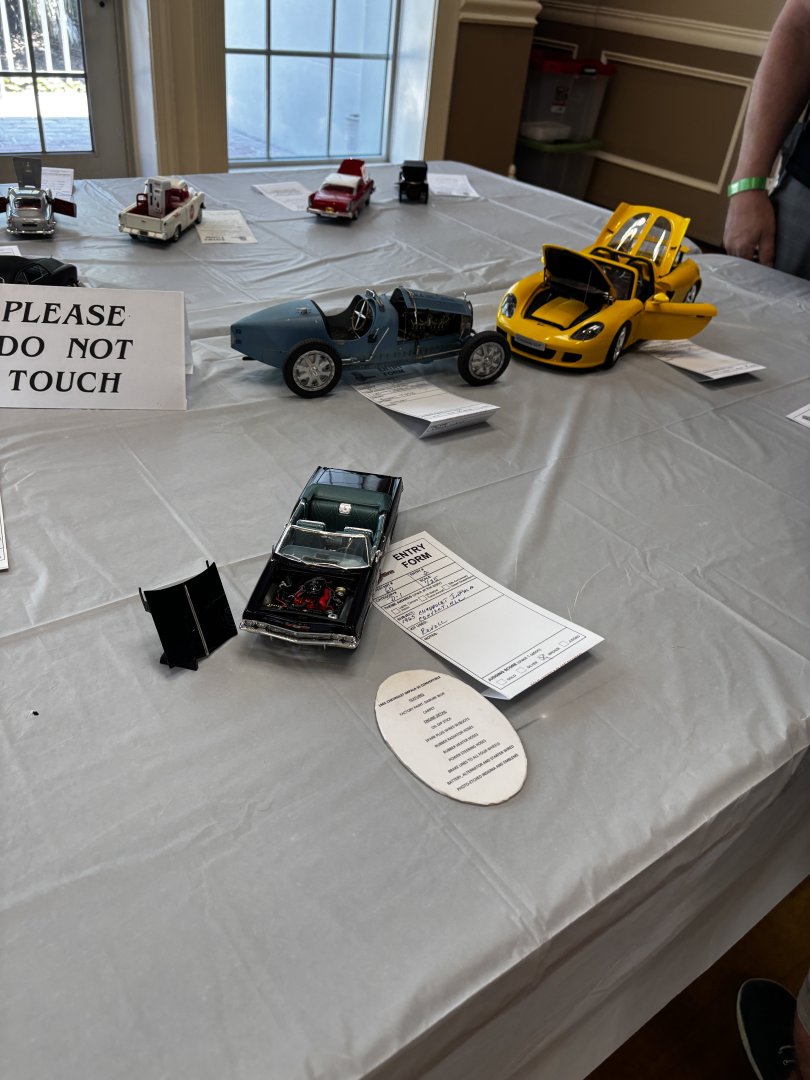
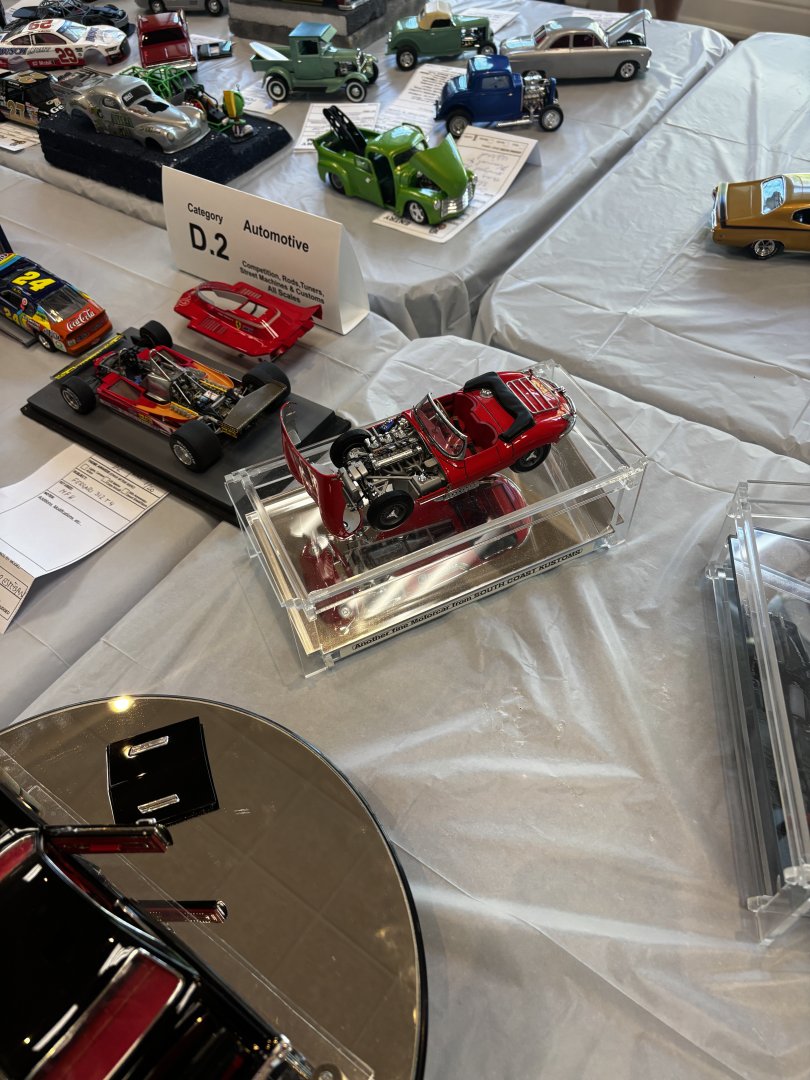
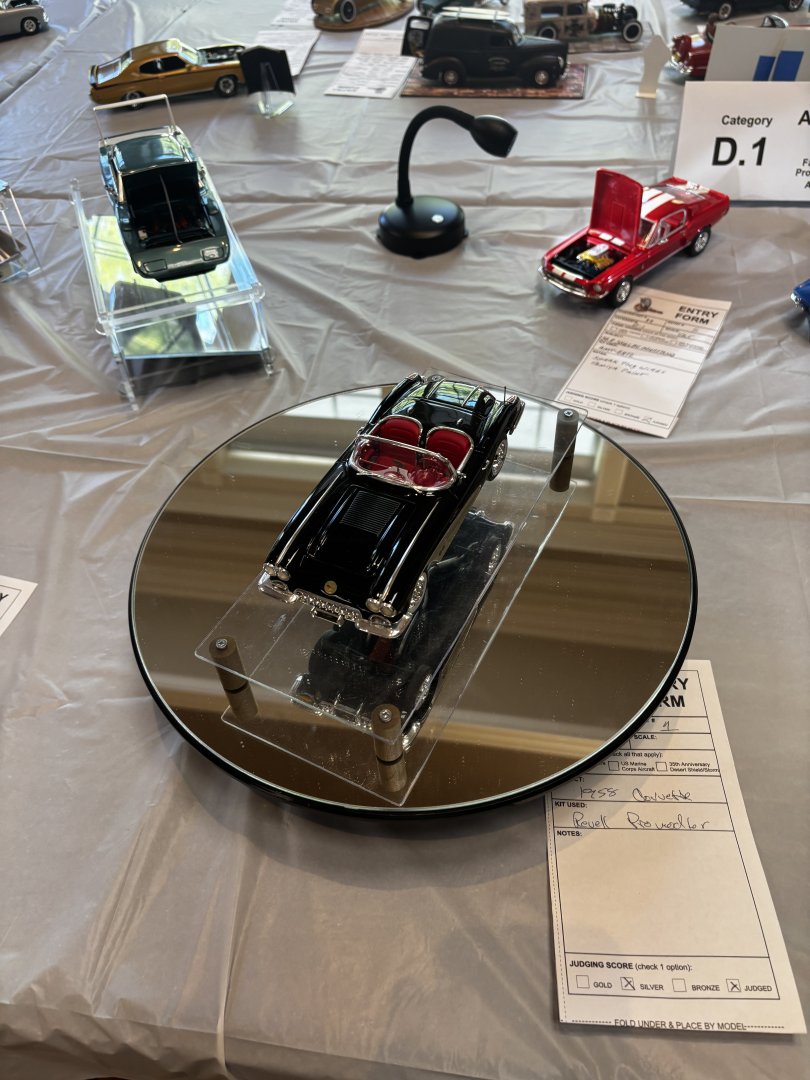
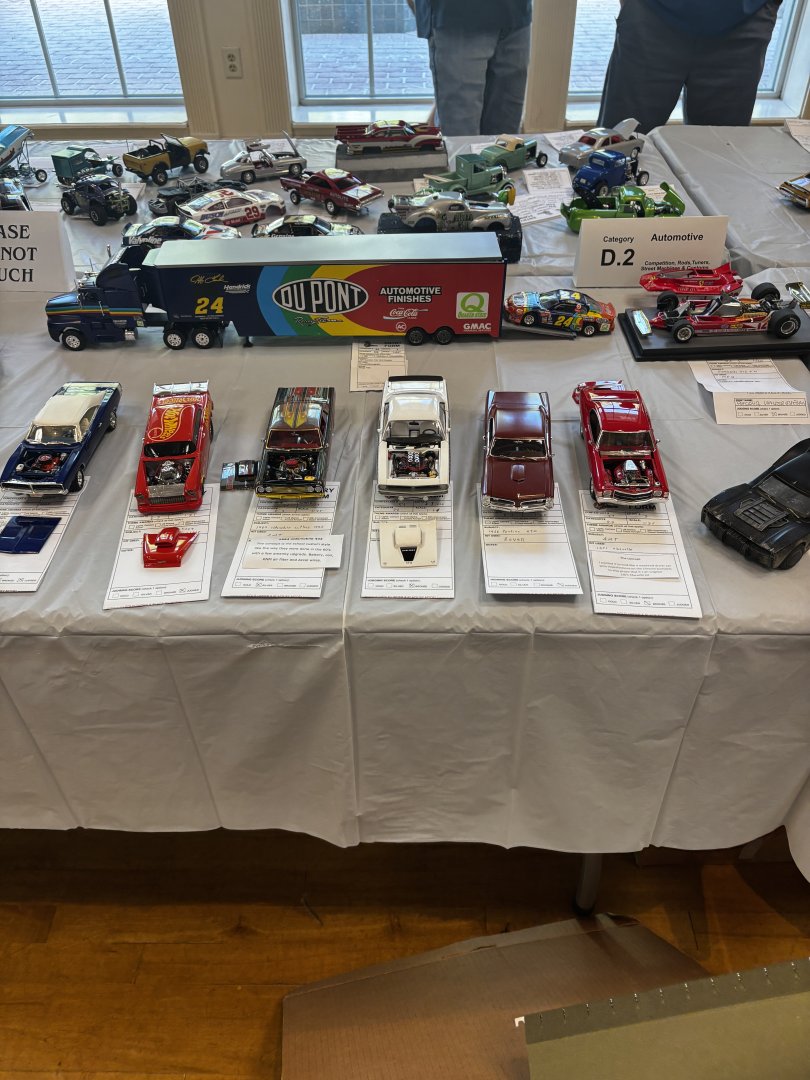
Not exactly sure but guess most are from Florida perhaps with a scattering from other nearby states. One thing is for sure, the members of our hobby, for the most part, are becoming more advanced in age shall we say. Not more than a relative handful of youth attended. Mist of my photos were taken early in the day. Many more models showed up later but taking photos was complicated by all the traffic around the display tables. Easily there were a hundred or more contestants and even multiple more models on display.
-
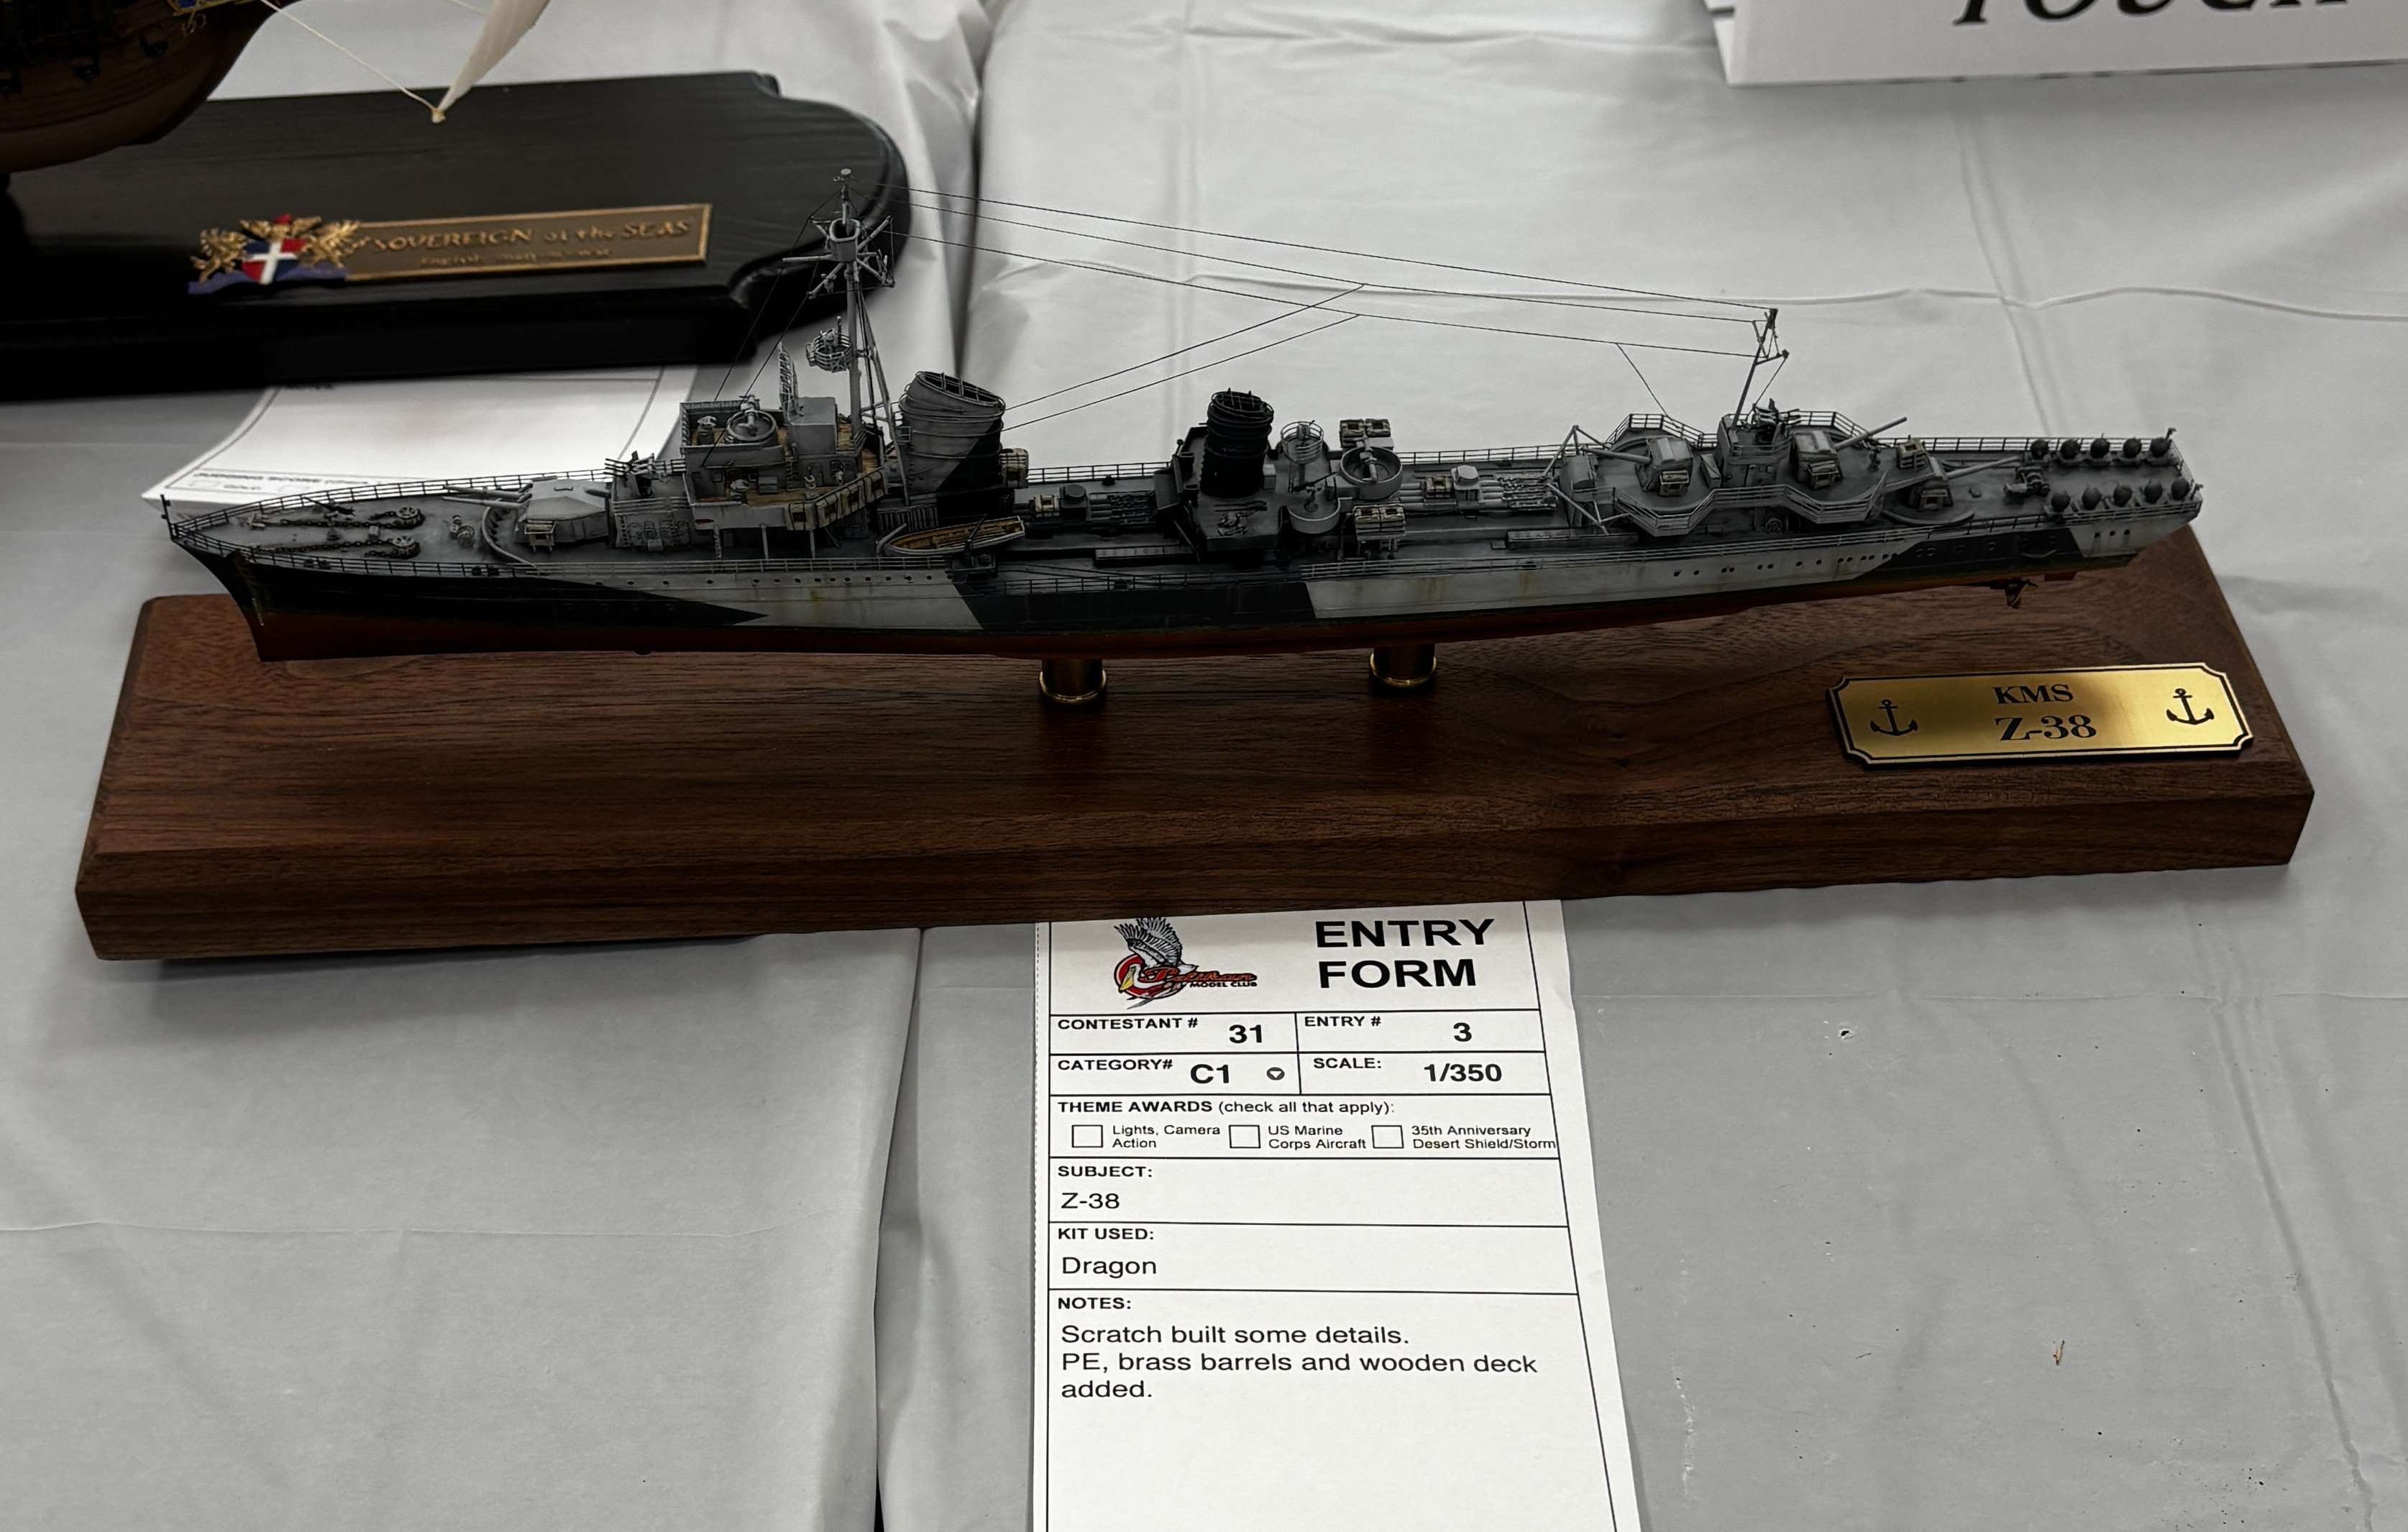
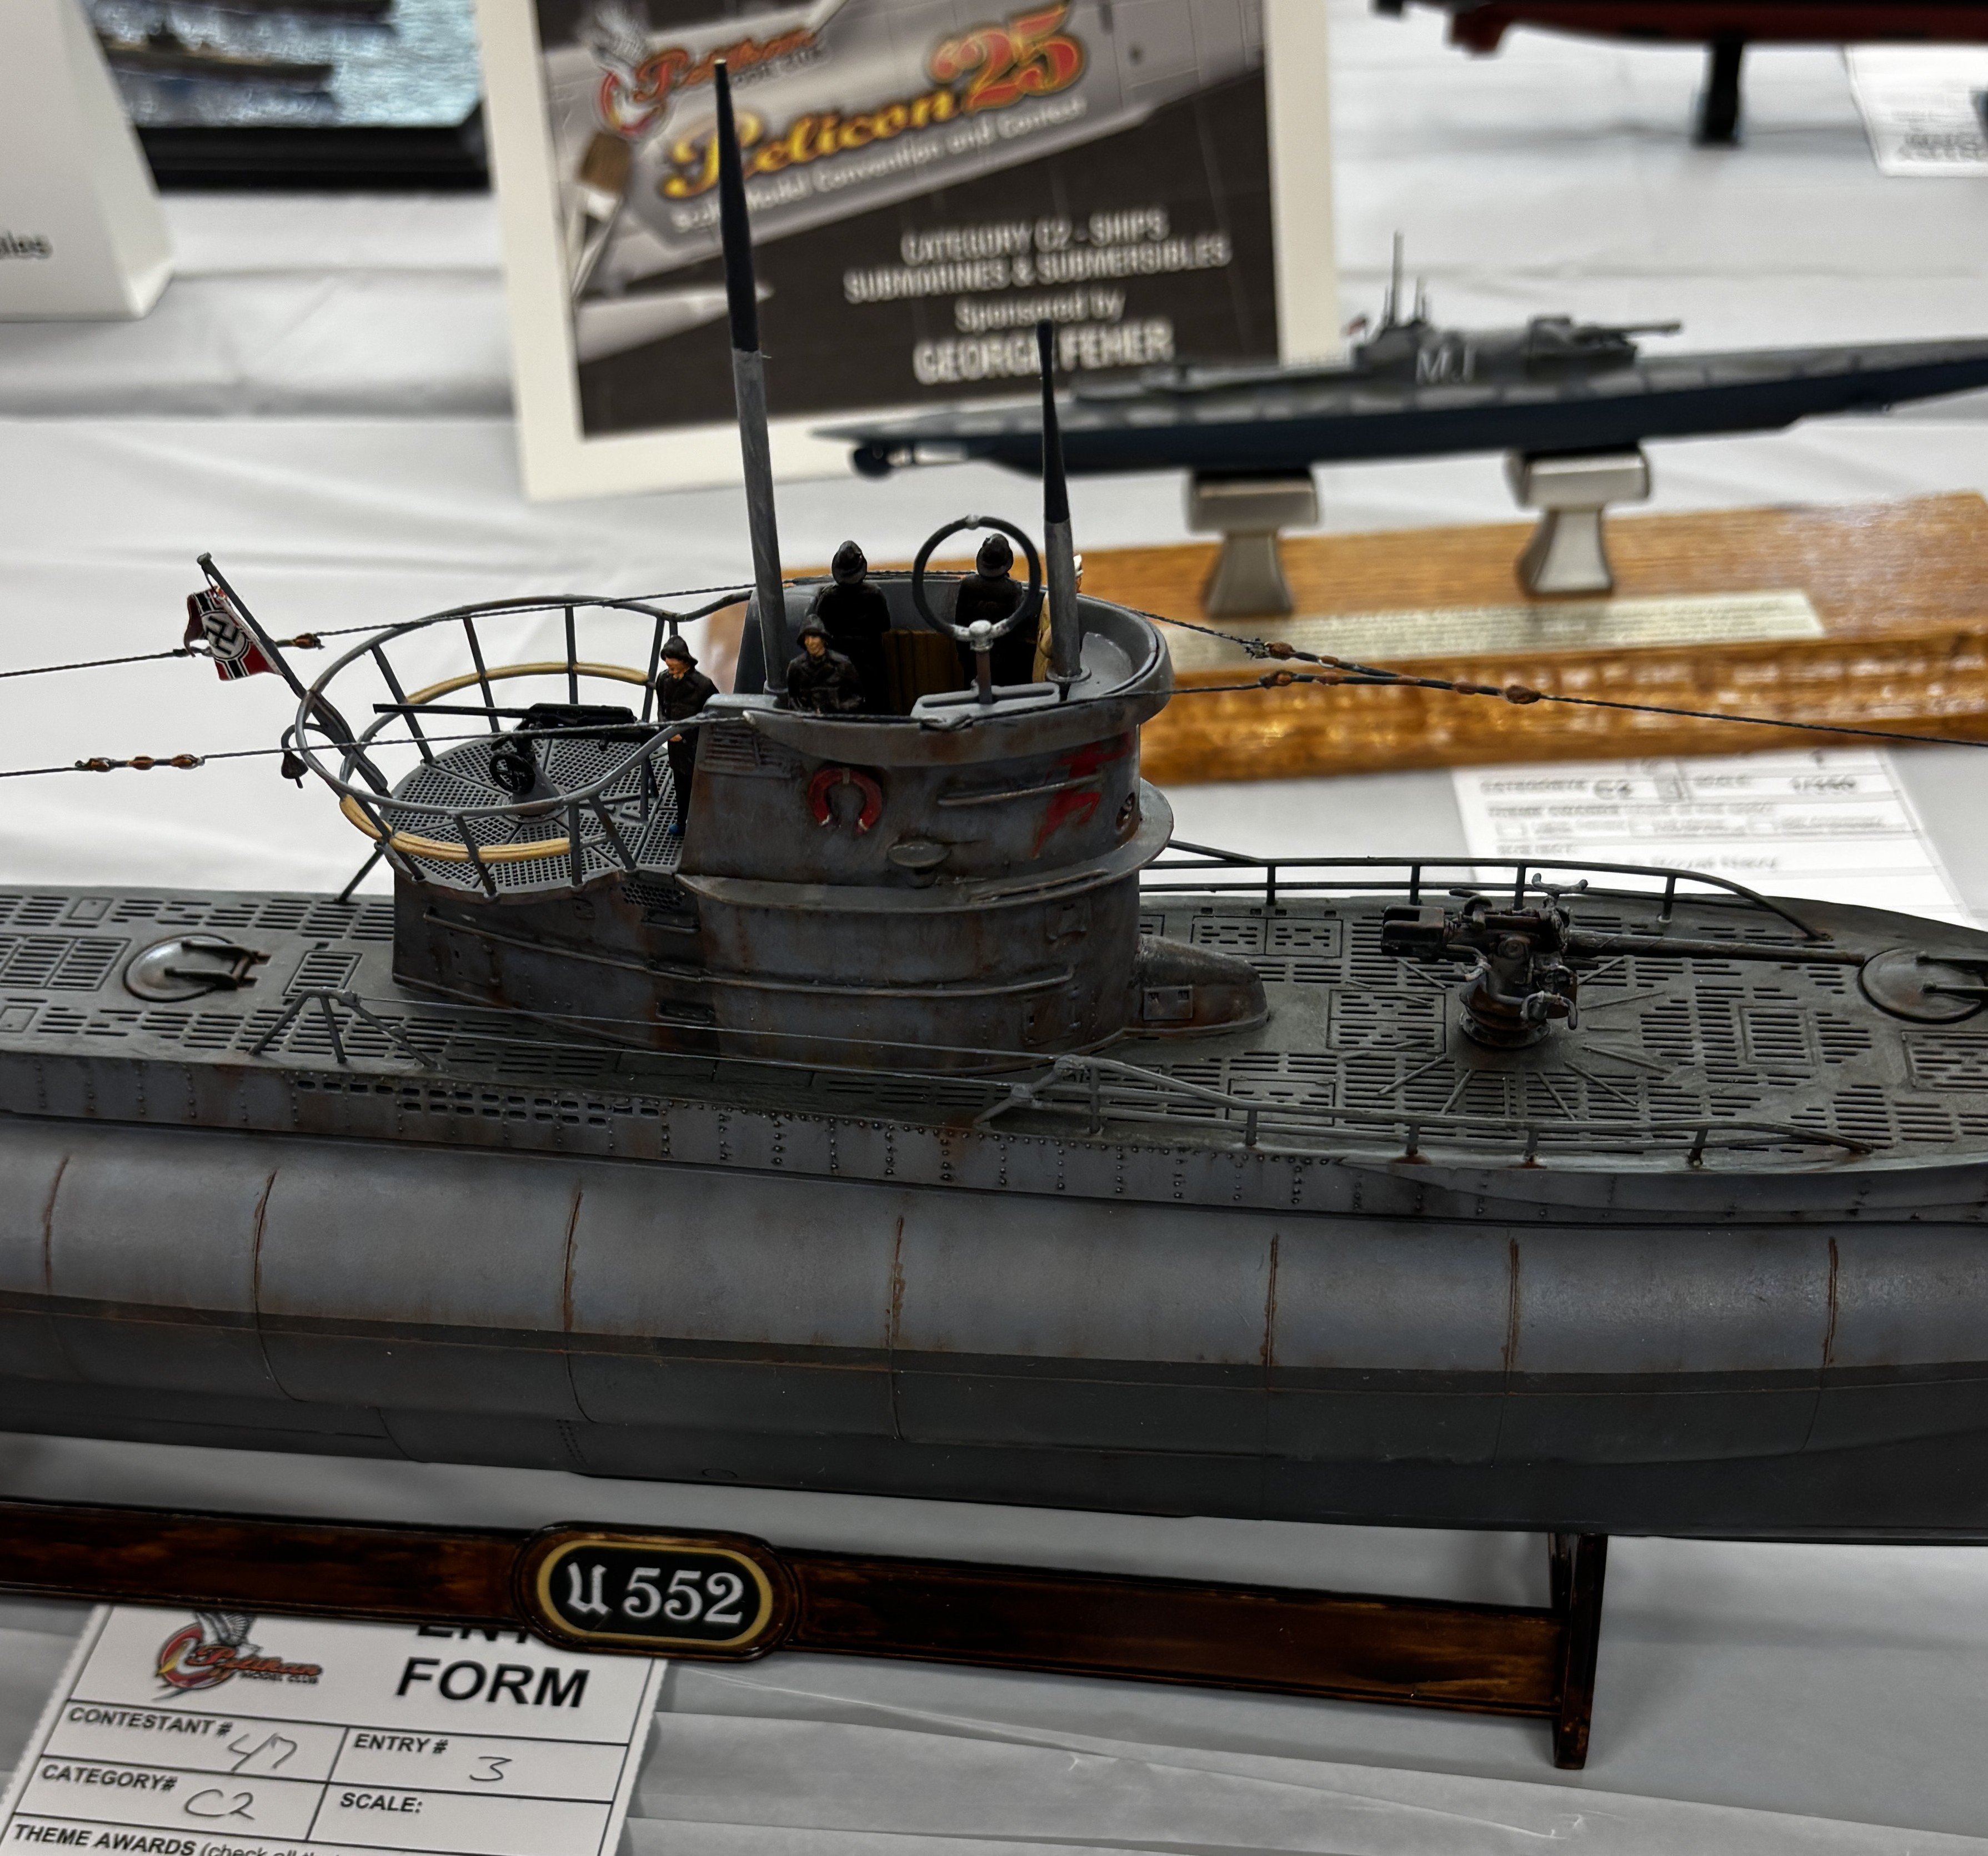
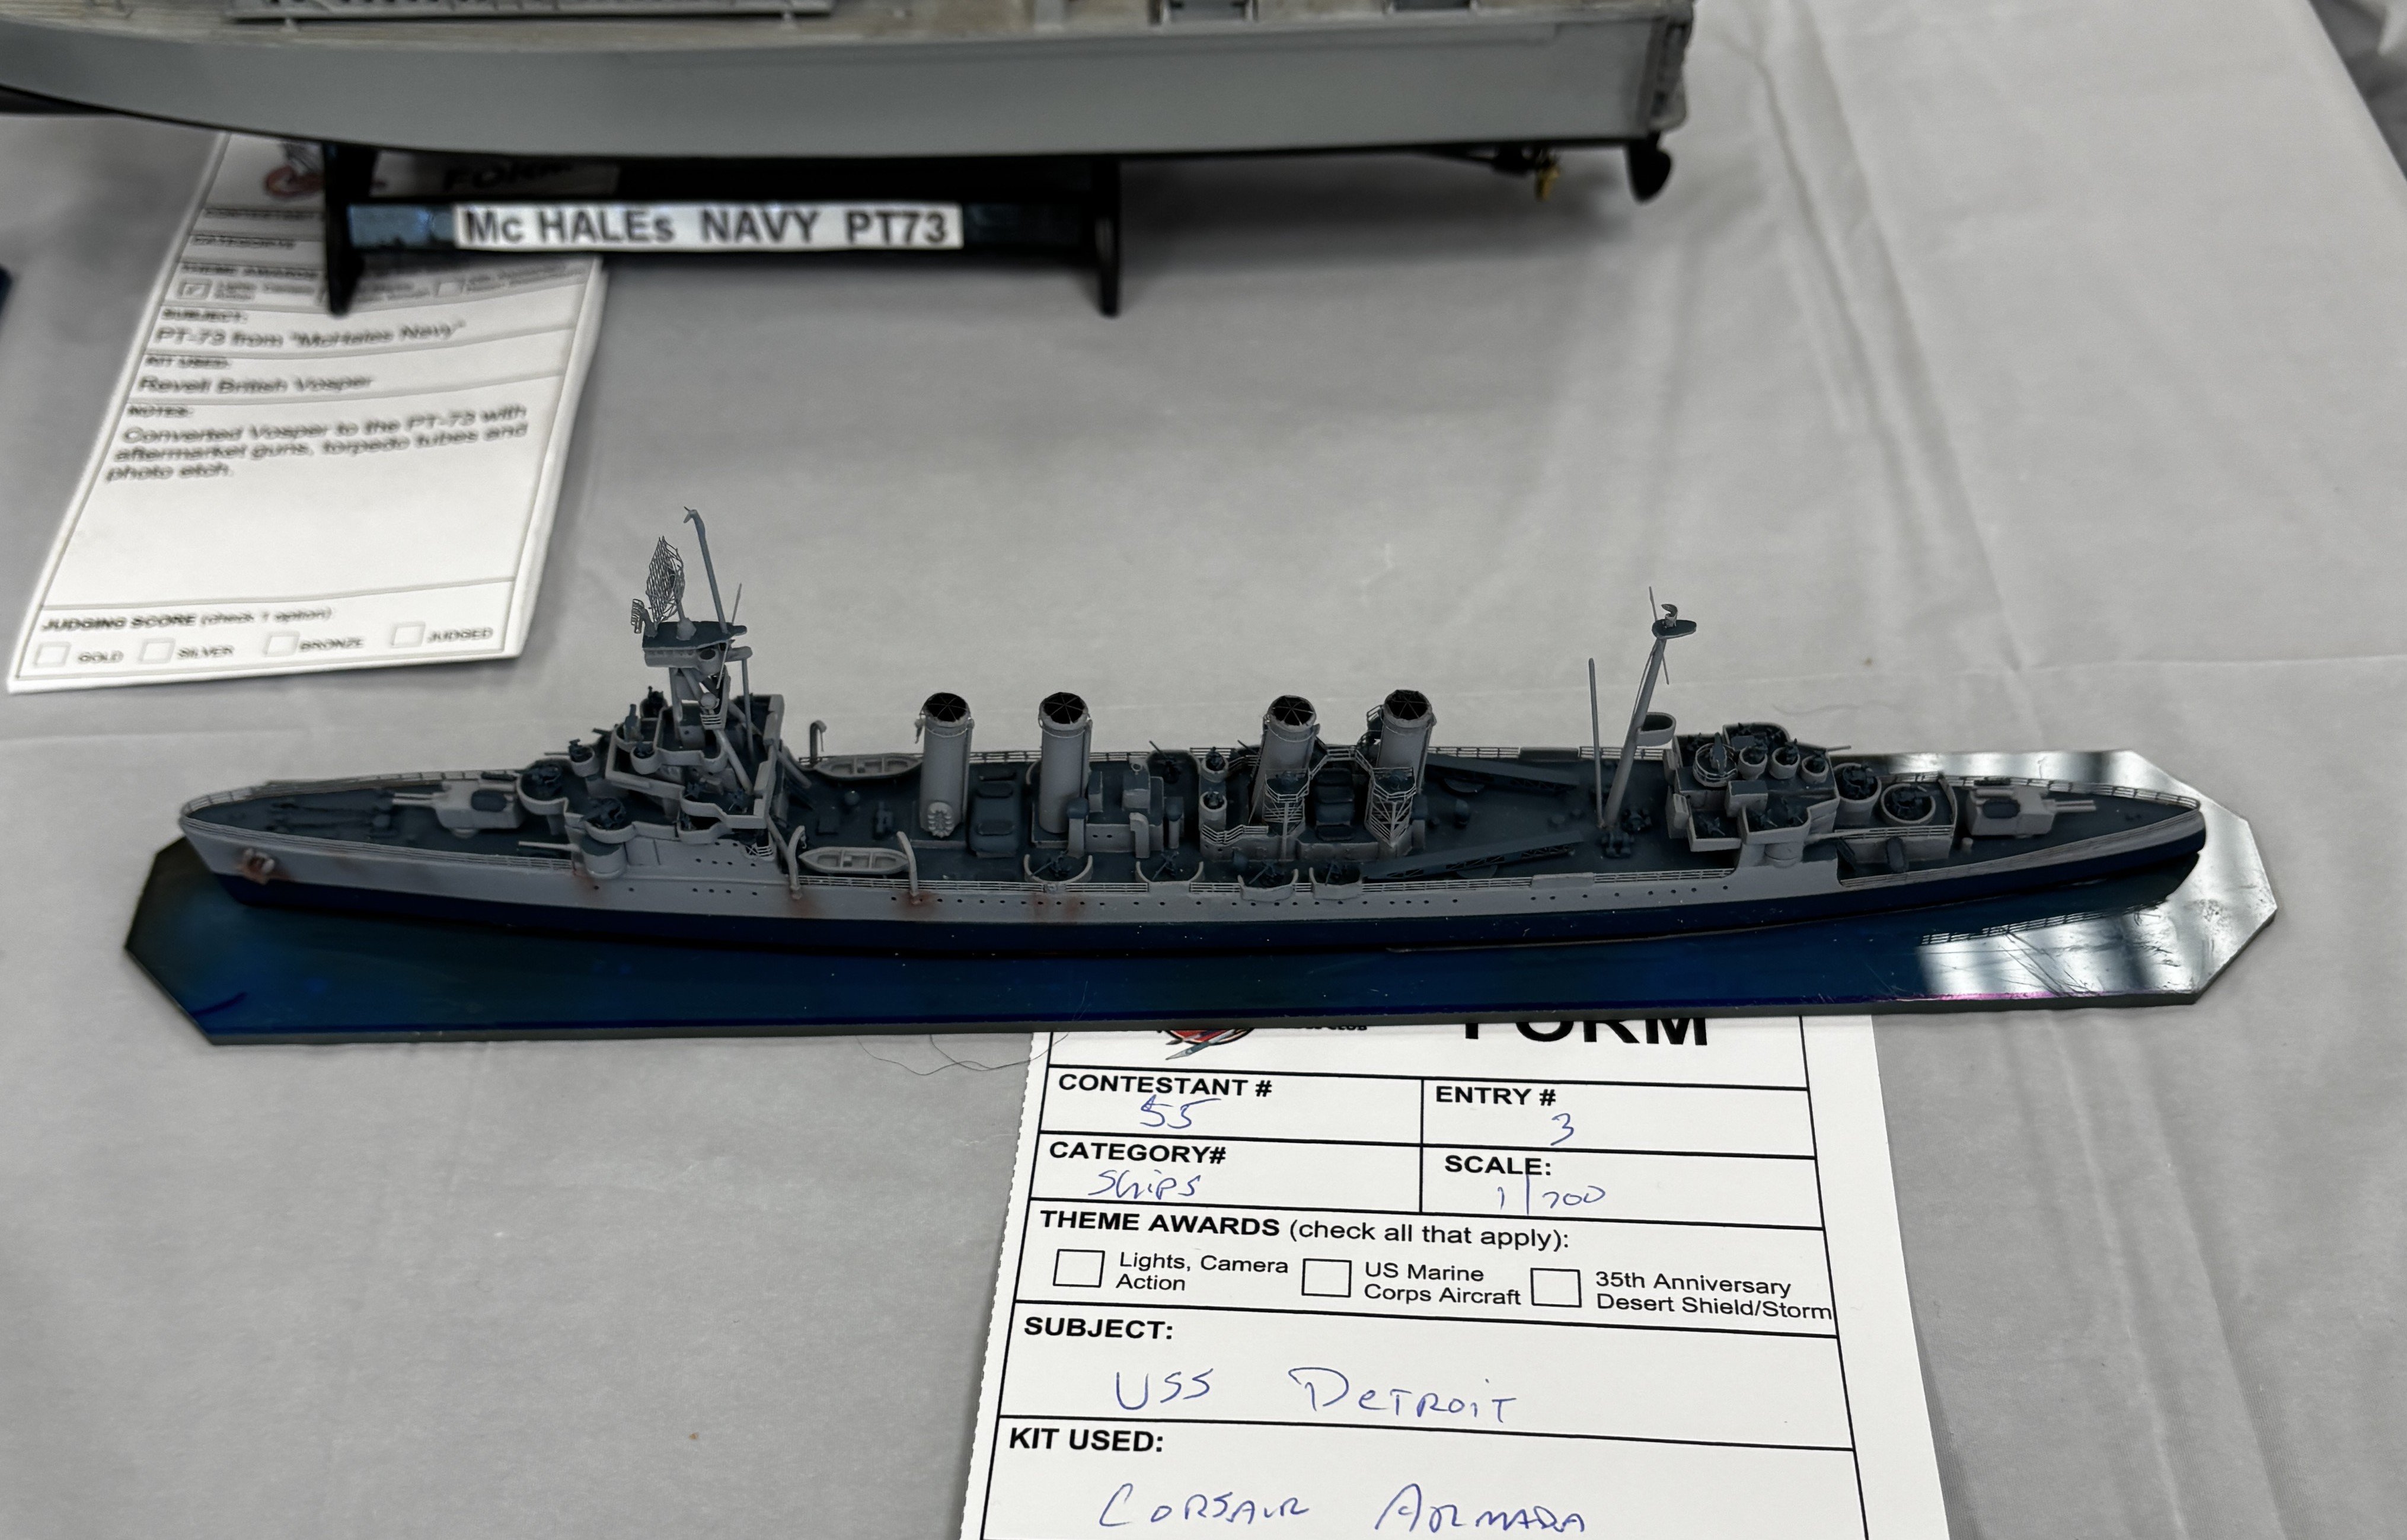
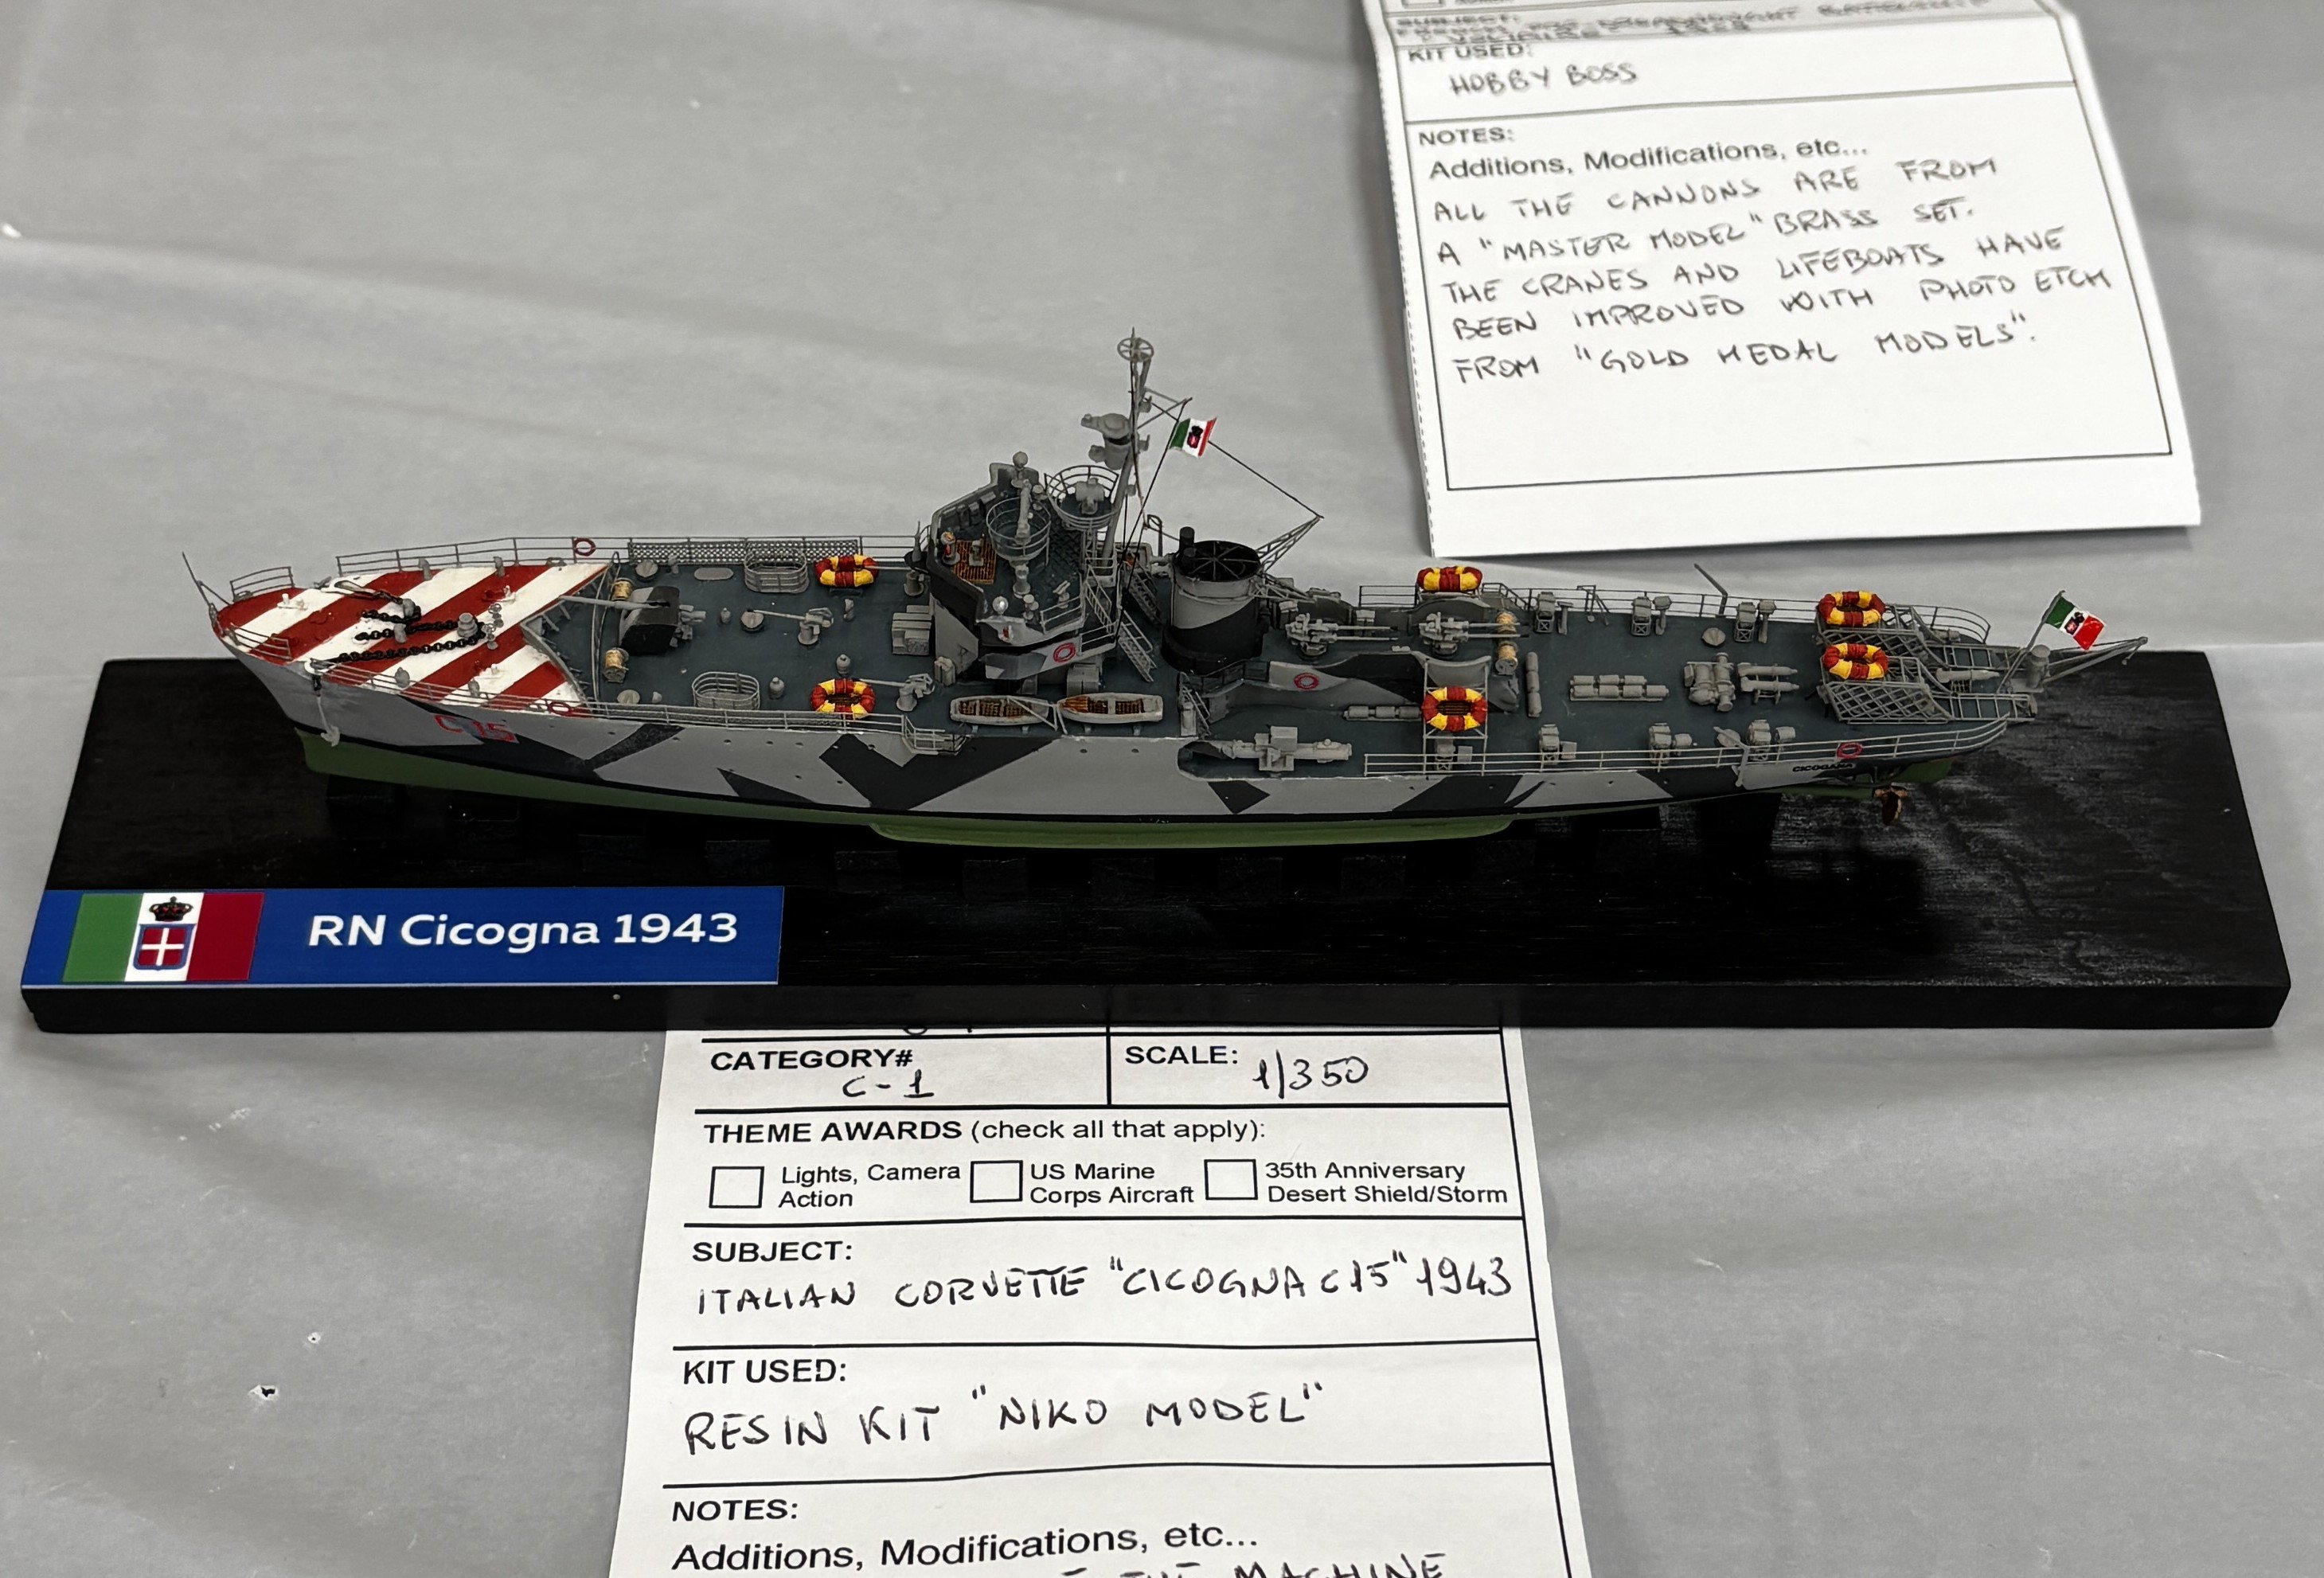
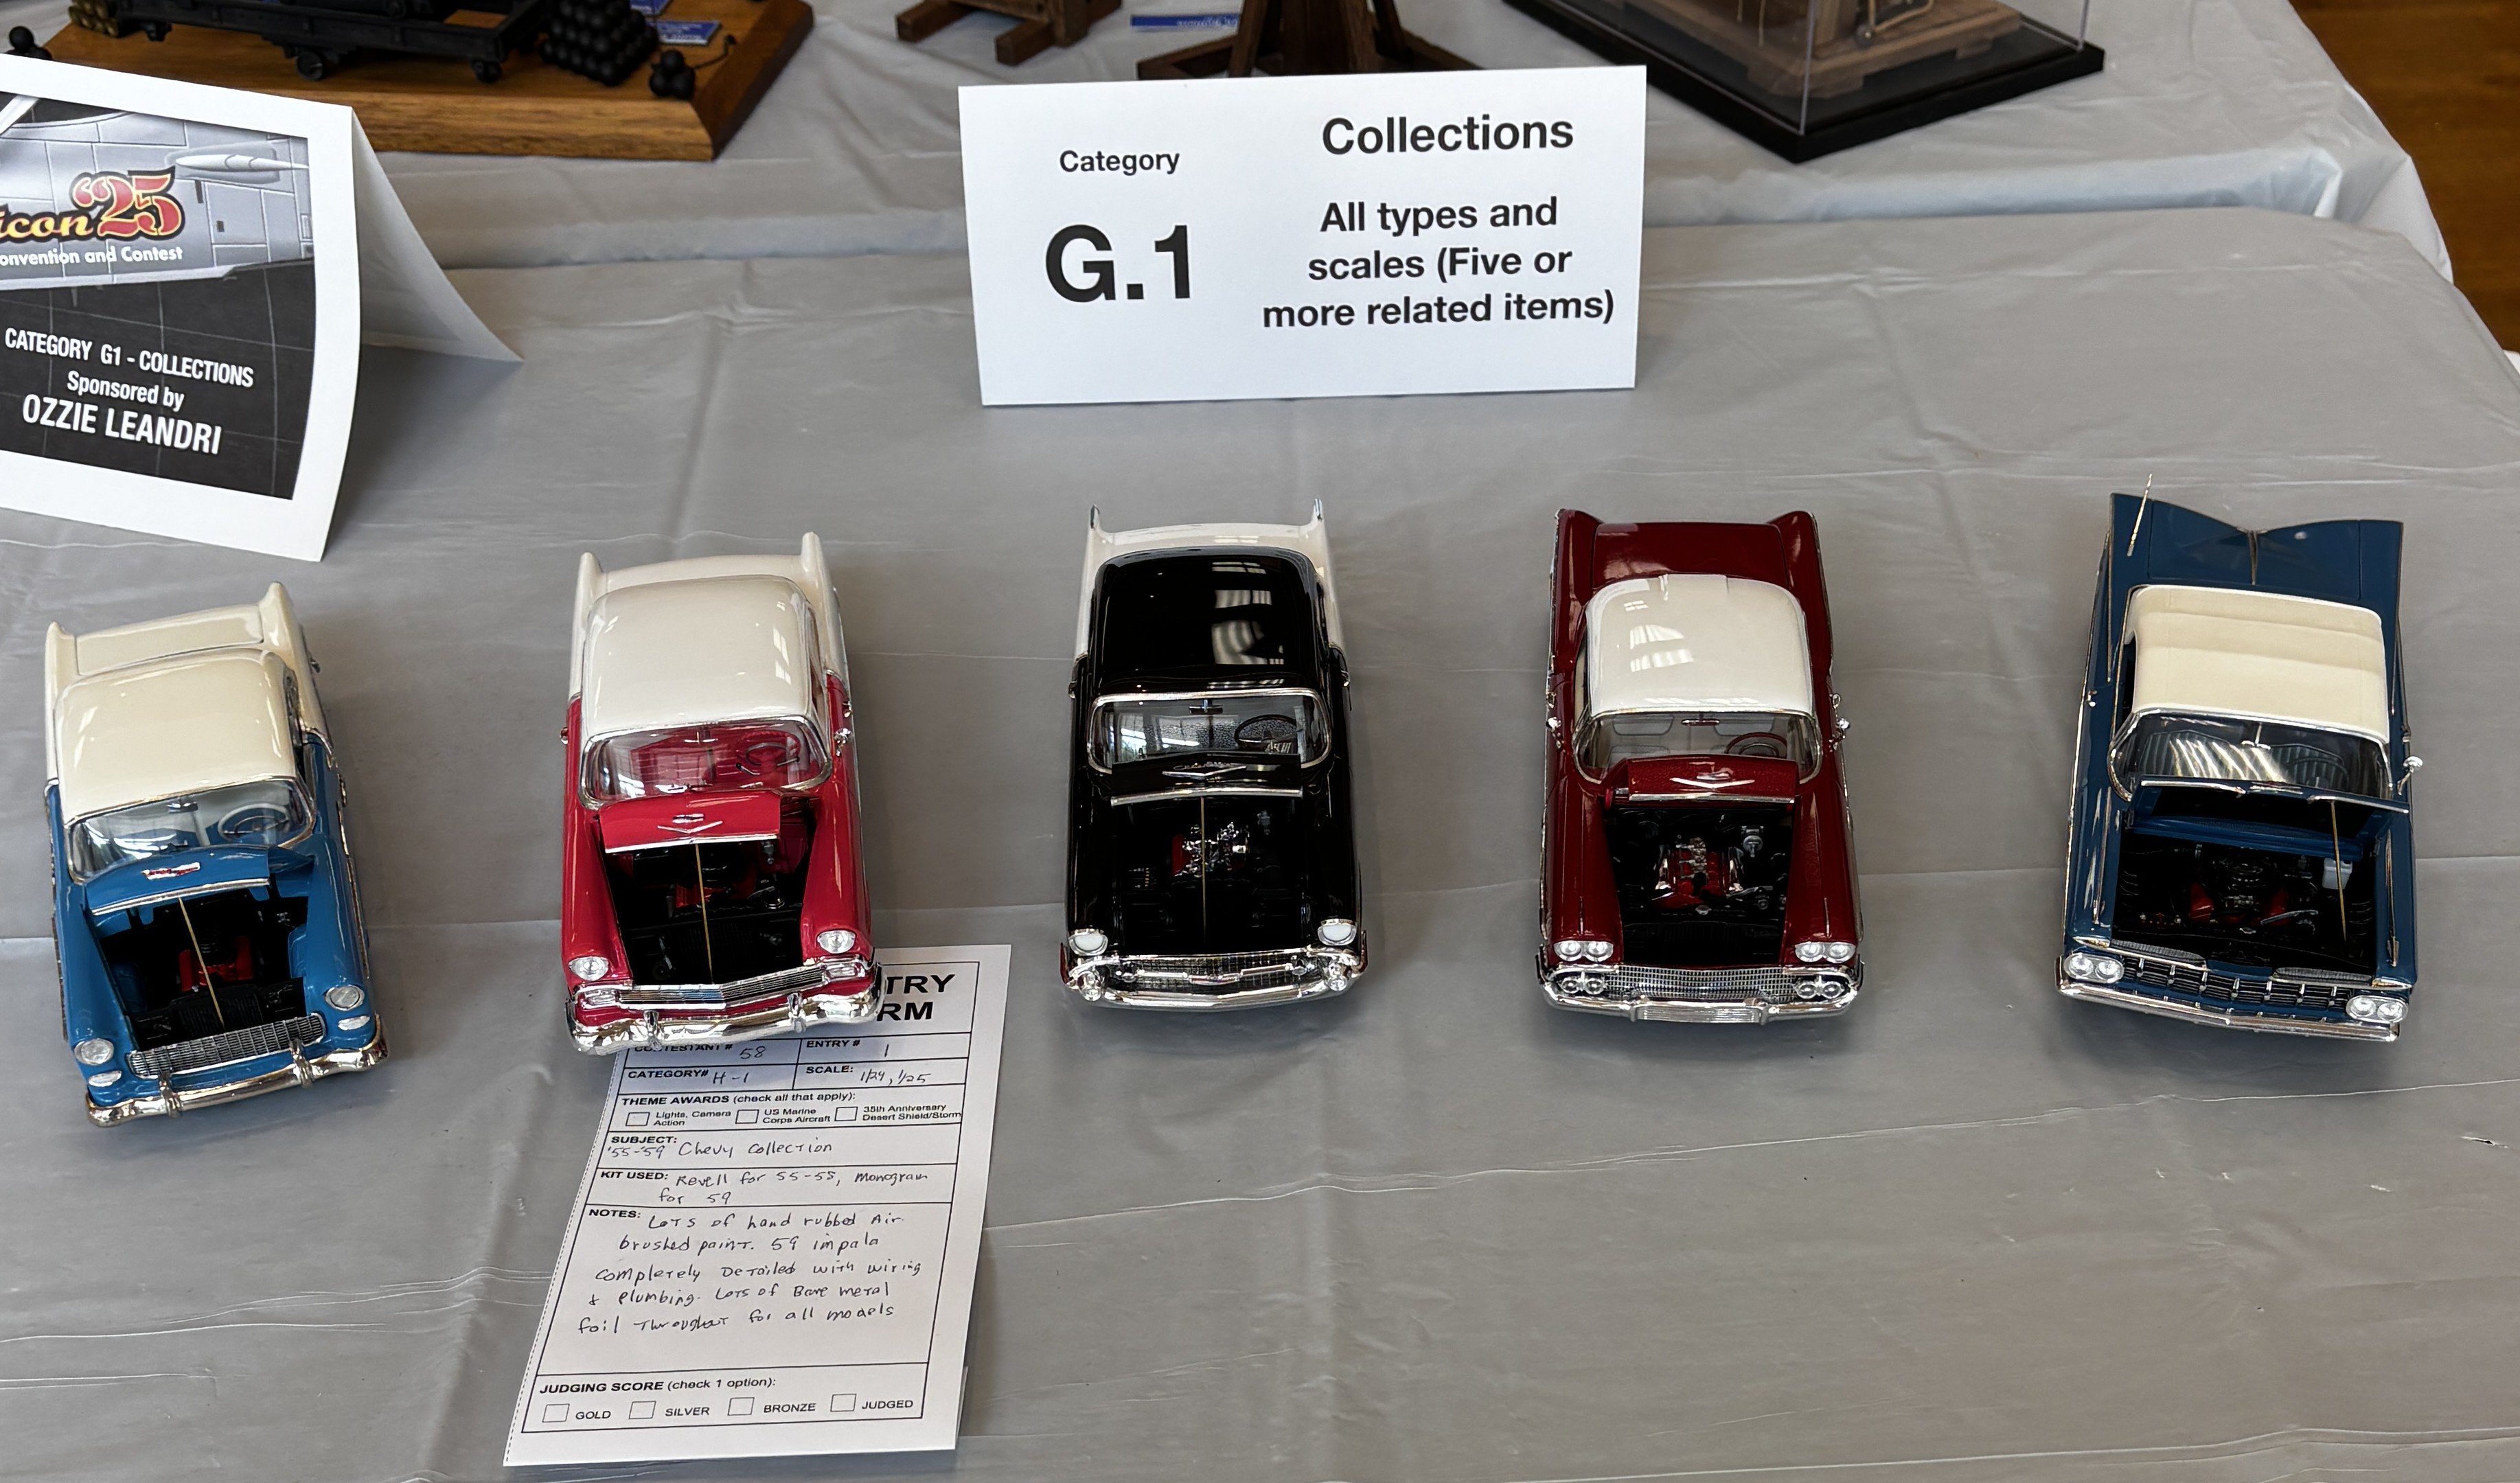
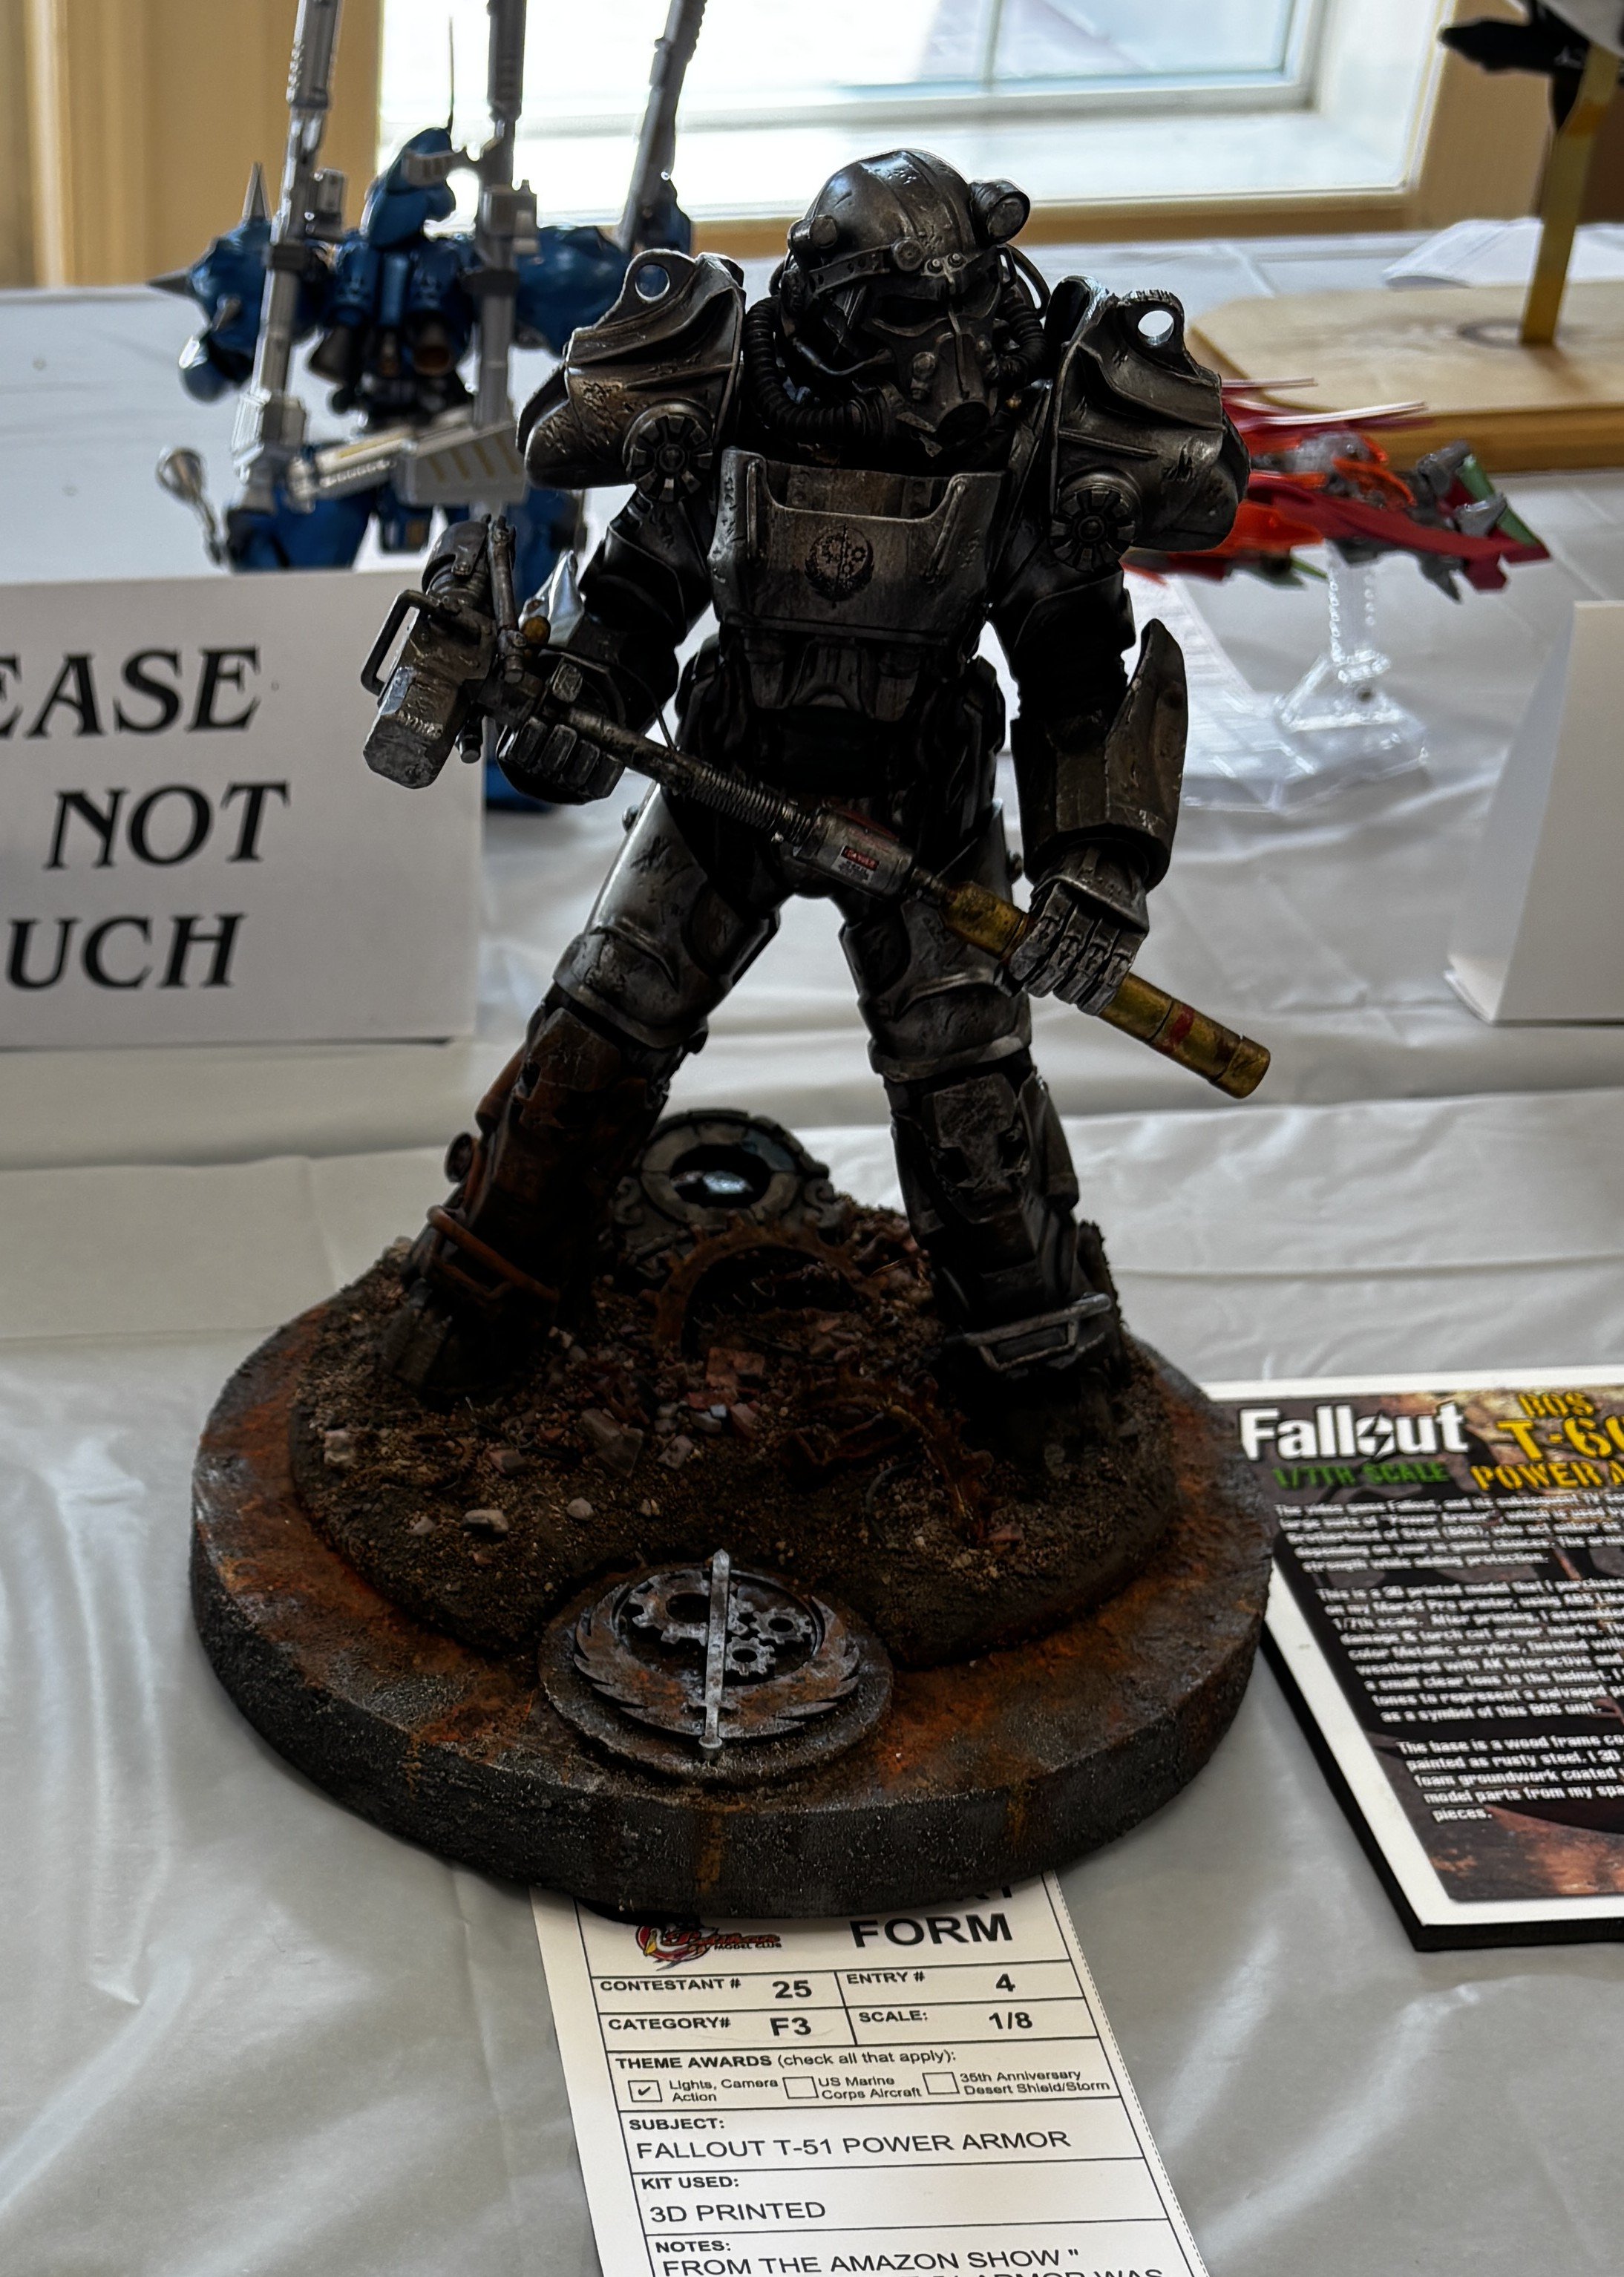
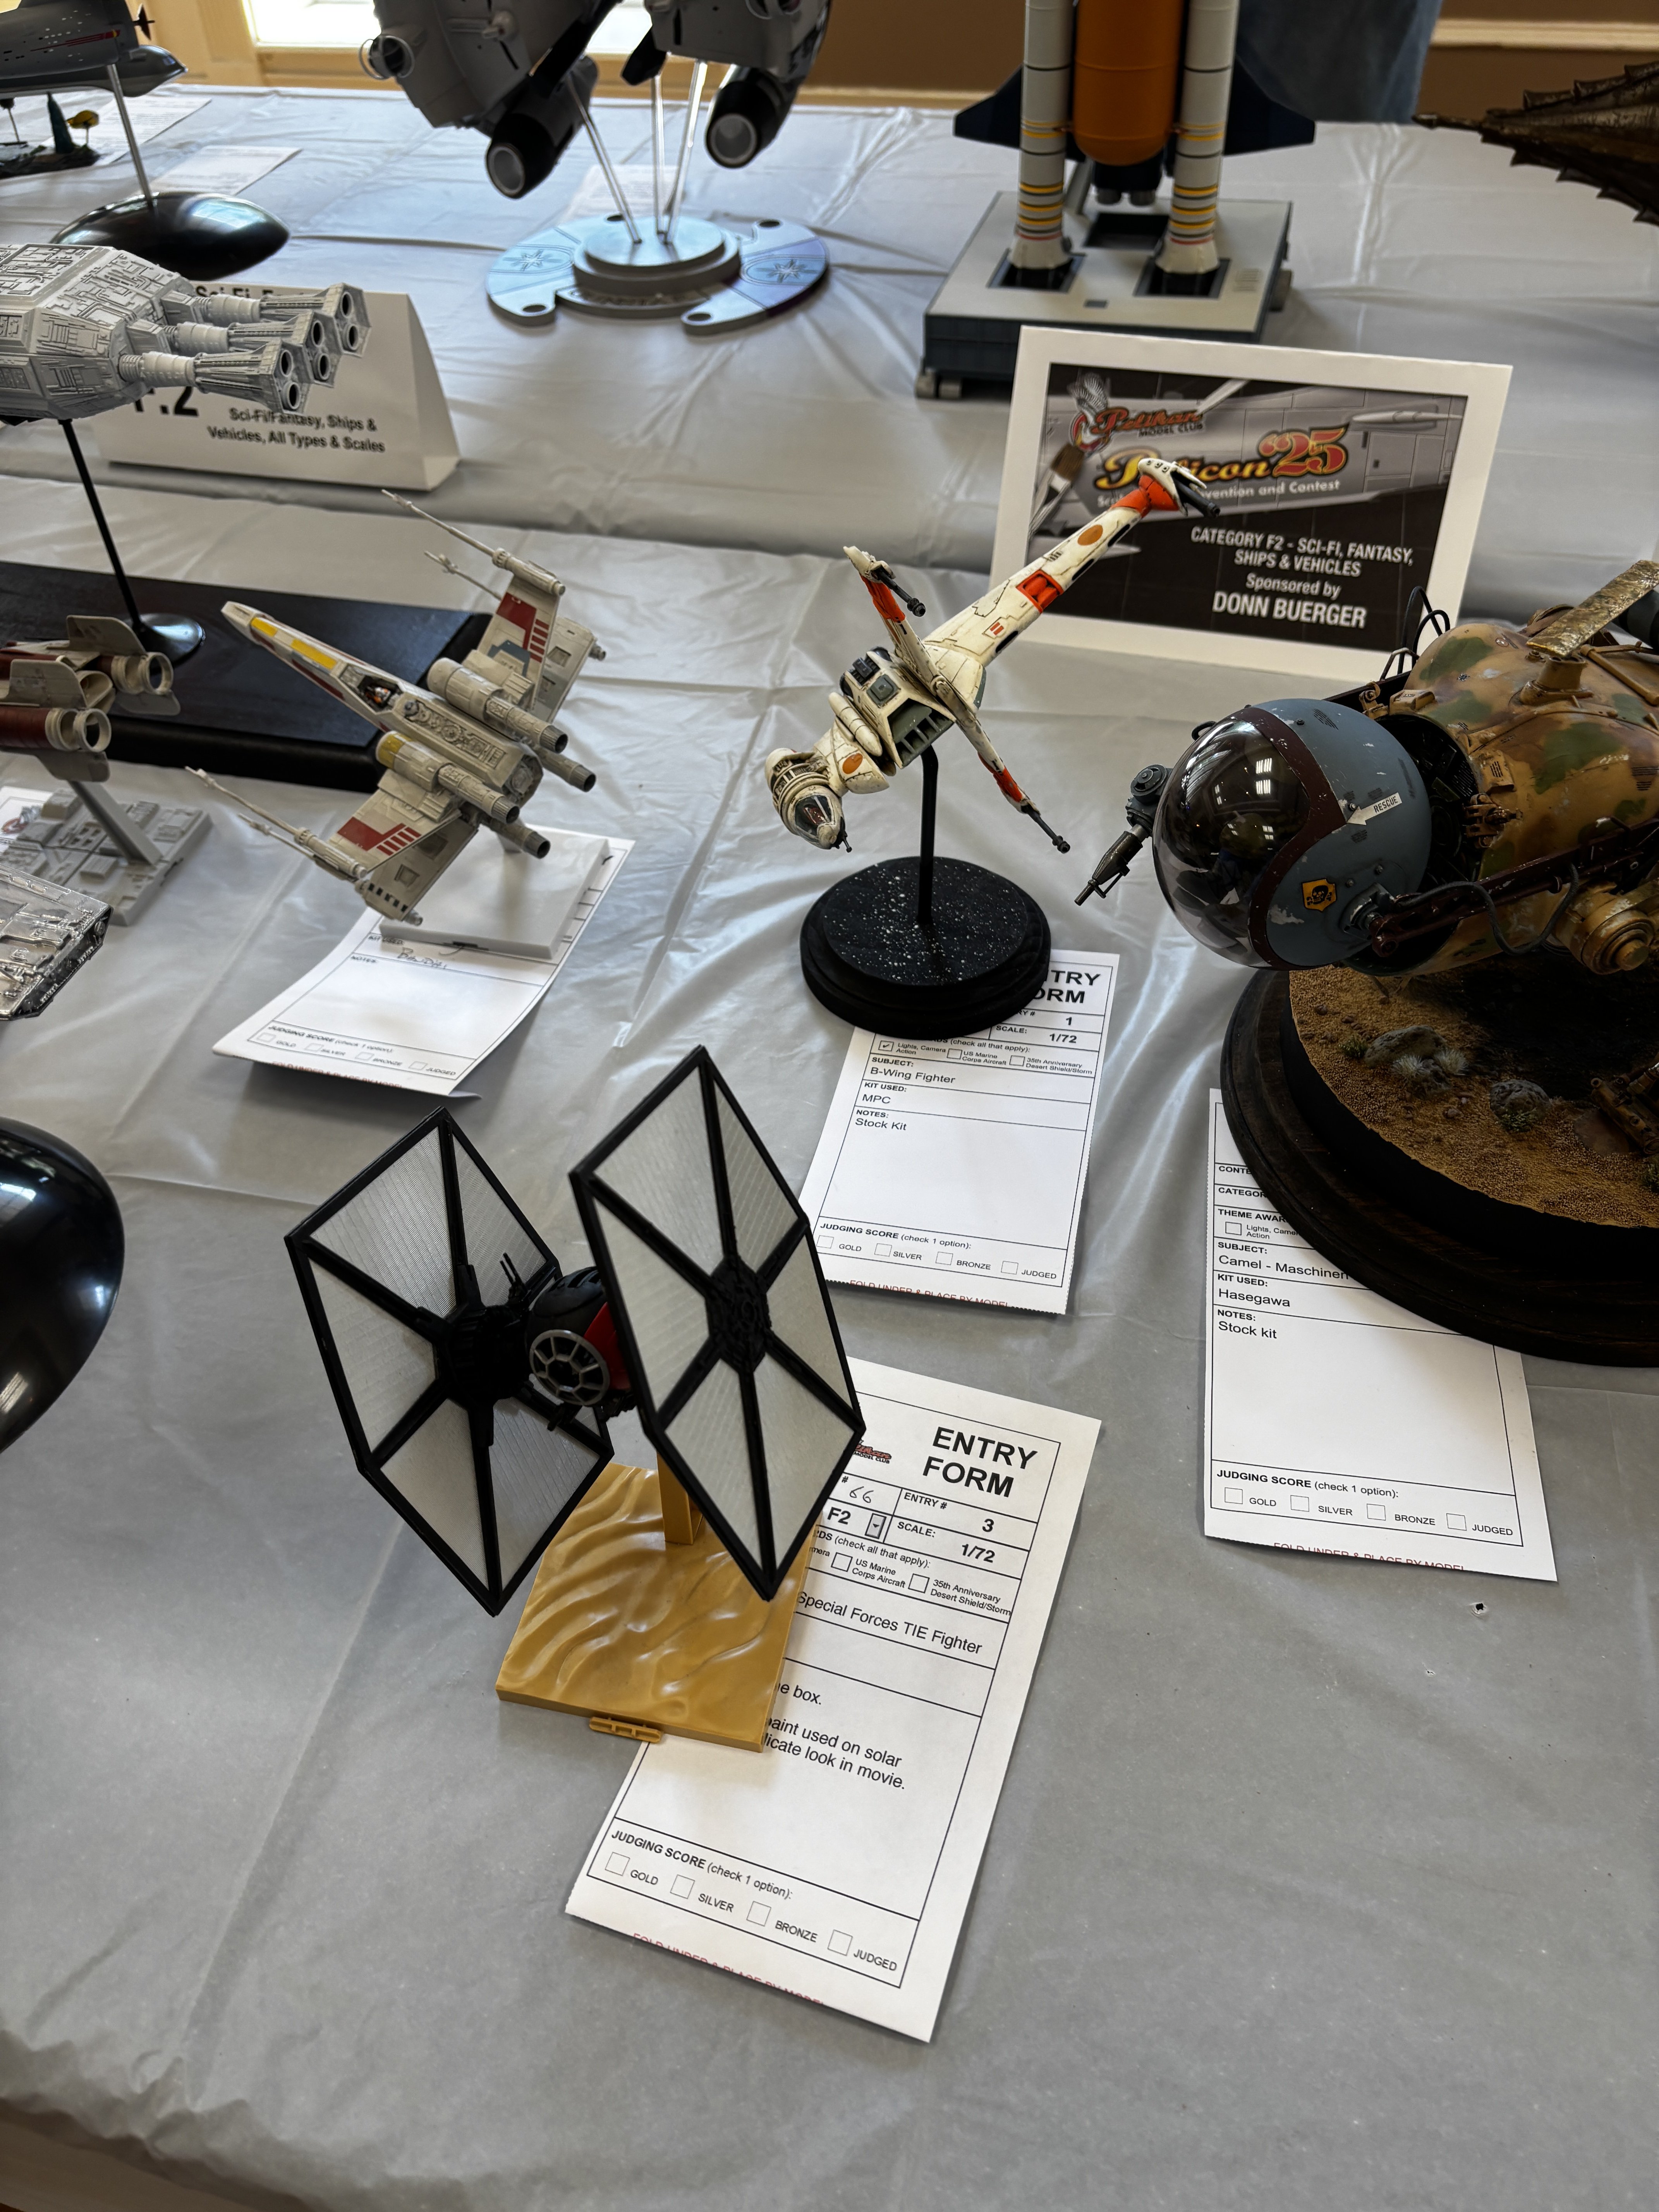
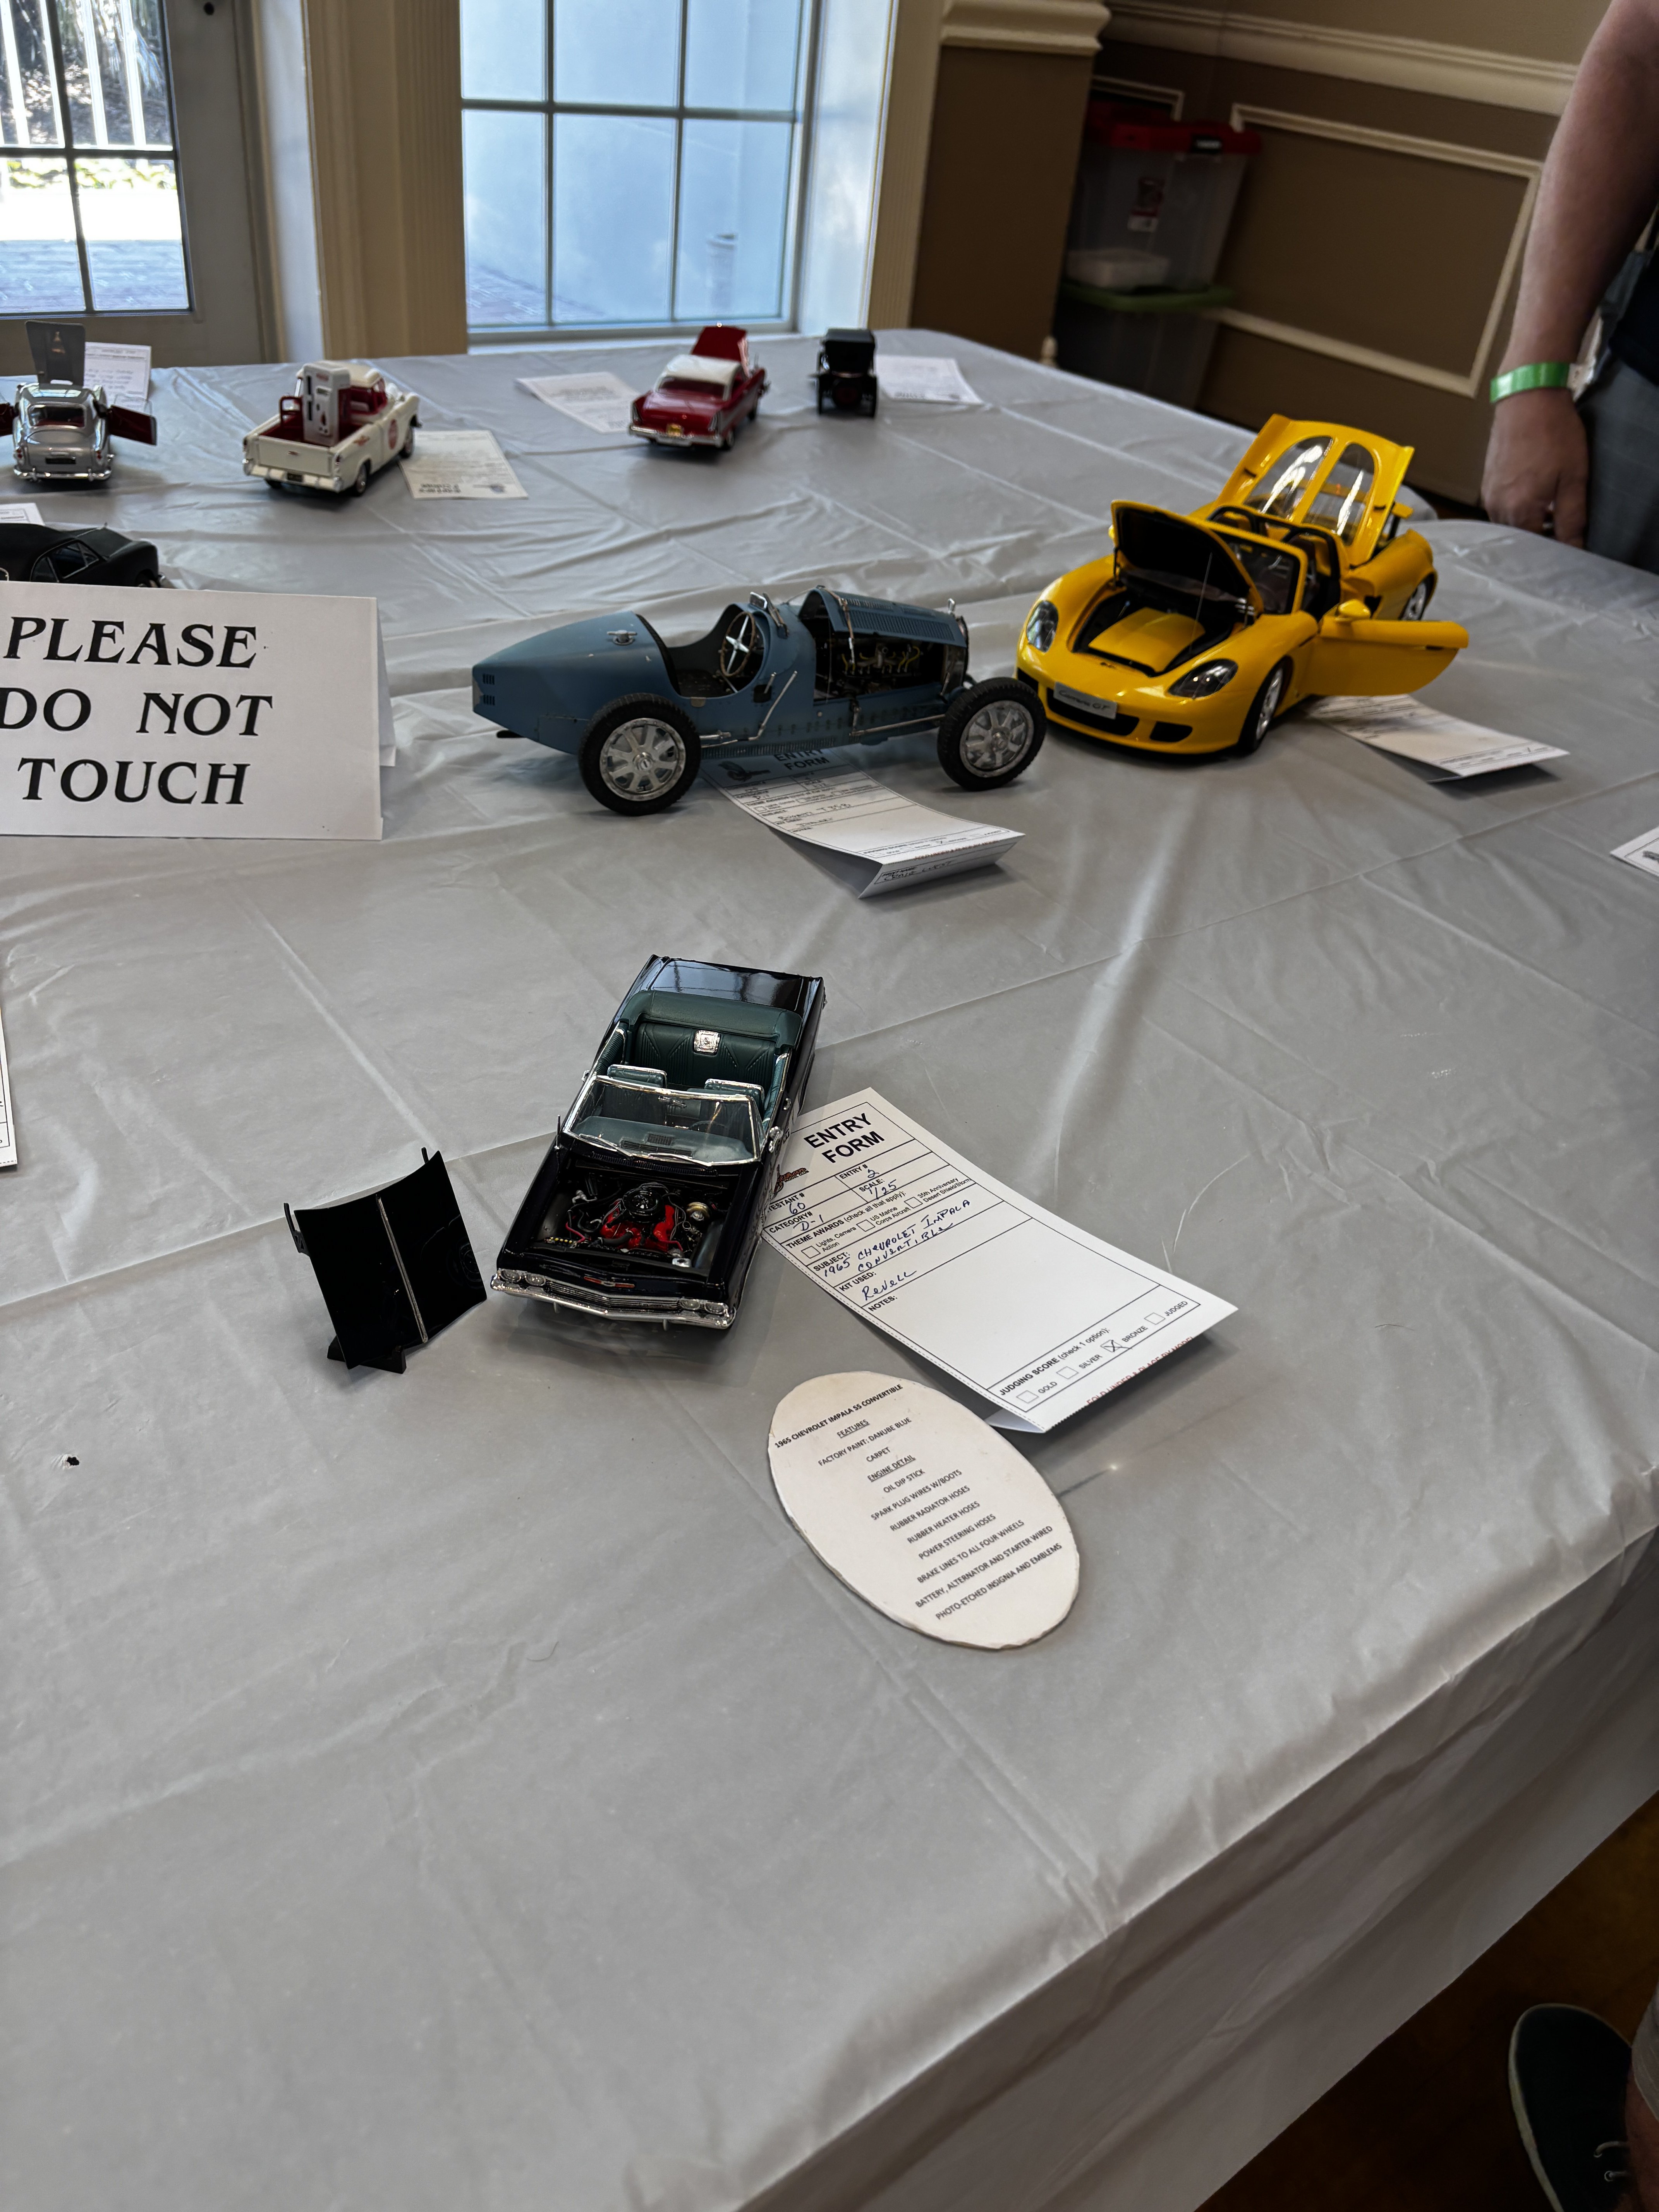
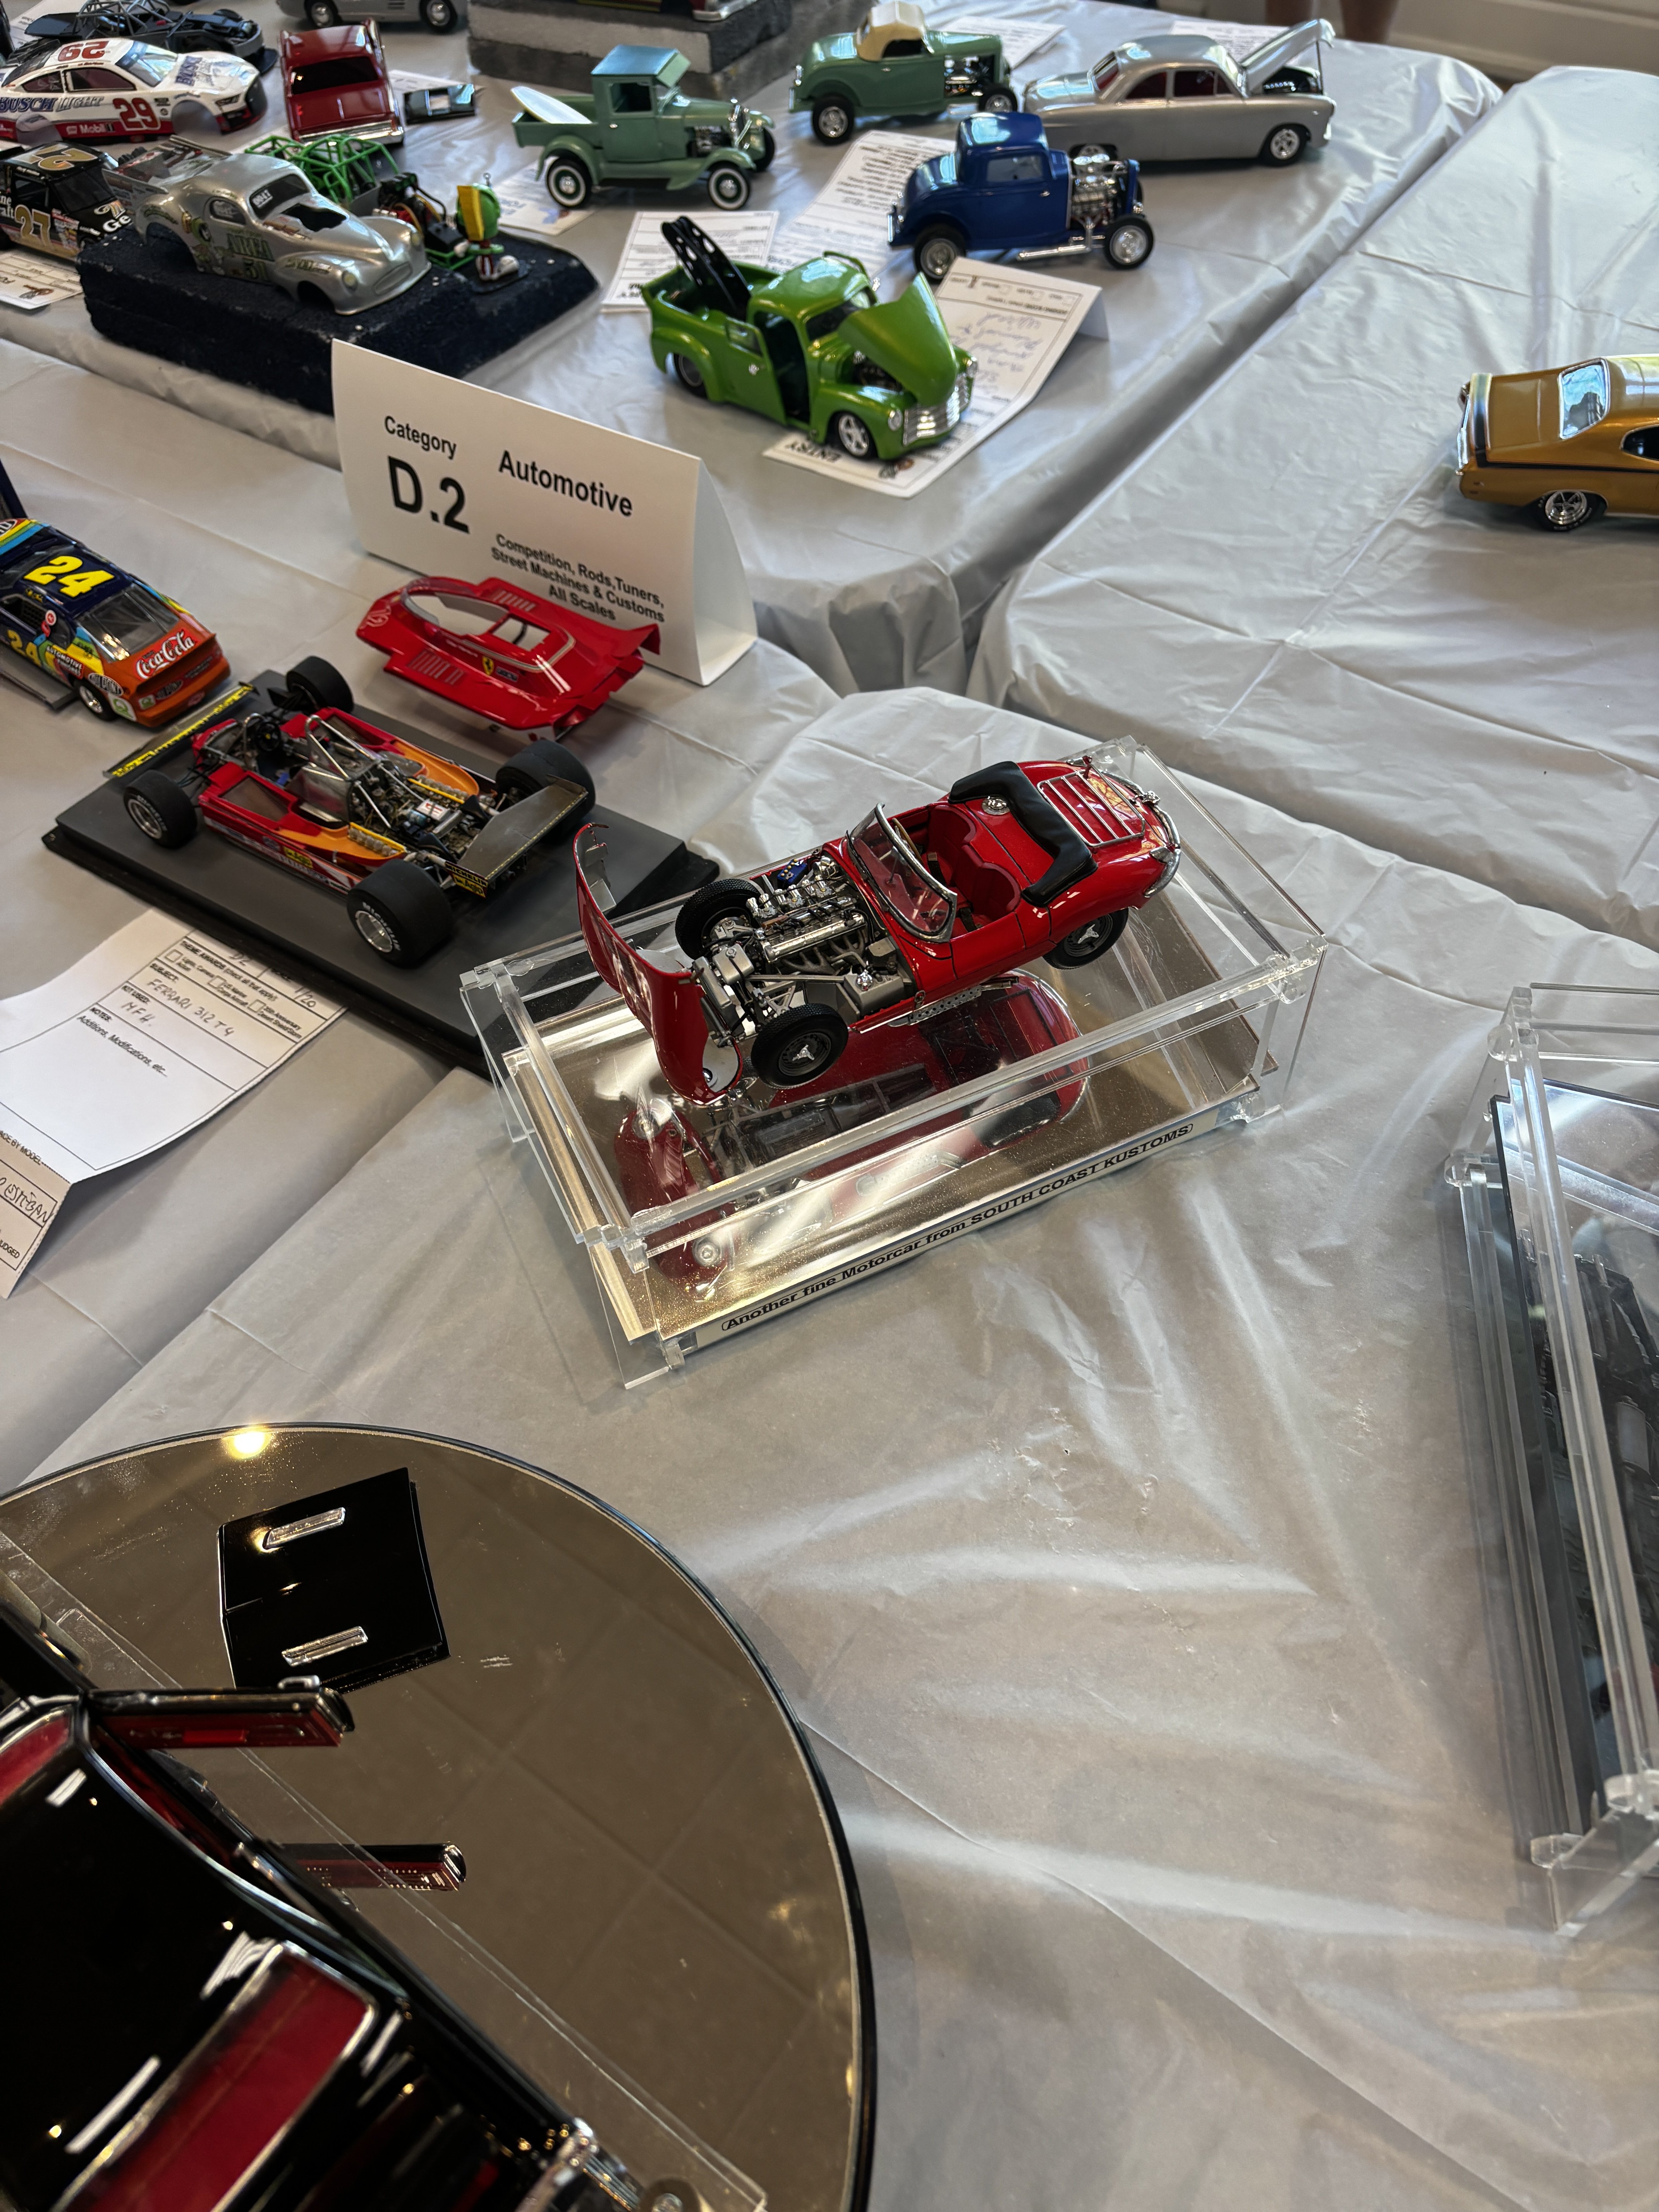
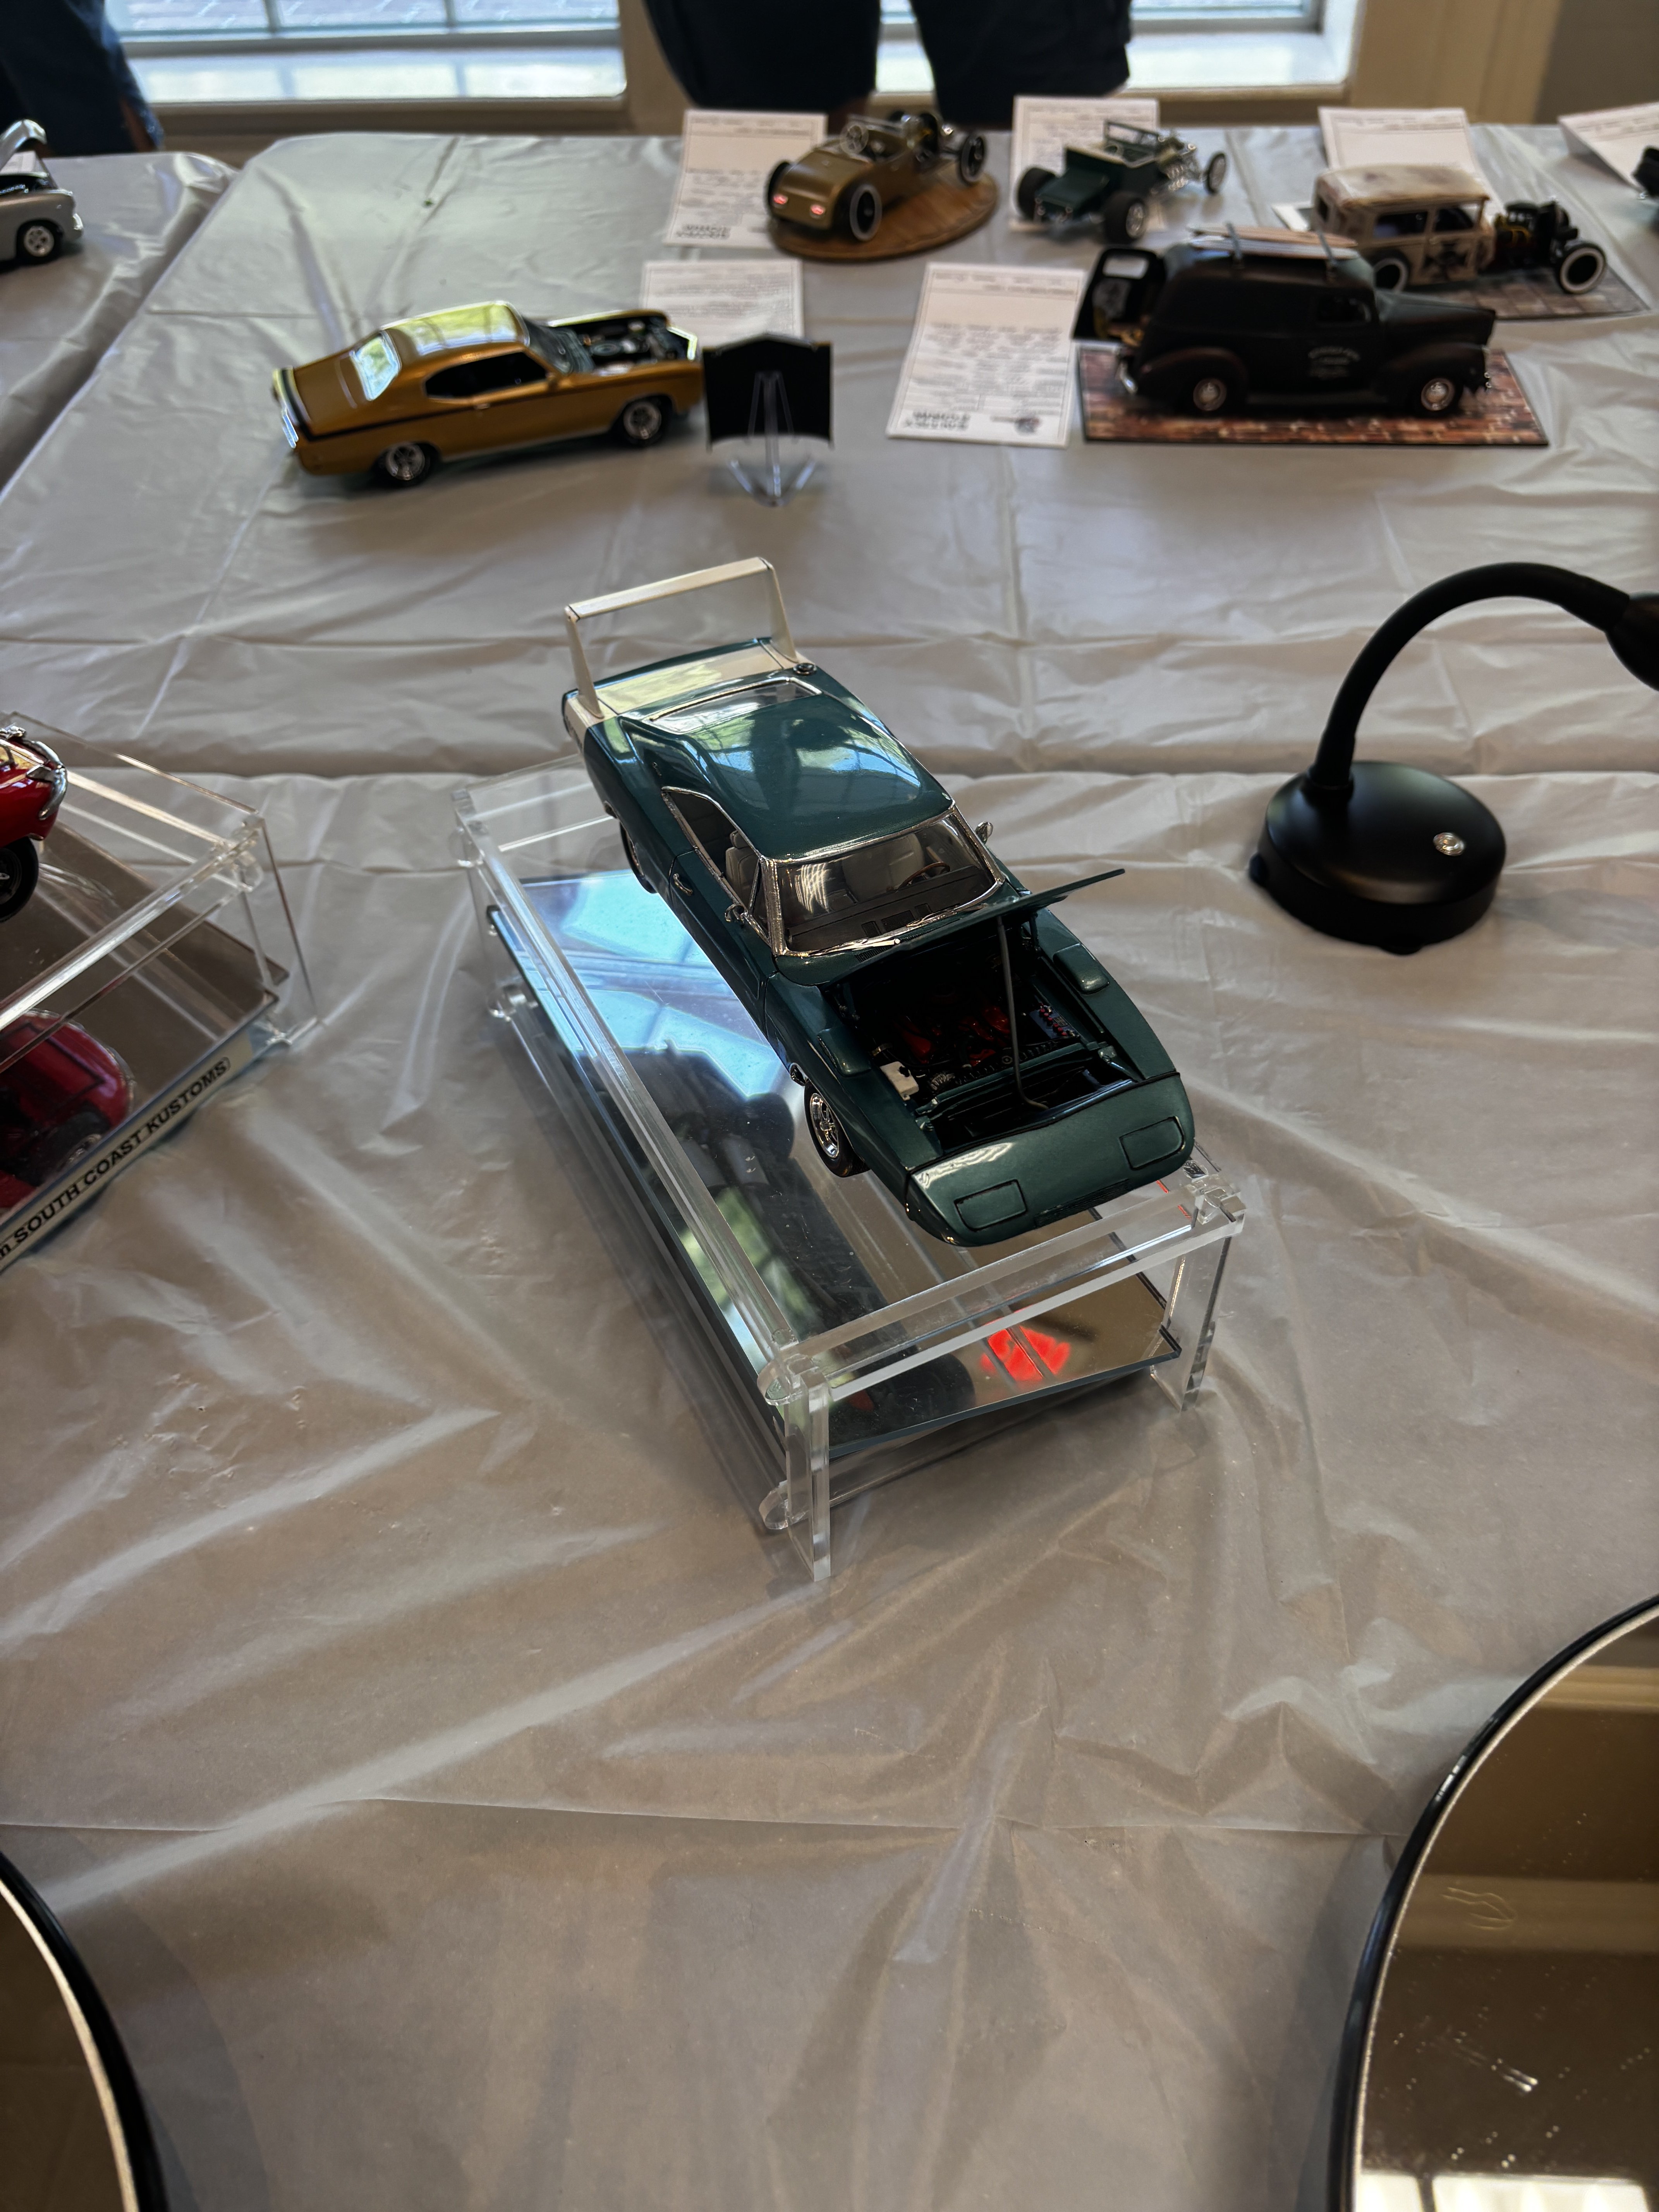
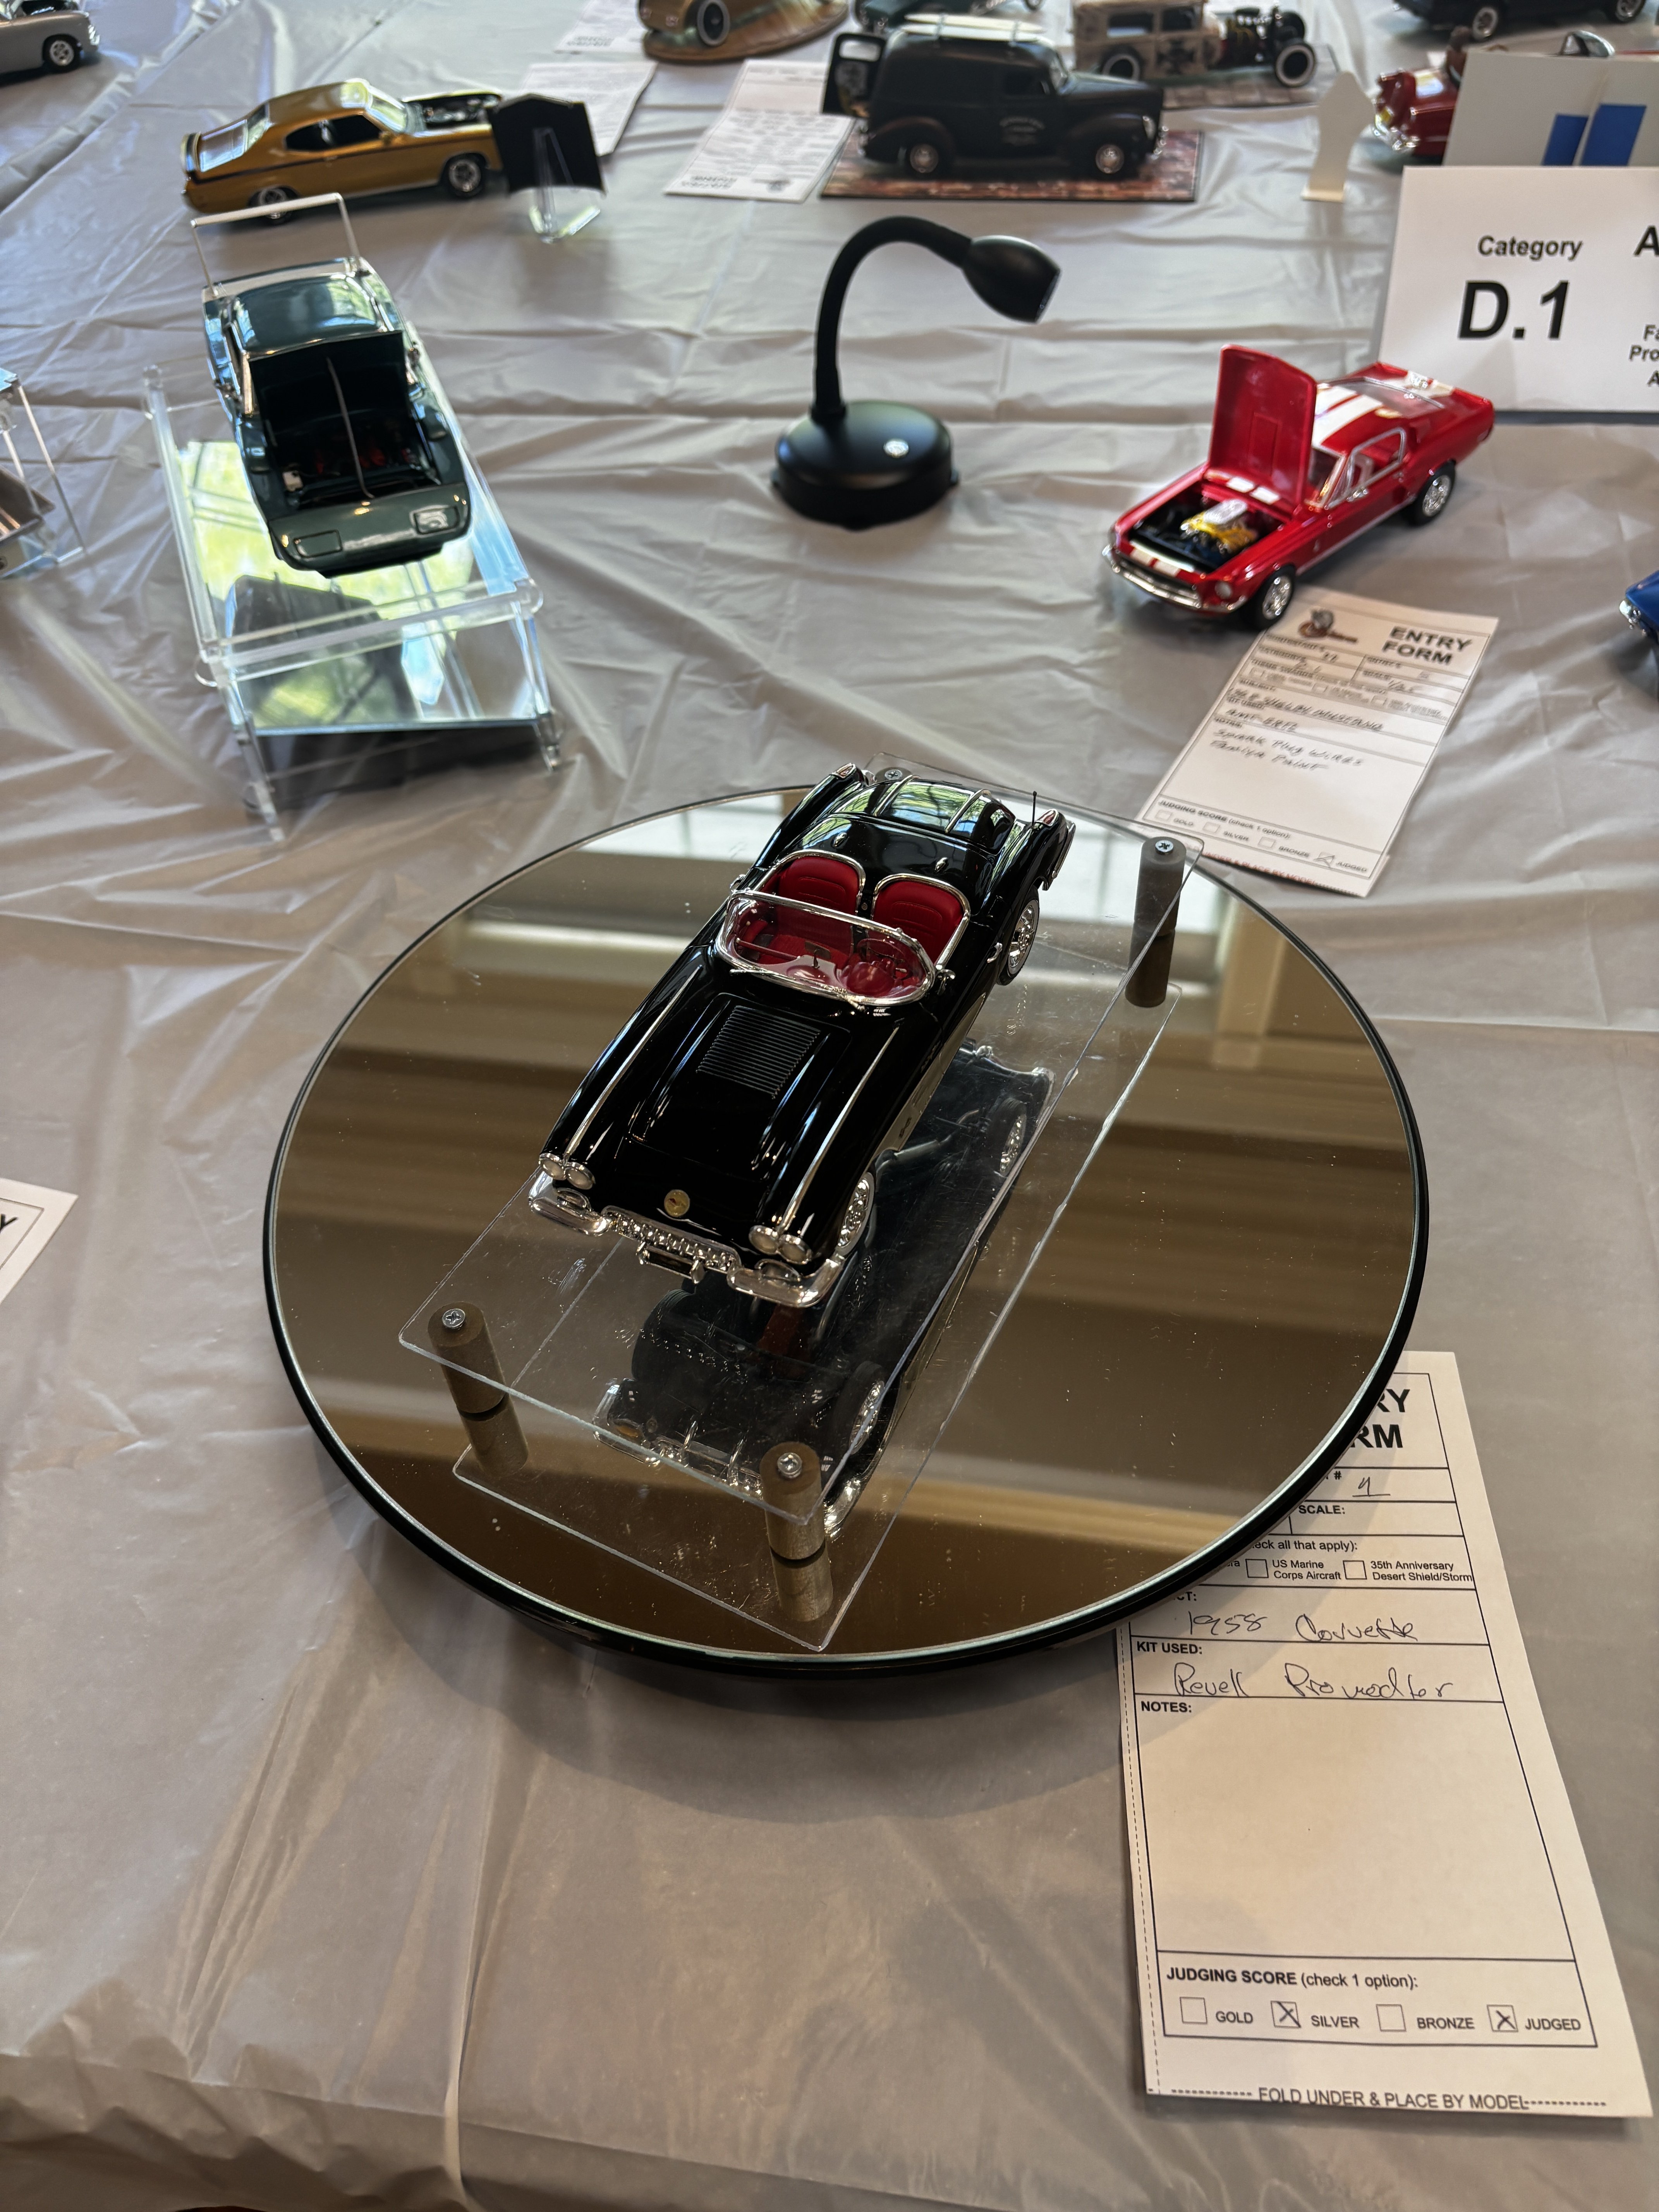
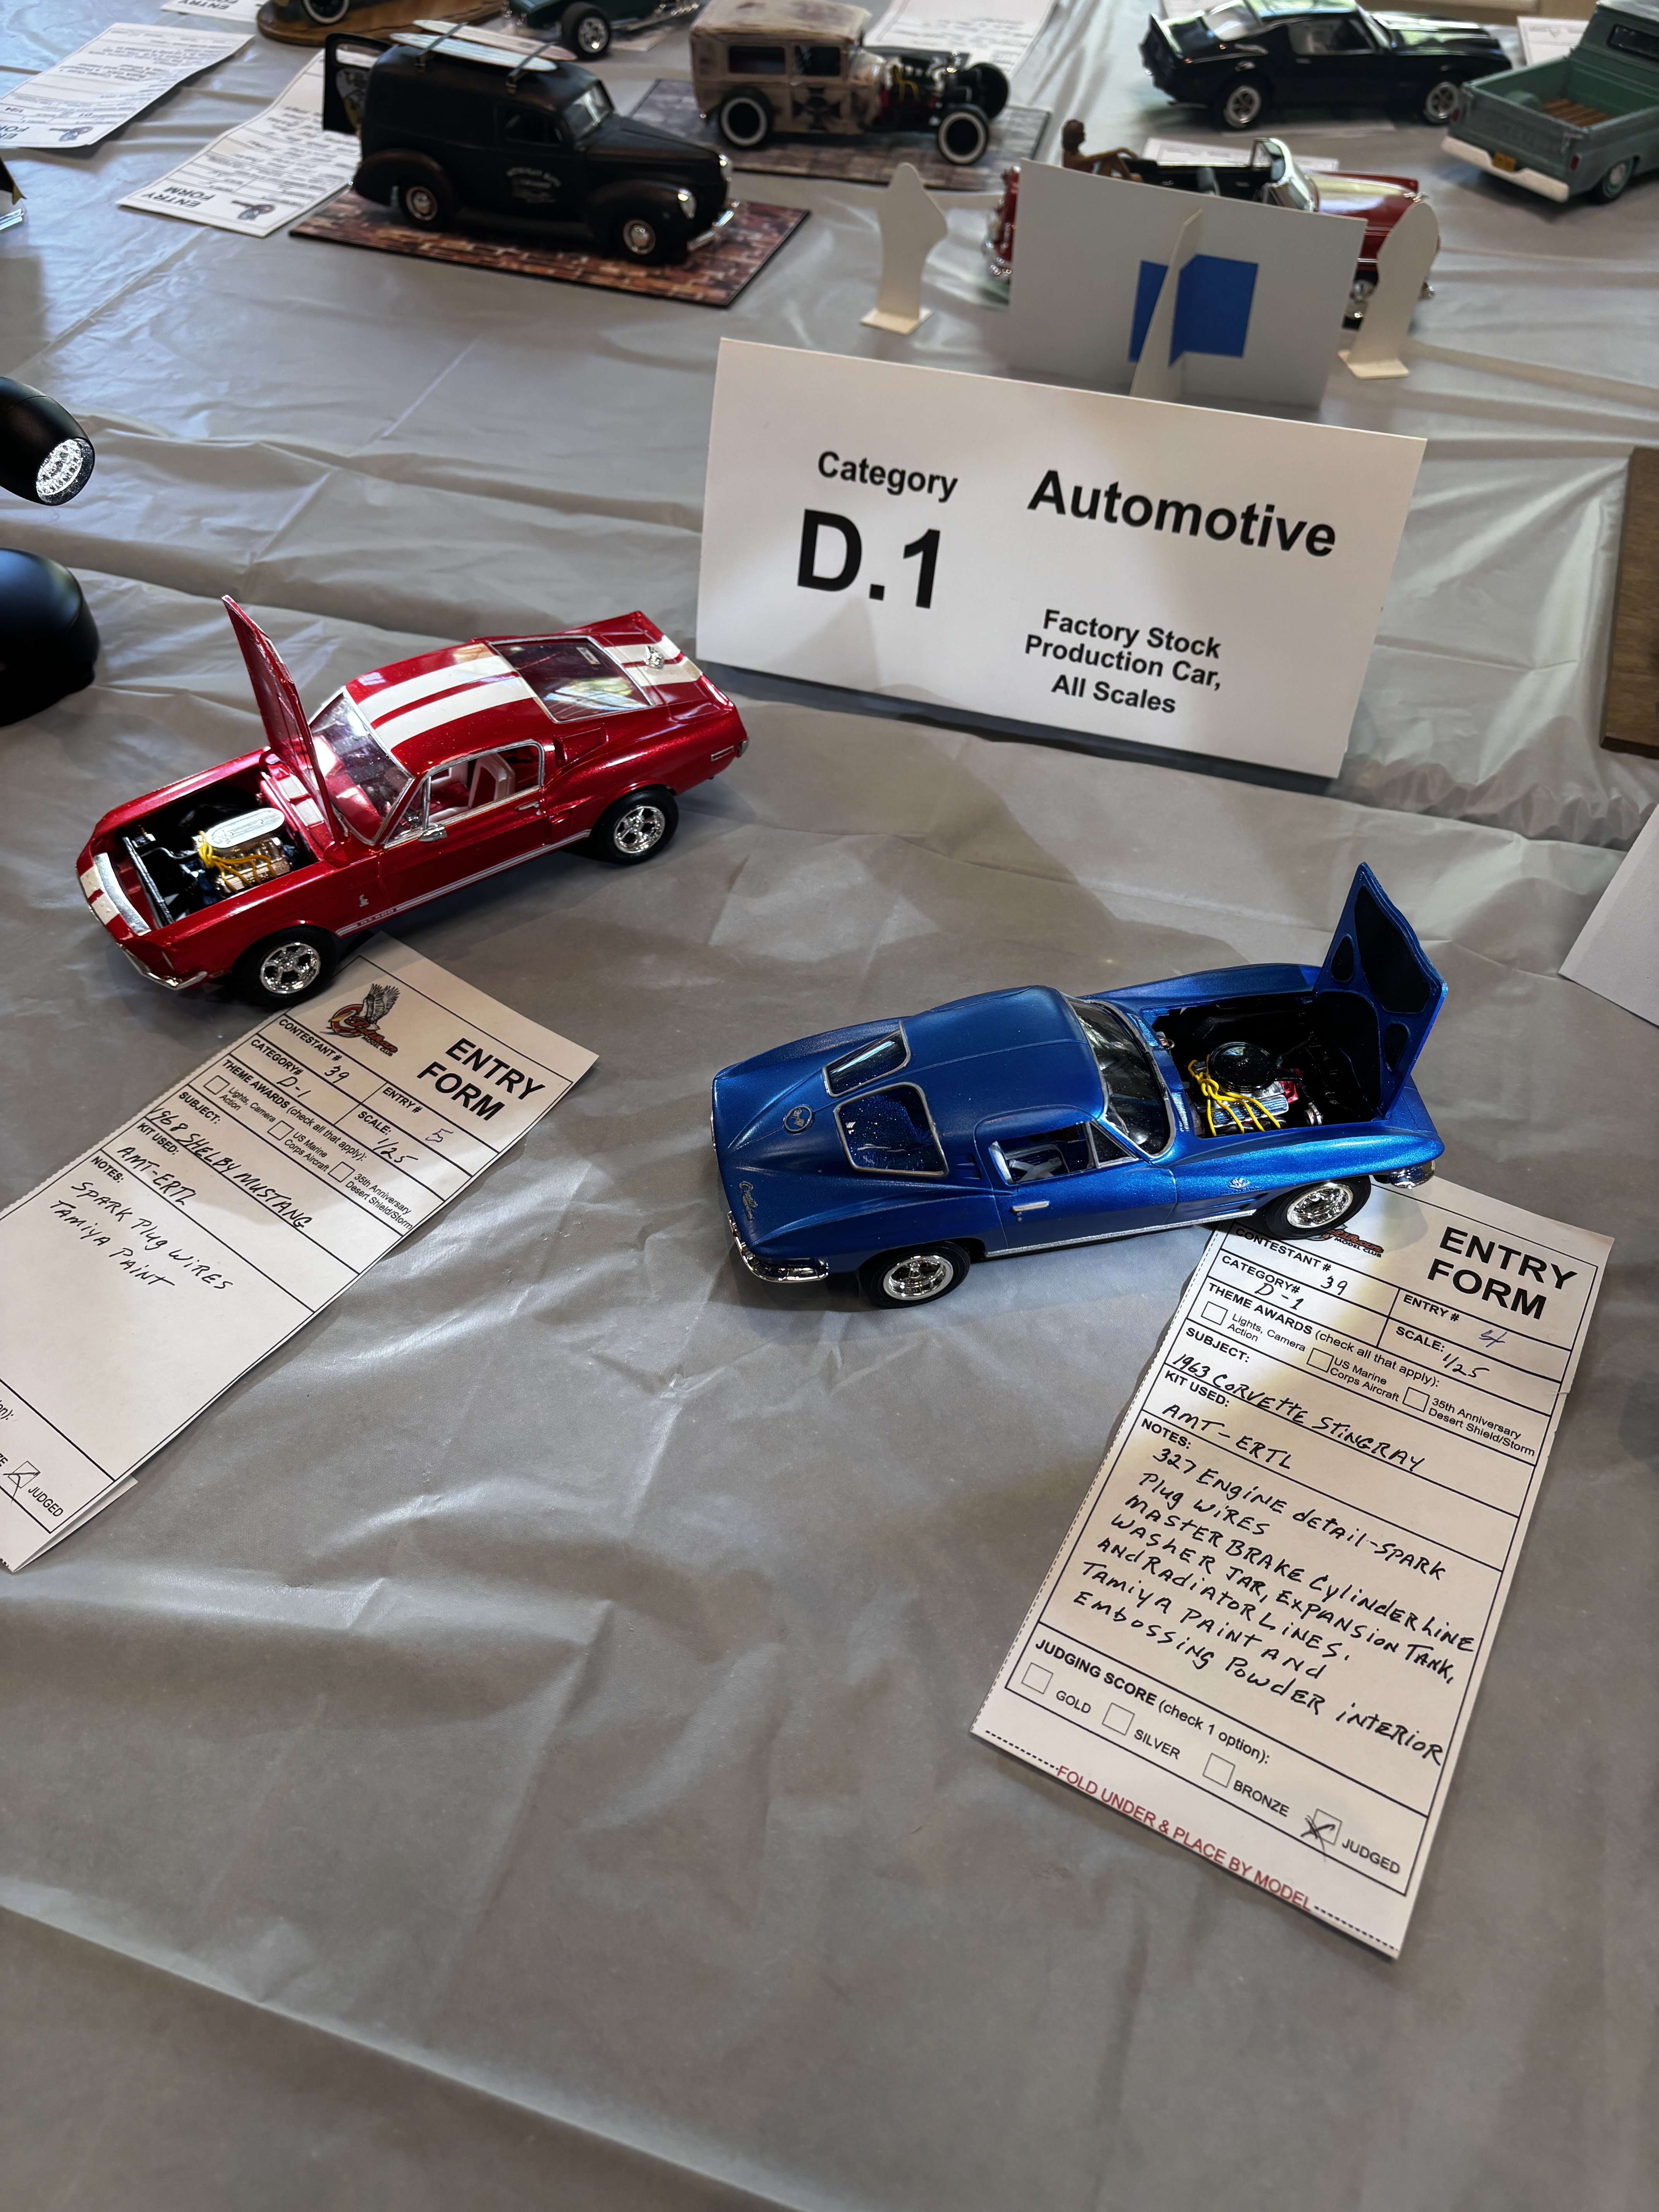
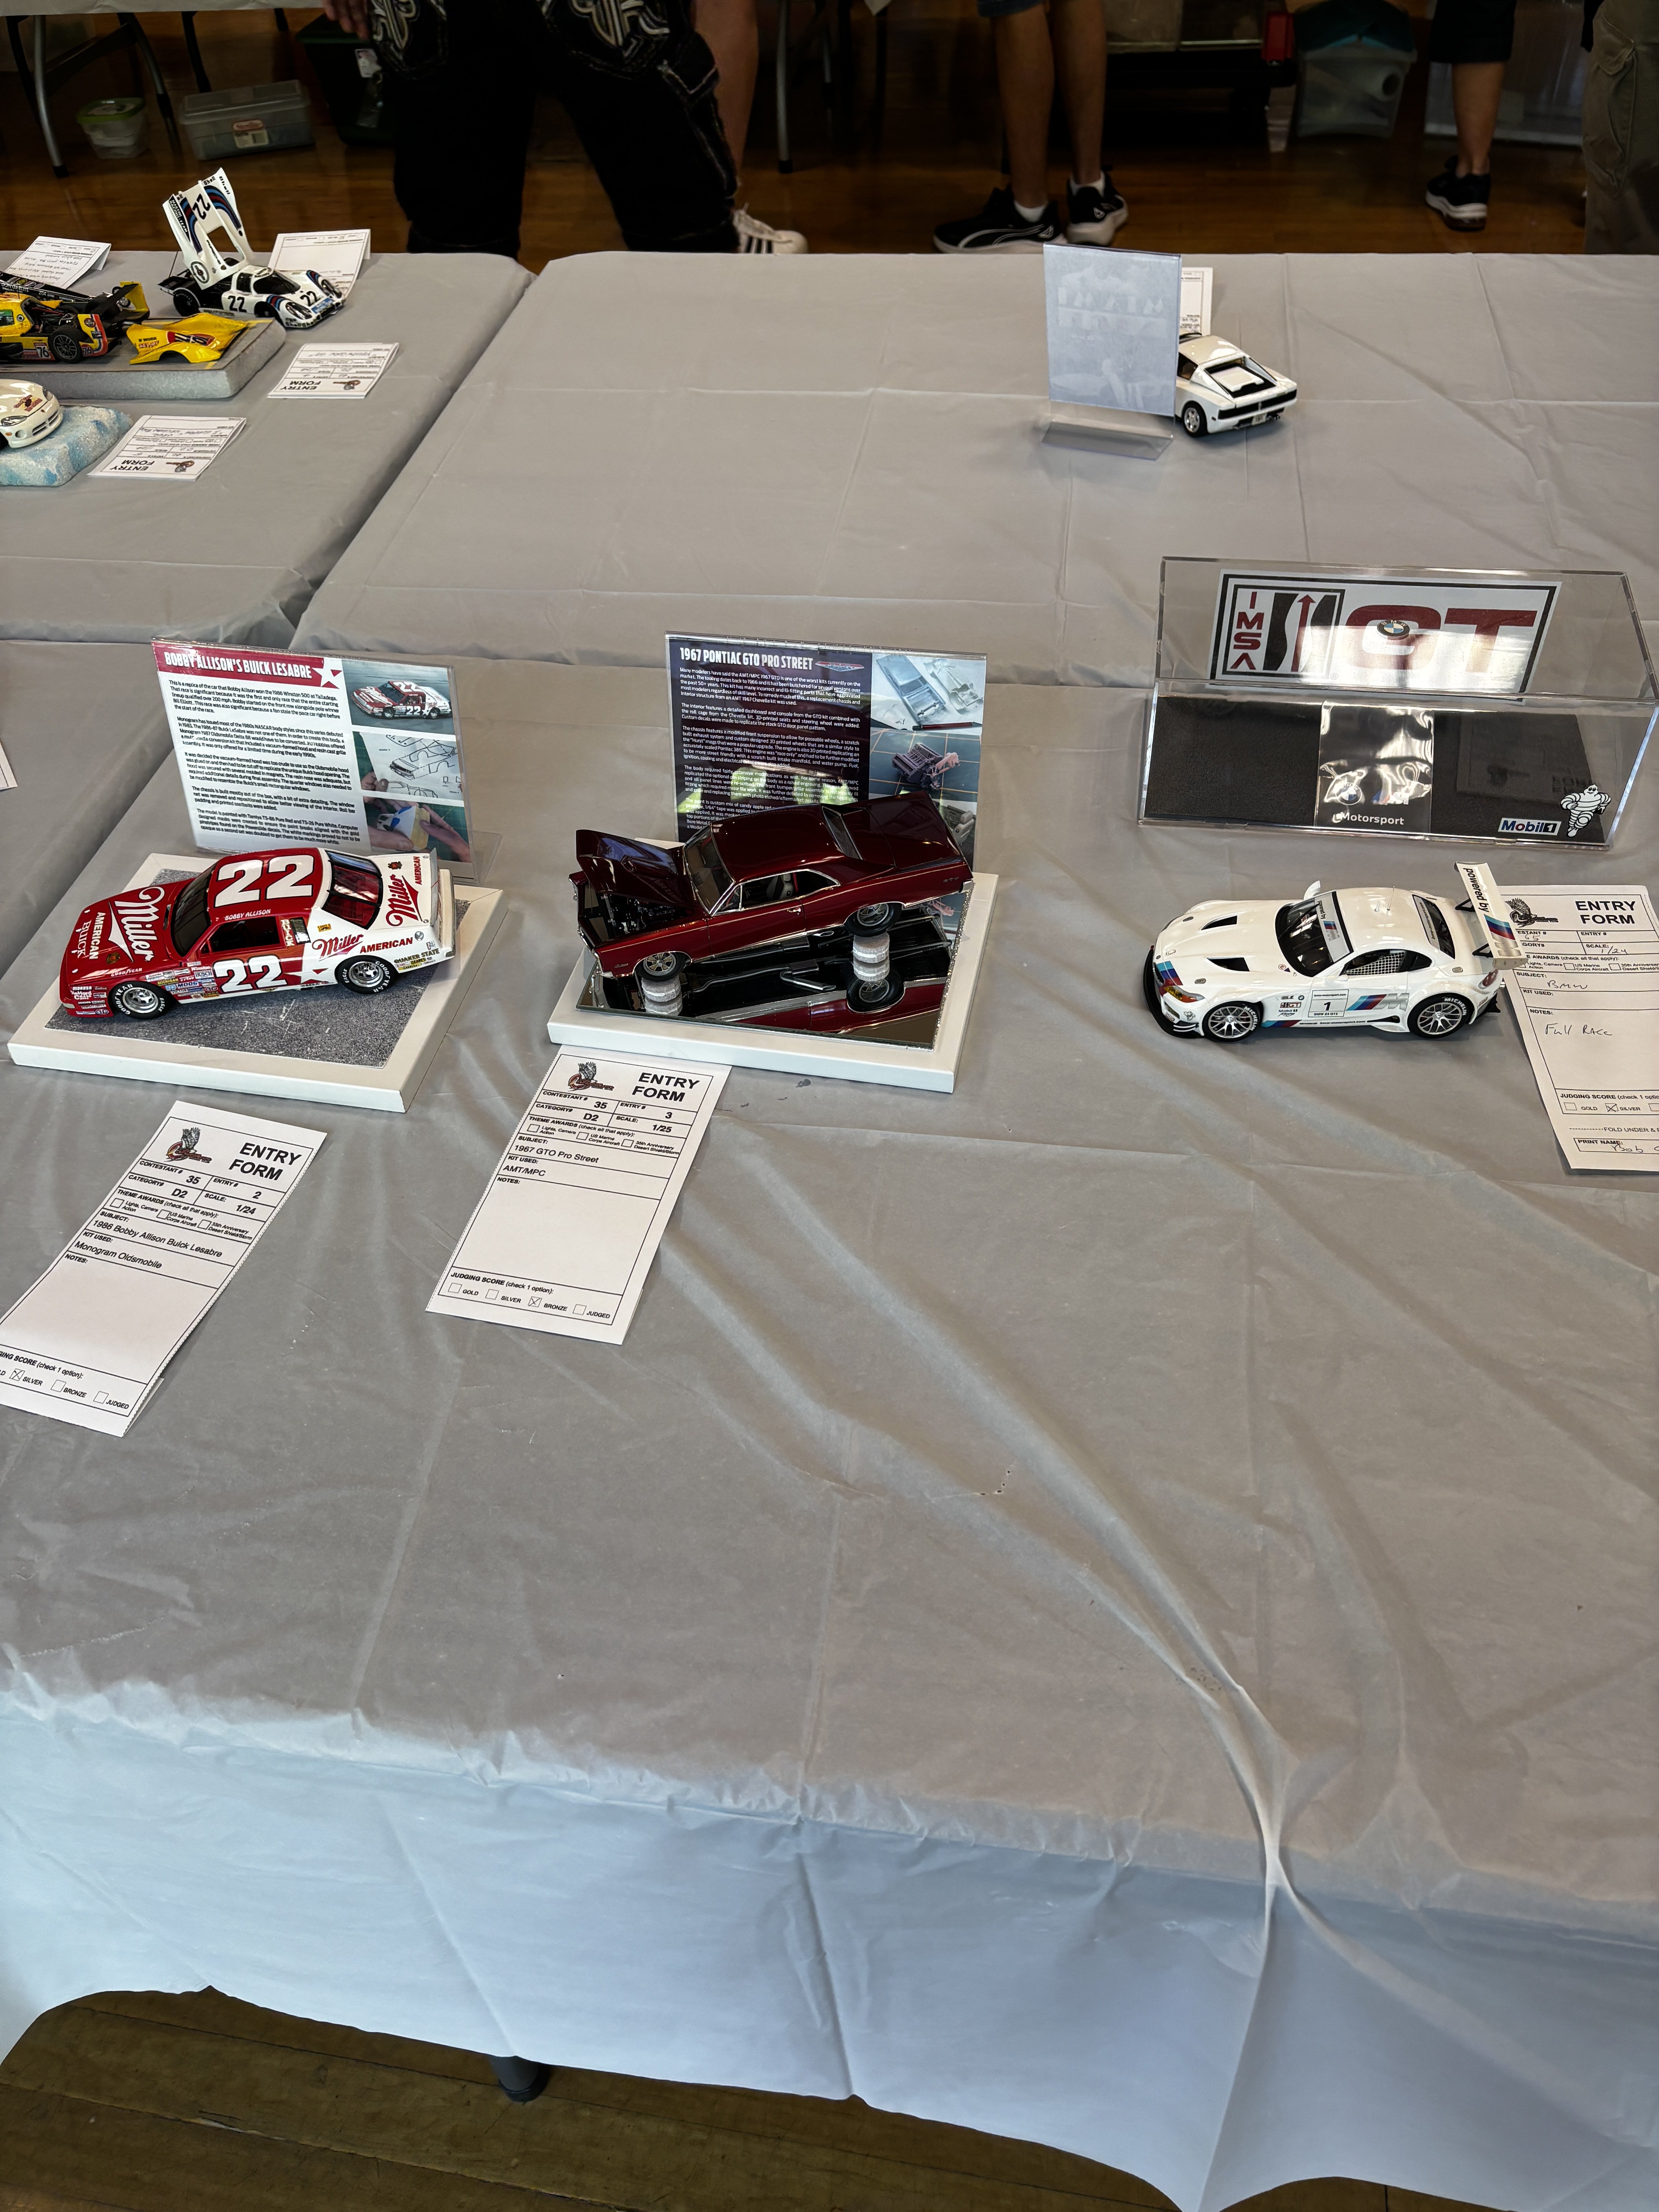
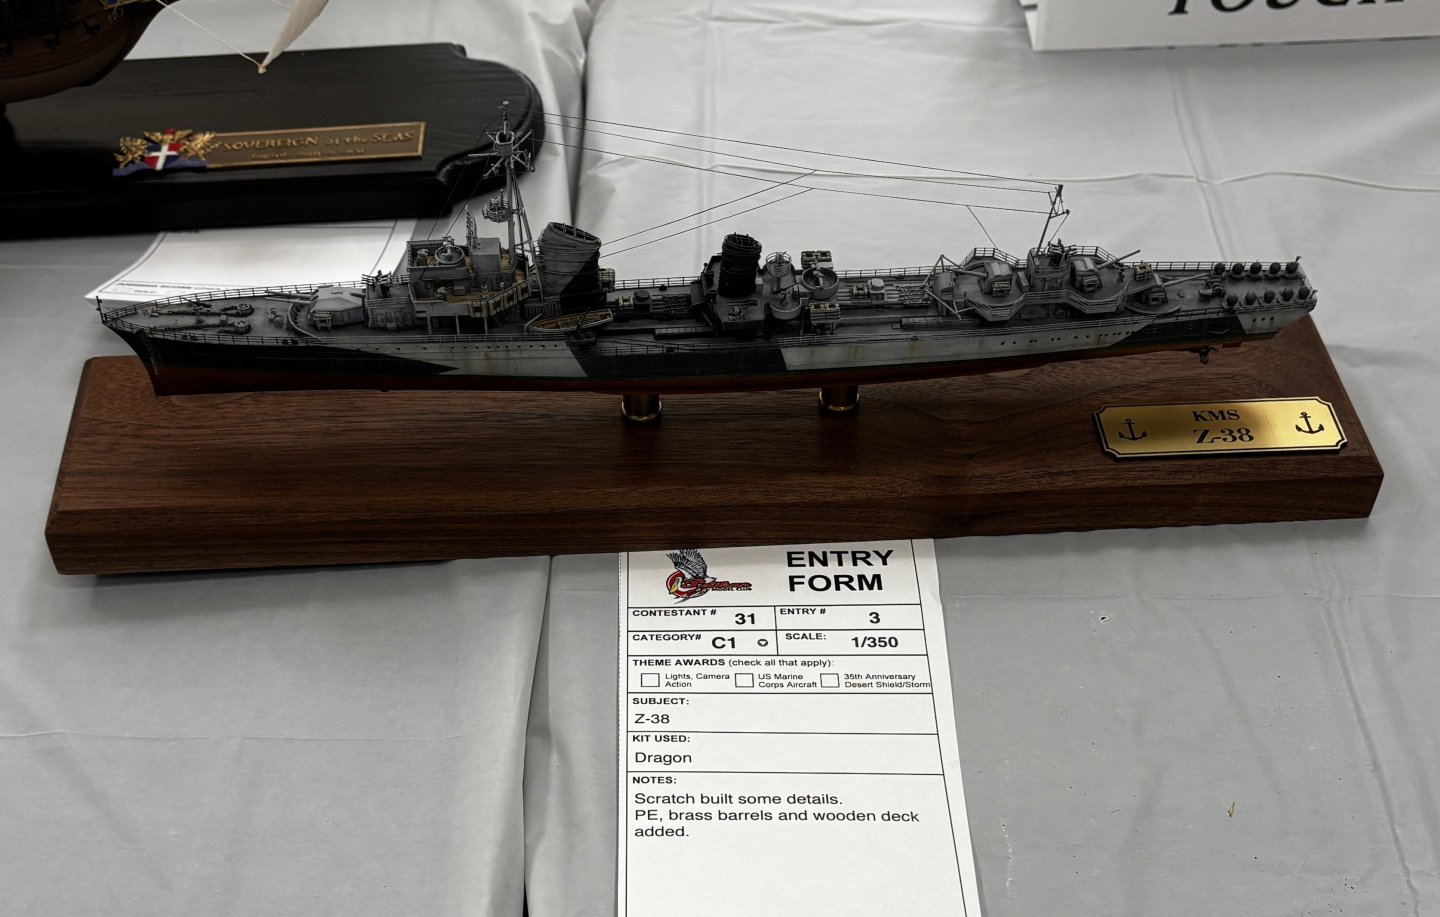
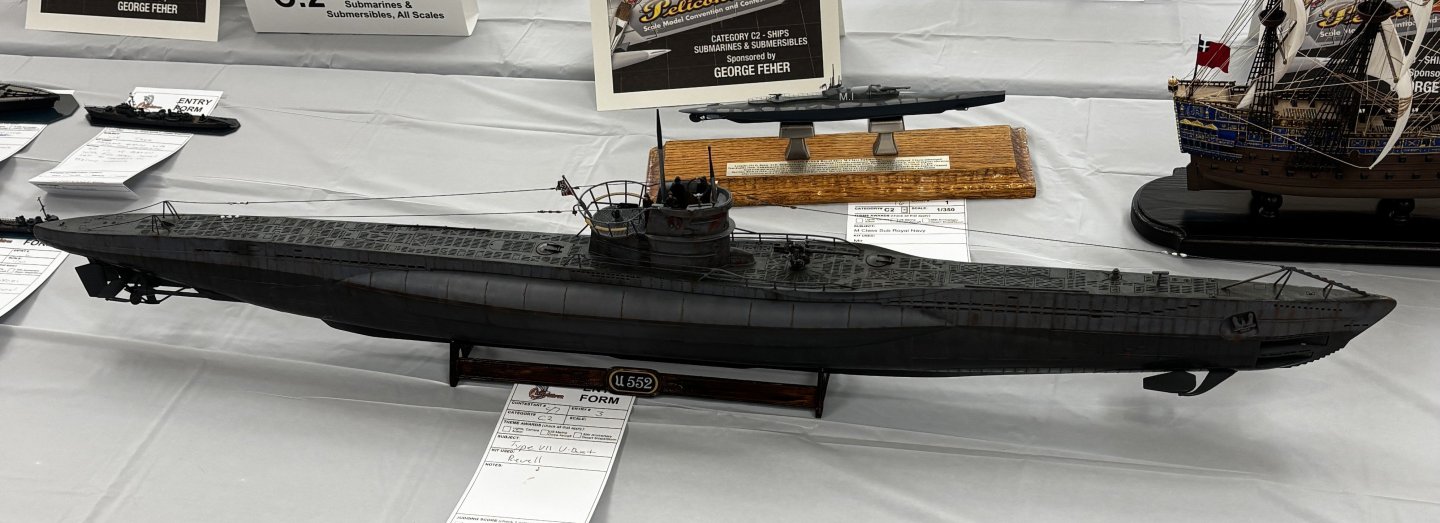
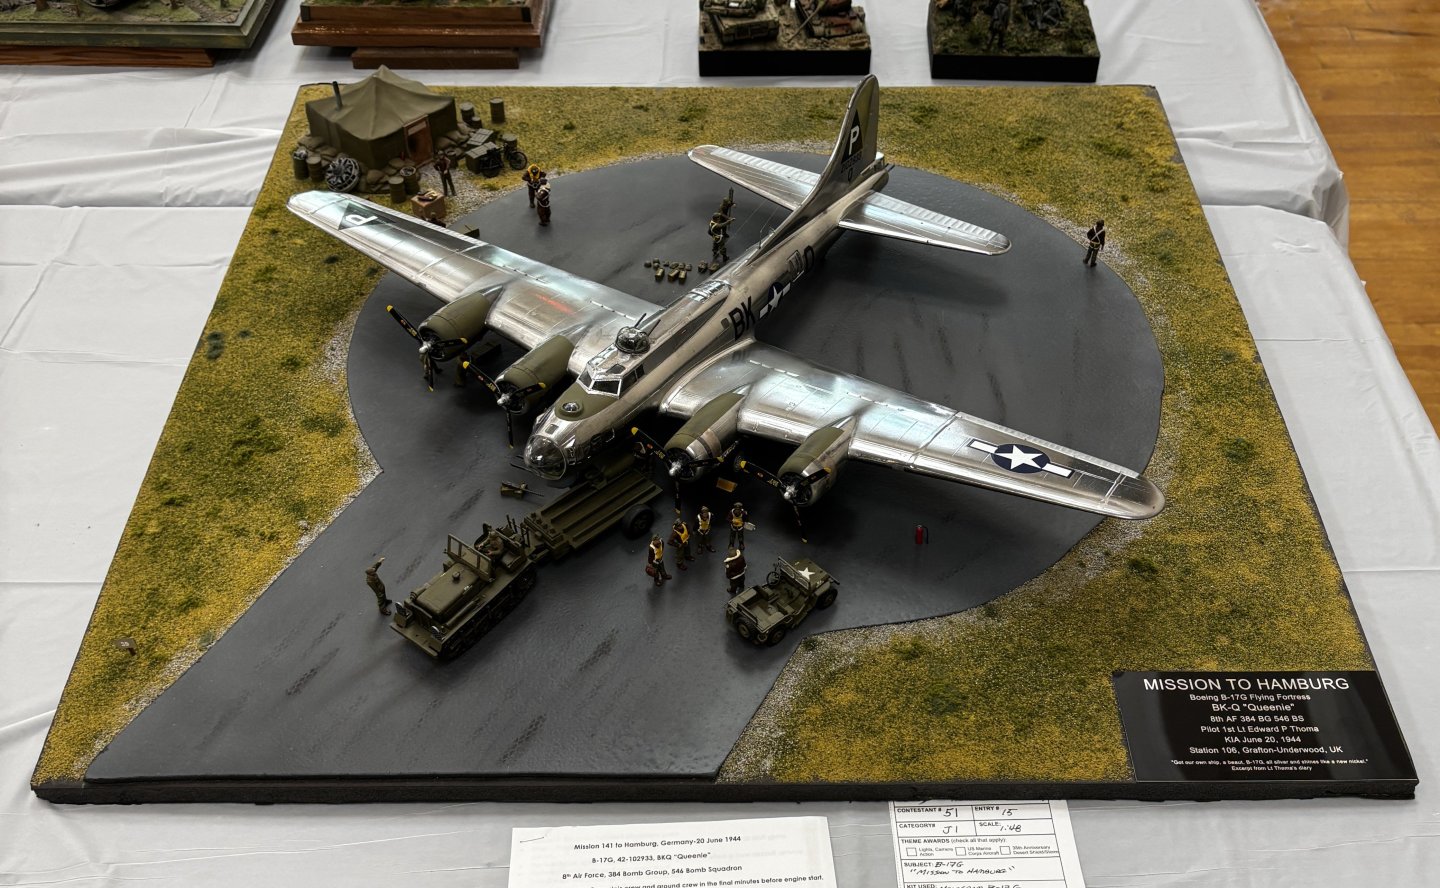
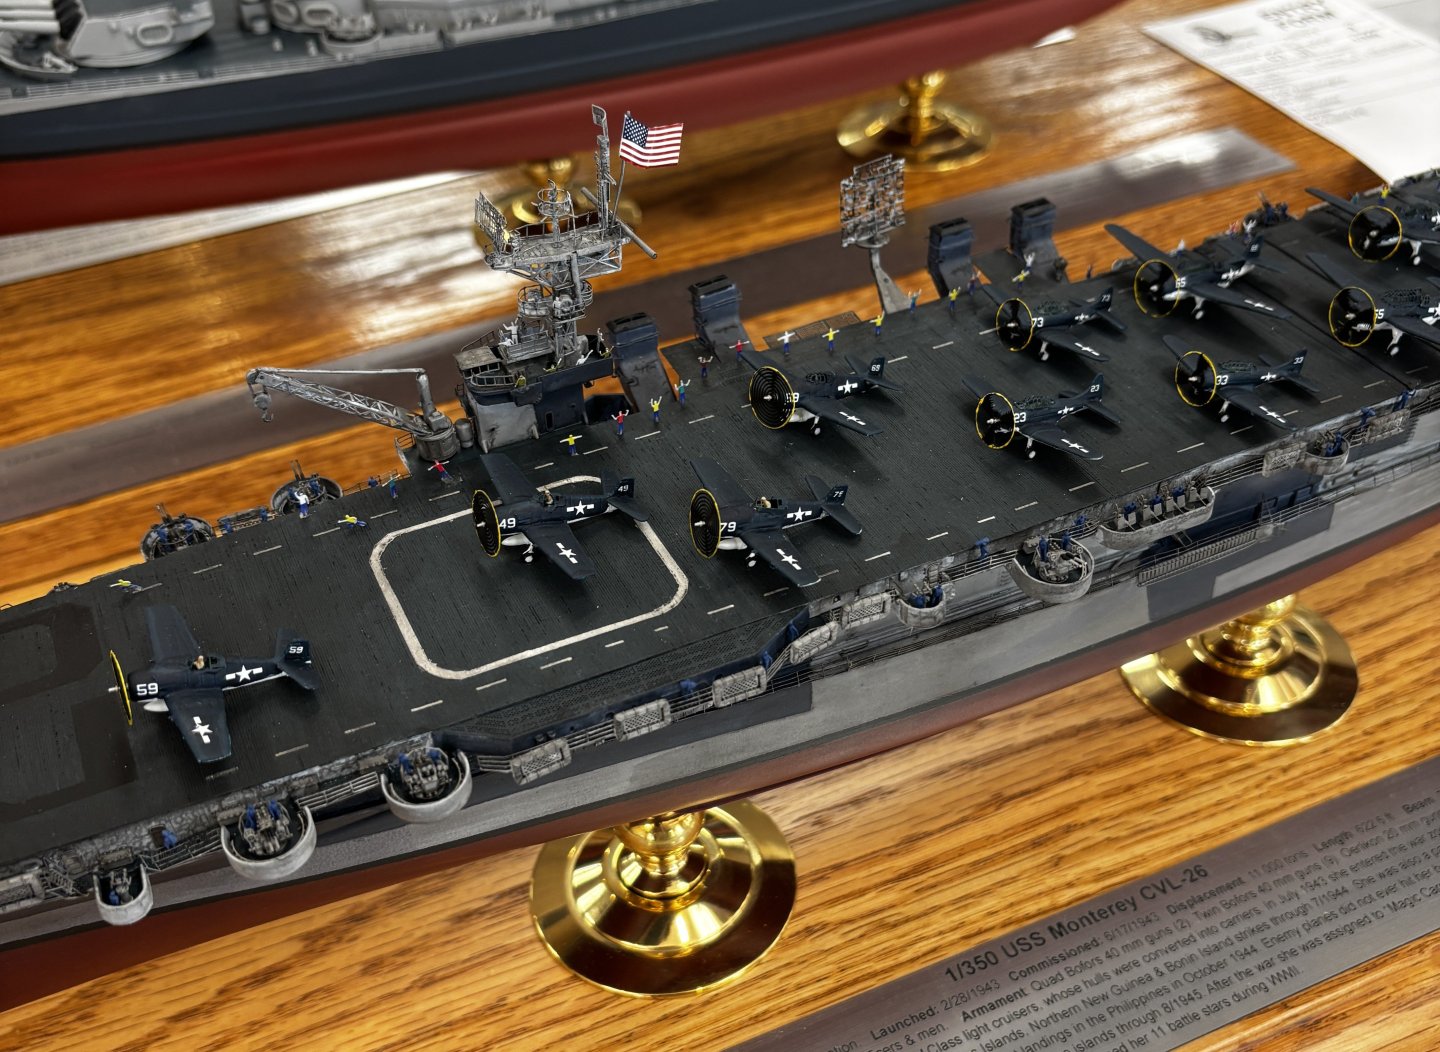
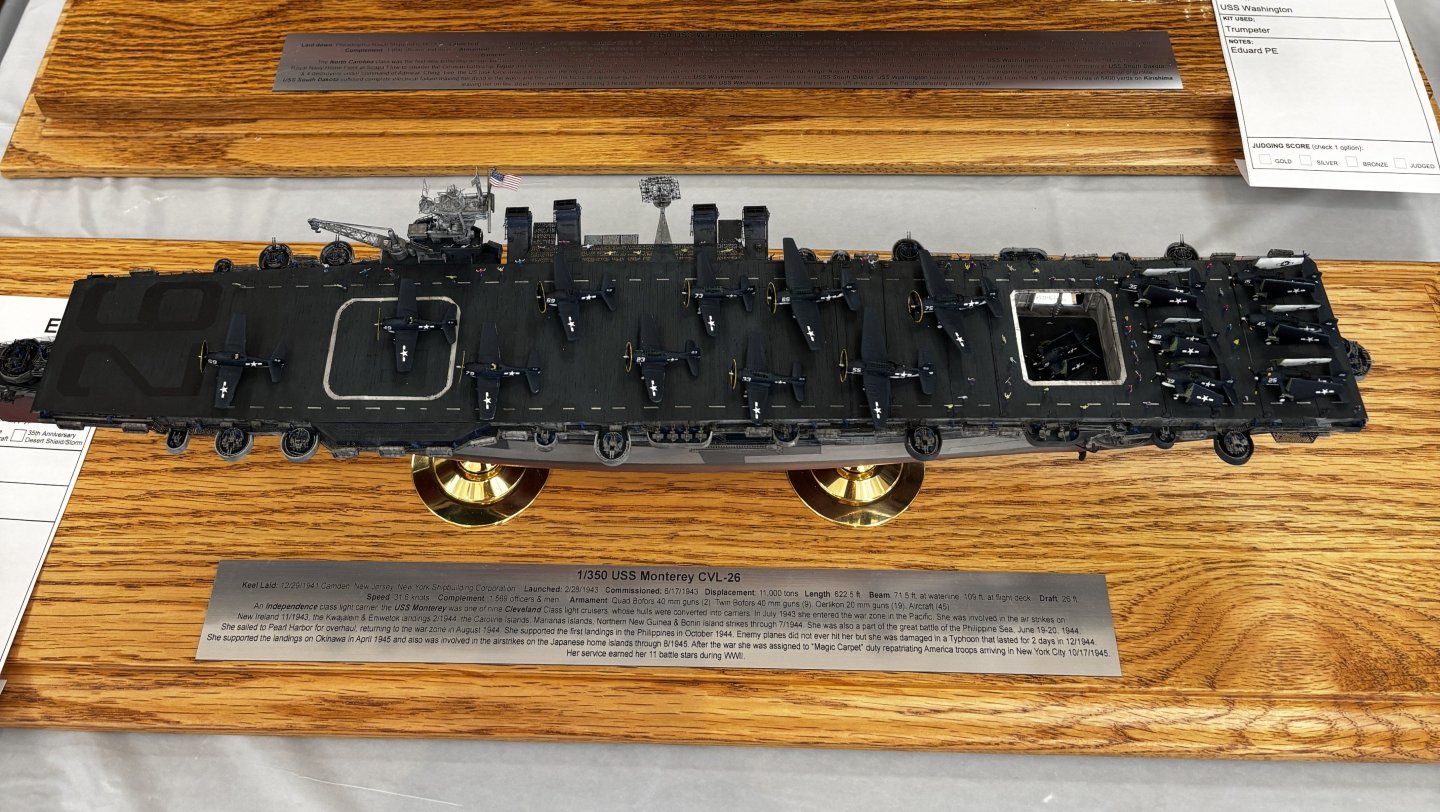
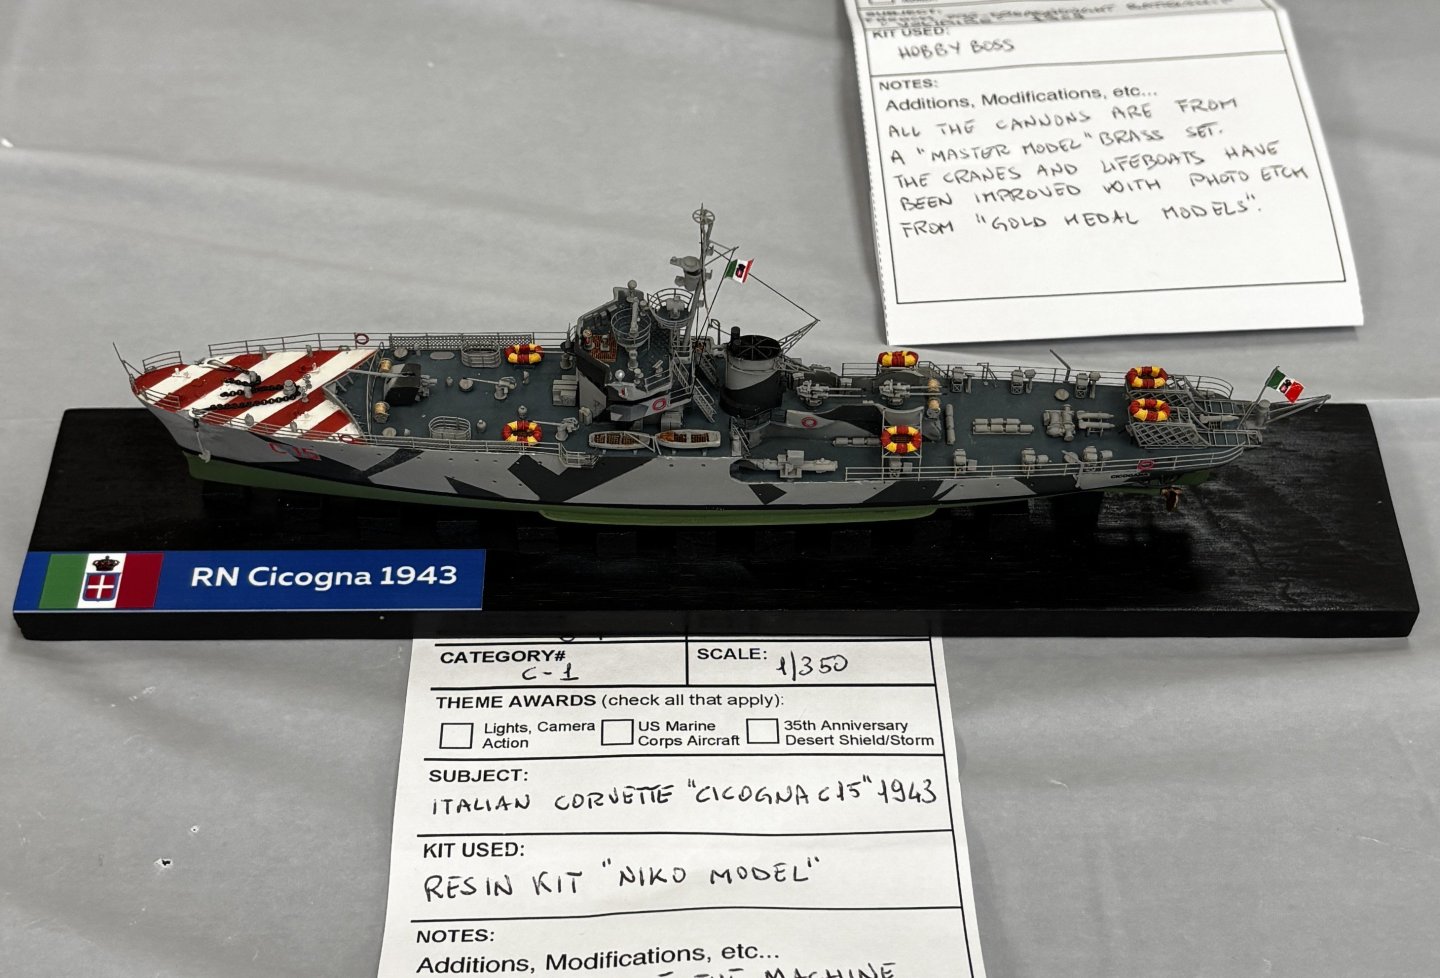
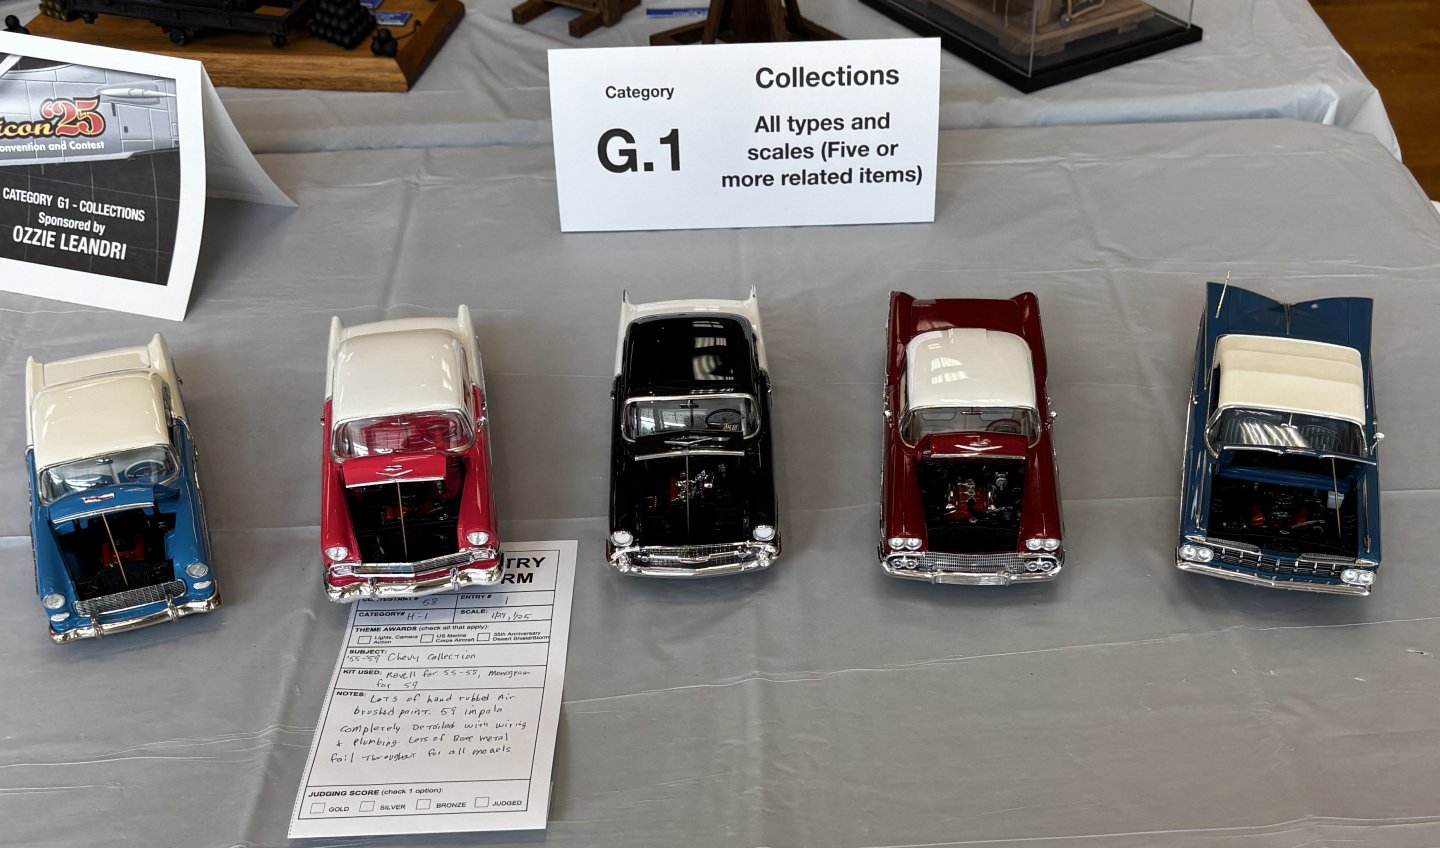
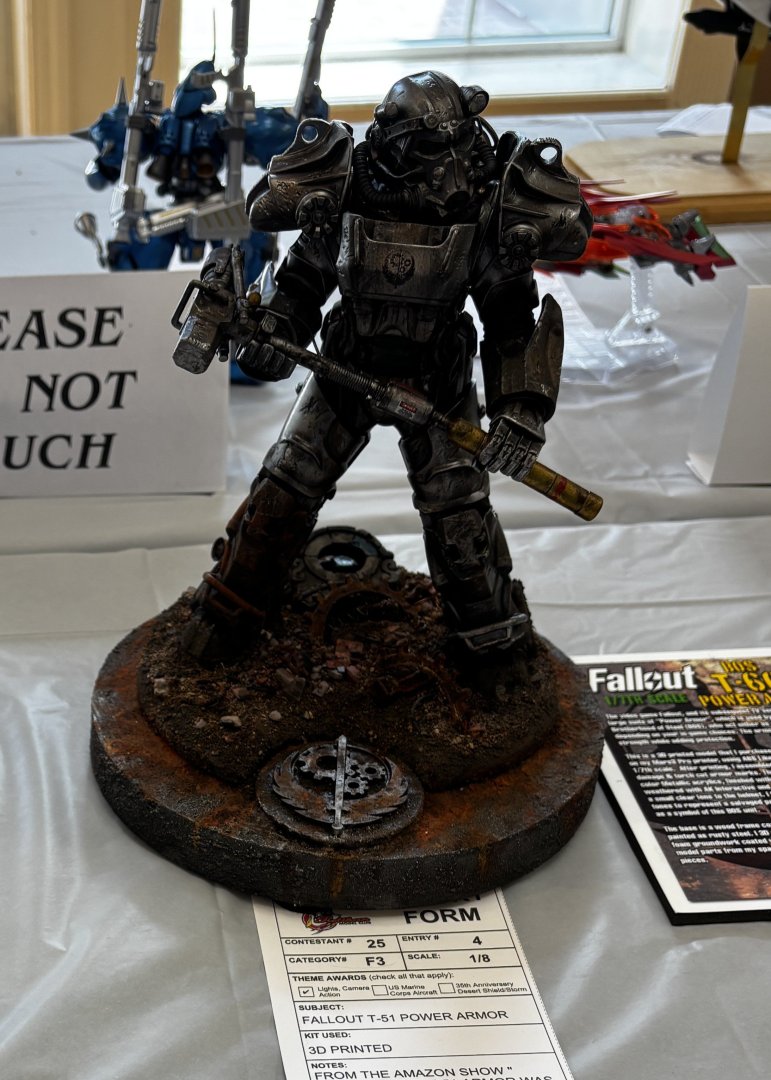
Thanks for the kind comments, all. The small raffle tickets were $1 each, I bought 20. The big raffle tickets were $5 each, I bought 6. After you bought your tickets, you could drop as many as you wanted into each category bucket. The categories were divided between automotive, armor, aircraft, ships, or supplies. All the proceeds from the raffle go to support the host club while the prizes were donated by individual members and local businesses, some national businesses. I don't know why, but I'm mostly always lucky when it comes to these type raffles. Lotto, not so much. Here are some select photos of the myriads of scale models that were on display.


- 73 replies
-
- 12
-
-
-
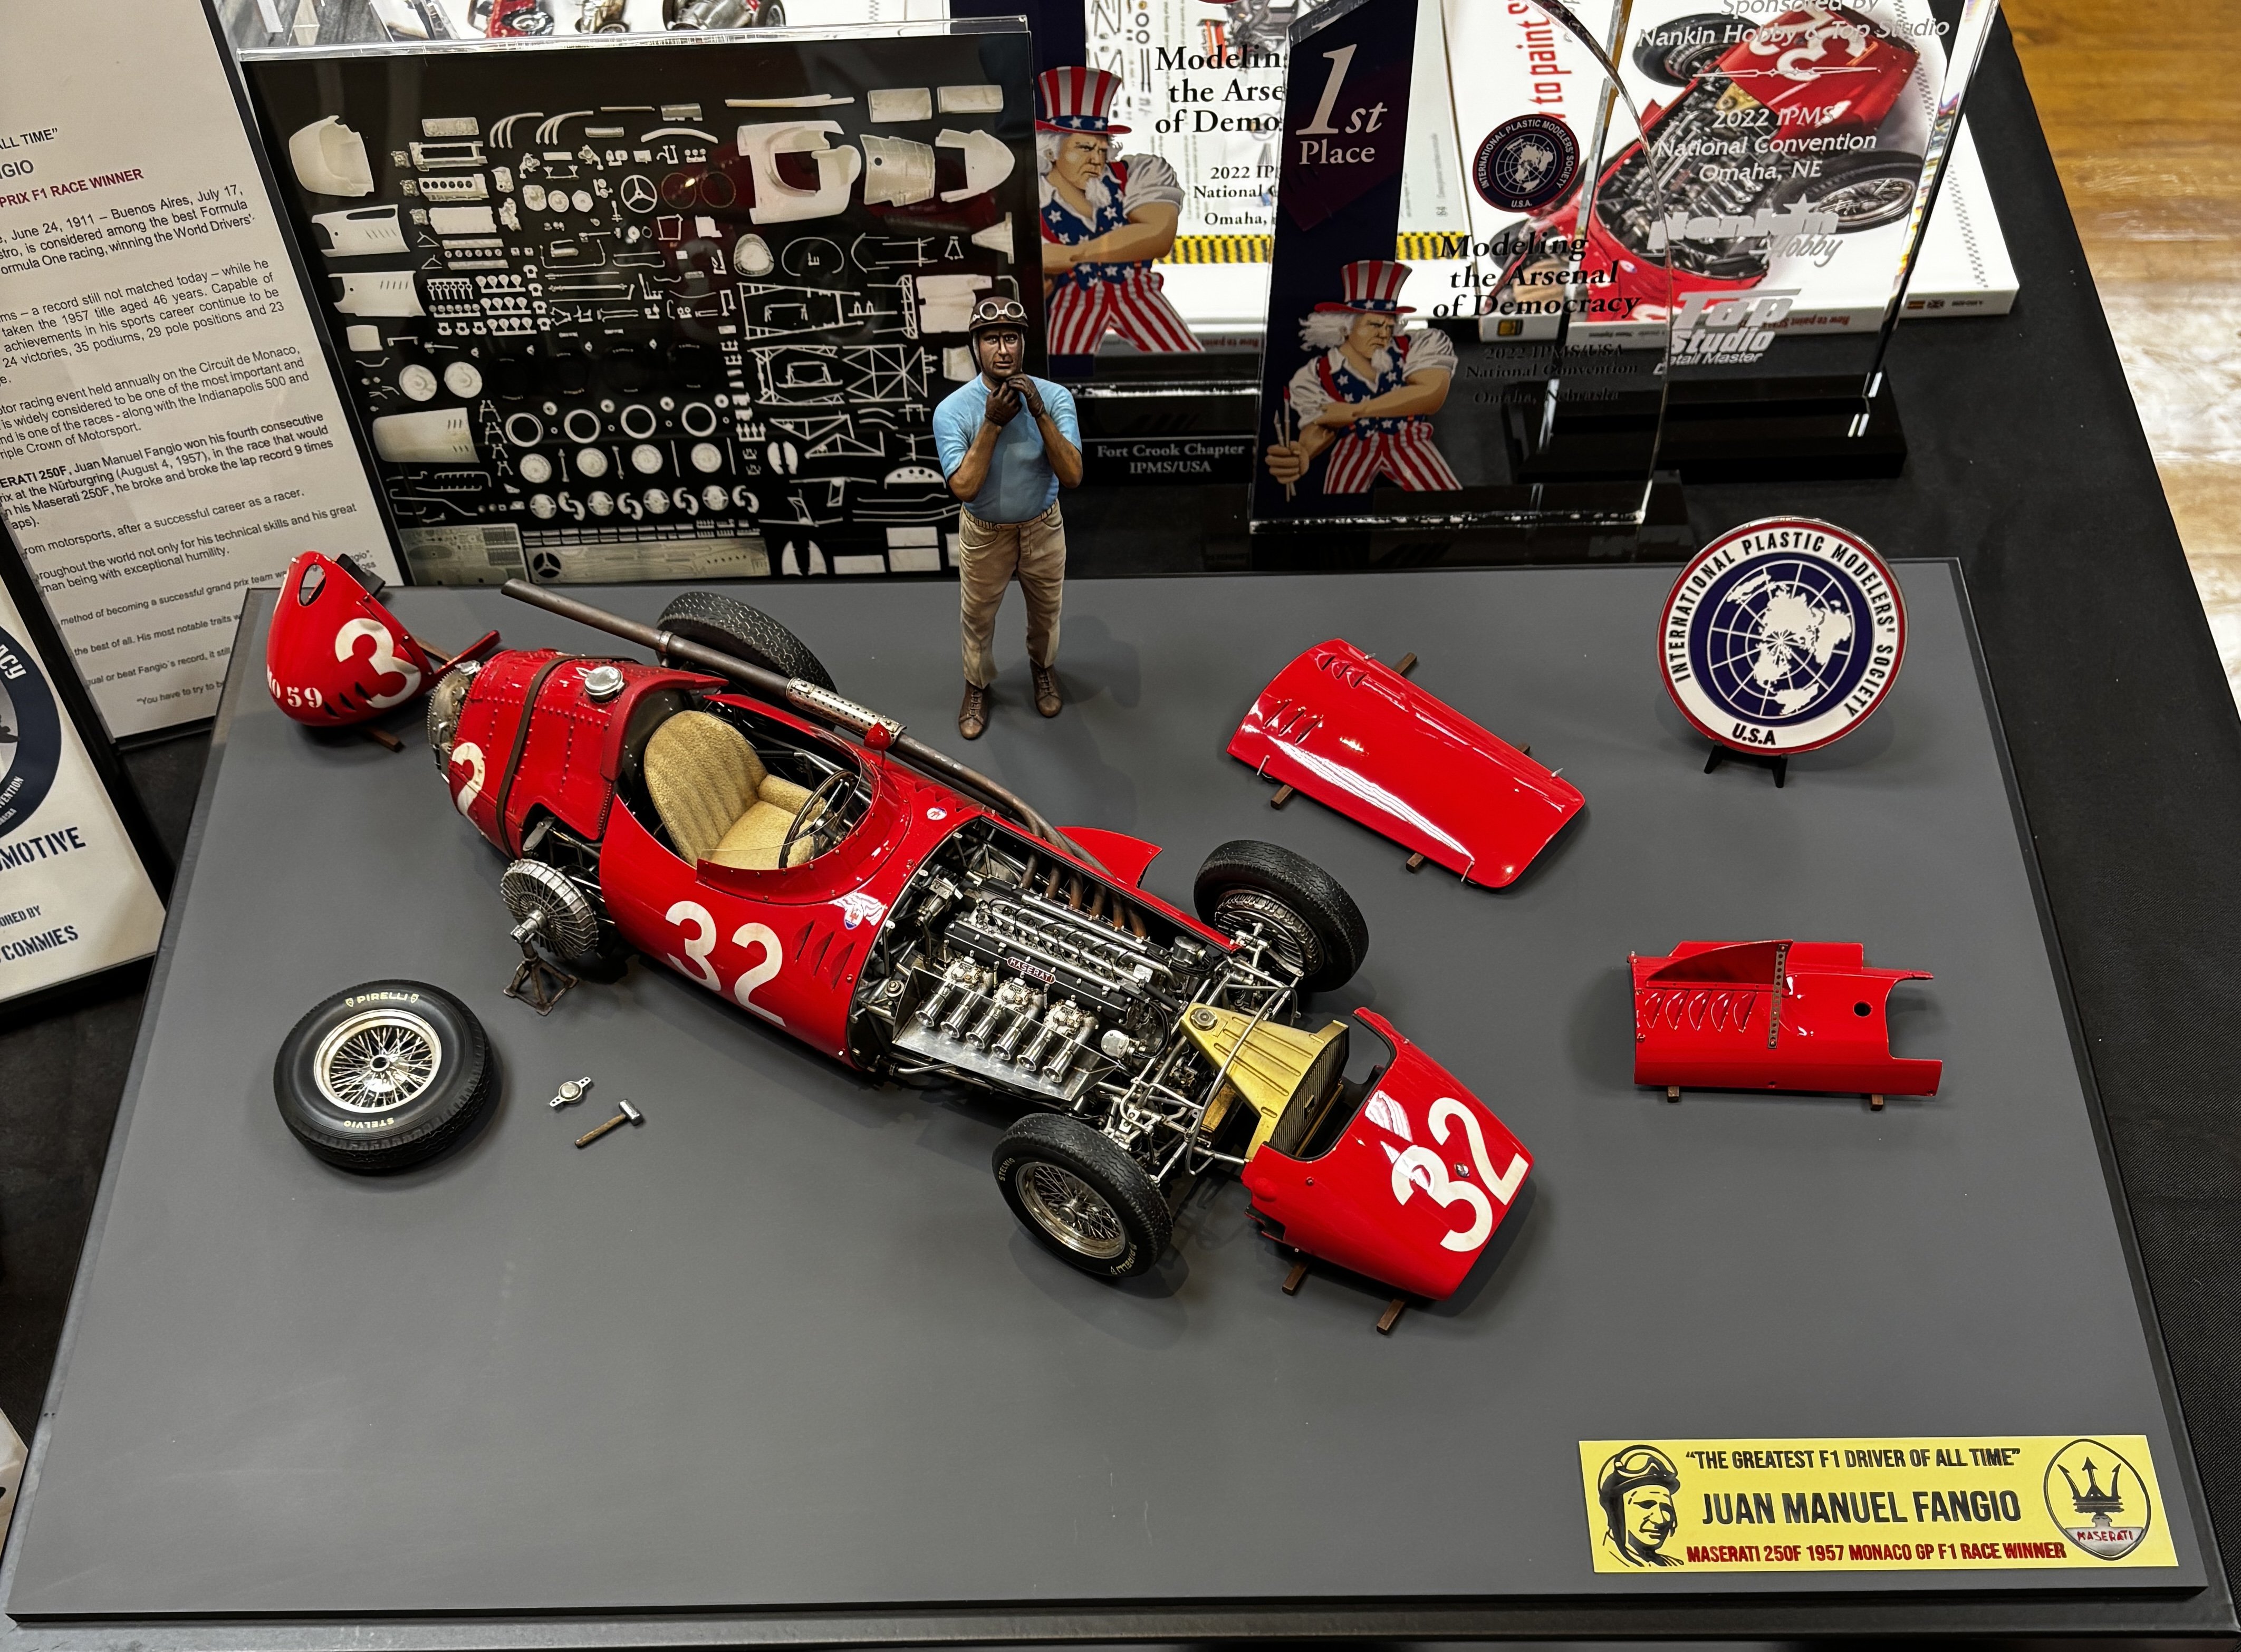
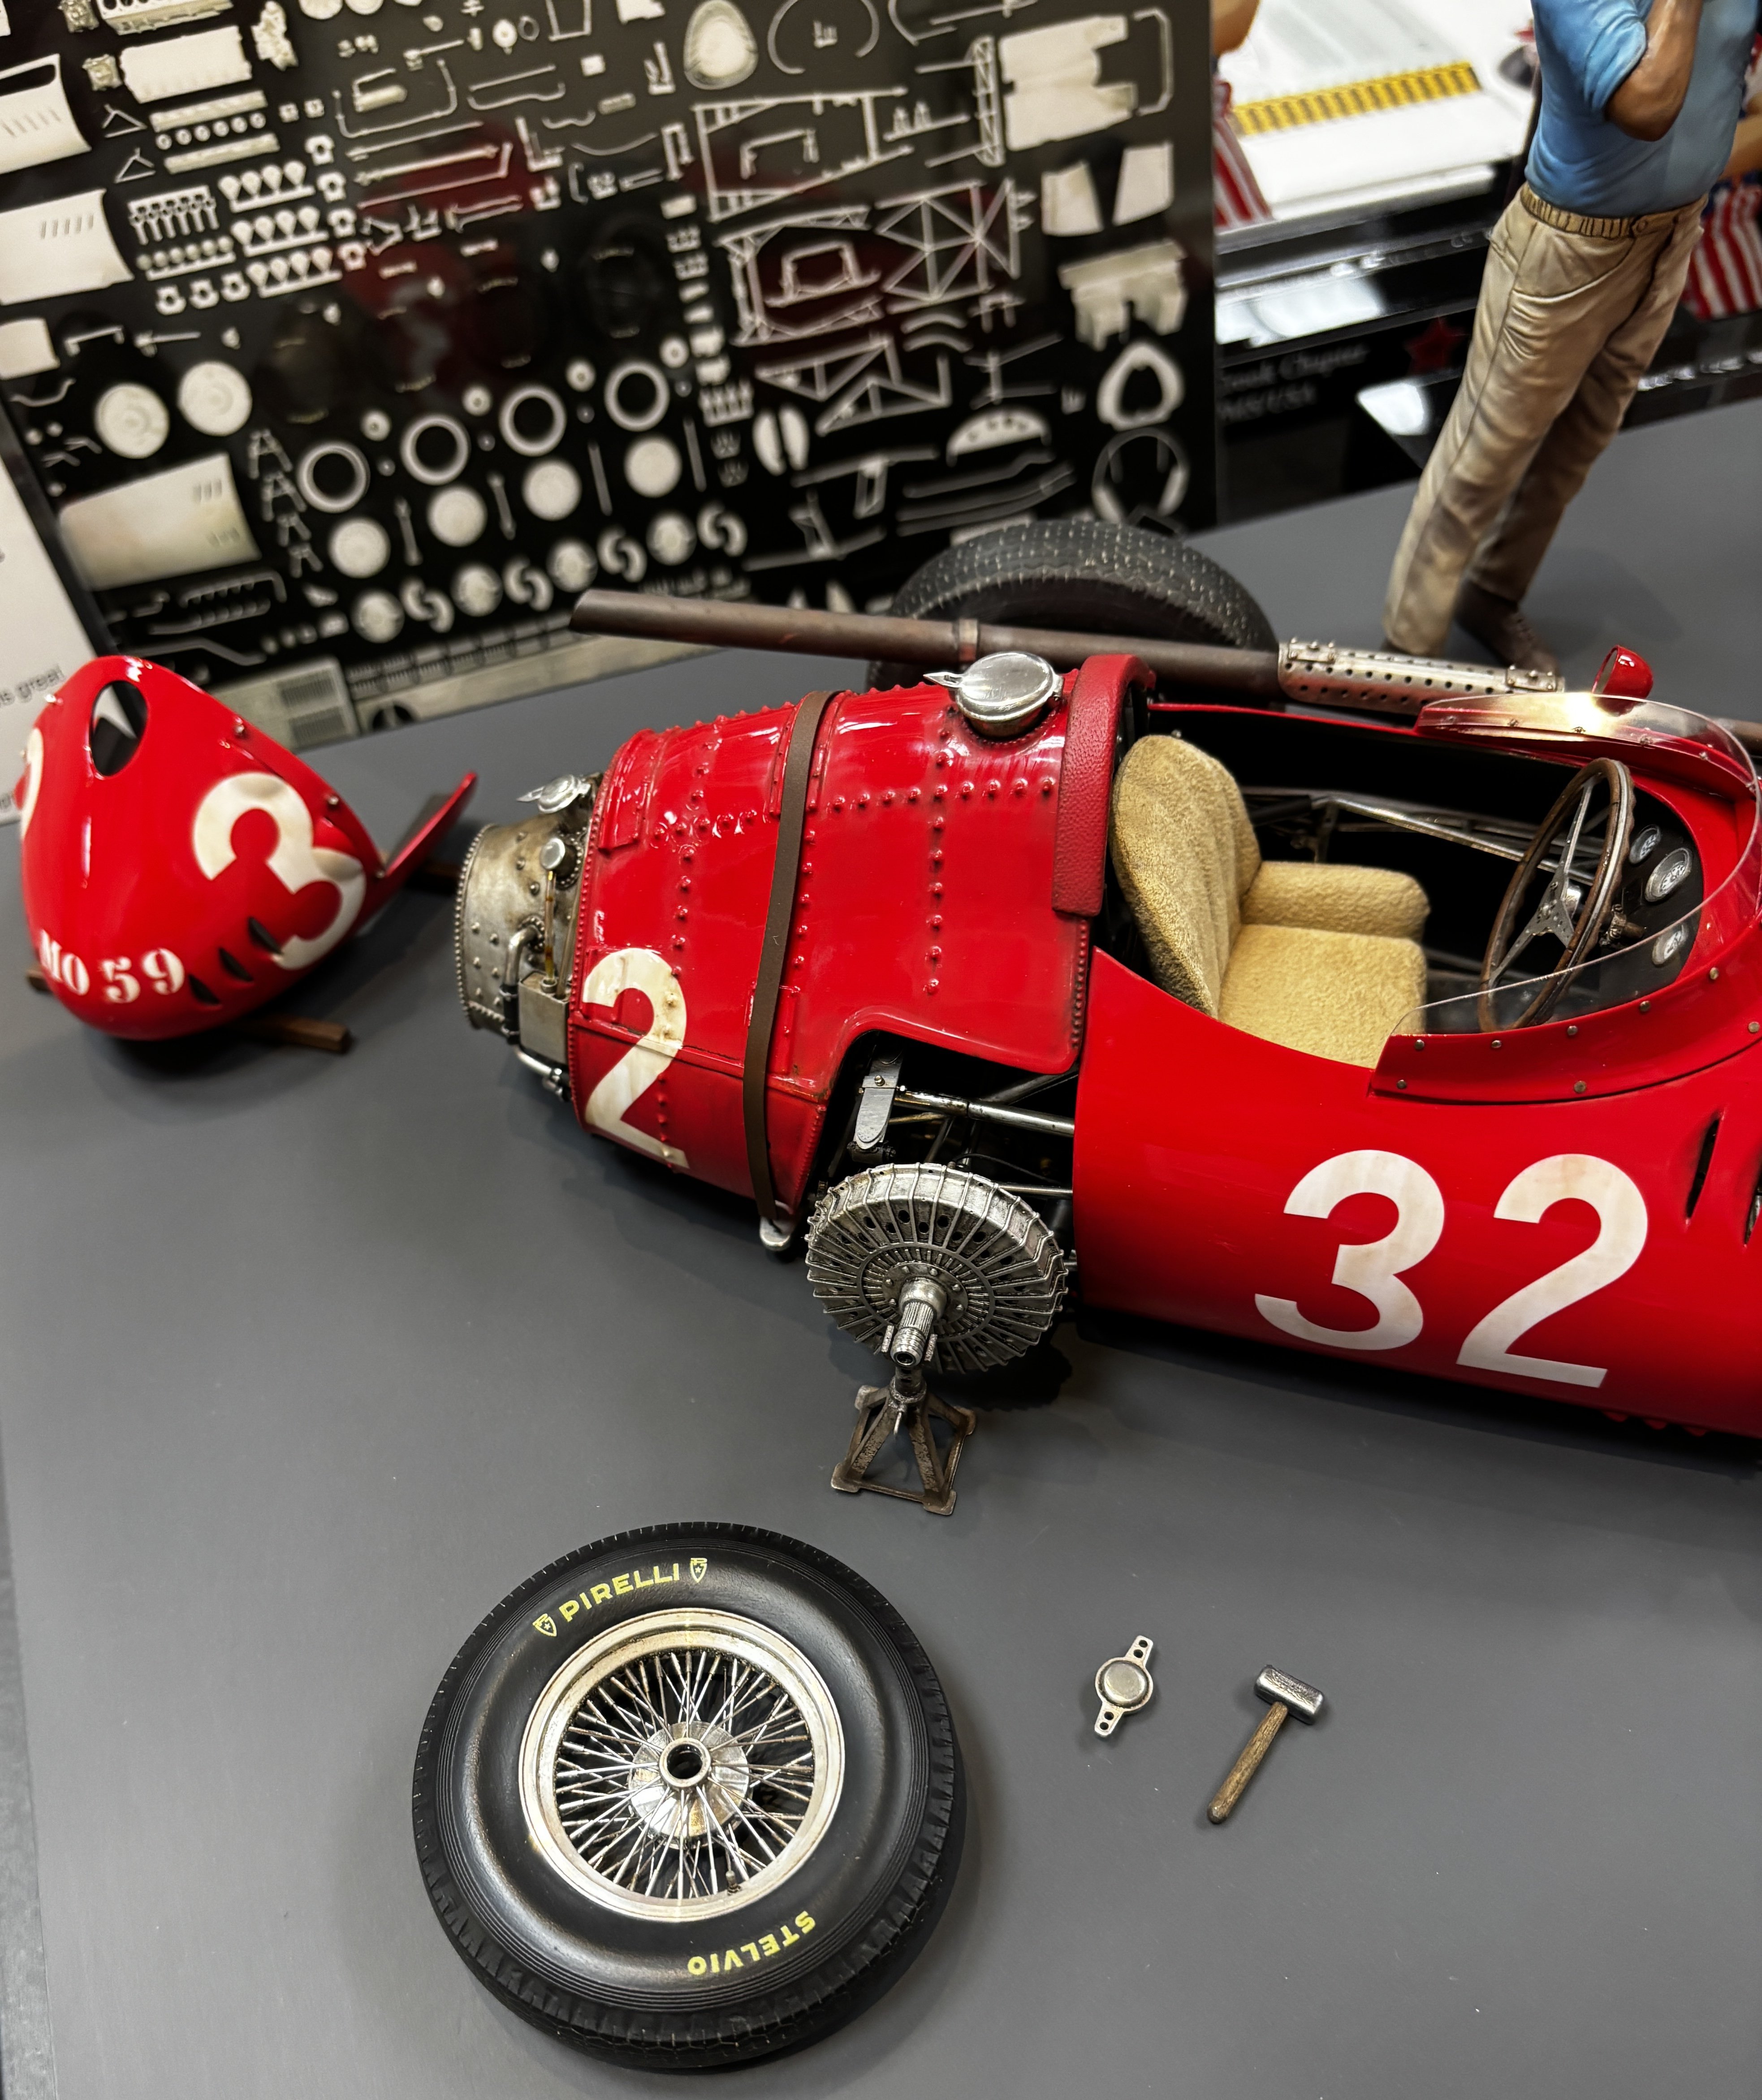
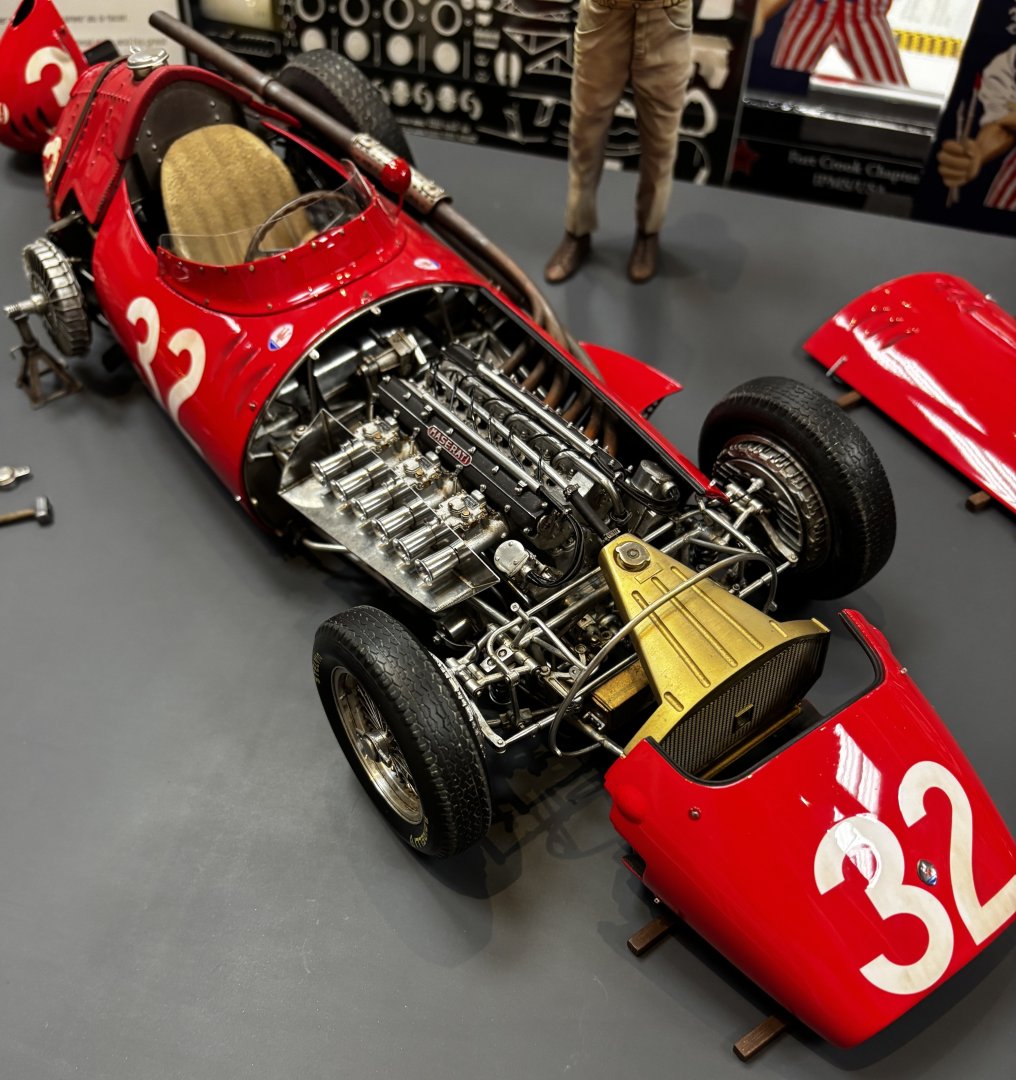
The Pelicon 2025 show was a blast! Many, many, high quality models on didplay. Hundreds of people attended. There were raffle drawings every hour in numerous categories with a grand prize raffle at the final hour with some excellent prizes. I managed to win six of the smaller hourly raffles and two of the grand raffles! I felt like a bandit. I managed to win one silver and two bronze medals with my four entries, for which I was grateful. I took a ton of photos but won’t post all of them now at this late hour. What I will post are photographs of Nestor Espinoza’s Nationals winner, the Maserati 250F by MFH. An extraordinary, beautiful build. Nestor is a resident of Tampa who has published work from Mig Ammo.


- 73 replies
-
- 12
-
-
-
Will do! I'm bringing a wagon. 😁
-
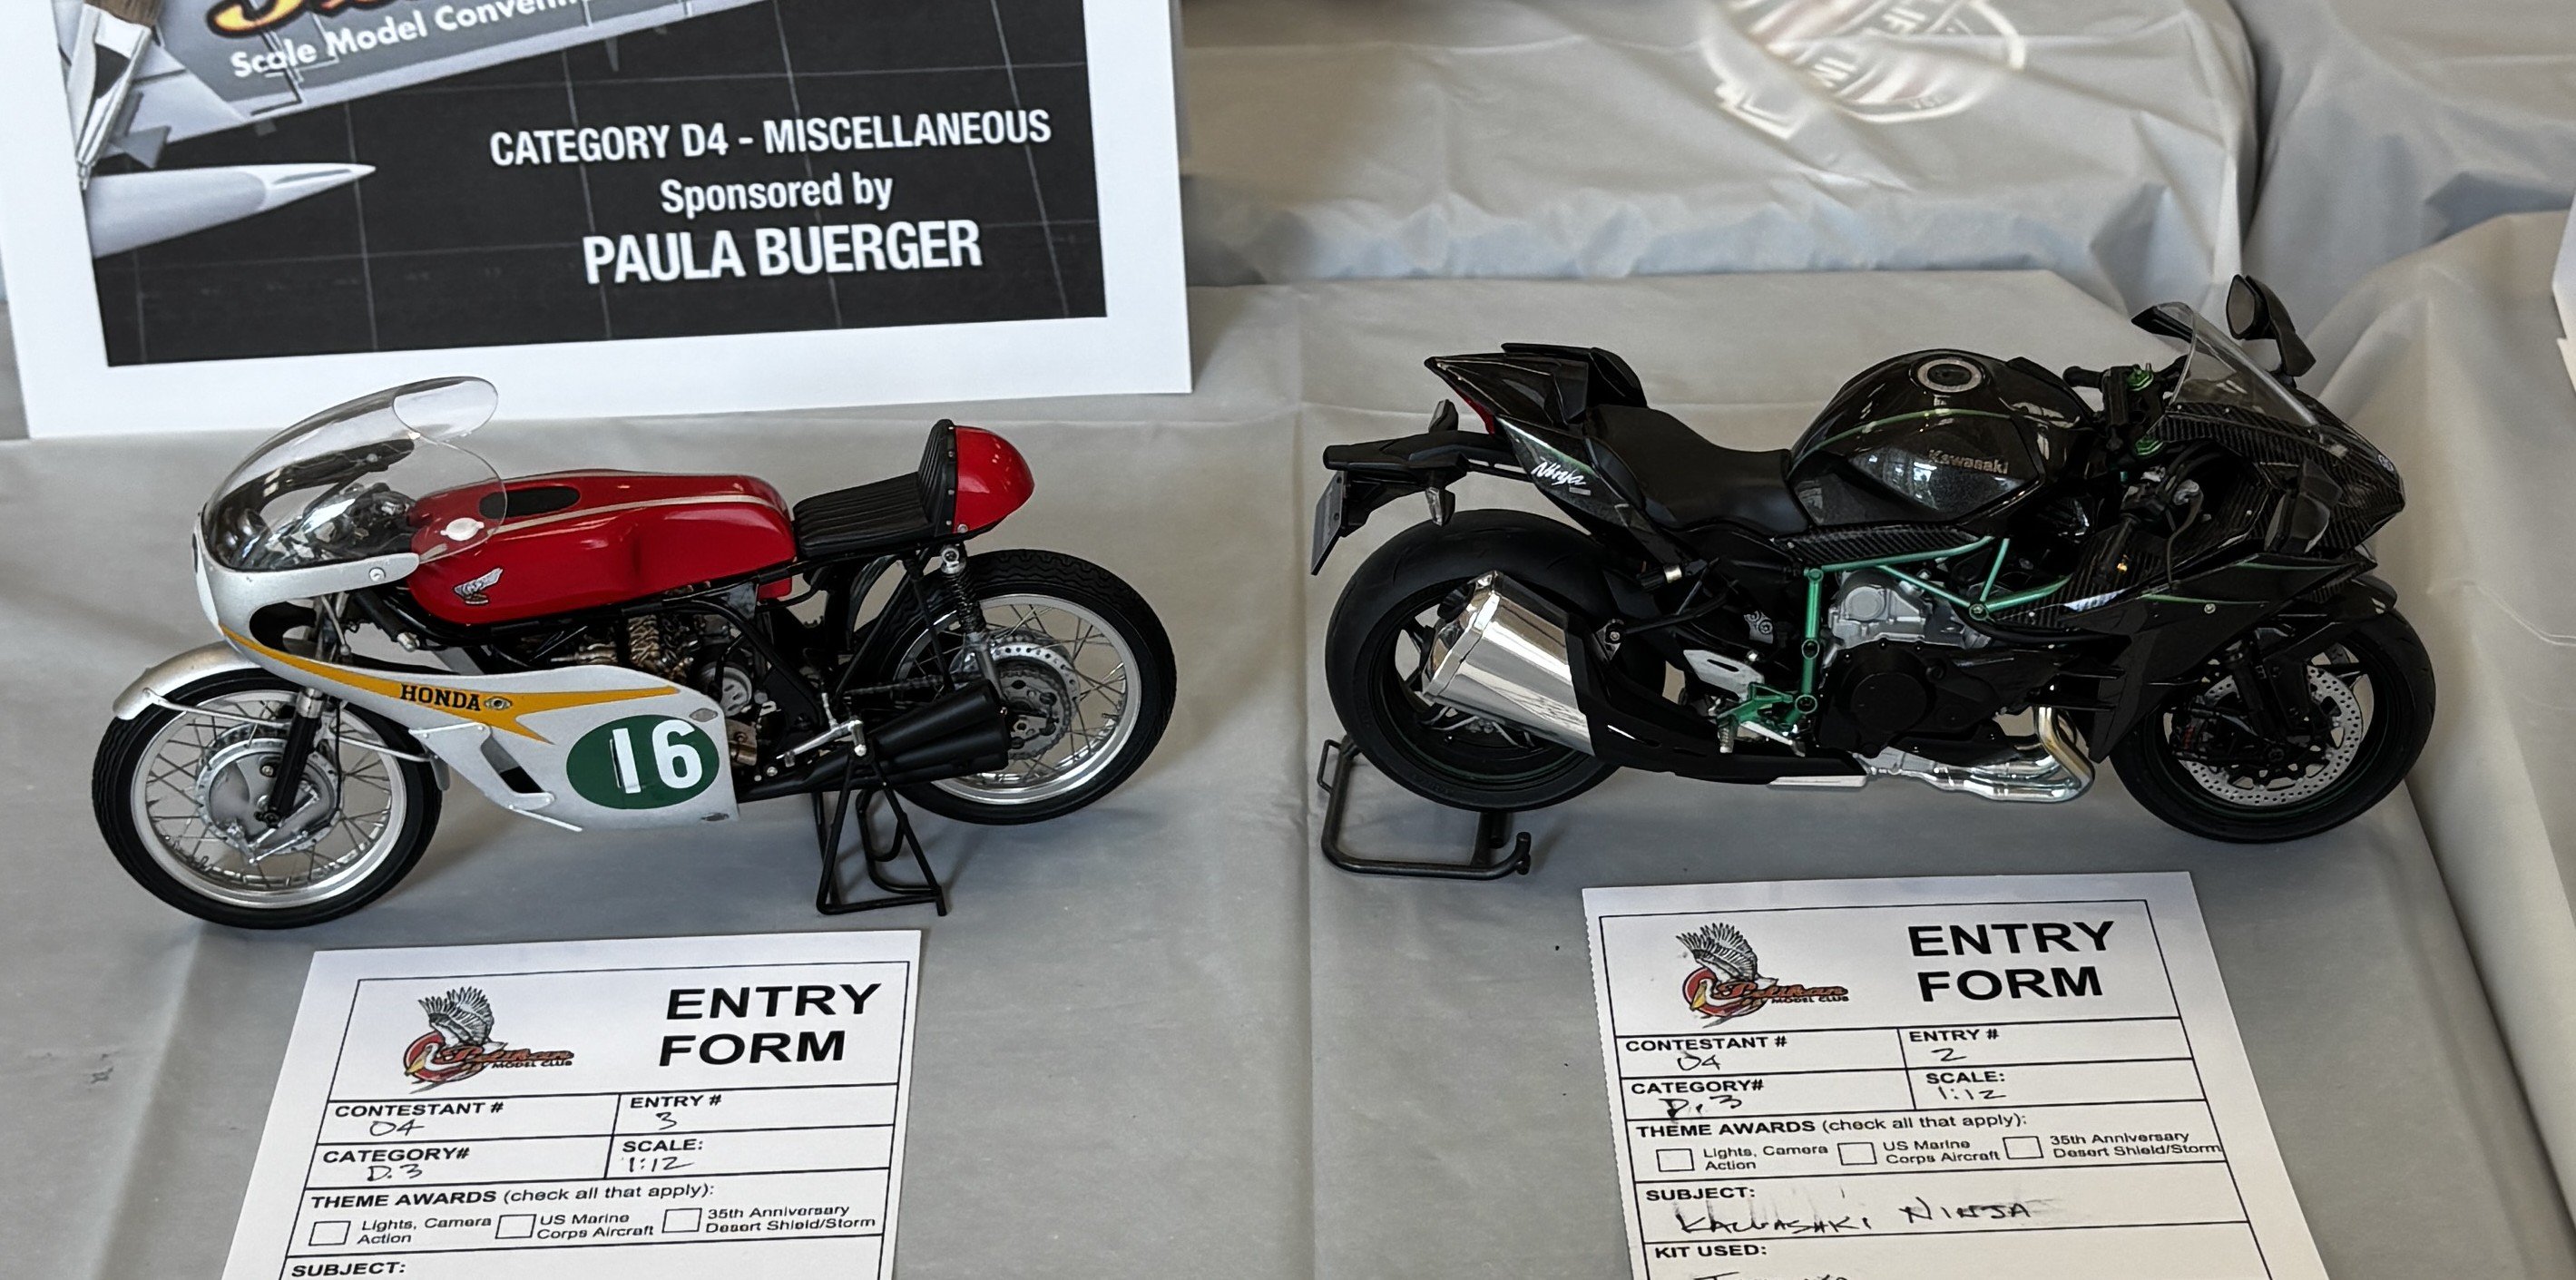
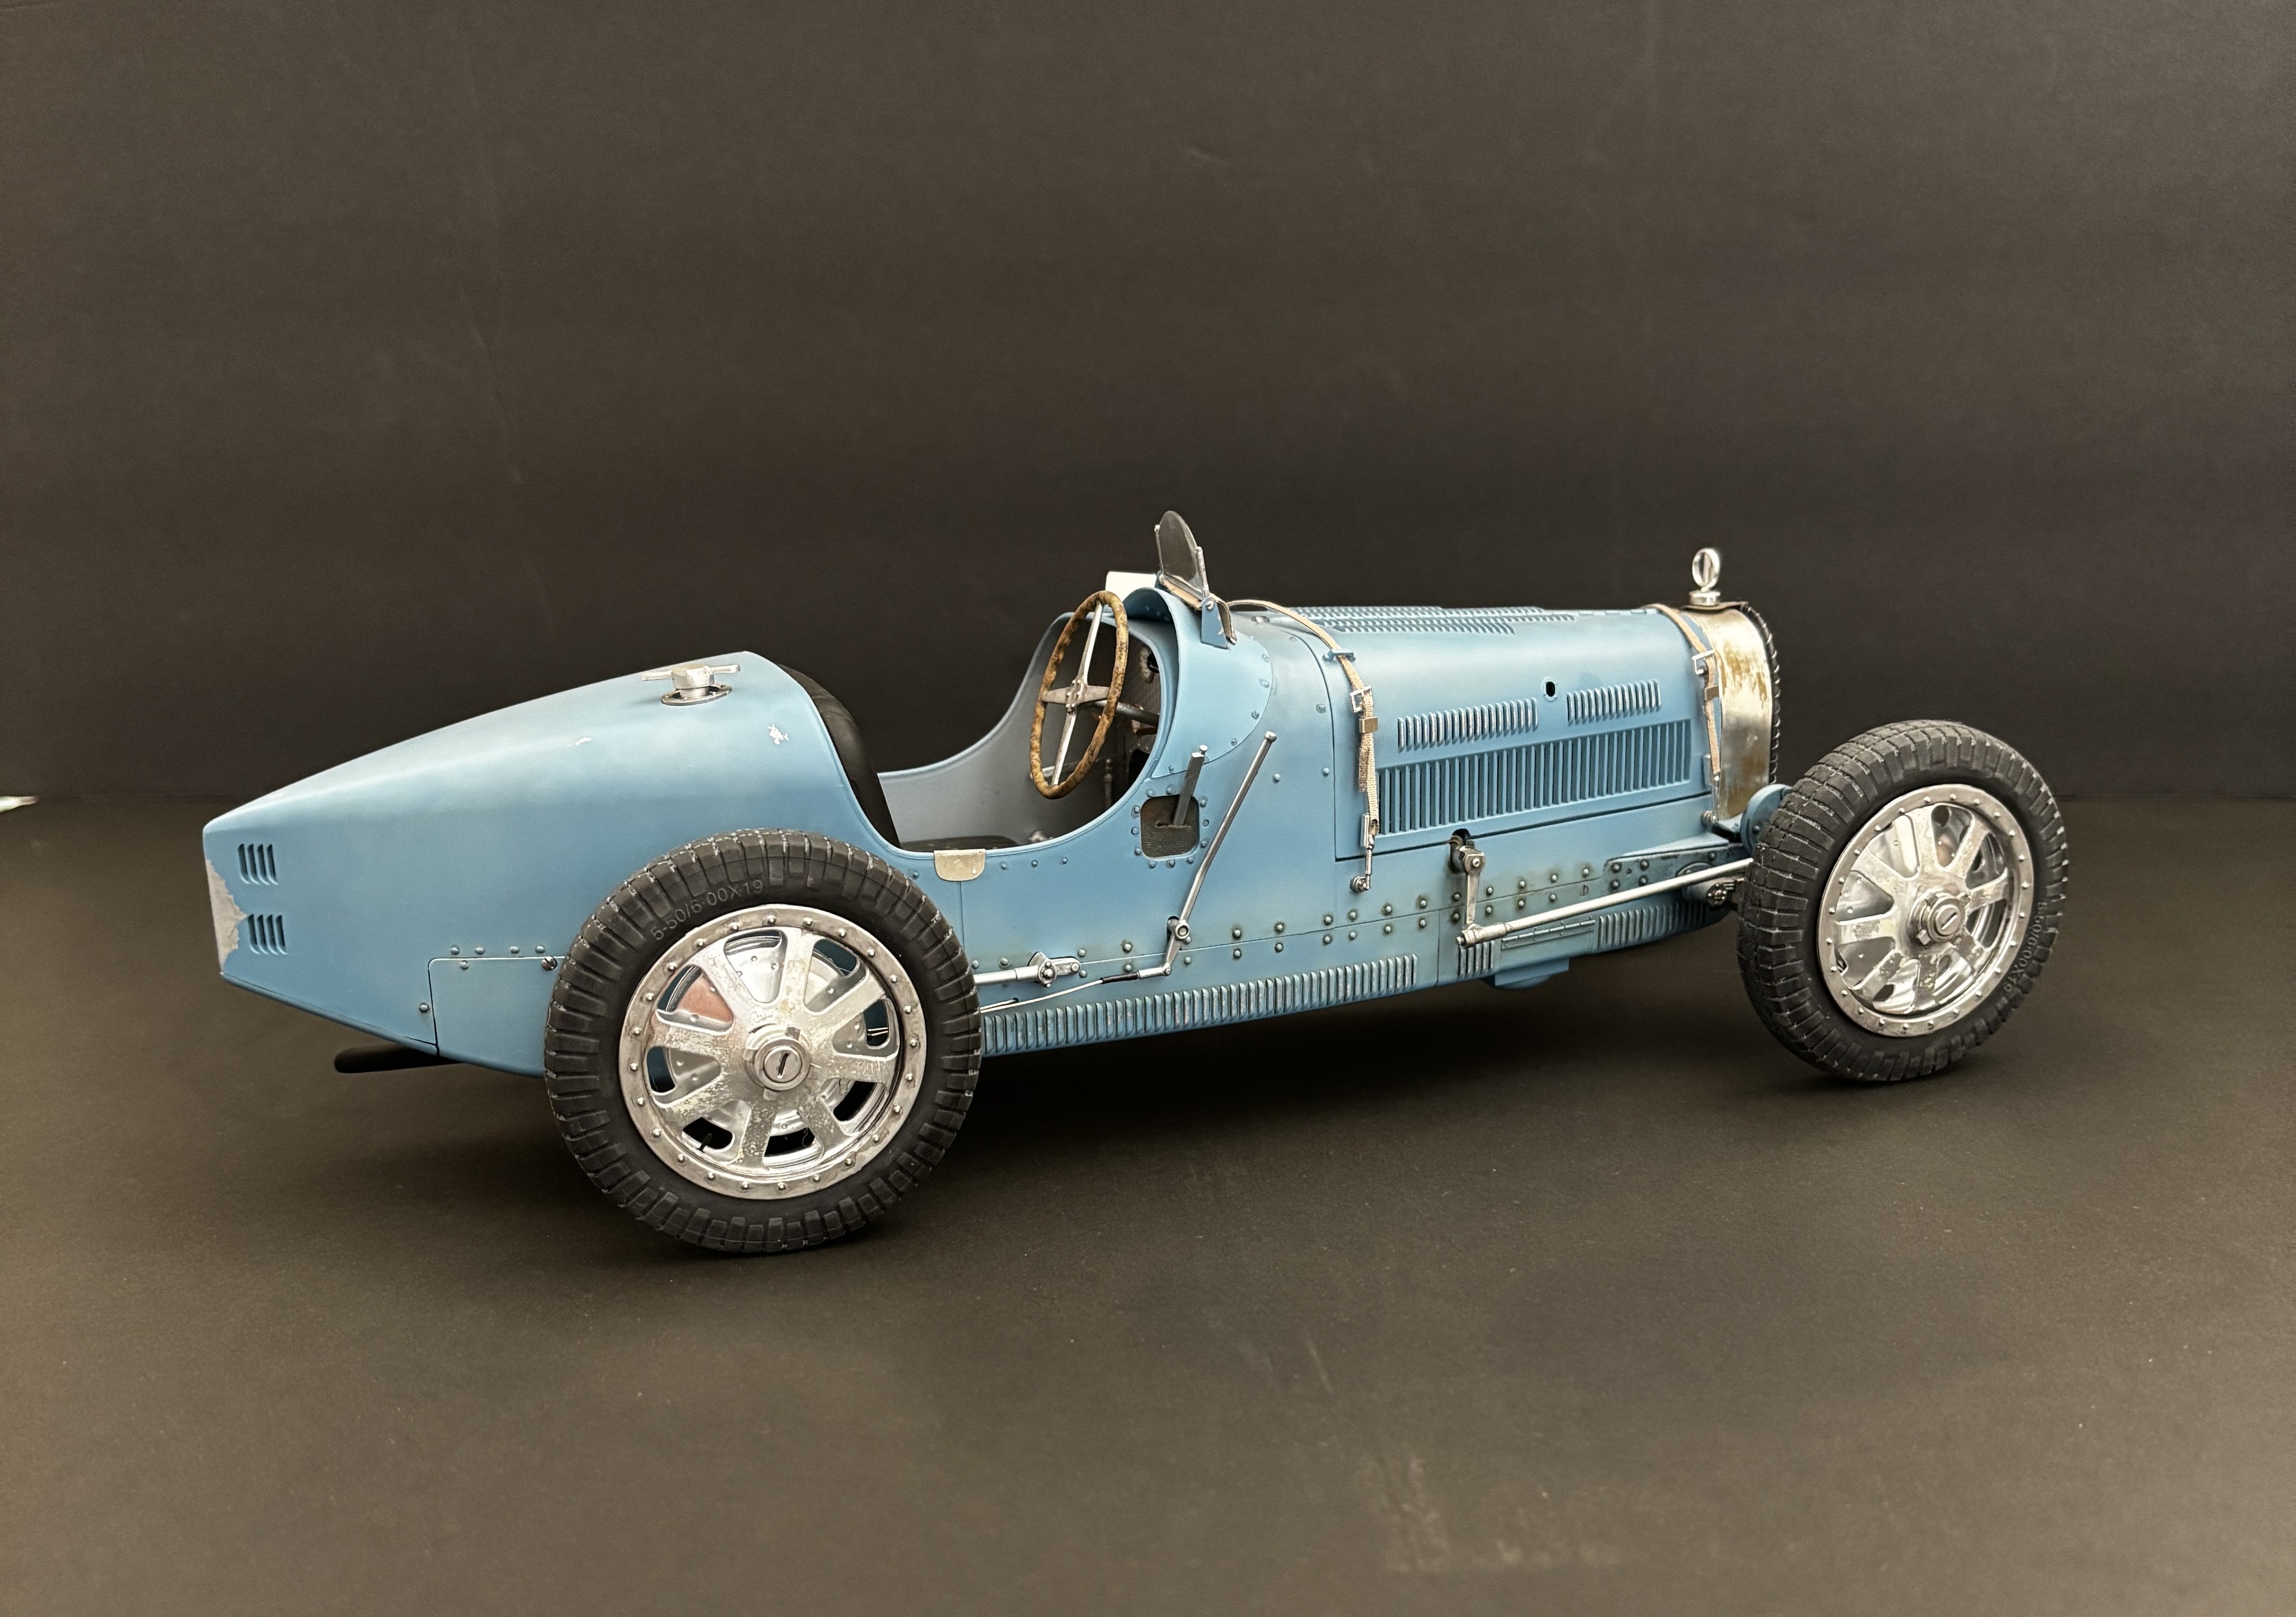
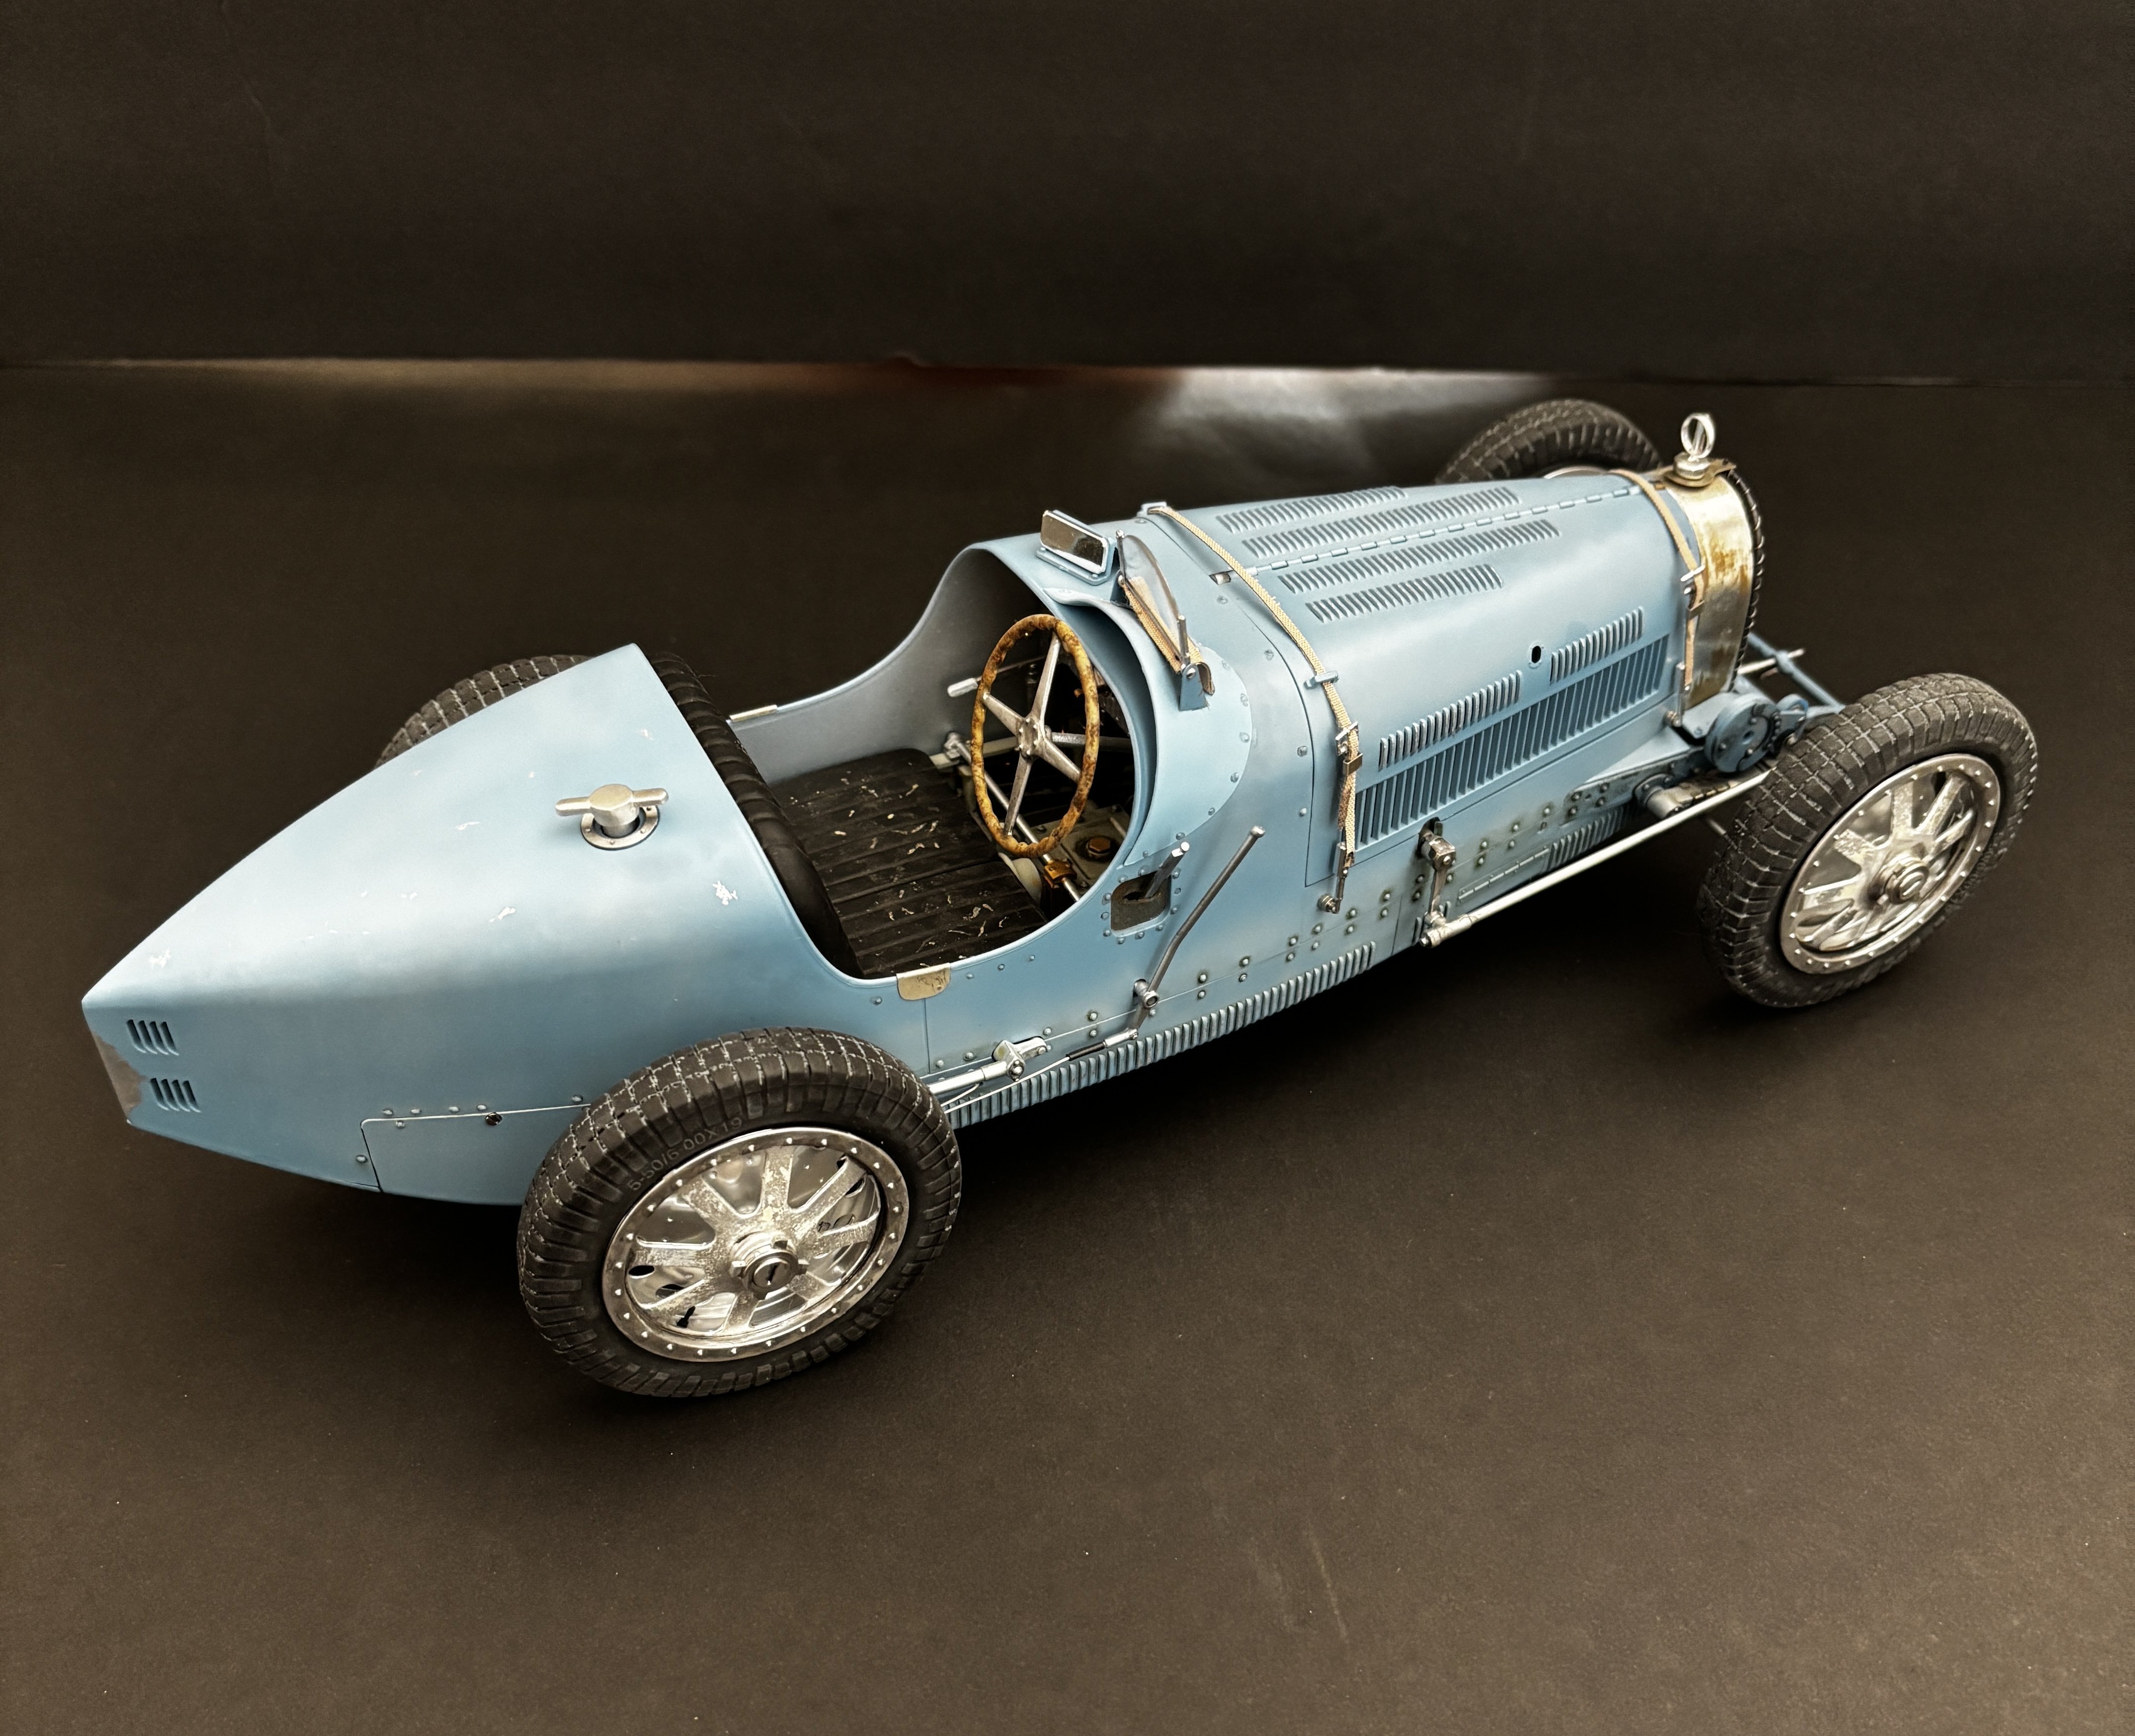
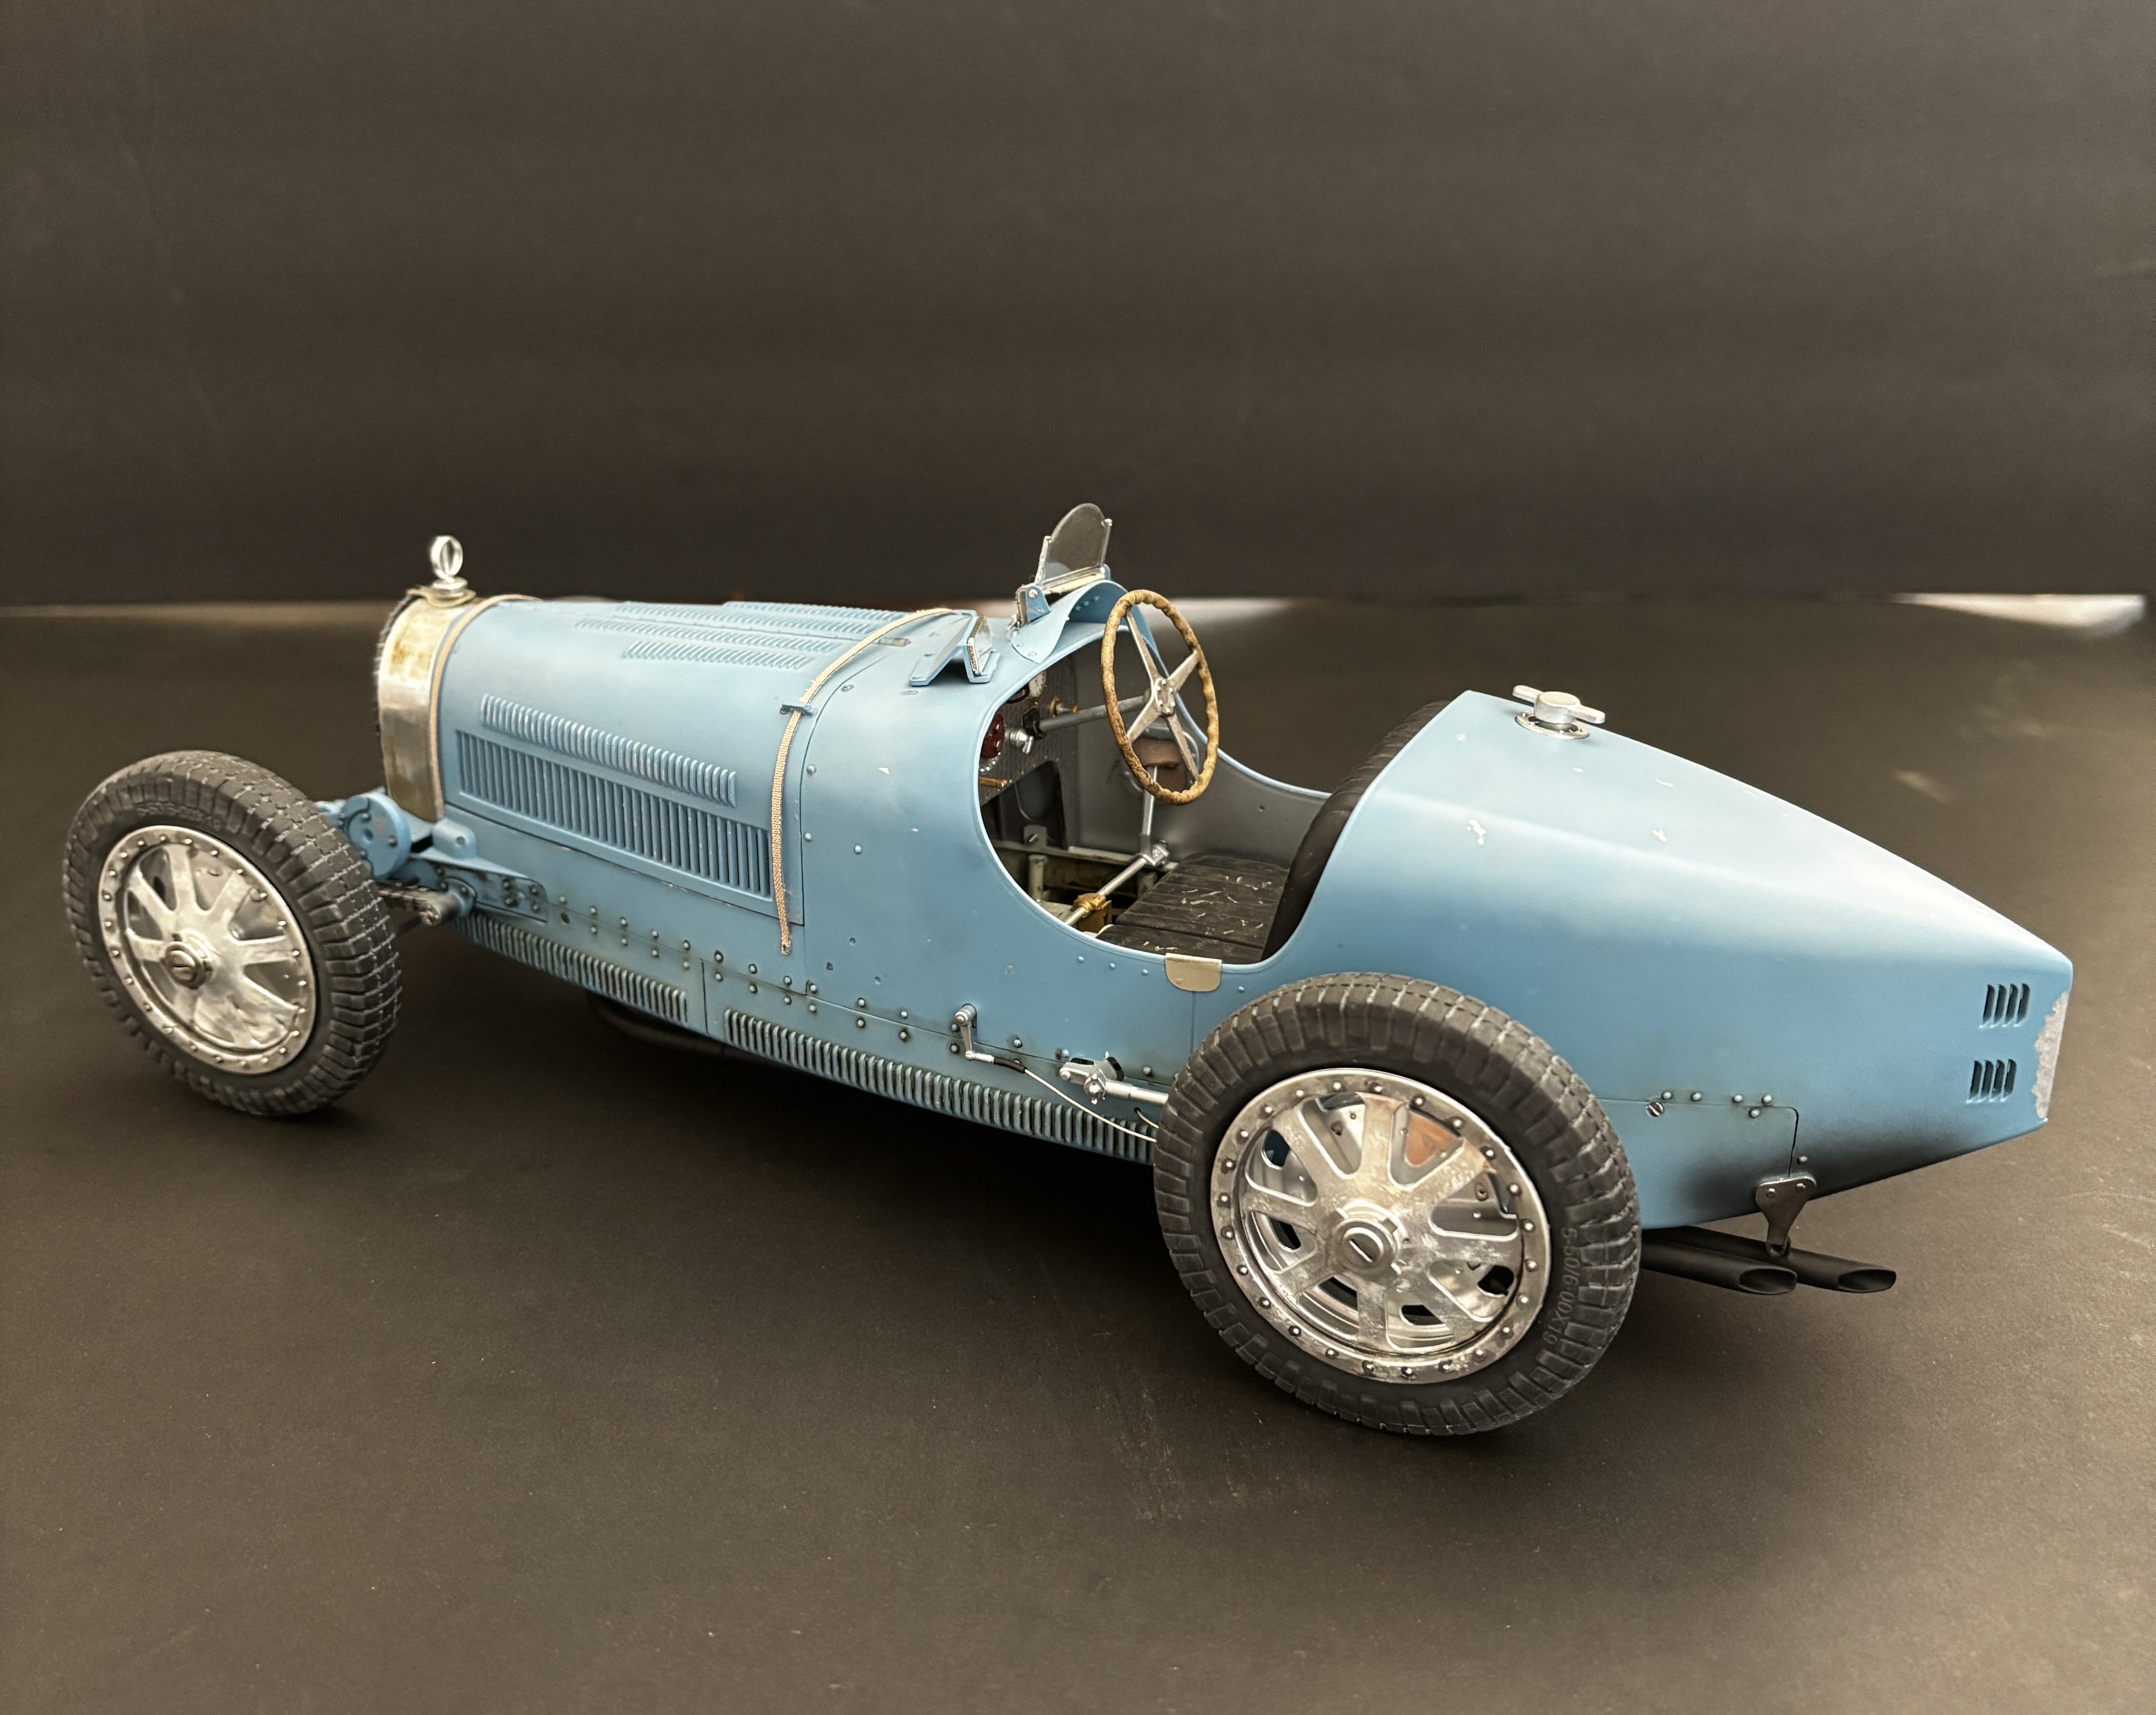
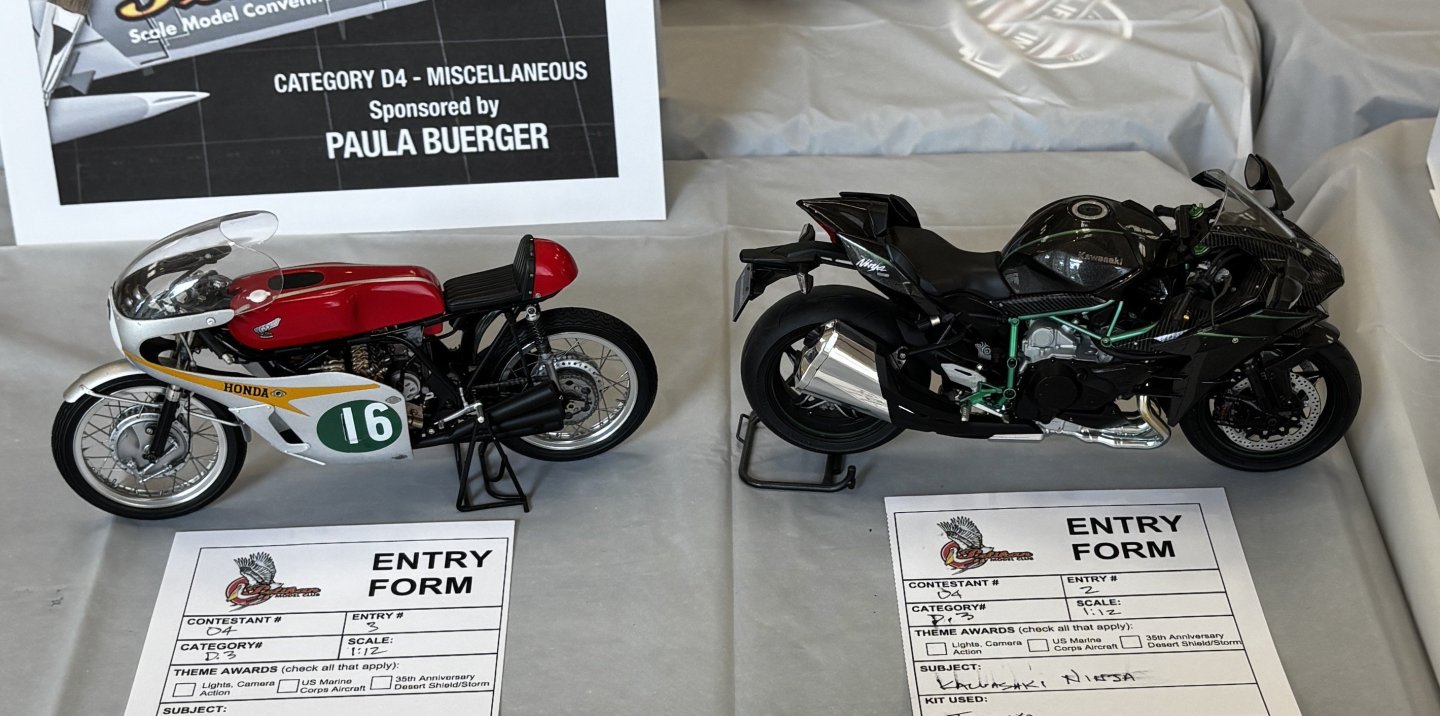
Along with the Porsche Carrera GT, Kawasaki Ninja, Honda RC166, "Betty" the Bugatti T35B will be going with me to Pelicon 2025, an IPMS regional show, here in Tampa, Florida, tomorrow. I always look forward to this event as it is a wonderful display of modeling talent from all over the southeastern USA. Not to mention a mountain of vendors. So much to see there!


- 73 replies
-
- 10
-
-
-
.3mm Plastruct rod to simulate the white piping used on the red leather seats of the Testa Rossa.

- 73 replies
-
- 10
-
-
-
Sometime long ago I bought this very small gauge insulated copper wire for ignition wiring on 1:24 scale models. I cannot remember who I bought it from. I’ll look for more this coming Saturday at the model show. That’s probably where I bought it the last time.
-
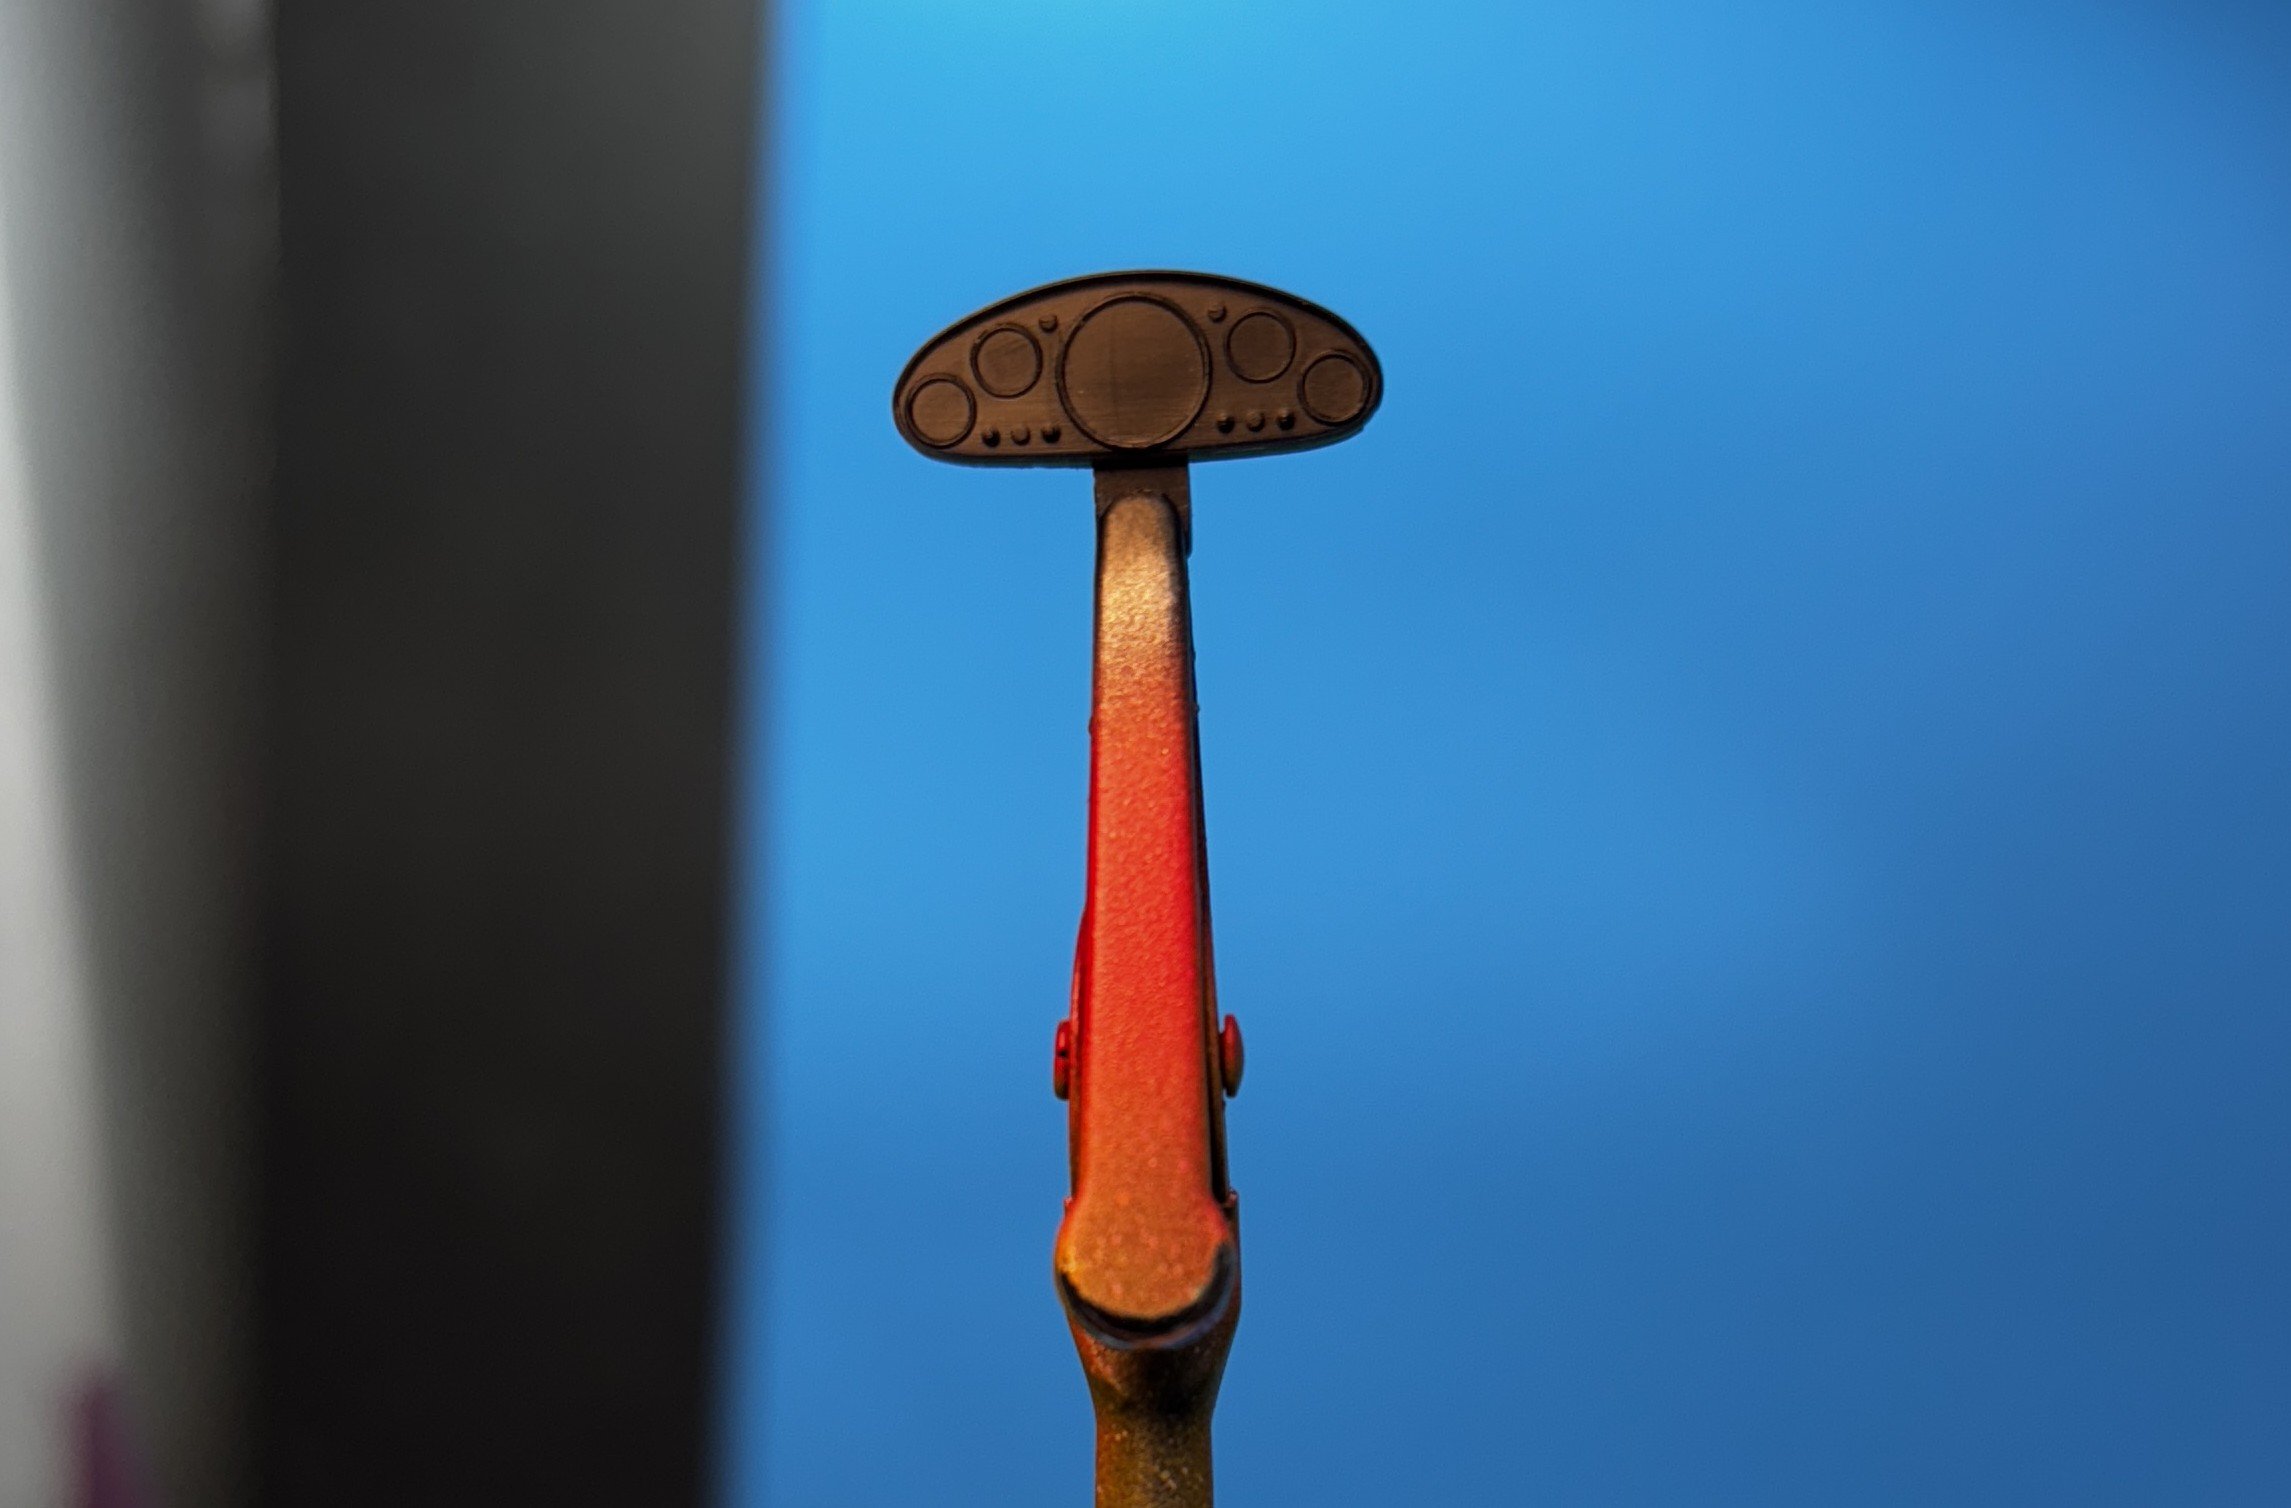
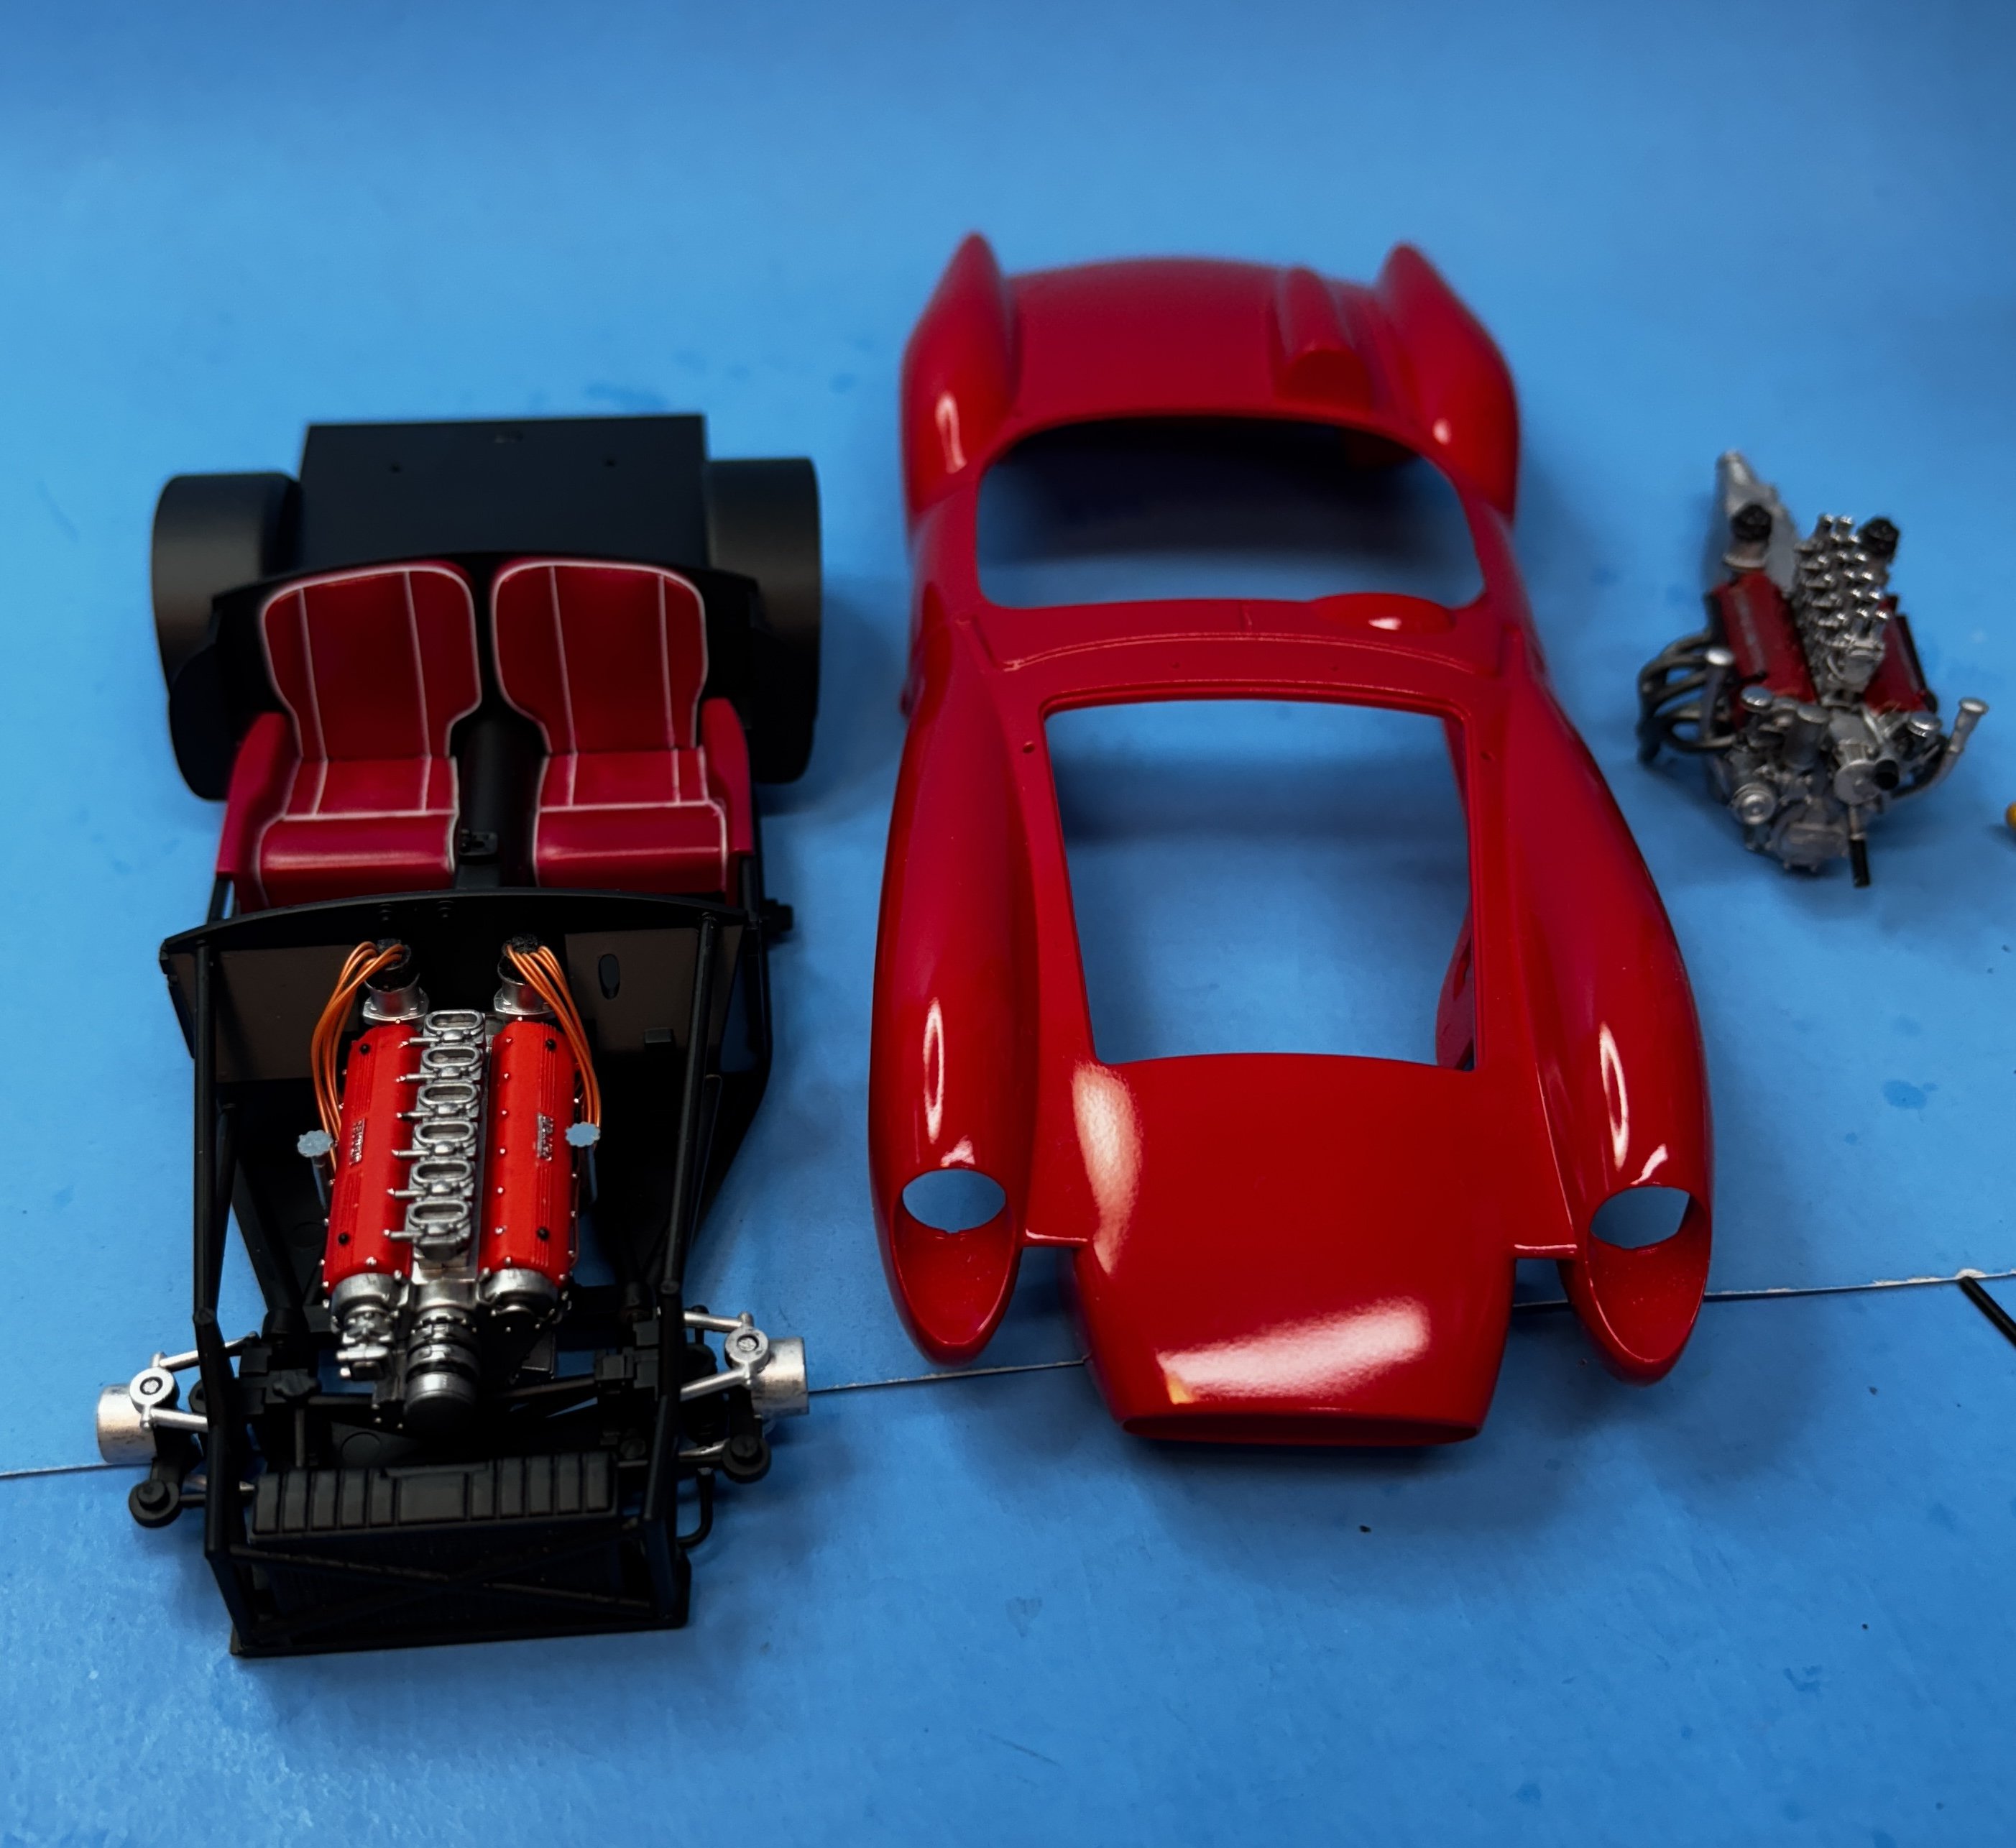
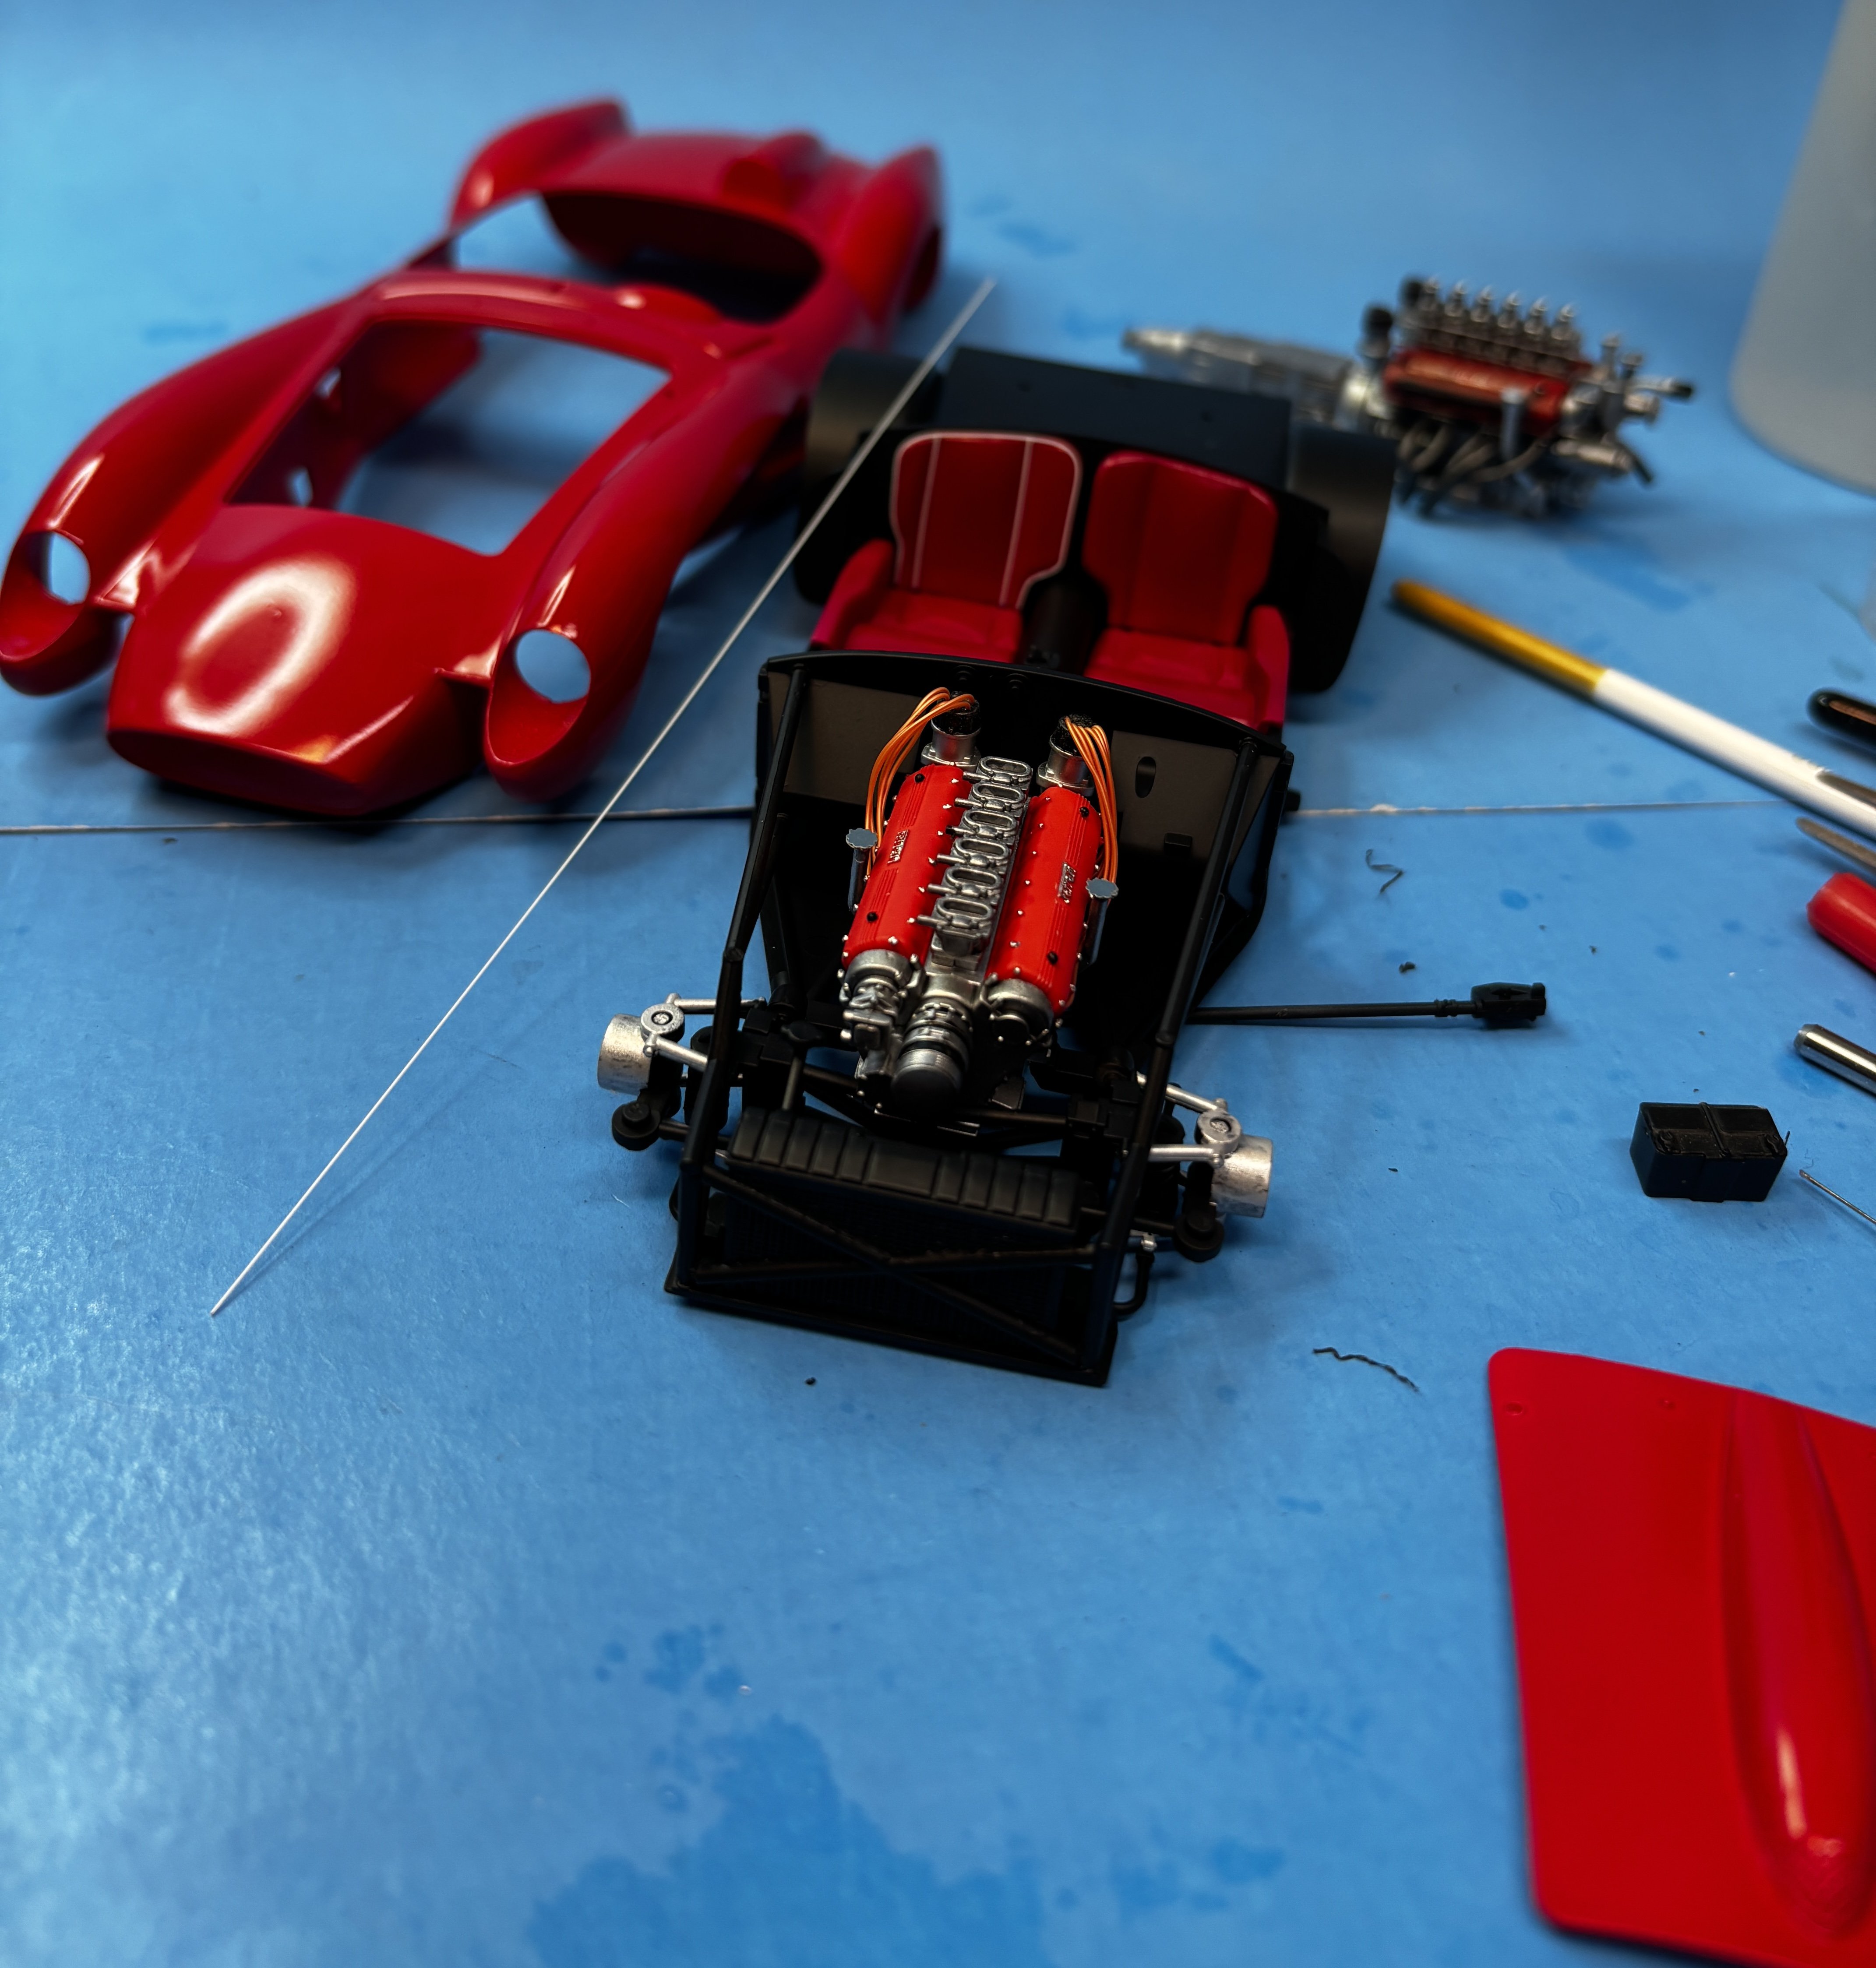
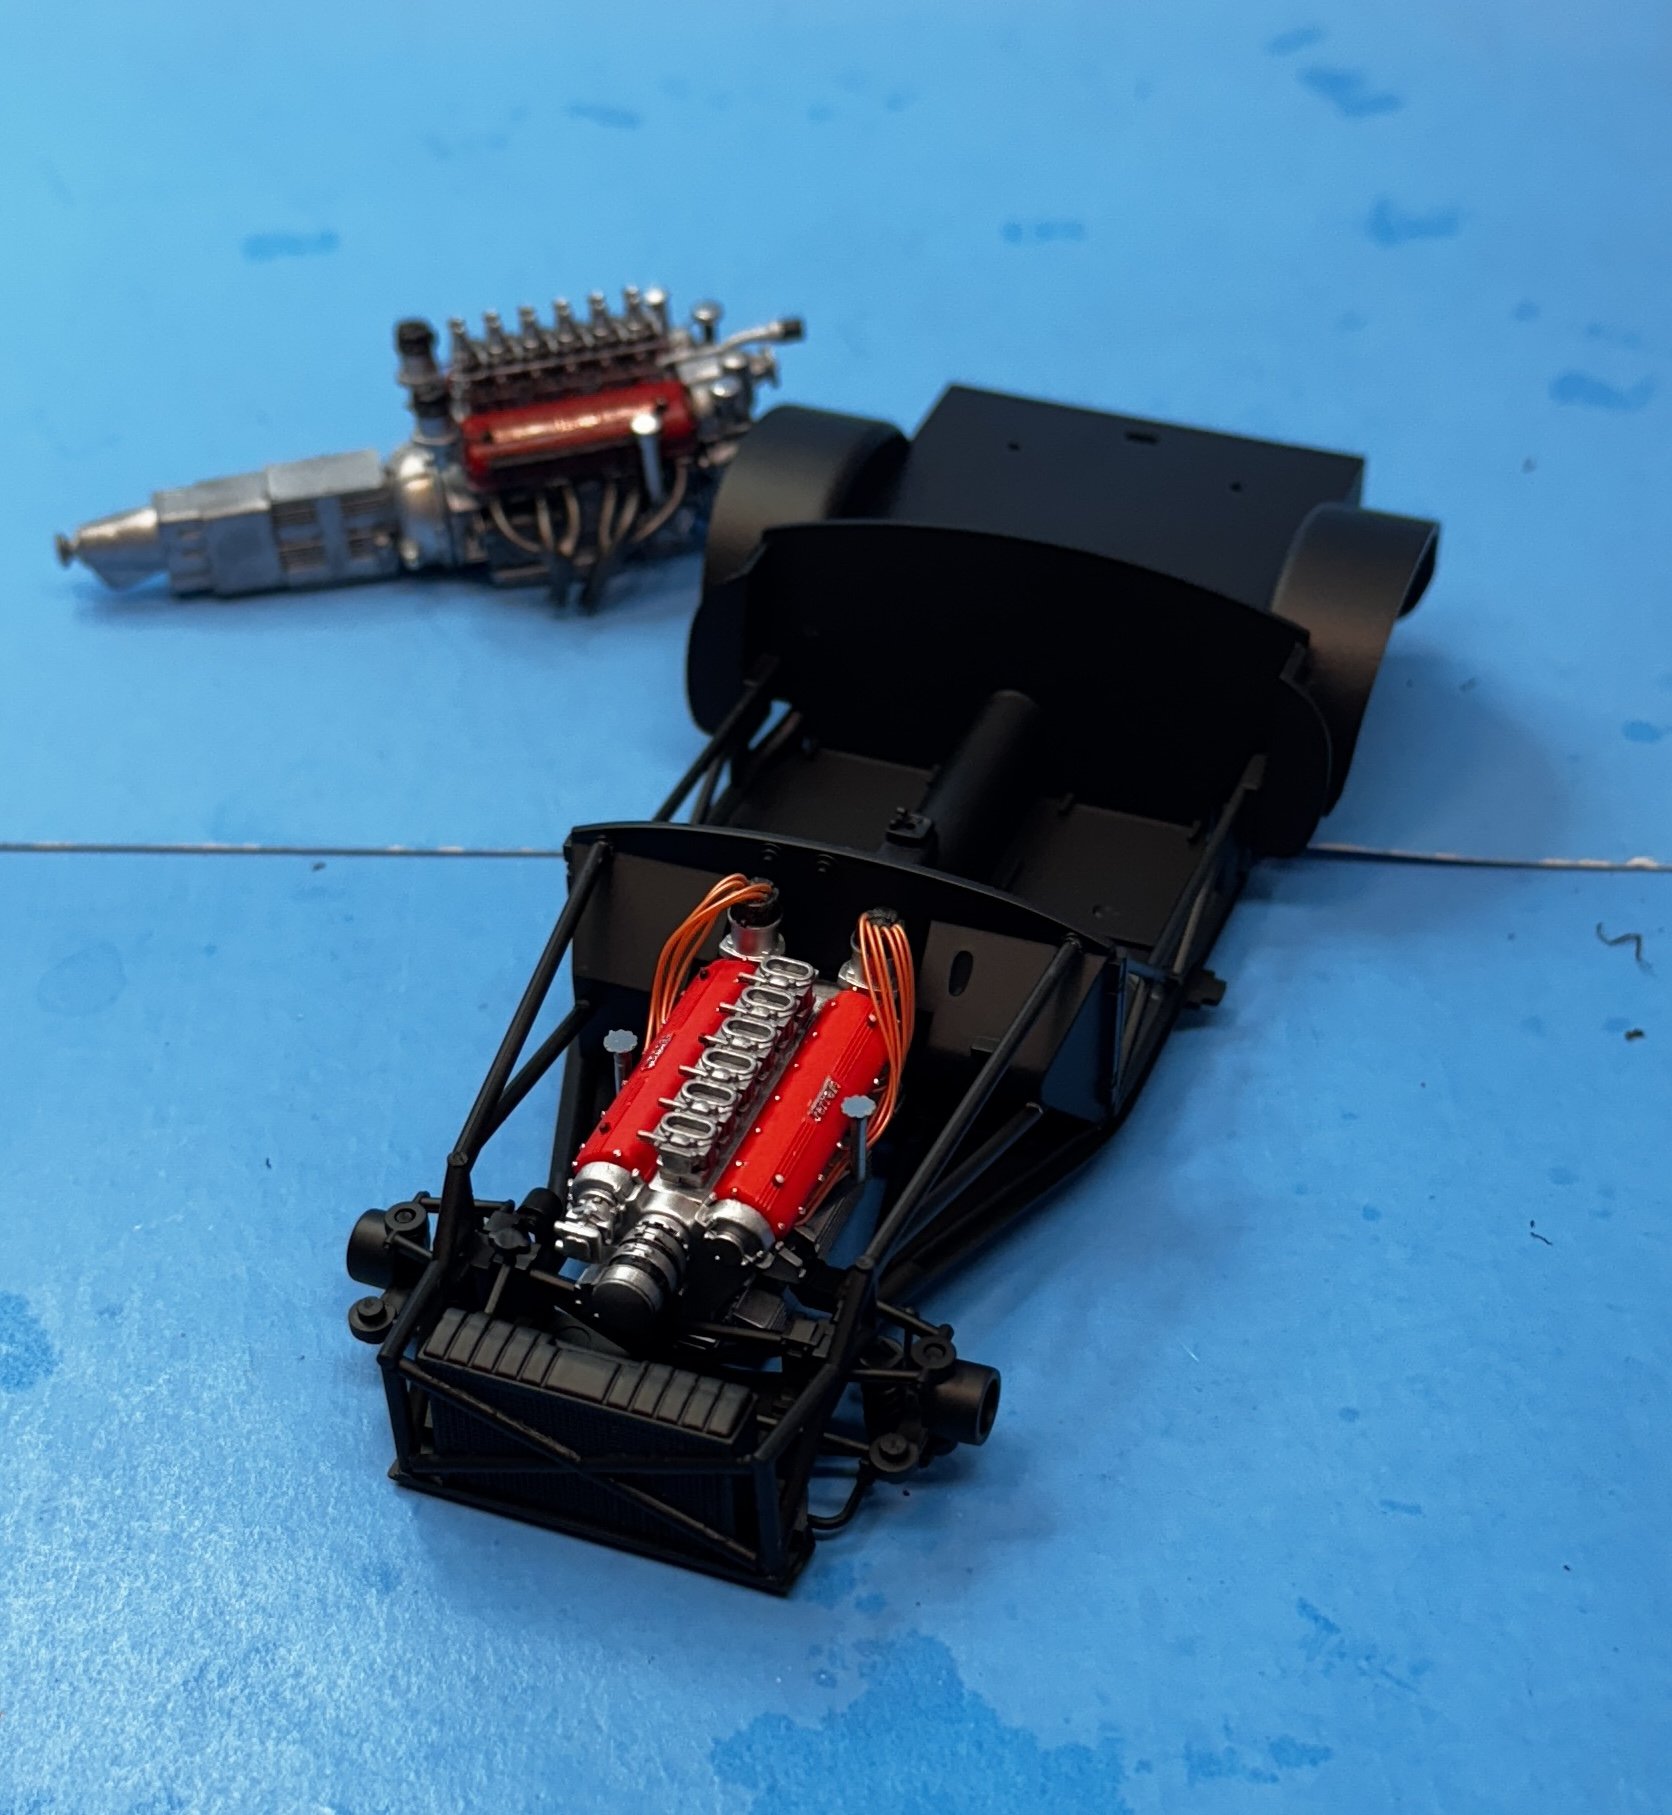
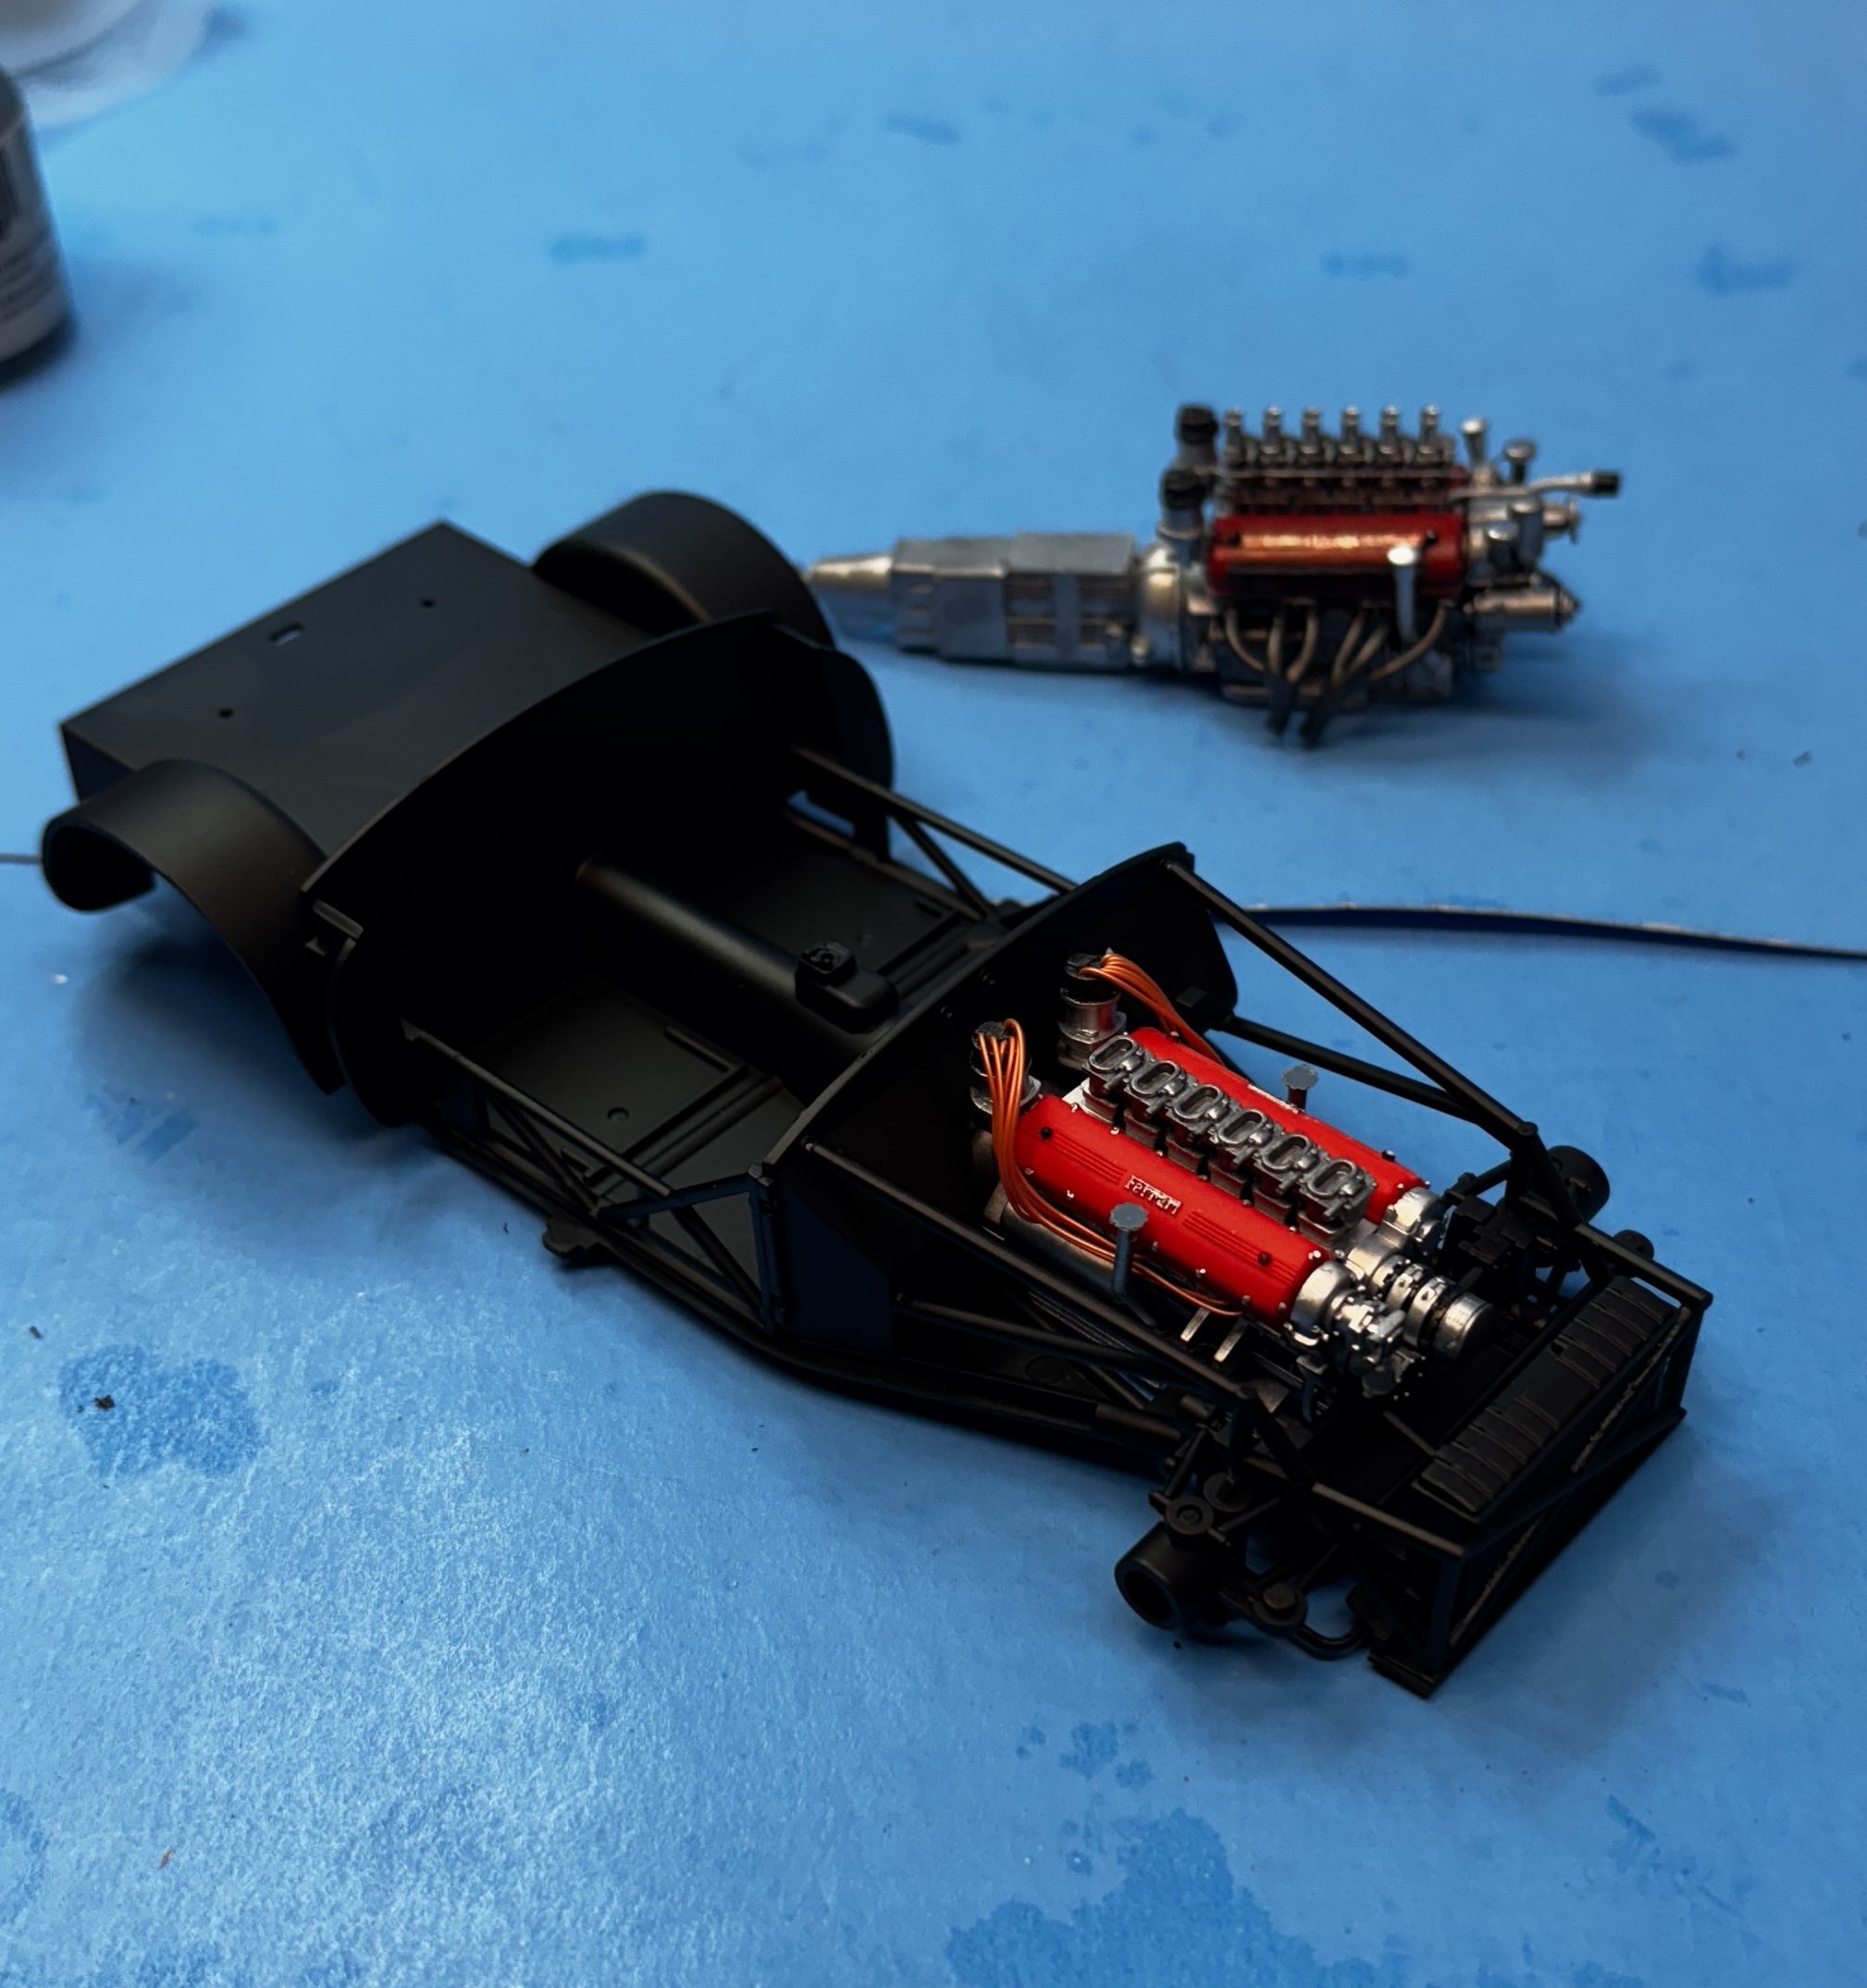
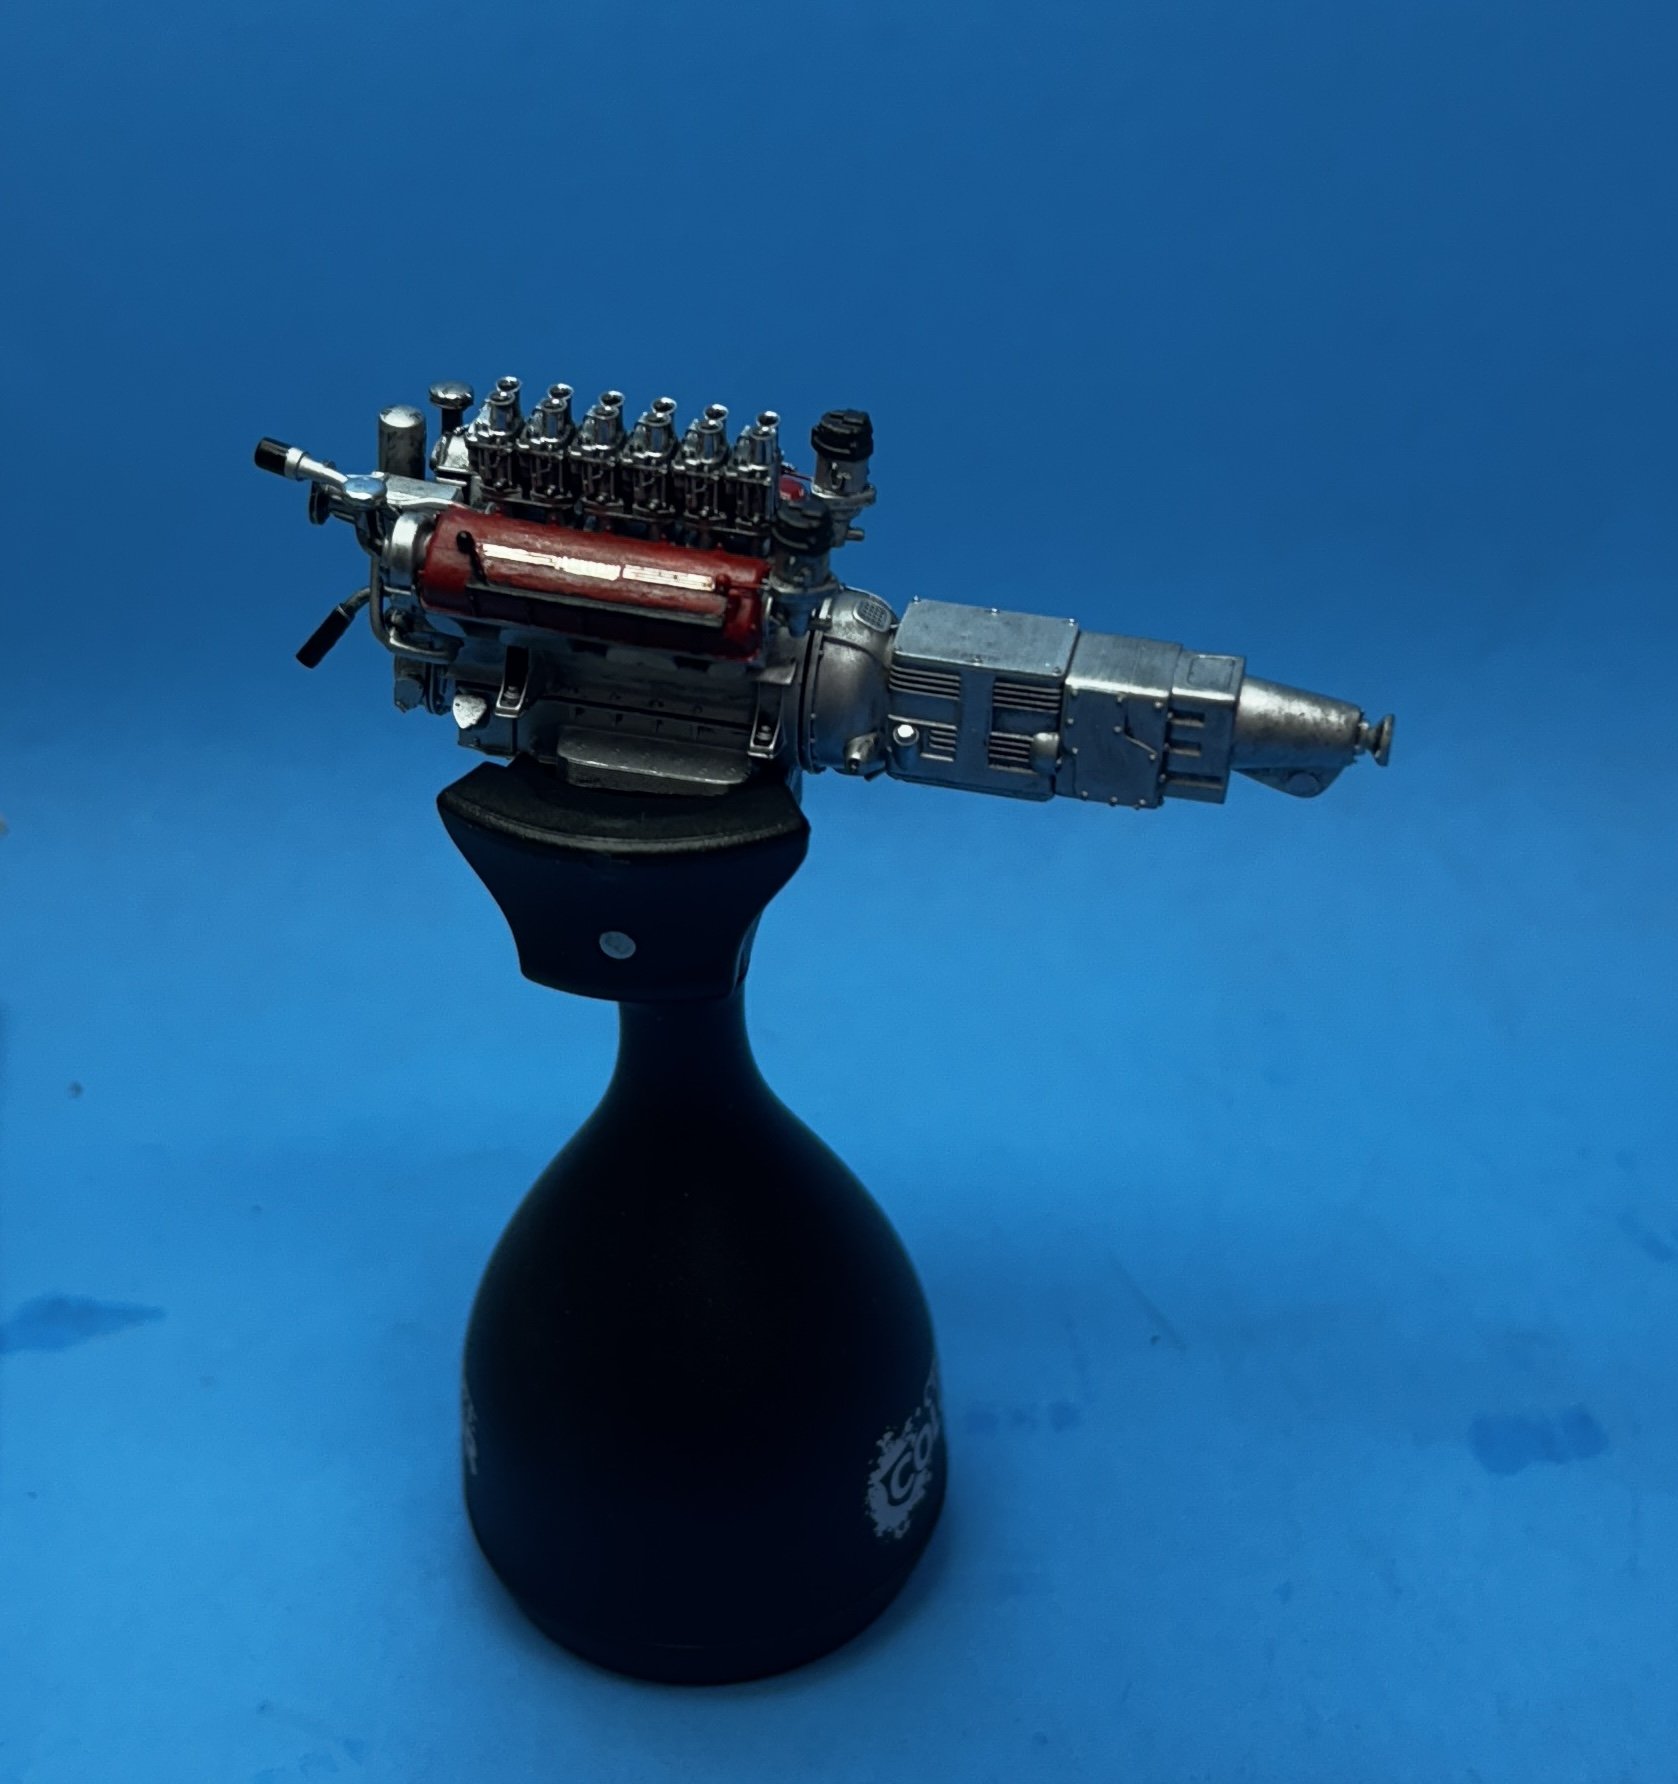
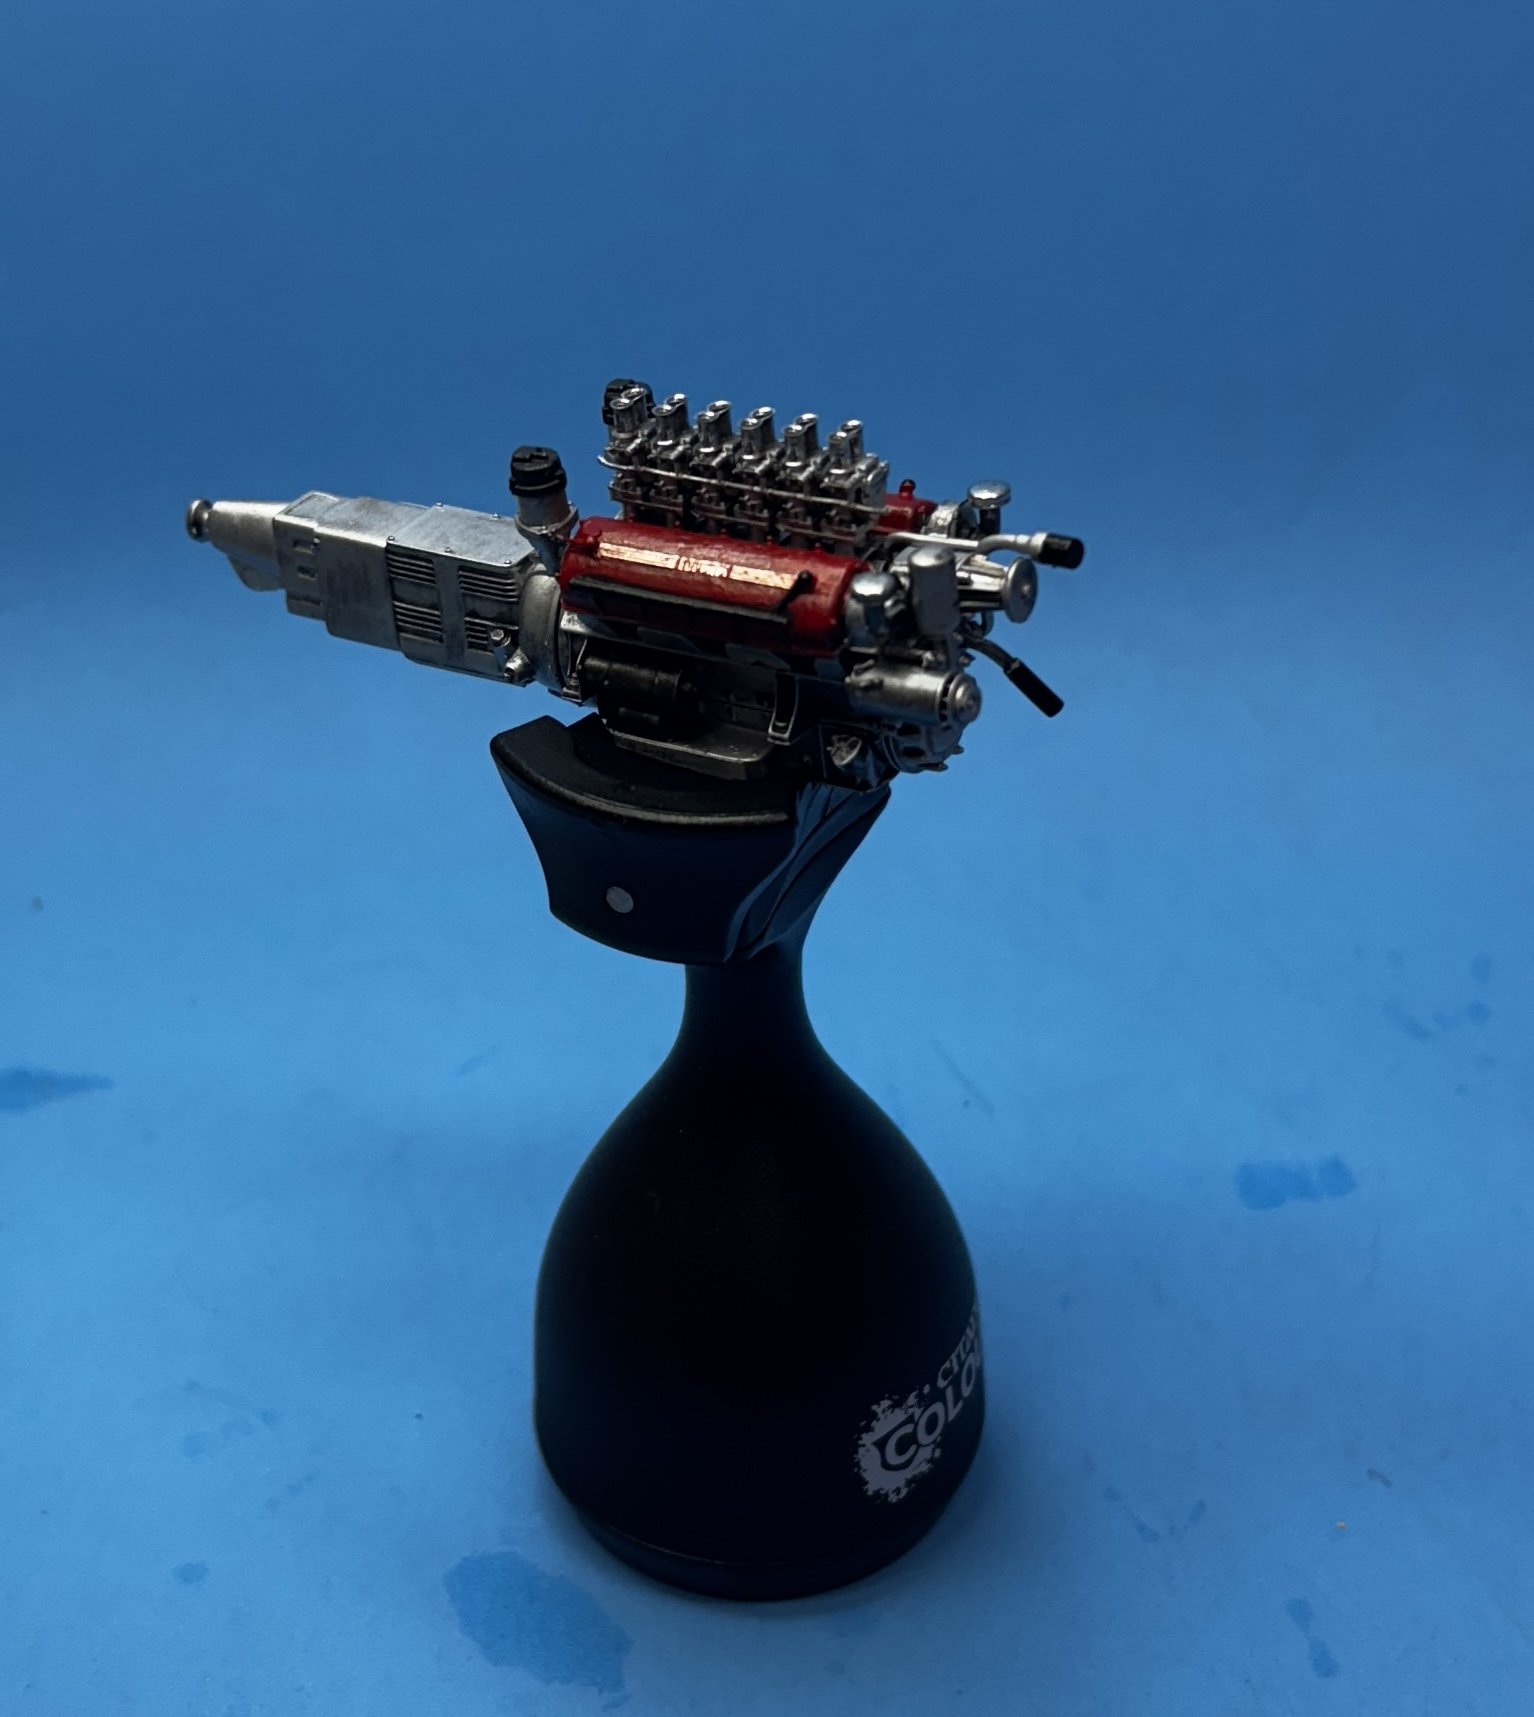
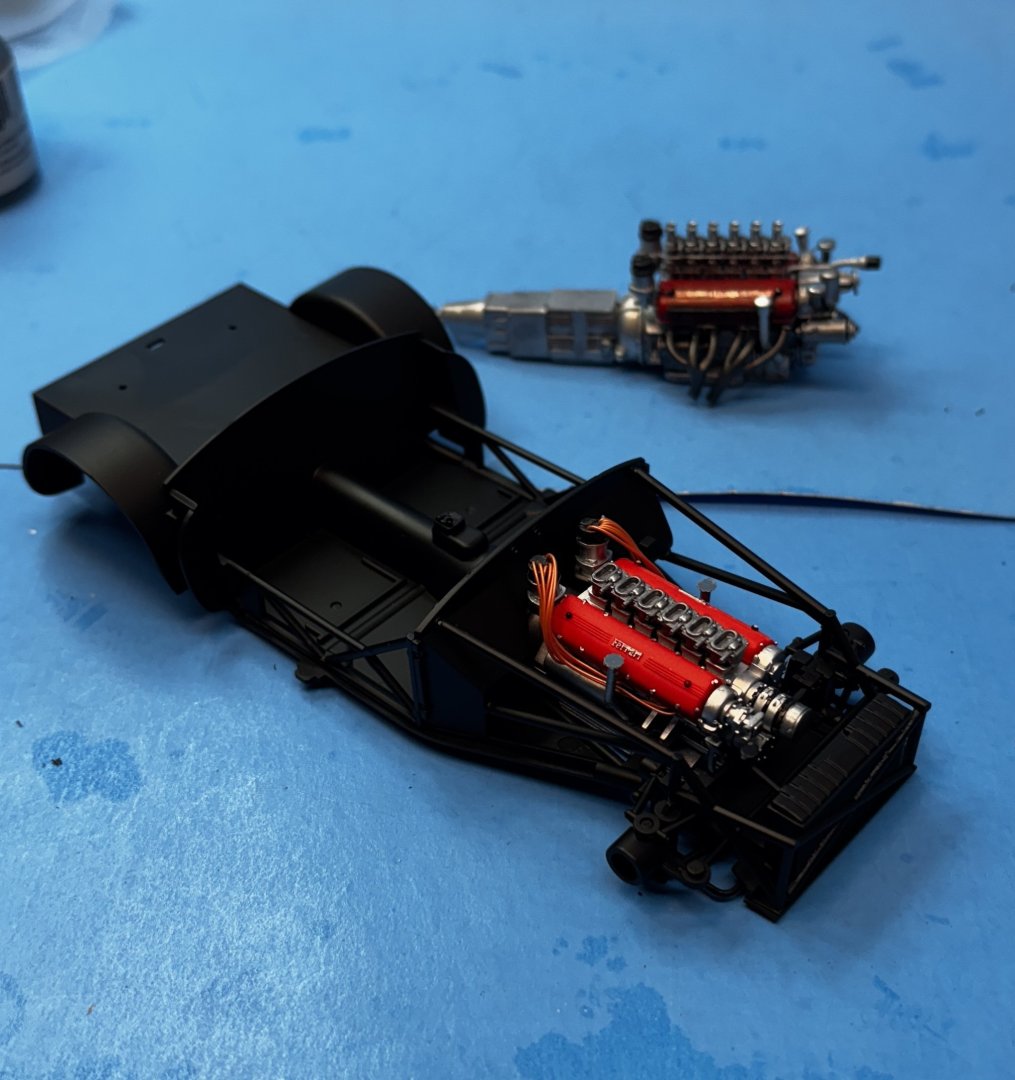
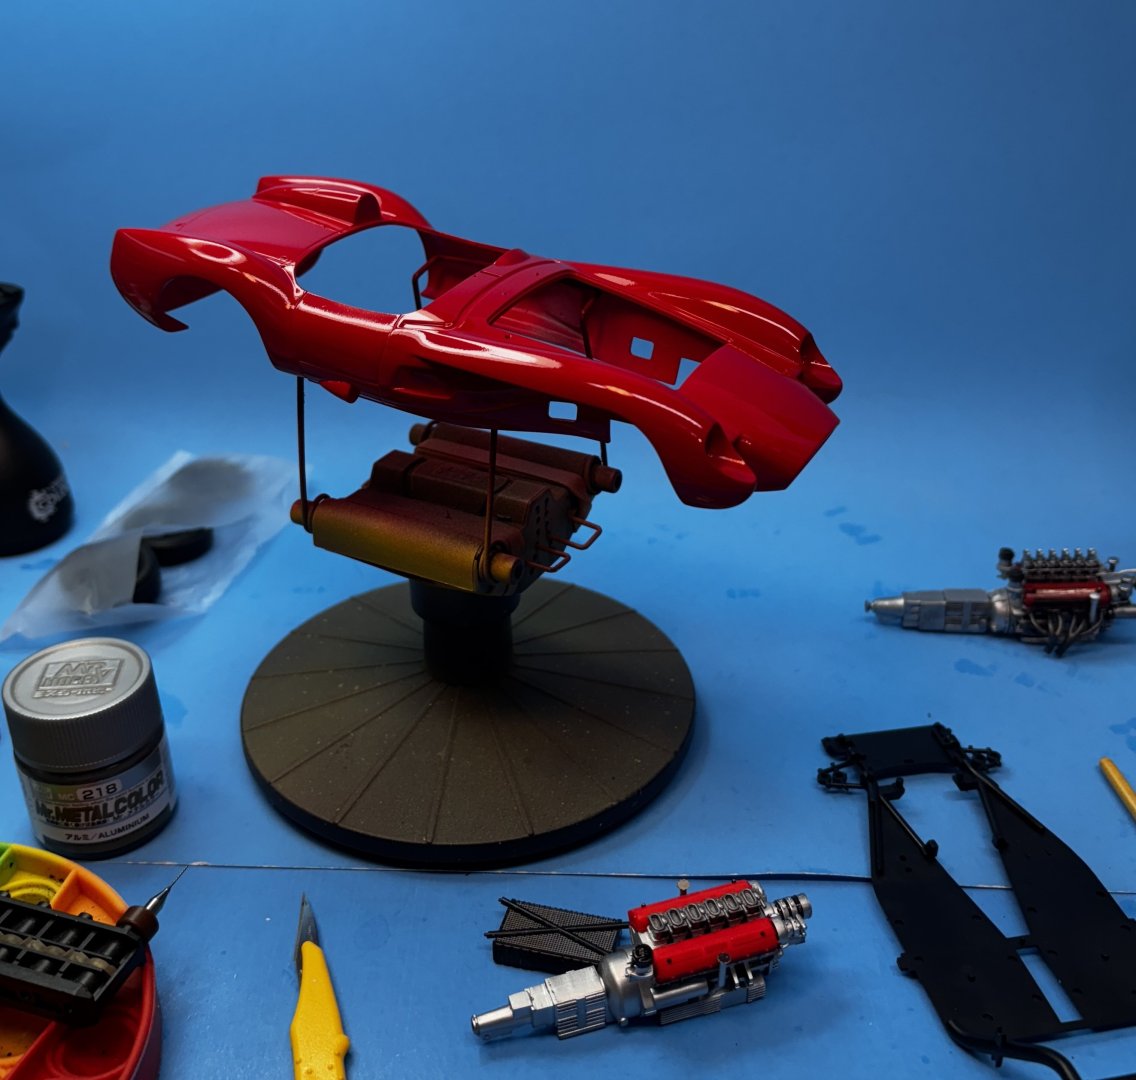
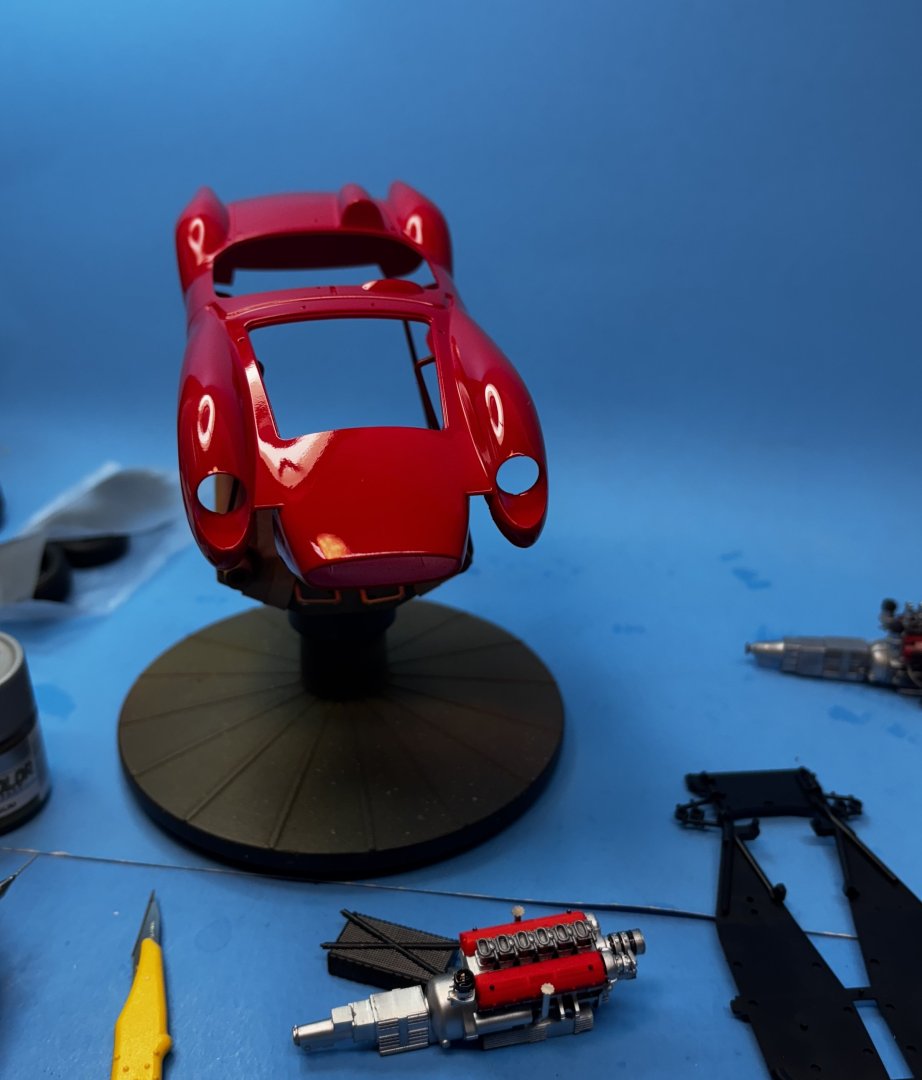
Test fitting engine to chassis for fit. Everything looks positive. This is the kit engine.

- 73 replies
-
- 10
-
-
-
Thanks, Ken. I agree about red.
-
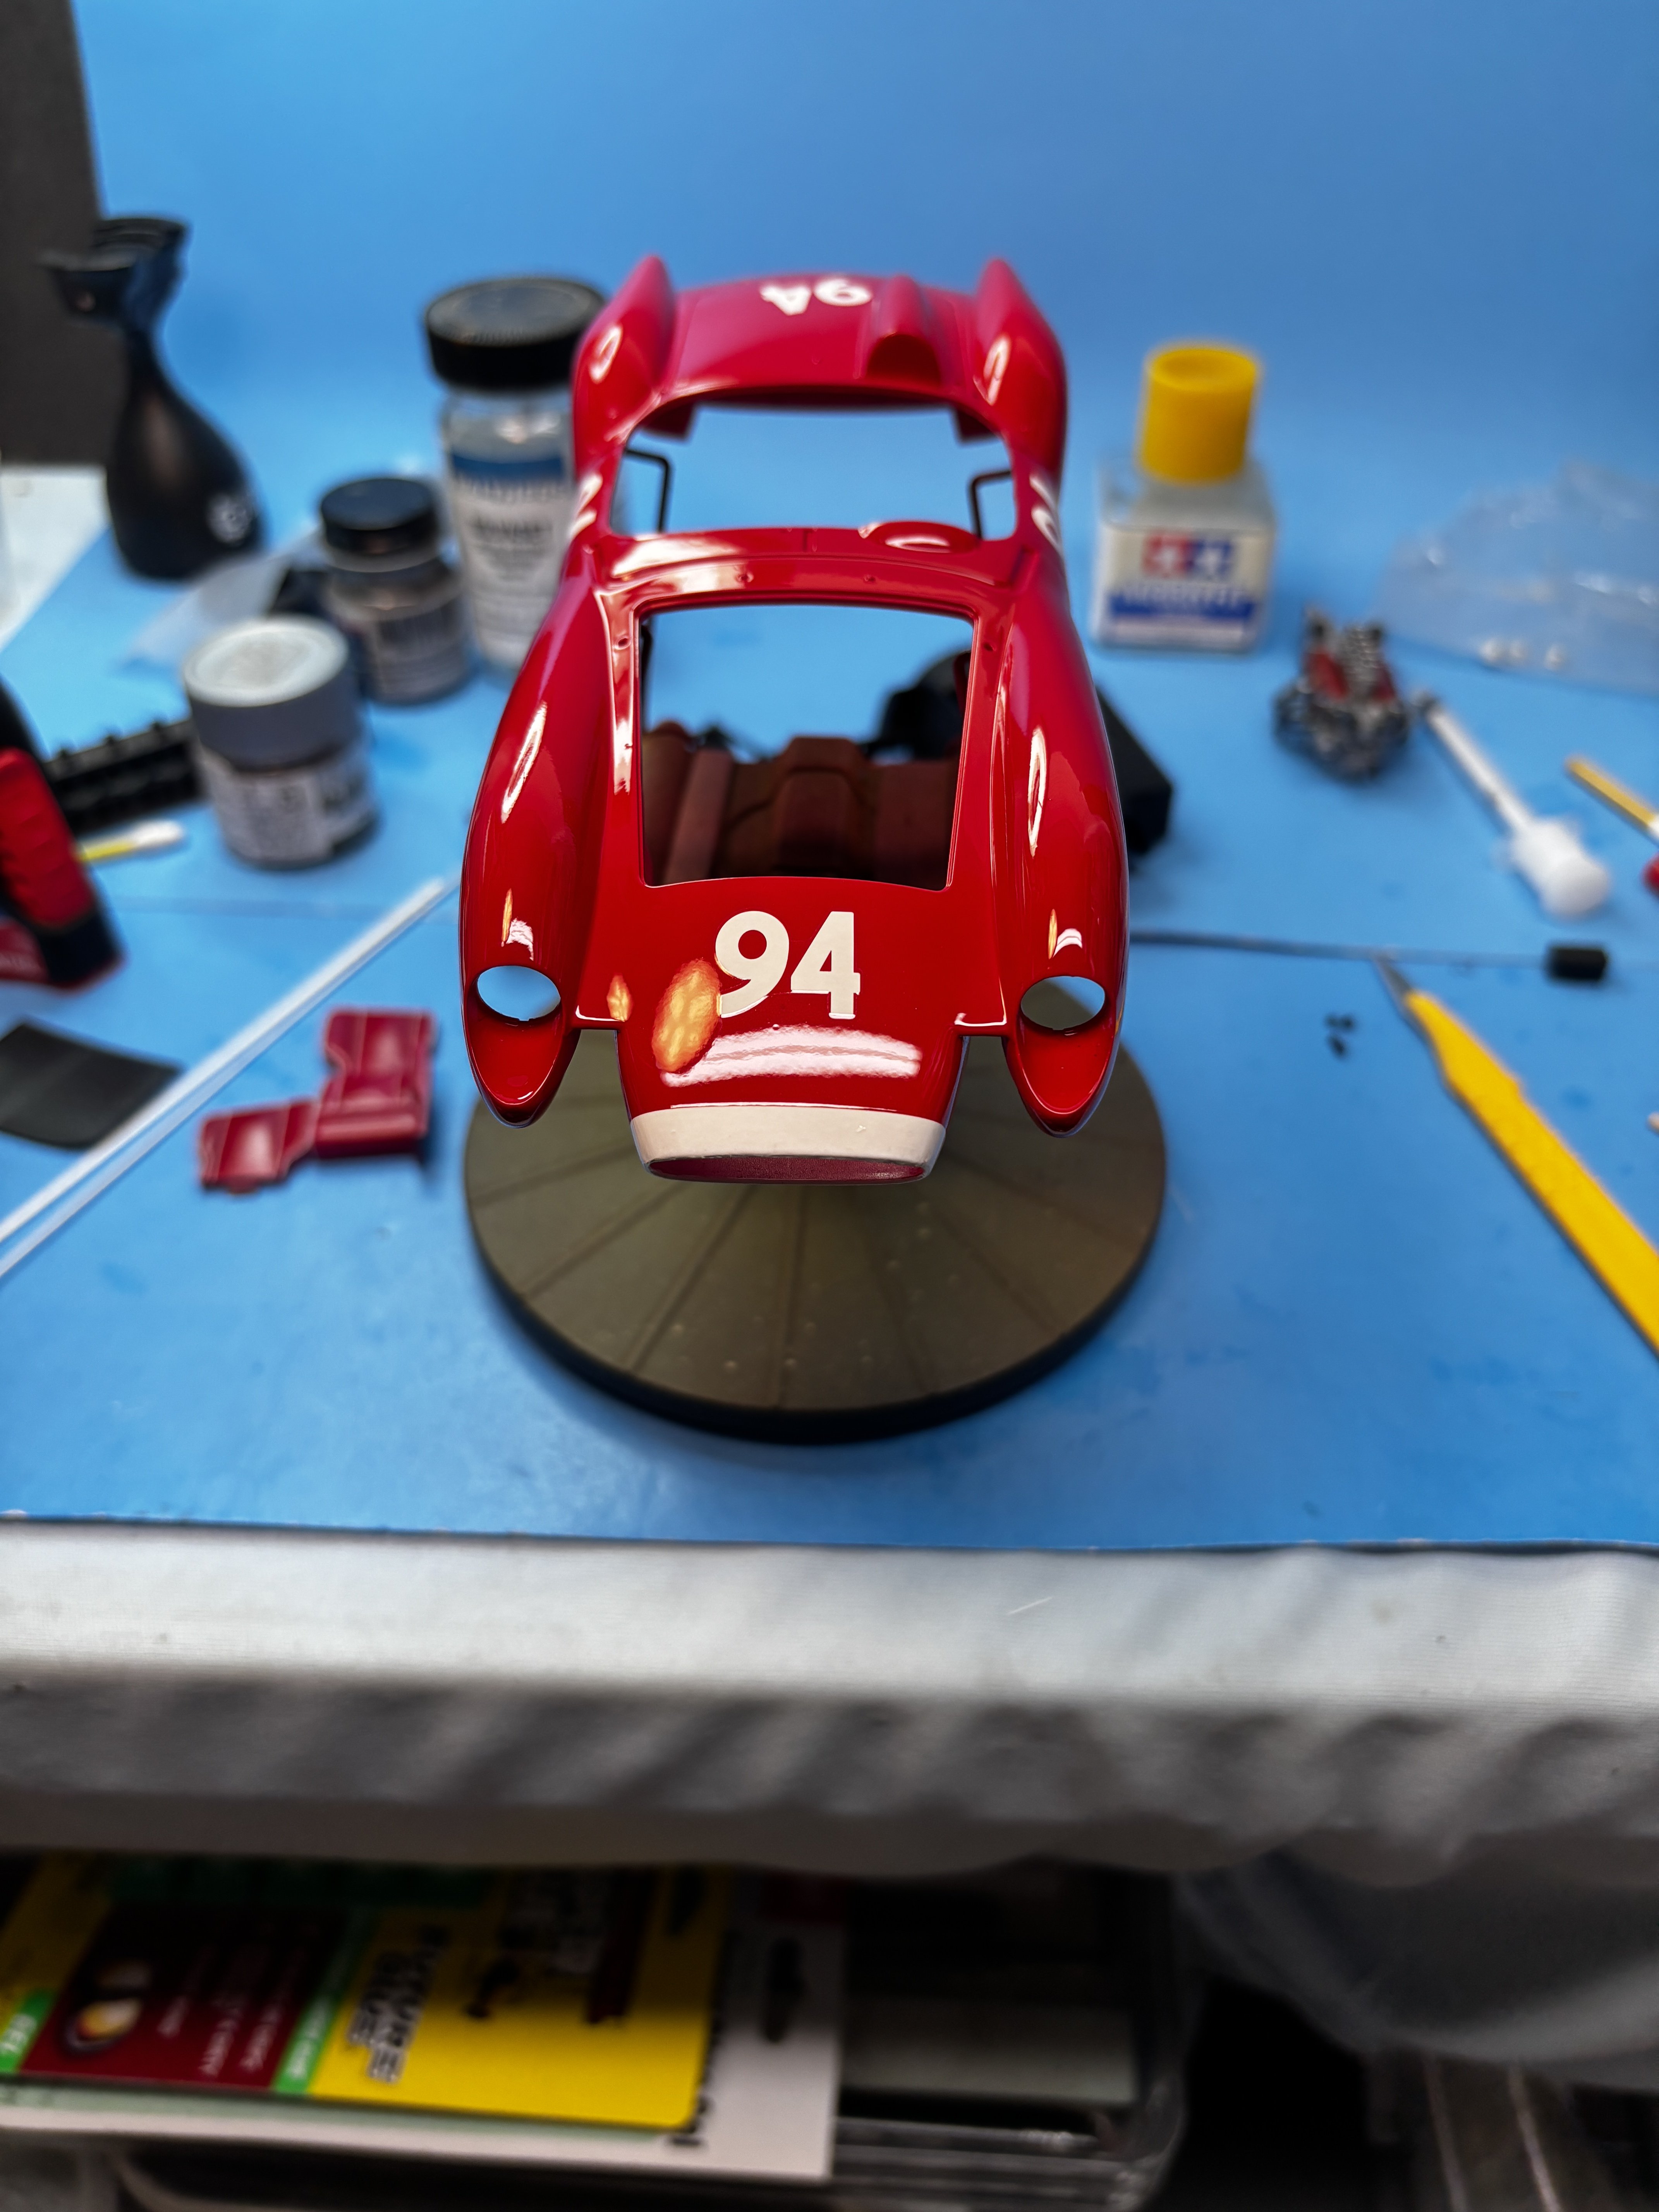
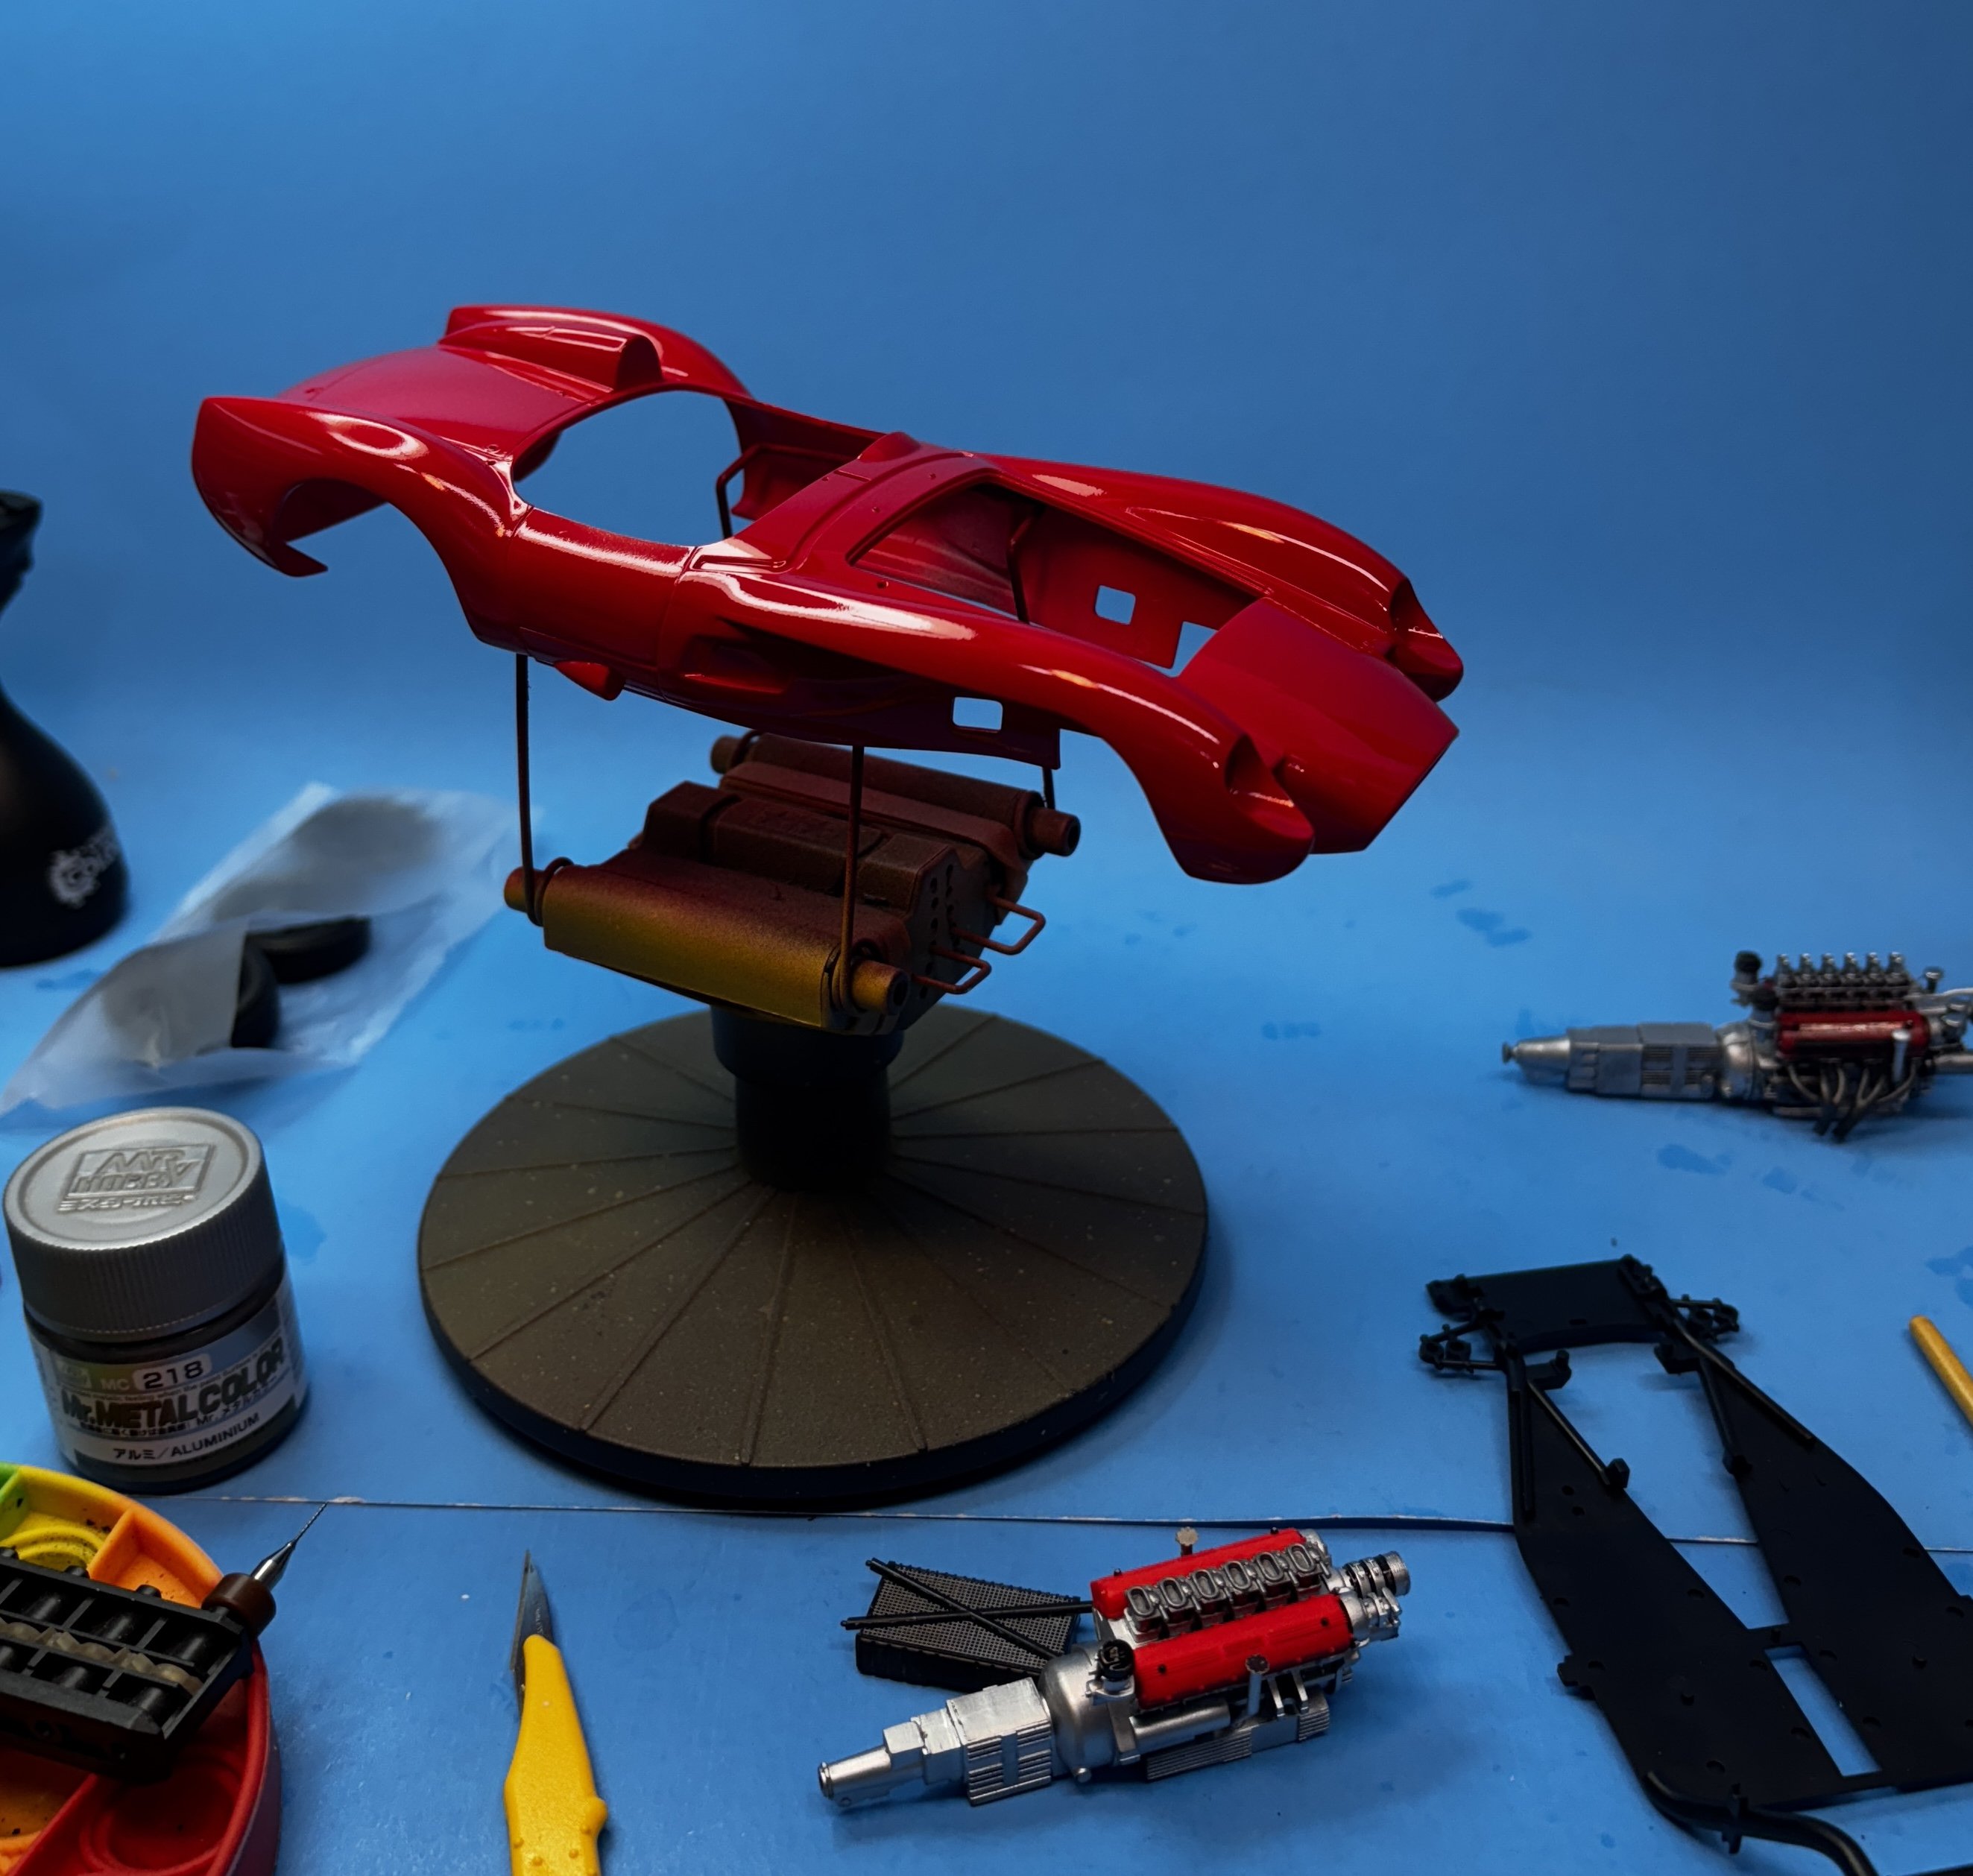
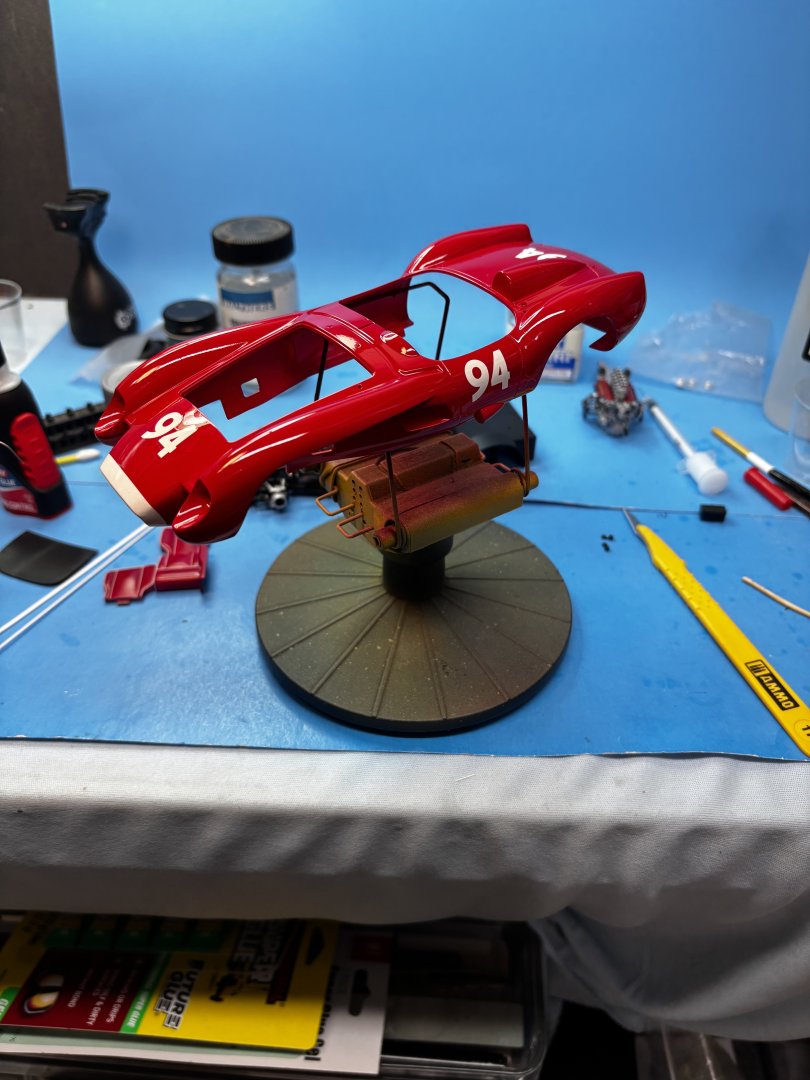
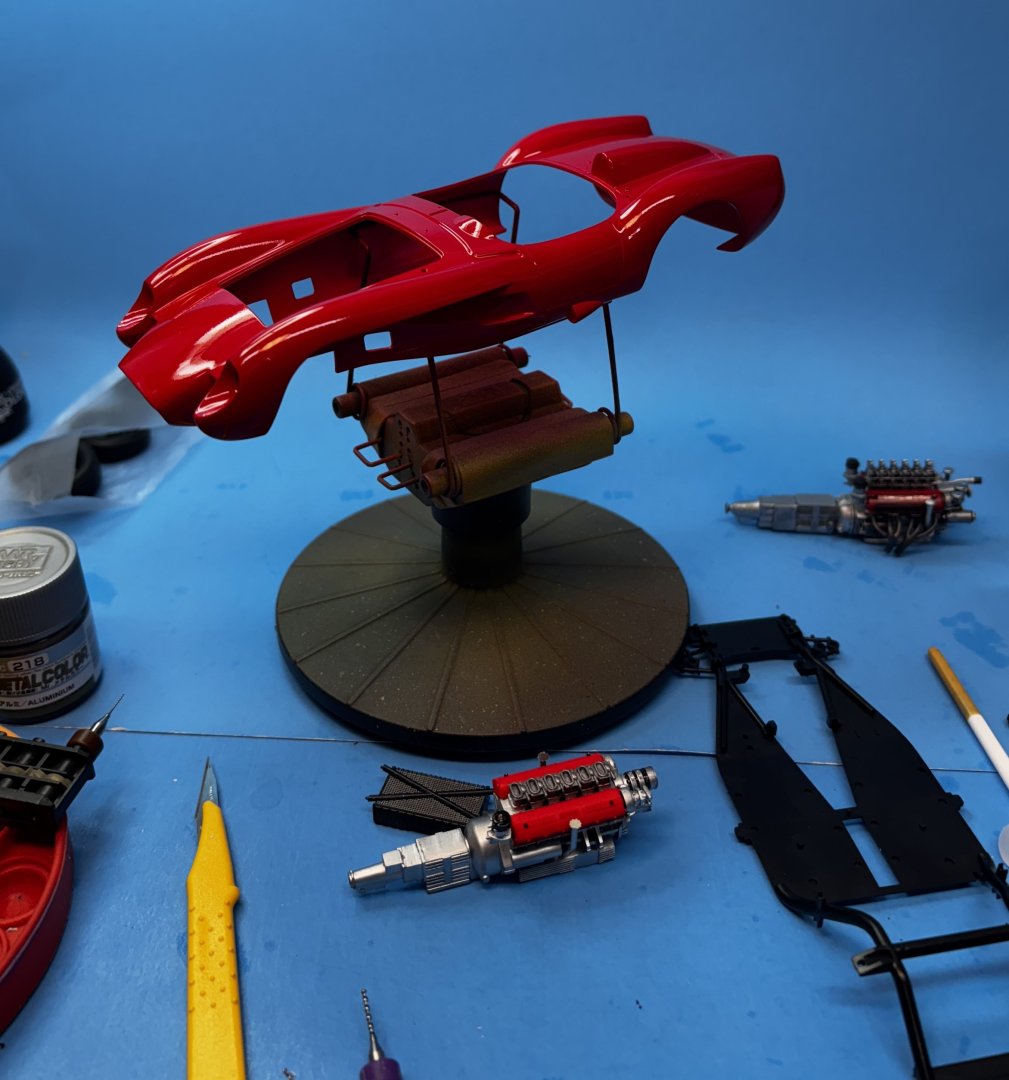
One of the kit decal options is for a particular year in the life of this car when it was red. I wanted a red Ferrari instead of the black as shown on the box art. Due to complications of fit, I chose to resort back to the kit-supplied engine rather than the aftermarket one. I just won't have the time to fiddle with all the small mods needed to make the aftermarket engine fit this particular car. Maybe I can use it in a later model, Ferrari 250 GTO project. June is quickly approaching so I must get moving. Besides, I was looking at photos of this model built using all stock components and it looked very good. Color applied was Mr Surfacer 1500 pink, followed by Mr Color Super Italian Red.
-
Thanks Mike. Some of the newer kit releases like this one are coming in with fantastic decal sheets that replicate the 1:1 car and their livery. I'm 90% certain the 1:1 subject is body wrapped nowadays, so the decals are very much similar to the real car in that respect. In the old days gone by, all those graphics were hand painted but no more. The graphics are CAD drawn and painted, then printed out and applied to the car body just like decals. I've even seen videos of the application using heat guns, similar to the hair dryer technique that Dr Rob recommended I use. It worked like a charm. It was tedious work applying all those decals, but it gave a result I could have never achieved otherwise. The Salvinos Jr modern NASCAR kits come with unbelievably good decal sheets. The precolored plastic bodies don't even need painting, just the decals.
-
Honda RC166 by DocRob - FINISHED - Tamiya - 1/12 - multimedia
CDW replied to DocRob's topic in Non-ship/categorised builds
Beautiful, it looks amazing, Rob. Top shelf.