HOLIDAY DONATION DRIVE - SUPPORT MSW - DO YOUR PART TO KEEP THIS GREAT FORUM GOING!
×


jfinan
-
Posts
53 -
Joined
-
Last visited
Content Type
Profiles
Forums
Gallery
Events
Everything posted by jfinan
-
 Hi Nic. I'm torn between authenticity and model appearance. Normally I am not one to take the "low road" but in this case my thinking is, on the actual Connie, from thirty feet away do you actually notice the plates overlapping? I've done two rows on one side of the hull using butt joints and I must say I like the smooth surface. Also it guarantees a solid adhesion. Cheers! J. (Shamefully, not a rivet counter!)
- 104 replies
-
- 2
-

-
- constitution
- BlueJacket Shipcrafters
- (and 1 more)
-
Beautiful work, Geoff! Is the copper plating part of the MS kit?
-
Beautiful work, Geoff!
-
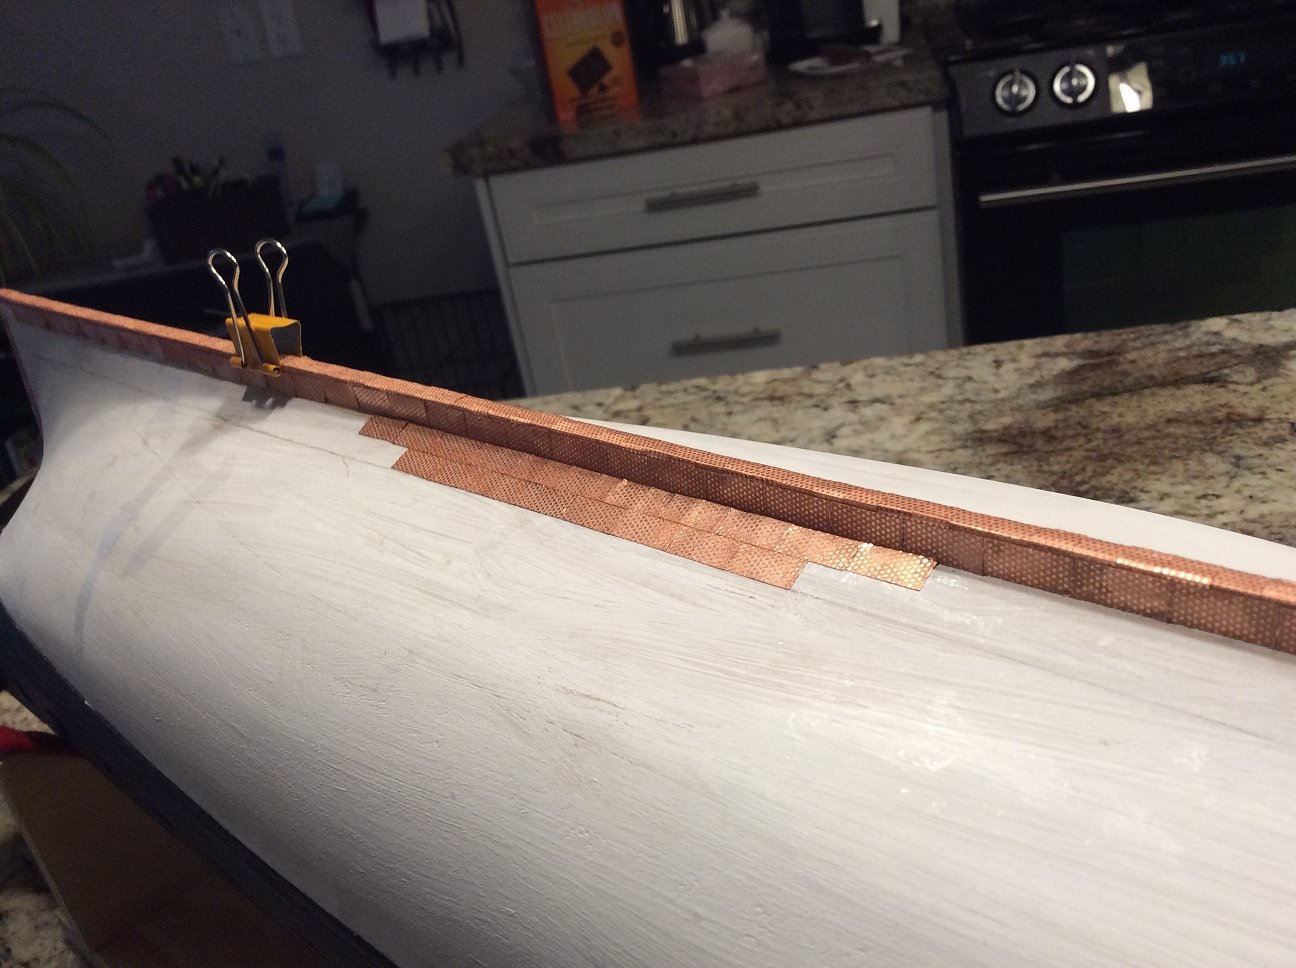
Coppering take #2. The keel is done and the hull is underway. Each plate is trimmed then attached with low vapour AC. Excess adhesive is immediately blotted out. Each plate takes about a minute with only 2,925 plates to go not that I'm counting...

- 104 replies
-
- 11
-
-
- constitution
- BlueJacket Shipcrafters
- (and 1 more)
-
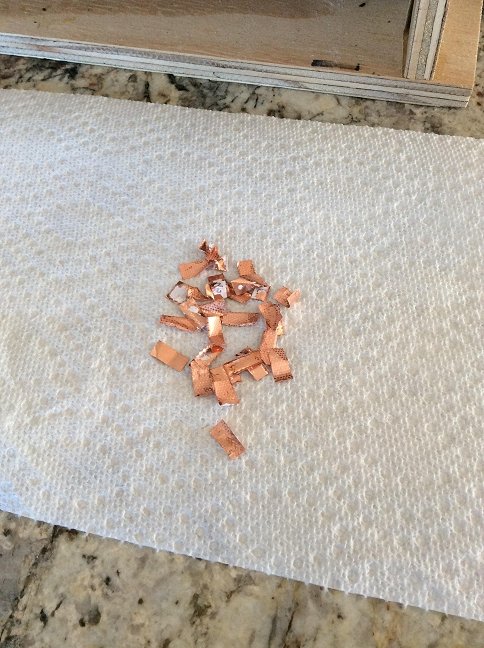
If at first you don't succeed! After many hours of separating the 3,000 copper plates from their spruces, I began the process of adhering the individual plates starting with the stem post and working along the keel. I laid the plates longitudinally along the keel giving me a 1/64th wraparound on either side. Also, as recommended, I slightly overlapped the plates as per the original. After about fifty plates, I stood back and reviewed my work. I should have stopped after three! Ugh! Despite adopting a VERY careful process, the result appeared messy. To add insult to injury, the adhesive was tarnishing the copper. Time to tear off the unsightly, step back, and give this a re-think! Hopefully I'll still have enough plates to complete the job. Despite the recommendation to overlap the plates for authenticity, I believe I might "butt" them for a smoother hull finish. Thoughts?
- 104 replies
-
- 4
-
-
- constitution
- BlueJacket Shipcrafters
- (and 1 more)
-
New one I would assume as this was purchased earlier this year. Talk about service: I came in to the store asking for the Connie kit and was told there wasn't one in stock! Imagine my dismay as I had driven down from Canada! I was asked could I hang around for thirty minutes? Not a problem as I got to check out the fabulous displays. Sure enough, one of the Blue Jacket crew assembled a Connie kit for me on the spot and I left a very happy customer. Now that's service! Thanks Nic and Co.!
- 104 replies
-
- 5
-
-
- constitution
- BlueJacket Shipcrafters
- (and 1 more)
-
After a short hiatus I'm back to work on the Connie. I've opted to copper the hull as per the original. The job requires approximately 1 500 plates, available as an option through Blue Jacket Shipcrafters. The first task is to remove the plates from the copper sprue. After that, affix each plate individually to the sealed hull. I'm a bit concerned about the gore strakes so a little more research is called for. I don't see a shortcut, so I'll see you sometime in 2020!

- 104 replies
-
- 6
-
-
- constitution
- BlueJacket Shipcrafters
- (and 1 more)
-
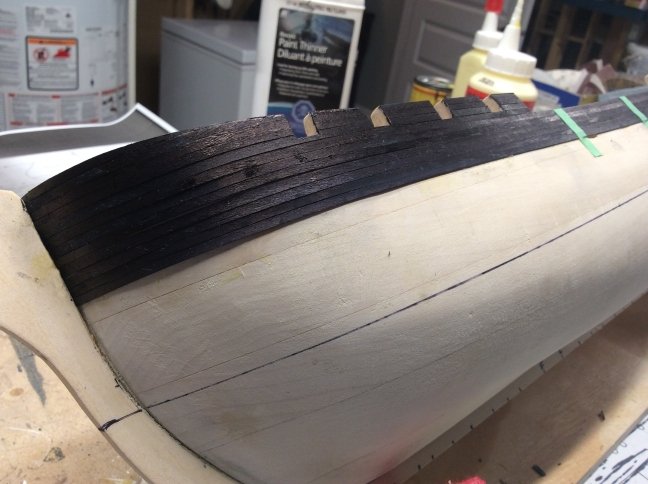
I'm quite pleased with the "authentic" look of the stained planking. The Constitution drawings indicate that the caprail overhangs the bulwark on either side by approximately 1/32" but with the addition of the optional interior and exterior planking, the bulwark is too wide. Two hours of further sanding brought the bulwarks do wn to a better fit. First interior plank is set, with some further adjustments needed.
- 104 replies
-
- 14
-
-
- constitution
- BlueJacket Shipcrafters
- (and 1 more)
-
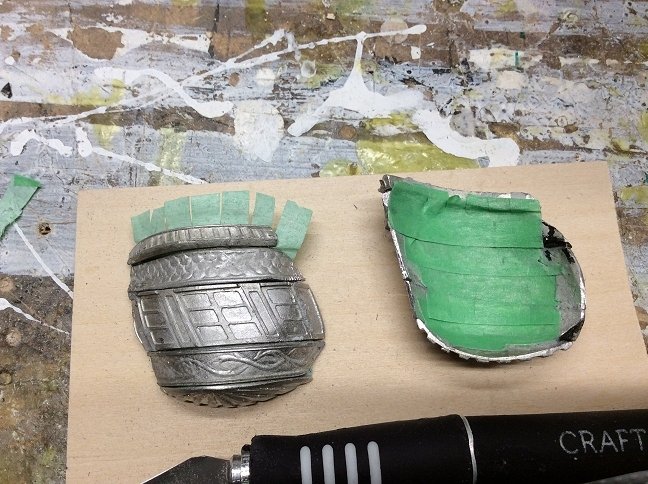
The decision to plank the hull necessitated me jumping ahead to deal with the two quarter galleries made up of five castings each. I shaped them, prepped the glue surfaces, taped the backs then added CA glue to the seams. Tricky bit of business. I thought about reaming out the windows.....but then I shook my head and sobered up.

- 104 replies
-
- 5
-
-
- constitution
- BlueJacket Shipcrafters
- (and 1 more)
-
One nice lookin' boat! Good note about sanding. I have a small amount of sanding to do and will be careful to not go so far as to lose definition. I'm glad I got your warning about using CA glue on the copper. Blue Jacket recommends using Weldbond Universal. I think the surface will have to be made non-porous first. A sealer of some kind?
- 104 replies
-
- 2
-
-
- constitution
- BlueJacket Shipcrafters
- (and 1 more)
-
Thanks CPS_skybolt for your note. I'll have to watch out for those vertical supports. I agree with you completely regarding those galleries. Even with lots of Google images as reference it's very difficult to ascertain the final shape of them given the five pieces involved. Bending the parts so the edges match up AND fit snugly to the hull is a bit of a monster. I love a challenge but I kinda wish BlueJacket manufactured those as one piece and in the final shape. I'm sure Nic and company have good reason for doing it as is. As a partial solution I've made a cardstock template of the transom and temporarily glued it in place just to give me some sort of reference. Did you opt for the hull planking? I love the "authentic"look. See below:

- 104 replies
-
- 12
-
-
- constitution
- BlueJacket Shipcrafters
- (and 1 more)
-
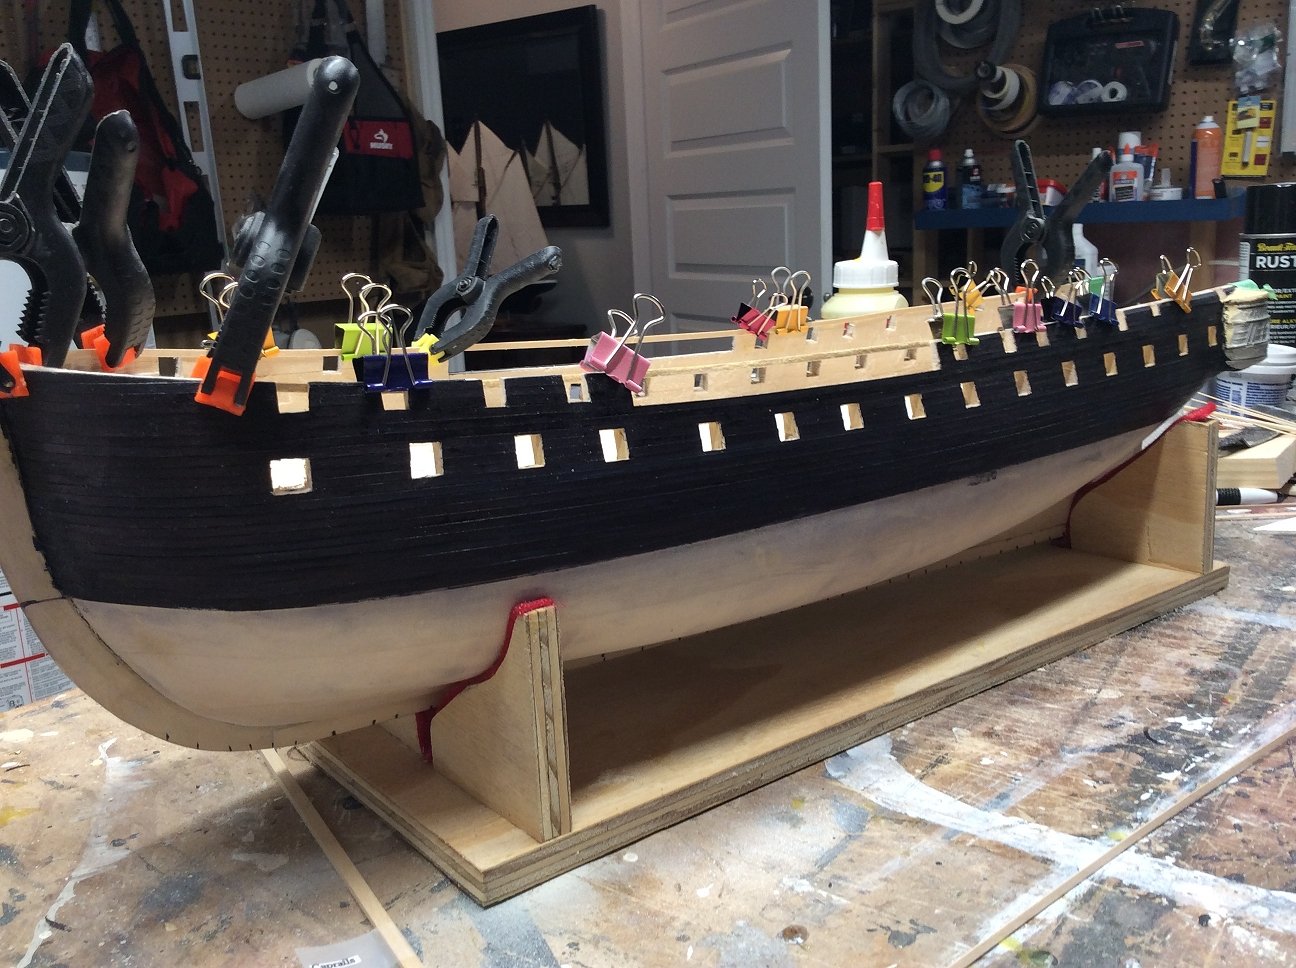
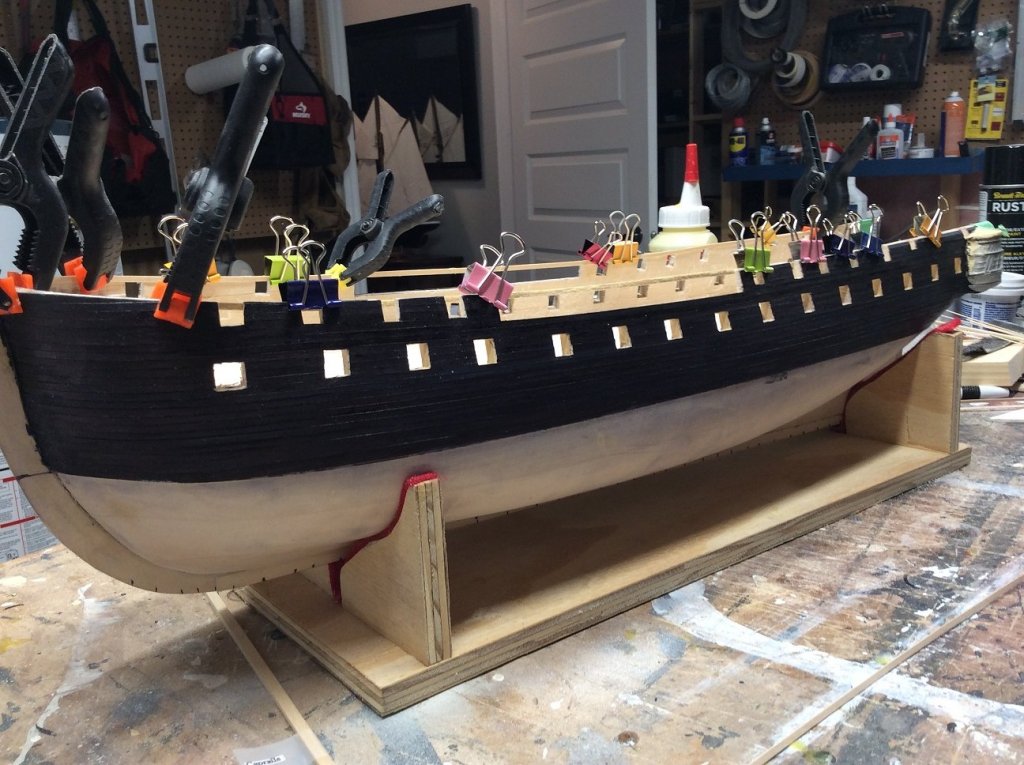
After a short hiatus I'm back to work on the Constitution. As it's a solid hull one can go ahead and simply paint but I have opted to add actual planking down to the water line and copper plates thereafter. I've learned the hard way on a previous kit not to attempt to stain after gluing as stain will not penetrate any glue errors. As seen in the pic I have stained the planks with black ink prior to installation. If I was to paint them I would lose the wood detail so stain was the answer.
- 104 replies
-
- 9
-
-
- constitution
- BlueJacket Shipcrafters
- (and 1 more)
-
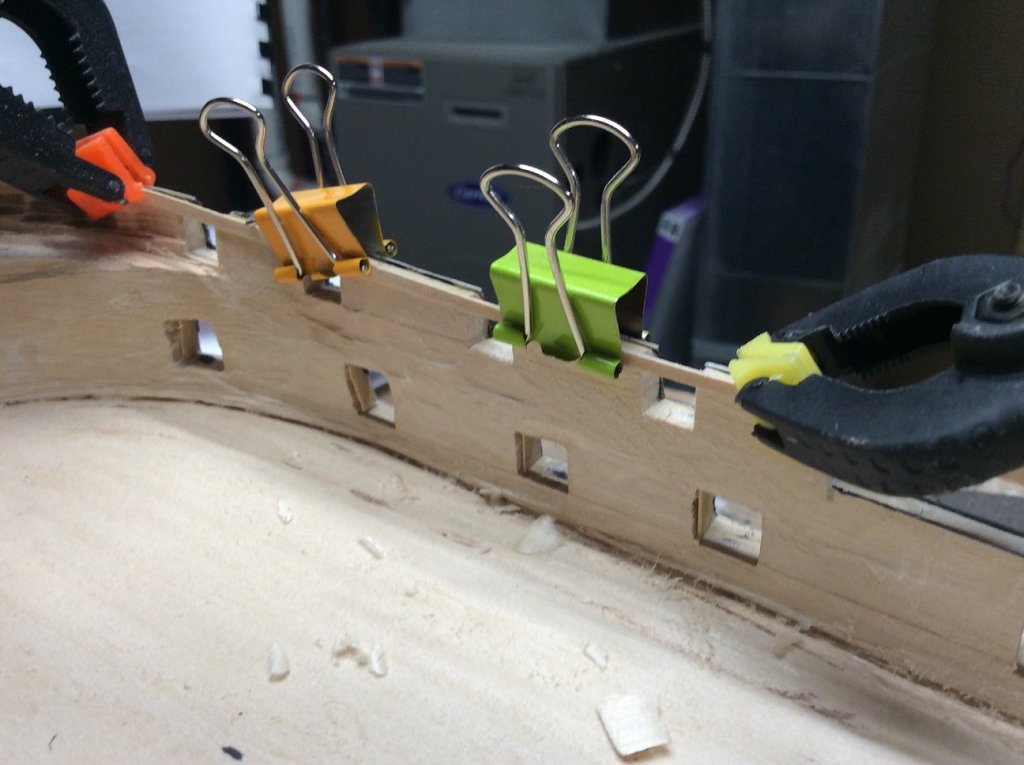
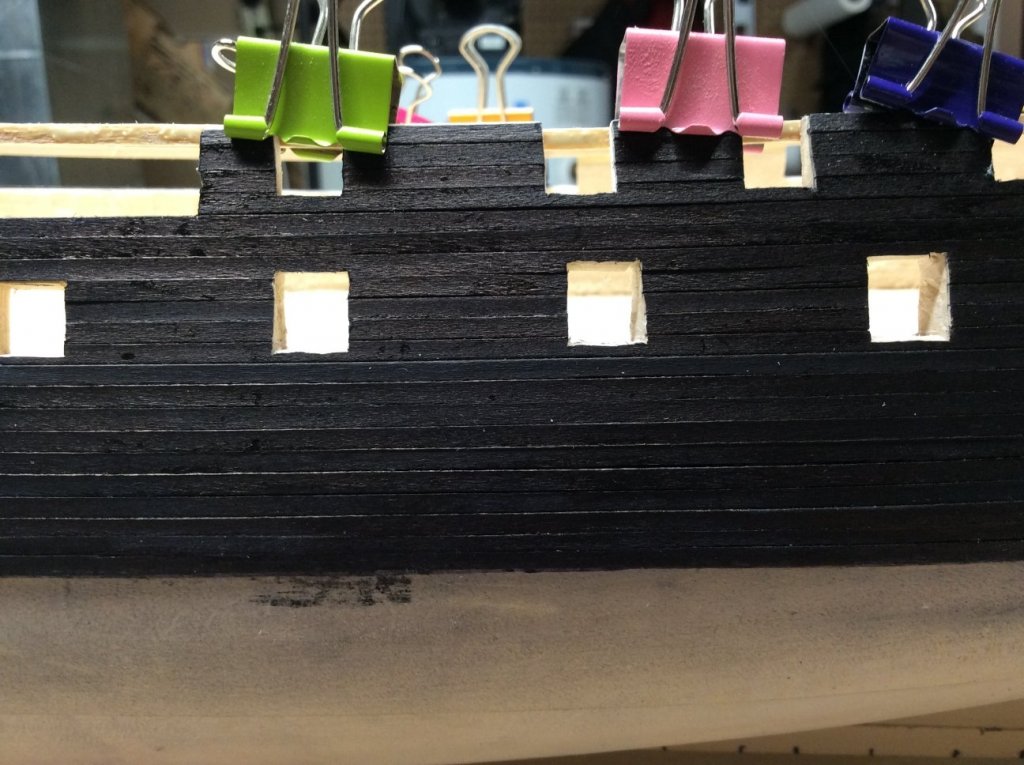
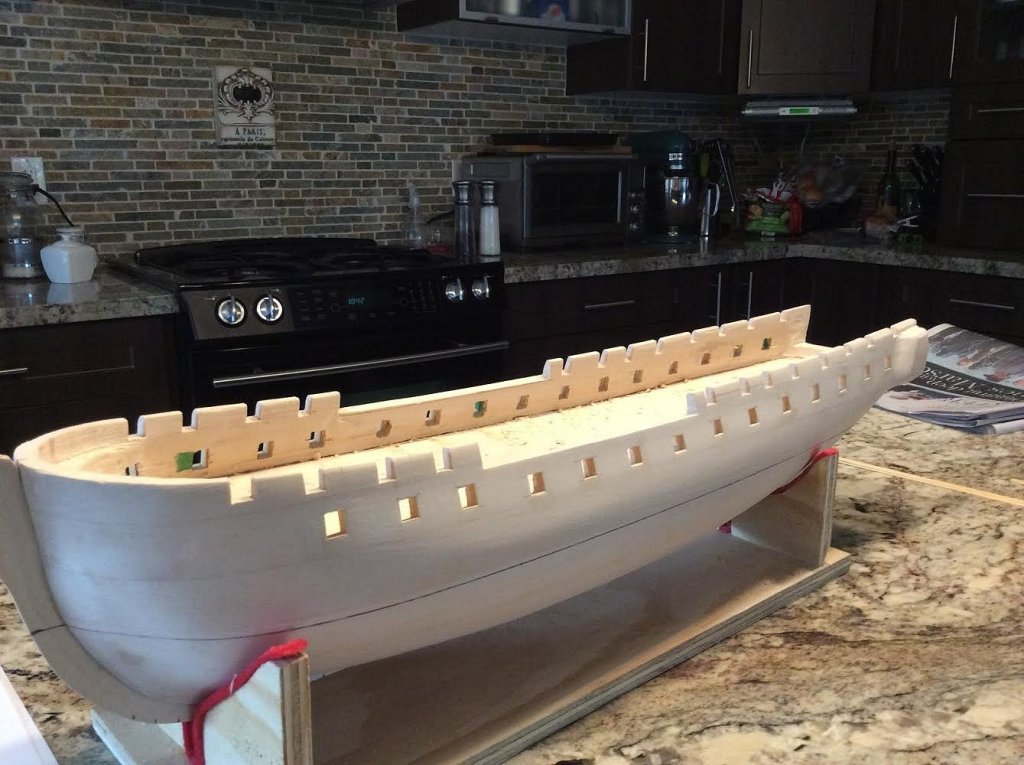
The gun ports are cut out and partially lined. While doing this work I couldn't help but wonder why it's so easy to cut a round hole and so difficult to cut a square hole. No mortise cutters in my neck of the woods.
- 104 replies
-
- 19
-
-
- constitution
- BlueJacket Shipcrafters
- (and 1 more)
-
Several days later and the bulwarks are now at the correct dimensions. I acquired calipers to monitor the work. The pencil marks are in for the spar deck gun ports.

- 104 replies
-
- 10
-
-
- constitution
- BlueJacket Shipcrafters
- (and 1 more)
-
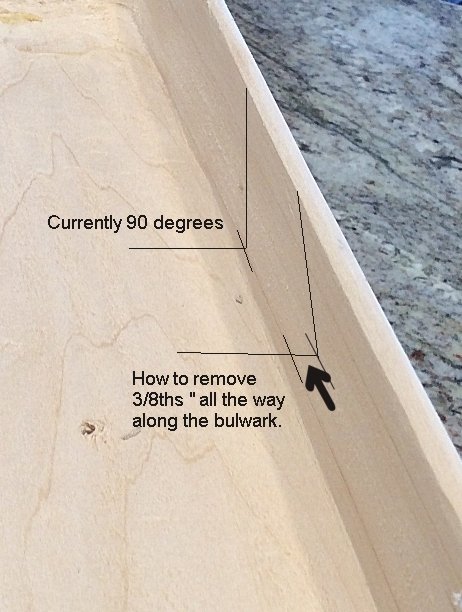
Thanks, Pete, for your input and the pics. I need a set of decent carving tools, especially that dial caliper!! I ended up using a Dremel with a small saw blade marked with masking tape at 3/8" and ran it horizontally along the gun deck. That set my depth. Now I'm using the dremel vertically to give me a rough cut. I see a lot of sanding in my future. I wish I had serious carving skills like you!
- 104 replies
-
- 1
-
-
- constitution
- BlueJacket Shipcrafters
- (and 1 more)
-
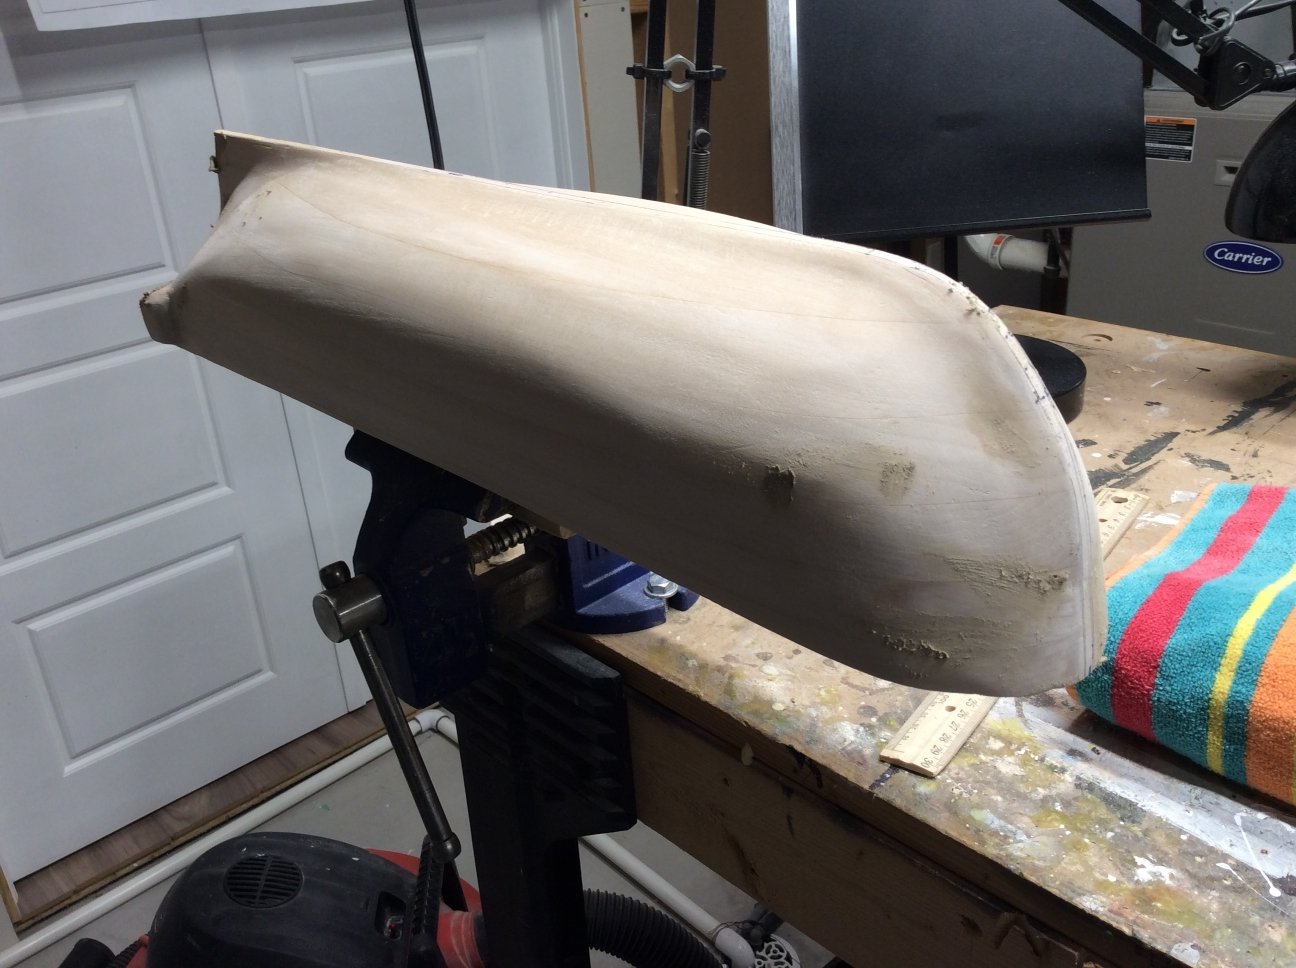
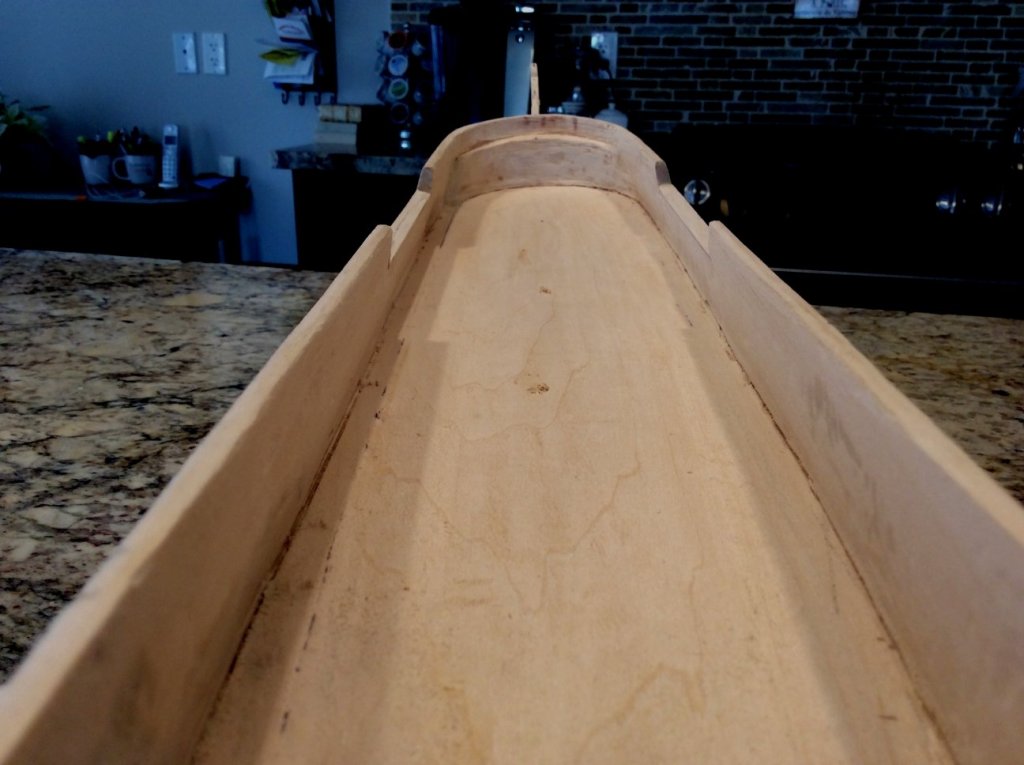
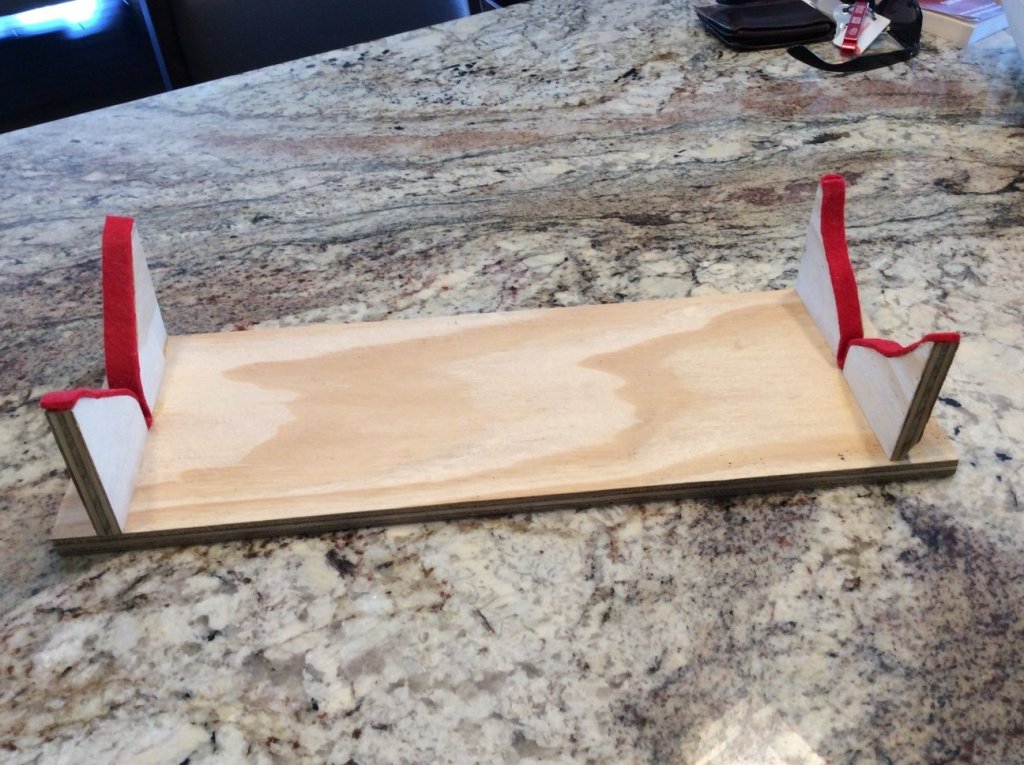
With the hull cleaned up I thought it was time to build a work cradle: The wood at the transom is cut out. Later a photo etched plate fits here: I've started to thin out the interior of the bulwarks. Fairly easy task near the cap rail but I'm a bit stymied as how to thin out the interior down at the gun deck. The bottom is three eighths of an inch further in than the top. That's a lot of carving out. Anybody got a simple solution or suggested tool for this task?

- 104 replies
-
- 10
-
-
- constitution
- BlueJacket Shipcrafters
- (and 1 more)
-
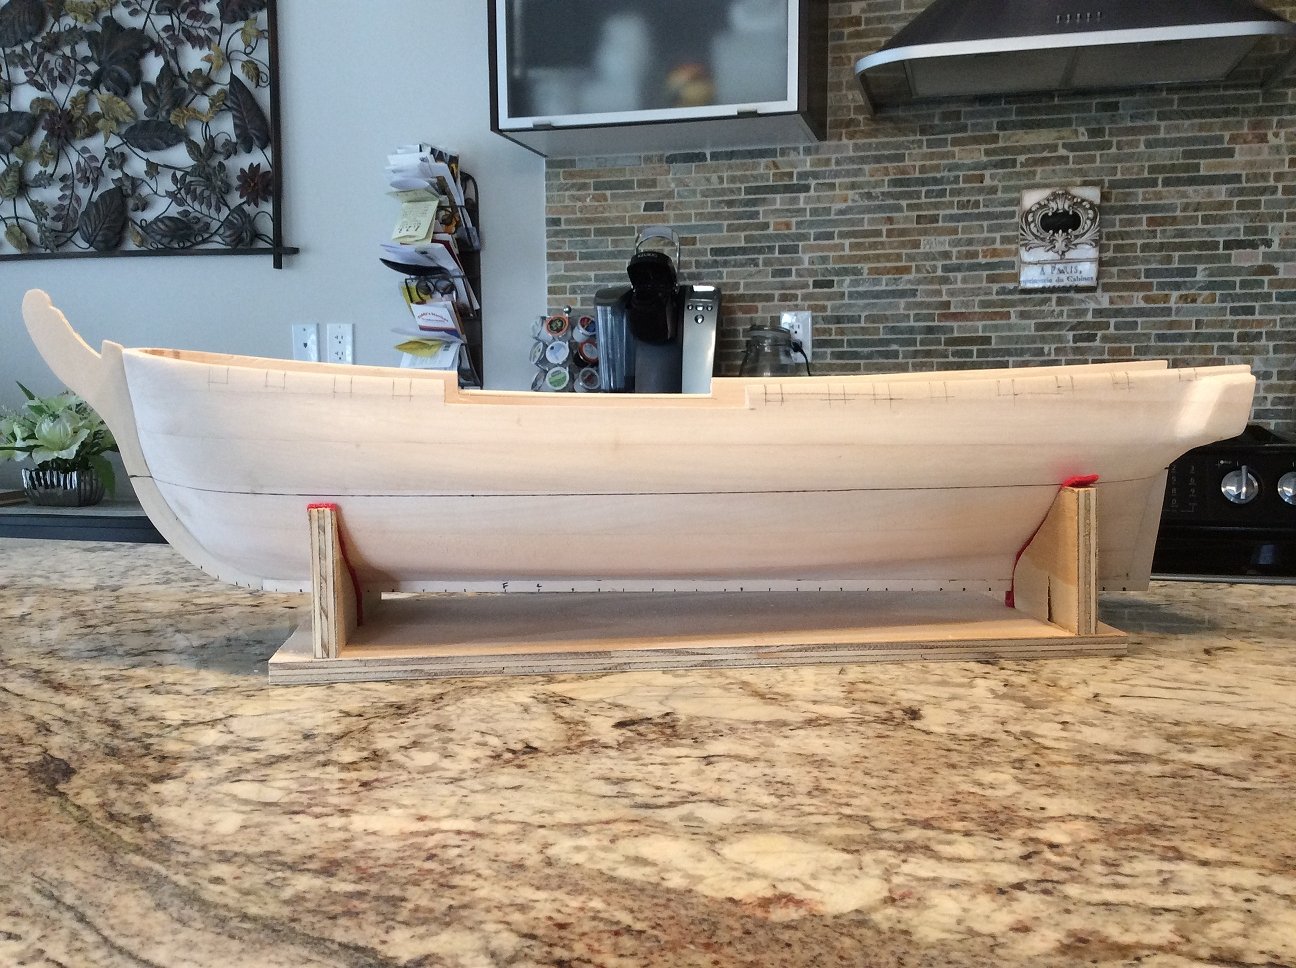
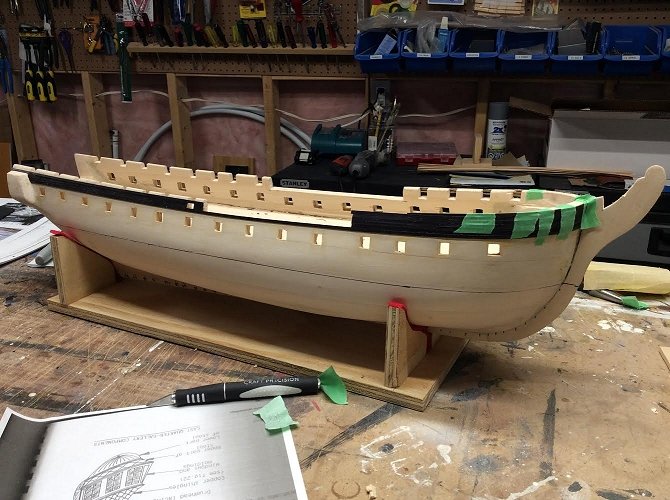
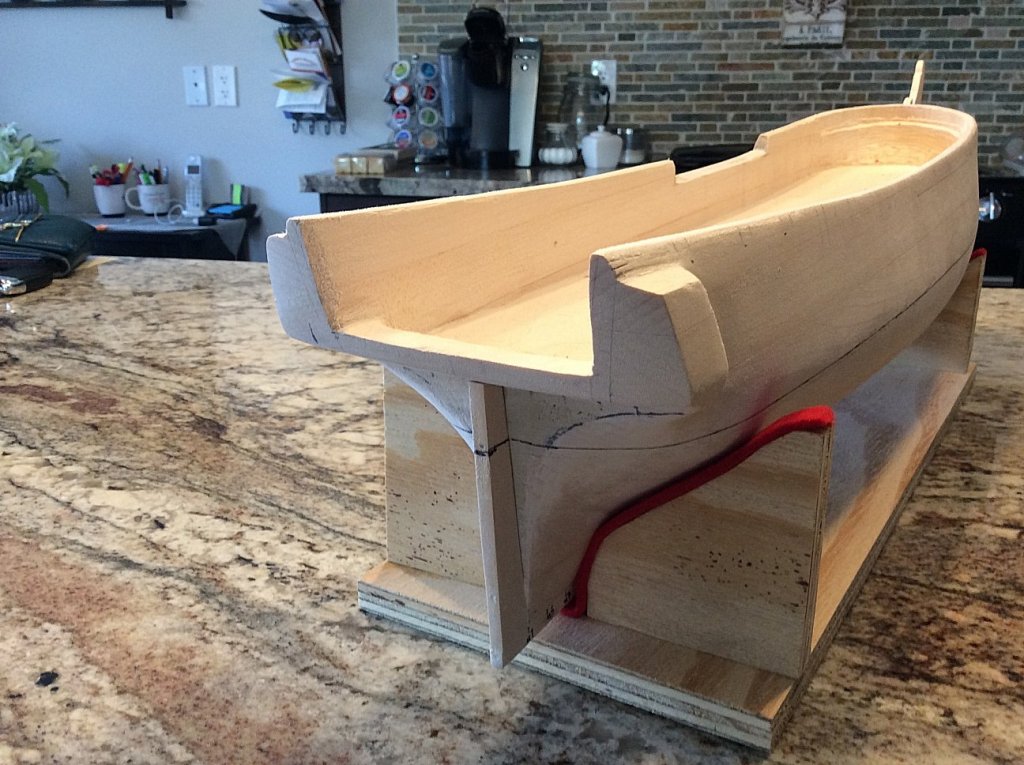
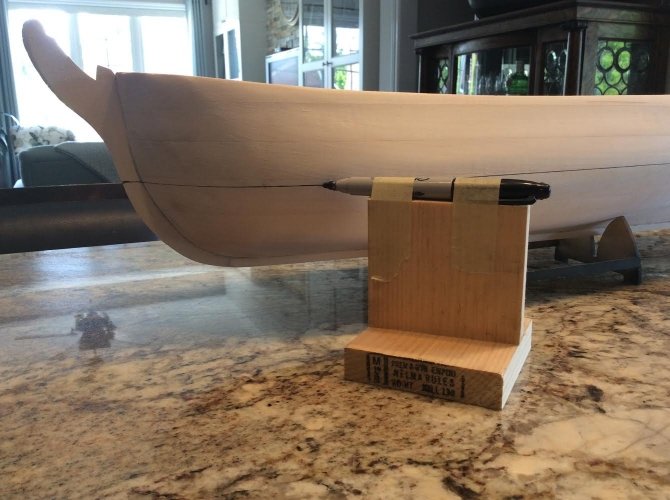
Drawing in the water line: First a small tick mark is placed vertically 22 scale feet from the keel at the stern and 20 scale feet at the bow. A rig is built to hold the marker then the hull cradle is "adjusted" so that when the marker rig is firmly seated the marks line up at both ends. The hull cradle is a "borrow" from a Bluenose I I build years ago. The line is drawn sliding the marker rig around the hull on a very smooth surface. Ta-da! I hope the rest of it is this easy! Probably not!
- 104 replies
-
- 10
-
-
- constitution
- BlueJacket Shipcrafters
- (and 1 more)
-
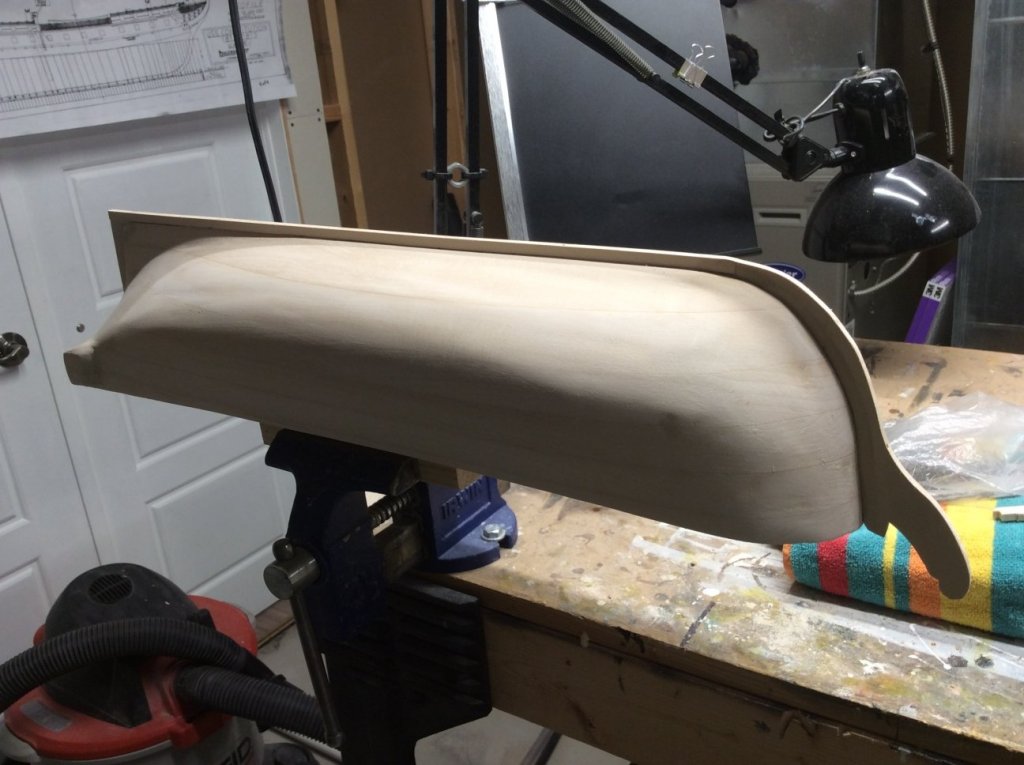
With any ship, it's always a momentous occasion when the keel is laid. No turning back now! As you can see from this pic, the other absolutely essential tool with this type of kit construction is a dependable scroll saw. Now....more sanding.....
- 104 replies
-
- 14
-
-
- constitution
- BlueJacket Shipcrafters
- (and 1 more)
-
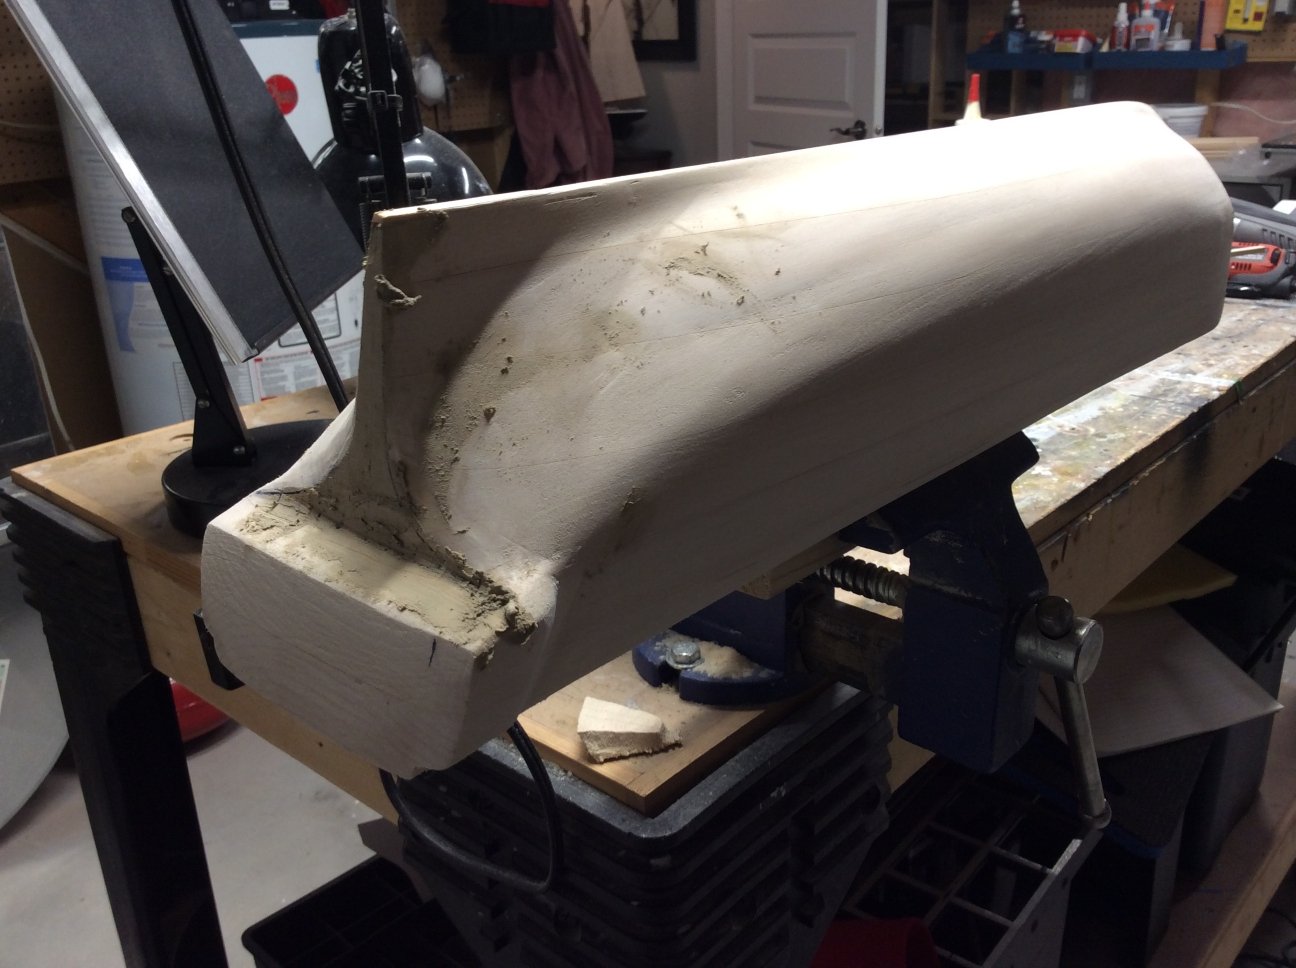
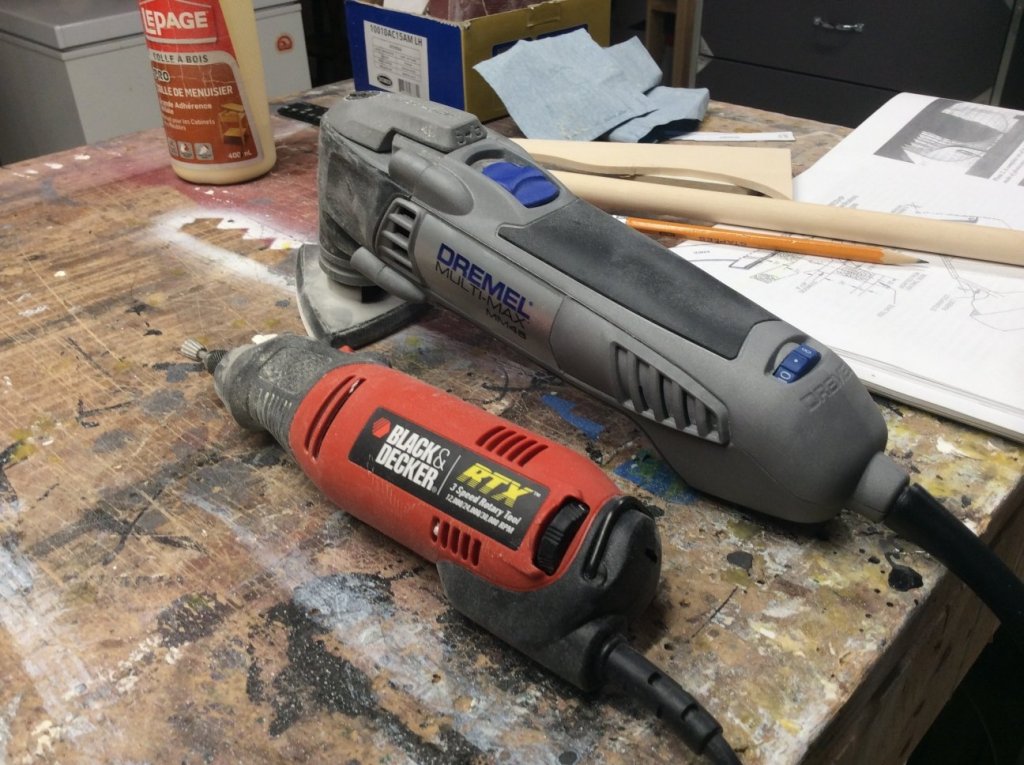
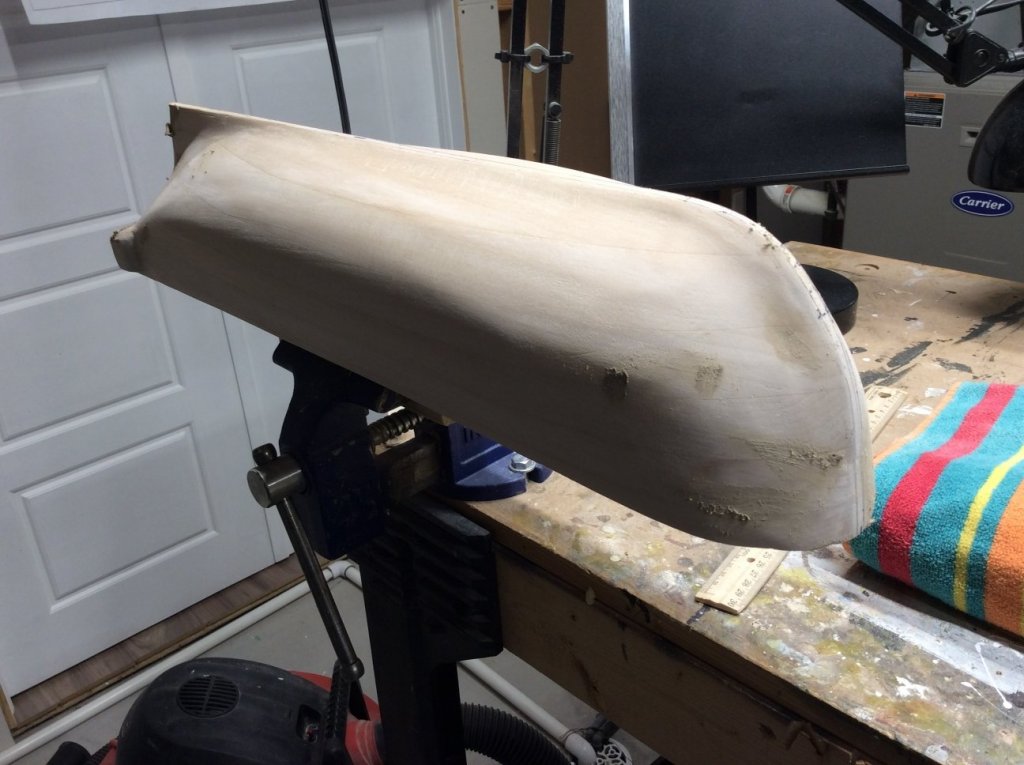
Day 3. A block of wood is screwed to the hull to allow mounting in the vice. A little carving and a whole lot of sanding. My "go-to" tools for this work are the Black and Decker RTX with a small Dremel carving bit, and a Dremel Multi-Max for sanding. After some minor filling I'll hand sand with fine and super-fine paper. Right hand to sand; left hand to check.


- 104 replies
-
- 9
-
-
- constitution
- BlueJacket Shipcrafters
- (and 1 more)
-
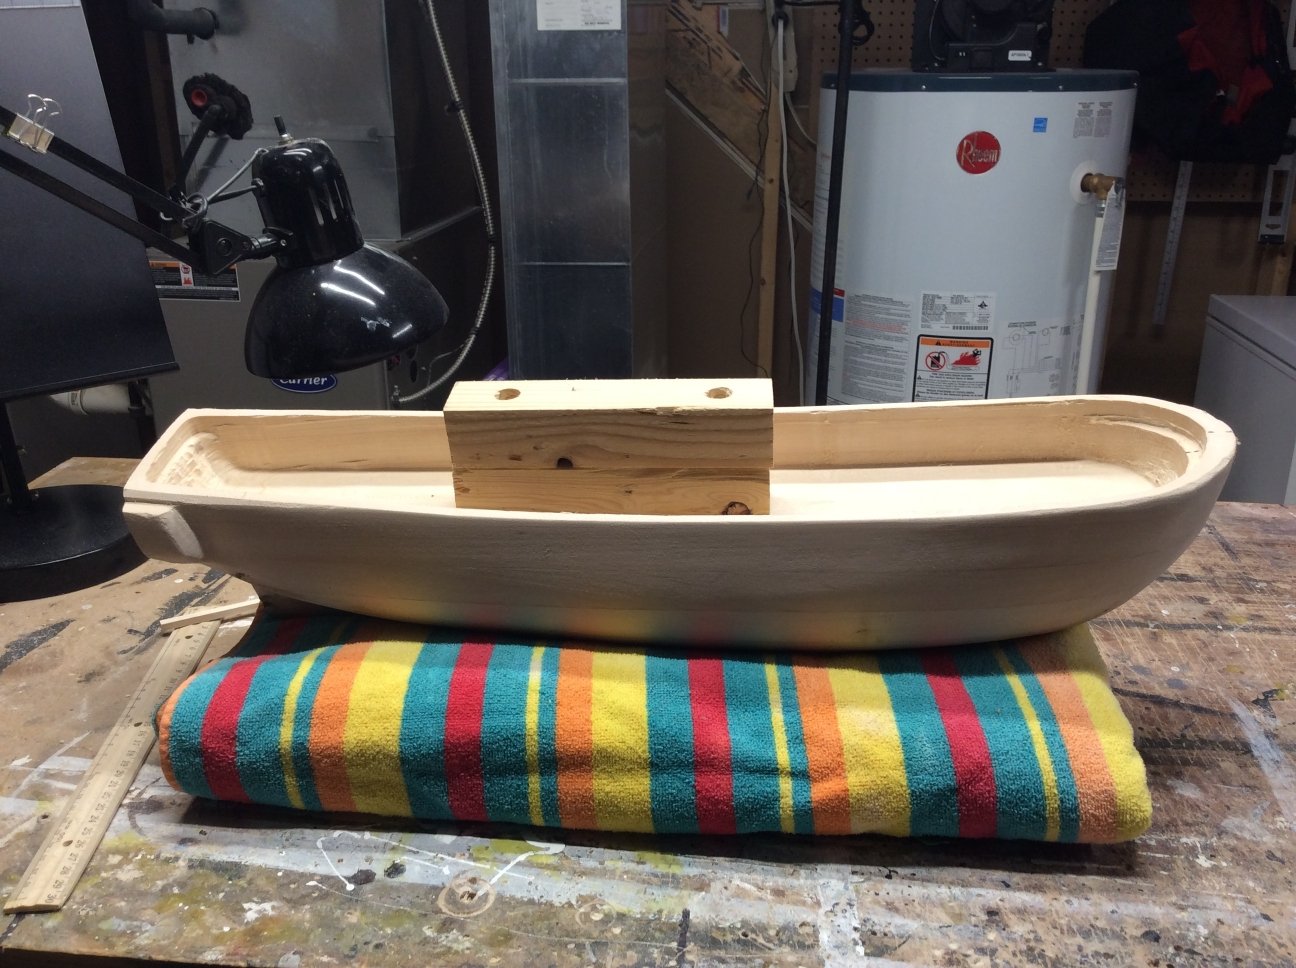
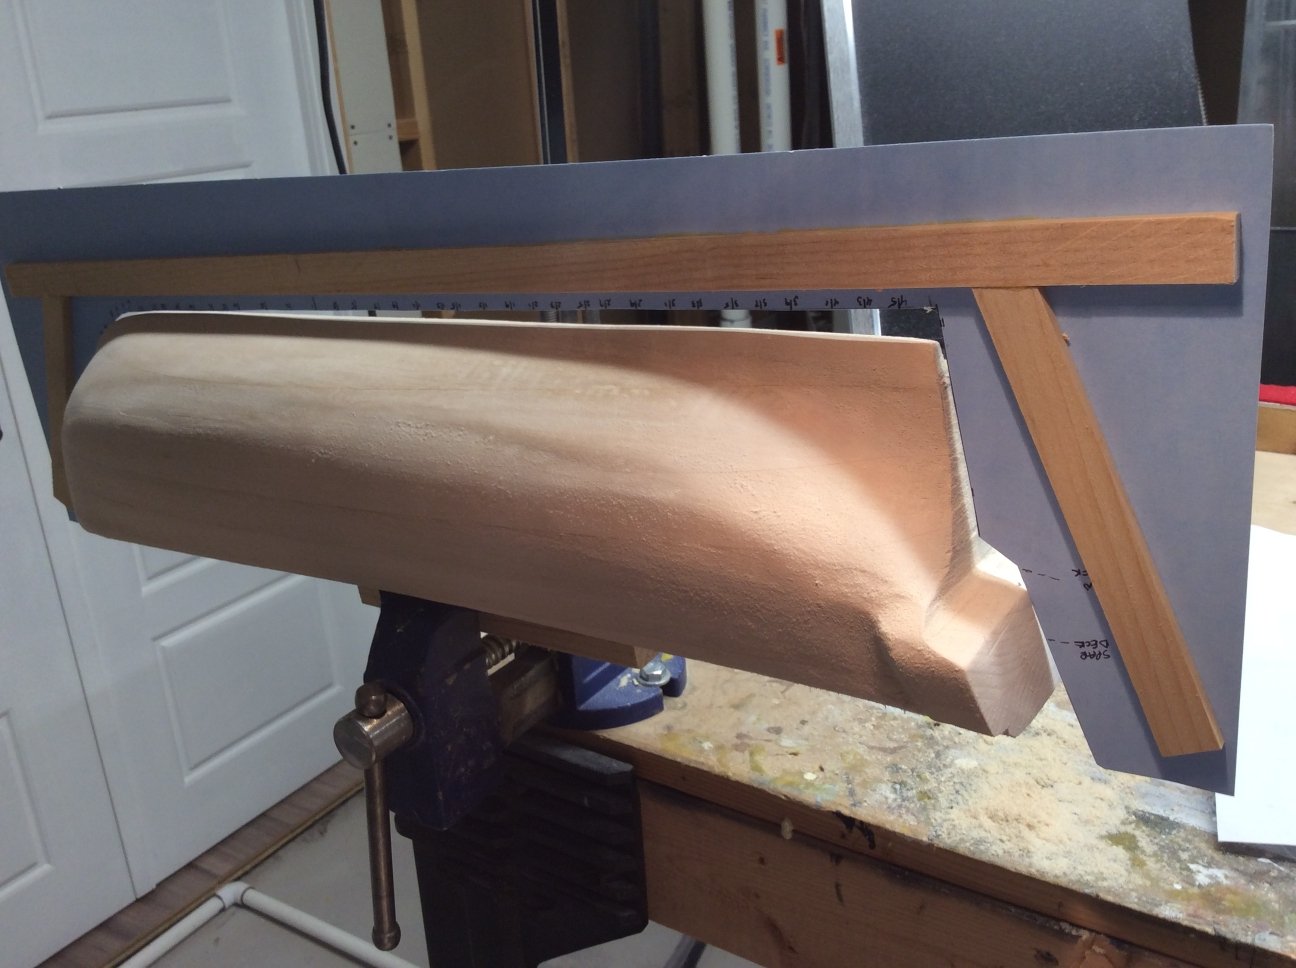
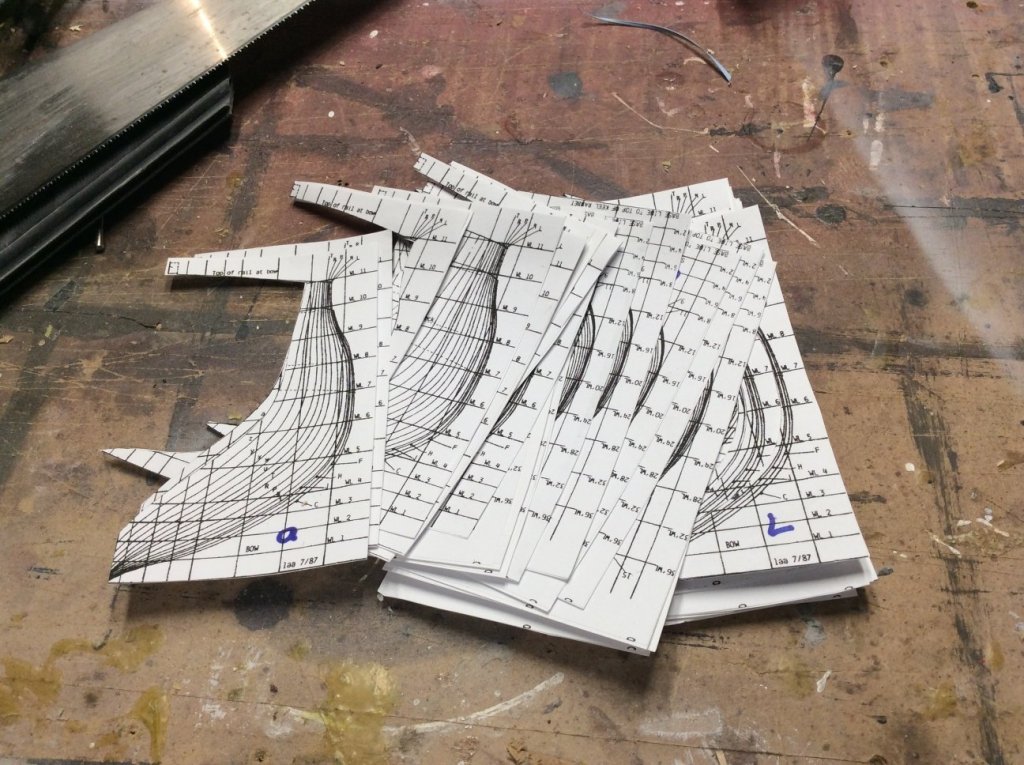
Day 2. Is this where I continue on with my build progress? I'm a newbie to MSW. Anyhow, I've created a profile template from the full-scale plans. You can see from the pic out of the box the hull is a little off at the stern. Better too big than too small. Once shaped correctly the hull will be marked for 37 station templates (see second pic) whose soul purpose is to check those compound curves. I see some fine sanding in my future. I'm beginning to doubt I'm putting this submission in the right place. Help!

- 104 replies
-
- 8
-
-
- constitution
- BlueJacket Shipcrafters
- (and 1 more)
-
I'm at the very first stage of the build of Blue Jacket's Constitution build. Unlike Model Shipway's plank on bulkhead construction seen here in other builds, I opted for this semi-solid hull build. I say "semi" as although the focus is not on hull construction but on detail in the gun and spar decks. Despite having some experience with Blue Jacket ( i built the Portland several years ago) I have already had a few questions swiftly answered by the good folks at Blue Jacket. This is far from a "cut it out and glue it together" build. I'm looking forward to the challenge. Stay tuned.
- 104 replies
-
- 9
-
-
- constitution
- BlueJacket Shipcrafters
- (and 1 more)
-
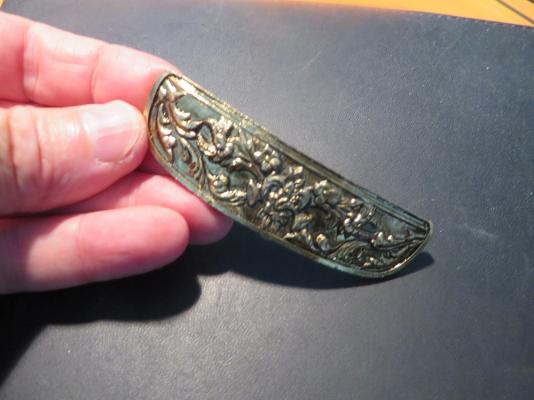
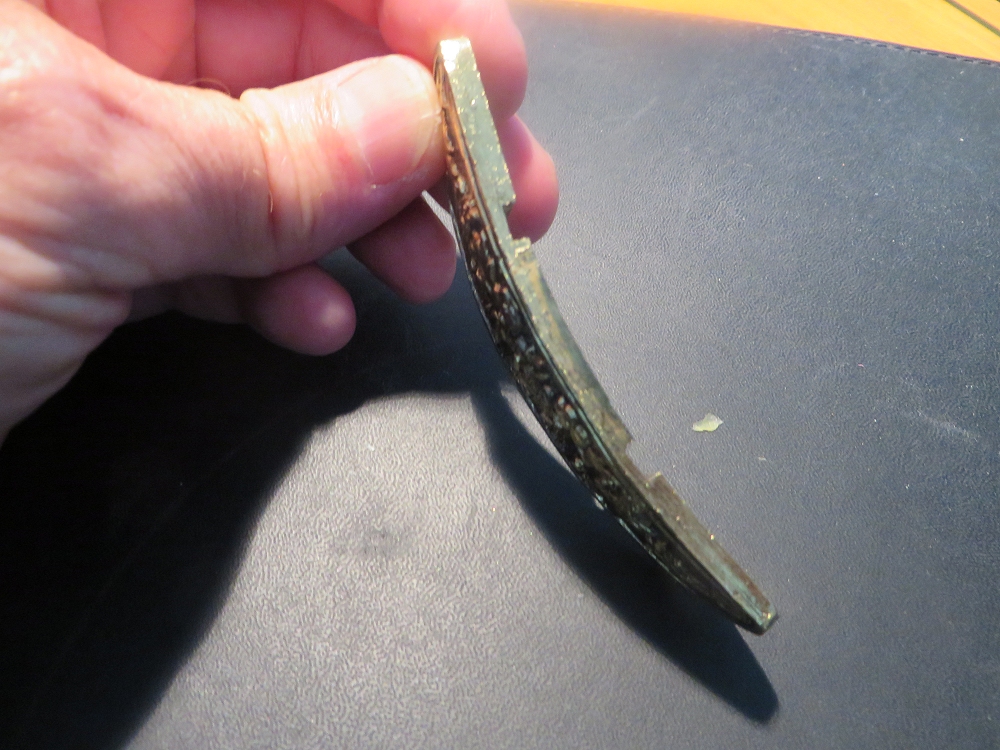
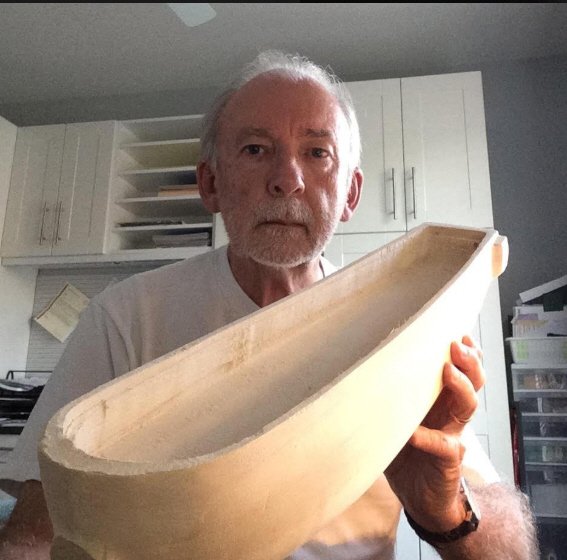
Thanks, Pat and Chris, for the very informative replies. I became aware that I was holding it upside down in the pic......right after I hit "post". I've noticed a plethora of transom details for this model on line. I will take your advice, Chris, and trust my "interpretation" after reviewing the "possibles". Cheers......and it's Jim.
-
The transom detail that arrived with my Artesania Latina HMS Endeavour is strangely rounded. Is this the way it's supposed to be? If not, anyone have any ideas on how to safely flatten it?