kentyler
-
Posts
86 -
Joined
-
Last visited
Content Type
Profiles
Forums
Gallery
Events
Everything posted by kentyler
-
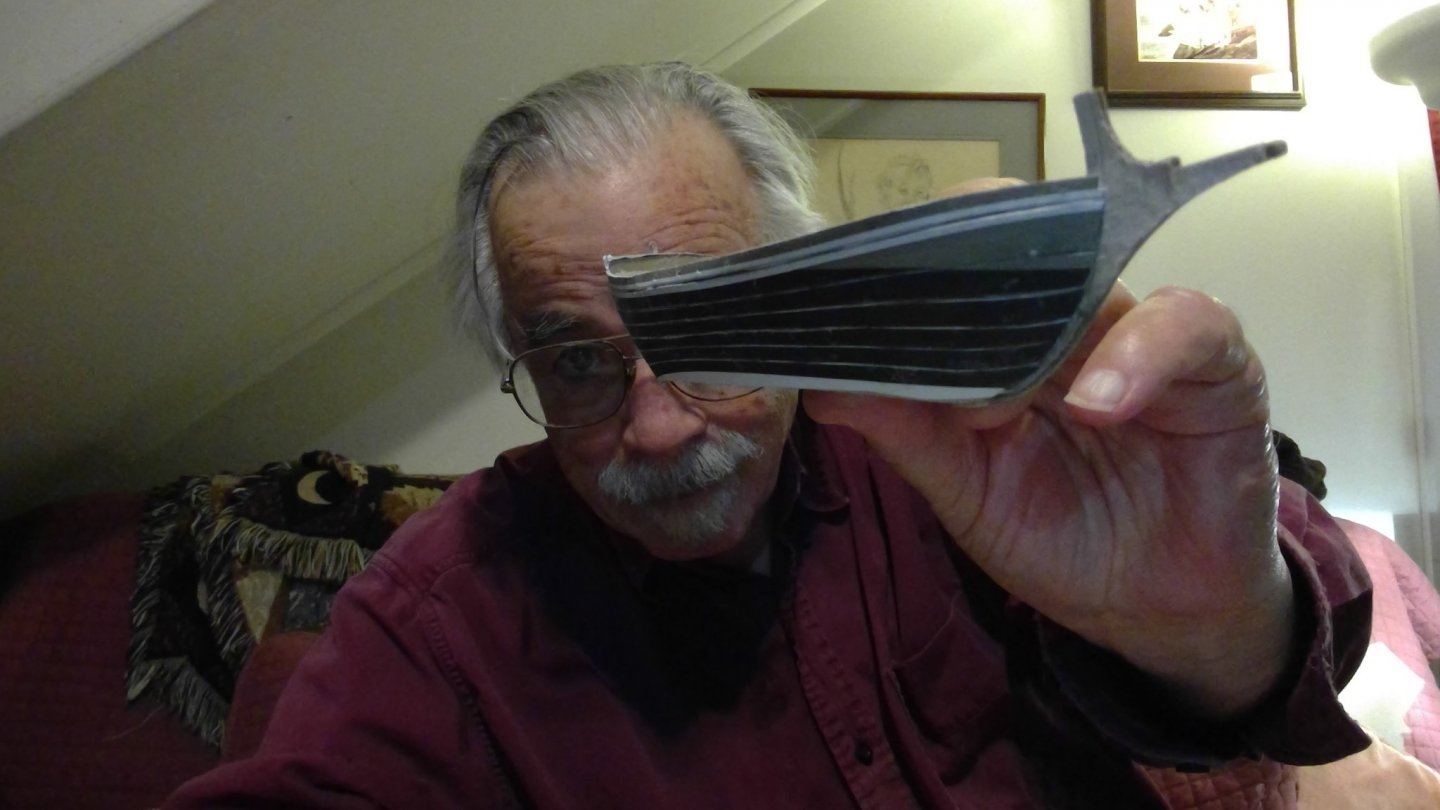
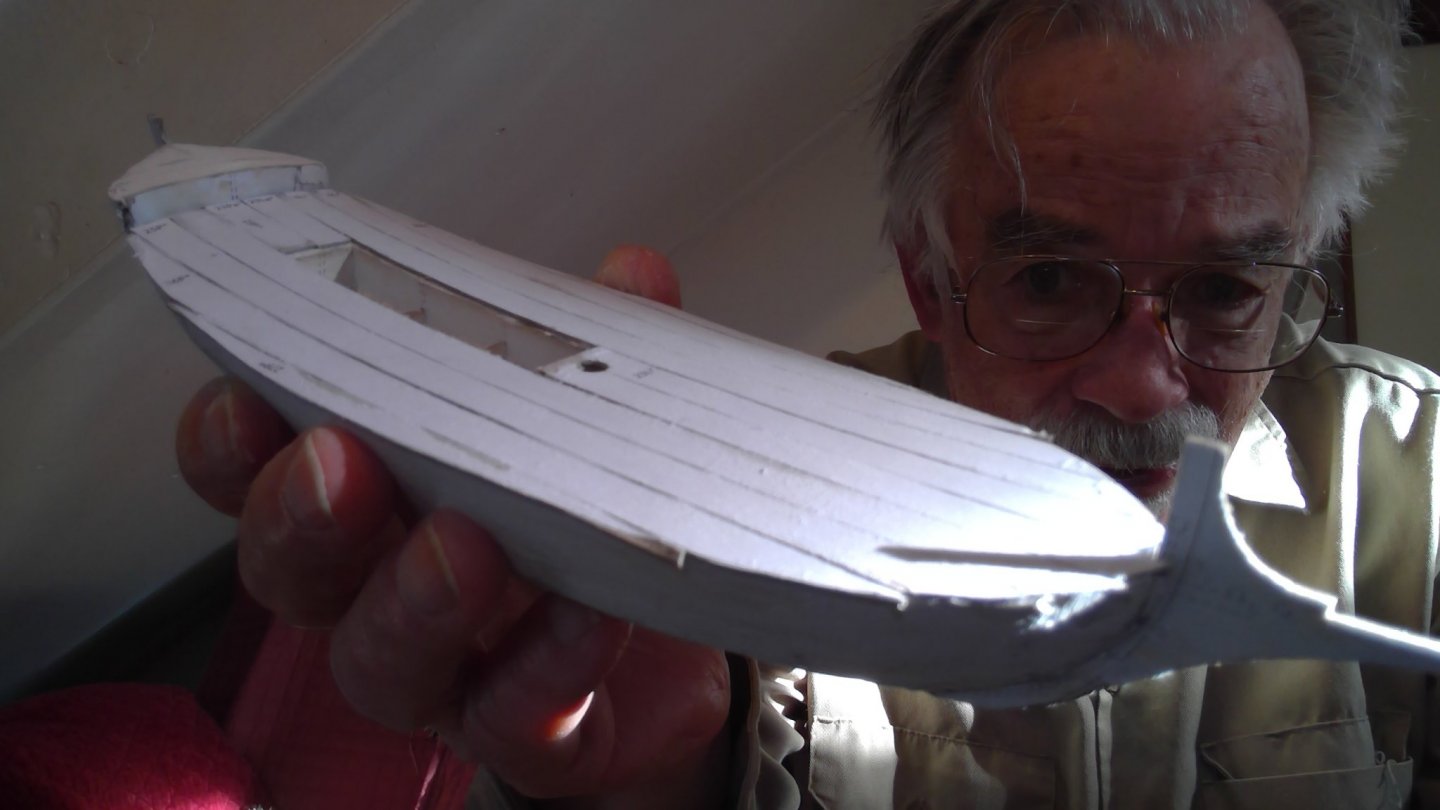
 a coat of primer helps to see what's going on... i'm getting the effect i want, still a few cracks to fill in
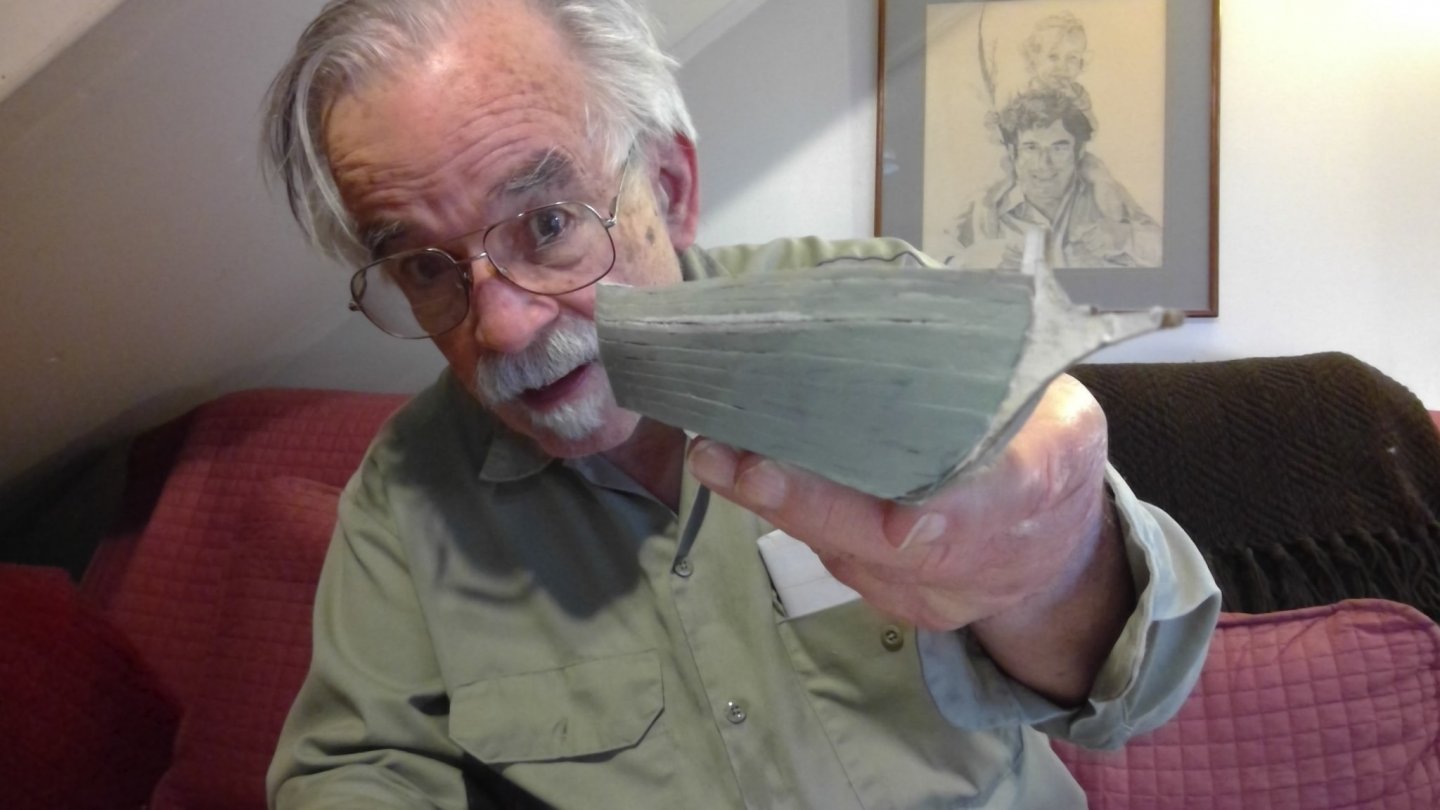
- 54 replies
-
- 3
-

-
- allege darles
- wak
- (and 1 more)
-
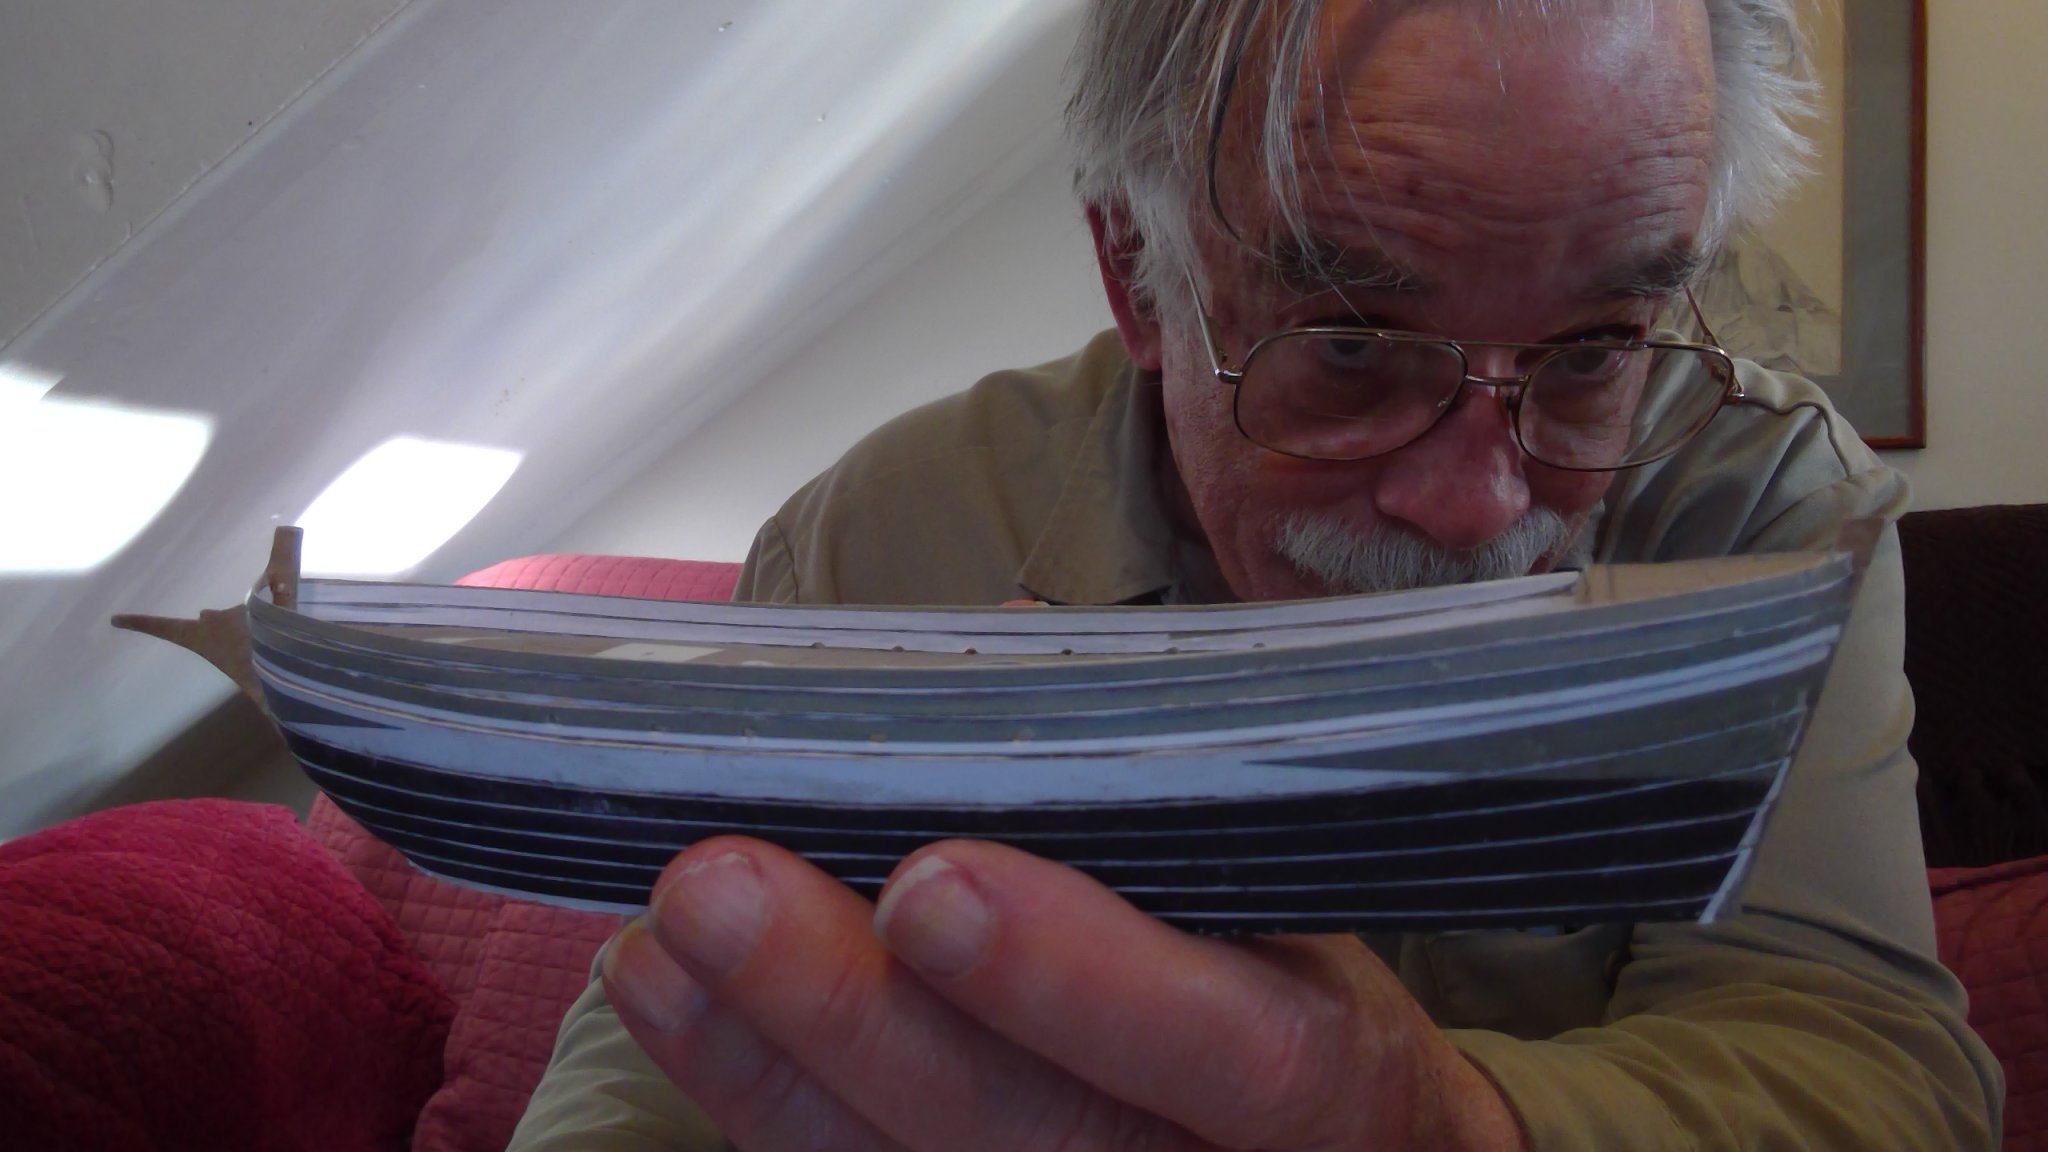
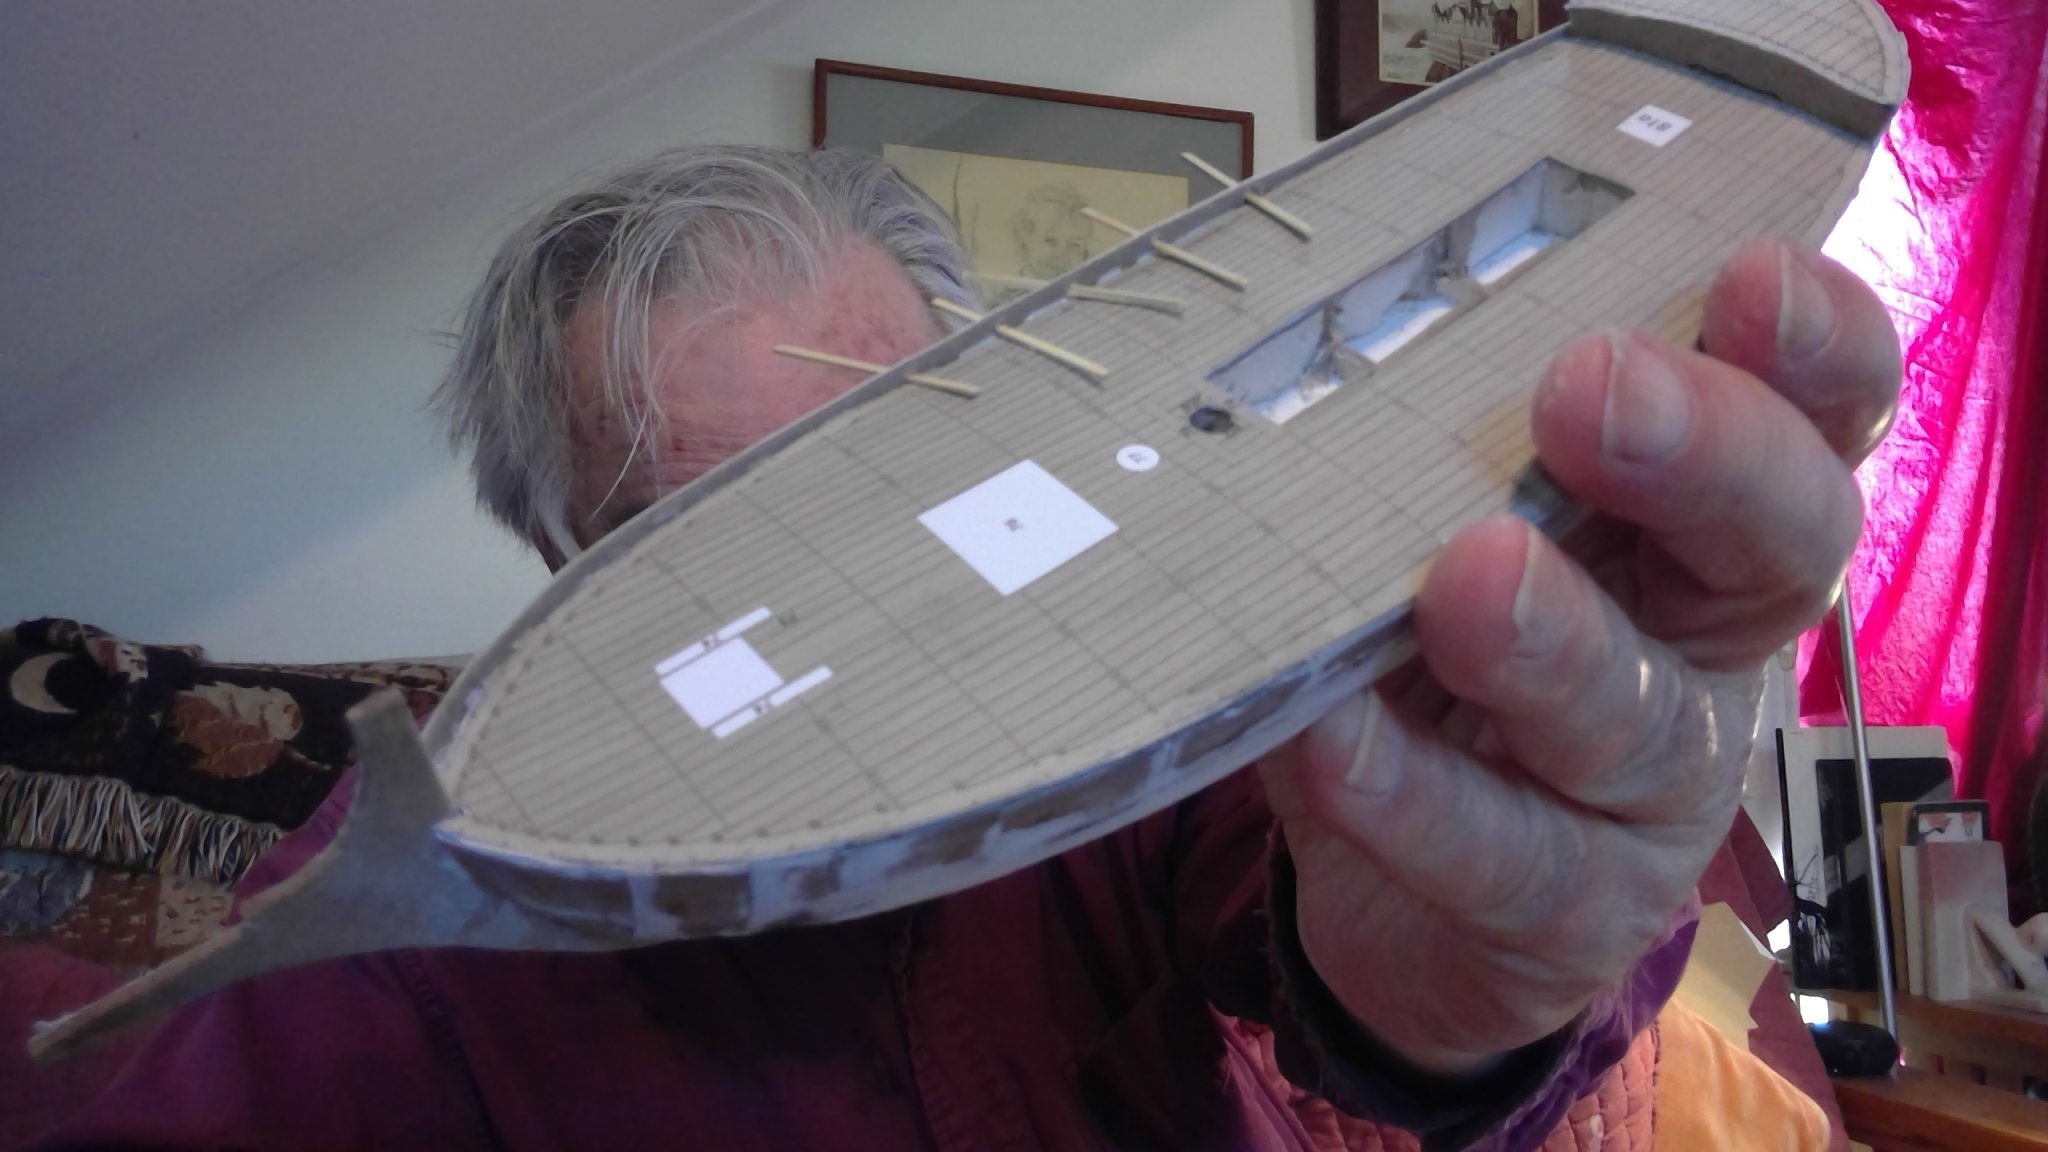
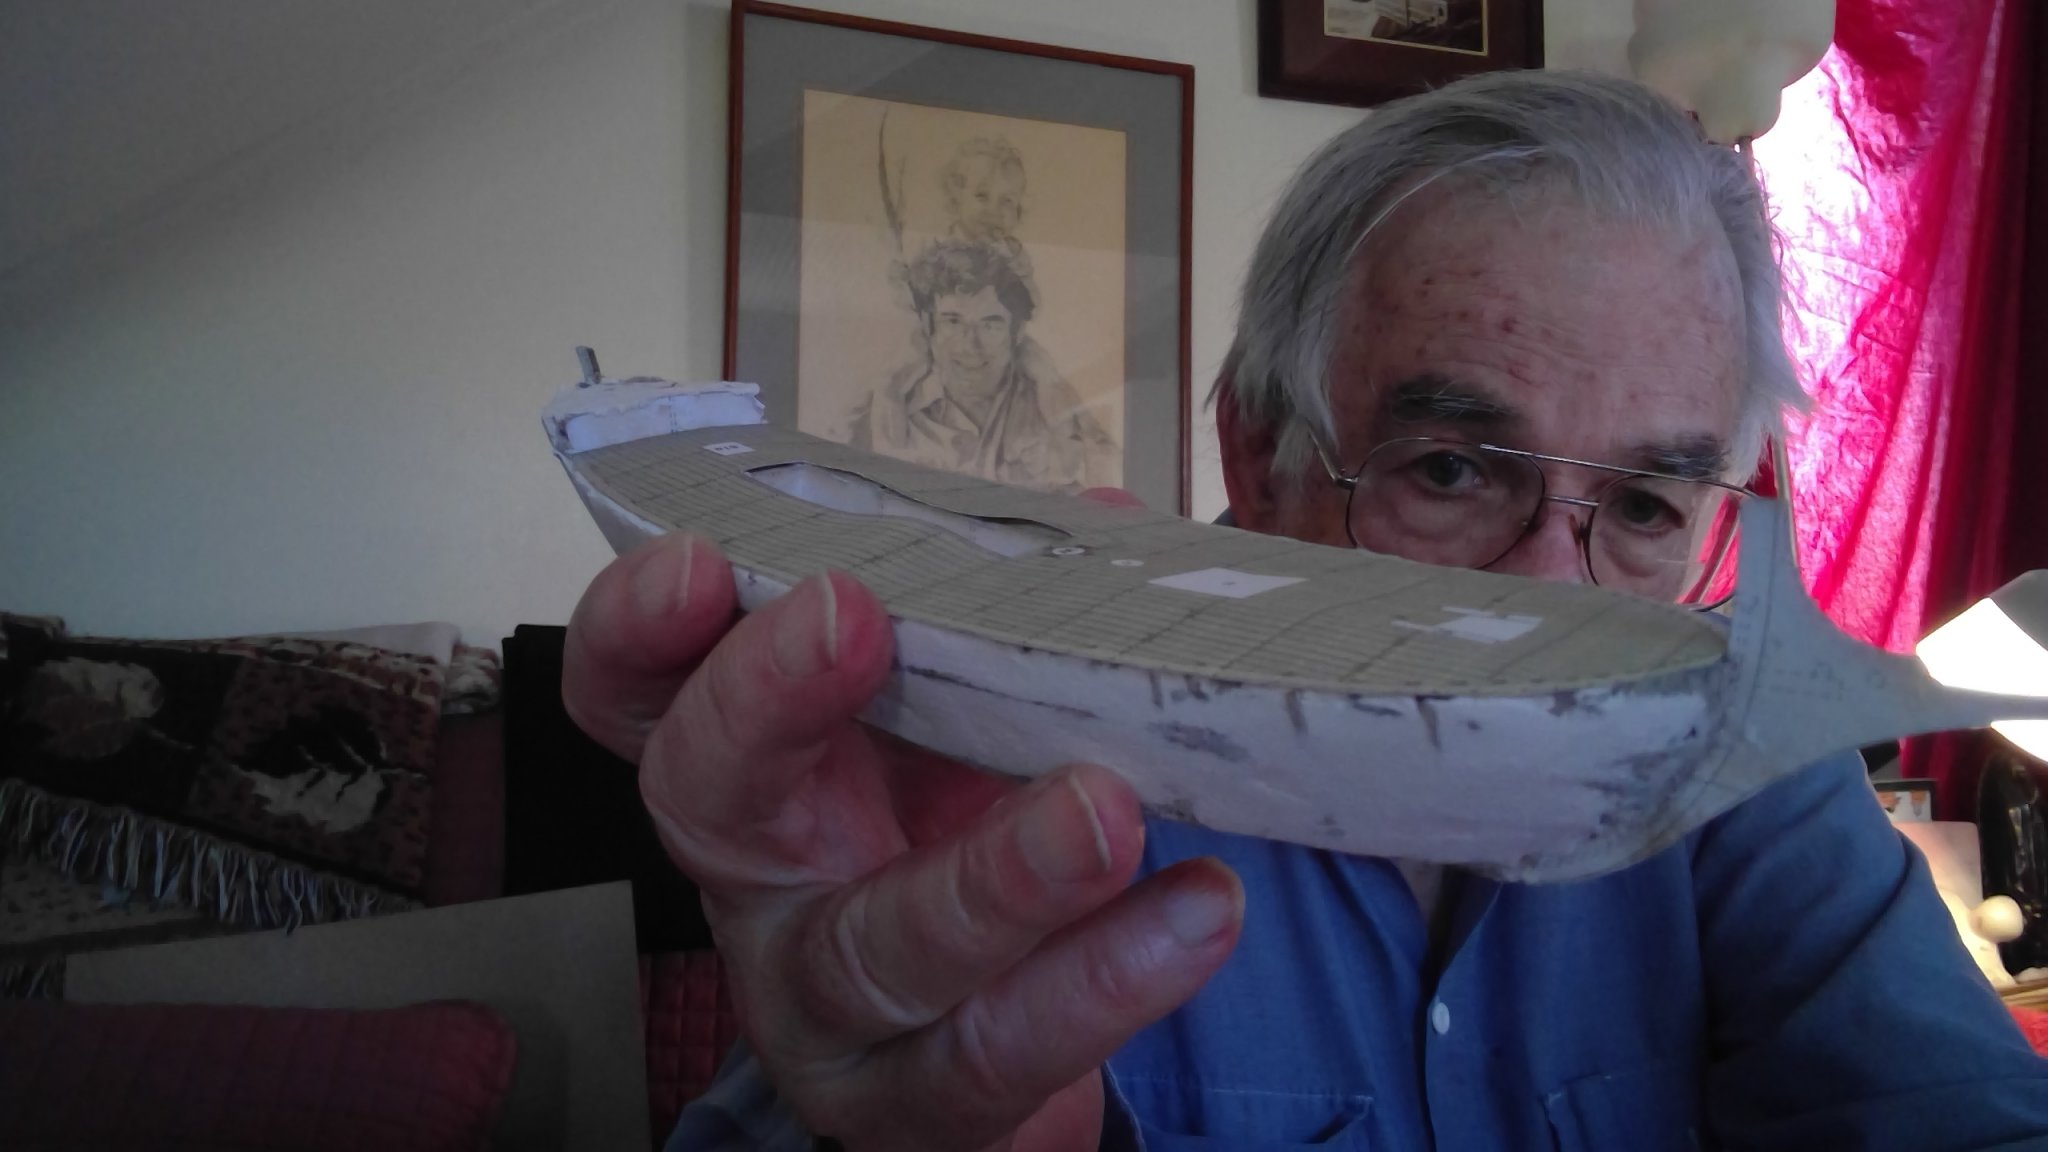
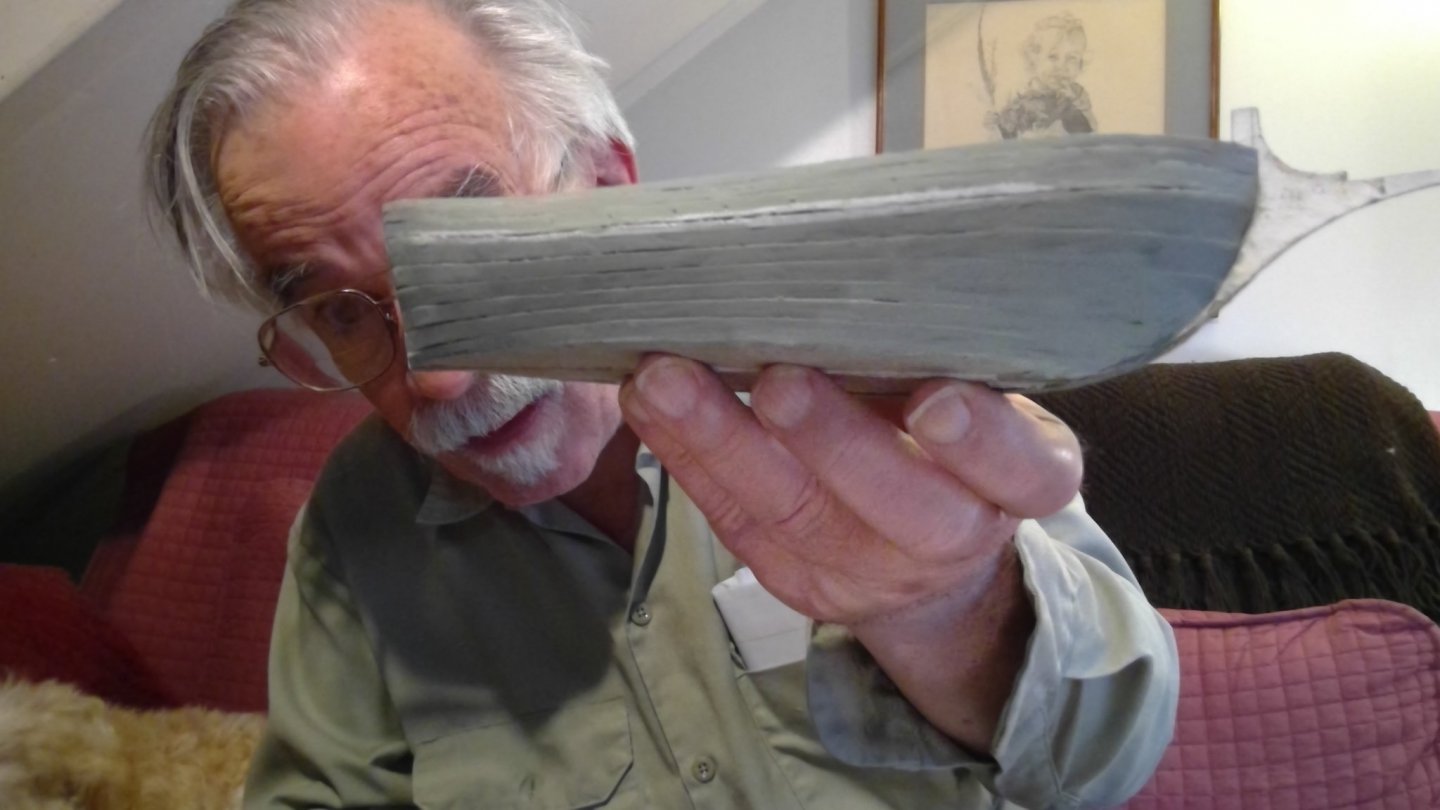
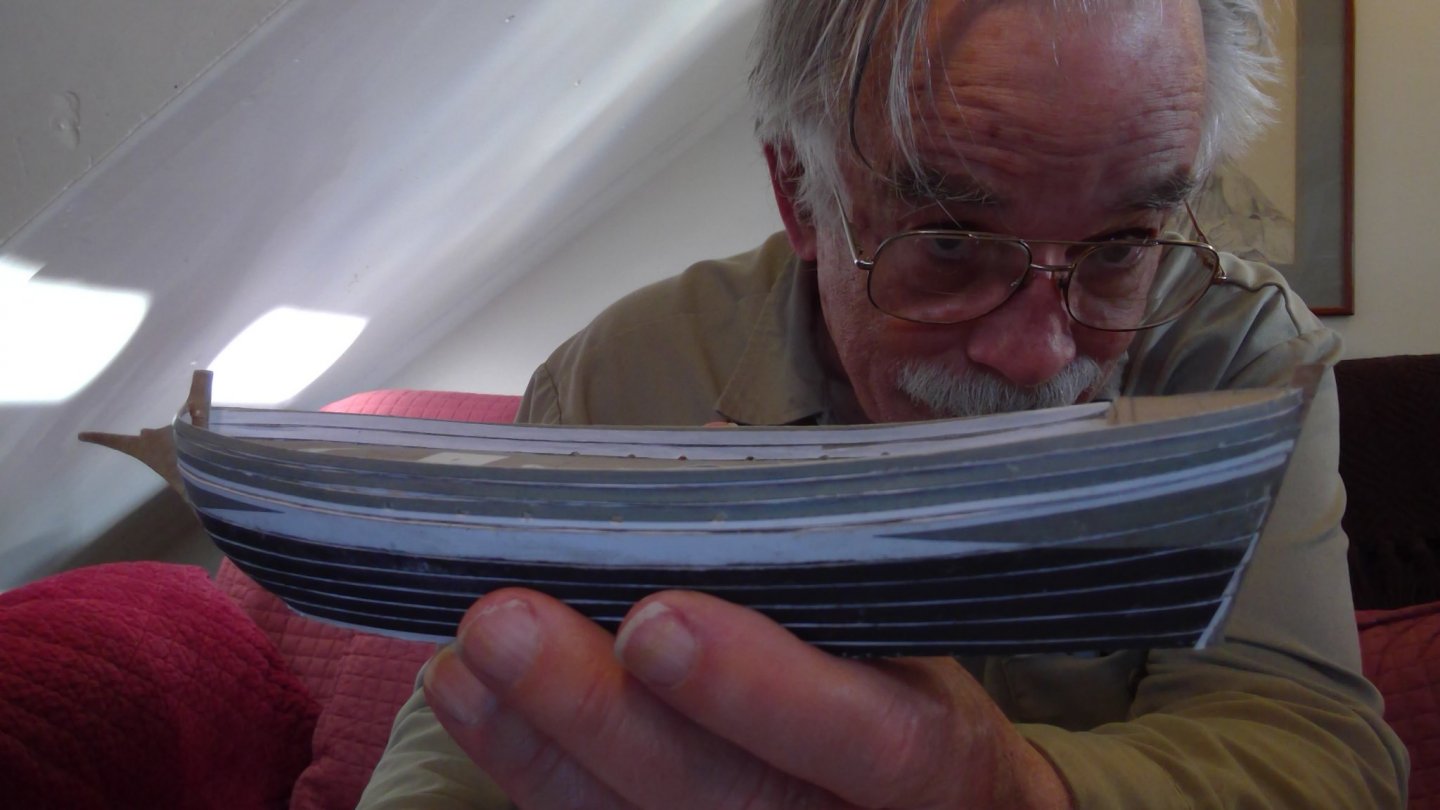
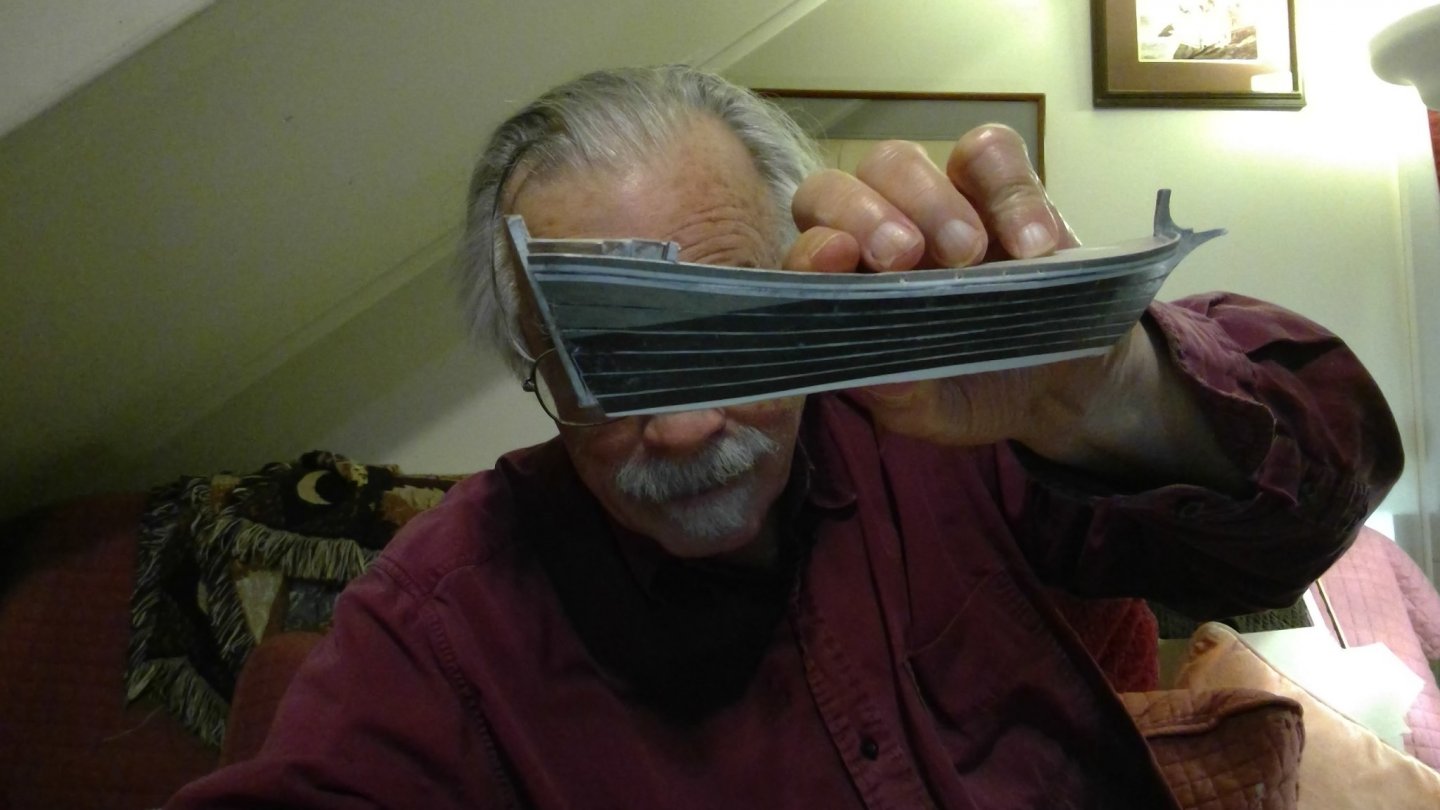
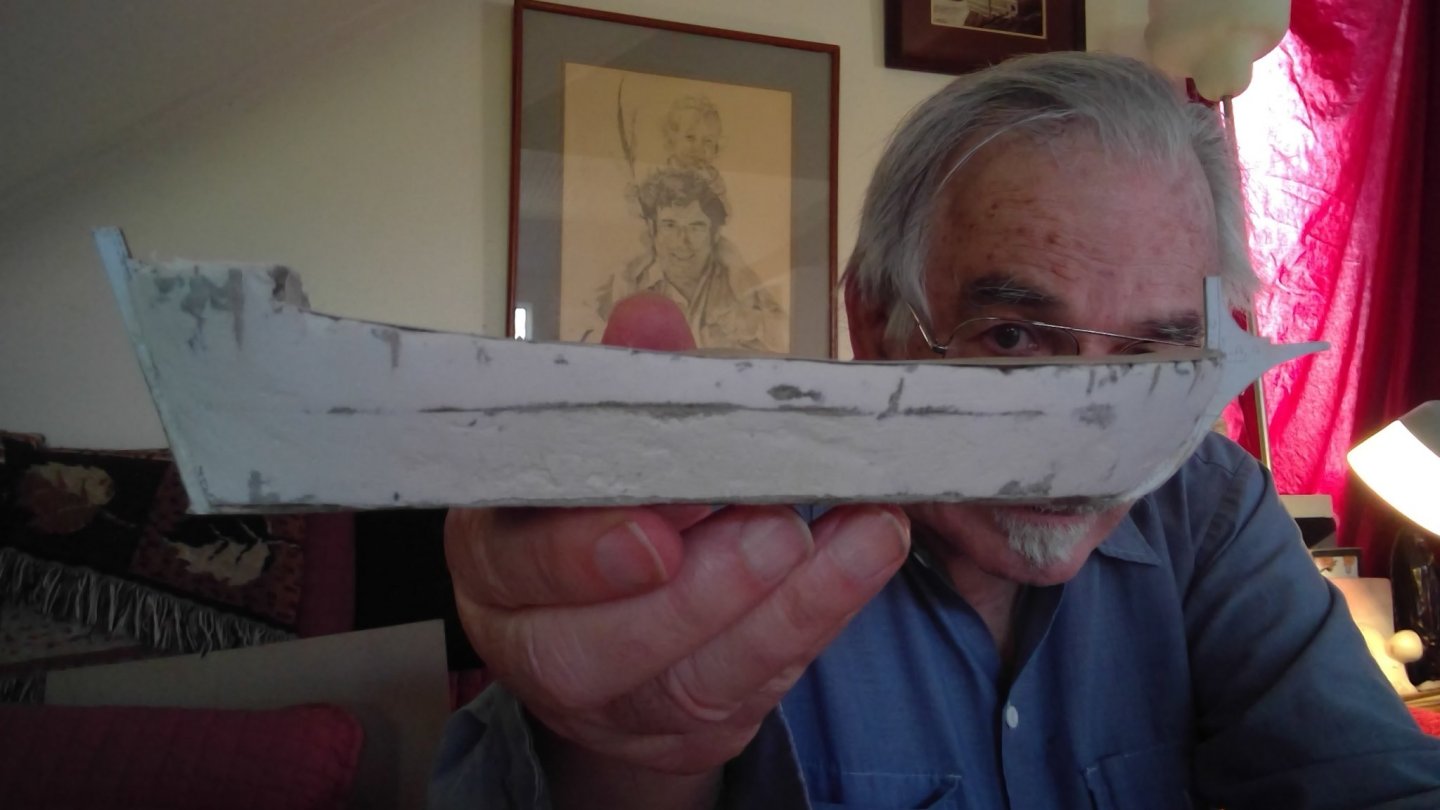
one last pass. i think the caulking lines on ships hulls are often over emphasized... so it did a little caulking with the paper putty a light sanding and we'll be ready to paint the hull... the markings on the model do not agree with the illustration at all.. i prefer the illustration so that's how i'll paint it
- 54 replies
-
- 1
-
-
- allege darles
- wak
- (and 1 more)
-
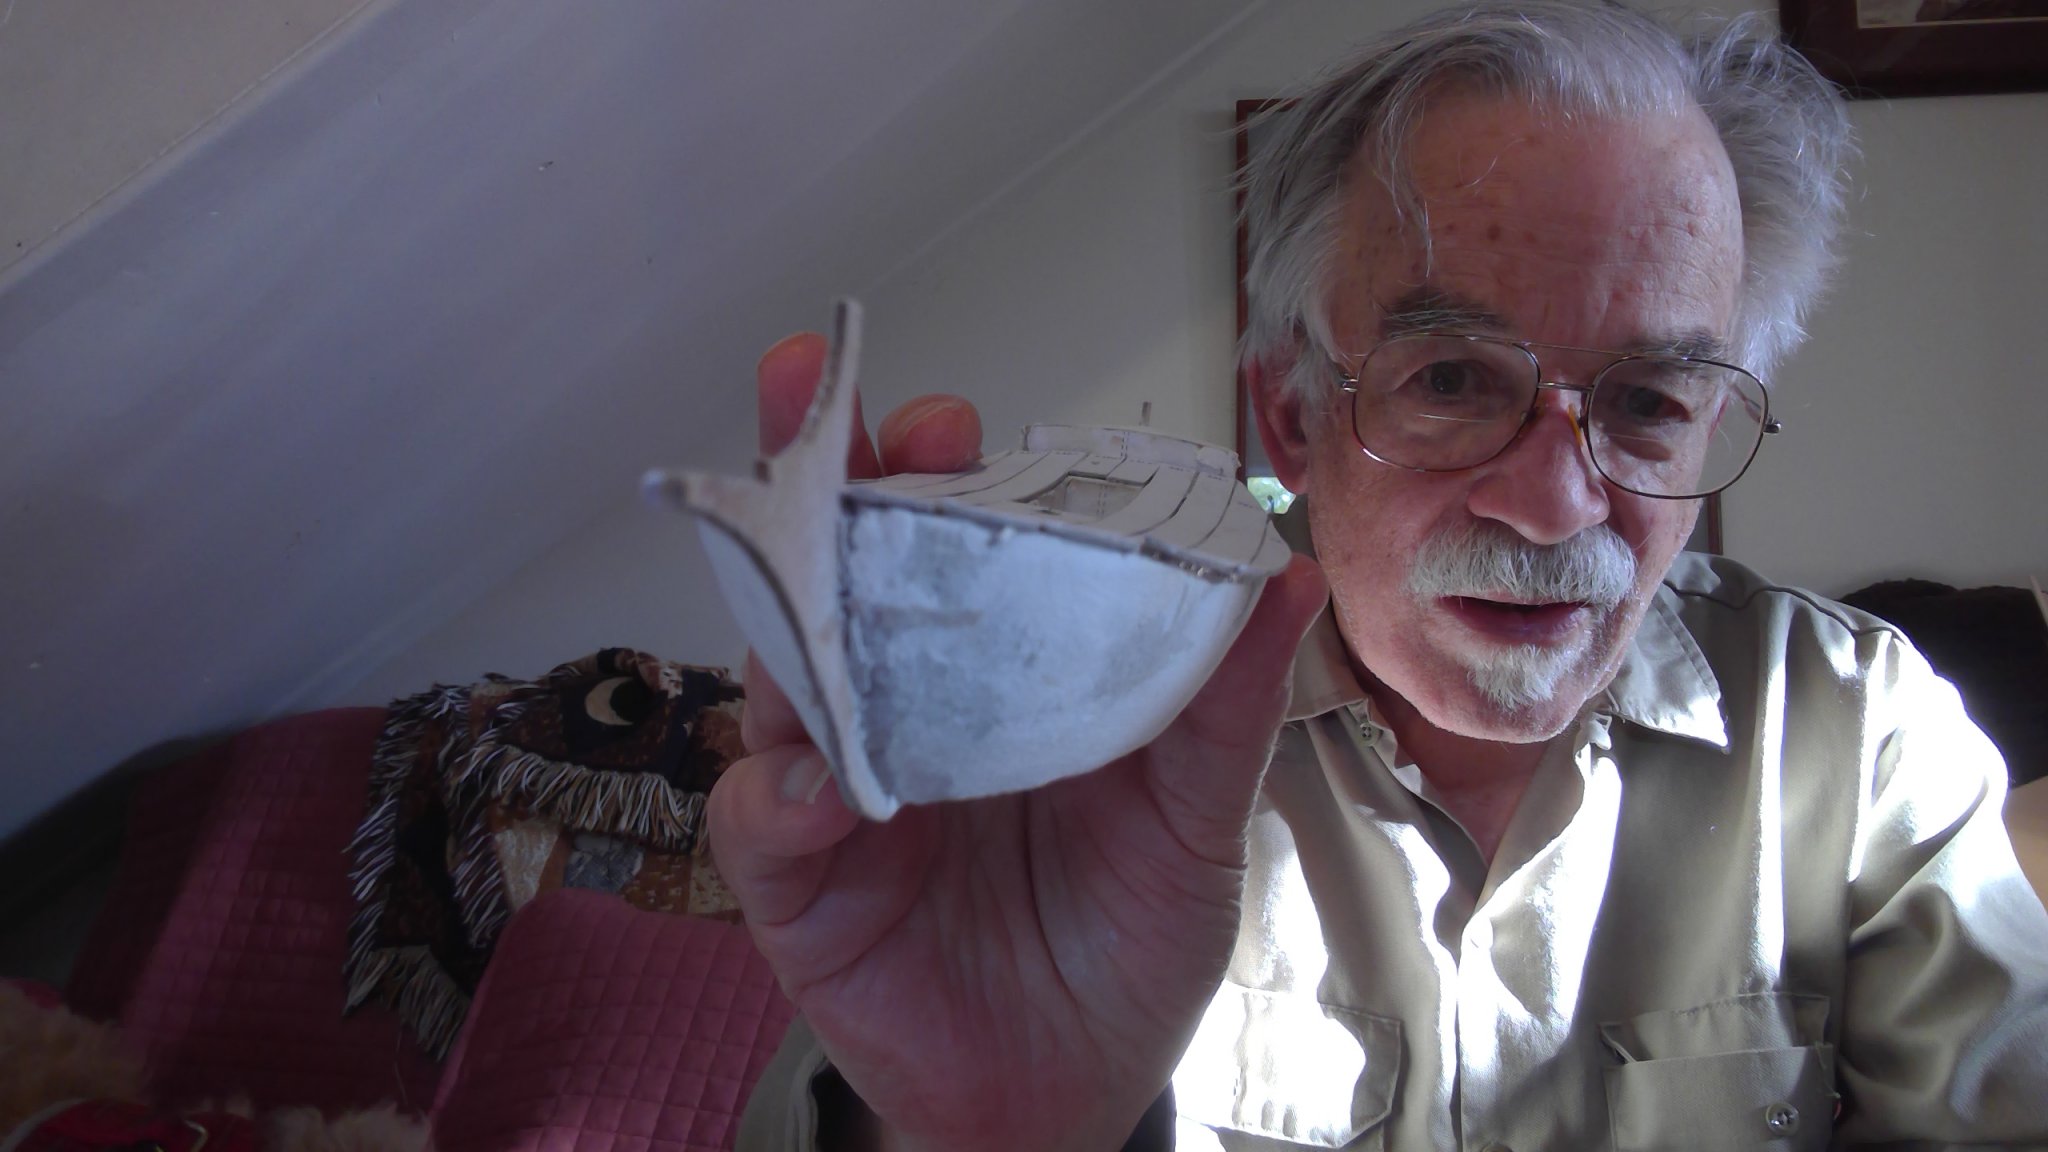
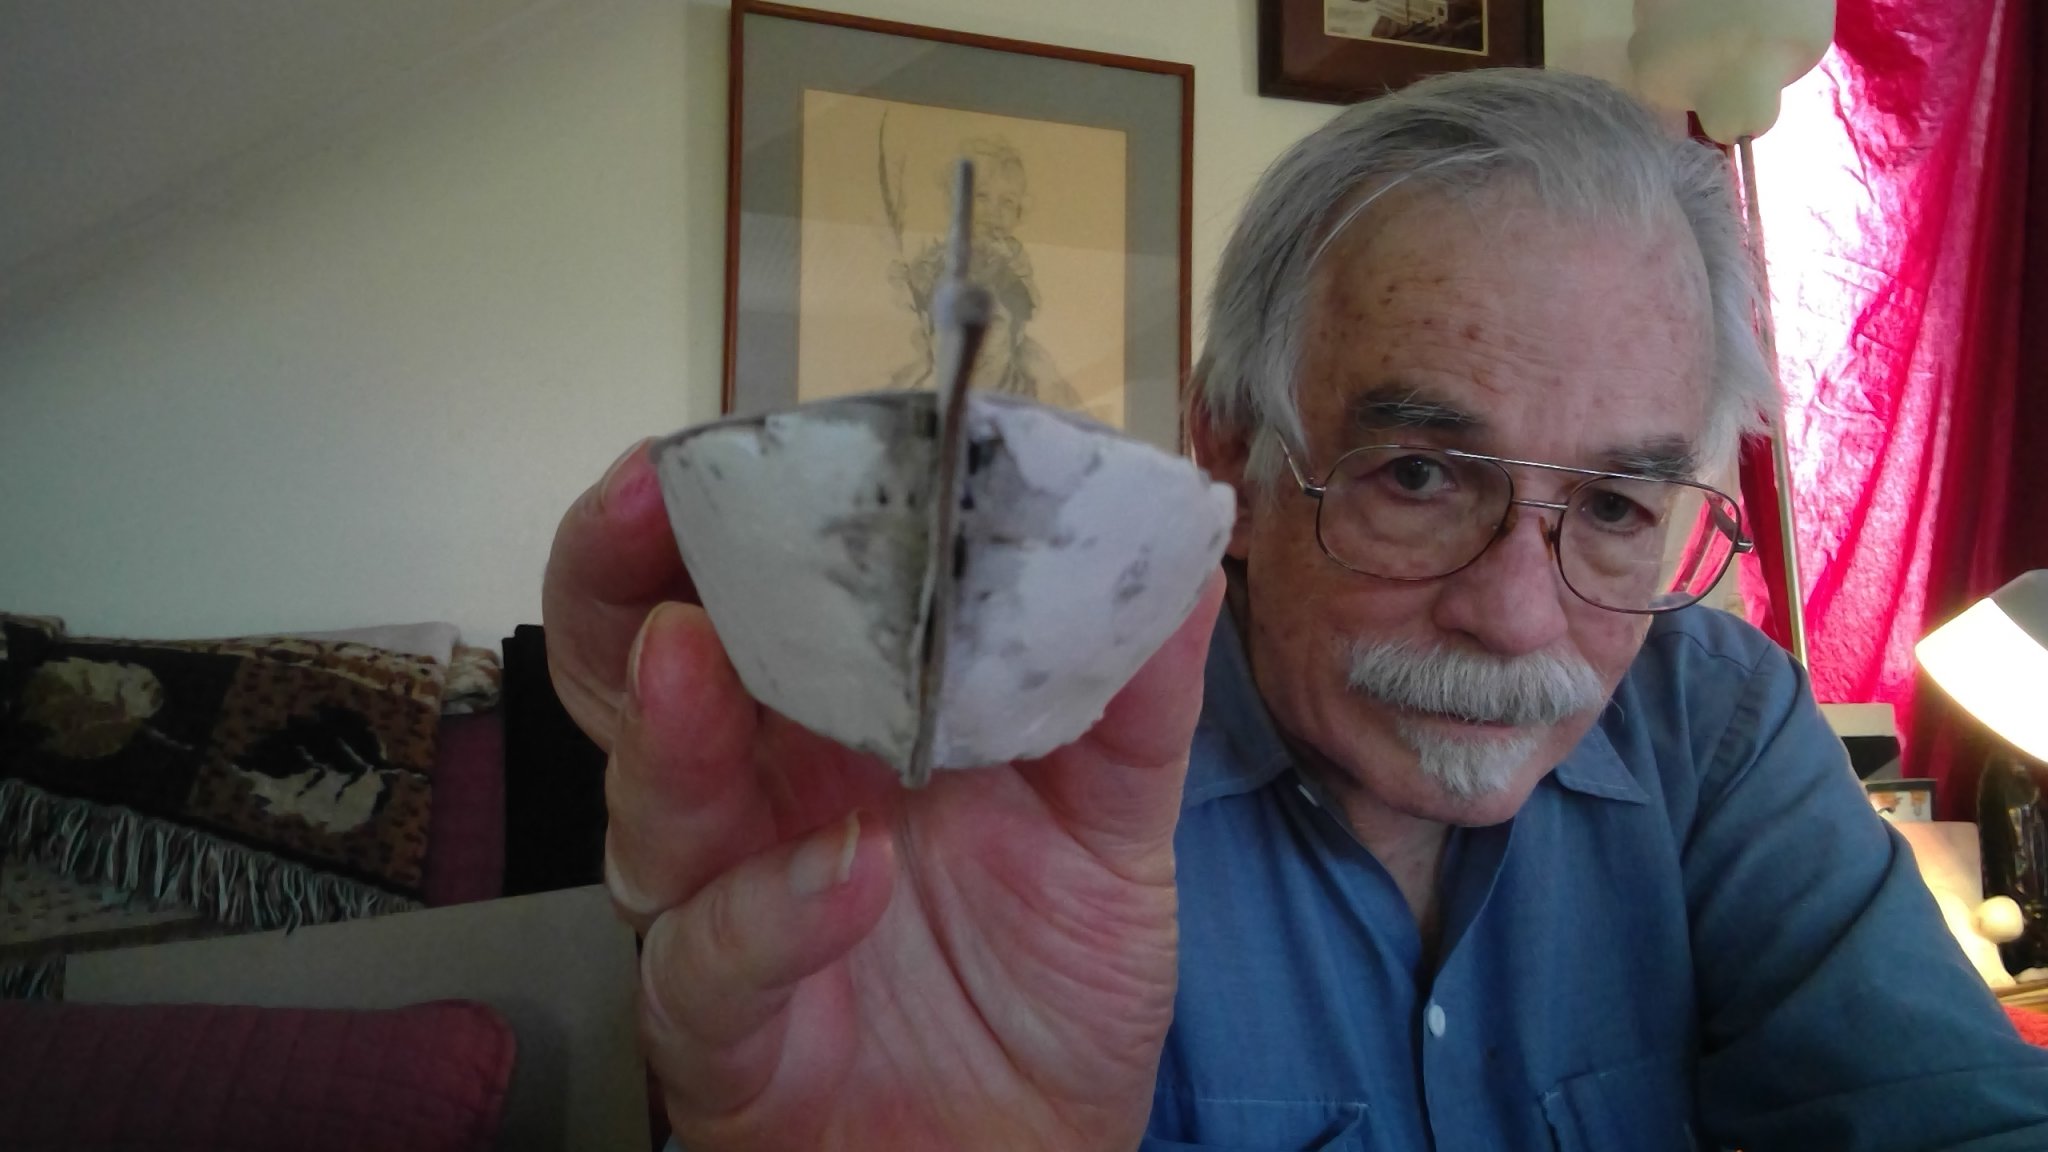
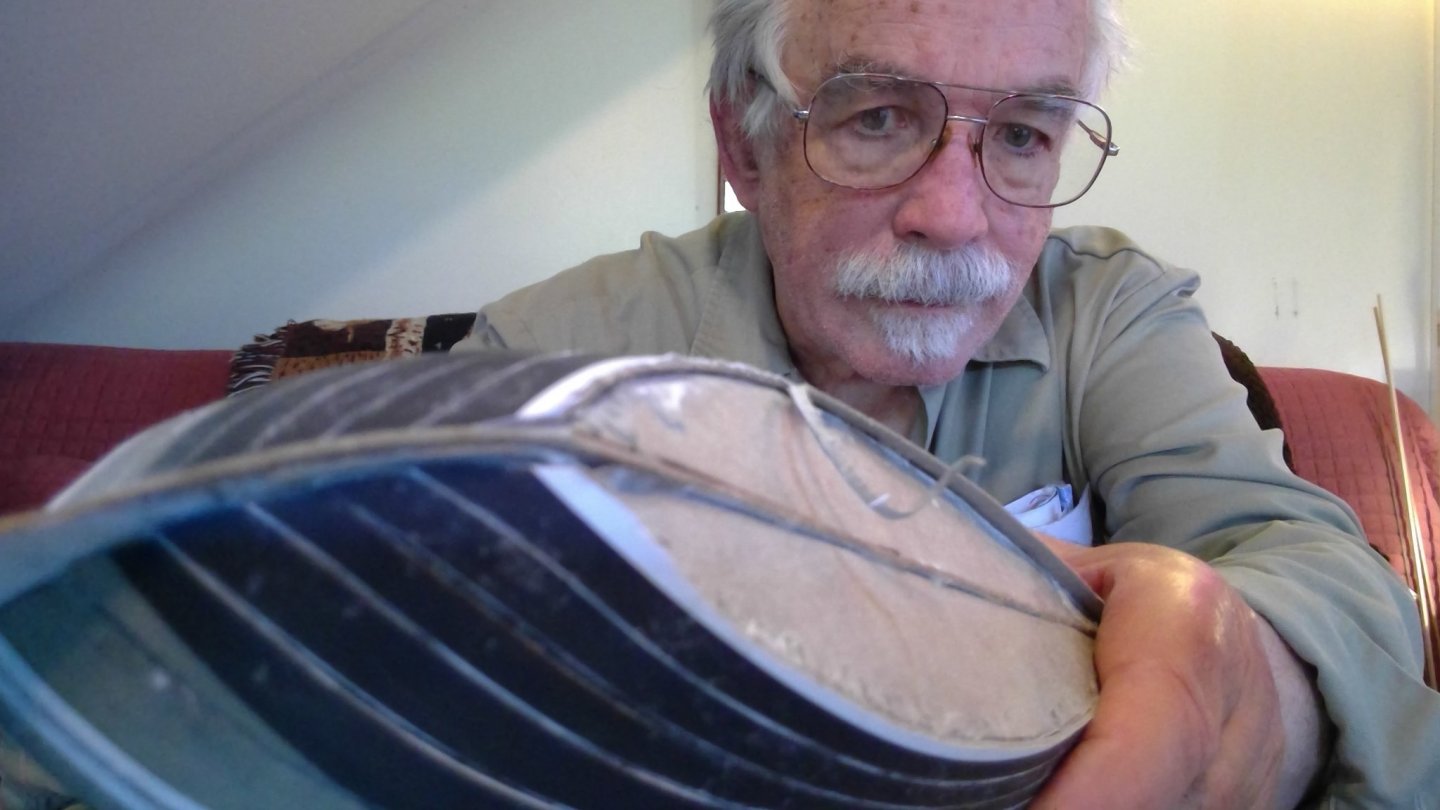
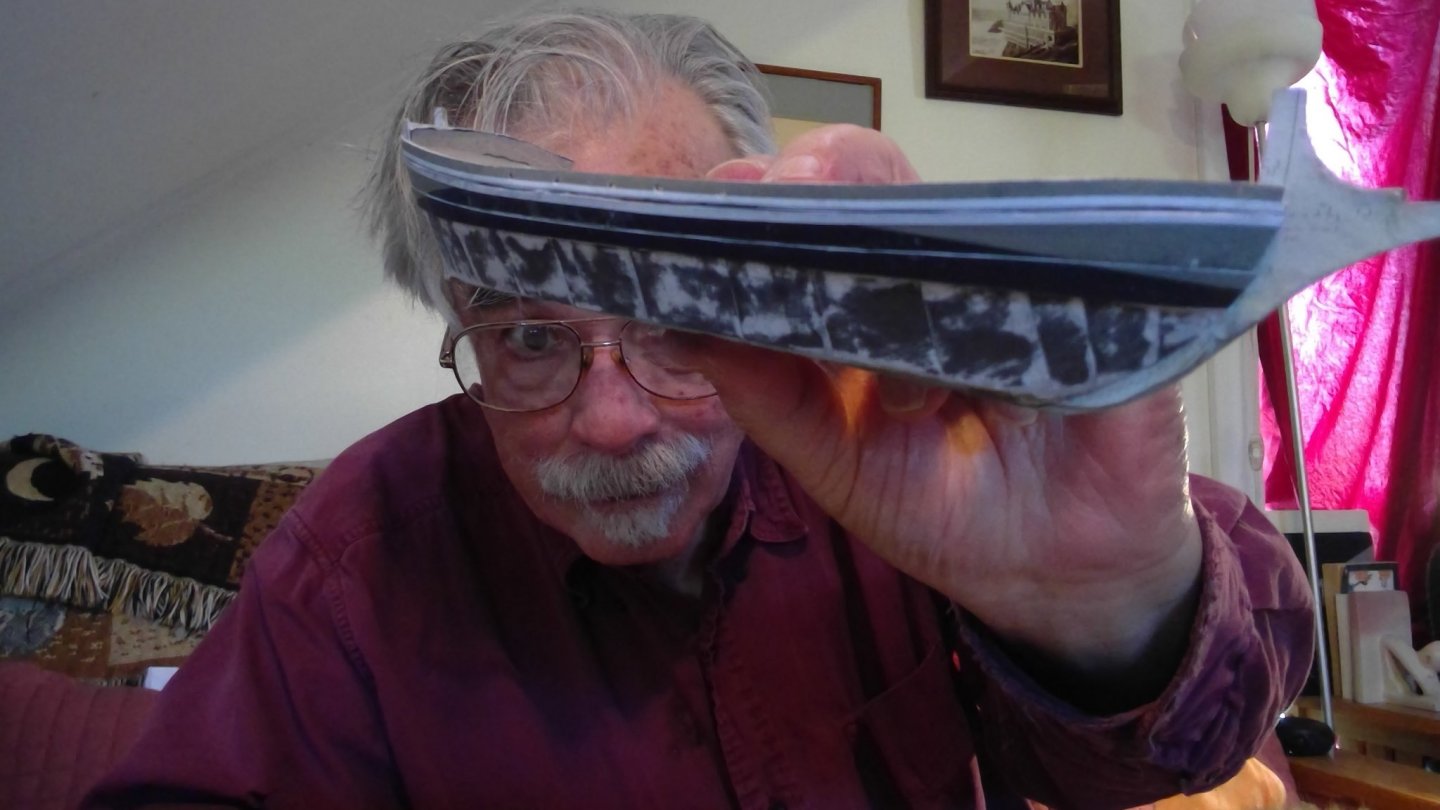
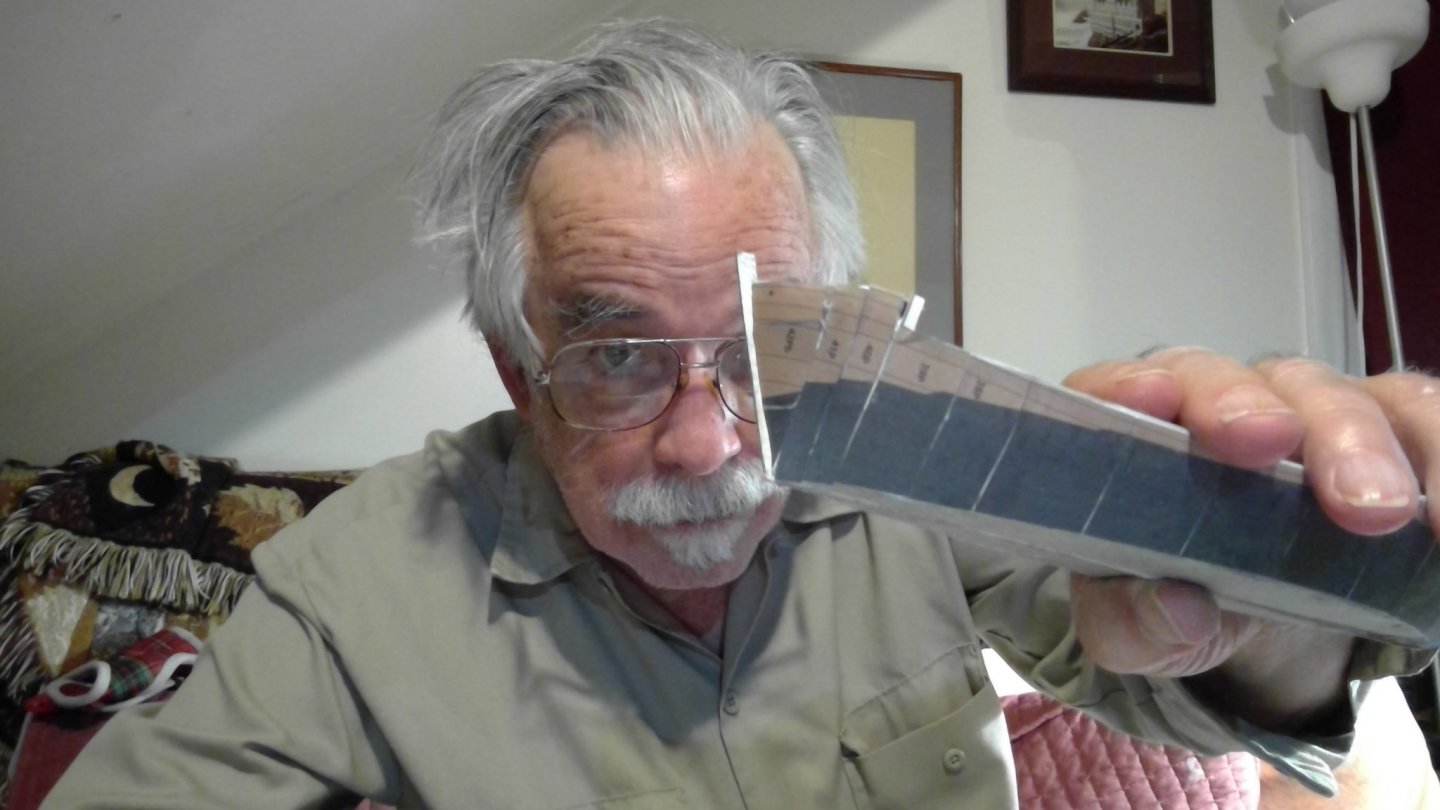
One of the flaws in the model... one plank was missing its bottom outline. I left the bottom planks wide, and trimm the edges after gluing. the planks for the deck rail and assembled with thin paper backing plates to hole them together. I was dubious, but it seemed to work. Because my hull was a little "fat" i ended up with some gaps to fill at the stern


- 54 replies
-
- 3
-
-
- allege darles
- wak
- (and 1 more)
-
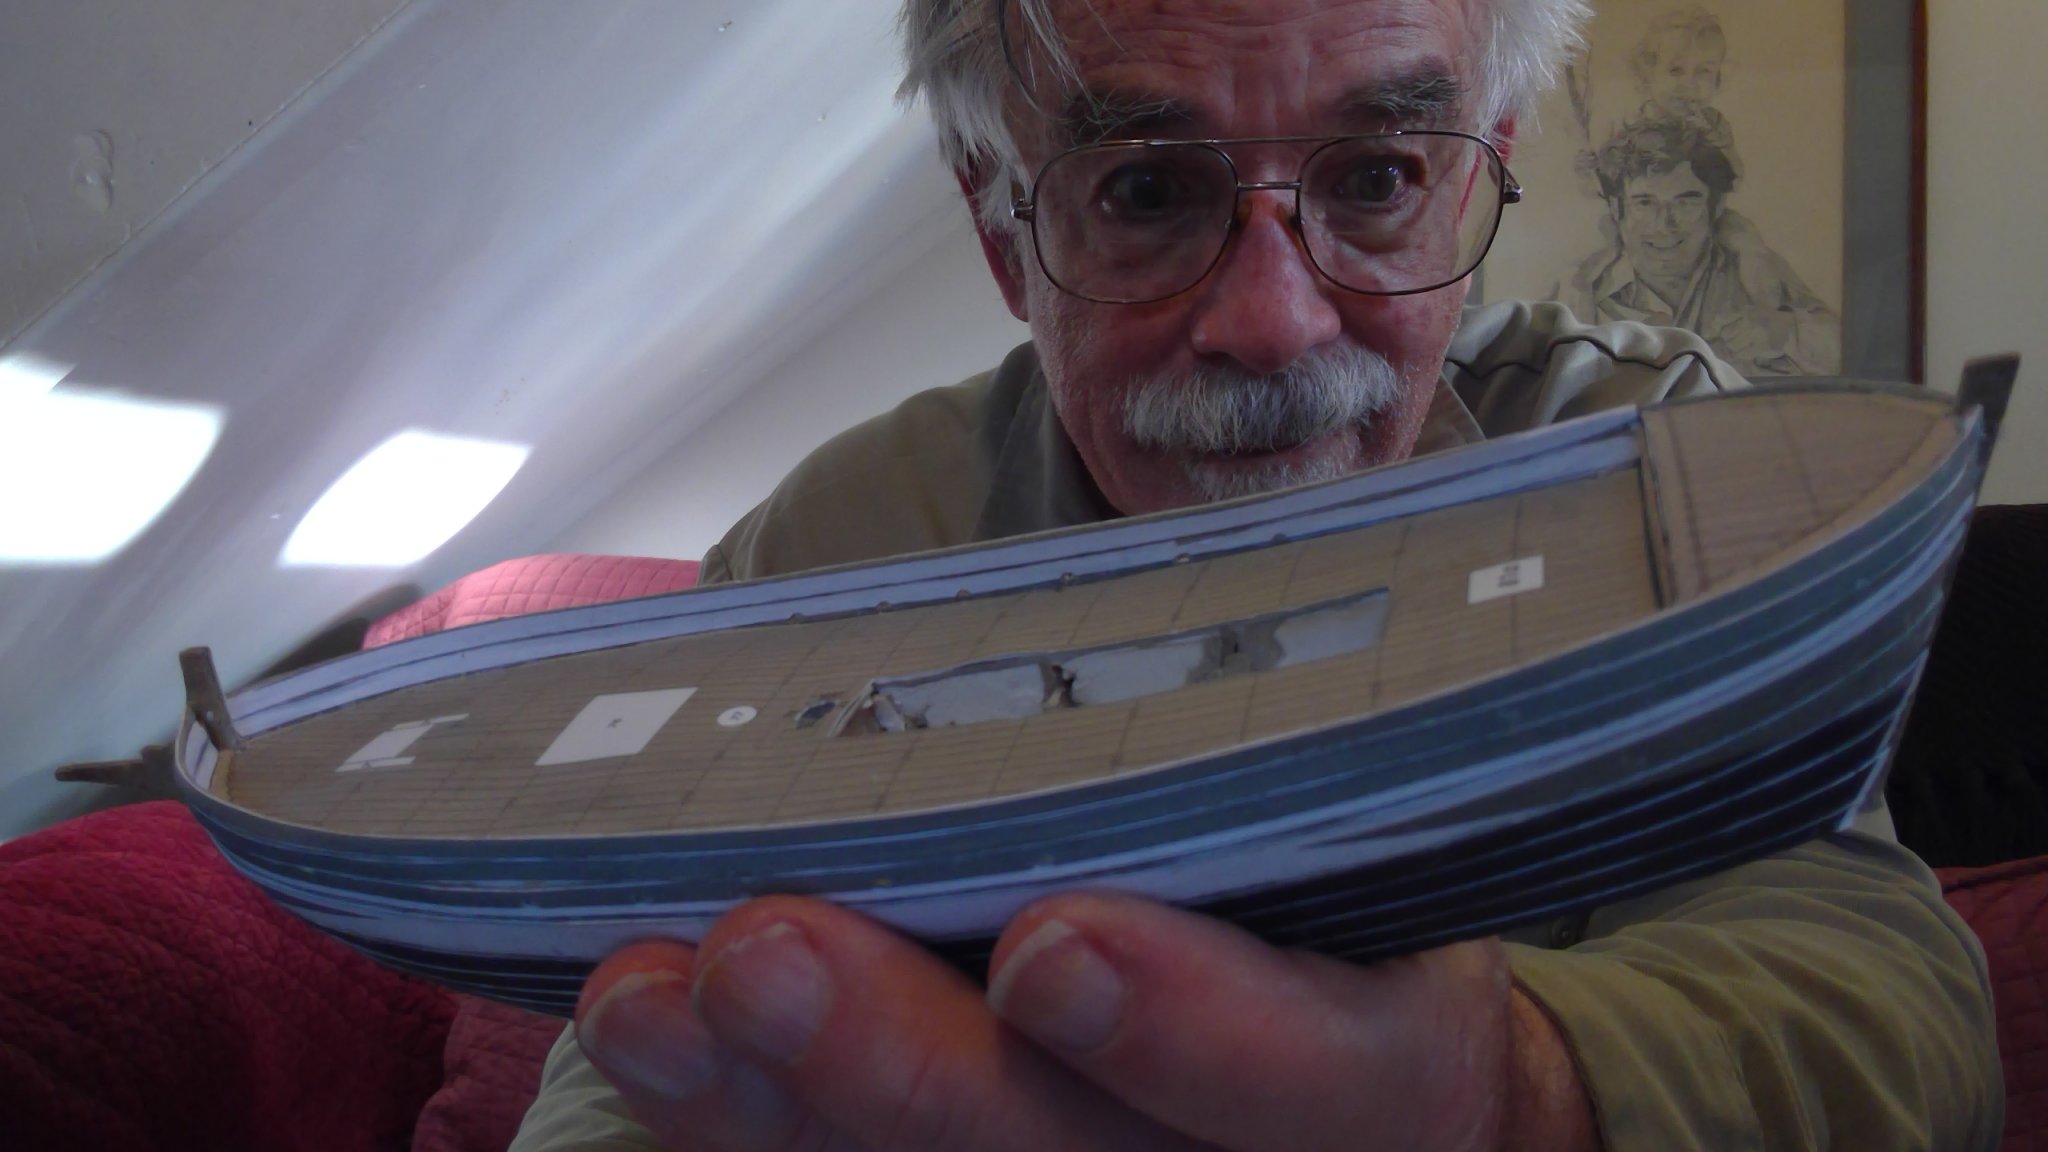
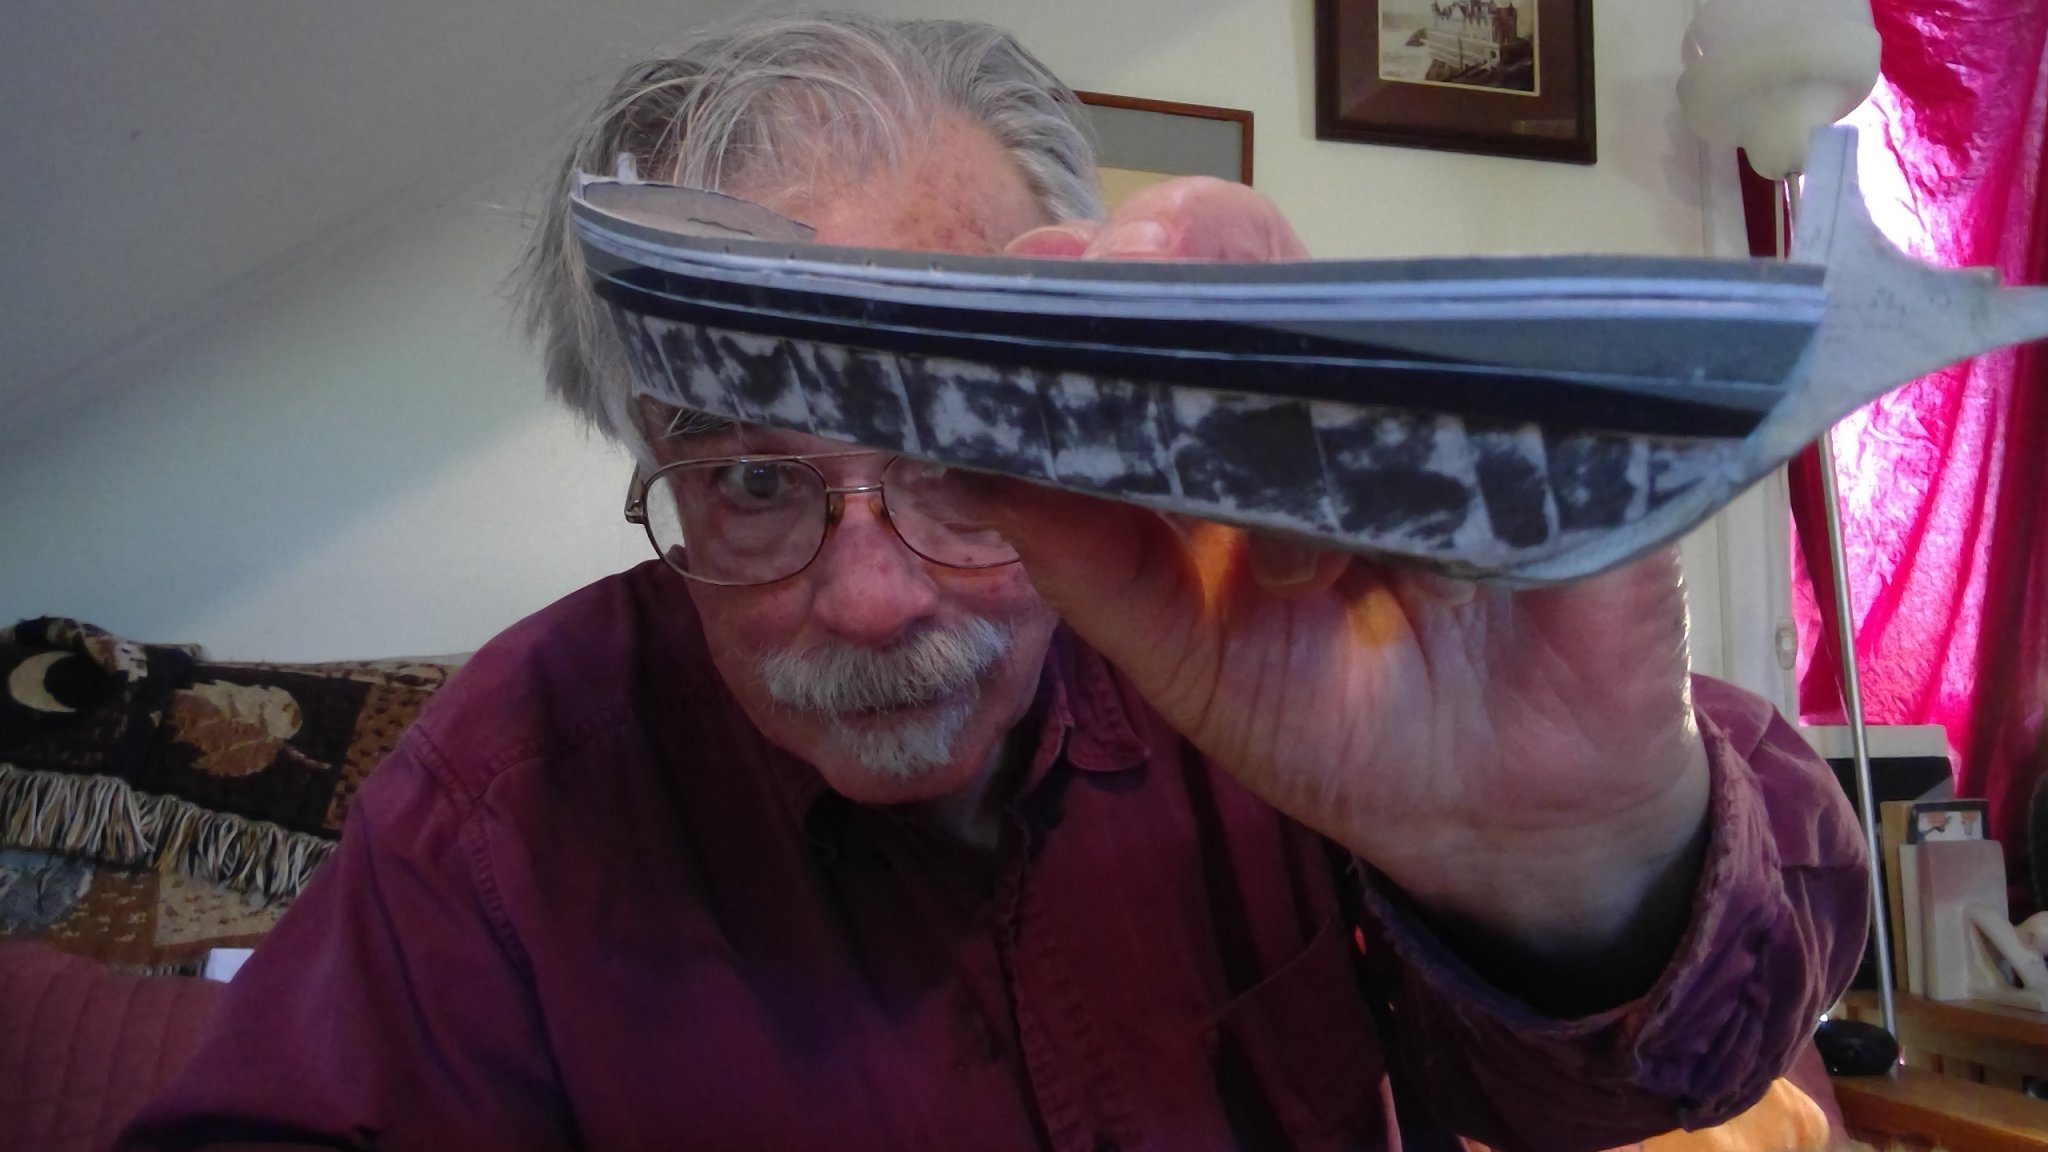
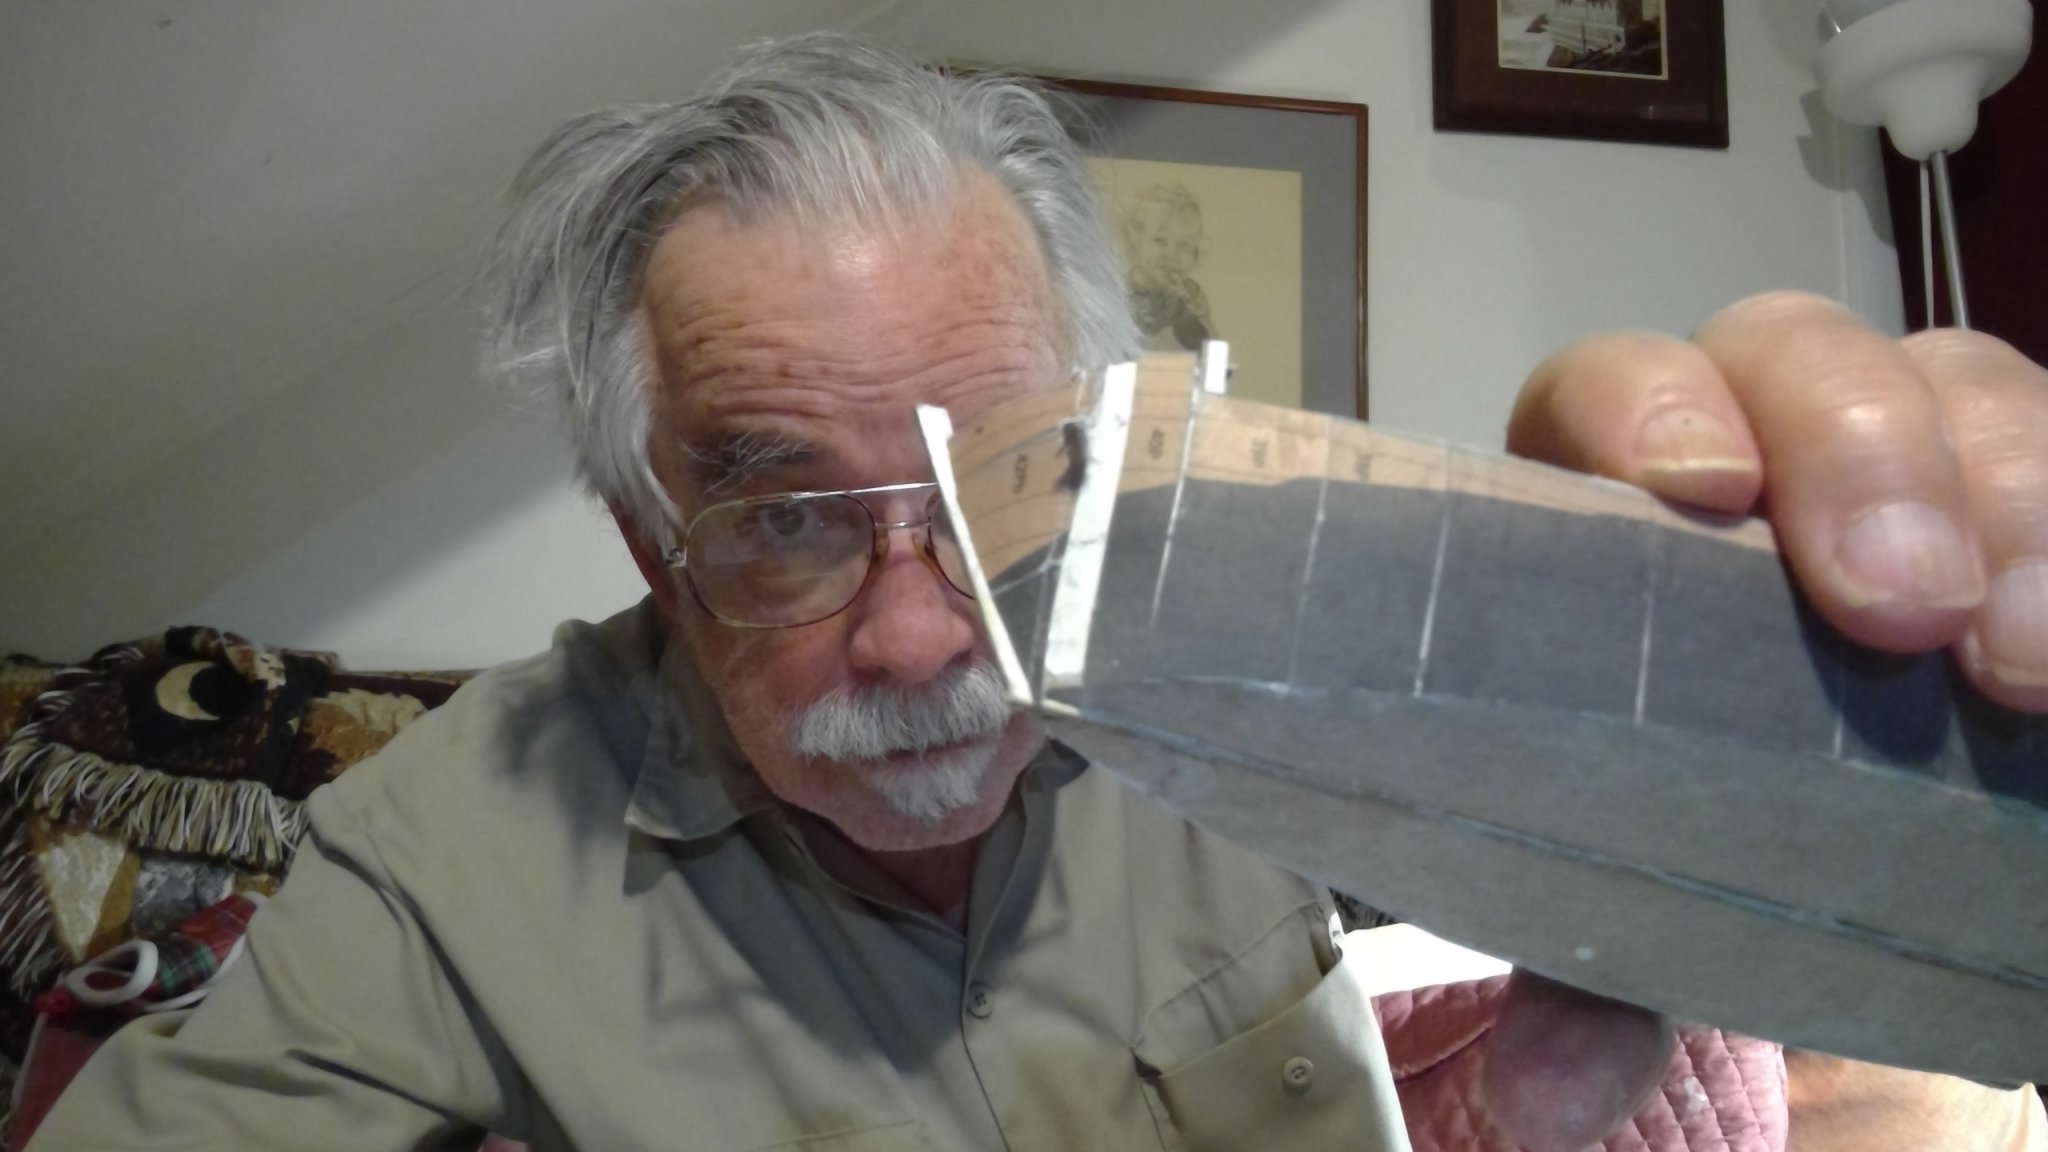
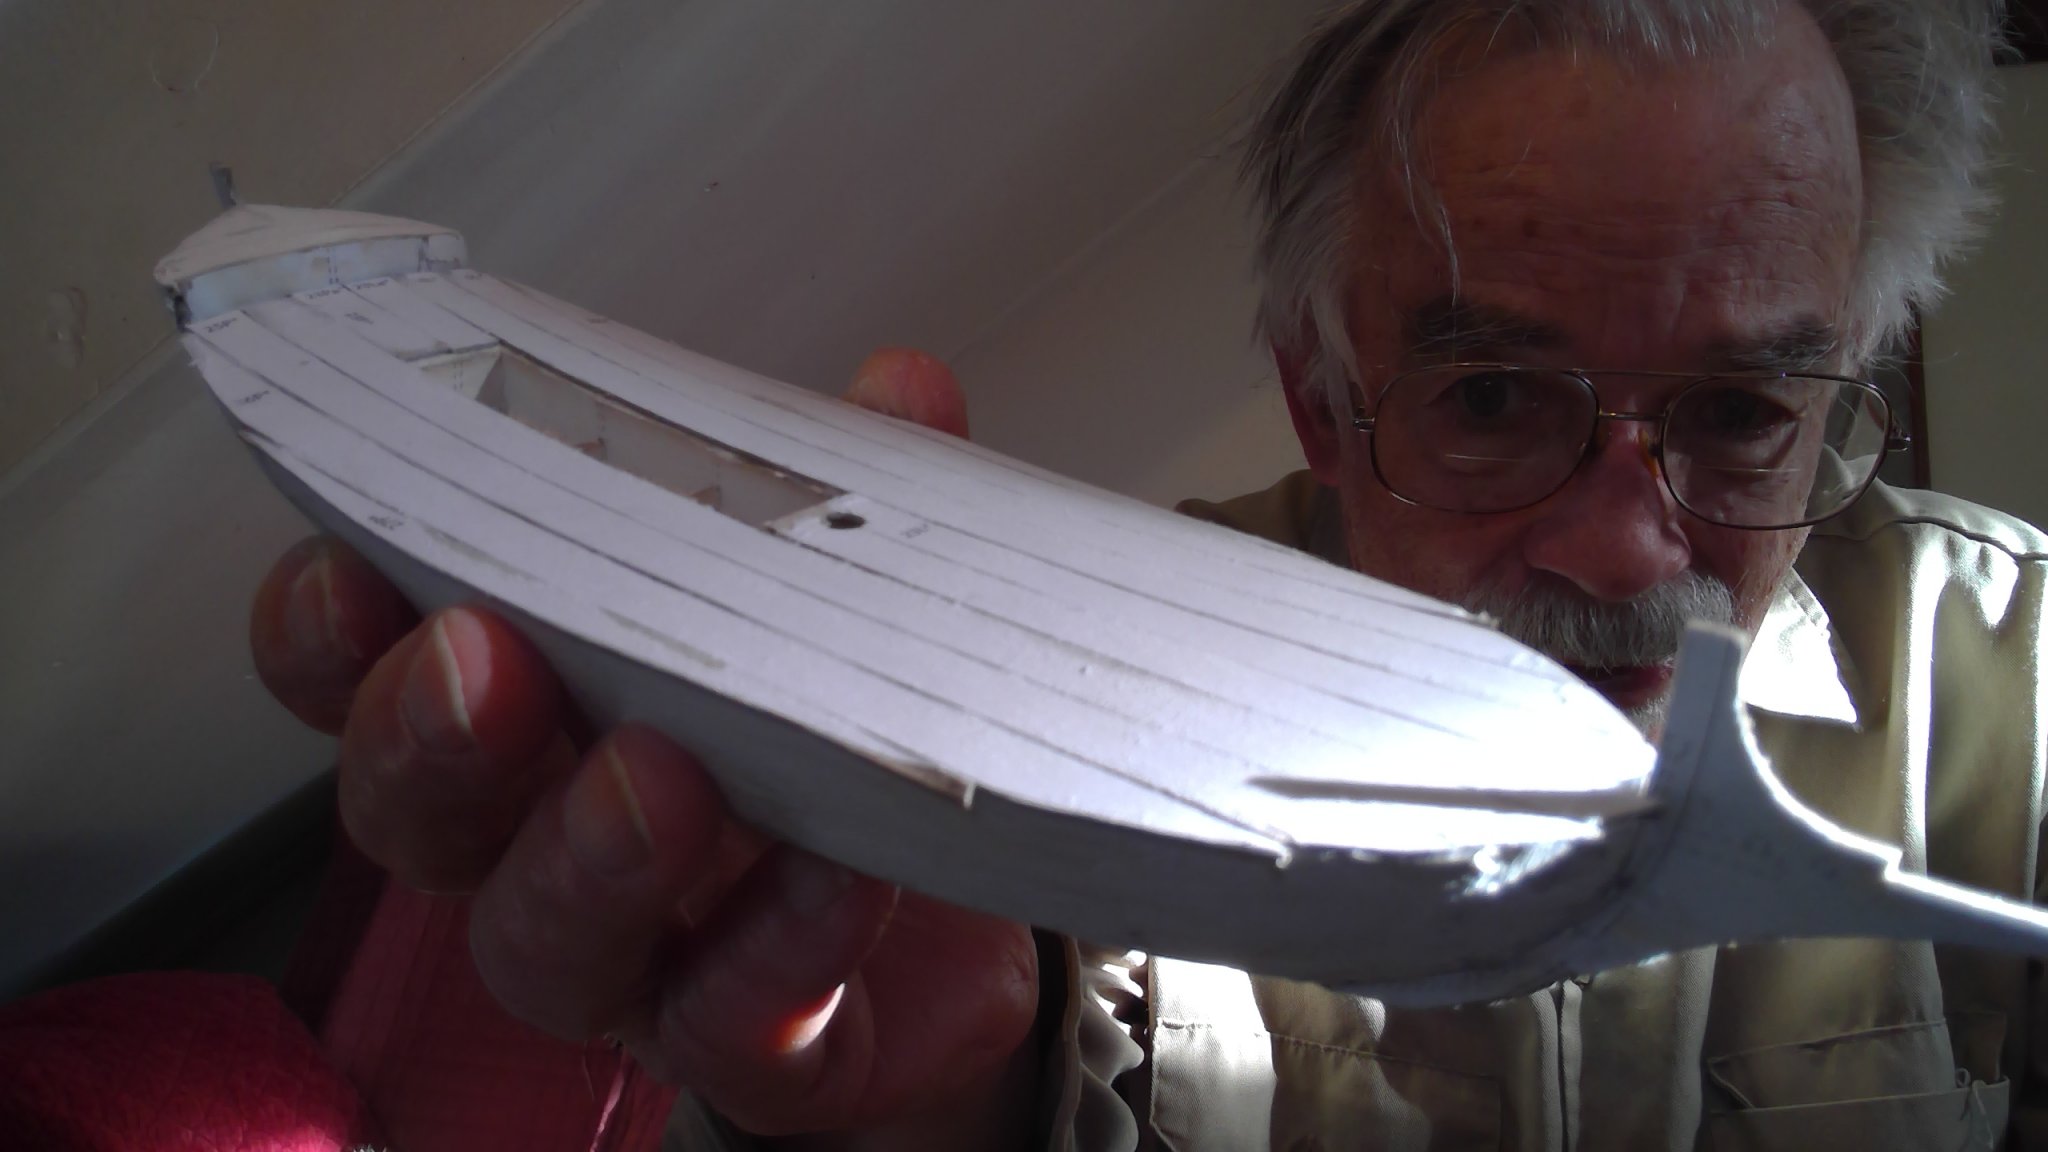
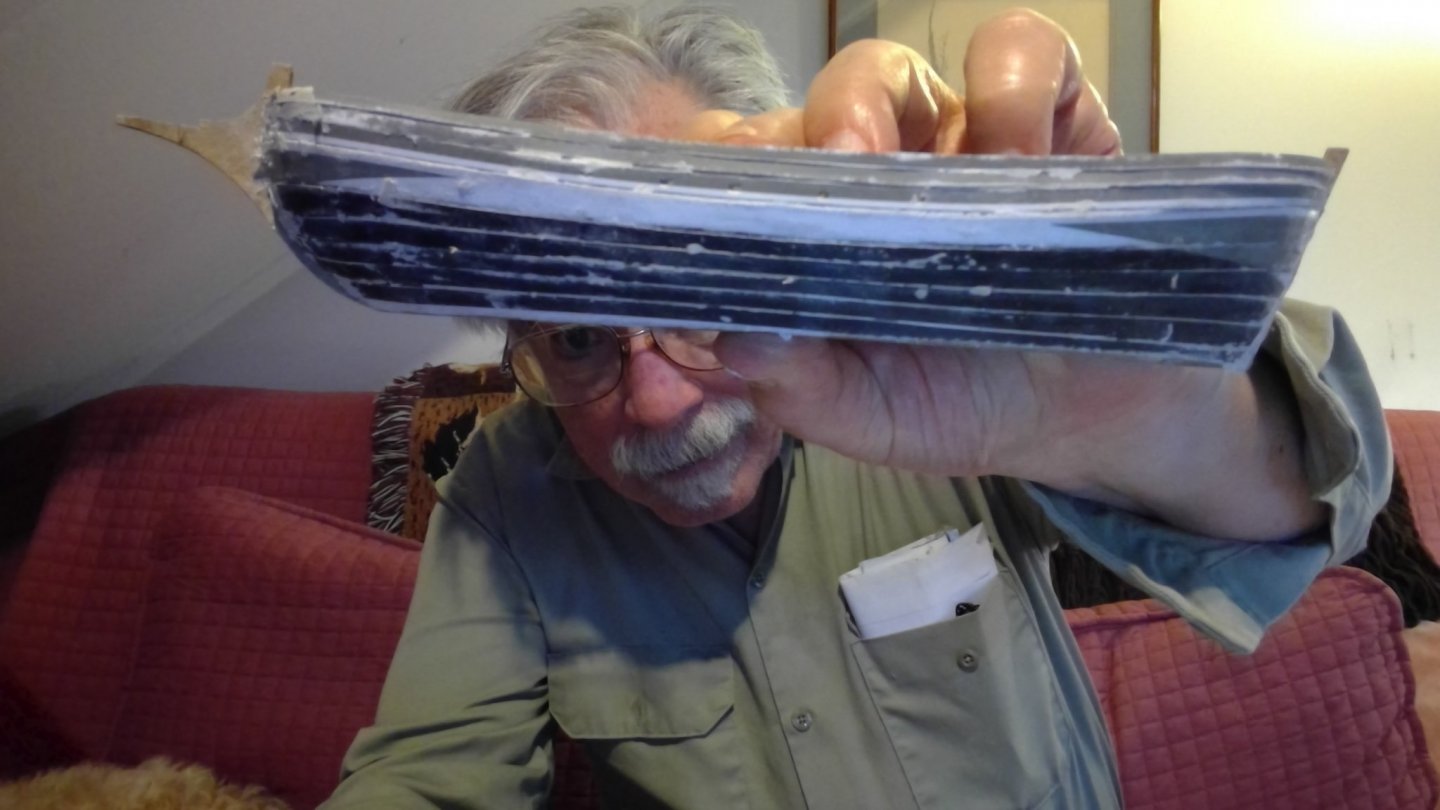
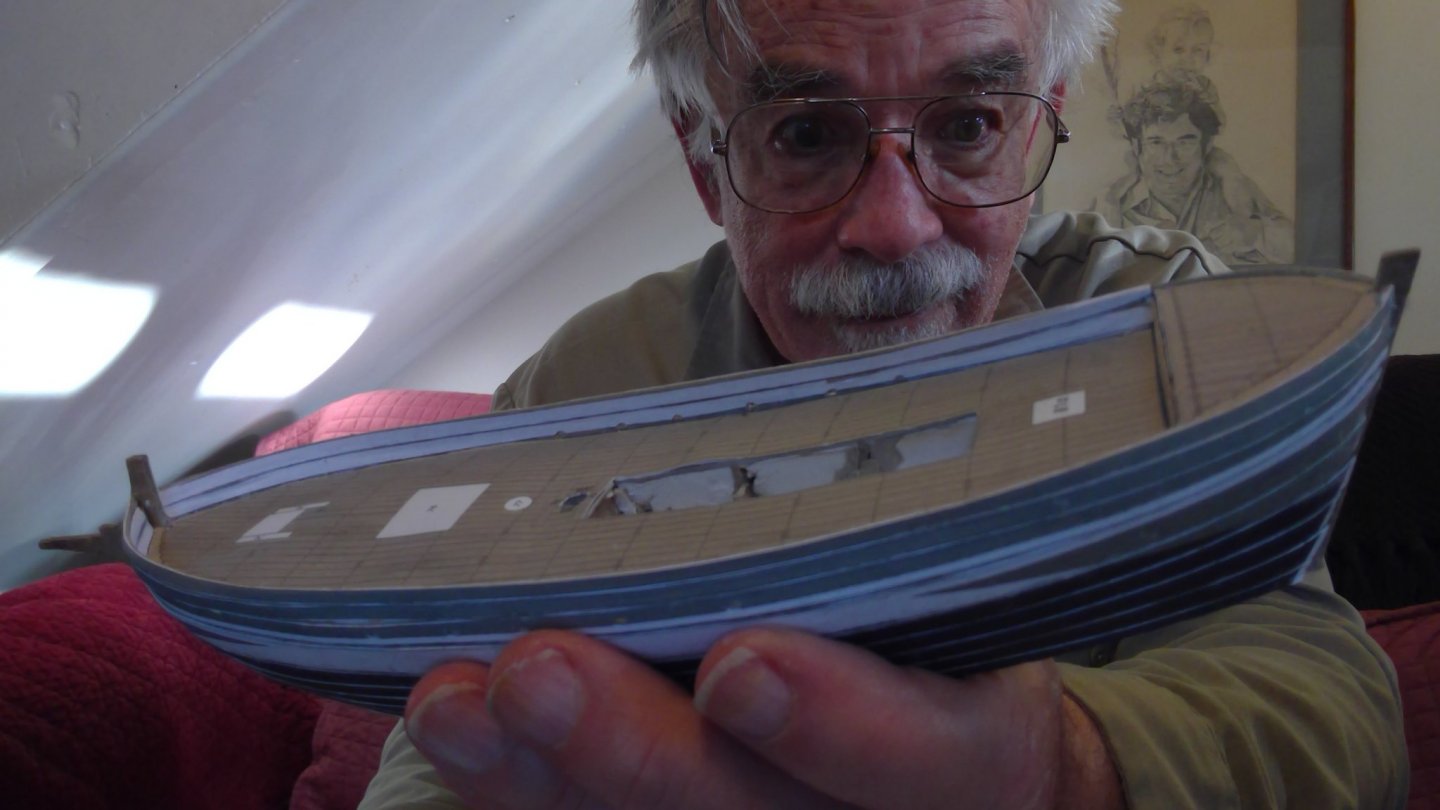
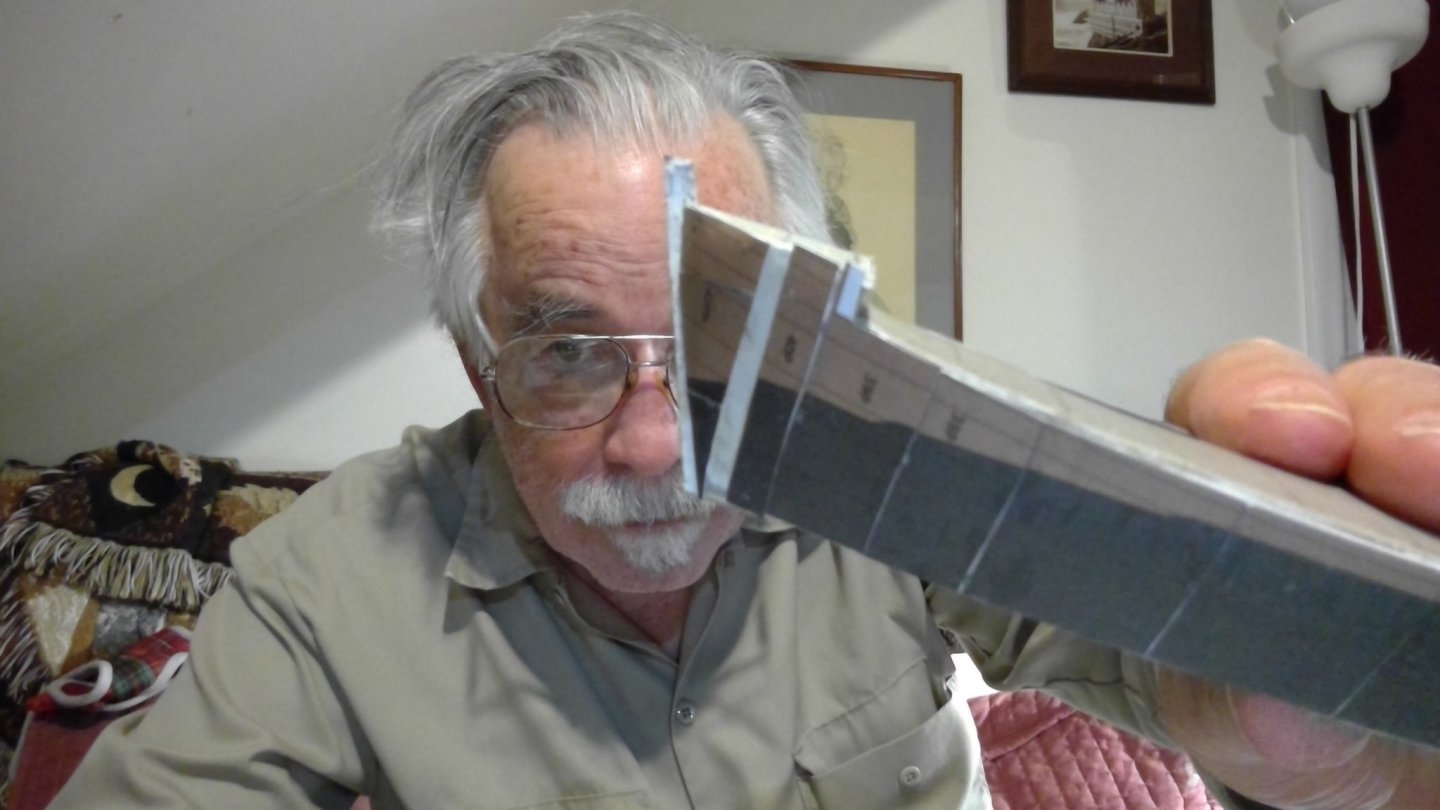
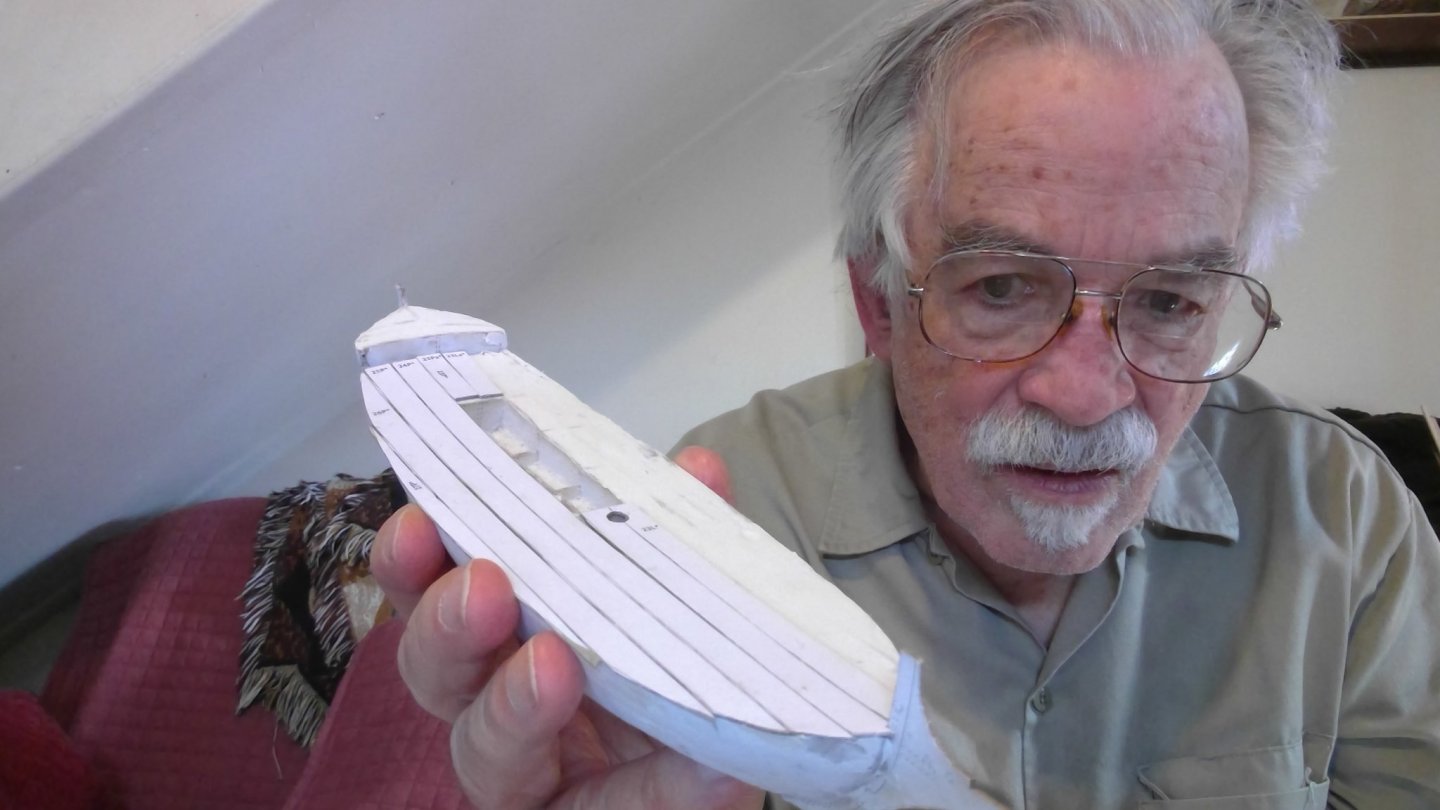
I was uncertain of how well the planks would fit... so i started with the plank that absolutely had to be in position... the one that has the holes for the scuppers. I then worked my way down the hull. I ended up leaving some extra on the bottom plank, as, as is usual, the spacing did not work out perfectly. I really made a lot of work for myself by not being more careful with the initial framing.... but hey, i like working on models.

- 54 replies
-
- 5
-
-
- allege darles
- wak
- (and 1 more)
-
thanks, beautiful model
-
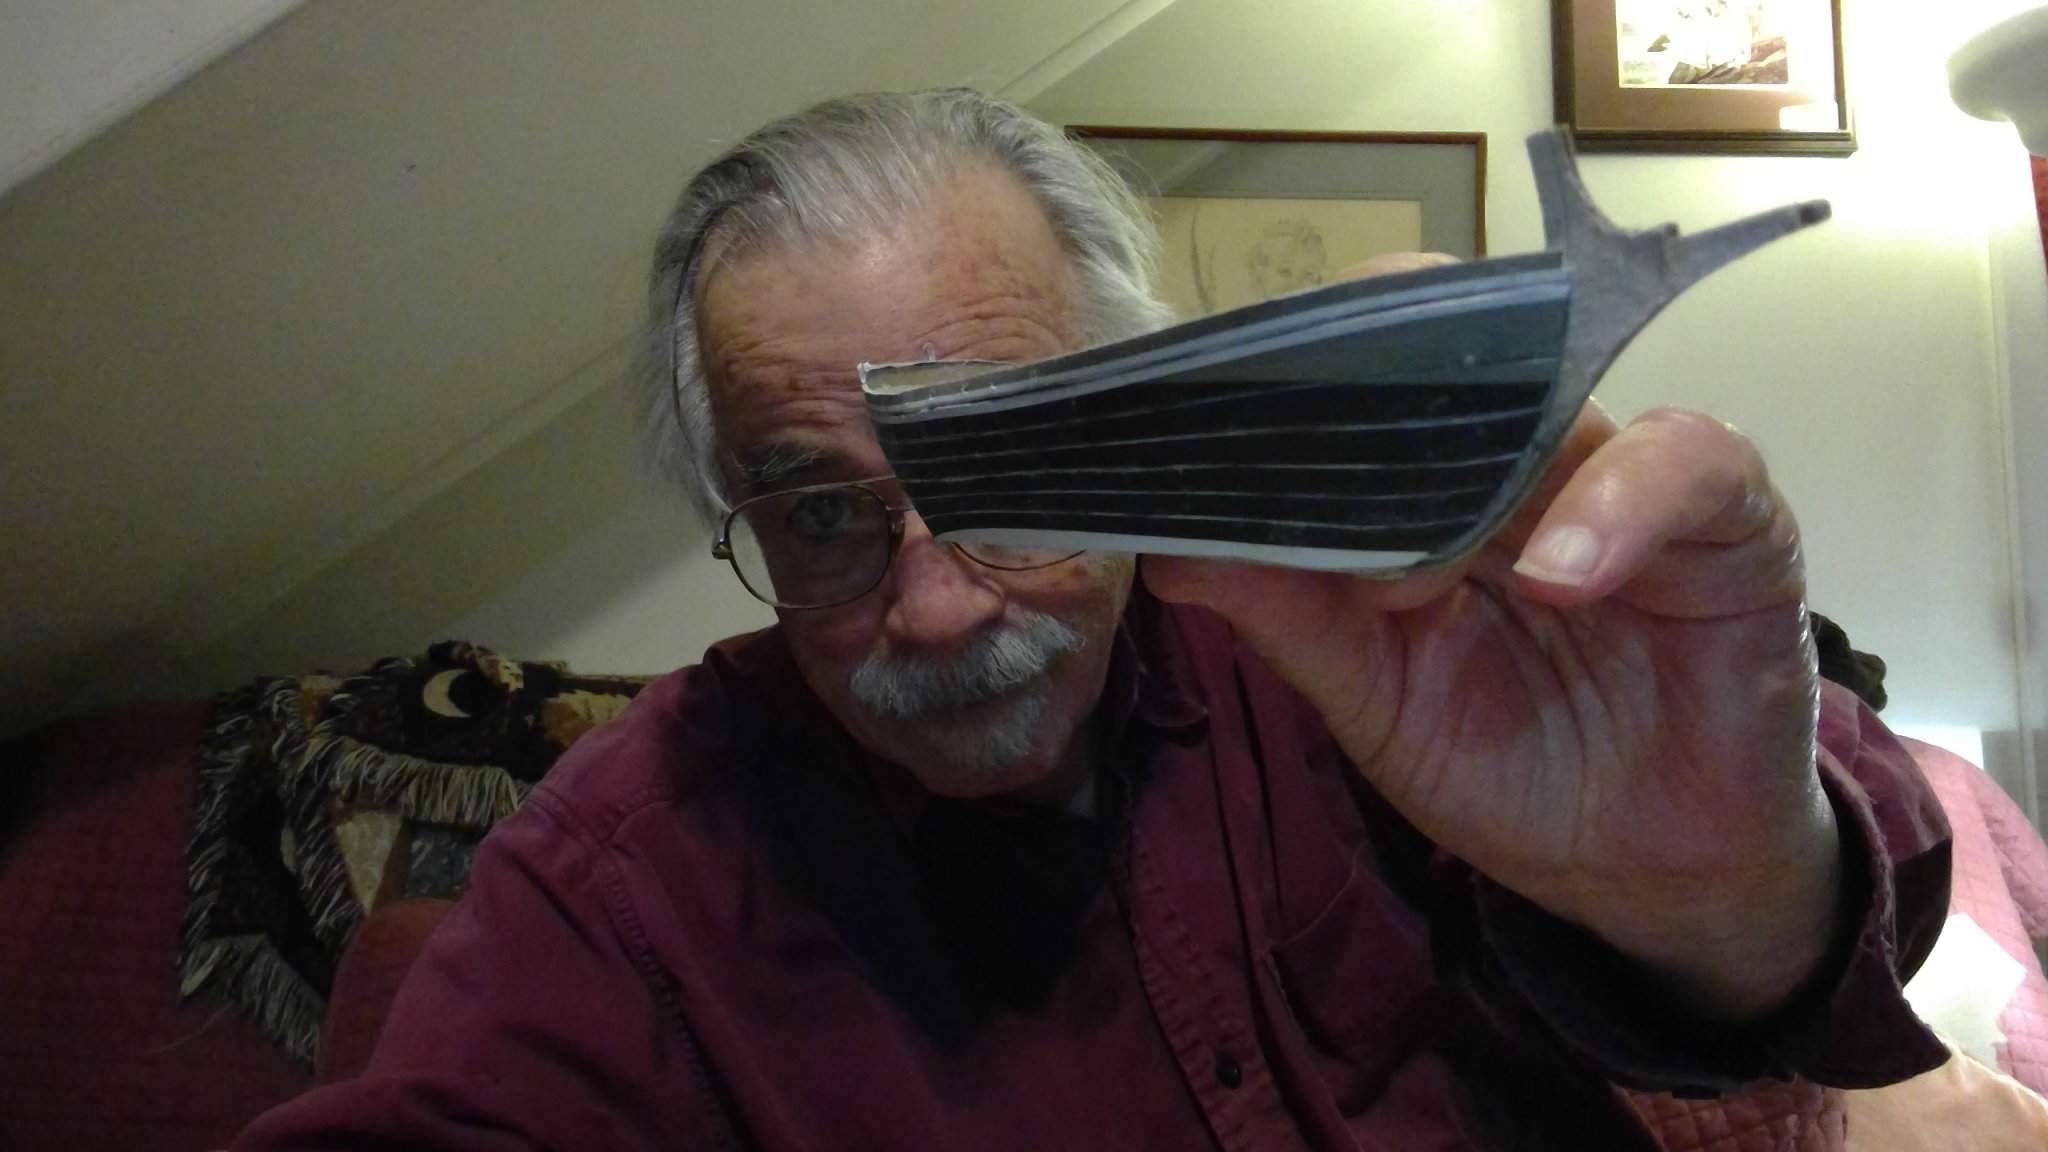
I always get a little "creep" when i'm gluing this many parts end to end.... so i put the last section in first... then glue on the last piece between that section and the other sections.... then i mark the edge with a sharp knife and peel the section off... then i can trim the excess....and glue the section back on... where it magically "fits" got to sand the underlayer.... got to sand EVERYTHING...and even the slightest irregularity seems to be magnifed in the next layer of planking i have the same problems with wooden models...which is why i prefer the "dutch" method, where you erect the plank shell of the ship first...and then cut and fill the frames into it


- 54 replies
-
- 2
-
-
- allege darles
- wak
- (and 1 more)
-
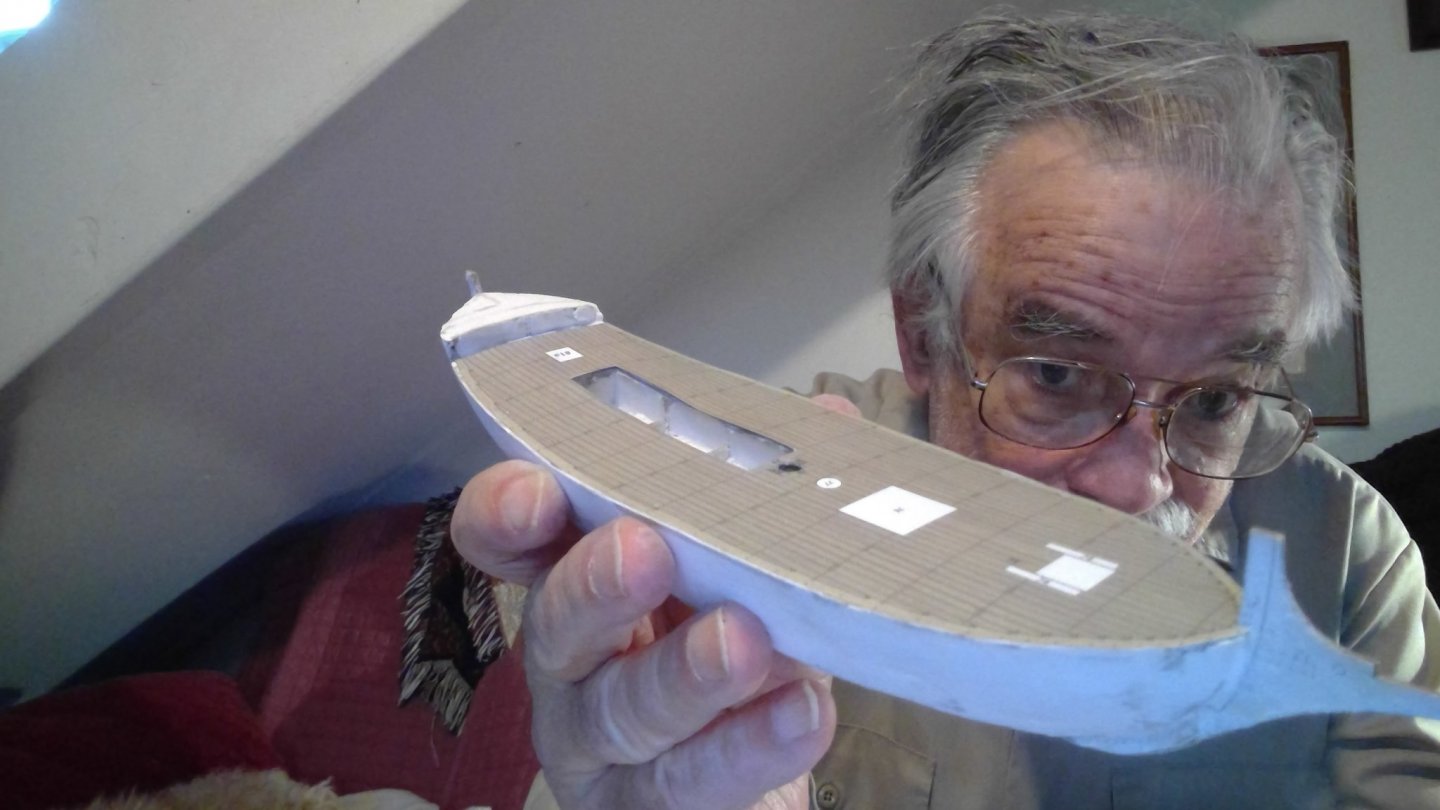
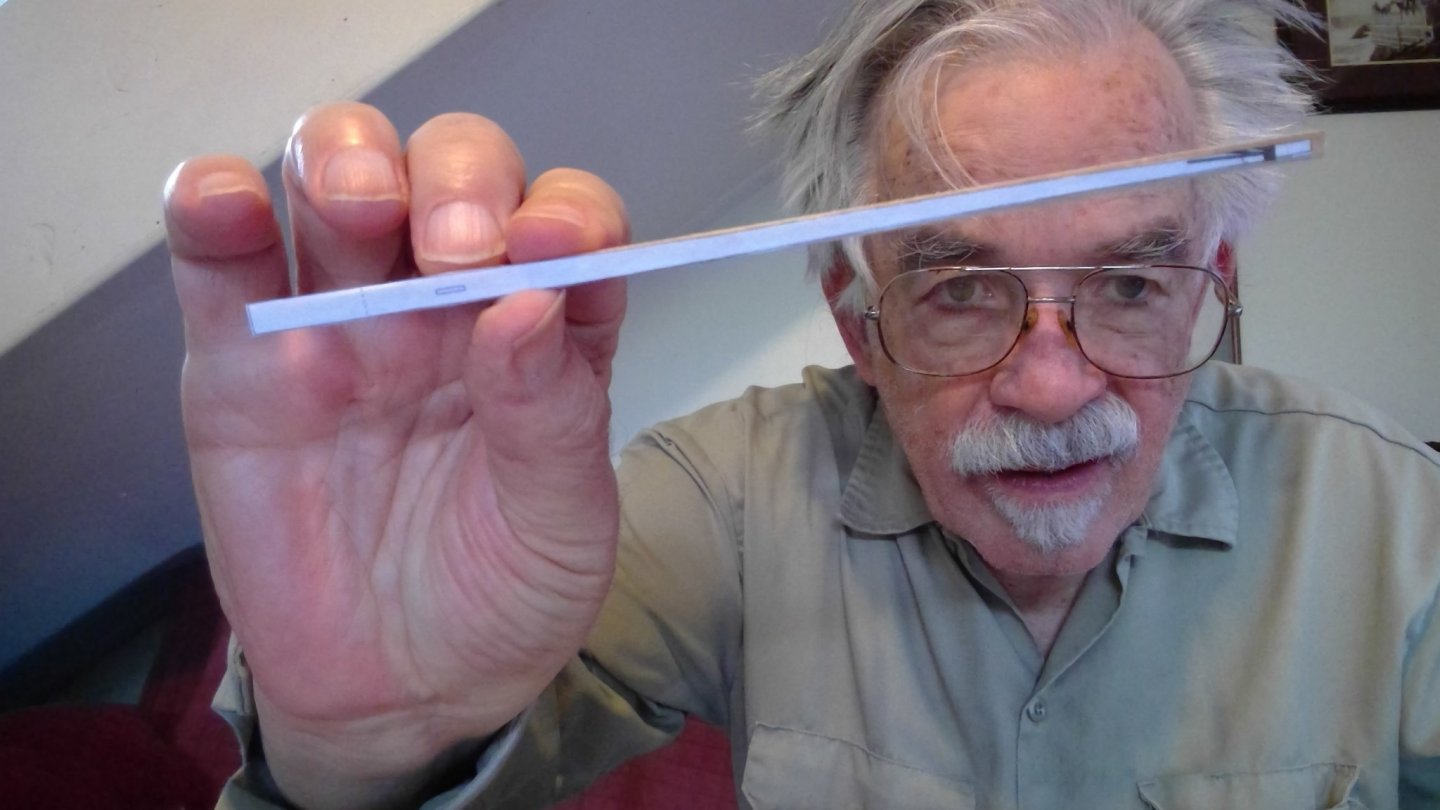
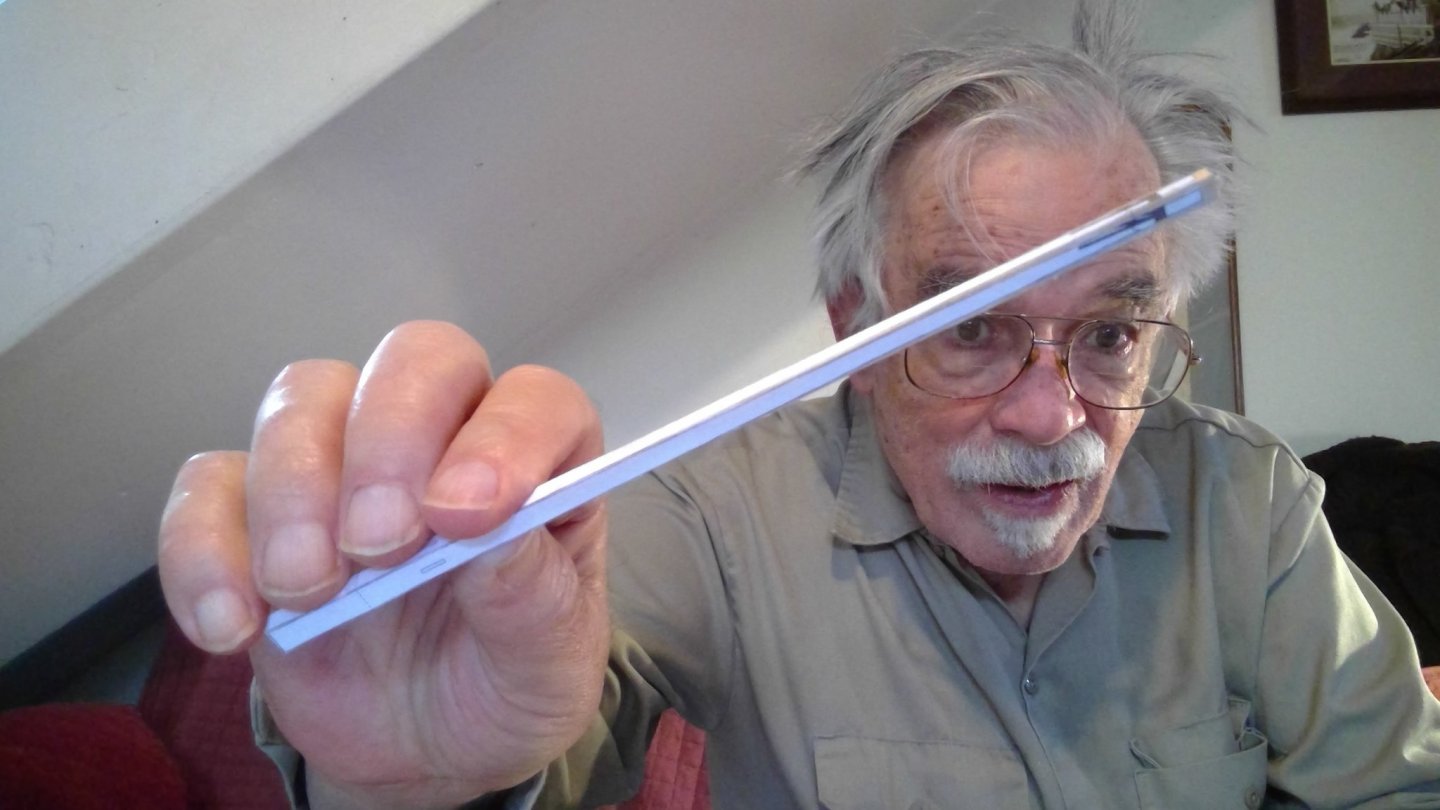
not a perfect fix, but the deck has more camber now, and lines up more or less where it should... will still have to fiddle a little when i put the planks on the sides


- 54 replies
-
- 3
-
-
- allege darles
- wak
- (and 1 more)
-
do you have a link to your build log ?
-
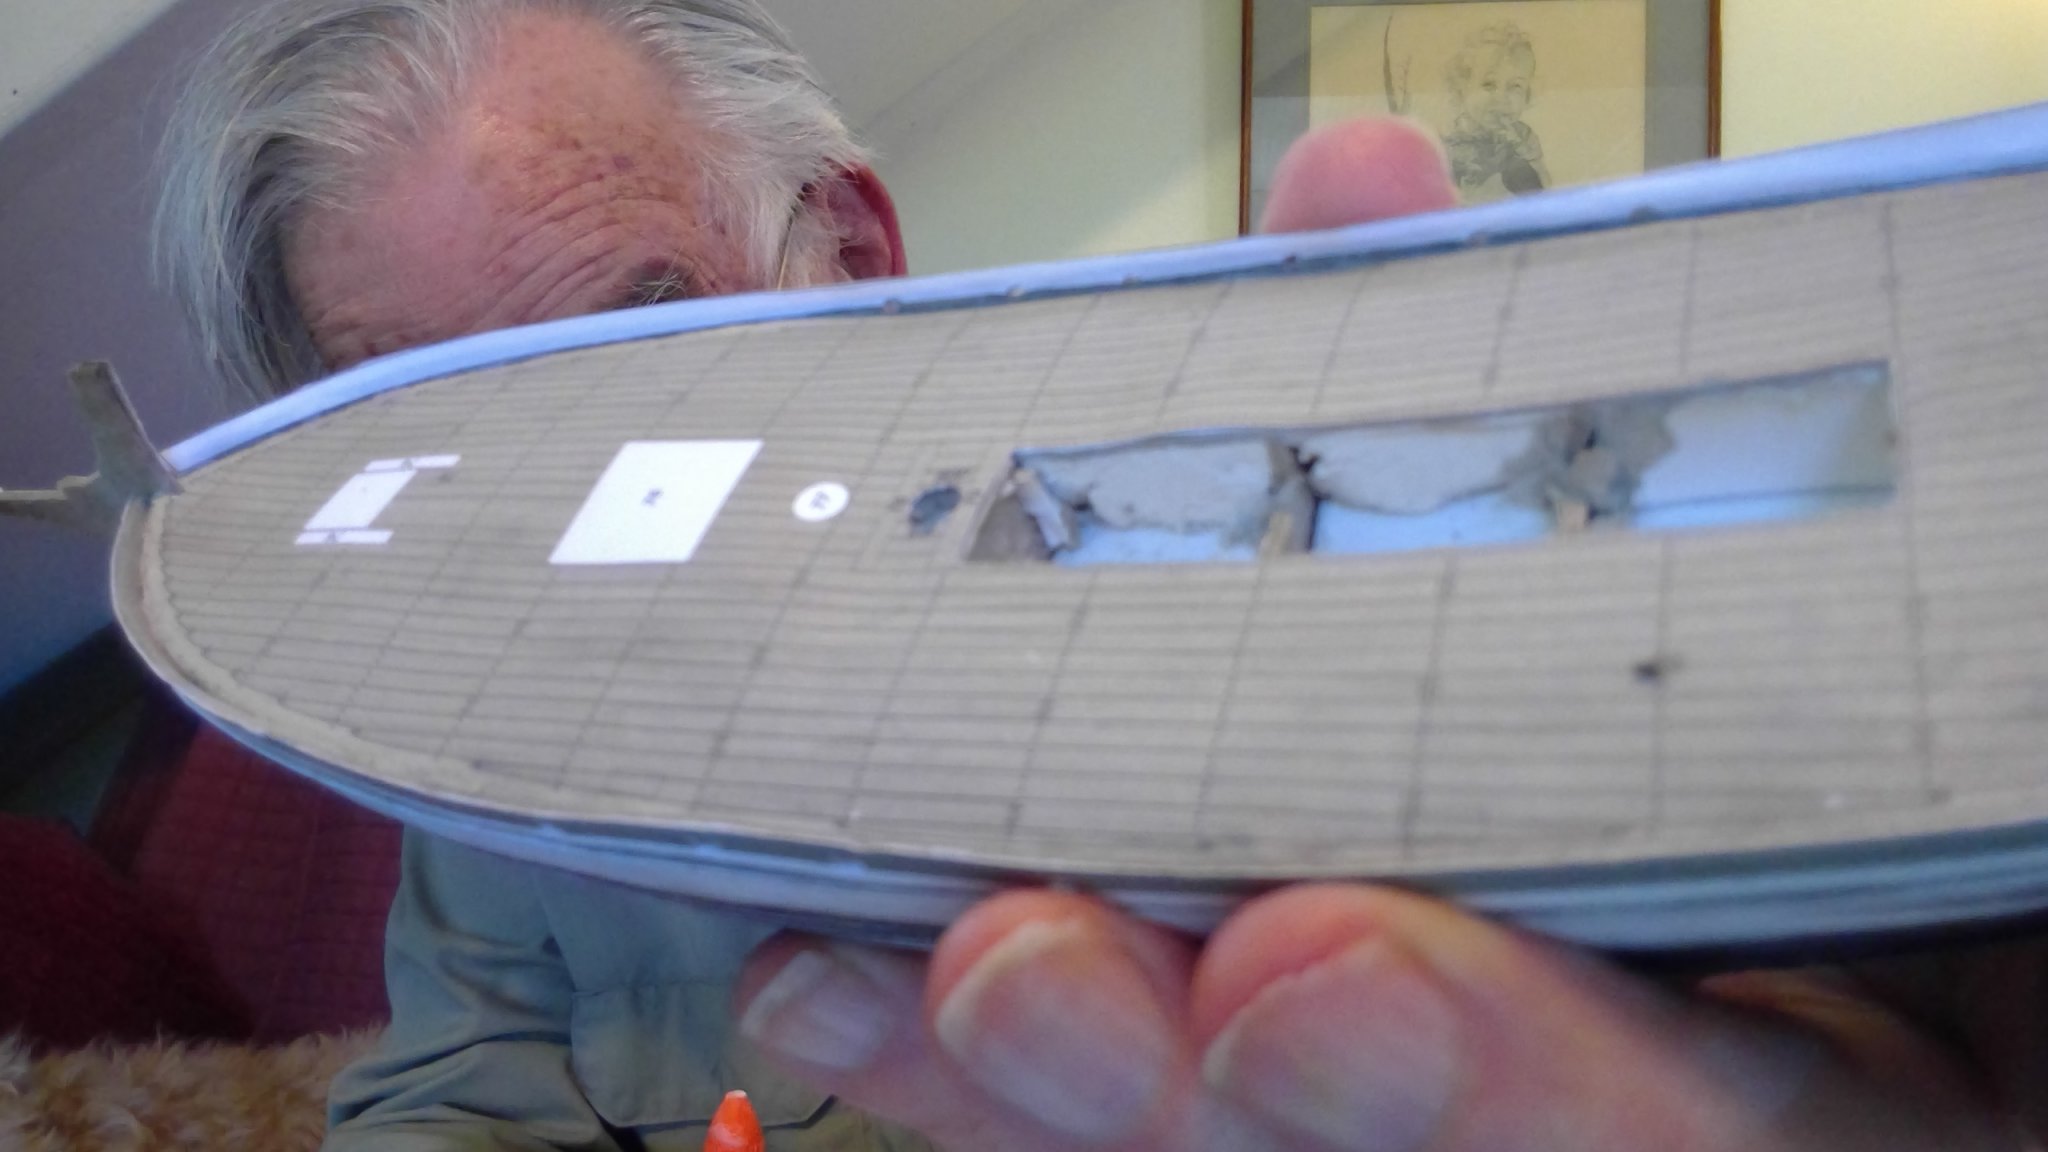
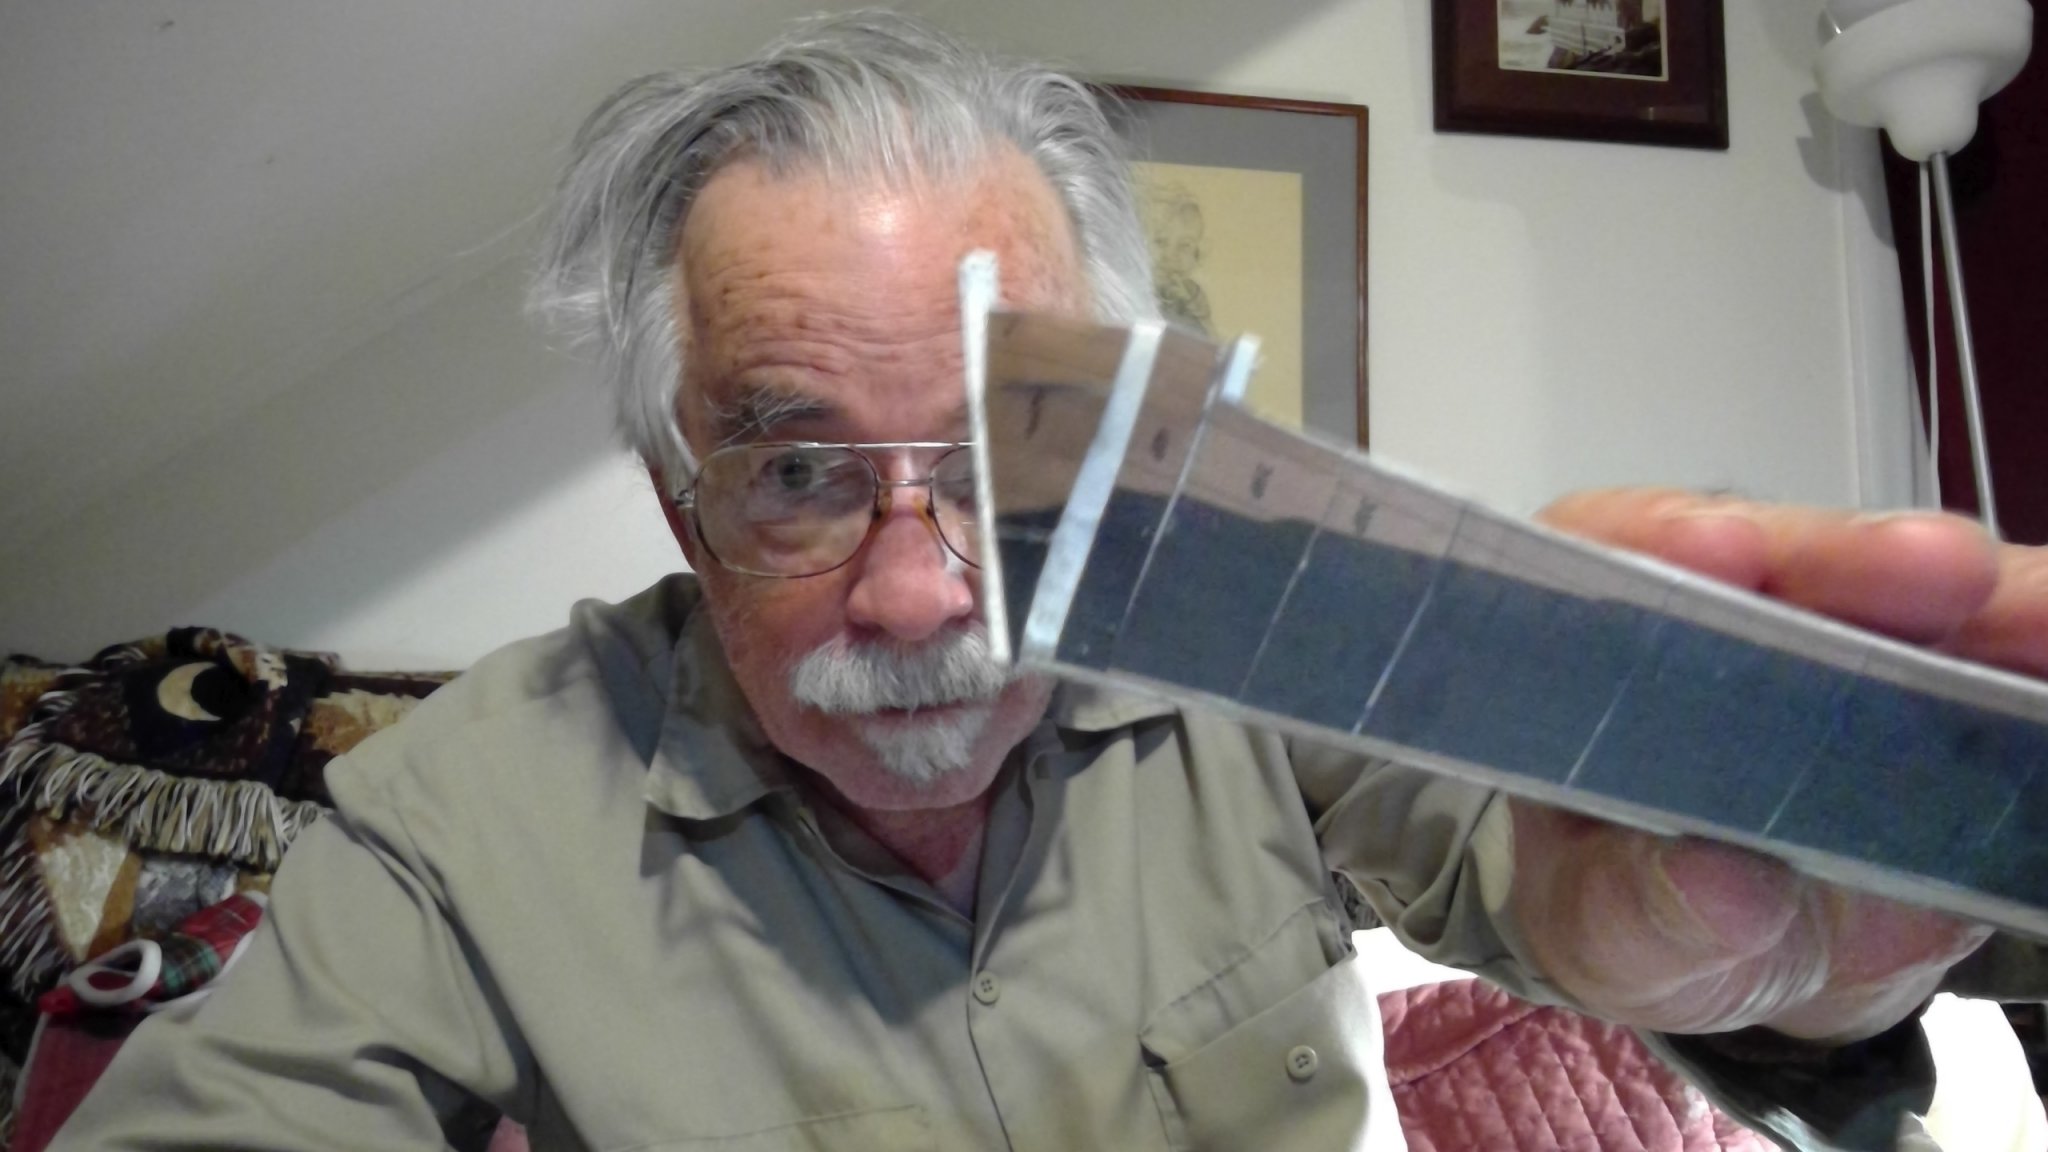
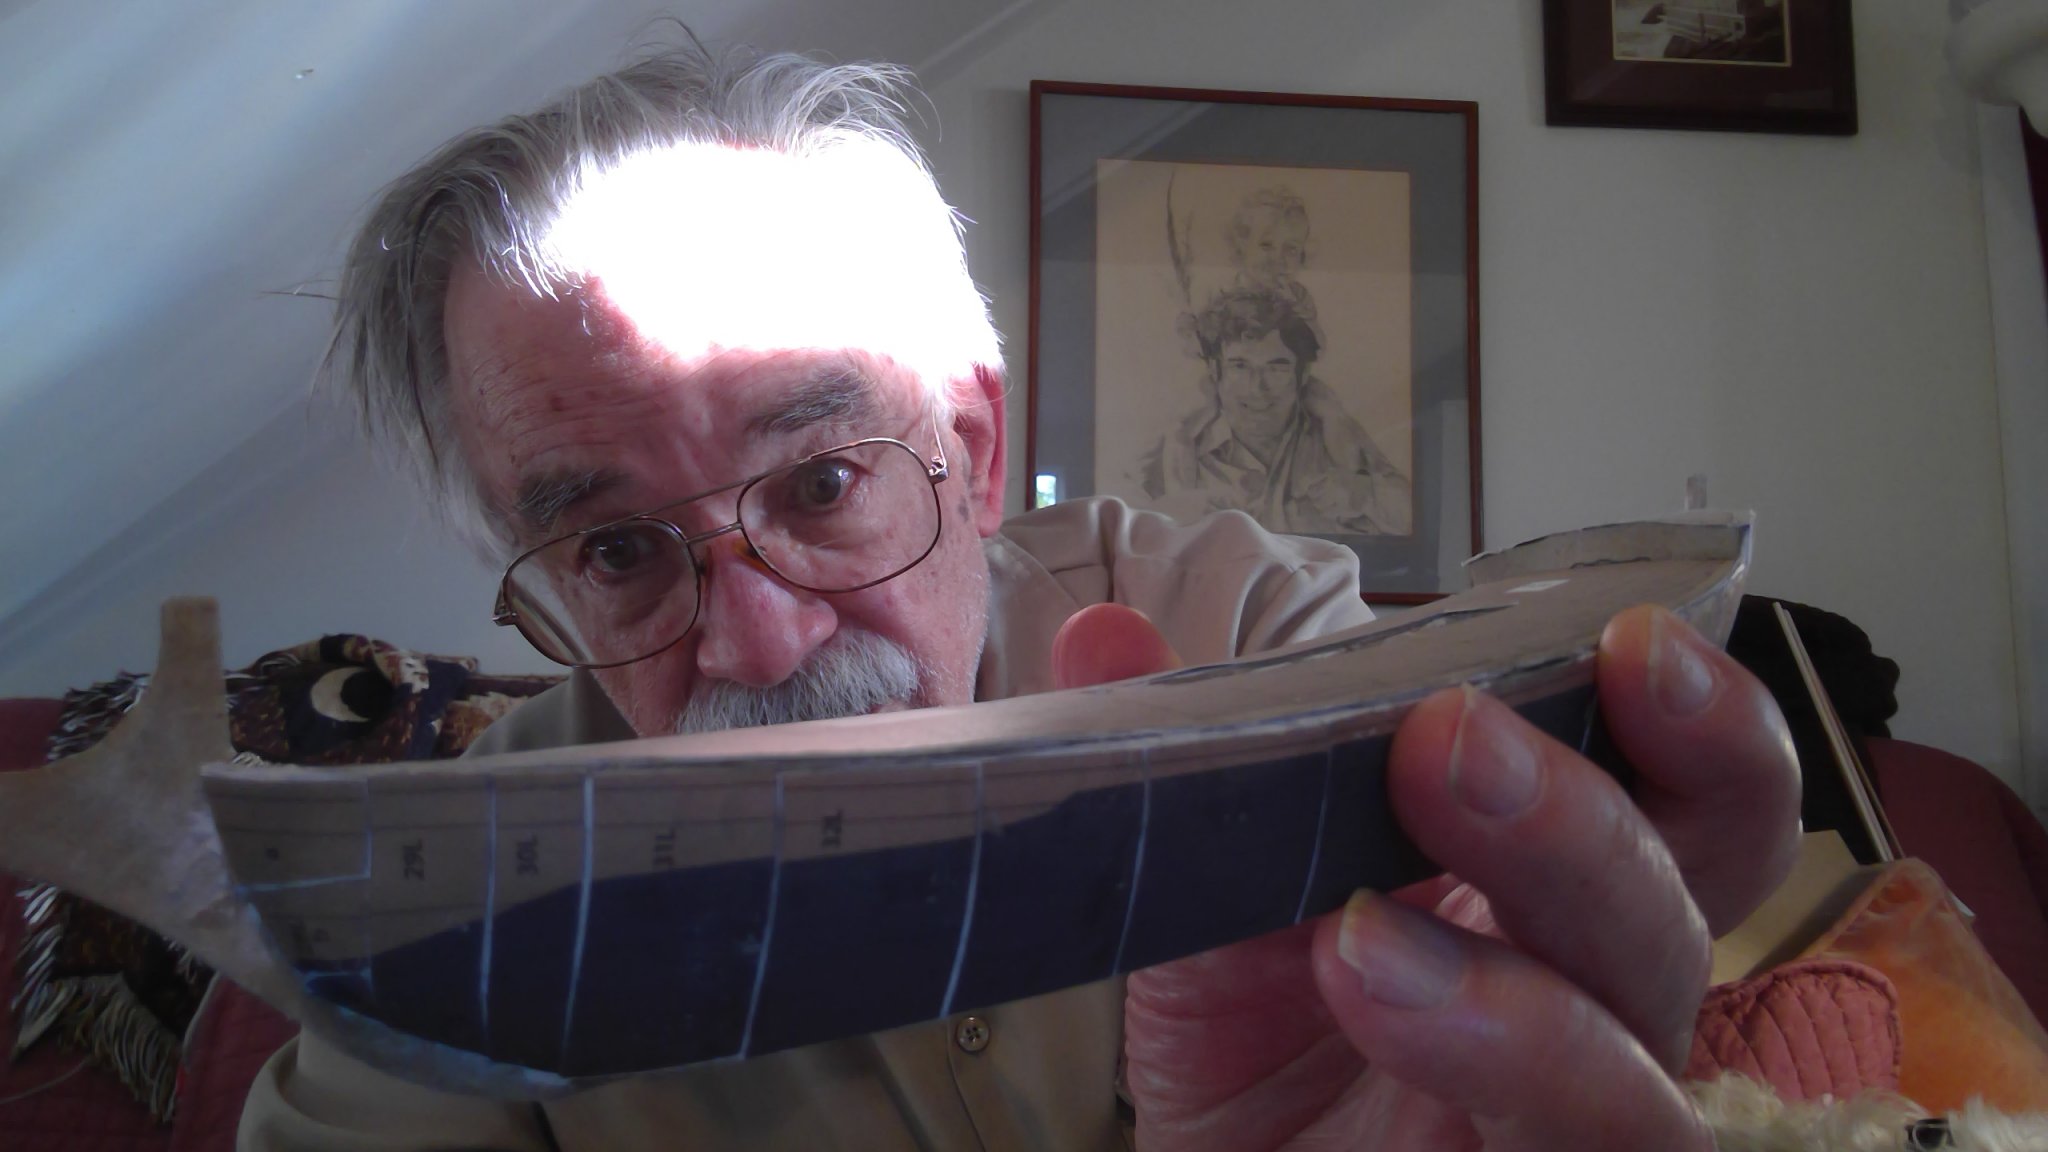
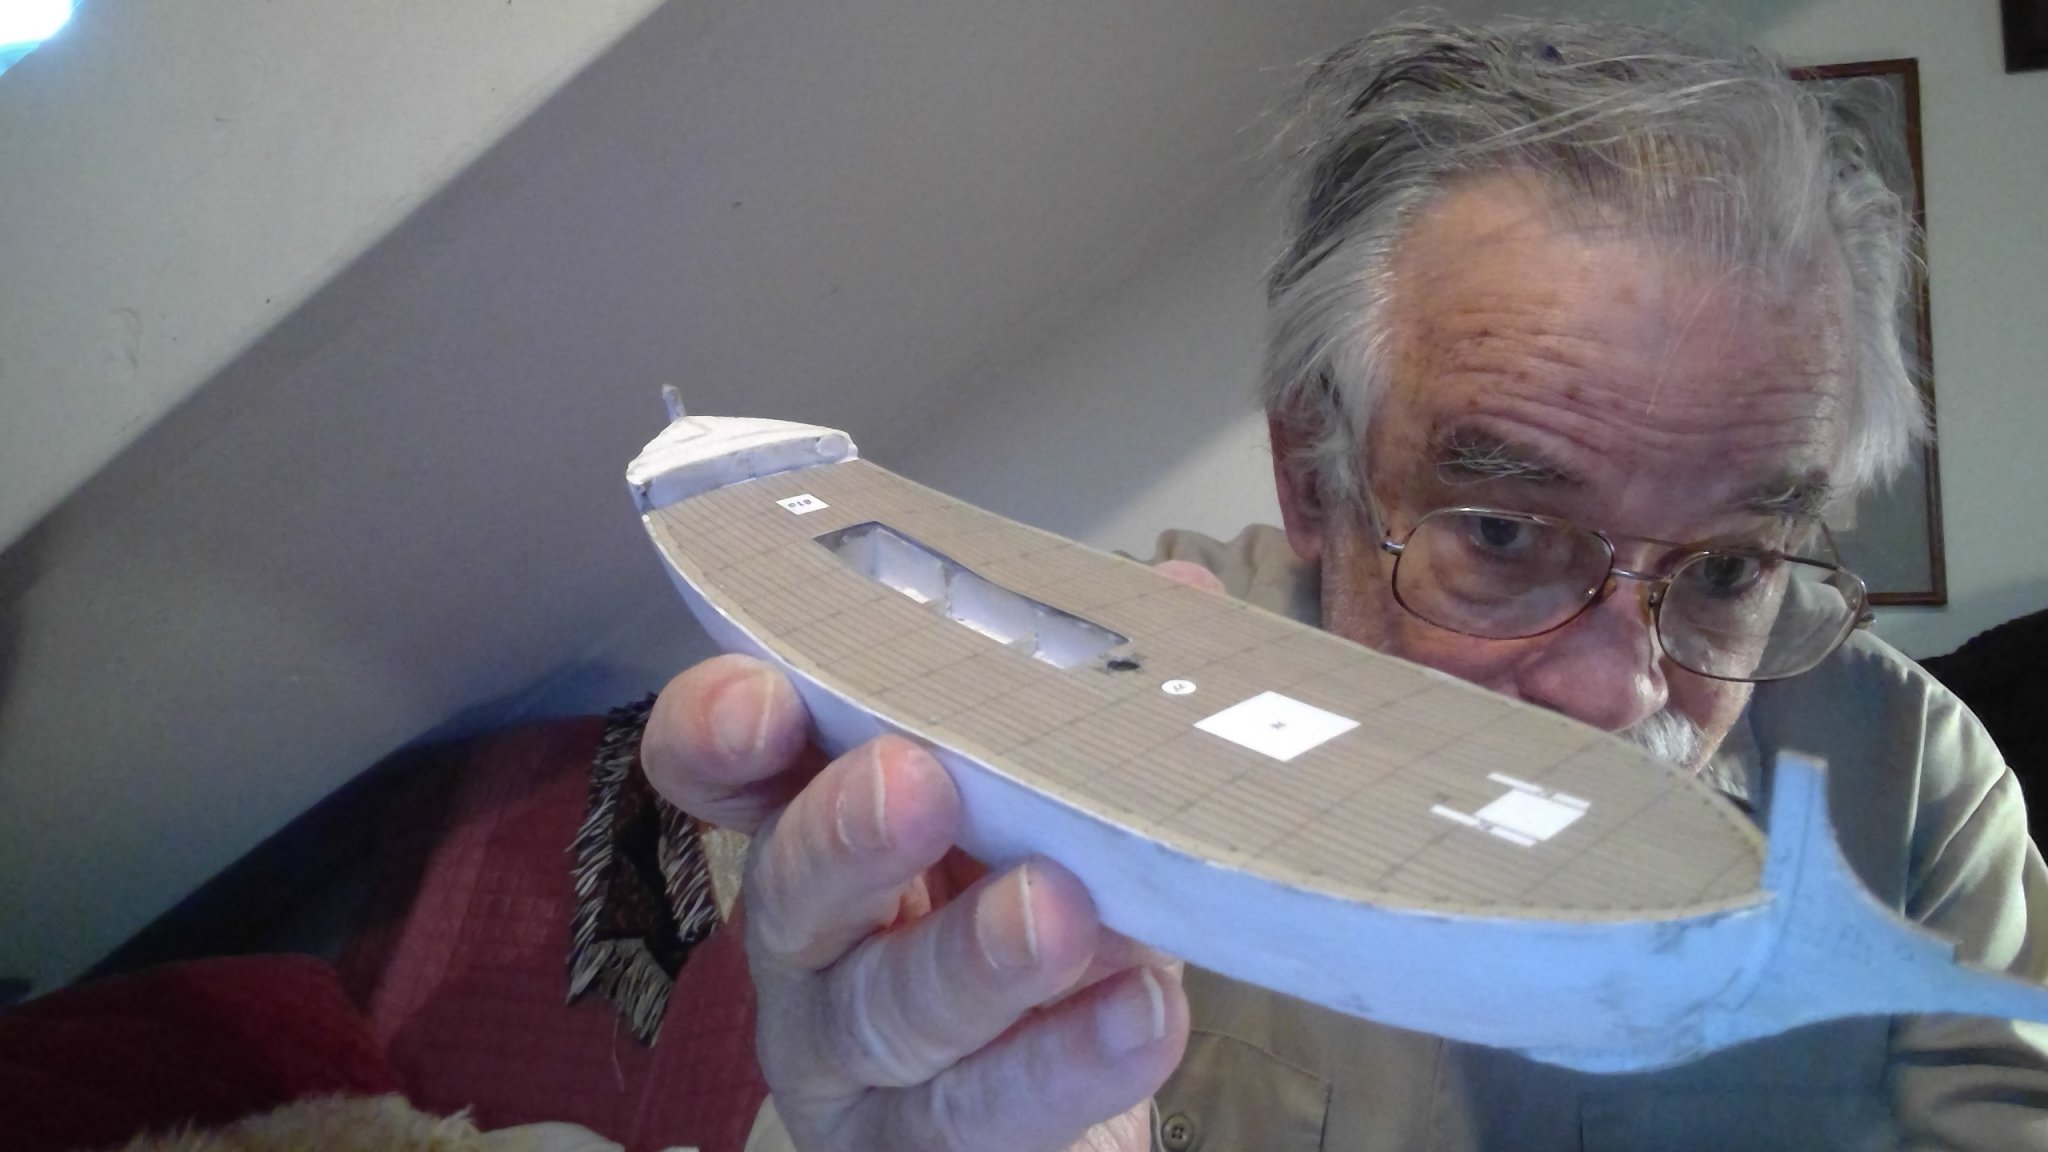
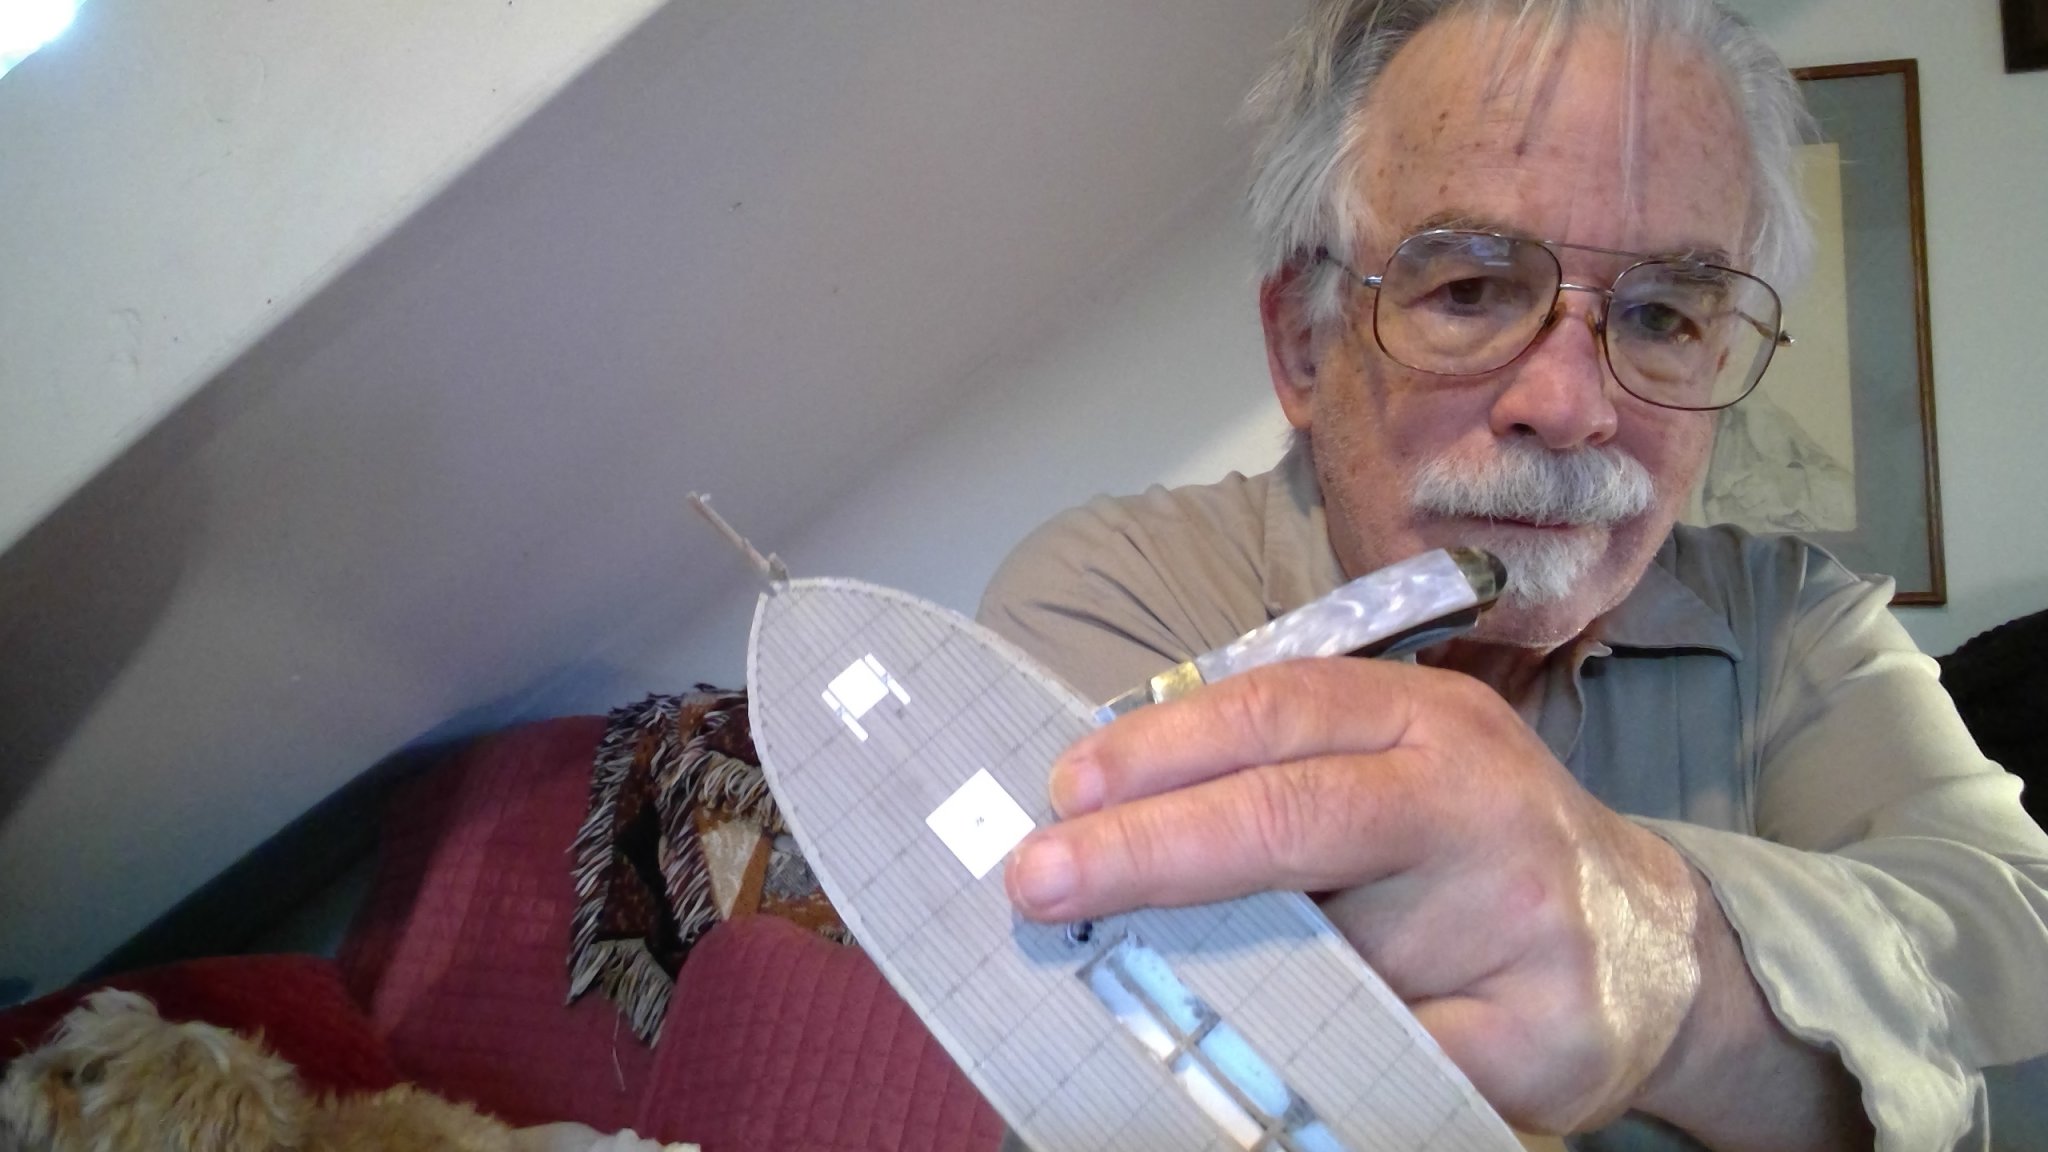
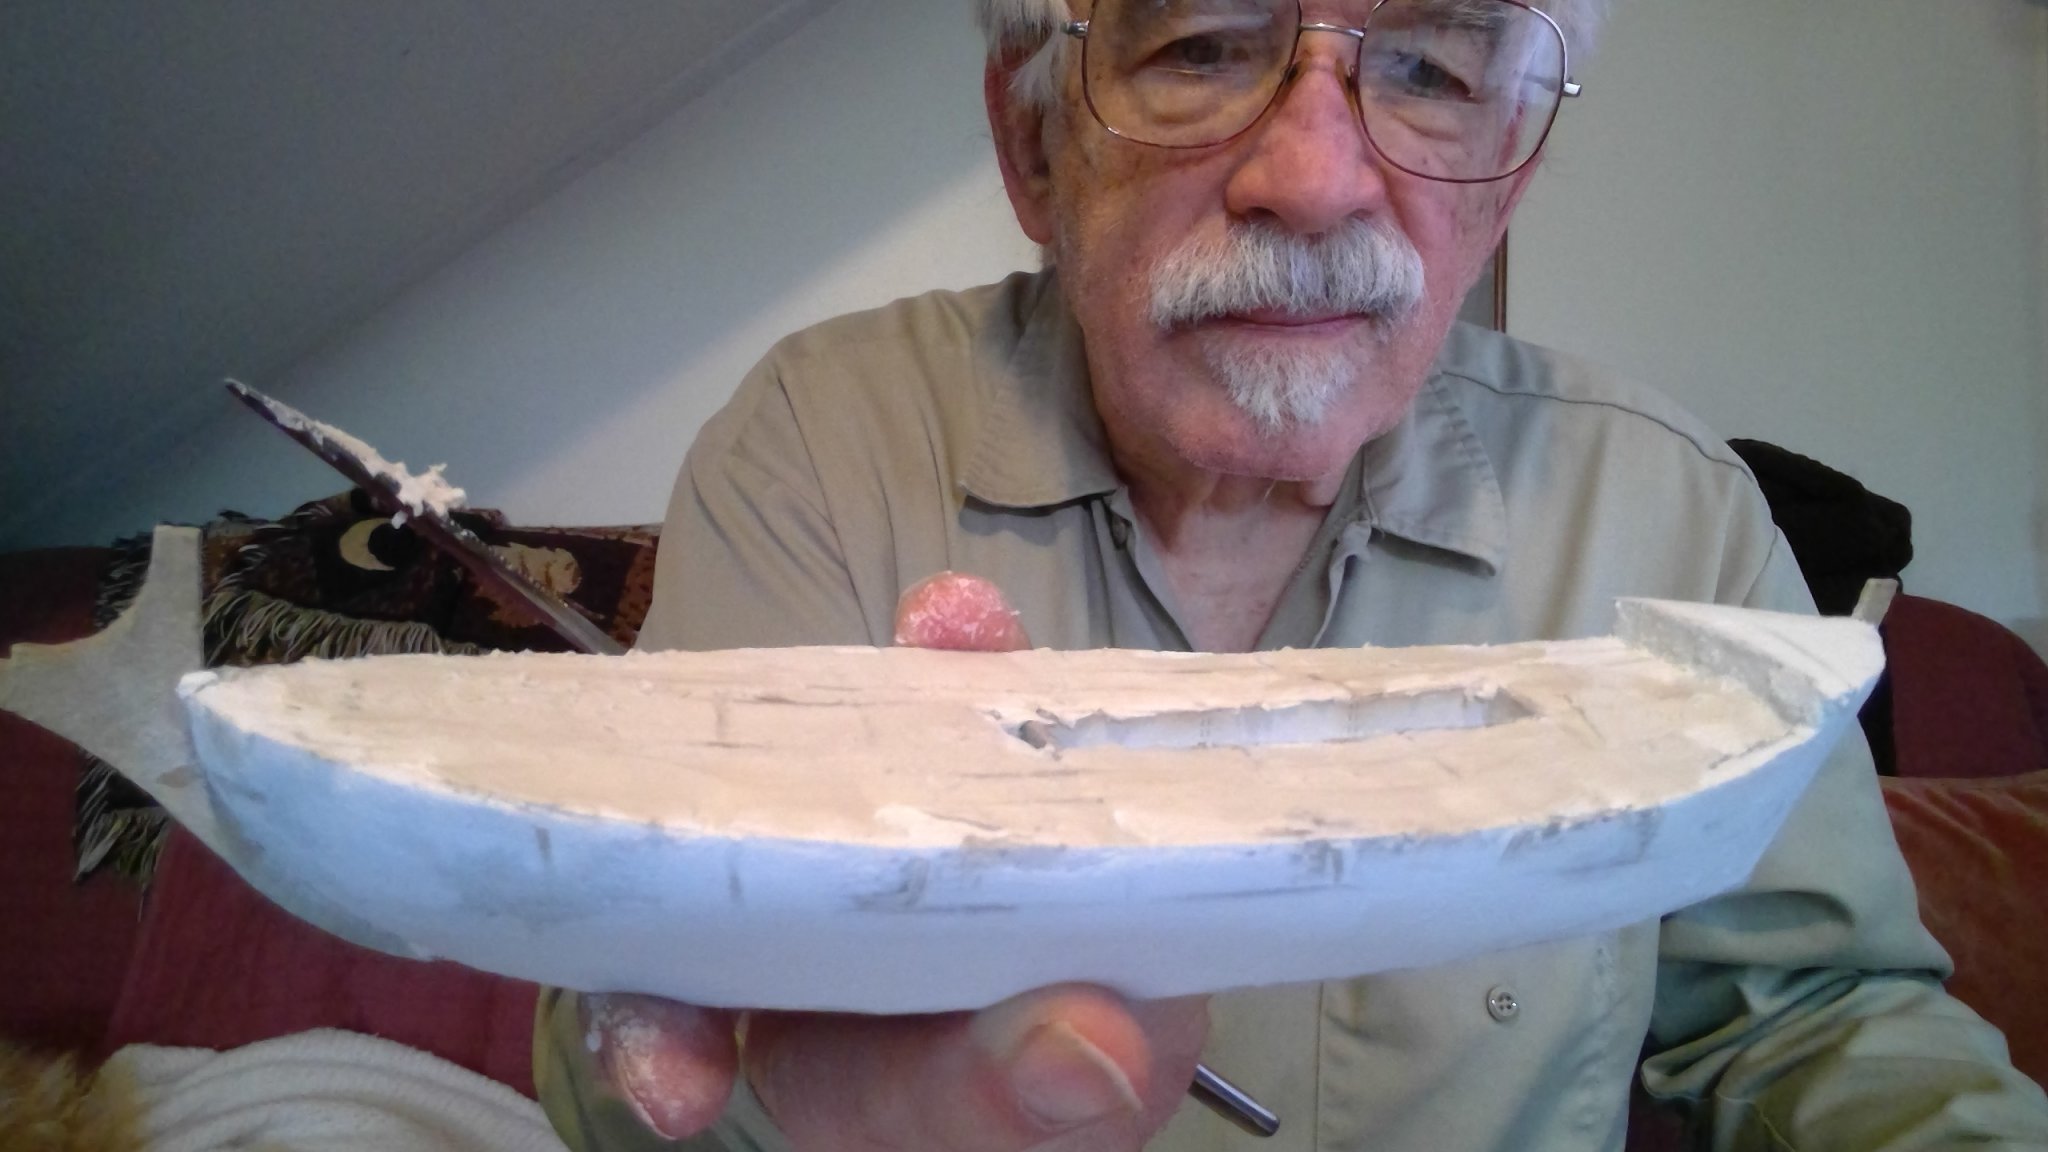
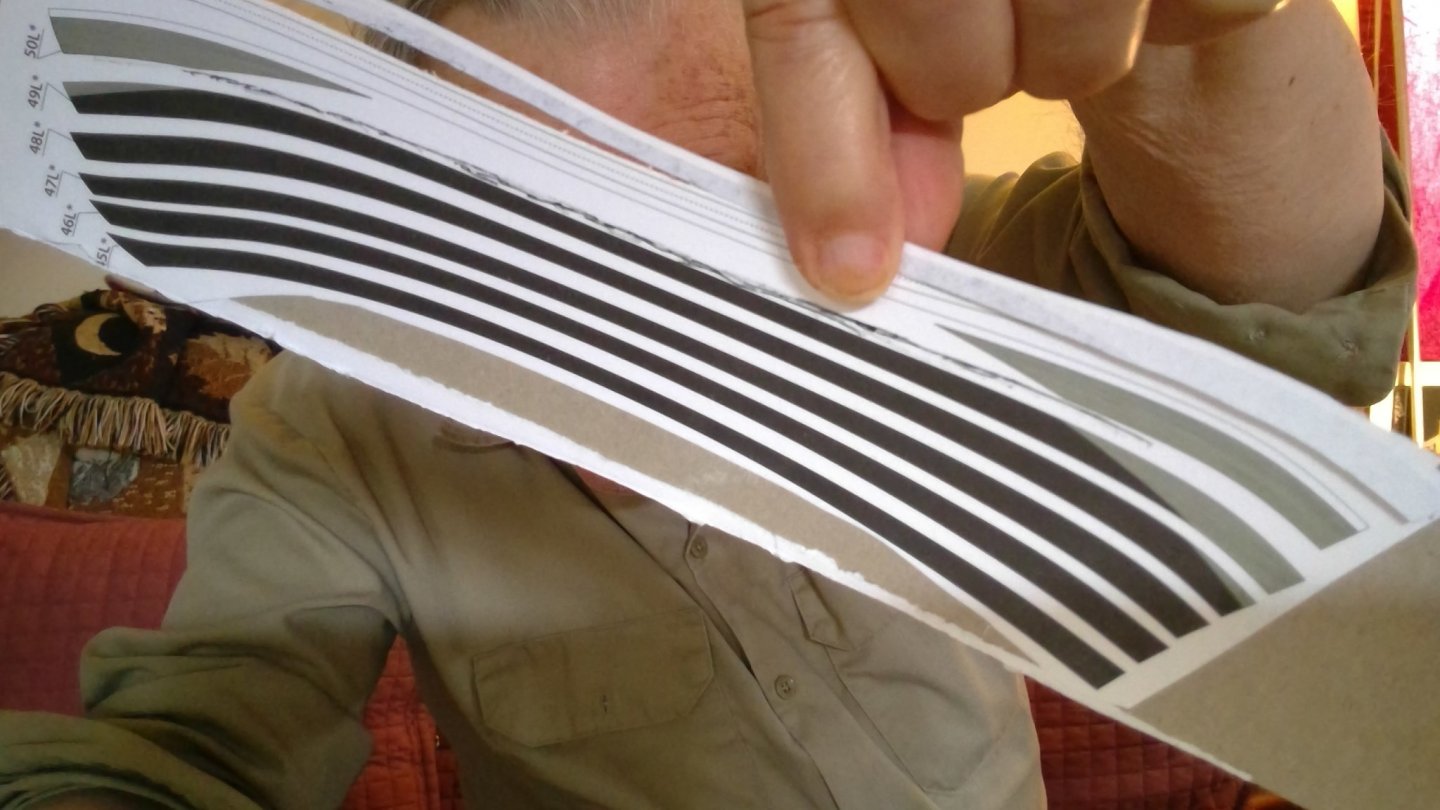
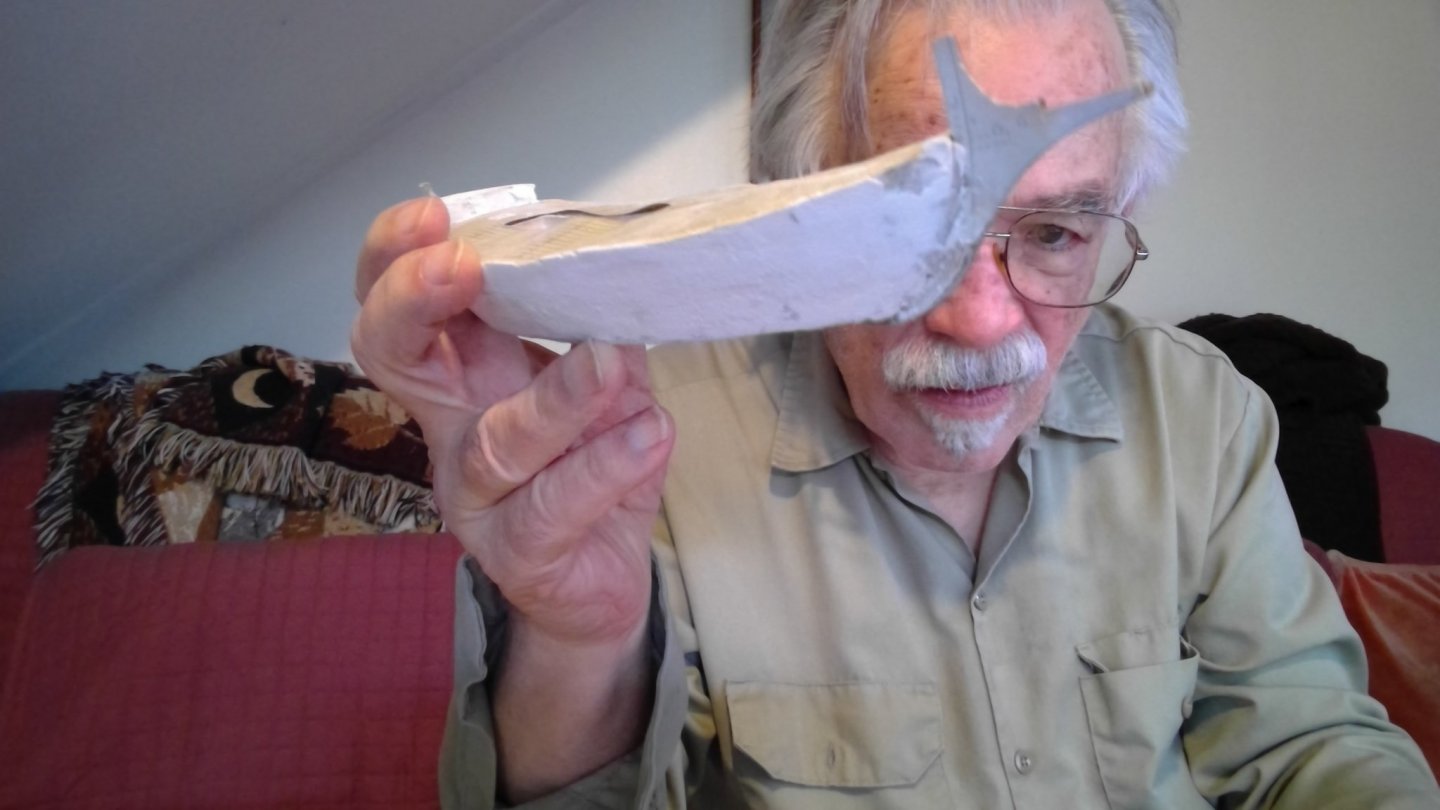
and now for one of those on noooooo moments I did some fiddly adjust and took the big step of gluing on the "real" deck. fortunately i carefully only put the glue around the edges. Then i started putting on the first layer of the pieces around the hull sides. These are an underlayer, inteded to help you smooth out the hull, and to provide location lines for gluing on the outer layer of planks. but when I got the first side on i discovered that the center of the deck was built up quite a bit beyond where it should be... so i pondered my options... i could try to "cheat" the outer layer of hull planks to make up the gap, but, as we will see the outer layer of planking is complex. so i got out the old exacto knife and carefully cut the deck off the top of the hull. which was a little hair raising, but worked in the end paper is a wonderfully forgiving medium


- 54 replies
-
- 5
-
-
- allege darles
- wak
- (and 1 more)
-
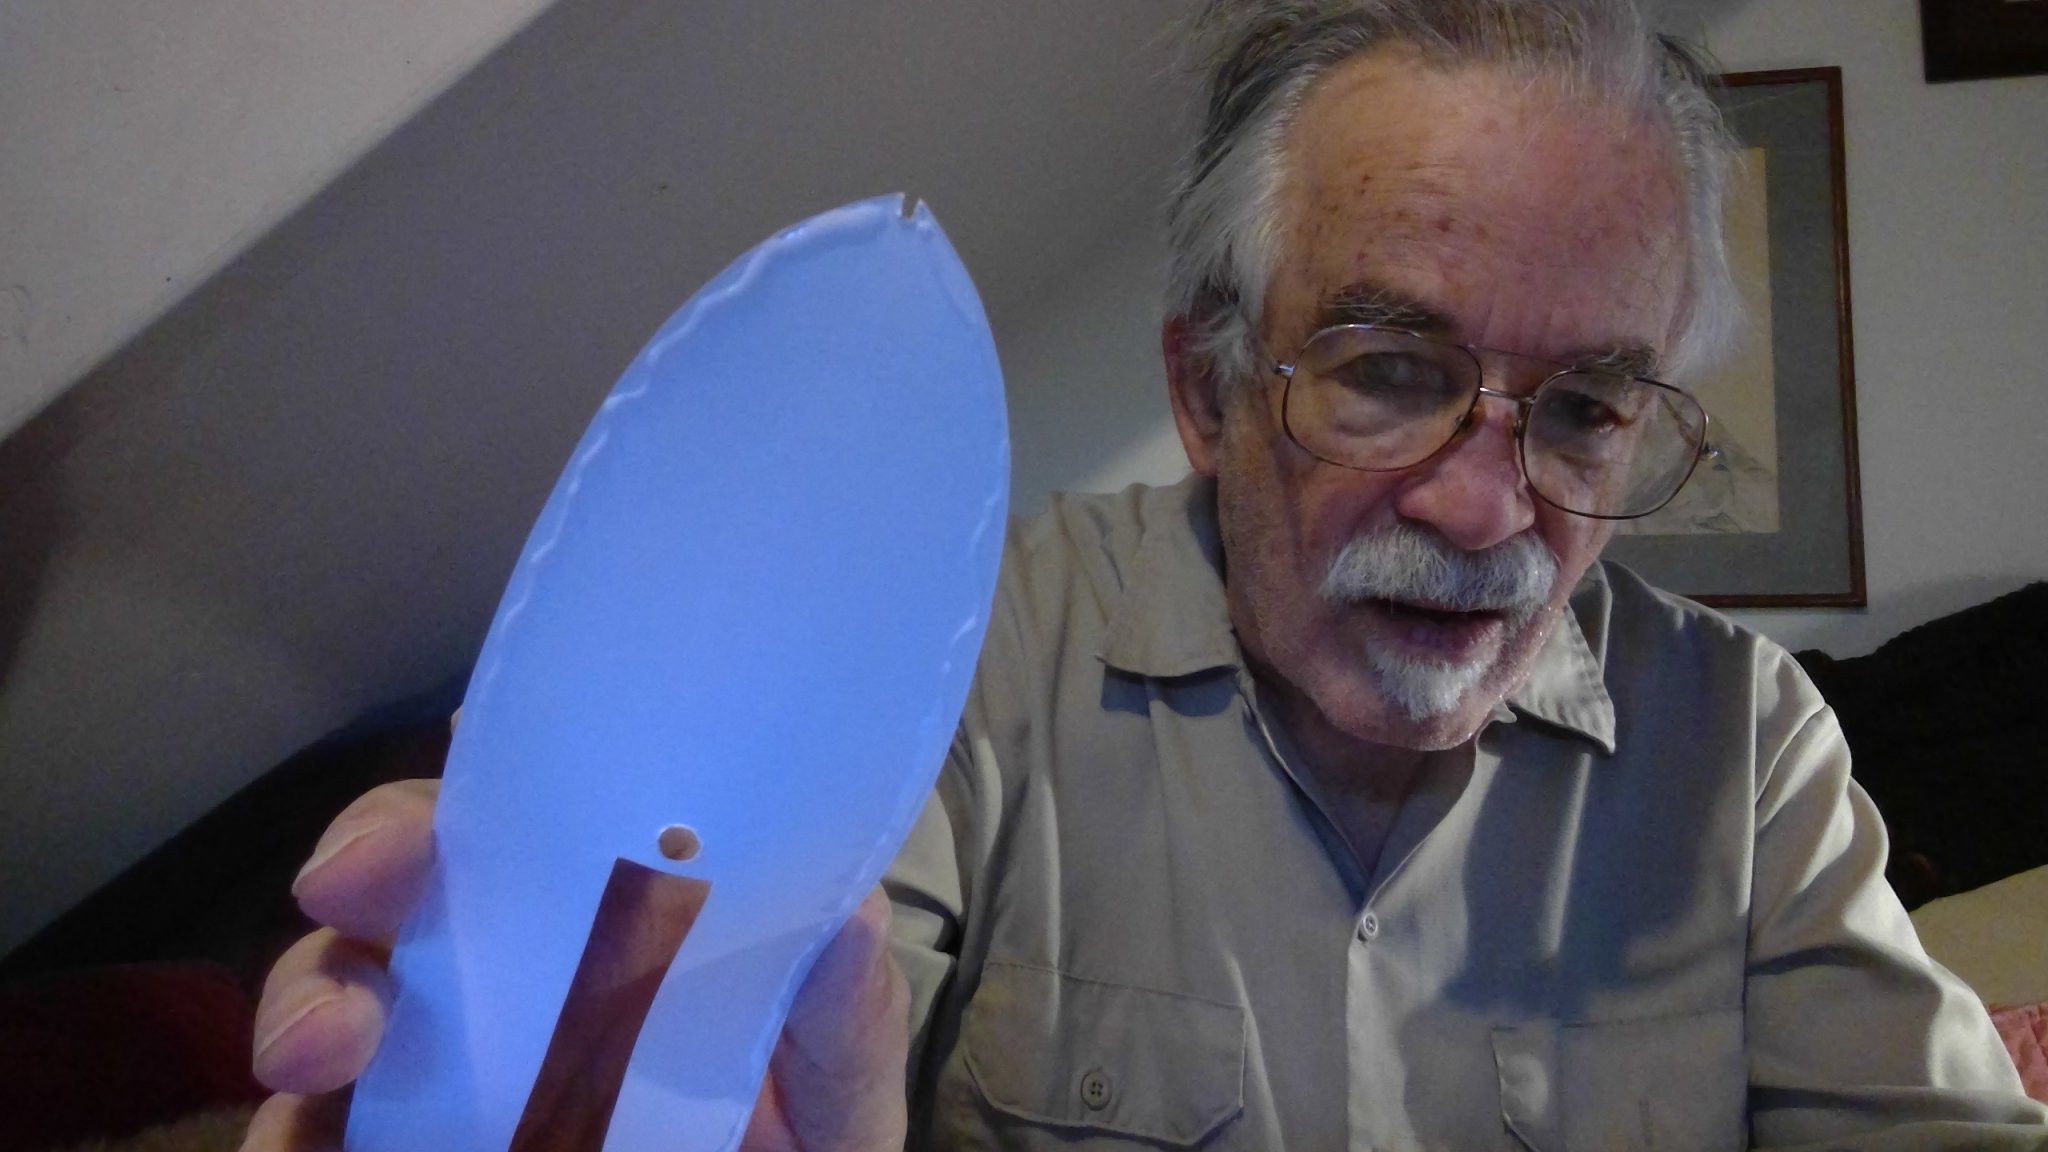
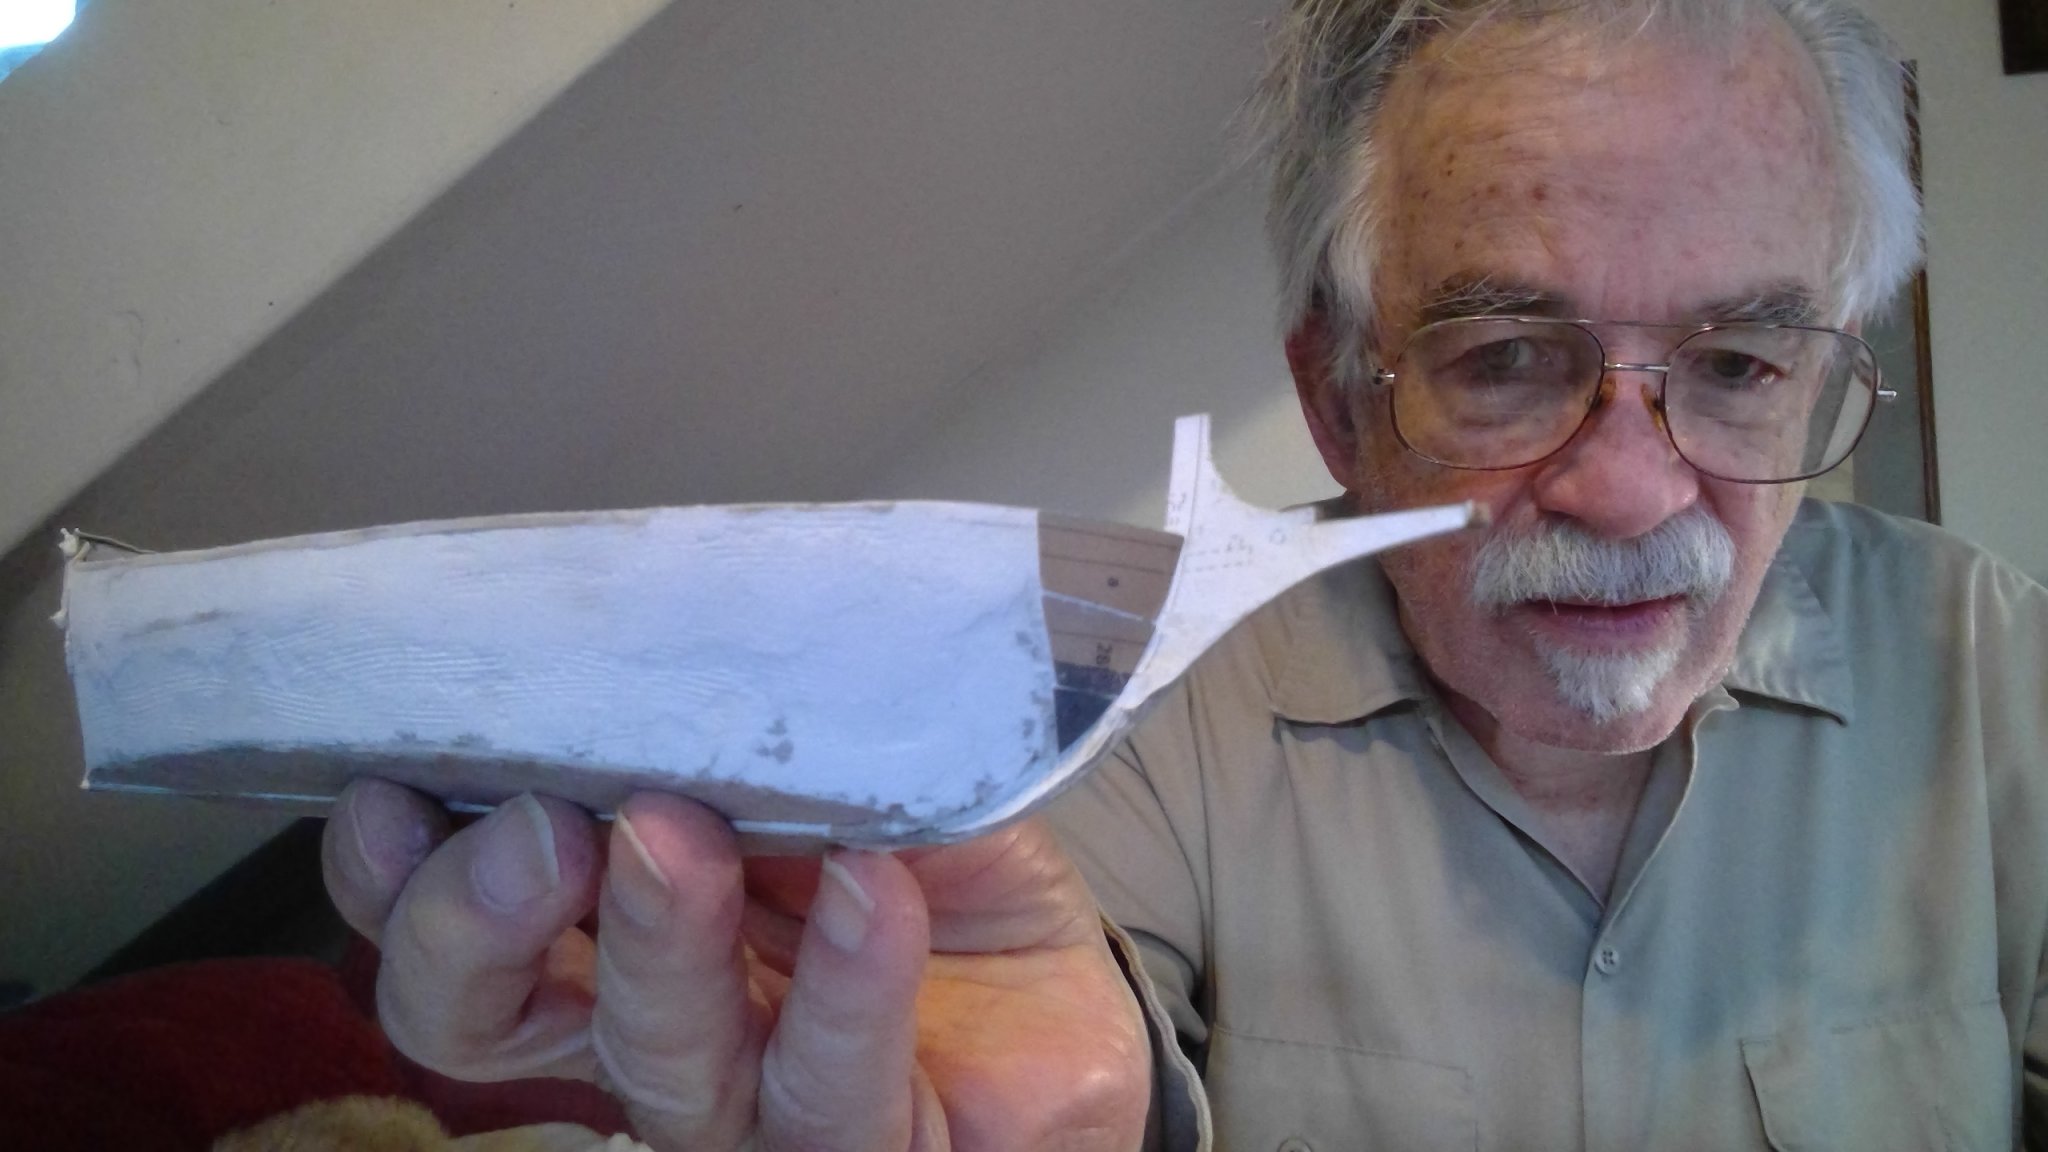
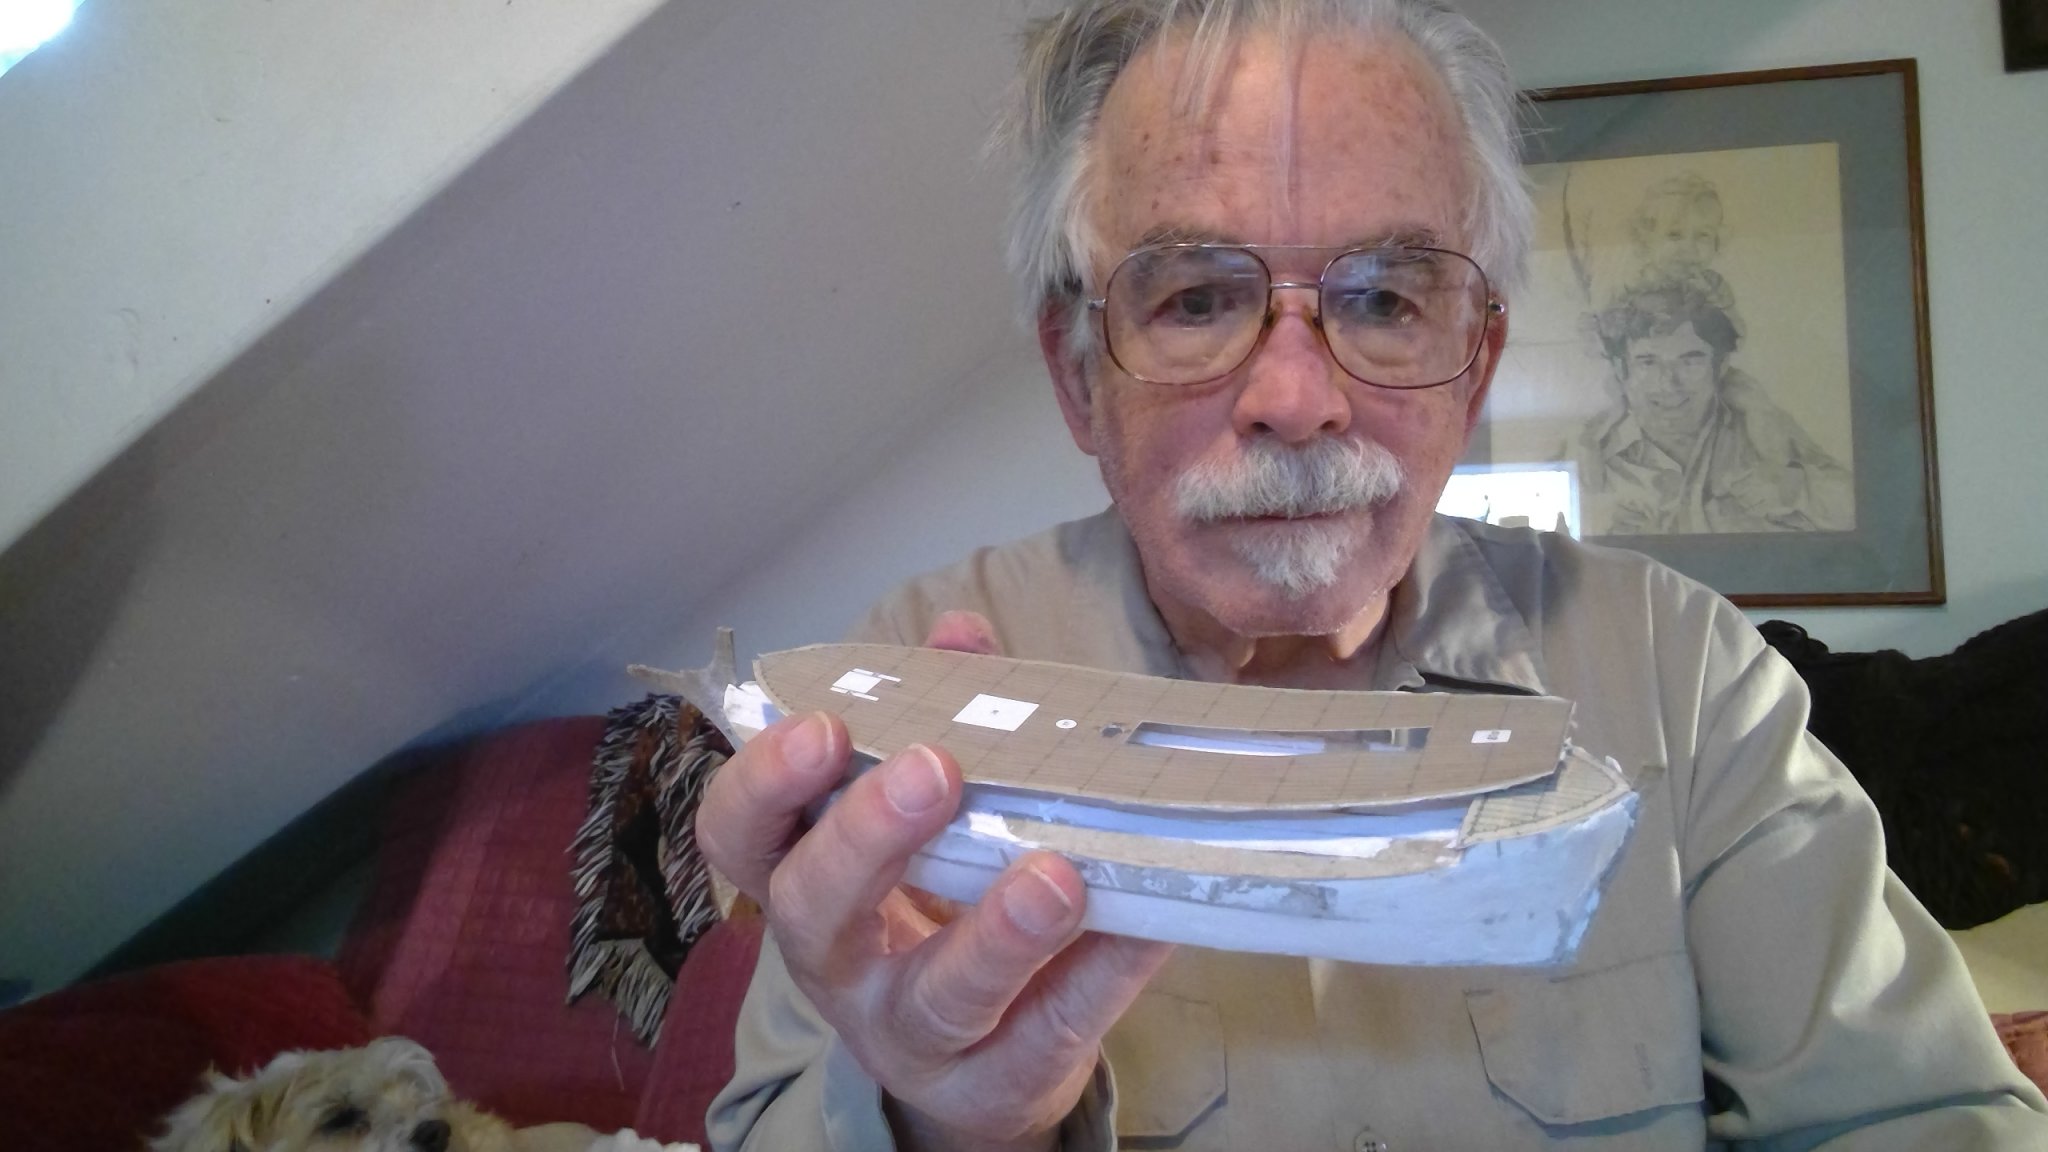
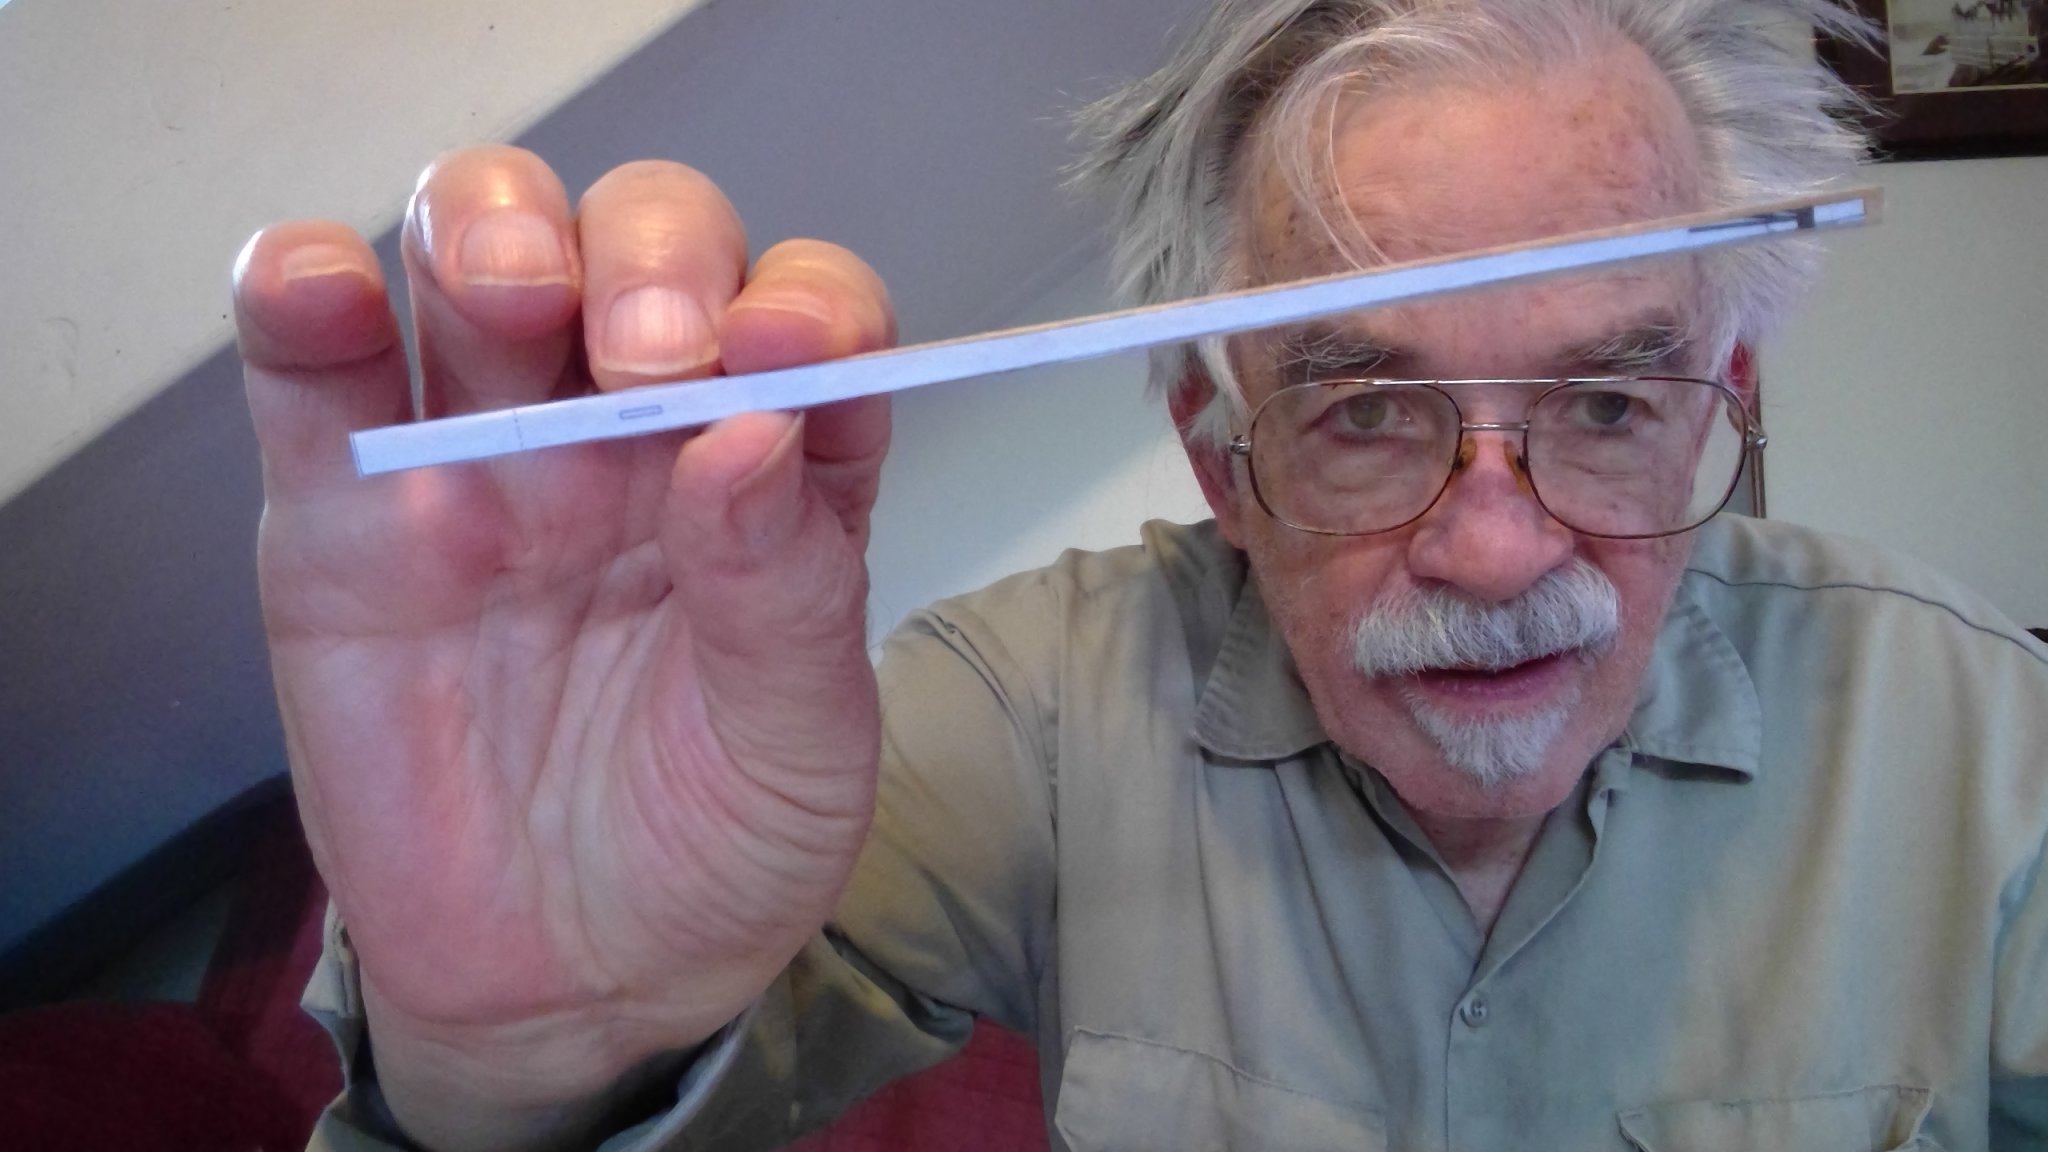
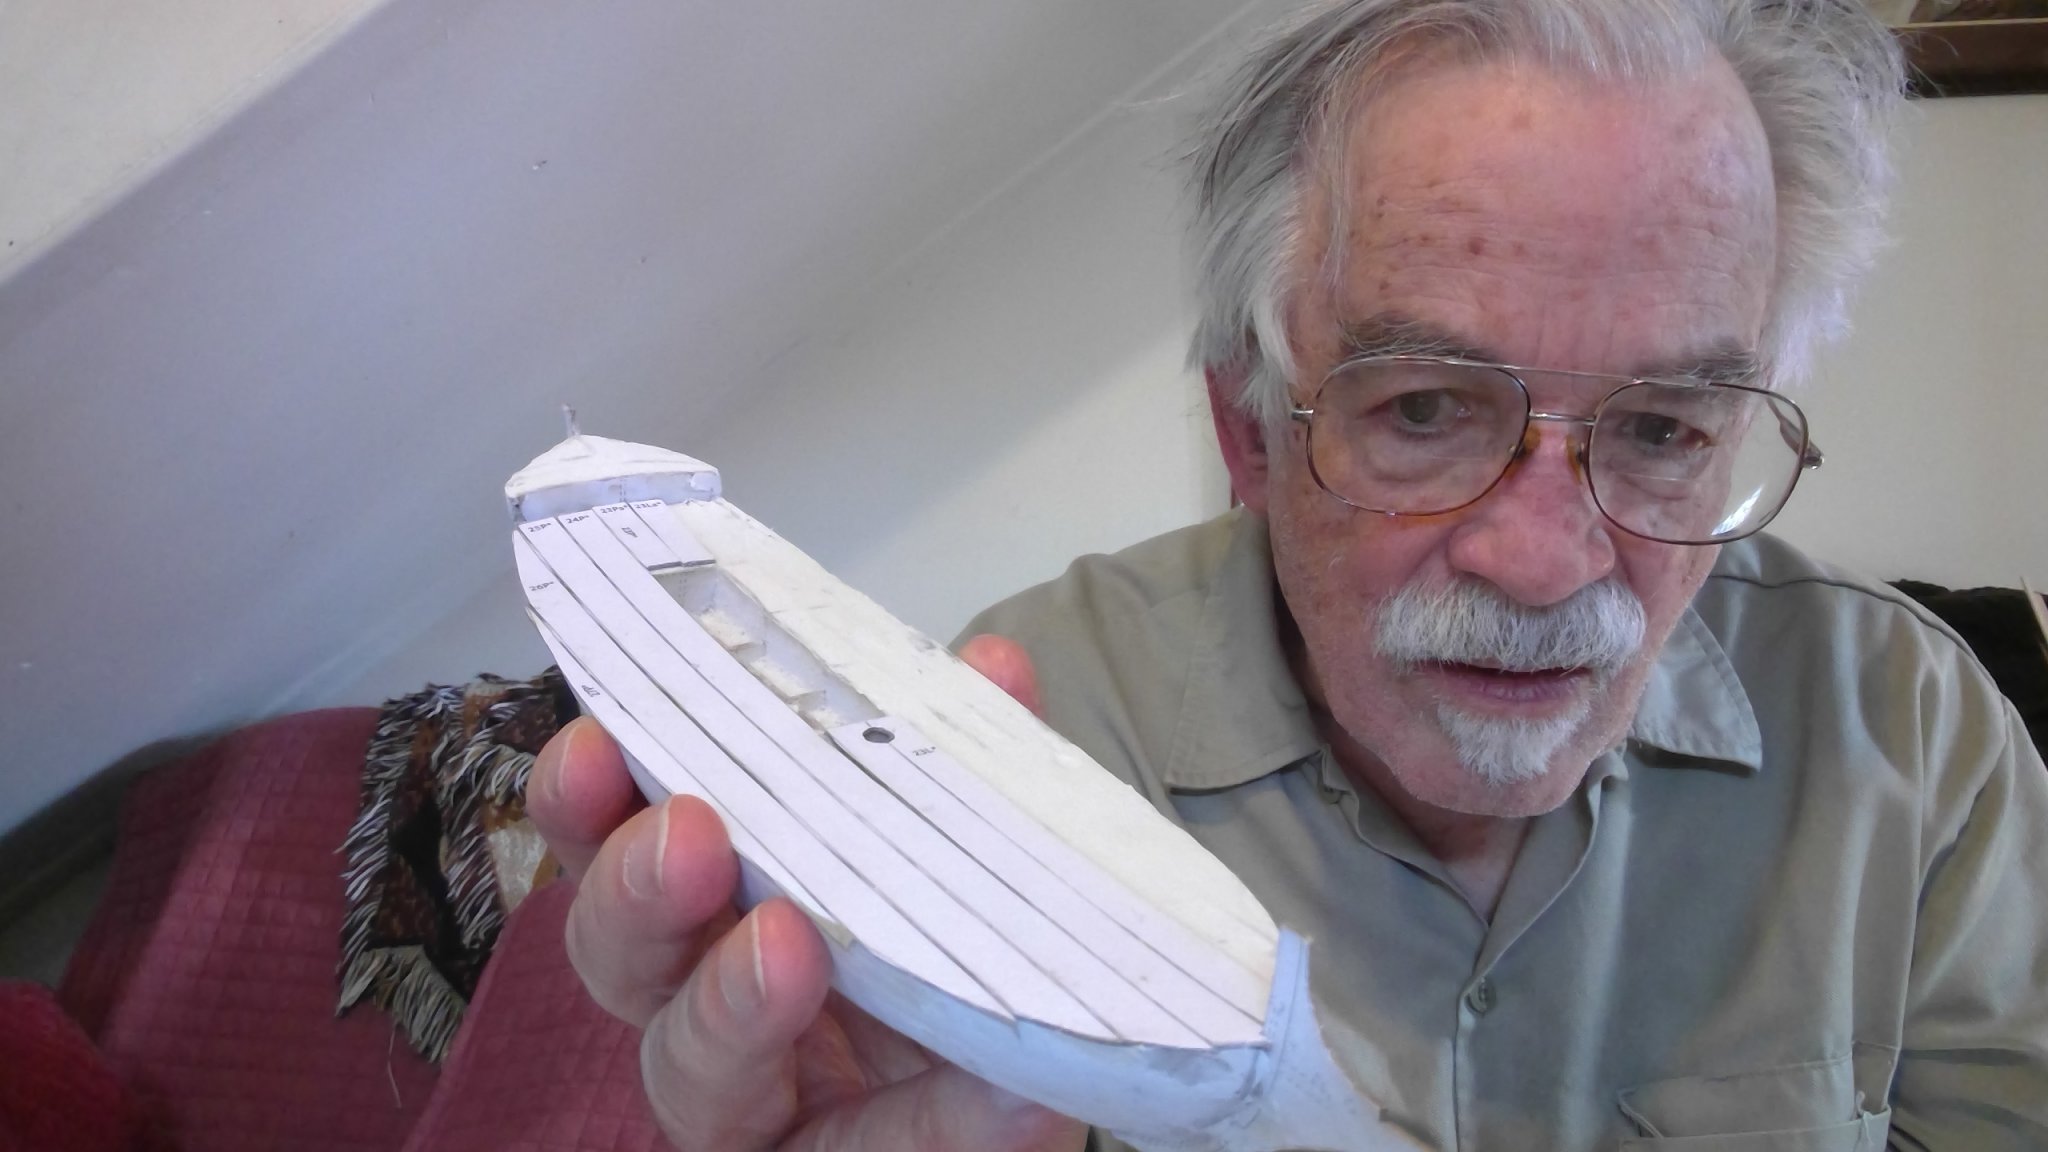
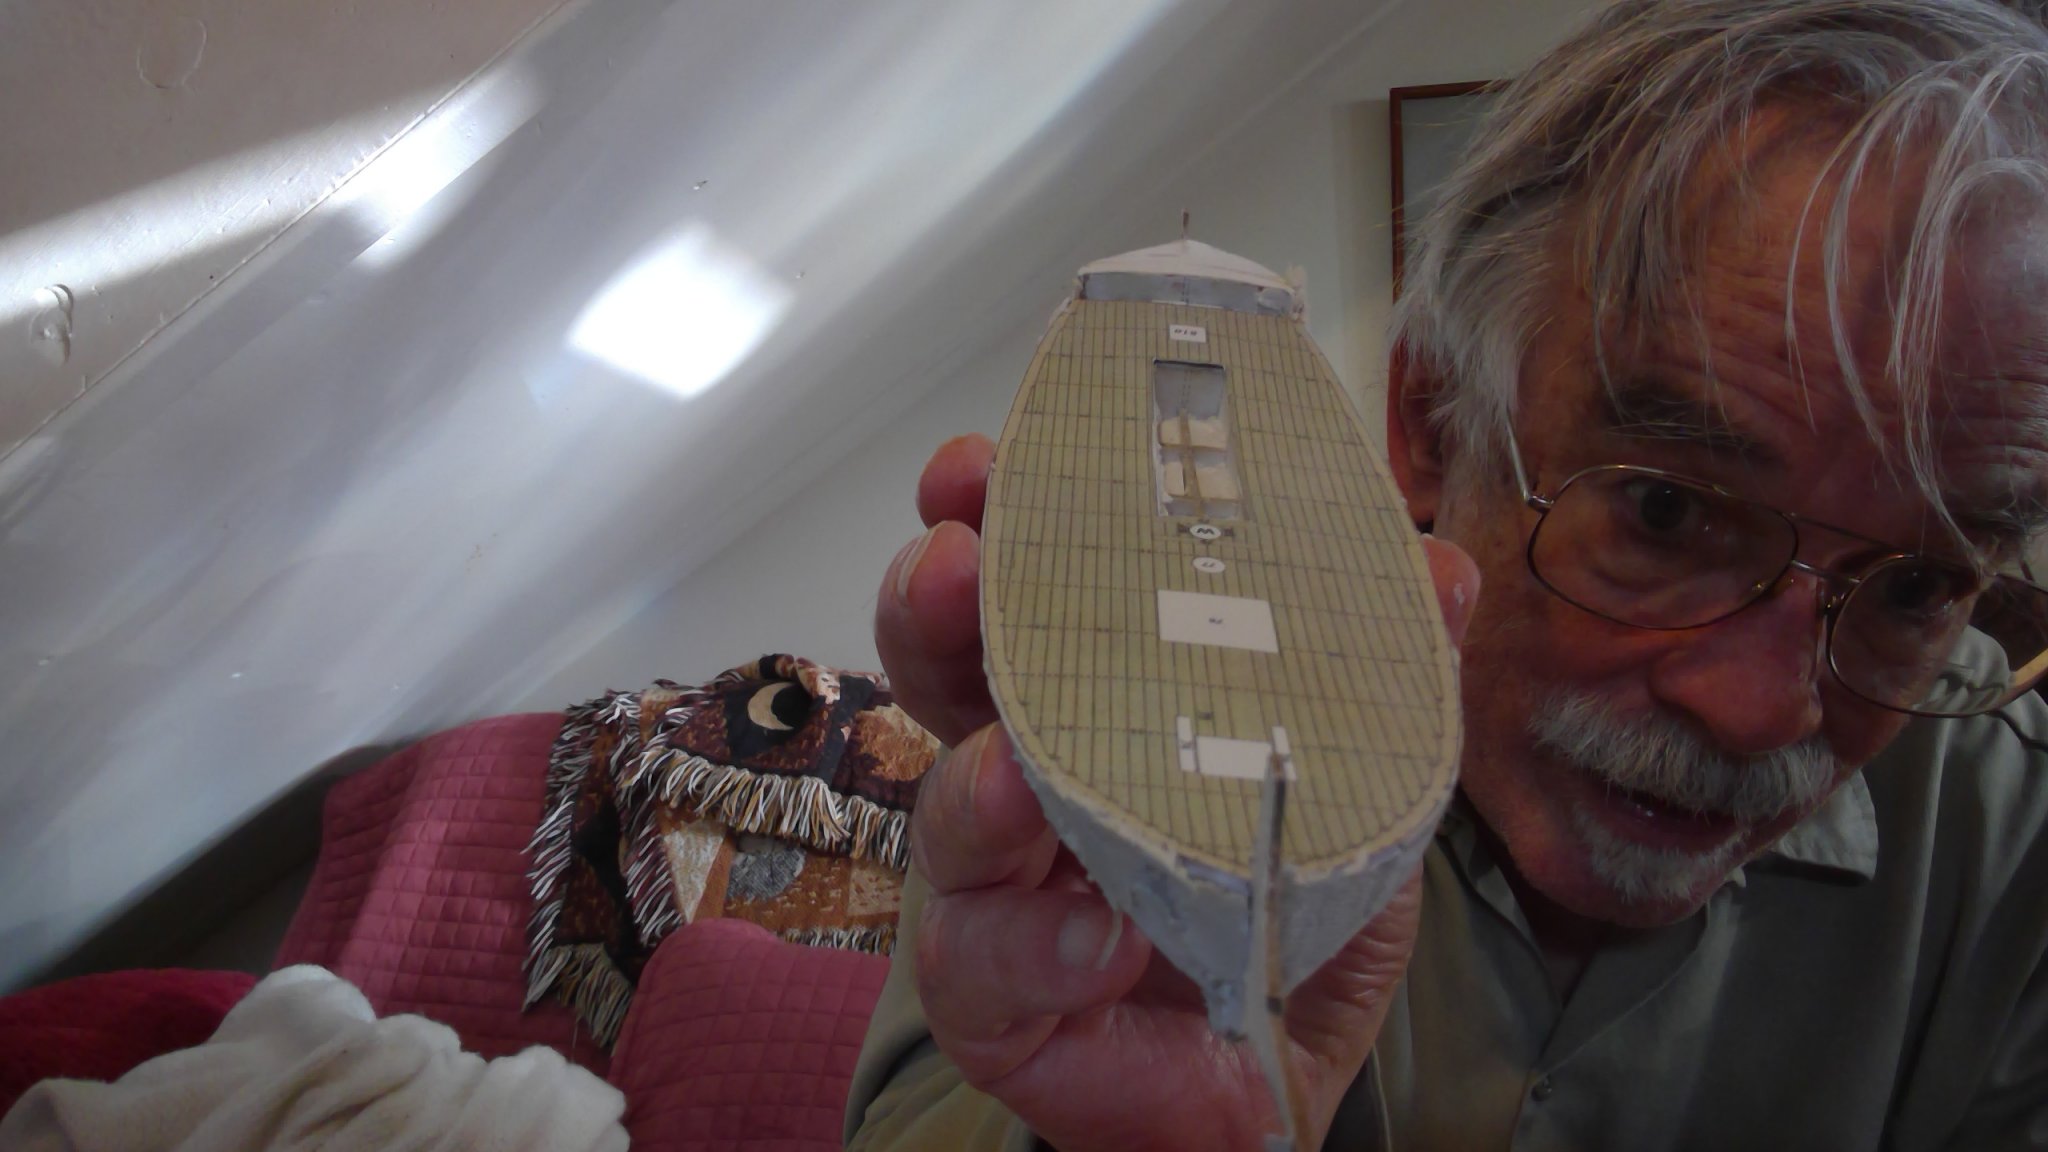
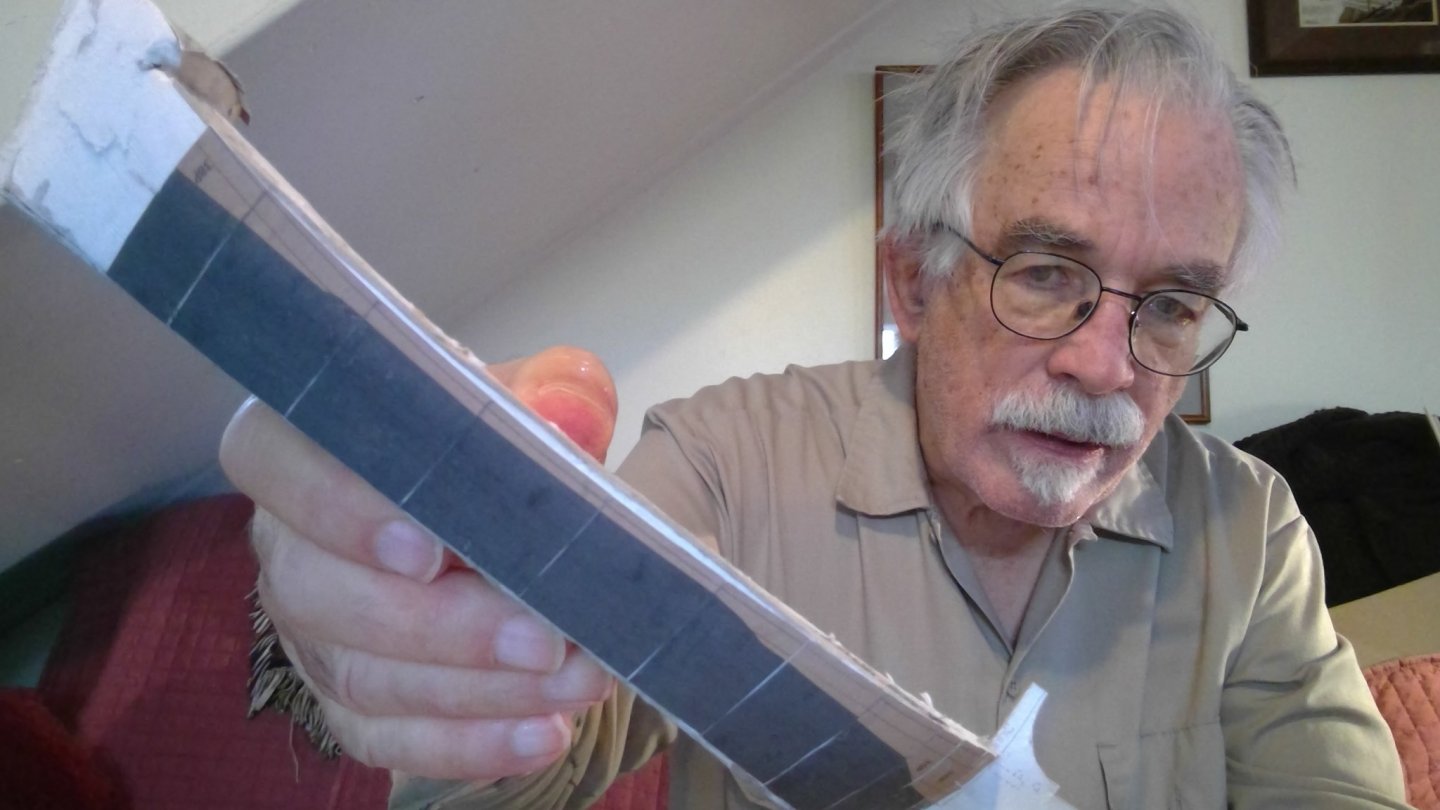
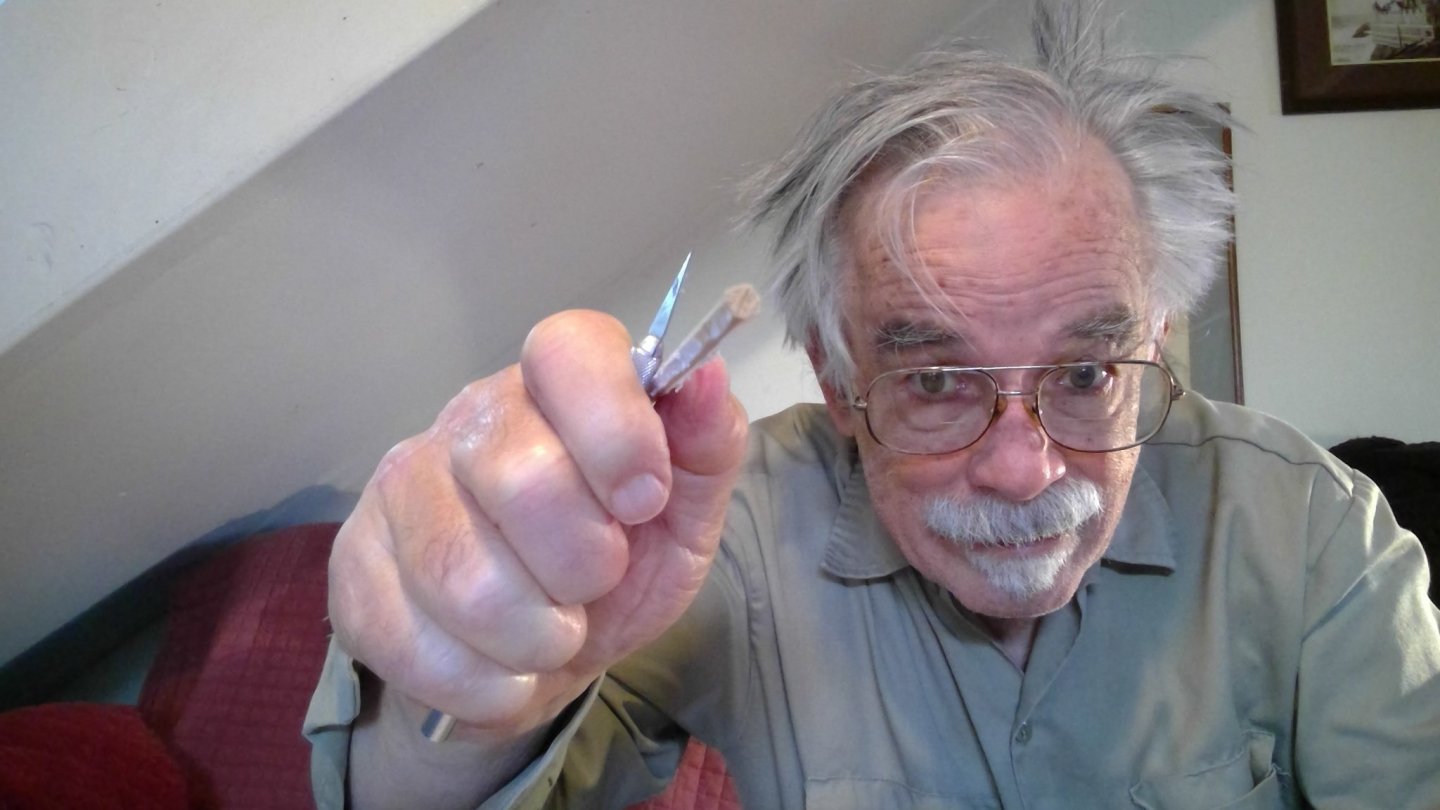
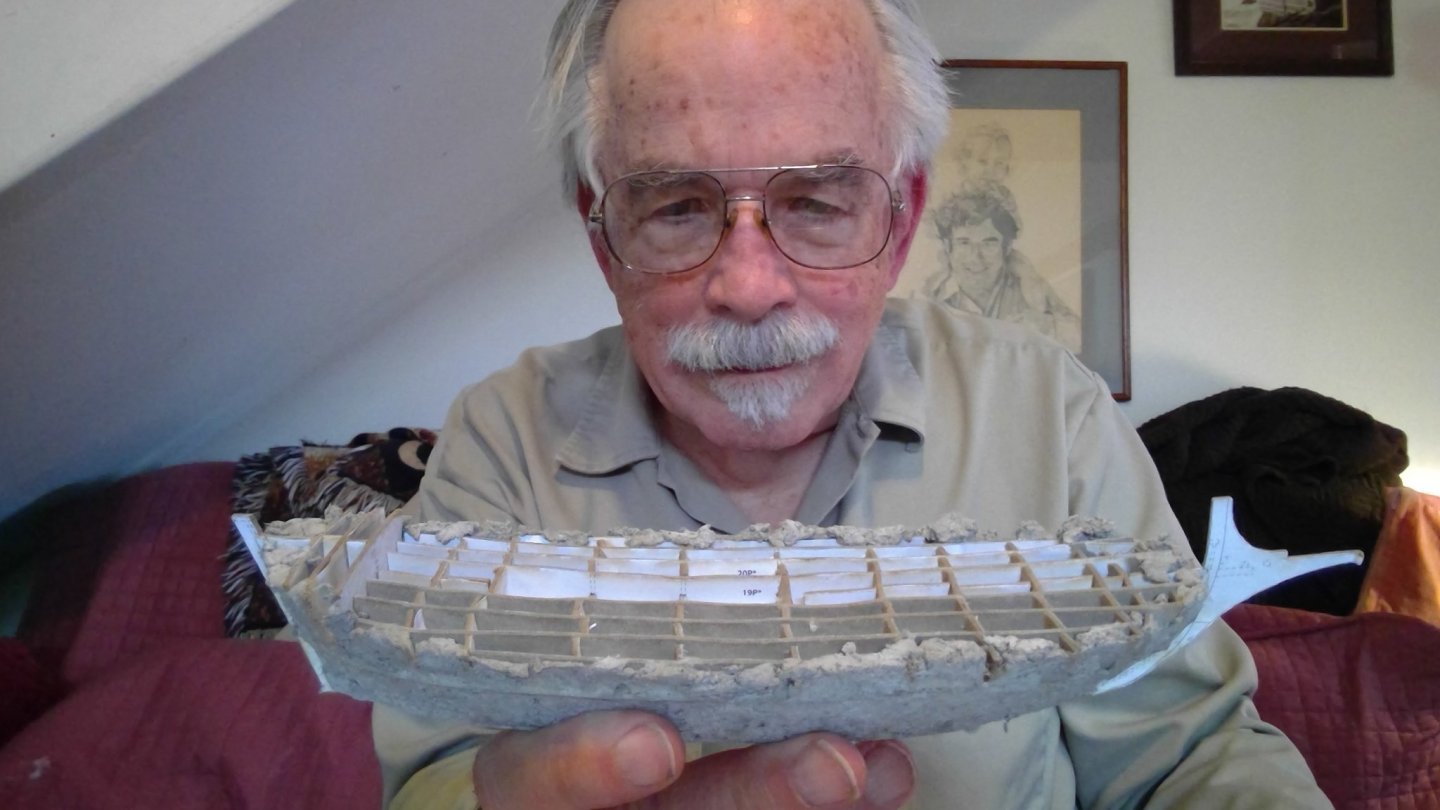
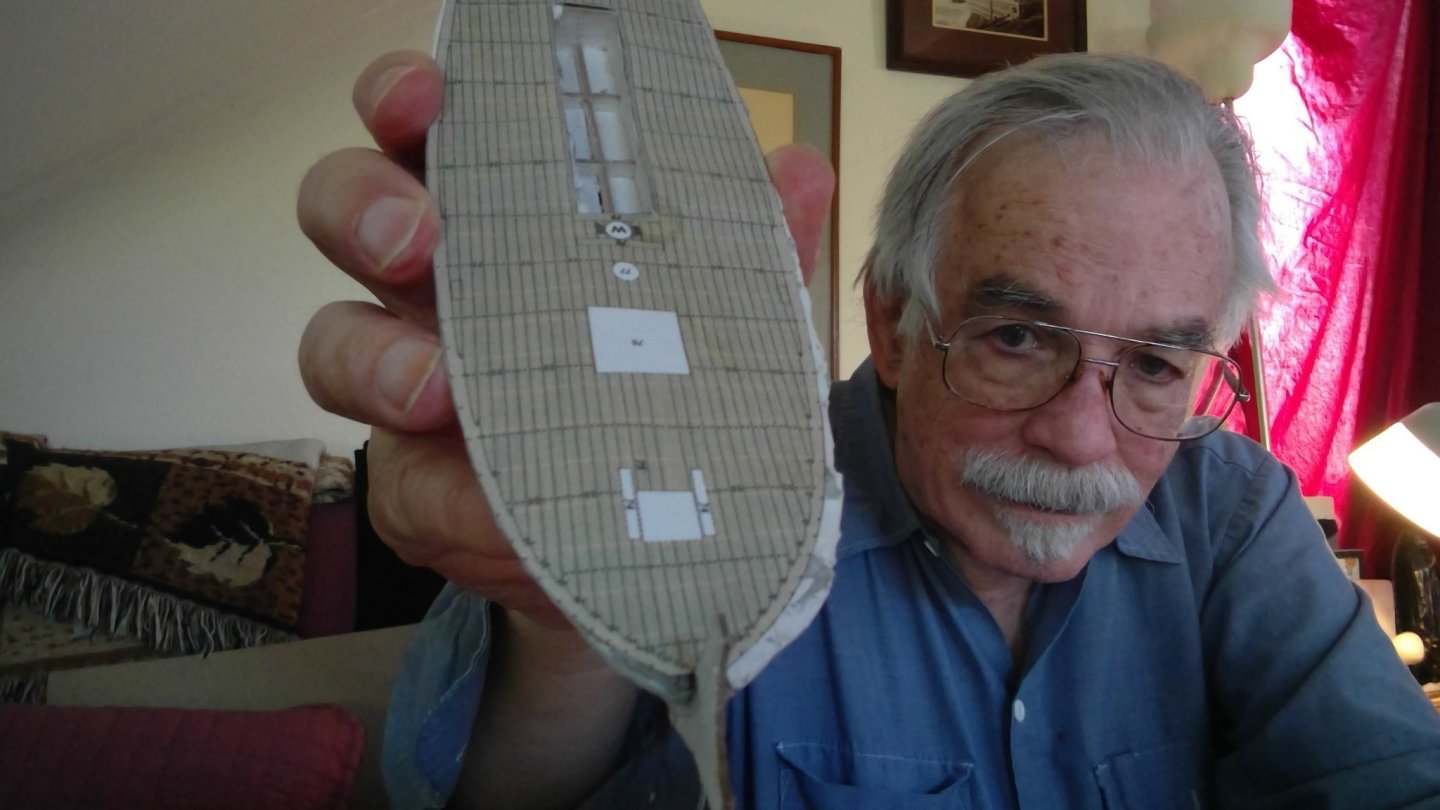
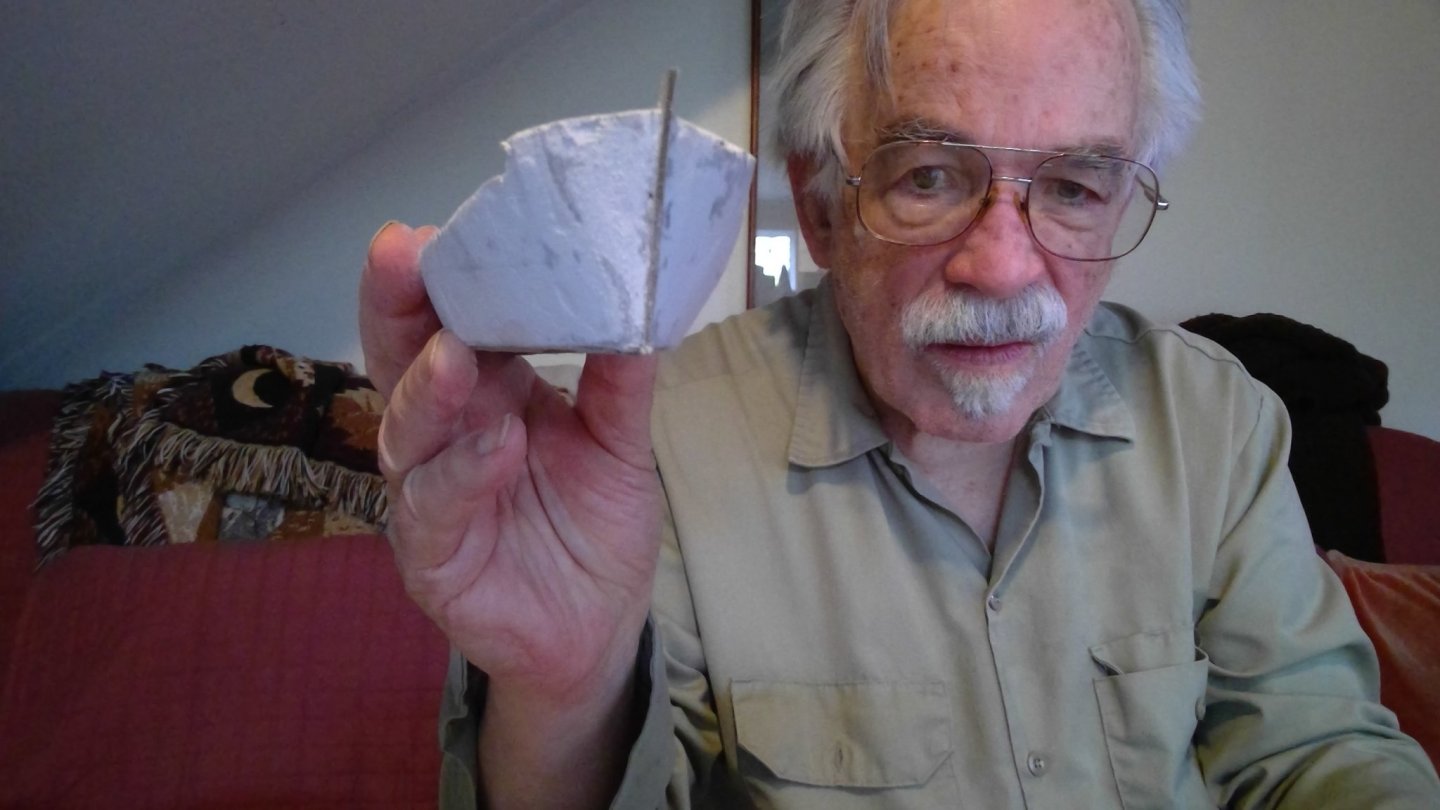
I made the mask by running the plan thru the copier twice and cutting out 2 mask outlines I started with a square piece of wood about the right size and glued one profile on it, then trimmed the edges to shape. Then I glued on the other profile on the side, and used it to trim again. That gave me a "square" mask. Working by eye I made it 8 sided...and then rounded with a piece of emery paper. I started with the "under planking" provided in the model to go under the deck. It is intended to smooth out the bumps you get from the egg carton frame. I glued its "planks" down and then sanded it flat... not much to sand, just the edges of some of the "planks".. but every little bit counts. The deck planks ended up sticking out a little on both sides. I cut another spare deck and "tacked" it into place with a few drops of glue and then trimmed the "planks" to match the outline of the deck. This left me with a couple of spots that were a little spare, so i got out the paperclay and did a little more filling. One more sanding job and it will be time to glue down the "real" deck.


- 54 replies
-
- 6
-
-
- allege darles
- wak
- (and 1 more)
-
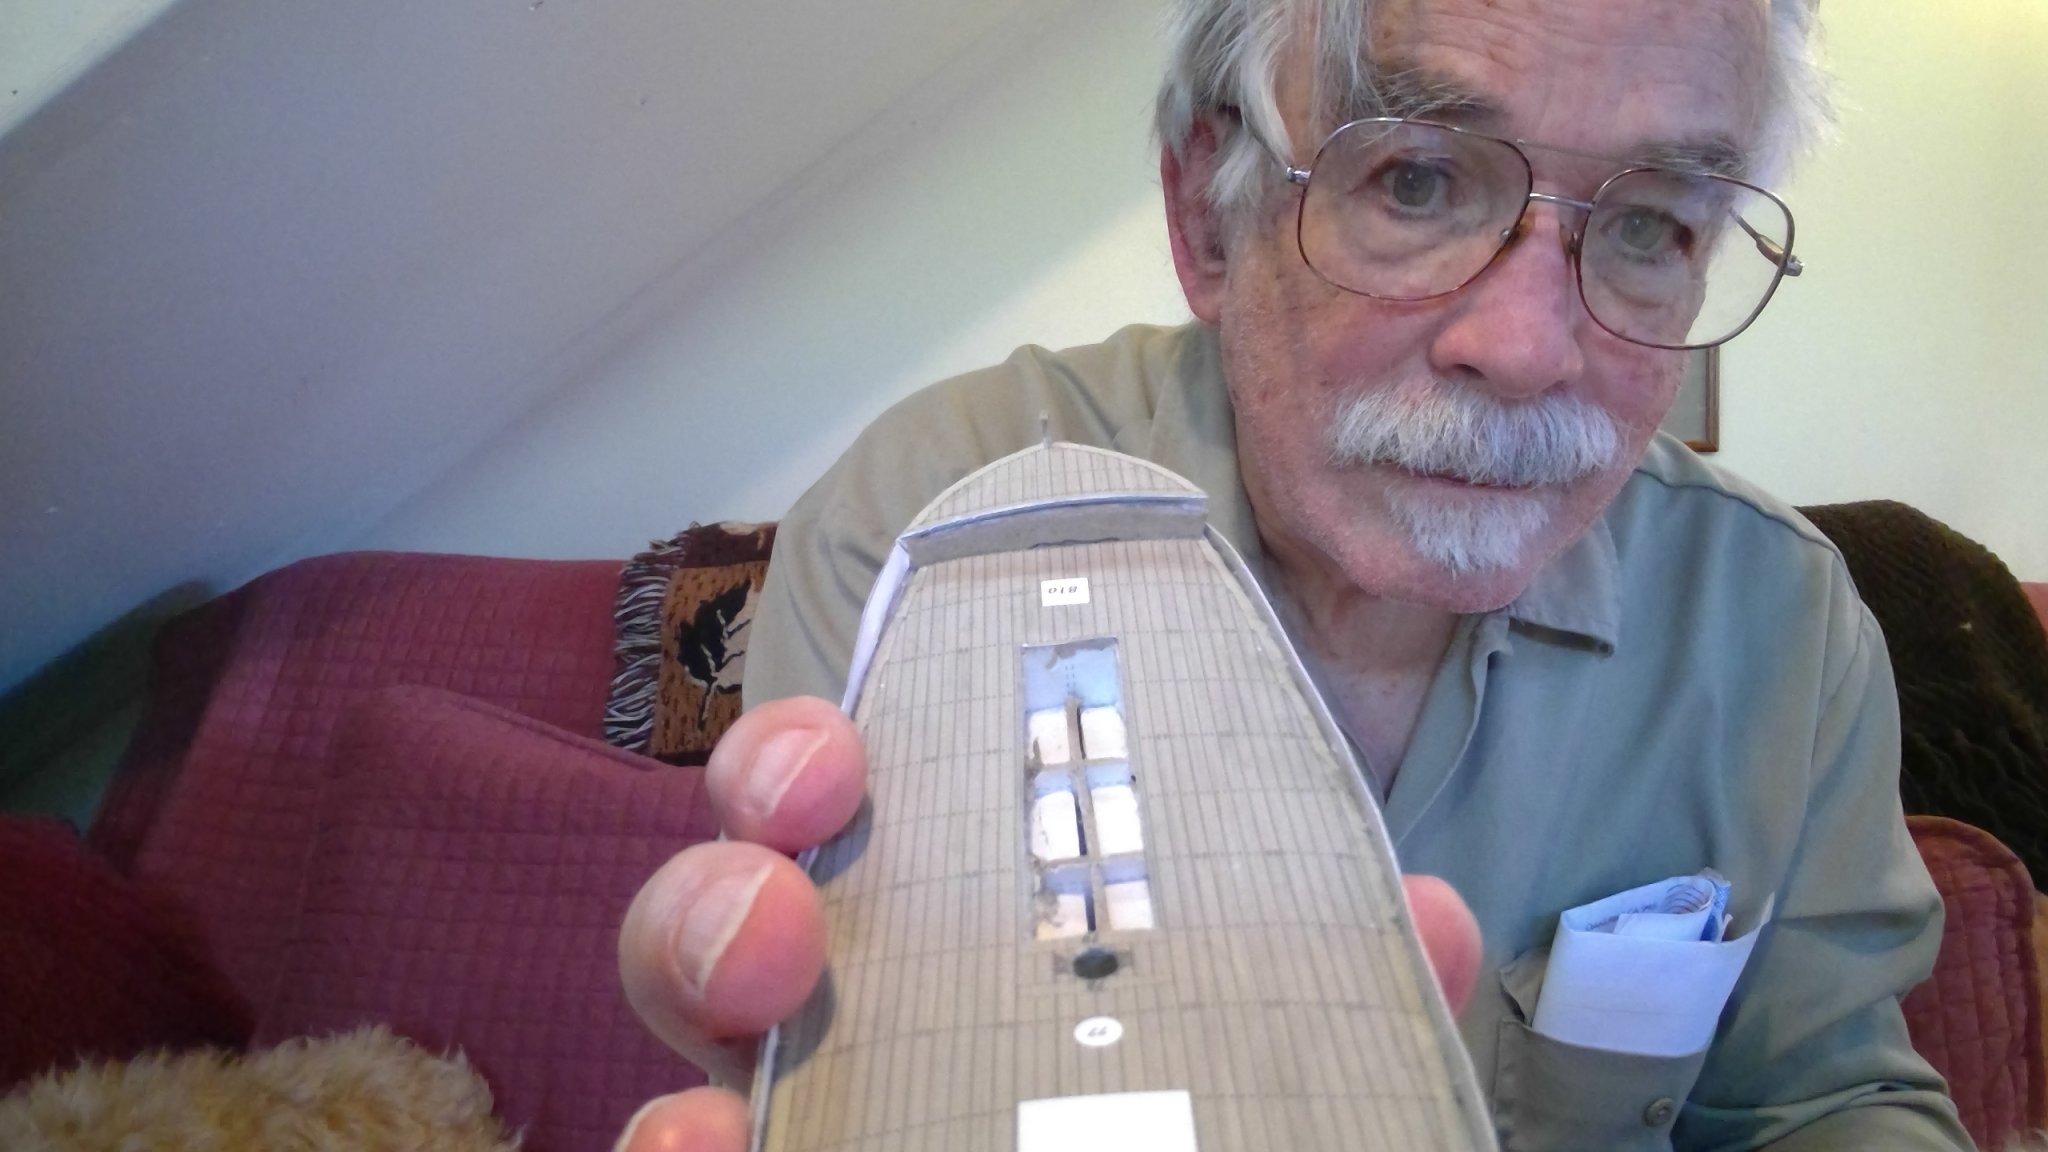
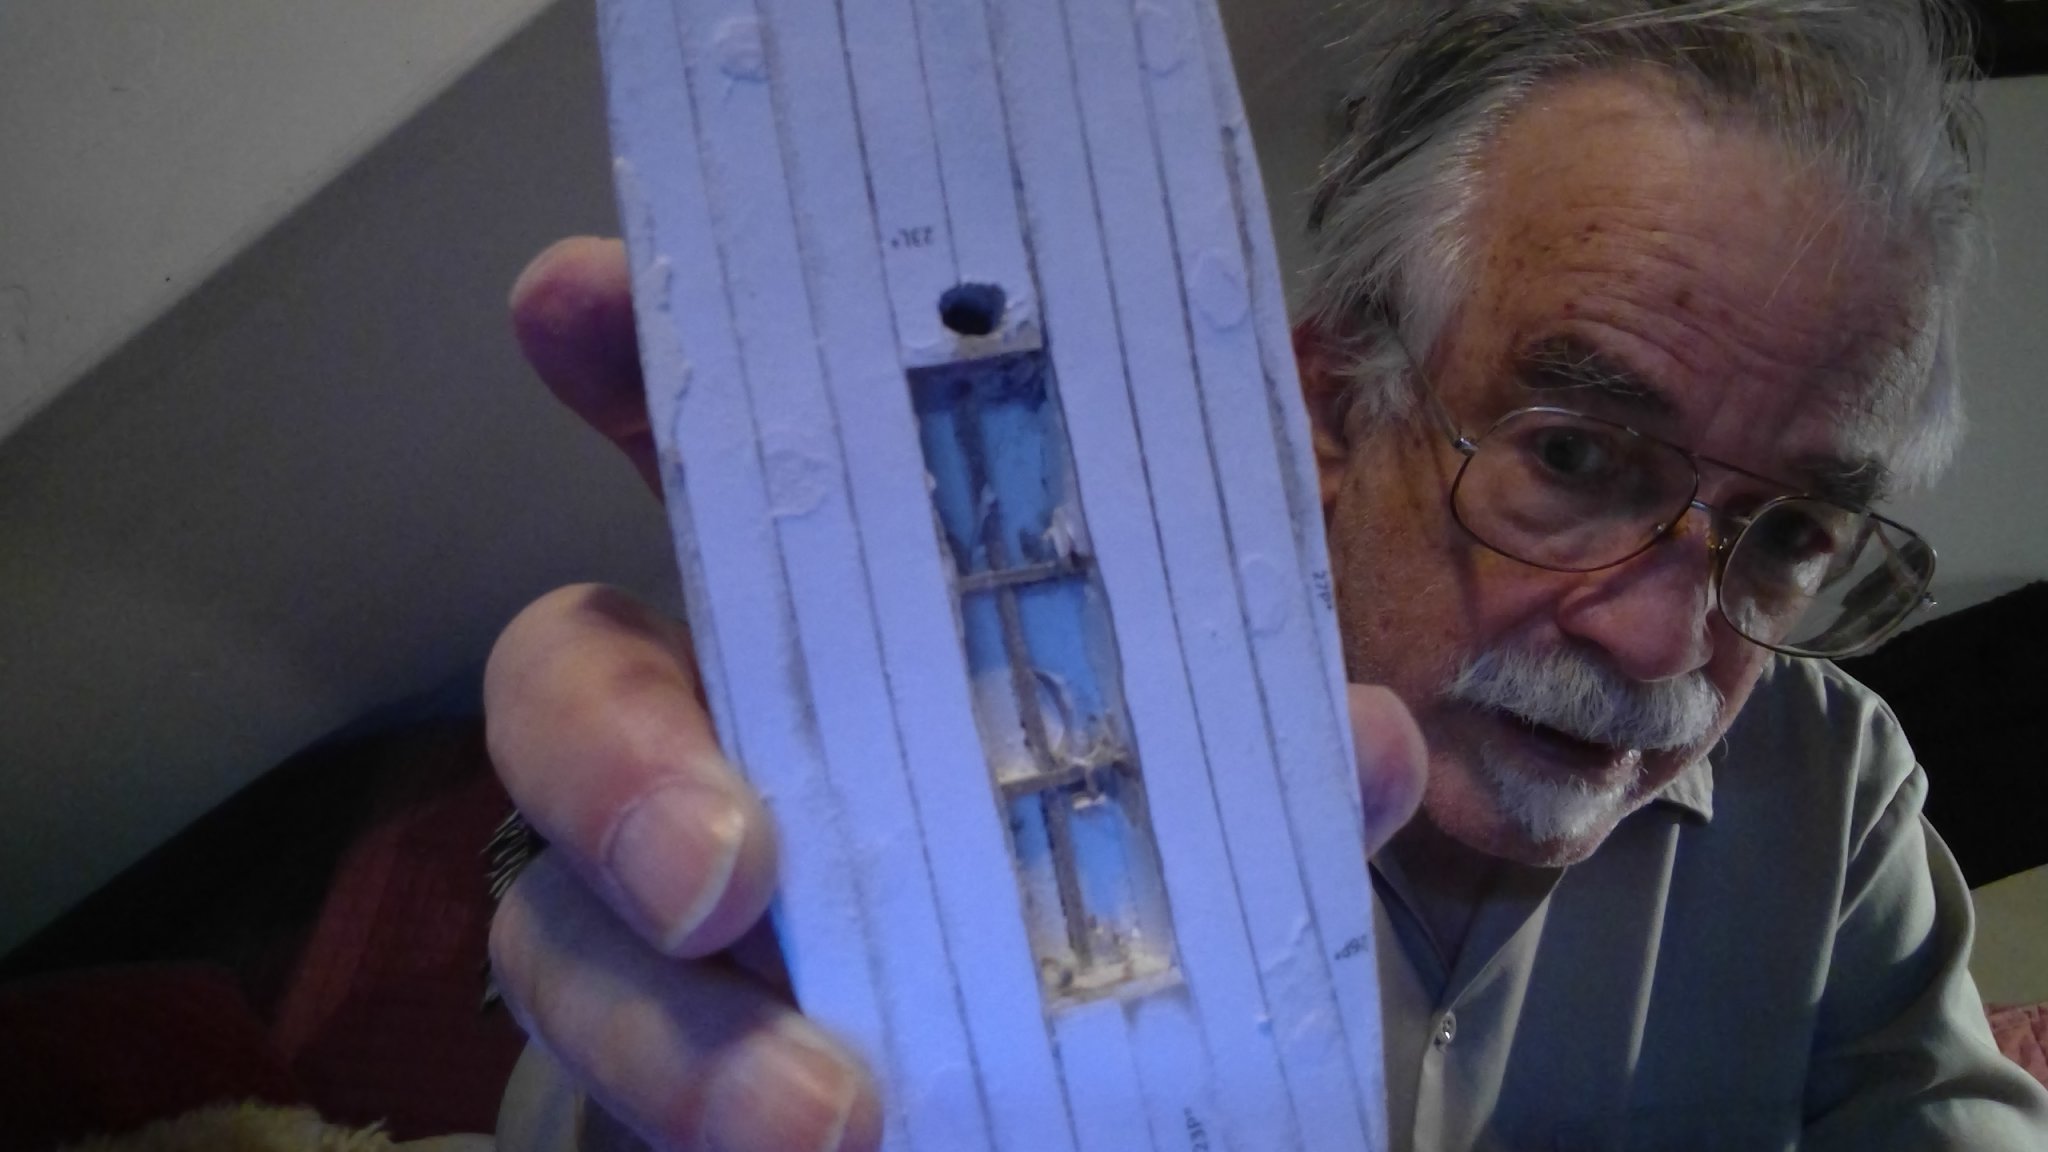
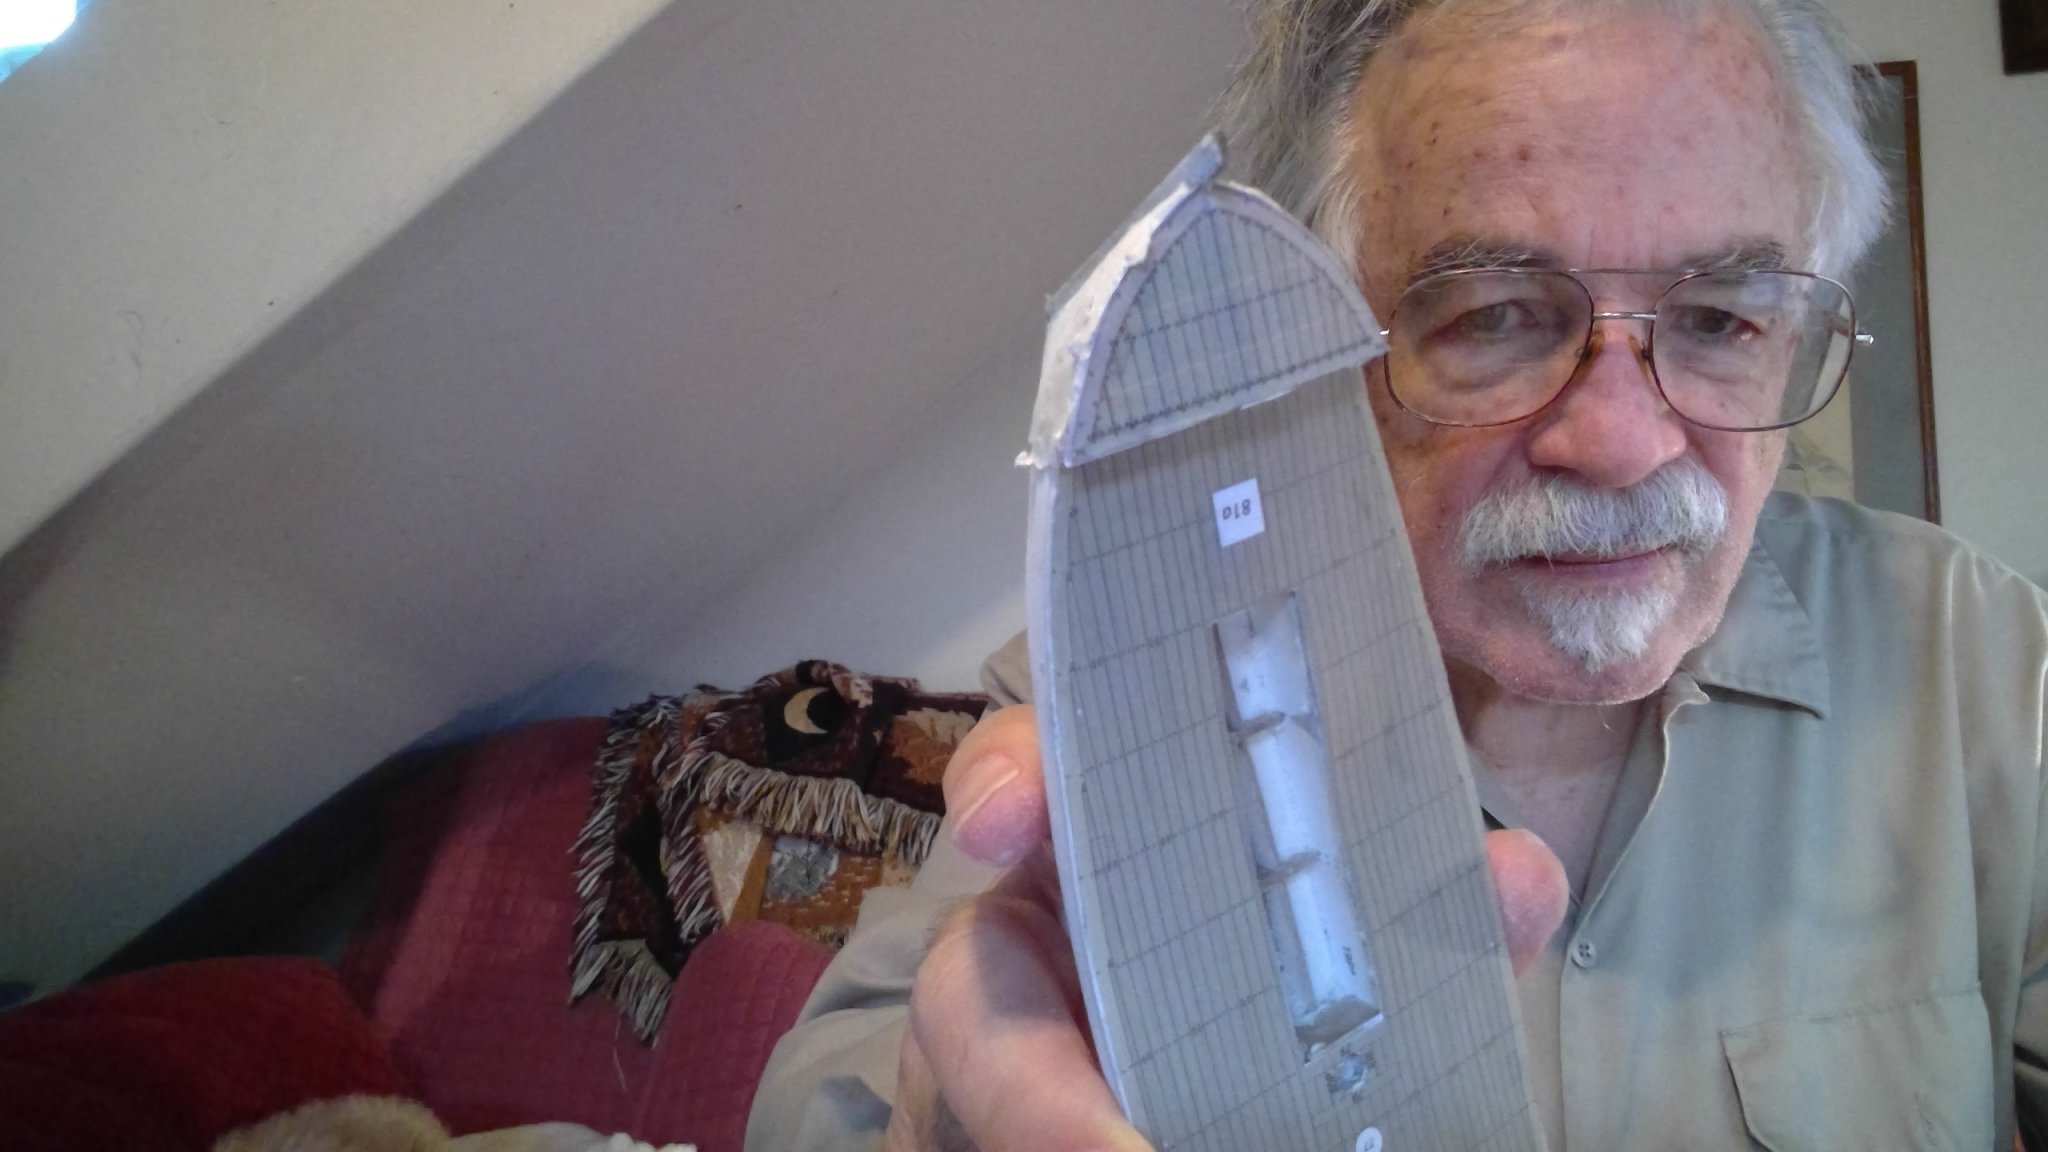
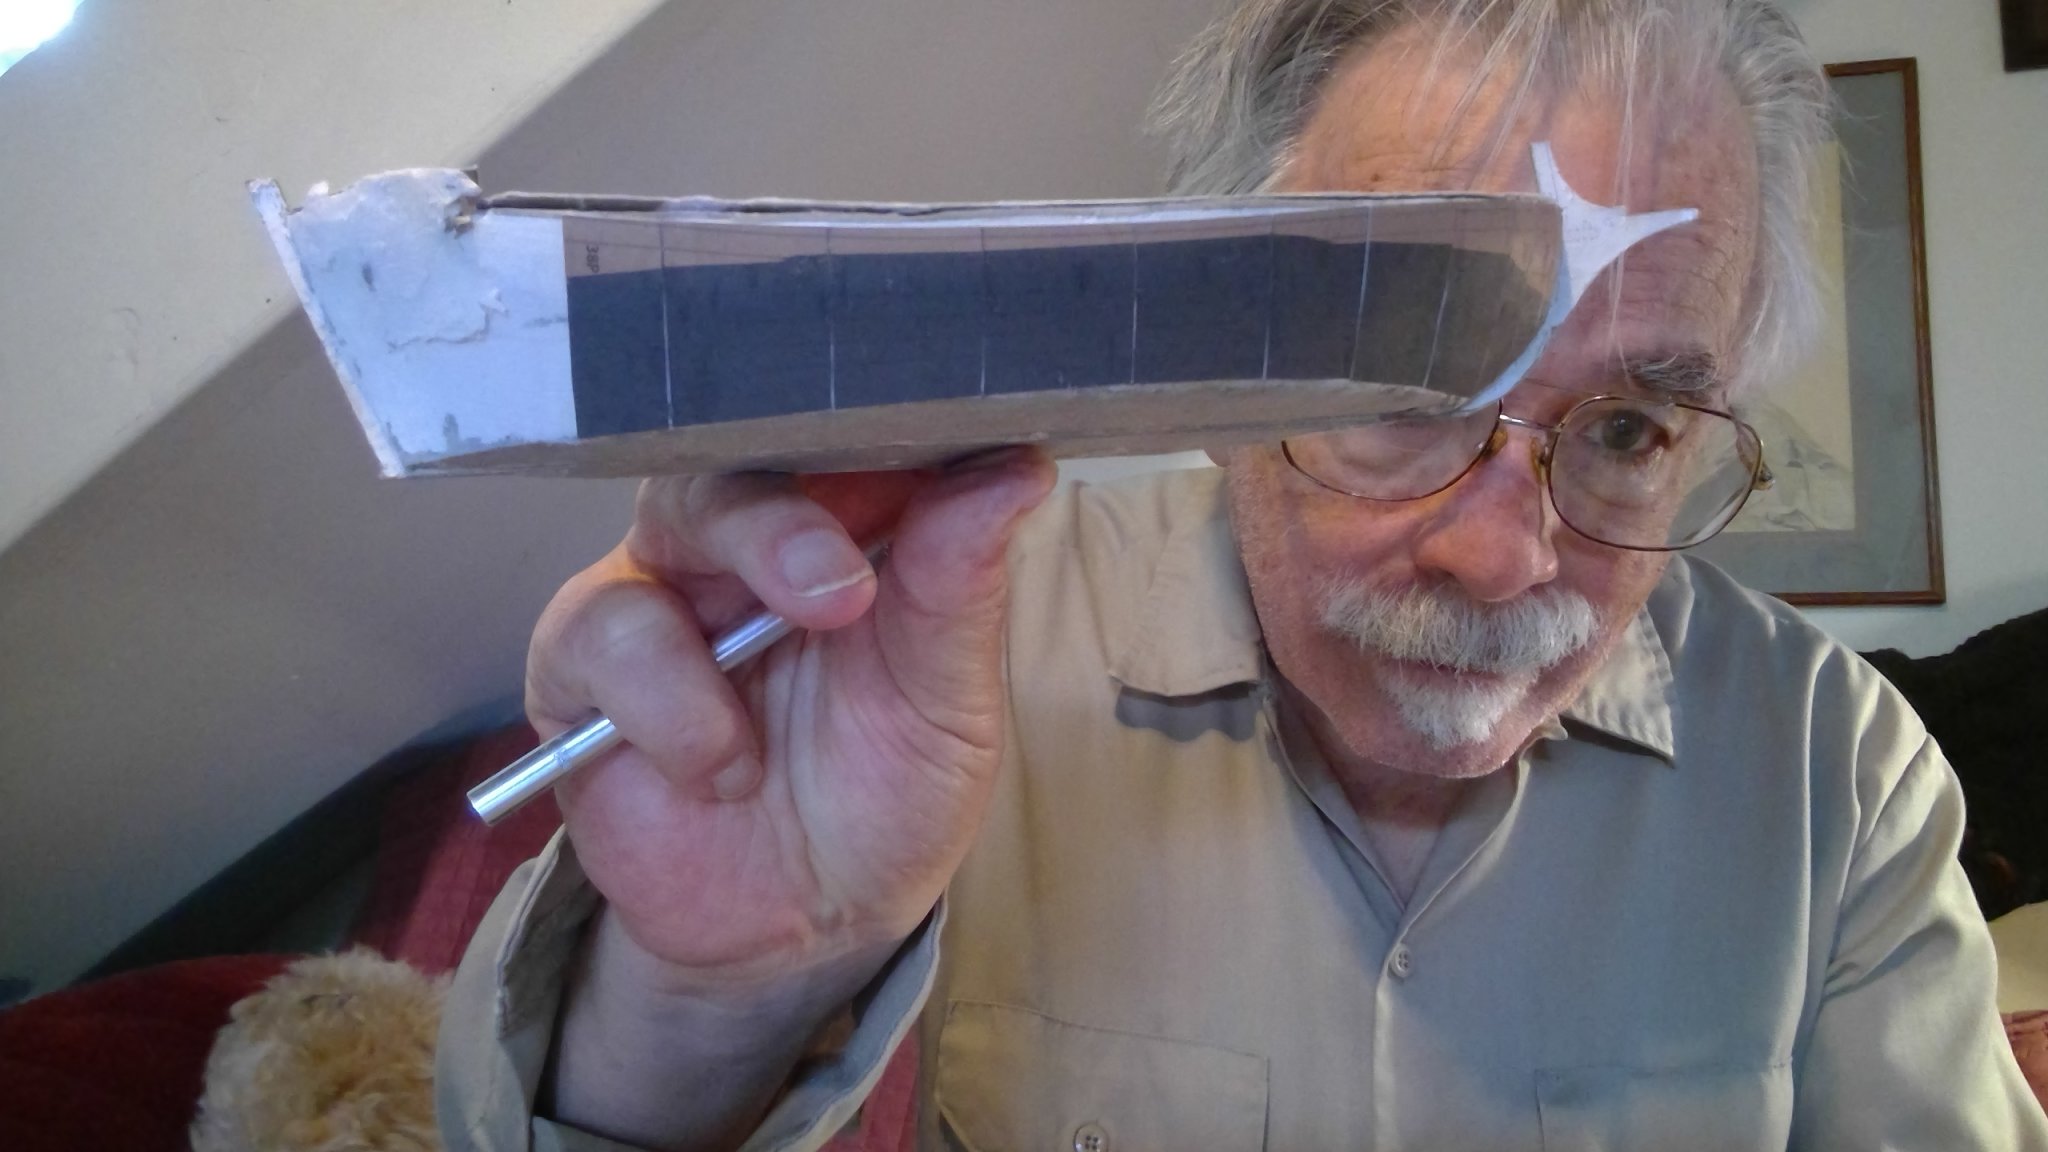
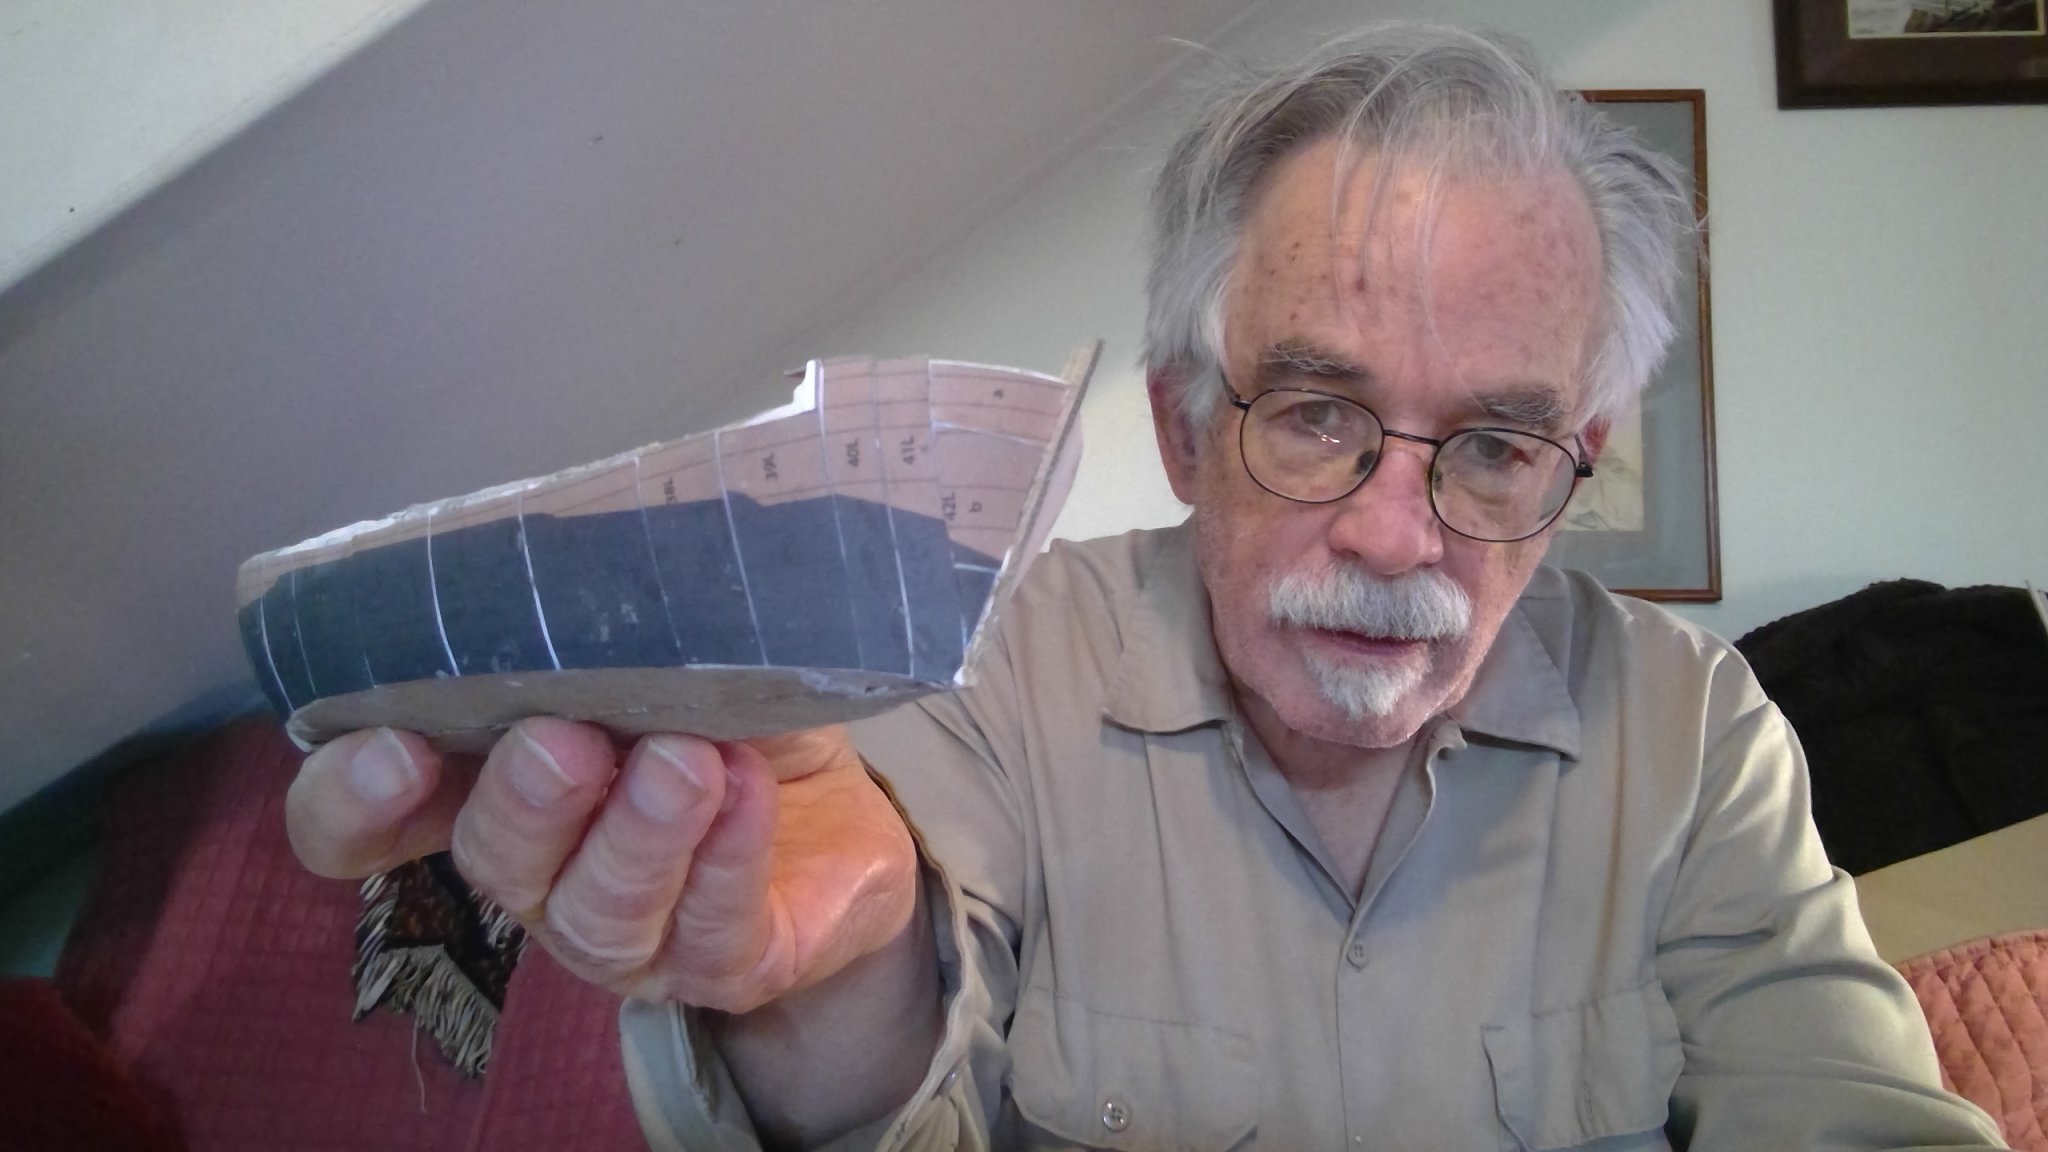
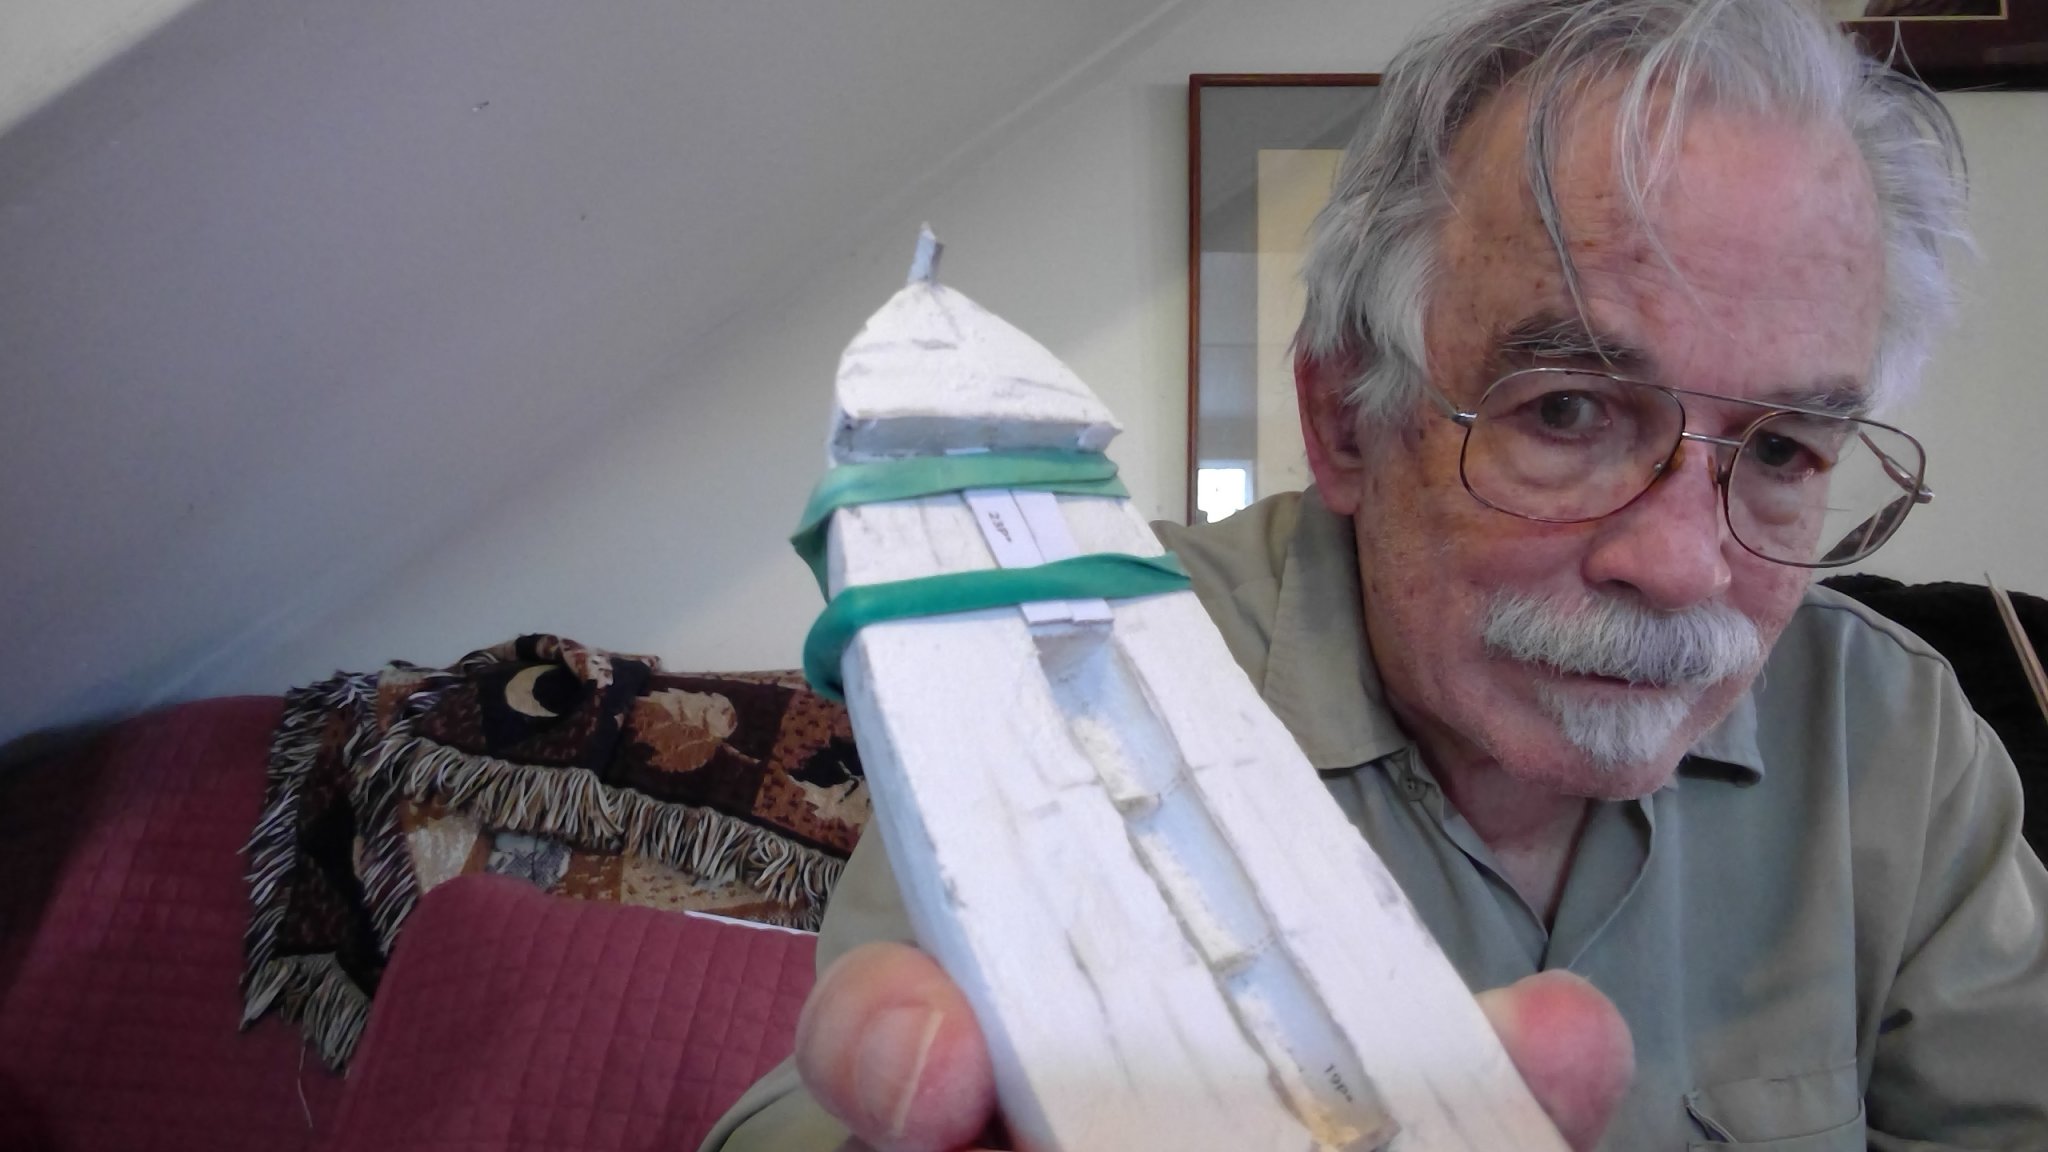
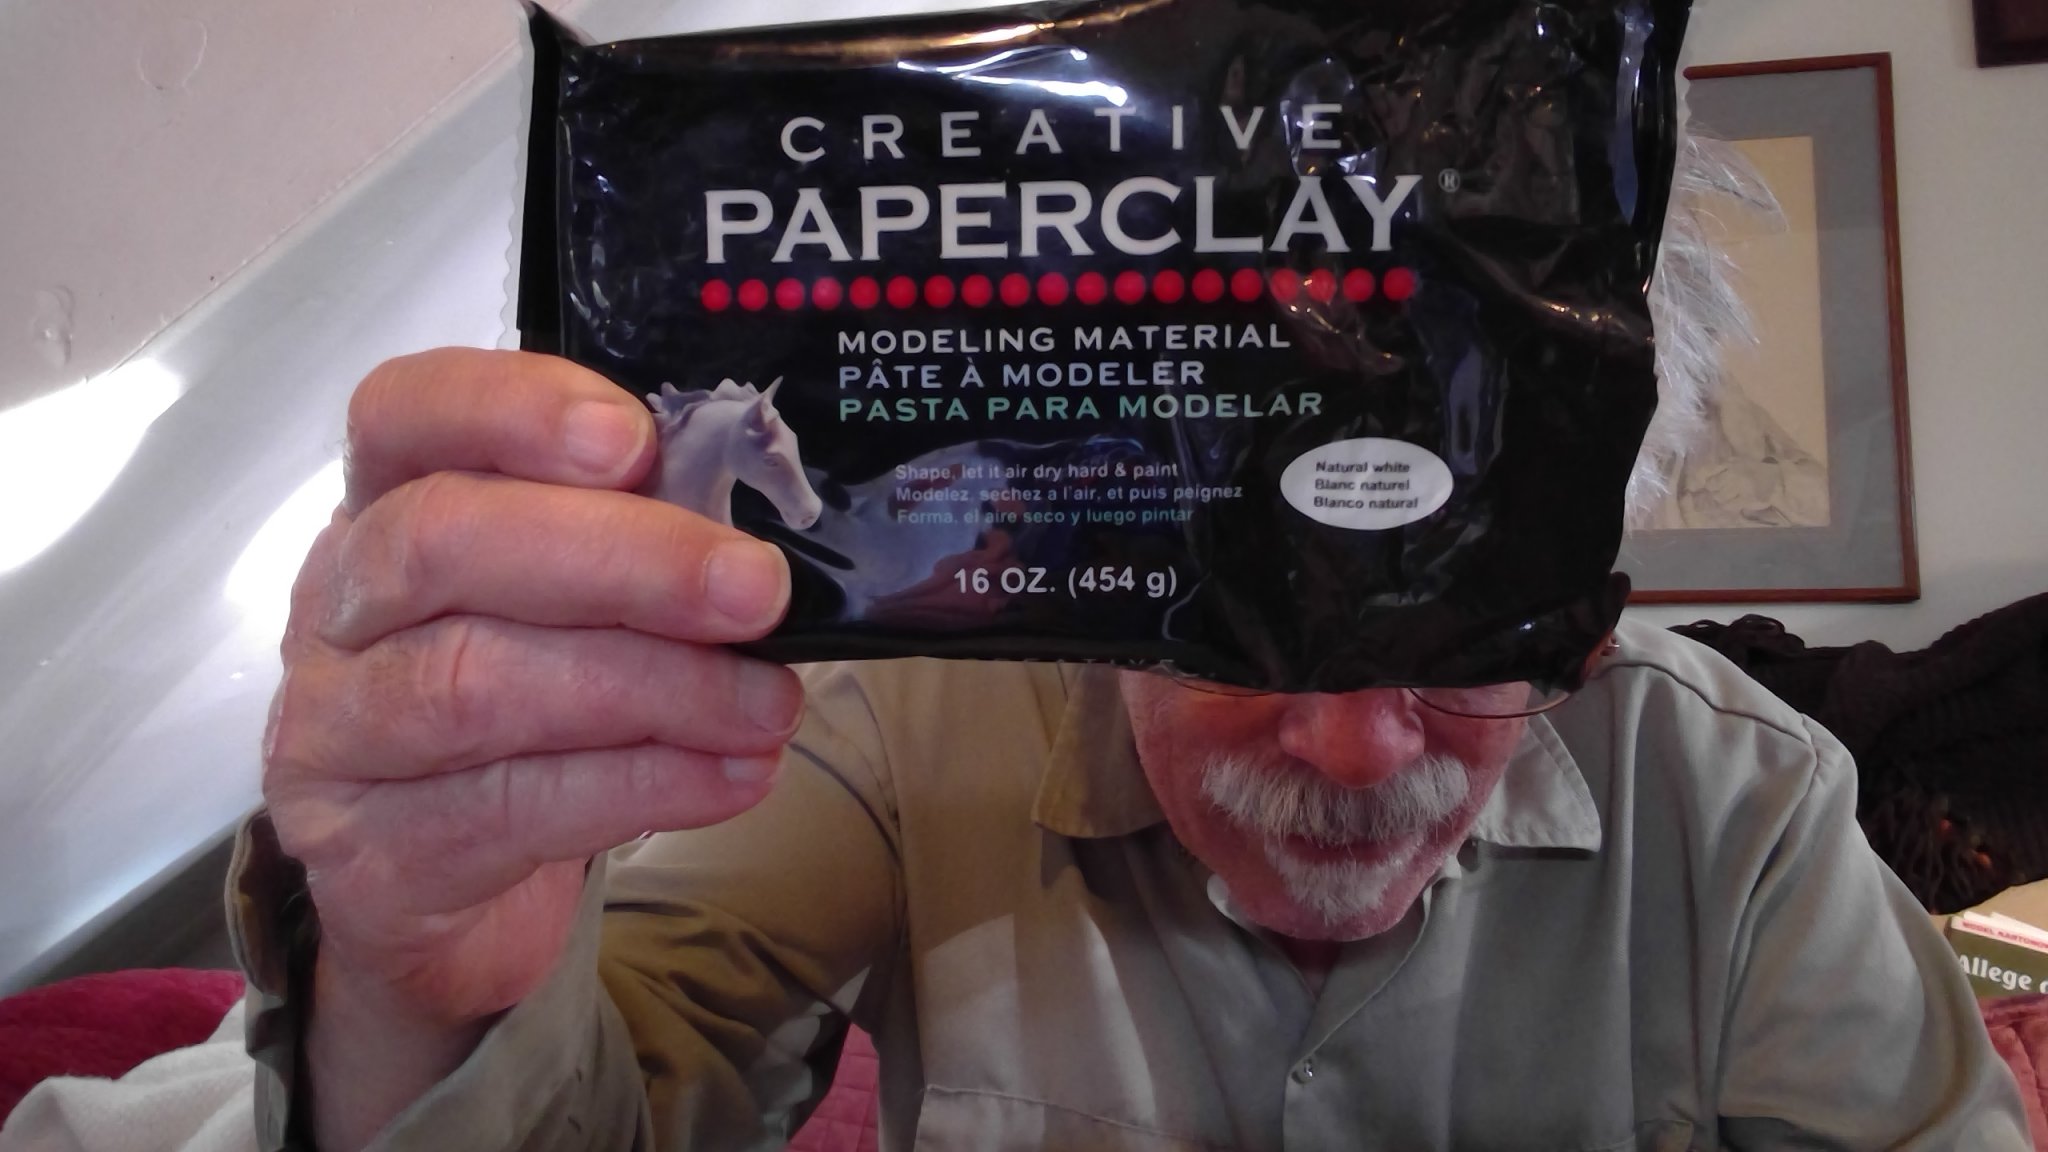
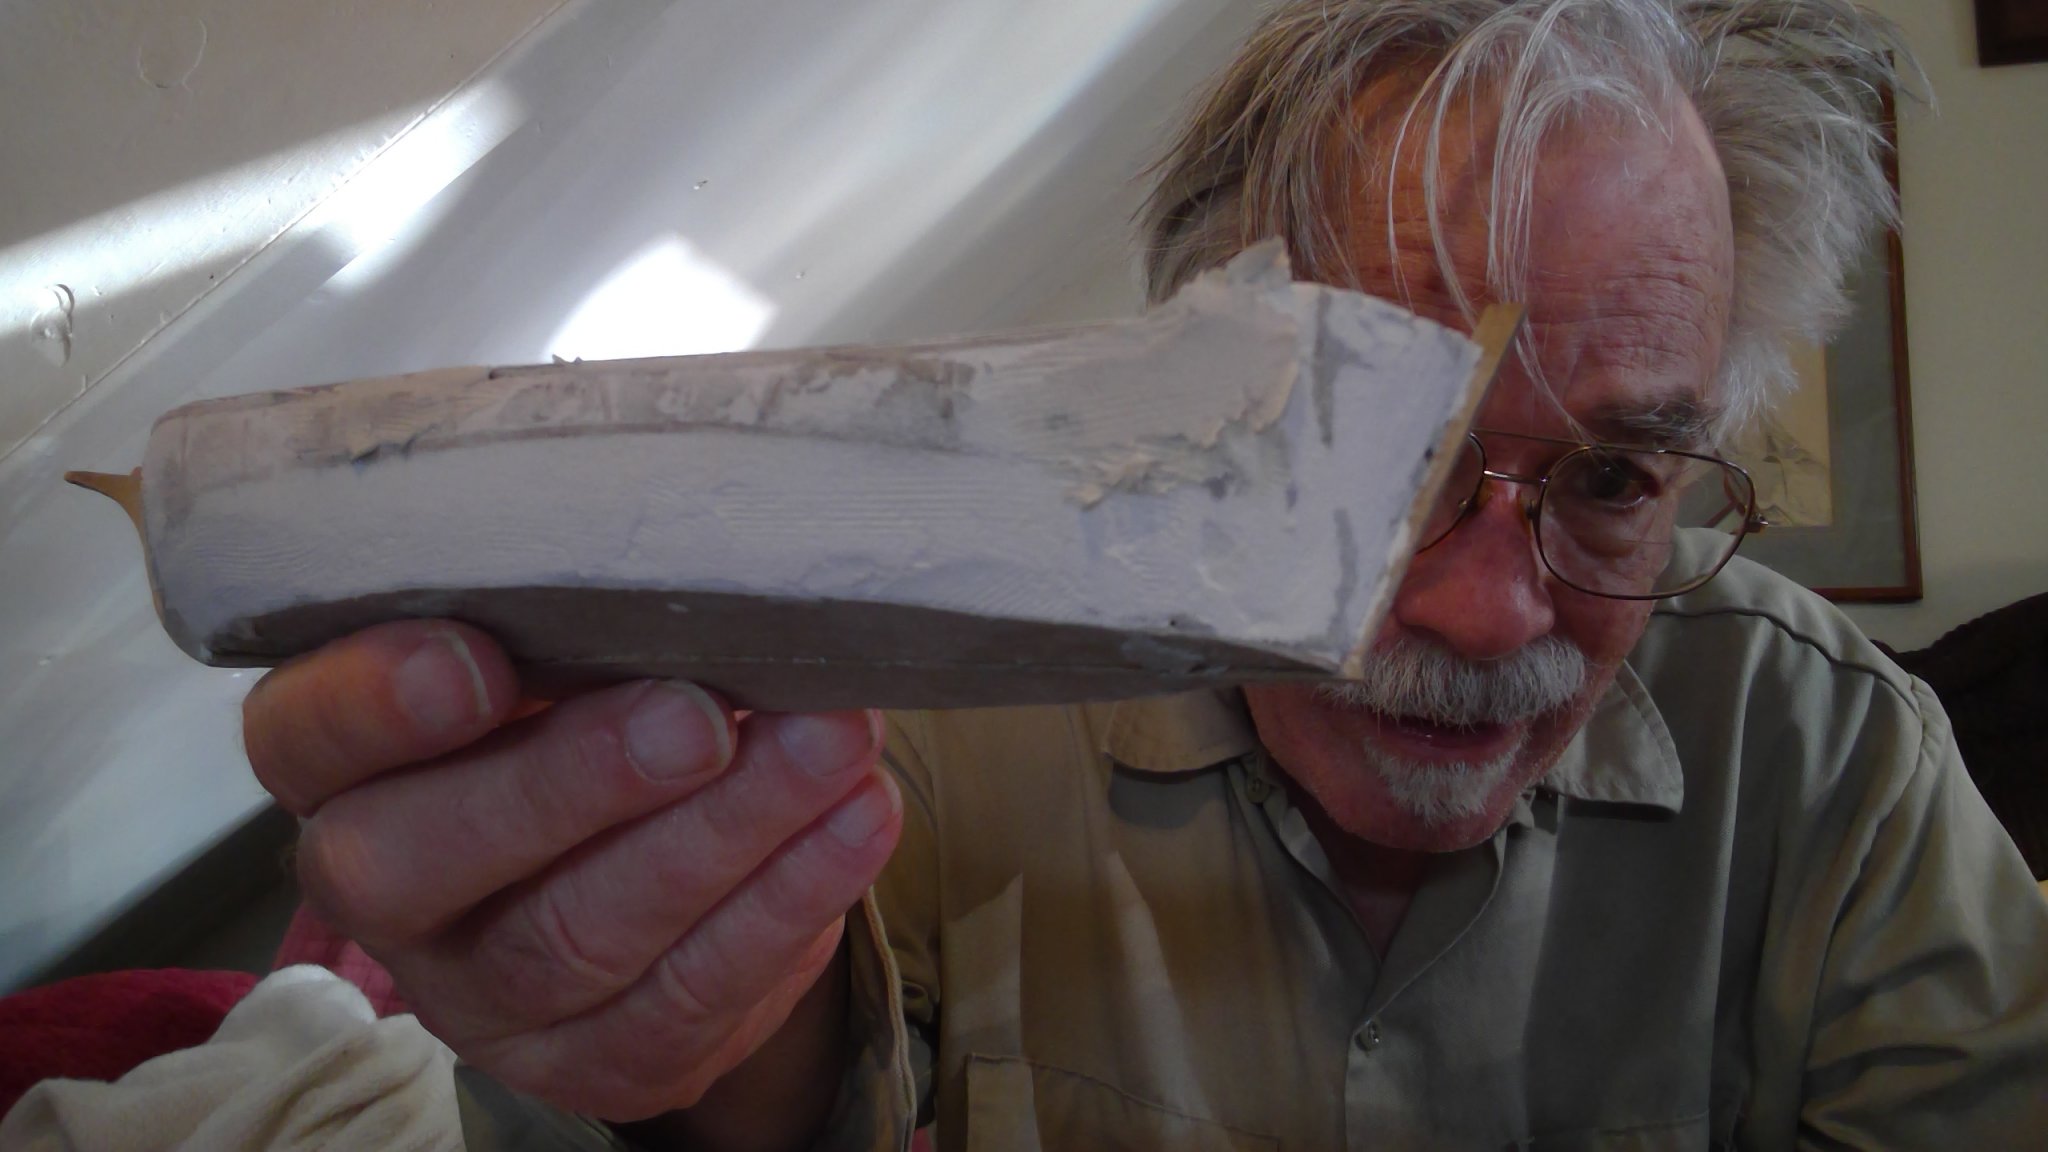
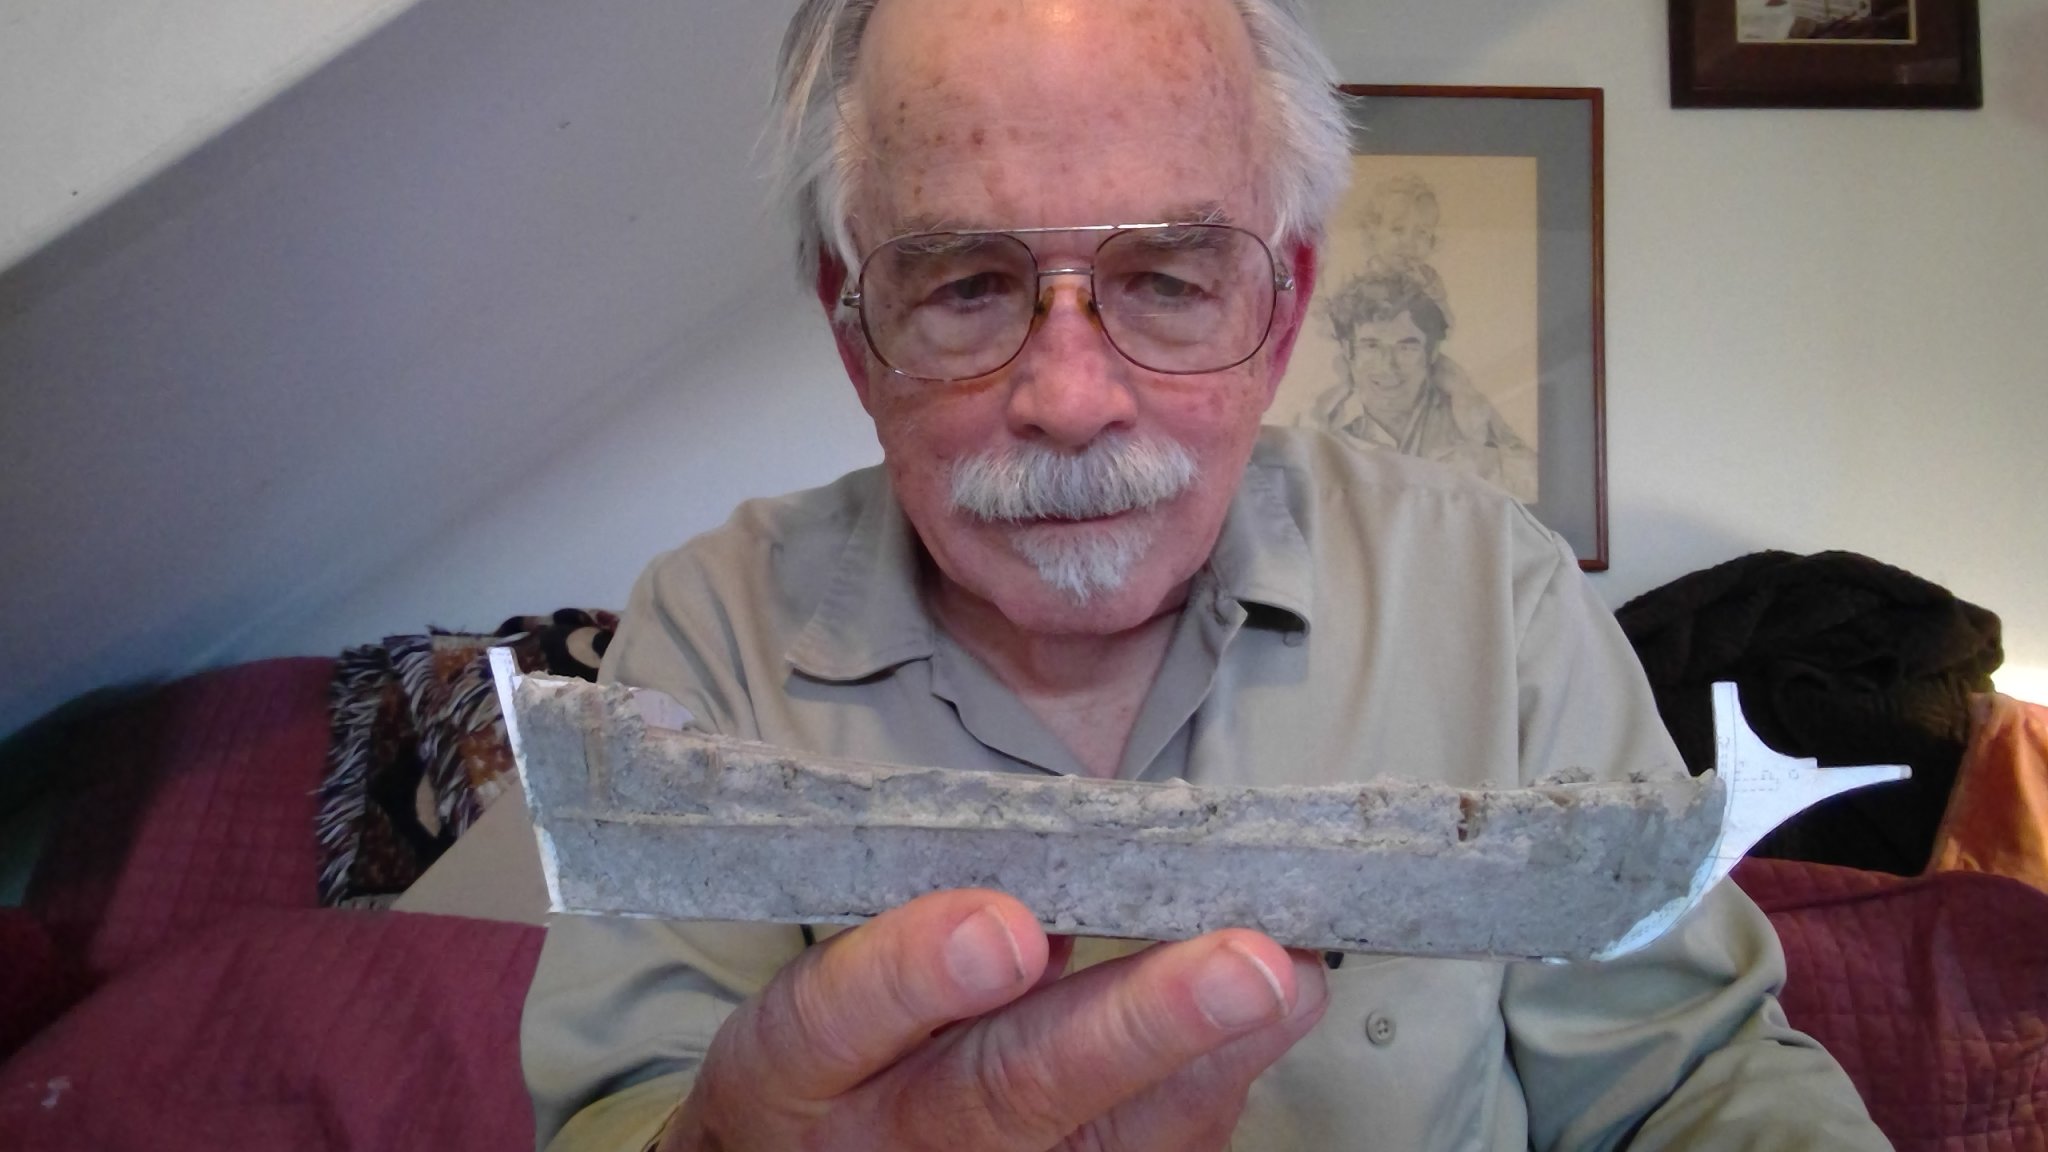
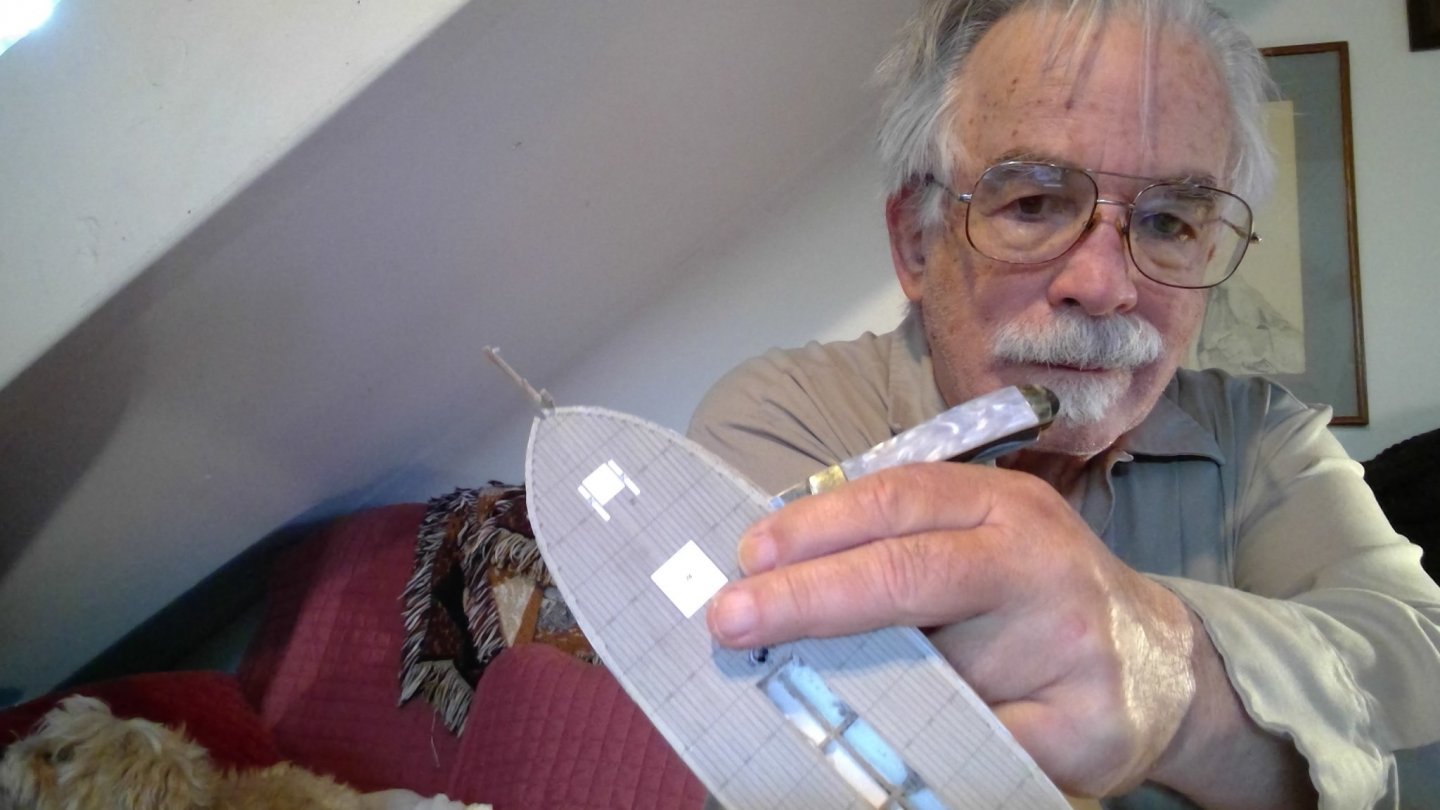
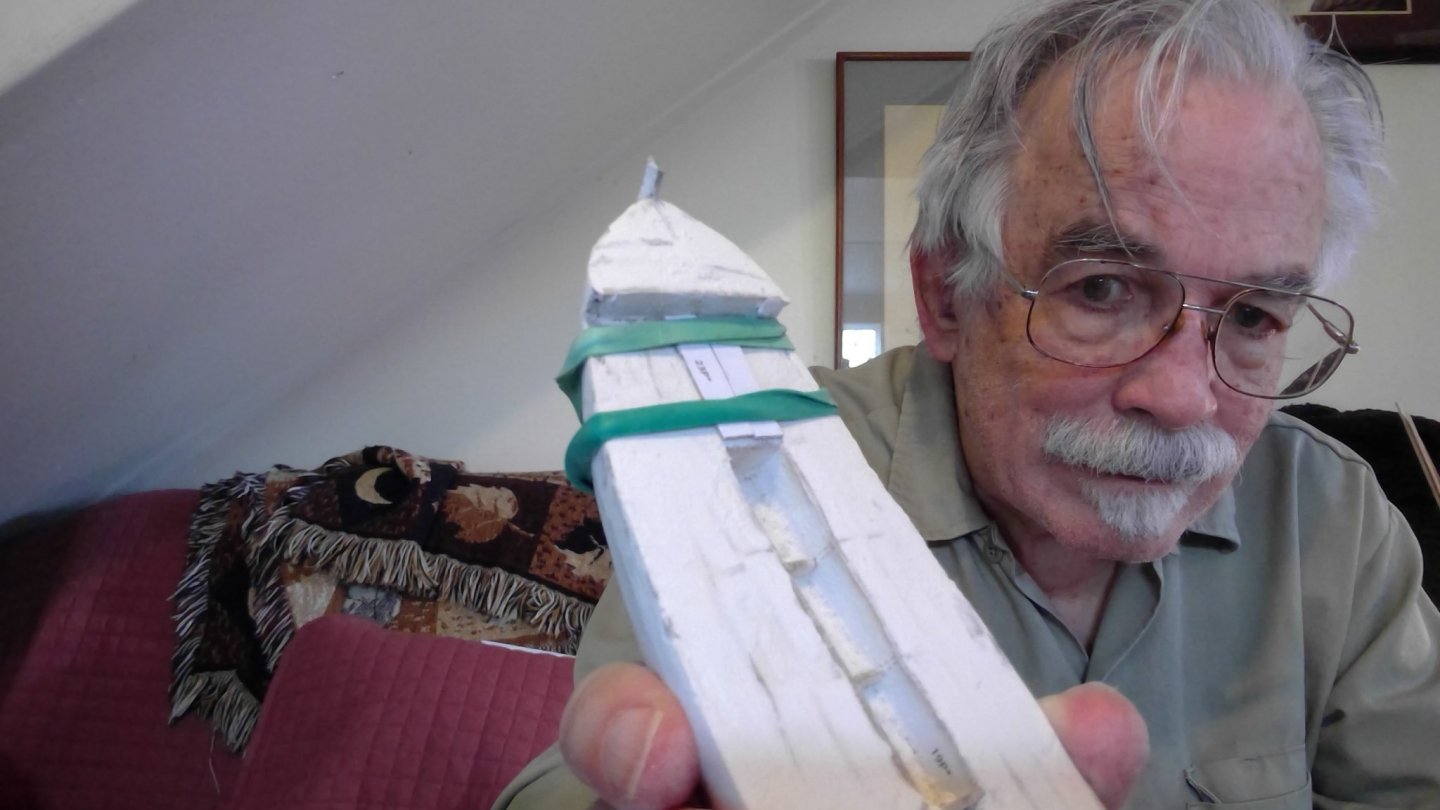
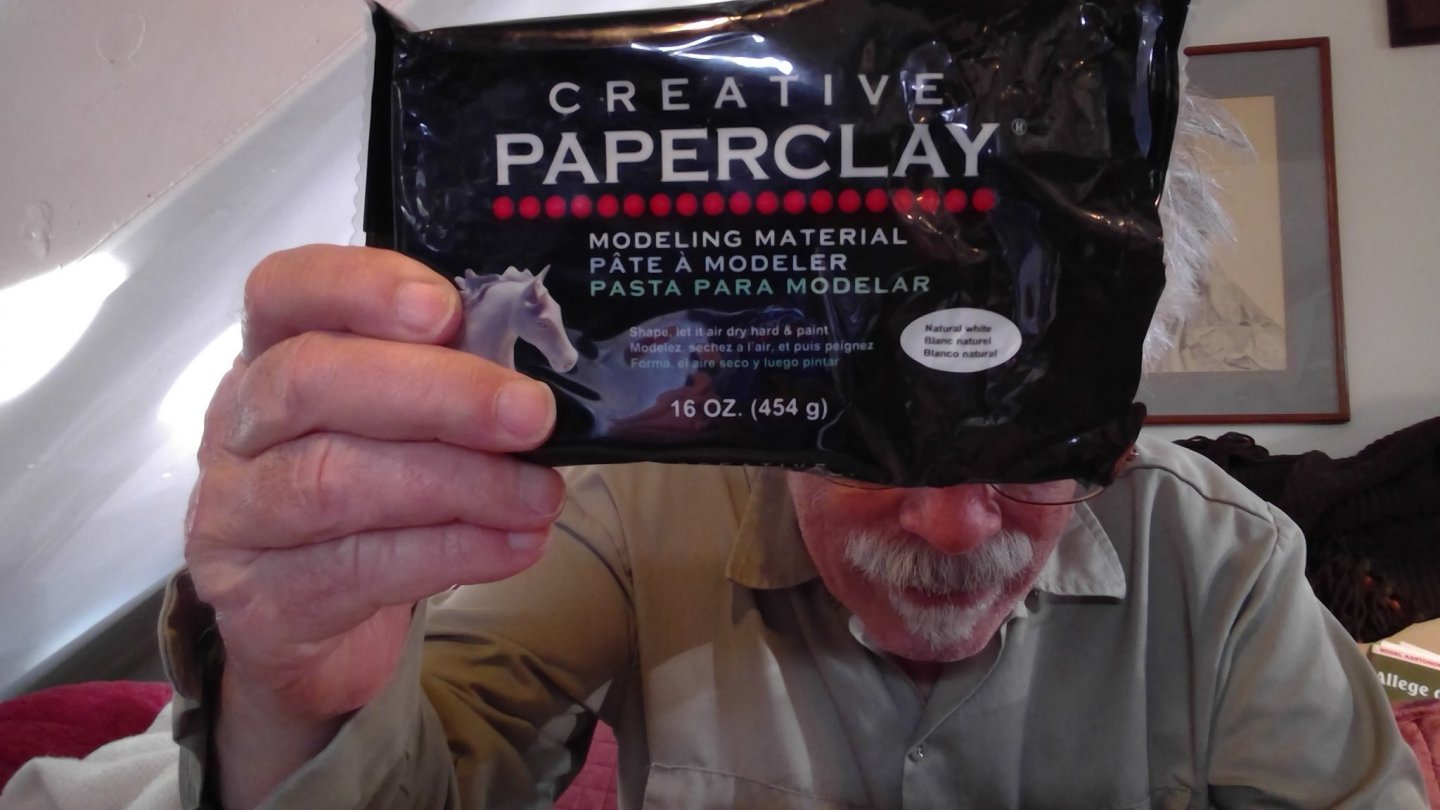
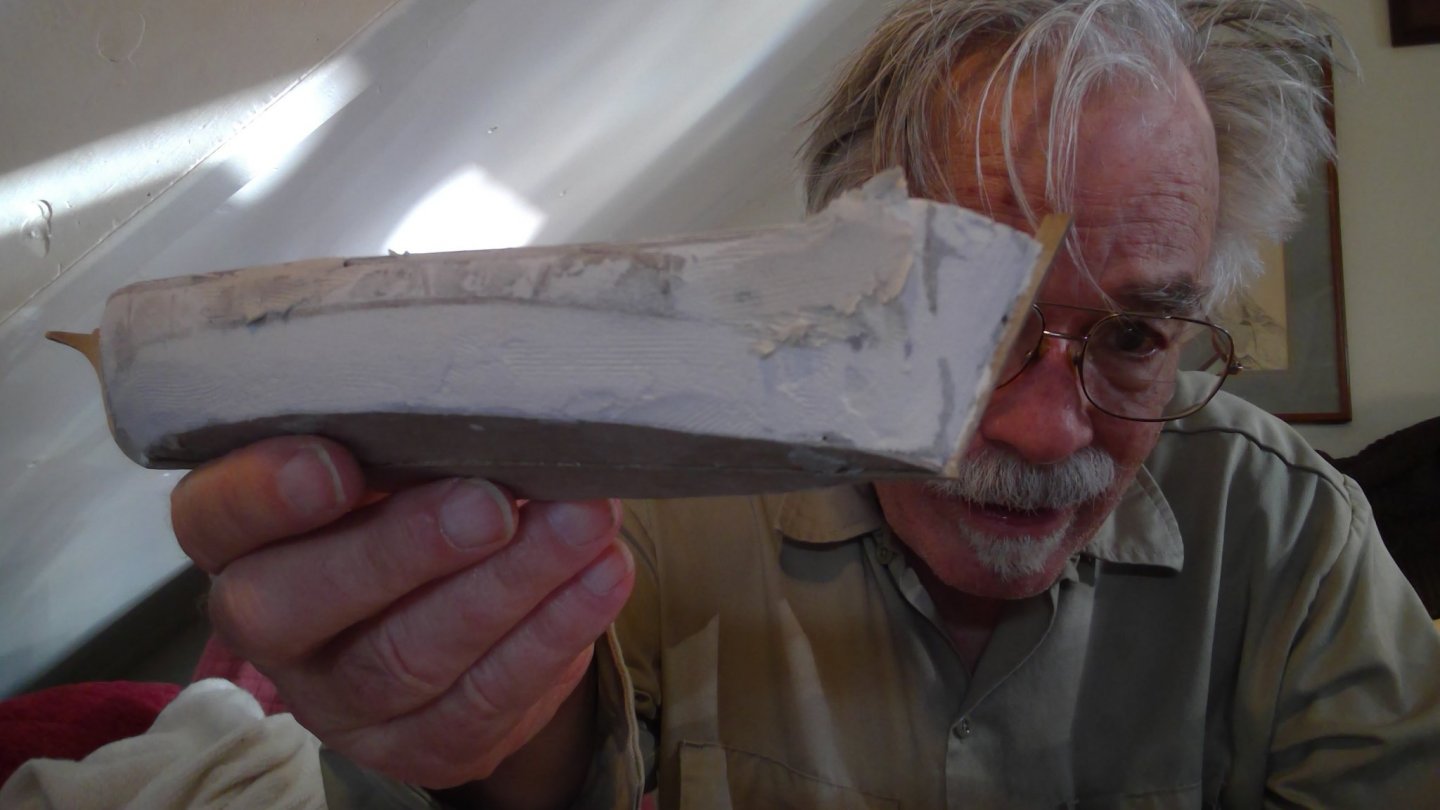
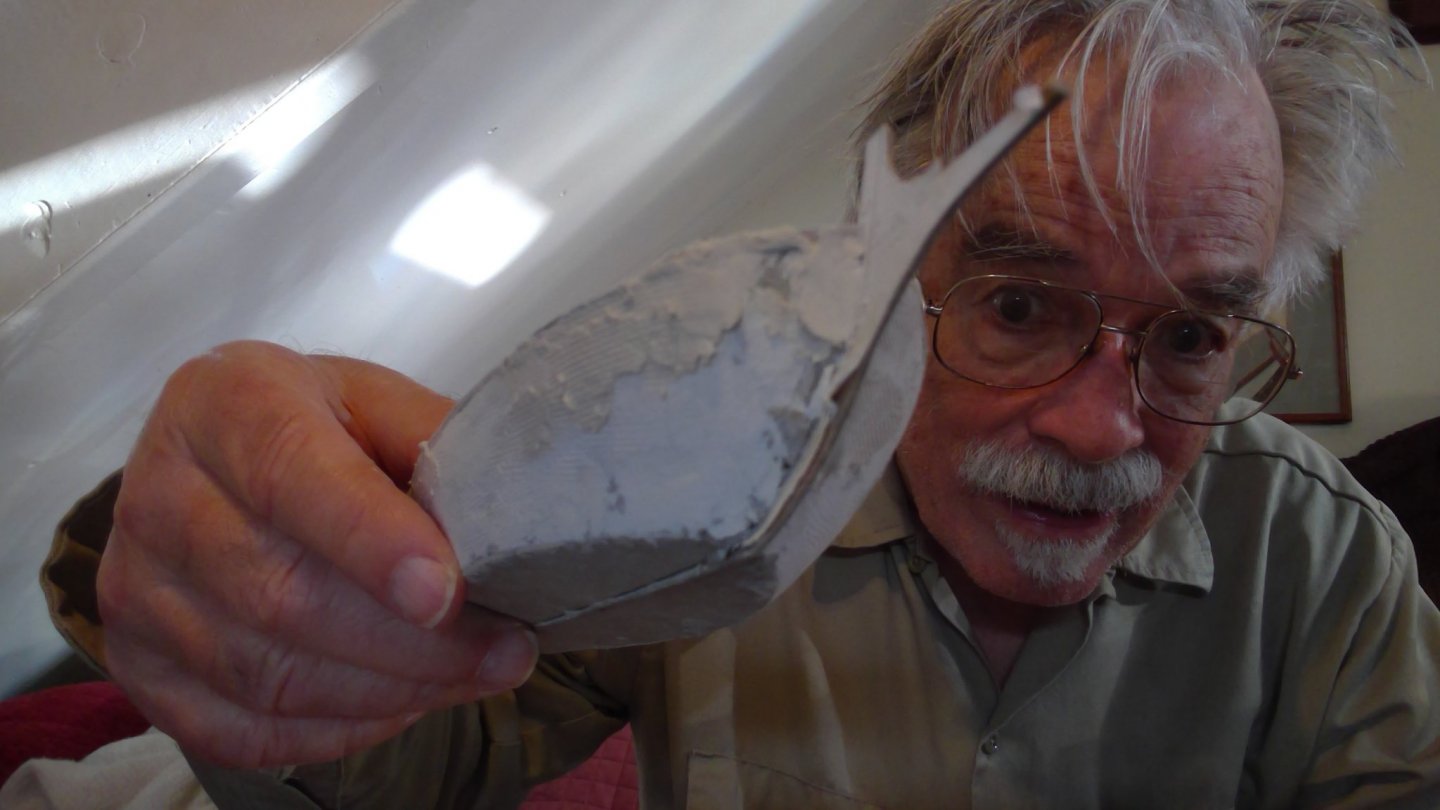
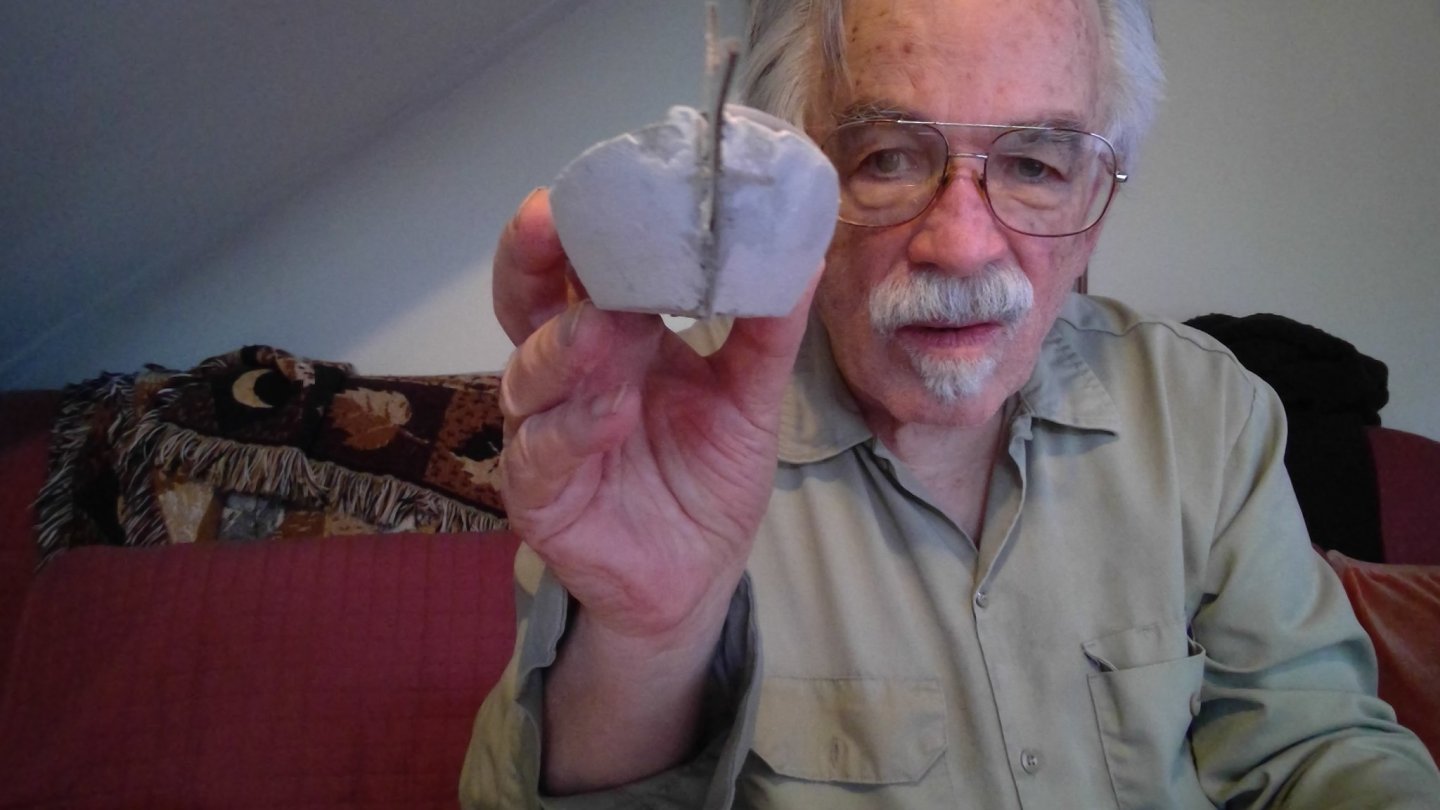
I always have problems with the "frame" distorting the out paper shell, so I have resorted to various methods to "fill in" the gaps. This time I'm trying something new, paper mache. I tried the kind you mix from power, but that made the whole model soaking wet. Luckily it survived. So now I'm using a "plastic" paper mache, which seems to be working. It usually takes several passes of putting on a layer and letting it dry and then sanding it down, then putting on another layer to fill in the low spaces. You can see that my first take on the frames ended up with a noticeable "bulge" on one side.. so i made a copy of the deck and tack glued that one to guide in reshaping it to be a little more symetrical.


- 54 replies
-
- 7
-
-
- allege darles
- wak
- (and 1 more)