
MORE HANDBOOKS ARE ON THEIR WAY! We will let you know when they get here.
×


heksanol
-
Posts
105 -
Joined
-
Last visited
Content Type
Profiles
Forums
Gallery
Events
Everything posted by heksanol
-
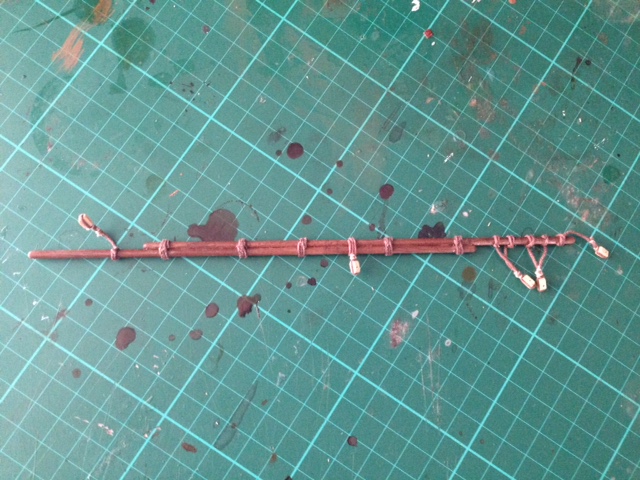
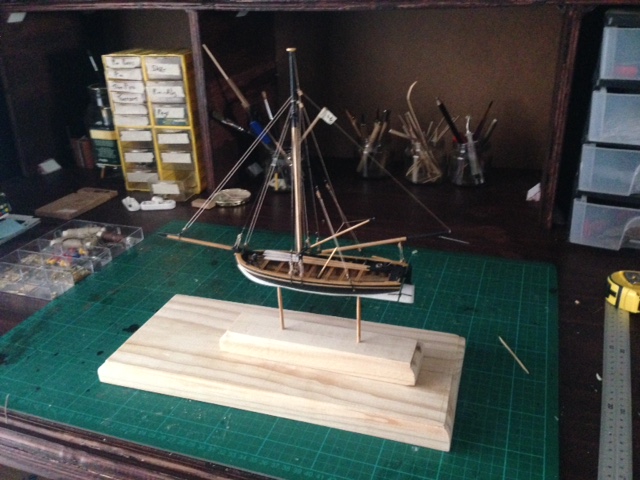
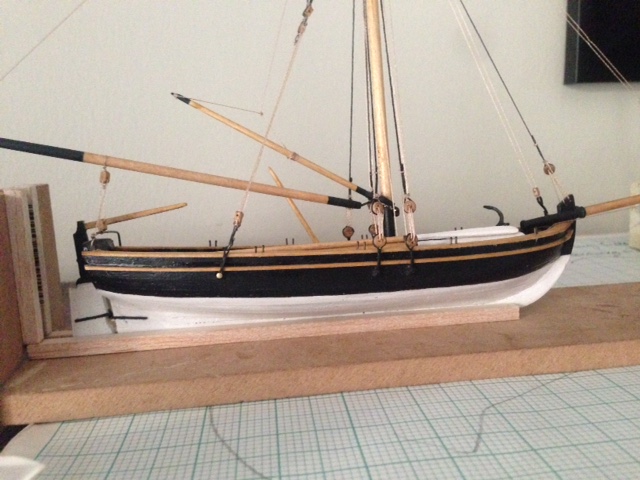
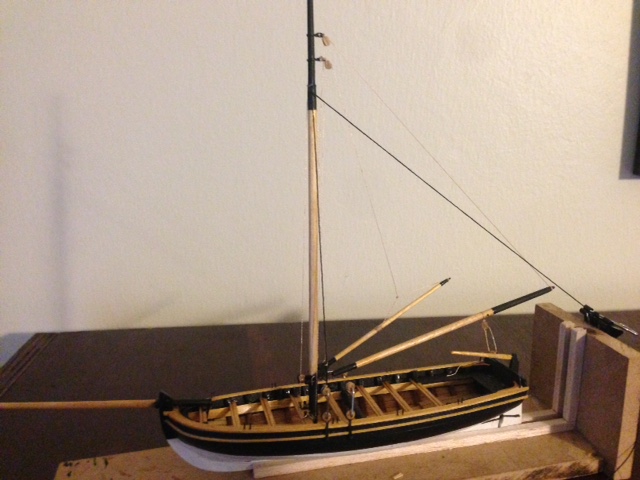
 Haven't update in quite a while, but here goes. Finished with the three masts, so it is ready for rigging. Already finished the spar for the back mast. Also finished the bowsprit and added it to the hull with other decoration - will post some photos later. Busy preparing the other masts.
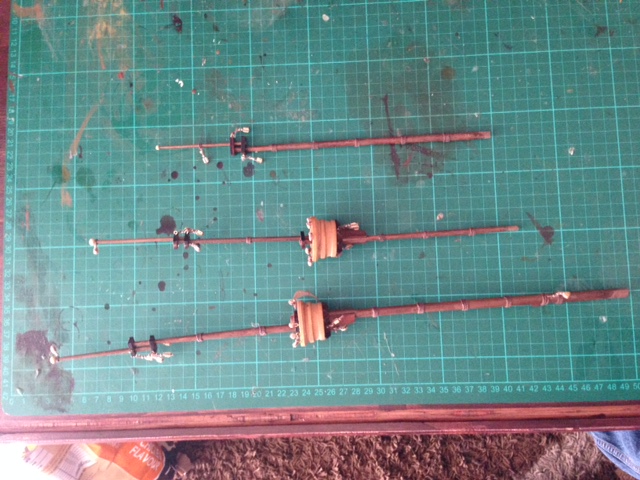
- 31 replies
-
- 3
-

-
- san juan
- artesania latina
- (and 1 more)
-
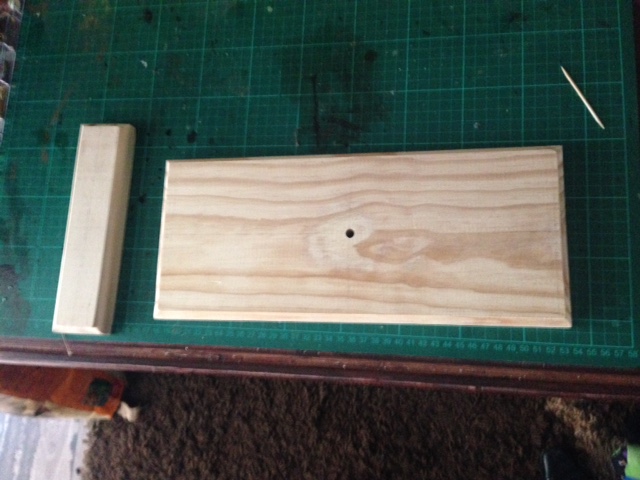
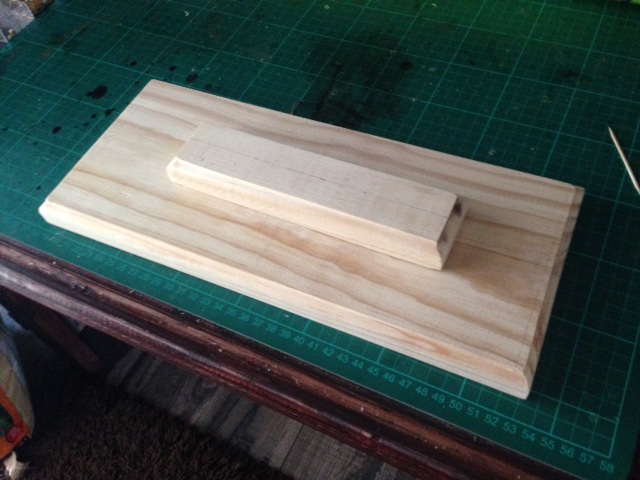
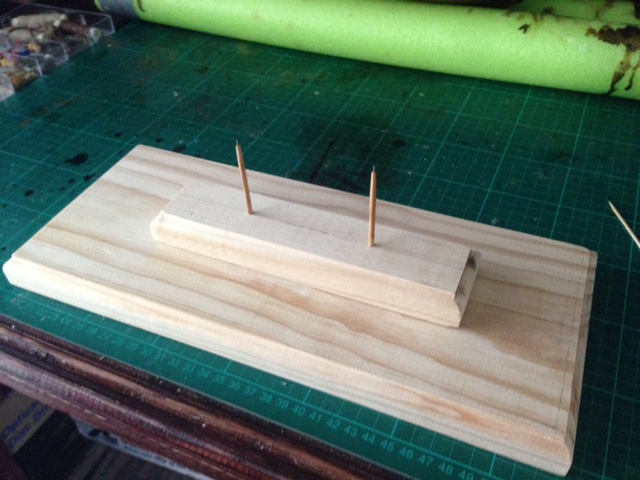
Thanks Cathead! Started working on the display base for the model. The hole in the big base is for air breathing. The small base will cover the hole, and be raised with wood strips. The big base will be raised with normal risers. The base is going to be stained dark mahogany. I have ordered router bits in order to put in the glass case that will cover the model. Regards
- 44 replies
-
- 5
-
-
- 18th century longboat
- model shipways
- (and 1 more)
-
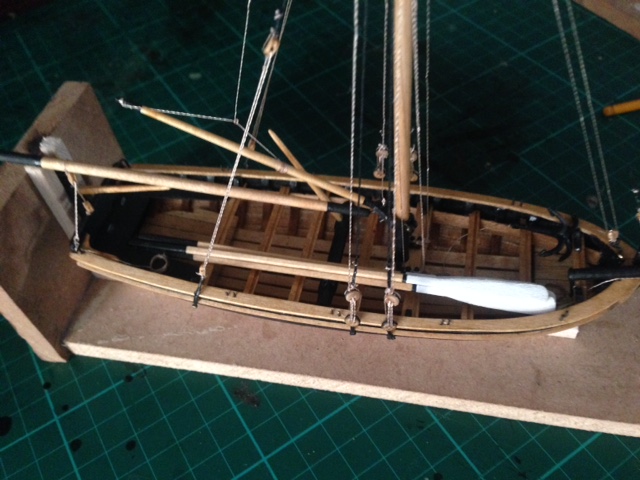
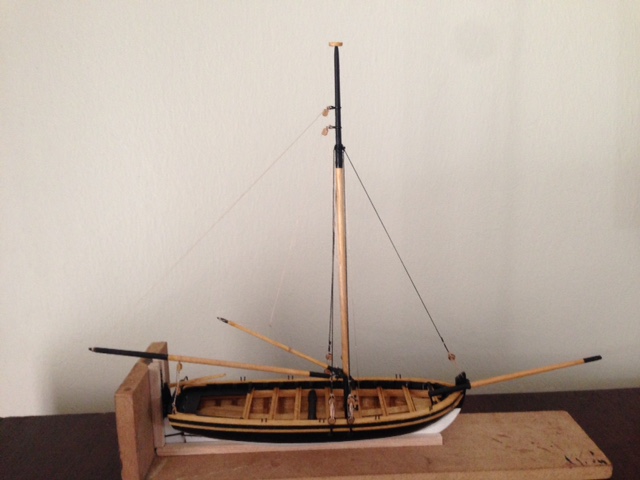
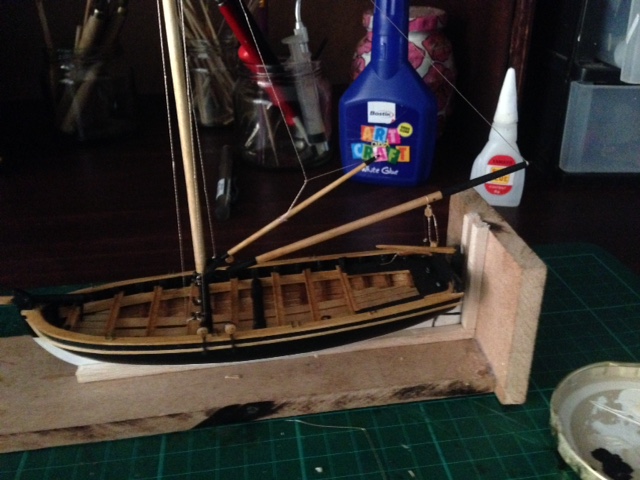
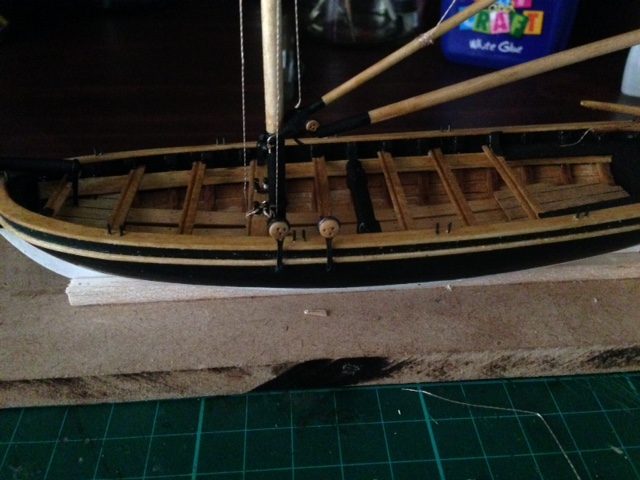
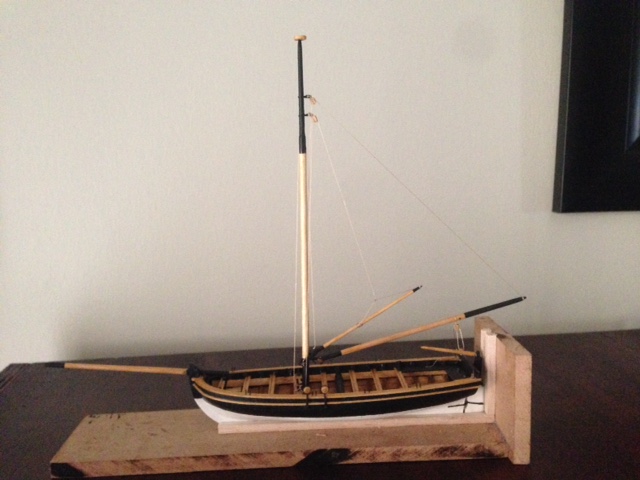
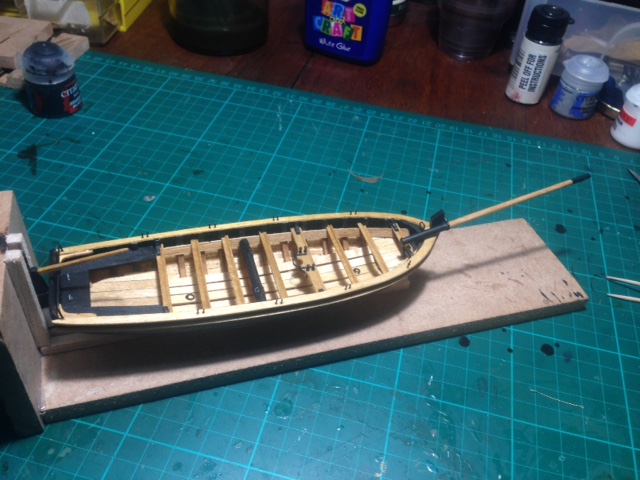
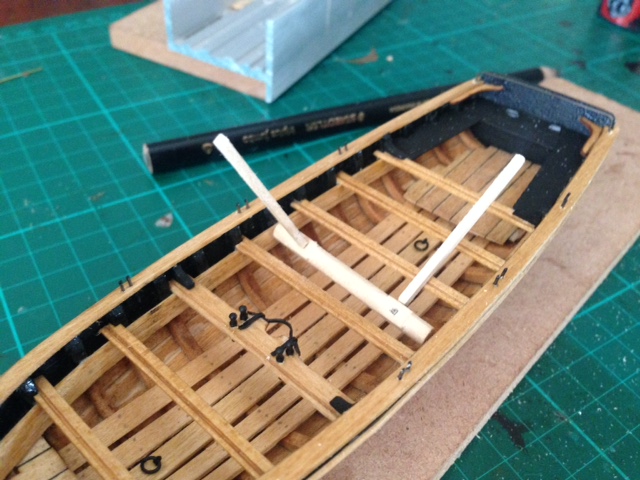
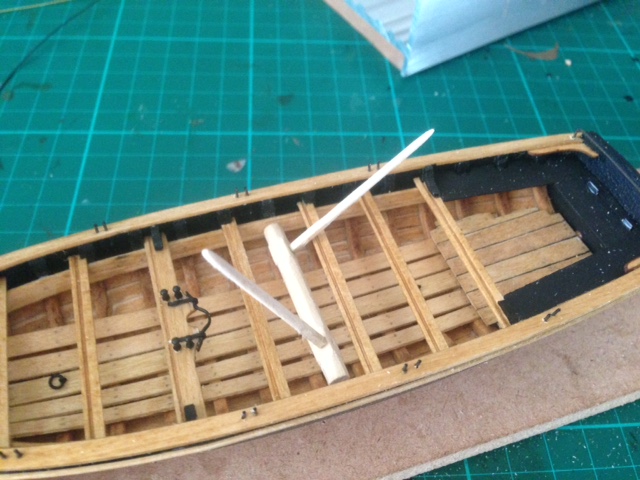
I have finished the all of the rigging on the boat Once that was done, I glued the oars in place. I now have to tidy up the model, as well as make a stand for it. Regards

- 44 replies
-
- 5
-
-
- 18th century longboat
- model shipways
- (and 1 more)
-
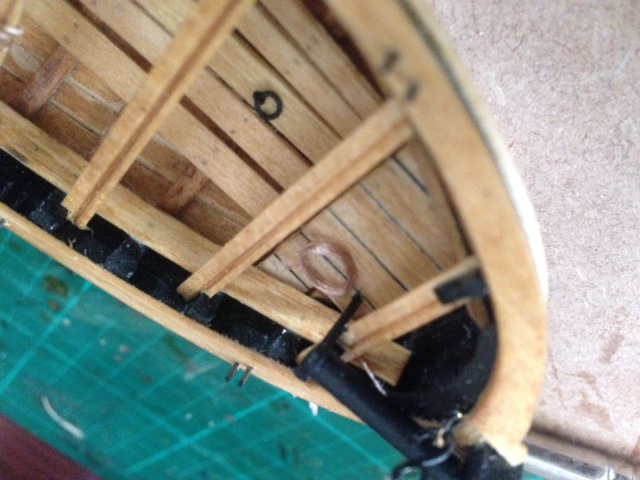
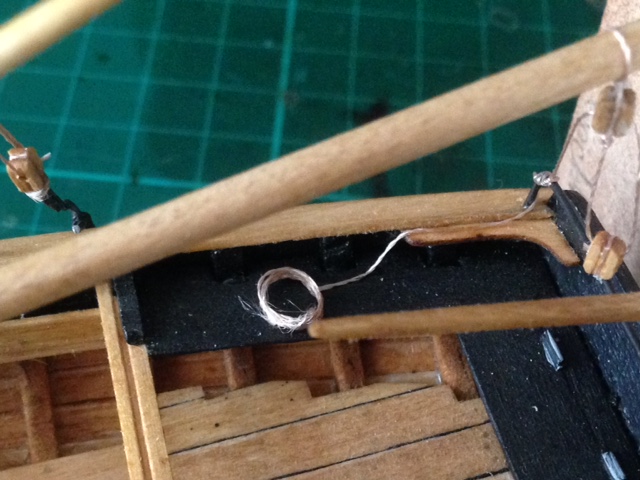
Decided while I was busy with the rigging, to male the rope coils for the rope ends.
- 44 replies
-
- 3
-
-
- 18th century longboat
- model shipways
- (and 1 more)
-
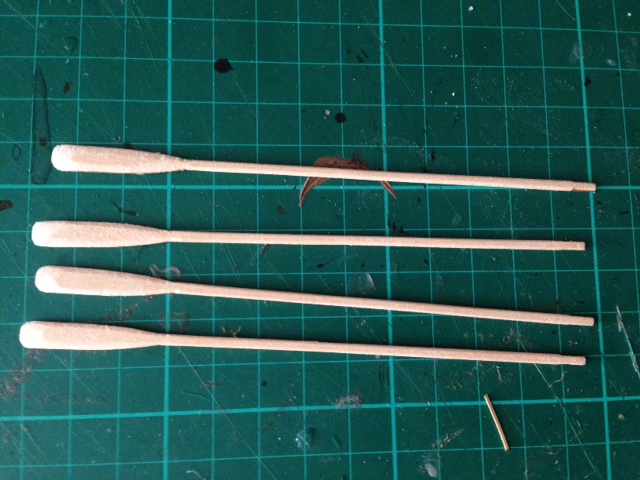
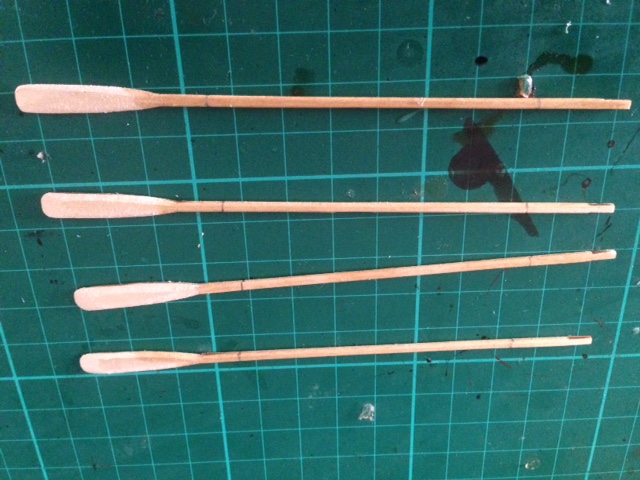
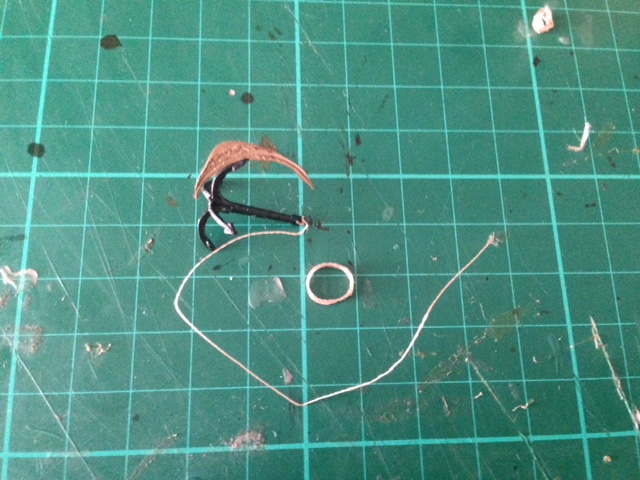
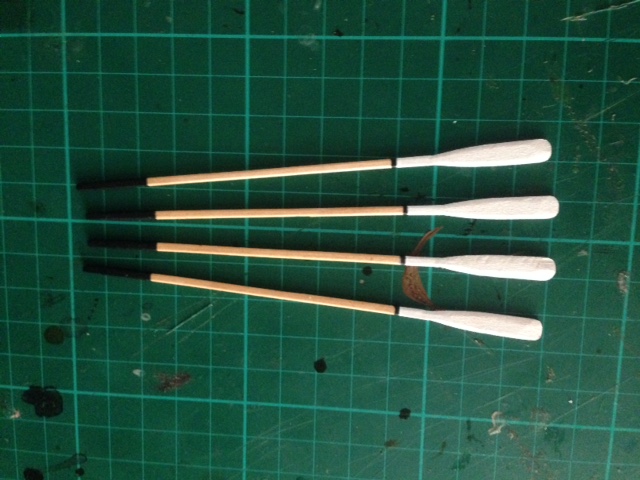
Was sick, so could only do a few things here and there. I started with the oars. I decided to paint the bottom part white, to coincide with the hull colour. I also painted the anchor.
- 44 replies
-
- 2
-
-
- 18th century longboat
- model shipways
- (and 1 more)
-
Thanks Cathead. Busy at the moment with the back stays, making all the components before starting the rigging.
-
Finished with the shrouds and tying the deadeyes together. Took a few tries, but got it at the end. While I was at it, I also made the shroud for the forward stay.
- 44 replies
-
- 4
-
-
- 18th century longboat
- model shipways
- (and 1 more)
-
Good job so far! From the pictures the frames looks good to me. Your overthinking this too much - go for it!
-
Thanks Cobra Seen some other logs used it, so I thought I would give it a go. First time I am doing shrouds, so taking it easy.
- 44 replies
-
- 2
-
-
- 18th century longboat
- model shipways
- (and 1 more)
-
I started to add the shrouds. However, I first made some pins to have equil distance between the deadeyes. One thing to take note off, is that they only supply you with enough rope to complete the shrouds, whereas most of the other components they supply quite enough extra in case you make a mistake, Will try to complete the other shrouds this week.


- 44 replies
-
- 5
-
-
- 18th century longboat
- model shipways
- (and 1 more)
-
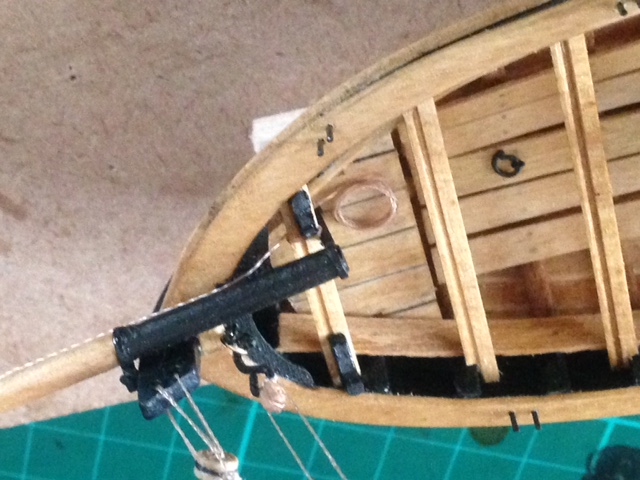
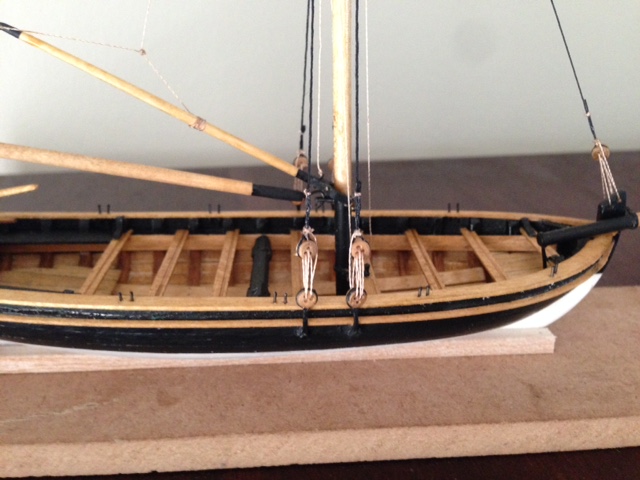
Thanks GuntherMT. Had some time this weekend to work on the model. Finished the Gaff, rigged the Boom and Gaff to the mast. I also completed the chain plates and added them to the boat. Haven't added the extra rope to the bellying pins, will first see to have enough for the other rigging.
- 44 replies
-
- 6
-
-
- 18th century longboat
- model shipways
- (and 1 more)
-
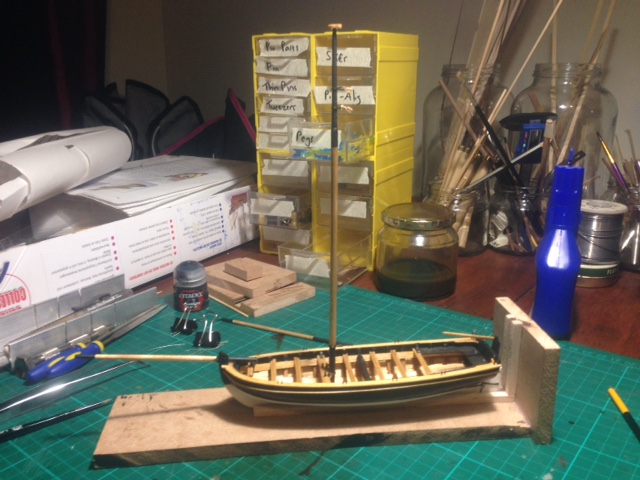
I also had time to work on the mast, boom and the gaff. The gaff still needs to be completed, I will see if it can be done this weekend. Once the mast was completed, I stepped it to the longboat.

- 44 replies
-
- 5
-
-
- 18th century longboat
- model shipways
- (and 1 more)
-
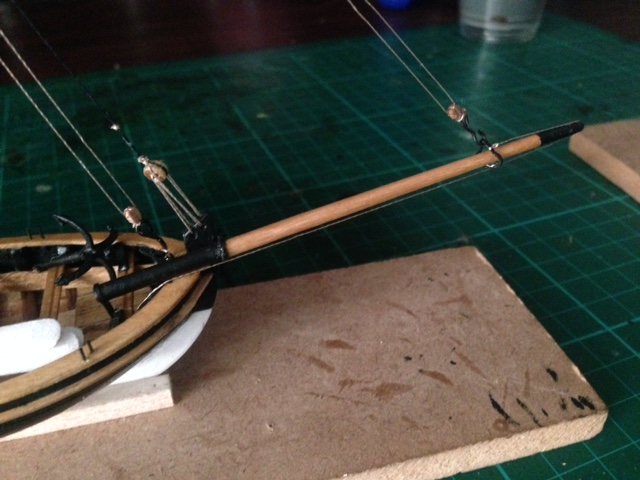
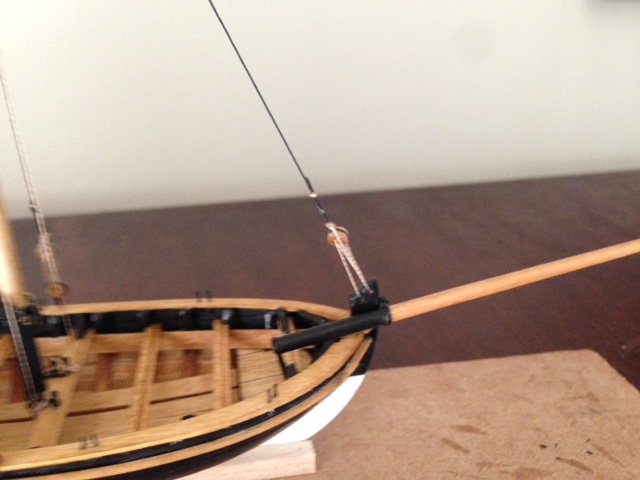
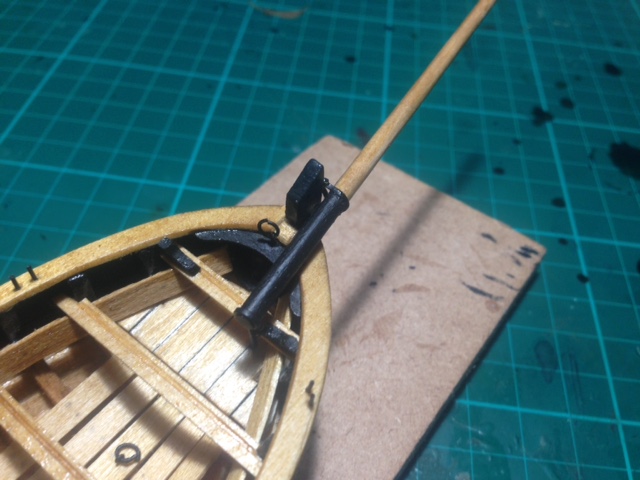
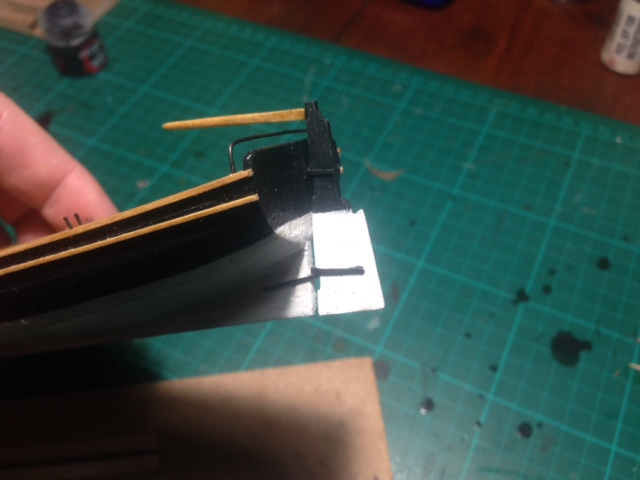
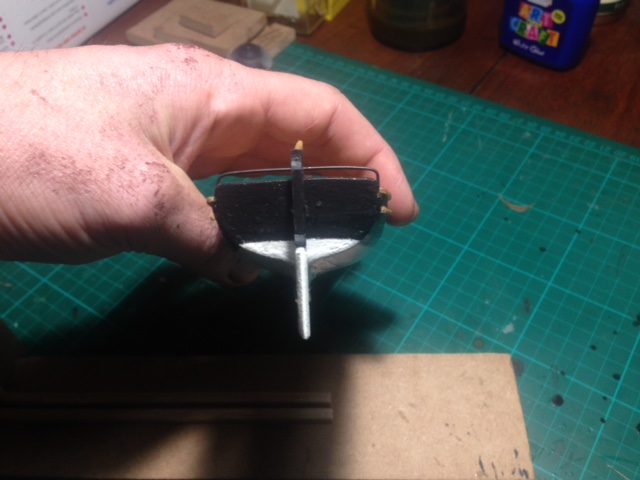
Update time Finished the bowsprit and attached it to the boat as per the instructions. Also finished the rudder and had it painted. I decided to paint the windlass also black, and add highlights to the holes that will be open after attaching the windlass handles.
- 44 replies
-
- 4
-
-
- 18th century longboat
- model shipways
- (and 1 more)
-
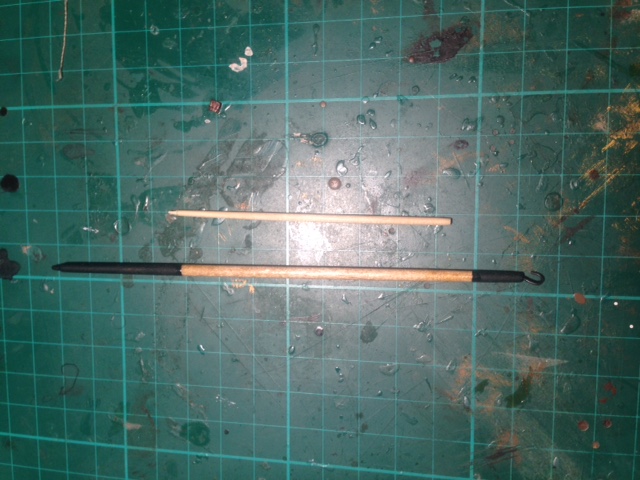
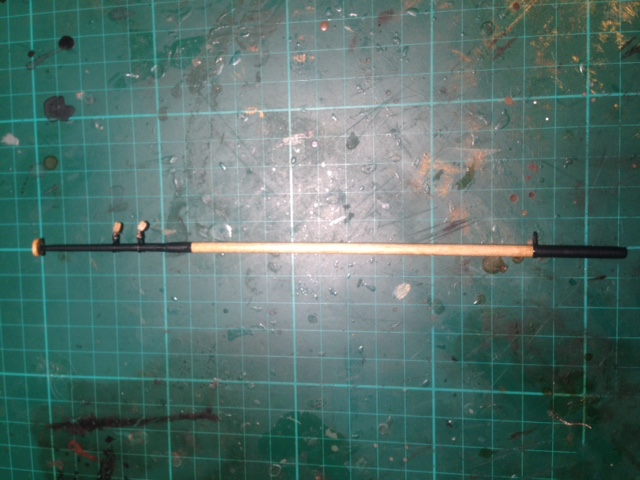
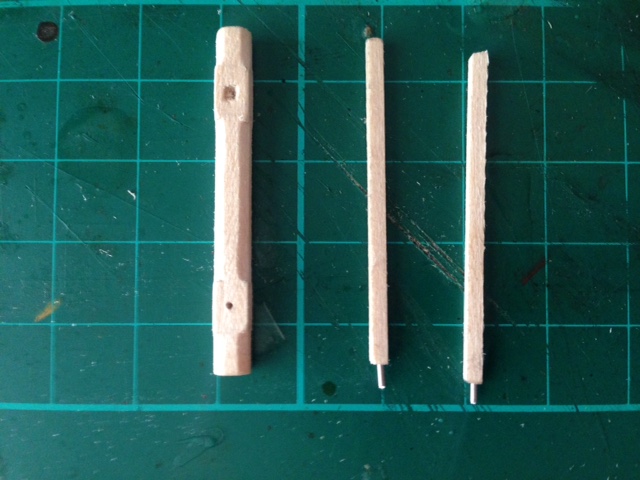
Greetings, another small update. Finished painting the pins, decided to go for black colour scheme for aesthetic purposes. Next up was to make the windlass and its handles. The handles is going to be pinned into the windlass. I made the square holes on the sides that can be seen, to give the illusion that the square ends of the handles can be used on these holes. The picture of the handles doesn't show the tapering/transition of the handles that well, will post another one when they are stained. I am still not sure if I will paint the windlass black, or maybe the handles black. Will see as I go along.
- 44 replies
-
- 5
-
-
- 18th century longboat
- model shipways
- (and 1 more)
-
Thanks Cathead. Going to work some more on it this week, really want to take some fotos in daylight conditions.
-
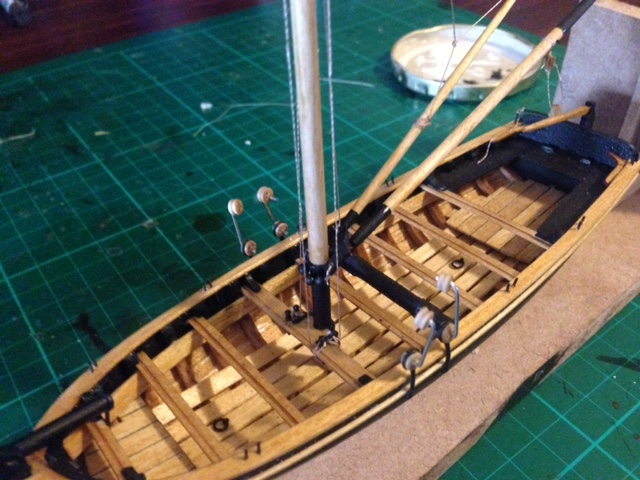
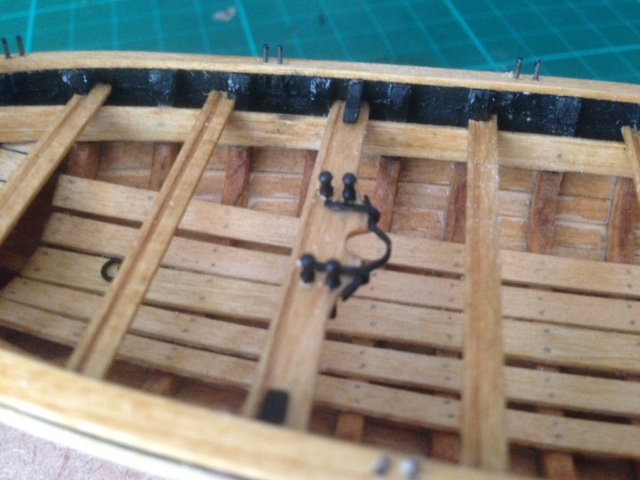
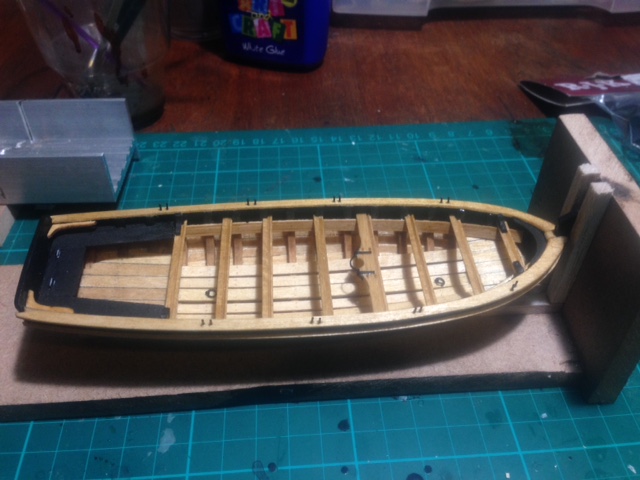
A small update. Finished the mass thwart - only need to paint the dowels. Added the oarlocks to the model - kept the wire colour. Added some gray highlights to the locker hinges.
- 44 replies
-
- 4
-
-
- 18th century longboat
- model shipways
- (and 1 more)
-
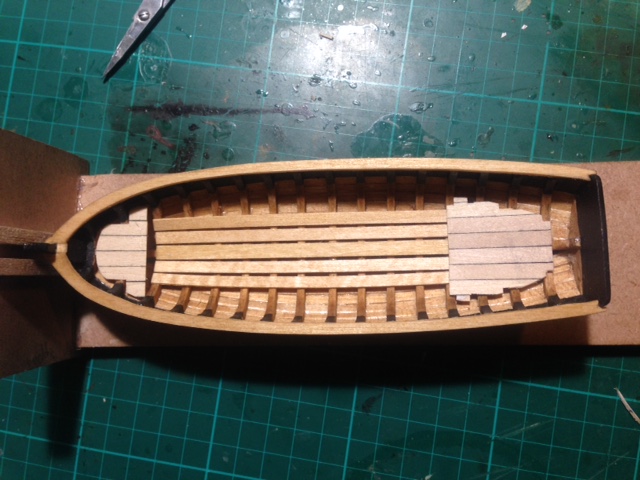
Update time! Added the thwarts to the boat. Next was to make the locker. The plans says the side boards are pre made, but they are way too short! Therefore, I just made my own boards from the sheet. After the boards, I added the bolts for the locker. The locker was painted black. To distinguish the locker hinges, I will ad some grey highlights later. Finally, added the knees to the model. The front and thwart ones were painted black for contrast. I will continue with the mast thwart this week. Regards
- 44 replies
-
- 4
-
-
- 18th century longboat
- model shipways
- (and 1 more)
-
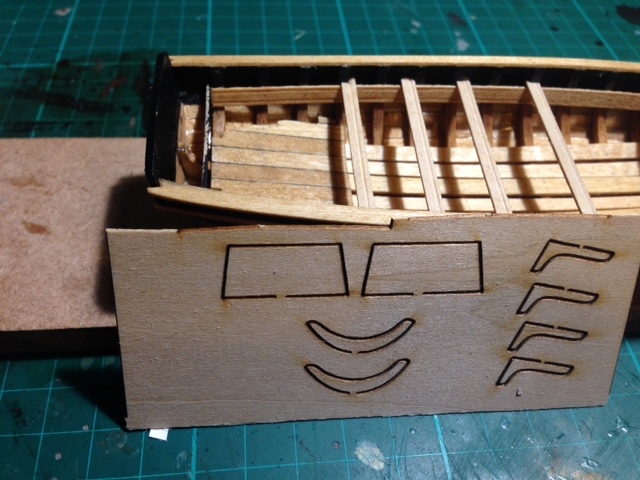
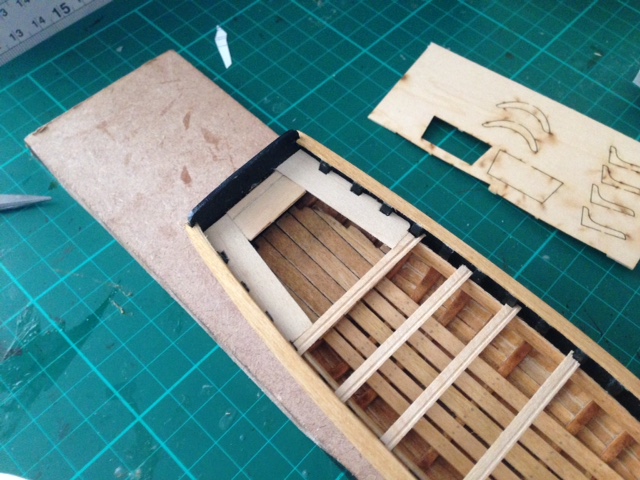
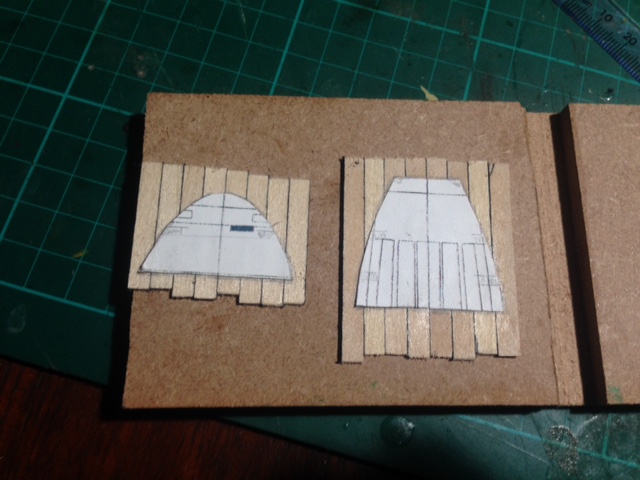
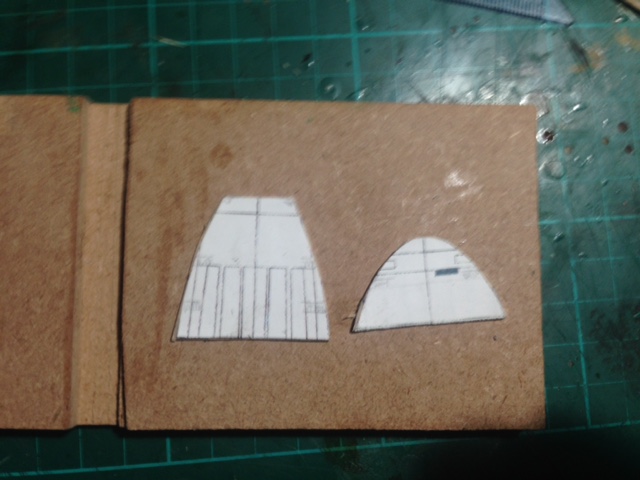
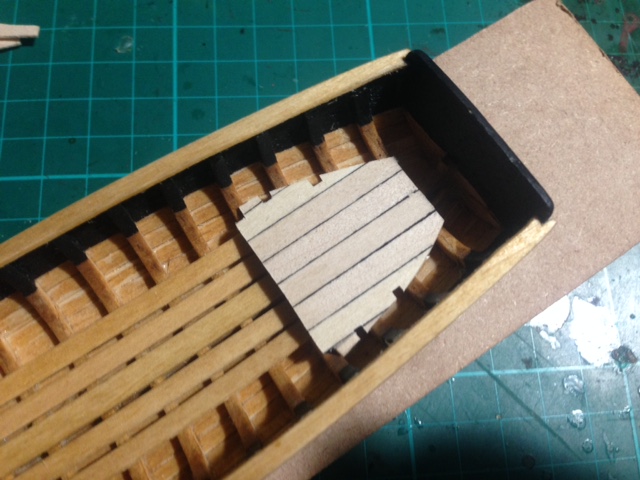
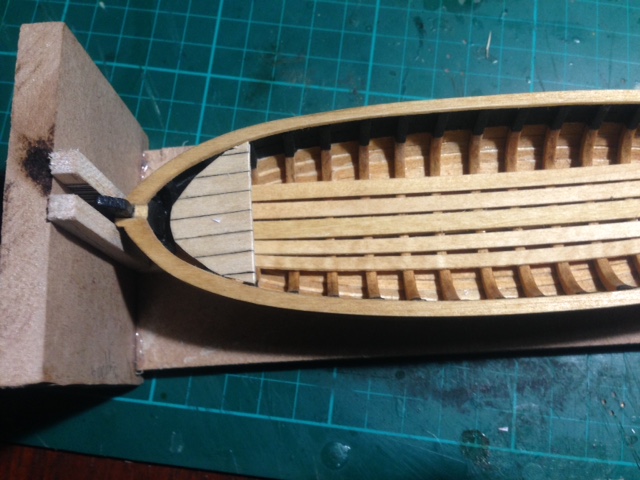
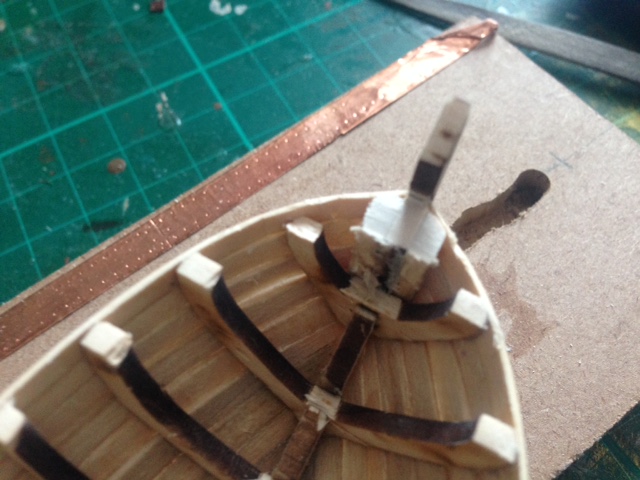
Another day, a little bit done Cut out a template for the rear and front boards and glued on the planks that I assembled before hand. I added a black line to one edge of the planks via a permanent ink marker to simulate caulking: After the template dried I cut off the excess wood: I tried a dry fit of the rear board and front board, but discovered that the scale of the diagrams to the actual model was off. Uh oh. Will have to modify the board to fit on my own. So, after some modifying, got the boards to fit. Not the same as the plans, but still adequate.
- 44 replies
-
- 4
-
-
- 18th century longboat
- model shipways
- (and 1 more)
-
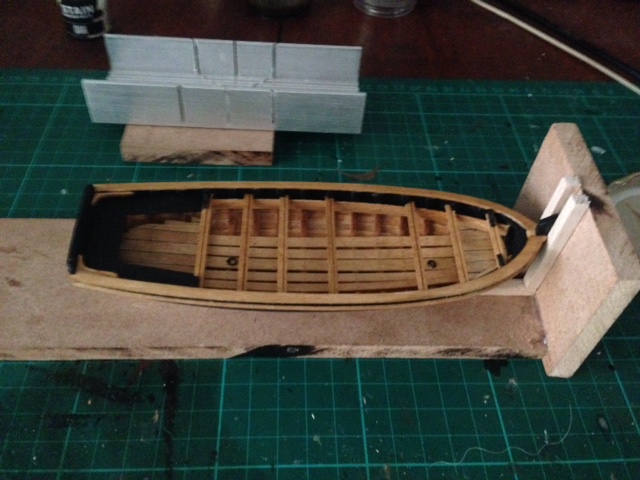
Greetings Had some time again to work on the model. I finished with the rail, and made the middle joining piece. I added the planks at the bottom, as well as staining the planks and the rail with oak colour. I am pleased with the colour results. Finally, I added the lower rails, as well as staining them oak. Hopefully later I can take some pictures with sunlight.
- 44 replies
-
- 4
-
-
- 18th century longboat
- model shipways
- (and 1 more)
-
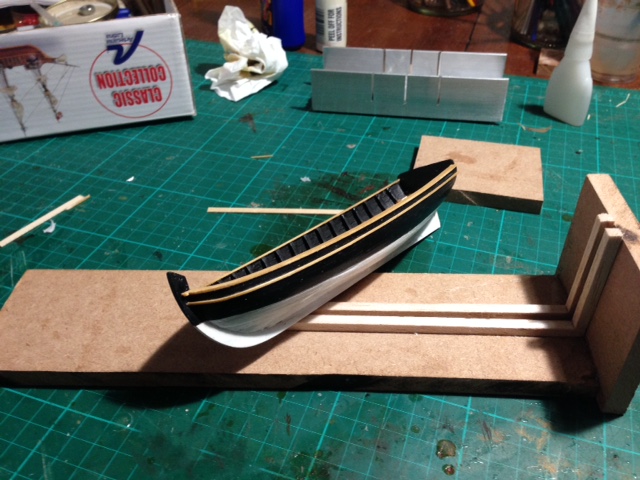
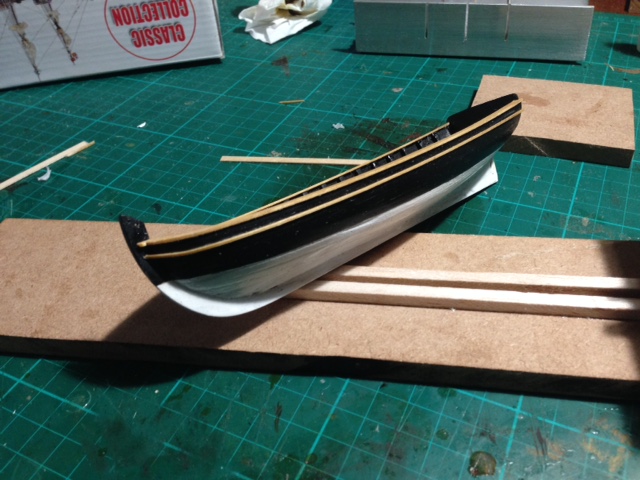
Greetings. Had some time to make some progress. Painted the rest of the hull in white, as well as fit the stern post: I applied a coat of gloss varnish for protection while working further on the ship. Will make it matt again later. I started with the cap rail: After some sanding down: I am still going to fine tune the cap rail, as well as add the joining piece. The cap rail am going to stain with an "oak" colour. Until next time!
- 44 replies
-
- 5
-
-
- 18th century longboat
- model shipways
- (and 1 more)
-
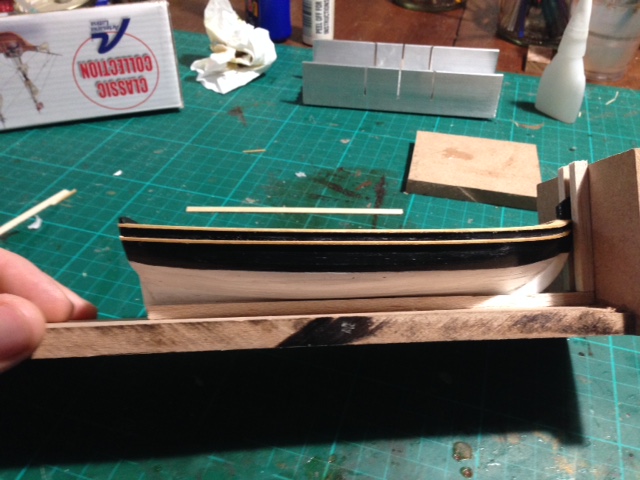
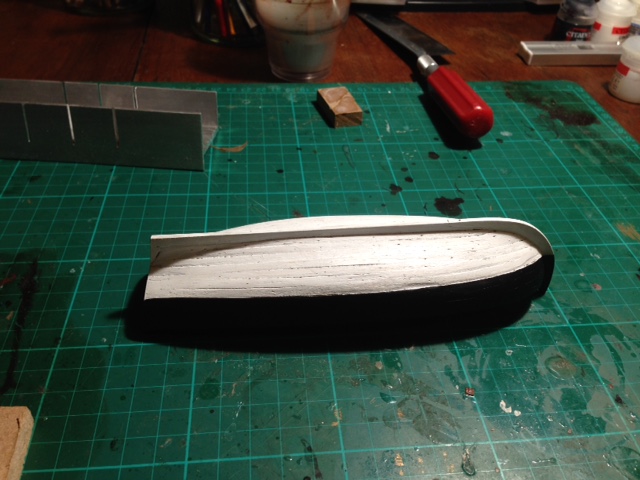
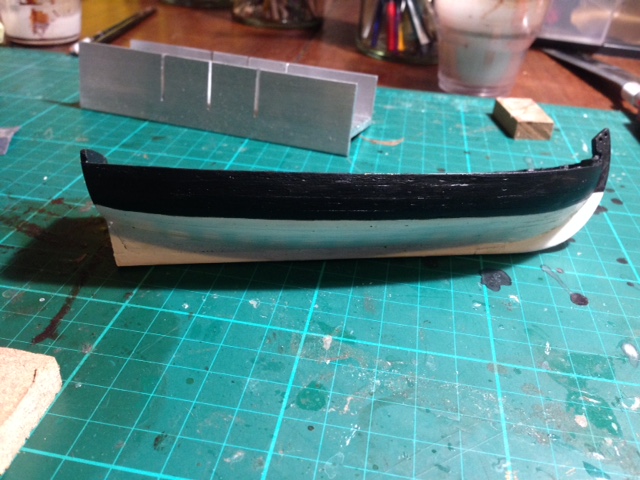
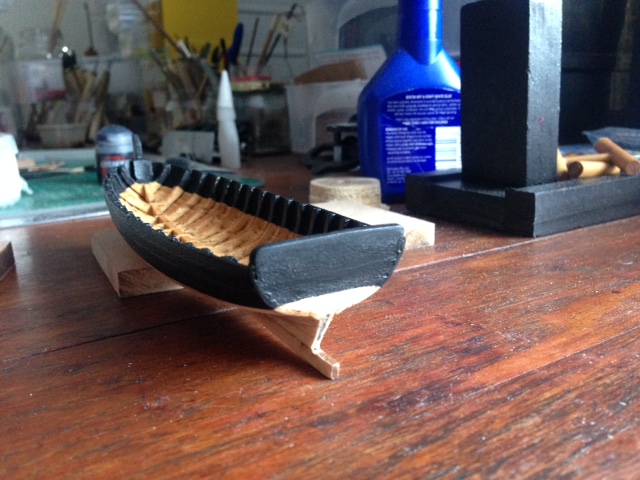
Thanks for the comments! I maid a stain mixture for the inside of the longboat to get a more darker appearance. I felt like some painting, and started painting the model. Finished with the black rim, will try to get some white acrylic paint for the bottom. I like how the black paint came out. Might not be clear from the pictures, but the wood texture still comes out, depending on the angle and light conditions.

- 44 replies
-
- 5
-
-
- 18th century longboat
- model shipways
- (and 1 more)
-
Could you please link the youtube video? I am busy with the San Fransisco's "younger cousin", San Juan. Thanks
-
Had a look, very interesting way of doing it, will maybe try it for my strips.
-
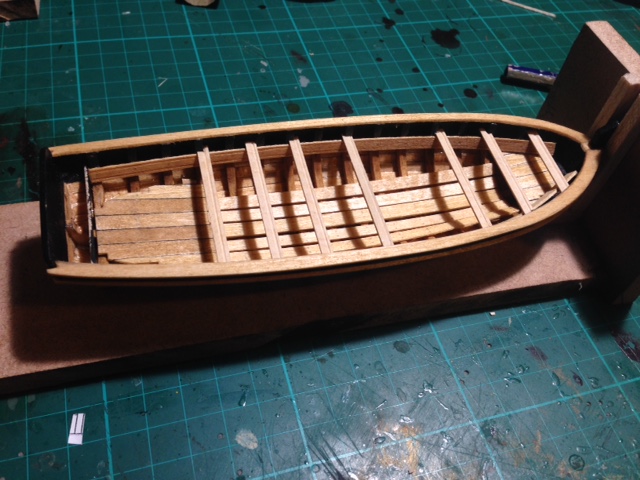
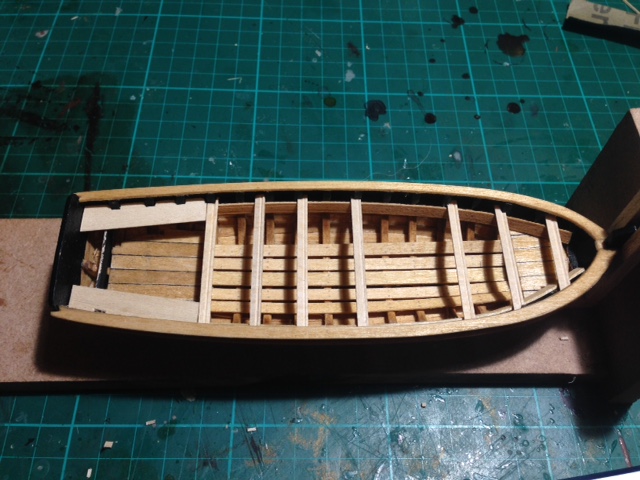
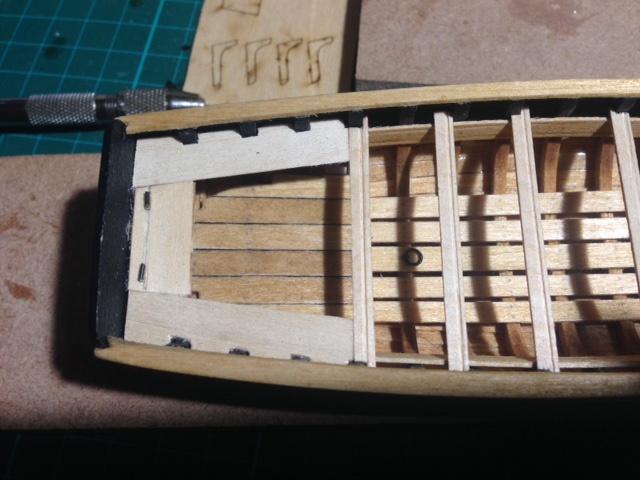
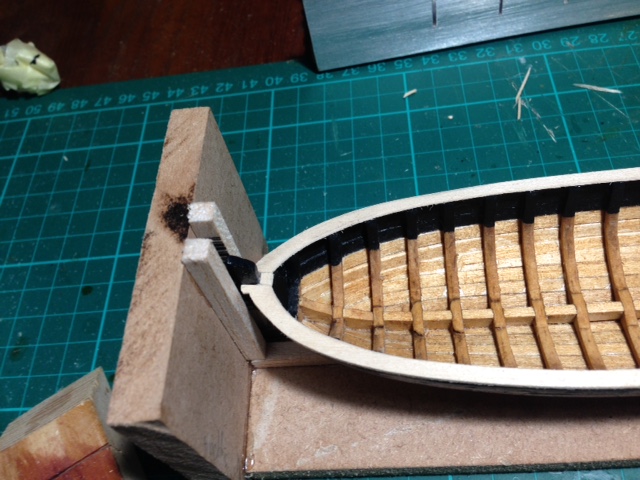
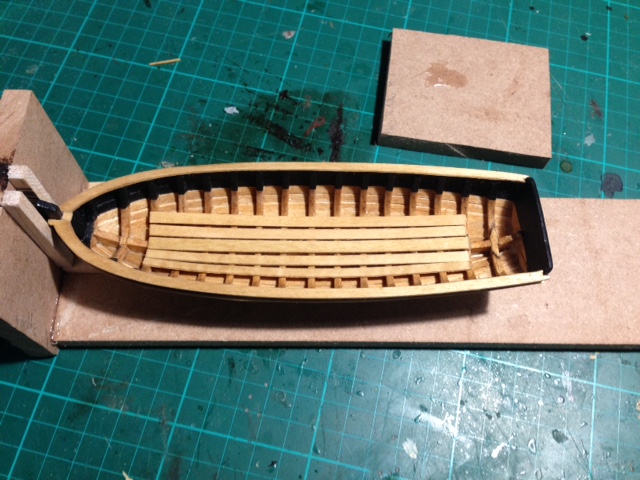
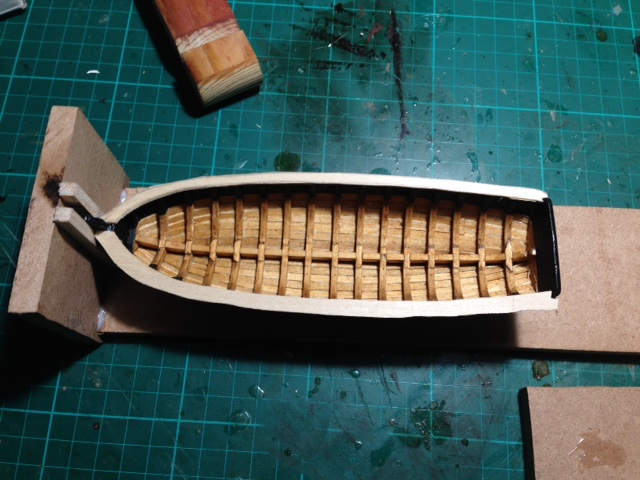
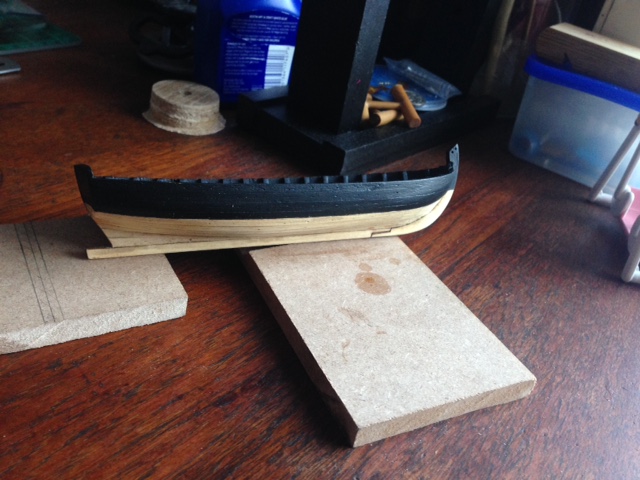
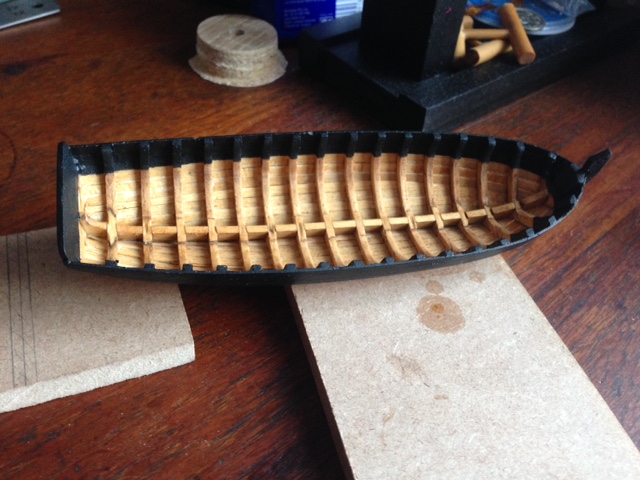
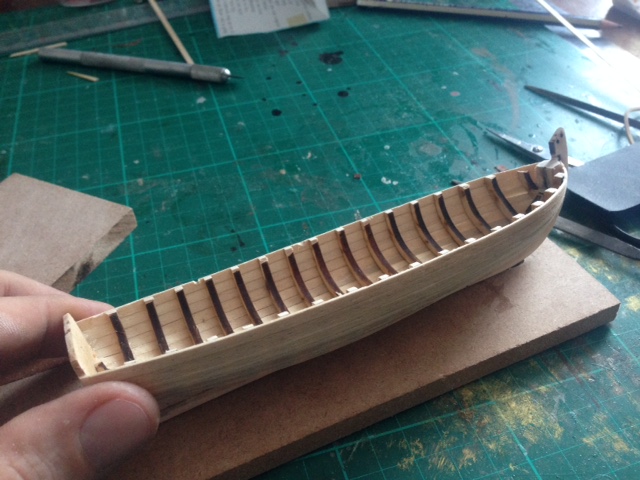
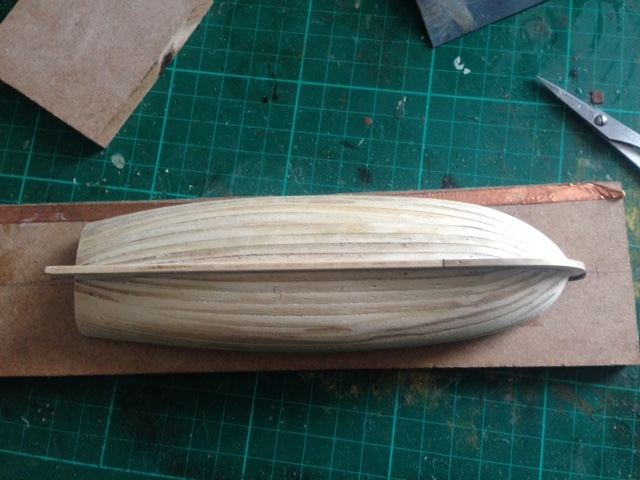
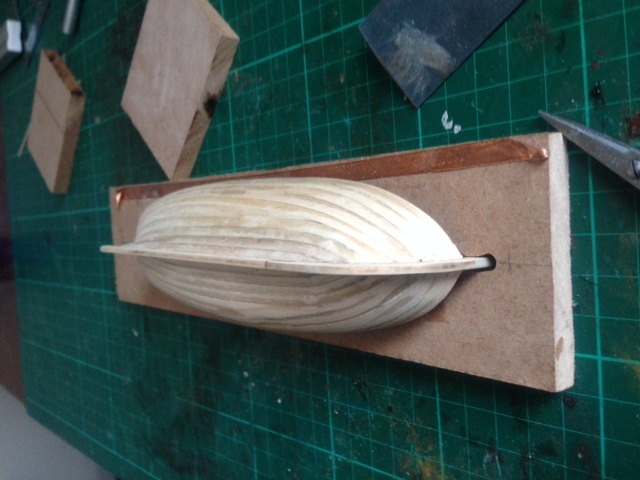
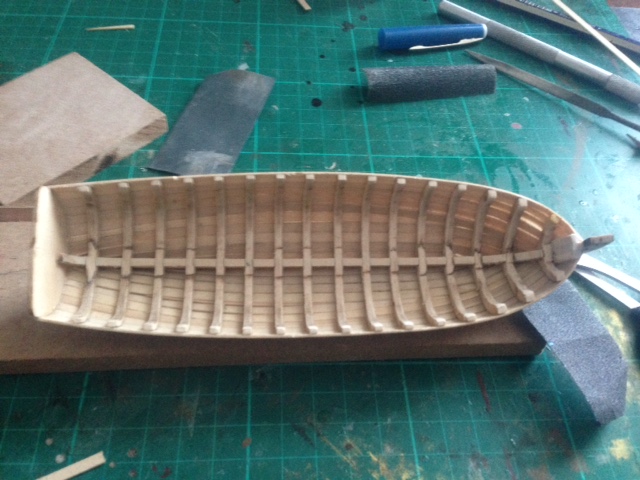
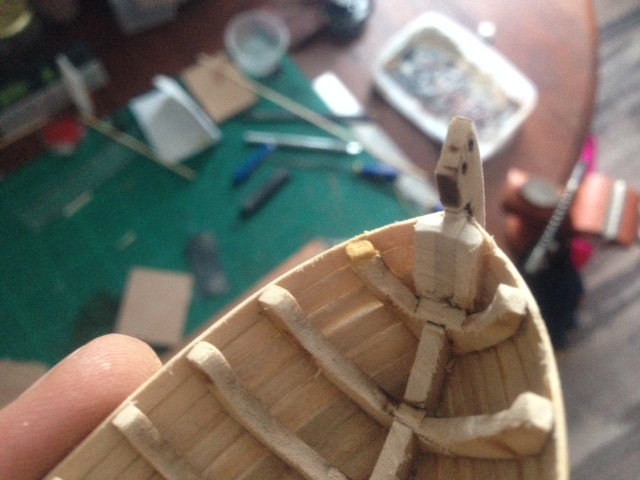
Hello I finished smoothing down the hull: I took out the inner bulkheads, using a dremel made it quick and easy: Uh oh! snapped a bit off with the dremel! Sanded down the interior, as well as fixing the bulkhead:
- 44 replies
-
- 6
-
-
- 18th century longboat
- model shipways
- (and 1 more)
-
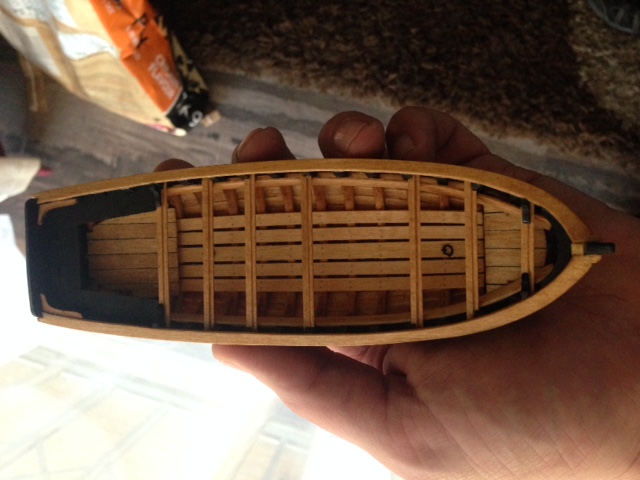
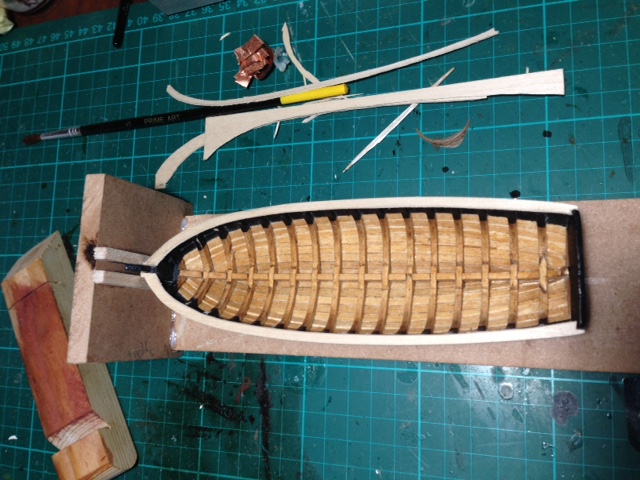
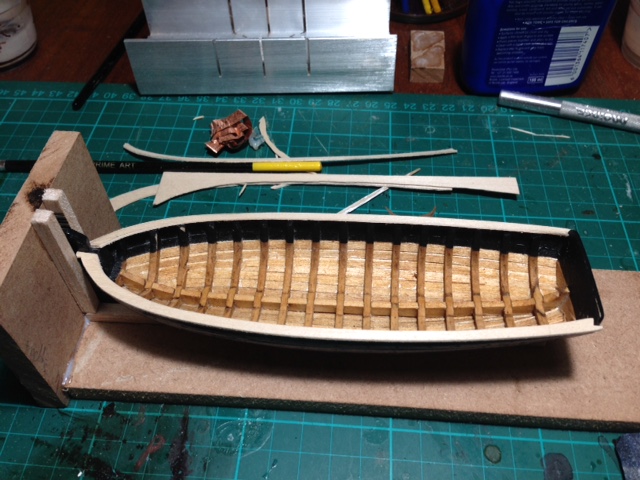
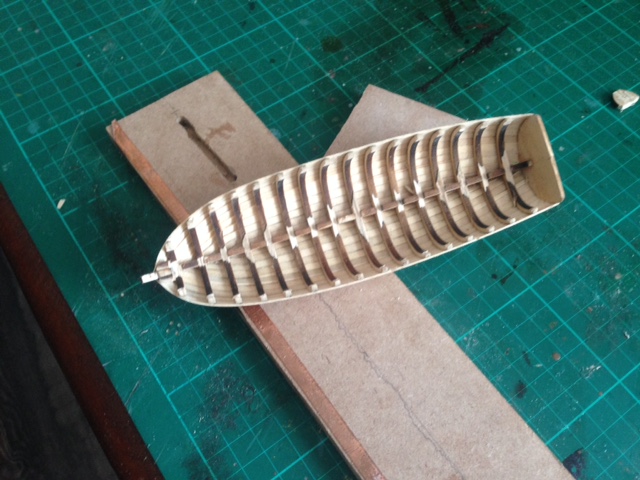
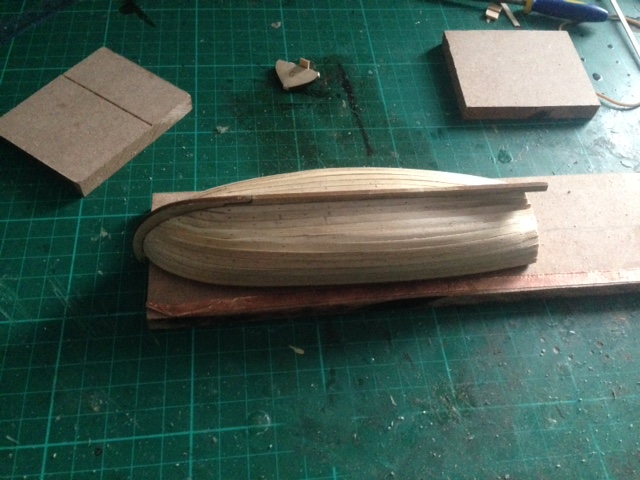
Thanks Cobra Not much to report back, however, I finished planking the hull. Next up is to sand the hull down to make it smooth, and remove the inner fittings of the ship. Can't wait to start painting it!
- 44 replies
-
- 5
-
-
- 18th century longboat
- model shipways
- (and 1 more)