MORE HANDBOOKS ARE ON THEIR WAY! We will let you know when they get here.
×


Sexyauthor
-
Posts
101 -
Joined
-
Last visited
Content Type
Profiles
Forums
Gallery
Events
Everything posted by Sexyauthor
-
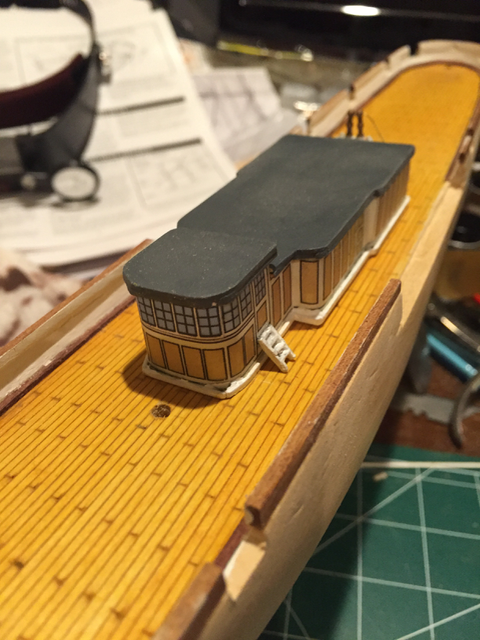
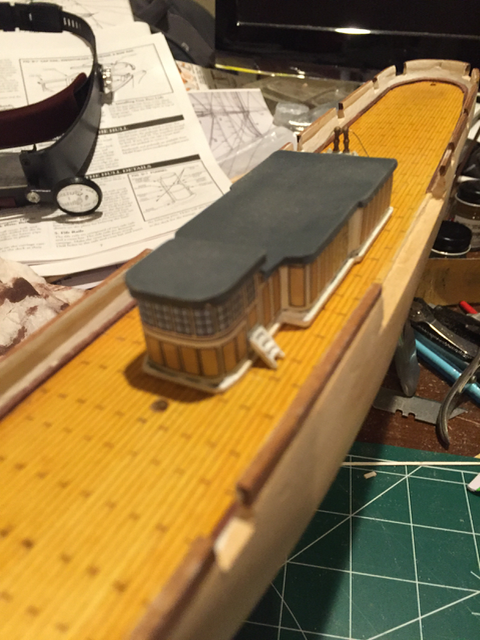
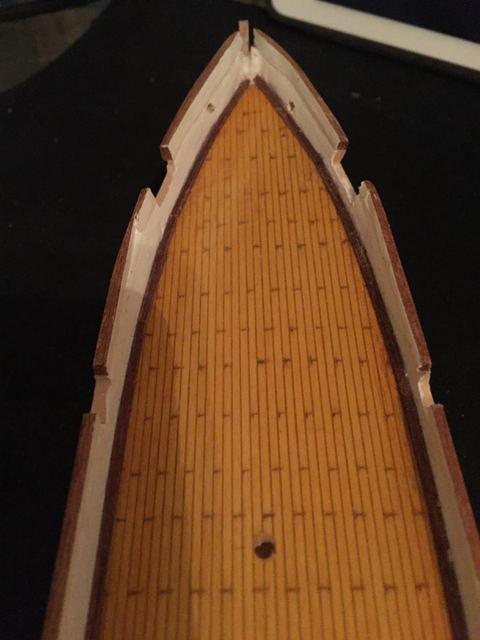
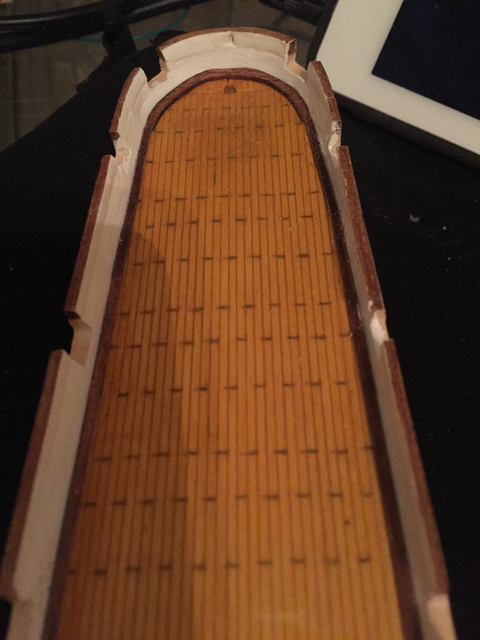
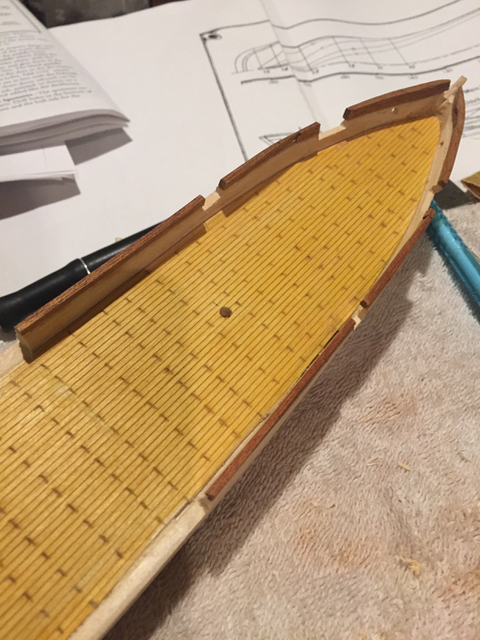
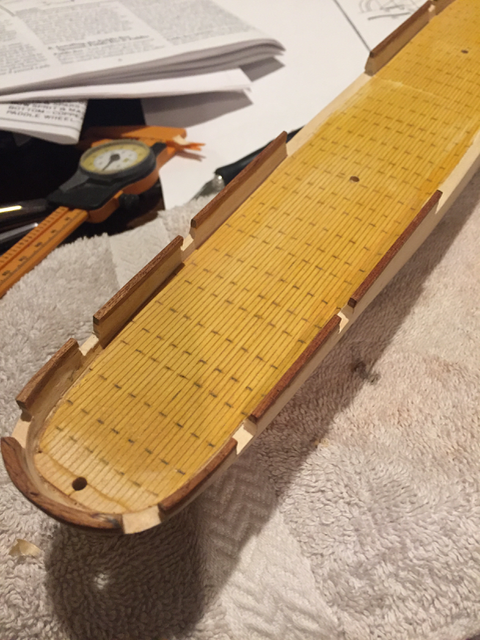
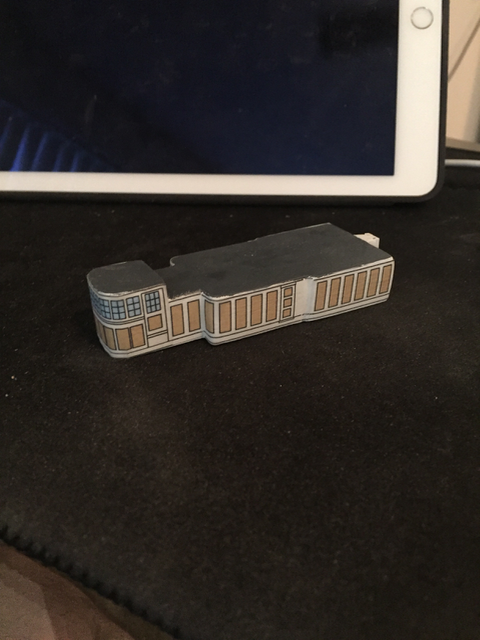
 Test fit the deck house...
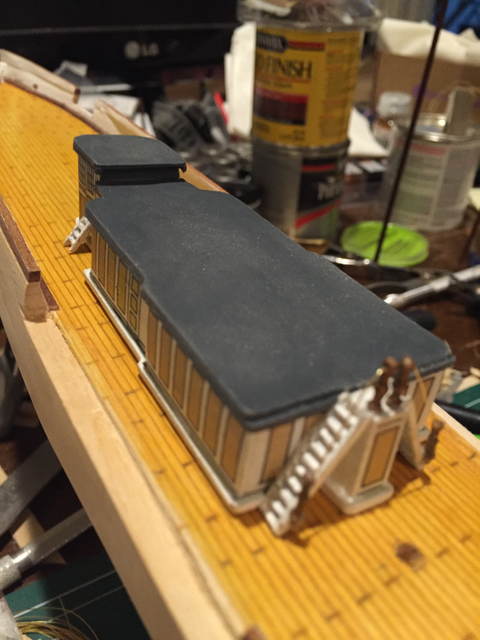
-
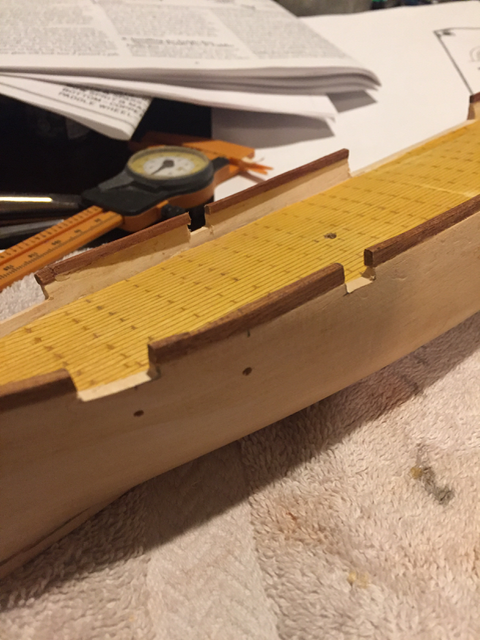
Waterways added, inside bulwark painted flat white...
-
Holes in the bulwarks for the gunports and paddle wheel boxes.... As you can see, I've also drilled the holes for the masts, hawse holes and airports on the side of the hull
-
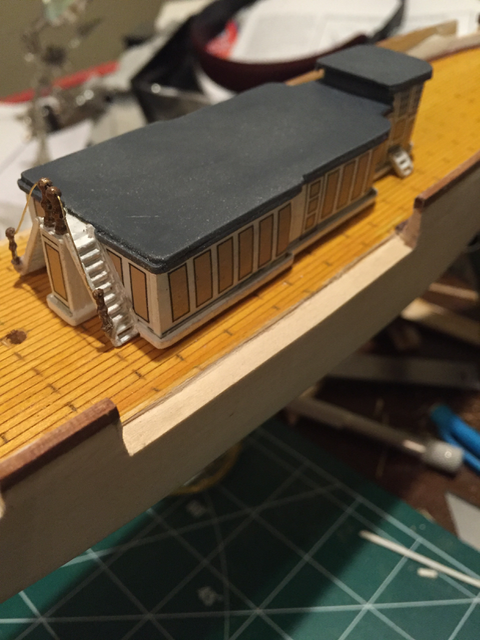
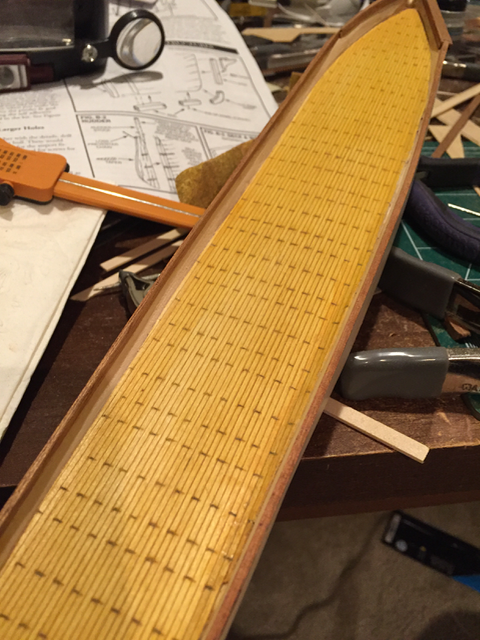
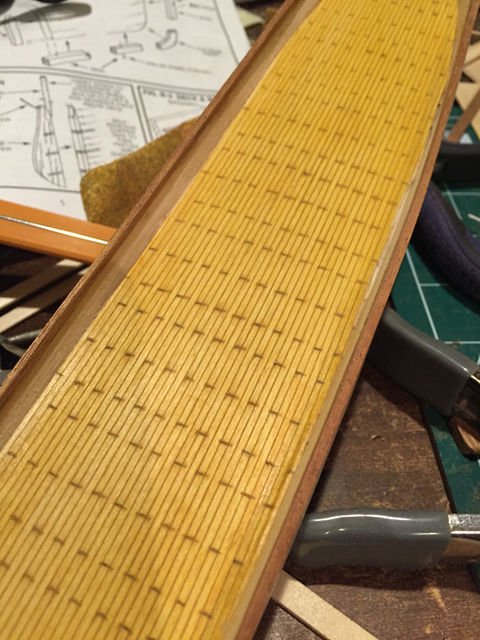
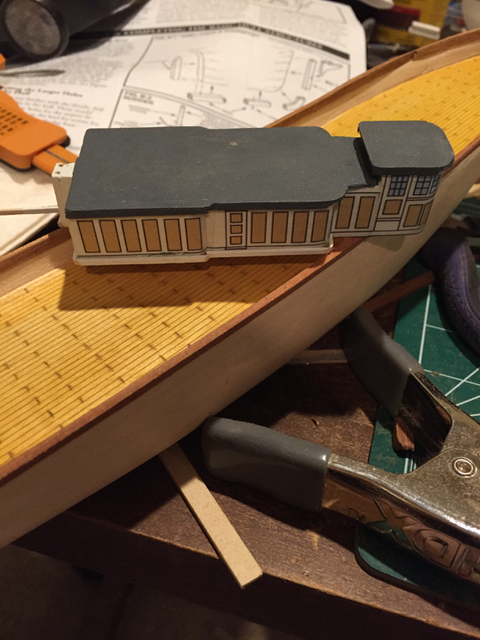
Taking a break from working on the deck "furniture" - back to the ship - adding decking and needed to add some height to the bulwarks - they were way short of the 11/32" to 3/8" mentioned in the instructions. After the bulwarks were heightened, test fit the wheelhouse... Lastly, the pilot house is looking better with the roof overhang and some of the coaming added...

-
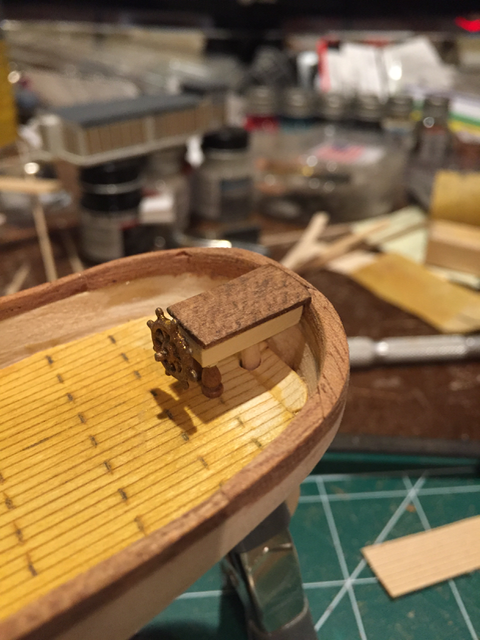
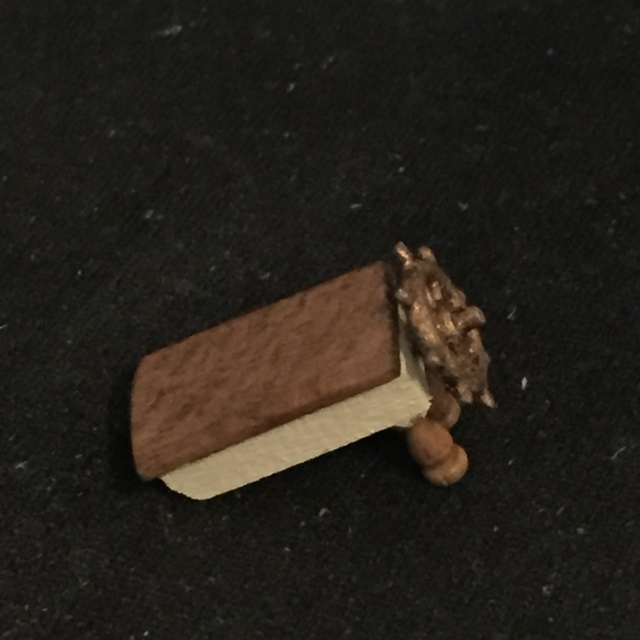
Wheelhouse - carved the body from a block of wood, added the top (1/32" sheet), bronzed the wheel and added the walnut stanchions. Stained the top and painted the body flat tan.


-
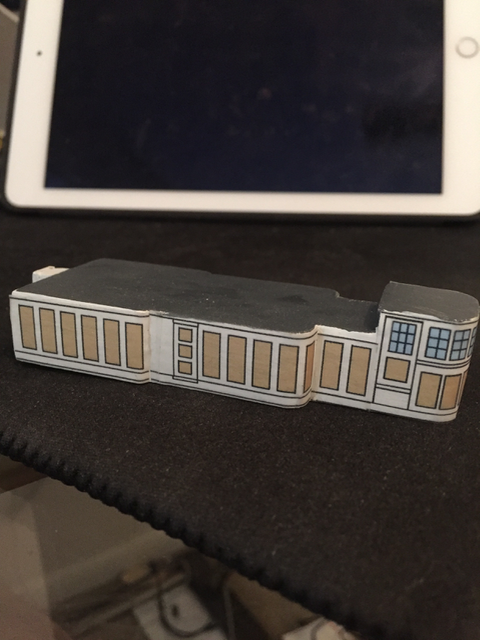
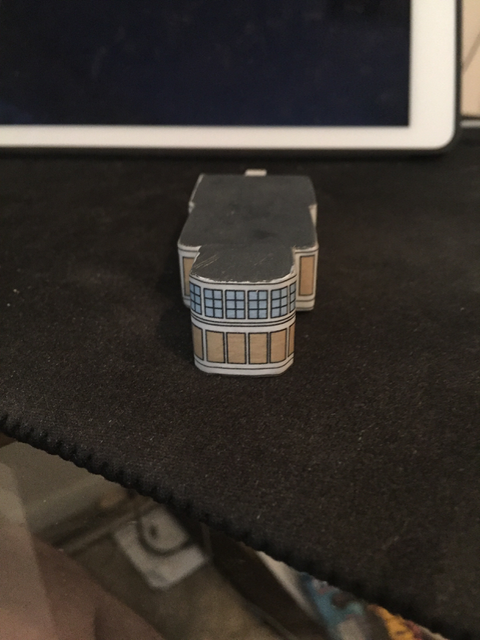
Pilot house. I used my inkjet printer and some transparent shipping label paper to print the doors, panels and windows. I'm pretty sure I'd make a mess of it if I tried to paint those things by hand...
-
I believe this build will test the limits of my dexterity and eyesight! I will be coppering, but am unsure about which technique I'm going to use. Since this will be the first coppering I've done, I need to find a balance between difficulty and aesthetics. I'm leaning toward long strips with rivet marks (either using a punch wheel or just adding them by hand using a pin or needle) instead of small individual rectangles of copper. Thanks for the kind words!
-
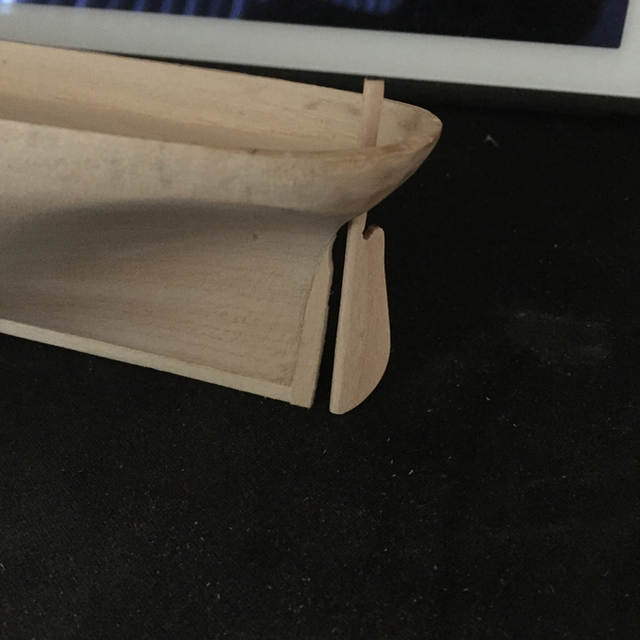
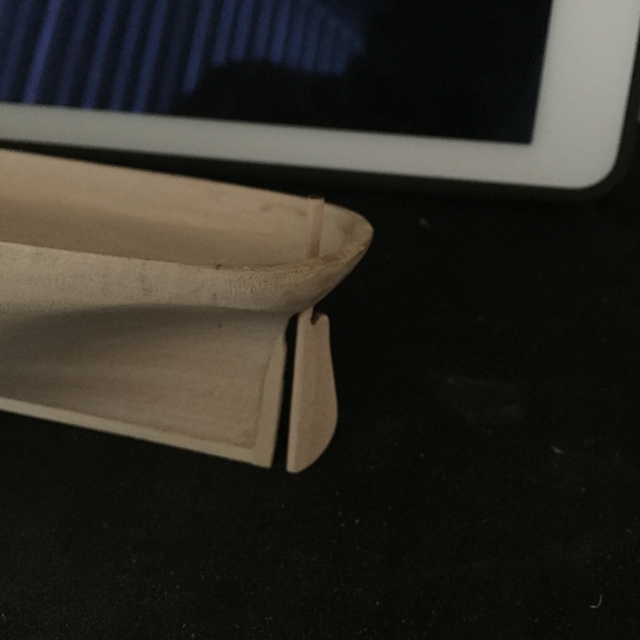
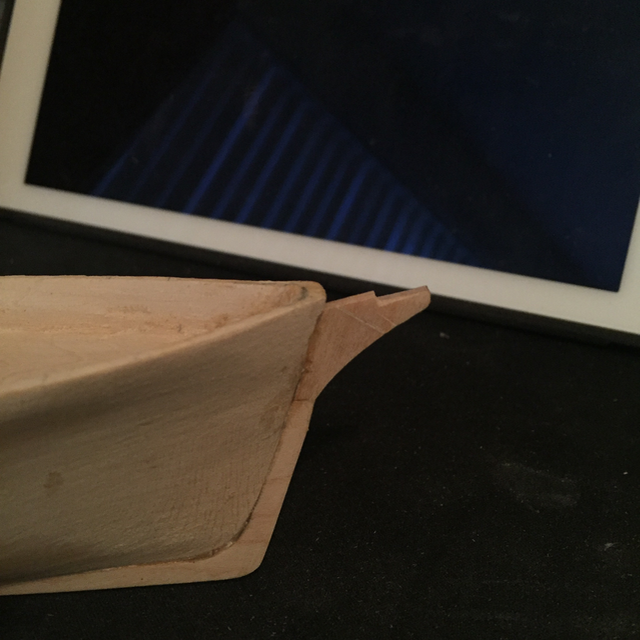
Carved rudder from same 3/32" maple stock. Extra stock to go through hole in hull up to wheelhouse.
-
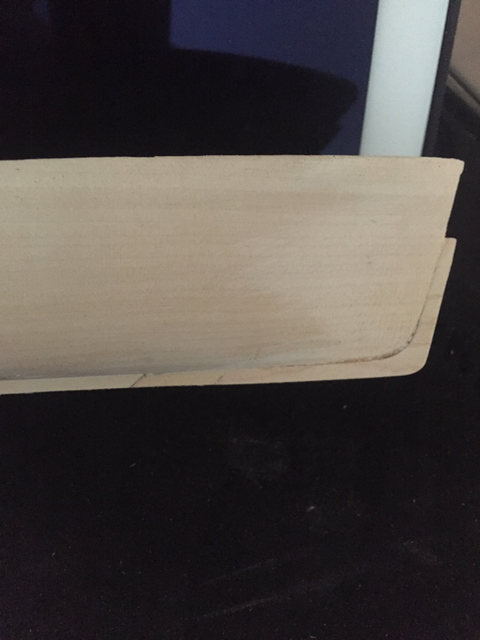
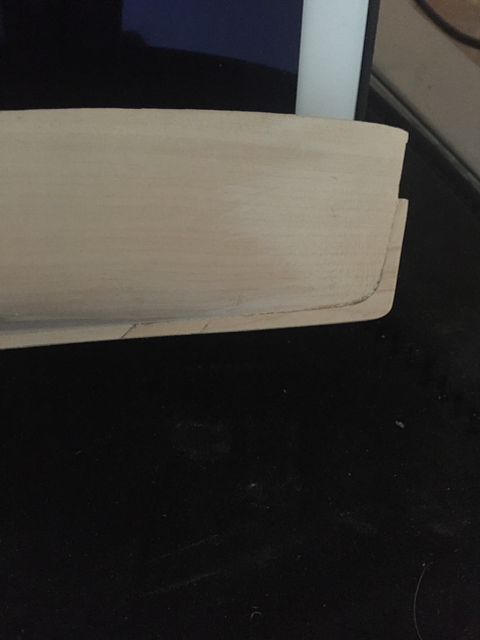
I found a nice piece of maple stock at 3/32" thick (perfect for this application) and created a nice stem and curve piece. Here's the keel, sternpost and stem....
-
Thank you Ron! I'll take a look...
-
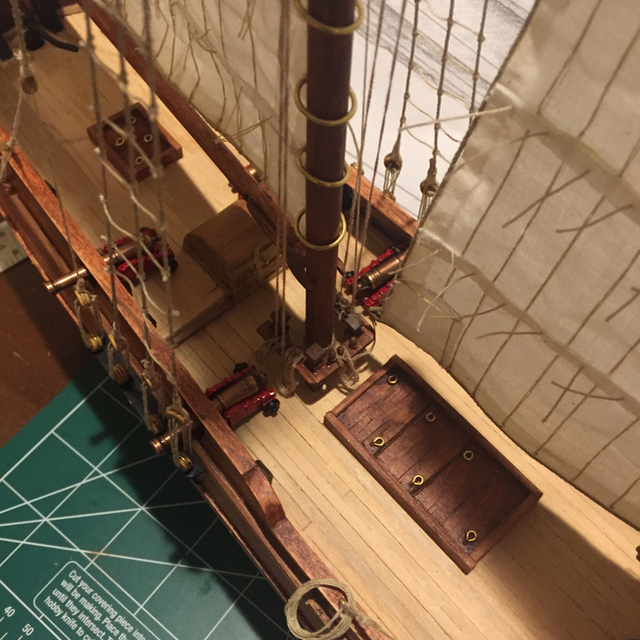
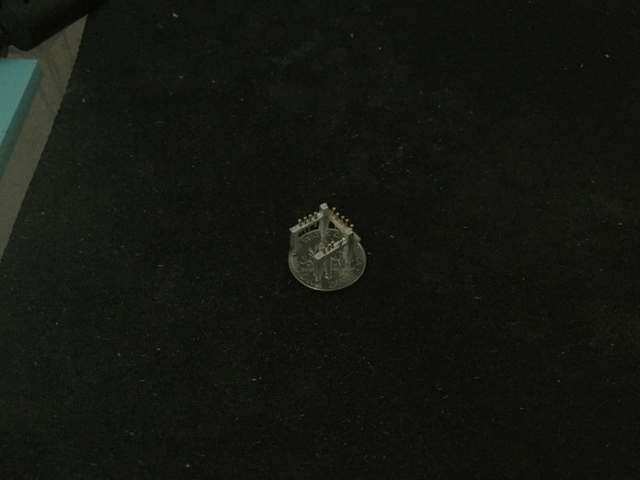
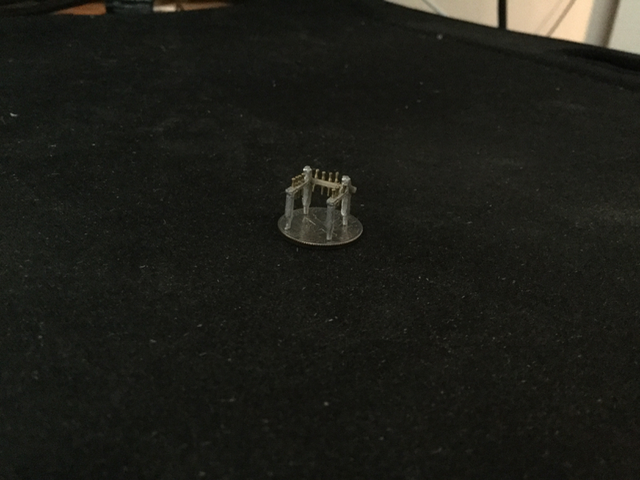
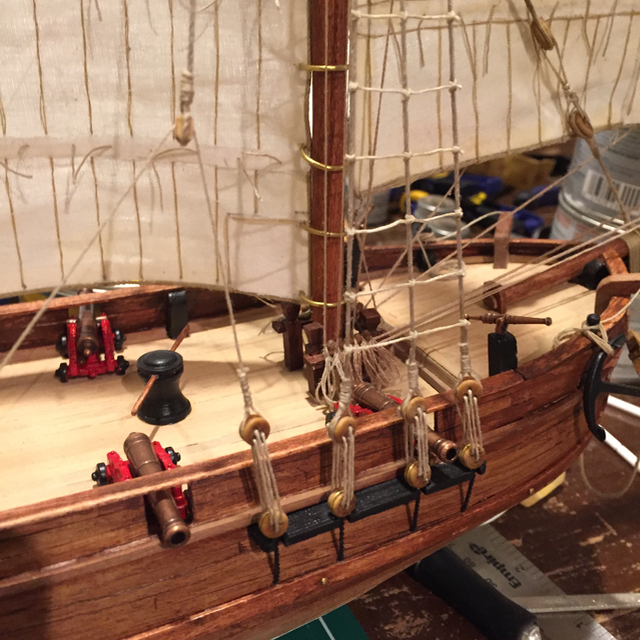
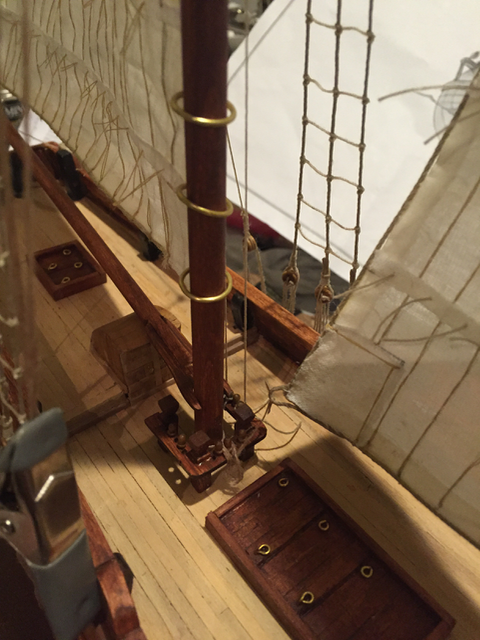
Completed pin rack with belay pins - sitting on a dime! Still need to paint of course...
-
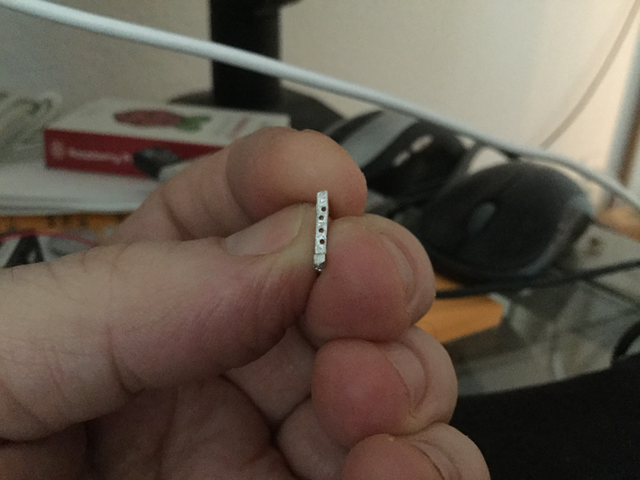
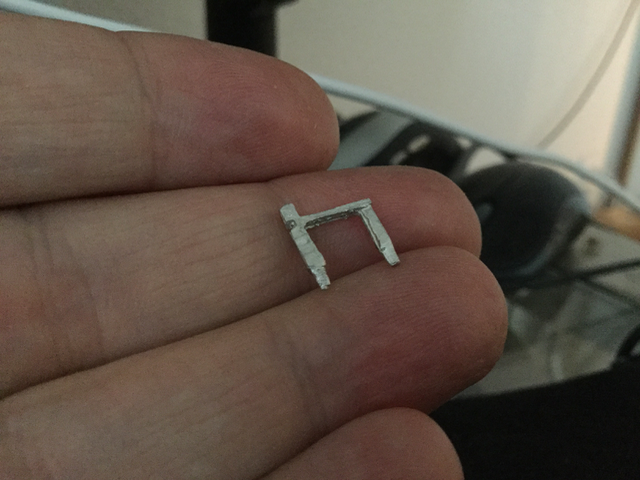
If someone had said to me a month ago that I'd be able to drill a hole in something that is only 1/16" wide, I'd have told them they were nuts. I would have been wrong... Into this is what I am drilling holes (fife rail)...
-
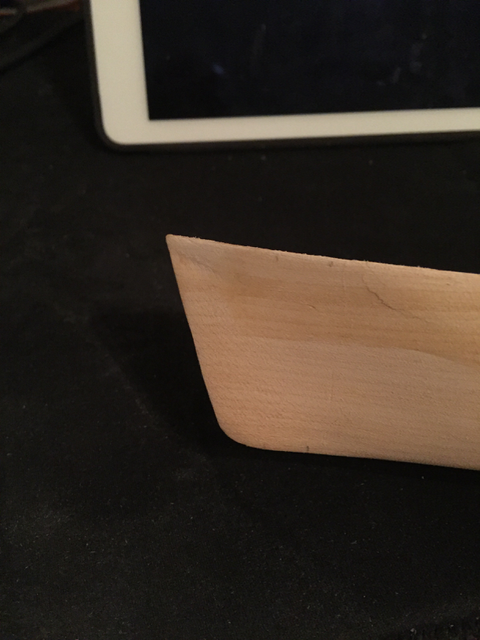
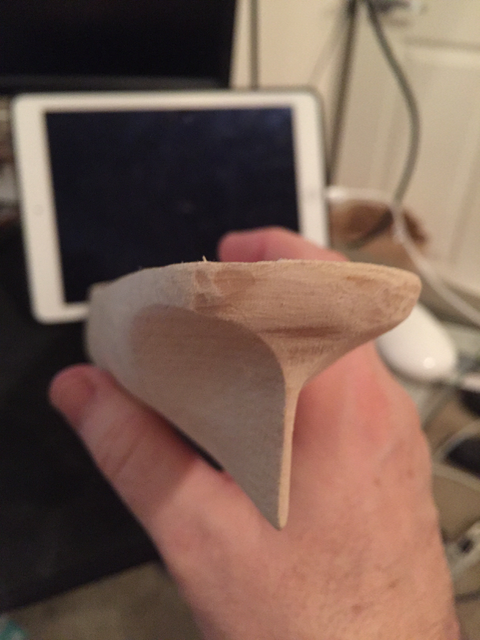
Hull shaped and bulwarks thinned - It's kind of strange switching from metric (my first three builds had everything in millimeters) to standard - going to take some getting used to!
-
Thank you Antony! I really appreciate the kind words and encouragement! I learned a lot from this build, and have a great admiration for the community here - very helpful! Have an awesome week!
-
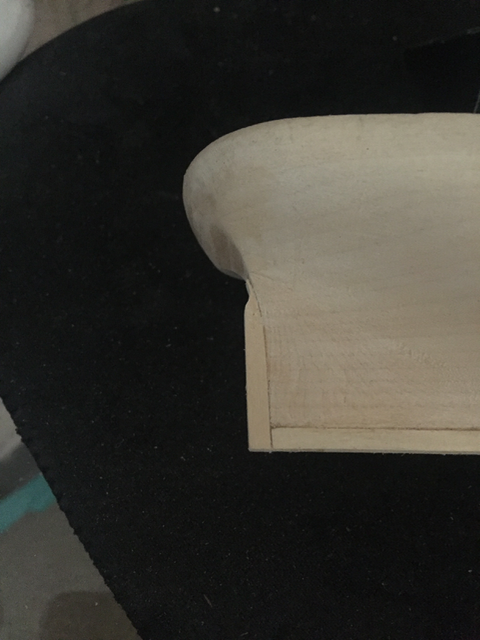
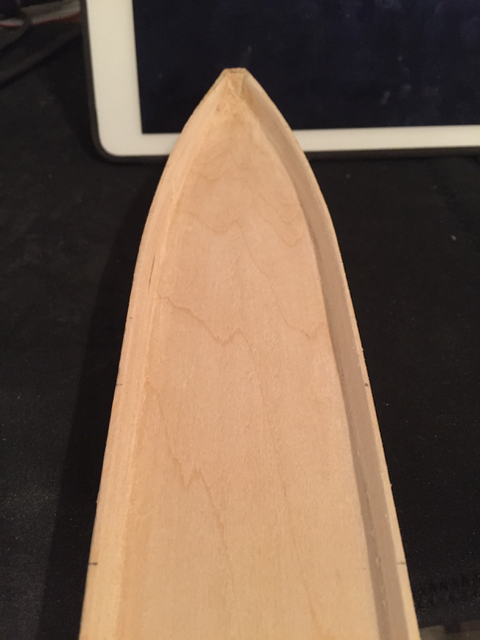
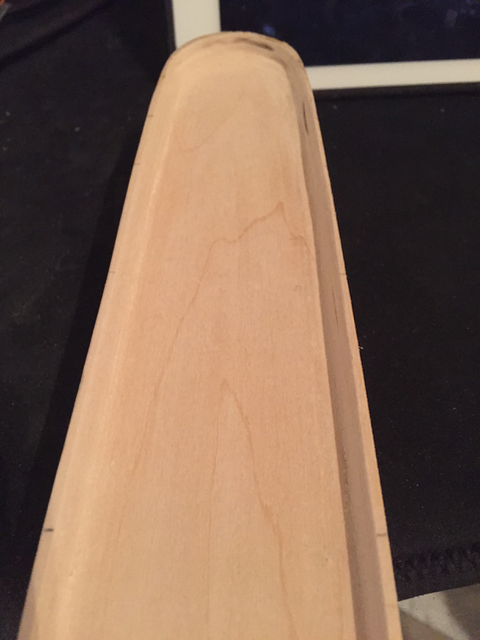
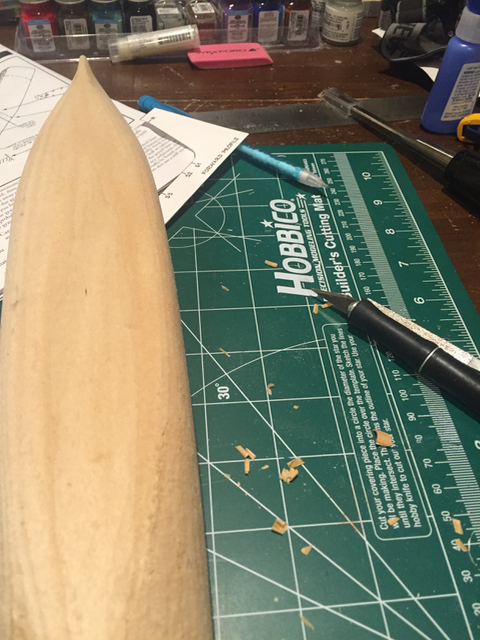
Carving up the hull to match the profiles - a little more woodworking than I had to do for the other solid hull (St. Helena)...

-
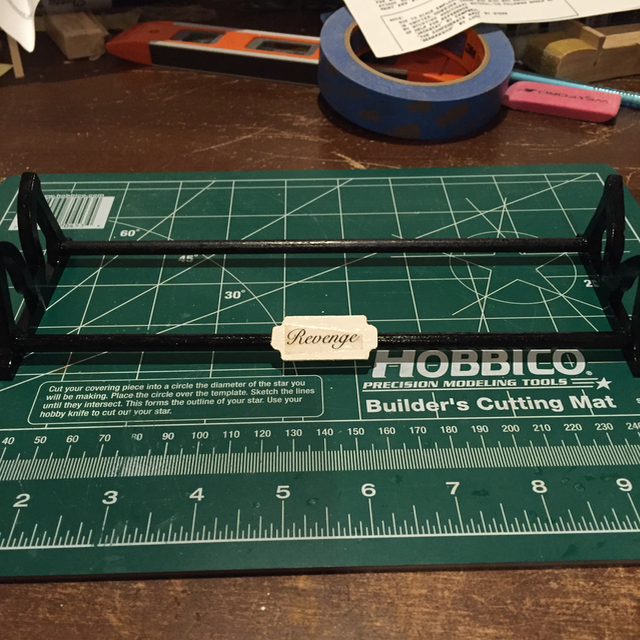
Here are the final pics from the build. I used a custom decal and made a nameplate for the display stand. Follow my next adventure, building the Harriet Lane (kit from Model Shipways, with very detailed instructions compared to this Amati kit - whew!) Thanks again everyone!

-
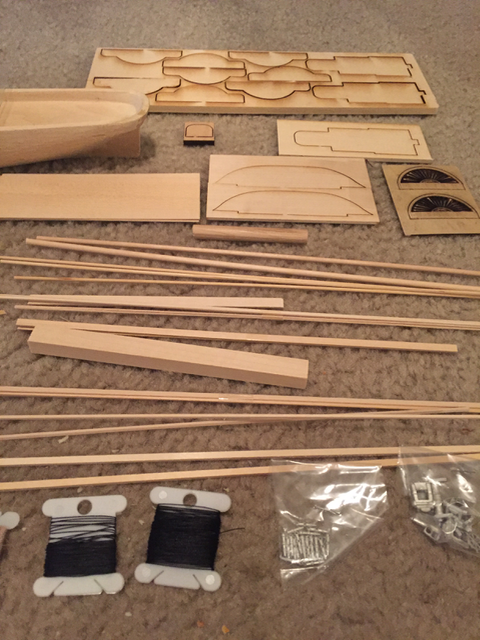
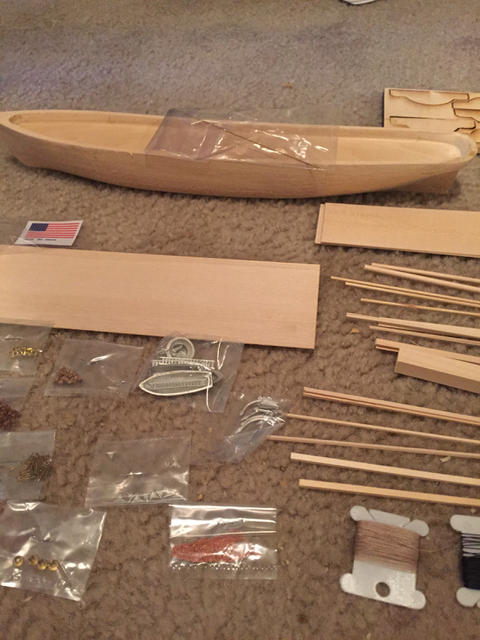
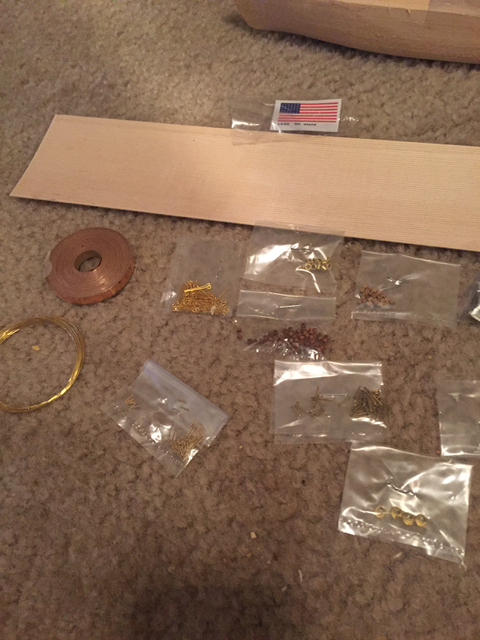
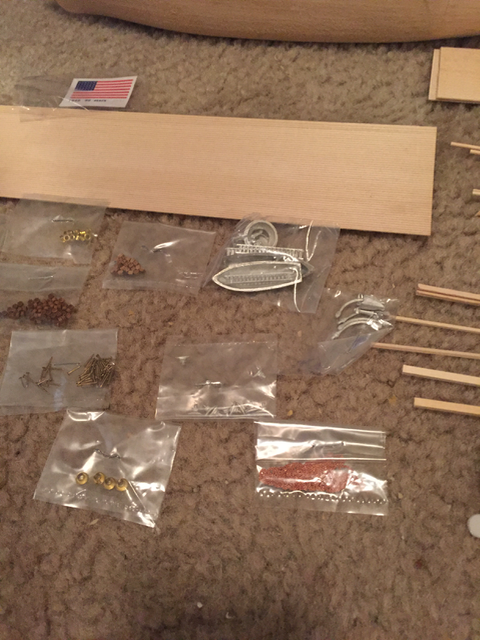
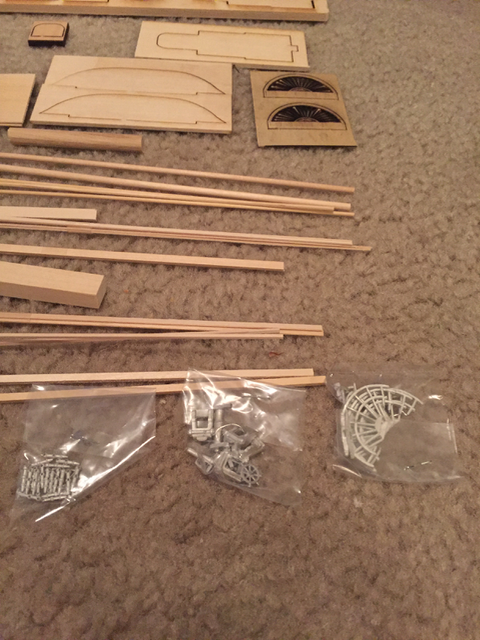
Wow! Compared to the Amati Adventure I am finishing up, the detailed instructions in this kit are overwhelming: ship plans, parts lists, hull profile templates, rigging plans(!). This looks like it is going to be a fun build! There are a LOT of cast metal bits compared to my three other builds, so I imagine I'm going to be honing my painting skills!
-
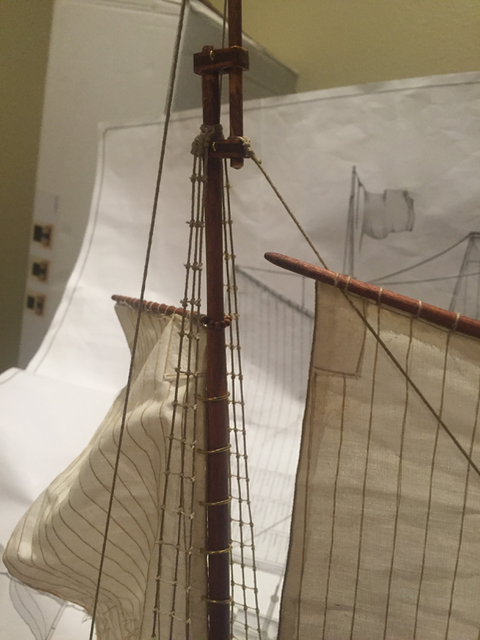
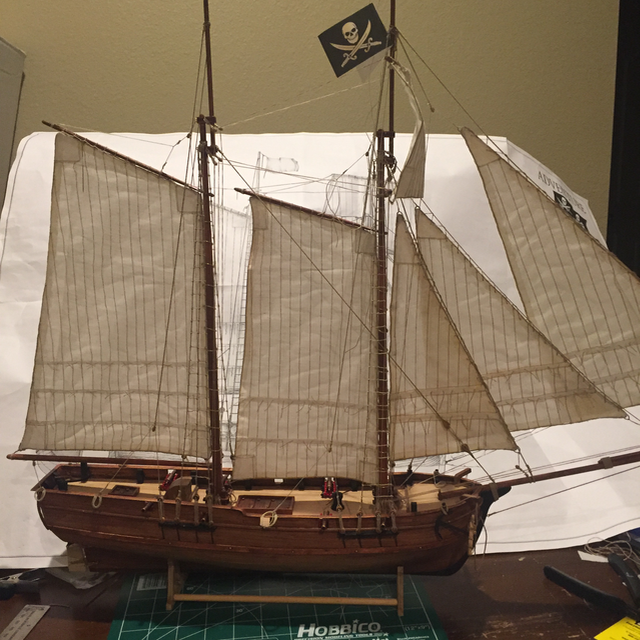
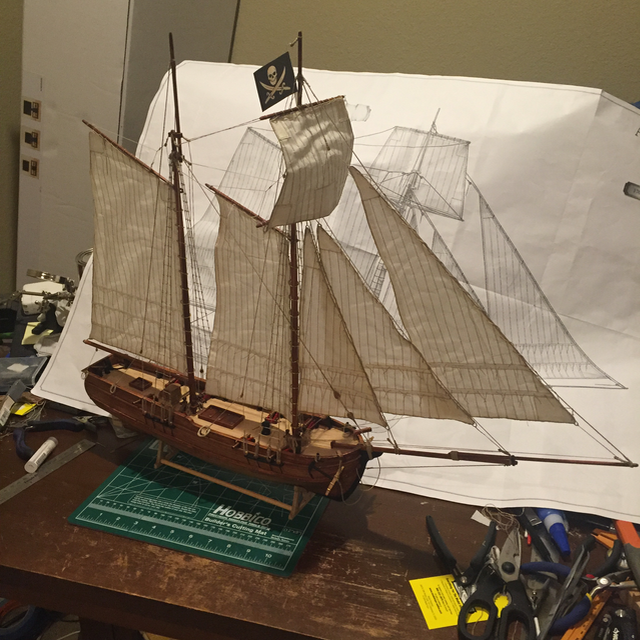
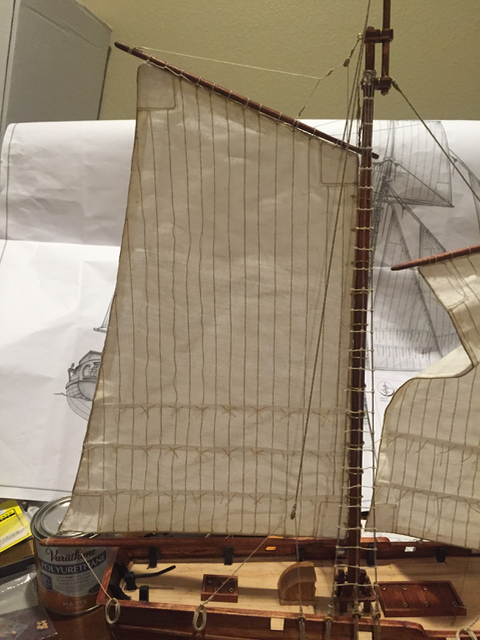
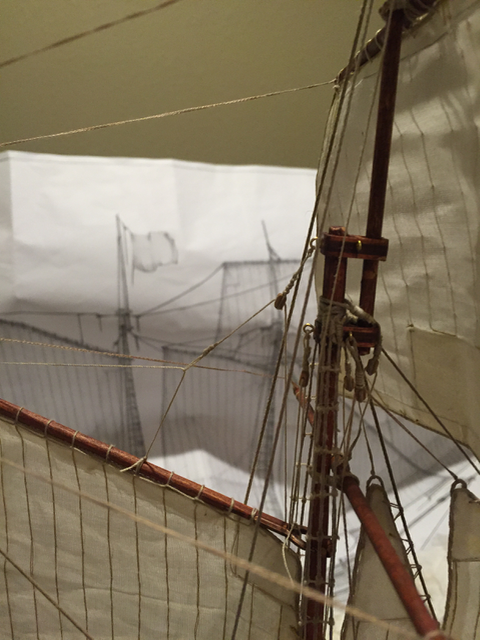
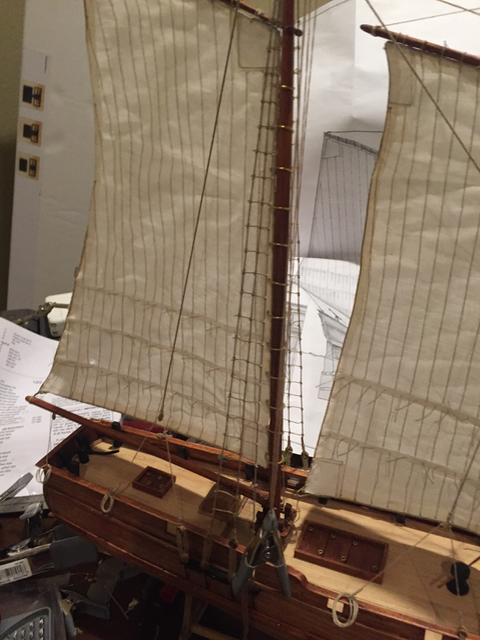
Almost done! One last sail, run the rigging around the belaying pins, make the decals for the ship's name (I'm calling it the "Revenge" after the Dread Pirate Roberts who captained her...), and raise the flag!


-
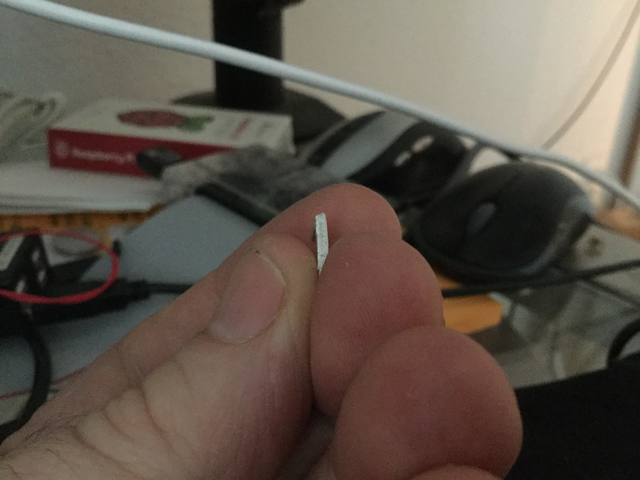
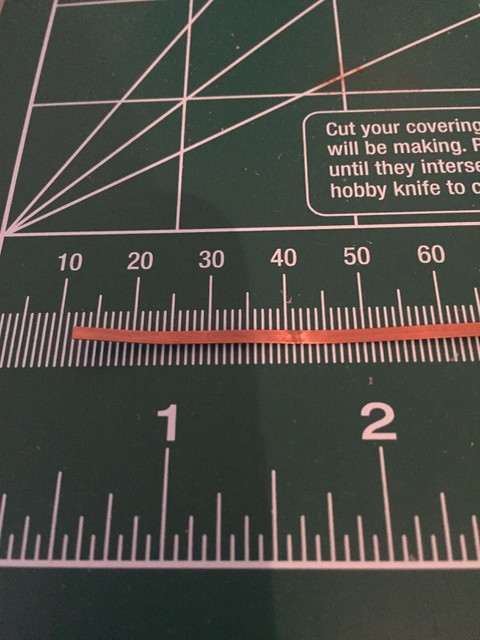
Time once again to call upon the wisdom of this awesome group. This piece of copper strip was included with the kit. I've poured over the instructions (such that they are) and could find no mention of what it is used for. It's 2mm wide and 150mm long and 0.125 mm thick (i.e. 4 stacked pieces are 0.5mm)
-
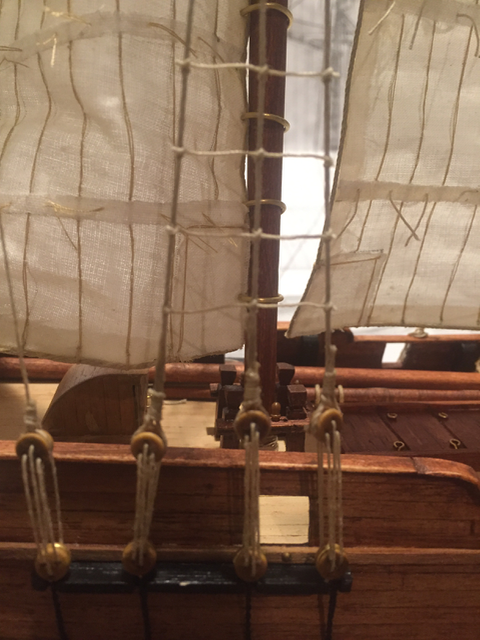
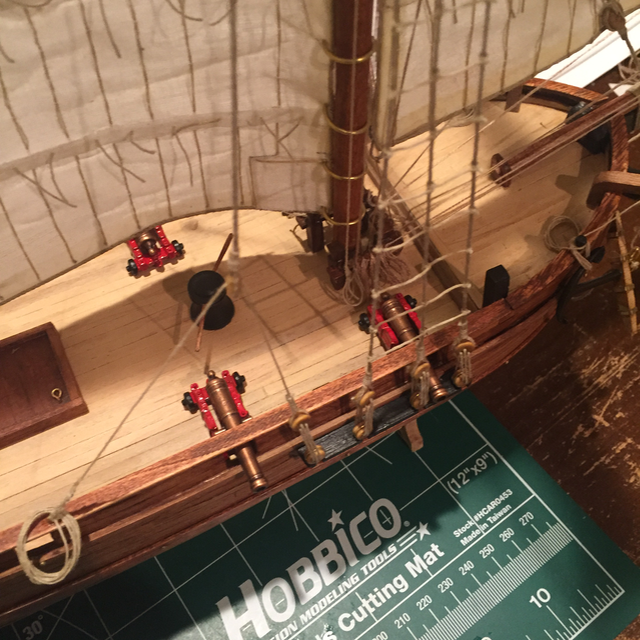
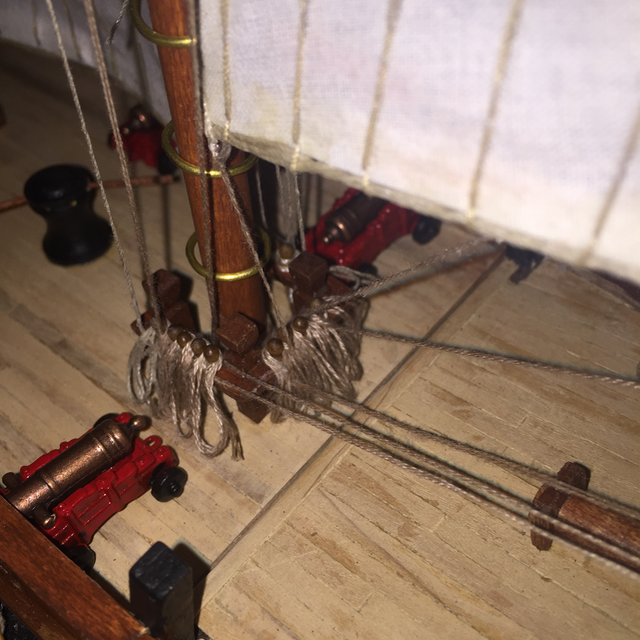
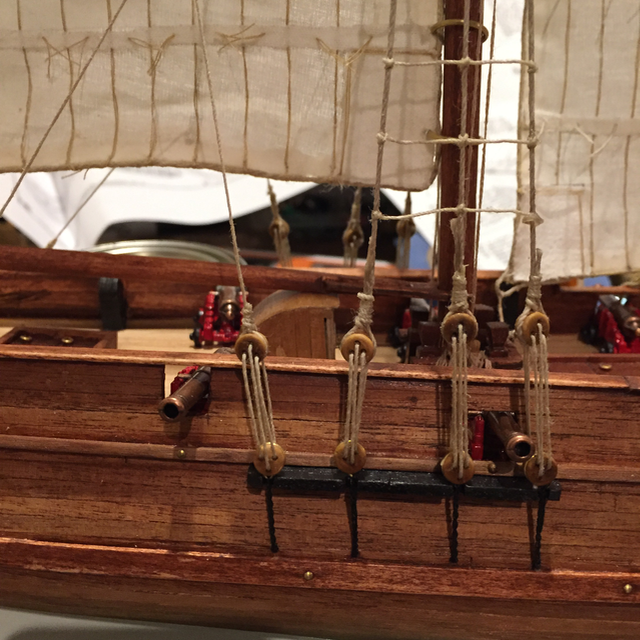
Over 300 clove hitches later.... And now for something completely different! The running rigging stage is upon us! Well, me specifically, but you guys have been a great source! Thank you again!