HOLIDAY DONATION DRIVE - SUPPORT MSW - DO YOUR PART TO KEEP THIS GREAT FORUM GOING! (Only 36 donations so far out of 49,000 members - C'mon guys!)
×


Sexyauthor
-
Posts
101 -
Joined
-
Last visited
Content Type
Profiles
Forums
Gallery
Events
Everything posted by Sexyauthor
-
 Thanks for the compliments. This build has been a real learning experience. And quite fun! I don't know how "accurate" anything is (as far as rigging and sails and what-not), but I think its looking pretty good! I've certainly made a few mistakes along the way - some I left, some I couldn't fix, and the rest were dealt with by tearing down and starting again. If anything, it's taught me me to plan a few more steps ahead - gives me hope that I may get the hang of this some day! I want to thank everyone for all the suggestions, schooling, and encouragement. What a great community! -- Brian
 -
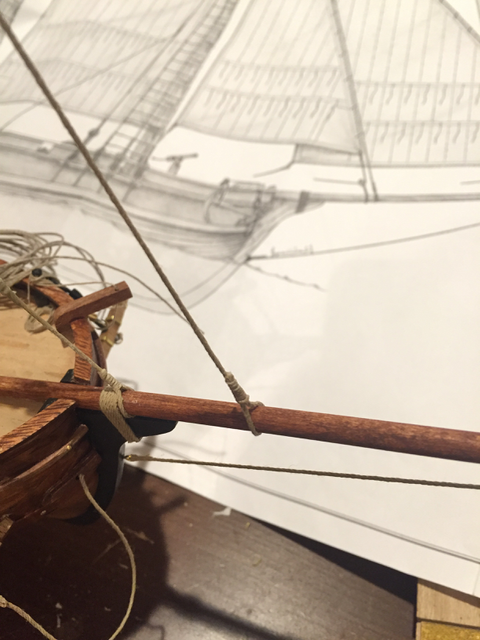
Except for the ratlines on the shrouds, the standing rigging for the main mast is complete. Some of the rigging for the foremast is done.

-
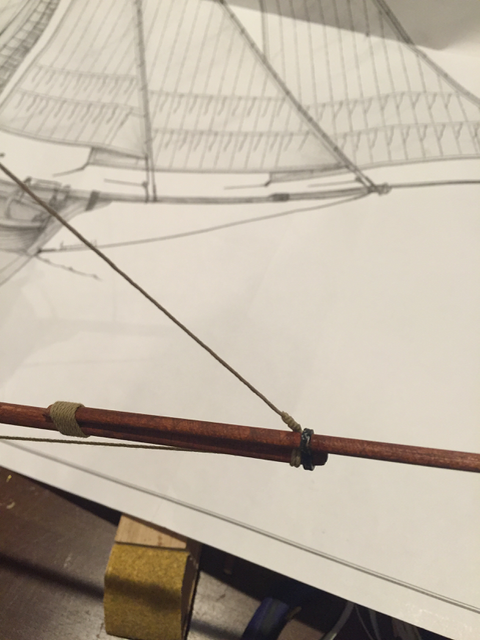
Thank you for the kind words, Scott. And the beeswax tip! It does make the rigging look cleaner... Except for the shrouds, the standing rigging is nearly complete. I'll post some pics in a bit...
-
Right - I had to put the main and fore sails on the masts since they have the rings, but I haven't done any of the running rigging yet (and won't until the standing rigging is complete).
-
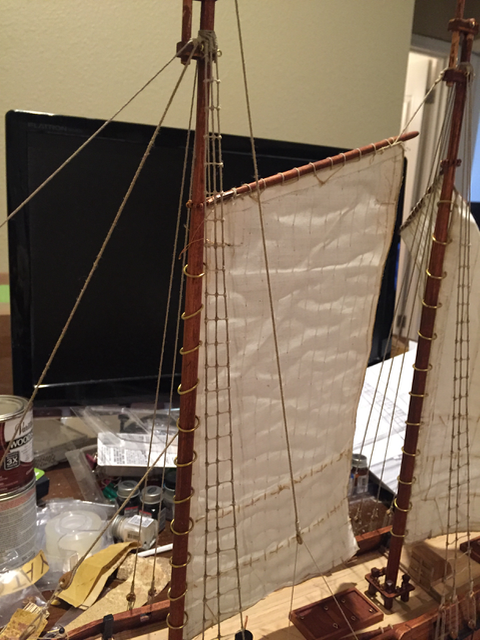
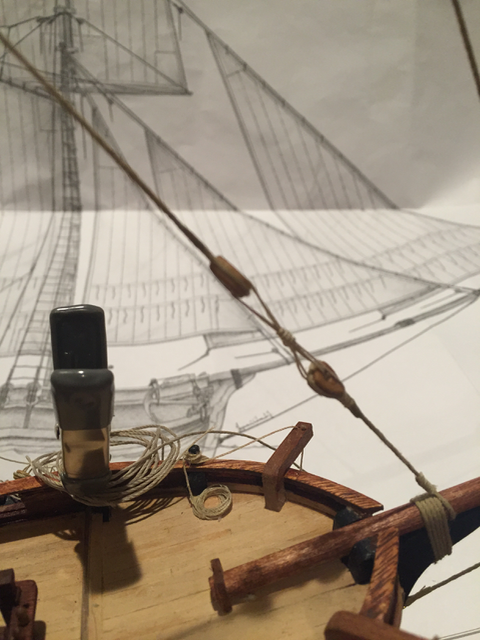
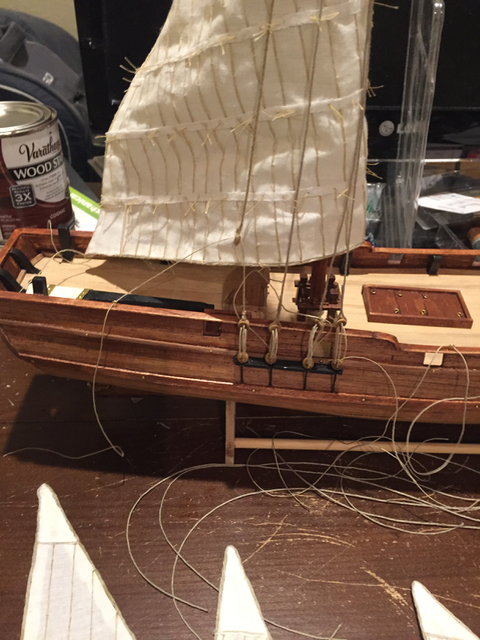
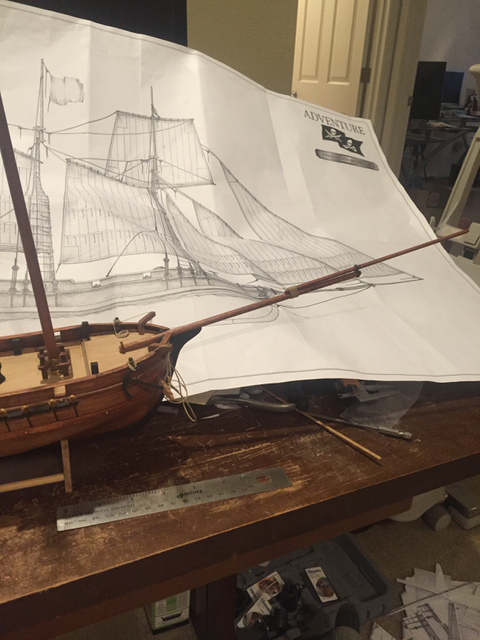
Been a couple of days... Here's an update.... Sails are mostly sewn; Standing rigging in place but not finalized. Shroud work next.

-
Matt -> WOW! That Ranger build is gorgeous! You are a true craftsman! Thanks for all the suggestions. I'll definitely look for the book you cited. I'm taking the rigging slowly and extrapolating from the simplified drawings what is really meant to be done.
-
Ahhh! Makes sense. Thanks! I assume the panels in the corners are also reinforcements. Thanks for the explanation. I'll look for the book you mentioned. Sorry to be asking so many questions. I've obviously never sailed and my model ship building experience is very small. You may wonder what attracts me to this, since sailing isn't in my blood. I'm an engineer and I love learning new things. I'd never done this before and thought I'd give it a try. After my first build, I was addicted. My dad was a carpenter - I guess a love of woodworking was passed on to me, just on a smaller scale. He built houses and cabinets and tables - I'll stick to small things that people don't have to depend on. :-) thanks again... -=b=-
-
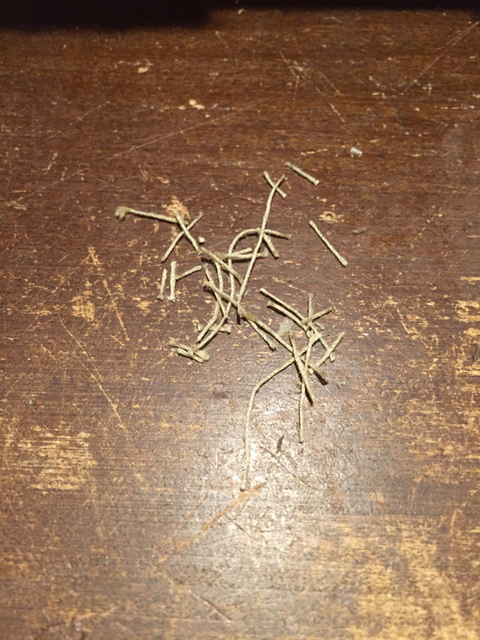
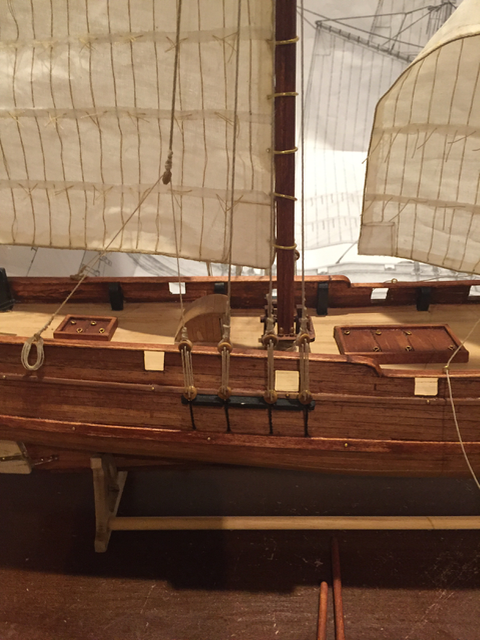
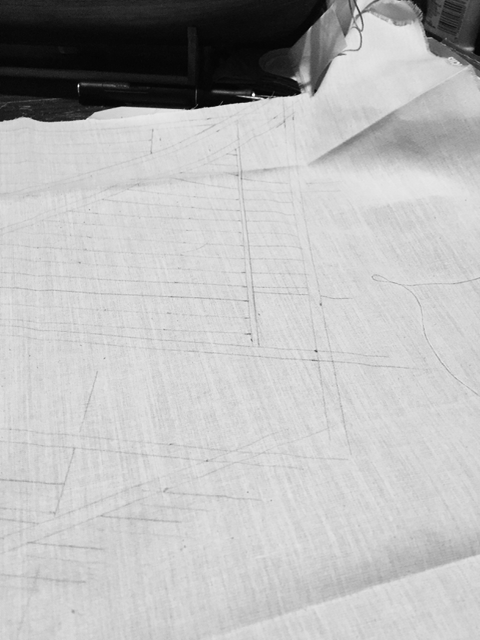
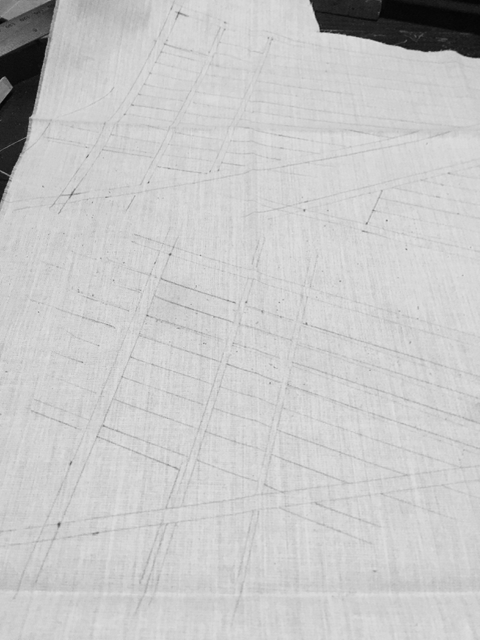
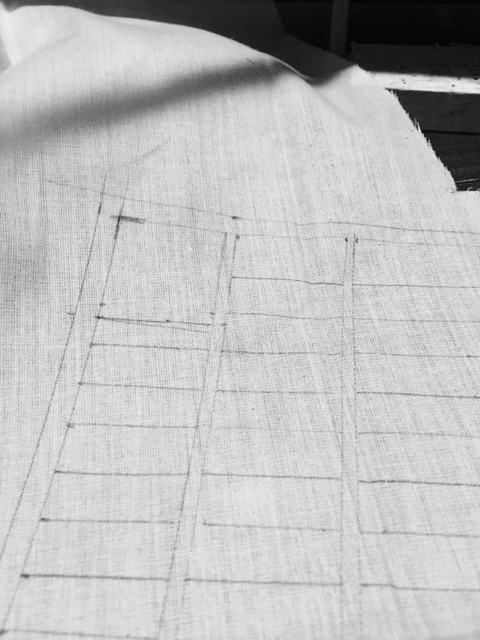
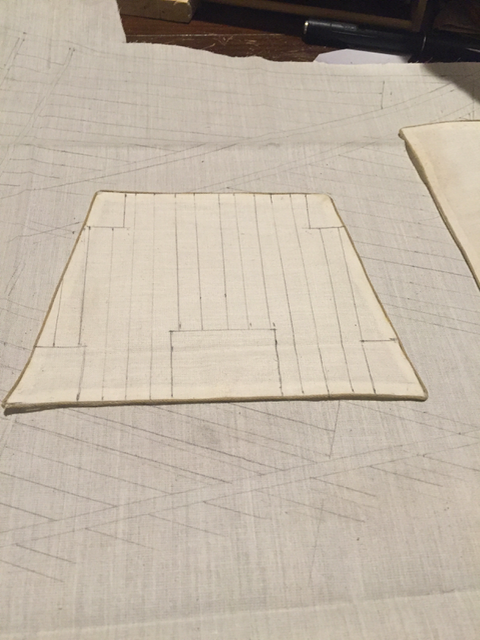
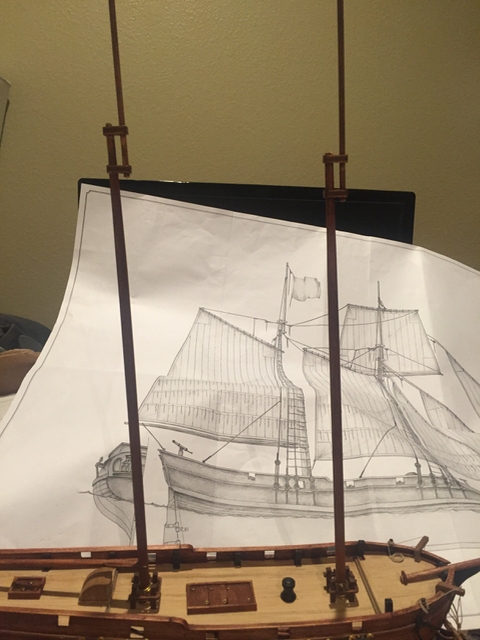
So, what are those vertical and horizontal lines on the sails? Purely cosmetic, or do they serve some purpose? More practically, how do I "implement" them? It is just a matter of sewing a thread along the path of the vertical line? It's not just drawn on there, is it? What about the horizontal "bar" - some sails have 2, some 3. Are those two parallel threads, or is that a piece of cloth (wood?) - it's about 3mm wide. And what is the purpose of the little dangling threads? Lastly, what about the polygon in the corner? The sail pictured only has the one but some of the sails have one in each of the four corners. Again, do I just sew thread along the lines that make up the shape, or is that a piece of cloth on top of the sail cloth? Thanks in advance for any thoughts/explanations.... -=b=-

-
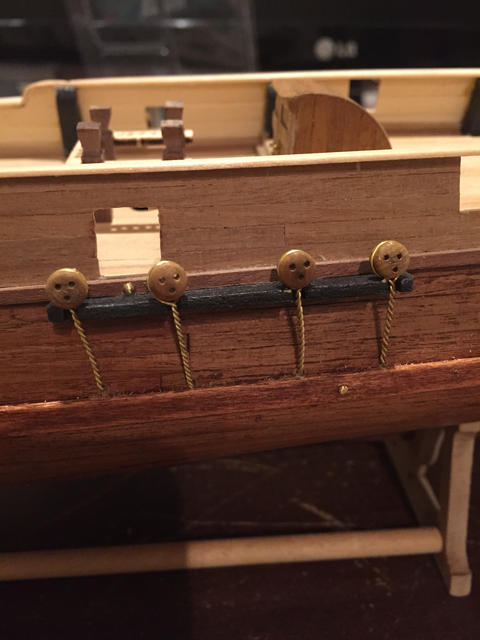
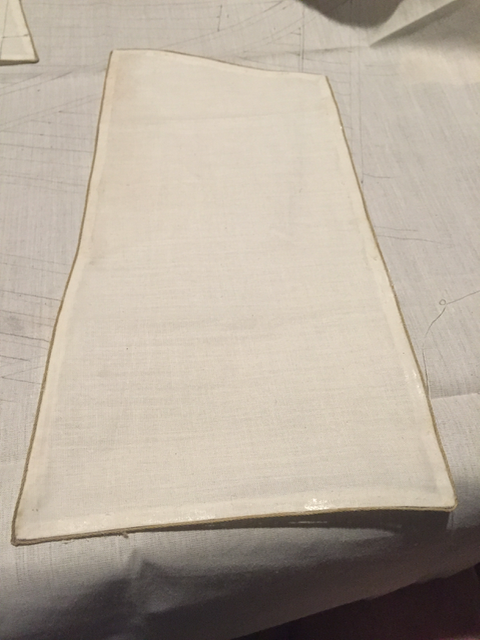
Sails! The last two have the "railing" attached. The kit did not include enough rope for this so I had to make my own! 5 strands of thin rigging line, soaked in water, twisted together with the help of a cordless drill, a little Elmer's glue, and let dry overnight.

-
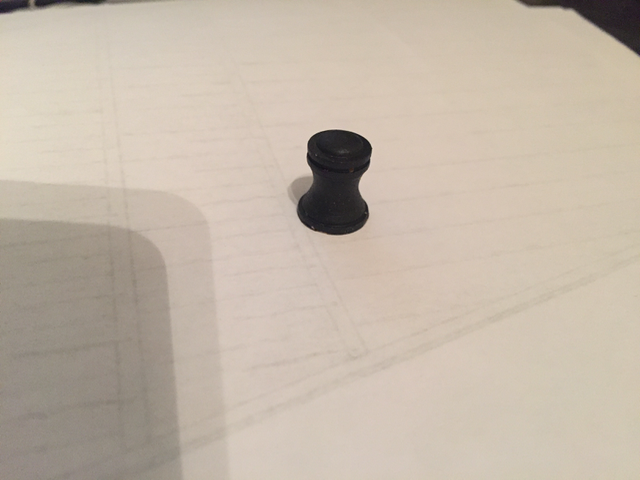
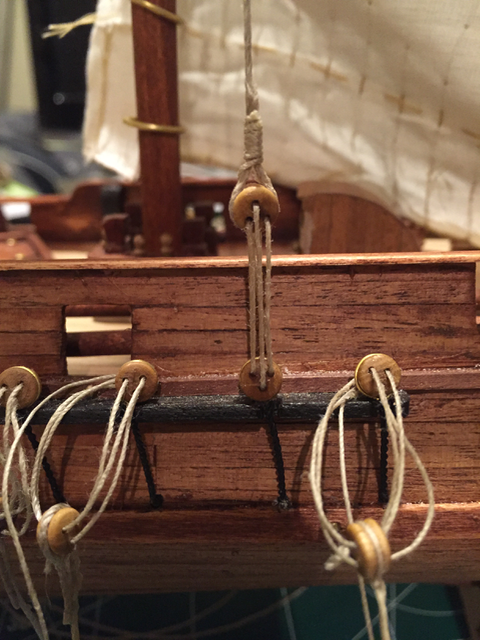
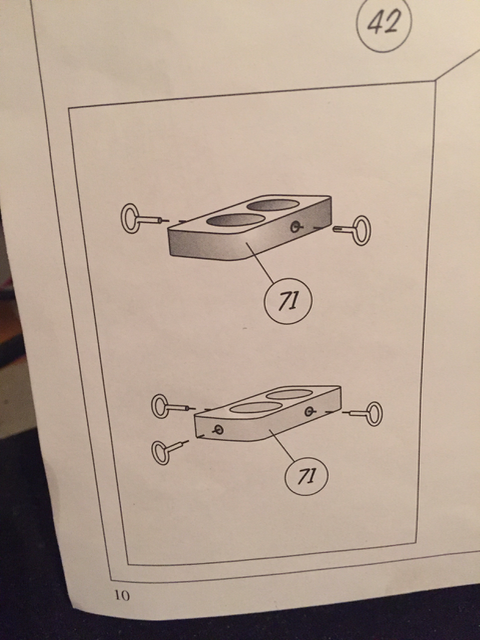
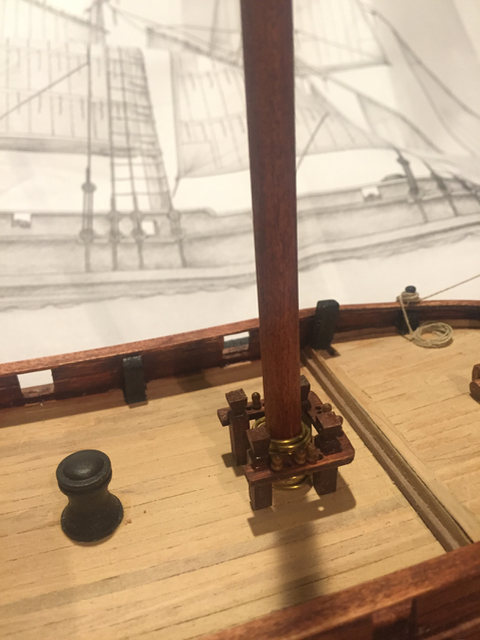
Help! There is this figure in the instructions: One cap gets 2 eyebolts (one on either side) and the other cap gets 3 eyebolts. A later figure indicates that the 2-eyebolt cap goes on the main mast and the 3-eyebolt cap goes on the foremast. All well and good.... almost. Does the eyebolt on the short side of the 3-eyebolt cap face fore or aft? One figure seems to indicate that it would face aft, but that is purely a guess on my part. Also, I assume that I attach a block to each eyebolt which will be used in the rigging. However there is NO drawing that indicates that any rigging line goes through these blocks. In fact, these blocks don't appear in any drawing. Also, no figure indicates any rigging lines tied to these eyebolts directly (i.e. no block). Is there a "standard" way to rig the sails that would dictate the use of these blocks? The odd thing is that going by the figures in the instructions, all of the rigging can be done without using these blocks. I'm assuming that the figures are just inadequately drawn and some of the lines that go through blocks (shown tied to the mast) are actually these blocks tied to the eyebolts.... Ay yi yi!
-
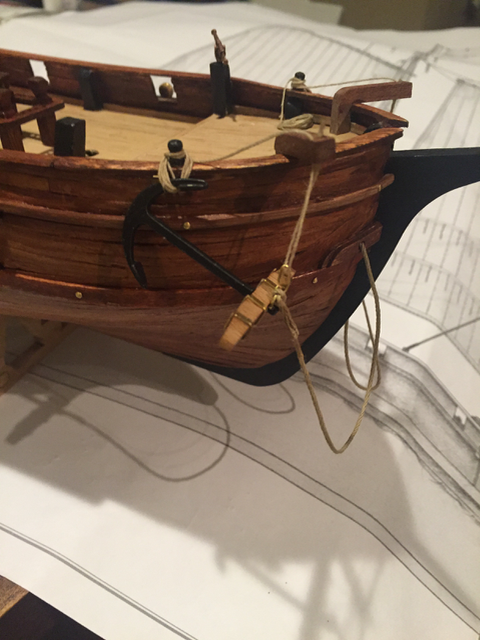
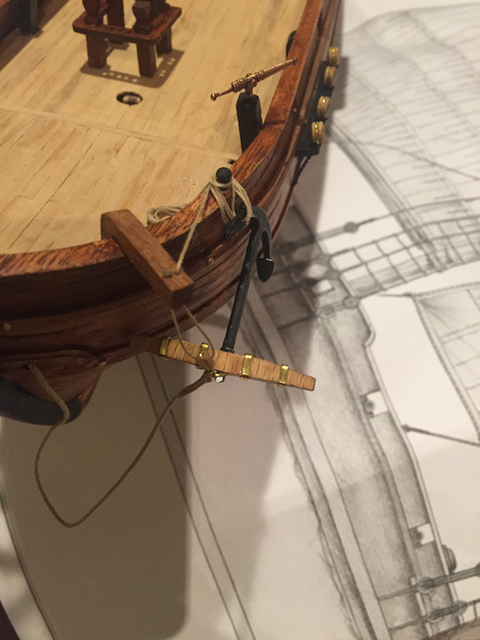
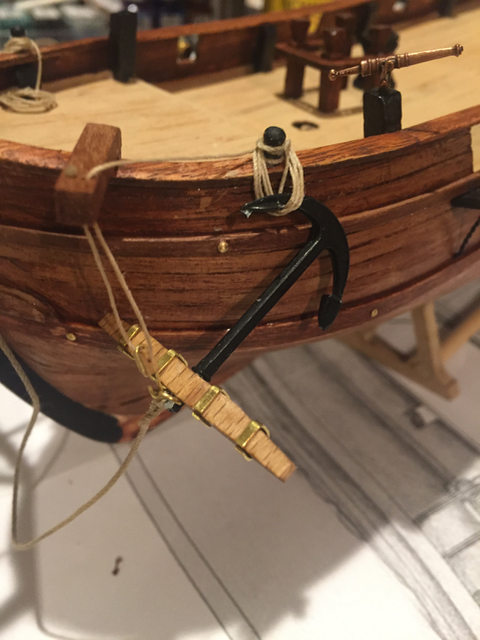
Thank you! I haven't glued anything if it has to do with the masts. I still have to add the 2 gaffs too, and they go above the rings... Even the bowsprit is just dry fitted, as are the pin racks and hatches. The anchor assemblies are glued as I was somewhat confident that I'd gotten them correct; and I was satisfied with their appearance... -=b=-
-
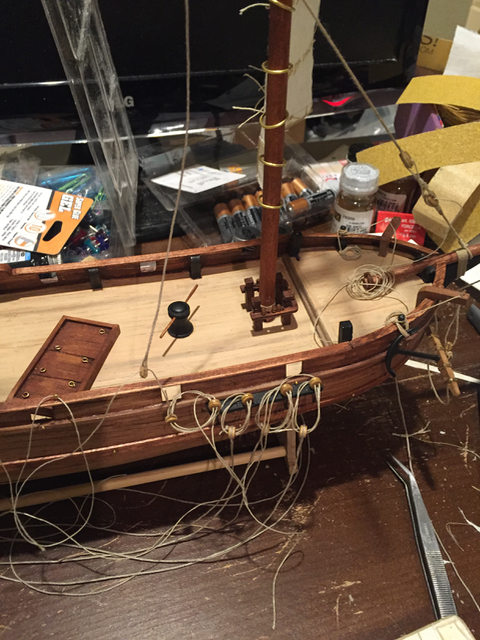
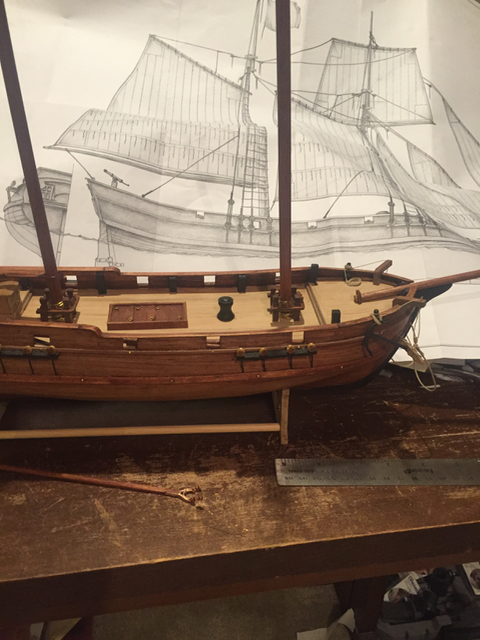
Progress - no glue yet, just a lot of test fittings to see how things are going together. Stained all the masts and yards and deck accessories; stuck some pins in the rack. You can see the mast rings piled at the bottom of each mast. The stern decoration is in place (you can see the clamps) :-)

-
Thanks Rick! Judging from some pictures I've seen, the rope running down the edge of the sail and through the rings is how some have done it. And Scott, your idea for the third hole in the gaff seems plausible (lashing the sail). Thanks for the input. Anyone else?
-
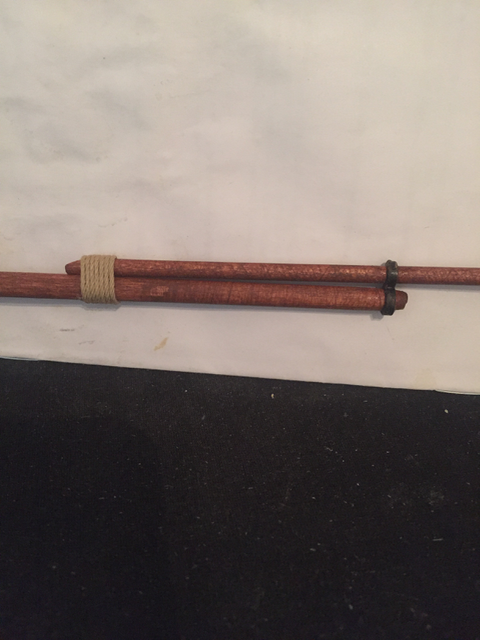
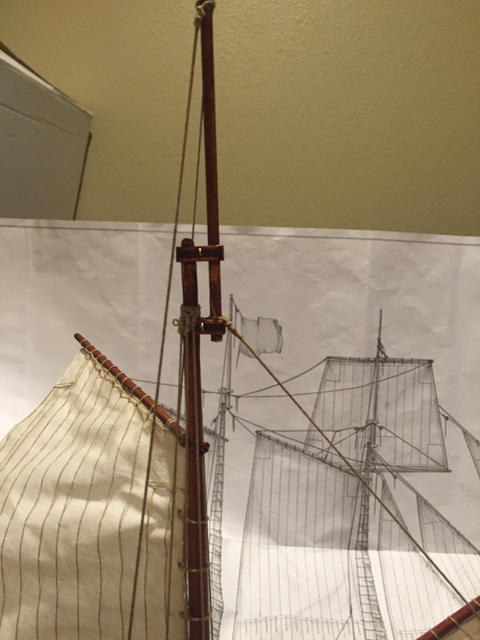
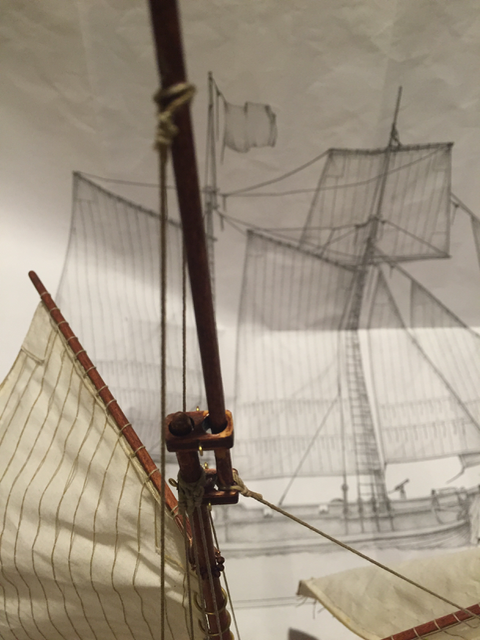
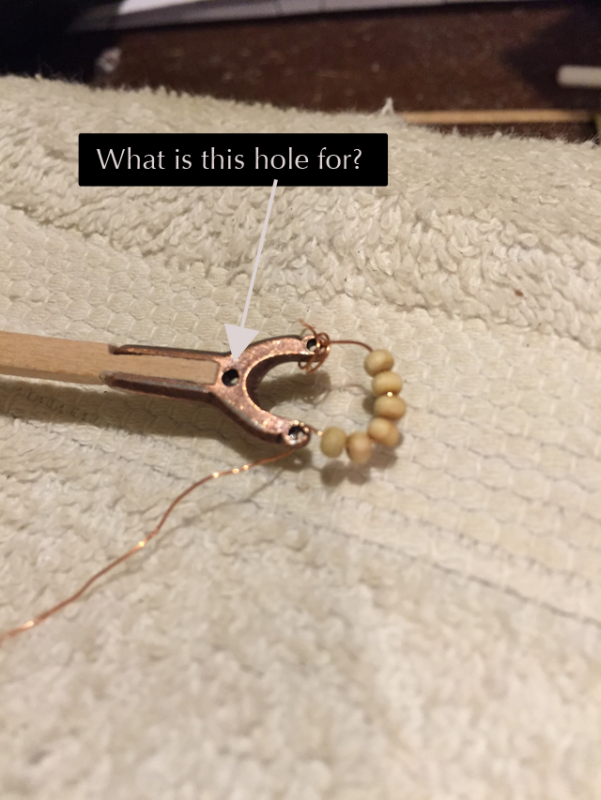
Thanks for the tip, mtaylor! It's wood glue, so alcohol it is... A couple more questions.... 1) There are two gaffs (main mast and foremast). The ends were supplied as metal bits and have 3 holes in them. There were also a bunch of beads and some fine copper wire. By looking up images on the net, i figured out what to do with the beads, wire and two of the holes. What is the third hole used for? It's a work in progress, so I don't want to cut the wire until I know I've done things correctly. 2) There are rings that go on the main and foremasts. There rings attach to the sails - any suggestions on how to attach them? Do I pry open the ring a bit and then clamp it down on the sail? Or do I use thread to sew them to the sail? Glue? Punch a hole in the sail cloth and thread the ring through it? Something else? Thanks in advance for any and all insights.... -=b=-
-
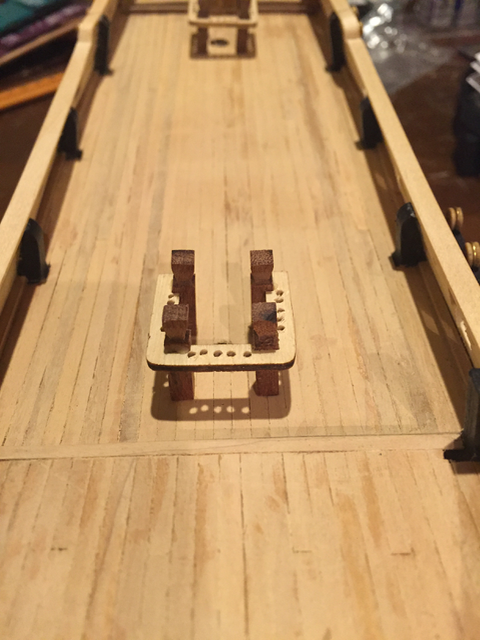
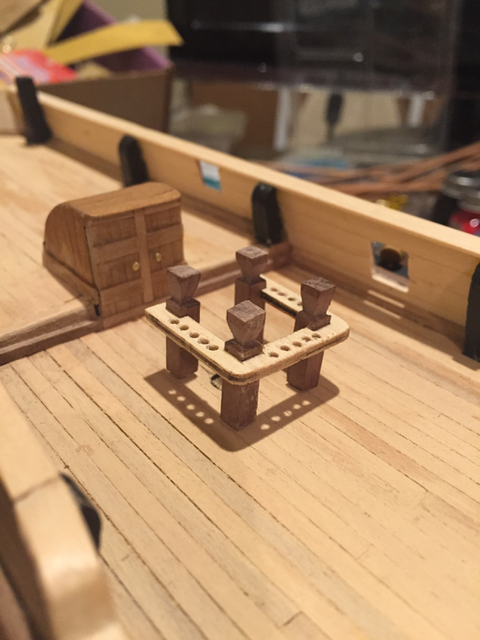
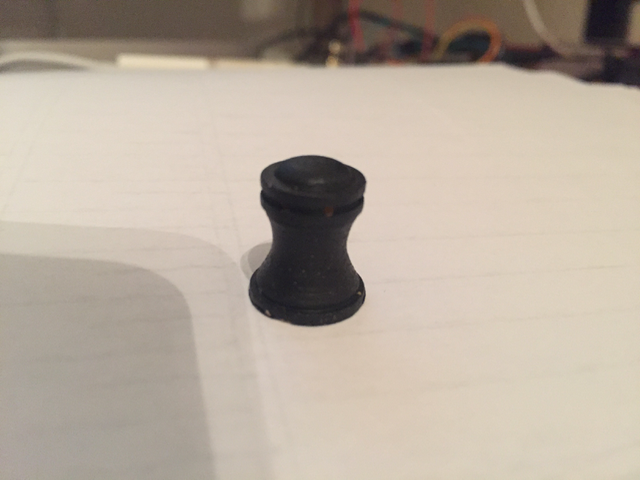
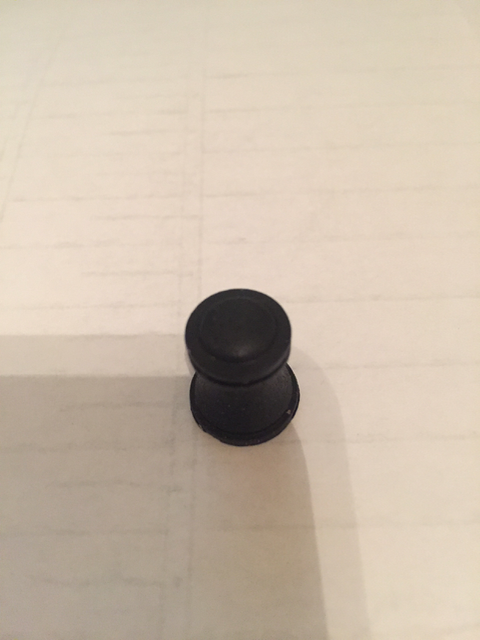
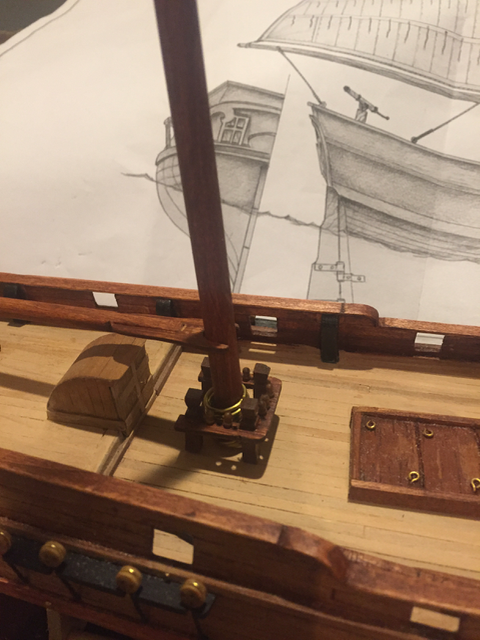
Ahhh! I think I found it. It's a capstan and the holes are for inserting a piece of wood or metal to use as a handle to turn it.... Yes?
-
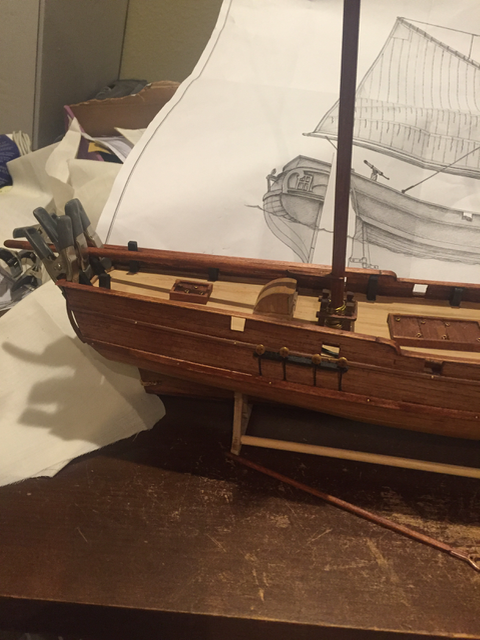
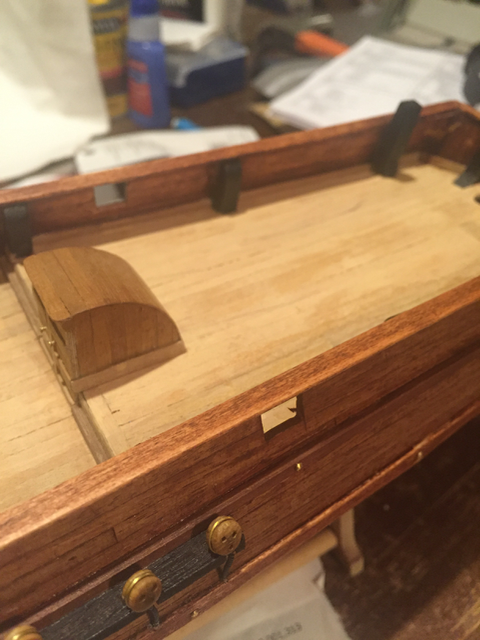
I decided to stain the inside panels and top rail rather than paint them. I have an issue with a few of the panels (residual glue blocks the stain) so I'll have to remove the glue and re-stain the area affected. Anyone have any tips for removing wood glue? Sanding works but if there's a more precise method, I'm all ears....
-
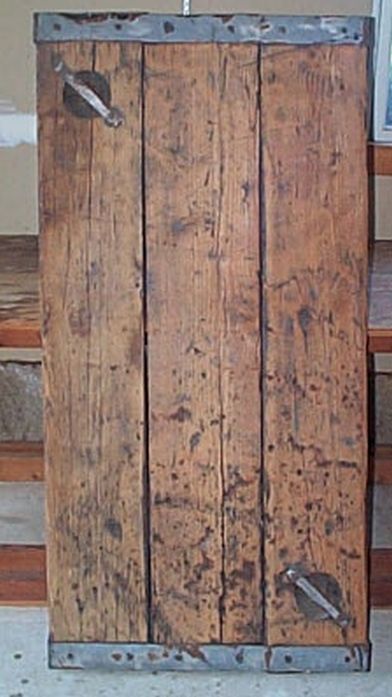
I searched for images of 19th century ship hatches and found the answer to my question.
-
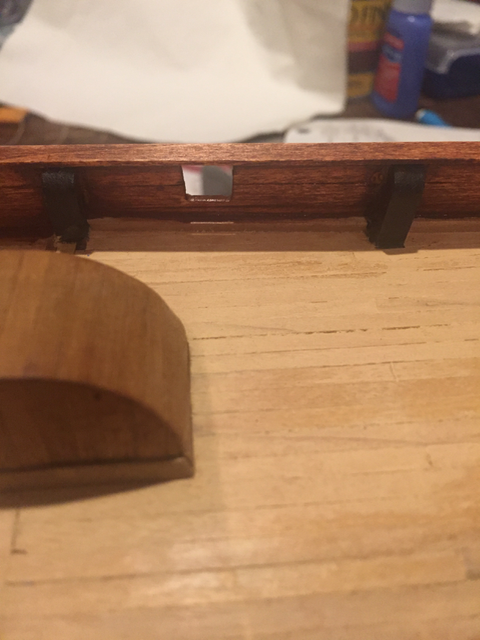
Thanks Matt! I'm working on the hatches now - Again the instructions aren't clear, but it looks like I insert eyebolts at the two ends of each section and then bend them over to form rings on the top of the hatches. Does that sound right? When I built the St. Helena, they supplied brass rings (photo from St Helena build shows a small hatch and part of the larger hatch - as you can see, there are rings at each end of every section - should I do the same for the hatches of this build?). BTW, are these rings supposed to represent handles to open the hatch section? Or something else? Thanks!
-
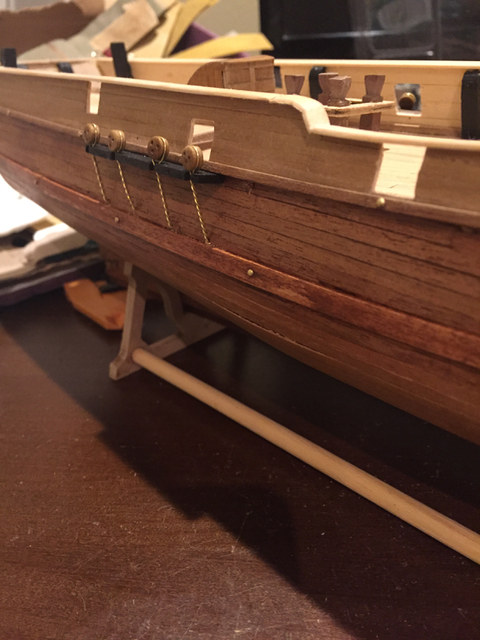
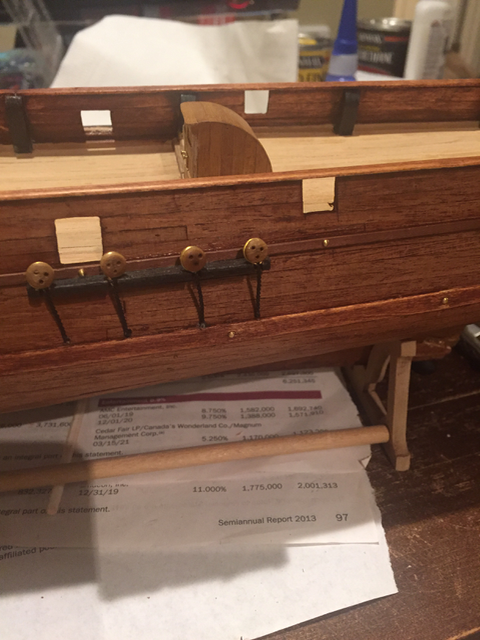
Progress report - I stained some of the veneer using "Cognac" stain. I also stained the white rail that runs near the water line. Made the deadeye things for the rigging; fashioned the posts that hold the pin rack; worked on the decoration for the stern...