HOLIDAY DONATION DRIVE - SUPPORT MSW - DO YOUR PART TO KEEP THIS GREAT FORUM GOING! (Only 36 donations so far out of 49,000 members - C'mon guys!)
×


Sexyauthor
-
Posts
101 -
Joined
-
Last visited
Content Type
Profiles
Forums
Gallery
Events
Everything posted by Sexyauthor
-
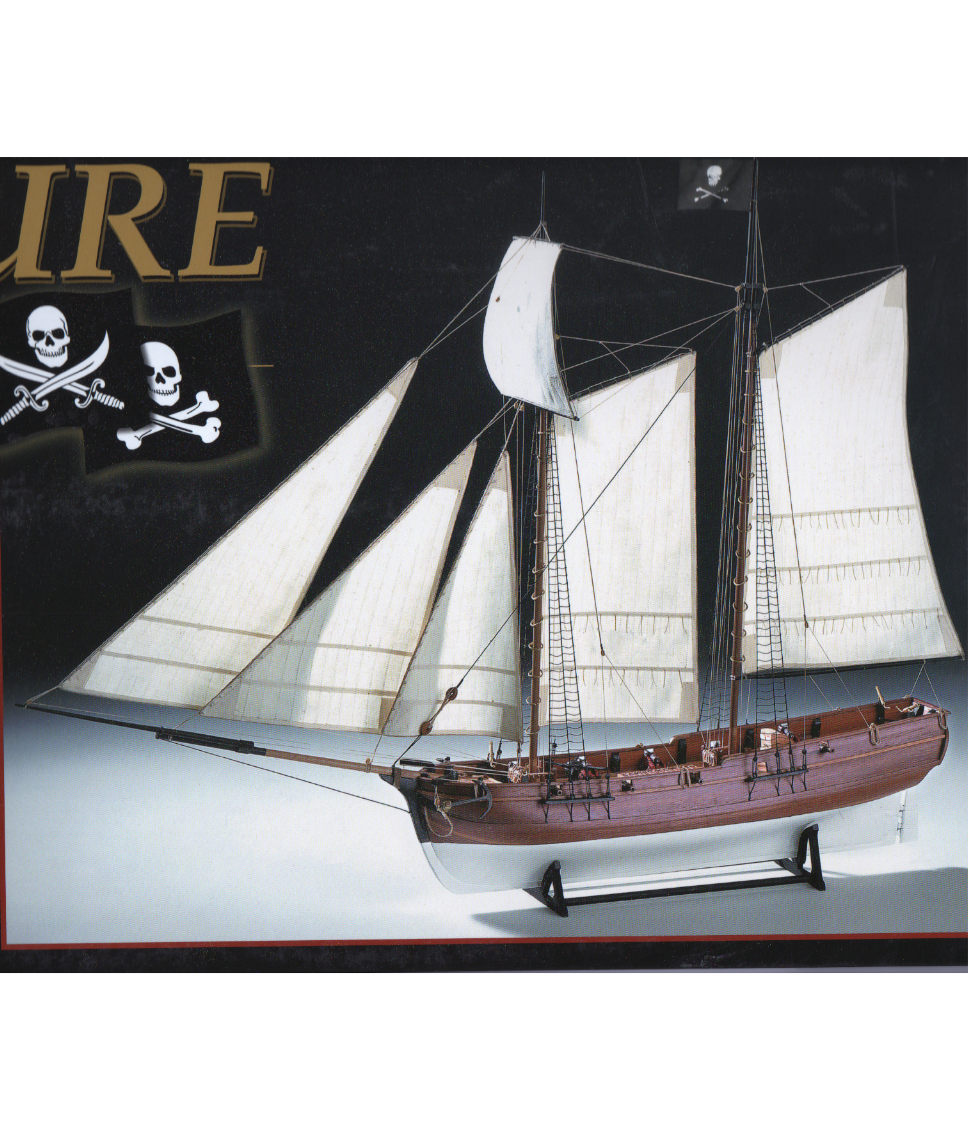
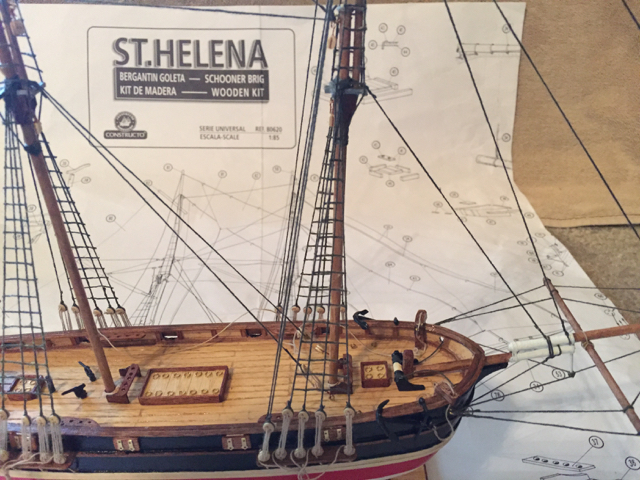
 Here is the picture on the box cover. Look at the rich mahogany tones of the wood - they must have stained the veneer to get these results... And what about the inside of the planks - those are that same rich hue. I don't think any amount of stain will transform those beige 1x5 planks into such beautiful wood! Also note that the two guard rails/wales (the 2x2 at the bottom of the gunports that runs from fore to aft and the 1x5 strip below that (also runs from fore to aft) are NOT painted black as the instructions suggest. Ay yi yi!
-
I really like the beauty of natural wood, but I may paint the hull at the water line and below (as shown in the picture on the box). This would solve that problem.
-
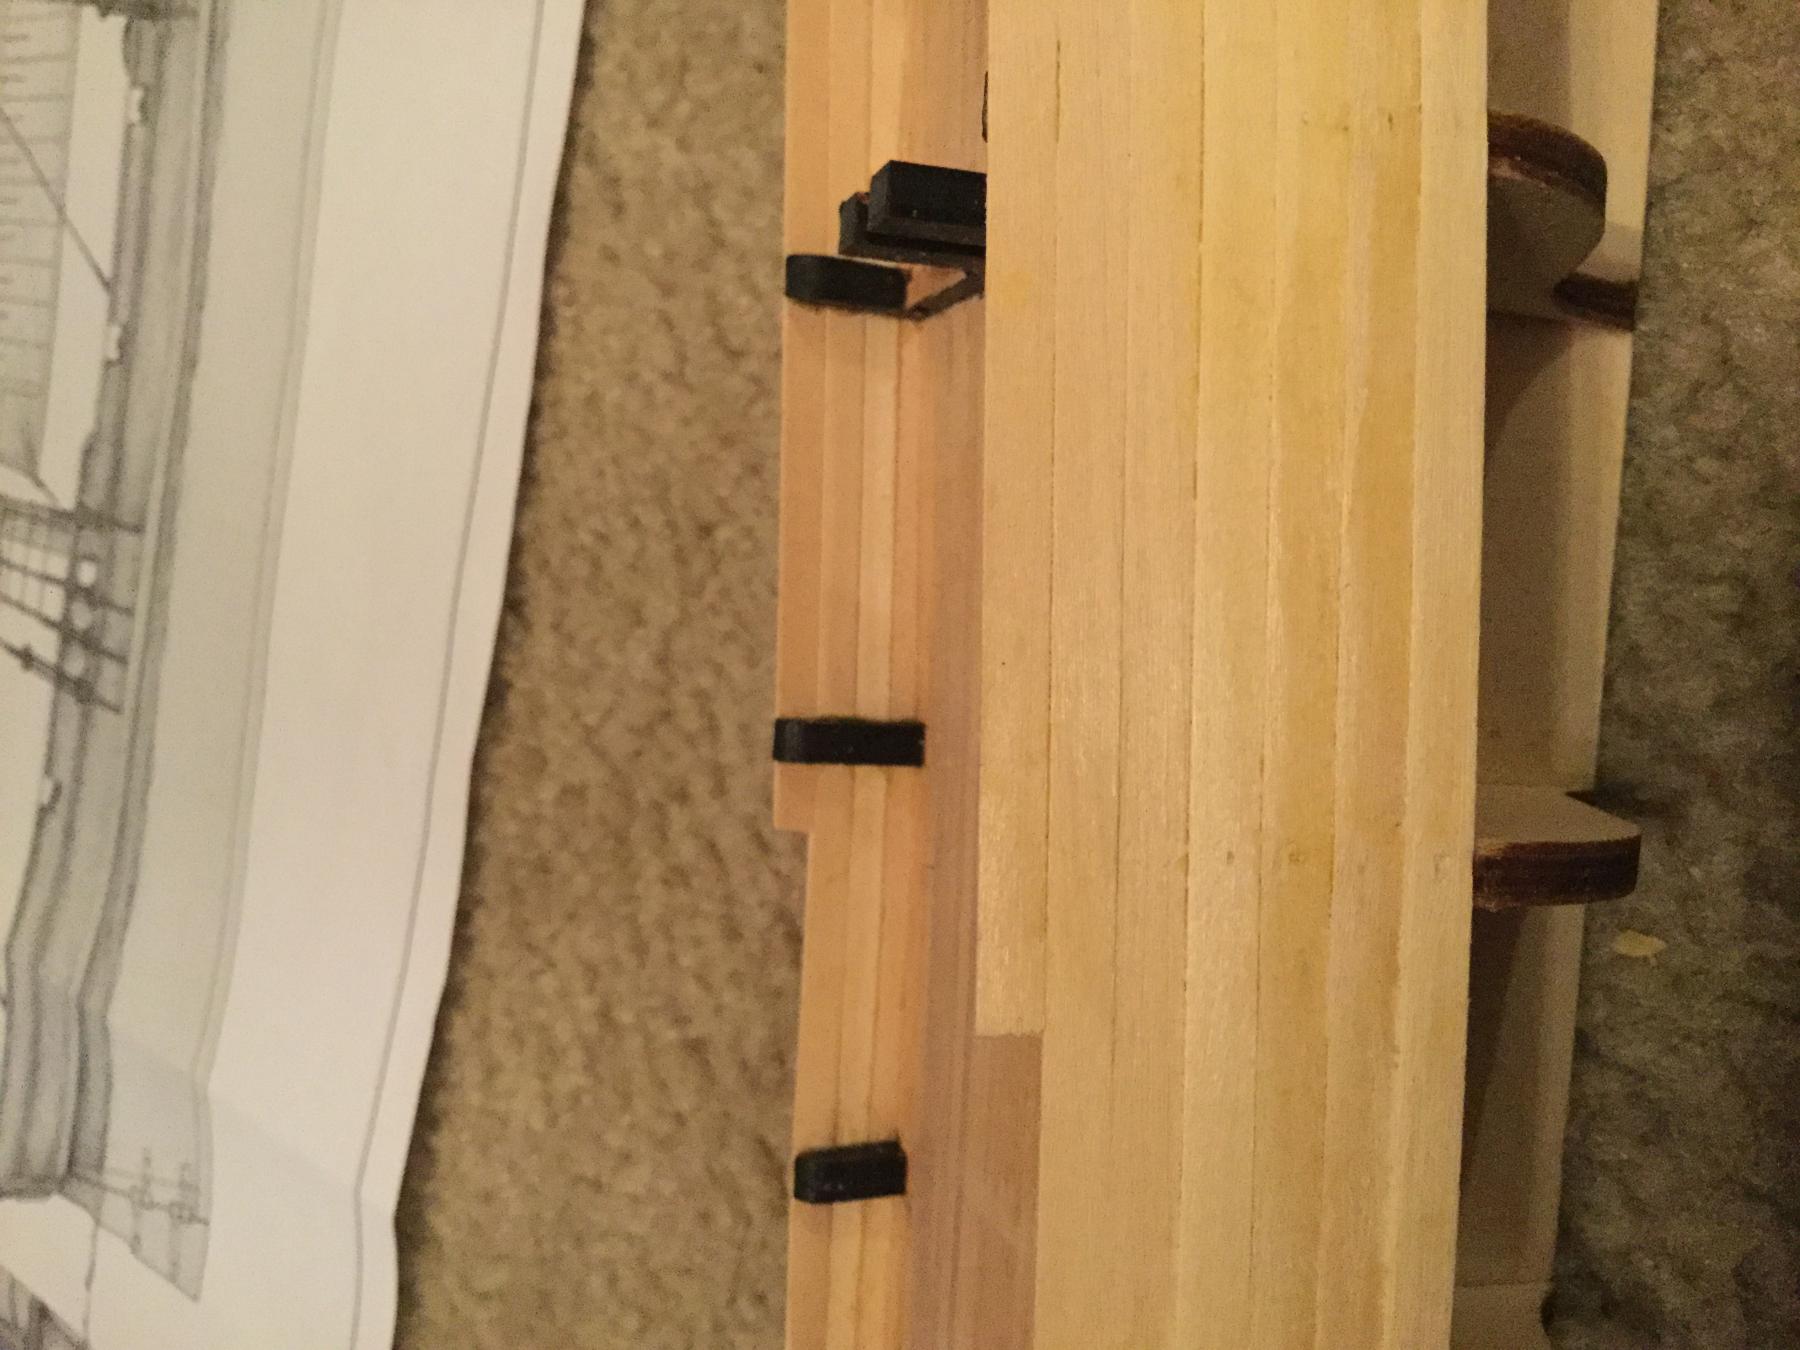
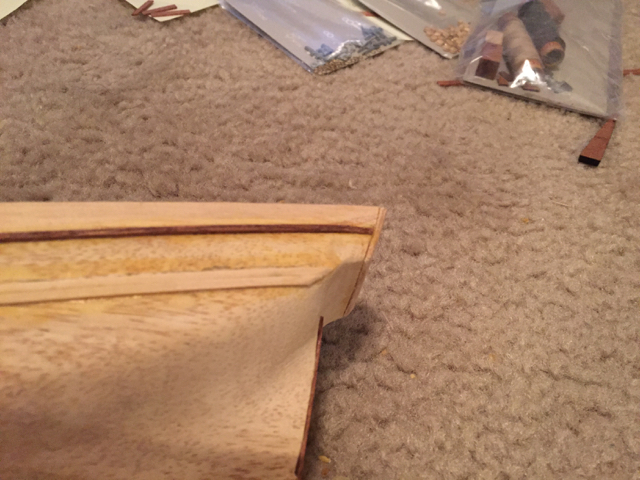
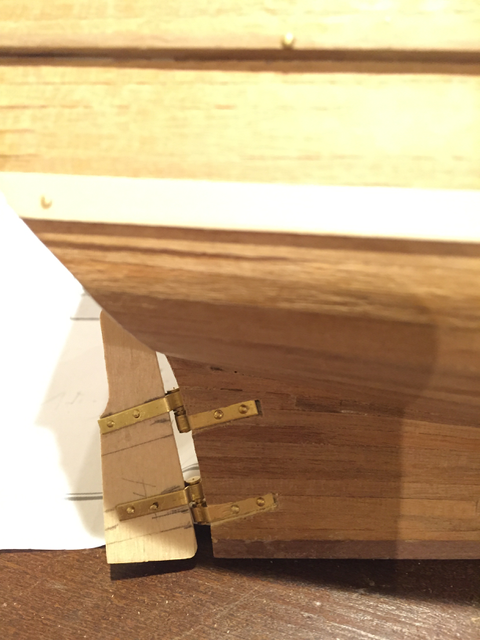
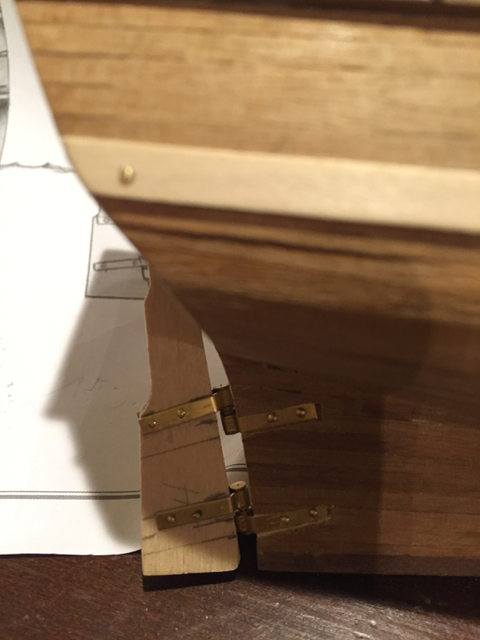
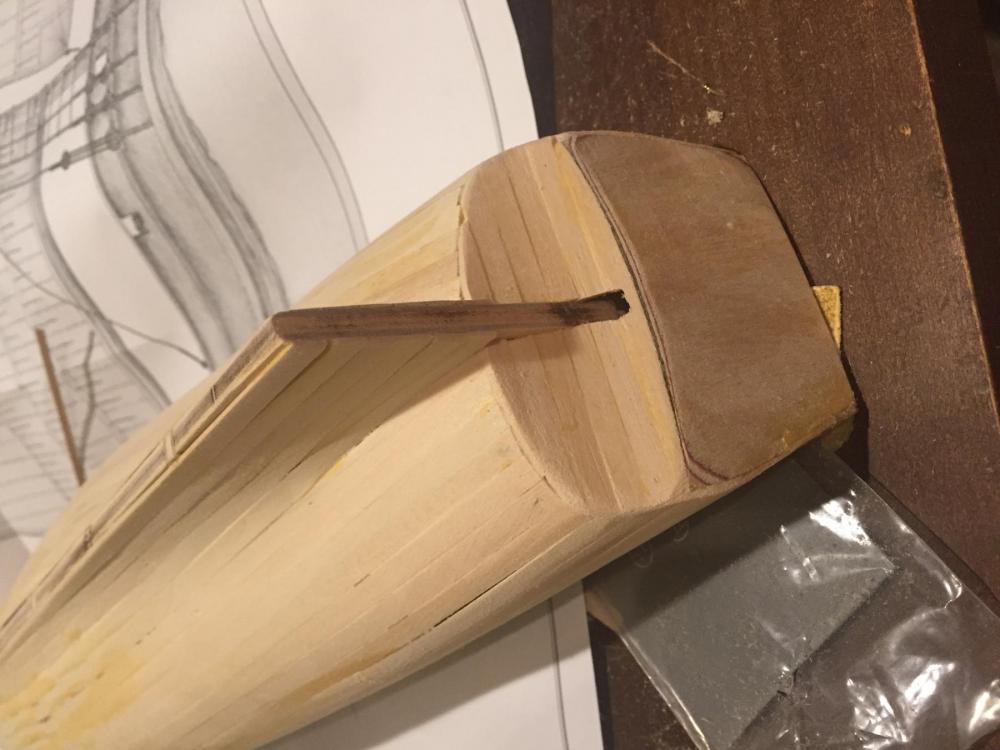
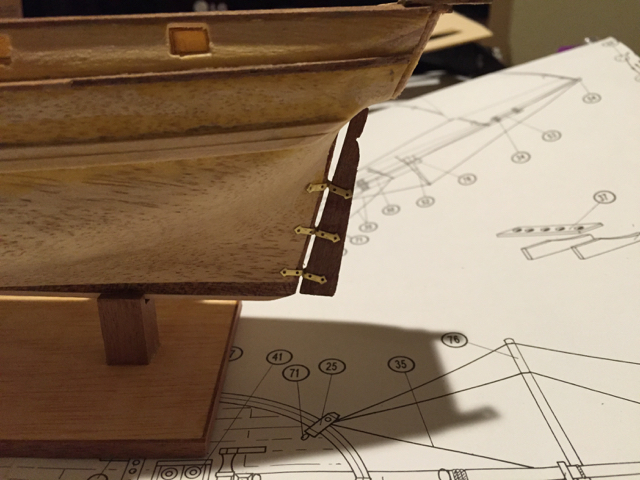
Well, my solution (since I had already 1st and 2nd planked the rudder area) was to just cut channels for the "arms" of the hinges into the veneer and planking (basically getting back down to the original sternpost). Now I have to figure out how I'm going to beautify it.
-
Scott, you're saying you shaved down the original 5mm stern post to roughly 2mm (so that with the (2) 1mm planks - port and starboard) and the (2) .5mm veneers you got back up to the original 5mm (the width the hinges fit)? Or, are you saying that you didn't plank the rudder part and just used the veneer in that area (which would also work), so the 5mm keel just needed to be shaved down to 4mm (then the (2) .5mm veneers would bring it back up to 5mm). Lesson learned.... Thanks, -=b=-
-
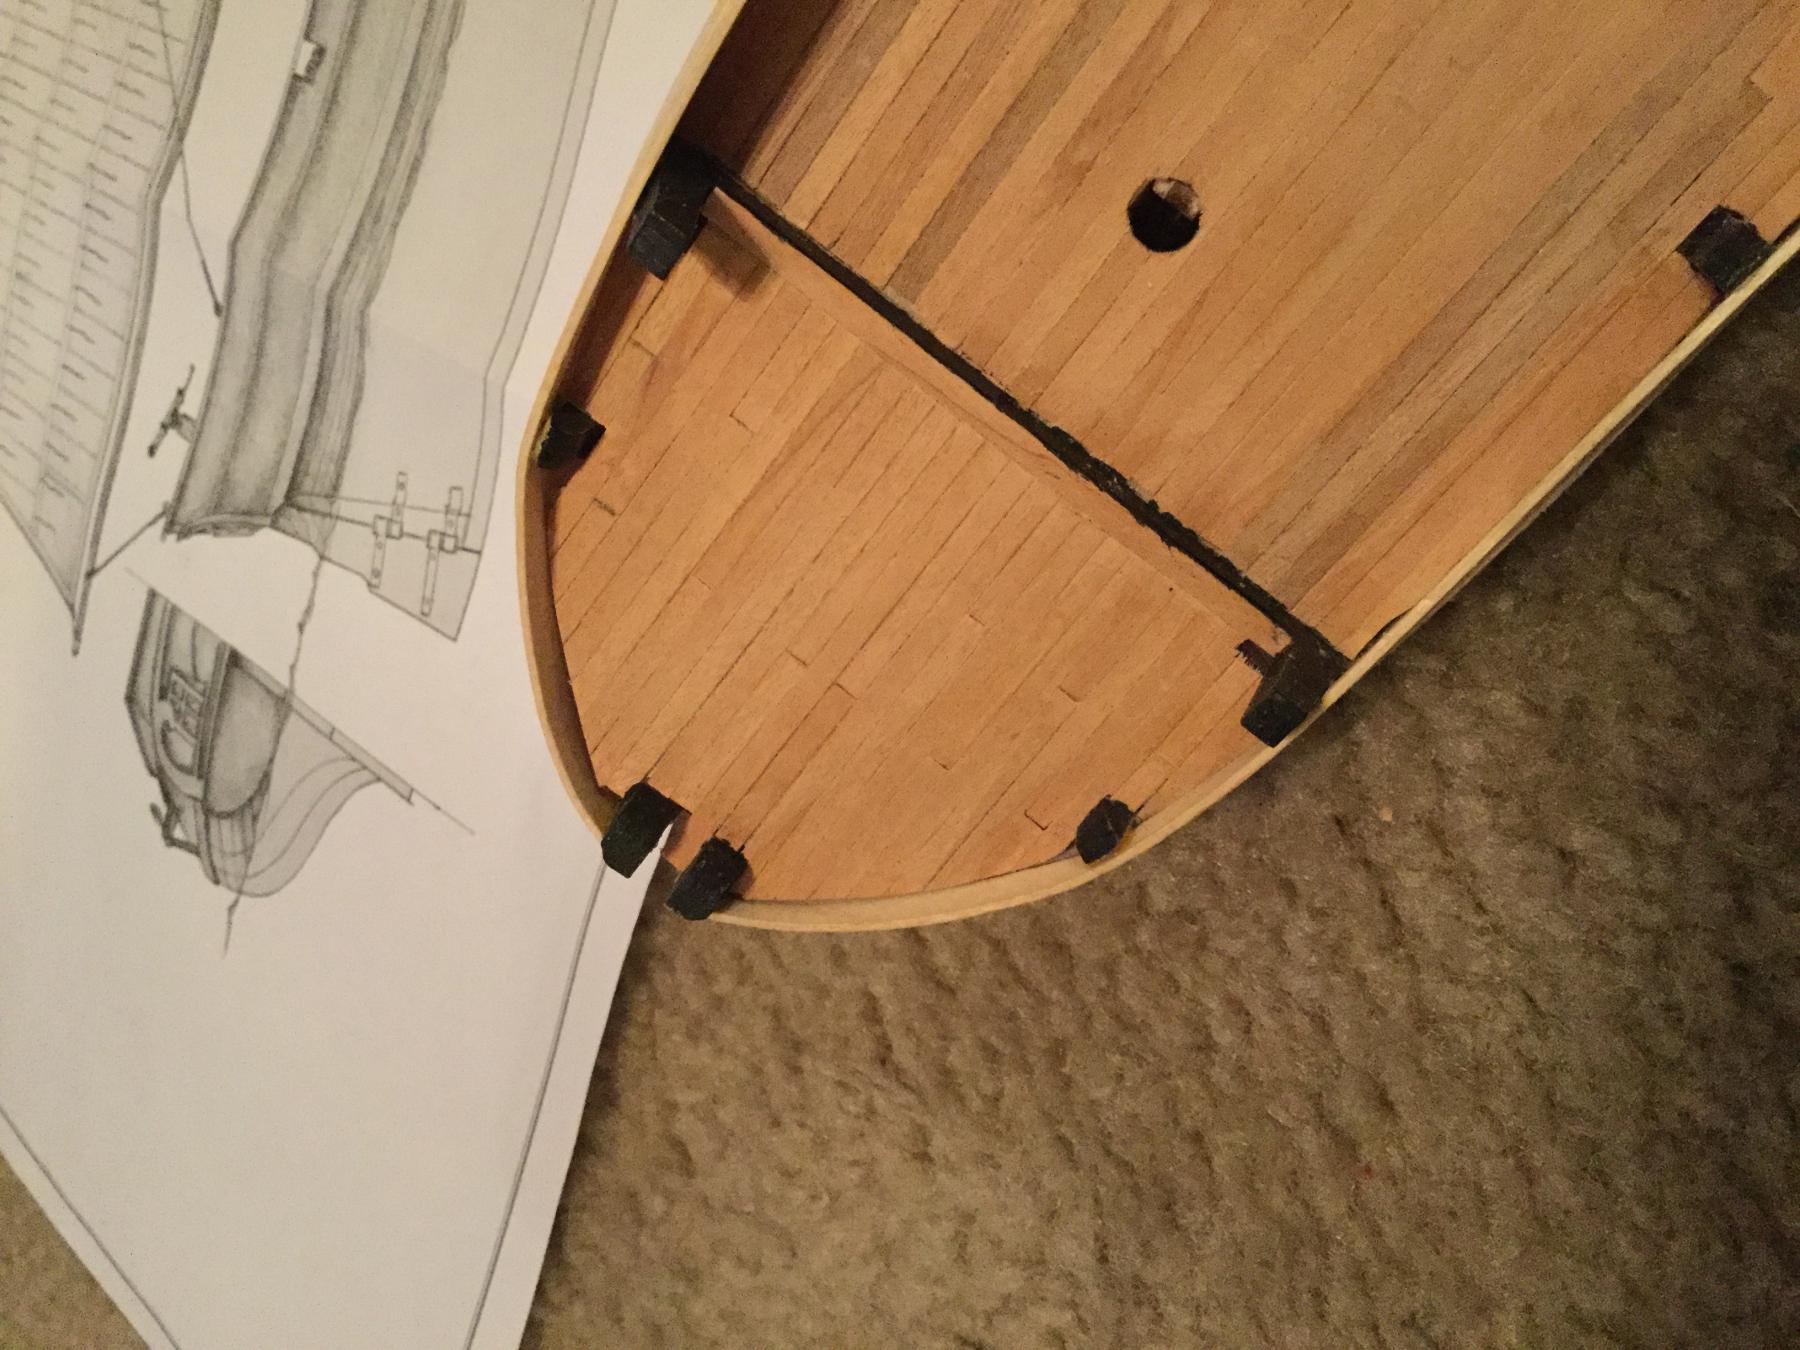
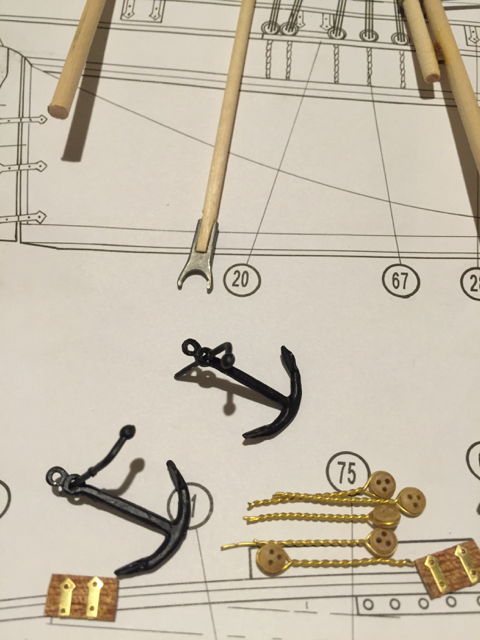
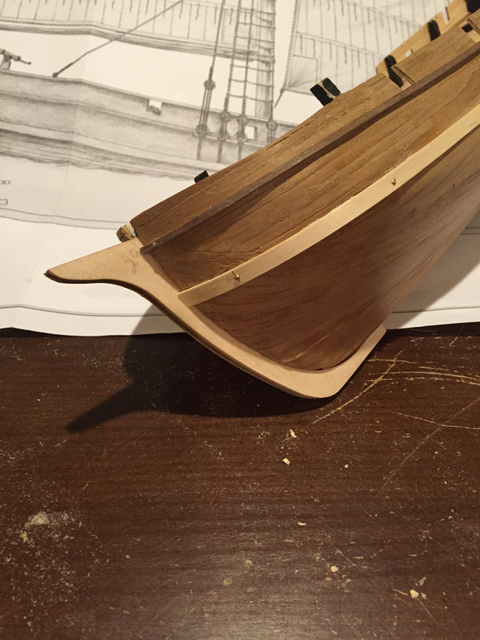
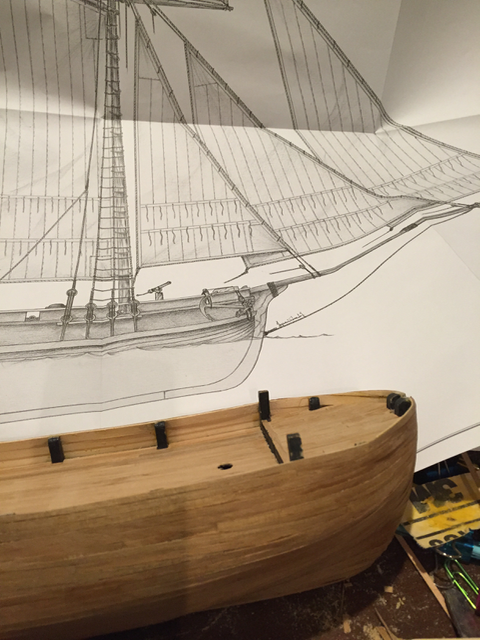
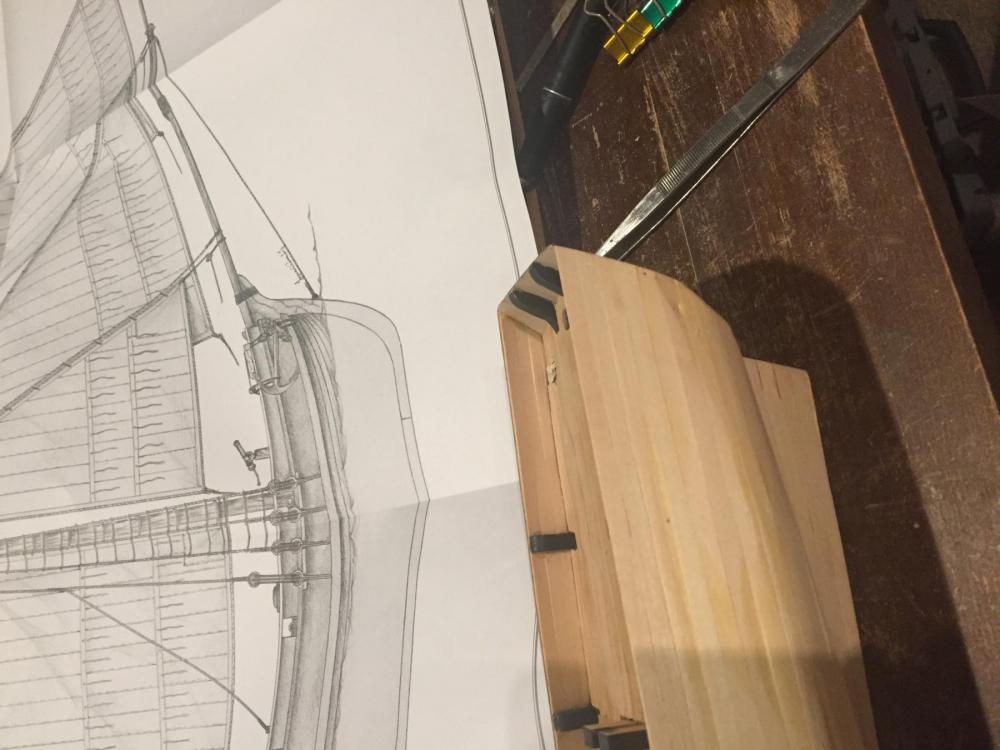
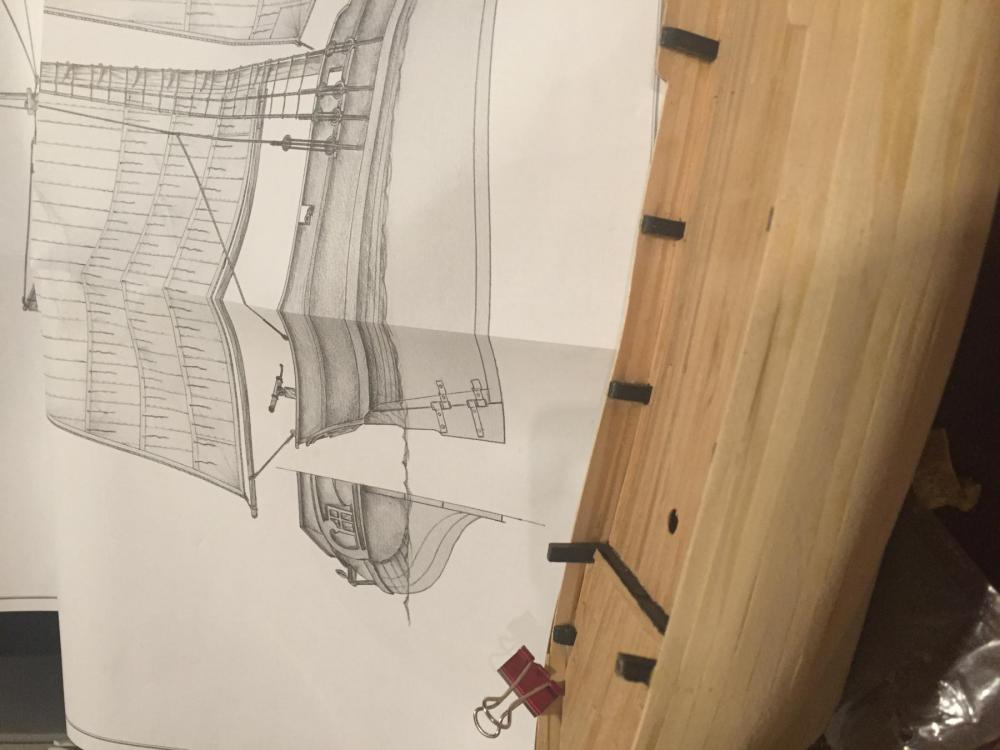
Cutwater, keel and rudder hardware in place. The hinges for the rudder only open wide enough to fit the original keel frame (same thickness as the rudder), before the first and second planking). So, I had to remove the planking and veneer (second planking) to accommodate them. The drawing seems to indicate this is intended, although the drawing has hinges that are slightly different from the ones supplied.
-
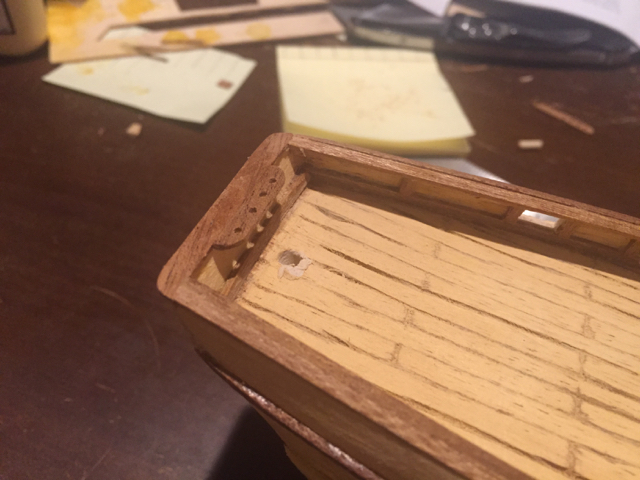
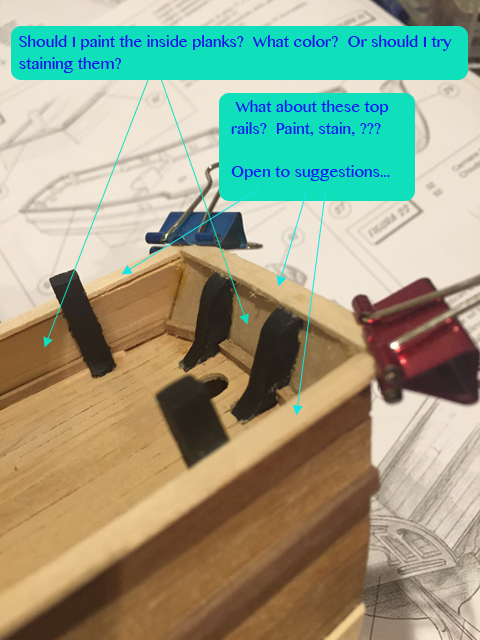
Need some input from the veterans.... Basically involves paint/stain and what to do... See photo.... The photos on the box aren't much help. It looks like the model was made using different wood than what was included in the kit, or the whole thing was heavily stained... <sigh>
-
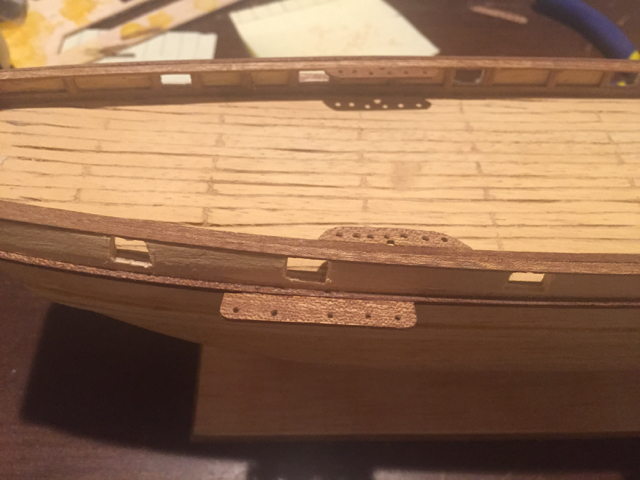
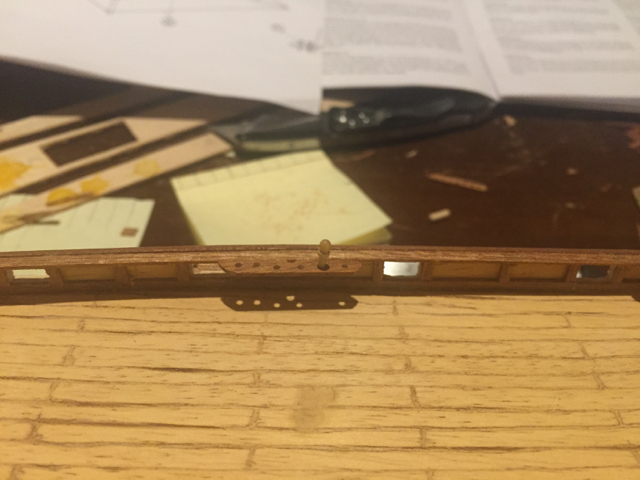
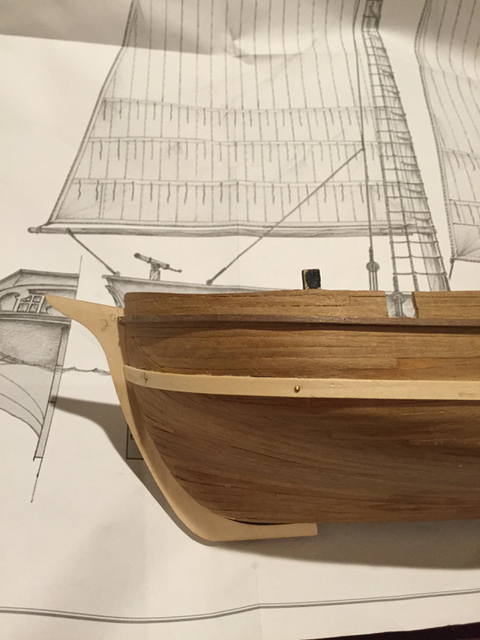
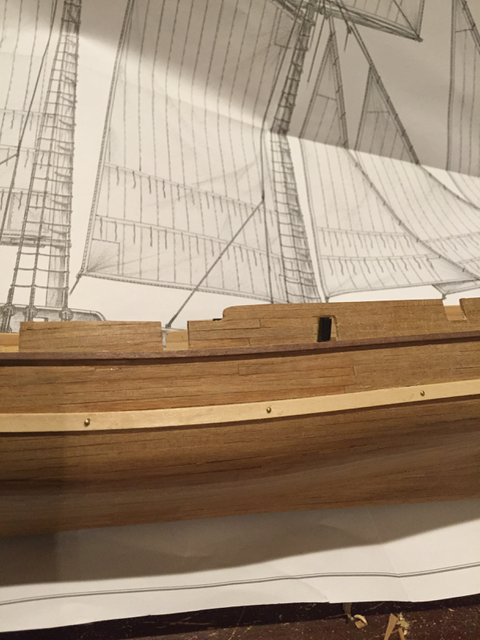
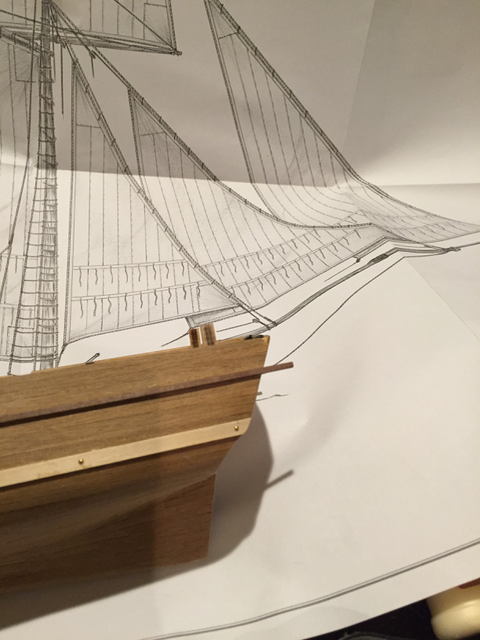
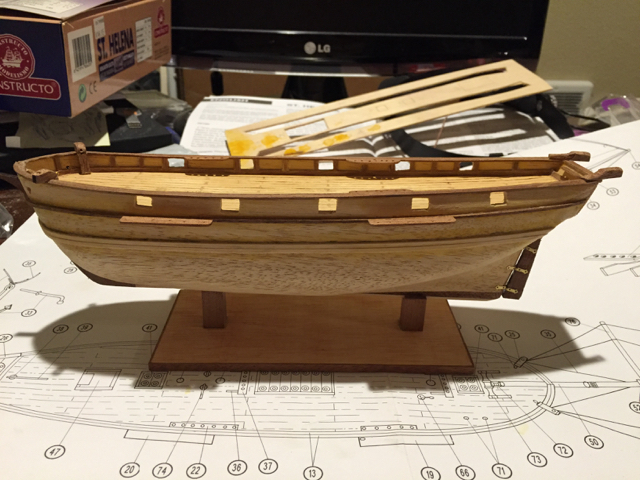
Thanks for all the kind words and encouragement! You guys are great! Progress so far - gunports, guard rails/wales. What do you think about the nails in the rails? Also, I'm thinking about planking the cutwater. Any thoughts? It's either that or paint it as it is shown on the front of the box.

-
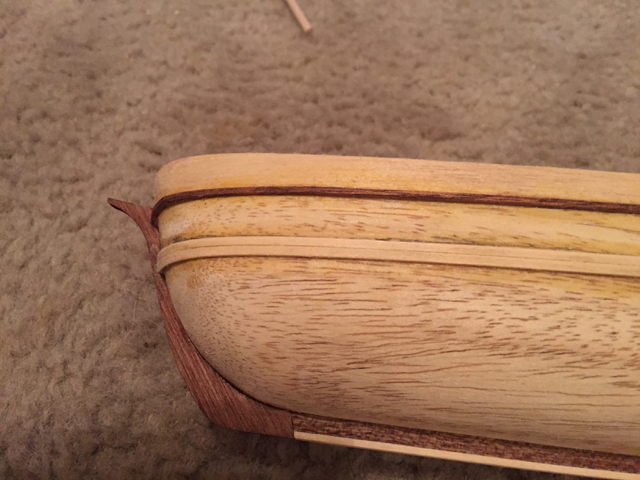
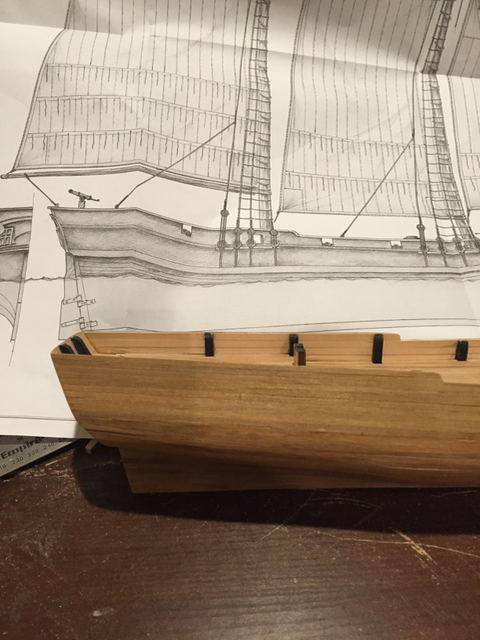
Second planking complete. Since the planks weren't very wide (3mm), I found it easier to work with them in batches. I'd take 6 of them, side by side, and secure them together using Scotch tape (6 planks are almost the exact width of the tape). This seemed to work pretty well.

-
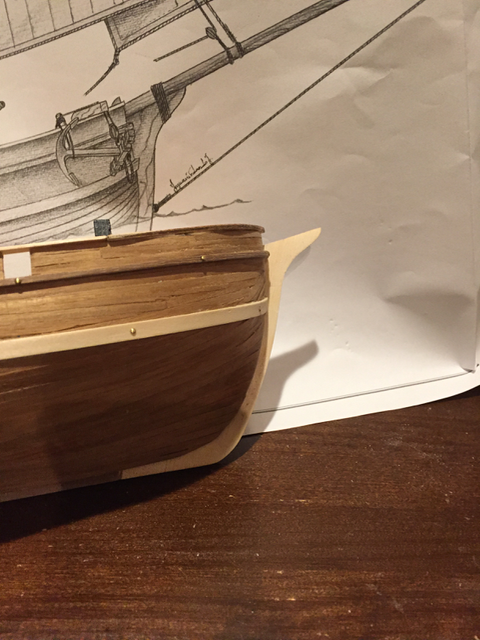
Howdy Neighbor! (Close neighbors - Orenco Station area) Depending on how this turns out, I may shy away from Amati kits in the future, at least until I get a few more builds under my belt. I have to admit it seems to be going well, in spite of the poor drawings and instructions. I'm almost done with the second planking and it's starting to look like a boat Shiver me timbers! Thanks for the kind words.... Have an awesome week!
-
Thank you, Mr. Coleman. Did you find the instructions lacking, as I do? This is only my third build, and the two Constructo kit instructions seem so much more detailed (in both words and pictures, the latter being a fantastic help). I guess experience will fill in the blanks on subsequent builds; for now, I'm taking my time and doing a LOT of test fittings before applying glue! :-)
-
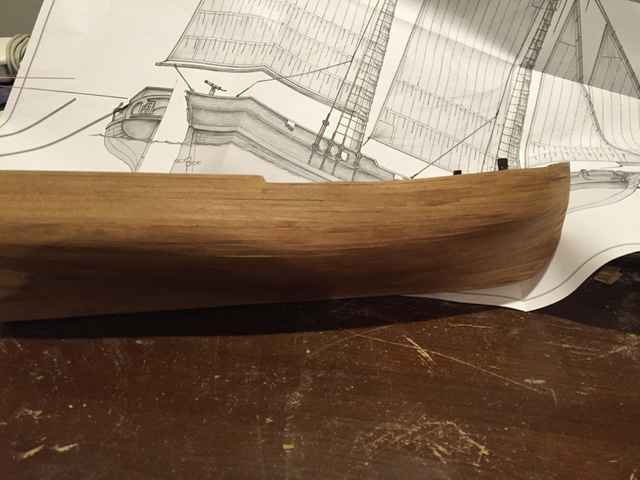
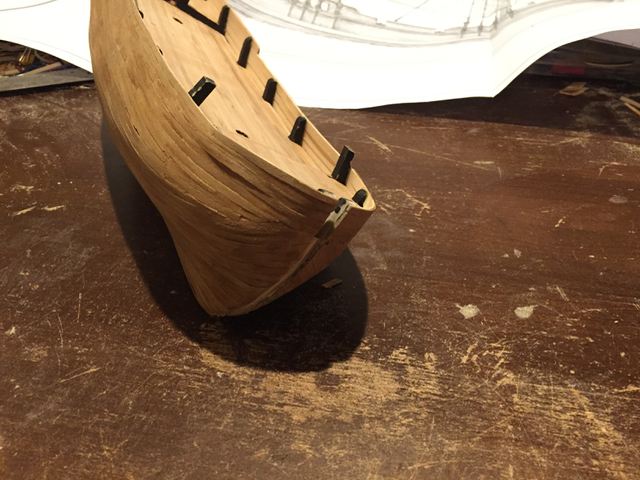
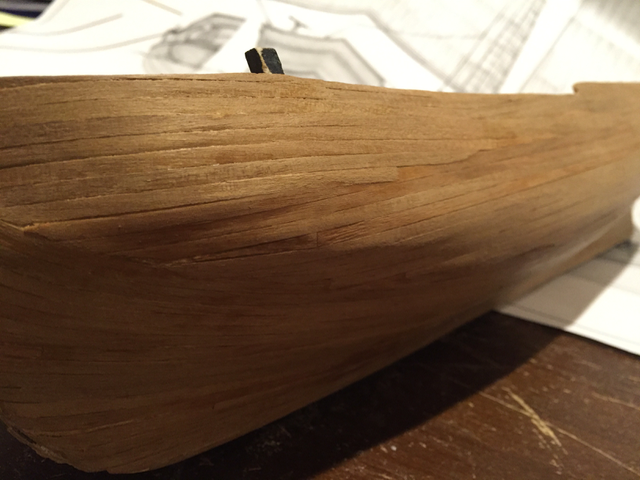
First planking complete - sanding mostly done, a few minor adjustments needed before second planking...
-
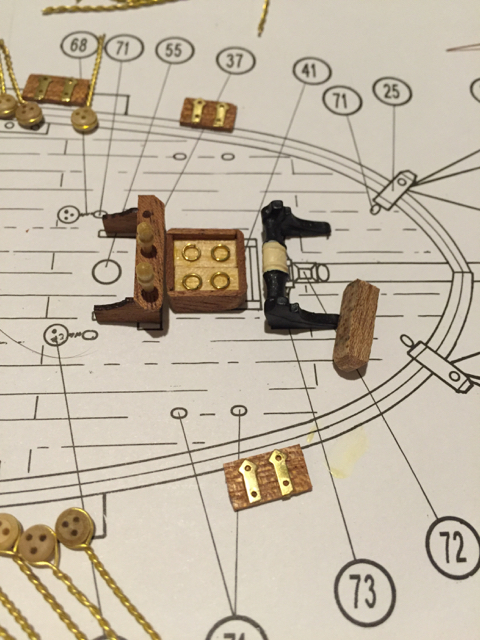
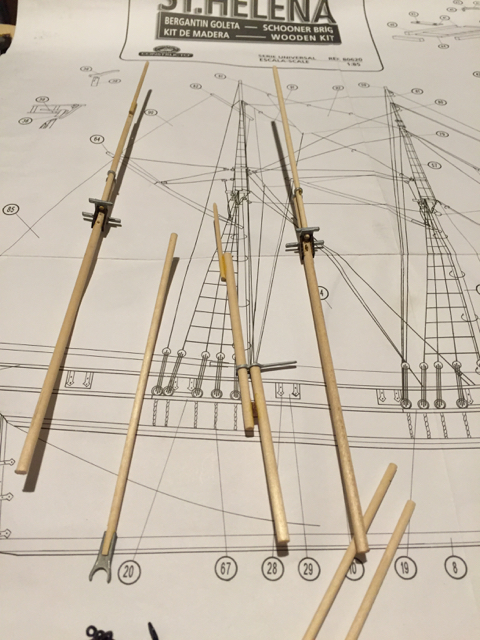
For my third foray into building wooden ships, I chose this kit for grins and giggles. Ever see the movie "Princess Bride"? If not, rent it, find it on netflix or amazon, pop some corn and watch it - good family movie. I'll wait.... Ok - so, my last name is Roberts, and my wife is a program manager whose has a reputation for being tough but fair. She quickly gained the name "Dread Pirate Roberts" and she in turn began referring to the engineers in the lab as ROUSes. I'm building this pirate ship for her to keep on her desk, proudly flying the Jolly Roger! My first two build were both Constructo kits - very nice instructions and materials! I was disappointed that the instructions for the pirate ship was VERY short on actual pictures, the main set of instructions are in Italian with a small English guidebook with some general build tips and lots of references to the original drawing in the Italian instruction book. The part numbering system is very odd (for instance, one figure will refer to the wood for the deck planking as #90 - 0.5 x 3mm. In the next figure it will refer to the top rail wood - which is 1x 5mm - as #90 also! So, 90 means one thing in one figure and a different thing in the next figure). Also, there are no lengths given, so it's a matter of figuring out which stick of wood to use, where it's supposed to go (given the drawn figure), measure twice, cut it and fit it. I hope I don't make too many mistakes (or can reuse the mistakes in a later step) and have enough wood to finish the model! Pictures to come...
-
Popeye, Thanks for the kind words! It was a lot of fun and I enjoyed building the Louise Steam Launch even more! I'm in the early stages of the Amati Adventure Pirate ship - it has some challenges (mostly from the inadequate instructions - at least compared to the Constructo kits), so it should be an interesting build. Thanks again for your comments! -- Brian
- 17 replies
-
- 2
-

-
- st. helena
- constructo
- (and 2 more)
-
I liked this kit - the included paints were dried out (I have no idea how long it was sitting on the shelf at the hobby shop, but it must have been a while). I ended up using Testor Acrylics. Total build time was about 80 hours over the course of about 3 weeks. I liked the mix of pictures and written instructions. Compared to the Amati Adventure Pirate Schooner I'm tackling now, there is a world of difference! The Amati instructions are in Italian with an added English guidebook, very few photographs and a very confusing part numbering system. After completing the St. Helena, I did a second Constructo build - the Louise Steam Launch - what fun! And that one has the "bulkhead and planking" system for the hull - what a learning experience that was! Again, the instructions and pictures made the build very smooth and with very little guesswork about what went where or how it was supposed to look when it was done correctly. I'd highly recommend either (or both) of these Constructo kits for the the beginner and/or intermediate builder.
- 17 replies
-
- 2
-
-
- st. helena
- constructo
- (and 2 more)
-
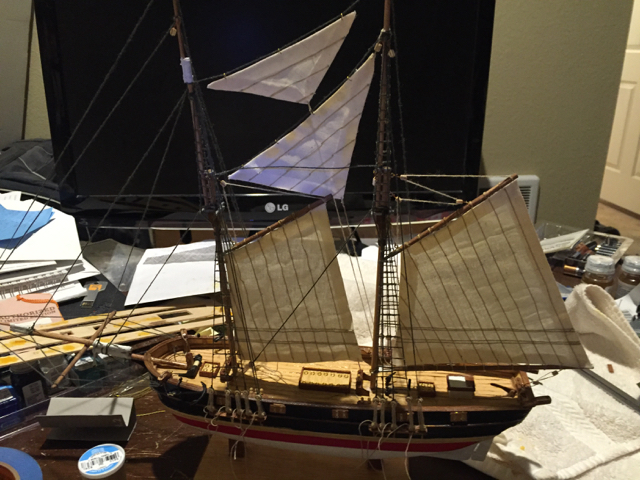
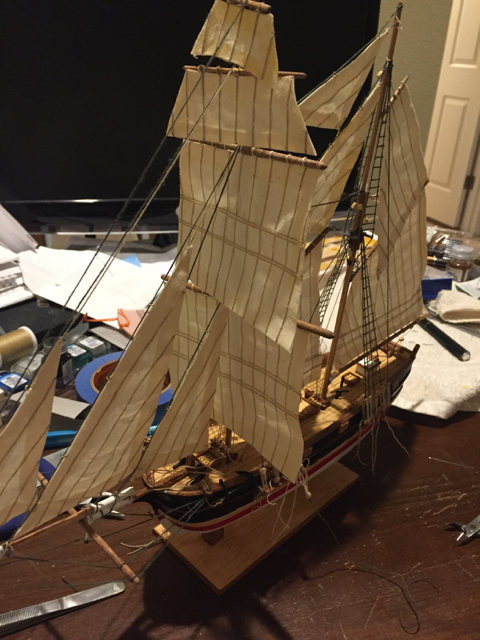
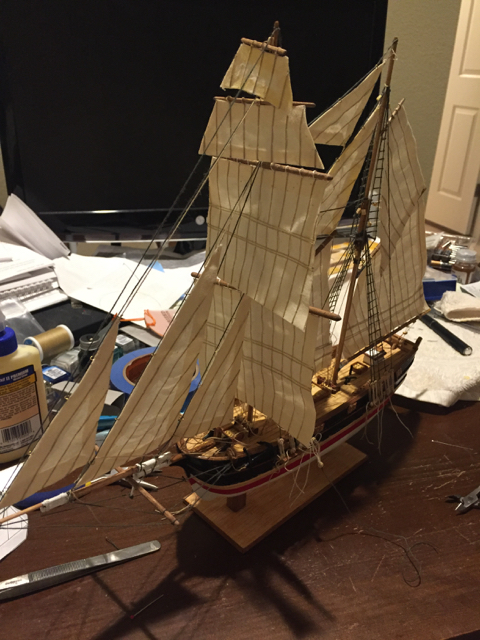
Sails! These were cut from a sheet of cloth using templates. Since I don't own a sewing machine, everything was done by hand - yes - old-world, hand-stitched finely crafted sails - LOL! That's about it. Final build pictures are at the top of the log.
- 17 replies
-
- 4
-
-
- st. helena
- constructo
- (and 2 more)
-
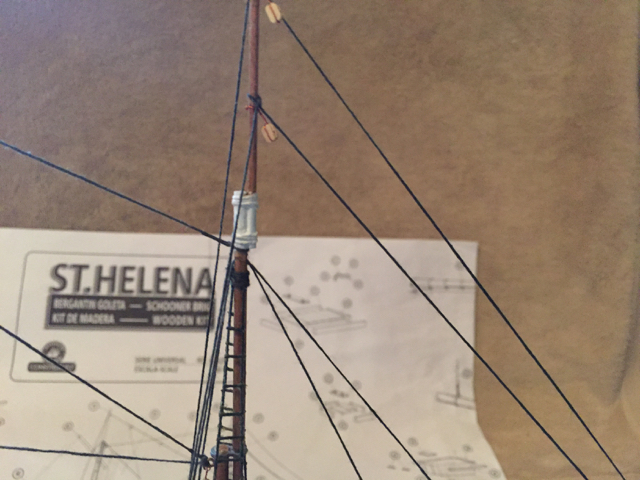
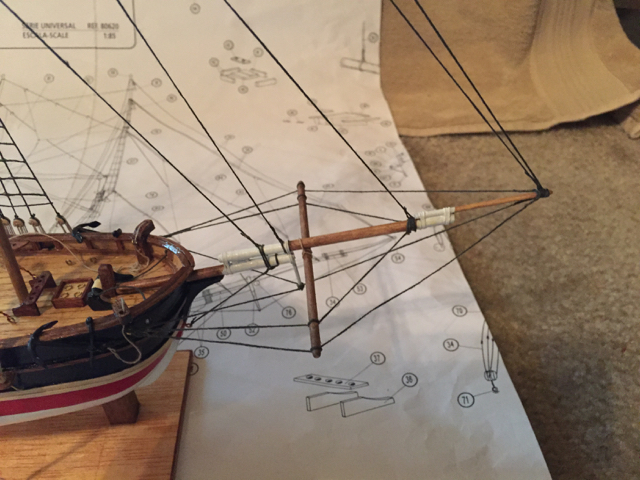
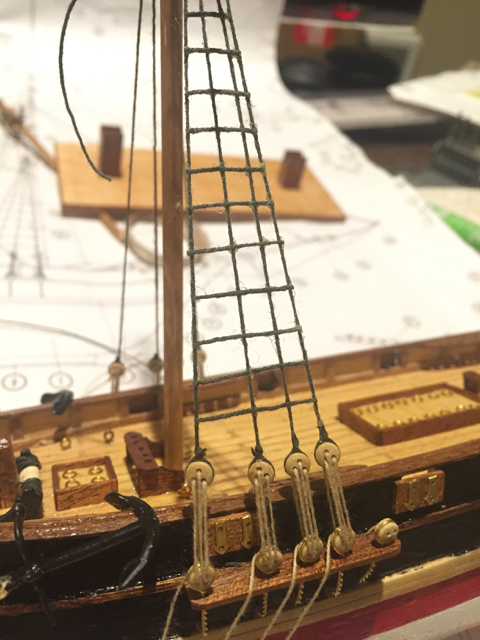
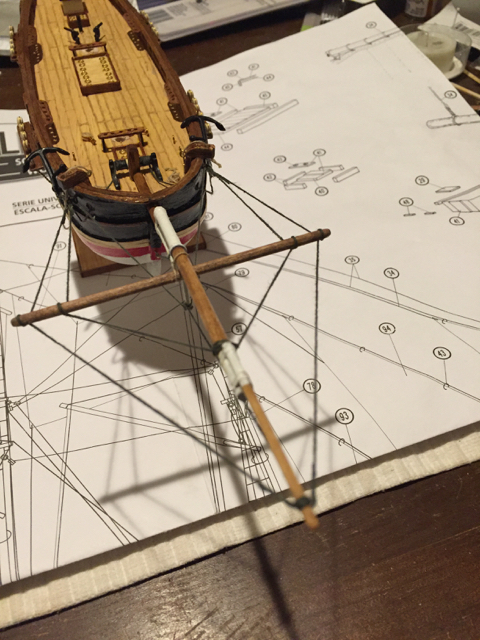
Shrouds are done and most of the rigging is complete...
- 17 replies
-
- 2
-
-
- st. helena
- constructo
- (and 2 more)
-
The start of my first shroud! I didn't know about tying ratlines, so I just glued on small segments of thread. I know better now and the next build I'll be tying the ratlines.
- 17 replies
-
- 3
-
-
- st. helena
- constructo
- (and 2 more)
-
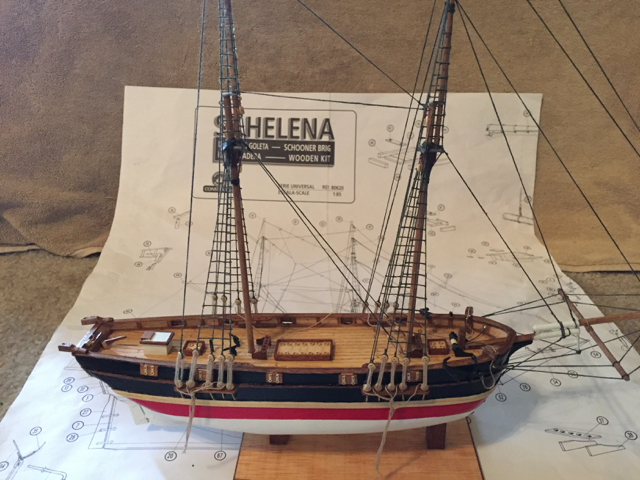
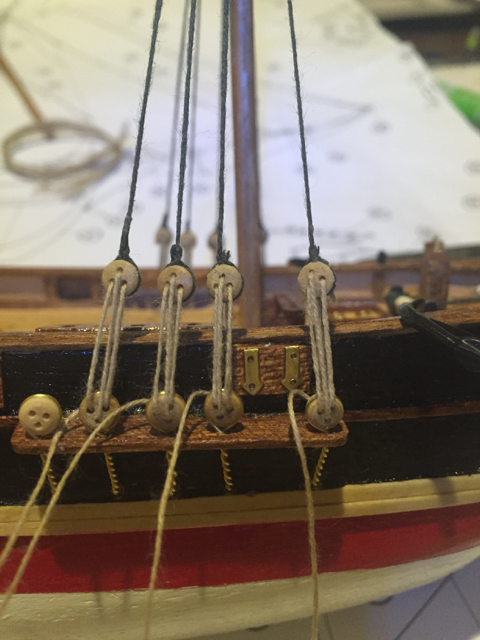
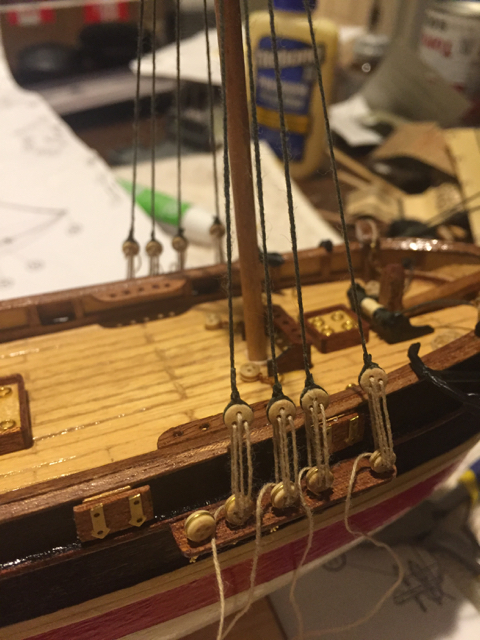
My first attempt at rigging! A splash of color on the hull and several deck items added...
- 17 replies
-
- 2
-
-
- st. helena
- constructo
- (and 2 more)
-
The display stand. Rudder attached, along with a few deck items...
- 17 replies
-
- 2
-
-
- st. helena
- constructo
- (and 2 more)
-
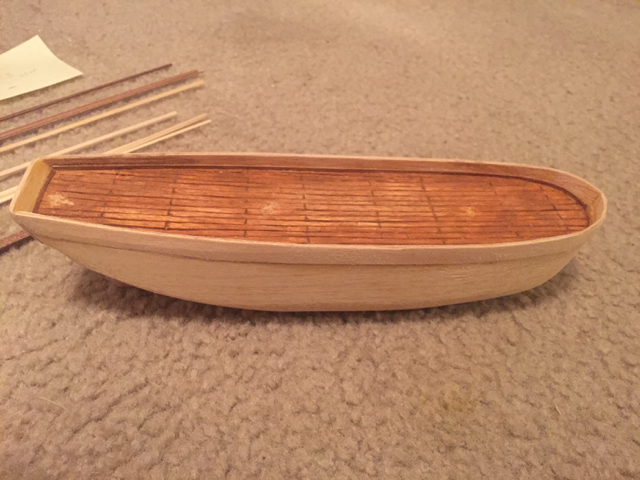
This was my first attempt at staining the "scored" hull. I didn't much care for how it looked and made several other attempts. What I ended up with looks like a weathered deck after applying the different stains and sanding them off and staining again....
- 17 replies
-
- 2
-
-
- st. helena
- constructo
- (and 2 more)