


LMDAVE
-
Posts
172 -
Joined
-
Last visited
Content Type
Profiles
Forums
Gallery
Events
Posts posted by LMDAVE
-
-
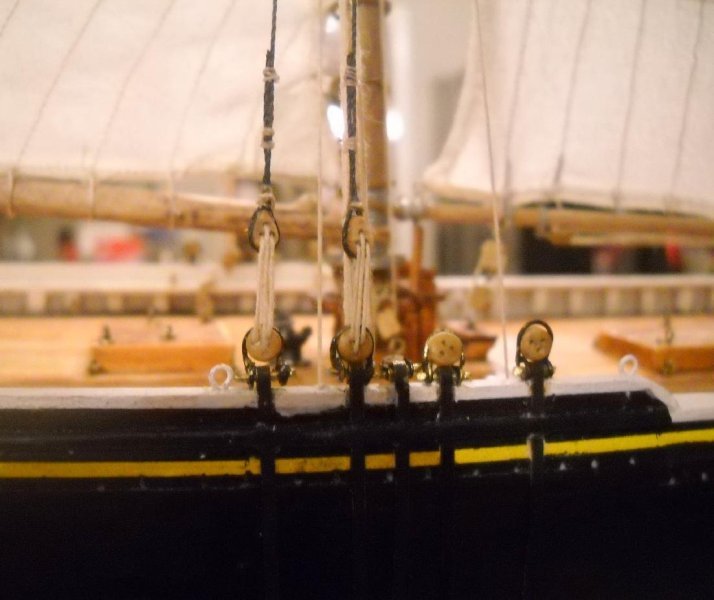
I swear I don't have A.D.D., but I went from the sails, to one anchor, to now deadeye/shrouds. I should be moving on with the forward boom and sail, but it's nice to change things up. Since we were talking about the shrouds yesterday and I had a partial one made. I completed the other end and laced it to the dead eye.
WARNING: If you use the correct size thread in the pre-drilled holes, the holes aren't big enough. In the laser cut pear-shaped dead eyes, if you attempt to drill through them they break because they are so brittle. So, soak them in water before drilling is what I recommend.
Anyway, Here's a shot of them laced up. Should I paint the seizings black, or leave them tan?

-
Floyd, yeah, I do want the rope to look as real as possible. I did replace the nylon tan thread in the kit with cotton so far. The shiny nylon just couldn't pass for real rope to me, especially how stiff they were with making the rope coils, but I'm happy with the cotton thread. The black however, so far, appears to be acceptable to me. When I made the upper ratlines per the specified rope diameters, I'm not thrilled about the results, they are kind of skinny to me, but probably represent the right scale to the overall ship. But, like I said, with the lower ratlines, so far I'm happy with the first shroud. But, I do agree that there is something rewarding about making your own diameter rope with the preferred material. Are you redoing the ratlines on your Bluenose?
Bob, so it appears that is the right piece, my catheads were straight, that is why I mistaken them for pump handles. I know some details are 2x, but when I laid the cast anchor on the detail, it was 1:1.
-
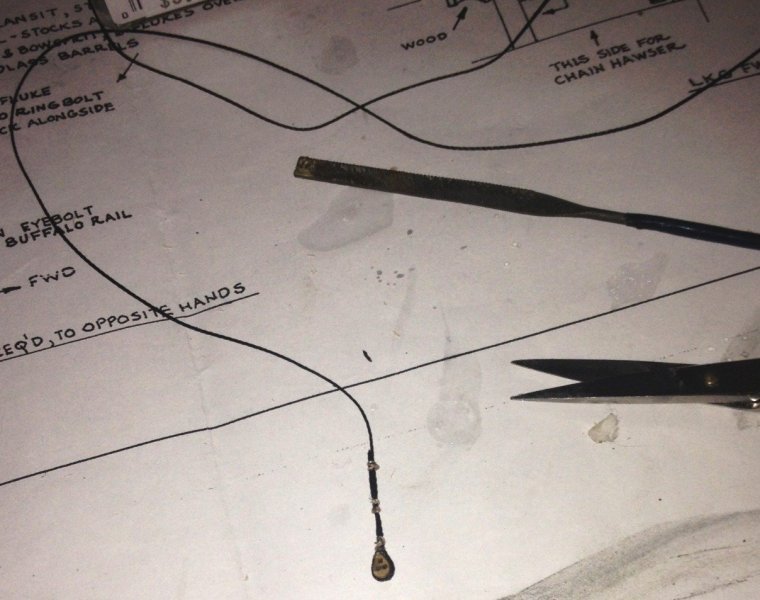
I'm a little confused. Isn't a rope walk just for making your own diameter rope/thread?
The recommended 0.018" thread for the shrouds is already included with the kit, this is a sample of one I was putting together.
-
I appreciate the offer Floyd, but that is one step I was looking forward to doing. For some reason before I got into ship building I was always impressed with shrouds and deadeye rigging, that may be what got me into it...just never tried it yet since this is my first build.
-
Thanks Floyd, but I think you have me mixed up with the other Dave again.
 However, would like to hear tips on the shrouds as that is a step I'm looking forward to.
 -
Thanks Elia. I'll leave the wood stock as is. Would love to see a picture of one with the rope seizing...mainly for coloring.
This is how I have it now. Natural wood stock, with a tarry grime wash over it, and the rope seizing. Not sure how to best present the anchor, if the 1st picture is how it is stowed.


-
Also if you look in the pic, the wood stock for the anchor just seems way too long, but it matches the detail, the anchor is the same size as the detail. I can't find one good picture of Bluenose 1 anchor on the Nova Scotia site either for a reference. I think I'm going to shorten the wood stock up.
-
Thanks guys. Moving on to the bow of the ship, I decided to give the port side anchor some attention now.
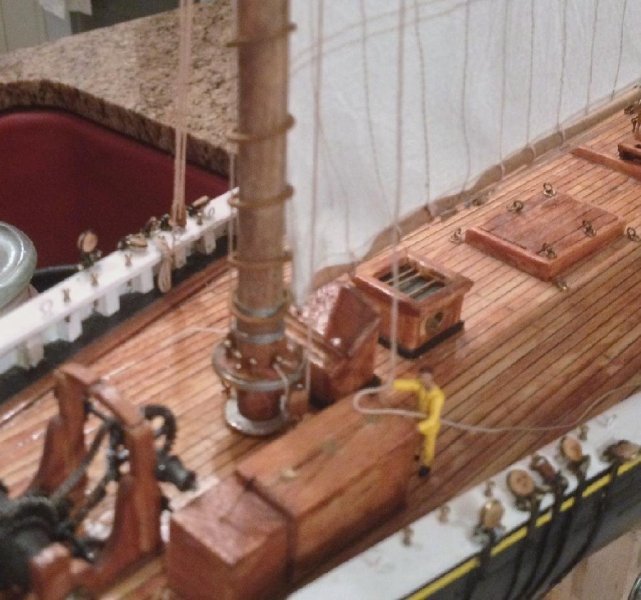
This is where some confusion is setting in. I'm suppose to have a cast metal cathead for holding the anchor. But can't seem to find it in metal supplied pieces....or did I? Two piece that I thought were the bilge pump handles are included that I am not using. But look what I have here:
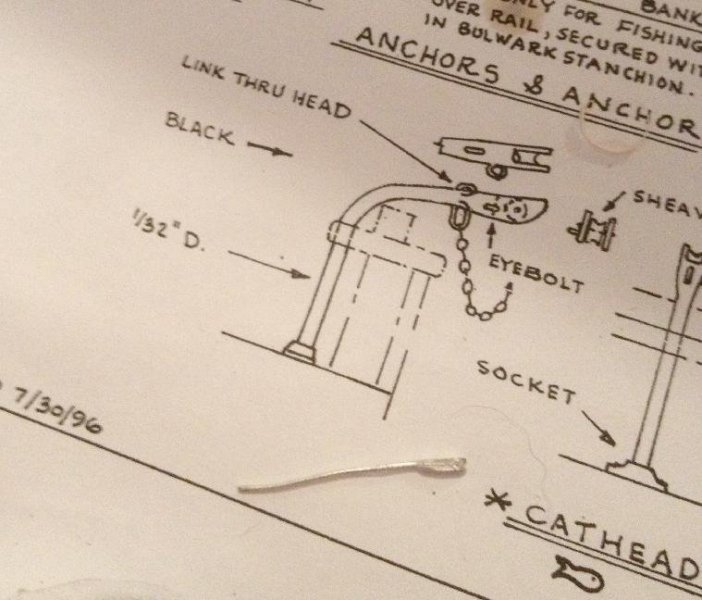
This piece, although looks much smaller than the detail, is 1/32" D (Diameter) at the post like the detail says. So, if this is me making a cathead out of a bilge pump handle, then so be it, this is it in position:

Bob if you have the true cathead piece in your kit I'd like to see a picture of it.
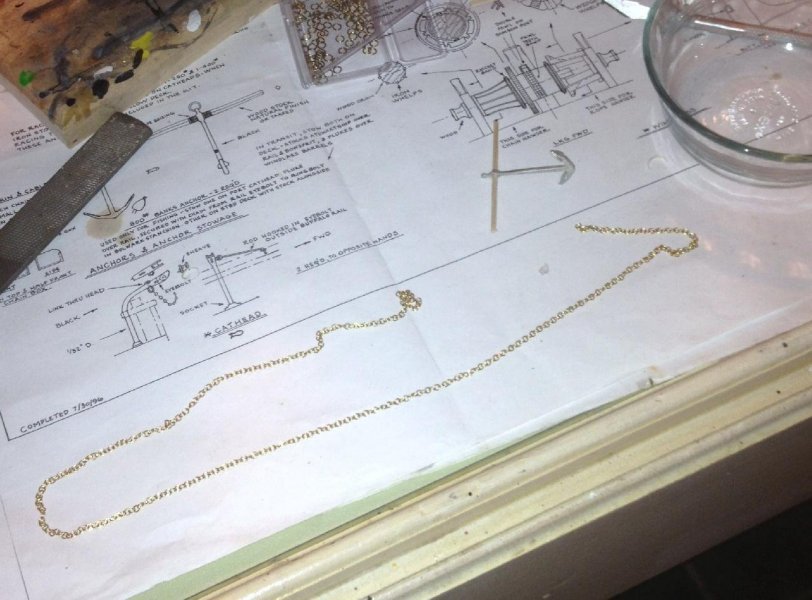
Oh, and this was the anchor chain I bought before I blackened it.
-
Thanks Bob. Haha, yeah, that's exactly what he's doing. I found those little HO scale figures at the hobby shop, so I throw them in for picture scale every now and then. Even though HO is 1/80 scale, it's close enough.
-
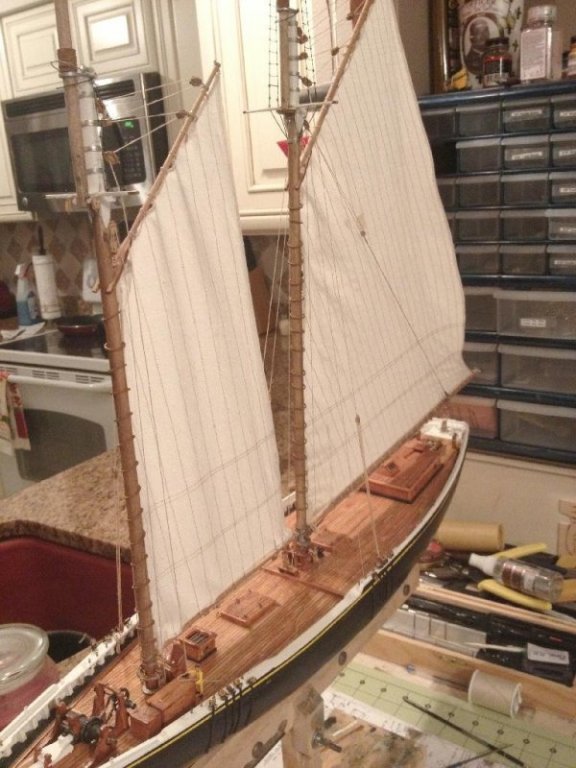
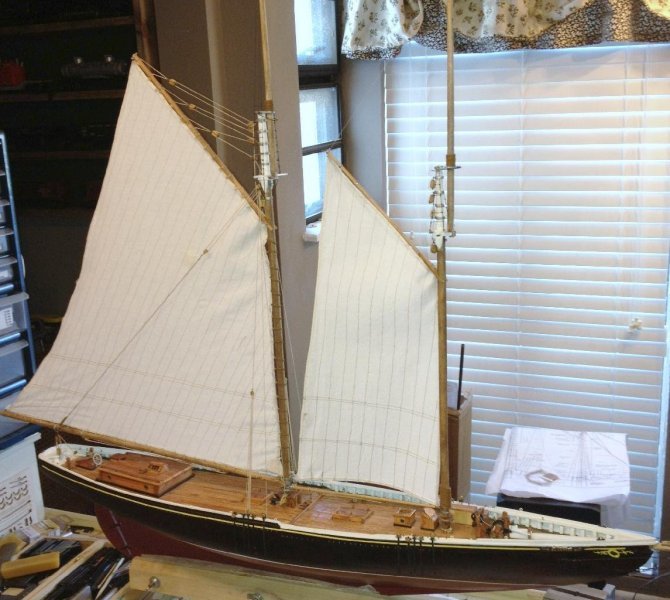
Finished up the majority of the rigging on the foremast, which includes the throat halliard, and gaff, and boom rigging. Still need to make some rope a few rope coils, and yeah got cute in one pic with the figure finishing up the gaff rigging....that won't stay of course.
- Mirabell61 and tasmanian
-
 2
2
-
Thanks Jim, hope it can be useful.
Hi Bob, wow, I was wondering about your progress since the crash here. Hopefully you can find some of your epic build log, yours and ThorBob's were a good reference to me. I found a portion of Thor's in google cache.
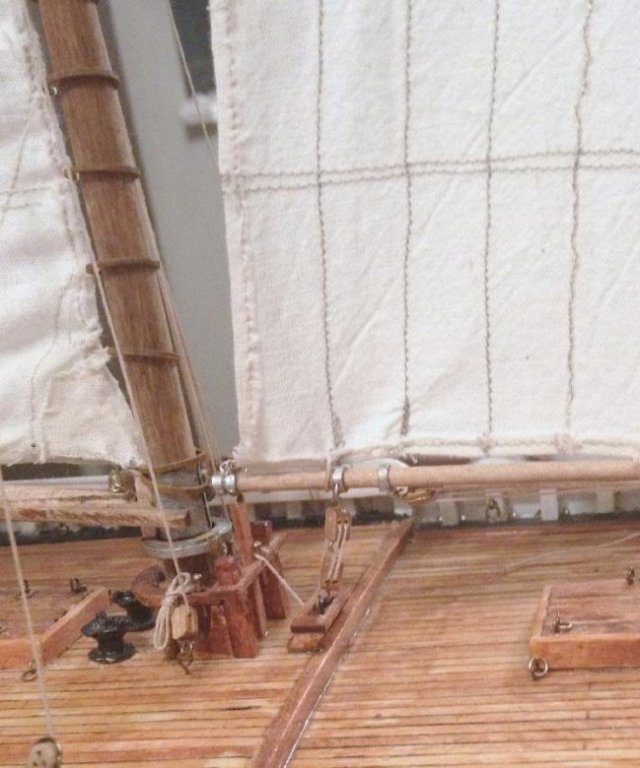
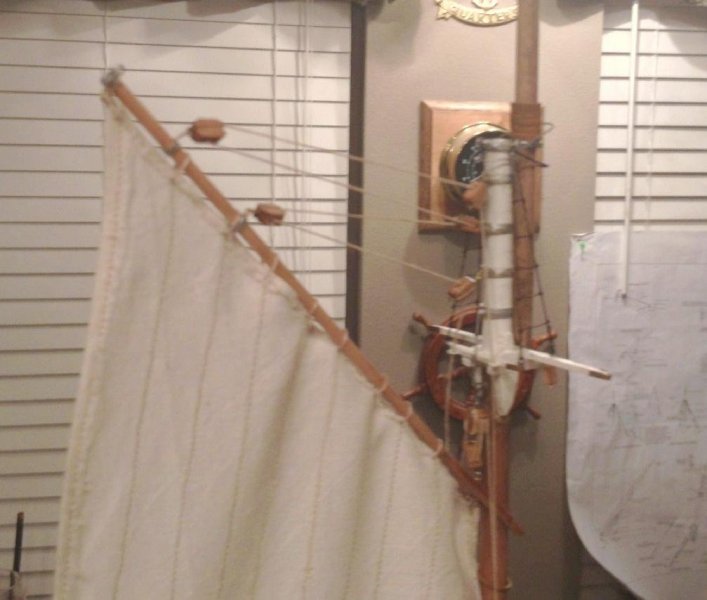
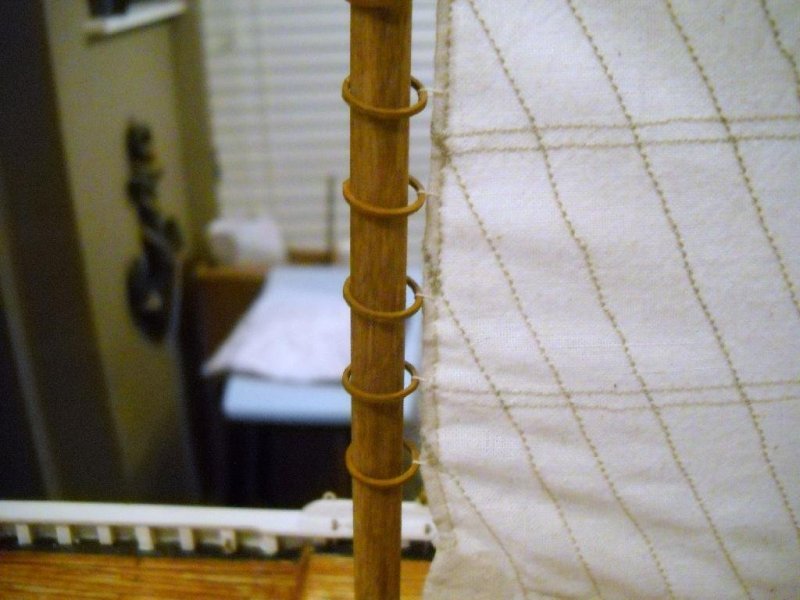
About my sails, on the main sail I manage to push a small brass rod into the hems on 3 of the 4 sides, but for the foresail, I only did it on the side adjacent to the mast....I didn't really feel like it needed it for the shape since there will be hoops 3 of the 4 sides pulling them into shape.
For the mast hoops, I basically used tan thread and a needle and just a basic circle through the cloth hem and through the mast hoop and tie a knot. Put a small dab of CA glue on the knot with a toothpick then trim the excess.If the sails of this model were actually going to be under some stress then I can see having the boltrope. I just finished the mast hoops for the foresail, but don't have a picture yet. However, this one on the main sail shows it good.
-
-
PIcking up where I left off. Below is Album 1 & 2 of the build started on 12/1/11, scroll from the bottom up for order. If you have any questions about a particular step, please ask.
Album 1
http://www.picturetrail.com/sfx/album/view/23966878
Album 2
http://www.picturetrail.com/sfx/album/view/24176793
I'll be continuing a normal build log from this point.
Thanks
Dave
P.S. Sorry I didn't follow the new title rules, should have read, can't edit.
- Ray49 and Jerry2000K
-
2
Bluenose by LMDAVE - FINISHED - Model Shipways - 1/64
in - Kit build logs for subjects built from 1901 - Present Day
Posted
Thanks guys, I just made a little brass wire jig sort of like they show in the instruction booklet. I want to make some cleaner wraps with my seizing though, black would hide that, but tan seizings look cool I think.