Check out our new MSW Sponsor Innocraftsman
×

Mindi
-
Posts
96 -
Joined
-
Last visited
Content Type
Profiles
Forums
Gallery
Events
Everything posted by Mindi
-
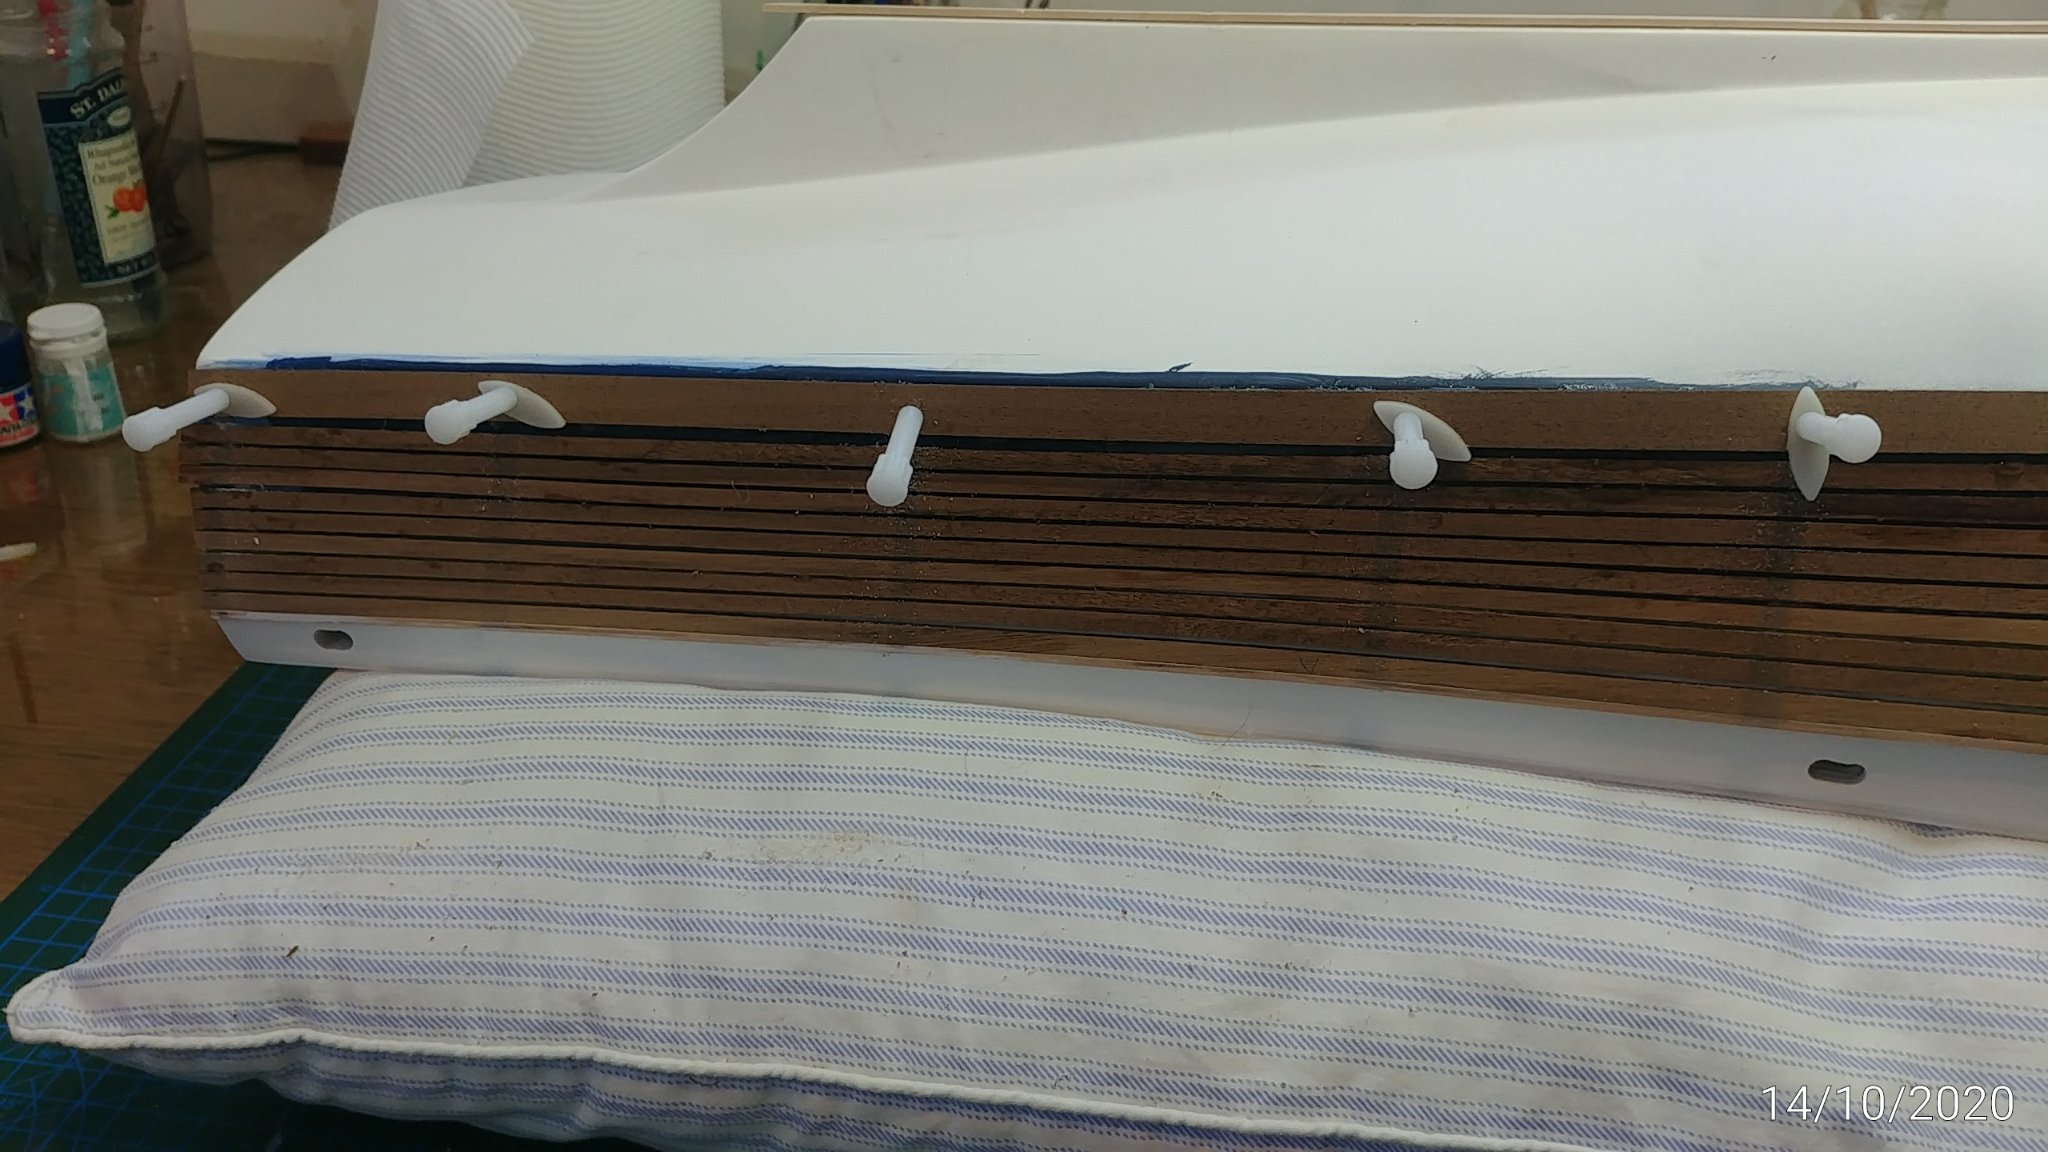
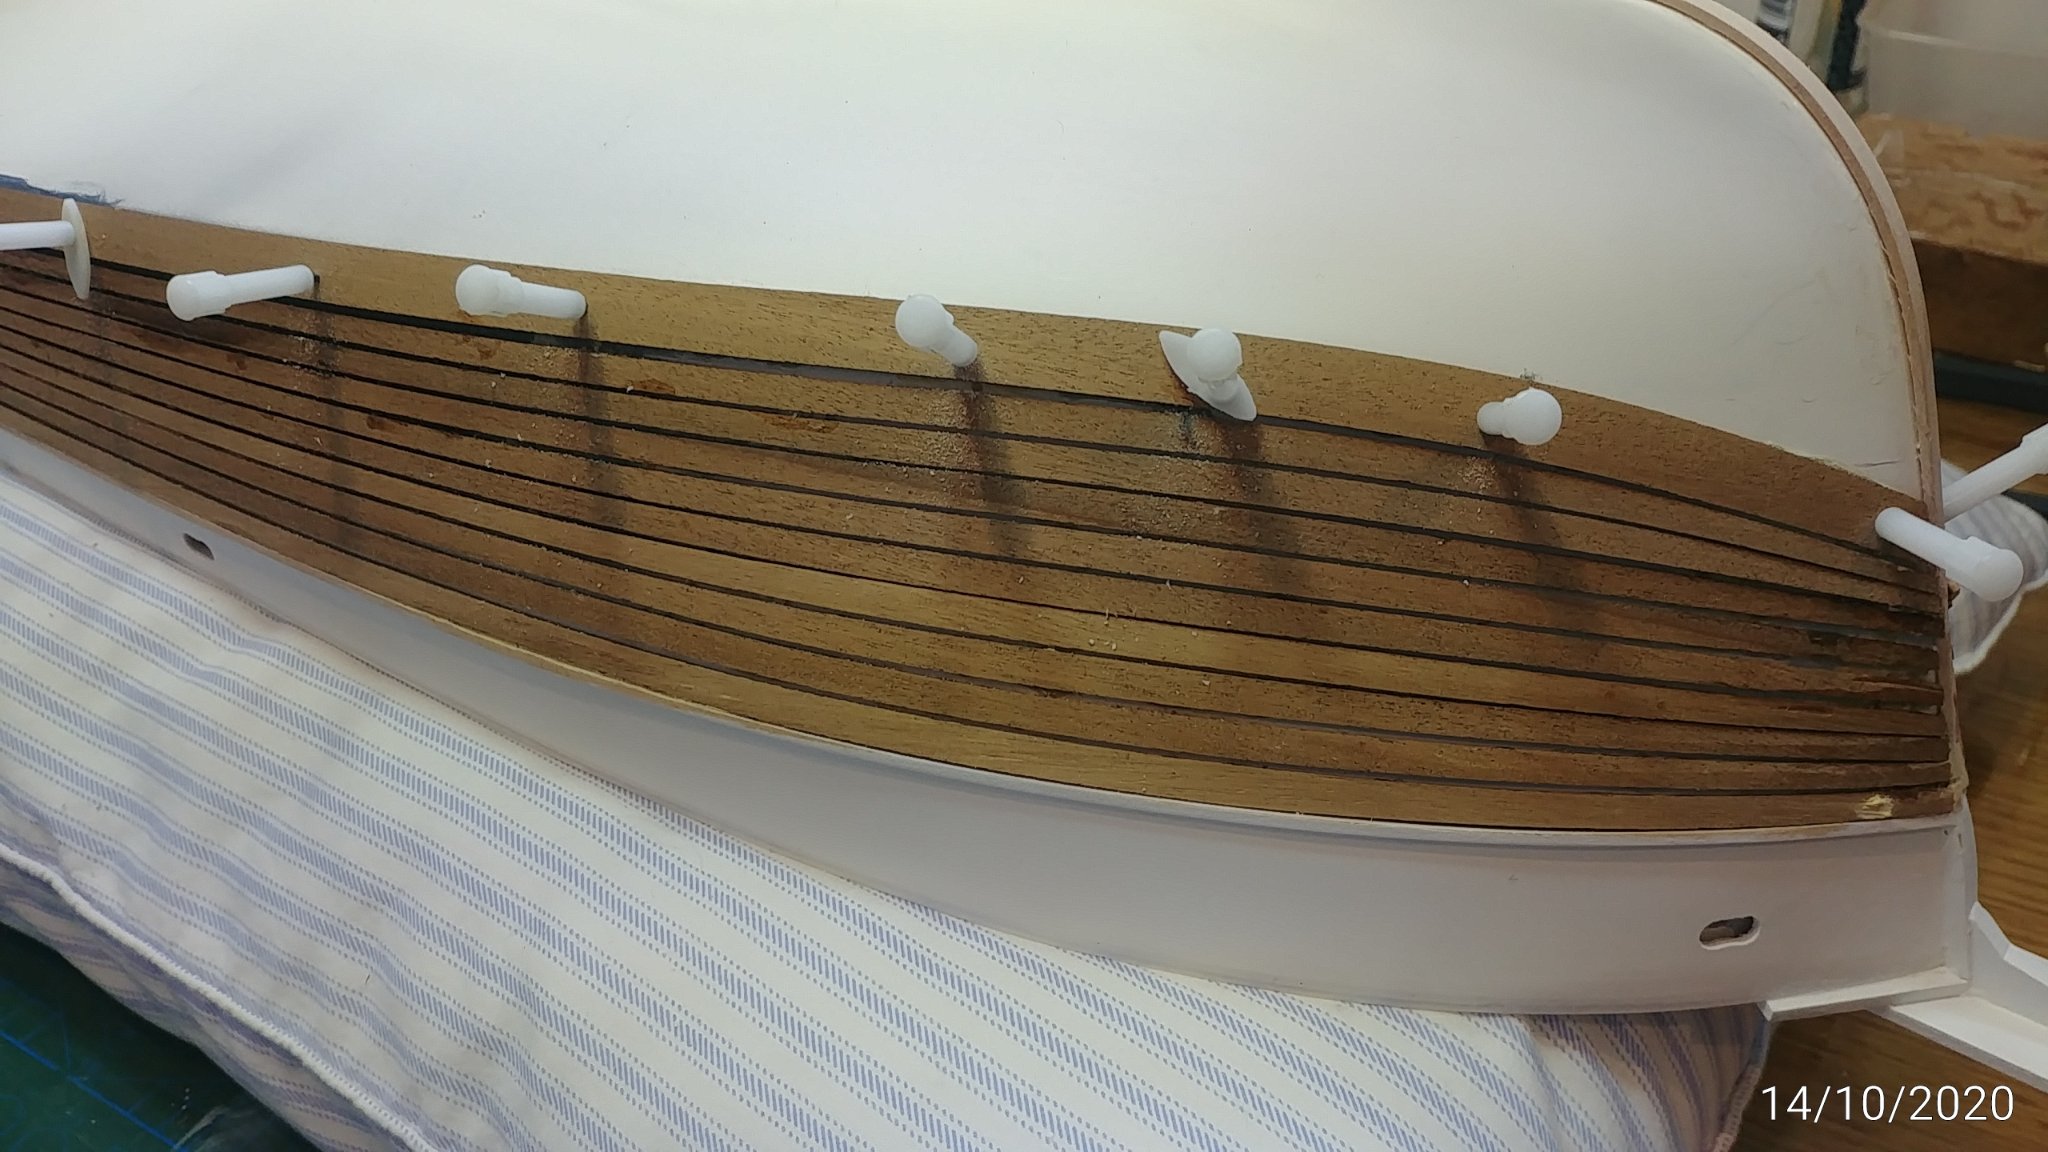
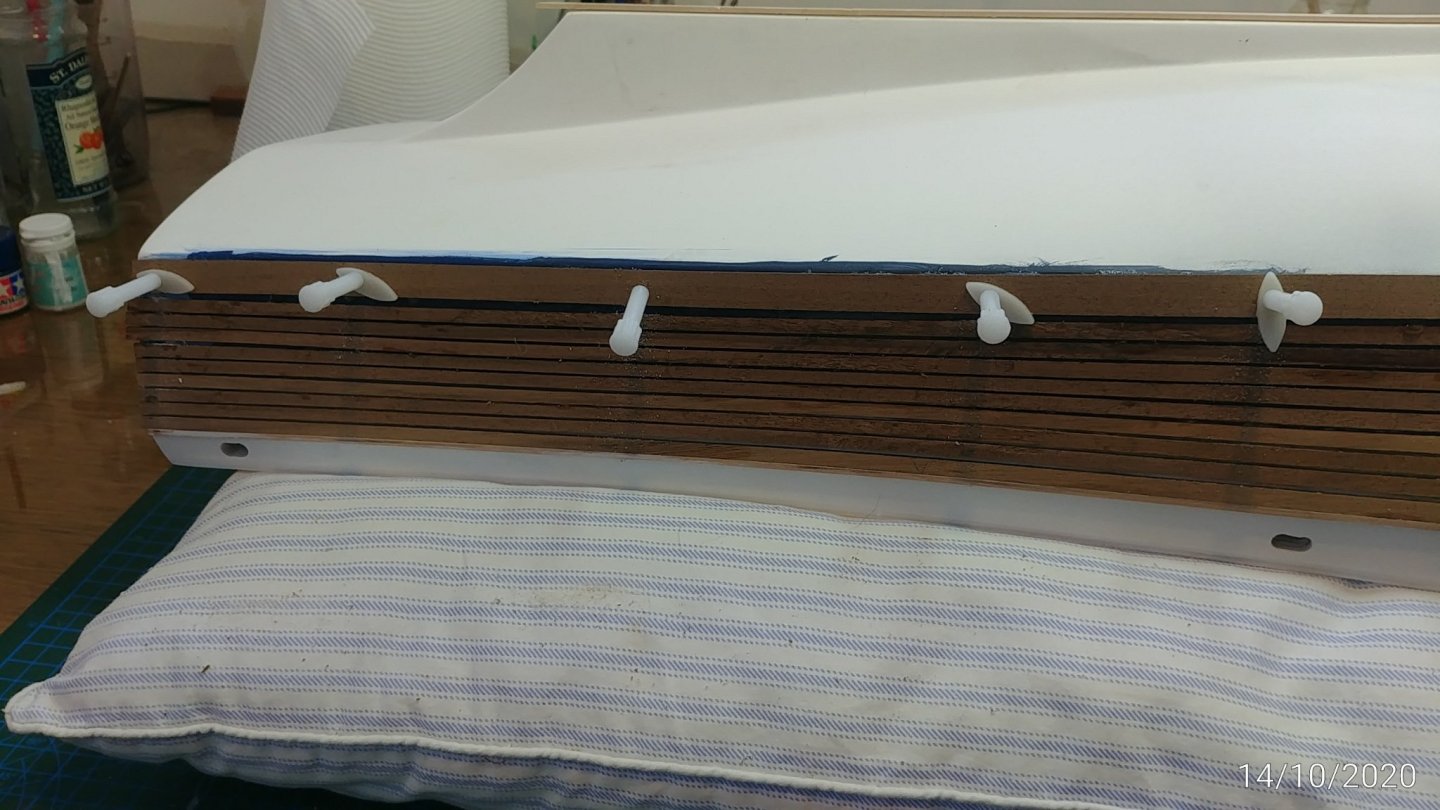
I hate planking...it is what you get to do in hell I reckon. I actually had to abandon the 1 x 1 strips as my fingers just wouldnt install them between planks and I just spaced the precut planks by eye.... it is OK but not perfect. The bottom plank endewd up in the correct place on the hull so it must be overall OK.

- 91 replies
-
- 4
-

-
- amati
- grand banks 46
- (and 1 more)
-
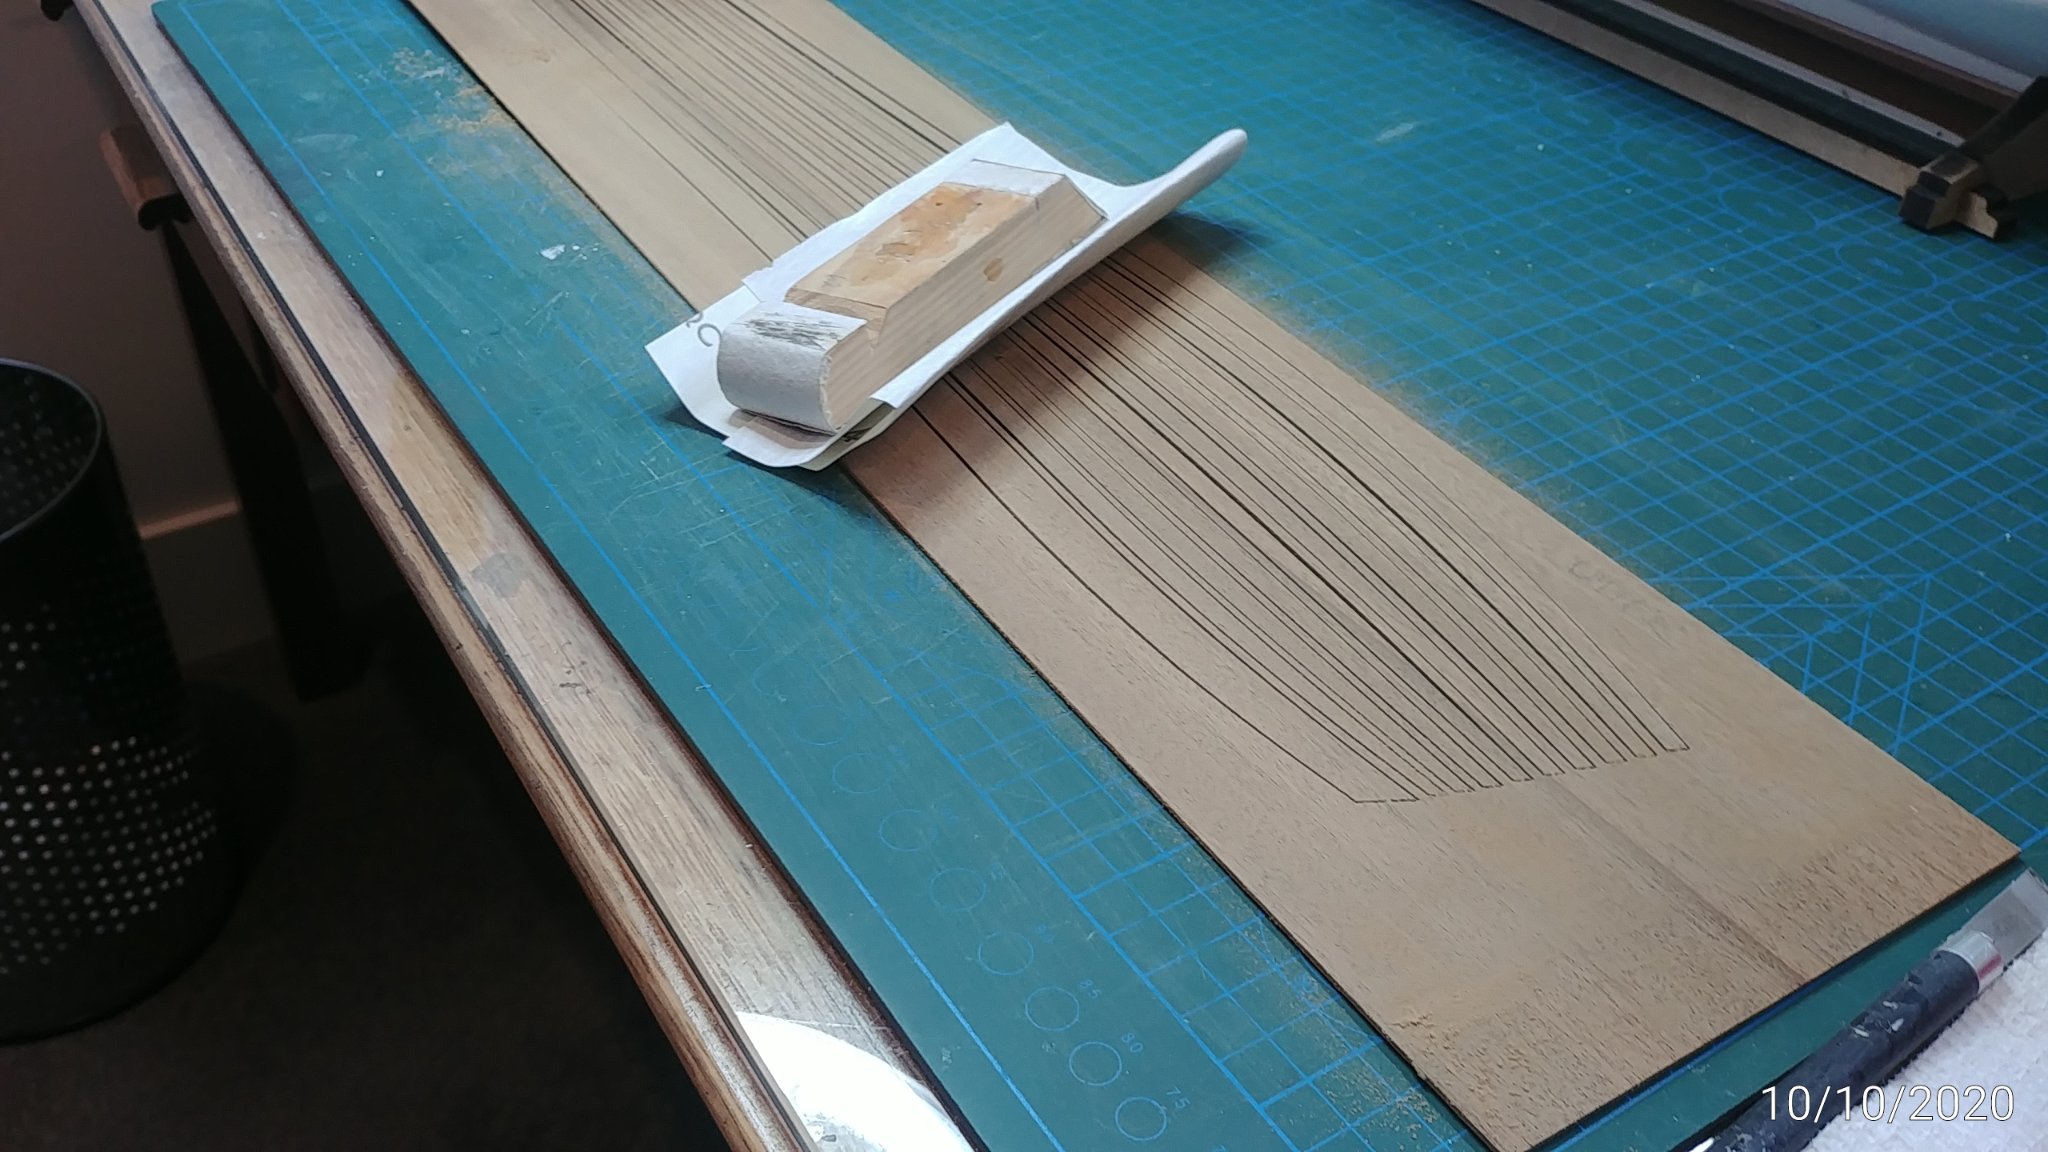
Good idea I suggest is to sand the planks while in their backing board, we have all broken a plank sanding it after mfr... they are rough surfaced so 320 followed by 600 and they are all good at once Also sanded on the reverse where the superglue will prefer a smooth surface to bond with the fibreglass hull.

- 91 replies
-
- 4
-
-
- amati
- grand banks 46
- (and 1 more)
-
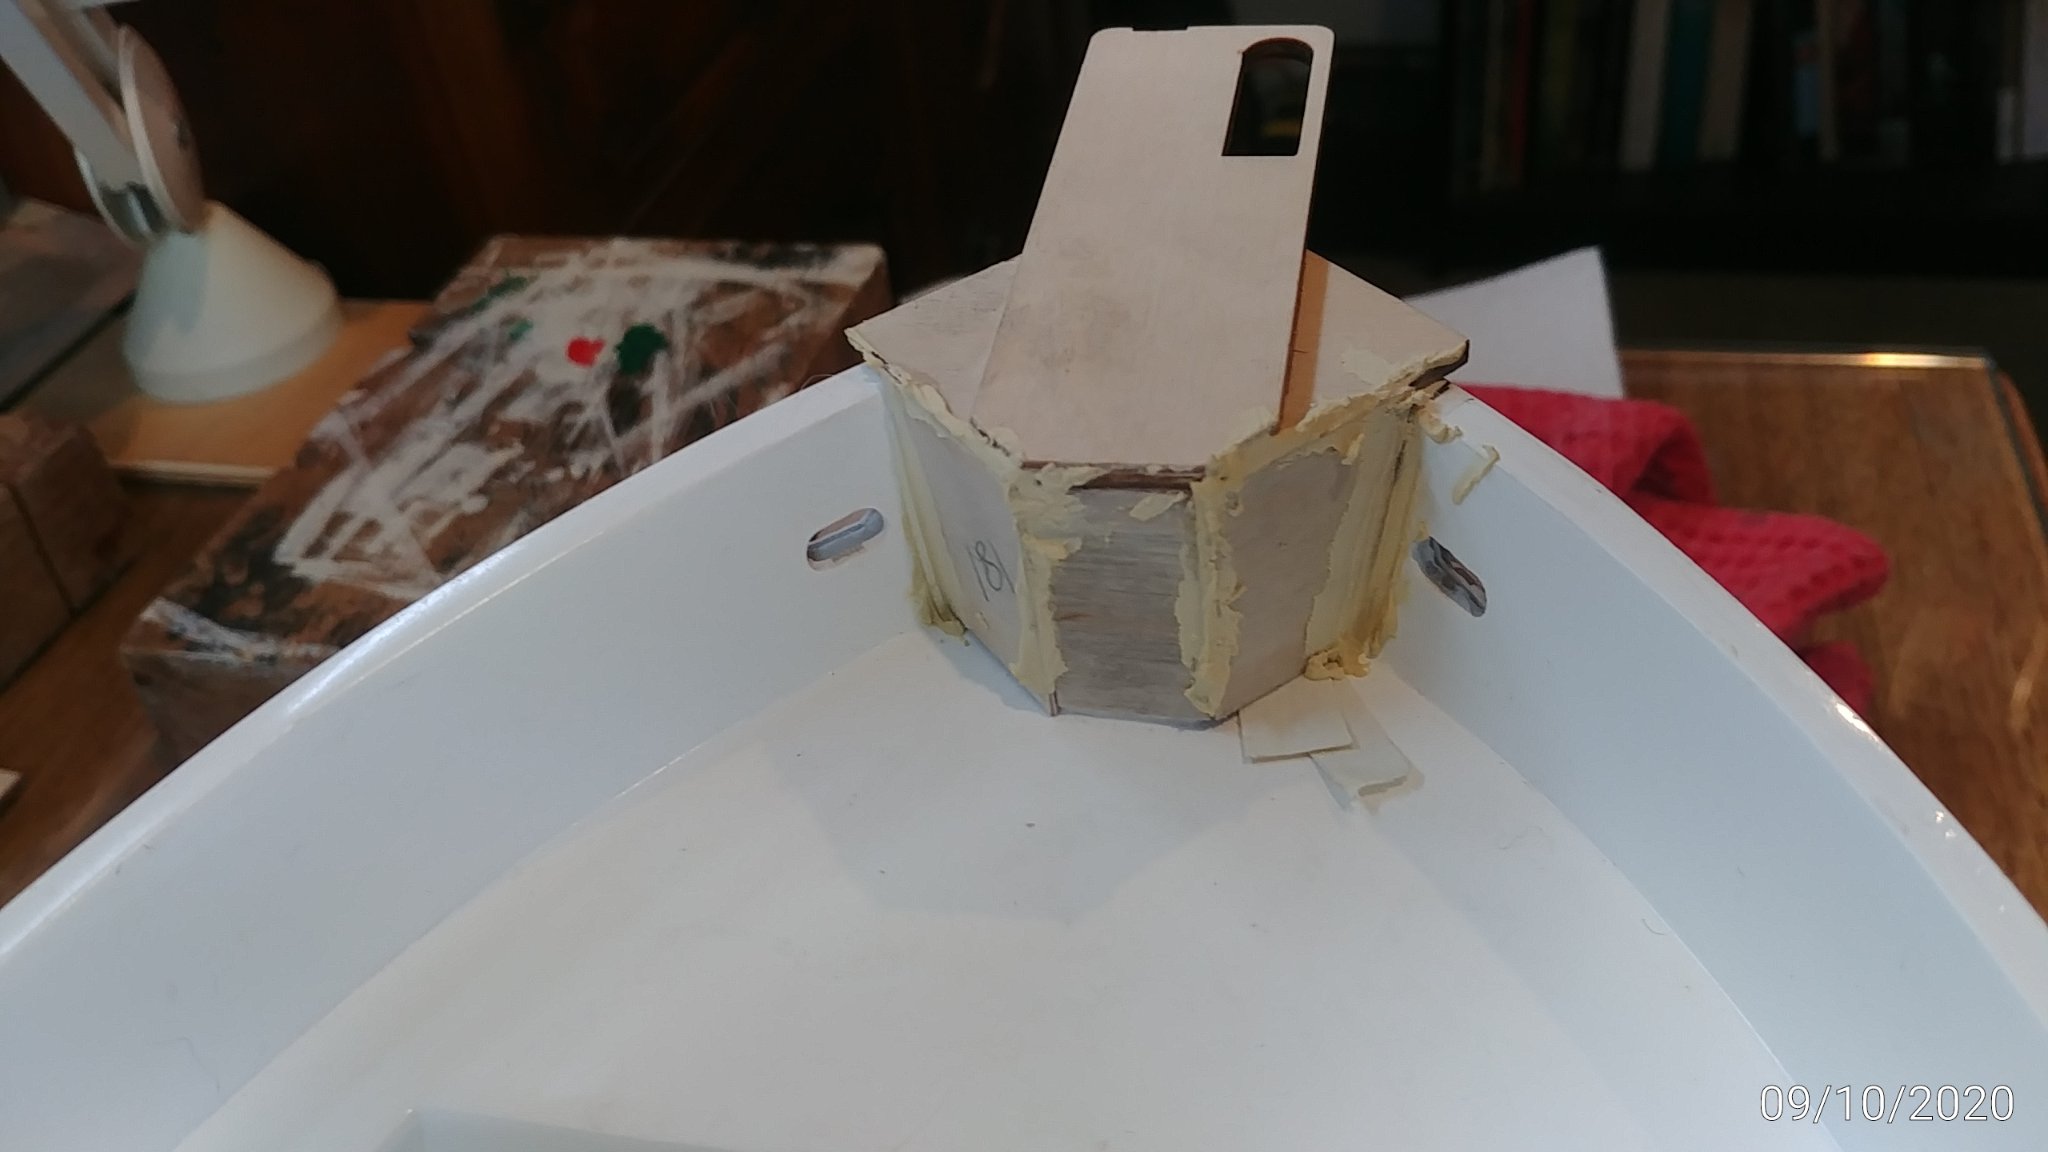
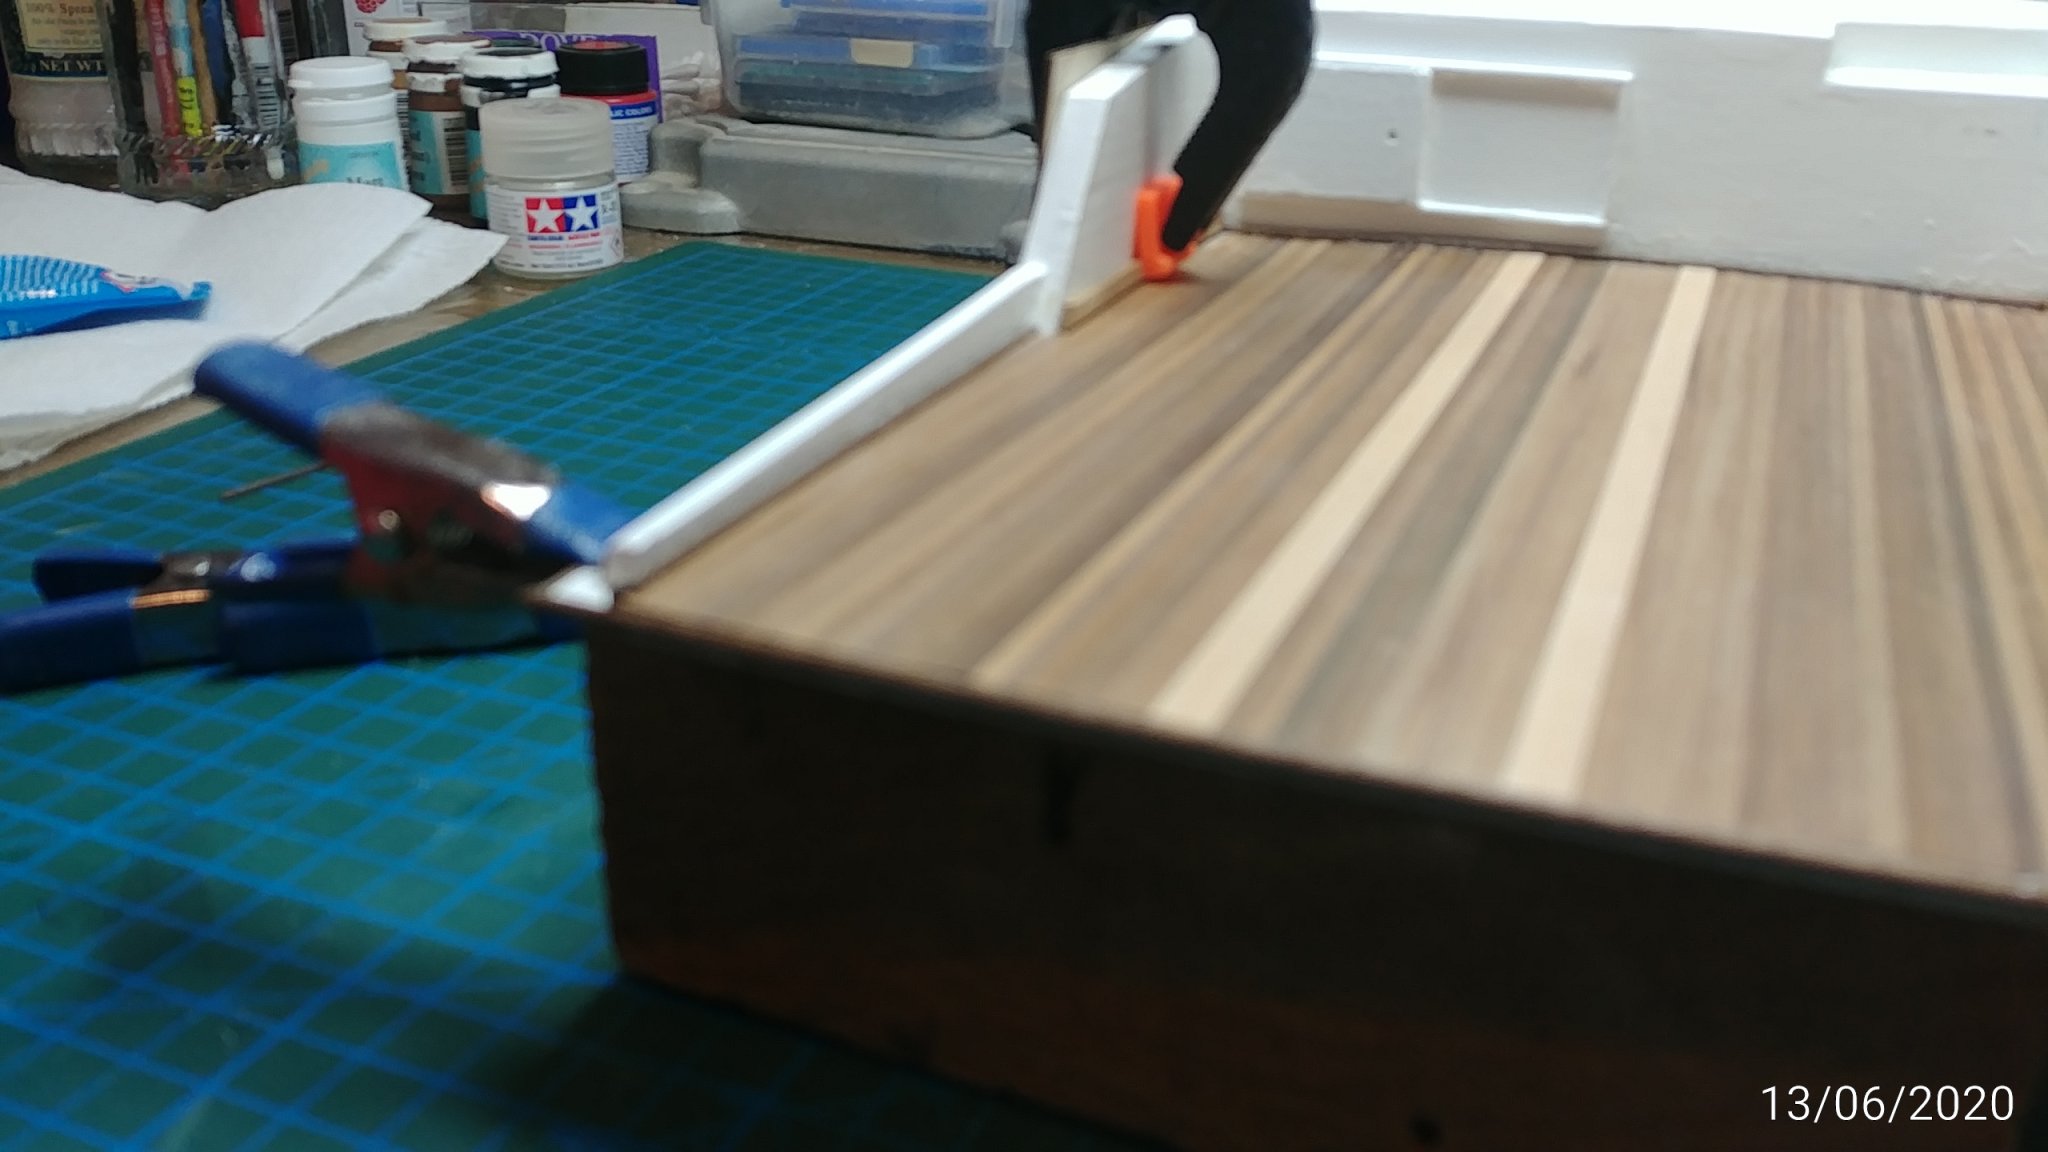
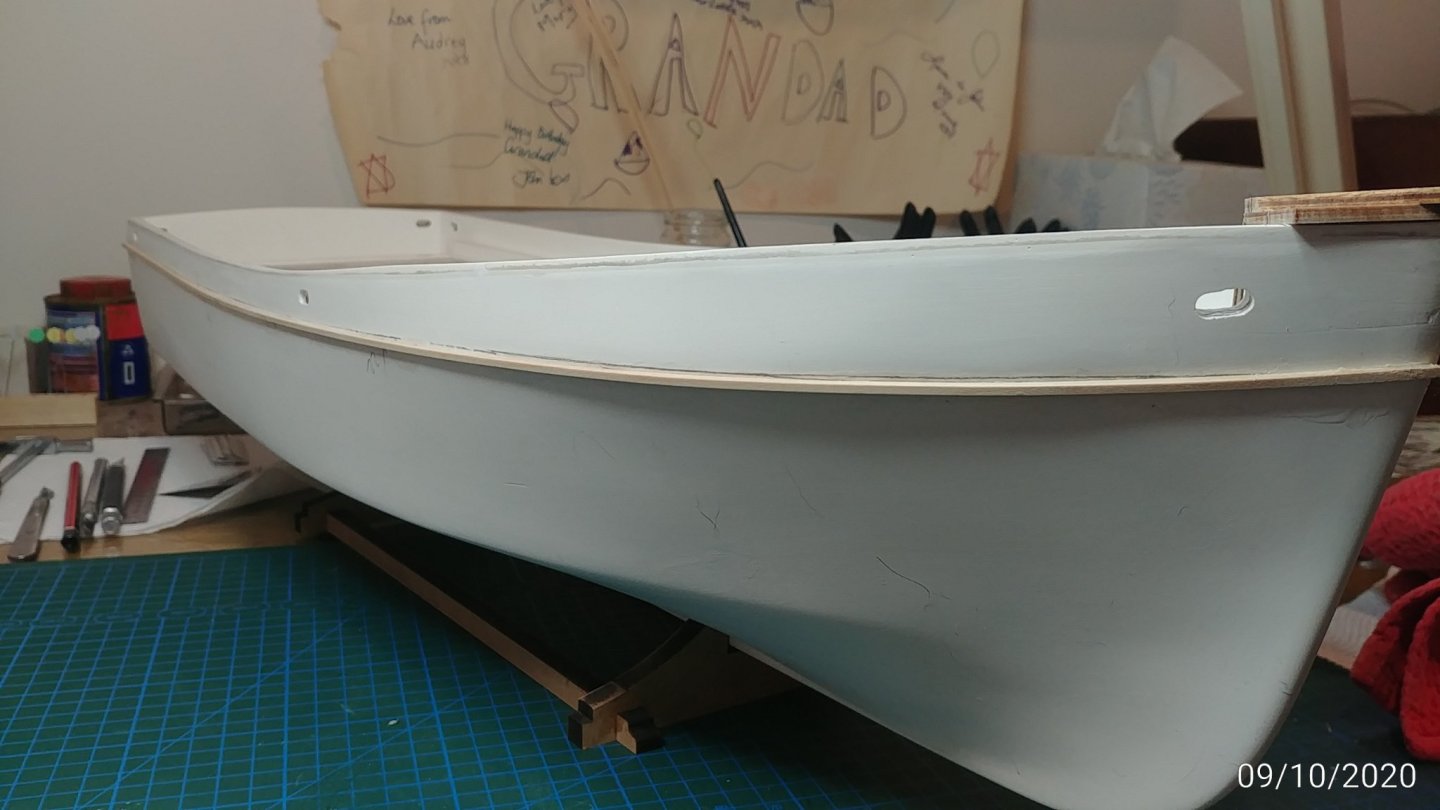
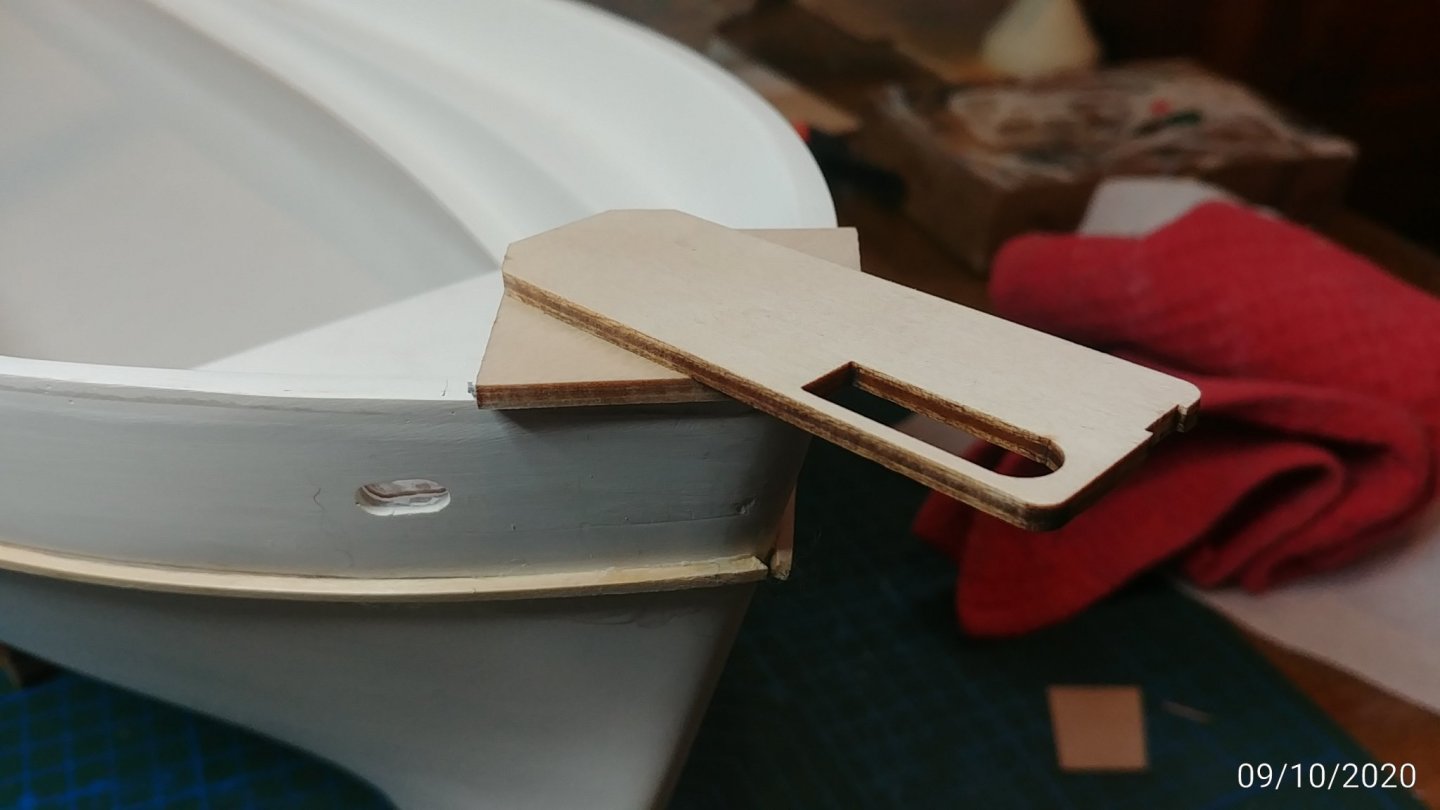
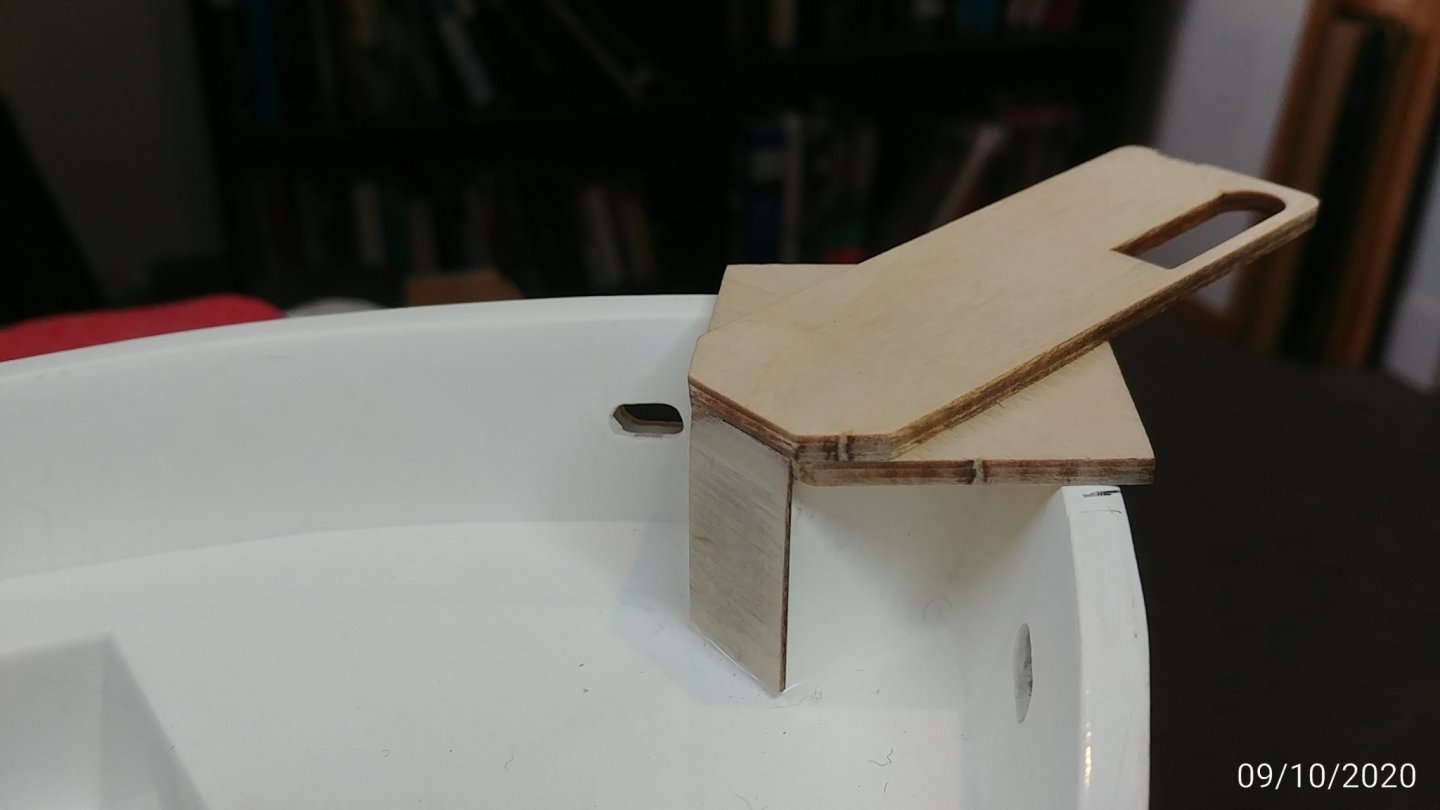
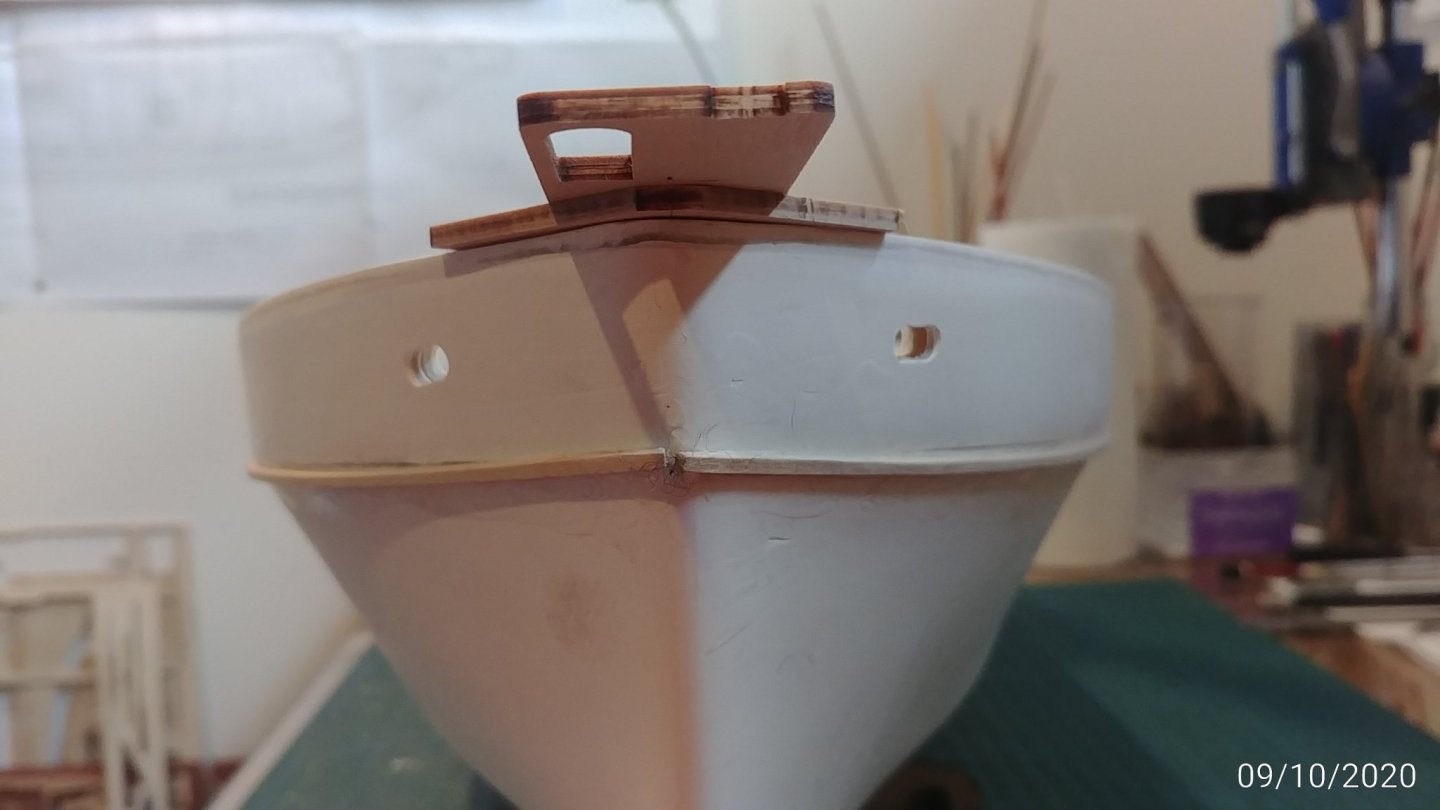
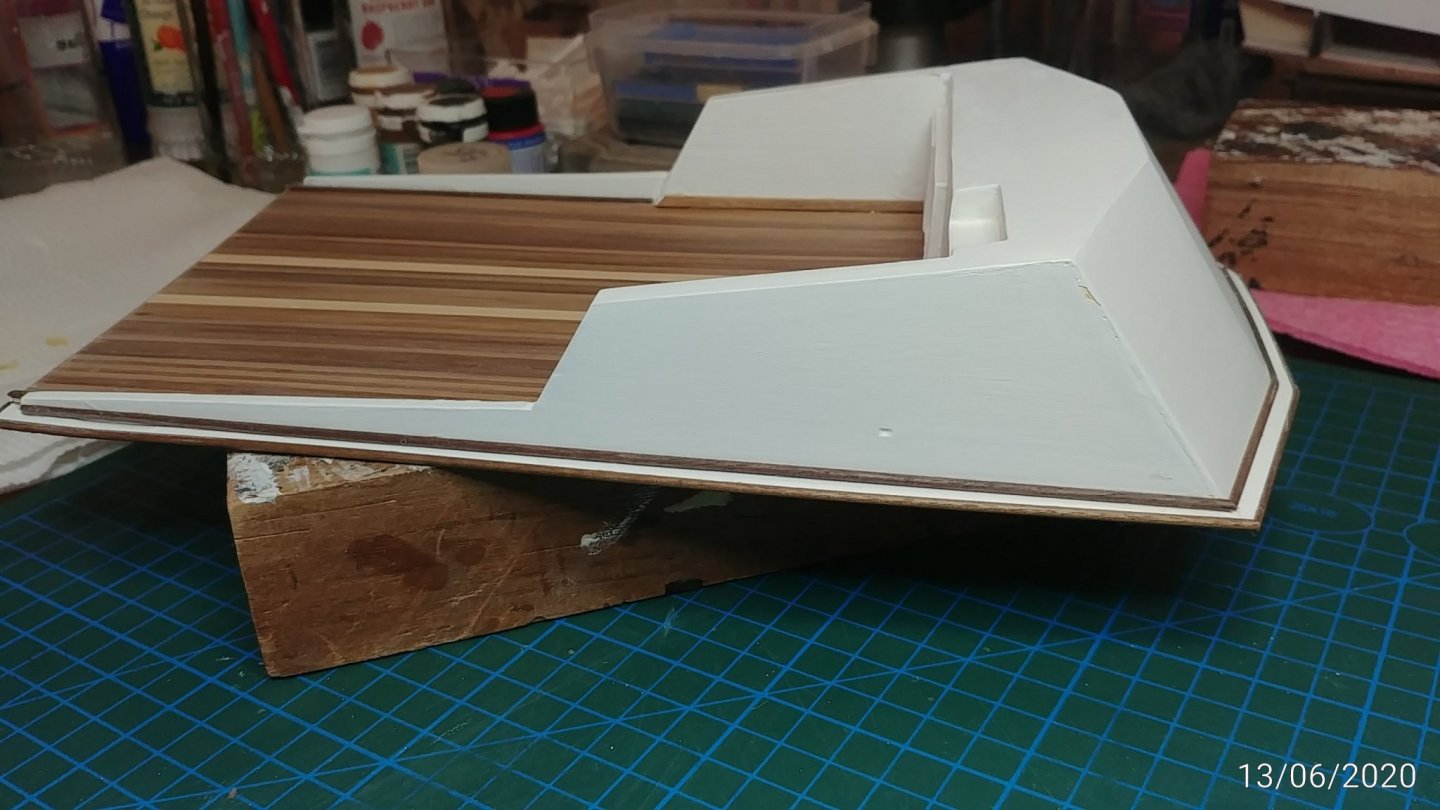
Thinking ahead to planking and have decided to change the order of steps. The instructions have the planks finished and then the keel and stem added after but I think the planking can be finished up against the stem much more satisfactorily if the stem is in place first. To do this you need to build the bow anchor platform and it's underneath supports, then the first layer of stem-keel (one piece) then plank up to this edge, then second layer of keel. Thats what I am doing anyway. The way they have it might just be the way the real boat fibreglass mould vanishes the faux planks to "flat" before reaching the stem... whatever...I am doing it the way a timber planking would work.

- 91 replies
-
- 2
-
-
- amati
- grand banks 46
- (and 1 more)
-
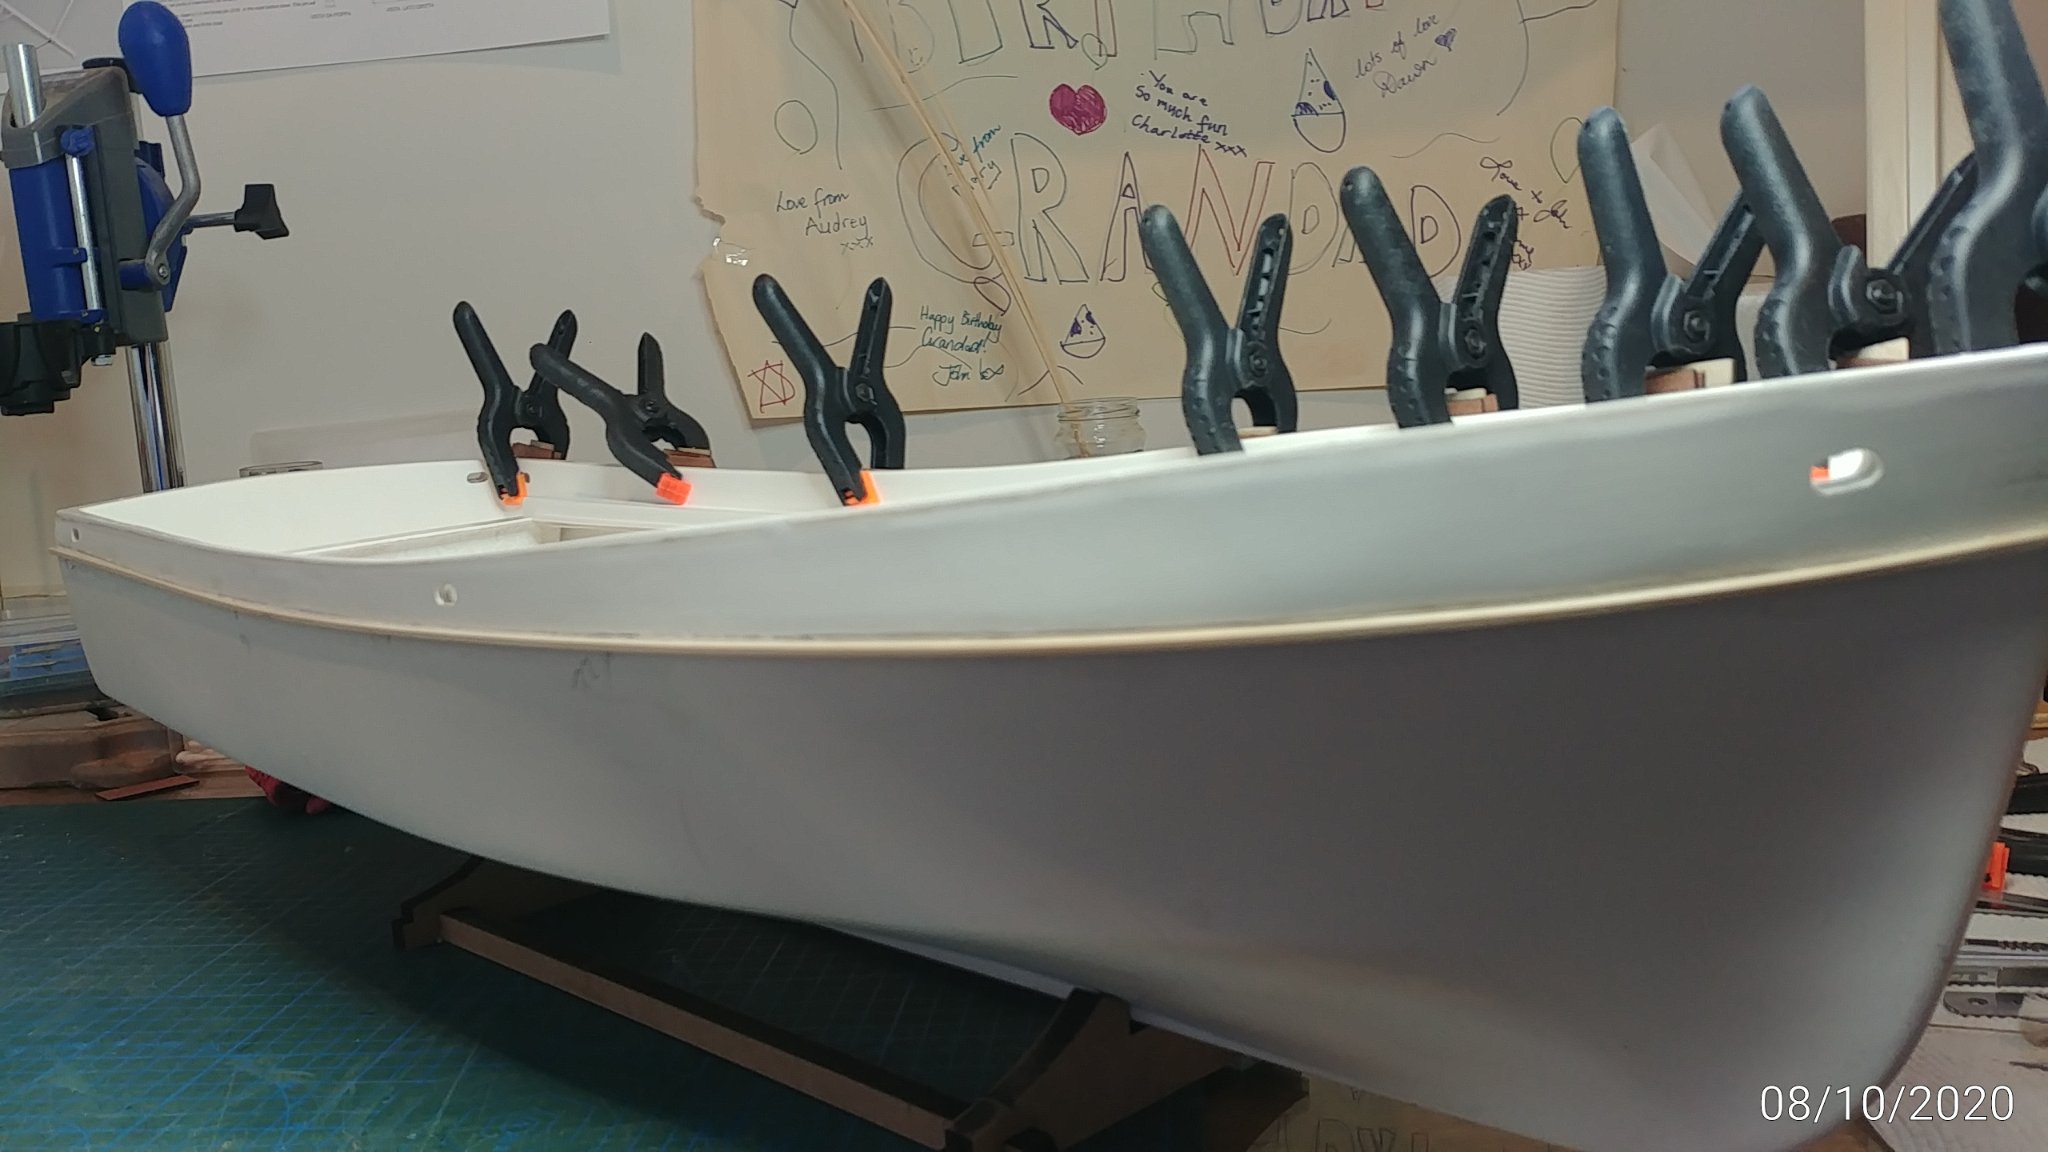
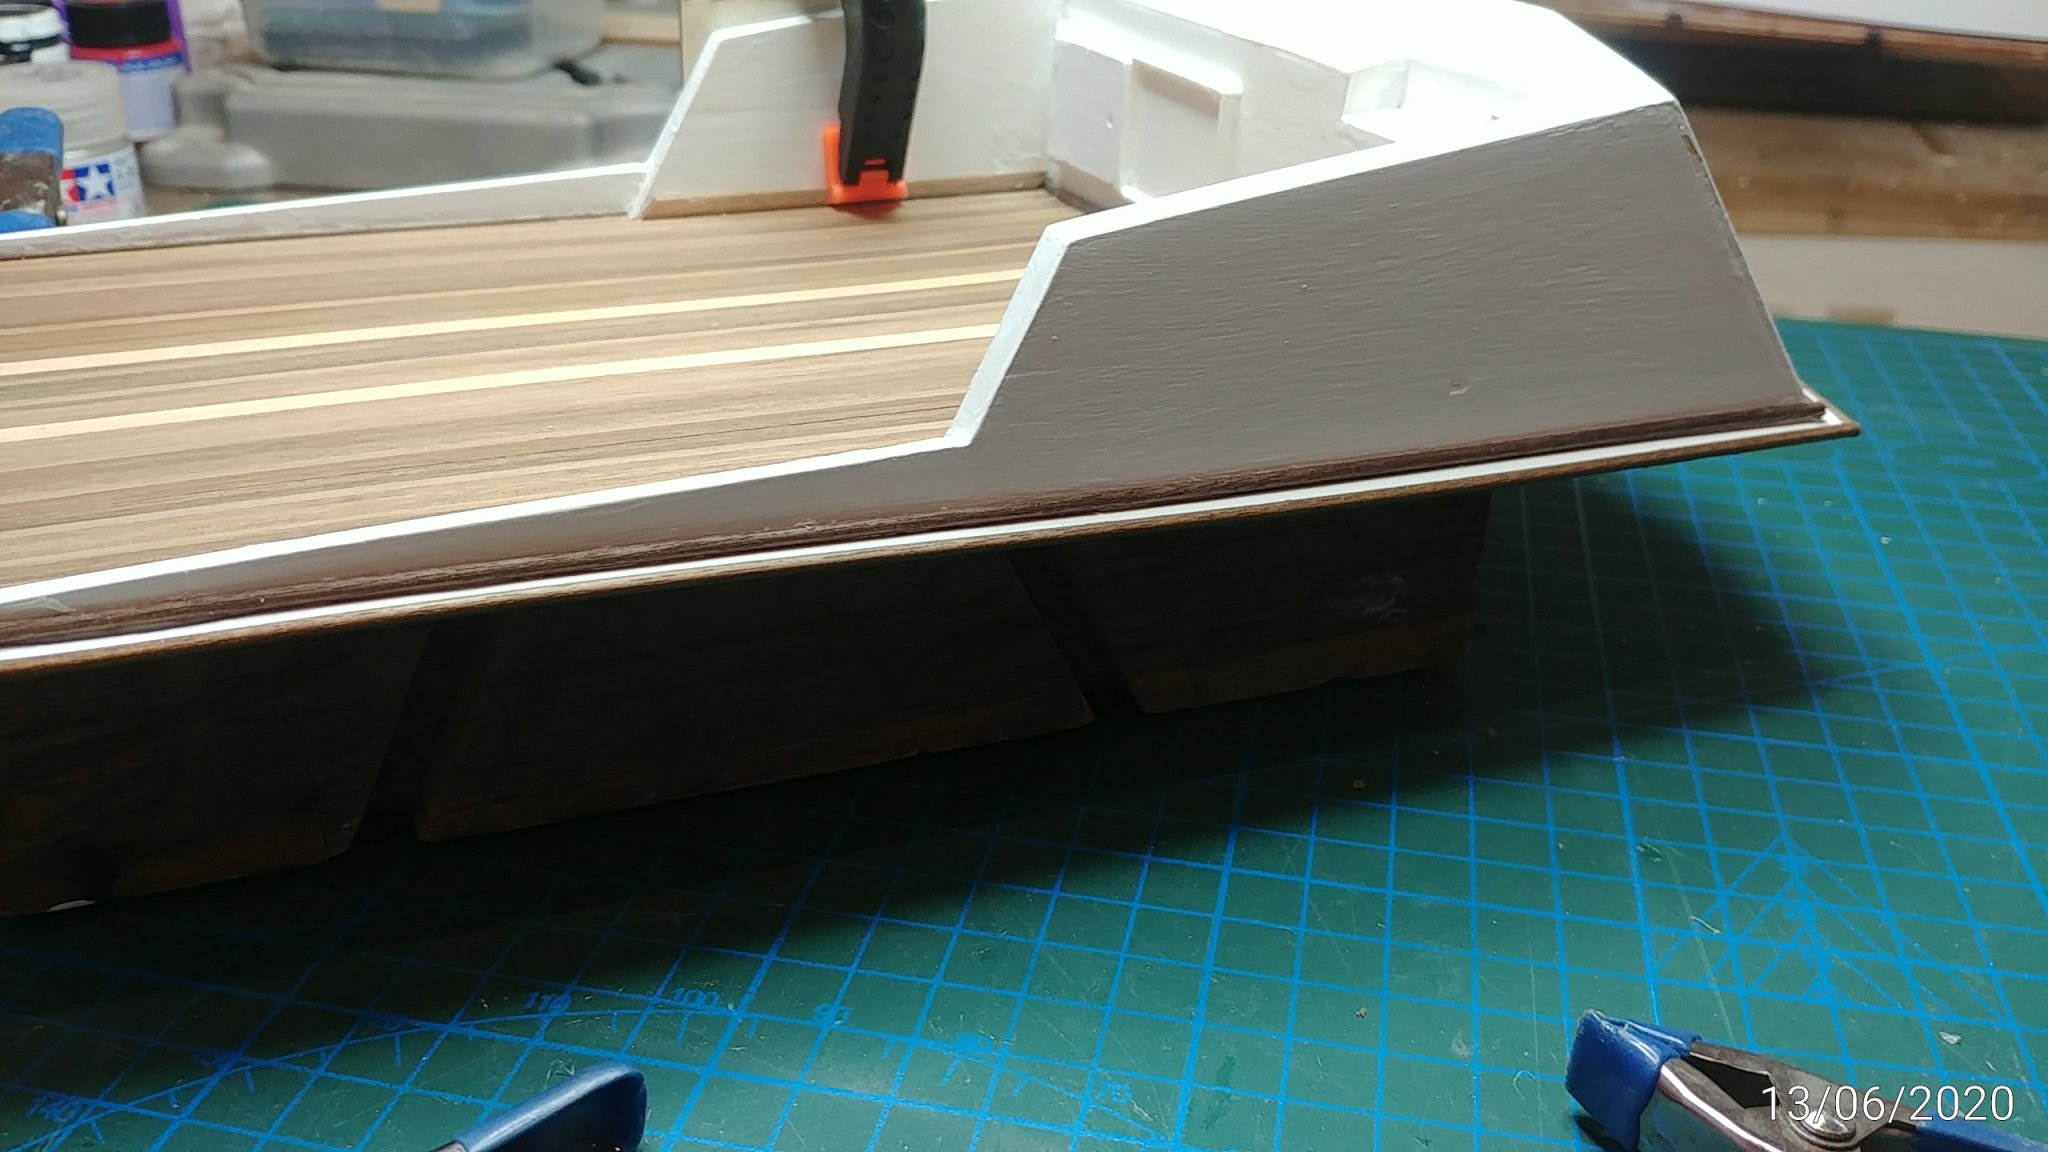
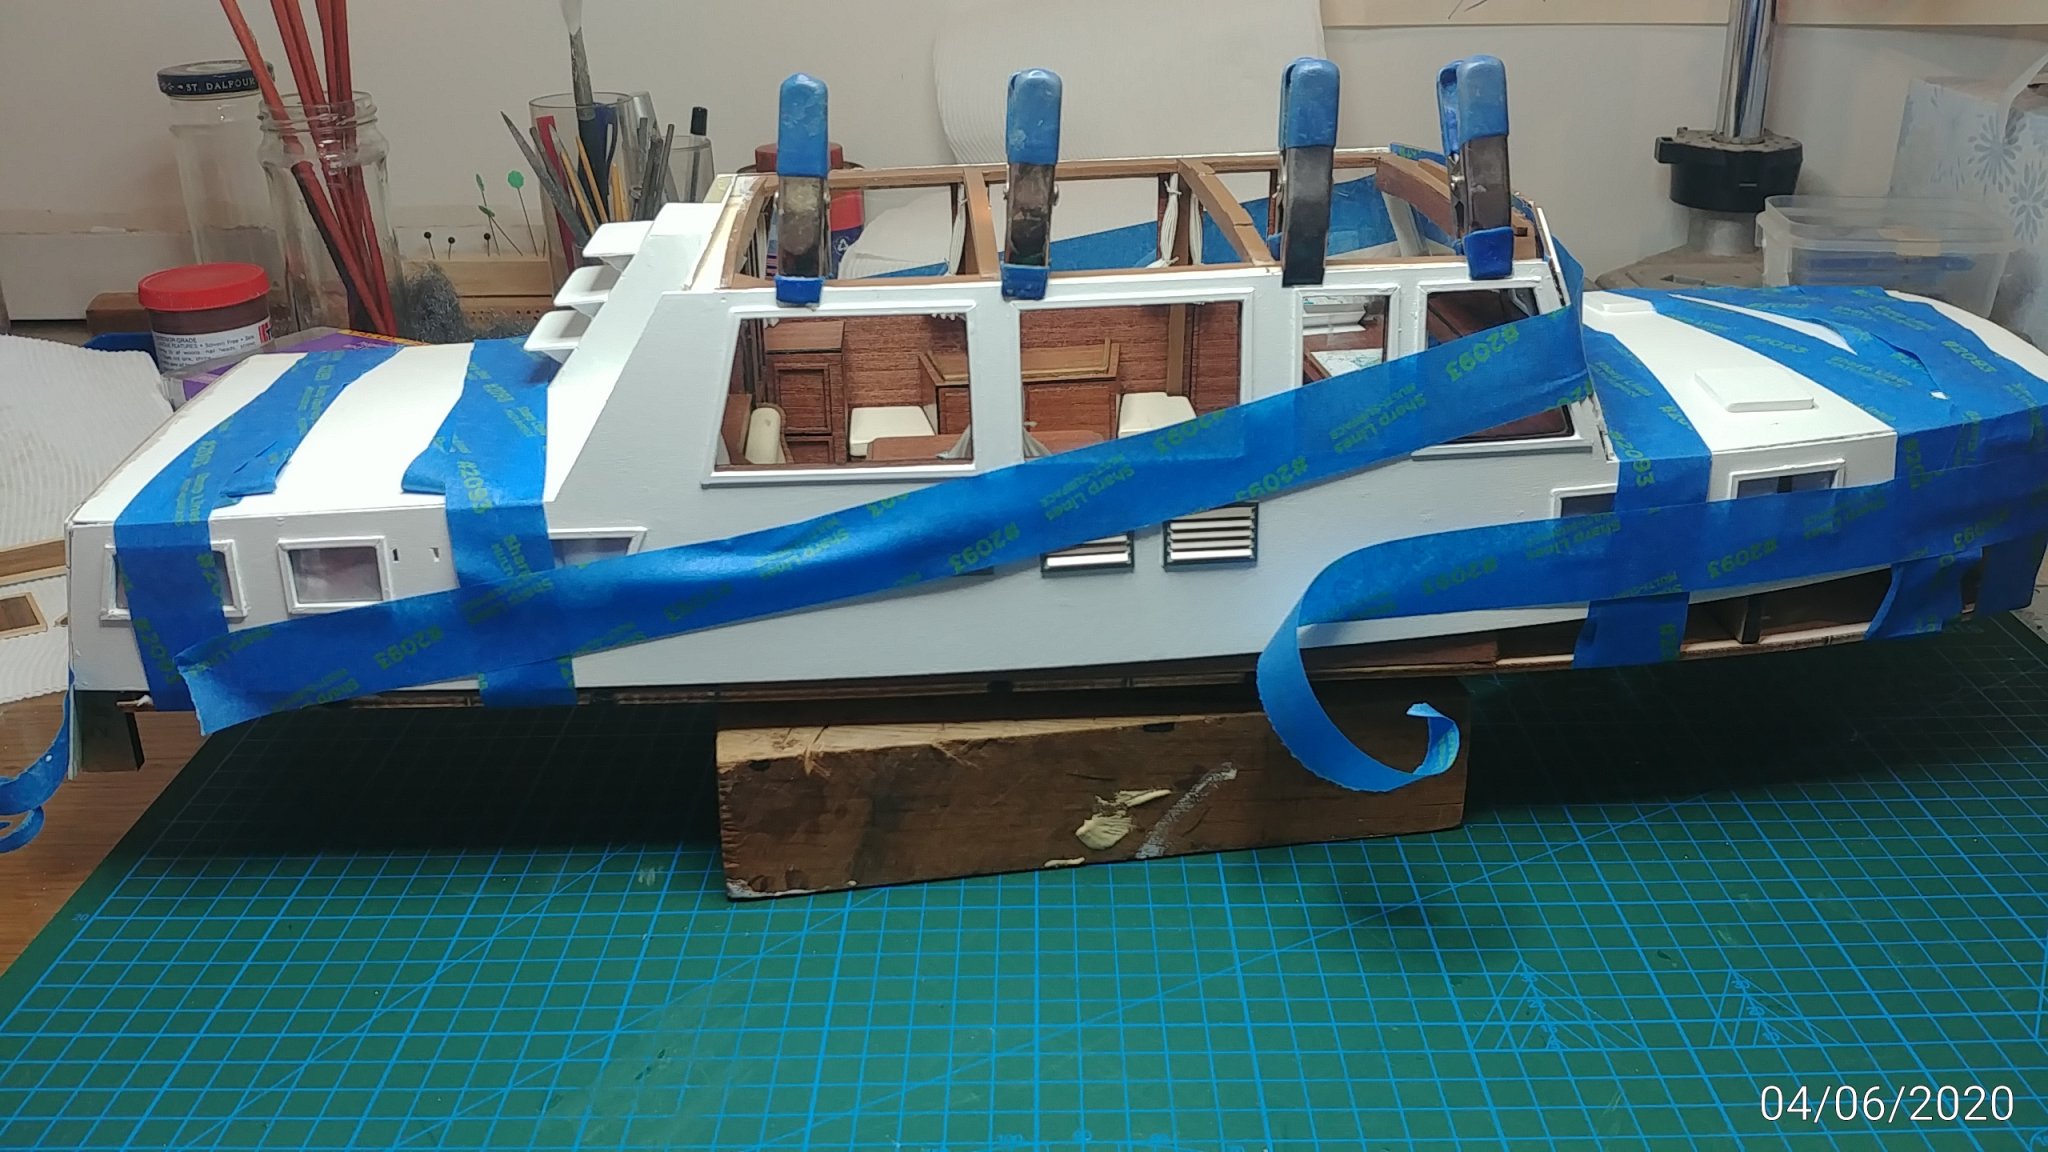
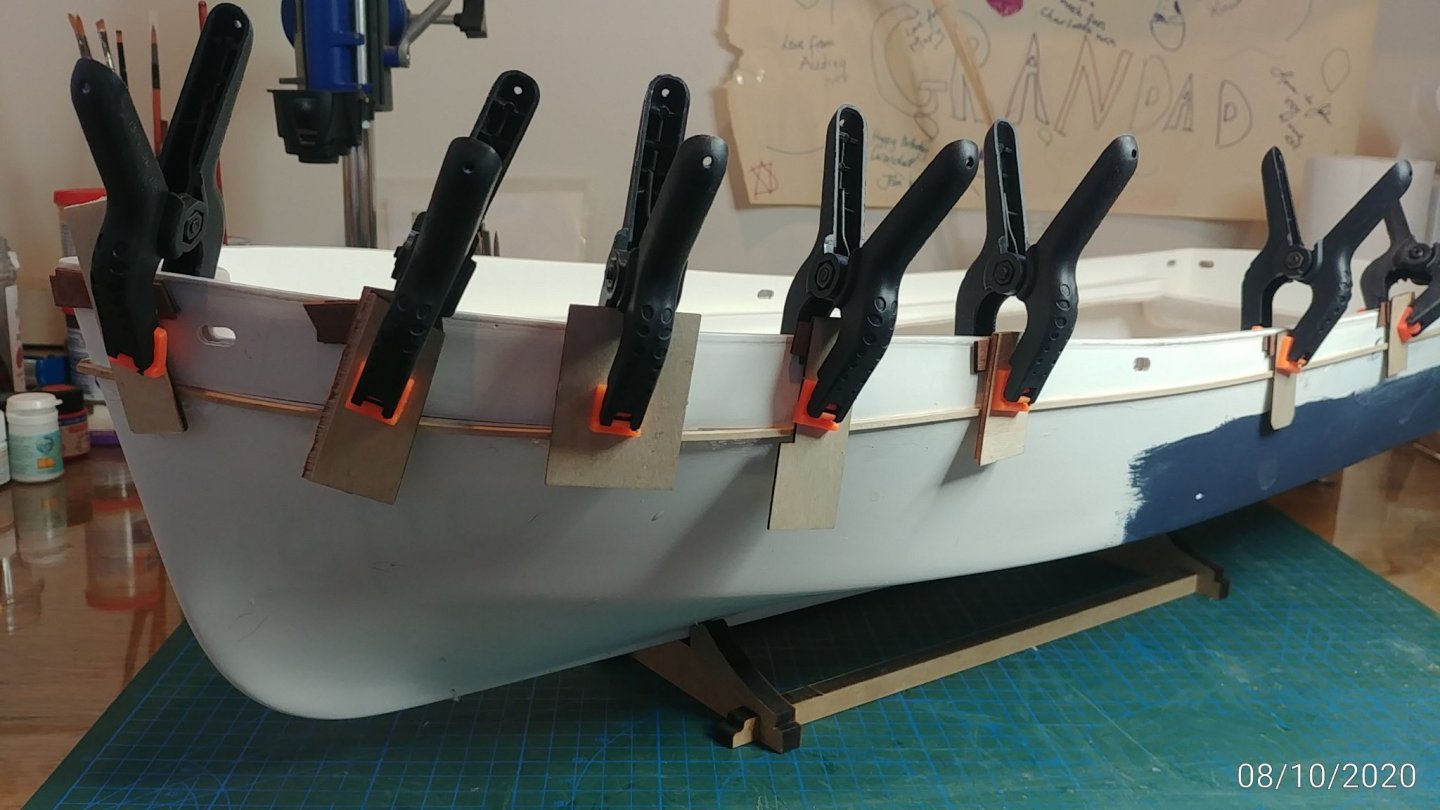
Well I must firstly apologise to Amati because I found the bundle of 1 x 1 inter plank strips......ooops. So they do go in permanently. Started on the two wale strips, planking is such fun. The blue patch is a colour test for doing the topsides in Navy blue...cant find the right blue yet.

- 91 replies
-
- 2
-
-
- amati
- grand banks 46
- (and 1 more)
-
Thanks Carl. Went away for a winter holiday and was then stuck by movement restrictions. I am waiting onthe answer to a query on planking from Amati. It is not clear whether the main planks are spaced by 1 x 1 strips left in place or just used as temporary spacers. If the former, I cant find the stock in the kit to do that. I would just buy some locally and press on. Cheers.....John
-
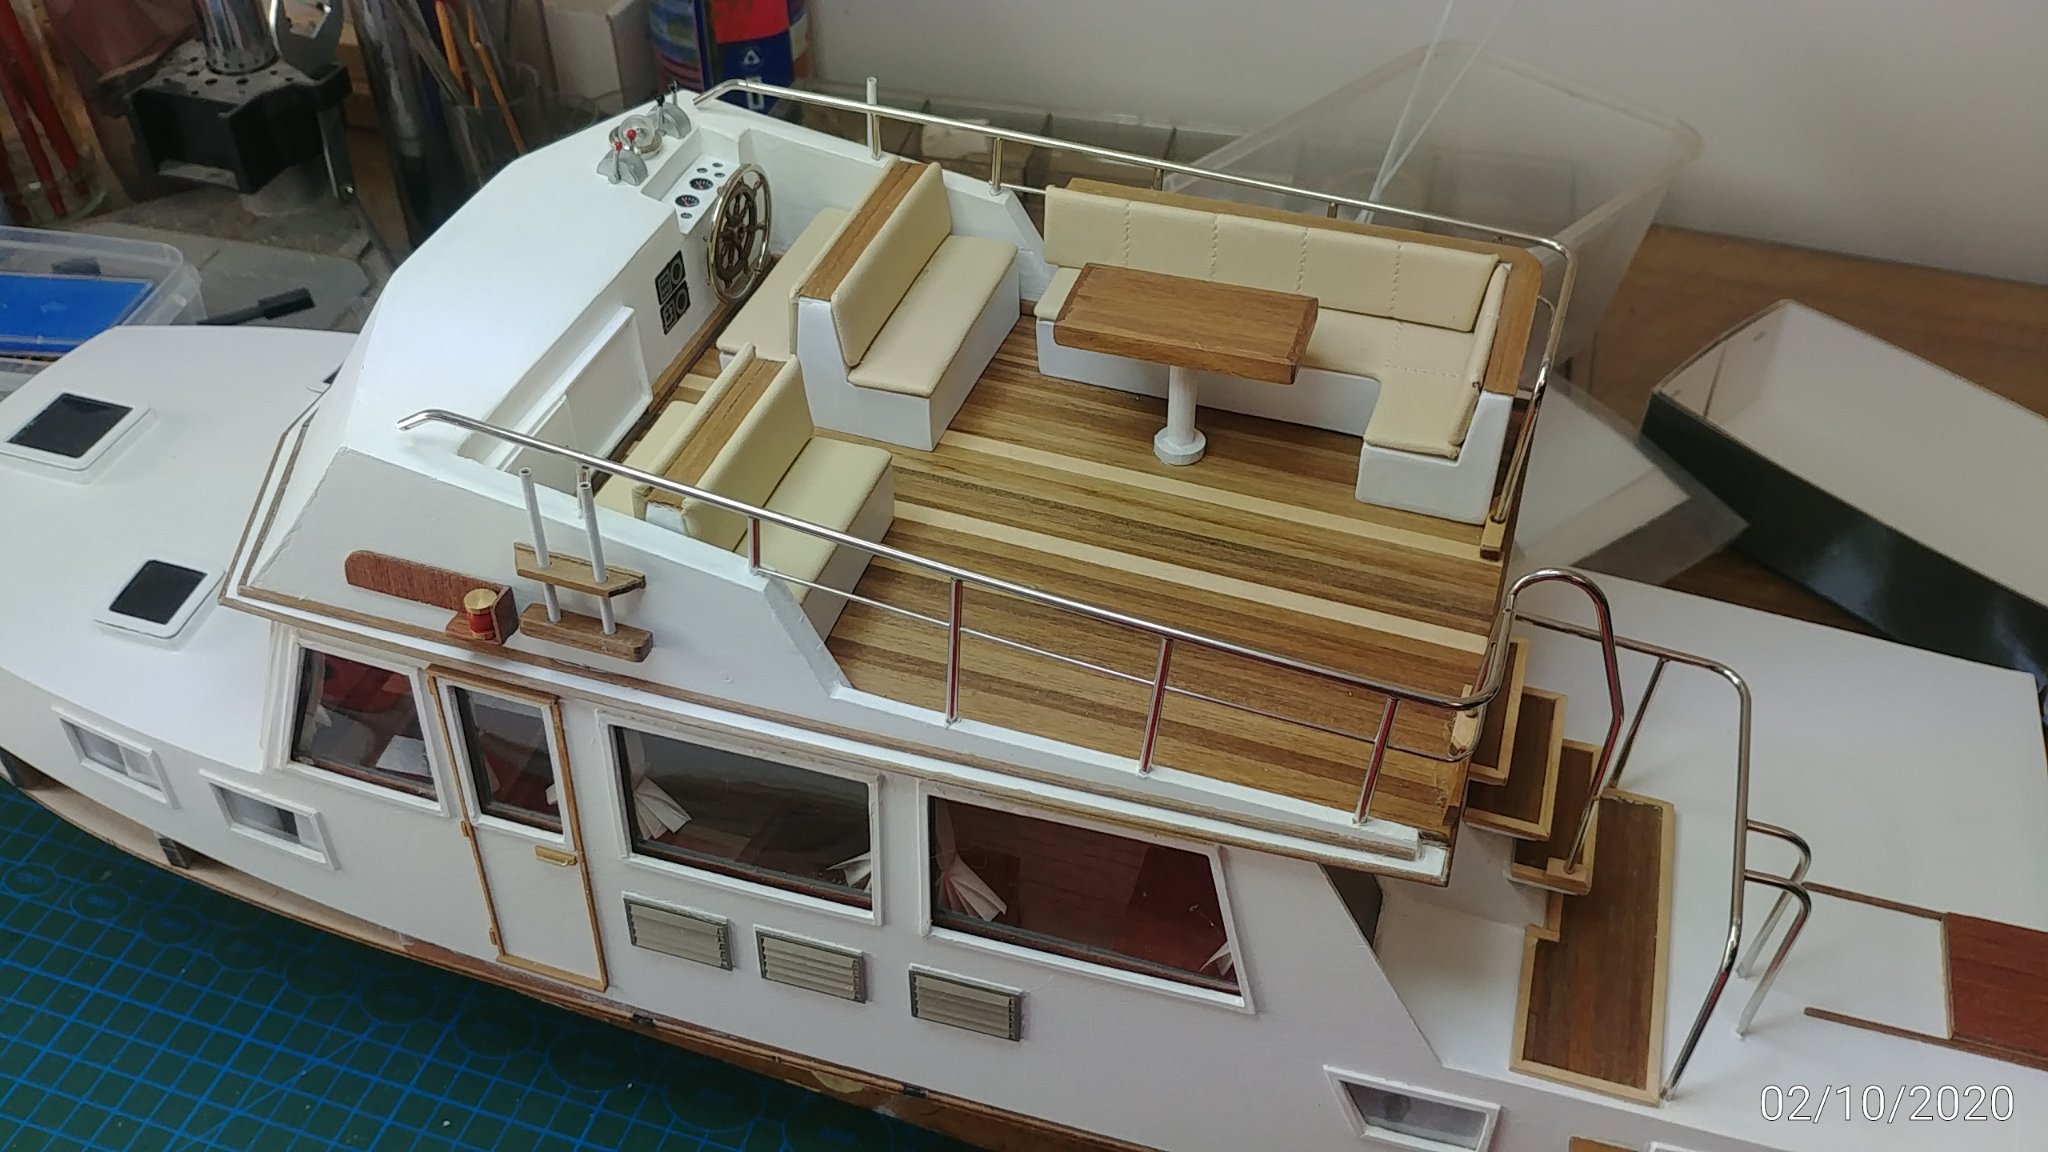
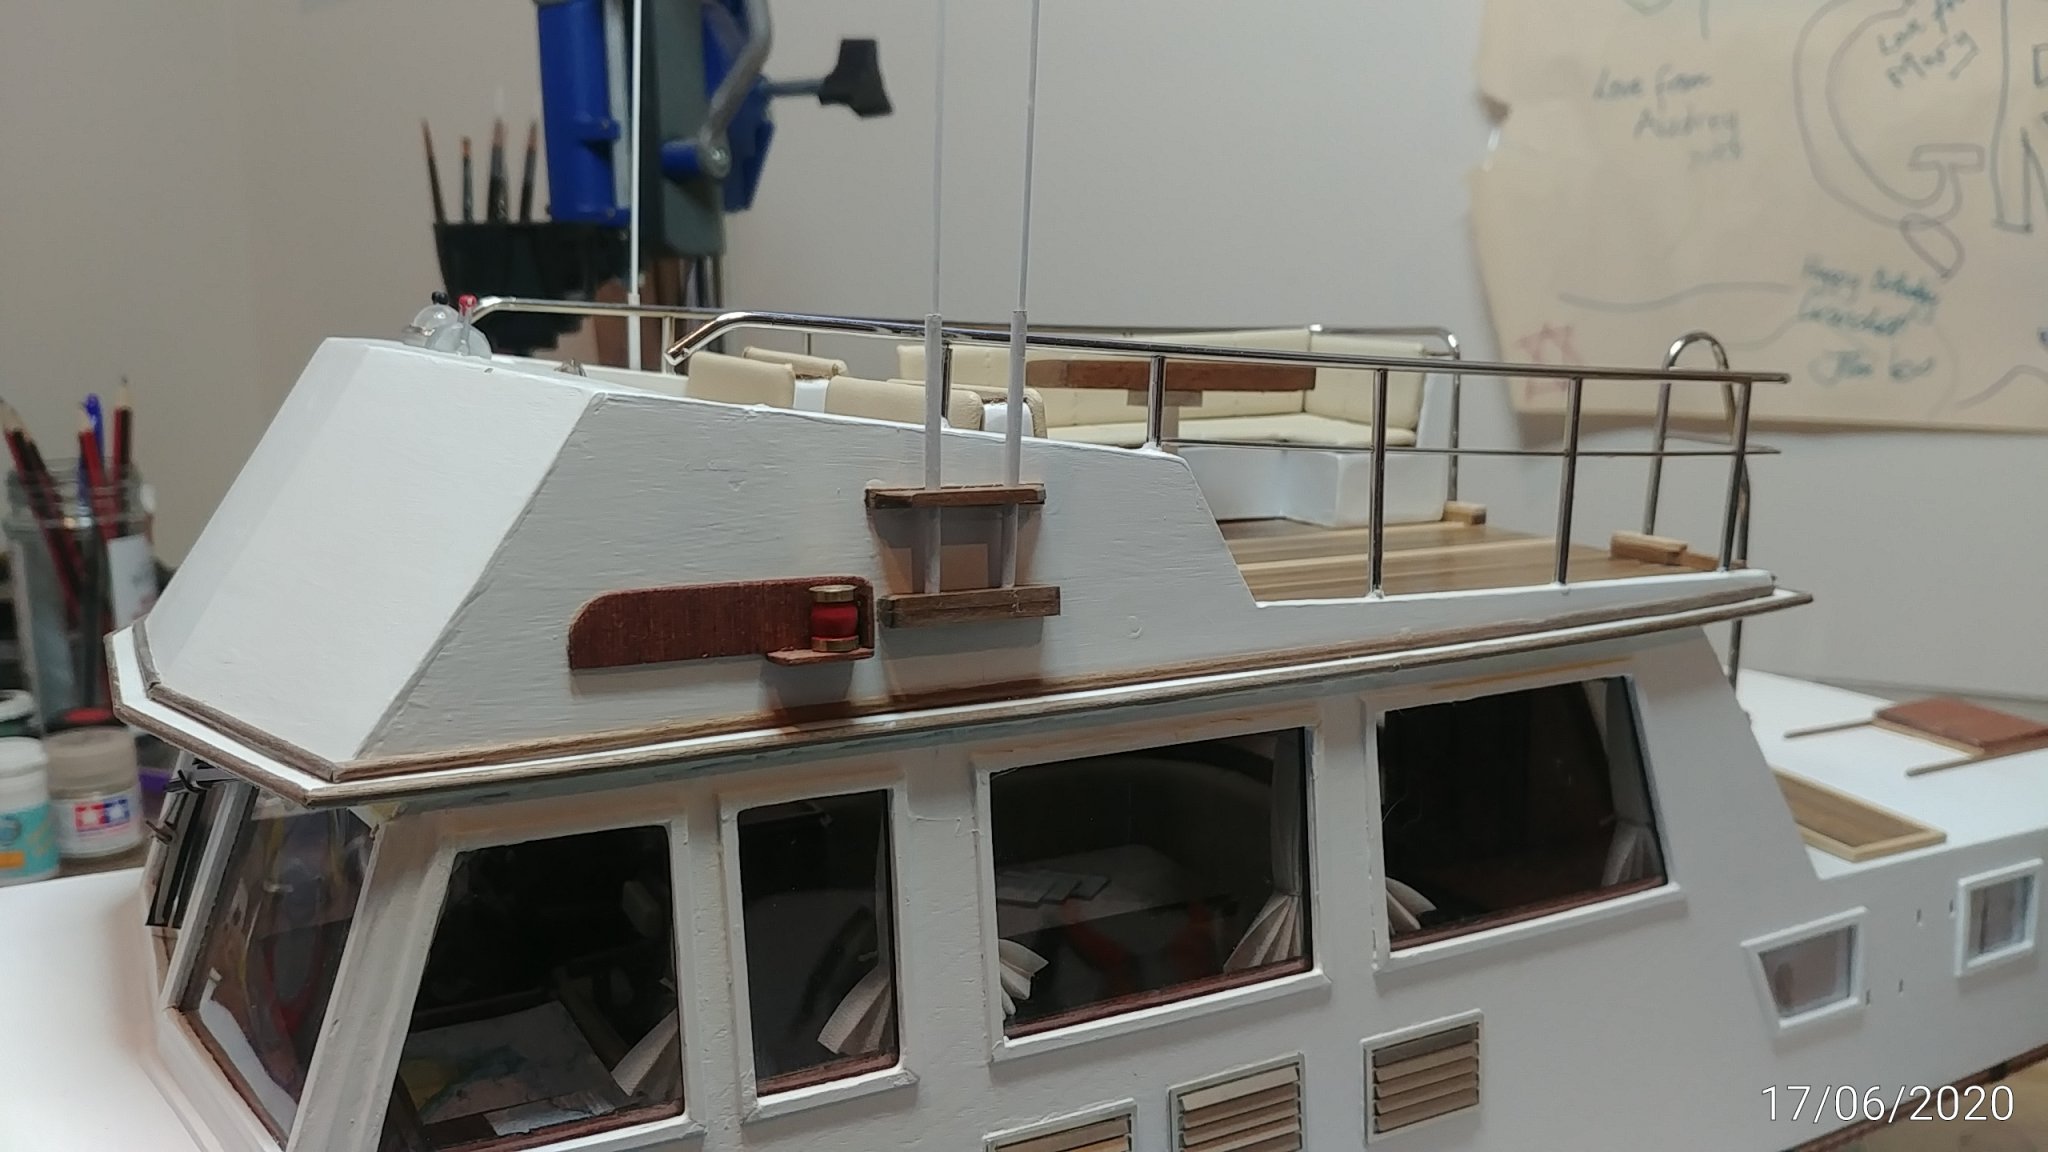
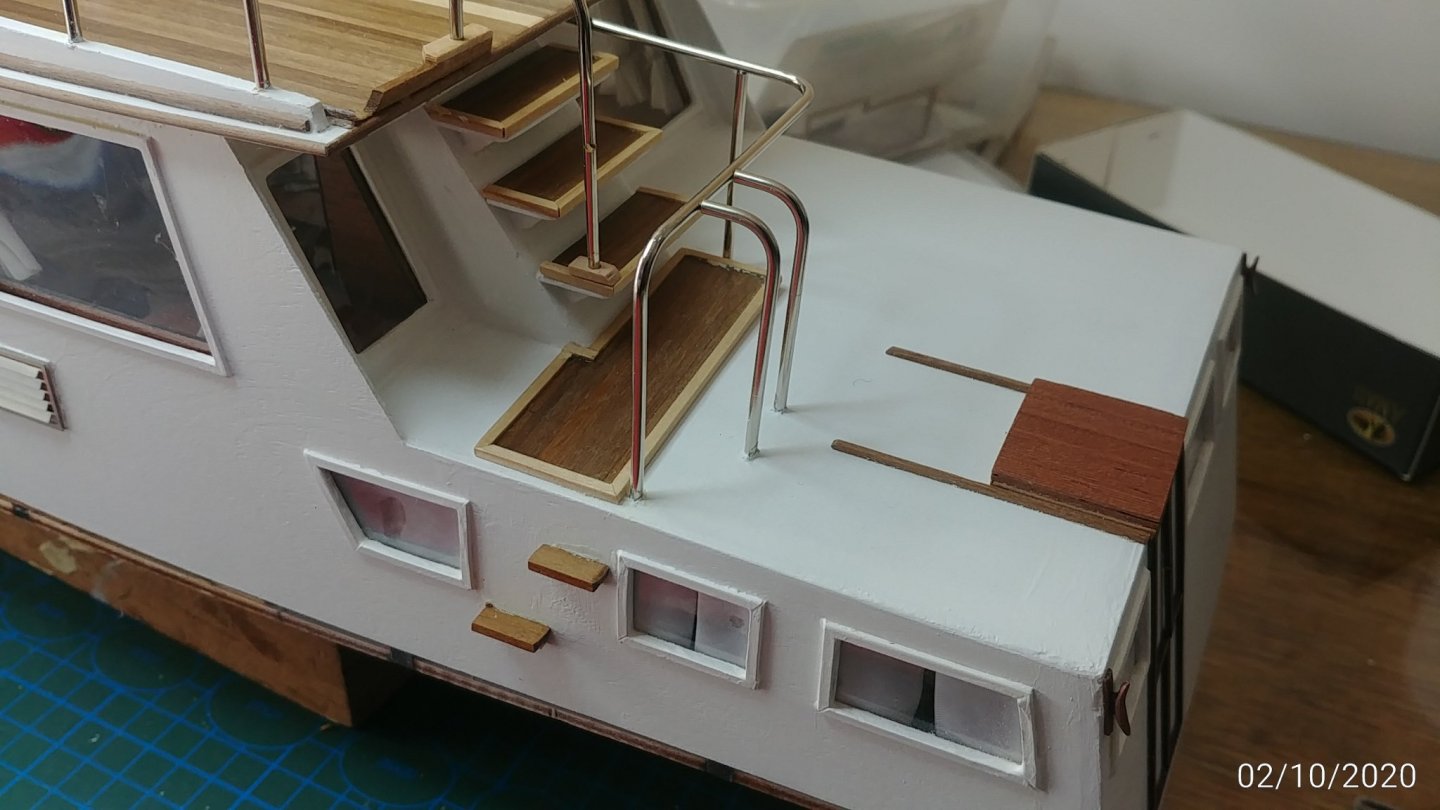
Back to the Grand banks after 4 months offline. Need to finish off the cabin structure before I tackle the hull...not much to do. Today was just some stair railings, side steps, fixing the flybridge furniture, and defining the cabin doors.

- 91 replies
-
- 4
-
-
- amati
- grand banks 46
- (and 1 more)
-
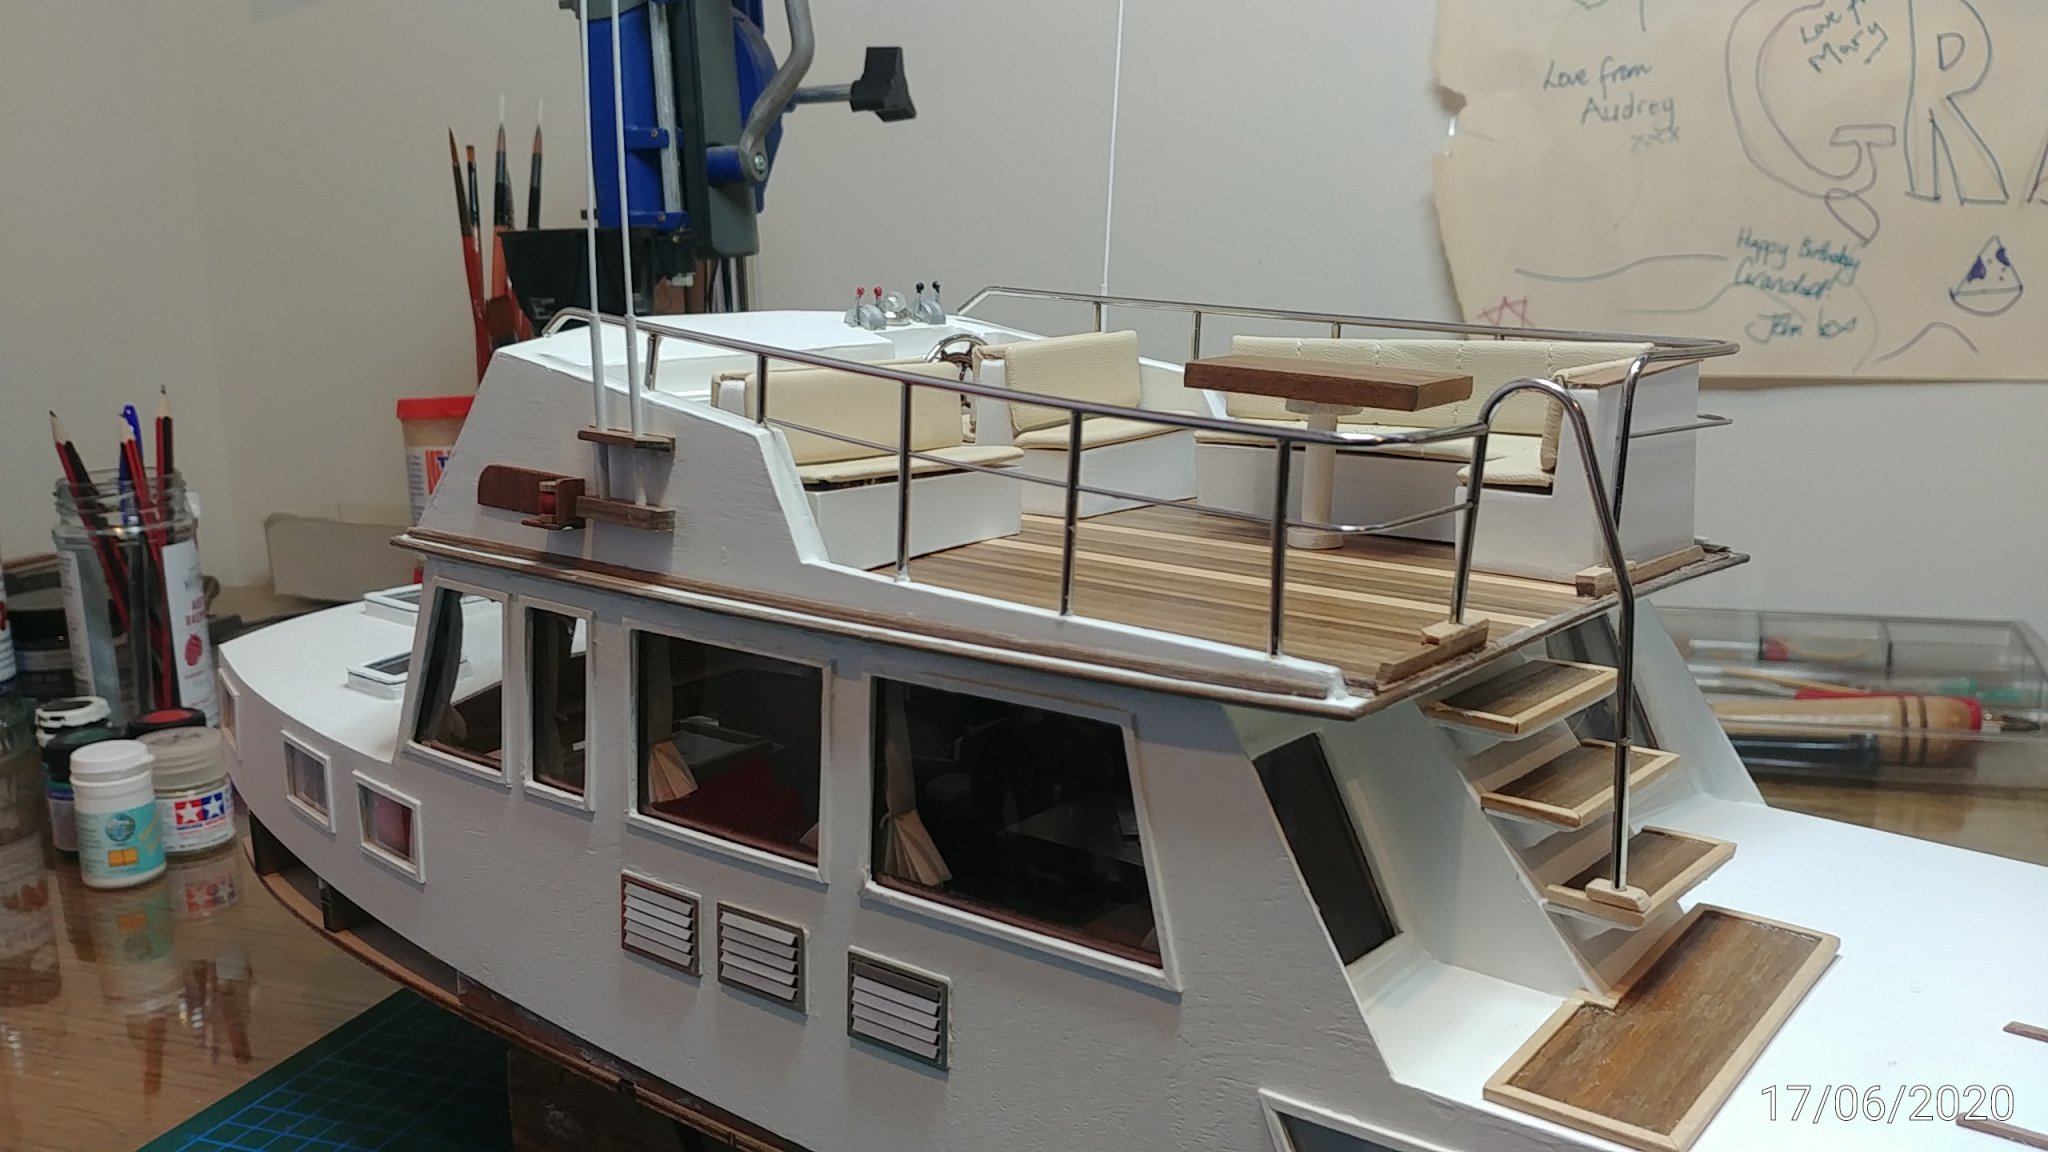
This is it for about 9 weeks...off on a fishing holiday so the Grand Banks will have to wait until August for more progress. Glad I attached the flybridge. It only has the windscreen still to do and to fix the furniture in place. The flybridge went on pretty well, had to plane down the top of the windscreen and the extra tab on the top of the front roof beam was very helpful in locating it correctly. I made the antennae from the 1mm plastic extrusion they provide but it was pretty floppy...I had some 1mm piano wire from a previous project and I used it to make much better ones.


- 91 replies
-
- 3
-
-
- amati
- grand banks 46
- (and 1 more)
-
I am seriously considering attaching the flybridge as it is still a little out of shape and I can lock it down and then finish it's fitout when in place as the cabin roof.The flybridge has locating slots forward and underneath which locate on the tabs sticking up from the forward roof beam. I cannot get the holes to locate there so I have extended the two tabs upward and hope that will make it possible.

- 91 replies
-
- 4
-
-
- amati
- grand banks 46
- (and 1 more)
-
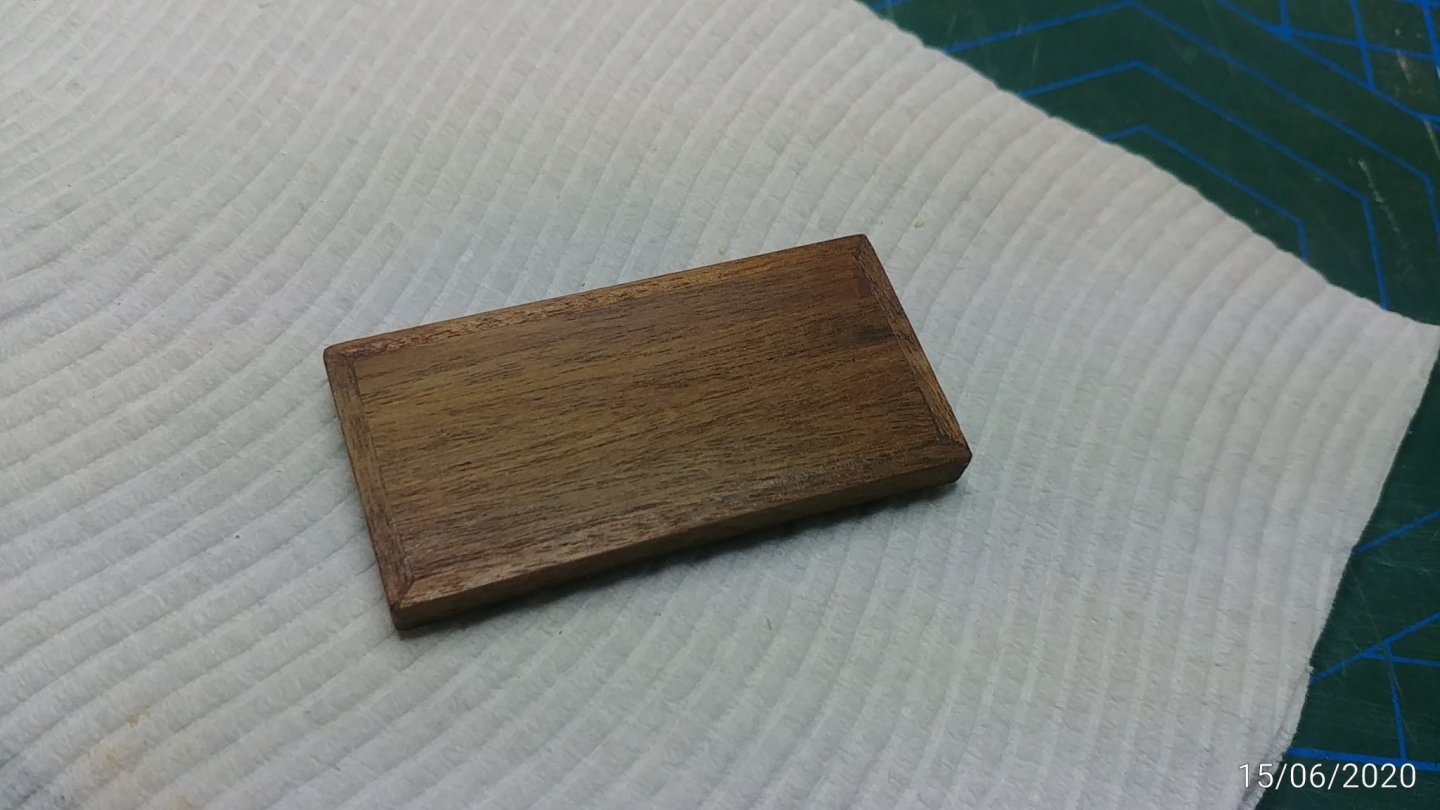
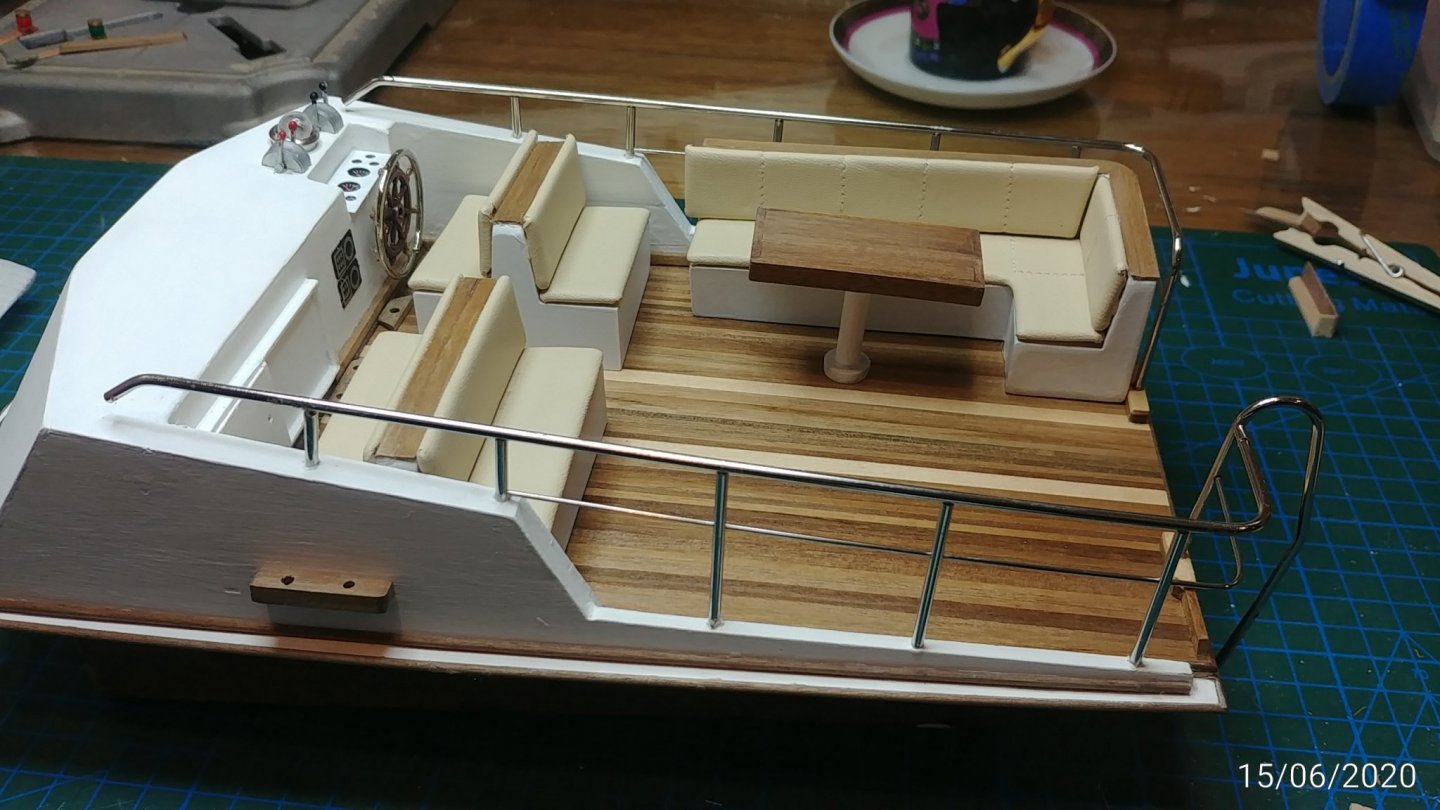
I wasnt happy with the brown plastic table so I made another one from walnut 4 x 1 planks.
- 91 replies
-
- 4
-
-
- amati
- grand banks 46
- (and 1 more)
-
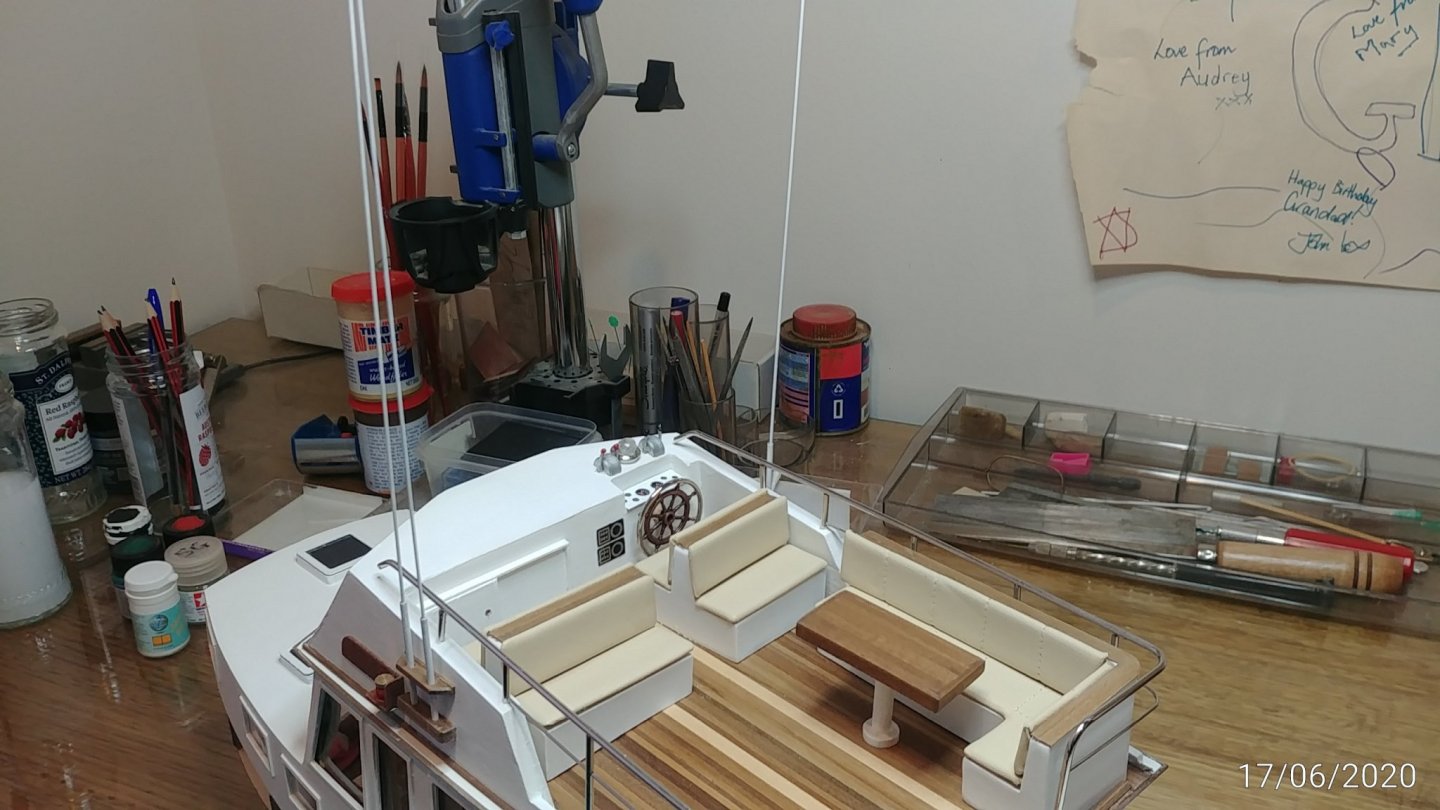
Got the flybridge railings in all except for the windscreen which I am waiting on legs for. The instructions say to drill 2mm holes for the fence posts...then later say drill 2.2mm holes. Well good luck finding a drill that size. It is very close to 3/32 which can be bought. In the end I drilled oversized holes (about 3.5mm) and put UHU Hart glue in the holes and let the legs set hard overnight. It gave me a bit of fiddly filling and repair but all things considered I would do it that way again because what is a fragile fence construction is now pretty solid in place. Put the furniture in place...looks OK....wouldnt say I am really happy but I will have to take what I have and move on.


- 91 replies
-
- 5
-
-
- amati
- grand banks 46
- (and 1 more)
-
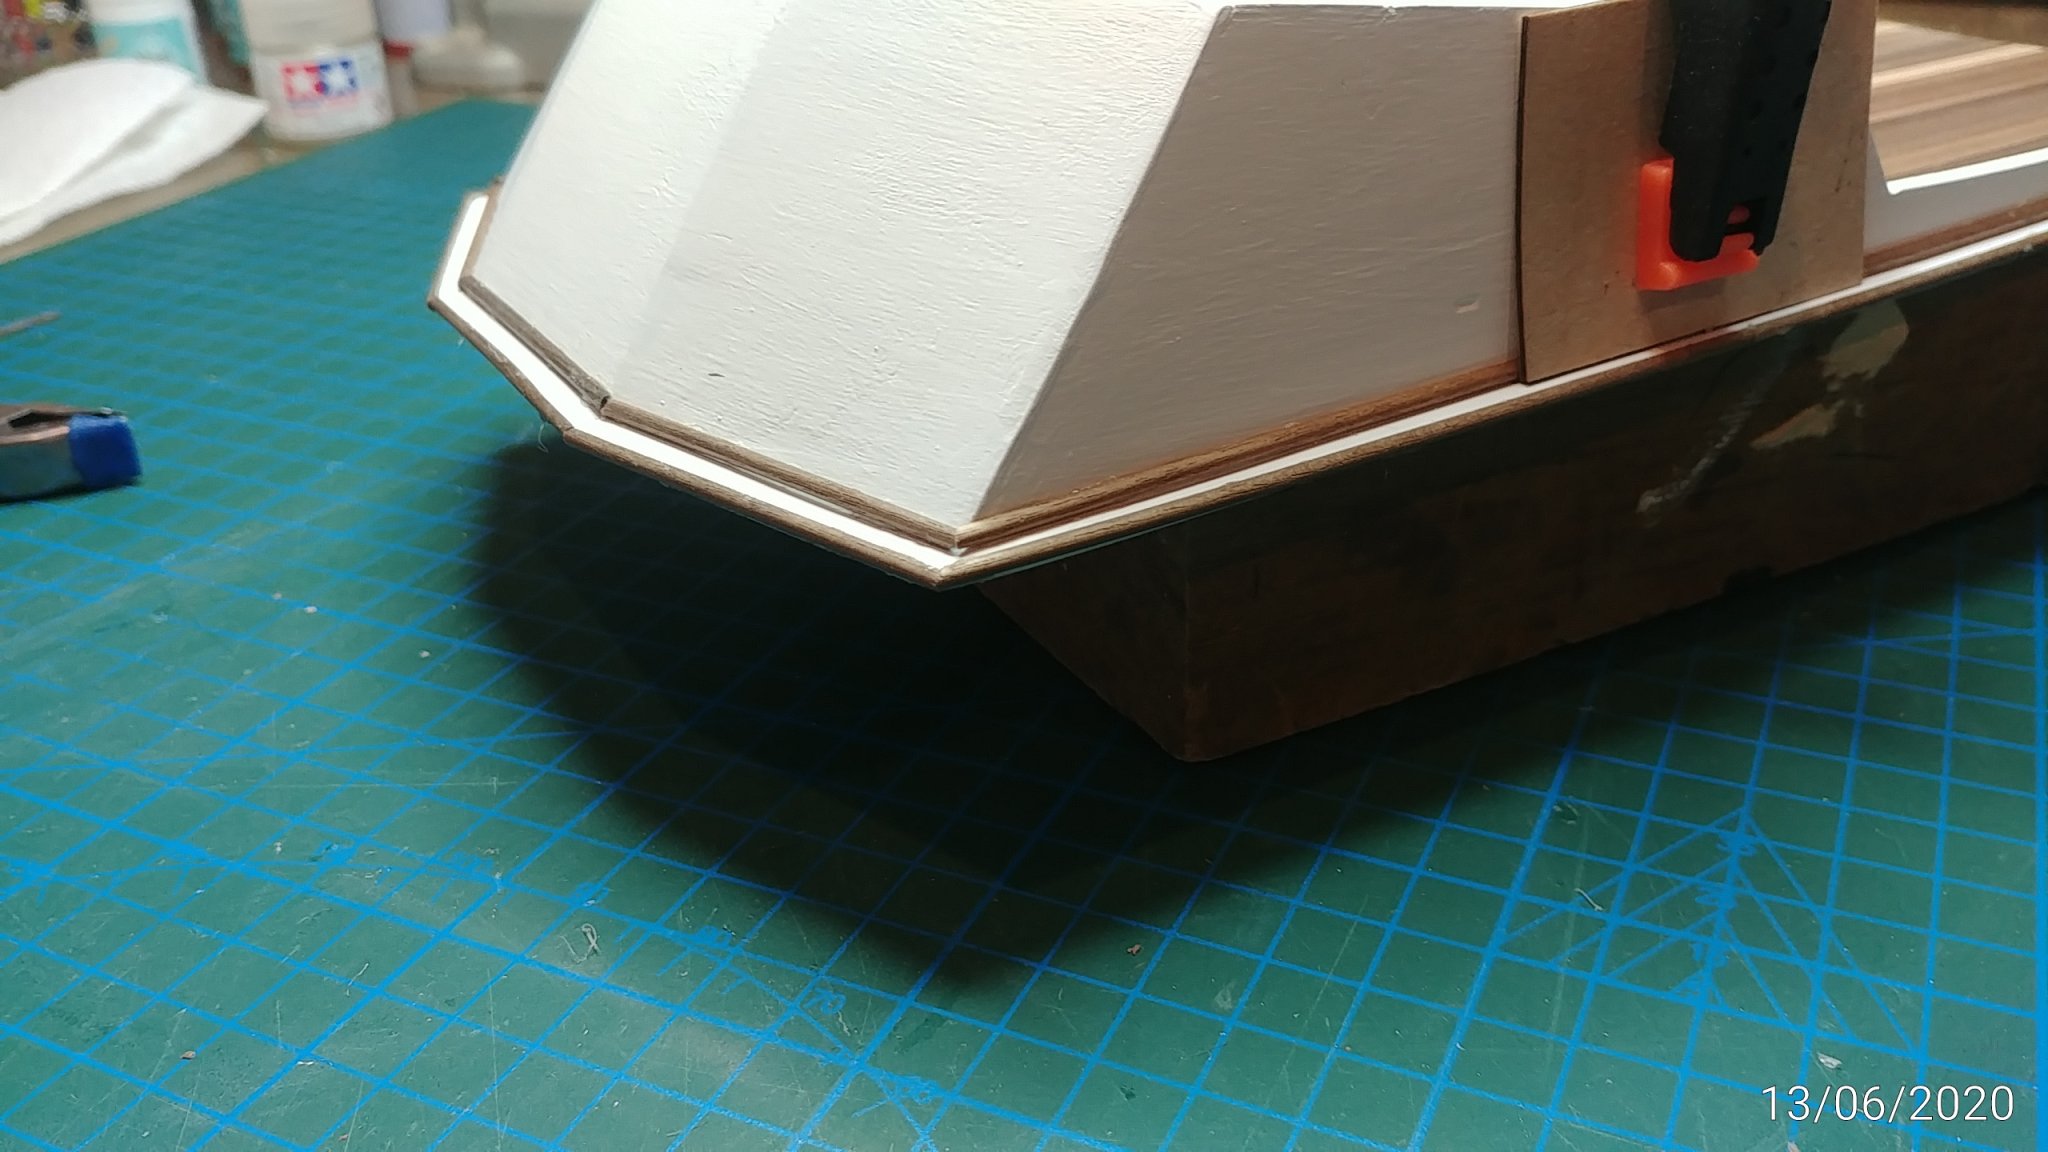
Put the half round trim on where the instructions said and I ran out of material beforte completeing. You get 180cms and I reckoin you need 200-205. Not a big deal..just used some other material in front internal sides.


- 91 replies
-
- 4
-
-
- amati
- grand banks 46
- (and 1 more)
-
Amati have responded well on the broken rail legs and are sending replacements. Thanks Amati. The whole rail set is very fragile... I have had a few legs break after I started lookijng at them, my fault...but the assemblies are chome plated soft wire held together with pins in holes....it is just a very fragile and I would think expensive approach..? I am glueing it back together and will be OK>
- 91 replies
-
- 1
-
-
- amati
- grand banks 46
- (and 1 more)
-
Thanks Carl, the supplied walnut 1 x 2 planks are good wood..easily trimmed.
- 91 replies
-
- 1
-
-
- amati
- grand banks 46
- (and 1 more)
-
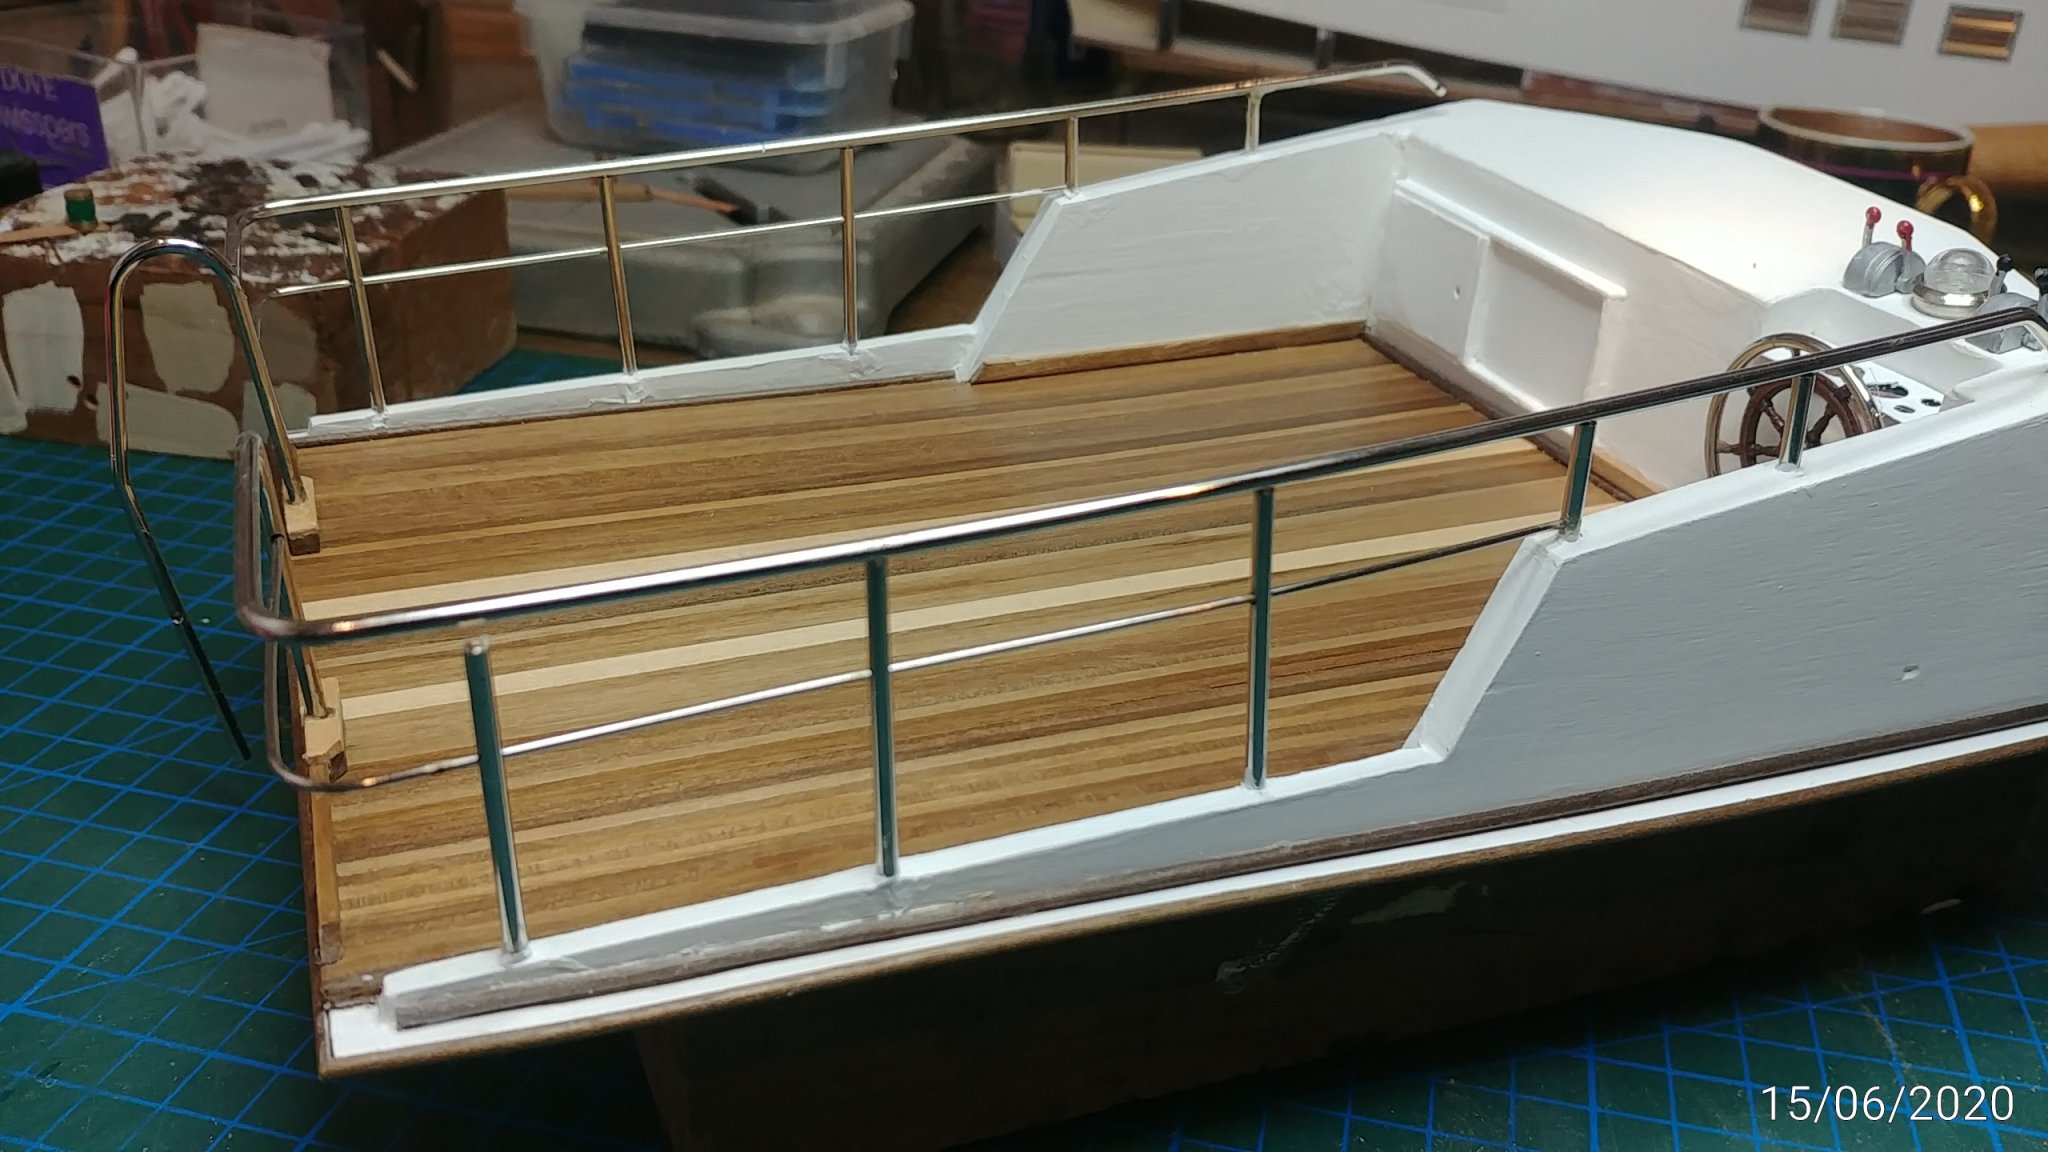
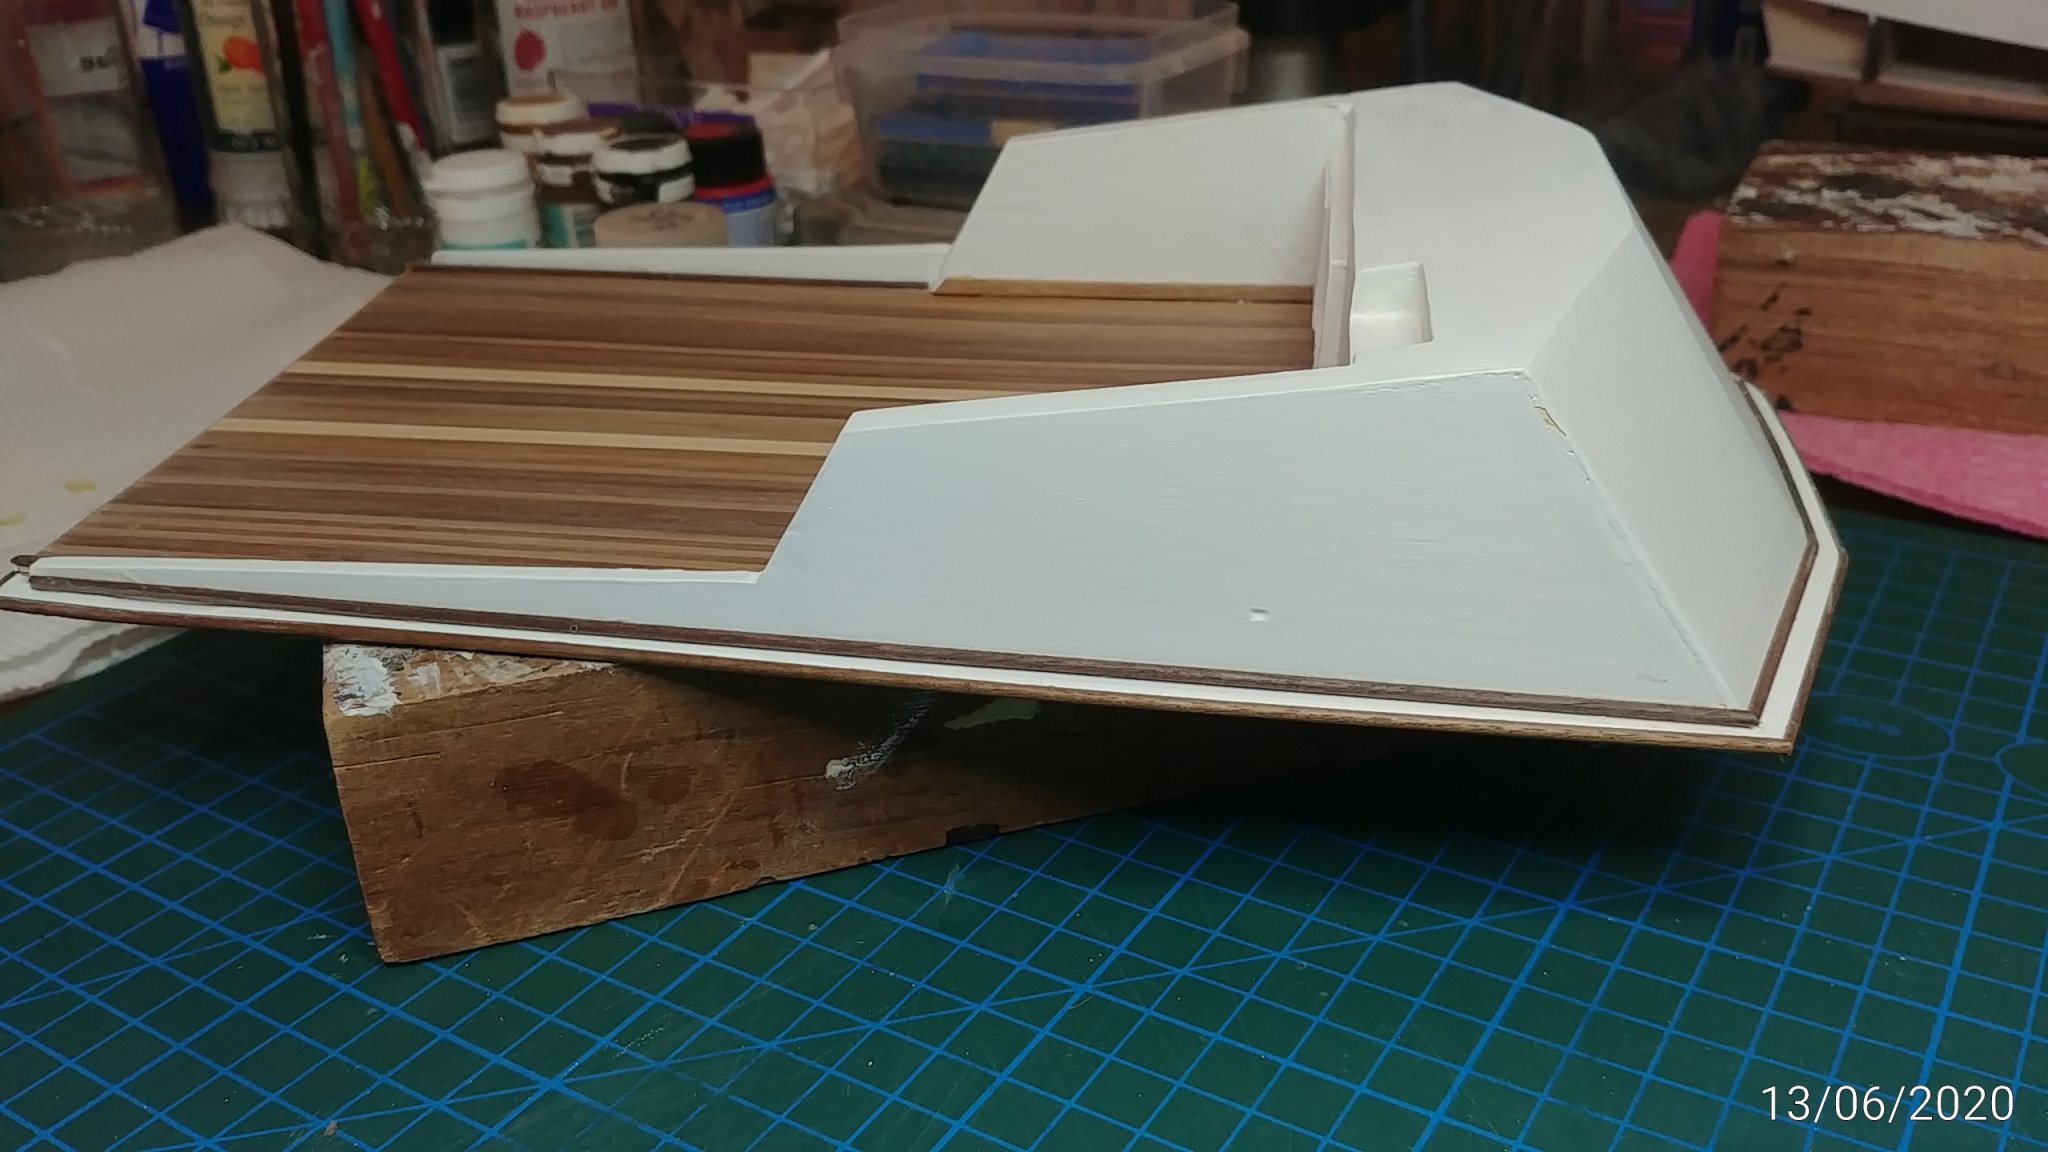
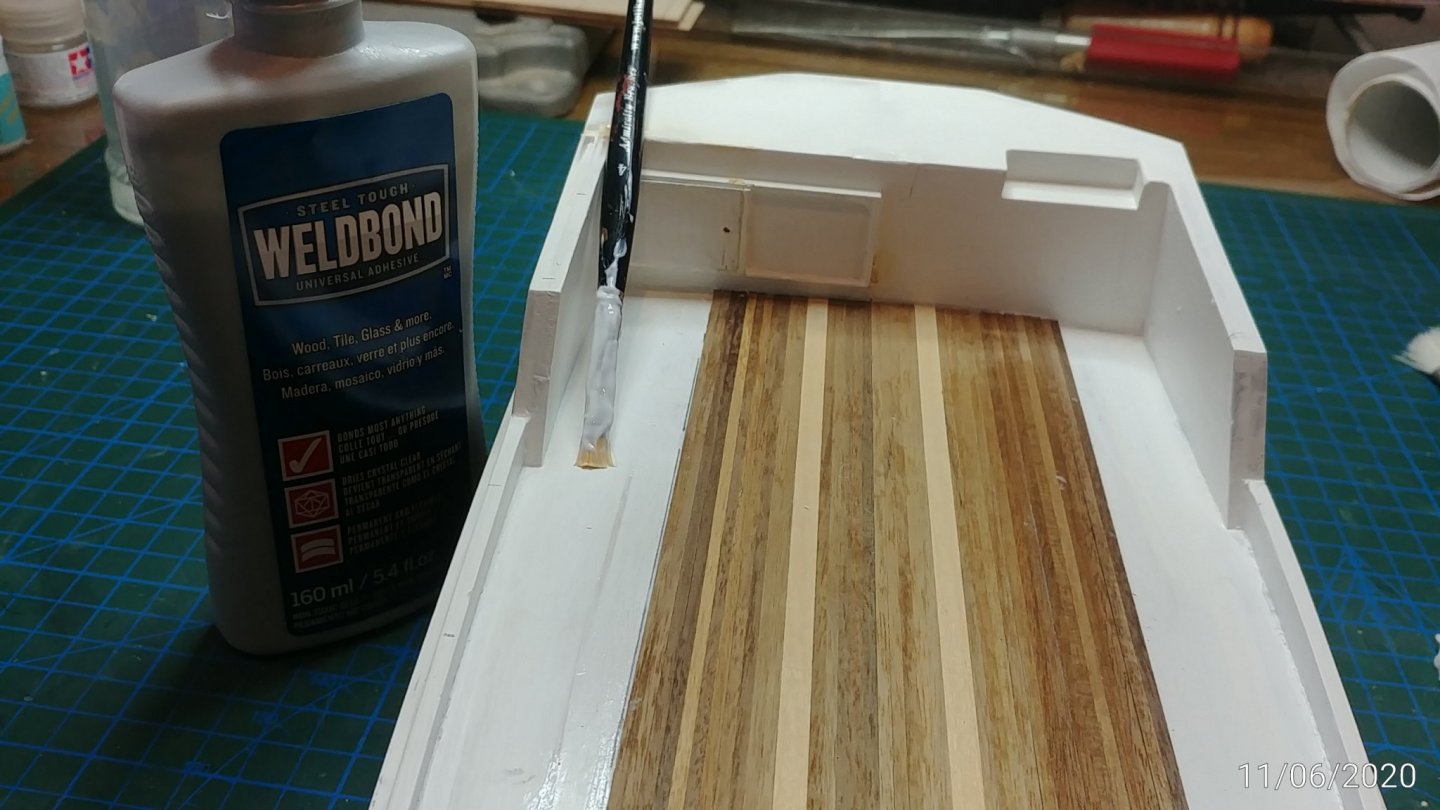
The flybridge is nearly recovered from it's steam bath and re-bend. Just a few more fill-sand-paint repeats and it will be good. I have made up the templates for fitting the upper deck rails and have now planked the upper deck.Put in a couple of blond highlight planks which I think give it a lift and also free up 5 or 6 walnut 1 x 2 s for extra trim which I might do in wood where it was intended to be plastic angle. The quantities of everything have been good and generous so far so I should have enough 1 x 2 walnut to do the edges if I want to.

- 91 replies
-
- 4
-
-
- amati
- grand banks 46
- (and 1 more)
-
First faulty parts today. The flybridge windscreen frame has delicate legs (7) attached. Two of them had fallen out of the rail in transit but that is not a problem really. Two near the front were badly bent...the small pin lugs which go into the actual rail were bent and the most gentle attempt to straighten them to get the rail legs positioned correctly were unsuccessful and the tiny lug pins broke off. They were all sealed in a clear envelope within a cardboard box so they can only have been bent when made. There is a warning about the fragility of the part in the instructions ..but it should have been heeded by the maker/packer..? I have written to Amati asking for 2 replacement legs ... they are only short pieces of 2mm plated wire with small pin lugs on the ends. I have not yet had any response.
-
Problem..Solution I built strictly in the order of the instructions and so built the flybridge deck structure very early on. I painted it above and it then sat finished for about three weeks before I needed to start fitting it out. When I came to do that the deck/cabin roof had buckled badly and I had to soak it in hot water and use weights to get it back into shape. Of course this sprung several join lines and opened up cracks which needed repair. The repair job has been successful but would be better avoided. I should not have allowed it to happen. IMHO the best approach would be to not build the flybridge structure at all until you are at the stage of fitting it out, which is after completion of the main cabin. I think this is easily the best approach. If you really want to build it early and have it sit until you are ready to use it then be sure to store it with some weights keeping the floor flat and paint the floor top and bottom for equal transpiration to reduce warping...but dont build until you need it is the best way I reckon. The floor is only 1mm ply and easily bent.
- 91 replies
-
- 2
-
-
- amati
- grand banks 46
- (and 1 more)
-
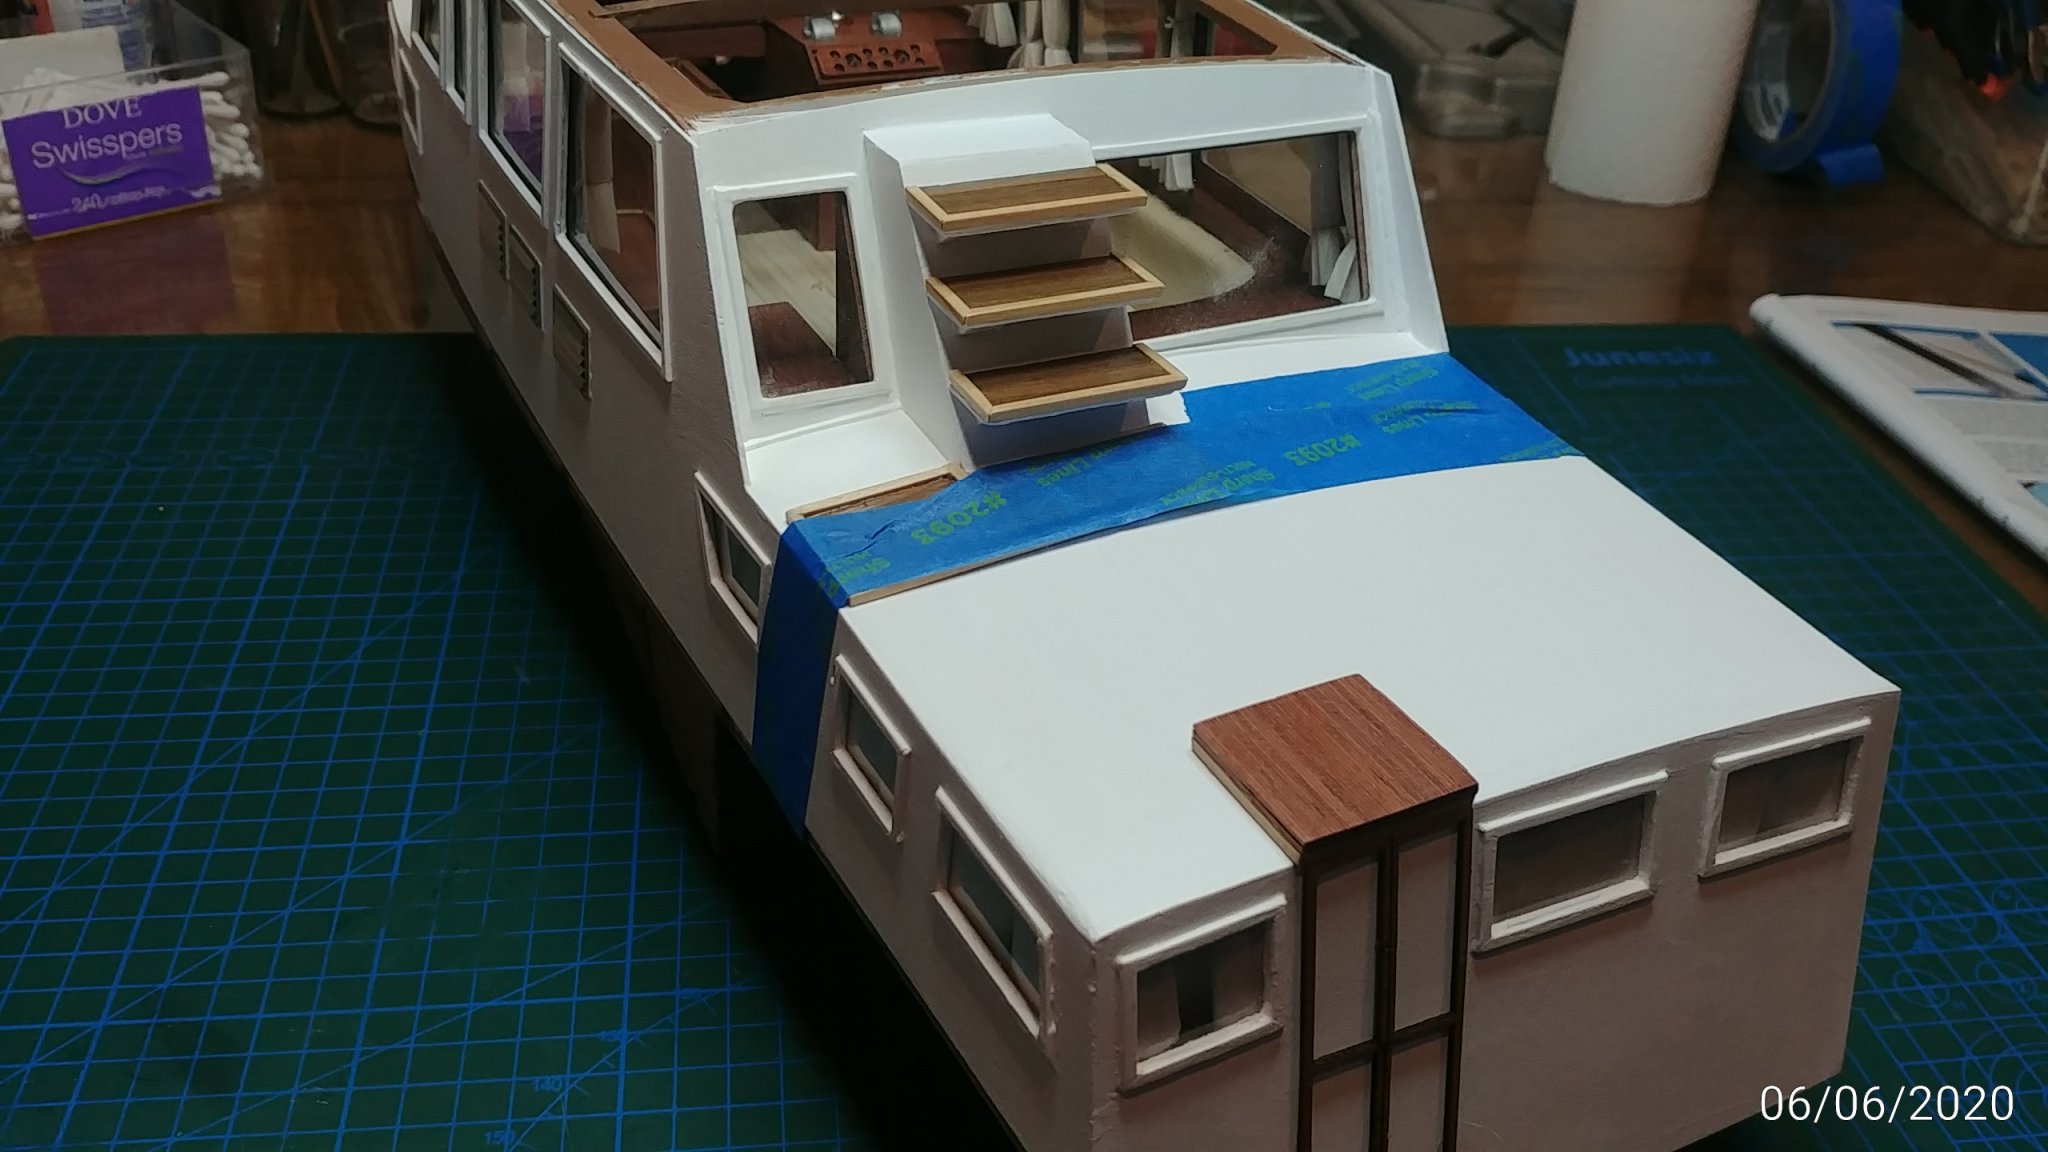
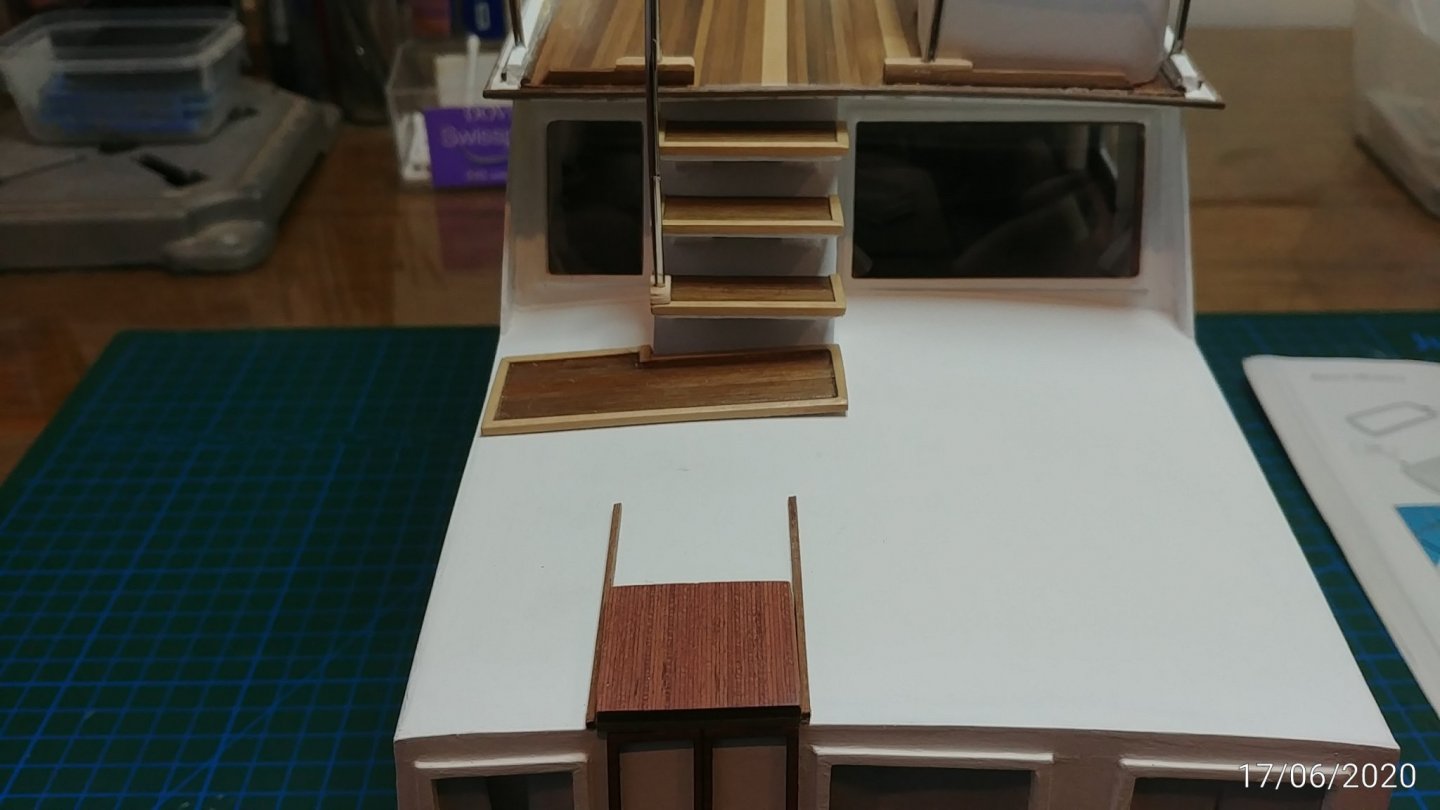
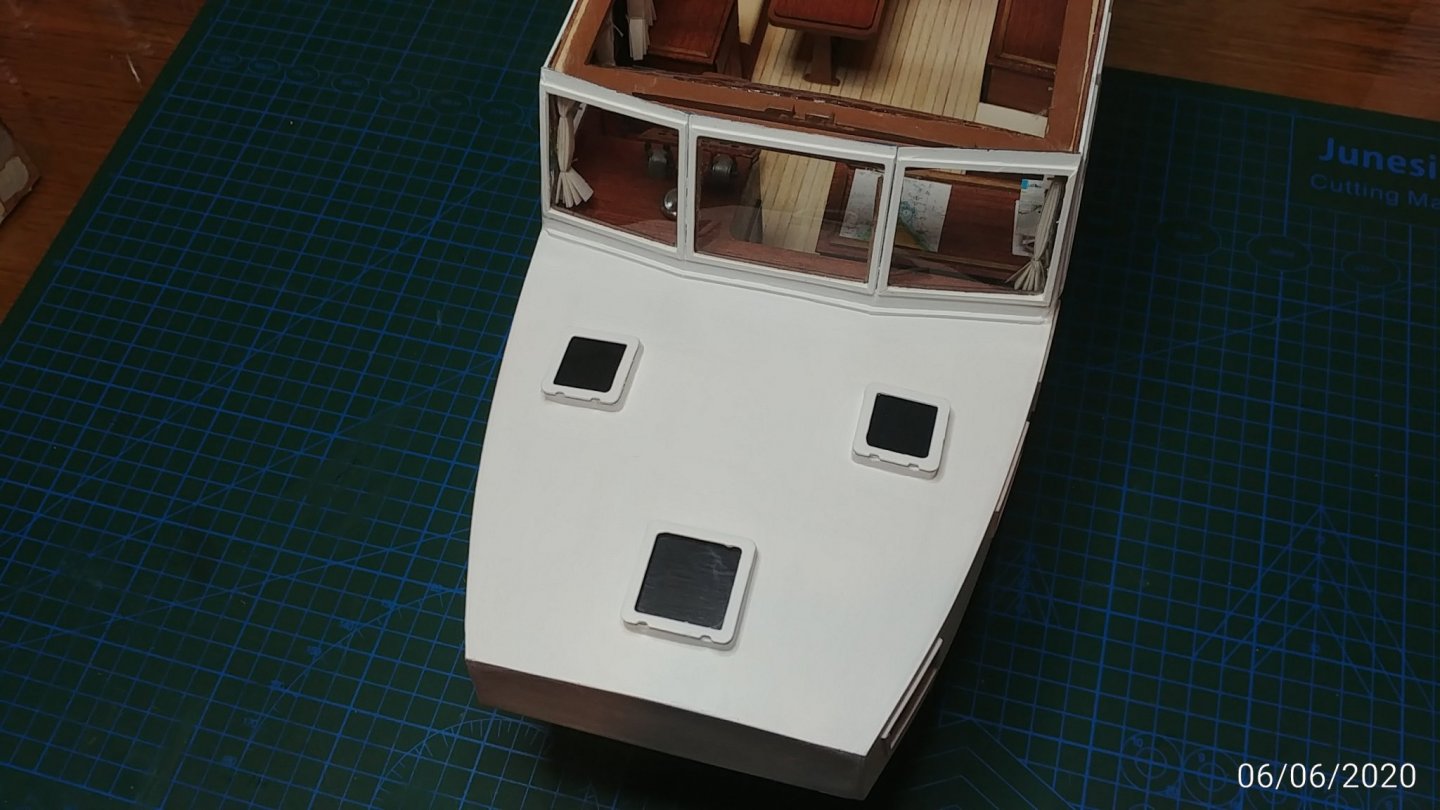
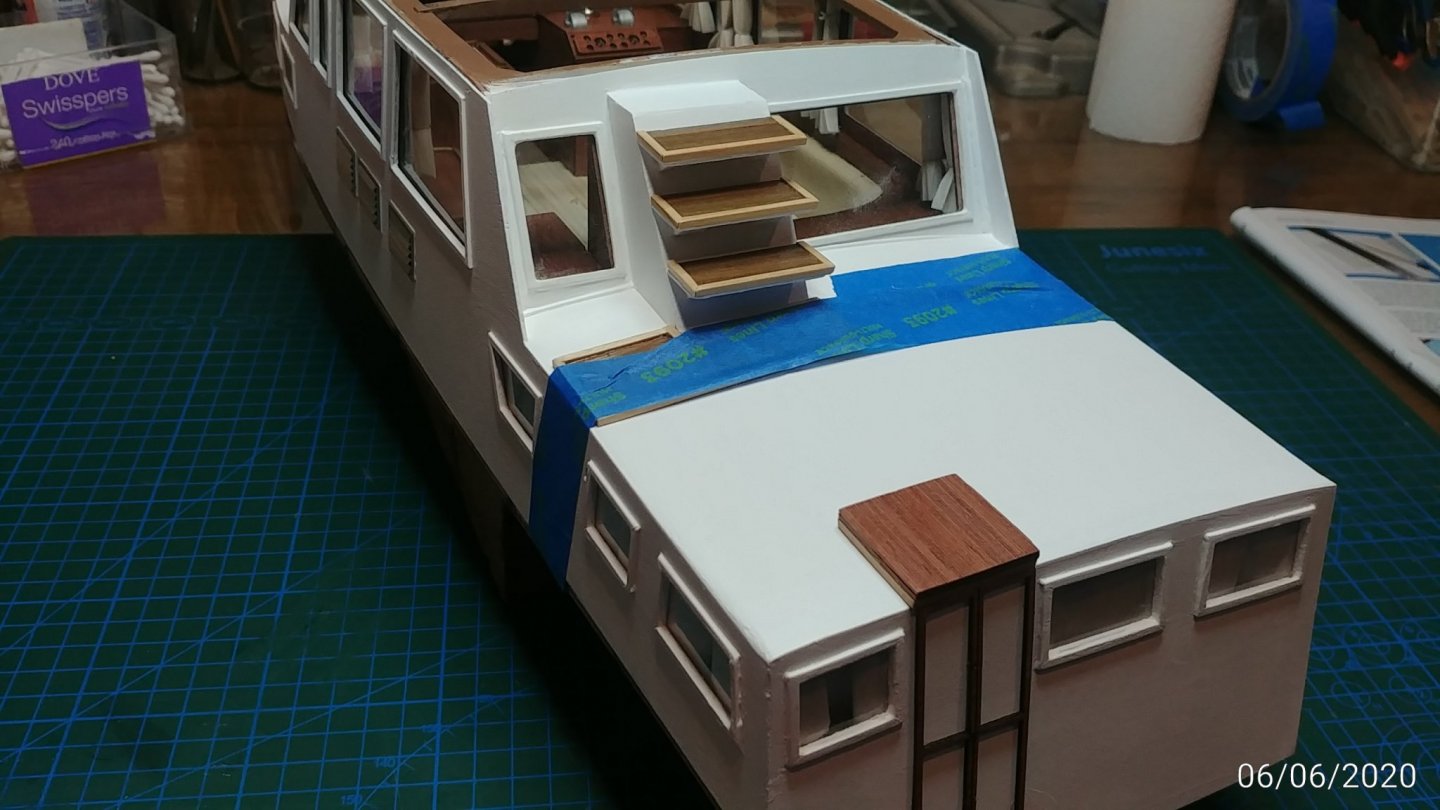
Finished the front hatches and the rear steps, rear companionway hatch. I think the long edges are probably clean enough for me to omit the plastic angle 5mm x 5mm trim which they put around all edges. I just think they look better left alone....the parts fit well enough for you to get a pretty fair edge everywhere.
- 91 replies
-
- 5
-
-
- amati
- grand banks 46
- (and 1 more)
-
Thanks Cog... I think changing from matte to semi gloss has made some of those things look better, although I do think this Tamiya semi gloss is a bit to shiny. Satin is probably where I should have stayed. The Tamiya X35 is shinier in the pics as the semi gloss seems to reflect more, not so shiny in real life.
- 91 replies
-
- 1
-
-
- amati
- grand banks 46
- (and 1 more)
-
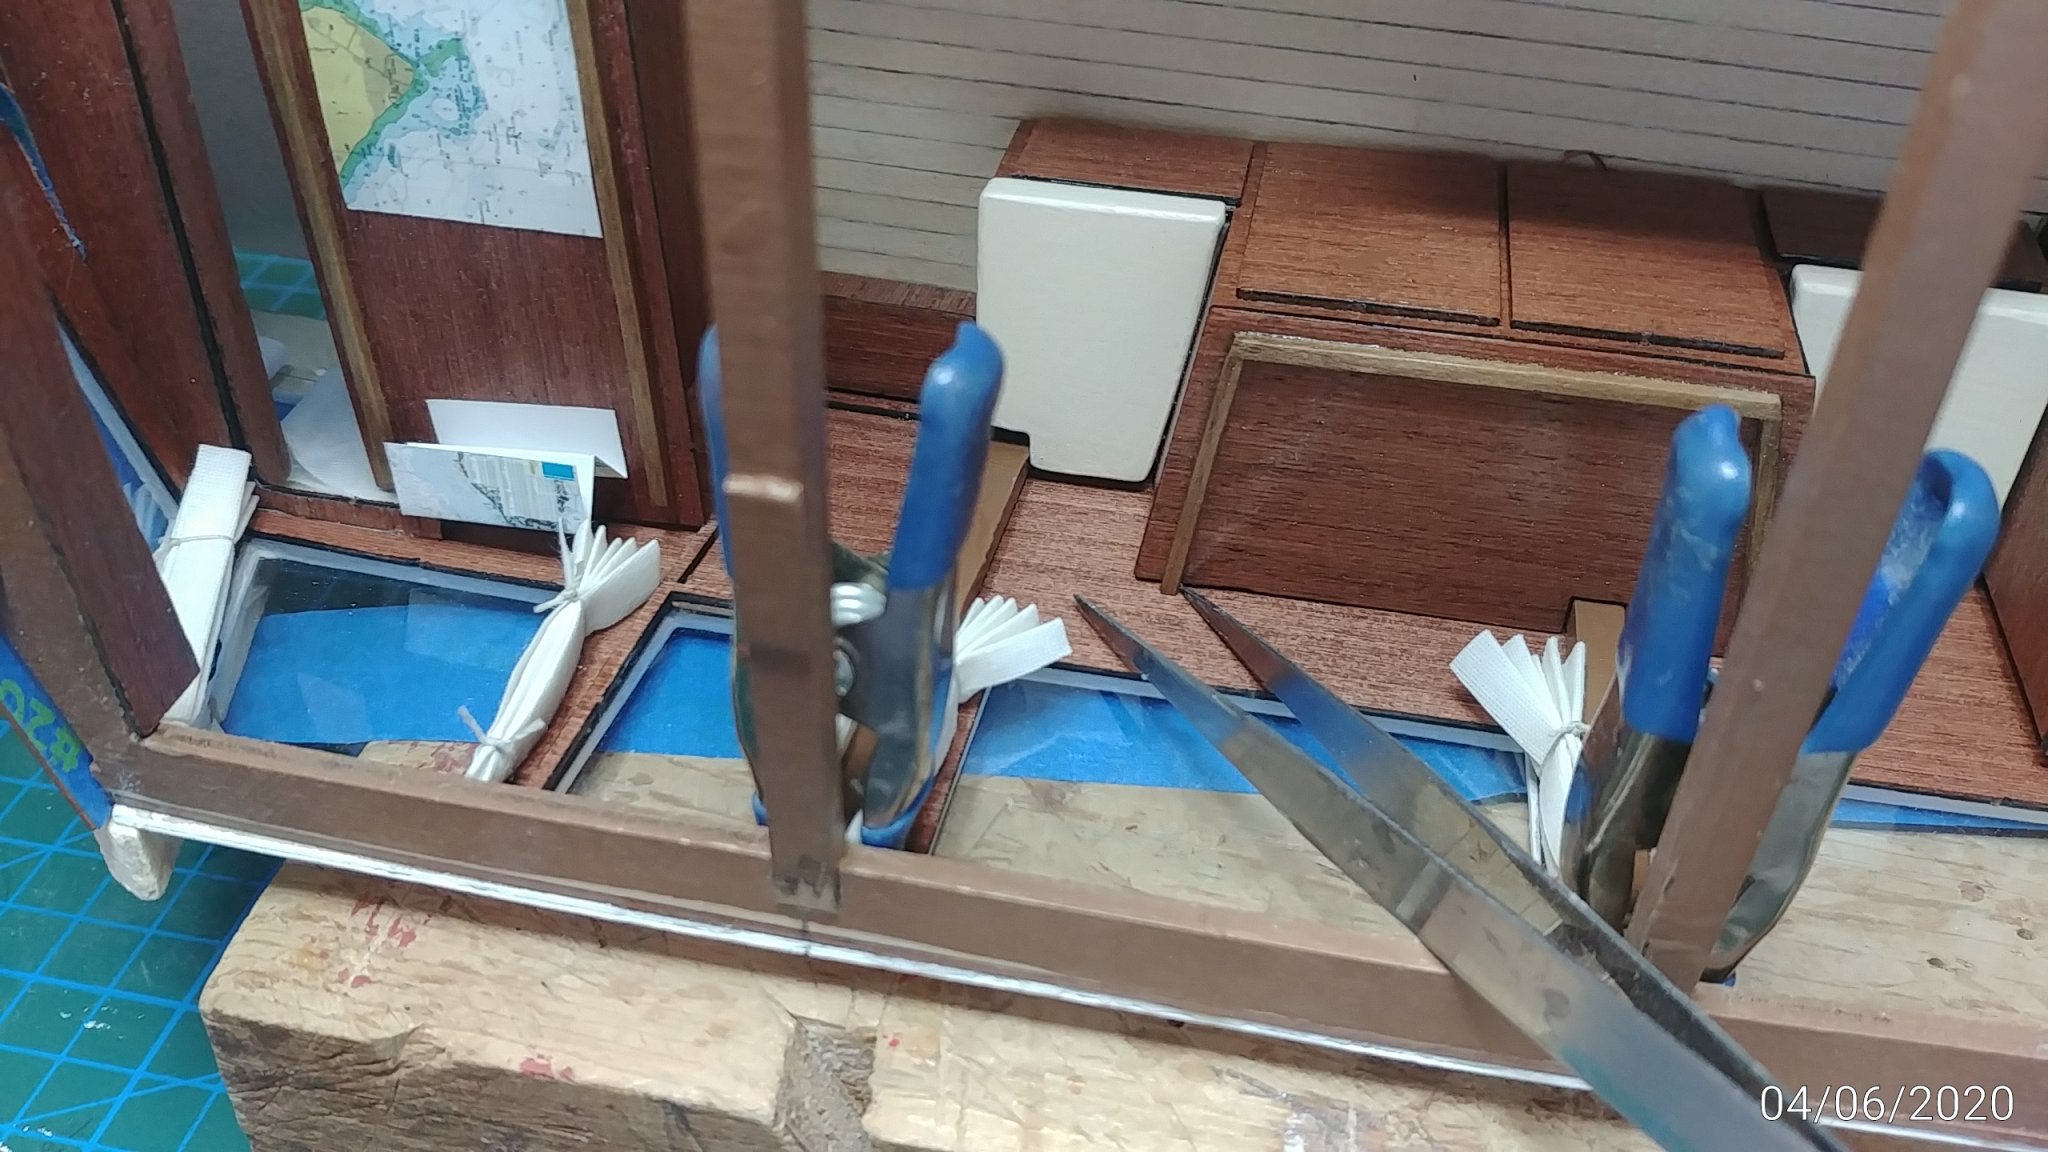
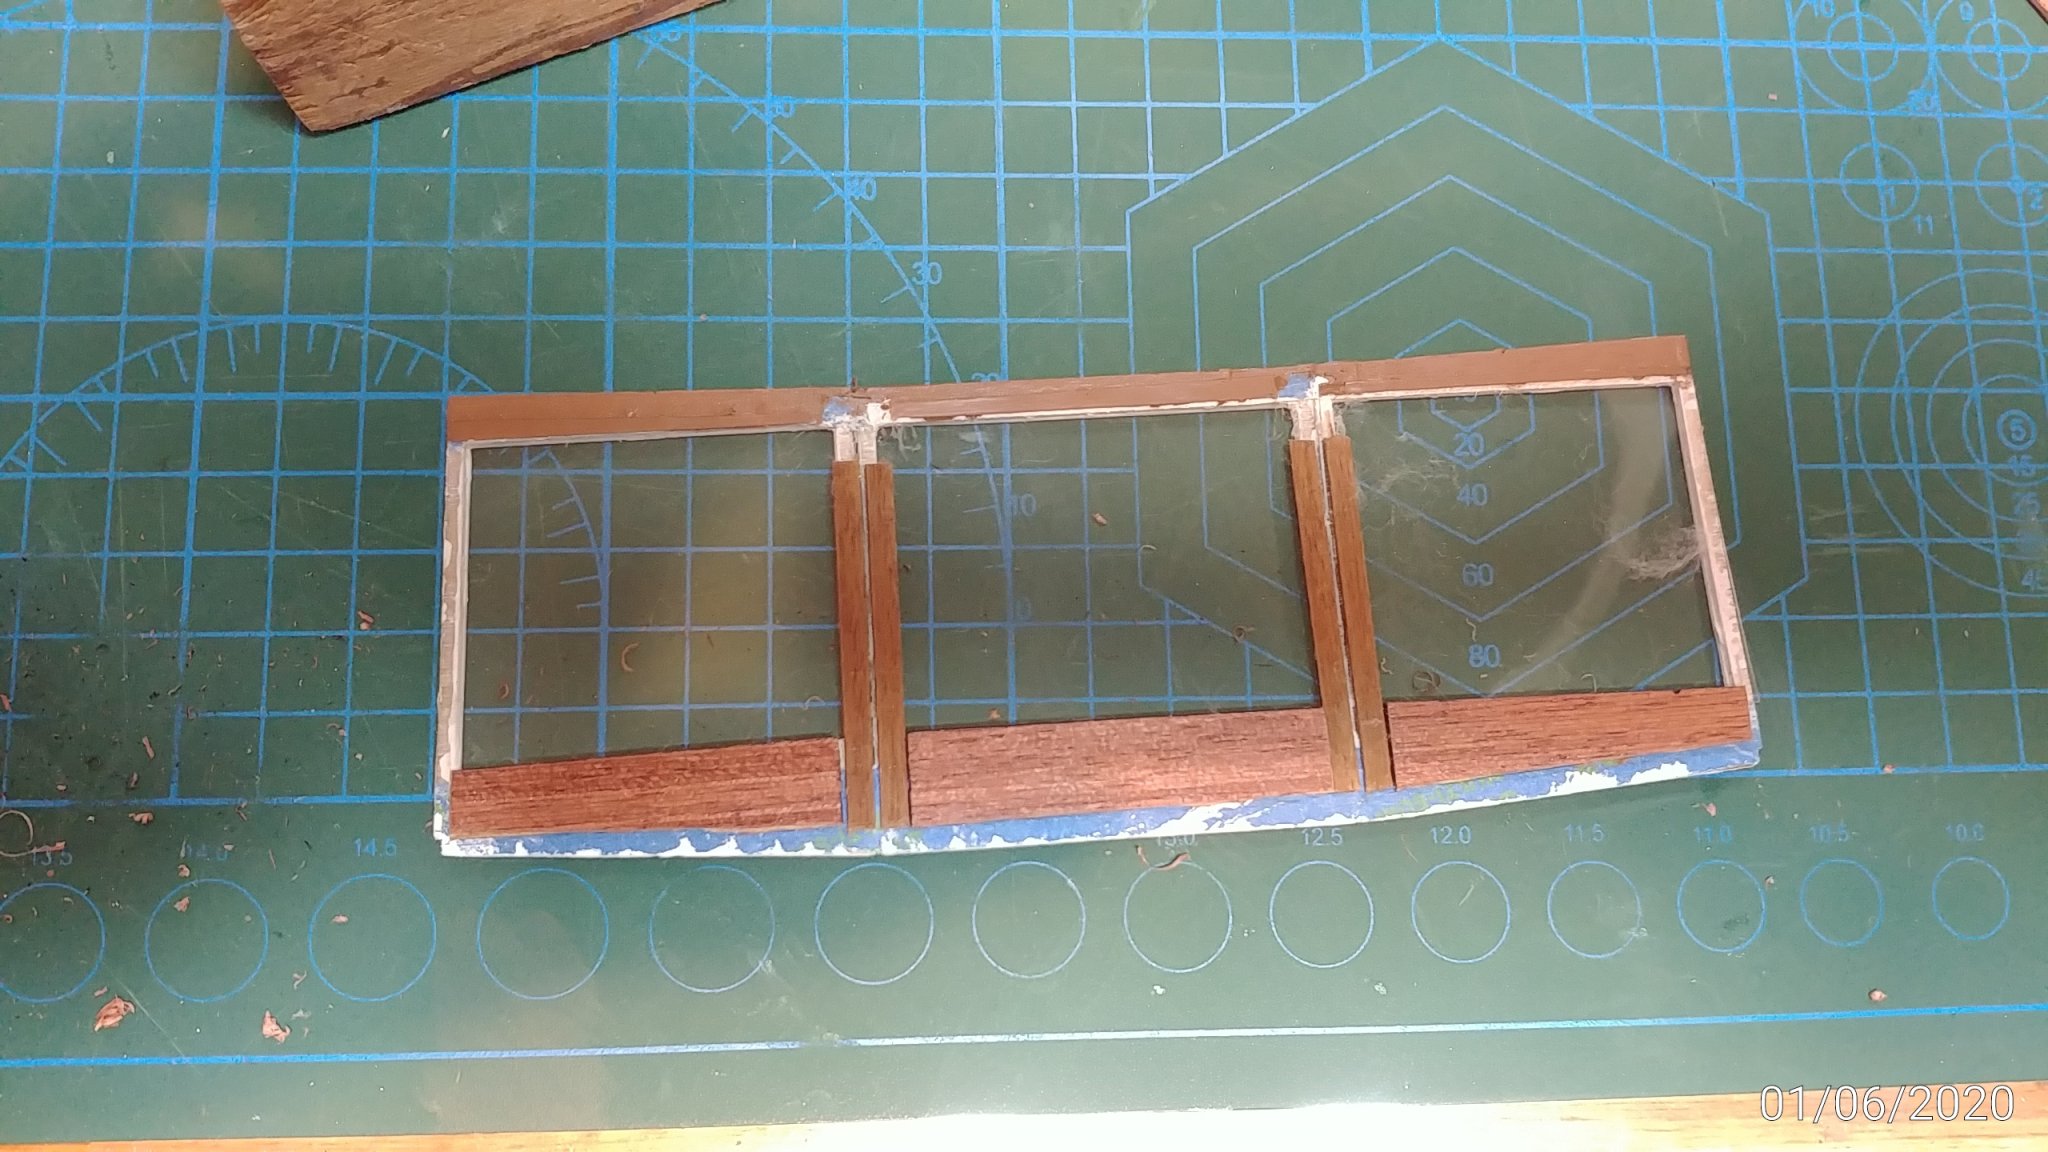
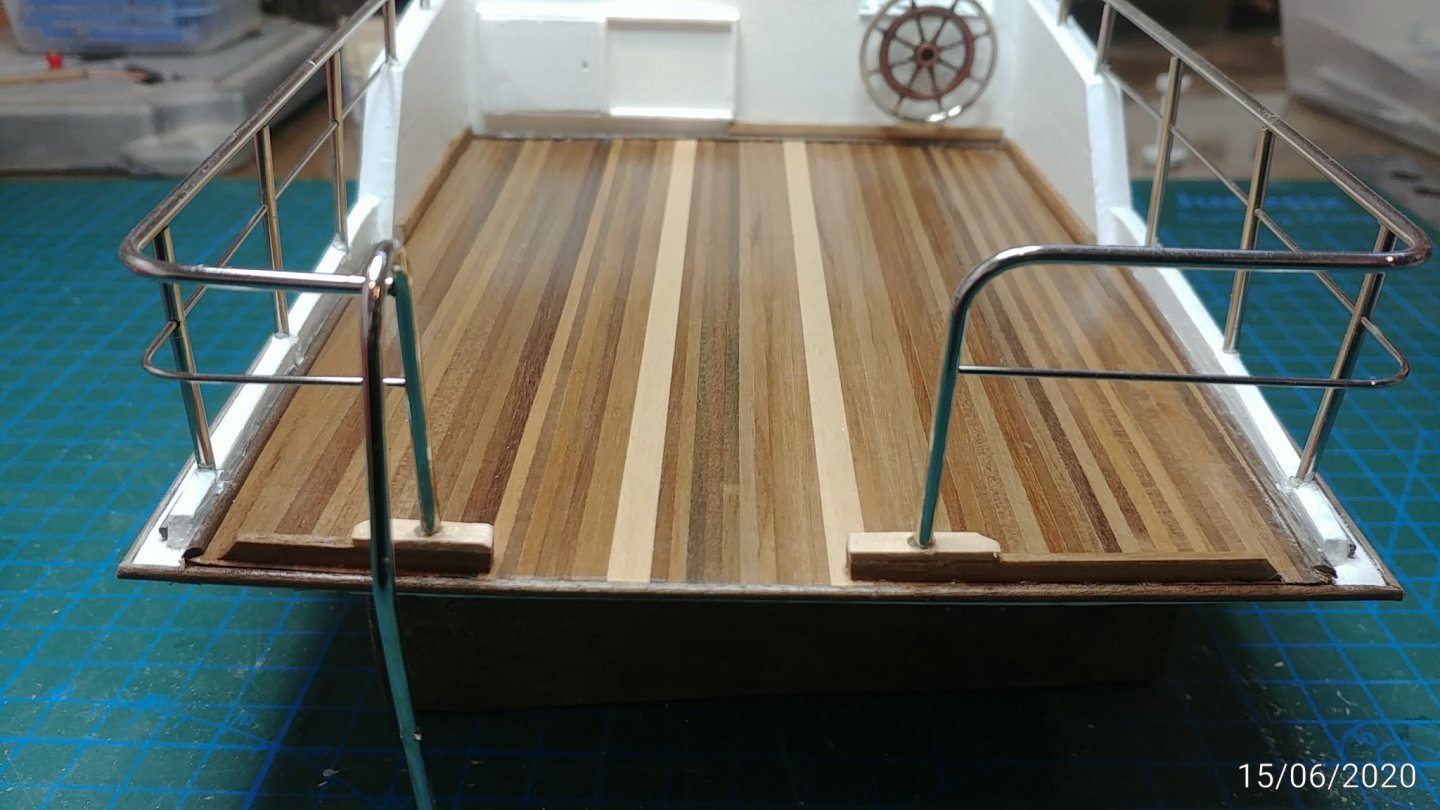
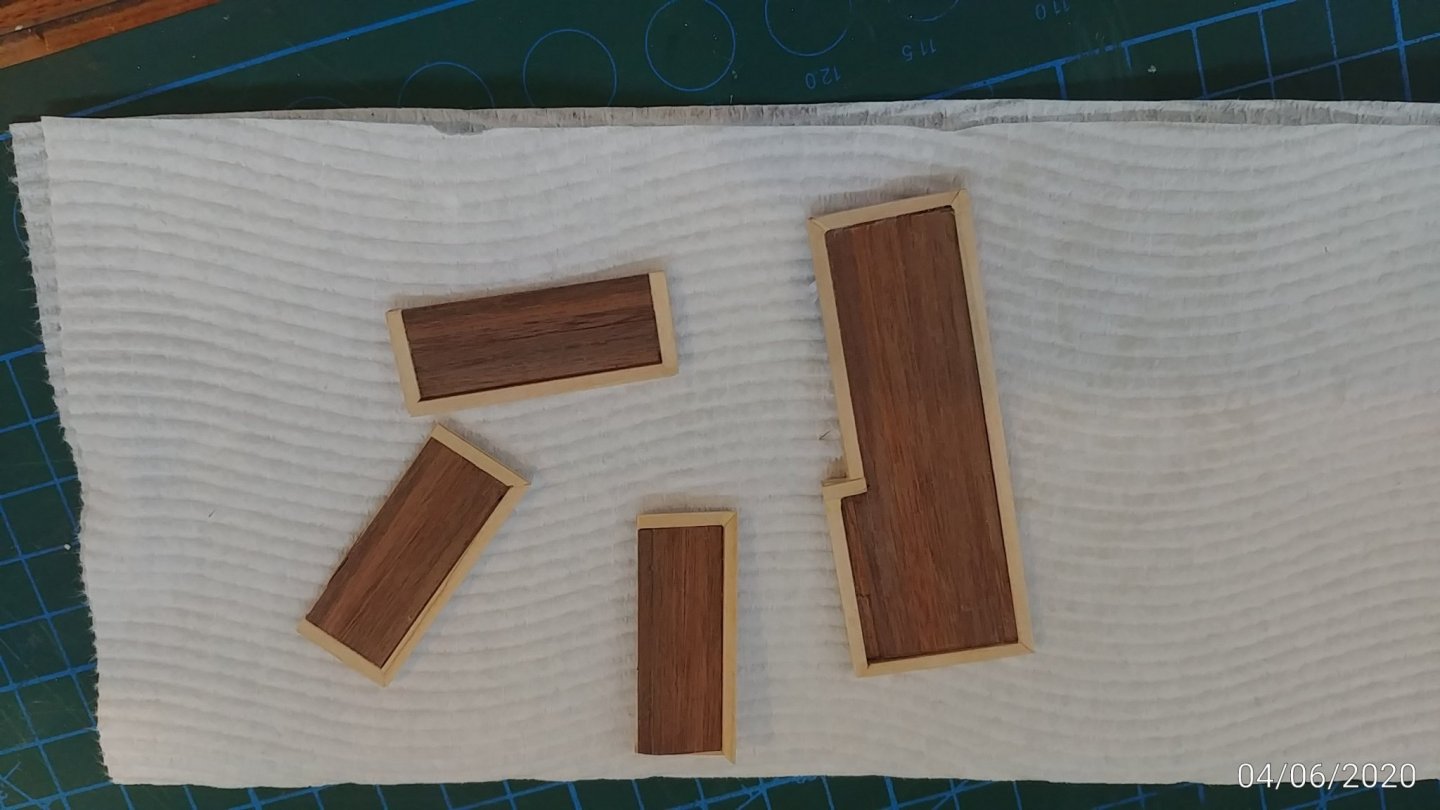
Tried to make the rear planked step treads the way they recommend but I found the supplied beech frames uncharacteristically flimsy and poor, and cutting the planked paper backing to fit was very difficult. In the end I planked the required shape on backing paper, trimmed it to shape, then built 2mm x 2mm blond wood edges mitred around the planking. Sounds more difficult but worked better for me.
- 91 replies
-
- 2
-
-
- amati
- grand banks 46
- (and 1 more)
-
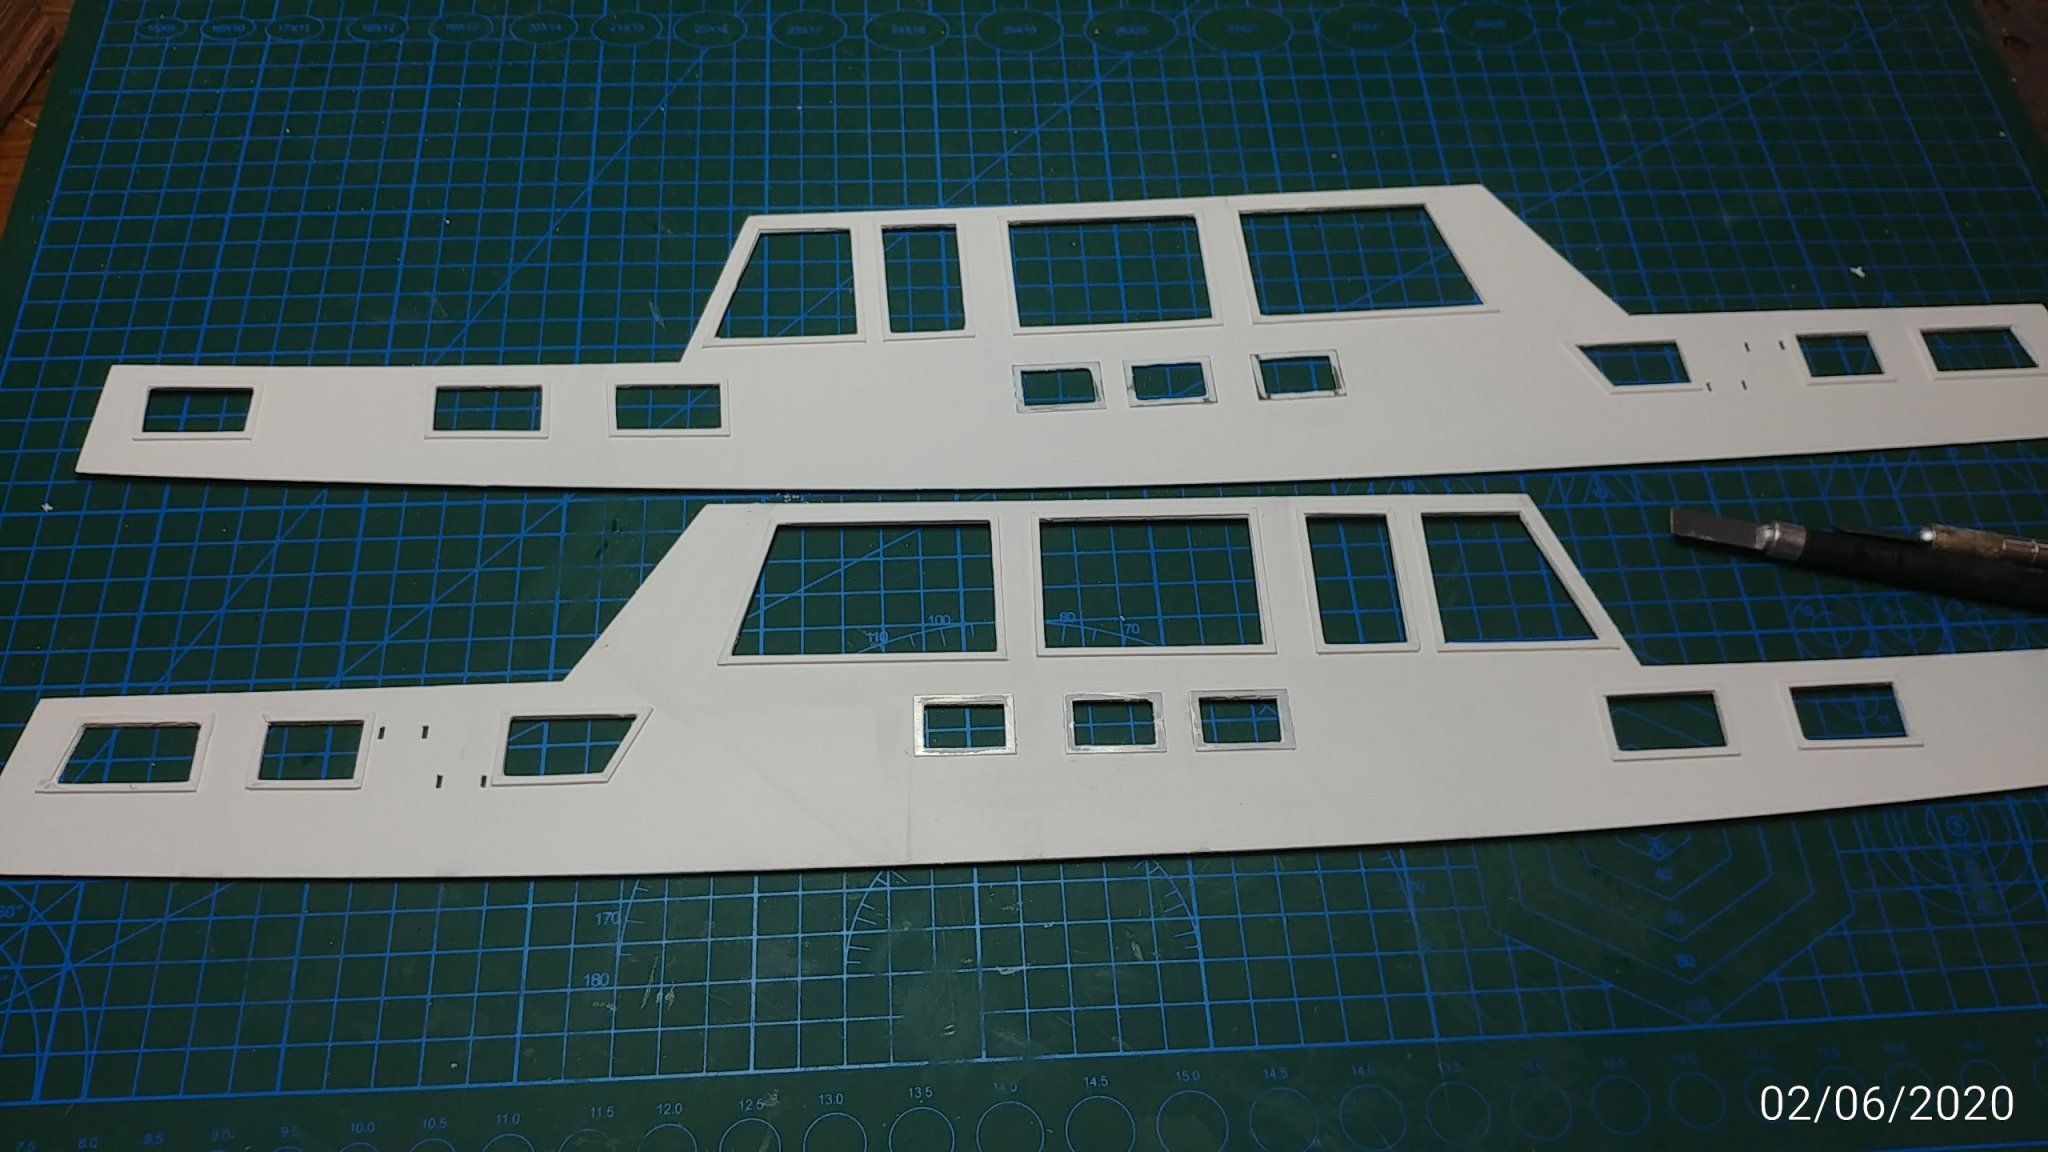
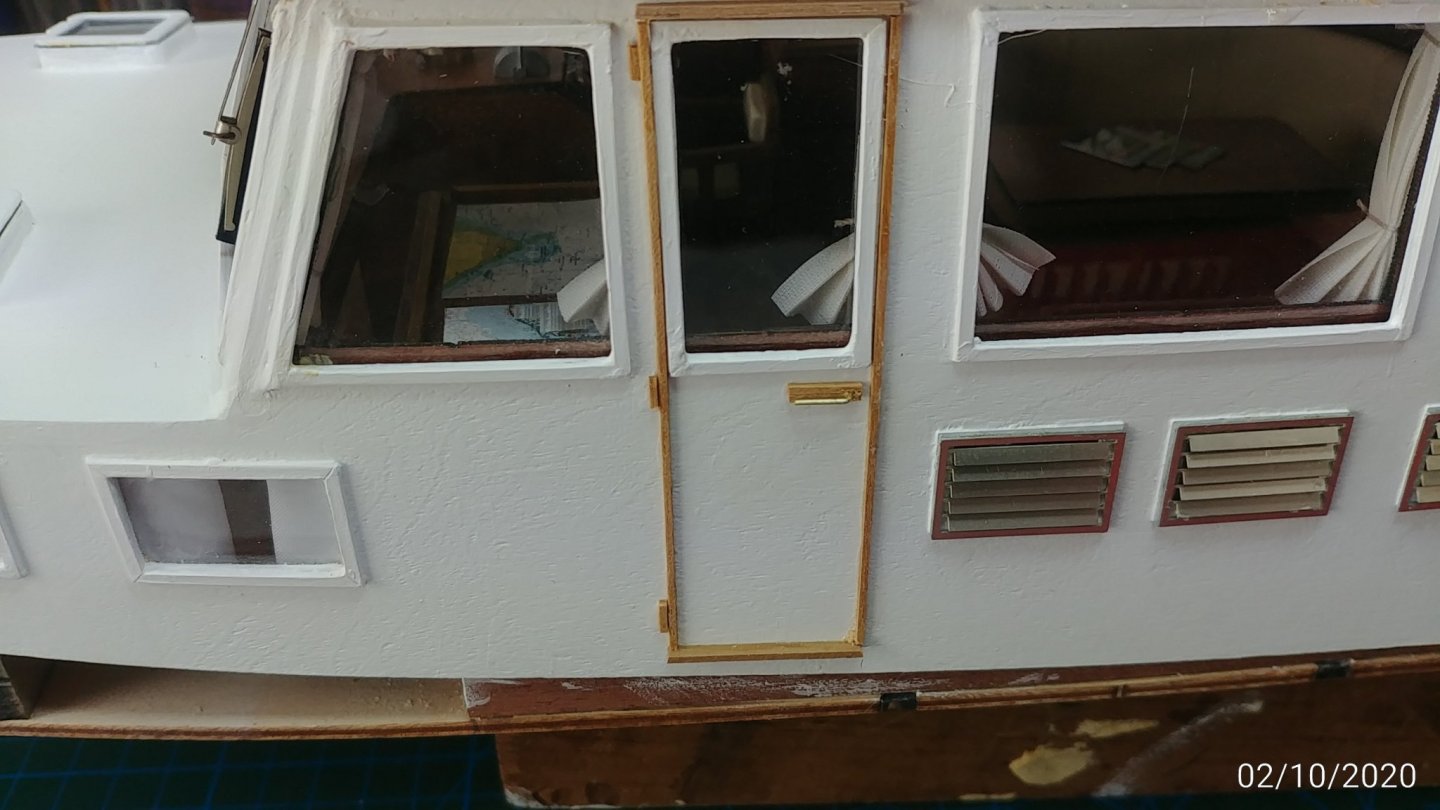
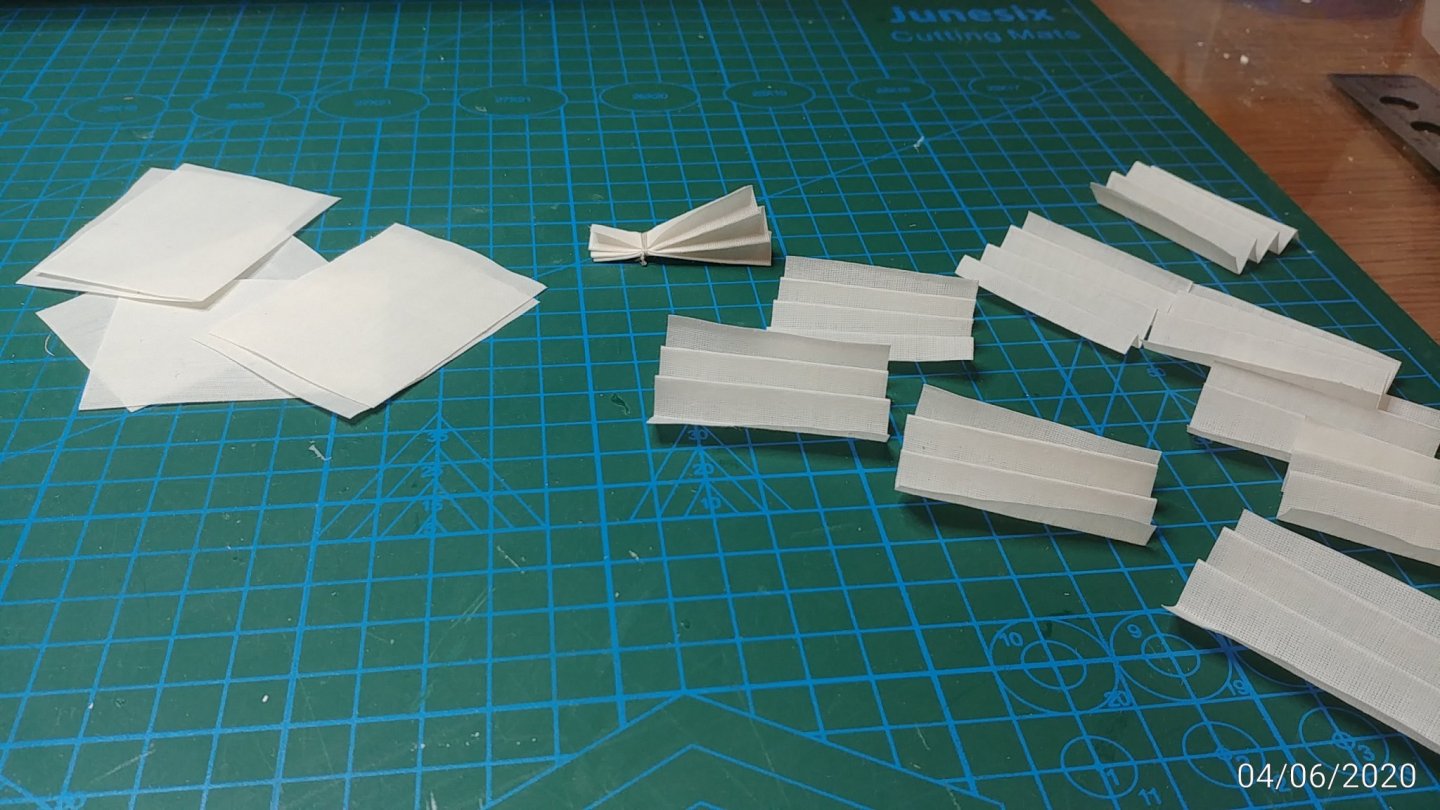
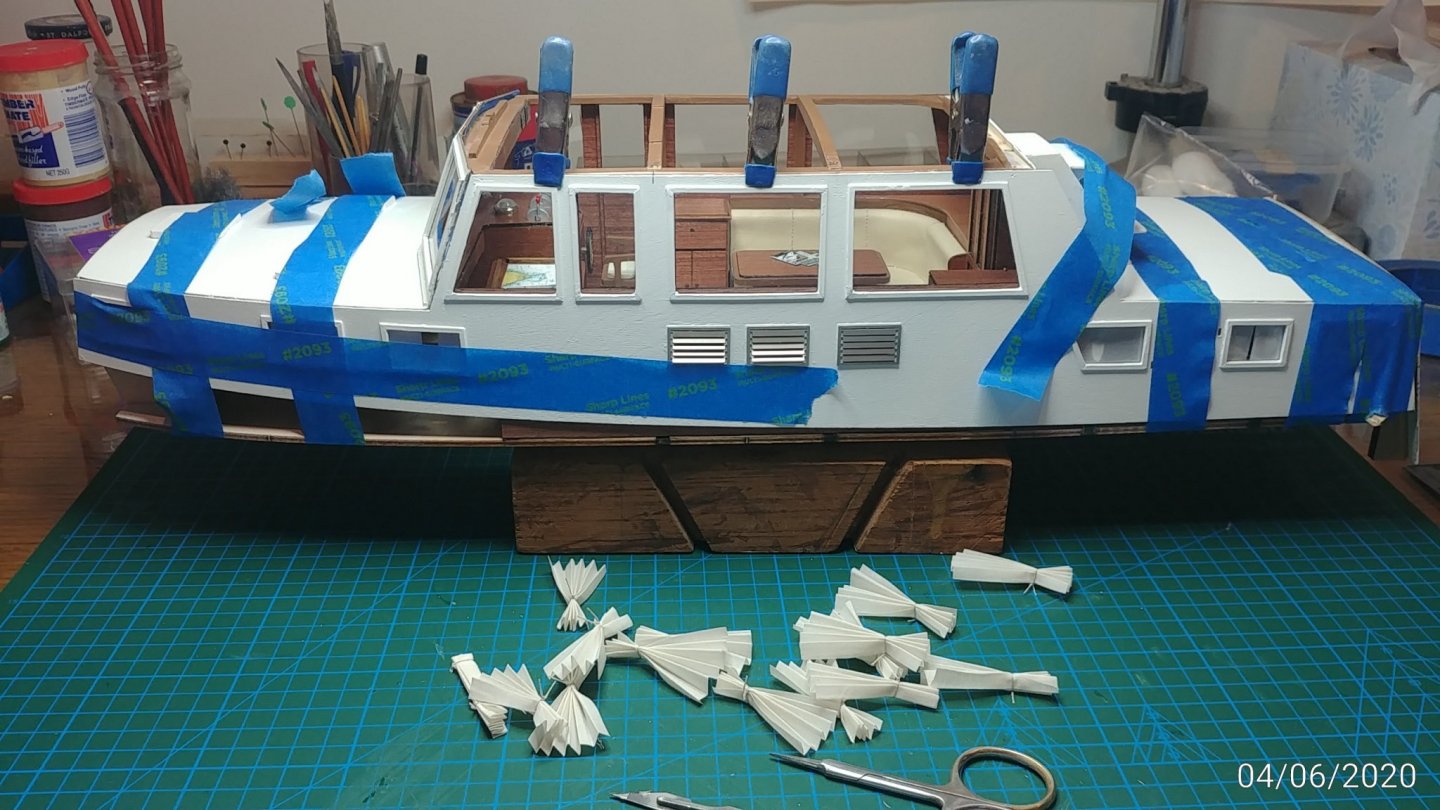
Made the curtains and they are installed. the recommended method worked really well for me. Paint the cloth with dilute PVA and cut and fold when dry...dead easy. The external cabin sides went on surprisingly well considering how big a part they are. The kit provides for white plastic angle strip to cover all the edges but I think it looks pretty ordinary so I am going to try to fair the edges well enough to just paint them without the edge strip. If I can finish them well enough that is.? Once again must say the parts fit very well with very little trimming if any at all.


- 91 replies
-
- 5
-
-
- amati
- grand banks 46
- (and 1 more)
-
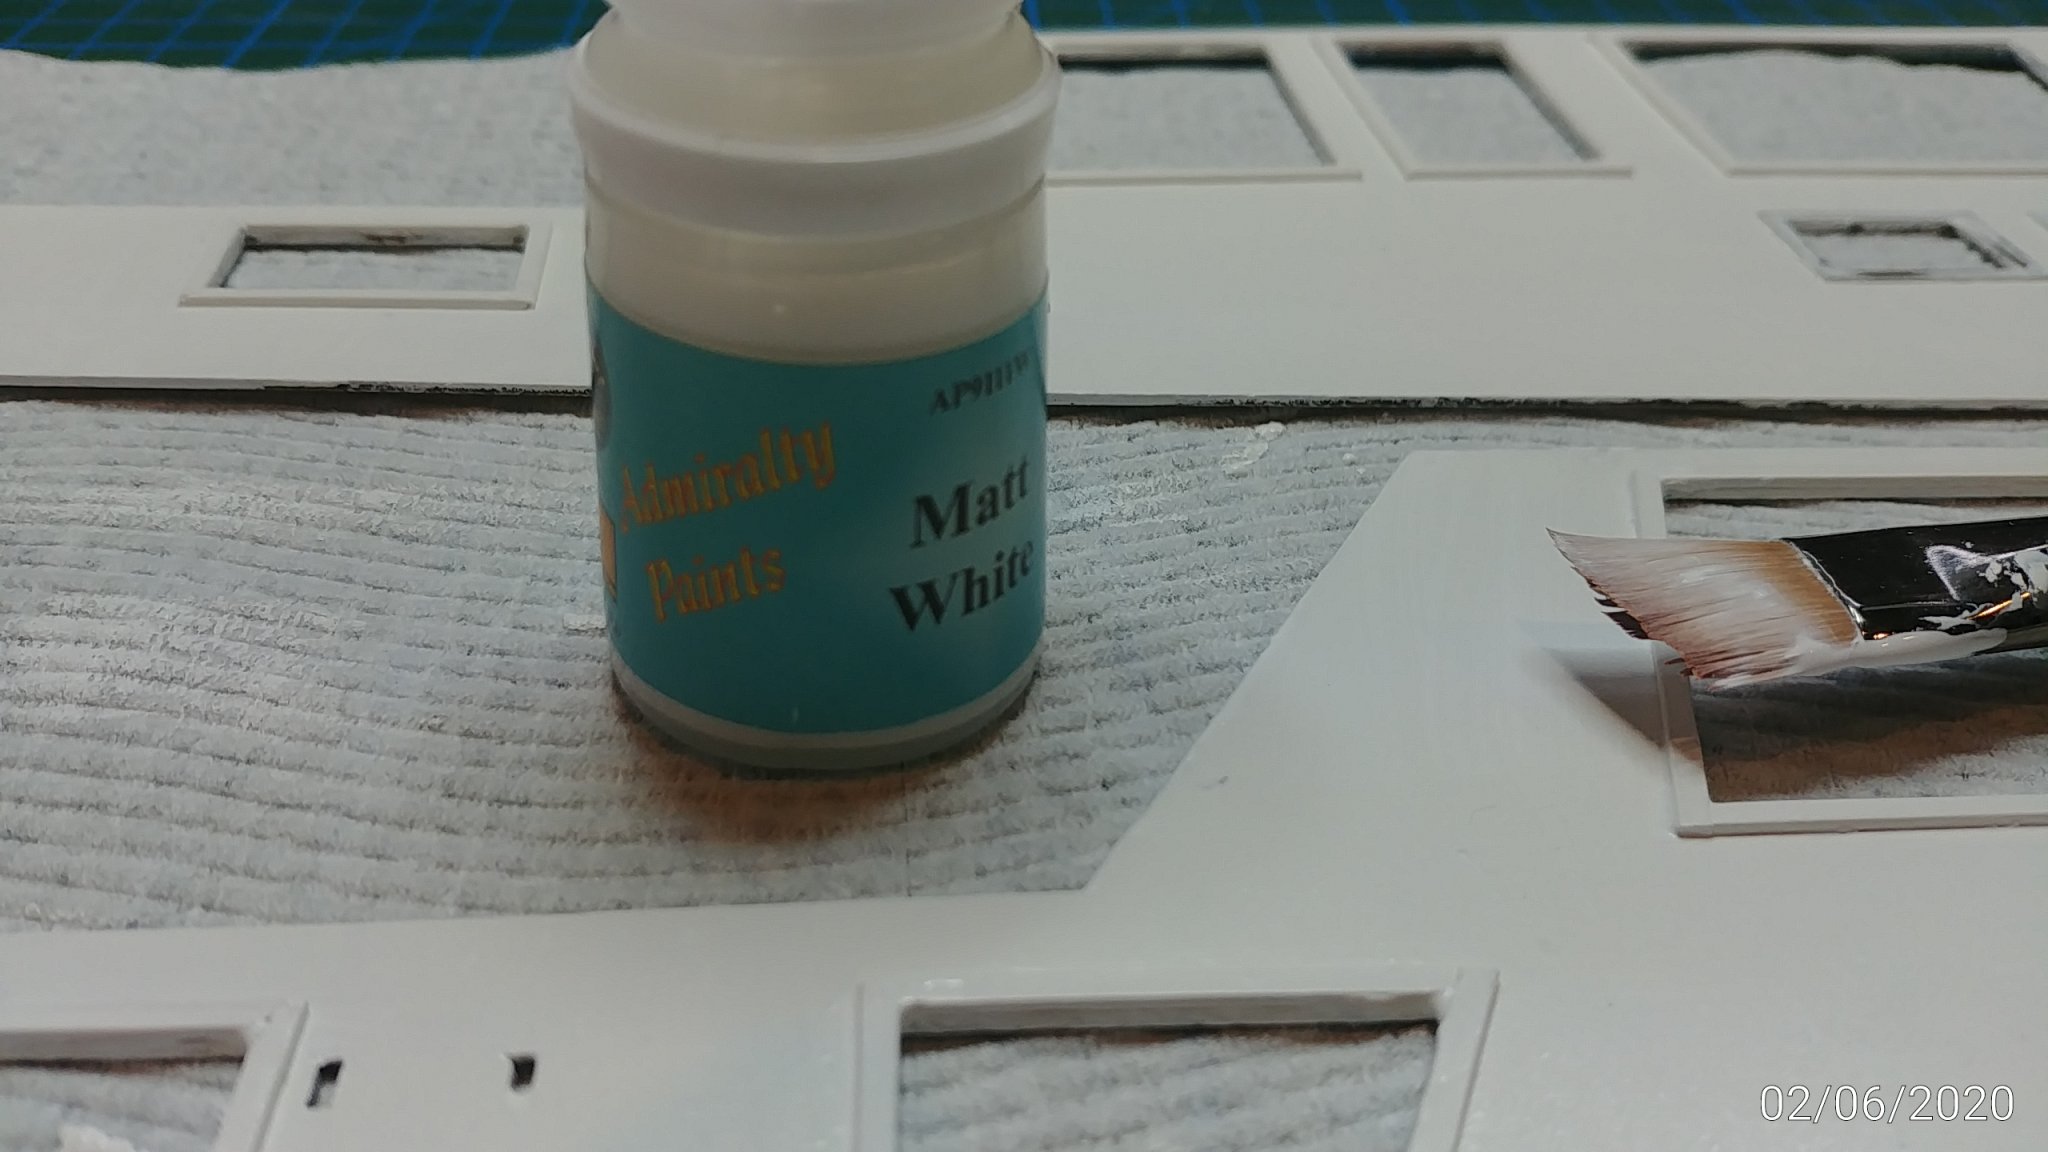
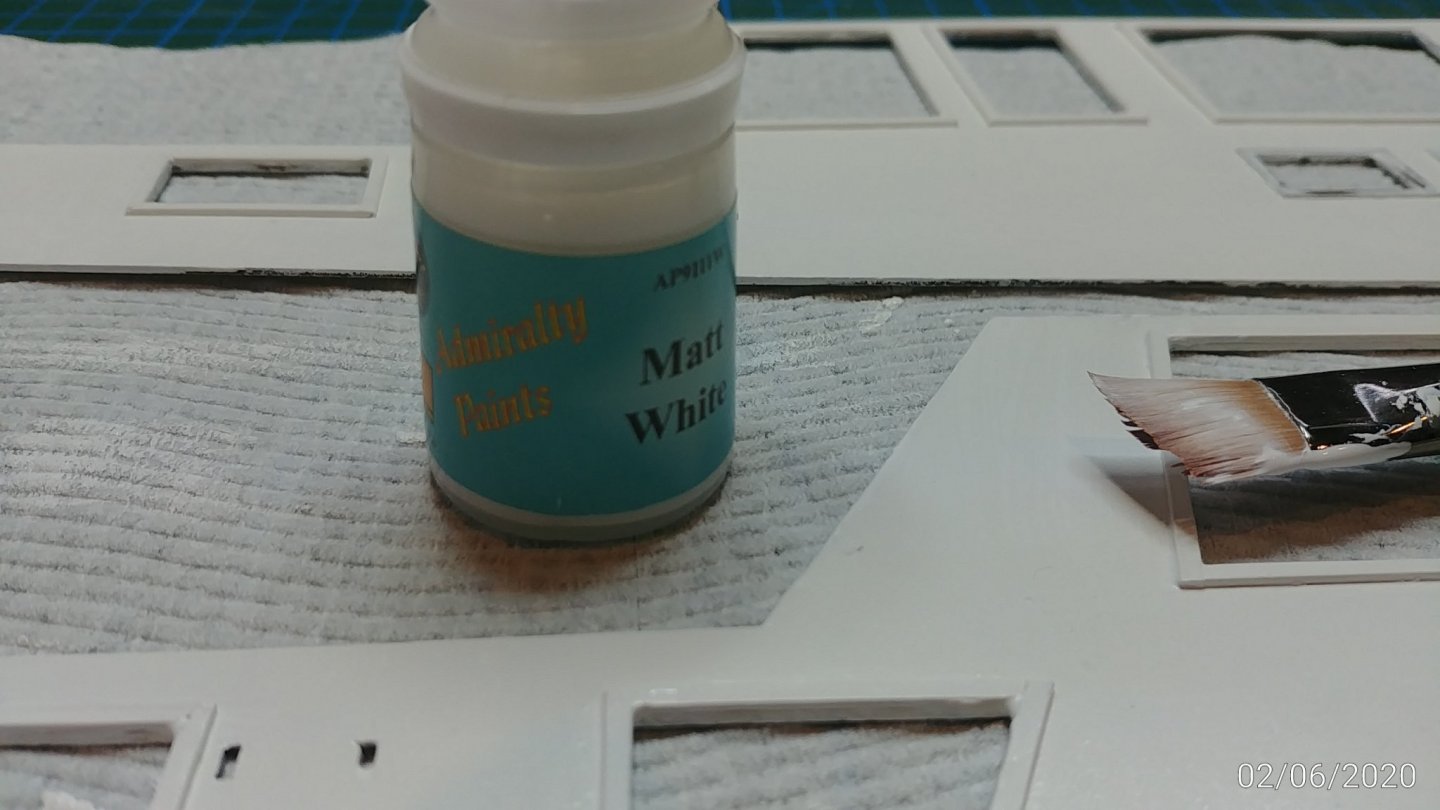
Just finished hand cutting 160 mitres in the window frames of the exterior cabin sides. Why dont I own a small mitre cutter..? Still the corners are reasonably neat after a visit from No More Gaps. Painting with Admiralty Heritage paints...Matt White. Love their paint, much better opacity than Tamiya or Lifecolour in my opinion.

- 91 replies
-
- 4
-
-
- amati
- grand banks 46
- (and 1 more)
-
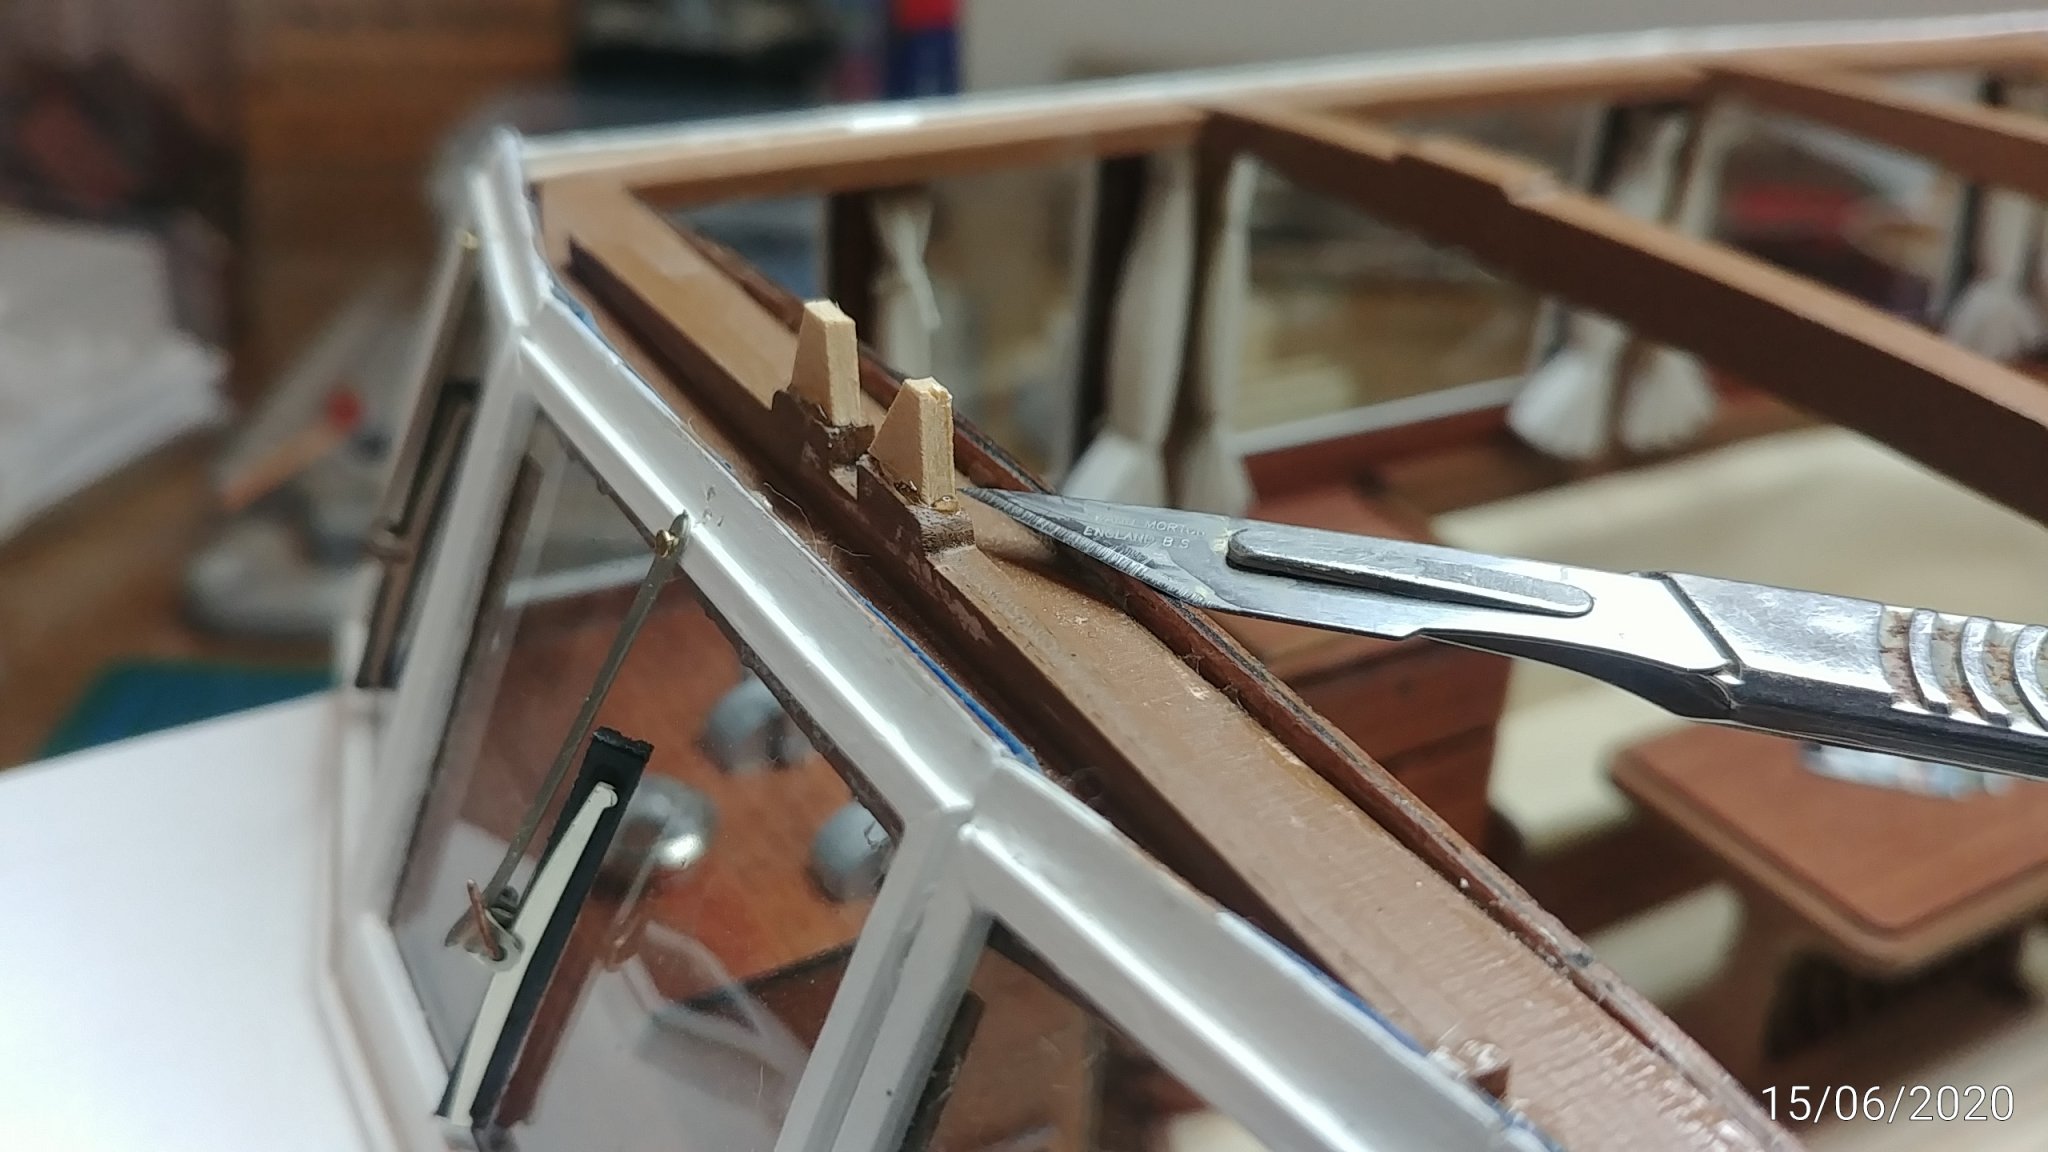
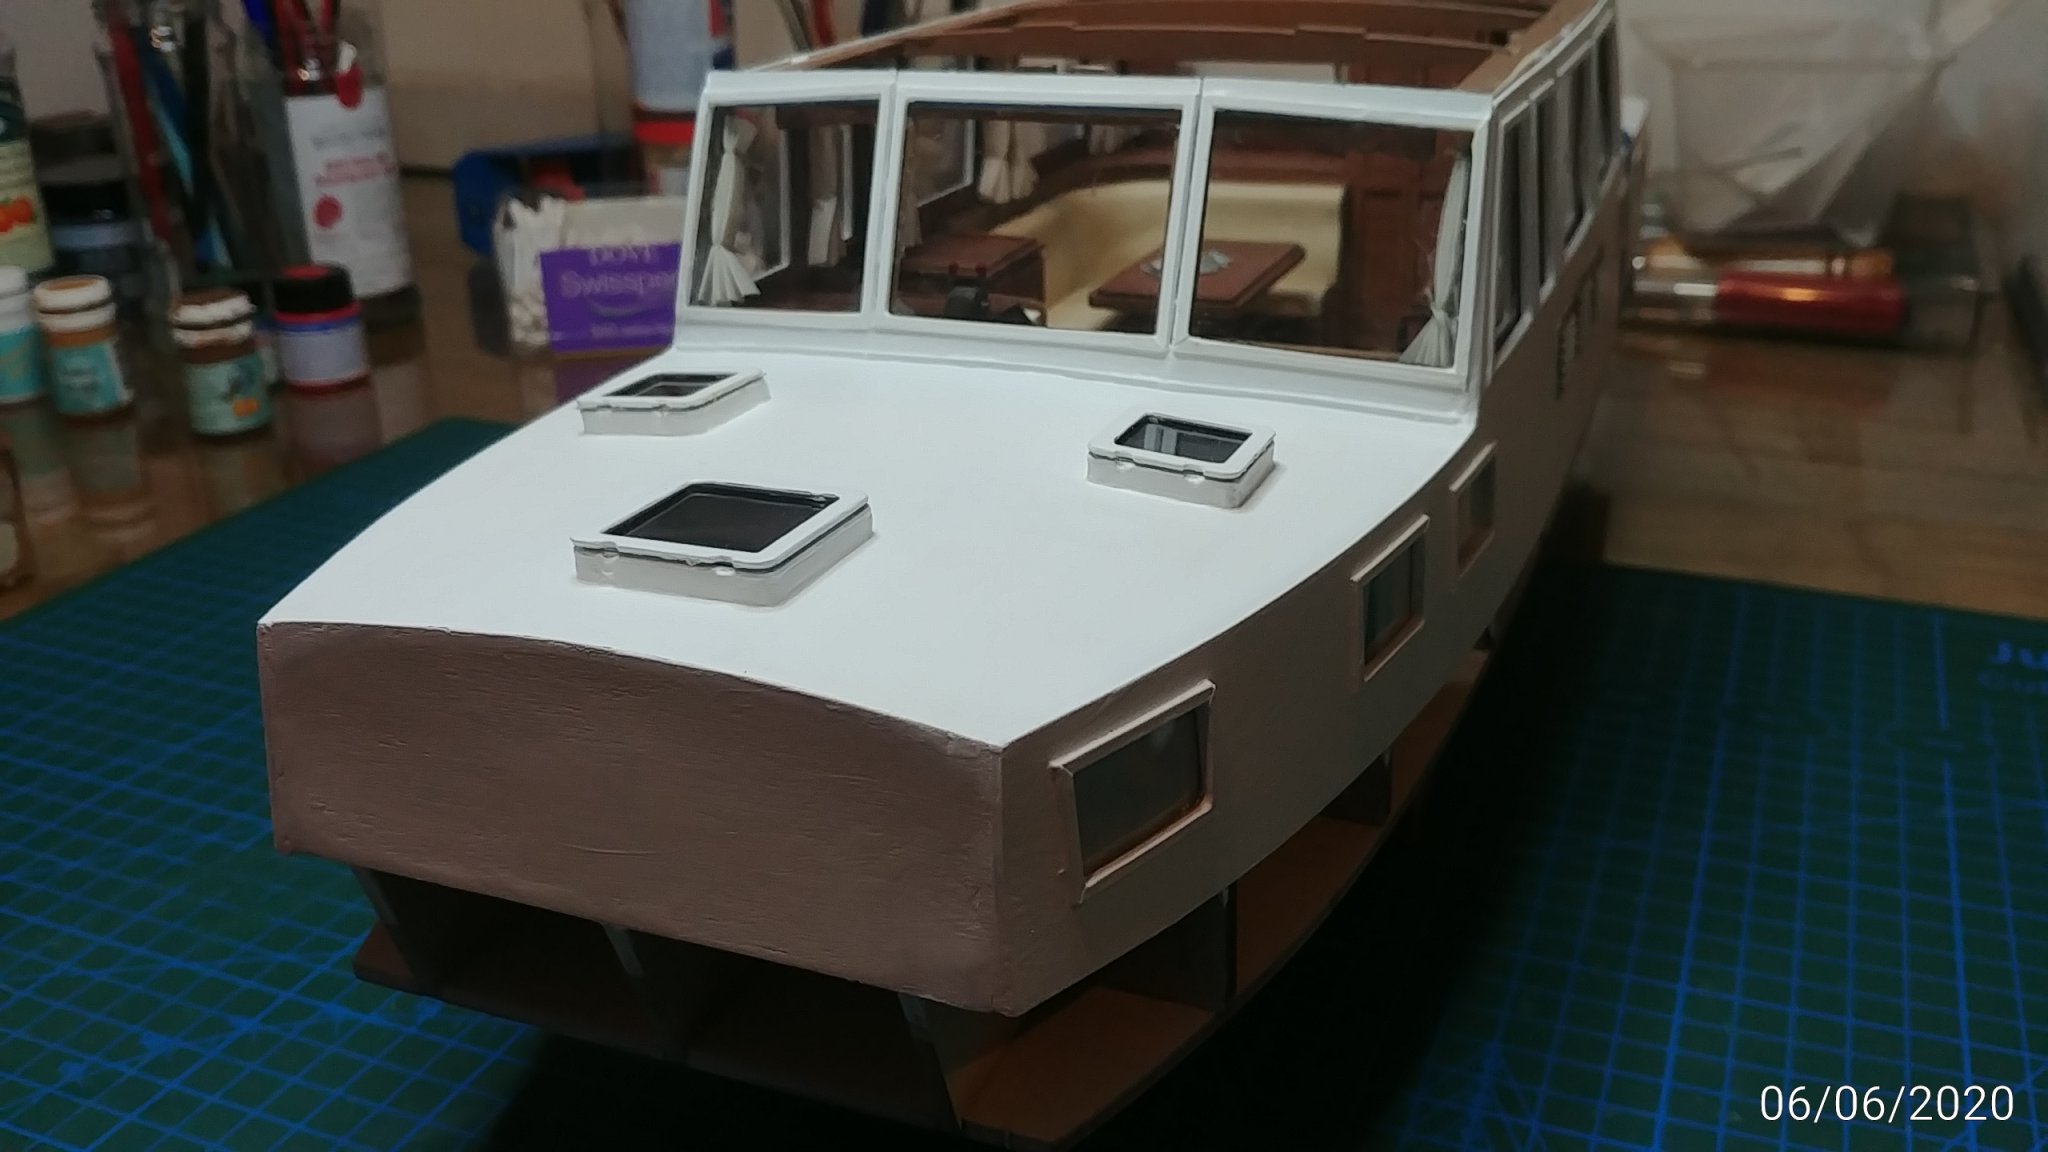
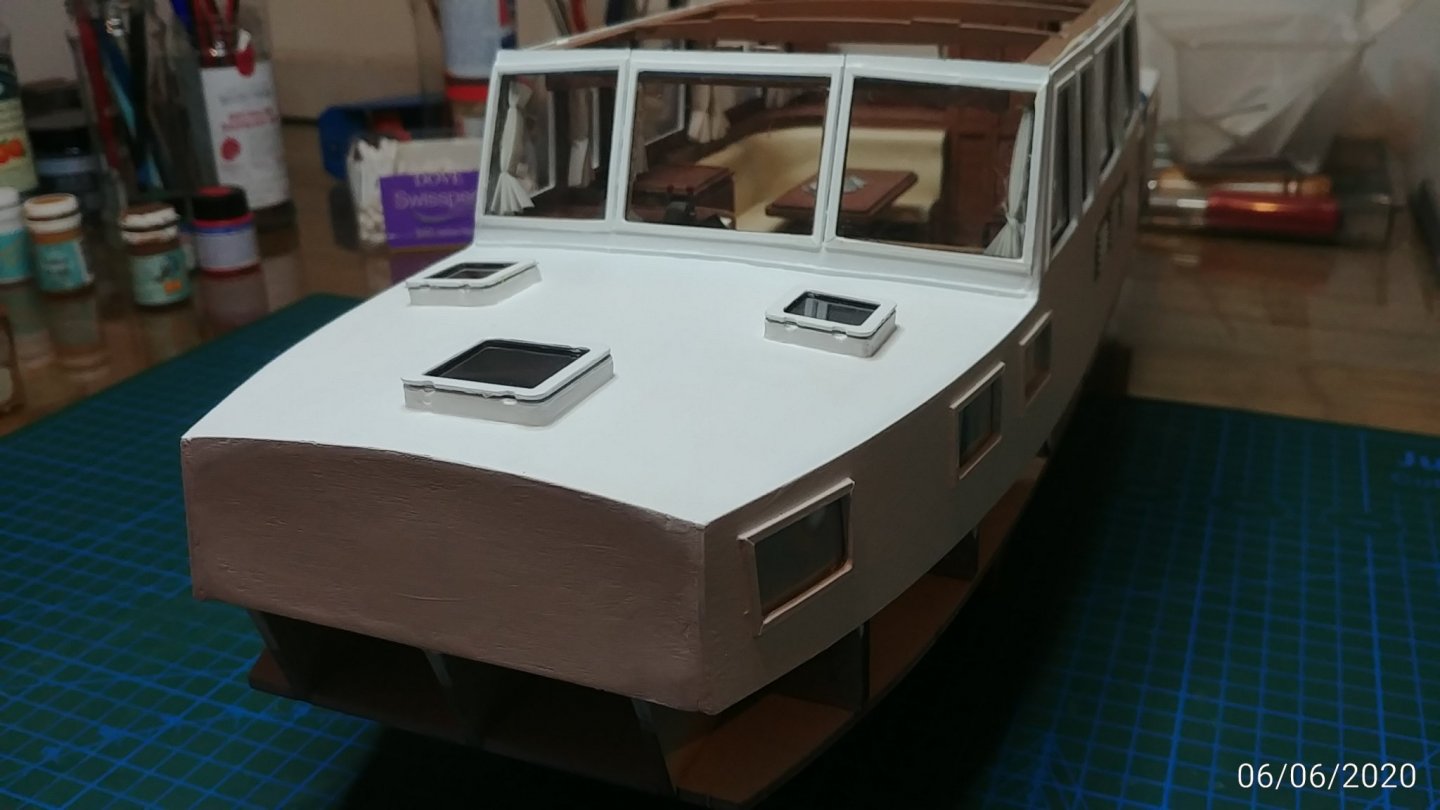
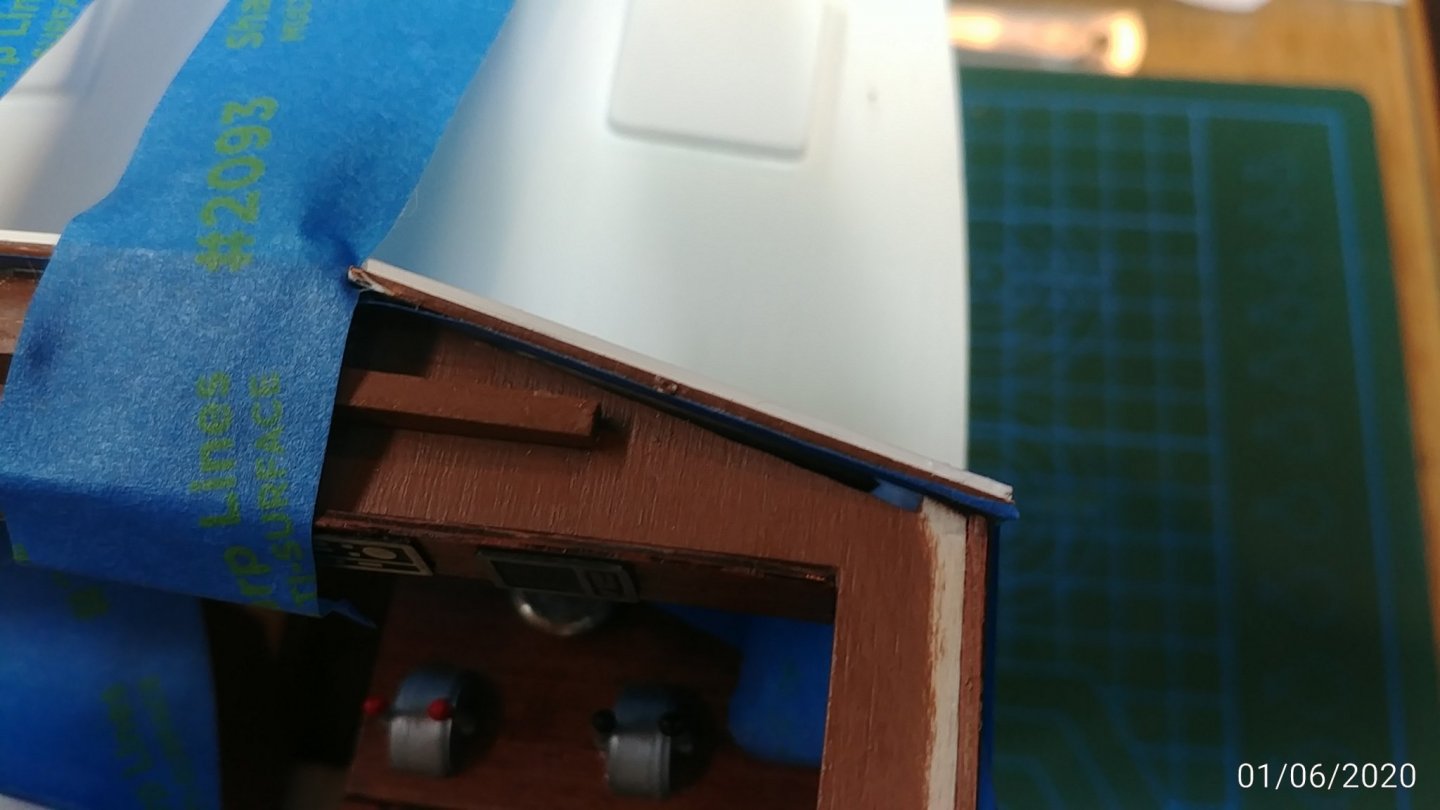
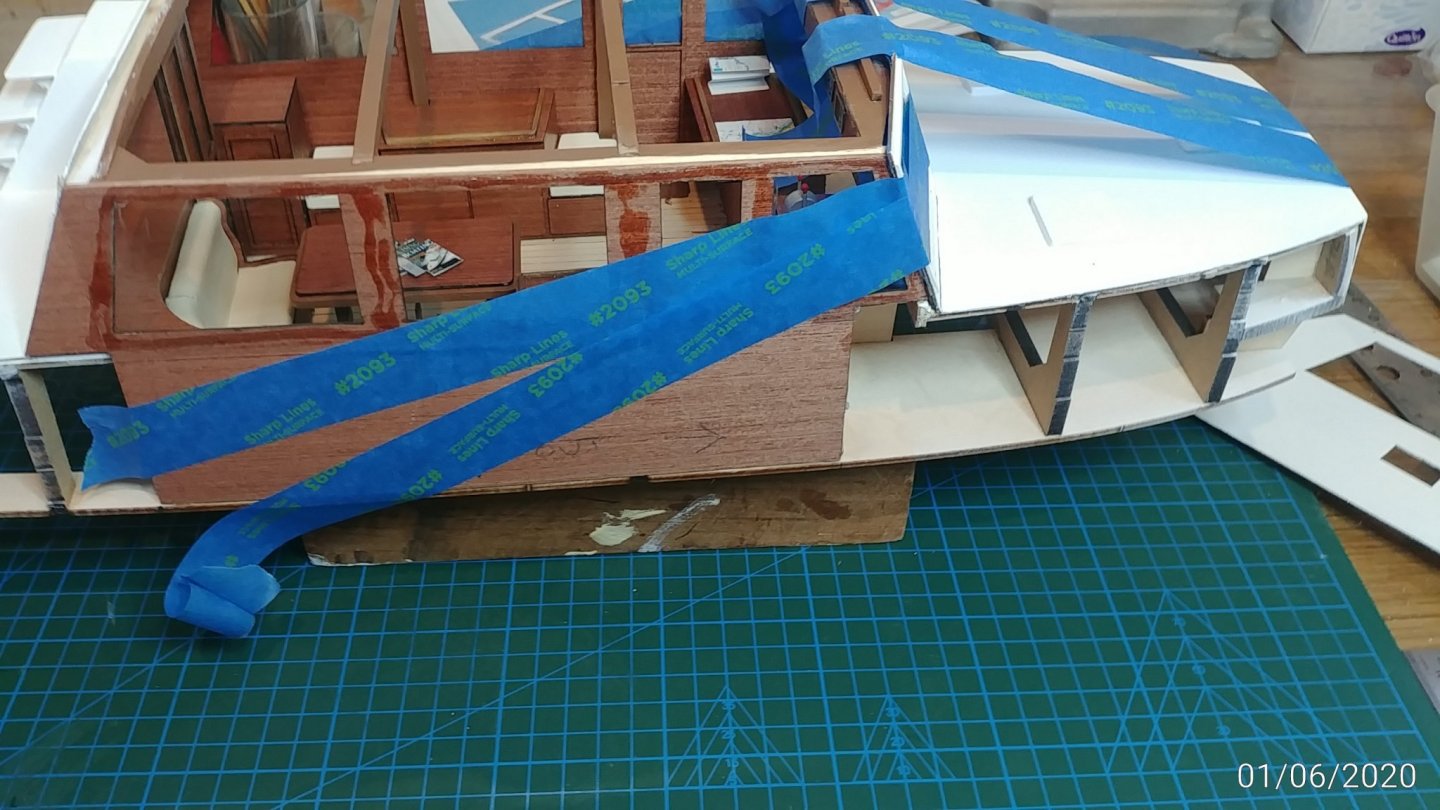
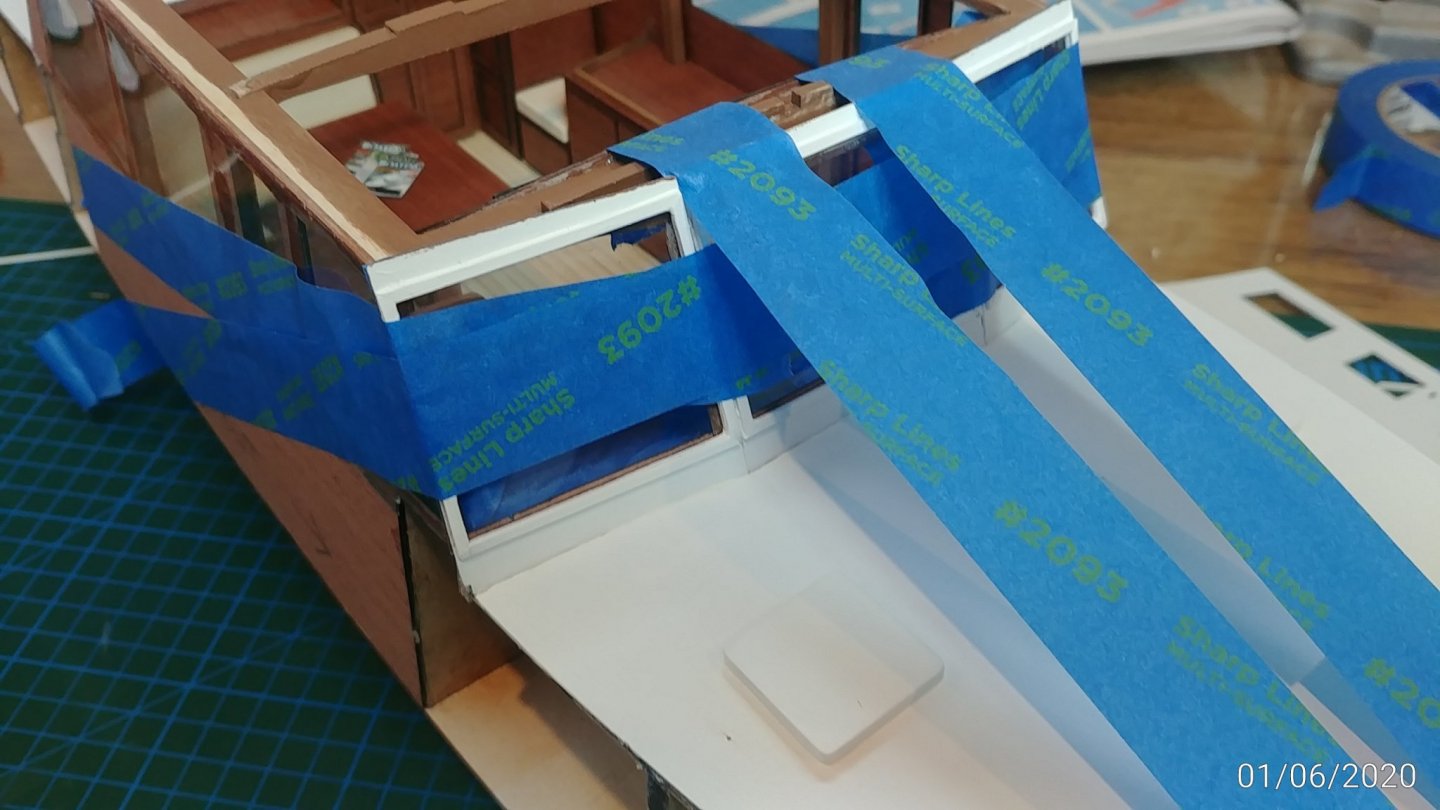
Notes on fitting the windscreen First photo below shows a cutout area on the roof crossbeam (17) which suggests the windscreen should rest there... believe me it does not. I cant work out why the part 17 is shaped like that but the outer window frames rest on the small corner pieces which stick out from the ends of this beam. If you cut the windows down to fit in this recess then they would never meet the side walls.The very small corner cutouts on the bottom corners of the outer frames accommodate the external side panels where they go past and should have their vertical sides aligned with the edger of the foredeck. The windscreen is tricky as you would expect, keep the tape attached right through installation top and bottom or you are likely to lose it. The tape is not visible. In the end the windscreen fits pretty well against the cabin walls and the roof and foredeck.
- 91 replies
-
- 6
-
-
- amati
- grand banks 46
- (and 1 more)
-
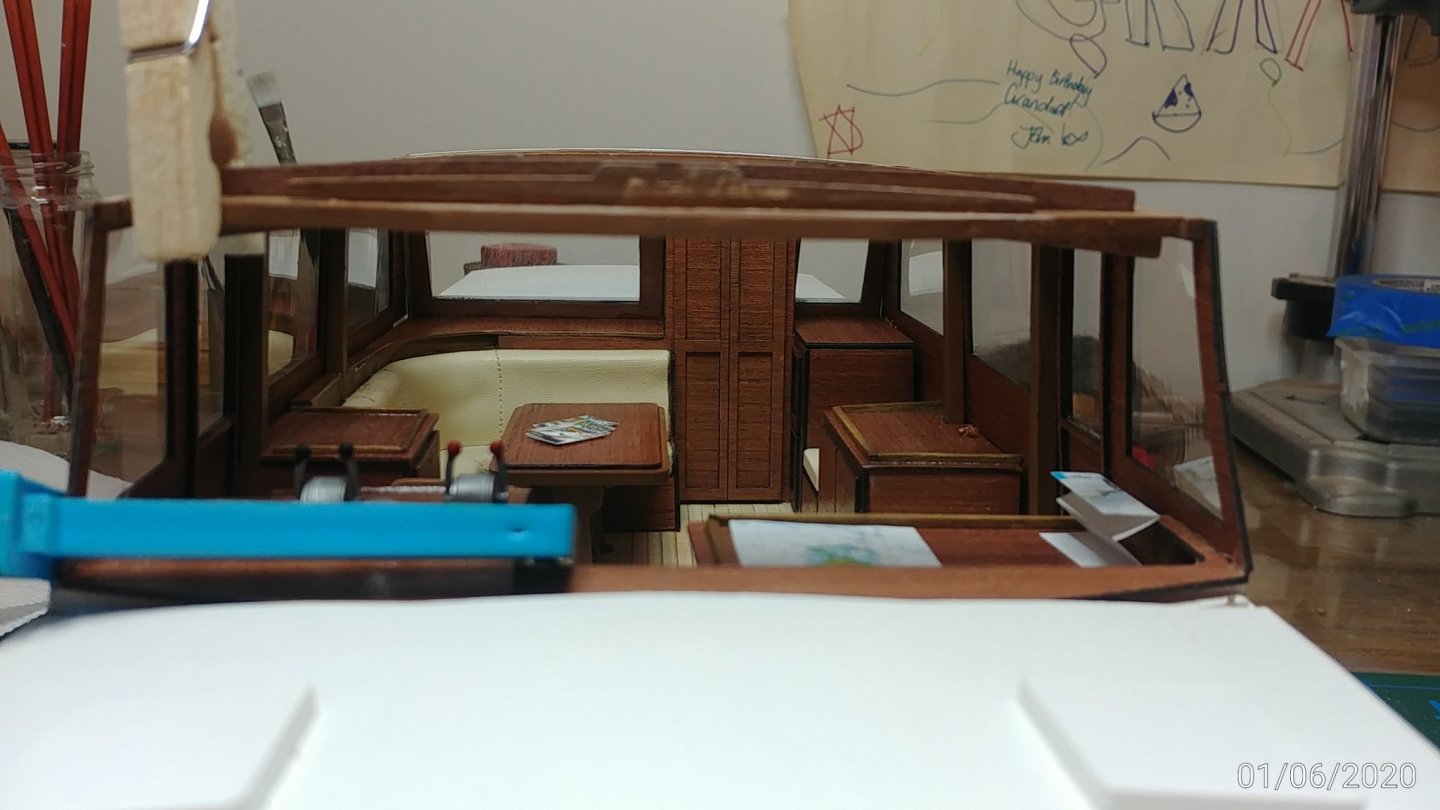
Fitting Windscreen Be sure to allow enough clear space below the lower interior mahogany finish panels and the bottom of the window frame so the frame will fit into the deck slot and the interior trim sits neatly on top of the dash panel. Also need to trim the vertical intermediates at the top

- 91 replies
-
- 5
-
-
- amati
- grand banks 46
- (and 1 more)
-
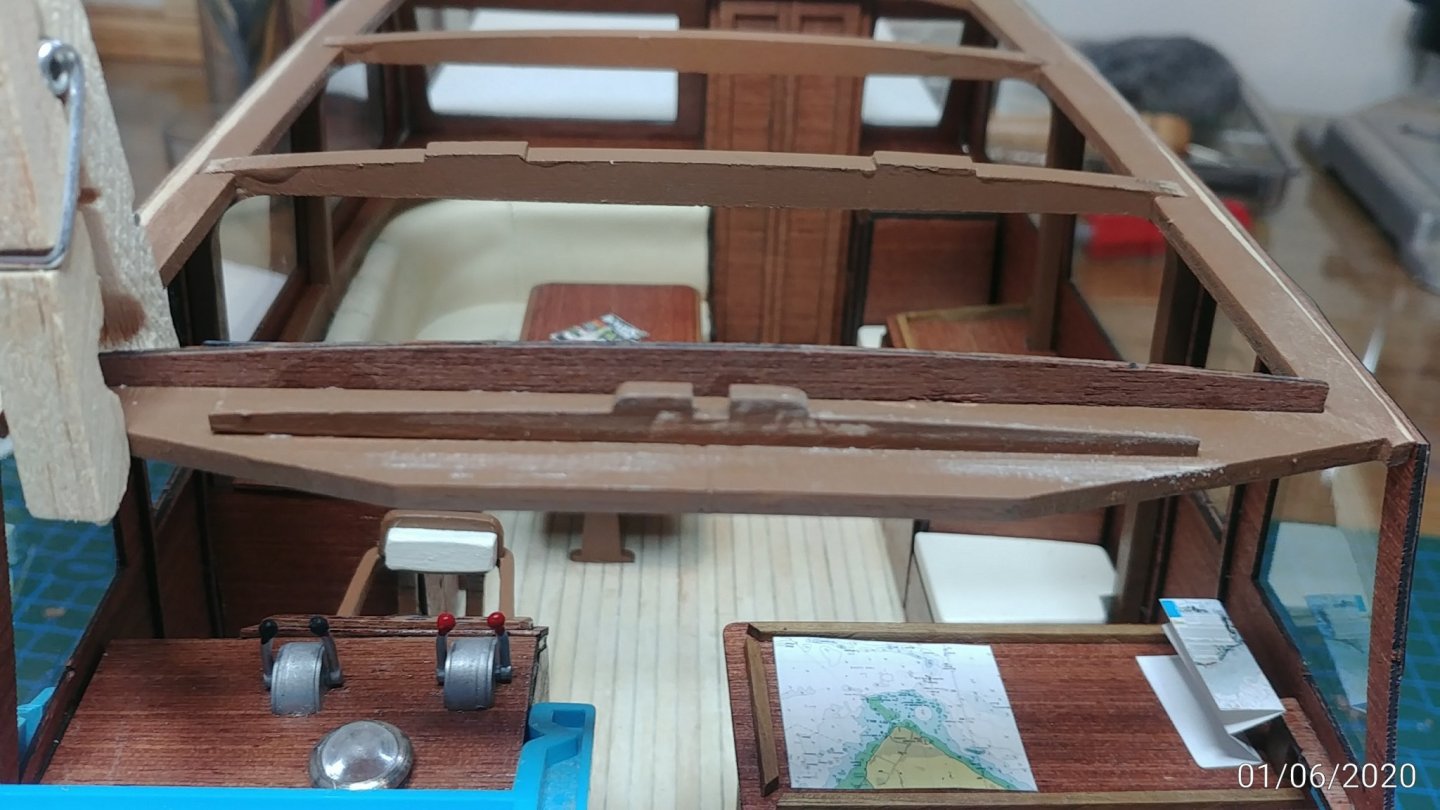
Notes on overhaed instrument panel 169 For me it stopped the roof from engaging with the locating tabs on part 19 so needed to be modified by removing the end tabs and attaching to the overhead beam in a lower position than instructed. This shows it in the original position.
- 91 replies
-
- 5
-
-
- amati
- grand banks 46
- (and 1 more)