HOLIDAY DONATION DRIVE - SUPPORT MSW - DO YOUR PART TO KEEP THIS GREAT FORUM GOING! (Only 72 donations so far out of 49,000 members - Can we at least get 100? C'mon guys!)
×

Hill202
-
Posts
114 -
Joined
-
Last visited
Content Type
Profiles
Forums
Gallery
Events
Everything posted by Hill202
-
 Thanks Brian, I saw where you pinned them. I agree it's a good idea. I definitely plan on doing it.
 -
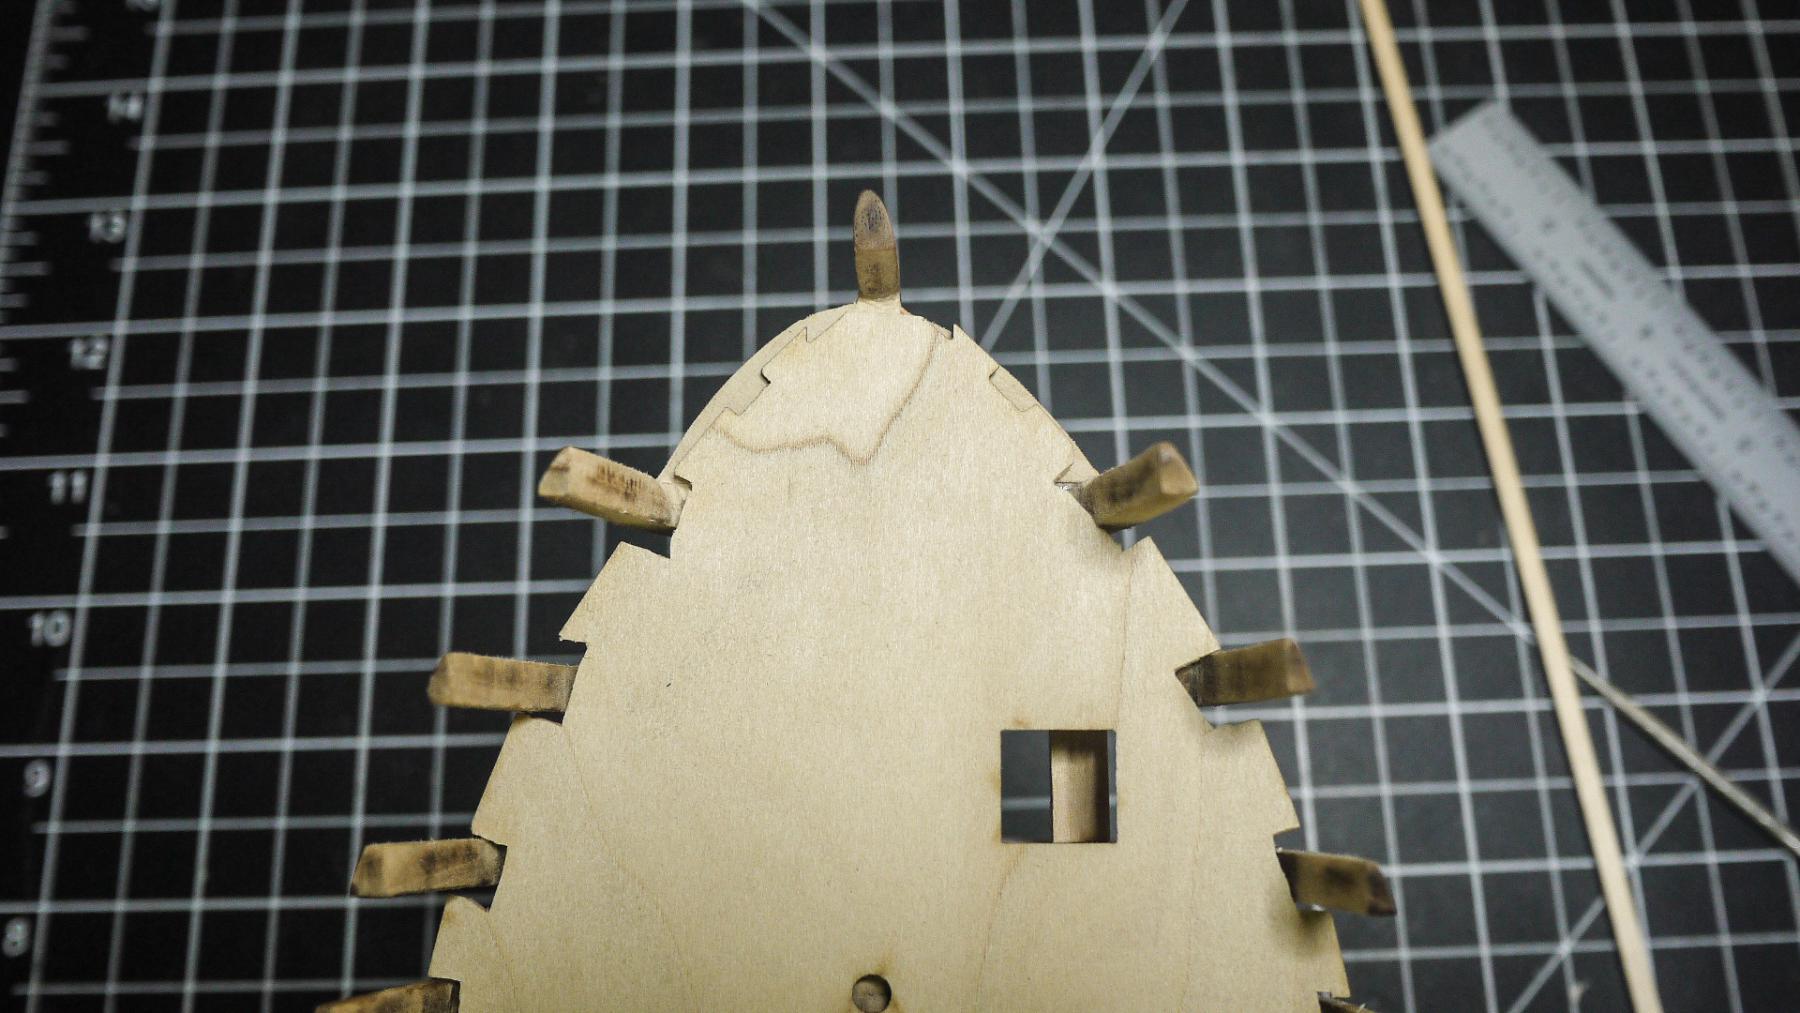
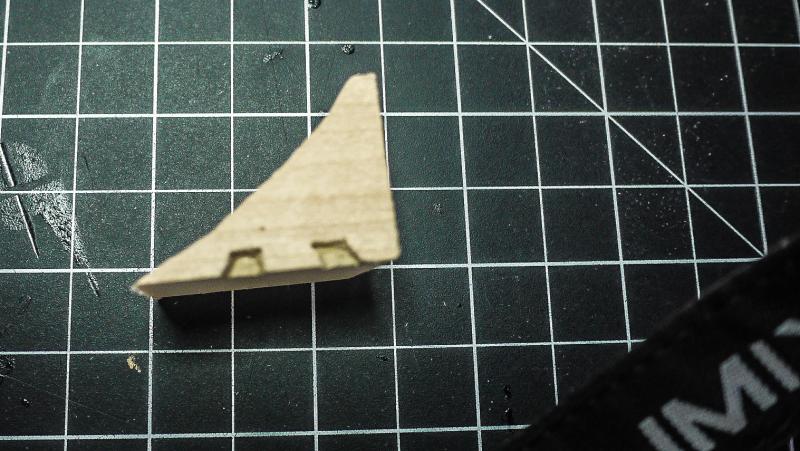
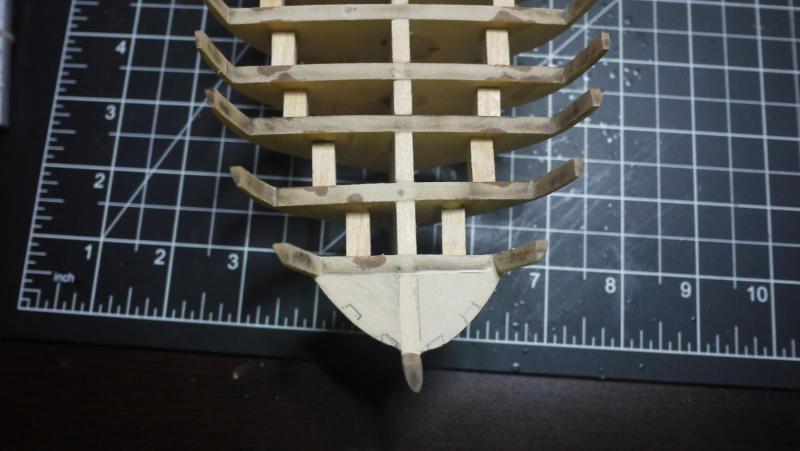
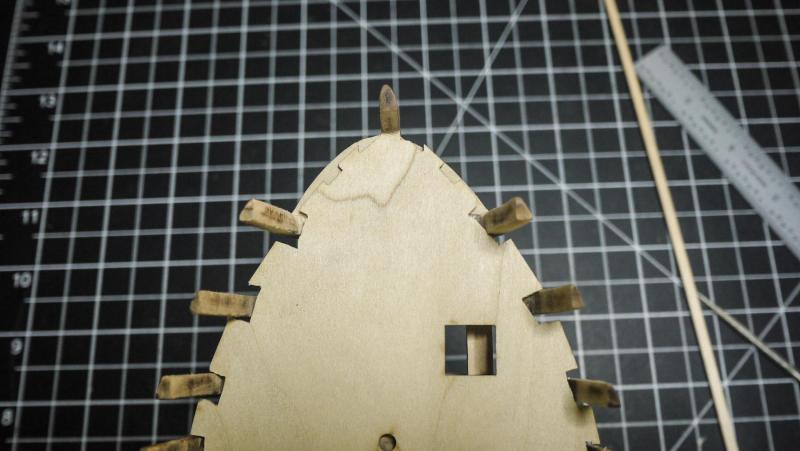
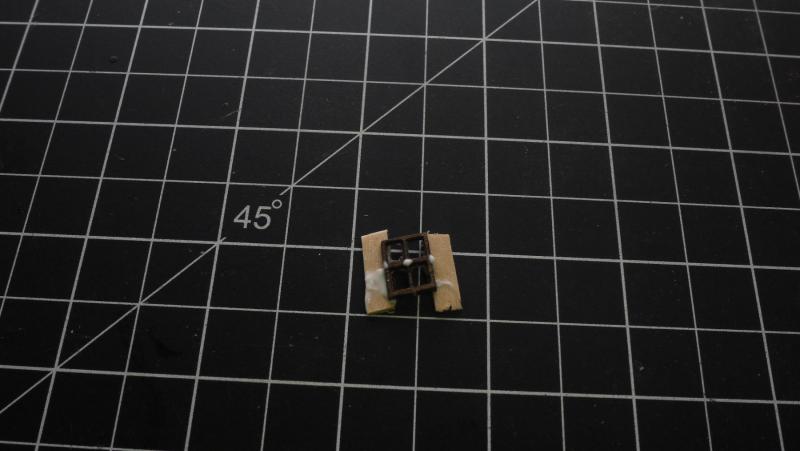
The notches are cut. I think wood filler and a little adjusting will correct any issues. I also included a pic of my practice rabbet. I realize it was just 4 simple notches. I'm just trying to heed the advice to slow down. I think I'll wait to glue the deck down until after the posts are installed and then just trim the deck to the posts.
-
One small obstacle I have been having, is the lack of scrap basswood. My experience from rc planes is mostly balsa and some spruce. I ordered a few basswood planks from a supplier that I found online. I'm not sure if they are a sponsor here. My thoughts were that I wanted plenty of extra to practice with and also I did not want to be in a position where I was forced to use a bad cut plank due to the lack of wood. For some reason I did not order a block of basswood. I wish I had because I would practice cutting the knight head rabbets. ( I've been calling them notches). I think its important for a beginner, like me, to practice with some wood before shaping or notching any basswood, especially if you are not accustomed to working with it. Not that it's difficult to work with, it's just different. Just a thought that may help a future beginner.
-
I'm cranking the steamroller back up. Marking the notches for the timber head and knight head is proving to be a little difficult. My deck alignment somewhat made the notches not quite align. The knight head looks to be too close to the stem. Edit- Comparing it to Brian's. I guess I'm close. http://modelshipworld.com/index.php/topic/8085-armed-virginia-sloop-by-gunthermt-finished-model-shipways-scale-148/page-4#entry246213
-
I'm trying to keep up with MichaelB
-
Thanks, yes I was just dry fitting it to show the tab broken. But thanks for looking out for me!
-
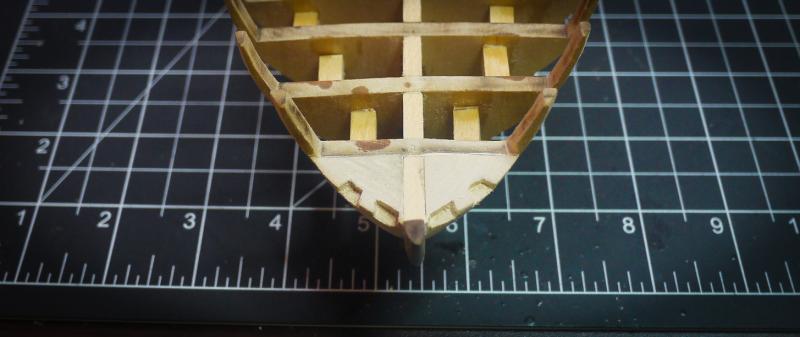
Slow progress because apparently "it's impolite to work on your model, when family is visiting". The deck is not glued down yet. I'm working on drawing the knight heads notches. The tab is broken off the deck at the tip. I am going to get the plans out and trace the tip and install the missing piece so I can properly mark for the notches. The remaining notches in the main deck or somewhat over sized but that's all covered by waterways and decking so I'm not worried about it...much. I have no idea how I managed to mess up that notch on the port side at bh A.
-
Thanks Dave. I have a band saw. I used it to rough cut the bow filler blocks and it did ok, not great. I can see where I would use a scroll saw more than a table saw.
-
Are you guys using that table saw to taper the planks? or just a knife? I can't imagine that blade is thin enough to rip a plank or is it?
-
Thanks Zoltan. Thanks for all your help also.
-
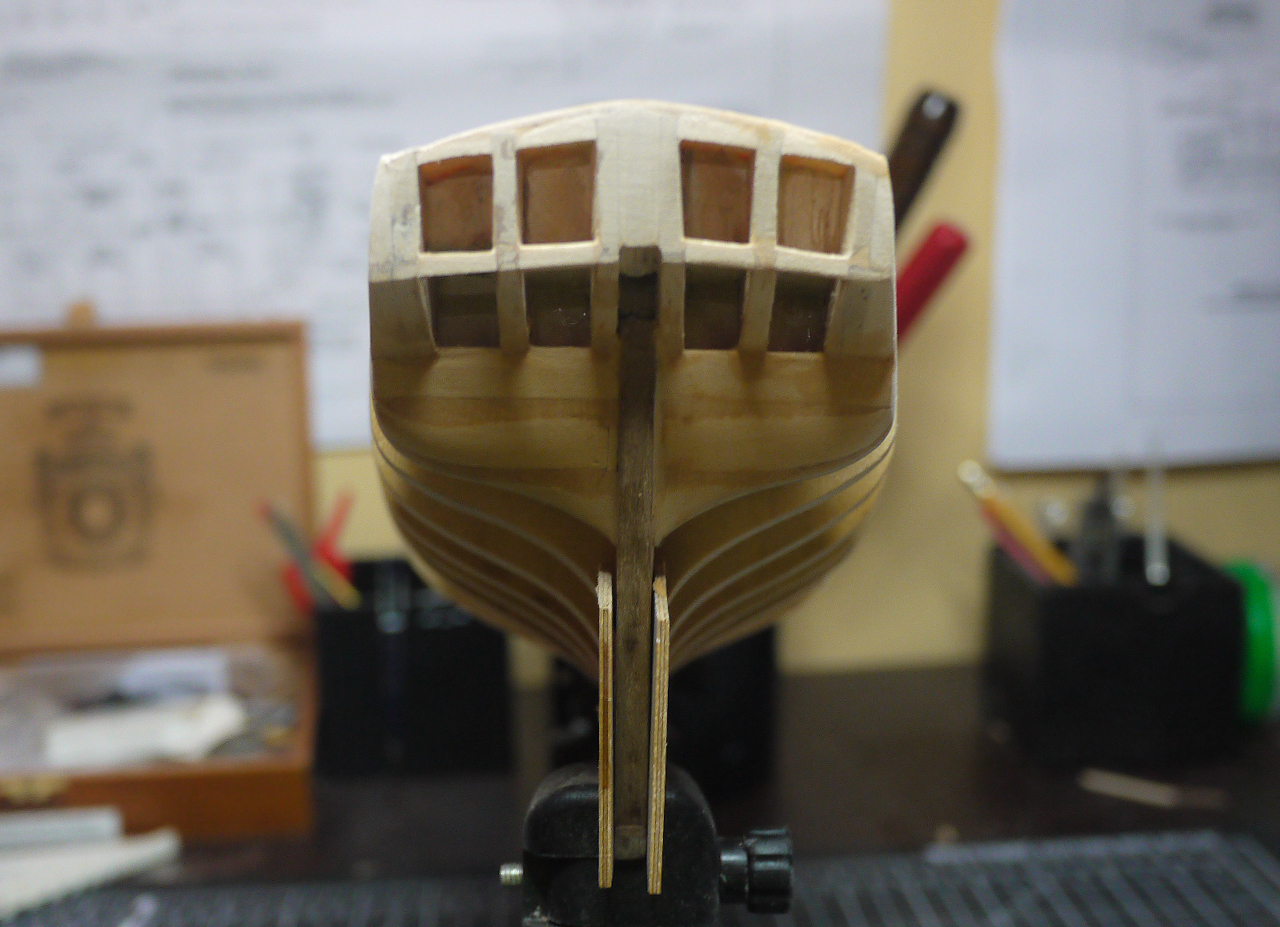
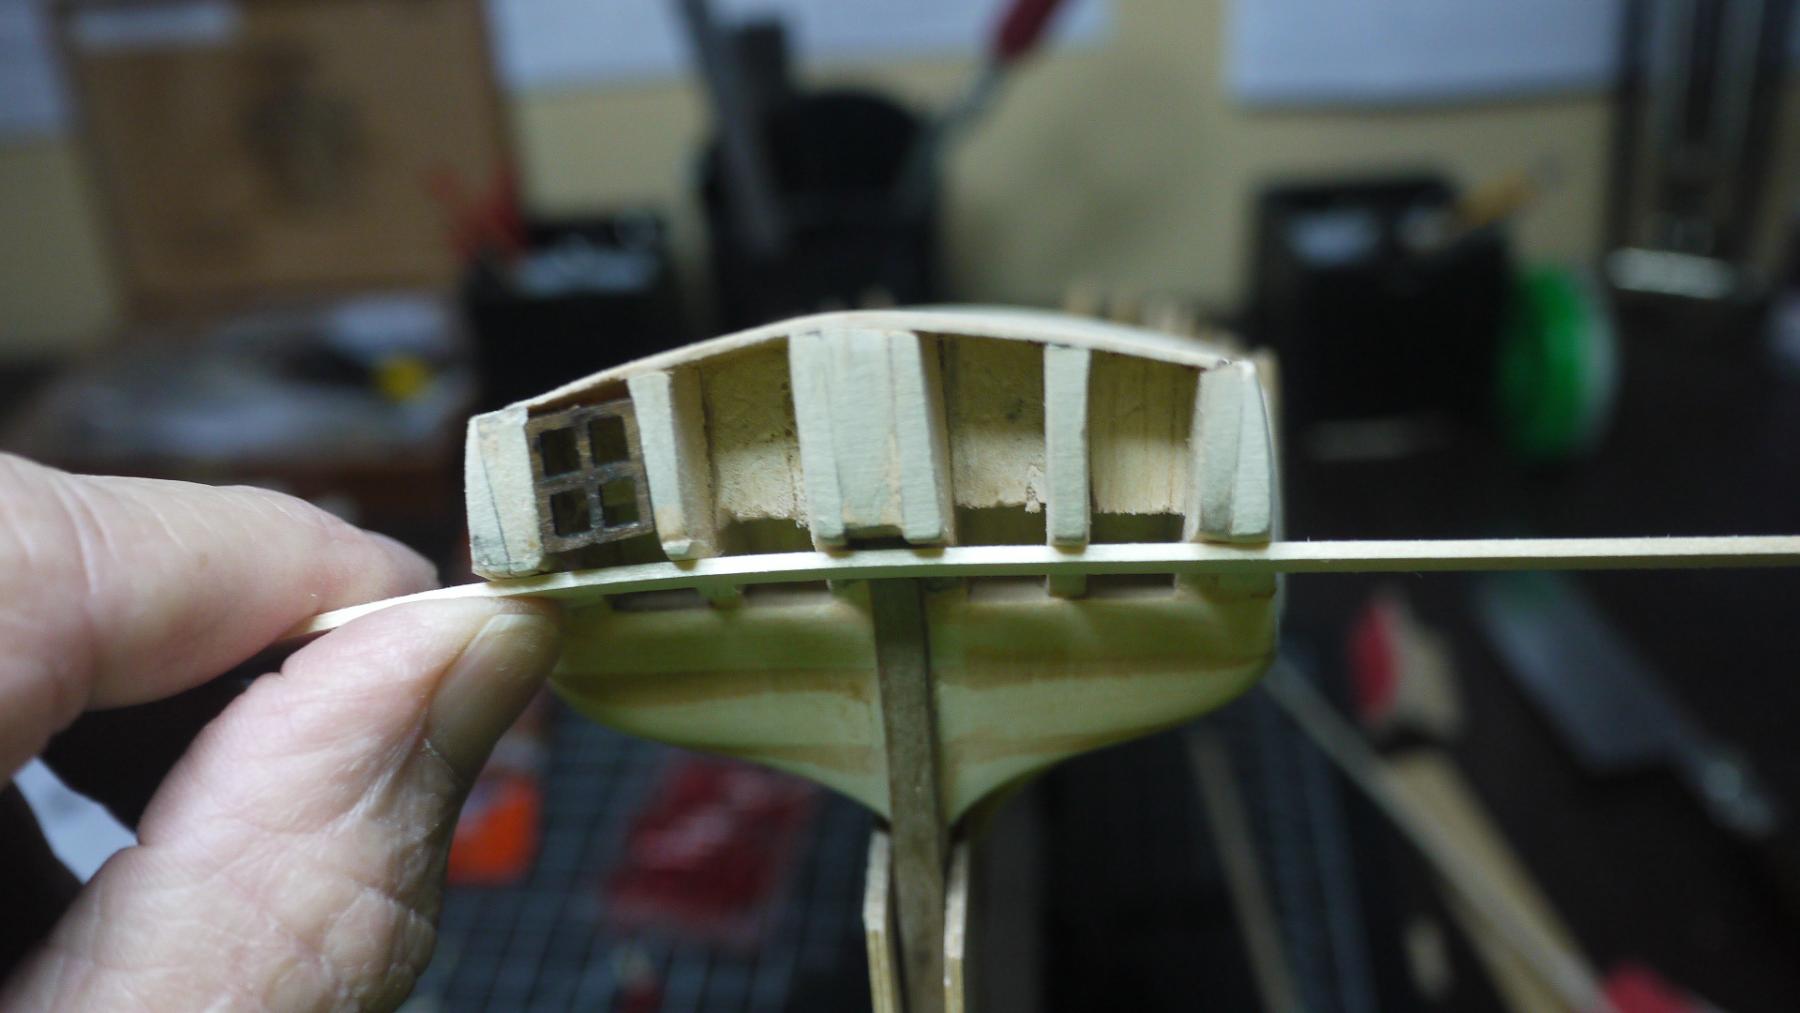
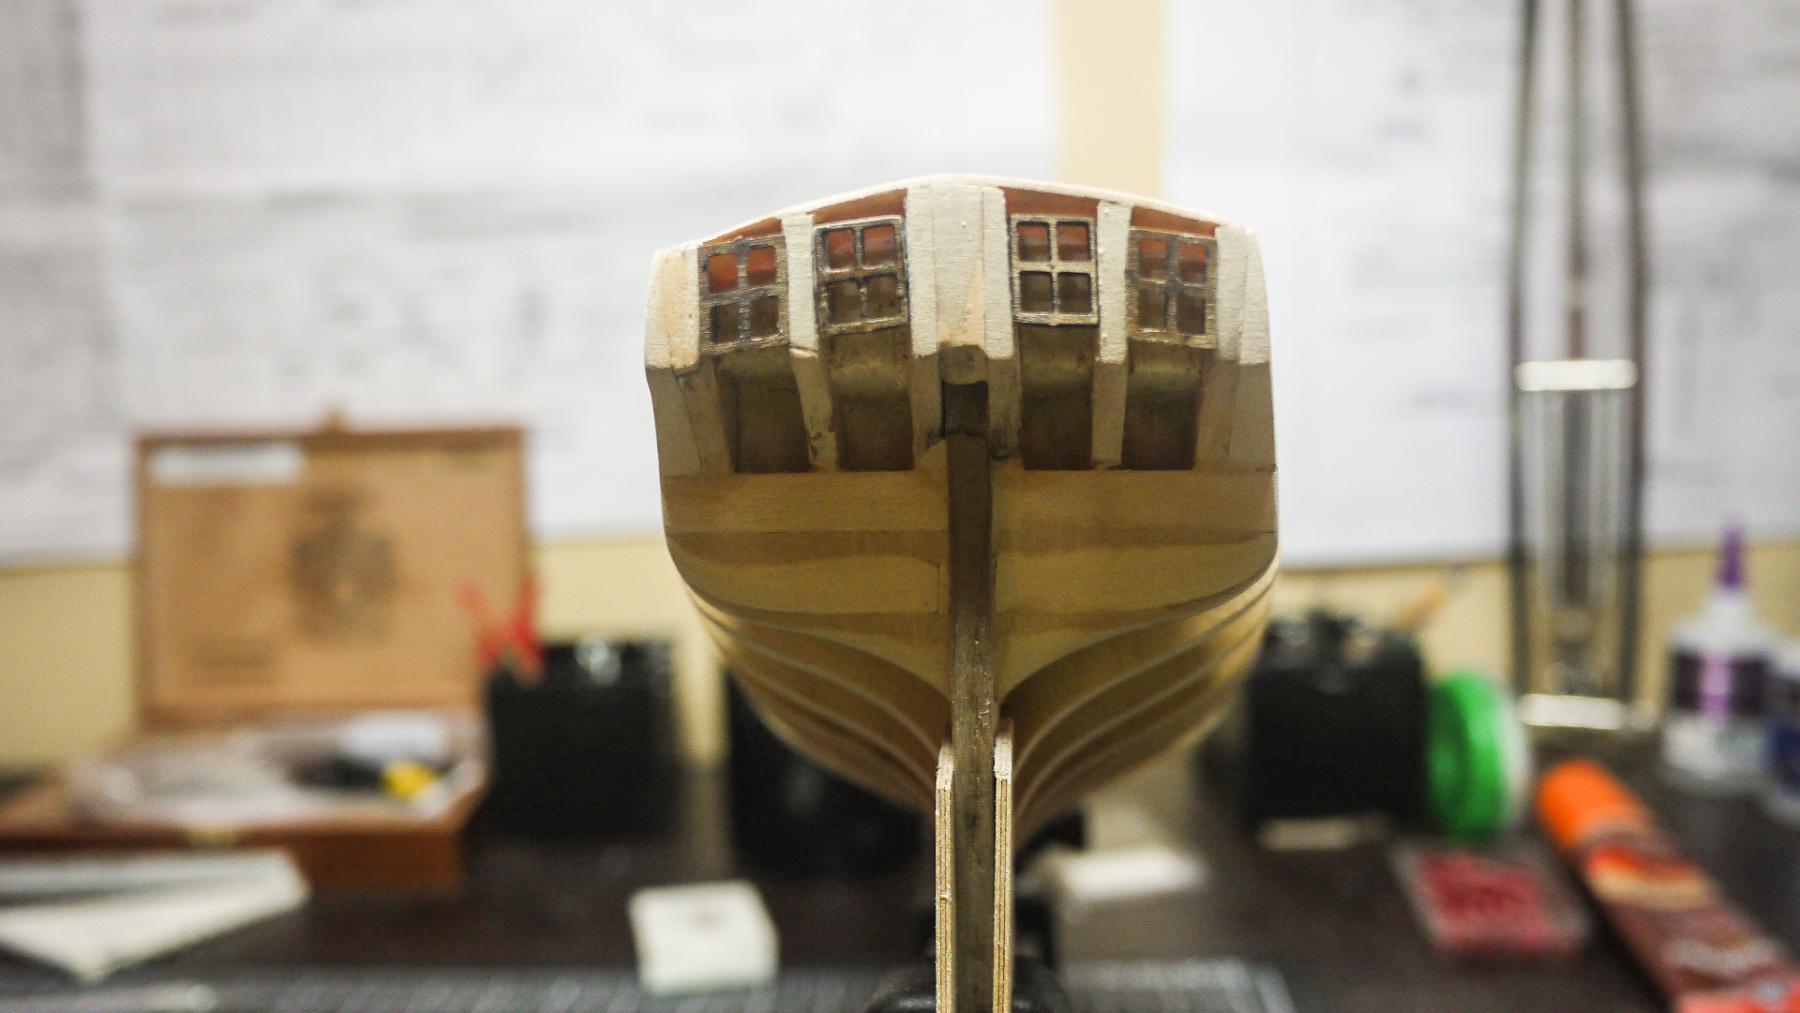
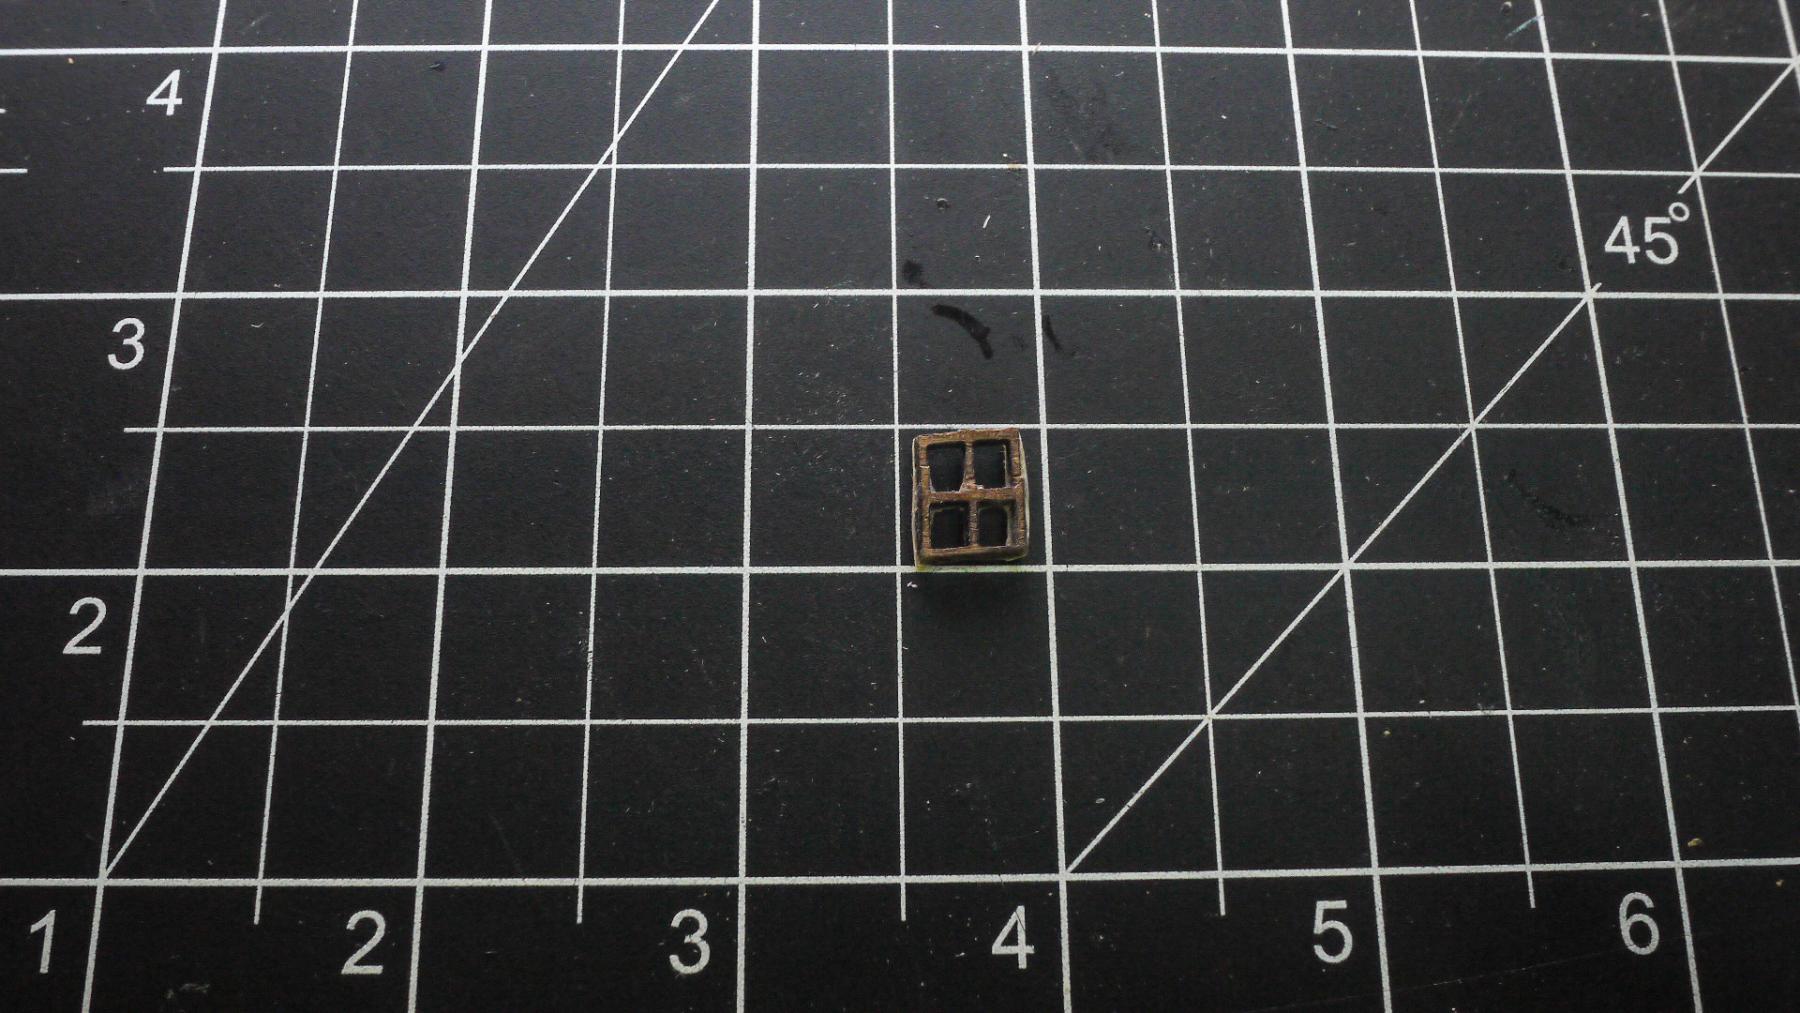
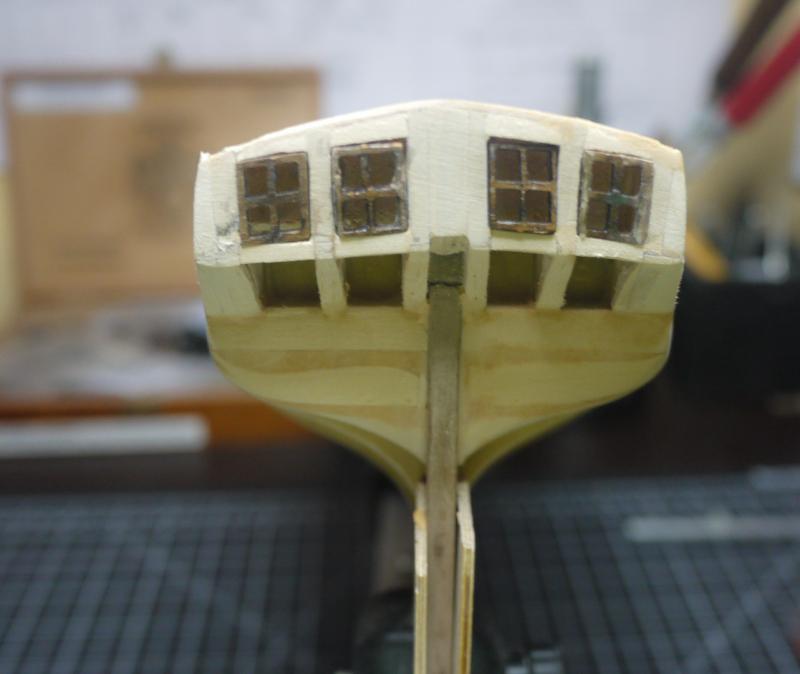
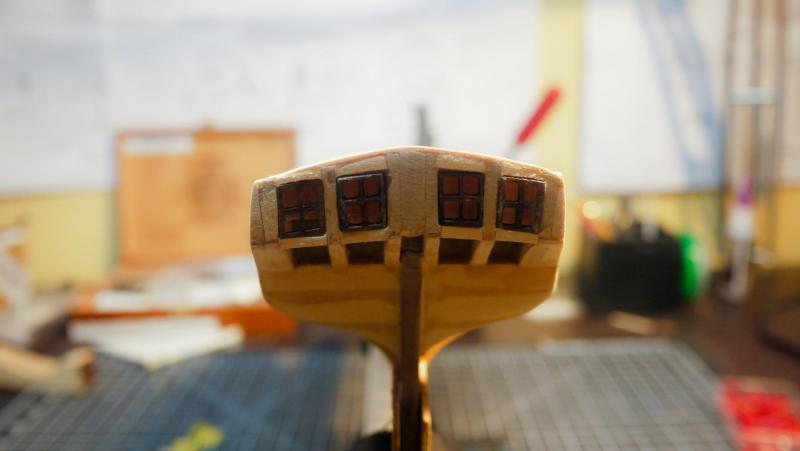
Worked on the arc some. The windows look rough. I will work on smoothing them, when I get ready to paint them. It is still a little off. I'll come back to it. I'm "sterned" out for now.
-
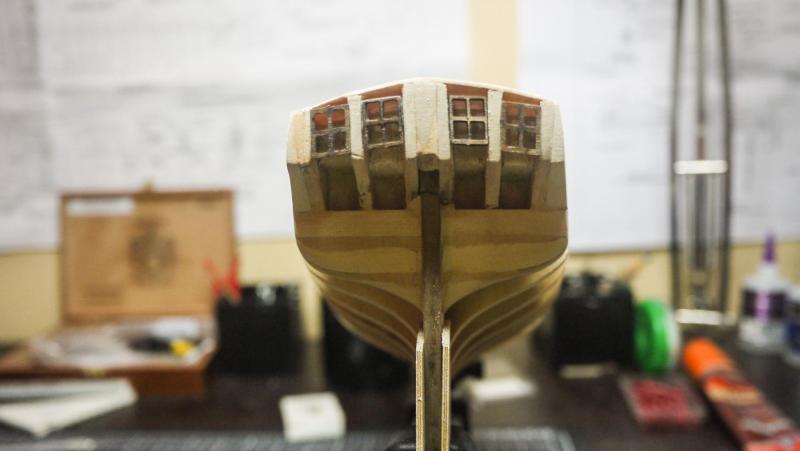
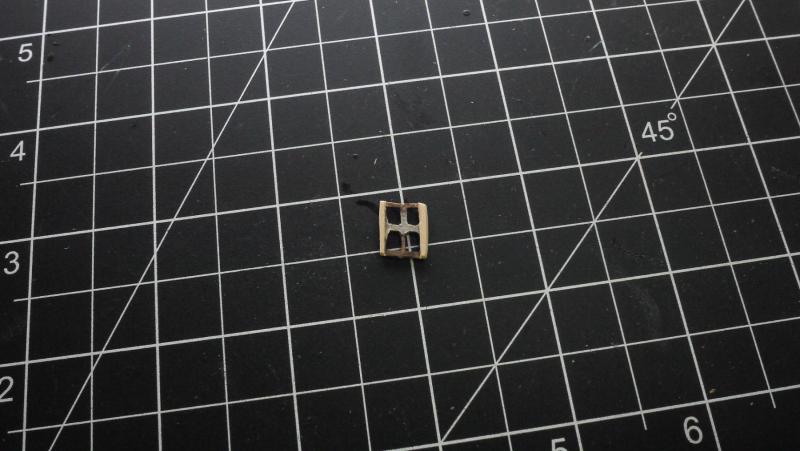
The windows are framed in. I'm glad that there are only 4, more sanding was done between shots. The photo shows my arc is lopsided. I believe I can fair most of that out.

-
The rabbet and fairing look perfect to me. I struggled some with the symmetry, yours looks spot on.
-
You're right, the plans do seem to show 2 different things. Mine is going to have a slight arc. I'm working with the last window now.
-
Thanks Brian. I have been playing around with it and practicing bends. I'll come up with a technique using a combination of all these tips. I was concerned about the planks shrinking as well. I have noticed that when you bend a plank wet and pin it until its dry, it really holds its position well.
-
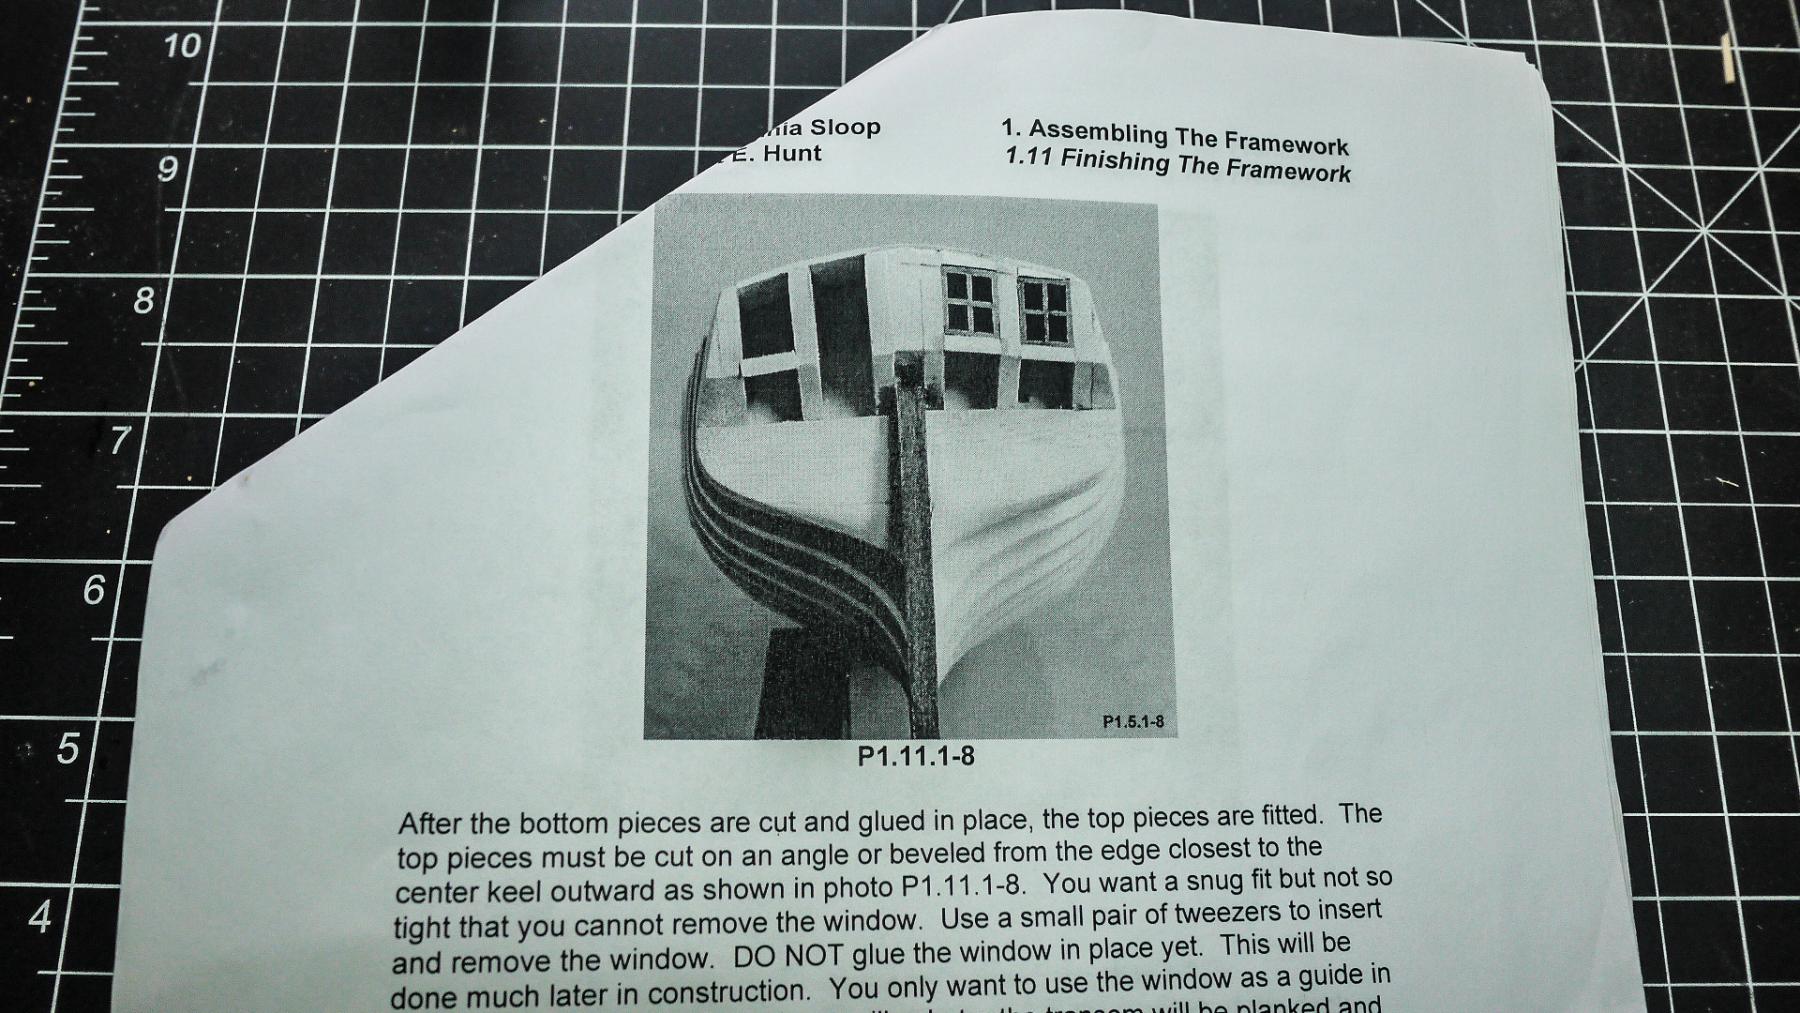
Dave, I have not read much of chapter 2 yet. I just assumed that's how you guys were bending the planks. Are you soaking the planks and clamping them wet and glueing when dry ? I think I read where Bob Hunt glues them wet with Ca glue. I want to avoid this if I can. I'd much rather work with the Titebond. Thanks for the link. That picture is the one I needed. There are very few photos that show that arch like that. Thanks. I believe I am back on track with it now.
-
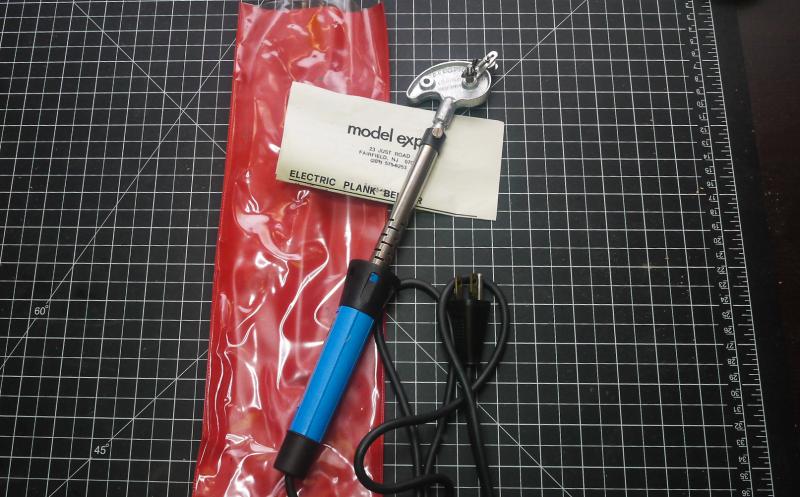
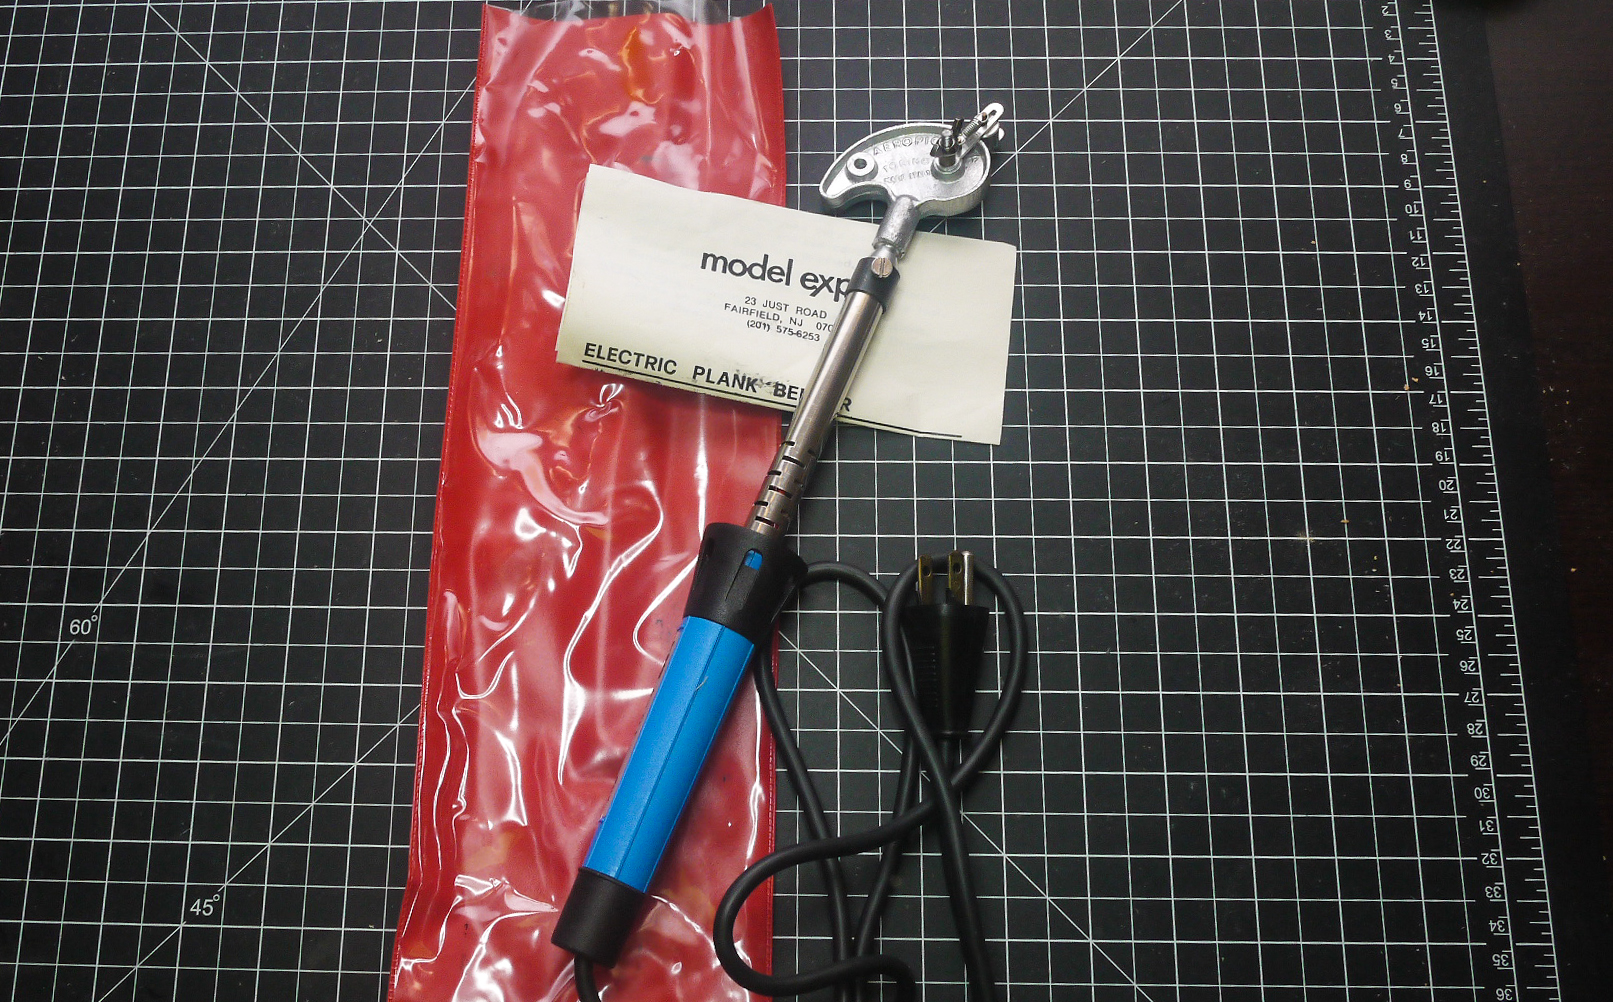
The variations on the head are what caught my eye also. I was thinking the end with the sharp taper would be useful in making the extreme bends that are needed at the stern. The attachment is sort of odd. You have to set everything before you plug it in, it gets hot, just like the head.
-
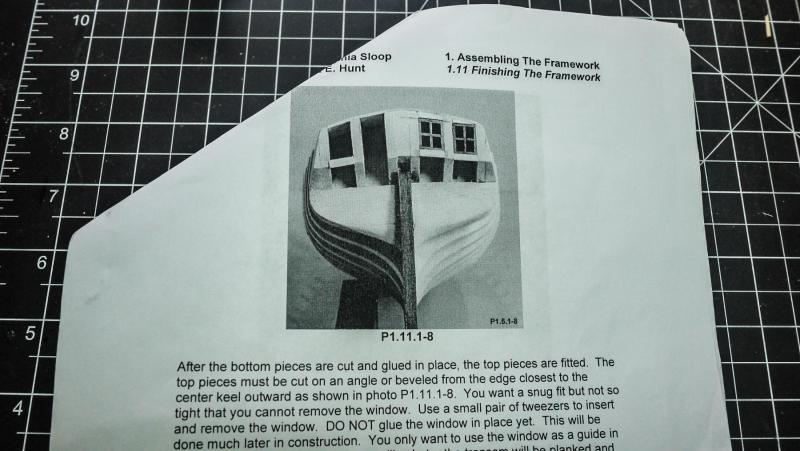
This photo from Bob Hunt's practicum shows a slight arch.
-
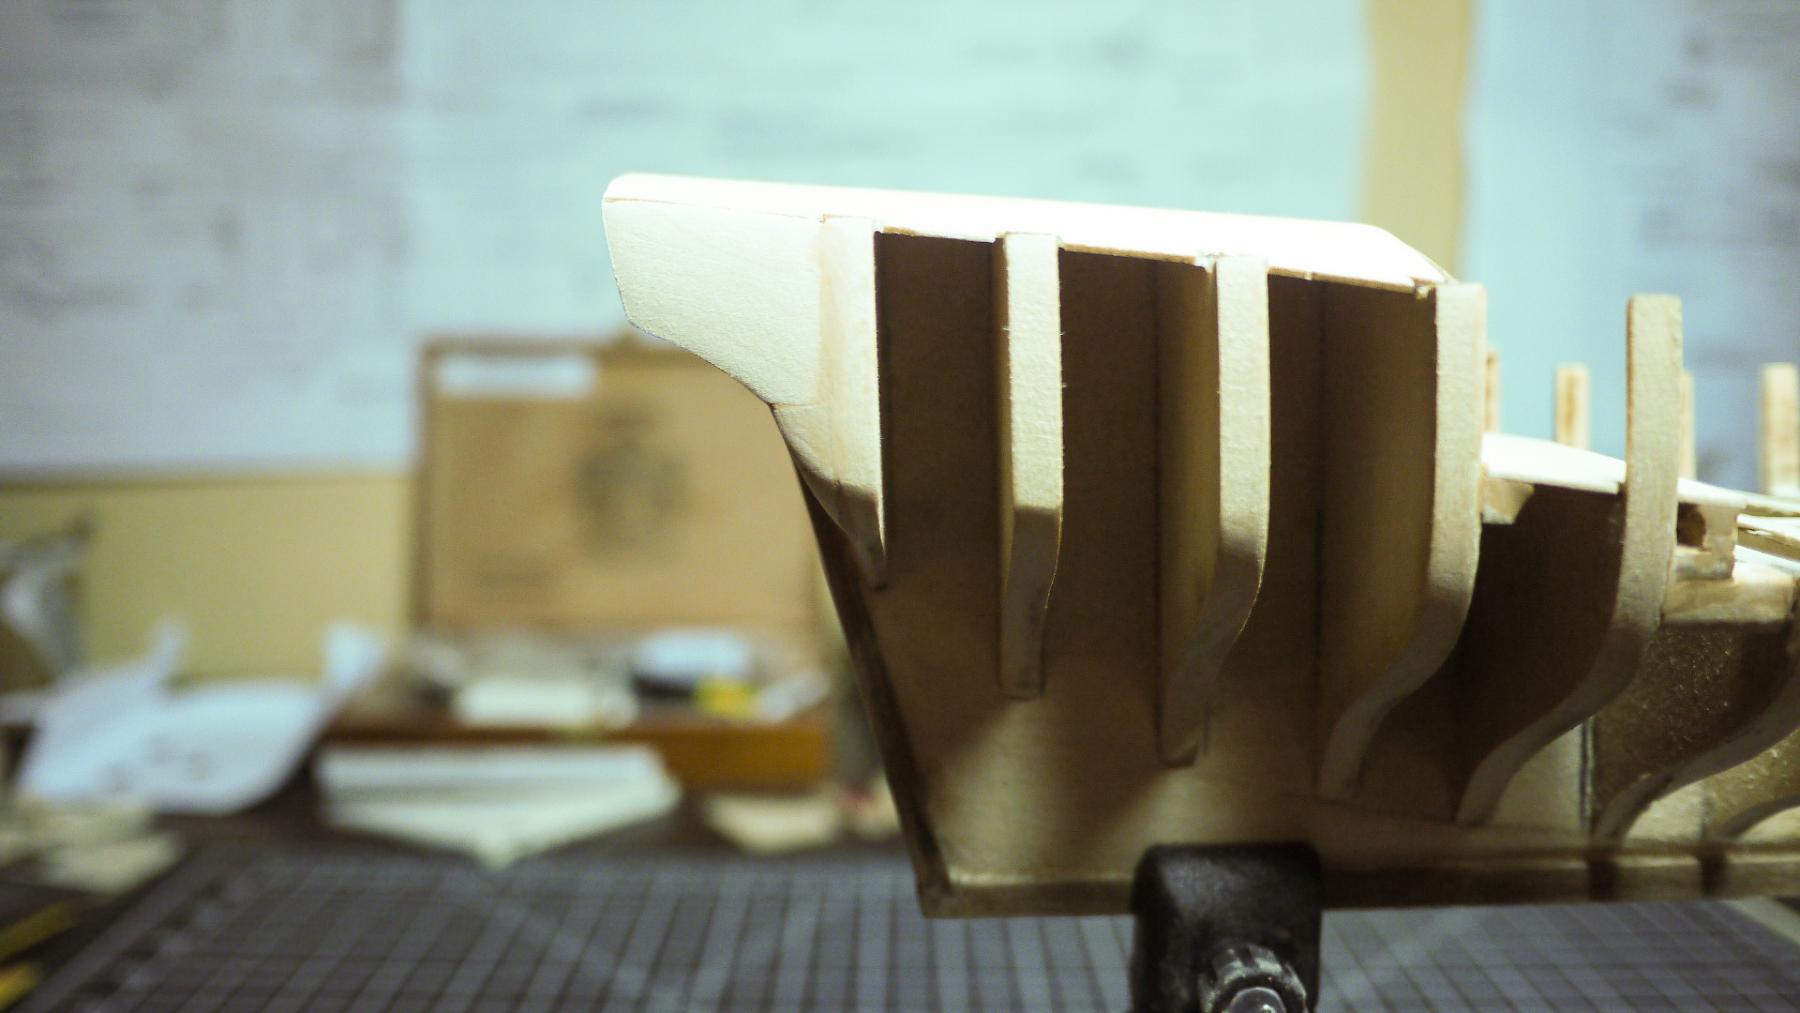
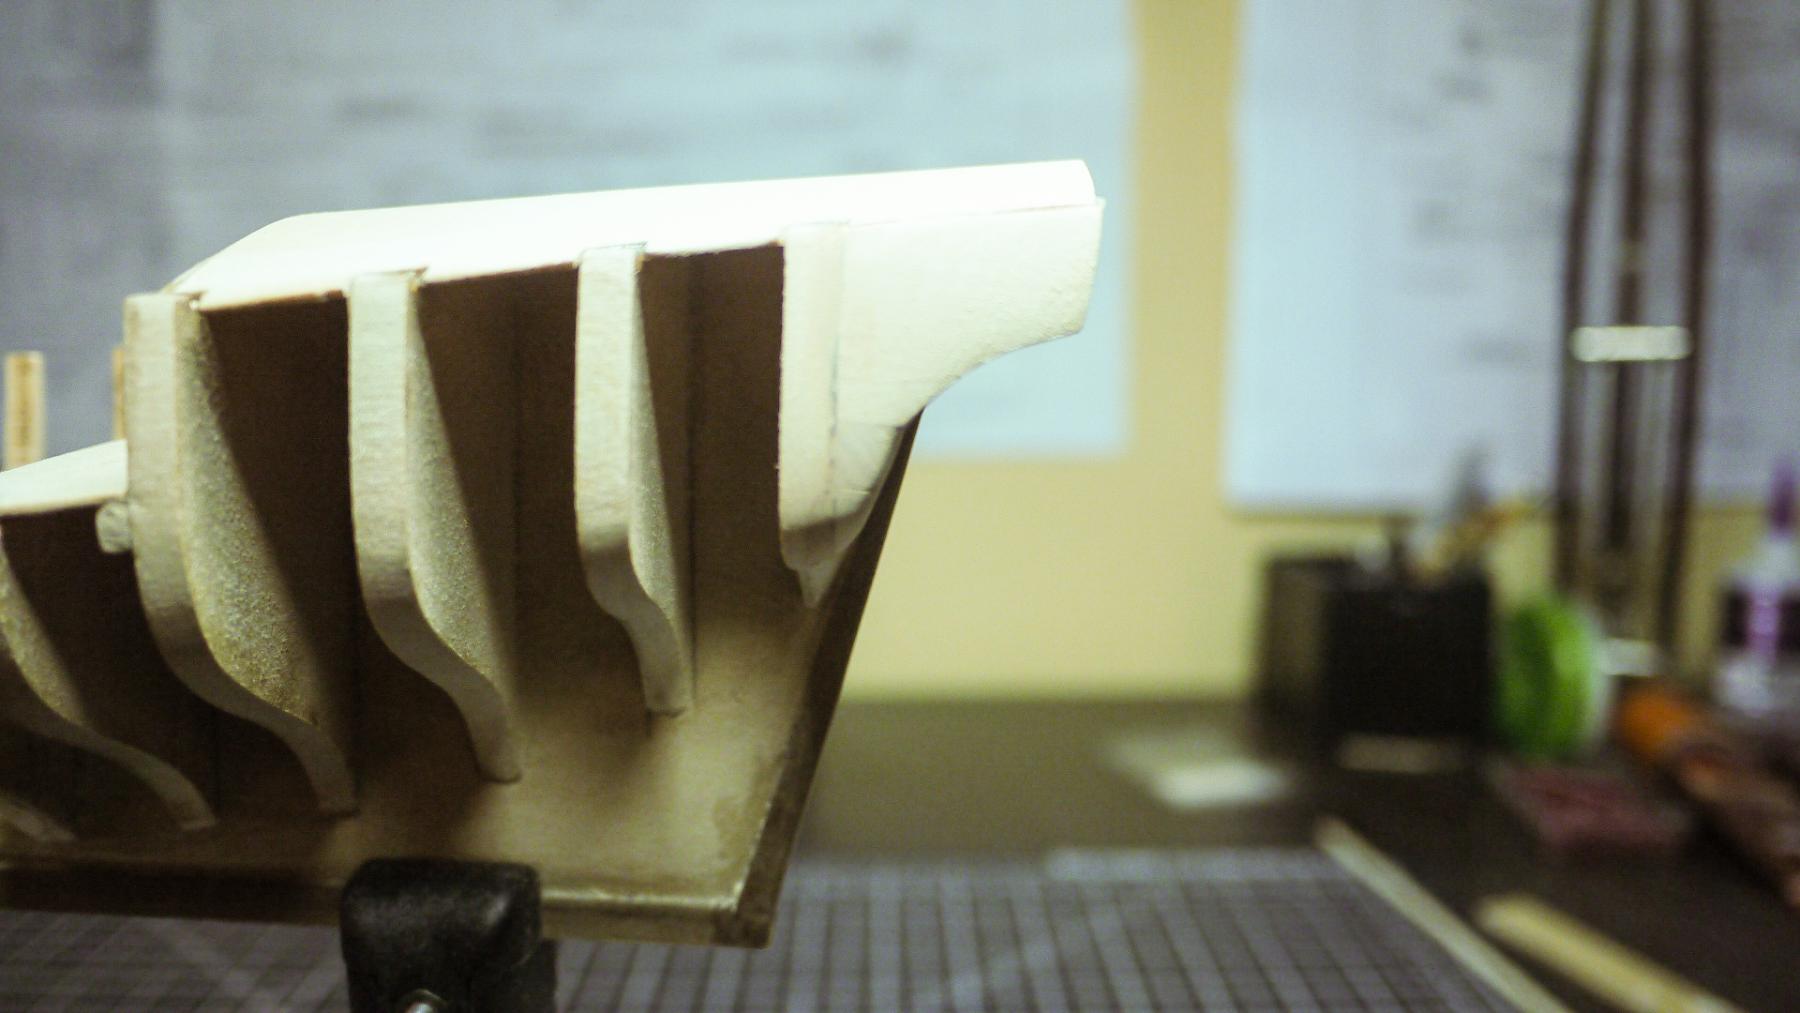
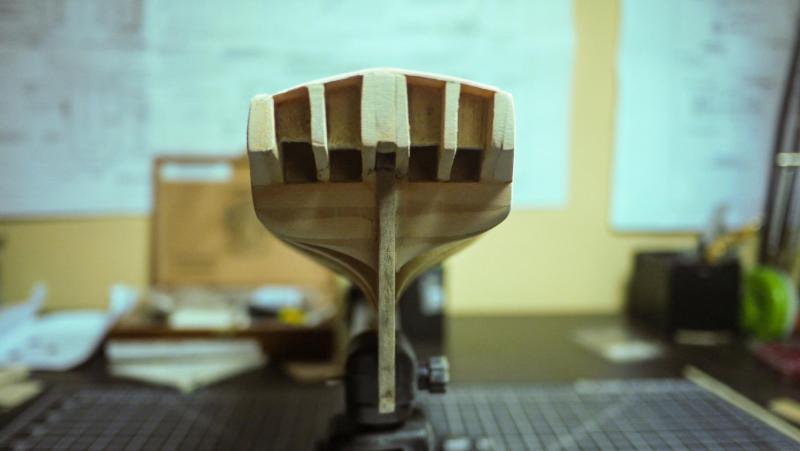
Zoltan ,if the counter forms an arch, why are your planks laying flat underneath? The problem I have is the frames need to be shimmed to fit in the window sills. I'm not sure how far down to take that shim or if I need to add shims to others to match. Looking at Brian's ship, it appears that his stern frames form a straight line across, with no arch. So, in other words, does the bottom of frame 3, hang lower that the bottom of frame 1?
-
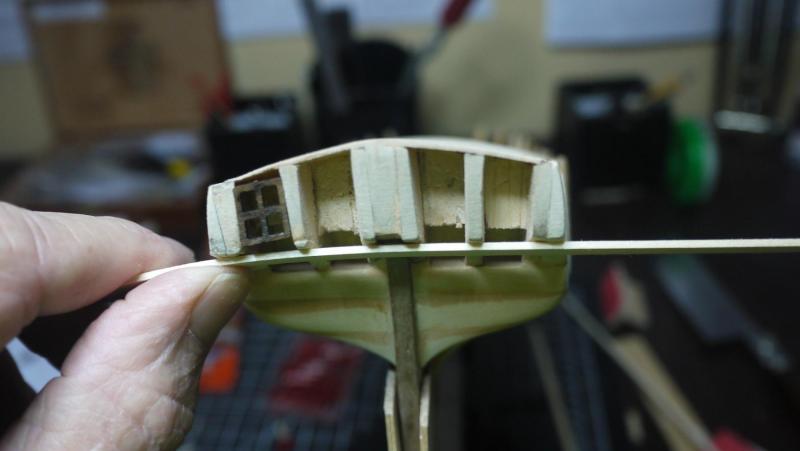
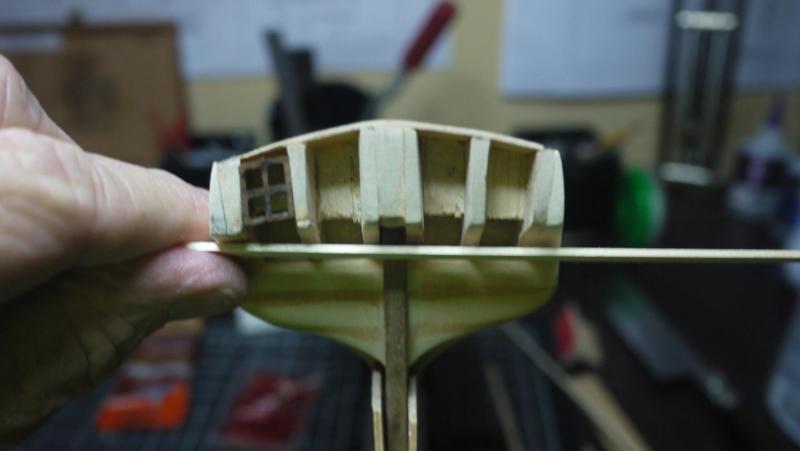
Do the bottom of the stern frames, the curved part, form an arch underneath? or should they all be shimmed to form a straight line? If you go back and look at other's logs, you can see that it was done both ways. If the bottom of the frames form an arch, then the planks there will have a bow. I hope these pics help to clarify my question.
-
I guess I need to document the mistakes to keep the log accurate. The port side is going to have to be shimmed...again.
-
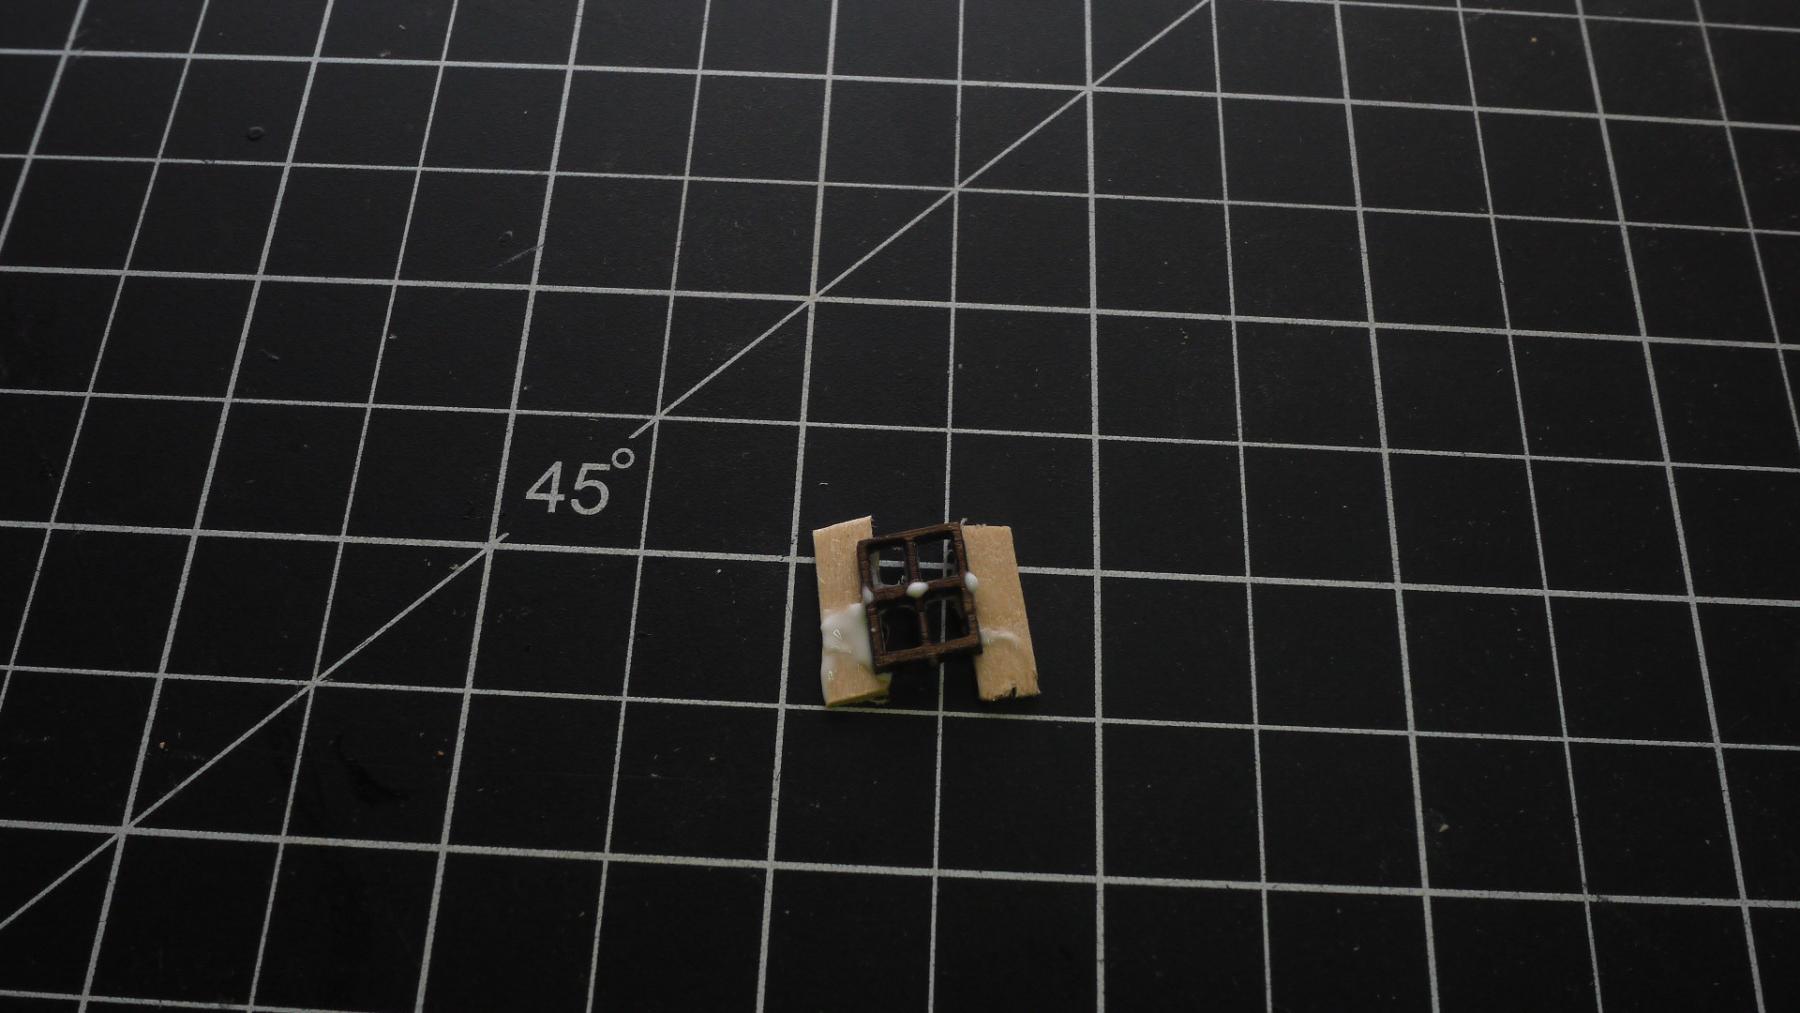
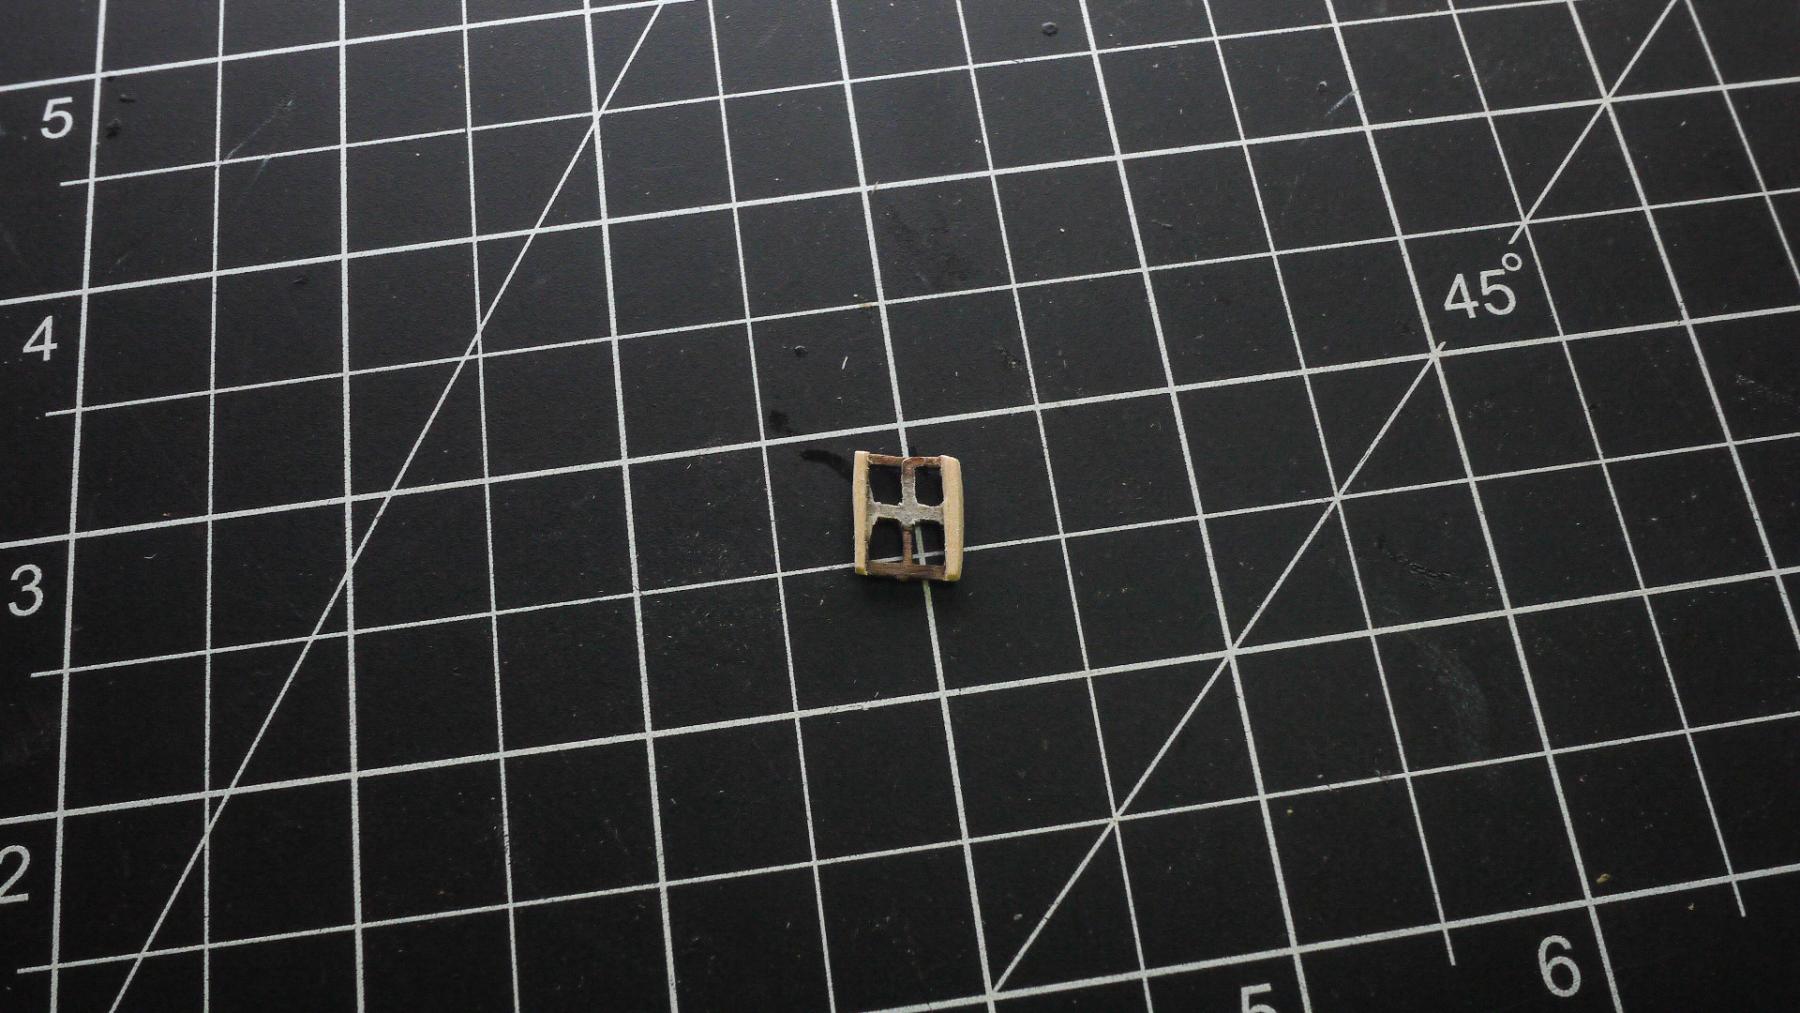
My attempt at repairing the window. I think it will be ok. It's sure stronger than it was. I believe I saw where these are painted anyway, if not I can touch it up.

-
I need to stop reading the thread " Can I live without a Byrnes table saw" before it convinces me that I need one.
-
The side filler blocks are installed. It looks like the port side needs a little more work.


-
Do any of you guys use a plank bender like this? I bought it off that auction site ( not sure if I can reference that site here).