-
Posts
114 -
Joined
-
Last visited
Content Type
Profiles
Forums
Gallery
Events
Everything posted by Hill202
-
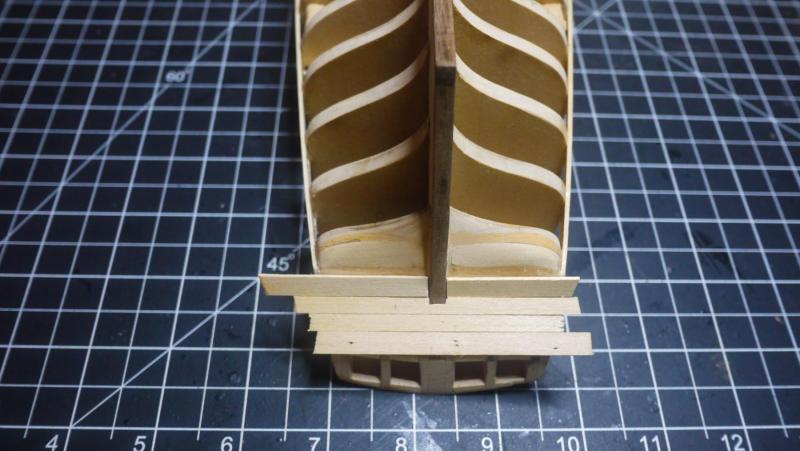
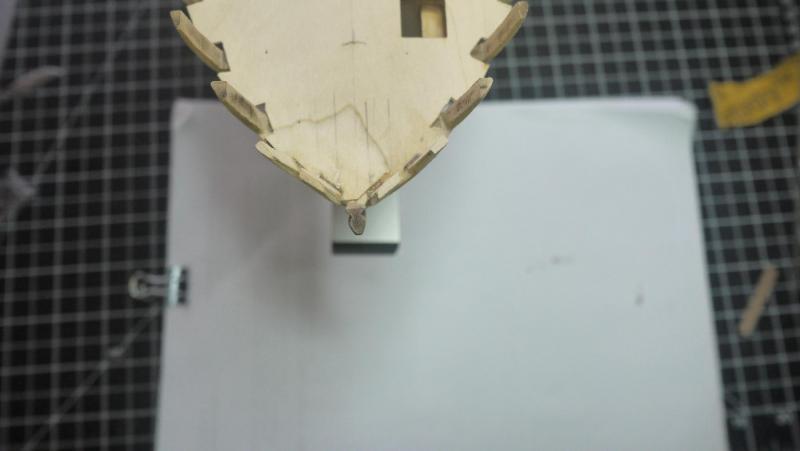
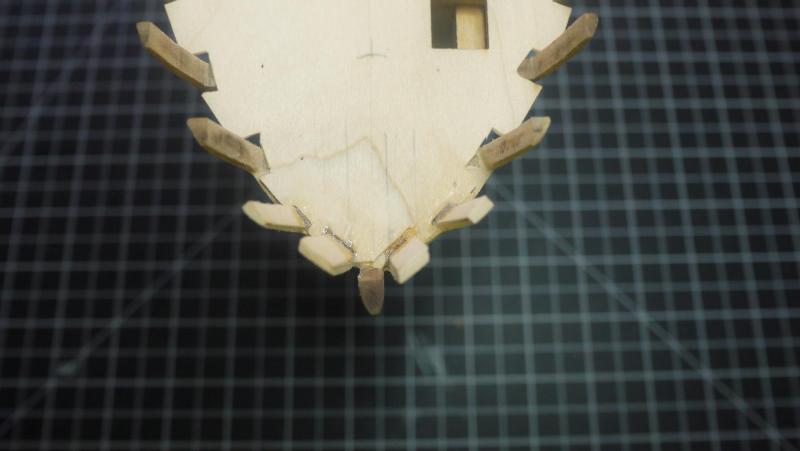
This is how I am attempting to work through my dilemma. This is a mock up of some planks, minus the cutout for a window. You can see that the planks on the counter are longer than the planks on the windows. The shape bellies out there. The curved fashion piece will not be directly under the vertical fashion piece.
-
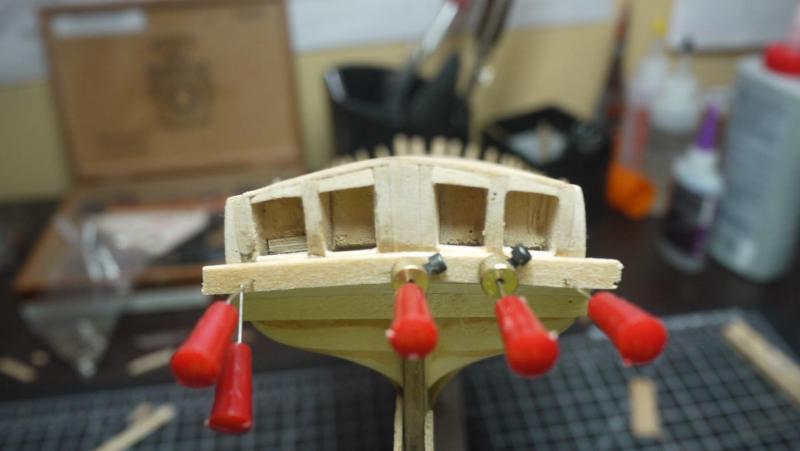
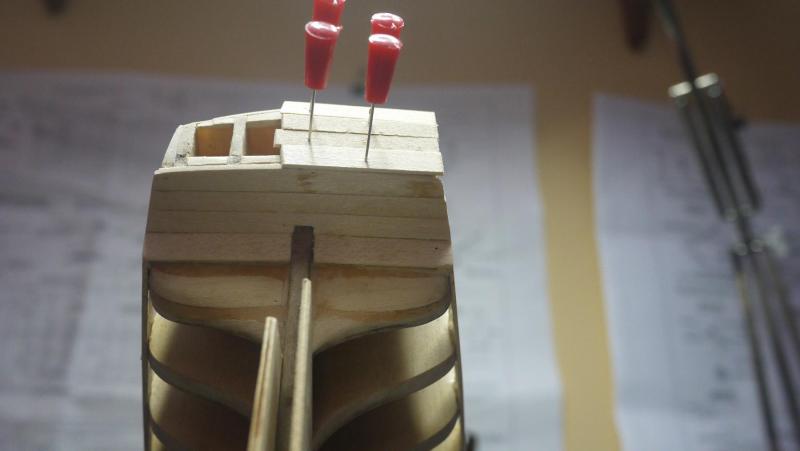
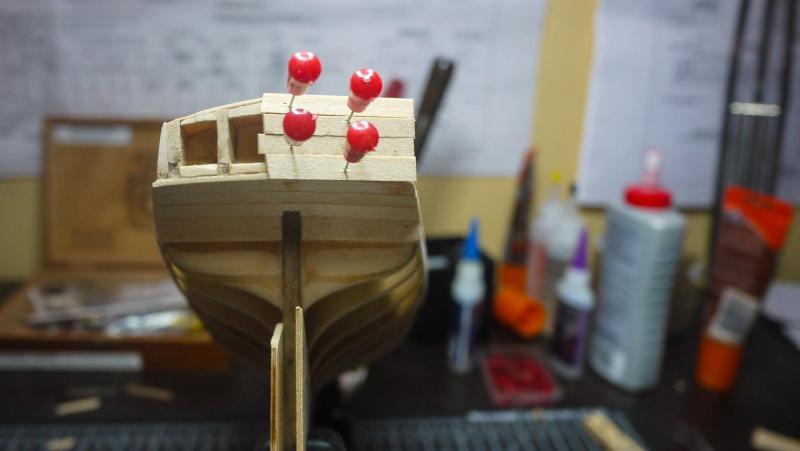
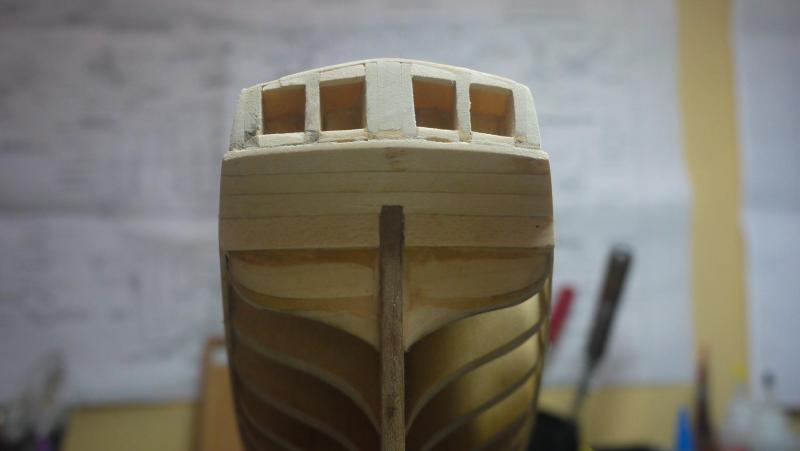
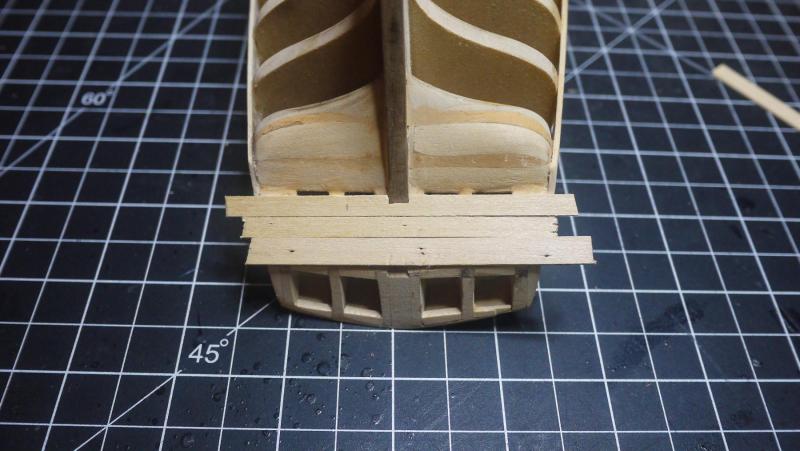
The first layer of planks is installed under the windows. Now I need to edge bend a 1/4 plank to glue to the window frames. I'm struggling with where to trim these next few planks on the ends. I know the fashion pieces glue to the plank ends, but I can't figure out where to trim the plank ends to where the fashion pieces will look right. I've looked at the other build threads but until I get my mind wrapped around it, I'm not going to attempt trimming the next planks. The curved fashion piece that glues to the end of the counter needs to line up with the vertical piece that runs parallel with the windows. I don't see how ya'll got them to line up due to the shape of hull and the way the planks are trimmed...if that makes any sense.
-
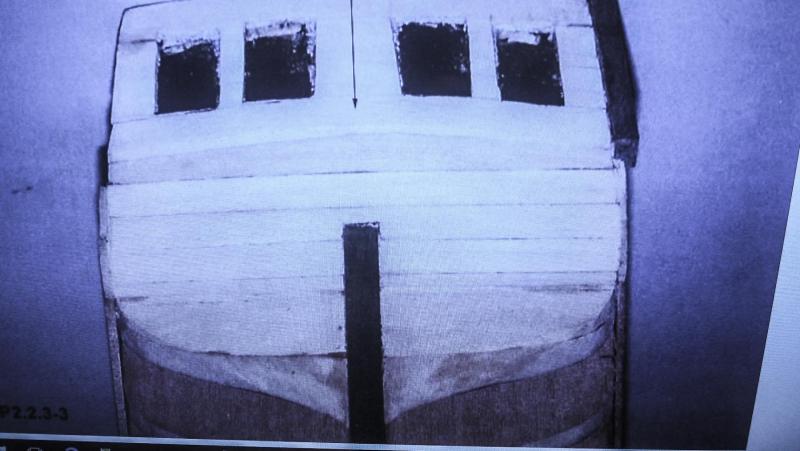
Thanks Dave. Two sets of directions and plans and I'm still asking questions. One of the things I like about the way your stern looks is the outer walnut planking is bent to follow the flow of the windows instead of straight across. It really helps in defining the arc. I am not sure if my arc is as defined as yours though. I hope that it is. The different contours of a hull are what I like the most about model ships.
-
Dave, your photos are a great help! I see where you did the same as me and your stern planks lay across the end of the side planks. Your stern looks really good. I hope that I can get at least, close to the same results. I also noticed that several people had to add a small, ripped plank to make them reach to the bottom of the 1/4 inch side plank. I am going to substitute that last 3/16 plank with a 1/4 inch plank, thus bringing it flush with the bottom of the side plank. I guess the fashion pieces glue to the ends of the planks.
-
I am unsure about where the stern planks end, in relation to the planks on the side. I know they go to the bottom edge but do I trim the ends even with the plank on the side? I sanded the planks on the side flush with the filler piece at the stern. The practicum shows his sanded flush with the stern planking. Can I run the stern planks over the ends of the side planks and then the fashion piece sits on top of the planks? If that makes sense. I'm thinking it's the same either way. My planks just go across the ends of the side planks rather than butt to them. Any advice is always appreciated. The planks are not glued in the photos.
-
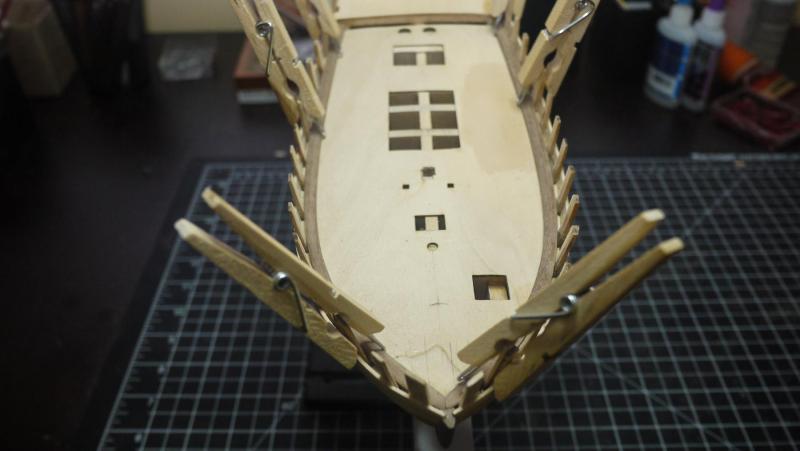
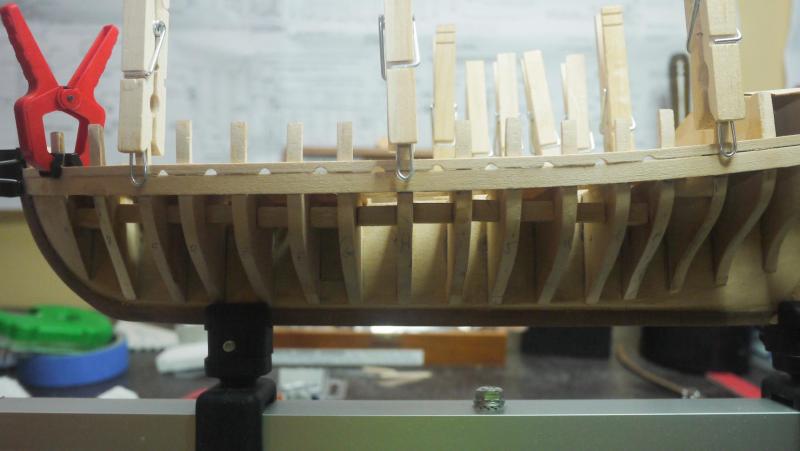
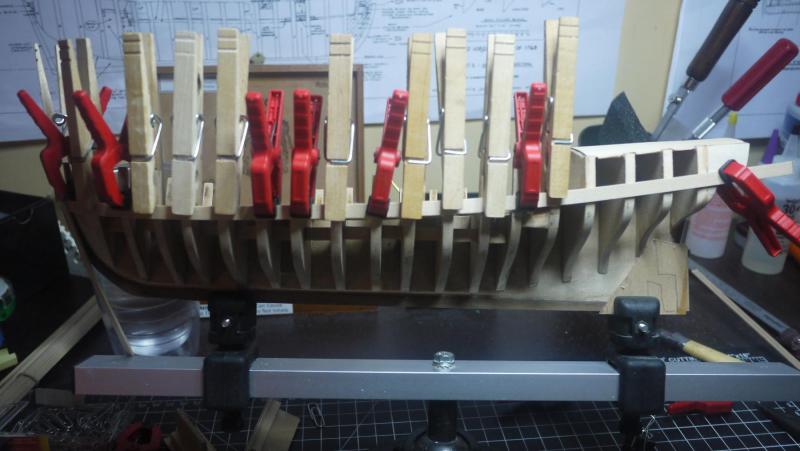
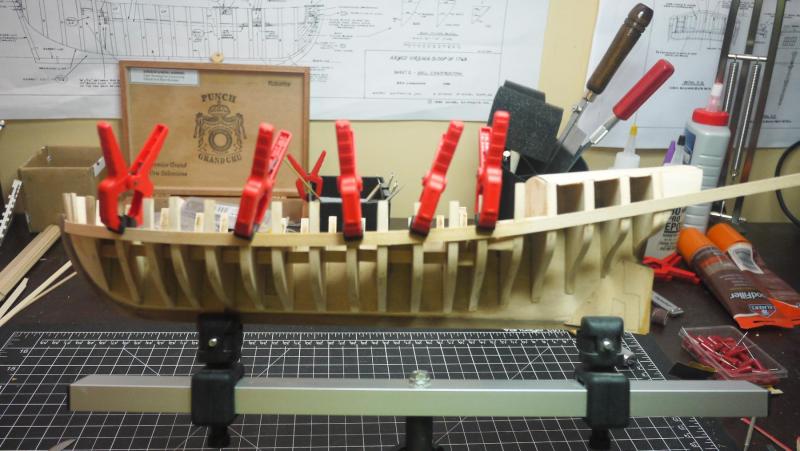
I would like to discuss the technique you guys are using to apply the planks. The first plank that is installed 1/8 inch below the deck line only needs to be bent at the bow. I have practiced on a few using heat, with decent results. I would soak the end that I was bending for just a few minutes and then bend it using the heated plank bender. This process was pretty much drying the plank back out as well. A few questions to the guys here that are not using heat: Are you guys soaking the end for a good while and then bending it by hand? Are you pinning it wet and letting it dry before glueing? The practicum mentions soaking the entire plank, are you guys doing that? It appears that after the bow you can just push the board around and glue it, without wetting it. I apologize for all the questions but I want to follow the technique you guys are using, so maybe I can get similar results. Thanks
-
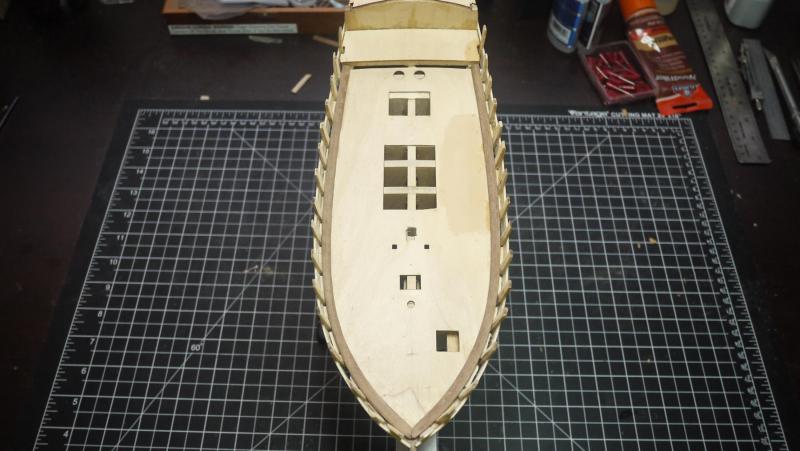
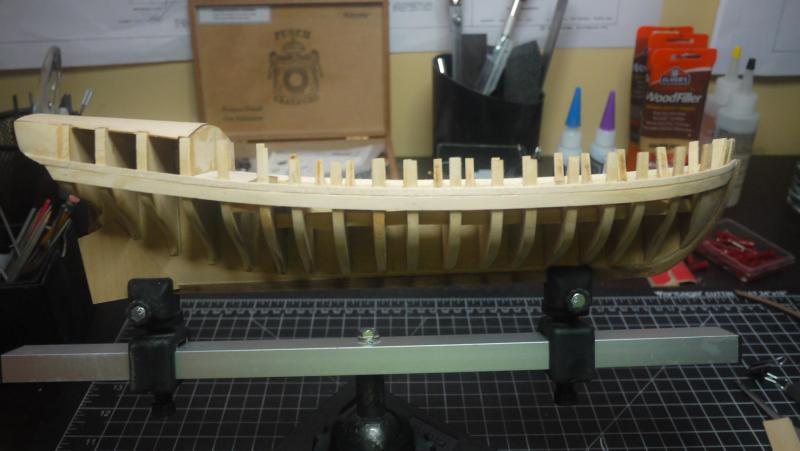
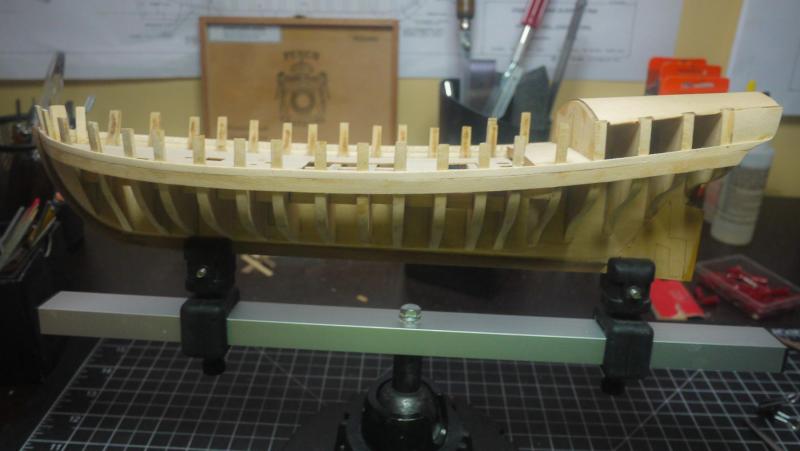
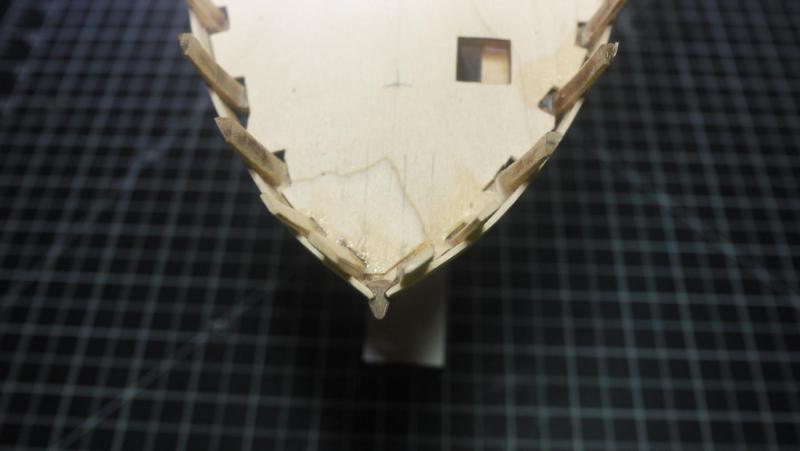
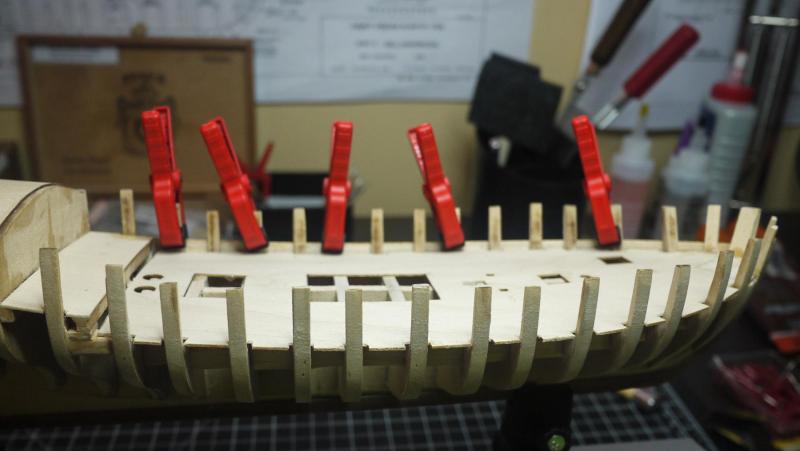
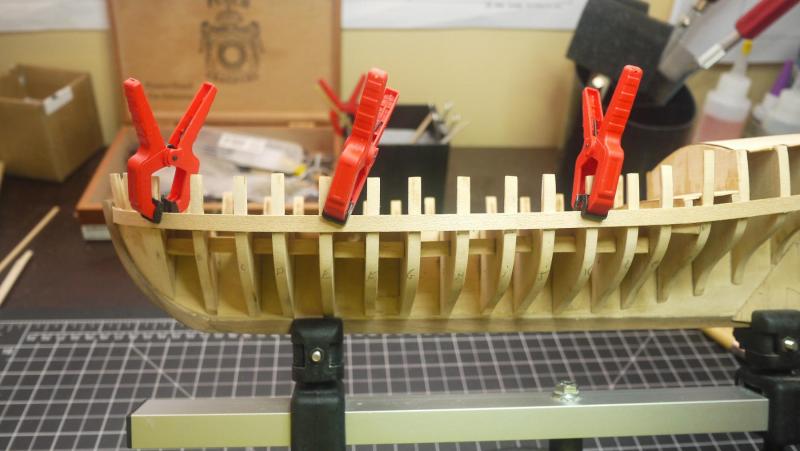
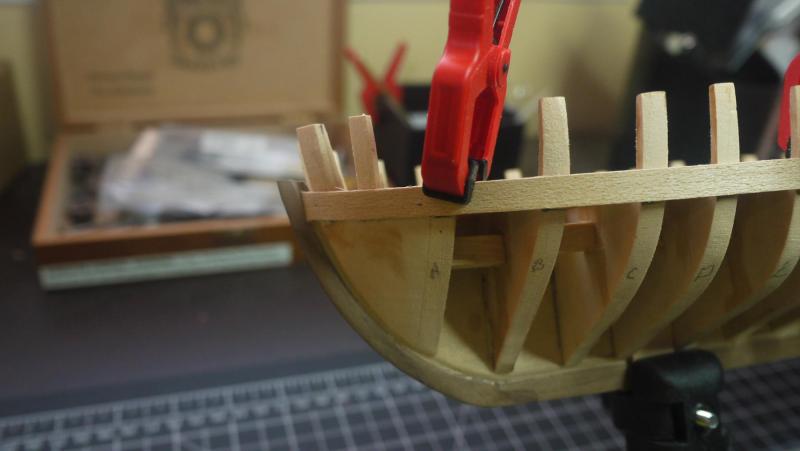
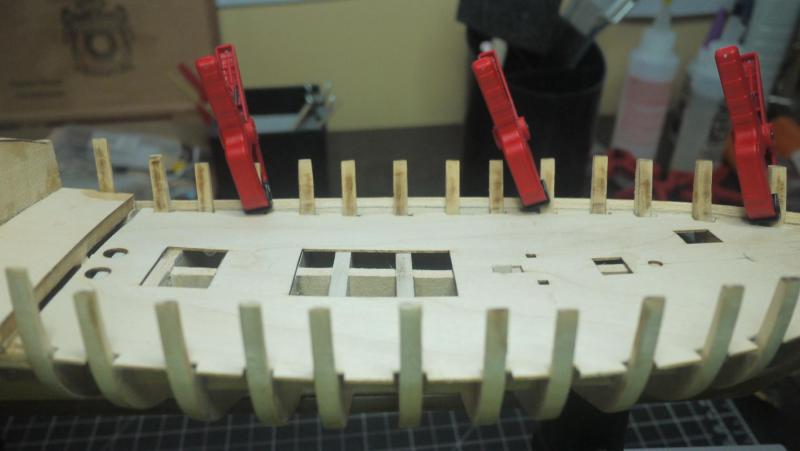
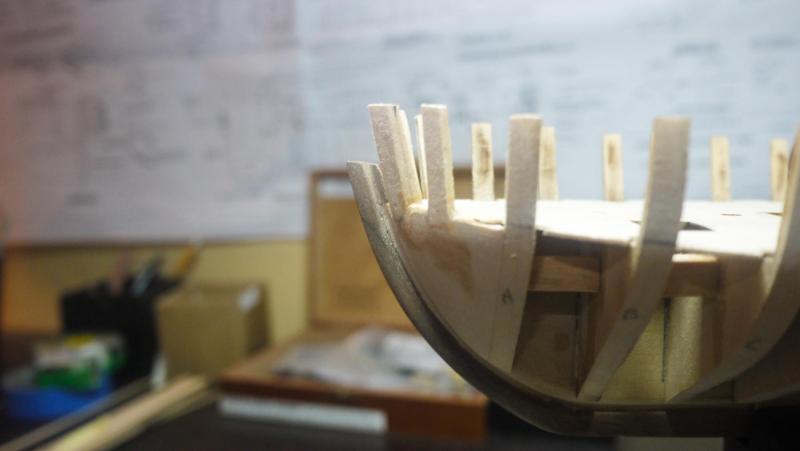
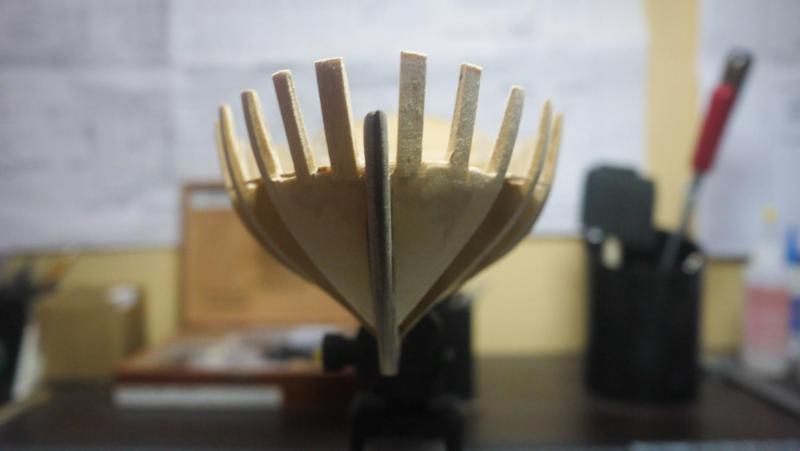
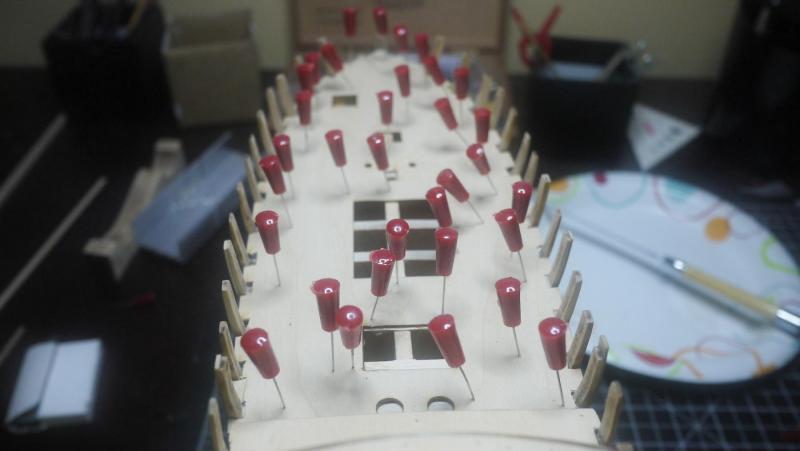
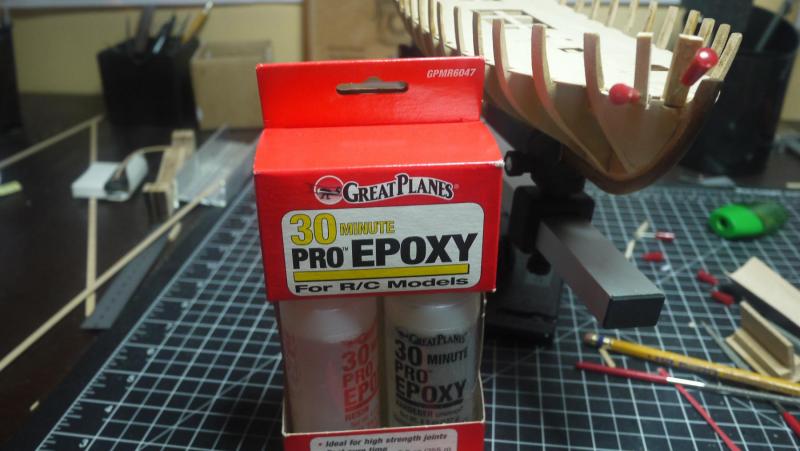
The knight heads and timber heads are installed. I used 30 min. epoxy ( what I had on hand). They are not perfect but I believe a plank will lay across them like it should. There is still some fairing to do. It looks like I have more work to do on the stem post. I think I read where I need to cut a rabbet into the stem post as well. So far, I've not had any problem following the practicum. I've been comparing it to the kit instructions and the practicum is much easier to follow.
-
Your AVS is looking great! I wanted to let you know how much your photos are helping me...thanks!
- 194 replies
-
- armed virginia sloop
- model shipways
-
(and 1 more)
Tagged with:
-
Dave, I read your post and put the brakes on. I'm going to use epoxy also. Thanks for the advice. Regarding pinning them, hats off to Brian for doing such a neat, clean job pinning them. For me, it looked to be a disaster waiting to happen. I could see me screwing up that filler block somehow. Not to mention drilling into 3/32 wood and gluing a pin in. Perhaps you guys are all surgeons? Edited
About us
Modelshipworld - Advancing Ship Modeling through Research
SSL Secured
Your security is important for us so this Website is SSL-Secured
NRG Mailing Address
Nautical Research Guild
237 South Lincoln Street
Westmont IL, 60559-1917
Model Ship World ® and the MSW logo are Registered Trademarks, and belong to the Nautical Research Guild (United States Patent and Trademark Office: No. 6,929,264 & No. 6,929,274, registered Dec. 20, 2022)
Helpful Links
About the NRG
If you enjoy building ship models that are historically accurate as well as beautiful, then The Nautical Research Guild (NRG) is just right for you.
The Guild is a non-profit educational organization whose mission is to “Advance Ship Modeling Through Research”. We provide support to our members in their efforts to raise the quality of their model ships.
The Nautical Research Guild has published our world-renowned quarterly magazine, The Nautical Research Journal, since 1955. The pages of the Journal are full of articles by accomplished ship modelers who show you how they create those exquisite details on their models, and by maritime historians who show you the correct details to build. The Journal is available in both print and digital editions. Go to the NRG web site (www.thenrg.org) to download a complimentary digital copy of the Journal. The NRG also publishes plan sets, books and compilations of back issues of the Journal and the former Ships in Scale and Model Ship Builder magazines.


