Hill202
-
Posts
114 -
Joined
-
Last visited
Content Type
Profiles
Forums
Gallery
Events
Everything posted by Hill202
-
 Thanks Dave, yes it is his practicum. I did register for his forum awhile back. I considered a build log there but was not sure how much activity there was on his forum. I wondered where the rest of your log was. I'll be sure to check it out. I really like the way you "paint" with wood.
 -
To do list to finish chapter one: Install side filler blocks repair broken window shim face of port side # 3 stern frame, adjust stern frames for window fitment install upper and lower window frames, I plan to install stops for the windows (thanks Brian) glue in main deck trace notches onto bow filler blocks I just thought that I was about finished with chapter one.
-
Thanks for the tip Robin! I did not think about thinning it. I can see where that would make it more manageable.
-
Thanks Dave! No doubt, the stern was, and still is, a challenge. I have some good tweezers on the way for handling those small windows. It even recommends tweezers in the practicum. It was a rookie move, trying to use my fingers. I still have the side filler blocks to install as well.
-
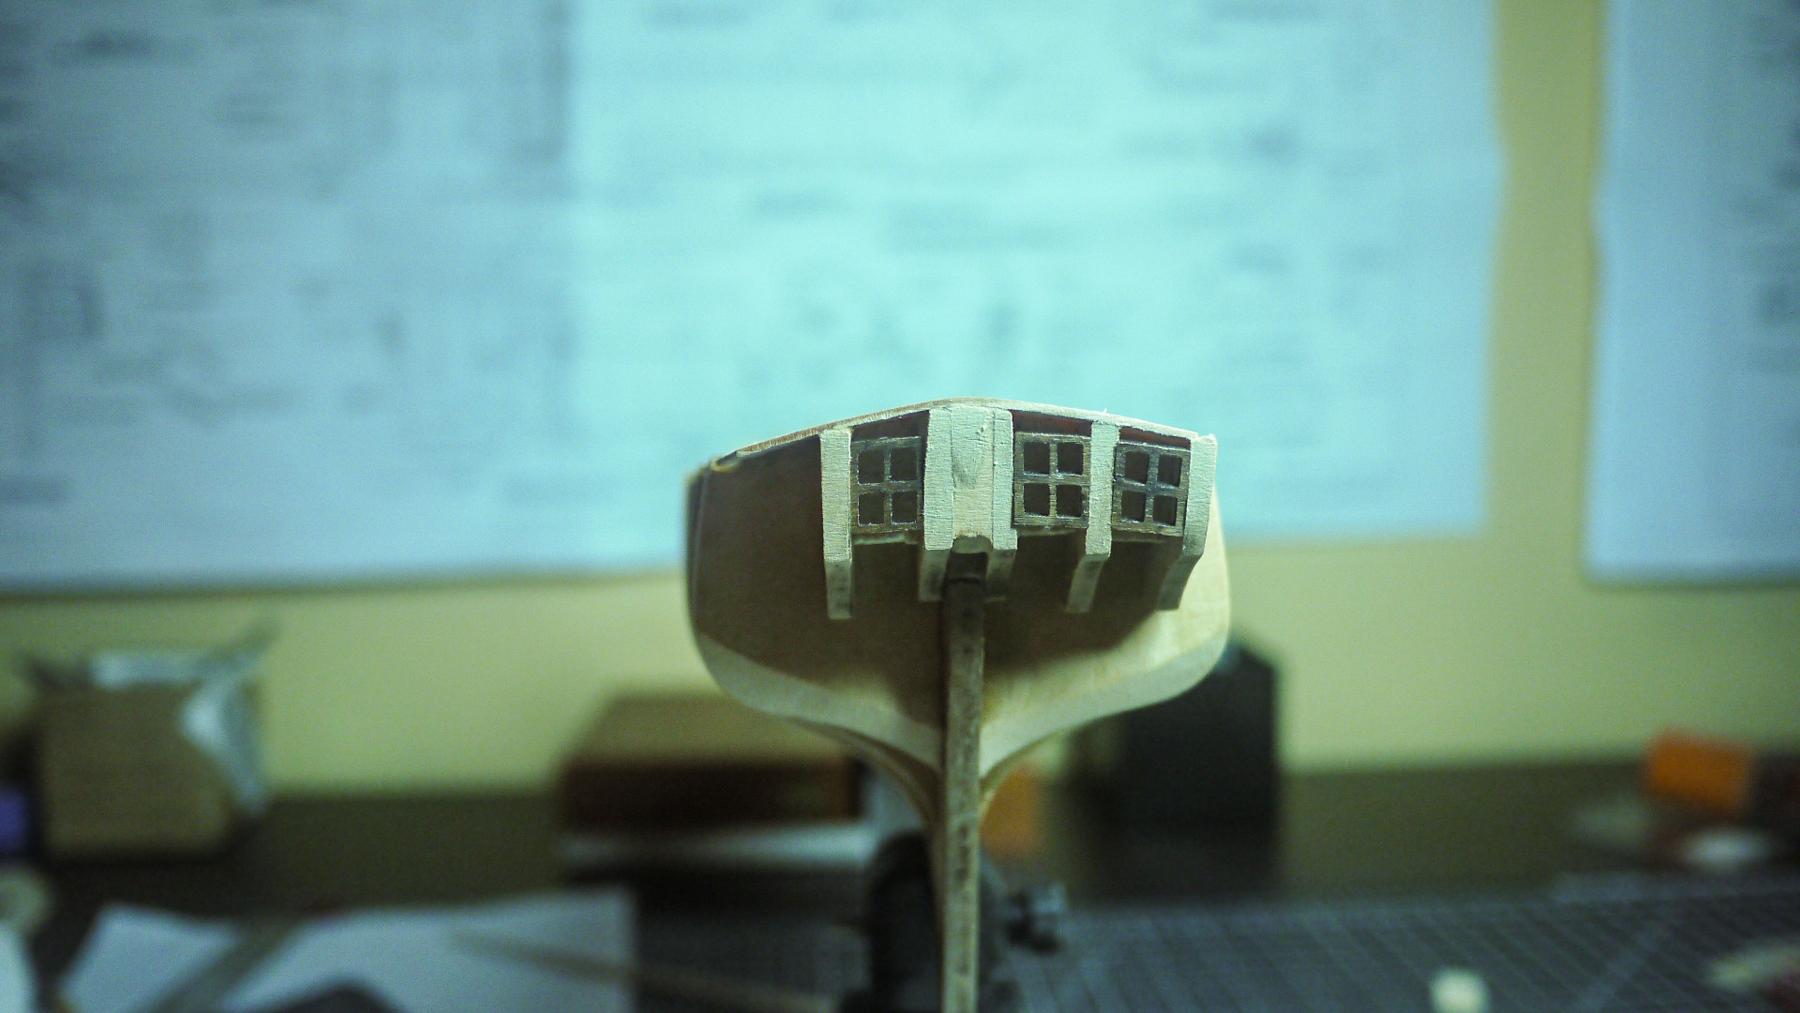
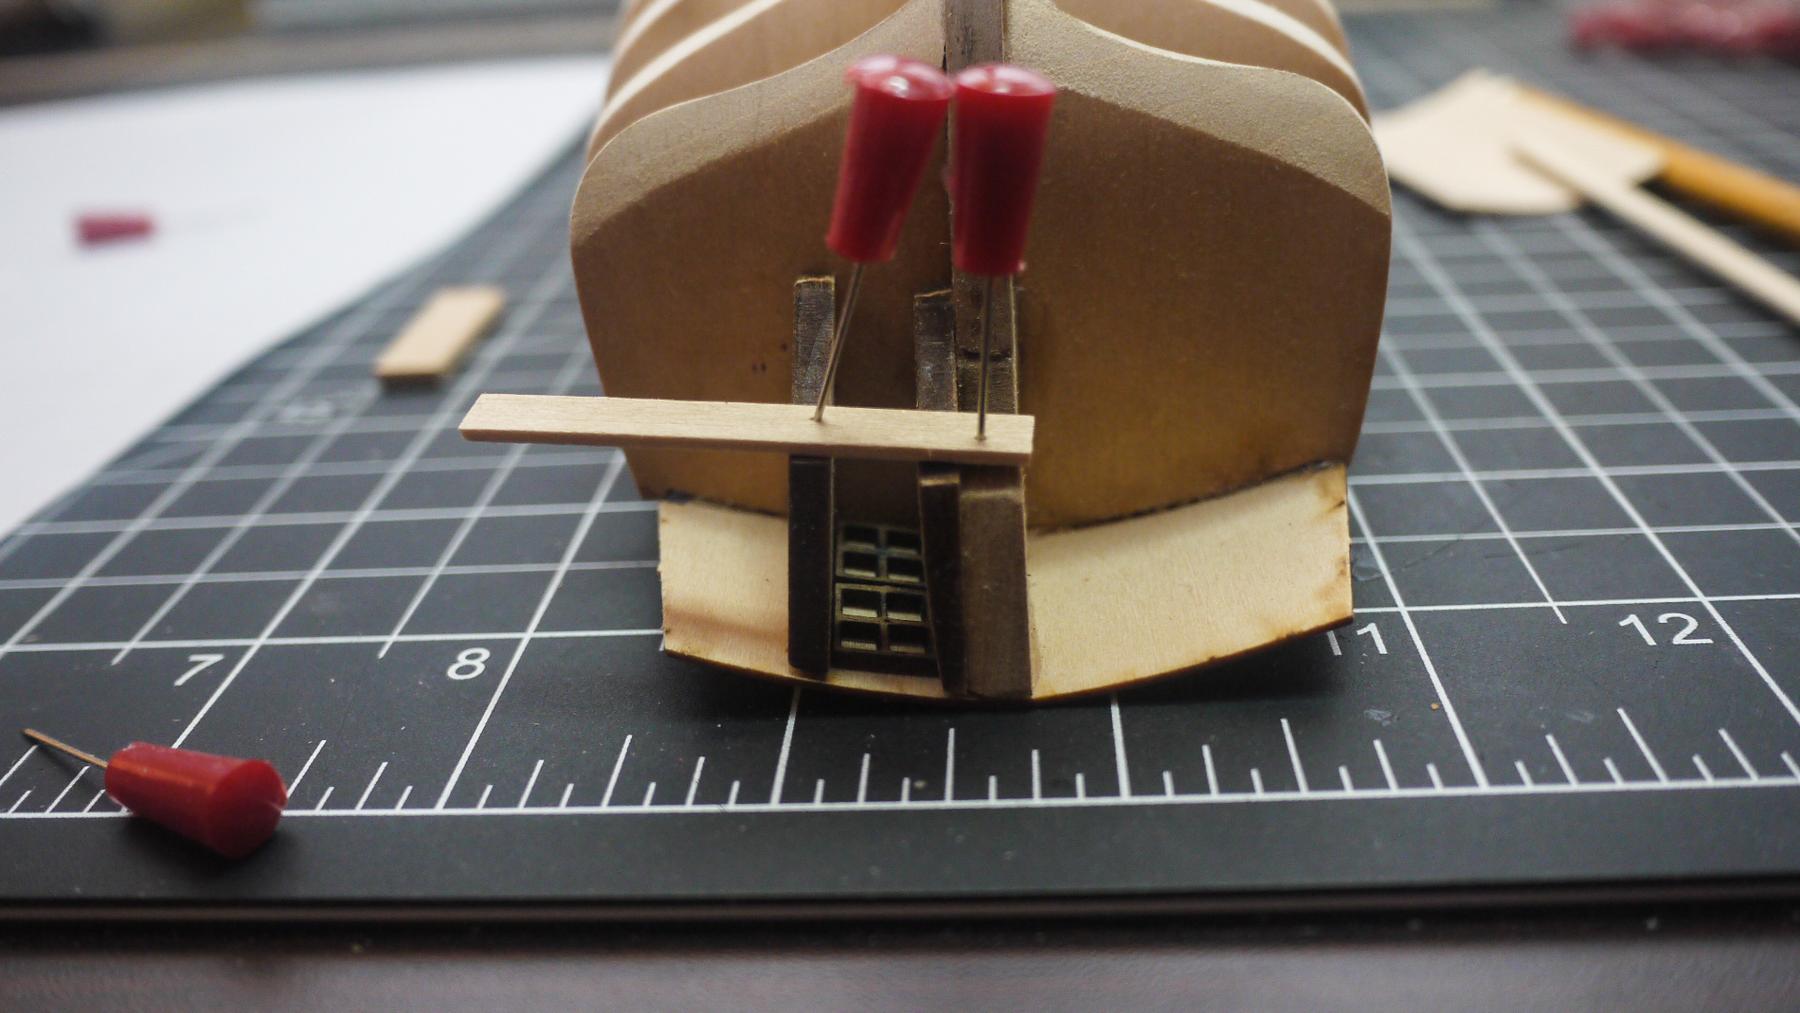
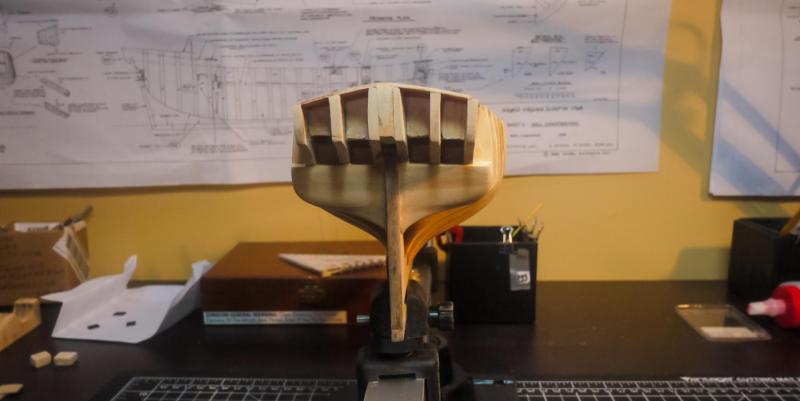
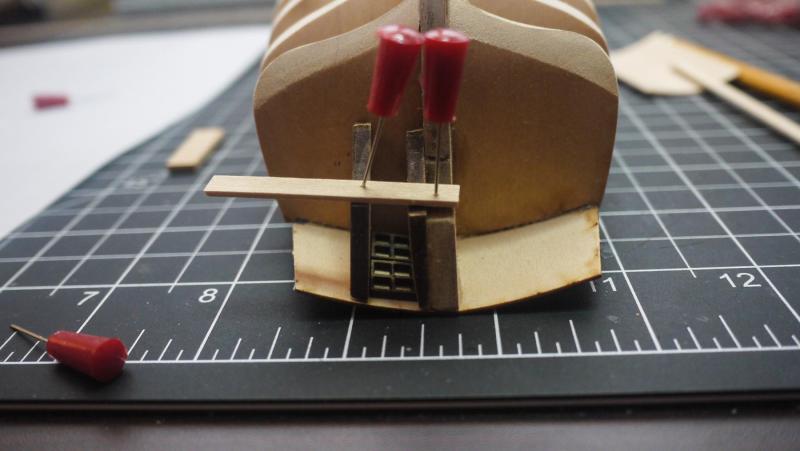
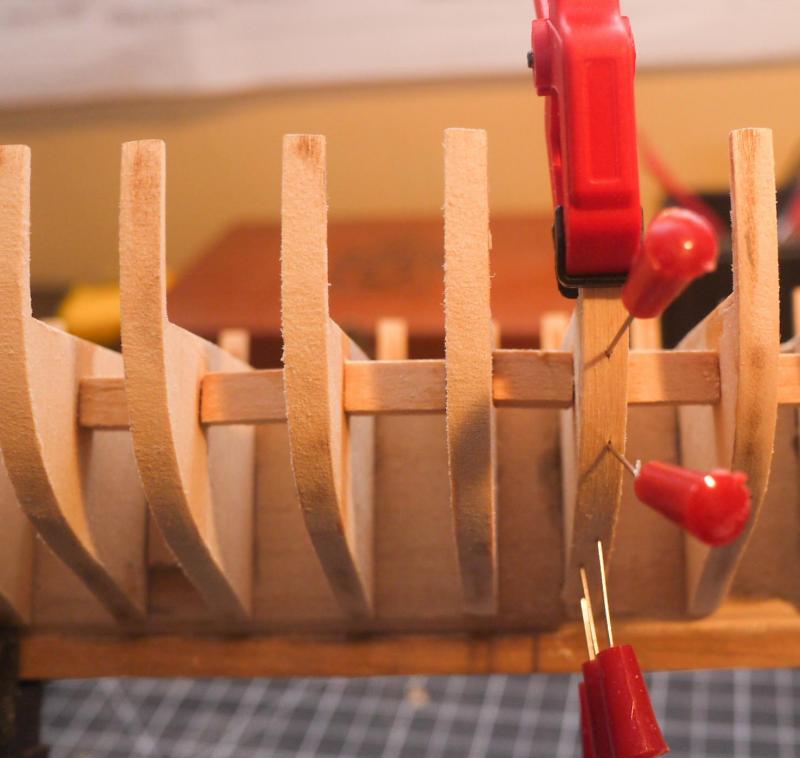
The transom wing and filler are finished. I am going to glue the main deck down next. It has been nice having it out of the way. It has made the model easier to hold and kept me away from the bulkhead extensions. I have a little more tapering to do to stern frame # 3, port side, to fit the windows. I need to find the proper tool to handle them, maybe rubber coated tweezers. I broke one window in an attempt to fit it. You can see it in the photo on that piece of scotch tape.
-
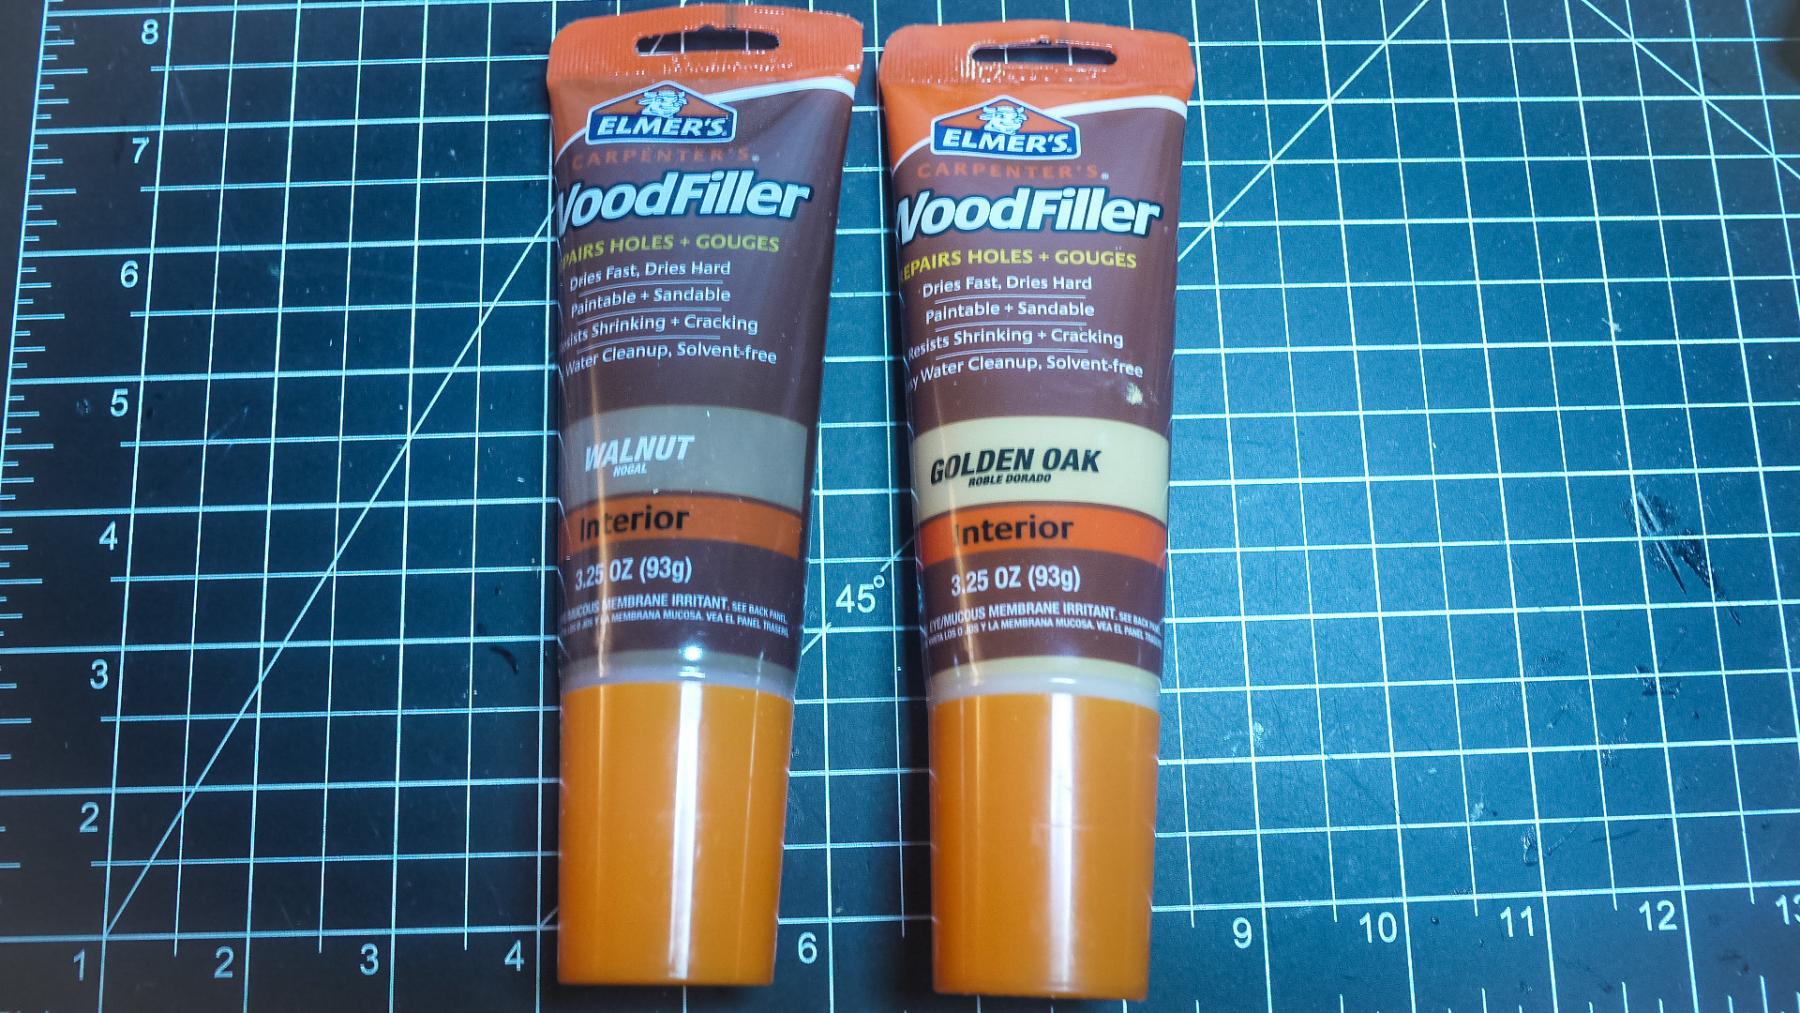
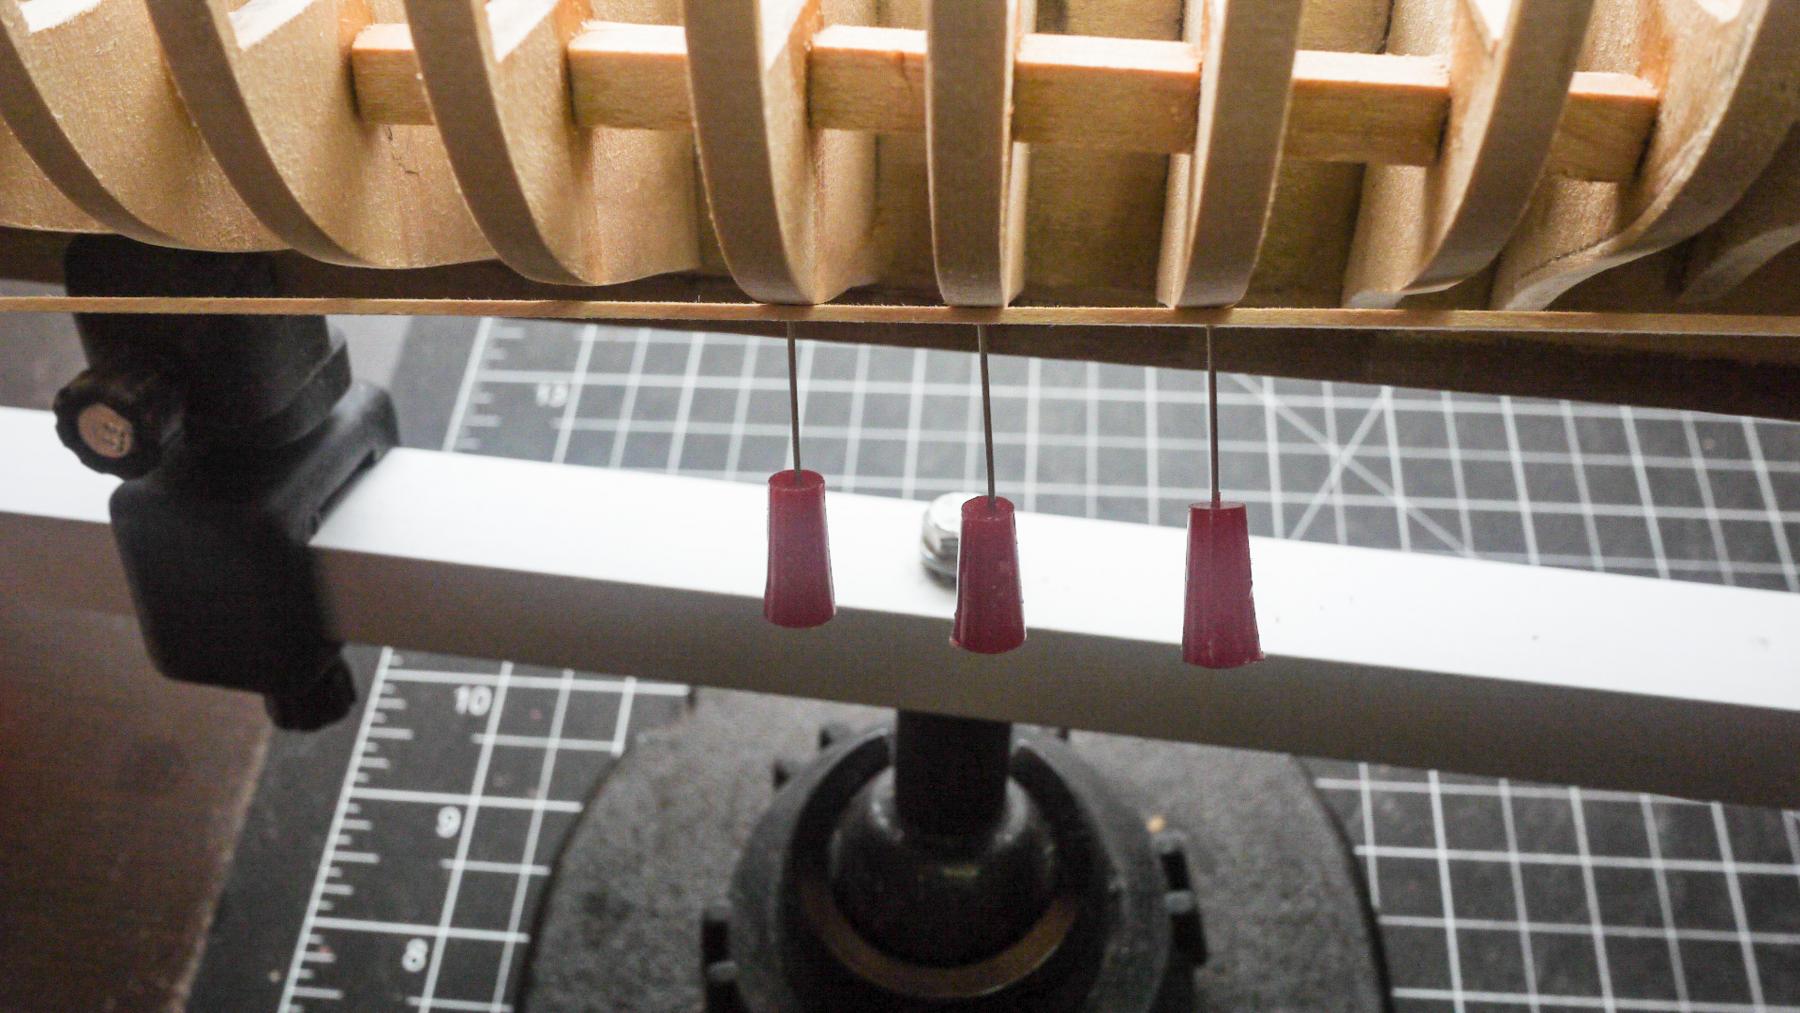
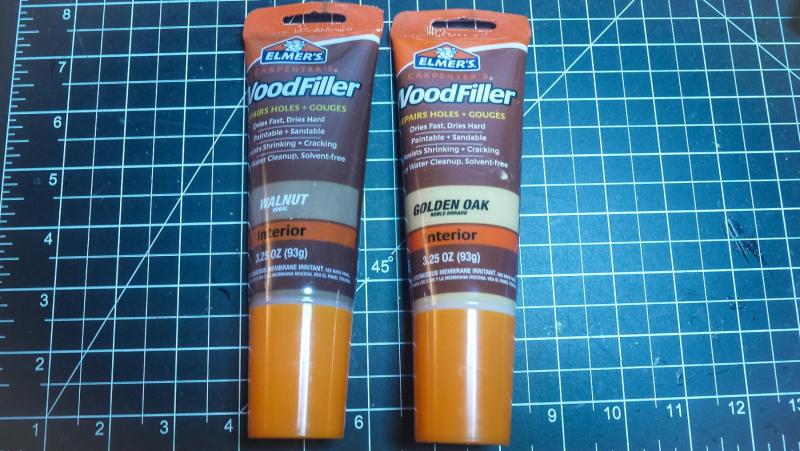
That's what they make wood filler for. Which gives me a reason to post another picture... I found that these two are a near perfect color match for the Basswood and Walnut. I do realize that you experienced guys know this stuff, maybe it will help a beginner, like me, one day.
-
You guys make a good point about bulkhead R. I over faired it during the initial faring. I should have looked ahead. It should have been faired very little until after the wing transom and filler were installed. Those are balsa blocks( terrible to work with) between the stern frames. I have very little scrap basswood.
-
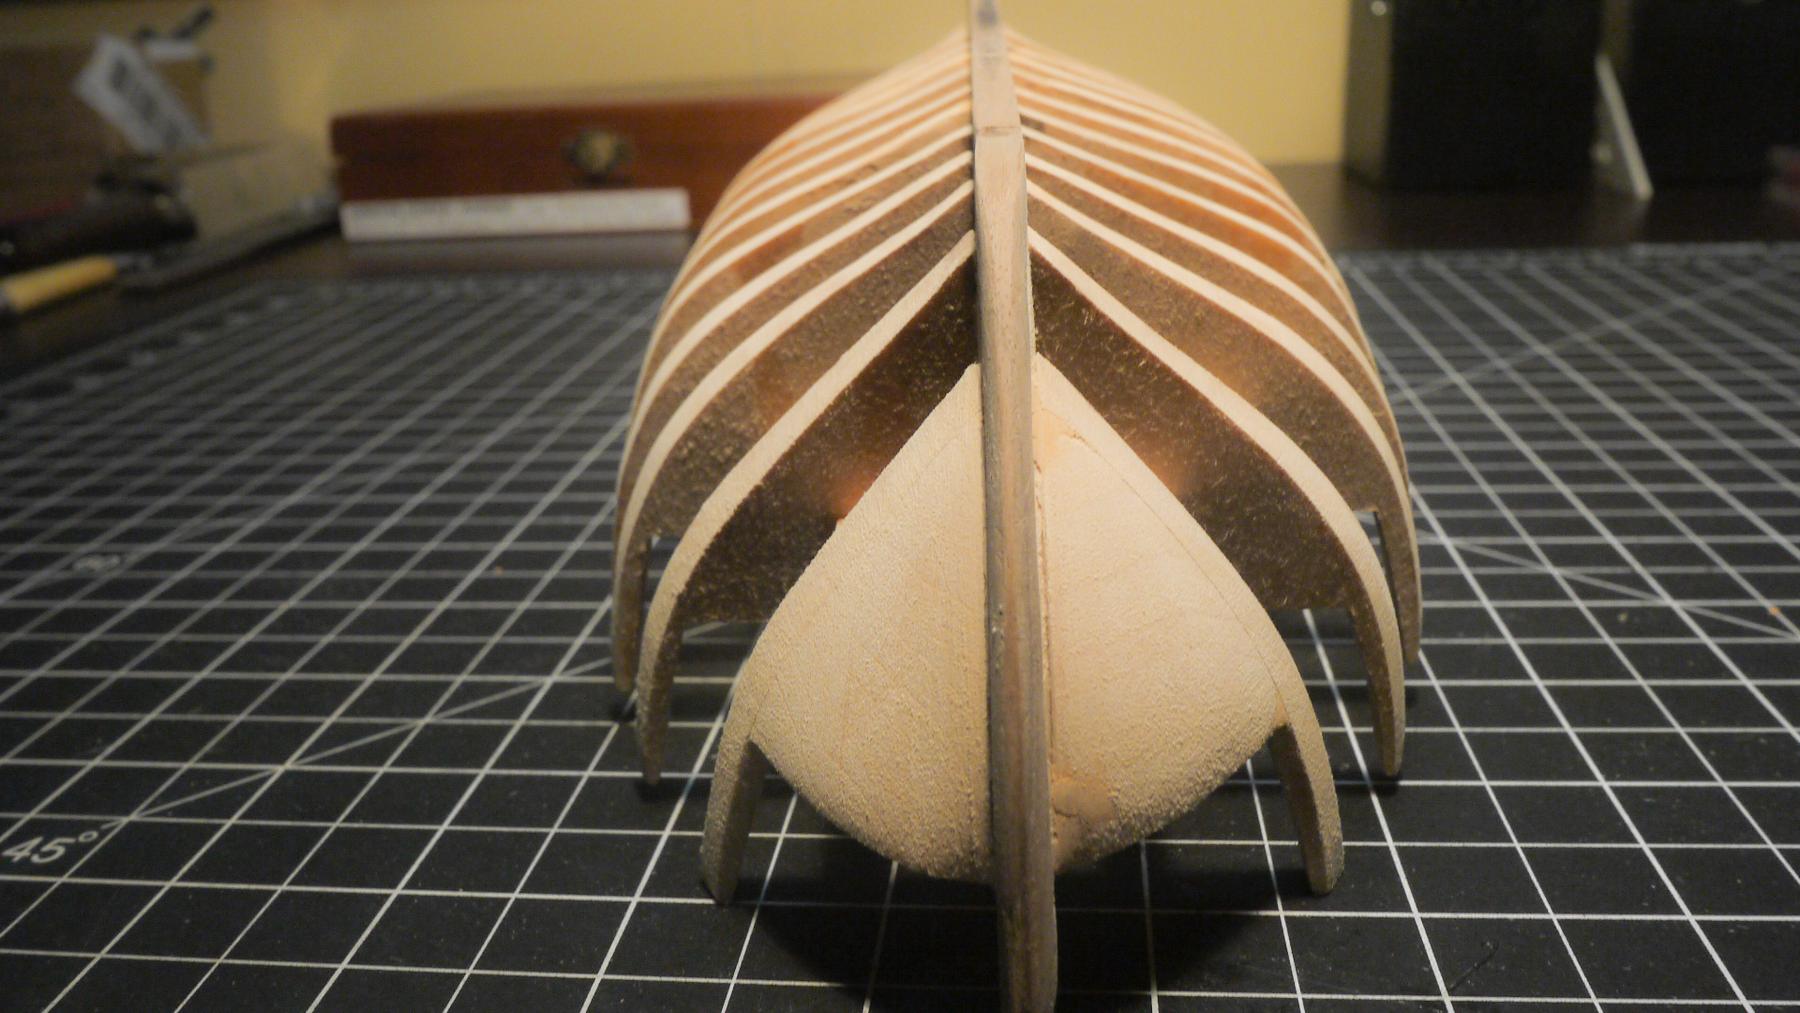
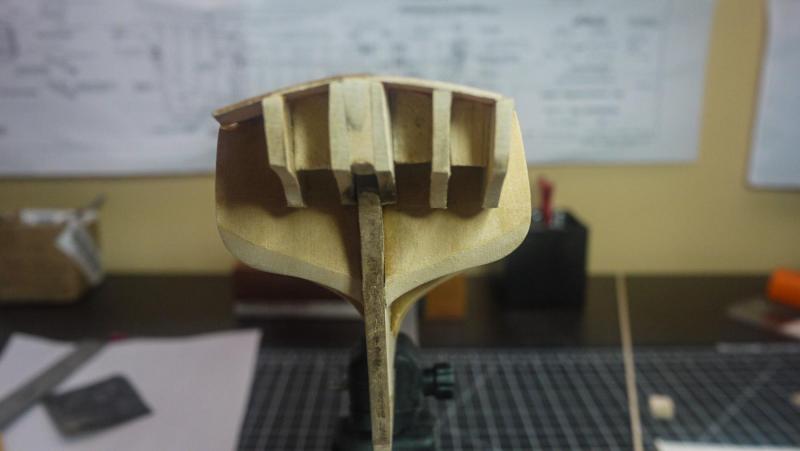
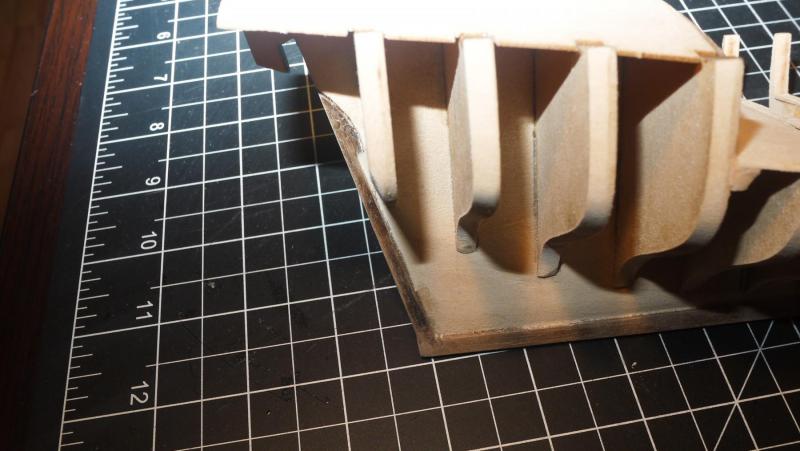
After some adjustments
-
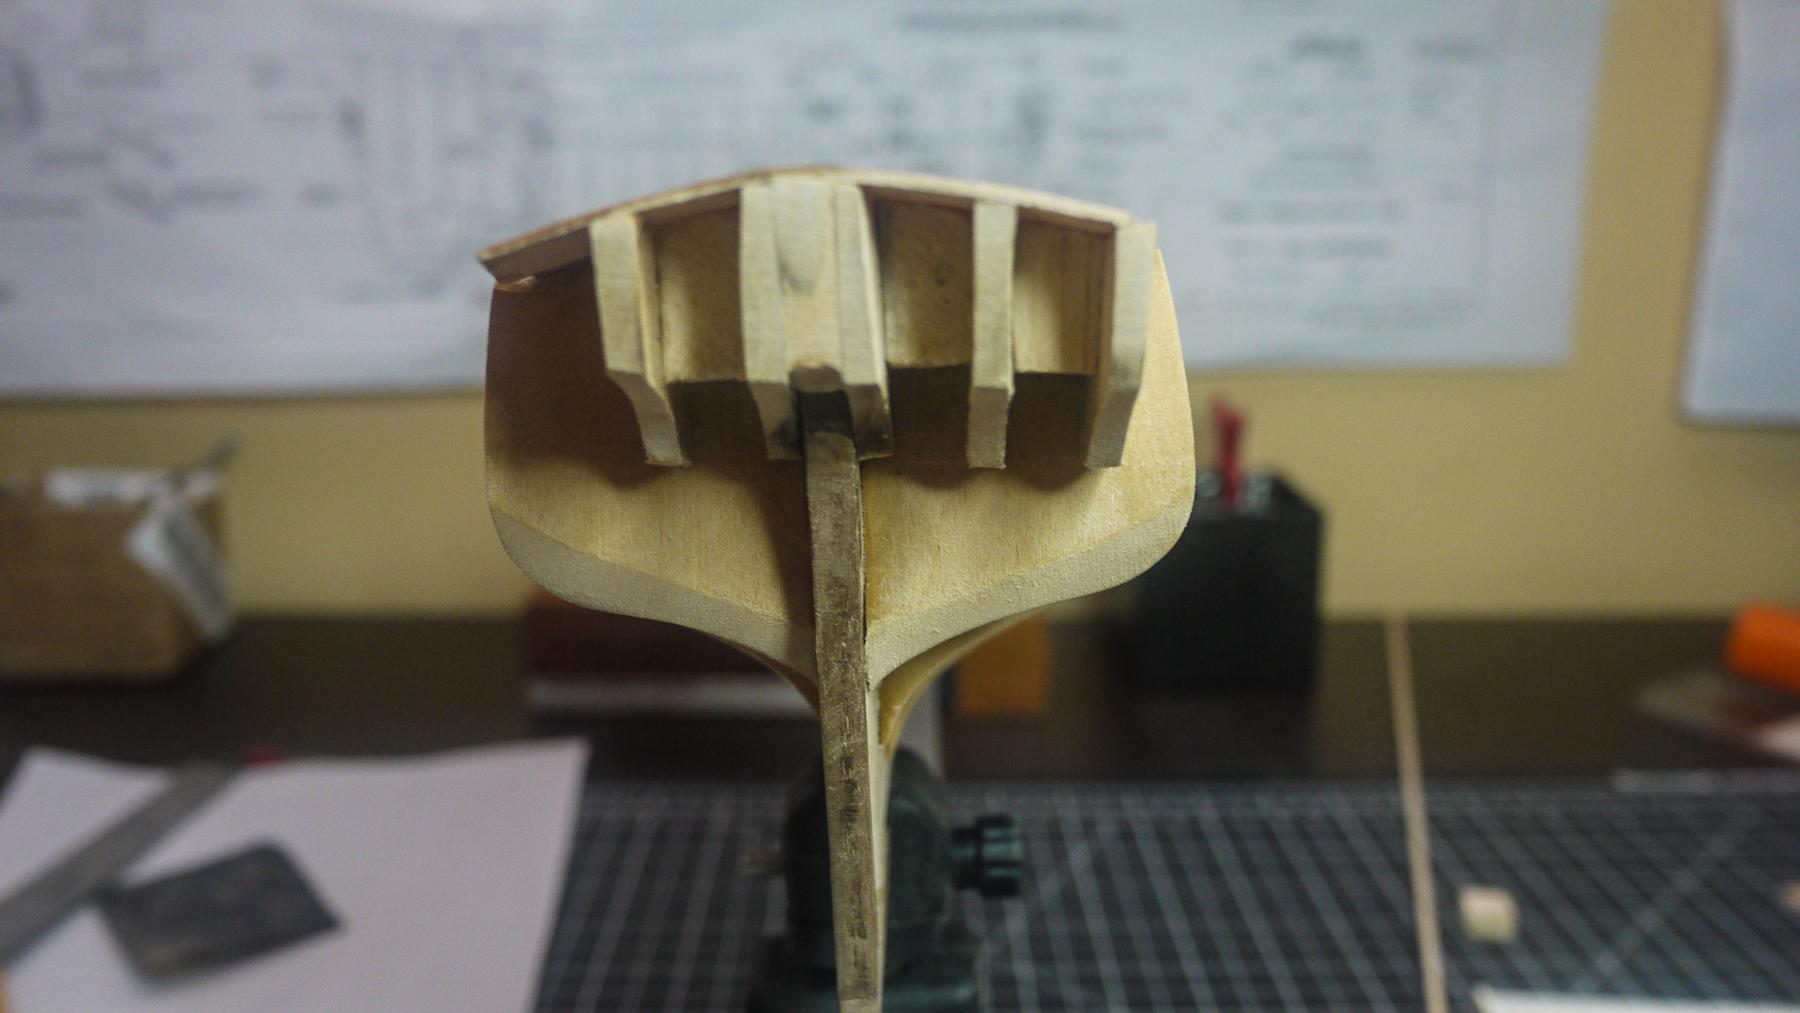
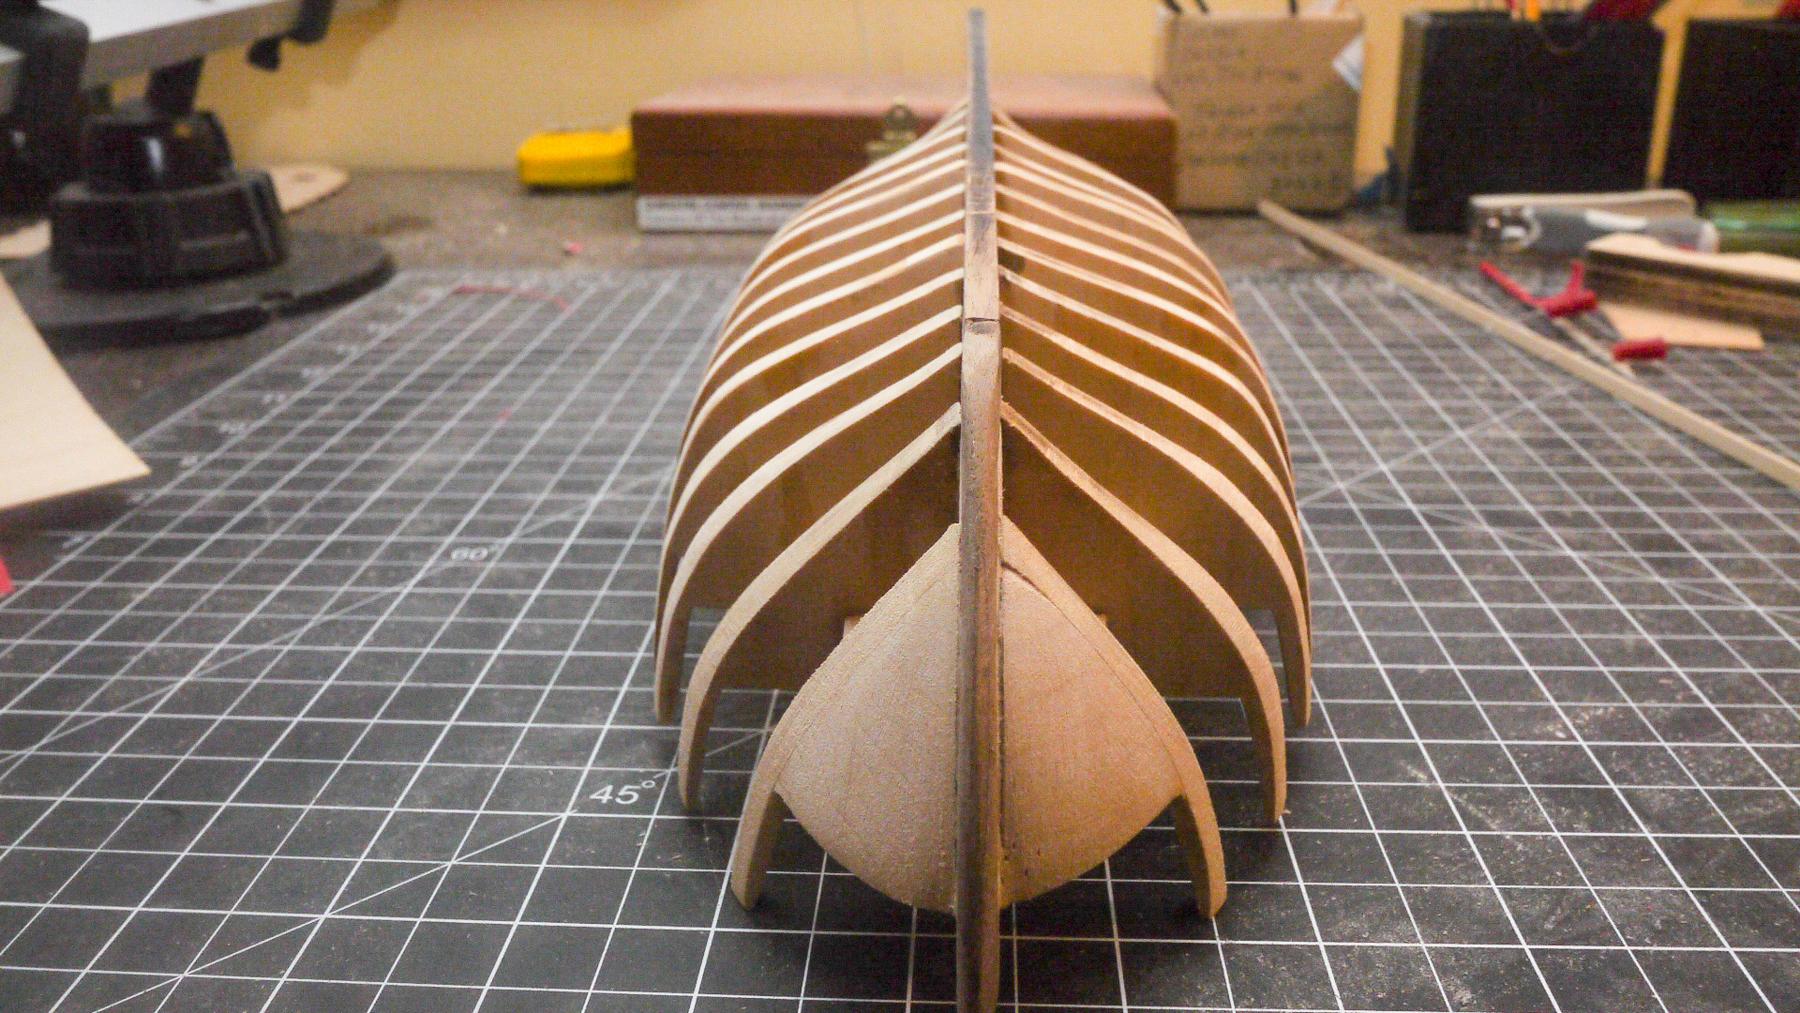
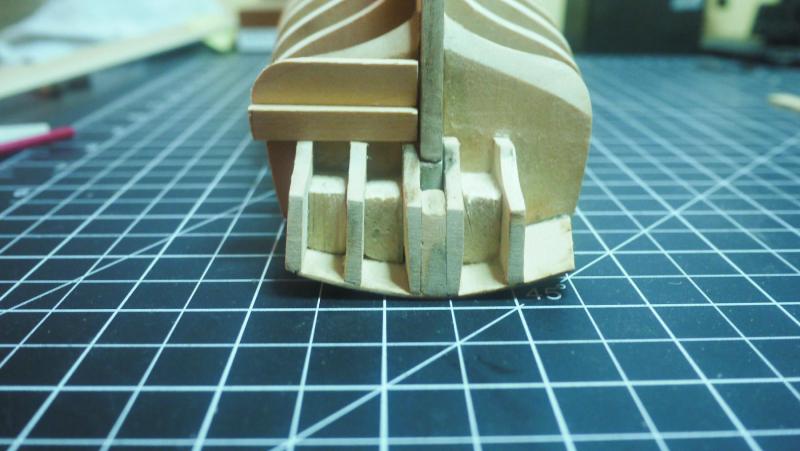
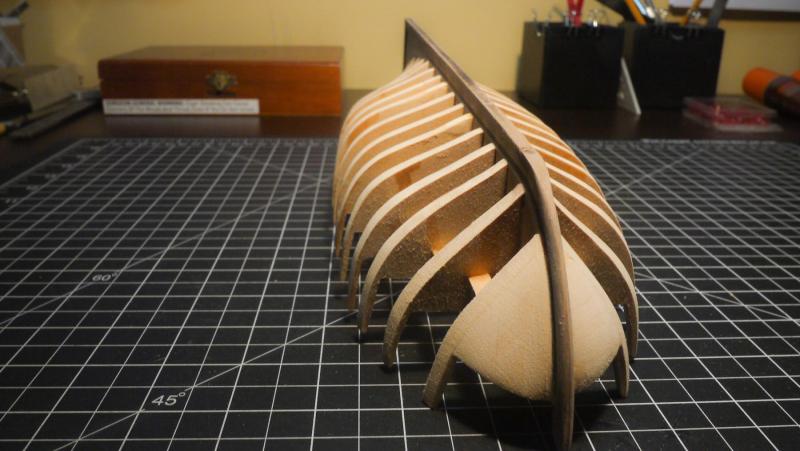
Here is the progress so far. The frames all seem to have the wrong angle cut. Hold them flush against the bulkhead and there is a gap at the top. I had to do quite a bit of adjusting. I hope I did not create issues down the road. They are out of alignment at the bottom also. I have since realized that the kit manual mentions the angle is not right on the stern frames.

-
I am going to have alot of adjusting to do. The angle on frame 3 does not match the other frames for some reason.I guess it won't hurt to sand it to match. It seems that I read somewhere that someone else had this issue also.
-
Thanks guys. Dave, I see you used blocks between the stern frames. That's the only way I could figure out how to do it. Thanks for the photo!
-
In my defense, I don't remember any planes with windows this small. Nothing is glued, except frame 1. This is just one attempt to get the spacing right and everything square. Looking at everyone else's build log, it looks as if you guys just breezed right thru this part. Edit - In studying the photo, I believe the answer is to make small blocks the same width as the windows and glue them to bulkhead R. Then set the frames from them.
-
Sorry guys my question was not clear. I was asking your opinion regarding the bevel on R.
-
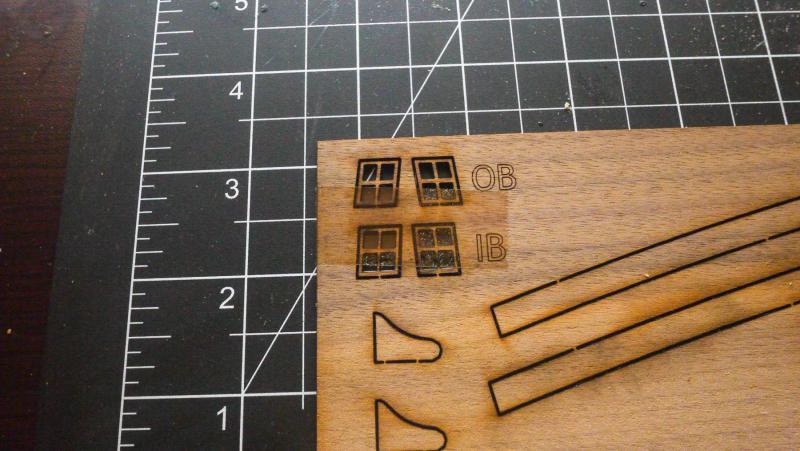
All this time, in the back of my mind I have been thinking about how to tell the inboard windows from the outboard windows. I just now realized that they are marked. When all else fails, read the instructions.
-
It looks great. Thanks for the good photos. I am about to start on my stern and I am sure that they will be a huge help.
-
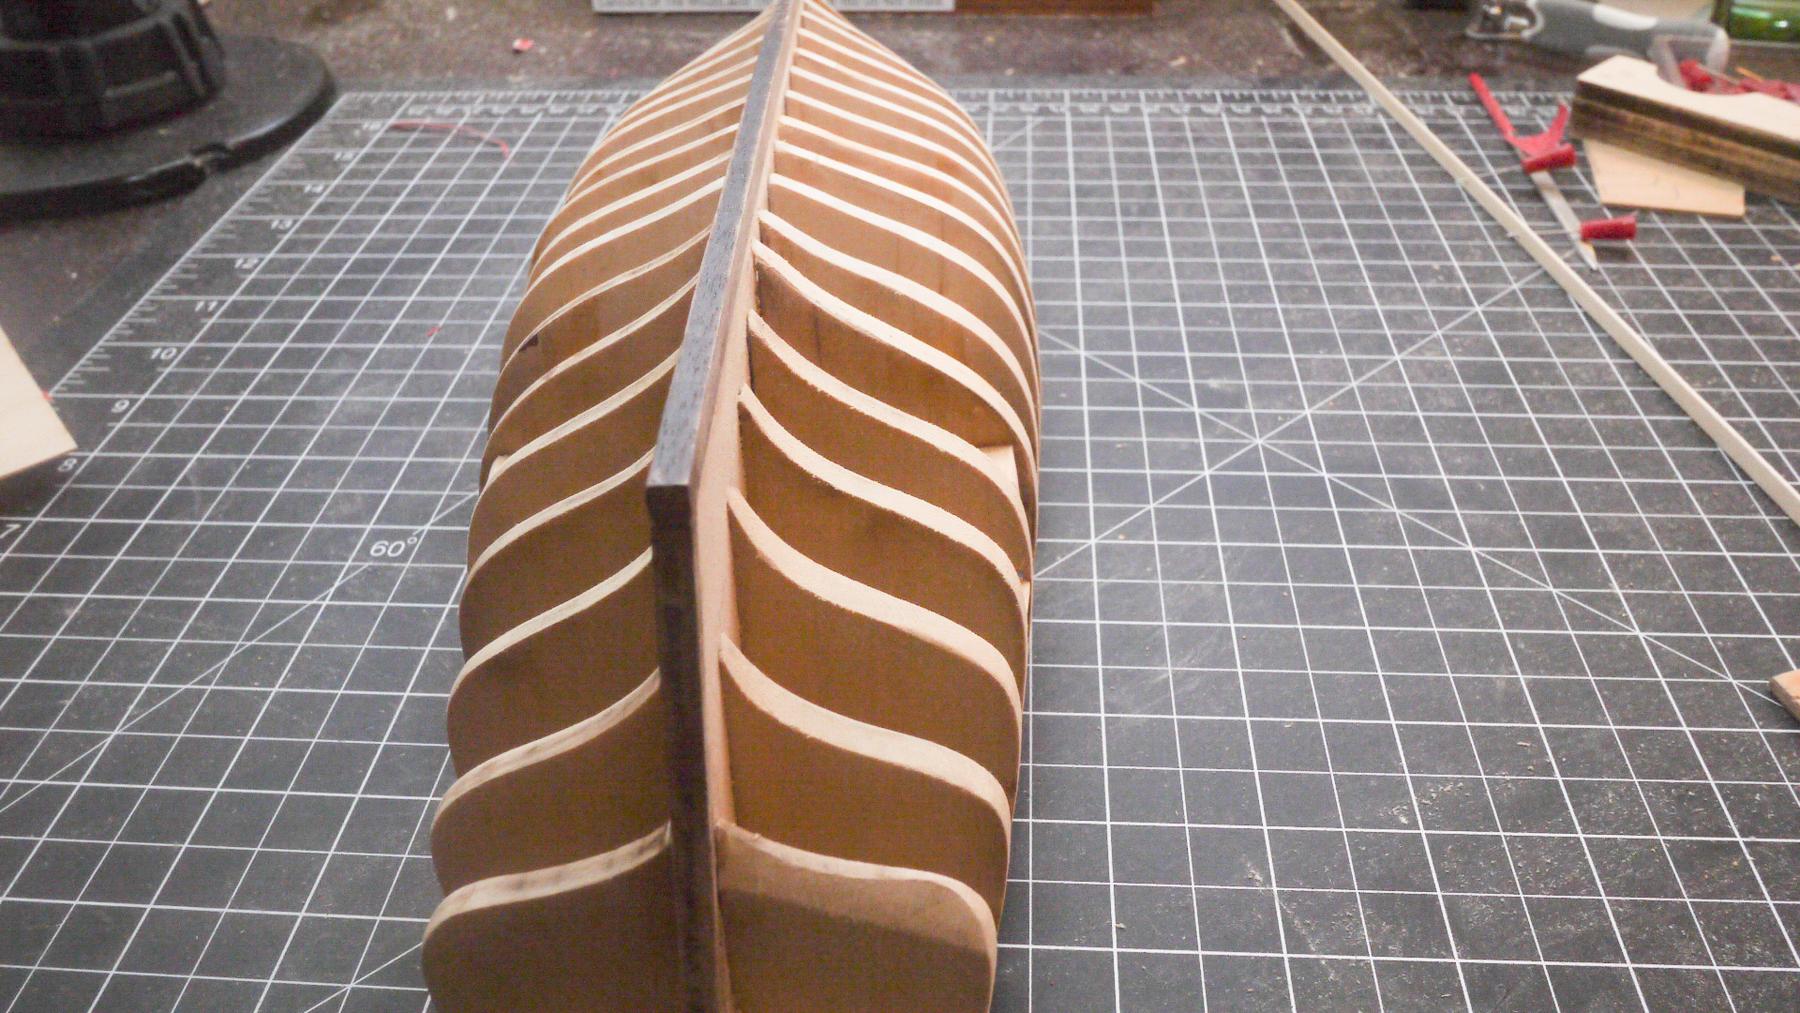
The fairing is completed. That is a lot more work than it appears to be. Lots of shims. I'm sure I'll go over it one more time before planking. I'm pretty sure more needs to come off bulkhead R. What do you guys think? And I have a symmetry issue at bulkhead B, should be easily fixed.

-
Hello Brian, it's good to have you here. Thanks for the detailed build log on this kit. I refer back to your log as much as I do the practicum. I especially like the way you put links to the different subjects. That makes for quick and easy references.
-
Thanks Dave. When I was doing my research on what ship to start with, yours was one of the first AVS that I saw. I really like how you bashed the kit and upgraded the kit wood, no paint, right? It looks awesome. It was a smooth move naming her after the Admiral, I'll have to remember that one.
-
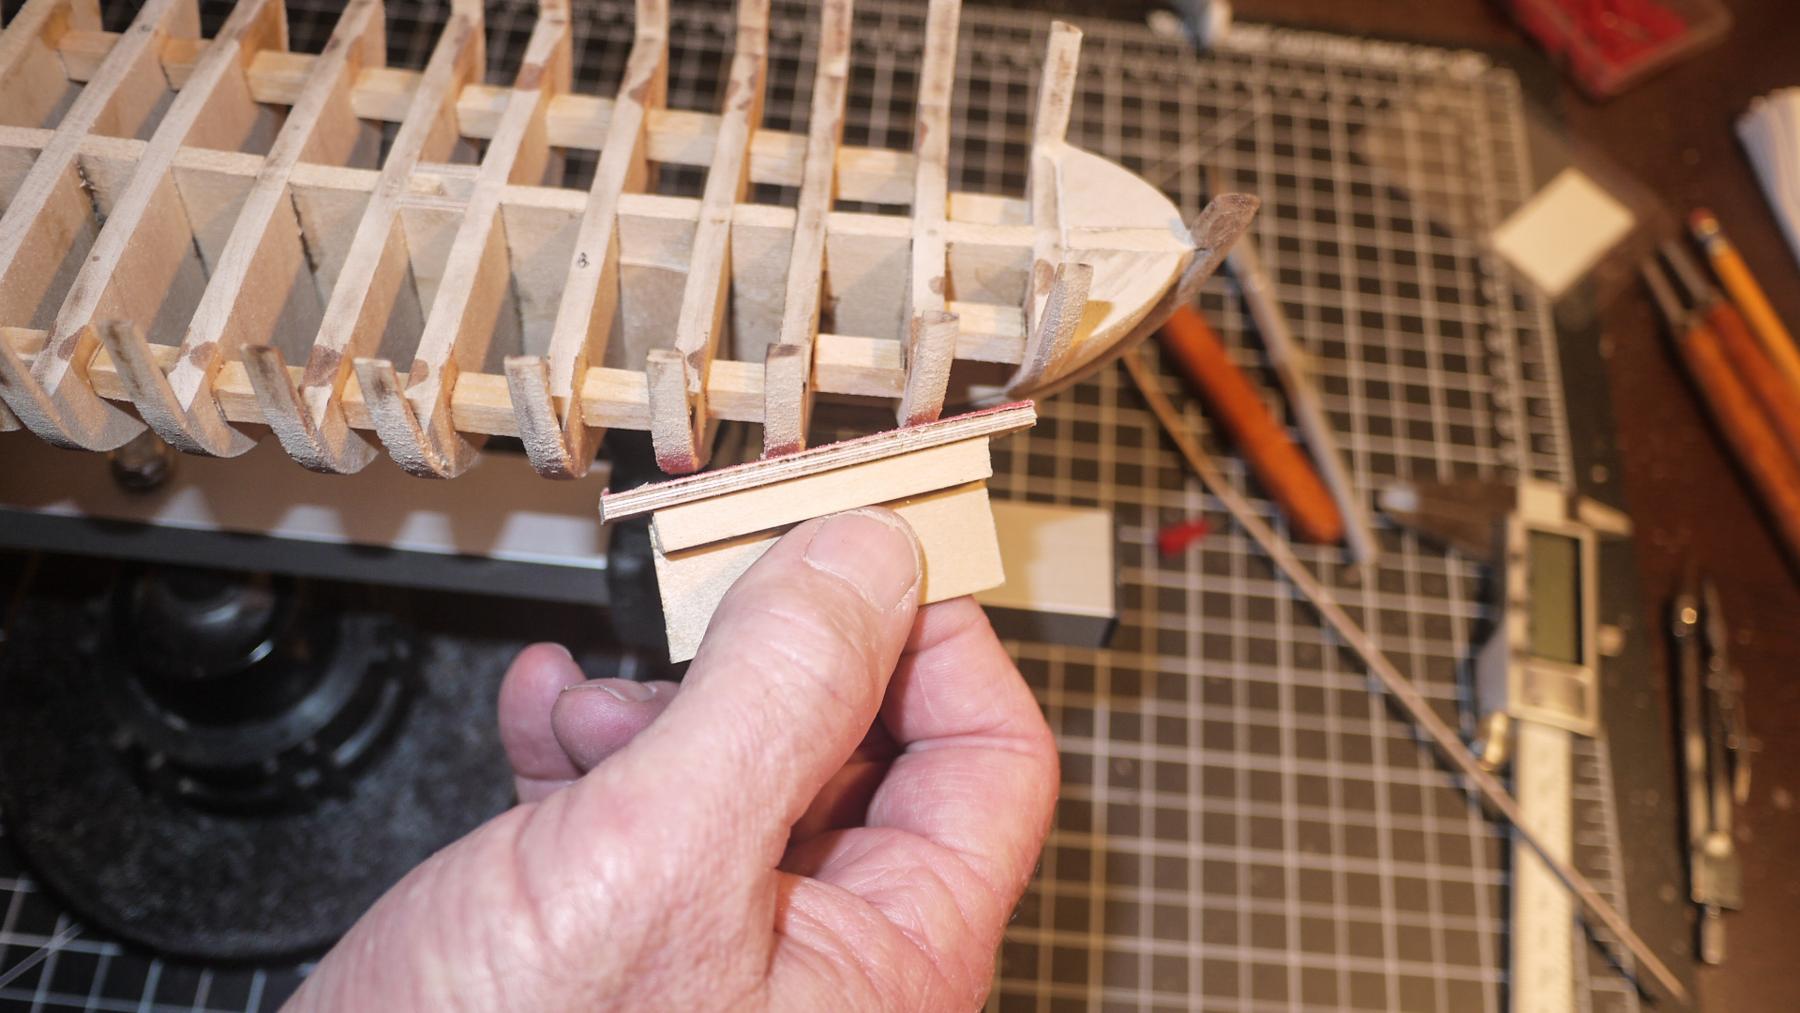
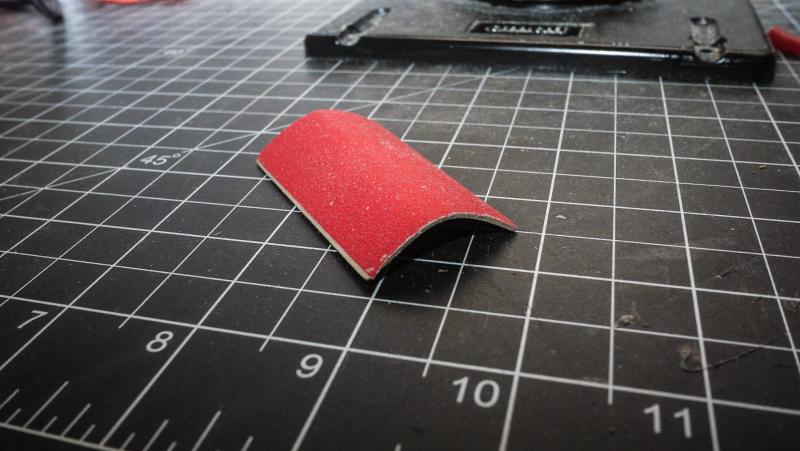
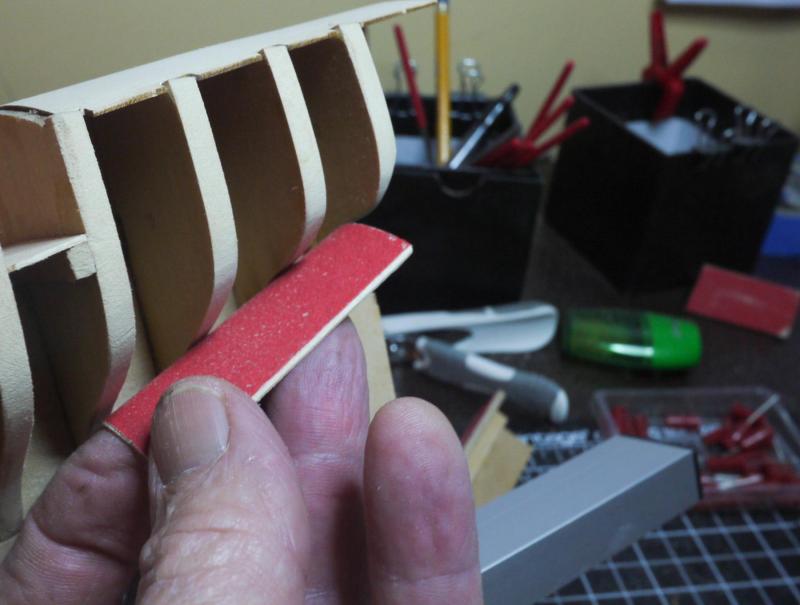
One of the problems I was having with the fairing, is sanding the bevel without flattening the curve of the bulkhead. I took a piece of the wood that the decks are made of and stuck a piece of sandpaper on. I was able to conform it to the bulkhead and sand a bevel in the curve. The picture is a little off but it seemed to have worked. As always, larger photos are available...
-
Thanks for the words of encouragement Zoltan. I'm really enjoying the build. I'm not even halfway yet and I found myself scouting around for my next kit. I will look alot harder for the next one, after I do the planking on this one.
-
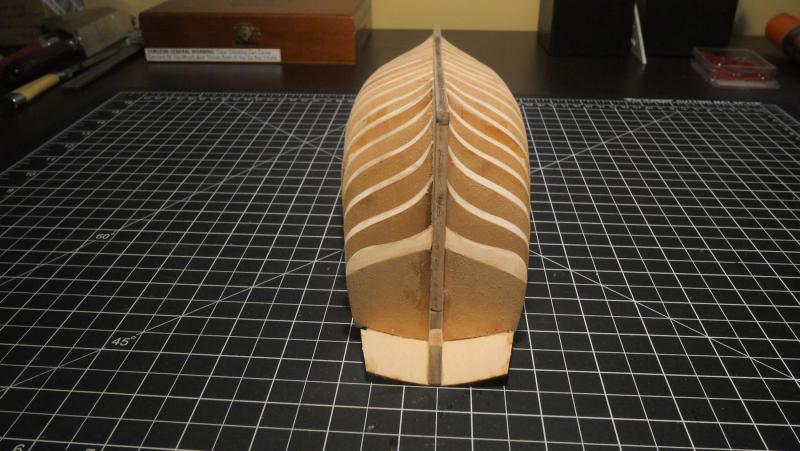
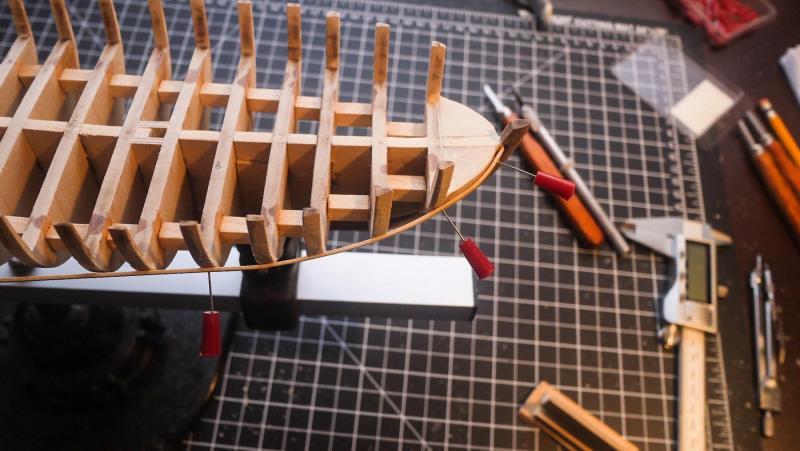
The port side is faired. I am tapering bulkhead R on the same line as the bearding line. That is how the plans show it. Looking at the photo, it seems I need to take a little more off. I also see a hump at the sixth bulkhead from the rear. I believe that's the one I shimmed. I never noticed that hump until i saw the photo.


-
Thanks guys. The first photo shows where a shim is needed. The other two photos show the repair and results. I keep dipping into the planks for shimming. I hope they provided a few extra planks.

-
The first photo shows the method and the second photo shows the results so far. The plank needs to lay flat across the profile of the bulkheads, correct? There are 4 or 5 bulkheads amidships that look to me, like no sanding is needed. The plank lays flat there. At bulkhead C and D, where the plank turns, it almost creates a double bevel, when you sand across them. You can see at D that it is not touching across all the way. When I try to blend D with E it changes the angle of the bevel. I have not figured R out yet. I've seen where several people have struggled with the angle there. Let me know if you need a bigger photo. ( kidding)

-
Thanks guys. This is a great site with seriously talented people, that don't mind helping newcomers. MichaelB, yes stick around. I'm sure my build log will be entertaining when I start planking.
-
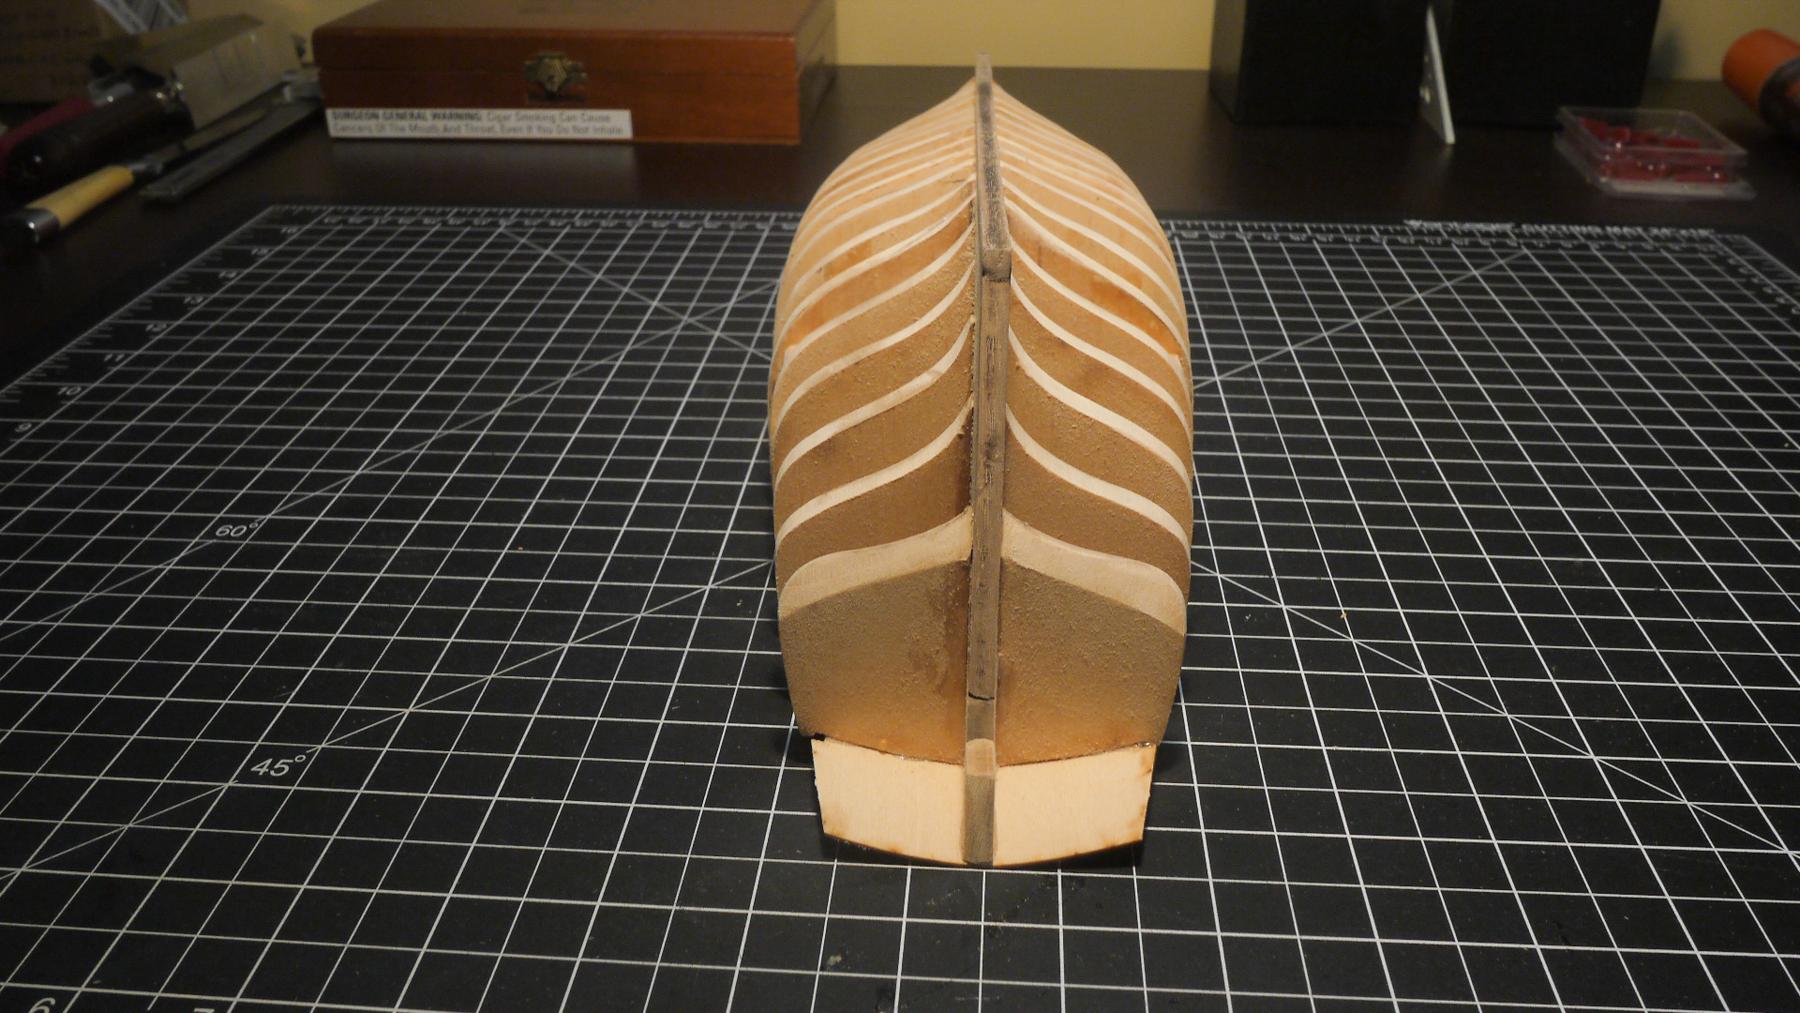
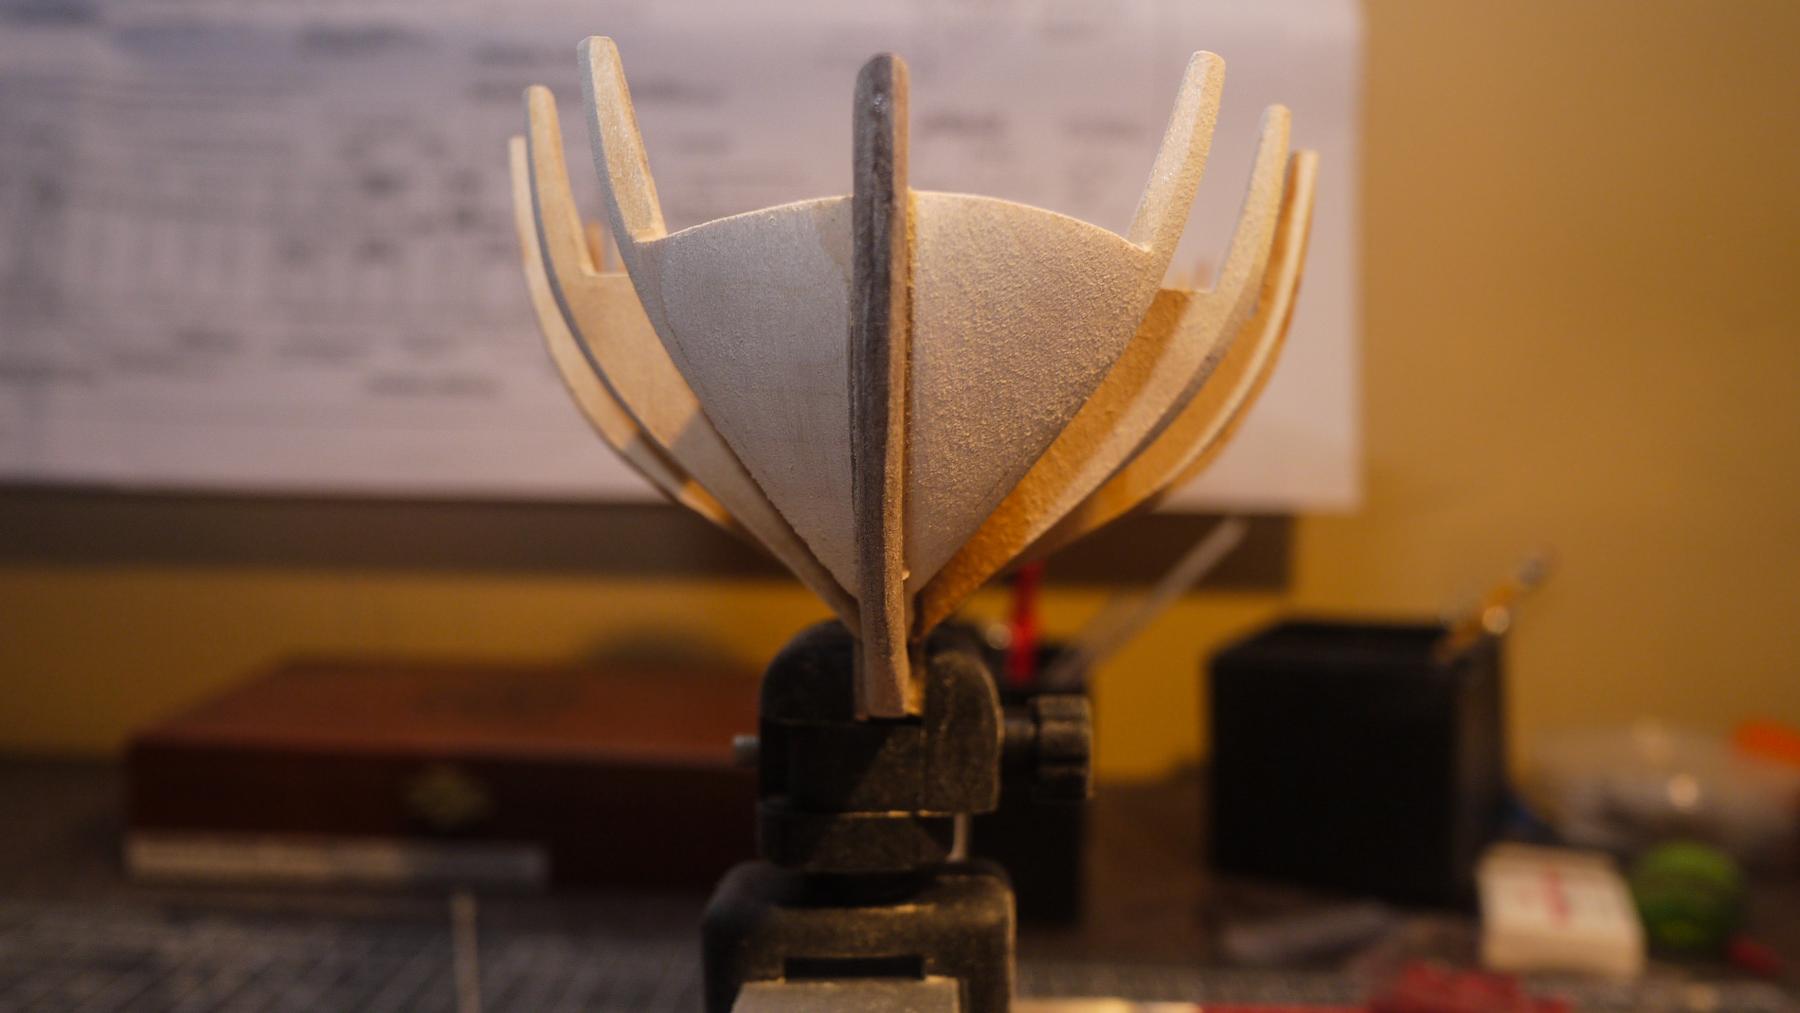
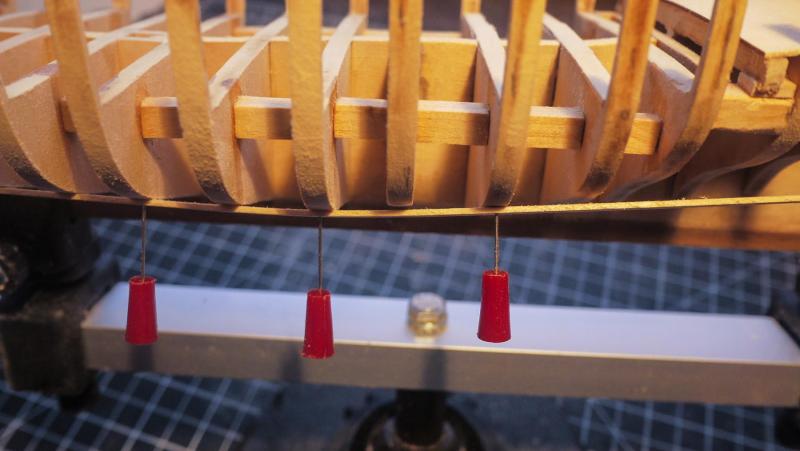
Checking symmetry. This is my first time working with basswood. It is easier than balsa to shape. I roughed it in with a dremel sanding drum and then sanded by hand from there.