Chris V
-
Posts
42 -
Joined
-
Last visited
Content Type
Profiles
Forums
Gallery
Events
Everything posted by Chris V
-
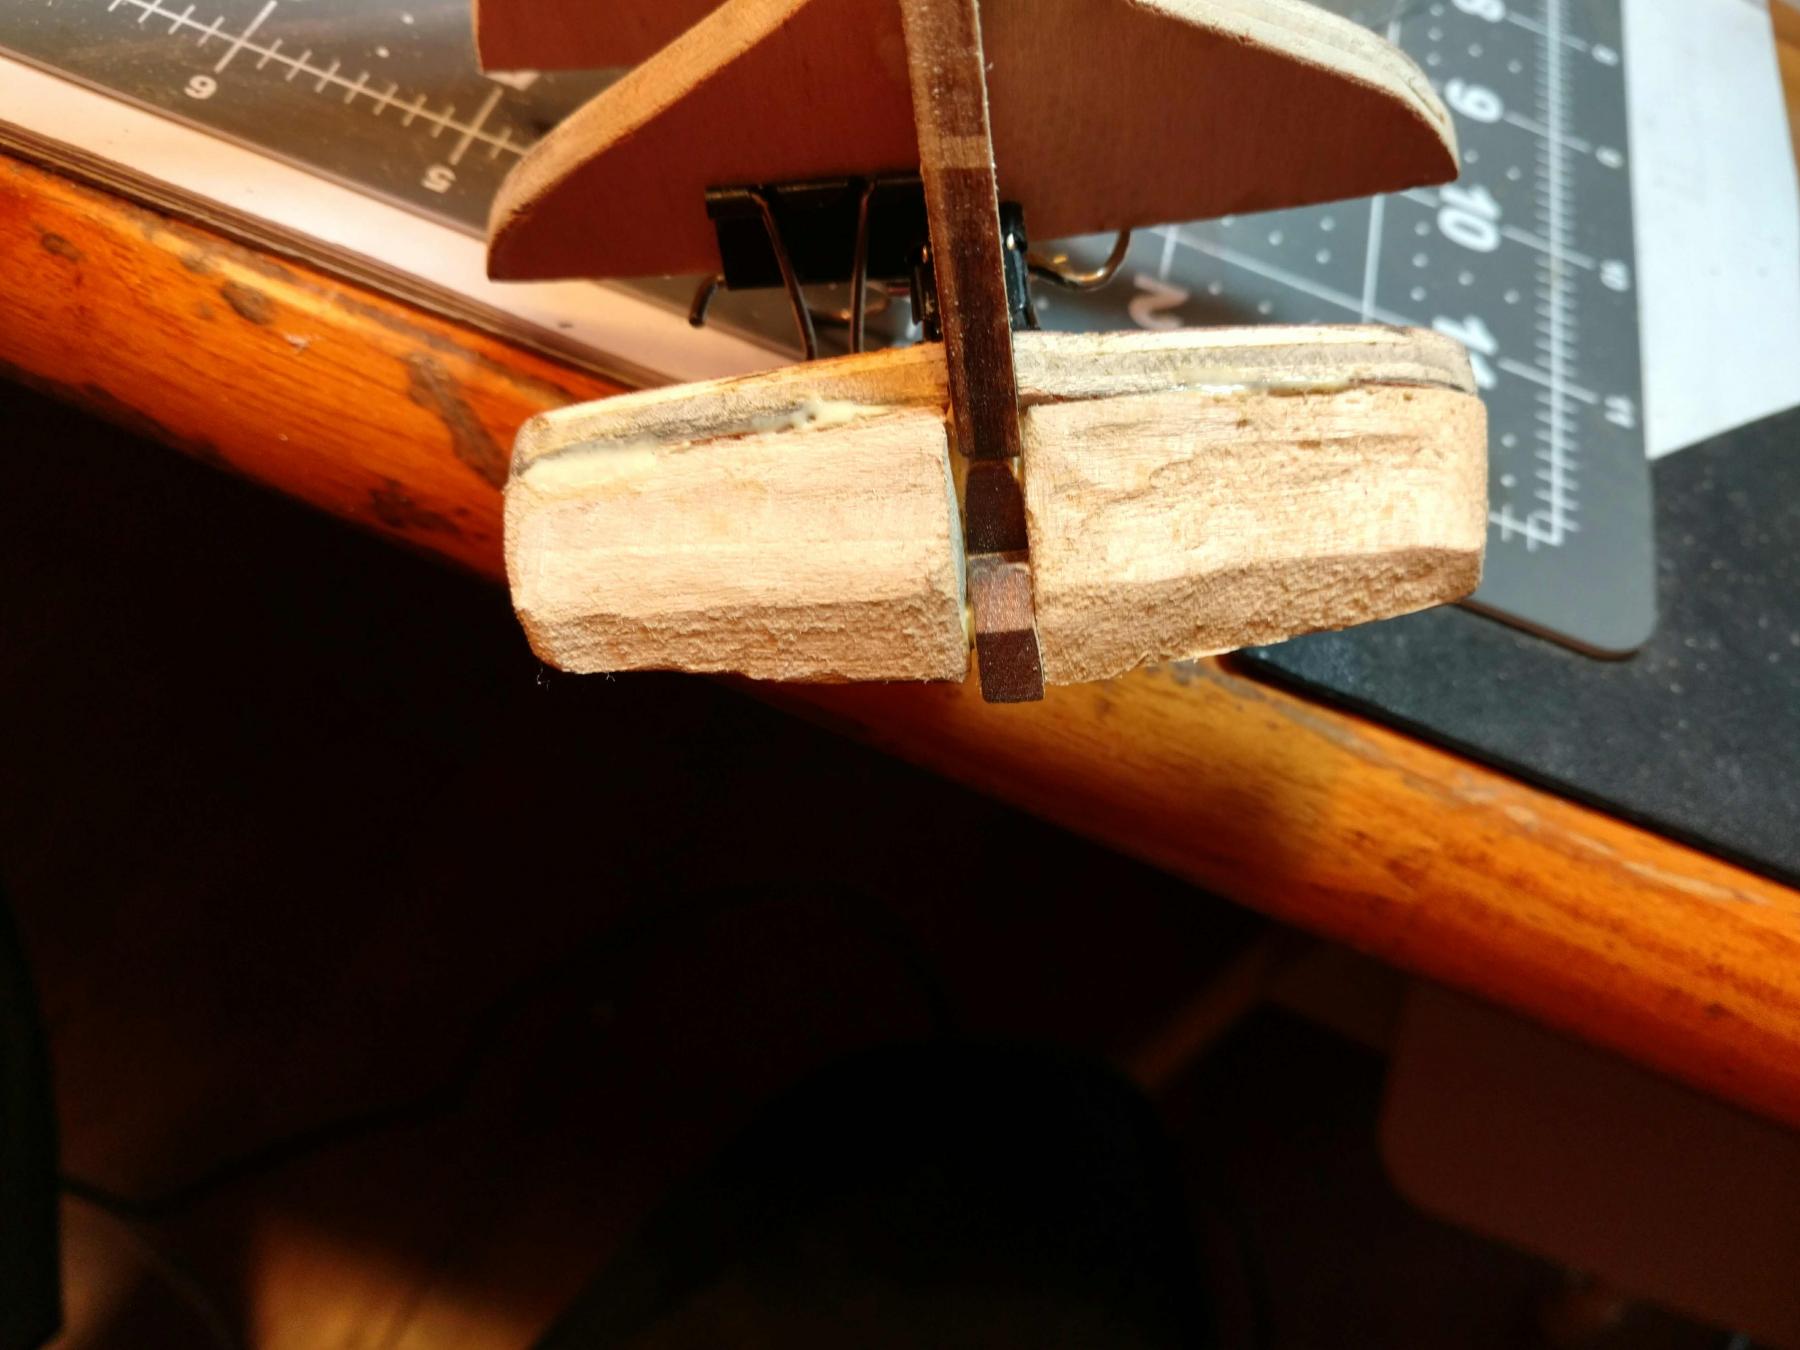
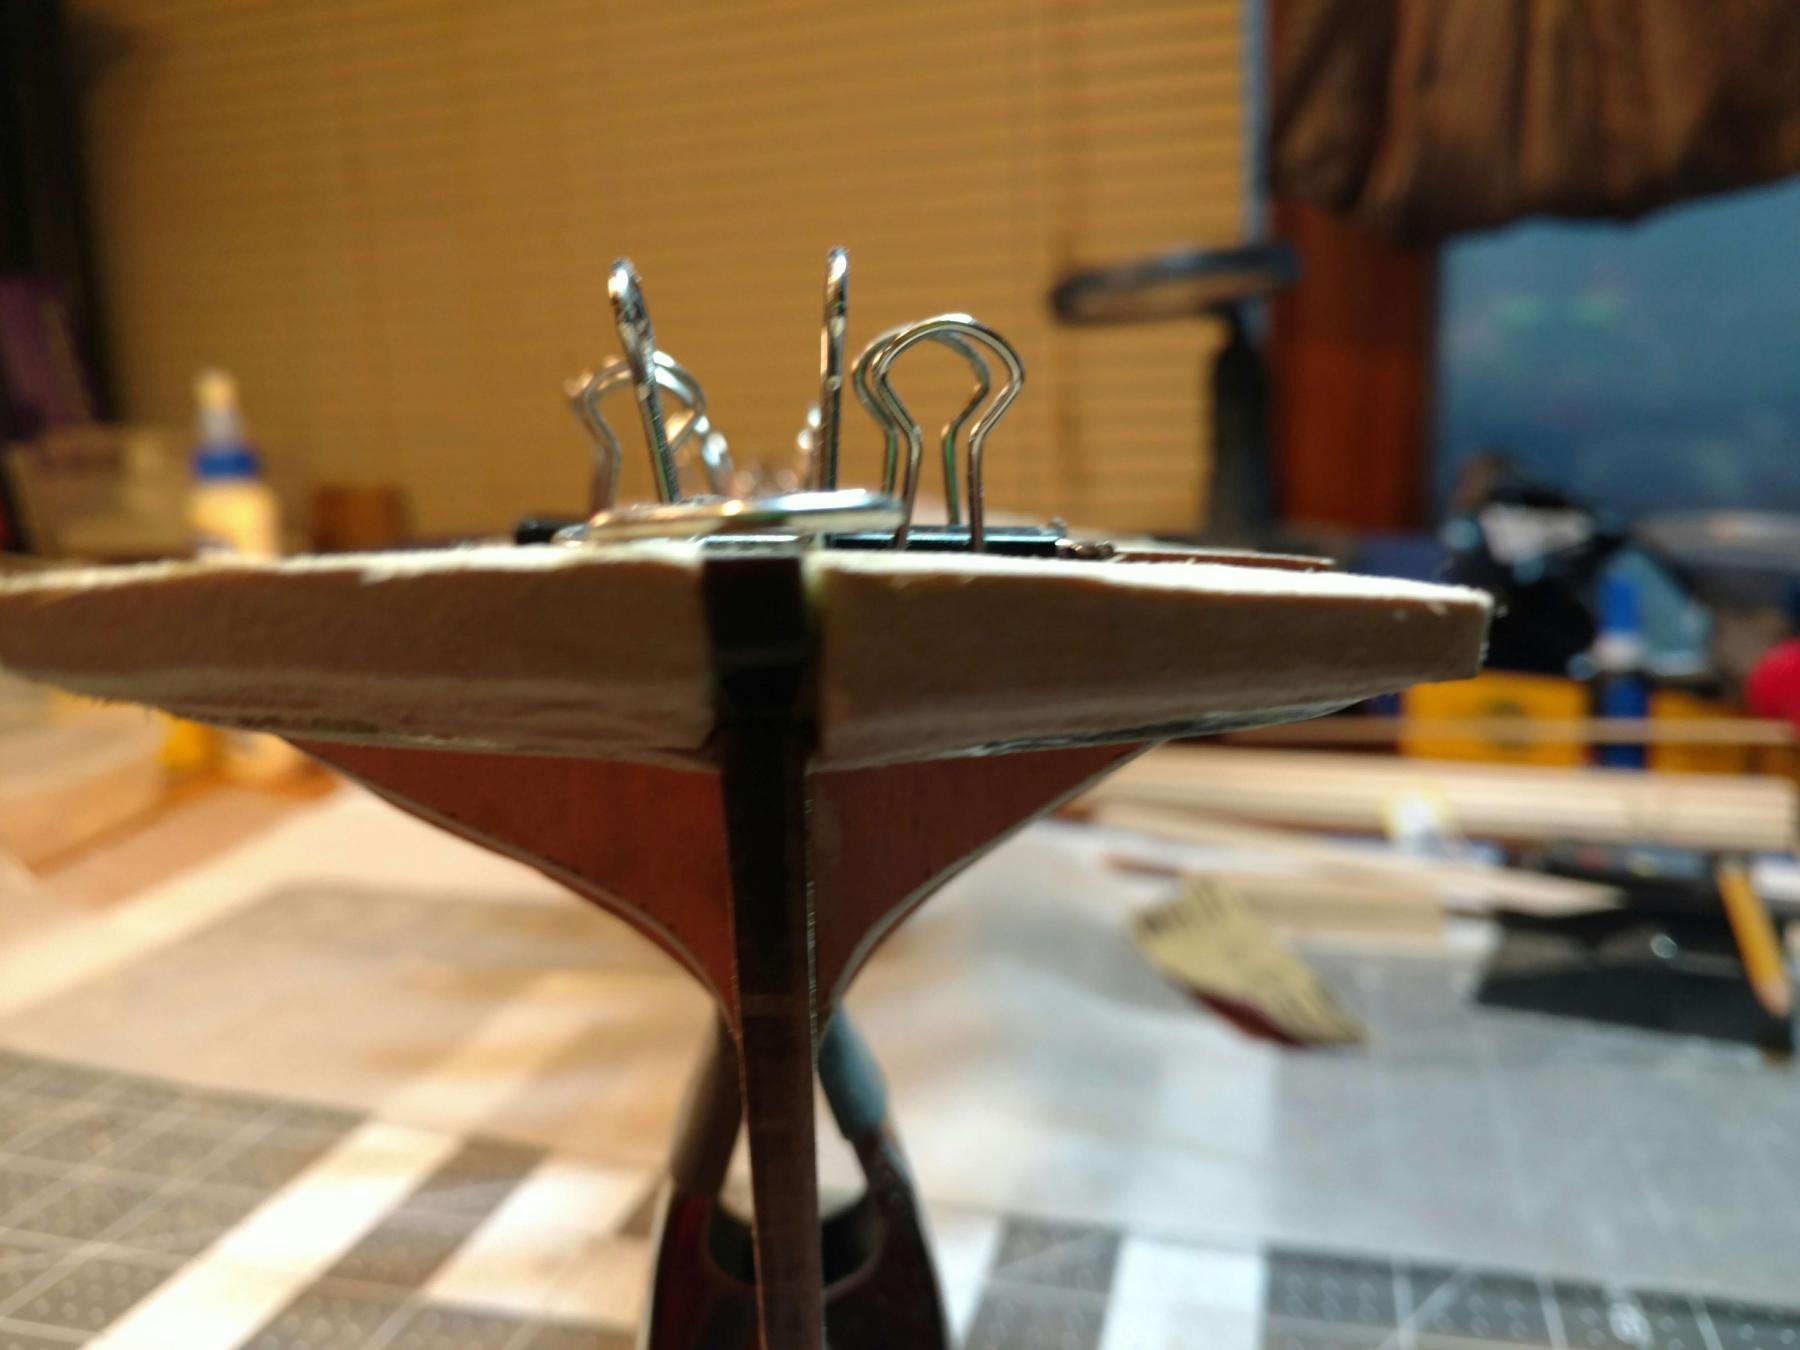
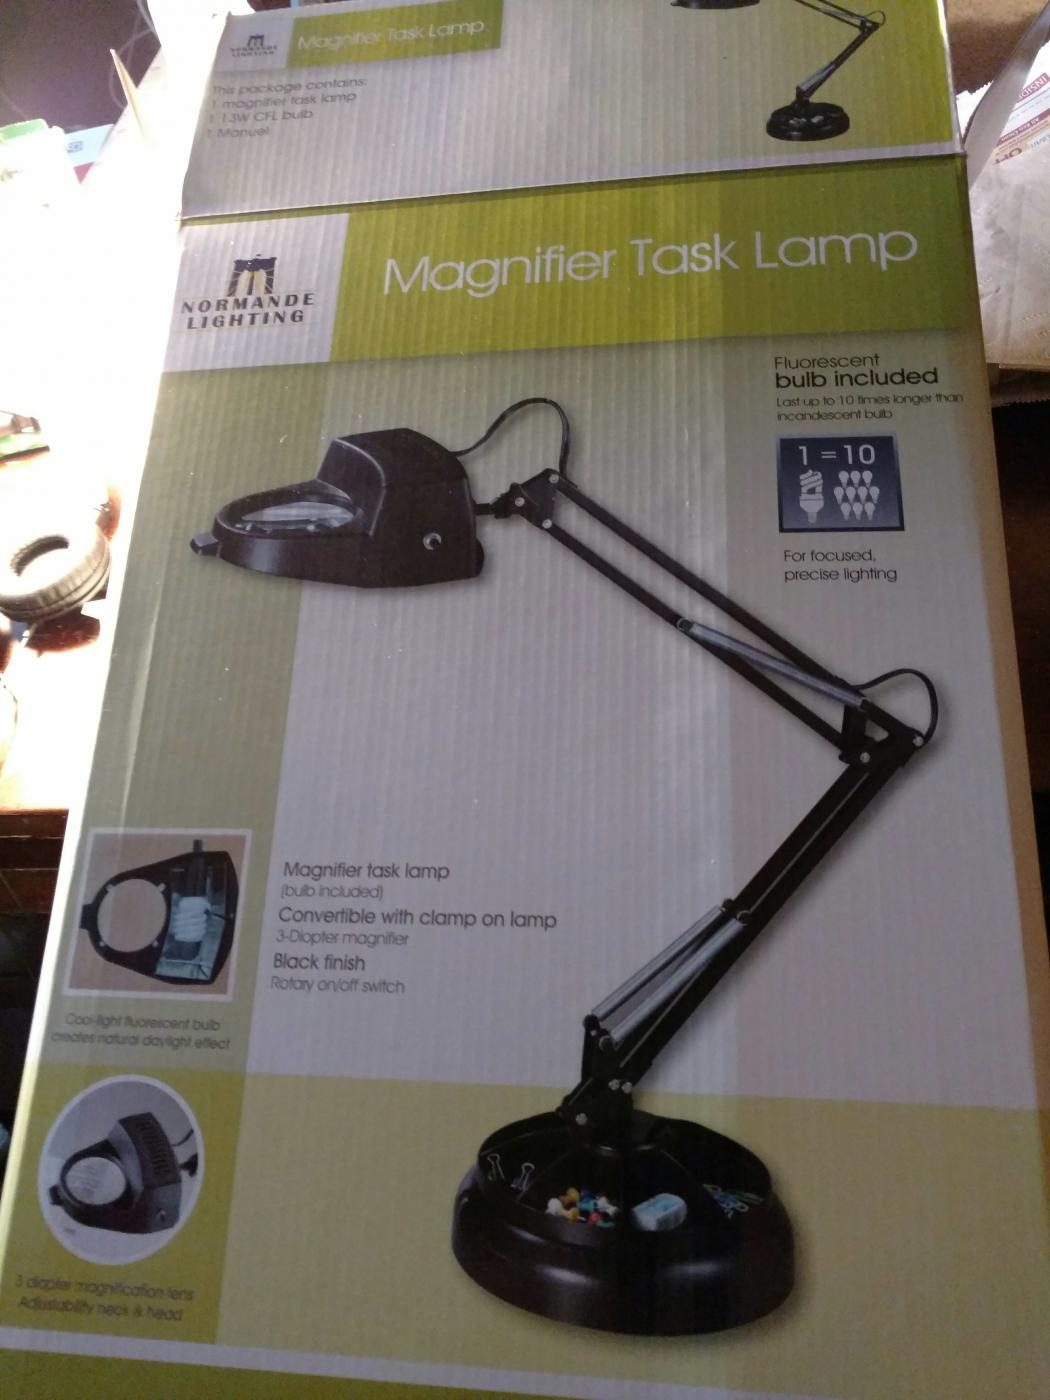
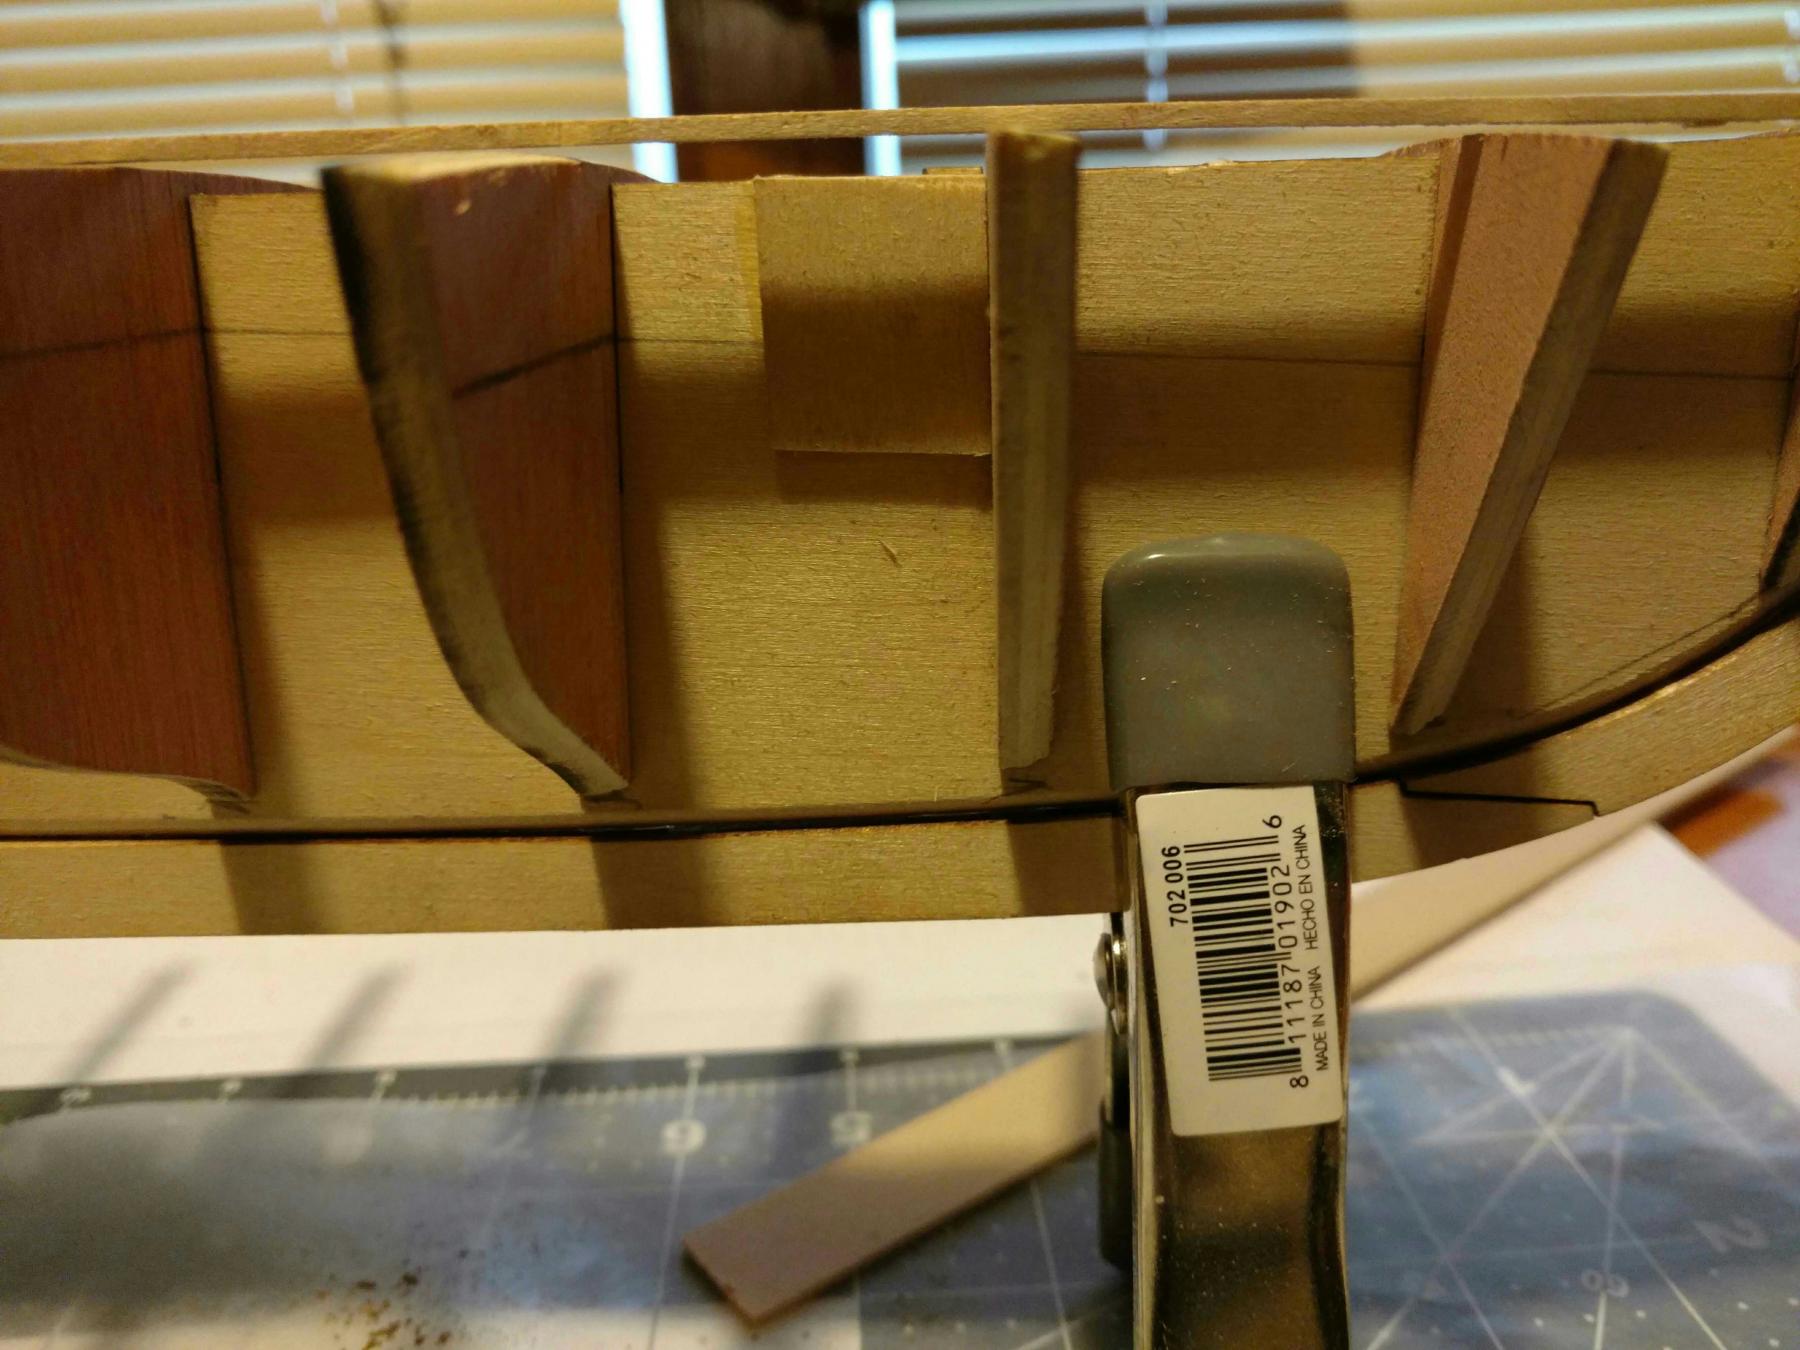
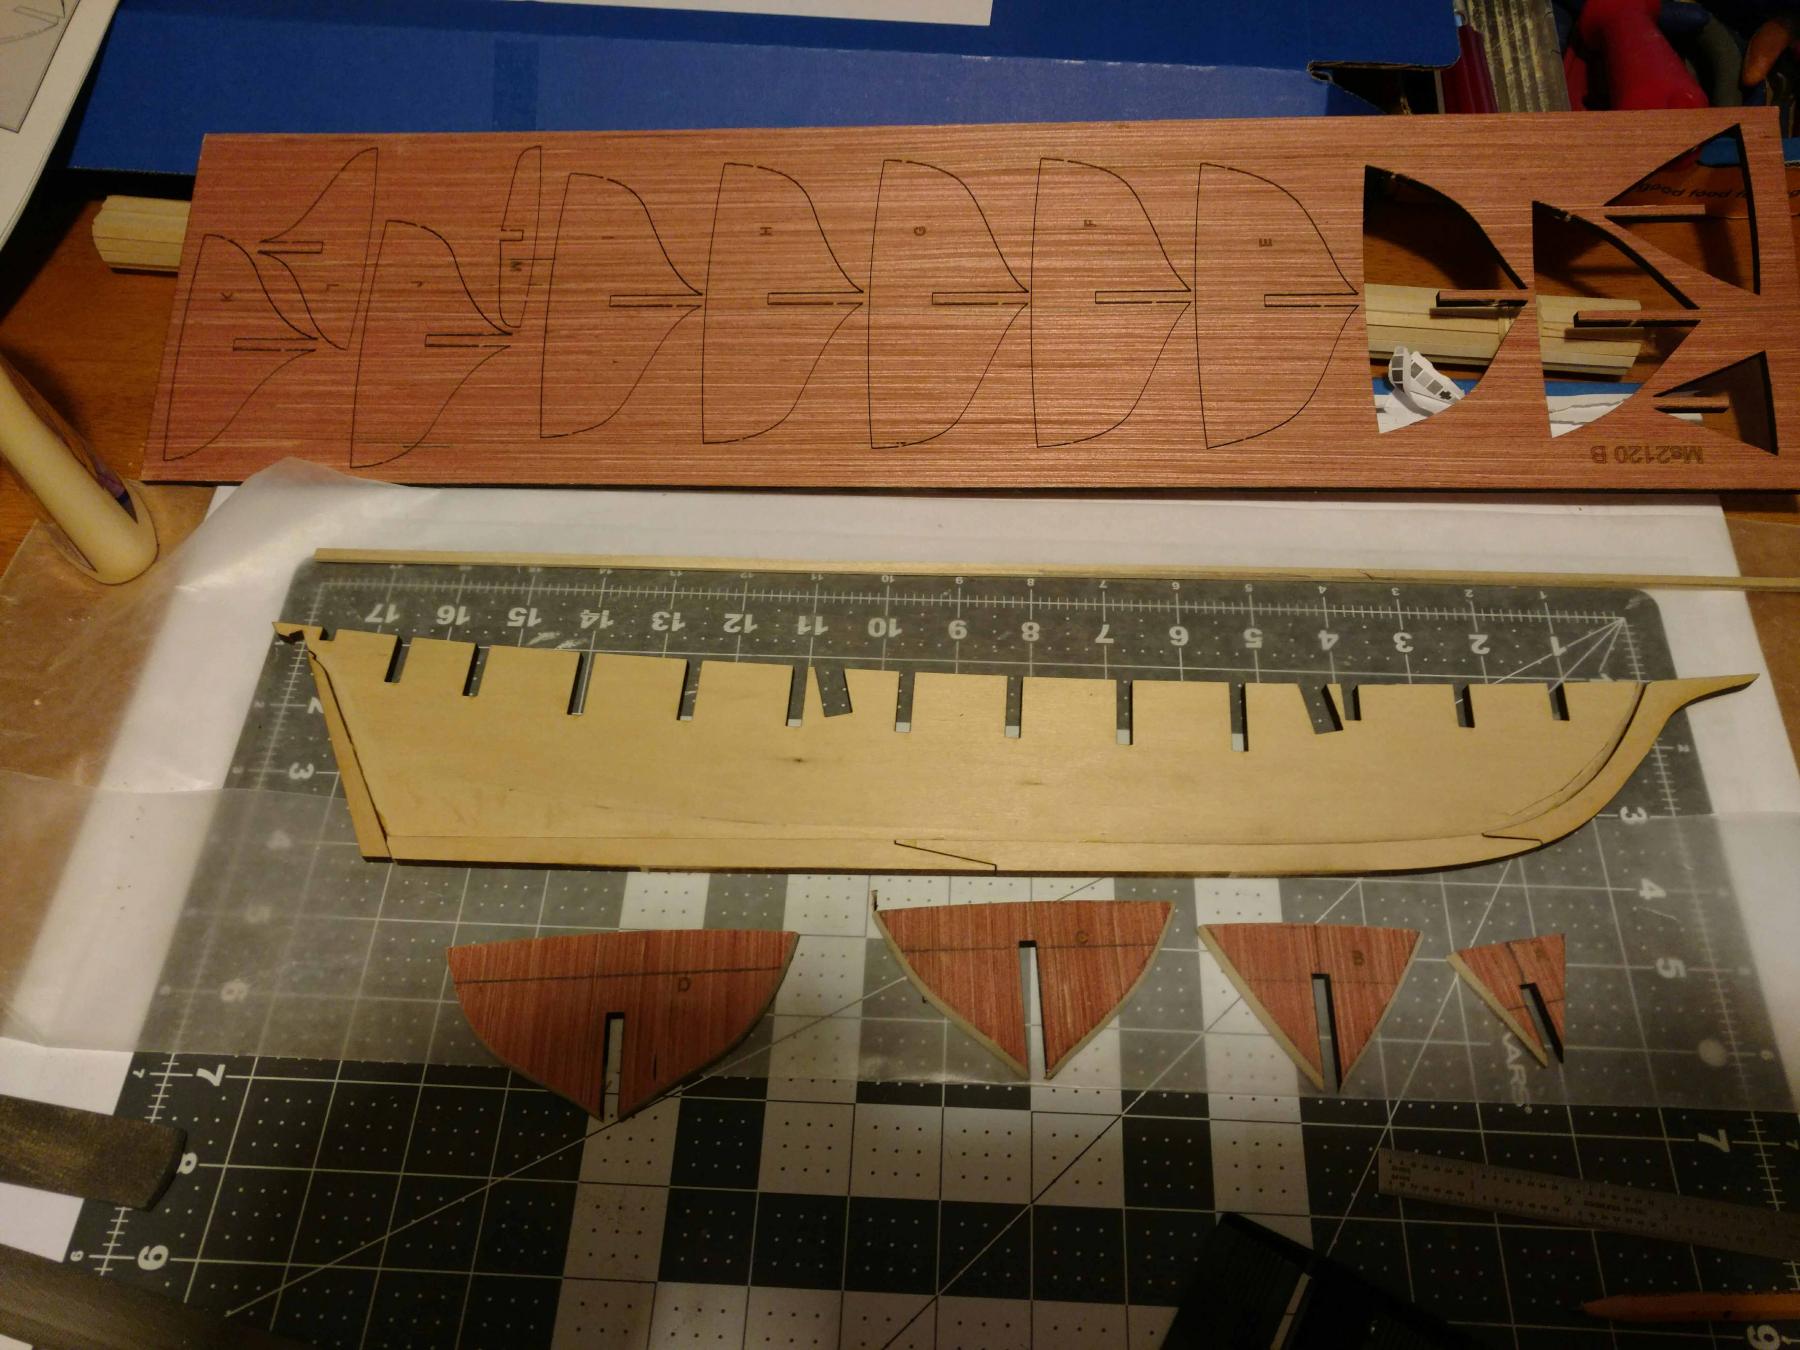
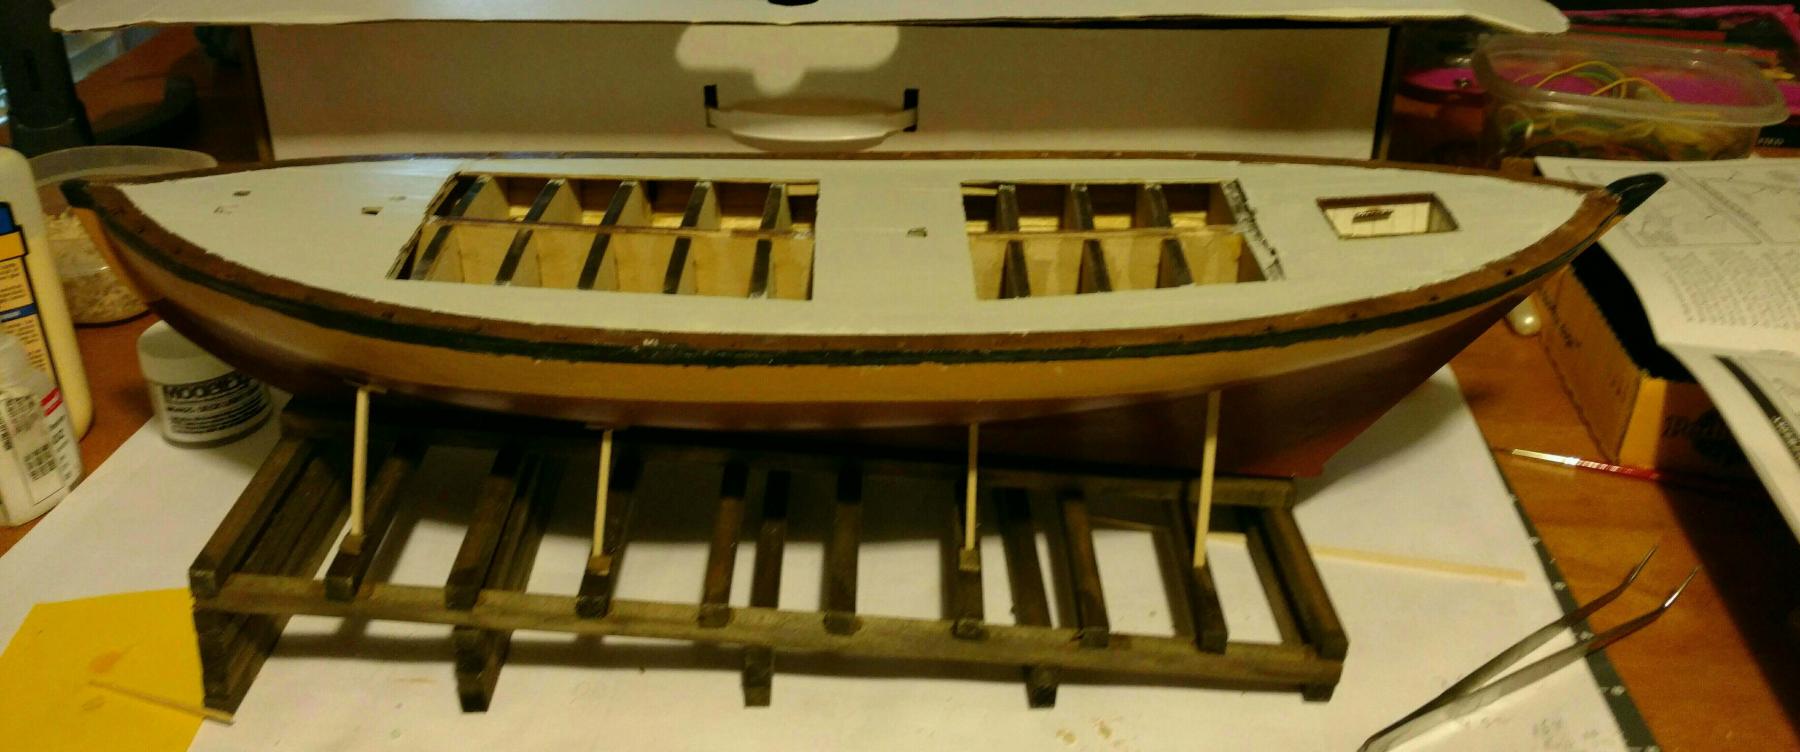
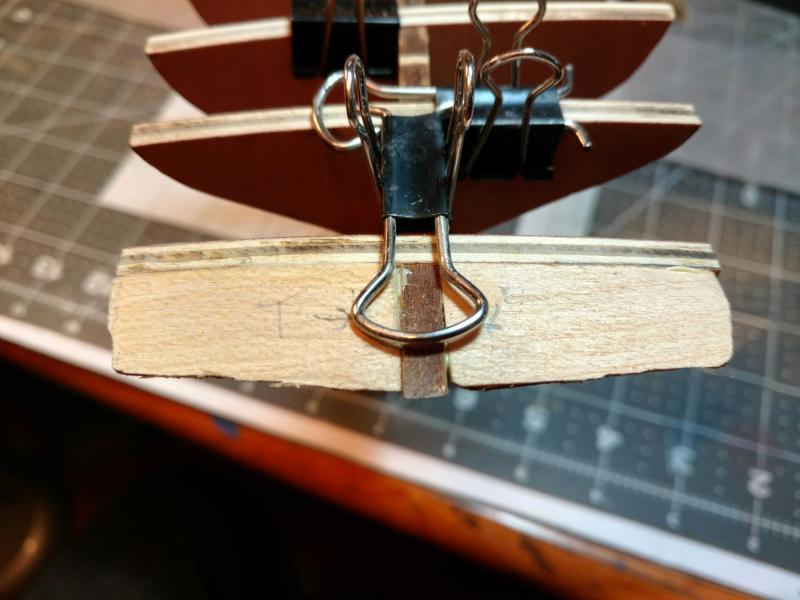
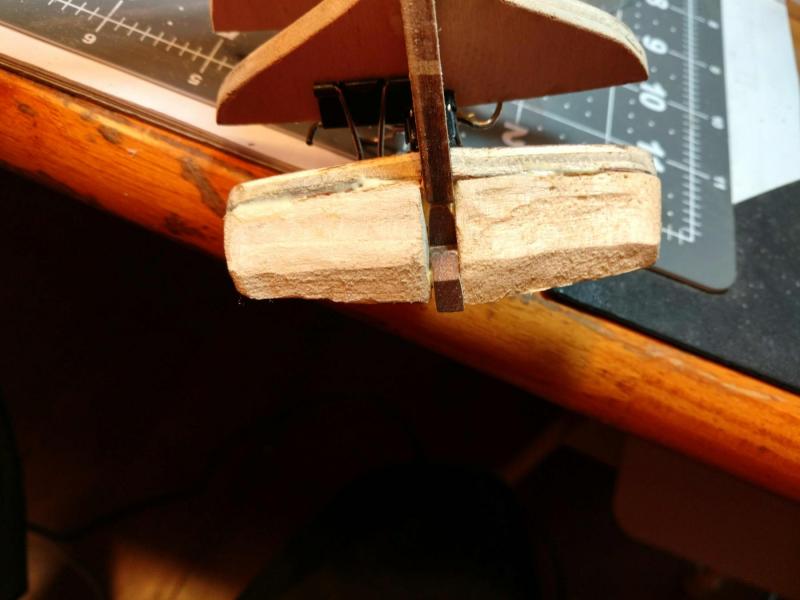
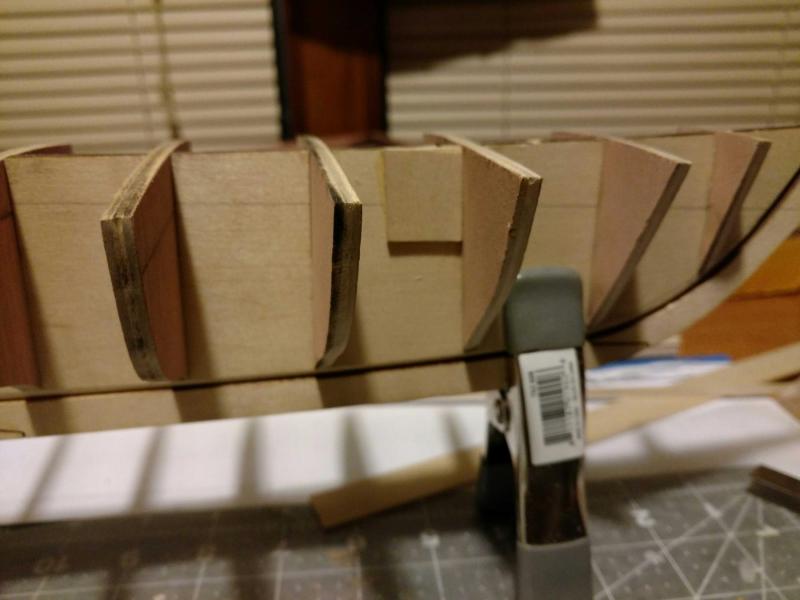
 Bulkheads glued up. I had some challenges with the aft filter blocks. Hard to cut, impossible to sand or file, ended up using the sanding drum on the rotary tool. Additional, I had trouble visualizing what they should look like and cruising other build logs didn't offer much help for me. I've attached a few pics of mine. They are by no means perfect but they're close. After the glue dries I'll sand them to final shape. The rotary tool masks a colossal fine mess and I was going to include a pic of it but the gf cleaned it up... I've been researching and searching for some time for a work light and finally settled for this one. It's a Normande Lighting Magnifier Task Lamp #HP3-1401V. I don't recommend it. Not very bright and 'some assembly required'. When I went to tighten the head the plastic thumb screw stripped. Had to drill it bigger and install a screw and nut from my tool box as the screw in it is an unusual size and I didn't have a proper nut. All in all not very happy with it but I didn't feel like taking the drive again to return it. I'm not done looking.
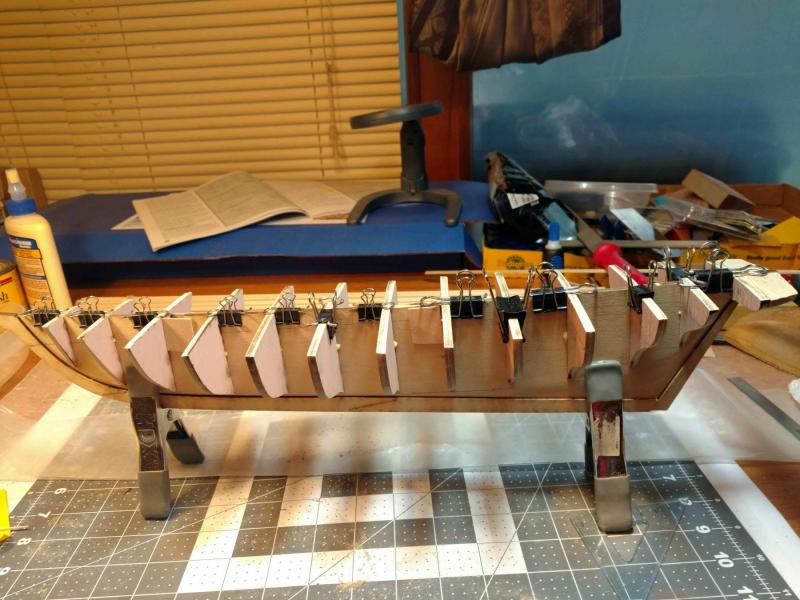


-
Well shiver me timbers and blow me down! There is a waterline on the plans both for the keel and the bulkheads, and I double checked. They are transferred as drawn. I guess I didn't read deep enough as I lined up the bulkheads with the waterline. I scrutinized a few other build logs and sure enough they are all flush with the top of the keel mine are now too, and the rabbit is correct. Thanks so much Joe and Don for saving me from a fatal mistake. Fair winds and following seas to you.
-
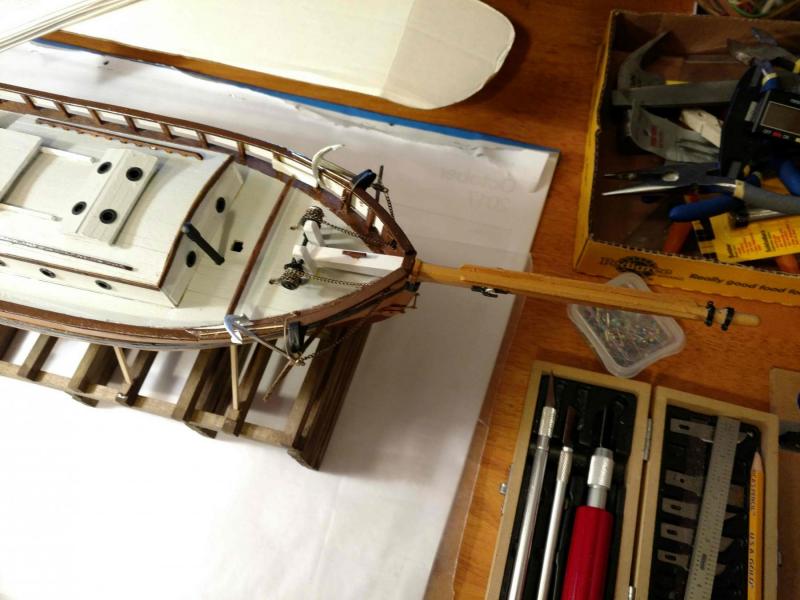
As I've read before, every slot needs to be enlarged slightly. Additionally, the small piece of keel next to the mast is very weak. I broke them both! Glued the mast slot covers on to both stiffen and strengthen these critical areas. I will have to cut the rabbit again on some places as the bulkheads do not reach it. They line up OK with a plank although bulkhead C needs a shim. So far so good but now it's off to work for me.

-
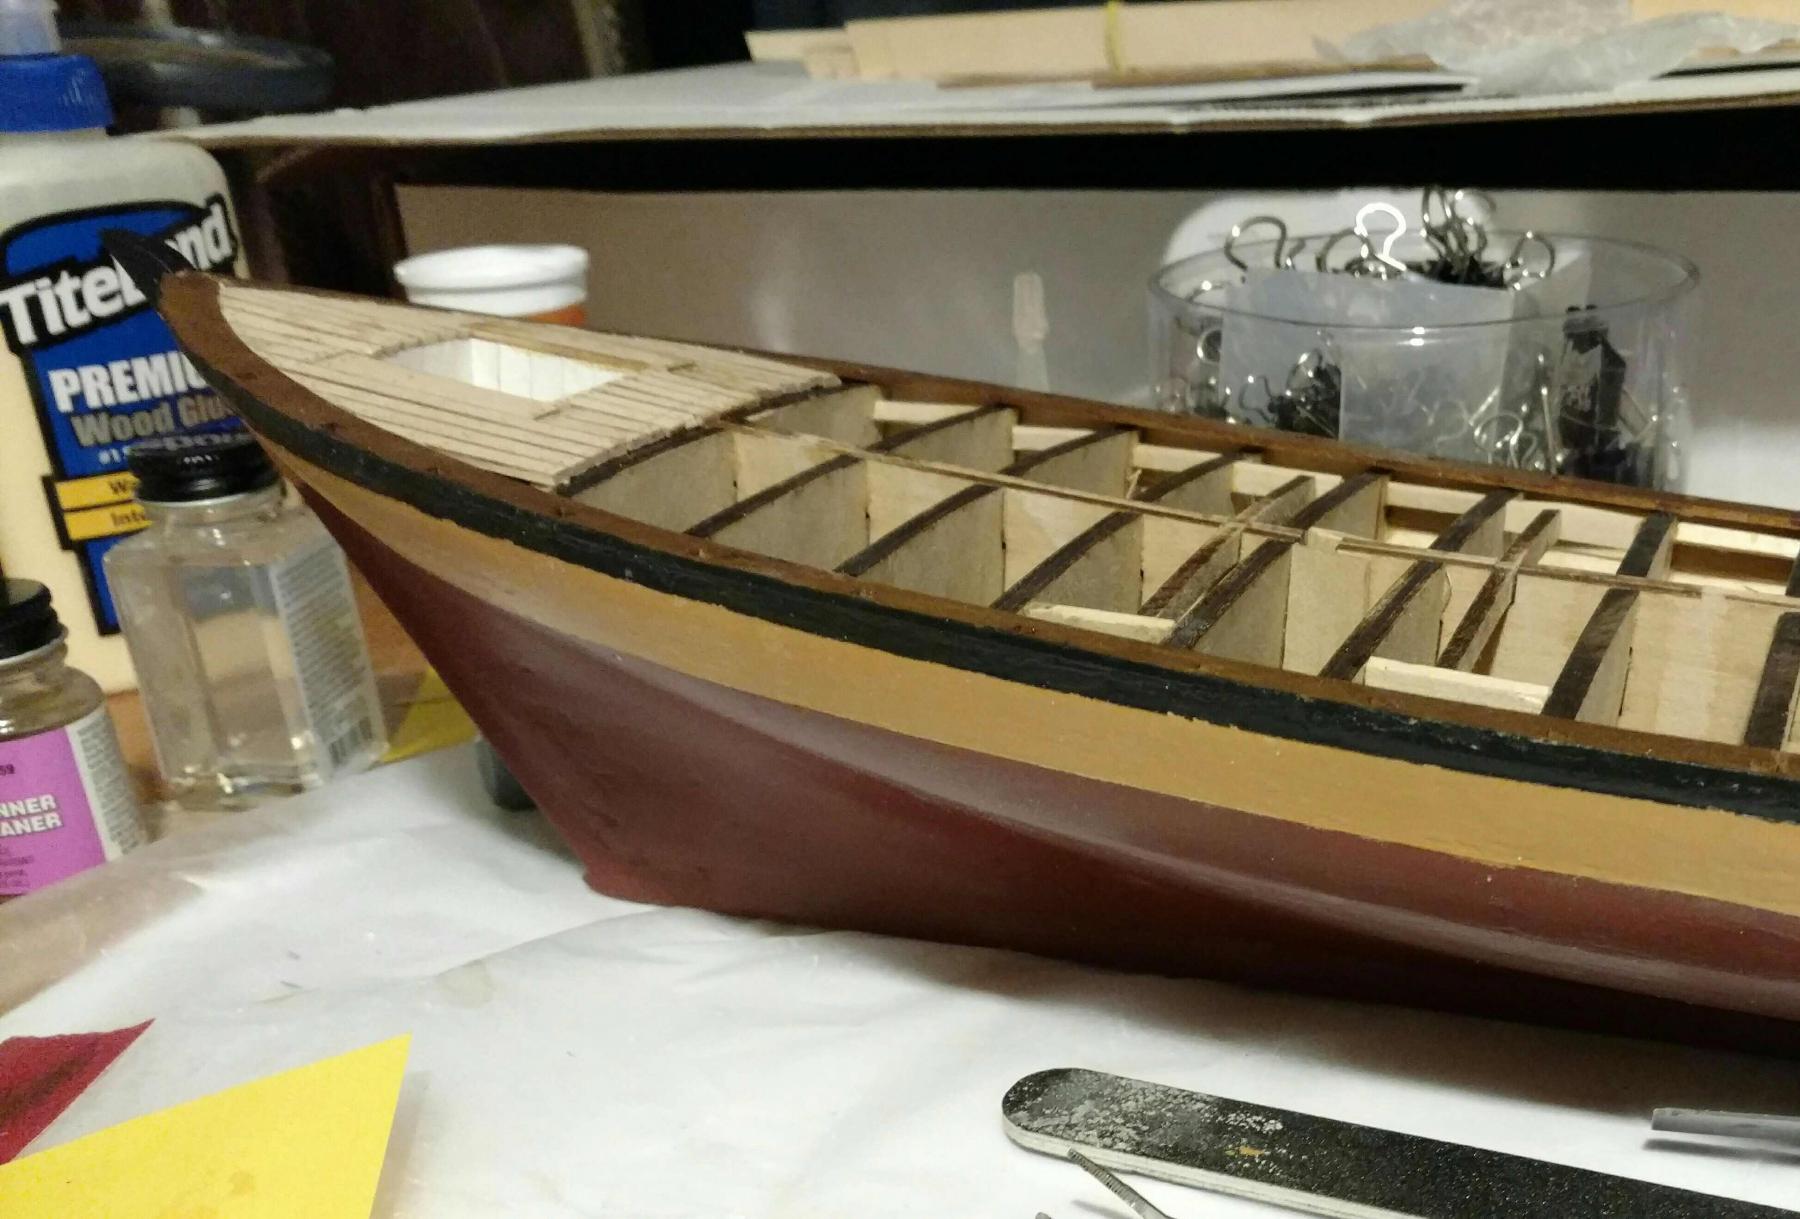
Keel glued up nicely.

-
Did a lot better job of cutting the rabbit this time. The planks will fit without tapering but I did get a bit too aggressive at the stern post. Had to shave a little off the keel to get it to fit against the hull. I'm still no hand with a chisel so used the plane, a file and sanding block. It's sitting with weight on it now, will post a pic tomorrow.
-
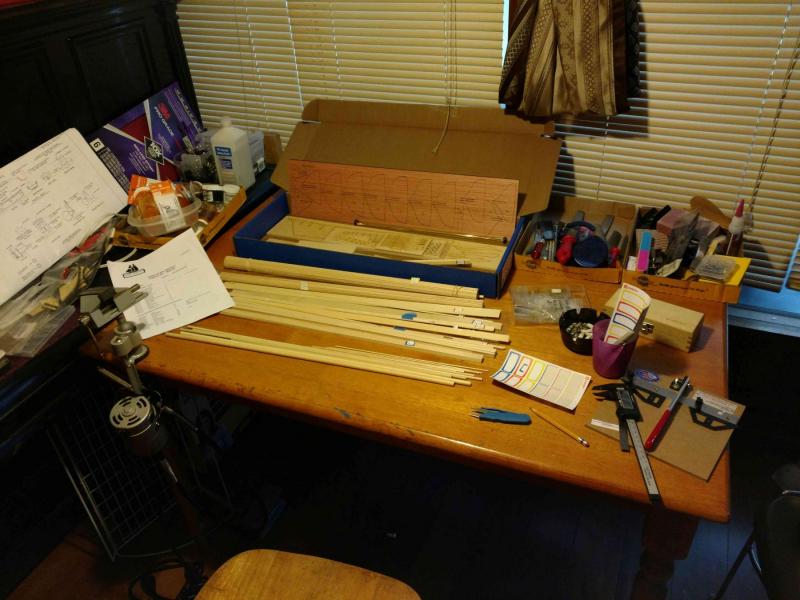
Kit arrived Friday, almost a week before I expected it. Didn't get to it till today. Organized tools again and took inventory, labeling all the wood bundles after measuring then with a caliper. I can't identify some of the castings but the count seems right. Will have to cross that Sea when I come to it. I'm pretty intimidated by some of the blocks and dead eyes. Will have to get a new magnifying visor or microscope to rig them. May get started on they keel today and may not. Have to find a copy place to copy the plans as they are printed double sided. I like to post them on the wall but don't want to have to stop and turn them over all the time. The Glad Tidings is a good inspiration that I can do this. It's sitting atop the piano right next to my work table.
-
Hey Andy, found your log today and I must say I'm very jealous of your skills. I just finished my first wooden build, the Glad Tidings, and ordered the Pride of Baltimore this morning. After looking at your photos, I'm wondering if I didn't bite off more than I can chew. I wondered the same thing when I opened the box of GT too. I expect I'll have to slow down a bit to get this one right but I'm looking forward to it nevertheless. Anyway, thanks for posting your log. I'm inspired by it. Chris. Waiting for my ship to come in...
-
Yikes! I forgot to send kudos to Chuck at Syren Ship Model Company. I'm glad I went ahead and purchased his rope. Most definitely worth the money and great customer service. Thanks Chuck!
-
First build finished! Will order the next one first thing in the morning, the Pride of Baltimore from Model Shipways @ ModelExpo-online.com.


- 54 replies
-
- 4
-

-

-
- glad tidings
- model shipways
- (and 1 more)
-
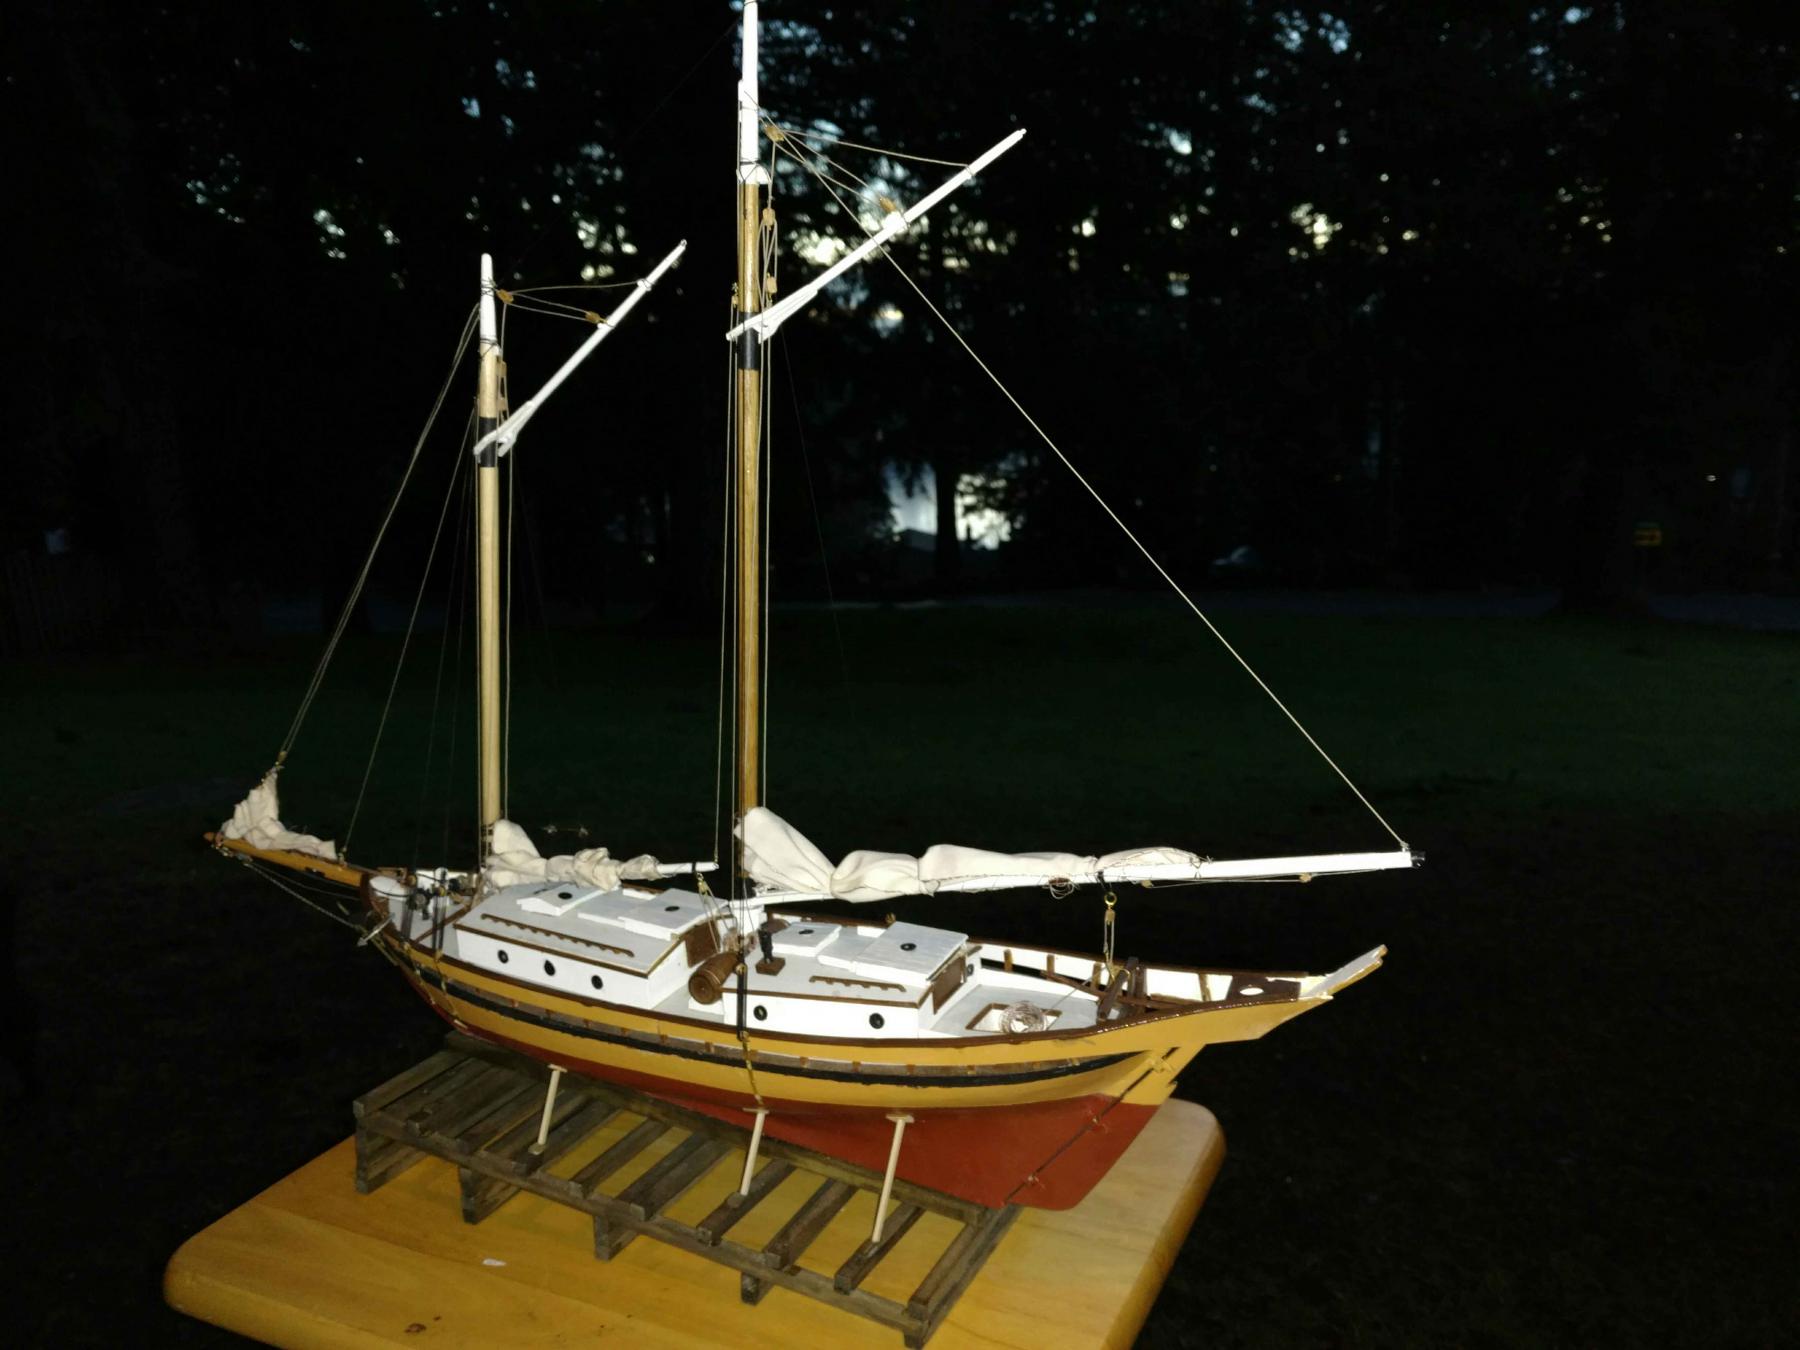
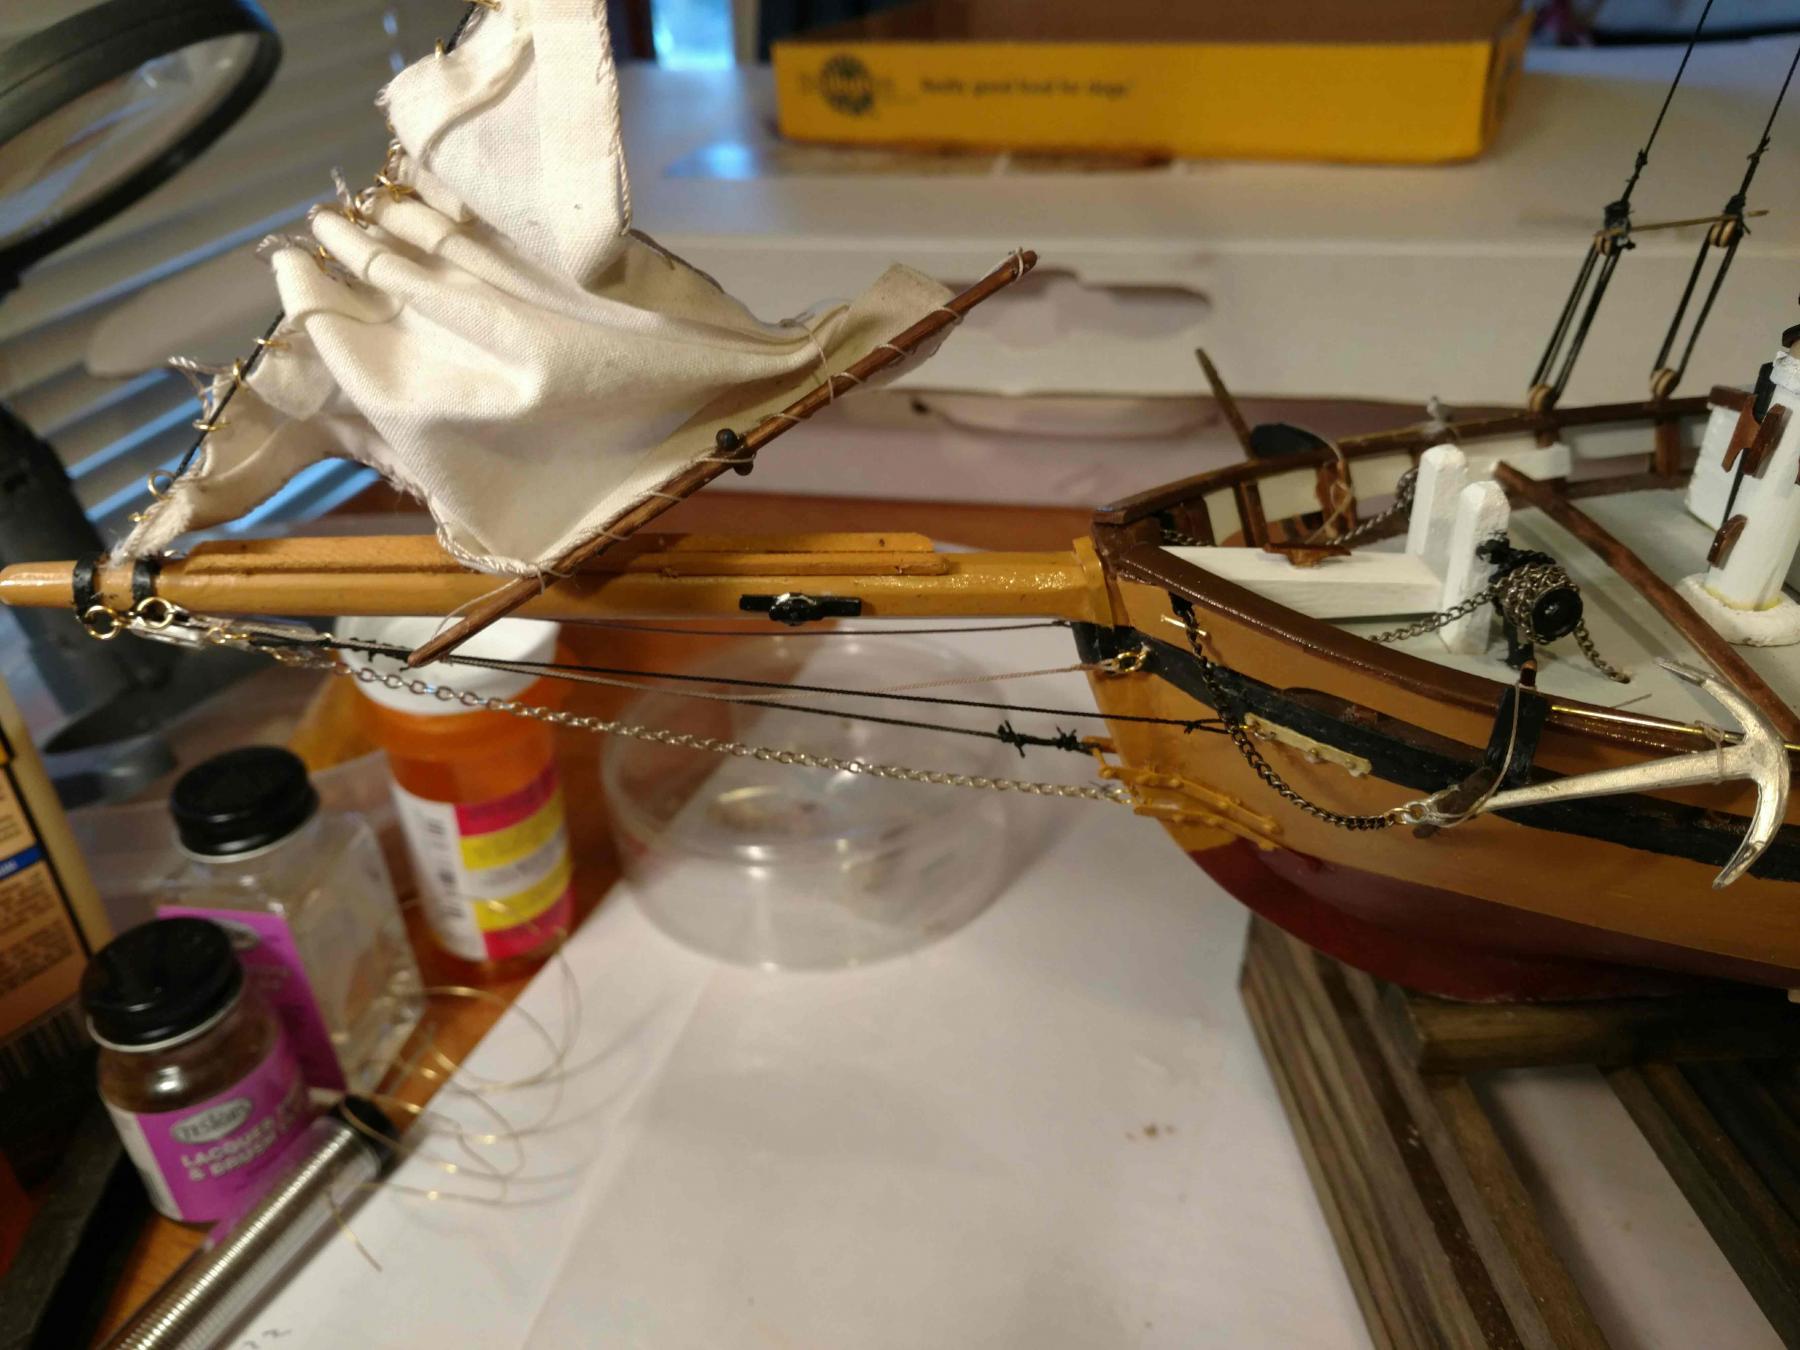
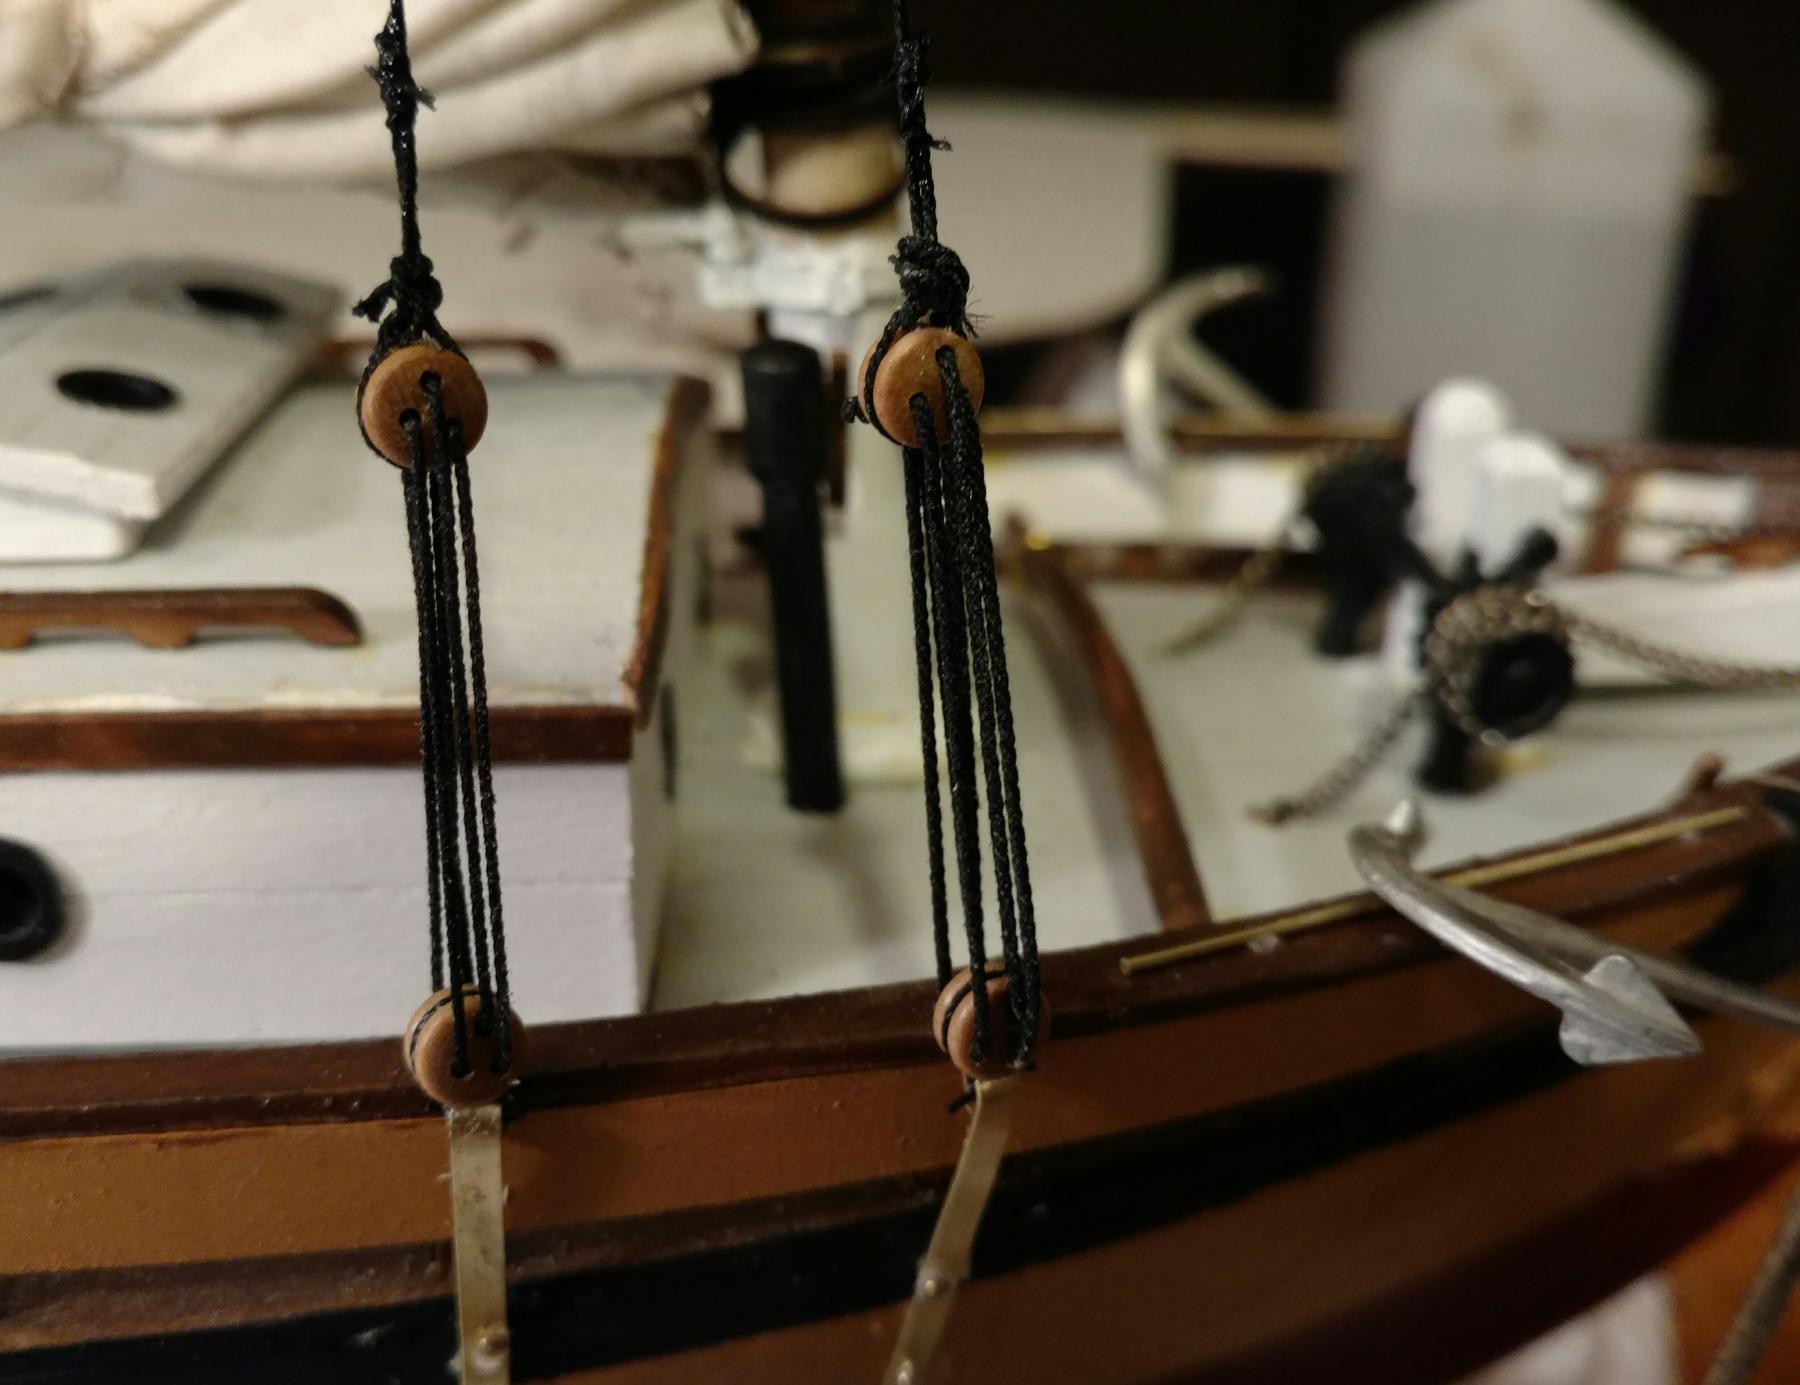
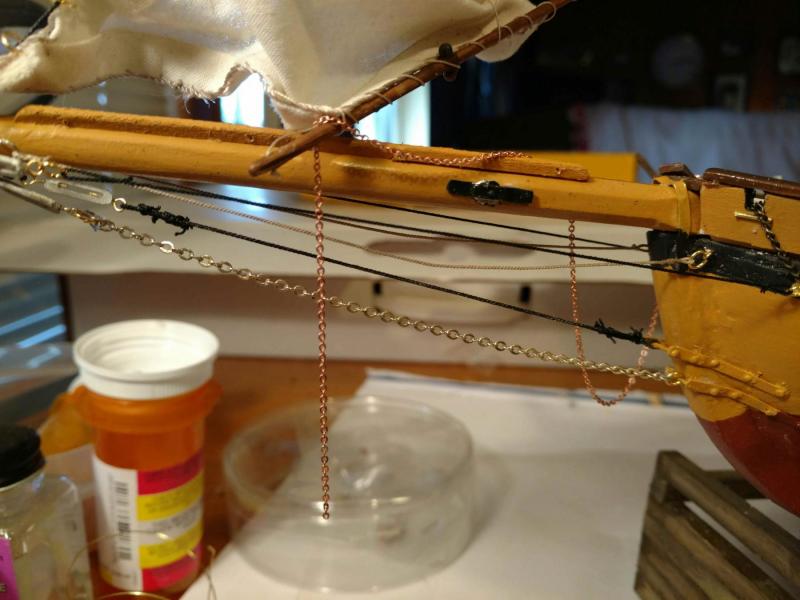
Standing rigging done! The chain supplied in the kit was too small for me to work with. Couldn't get a wire or ring or even two threads through it. Luckily, there was still the broken necklace that seems perfectly suited to the purpose of both anchor chain and inner bobstay. The next thing I learned is that Britannia castings melt! Have been using CA glue to glue them to wood but thought that brass to casting would be better with solder. Only partially melted one casting but managed to salvage and still use it. Funny thing, I had a heck of a time cutting the stove pipe - went through two cut off wheels. Guess I could have just touched it with the soldering iron. Looking forward to finishing the Glad Tidings and getting the Pride of Baltimore next for almost free due to the offer when I purchased this kit. I don't know how Model Expo stays in business with all the stuff they give away. Anyway, I'm not one to look a gift horse in the mouth as my hobby budget is limited. I have already talked to John and their offer is good so I intend to take advantage of it. Course I'll still need paint, pedestal and a few new tools....


-
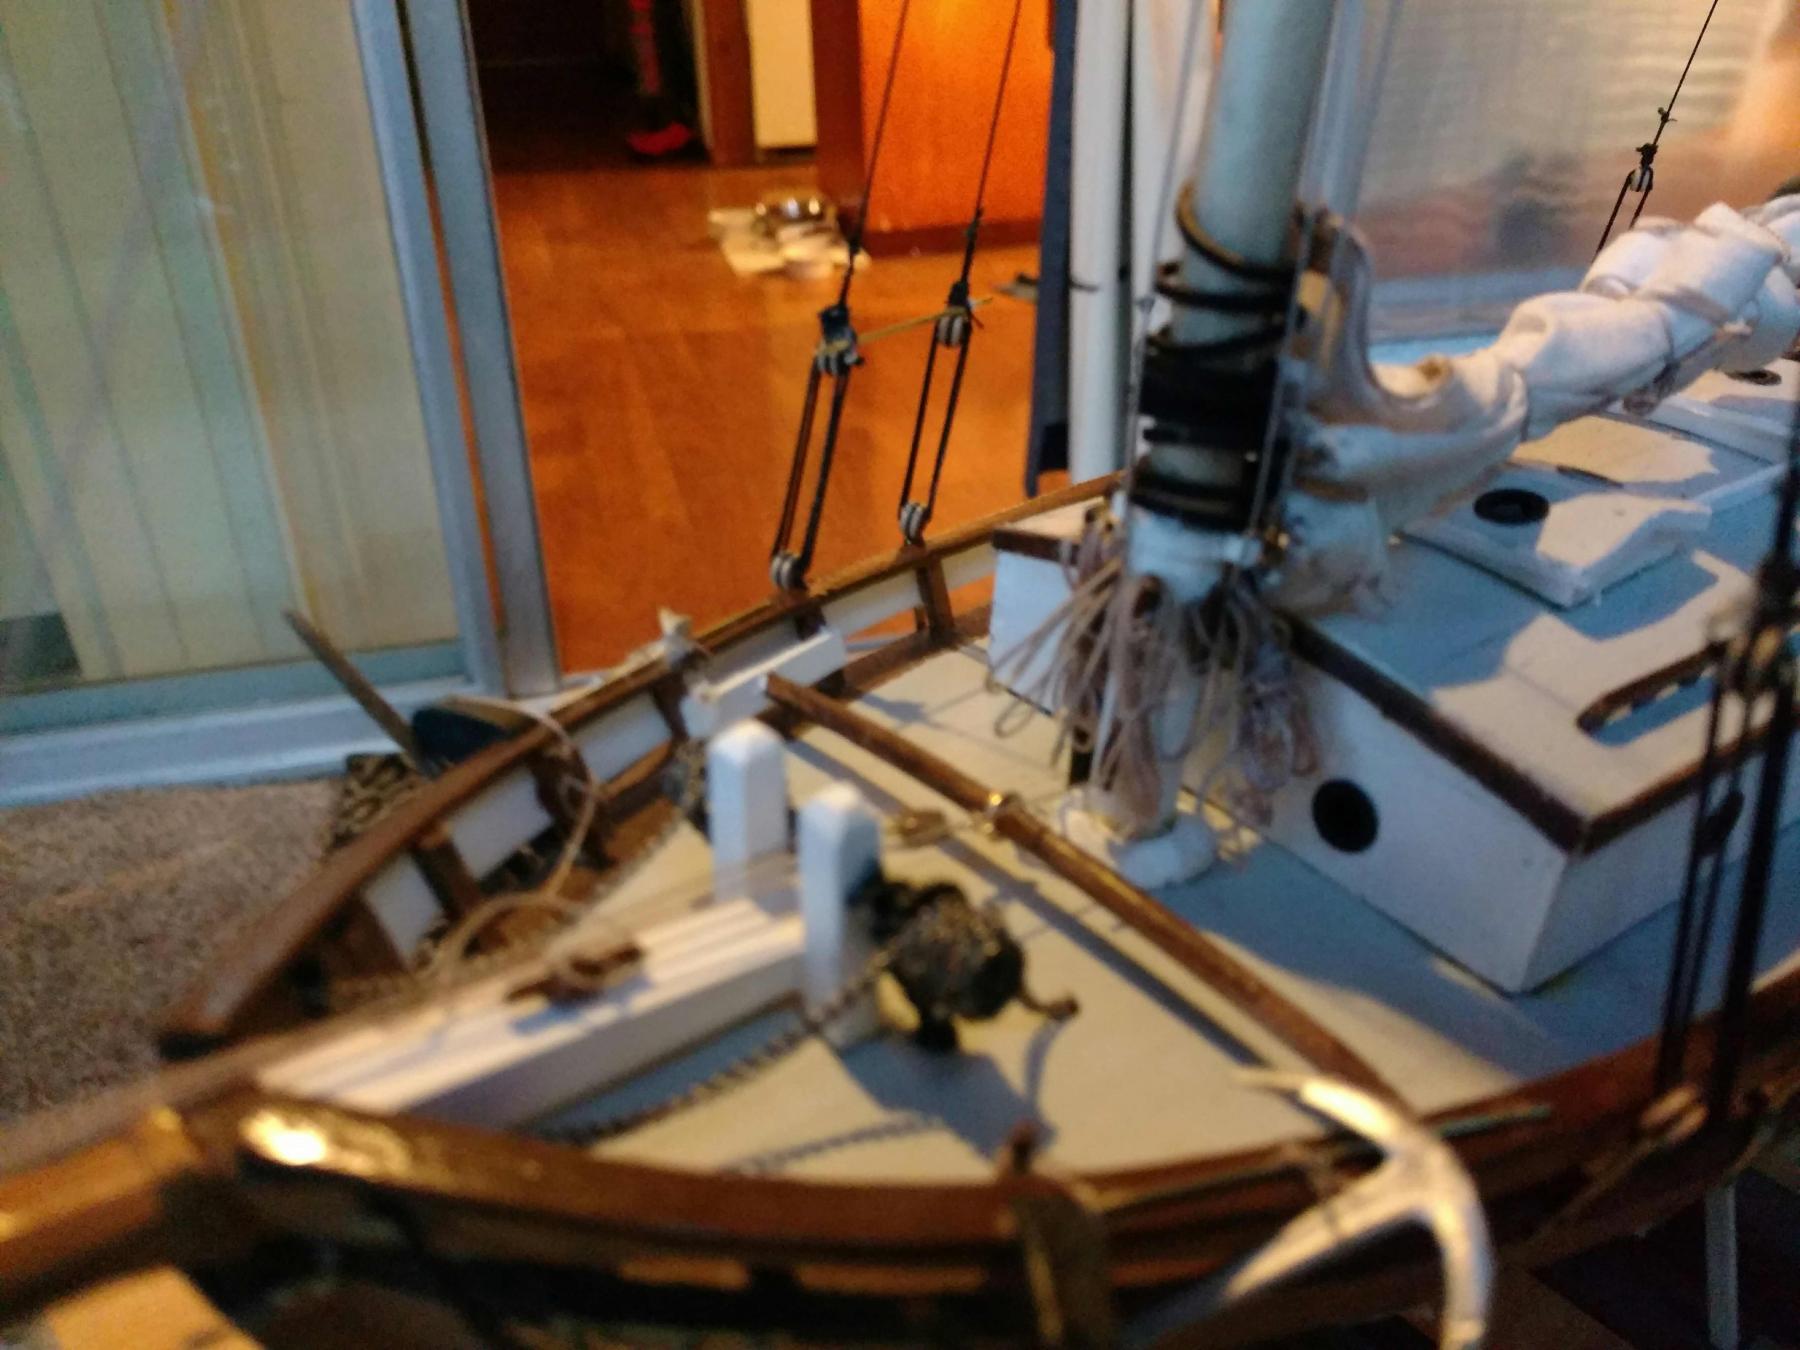
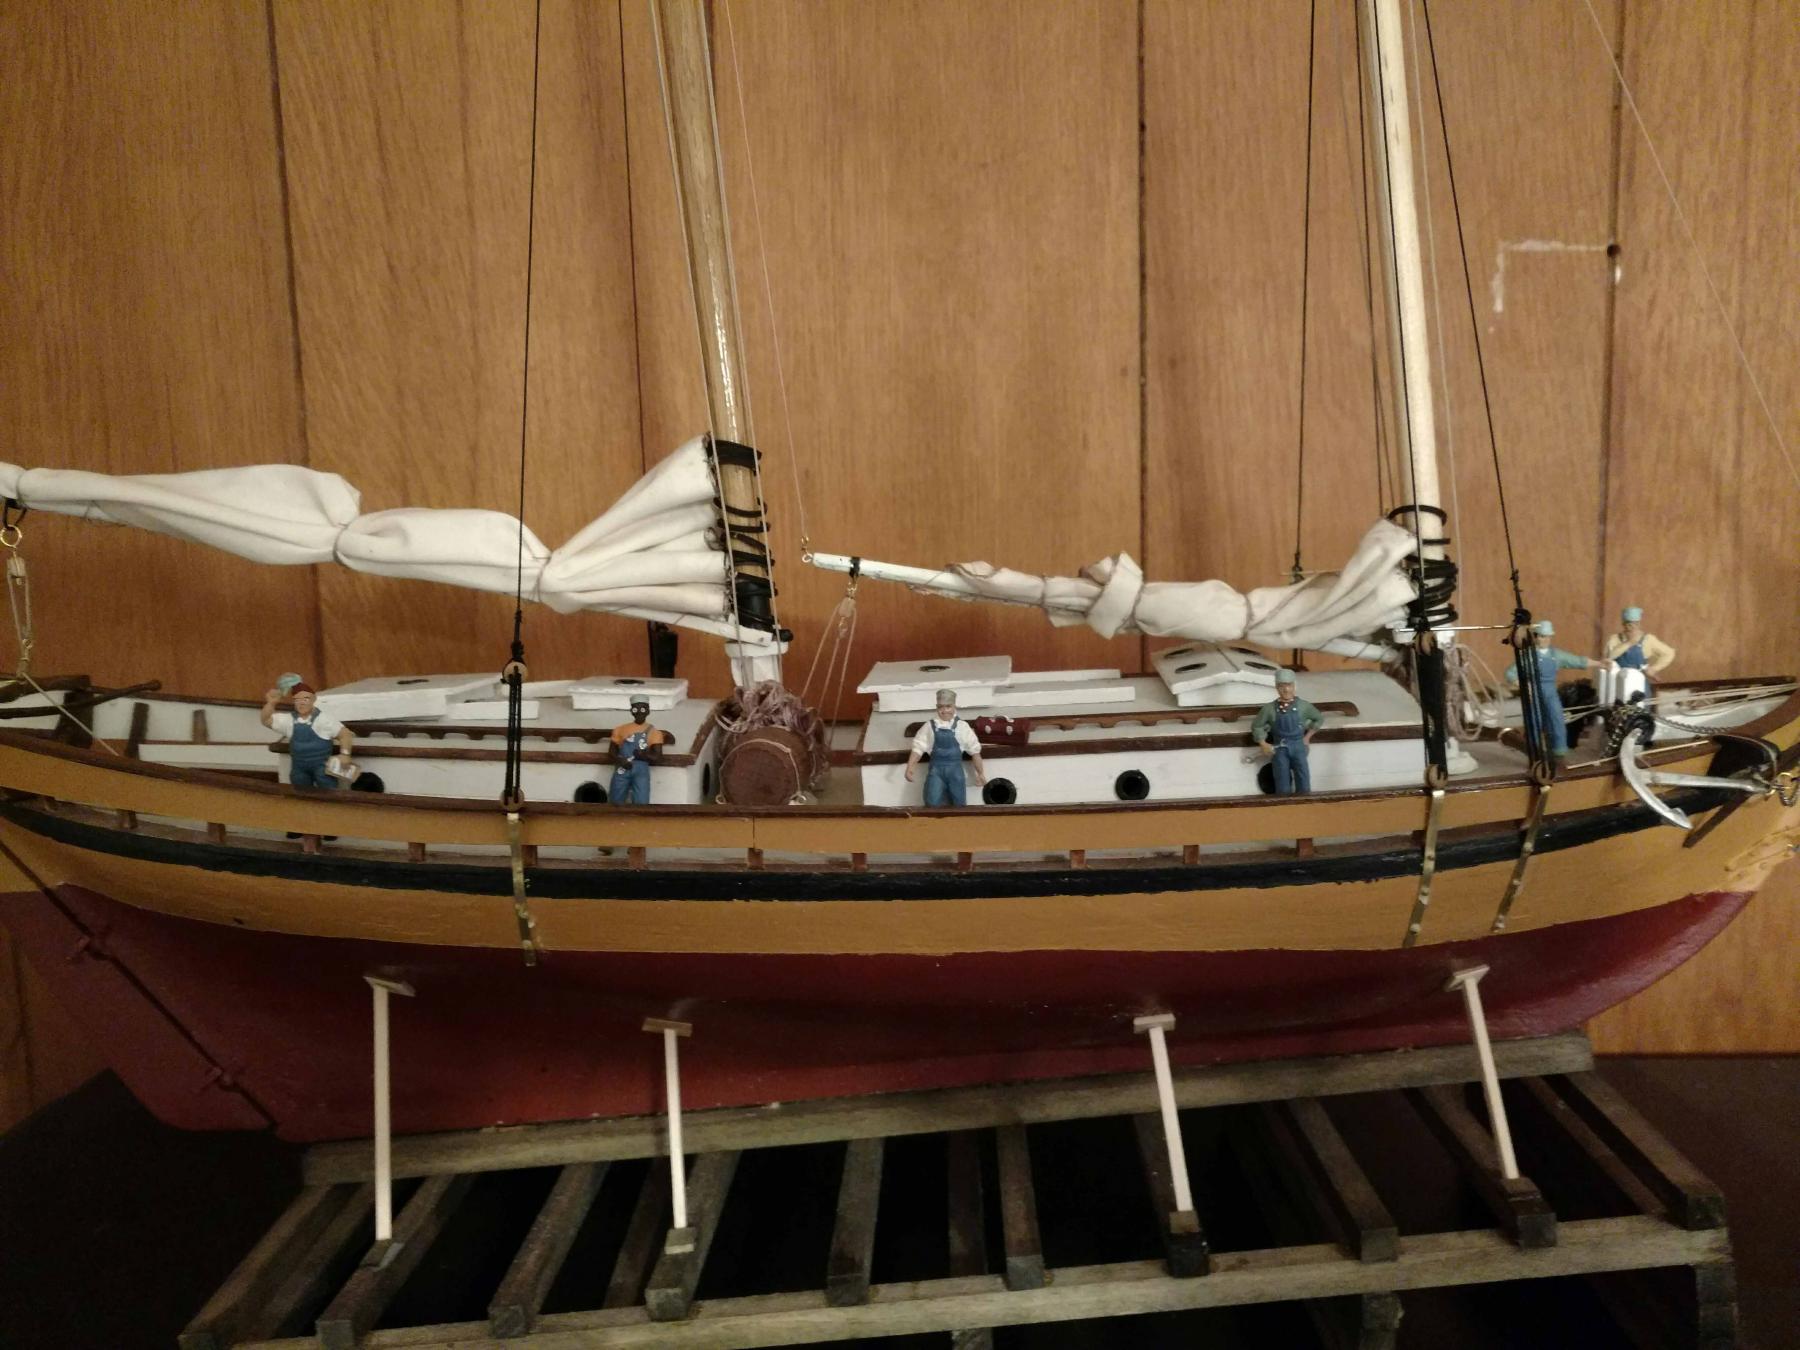
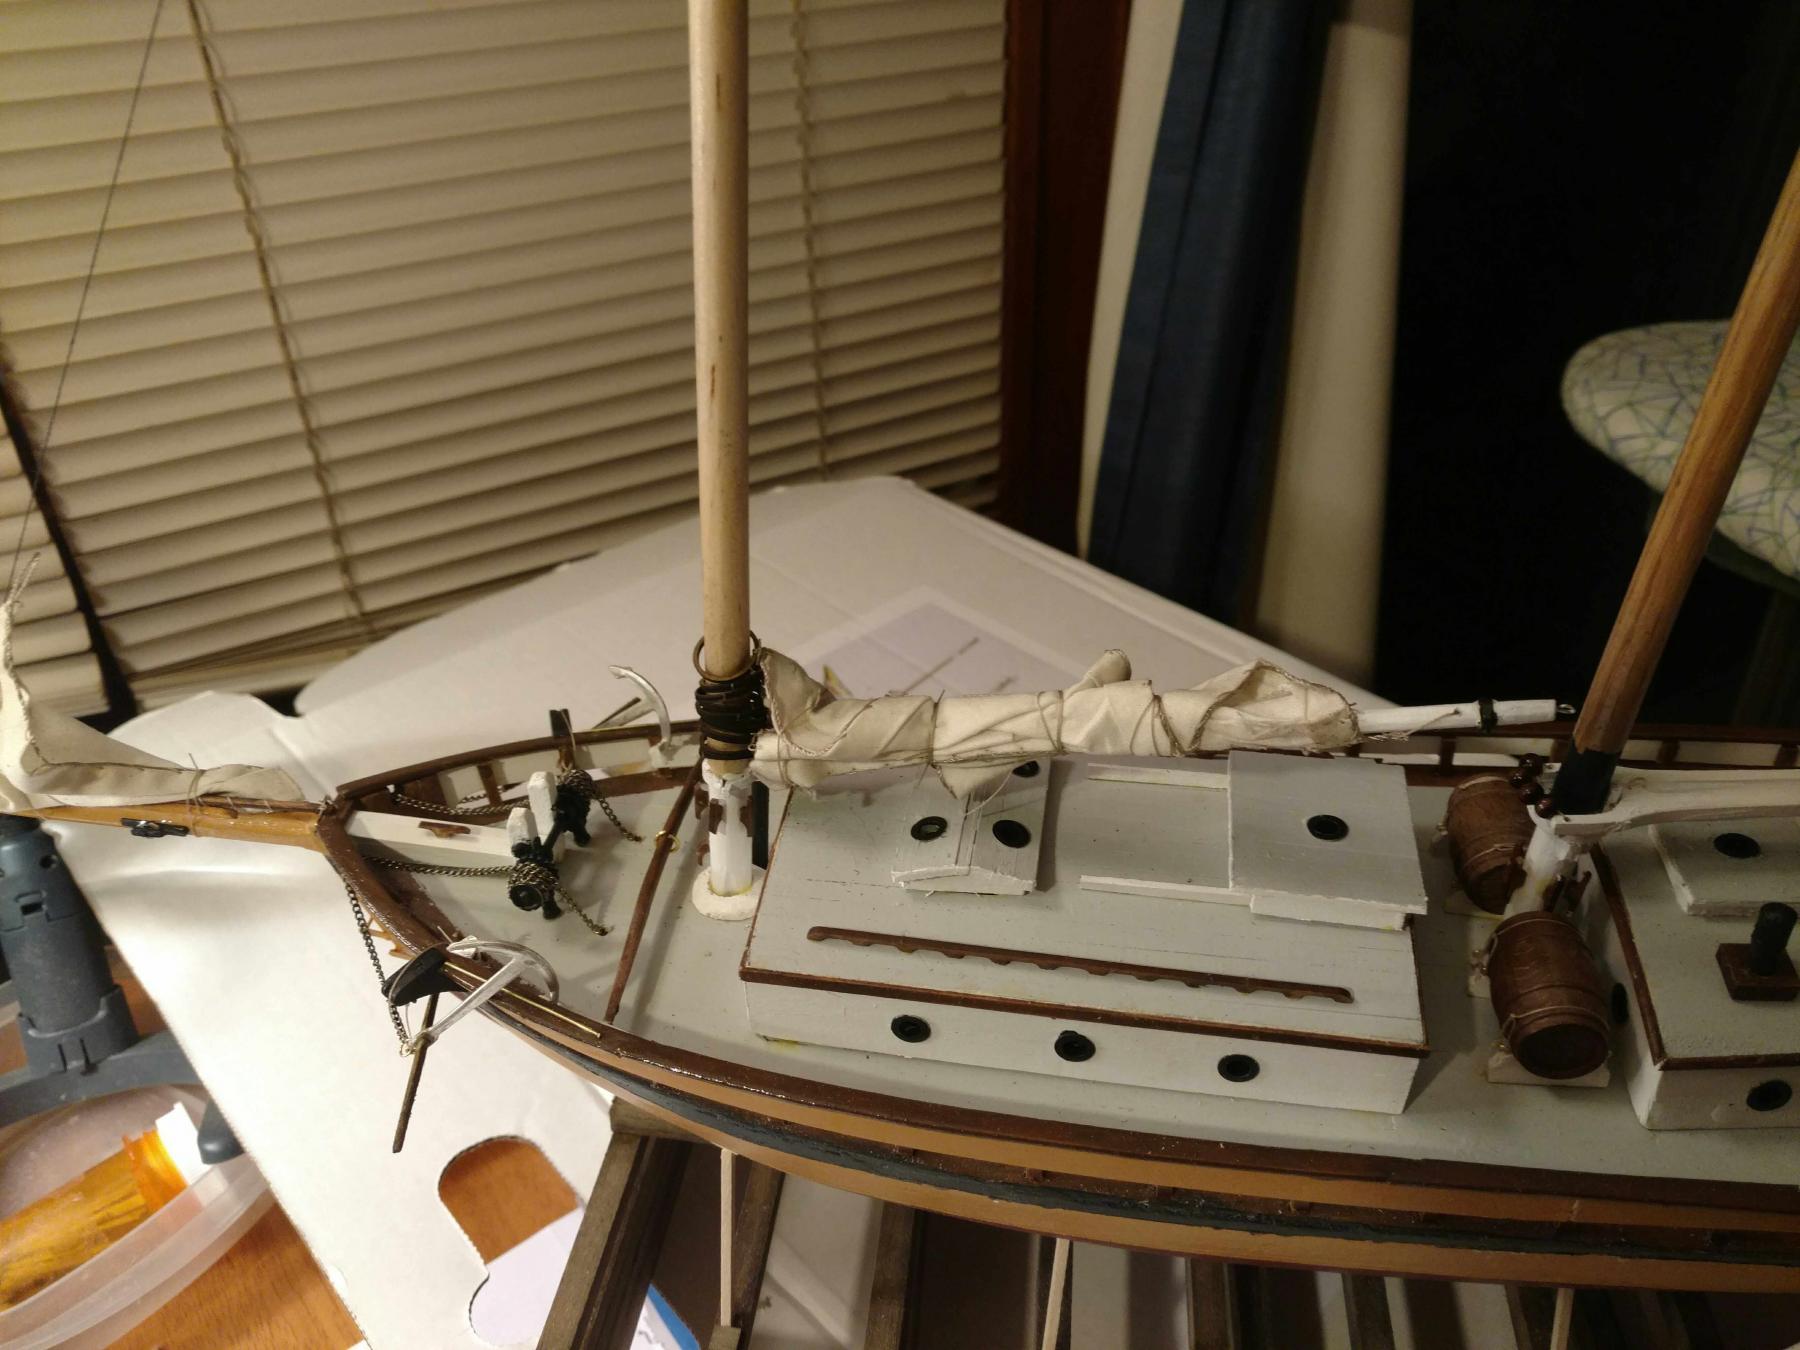
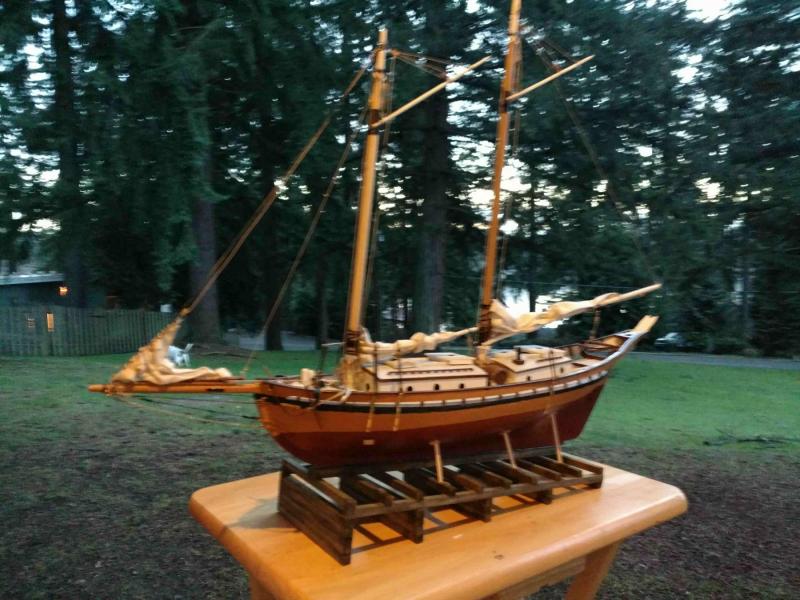
Started working on the sails. The instructions say to sew through the bolt rope, not around it. I didn't have any luck sewing through it so as an experiment tried around it. Was a lot easier and came out better and the sails being furled, you can't see most of it anyway. The main sail has two sets of hidden reef points that no one will ever see. The spanker will not have any! I was dreading tying 21 square lashings for the mast hoops so did a Utube search. Saw a technique and decided to give it a try. A simple persik knot around the hoop, each bitter end through the sail from opposite sides, a half hitch on the bottom and finish off with a reef knot on top. Looks good and easy-peasy to do. I only have them furled on the boom temporarily with a couple of temp stays for the picture. I read somewhere that the gaffs should be displayed in the sailing position and looking at this boat I have to agree even though the real boat would never look like that. With the gaffs down, the whole stern would look very empty and the tweenmasts would look unfinished. So taking a bit of modelers license they will be rigged in the hoisted position. Can't wait for my new rope to get here.

- 54 replies
-
- 2
-
-
- glad tidings
- model shipways
- (and 1 more)
-
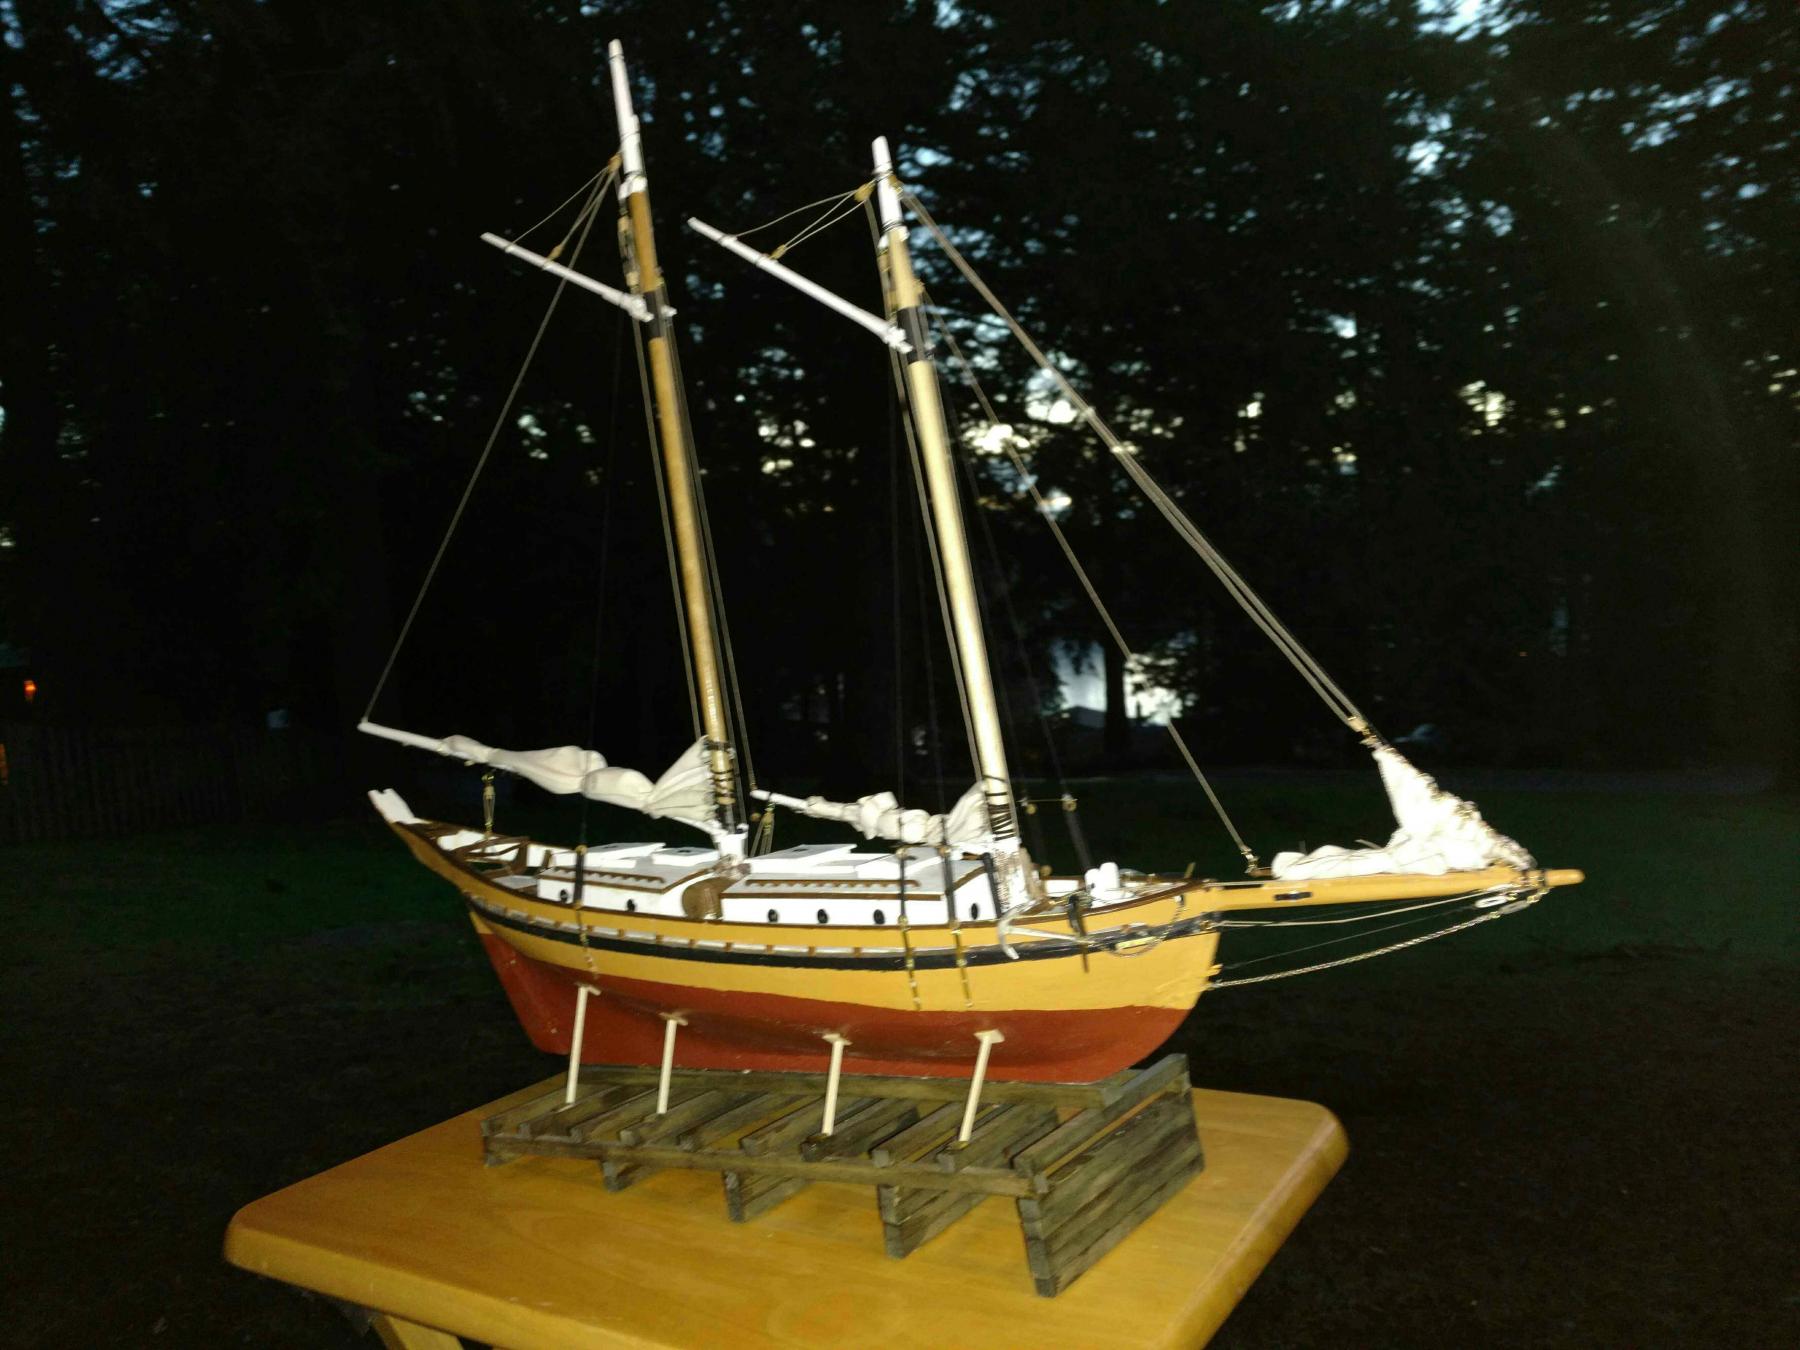
All of the spars are completed and the sails are cut out for displaying as furreled. Although the impatience bug has bitten, I will wait for tomorrow and some natural light to finish the sails. I really want to start rigging but I must wait for the new thread to arrive as I don't want to have to do it twice, or as we say at work, "we don't have time to do it right the first time, but we will have plenty of time to do it over on overtime". I'm thinking about the sequence of rigging and wondering if it would not be prudent to do it backwards. That is to say, bend on the sails first, then the running rigging and finally the standing rigging. That way I won't be reaching through completed lines to tie others. I'll be working from the middle out instead of the outside in. It's done that way on the real boat but the workers are not 300 feet tall with 20 foot hands. I'll get a picture up after the sails are bent on tomorrow.
-
So, I went ahead and ordered six packs of thread from Chuck. Will be more or less on hold until it gets here but from the feedback I'm getting from you folks, it'll be worth it. Thanks all for the likes and replays.
-
OMG. Cut out and iron hemmed a sail and put in one reef point. Then started on the bolt rope. Someone mentioned on a previous post that the thread in my kit may not be the best. What an understatement that turned out to be! Got in 3 stitches and had a knot monster. Took it out and started over. Same thing! This thread quickly fuzzes and unravels terribly. I did draw it thru bees wax too. Anyway, it's totally unacceptable. I need a good source for rigging thread now. I have a shopping cart ready for Syren but they seem pretty expensive, however I have nothing to compare them to. Still, $32.00 seems a bit much for 5 things of thread. Suggestions?
-
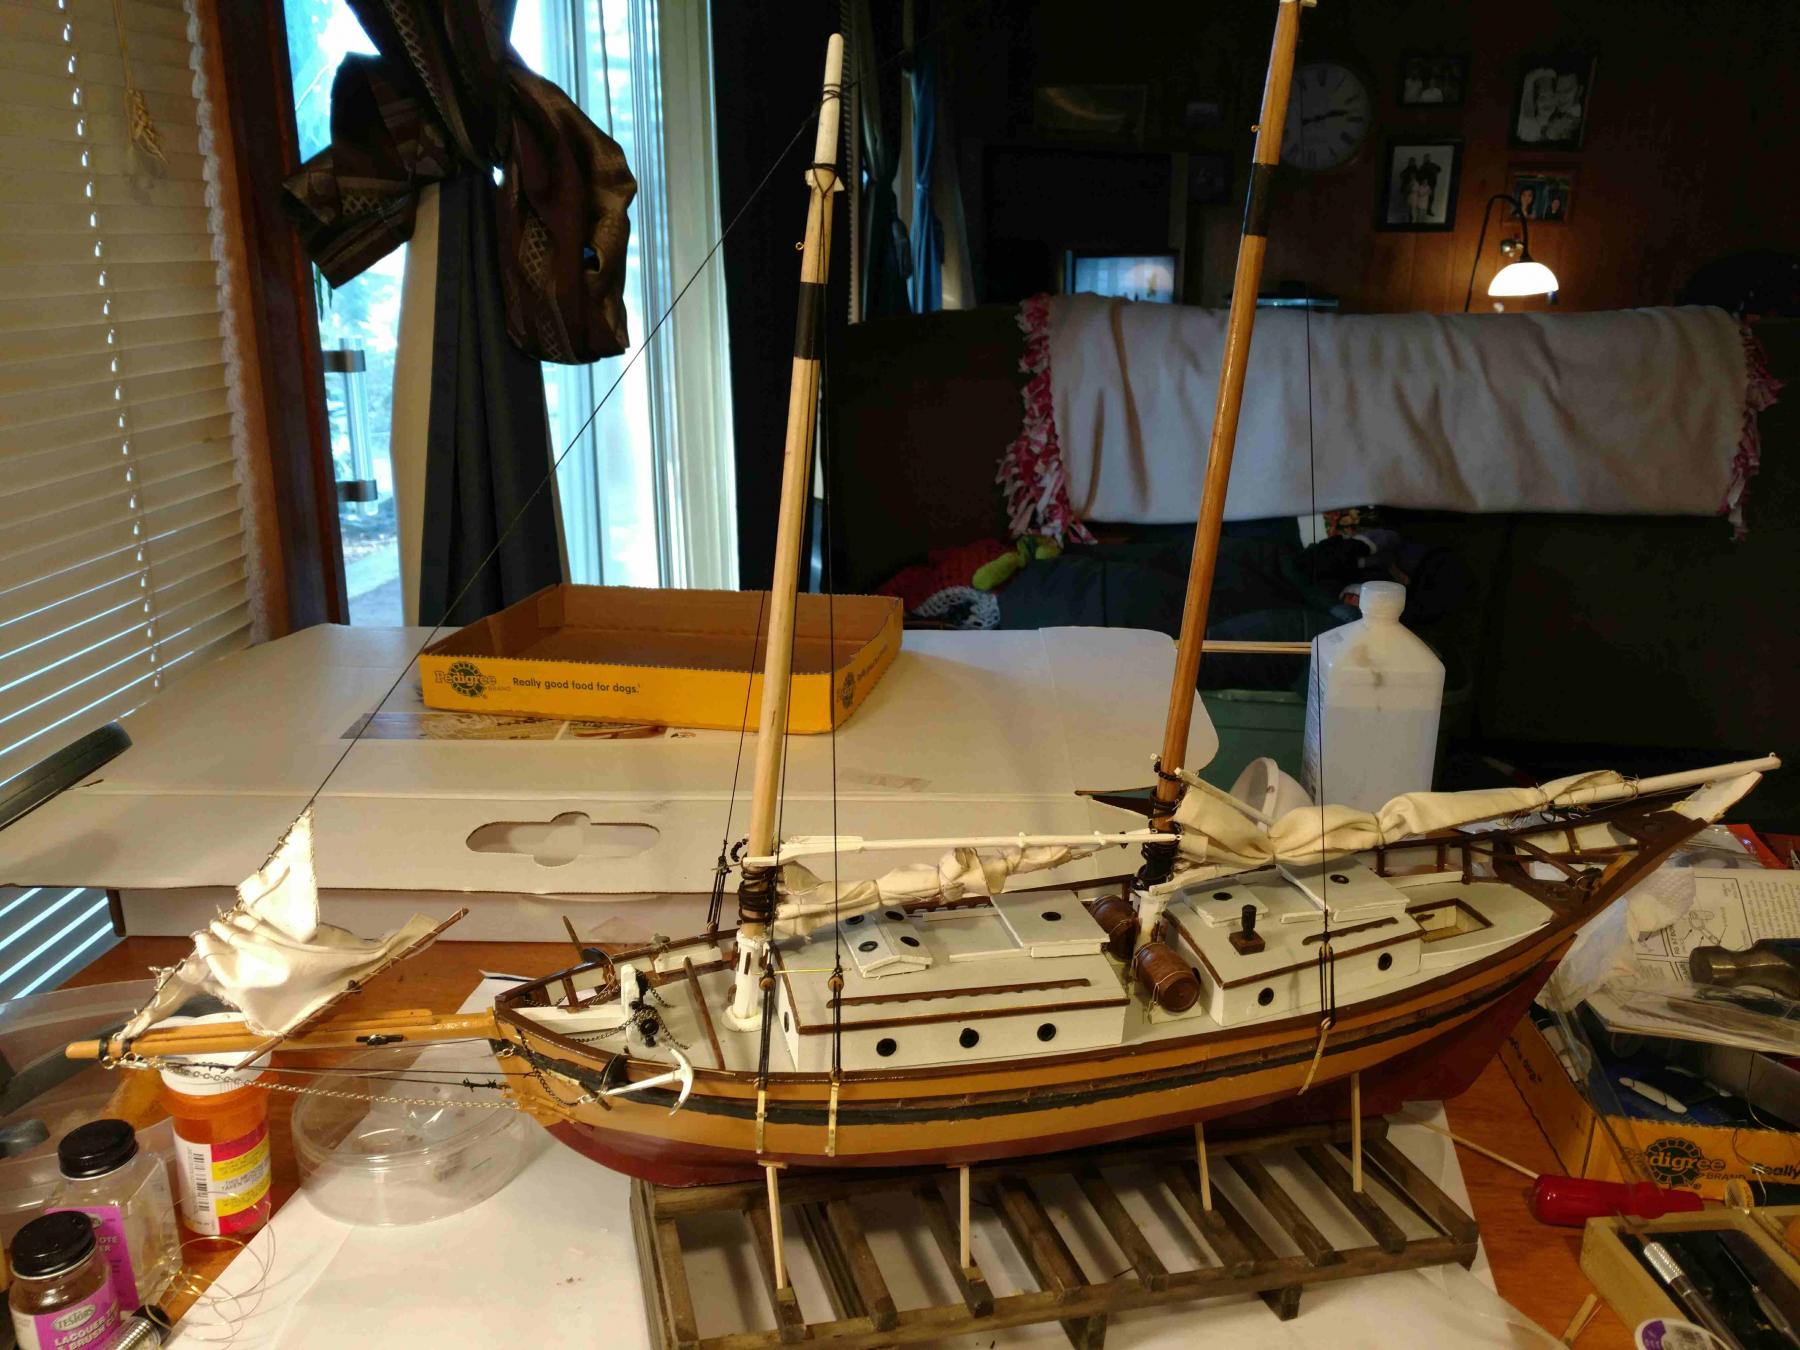
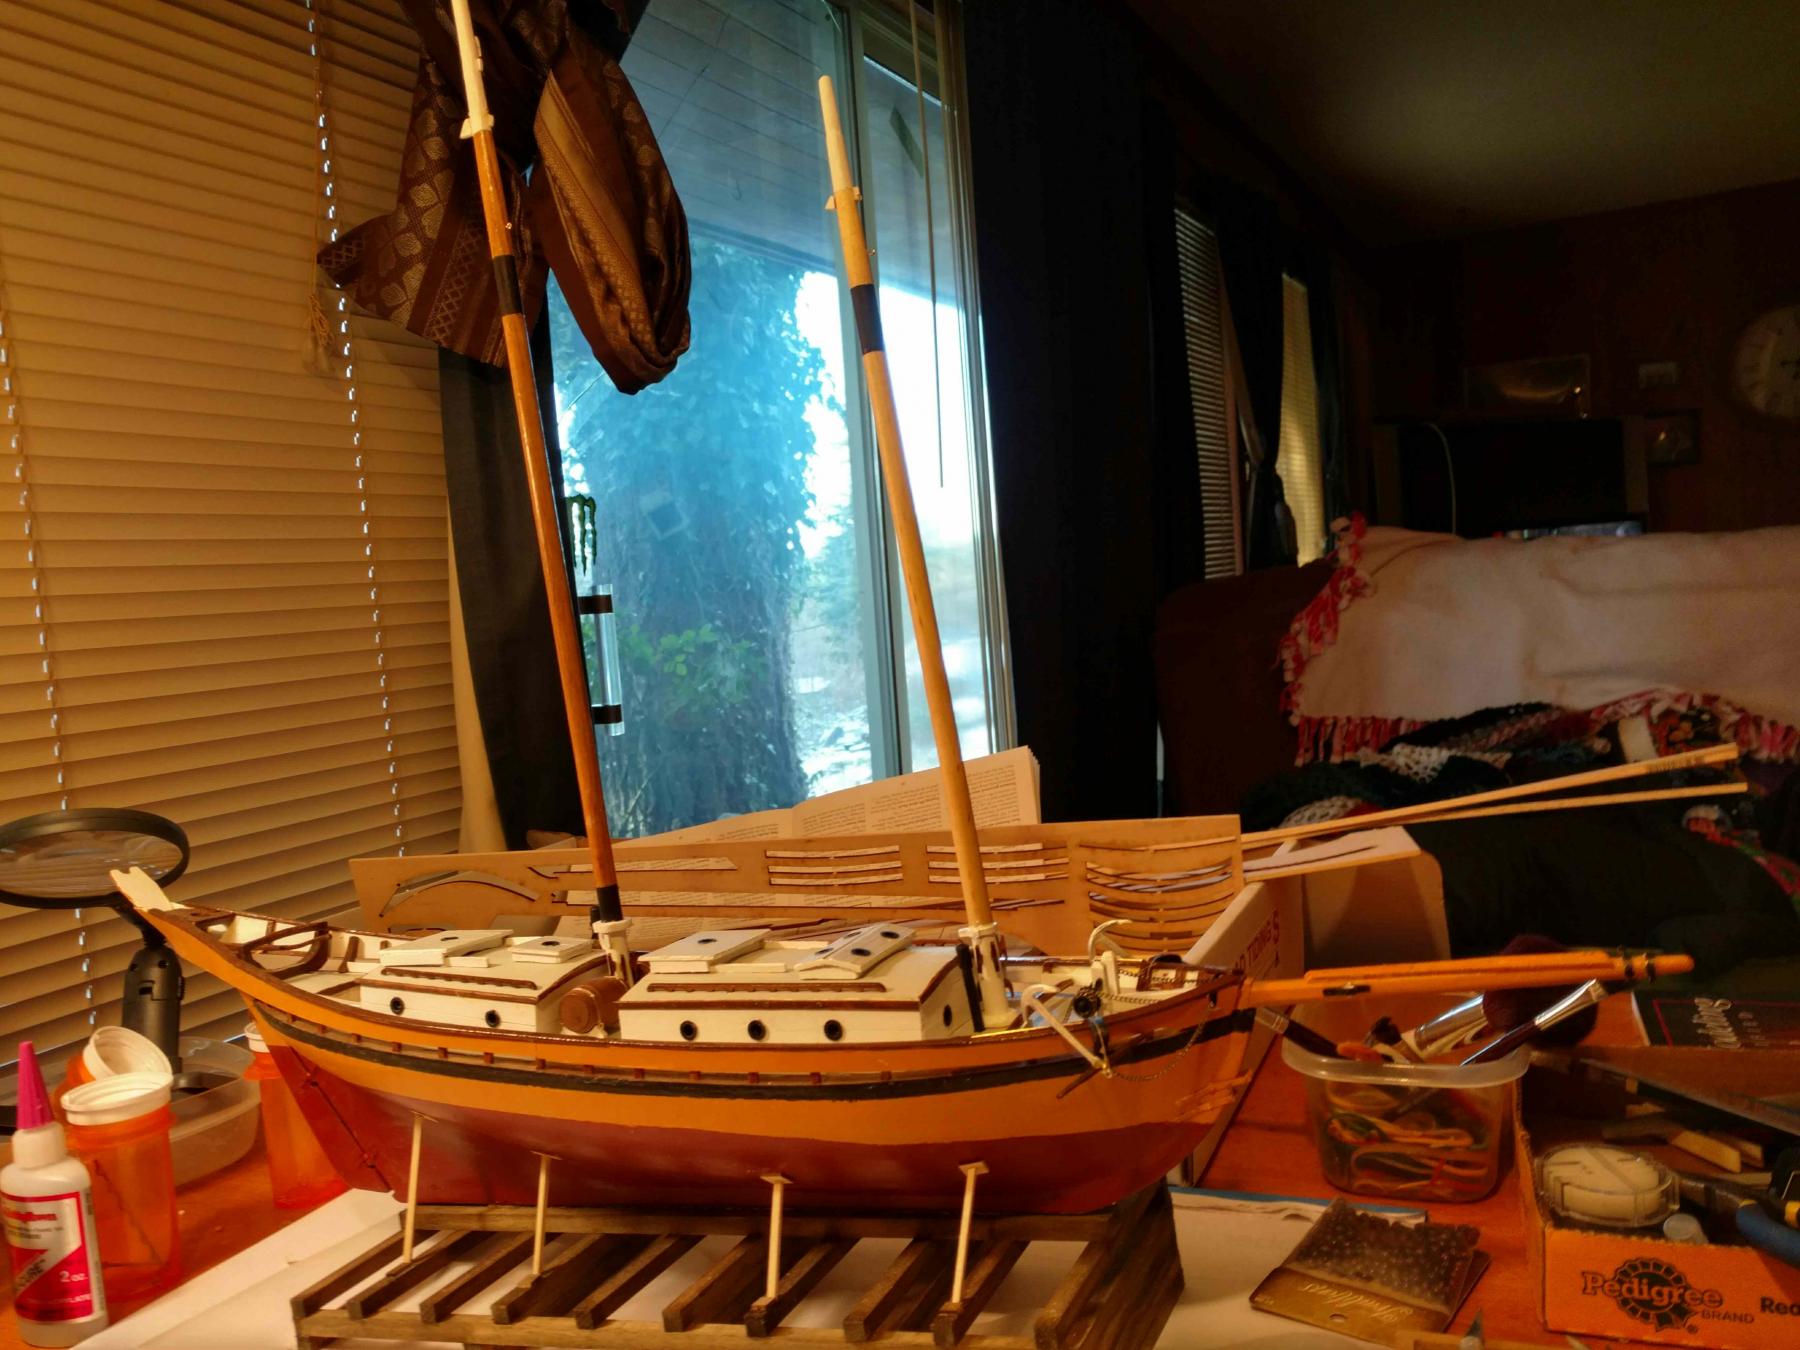
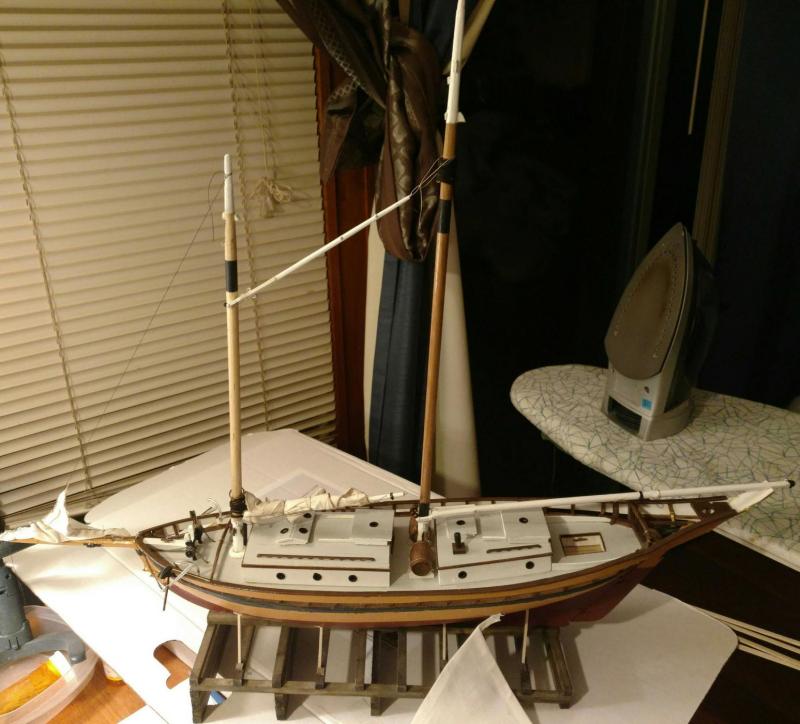
Masts stepped. The dowels are different woods as you can see by the color. I didn't like it at first but now I think it adds character. The main was very hard wood and I had a dickens of a time plaining, filing, sanding etc. I split out the square for the hole in the deck easily enough. The fore mast is a lot softer and went much faster. Picked up some cloth to make the furled sails, some wooden beads for the booms and a pair of new hemostats to help with the impending rigging. Probably done for the day and just sitting back admitting my work. Oh almost forgot, had a small catastrophe - I had a bowl full of chips and sawdust, quite a lot of it actually. Well when filling on the main mast in the vice, the table got to shaking and, wammo, the bowl hit the baseboard heater and then the floor. Big mess but between me and gf got most of it picked up. Didn't save it though as I think I'm beyond needing it on this model and I'll have plenty more on the next one.

- 54 replies
-
- 4
-
-
- glad tidings
- model shipways
- (and 1 more)
-
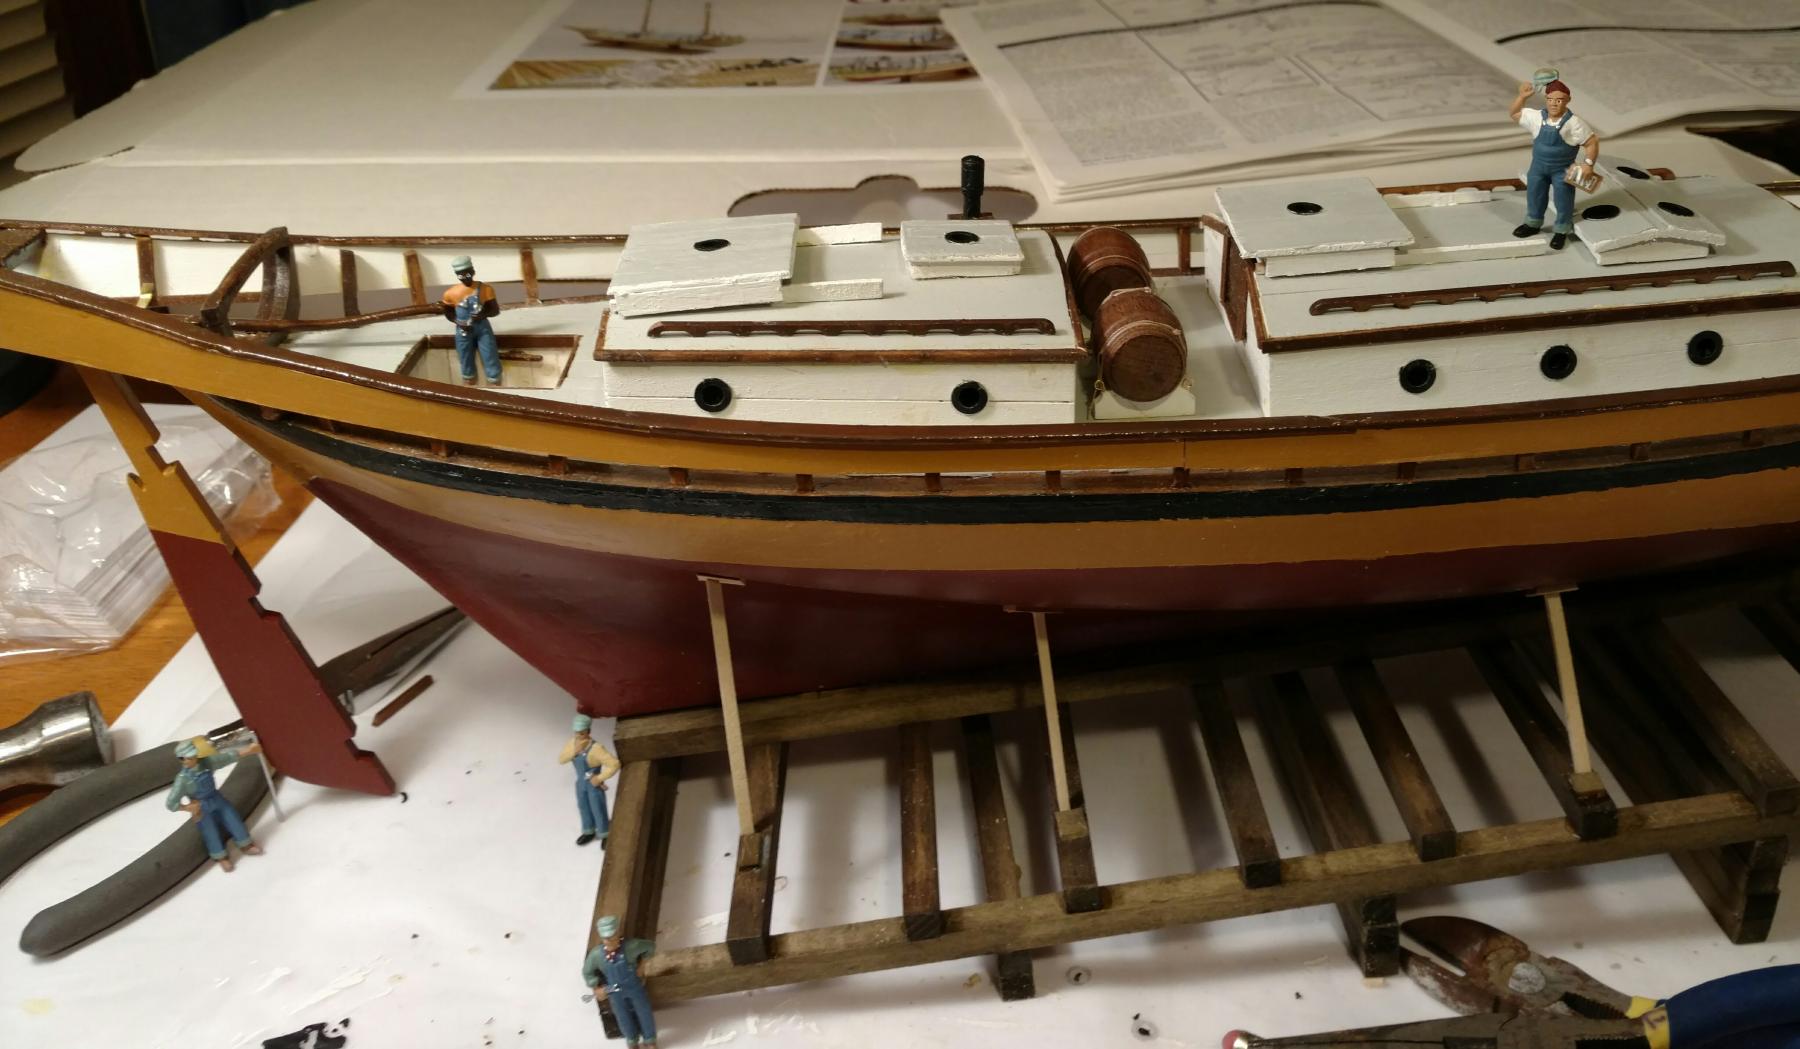
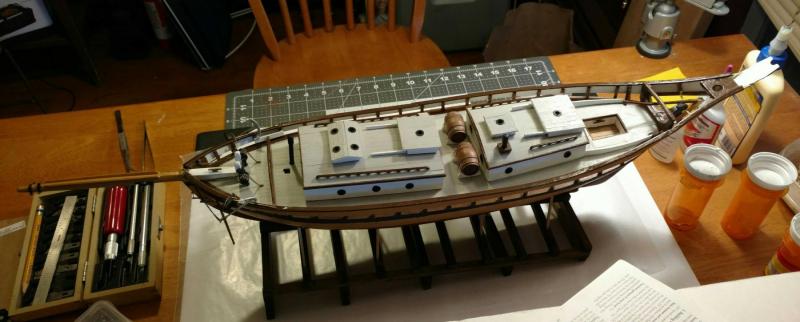
The instructions say that I'm done with the hull! The windless turned out to be a little short to fit on the bits so I decided to try to stretch it. Wrong. The bar popped right off one side. Fortunately there was a small dowel included that was the perfect size. Cut an inch or so off, drilled the capstans and, ta-da a perfect fix. Next, the kit came with rope for the anchors but no chain. The anchor holds the chain, the chain in turn holds the boat. Luckily the gf had a broken chain in her jewelry box that was perfect - already tarnished and everything. I didn't even have to paint it. Ever tried to paint a model chain and have it remain flexible? All in all a pretty good morning. Taking a break then will start making masts or maybe rig the jib boom. I was looking at the model last night among all the clutter on the table and thought "I can't believe I built that". I think it looks pretty darn good for a first time, mistakes and all.
- 54 replies
-
- 3
-
-
- glad tidings
- model shipways
- (and 1 more)
-
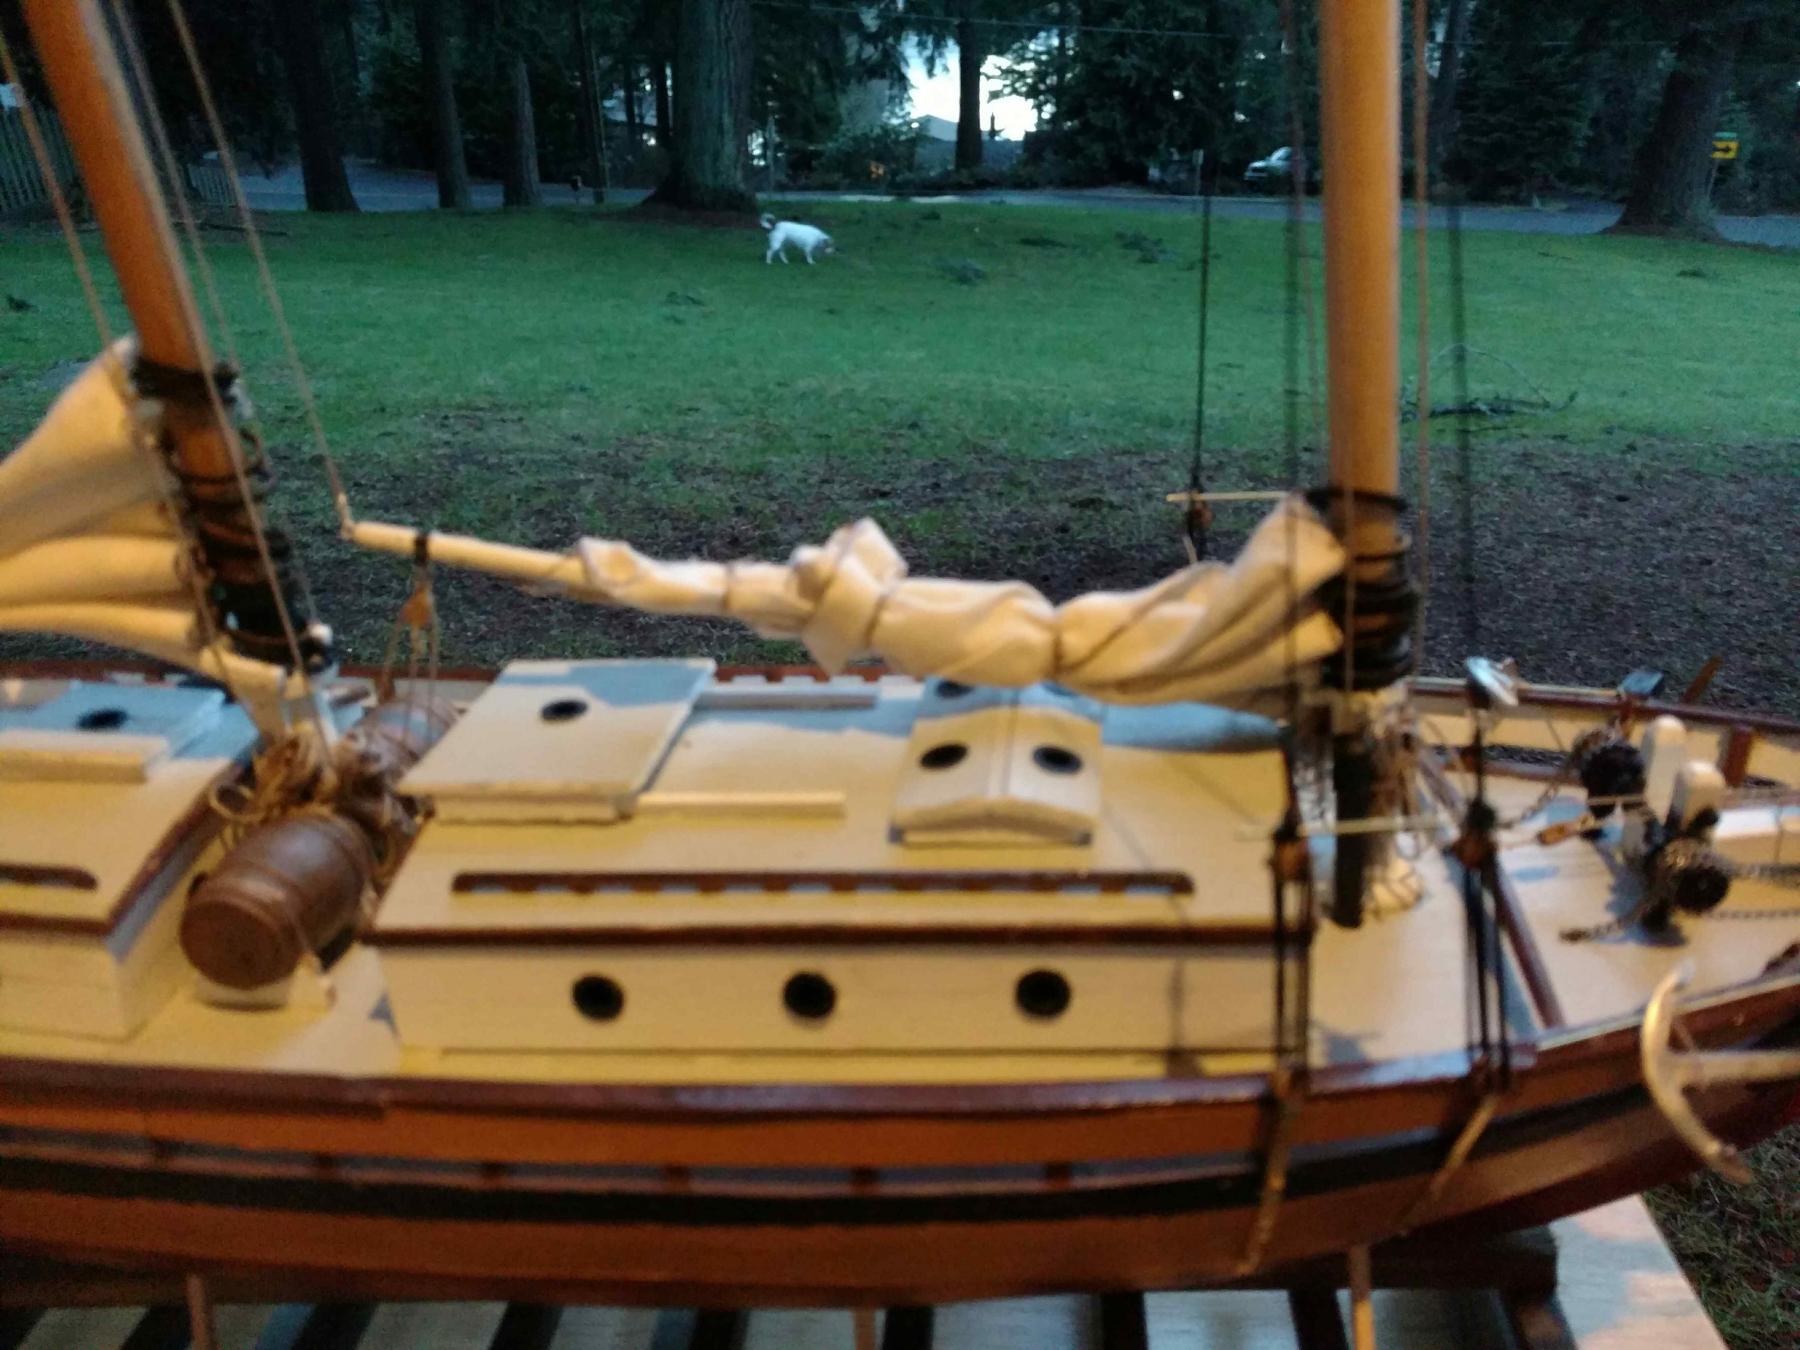
First a belated thanks for all the replies and likes. A bit of progress. Both cabins are now done and a few other little things. Also got a good start on the rudder assembly. My gf took this new profile pic of me while I was concentrating on the rudder. I didn't even know she took it till she sent it to me! Thought it looked better than the train pic in my old profile pic and also more appropriate so I changed it. I came up one port light short for some reason and talked to John at Model Expo the other day. The new port light arrived today, just in time! Only thing was, instead of just one they sent me a whole pack of 21. I will send the others back on Monday. I'm a bit apprehensive about starting the metal work for the rudder and Jib boom as I've never soldered like this before though I have done some electrical soldering. Maybe it's not that different. At any rate I don't have any solder so will have to wait till Monday to get some. I'm also unsure how to turn a pin into a bolt and nut for the bobstay stem plates. Looking for any advice here and thanks again.

- 54 replies
-
- 2
-
-
- glad tidings
- model shipways
- (and 1 more)
-
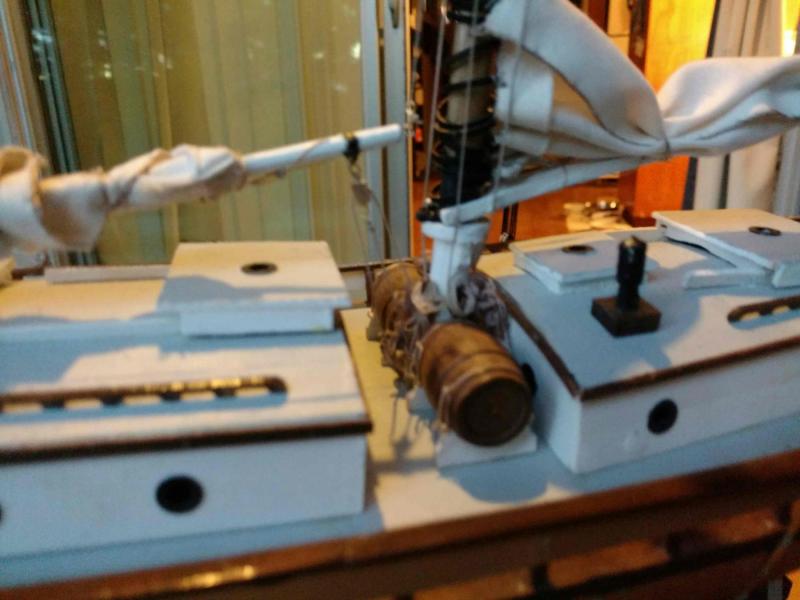
Finally got the aft cabin done and a good start on the forward one. I don't know why these cabins are proving to be such a challenge. Noticed there is one port light missing so called John at Model Expo. The part of on its way. Nice folks there and I highly recommend this business to any modeler in search of kits, parts or tools.

- 54 replies
-
- 2
-
-
- glad tidings
- model shipways
- (and 1 more)
-
Not much progress in the last few days. Haven't been in the mood, tired and today I have the shakes. Cut one Carling for the aft cabin three times and it's still too short! Anyway, taking a little break. More pictures when the cabins are done.
-
Managed to get the cap rail on. Took a while and there were more than a few challenges with the 'seat of comfort' which I always thought of as a 'head.' Puget Sound is a no discharge zone and so is the coastal water up to 3 miles out in most places. I can't believe you can discharge untreated sewage in Maine today (this boat is from Maine) or that this boat would not have a proper head within the last 50 years. Just for traditional looks I guess. Anyway, another milestone and a good place to stop for the night.
- 54 replies
-
- 4
-
-
- glad tidings
- model shipways
- (and 1 more)
-
Worked all Thanksgiving weekend then got sick. Haven't done much in a few days. The next step is the rail around the deck with stantions, precision cutting, angles and more compound curves. I find myself procrastinating to start this and don't know why. It's just one more little piece at a time. Maybe I'll get back to it tomorrow or this weekend. It can't stay like this forever on the dining room table.. The deck was a little adventure. My homemade stain had less than desirable results and the grey paint didn't thin to a wash. The first coat revealed every nook and cranny necessitating more putty and then sanding that off. Ended up just painting it. I keep telling myself that this is a learning experience and a practice boat but I'm not exactly thrilled with my skills at this point and I tend to focus on every little imperfection. Still, from a couple of feet away, it looks pretty good to me and the neighbors are impressed and keeping track of progress.
- 54 replies
-
- 1
-
-
- glad tidings
- model shipways
- (and 1 more)
-
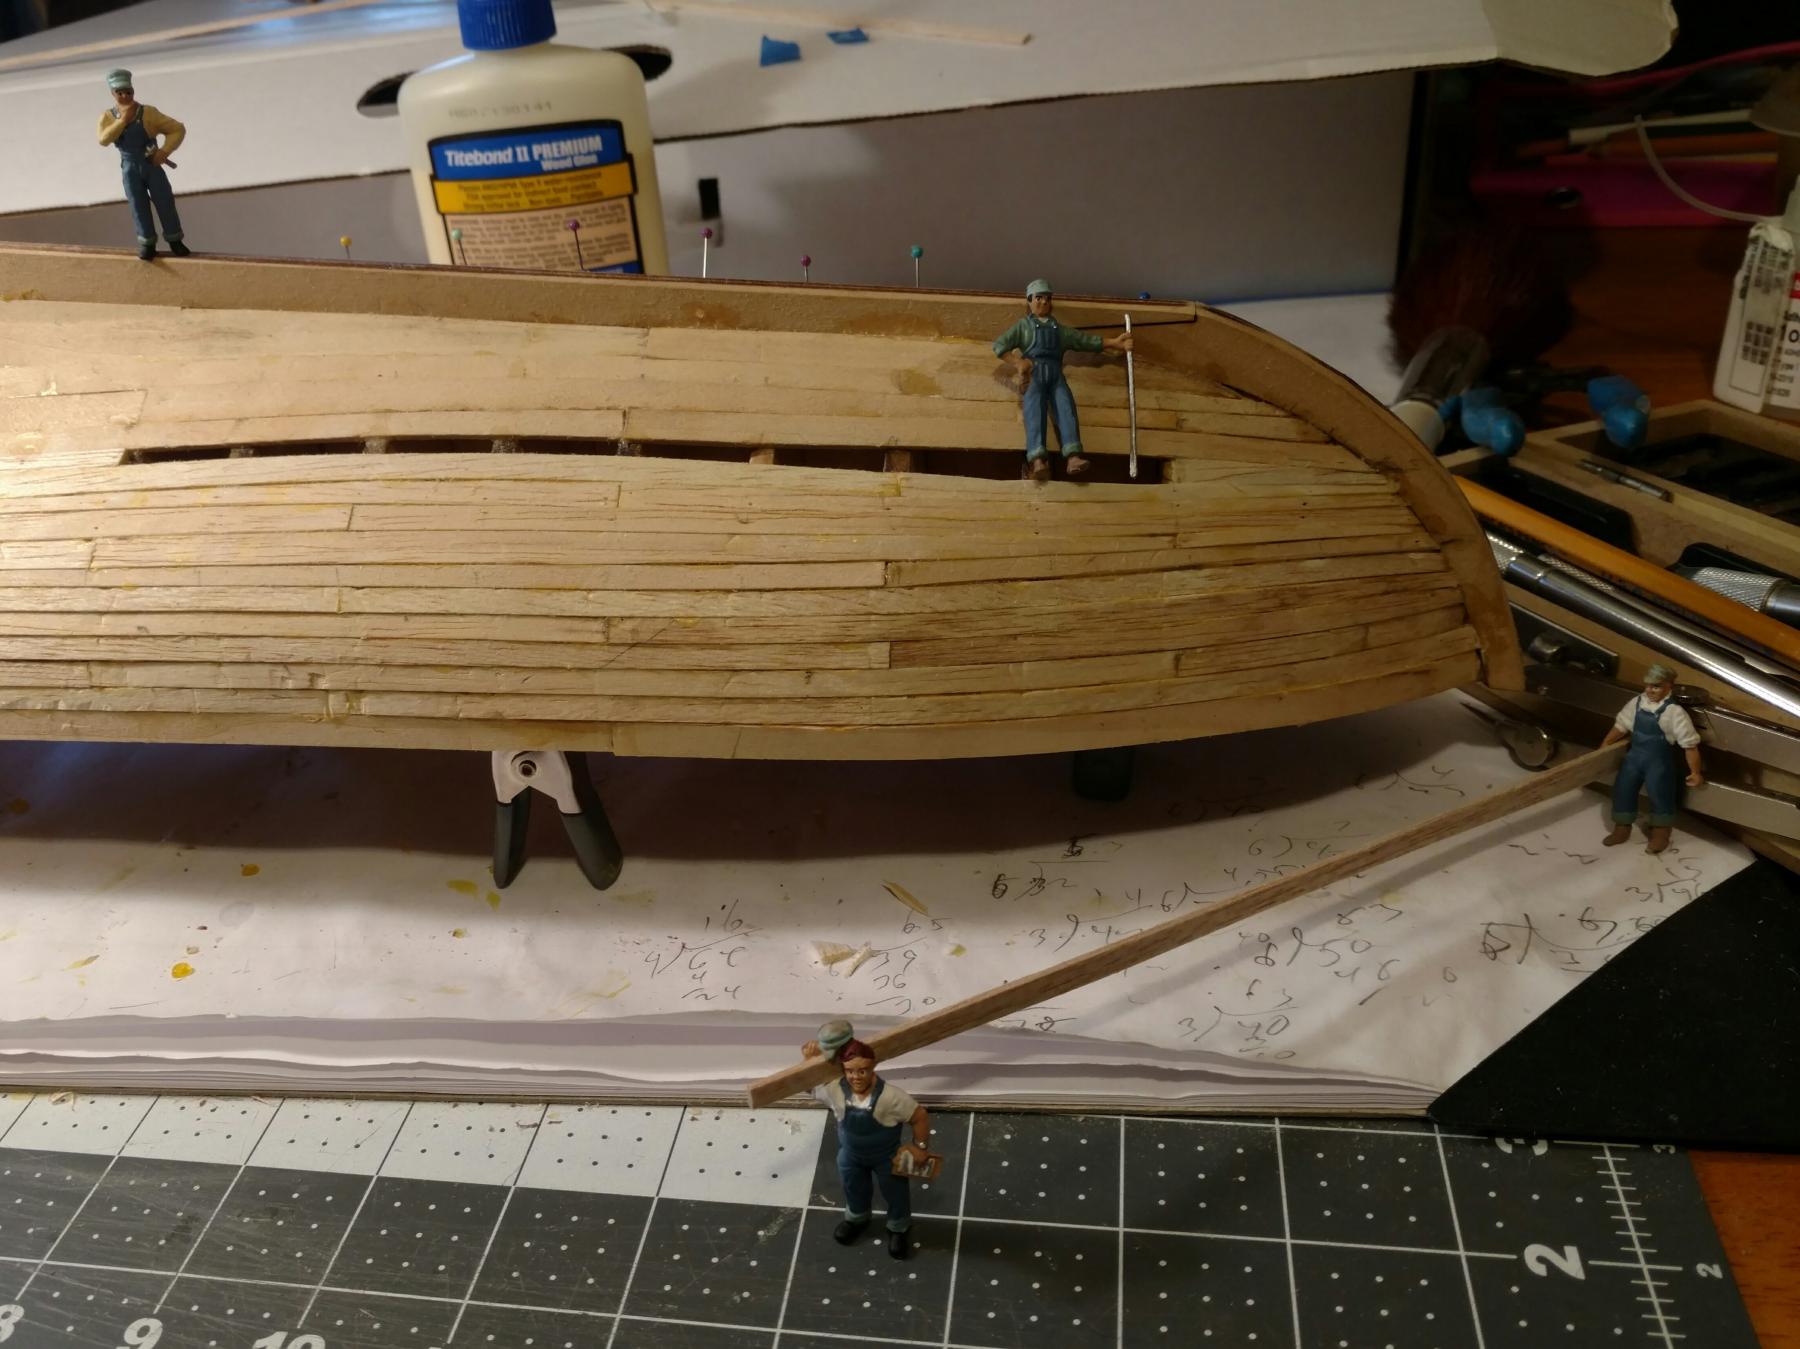
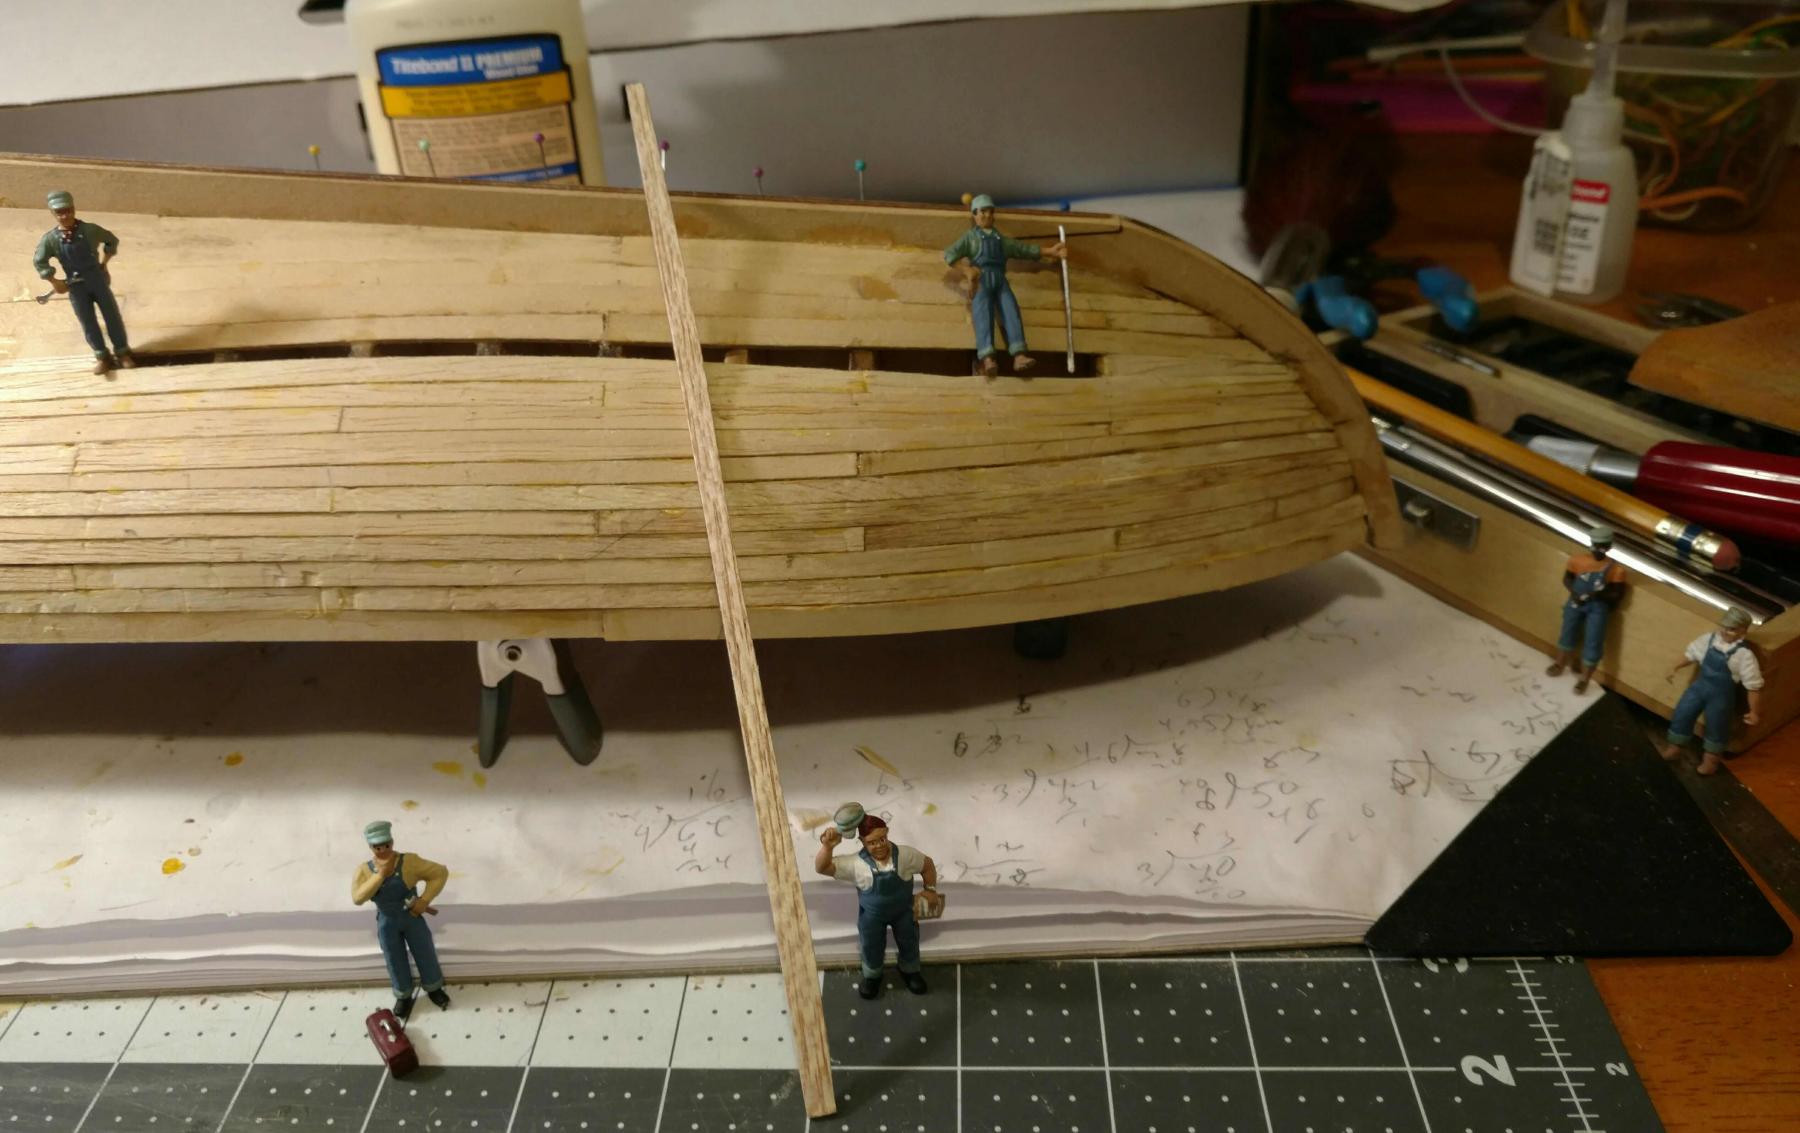
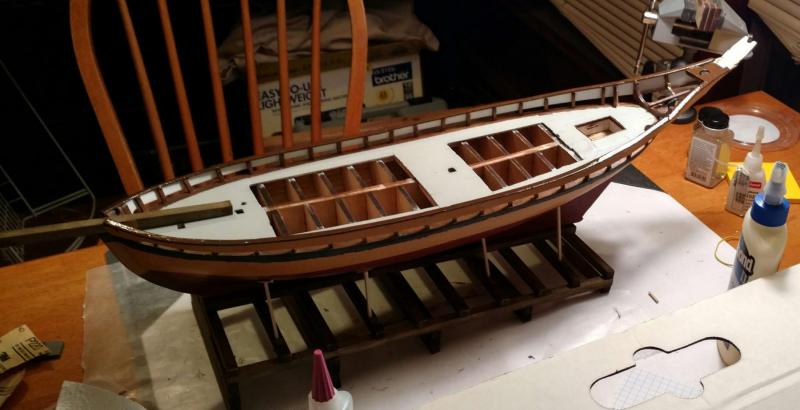
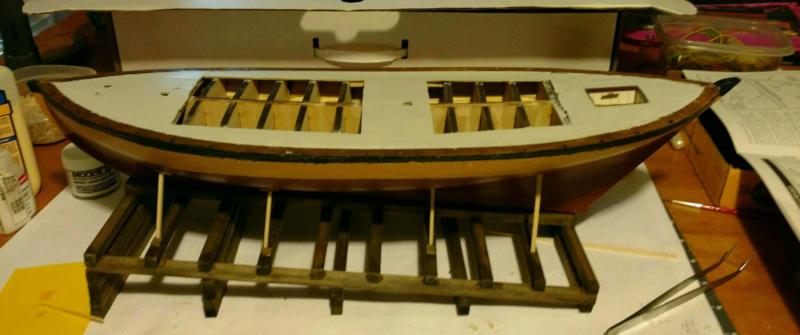
More 'learning experiences' thank you Mike! I actually managed to sand a hole clear thru the $#@-ng hull trying to get that nasty bump out! I got it out alright.. now I have a nifty patch on the starboard aft quarter. Fixed! Decided to take a break from planking as the paint set will be here tomorrow and a bottle of varnish is included. I want to varnish the cap rails and everything above them but not the deck so I started to make the launchway. That's when I discovered that my plastic miter box cut a different angle every time. A quick trip to the hobby shop and $20 later and I have a new aluminum miter box and saw. My old saw of course would not work in the new box. Oh well, you can't have too many tools, my dining room table, the piano behind it and one kitchen chair cannot be found for them even though I have stopped to clean up several times. I hope this forum is not too boring, it's more of just a log for me anyway with pictures and a place to keep it where I can find it. Thanks for looking and a special thanks for the encouragement, suggestions and replies. Oh, here are two examples of my homemade stain. The deck will be the same as the cockpit sole and the cap rails. It's still a cockpit on a boat but now it's the flight deck on an airplane and dykes are now diagonal cutters! Ah to be politically correct sometimes vacuums....
- 54 replies
-
- 3
-
-
- glad tidings
- model shipways
- (and 1 more)