AndyMech
-
Posts
363 -
Joined
-
Last visited


-
 phebe reacted to a post in a topic:
Pride of Baltimore II by AndyMech - Model Shipways - 1:64
phebe reacted to a post in a topic:
Pride of Baltimore II by AndyMech - Model Shipways - 1:64
-
phebe reacted to a post in a topic:
Pride of Baltimore II by AndyMech - Model Shipways - 1:64
-
 Marcus.K. reacted to a post in a topic:
USS Constitution by AndyMech - FINISHED - Revell - 1:96 - PLASTIC
Marcus.K. reacted to a post in a topic:
USS Constitution by AndyMech - FINISHED - Revell - 1:96 - PLASTIC
-
Marcus.K. reacted to a post in a topic:
USS Constitution by AndyMech - FINISHED - Revell - 1:96 - PLASTIC
-
Marcus.K. reacted to a post in a topic:
USS Constitution by AndyMech - FINISHED - Revell - 1:96 - PLASTIC
-
Marcus.K. reacted to a post in a topic:
USS Constitution by AndyMech - FINISHED - Revell - 1:96 - PLASTIC
-
Marcus.K. reacted to a post in a topic:
USS Constitution by AndyMech - FINISHED - Revell - 1:96 - PLASTIC
-
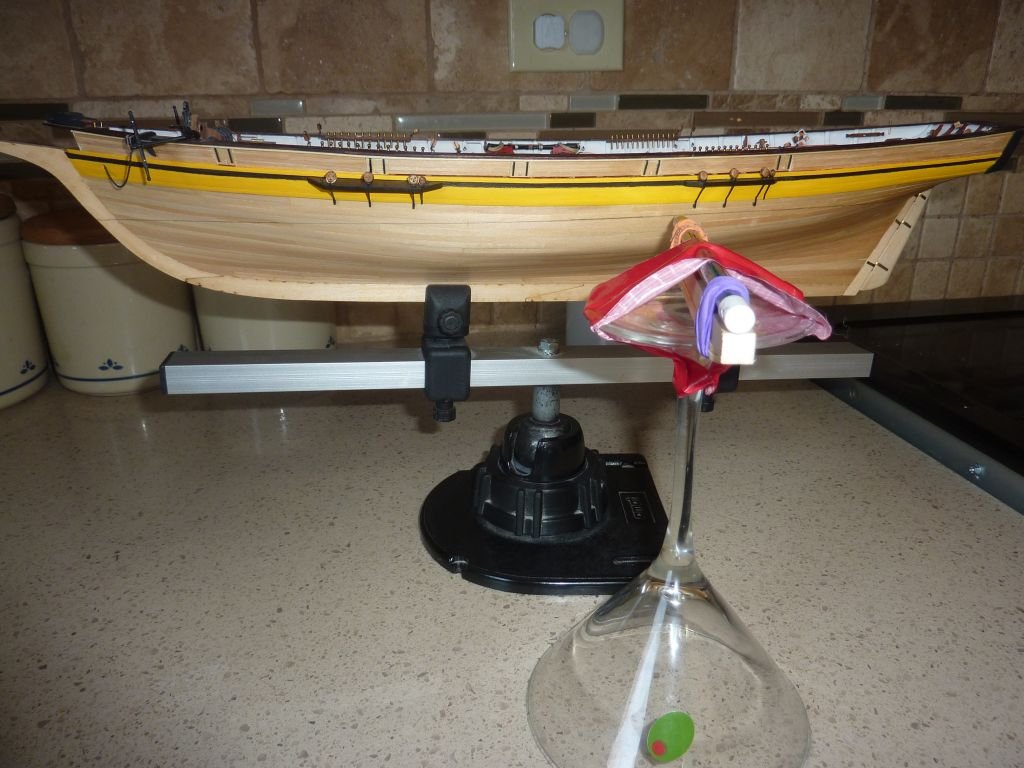
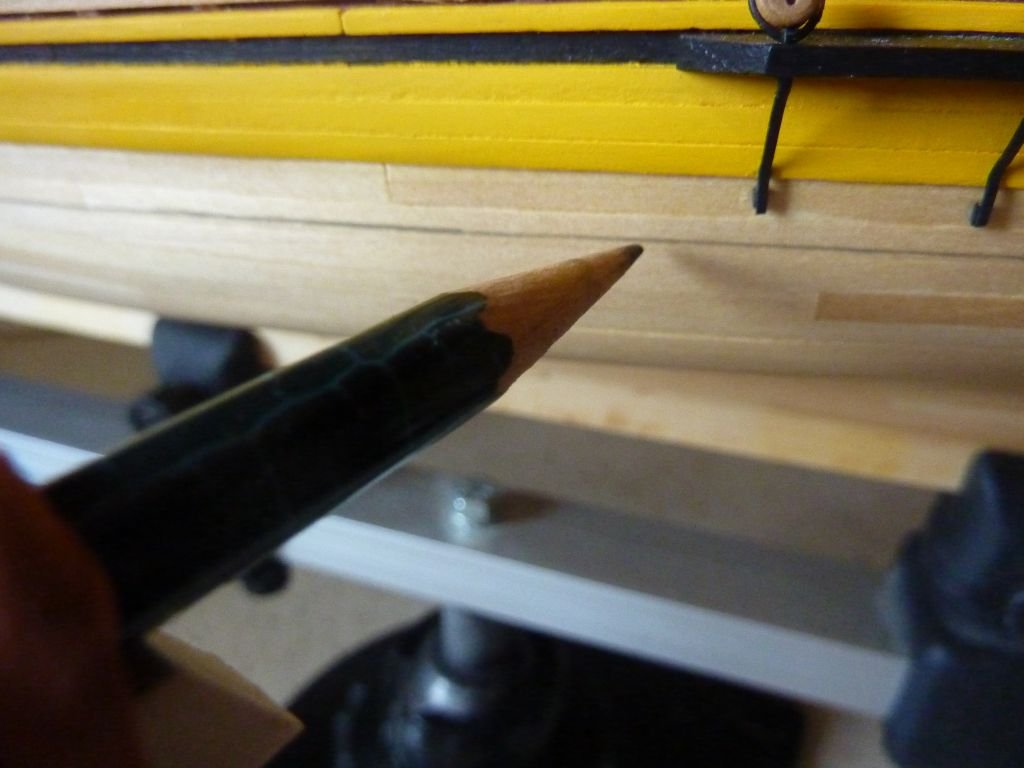
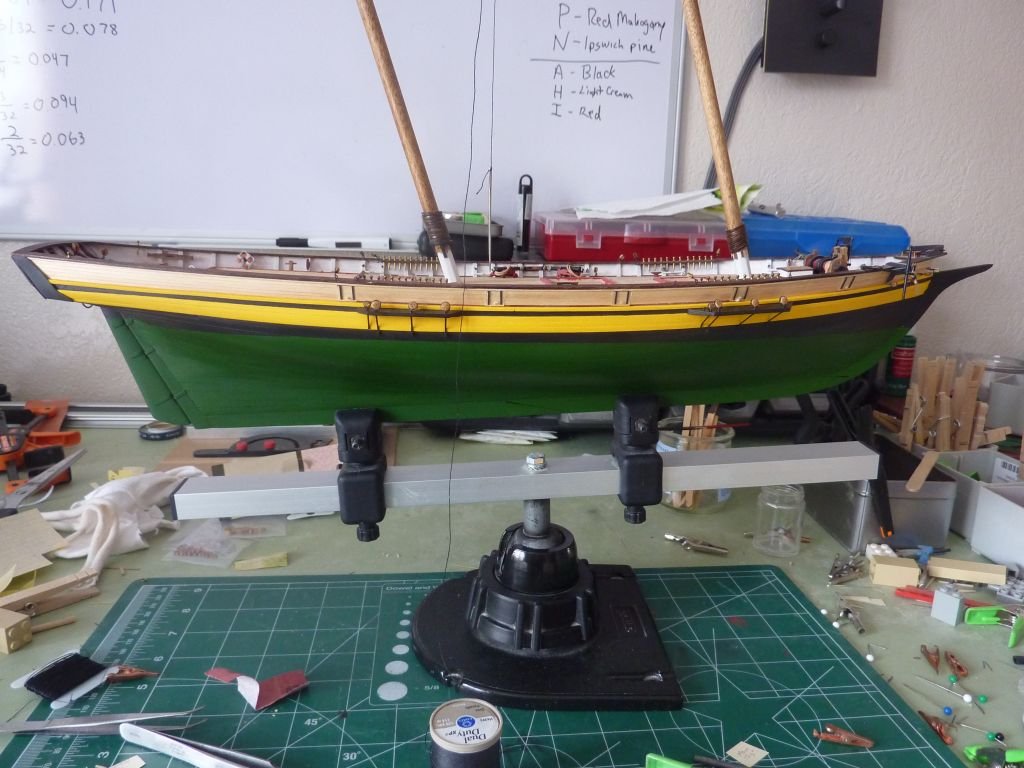
Update: Waterline marked, using my favorite martini glass on a smooth level kitchen countertop Hull painted green, it took approximately 20 coats of Liquitex Hooker's Green acrylic. Next up was setting the masts and putting in the small wooden framing at the base of them. Finally, I started the process of the lower shrouds. The upper shrouds on the foremast were done prior to the setting them.
-
Small, non-photo update: I’ve been attaching blocks to masts, spars, the deck, etc. Moving onto the bowsprit, I finally decided to paint the hull, so I spent time figuring out how to mark the waterline. Only took 90 minutes, because I’m very slow and deliberate. I’ll paint the upper black next, then the green lower section. Thinking of ModelMaster acrylic “Signal Green” (4882) as the color. Suggestions are welcome. Andy.
-
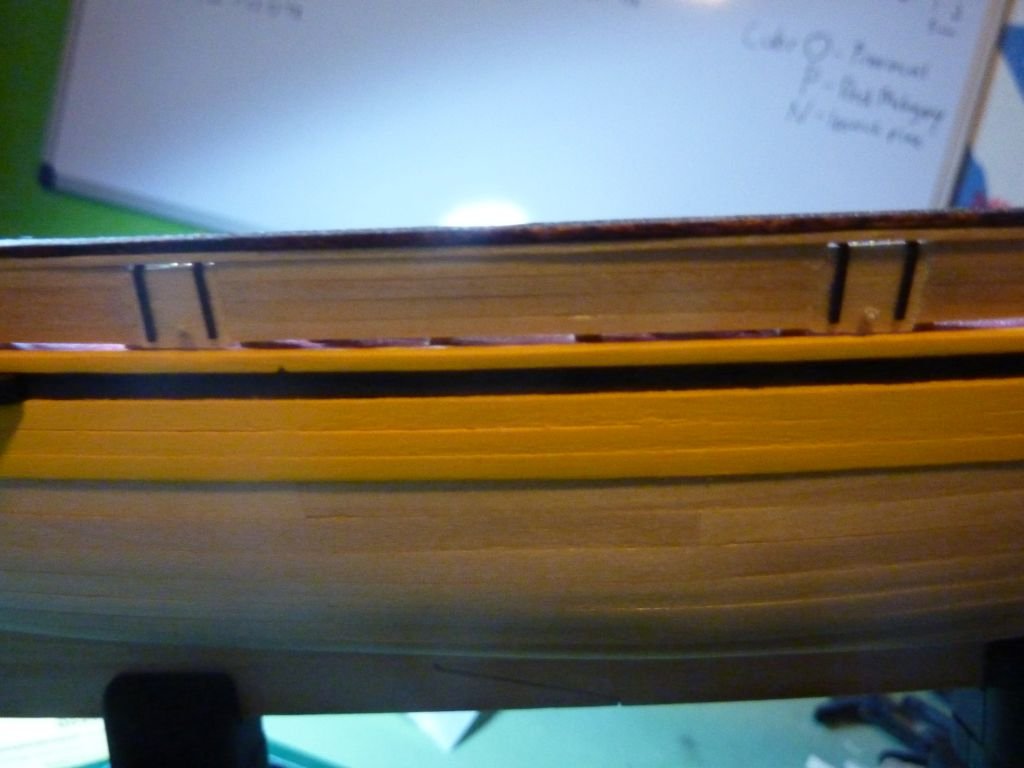
The doors are flush, with the idea the could swing open if need be. Andy.
-
I plan to rig without sails, following the instructions, as best I can make it out. I first tried to use the plans to identify all the blocks that need to be tied to the masts and yards, and I'll add those. Add blocks to masts, yards and booms Glue the masts in place (mainly because of the angle - if they were straight up and down, I probably wouldn't glue) Do the shrouds Standing rigging Bowsprit? Booms? Running rigging? I don't really know, hopefully it will take shape after the shrouds go in. At some point, I need to also glue in all the deck furniture before the rigging gets too crowded. Andy.
-
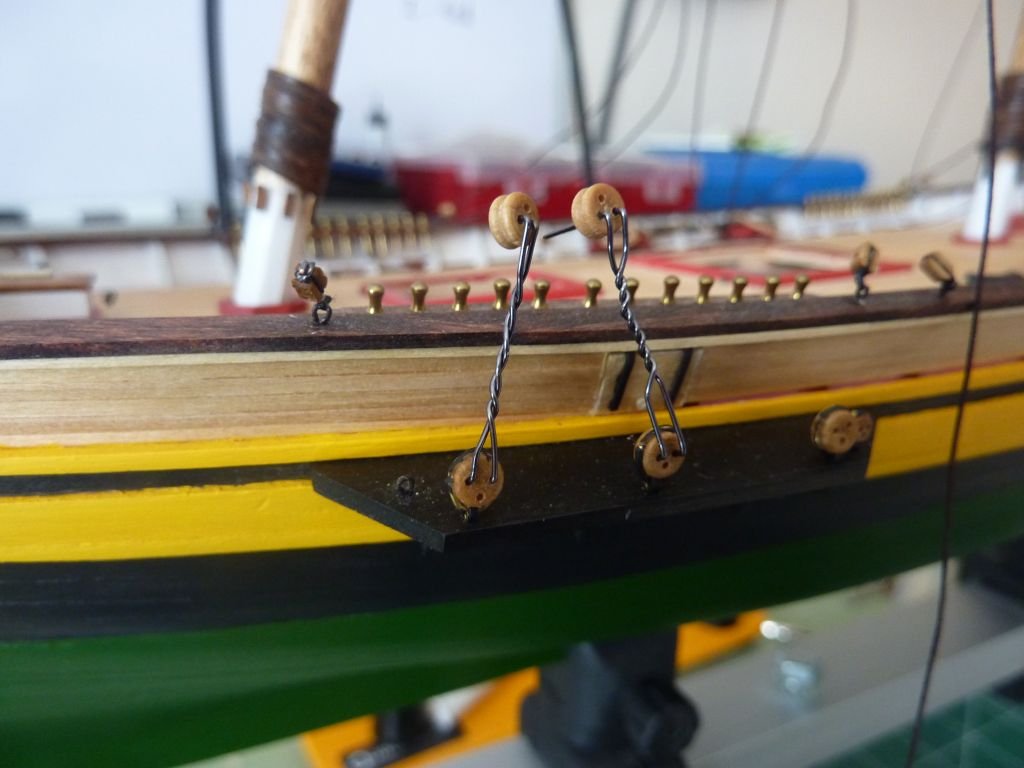
And finally, the shrouds chainplates. These, I found, were tricky to make, paint and glue. I chose not the blacken them as I didn't know how the wood deadeye would take to the solution, or the CA glue. I hope they secure - I glued them pretty heavily. (Sorry for the terrible photo, I have a better one, but it failed to upload to the site for some reason)

-
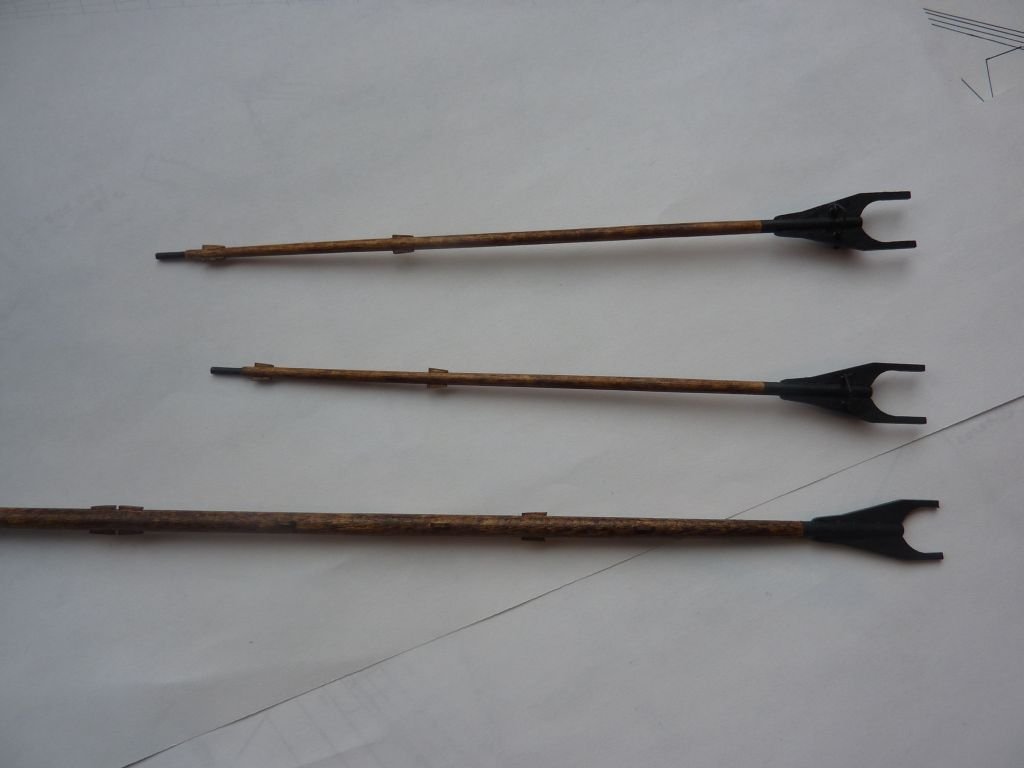
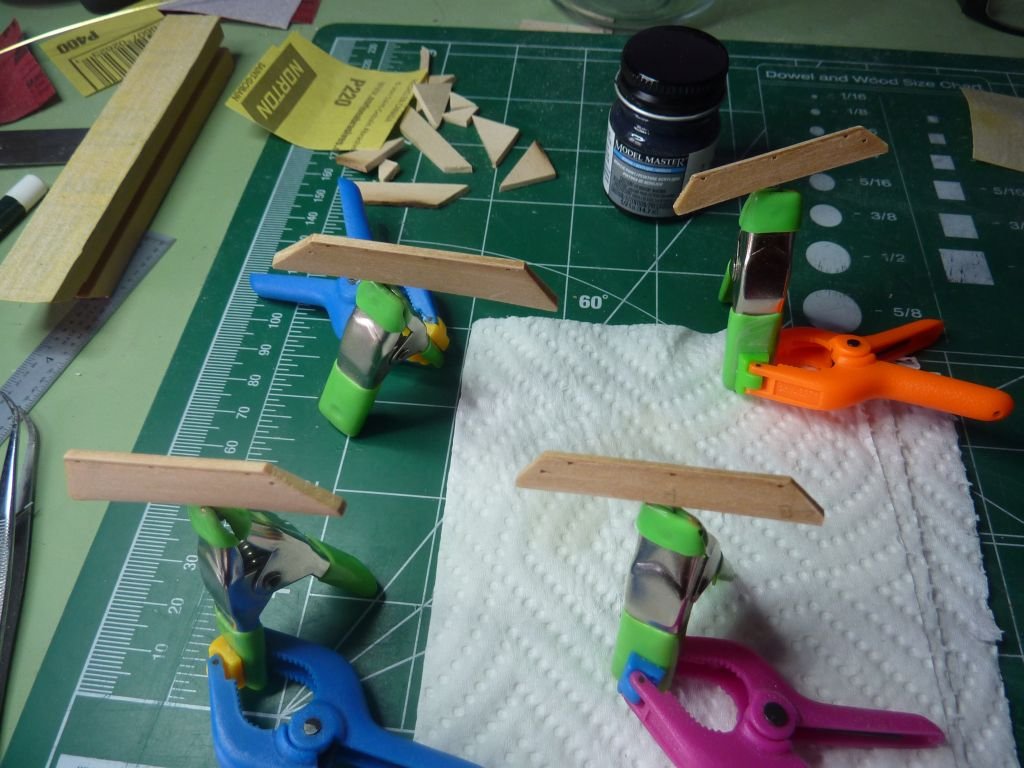
The 3 booms (is that what they're called?) were next, same power drill technique:
-
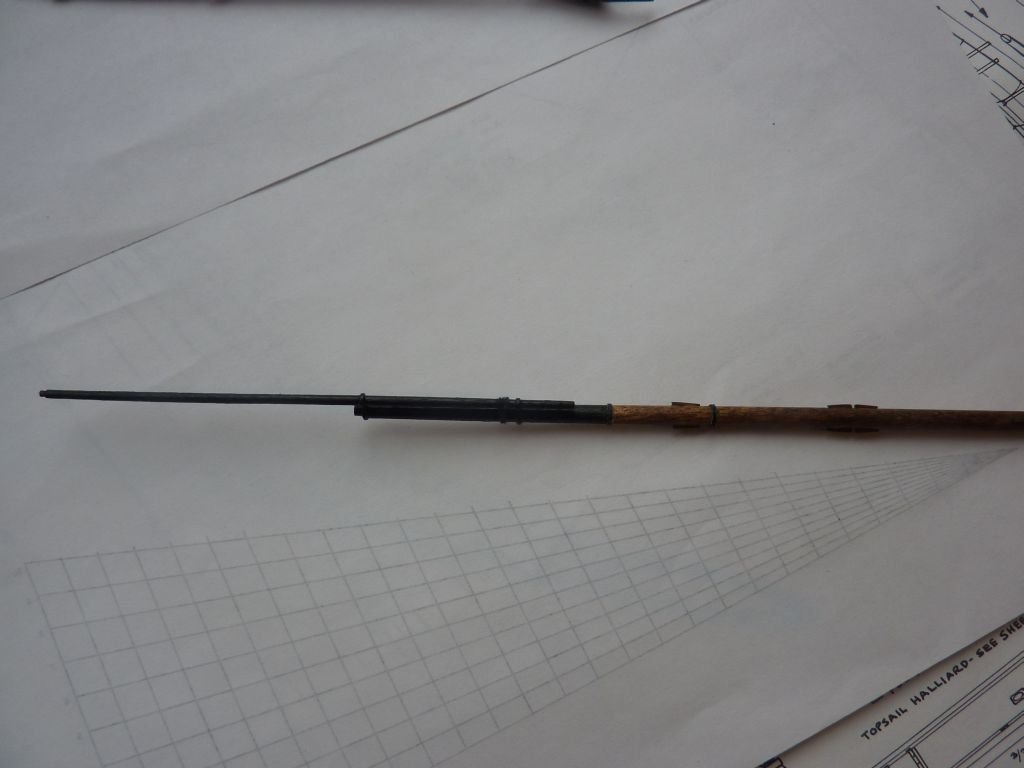
Next up, the yards. Using the dowels I purchased (straight ones), I was able to shape/taper them using the handheld power drill method, added footropes and other adornments:
-
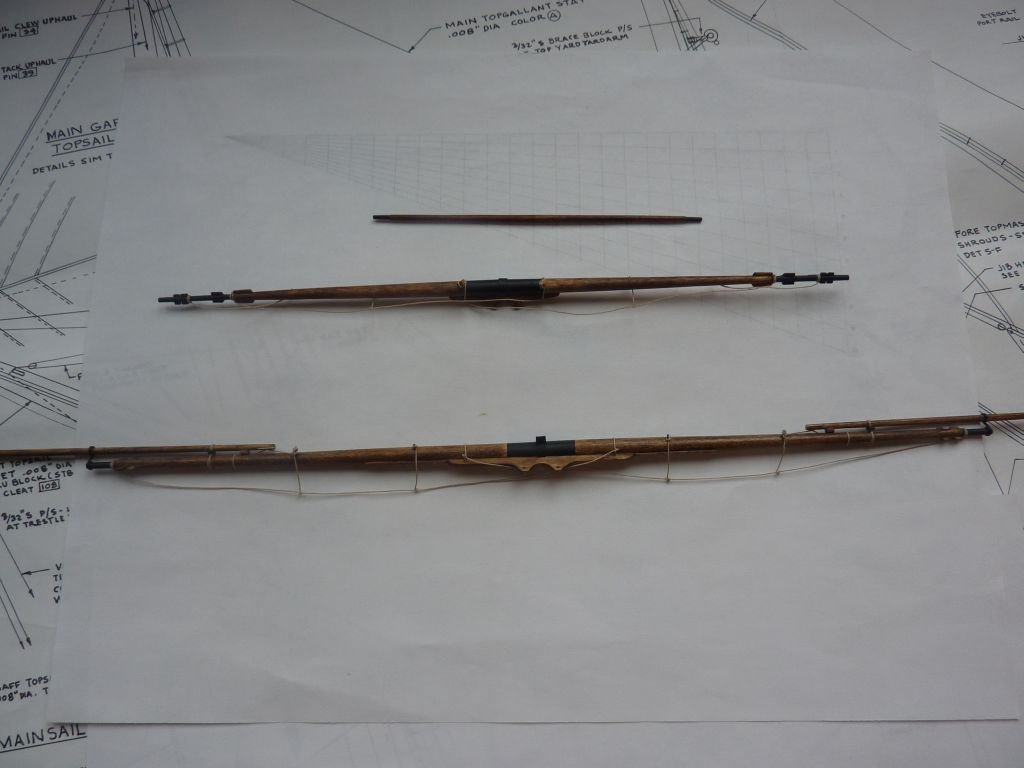
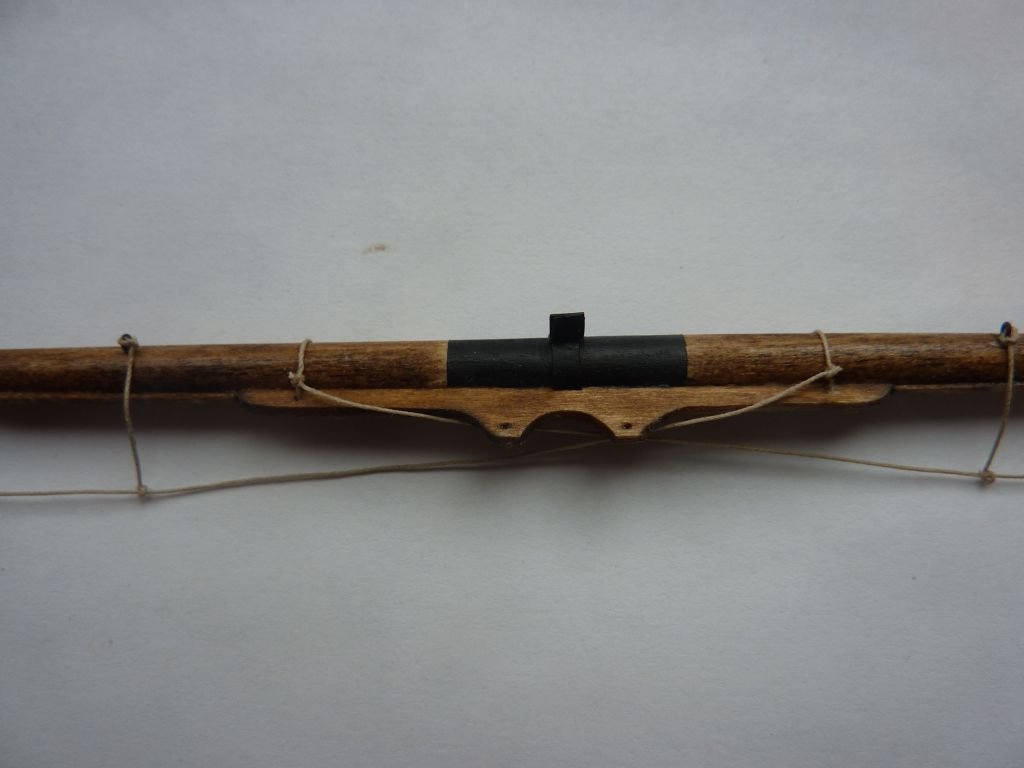
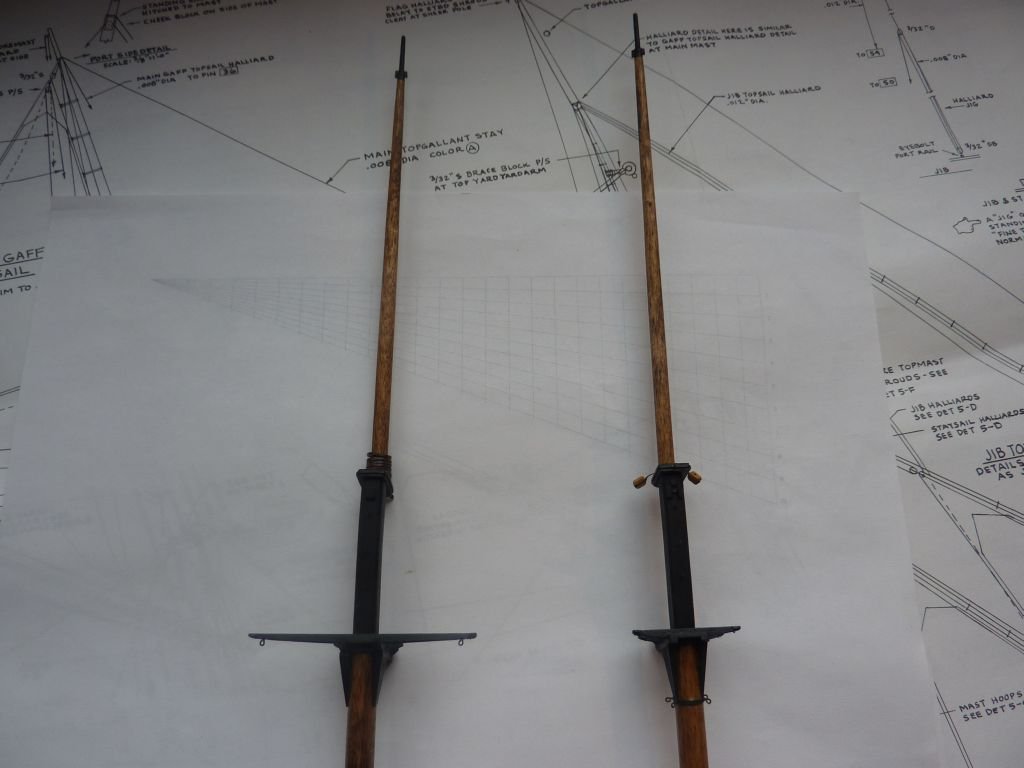
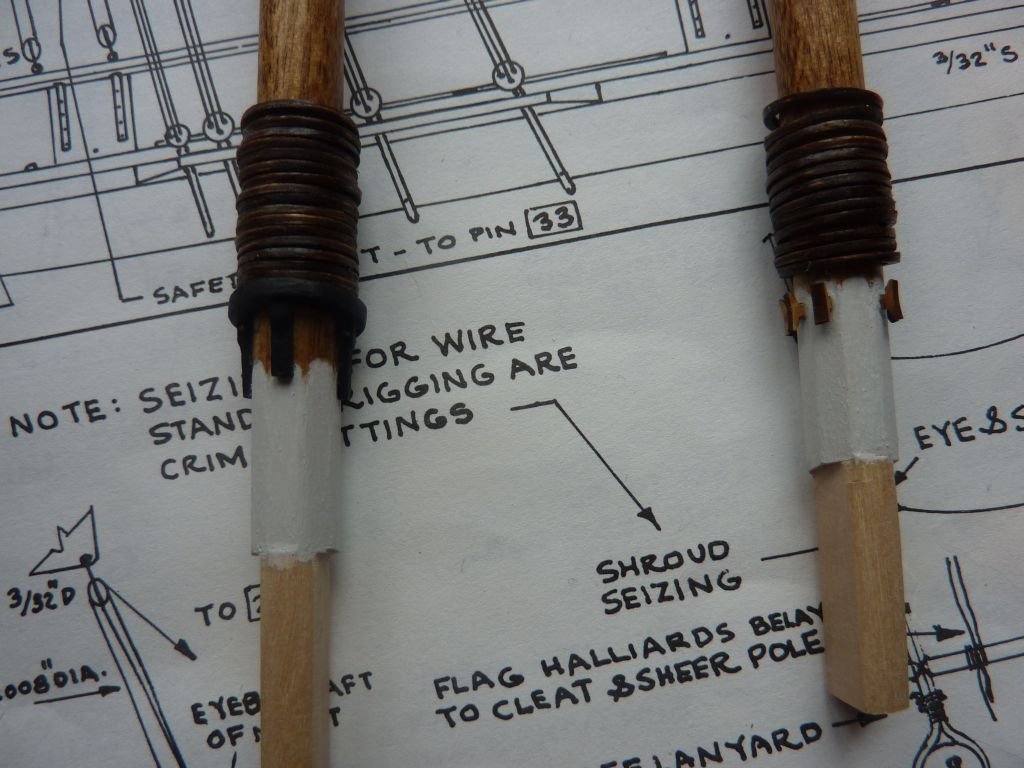
I had posted earlier about having warped dowels from the kit -- I did email Model Shipways about getting replacements, but heard nothing back, so I have no idea if that's still their policy. A little disappointed to be sure, but I did find some mostly-straight ones at a local hobby store. So, here are the foremast and the mainmast: I added some blocks already - there are more to add before mounting onto the ship. I was also pretty unhappy with the cleats that came with the kit - they were far too large for the foremast, so I bought smaller ones from the Syren Ship Company, the look much better, IMHO.

-
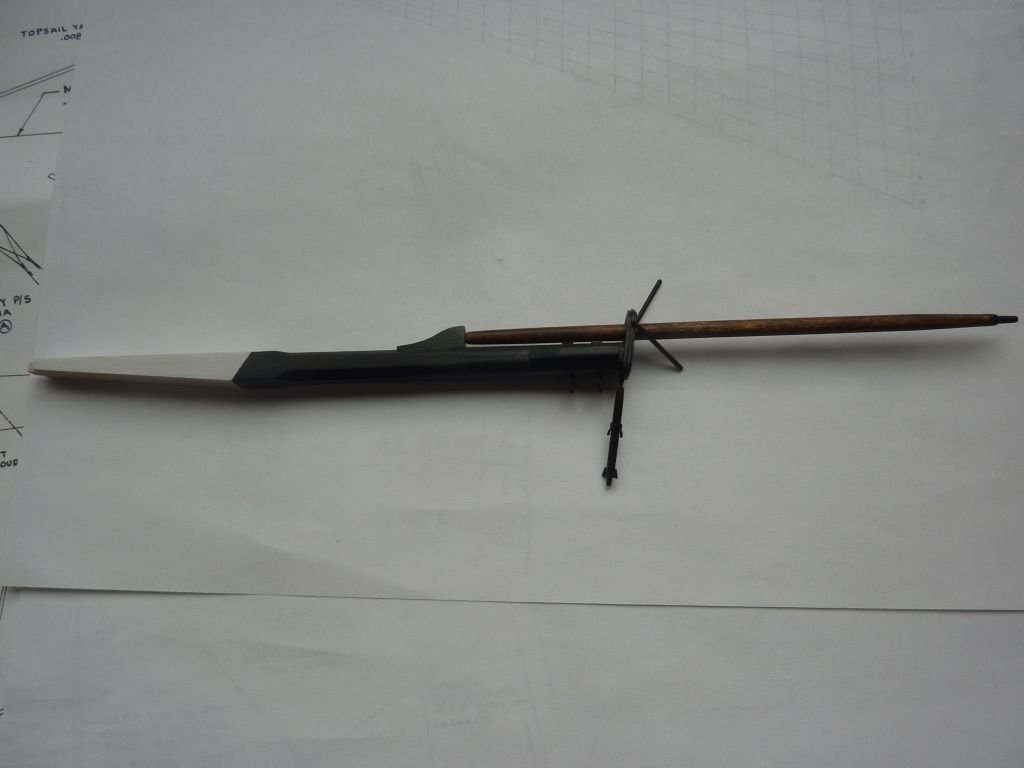
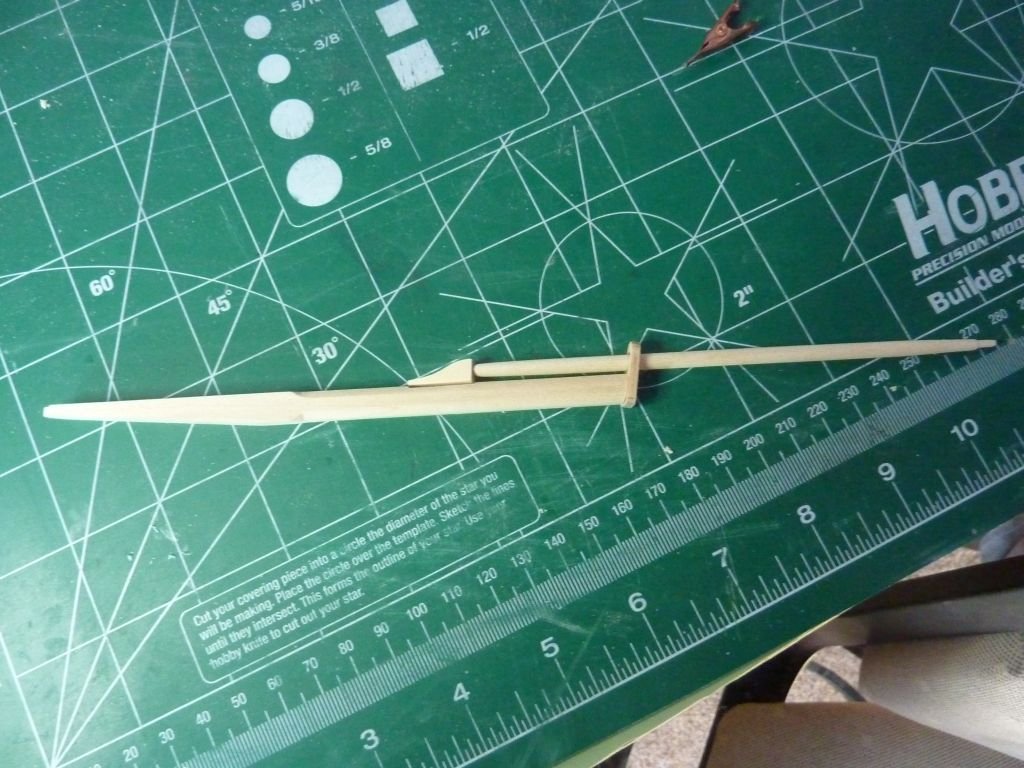
Ok, I took some pictures of the progress of a whole year, and, well, it's a little embarrassing how little I seemed to have achieve. Oh well. Let's start with the bowsprit. A few adornments, stain and paint:
-
I know it's been a long time since I've posted an update. No photos at this point, but I've constructed all the masts, yards, etc. Added the footropes, and some blocks. I am struggling with how to begin the rigging process. I'd like to do as much as possible on the masts before mounting them and putting in the shrouds, but the plans are confusing, and there's not a step-by-step list of rigging, specific to the POBII. My hull is also still unpainted, and, to be honest, it's likely to stay that way. I'll try to take photos of my masts/yards/bowsprit this weekend. Andy.
-
Russ, Thanks for for that advice. I did something similar to the bowsprit, as it starts square, has an octagonal section, and finally rounds out near the tenon. I found it wasn’t too hard to round it, and I’ve used a power drill as you described as well. Andy
-
Is there an alternative to dowels? I’m open to ideas. Square stock, perhaps?
-
So, next up, and still very much in progress is creating the masts. I decided to start with the bowsprit, mainly because it looks interesting, and is of square stock, not round dowels. All my round dowels that came with the kit are warped like crazy. I emailed Model Shipways ages ago, asking for replacement parts and got no reply. At all. Huh. Anyway, I'll eventually find round dowels locally, I'm sure. Until then, here's the bowsprit as I've done so far: This is all dry-fitted, I'm making the bees and the dolphin striker pieces at the moment. Andy.
-
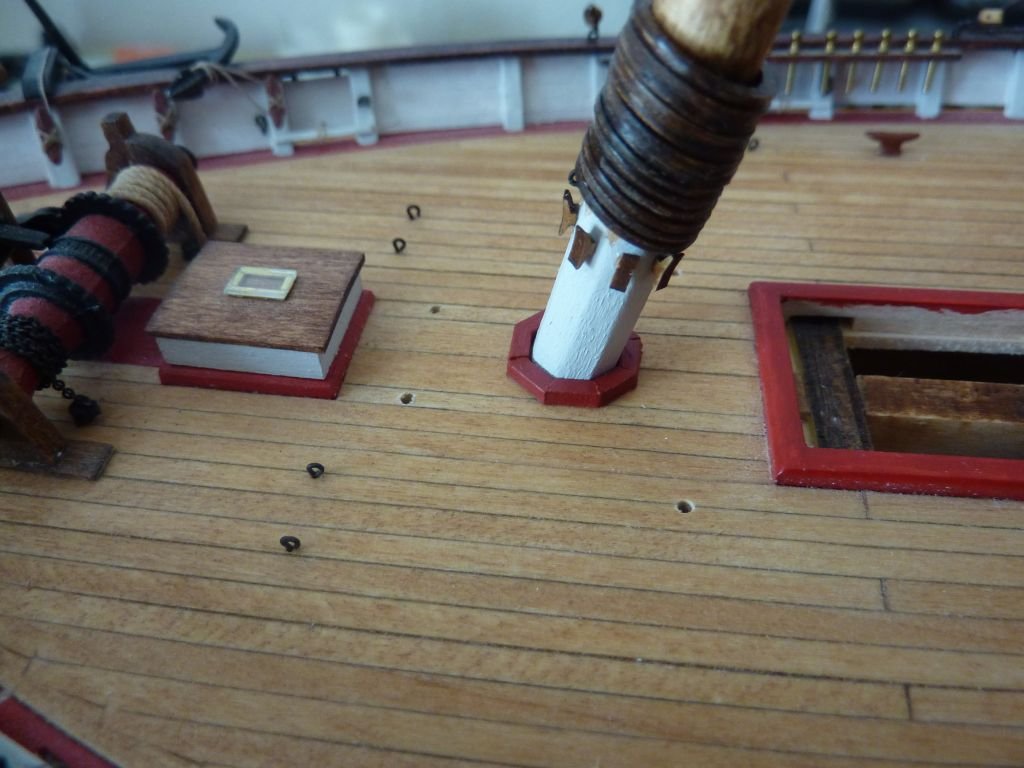
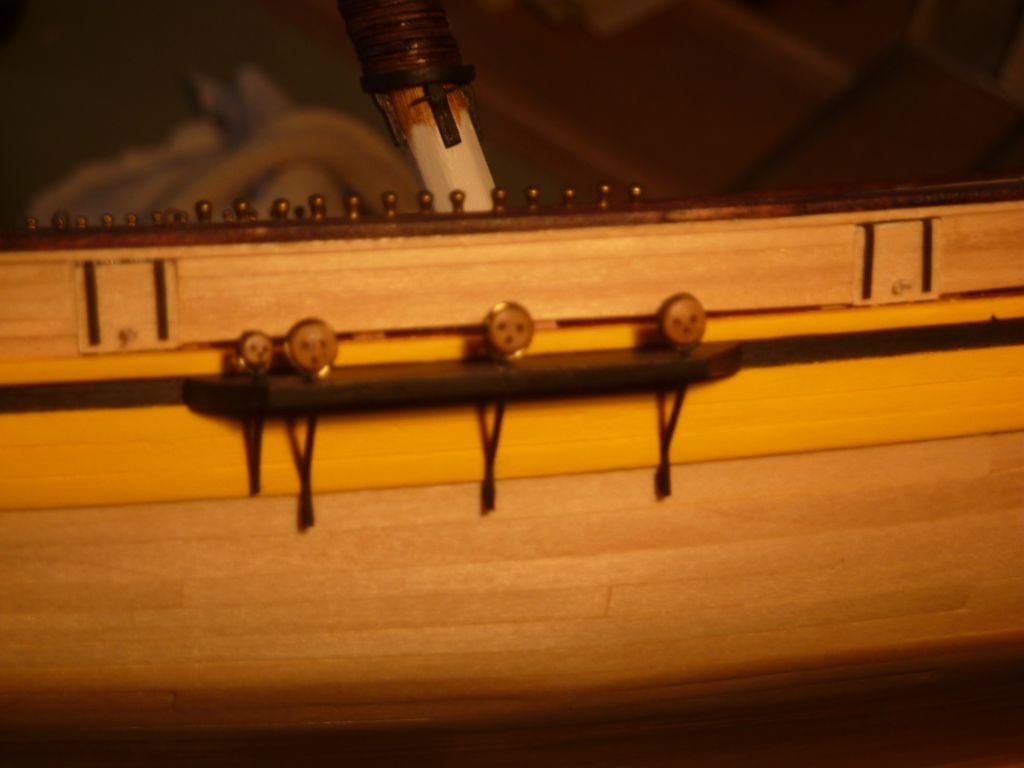
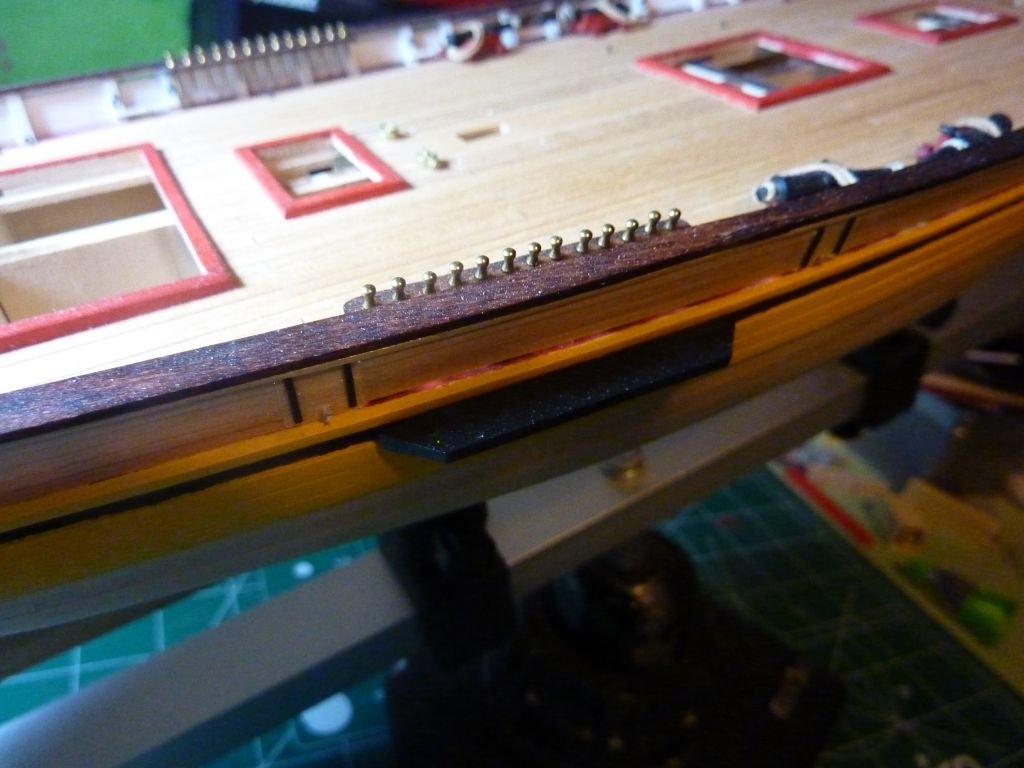
Finally, I made and glued in the channels - 2 per side with the holes for the eventual rigging in place. For added strength, I added a metal rod to each channel, drilled hole in the hull where they mount. I also sanded off all the paint to ensure a good, strong bond. Work does continue, as I believe the main deck elements are done. I know, it may not look like it, as pretty much all the stuff is not yet glued or placed on deck, but it's off on a shelf in my room so I don't damage it with further work. The deck has all the holes and cutouts, etc, needed to securely mount them all when needed. Andy.
-
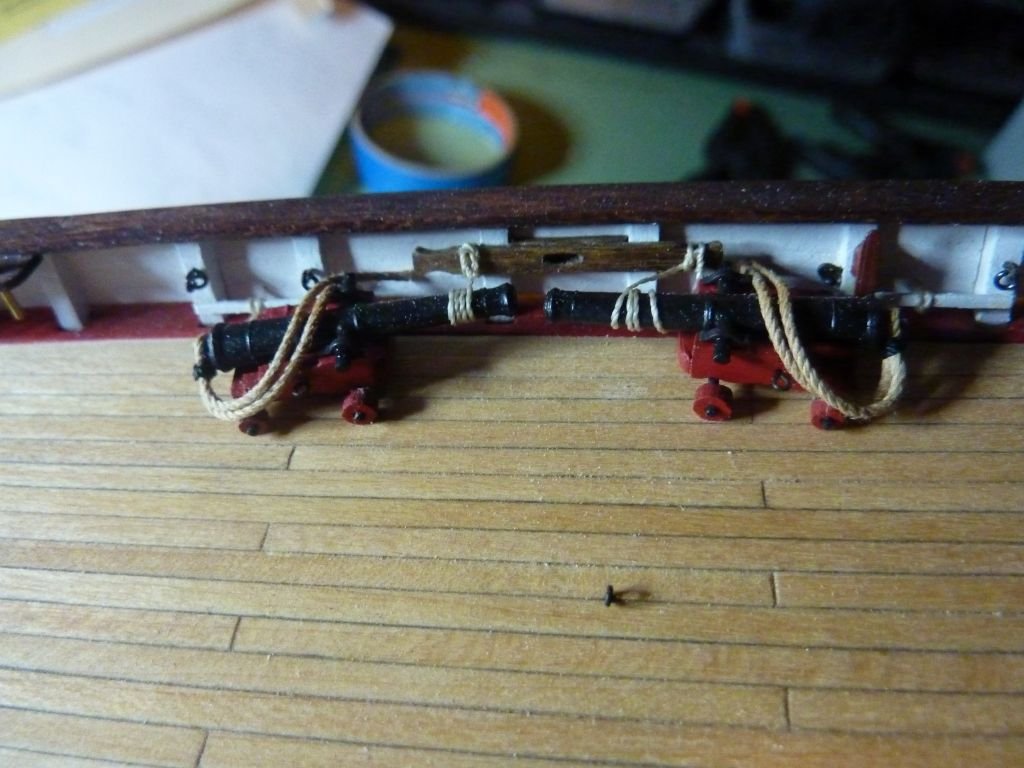
I also assembled the cannon carriages. The cannons themselves are painted black, the carriages are from laser cut wood, painted red (of course). Now, most ship builders, myself included, usually mount the cannons in a ready-to-fire mode, pointing out the ports, elaborate rigging, etc. However, I saw some photos of the modern Pride, at sea, and the cannons were stowed sideways, and lashed to the bulkhead/railing. So, in the interest of doing something different, I decided to mount them that way on my model. I also then made and glued the cannon port doors, in the closed position: