campbewj
-
Posts
59 -
Joined
-
Last visited
Content Type
Profiles
Forums
Gallery
Events
Everything posted by campbewj
-
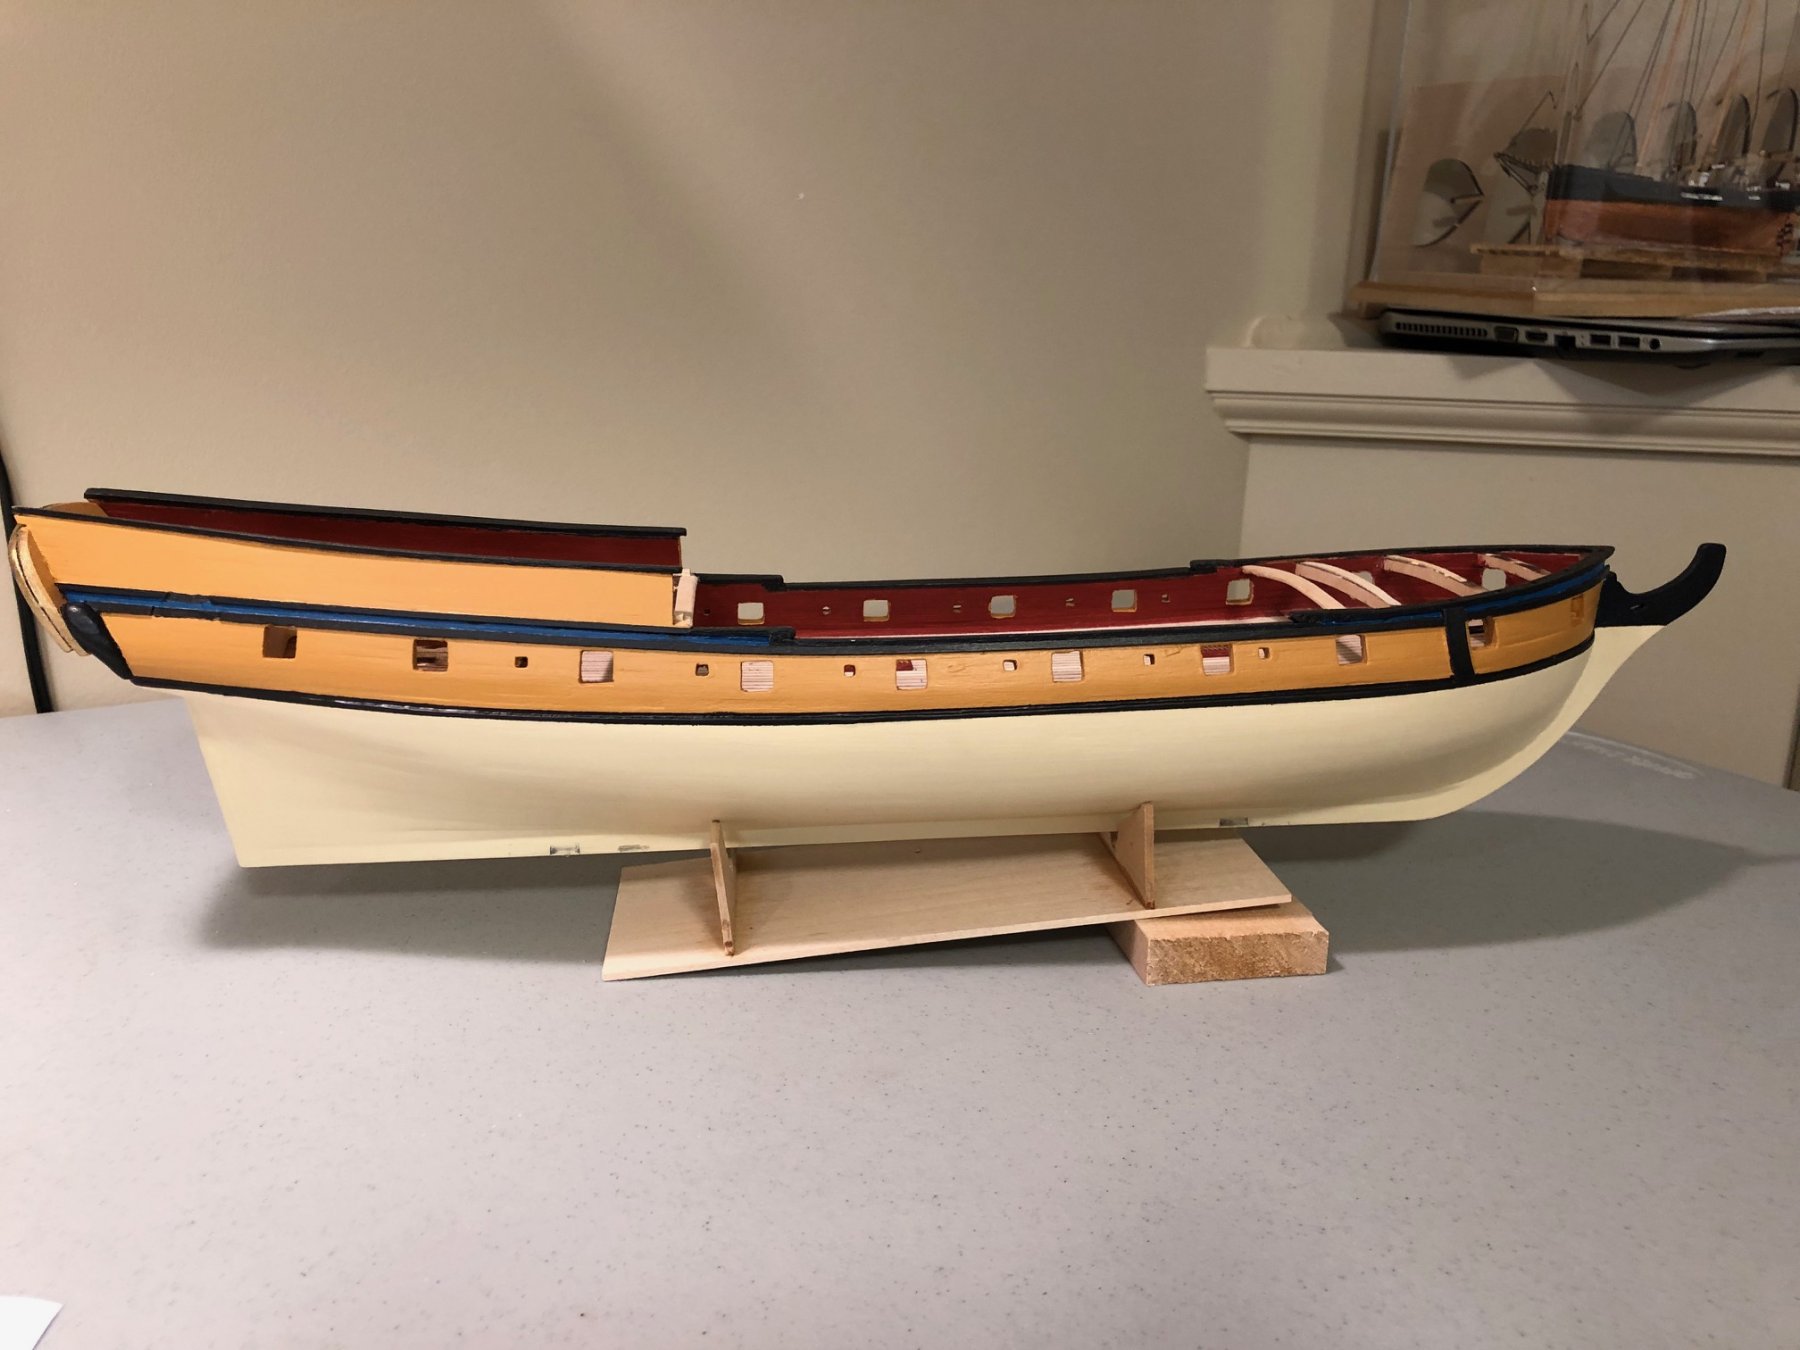
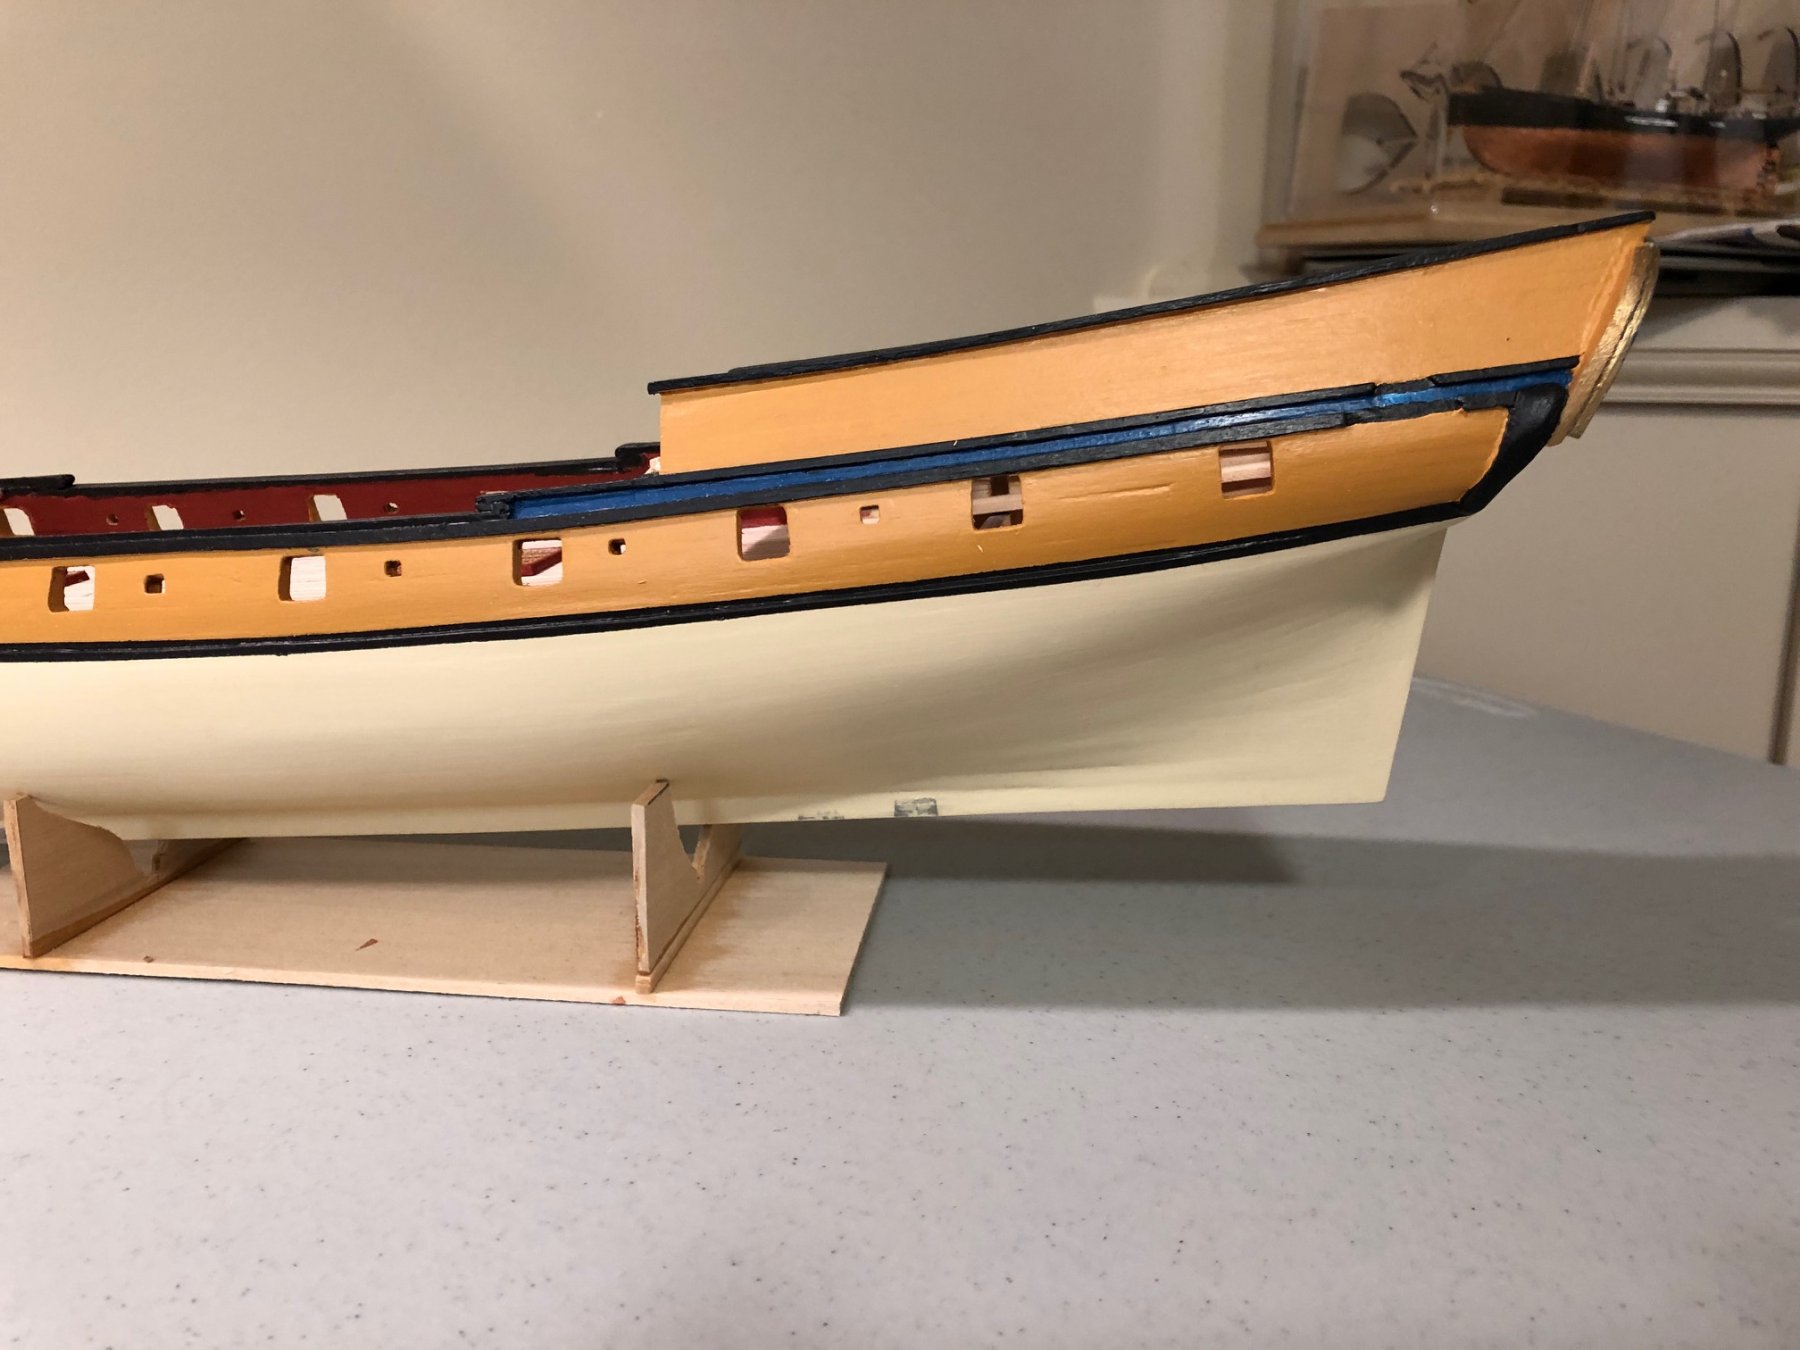
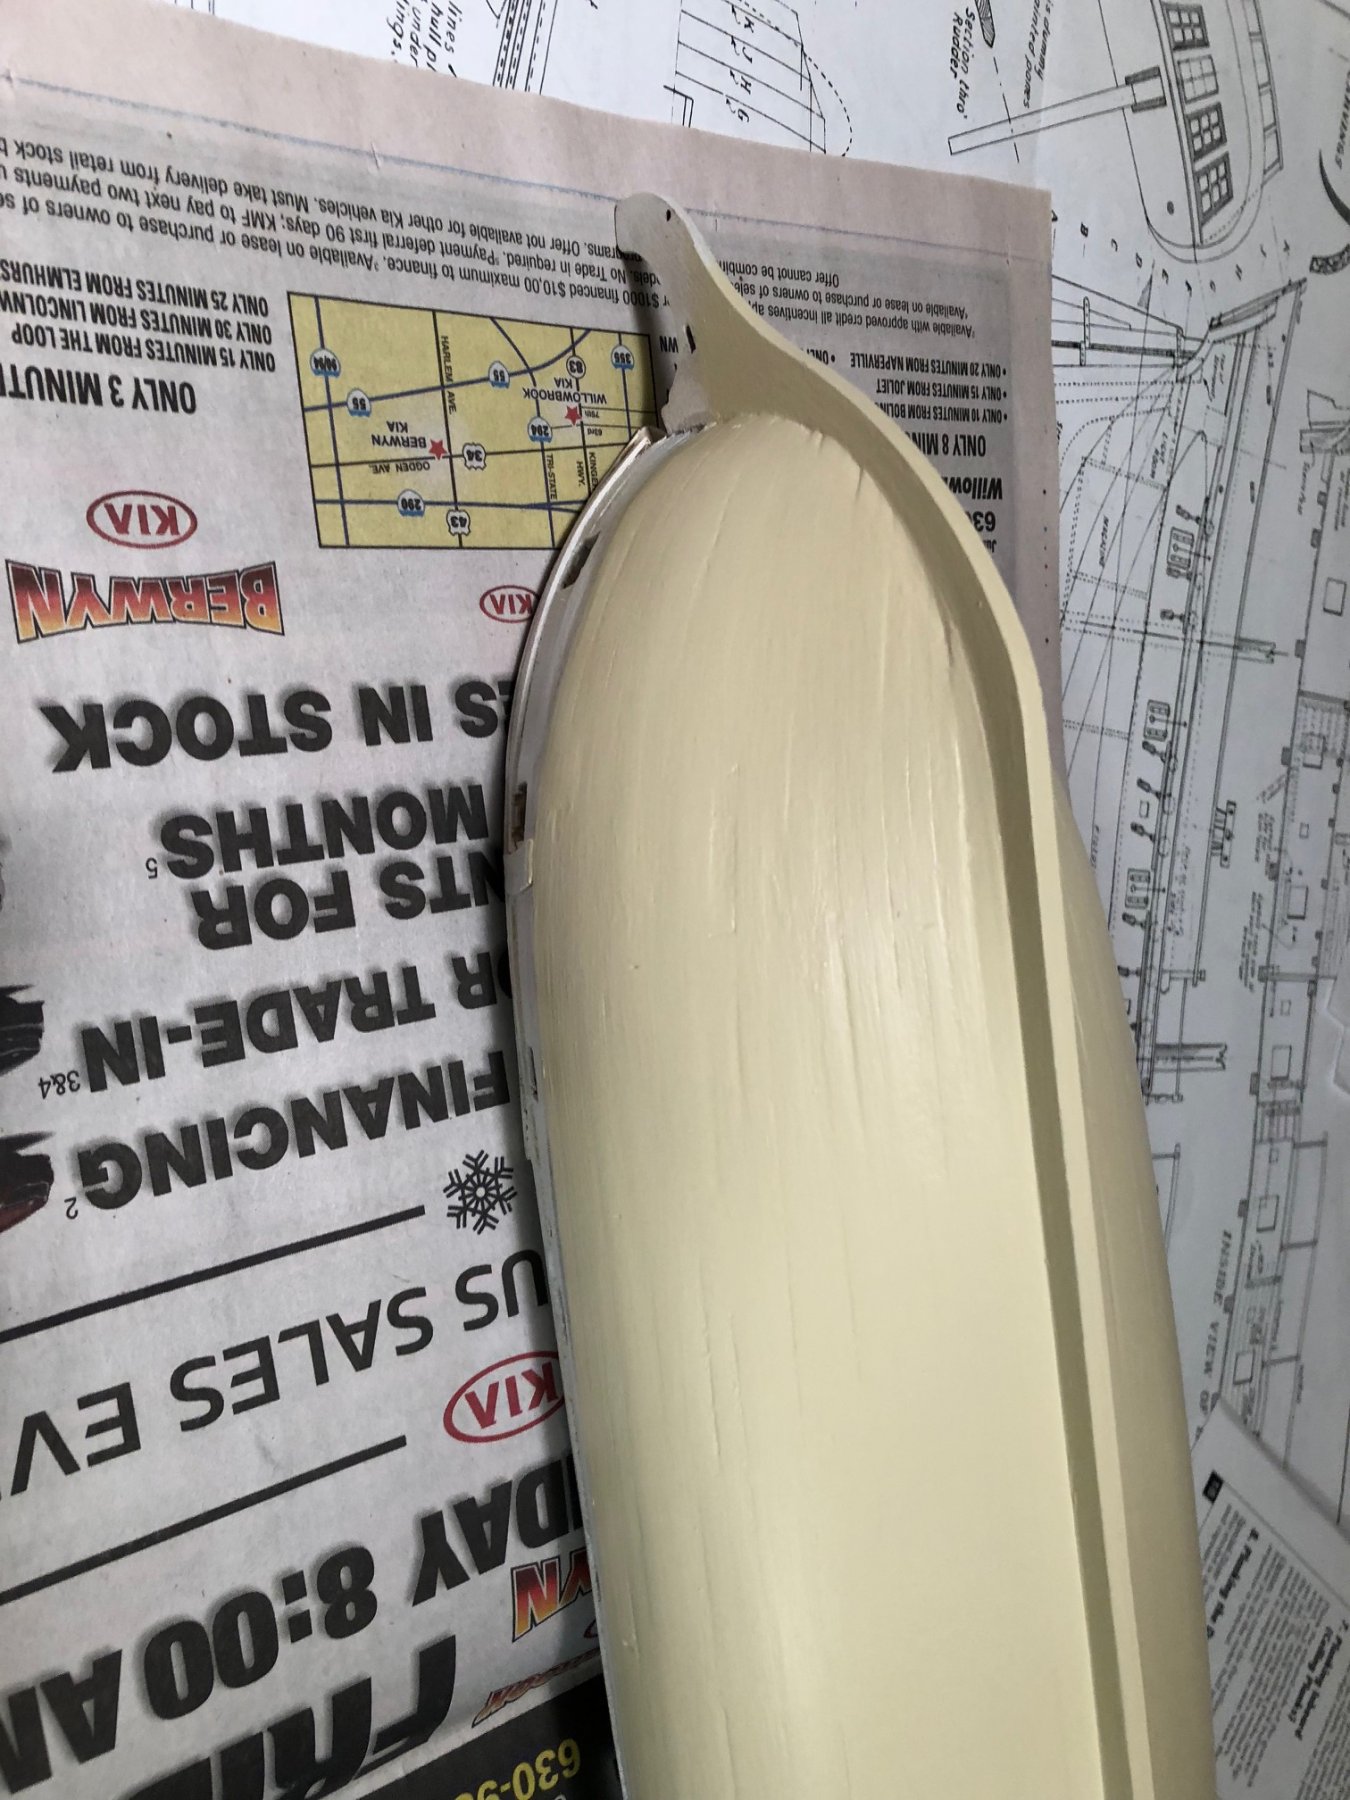
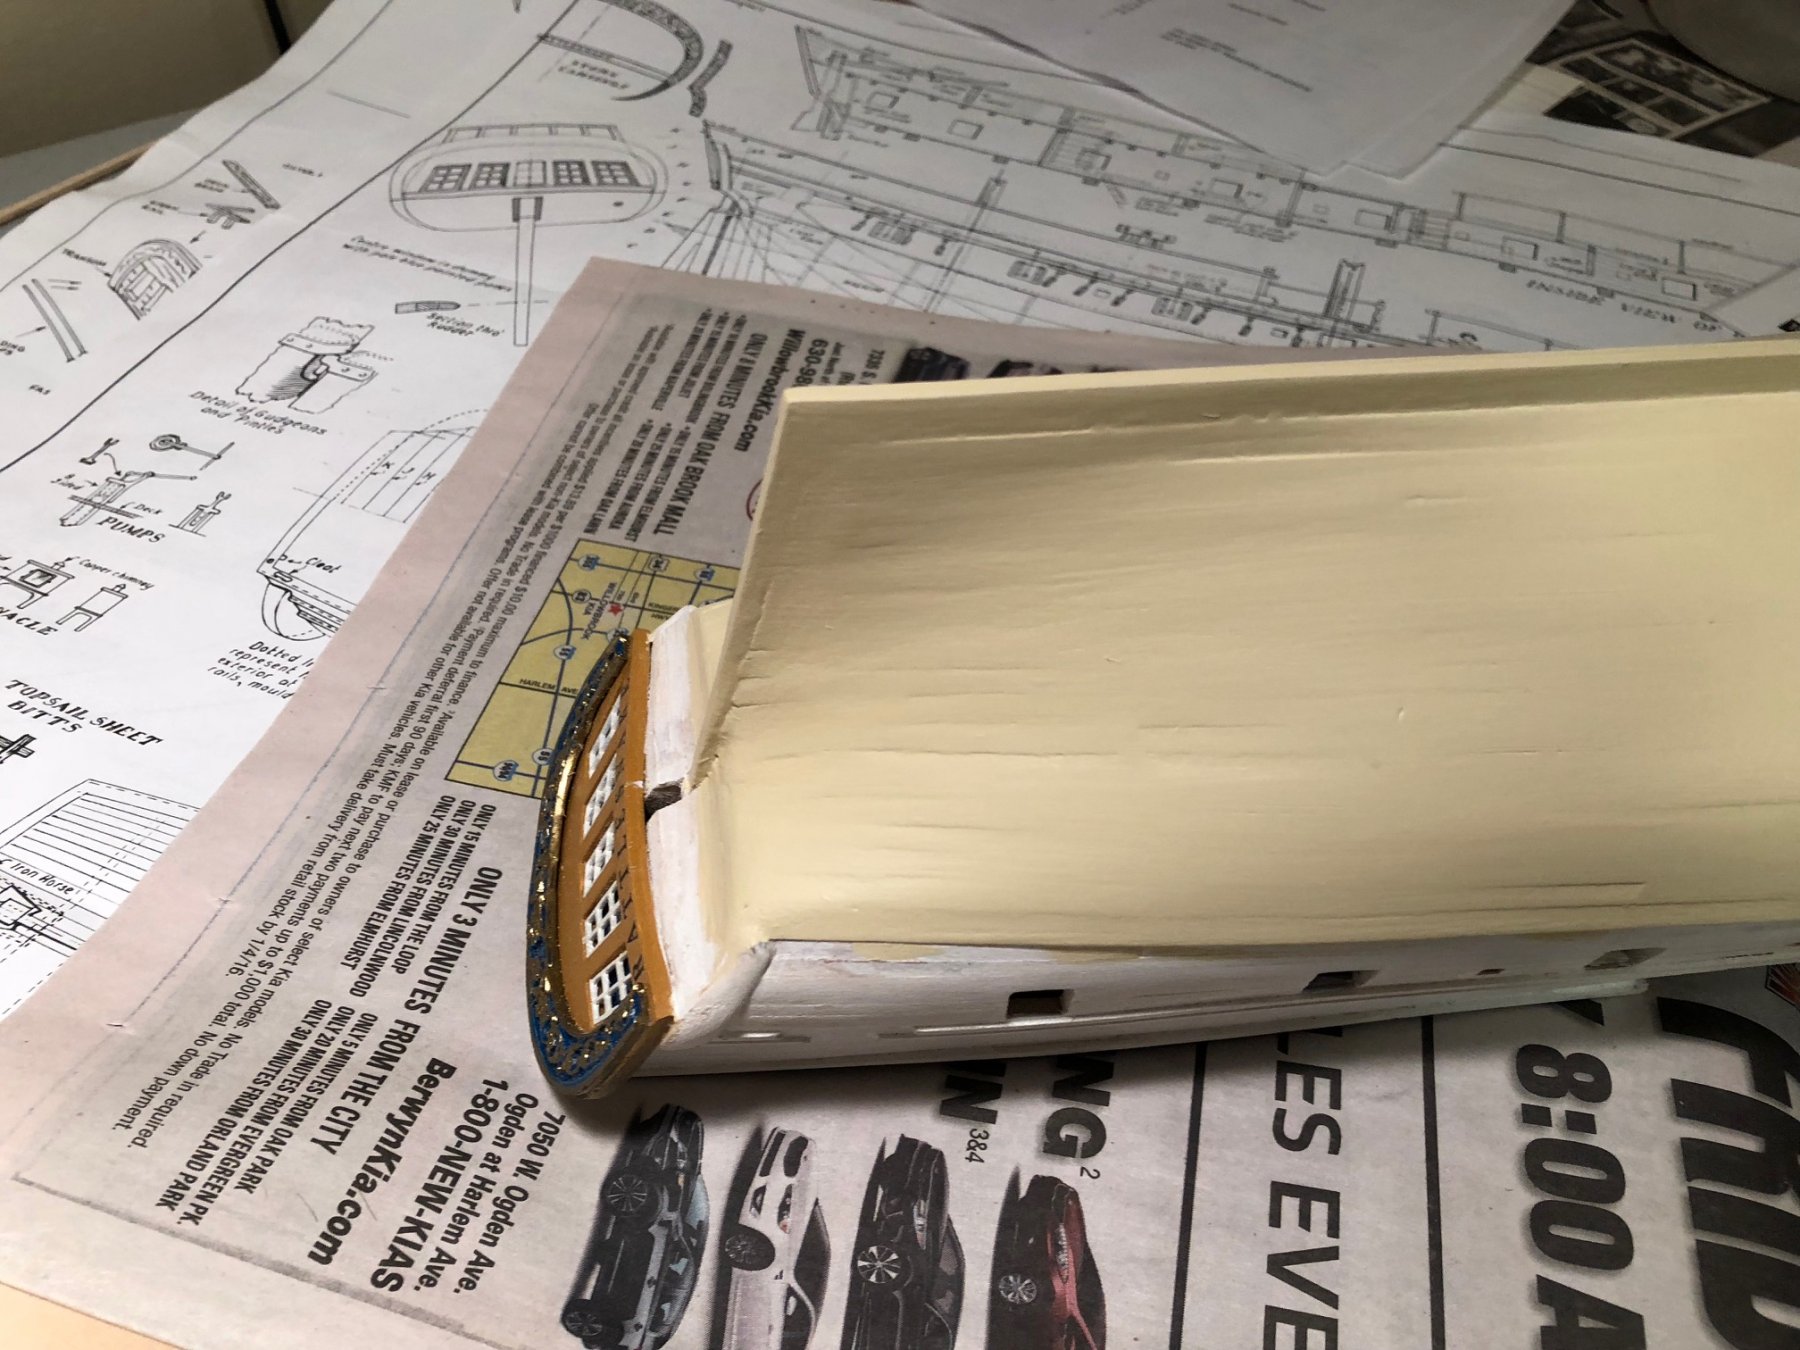
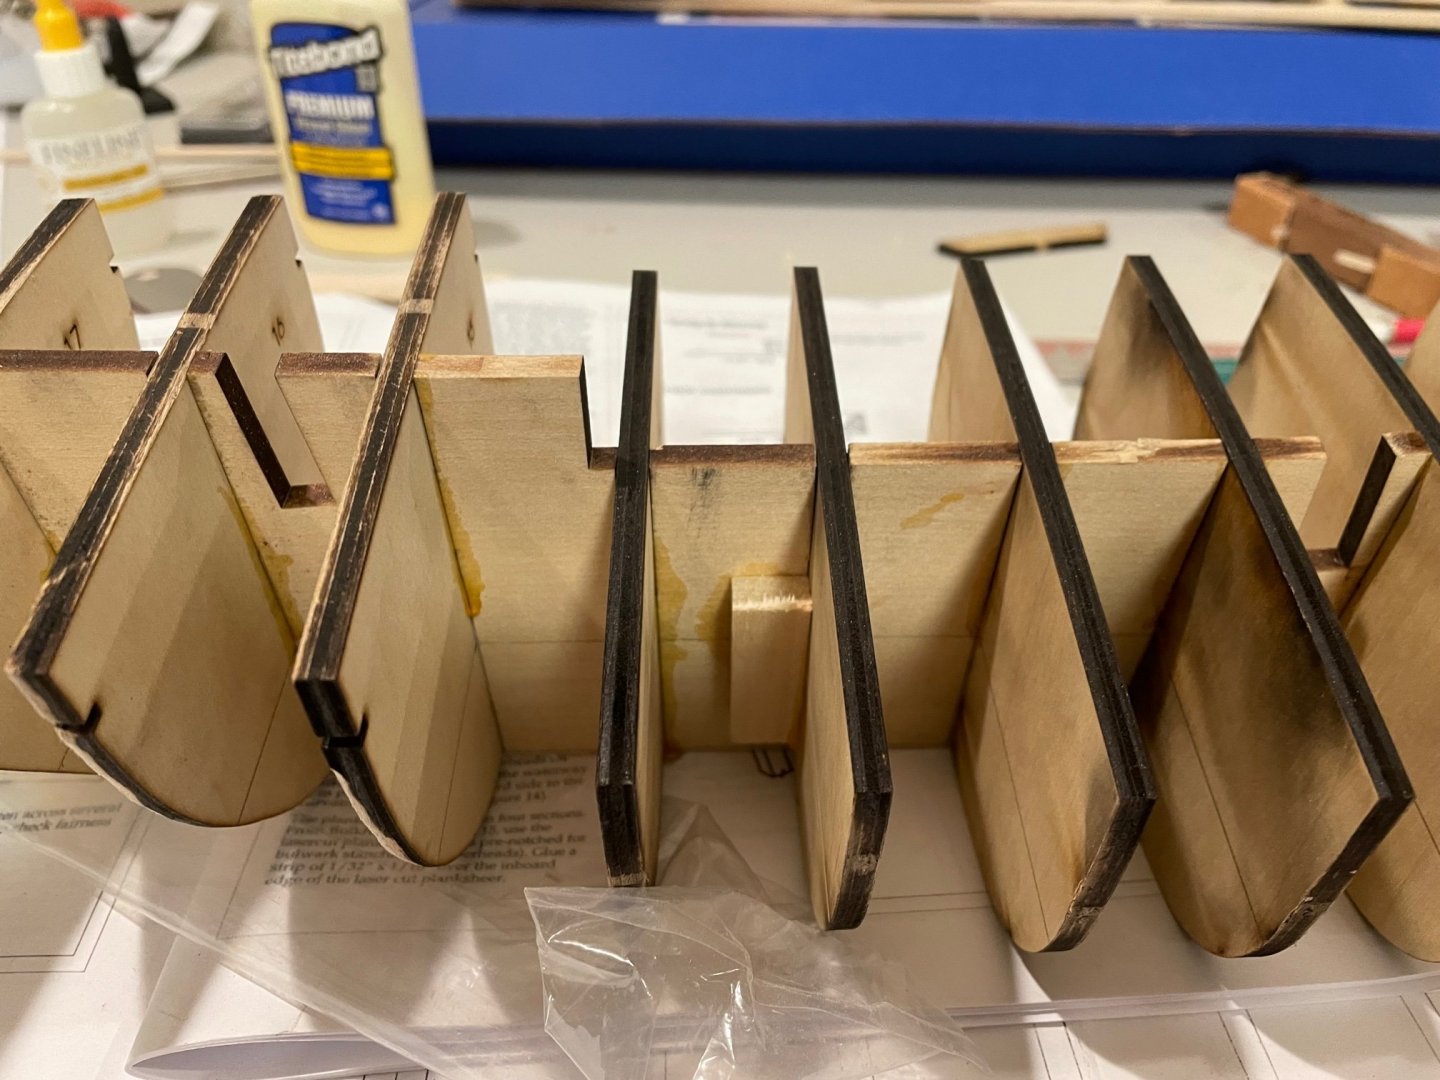
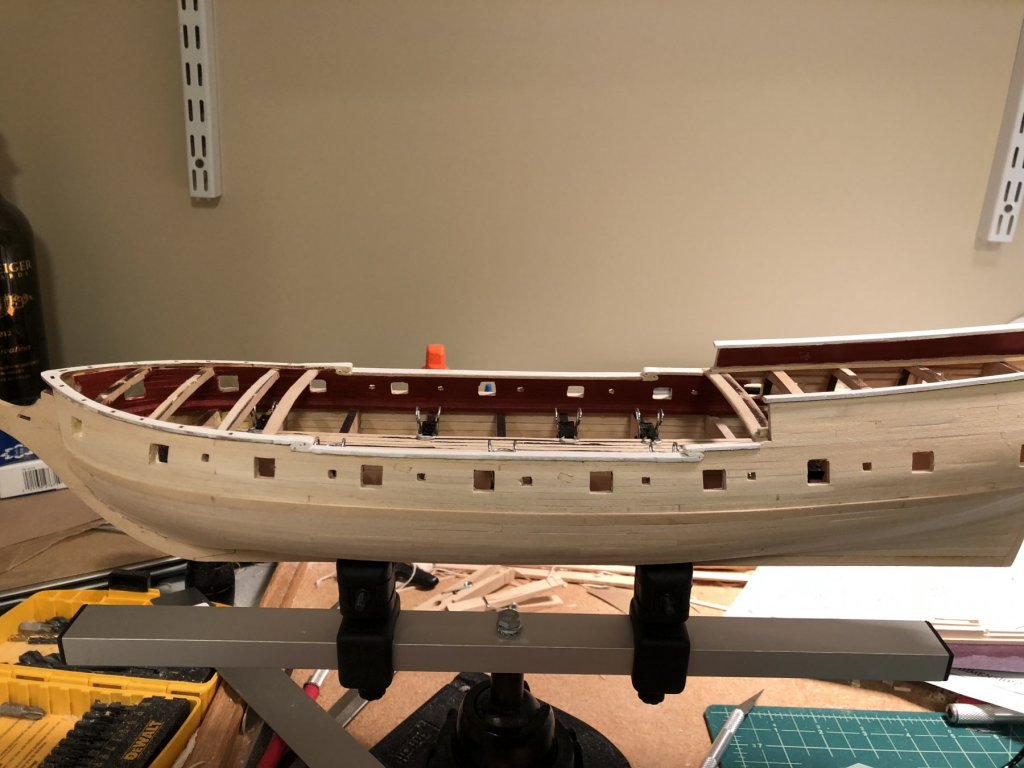
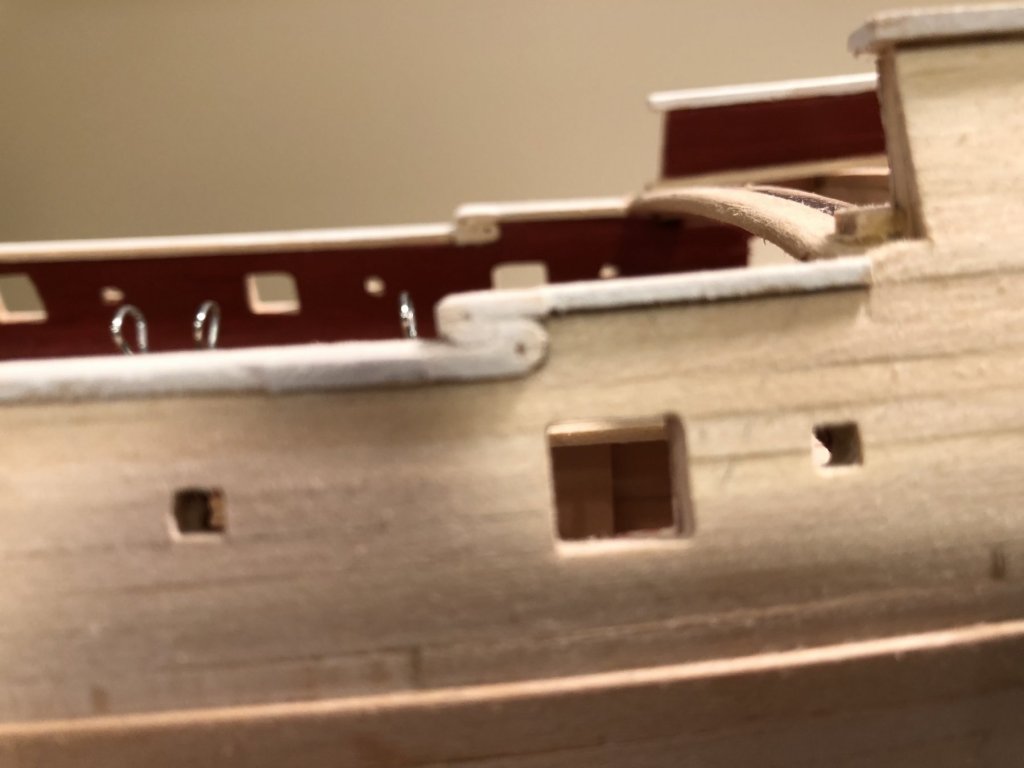
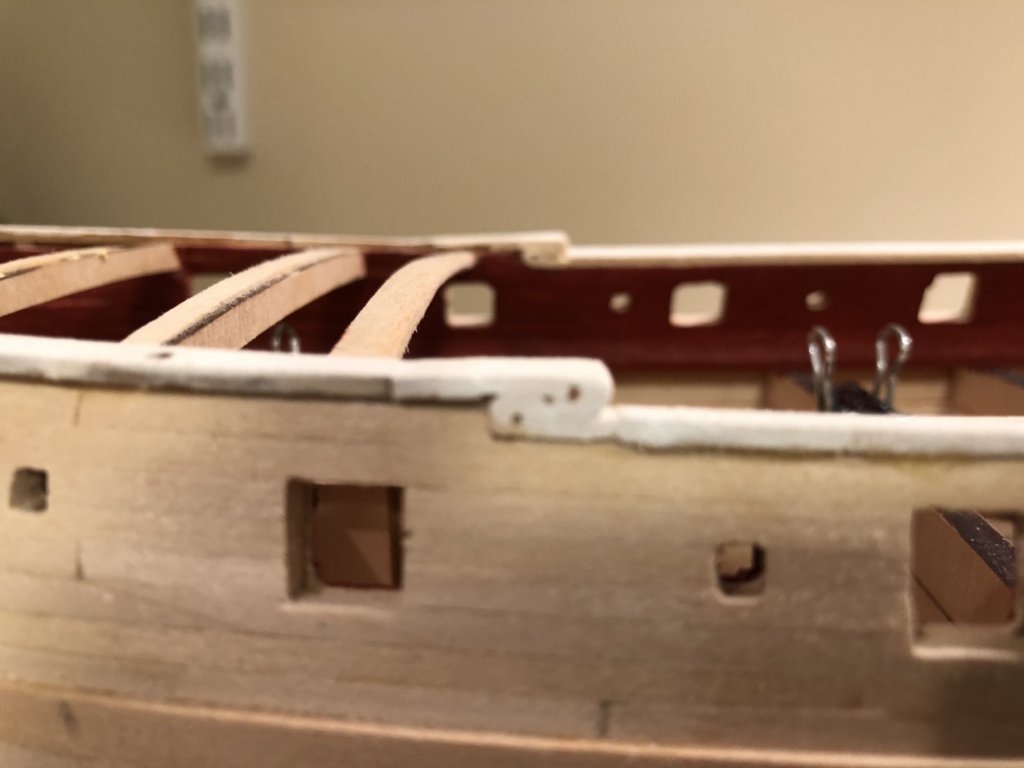
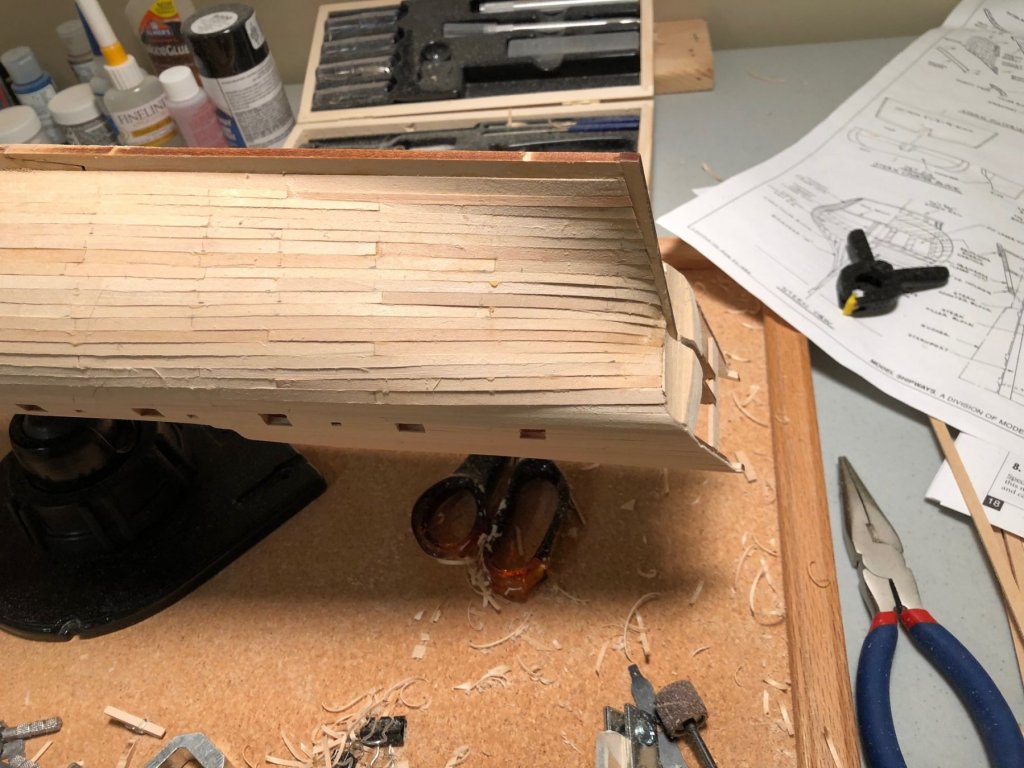
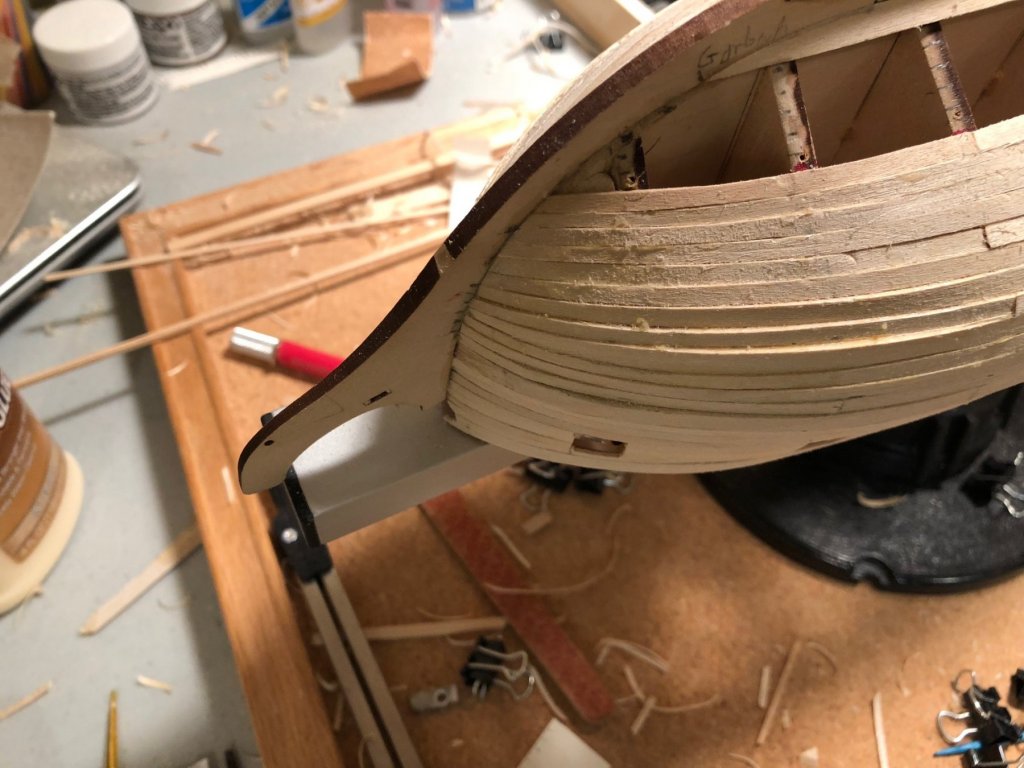
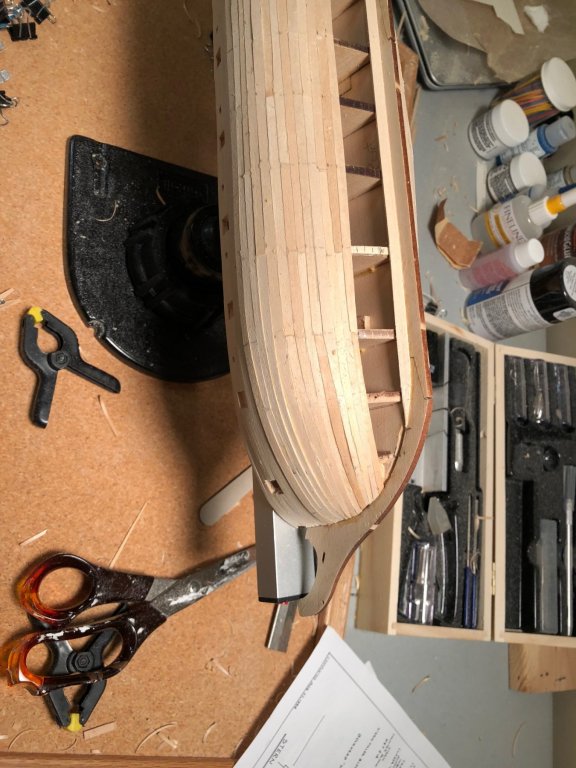
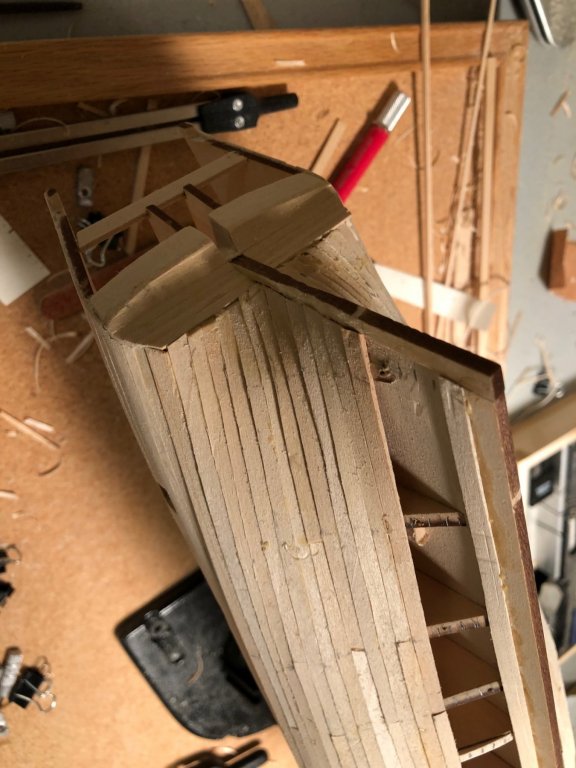
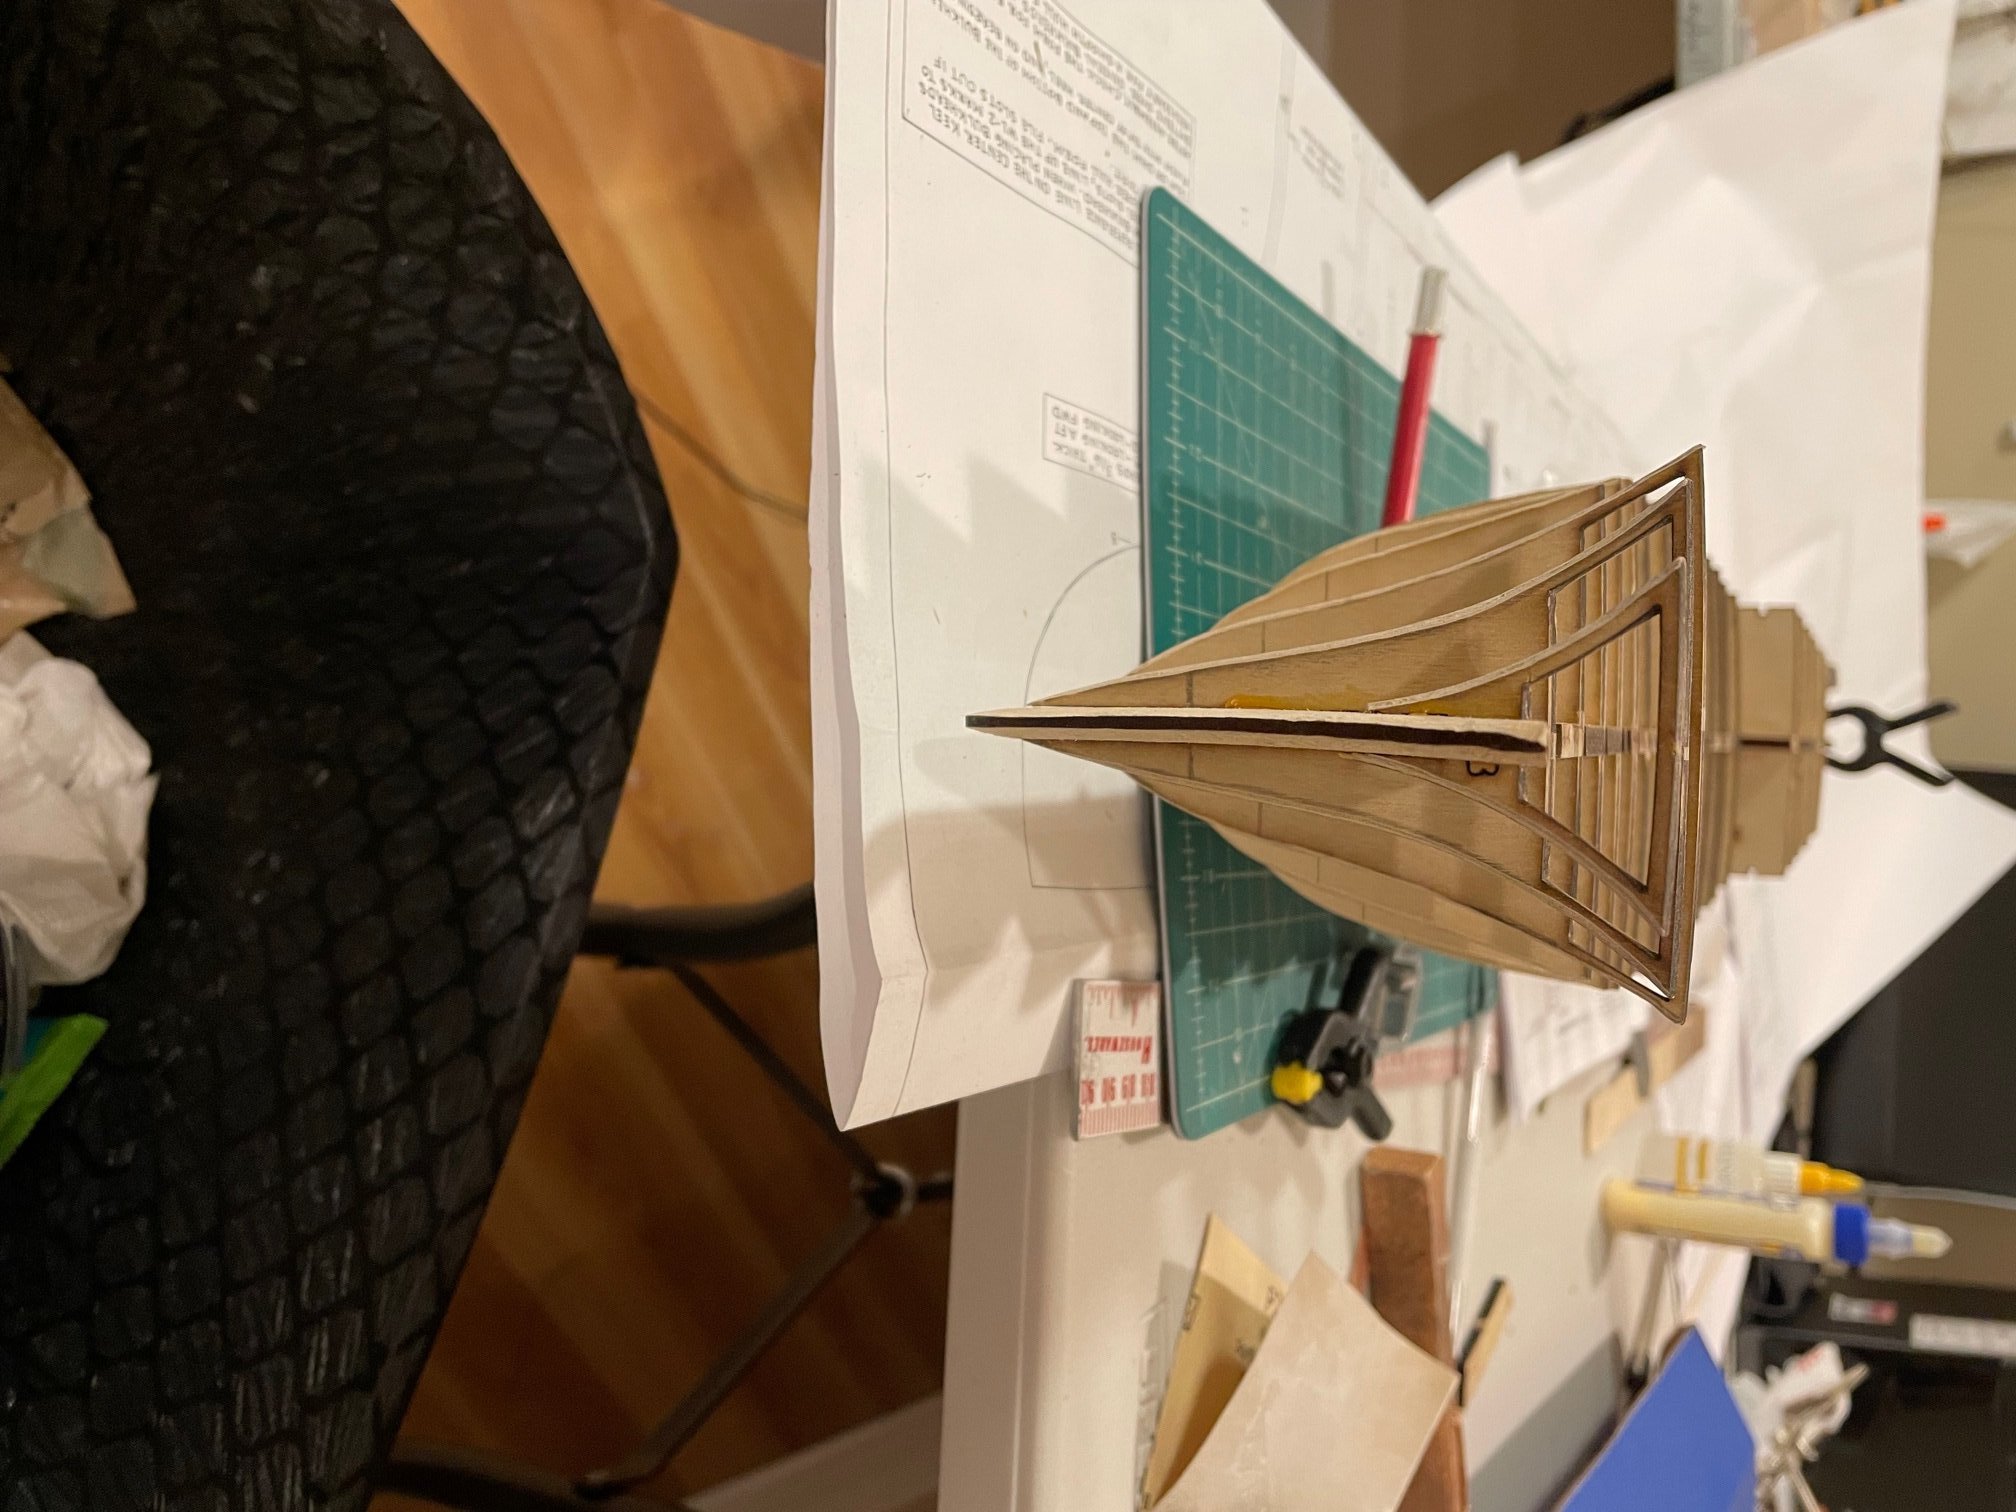
working on the waterway and plank sheer. This has taken a bit of time at the bow and stern to be comfortable with how it all comes together. I've been leveraging the build logs extensively here to see pictures of other builds both in this state and further along to help anticipate what this should really look like. When in doubt I leave some things "unfinished" knowing that when I go to plank that area things will be much more clear.
- 60 replies
-
- 2
-

-
- Flying Fish
- Model Shipways
- (and 1 more)
-
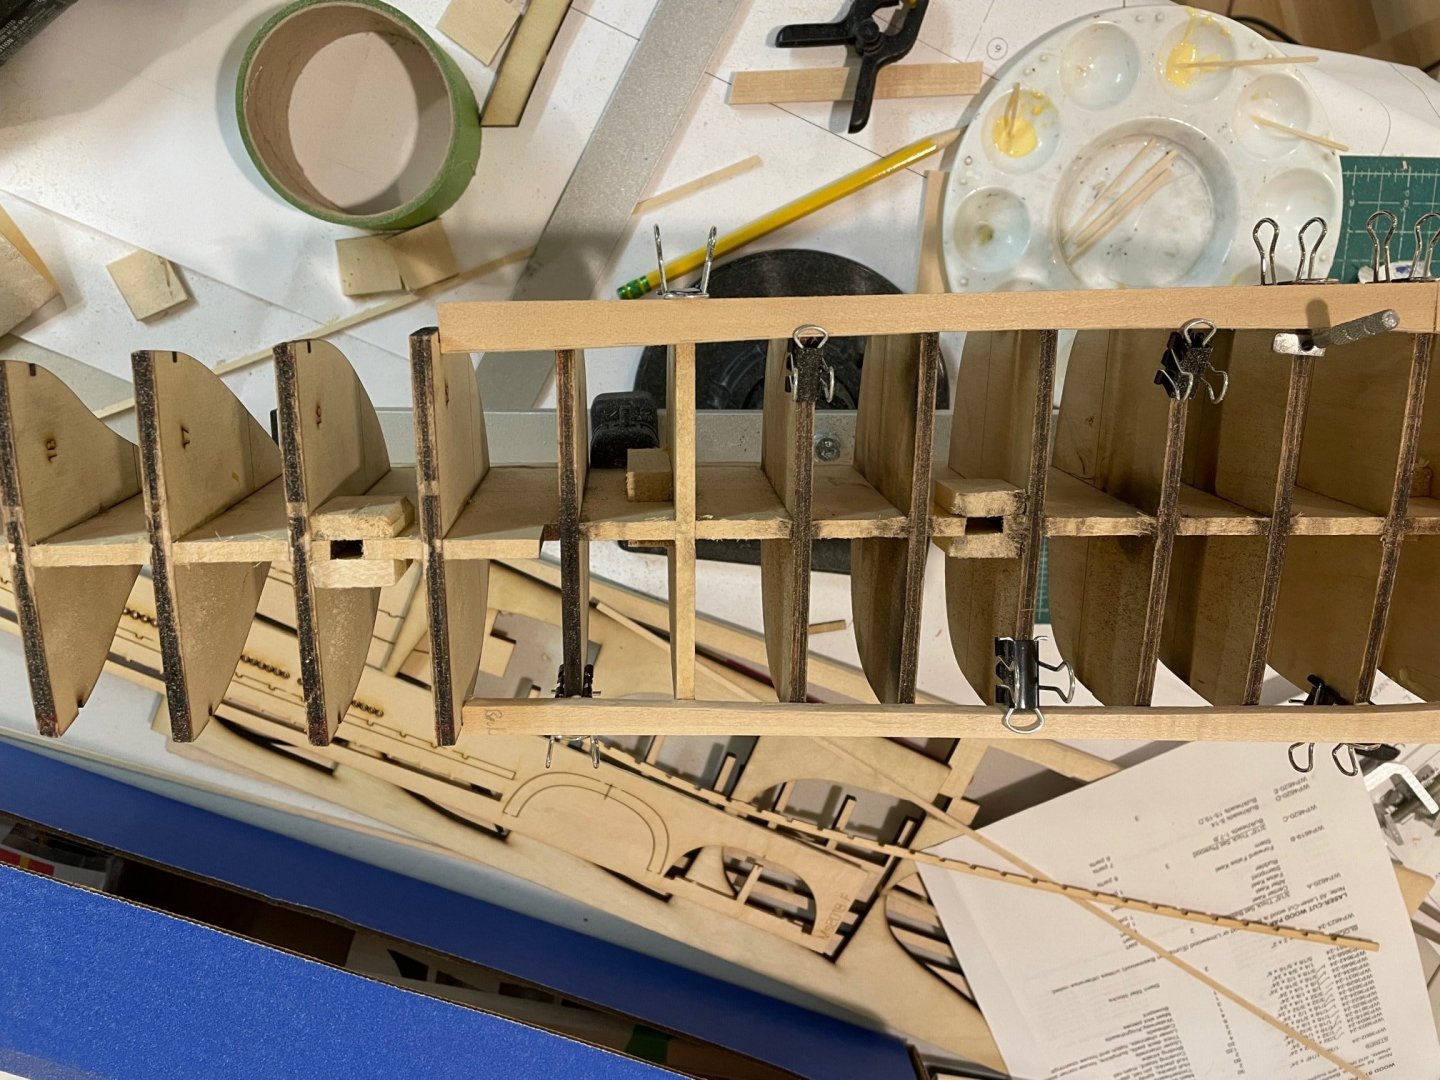
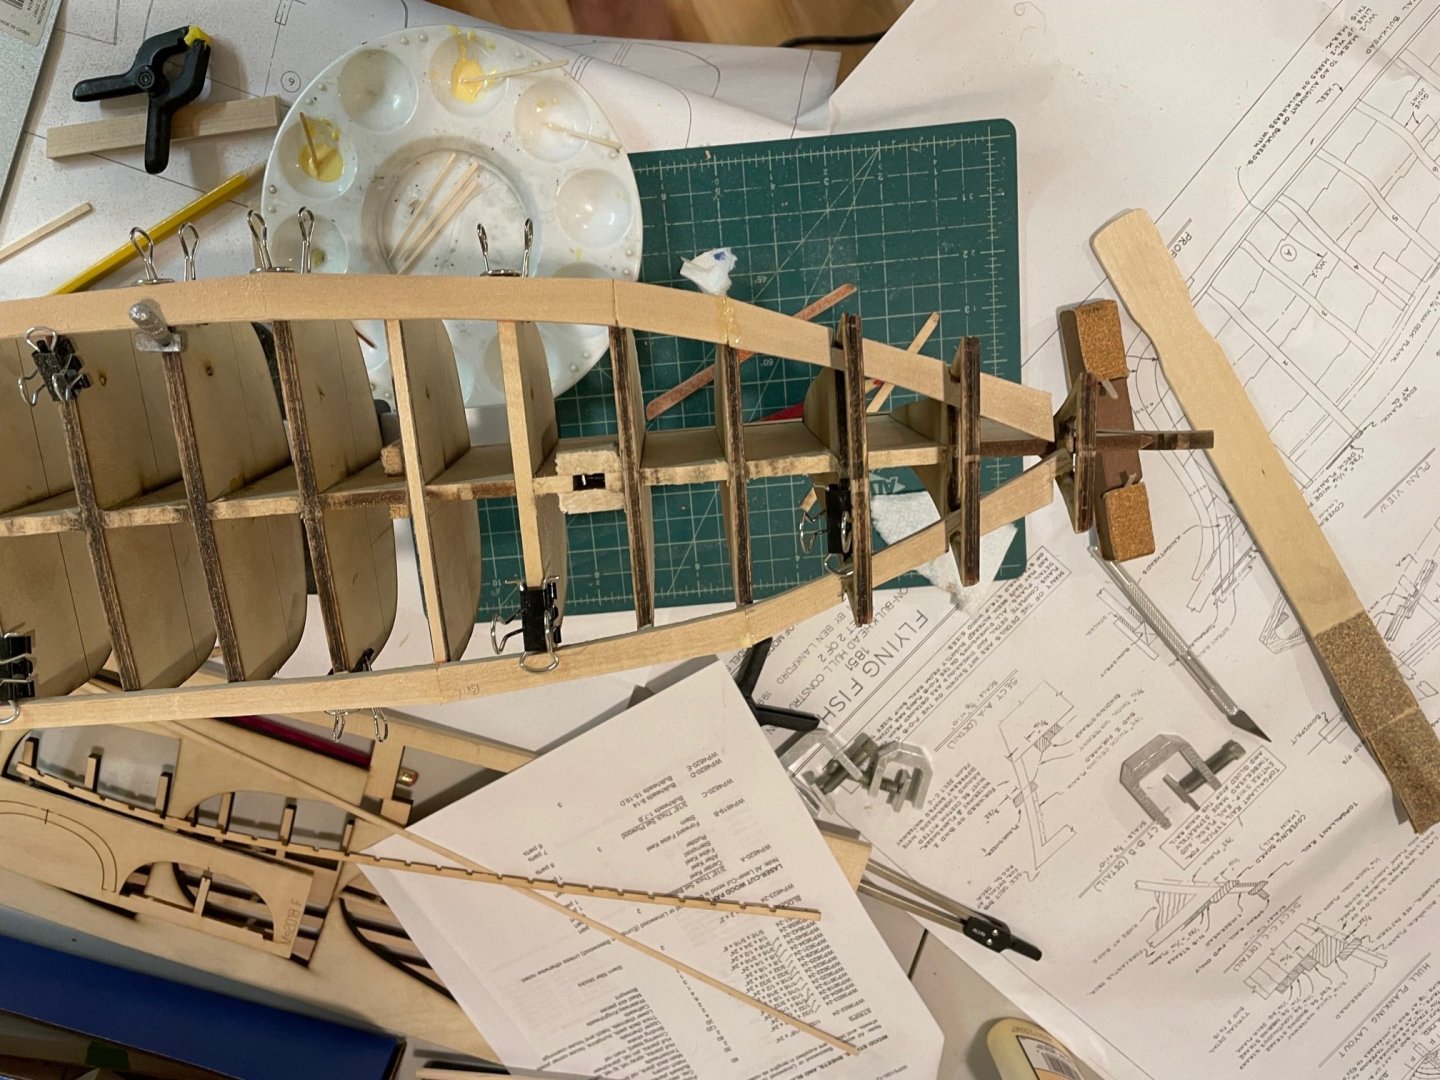
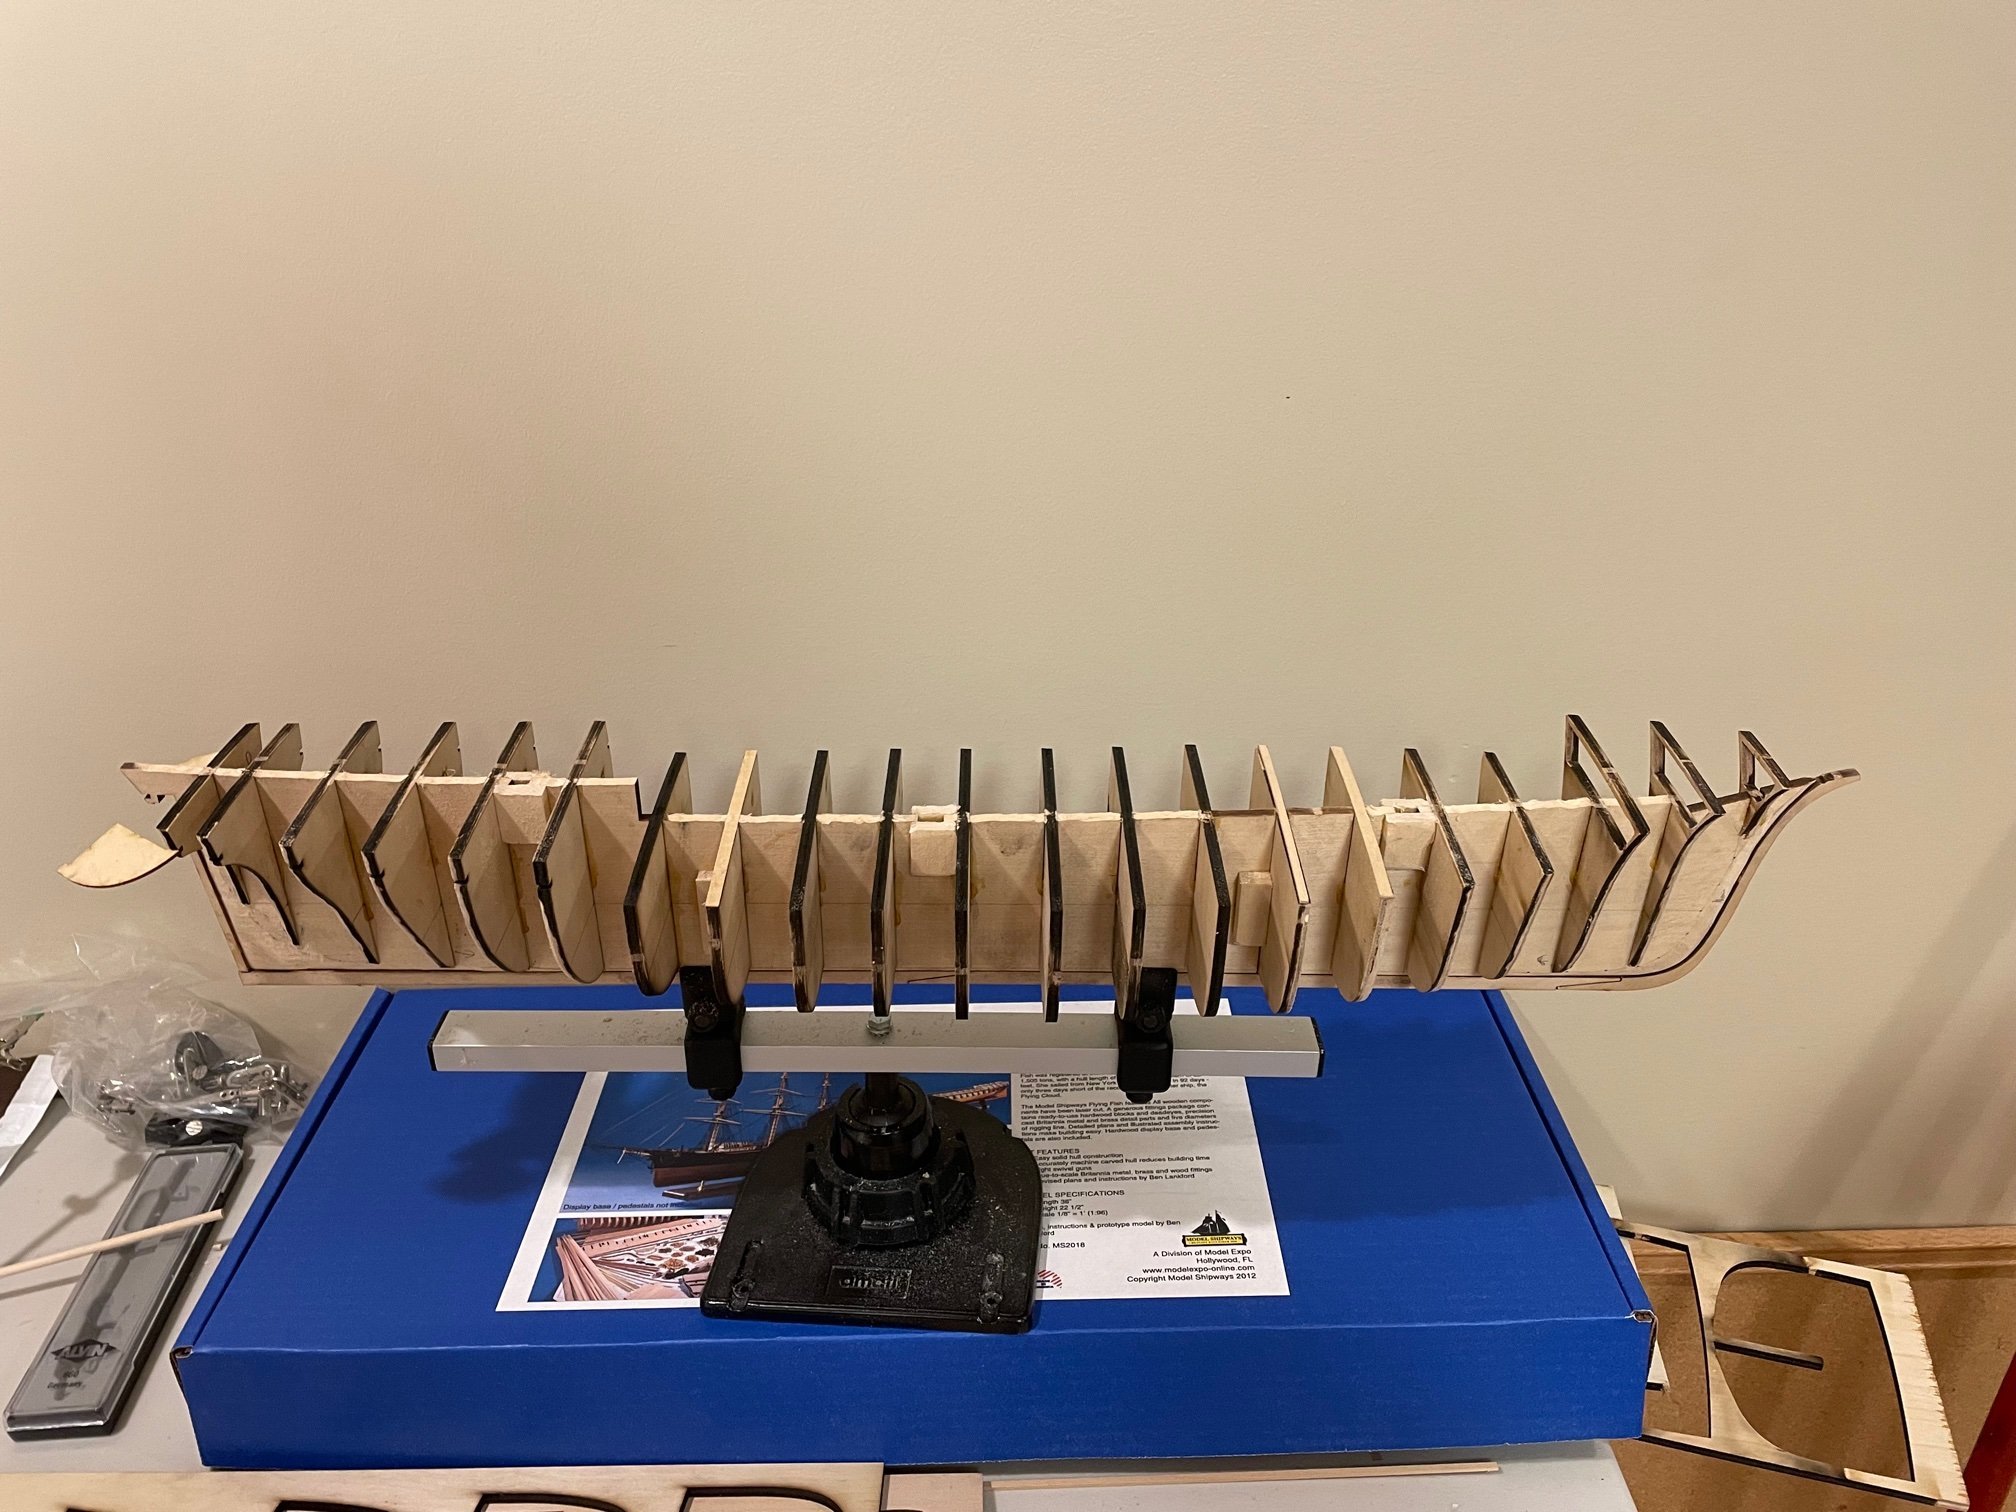
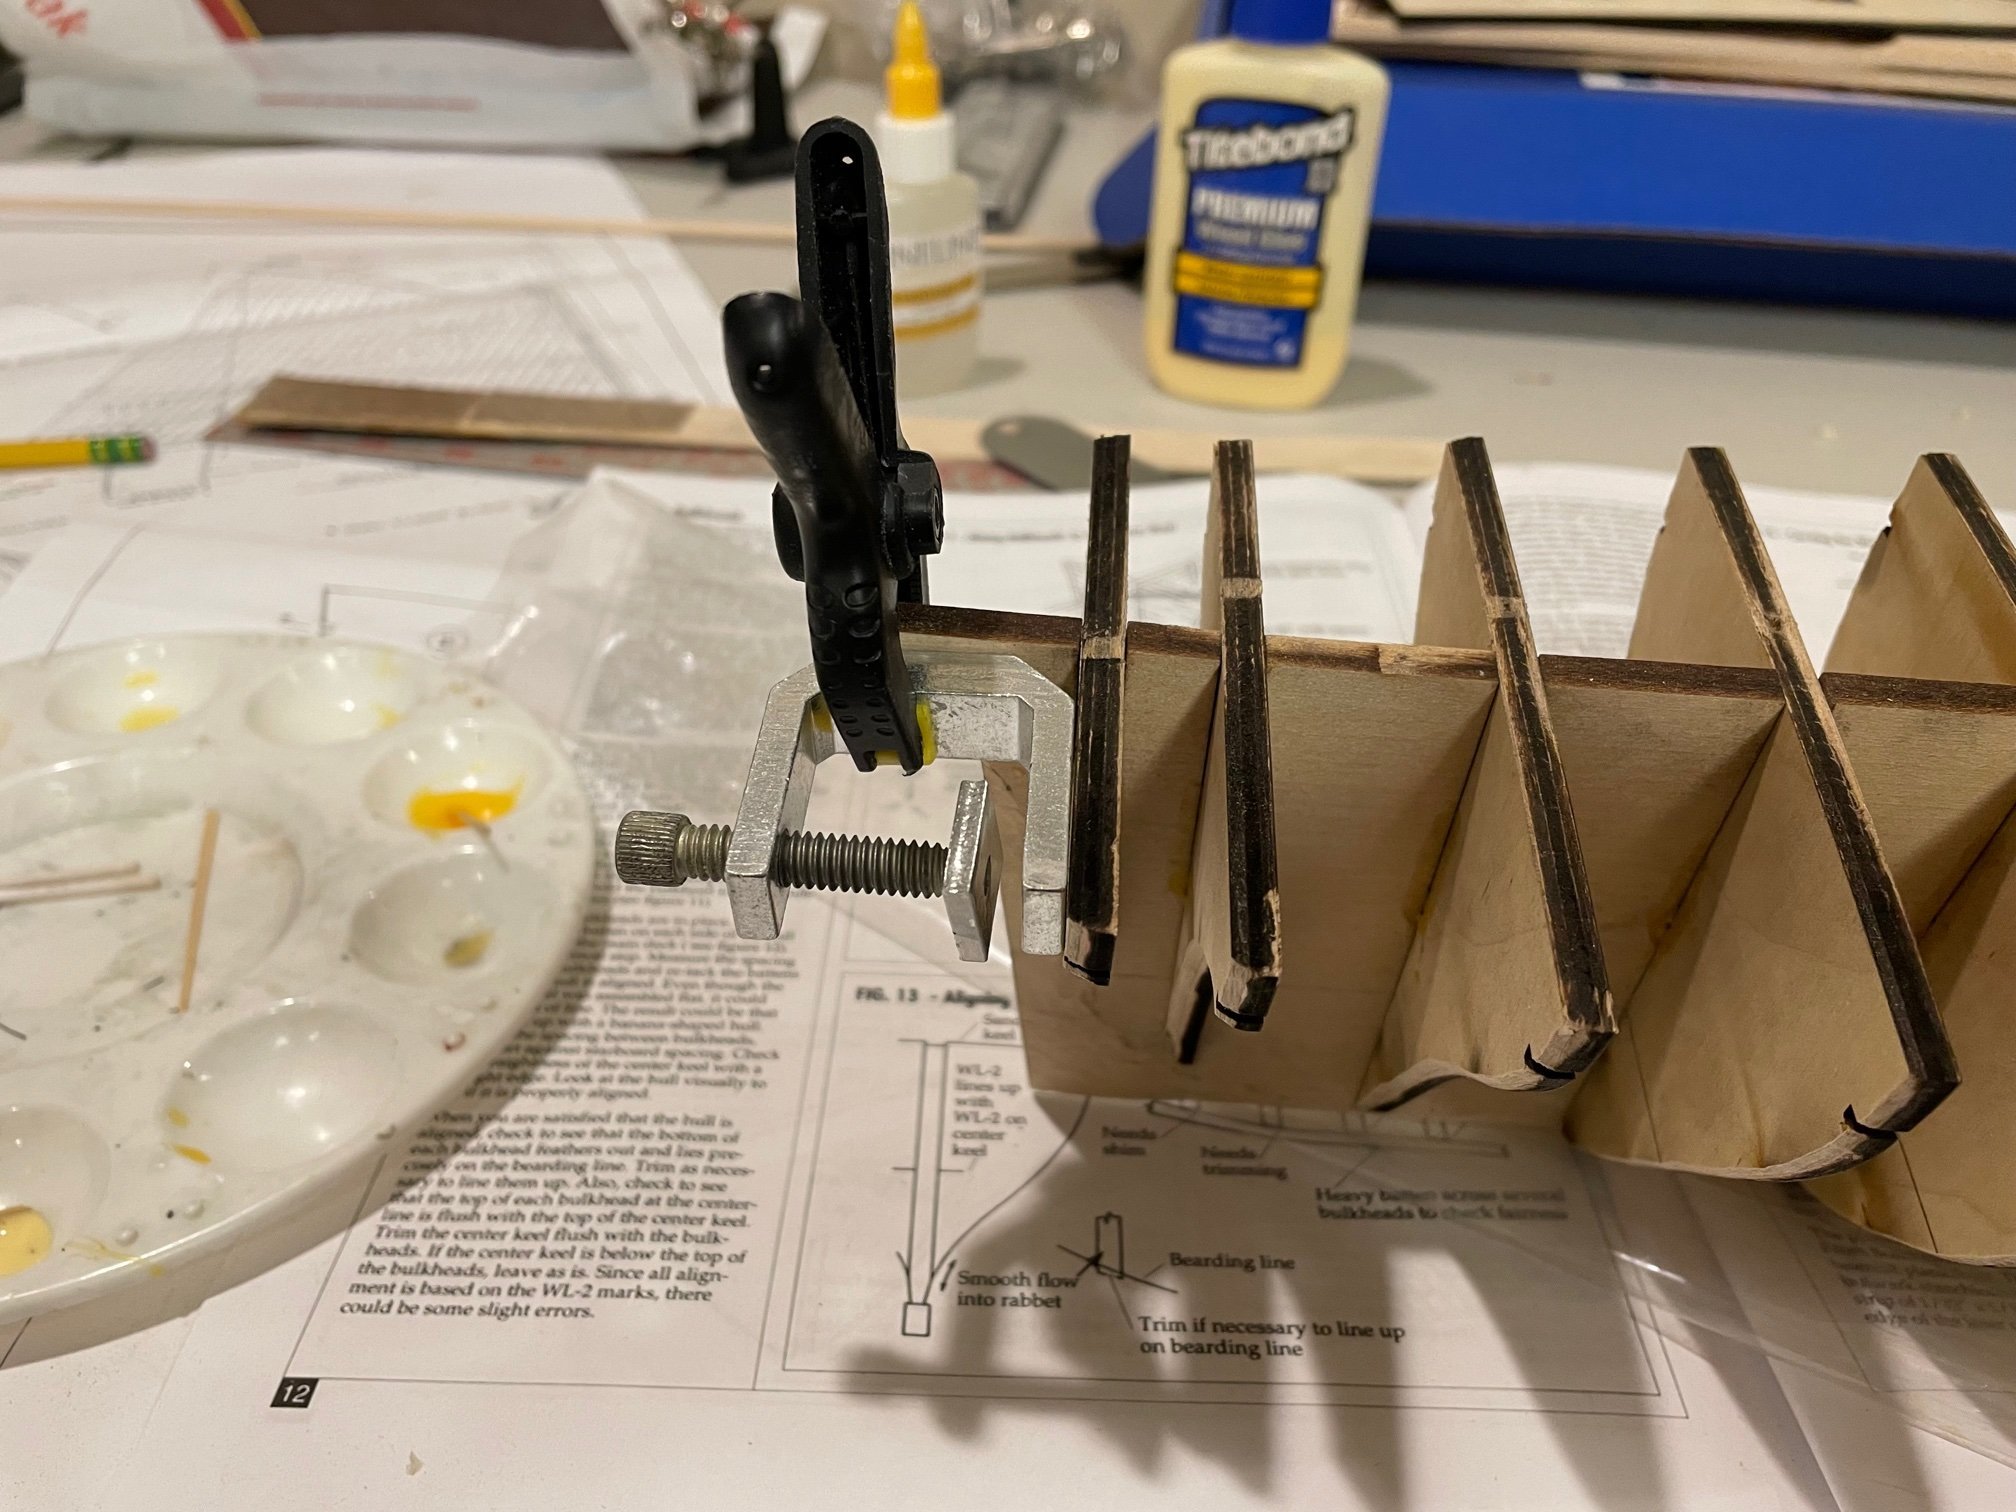
Attached the bulkheads using some clamps as squares to ensure they were all perpendicular.


-
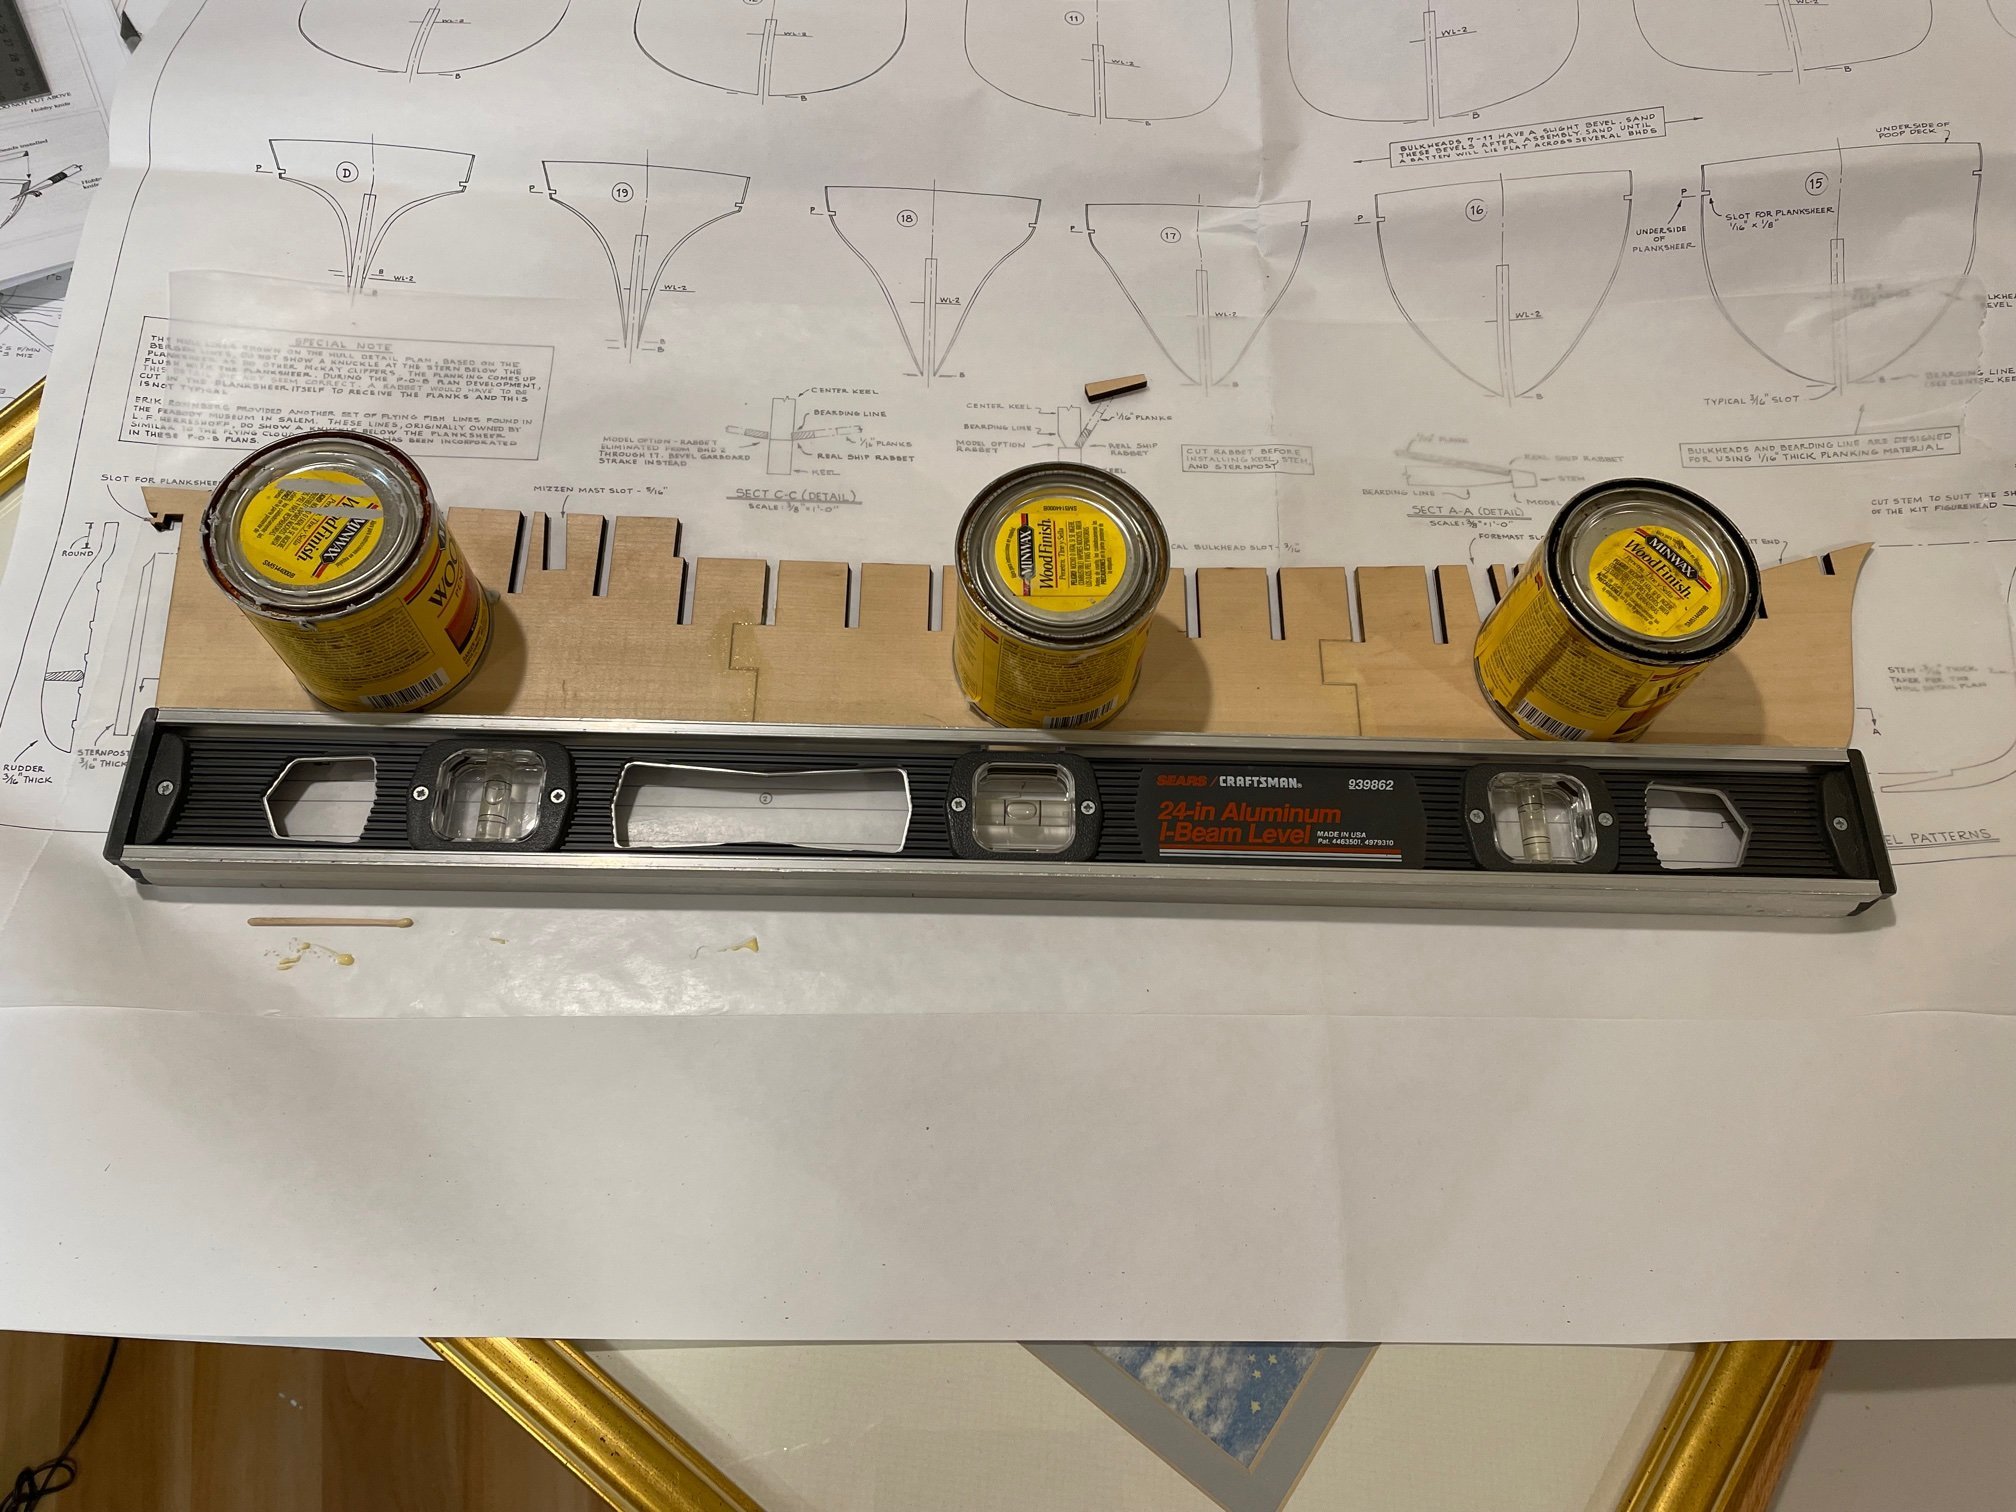
Started with gluing the center together. As instructions indicated I did this on a large glass picture frame to keep it straight

-
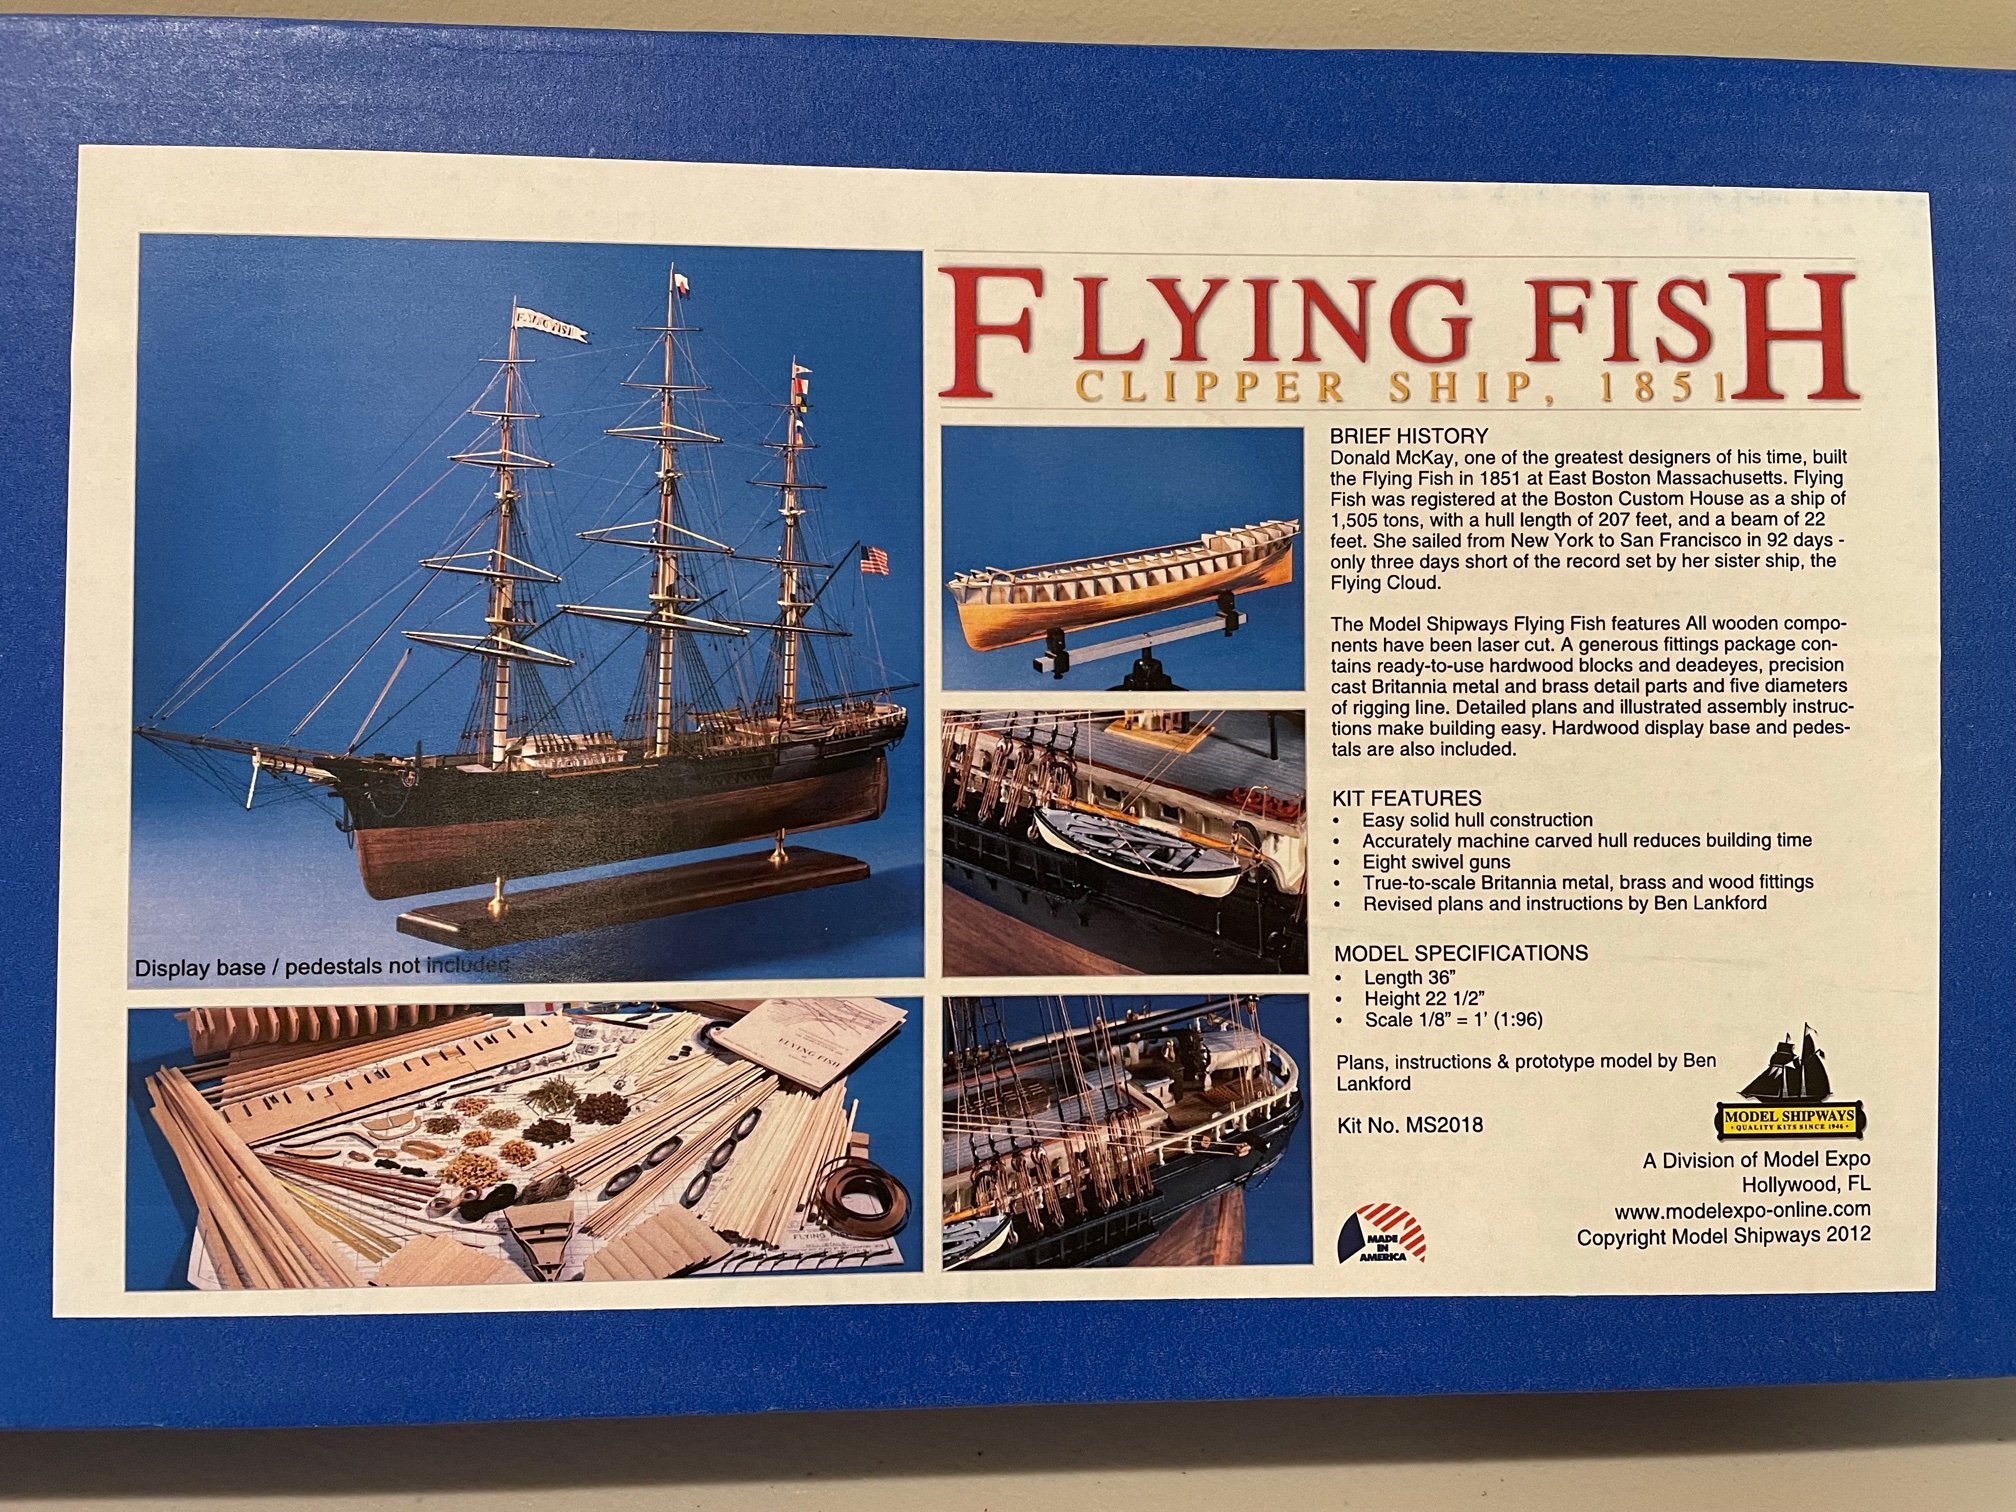
Starting up with my 3rd Build after the Phantom and Rattlesnake.

-
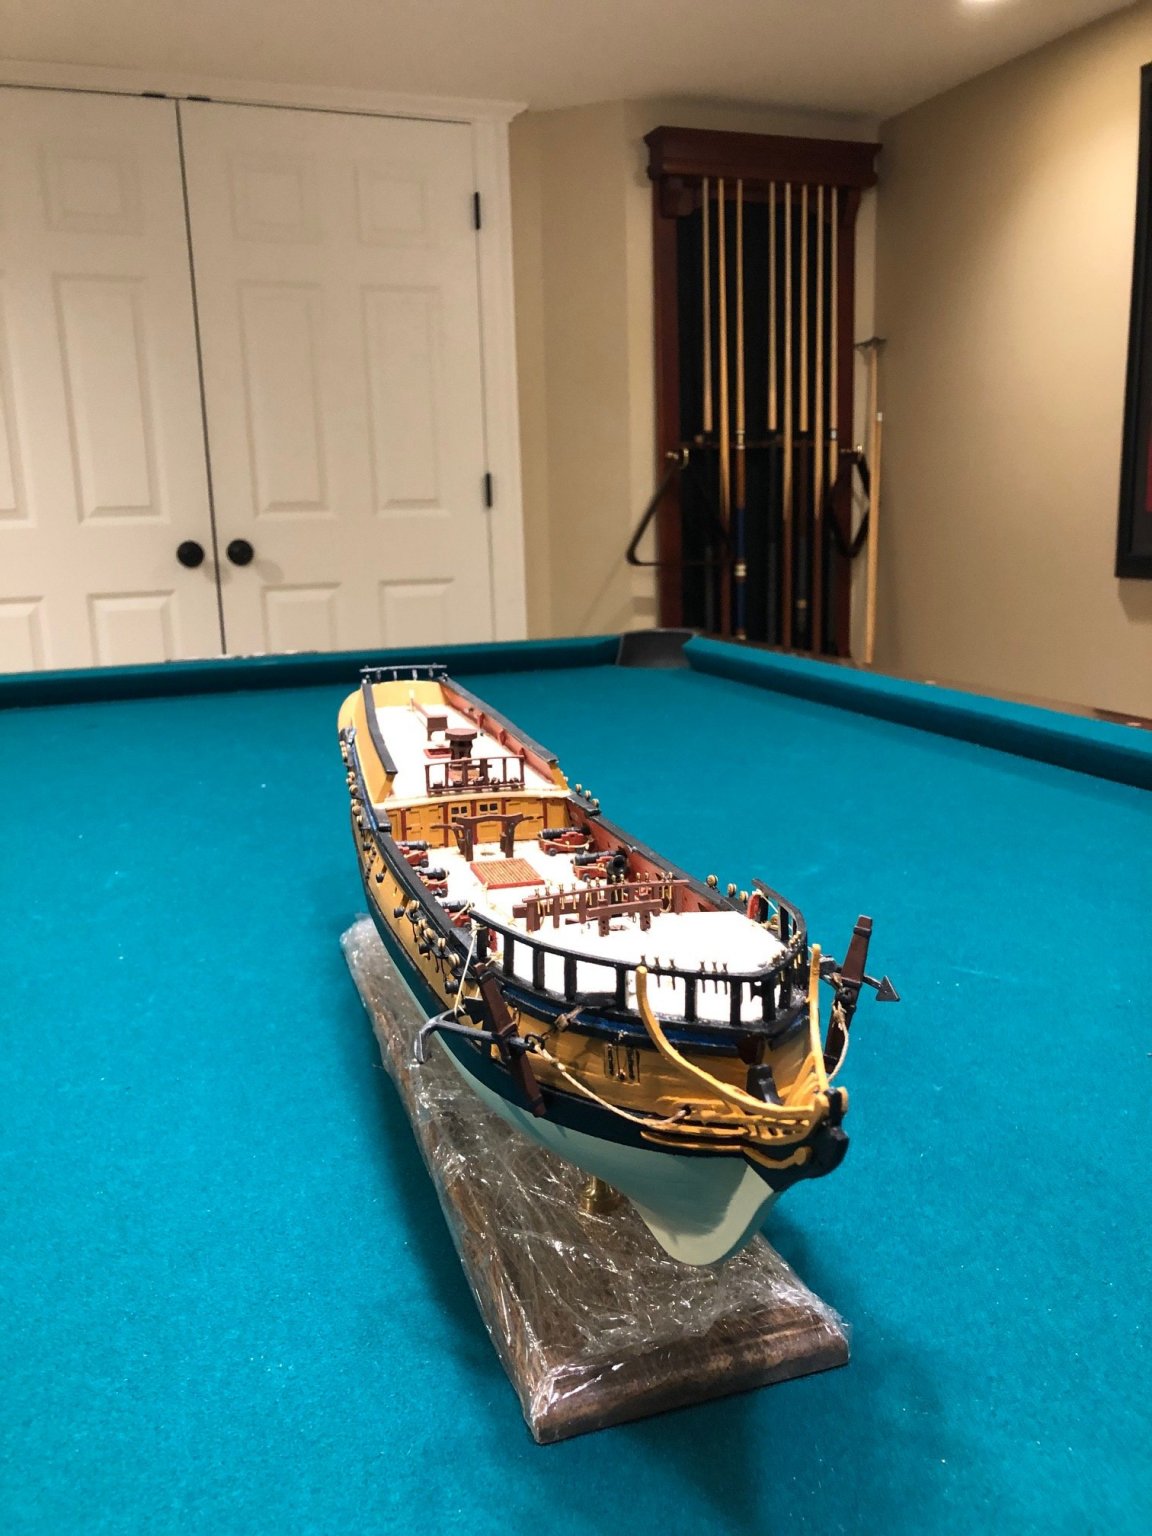
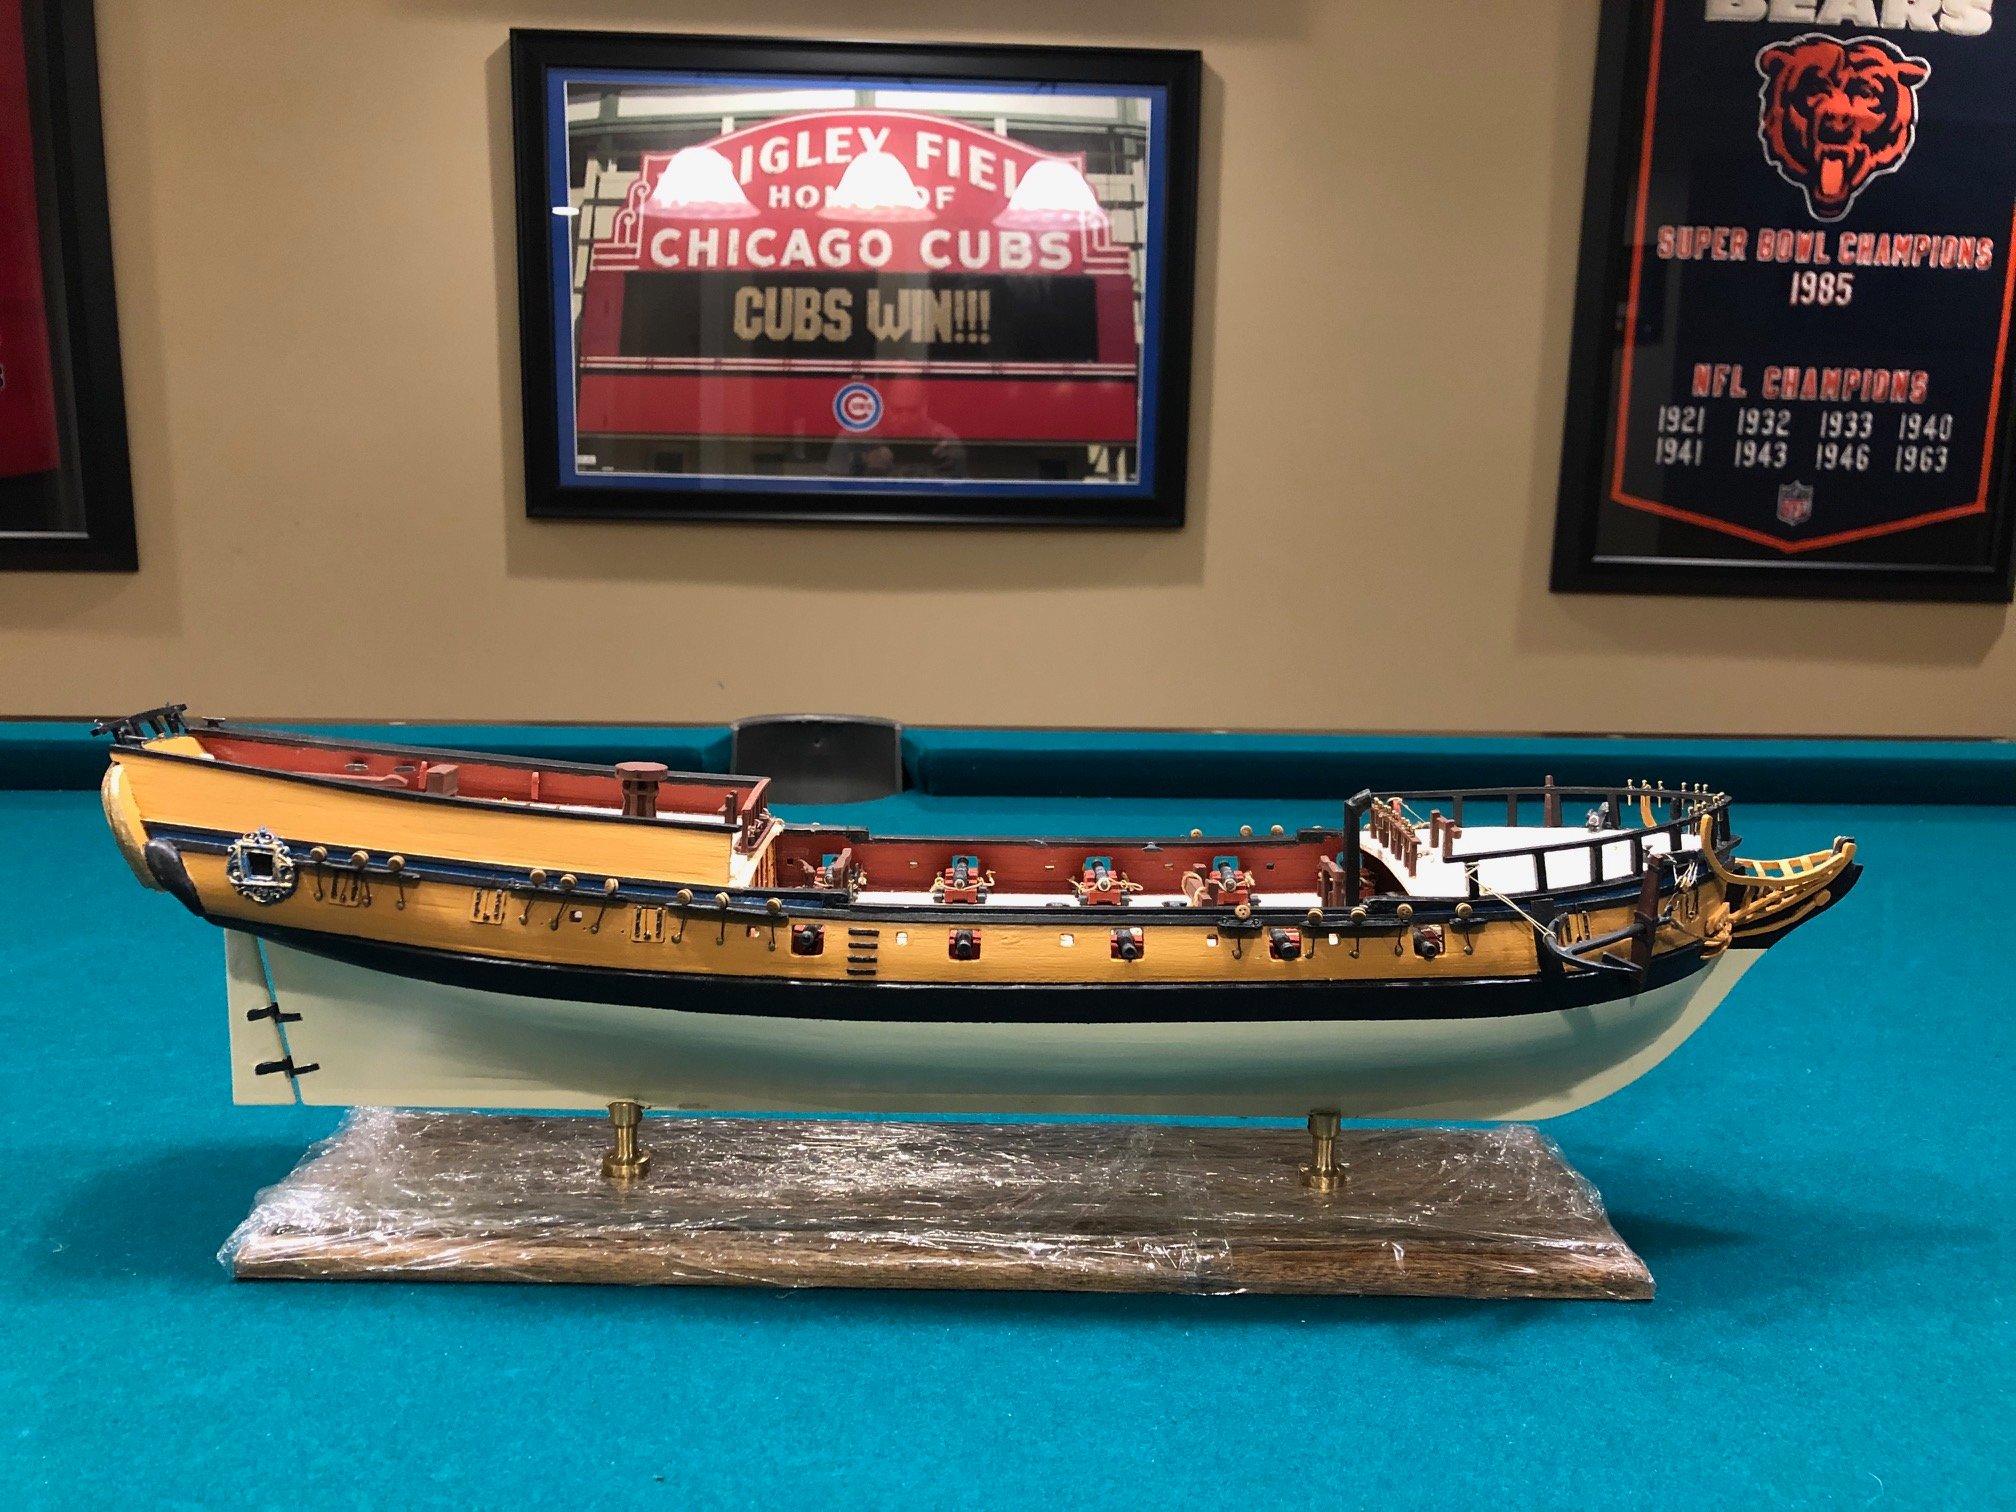
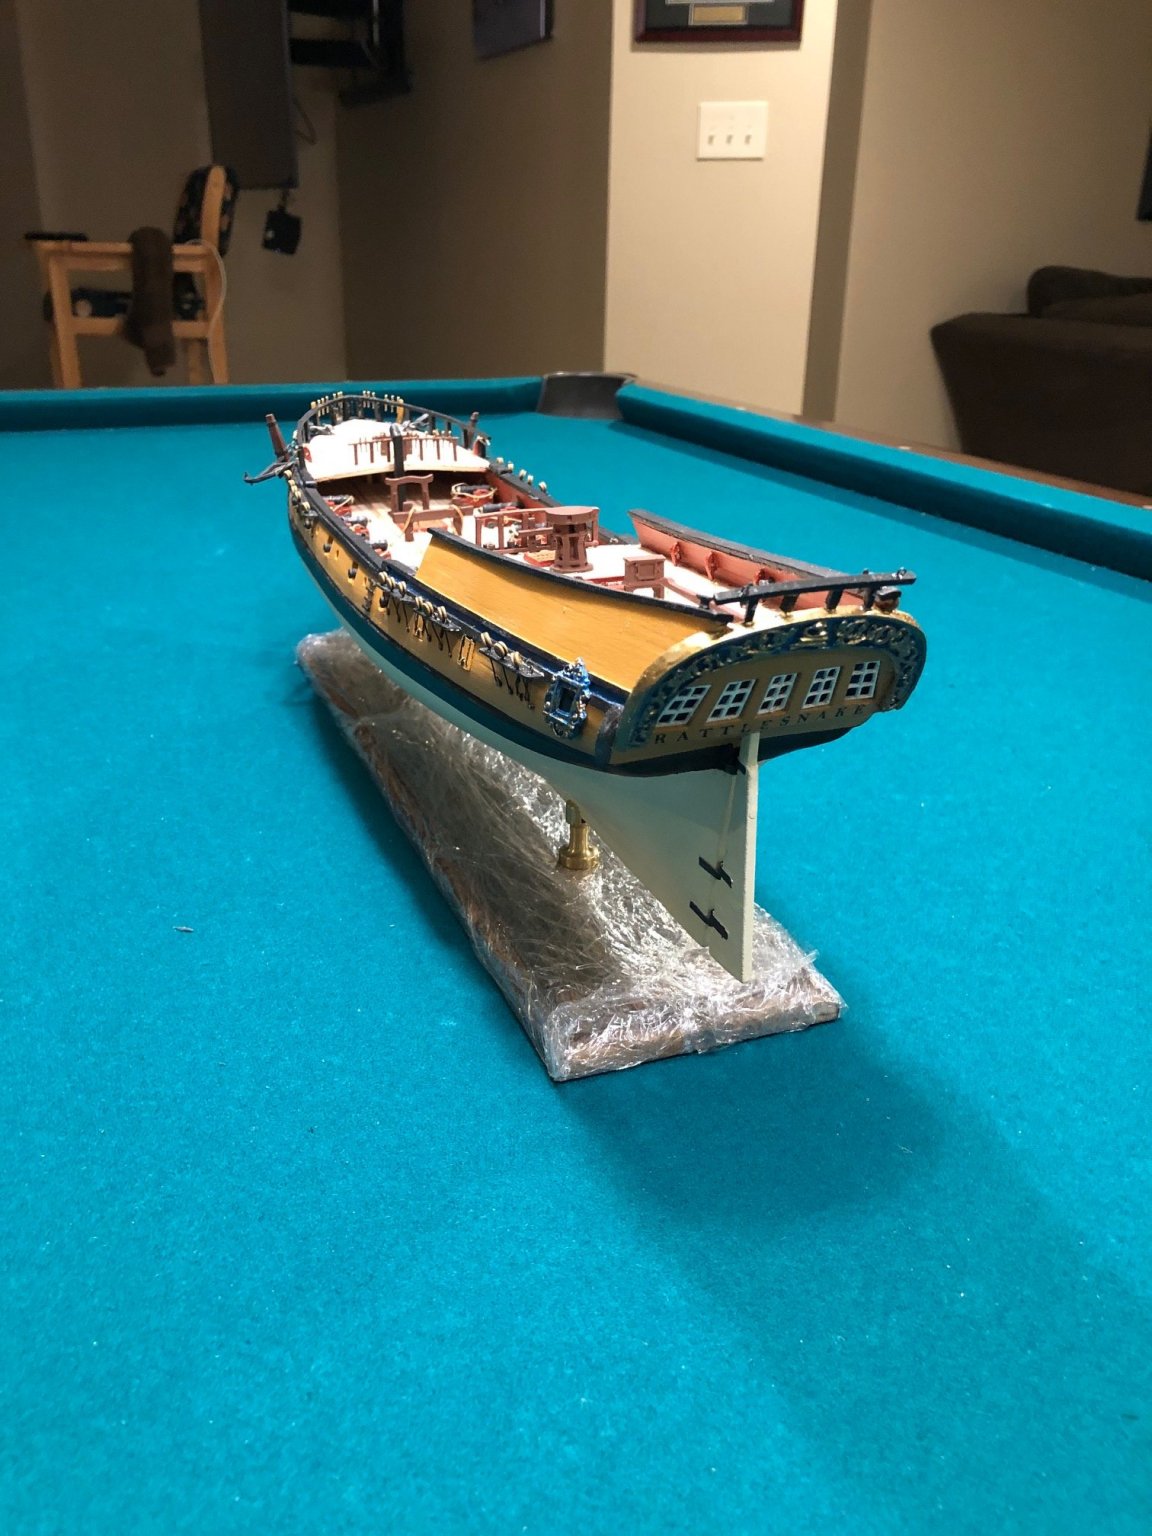
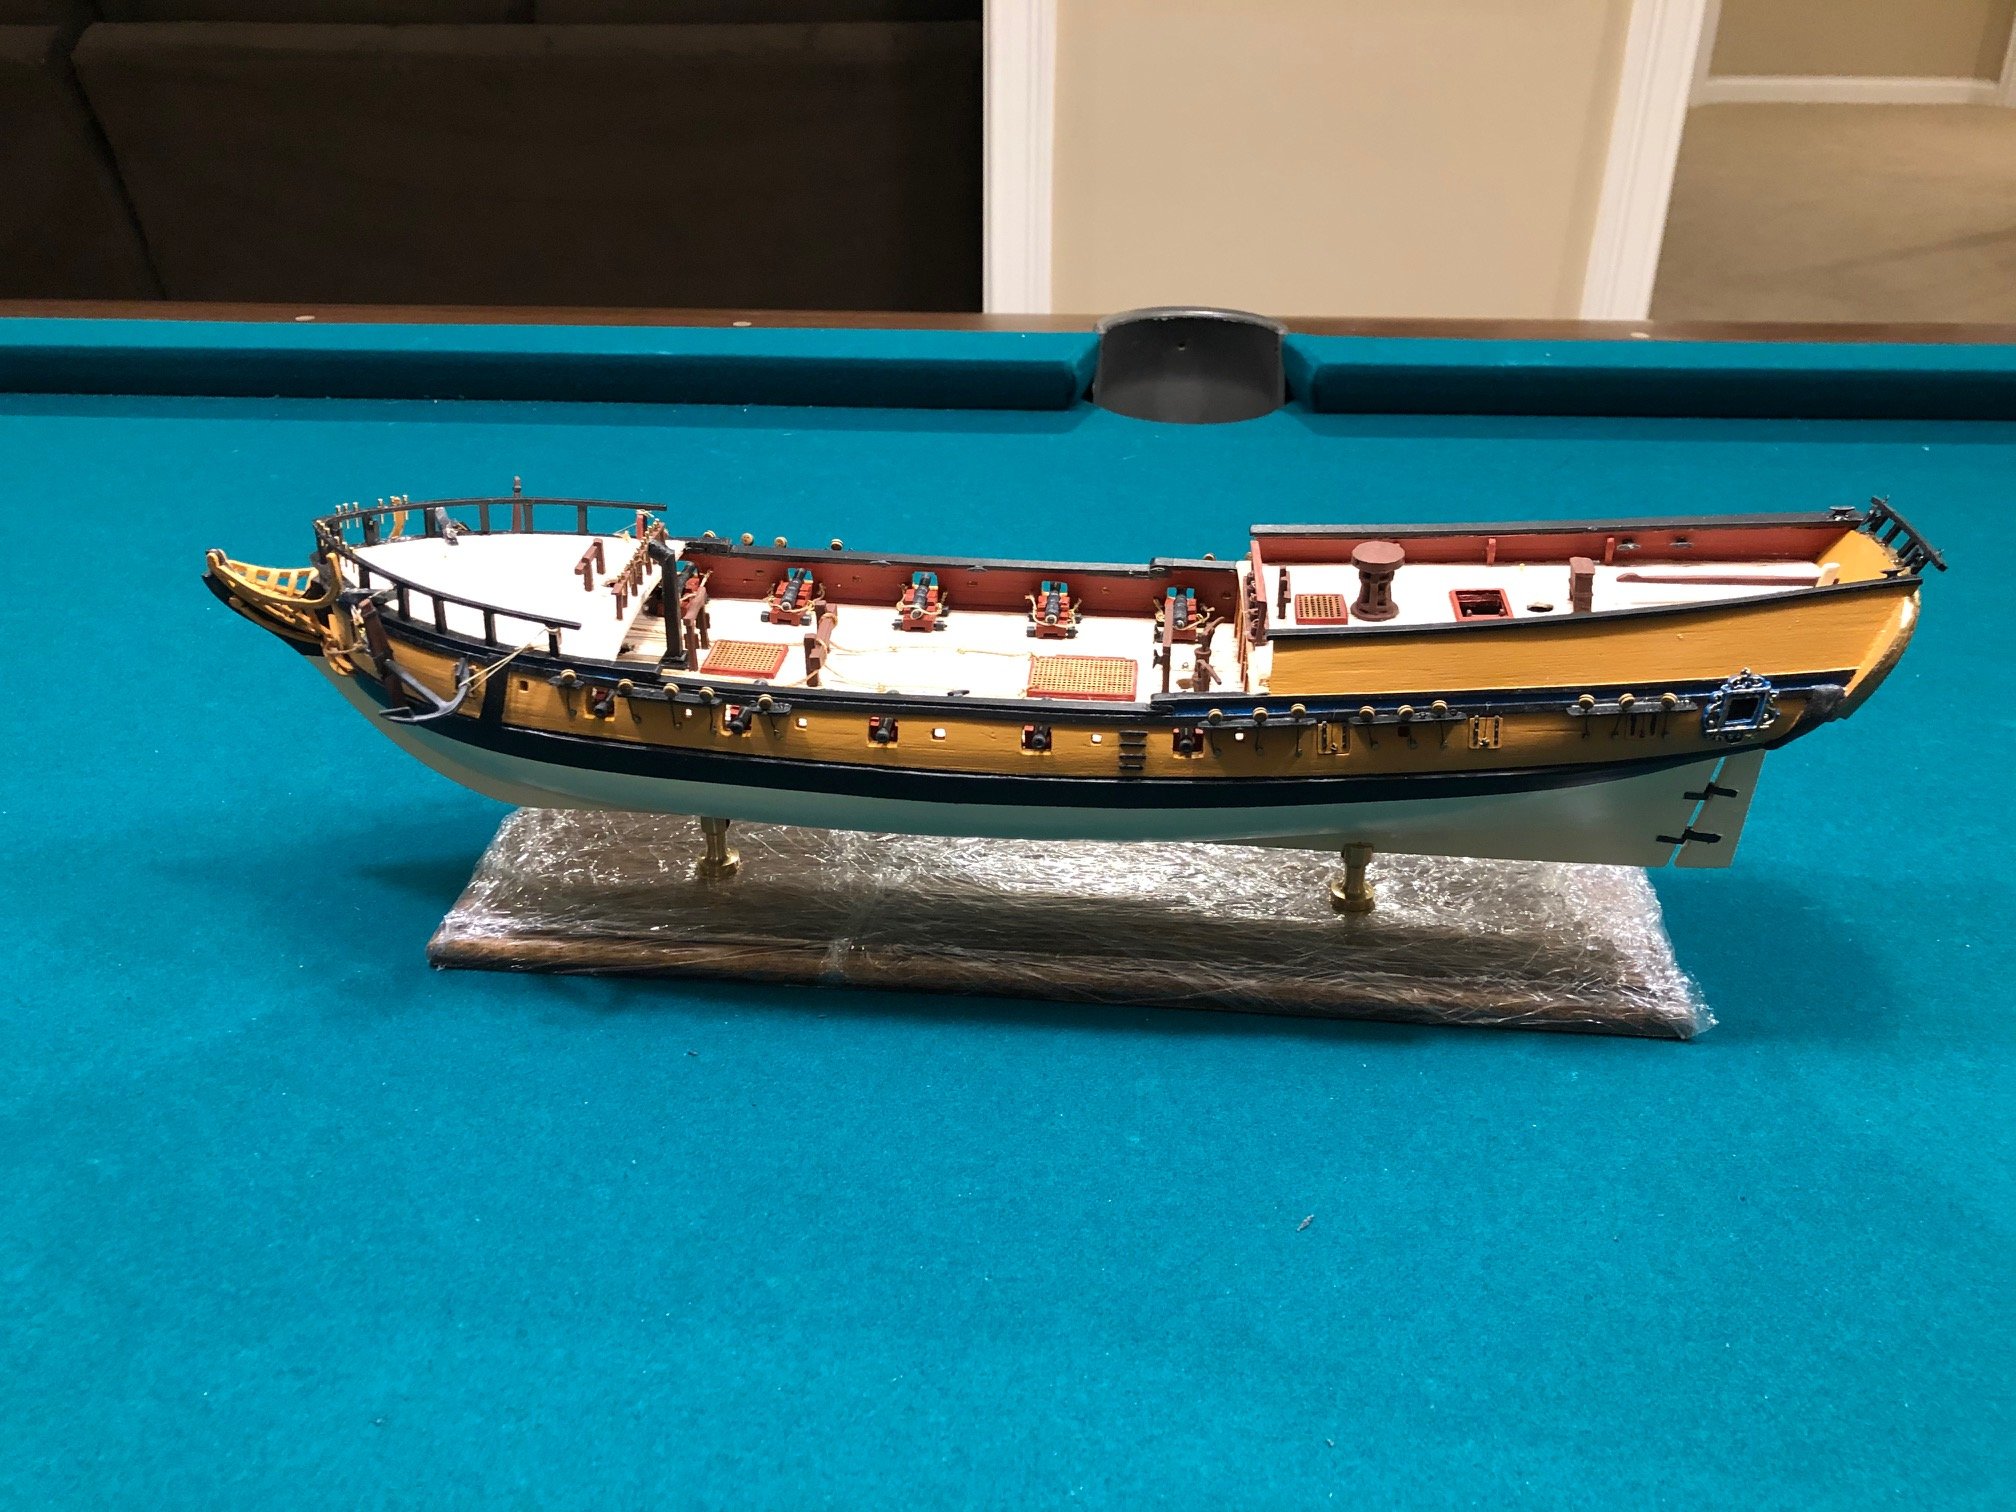
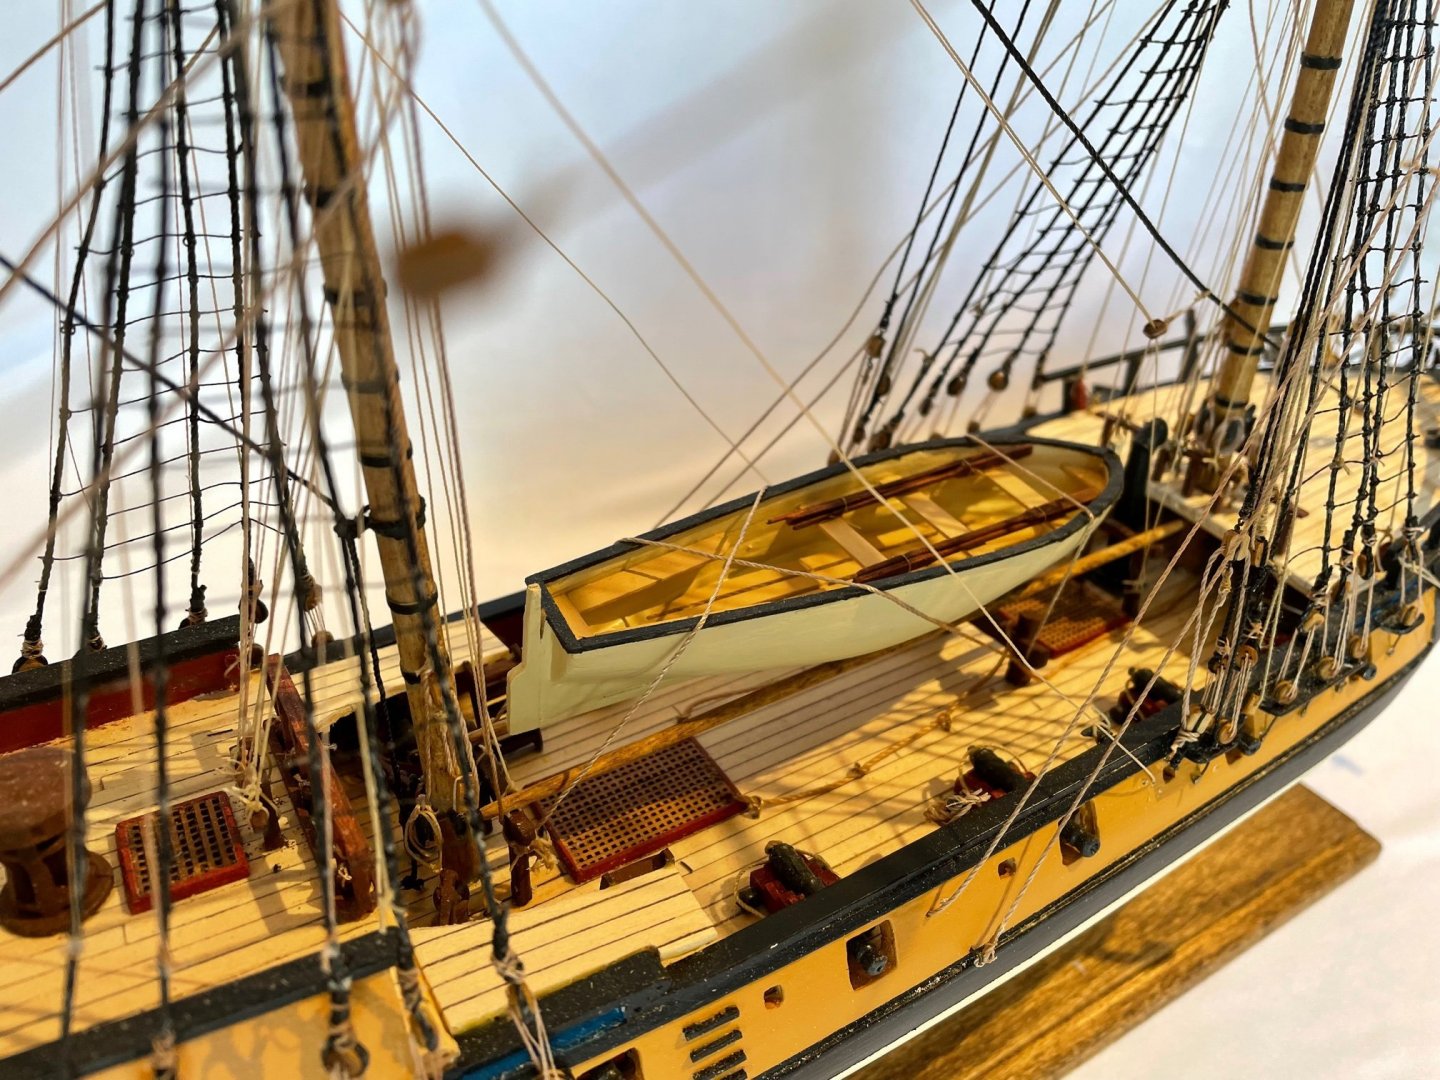
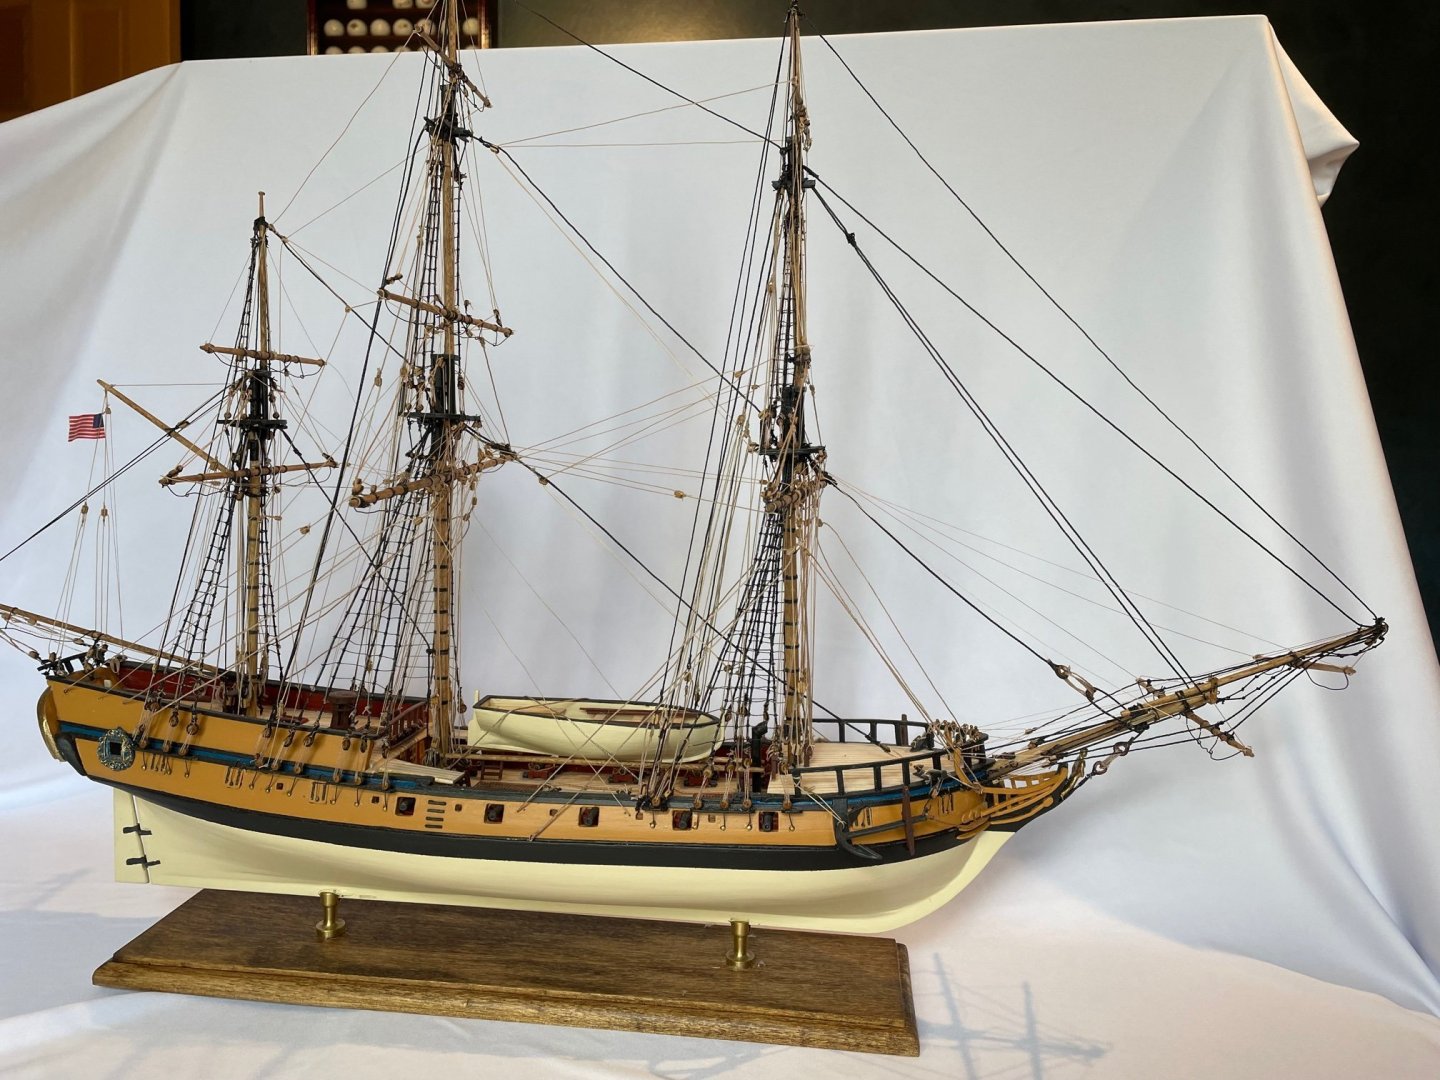
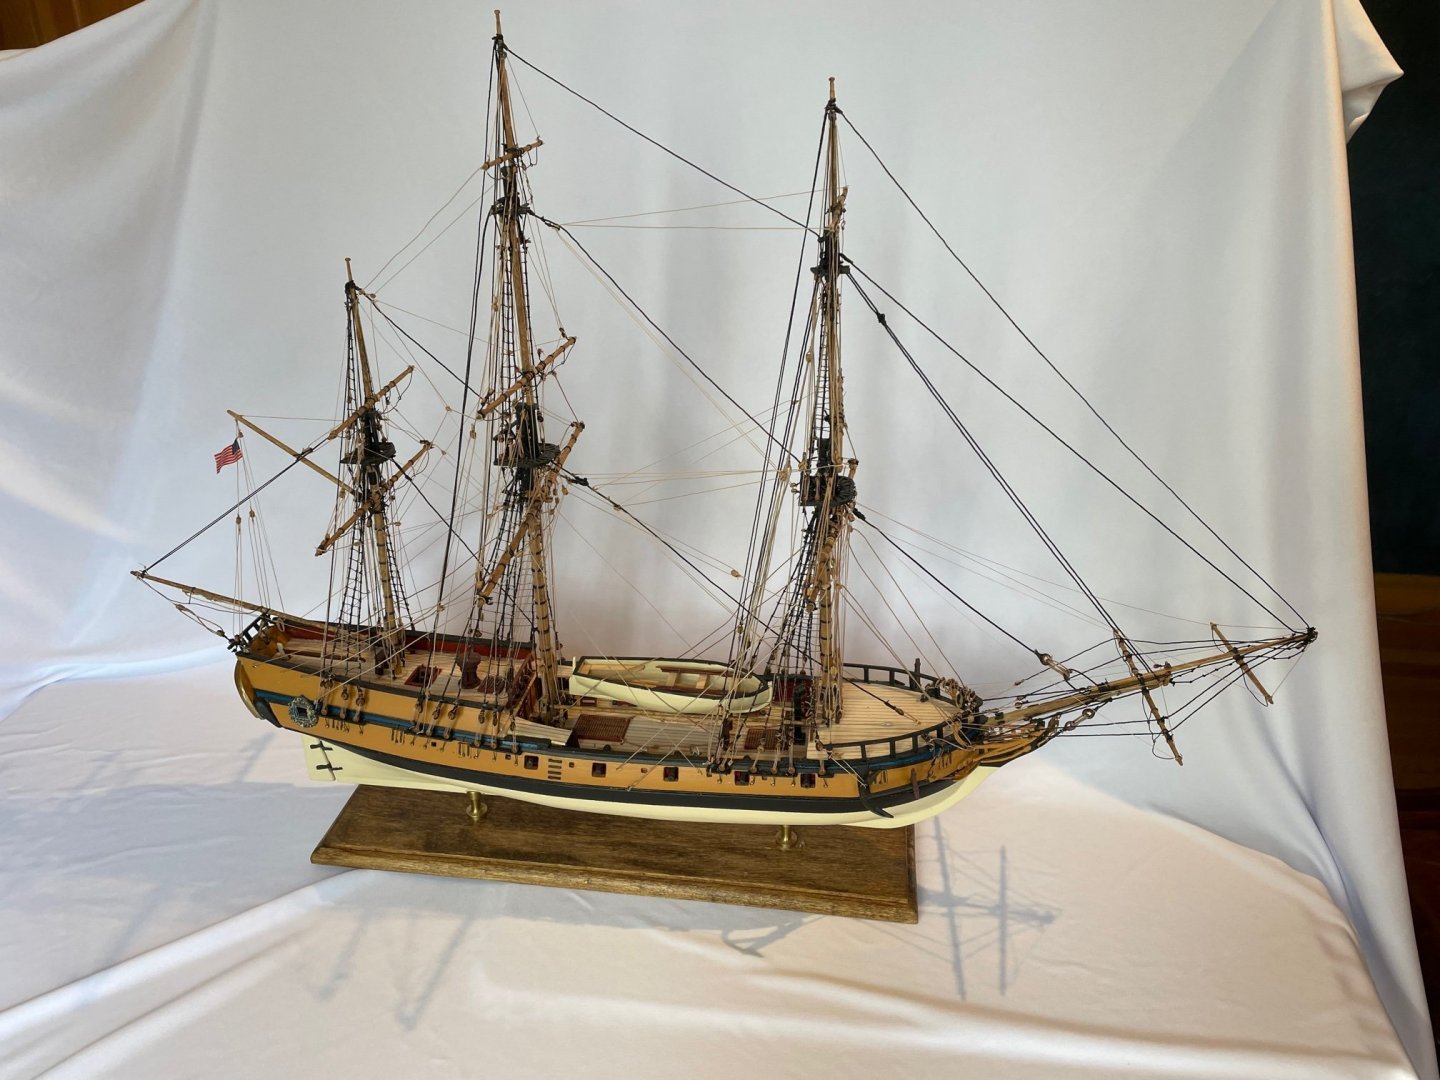
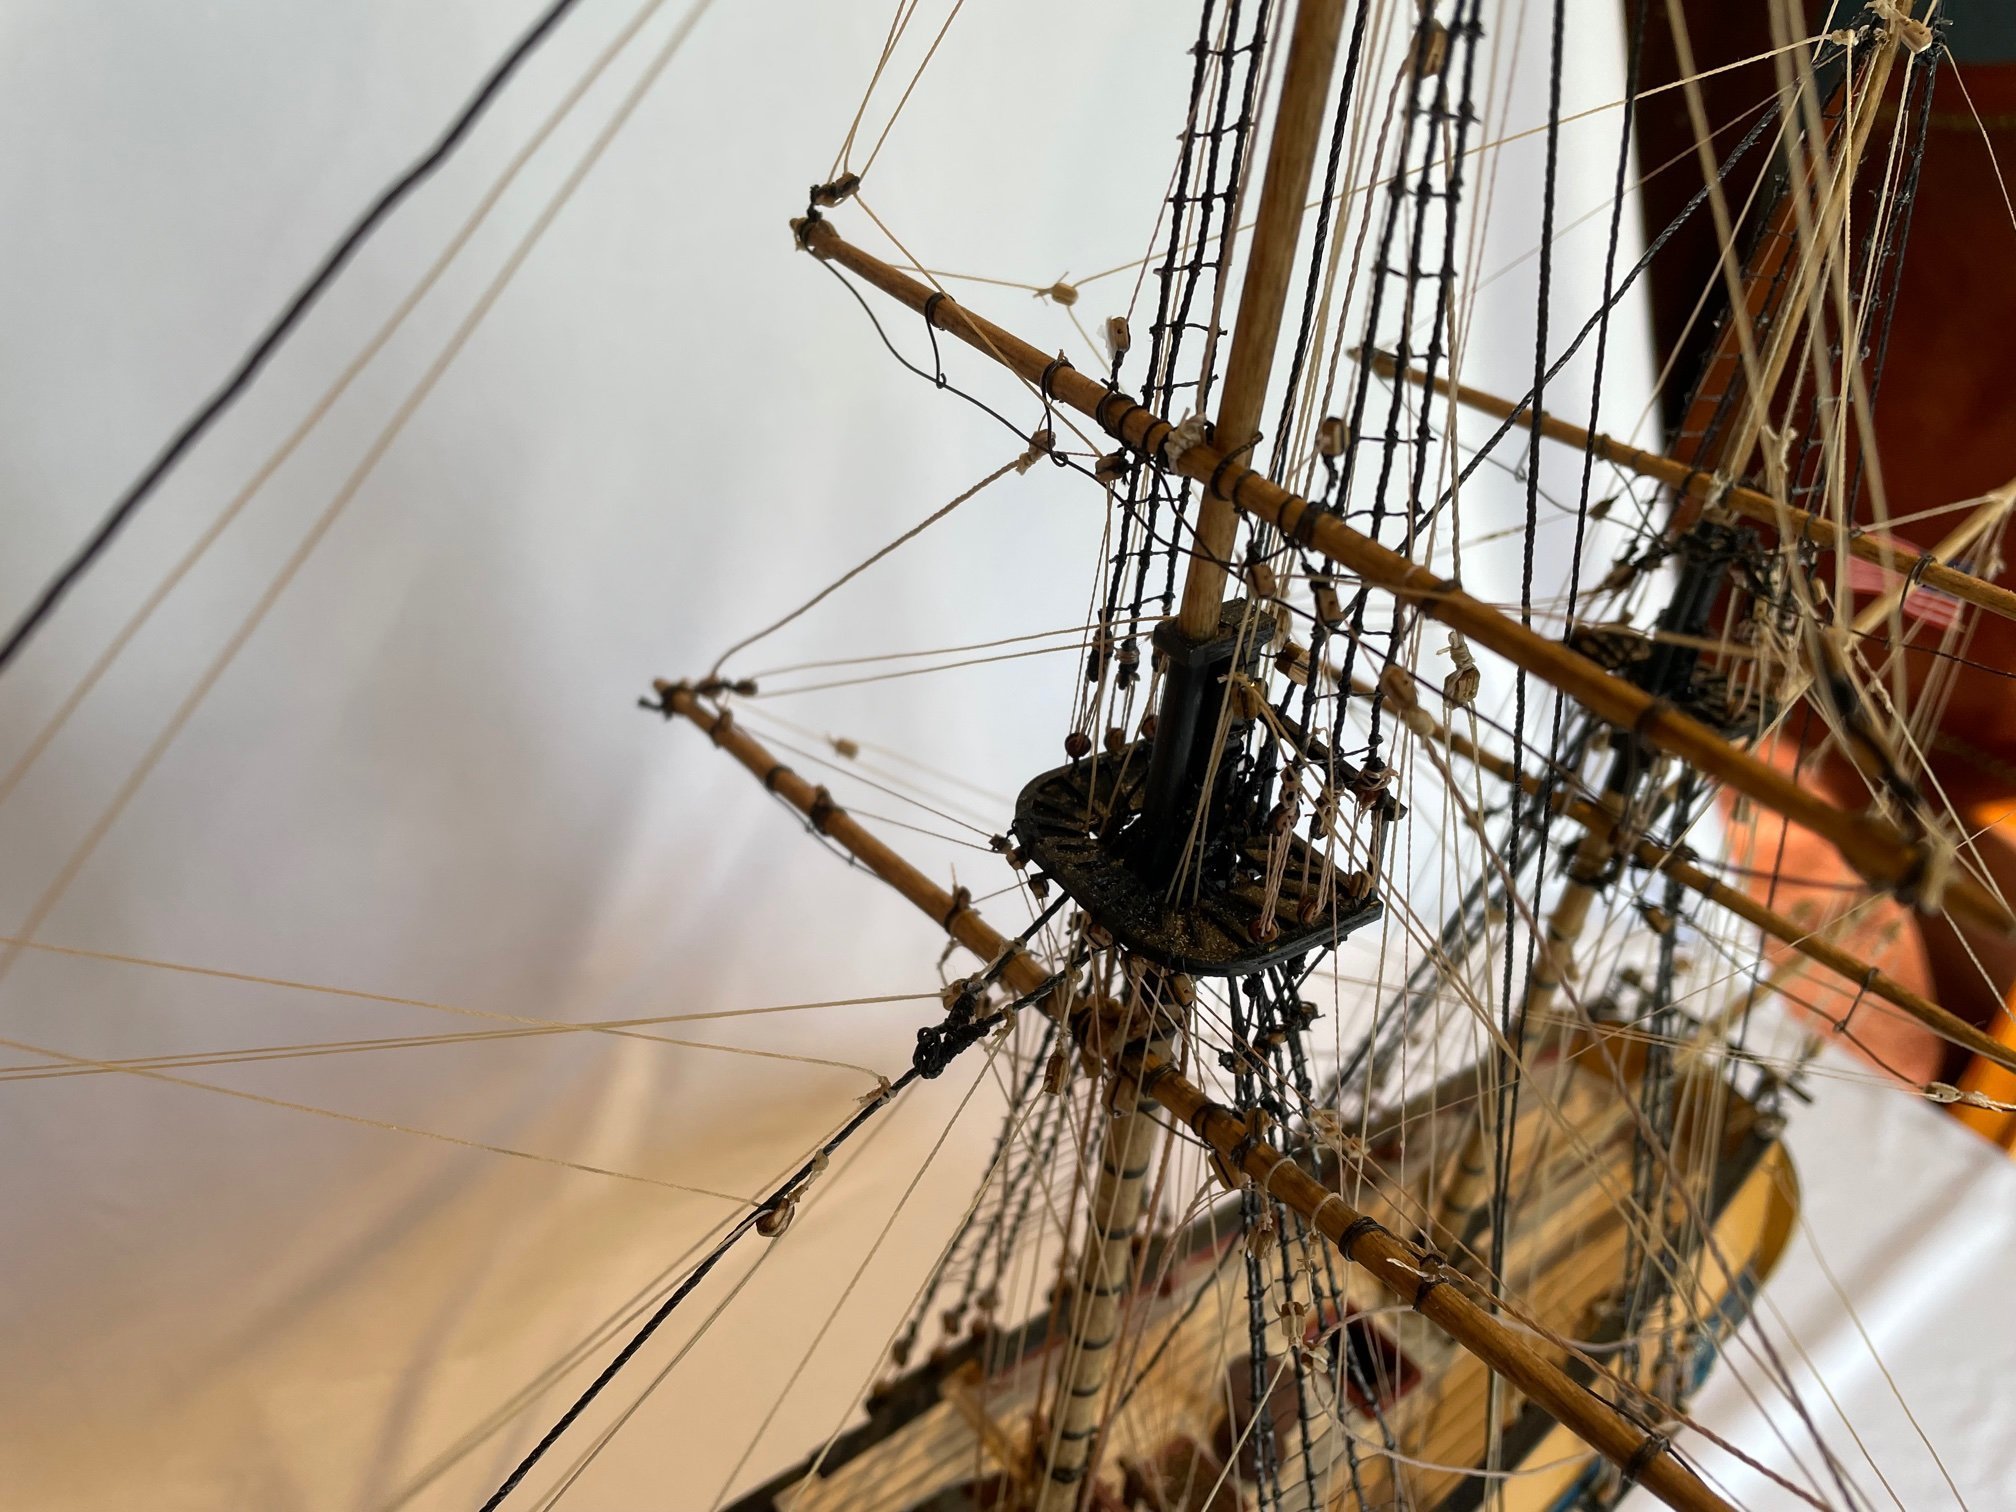
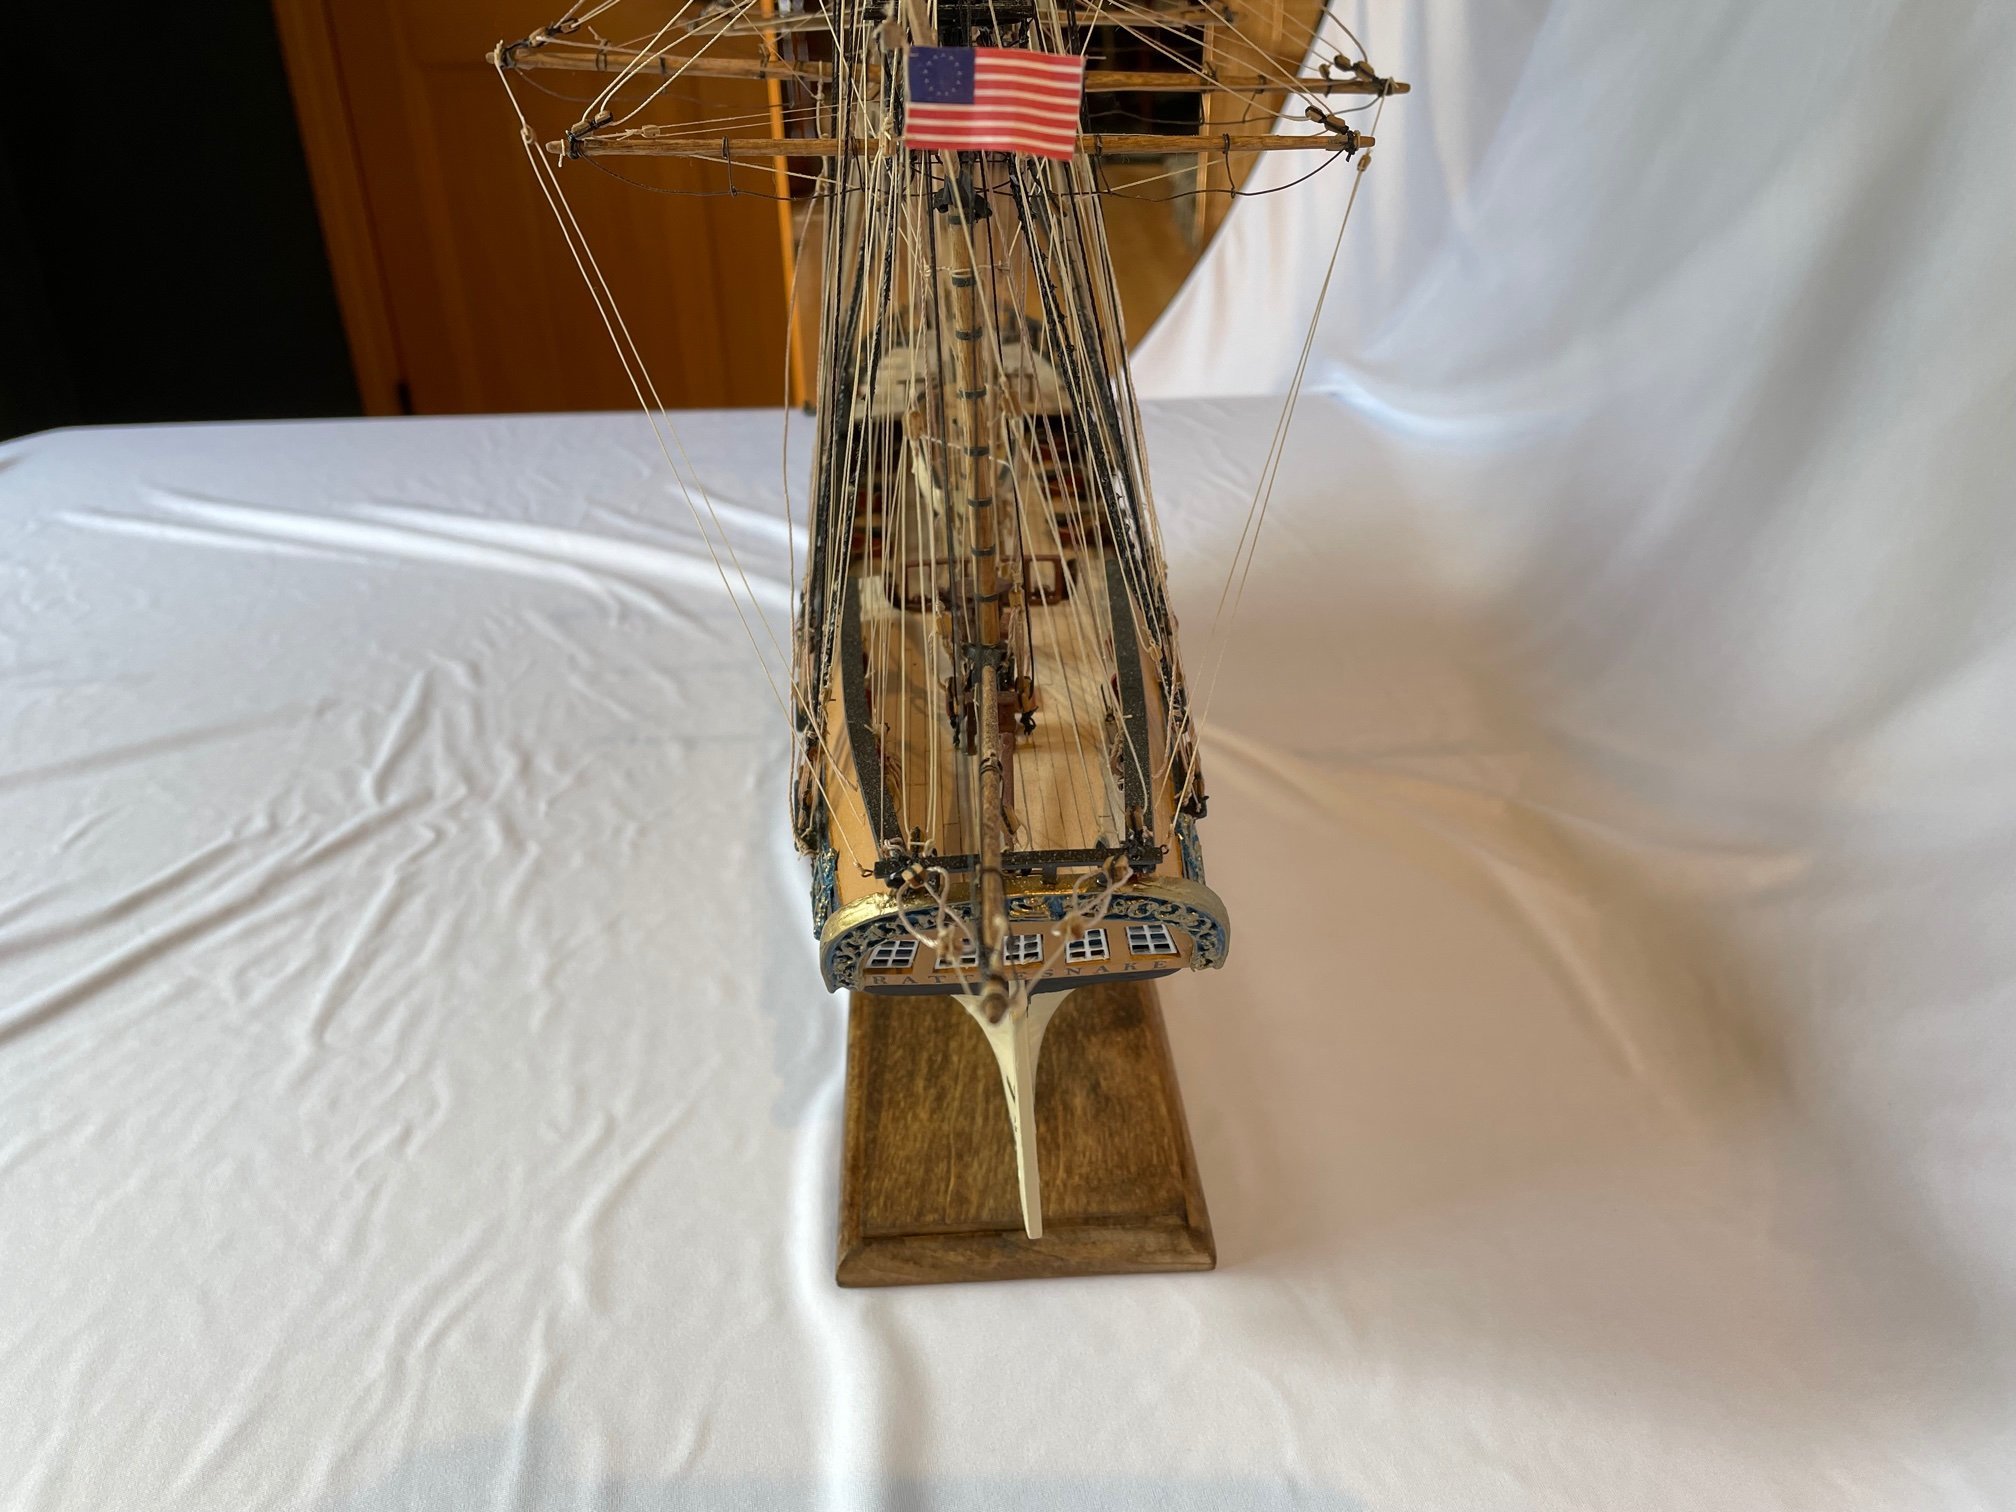
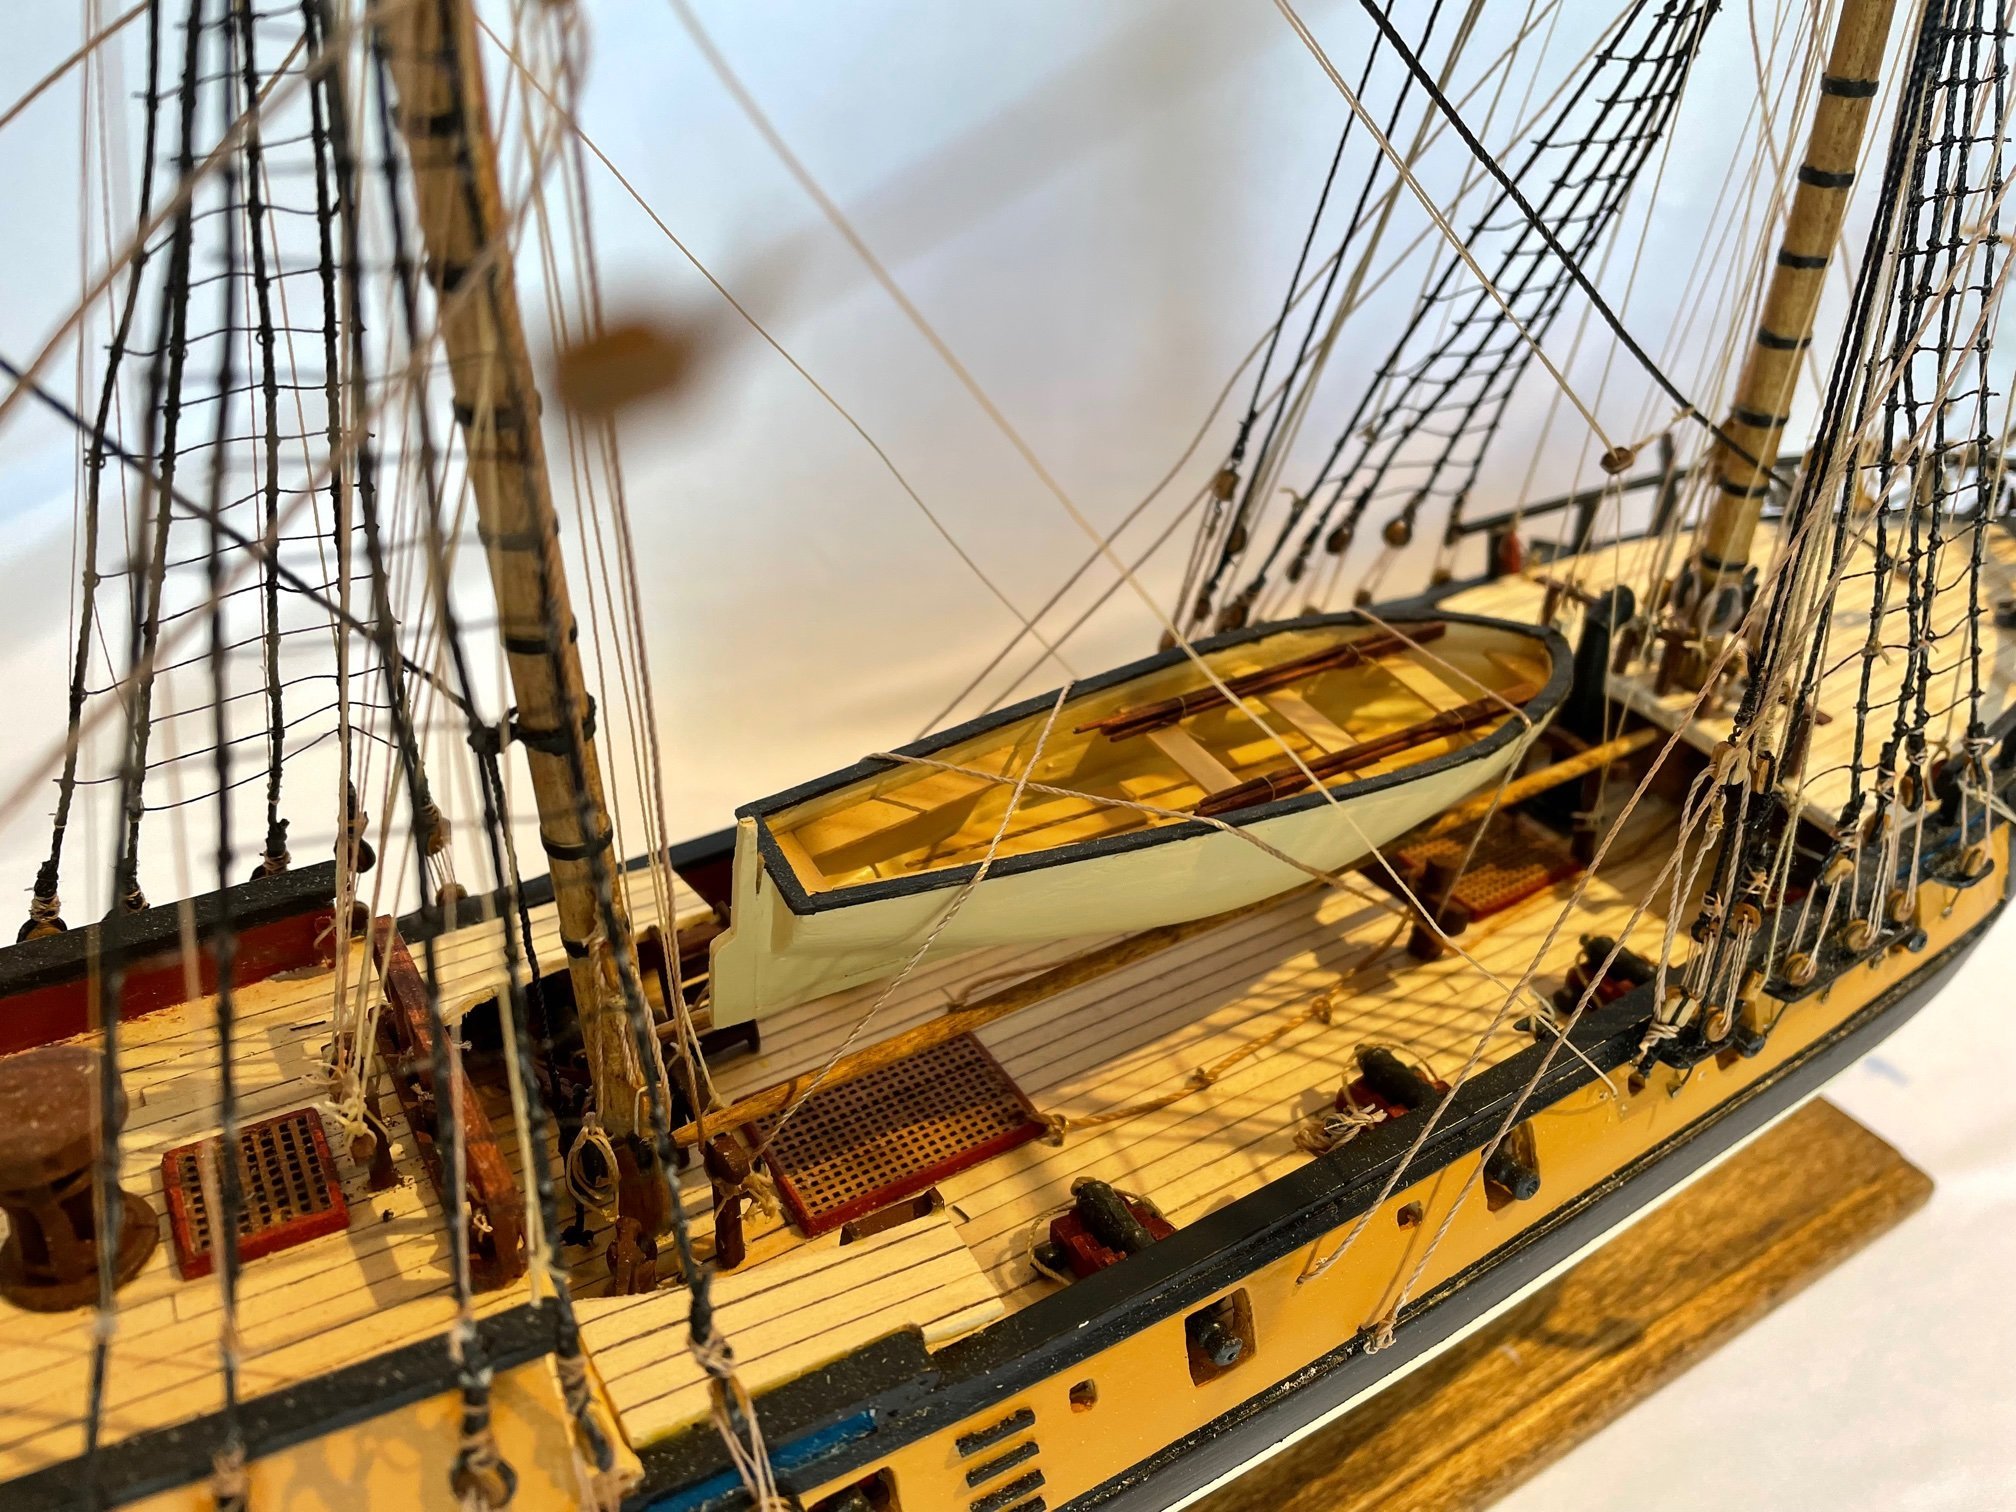
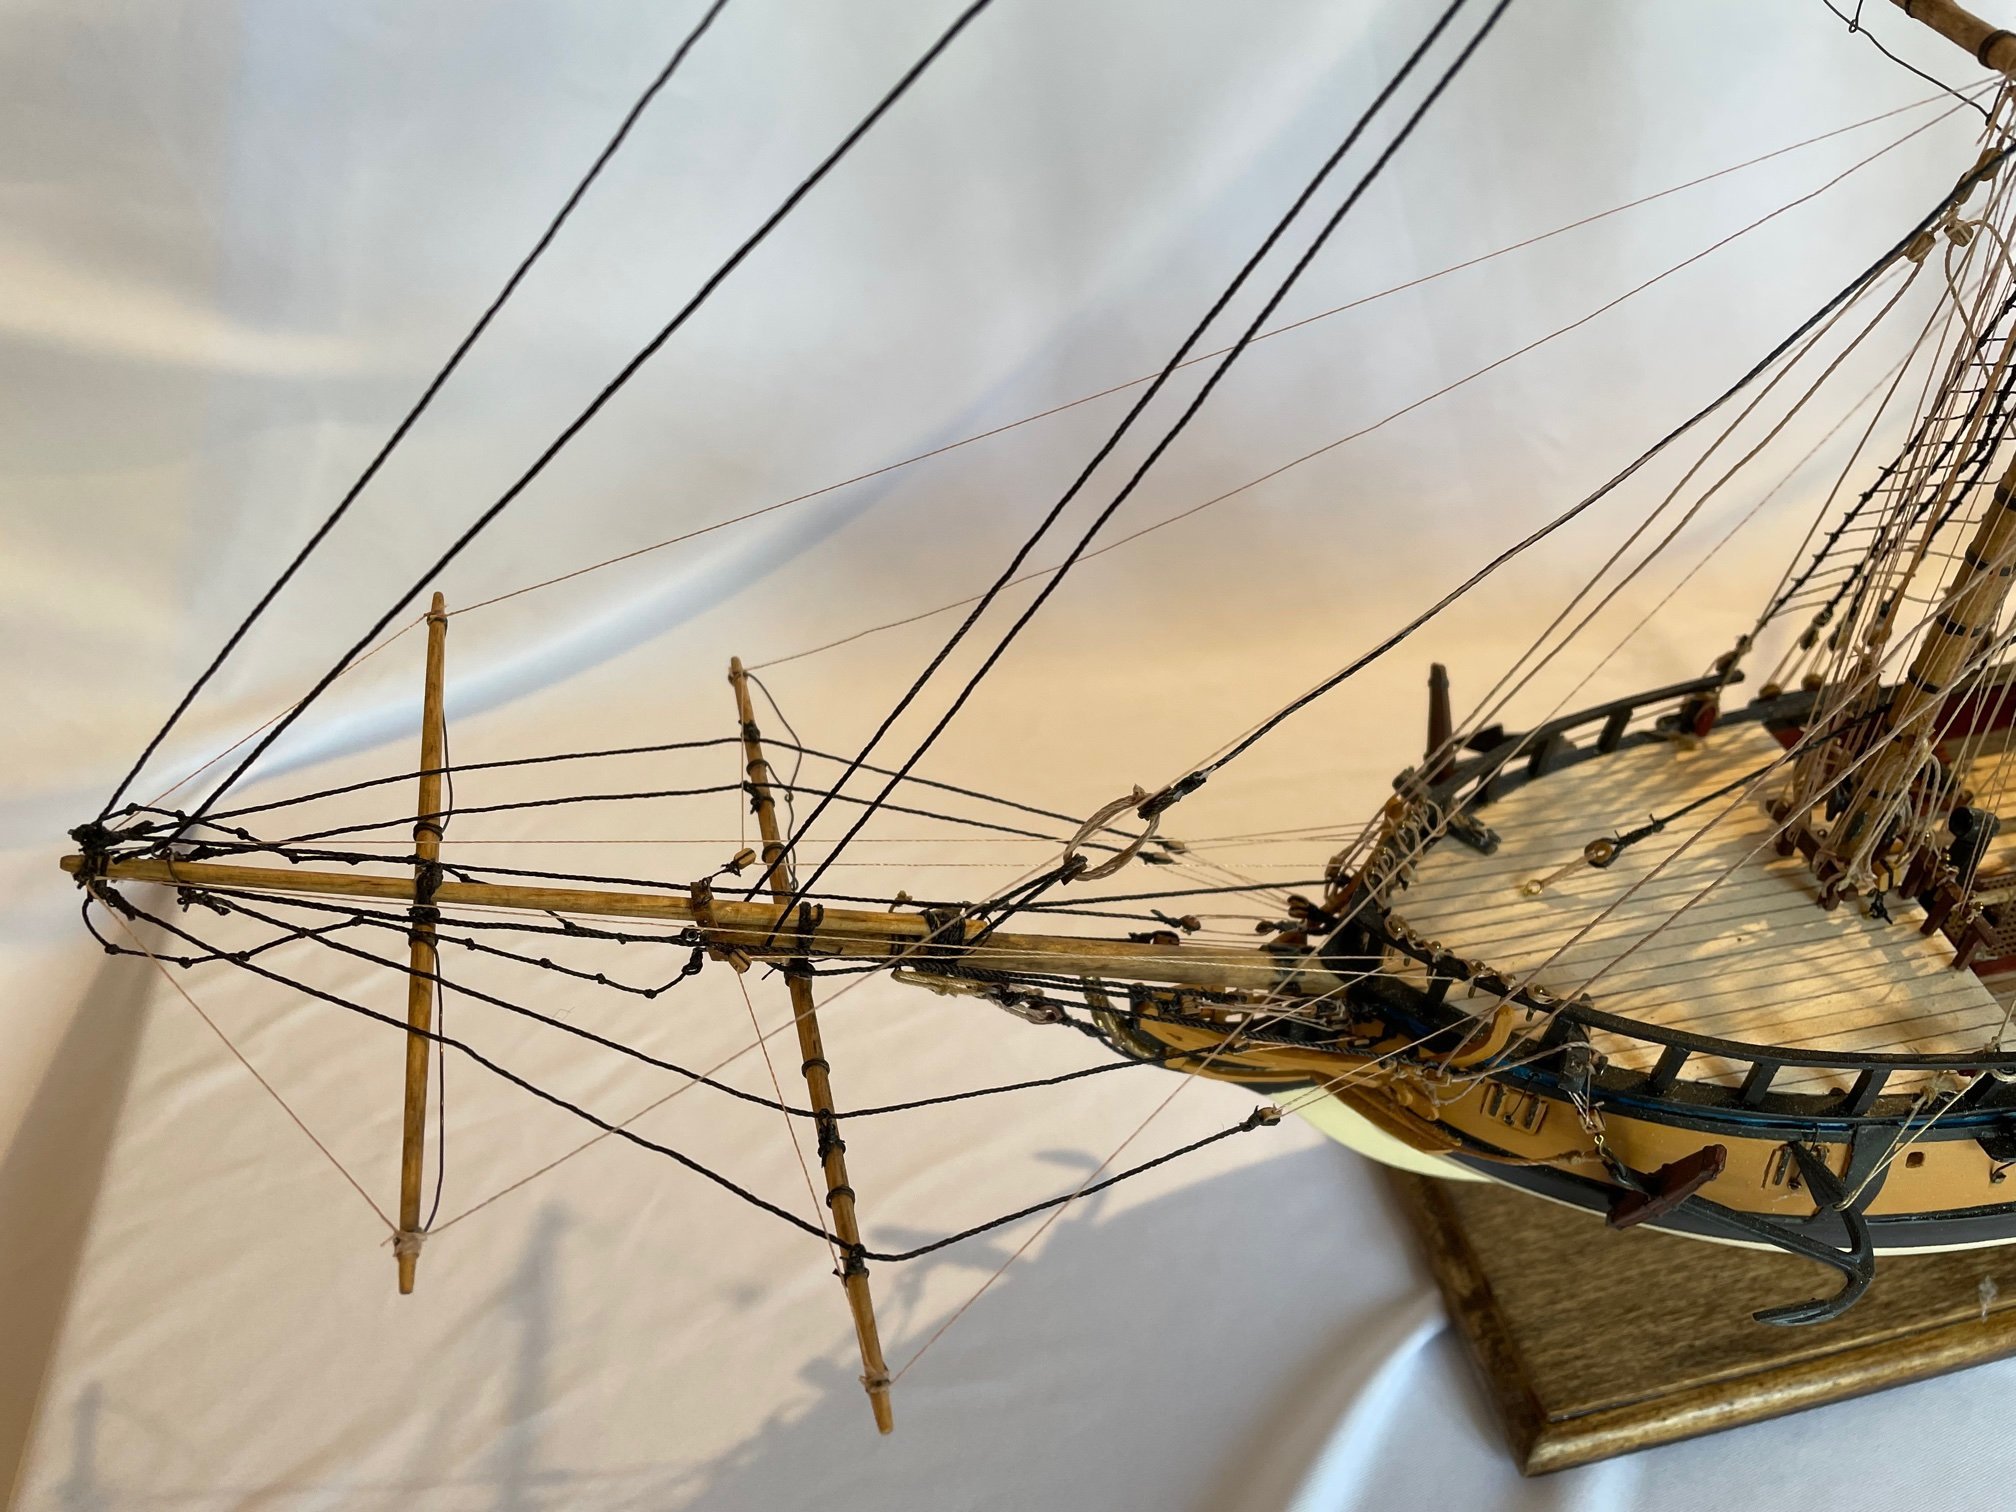
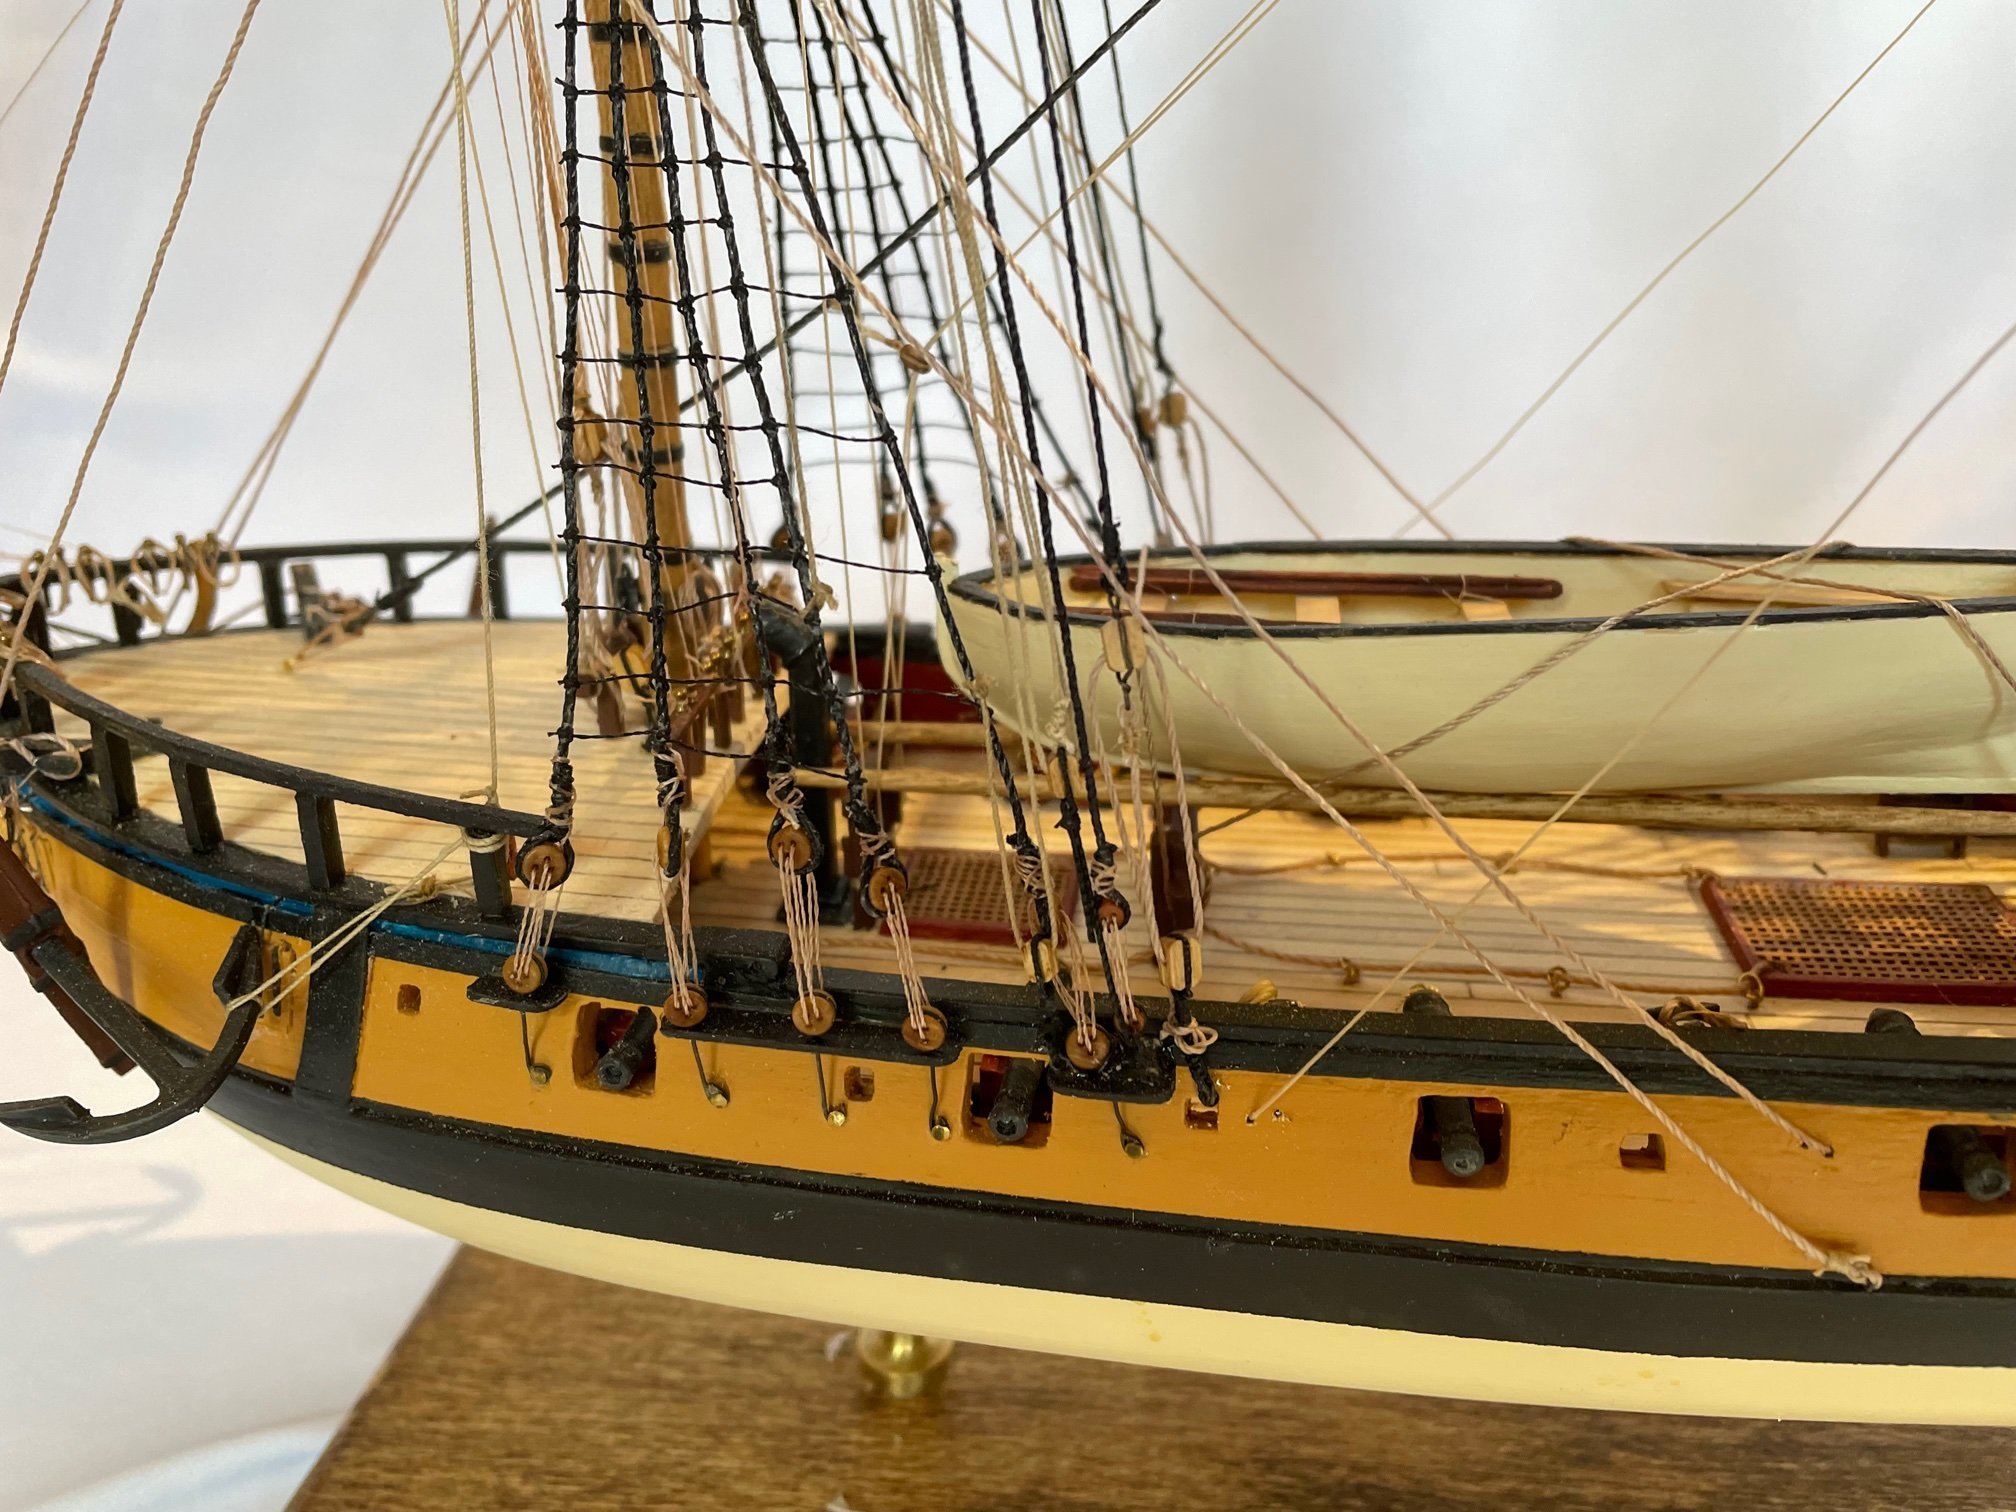
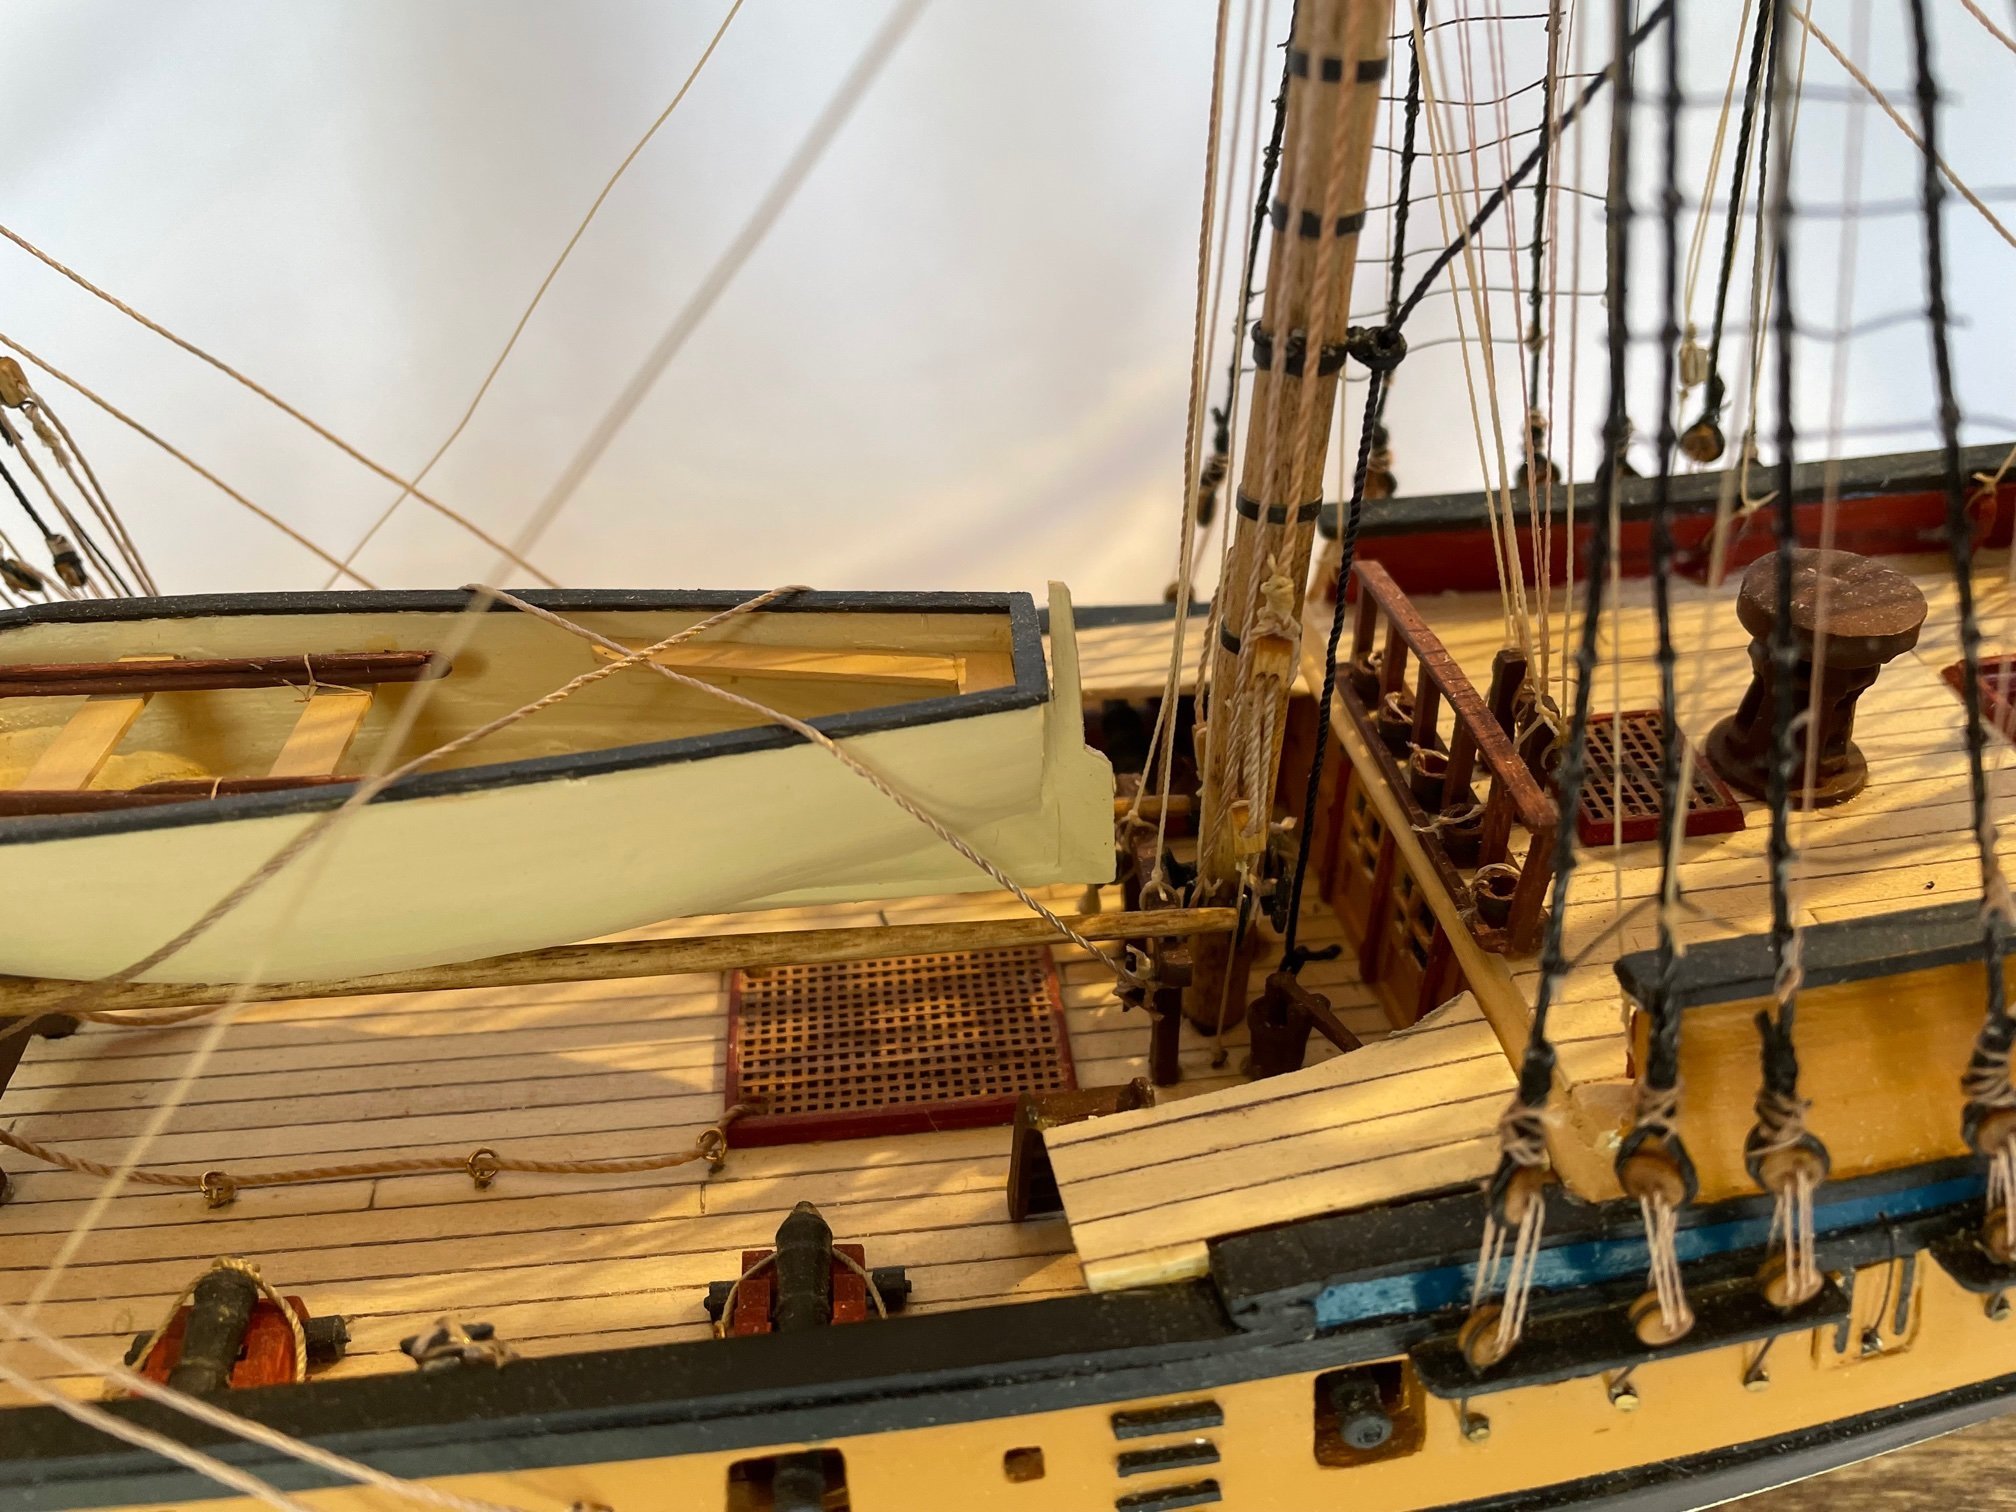
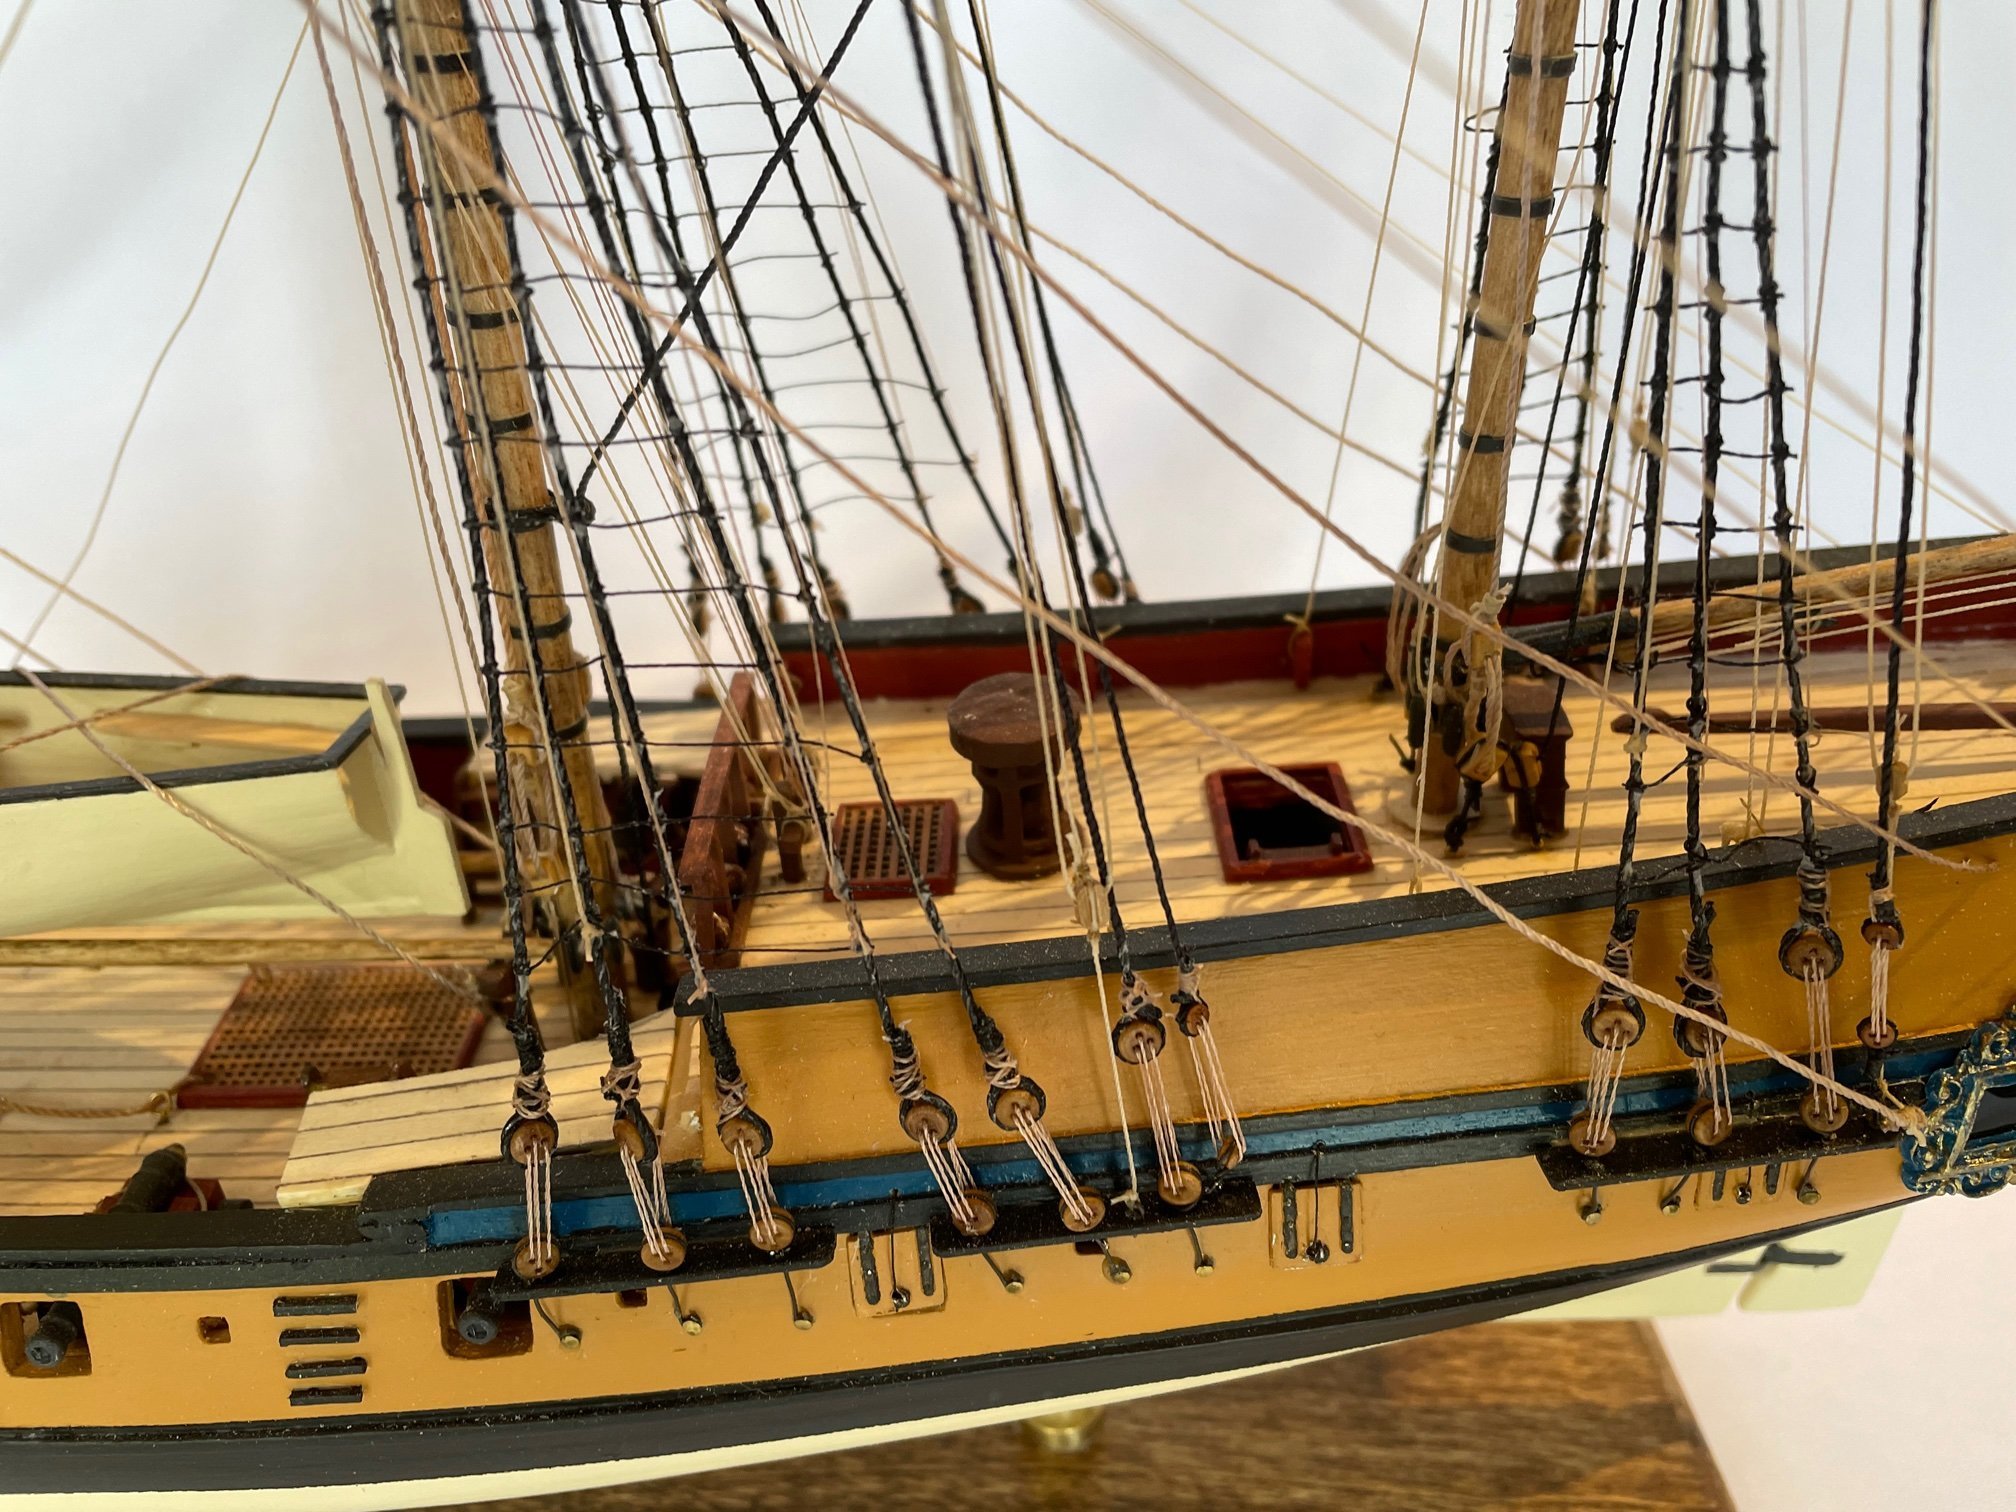
Attached are a set of completed photos. Clearly my photography skills are lacking. Some day I may ask a friend to take some better pictures but for now this is it. suggestions welcome. now off to a new build of the Flying Fish


.thumb.jpg.e704331bfca4c09a79f913c330b974a9.jpg)
.thumb.jpg.dcea3a752b4137c3c4b7cdcfdb1dee11.jpg)
.thumb.jpg.0552ab88d81bfb920e27d5048f62670d.jpg)

.thumb.jpg.c9535ac8a1ff8b2013b4eaa85f7ff257.jpg)
.thumb.jpg.2d864e2629c664d3169fa89214a07dd9.jpg)


- 53 replies
-
- 10
-
-

-
- rattlesnake
- model shipways
- (and 1 more)
-
thank you, it was 3 plus years in the making and I enjoyed it all. I'm waiting for a nice day to take some final outdoor pictures to post. Then I need to find a reasonable case to put it in. Anyone have a source for a reasonable acrylic case?
- 53 replies
-
- 1
-
-
- rattlesnake
- model shipways
- (and 1 more)
-
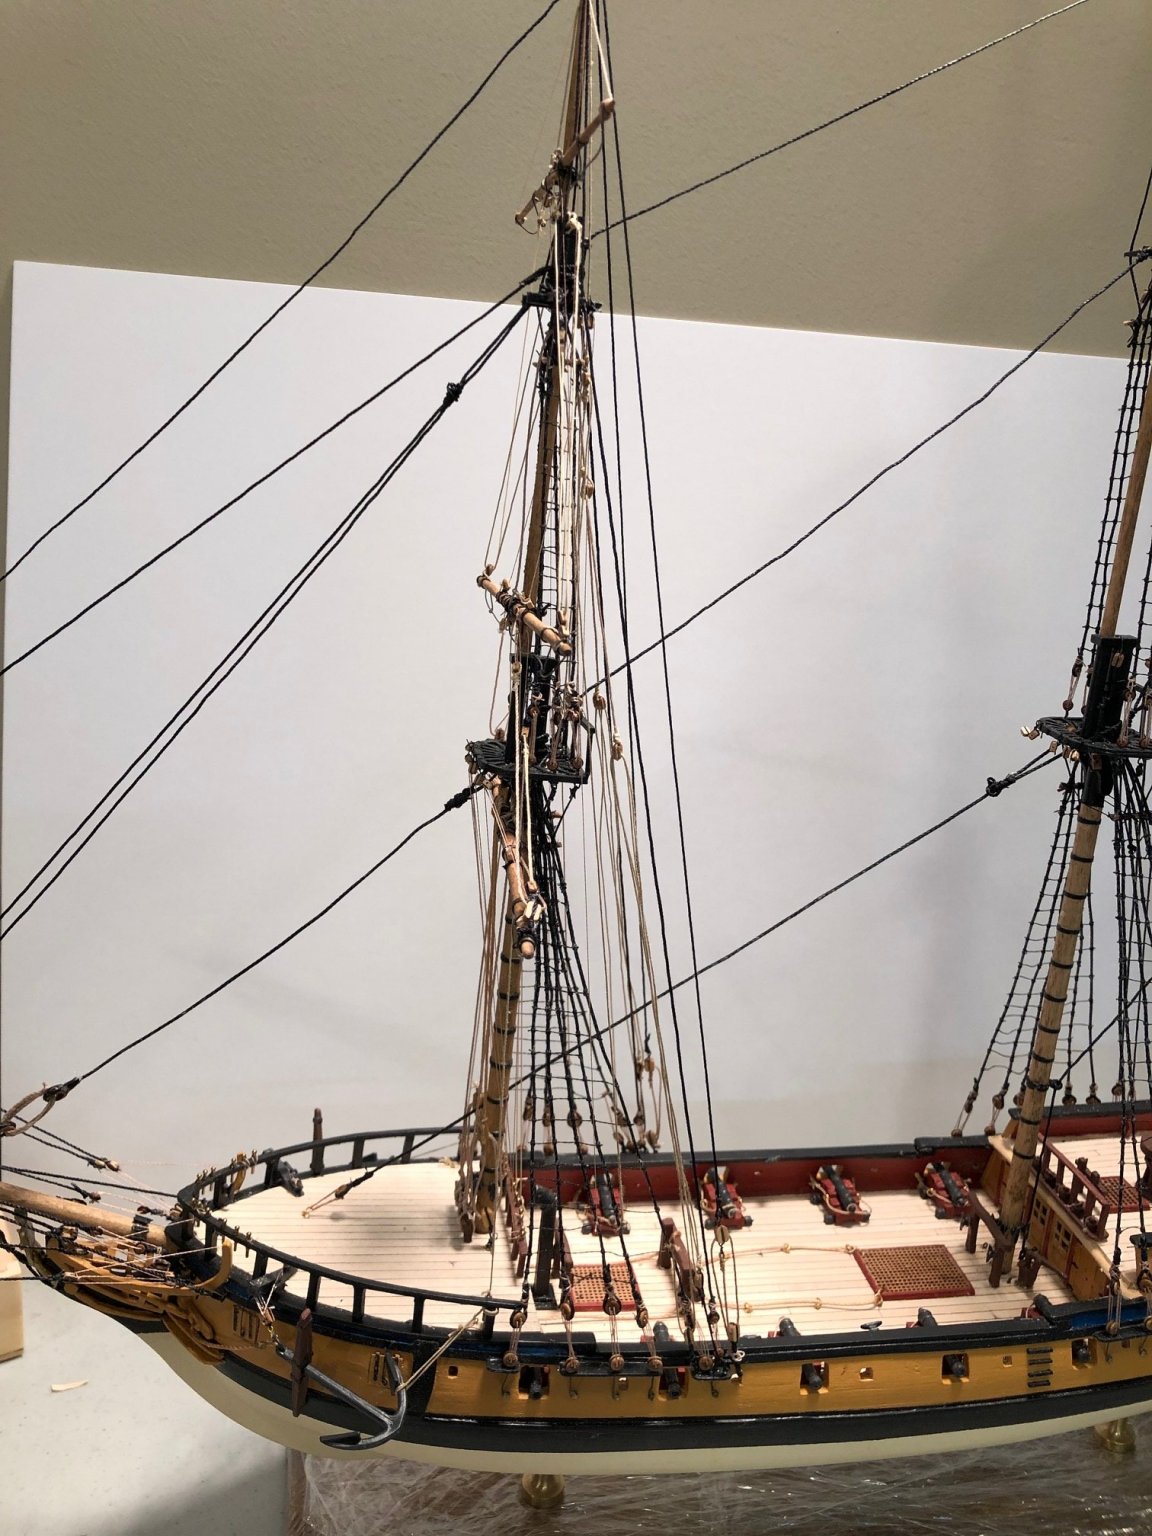
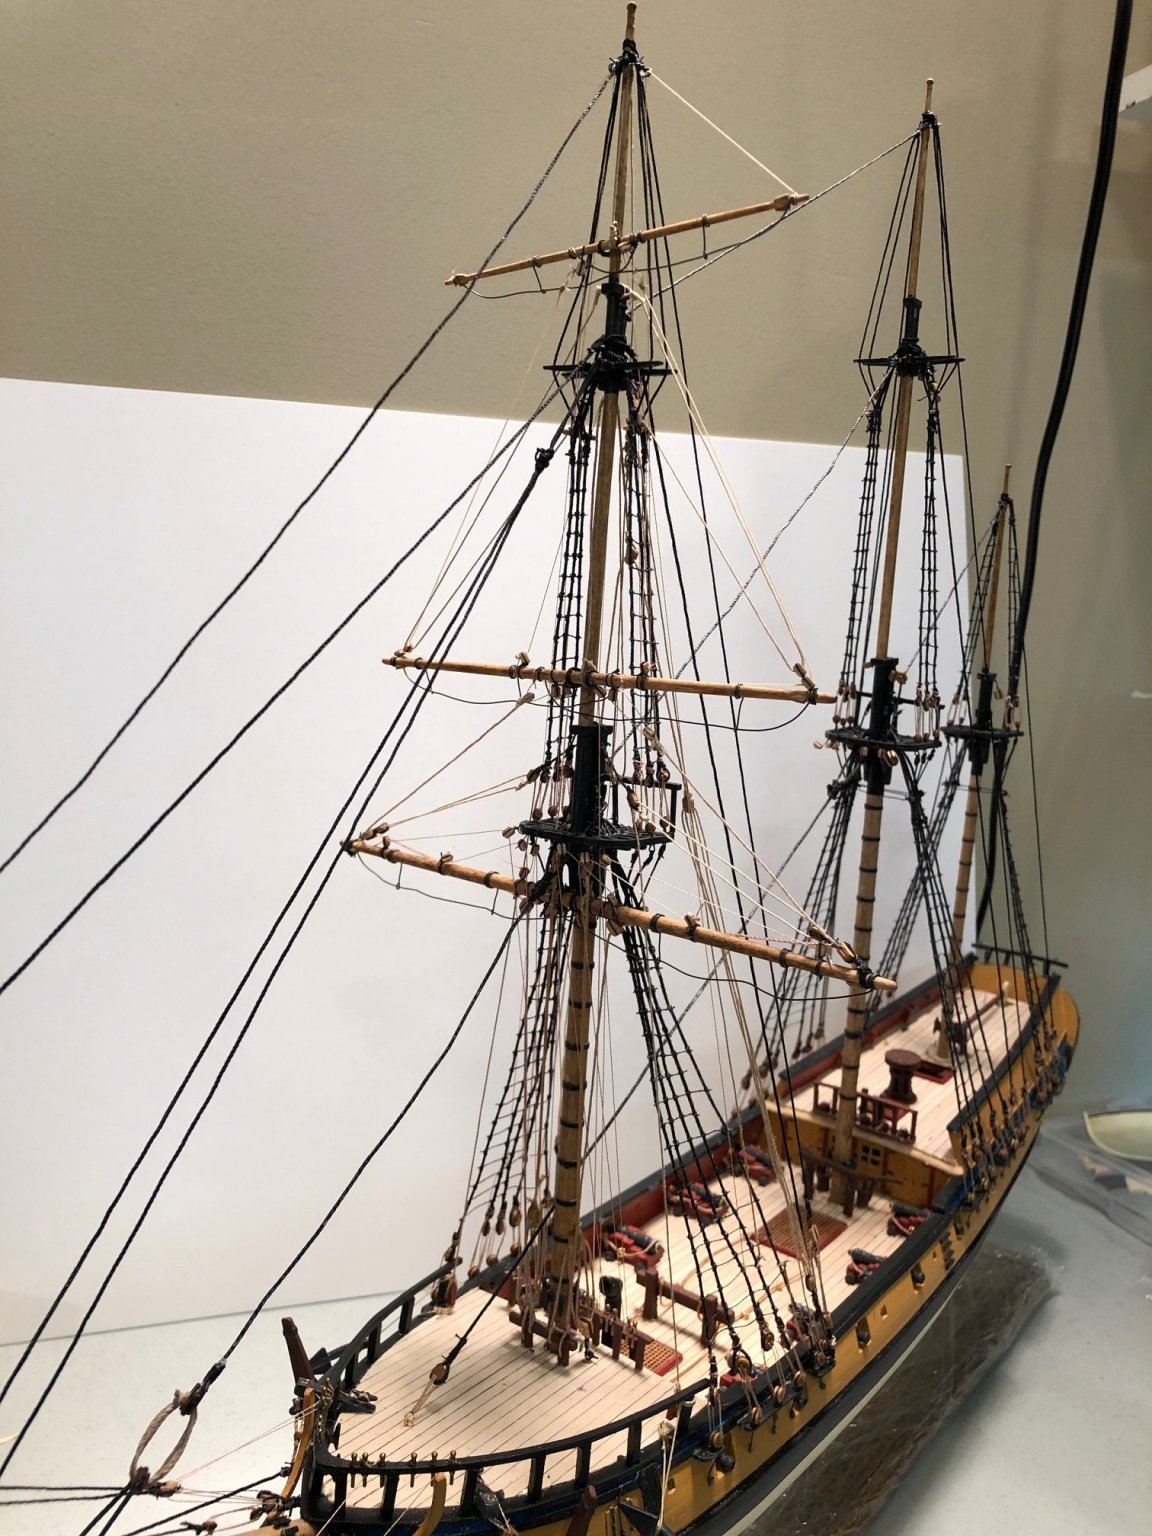
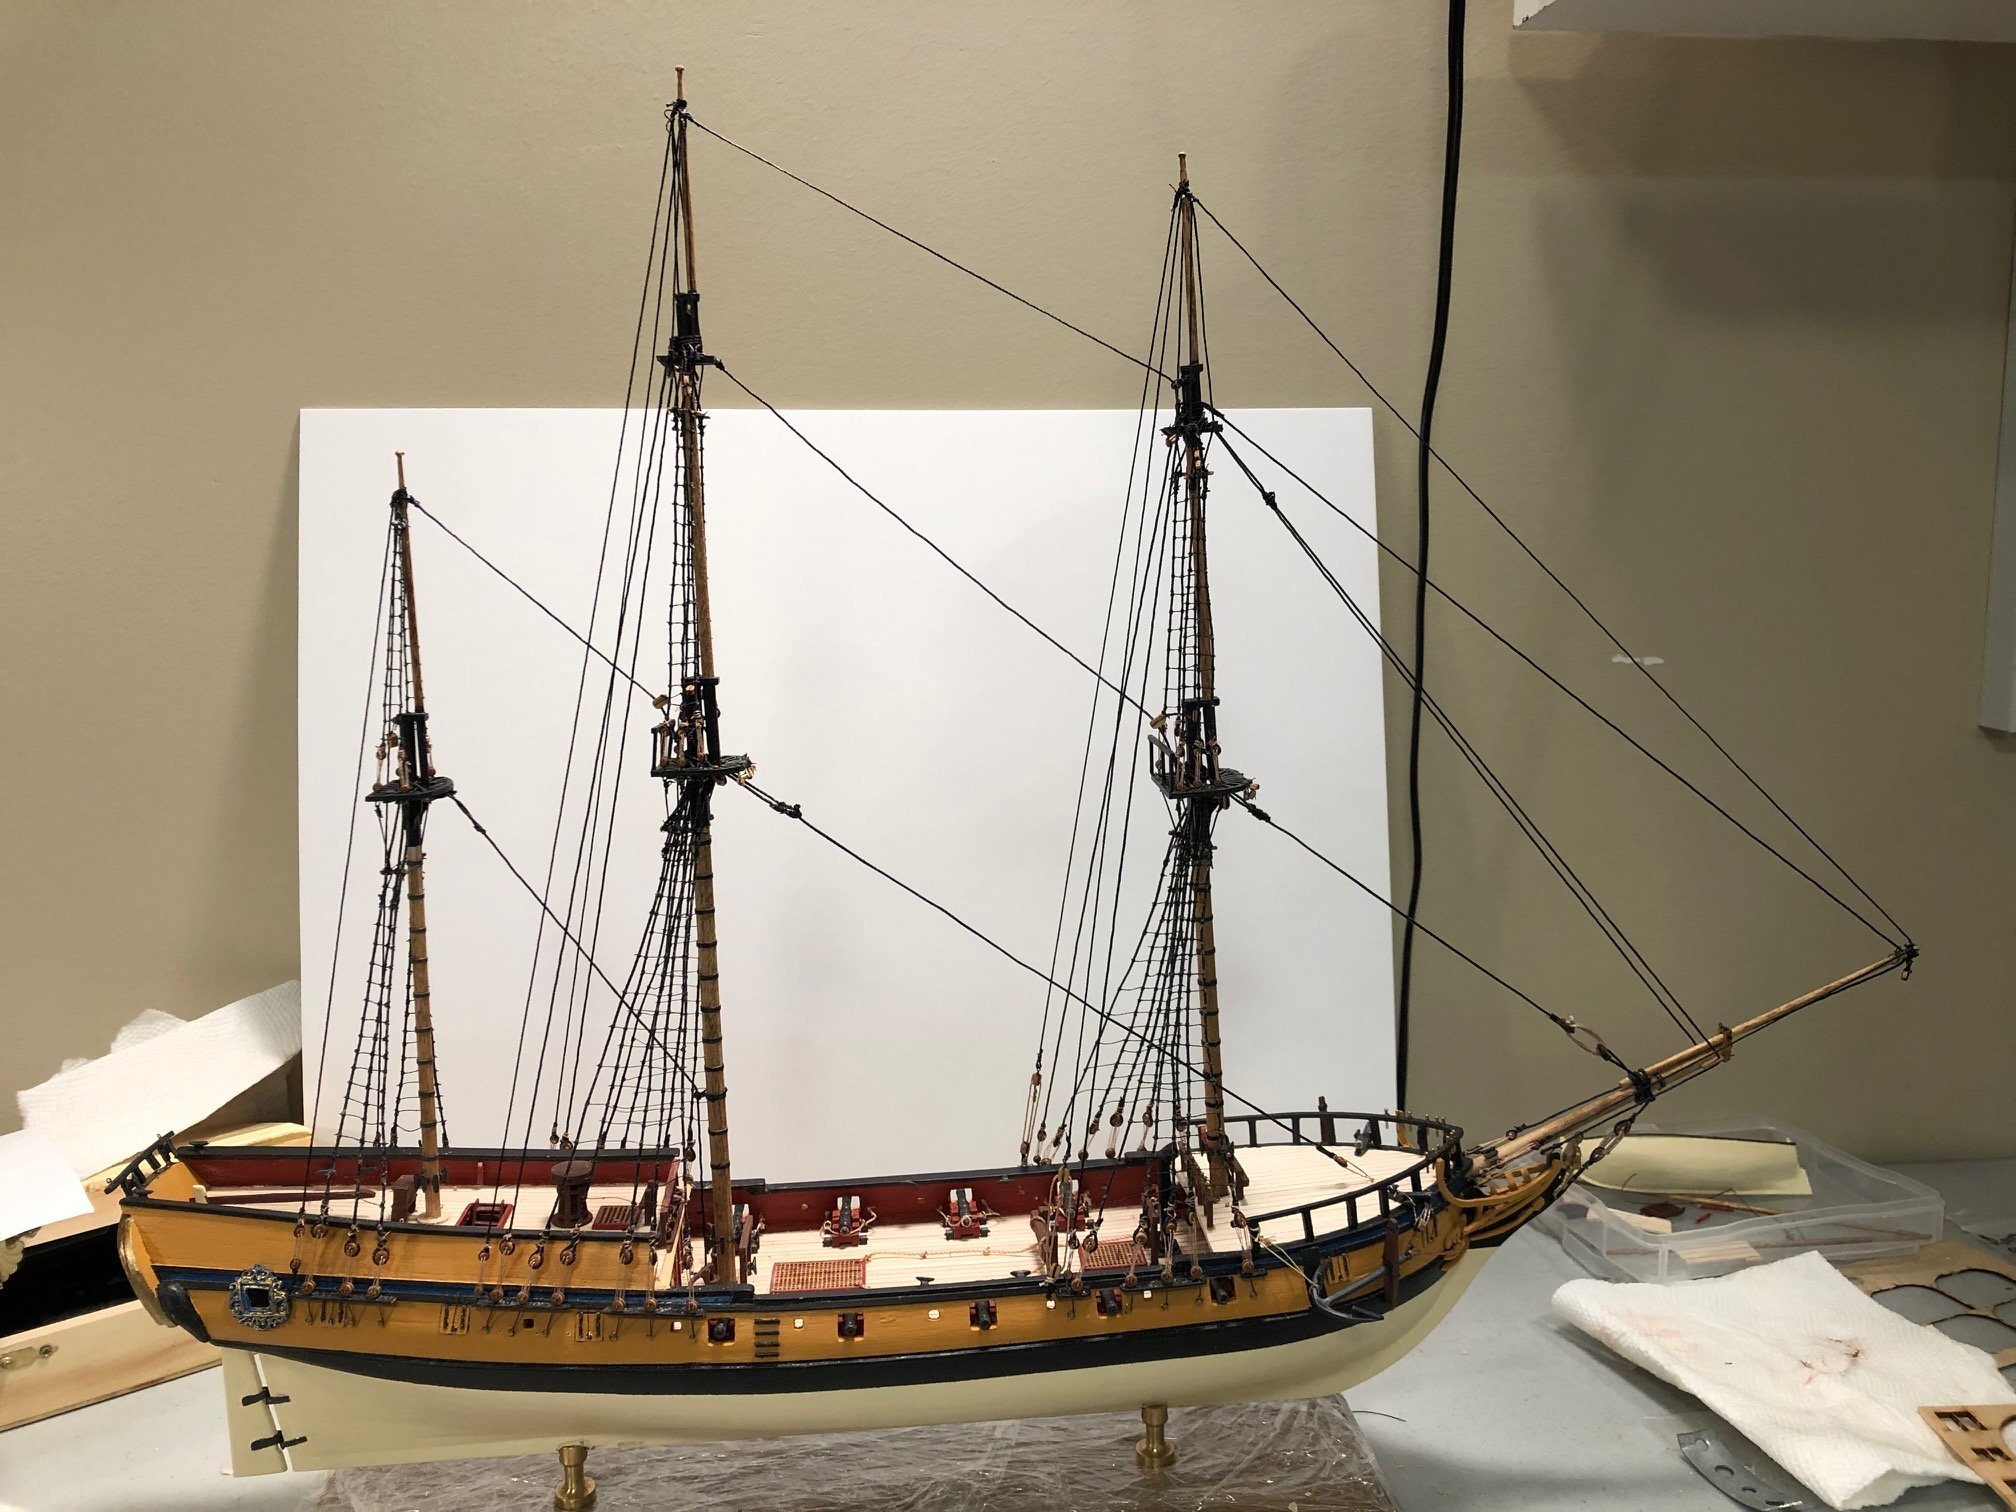
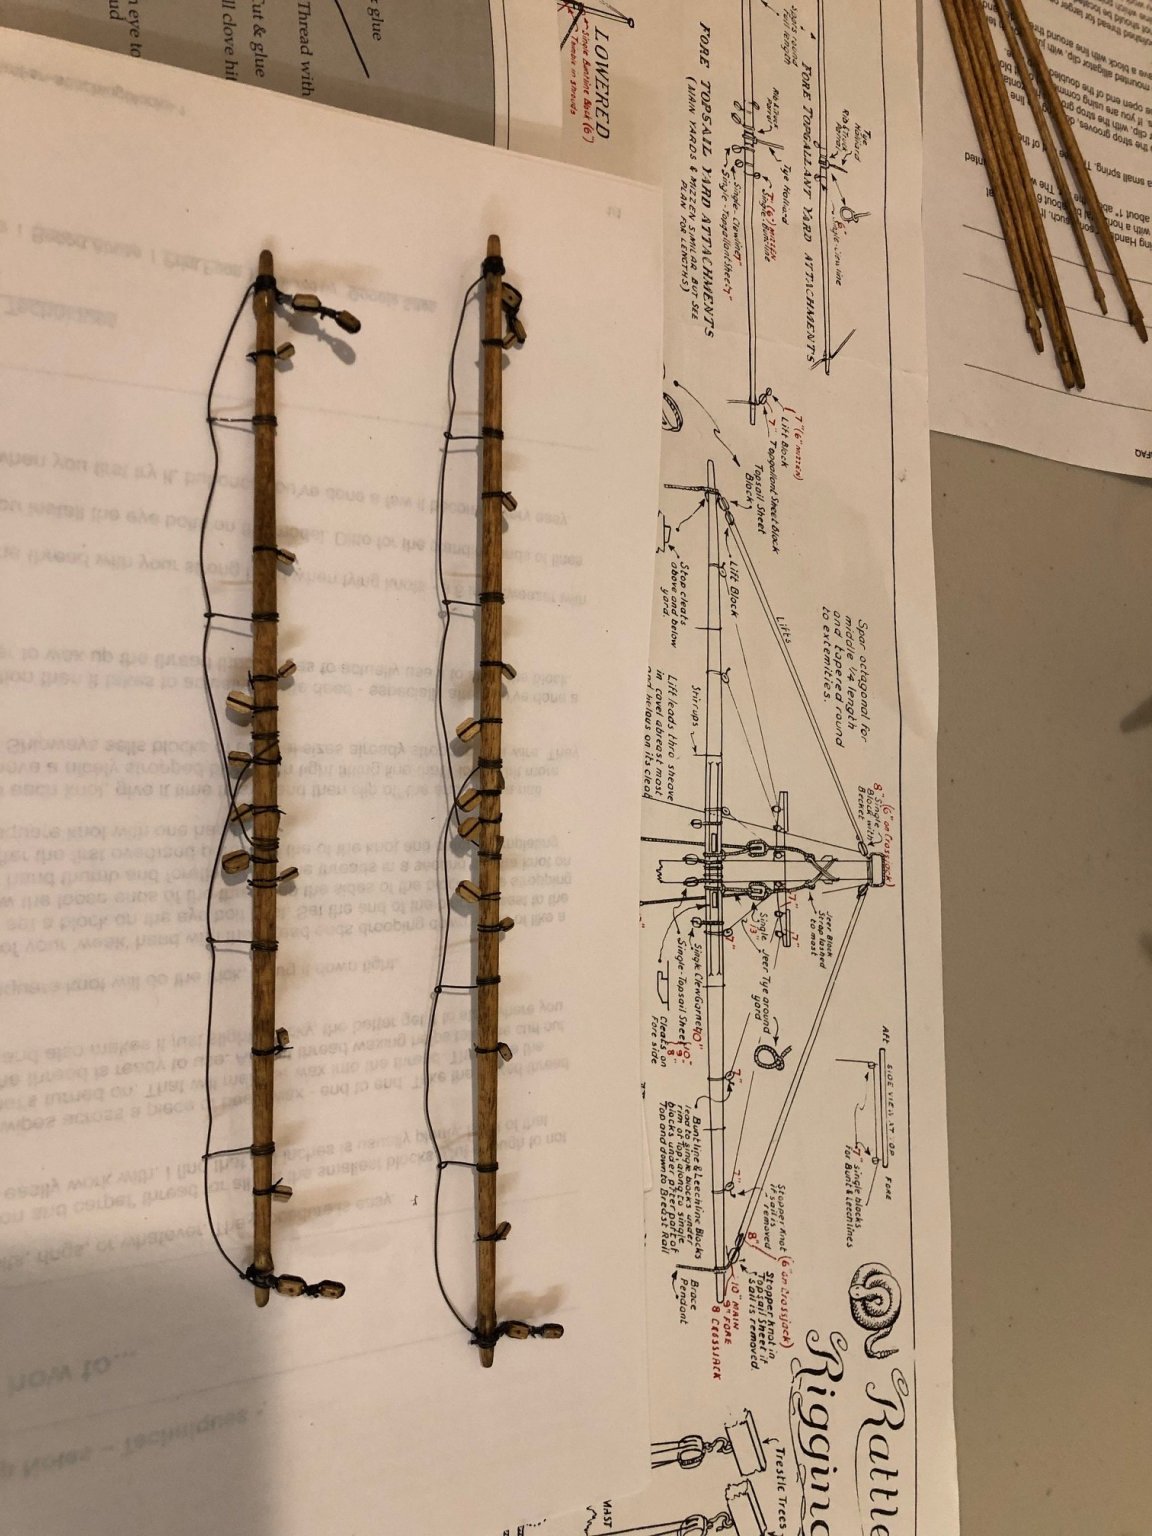
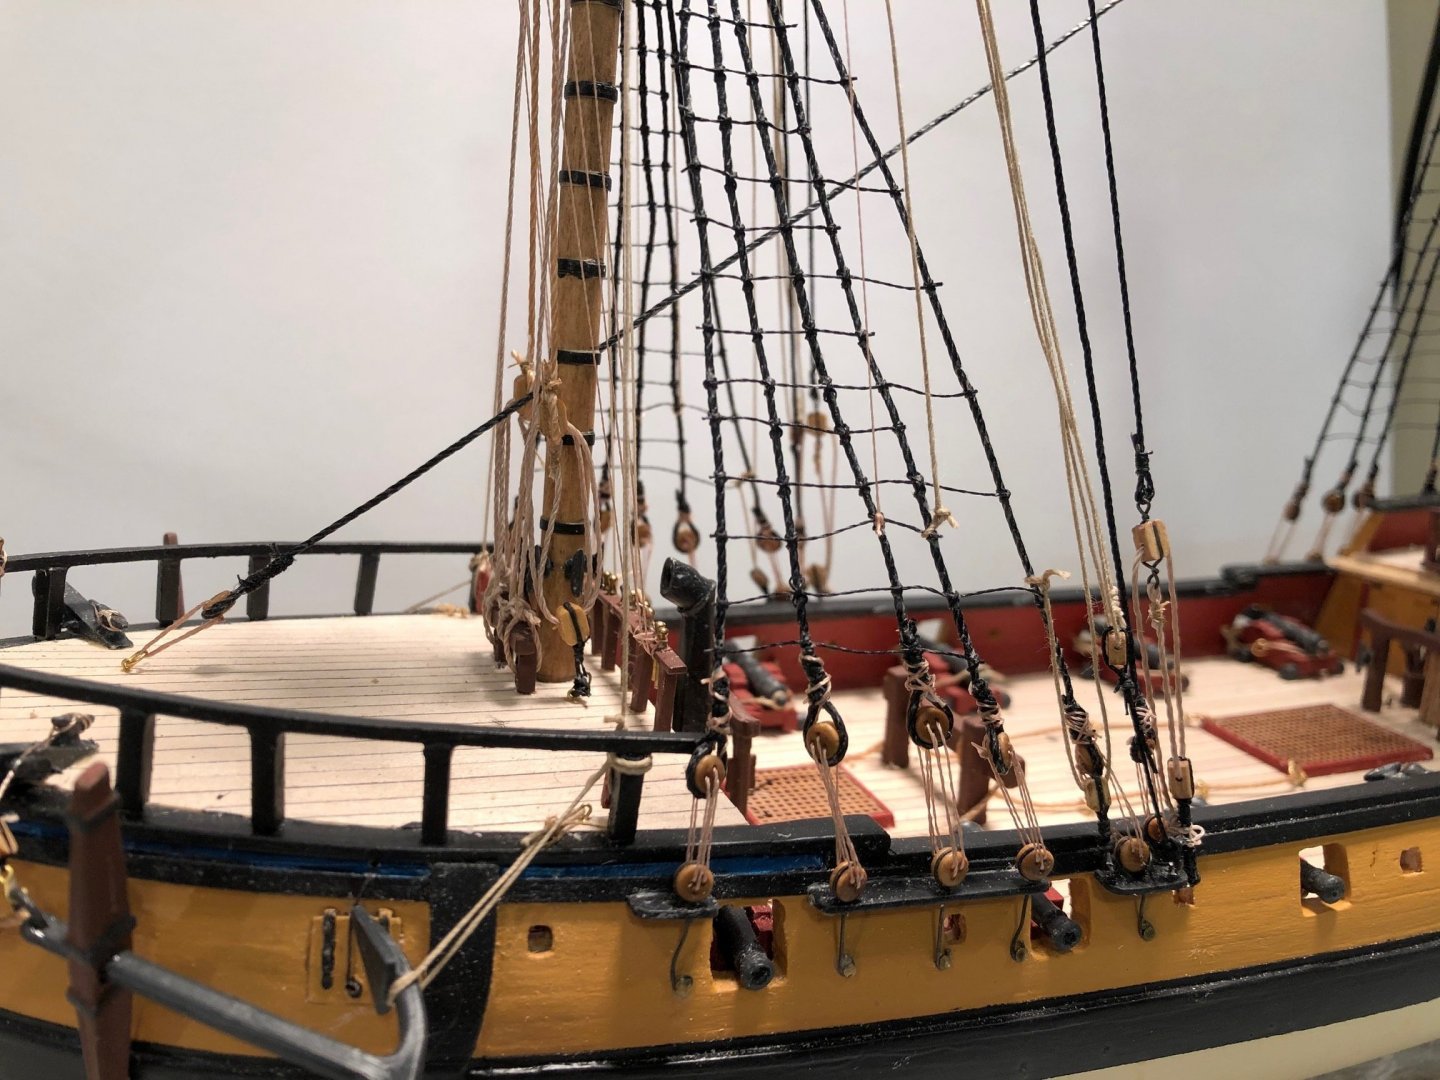
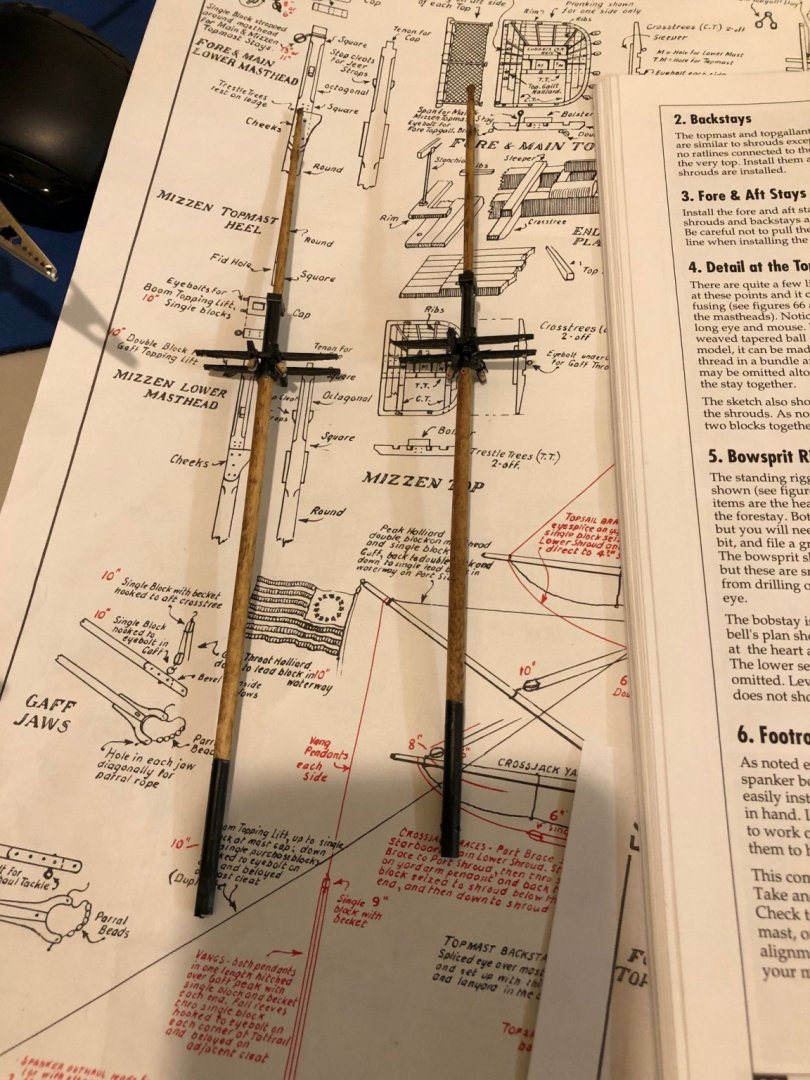
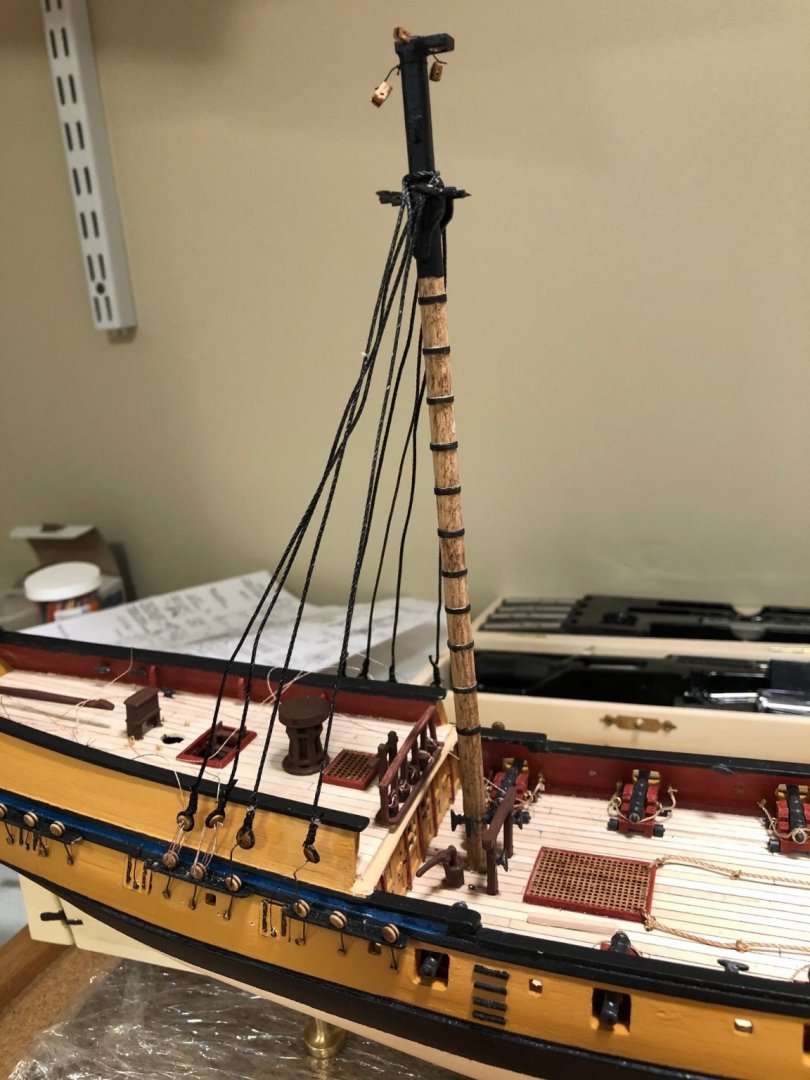
as of 1/18/2021 - The attached pics show the hanging of the spars on the foremast and the associated rigging.

.thumb.jpg.cd233375968bf0e020cc7648a39c19e5.jpg)


- 53 replies
-
- 5
-
-
- rattlesnake
- model shipways
- (and 1 more)
-
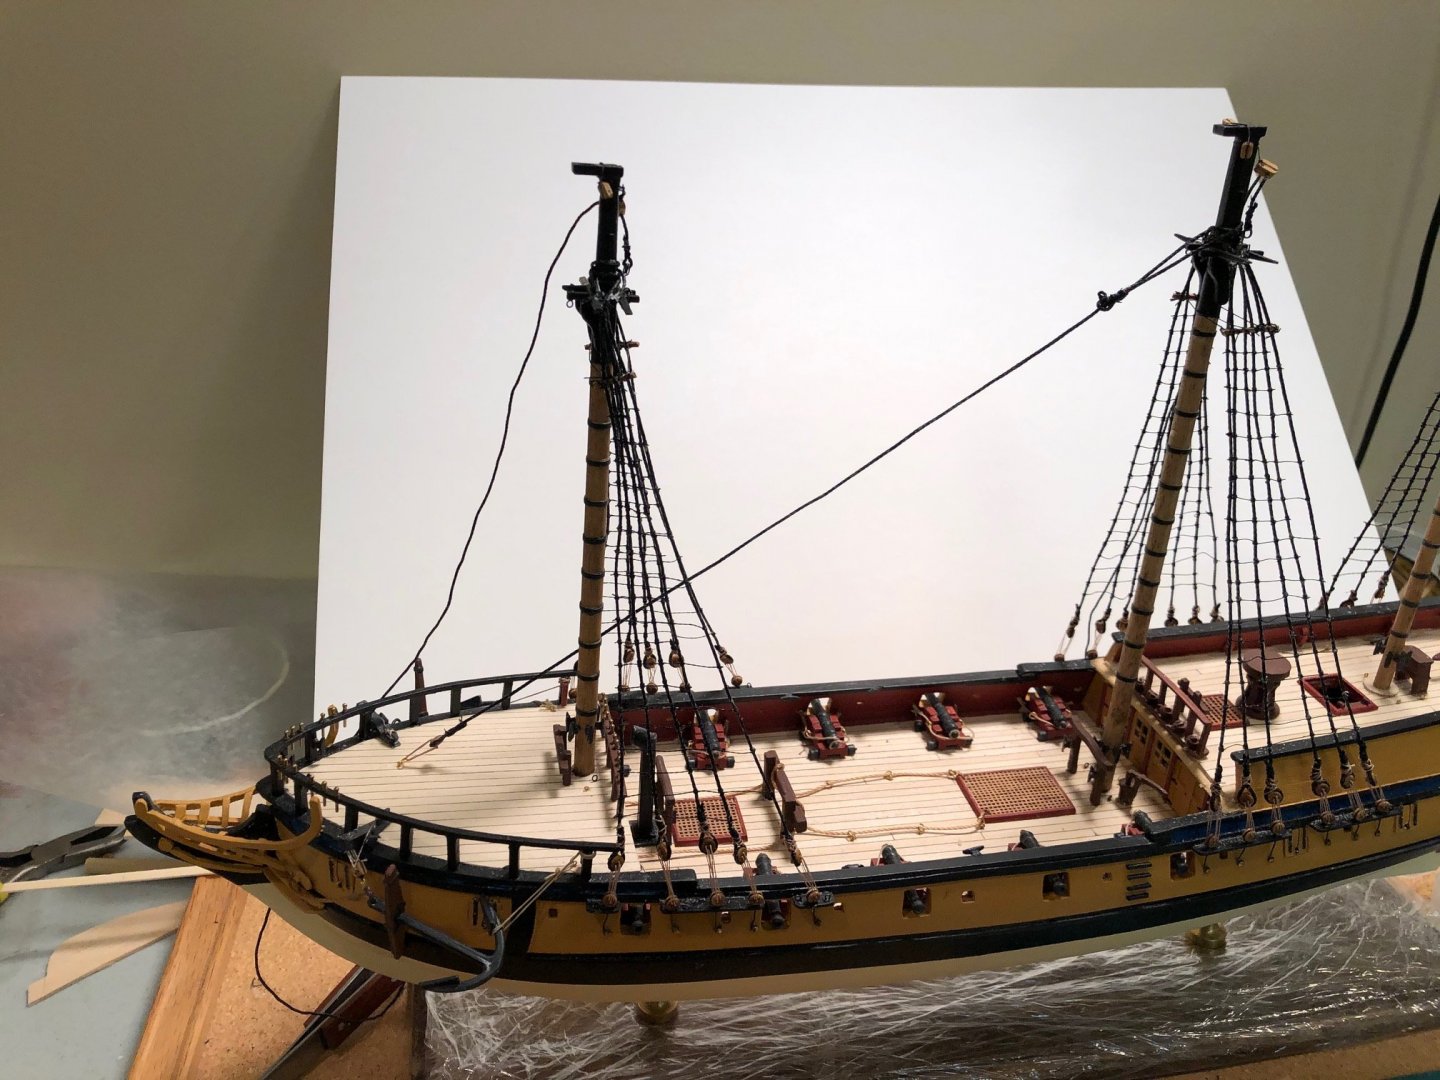
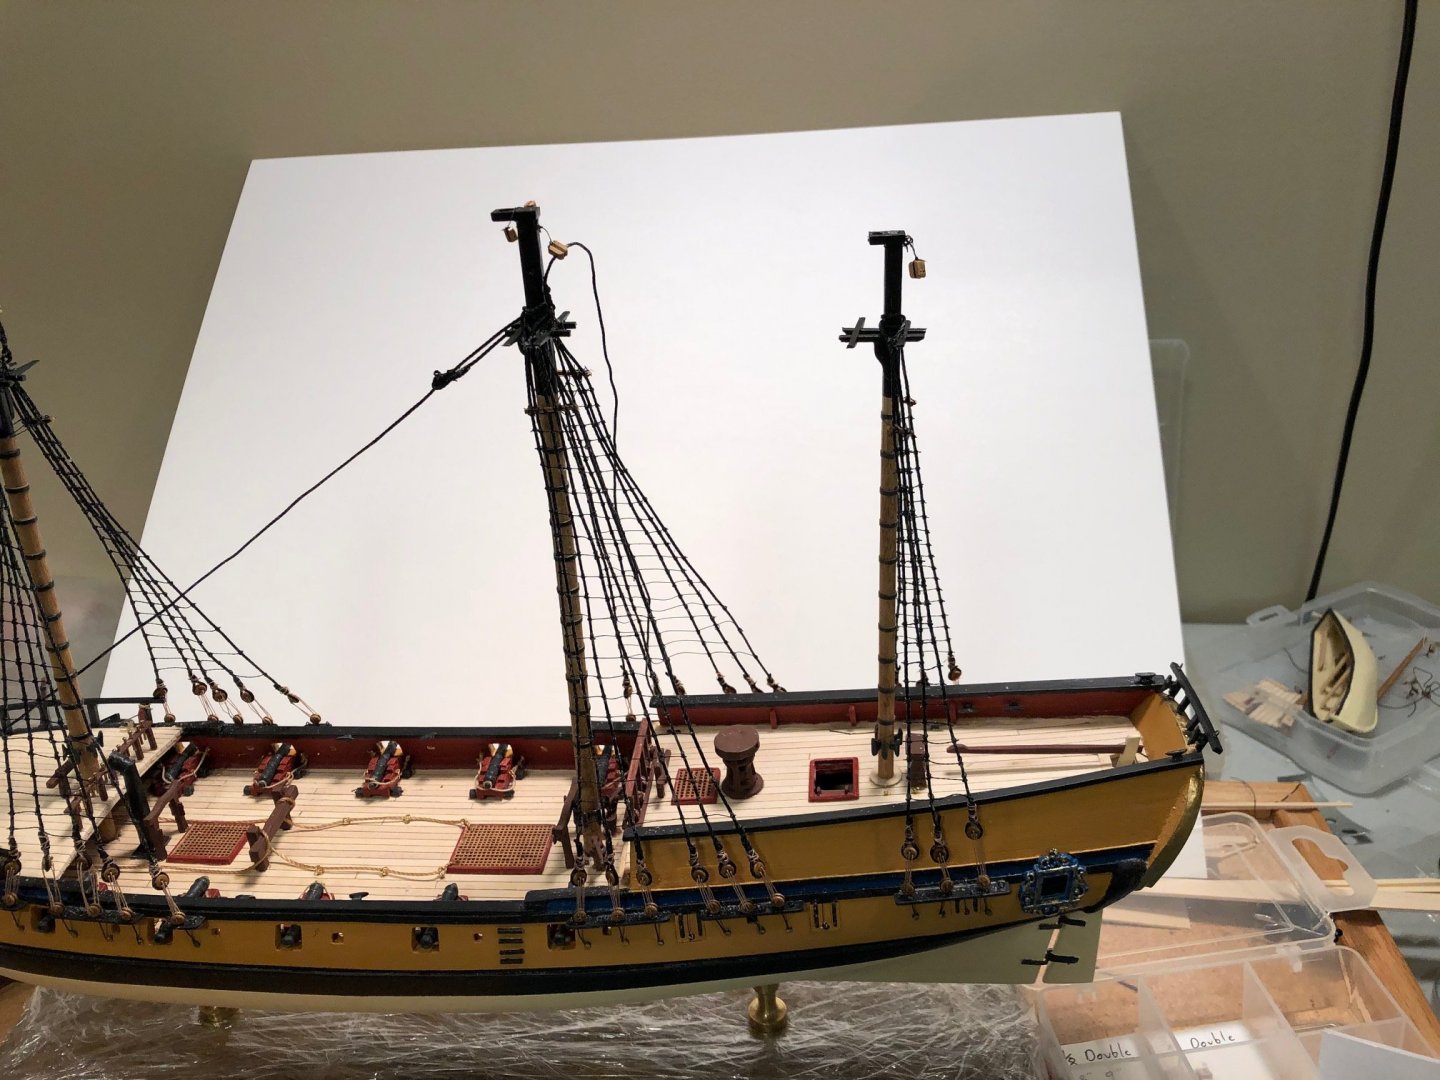
As of 12/17/2020 - photos as the the ratlines and most of the standing rigging in place


- 53 replies
-
- 4
-
-
- rattlesnake
- model shipways
- (and 1 more)
-
I have a confession to make. I finished the model yesterday and realized I hadn't made a post here for 10 months. Didn't mean to be a slug but it seems to have happened. I did take photos along the way so from here on I'm really recreating the work from the past 10 months.
- 53 replies
-
- 1
-
-
- rattlesnake
- model shipways
- (and 1 more)
-
continuing with the catch up. There was a bit of pause with Golf and real boating over the summer. In the pictures below the lower shrouds and ratlines are nearing completion. I'm testing the limits of my ability to keep lines straight and taught. While still striving for a really good build, I've ruled out being able to keep up with the quality of the builds I follow on this sight. There will be more ships to build to achieve that in the future. As everything is a learning process, at some point I just have to move on.

- 53 replies
-
- 3
-
-
- rattlesnake
- model shipways
- (and 1 more)
-
It seems I'm not great about taking pictures and even worse at posting the ones I take. I have some catching up to do. The good news is I am working on the ship and enjoying it. One of the few winter time things we can do without restrictions. Its starting to have some momentum around the build. Most of these pictures are old so they will need to speak for themselves as I don't recall what might have been in my head when I took them. At this point I had declared the deck finished although I now know I still need to add the platforms and stairs. This set of pictures is from back in April


- 53 replies
-
- 3
-
-
- rattlesnake
- model shipways
- (and 1 more)
-
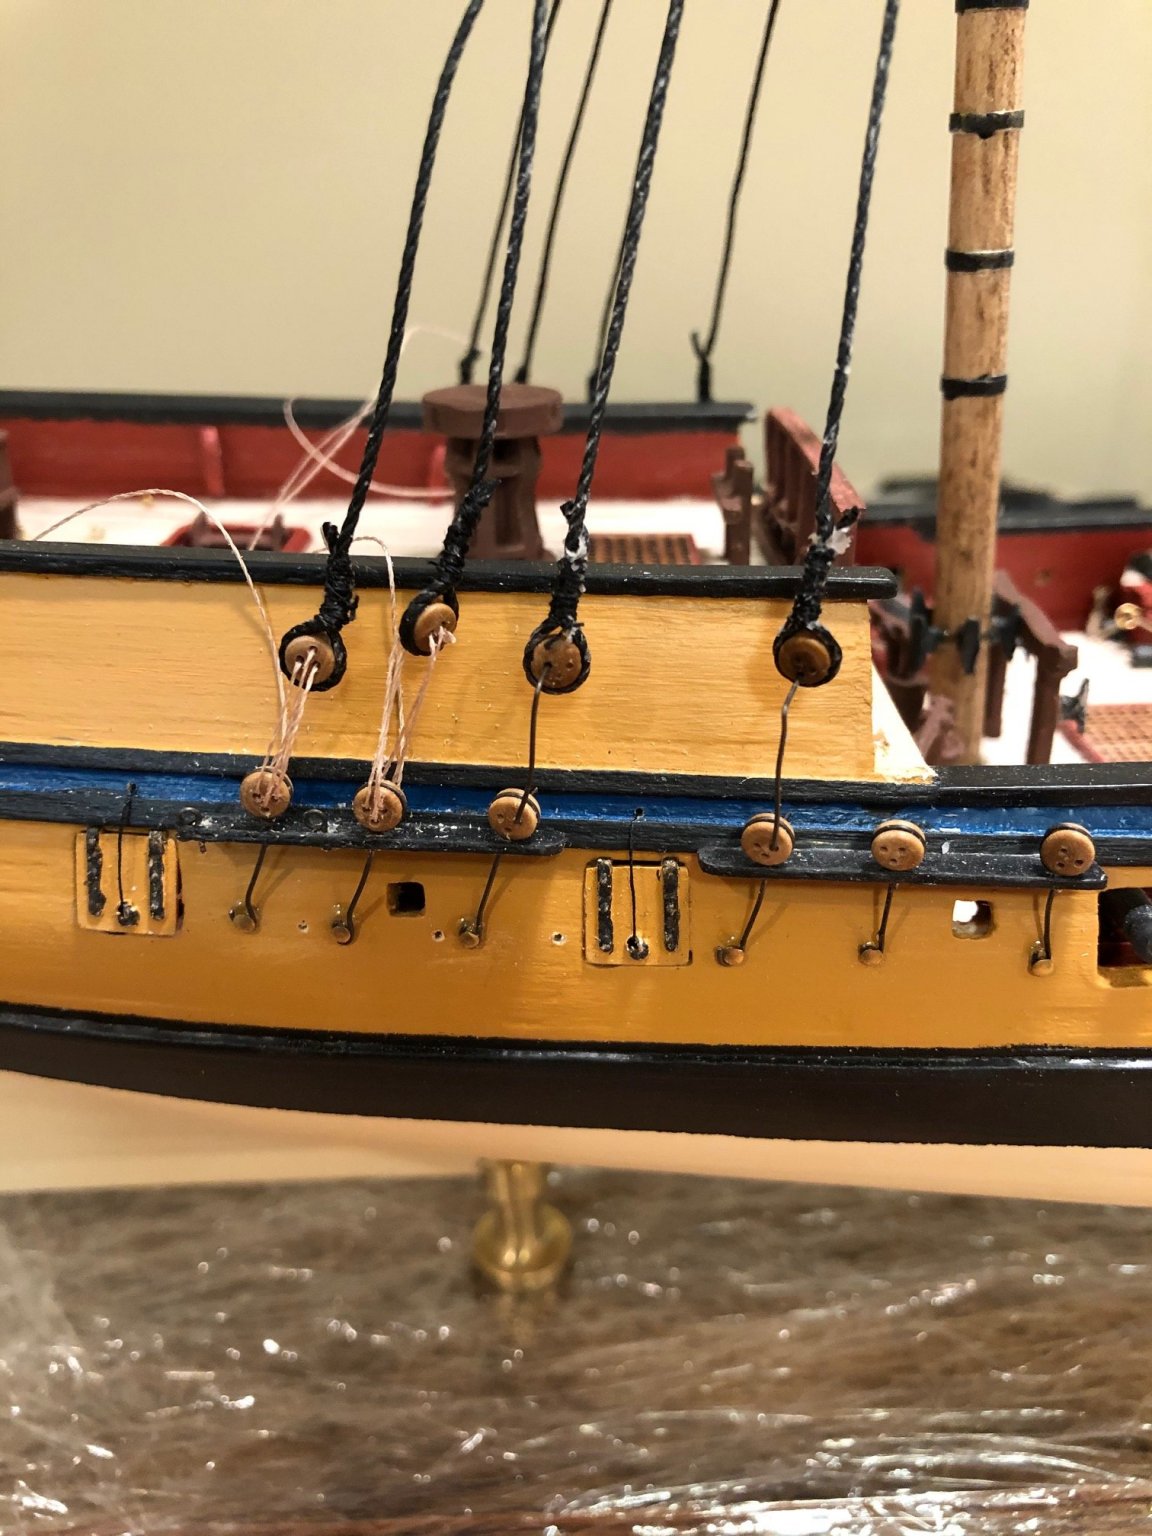
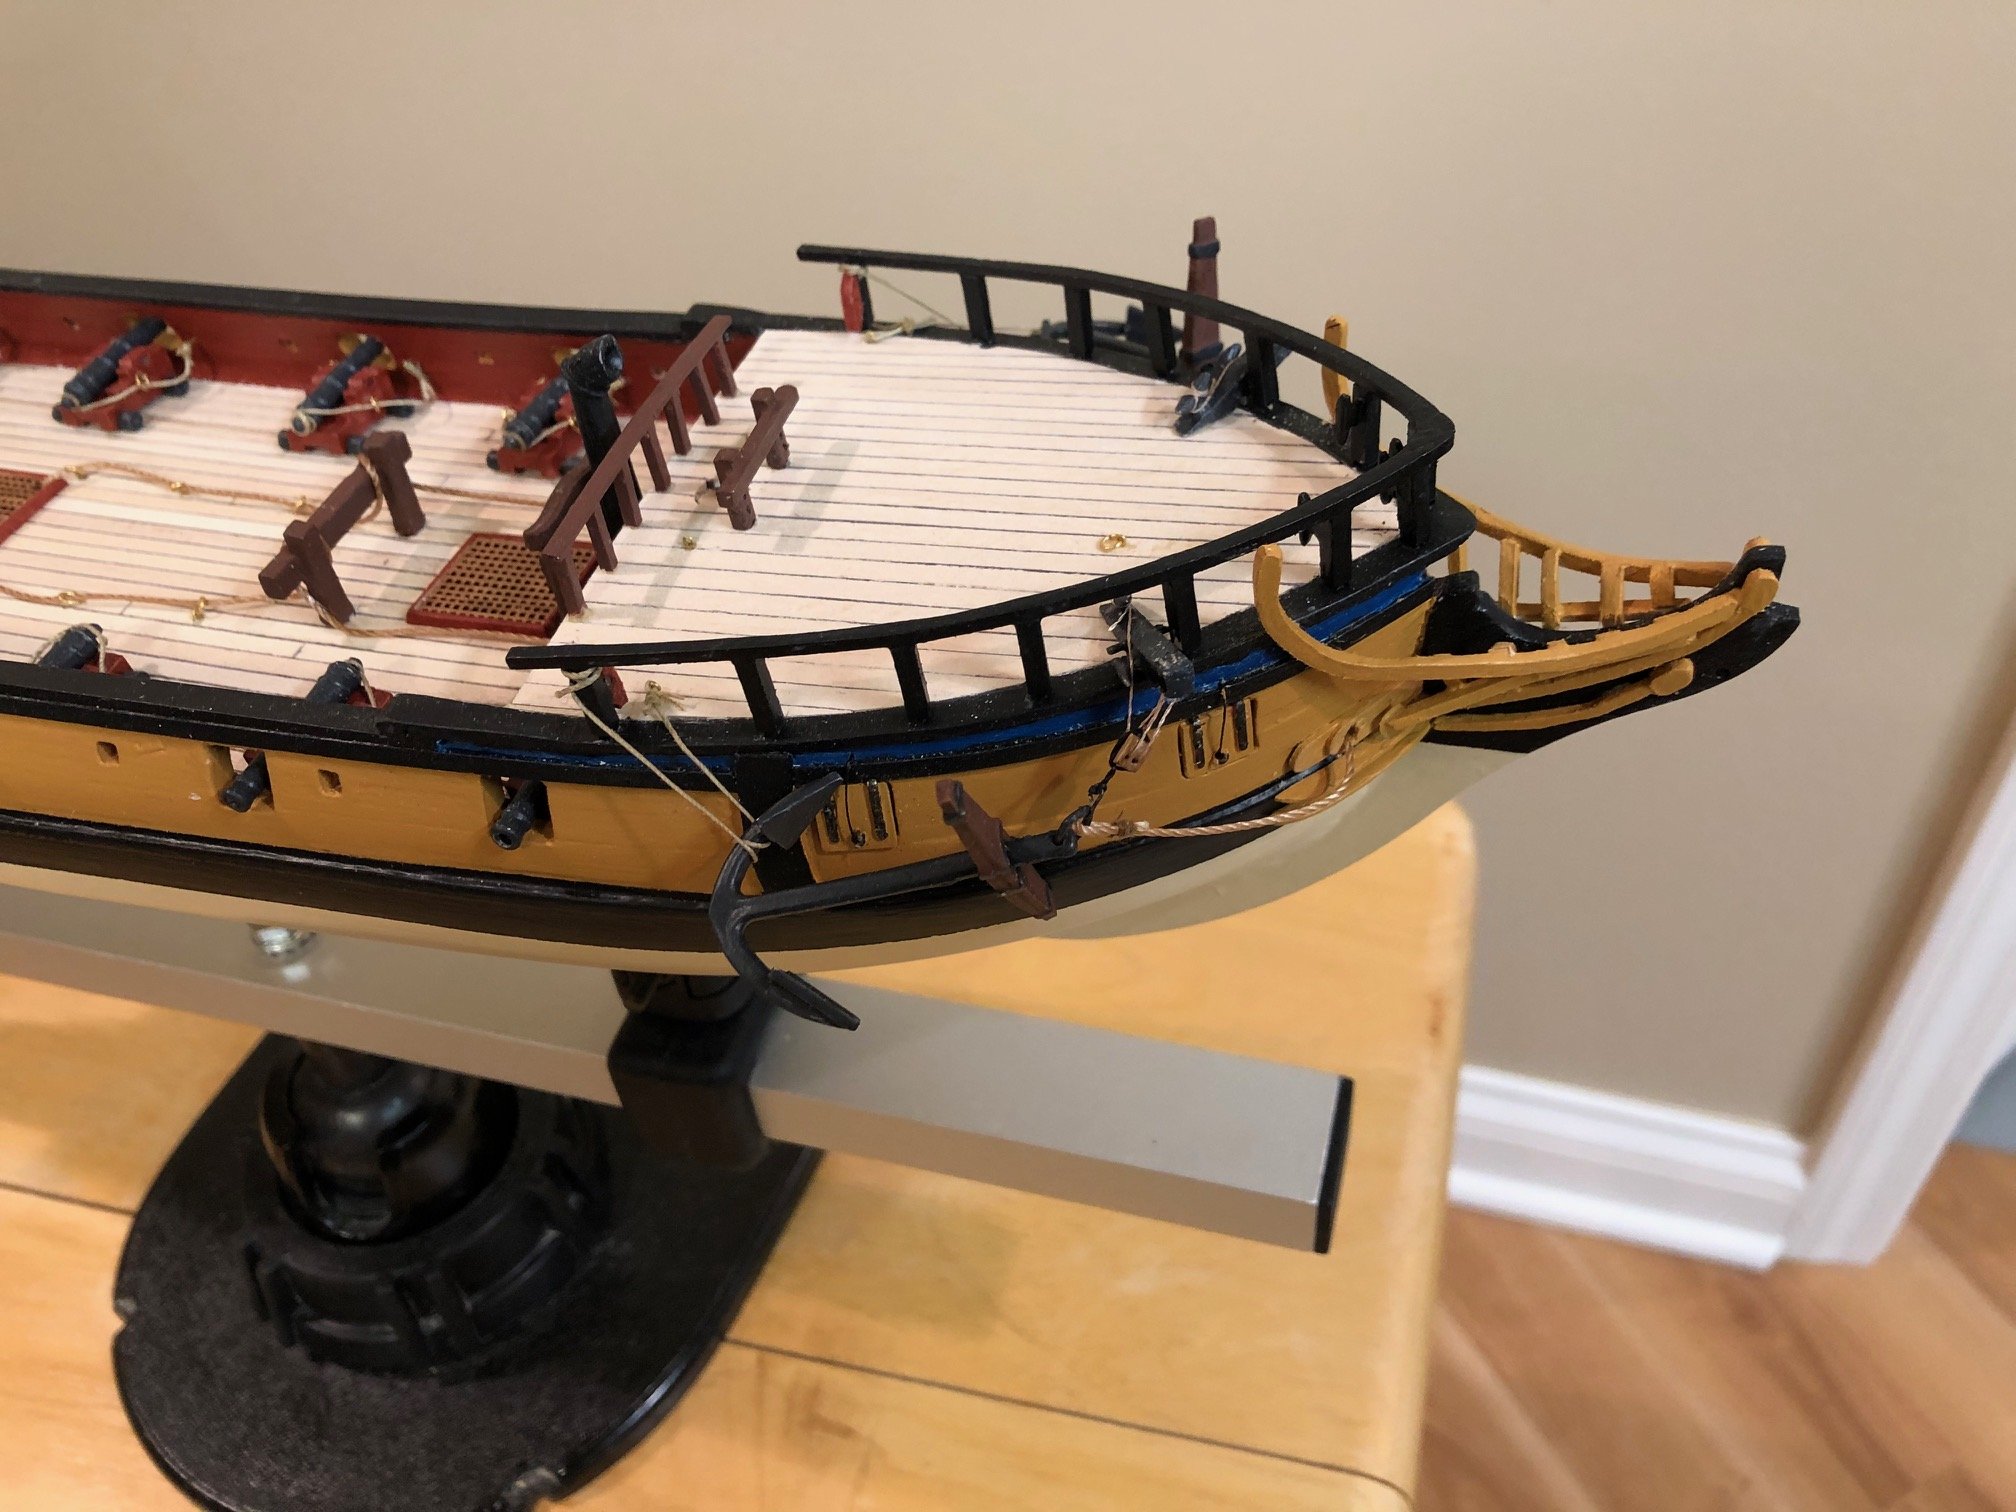
Just shy of a year since my last post. took a break in the spring and then golf and boating season hit. Have been doing some work since the fall but haven't been posting. Attached are a few pictures. I'm at the stage where most of the deck fixtures have been complete. I've been taking the approach of using what is in the box rather than trying to custom build things as the work as presenting in the model is daunting enough for build #2. I've also simplified the gun rigging as the additional lines just didn't look good at my skill level. hope everyone is having a great new year. bill

- 53 replies
-
- 8
-
-
- rattlesnake
- model shipways
- (and 1 more)
-
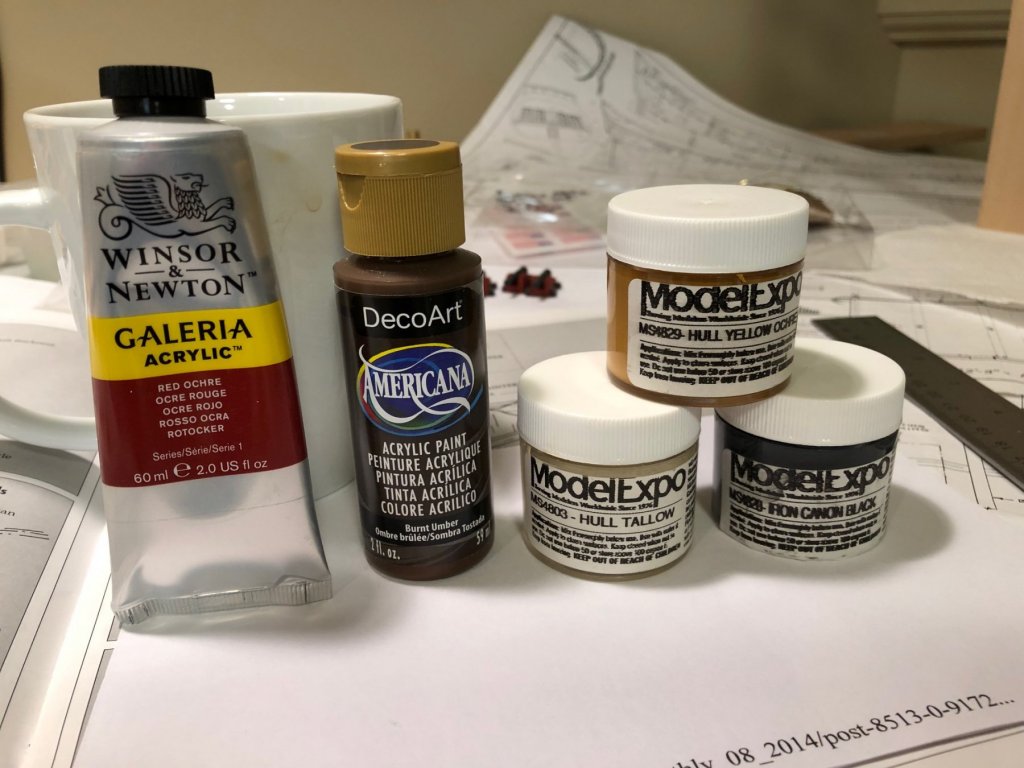
Ed, I bought the Model Shipways paint package with the kit so for the most part that has been the baseline. I've spent a lot of time looking at other rattlesnake builds and took the Red Ochre color from several of those builds. I've also just gone to Michael s crafts from some of the colors when I wasn't wild about what color was shown. A lot of my color scheme was modeled after Scott Larkins Rattlesnake build. I had some trouble finding Red Ochre and honestly I'm not as happy with that paint as the others. The outcome and color is great, it's just thicker and takes more effort to thin. Others on the site have complained about the Model Shipways paint, I haven't had any issues with it. this is only model 2 for me, so I'm sure others have much deeper experience.
- 53 replies
-
- 2
-
-
- rattlesnake
- model shipways
- (and 1 more)
-
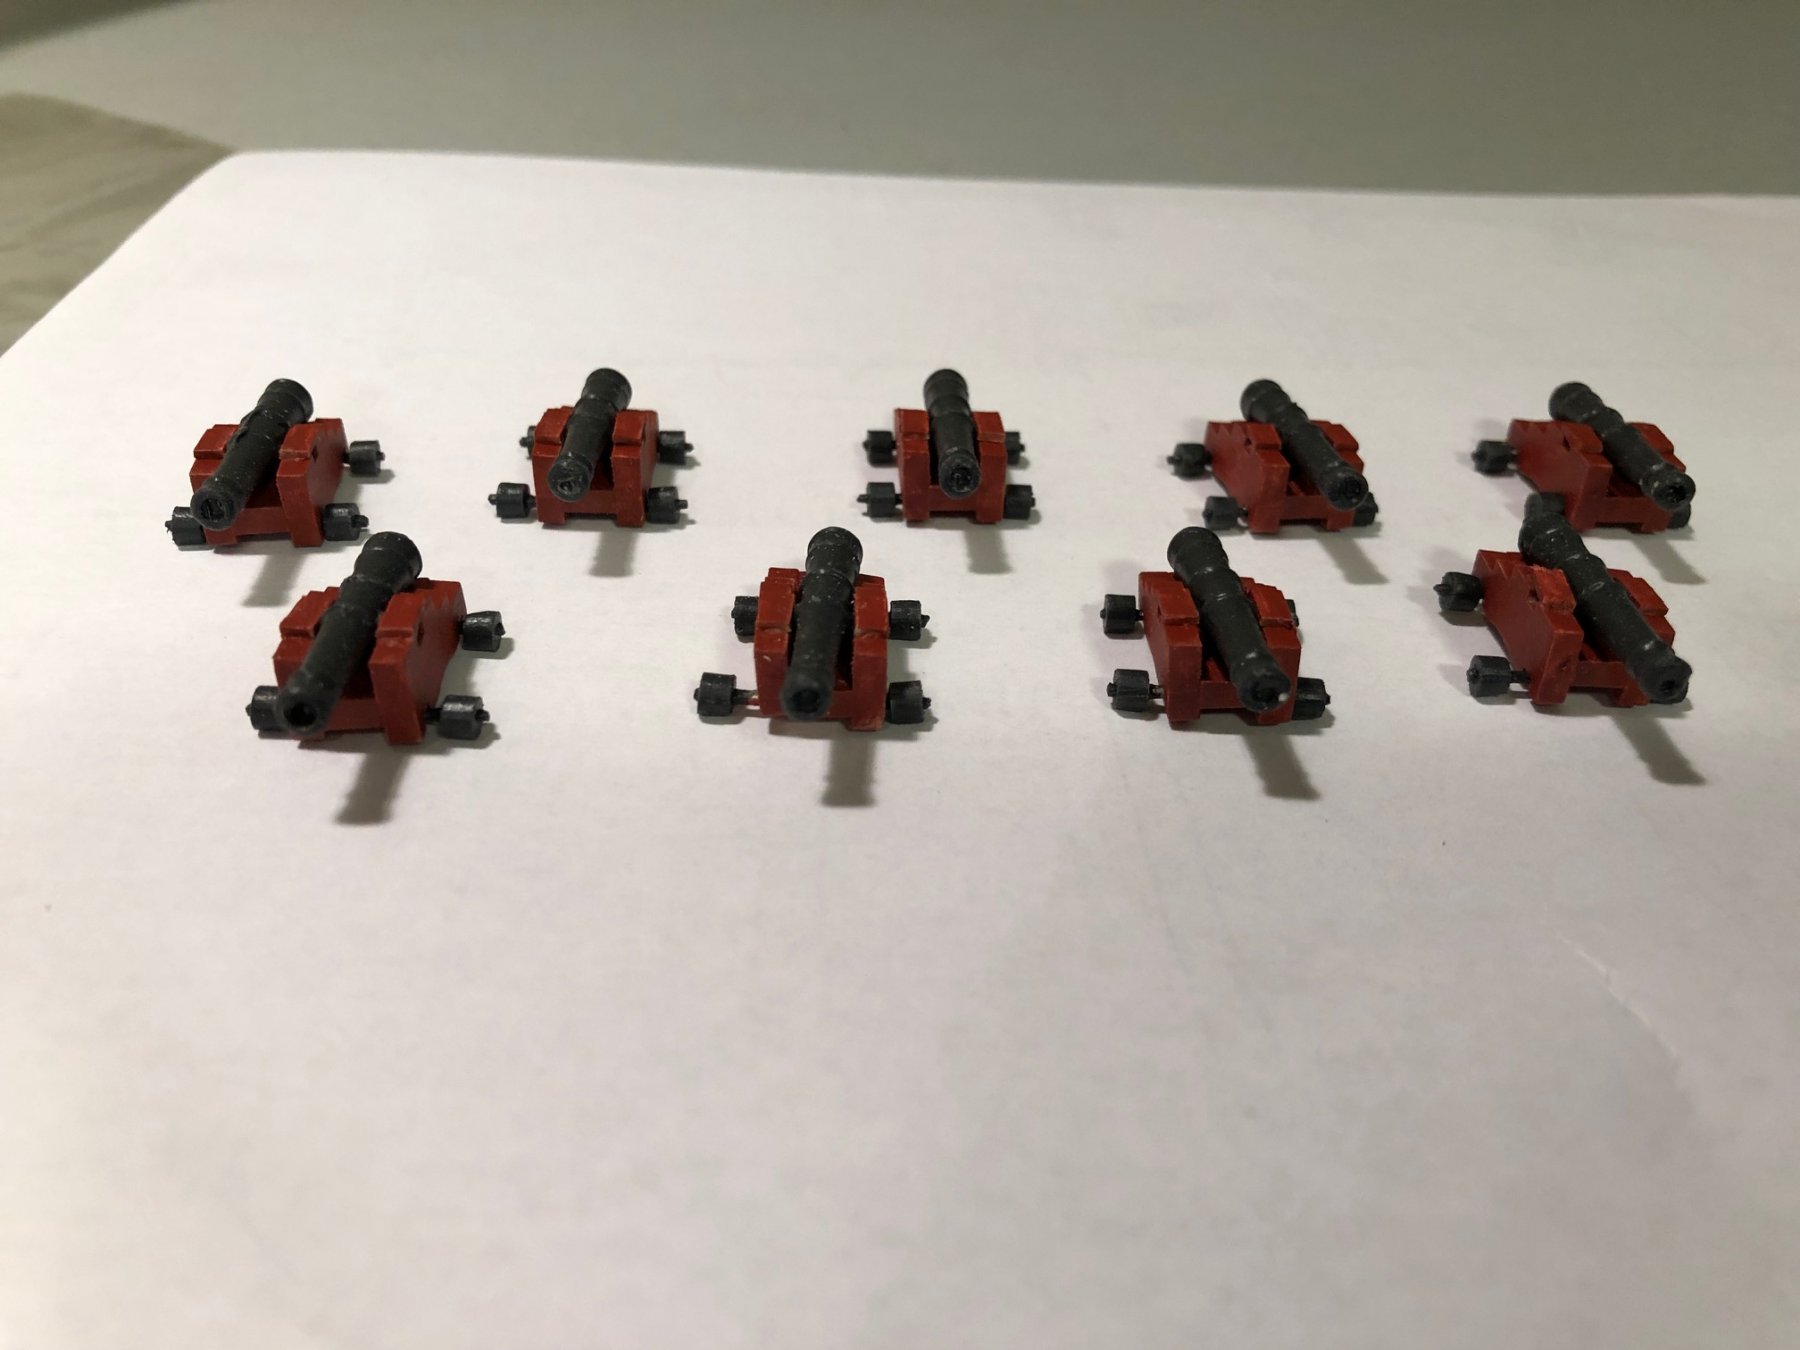
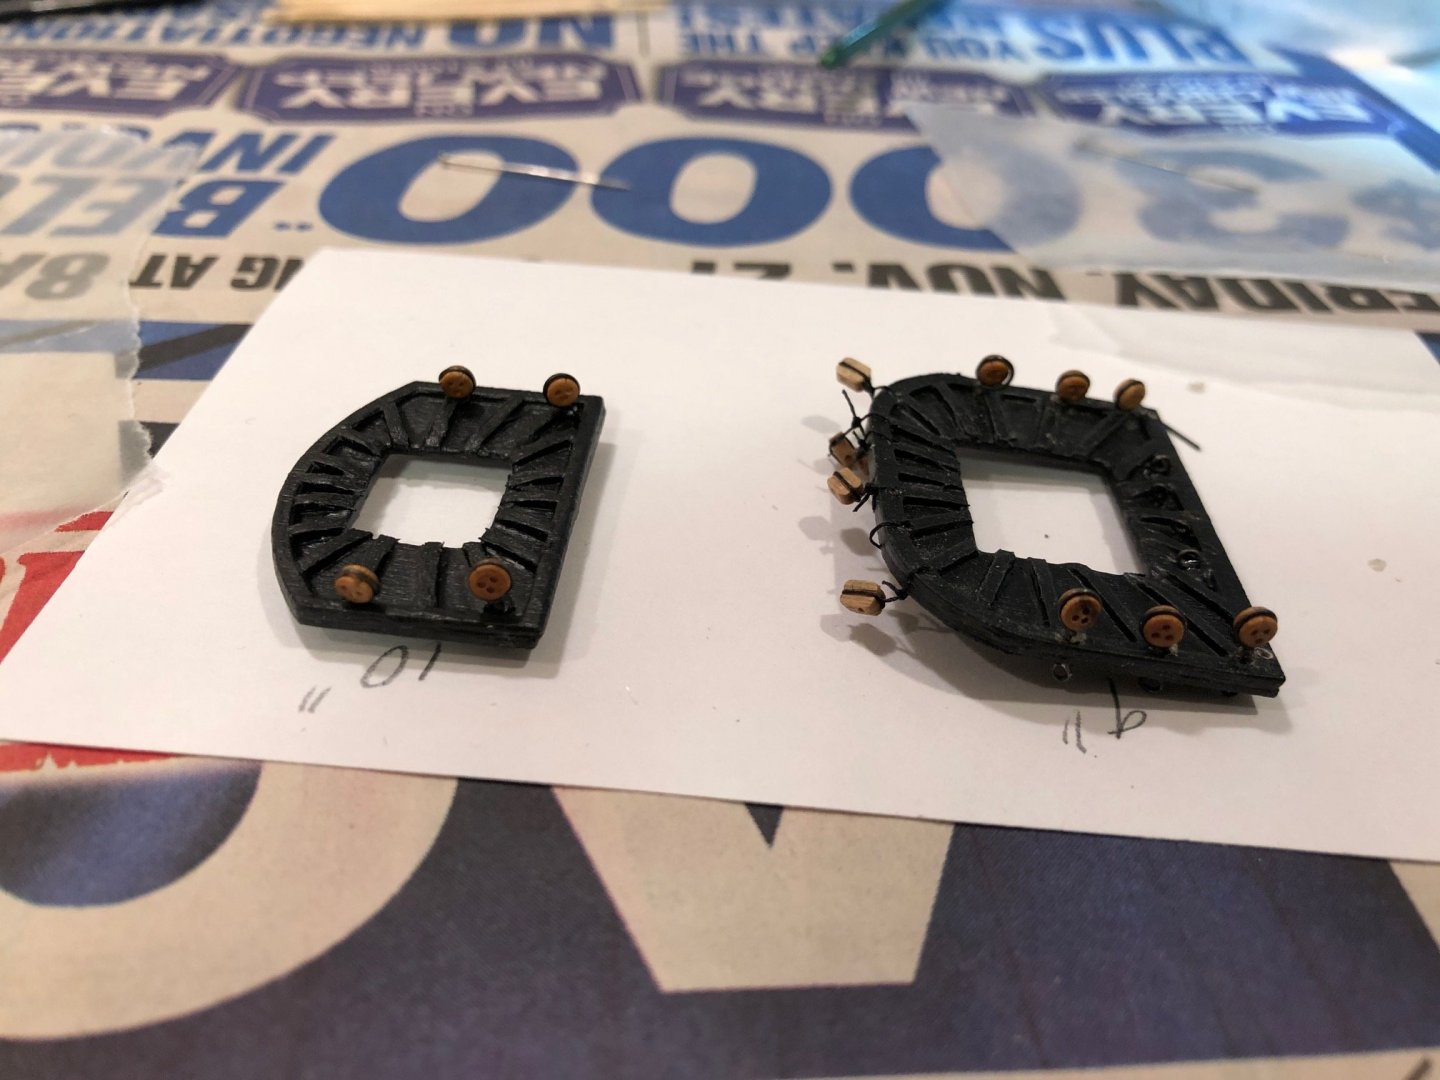
Also, working on the guns. still a work in progress but here they ready for rigging

- 53 replies
-
- 2
-
-
- rattlesnake
- model shipways
- (and 1 more)
-
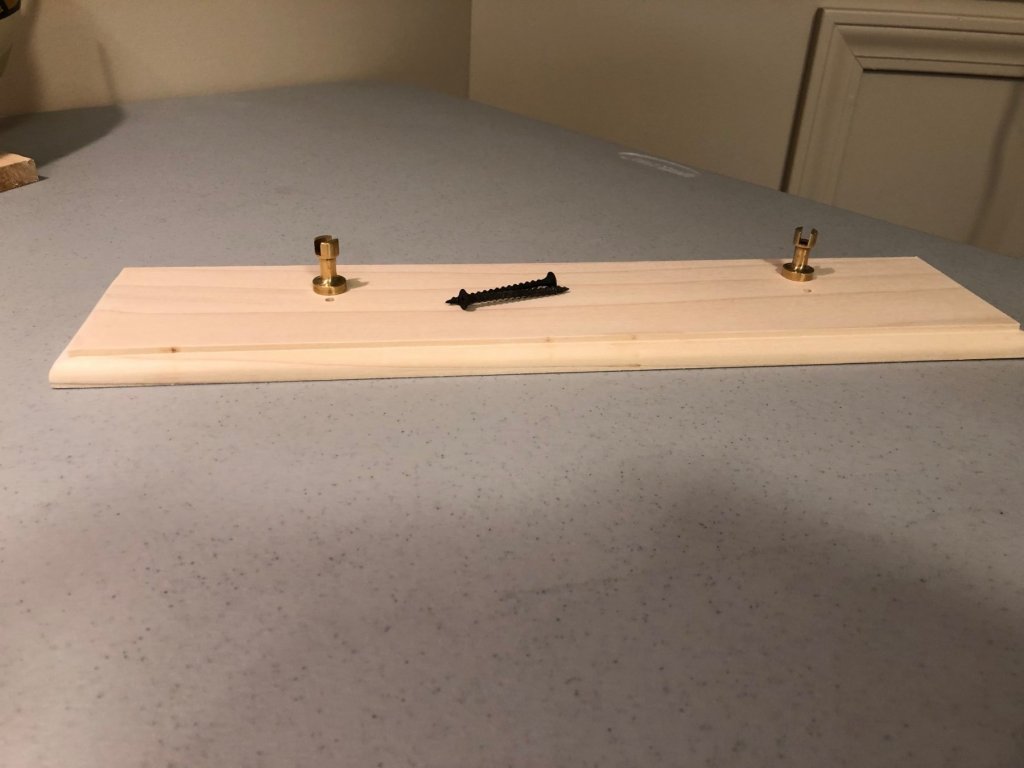
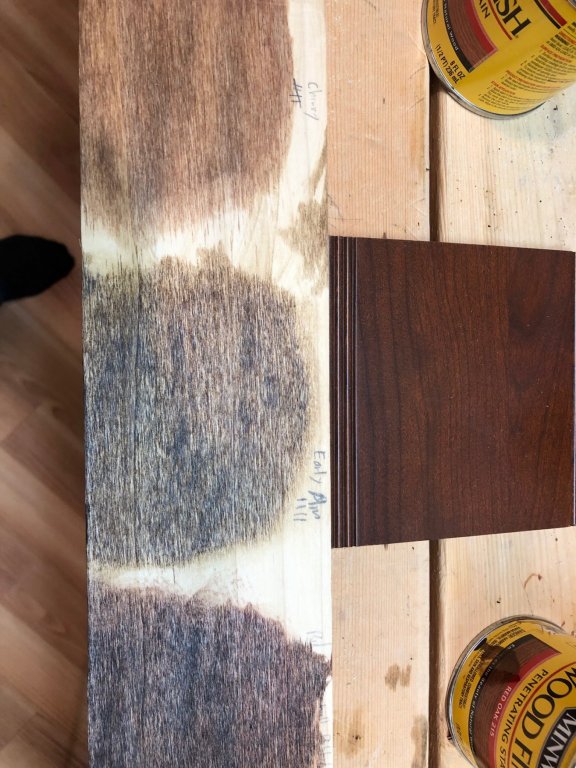
I've haven't found a reasonably priced stained wooden stand so I've gone off to create my own. Home depot sells poplar boards that are pretty reasonable and I've routed the wood to what looks about right to me. I've got 3-4 stains I'm testing on the remnants of the wood. I'm honestly not that thrilled with my staining work and I'm holding off on jumping to the real piece. I've tried putting 4-5 rubbed on coats of stain to try to control how dark it gets and it never seems to get as consistent as I'd like. If anyone has a some detailed staining instructions to get to a professional like finish, I would really appreciate some detailed how to instructions. Everything I've found is pretty straightforward, but doesn't give the results I'd like to see. The color seems fine but just doesn't look like a professional did it. I have a sample of a kitchen cabinet next to it and it just looks a lot richer. Any thoughts if that's due to the wood itself, wood prep, the stain, staining technique?
- 53 replies
-
- 2
-
-
- rattlesnake
- model shipways
- (and 1 more)
-
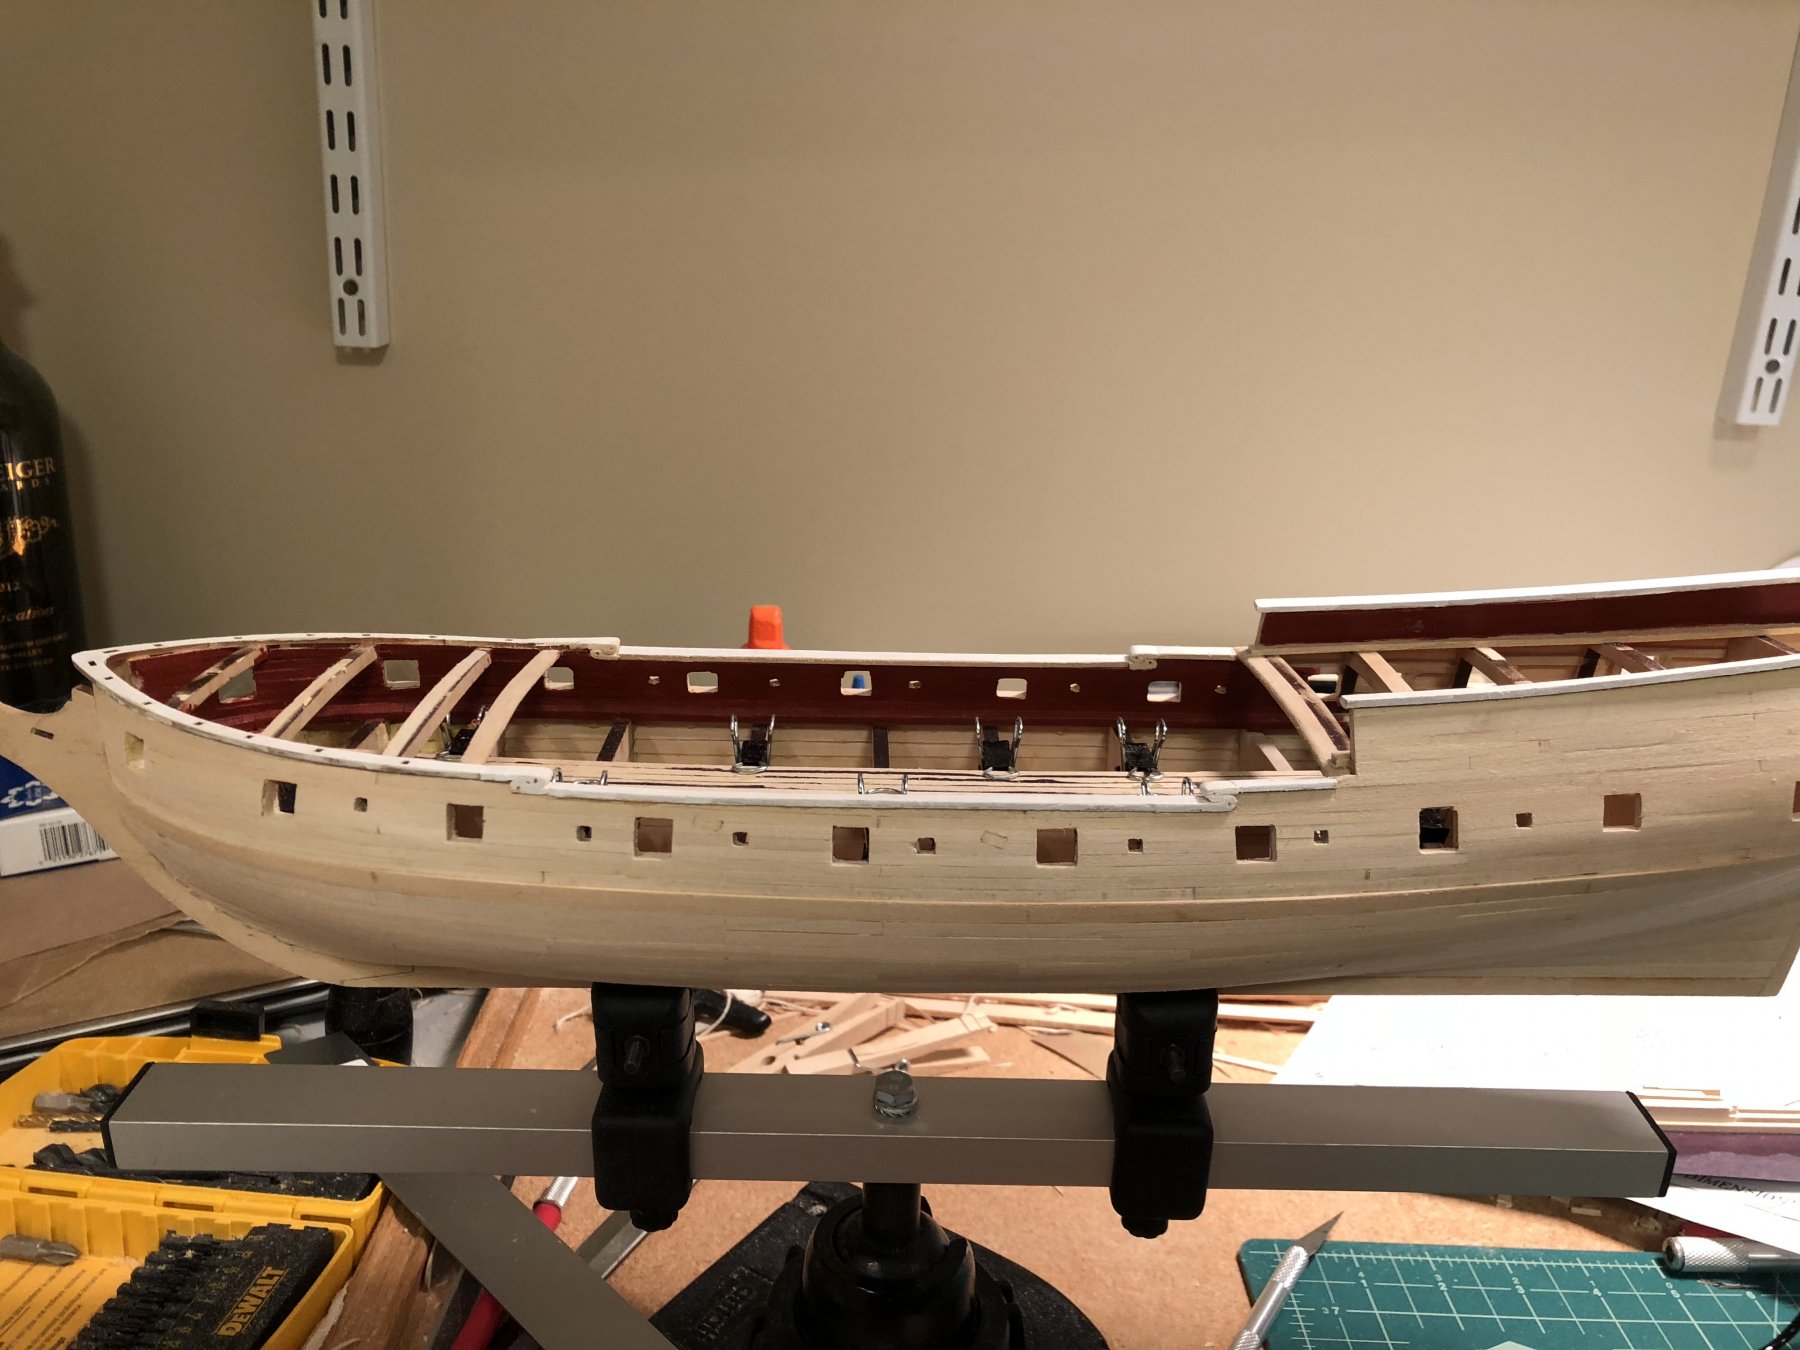
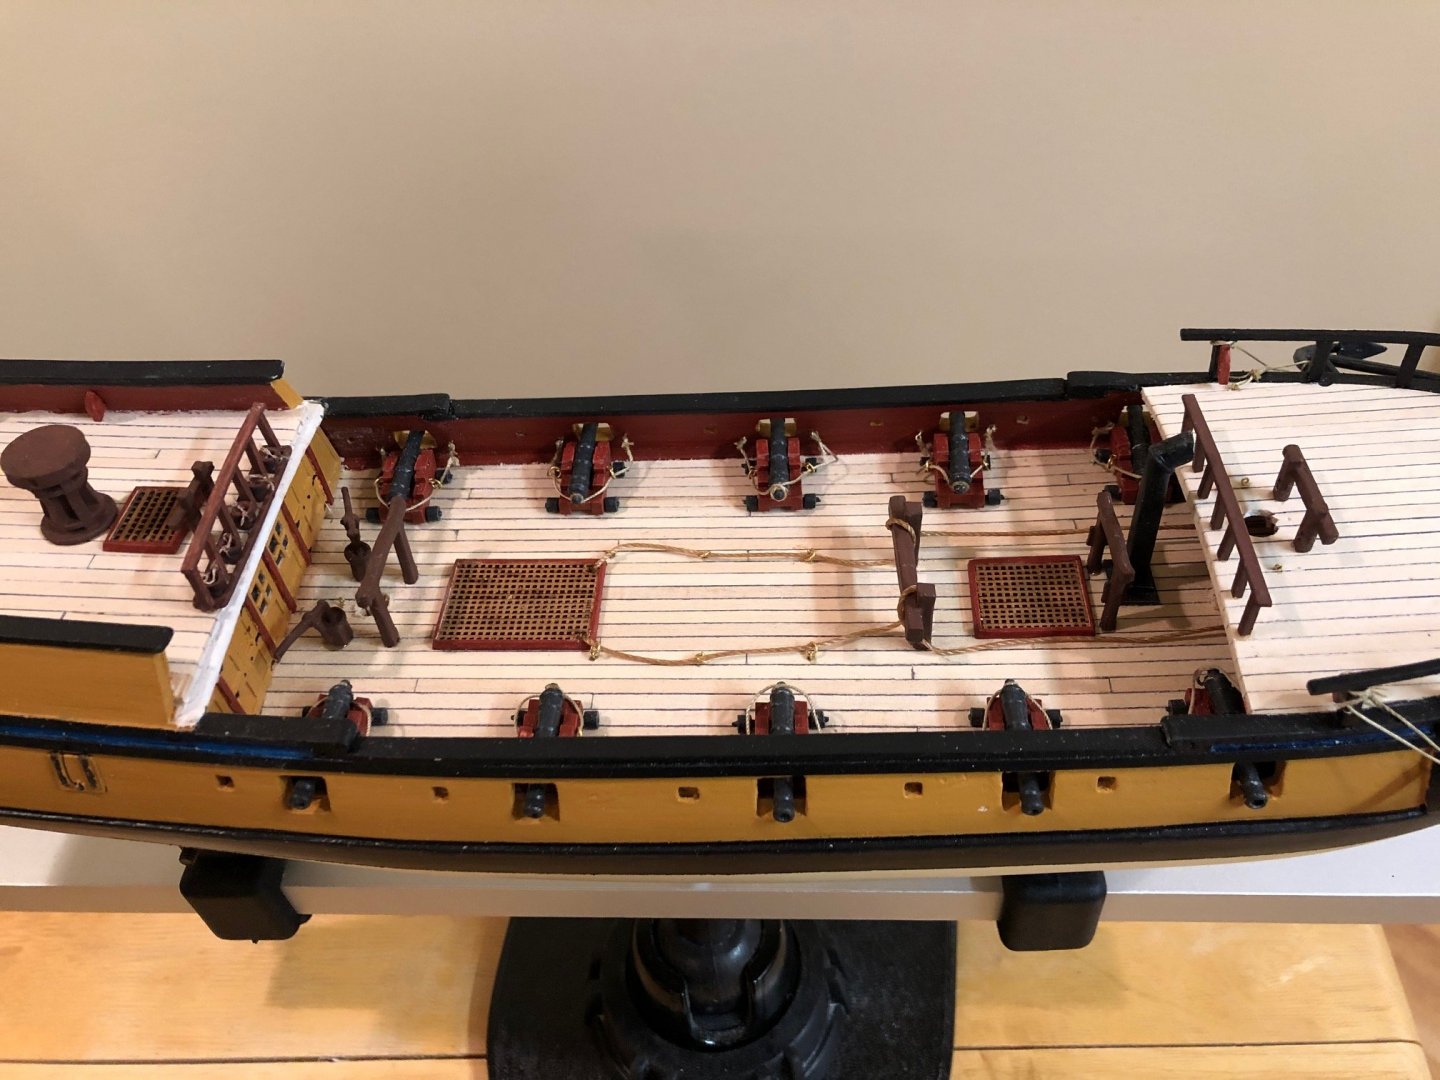
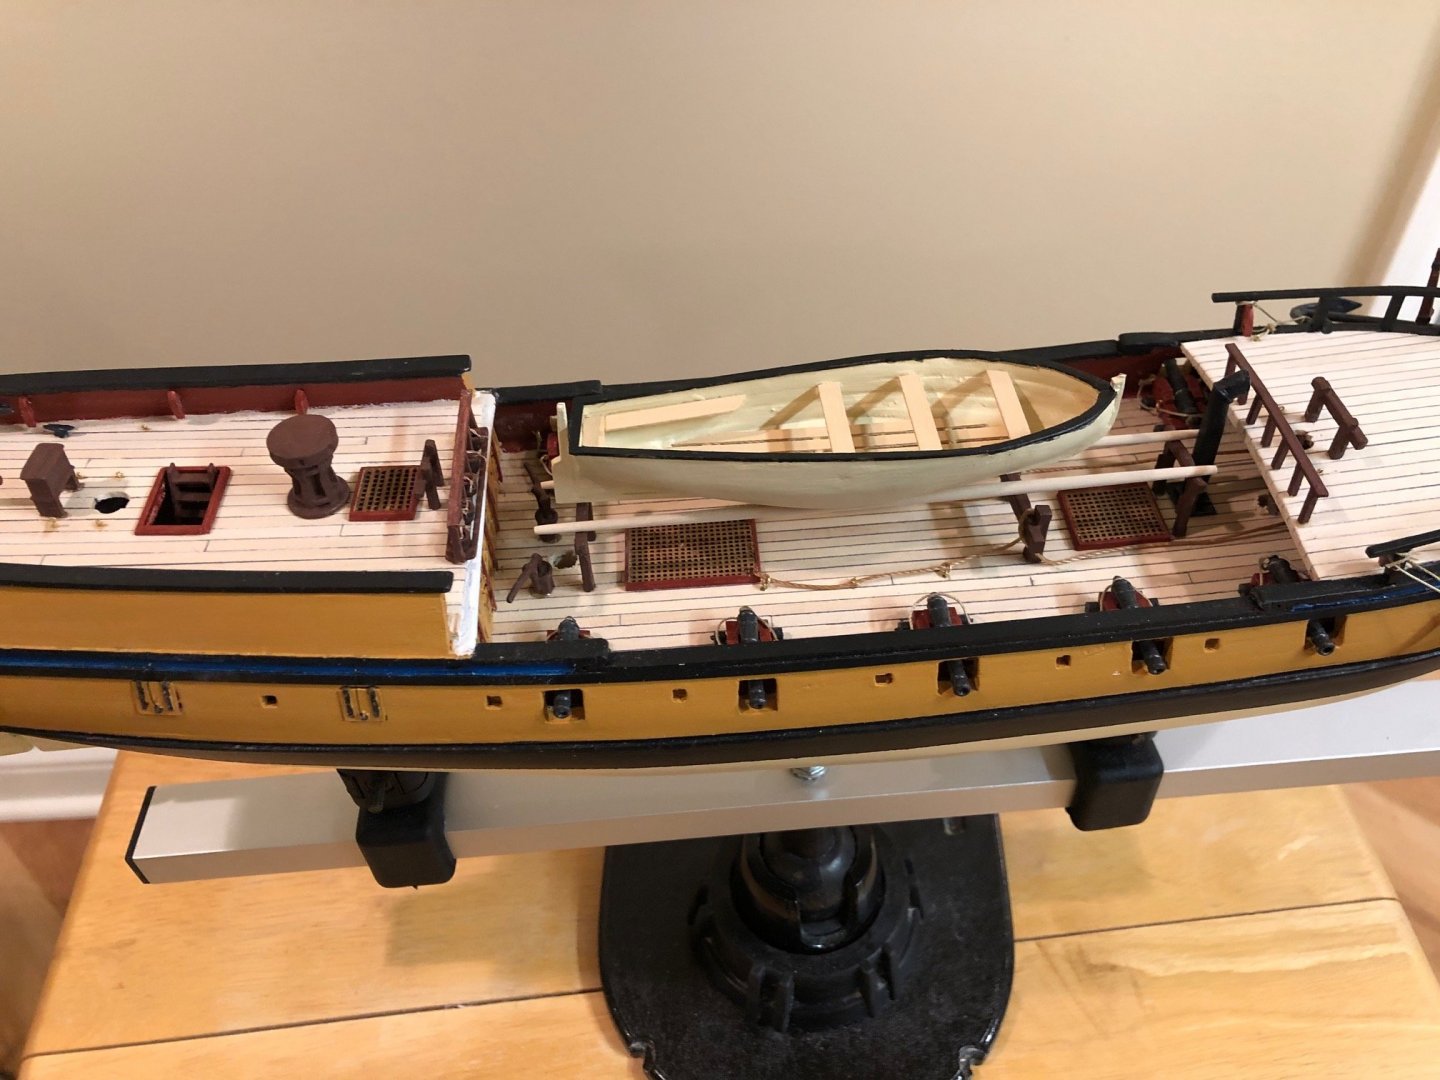
after a couple of months of on and off again work here are few pictures of the ship. I've done most of the core painting so that I think I'm pretty good with the overall look. Much of what I'm working on is to complete enough details on the gun deck so that I'm comfortable putting the focsl deck and quarter deck on. seems like I've been trying to do this for a long time and concern over forgetting to do something is keeping me from diving in. Probably for good reason. I've just dry fit the masts and bowsprit (not shown in picture) so those should go in smoothly when the time comes. Its time to move on to a better stand as I sure don't want to turn the boat over to work on the pedestals after the masts and rigging are in place. All this is generating a lot of small side projects that need to get done to move forward.


- 53 replies
-
- 4
-
-
- rattlesnake
- model shipways
- (and 1 more)
-
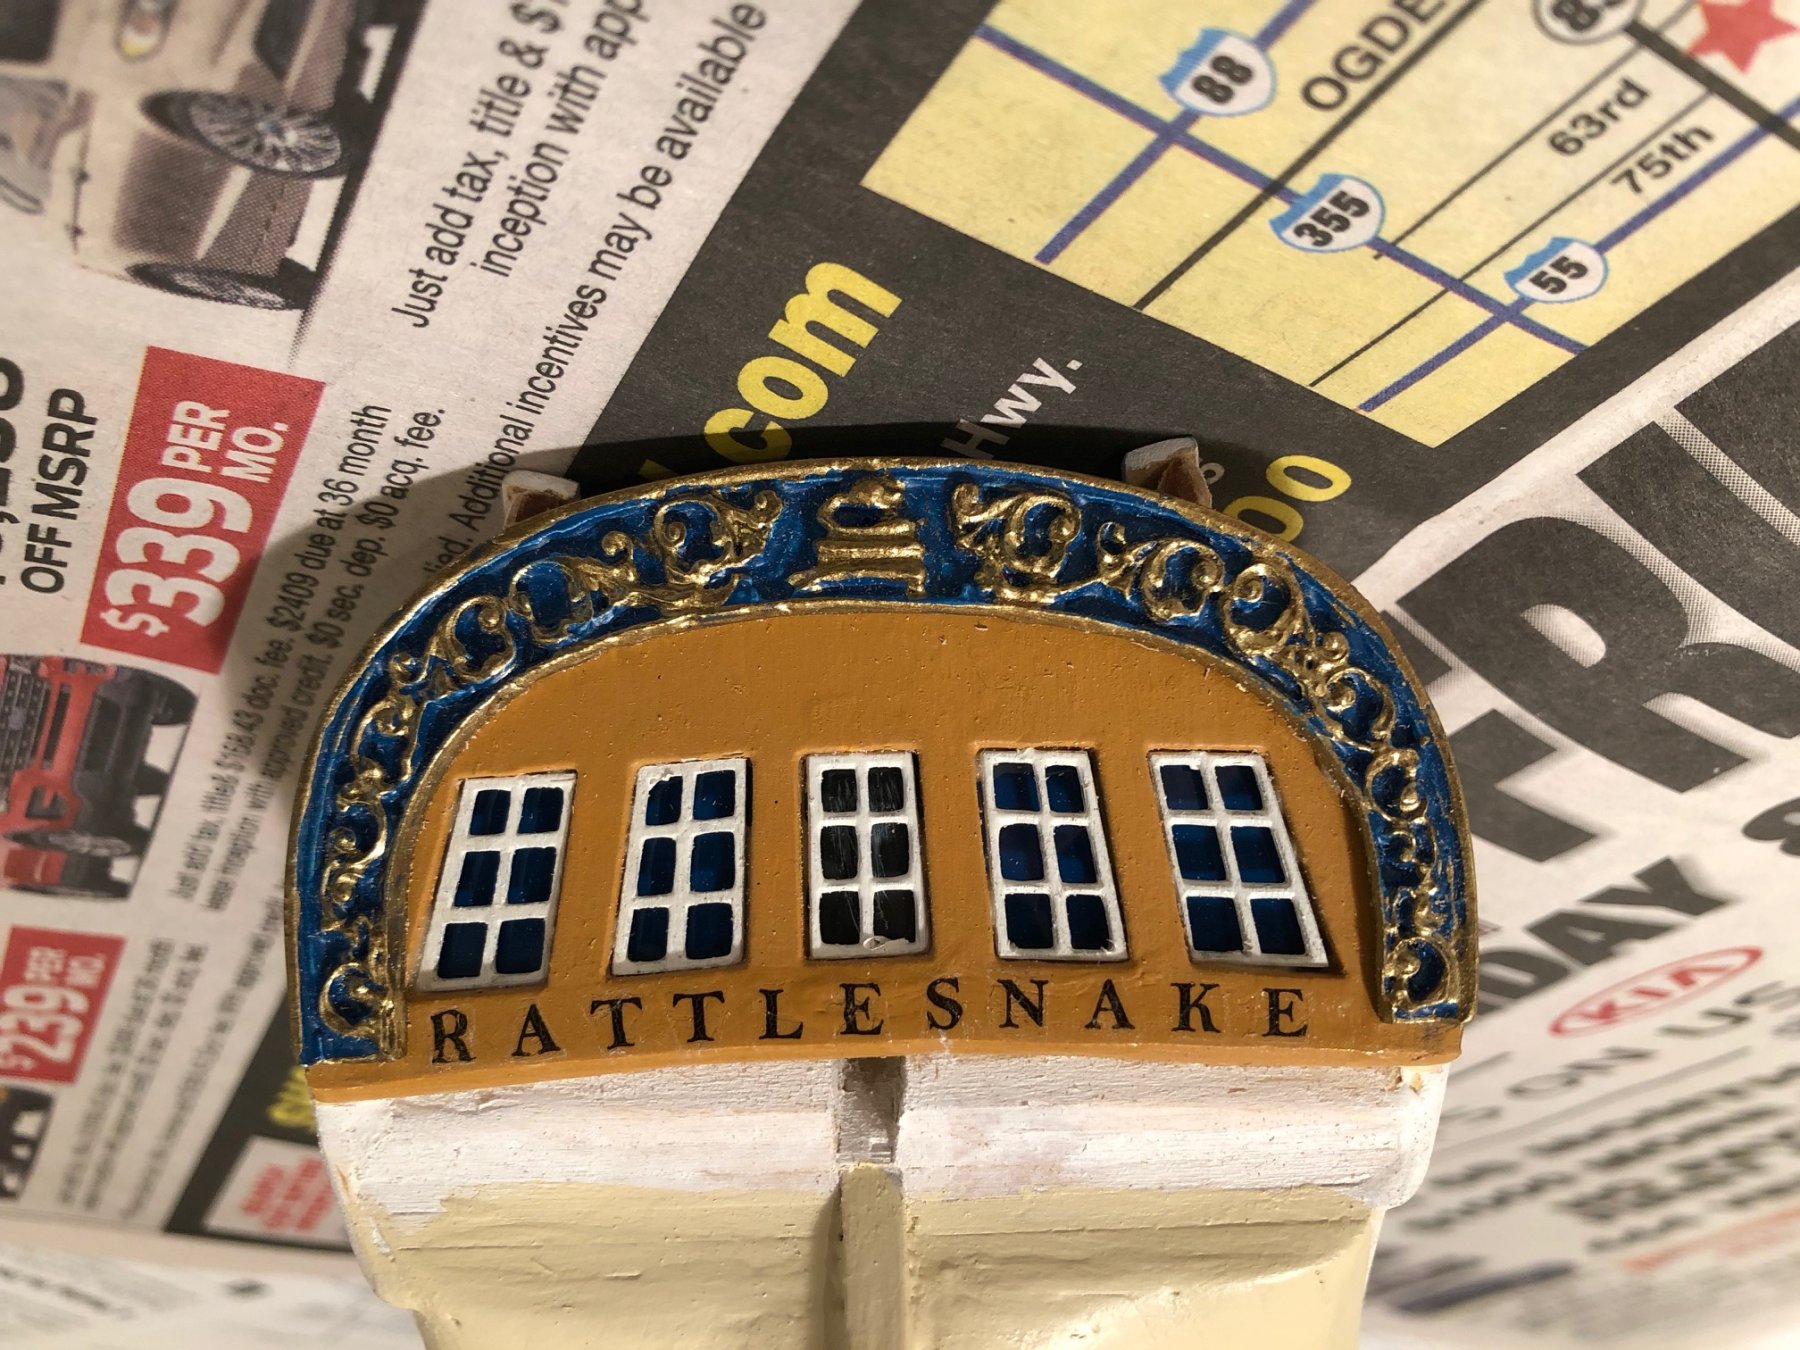
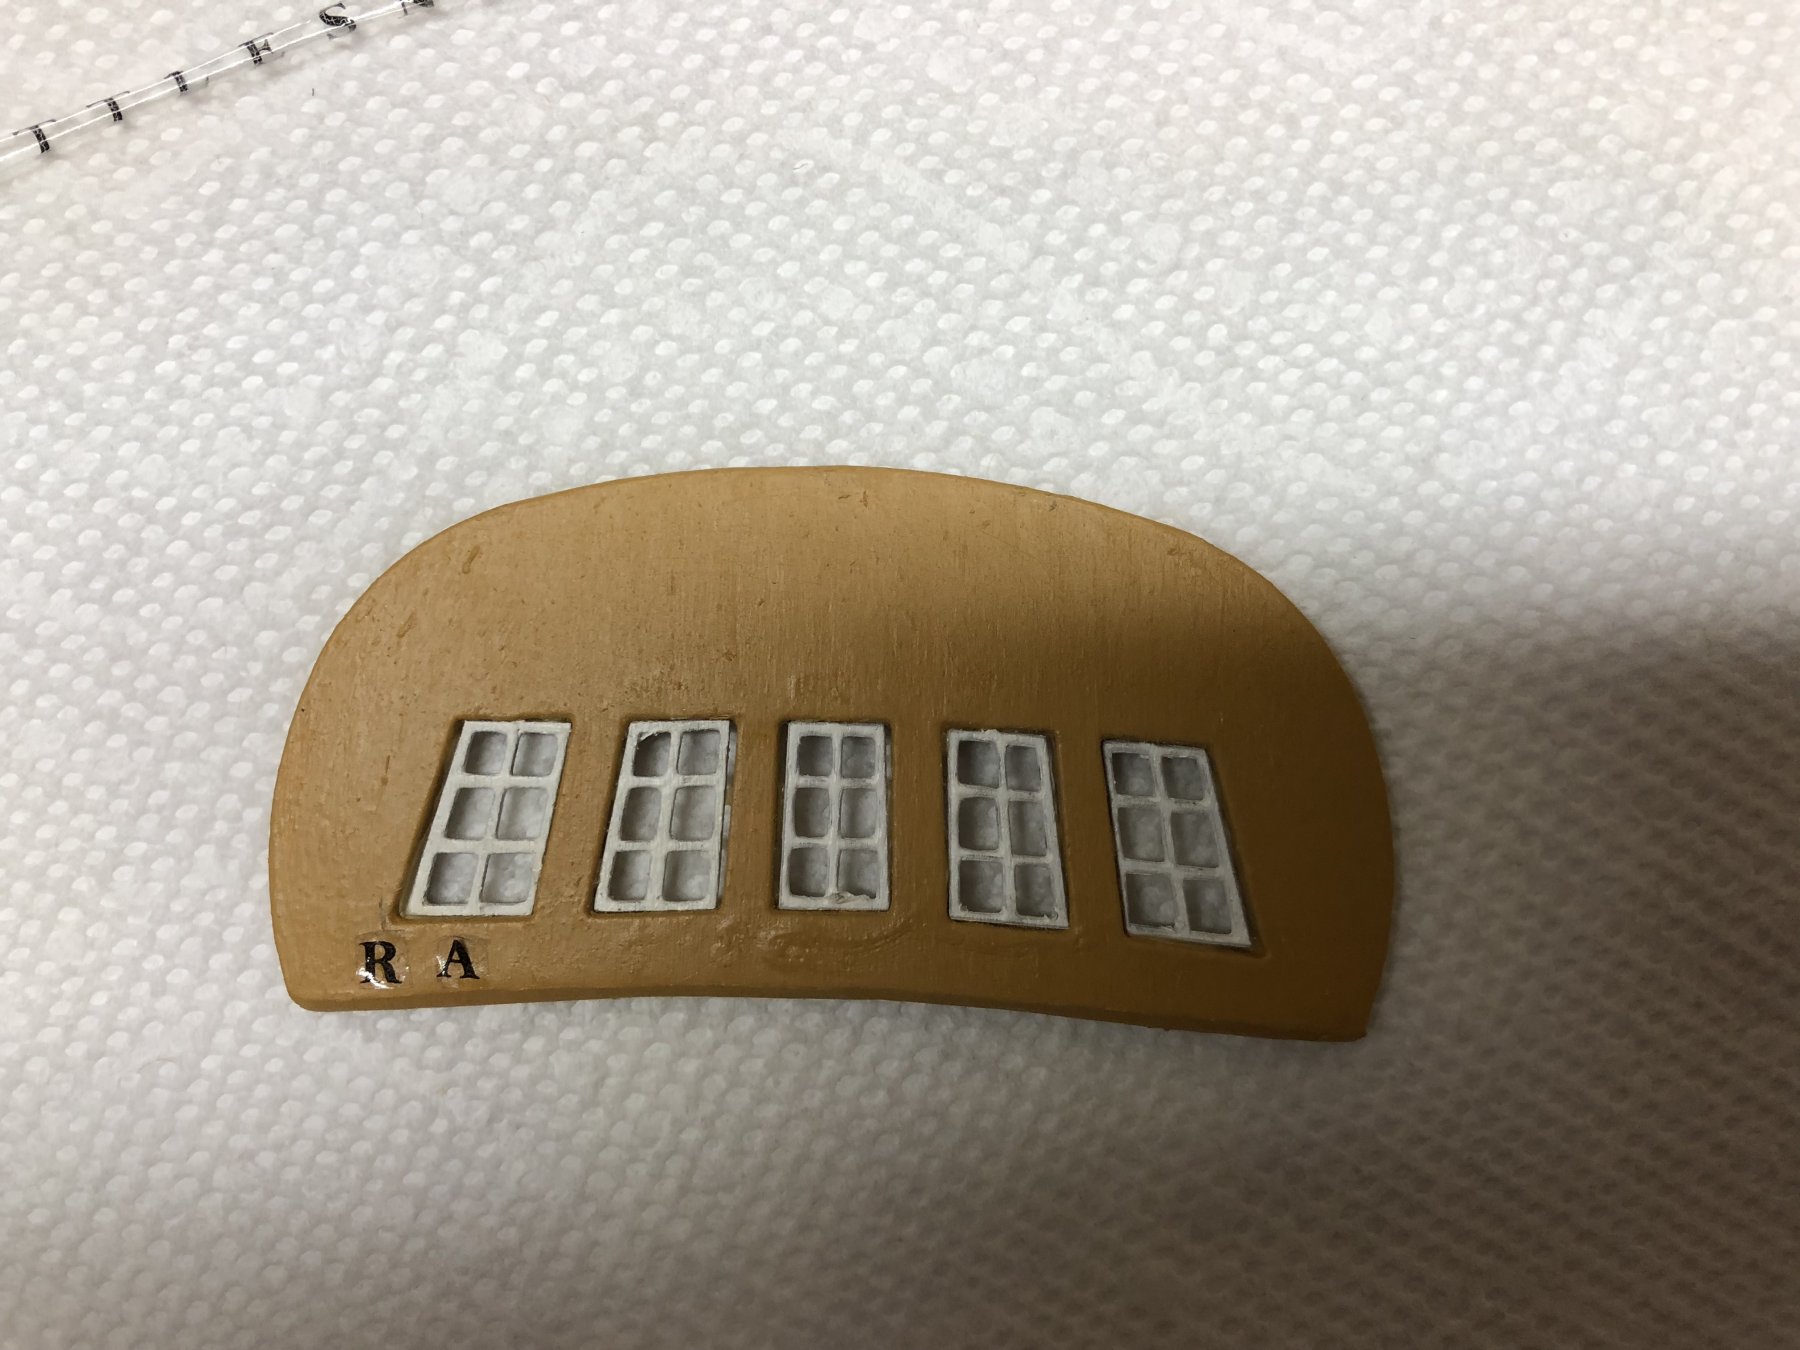
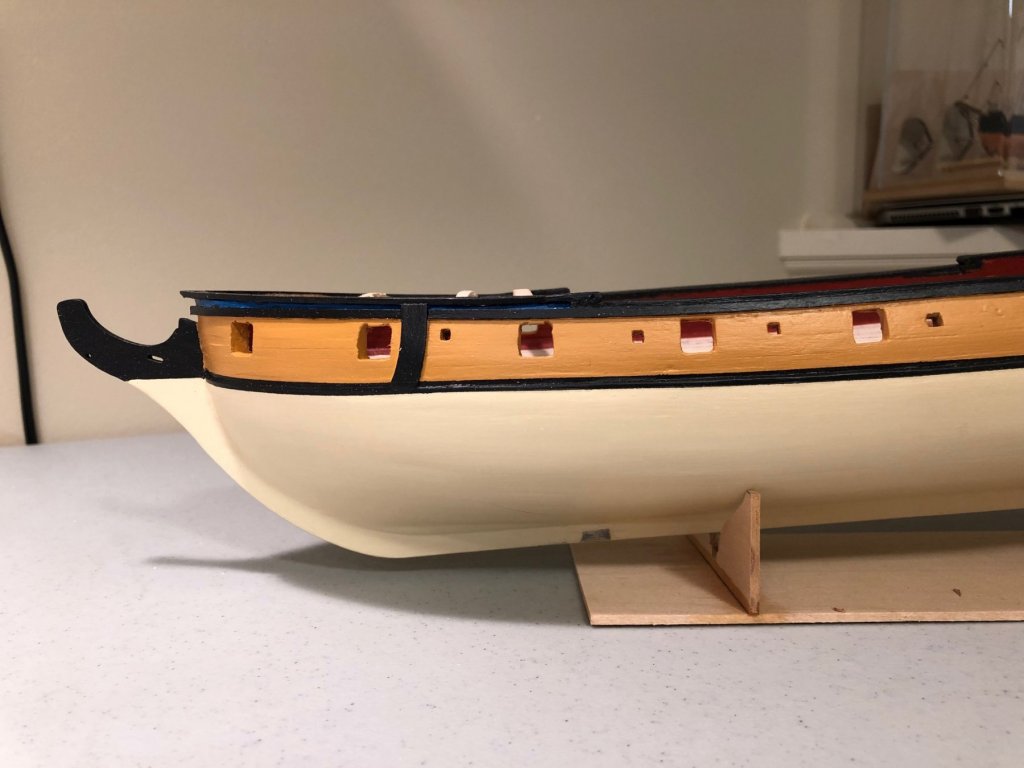
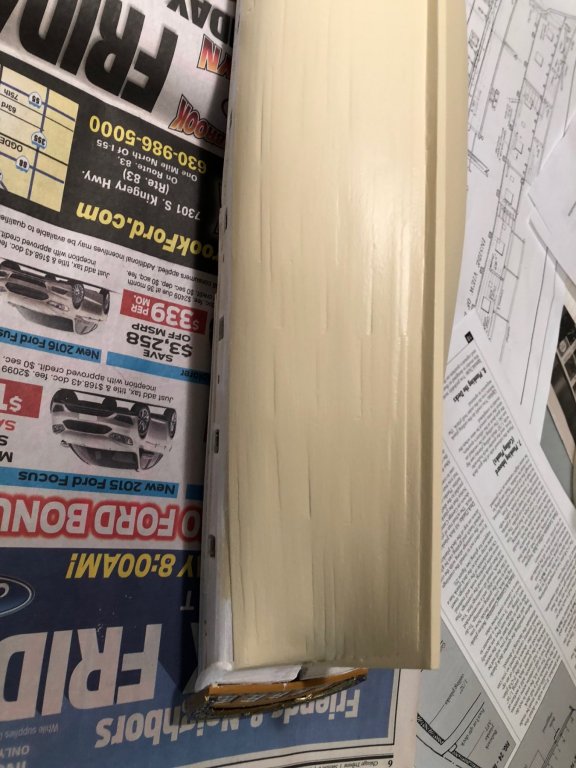
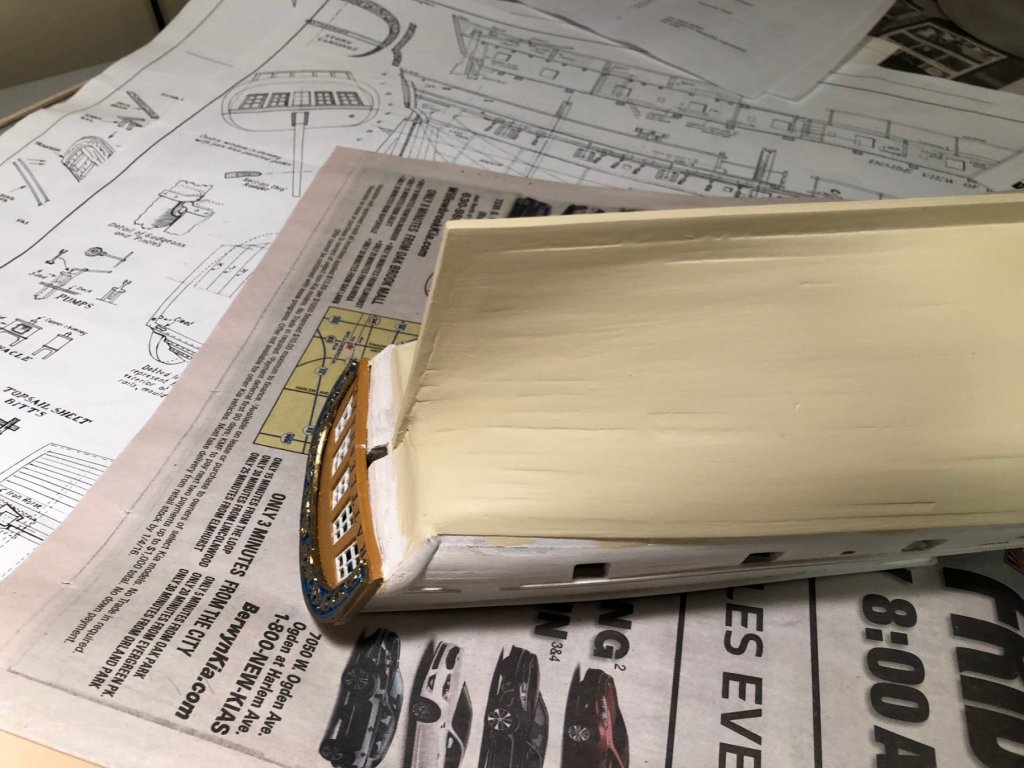
After getting a question from Jazzdc I realized I hadn't been taking many pictures or posting so there seems to be a bit of gap in the work. I'm past the lettering on the stern. Ultimately I used the decal solvents over and over again until I was happy with the results. using a separate piece of decal for each letter minimized to glossy look of a larger one. I've begun the hull painting and I'm 2 coats in. This is where Jazzdc's question was very timely. he was asking about how much sanding etc. I thought I hade sanded pretty well but as you can see there are a lot of imperfections once you put some paint on it. Along the way I gave up on the idea of staining the hull. one of the failures that didn't get recorded on a picture. the basswood even with pre-stain conditioner didn't take the stain well. Some board absorbed it to a fault and others didn't take much at all. Then there we glue marks that looked bad as well. You can see the pictures below of current state. I'm going to touch up with some wood filler again and then re-prime and paint and see where that gets me. thanks all for suggestions, Bill (campbewj)

- 53 replies
-
- 5
-
-
- rattlesnake
- model shipways
- (and 1 more)
-
Jazzdc, thanks for reaching out for a comment, glad to help whenever I can. Interesting timing of the question. in the past week I decided I was done with sanding and ready for a stain finish on the bottom of the boat. I love stained wood, so I went off the reservation and planned to use a dark stain below the whale instead of the tallow that is suggested in the pain plan. I bring this up as I had been avoiding the use of filler knowing it would not stain true to the wood. What I didn't realize is how inconsistent the stain took to the basswood. Even with a pre stain conditioner, some planks were nearly black and others hardly stained. It looked ridiculous. So I primed over it and got back on the reservation with the tallow paint. The paint highlights every imperfection in the hull. You want to sand it down as much as possible using increasingly fine sandpaper. If you are painting, fill the holes religiously as I said, everything shows. I do agree that a ship like this is a working vessel and will have plenty of marks that I don't plan to replicate. Most of this is pure preference. I use elmers wood filler and have no issues. I had it laying around so I didn't really pick it for this. Hope this helps, if not, reach out and I will keep an eye on your log going forward. Always great to have someone else building the same ship. Bill (campbewj)
-
The one area where I have been struggling for some time is with the name on the back of the ship. I have been using testors decal sheets and created a good temple on the computer. I'm happy with the lettering just not the decal. I'm having issue both with make the decal still to the painted wood as well as the shine that seems to come with it. Any suggestions would be most welcome.
- 53 replies
-
- 4
-
-
- rattlesnake
- model shipways
- (and 1 more)
-
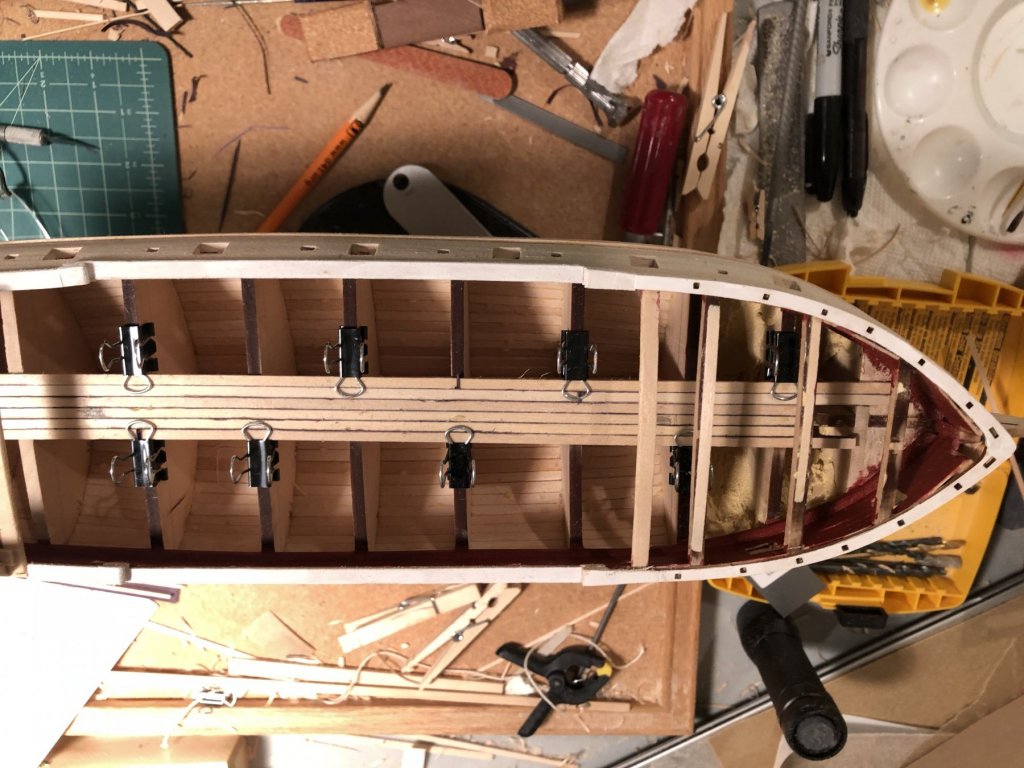
have also started on the lower deck. I'm using the black construction paper technique between the planks and it looks like I'll have a lot of sanding to do in the end. I've been able to avoid breaking the upper deck supports so far, but I fear they could be a casualty when the sanding begins.
- 53 replies
-
- 1
-
-
- rattlesnake
- model shipways
- (and 1 more)
-
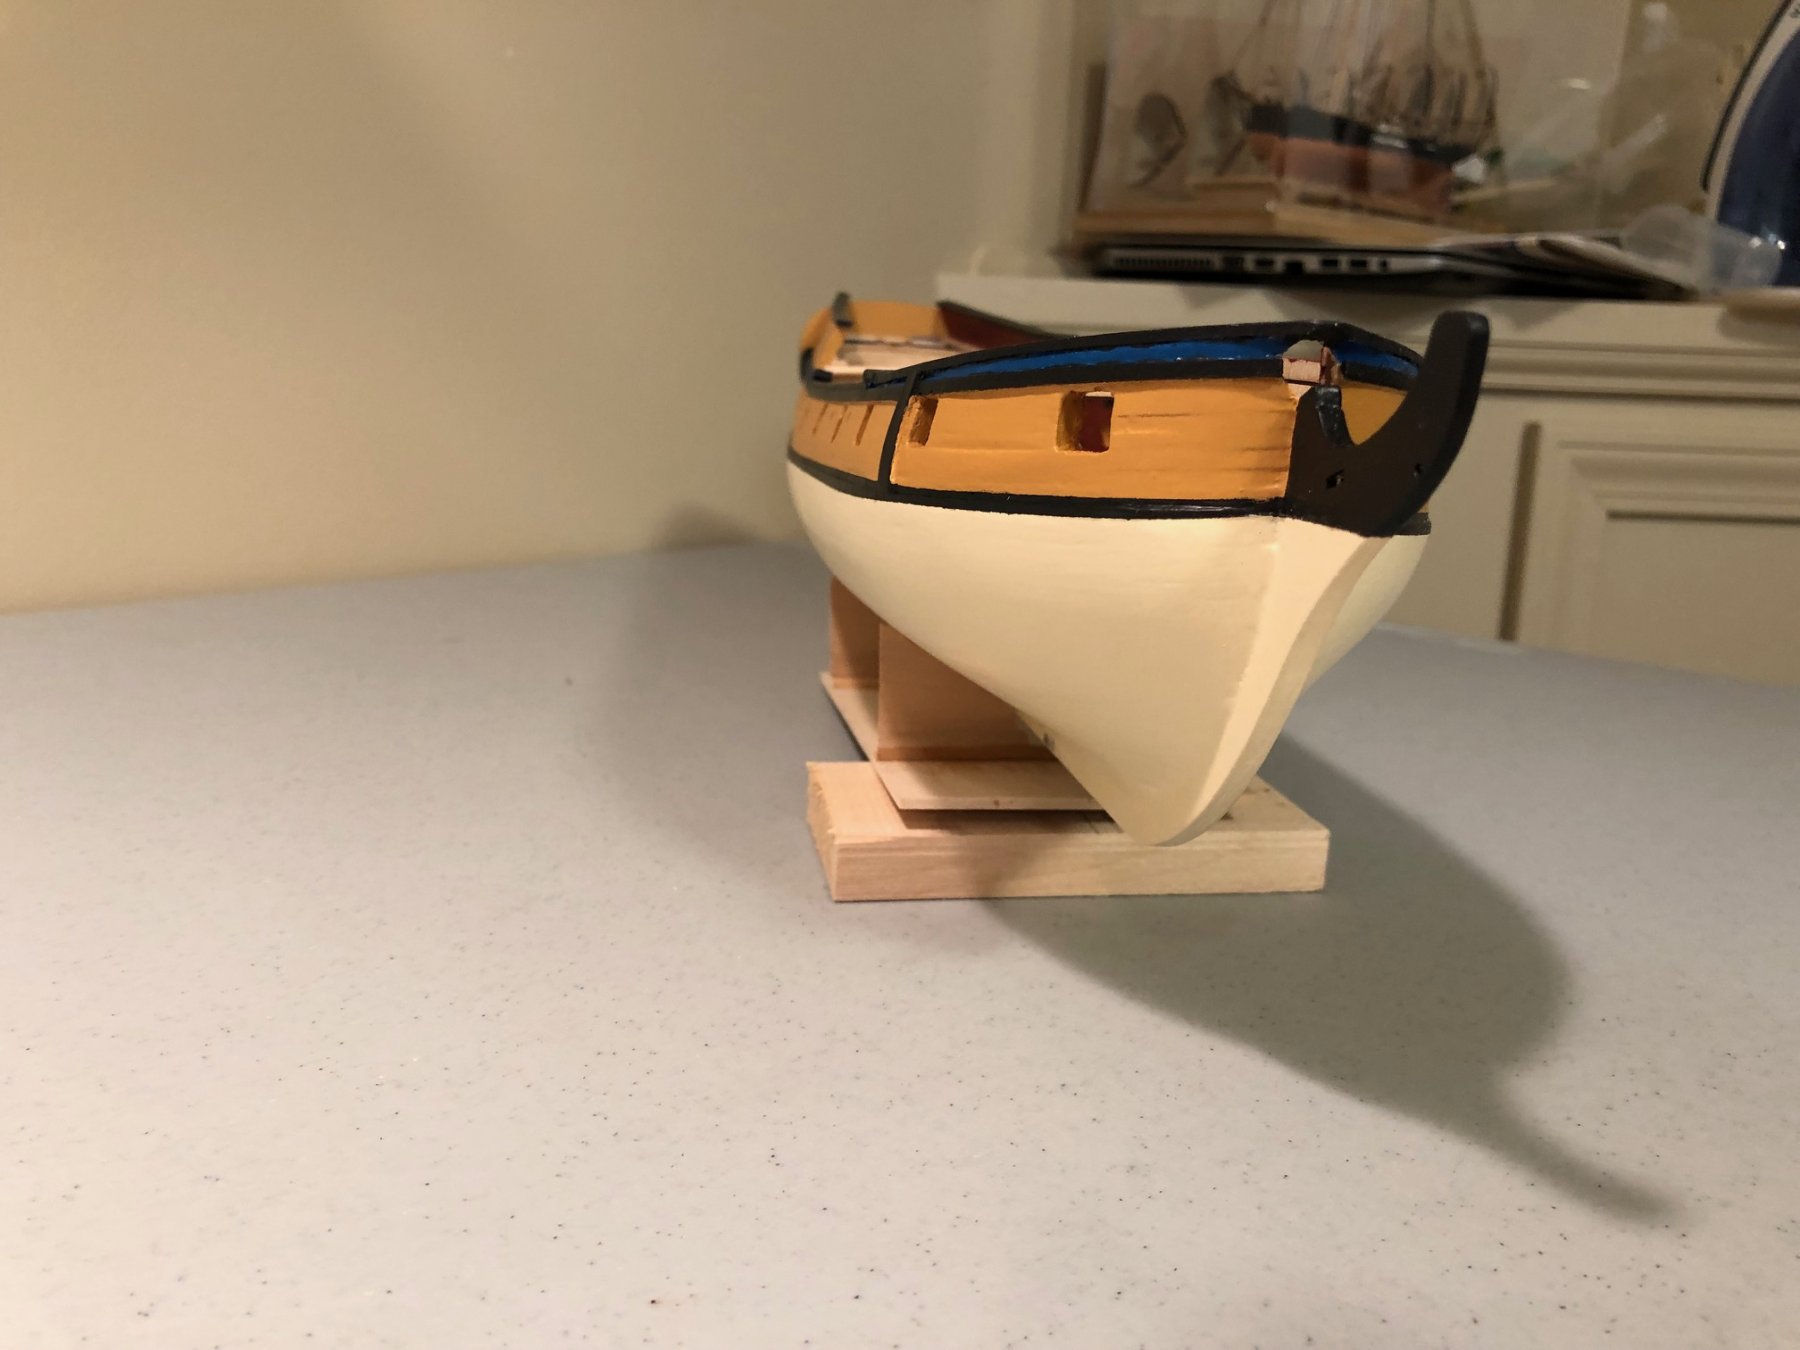
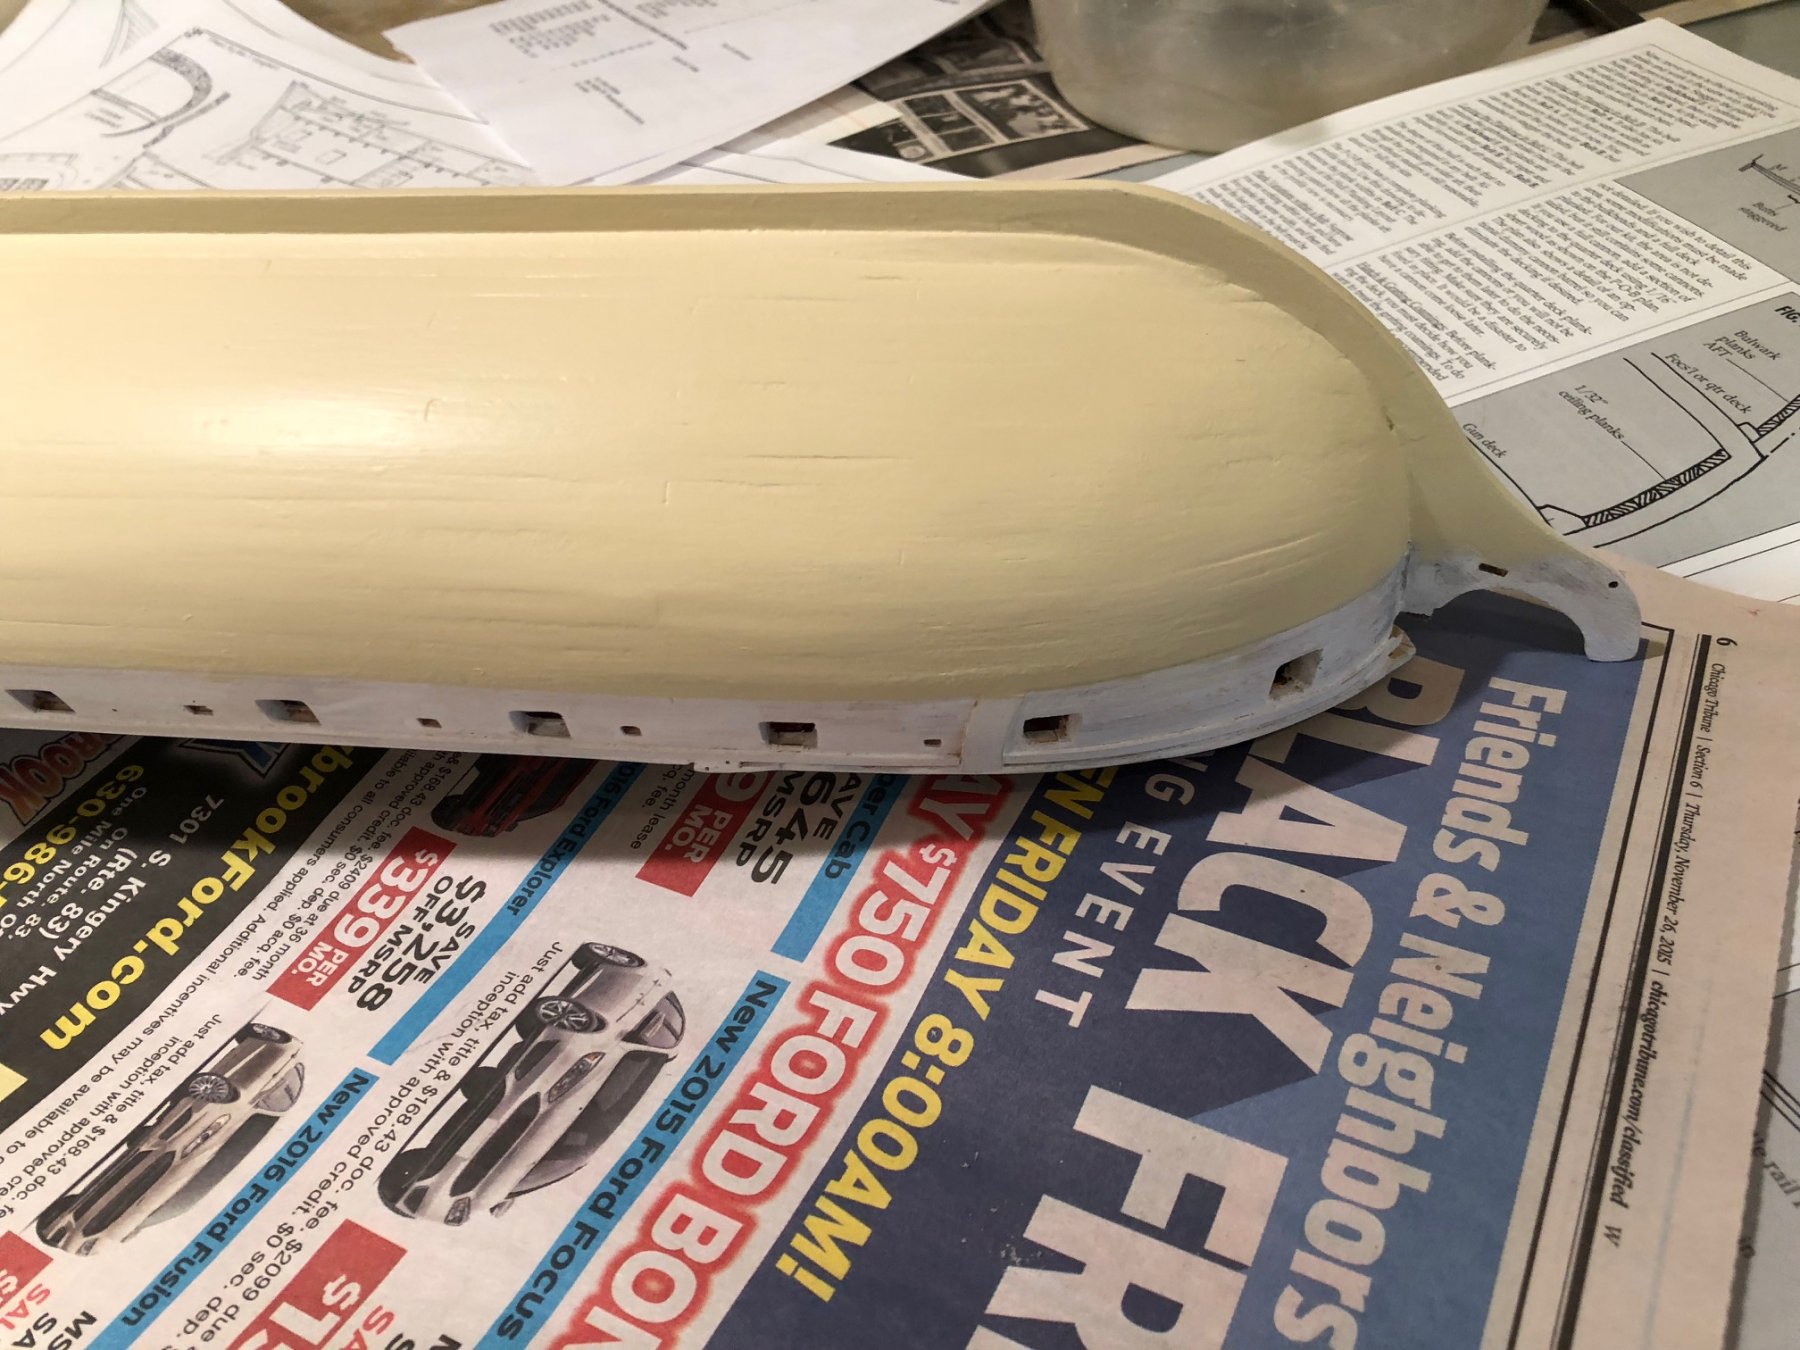
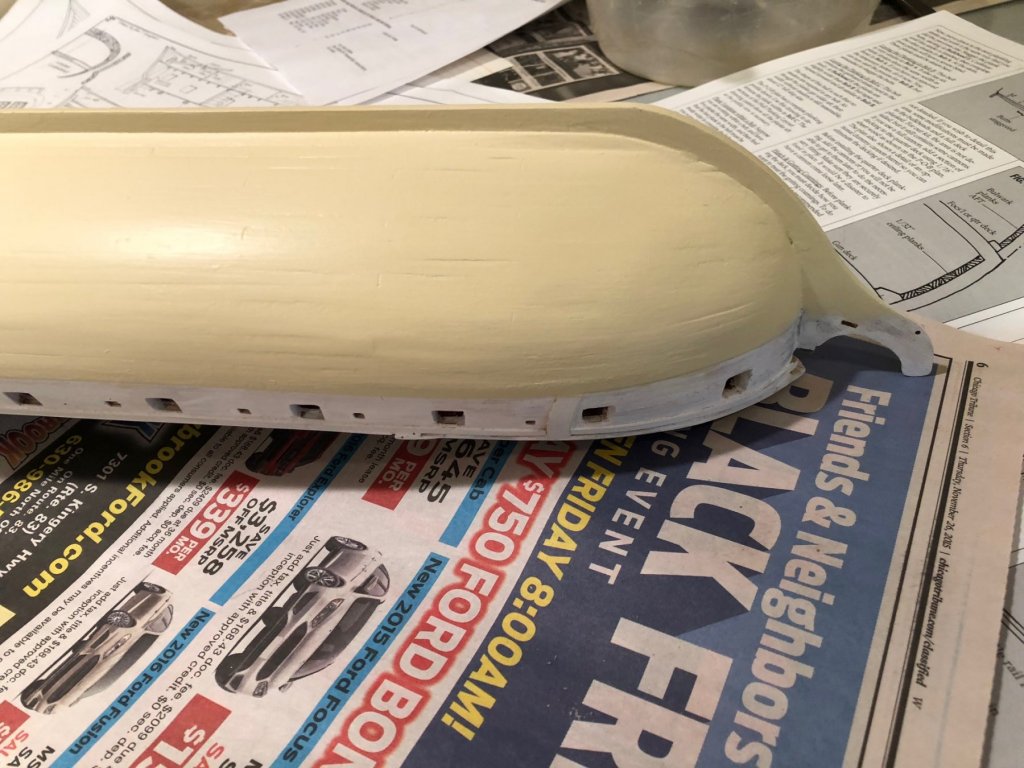
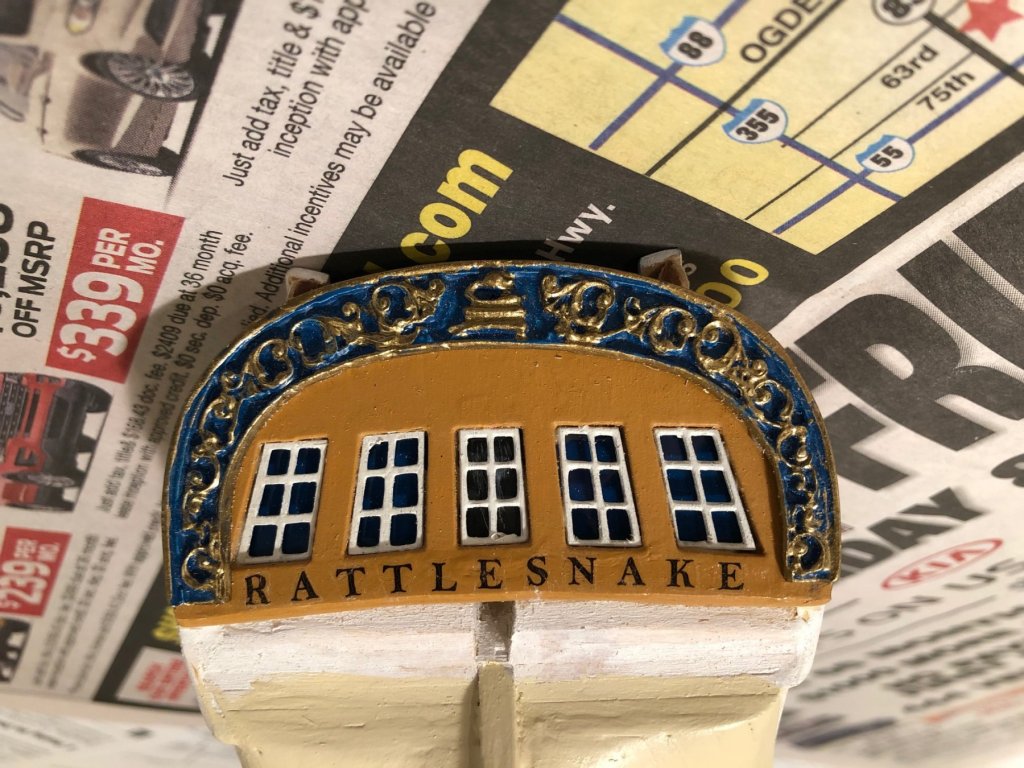
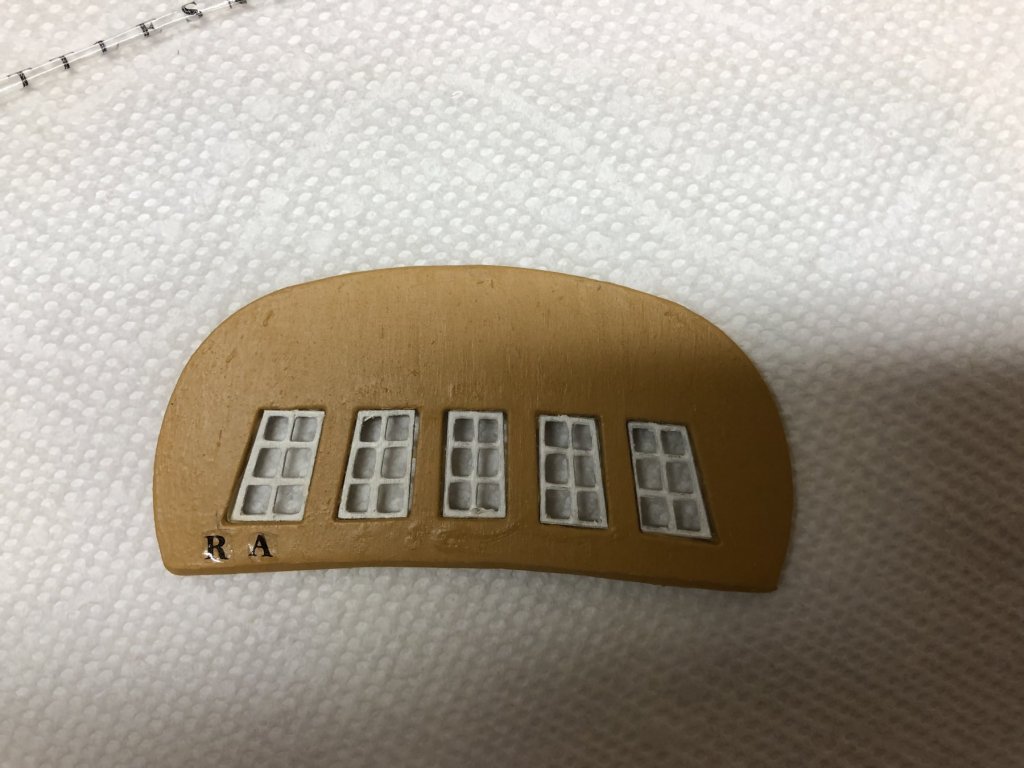
Been away from the site for a bit but progress has been made. The hull has been sanded and for the first POB model, I'm happy with the results. I painted the inside areas have attached the rails and did a little priming and painting. Went through many try's of the scrollwork but seems ok in the end. At the moment they are primed white, but expect them to be black in the end.
- 53 replies
-
- 2
-
-
- rattlesnake
- model shipways
- (and 1 more)
-
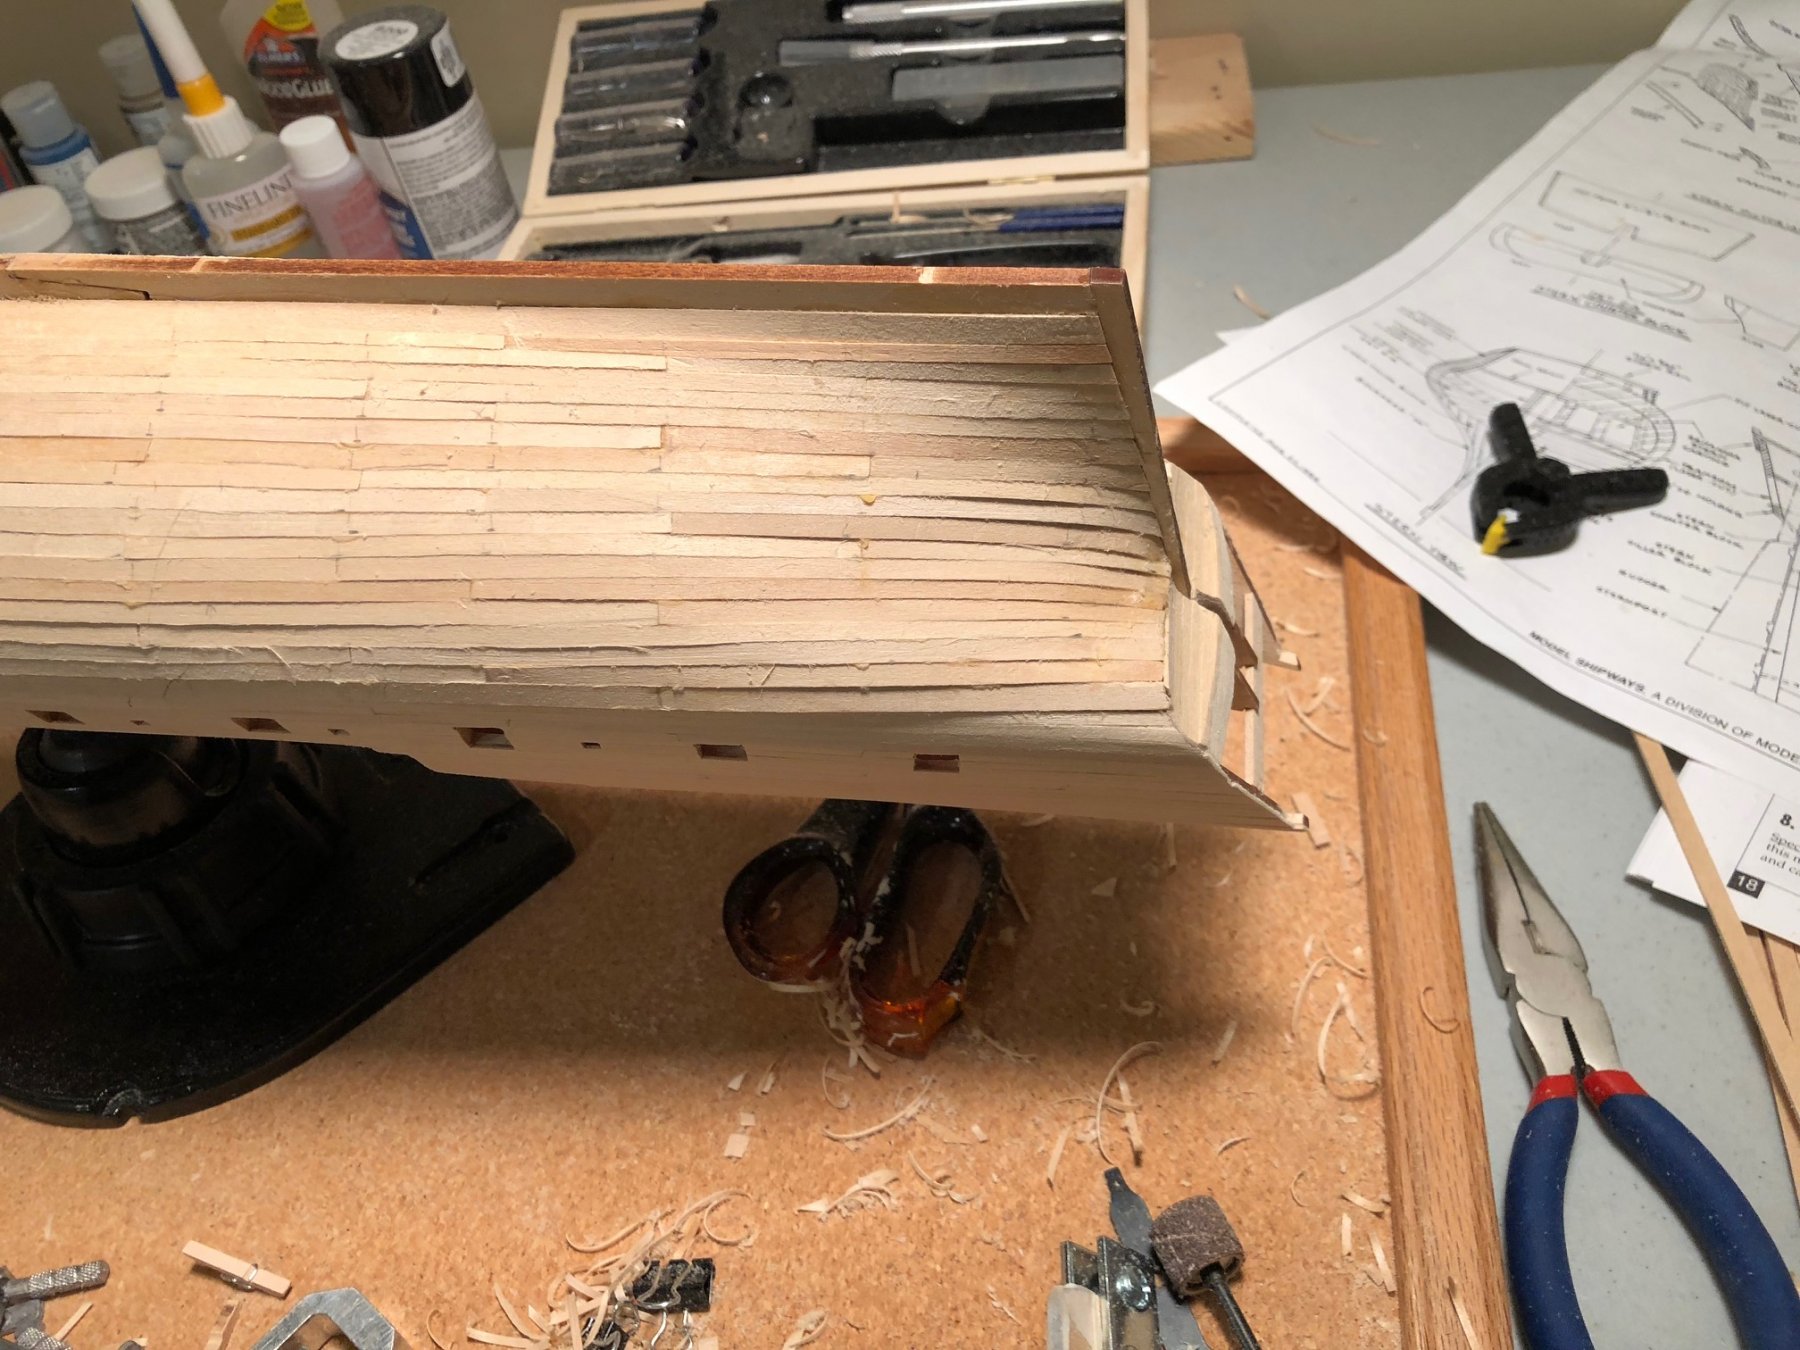
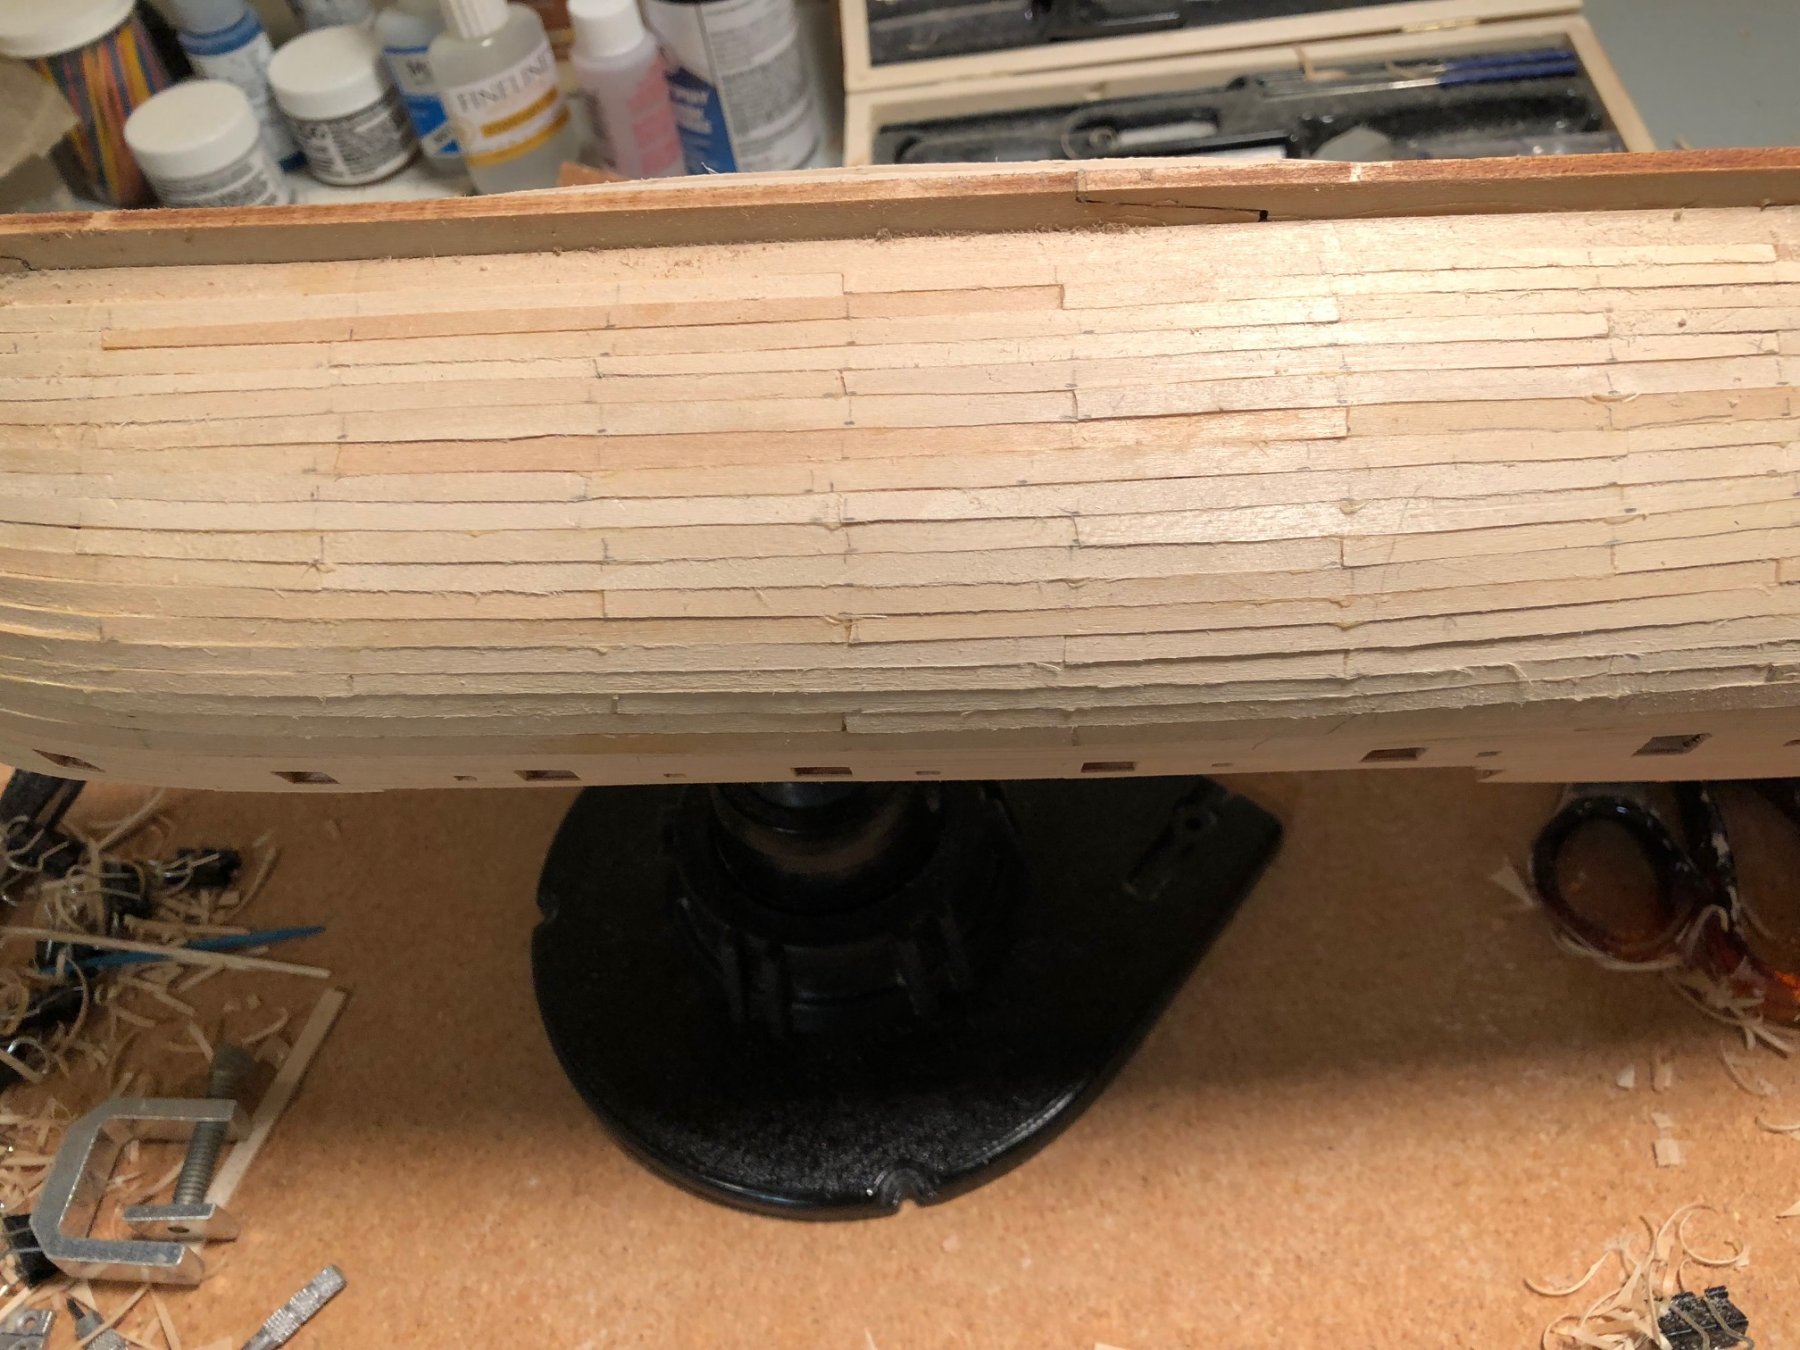
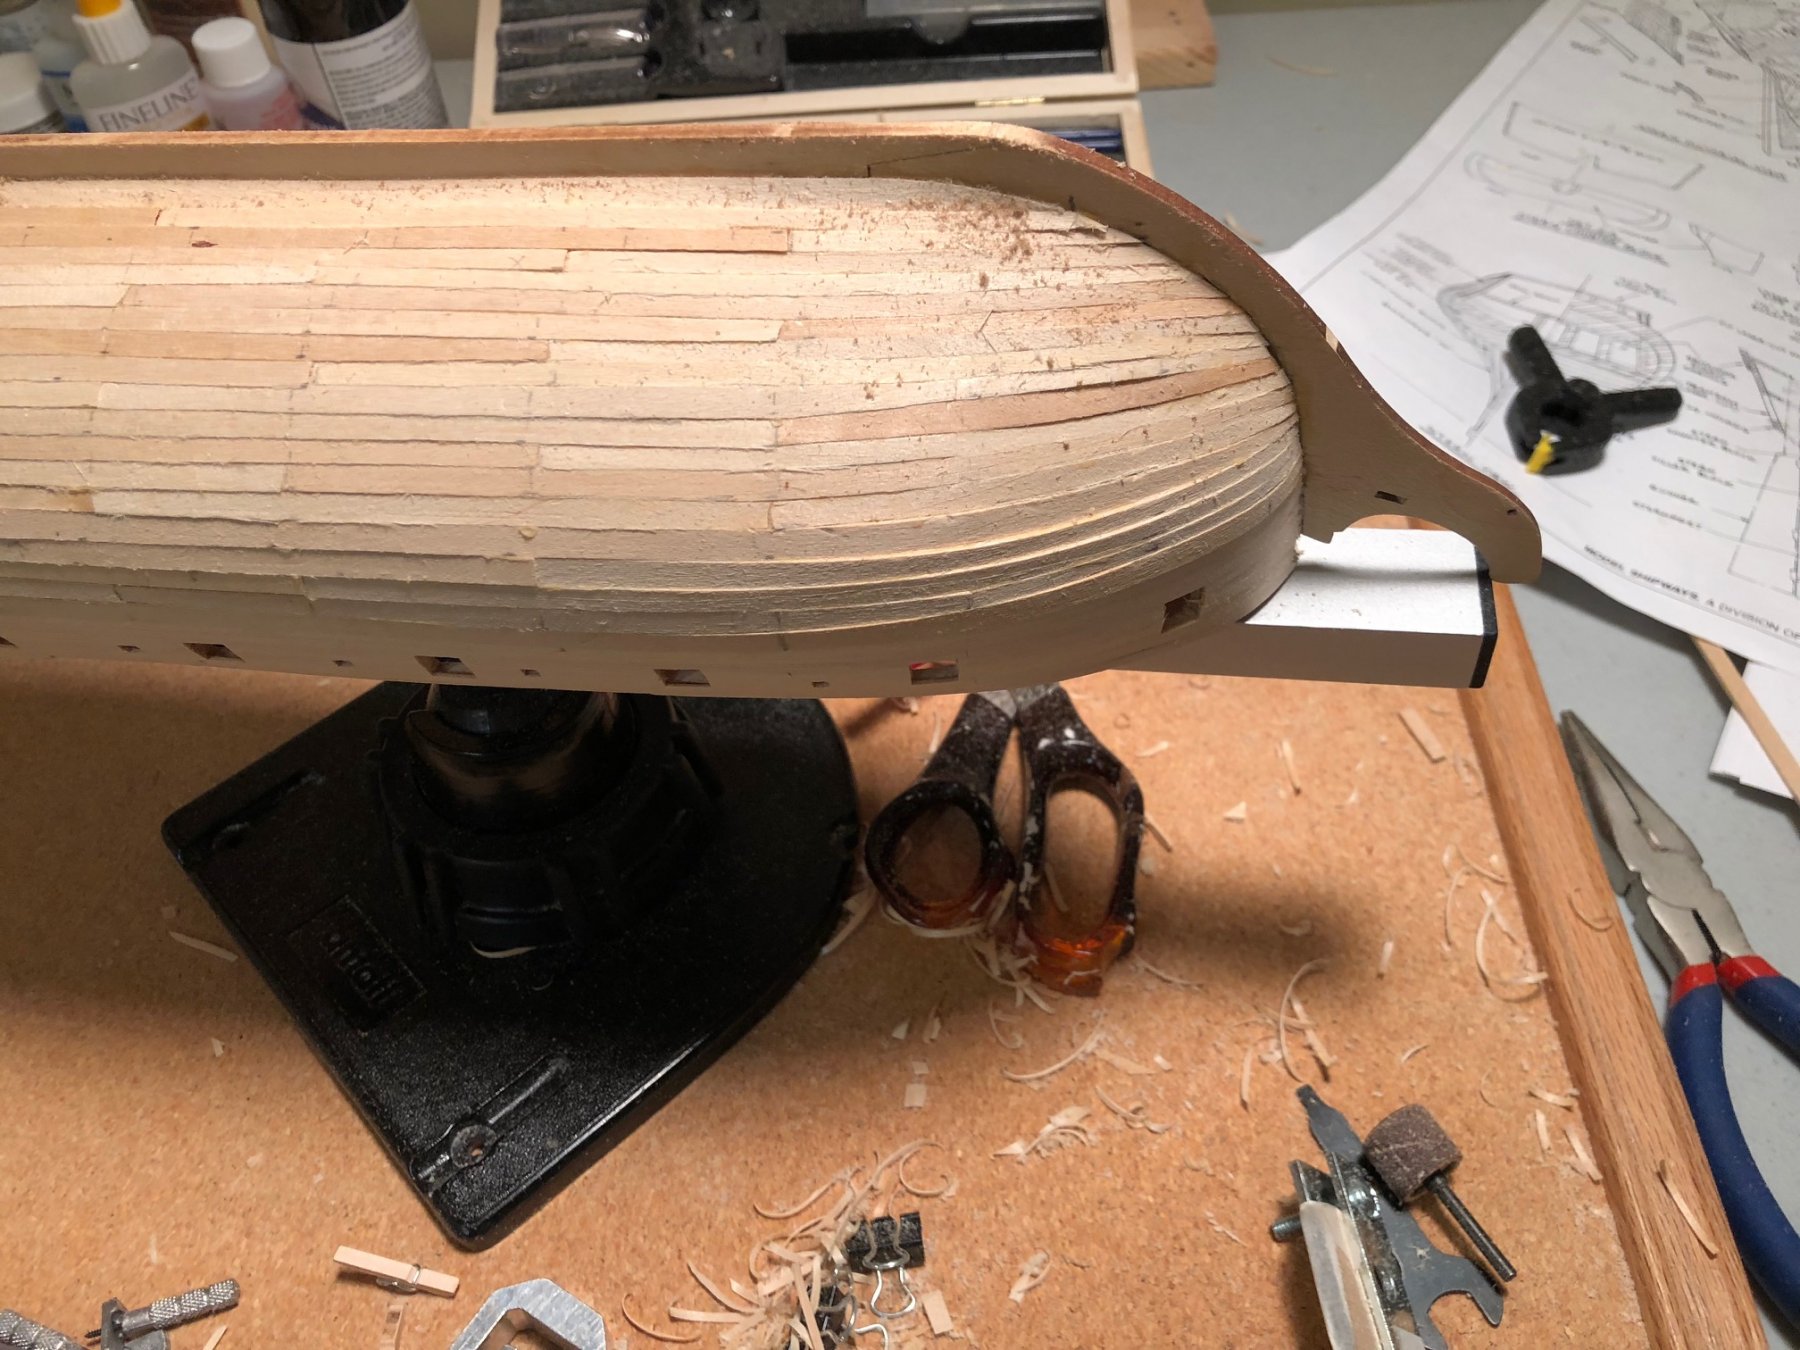
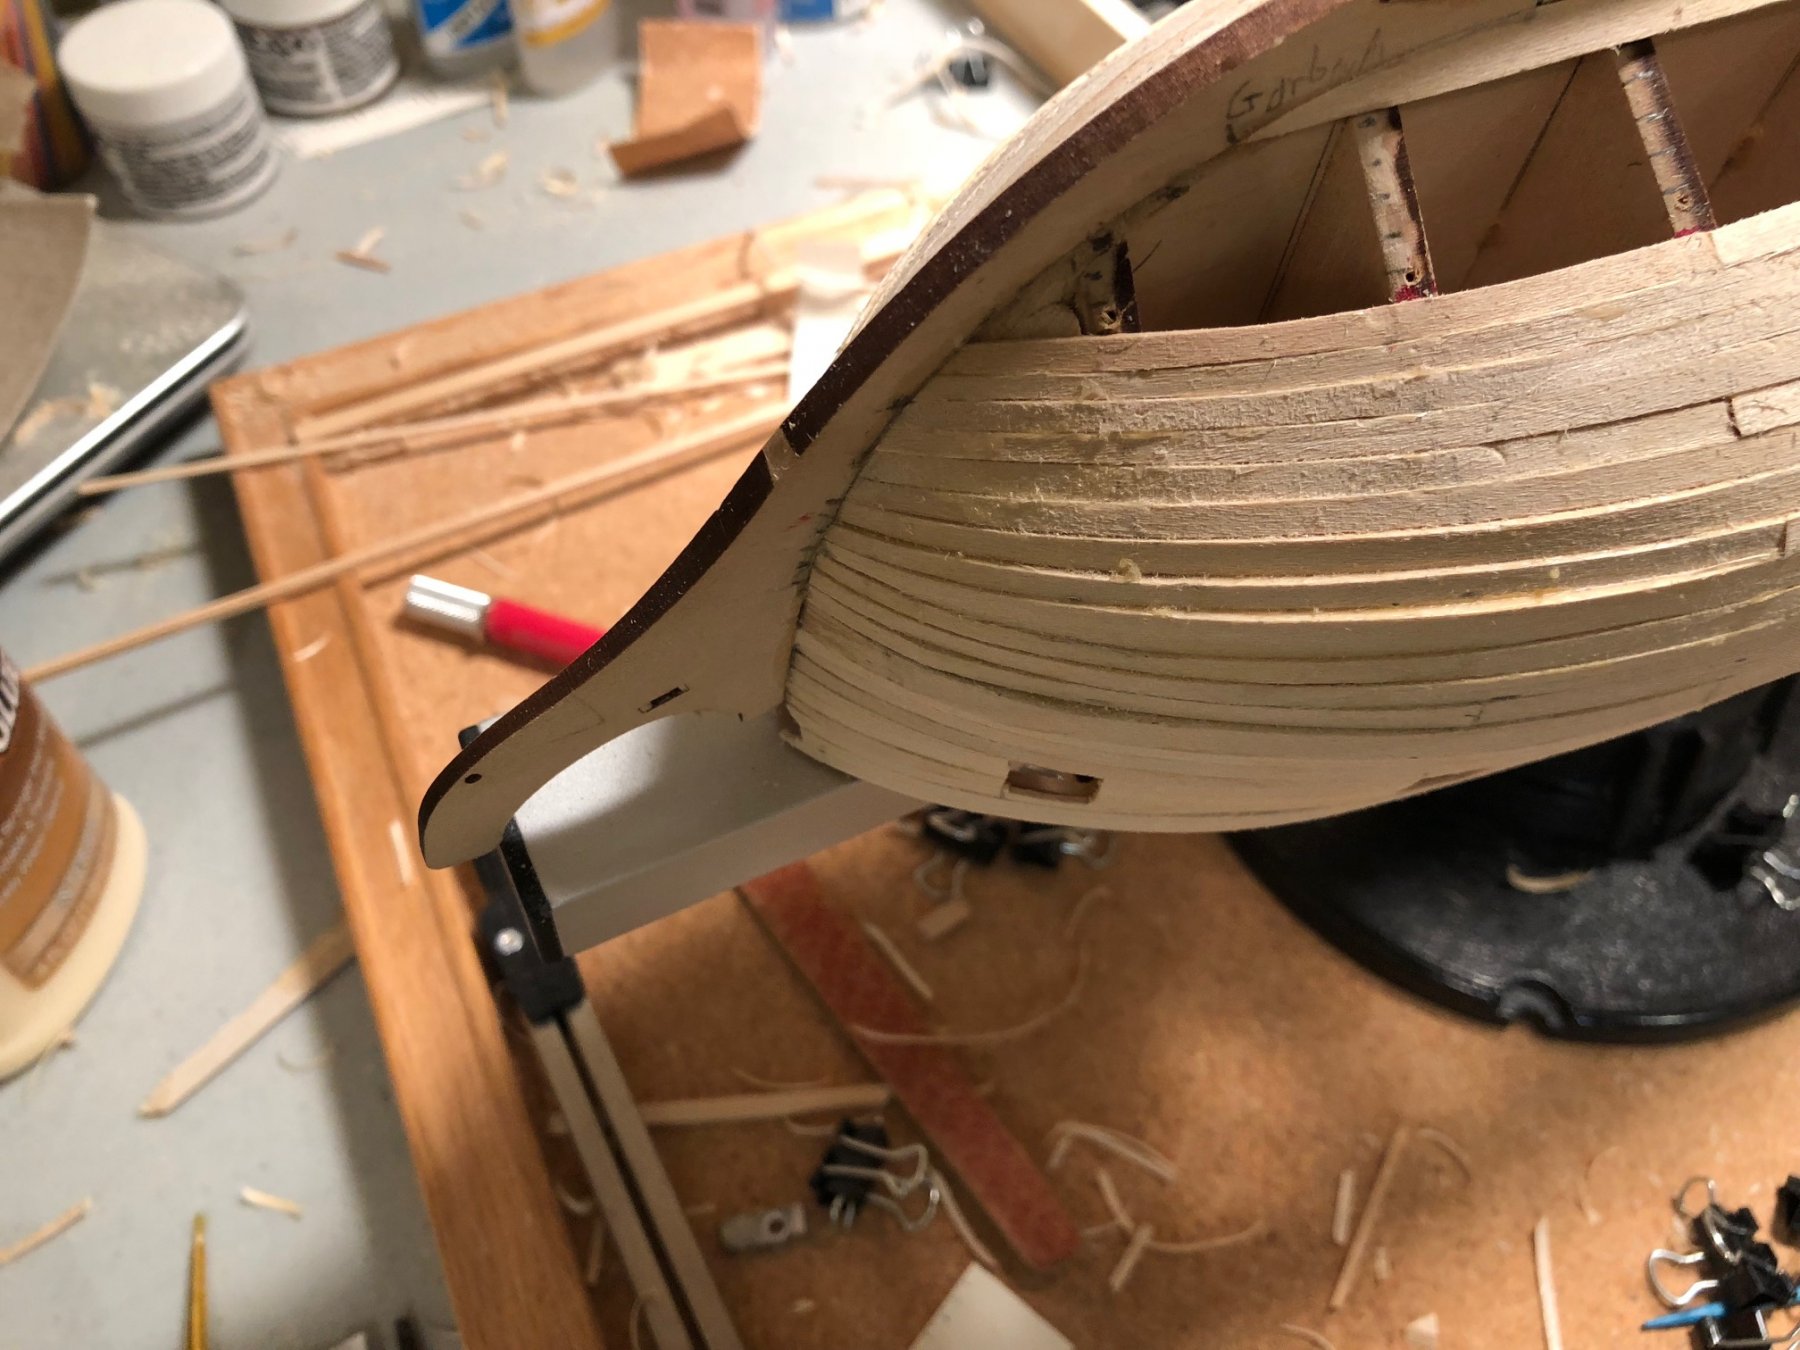
I've completed the planking and I'm about to sand it down. I wanted to put some pictures in at this state to show the difference pre- and post sanding. I've had the burning question about is the planking "good enough" throughout the process but without knowing how it would look after sanding it was difficult to say. I'm sure on my next ship I'll have a better idea.


- 53 replies
-
- 5
-
-
- rattlesnake
- model shipways
- (and 1 more)
-
Have made it to the point where I've finished the "B" section of the planking. took a bit longer than the "A" section and with better weather coming I expect the final section to take longer yet. There is golf to play, water to be skied, sun to be seen. I am looking forward to sanding. Every time I look at the bottom where its not sanded and compare to the top that is I want to get with the sanding. Anyway, this is where I am.


- 53 replies
-
- 6
-
-
- rattlesnake
- model shipways
- (and 1 more)
-
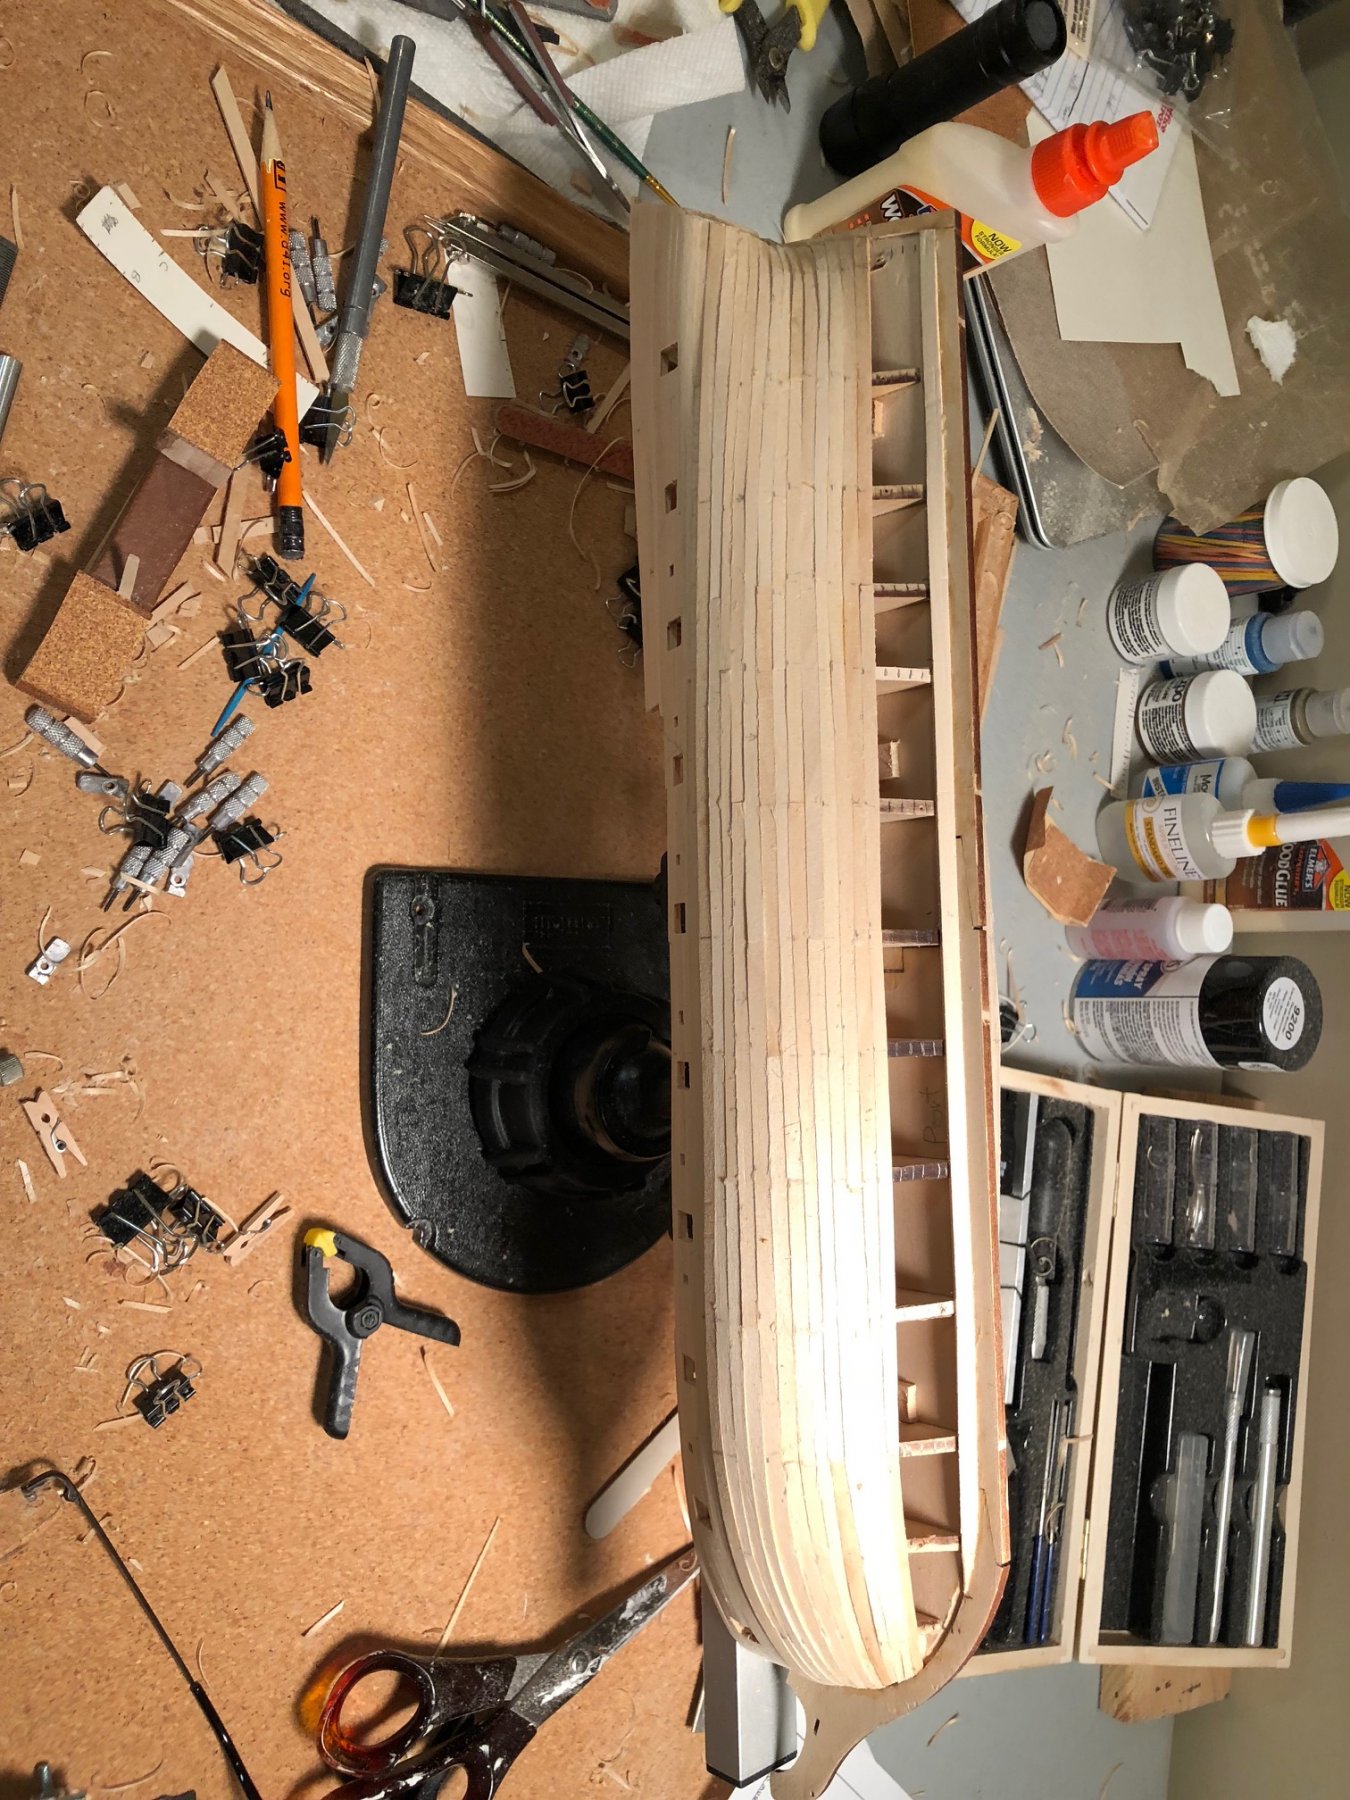
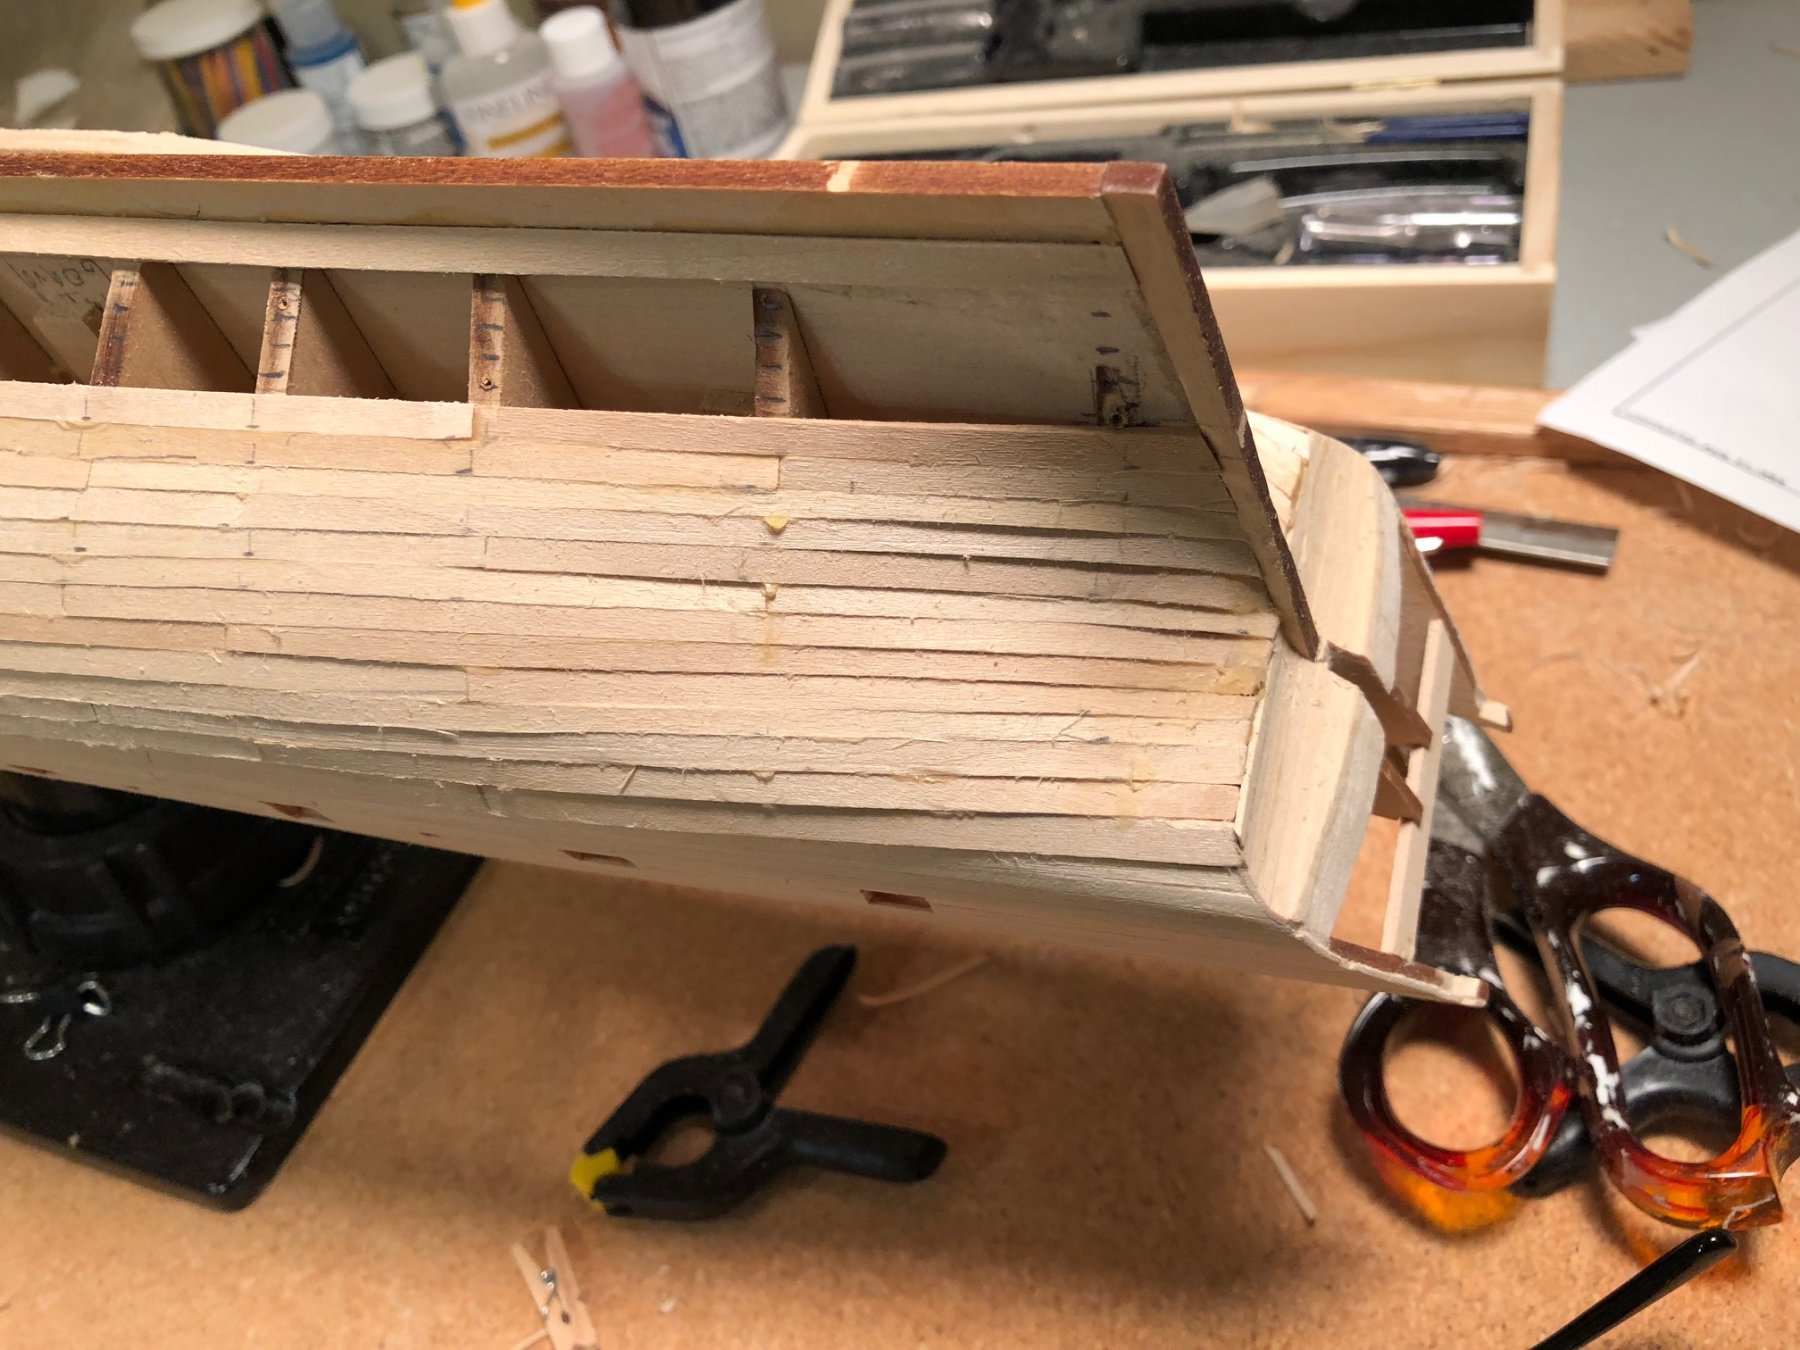
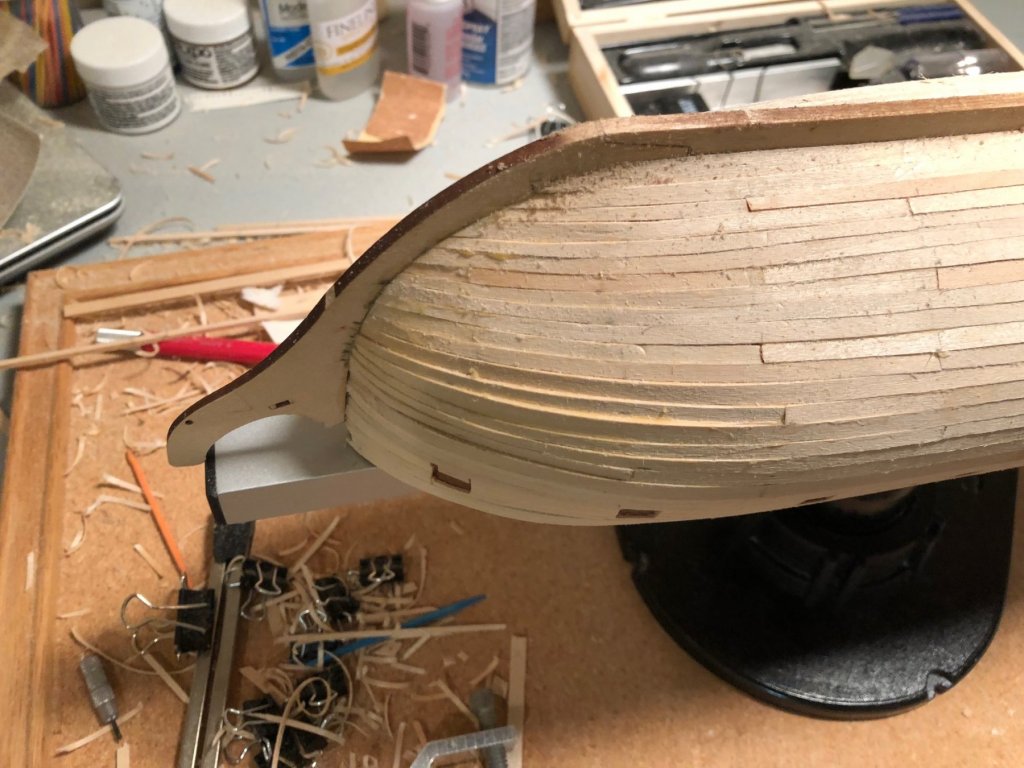
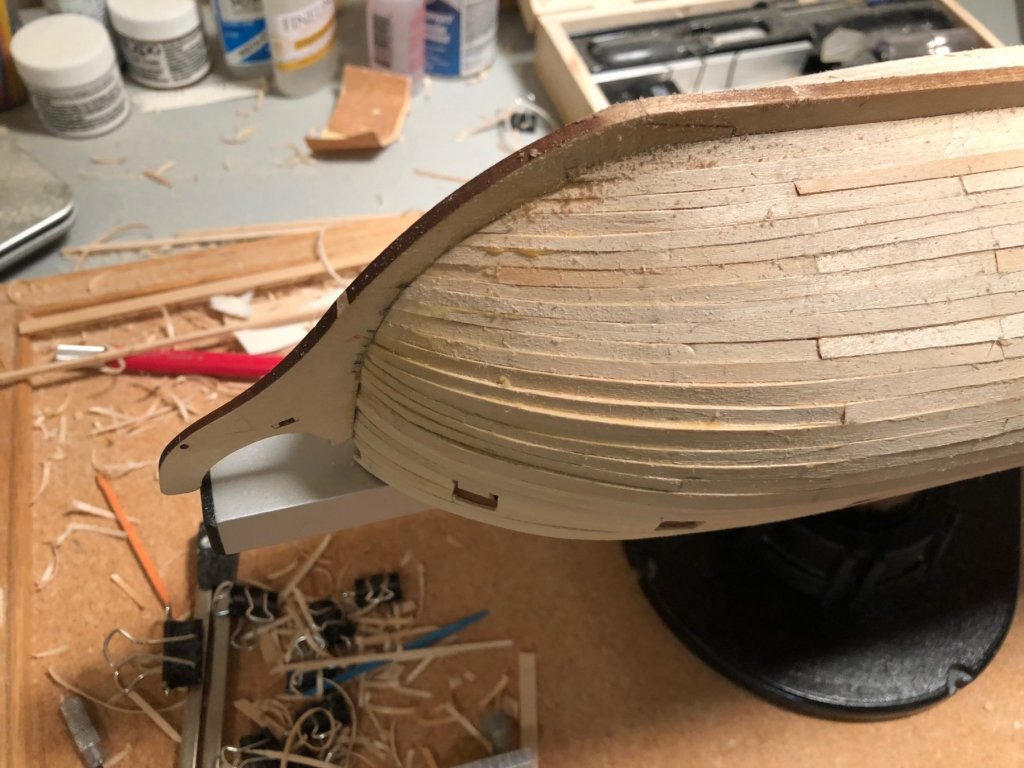
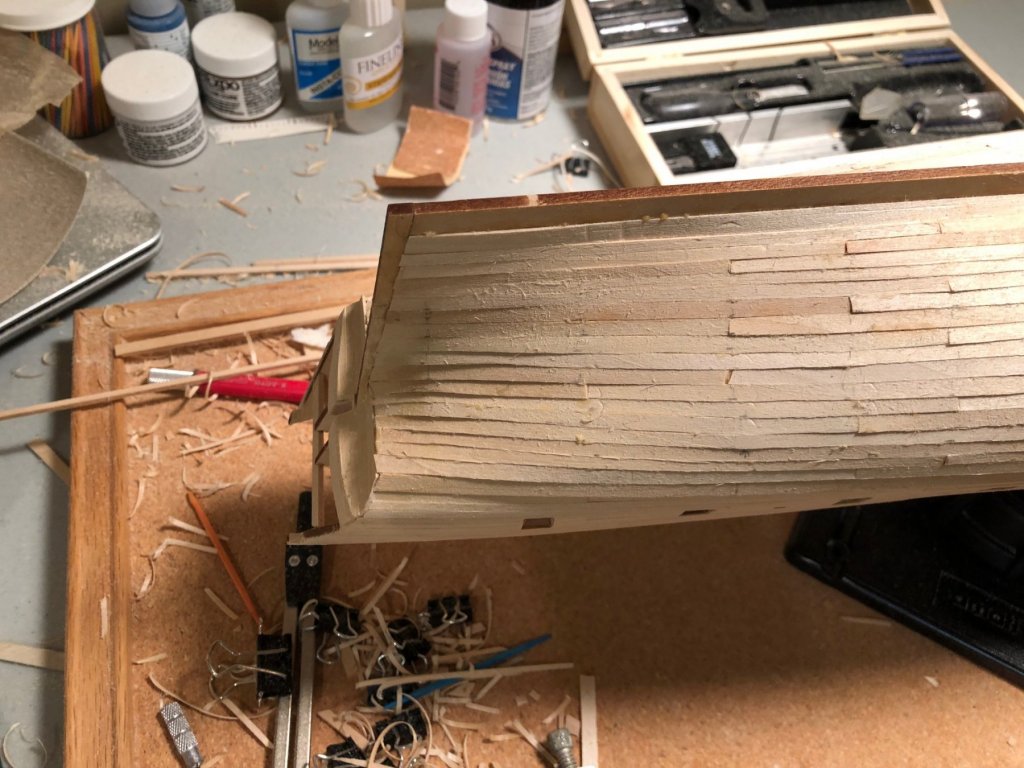
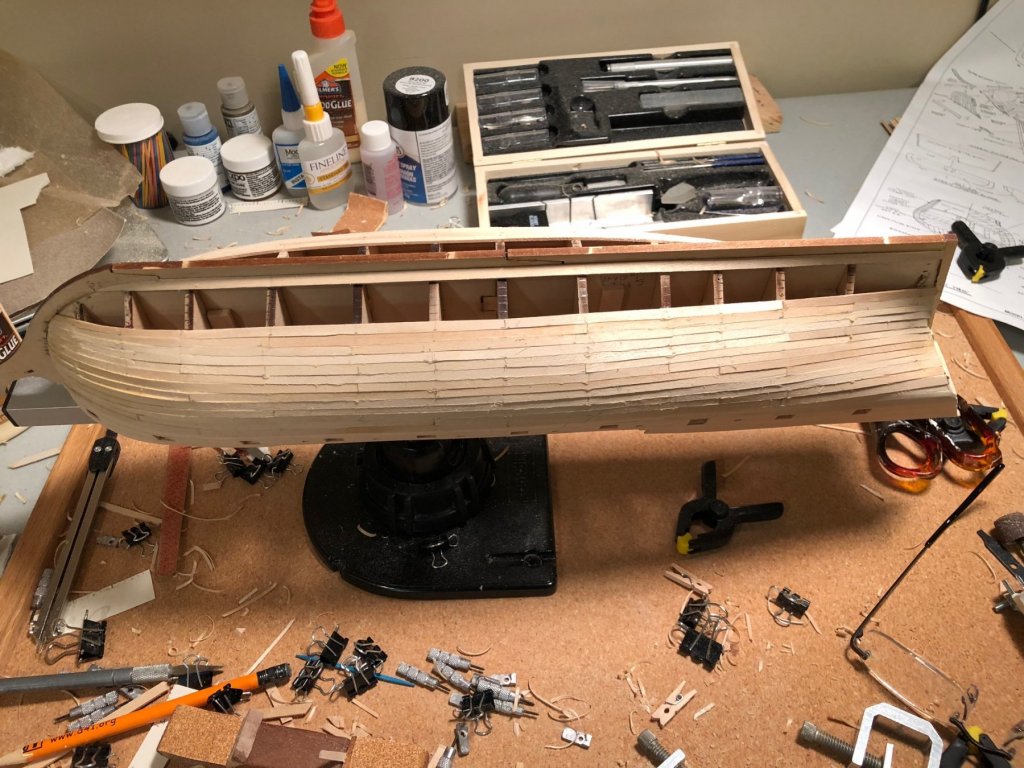
Been about a month since my last post. Seems there isn't that much to show all that often at this stage. I've been planking section "A", from the whale down. Seems to be going ok. I've changed my technique where at the start I had been using a jig to pre-bend planks into near correct positions and then cut, shape and sand them to the form needed. Once that was done I'd glue into place. That was fine for the simpler curves but as I moved down the hull with more complicated curves a different technique was needed. I have shifted to shaping on the model itself. I transfer the measurement of the width at each bulkhead to the plank and get the width close. I use an iron with a lot of steam and water to heat the plank and then a combination of different clamps to clamp it in place and let it dry overnight. Once it dry and has taken the shape, I do a final sanding and glue in place. Overall I'm happy with how it has turned out. There are definitely places where inexperience shows but i'm hopeful that some sanding will clean it up.
- 53 replies
-
- 2
-
-
- rattlesnake
- model shipways
- (and 1 more)


.jpg.dc140aa494e238a0ba48b65bdc7cb949.jpg)
.jpg.0ffcf7fd7429a8a7d50c4c229ea50ff5.jpg)
.jpg.1c23abc41f045f953eb1b4501621039d.jpg)

.jpg.ce2bdb55cf2135abd21b8946e7bc1da0.jpg)


.jpg.c5f99fb664dd231ce7a0e243a32f7e2e.jpg)

.jpg.d7efd8317a9e070c7934bc95e1c44f45.jpg)