HOLIDAY DONATION DRIVE - SUPPORT MSW - DO YOUR PART TO KEEP THIS GREAT FORUM GOING! (89 donations so far out of 49,000 members - C'mon guys!)
×


mandolinut
-
Posts
141 -
Joined
-
Last visited
Content Type
Profiles
Forums
Gallery
Events
Everything posted by mandolinut
-
Enjoyed reading through your build as this will be on my bench soon. Cheers. Patrick
-
Thankyou Veszett. I will make adjustments. It would be nice to weather the hull like that. Cheers.
-
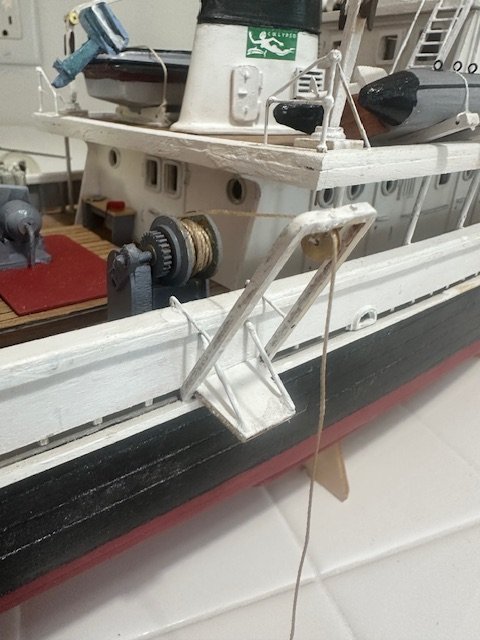
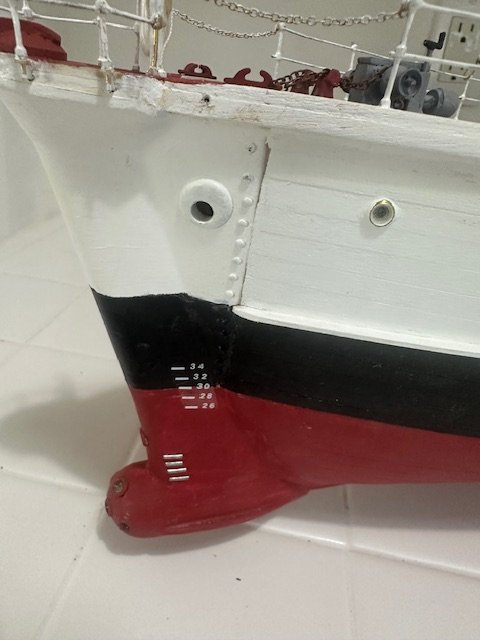
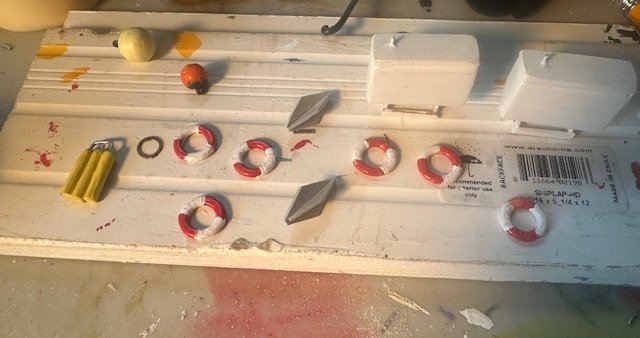
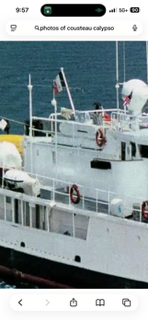
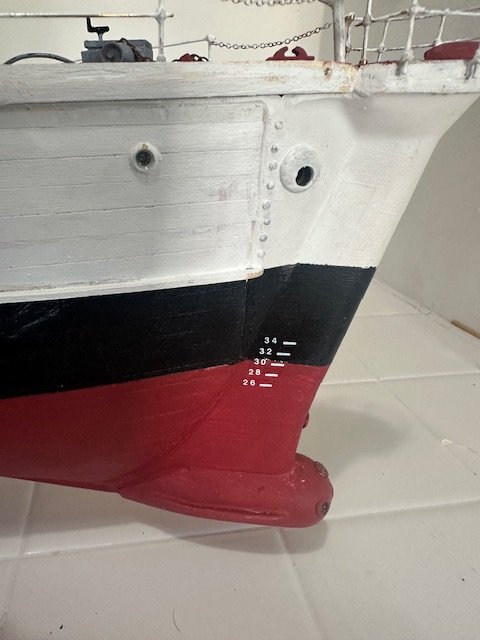
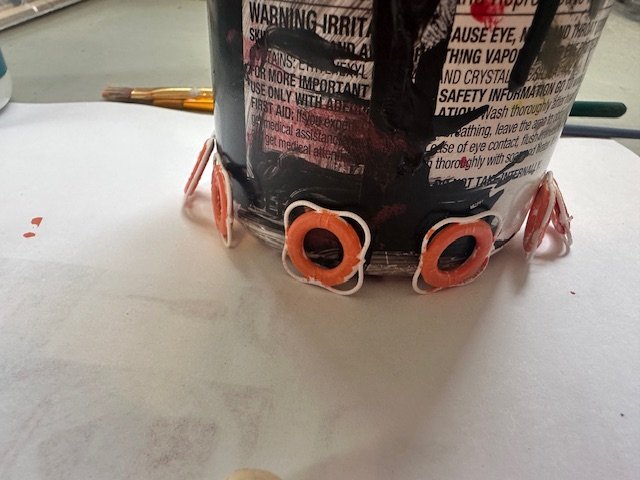
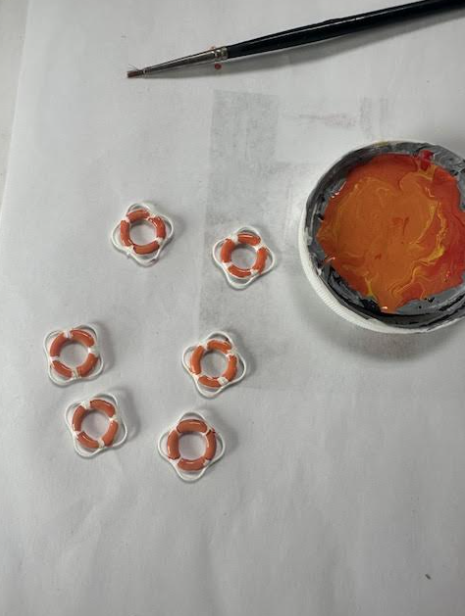
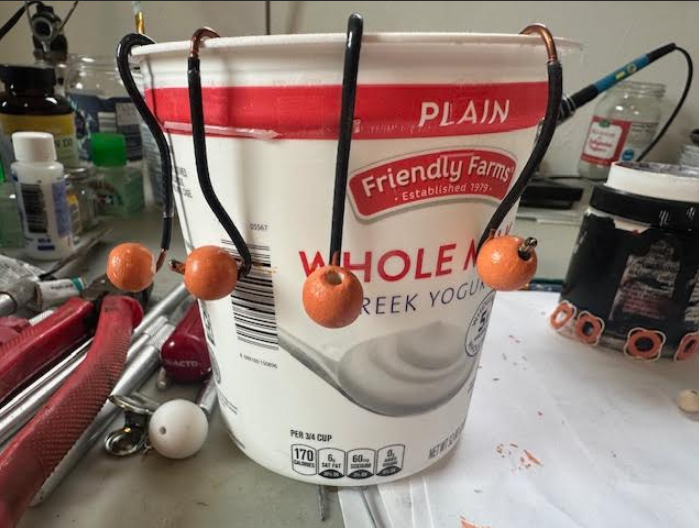
Spent a little time today adding a few more details. I started by adding cable to the starboard winch and threading it through the lift assembly. I have to decide whether or not to hang something from the cable such as a bathysphere or shark cage, or just tie it off. I saw on another Calypso build video where somebody added zincs to the steel bow addition to prevent electrolysis. I had some small aluminum wire which I hammered flat and cut into small pieces. Started the painting process on the life rings. Thanks to Mark for the good photo of Calypso's life rings. I decided to use that color scheme. Glued up the radar reflectors. Will add rings and lines. Happy New Year to everybody. I have really enjoyed your support, inspiration and comments over the past year. Patrick
-
Thanks so much Sal. This has been a special build for me. Looking forward to adding more to my Calypso. Cheers.
-
Thankyou Mark. Funny, that was a typo error. It was supposed to say "did not have". I fixed and edited the comment :0) Love the photo you included and will use it for detail. The picture I showed above was small but pointed out that there were no loops of rope around the life ring. I see the colors on the life ring, like many other things on the ship, changed over the years. Merry Christmas.
-
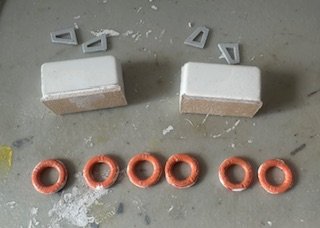
Working on the life rings. I noticed in the Calypso book that the life rings did not have ropes extending out the four corners. The life rings supplied with Calypso I see are used in many of Biling's models. I clipped off the rope features and will repaint and make some metal clips to support the life rings from the railing. Also working on the "Disposable fuel tanks". I found out what they were from the wonderful schematic in the Cousteau Calypso book. Merry Christmas and Happy Holidays to all. Thanks for following this.
-
Just looked through your build. Love it. May be my next build. Talk me into it or out of it :0) Merry Christmas. Patrick
-
Thankyou Don. Your Calypso was an inspiration! It is hard to believe that this project has been a year in the making. Almost hate to see it end. Getting ready to build a shark cage and add some more details.
-
Mike, The Skipjack looks great. Could you tell me the name of the skiff pictured above with the green interior? Are there plans for a possible scratch build? Cheers, Patrick
-
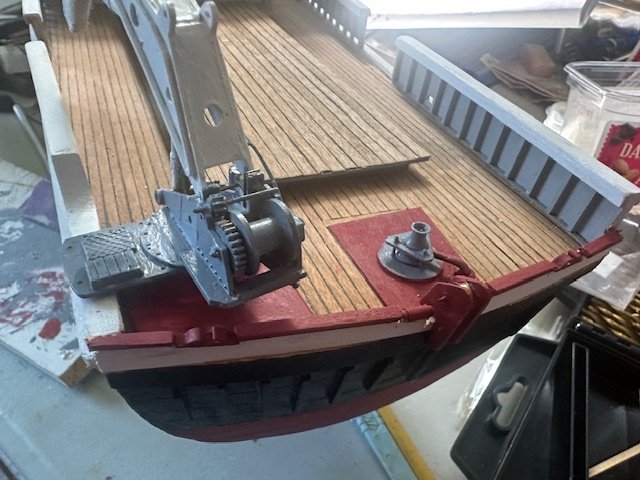
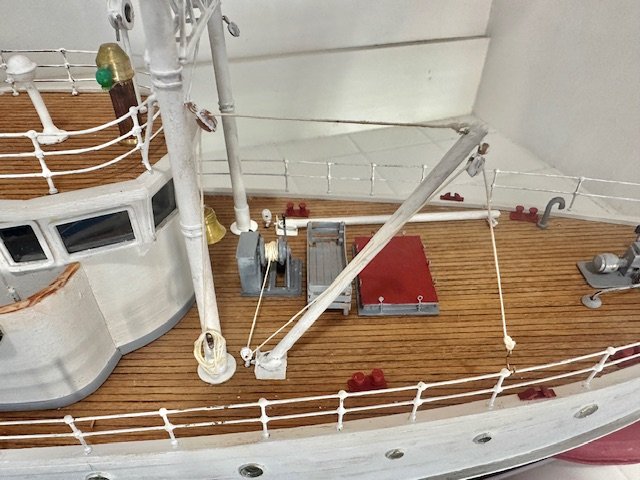
I finished up the rigging for the forward deck boom. It is nice to have more going on up front to help balance all of the eye candy in the back of the ship. Also added the depth markers at the bow. Made the cradles for the Avon dinghy and the small power boat tied them down.
-
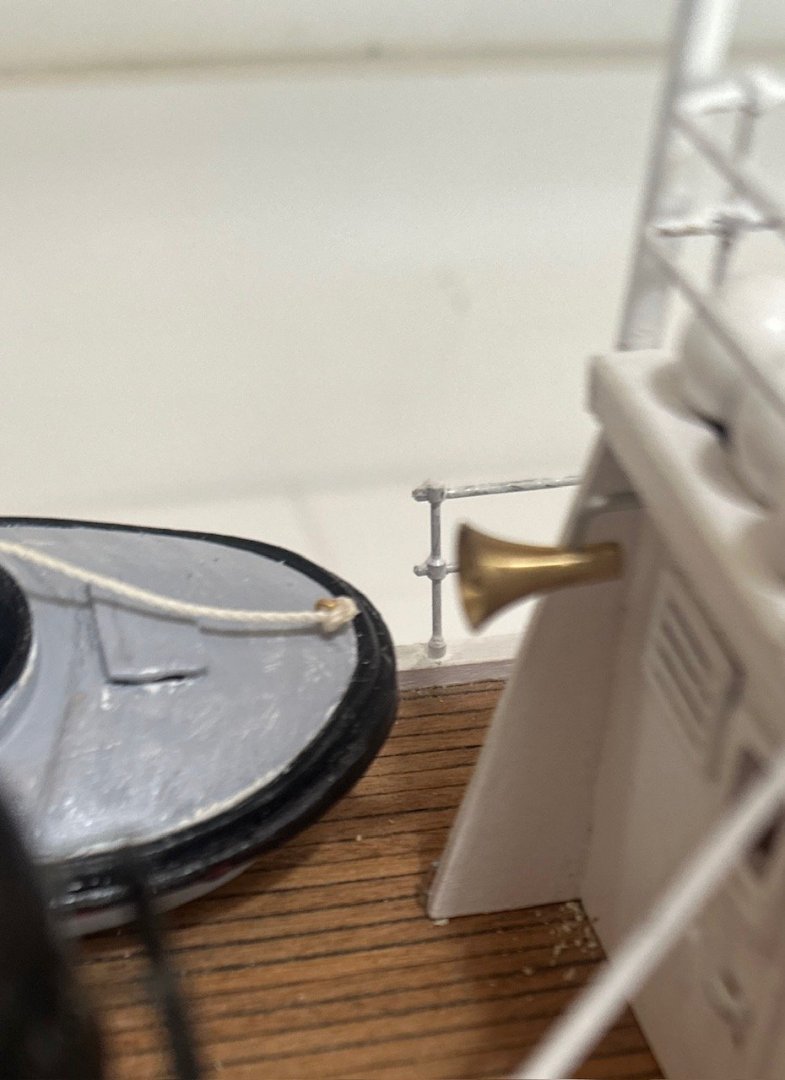
A little more progress. Added blocks and bases to the foredeck booms. Will now raise the starboard boom using the blocks. Added the loud speaker. Added the lifting system on the starboard side which I plan will hoist the shark cage. Still enjoying this journey after 12 months.
-
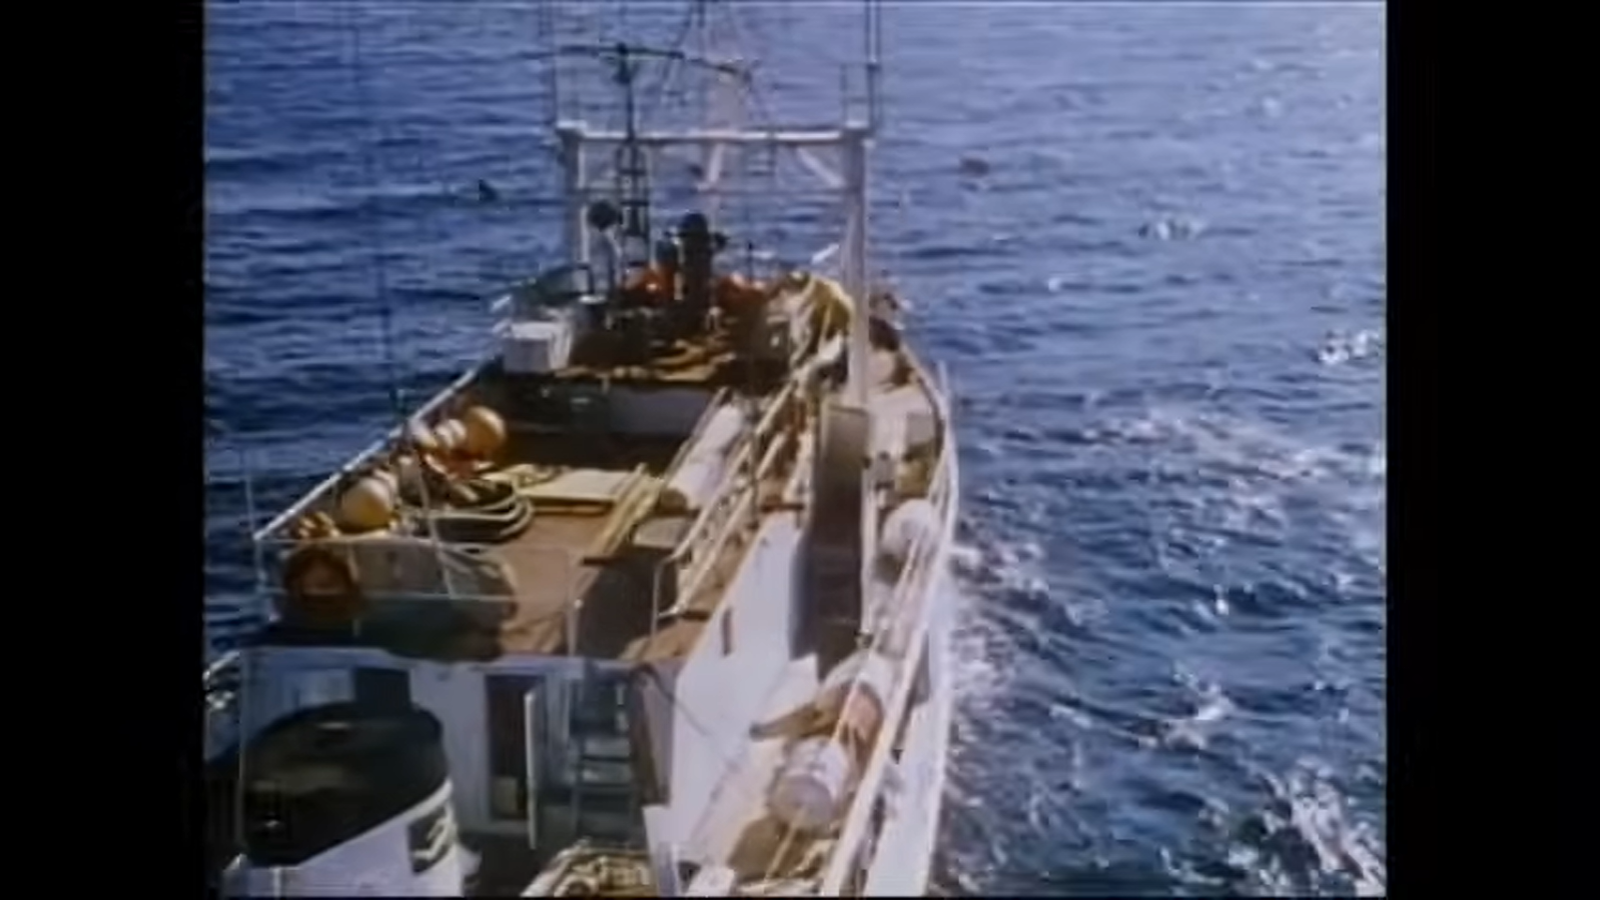
Found this old photo showing a high number of floats on the upper deck. These will be in addition to the fenders hanging off the side.

-
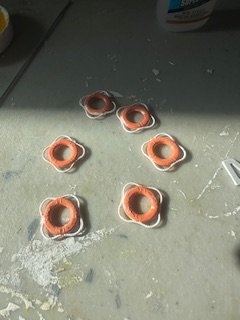
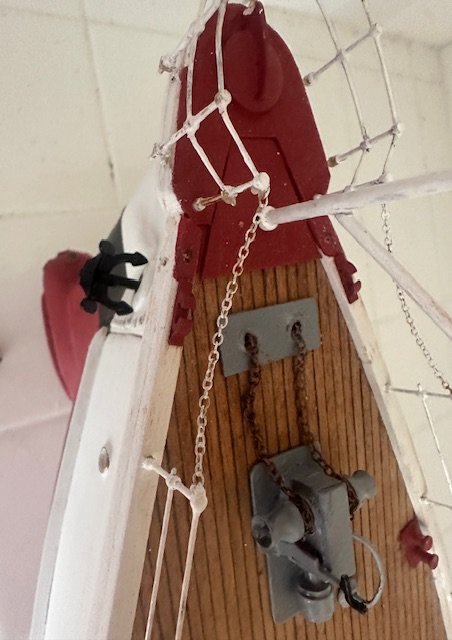
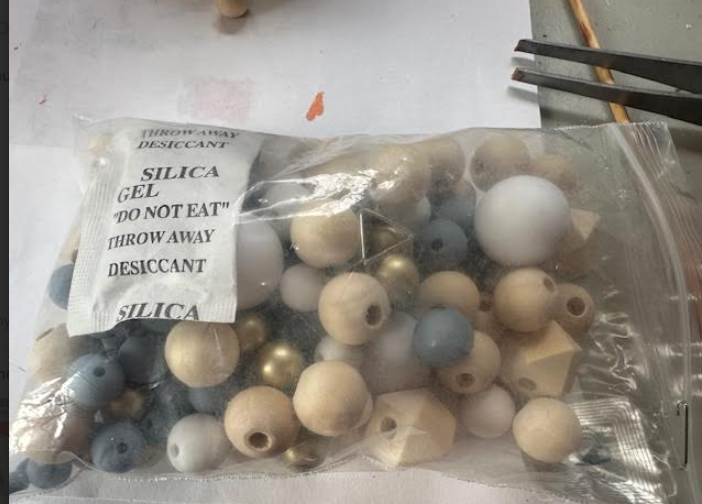
Happily, busy with Thanksgiving and family the last two weeks. Got to spend a little time today on Calypso. Added the safety chains on the forward deck with a thin coat of white paint. I then mixed some orange paint for the tossable life rings. I left the white areas that suggest where the ring is lashed down and later decided to paint over the white and wrap it later with white thread for a bit more realism. Found a bag of wood beads at Michaels in assorted sizes so I can make a variety of sizes of floats and fenders. Still need to add the booms on the forward deck and a number of other deck details. Also some aging and rust staining at the anchors and scuppers will be nice. Does anybody know of a good source for 1:45 scale people that would look natural at sea on a ship? I have seen many Lionel train people of the correct size but not the correct positions or clothing. Here is where Calypso is at this time.

-
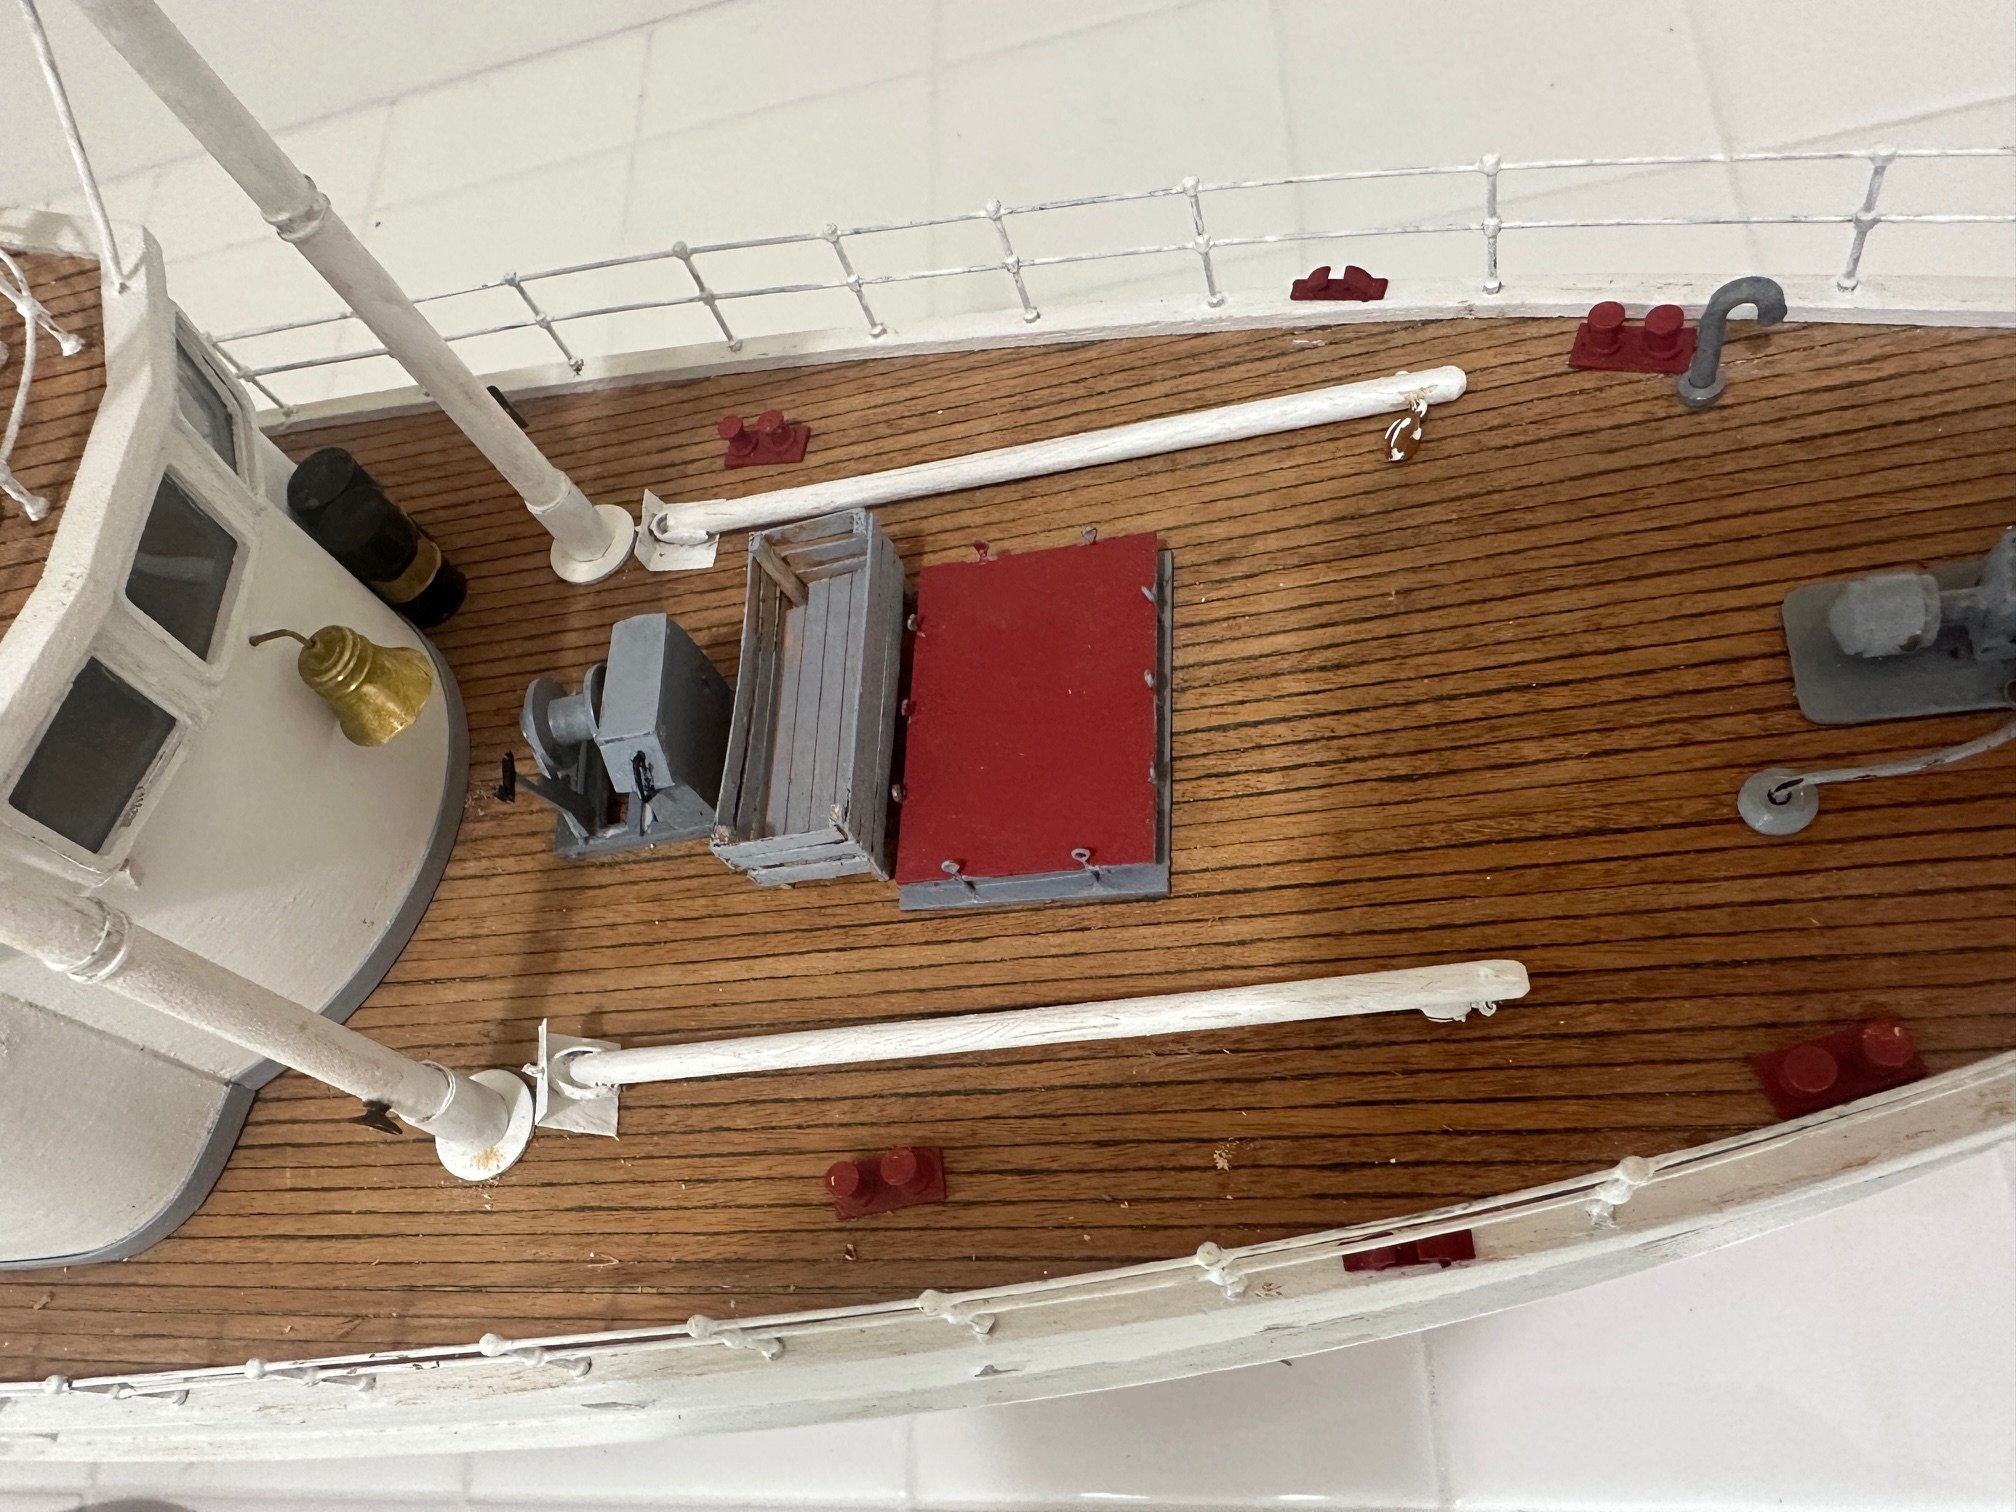
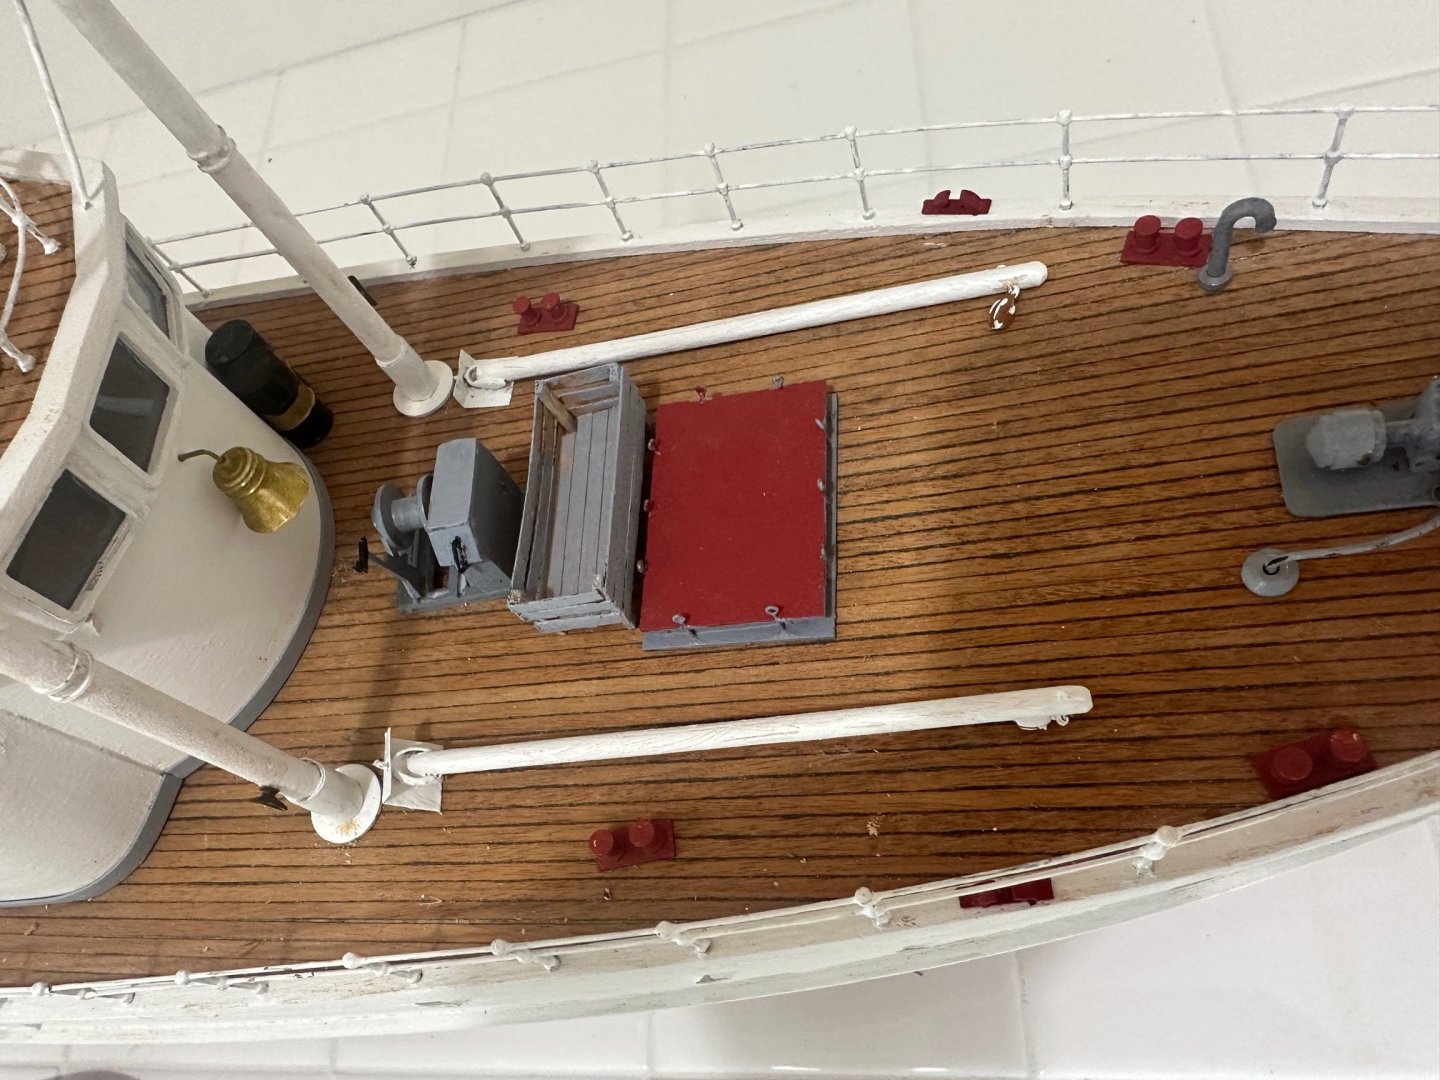
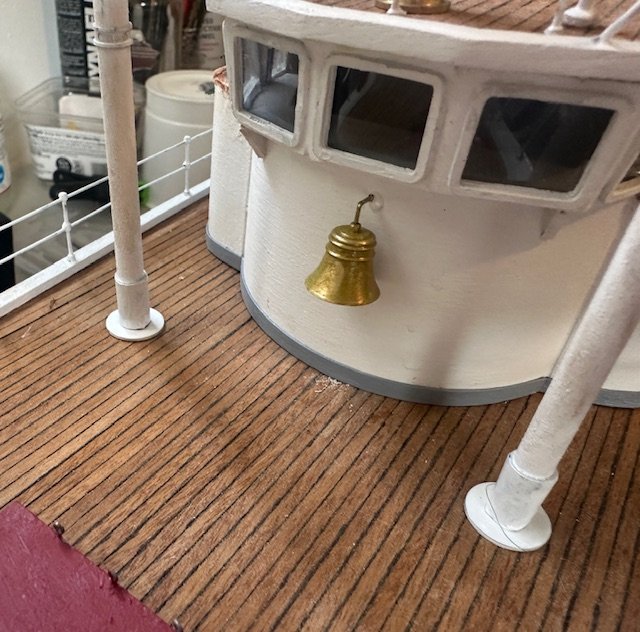
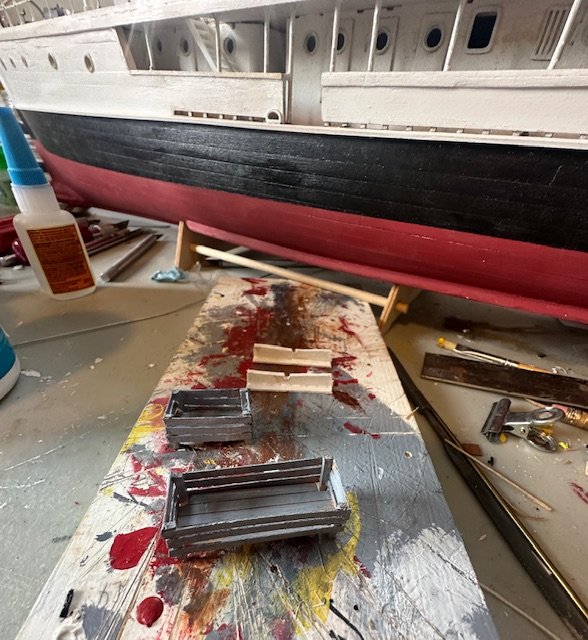
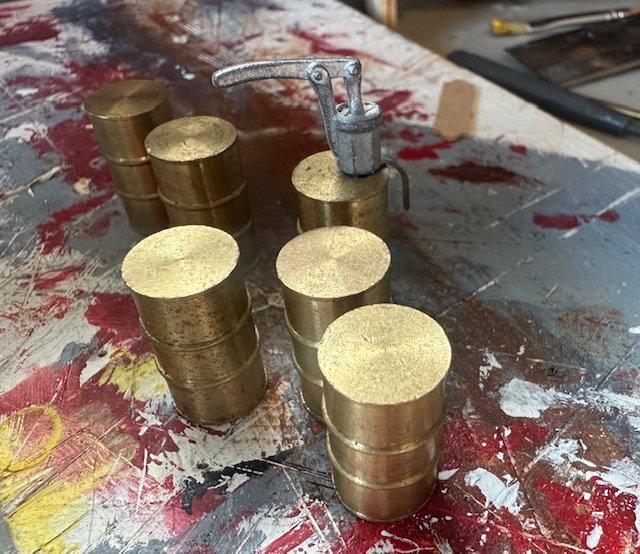
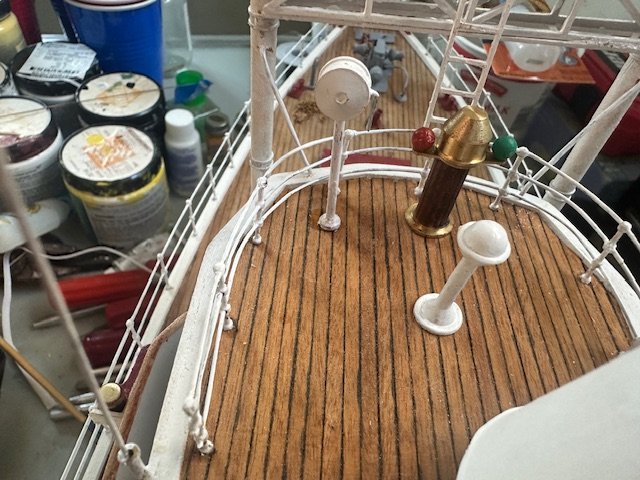
I had the time to do a few small detail projects this week. I received an aftermarket bronze bell and antiqued its shiny surface and installed. Painted the cradles for the runabout boat and constructed the wood slat storage bins and painted them gray. Then made a hanging firehose detail. Still need to add a valve. I believe my next step will be painting these beautiful brass barrels and making cradles to hold them. I have added an aftermarket handpump to one of the fuel barrels. .

-
Chris "You're dating yourself! I loved those shows, too. " Yes, I guess that does date me, but trying to fool somebody about your age is like lying about your gas mileage. I am an old sailor that still loves life, the ocean and building ship models. Good to have you following. Regards.
-
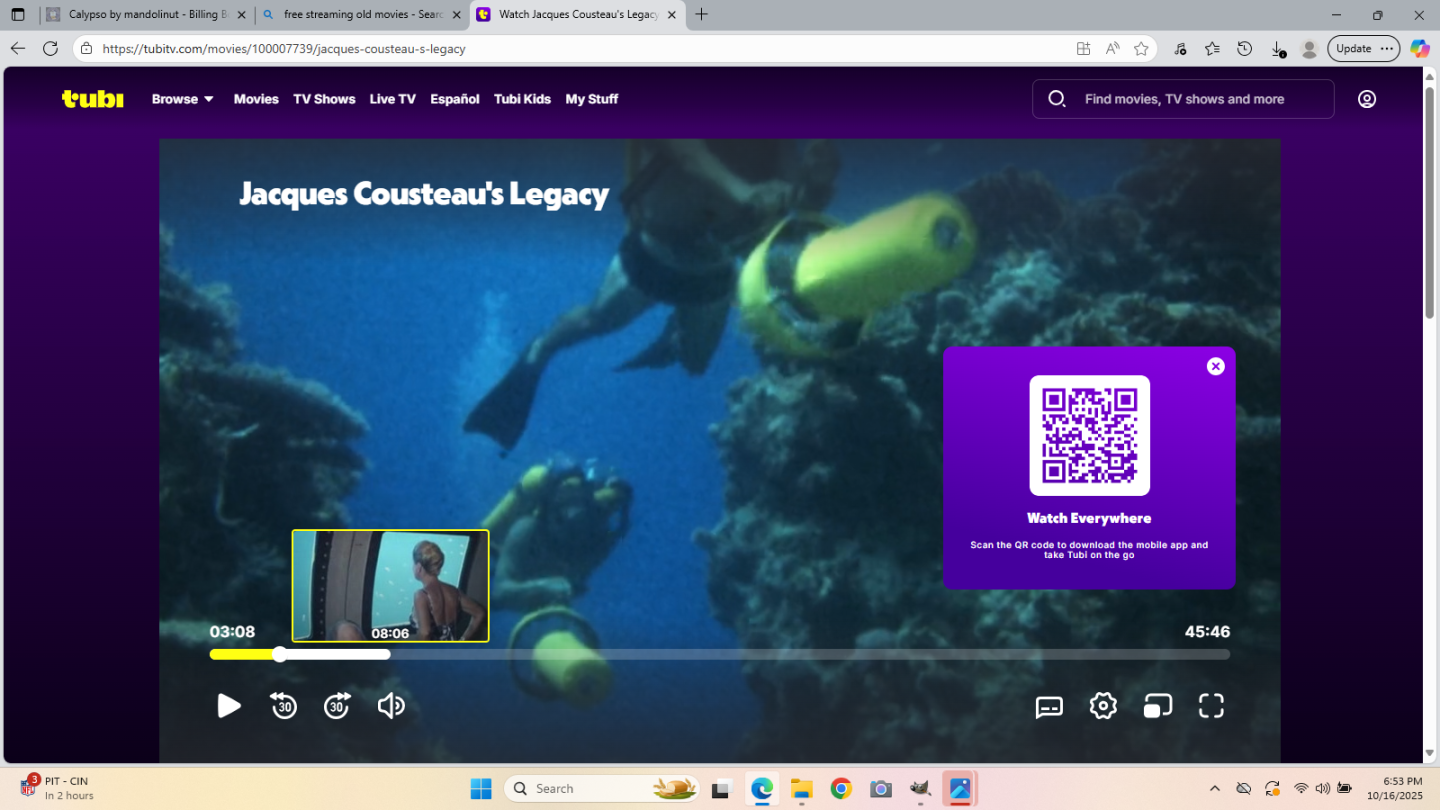
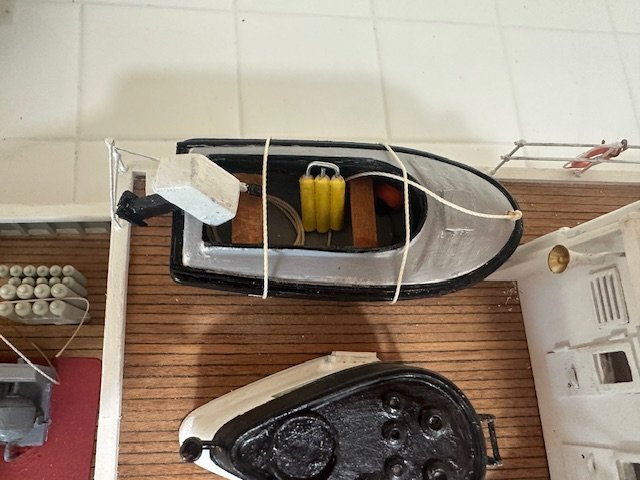
I worked on some smaller details this week. Started by making a "triple tank". I remember first seeing these iconic bright yellow tanks in the 60's on the Underwater World of Jaques Cousteau. Then antiqued the shiny copper anchor chains and temporarily led them into the deck. Added a bow cleat and some line for the runabout along with a forward seat and mounted the outboard engine. And made up a few control handles for the large stern crane by applying a drop of glue to the end of some wire to create the ball handle. I hope to get more time next week to add more details.


-
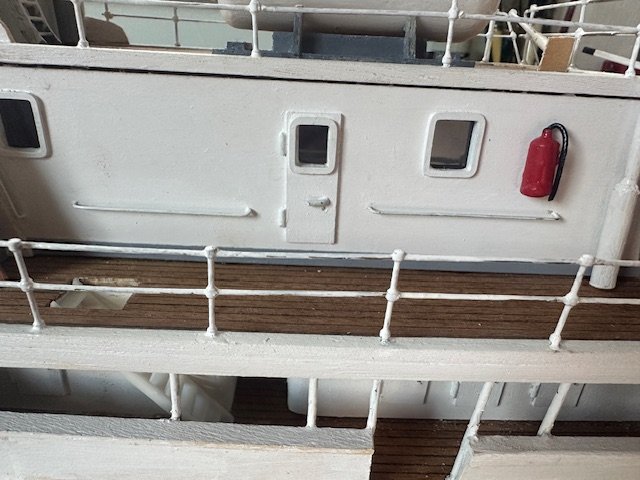
A few more small details today. Attached the spotlight, binnacle and compass above the pilot house and a wall mounted fire extinguisher. Also supports from the wheelhouse to the two masts.
-
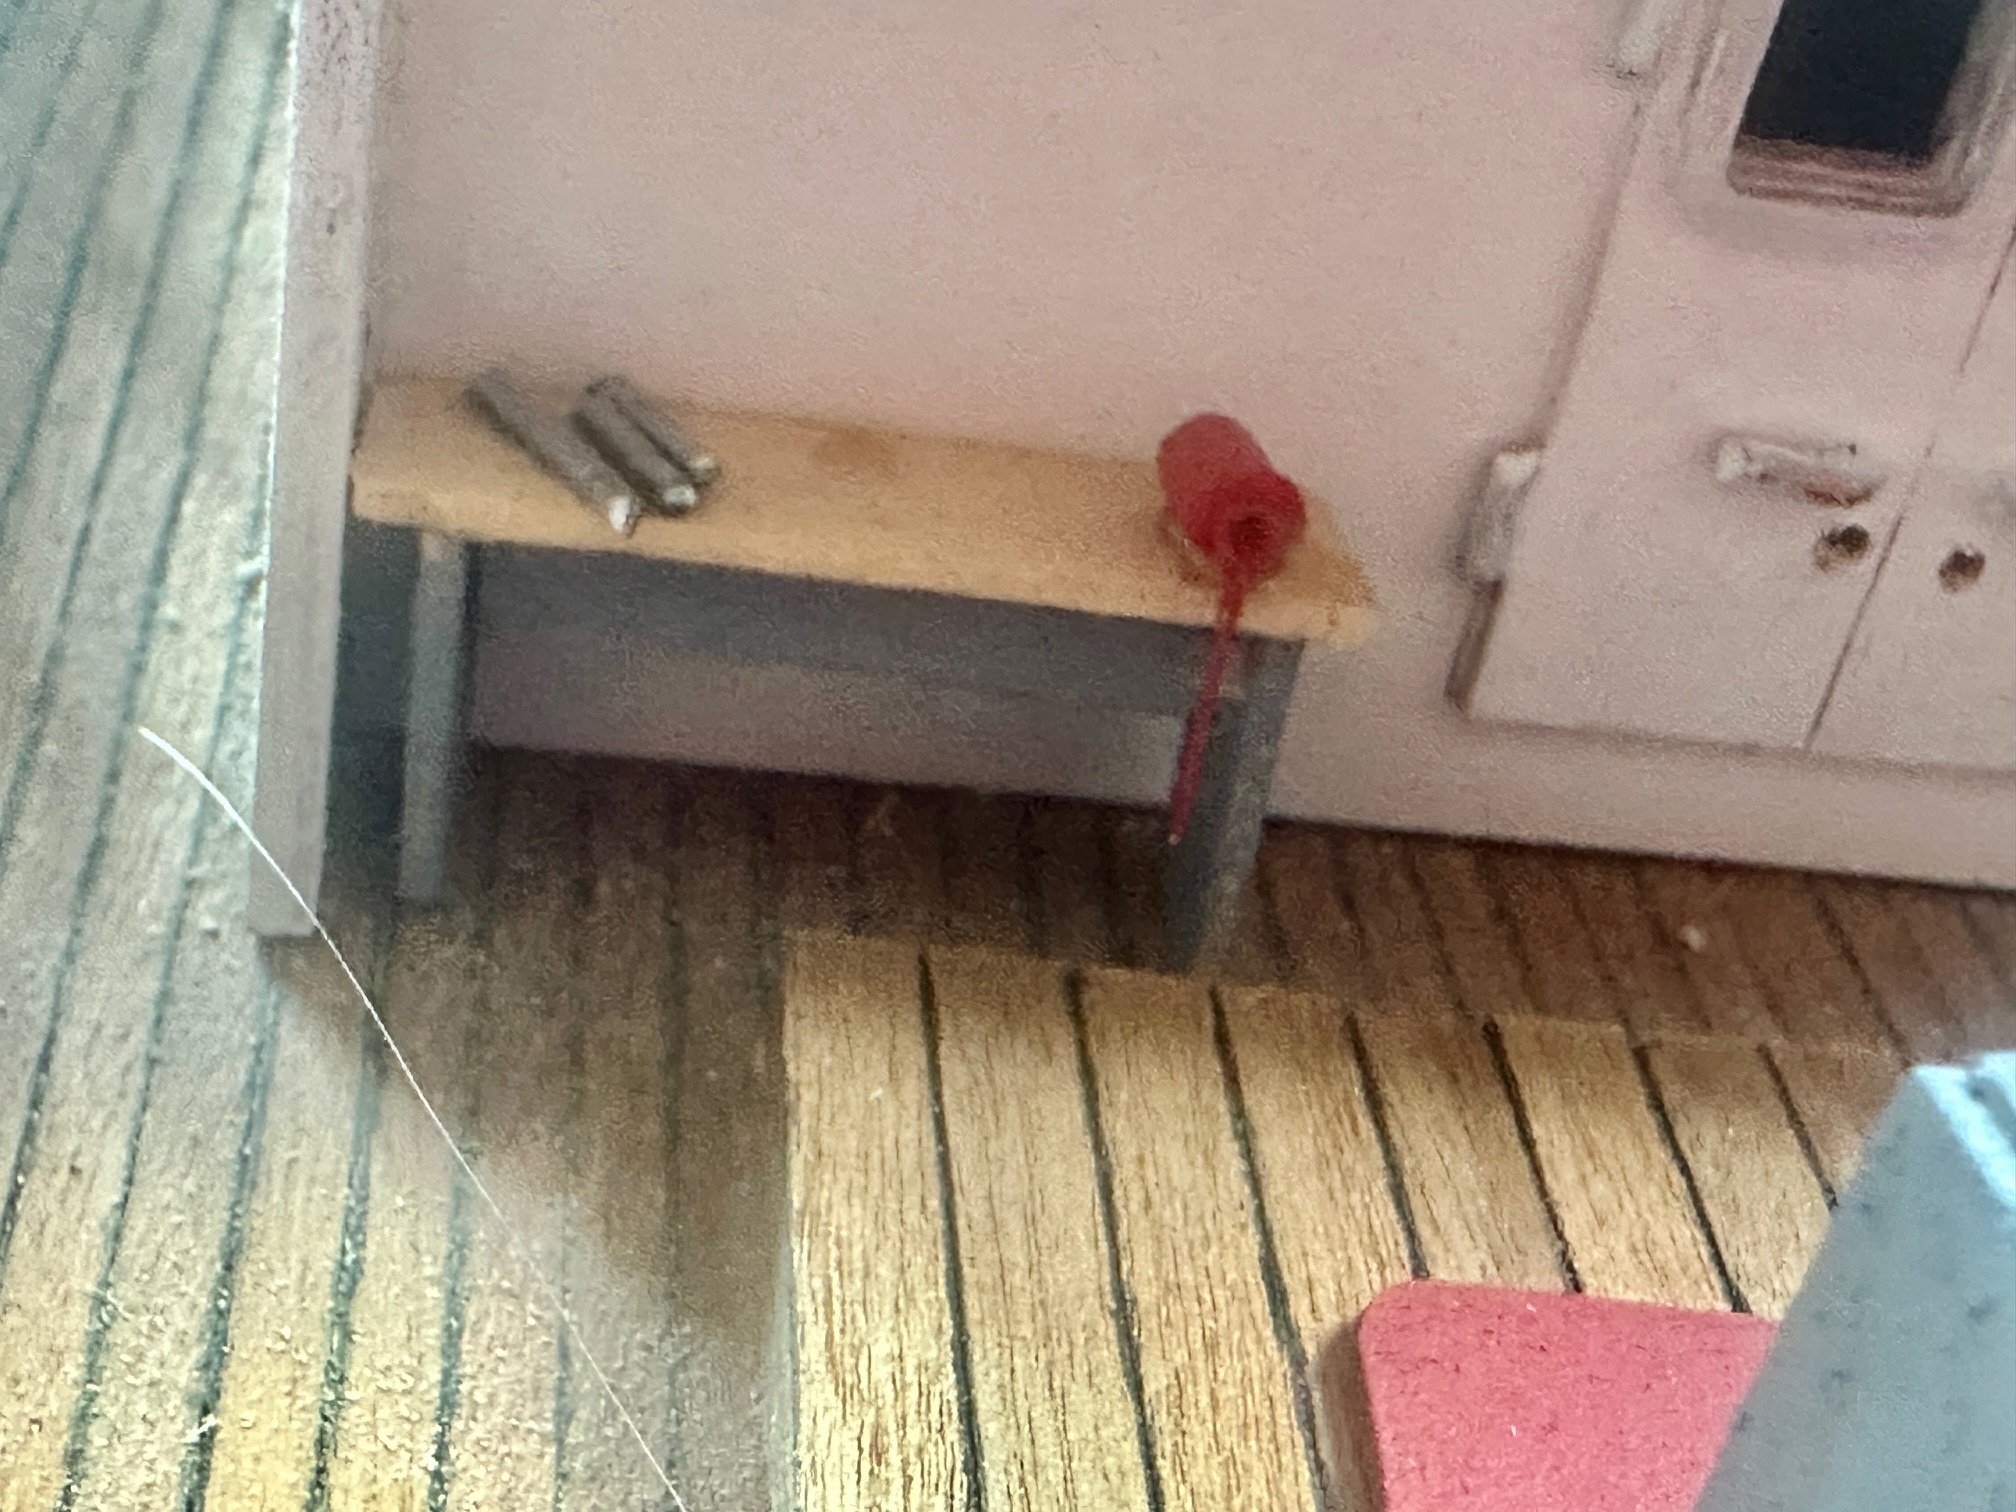
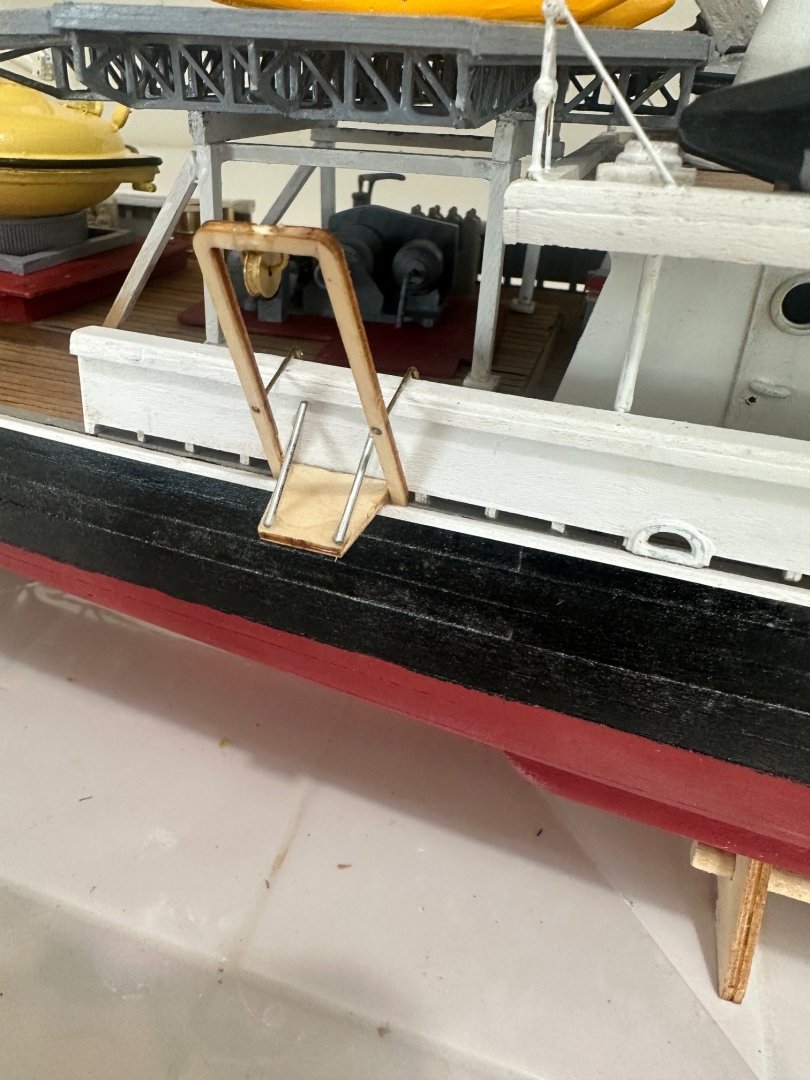
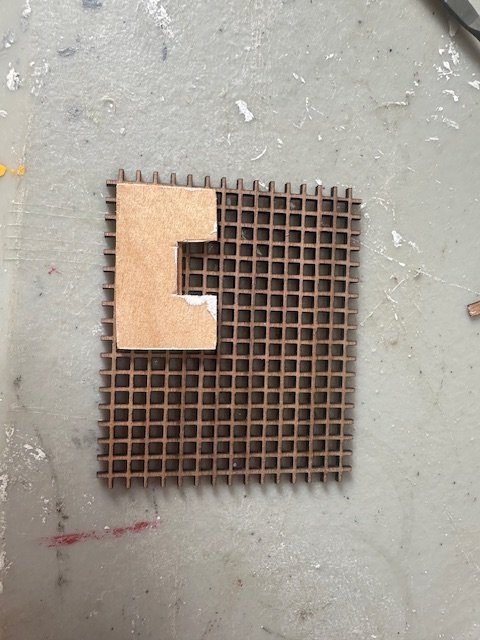
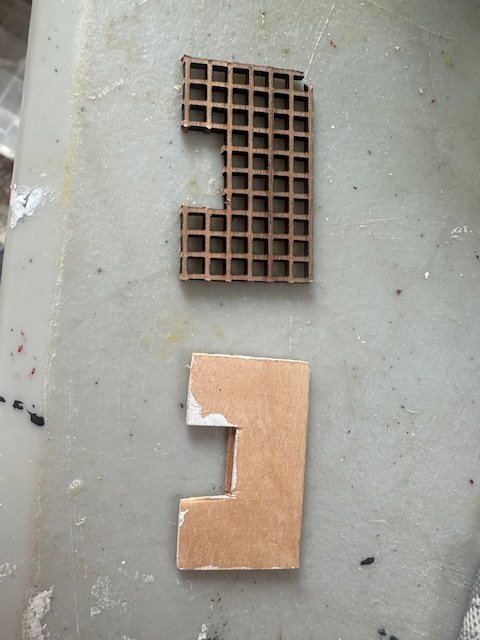
I worked on my workbench a bit more today. Added a drawer front and some "tools" on top and painted the base gray. I received my Model Shipways grate and cut it out to match the solid laser cut dive platform. Mounted to the stern of the ship along with the ladder, support chains and handrails. Happy with the overall look of the grate. So many small details on this addicting build. Loving the process.


-
Thankyou Alan. You are absolutely right regarding the large amount of deck features and ornamentations on this model. It seems like there is no limit to be creative and add to the numerous deck projects already supplied with the Billing kit. For example, I saw in old photos of Calypso where there was a work bench behind the lower deck cabin on the port side. I came up with this today and added a vice. I also began working on the dive platform. The part supplied by Billing is a solid piece of laser cut wood. I see that other Calypso builders have planked over this. As a lifetime diver, this would be problematic as the wave action would lift and lower the solid platform in rough seas. Dive platforms are almost always grated to allow water to rise up and through and then immediately drain off. Calypso was no exception. I ordered this grate today from Model Expo. which I will shape to match the original Calypso grate that had an opening for the divers access ladder to pass through. Once again, one more little detail to look at.


-
Thankyou Don. I am taking my time and really enjoying the build of this special ship.
-
Working on the binnacle and other fixture and spotlight which will go above the wheelhouse. More deck jewelry. Once again, the pins below the port and starboard magnetic balls would not fit into the predrilled holes. No problem to redrill. I added a grab handle for the spotlight to add a bit more detail. I will stain the sides of the binnacle to look like mahogany and leave the base and top natural brass. Also attached the bollards and fairleads to the deck. As I was leaving, the Sun shined brightly through the window for a nice photo op.


-
I worked today on the bollards. Some nice deck candy. There are eight total. Should have been easy but then it would not be memorable The pins on the brass vertical pieces would not fit through the predrilled holes in the brass base plates. Used my vise to hold the bases and redrilled them. First problem solved. The next problem is the brass pins are too long to allow me to have a flush mounting surface to glue to the deck. I will grind off these nubs with my grindstone and then reluctantly paint them for mounting to the deck.


-
The planking will stabilize the transom. Keep up the good work.
- 45 replies
-
- 2
-

-
- Dory
- Lowell Grand Banks Dory
- (and 3 more)
-
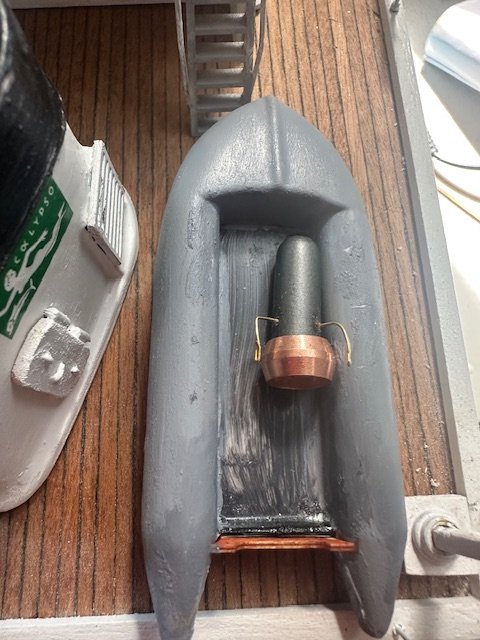
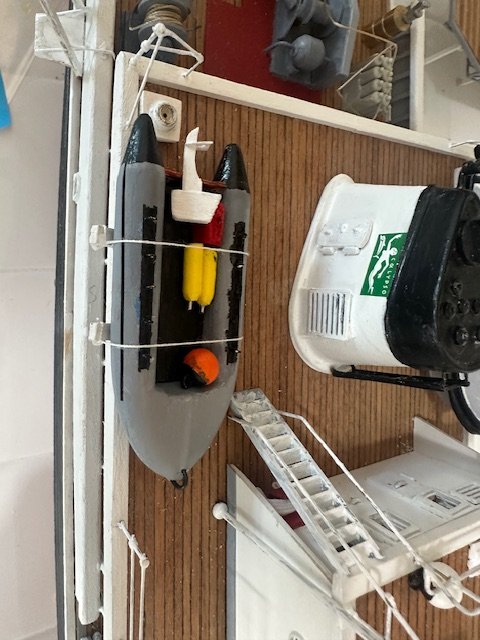
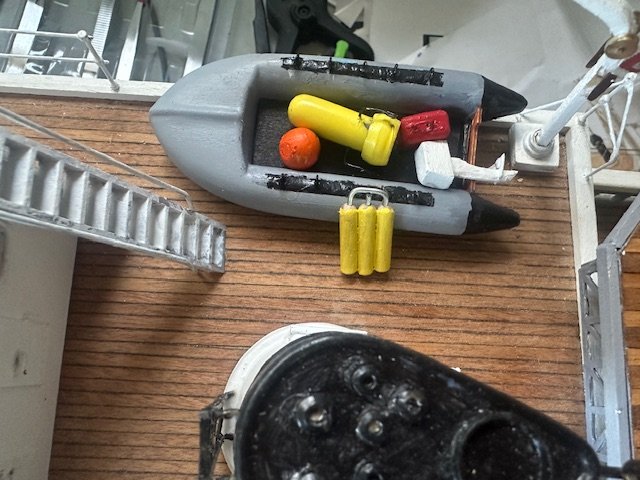
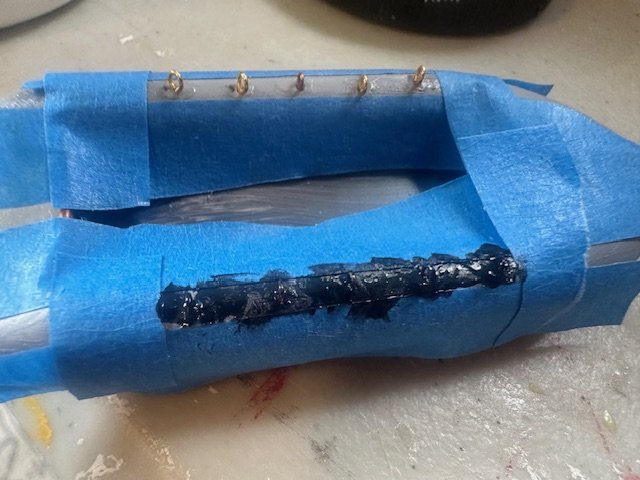
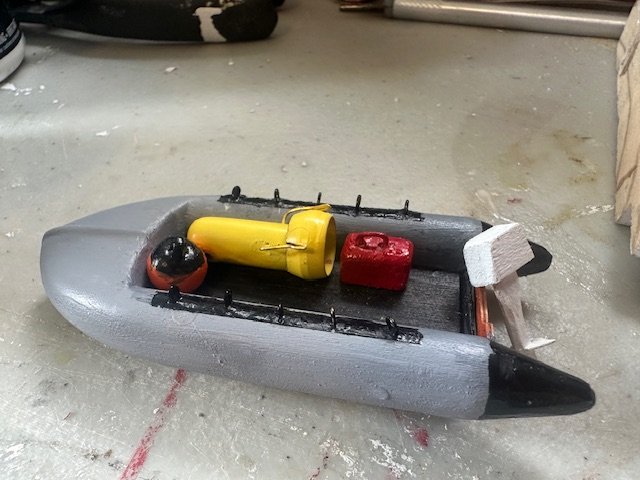
I had a little more time to spend on the dinghy today by adding 5 small wire eyebolts to each side. Then taped off to paint the border on top and the two stern extensions black. The grab lines on each side will eventually pass through these eyebolts as in the original photo. Also painted the underwater scooter yellow.
-
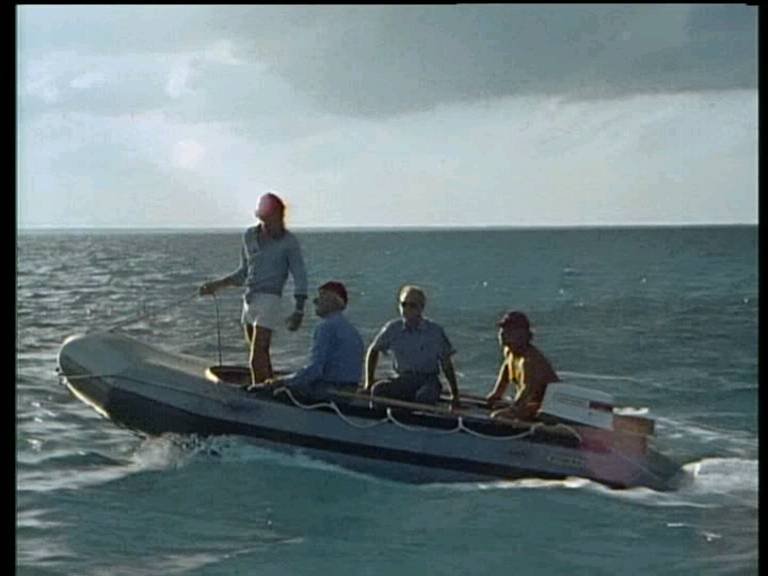
I did a little more work on the transom today. Added and painted a rail cap and painted the rollers and deck hardware. Feeling good about the progress. Just for fun and inspired by the old Cousteau TV series, decided to build an underwater scooter. Cousteau's documentaries were the first time most of us had ever seen such a thing and they looked to be fun and practical. I used and old plumbing compression grommet, some wire and the cut off end of an art paintbrush for the build. Yet to be painted. The scooter will end up living in the Avon dinghy along with a dive flag and dive tanks and floats and a gas tank for the outboard. Here is a screen shot from a Cousteau video.