HOLIDAY DONATION DRIVE - SUPPORT MSW - DO YOUR PART TO KEEP THIS GREAT FORUM GOING! (Only 69 donations so far out of 49,000 members - Can we at least get 100? C'mon guys!)
×

Zarkon
-
Posts
295 -
Joined
-
Last visited
Content Type
Profiles
Forums
Gallery
Events
Everything posted by Zarkon
-
Thats actually what I'm doing . I will re make the small section I did using the pencile. But this time I will create a jig like Dan mentioned and see how they turn out. Thanks for the advice! Jeff
-
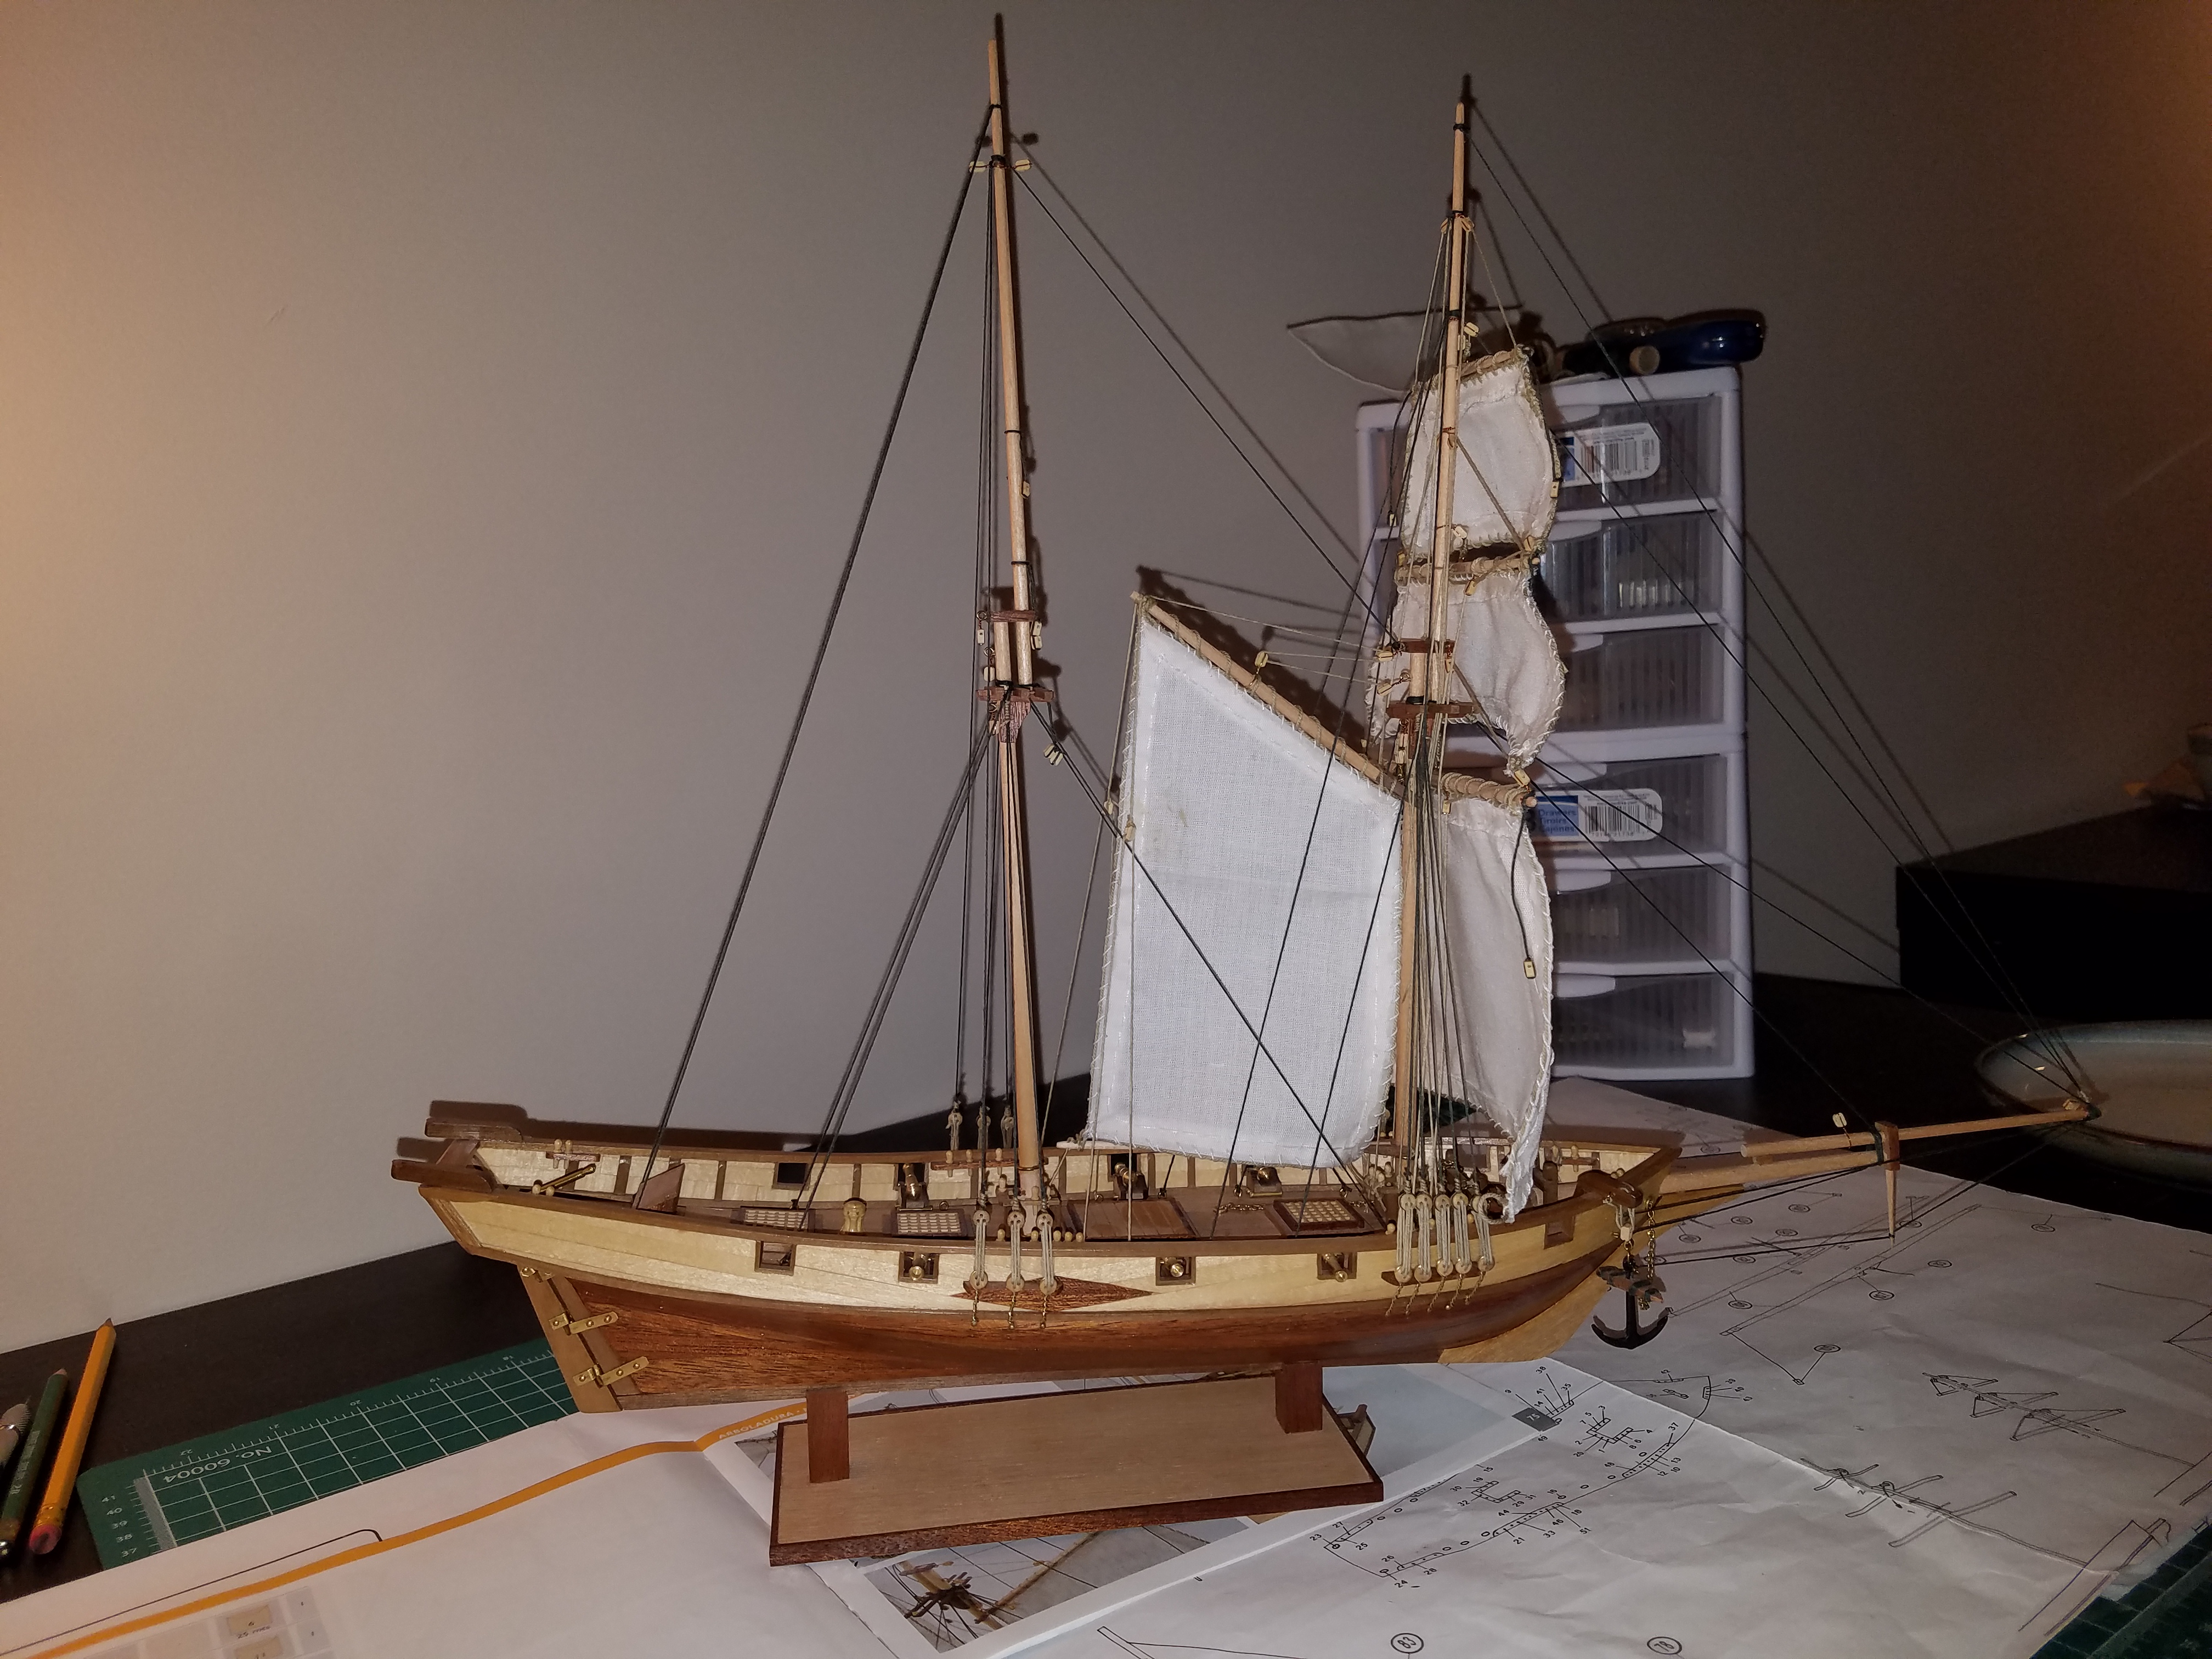
I have sanded down the 3 sections and have a pic of what all 3 techniques look like: Top left is pencile, top right uses paper, bottom is using the art pen brush that Dan recommended. I have NOT varnished yet (no time today) but here are my first impressions. I definitely like both the paper and the pen. I like the width uniformity that I could get using the paper, but I also liked how much easier it was to use the pen brush. Since this was my first time using both techniques, I am fully aware that my skills do need to develope more. They both created very dark easlly viewable lines too. I think, personally, I get better results using the paper. The pen is easy to use and requires about 2-3 times less work, but i feel, with my skill level, I cant get the uniformity that Dan shows in his posts of using it. I will continue to practice with the pen because I know i can get better results, just need more practice! The last thing is that for these sections of planking, the biggest one in the pic above is 100% covered up by the next deck. haha! So the joke is on me! But I got to try out using the pen and found it enjoyable. Jeff
-
Nigel, I wish you great luck on your first model! I'm glad that you have found that book helpful. I saw that the Victory book was available on Amazon, so I ordered it! I cant wait to get my nose in it on monday! Best of luck on your build! Jeff
-
Dan, Thank you for the advice! It seems my local arts supply store carries these. I will pick it up this weekend and try it out! Im always up for learning new techniques! Jeff
-
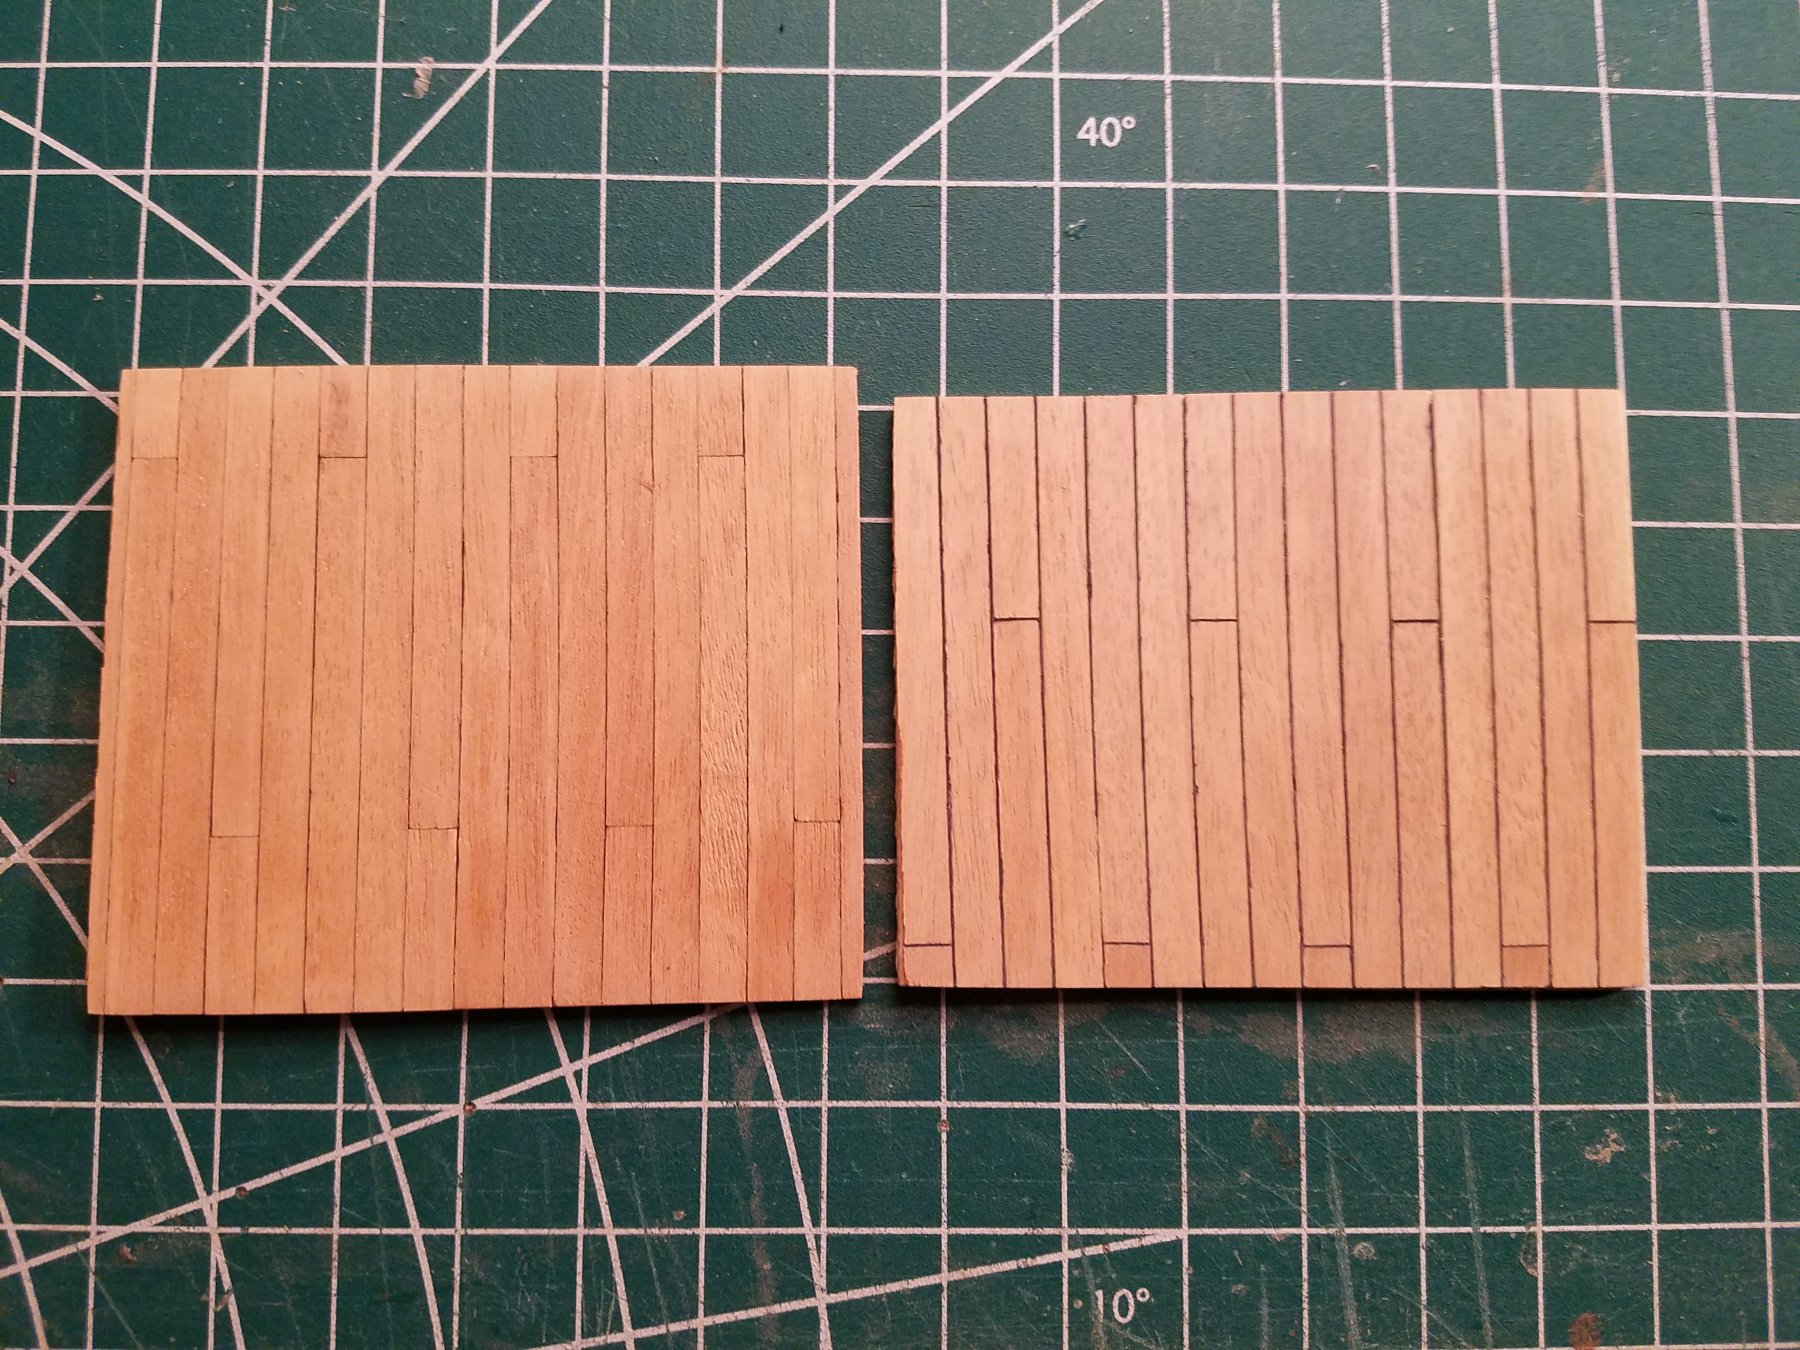
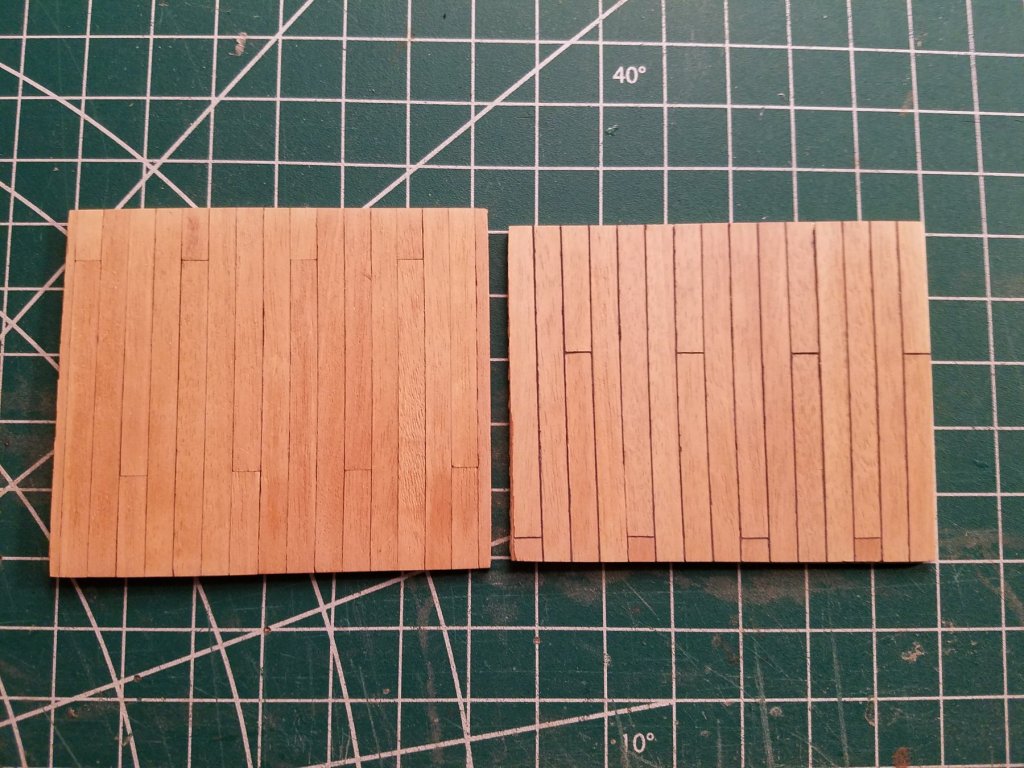
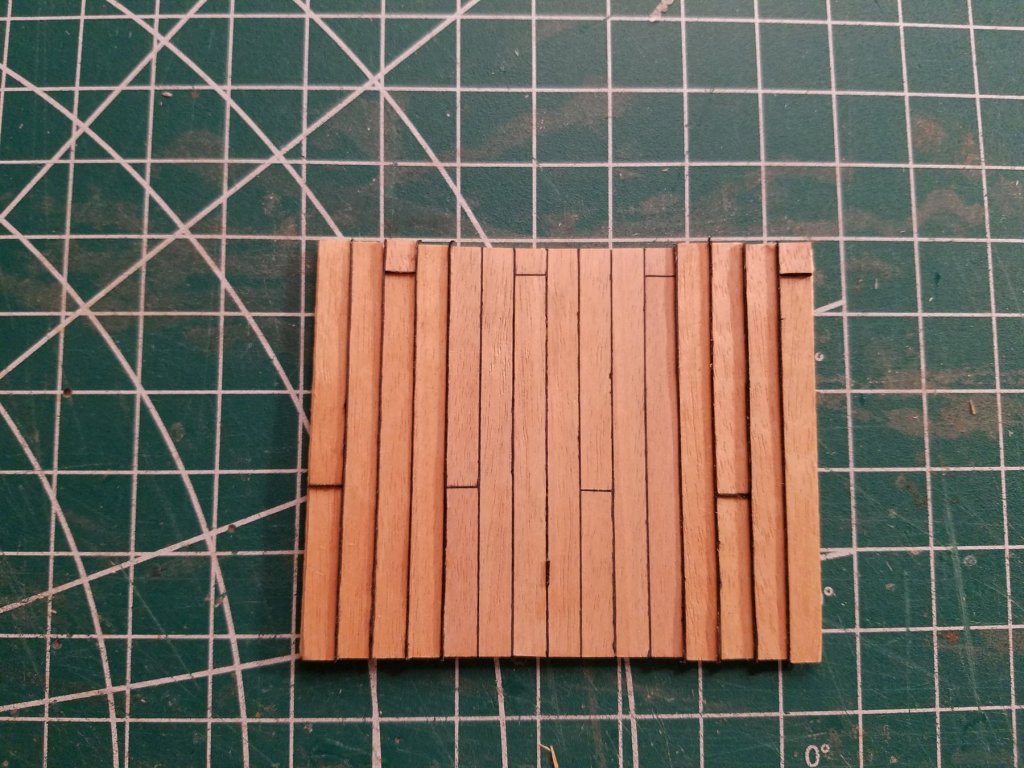
So i finished the second lower deck planking using the black paper. Here is a side by side compairing using a pencile, and using the paper: Wow! Quite the difference! I have a little brushing up to do with the paper, and they both aren't varniahed yet. I do think I like the look of the paper more. It takes about 3 times the effort and time to do it, but i like the results a lot better. This is my first attempt at this technique, and I learned a bit doing it. So the next deck planking section should look better. Jeff
-
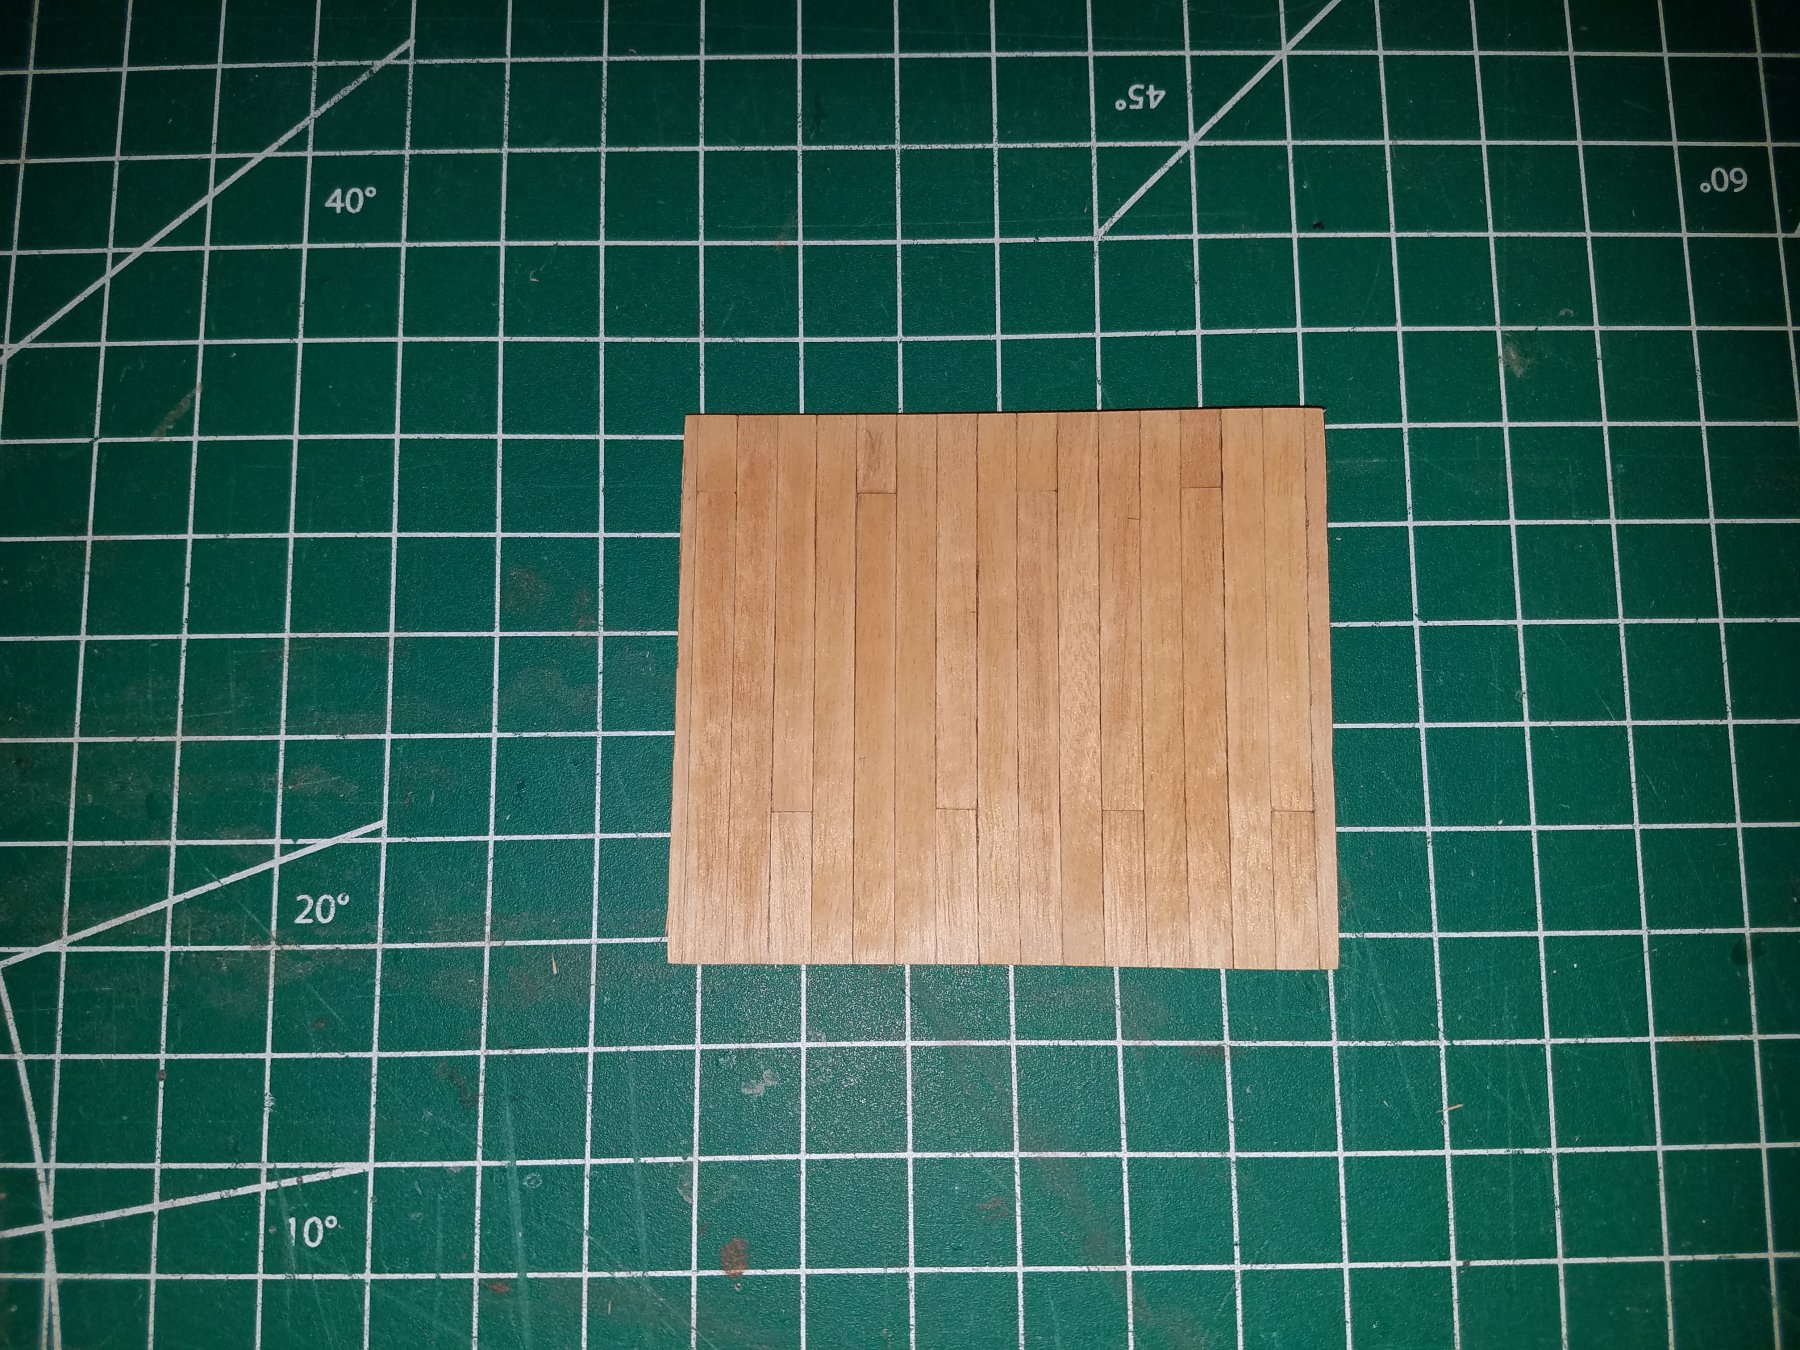
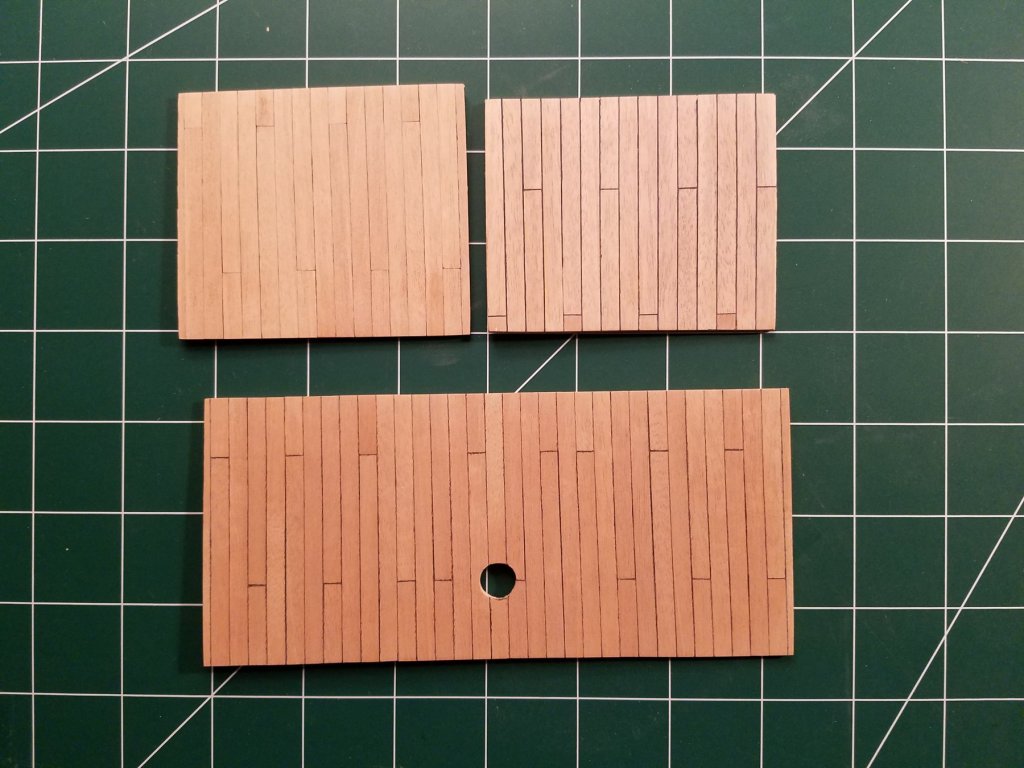
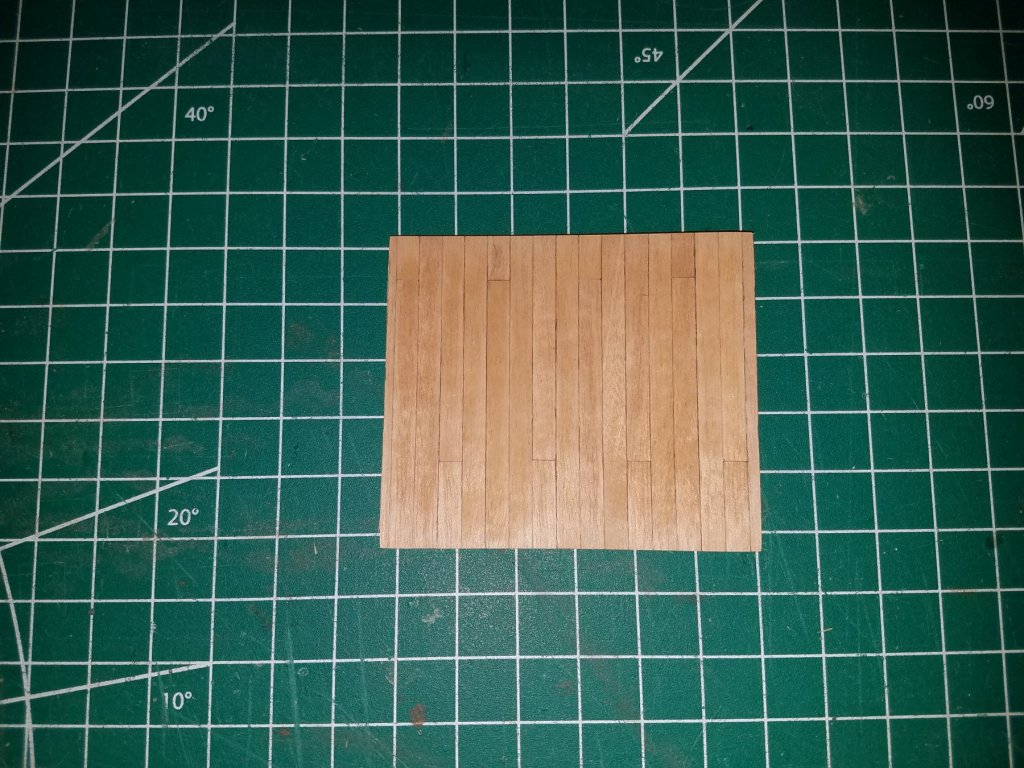
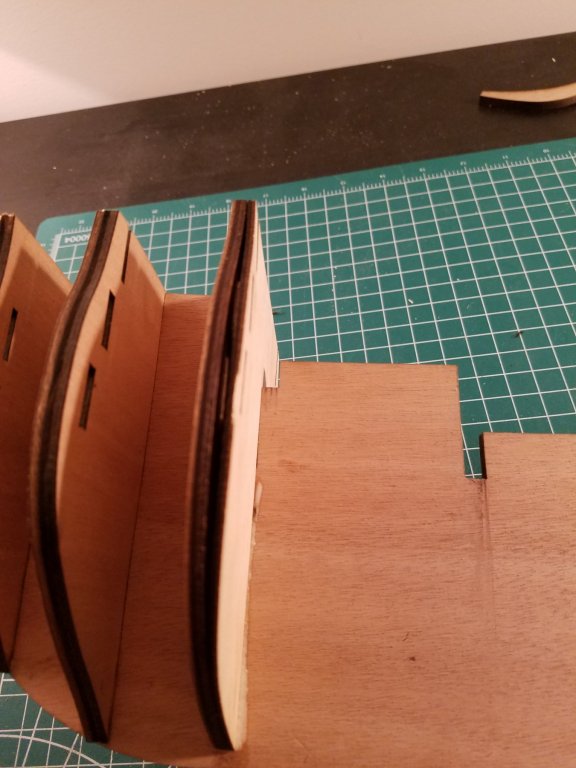
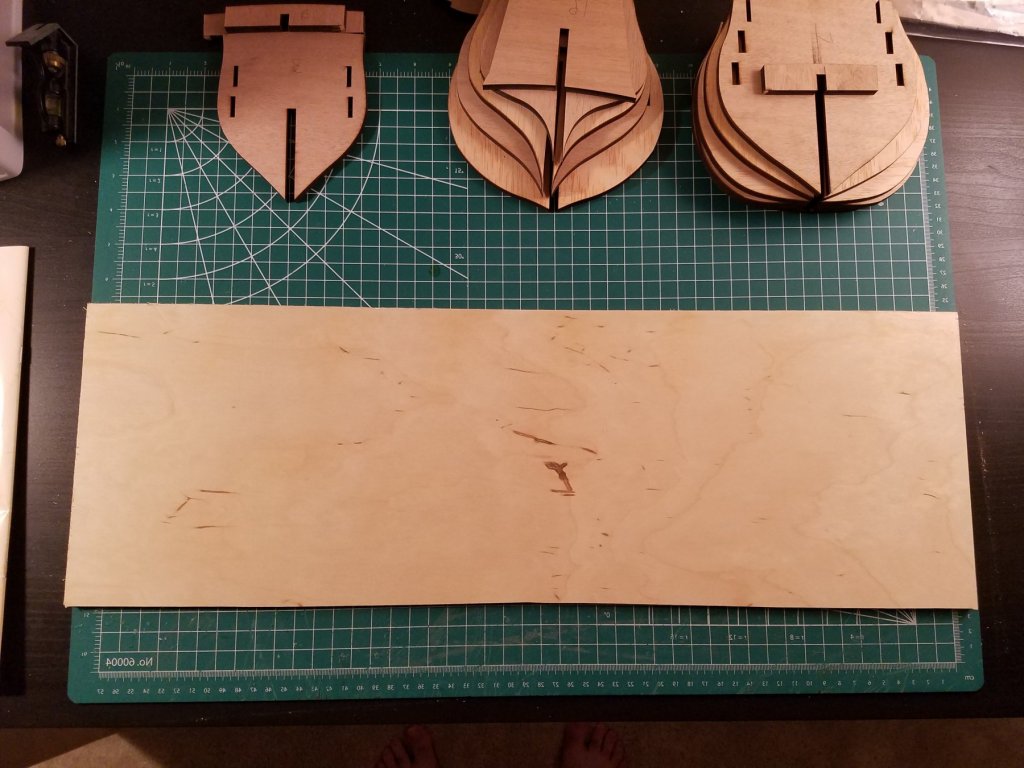
Its been a little while since I posted, but I have been making small progress! I usually have about 30 min to an hour per day on average to work on the ship. I painted and glued on the strip on both sides that will hold the lowest level of guns. I saw from another build log of this kit that these strips might be too far back and ply may need to be glued to it to extend the guns to the correct length. I will be measuring each gun port before I start to plank the hull to make sure they will protrude at the correct length. Next, i have been planking the lowest level of decking. The decking is really thin (0.5mm thick) so i tried to draw the lines on the first small section. It looks like this: I thought it looked okay, but i also saw others here use black artist papet instead. I then bought some acid free black artist paper. Here is what it looks like: As you can see, i need to shave off the excess paper, but i think it does look better. My wife saw what i was doing and said, "Geeze! You must love punishing yourself!" Haha! As you can see, I had to fill in a small middle section. I started in the middle and worked outward, so I feel I have learned as i went and got better at it so the paper would glue correctly and not come up when shaving down the excess paper. If anyone has any tips for this technique, i would be very appreciative! Anyway, i hope to send more updates soon! Thanks for reading! Jeff
-
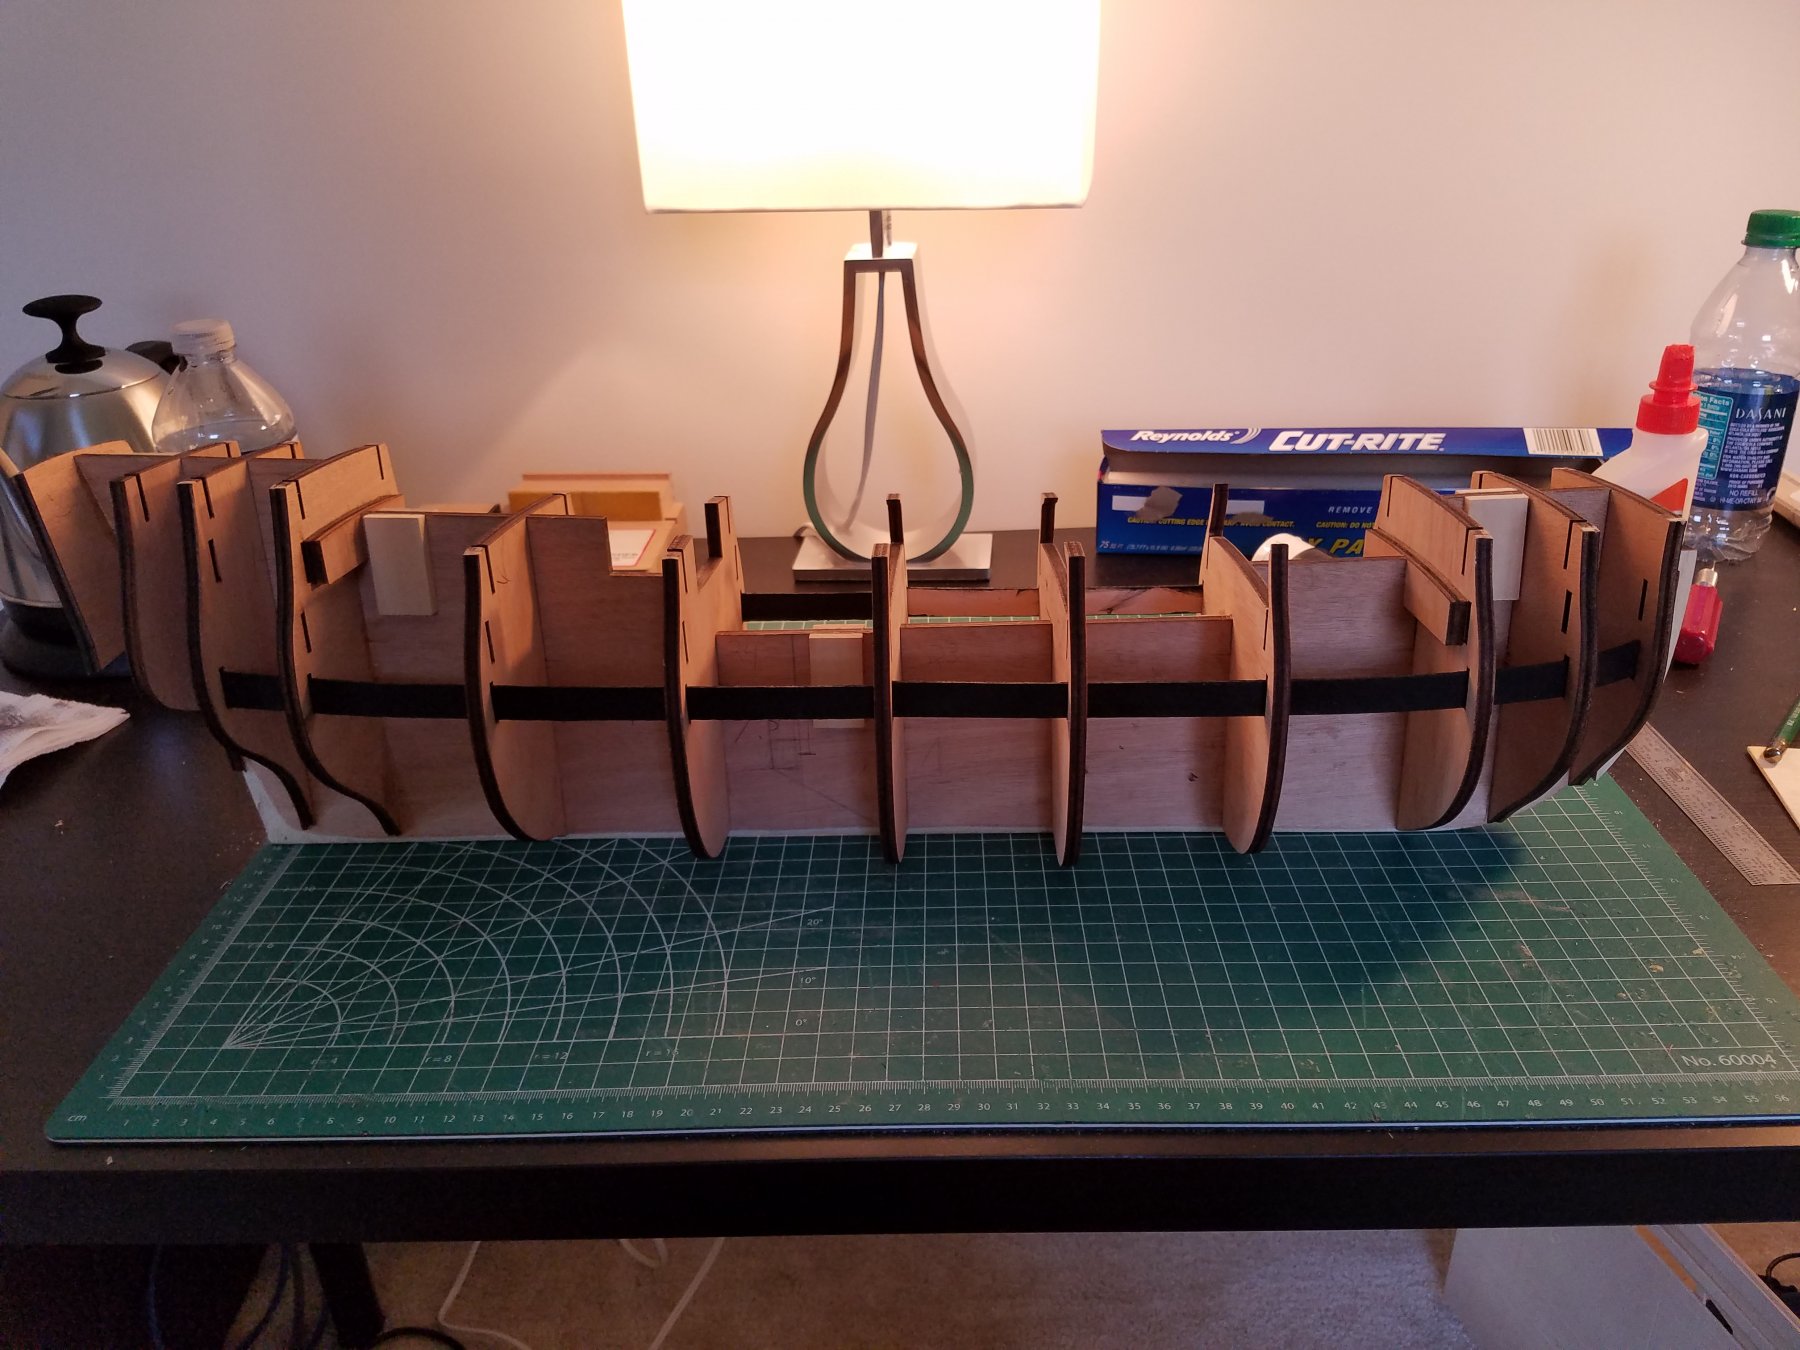
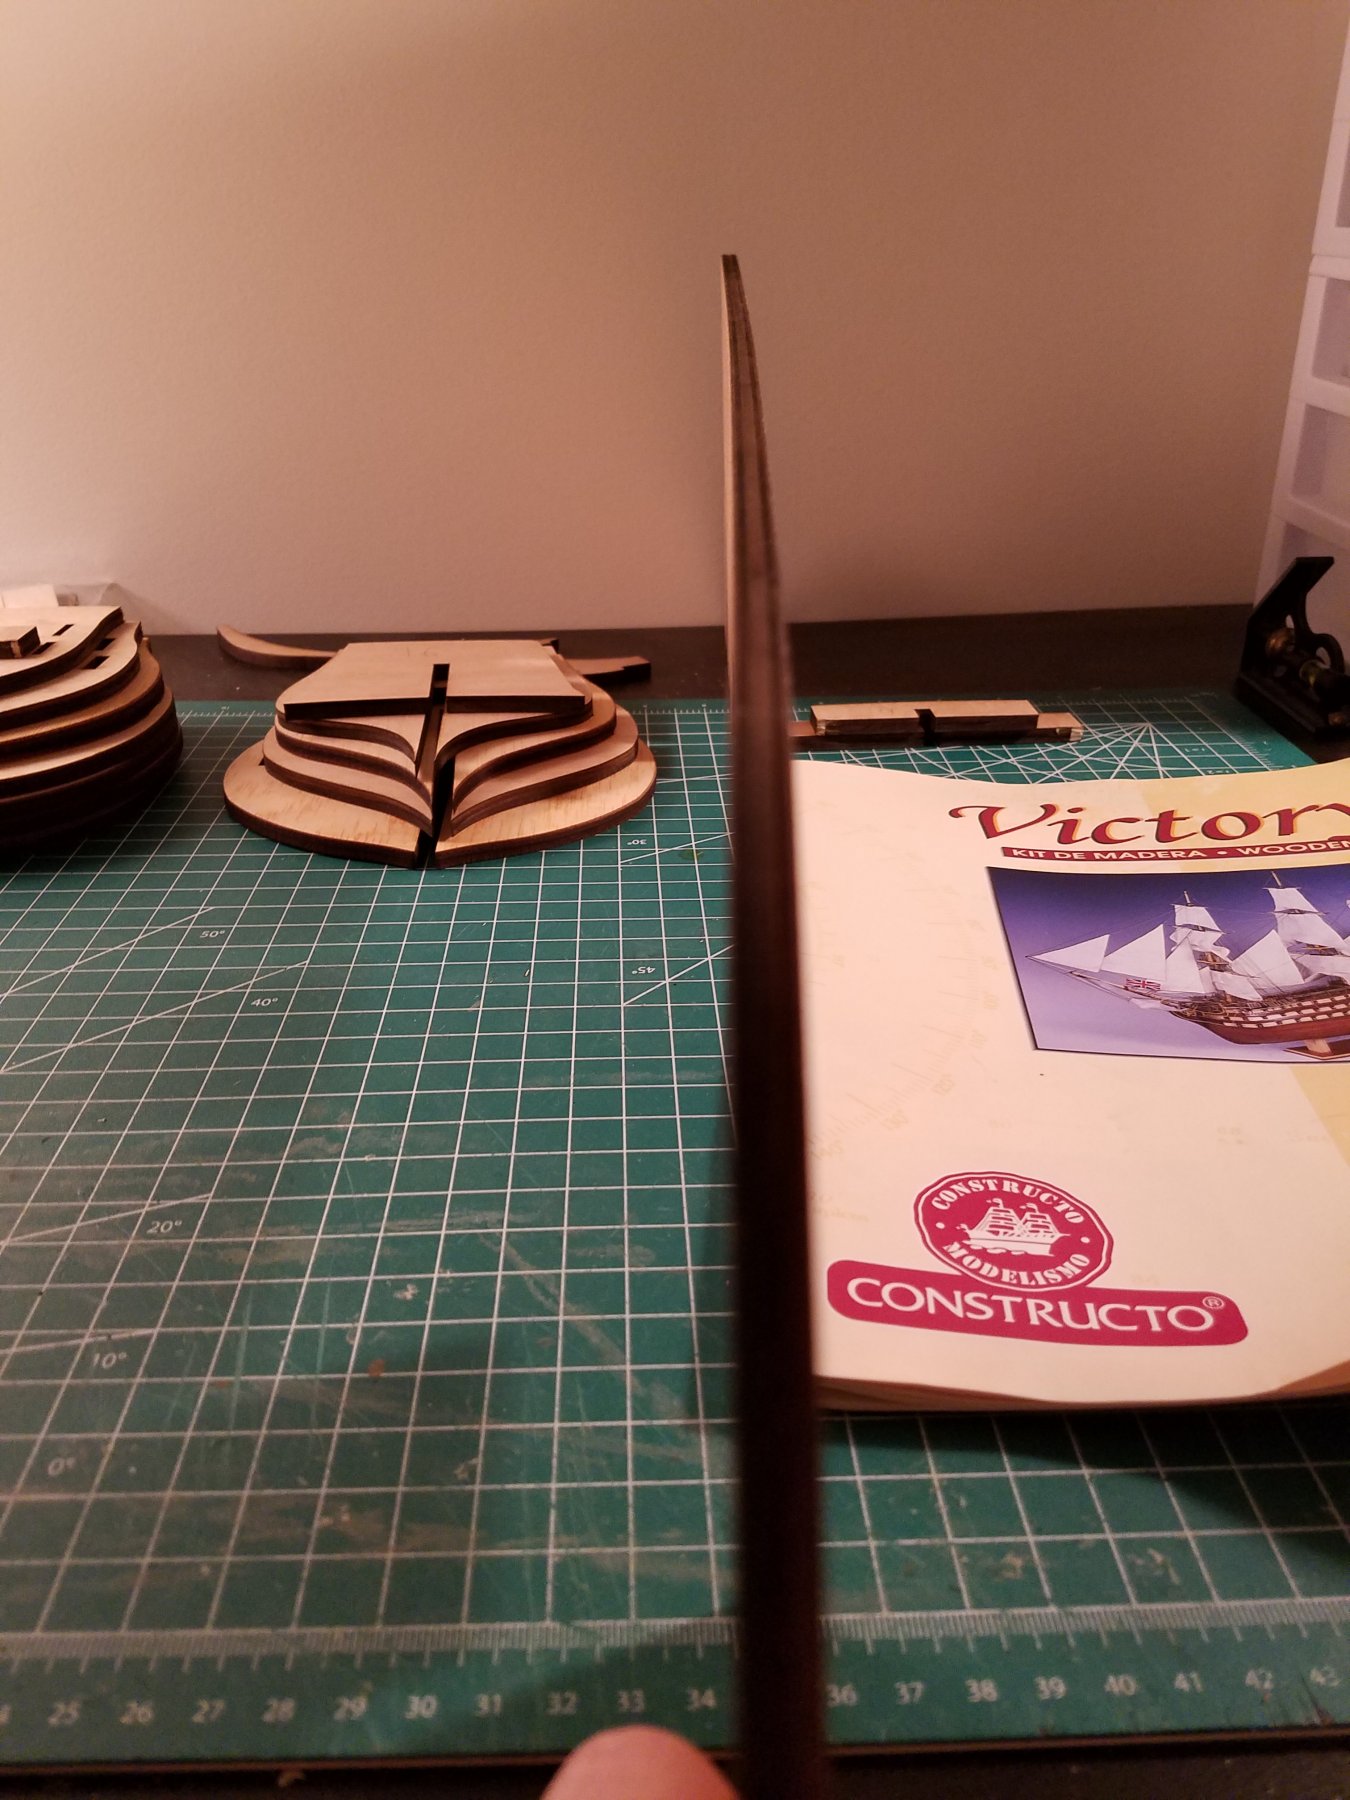
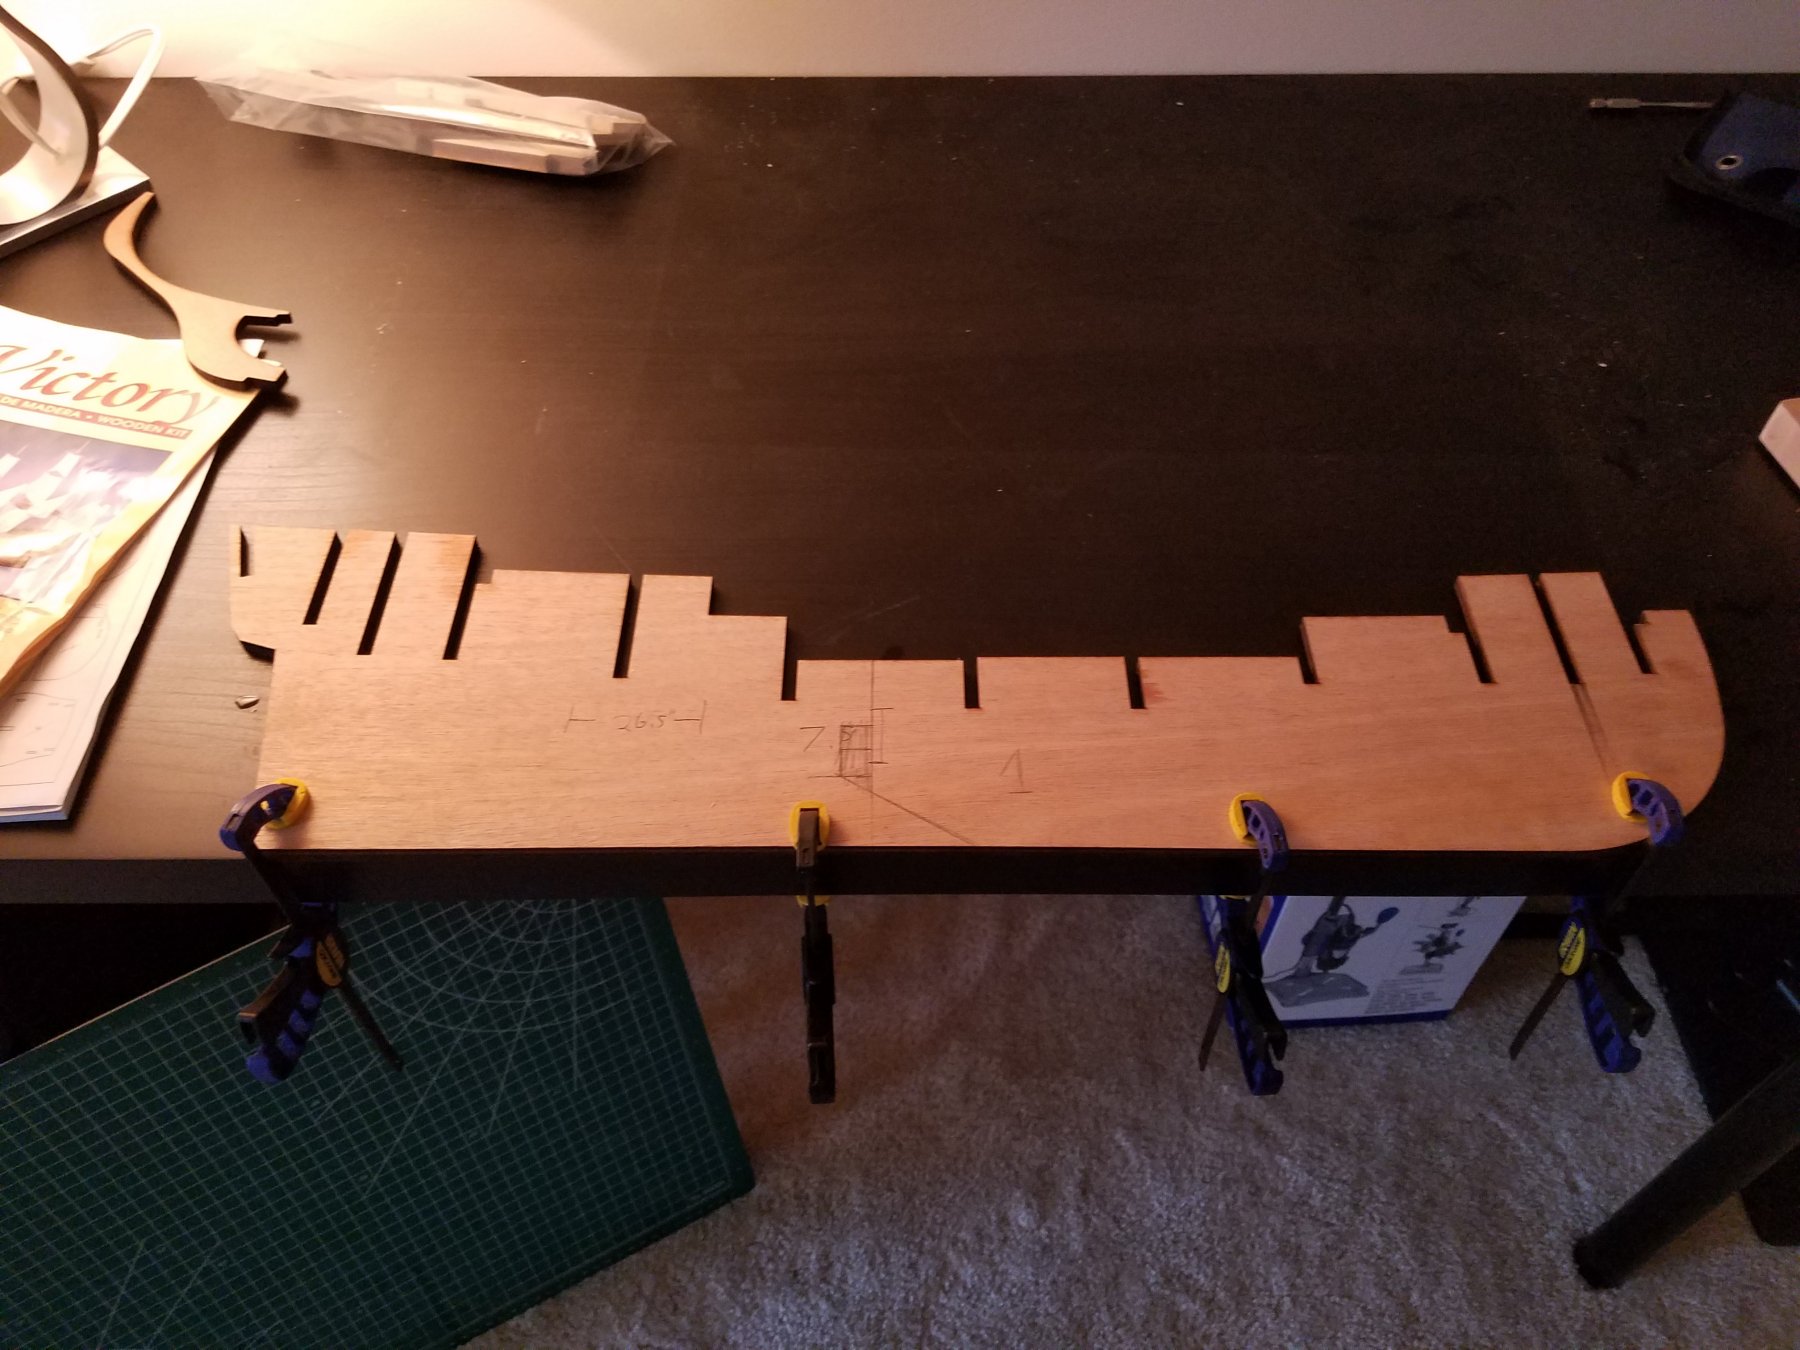
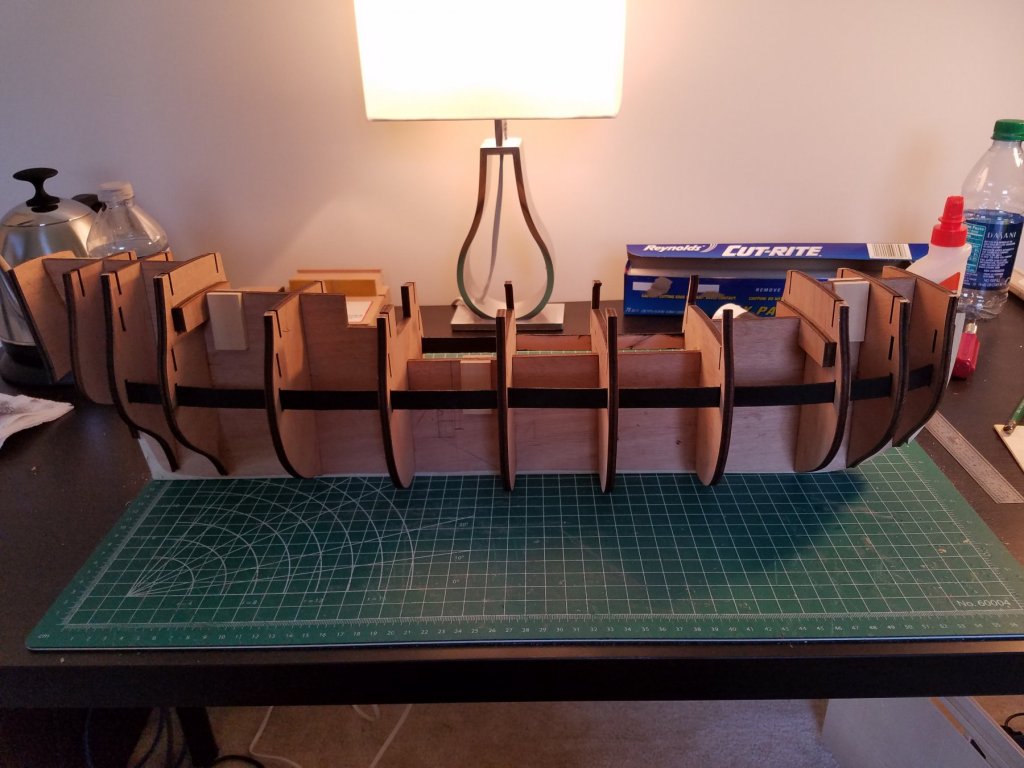
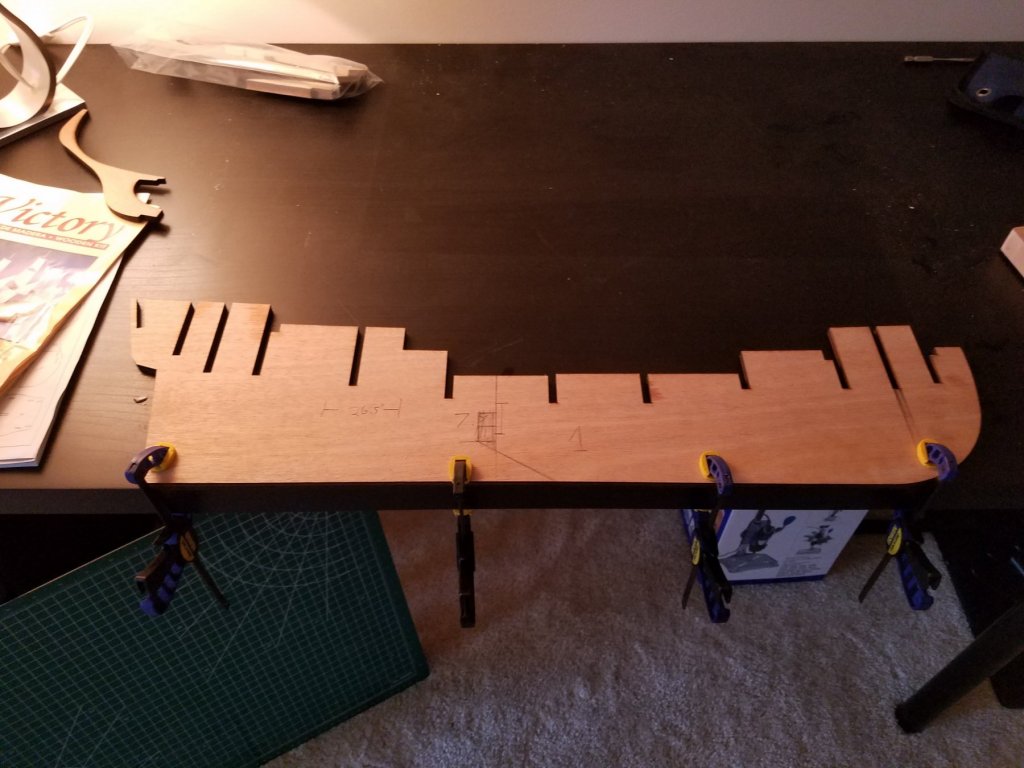
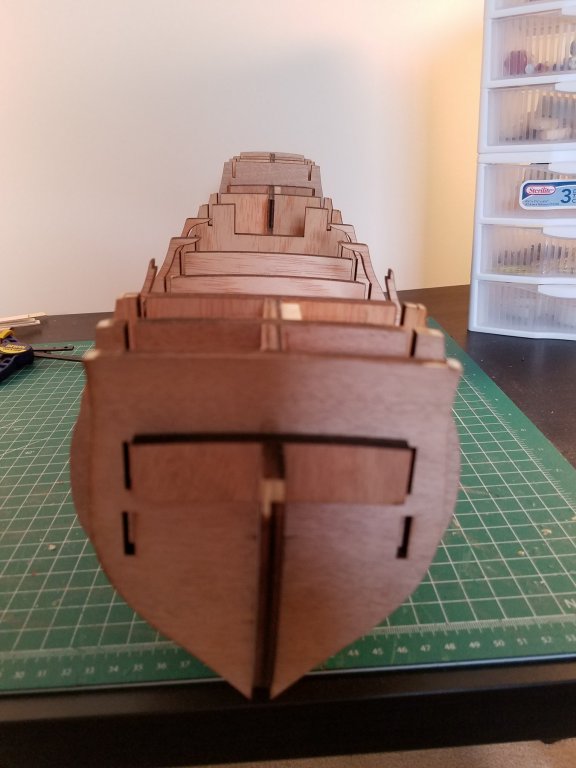
Yay! After chasing around my 2 year old for a week, i have finally glued all the bulkheads to the false keel AND straightend it to boot! Initially I tried to bend back the false keel to be straight after reading a thread on how to do it on this site: First, damp the concave edge of the bent keel and clamp it to a flat surface: Then let it sit overnight. The next day, I unclamped it and it worked! BUT 30 minutes later, the false keel started to return back to its original shape. So that technique was a bust. To actually fix it, I first read the thread that Dan mentioned earlier. Then i glued on the bulkheads with the help of a few levels. Third, I figued out where the bends were, and between which bulkheads. I then measured the distance between the bulkheads that needed to be straightened and cut out some plywood blocks to fit between the bulkheads. With each block, I carefully fit it between the bulckheads and checked the curvature of the keel AT THAT POINT. Sanding the ply block as needed to get the keel to straighten. Before and after glueing each piece, I checked and double checked the curvature of the false keel. Proceeding slowly, paying attention to each block and bend. In the end, i had to place 4 plywood blocks as shown here: Here is what the false keel looks like now: Its a LOT straighter. WOW! Step Number 1 took a while, but I finally got it done! Currently, I'm finishing up glueing the mast blocks onto the keel. Jeff


-
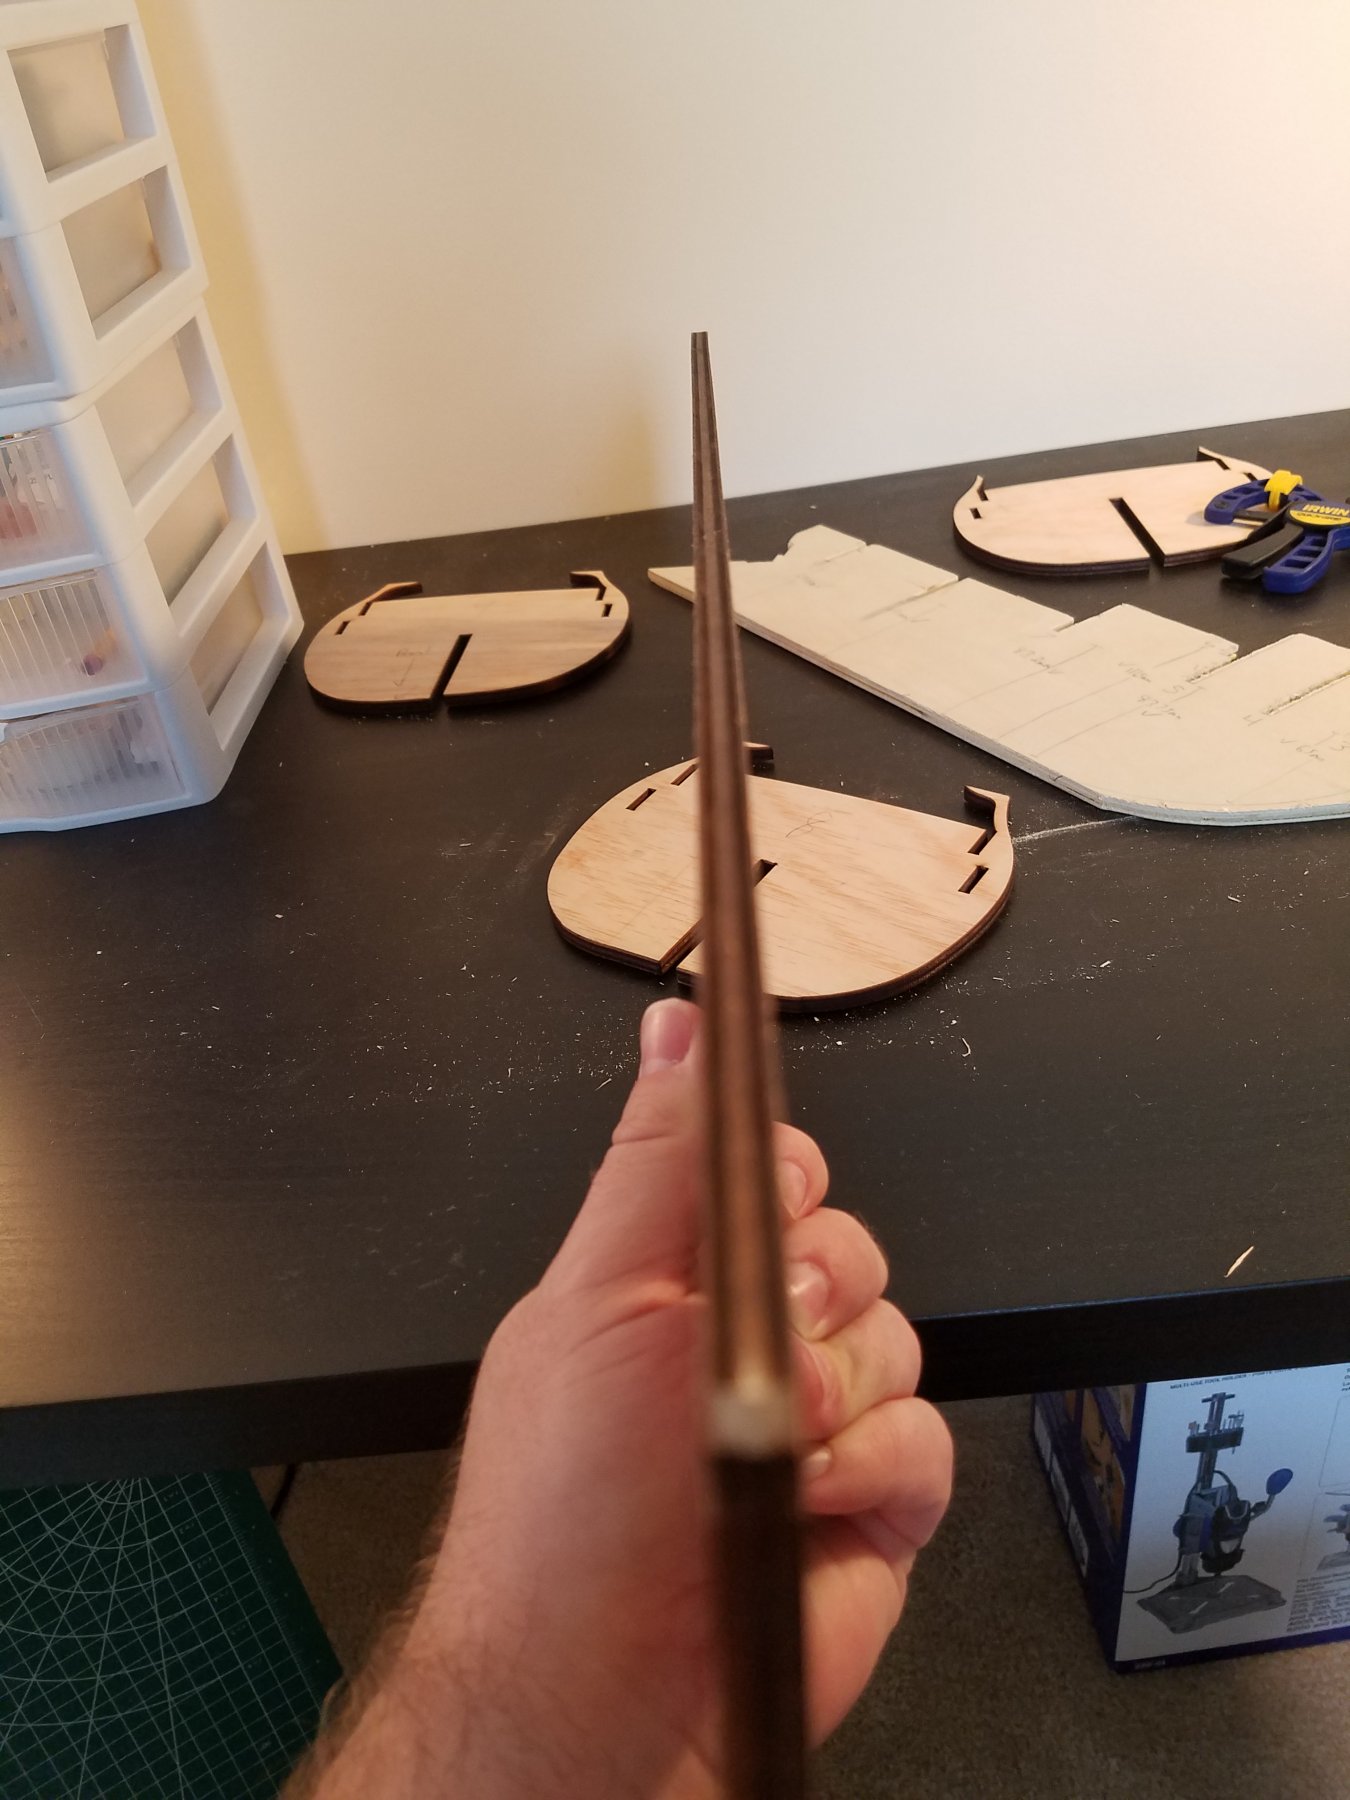
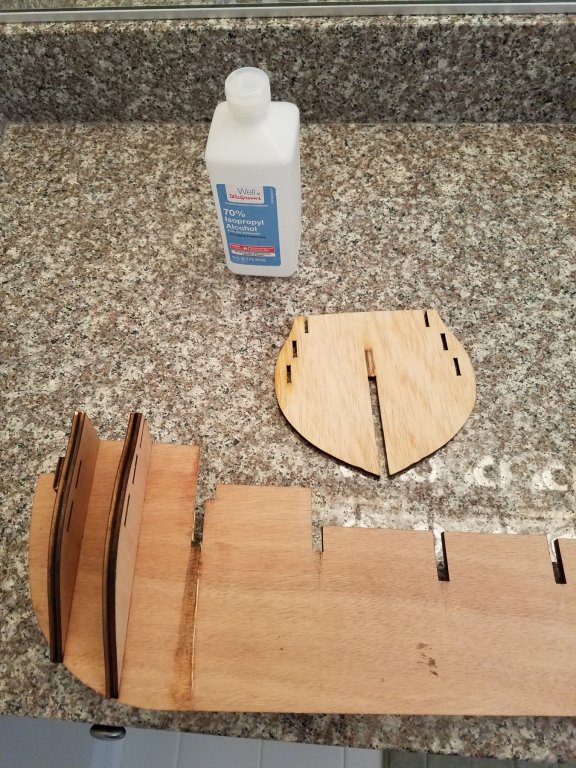
Thanks Dan! I got some rubbing alcohol and began to take out the bulkhead. Evetunally it came out! Hurray!!! I then took a closer inspection of the other two and noticed that i could have placed one of them better, so i took that one out too. I have since sanded down the false keel and filed the bulkheads down enough now to where they go in with a little resistance but not much. I have also took care to read the planking guides Here and measured and filed down the false keel. Its still not done yet, but finally im making progress! As a side note, i havent glued anything since i took the bulkheads out! Jeff
-
Dan, Thanks again for your advice! I am tied up until the weekend, but i will use your advice to get the bulkhead out. Every model is a challenge (especially when you "accidentally" make it more challenging for yourself) but i will persist and not let my bad first step get me down. I will fix it and move on!
-
Thanks for the advice! Unfortunately, (I'm embarrassed about it) I can't seem to glue 2 pieces of wood together! But oh well. It's my fault, not the kit. I contacted Constructo about sending some replacement ply sheets, and they finally responded. They had 2 options, free 15-30 day shipping of ~$50 or FedEx 2-5 day shipping. I chose the free shipping. They then emailed me back saying it's too difficult to ship and they want me to wire them the money for FedEx. I was a little confused because I thought they would have had a more formal way to ship replacement parts instead of wireing them money. Hmm. I wonder if this is normal? Jeff
-
Well, this is lovely.... The frame split in two and I can't get the frame piece out and it's not in all the way. Sigh. Guess it's back to square one... again. Jeff
-
Thank you Steve! I'm happy to hear of your success with this model! So I emailed Constructo's distributor about a replacement ply sheet for the false keel and they told me they don't deal with replacement parts. So i need to email Constructo directly -_-. So I used the email they told me to use, and I haven't heard back. This was about 3 days ago. So, I said heck with it and will do what Tallshiptragic said, which was to build my own false keel using the plans provided. So, here is my new false Keel! Haha! I actually found the right width board (6mm) and the sheet i bought was a LOT more straight than then one that came with the kit. Time to get to it! Jeff
-
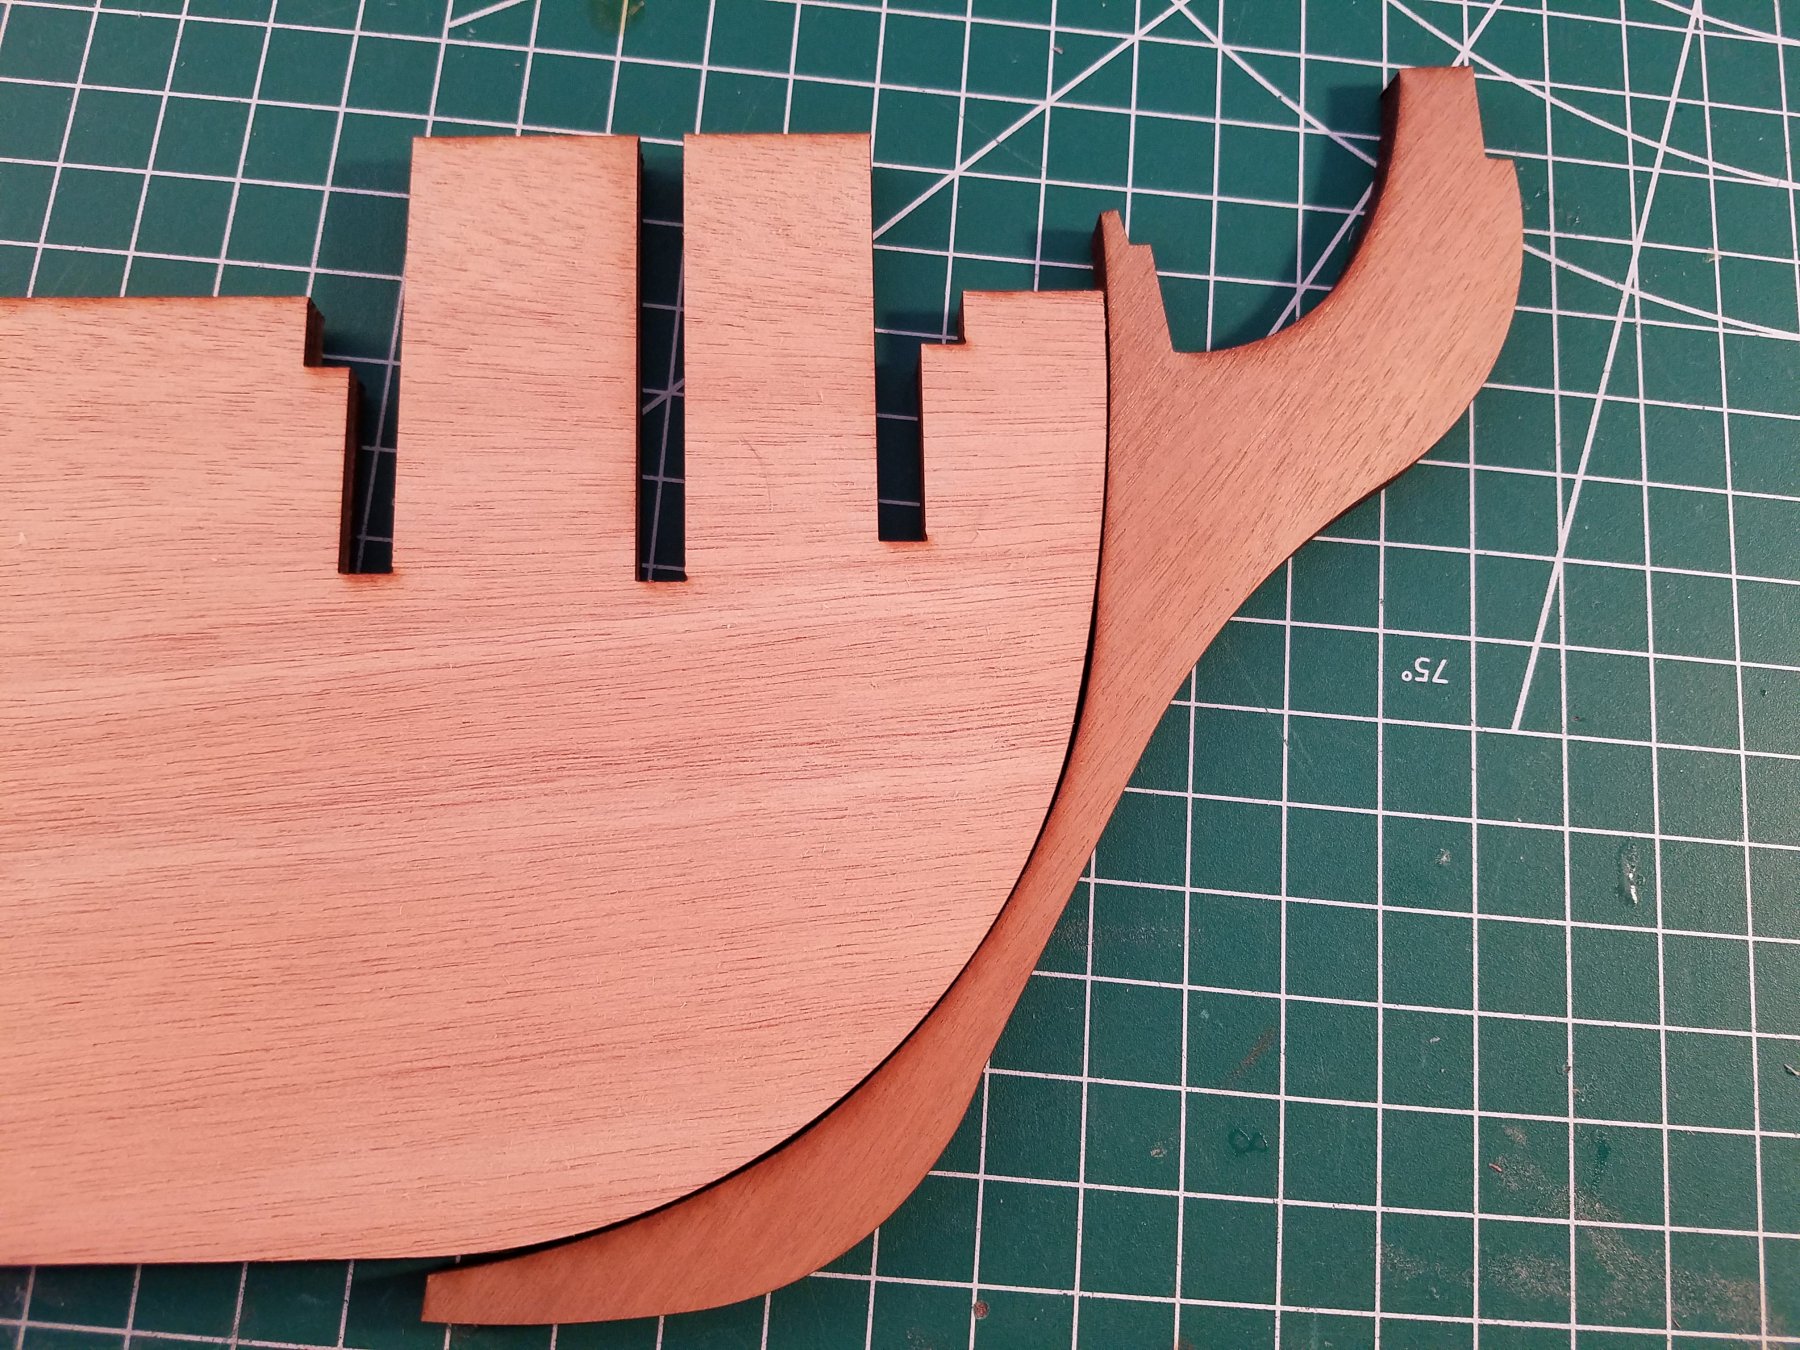
Thank you guys for the advice! About the false keel, I have contacted them to see if I can get a replacement ply sheet. I hope to hear back from them soon. I do understand that this is a very ambitious kit, but I am willing to really take my time and make sure I'm doing everything to the best of my ability. After quite a while on these forums, I decided not to get a keel clamp. There were many good designs for a building board here in this forum! I have a lowes really close to my house, so I will be making one to help with placing the framed on the false keel. About the walnut finishing piece that attaches to the false keel, the instructions say to place it after planking. But I noticed that quite a few builds here show it being glued on before planking. My question is, is there a reason to do it before? I did notice though that the prefabricated piece does not 100% line up with the keel and is thinner than what is on the plans: There is some open space on the bottom and the top middle. I'm more worried about the bottom because there is a 1.1mm gap between the false keel and the finishing piece. - Jeff

-
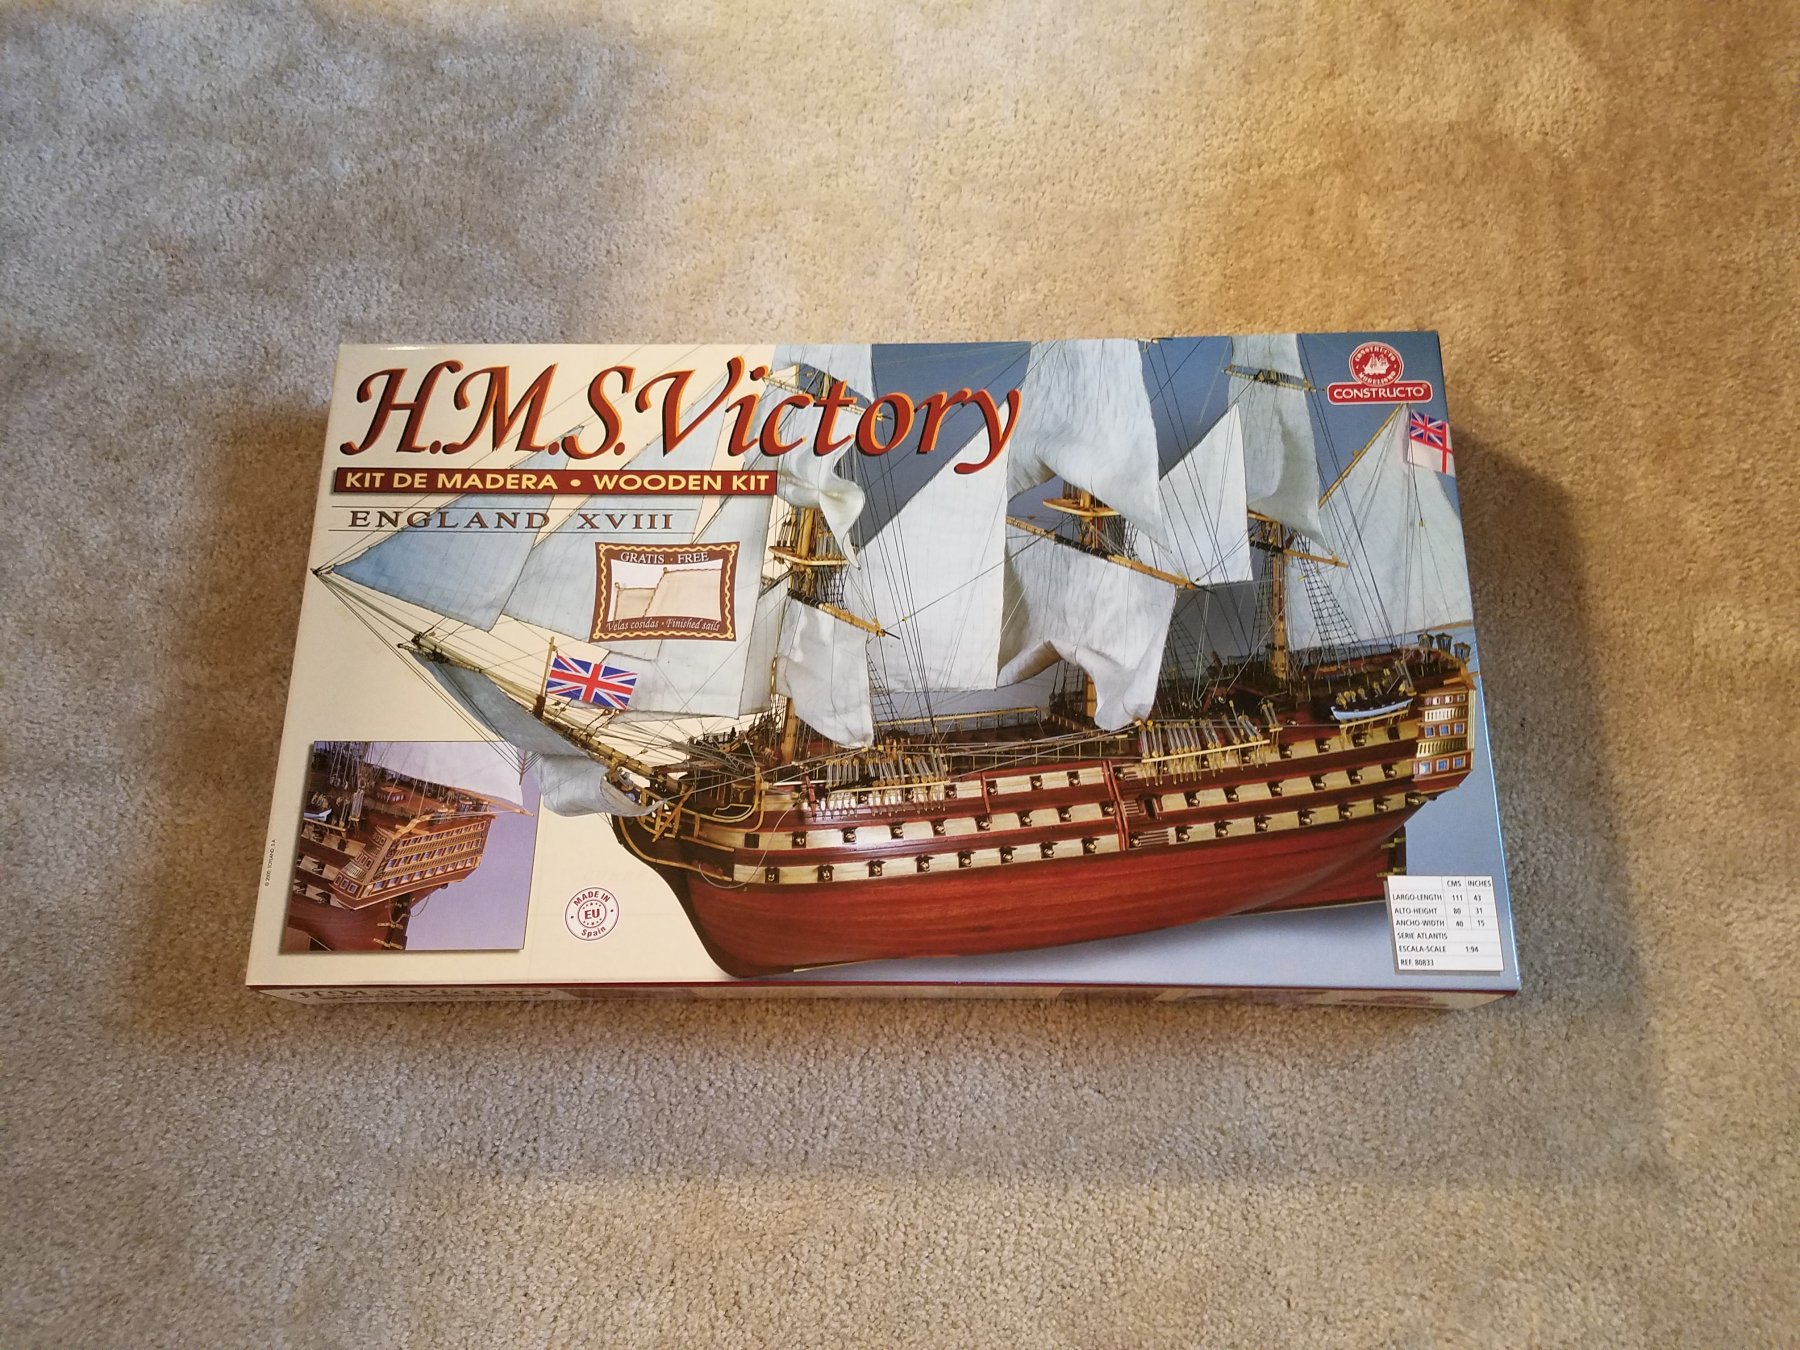
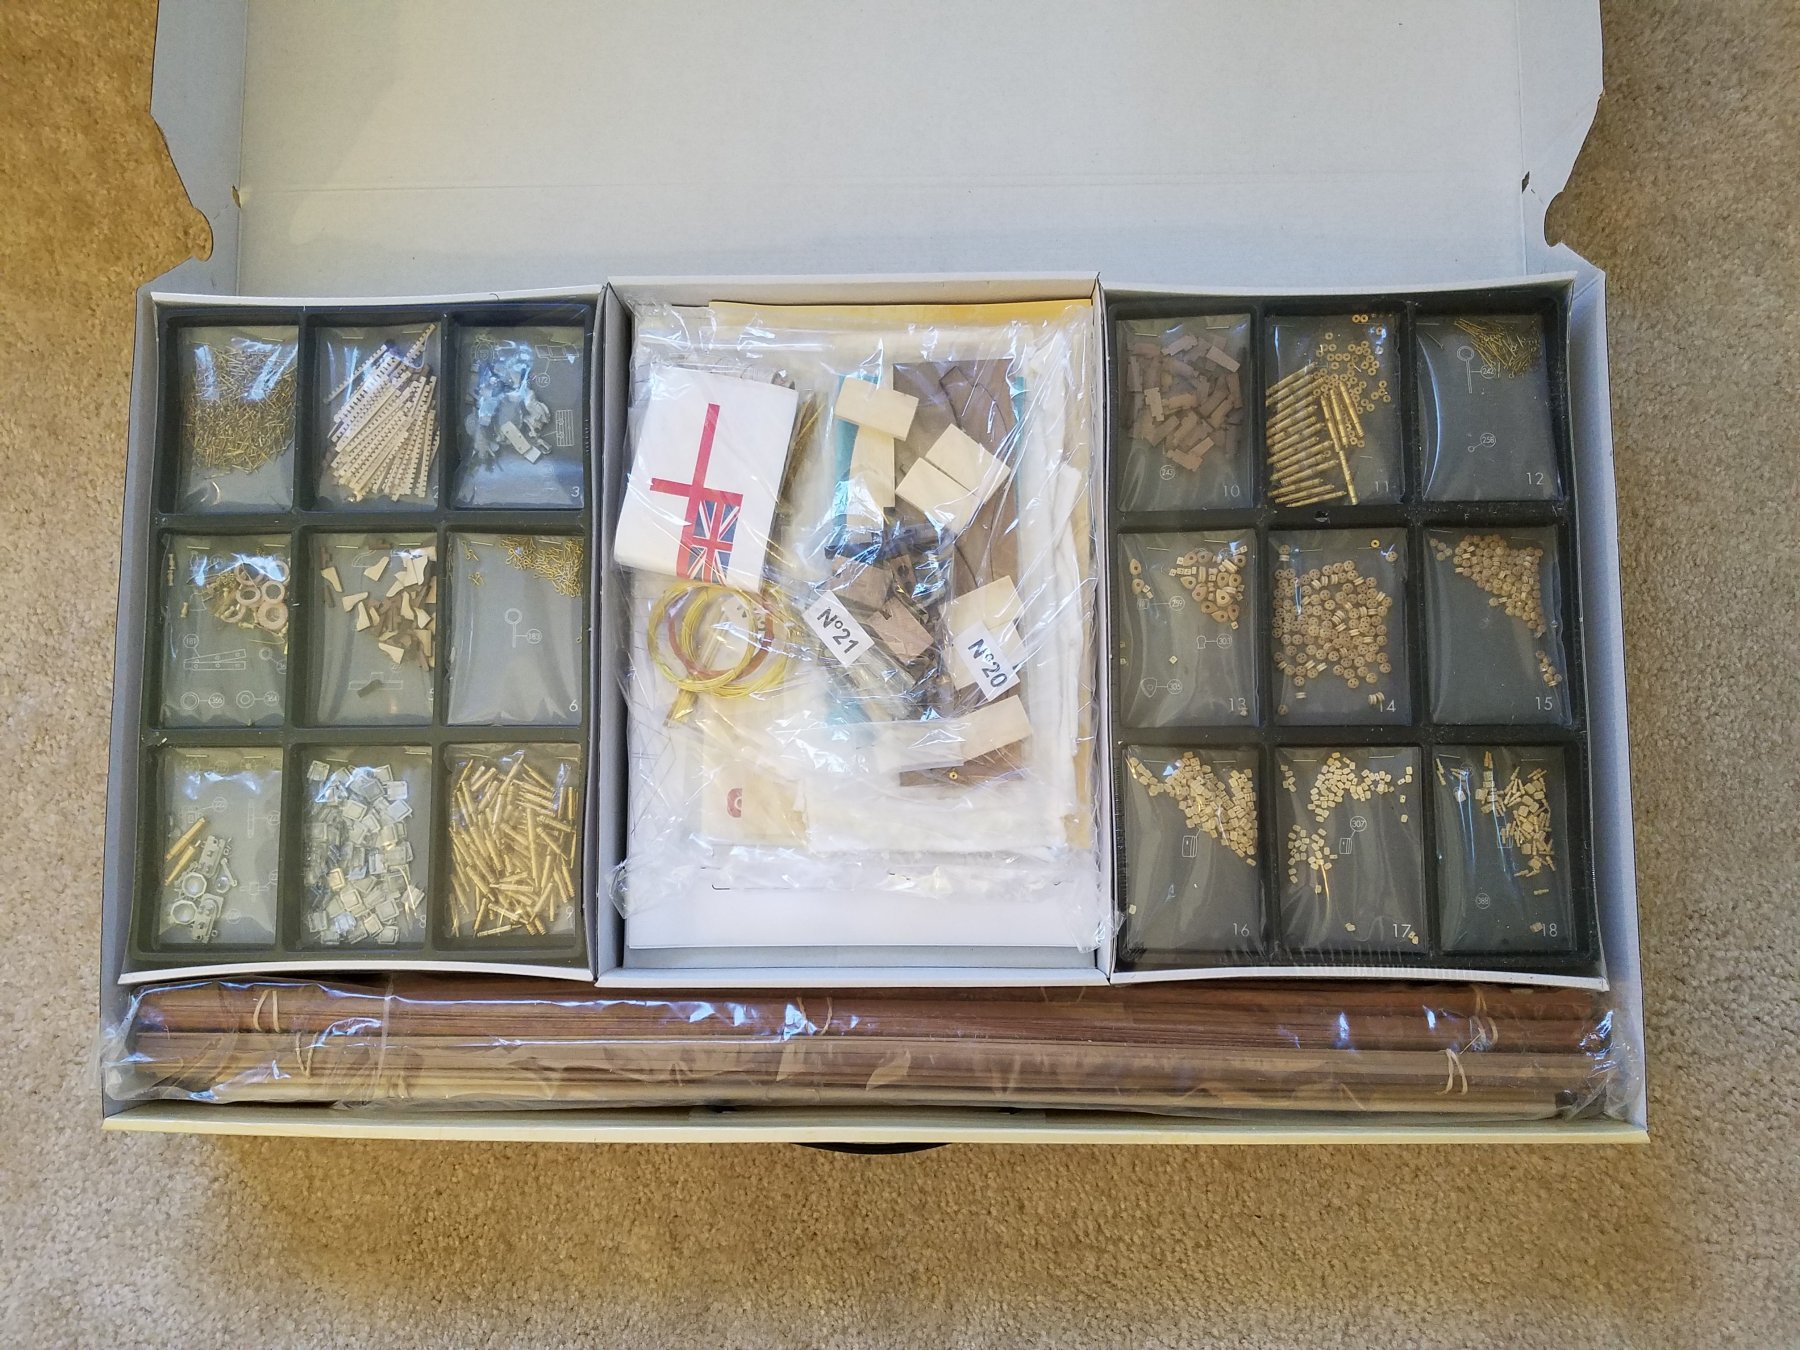
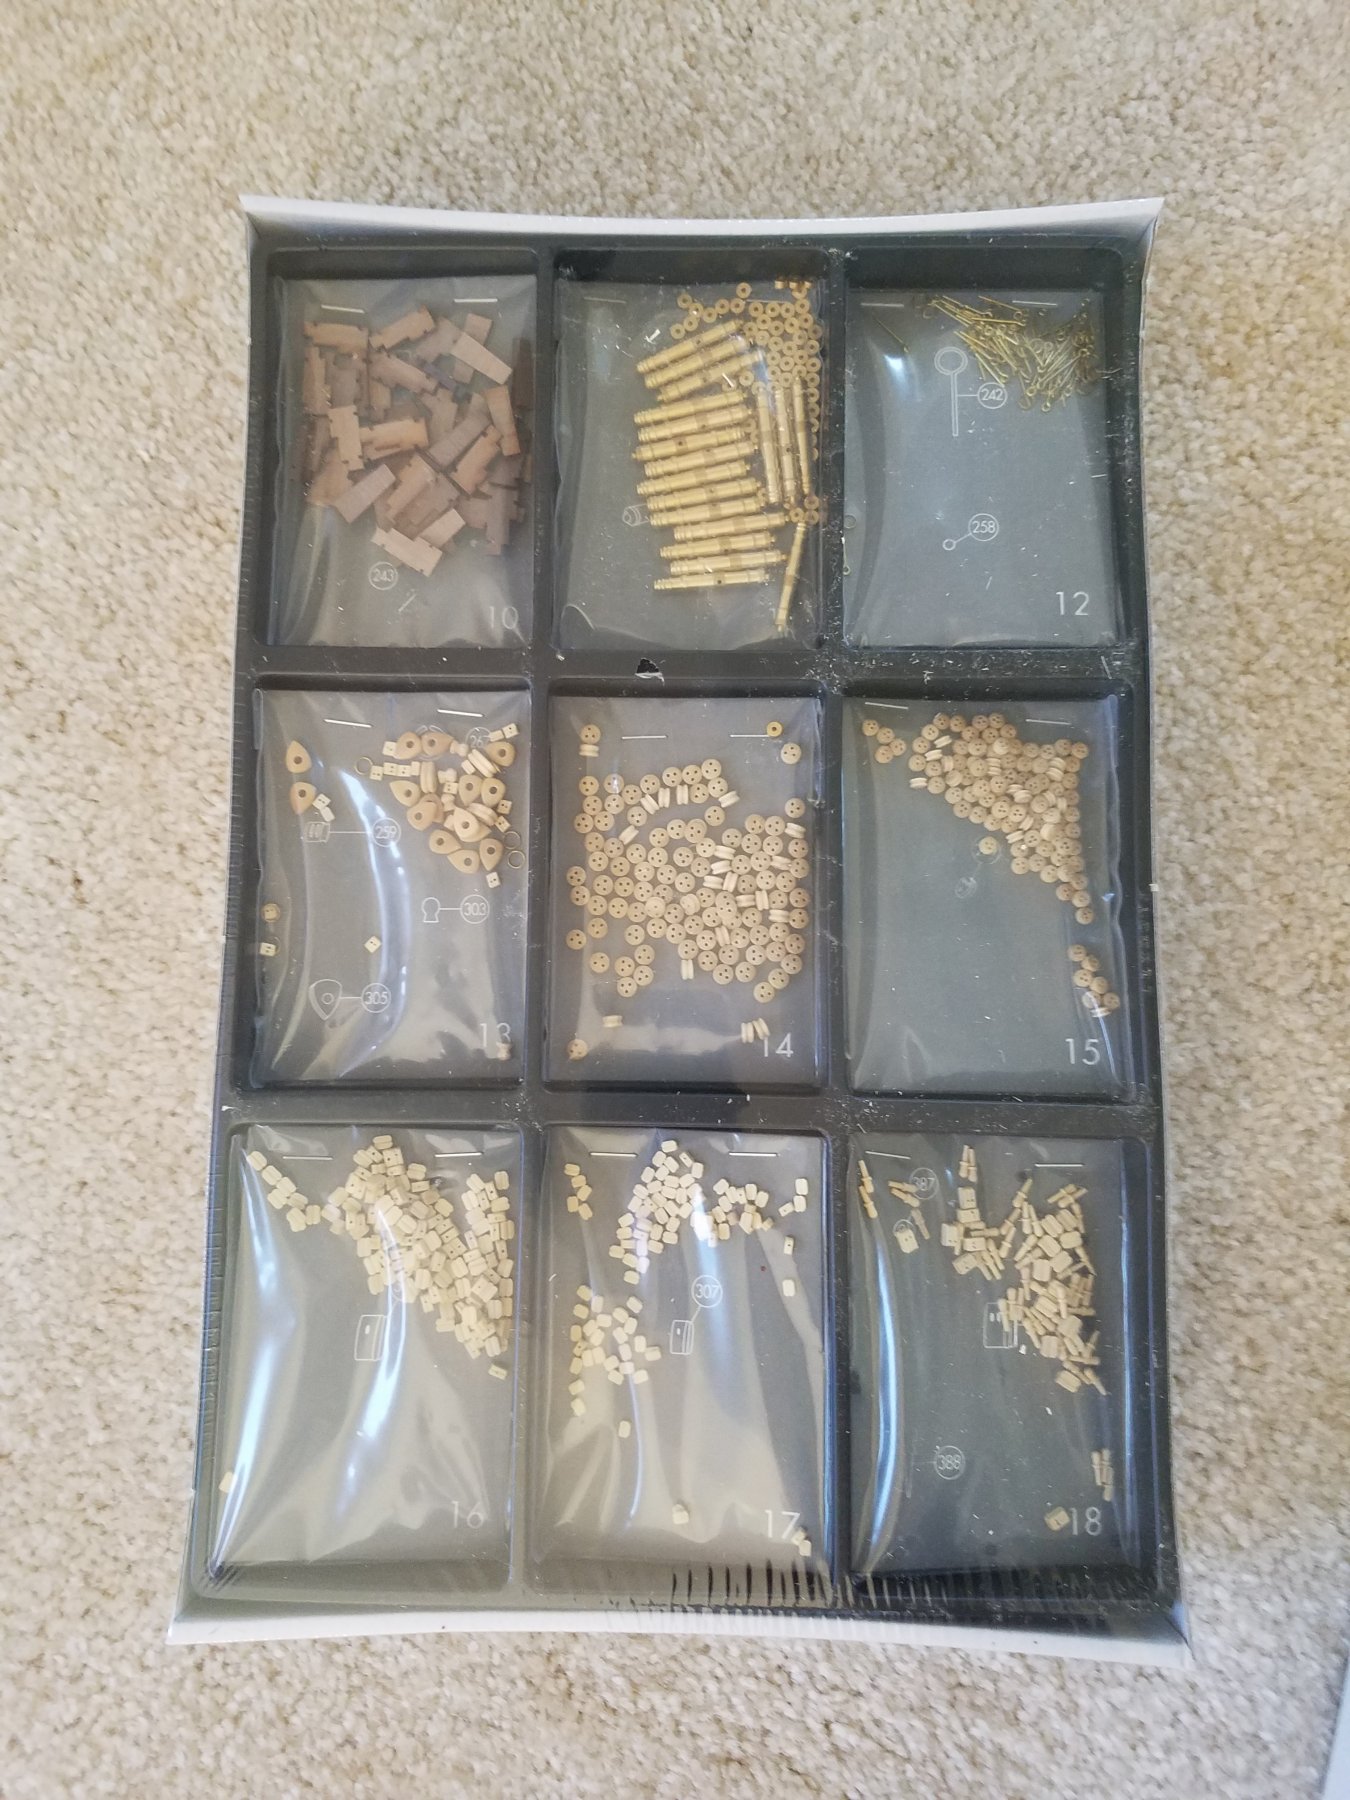
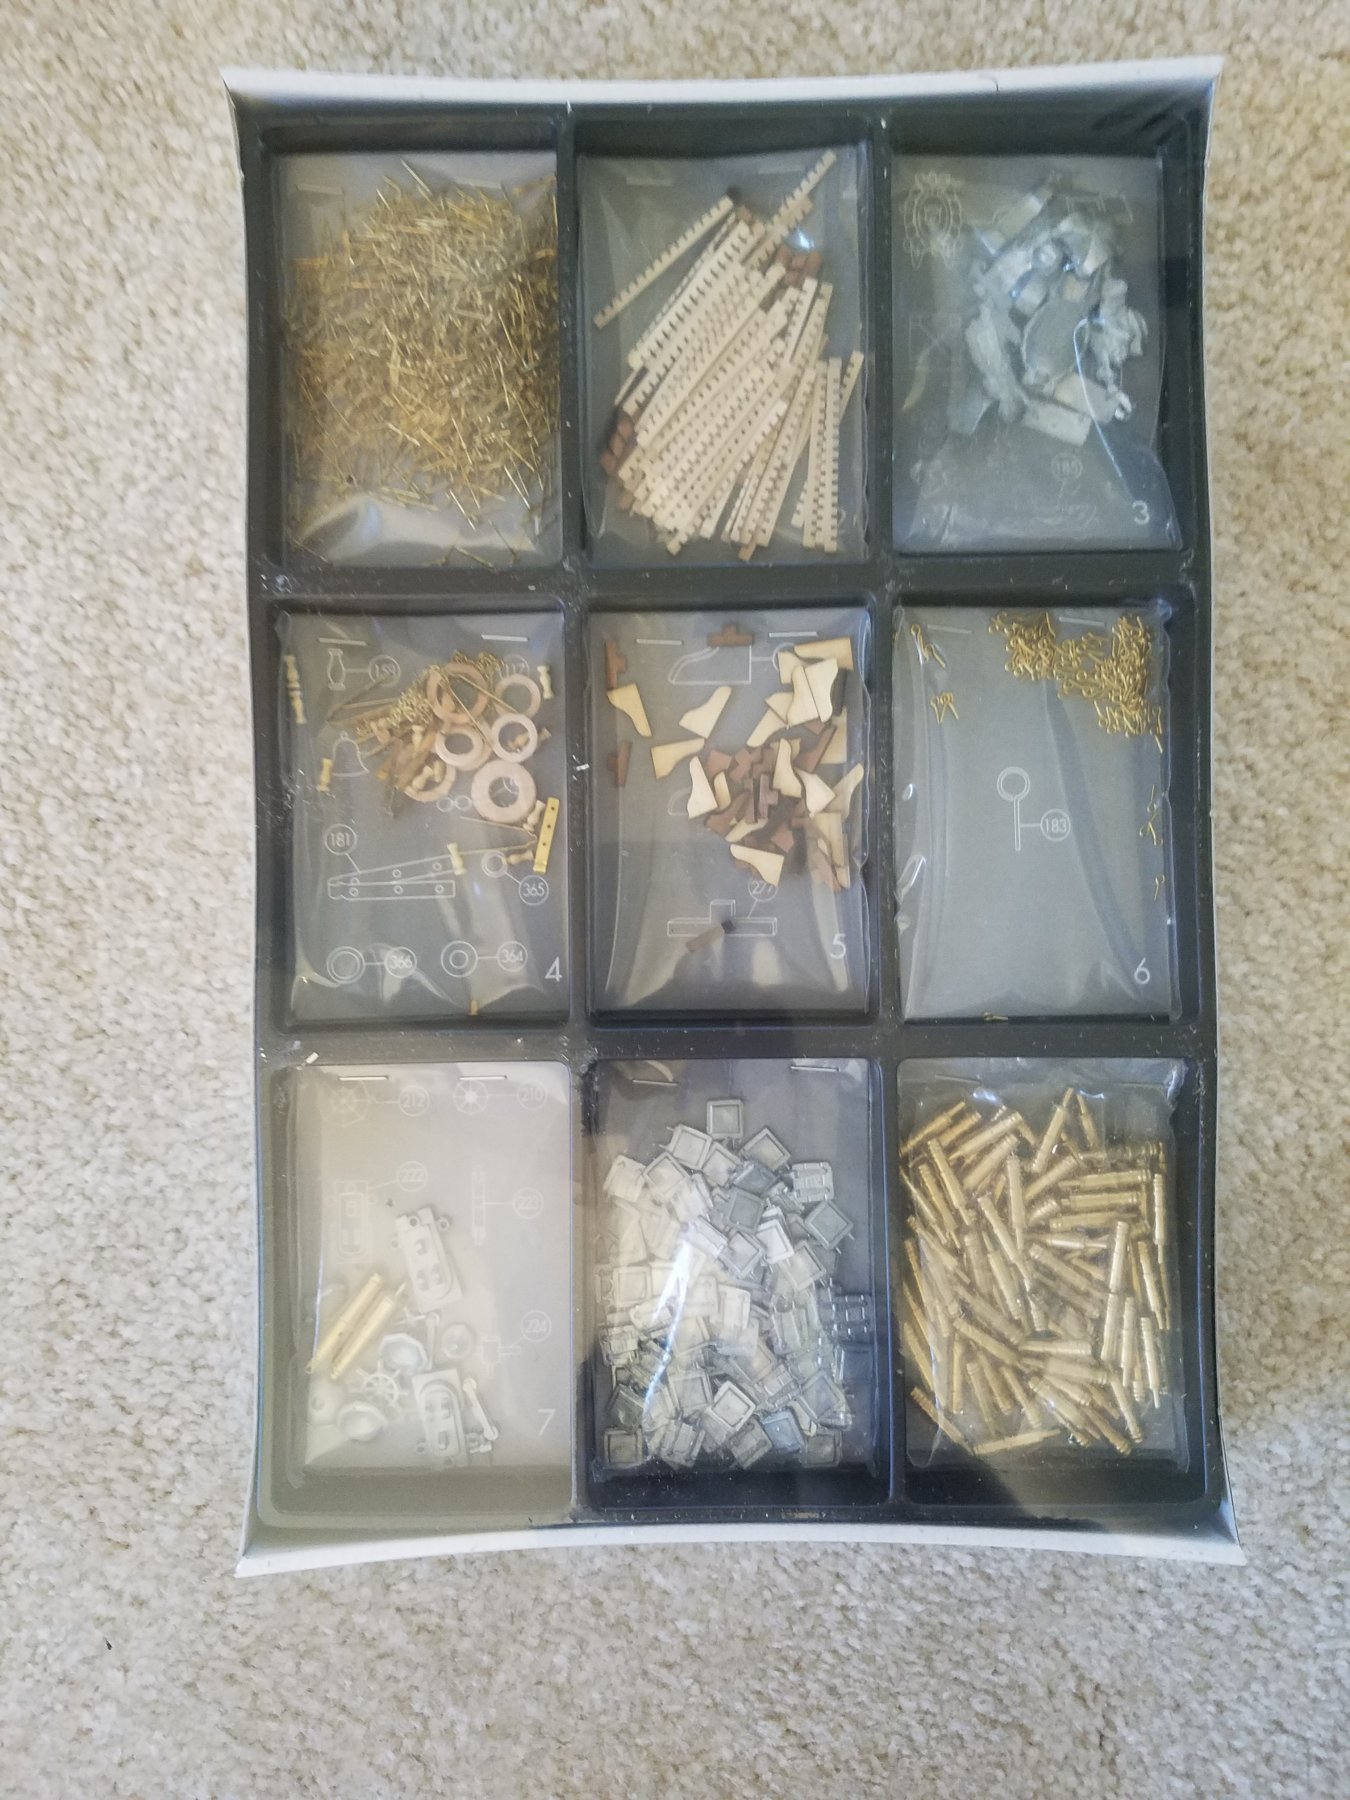
Finally! After 2 years, I have enough time to start a new kit! I still consider myself new to this hobby so I will be looking up a lot of info while building! I know this kit will take me a long while to make, but I will do my best to post on a regular basis! I will be reading the instructions and other guides and tips before I start. I noticed that the keel isn't completely straight. I wonder if there is a way to help straighten it. Lastly, I noticed that there are a lot of posts here about a building board and a keel clamp. How important are these? Hmm time for some research! - Jeff


-
Hey! I live in northern VA. Where all the wonderful traffic is! Thanks everyone for the warm welcome! I can't wait to read more here and learn a LOT!
-
Oh sure! My name is Jeff and eek! I didn't realize Zarkon was ruler! I promise I won't be overbearing and ruthless! Haha! Jeff
-
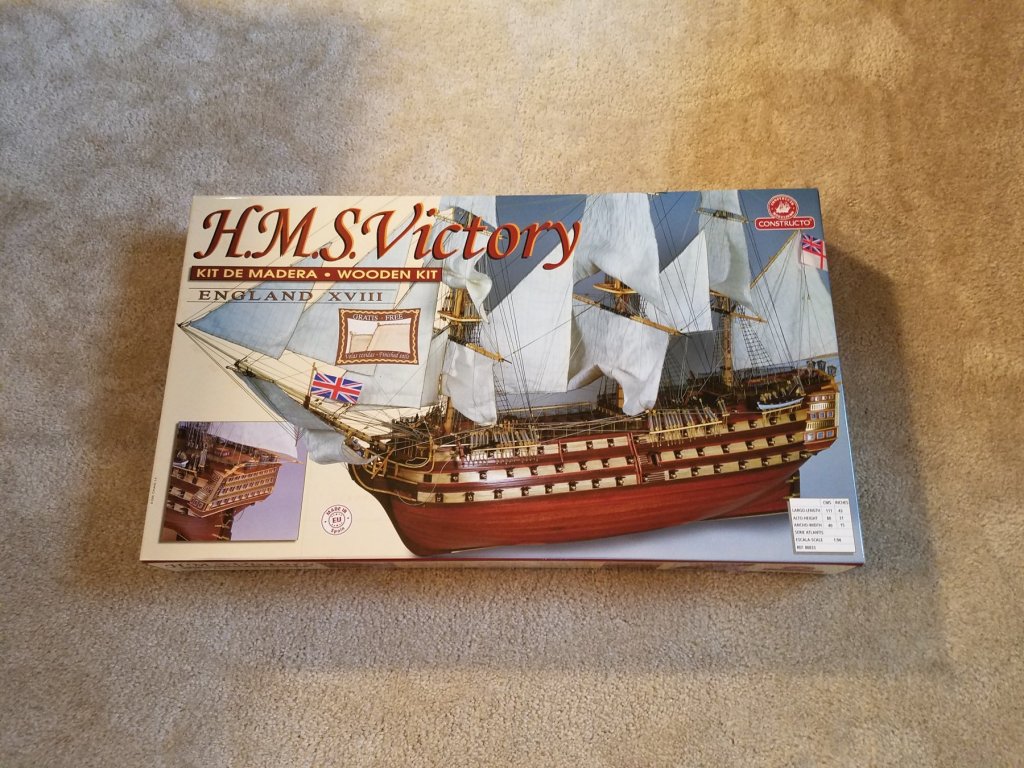
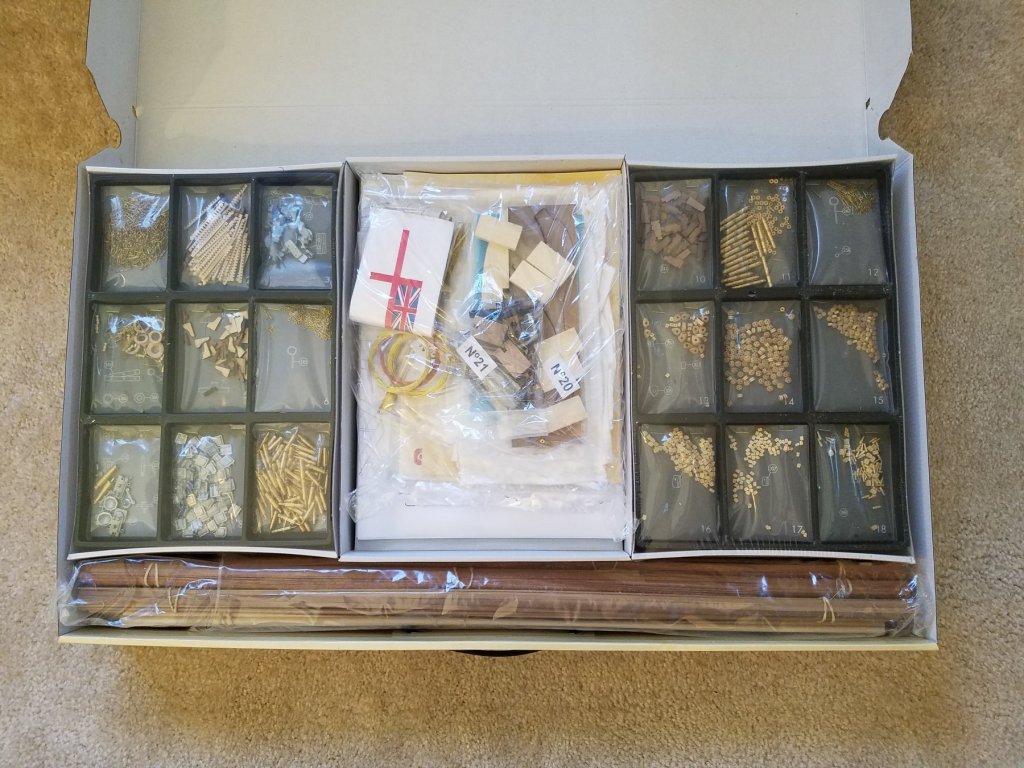
Hi everyone! I'm new to this forum and actually, this is my forum I have ever joined! (Welcome to the 21st century right?) Haha! I've built a few ships on my own, but never had any help nor knew anyone who had experience with ship building so I have been winging it! After looking through this site, I found a TON of helpful advice and building guides that I'm excited to try out on my next build! After reading some of the guides to planking a hull, I looked back on my models and noticed that I did not give enough attention to it and I could have done a LOT better. I haven't been able to finish my current ship, the Albatros from Constructo, since my son was born. Now that he's a little past 2 years old, I finally have some time to finish the sails and rigging. Once this is finished, I will be starting the HMS Victory by Constructo and I WILL be using the guides and tips from this site to help with the build. Lastly, I would like to post a build log because I know I will need help and I will have questions! I look forward to my next build and using the excellent advice from this site! Thanks!