HOLIDAY DONATION DRIVE - SUPPORT MSW - DO YOUR PART TO KEEP THIS GREAT FORUM GOING! (Only 36 donations so far out of 49,000 members - C'mon guys!)
×


Antonio Vasquez
-
Posts
108 -
Joined
-
Last visited
Content Type
Profiles
Forums
Gallery
Events
Everything posted by Antonio Vasquez
-
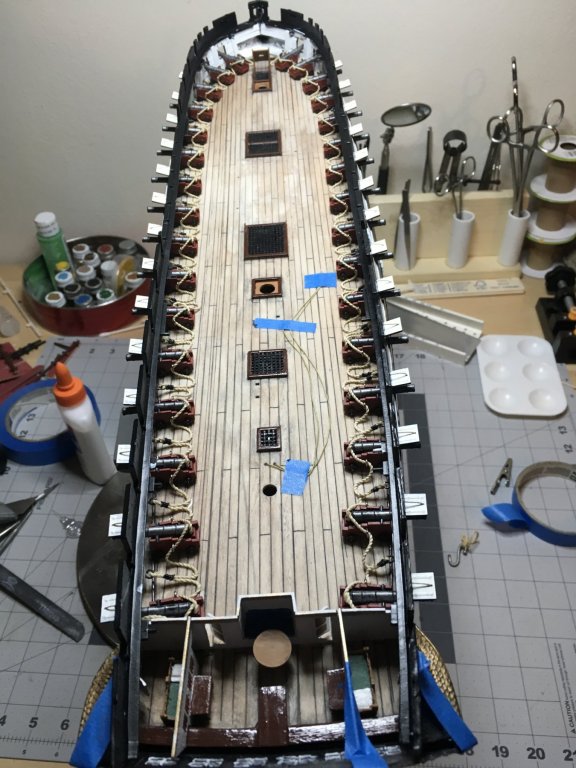
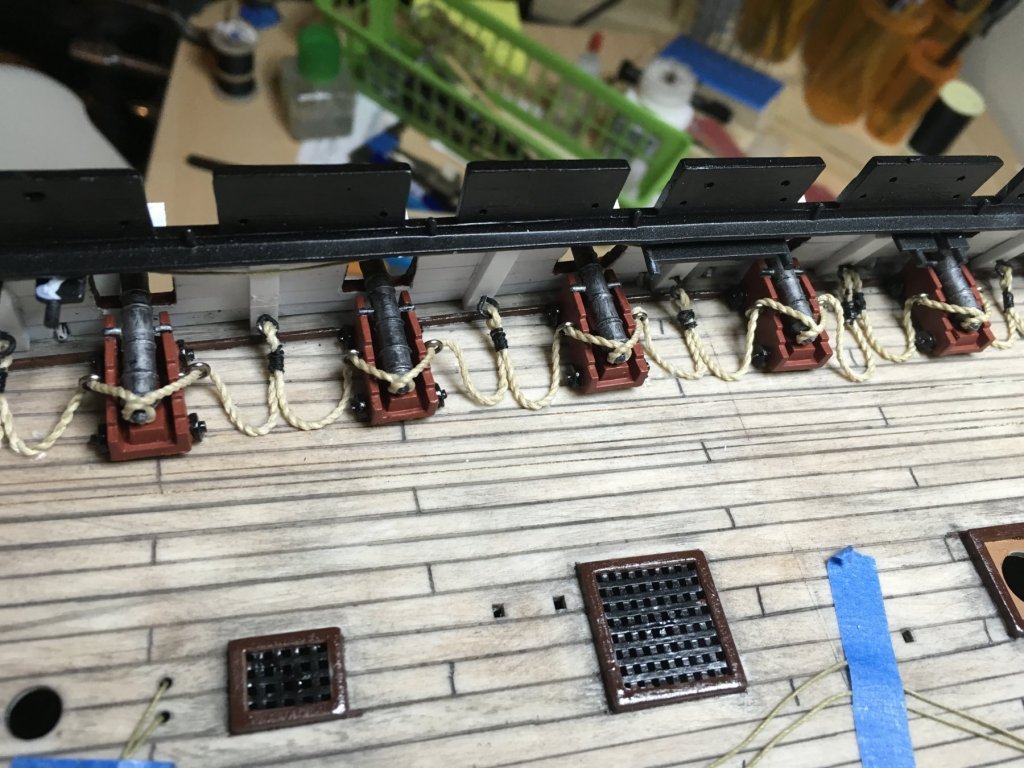
I finally got all the cannons mounted. I made some small rope by using my drill. I don’t have a rope walk.
- 89 replies
-
- 6
-

-
- constitution
- revell
- (and 1 more)
-
Surprisingly good tweezers...
Antonio Vasquez replied to monkeysarefun's topic in Modeling tools and Workshop Equipment
Don’t drop them! Mine fell off the desk today tips first into a small rug. They were stuck and I had to wiggle them a bit to get them out of the rug. At a distance of 28” those tips went through the rug , hit the cement and bent. I had to sand the bent tips and reface them. -
Surprisingly good tweezers...
Antonio Vasquez replied to monkeysarefun's topic in Modeling tools and Workshop Equipment
I’m pretty sure I have that same set. Ordered them a few months ago. I love these tweezers, way better than any I was using before. -
Getting the gun port covers on. I can’t wait to see how many I break off before I am done with this build.

- 89 replies
-
- 3
-
-
- constitution
- revell
- (and 1 more)
-
I’ve never tried an airbrush before and I have a new one coming in the mail next week. I was wondering how much overspray they normally produce? Would it be possible to paint small parts indoors without having overspray getting on other stuff in the room?
-
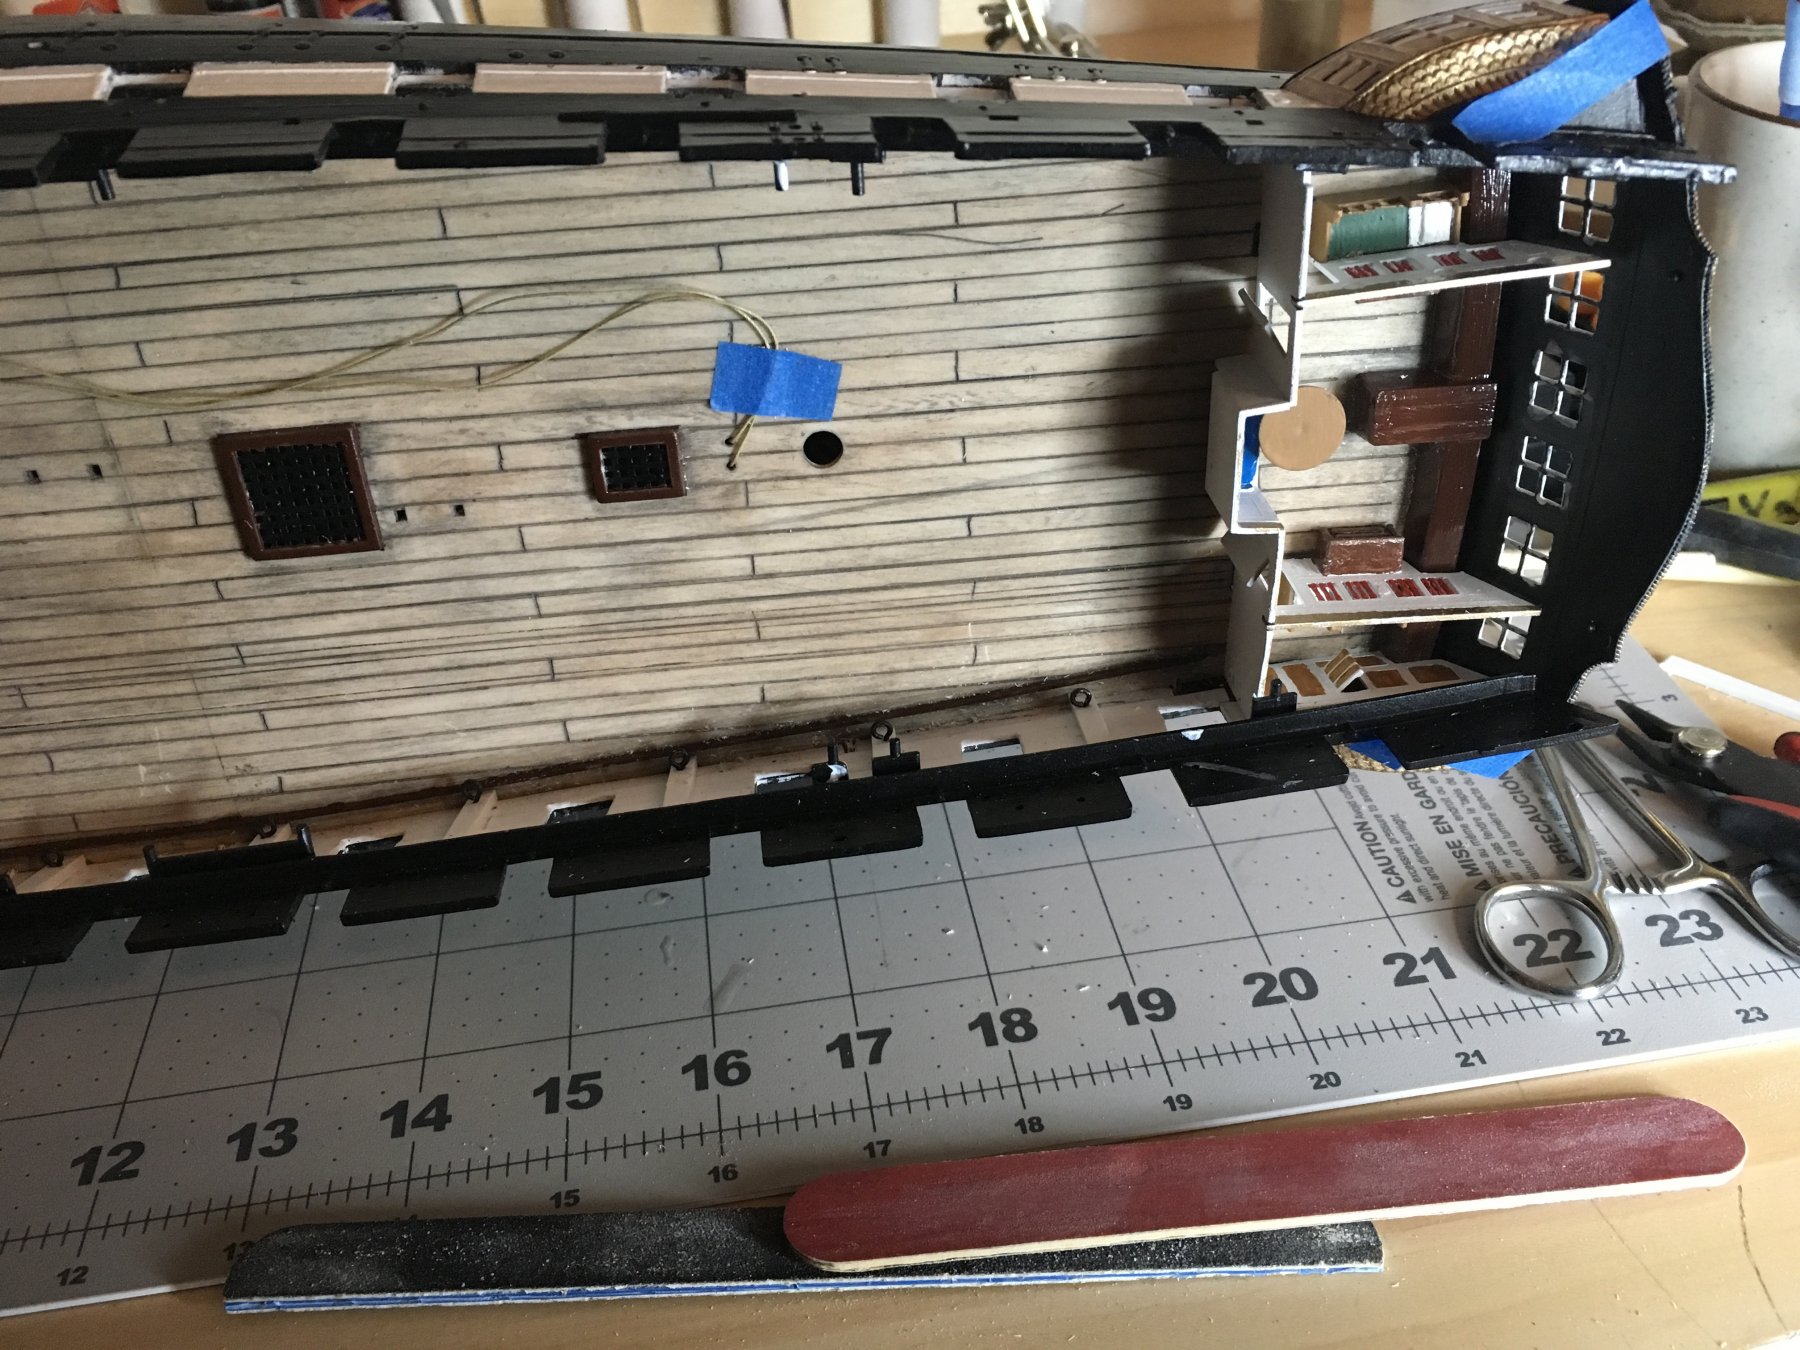
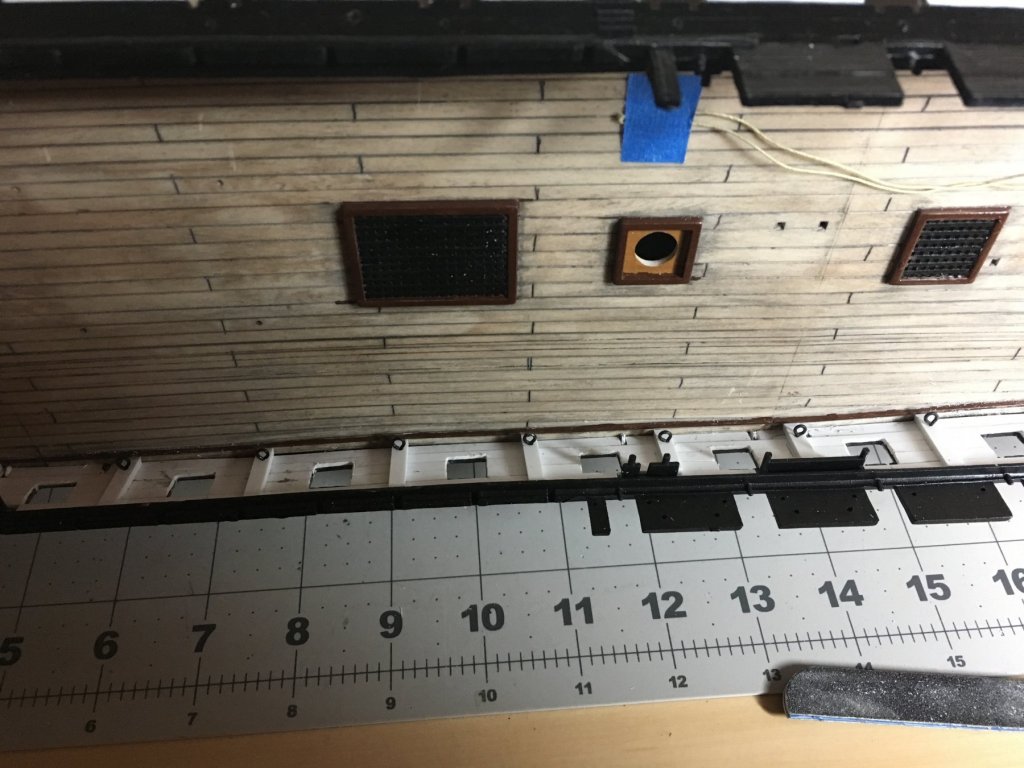
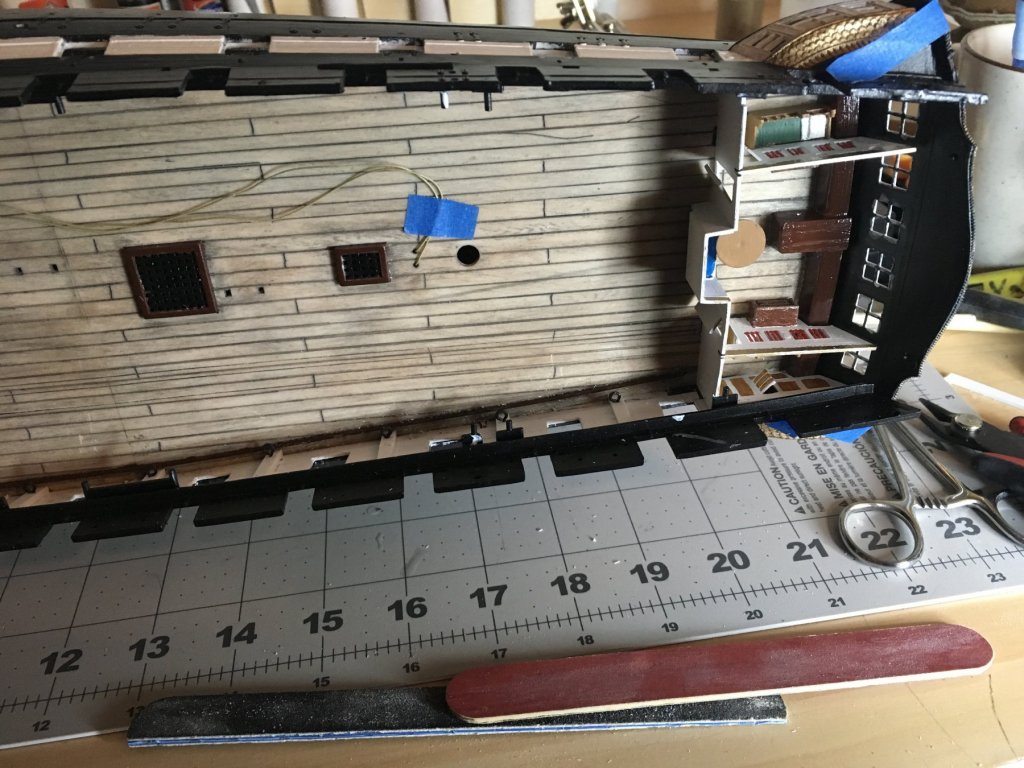
I got a lot of ideas from seeing the way the other builders have done the sides of the gun deck . I try to make those rings as small as I could get them they still look a little large. I think this will work out better than those little pins that were molded into the side of the side of the hull.

- 89 replies
-
- 4
-
-
- constitution
- revell
- (and 1 more)
-
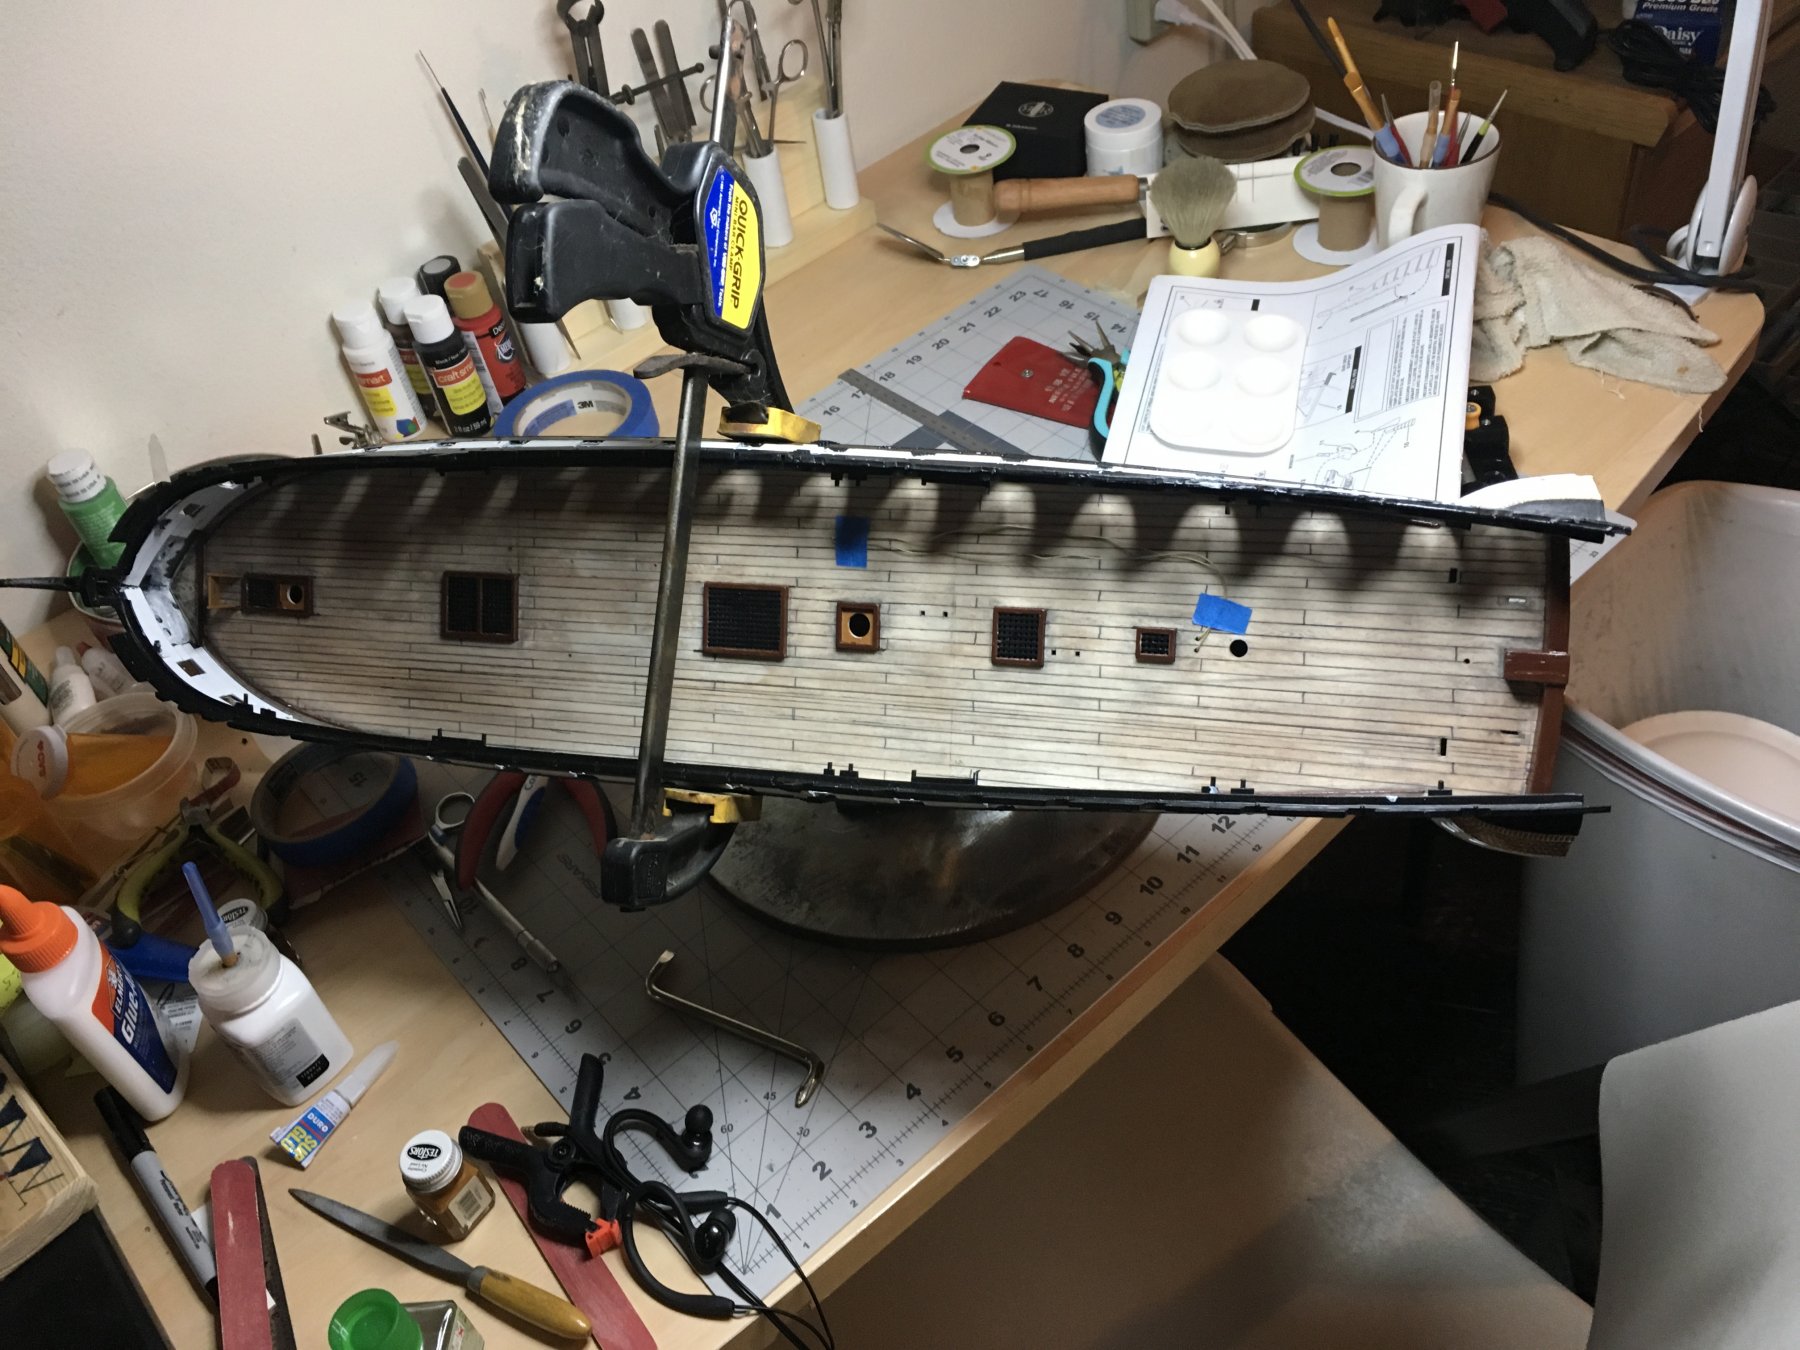
I am having a heck of a time getting the sides to stay glued to the deck. They keep popping out.


- 89 replies
-
- 5
-
-
- constitution
- revell
- (and 1 more)
-
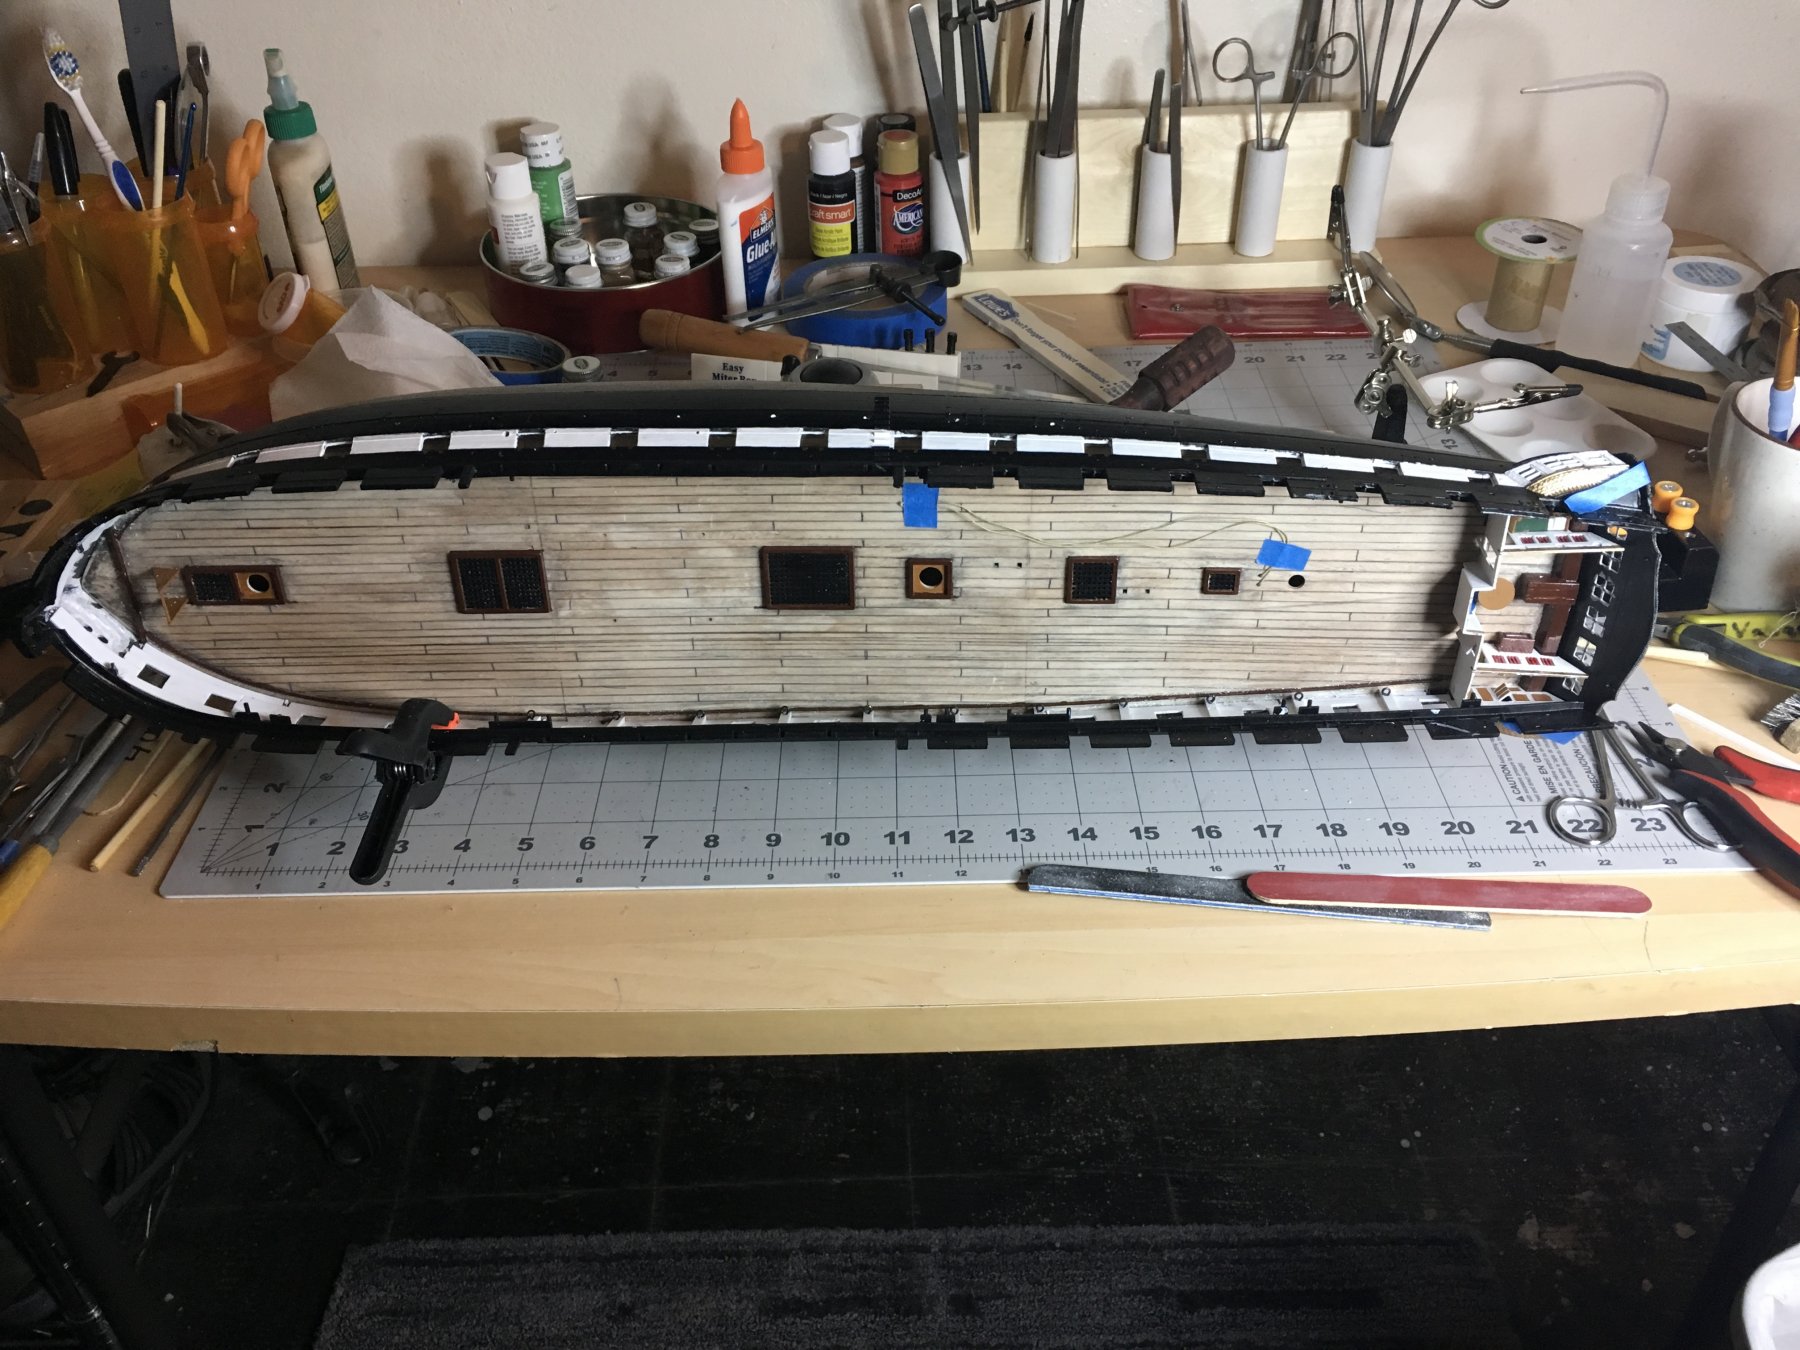
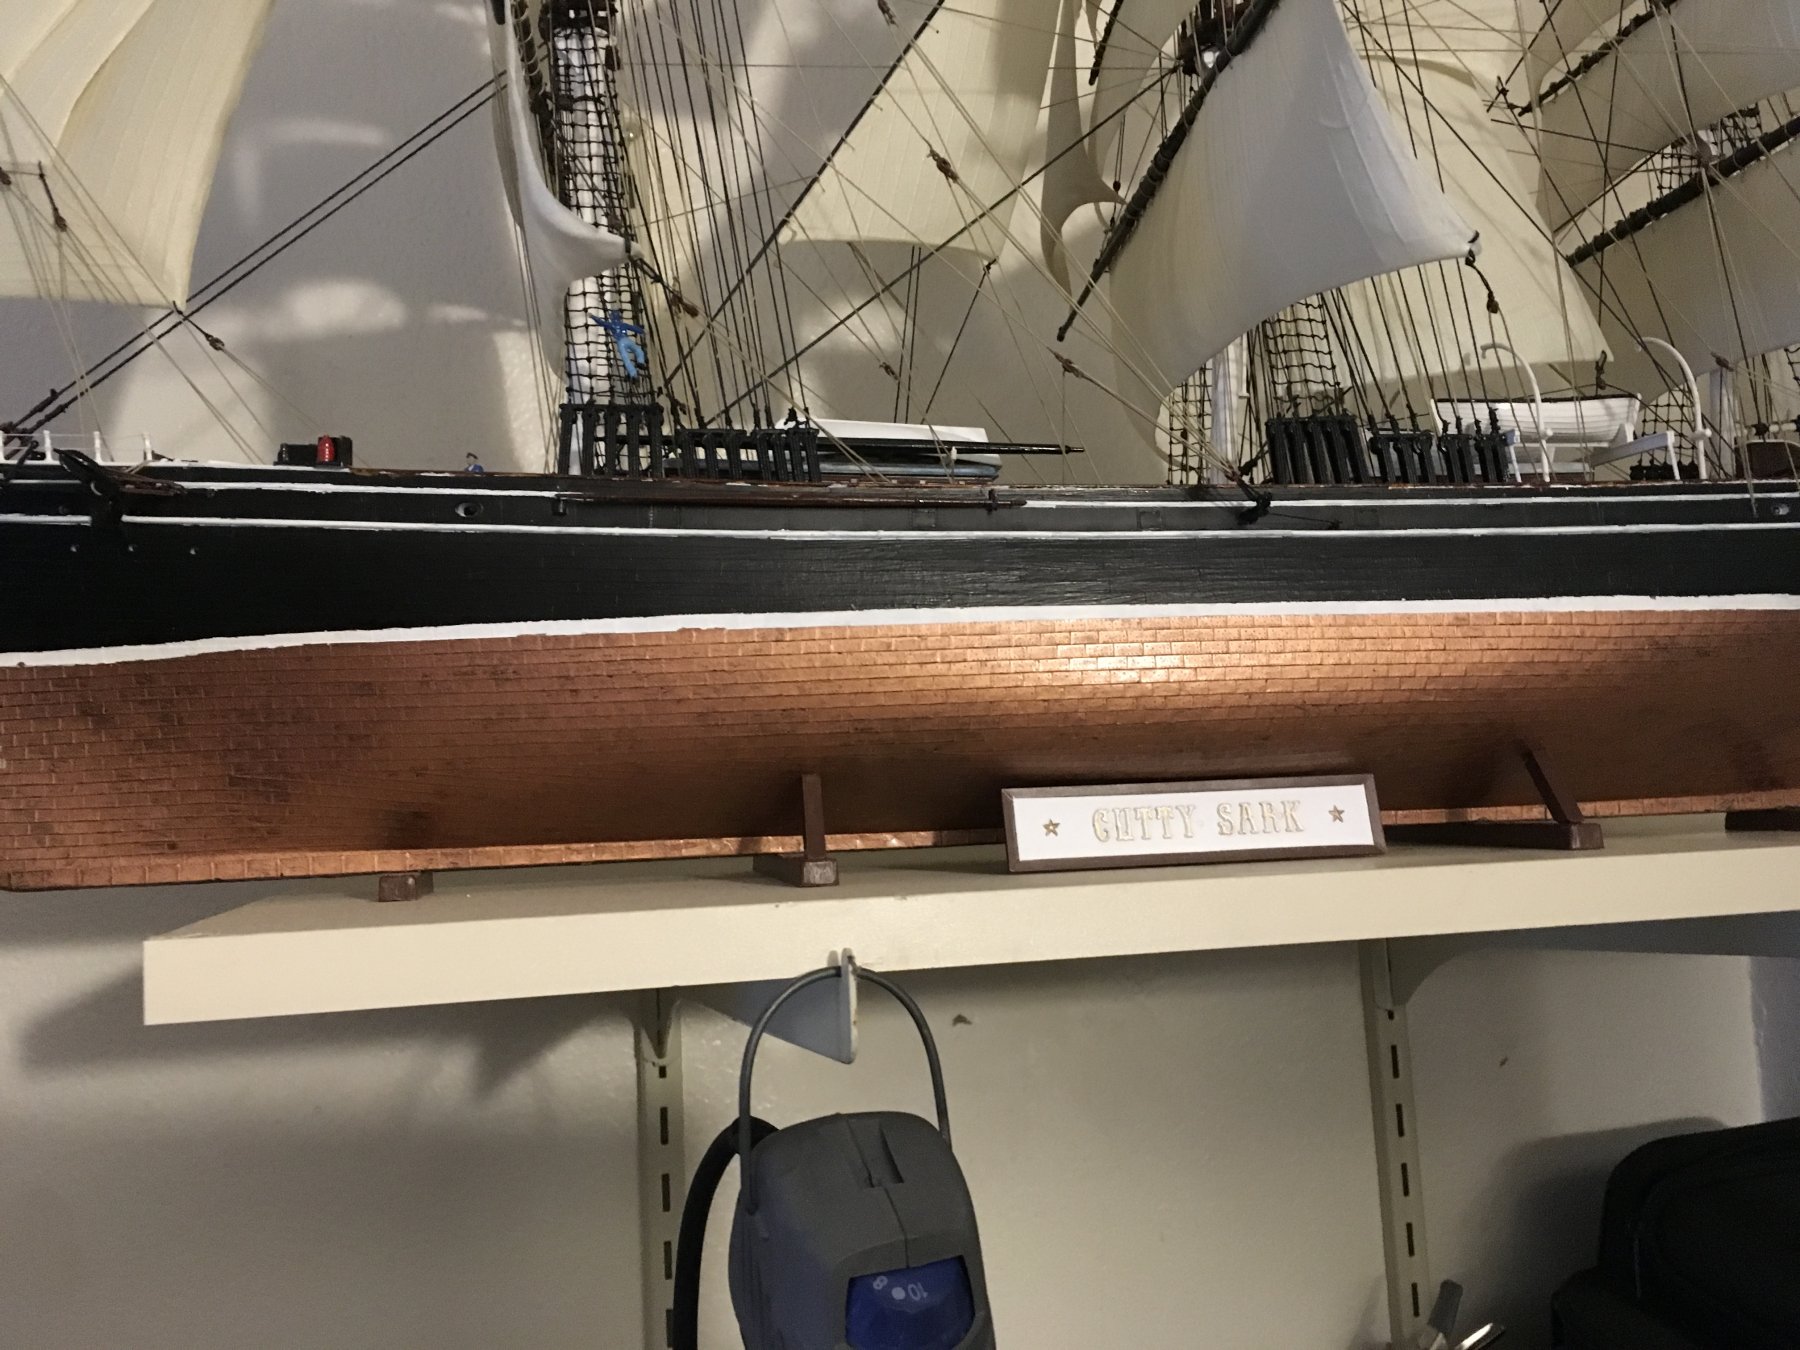
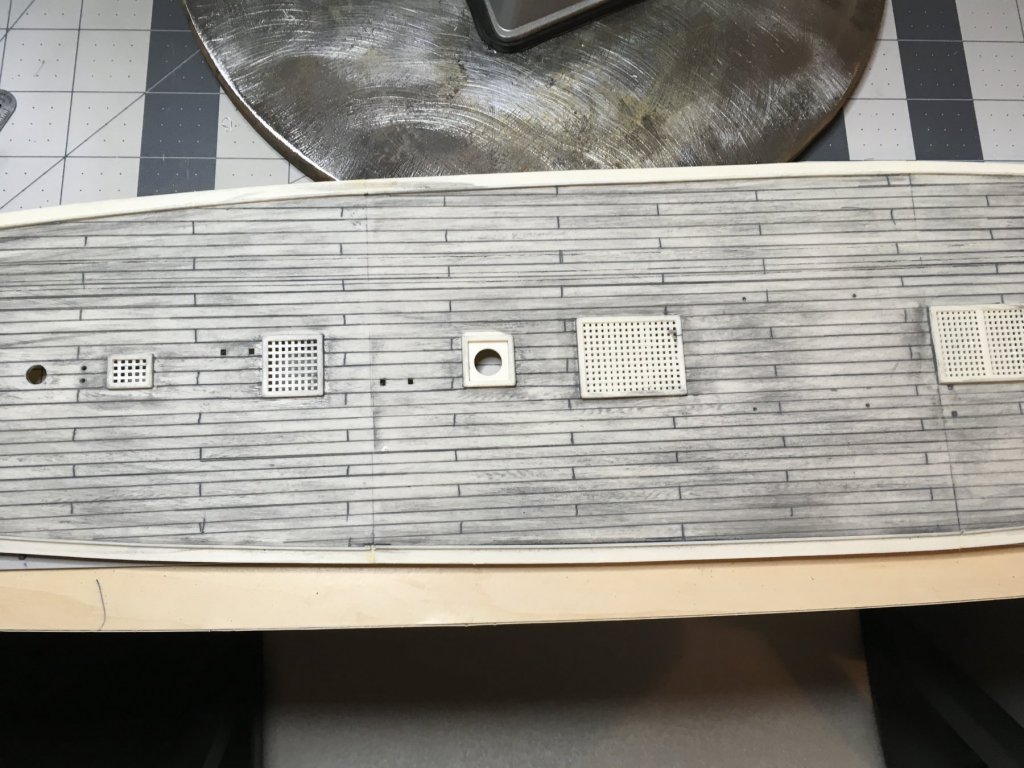
Working on lower deck. Lines were scribed and deck was washed with diluted black paint then light sanded. When I did the Cutty I did the same th ing on that deck except that I went. over the black wash with a brown wash to darken it up. I wasn’t happy with the way it turned out, so I will probability sand this deck a little more and leave it the way it is.

- 89 replies
-
- 3
-
-
- constitution
- revell
- (and 1 more)
-
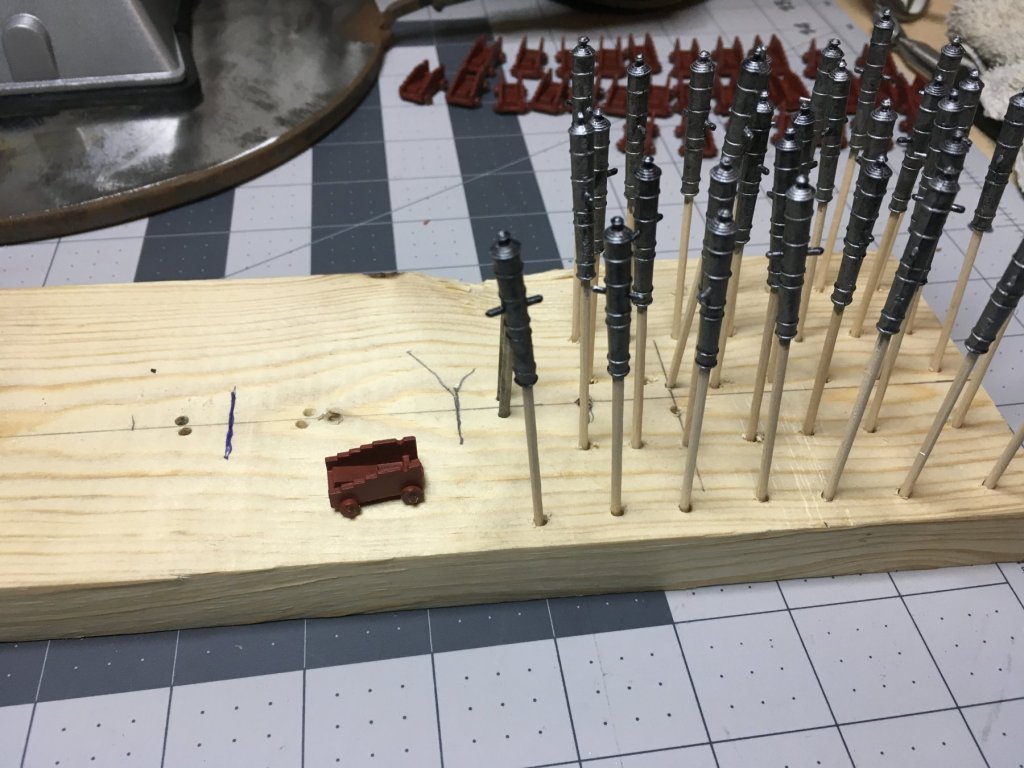
Painting cannons and adding strips to the gun port walls.
- 89 replies
-
- 4
-
-
- constitution
- revell
- (and 1 more)
-
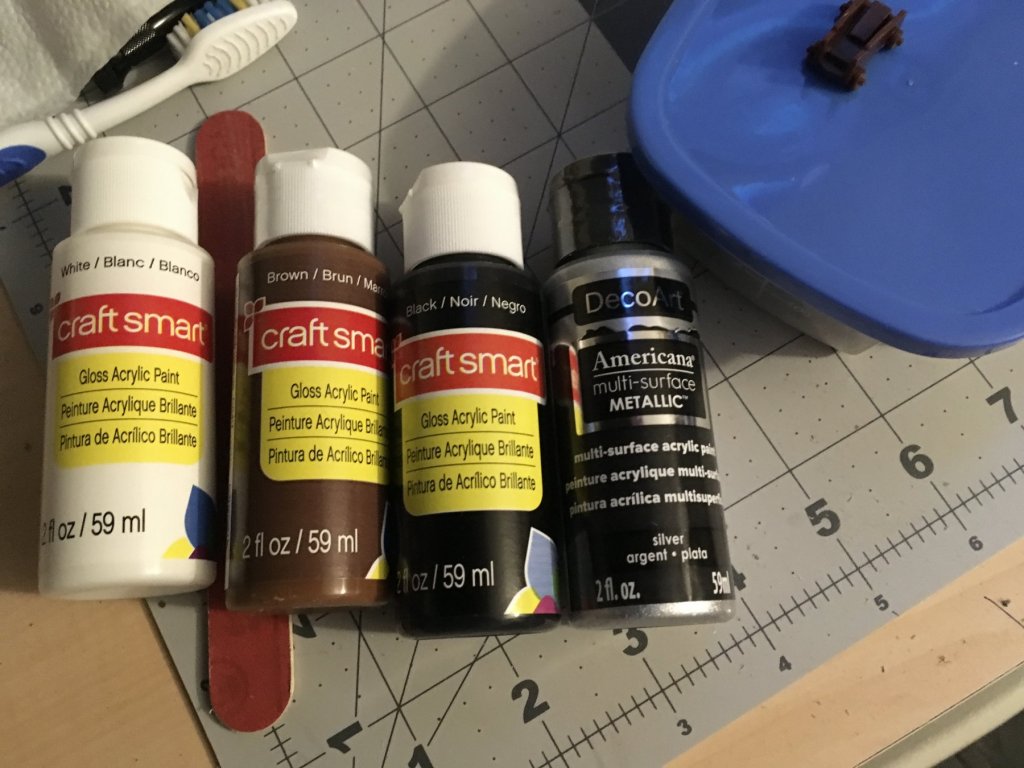
Yeah I would have to order those pants from Amazon or from an online hobby store, I picked up the pants that I got there from the local Michael’s I realize that they’re probably not that great for painting plastic. The testor enamels that I have do cover better. I like the soap and water cleanup of the acrylics.
-
These are the acrylic paints that I was able to get from our local Michael’s.
-
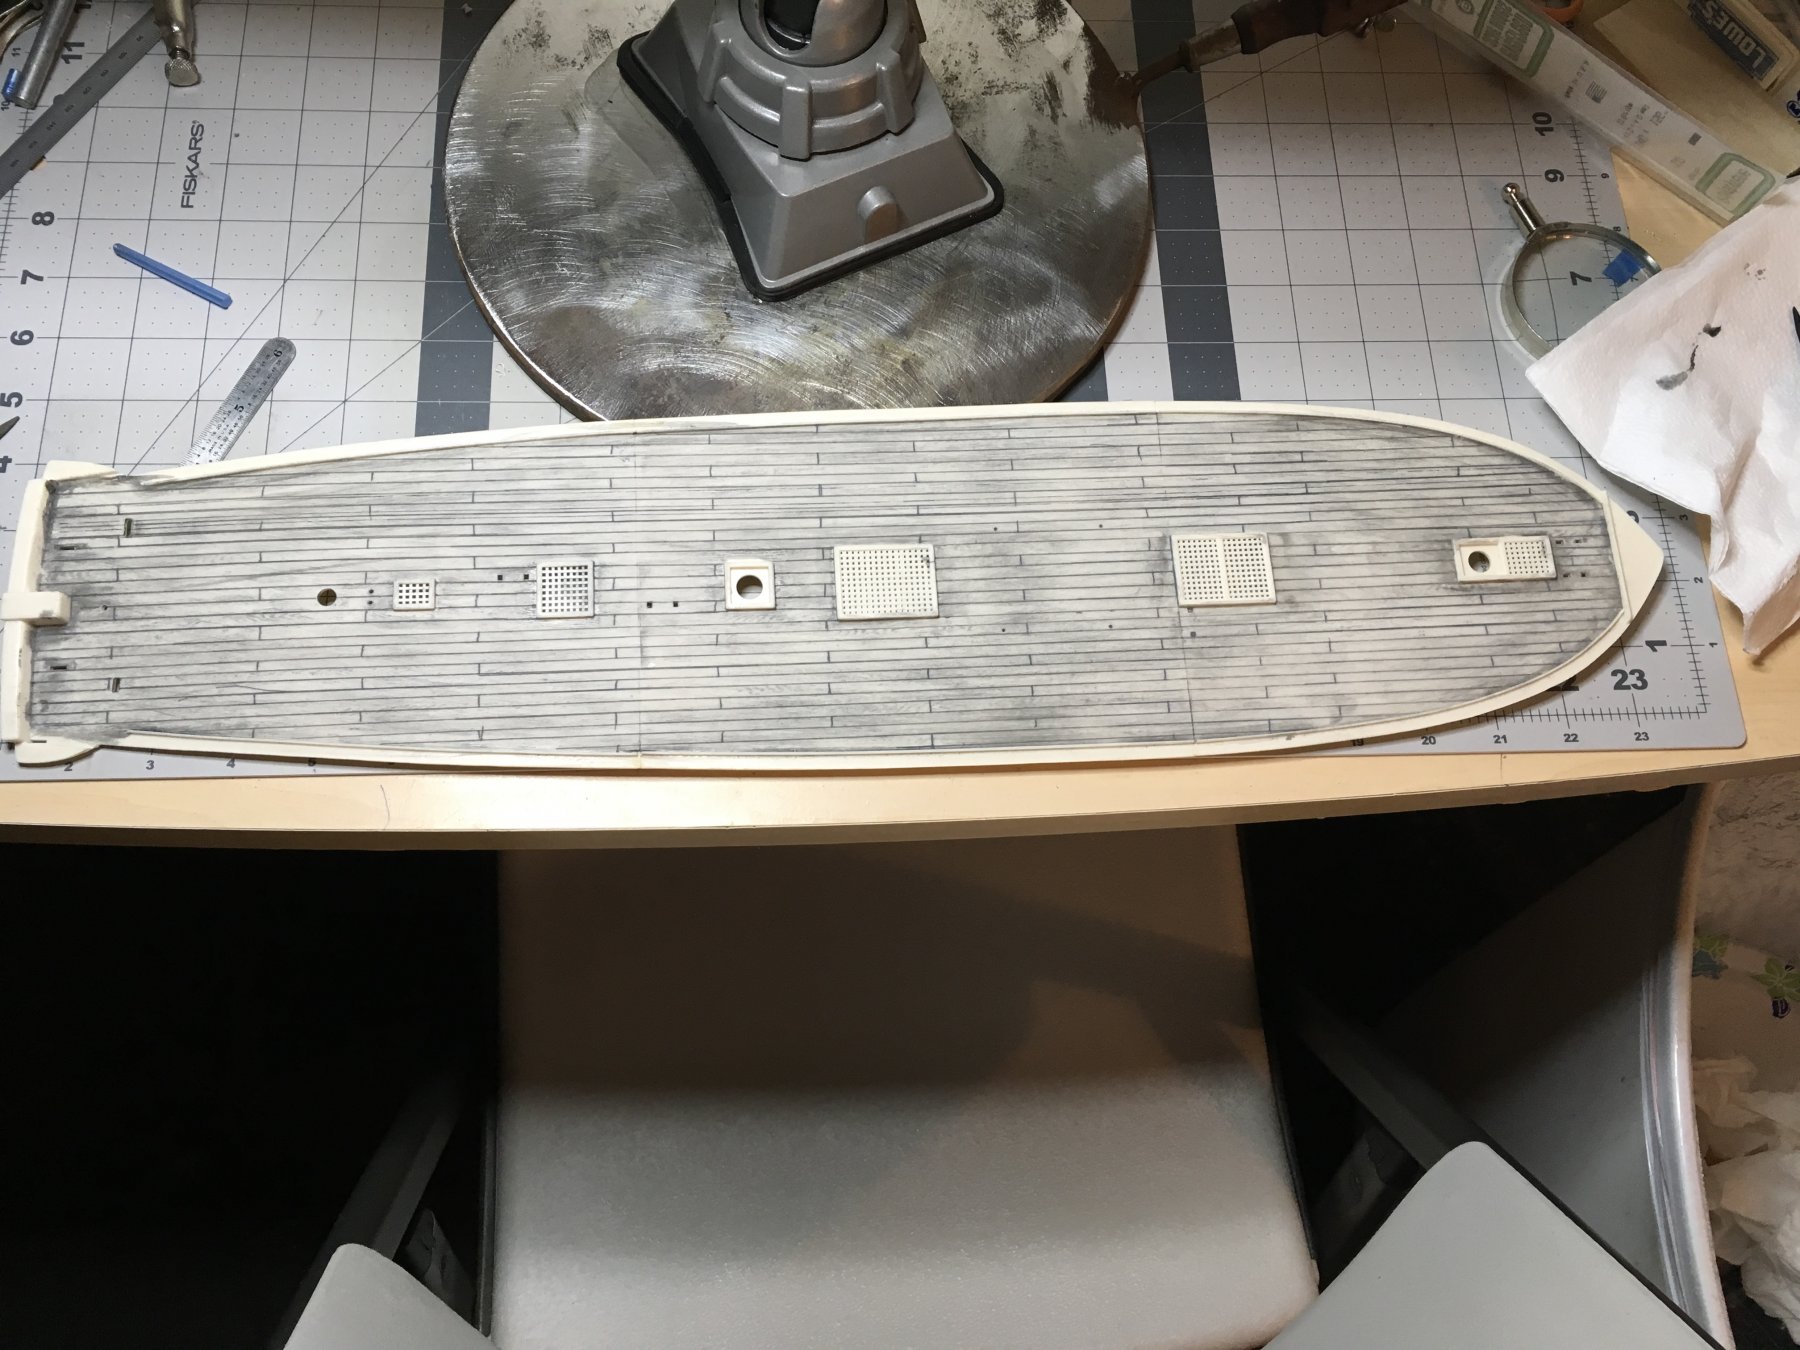
I’m going to try to scratch the deck planking in to the plastic that comes with the kit . I’m going to have a hell of a time seeing the lines in the deck, even with my magnifier on. I had thought about using Veneer strips And gluing them to the deck but I wasn’t sure what type of adhesive I’d be able to use effectively. I also was not sure how I would cut the veneer to the thin strips that I would need, I have never worked with veneer before. I have been toying with the idea of getting an airbrush but I have to admit I’ve never used one .
- 89 replies
-
- 1
-
-
- constitution
- revell
- (and 1 more)
-
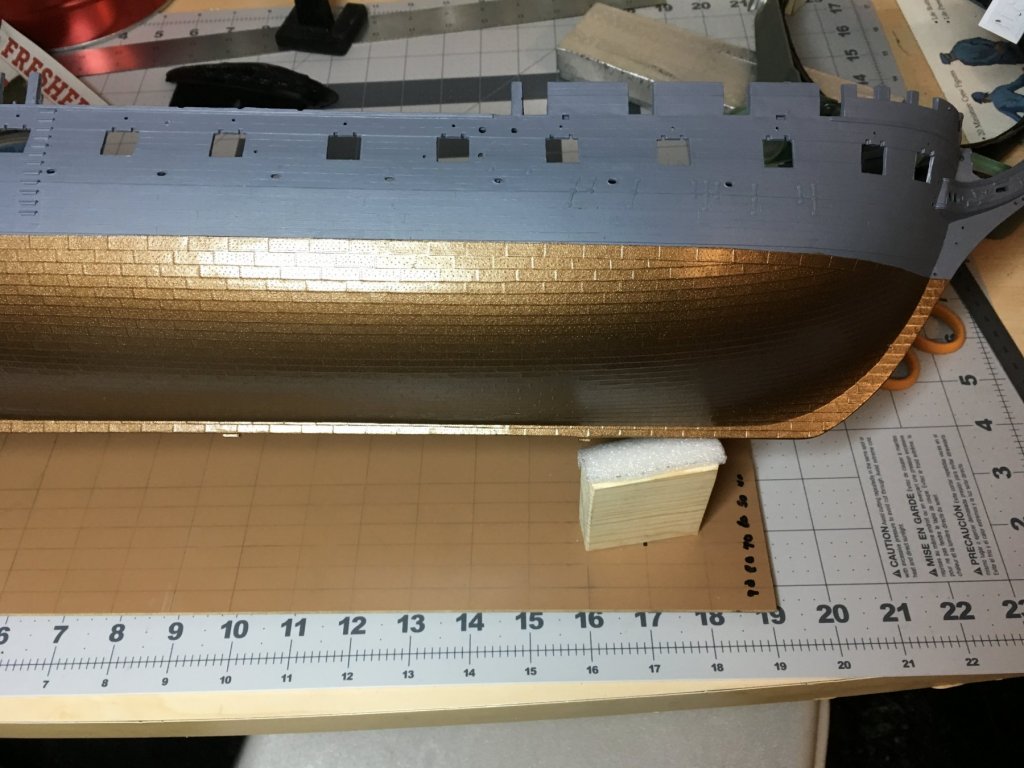
I’m thinking I should have used a white primer, oh well, live and learn.
-
Thanks for the info, it was very informative
-
I’m not airbrushing, aside from the large areas I’m painting by brush.
-
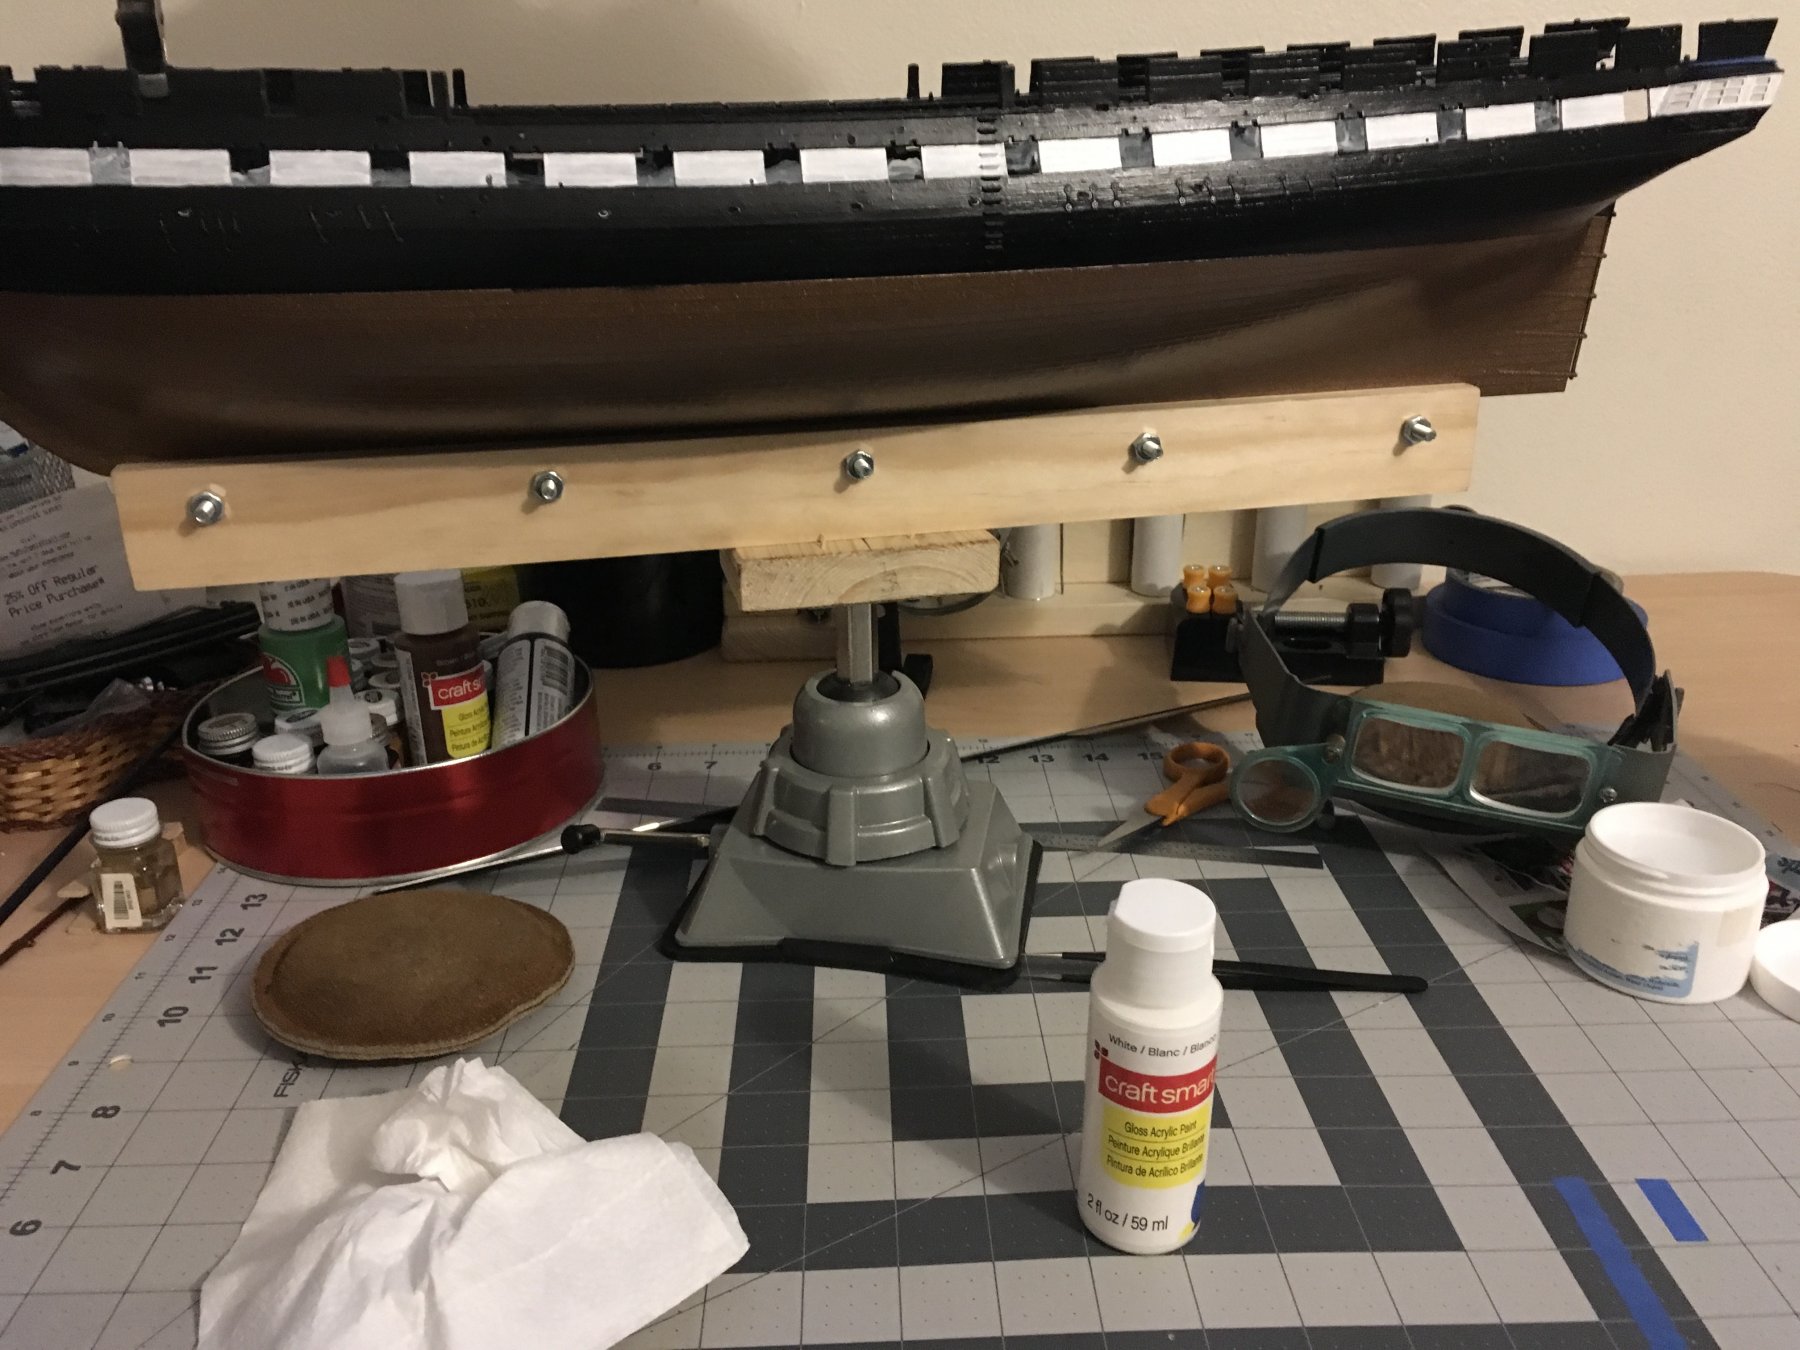
It is taking a lot of coats of white paint to cover up primer between the gun ports. I am at four coats already and I can still see some of the primer beneath the paint . I’m not sure if that’s normal or not .
- 89 replies
-
- 3
-
-
- constitution
- revell
- (and 1 more)
-
I am thinking very seriously about covering the decks with the Veneer. I’m not real sure what type of adhesive to use .
-
I’m using a gloss acrylic paint for the first time normally I use testers enamel. I have been thinning the paint about 75 percent paint 25% water. After about four coats I can still see the primer through the paint. Is it normal to have to put a lot of coats on? The paint coming out of the container is very very thick so I am having to thin it . From the tutorials I have seen on YouTube they say thin the paint to the consistency of milk. I am thinning it a little thicker than that but it is still very transparent when I apply it.

-
The lower deck pieces are really miss matched as far as edge thickness goes. I saw one of the other builds where he made the deck planks more visible as well as the nail heads. I’ll have to look into that. Meanwhile I will have to get the deck assembly together nice and flat.
-
I am primering everything I paint this time. The copper paint I used this time was a spray paint and it came out a little darker than I would’ve liked. The testers brush on paint that I used on the Cutty Sark came out a lot lighter.

- 89 replies
-
- 5
-
-
- constitution
- revell
- (and 1 more)
-
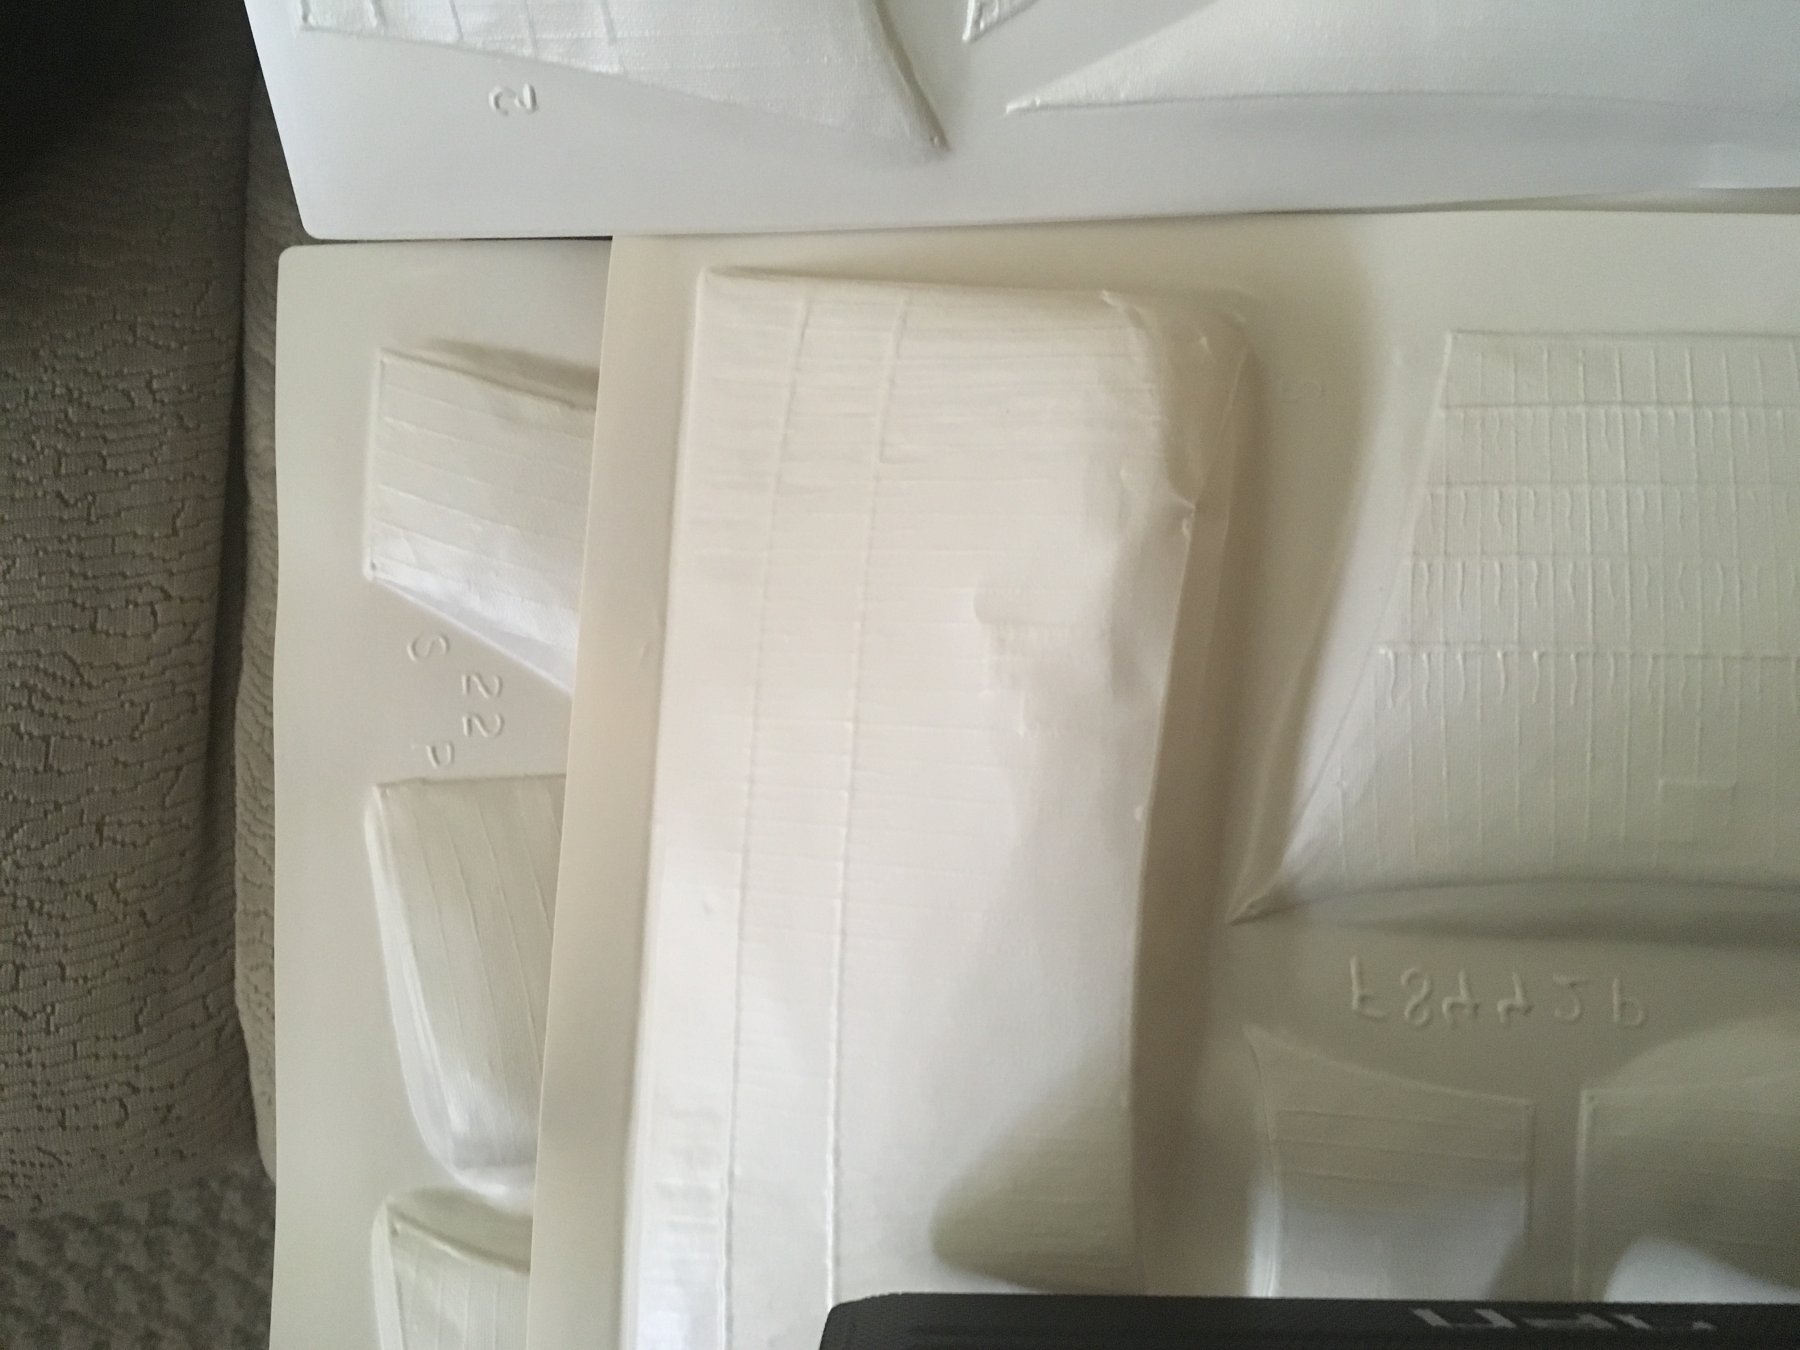
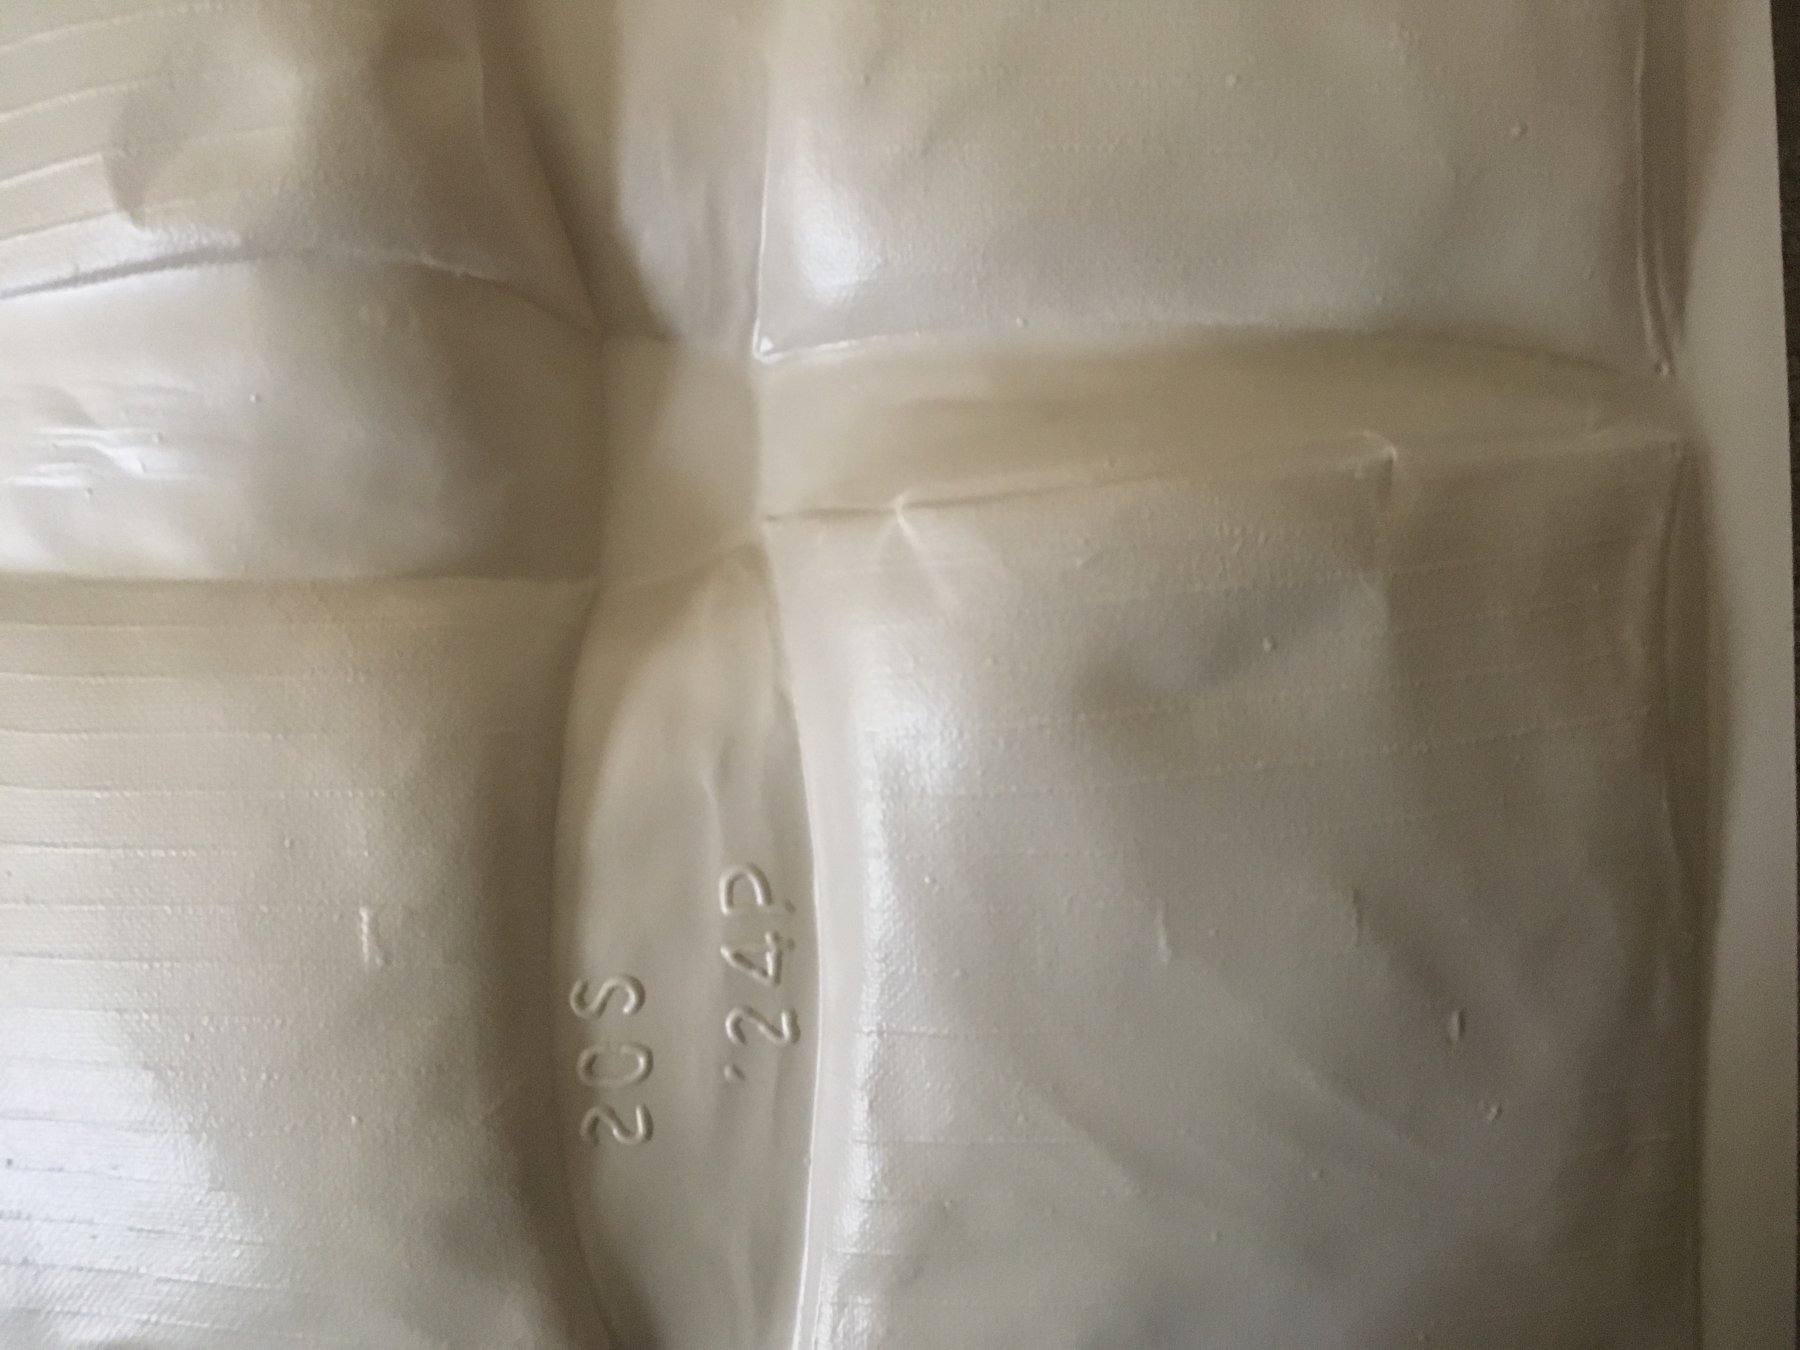
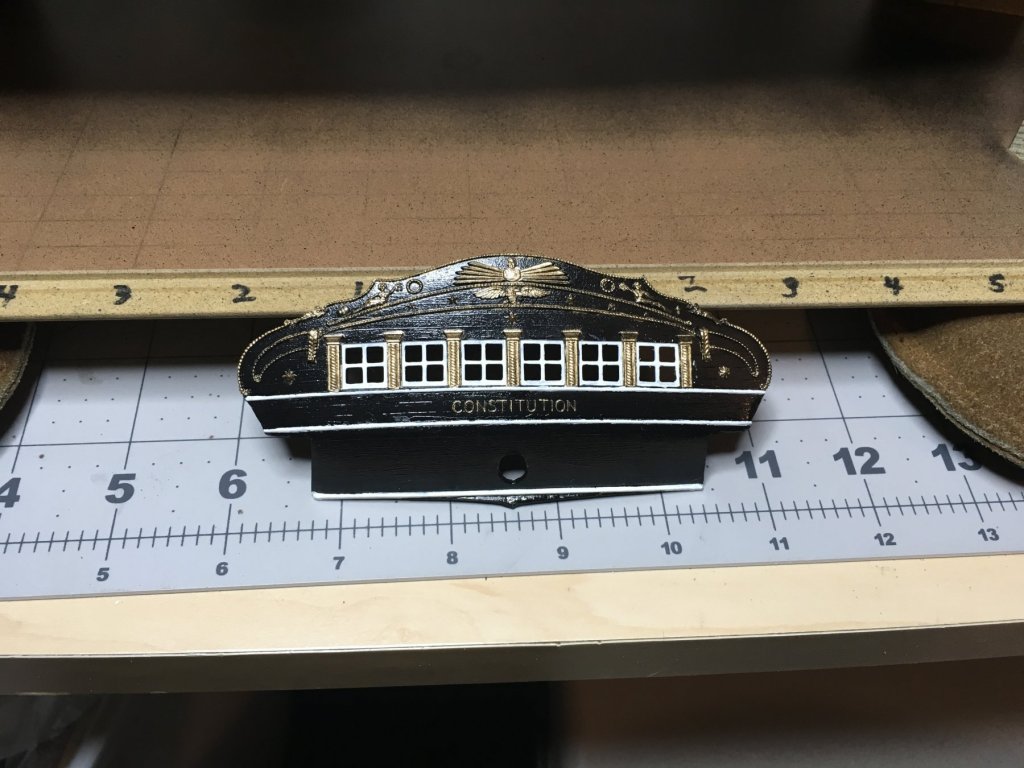
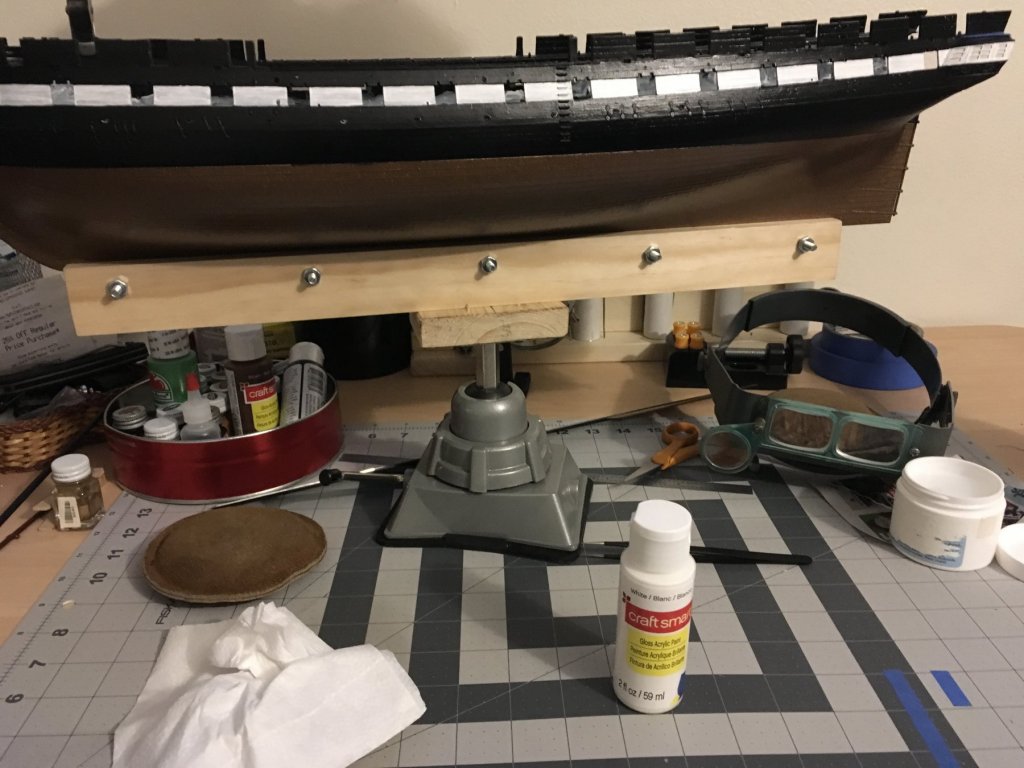
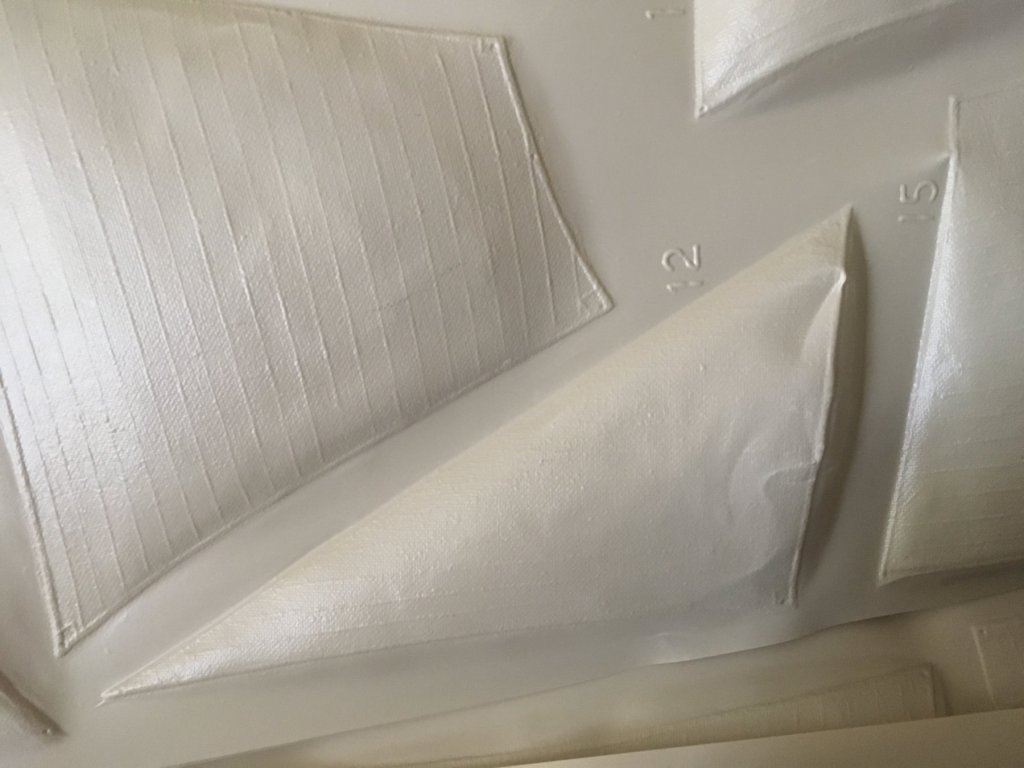
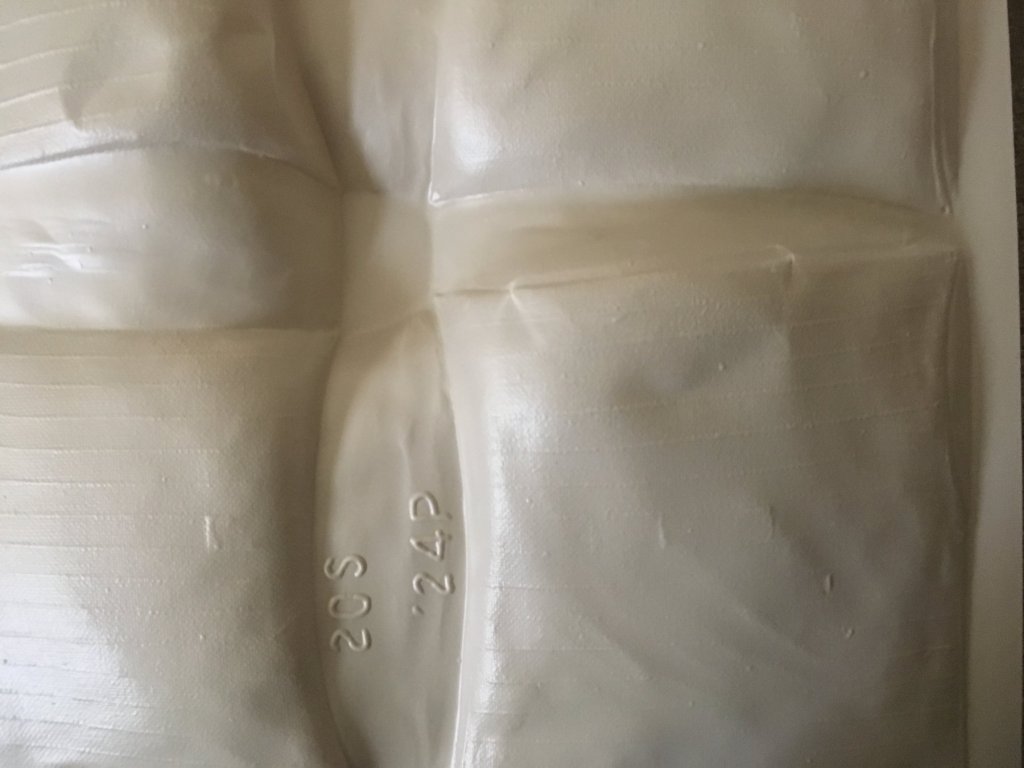
I just unboxed everything and found at the sails were squashed in some spots. When ahead and broke loose to hull halves, the stand , and the gallery stern. I washed all the pieces and cut off all the burrs. I am assuming that I should primer the hull before I paint it but this is something I did not do on my last build which was the Cutty Sark . The painting on the gallery stern looks like it is really going to be a challenge . I am definitely going to have to look at some pictures to see how that part gets painted. Any tips you can throw my way are welcome .

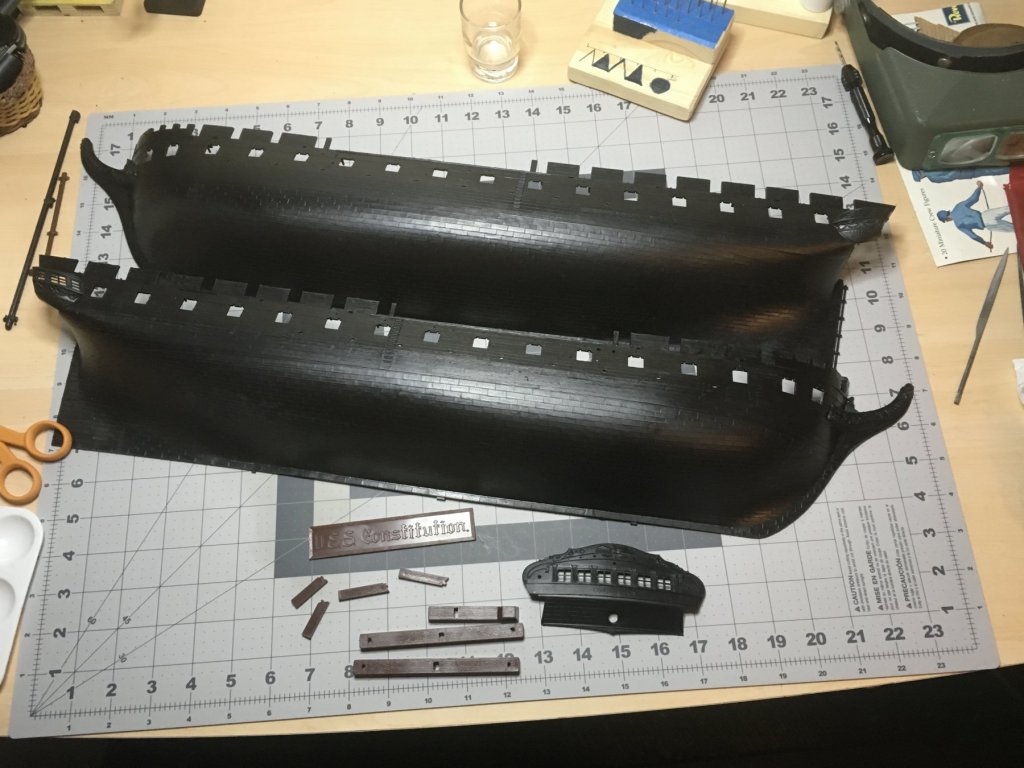
- 89 replies
-
- 2
-
-
- constitution
- revell
- (and 1 more)
-
Hi, I just finished the 1/96 Cutty Sark and have received the 1/96 Revell Constitution for Christmas this year. The Cutty was a blast to build , it took seven months to build. After seeing some of the other builds online I wish I would have gone slower and put a little more detail in. I plan to look at a lot of pictures of the Constitution before I start my build. I have been into woodworking for over 20 yrs and would love to try a wooden ship. I am smart enough to realize that a wooden ship will require special skills that I may not yet possess. I want my first wooden build to be a learning experience so I don’t mind a beginner ship kit. There certainly is a lot of great information on this site . Any recommendations that members can give me as far as what my first wooden ship should be or tips on my constitution Build would be greatly appreciated . thank you.