HOLIDAY DONATION DRIVE - SUPPORT MSW - DO YOUR PART TO KEEP THIS GREAT FORUM GOING! (Only 20 donations so far - C'mon guys!)
×
RobTBay
-
Posts
34 -
Joined
-
Last visited
Content Type
Profiles
Forums
Gallery
Events
Everything posted by RobTBay
-
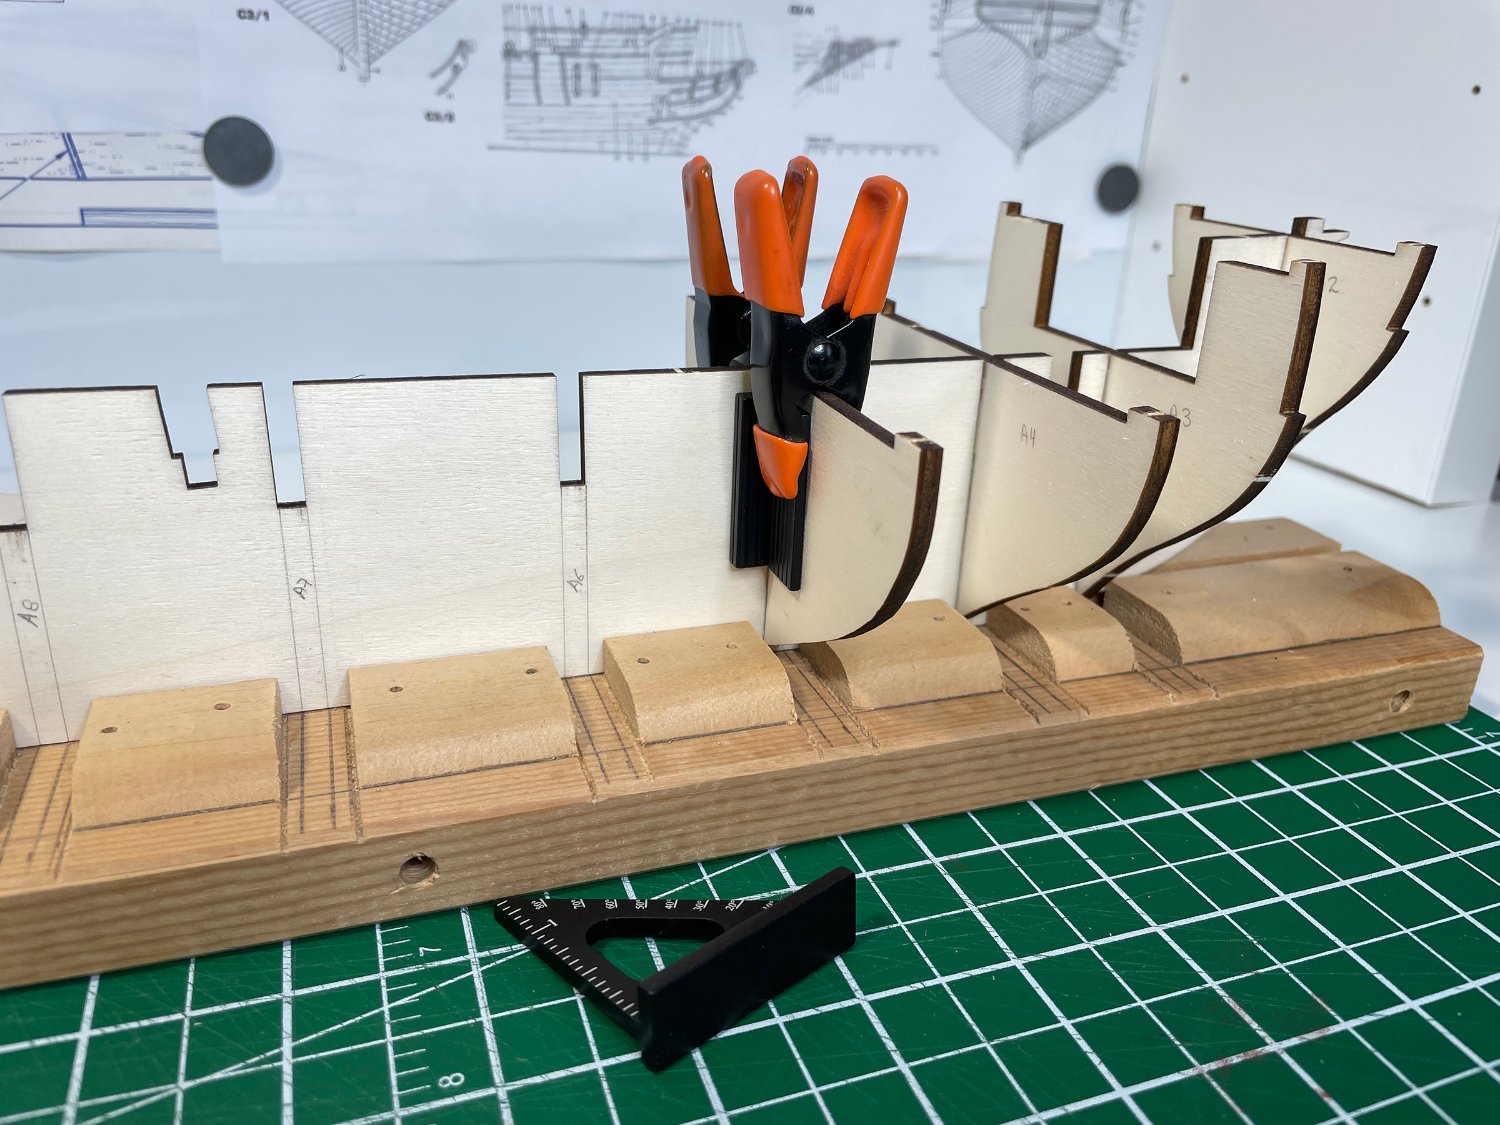
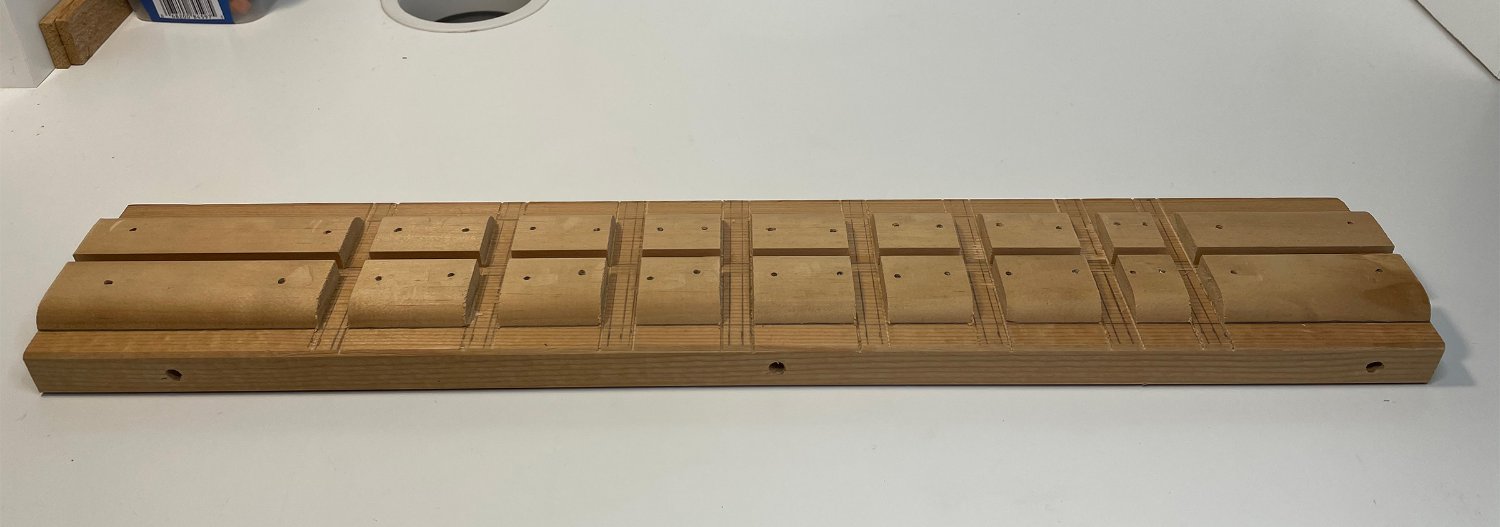
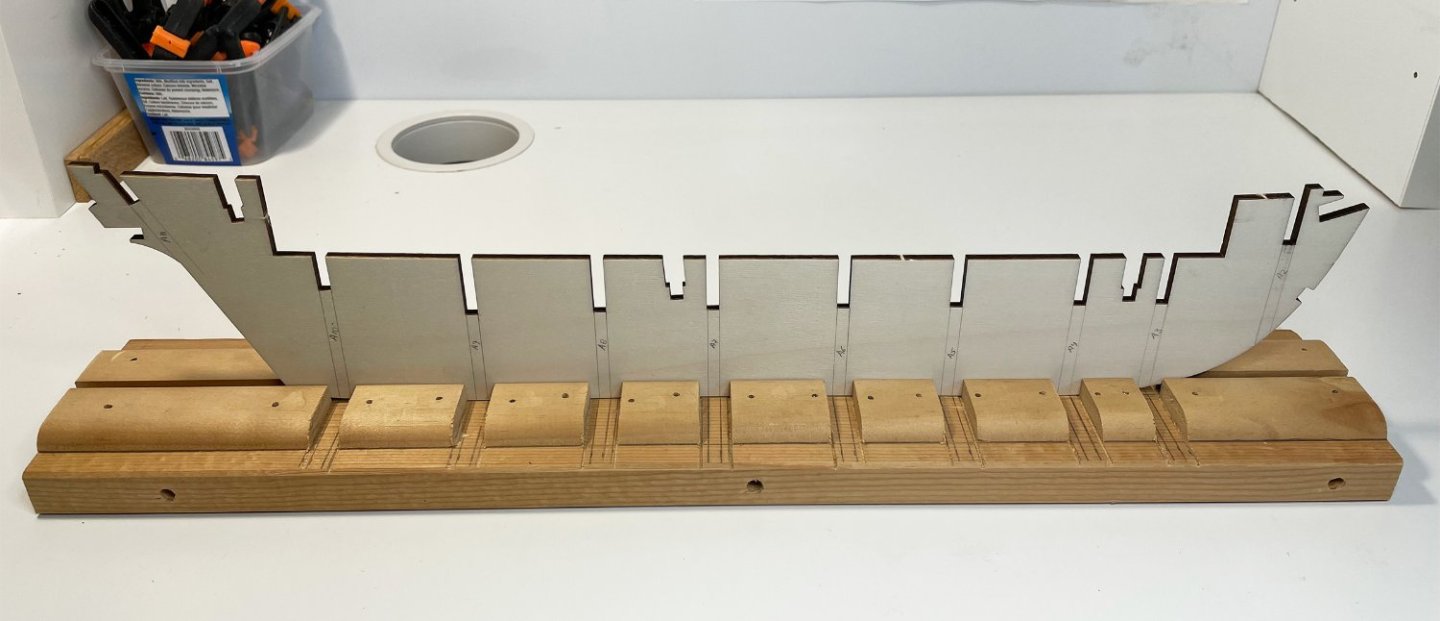
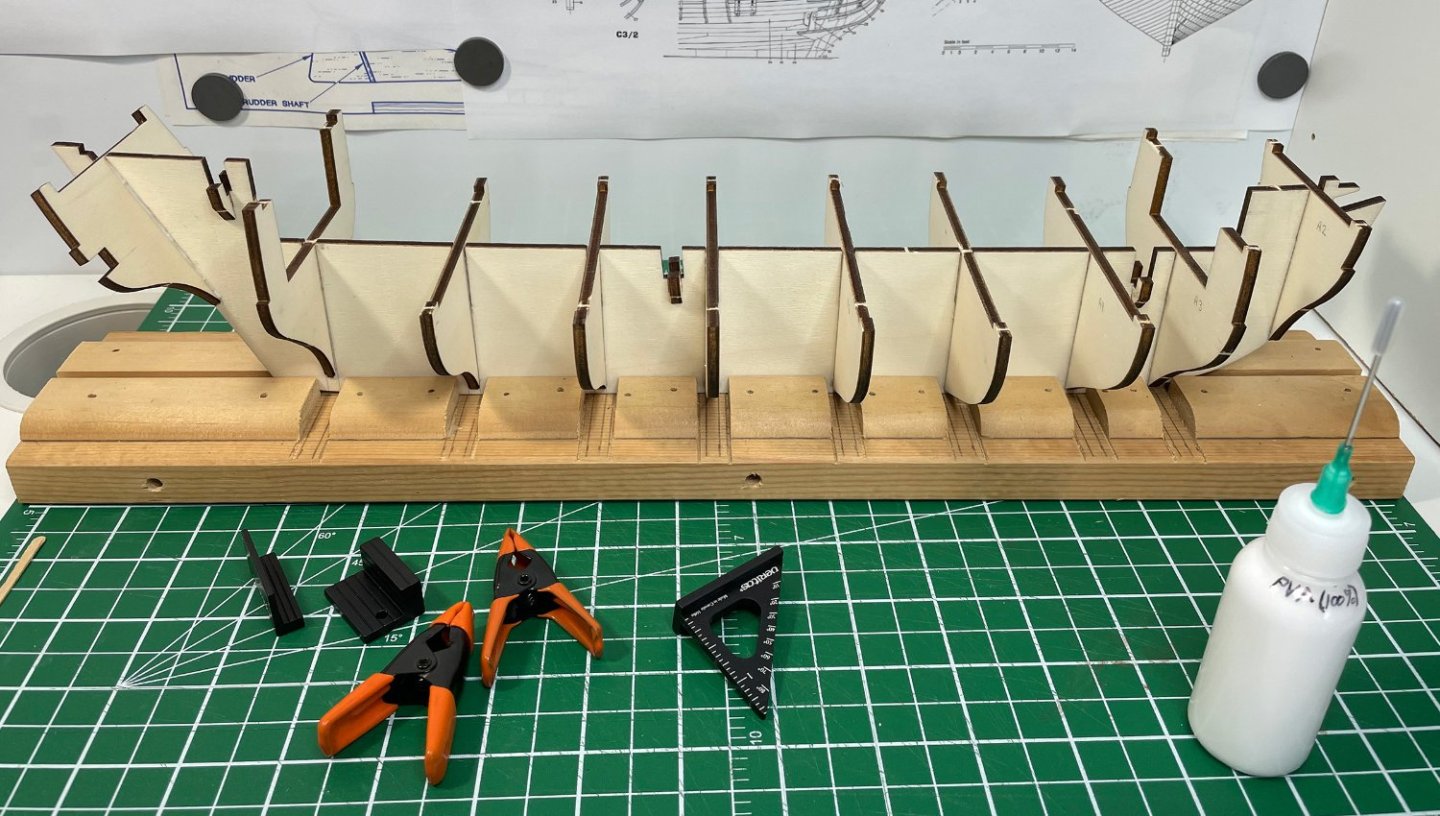
 Working on the bulkhead framing. Started by making a temporary building board. I say temporary because the OcCre method is to add the keel/stem pieces after the hull planking is done ...and the keel parts are slightly wider than the internal keel/bulkhead frames. So, I set up a board with the initial spacing and then will modify or replace as needed later. I cut notches in the building board supports so that it doesn't interfere with the bulkhead frames. I also added some lines on the keel frame as a visual reference to confirm the bulkheads were going in straight (used a square to add the lines before cutting the keel frame out of the parts sheet to ensure the lines were straight). I used PVA to glue in the bulkheads and squared them up with a pair of small setup blocks (and used my reference lines to confirm). I did one bulkhead at a time, and then waited a couple of hours before removing the clamps and moving on to the next ...obviously I'm not in a rush! 😄 Looks like it all went together well. I added a little extra glue to the seams (just to make sure they were solid) and left it all overnight. That step went well ...I haven't messed up so far! Rob

-
My list might be long, but your shorter list (LucienL) probably has the more difficult items to address! I think I'm going to bypass coppering the hull, and I may try to spruce up the ship's boats but I'm not thinking of making them from scratch (...at least not yet!). I'm not sure what I'm going to do with the sails (leave off, put on, modify, make my own), I'm going to leave that decision to the future for now. The hammocks were something I kind of thought I wanted to address, but it wasn't until I read your build log that cloth hammock crossed my mind. Before I ordered the kit, I read most of the OcCre Beagle (and Terror) build logs on the forum ...so I pretty much knew what I was ordering. I was considering a more detailed model (Vanguard), but I liked the idea for now of feeling comfortable straying off the instructions and adding my own touches. So, I don't see my list as a list of "limitations", but rather a list of opportunities ...we'll see if by the end of the build I'm still singing the same tune! 😄 Rob
-
Beyond just wanting to enjoy building the ship, I wanted to use this build as a bit of a learning experience. Which is to say, I want to step outside the instructions a little and add some extra details or move a little closer to the prototype. Not that I don't think that the kit wouldn't build a nice model, just that I can see places where I could do a little more and learn a bit from trying. The kit design obviously made some simplifications to put the kit in the price point and a build difficultly they were targeting, nothing wrong with that. In the end I don't expect to build a museum quality piece or match the prototype exactly (as can be seen in many places around this forum!), I just want to try my hand at doing a little bit more. One thing I've learned from my previous build attempts, is that never having enough time to spend on your projects leads to rushed work and simply having to accept however it comes out on the first attempt. I finally have some time that I can spare for building, which means I can also spare a little time for exploring and testing (or redoing if it doesn't work out on the first attempt!). Having said all that, in my wish list of possible items to adjust or add, I can see that some of them should be well within my reach, and a few might be more of a challenge for me. My intent is to give them a try, but if I bog down or I'm not happy with my results, I'm giving myself permission to fall back to the instructions as written if necessary. I would rather complete a nice ship as per the kit instructions, than a nicer ship sitting unfinished on the workbench that I've gotten frustrated with. I'm going to try to build any adjusted/refined/added components, rather than just buying replacement parts. Otherwise, I should have just spent the money on a more detailed kit ...and I'll lose the learning opportunity of trying to do it myself (I may yet relent on that condition, but we'll see). So, here's my list of possible adjustments or additions (which will likely change as I progress! 🙂)... The provided material for the deck boards is 5 mm, which would make them close to 12" wide at full scale. My understanding, and some course measurements from Marquart's Anatomy of the Ship, would suggest something closer to 8" would be more realistic (a little less than 3.5 mm at 1:60). So, I may cut the supplied deck boards down to 3.5 mm before installing. I also may cut the boards to realistic lengths before installing, rather than using pencil marks to indicate the end of the boards. The hope is that I will get a little better effect this way? Treenails ...to add or not? Well done treenails can be quite nice, but if they are overdone, they seem to detract from the model. In my (humble) opinion they should be a detail you see when you get close to the model but are not obvious from a distance. If I can do them subtly, then I'm happy to add them. If I can't do them subtly, then I plan to leave them out. I think a little testing will be involved here (and same with the use of the scale length planks as well). A lack of deck camber has been pointed out in a couple of the build logs (the deck in the kit is flat). I could adjust the frames to force a bit of a camber, but I am concerned that this may cause a domino sequence of additional issues and frustrations down the road in the build (all the components in the kit are designed to be installed with the assumption of a flat deck!). I think this is one I will leave alone. For the subtle gain in prototype accuracy, I may gain a whole lot of frustrations. The deck boards towards the bow on the prototype would have been joggled, which might be a bit finicky, but I think could be within my grasp to take a stab at. The addition of something to represent waterways along the edge of the decks might be a nice addition. I'll have to think a bit about how I would do that. The material for the hull planking is the same 5 mm width stuff, which again might be a bit wide (12" at full scale). So, once again, I may thin down the strips to around 4 mm (?) to bring them closer to about 10" at full scale. While on the topic of hull planking, I'm planning on trying to follow the articles/videos from David Antscherl and Chuck Passaro rather than the kit instruction's approach to planking. Cabin bulkhead planking again uses the same 5 mm material, which is likely out of scale. So, I'll try to thin it down a little to bring it closer to around 8" at full scale (3.5 mm?). The brass doors provided will either be painted or replaced with something I make from wood. The brass windows will also be painted, and I want to try to provide some kind of "window" material behind the frame to reflect the presence of glass. In general, I'm not shooting for a brass and wood-stained finished model. Where appropriate a little brass may be present and certainly there will be places where there may be unpainted wood, but generally I'm working toward something that looks like the Beagle as it was in use. The one exception to my avoidance of a vast expanse of stained wood might be in the coppering of the hull. I'm not sure I want to go through the effort to go with coppering the hull but will allow the stained sapelli (red brown) to represent the area of coppering, with the rest of the hull painted (which is probably the intent in the kit design anyway). What can I say, I like the look of stained wood ...I can have my cake and eat it to! 😁 The canons in their stowed positions could be improved with a little bit of additional detail, which I will attempt to provide. When I work on the ship's boats, there may be some opportunity to provide a little refinement. The parts look to be a little chunky for scale. But I'll have to wait to see how difficult this will be at those small sizes. There is only one size of blocks (both single and double) and a limited choice in rigging line sizes. I may try my hand at making blocks to give me at least one additional size, but this might also precipitate the need to also come up with another rigging line size. So, perhaps I'll look at building a simple rope walk and try to make some rigging lines? This one might cause me to want to replace all the line ...which might become a bit of a project? The ever so slightly oversized deadeyes I can probably live with. The significantly oversized belaying pins will need something done. I will try to adjust their size a little (bring them a little bit closer to an appropriate size ...at least make them less objectionable). This may be the one place I simply buy my way out of the problem and order replacement belaying pins. There are some plywood parts in the deck fittings that could be fairly easily replaced with hardwood components. I don't plan to replace all the plywood but may selectively replace key visual items. I have basswood and maple stock at hand, so replacement wood is not a problem. I have seen some minor additional detail added to things like the winches and capstan in some of the build logs that goes a long way to improving their look ...not bringing them to complete prototype accuracy, but just enough additional detail to make a big visual difference. The anchor stocks are cast with the anchor shafts. I may think about cutting off the stocks and replacing them with wood ...or just doing a nice detail paint job to make them look more like wood? [Correction …the anchor stocks are cast separately, I don’t have to cut them off! 🙄] The hammocks in the hammock rails ...not sure what to do here. I can see they don't look terribly realistic as they are, but not sure if I have a good idea how to make them better without digging myself into another serious project. I think I will do a little experimenting and then decide. The brass wire approach to the scroll work can look decent if done well. But I plan on trying my hand at making the scroll work in wood. This may be one of those items where I go back to the kit instructions in the end, but I'll give it a try. Wow, that list got long fast! 😬 We'll see how it all goes as I progress ...I'm sure there's other things I'll think of. The one thing I'll have to remember is that I've given myself permission to fall back to the kit instructions before I get frustrated with the build. Try some new stuff, push my skills a bit, but more importantly have fun with the build even if I don't achieve all the items on my improvements list! Now on to the actual construction... Rob
-
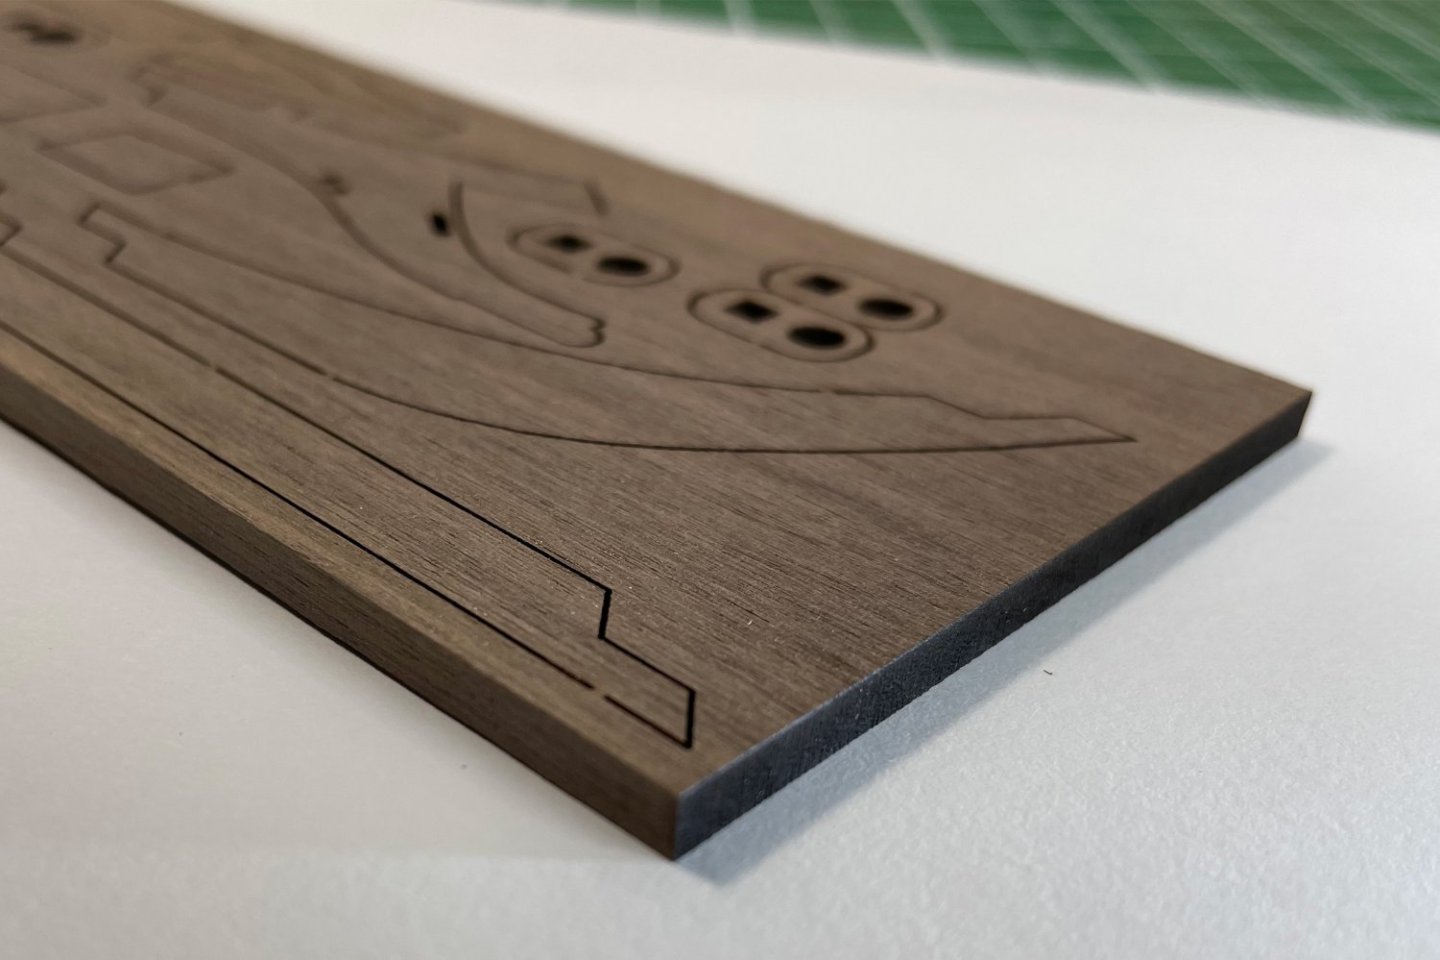
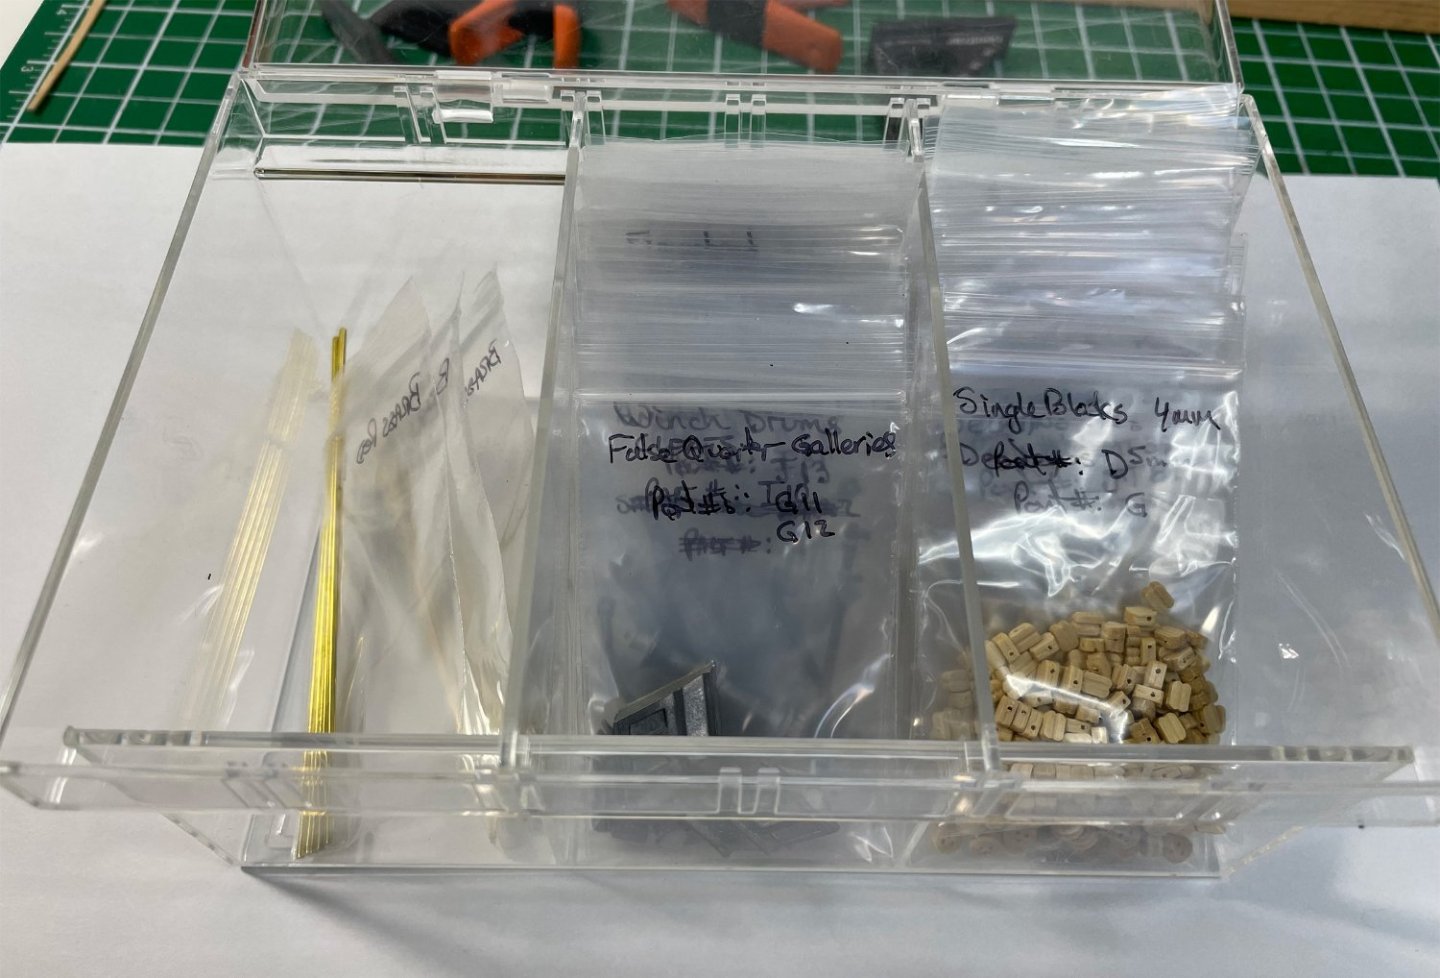
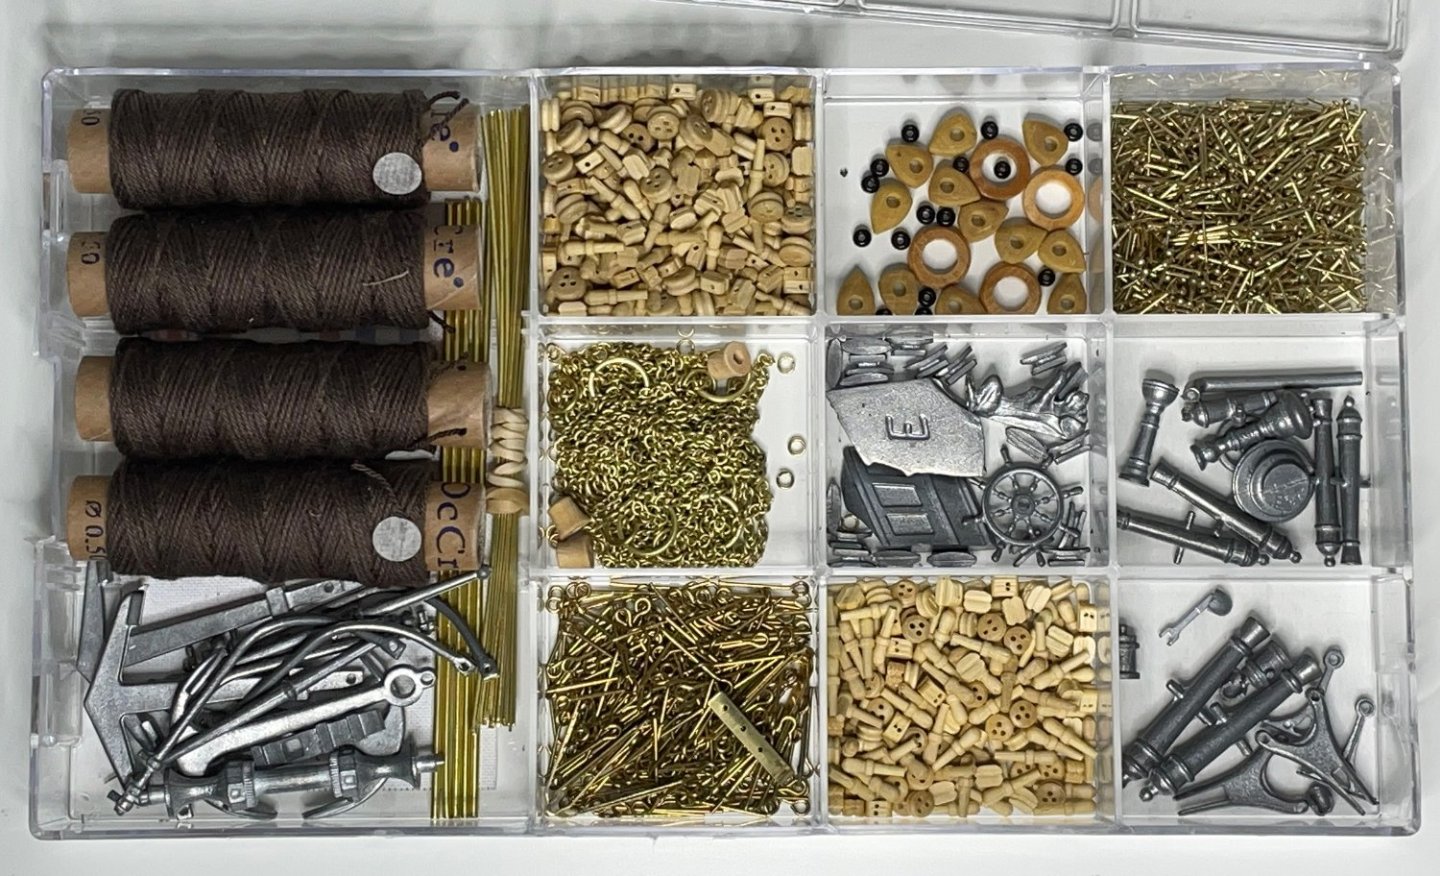
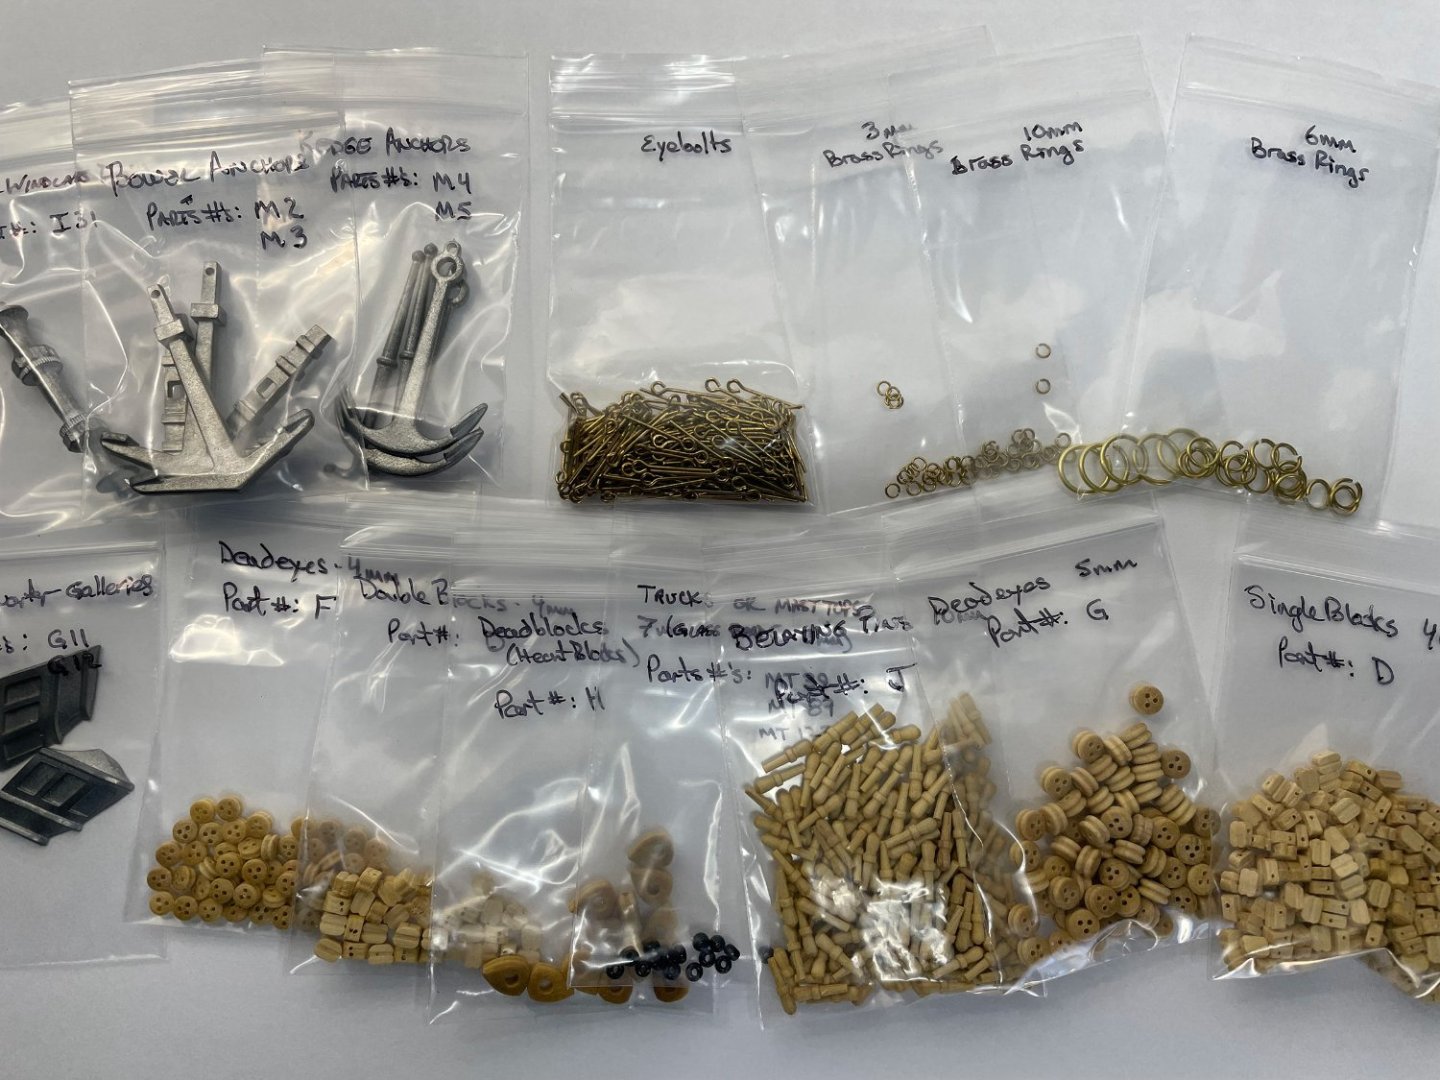
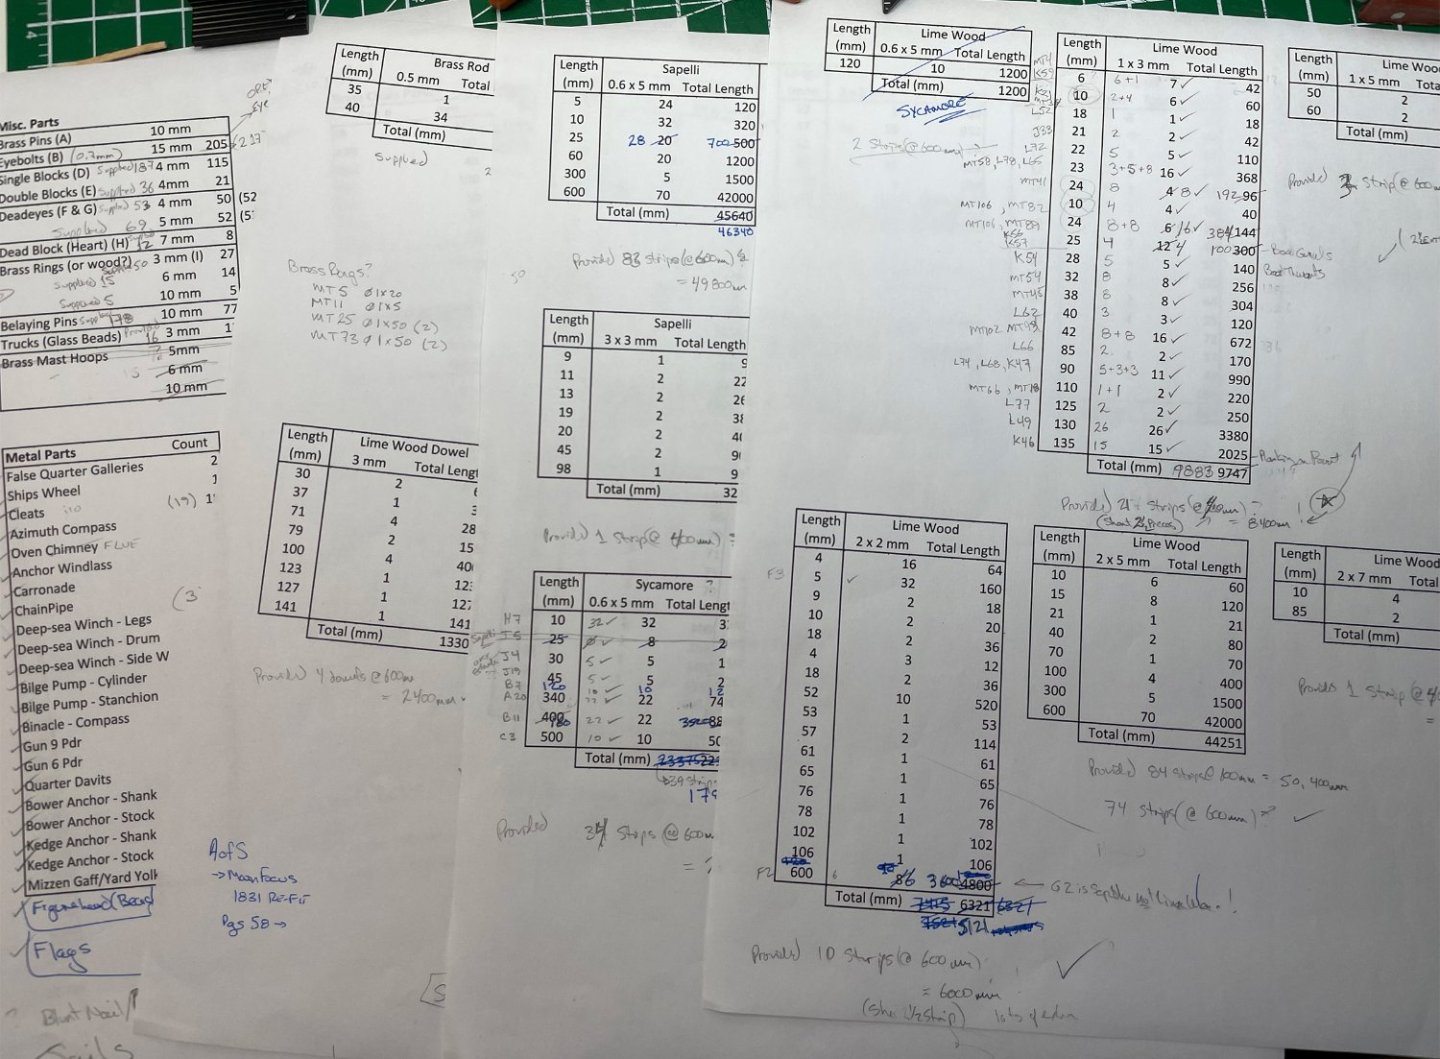
Why HMS Beagle? Primarily it was the subject matter, I like the idea of building a ship of exploration. I already have an old AL Harvey kit on the go (or has actually been on hold!) for some time. I was looking for a kit with some semblance of good instructions and a prototype reference to guide me when I got stuck, but still left me some latitude to improve on things a bit. This kit build is really about learning for me, before I go back to the Harvey and seriously kit-bash the thing ...unless another ship catches my eye before then! 🙂 I still wanted a kit that would build a nice ship model, if I had to return to the kit instructions. I also wanted a kit that had some building activity already going on in the forum (past and current) to help me figure things out, get ideas to improve on what's there, or to just commiserate with over problems. I won't do a kit review, James H has already covered that, as well as in the build logs by Penfold and The Gimps Chimp. One thing I will point out, is that the "walnut" sheet in my kit is definitely hardwood, not walnut-stained plywood. And some build logs or comments talk to having plastic belaying pins, deadeyes and blocks, which in my version of the kit are all wood. So, I guess there may have been some changes to the parts in different production runs of the kit? I like the parts bin provided in the kit, but the first day while looking through all the kit material, I caught the edge of the open parts bin and almost slid it off the desk! After visualizing myself having to crawl around on the floor trying to find all the little parts, I decided to sort the parts out into small craft ziplock bags and store them in a plastic bin that I think was intended for card collections (baseball, pokemon, etc.). I'll still use the supplied parts bin for sorting parts for specific stages of construction, but now there is no chance of me dumping all of the parts in one go! First step for me was to absorb myself in the instructions, parts lists (and other build logs) to really get myself oriented with what was what and where does it get used. It also allowed me to do thorough parts inventory ...possibly a little to thorough?? 😯 It took a bit of time, but I actually enjoyed the time getting to know the kit. All the parts are present and there appears to be enough material to complete the build except perhaps if I use the amounts of 1 mm brass rod noted in the parts list, I then will run a bit short. Most of the dimensional wood and dowels should be sufficient, a couple may be close but should be enough as long as I am careful about how cut it up or don't make any major errors. I did notice a small handful of typos in the parts list which could confuse things or cause you to run out of certain material unnecessarily ...I've noted those in my parts list and on the instructions to keep myself out of trouble later! Now I need to go collect my thoughts about what I may want to change or add... Rob

-
On the first pack of plan sheets with all the photo steps (on the back side of the 8th page) should be a page indicating all the part numbers on the wood sheets. The plan sheet is labeled “IP”. Rob
-
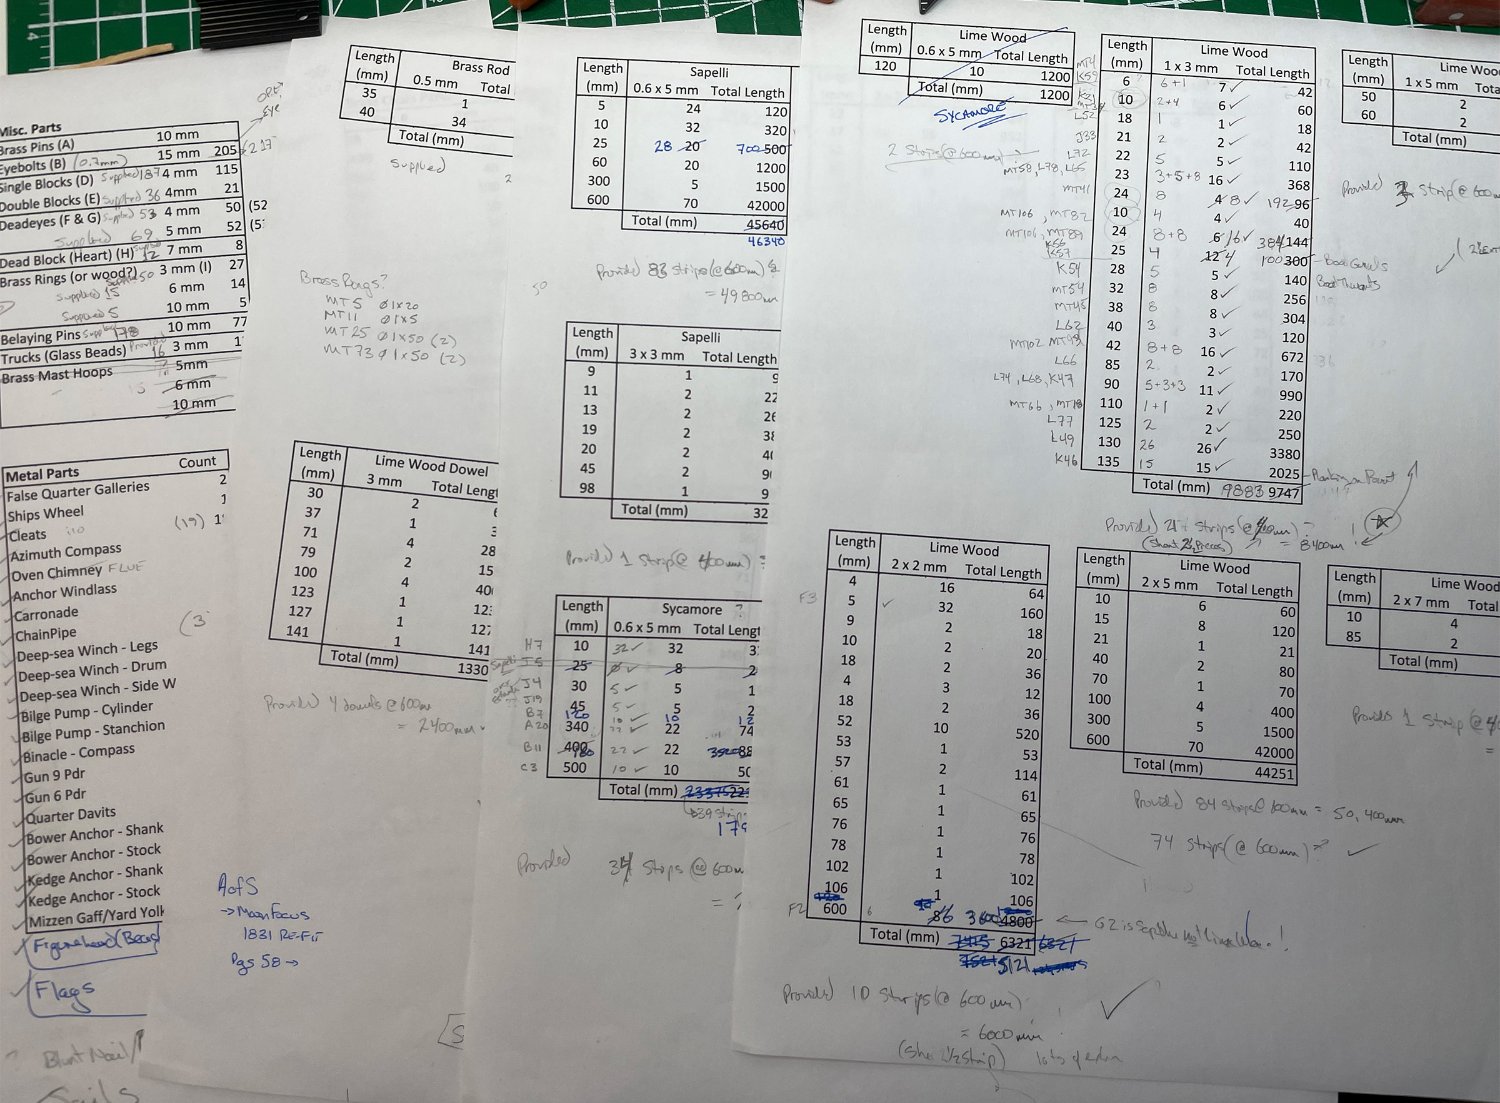
I noticed in the parts list for this kit that there are a couple of "typos". I think it's possible that all to the 0.6 x 5 mm strips are sycamore (except the sapelli!) and all the other dimension pieces (1 x 3 mm, 2 x 2 mm, etc.) are lime. There is only one line in the parts list where the 0.6 x 5 mm strips are listed as lime. I can't find any of the 0.6 x 5 mm strips to be any different from each other, but I think I could make the claim that they do look slightly different than the other dimension material (??). Rob
-
From out of the shadows ...my first post!
RobTBay replied to RobTBay's topic in New member Introductions
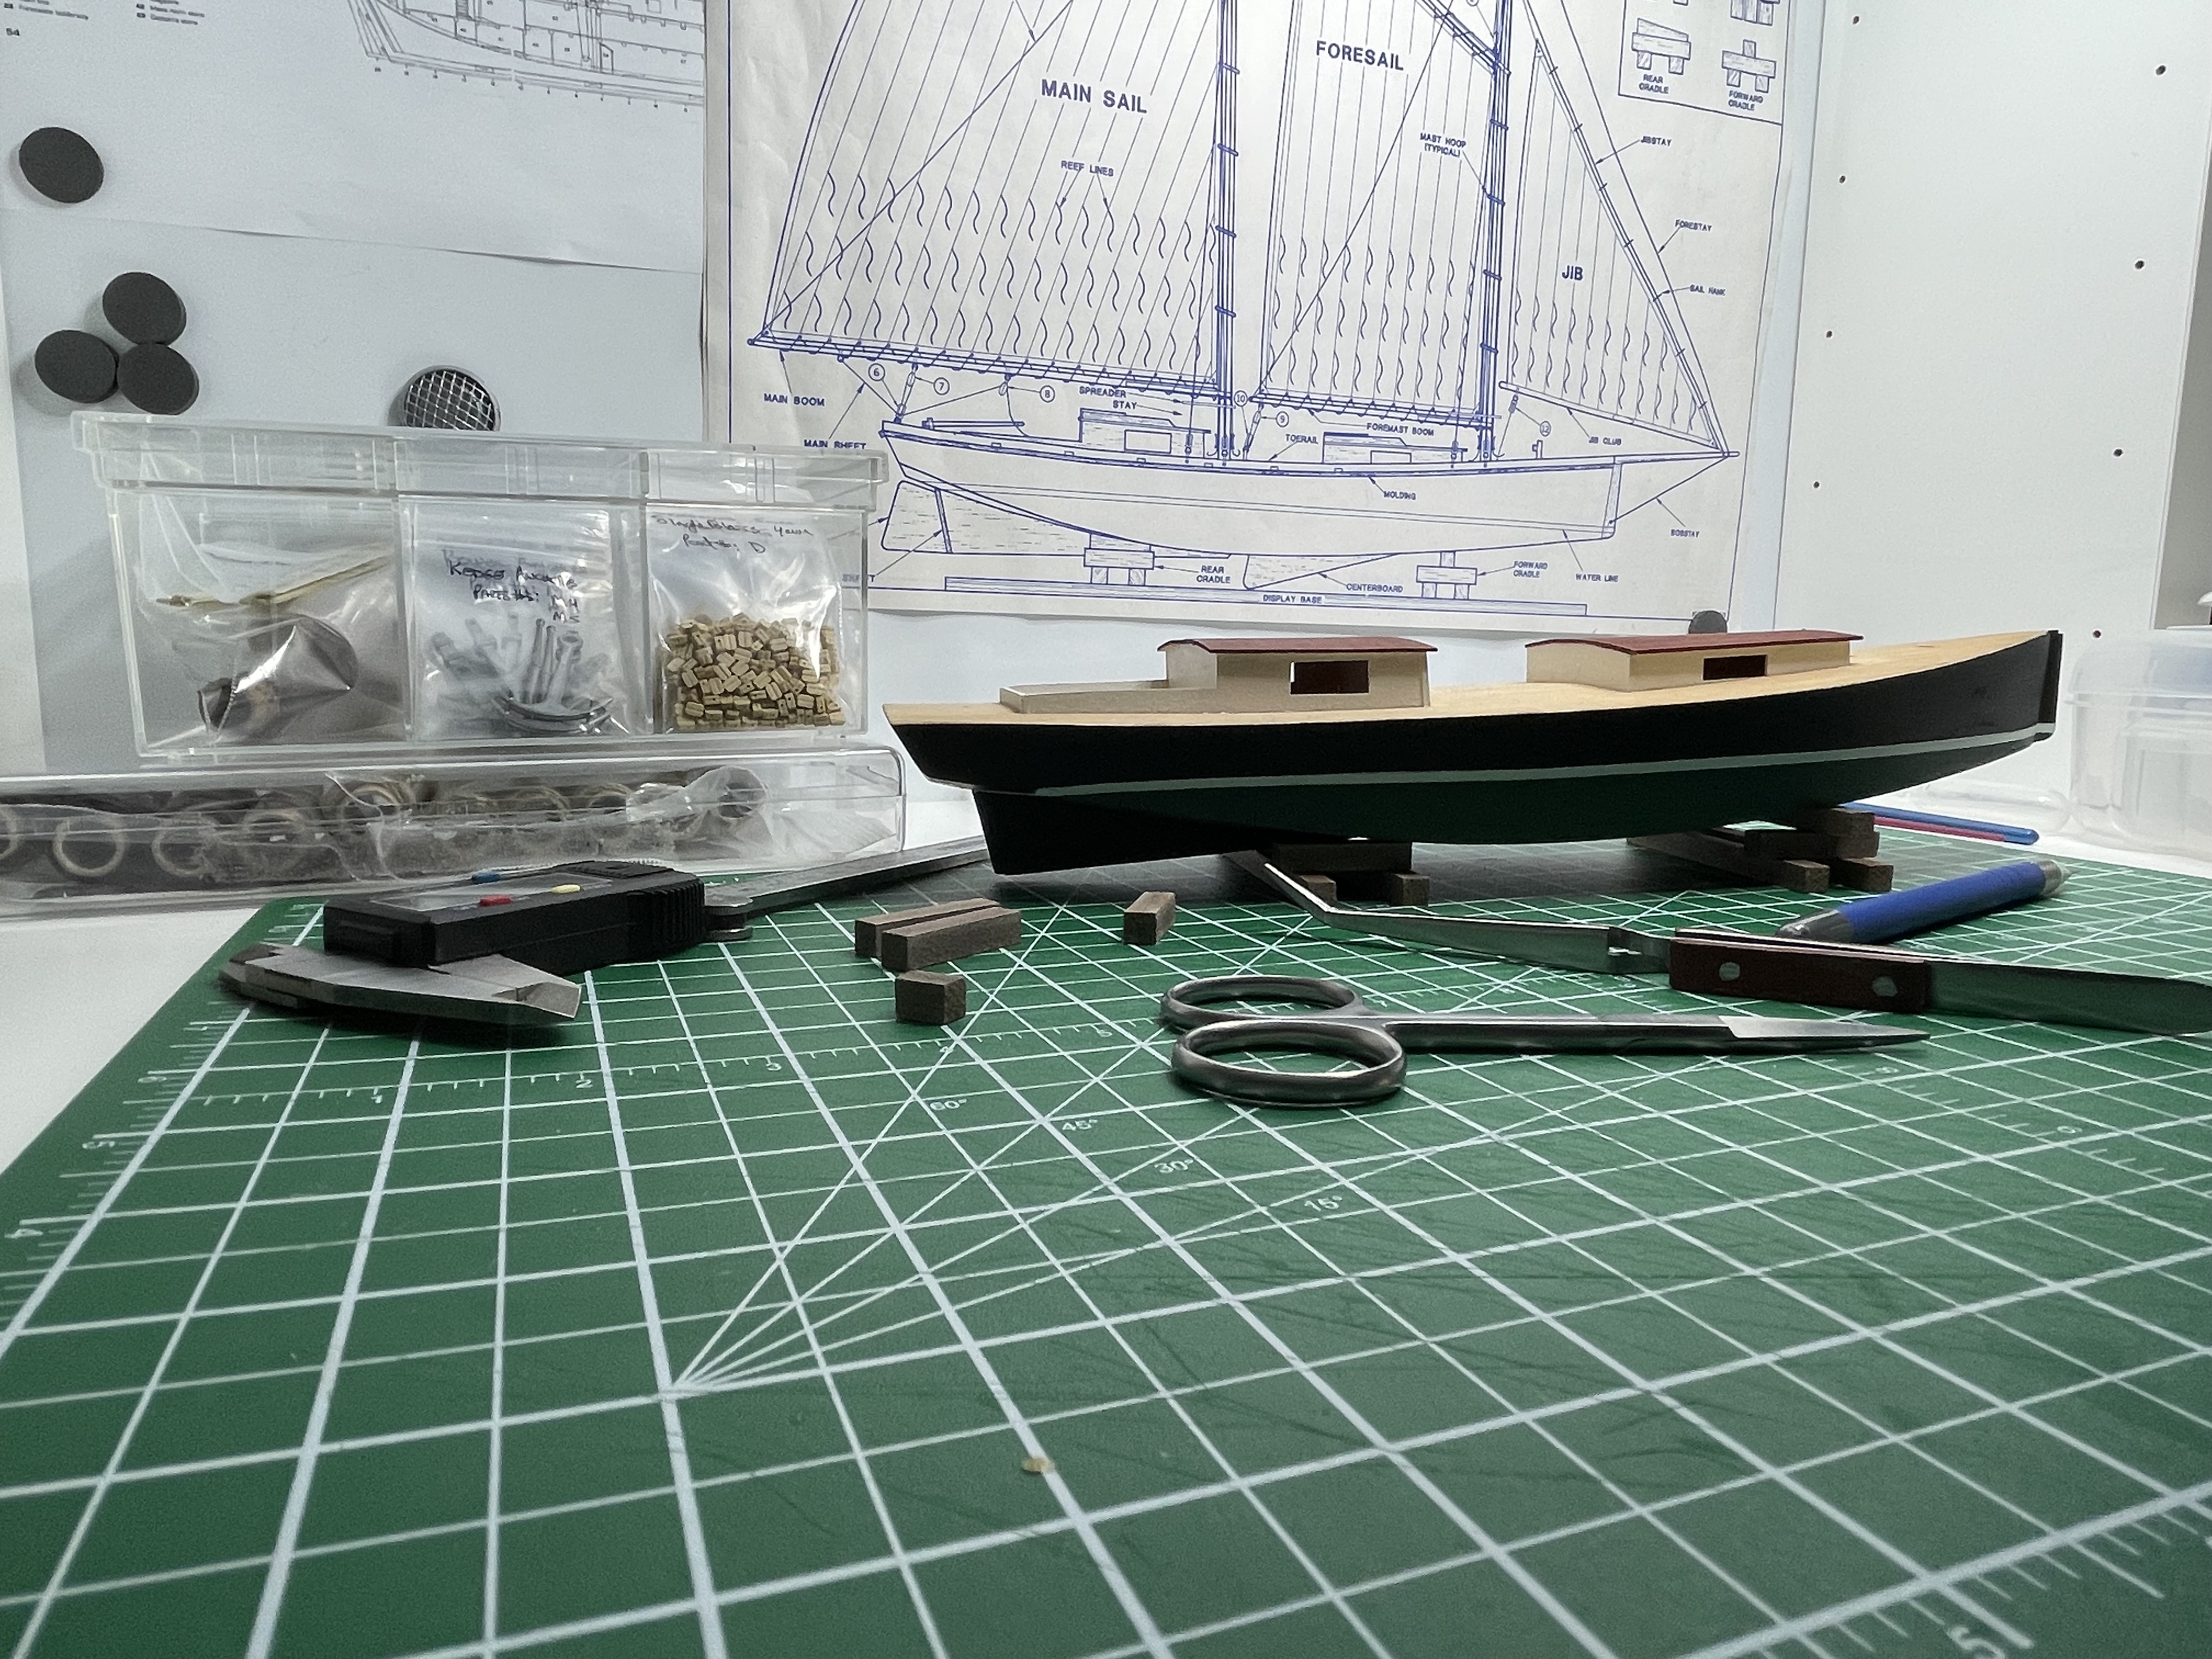
What's the forum etiquette, or typically people's opinions, on starting a build log on a half-finished model? I was intending to start a build log for the Beagle that I'm just beginning. But at the same time I'll be continuing to work on completing the Sharpie Schooner. Hull is assembled and painted, most of the spars and components have been prepared. I still have to add the rudder and some trim, fit the prepared spars and add various deck fittings ...and of course I still have the rigging and sails to complete. So maybe not that close to finishing!? 🙂 Thoughts? Rob -
From out of the shadows ...my first post!
RobTBay replied to RobTBay's topic in New member Introductions
@allanyed I have read the planking tutorials and watched chuck's videos before, as well as looked at quite a few build logs and posts. But it's a great reminder to go back and review that stuff again before jumping ahead too quickly. @druxey Winter arrived about three weeks ago up here ...nothing major, just snow on the ground and cool temperature for most of the month. Can't complain about a little bit of snow and the cold when you consider the weather events in other places! Thanks everyone for the warm welcomes. Rob -
I've been hanging around on this forum for quite some time (only the last five years as an actual member), quietly reading and following build logs, enjoying my quiet time in the forum. My ship modelling has been in fits and starts over the last 25 years, which has discouraged me a little from being a more active member. But I've finally come into a period where work and family life are no longer demanding 120% of my time, and there is some time for modelling again. So, I thought it was time to introduce myself and start participating a little. As a kid I built a lot of plastic models of all sorts, although I think in hindsight my favorites were probably naval subjects ...I guess I should have taken that as a hint! Then I moved on to balsa airplanes, then model railroads, then I took a break from modelling. In graduate school I returned to balsa airplanes for a while, I think mostly as a way to avoid writing my thesis! Got interested in sailing, then promptly moved away from the big lake for work. 🙁 Read voraciously on sailing and boats. Then one day I came across a small wooden boat model, the only one in the store, bought it, and was hooked. Not long after that a friend was leaving town, and as we helped pack up his house, this partially started ship model kit came out of the closet which he handed to me ...he had got started but realized he was lost and wasn't ever going to finish it. I had no trouble taking it over! And then life gets in the way of modelling... I have periodically dusted off the models and made minor progress. Neither is actually finished yet. My original Sharpie Schooner (Midwest 3/8" scale) is now making good progress again and the donated Harvey (Artesania Latina 1:50) has actually slowly worked backwards as I've undone some of the work previously done and made plans as to where to take it! I have really been itching to set my teeth into the larger Harvey model, but the almost non-existent instructions in the kit, lack of an actual prototype reference to follow, and some non-prototypical decision in the kit design has made me a little hesitant to start, I want to figure out how to make something at least prototype-like. So, I decided on a slight change of direction. I want to start a more involved build with a model that has at least some semblance of decent instructions, some active builds on the forum for support, has at least some prototype reference material, a subject that interests me, and of course something not too expensive ...since I already have two models on the go! I picked up the HMS Beagle (OcCre 1:60) and have just started roaming through the parts and comparing the parts list and instructions. Looks like it will check the boxes reasonably well, seems to follow the prototype reasonably (as best I can tell so far) and there is some room to try my hand at making some adjustments to refine things a bit ...it's always fun to make your own stuff! I'll will try my hand at doing a build log for the Beagle. The Sharpie Schooner is so far along, I'm not sure if it is worth it at this point? Once I get the Beagle under my belt, I'll start a build log for the Harvey ...unless something else catches my eye (and the "assigned" budget allows! 🙂). See you around the forum. Rob