OK, so here goes another update:
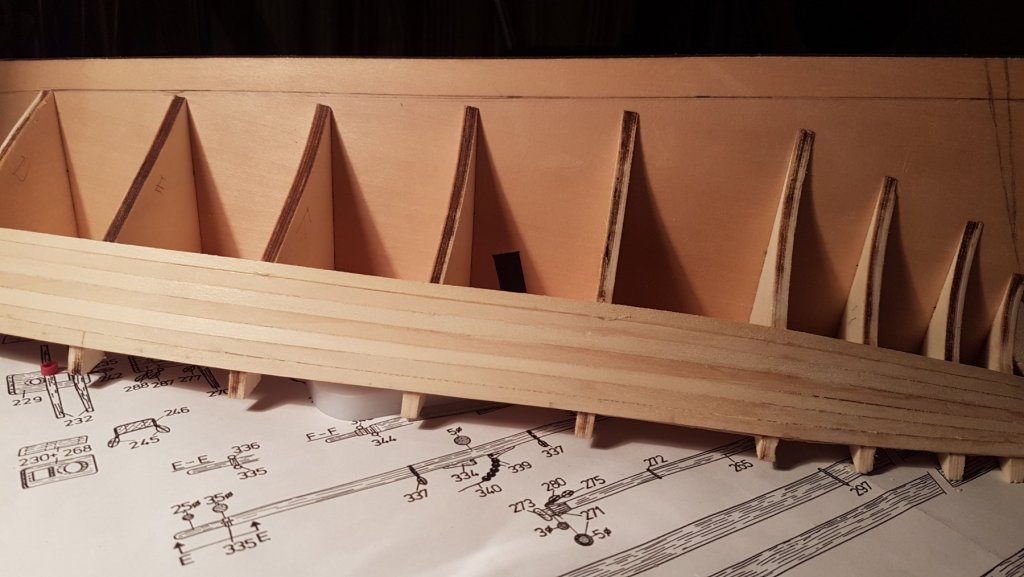
More Planking - Layer 1:
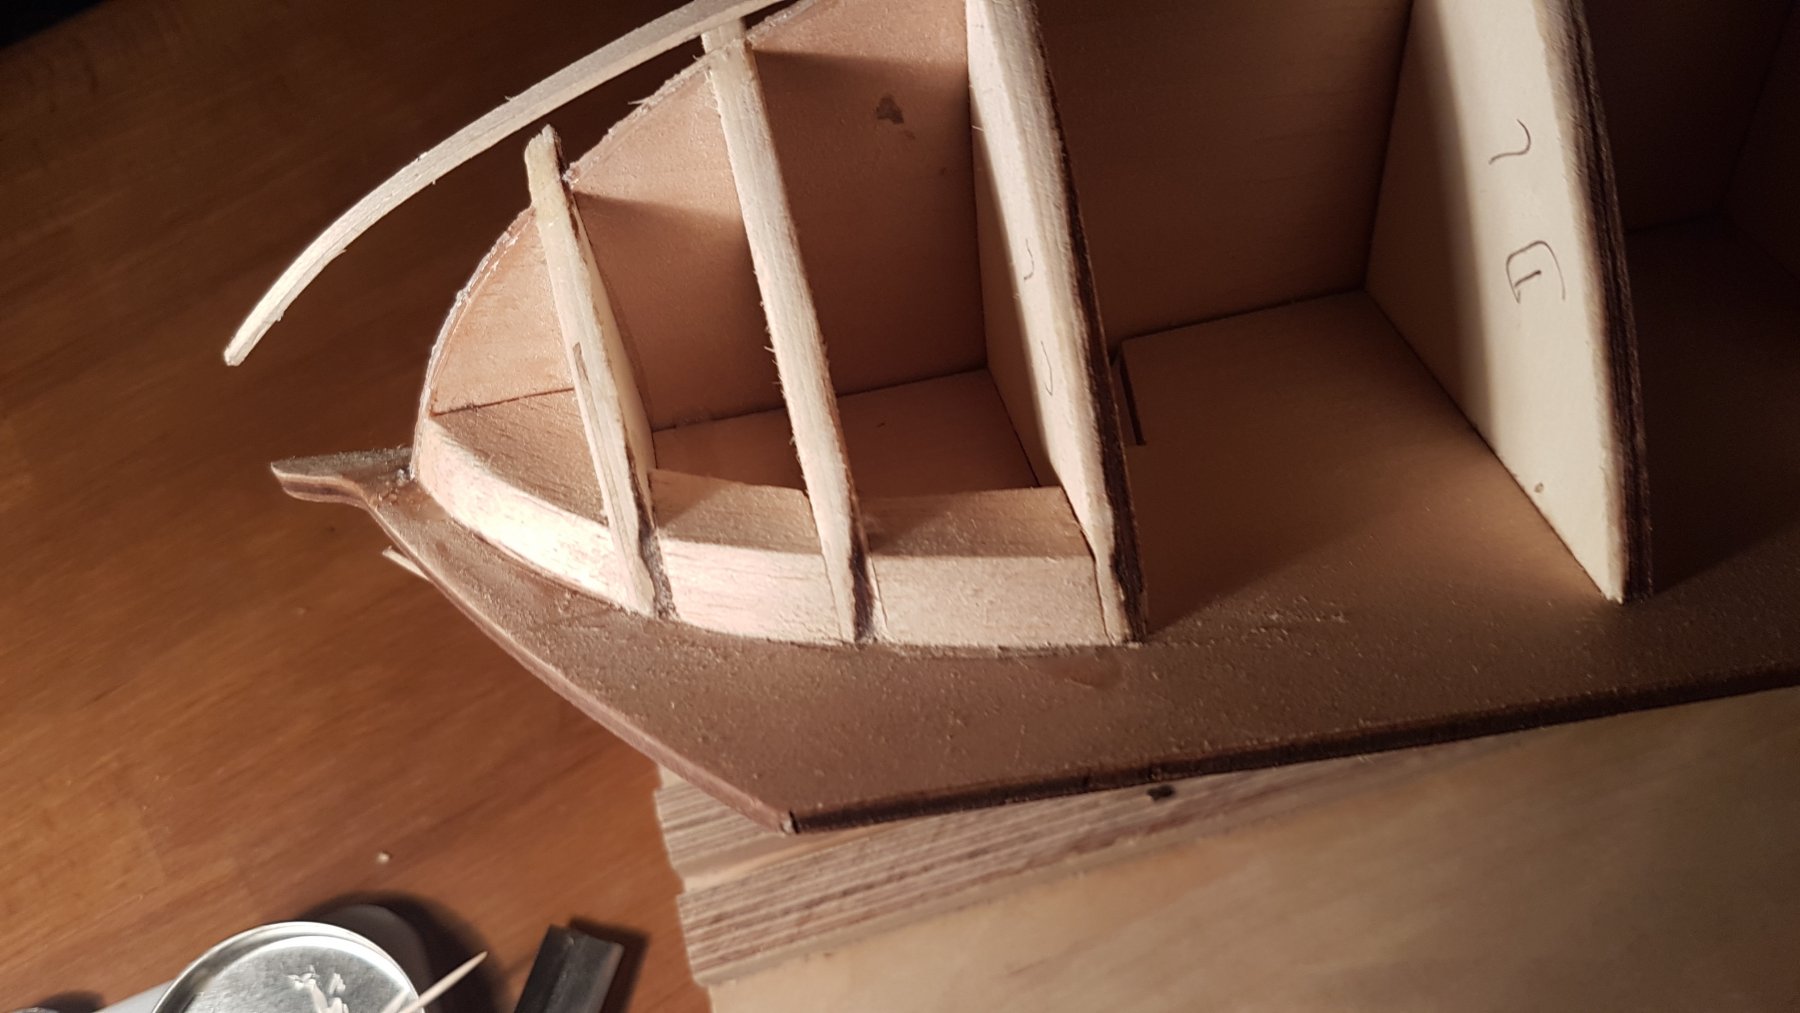
So after I had put 2 planks on each side, and I was still a bit unsure if that was the way I should do it, I kept thinking, measuring and trying to visualize things, until I realised I had made another mistake :0.
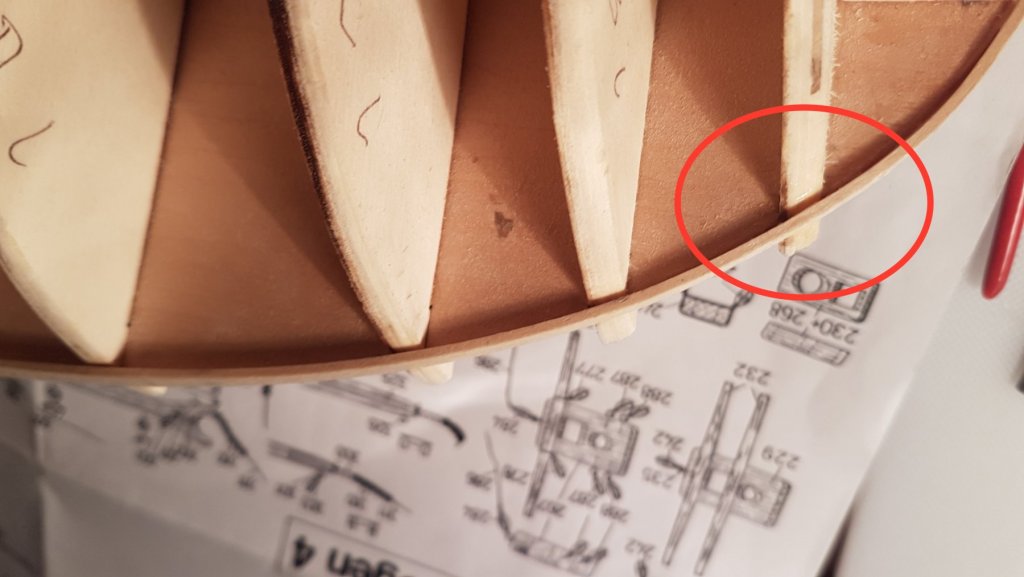
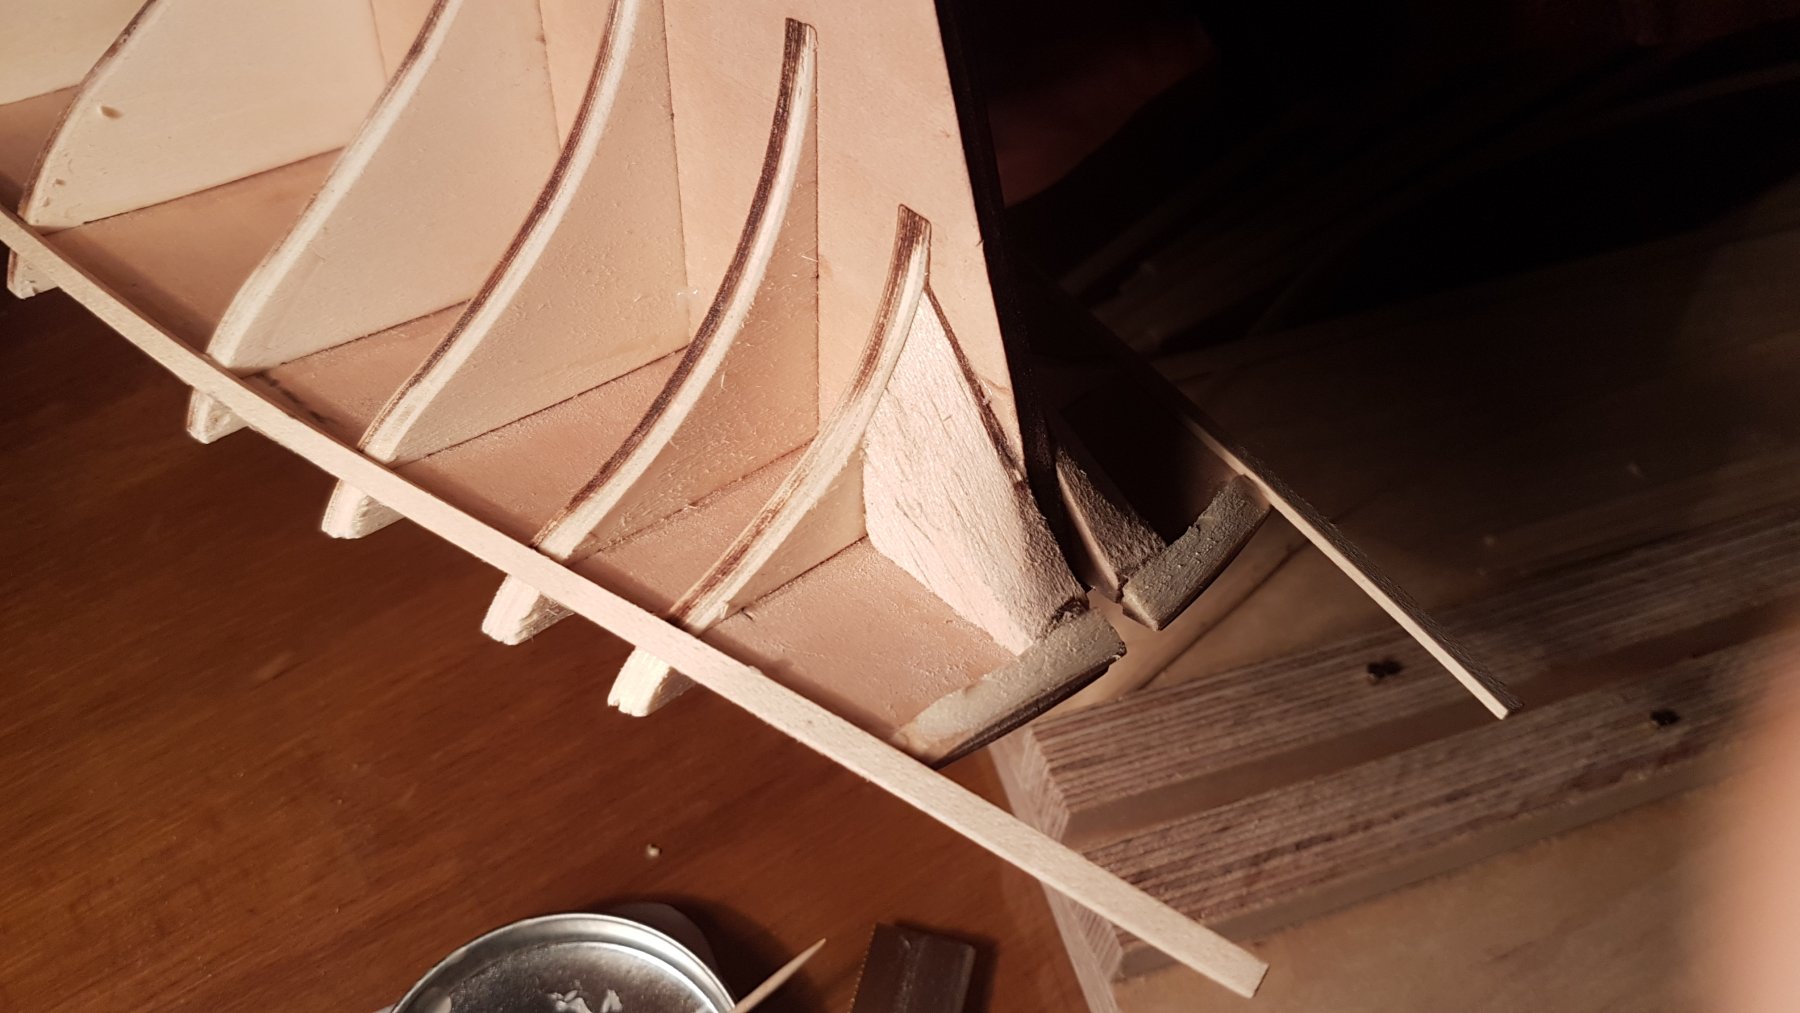
I had made the measurements to determine the width of the planks at each bulkhead from the deck to the end of the bulkheads, however, some of the planking, in particular in between bulkheads E through L, does not finish at the bulkhead but carries on the side of the keel. Therefore, I had to stop and remeasure:
First I measured and drew on the keel, how far the planking was supposed to go down to. It is pretty much, 1cm parallel to the bottom of the keel from bulkhead D onwards.
With this, I could measure to the line following the curve of each bulkhead. This gave me bulkhead J as the longest distance.
I also determined that there were 6 filler planks, by looking at the different drawings, in the stern and that these pieces could only go up to and not past bulkhead I.
I noticed that as I would plank on, the very Stern where the planks are attached to and L bulkhead will be covered and the end of the planks would continue attaching onto the keel (along the drawn line) and not the bulkhead. This meant that there would be less planks in the very stern and bulkhead L, and that the filler planks did not start until bulkhead L and the very stern were fully planked.
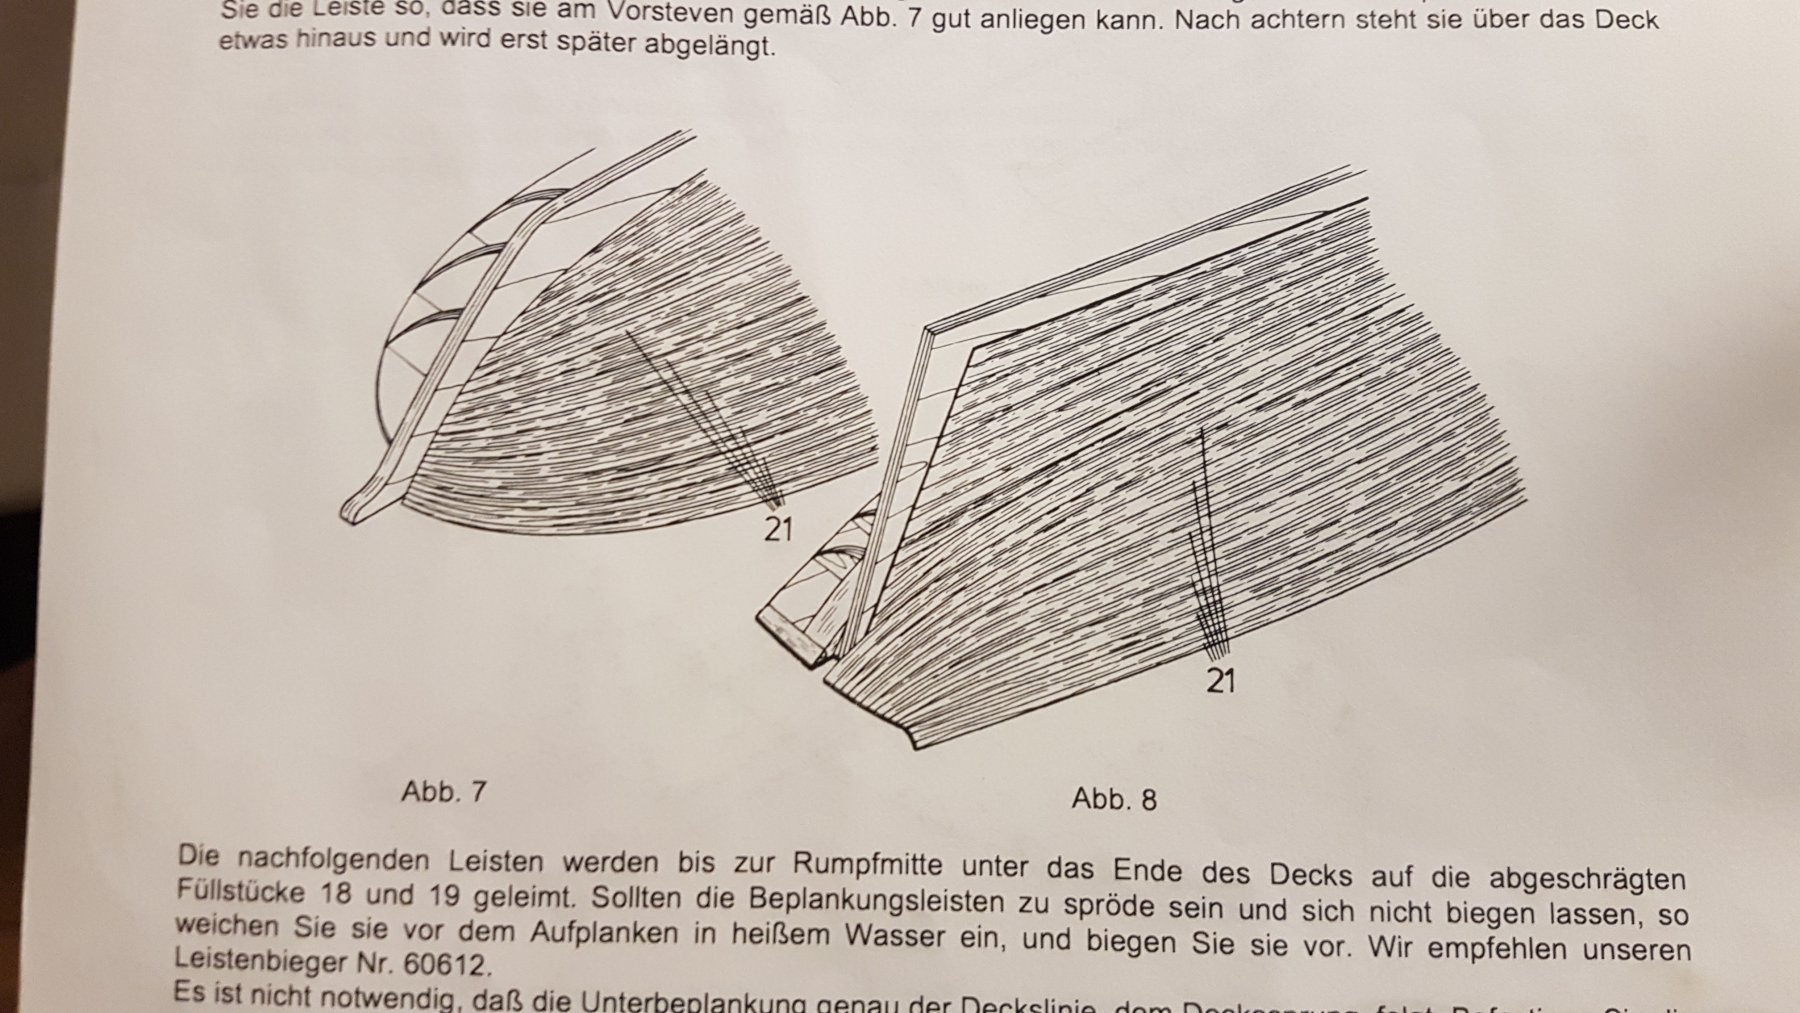
After carefully looking at Abb 7 and 8, I determined that the total amount of planks at the bow was 23 and at the stern 29. This is because of the 6 filler planks to cover the greater distance around bulkheads K and J.
After looking at the distances and the amount of planks, I determined that I could plank the whole boat with the need for only 1 filler plank instead of the 6 that the drawings have. This would mean I would have to plane less wood away, the planks would be stronger and more stable, and the shape and angle of the planning would be less steep and unnatural.
Therefore, I decided to do:
11 Planks - Very Stern and Bulkhead L
24 Planks - Bulkheads K&J where 1 of the planks would be the filler plank going up to bulkhead I
23 Planks - Bulkhead B to I
20 Planks - Bulkhead A and very bow
With these I could then divide the total distance of the bulkhead to the end of planking line by the amount of planks at that bulkhead and get the width of the planks at each bulkhead.
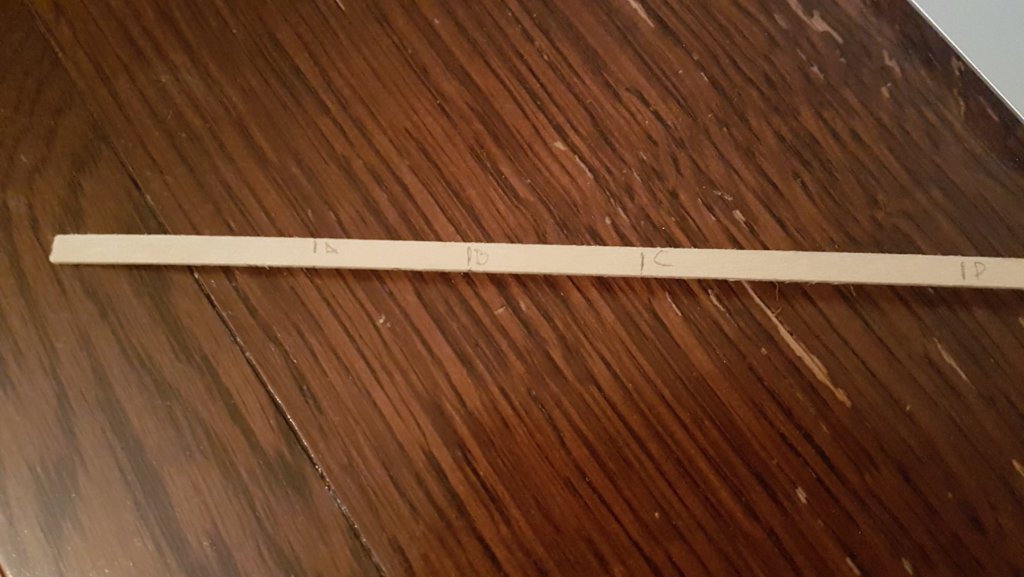
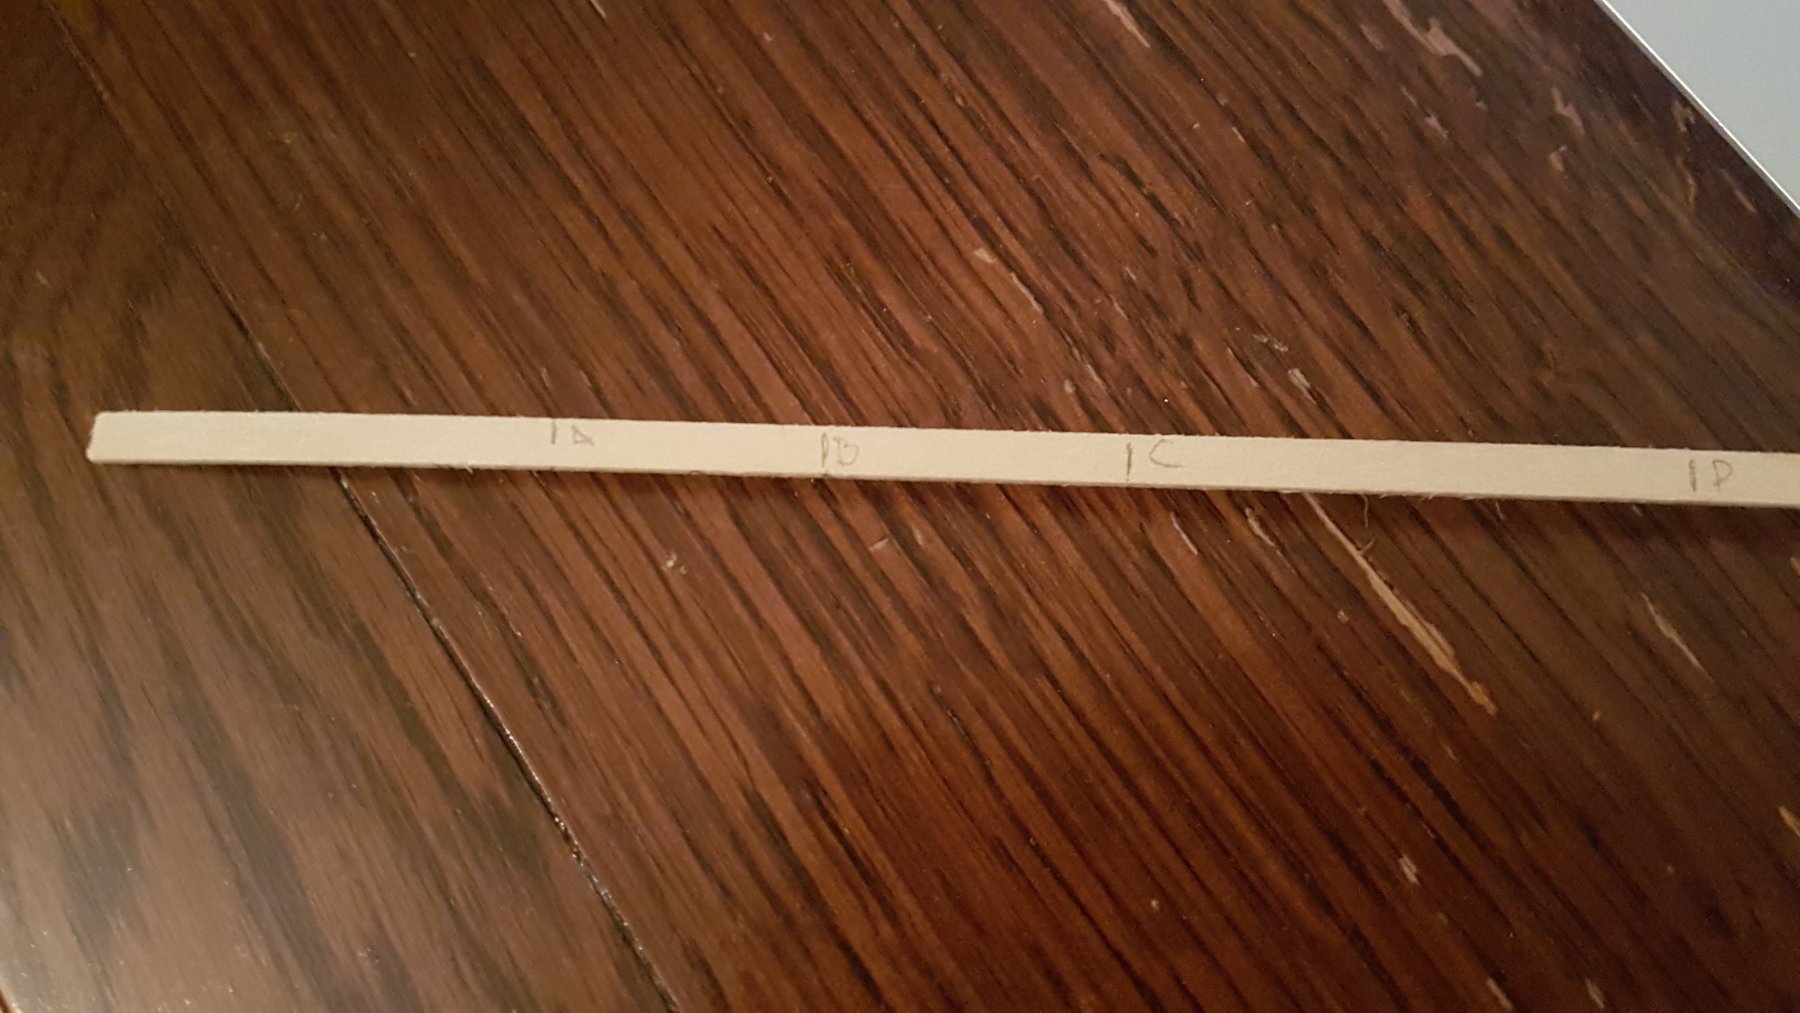
You can't use the linear distance from bulkhead to bulkhead as this doesn't consider the radius and bend of the wood (which is particularly critical in the bow of the boat where there is the most curve). Therefore, using a dummy plank, I bent it around the bulkheads and marked out where each of the bulkheads was. I transferred those points to a new plank and then dotted the width at each point. I joined the dots, and as before, holding 2 planks together, one for each side, I planed down to the line.
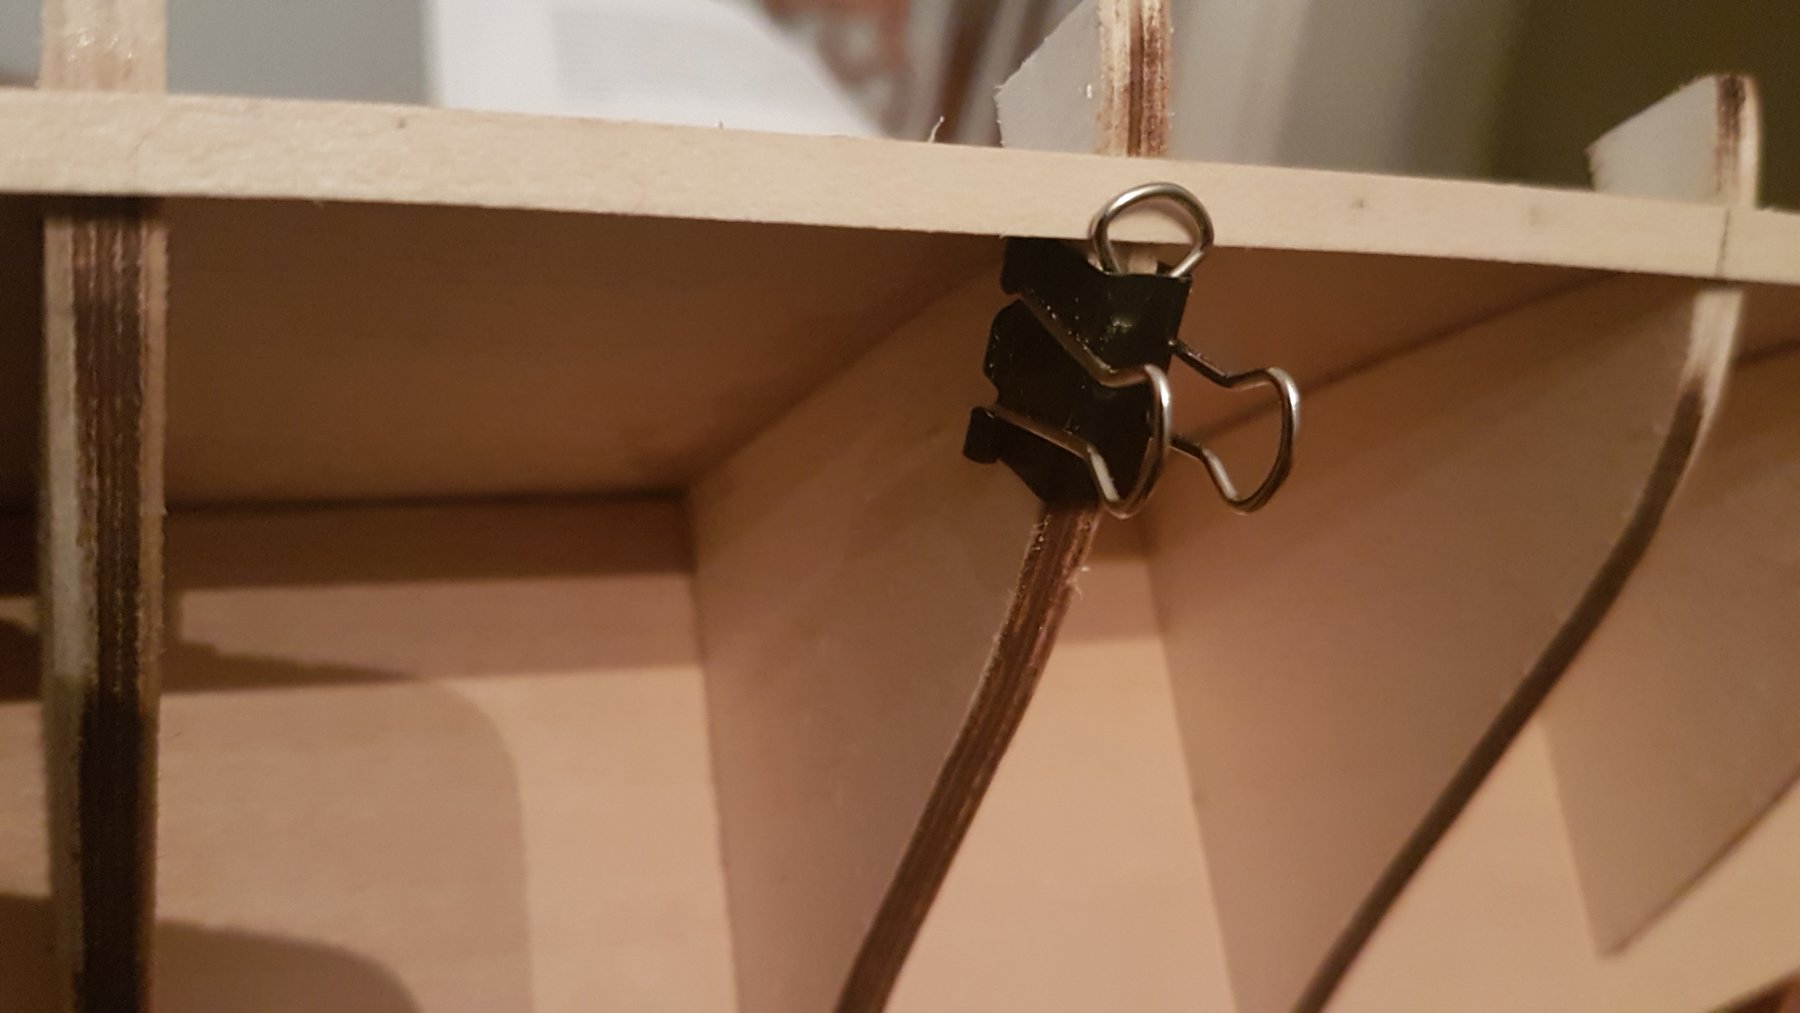
It seems to be working well and I'm on plank 8 now, although, I do feel I will have to do this measuring again before continuing to compensate from any deviations, of glue and setting the planks down.
As I had mentioned I have been working parallel on a bunch of the other pieces of the boat as I find the planking the toughest and I need to invest quite a bit of time every time I work on it, which I don't always have.
Here are a few of the bits I have worked on:
Boom (324) & Gaffs (312 and 299):
I've been working on the boom (324) and gaffs (312 and 299), as well as the supports for the sails Unterrah (341), Marsrah (333).
WARNING! One thing that caught me out was that I also made piece 351 (Unterrah), but after looking where it goes on the boat I realized that it does not go anywhere and the wood used for it is needed somewhere else. So, Do Not Make Piece 351, Not sure why this is on the prints.
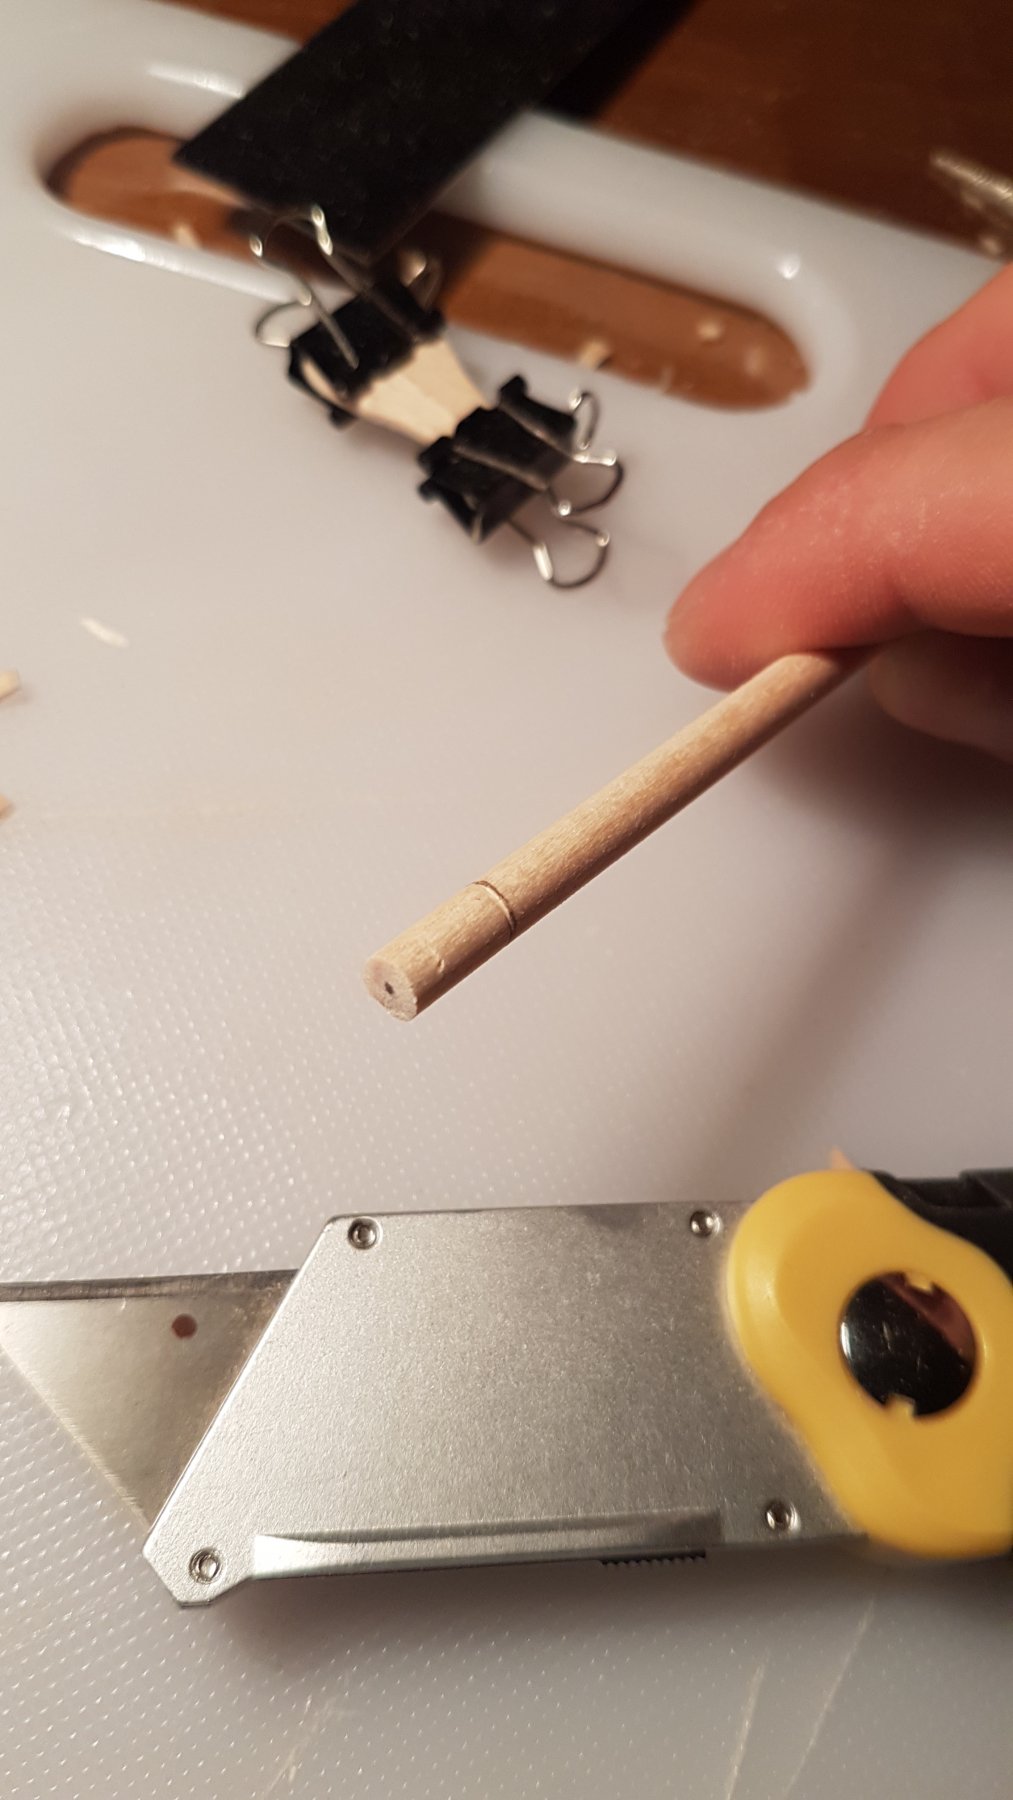
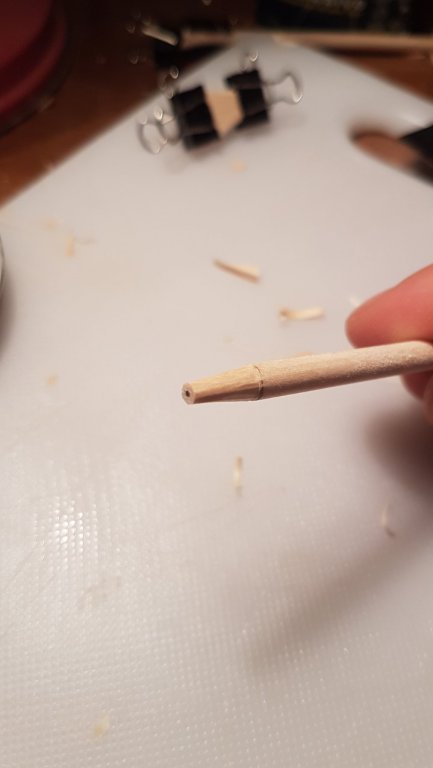
Rope End of Boom and Gaffs:
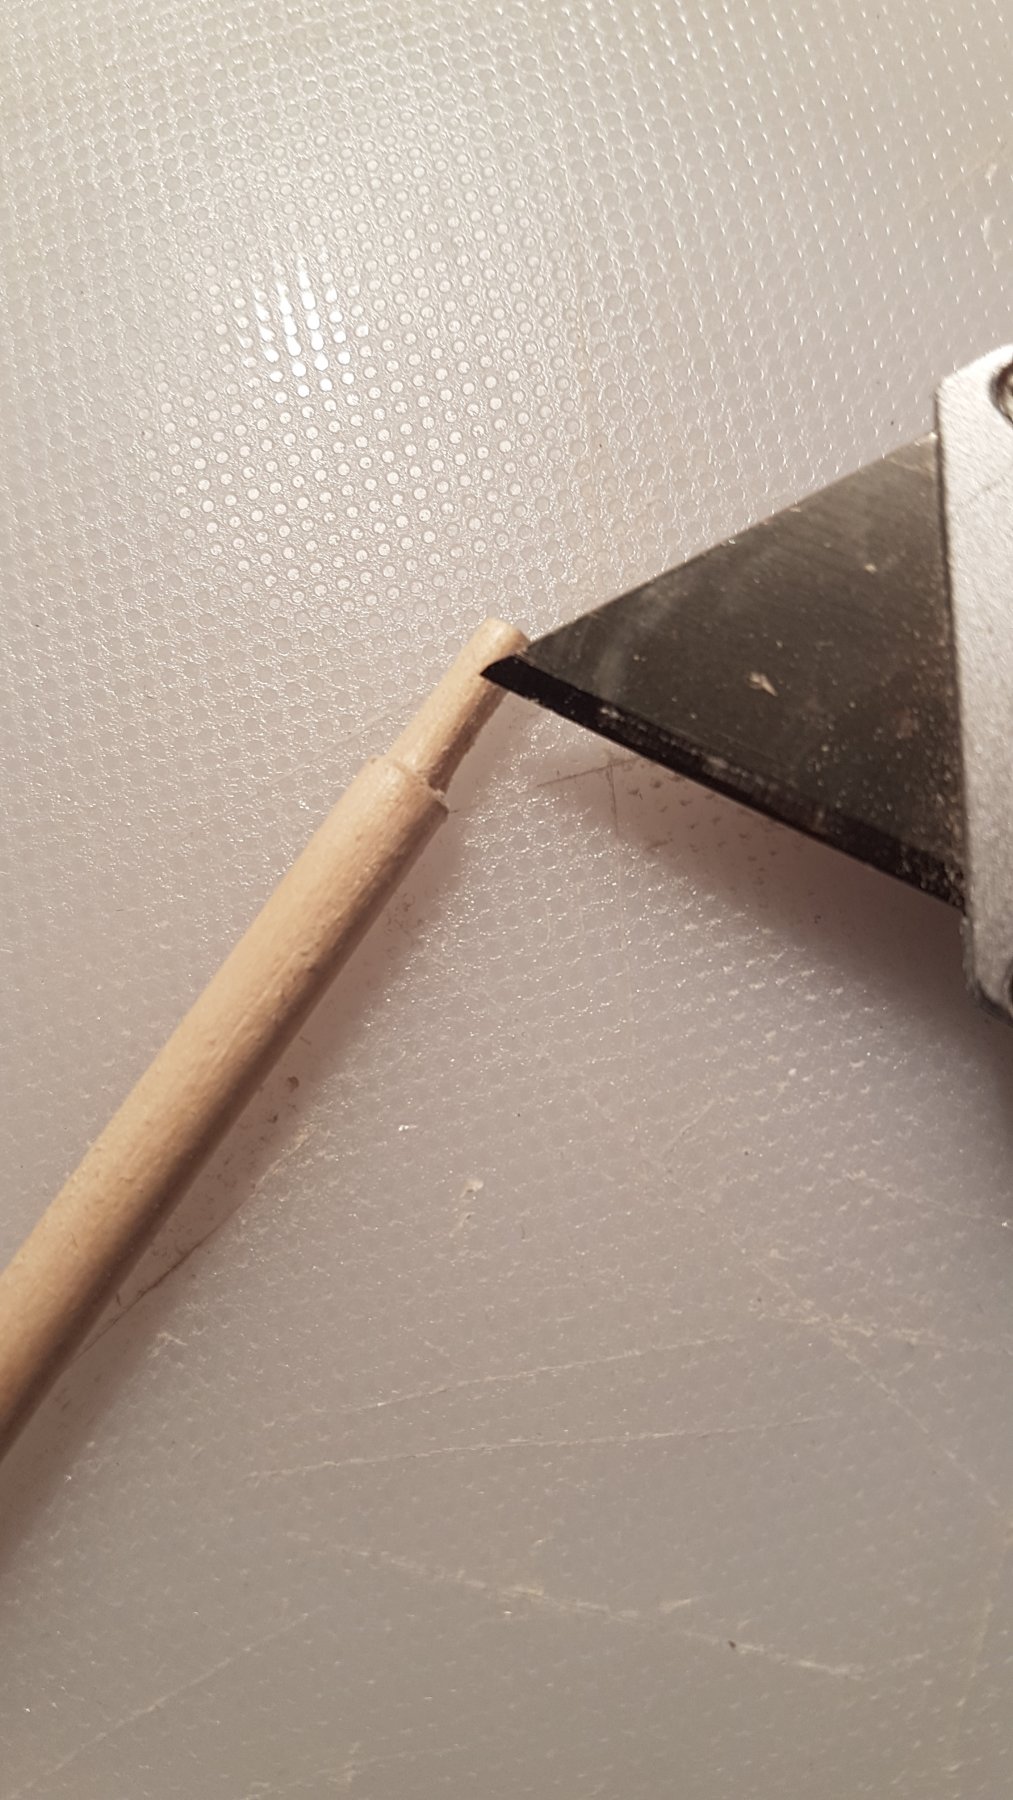
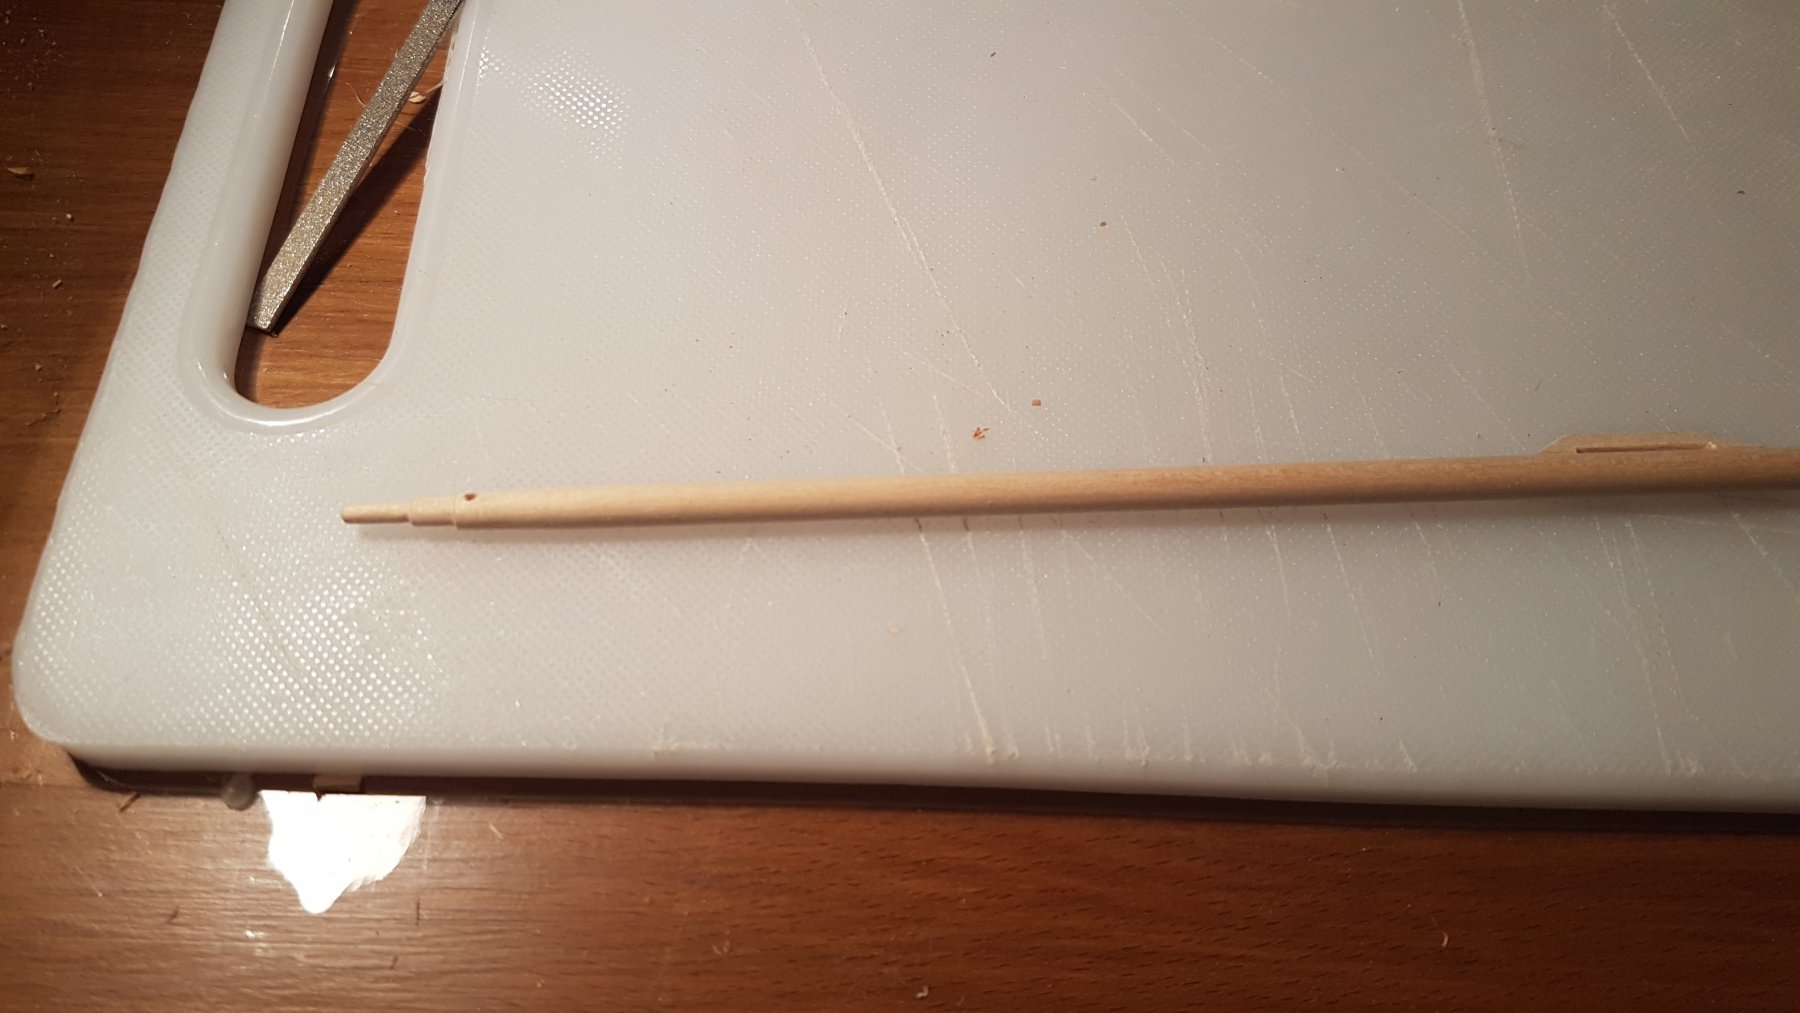
All these pieces required one or two small carved levels on their end. The way that worked best for me was to put a pencil dot in the very center of the diameter, then measure out, on the length, how long the carve had to be and drew a line around the circumference. I would then score with a blade the line (maybe 1mm deep), by pressing the blade and rolling the wood. Then (carefully) using the blade I carved towards the tip using the central dot I had made as a reference to make sure I was taking similar amount off each side and keeping it centered. It worked a bit like sharpening a pencil with a blade.
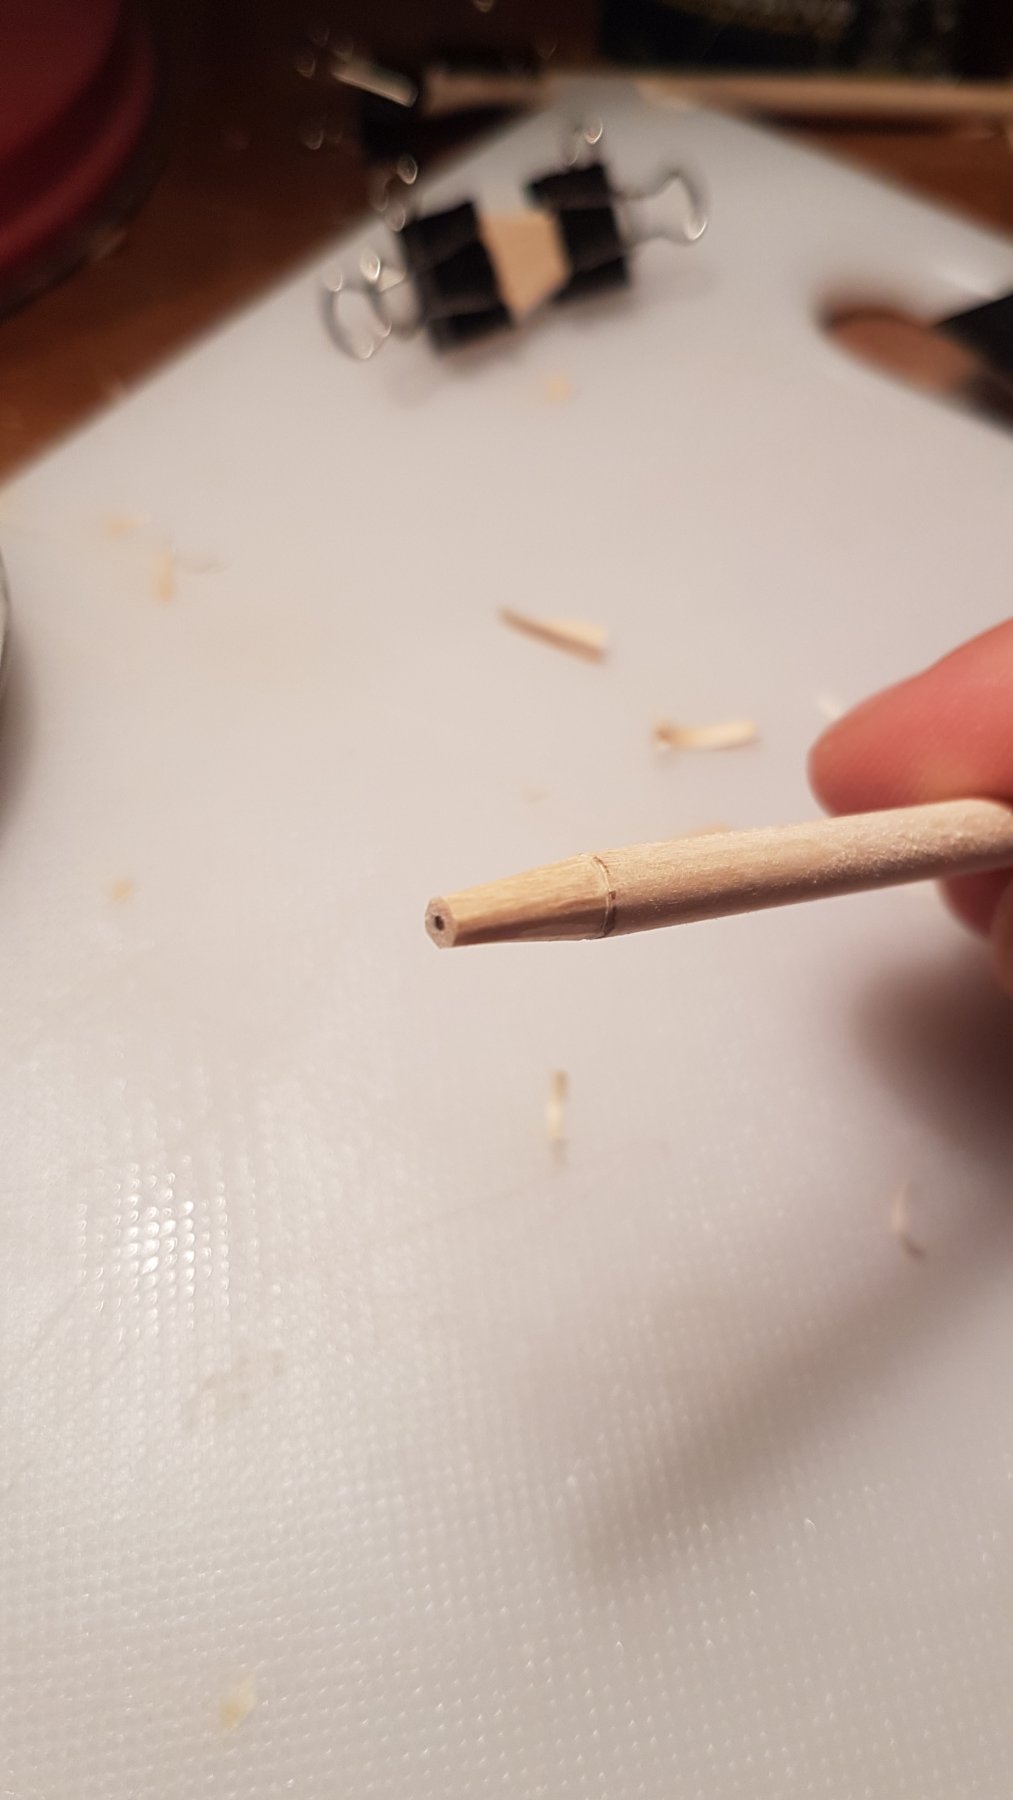
Then I would carve backwards towards the scored line, and because it was already scored the small piece would come off. Repeat this as many times as necessary, sanding here and there as I saw fit, until I got to the needed diameter. Once these level carves were done I would sand and round off the ends.
Then I would gradually reduce the thickness of the wood from the center of the piece by planing and sanding, being careful that the paner would not got into the already carved ends which were at the right size.
This is how they are looking:
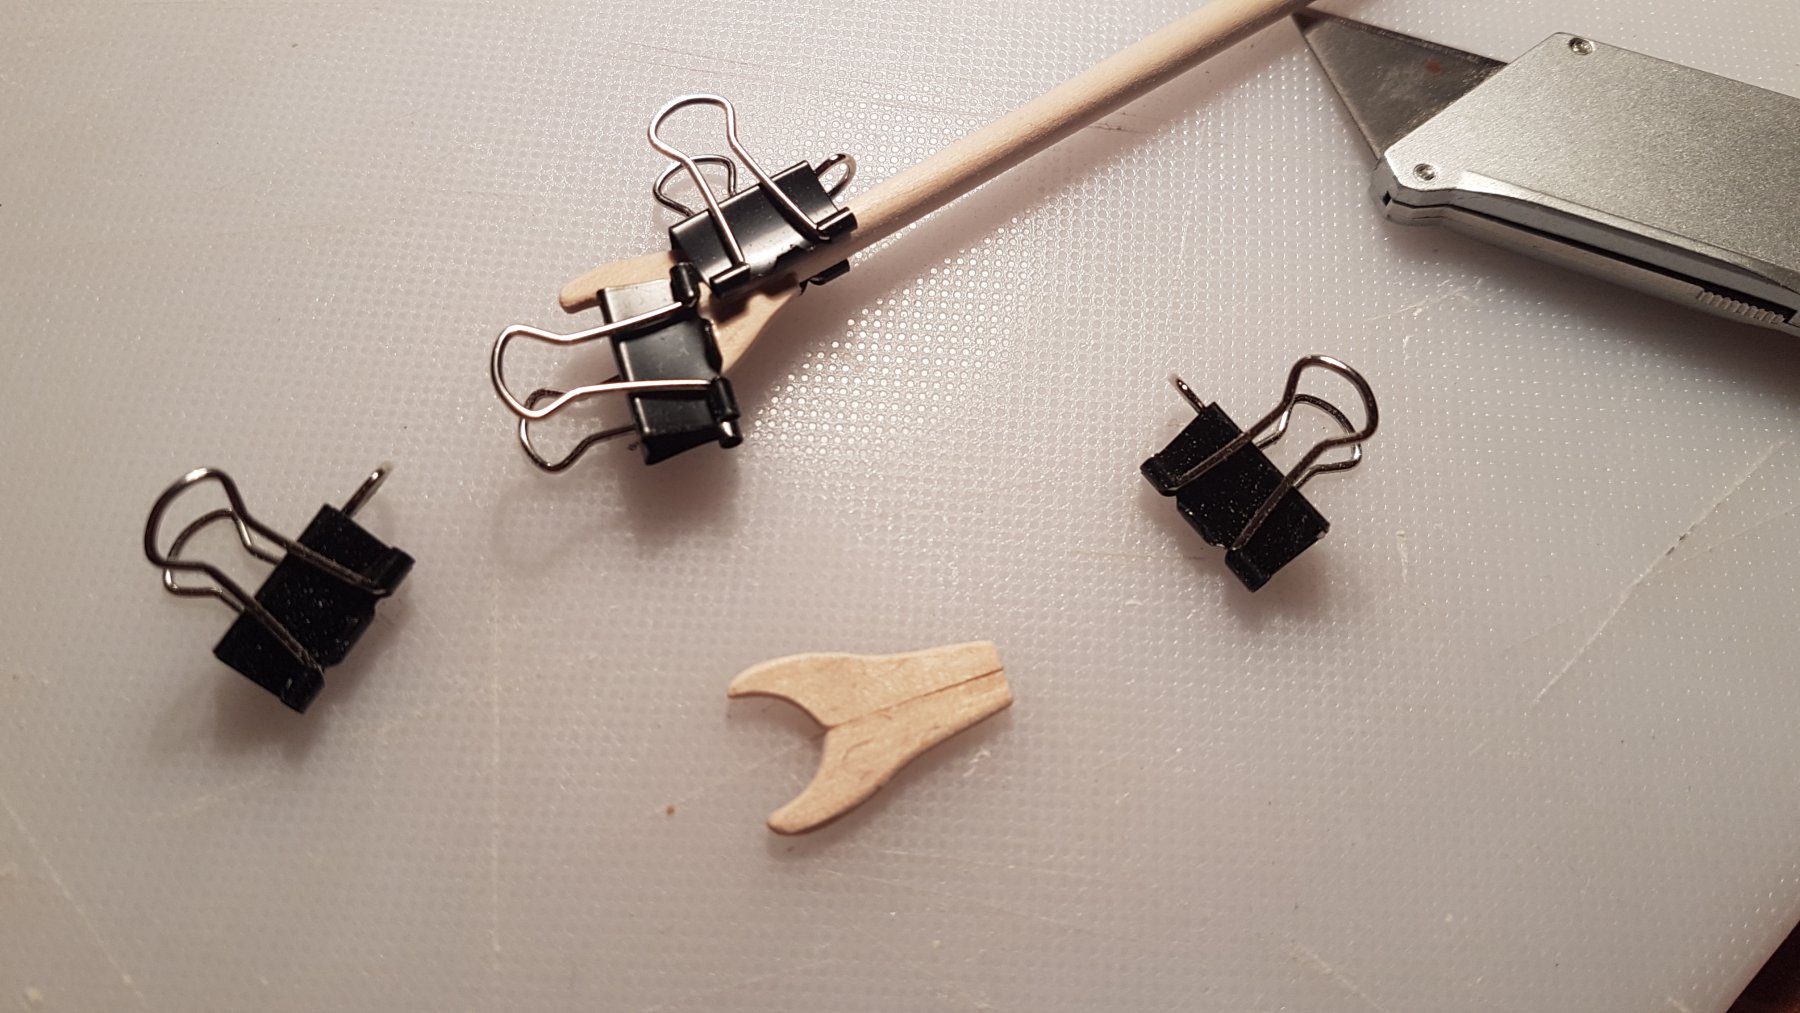
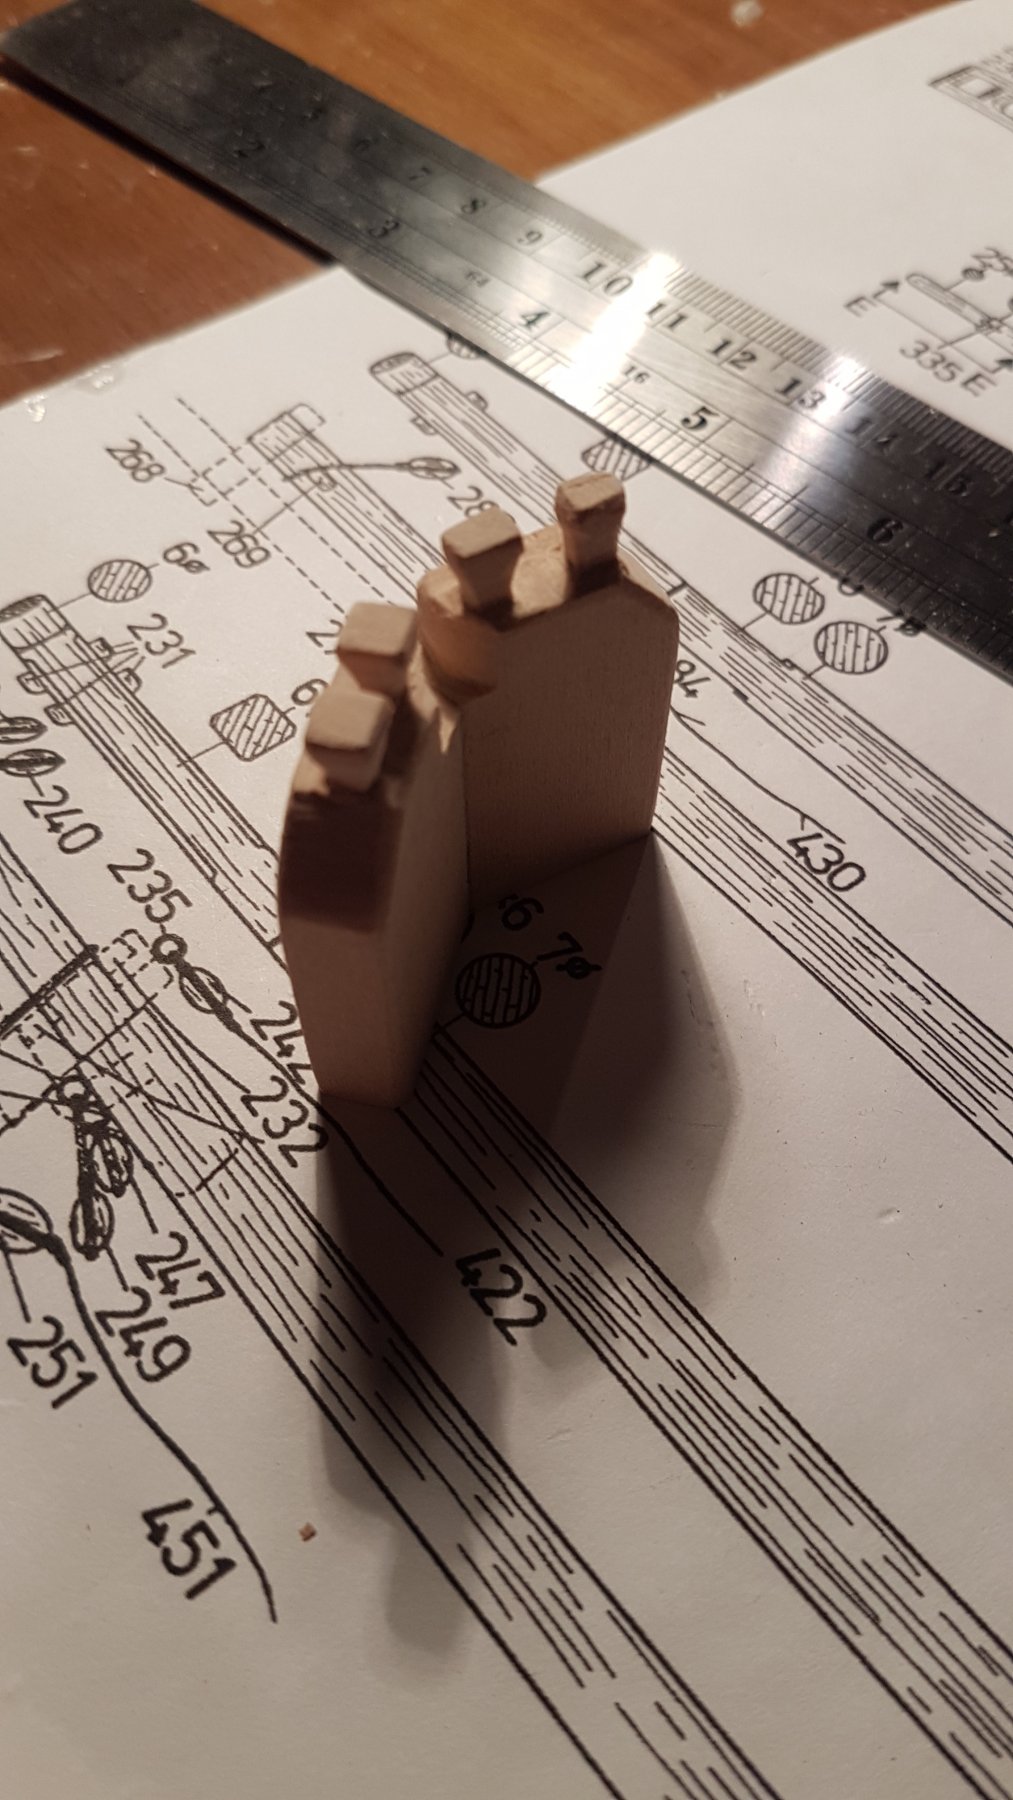
Mast End of the Boom (325) and Gafs (300, 313):
These are a bit trickier as they require you to make the base that holds them against the mast.
These are made all from the same the 8x2mm Ramin white wood (does anyone know what wood is Ramin is in English?).
I cut the pieces to length drew the shape on one, but carved and sanded two at the same time to create matching opposites.
Glue those together until dry, then cut out the section from the Boom and Gafs to fit this piece in, stick and clamp till dry and then sanded them down to make a smoother finish.
A neat little trick was, once dried, to take a round piece of wood of the size of the receiving end, wrap it in sandpaper and use that to smooth out the inner curve.
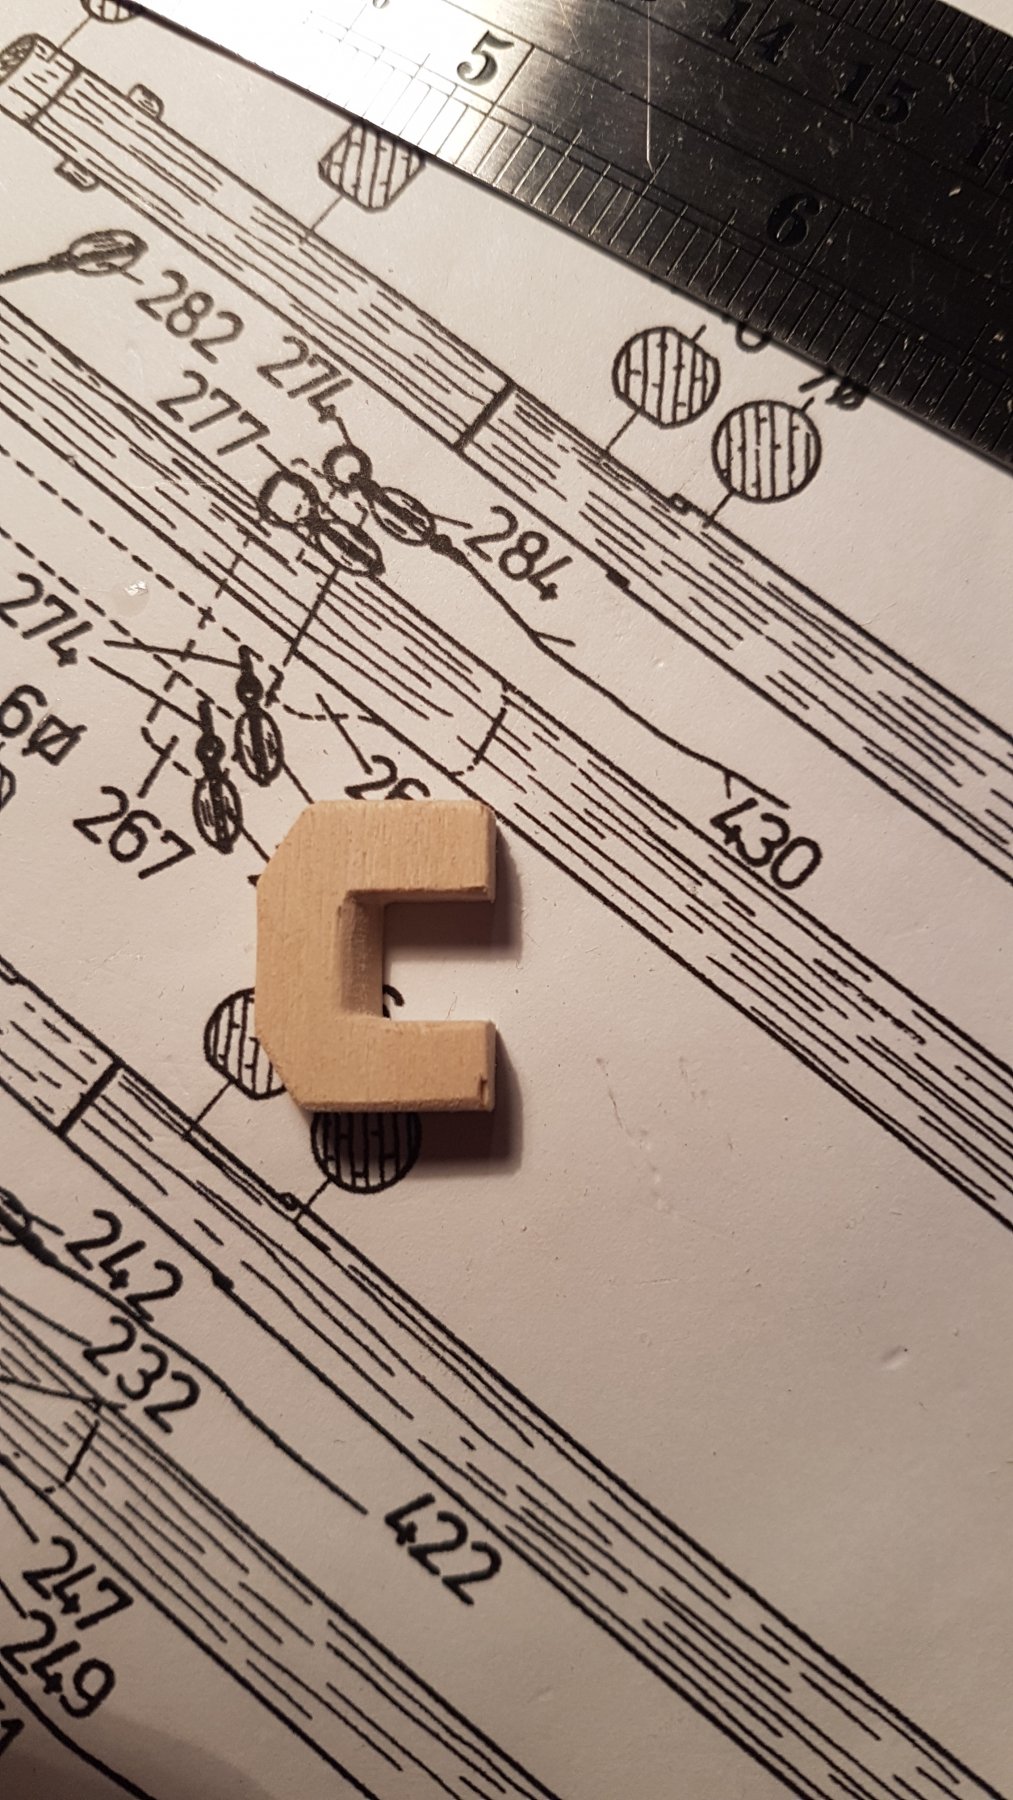
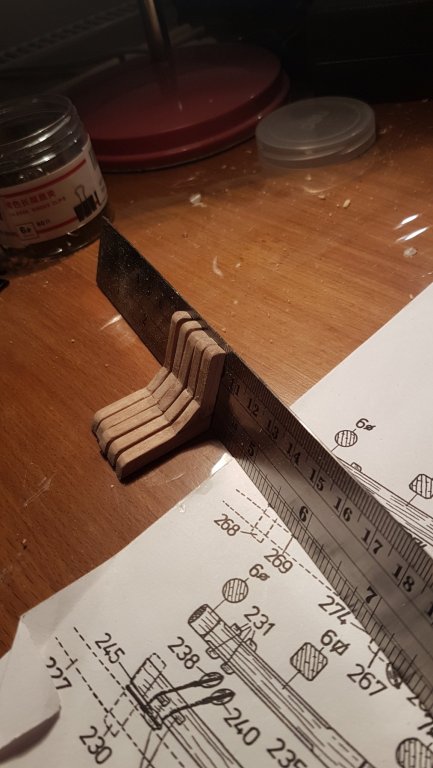
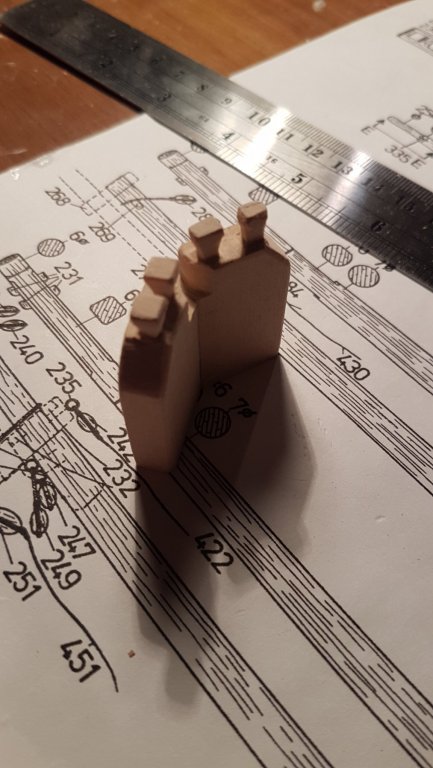
Transform Support (31):
These are made from the Walnut strip of 5x5x50. You need to cut and shape these. They are made of 3 pieces, on Bogen 3 you will find in the bottom left the detailed length, size and angle for these.
I found it quite tough to get them all 6 to be at the same angle so when glueing, I used a ruler to push them all to right (and same angle).
I cut the joining triangles straight and then once they were glued on and dry, I sanded them slightly curved as the prints suggests.
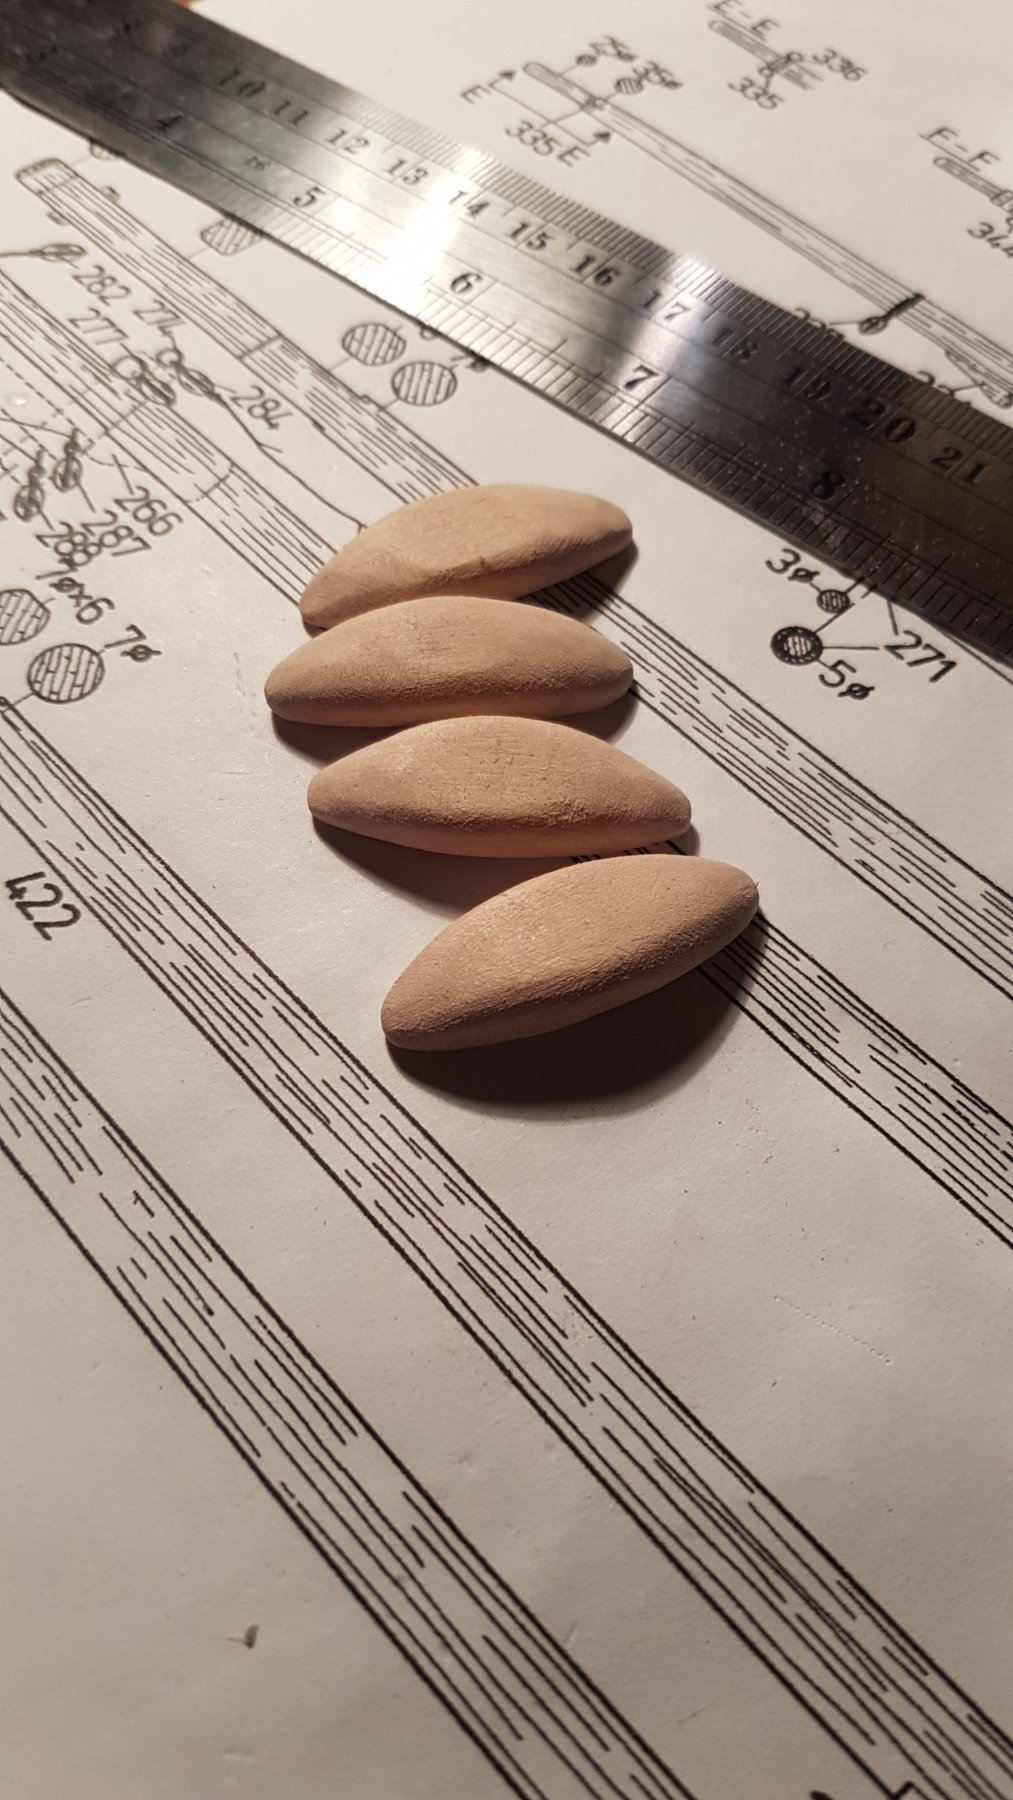
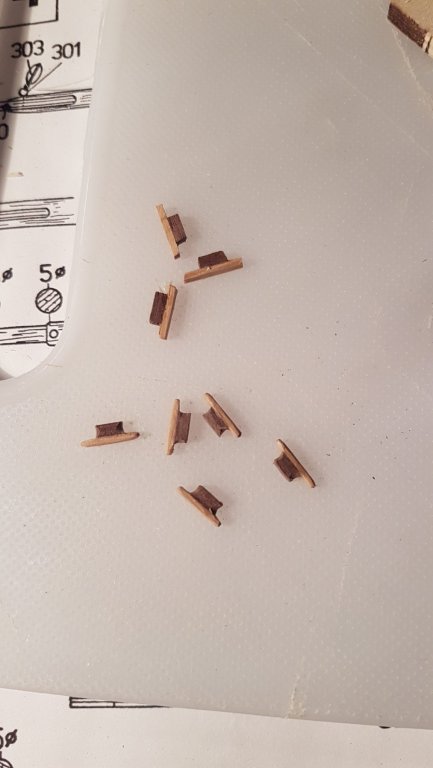
Cleats (327, 328, 329, 290, 291, 292, 293, 294, 295, 296, 253, 254, 255, 256, 257, 258, 259, 260):
These are made of two parts the base is from the walnut strip of 2x2mm, and the top is walnut (slightly lighter) 1x2mm.
The top parts (290, etc.) are 10mm long and the base (296, etc.) are 5mm long.
I glued these first (dam these are tiny), once dry I then using a flat and a round file shaped these to look like Cleats.
Here the top are before and the bottom after:
Fenders (473):
These are made from the 4 blocks of 8x13x35mm.
I used tracing paper to transfer the shape to all 4 faces of the block, and then sculpted away. Boy it was hard work to get the concave side into shape without chopping a finger off.
Something I noticed was that as I was carving the wood was getting smooth and shiny, which made it tougher and the blade was slipping more easily. I decided to wet the blocks, and I wish I had done that for all of them.
Wetting the blocks makes the wood softer to carve, and there is a bit more grip meaning the blade doesn't slip as much, and if it does, you are applying less strength to it so it is not as dangerous.
These still need a bit of work, but I think the hardest part is done.
Bowsprit Support (24):
These are pretty easy to find pieces as well. The are the 2 x 8x25x40mm pieces.
On Bogen 3 there is the detail of their size and angle. I cut the top bits to hold the ropes a bit smaller, but I would recommend cutting them of the thickness of the block and not reducing it.
Bowsprit Holder (62) (Bugspriethalter):
This is pretty straight forward and made from a piece of 5x15x20 which is quite specific and easy to find. Its detail is on Bogen 3.
One thing to consider is that the inner arch has an angle, I think it is about 1mm from one side to the other but I think is something that might have to be adjusted once the Bowsprit is in place relative to the deck.
Bowsprit Part Closest to Deck (47):
This piece was a bit tricky as it has a Hexagonal shape towards the deck end. Just be extra careful on Bogen 4, with regards to which perspective you are looking at of the hexagon.
Also, Bogen 4 does not have the detail of how small the tip needs to be to fit onto part 52 which supports the Bowsprit tip.
Part 52 is premade, and I had to trim down the tip of the Bowsprit to 5-6mm to match the opening on it.
I increased the opening of Part 52 as much as I could but it is small and there is not a lot of material to take off.
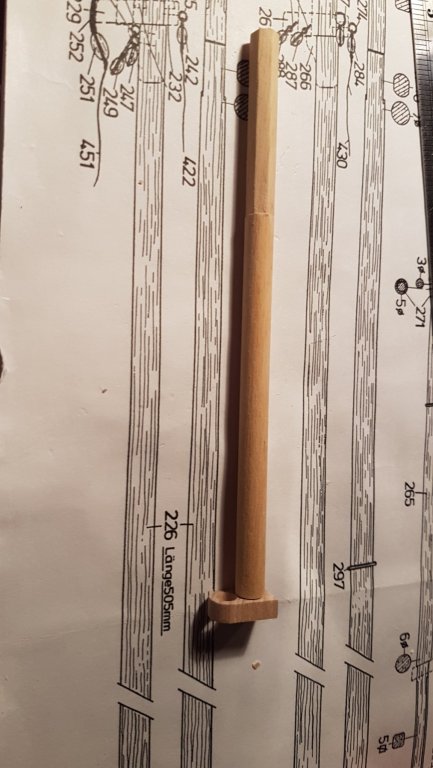
Masts (264 & 226) & Top Masts (227 & 265):
The most tricky part of making these is keeping them centered after planning.
In order to know how much I was taking off and to make sure I was taking off in all sides equally I did the same as I mentioned above with putting a dot on the very center and using that as a reference.
I would also pick a point length wise and roll the wood with a pencil on it so I would create a mark in the circumference, and I would do this in different points. When planning I would then see... where there were no marks I had planned, where there were I hadn't.
I also used this method to control the gradual reduction towards the tip of them. I would first remove by planning the closest line to the tip; I would redraw the line and plane then the first two lines; I would redraw them and plane 3 lines; etc. which gave me a nice and gradual reduction, which I then sanded heavily to make it nice and smooth.
Things to consider are, the supports that join the masts with the top masts are premade (229, 267), but are different to each other so keep an eye out for which goes where. Also, the holes into which the masts are supposed to go into are round whereas they should be square, so you have to square the whole of these pieces, to match the square section on the masts. The reductions, and conversion from cylindrical to cubic are at an angle so make sure you follow that so the supports fit nice and flush.
I hope this update is useful to anyone making this in the future, and please let me know if you know of any tips or disastrous mistakes I'm making (especially with regards to the planking).
Cheers.


 Elijah reacted to a post in a topic:
Alert by Daniel J - Krick - Scale 1:25 - American Revenue Cutter - First Model Build
Elijah reacted to a post in a topic:
Alert by Daniel J - Krick - Scale 1:25 - American Revenue Cutter - First Model Build