HOLIDAY DONATION DRIVE - SUPPORT MSW - DO YOUR PART TO KEEP THIS GREAT FORUM GOING! (Only 75 donations so far out of 49,000 members - C'mon guys!)
×


EdS
-
Posts
31 -
Joined
-
Last visited
Content Type
Profiles
Forums
Gallery
Events
Everything posted by EdS
-
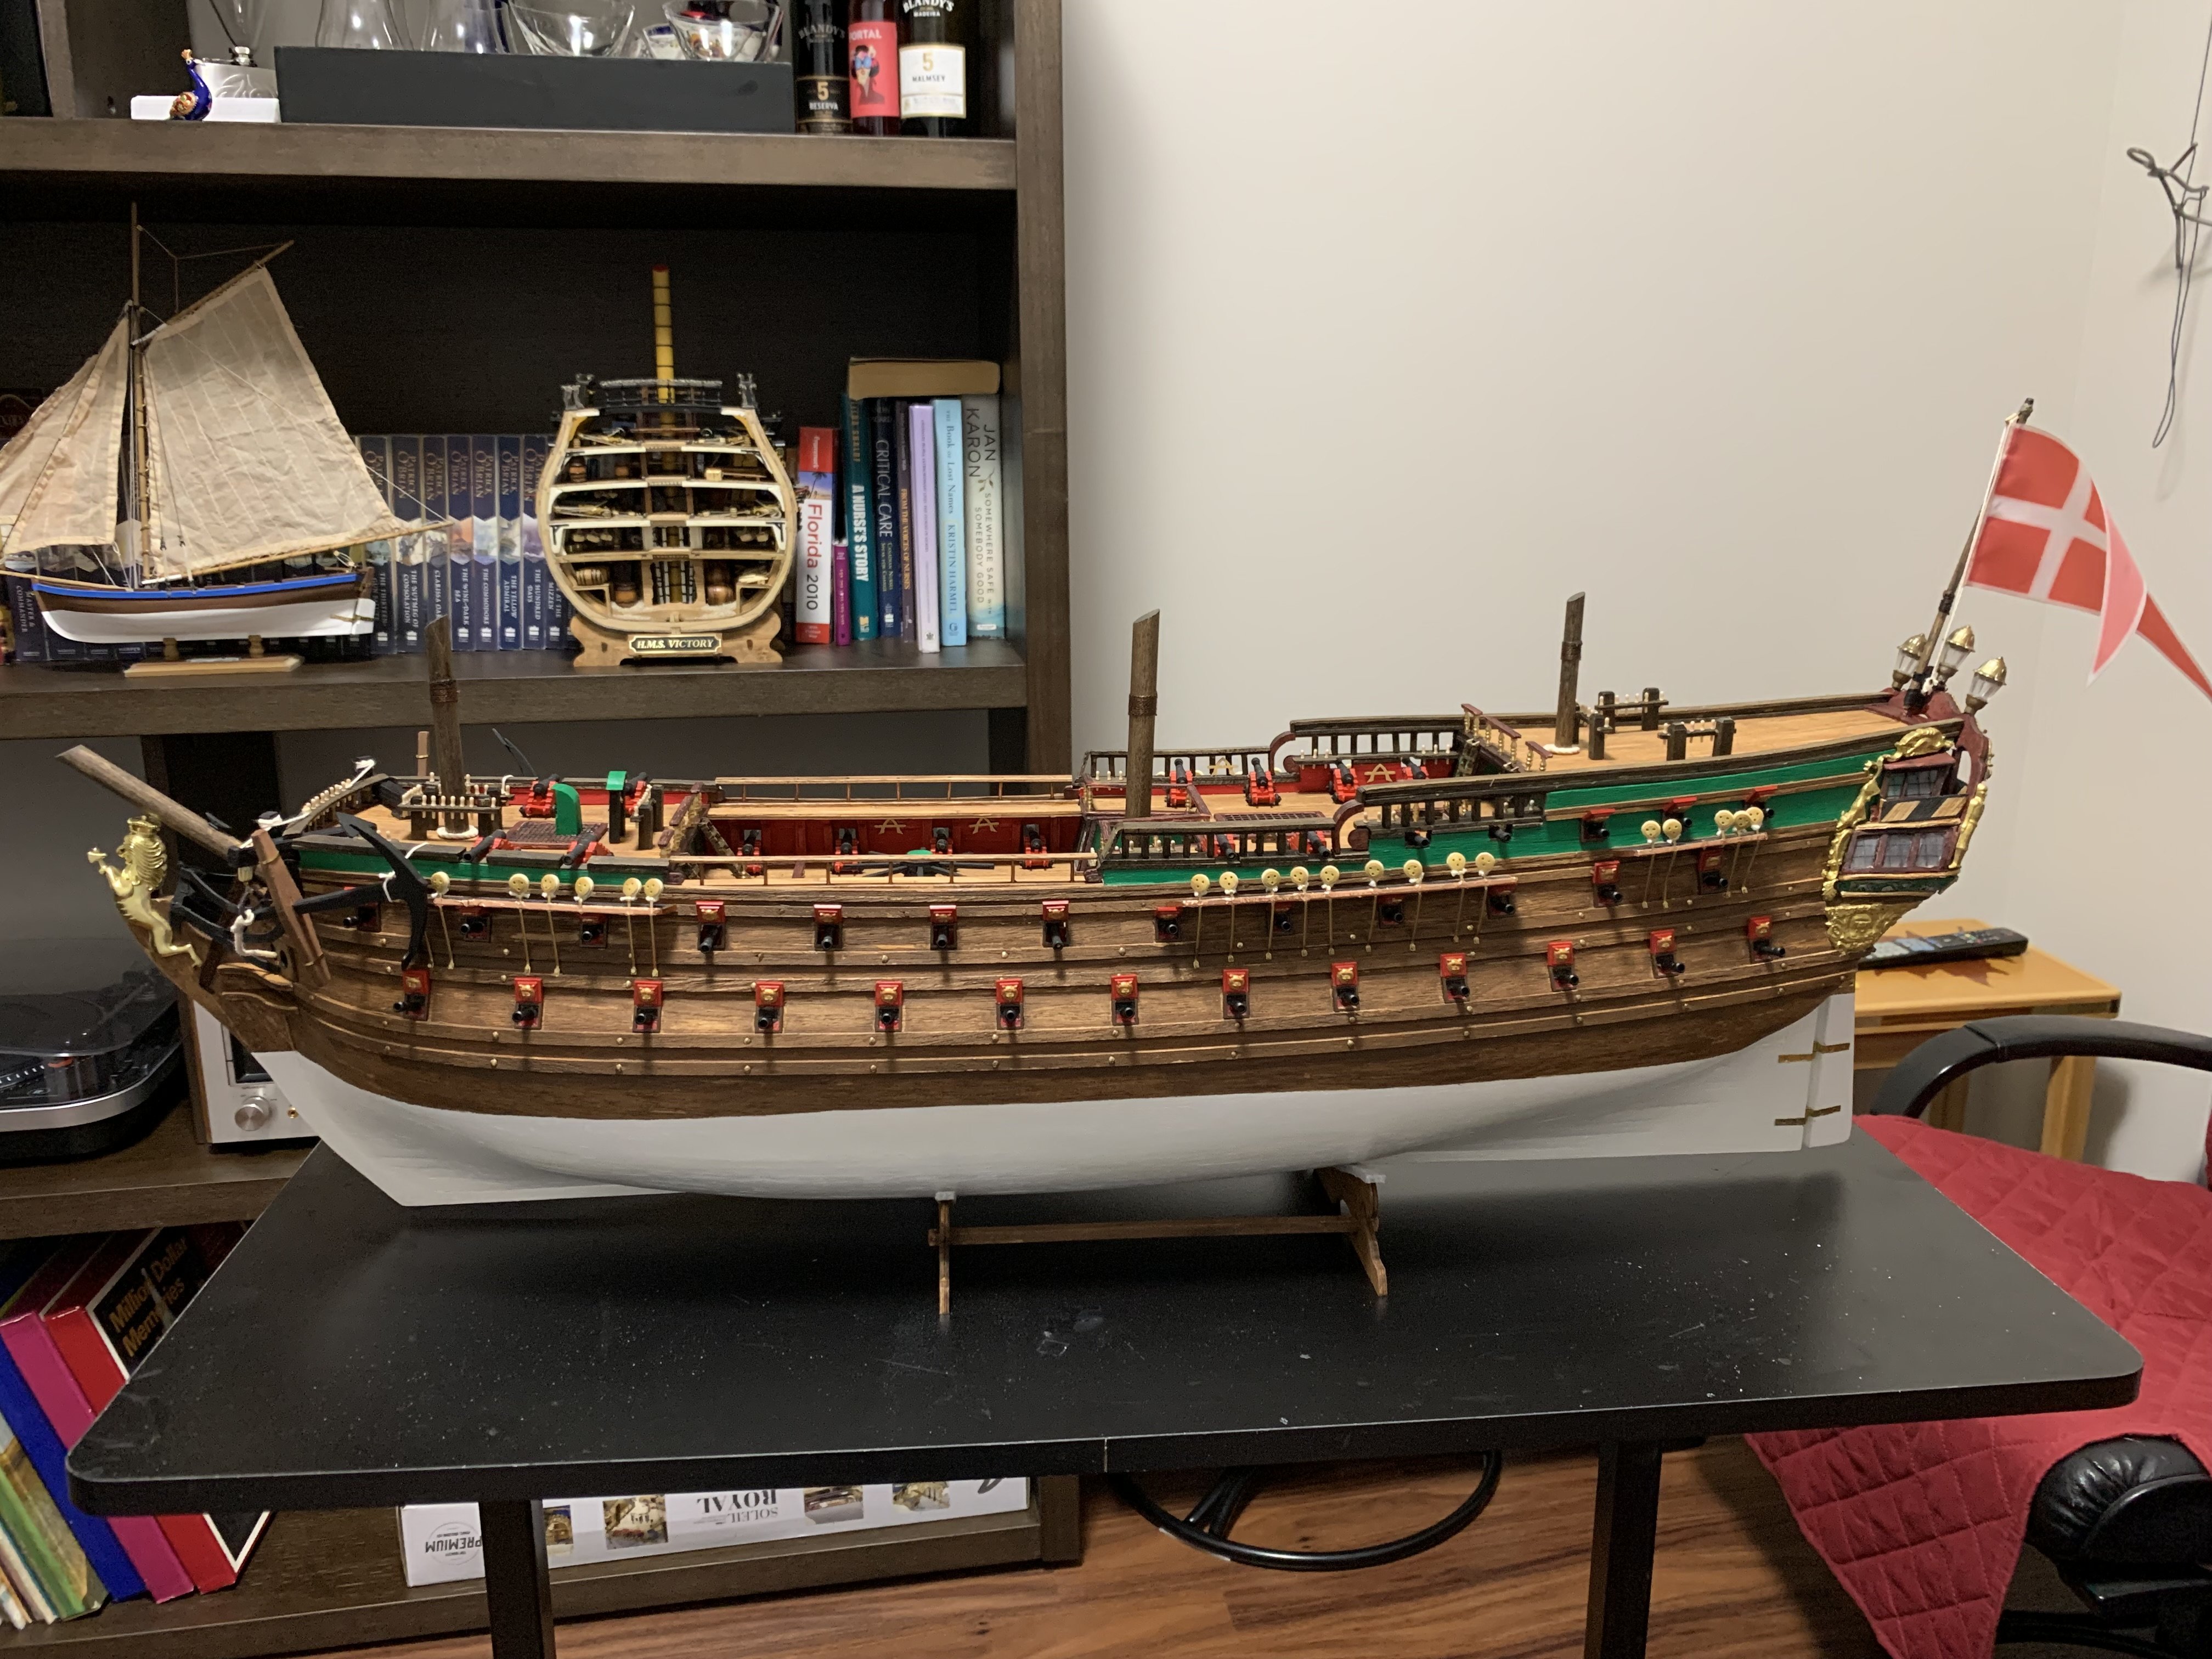
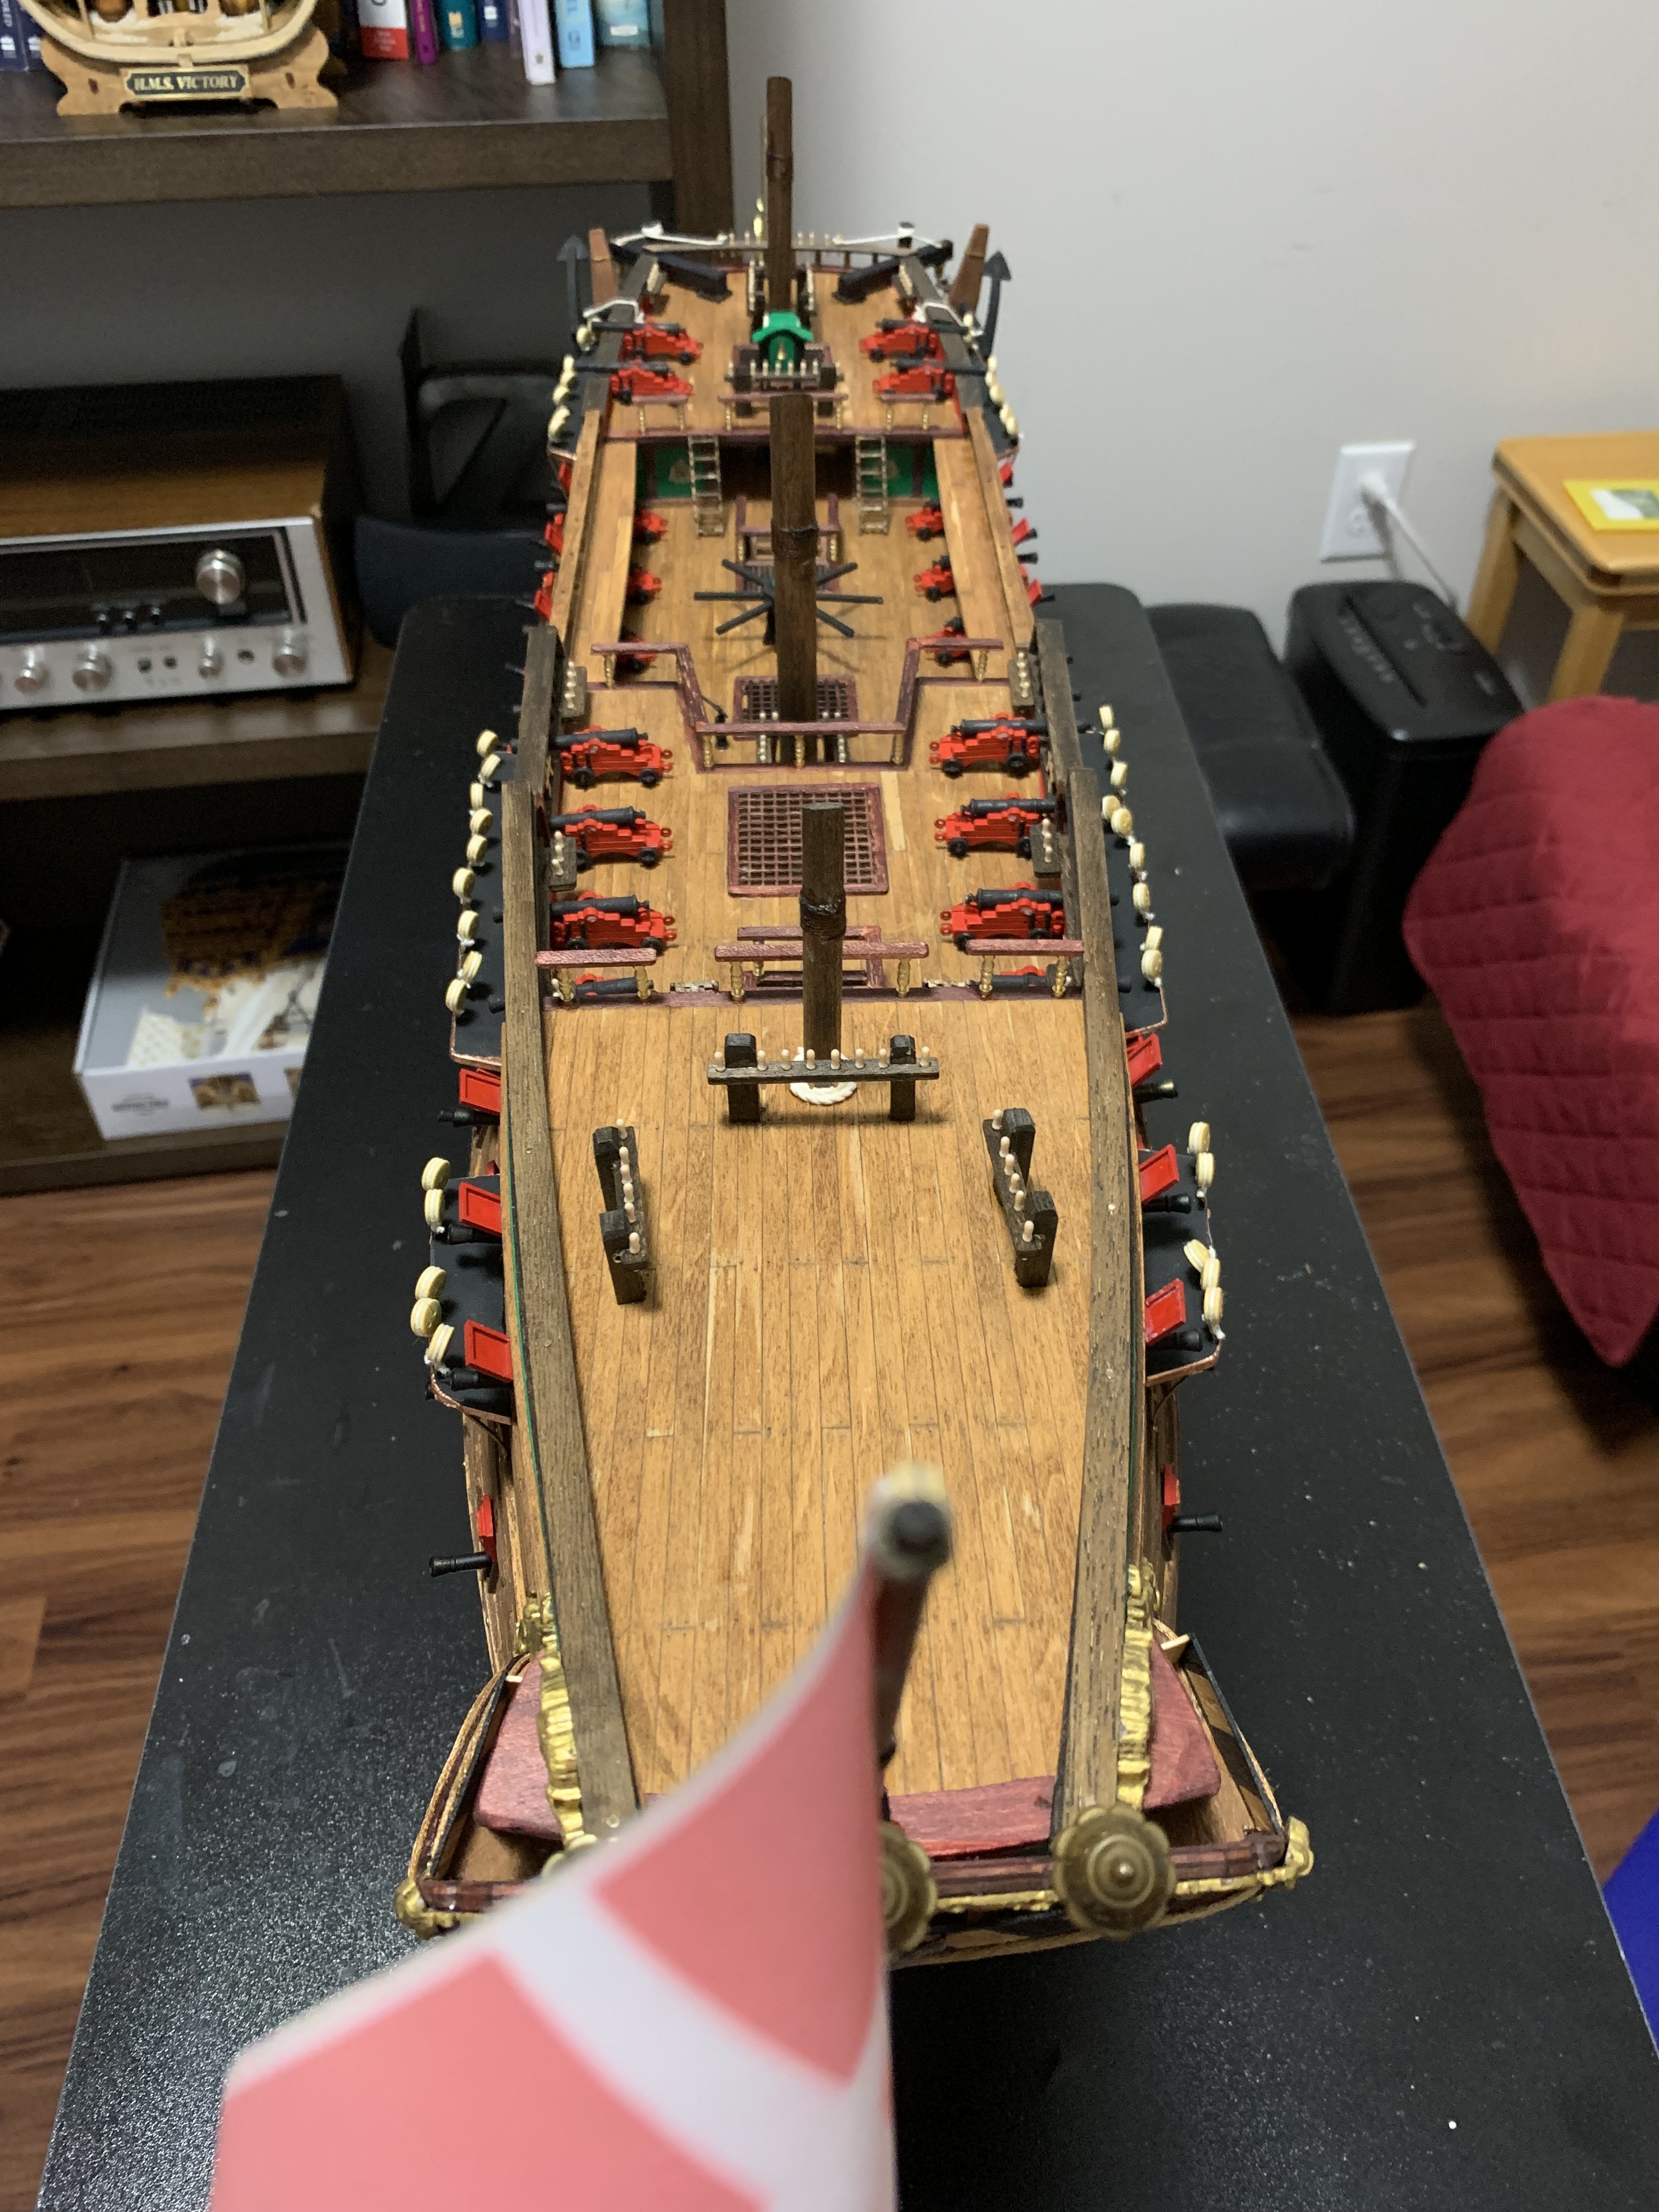
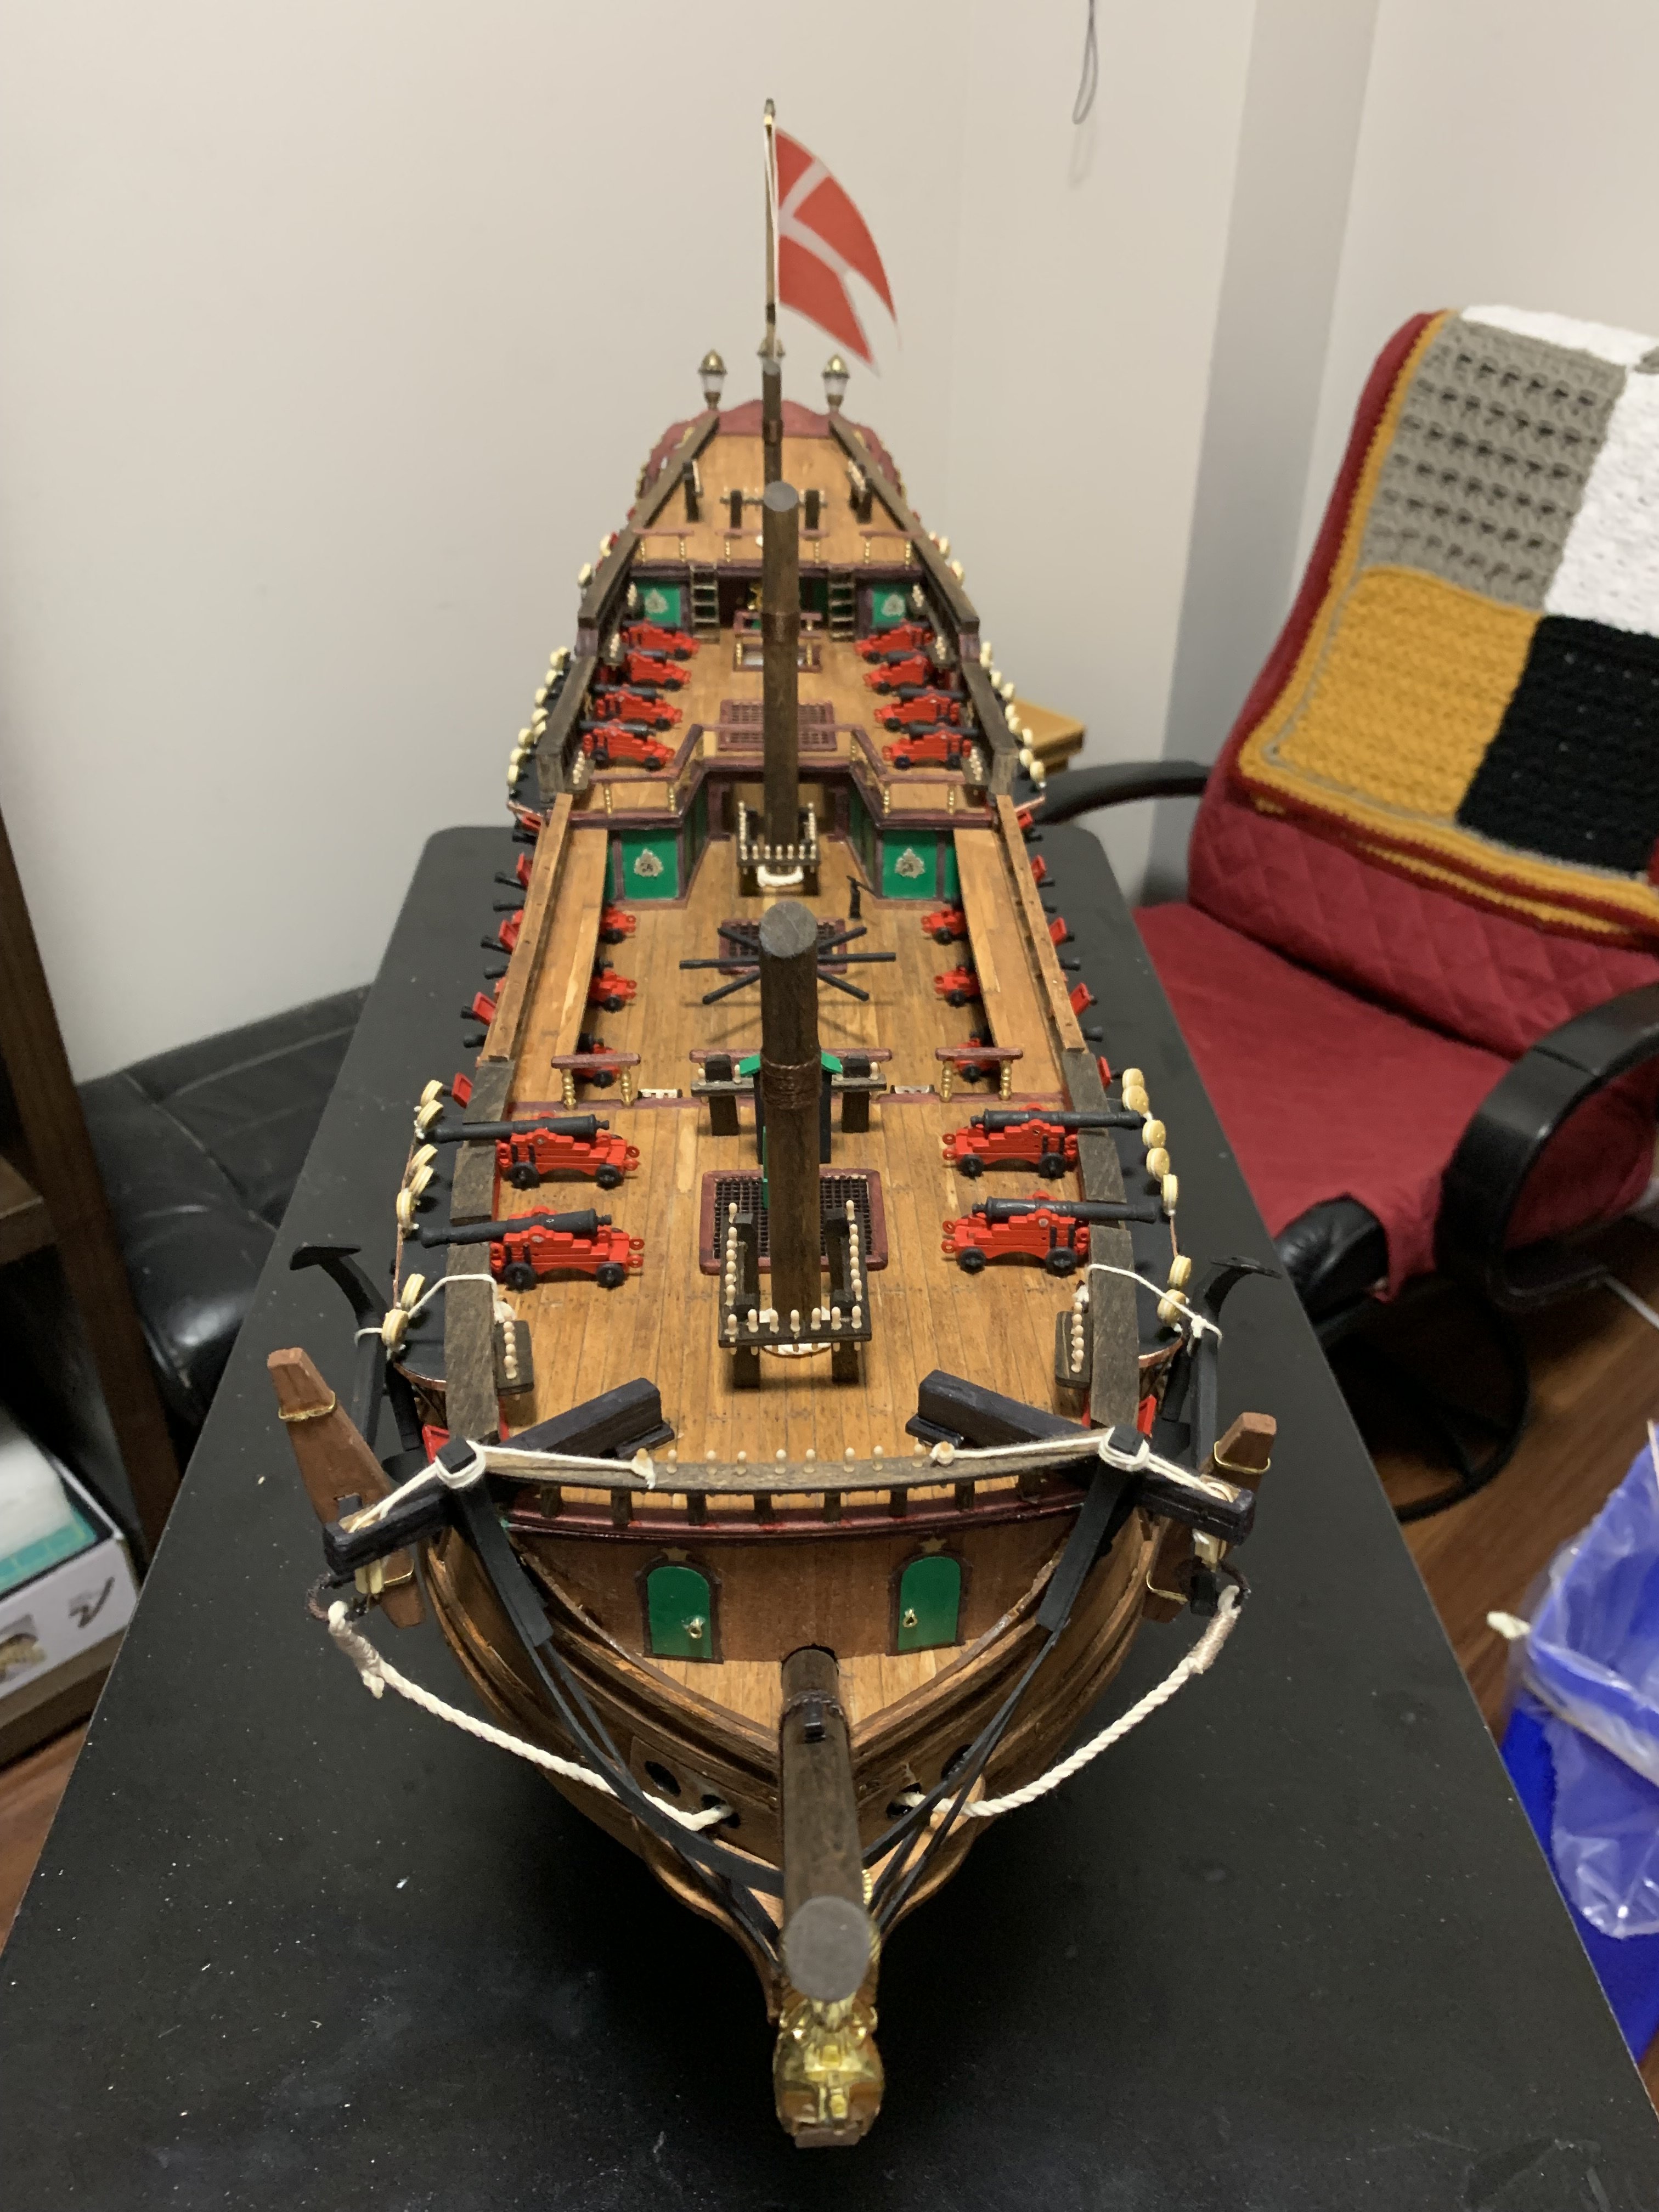
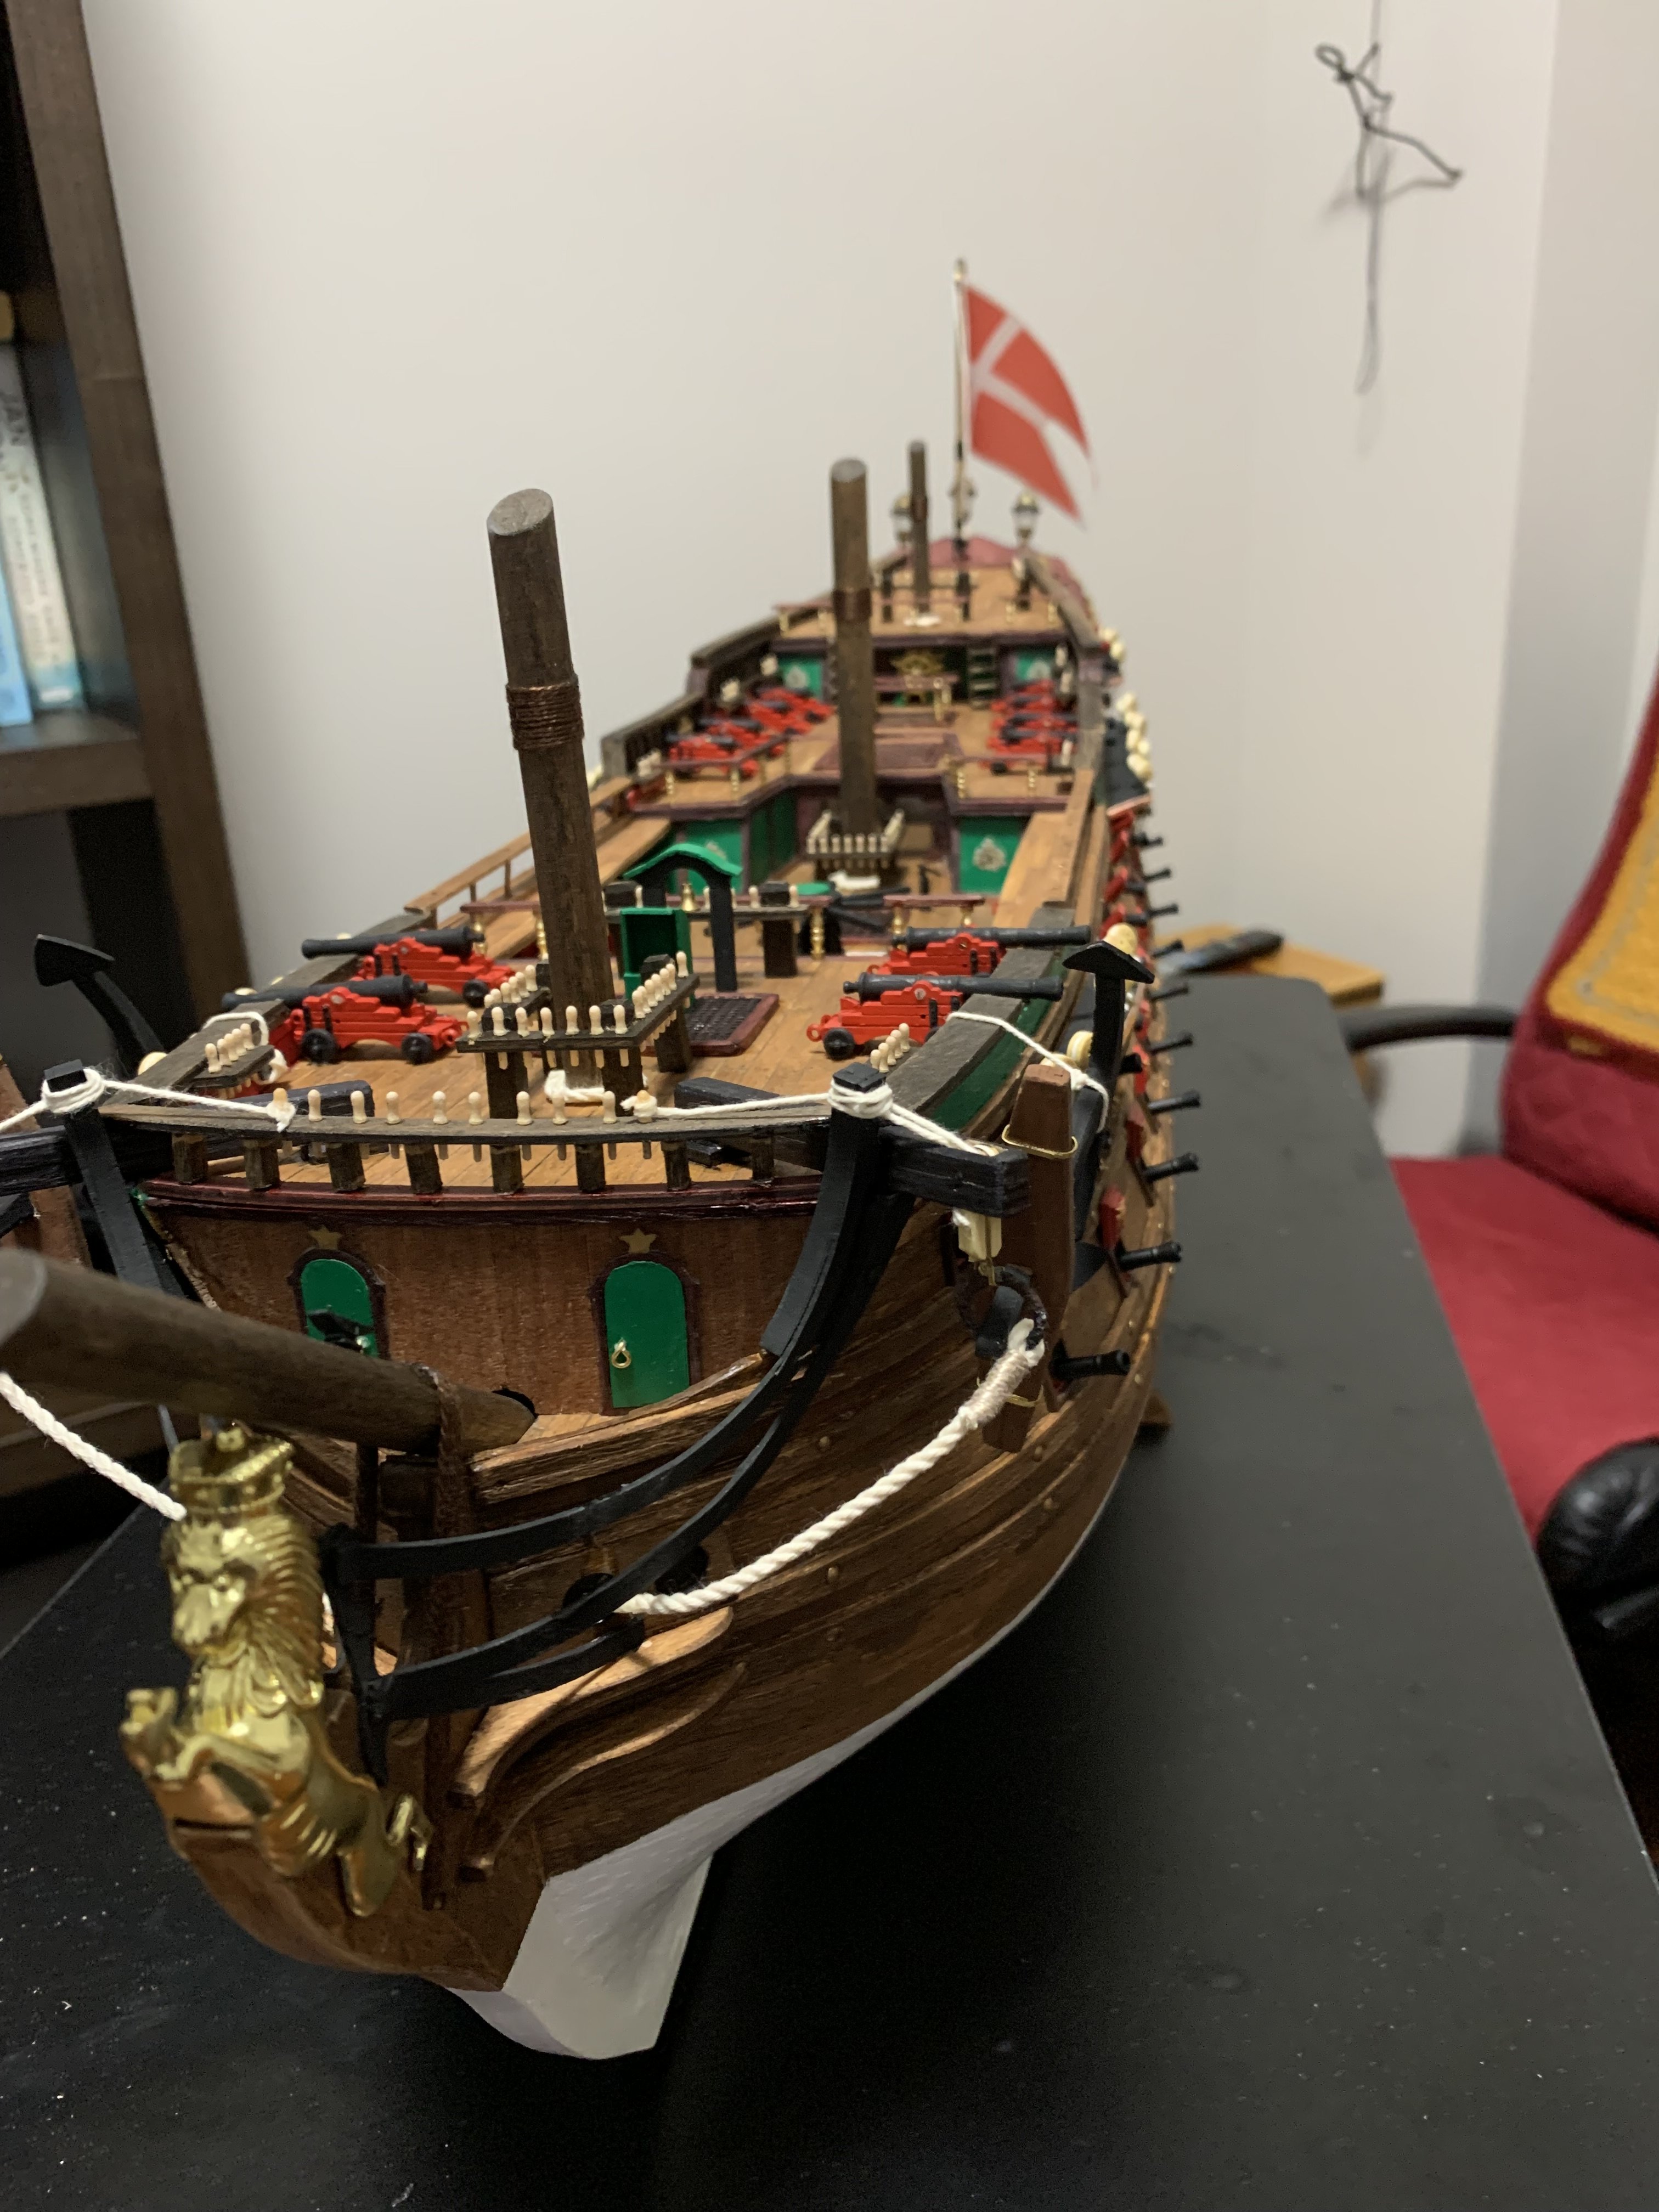
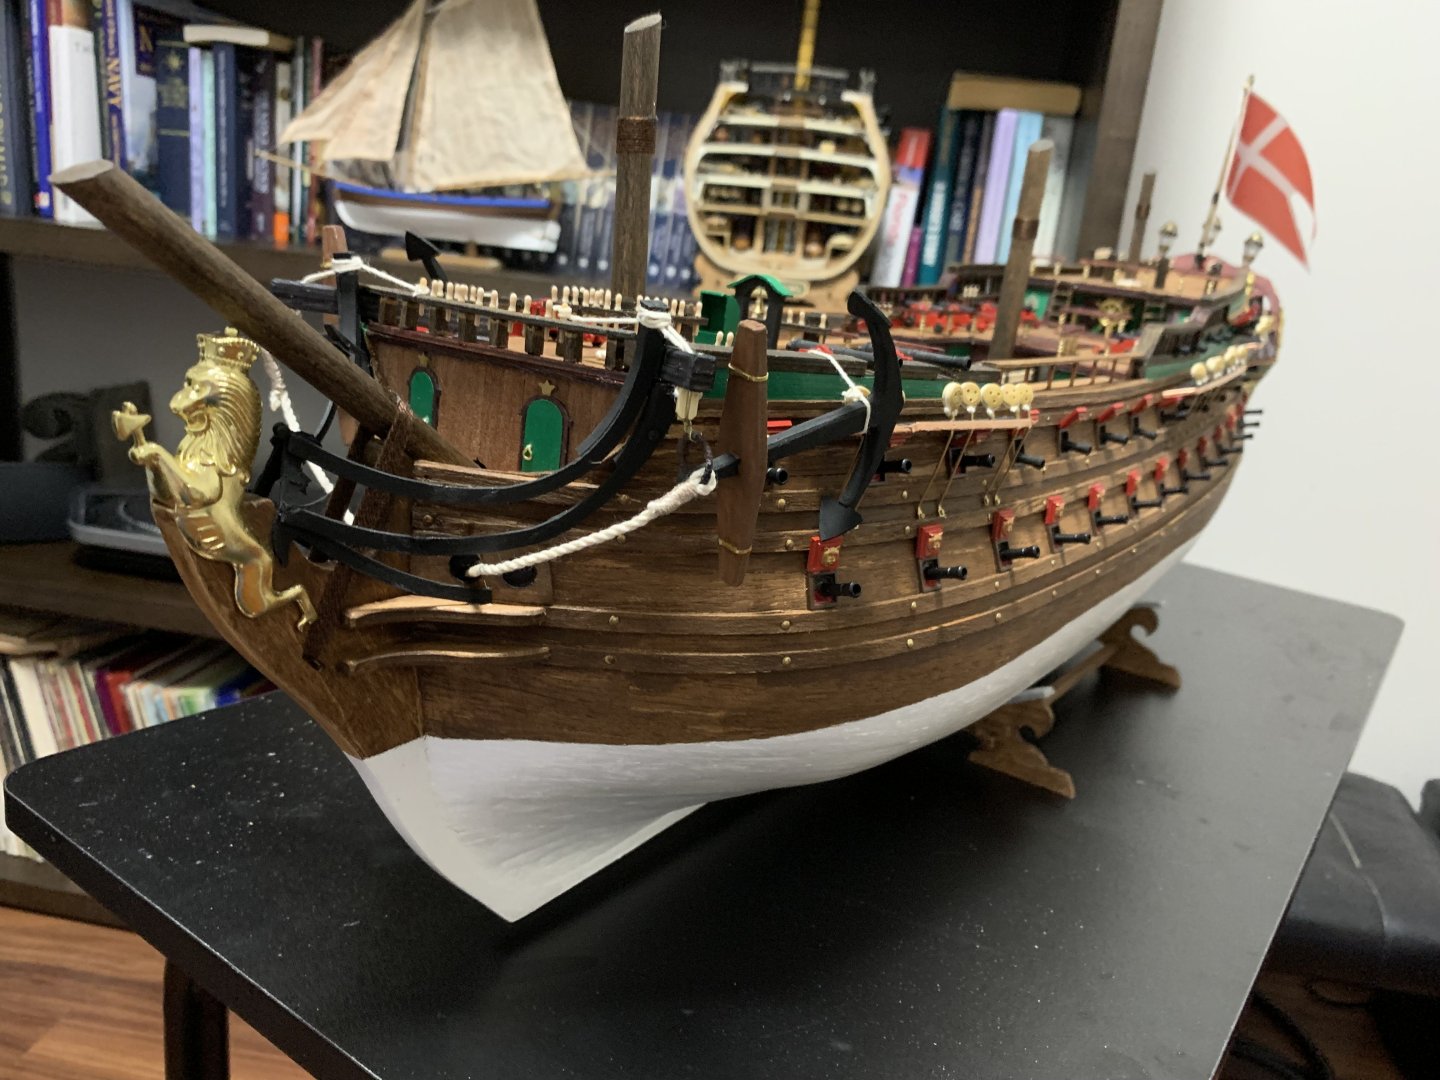
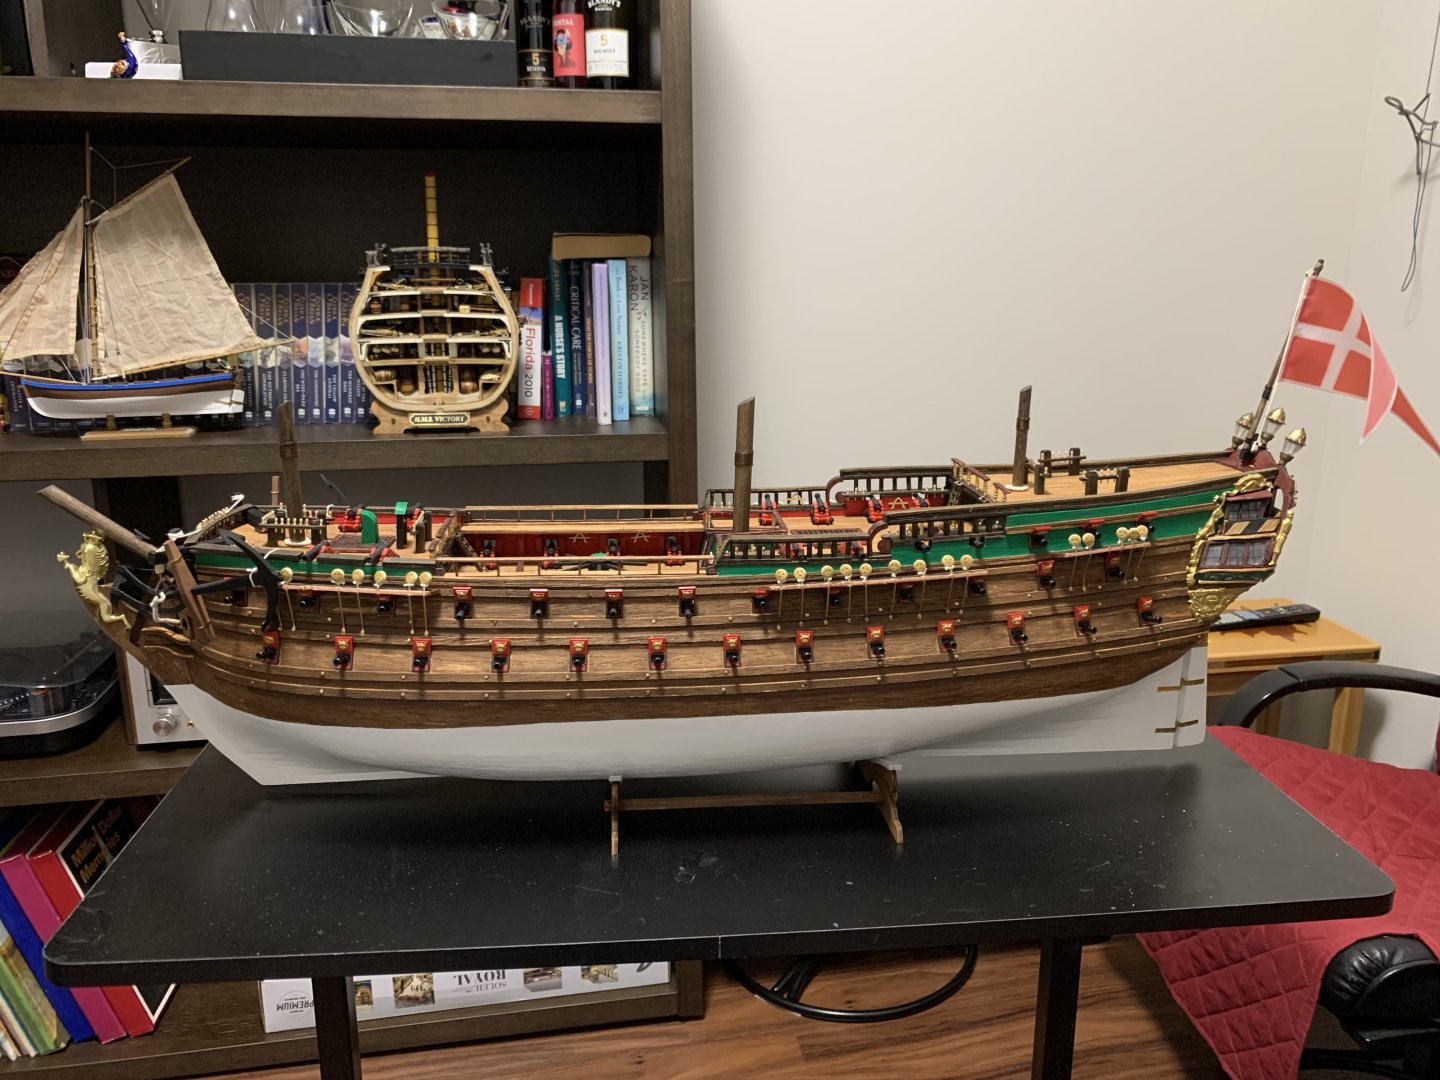
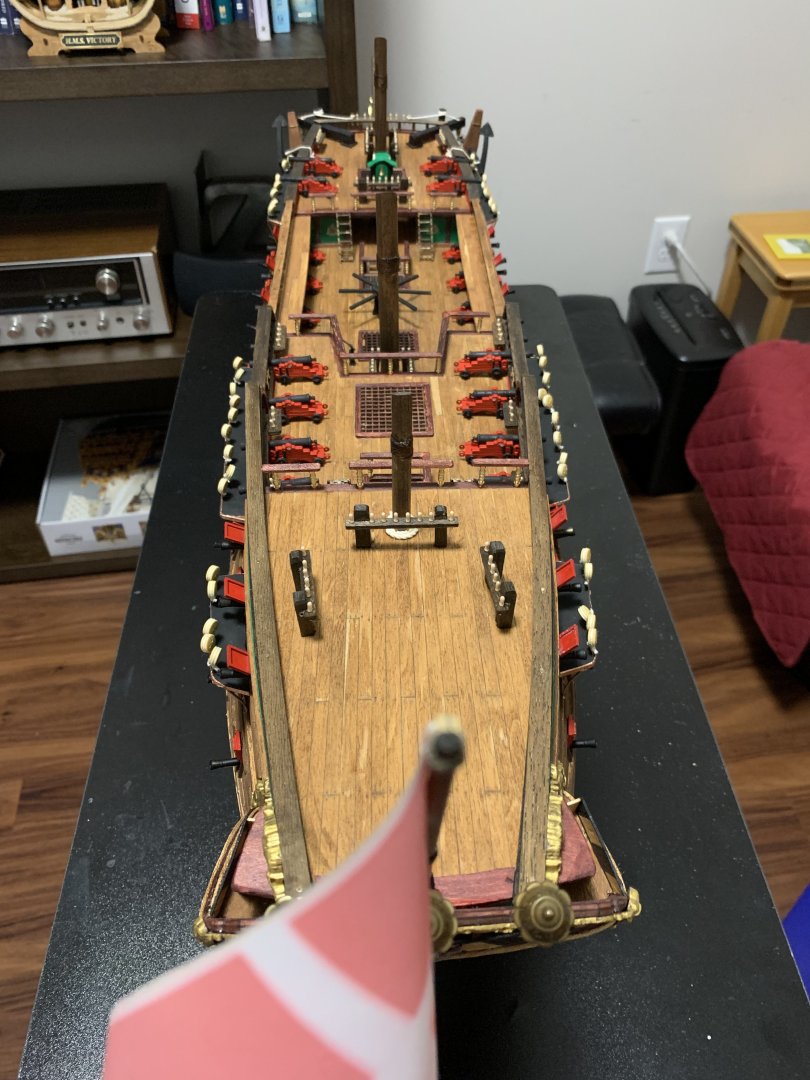
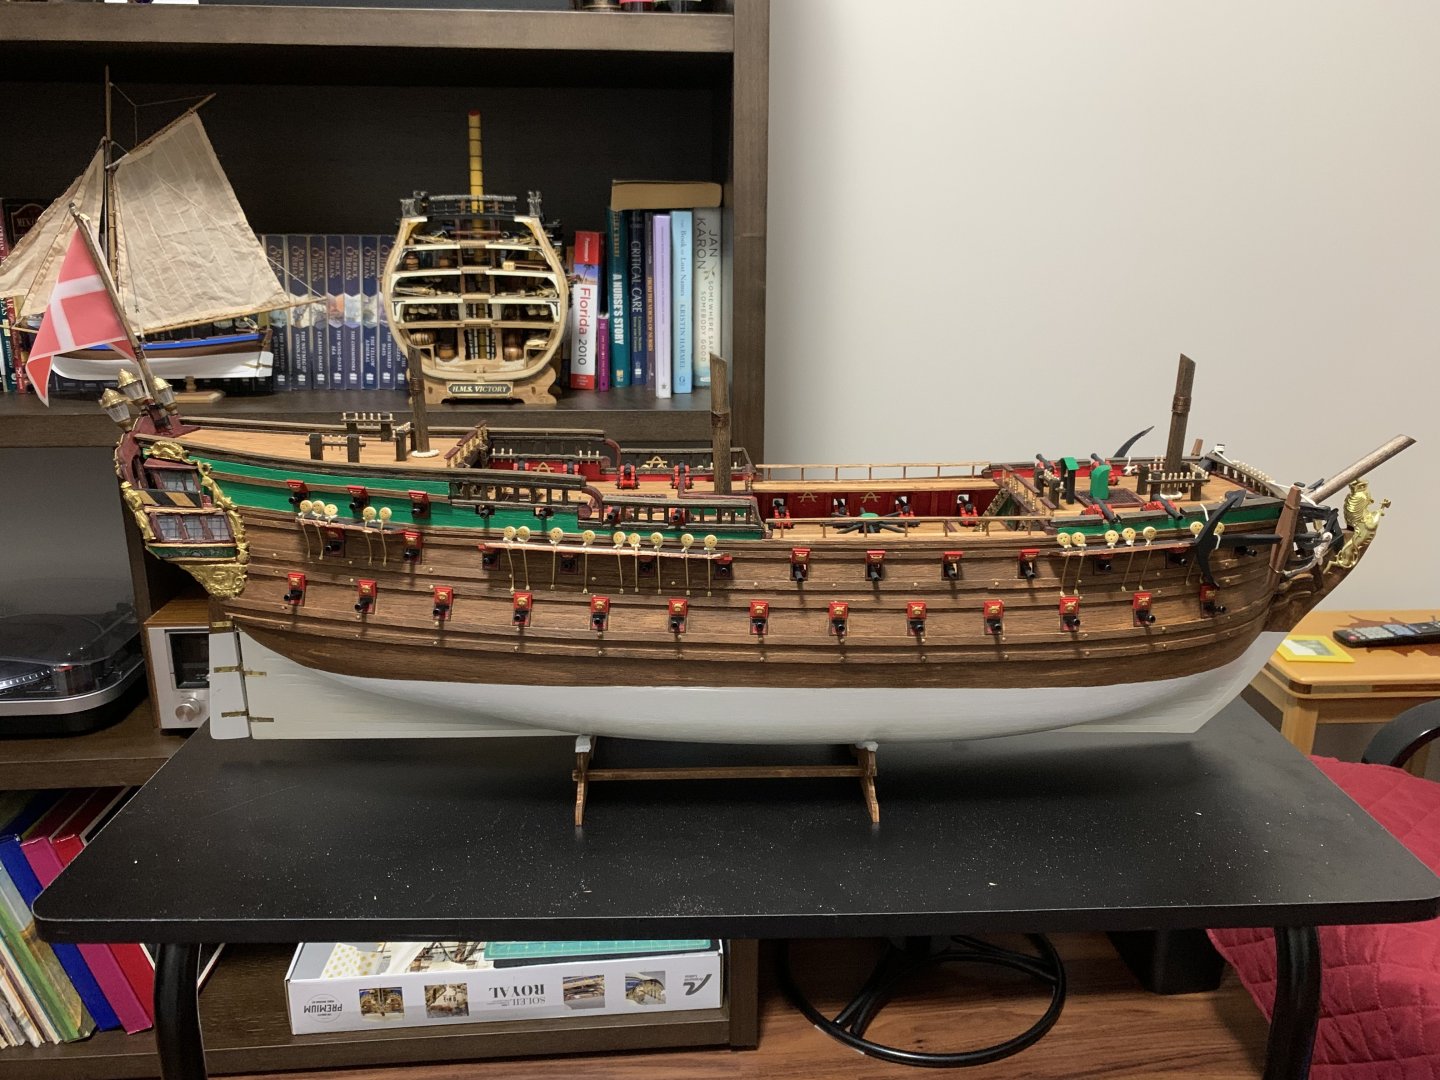
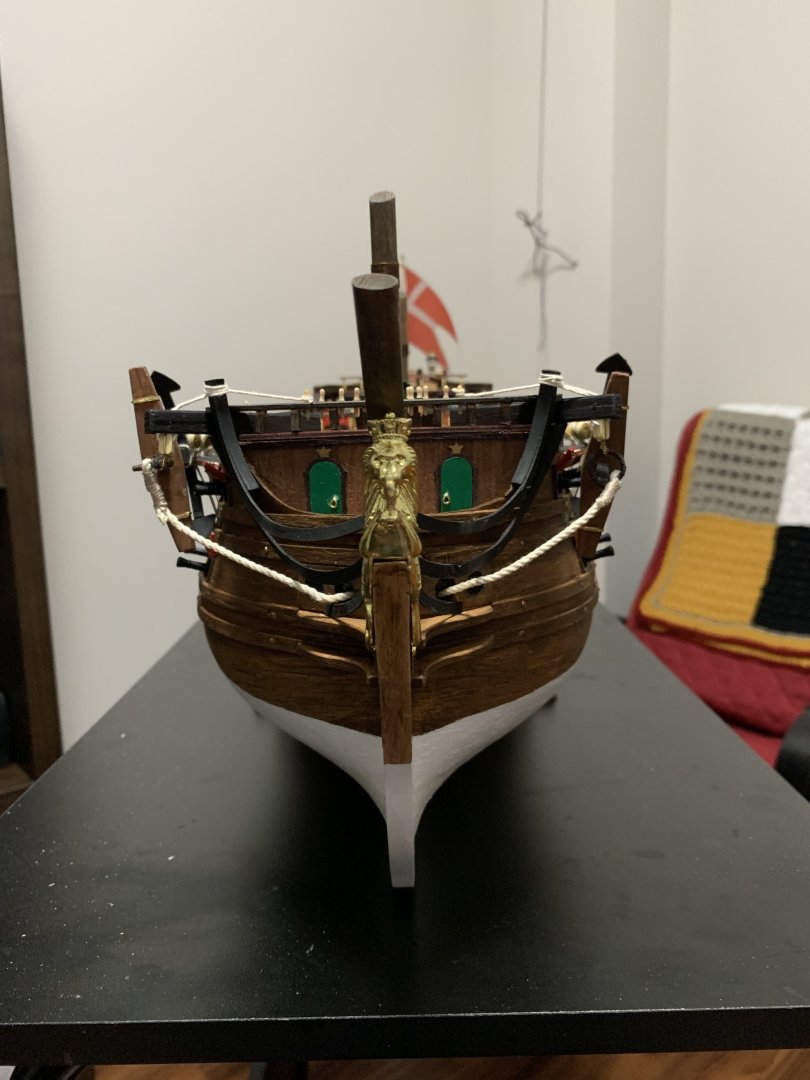
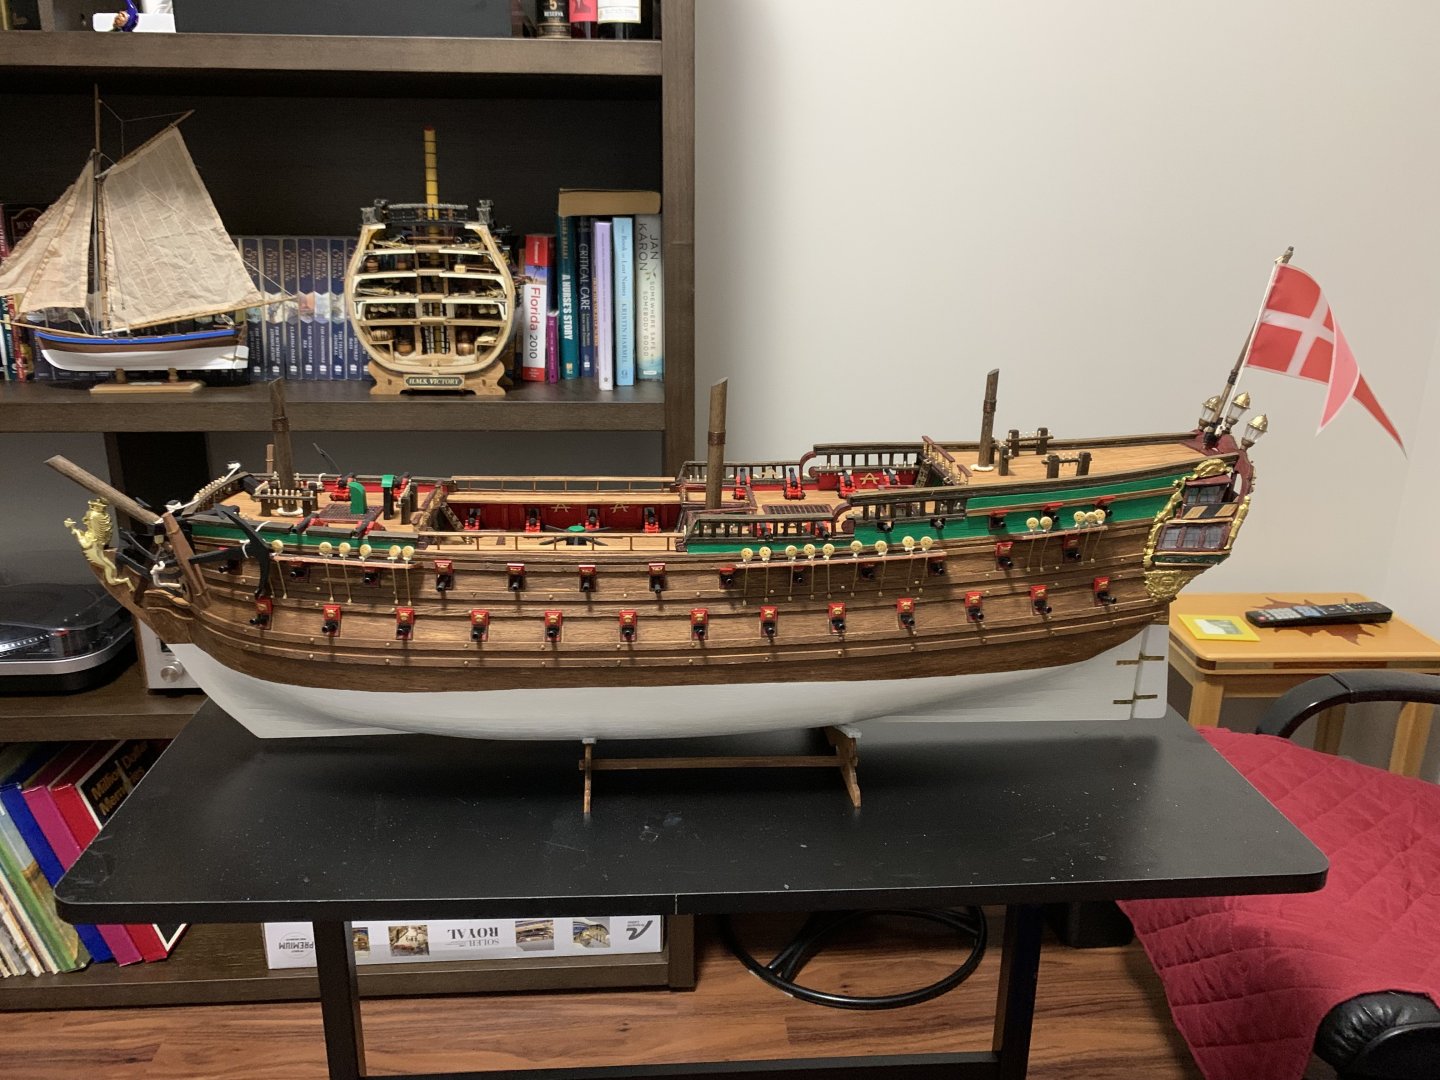
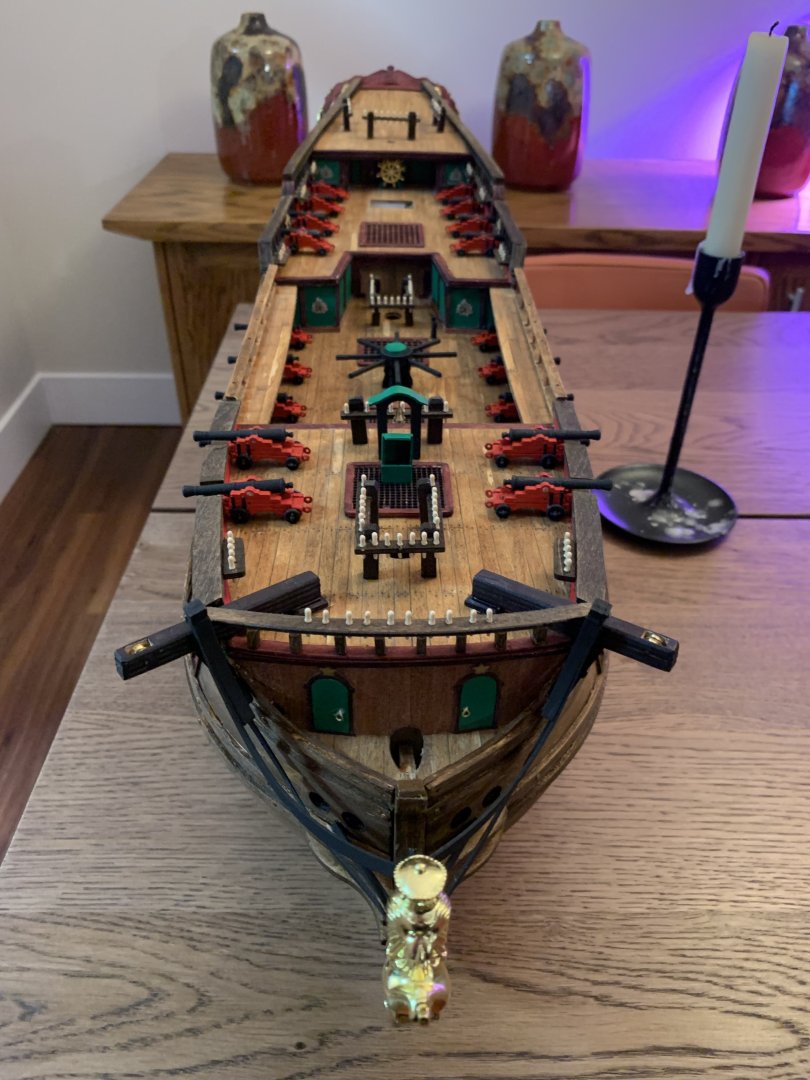
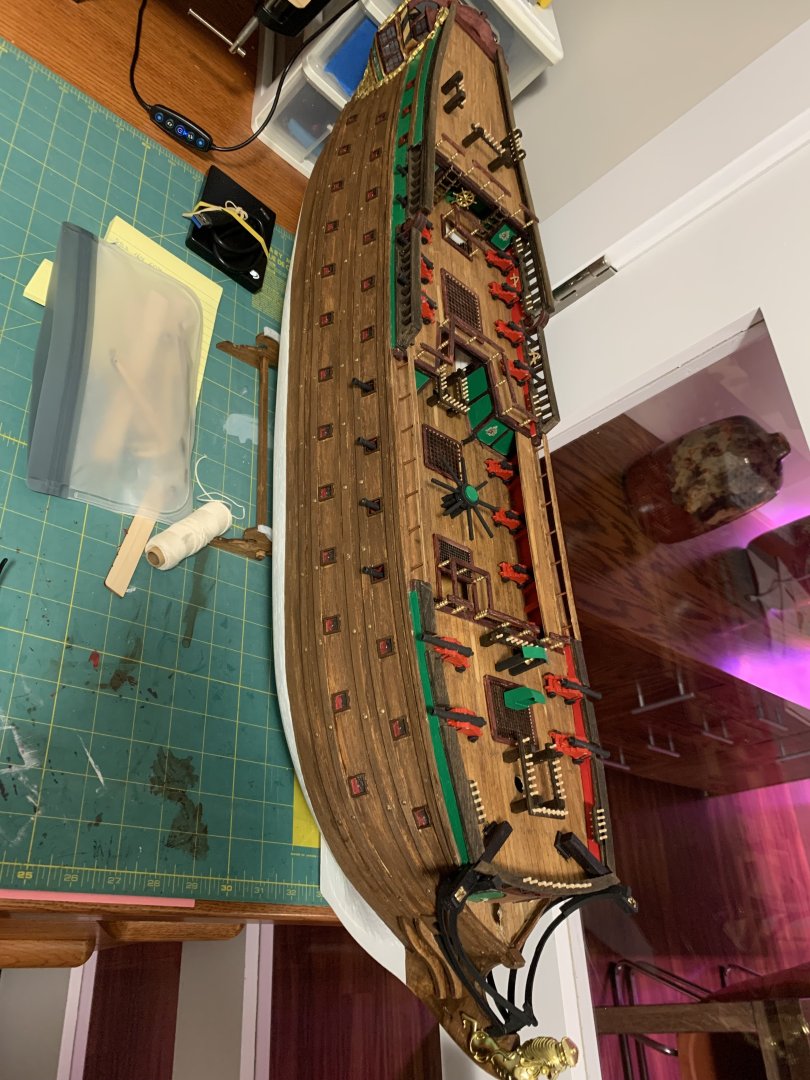
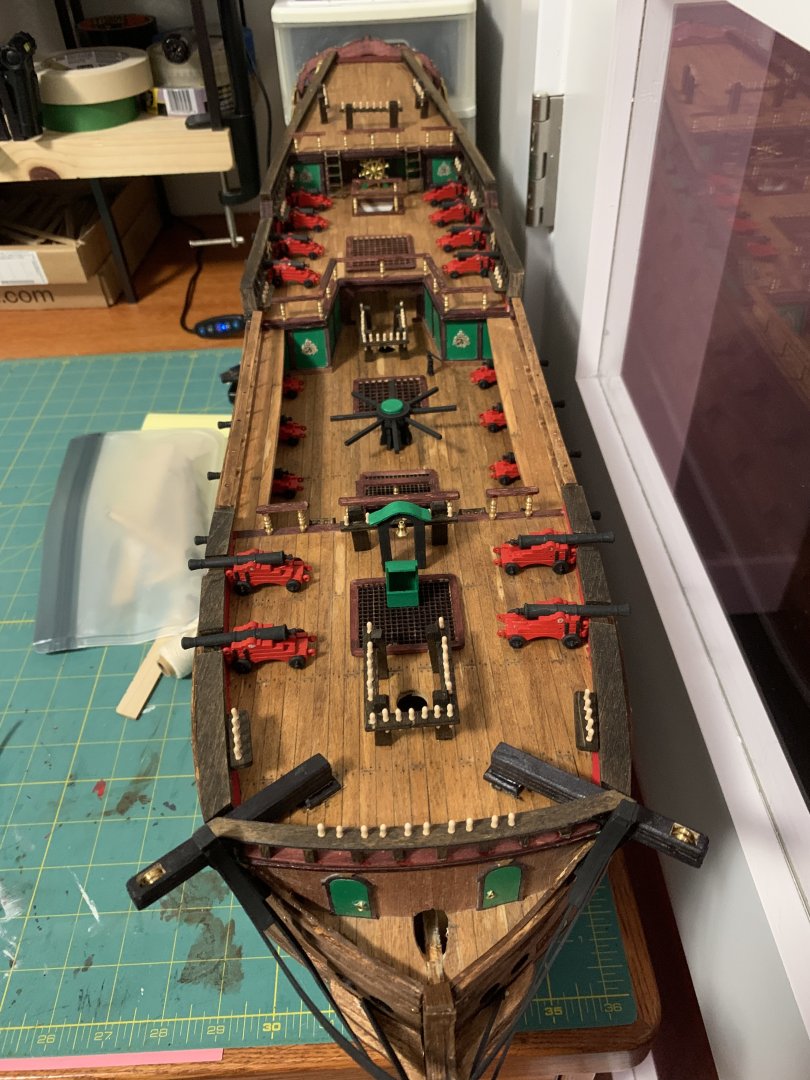
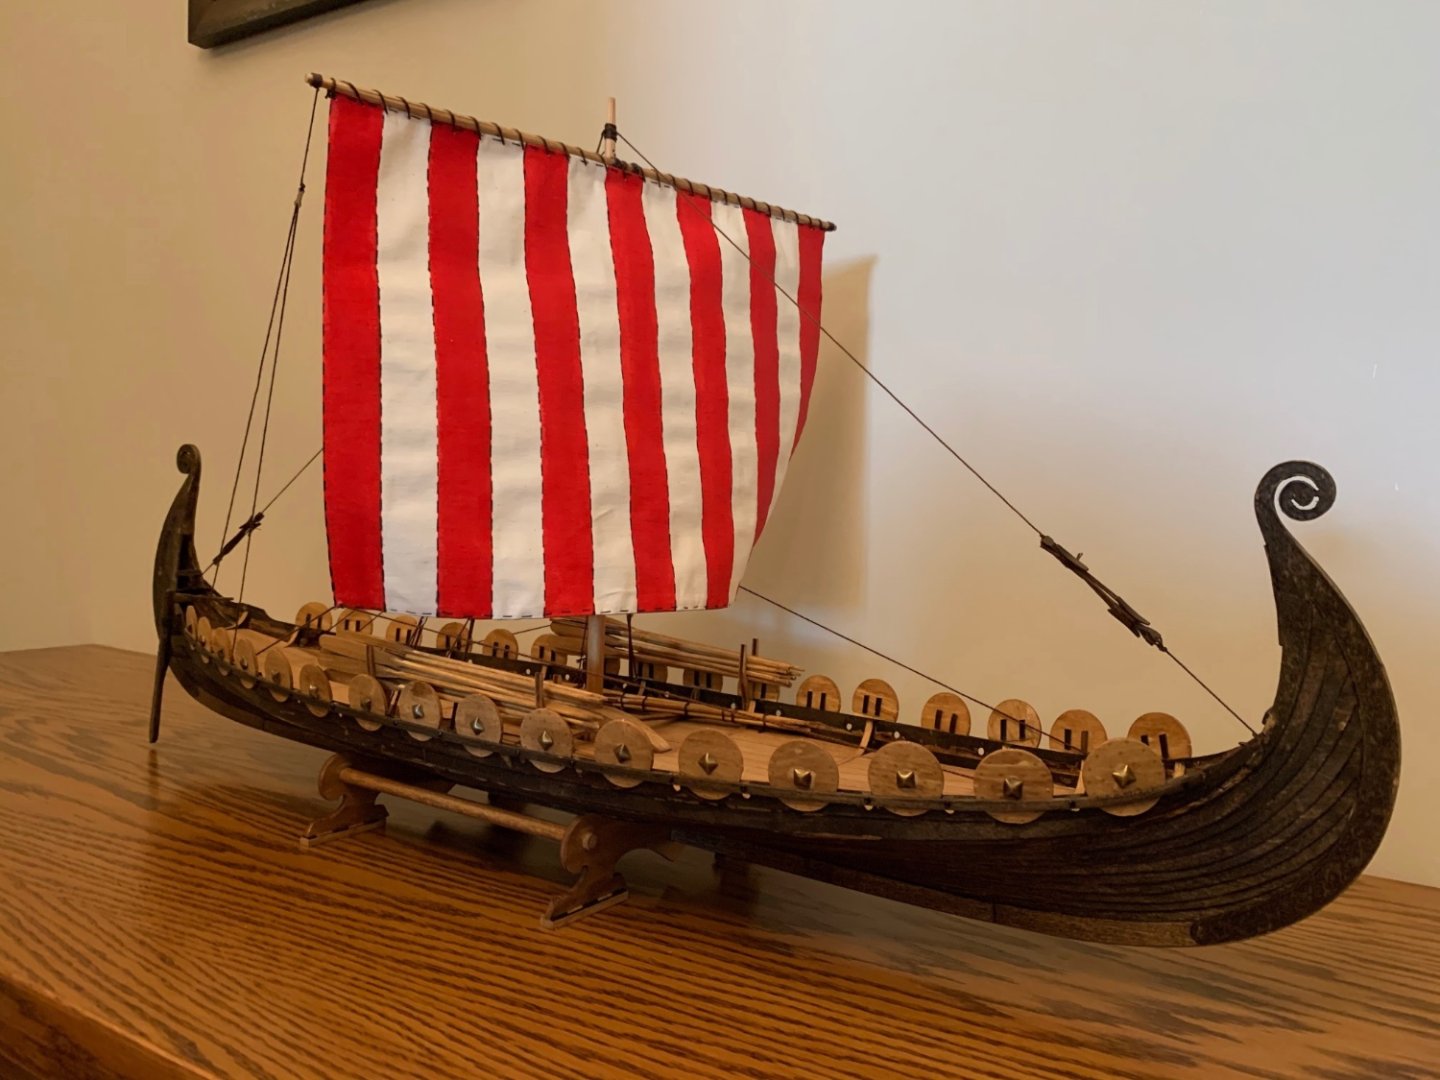
 I have gone as far as I plan on going in this build. It has been a great learning experience and a challenge. The Billings kit, although not what I would call high quality was at the right price point for my first big build. Thanks to everyone who gave input/help and stopped by, the following pictures are of the end product. If anyone wants to check out a short video of the build it can be seen here:
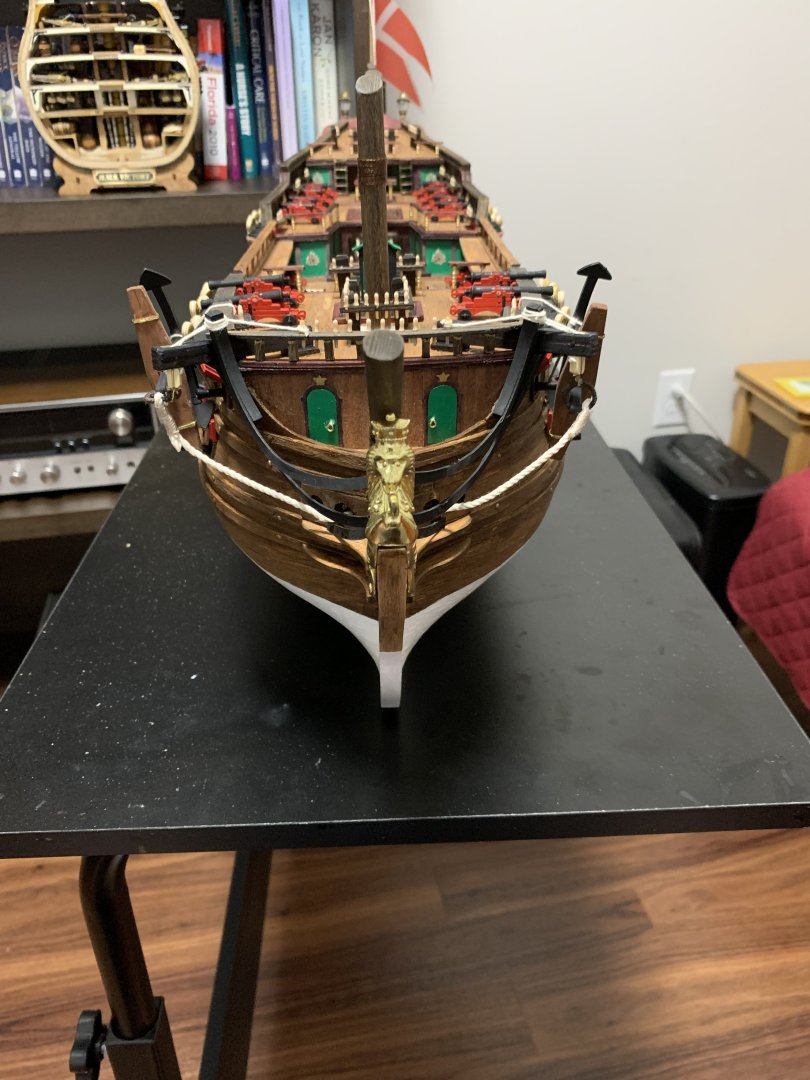


- 48 replies
-
- 6
-

-

-
- norske love
- billing boats
- (and 1 more)
-
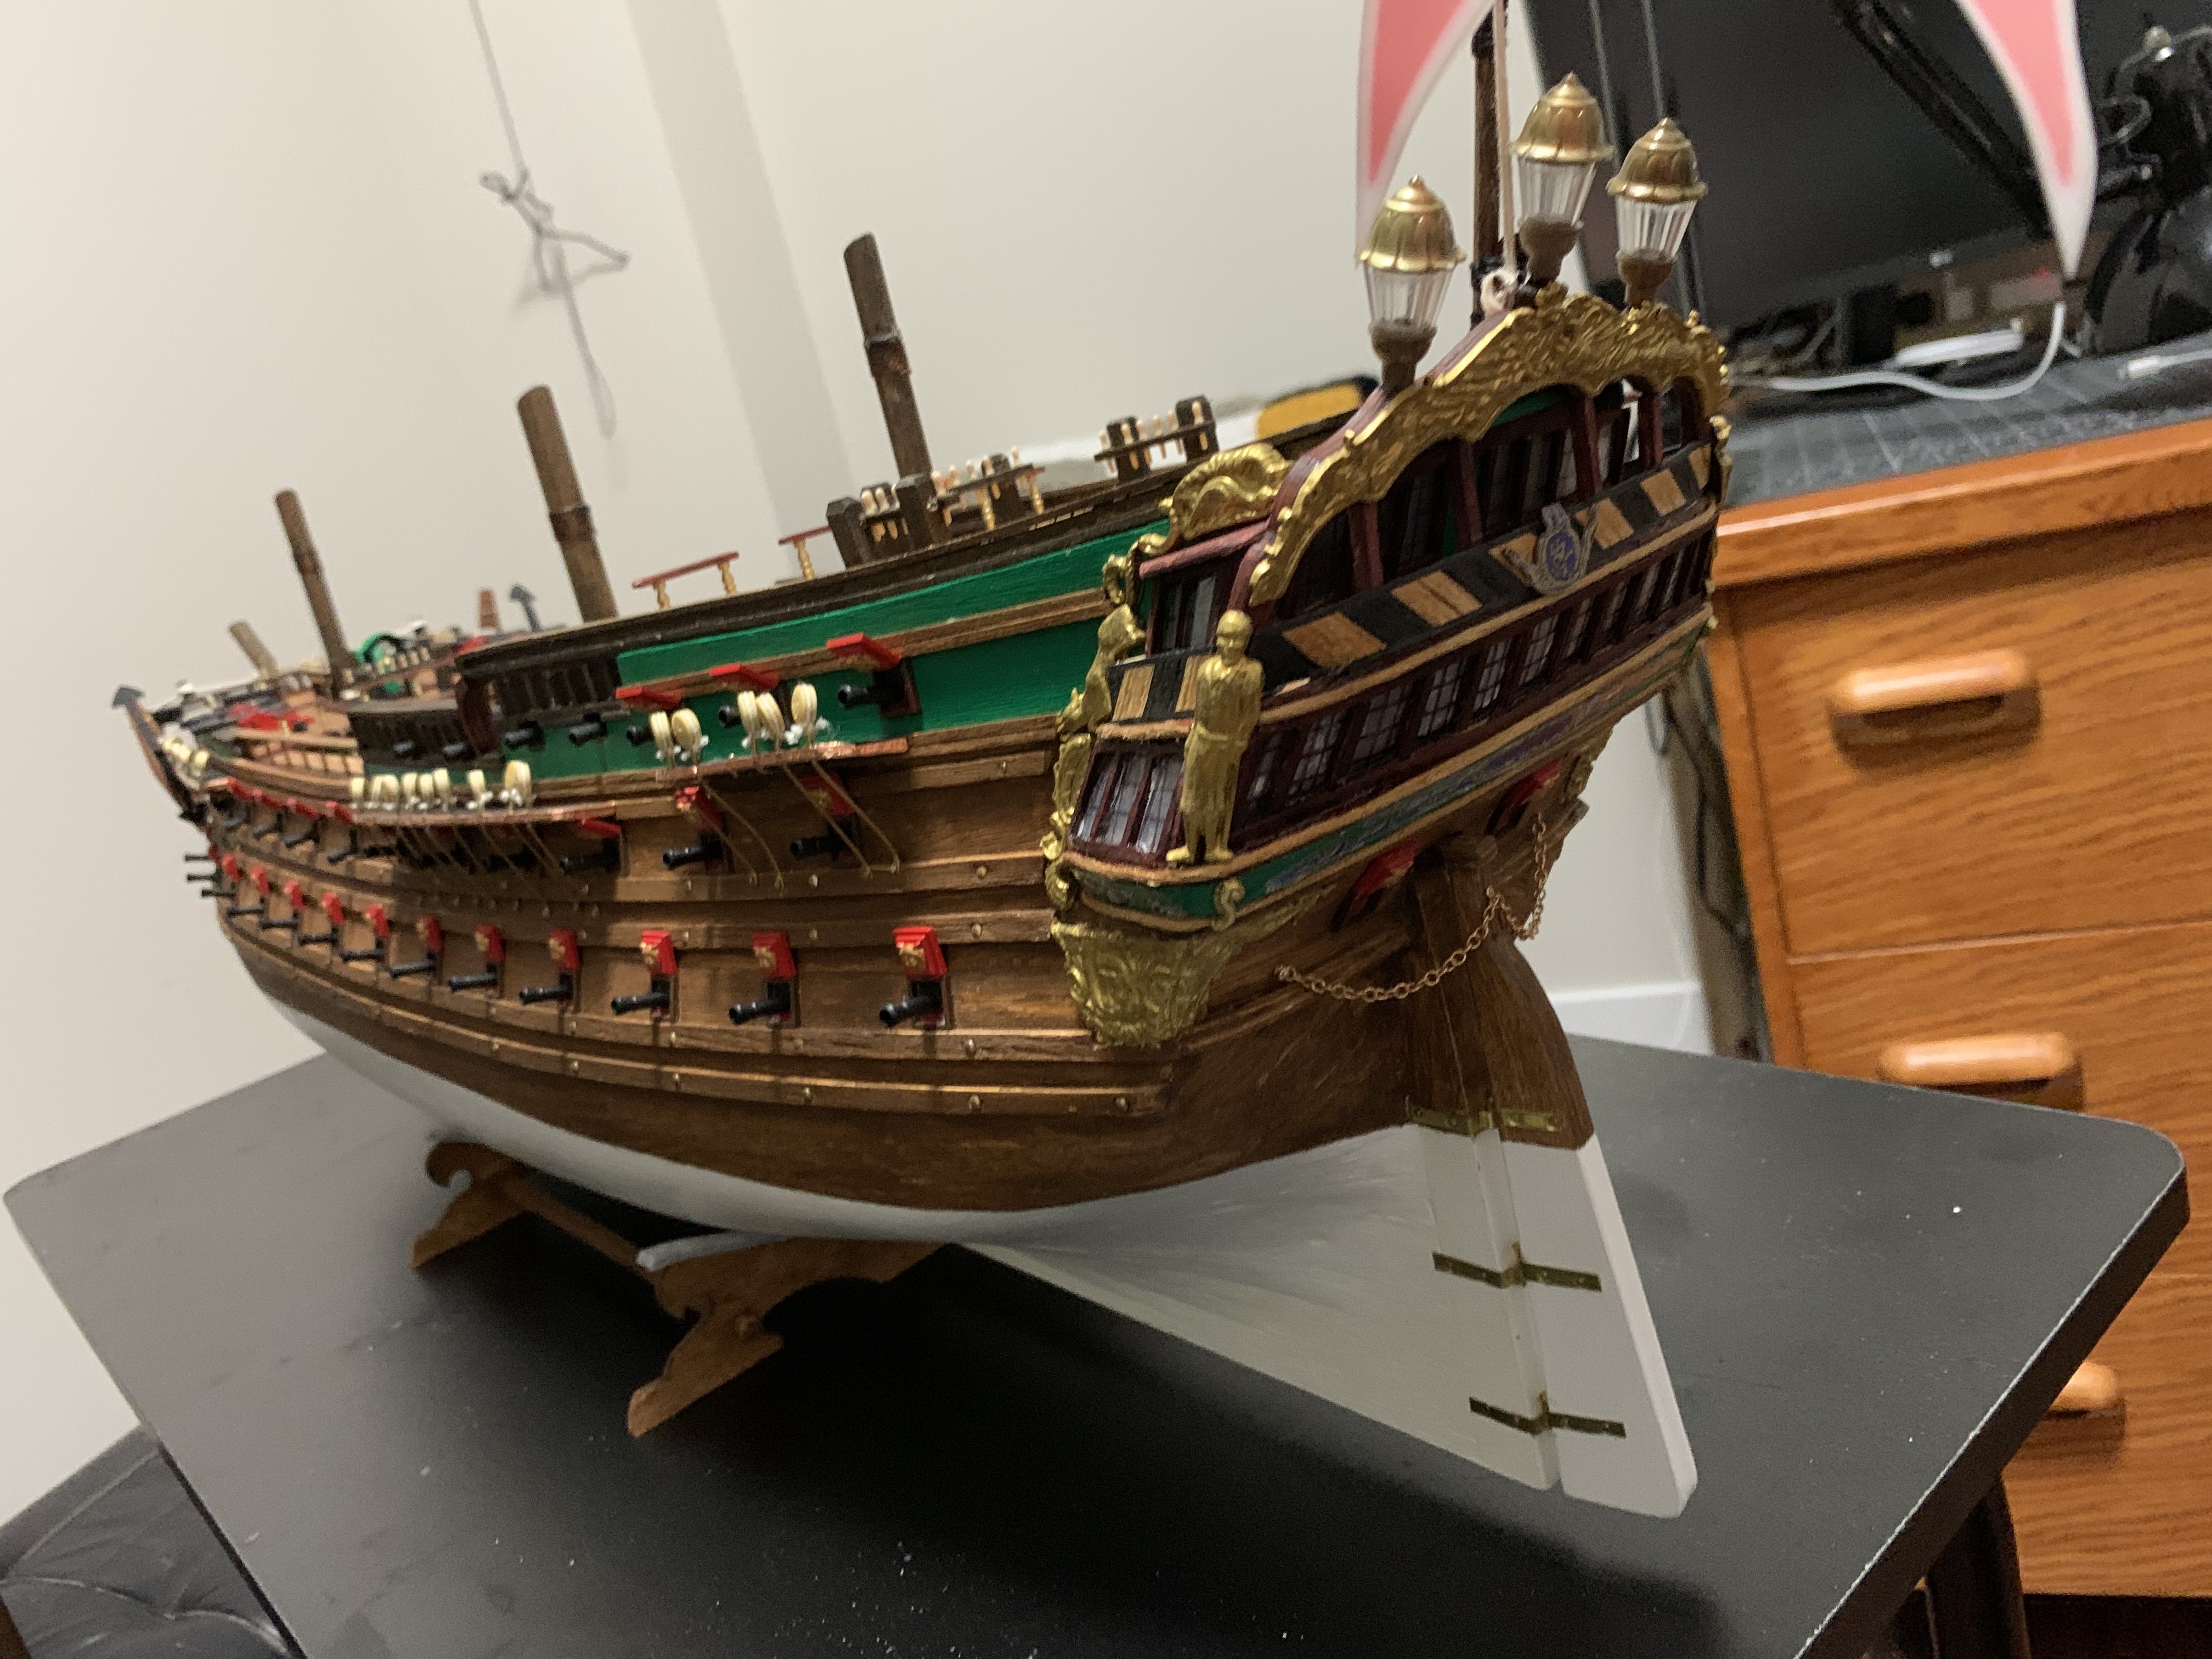
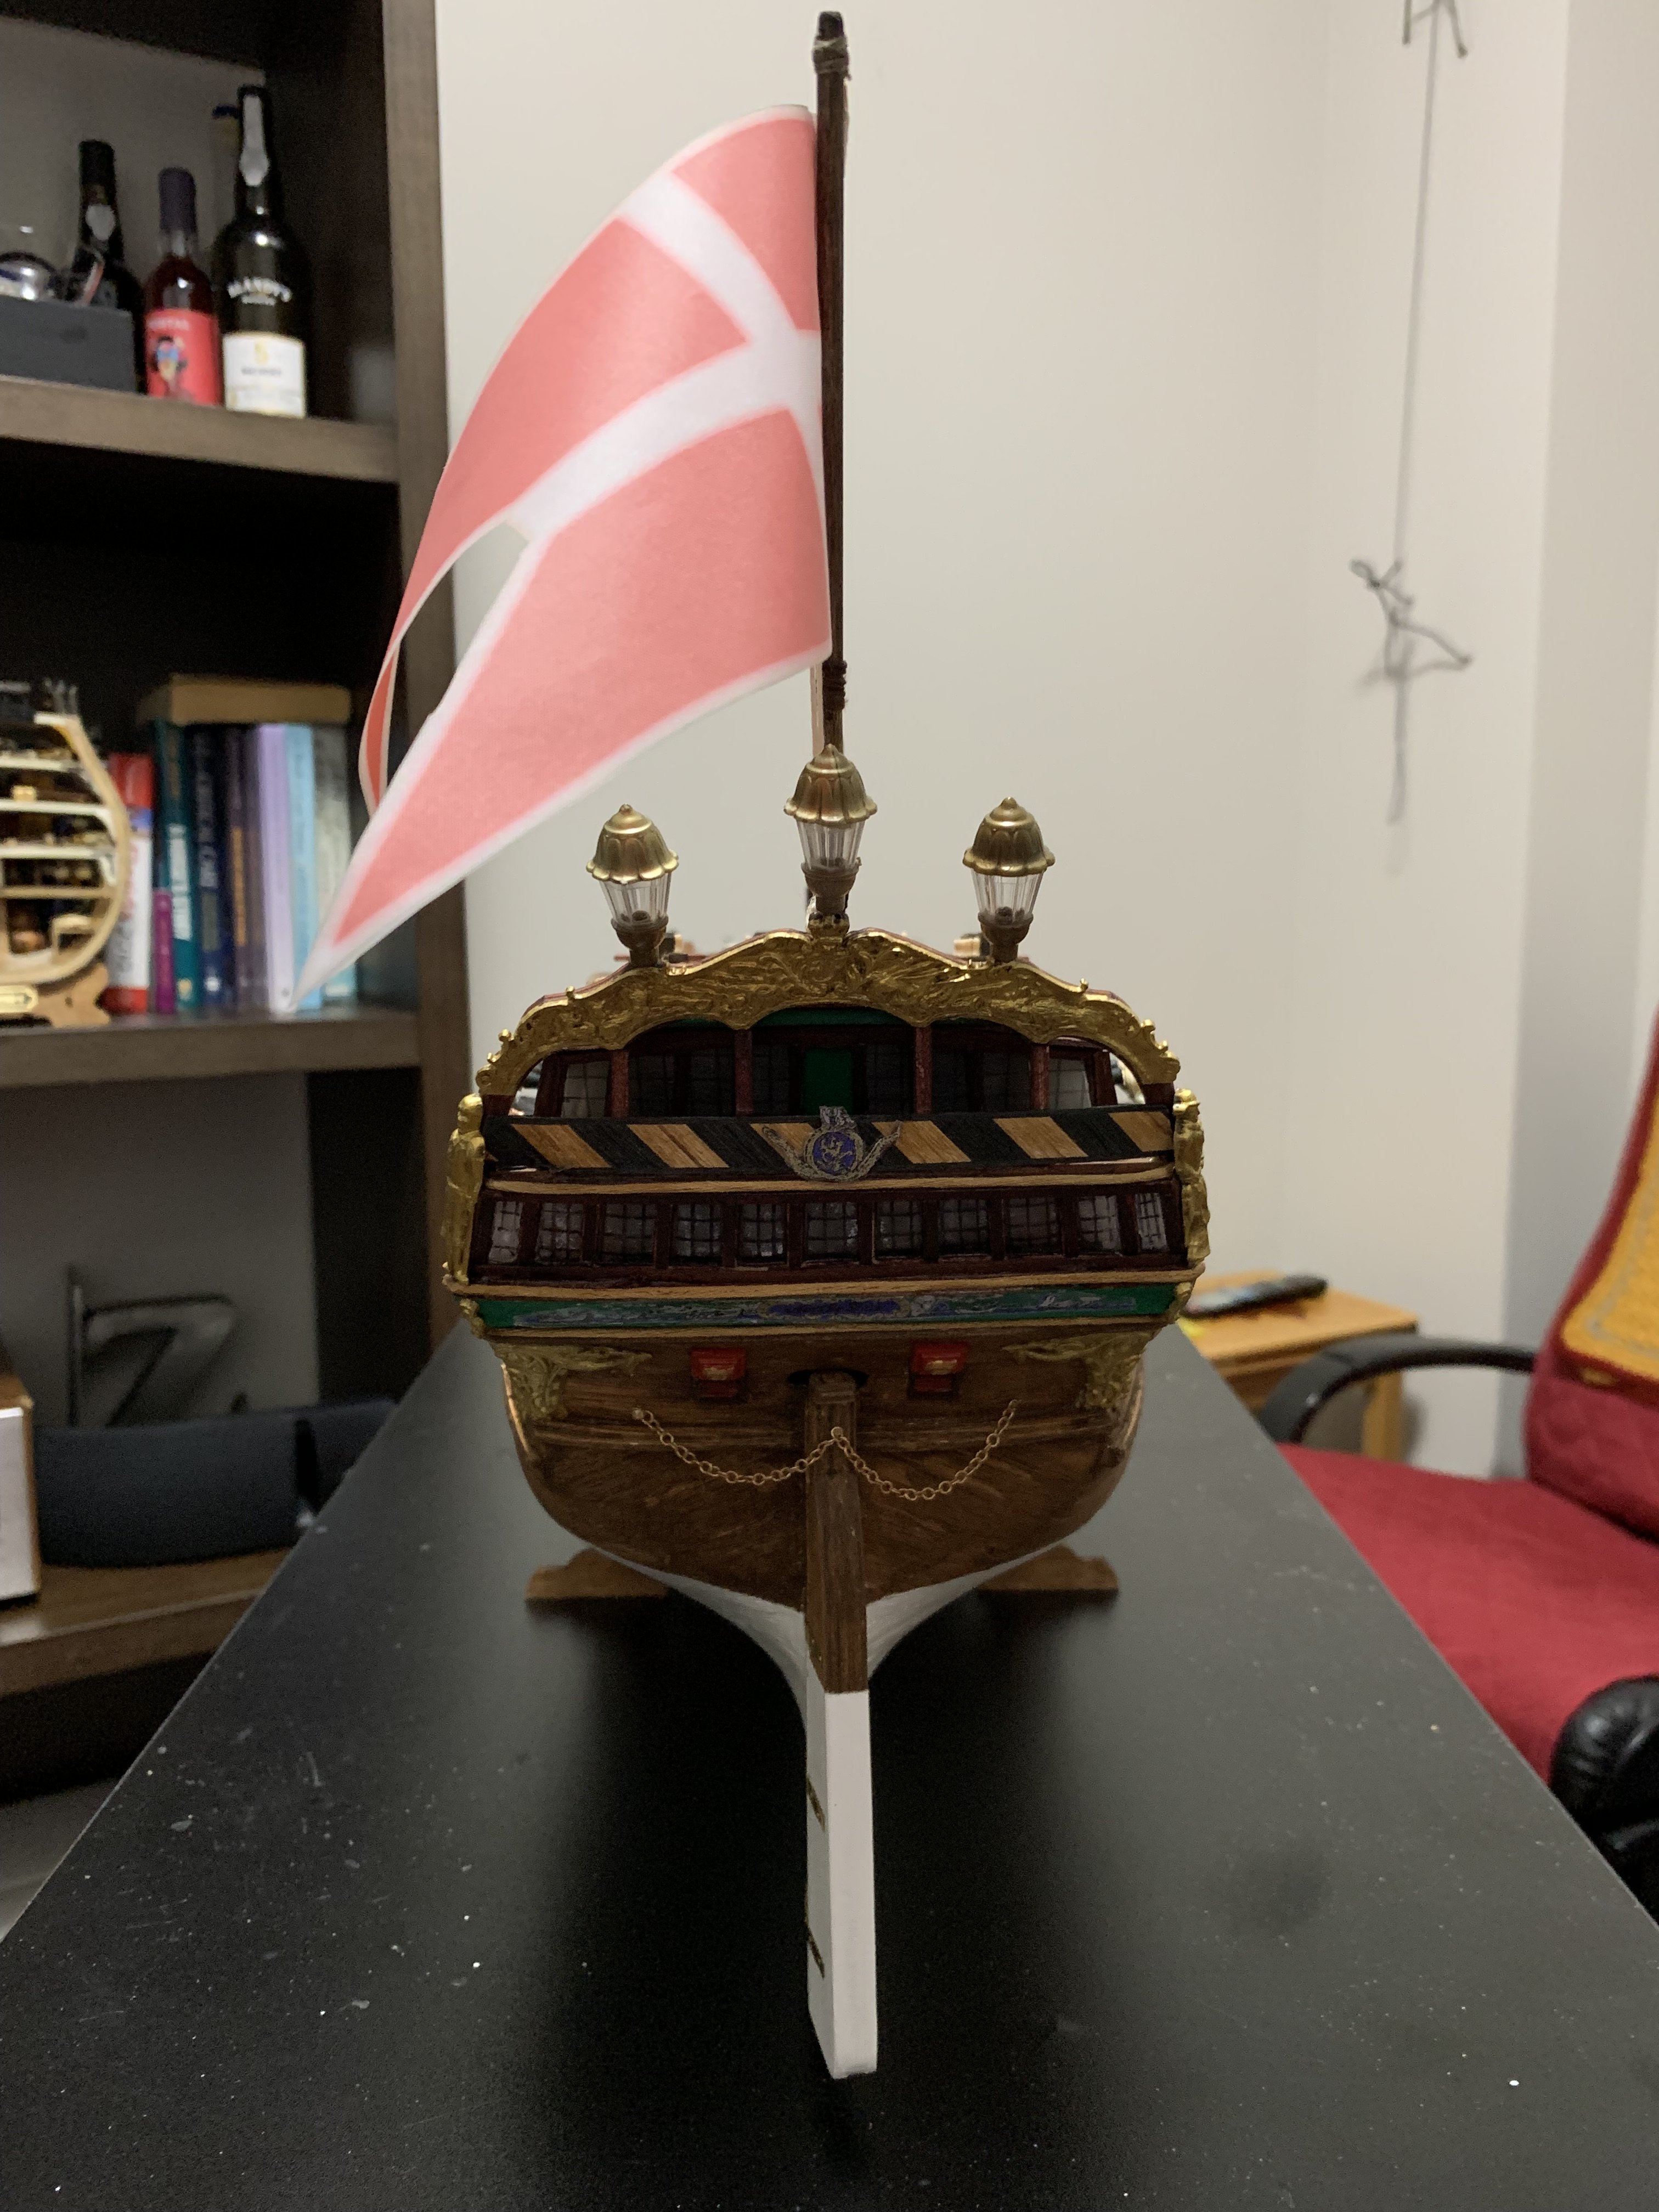
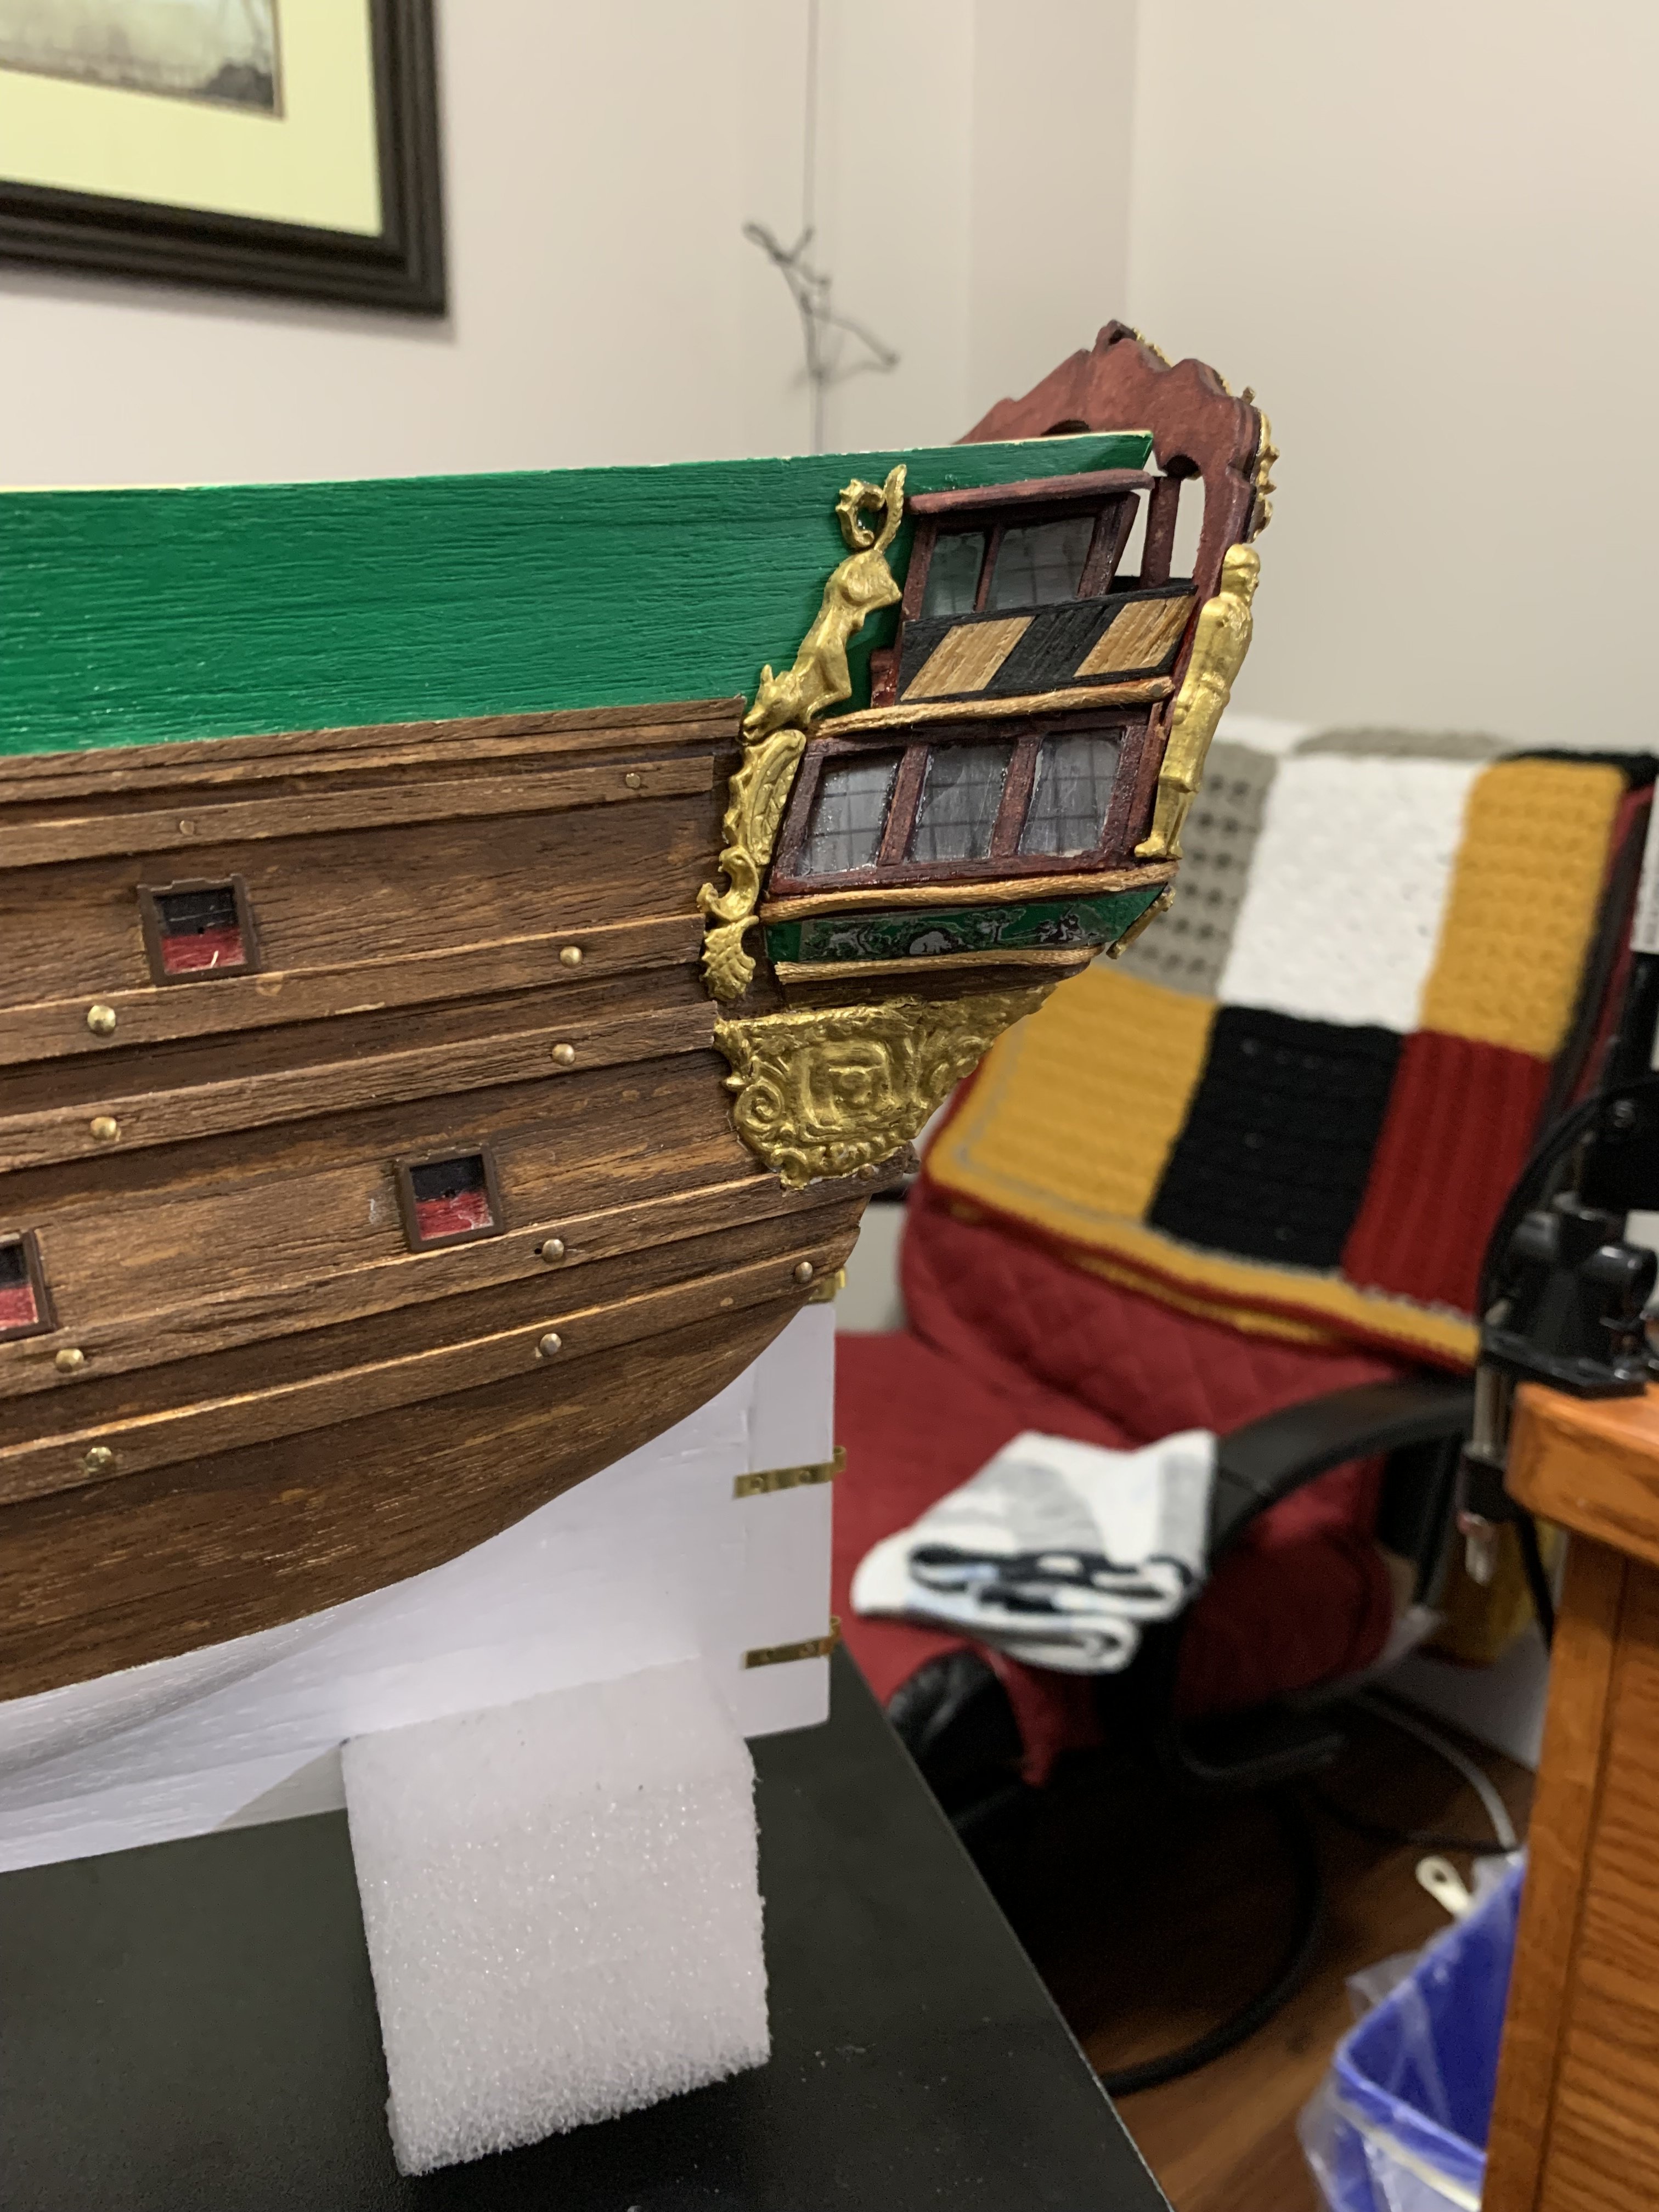
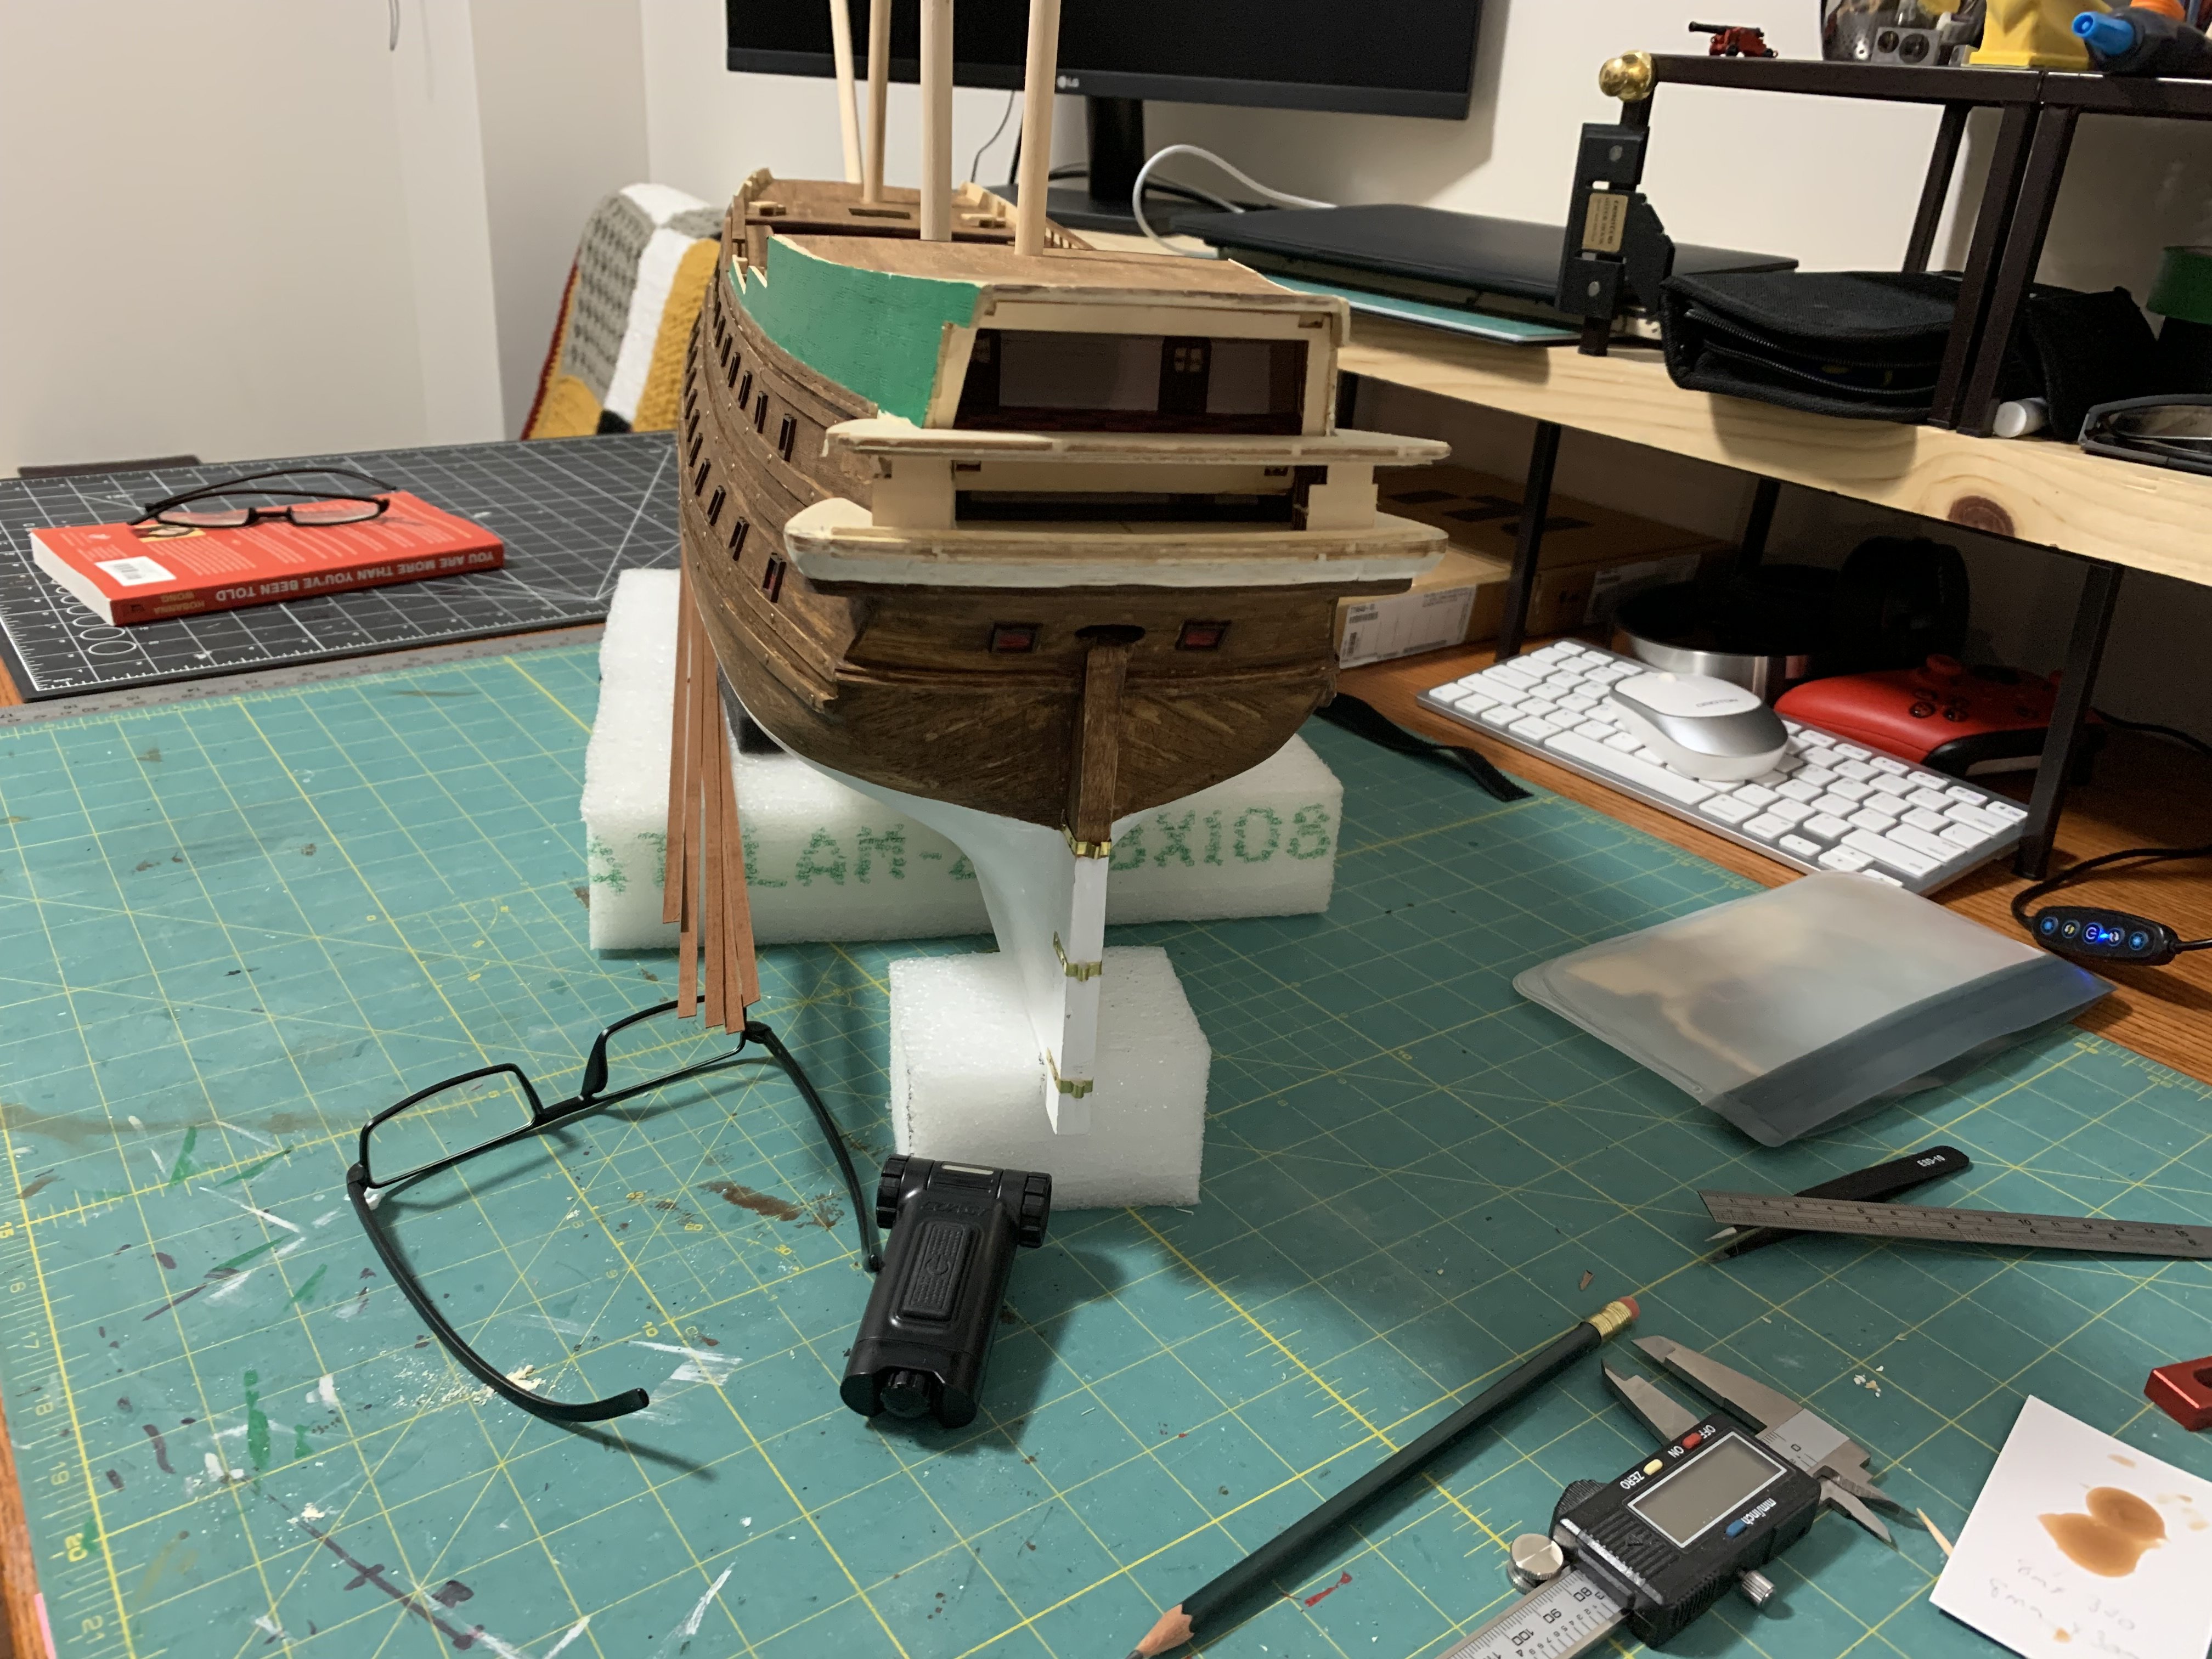
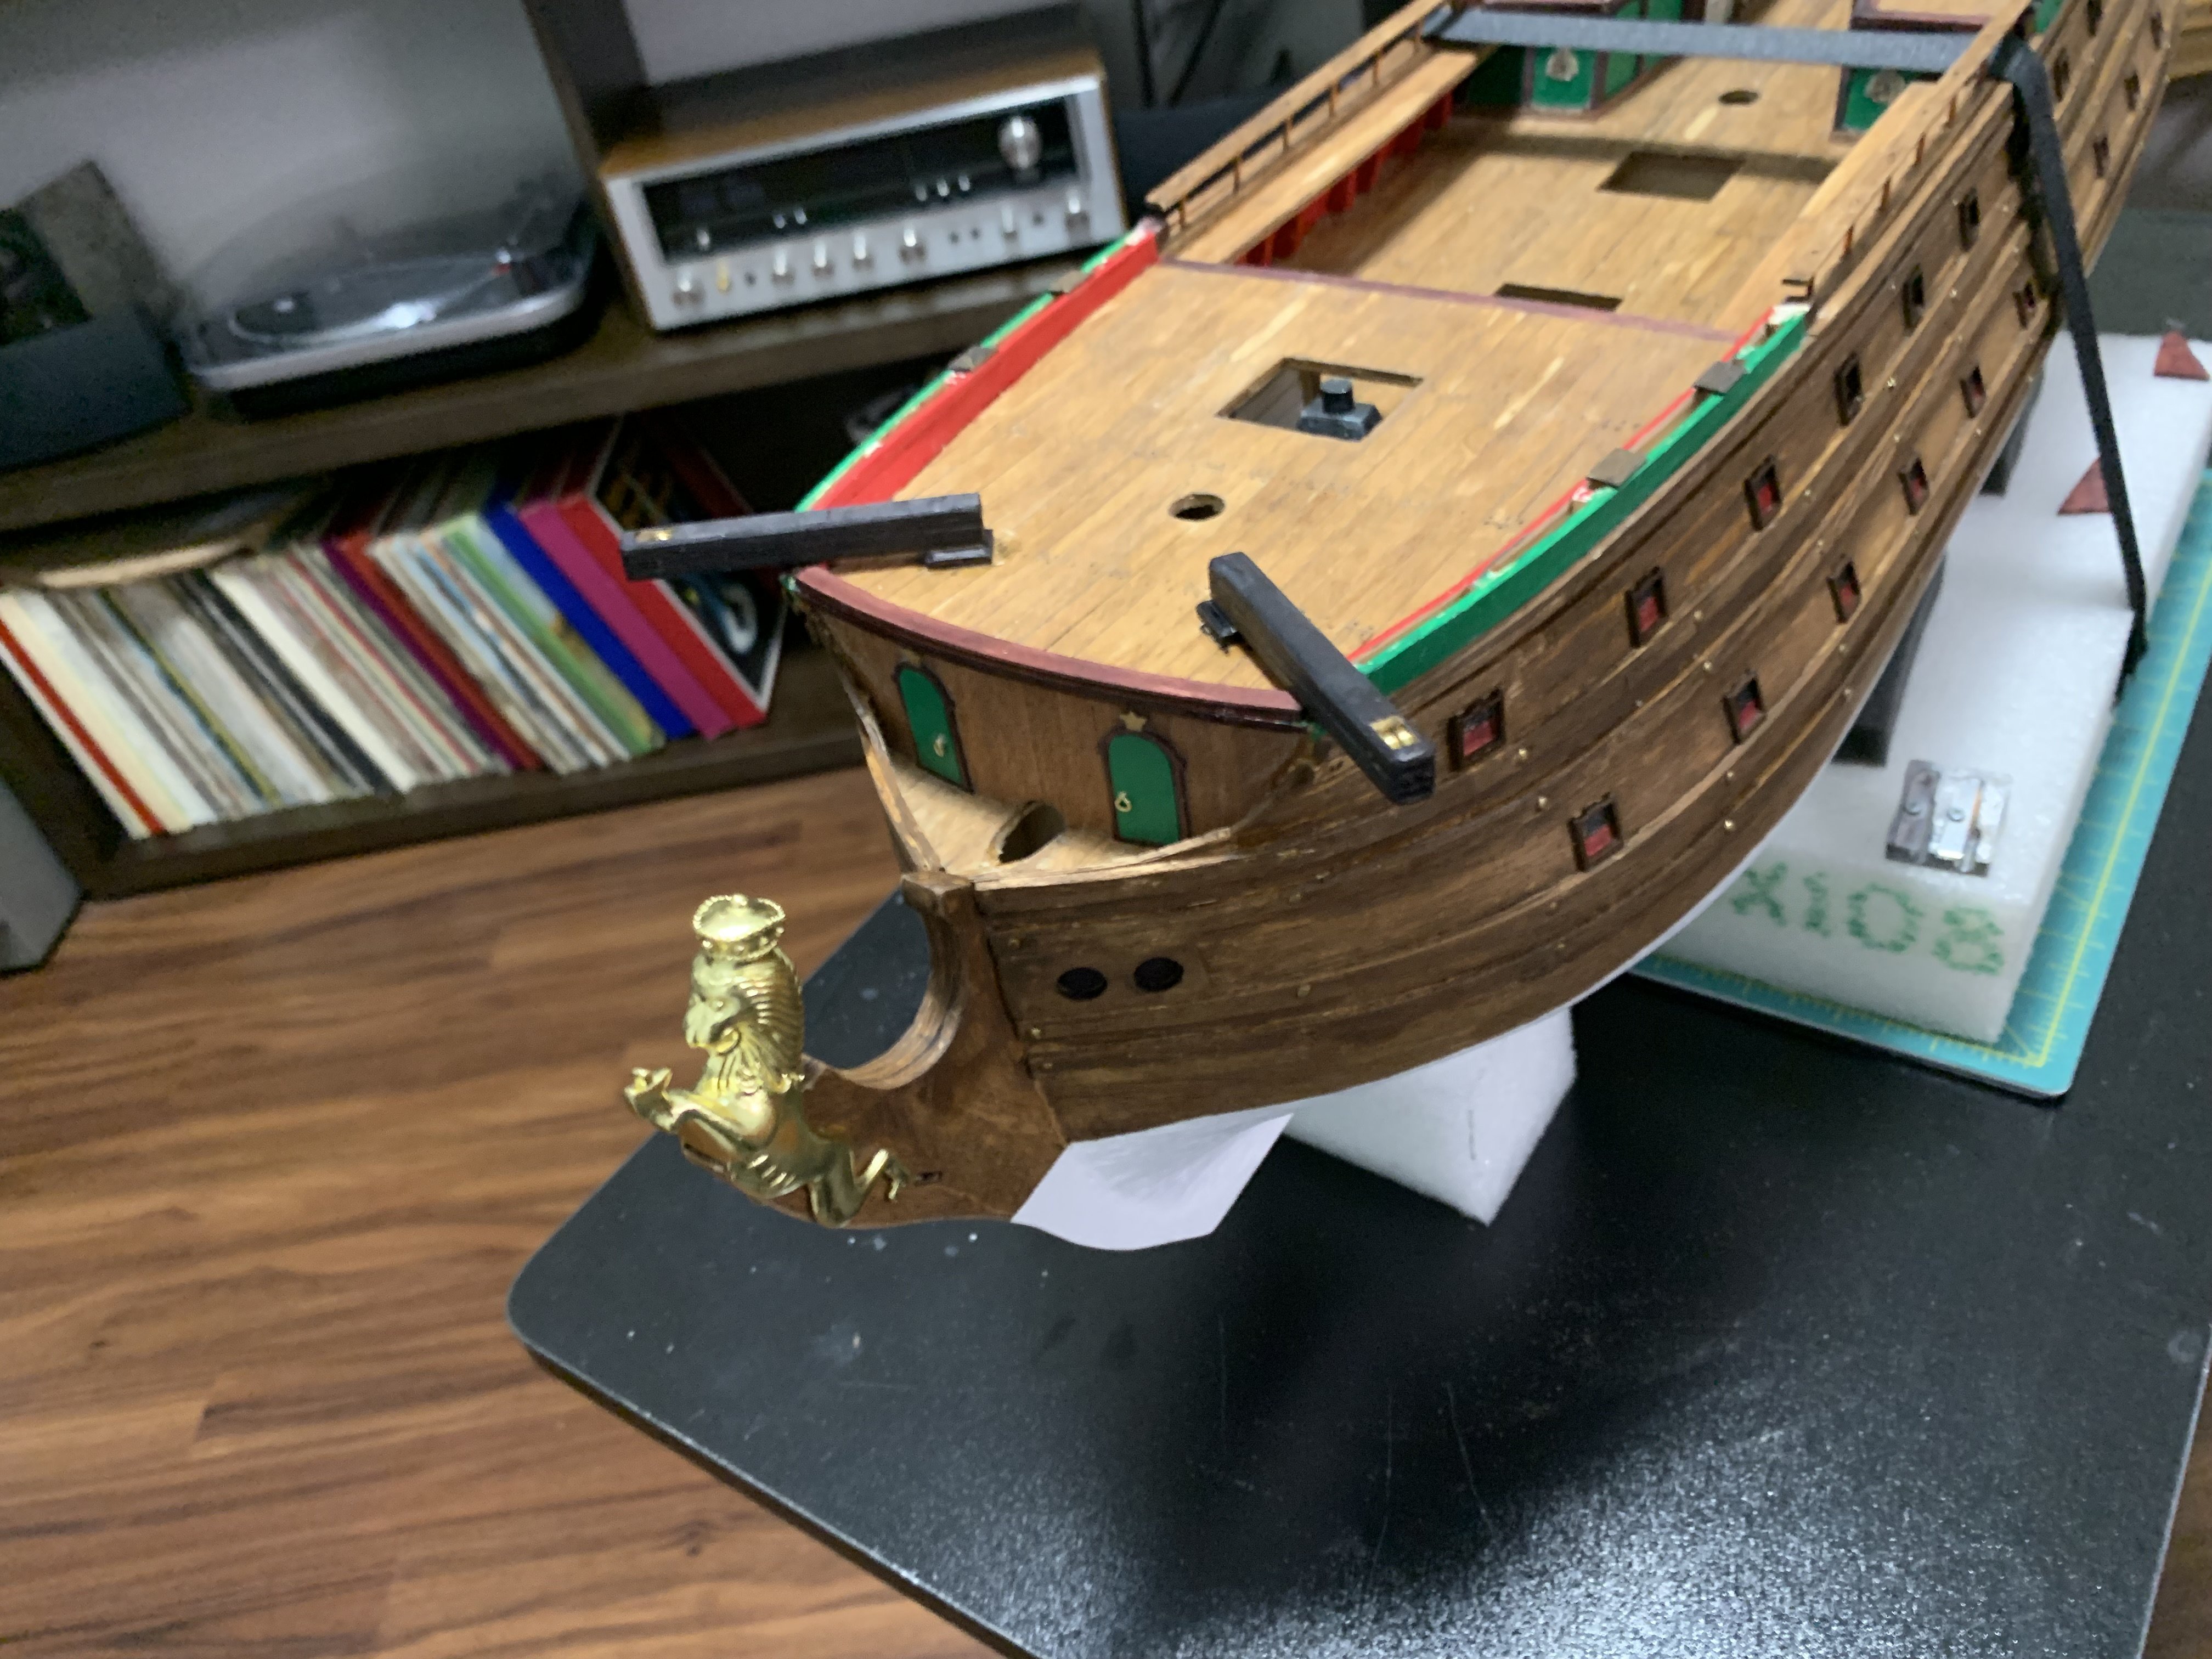
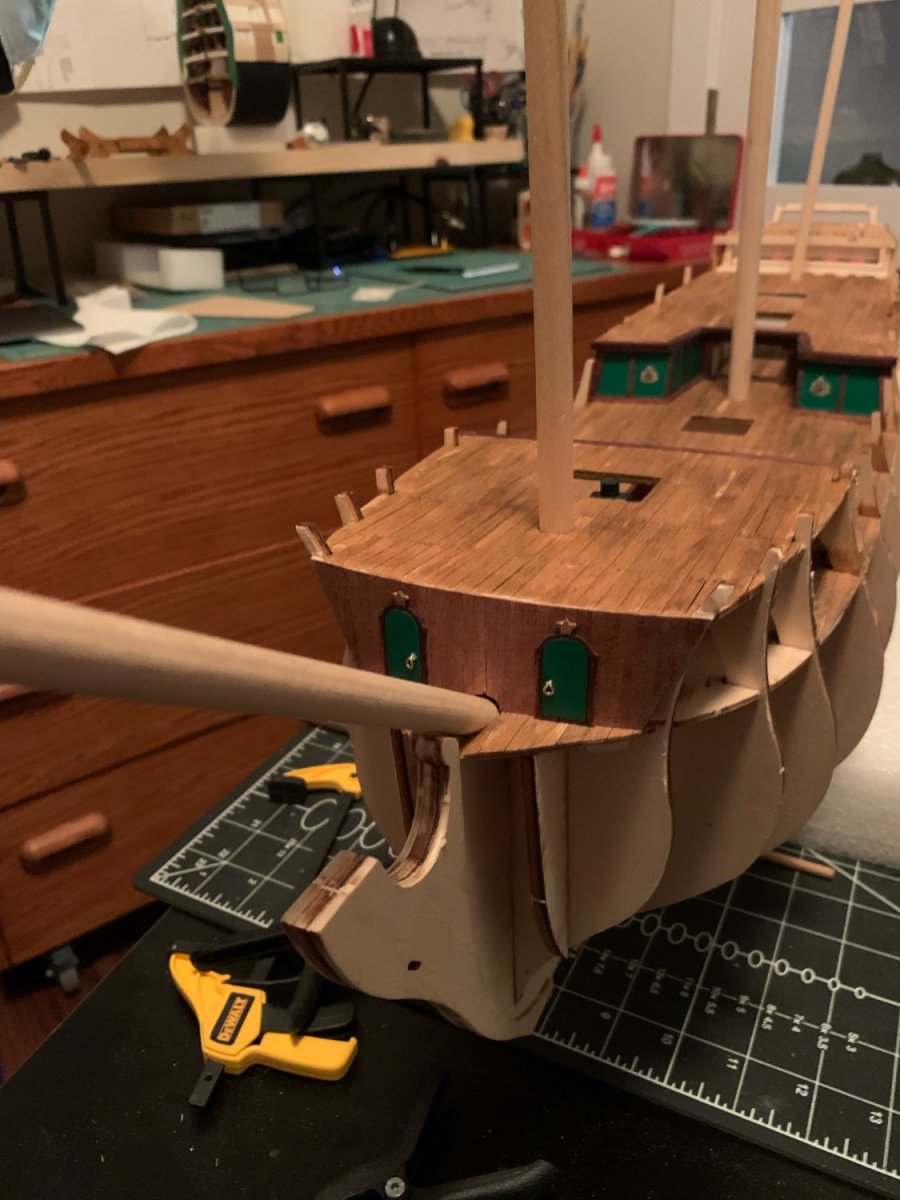
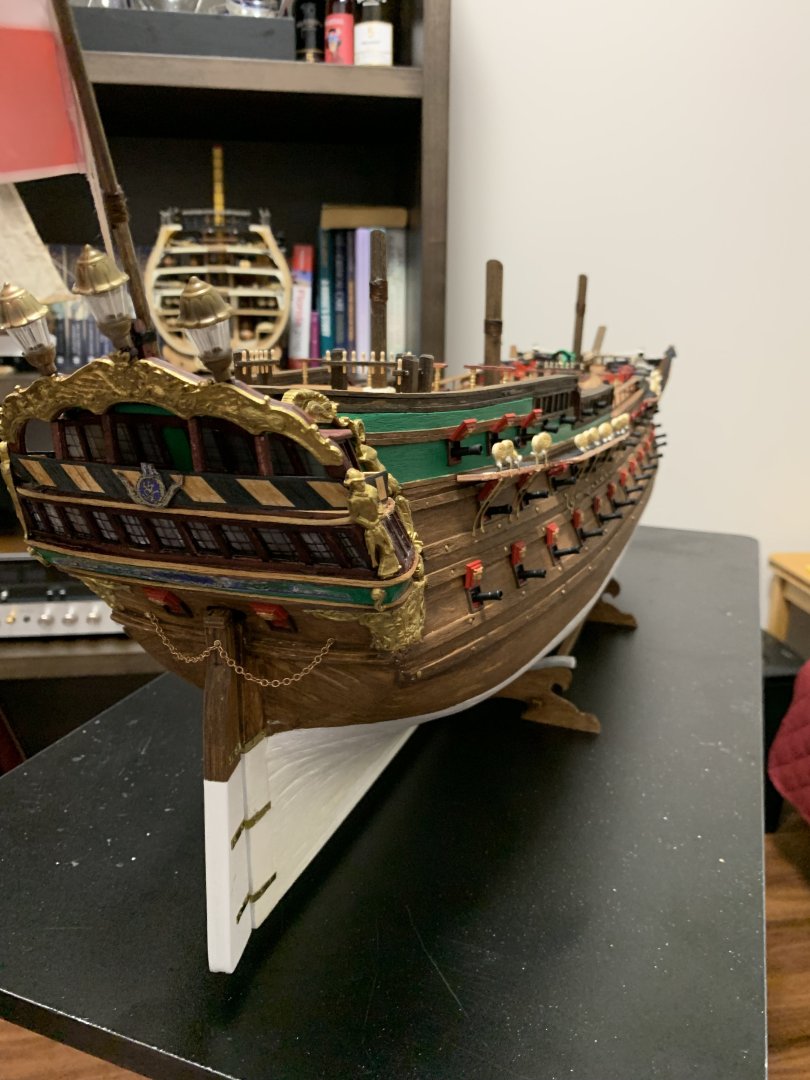
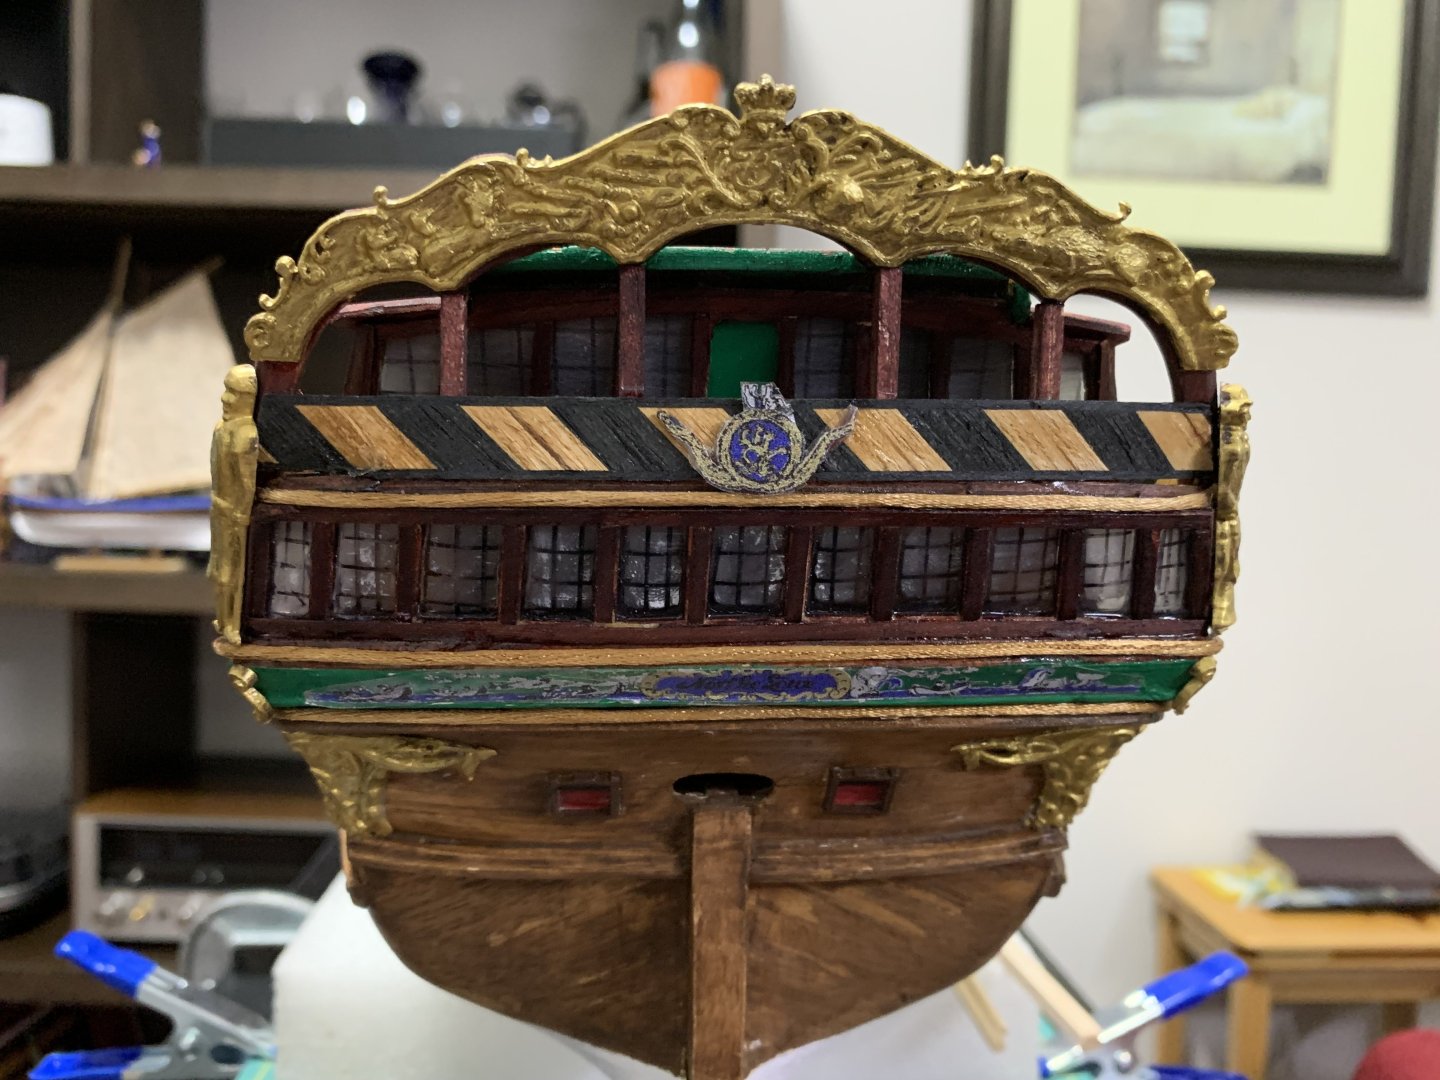
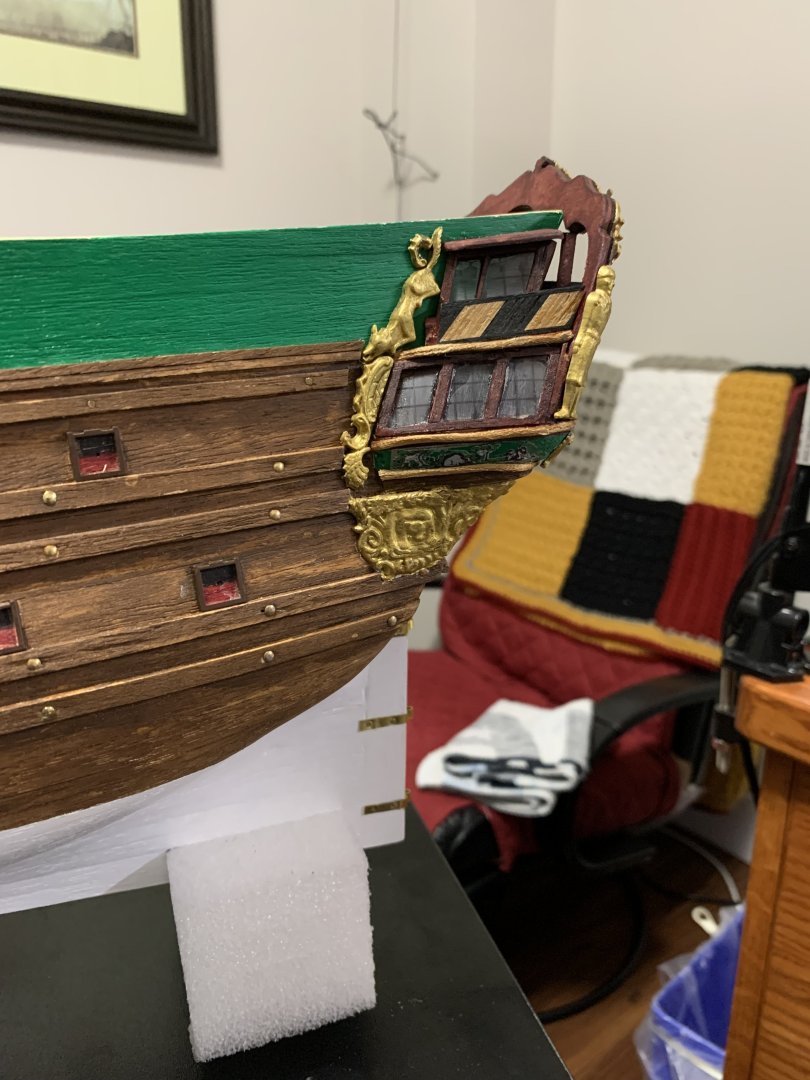
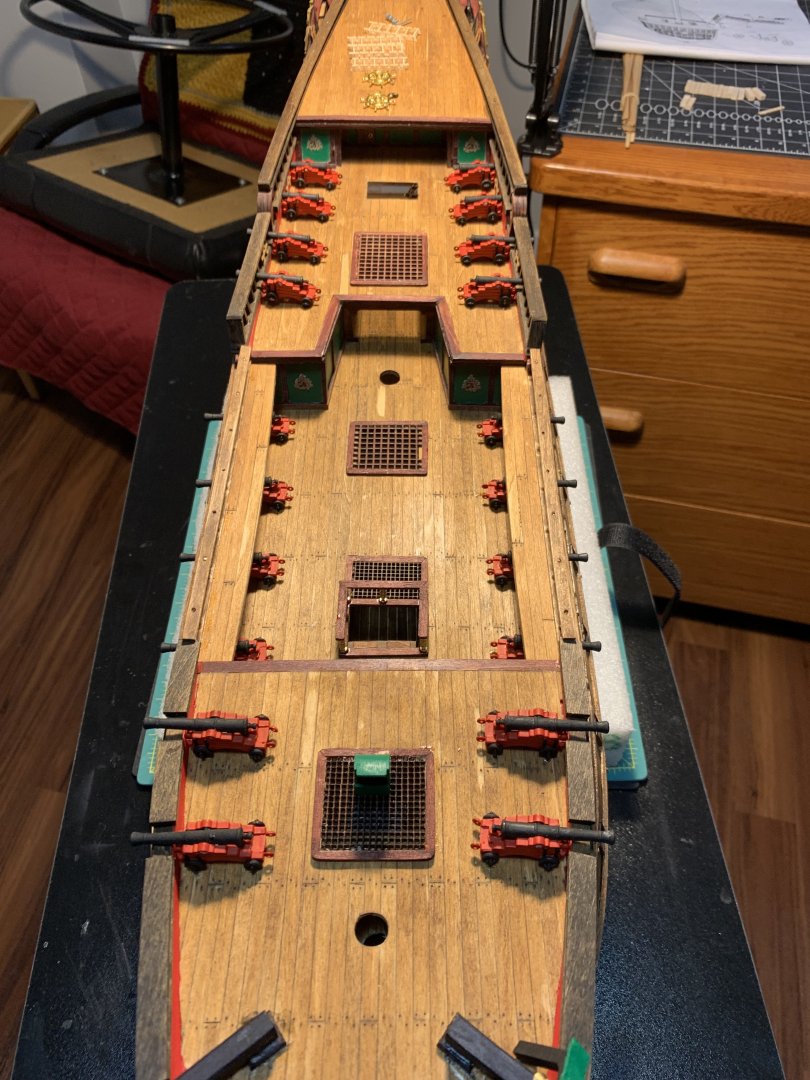
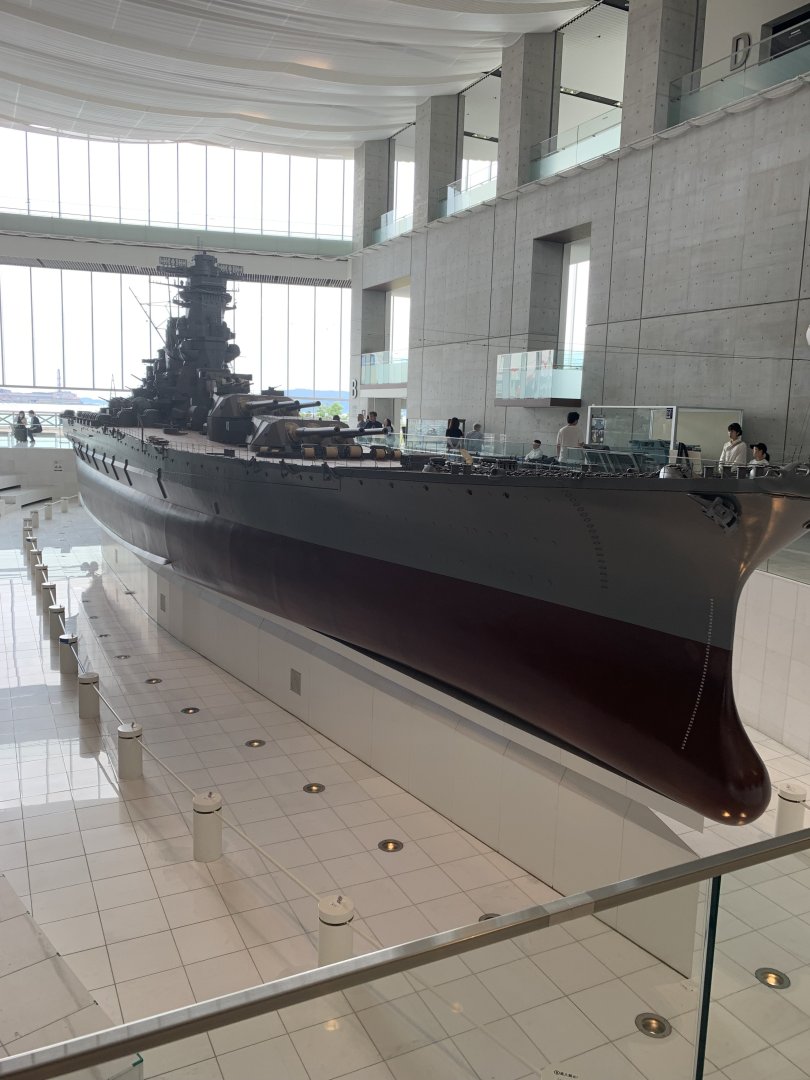
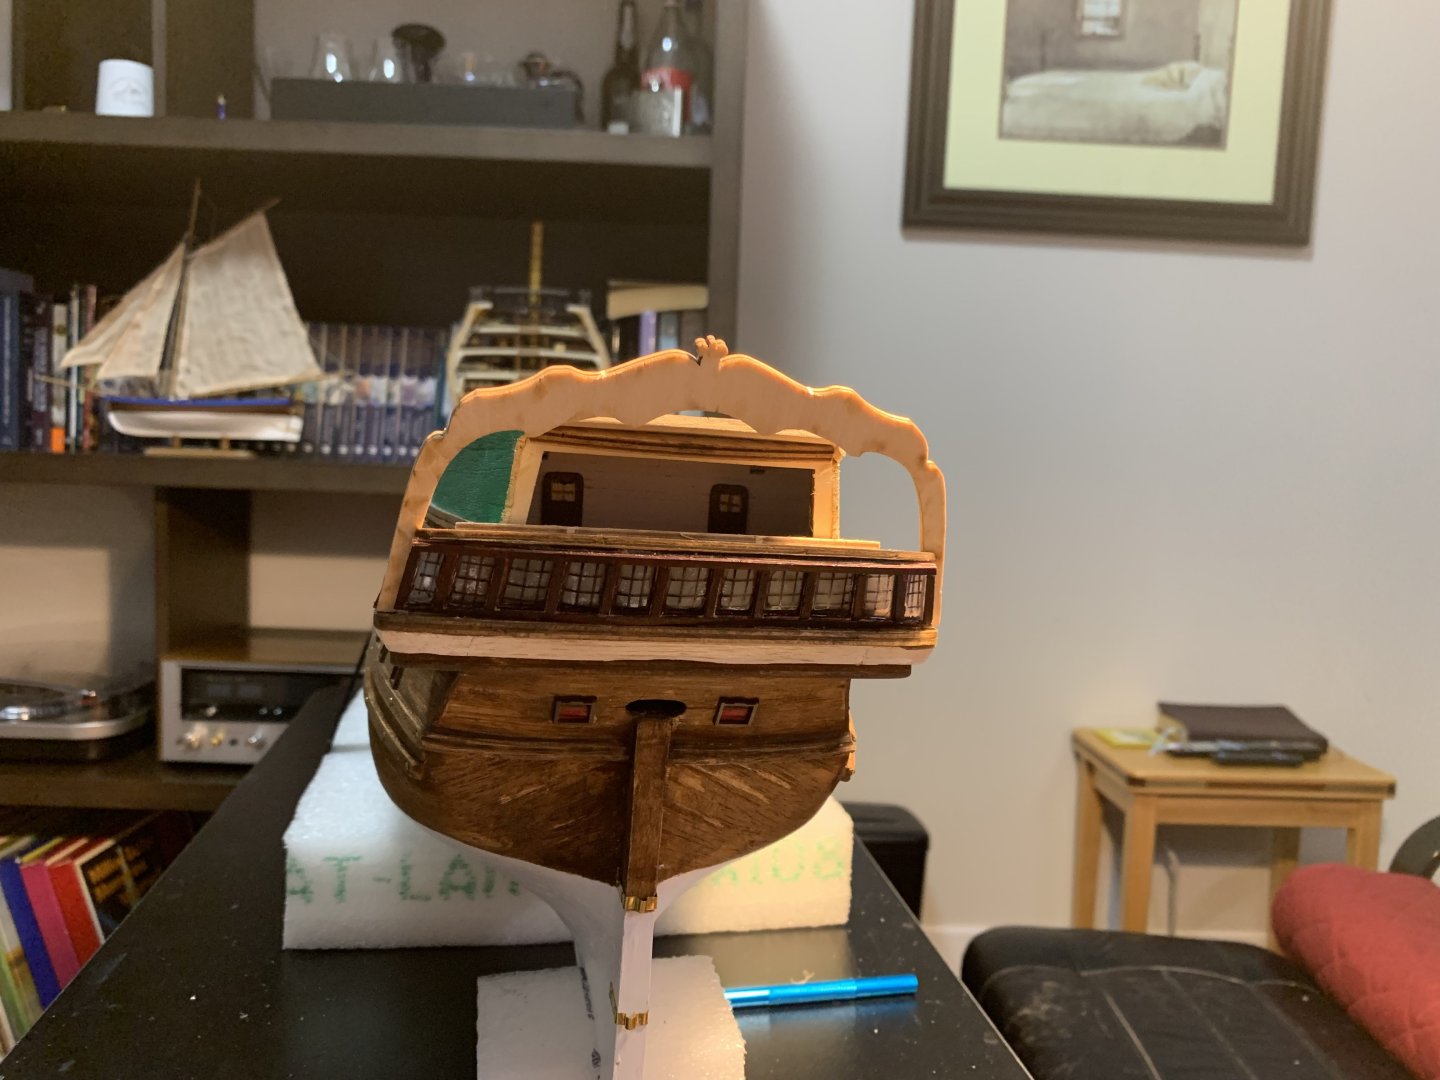
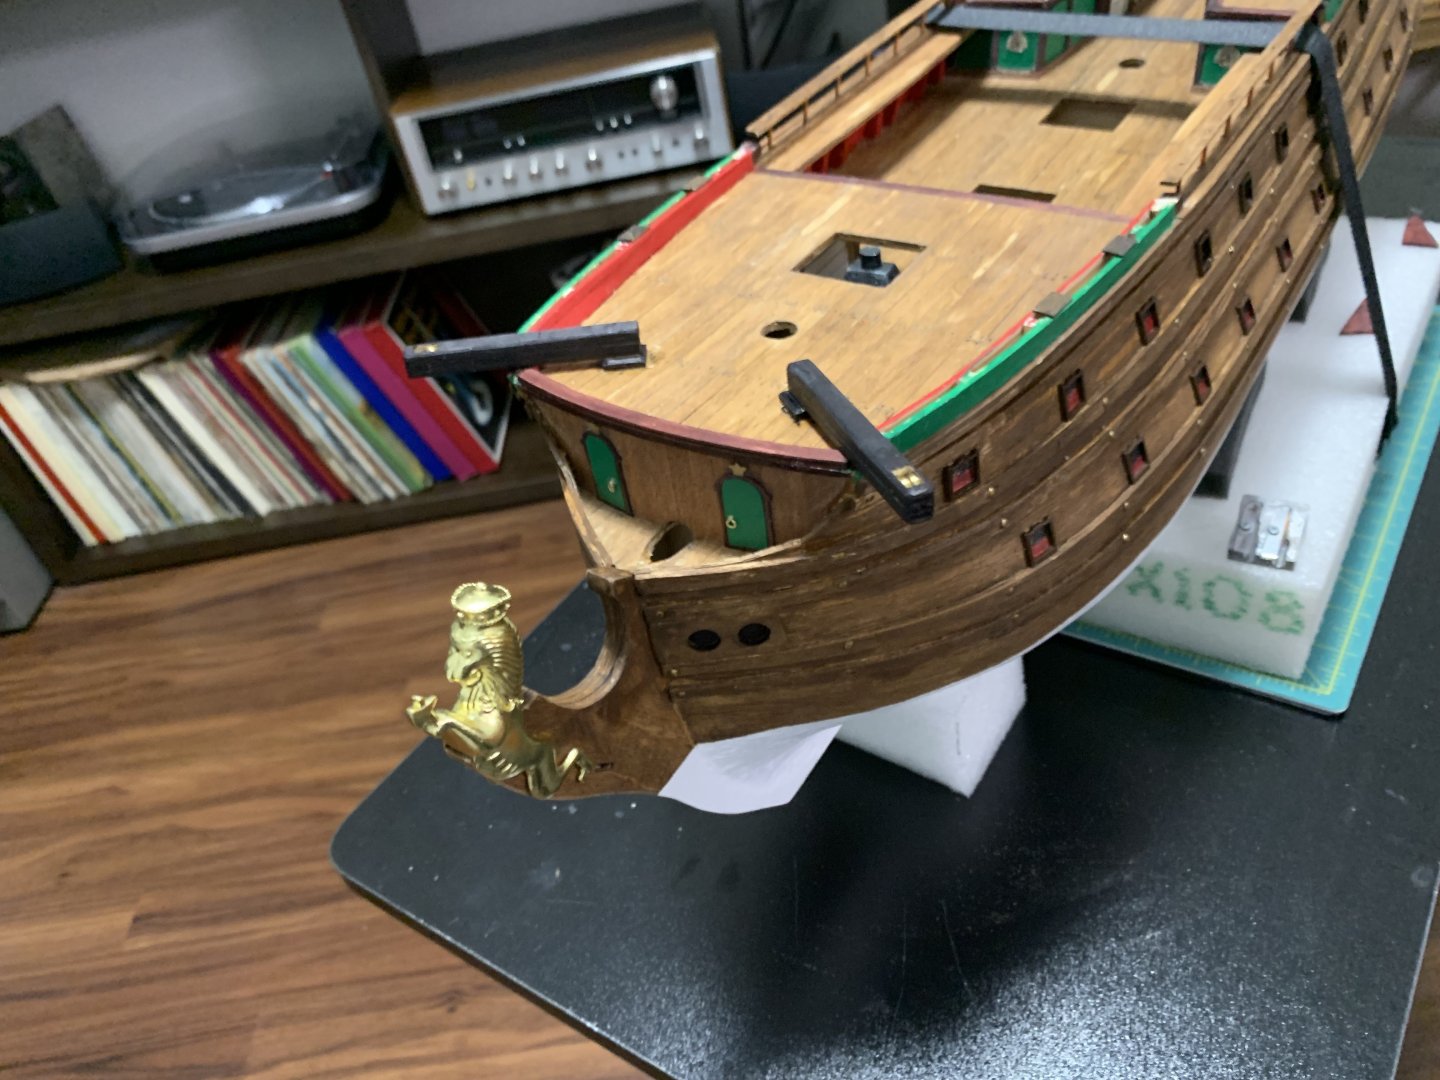
I don't think I will do another build log, I am incredibly bad at posting updates and describing my work. 😆 Finally got the stern gallery sorted out, turned out OK just don't zoom in too much. Next few pictures are of the work done on the upper decks and bow. As a side note I just got back from working with the JMSDF in Kure Japan, this is were the Yamato was built. There is a great Yamato museum there and it has a 1/10th scale model of the battleship. It was very impressive.
- 48 replies
-
- 4
-
-
- norske love
- billing boats
- (and 1 more)
-
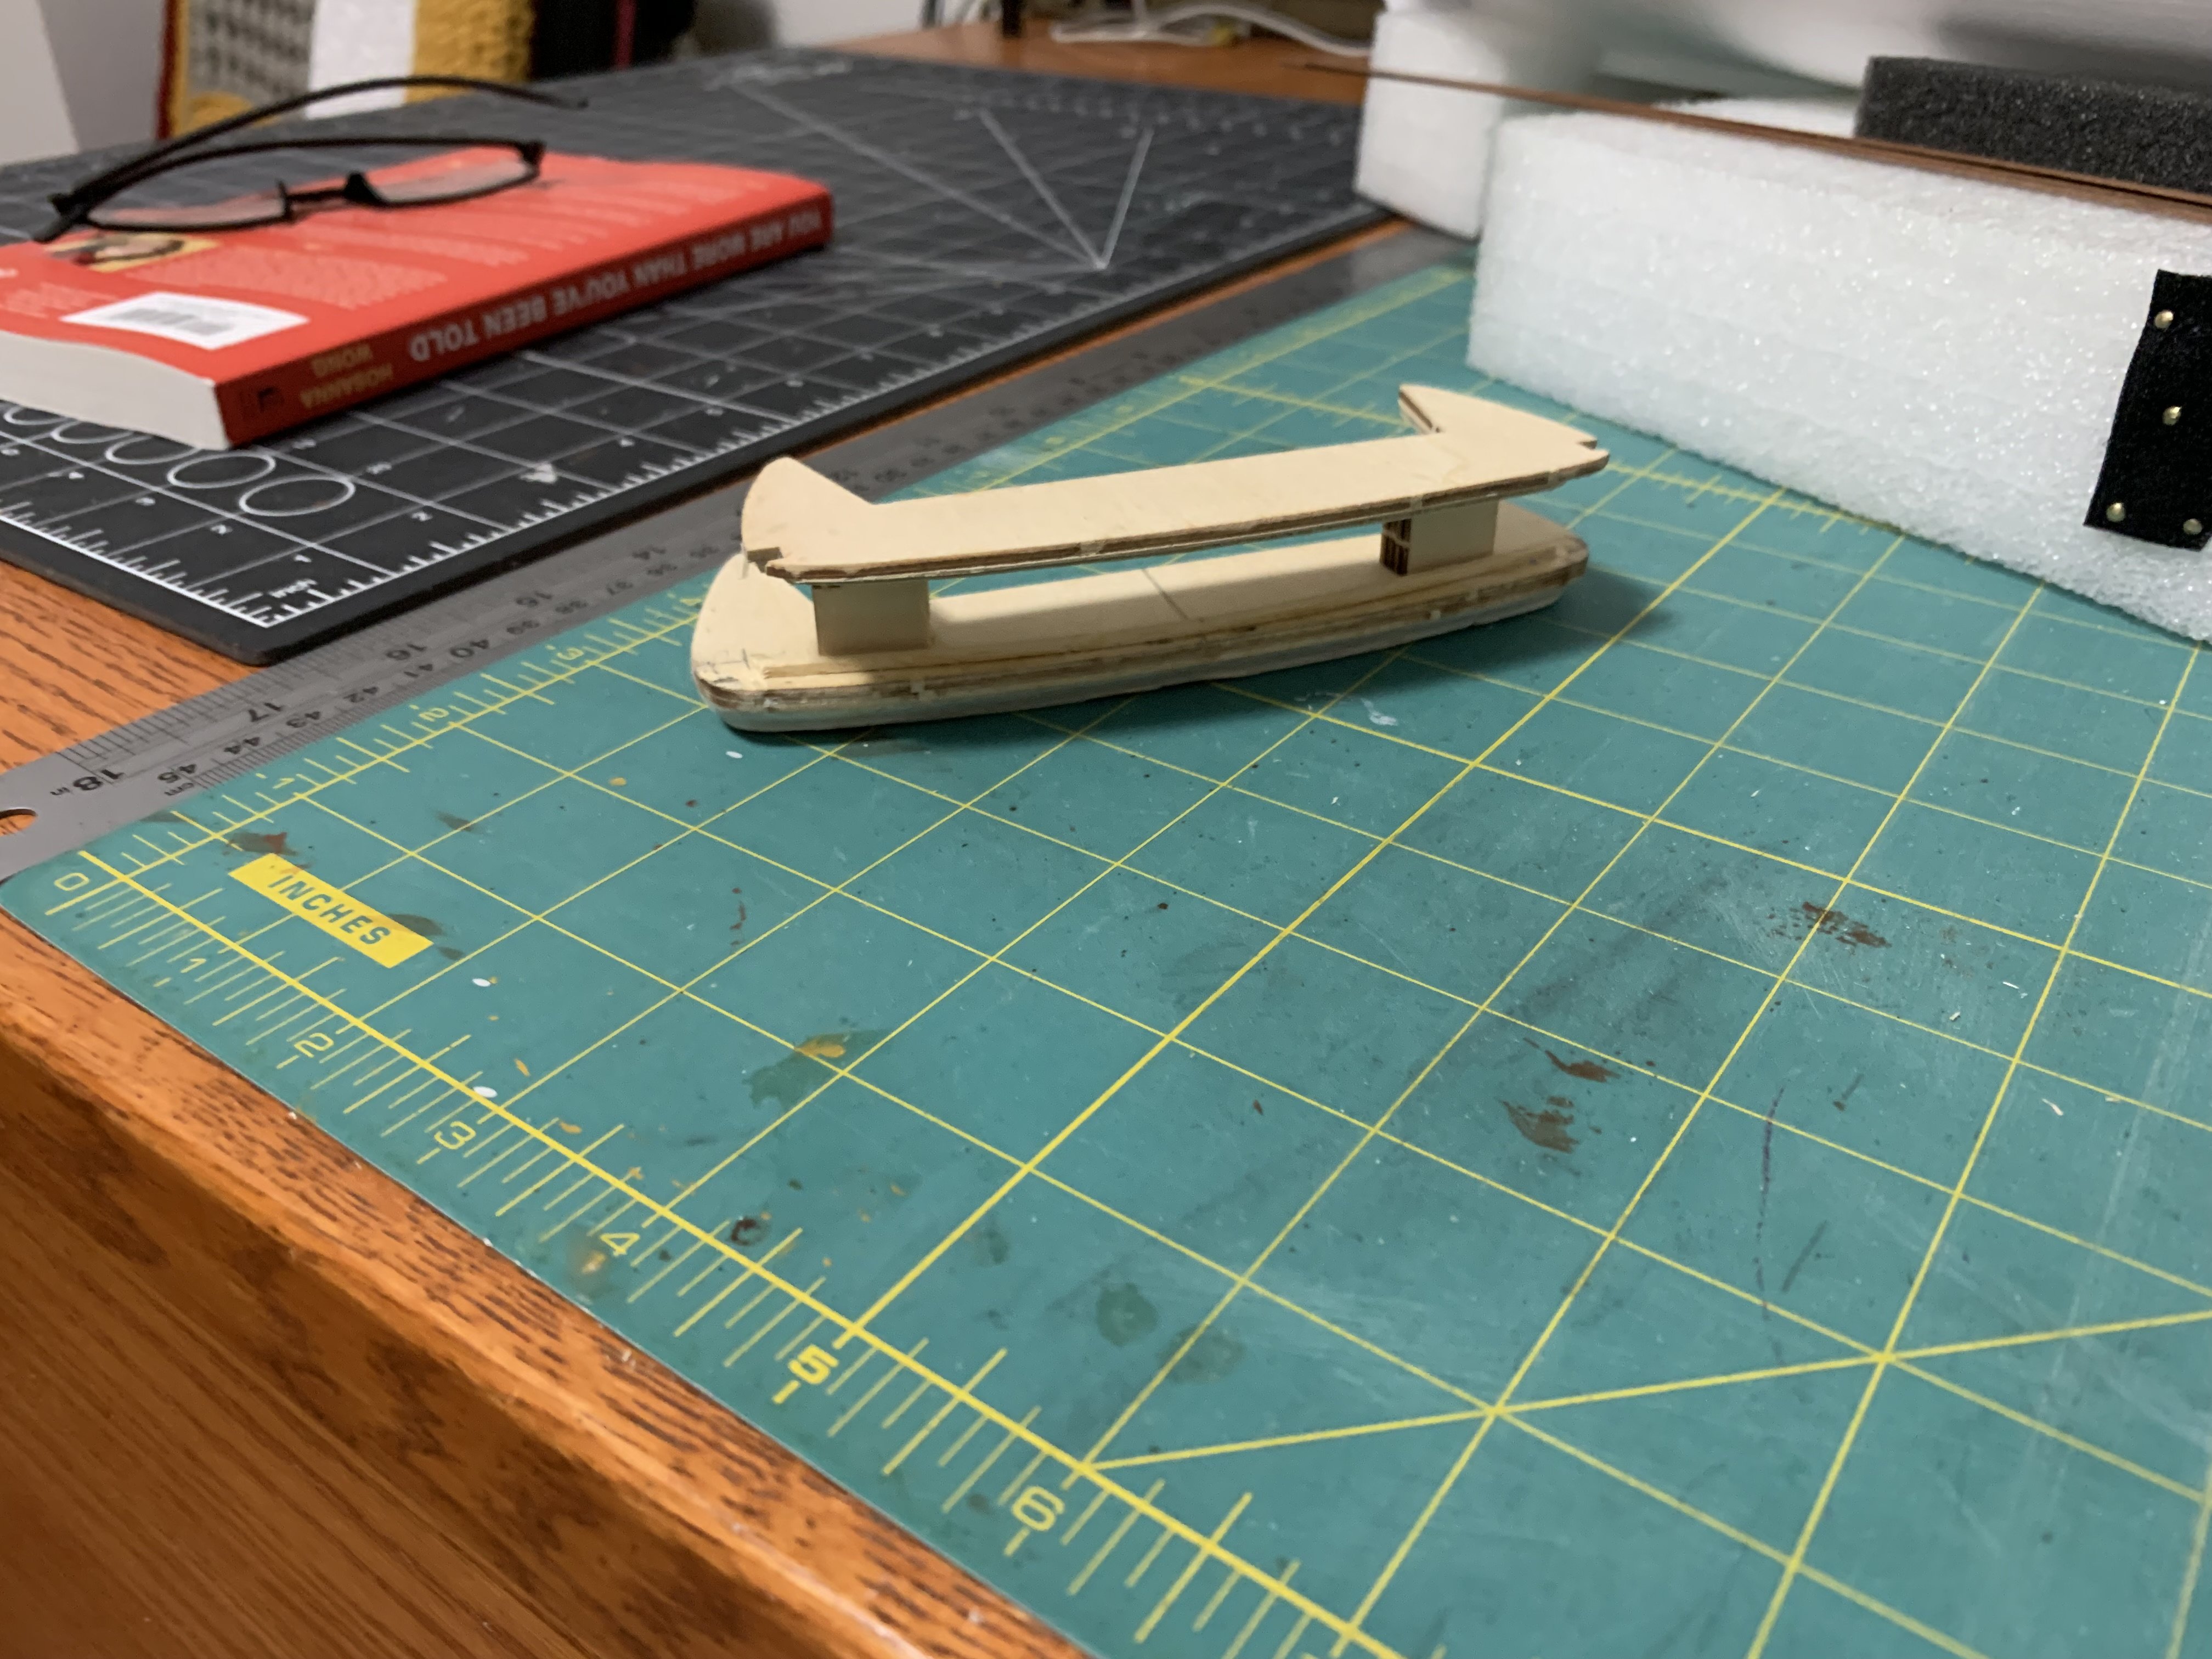
Been working on rails and the stern galley. Spent days getting frustrated trying to get the provided stern pieces to fit together. Even following the advice of PeteB the room was filled with some colourful language from time to time. In the end I just had to realized it wasn't going to come together as per the instructions and had to wing it a bit. Rails are coming along and should be finished soon, then on to the bow and hope it doesn't give me as much grief as the stern.


- 48 replies
-
- 5
-
-
- norske love
- billing boats
- (and 1 more)
-
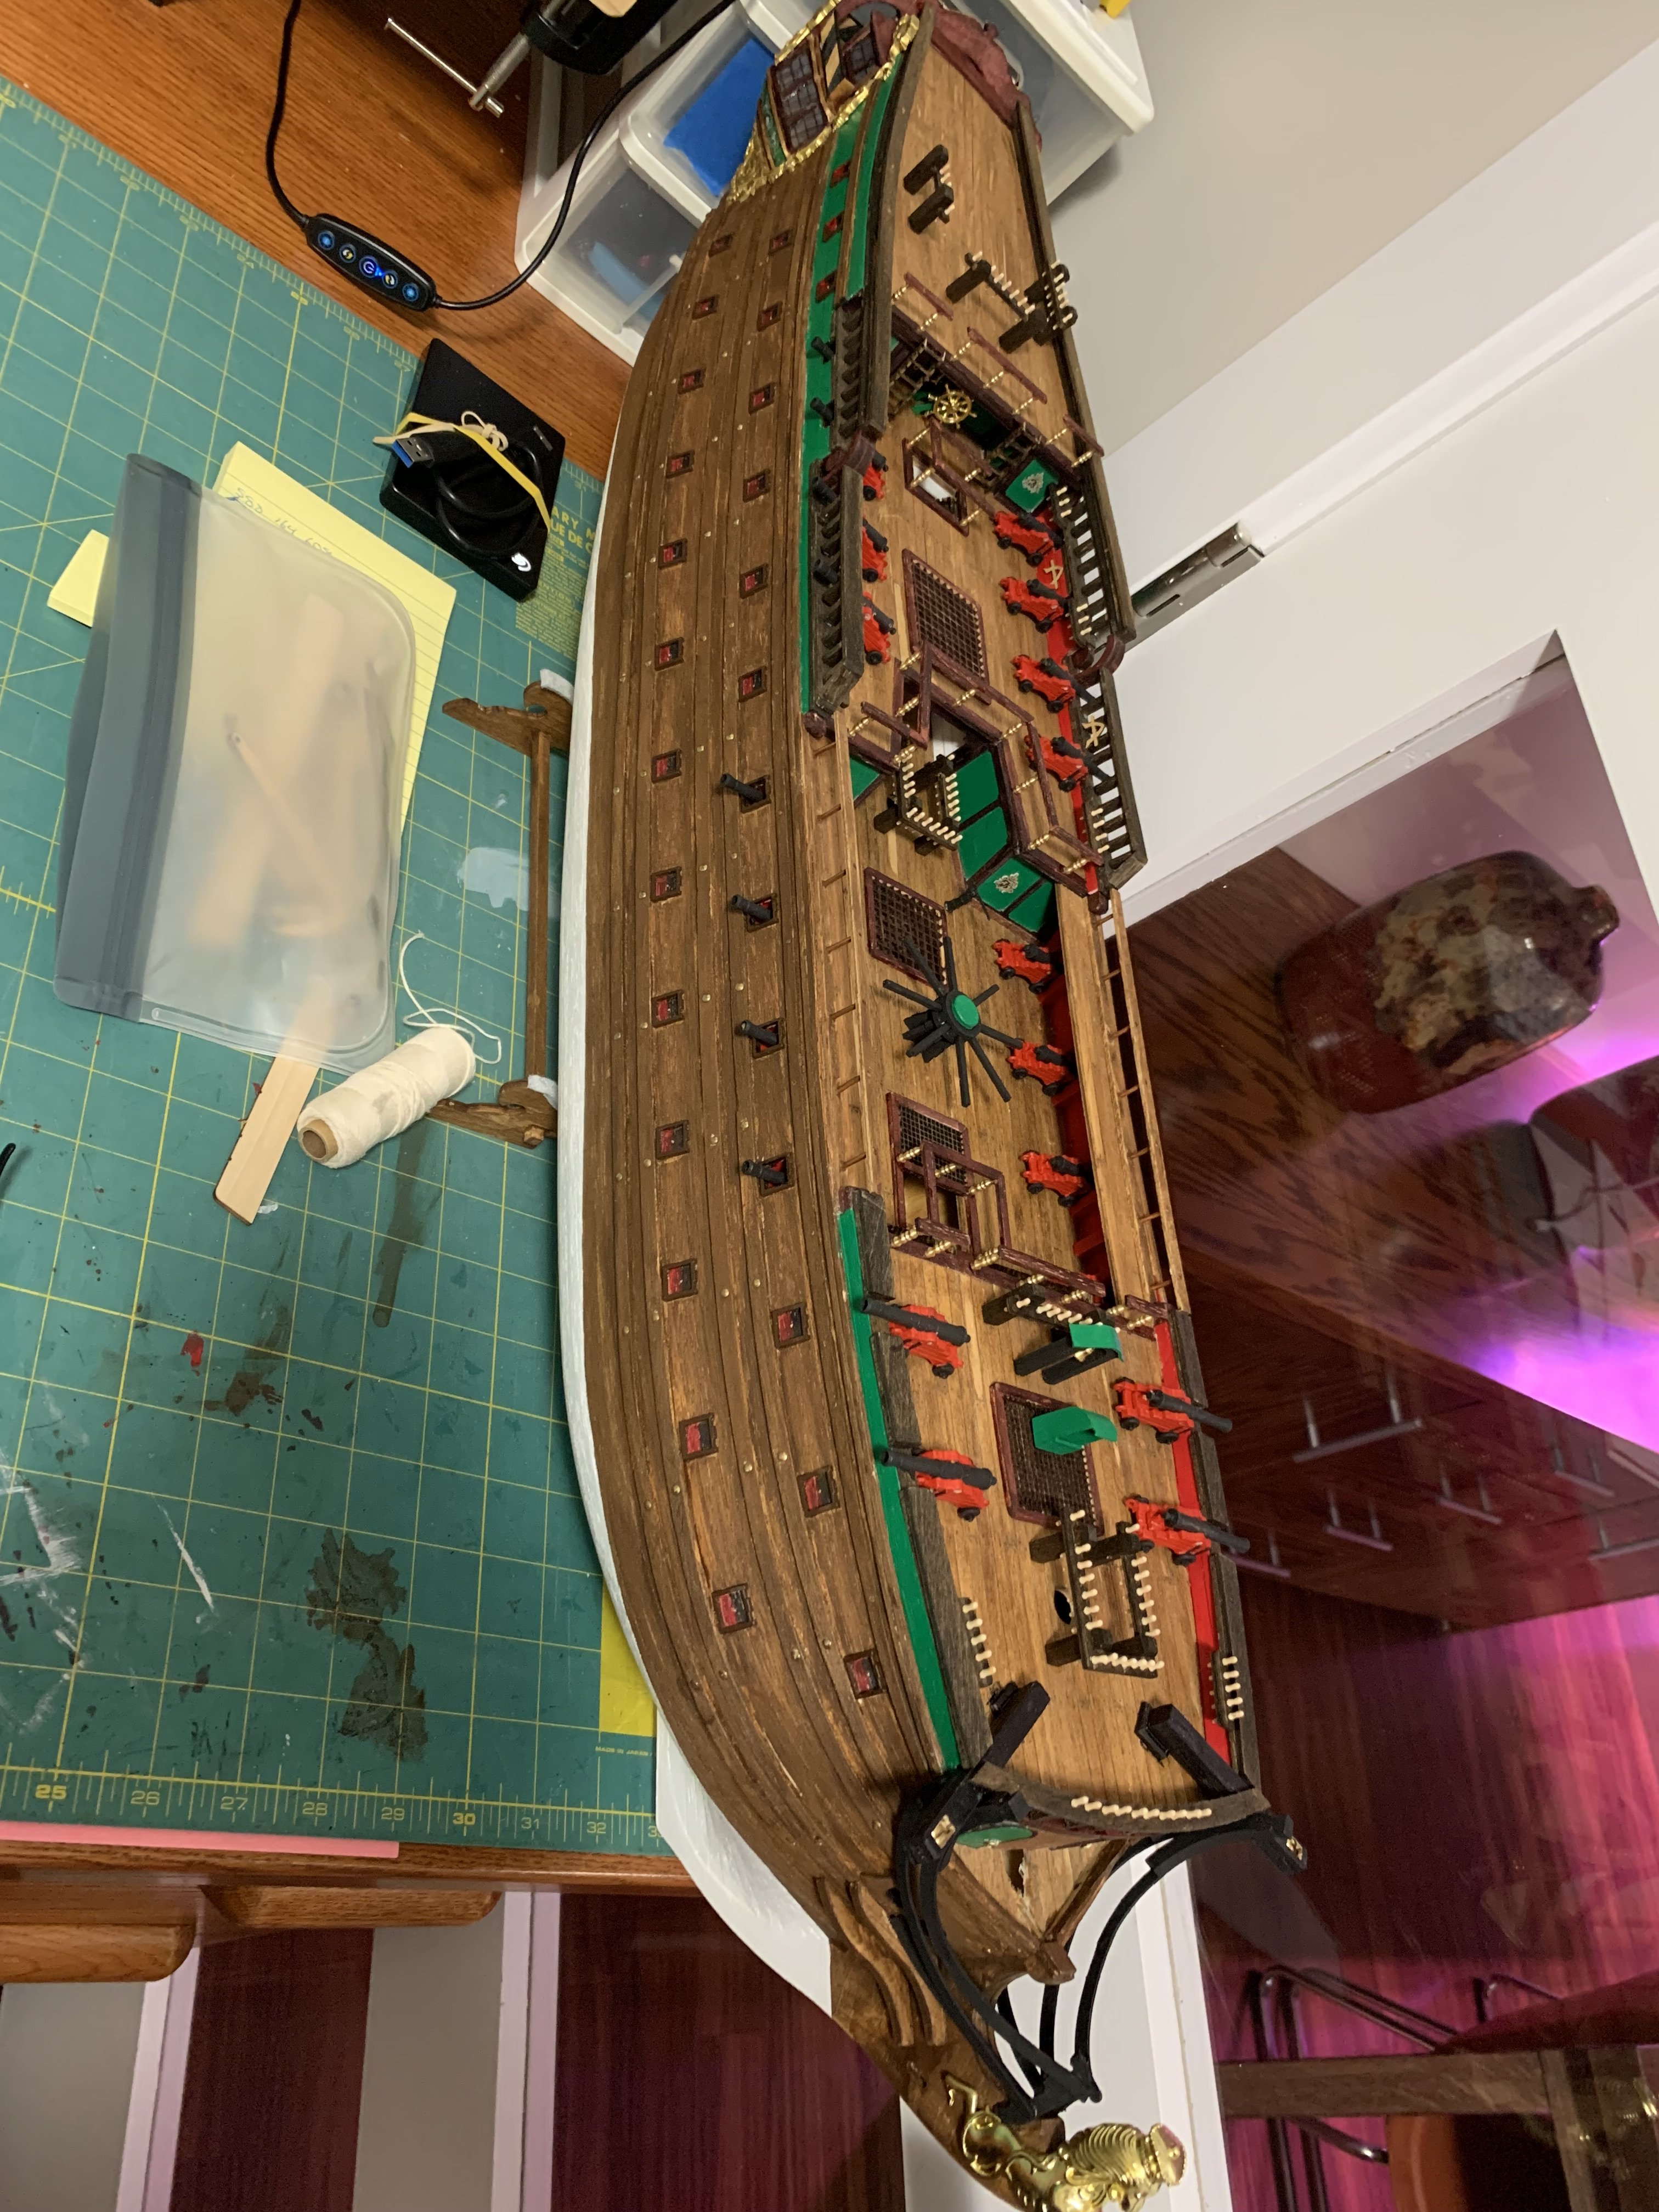
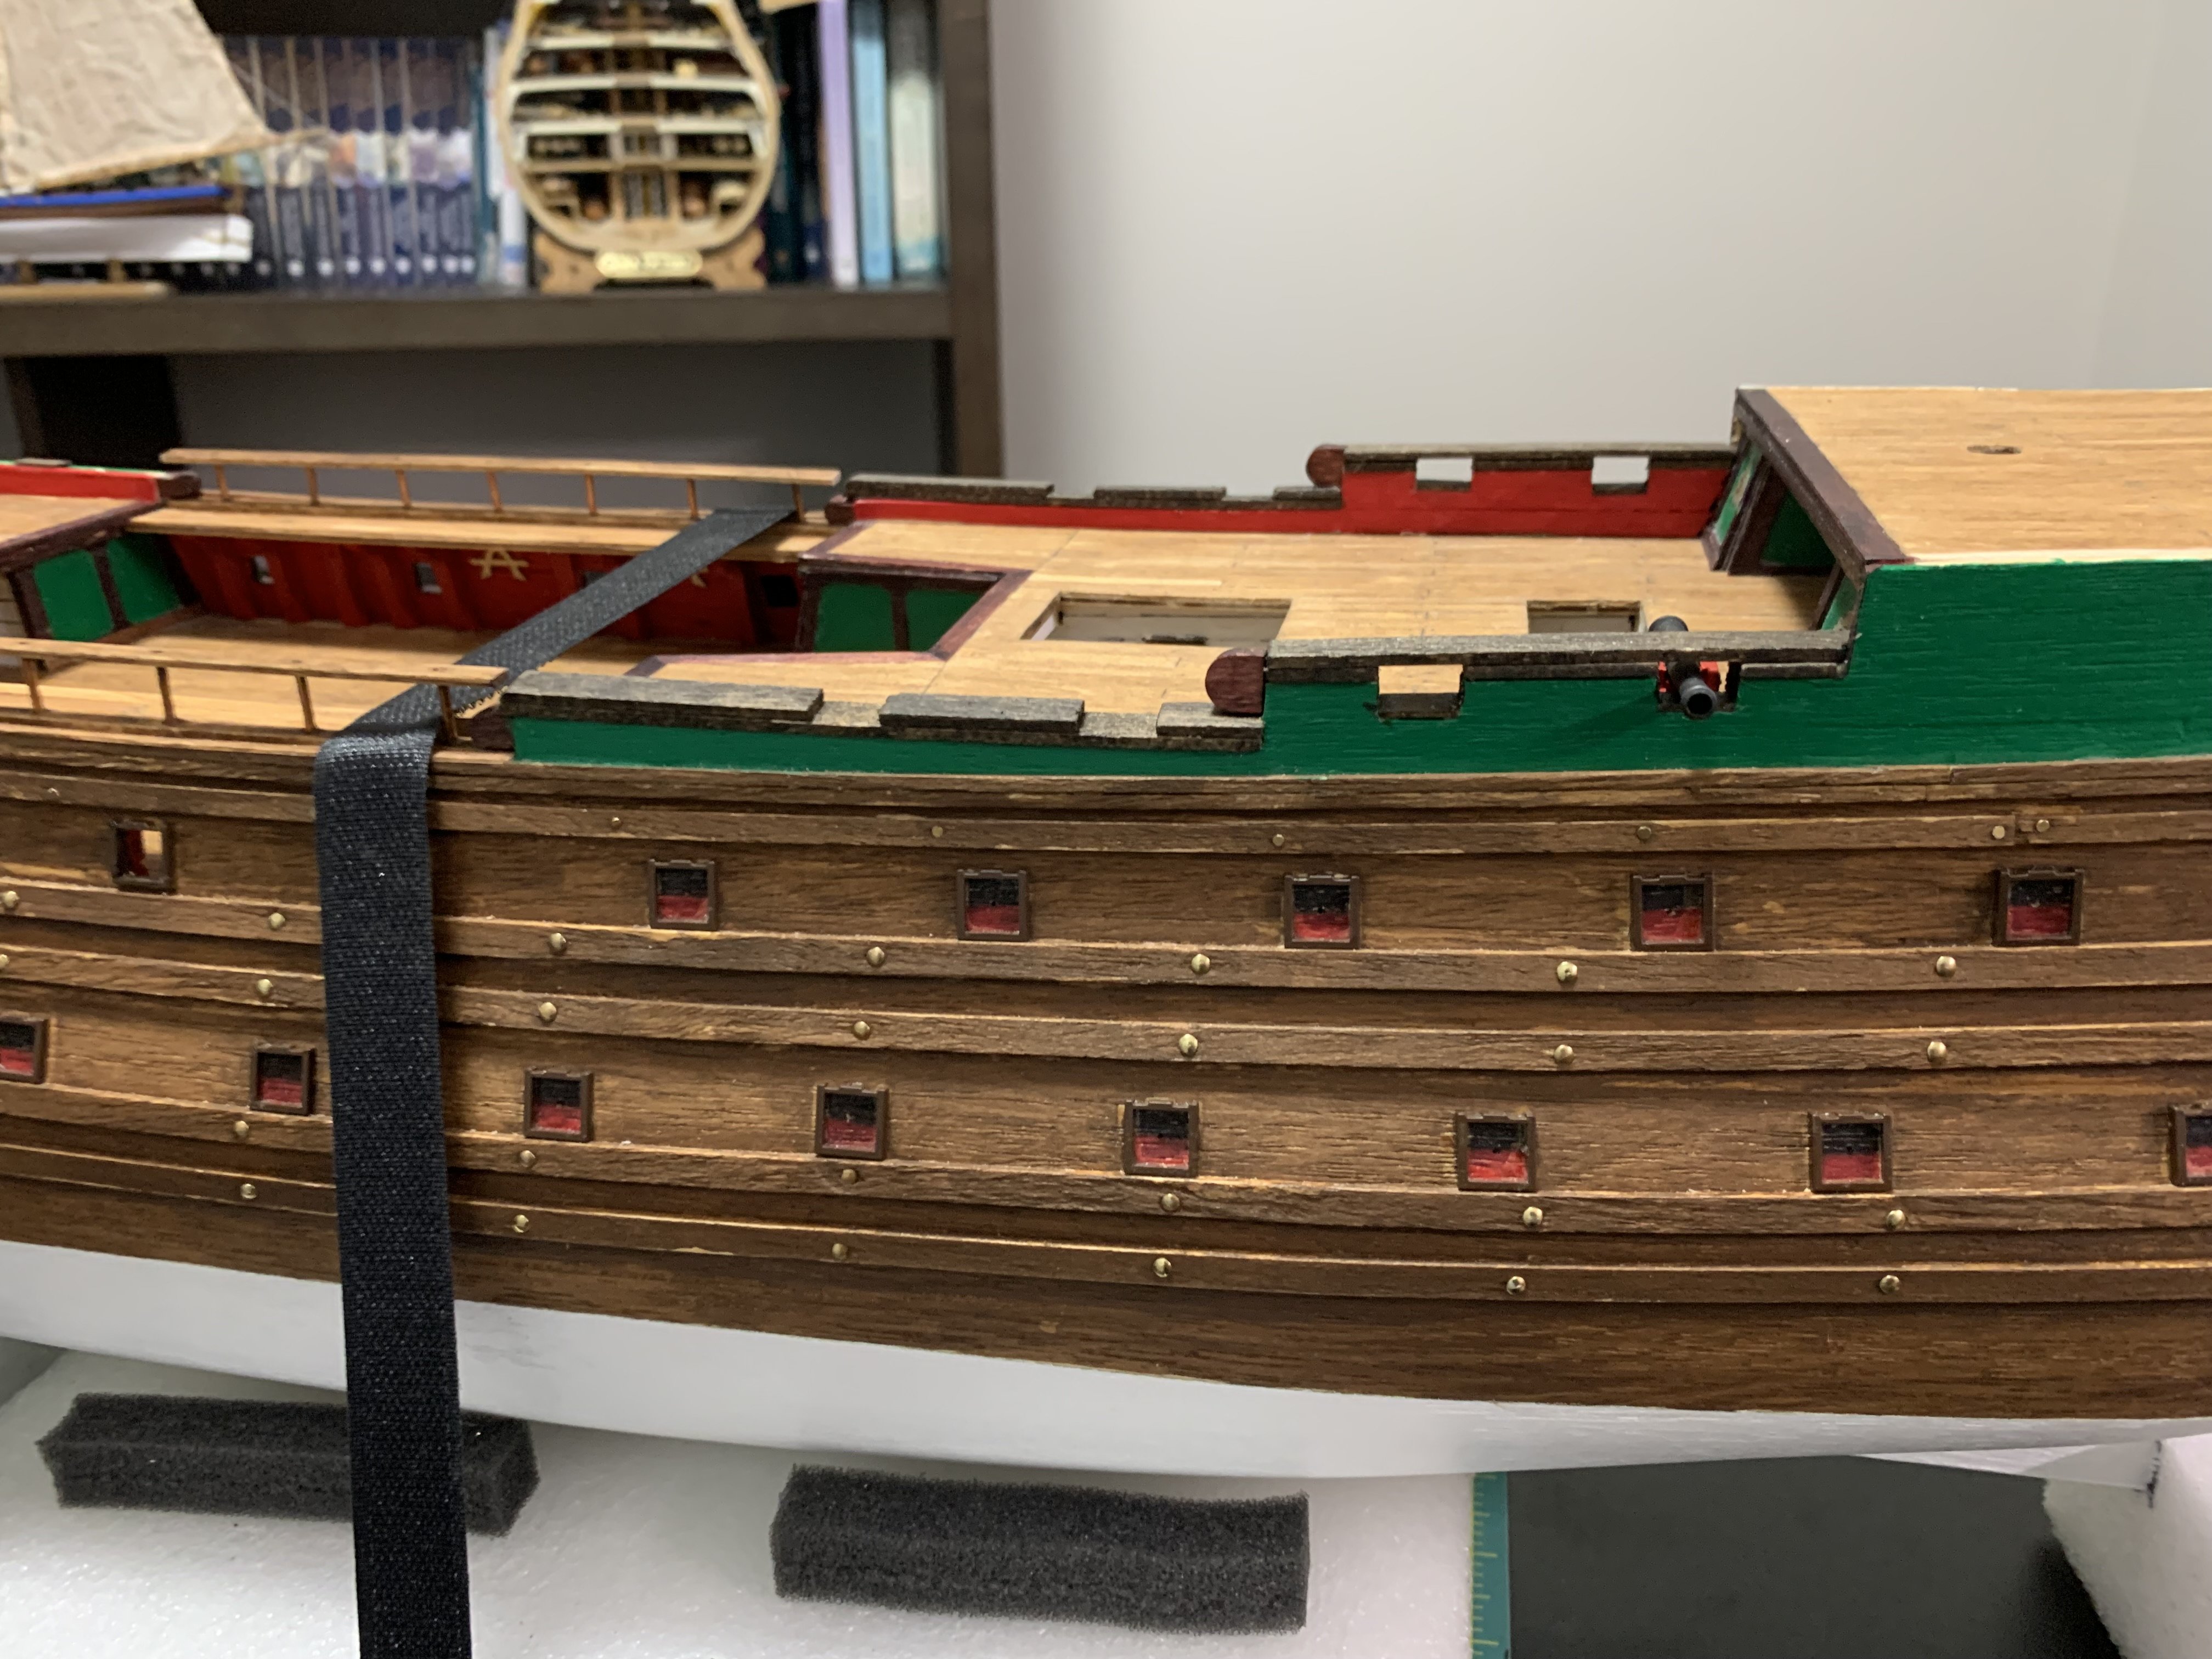
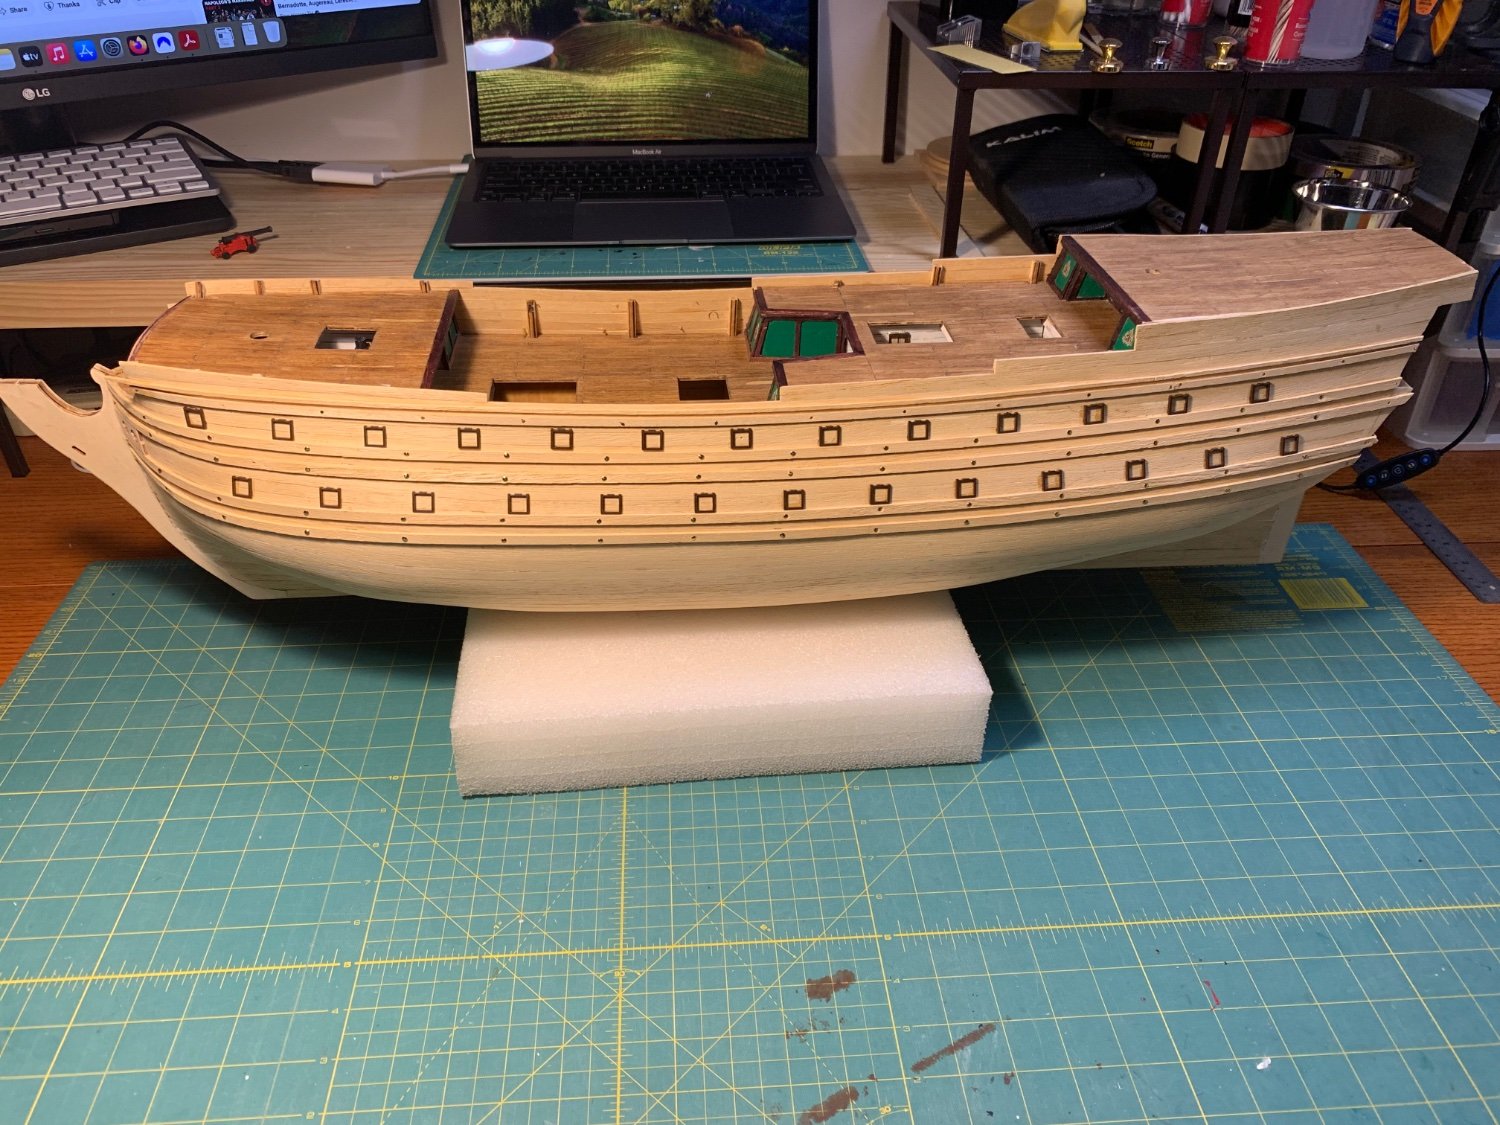
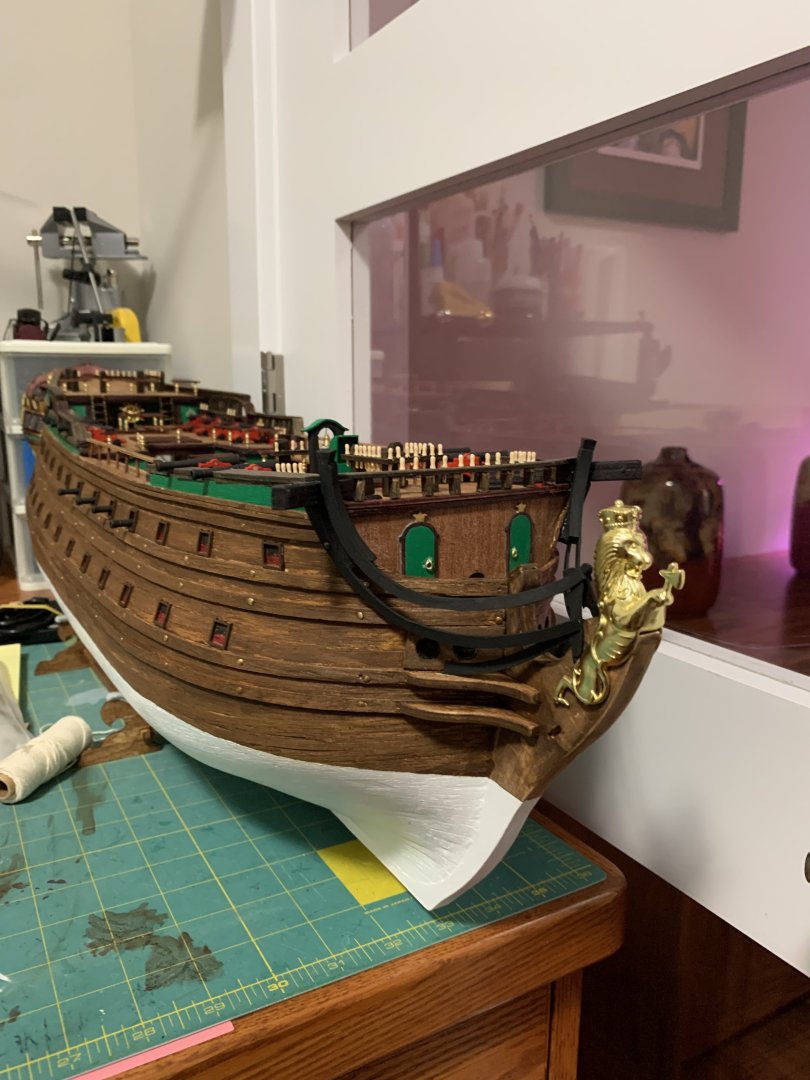
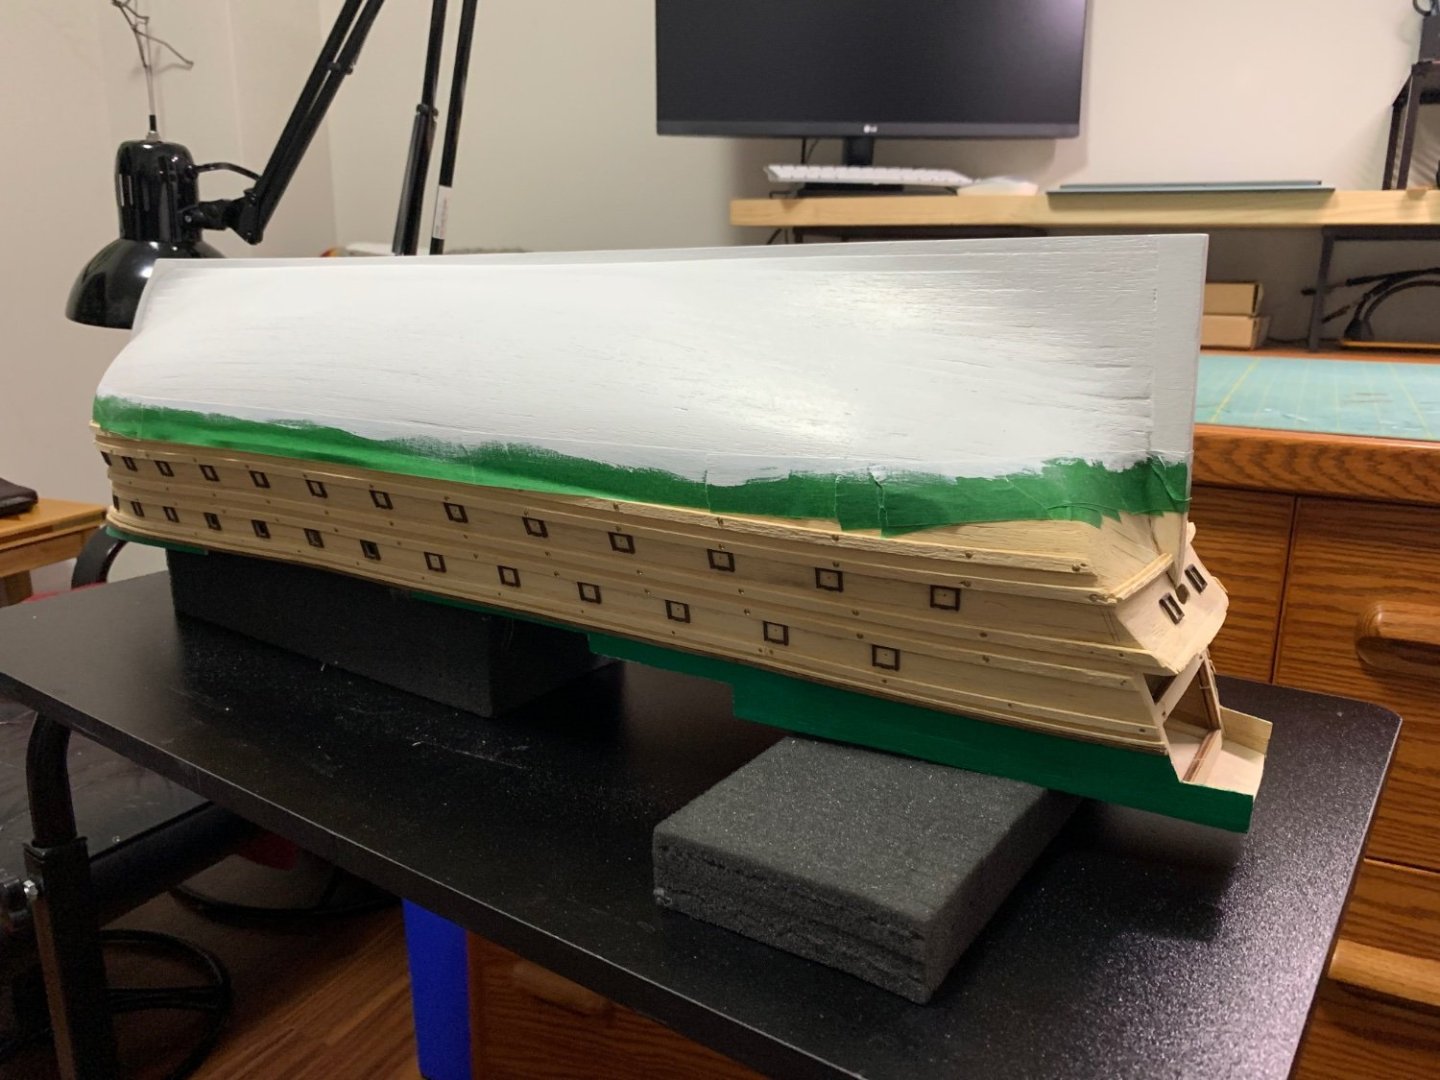
Quick update on progress, finished all the wales, painted the upper hull, fitted gun ports and then painted the bottom of the hull. Next it will be a final sanding and then stain the outer hull. Going to go with a dark stain as per the instructions. Based on quality of materials provide in the kit, display room and other projects waiting in the wings I have decided not to rig the ship with masts or sails.


- 48 replies
-
- 7
-
-
- norske love
- billing boats
- (and 1 more)
-
Hull sanded, first four Whales fitted and trimmed up sides on quarter deck and poop deck. Some pretty rough spots that had to be filled but managed to keep these below the waterline where it will be painted white.

- 48 replies
-
- 4
-
-
- norske love
- billing boats
- (and 1 more)
-
Hi Peter, not sure if it is Polar 7 or 8, the card model kit was a gift from a friend who was Chief Engineer on the Asterix project at Davie shipyard.
-
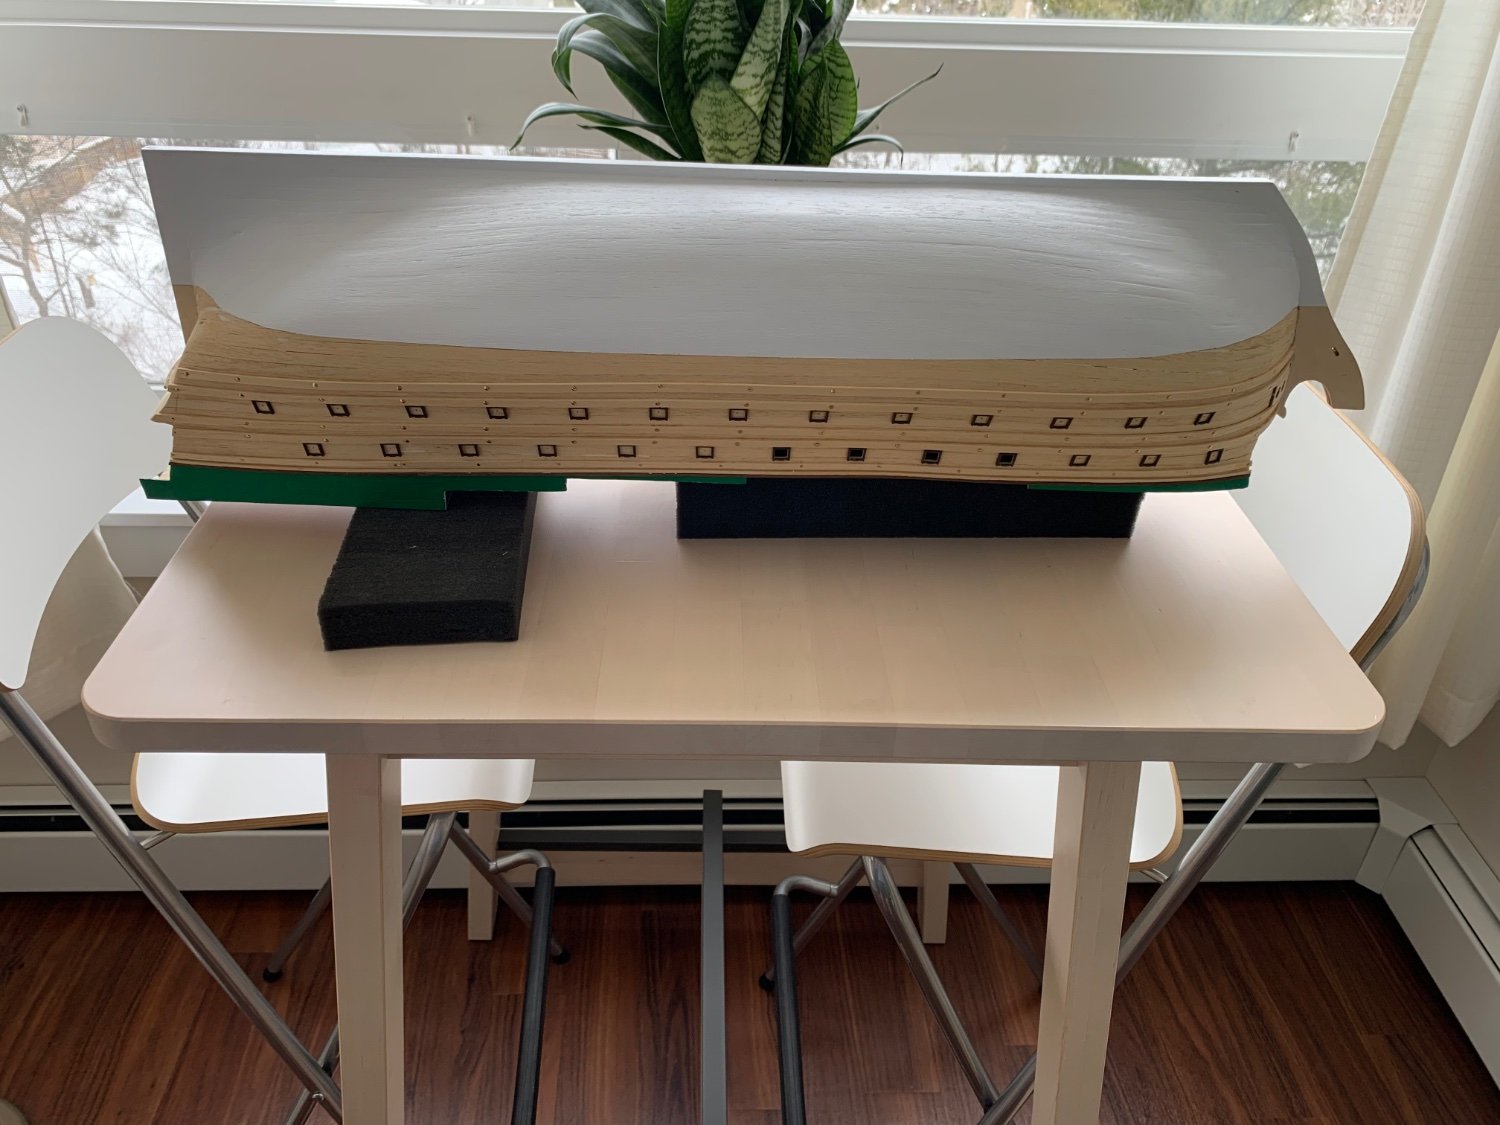
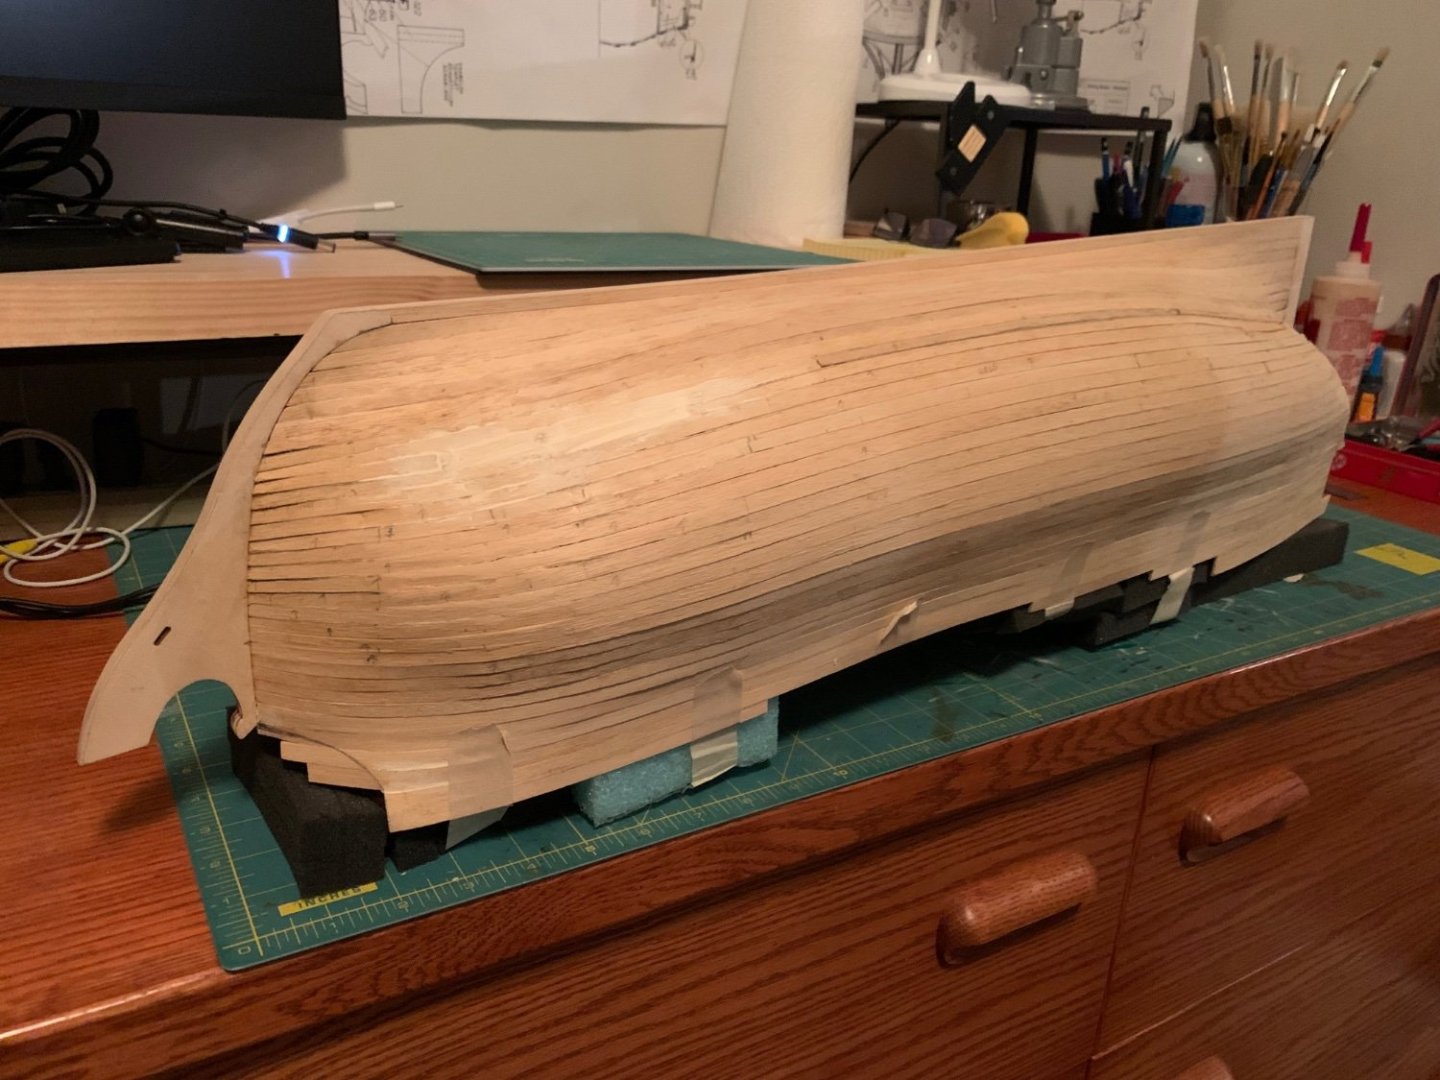
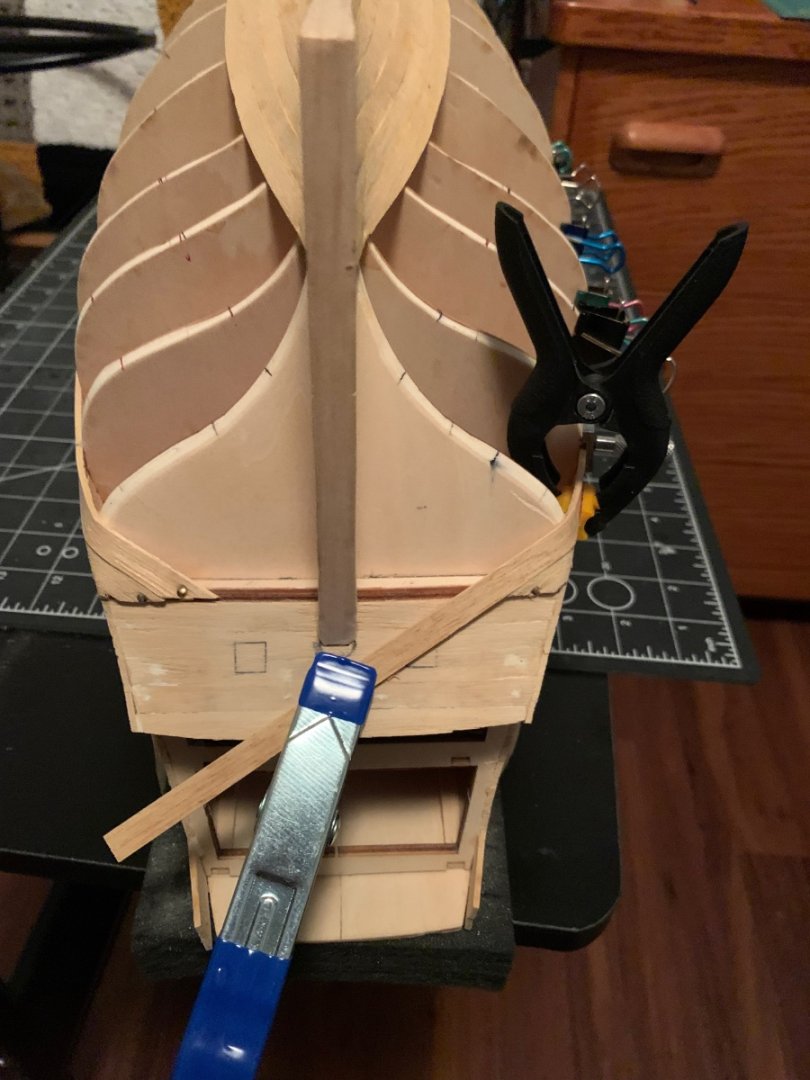
Well at times it seemed like this day would never come but at last the hull is all closed in. This is the first and last time I try to use full planking pieces bow to stern.
- 48 replies
-
- 6
-
-
- norske love
- billing boats
- (and 1 more)
-
Thanks Peter, hope you start a build log for NL your work on Cutty Sark is excellent.
- 48 replies
-
- 1
-
-
- norske love
- billing boats
- (and 1 more)
-
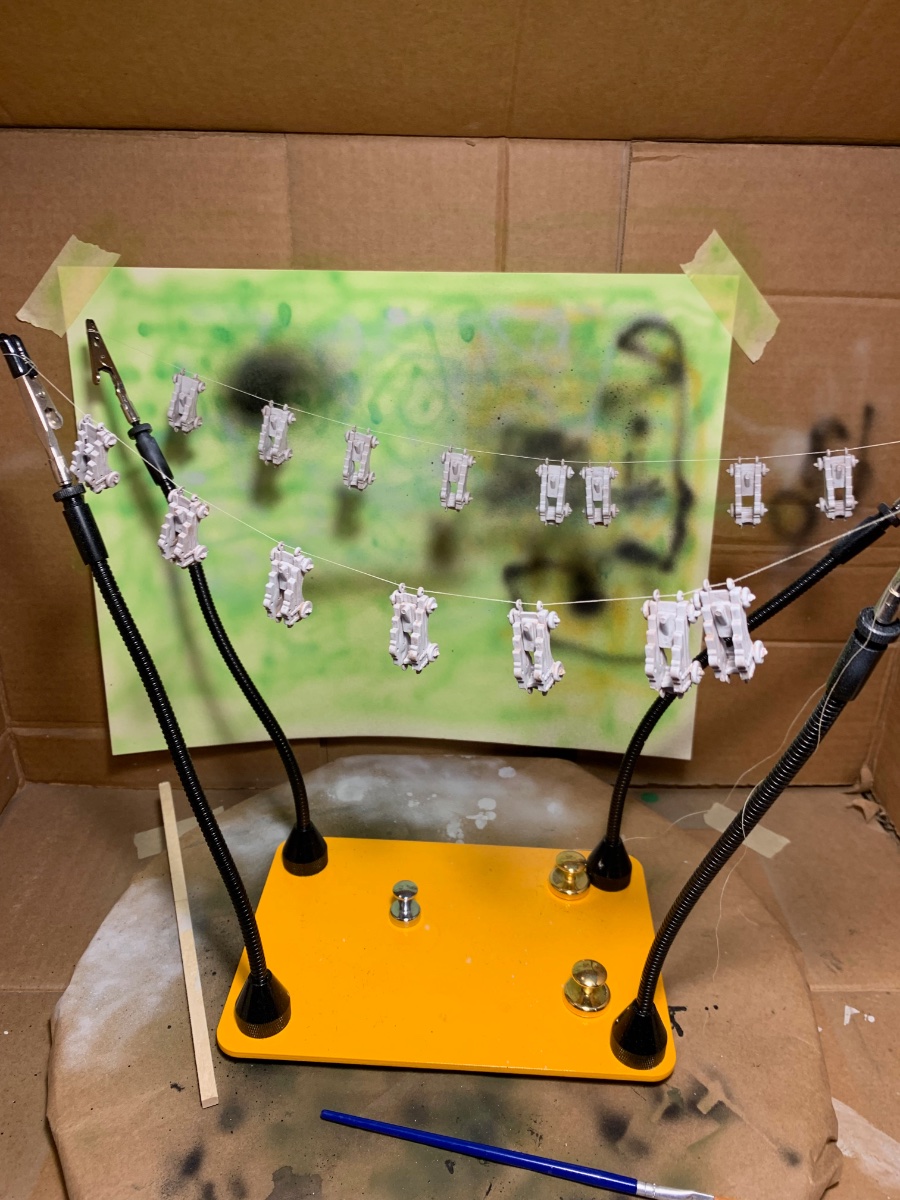
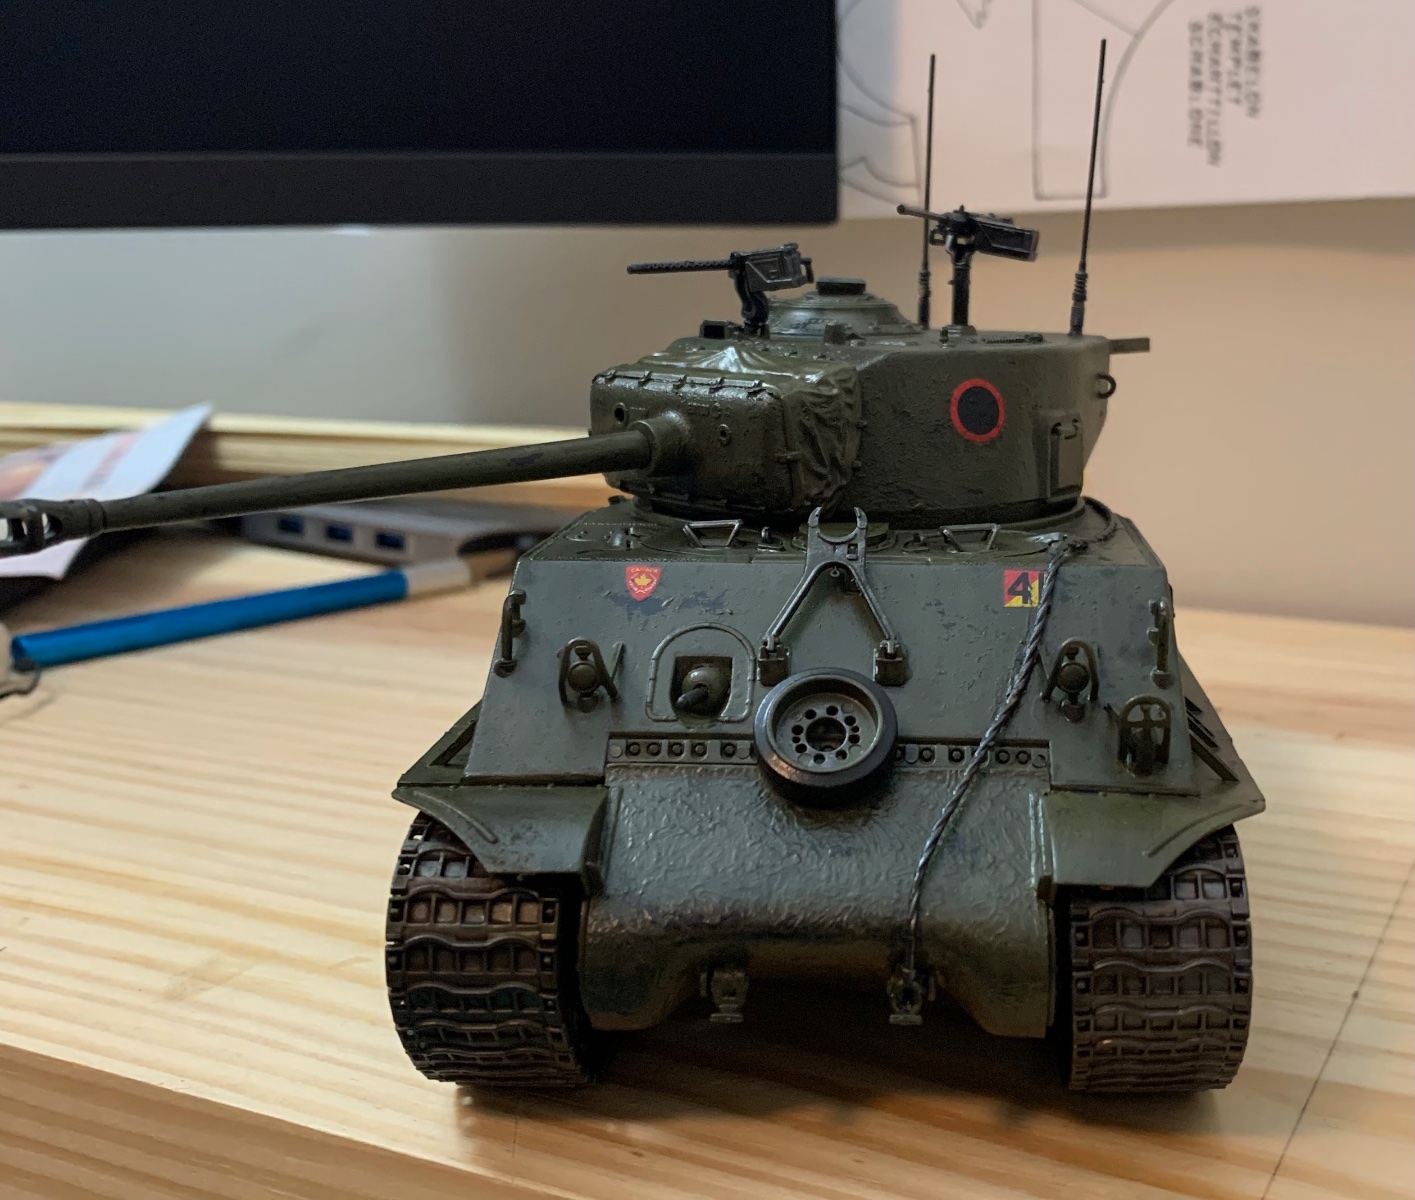
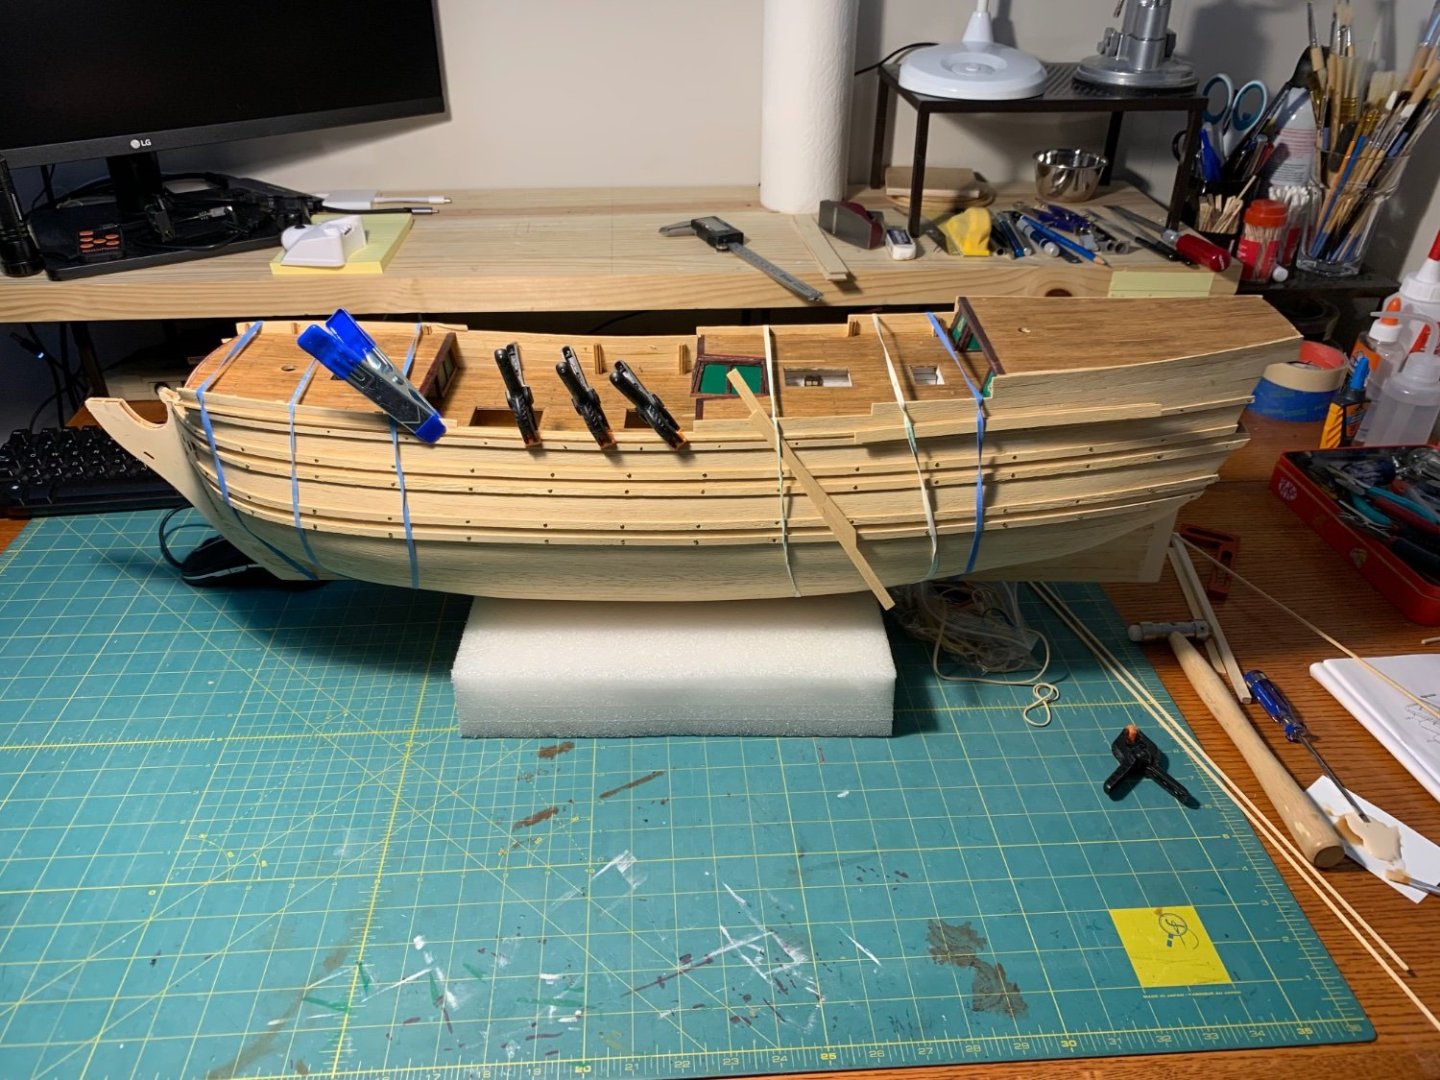
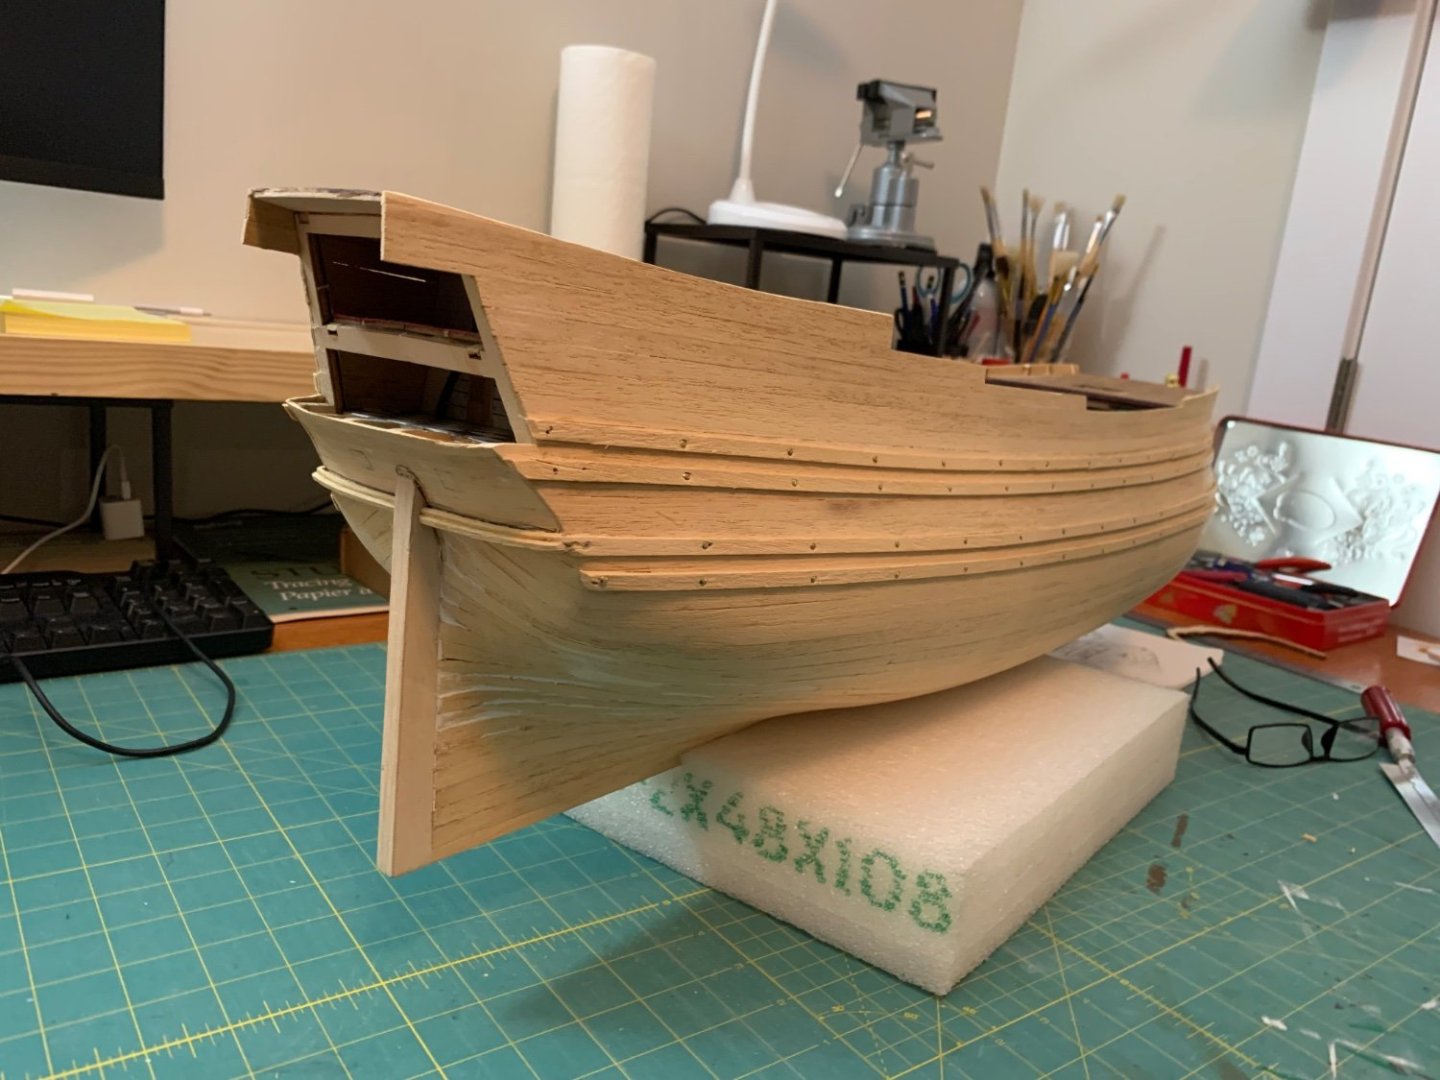
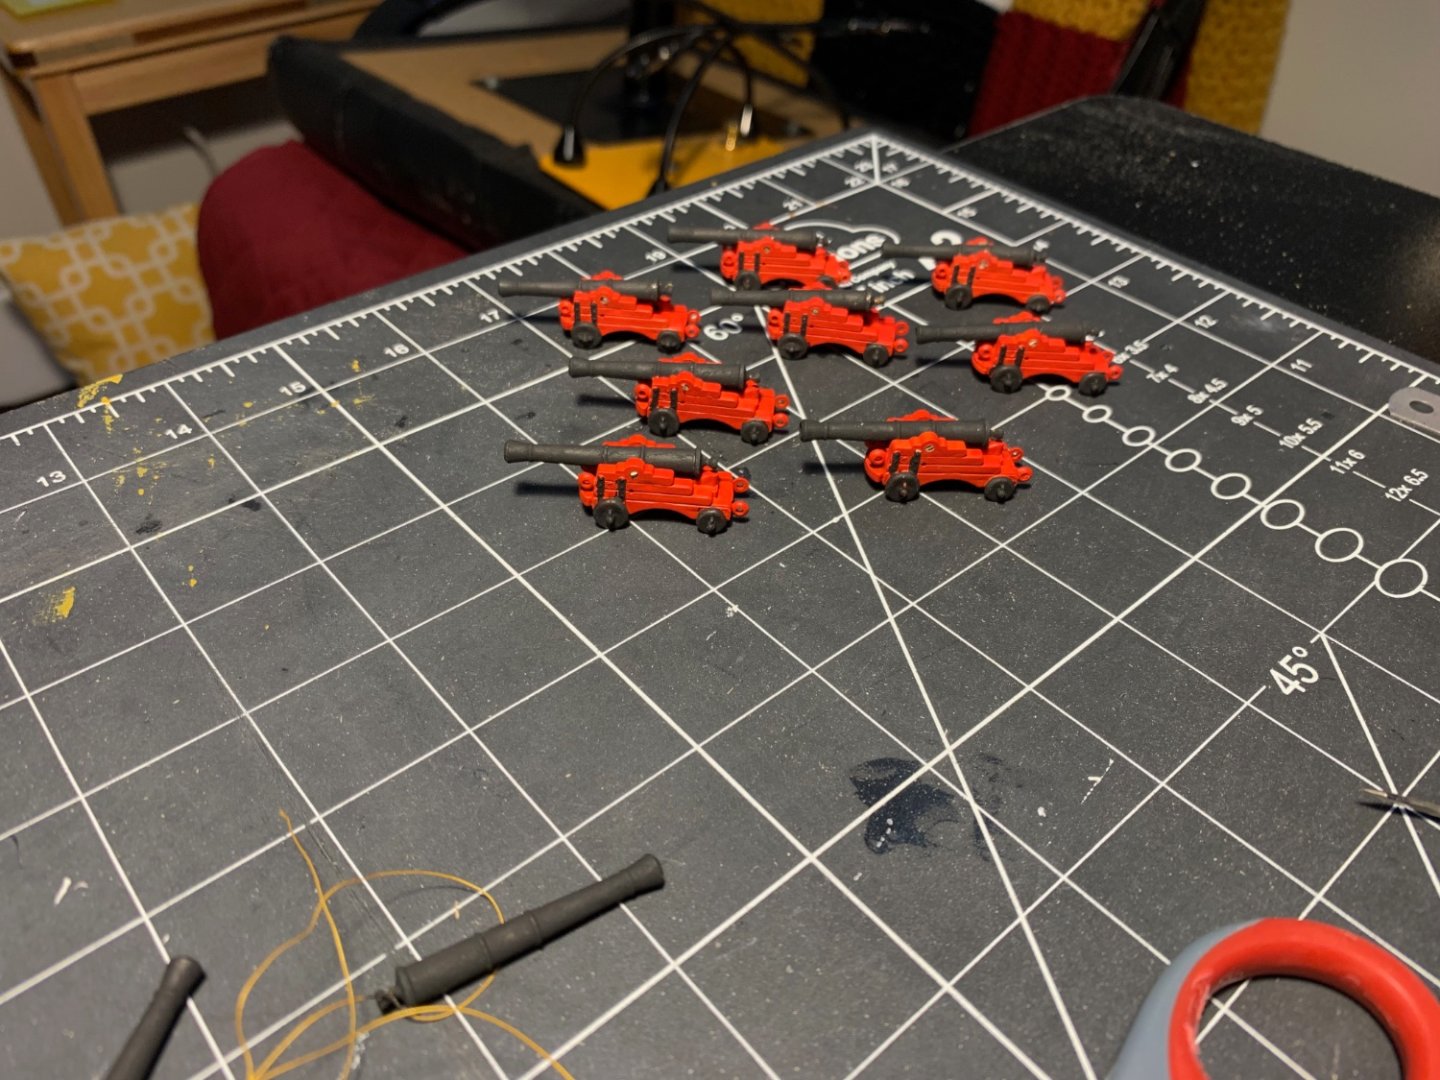
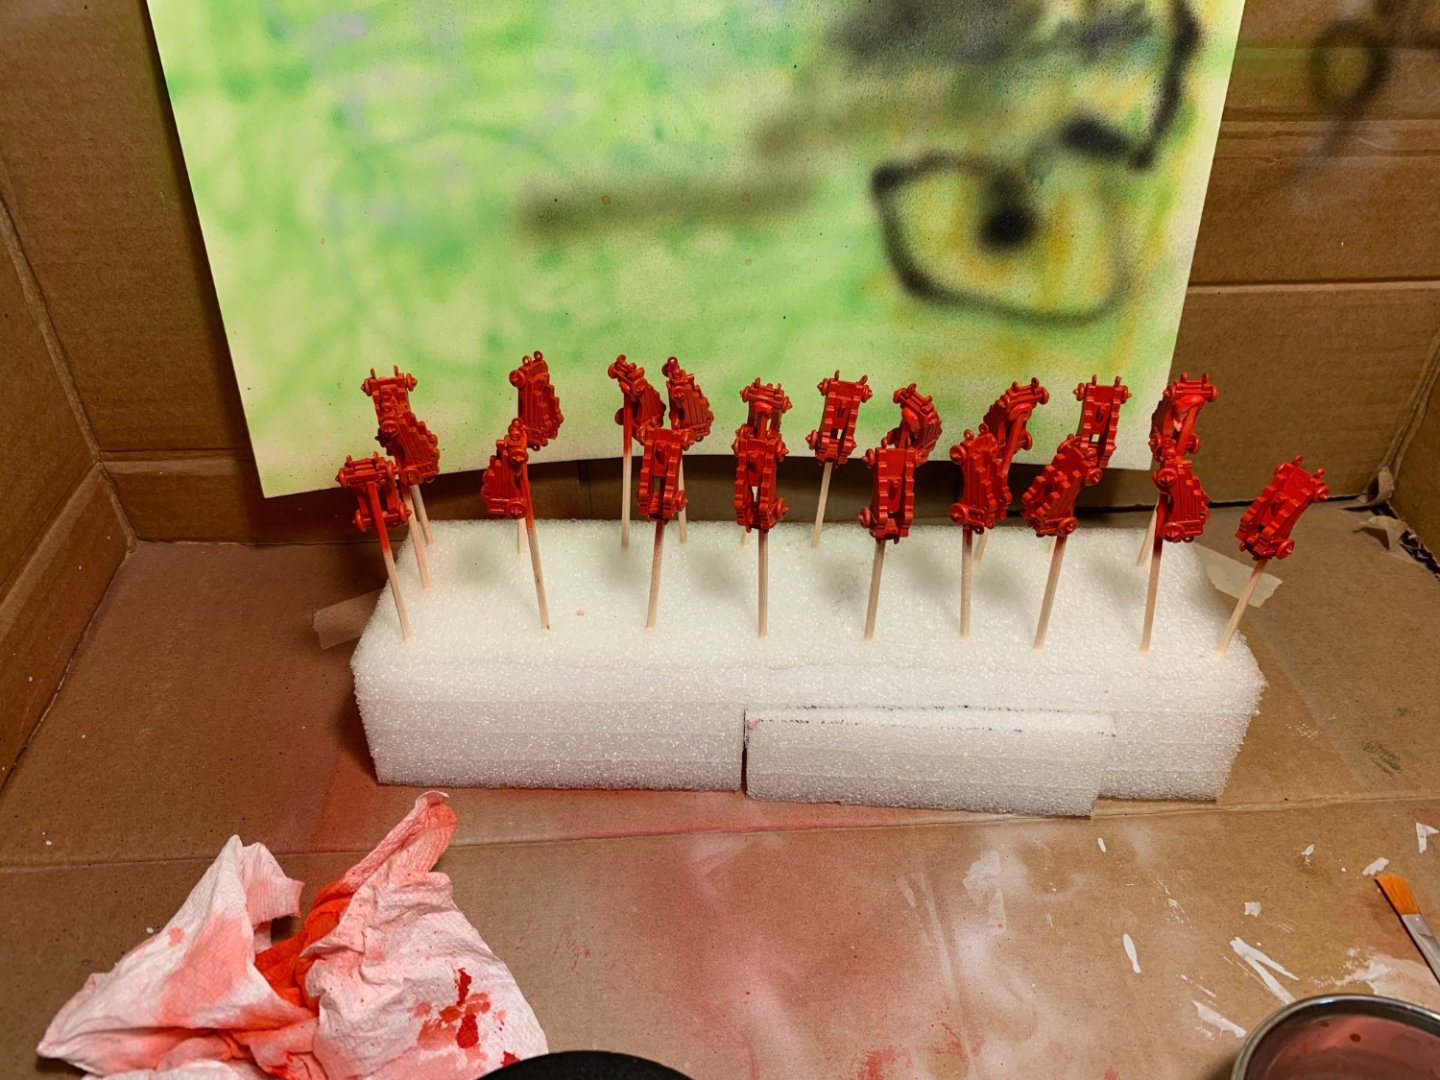
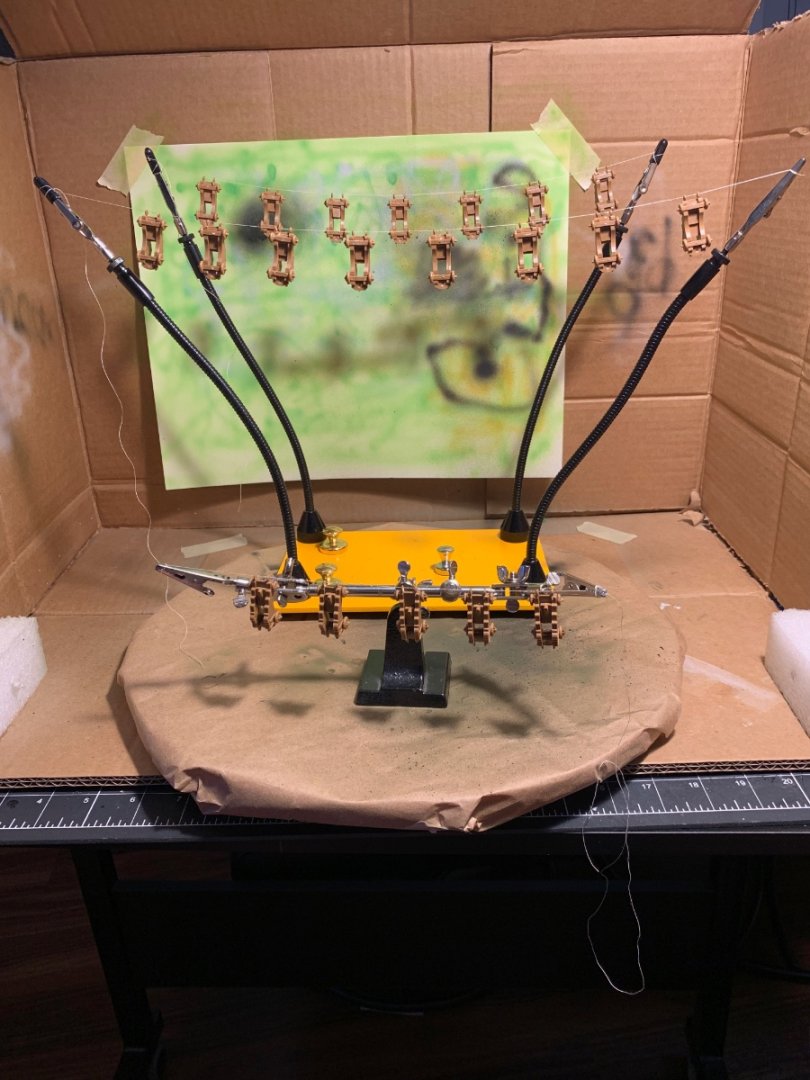
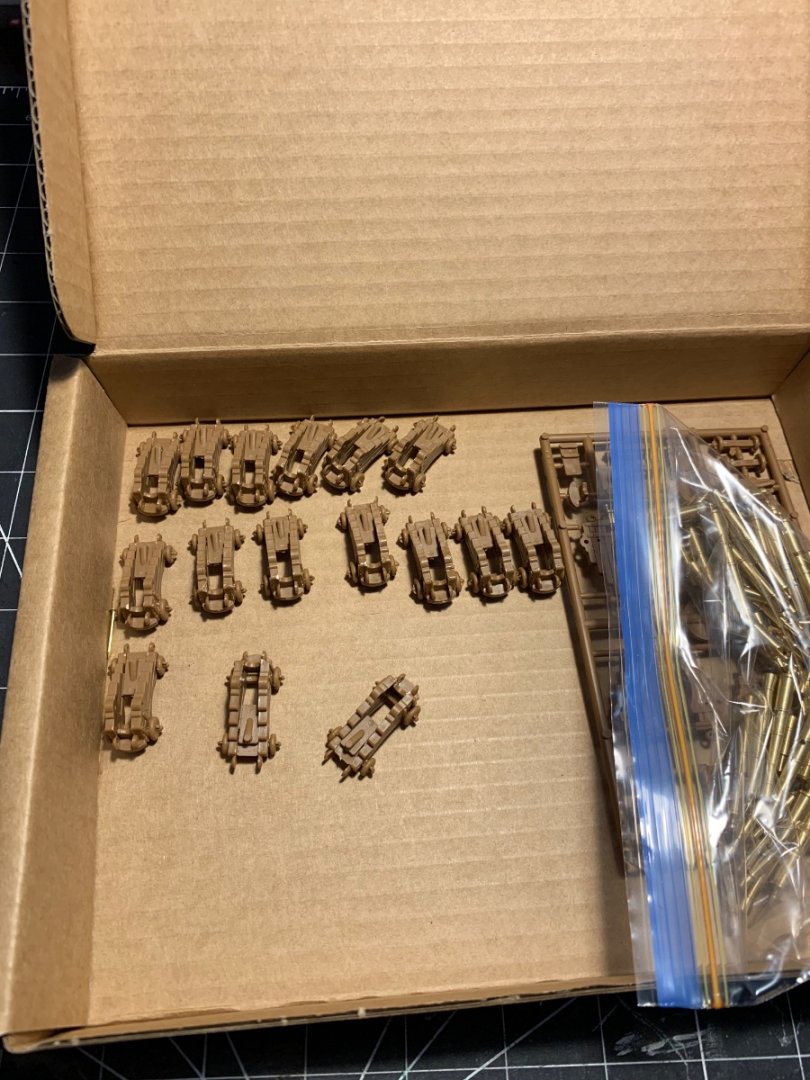
Eight weeks post surgery and cleared of all restrictions. I wasn't totally idle while recovering, worked on the guns. Airbrush came in real handy painting the gun carriages. Tried to use Brass Blackner on the cannons, hated working with that stuff so decided just to prime and paint them. Continued on with hull planking, finished the second of five belts. Slow process as each strake has to be shaped three separate ways. Lots of soaking and then blasting with a heat gun. Next belt number three continuing to work towards the keel.

- 48 replies
-
- 8
-
-
- norske love
- billing boats
- (and 1 more)
-
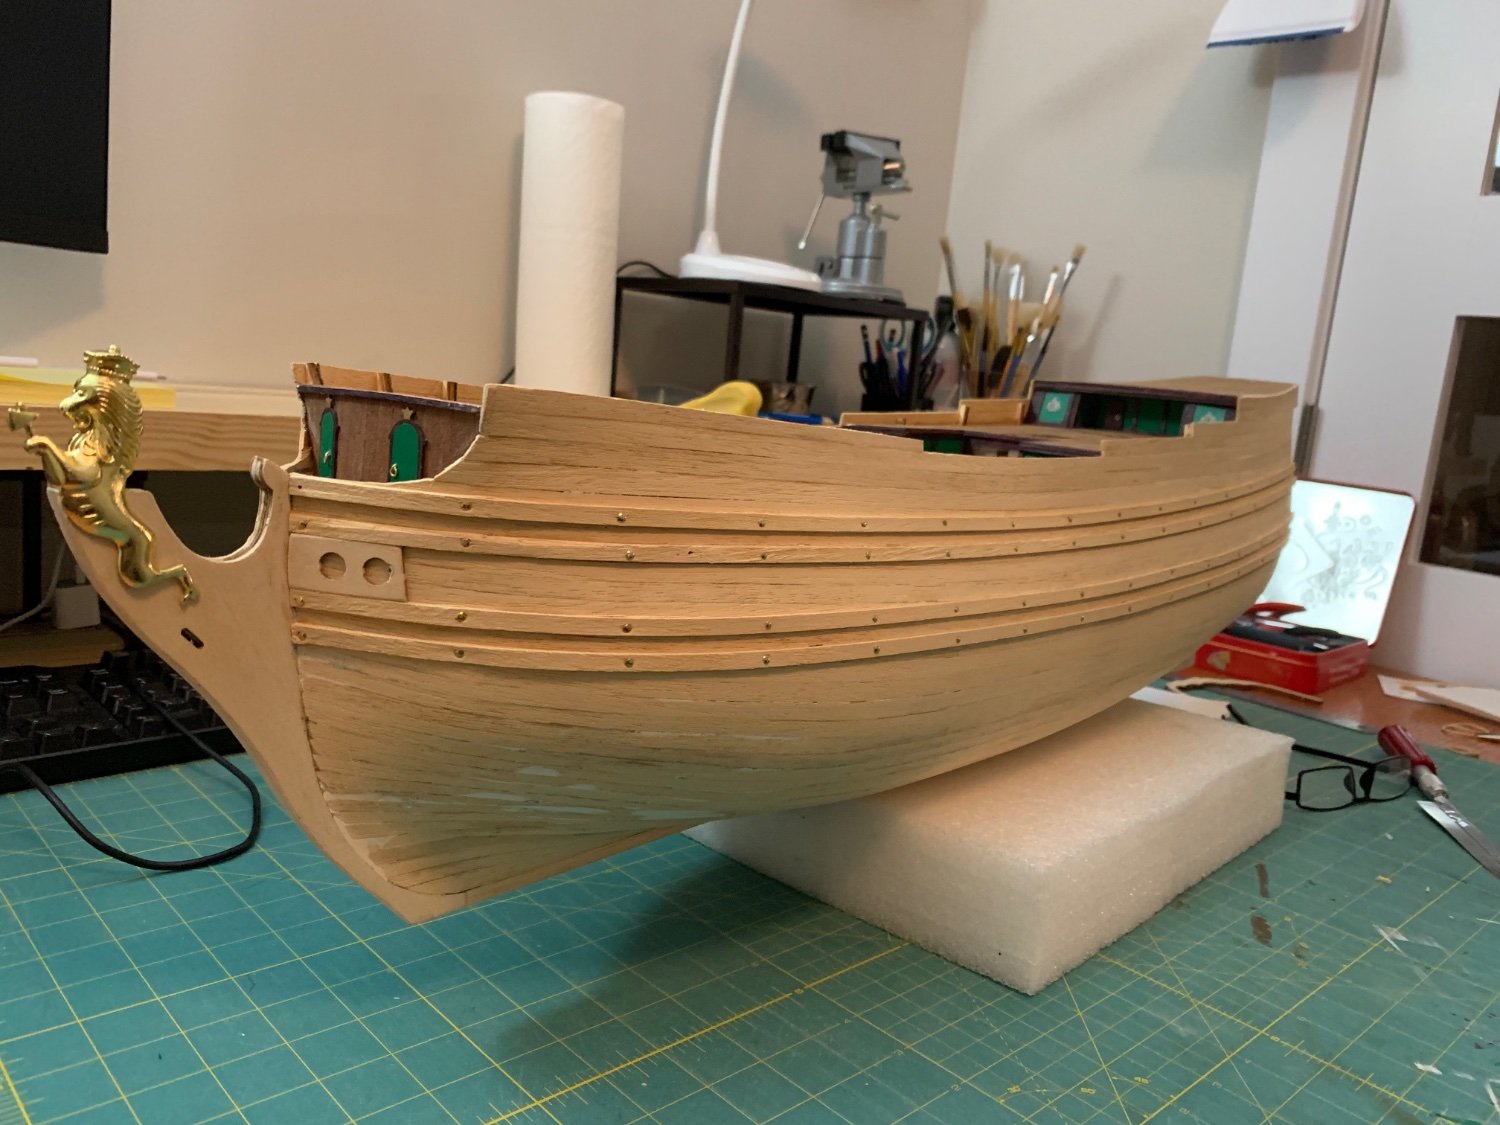
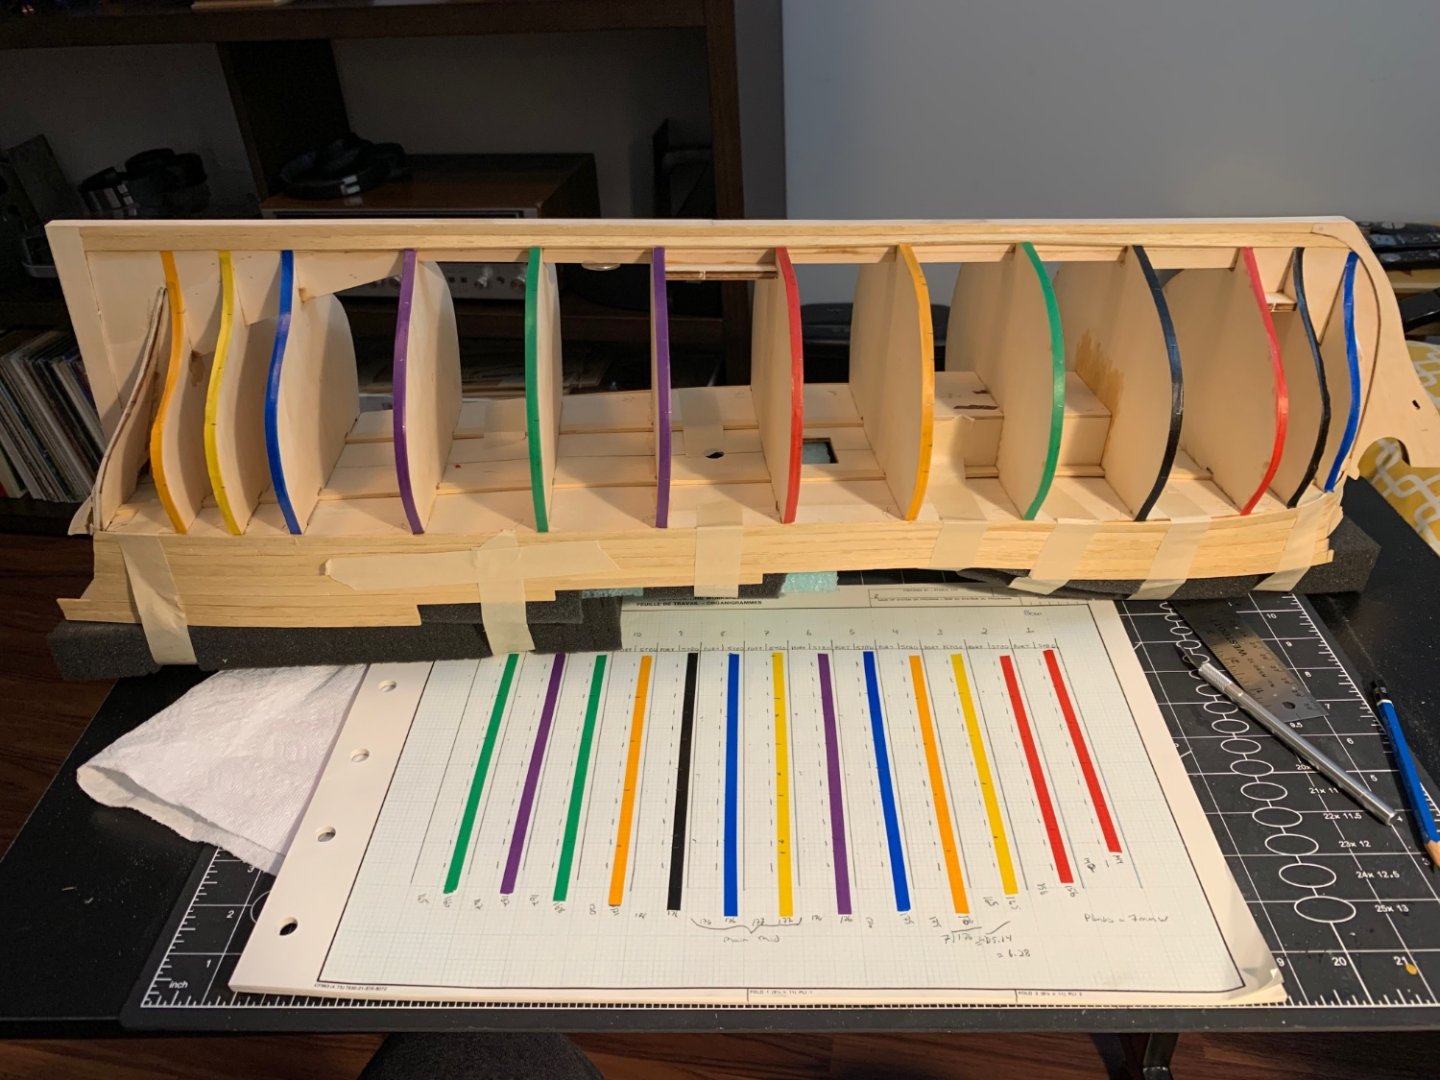
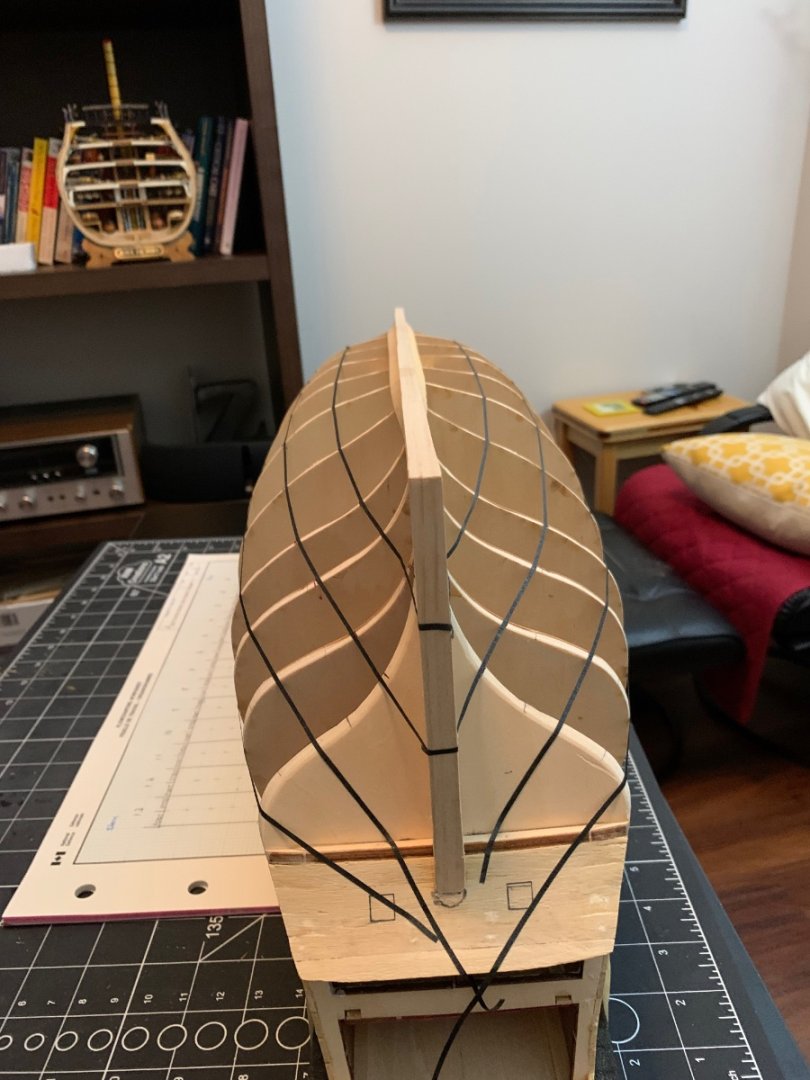
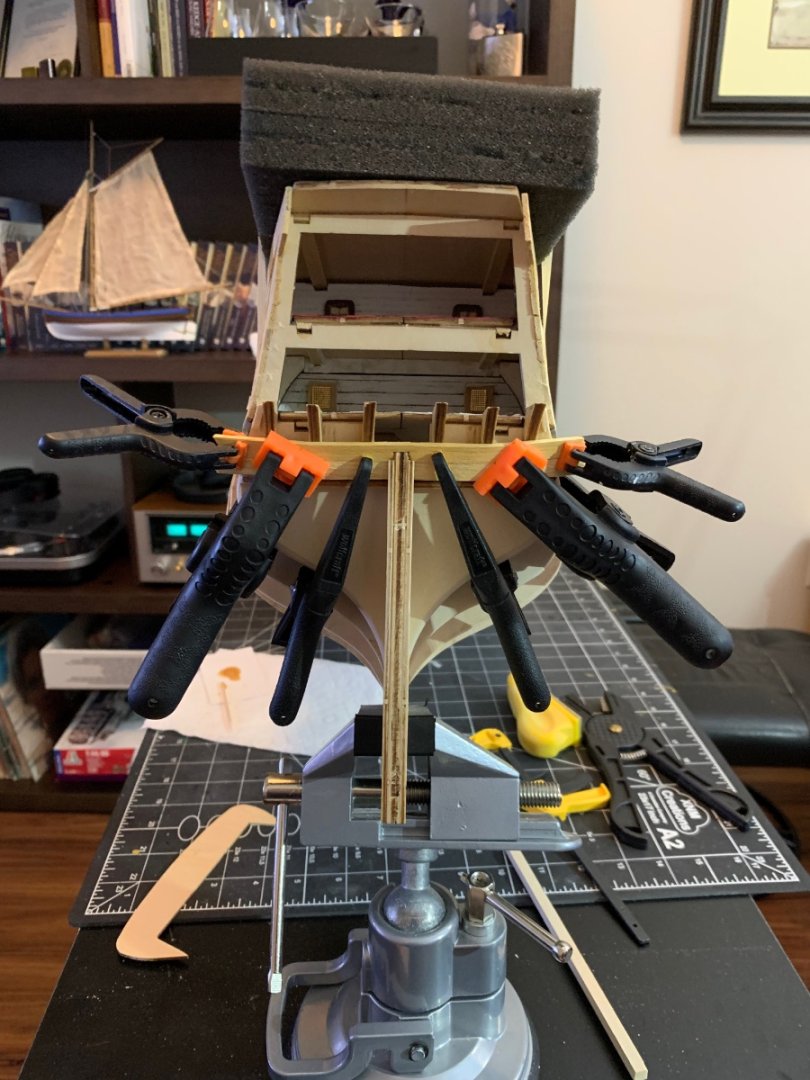
At home recovering from getting a pacemaker so thought I would do an update on the progress of the hull planking so far. I decided to start from the bottom so the first step was to fit the Garboard strake. This was very straight forward on Norske Love as it naturally fell along the keel with very little twisting or bending. I couldn't get a very accurate measurement with my cloth tape measure so I decided to use coloured tape on each frame, cut it to the exact distance between the upper strake and the Garboard strake then transfer the tape to a solid surface and then got the measurement. The planking material provided in the kit is 7mm wide, this worked out to be five bands of five strakes at the middle six frames. From there I took the remaining frame measurements and divided them by five getting the width of each band at each frame. Next I lined off the hull with white-board tape and adjusted as necessary to get a natural looking flow to the bands. Using cut out cardboard strips, each frame at each band was measured and divided by five, this gave the width of each strake at each frame within all five bands. Once the distance for each strake was measured on the cardboard strip I then transferred these marks tot he frames. As with most model kits the Norske Love kit comes with wooden planking strips at one size. Unless you are willing to purchase extra material to fabricate the strakes this can make spiling a strake very difficult. I found an article from Model-Expo that uses a technique where you first cut the strake to size, then bend the strake edgewise then after this curve is set, you bend it for the curve of the bow. If I can find the link again I will post it here as it worked pretty slick for me and I can't do justice to the explanation on how to do it. So in this fashion I completed all five strakes for the first band with very little fuss or swearing. Below is the untouched results, with a little sanding it should come out just fine. Once healed up enough to get back at it I am going to start at the top and work to this bottom band. I am doing this because I want any strakes that need serious tapering to be in the painted portion of the hull. Cheers for now.


- 48 replies
-
- 9
-
-
- norske love
- billing boats
- (and 1 more)
-
Hi Pete, very much appreciate the tips. 👍 I will definitely take you advice and use the Gallery Board as reference. If you have any more tips please send them my way. Norske Love is a tough build due to the lack of instruction but makes a great learning platform.
-
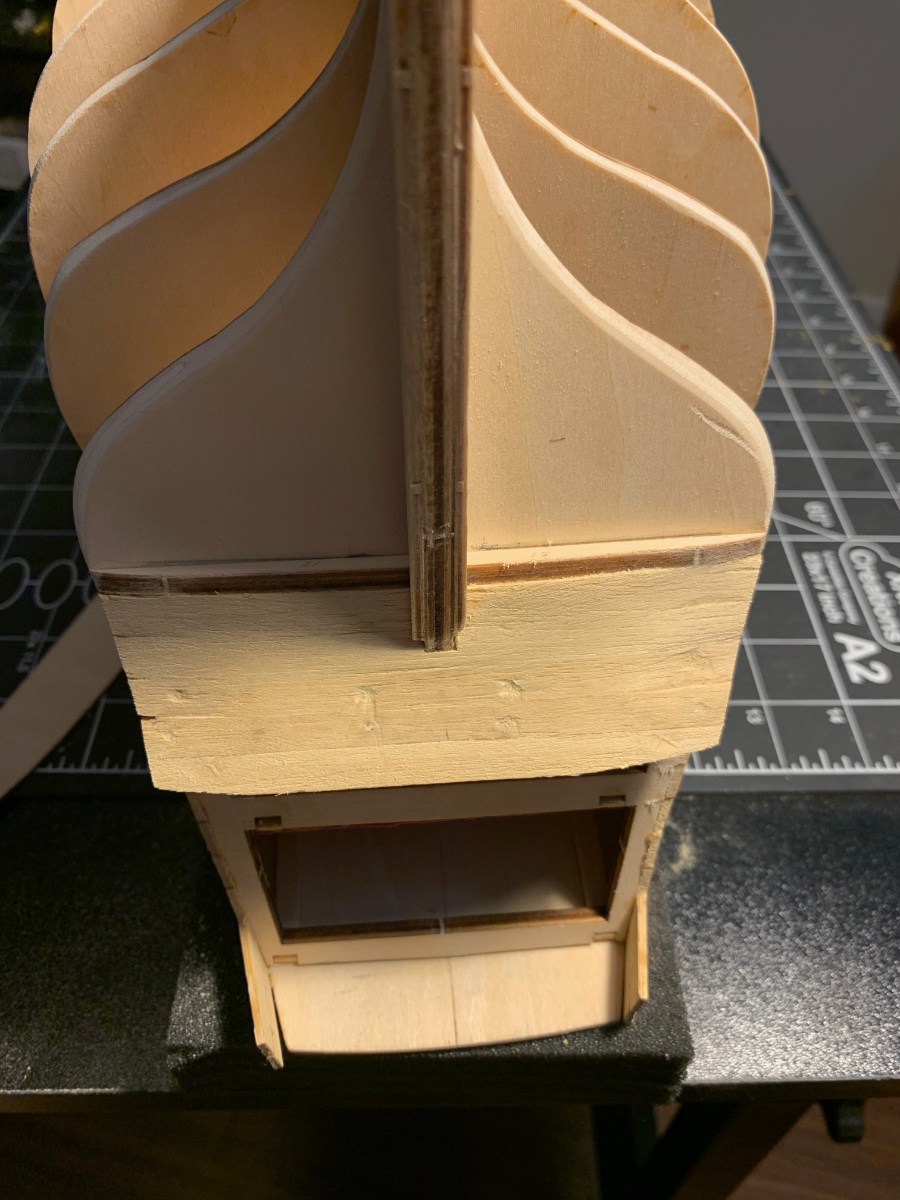
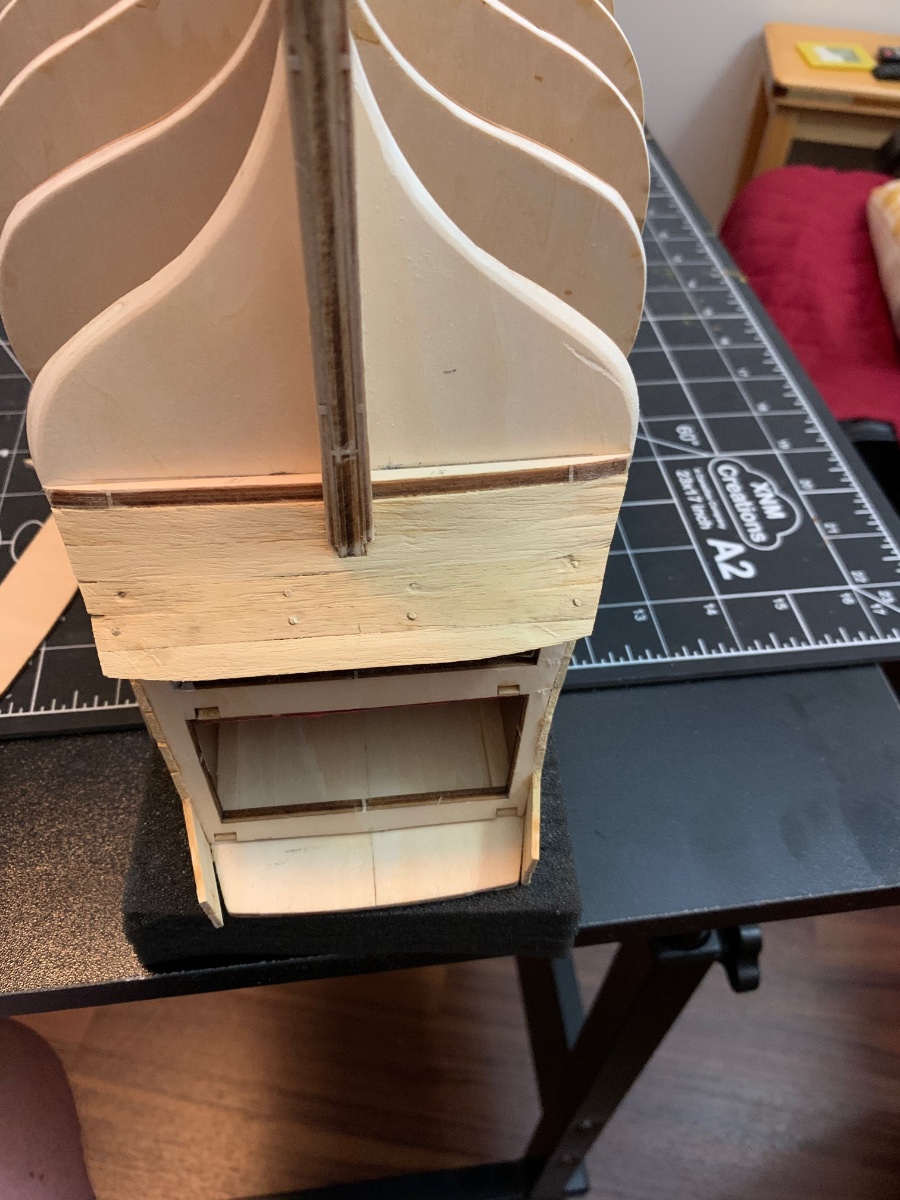
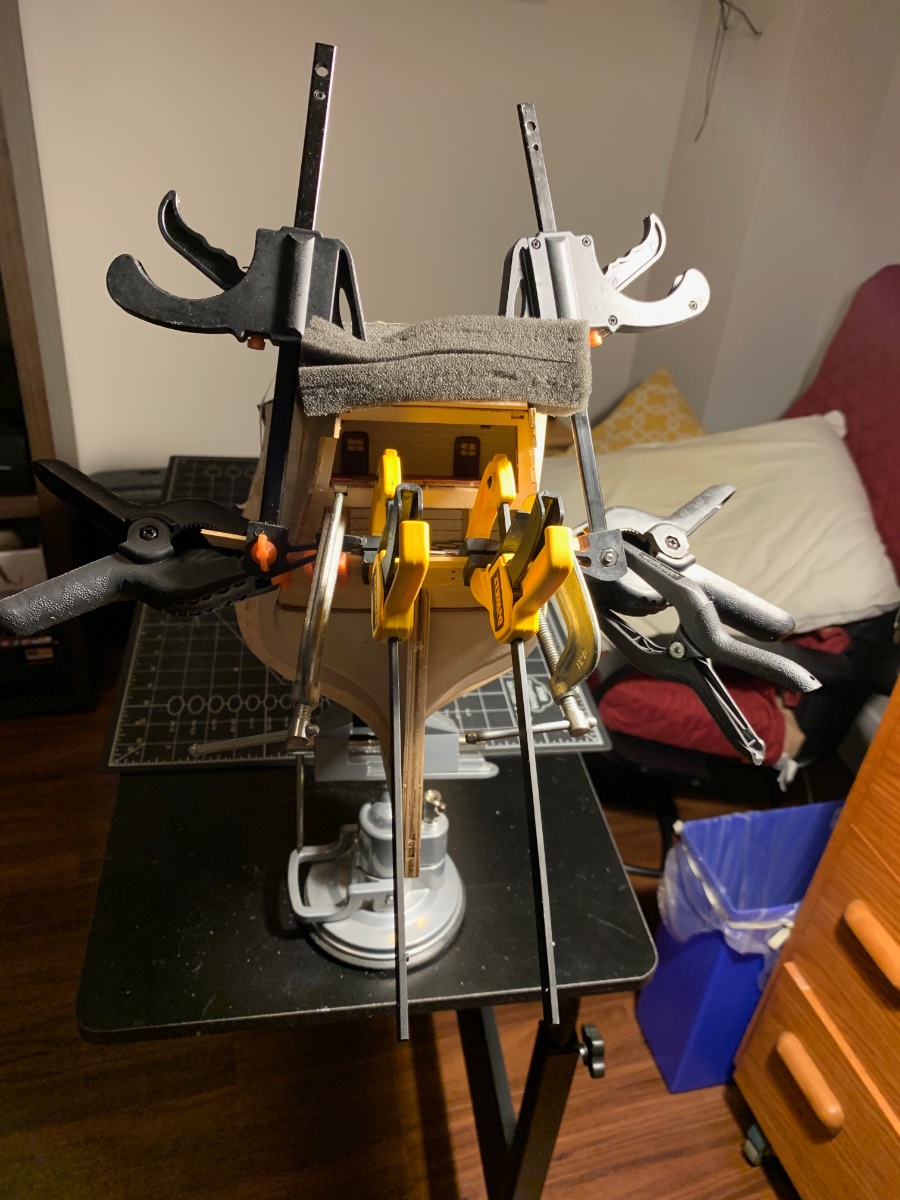
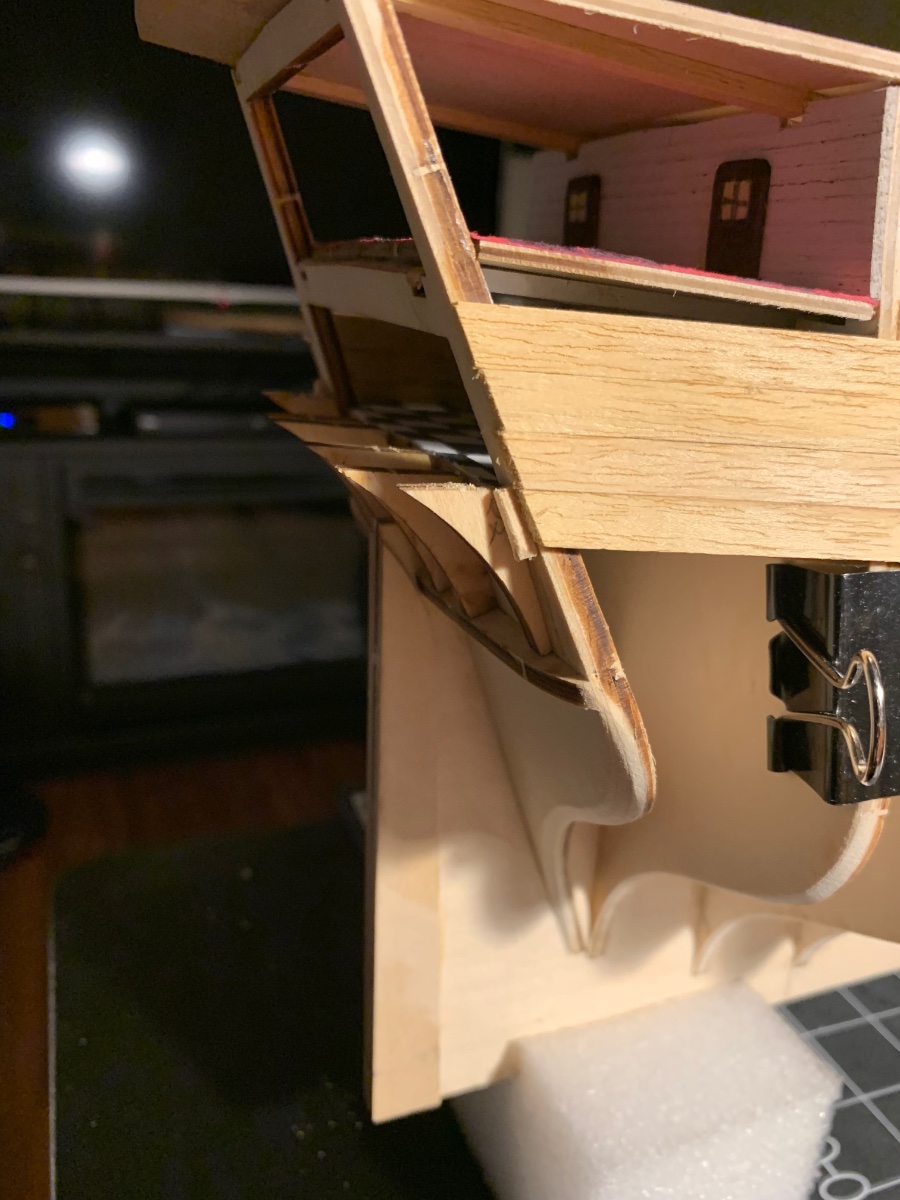
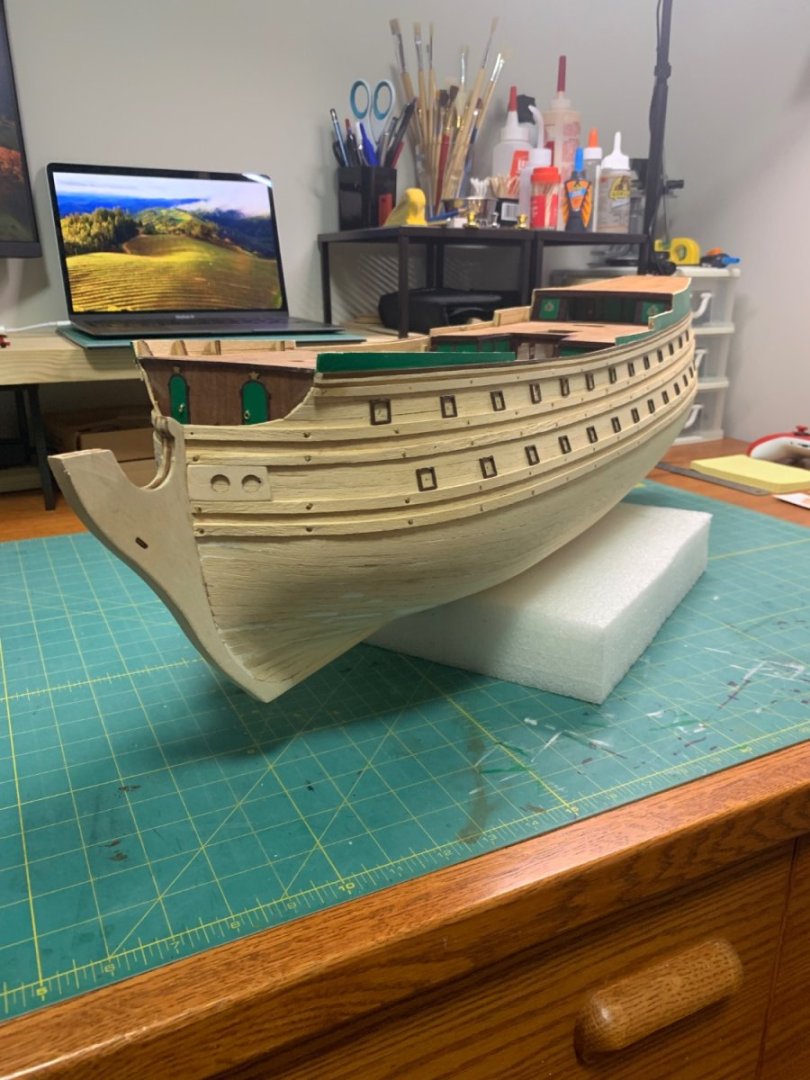
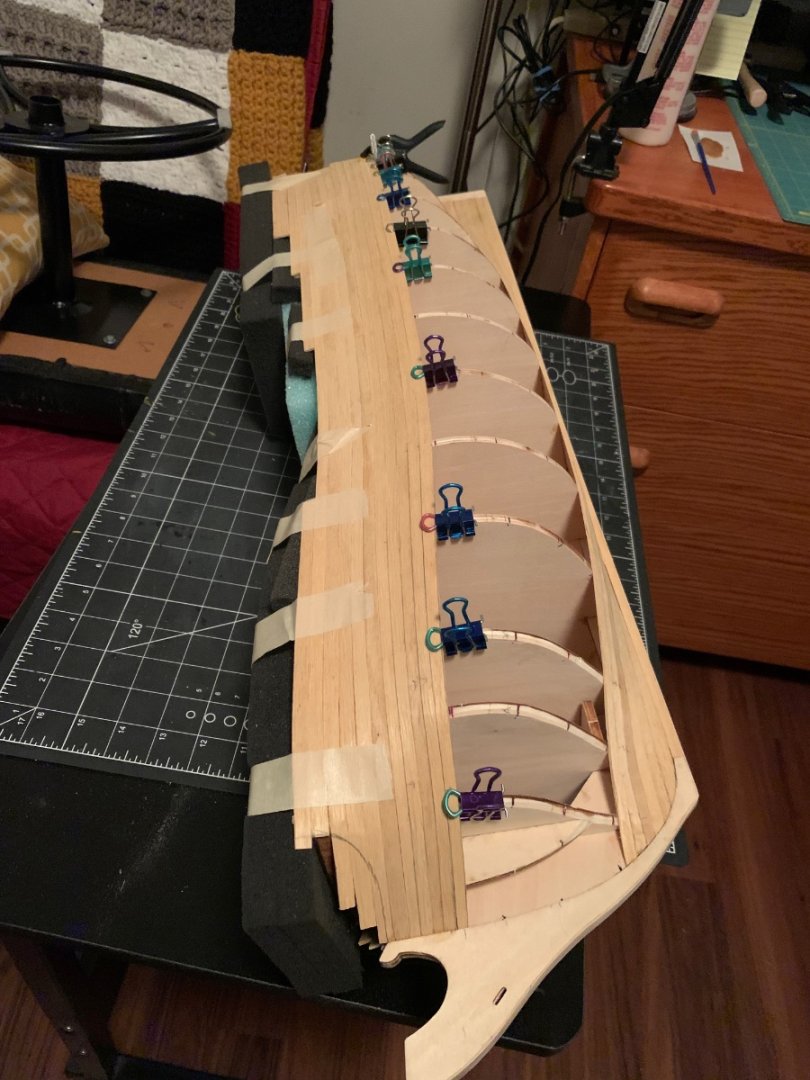
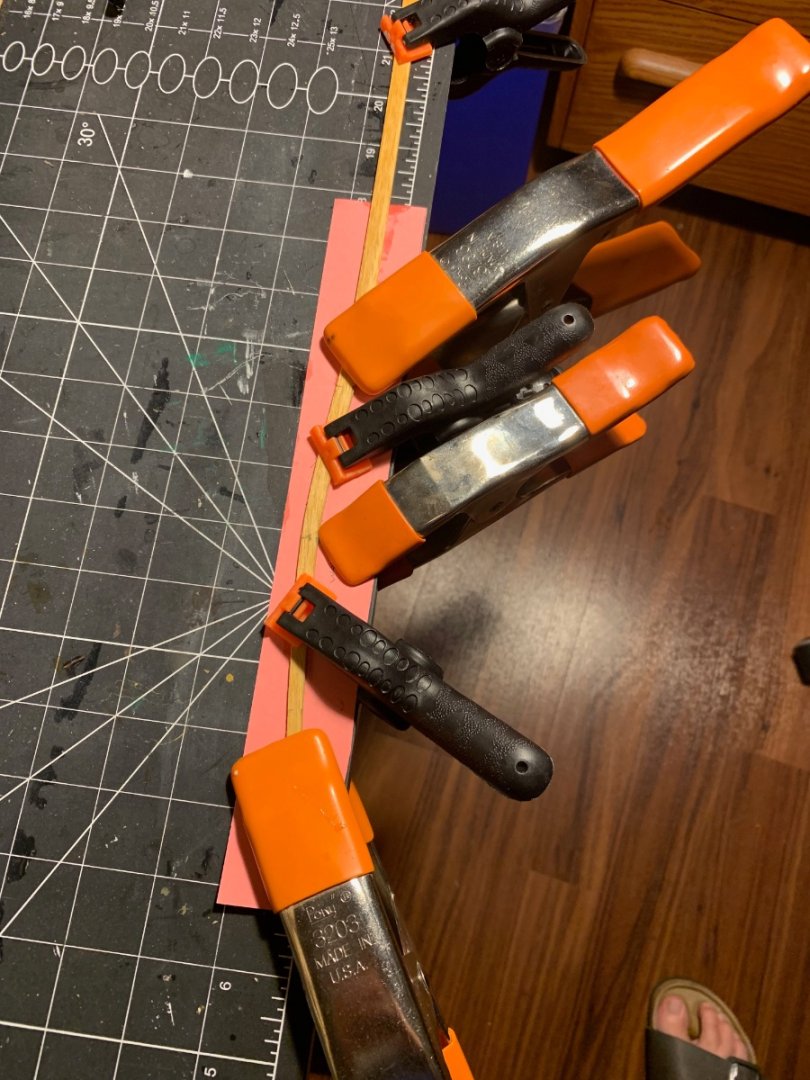
So finished planking the small stern section and made a bit of a hash of it. I really don't like working with Obechi planking provided with the kit. It is very fibrous and easily tears out at the ends. End tear out is evident in the following pictures. Because I already planked a portion of the sides I could not get good angles to attach clamps and had to use a few temporary nails. I am trying to avoid this because I am single planking the hull. It also led to some interesting clamping set-ups. Removed the nails and filled the holes, once the side planking meets up with this section I will have to use more filler to make it look decent. I read in someones build log that they were not a fan of exposed plywood edges, neither am I. I had some iron on edging left over from another build so decided to use it on the keel. In the end the stern section did not come together the way I wanted but learned lots and can't get to hung up on the results as it is part of the growth process. I will leave with two recommendations for anyone who might be looking to build this kit. First, if you are looking to produce a museum quality build either plan on double planking the hull or replace the Obechi planking strips with another type of wood. Second, if I was to start over I think I would plank this stern section first, it will make clamping a whole lot easier and would also avoid the mistake I made in the last post. On to planking the rest of the hull.


- 48 replies
-
- 5
-
-
- norske love
- billing boats
- (and 1 more)
-
Very nice start, I built this kit awhile ago and really enjoyed it. I did very little kit bashing as it was one of my first projects. Looking forward to seeing how yours turns out. Cheers
- 75 replies
-
- 5
-
-
- Oseberg
- Billing Boats
- (and 1 more)
-
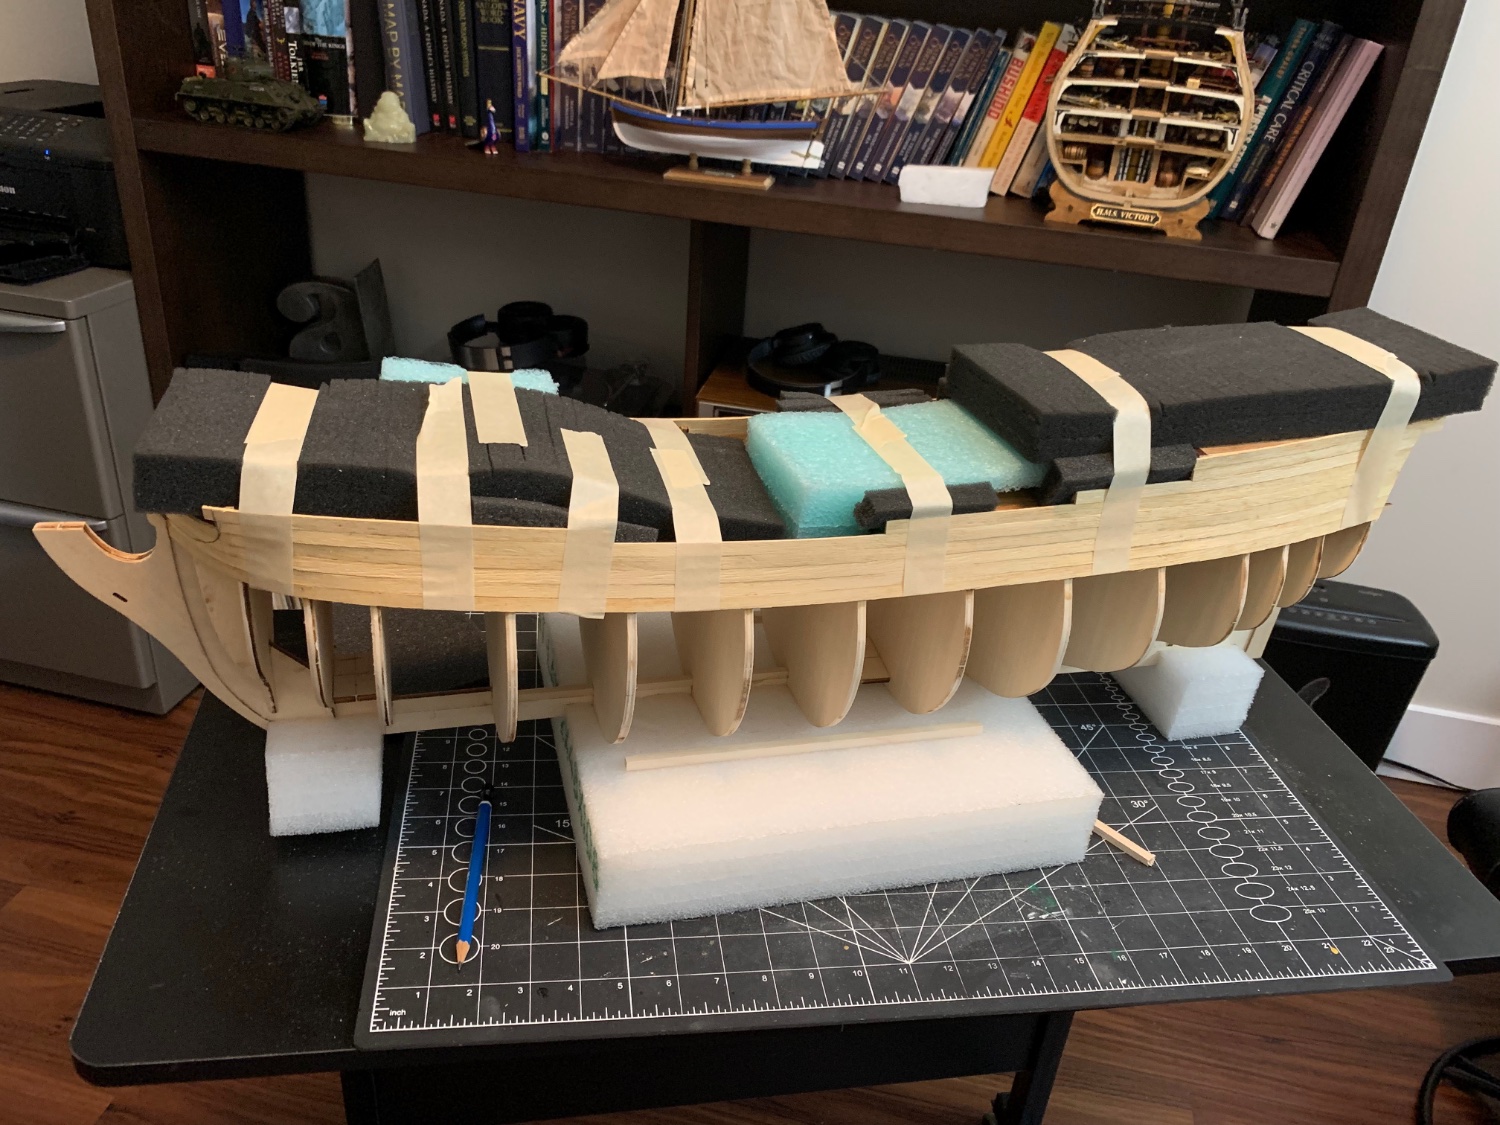
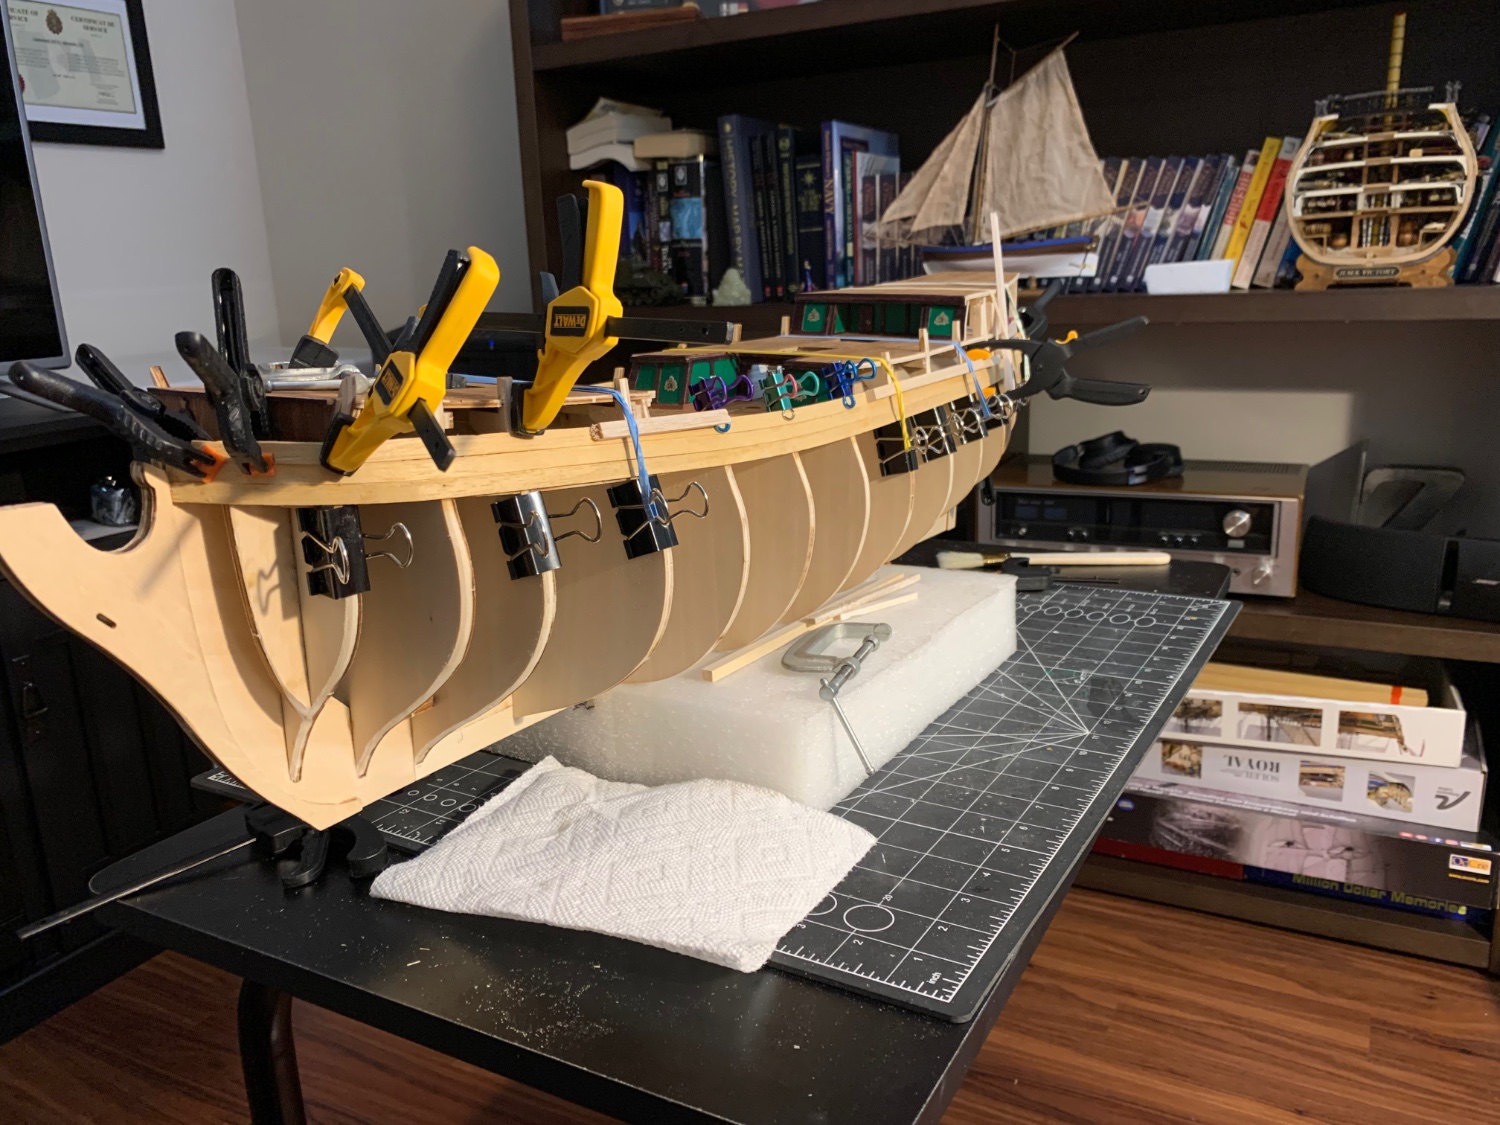
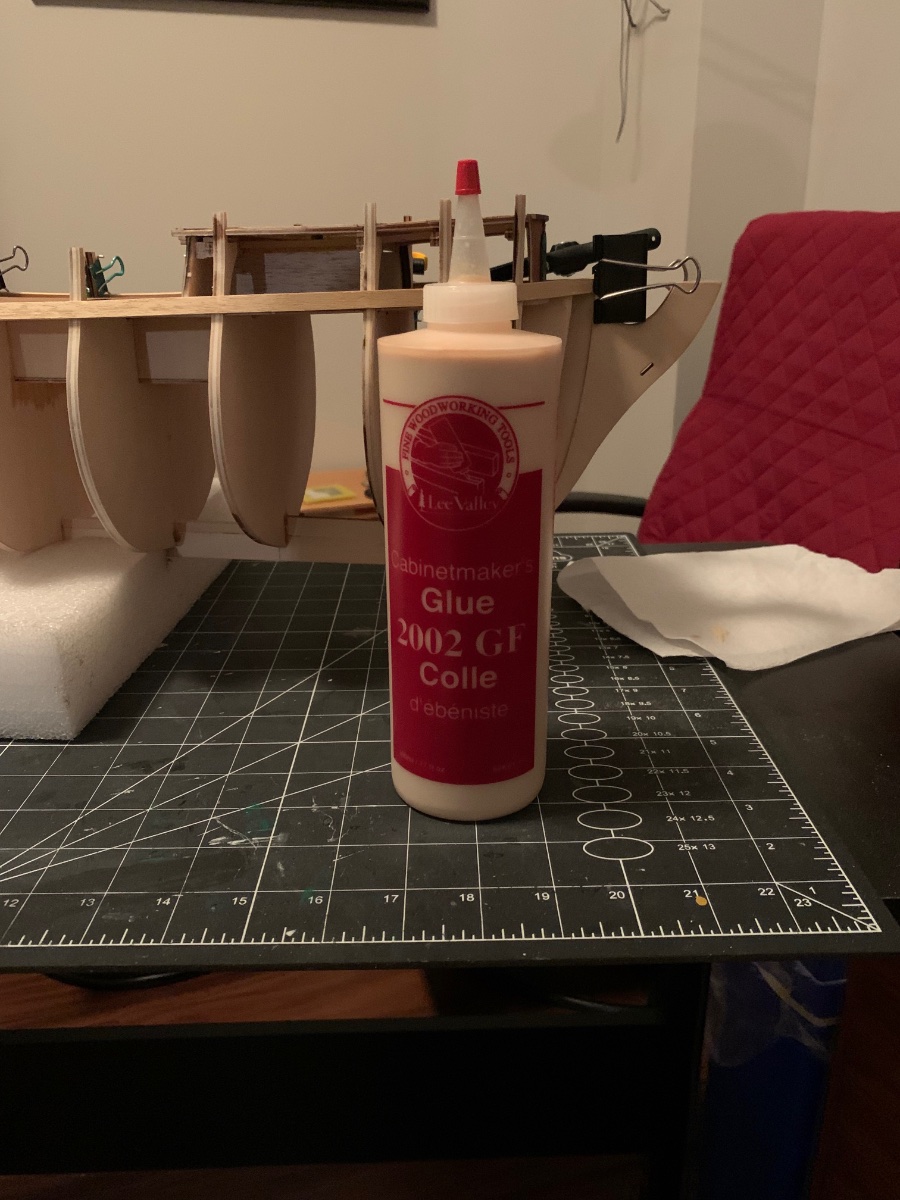
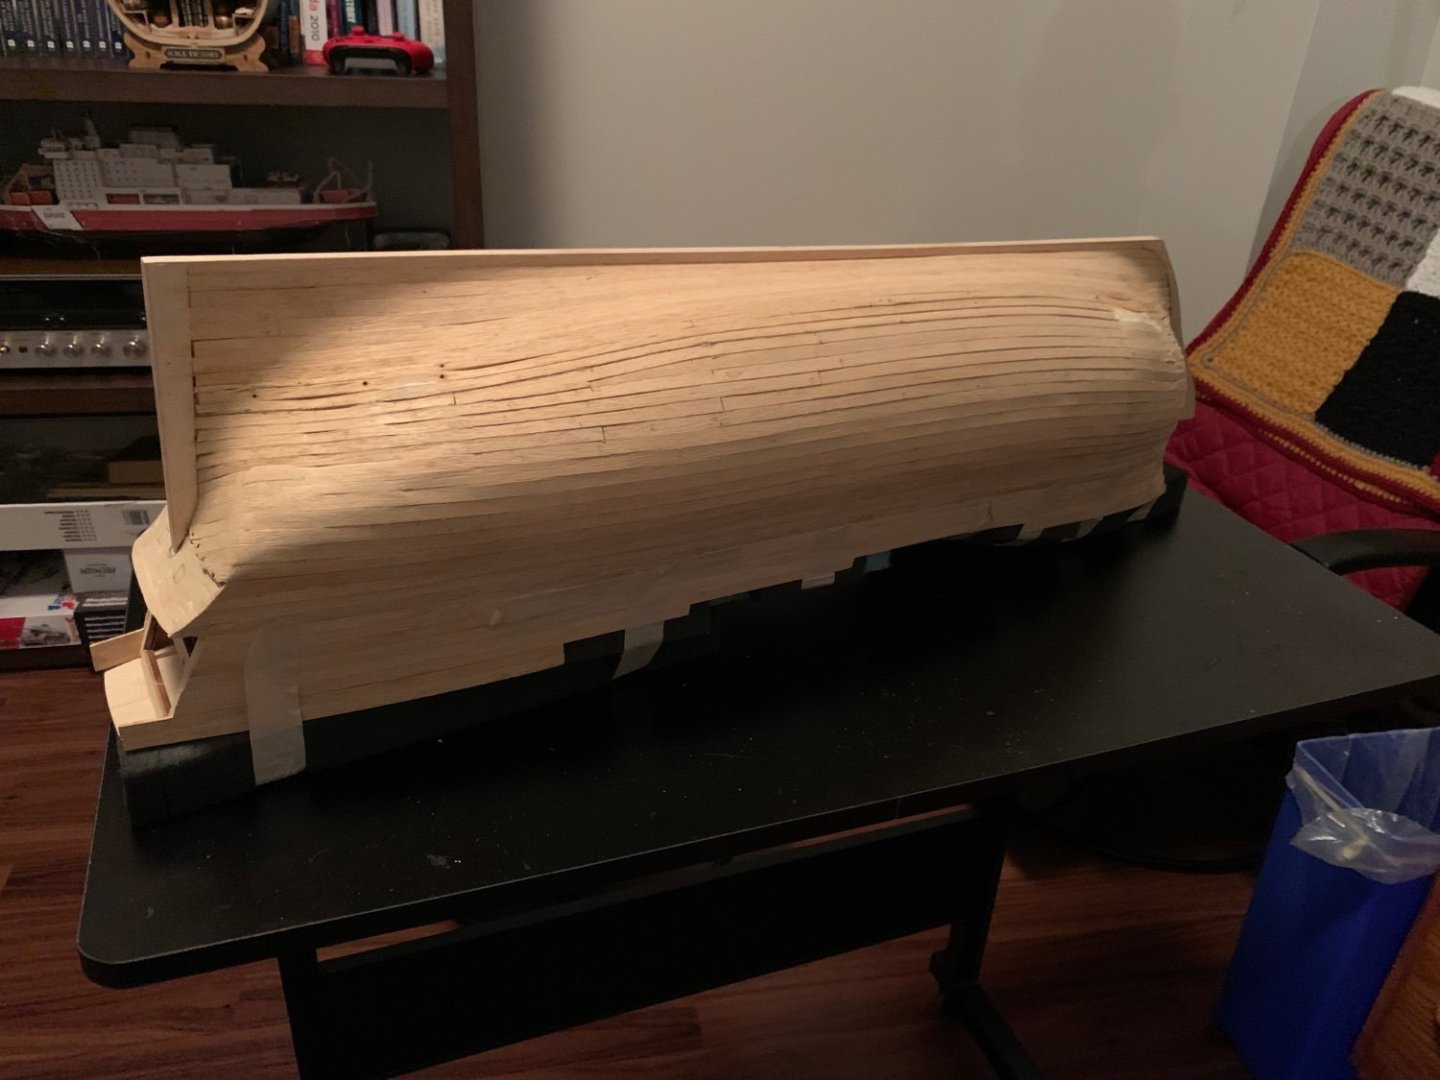
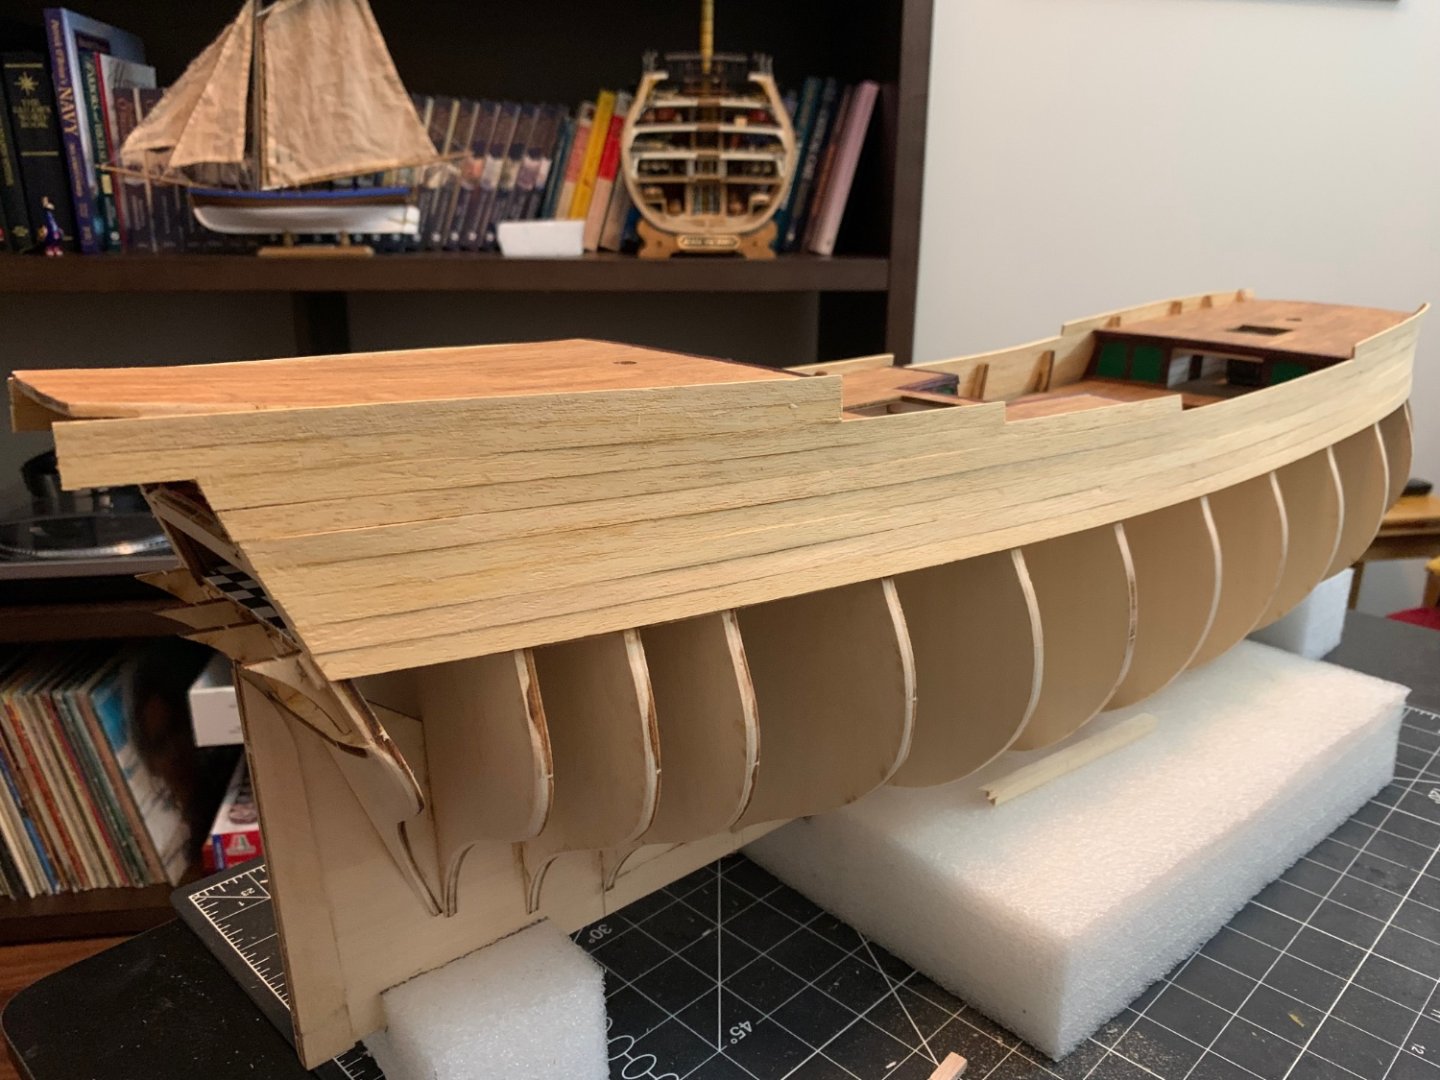
Finished stage one of planking the hull so before moving onto the next step thought I would provide a few progress pictures. The material provided with the kit is 1.8mm X 7mm Obechi, not the easiest stuff to work with but does bend fairly easy with pre-soaking. I am using this glue I got from Lee-Valley, it has gap filler in it. So far I am very happy with the results and will not have to apply a lot of extra filler on the finished hull "so far" 😬 The next image is a little lesson learned, I cut off this one plank without considering the overhang needed to meet up with the aft section. I will now have to insert a little section of planking to cover this error. So on to stage two which will be planking the aft section, ship taped up and foam in place to protect the unfinished planking edges from the ham-fisted builder.


- 48 replies
-
- 5
-
-
- norske love
- billing boats
- (and 1 more)
-
Hi brickline, which parts are you referring to? The parts that I have had to cut out so far was done using and sharp X-Acto knife.
-
Hi Graham,
Just revisiting my log after a long hiatus and just realized I ignored your questions completely. The hull planking that came with my kit is 1.8cm X 2mm X 550mm Obechi. The decks are a real bugger to get fitted right, never touched the centre line and just made them fit together by taking material off the bulkhead slots. I ordered 1/32" X 3/16" bass wood strips to glue on top of the solid deck provided in the kit. This model is hard enough to do with a brand new kit can't imagine trying from and old one with missing pieces. Good luck keep me posted.
-
OK so took a long break from boat building and got side tracked by another project: However back on track now, over the past week I got the hull faired and today started to plank the hull. Plan is to just use the planking supplied with the kit so single layer planking only. Unless I royally screw it up. 😀😬

- 48 replies
-
- 2
-
-
- norske love
- billing boats
- (and 1 more)
-
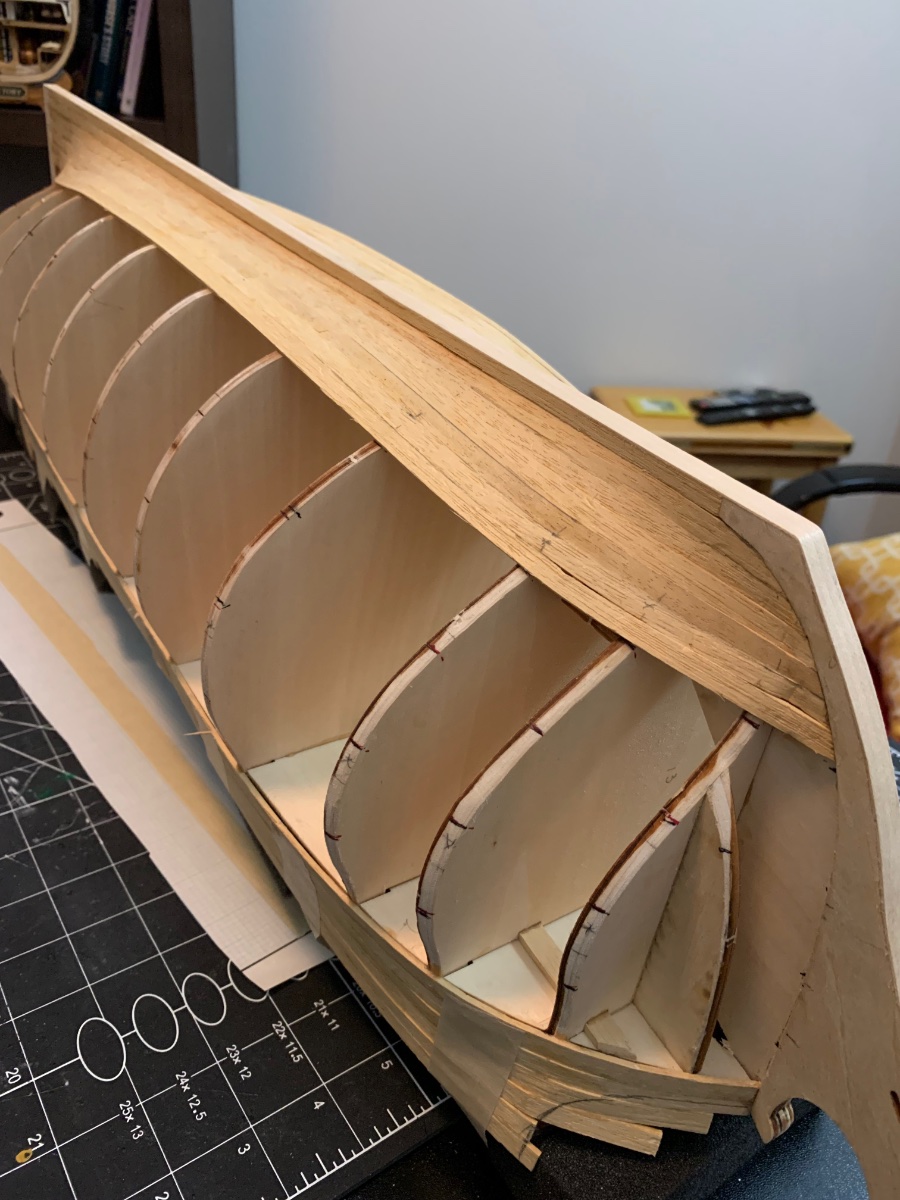
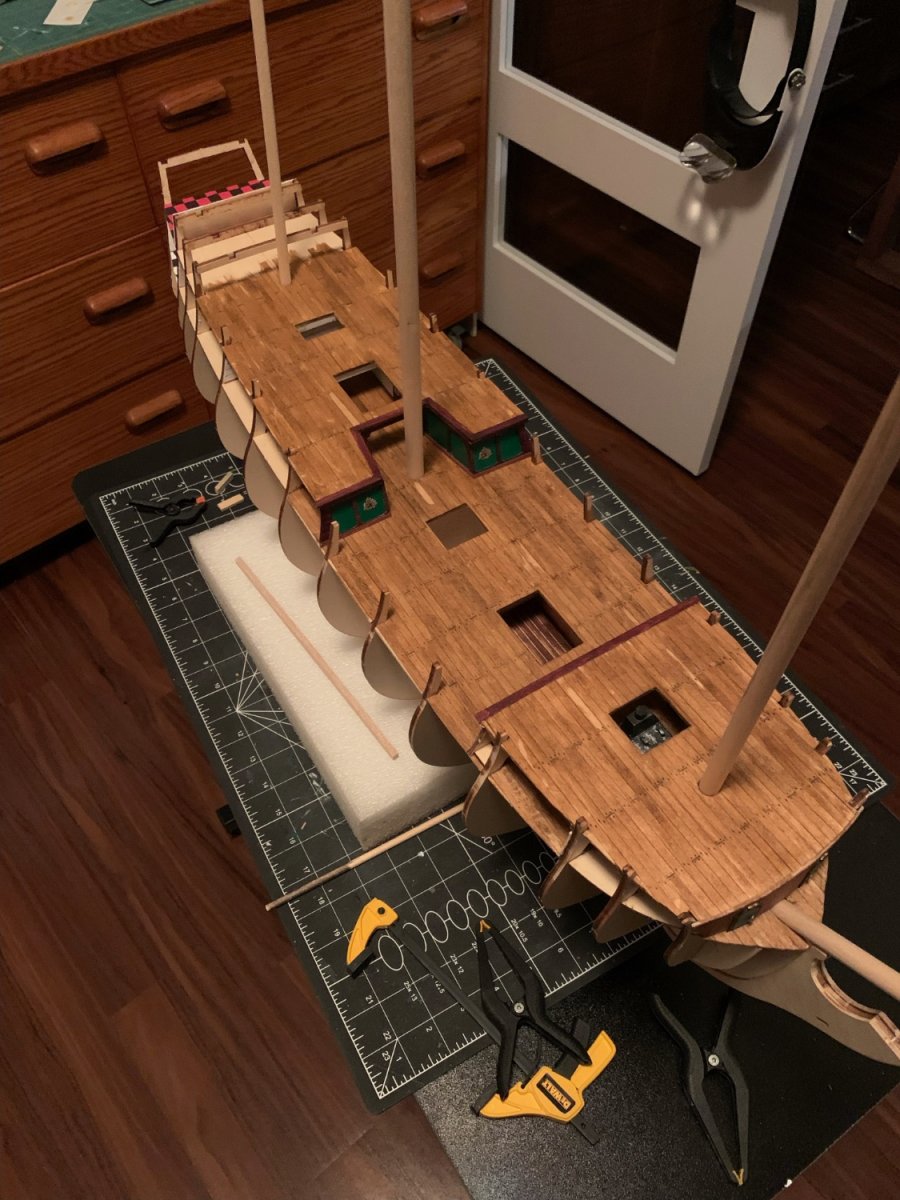
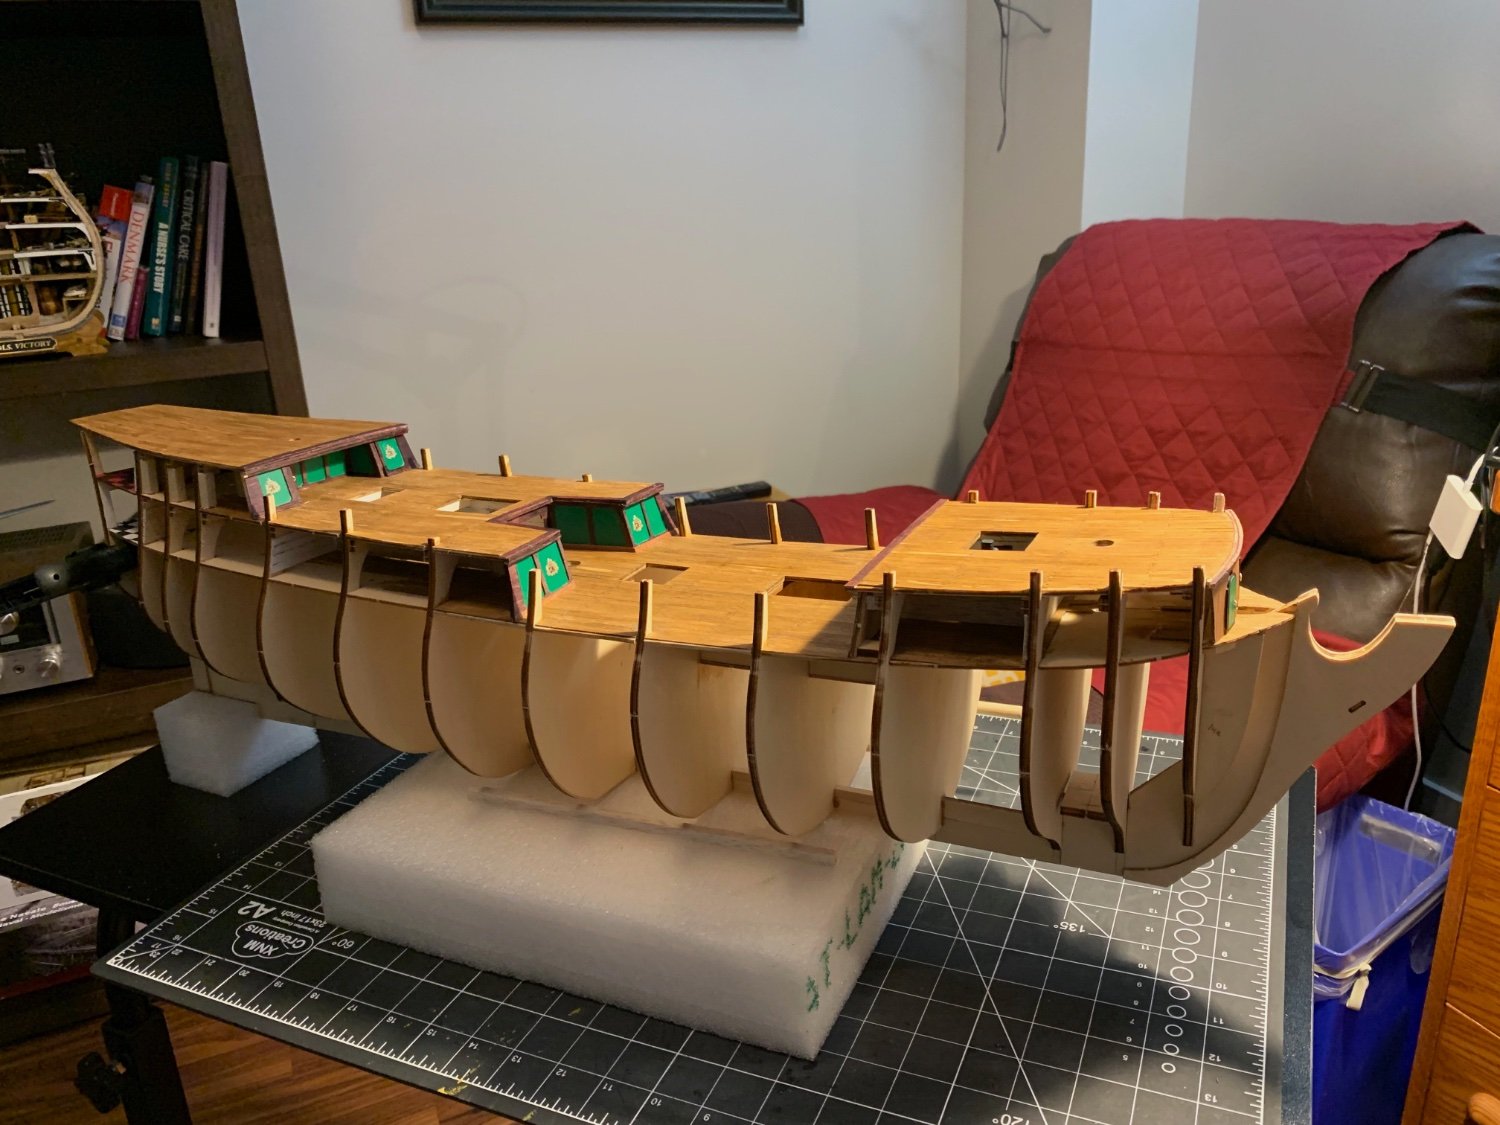
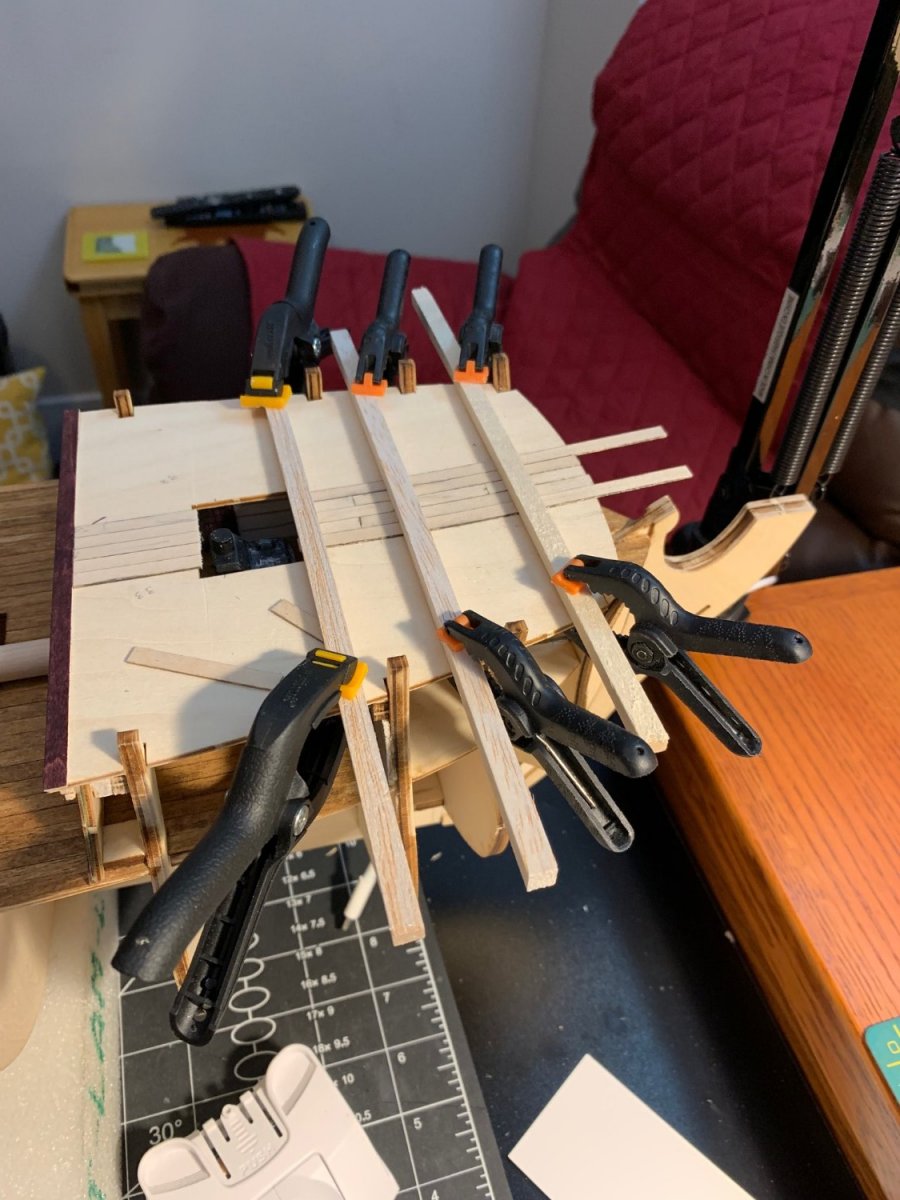
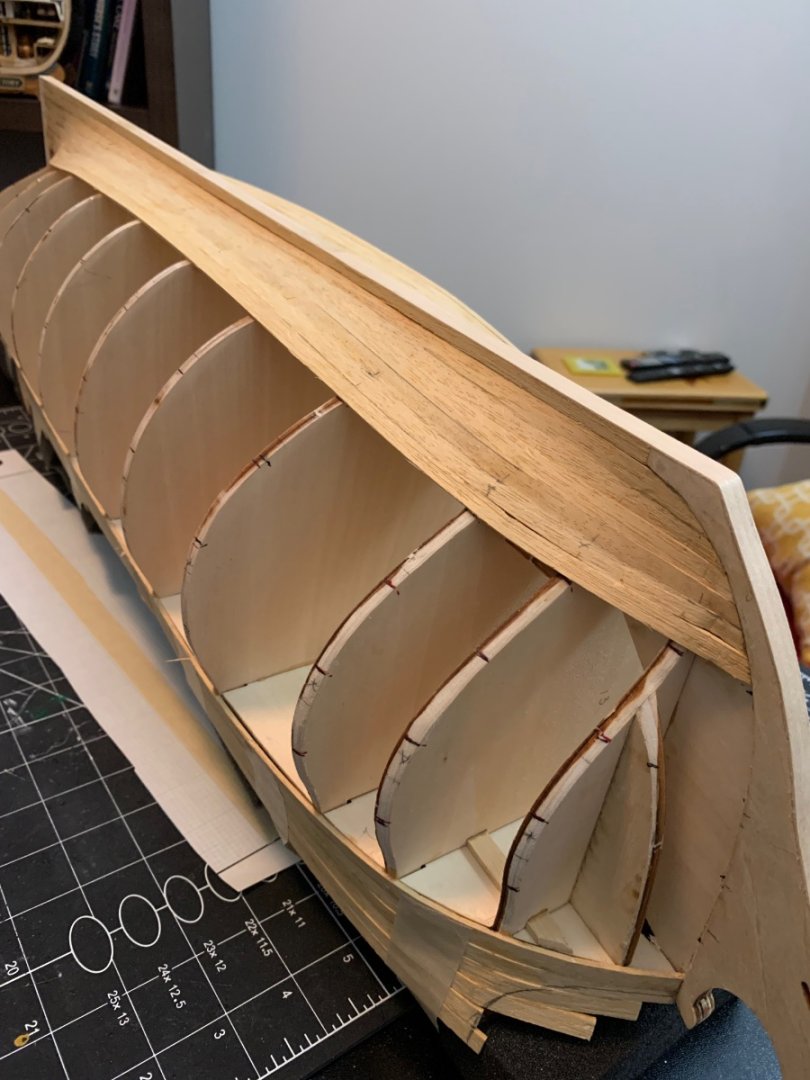
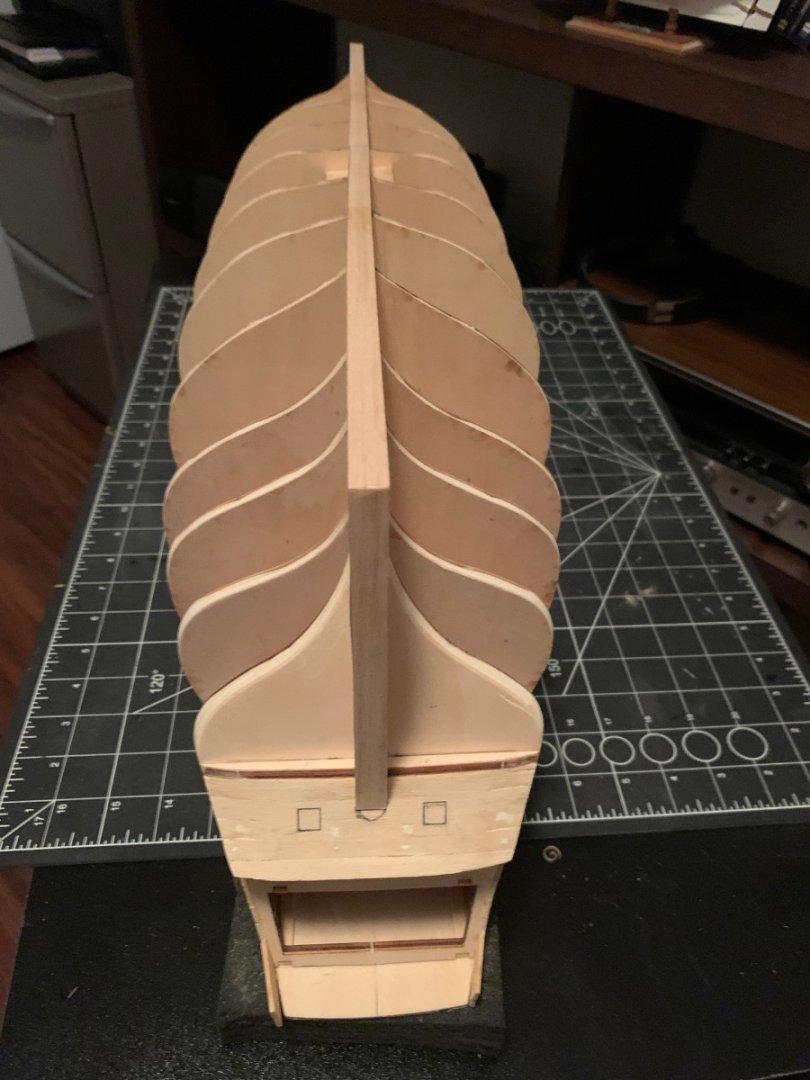
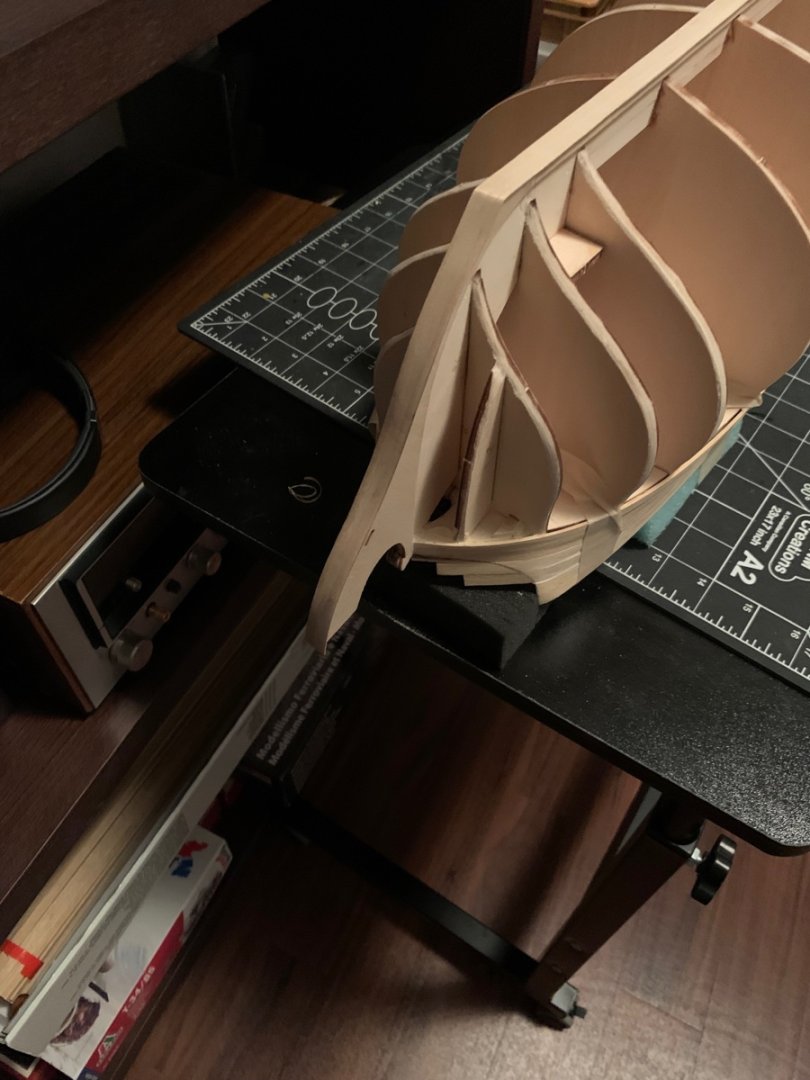
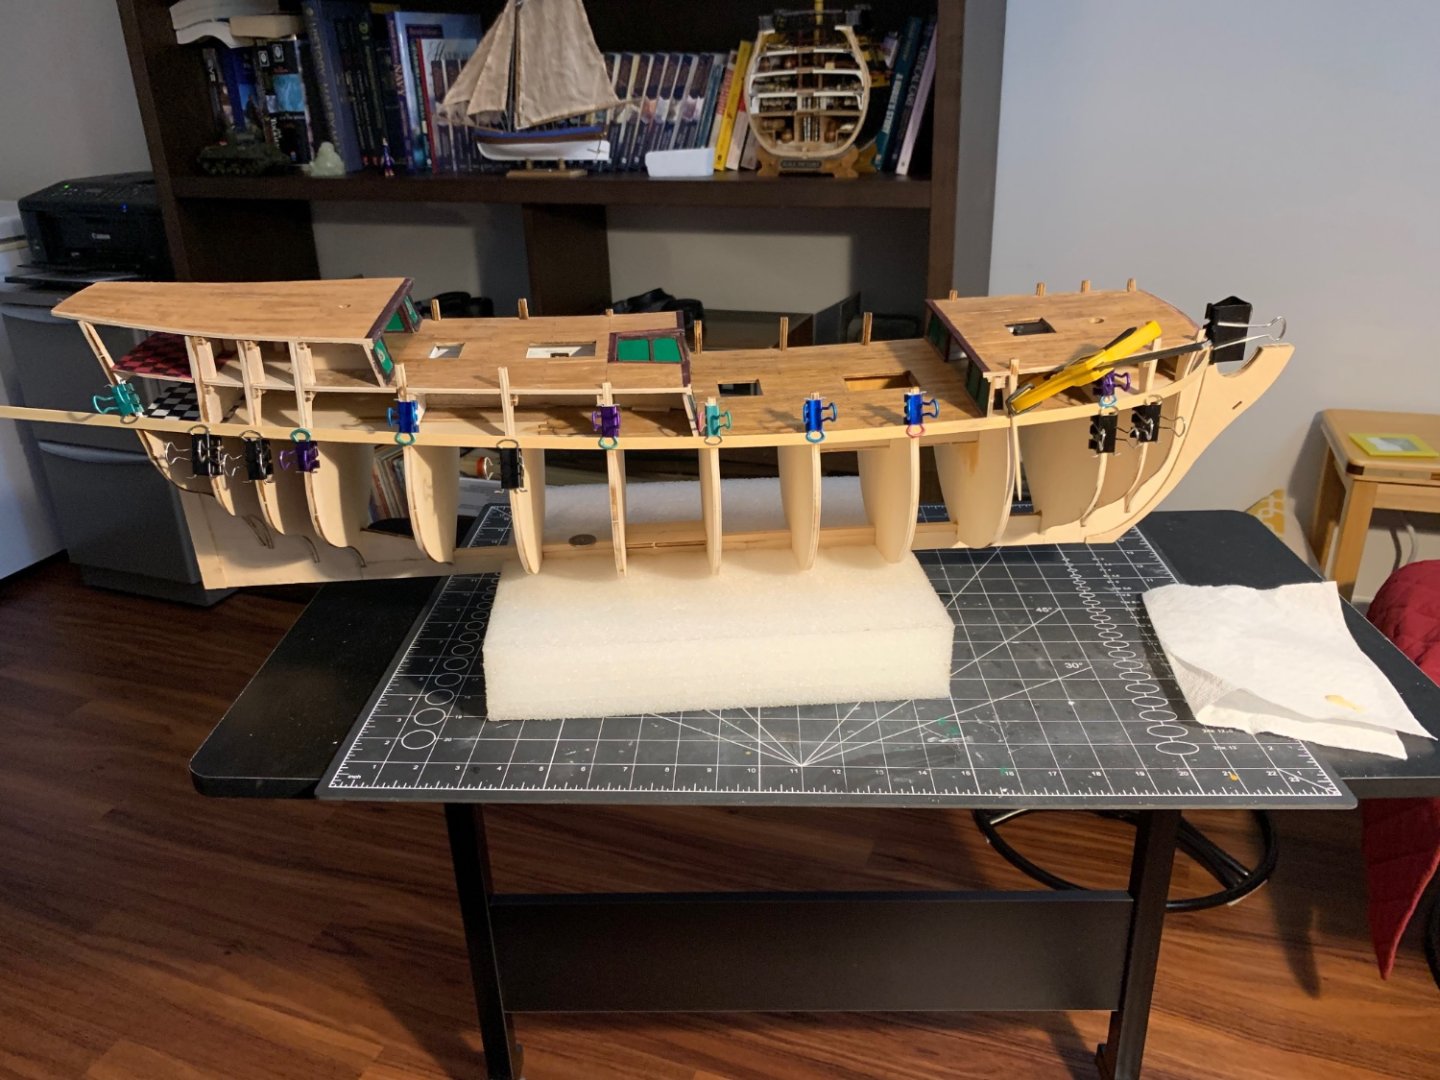
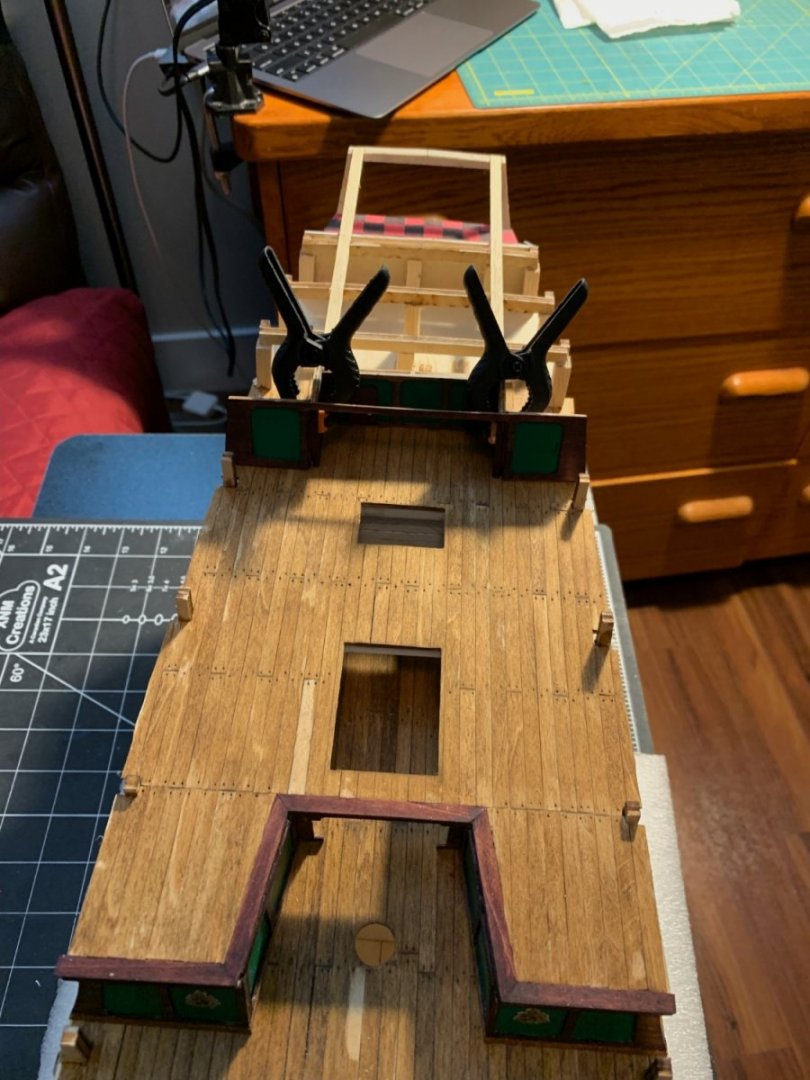
Just a few pictures to show the completed upper decks. Time to move on to planking the hull. Fingers crossed it goes well.


- 48 replies
-
- 4
-
-
- norske love
- billing boats
- (and 1 more)
-
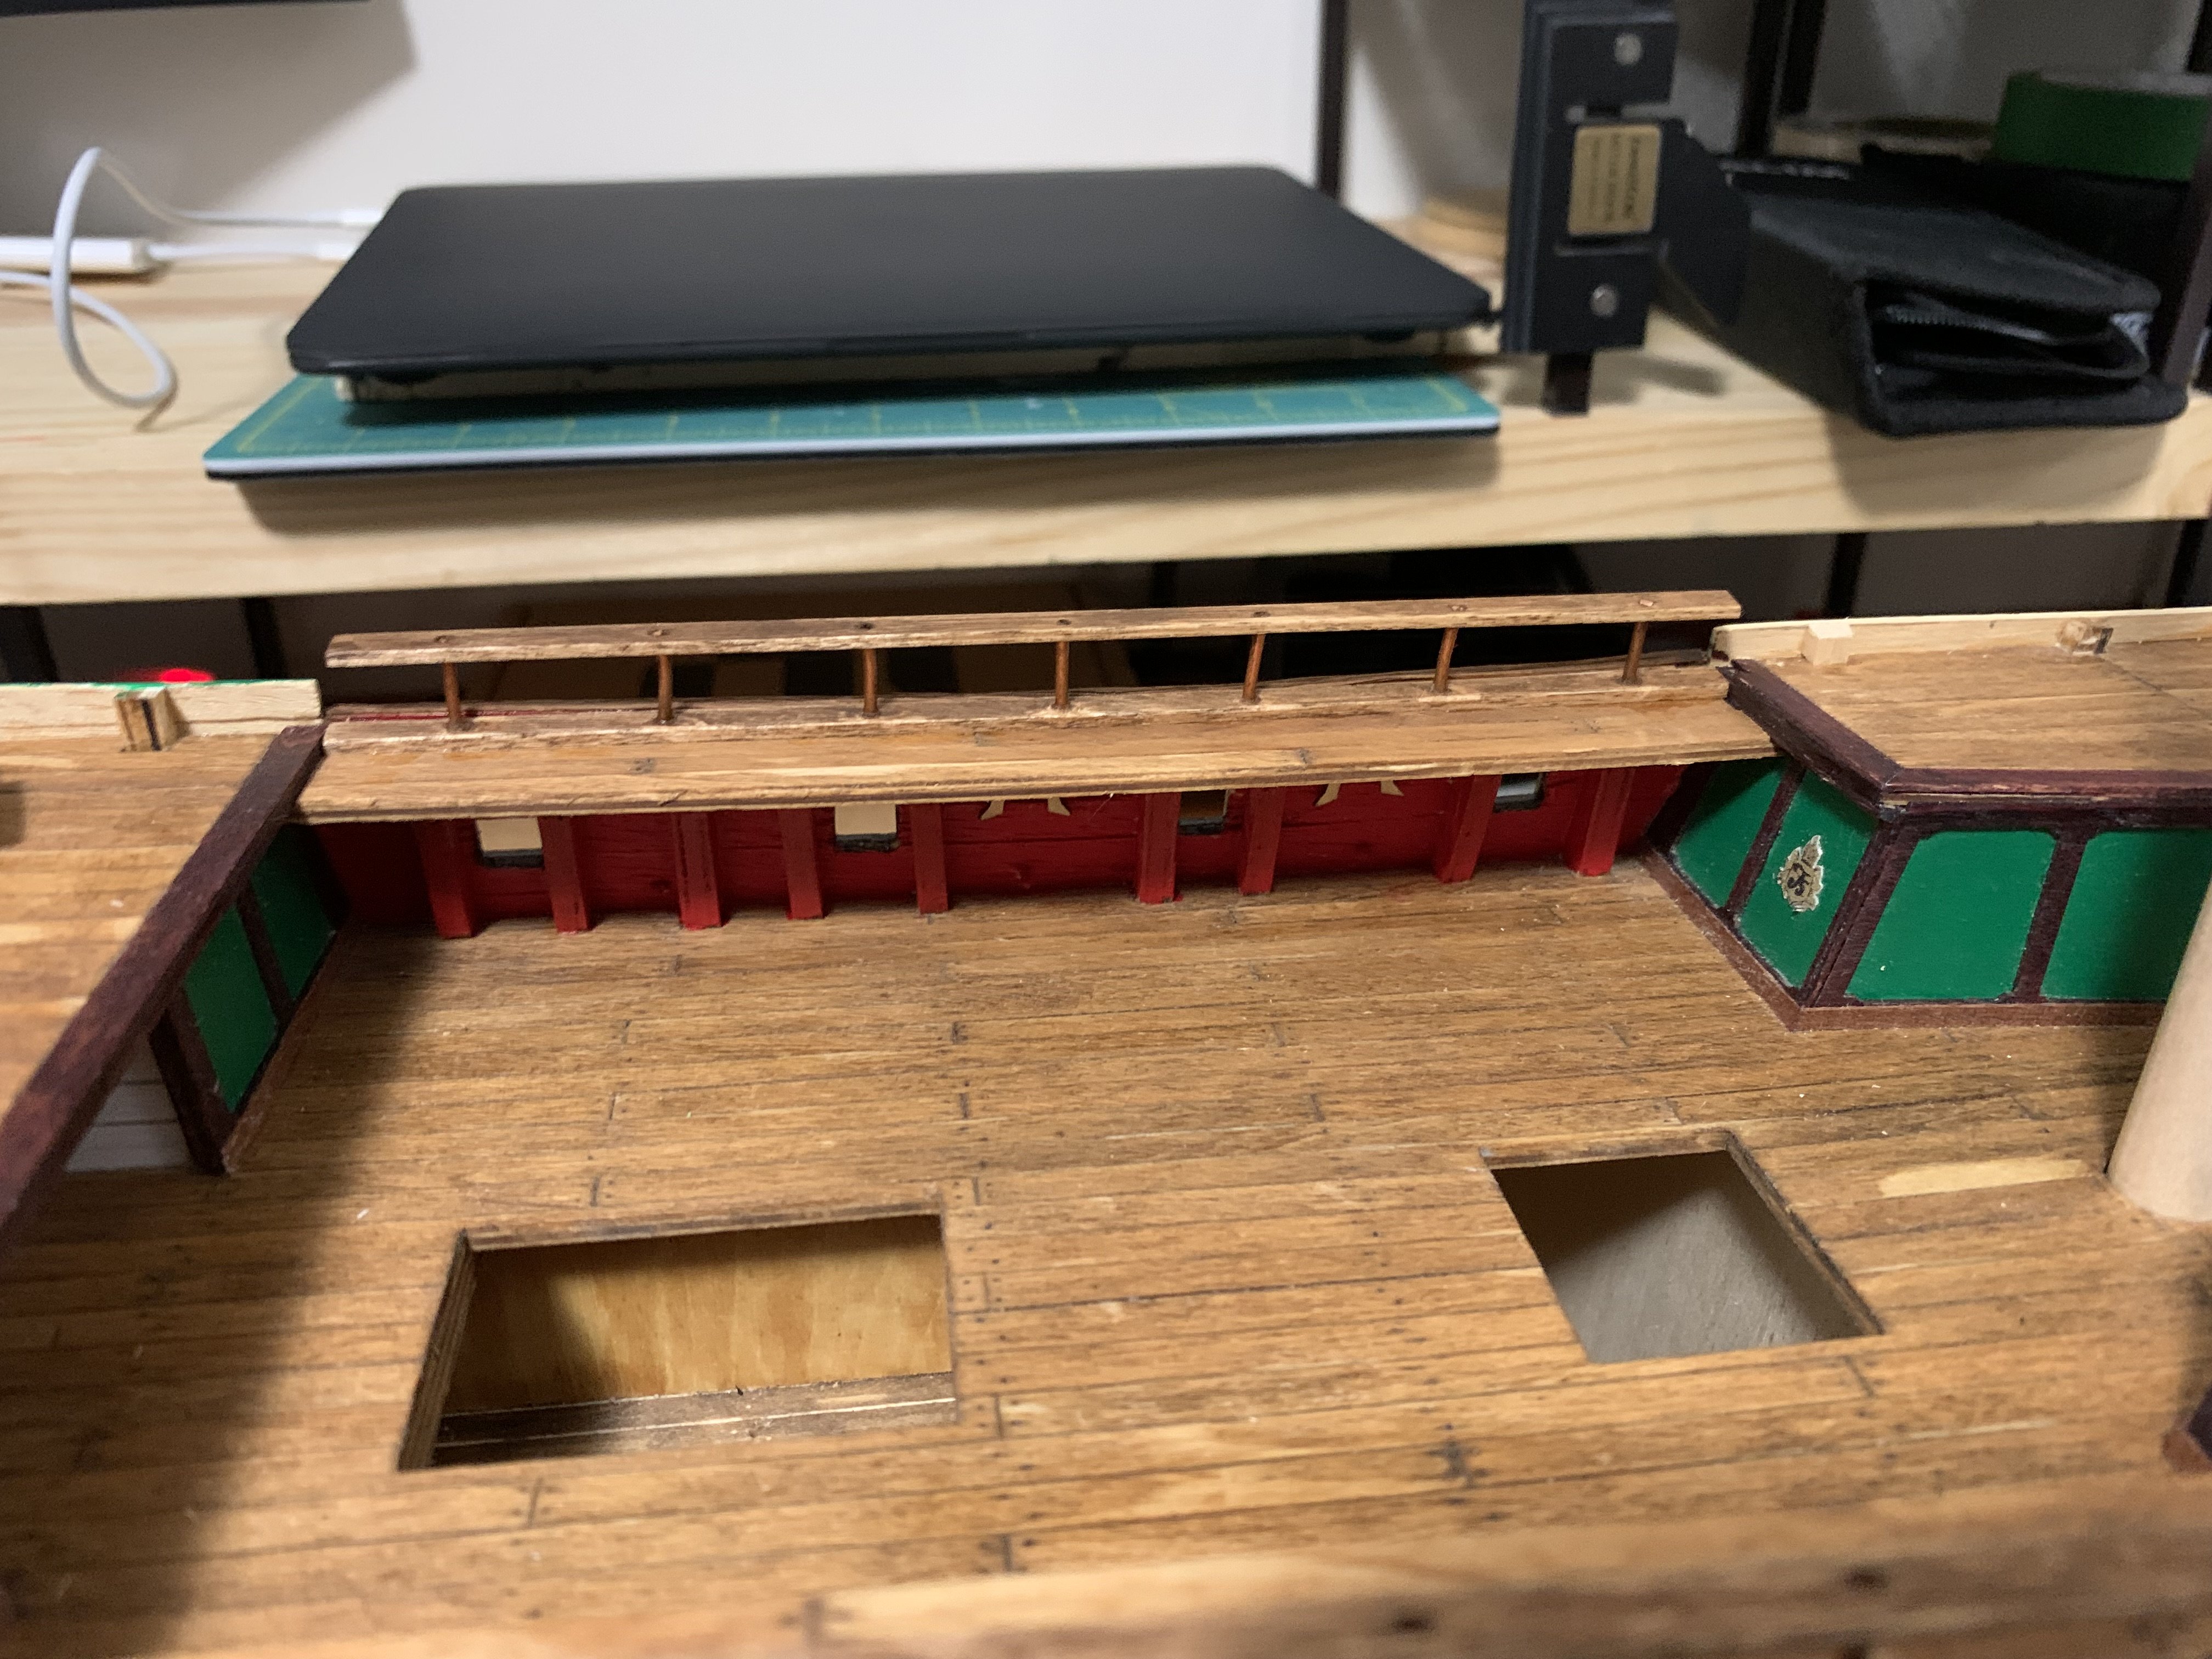
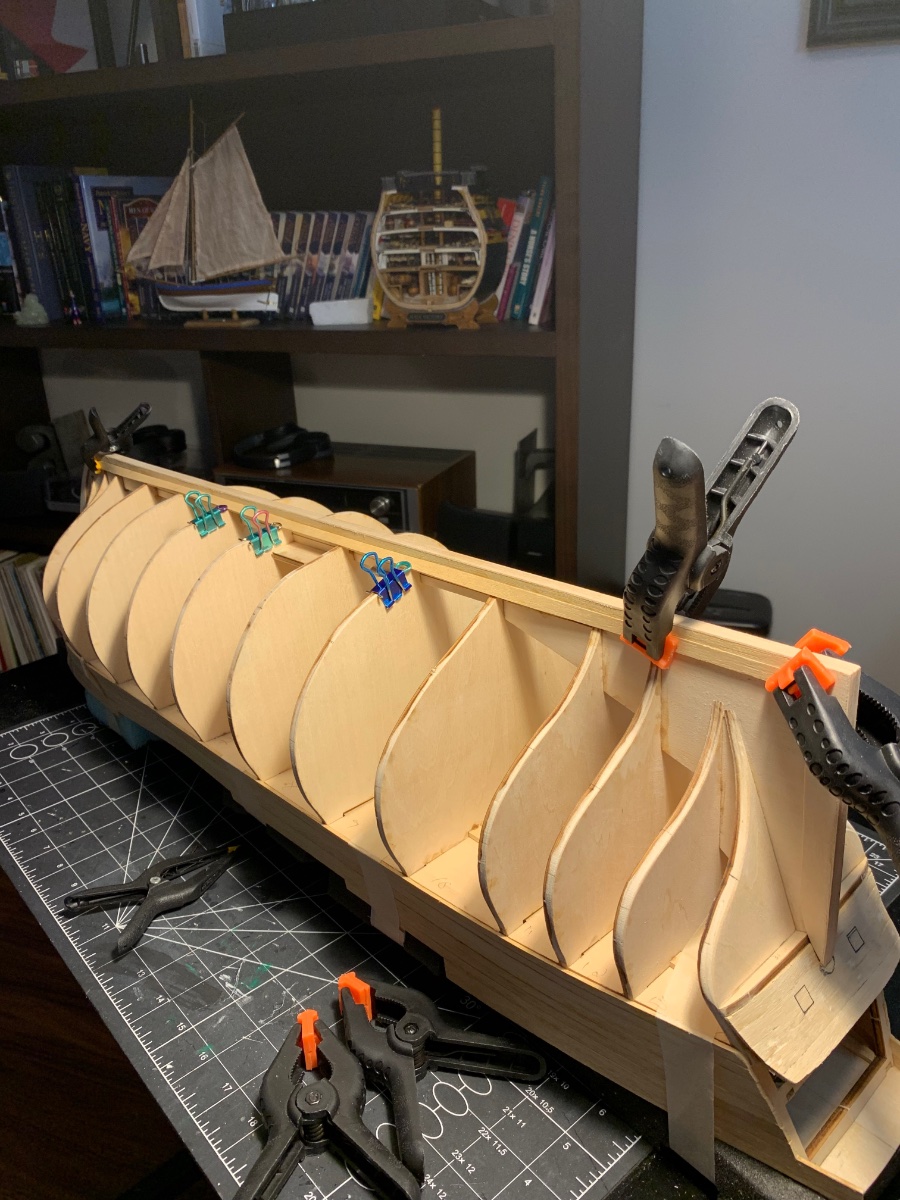
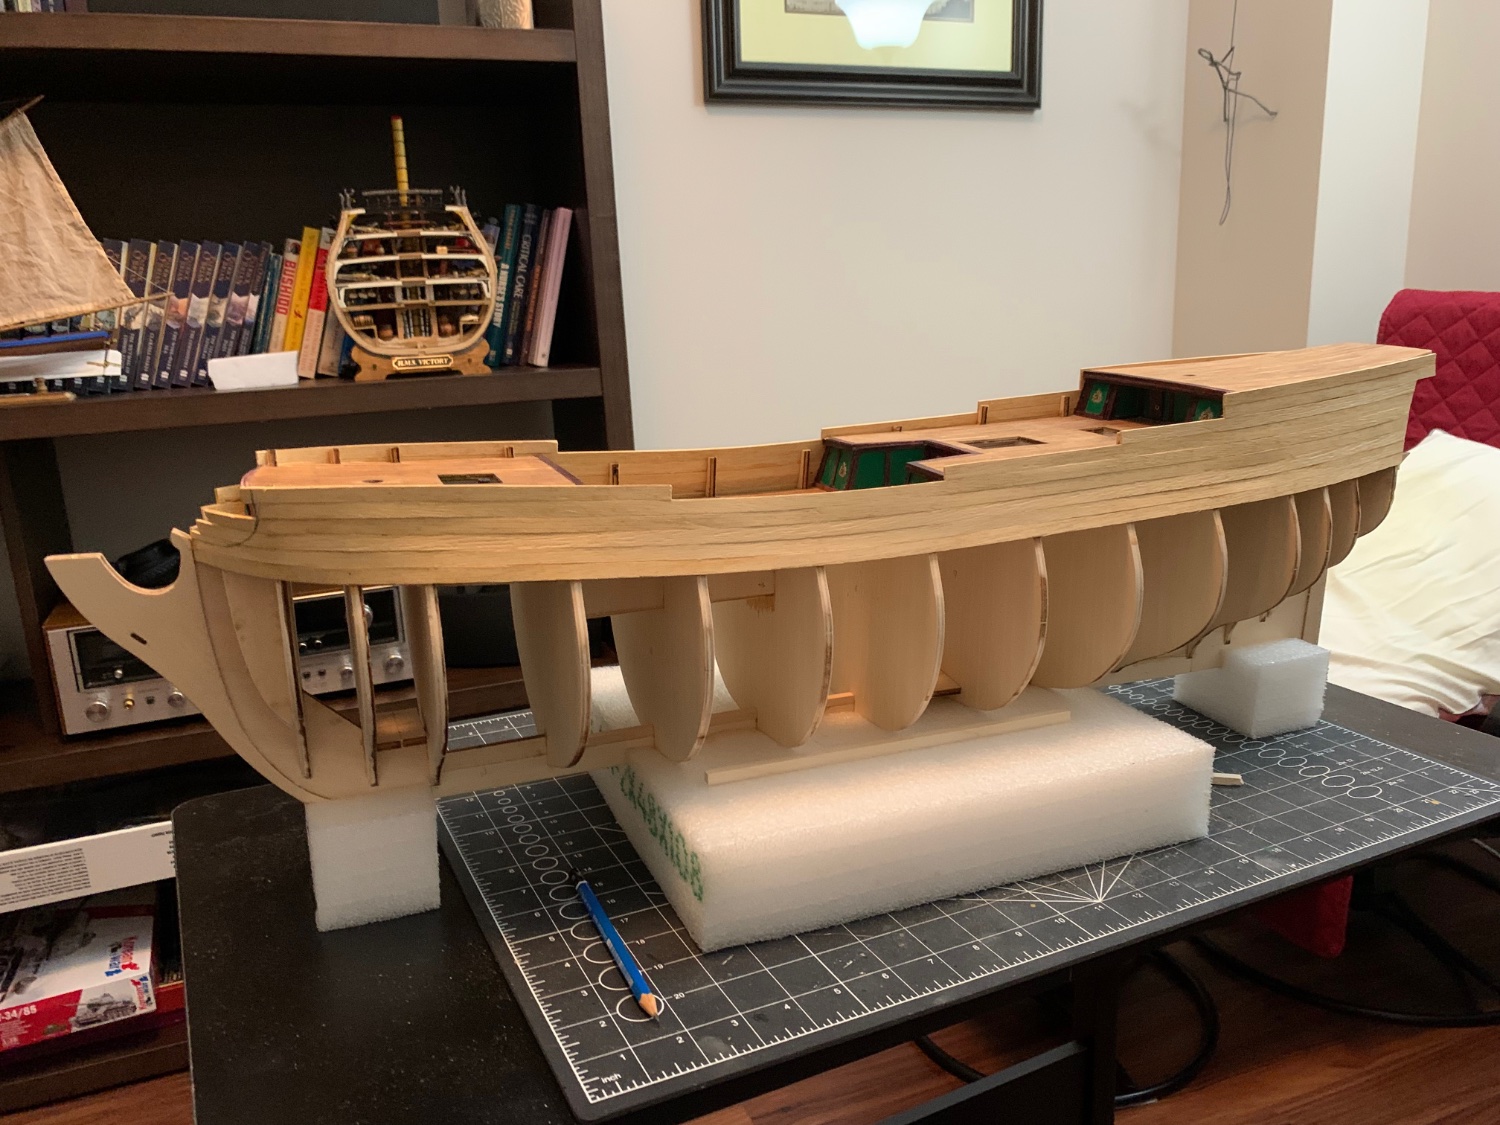
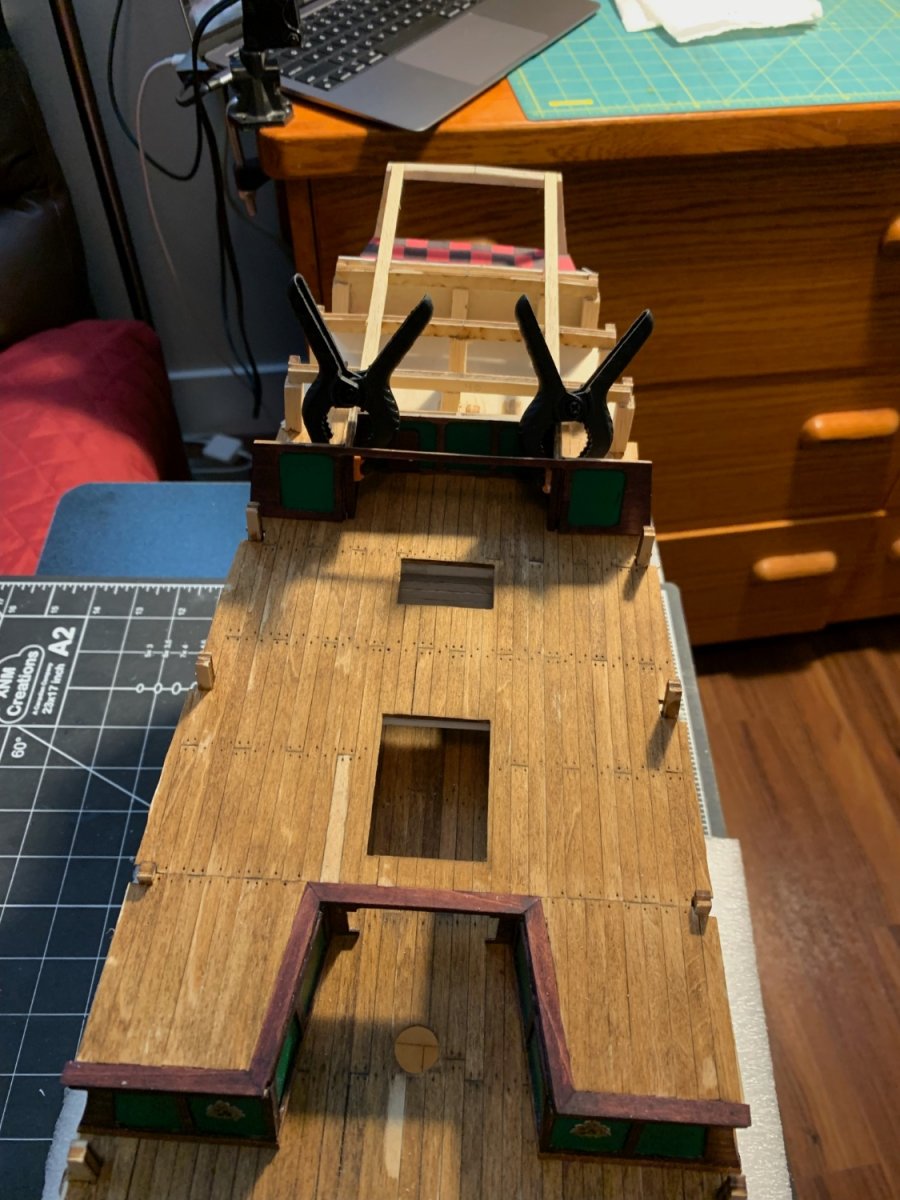
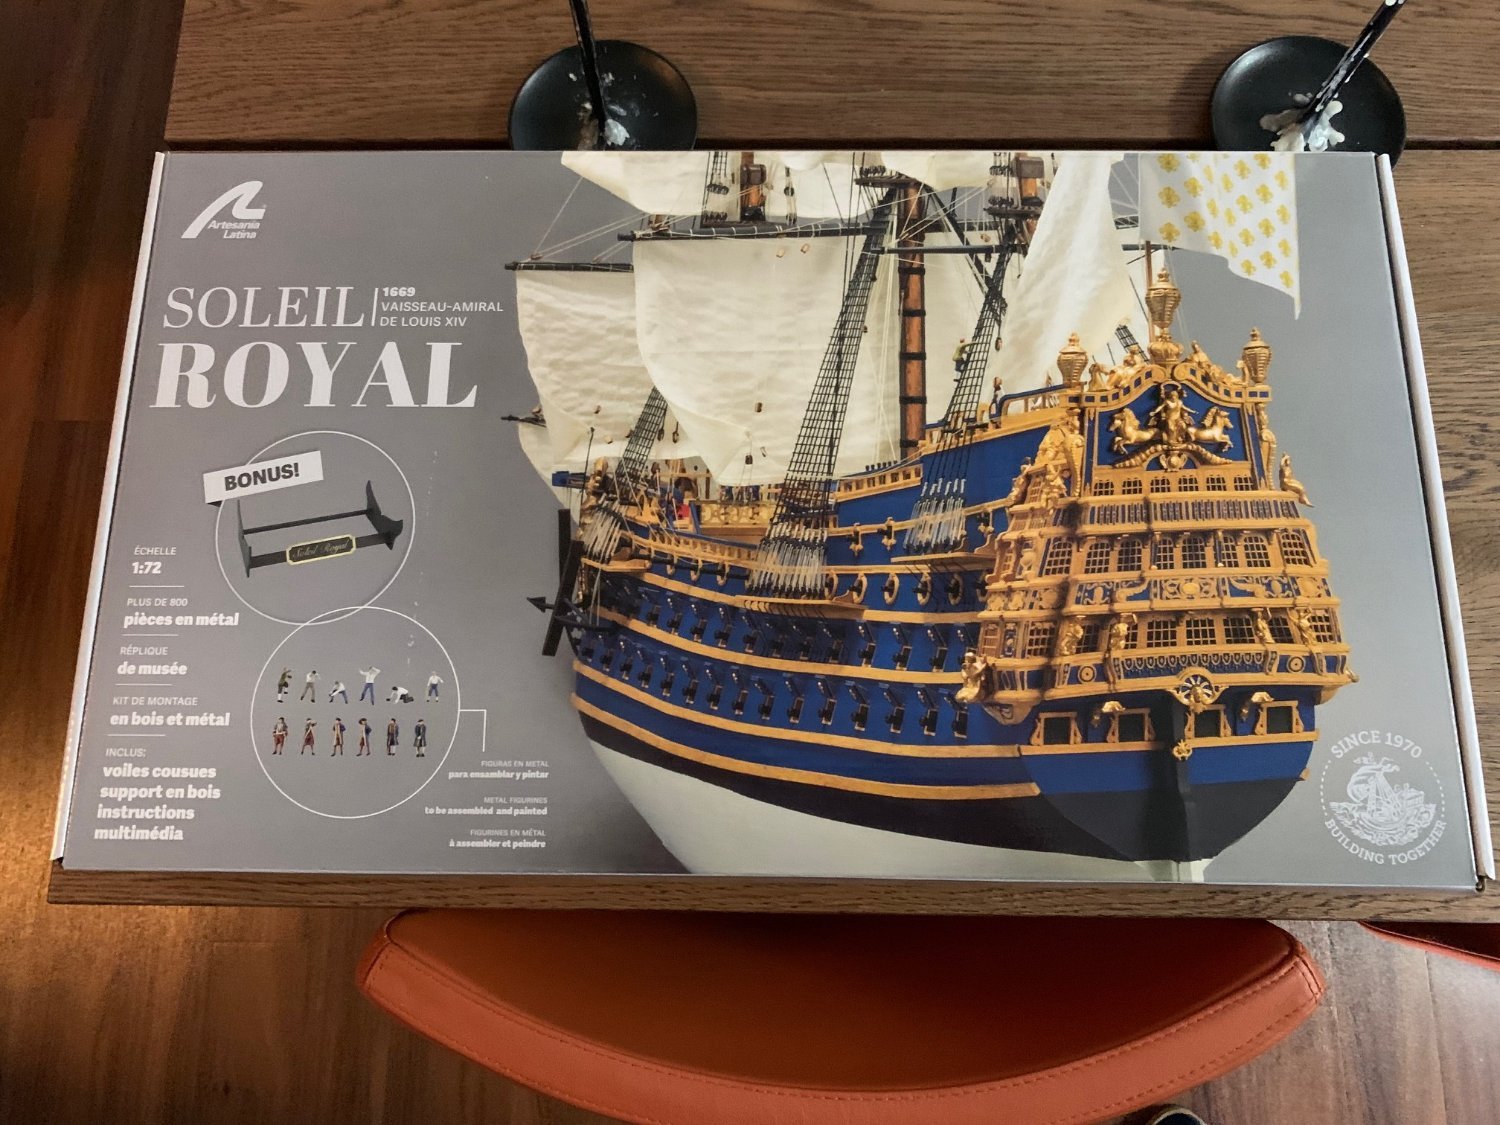
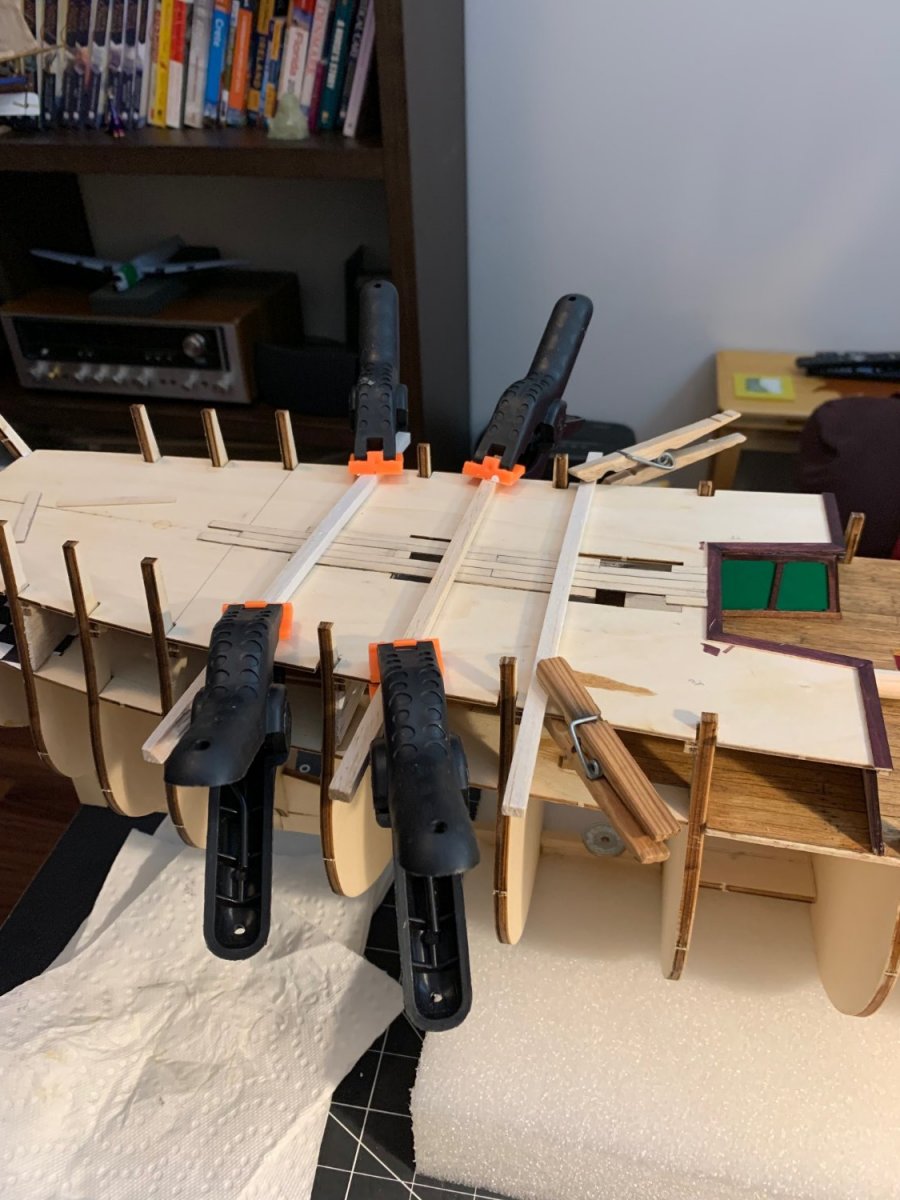
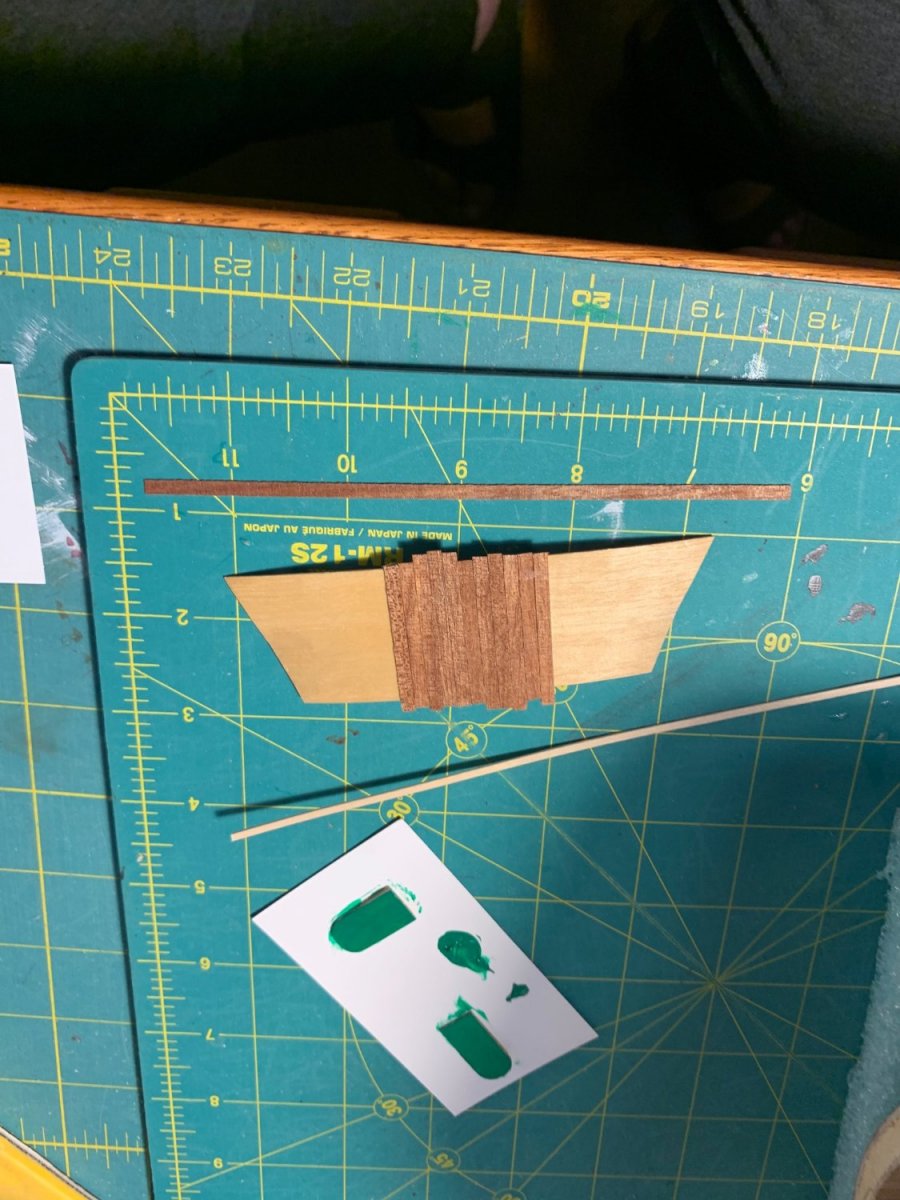
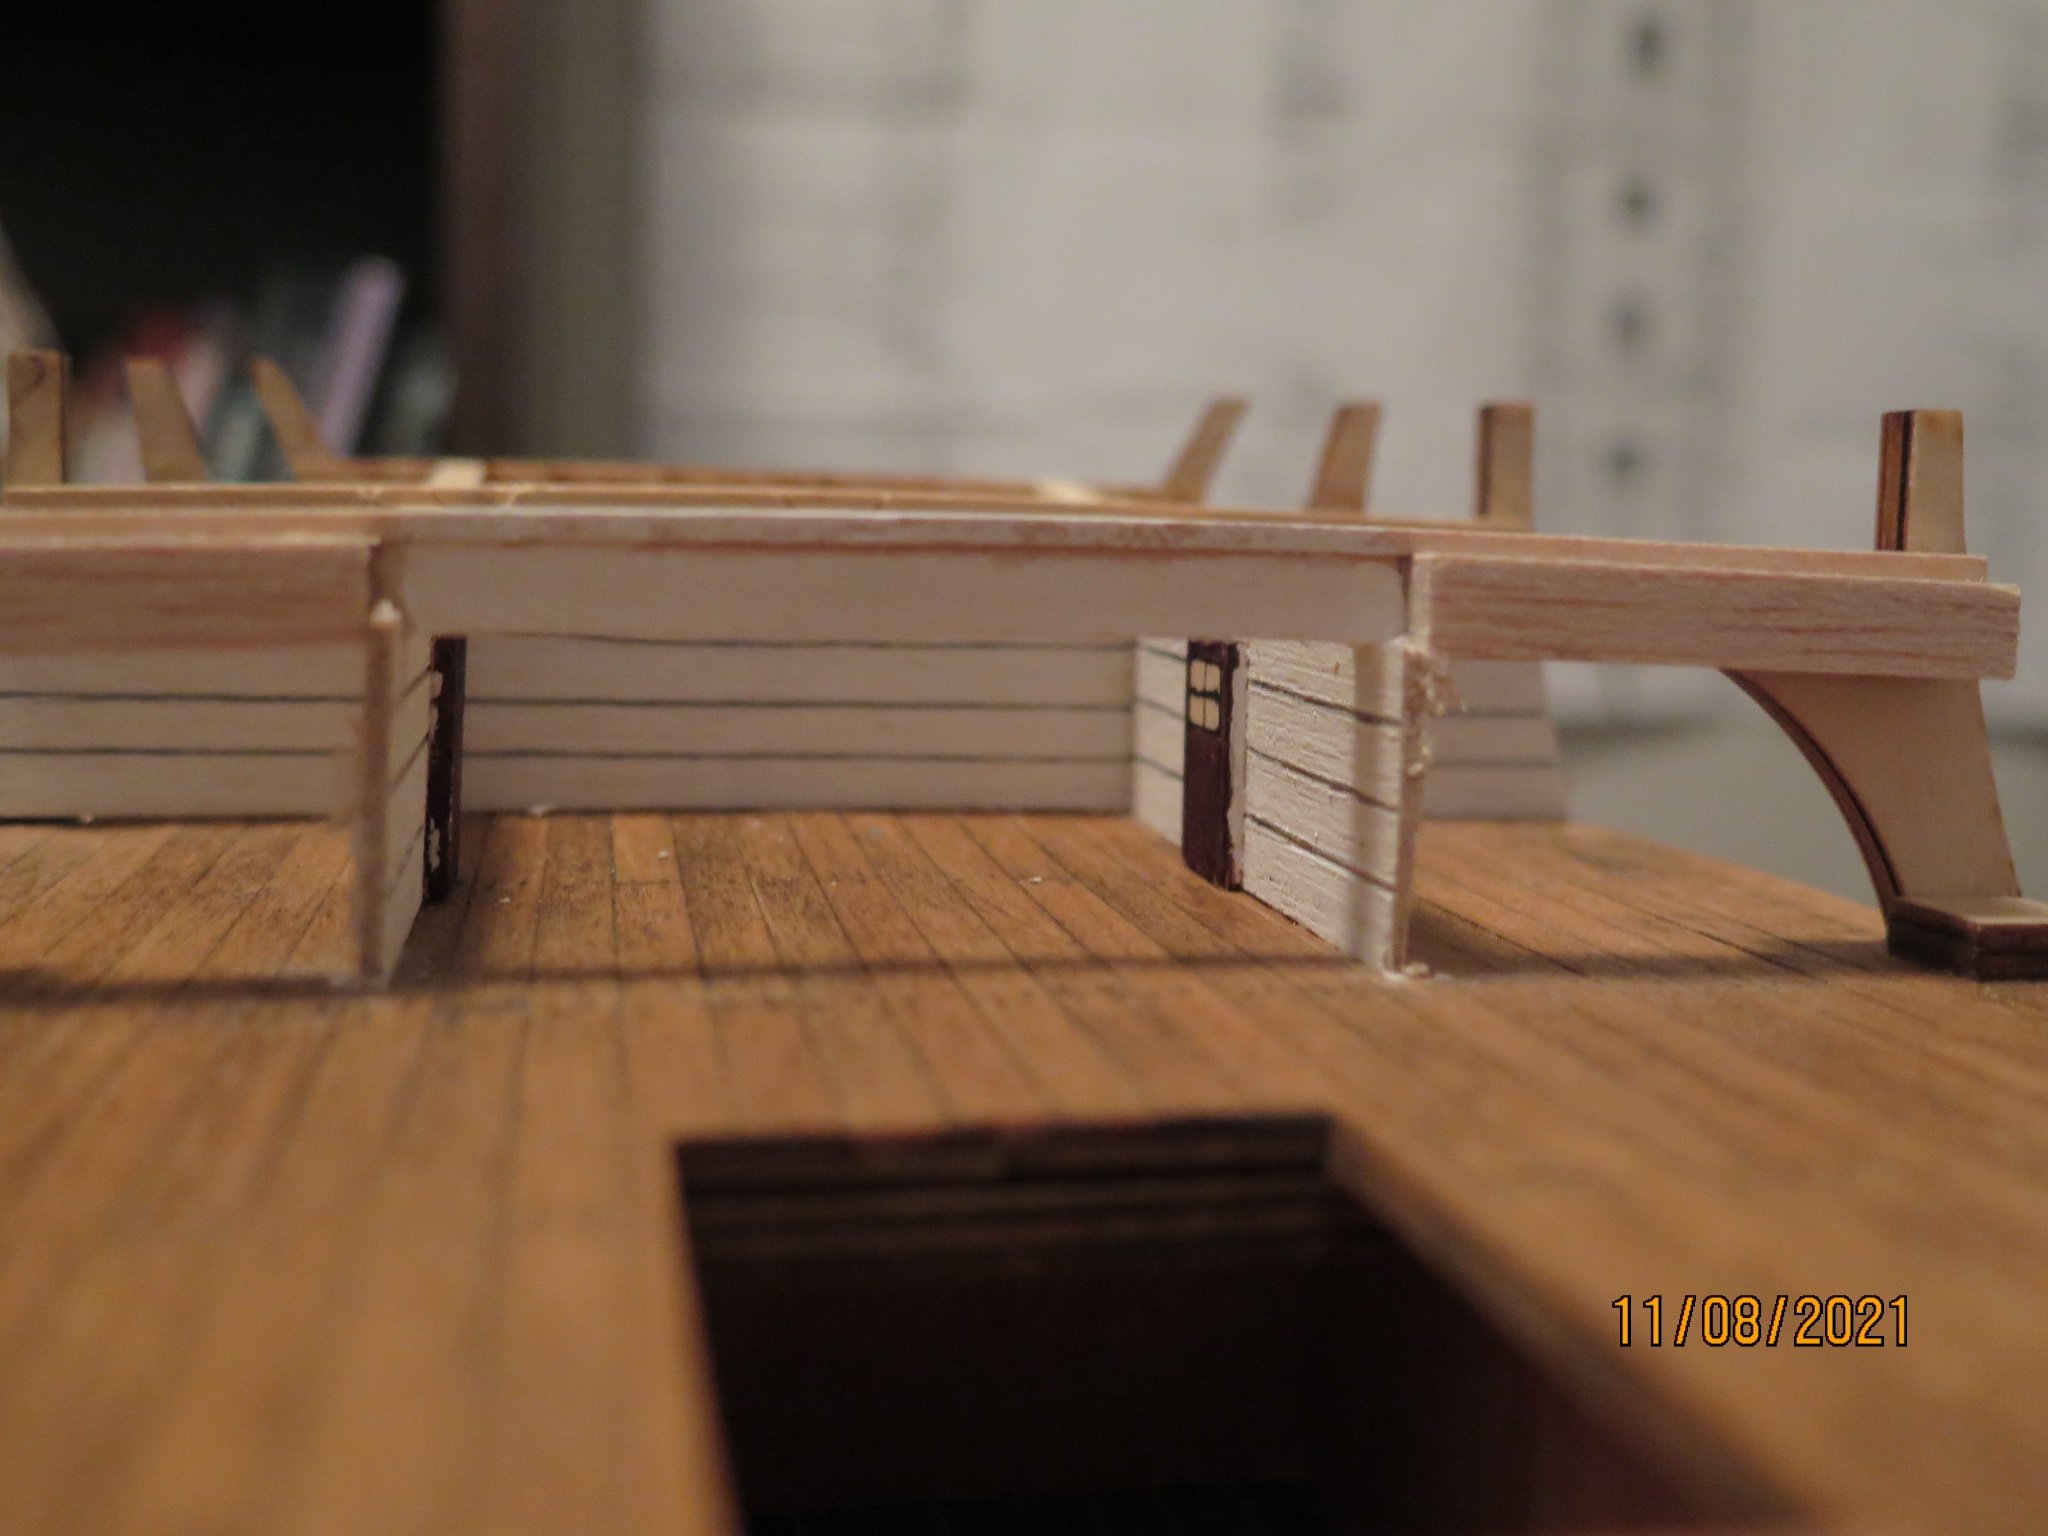
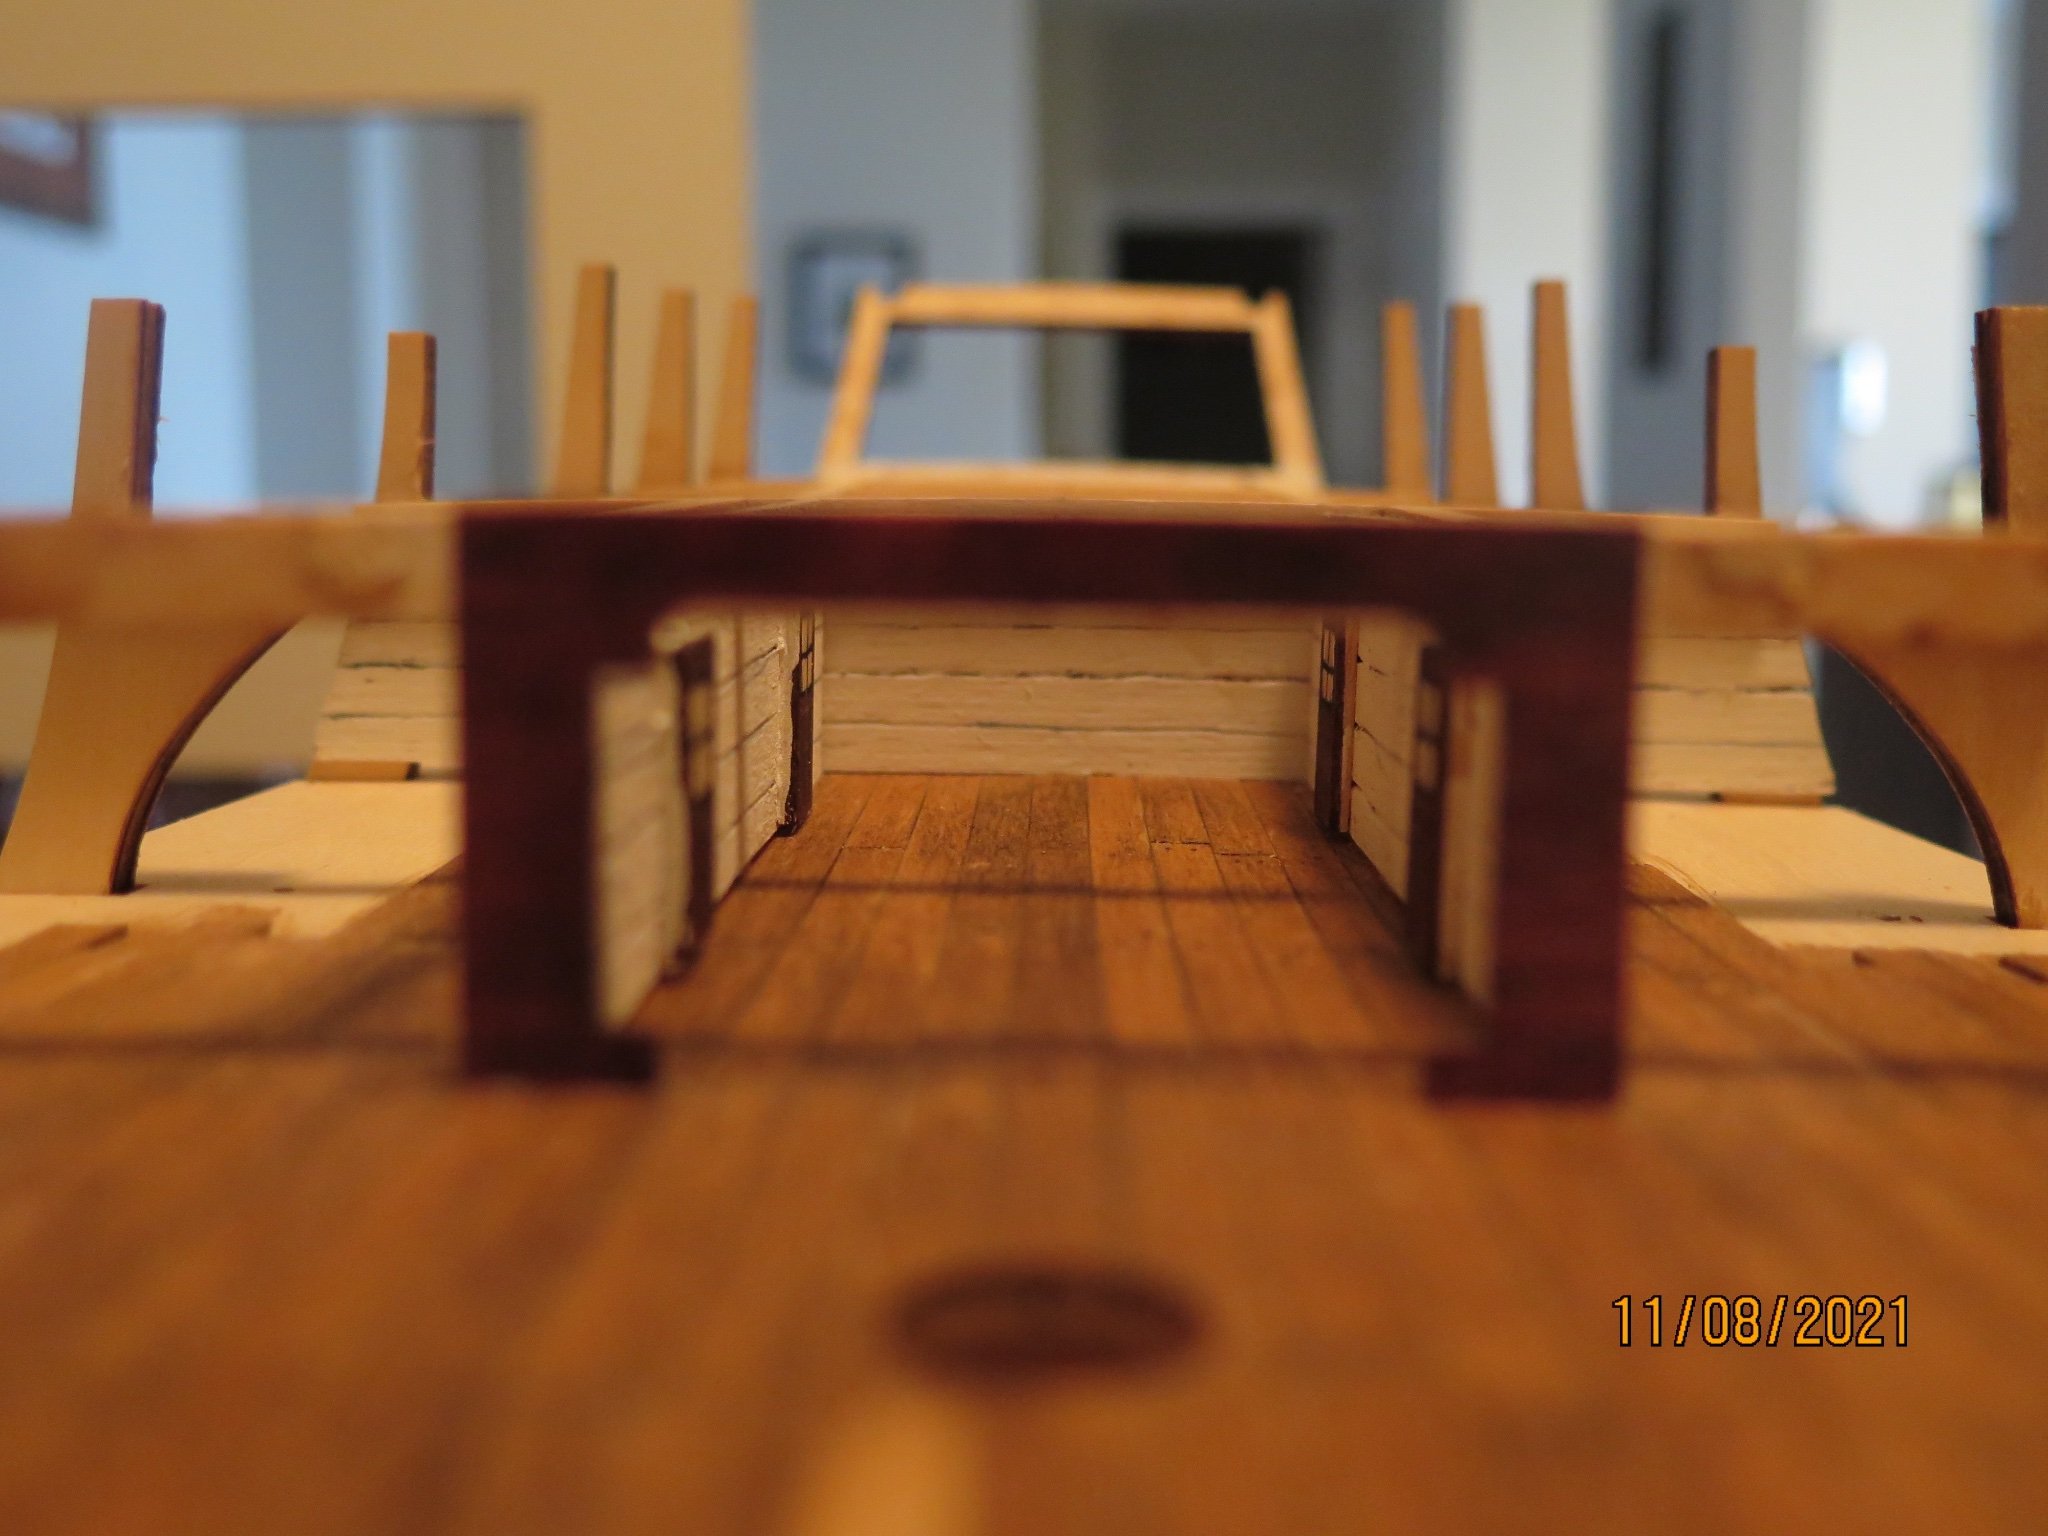
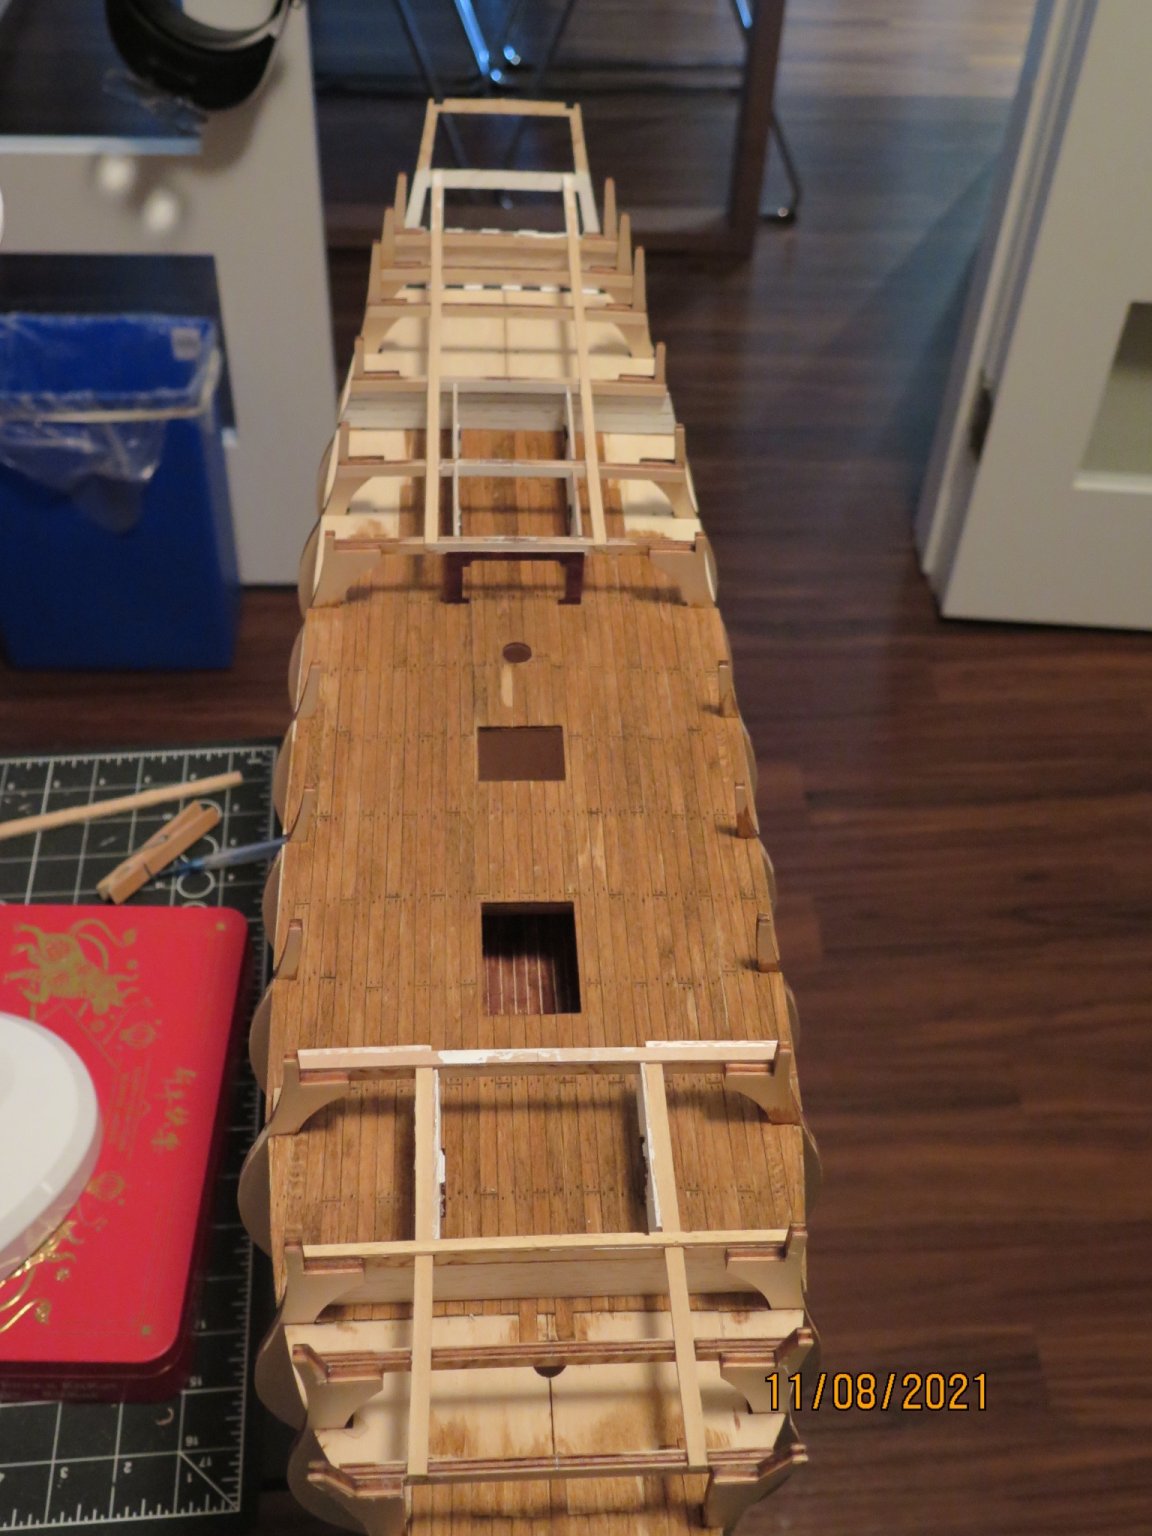
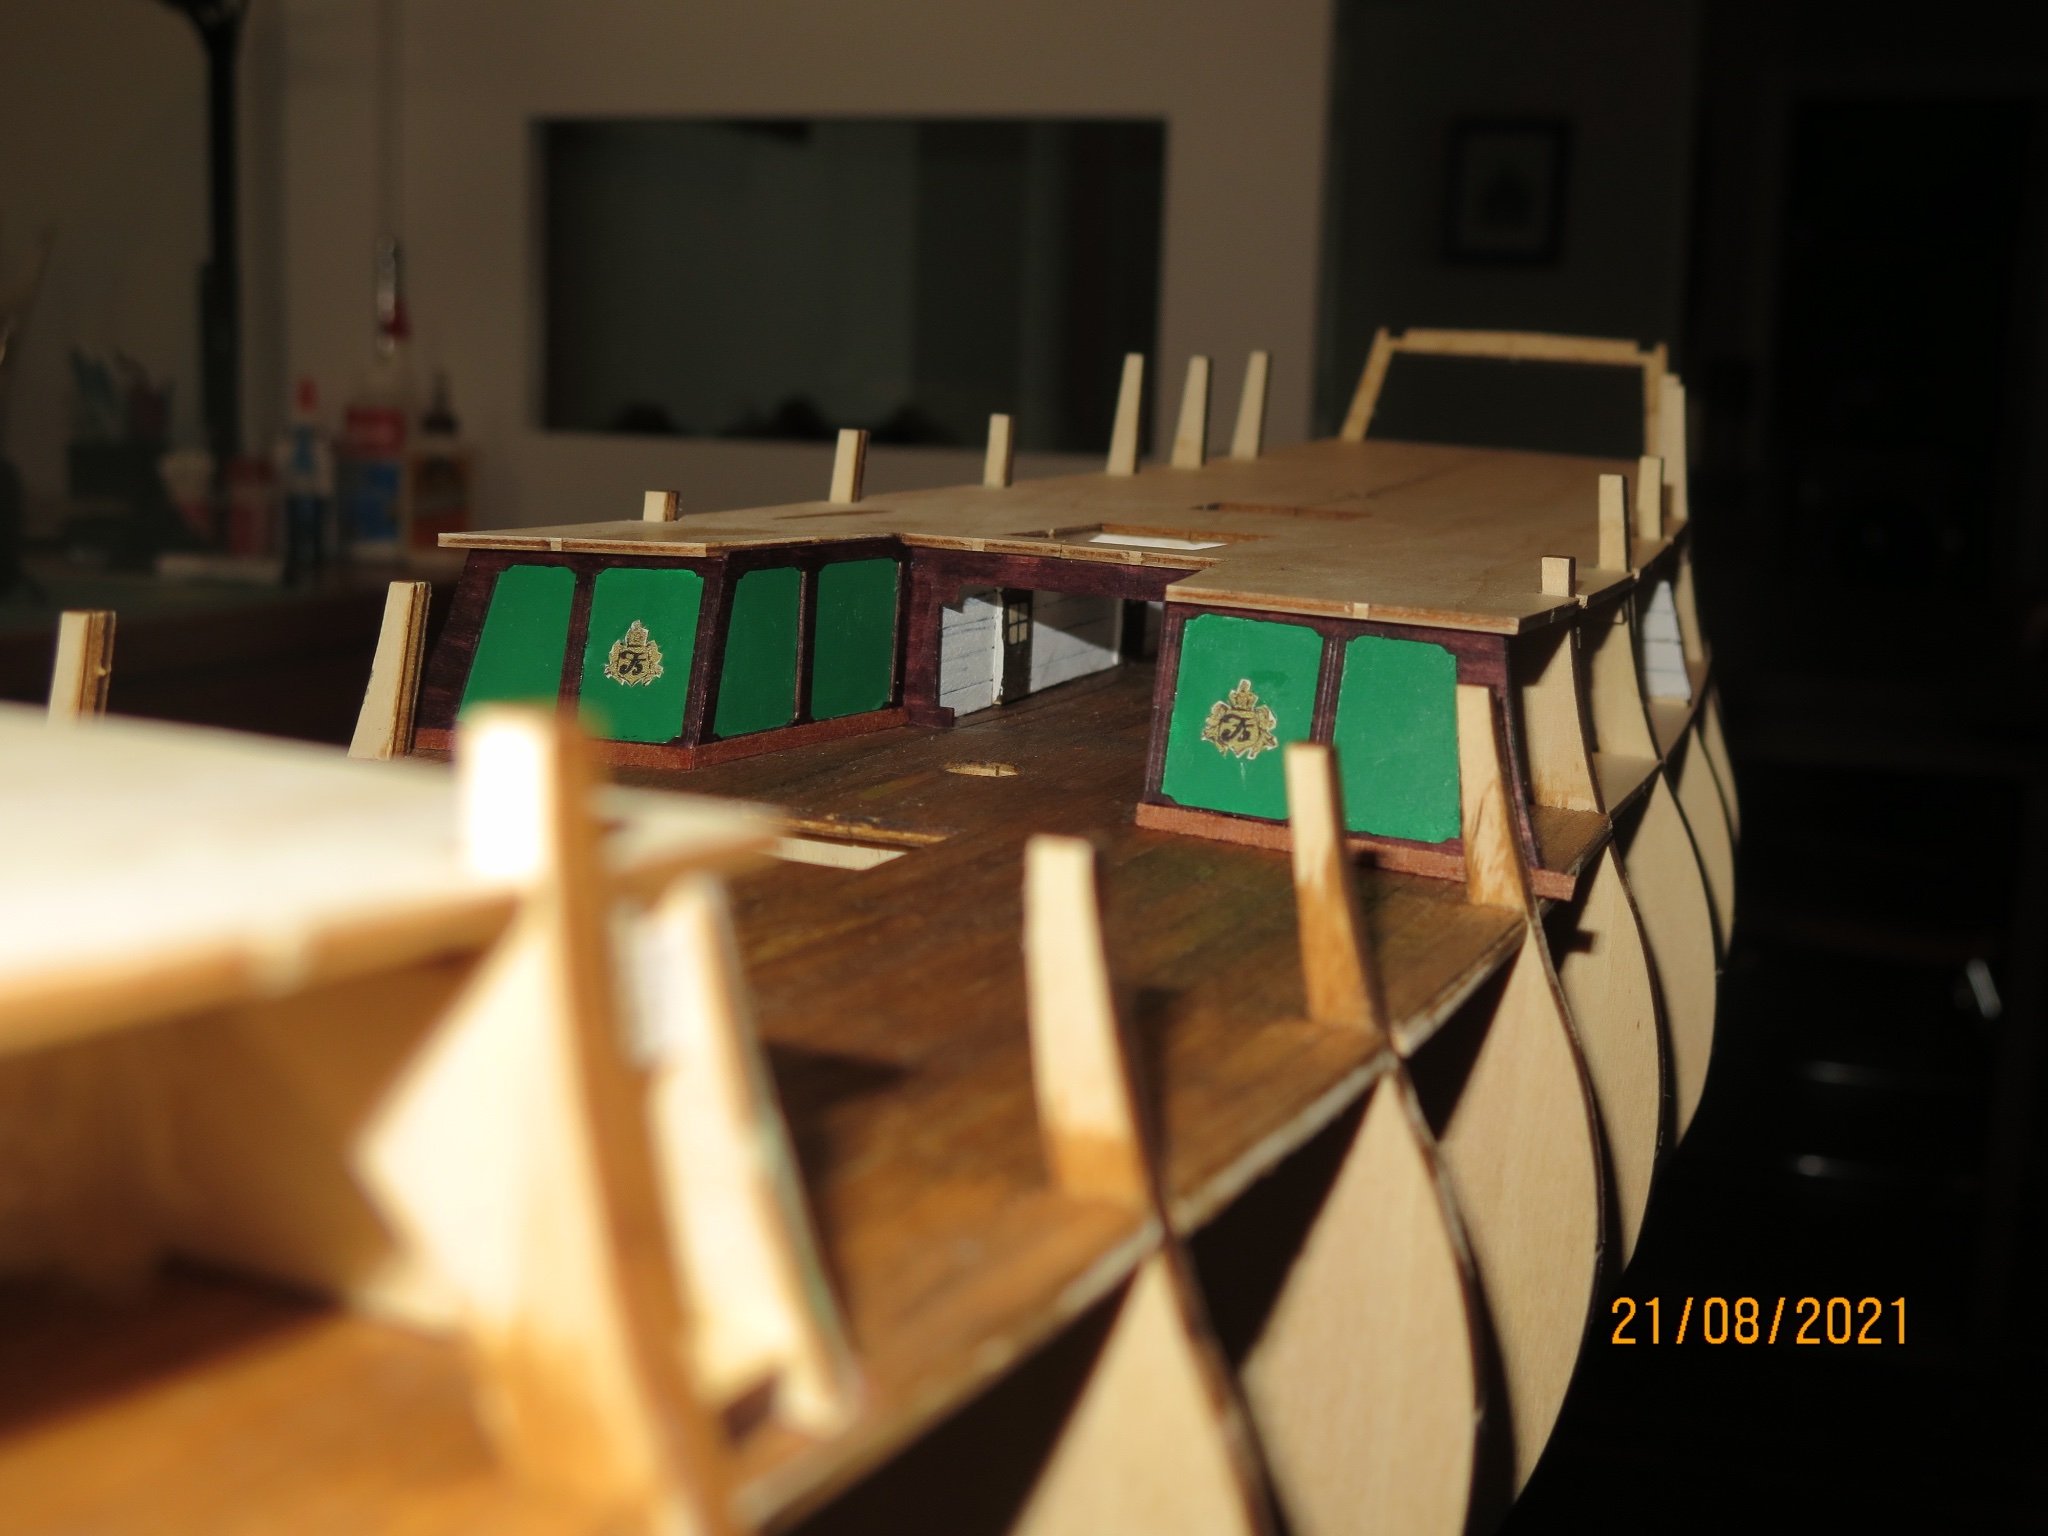
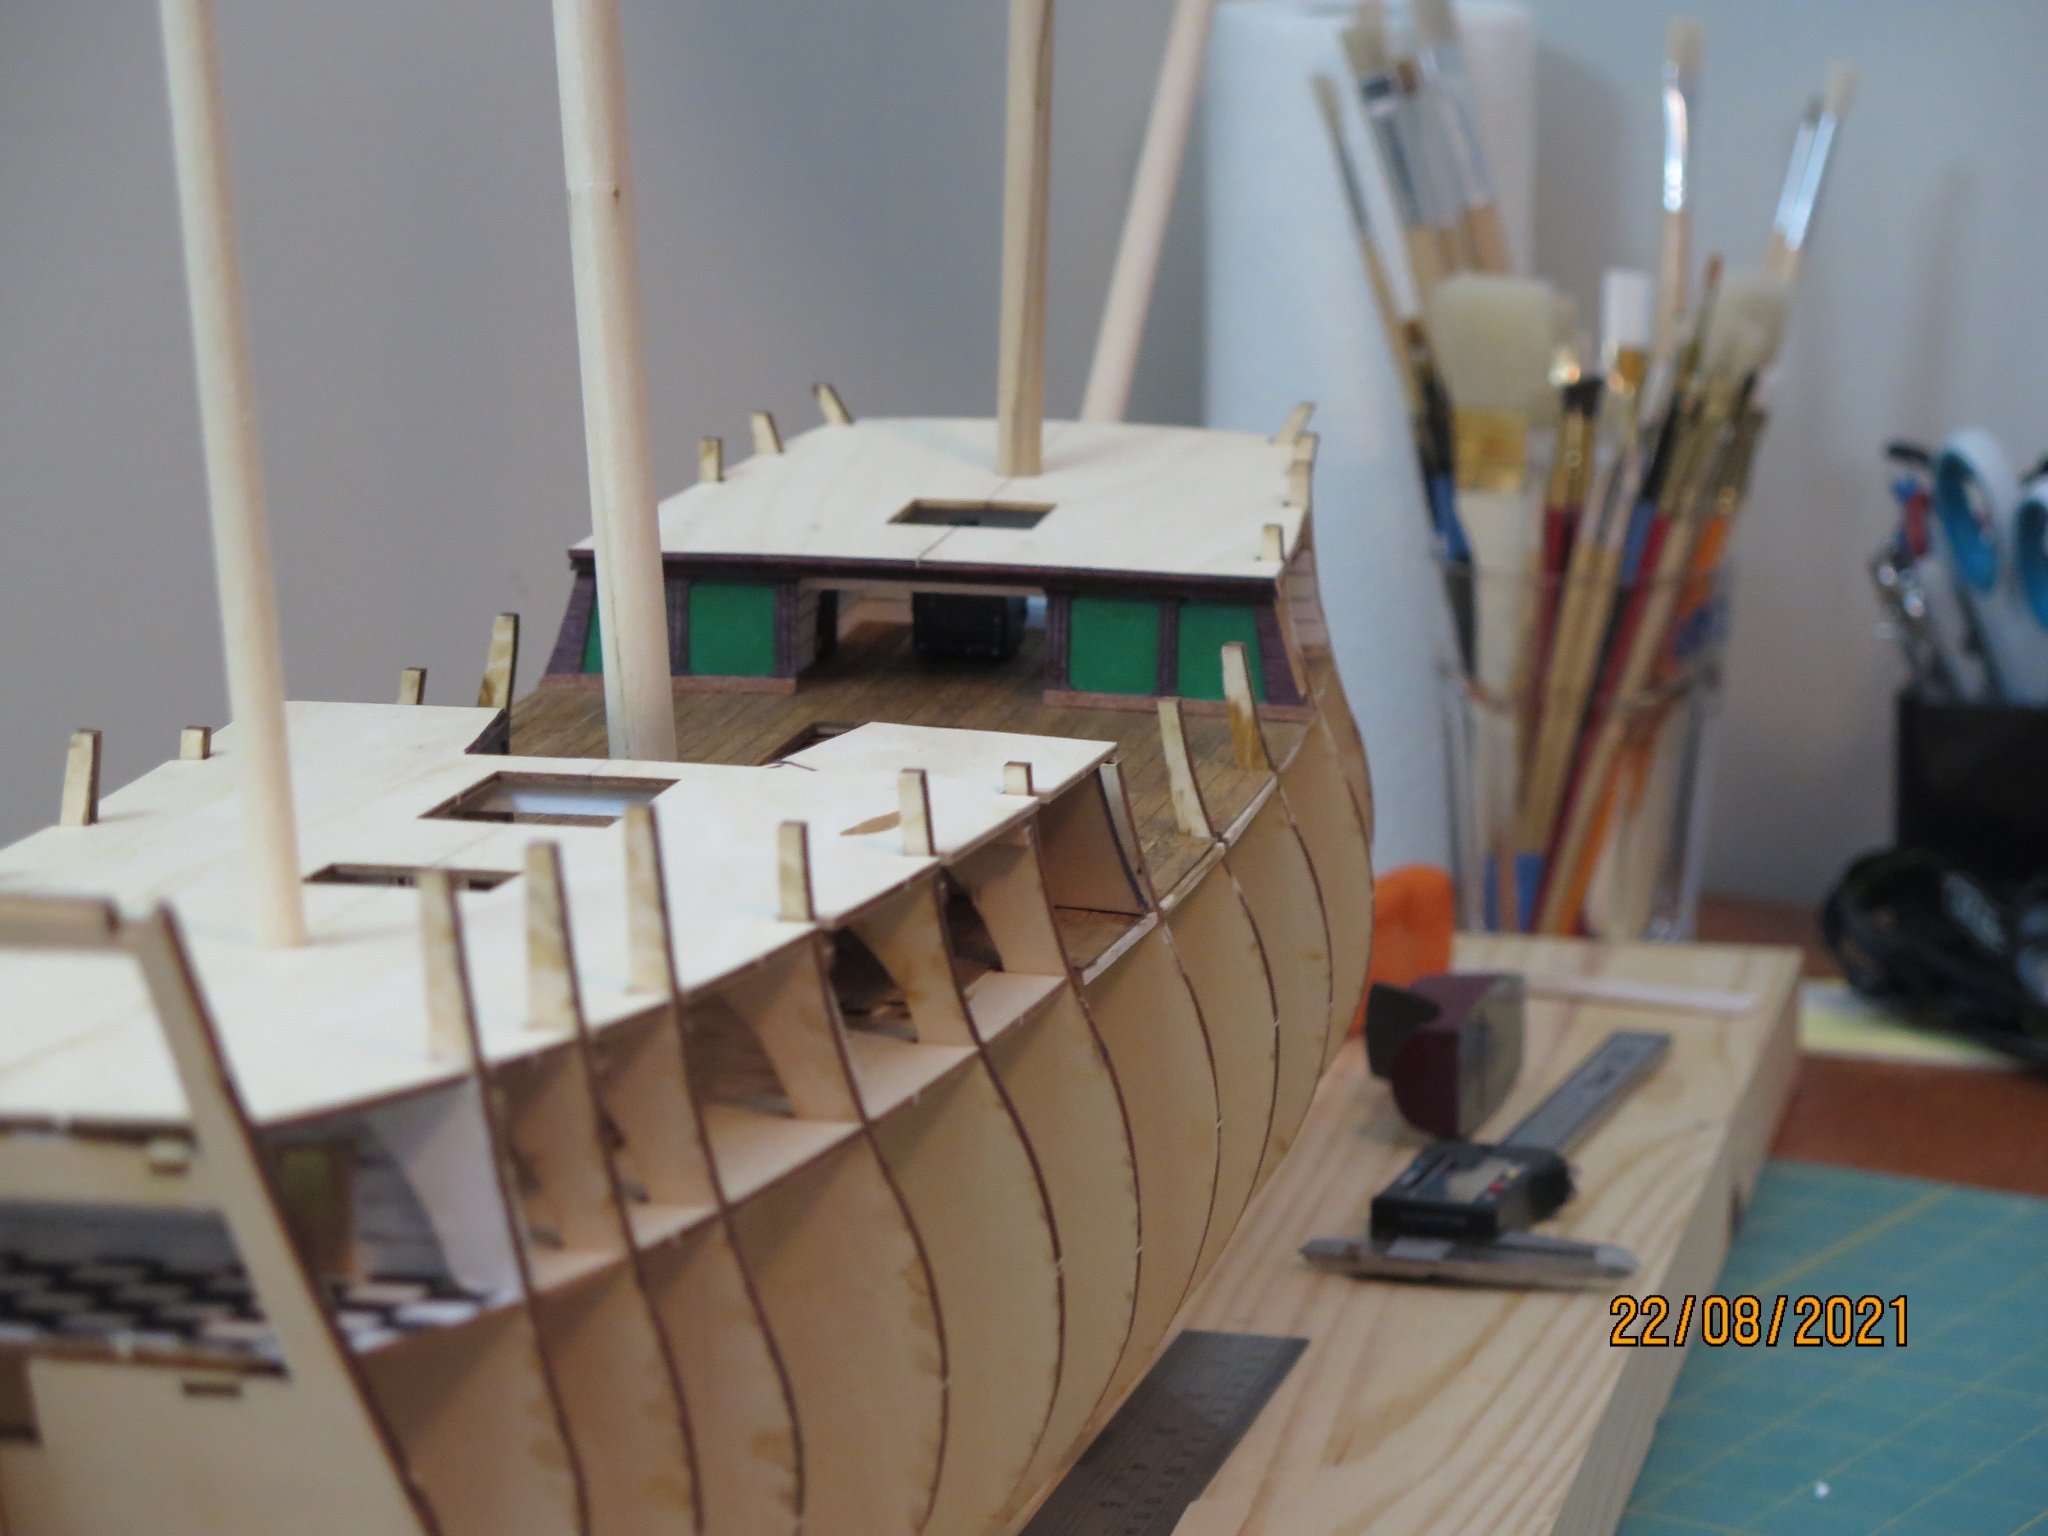
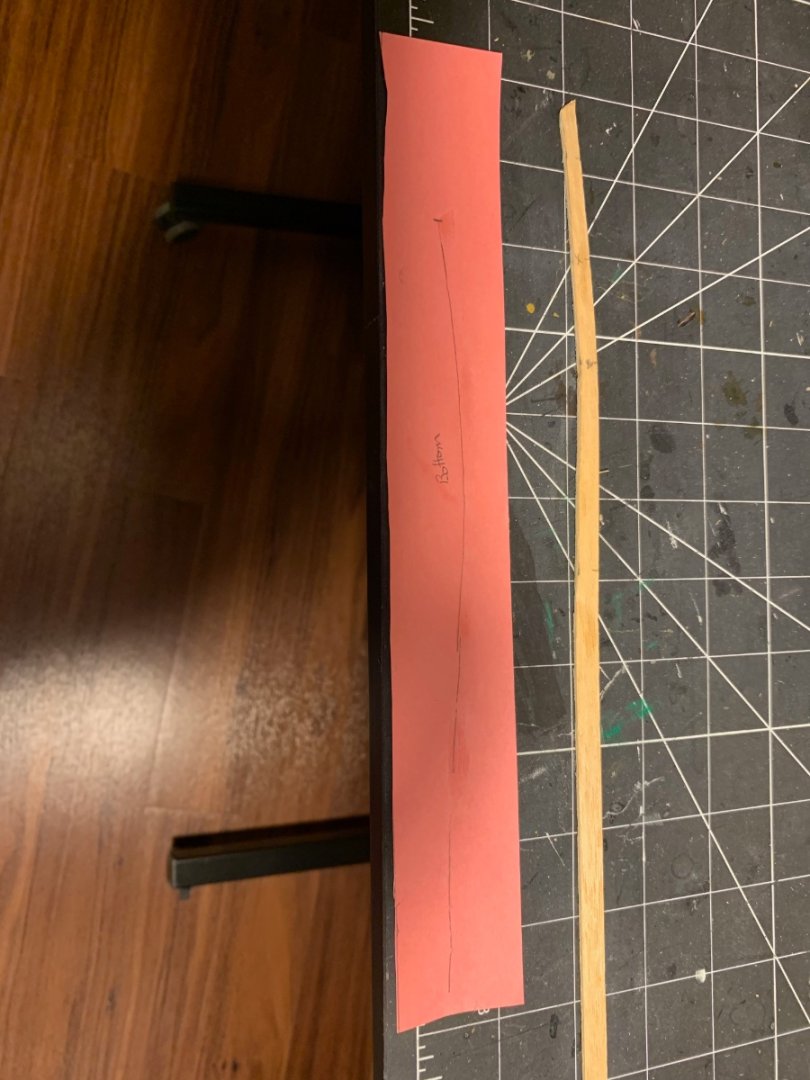
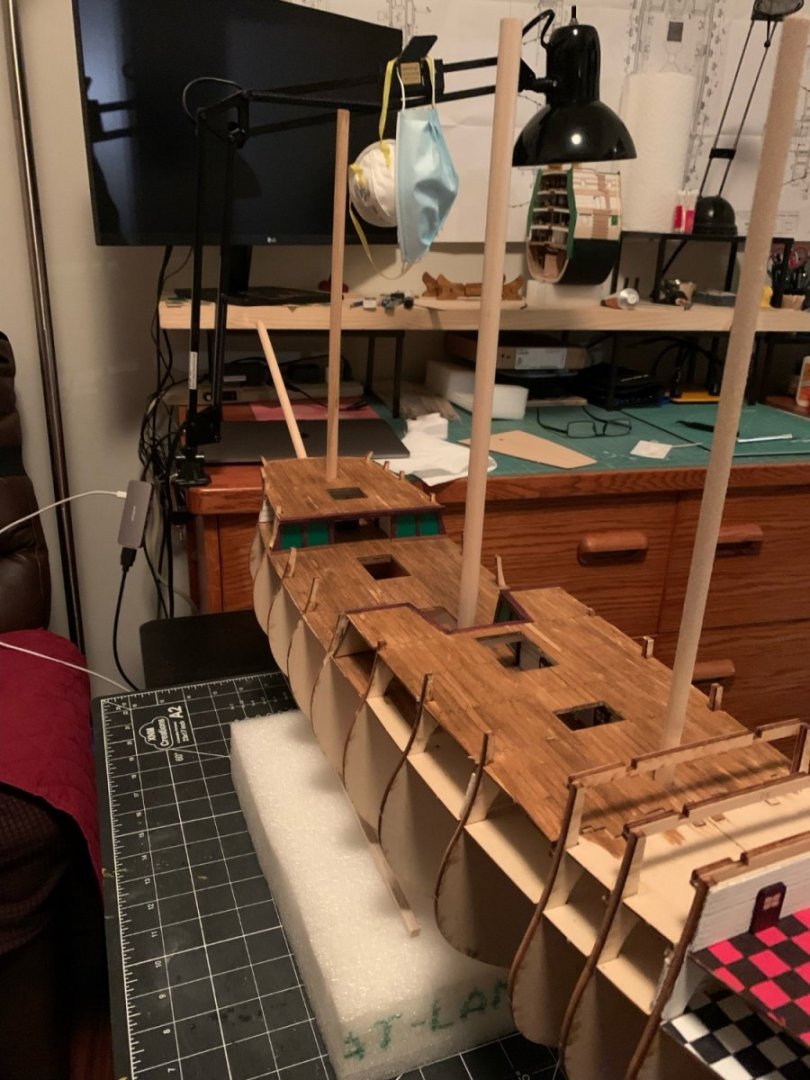
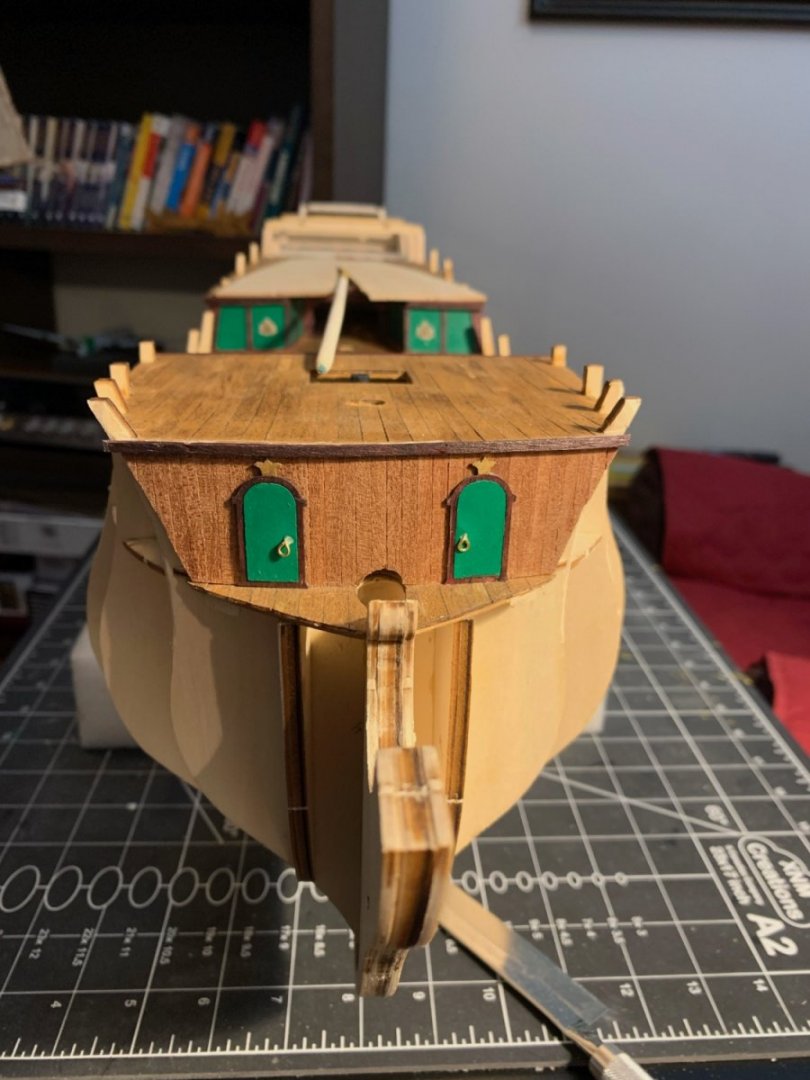
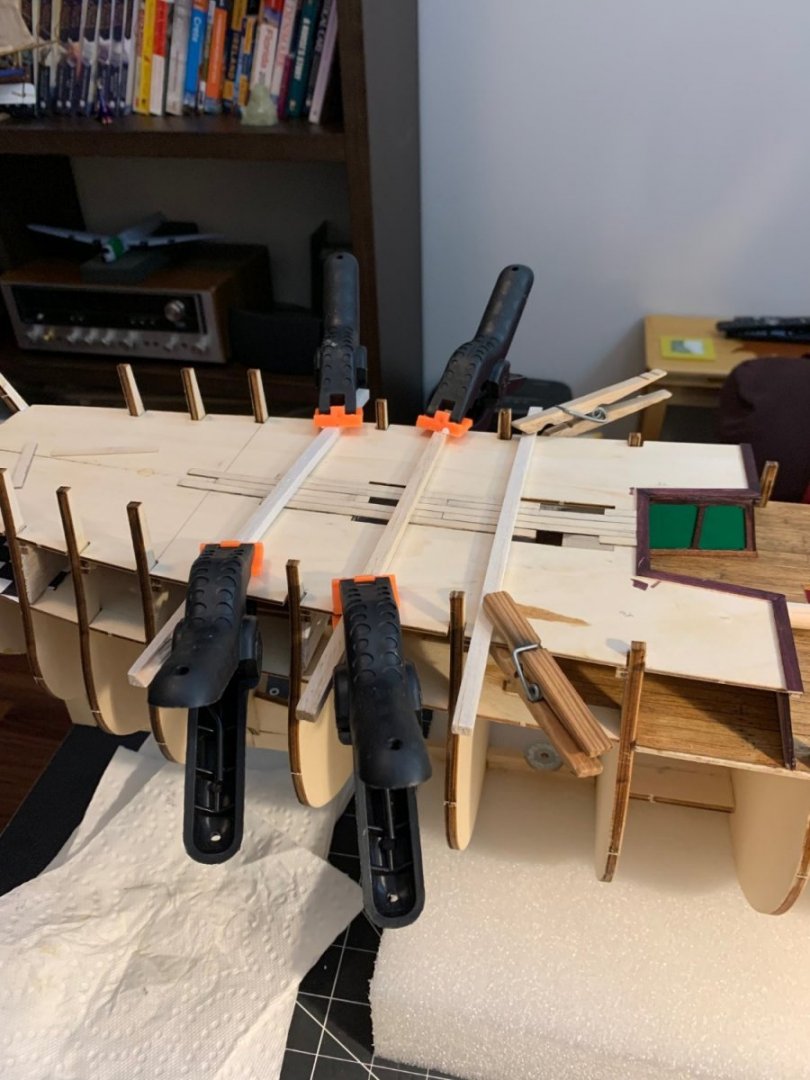
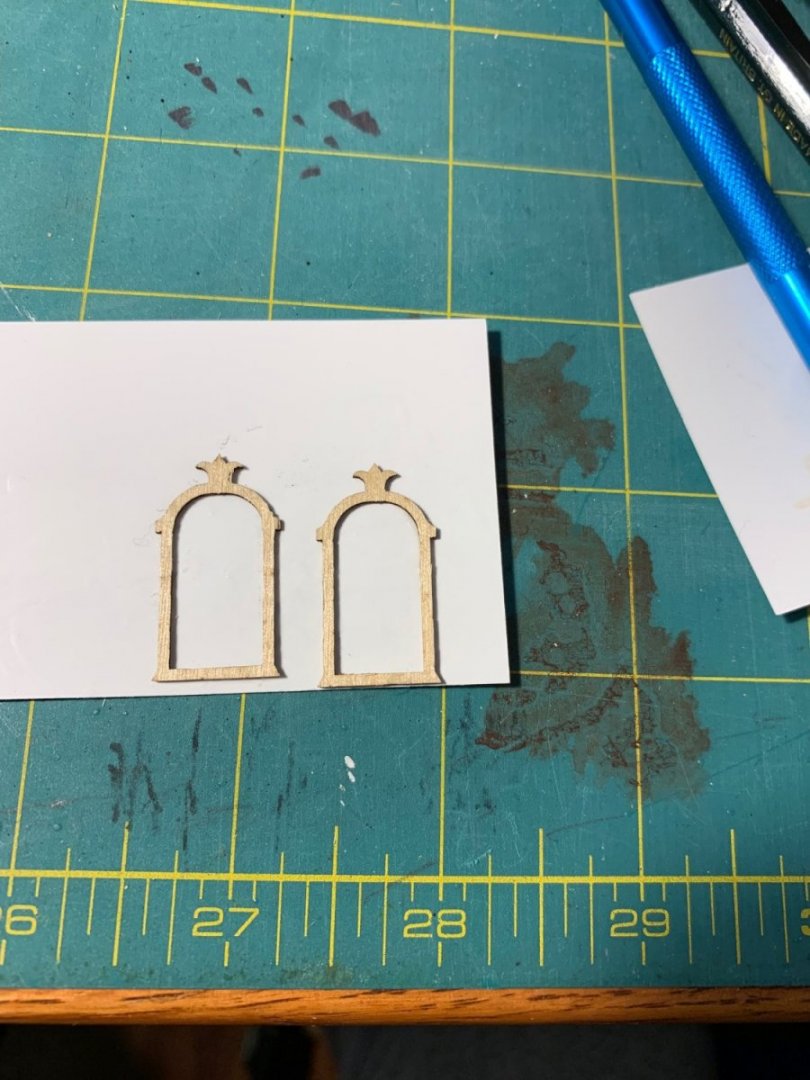
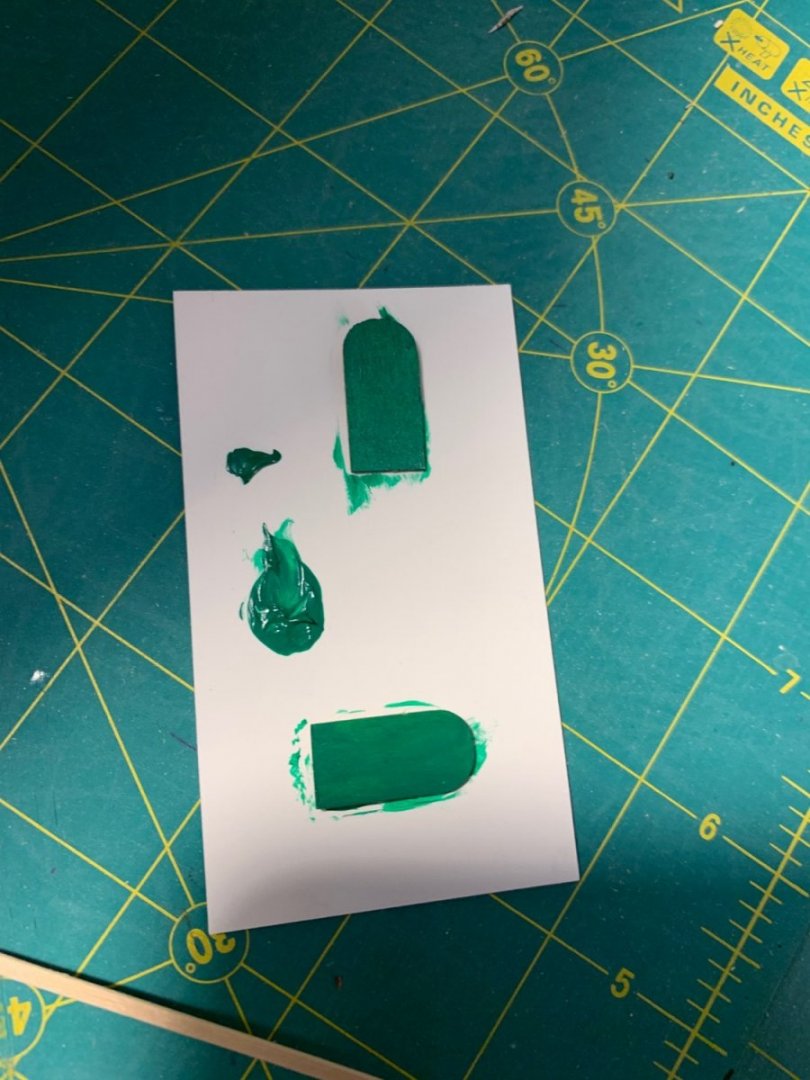
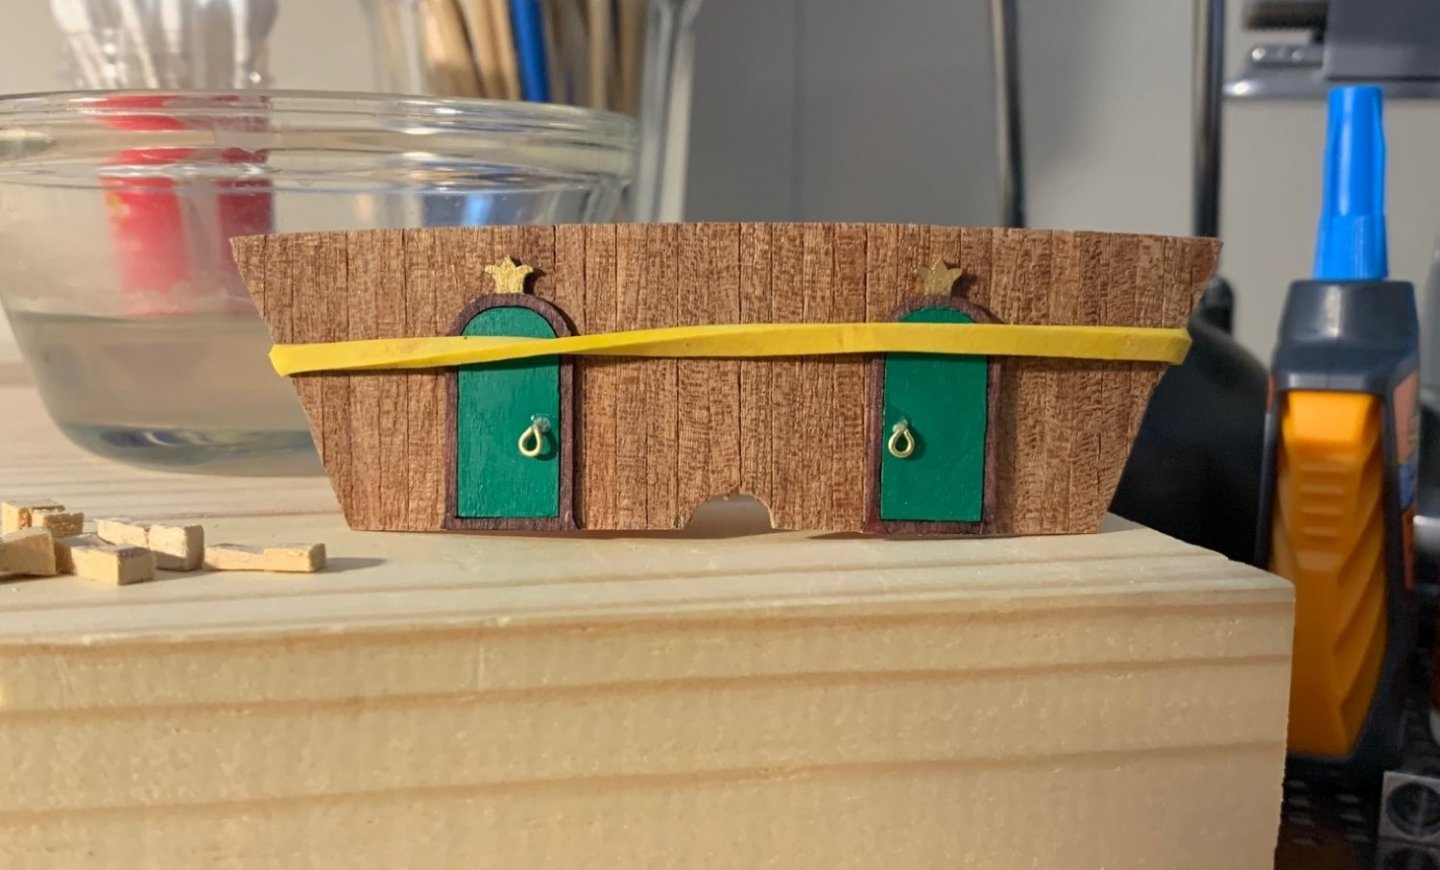
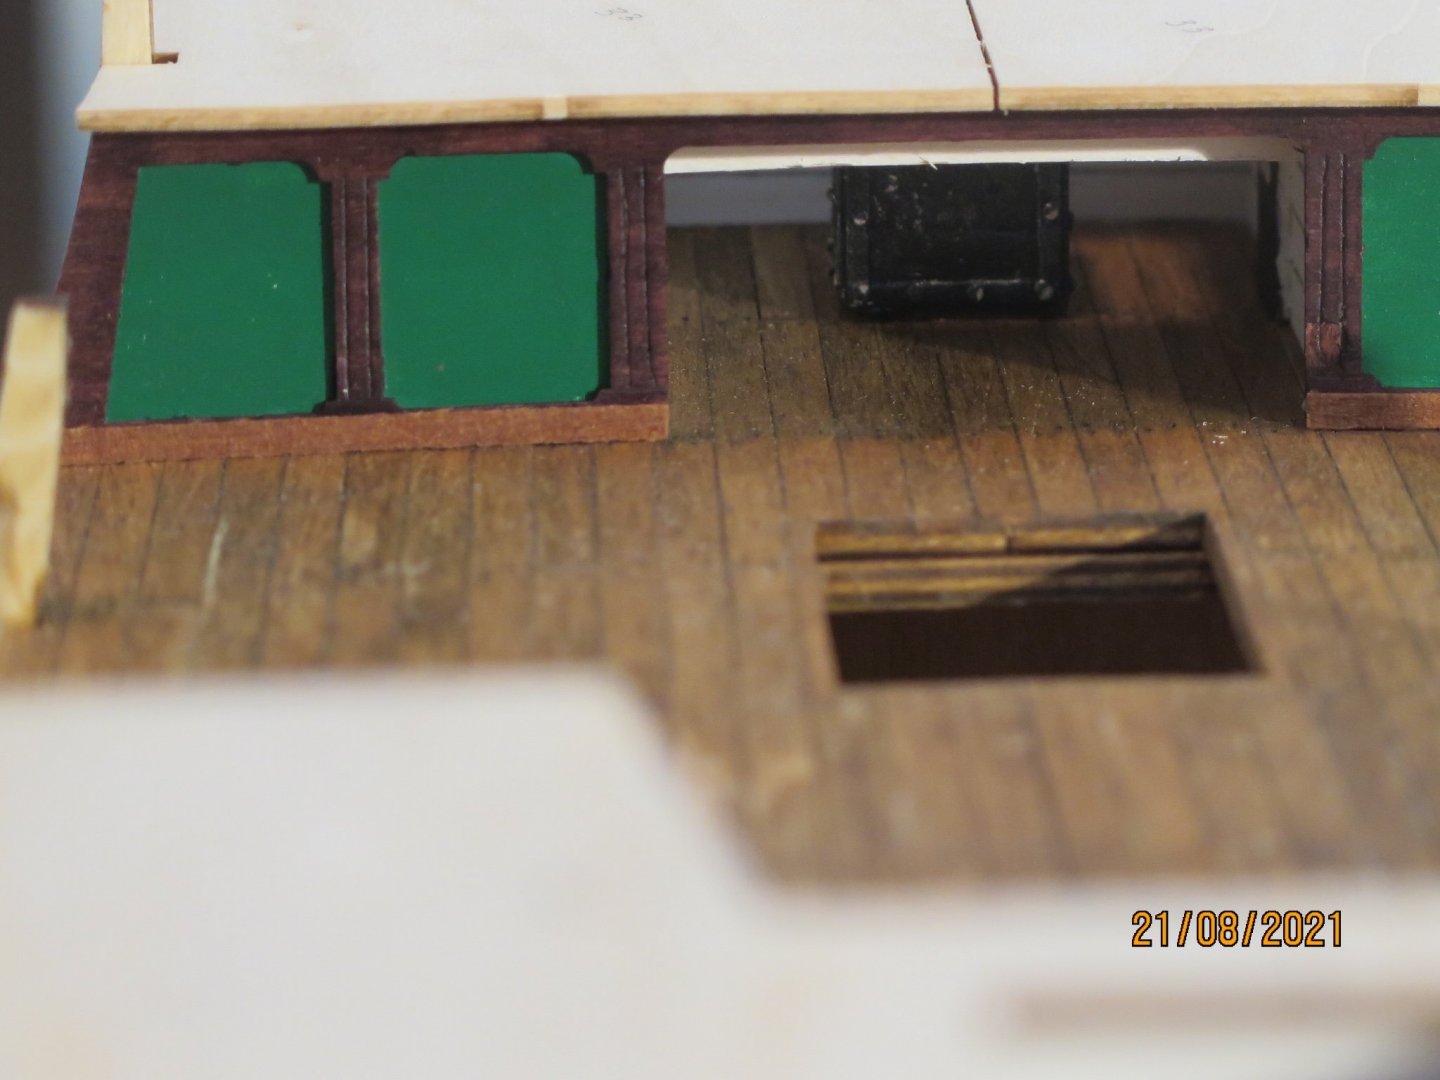
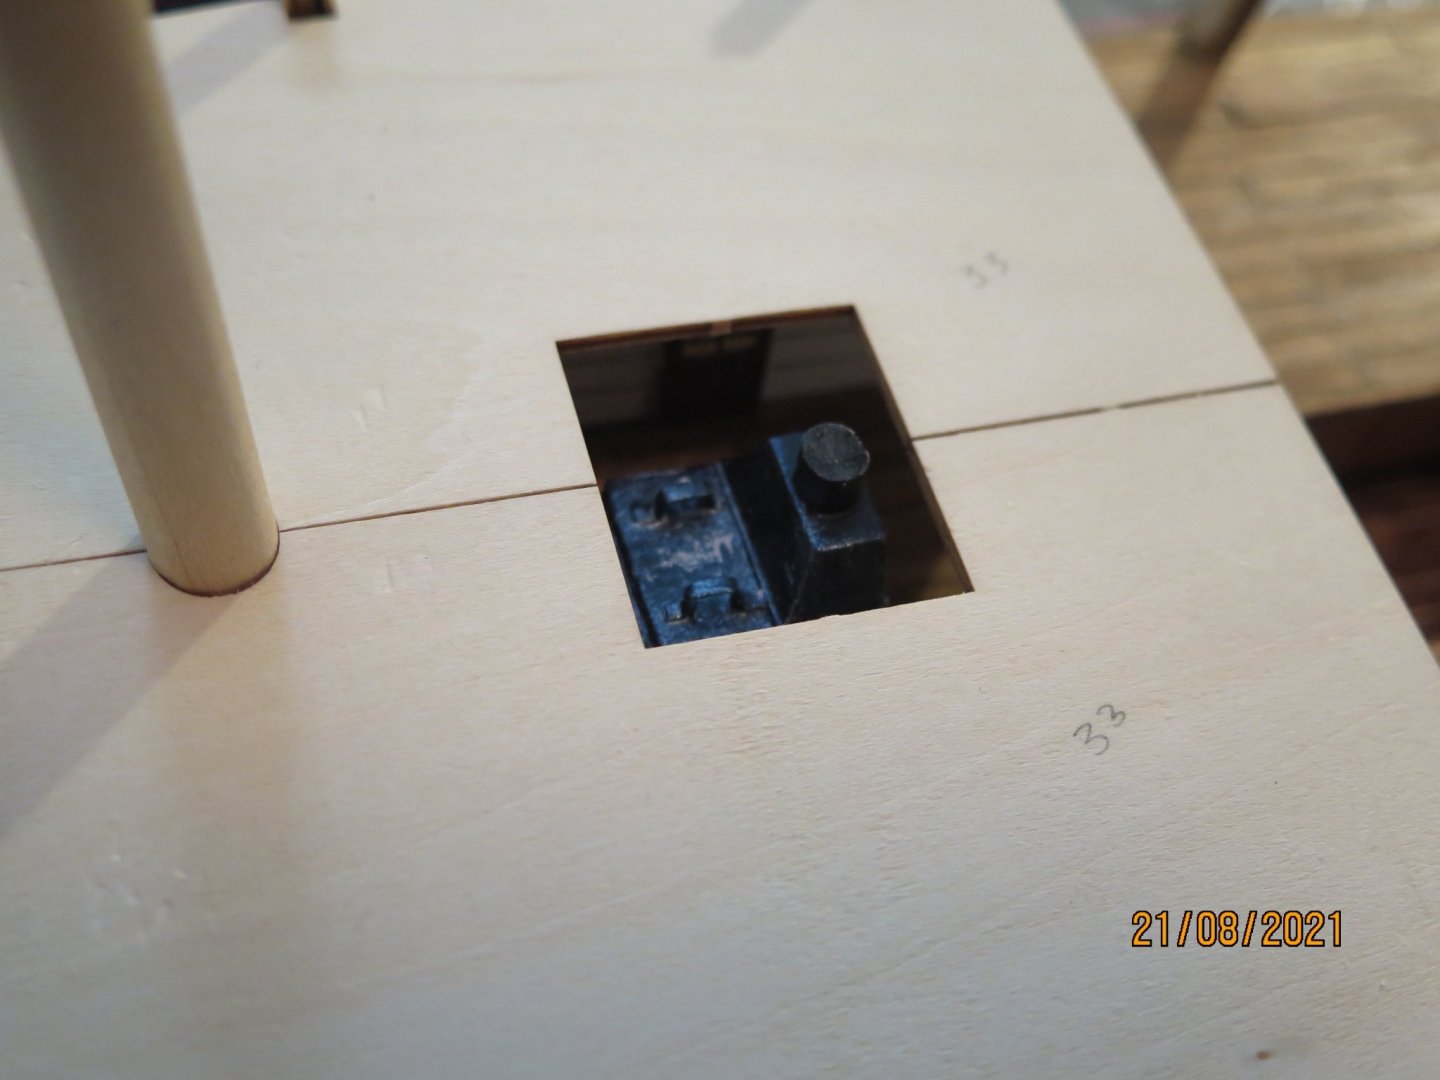
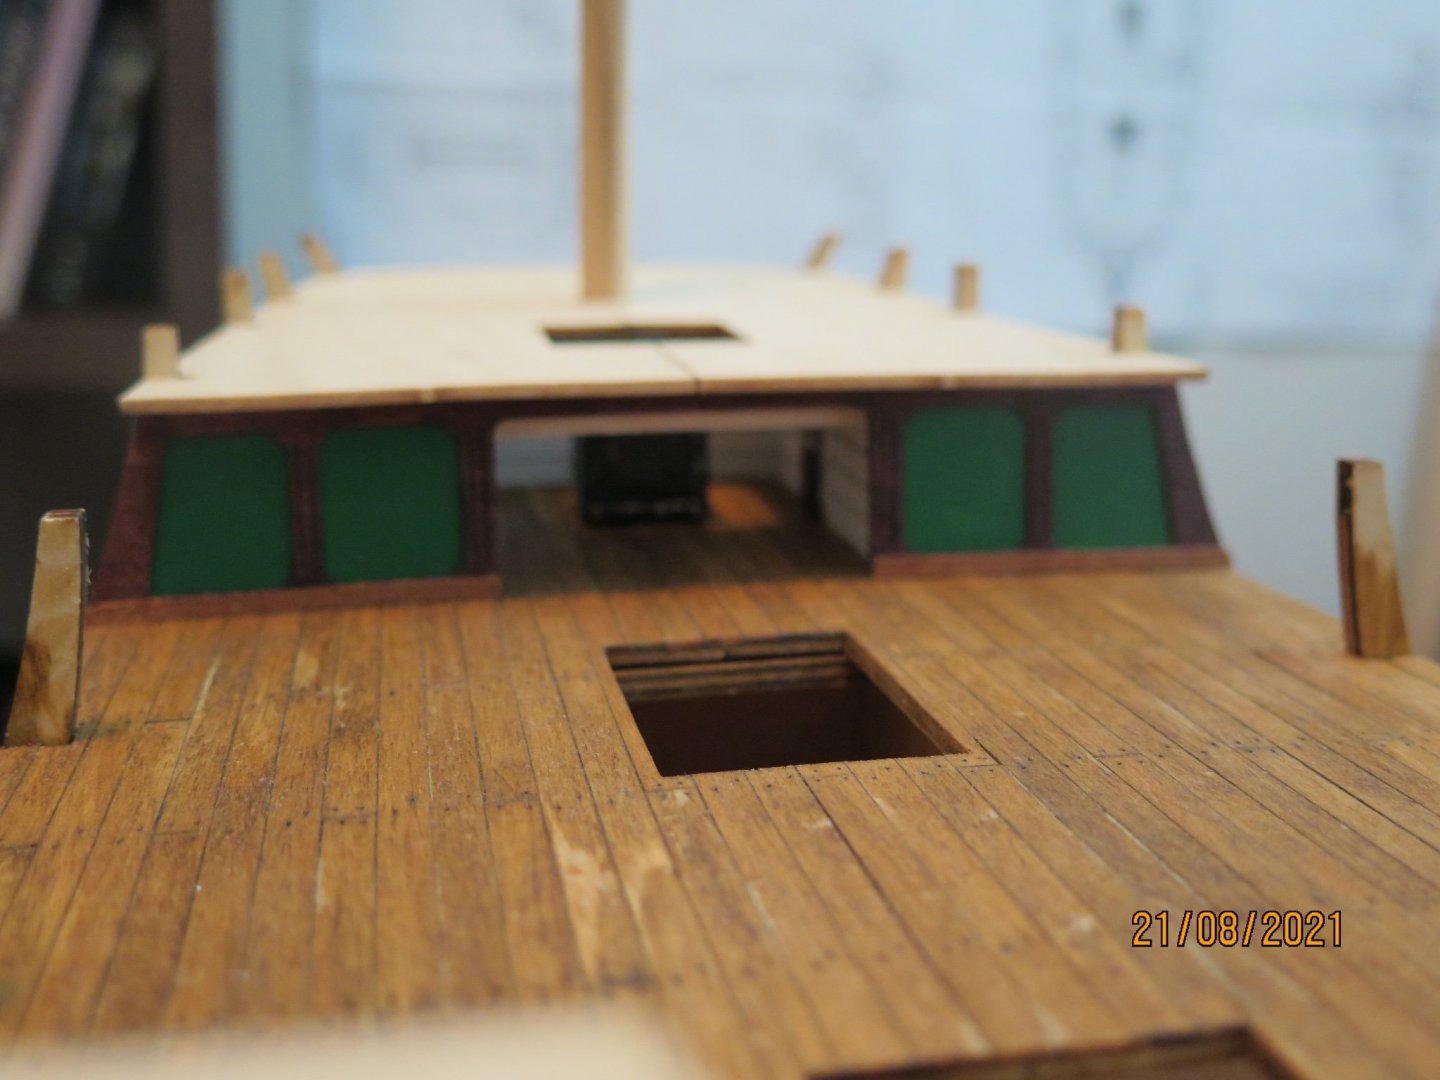
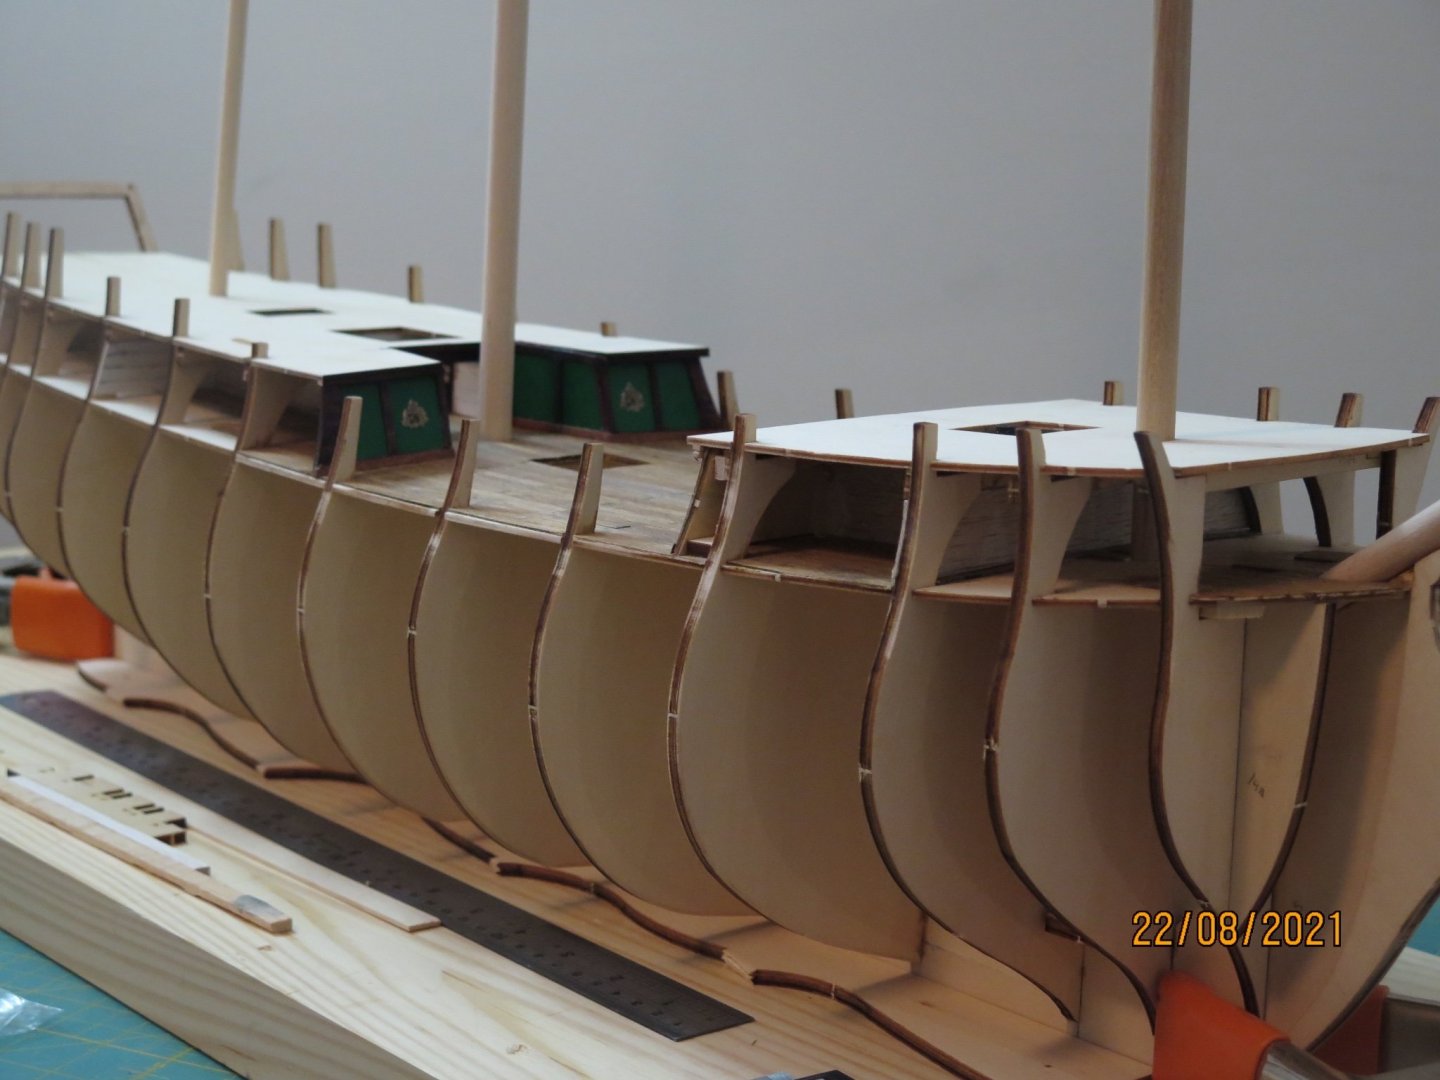
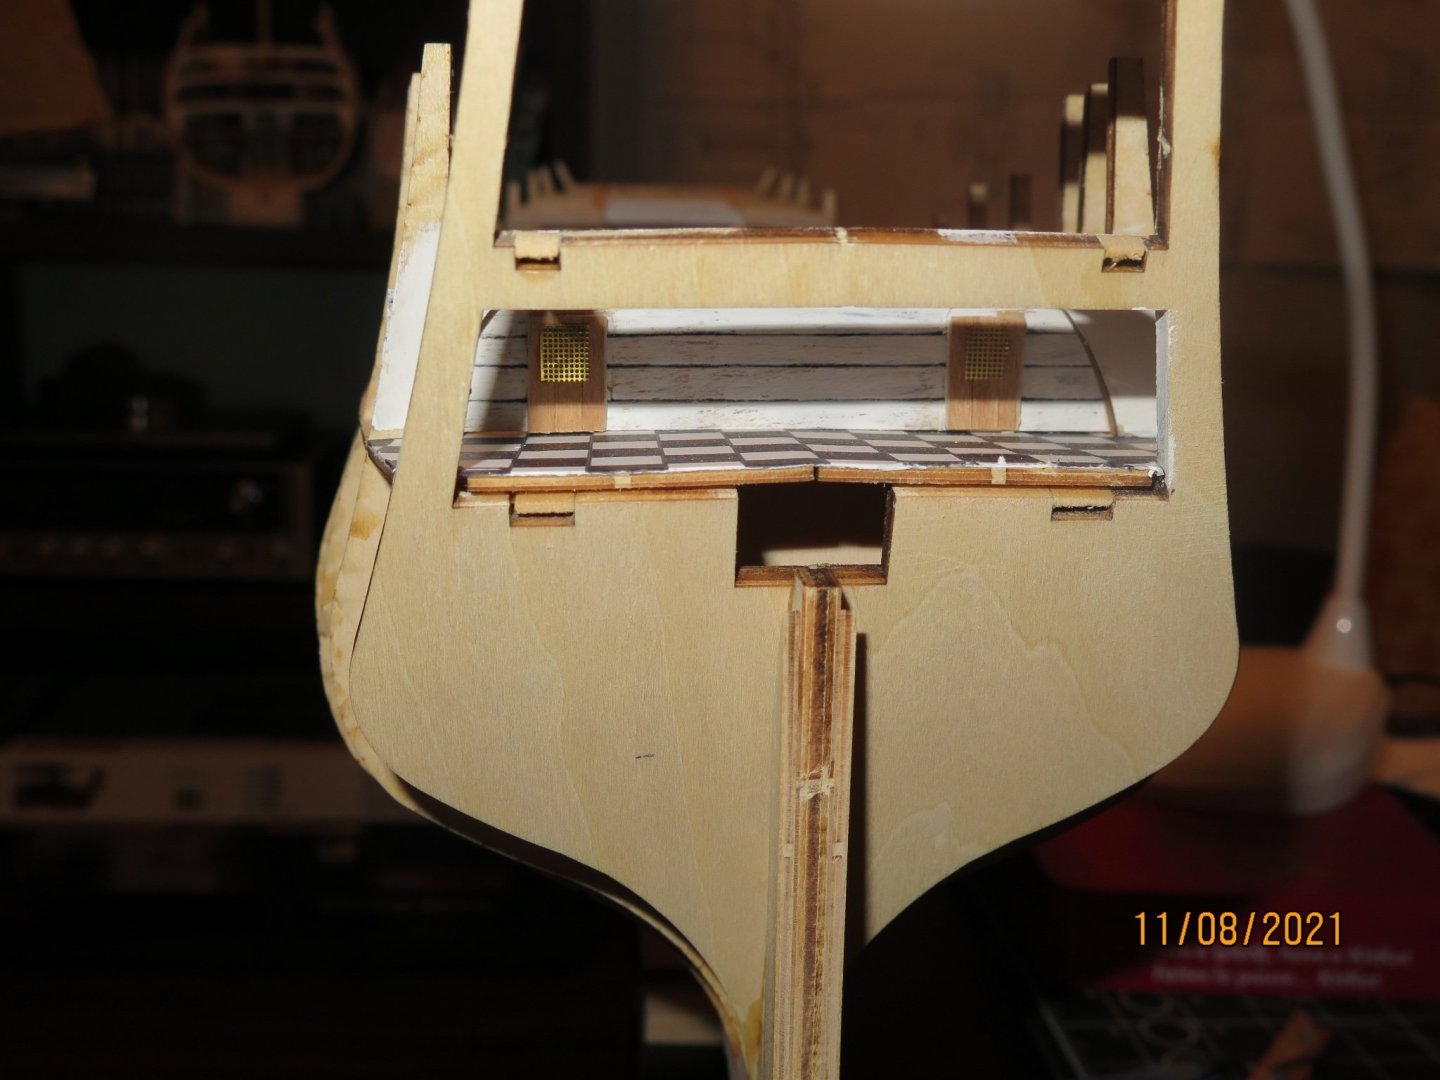
Well after a bit of a hiatus I have finally started back at it. I have to get rolling on the Norske Love because this just arrived in the mail this week. Started planking the forward and after decks so they will match the lower exposed deck. Added a bit of colour to the captain’s cabin floor as well. During my research for this project I had a lot of trouble finding good step by step reference photos on how to tackle the bow/fore-peak and stern sections. In this log I hope to concentrate on these sections and present my understanding of how it should look and problems I encounter along the way. The next three photos show construction of the fore-peak bulkhead. I first soaked the section in water for a couple hours and clamped it in place to get the necessary curve (no pic so much for detail images). Next the bulkhead was covered with 0.7mm X 5mm mahogany strips. I stained the bulkhead door trim mahogany and painted the doors green to match the panels’ mid-ships. To paint the doors green was not in the instructions just “artistic license”. Added brass door handles, also not in the instructions. These were left over eye-bolts that I bent and passed through drilled holes in the doors. Super glued handles on the back of the door to secure them but then thought maybe I should use a drop on the front also, mistake as you can clearly see super glue remnants on the front of the doors. The bulkhead is currently rubber banded to a tape roll to keep its shape while waiting for install. Until next time Cheers


- 48 replies
-
- 5
-
-
- norske love
- billing boats
- (and 1 more)
-
Wow that looks great, maybe I can lean on you for some advice as the build progresses? Still on the side for now as I finish Victory cross section, hope to get back at it soon.
-
The only problem with that type of deck plank clamps is keeping them full 😂, good to have you along.
- 48 replies
-
- 1
-
-
- norske love
- billing boats
- (and 1 more)
-
Thanks for the kind words, good to have you along
-
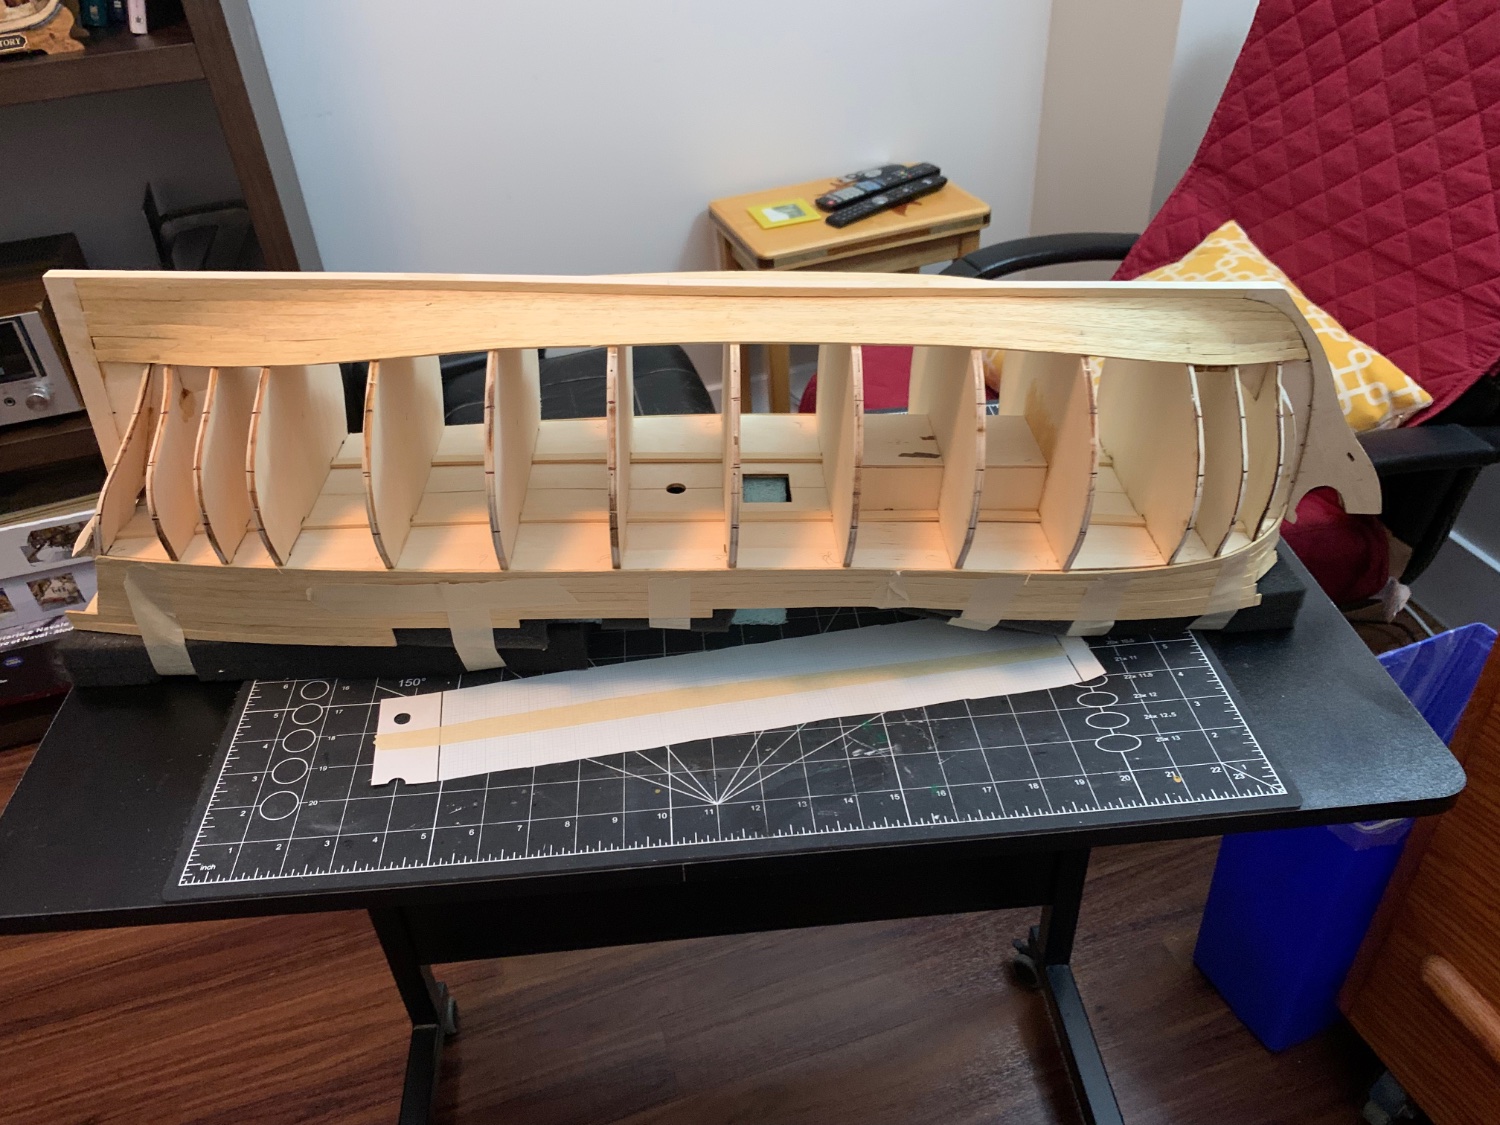
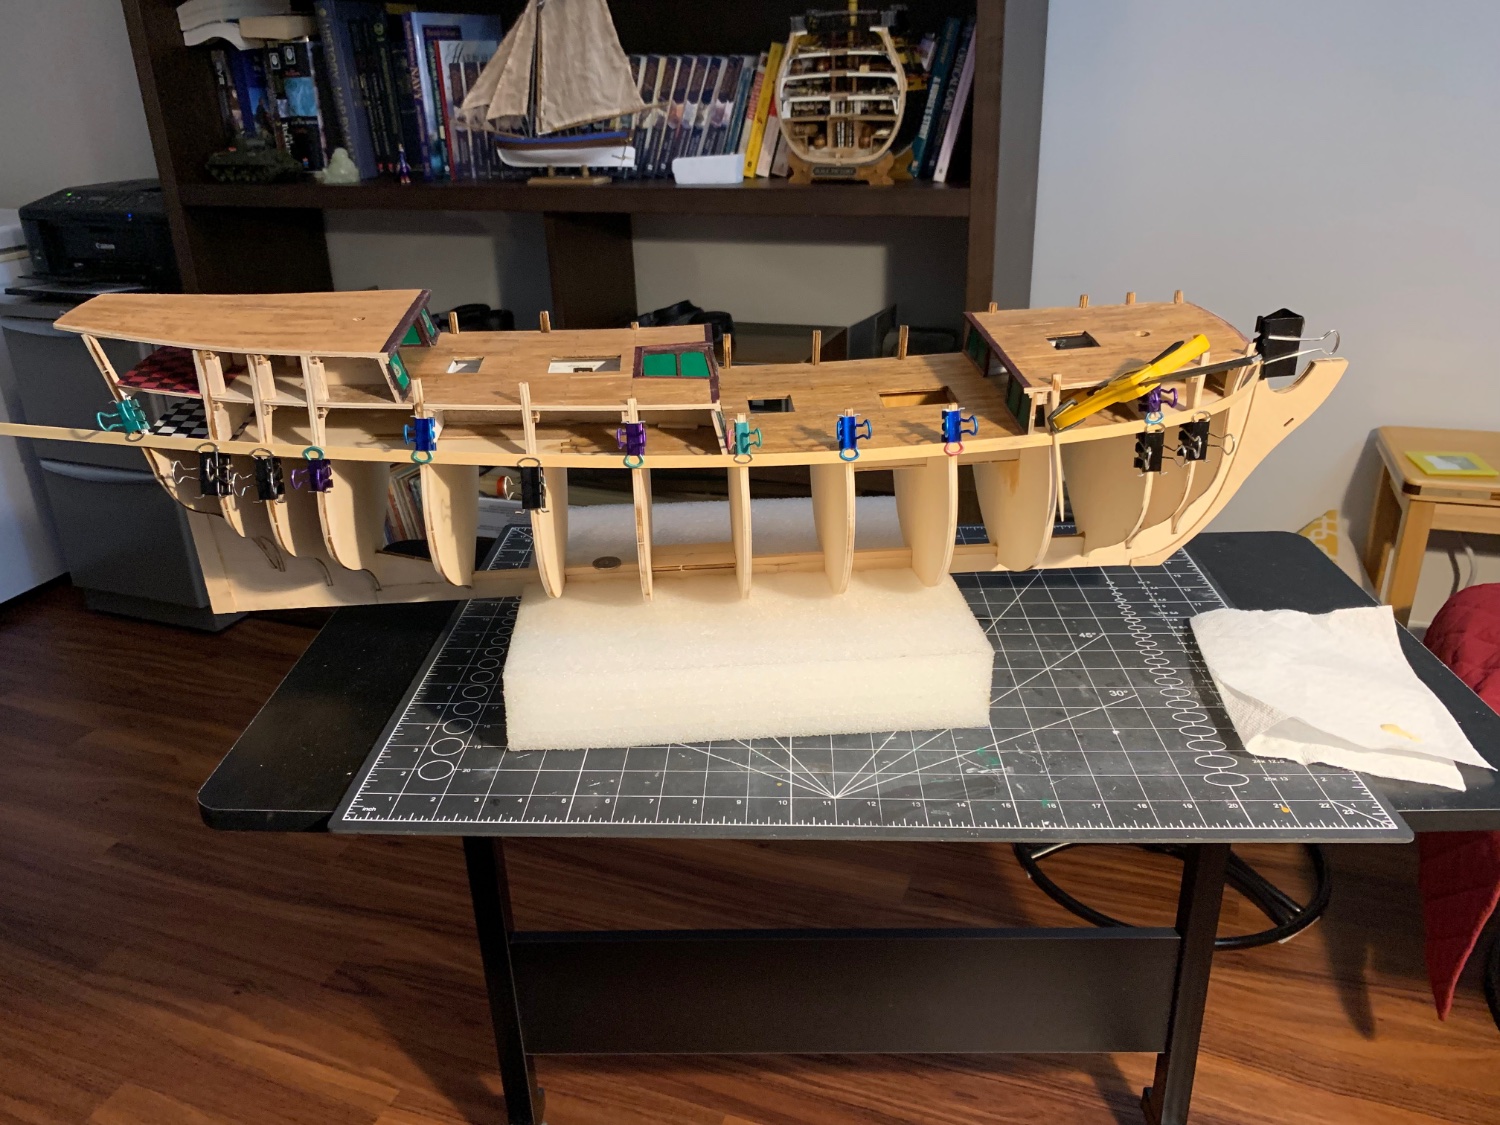
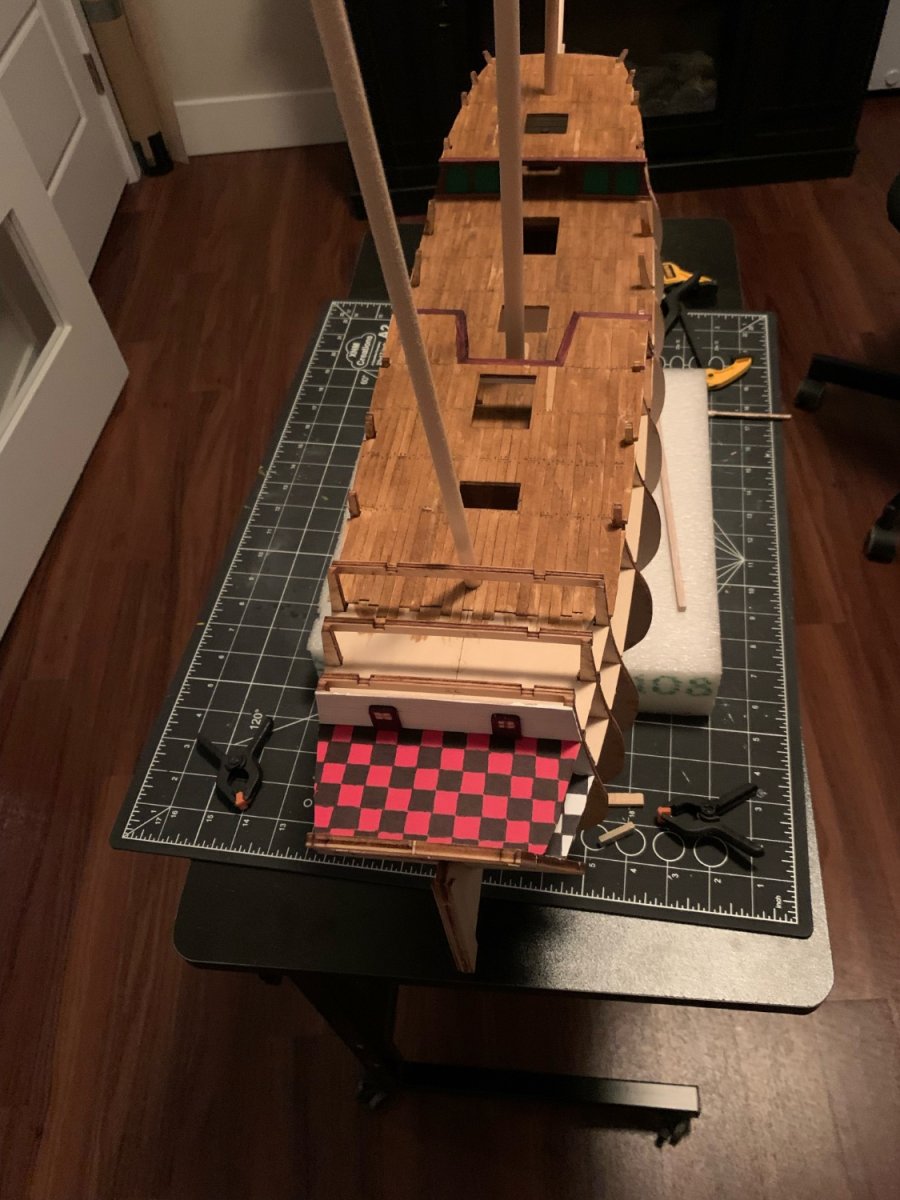
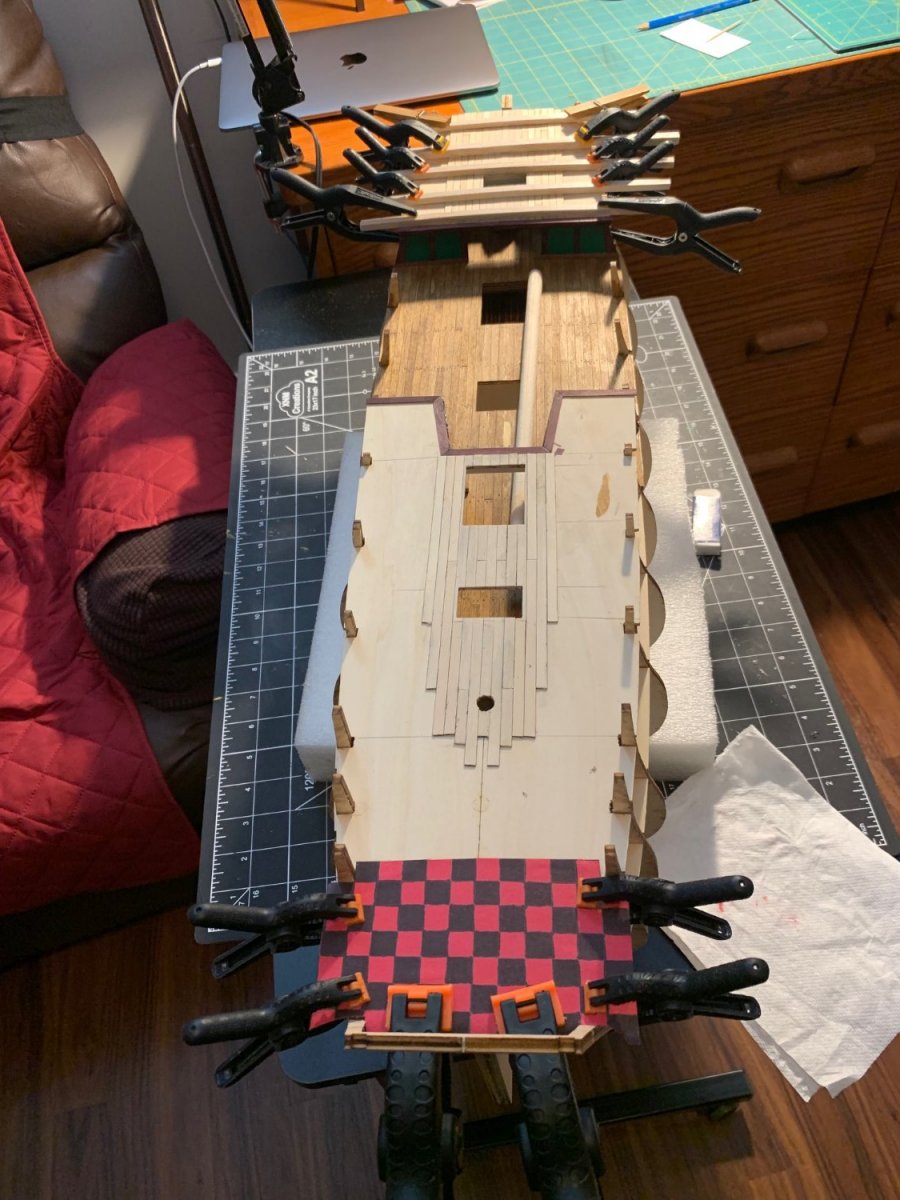
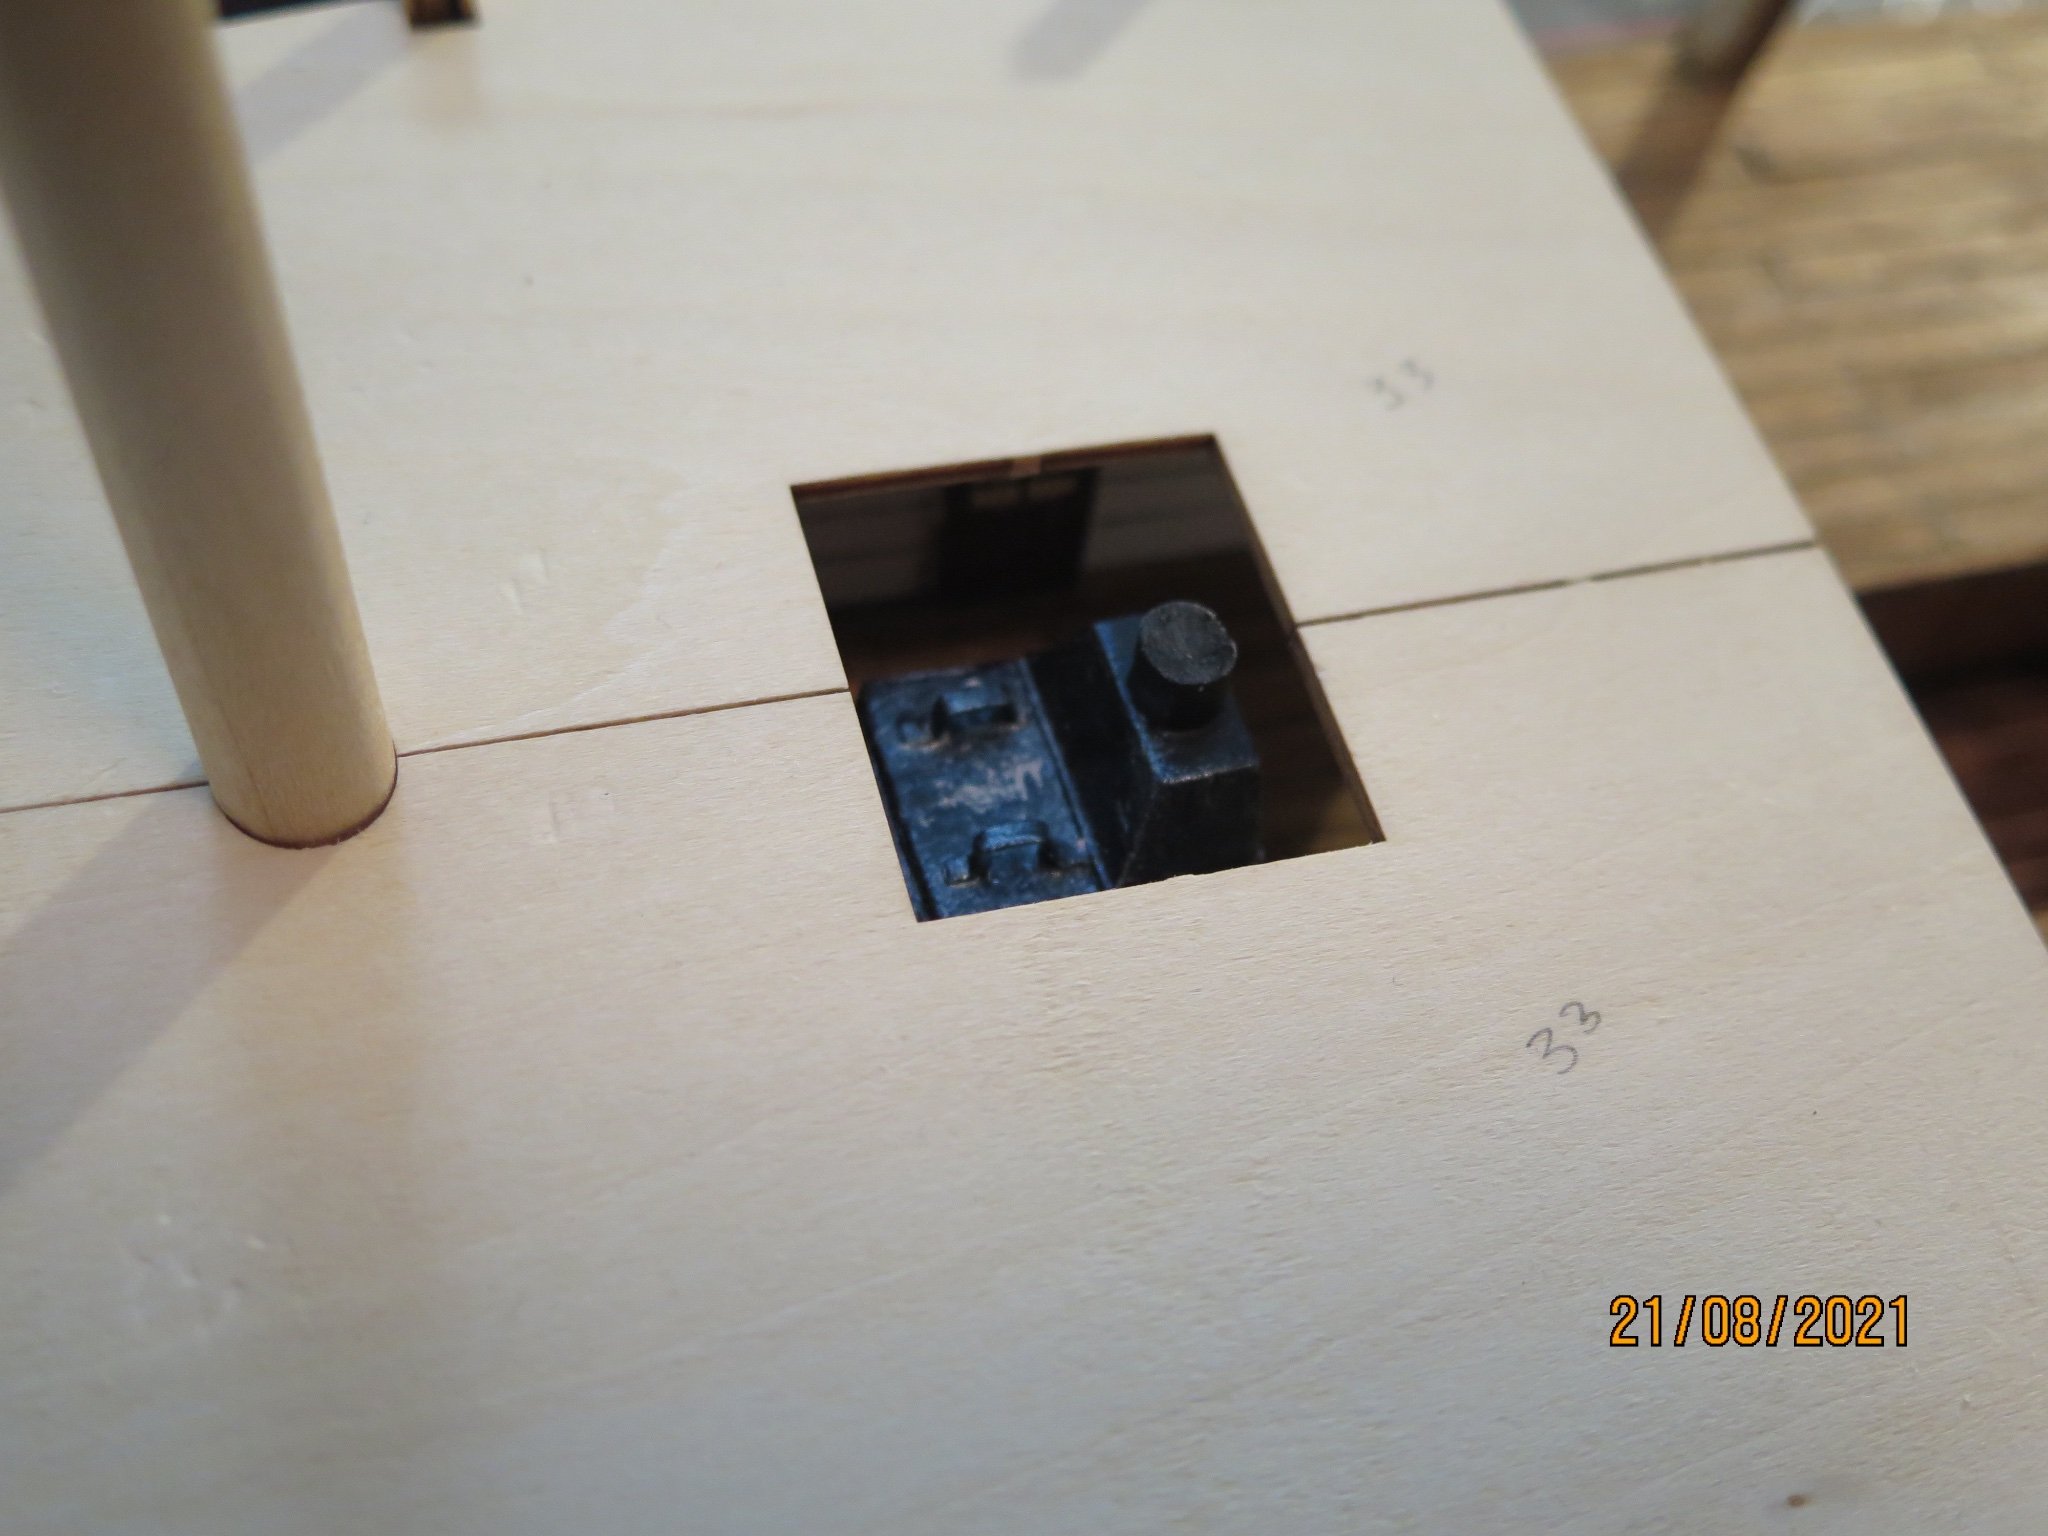
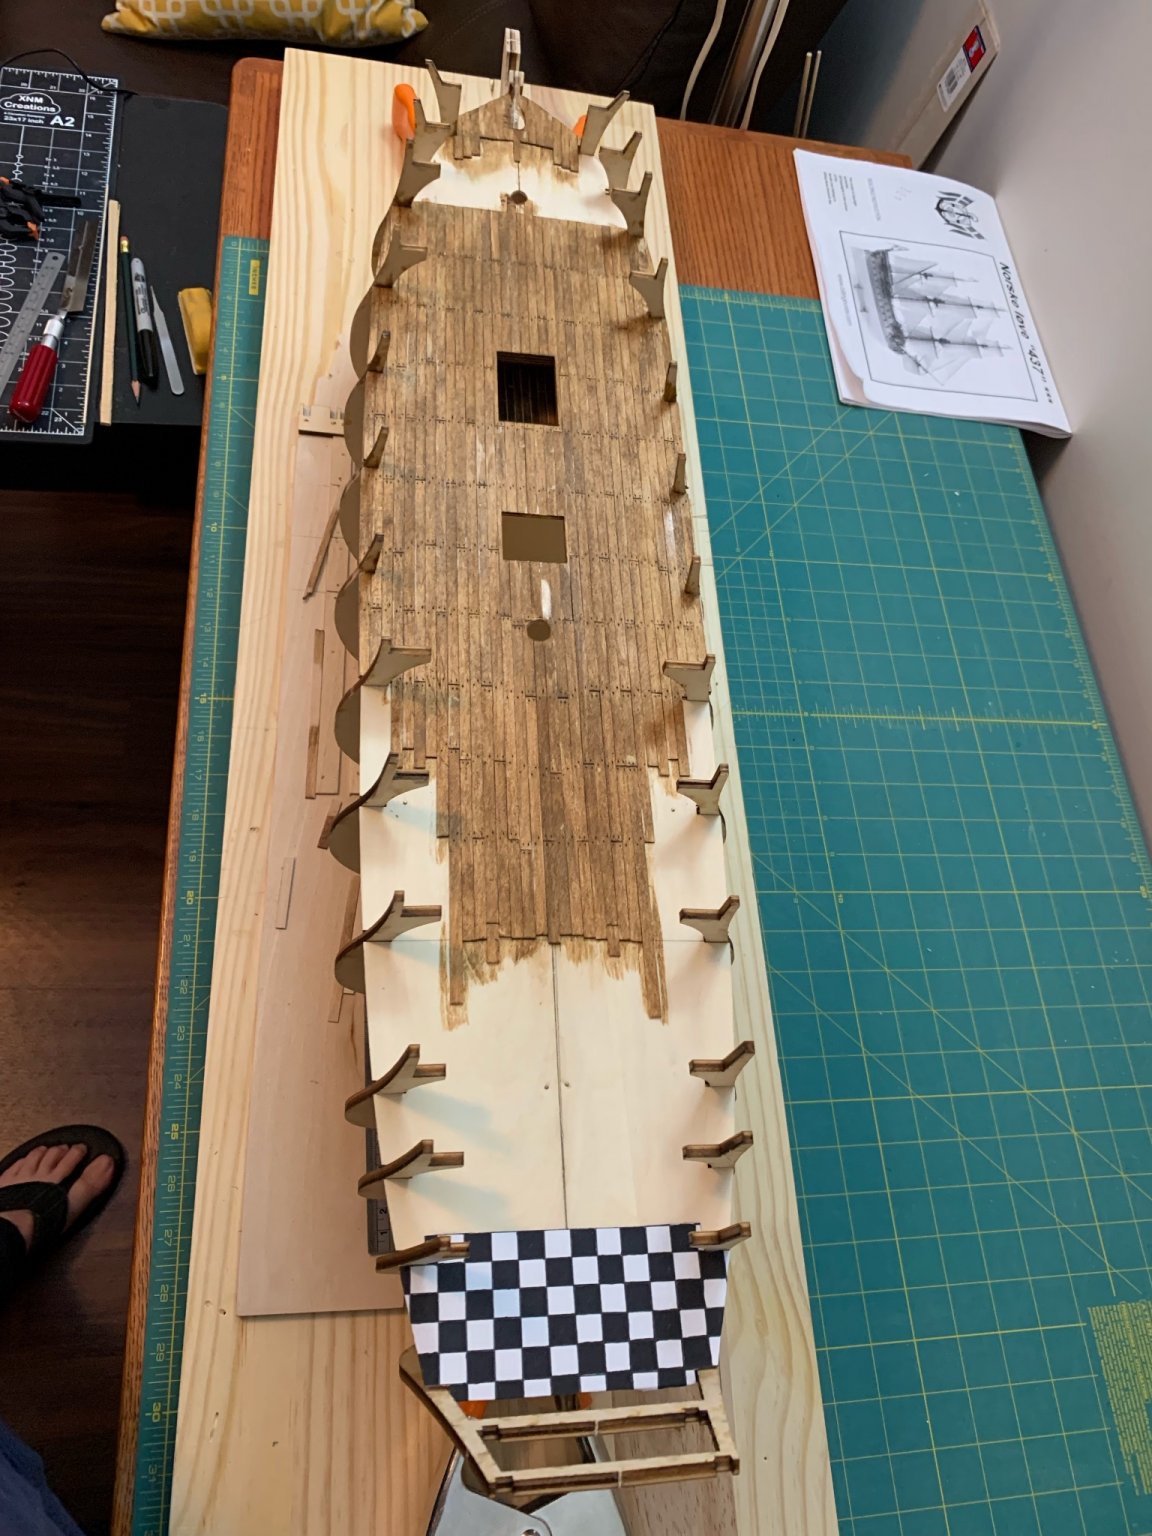
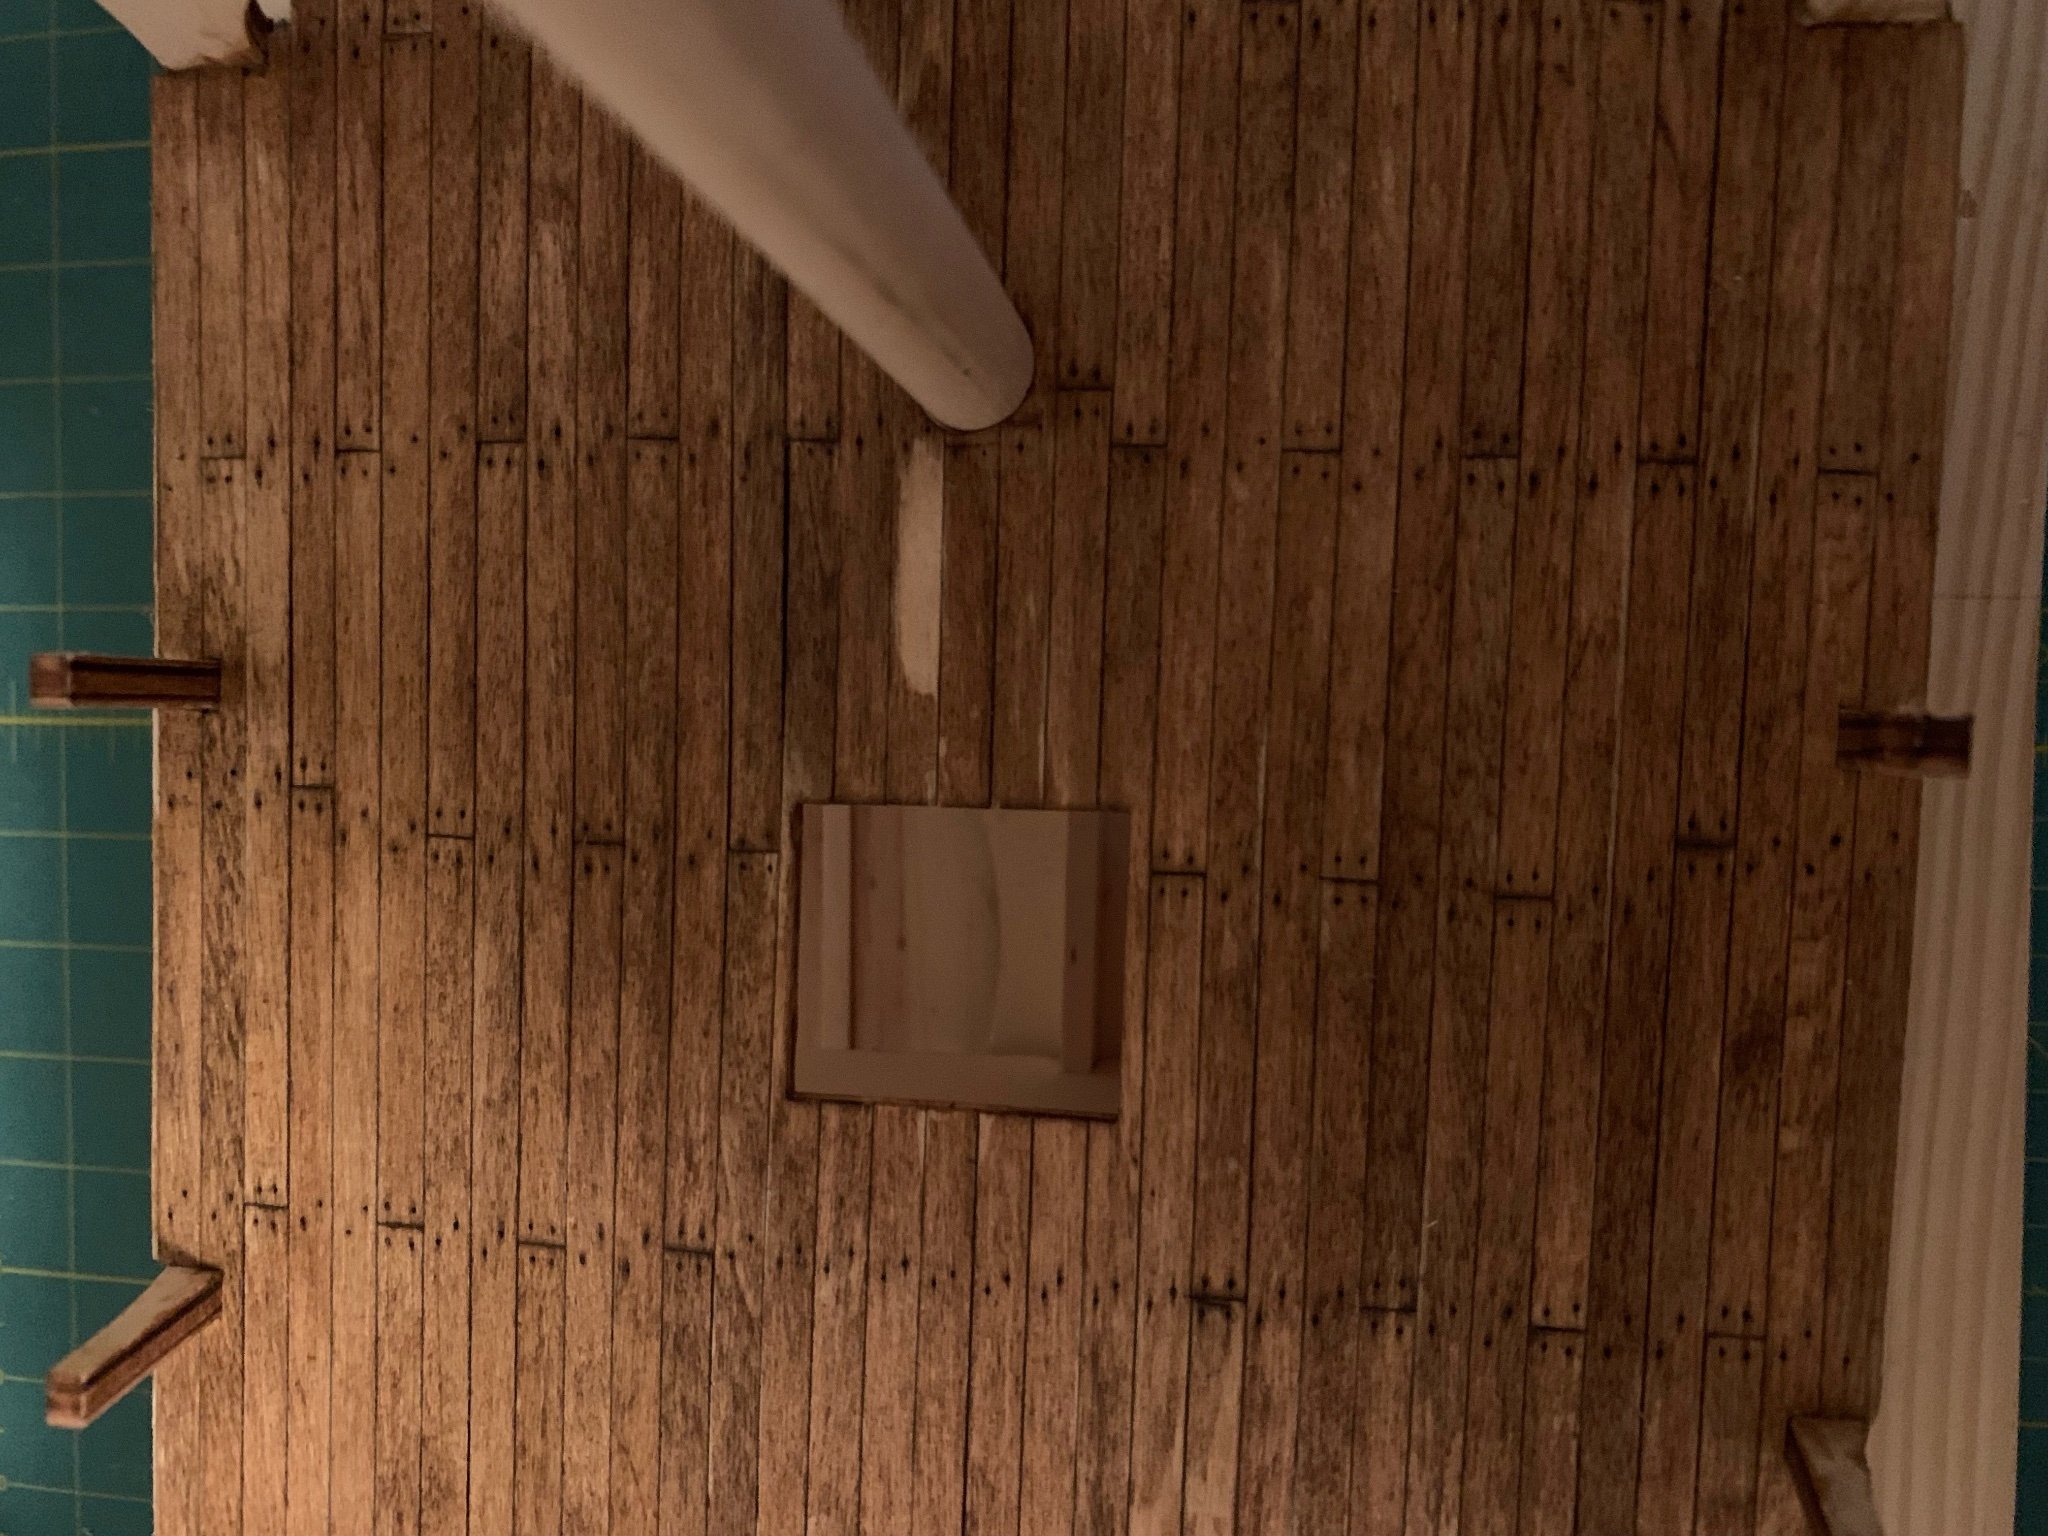
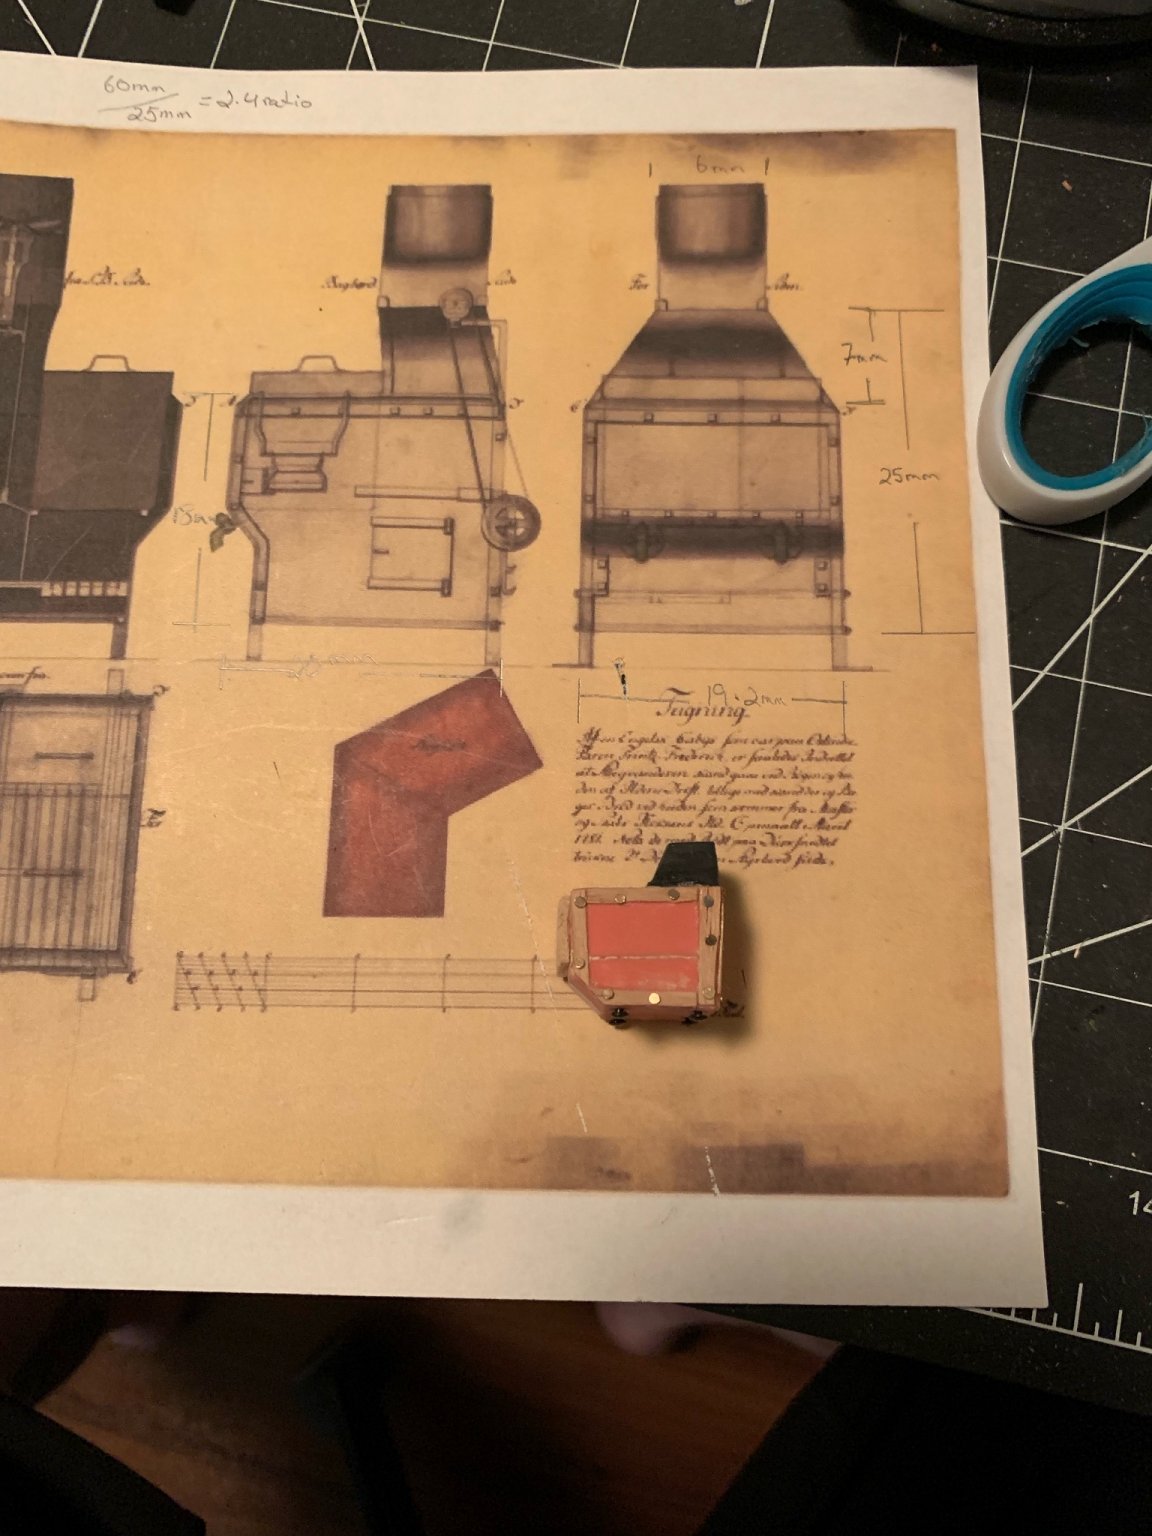
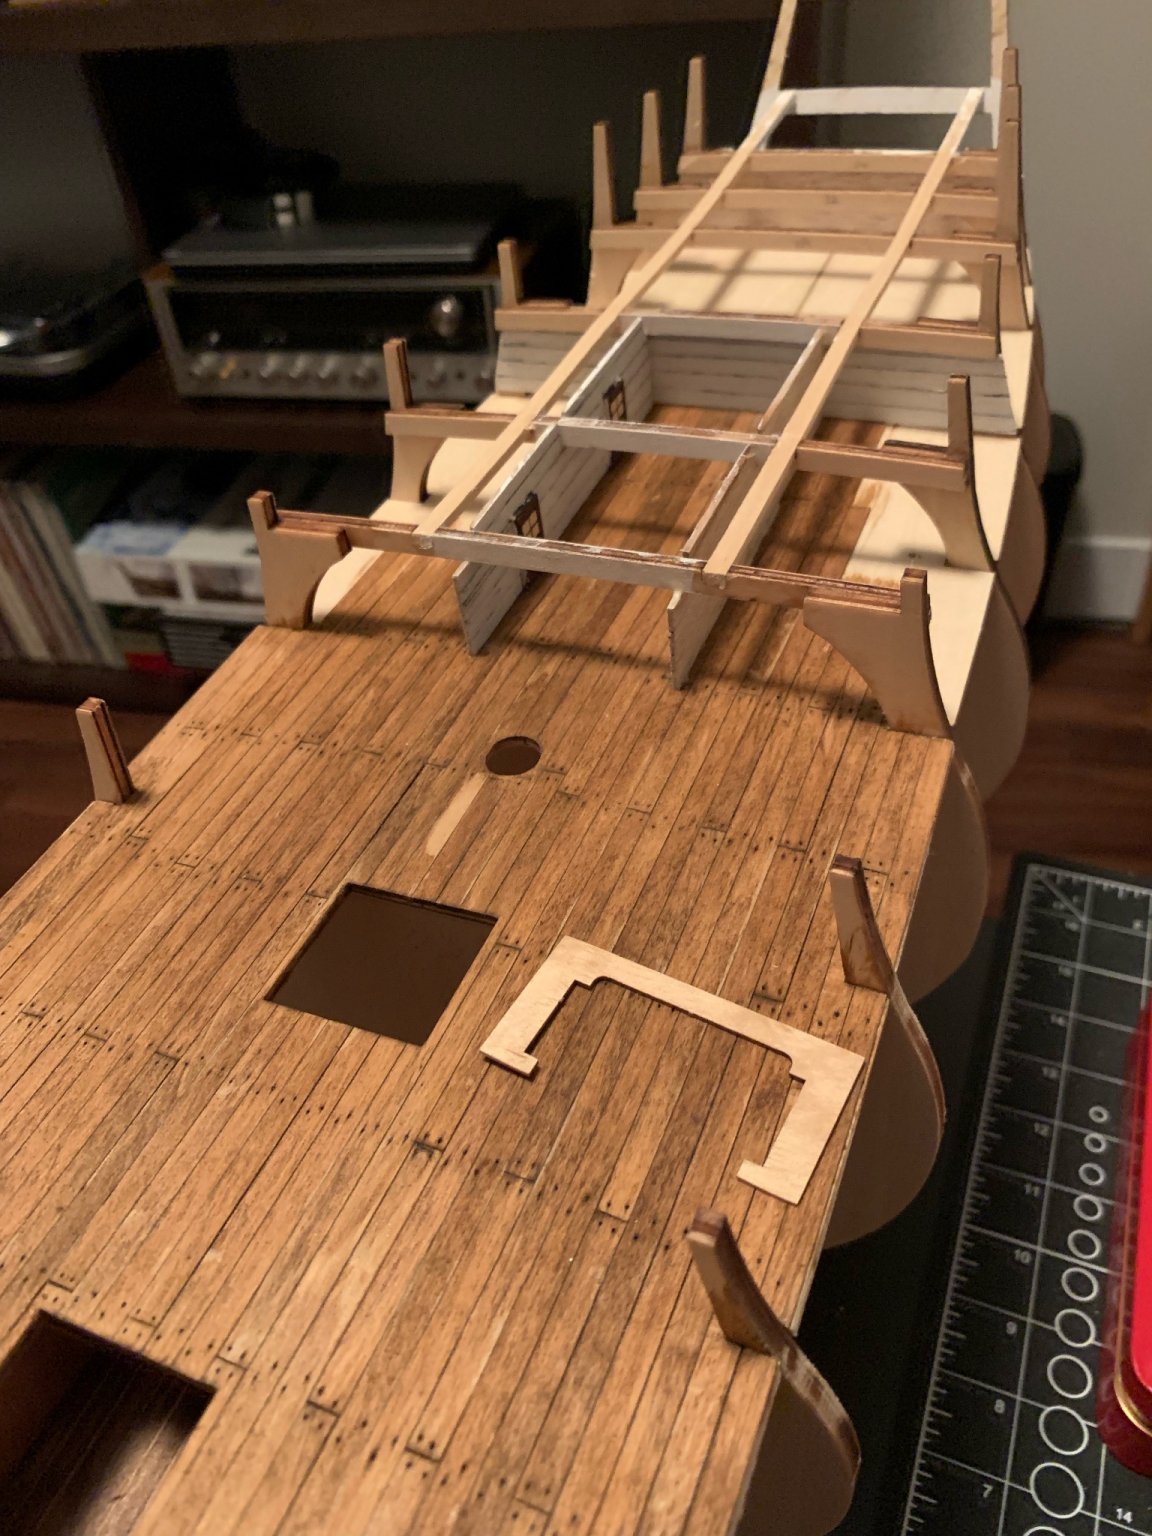
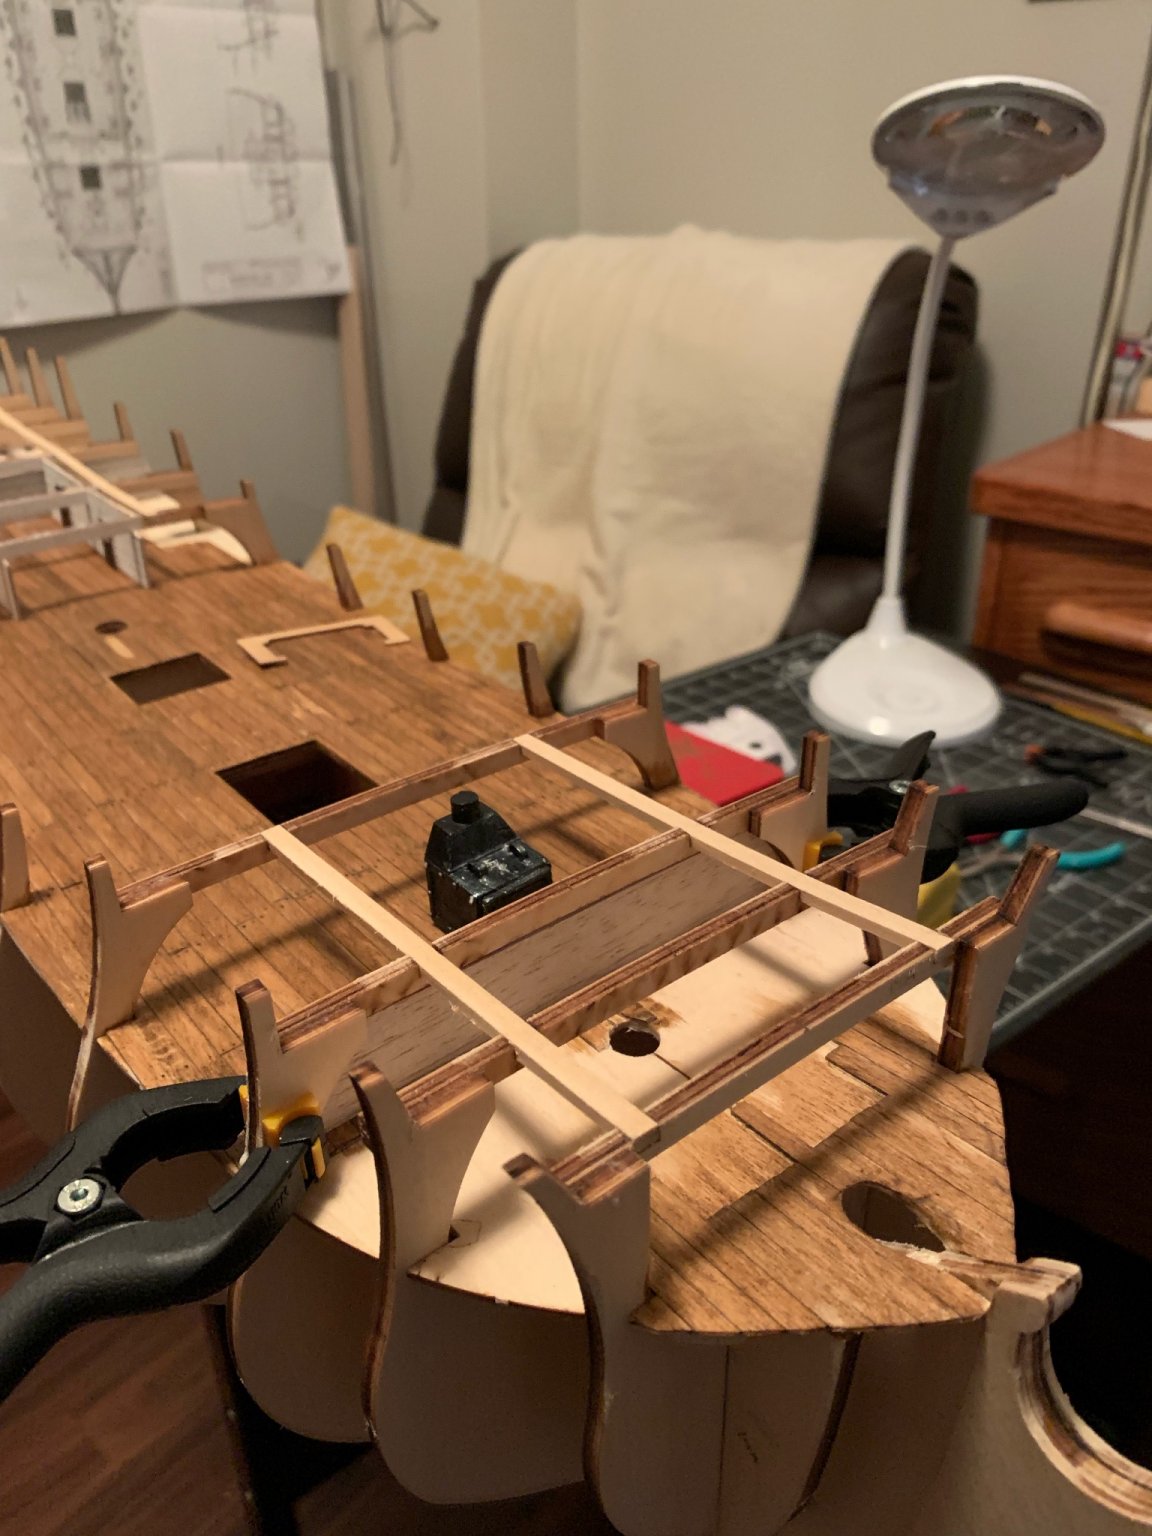
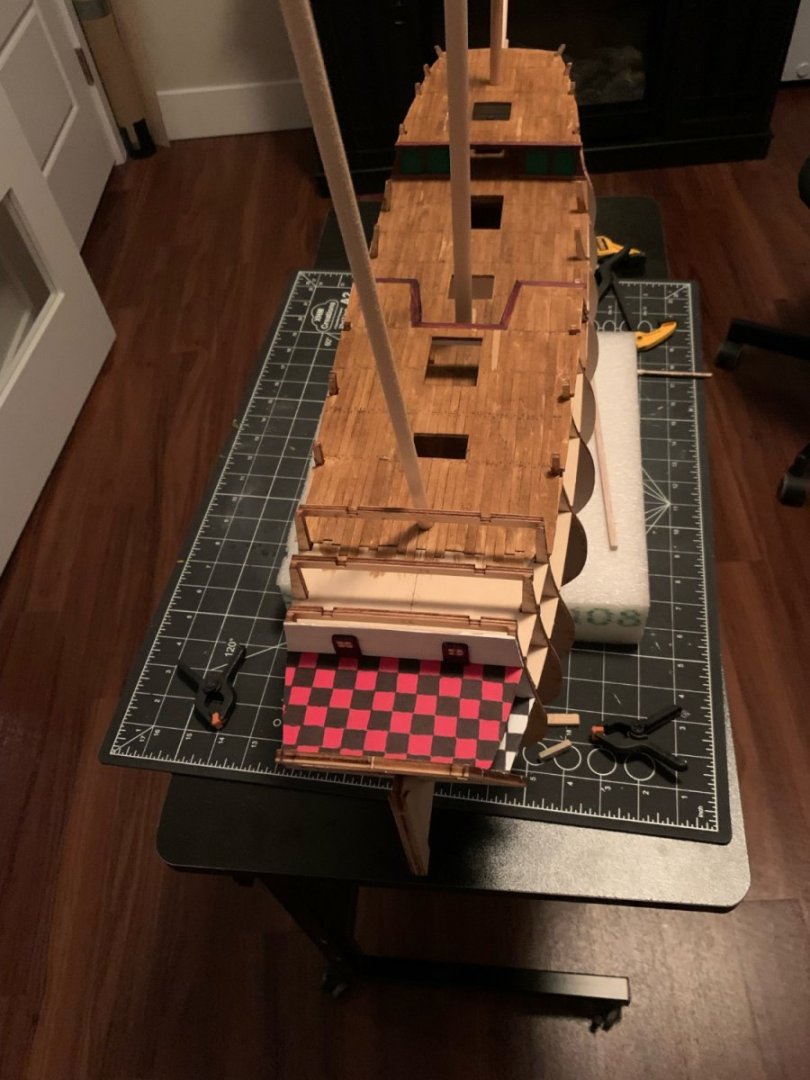
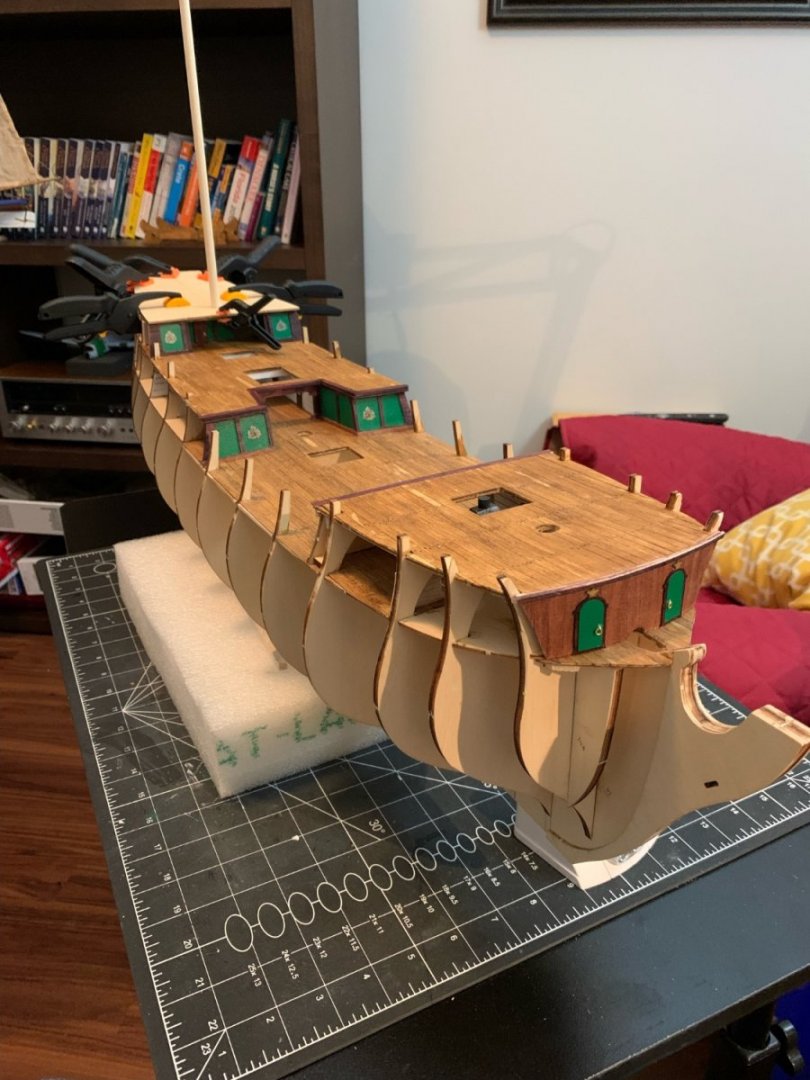
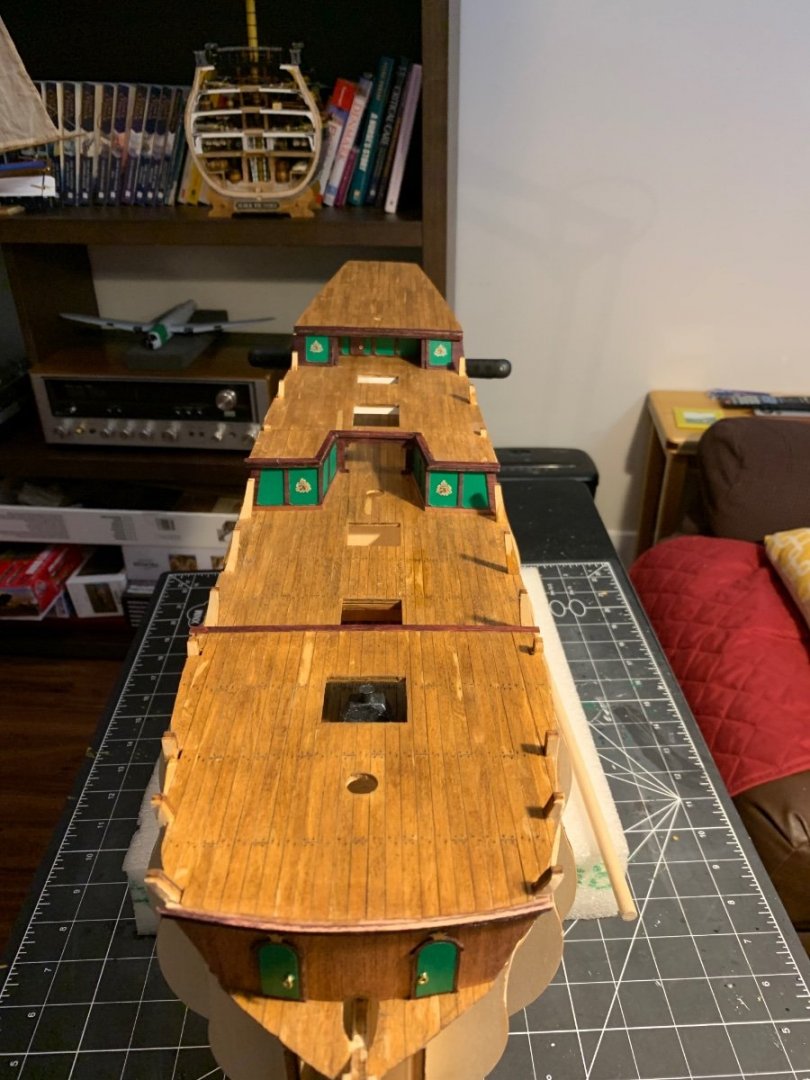
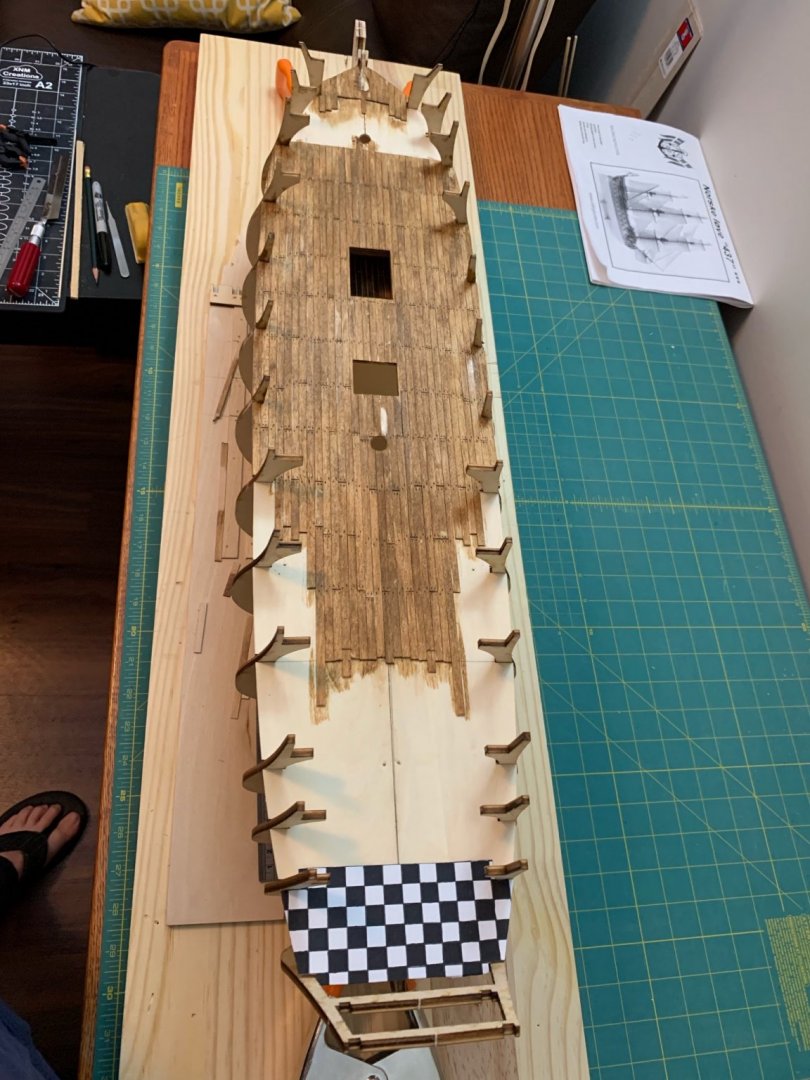
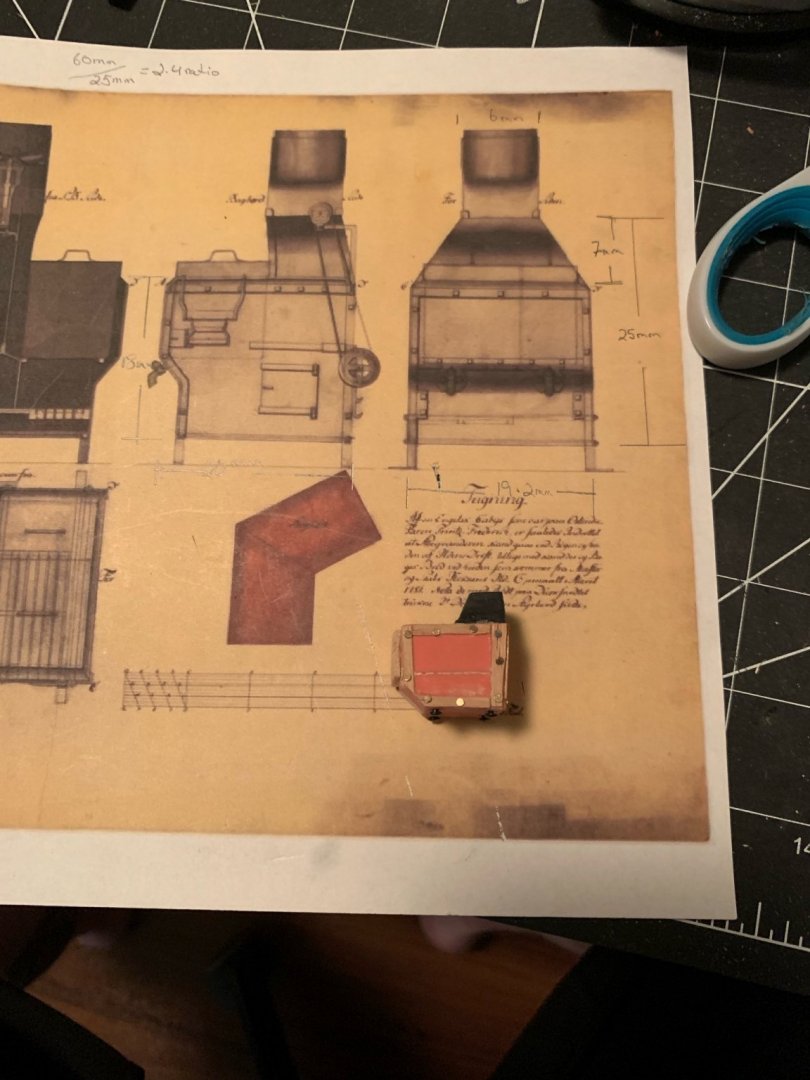
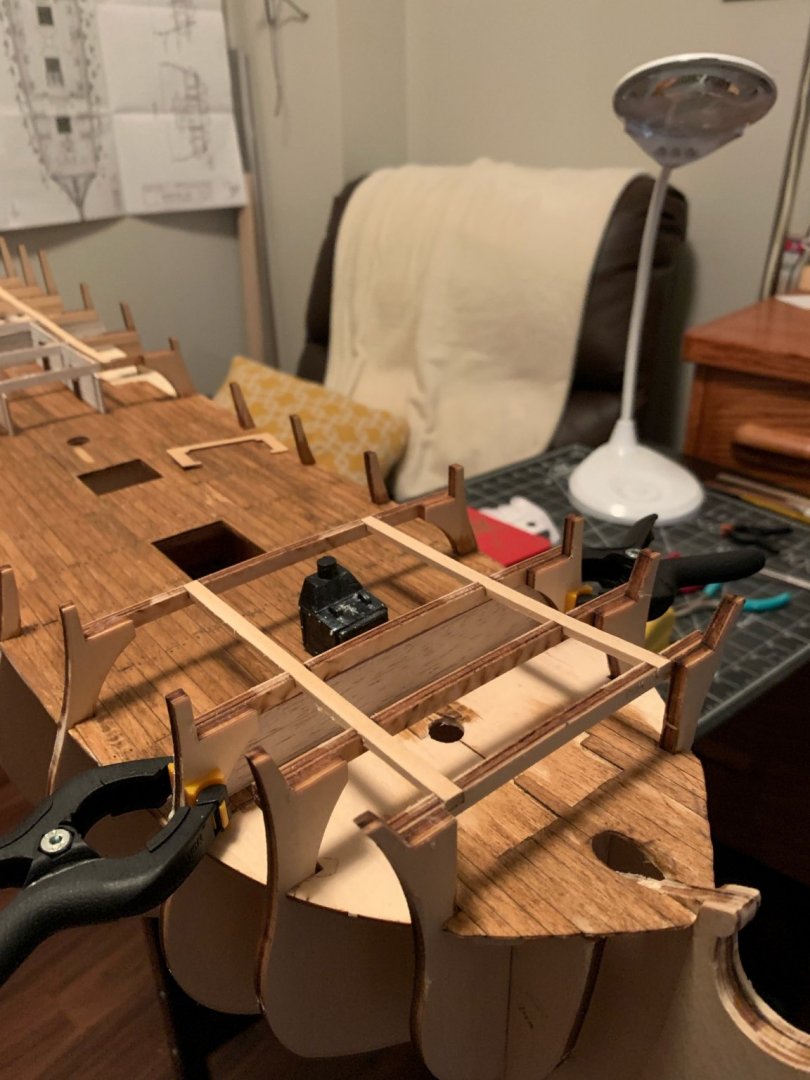
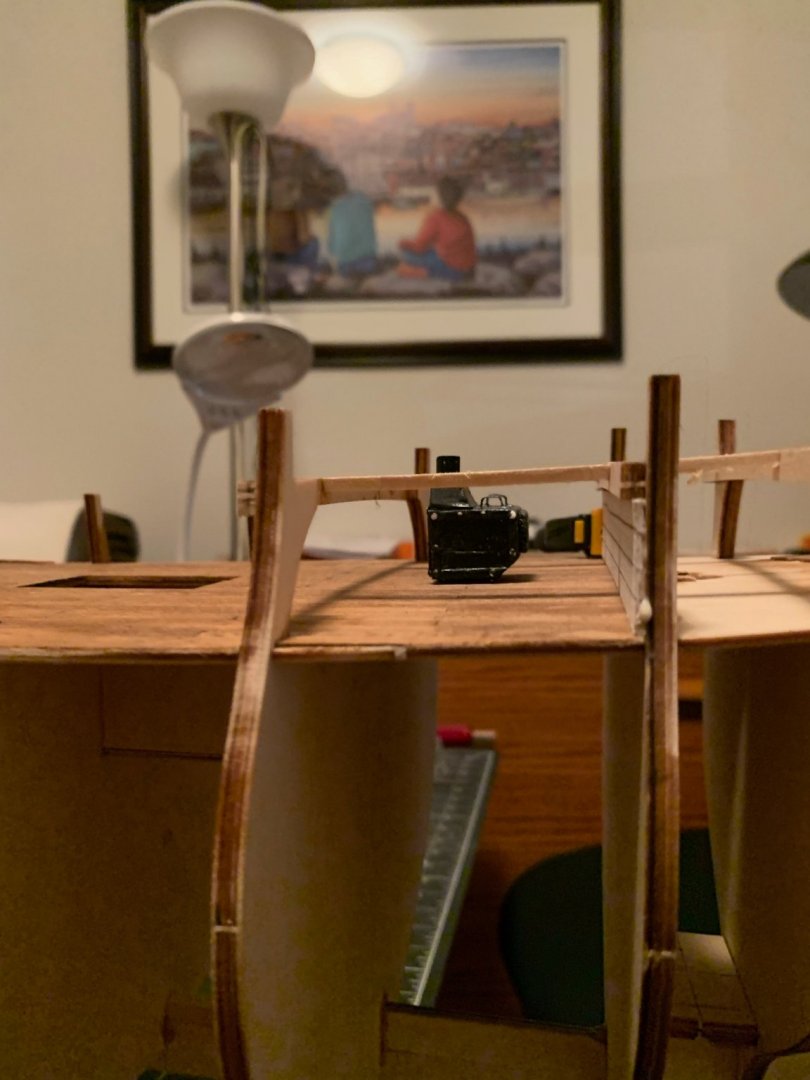
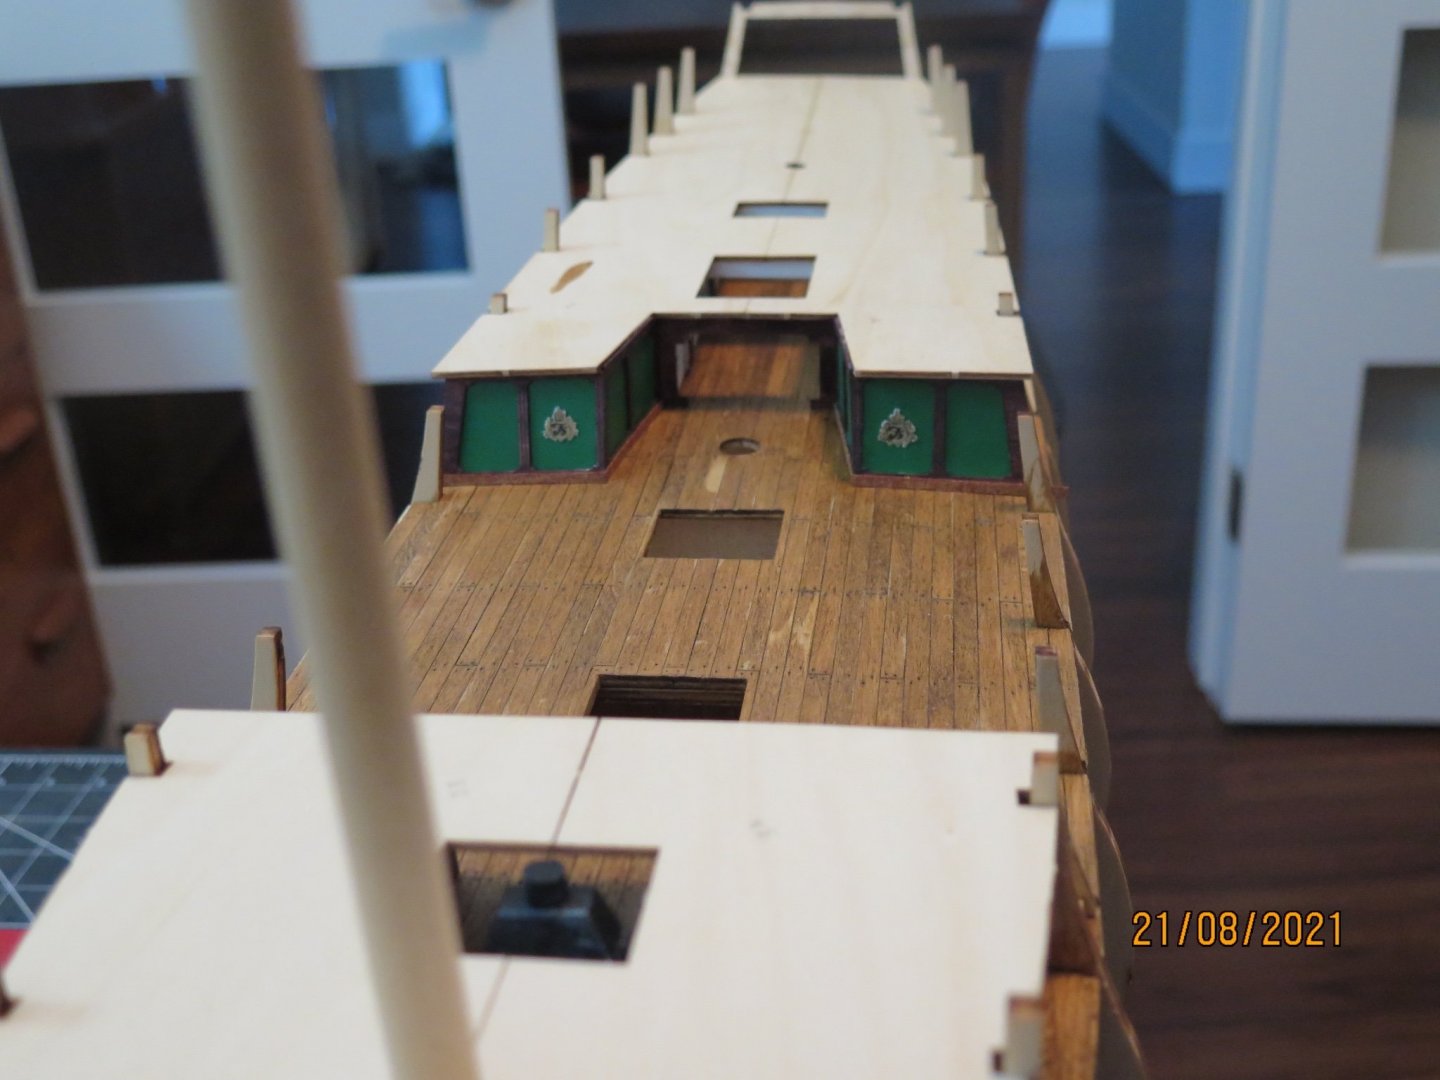
It's been a couple months, been making slow but steady progress. However my work on HMS Victory Cross Section has been neglected so I have decided to stop work on Norske Love until that project is finished. The pictures at the end of this entry will be how she stays until I can return after Vic completion. According to the instructions the deck was suppose to be stained Mahogany but I thought it was too dark so I went with one coat of provincial followed by a coat of weathered oak. Still a bit dark but overall pretty happy with the look. I added the checked canvas floor to the Wardroom area because I am unsure how much may be visible through the stern windows. I did end up with a patch that would not take stain and I am positive it is not caused by over glue. I thought for many hours on how to fix this spot and get a more uniformed look but after awhile it grew on me so I decided to keep it as the ships unique birthmark. I added a few scratch build items to make things seem more complete than what was included in the kit. First was a cook stove built out of erasers and bits of left over copper I had. Next I added false bulkheads to the Wardroom, bow section and aft of the main mast. Finished off by adding the kit provided bulkheads and the next level of bow and stern decking. I figure the HMS Victory Cross section will be completed by end November so hope to get back to this project before end year.


- 48 replies
-
- 3
-
-
- norske love
- billing boats
- (and 1 more)
-
Good to have you along . I hope to do the kit justice but this is only my fourth model ship build and the first full plank on frame sailing ship. Probably not the best choice for my first go but the learning potential is massive.
- 48 replies
-
- 3
-
-
- norske love
- billing boats
- (and 1 more)