-
Posts
31 -
Joined
-
Last visited
About EdS
- Birthday 11/13/1969
Profile Information
-
Gender
Male
-
Location
Halifax, Nova Scotia, Canada
Recent Profile Visitors
-
 ZhangRenWing reacted to a post in a topic:
Norske Love by EdS - FINISHED - Billing Boats - 1:75
-
 ZhangRenWing reacted to a post in a topic:
Norske Love by EdS - FINISHED - Billing Boats - 1:75
-
 ZhangRenWing reacted to a post in a topic:
Norske Love by EdS - FINISHED - Billing Boats - 1:75
-
 ZhangRenWing reacted to a post in a topic:
Norske Love by EdS - FINISHED - Billing Boats - 1:75
-
 ZhangRenWing reacted to a post in a topic:
Norske Love by EdS - FINISHED - Billing Boats - 1:75
-
 ZhangRenWing reacted to a post in a topic:
Norske Love by EdS - FINISHED - Billing Boats - 1:75
-
 EdS reacted to a post in a topic:
Norske Love by EdS - FINISHED - Billing Boats - 1:75
-
 EdS reacted to a post in a topic:
Norske Love by EdS - FINISHED - Billing Boats - 1:75
-
 EdS reacted to a post in a topic:
Norske Love by EdS - FINISHED - Billing Boats - 1:75
-
 kgstakes reacted to a post in a topic:
Norske Love by EdS - FINISHED - Billing Boats - 1:75
-
 ccoyle reacted to a post in a topic:
Norske Love by EdS - FINISHED - Billing Boats - 1:75
-
 GrandpaPhil reacted to a post in a topic:
Norske Love by EdS - FINISHED - Billing Boats - 1:75
-
 GrandpaPhil reacted to a post in a topic:
Norske Love by EdS - FINISHED - Billing Boats - 1:75
-
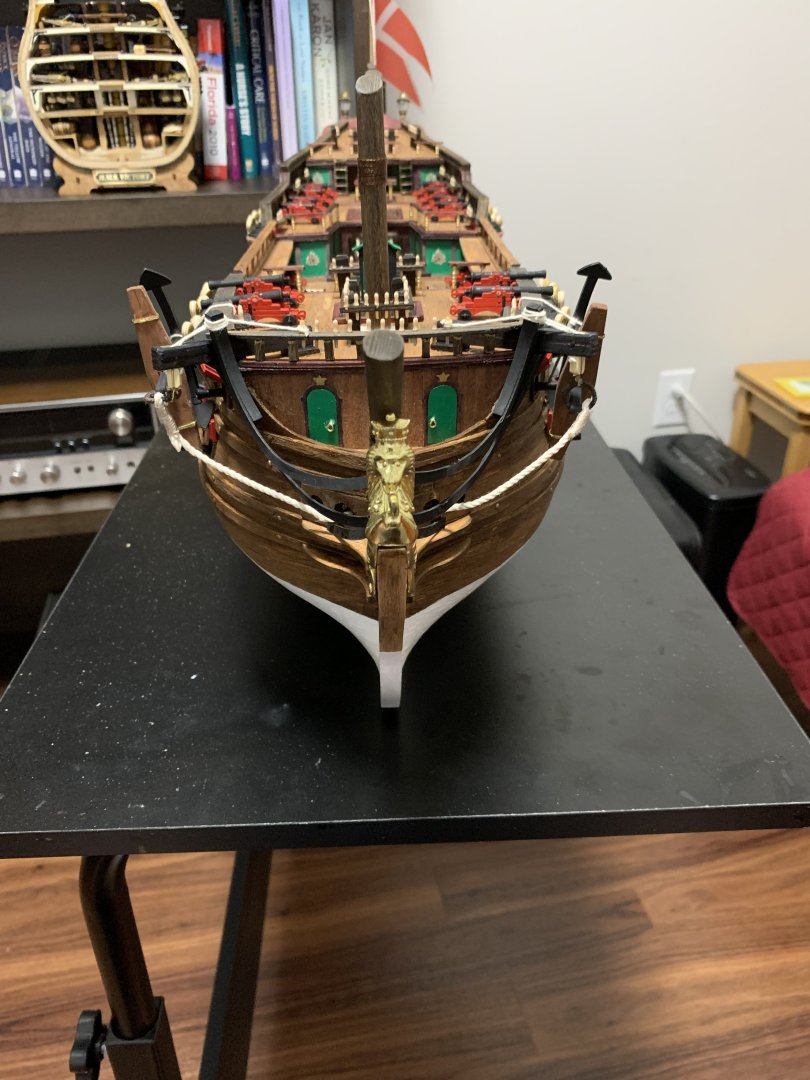
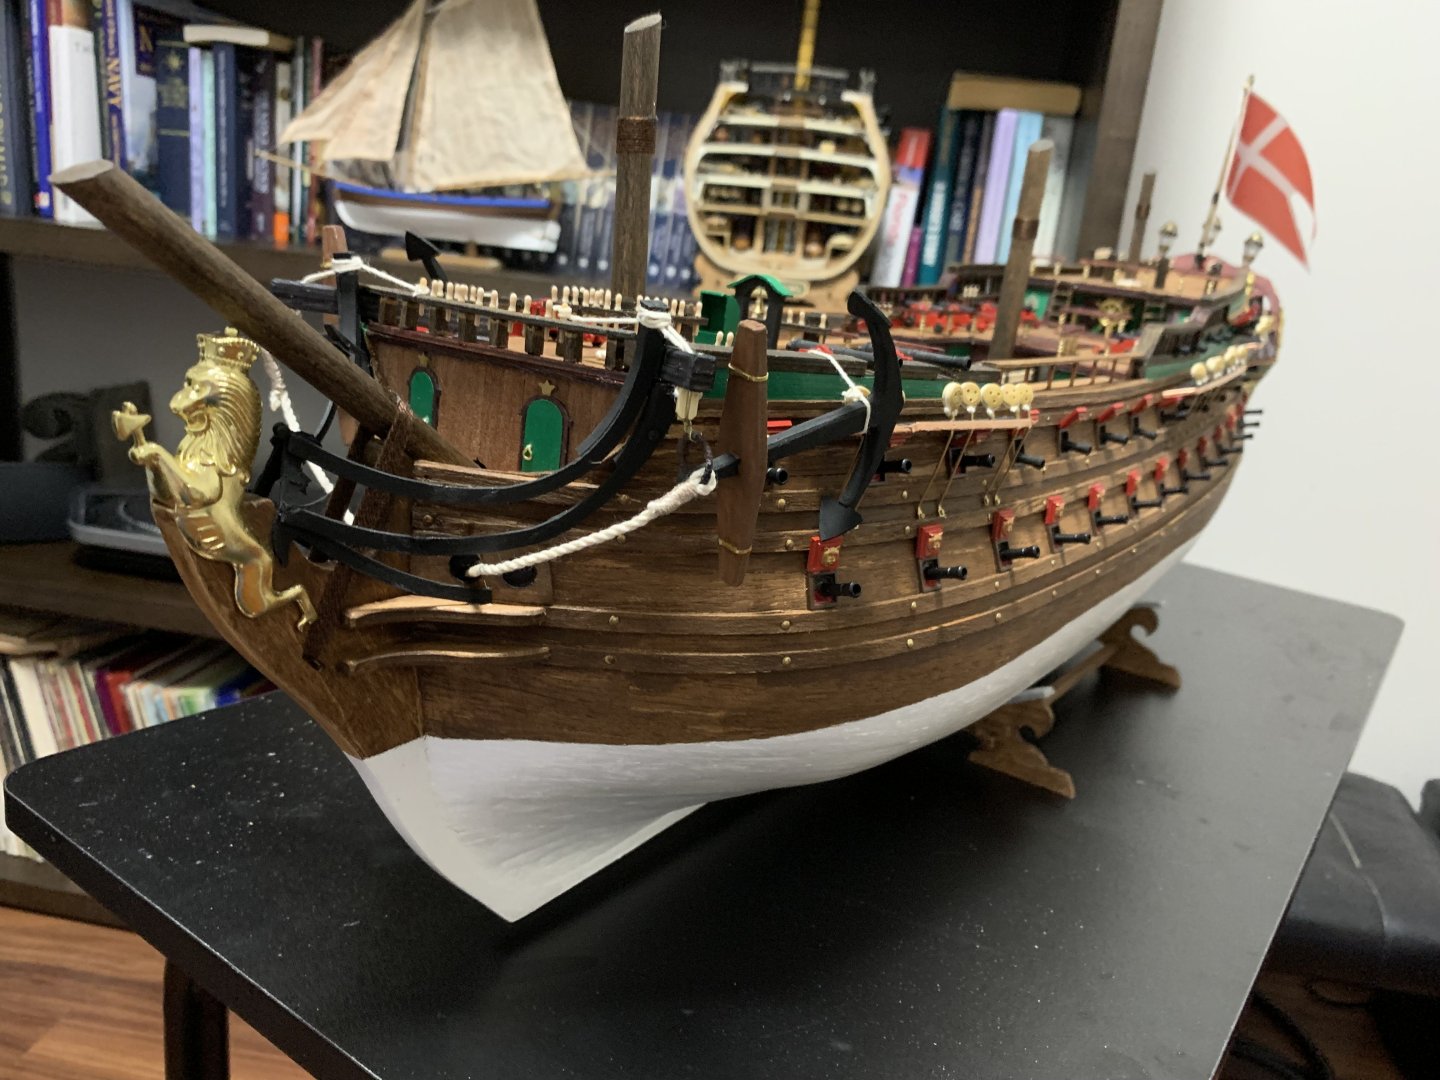
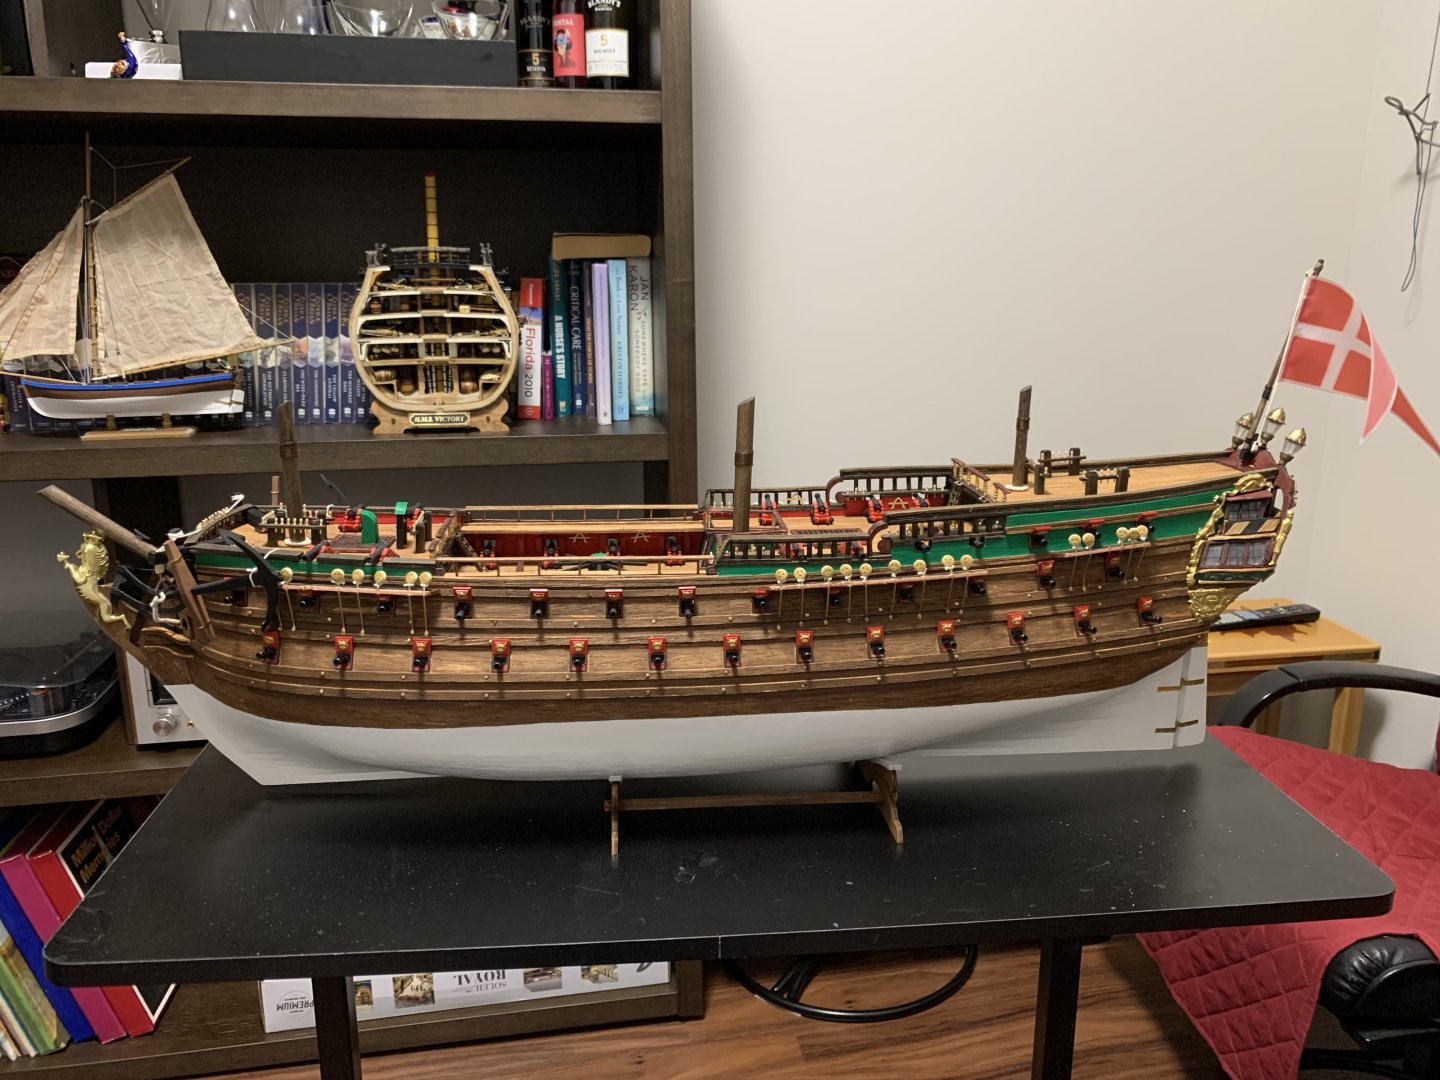
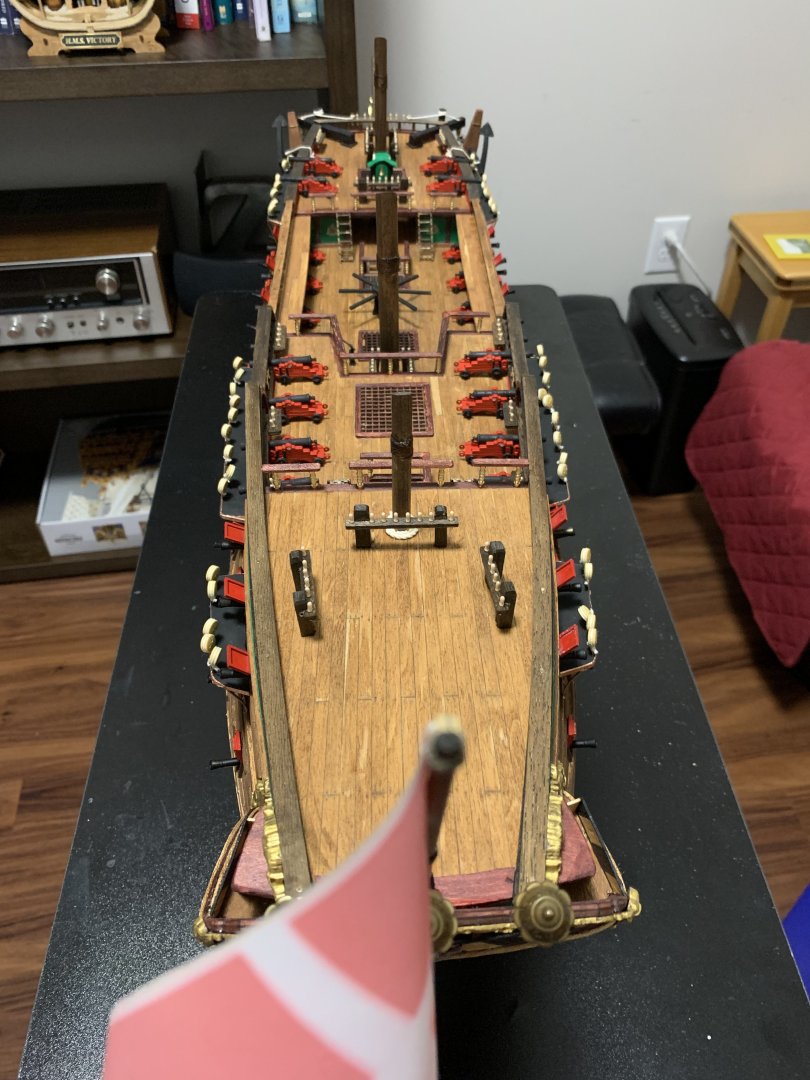
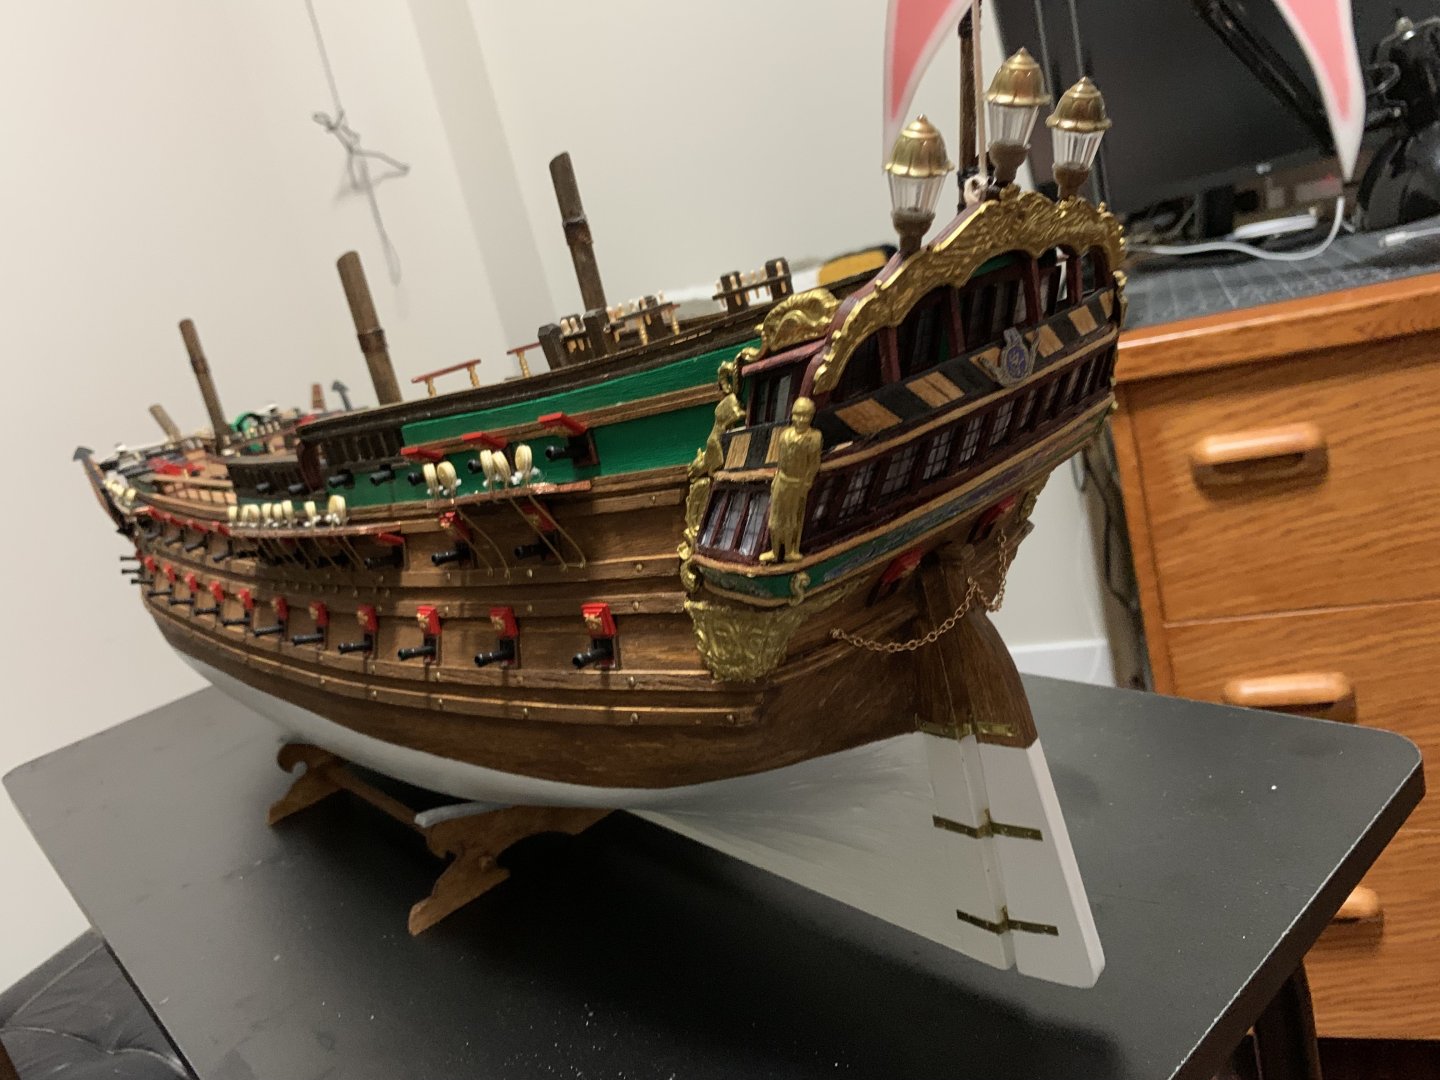
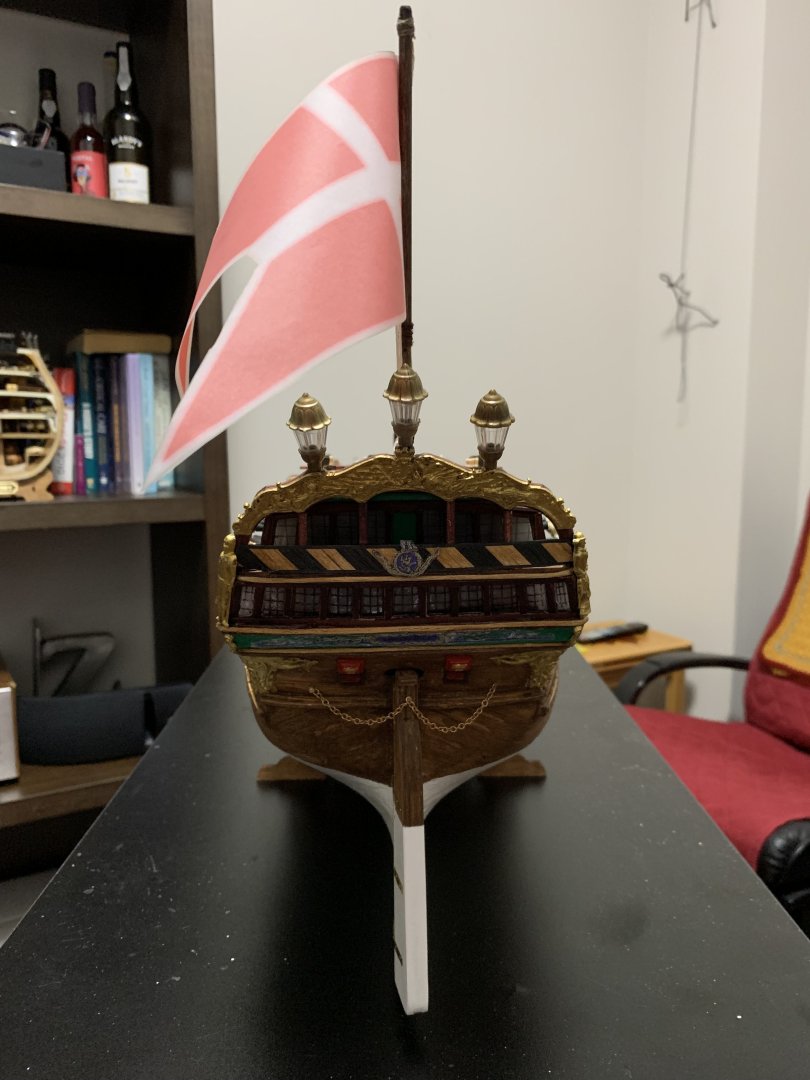
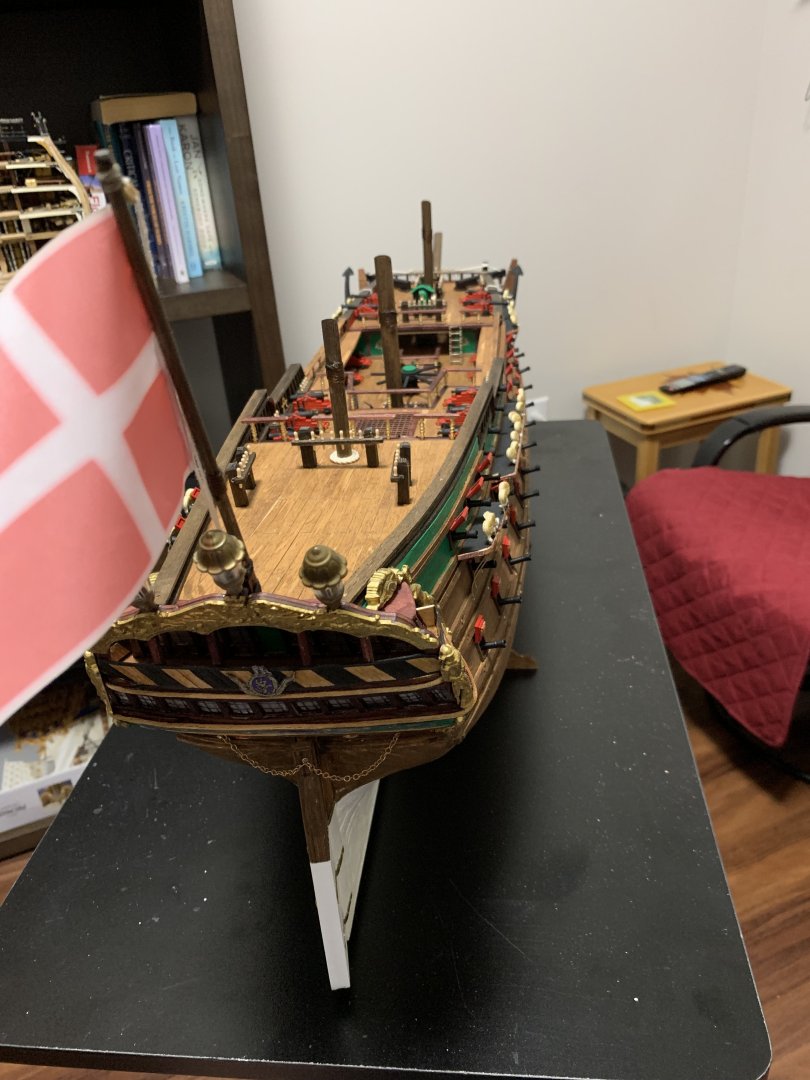
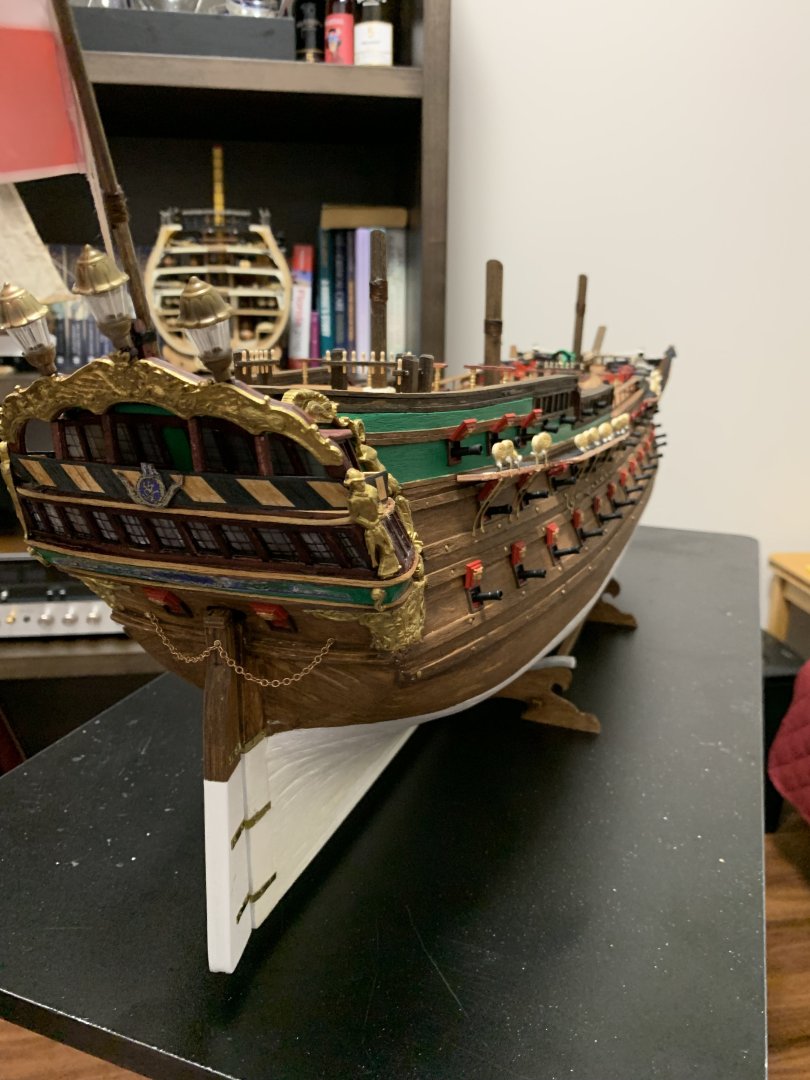
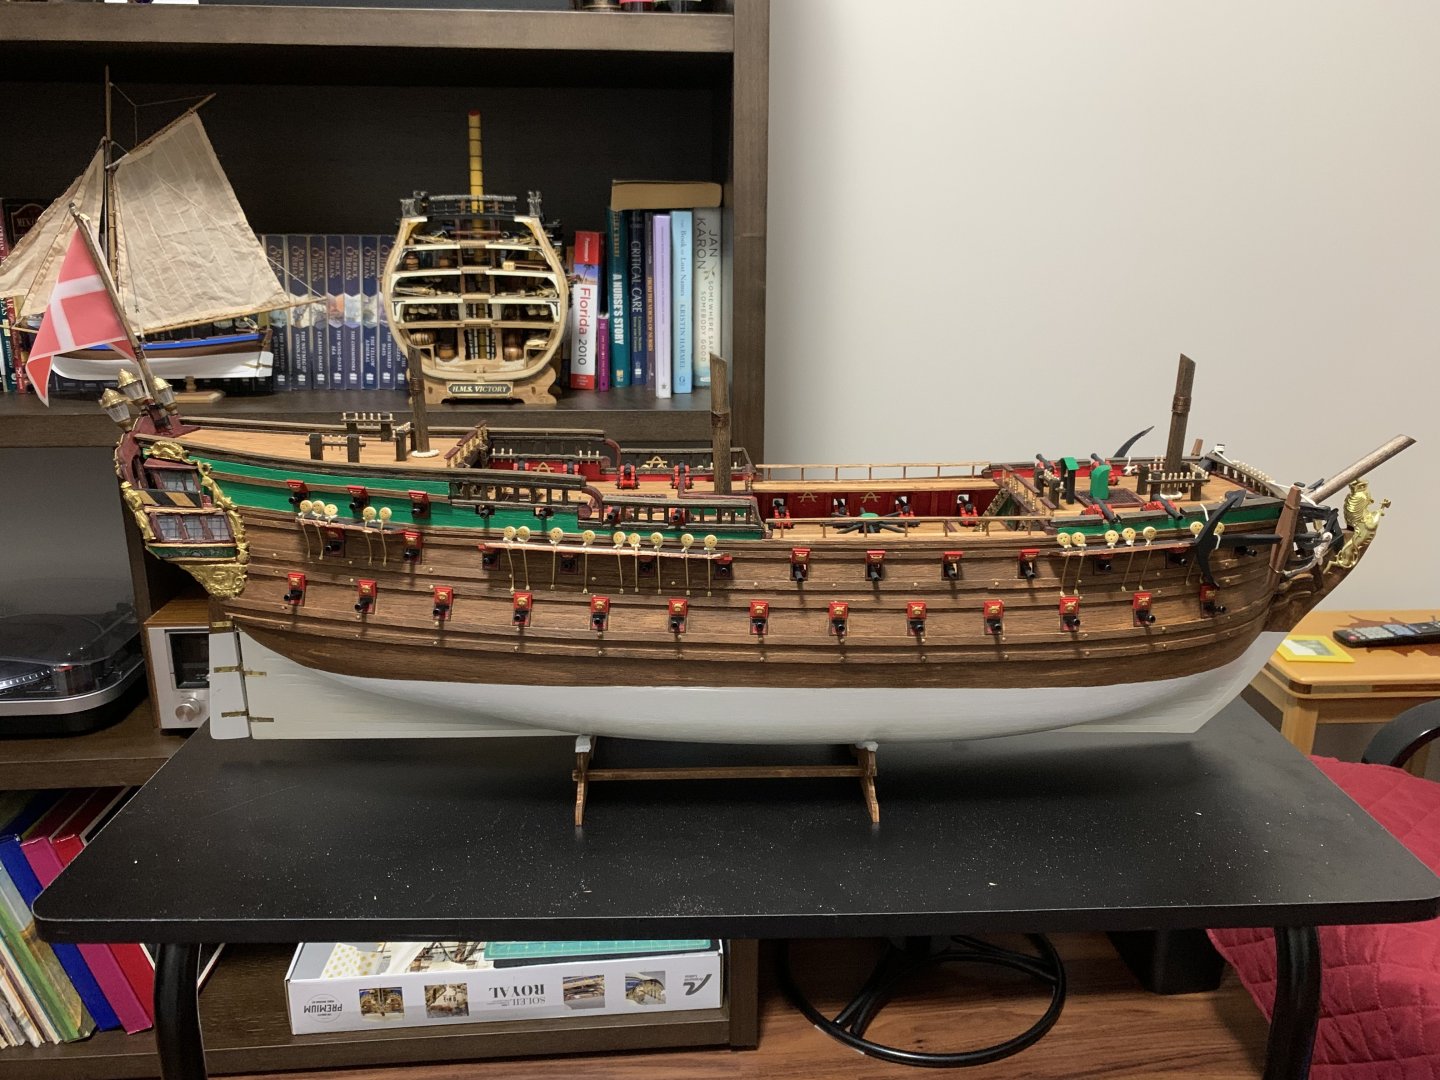
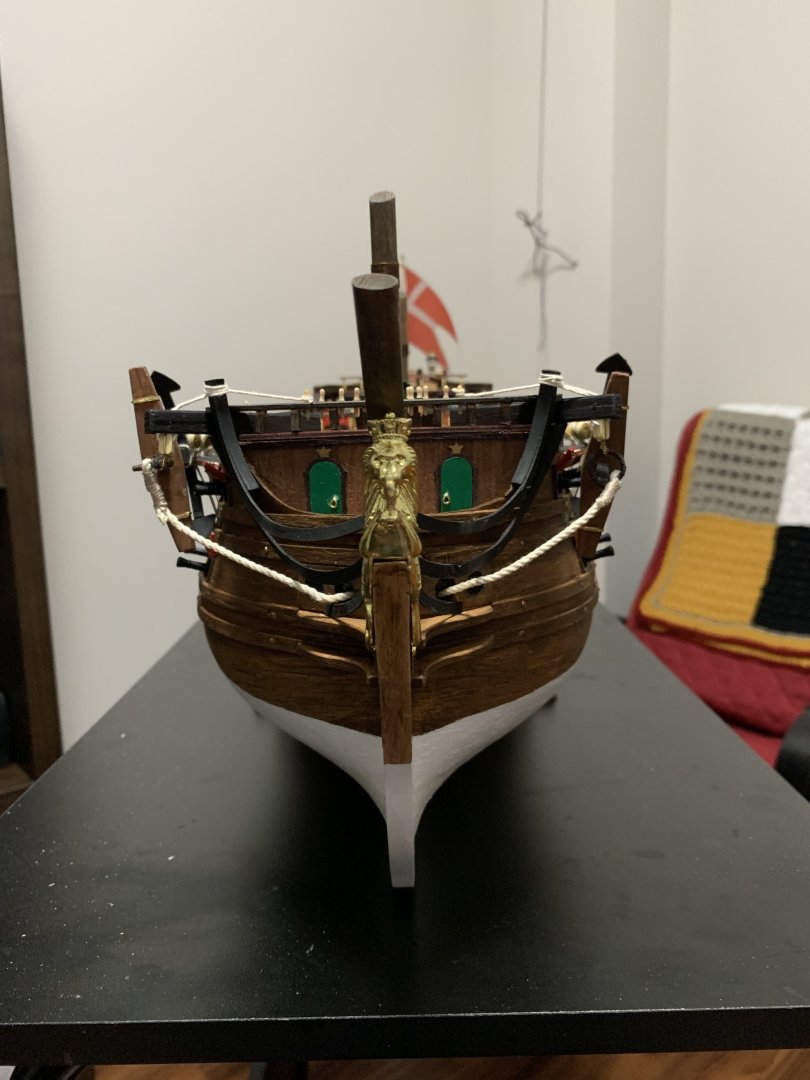
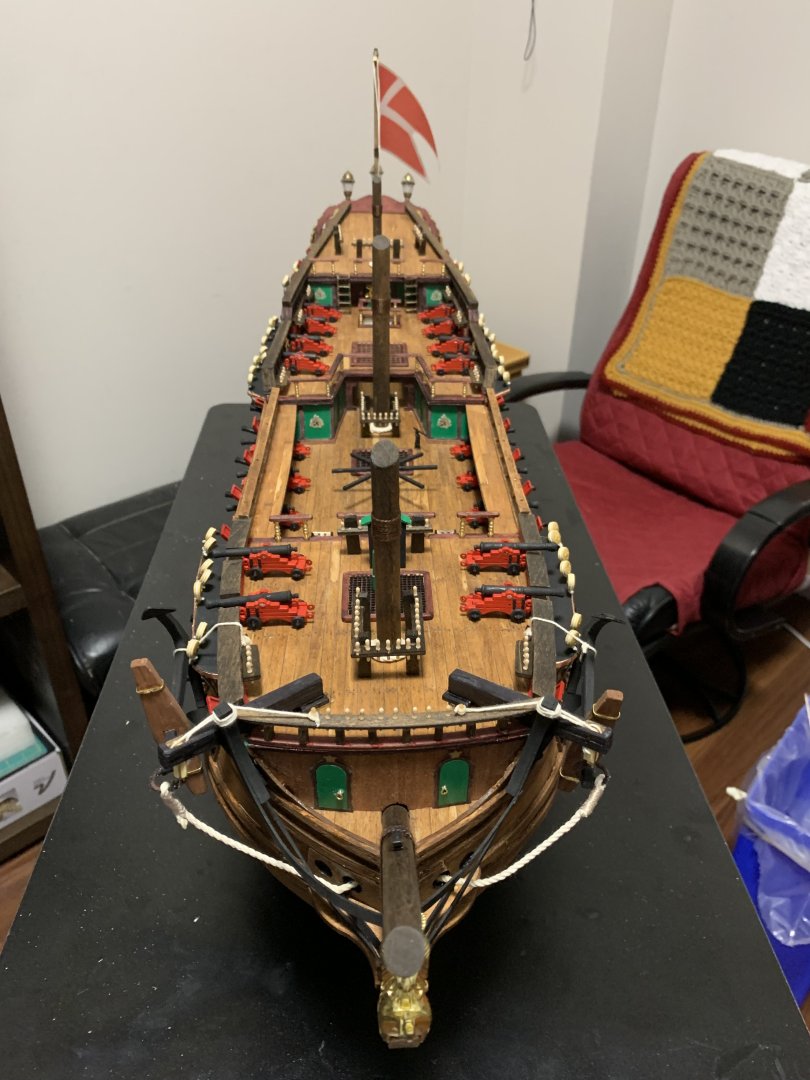
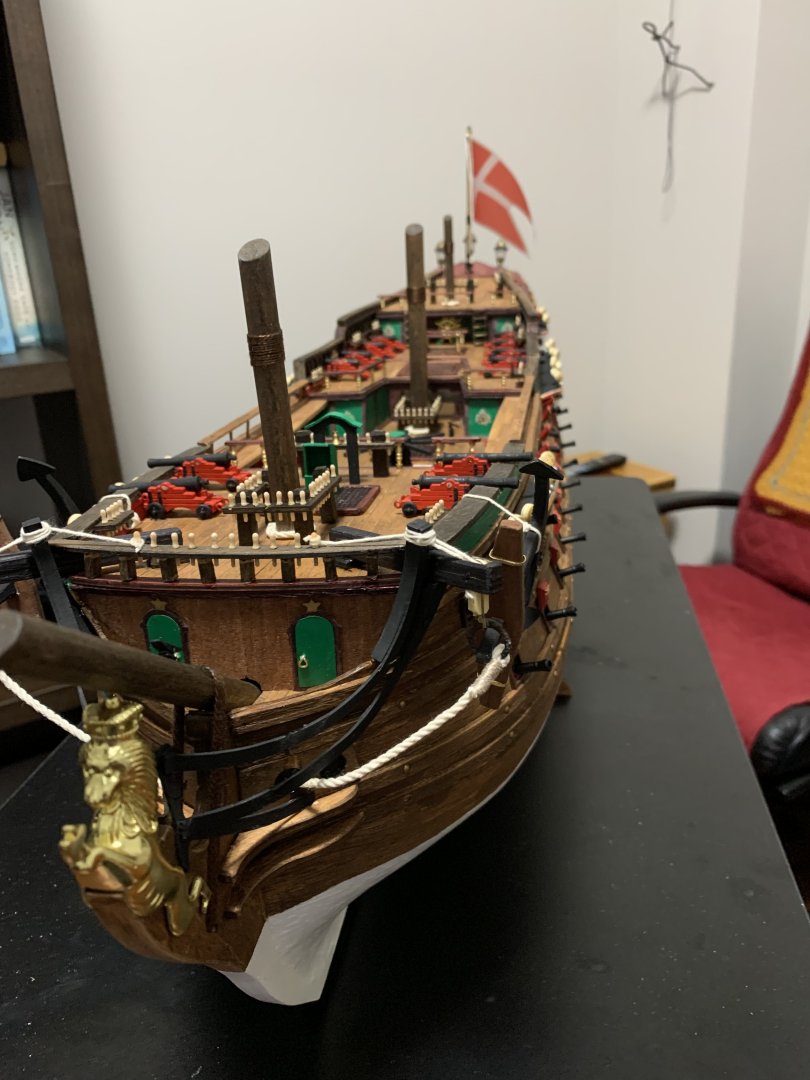
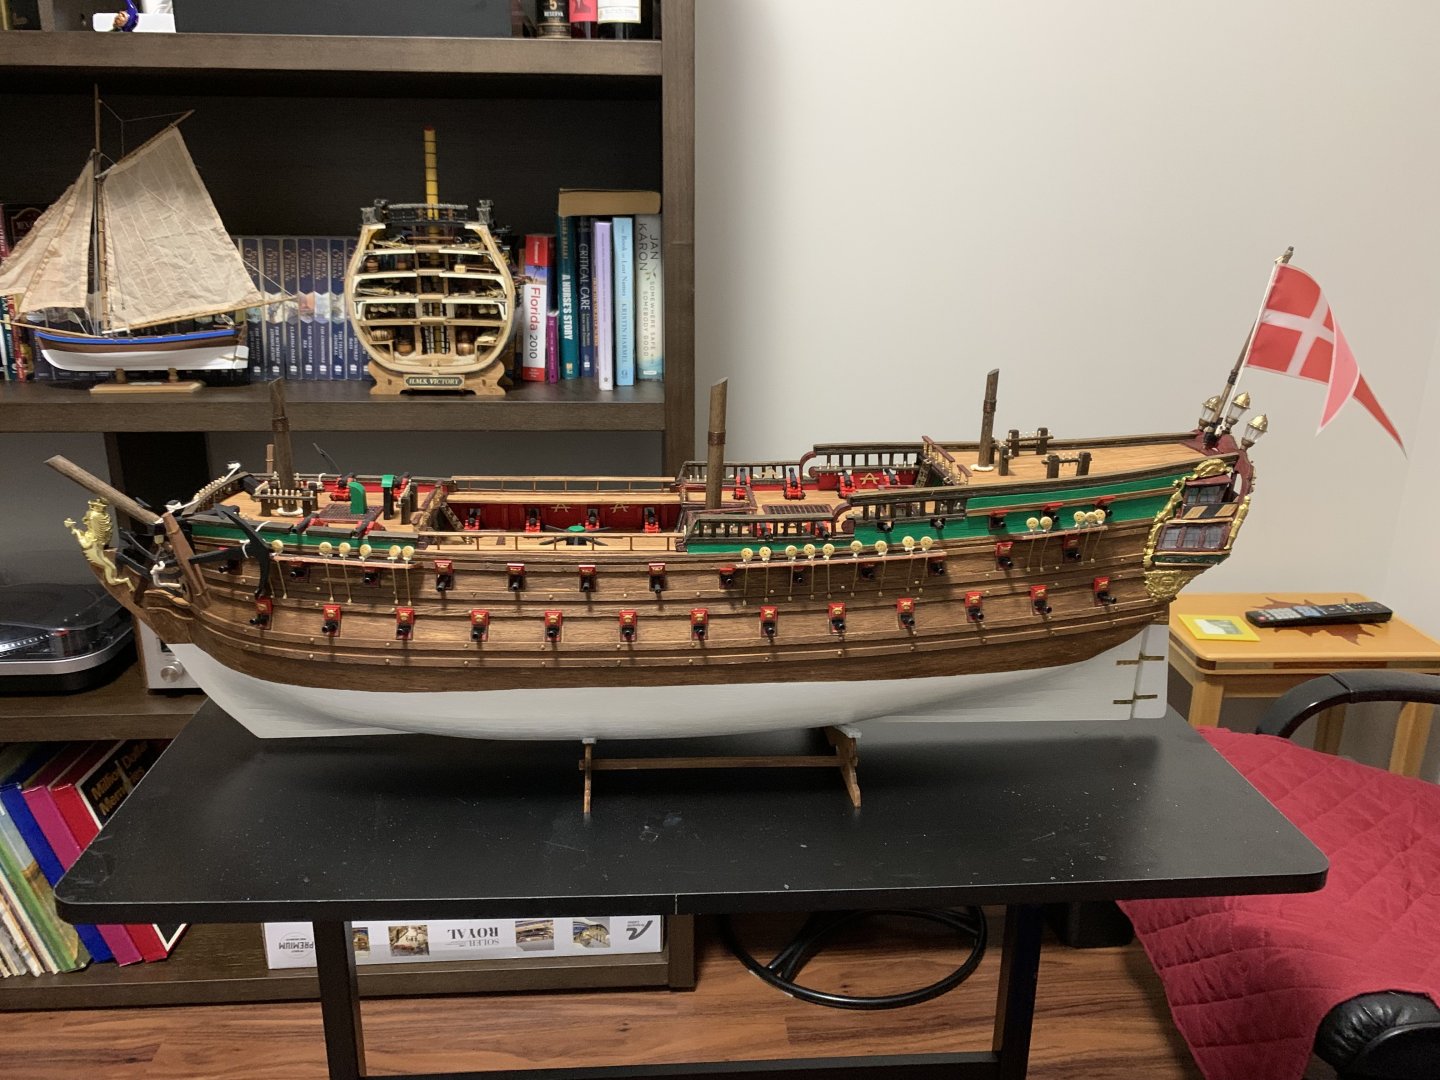
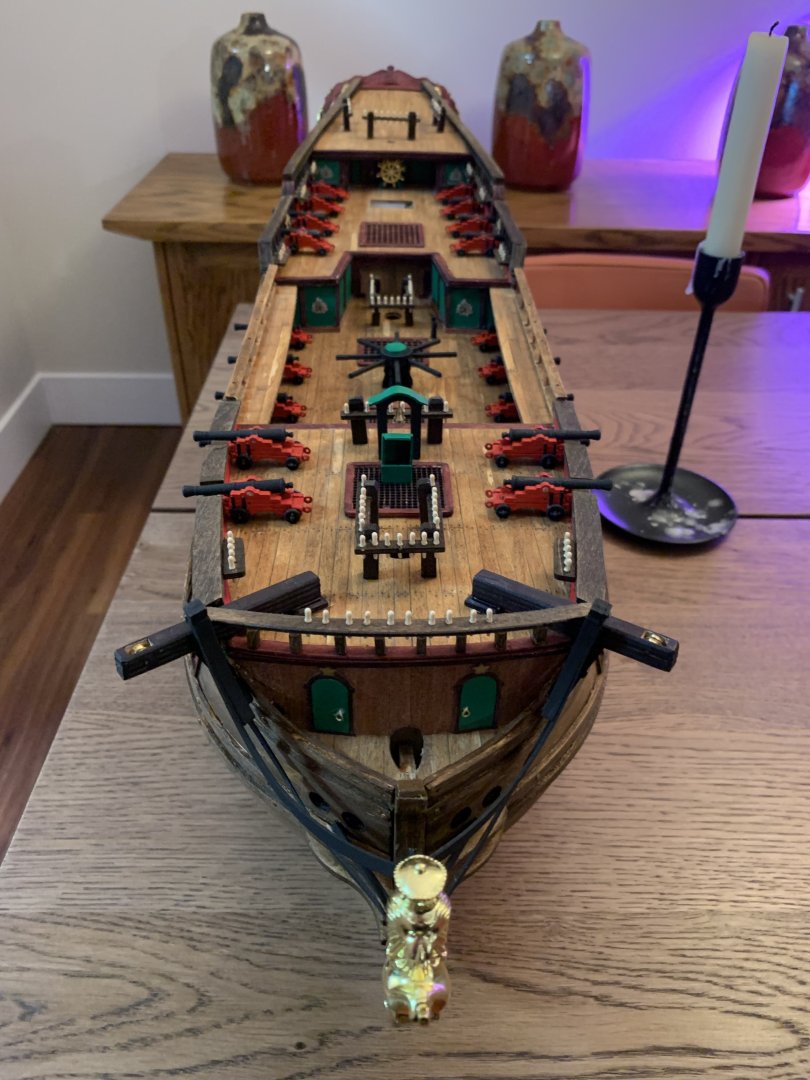
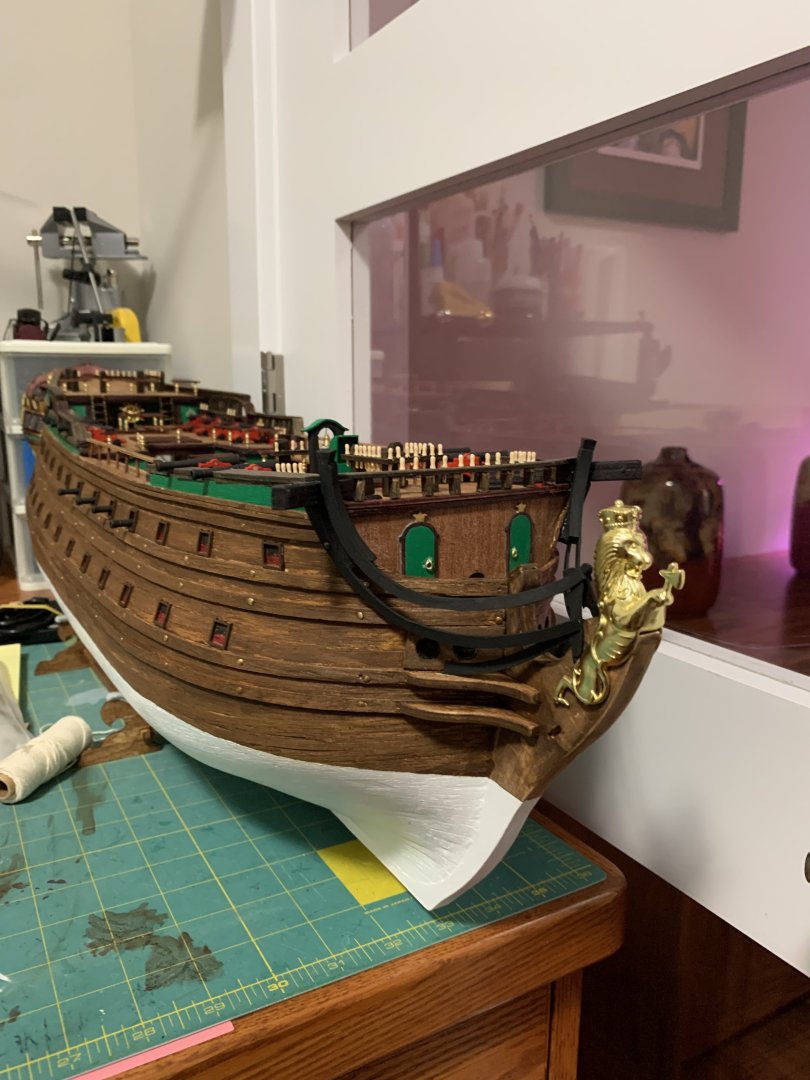
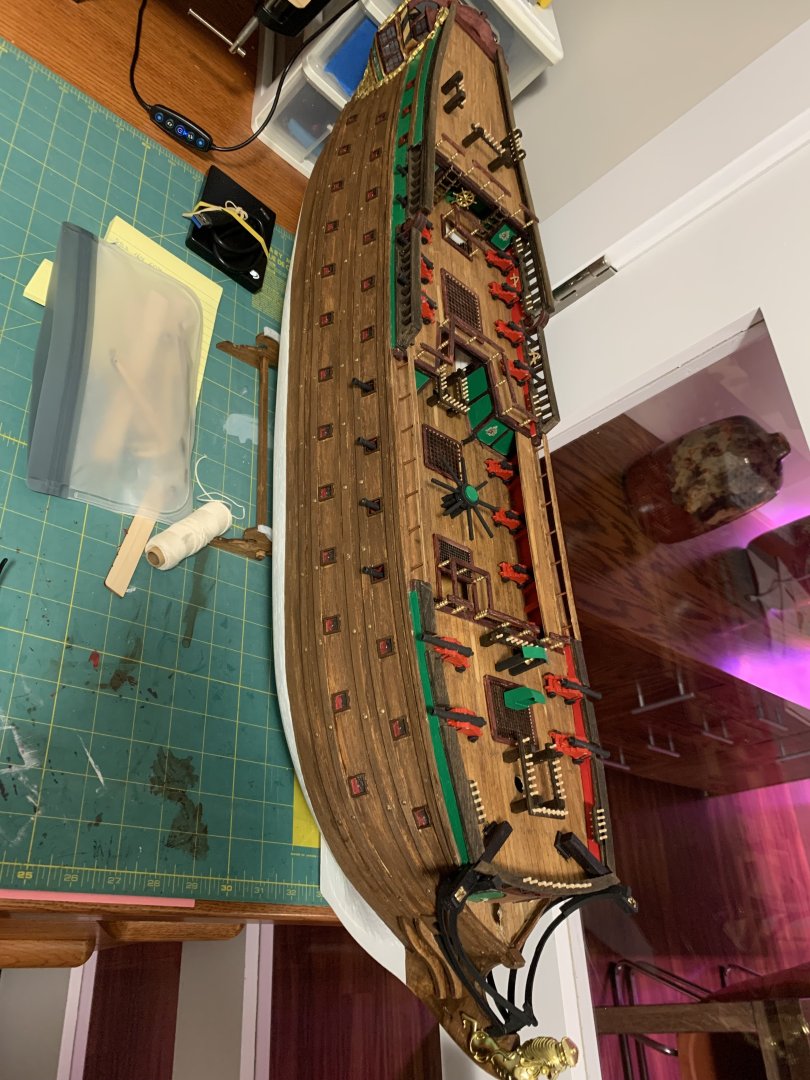
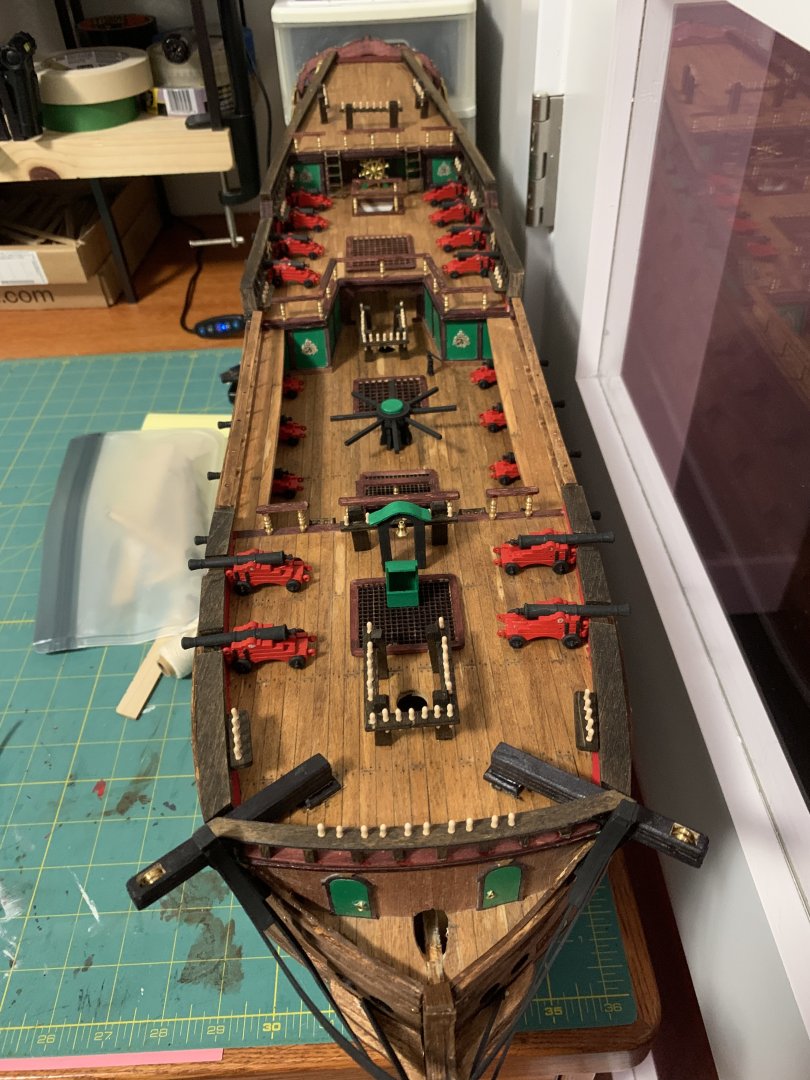
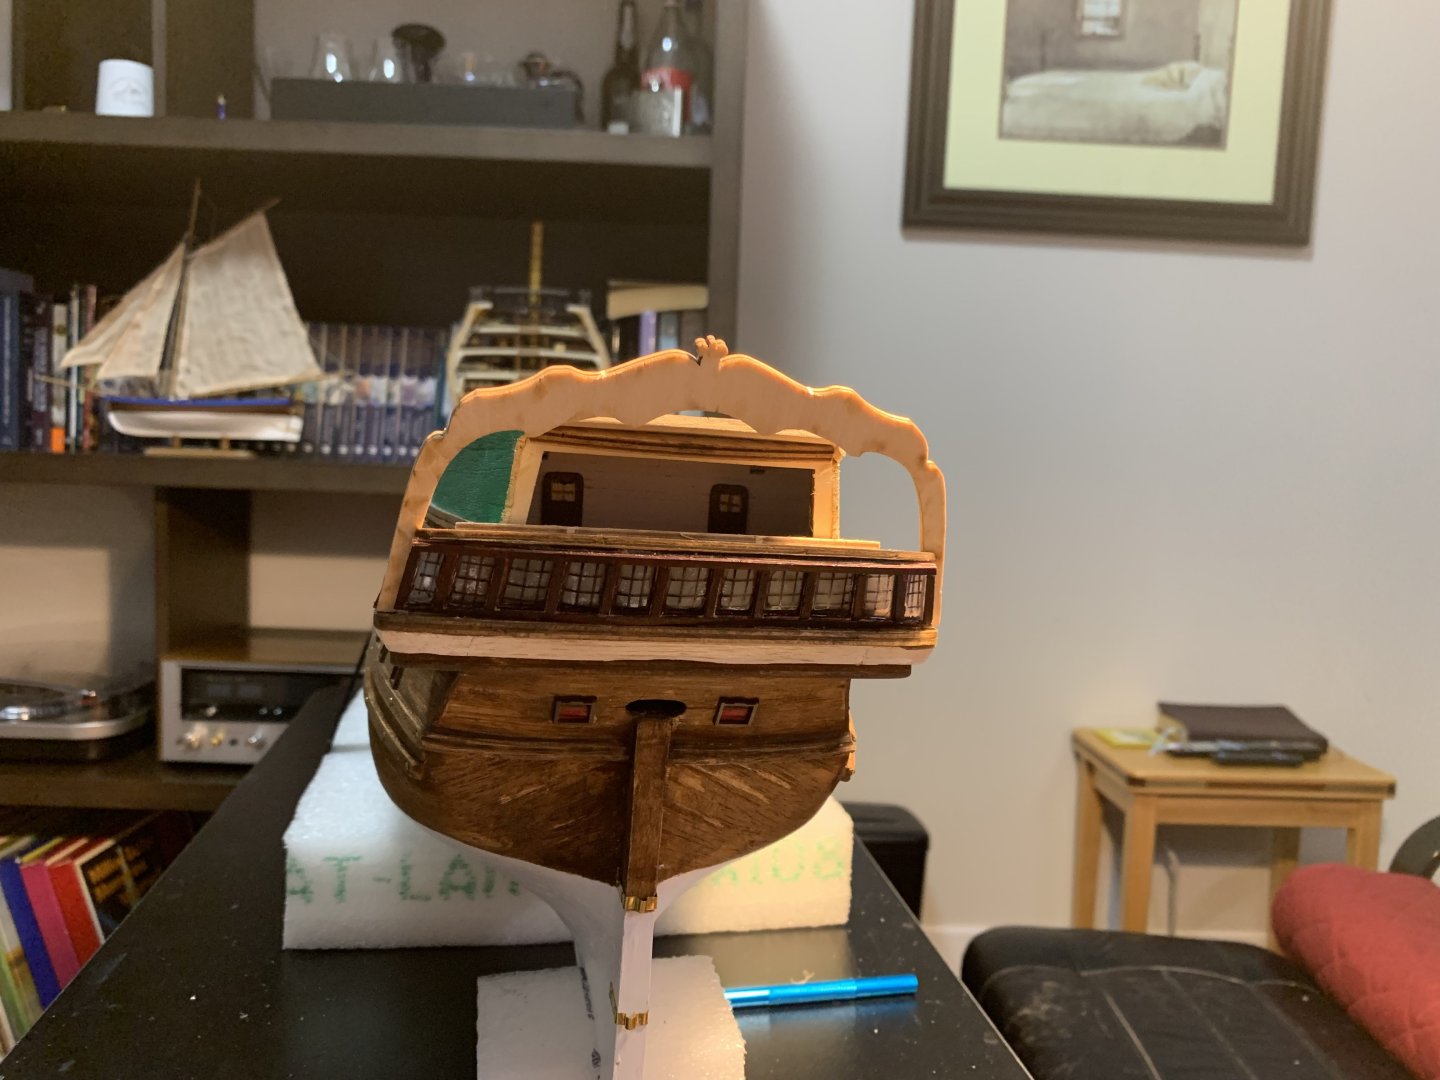
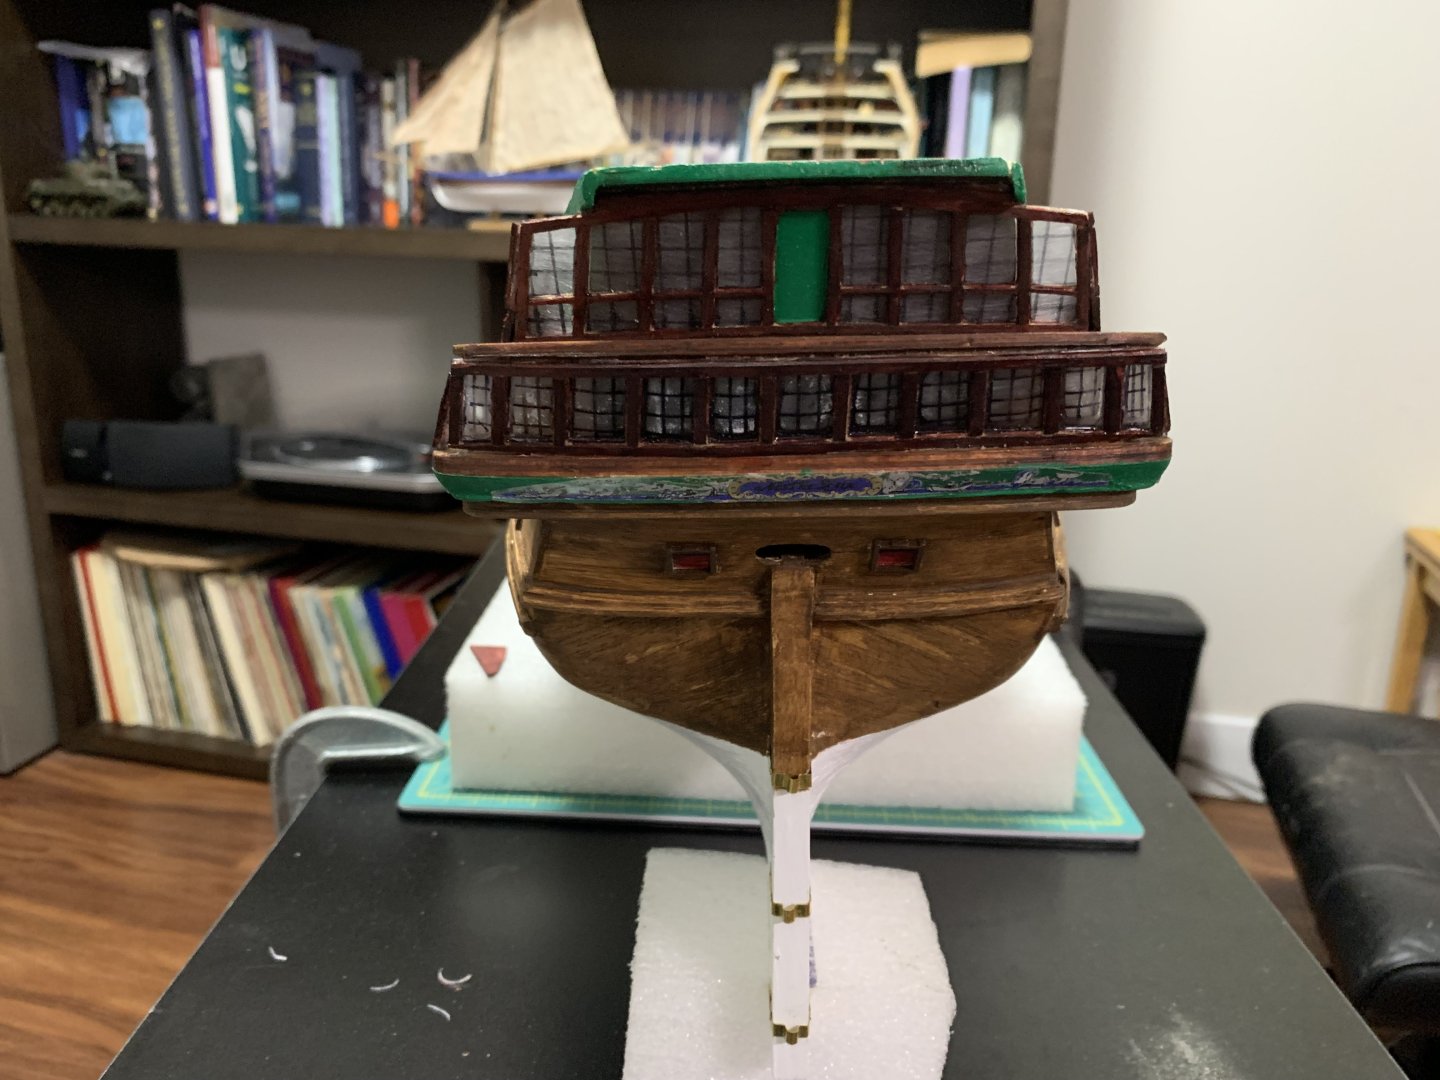
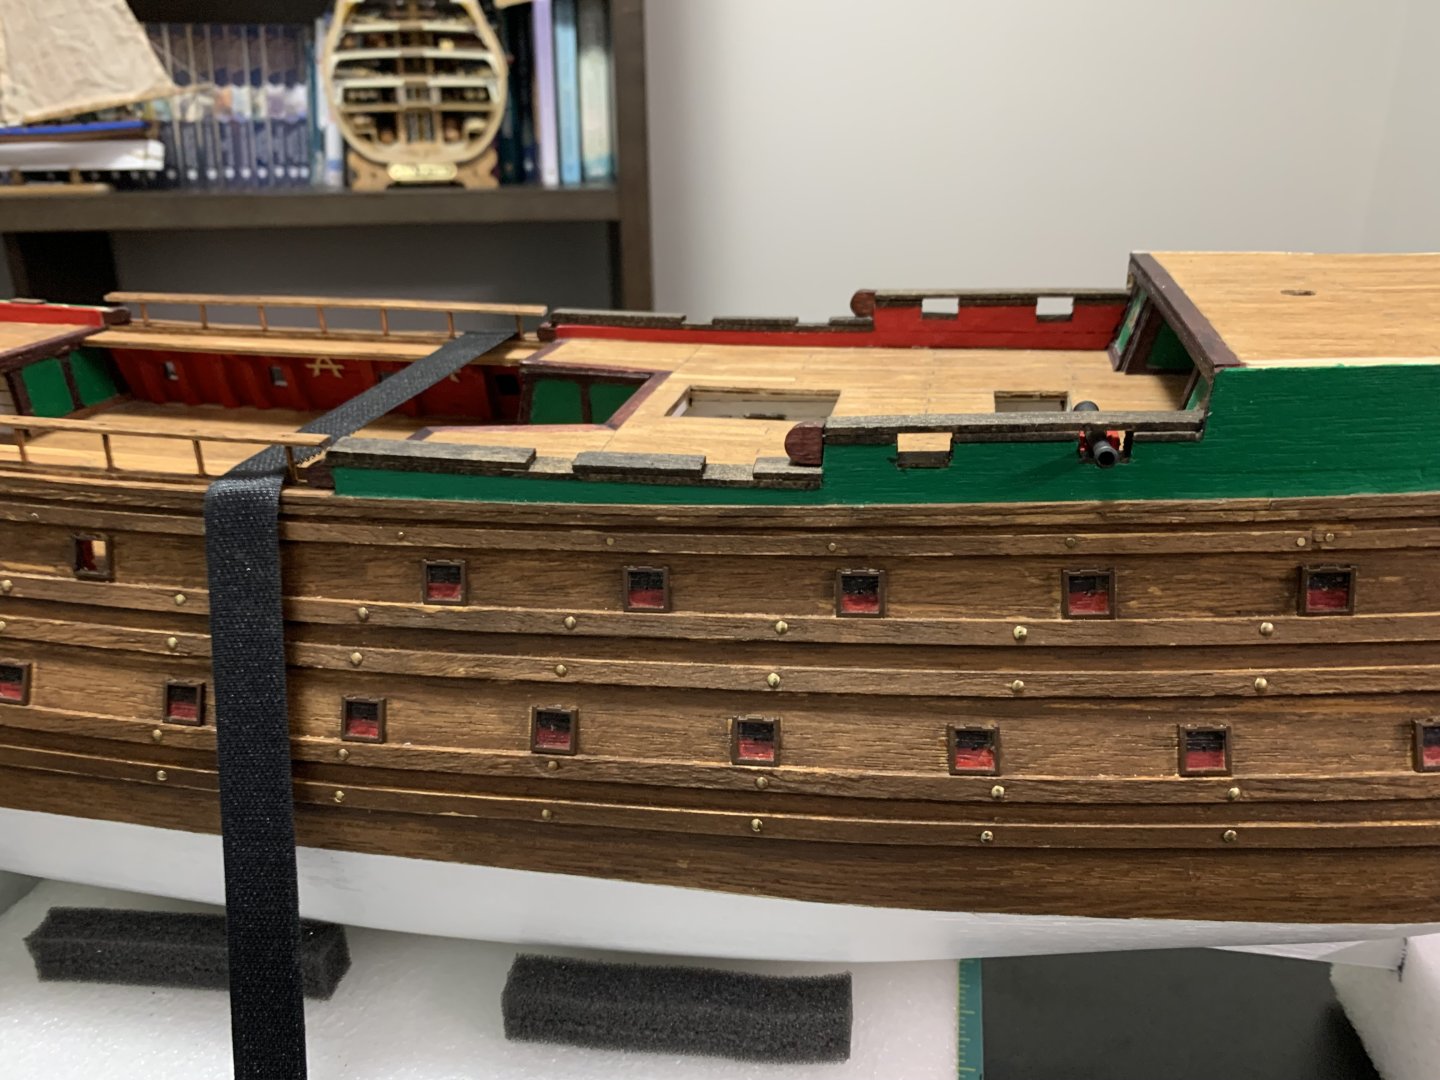
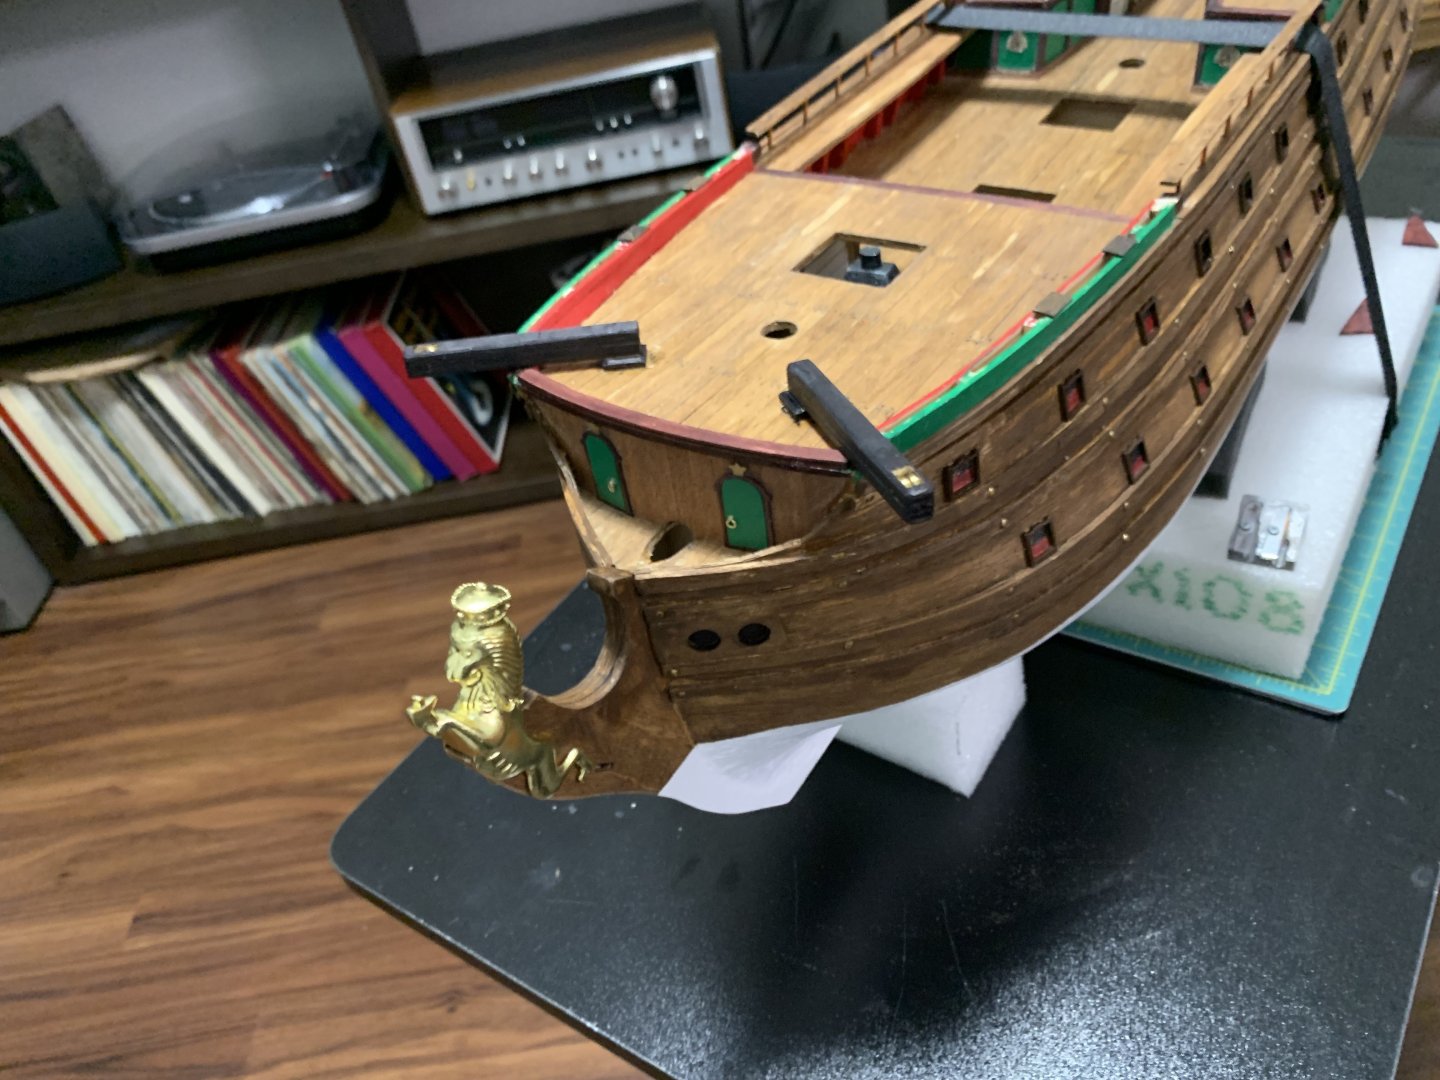
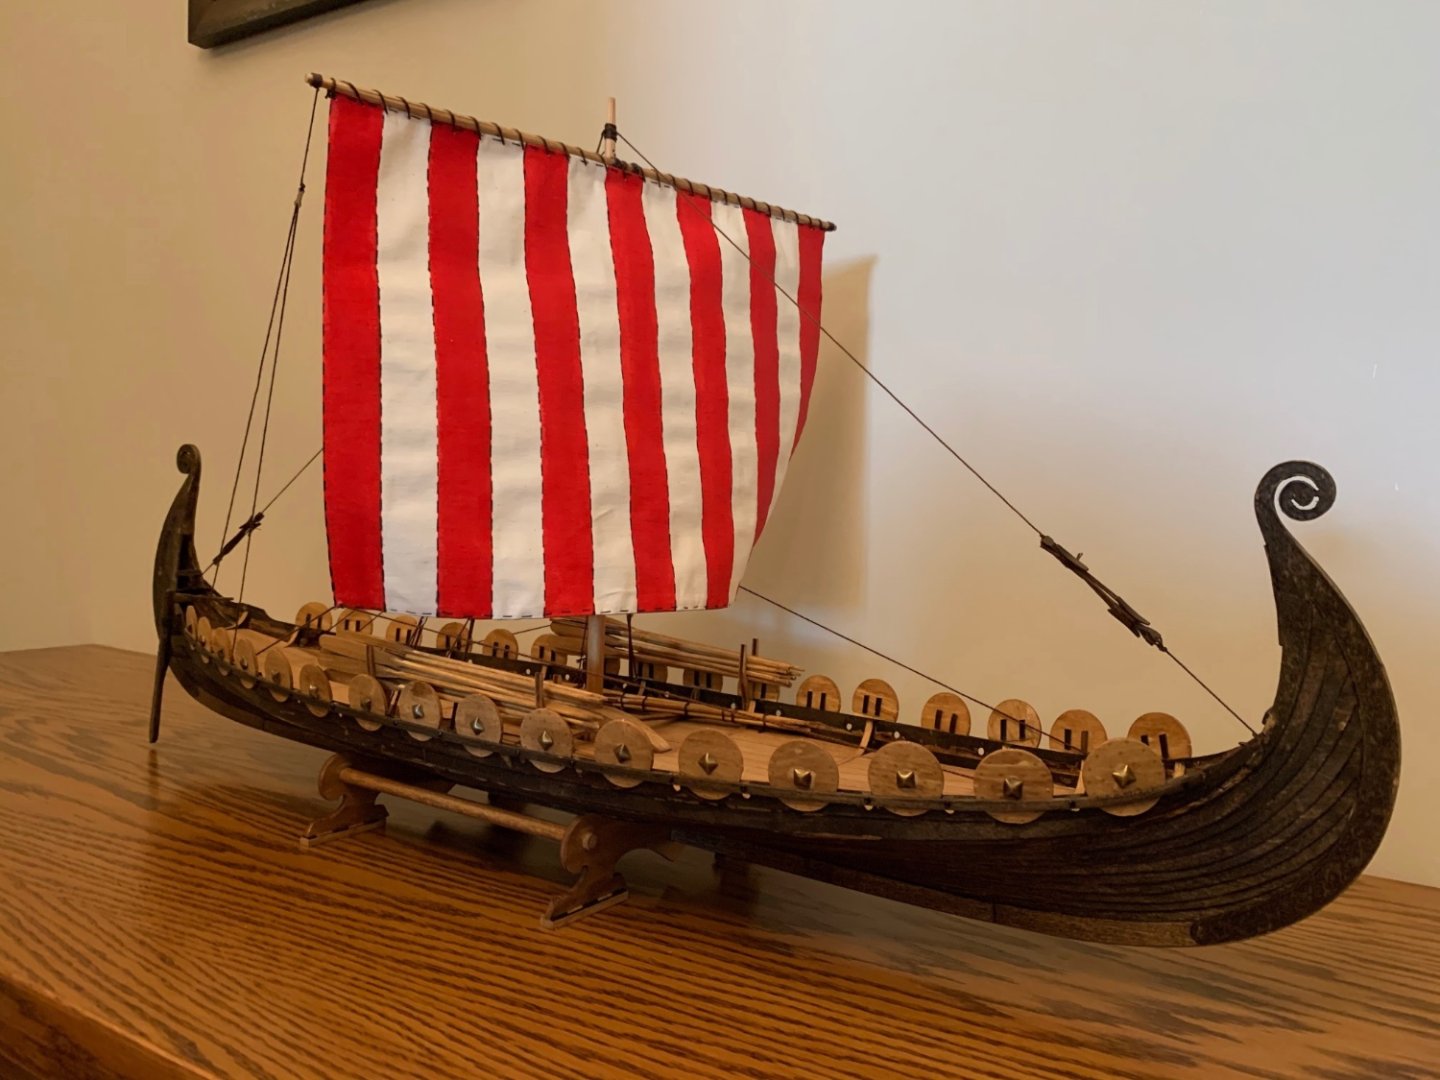
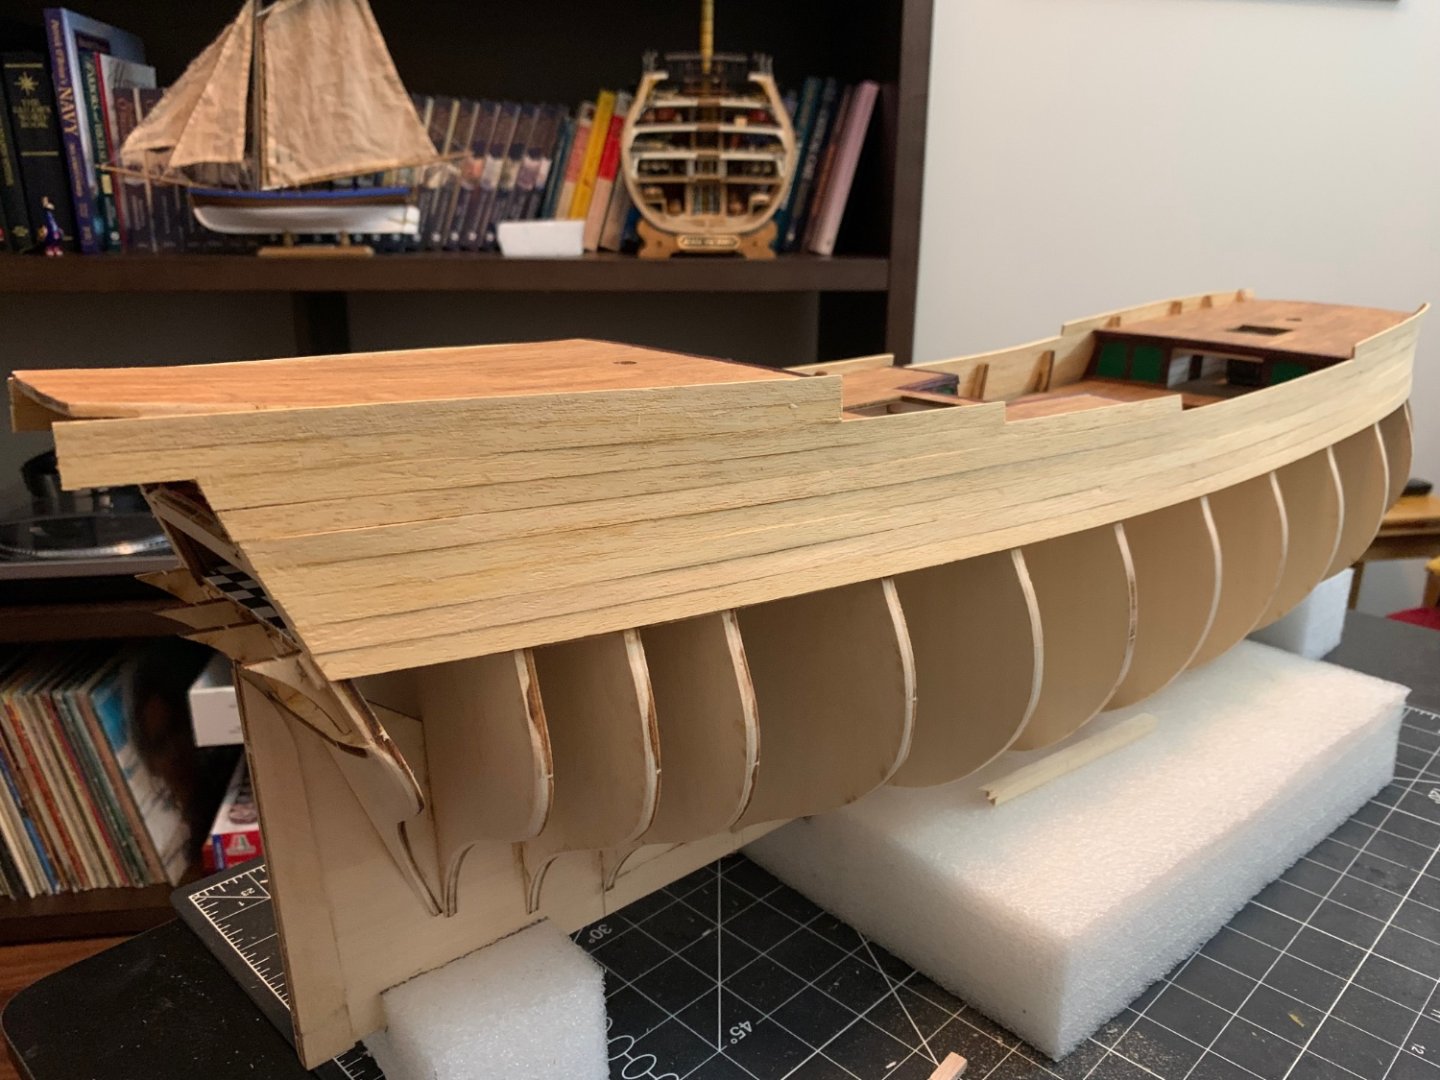
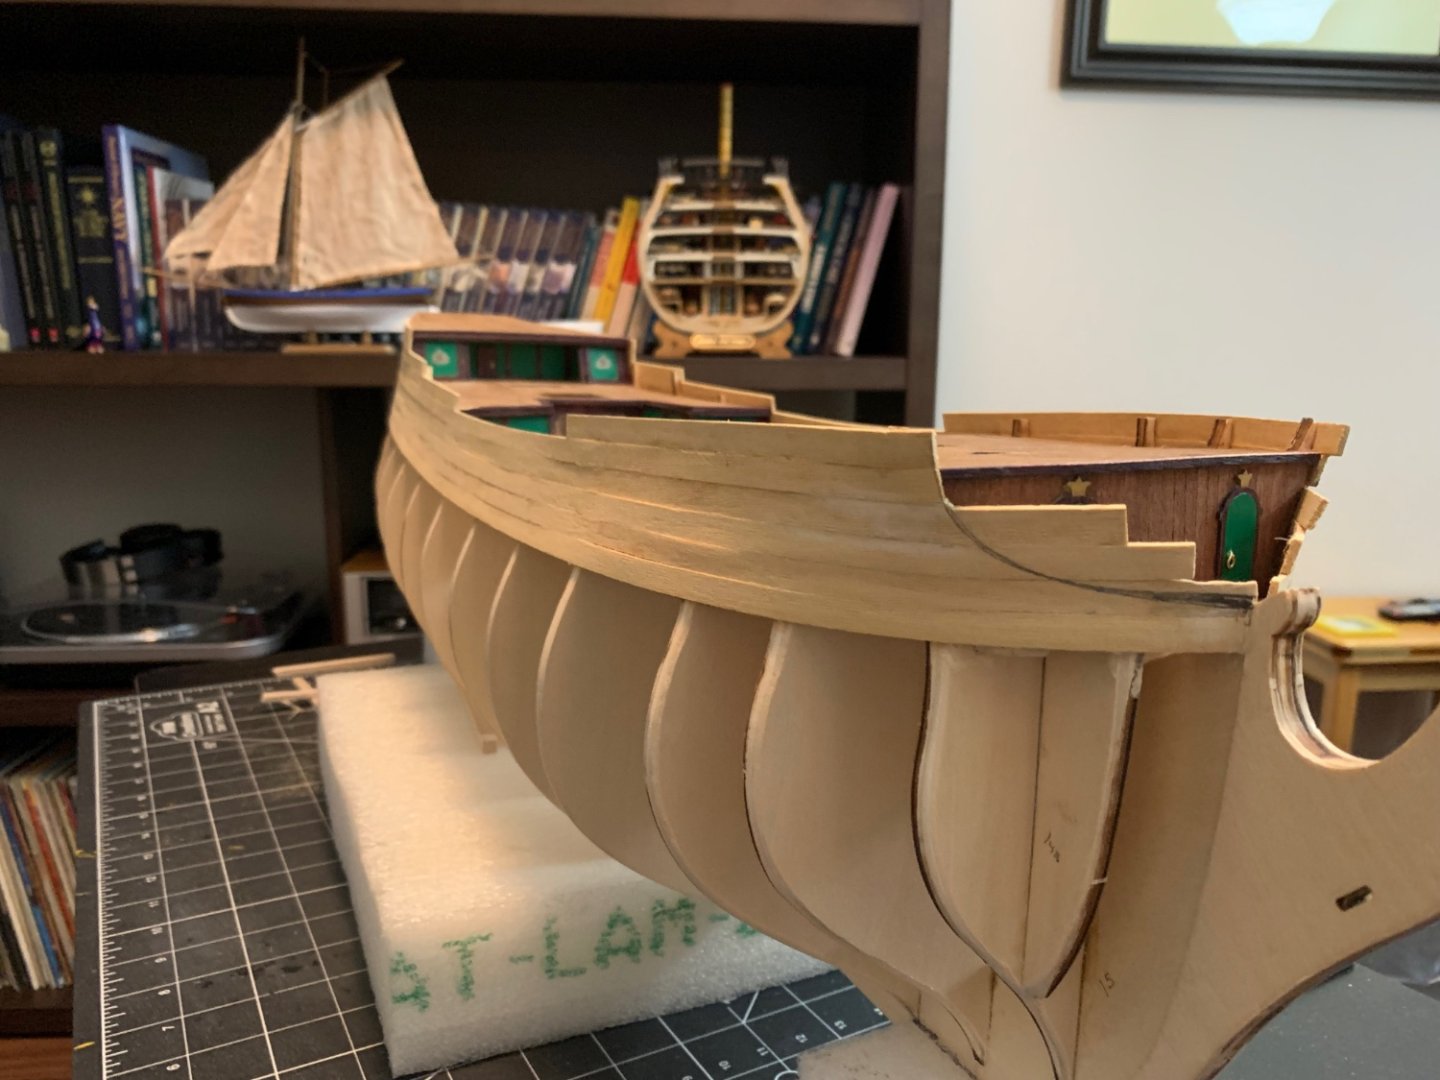
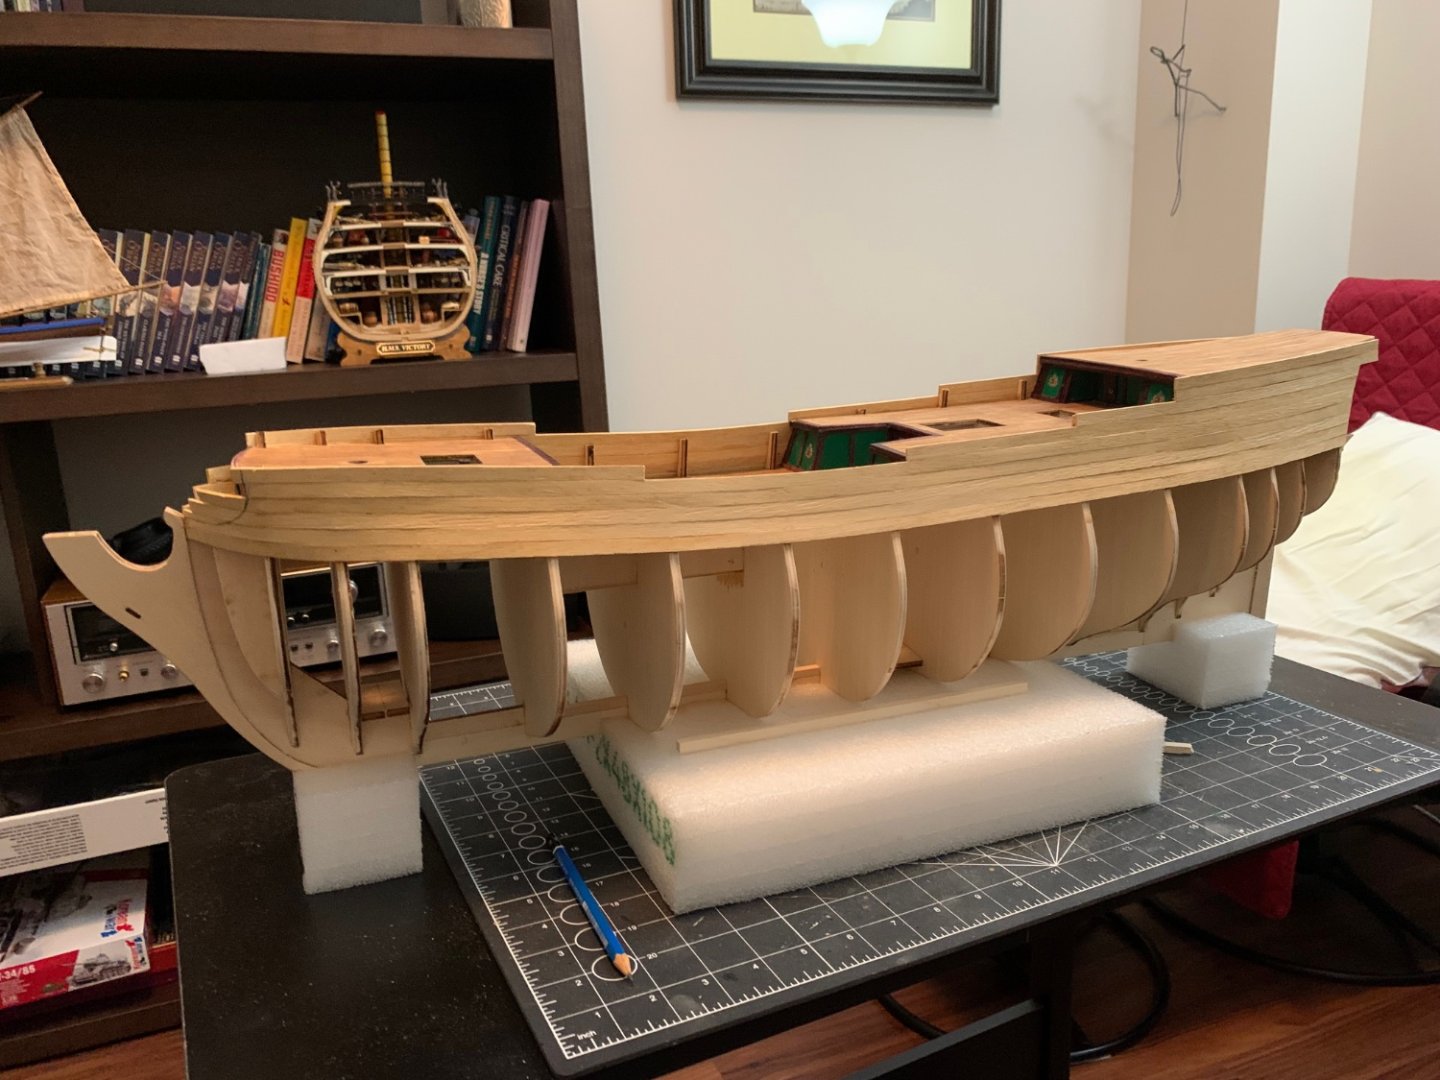
I have gone as far as I plan on going in this build. It has been a great learning experience and a challenge. The Billings kit, although not what I would call high quality was at the right price point for my first big build. Thanks to everyone who gave input/help and stopped by, the following pictures are of the end product. If anyone wants to check out a short video of the build it can be seen here:
- 48 replies
-
- norske love
- billing boats
-
(and 1 more)
Tagged with:
-
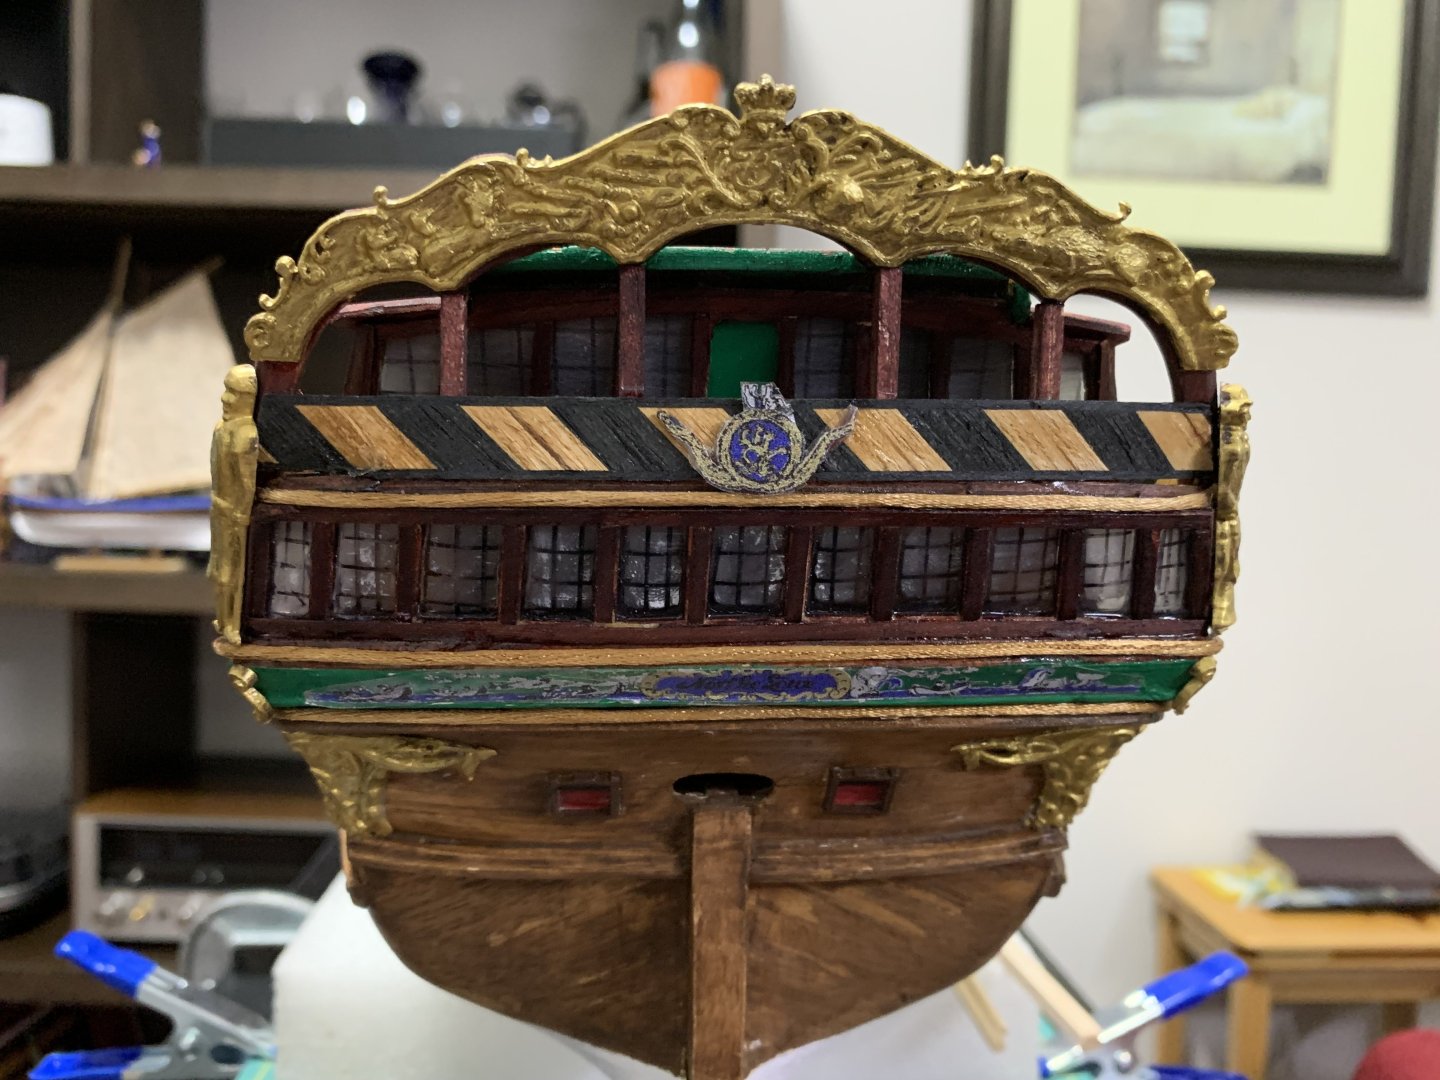
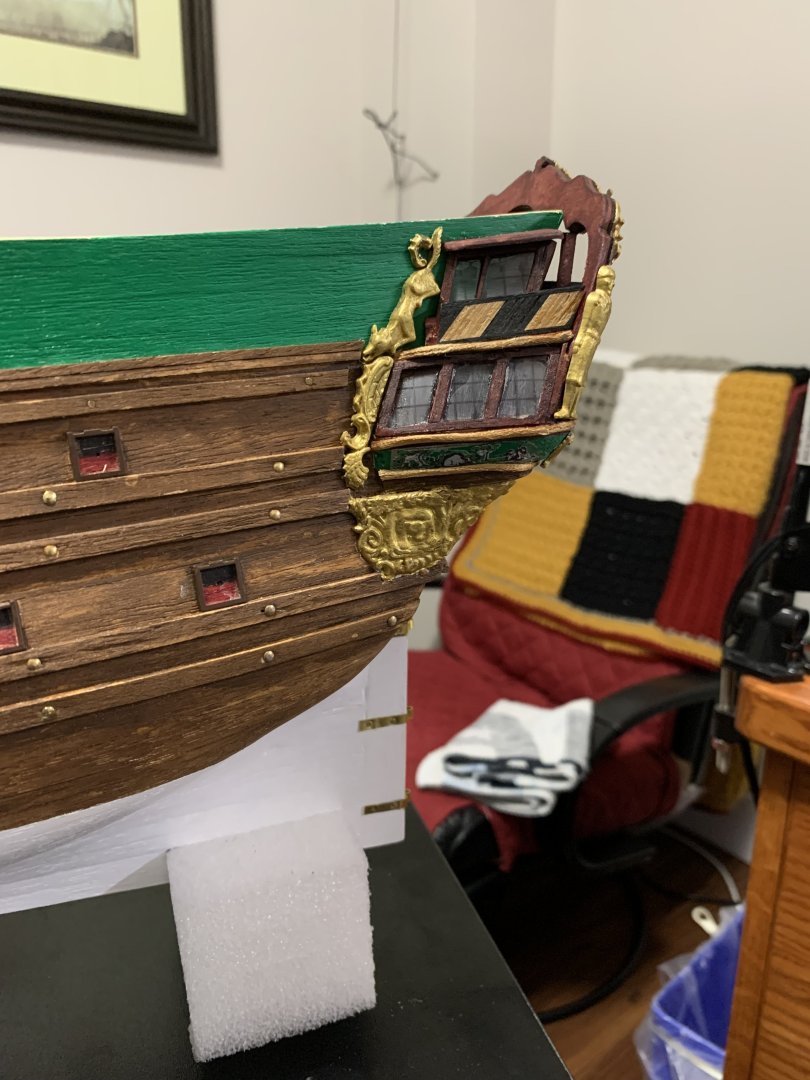
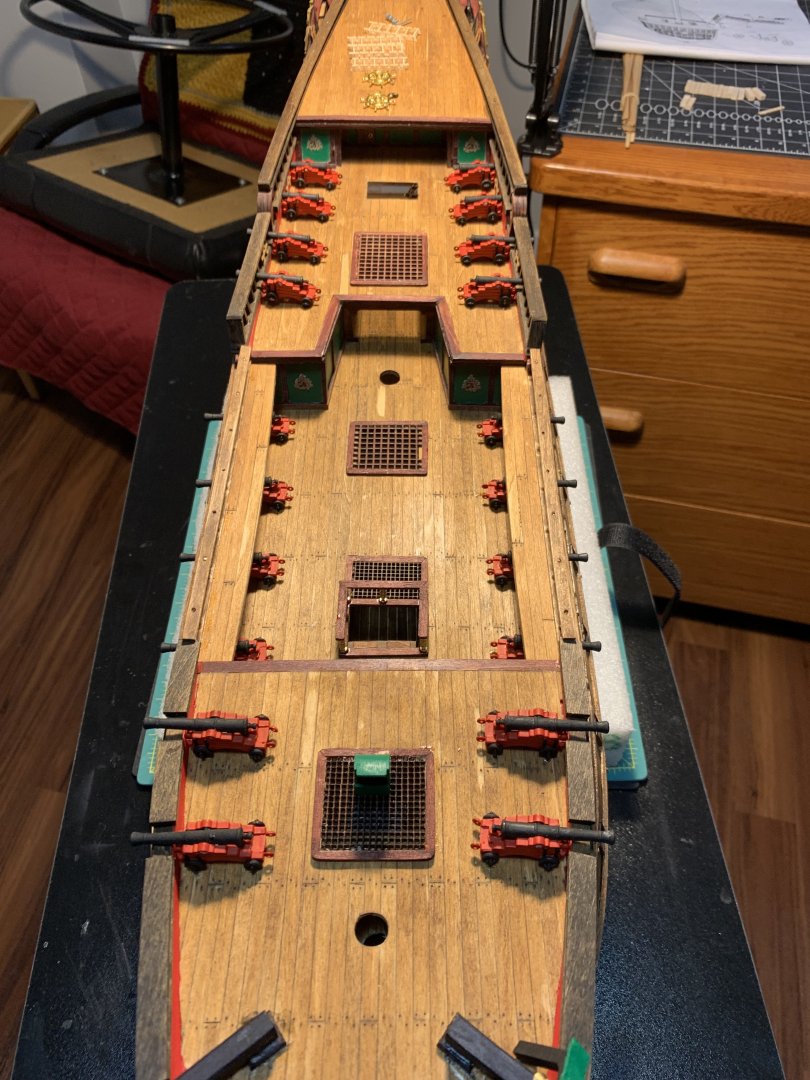
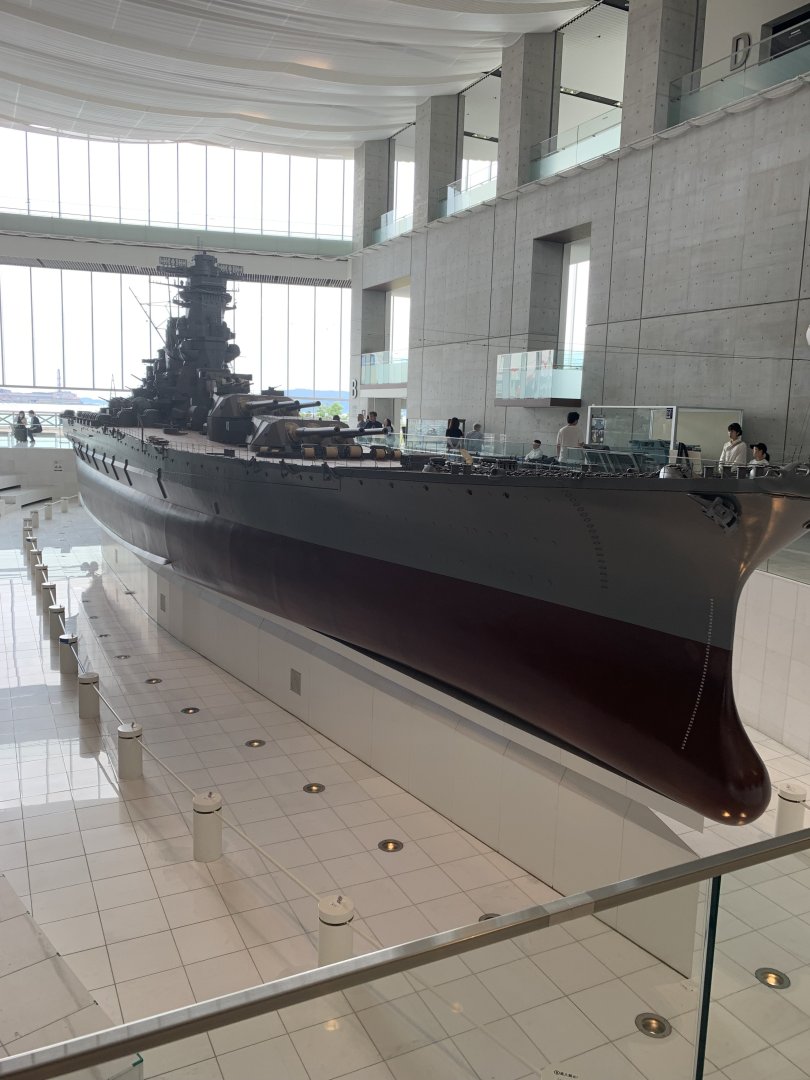
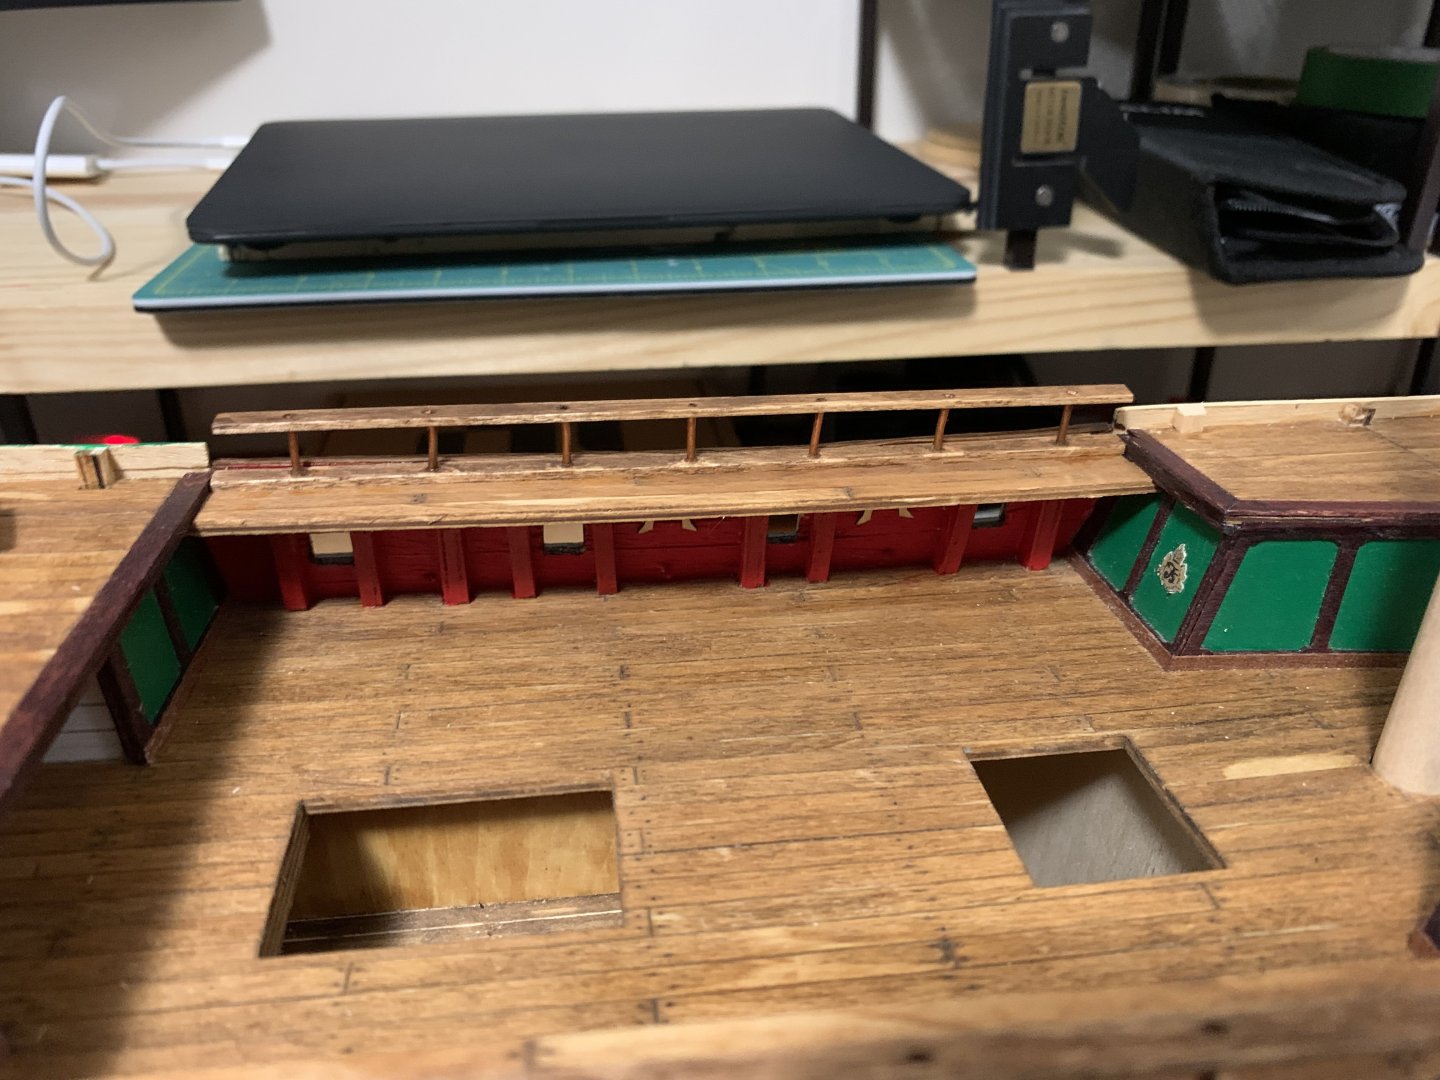
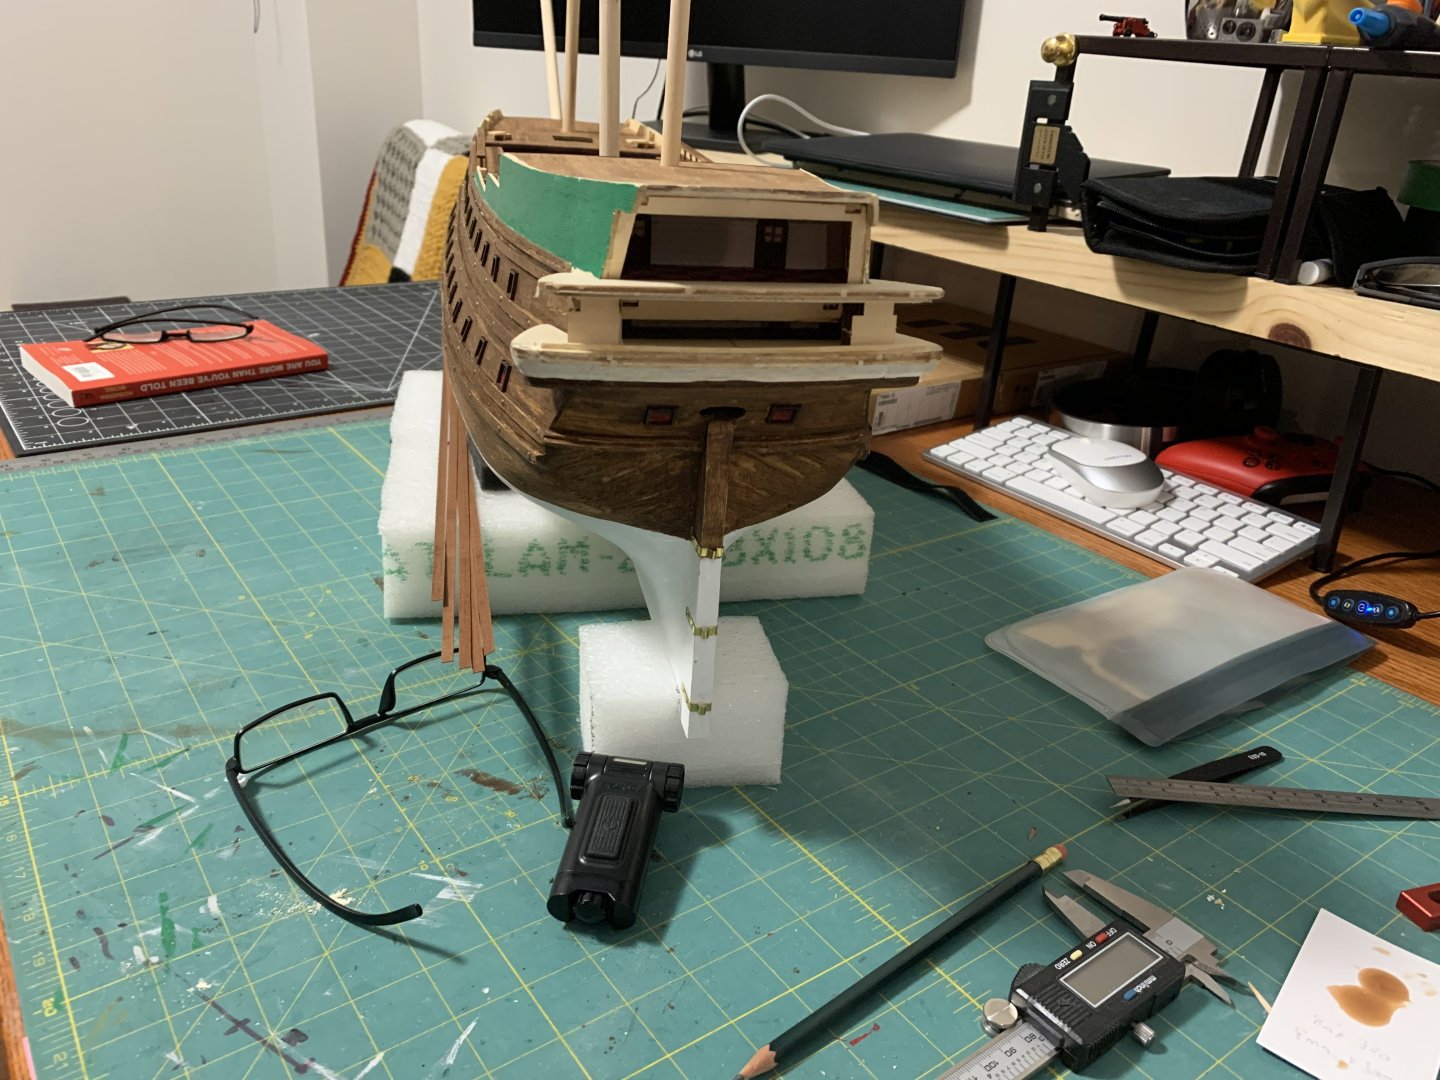
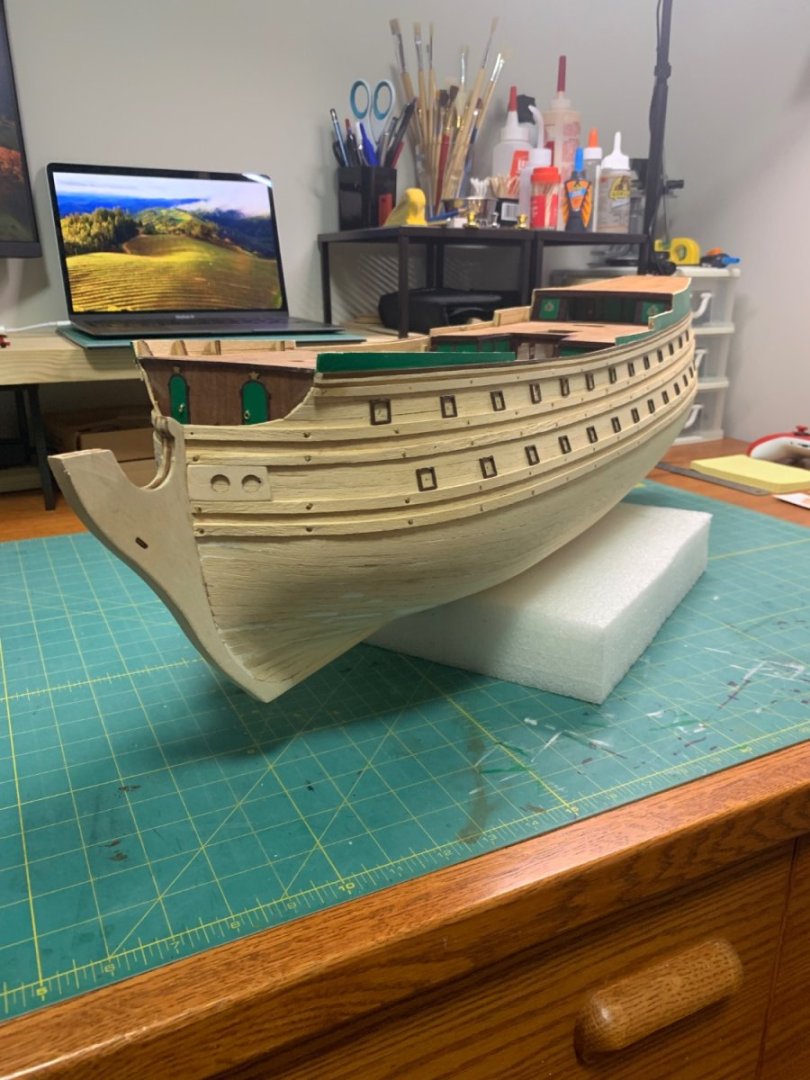
I don't think I will do another build log, I am incredibly bad at posting updates and describing my work. 😆 Finally got the stern gallery sorted out, turned out OK just don't zoom in too much. Next few pictures are of the work done on the upper decks and bow. As a side note I just got back from working with the JMSDF in Kure Japan, this is were the Yamato was built. There is a great Yamato museum there and it has a 1/10th scale model of the battleship. It was very impressive.
- 48 replies
-
- norske love
- billing boats
-
(and 1 more)
Tagged with:
-
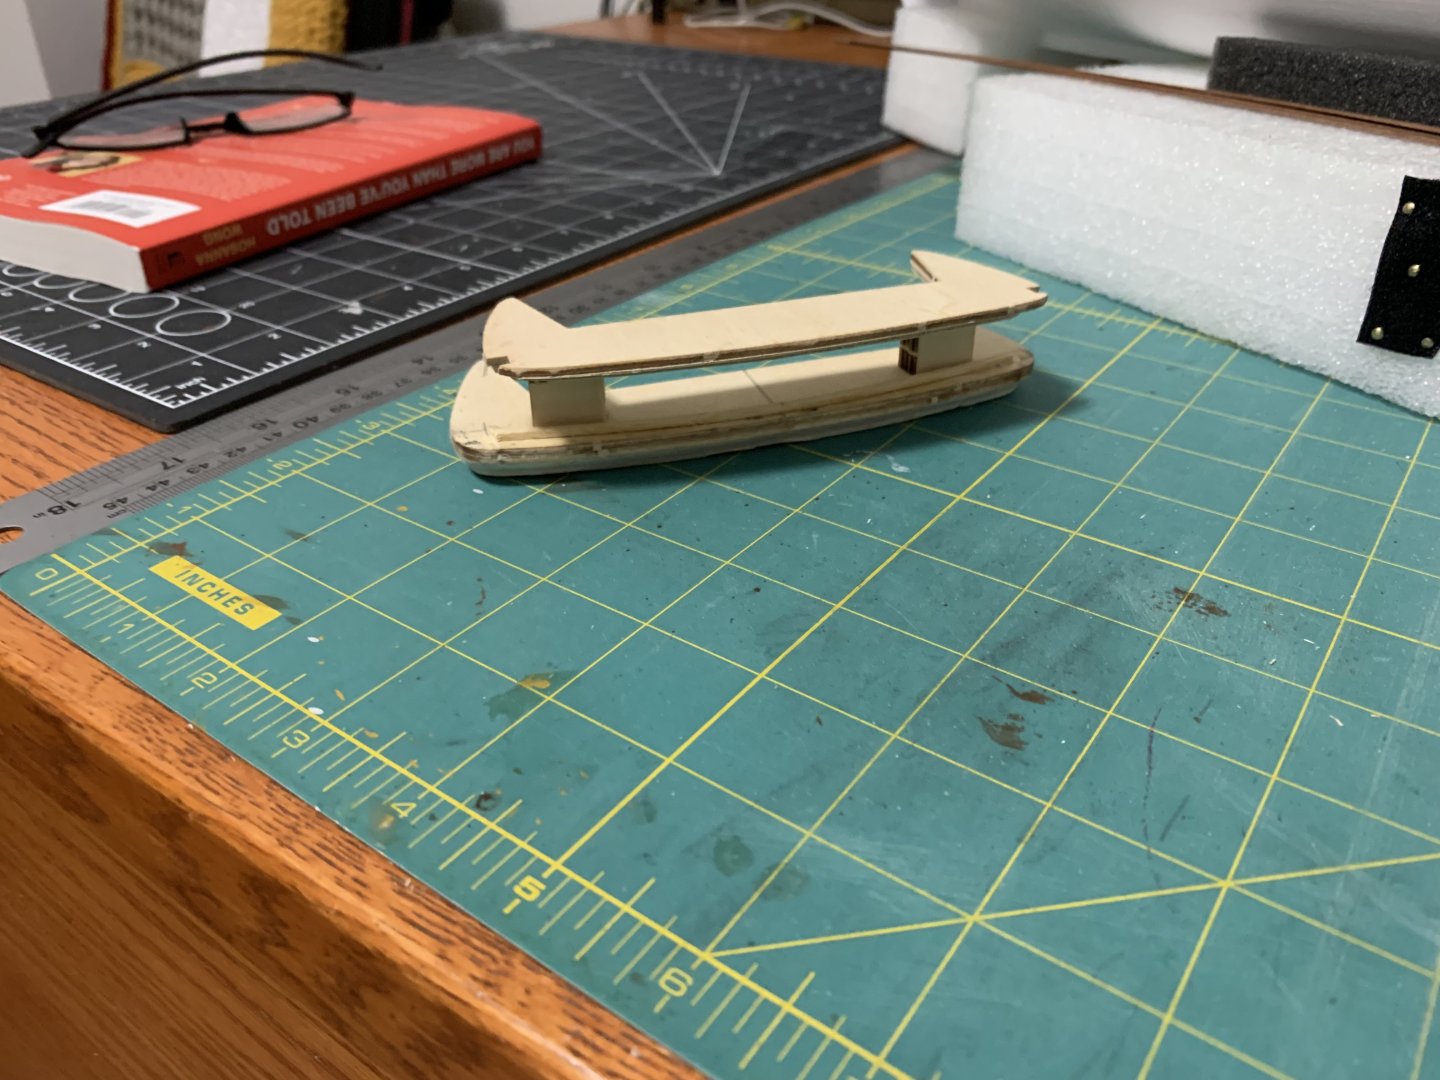
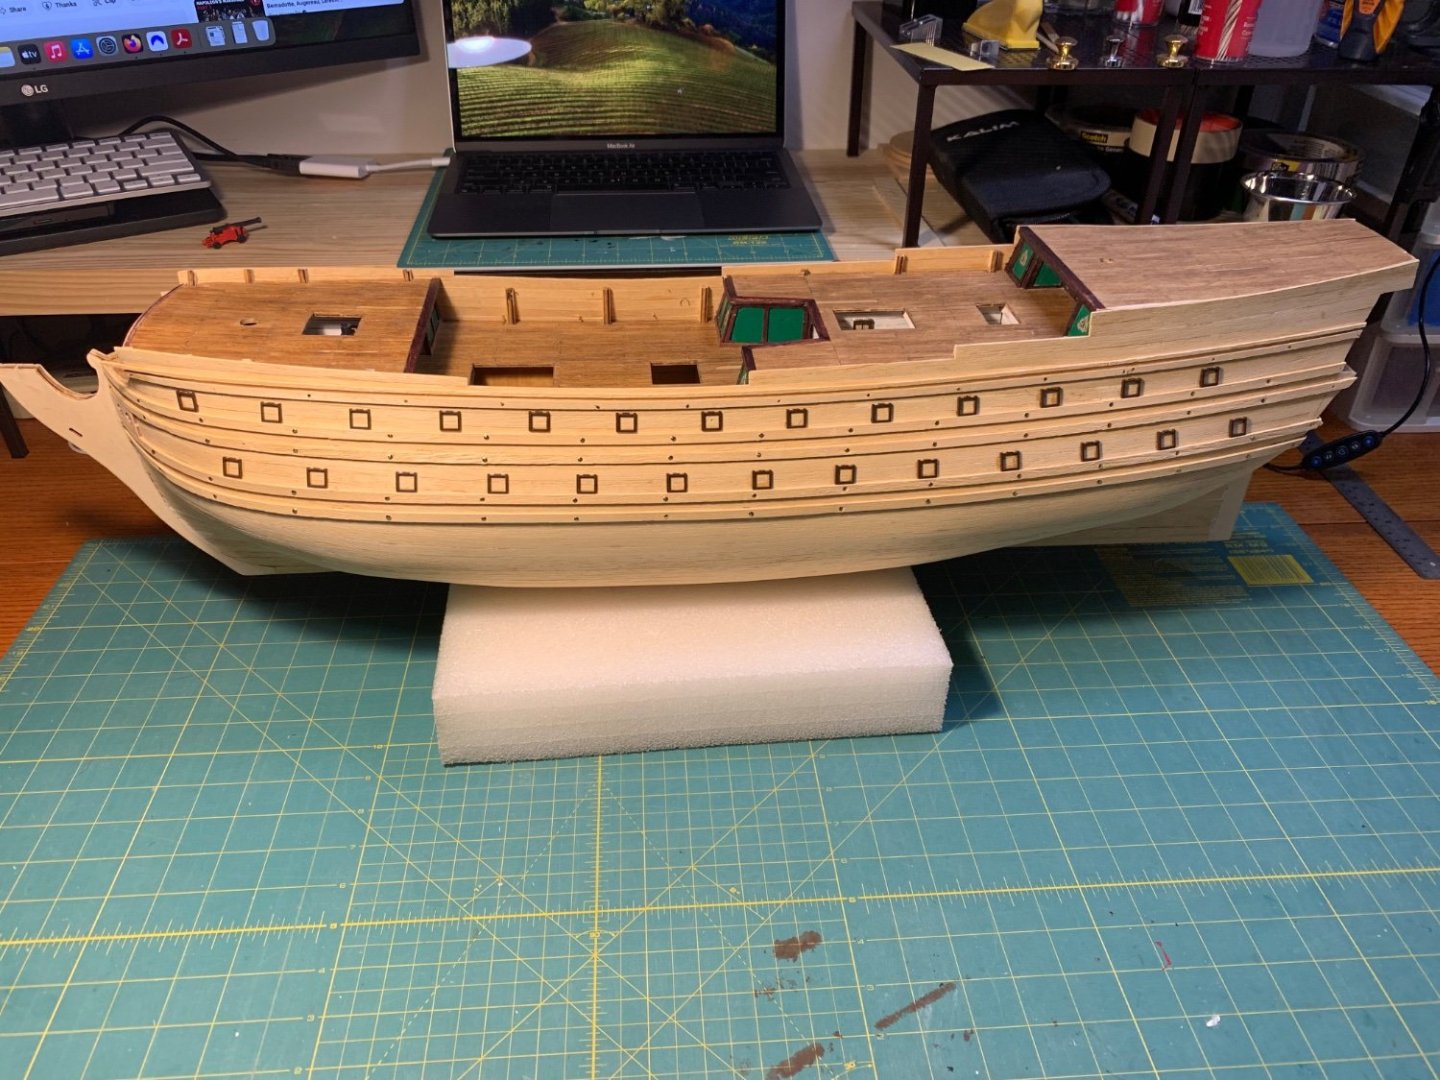
Been working on rails and the stern galley. Spent days getting frustrated trying to get the provided stern pieces to fit together. Even following the advice of PeteB the room was filled with some colourful language from time to time. In the end I just had to realized it wasn't going to come together as per the instructions and had to wing it a bit. Rails are coming along and should be finished soon, then on to the bow and hope it doesn't give me as much grief as the stern.
- 48 replies
-
- norske love
- billing boats
-
(and 1 more)
Tagged with:
-
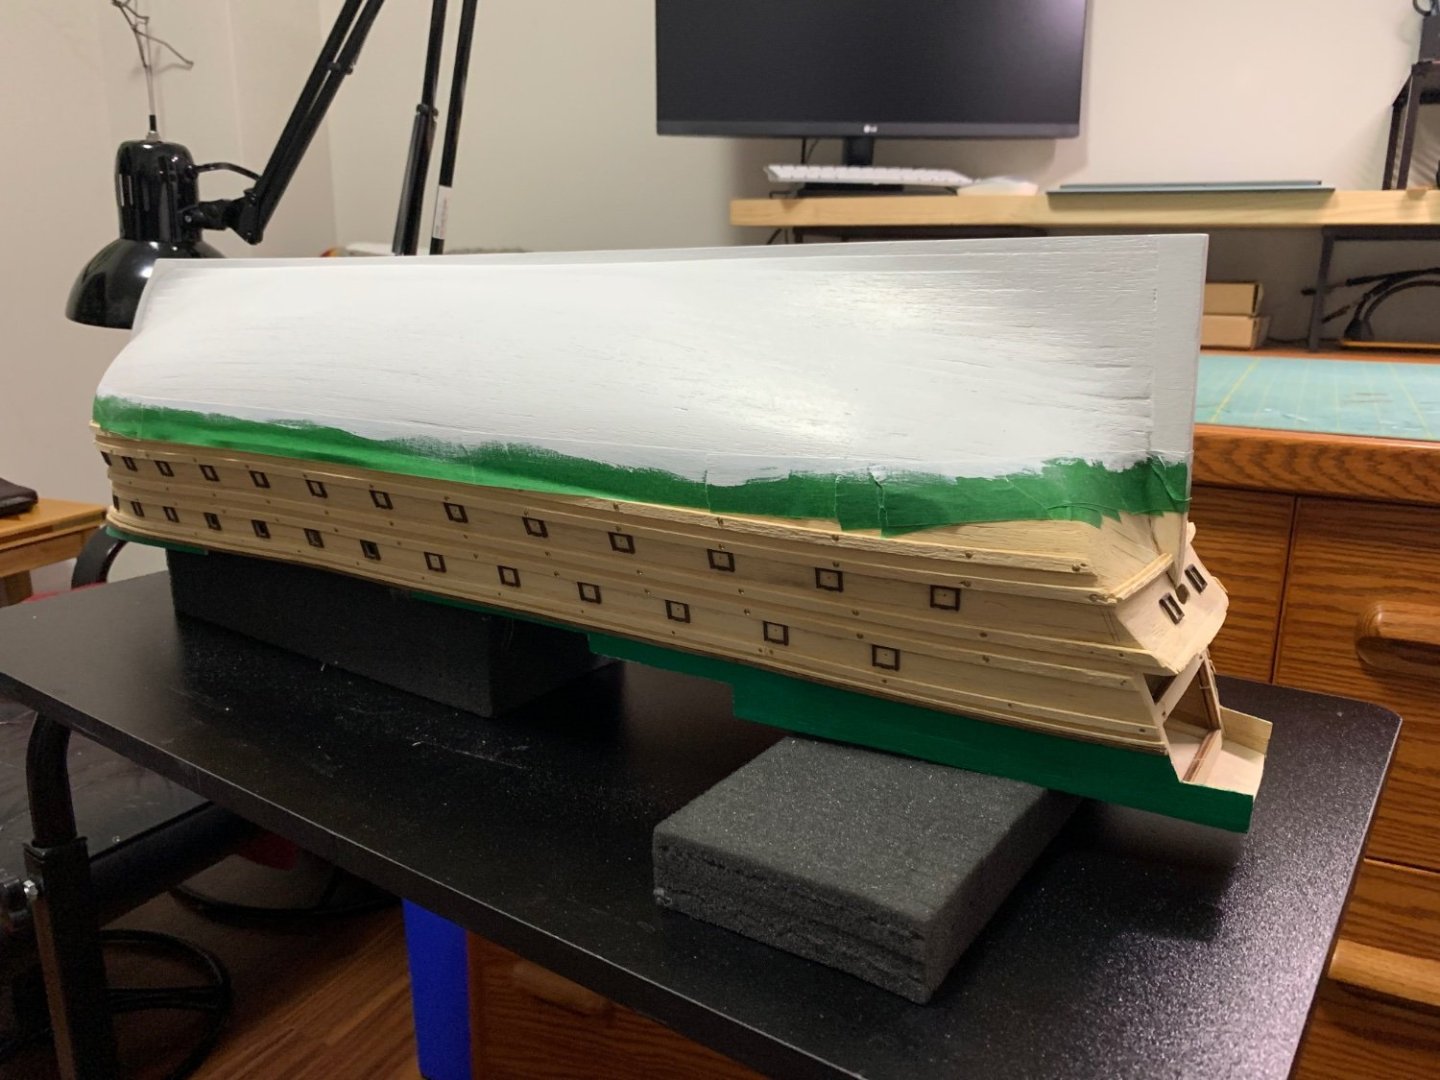
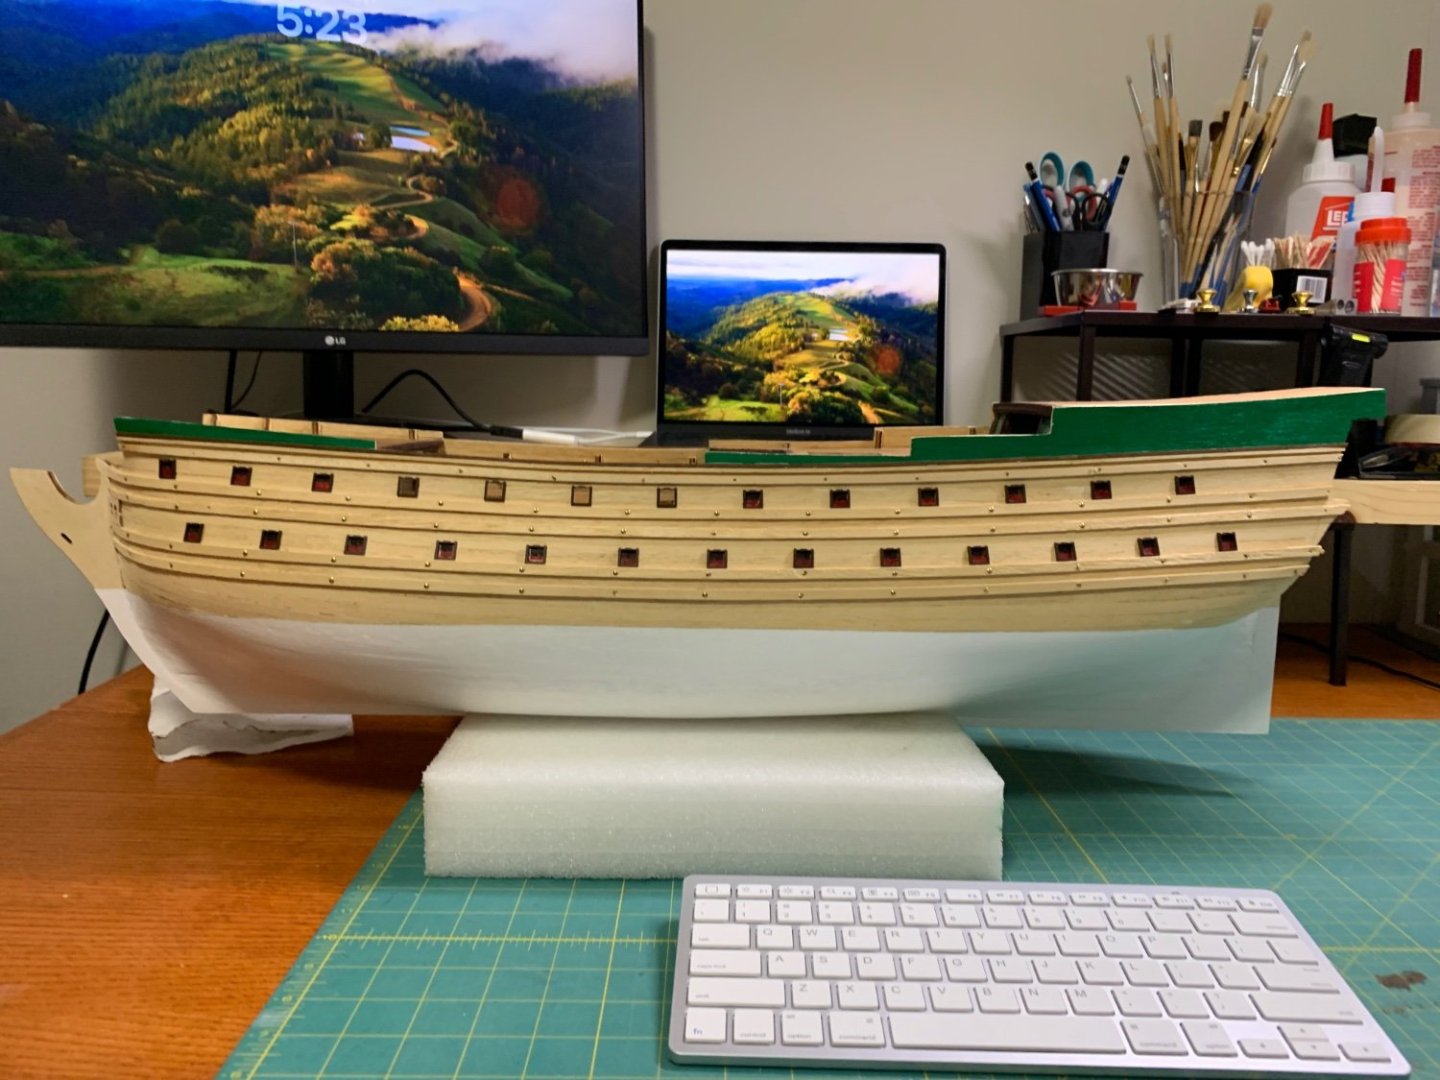
Quick update on progress, finished all the wales, painted the upper hull, fitted gun ports and then painted the bottom of the hull. Next it will be a final sanding and then stain the outer hull. Going to go with a dark stain as per the instructions. Based on quality of materials provide in the kit, display room and other projects waiting in the wings I have decided not to rig the ship with masts or sails.
- 48 replies
-
- norske love
- billing boats
-
(and 1 more)
Tagged with:
-
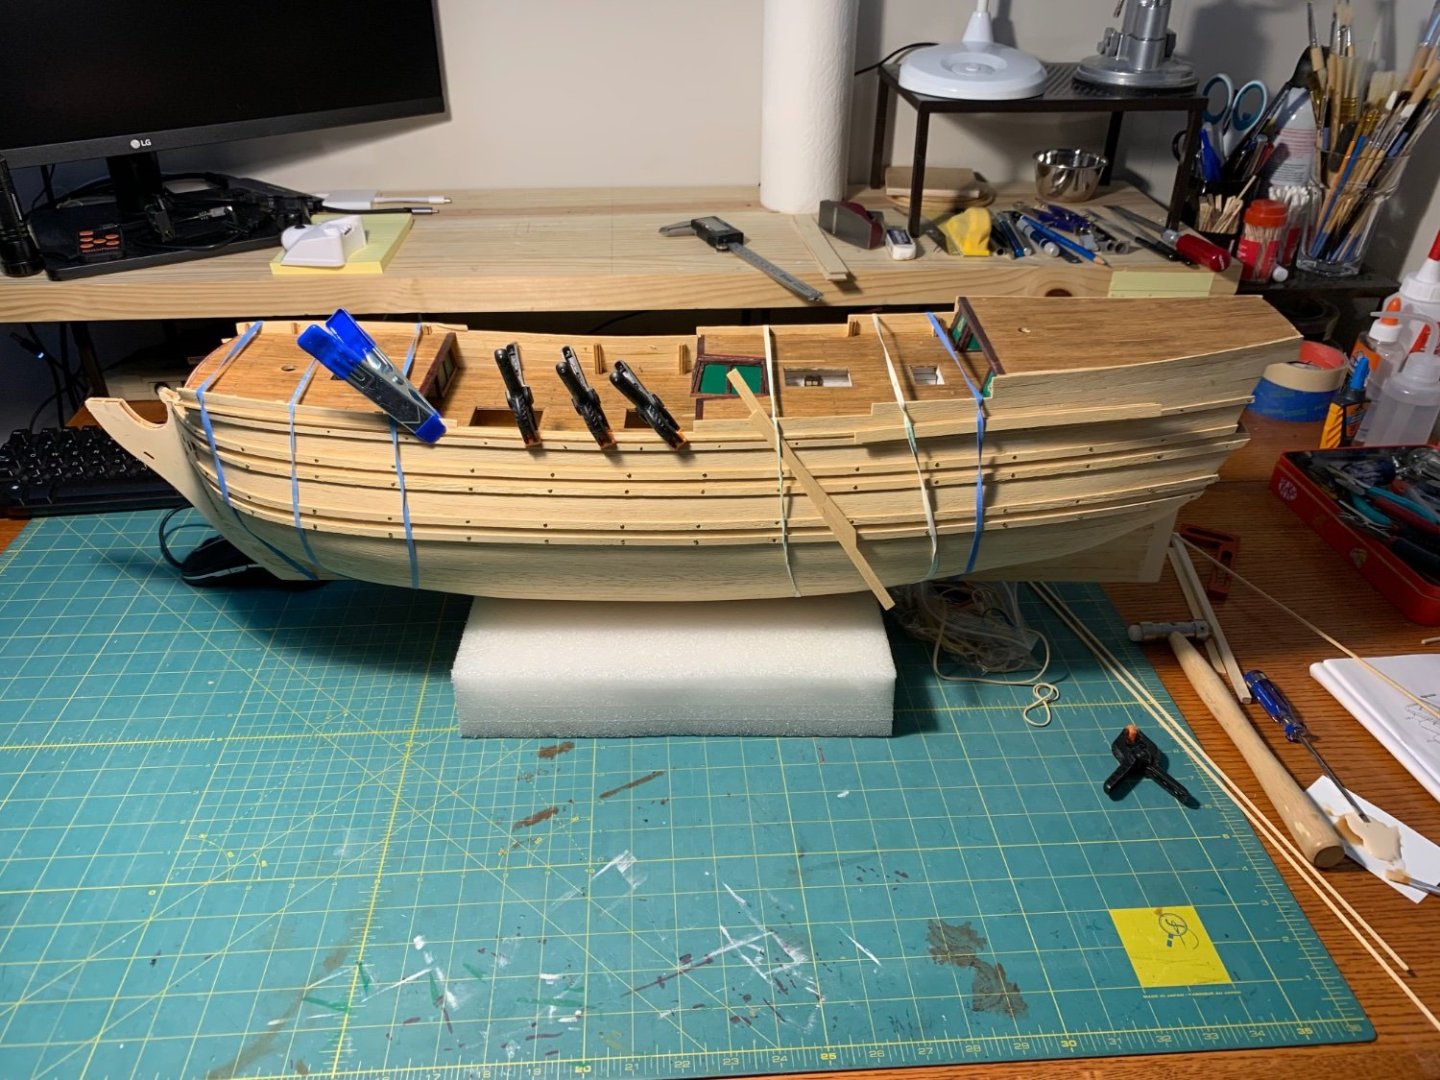
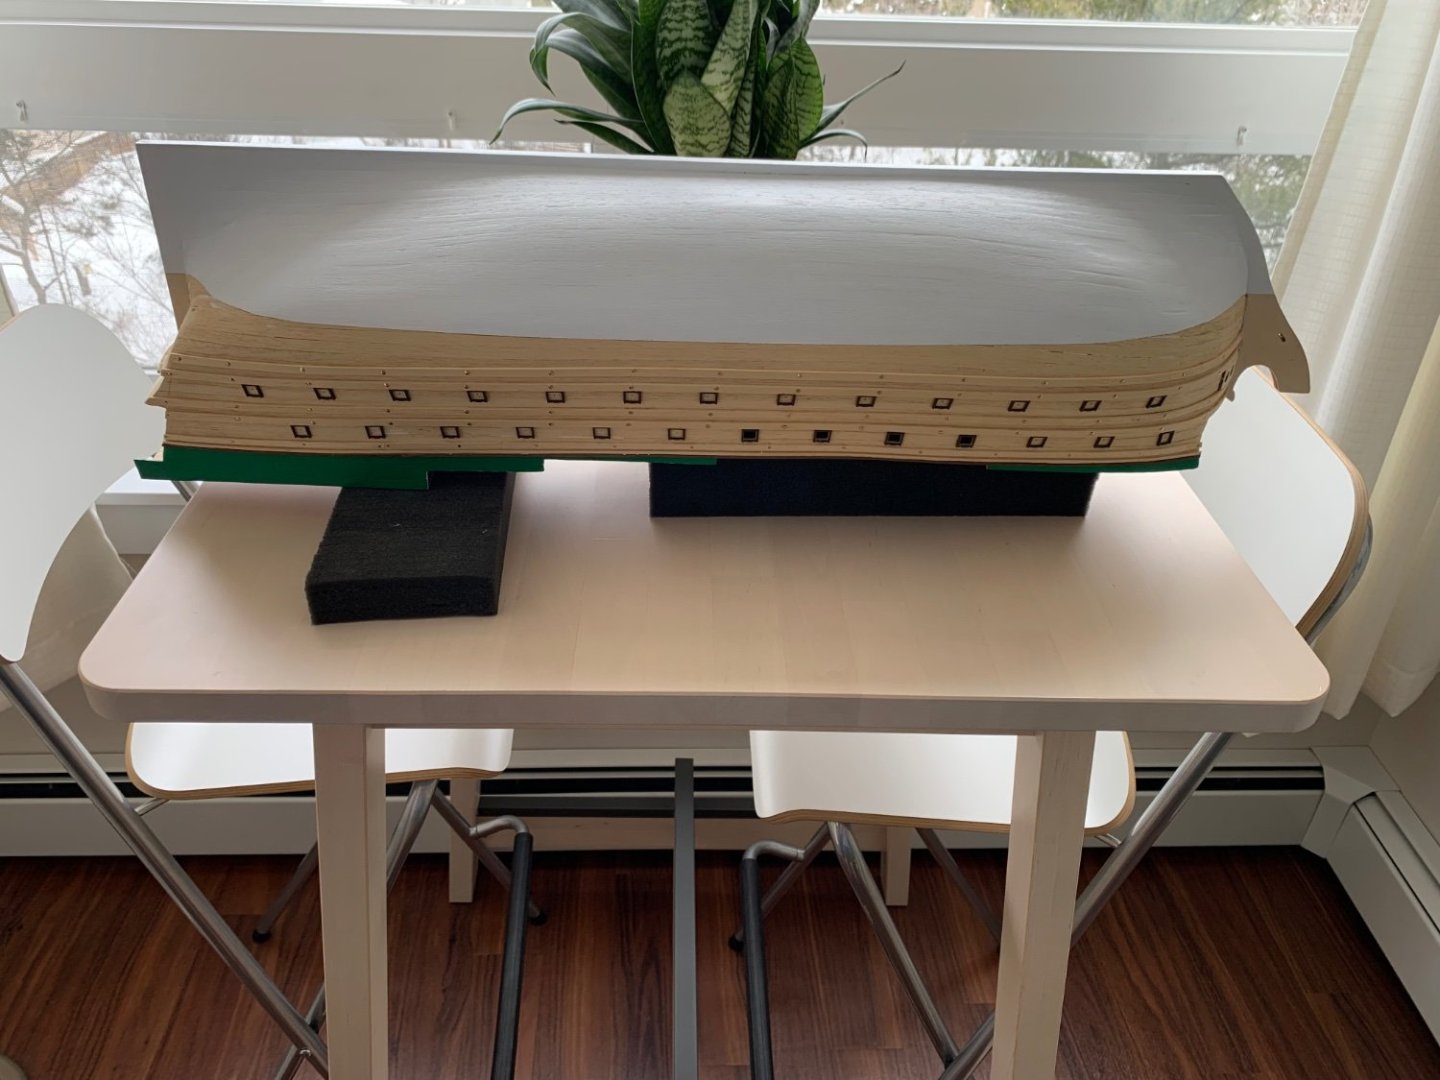
Hull sanded, first four Whales fitted and trimmed up sides on quarter deck and poop deck. Some pretty rough spots that had to be filled but managed to keep these below the waterline where it will be painted white.
- 48 replies
-
- norske love
- billing boats
-
(and 1 more)
Tagged with:
-
Hi Peter, not sure if it is Polar 7 or 8, the card model kit was a gift from a friend who was Chief Engineer on the Asterix project at Davie shipyard.
- 48 replies
-
- norske love
- billing boats
-
(and 1 more)
Tagged with:
-
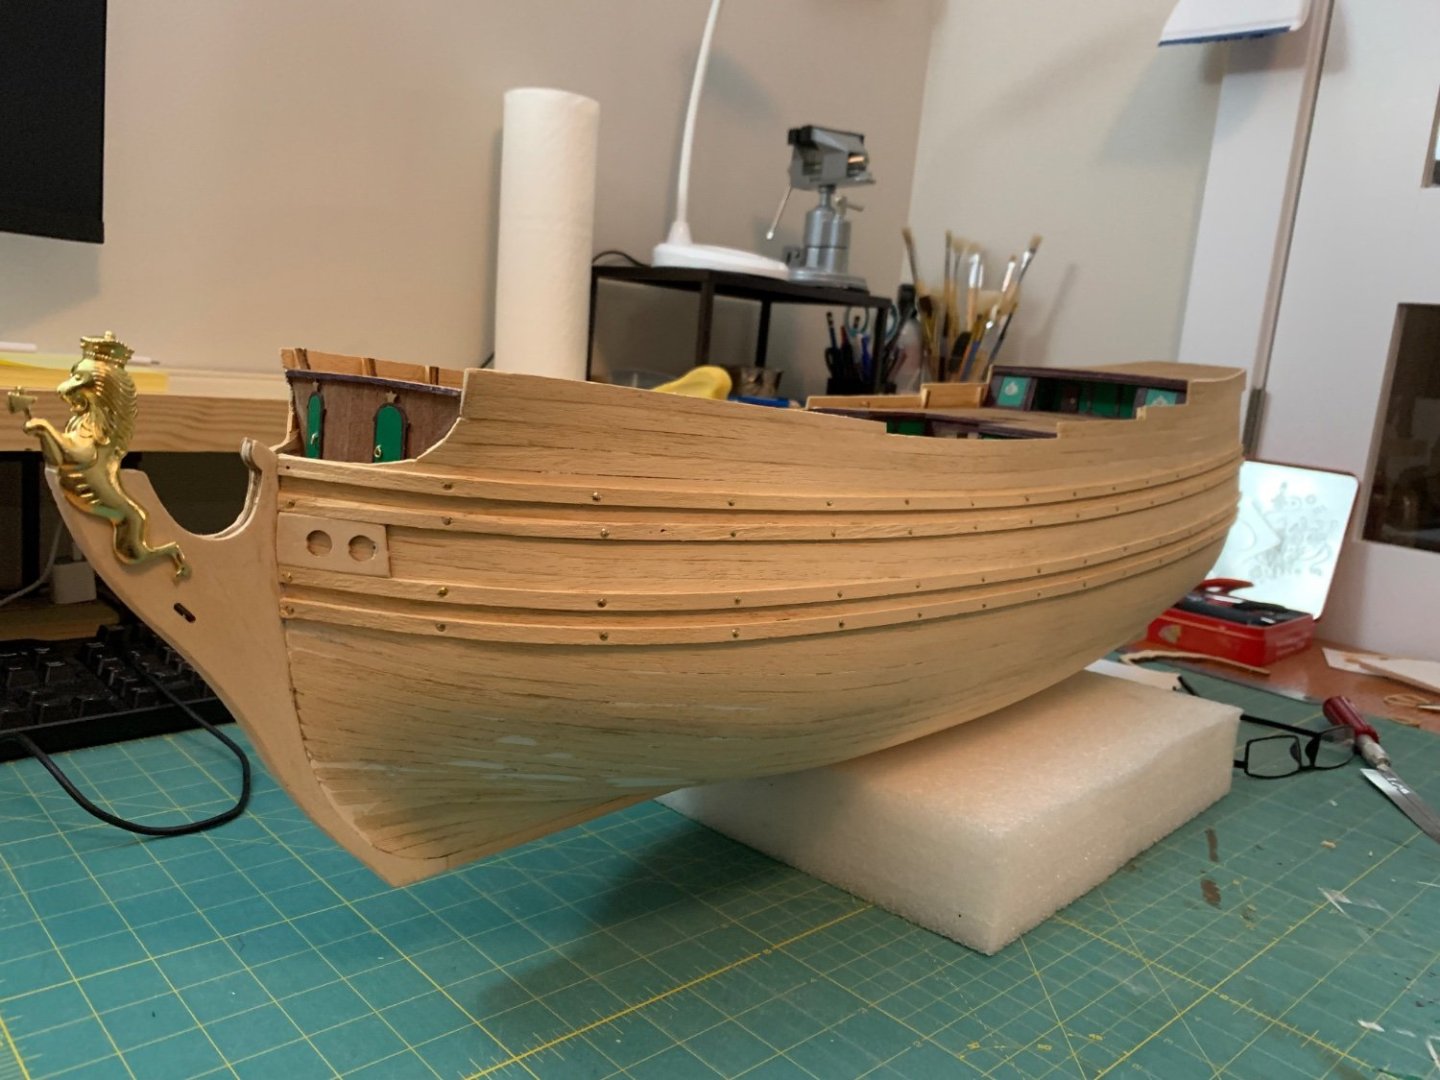
Well at times it seemed like this day would never come but at last the hull is all closed in. This is the first and last time I try to use full planking pieces bow to stern.
- 48 replies
-
- norske love
- billing boats
-
(and 1 more)
Tagged with:
-
Thanks Peter, hope you start a build log for NL your work on Cutty Sark is excellent.
- 48 replies
-
- norske love
- billing boats
-
(and 1 more)
Tagged with:
-
 EdS reacted to a post in a topic:
Norske Love by EdS - FINISHED - Billing Boats - 1:75
-
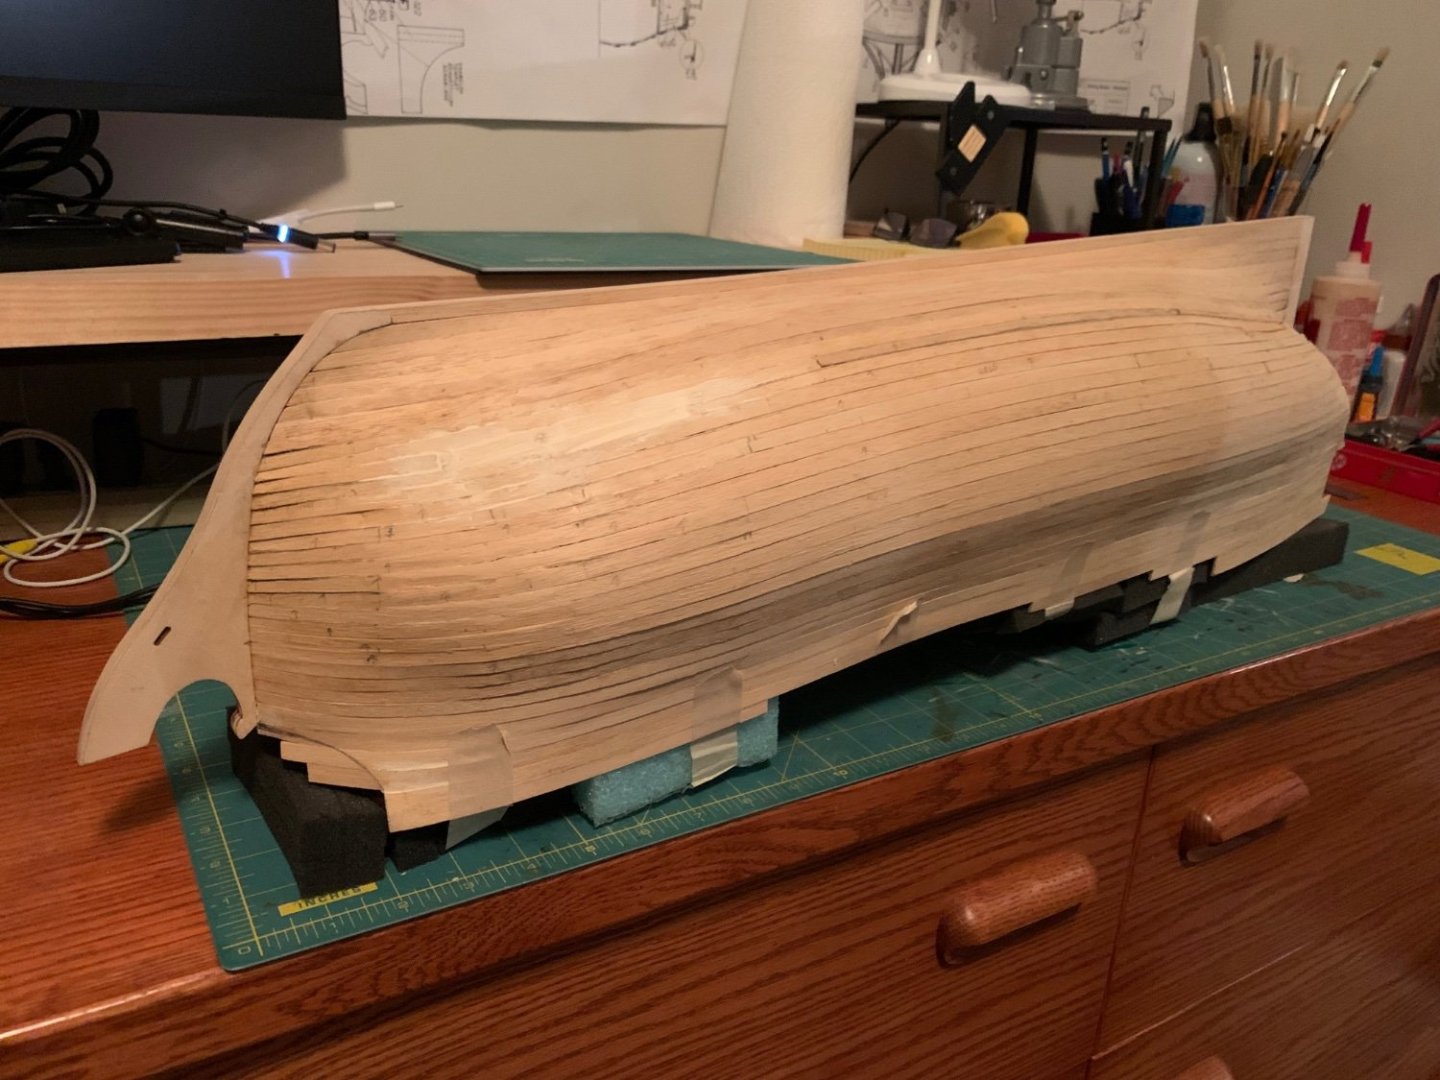
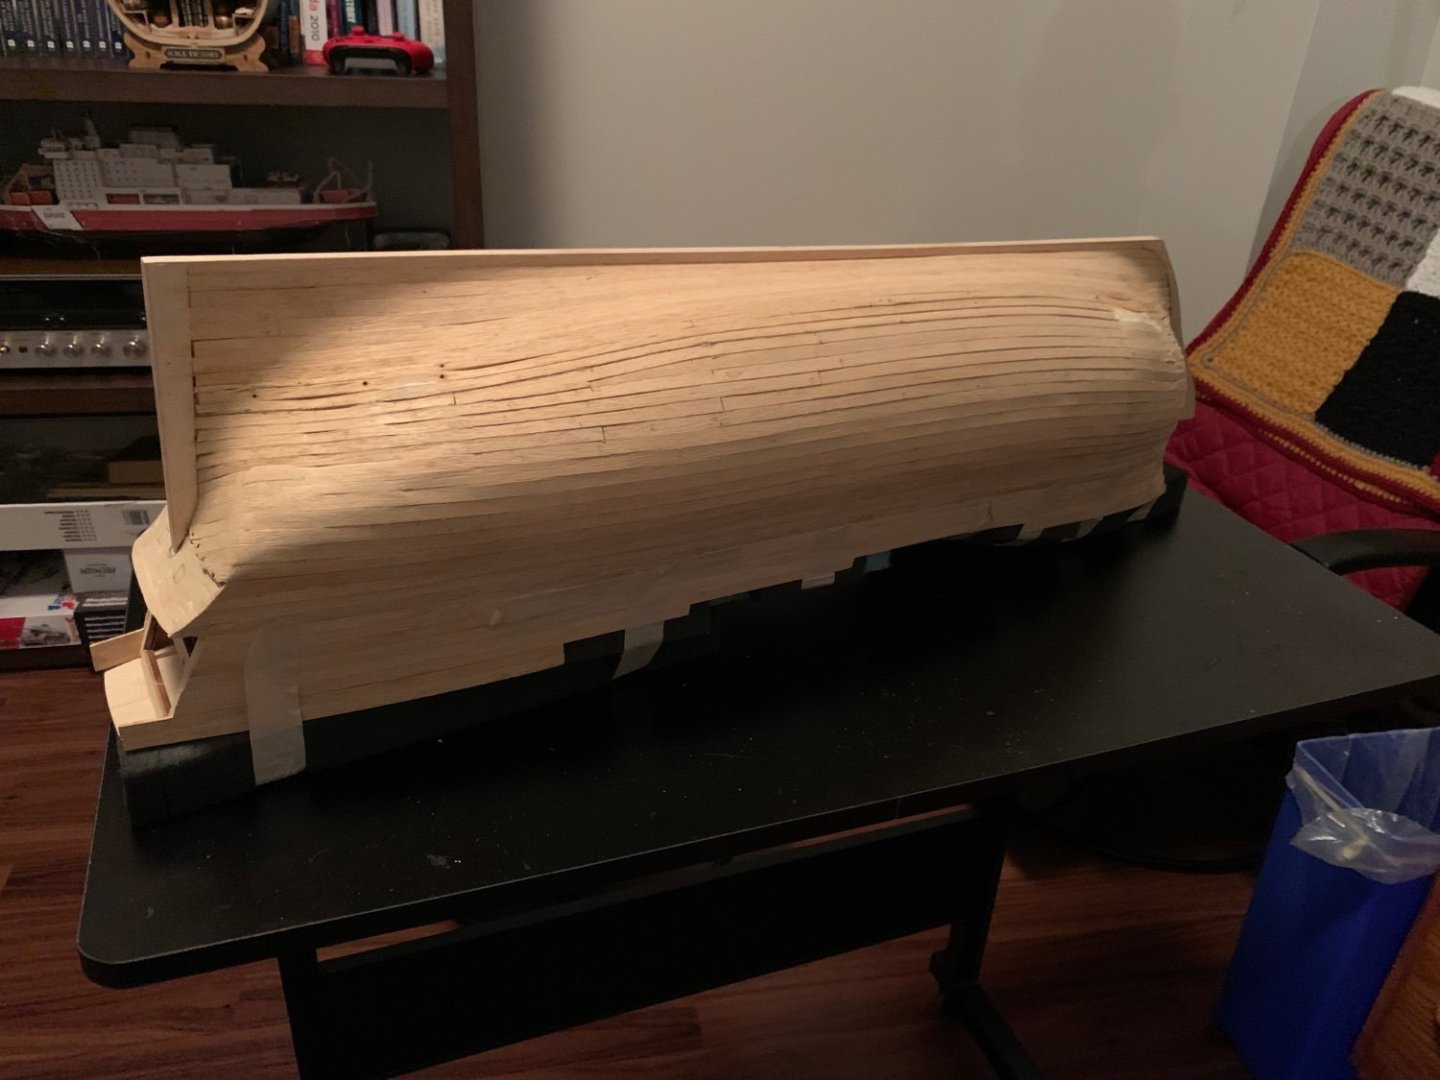
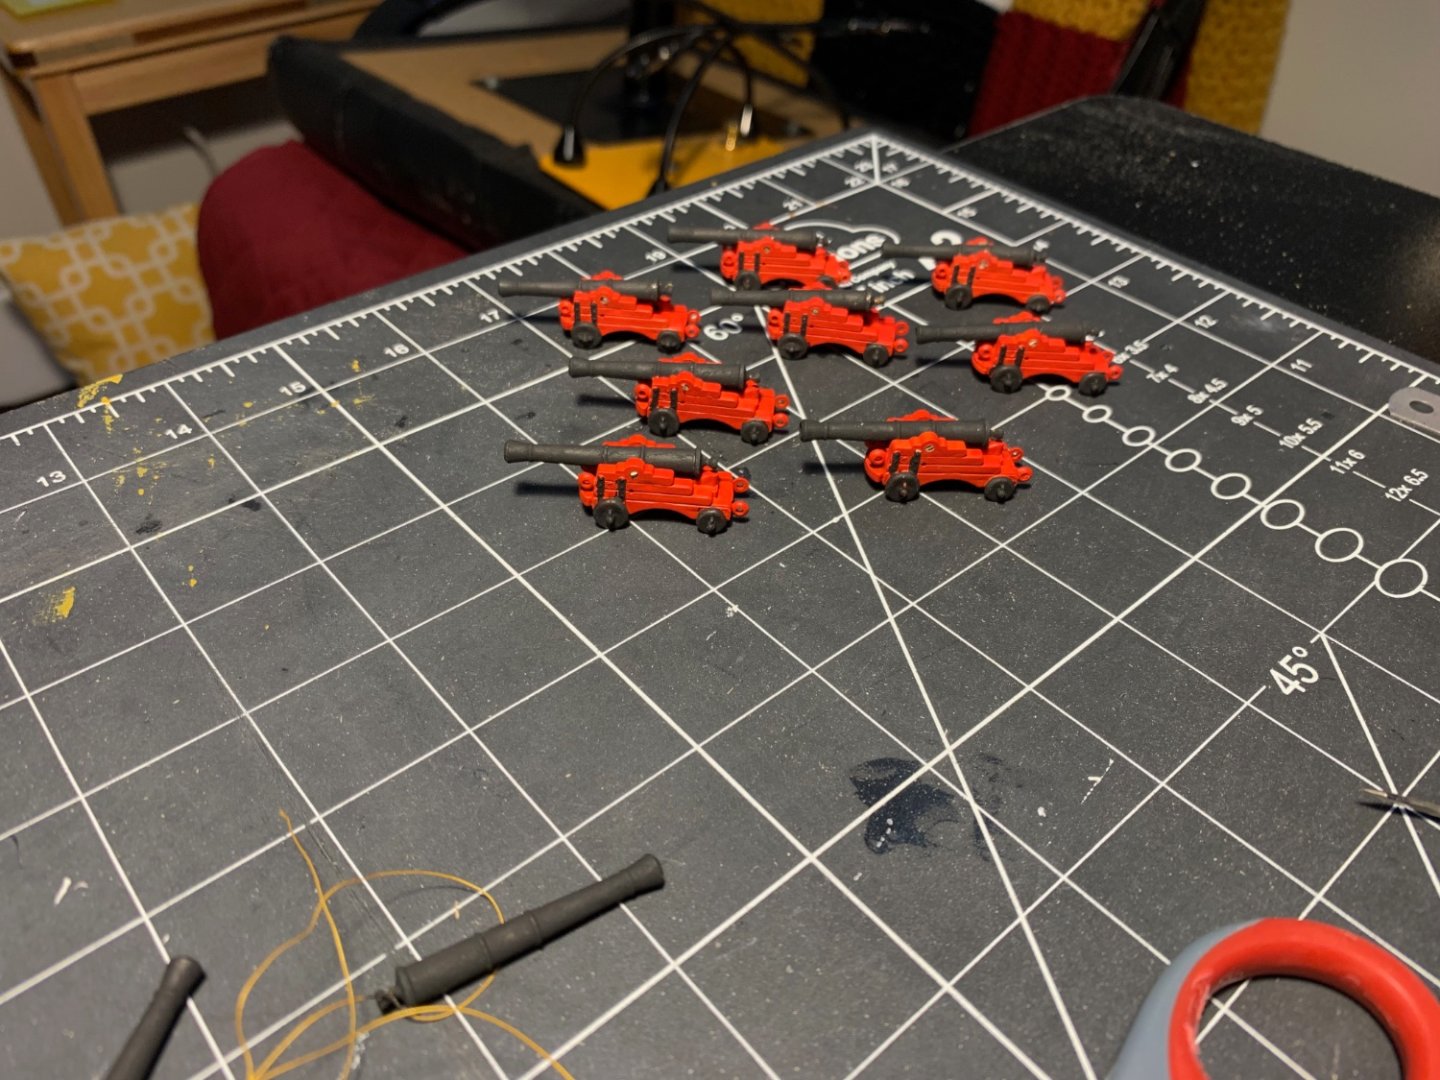
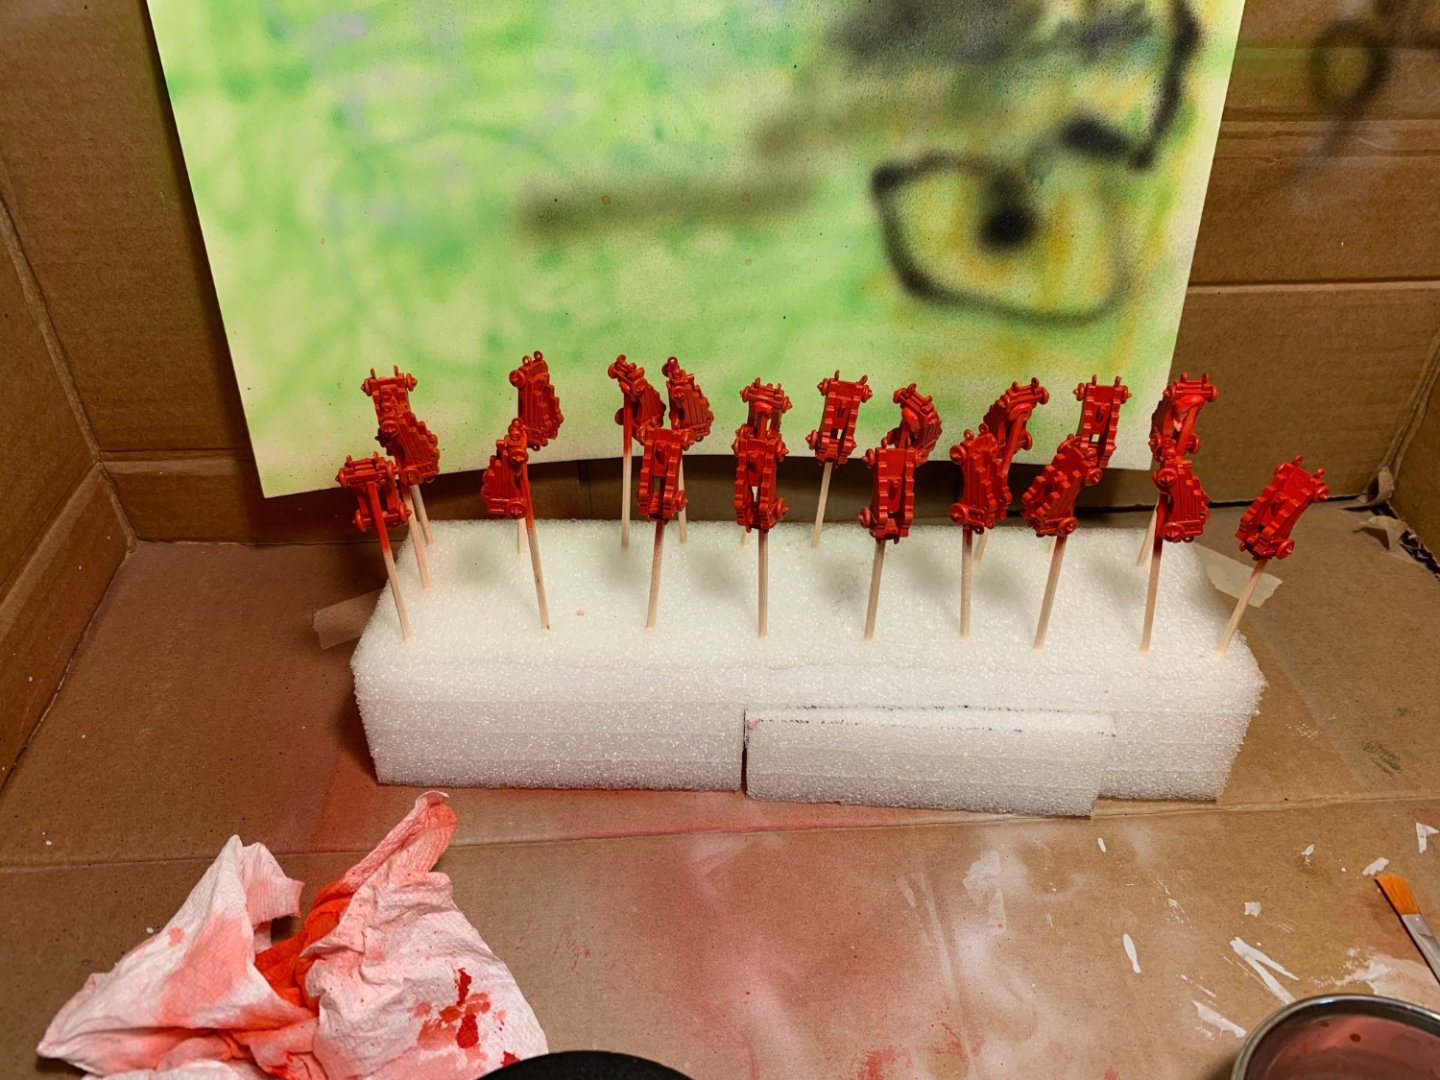
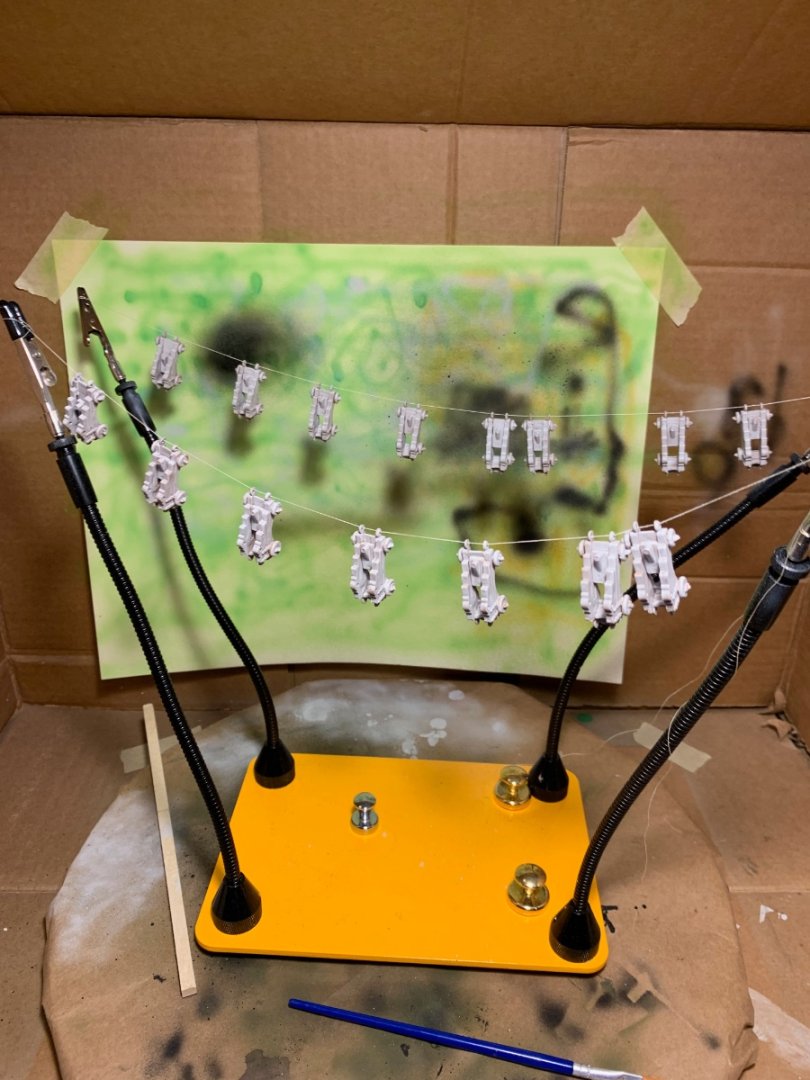
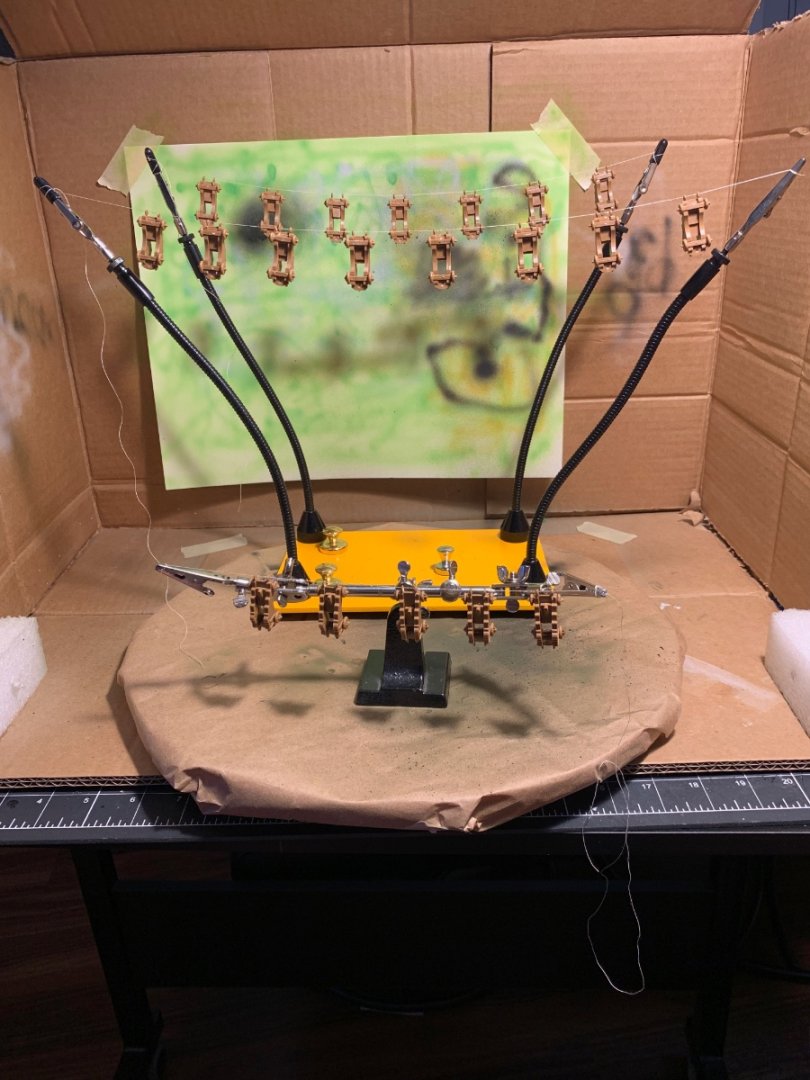
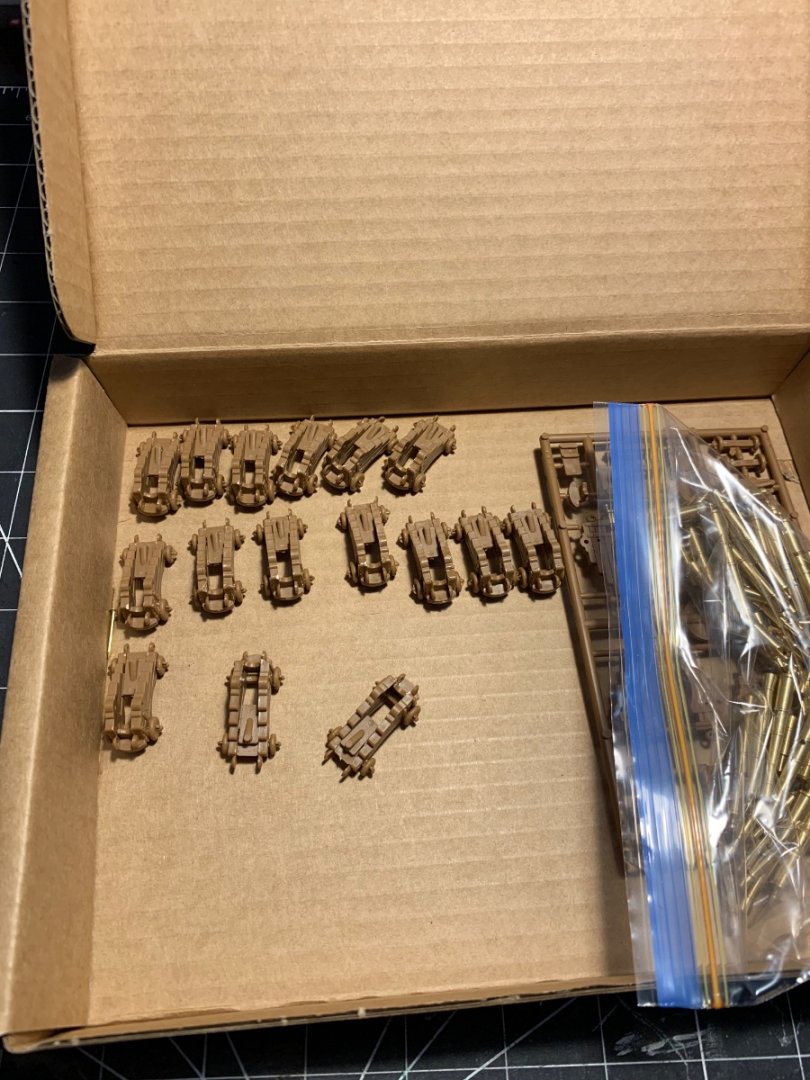
Eight weeks post surgery and cleared of all restrictions. I wasn't totally idle while recovering, worked on the guns. Airbrush came in real handy painting the gun carriages. Tried to use Brass Blackner on the cannons, hated working with that stuff so decided just to prime and paint them. Continued on with hull planking, finished the second of five belts. Slow process as each strake has to be shaped three separate ways. Lots of soaking and then blasting with a heat gun. Next belt number three continuing to work towards the keel.
- 48 replies
-
- norske love
- billing boats
-
(and 1 more)
Tagged with:
-
 EdS reacted to a post in a topic:
Norske Love by EdS - FINISHED - Billing Boats - 1:75
-
 EdS reacted to a post in a topic:
Norske Love by EdS - FINISHED - Billing Boats - 1:75
-
 EdS reacted to a post in a topic:
Norske Love by EdS - FINISHED - Billing Boats - 1:75
-
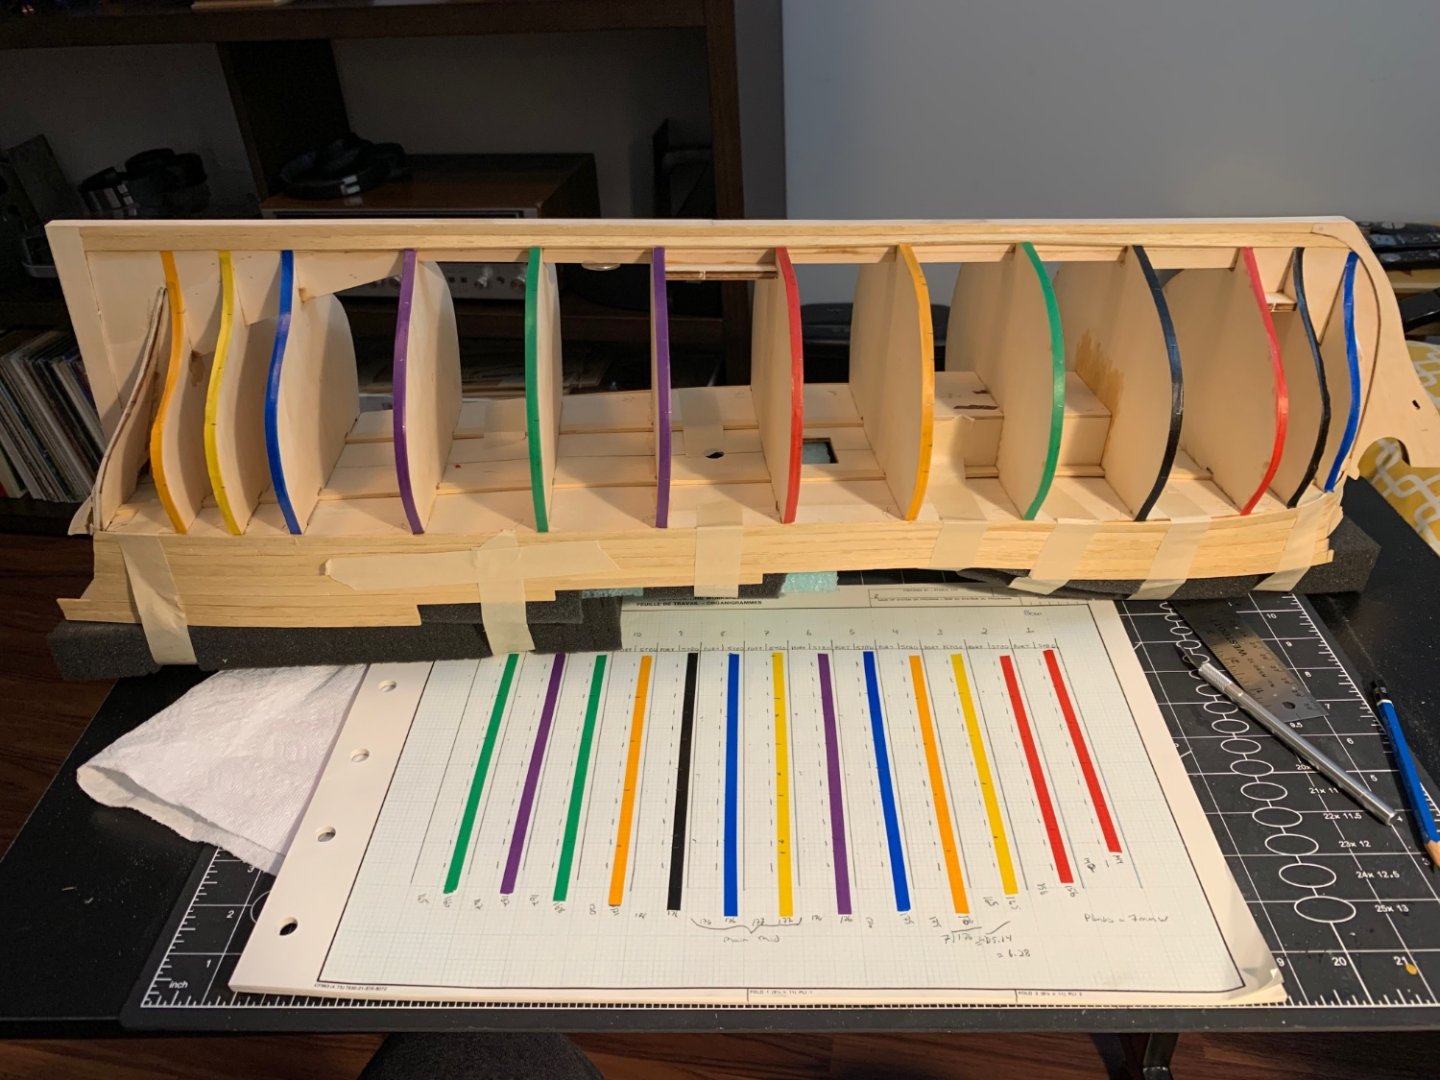
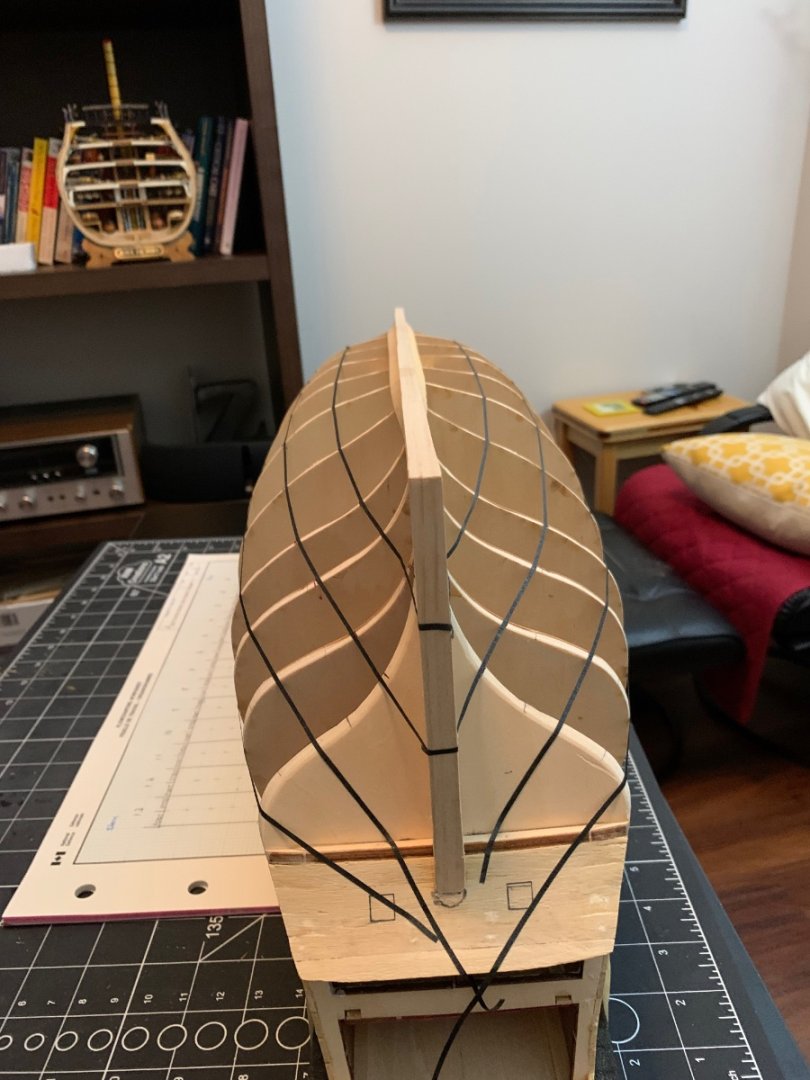
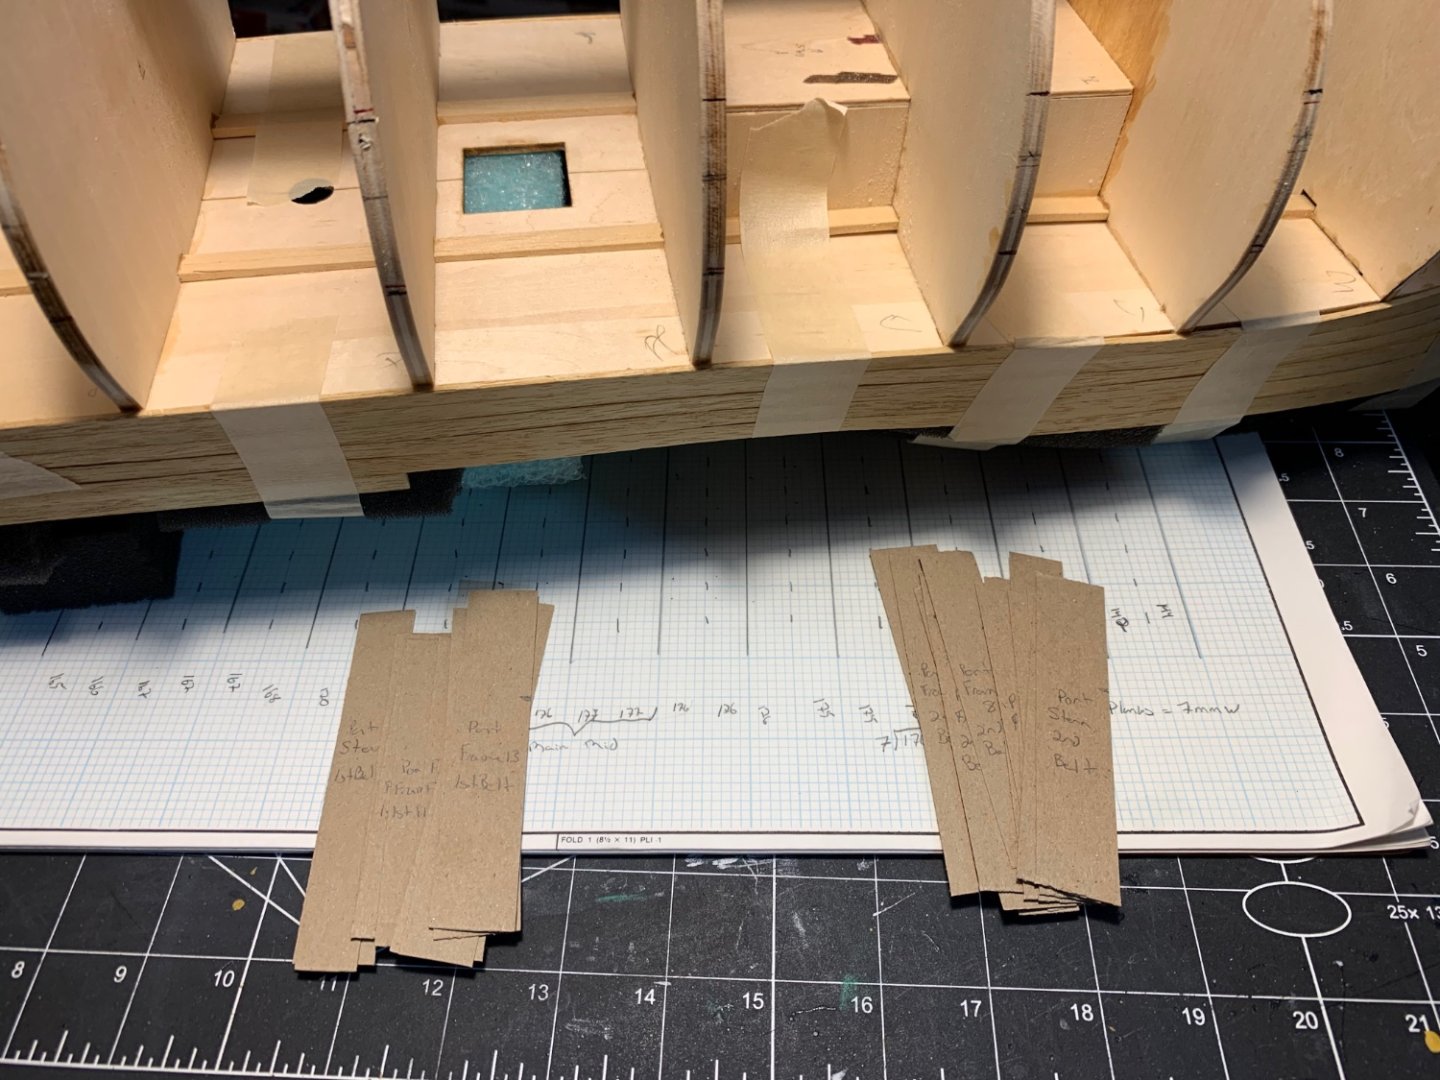
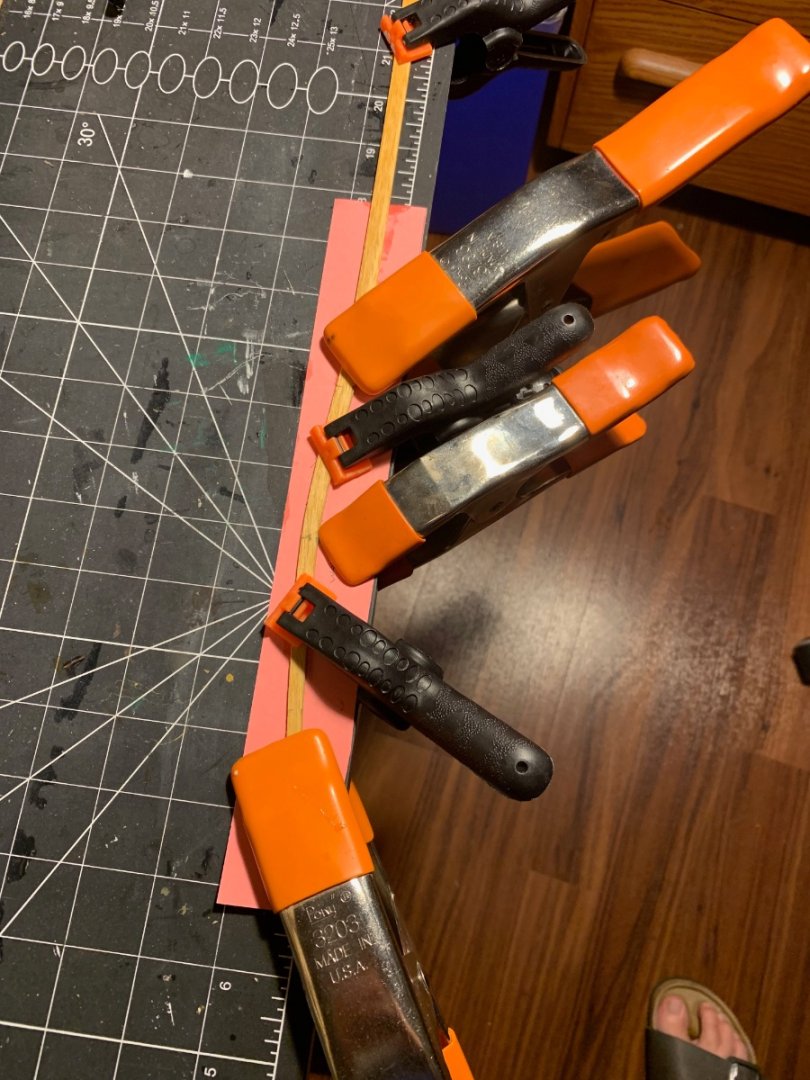
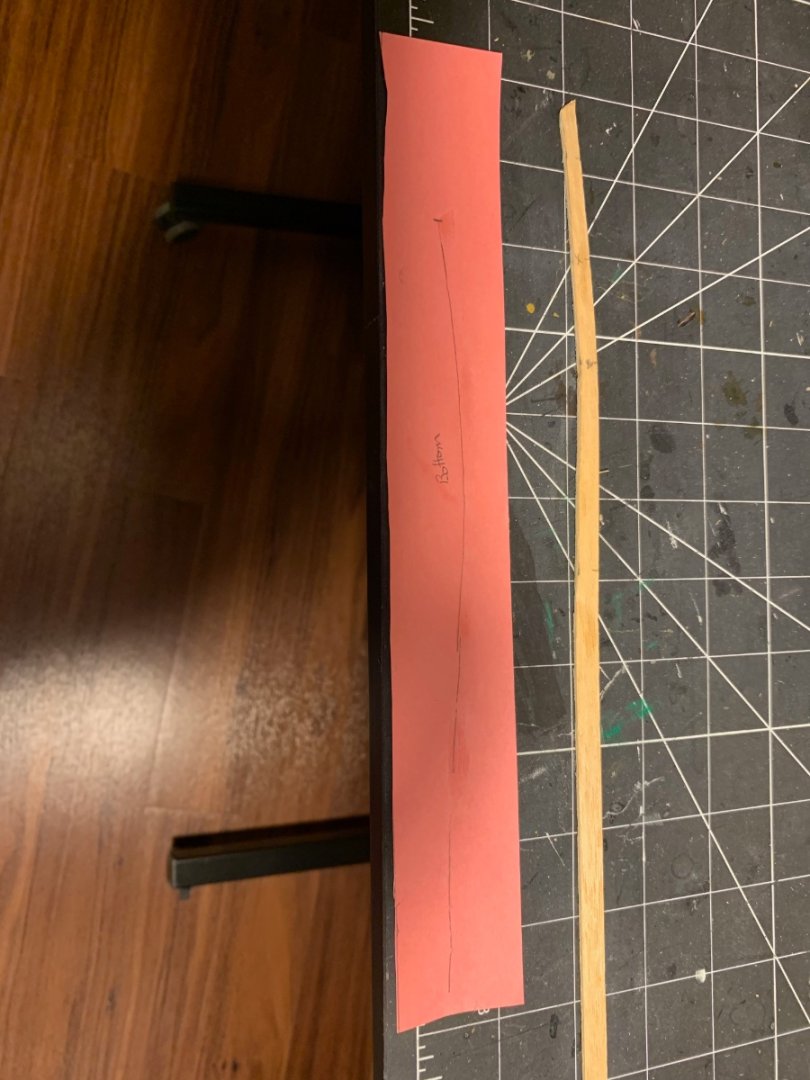
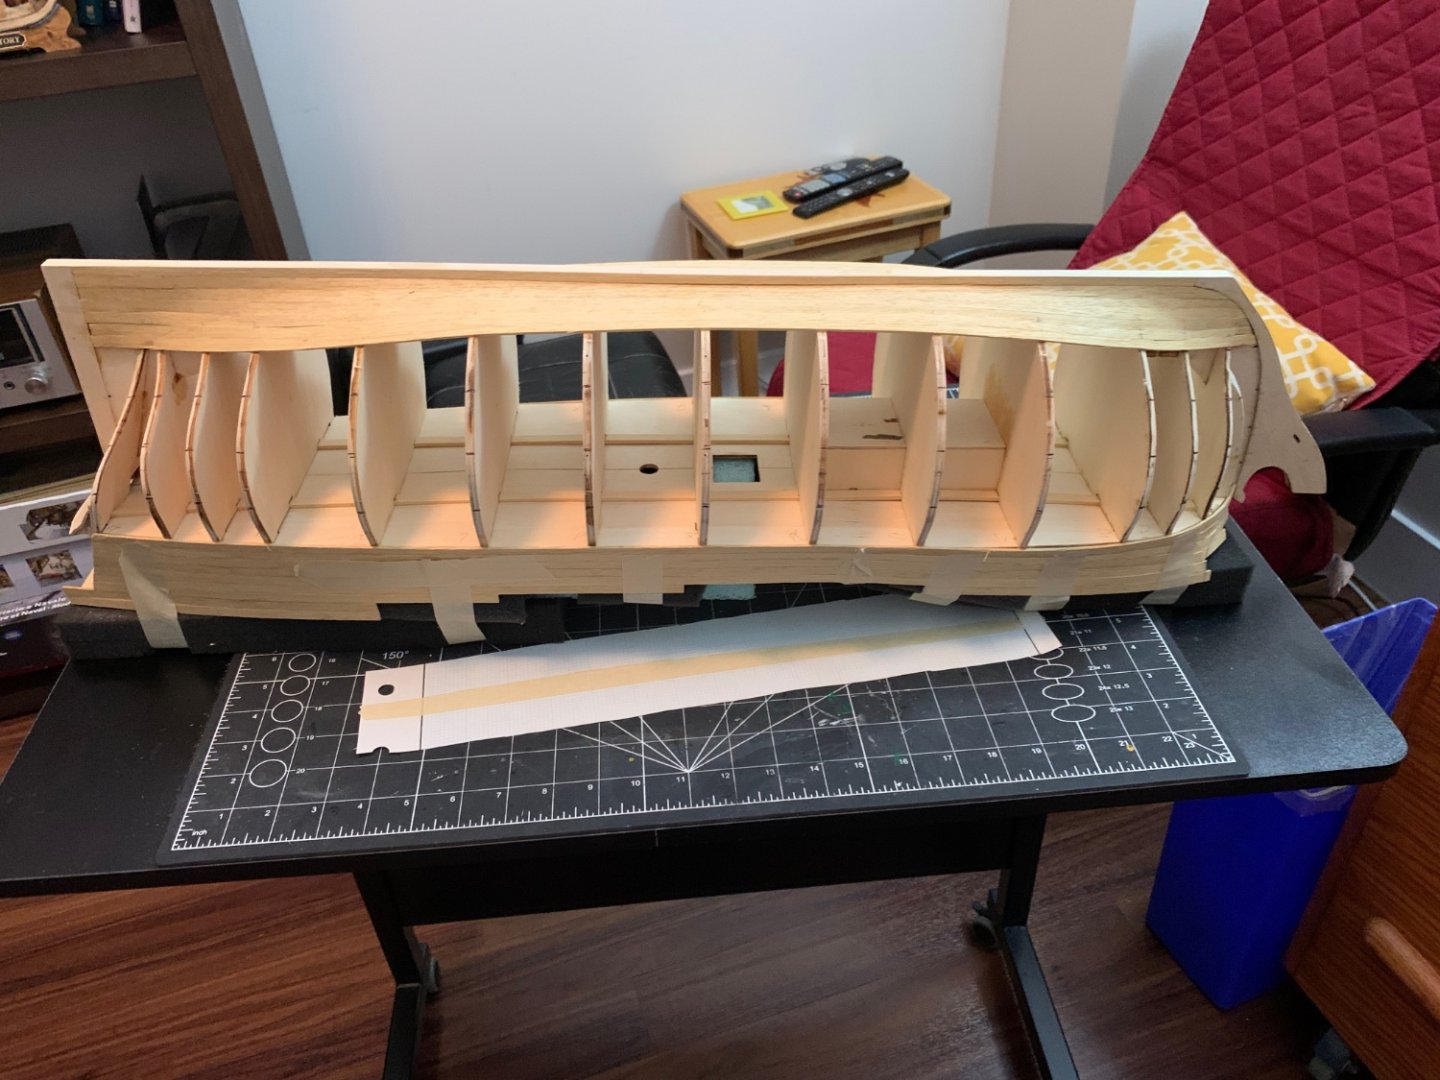
At home recovering from getting a pacemaker so thought I would do an update on the progress of the hull planking so far. I decided to start from the bottom so the first step was to fit the Garboard strake. This was very straight forward on Norske Love as it naturally fell along the keel with very little twisting or bending. I couldn't get a very accurate measurement with my cloth tape measure so I decided to use coloured tape on each frame, cut it to the exact distance between the upper strake and the Garboard strake then transfer the tape to a solid surface and then got the measurement. The planking material provided in the kit is 7mm wide, this worked out to be five bands of five strakes at the middle six frames. From there I took the remaining frame measurements and divided them by five getting the width of each band at each frame. Next I lined off the hull with white-board tape and adjusted as necessary to get a natural looking flow to the bands. Using cut out cardboard strips, each frame at each band was measured and divided by five, this gave the width of each strake at each frame within all five bands. Once the distance for each strake was measured on the cardboard strip I then transferred these marks tot he frames. As with most model kits the Norske Love kit comes with wooden planking strips at one size. Unless you are willing to purchase extra material to fabricate the strakes this can make spiling a strake very difficult. I found an article from Model-Expo that uses a technique where you first cut the strake to size, then bend the strake edgewise then after this curve is set, you bend it for the curve of the bow. If I can find the link again I will post it here as it worked pretty slick for me and I can't do justice to the explanation on how to do it. So in this fashion I completed all five strakes for the first band with very little fuss or swearing. Below is the untouched results, with a little sanding it should come out just fine. Once healed up enough to get back at it I am going to start at the top and work to this bottom band. I am doing this because I want any strakes that need serious tapering to be in the painted portion of the hull. Cheers for now.
- 48 replies
-
- norske love
- billing boats
-
(and 1 more)
Tagged with:
-
- 48 replies
-
- norske love
- billing boats
-
(and 1 more)
Tagged with:
-
Hi Pete, very much appreciate the tips. 👍 I will definitely take you advice and use the Gallery Board as reference. If you have any more tips please send them my way. Norske Love is a tough build due to the lack of instruction but makes a great learning platform.
- 48 replies
-
- norske love
- billing boats
-
(and 1 more)
Tagged with:
-
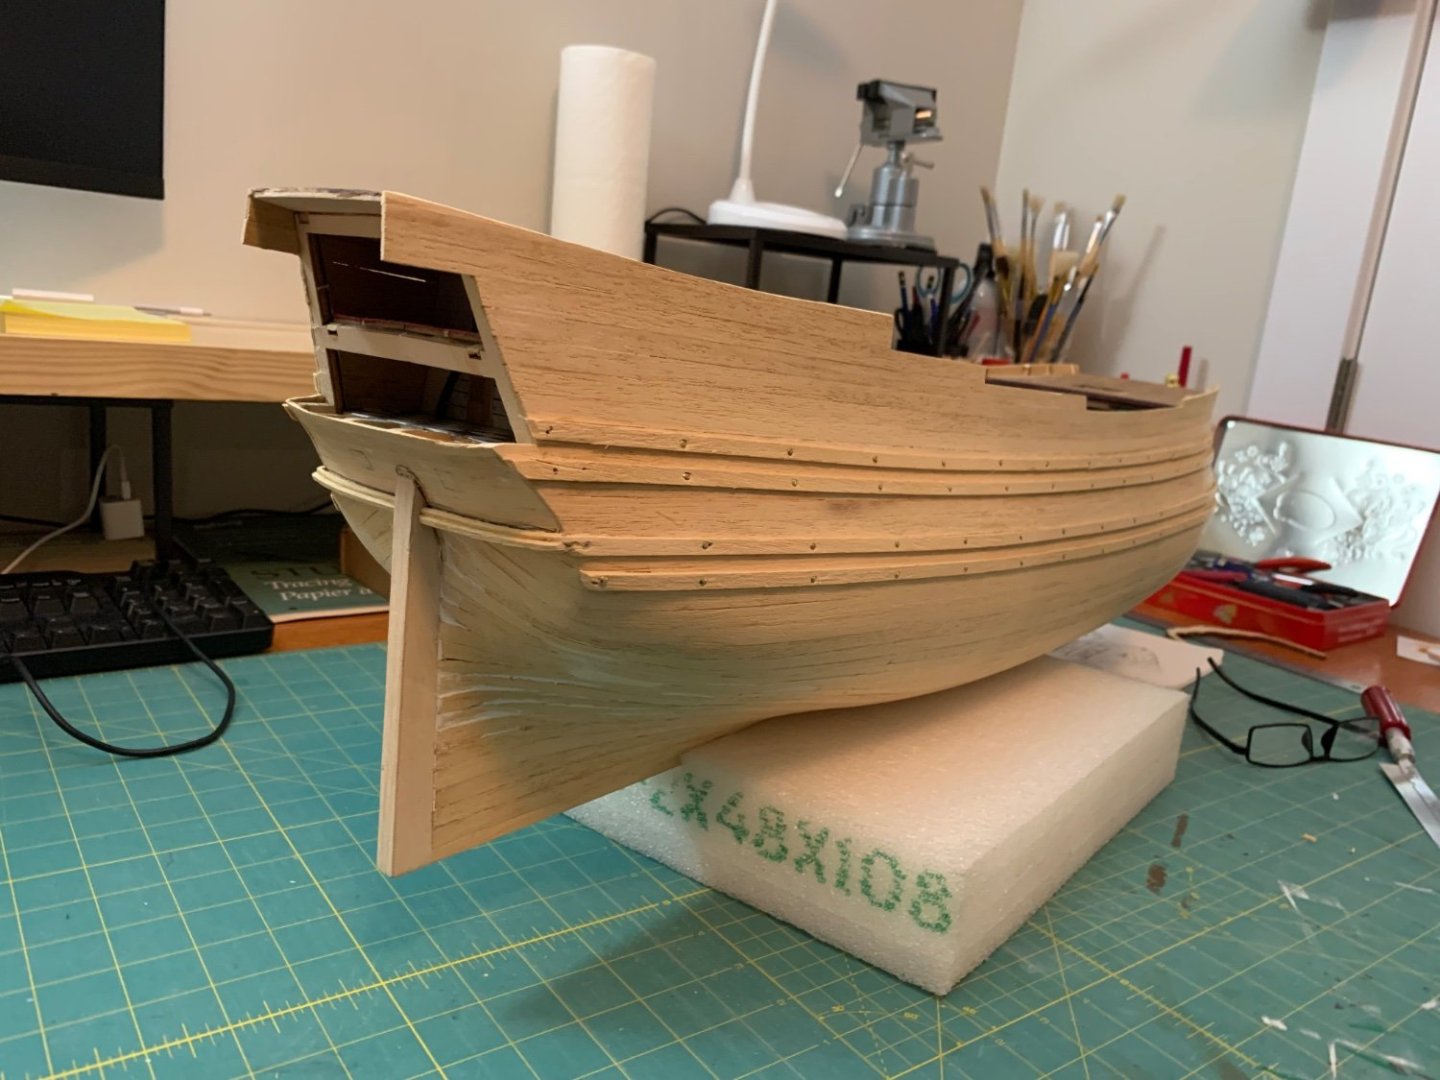
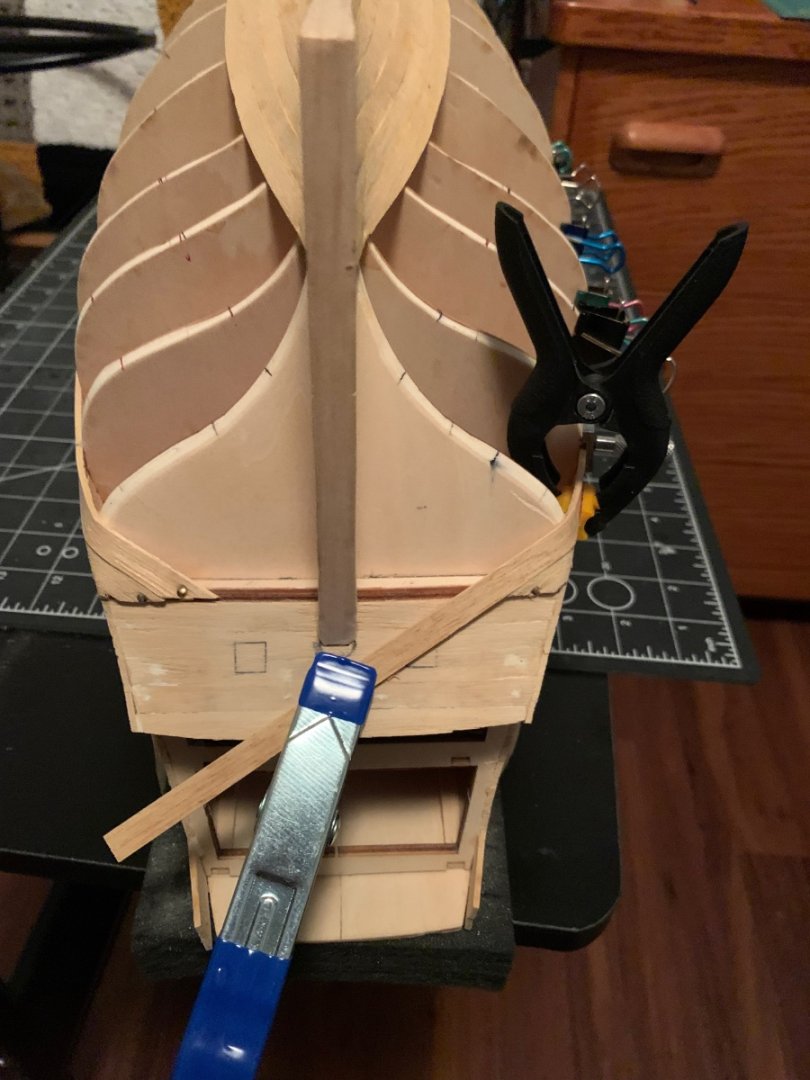
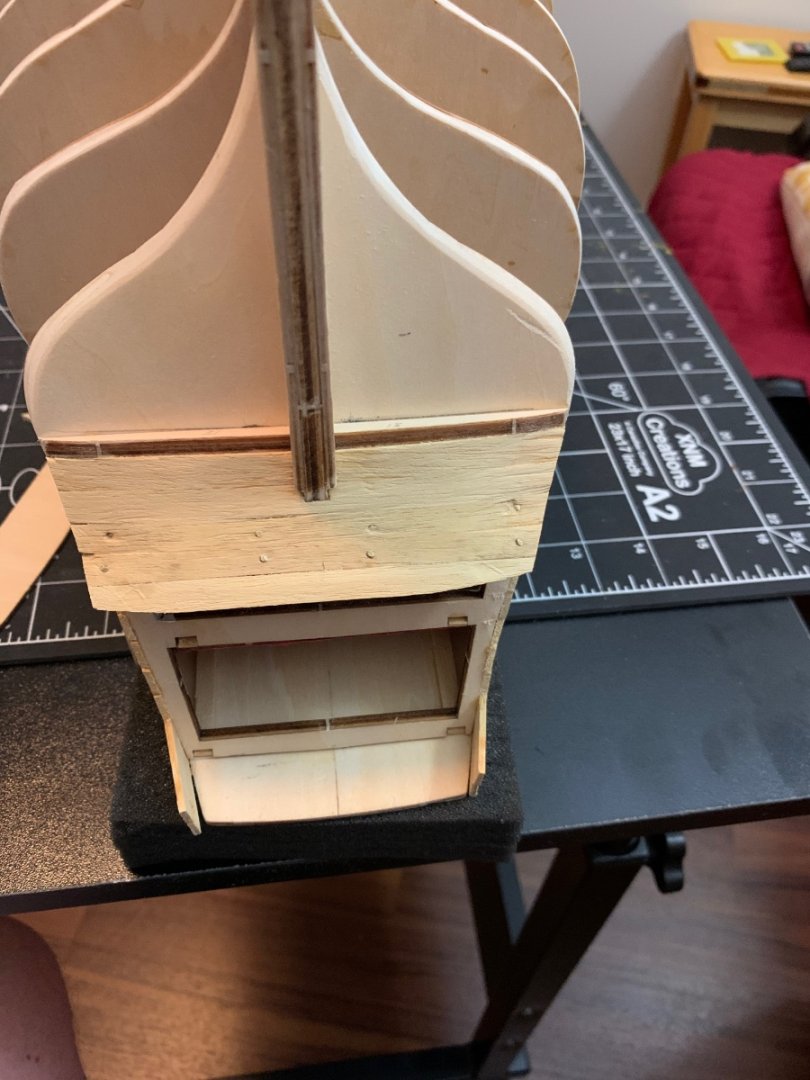
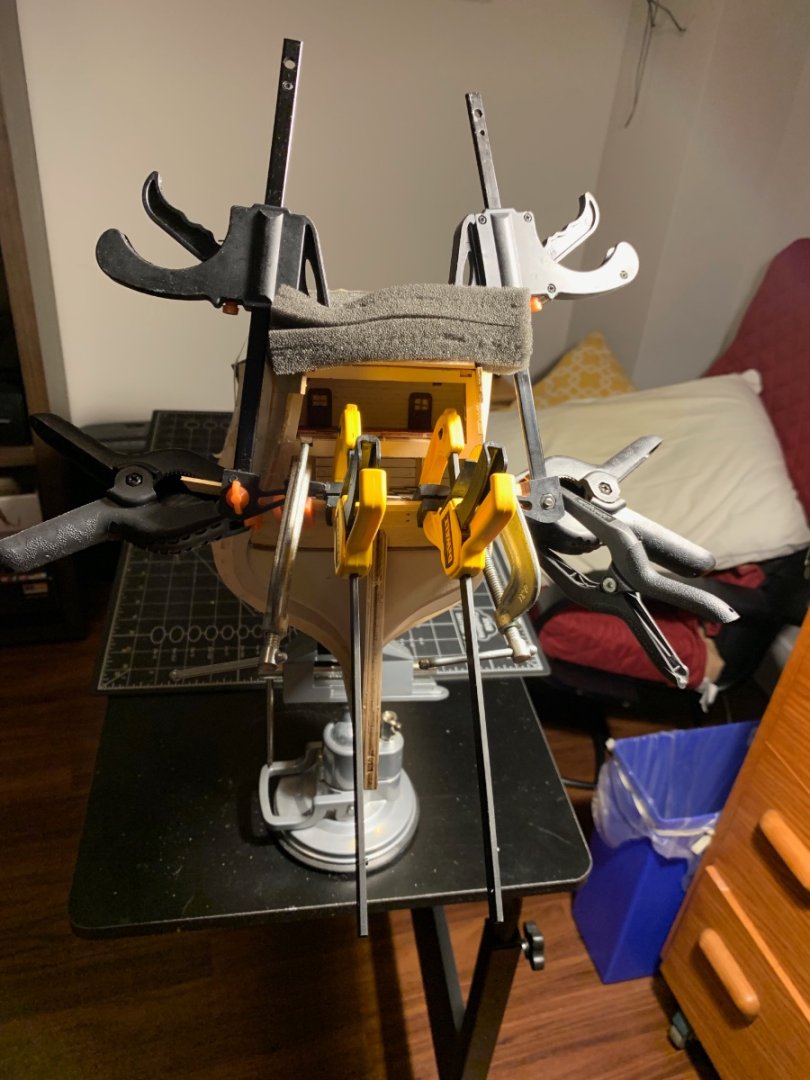
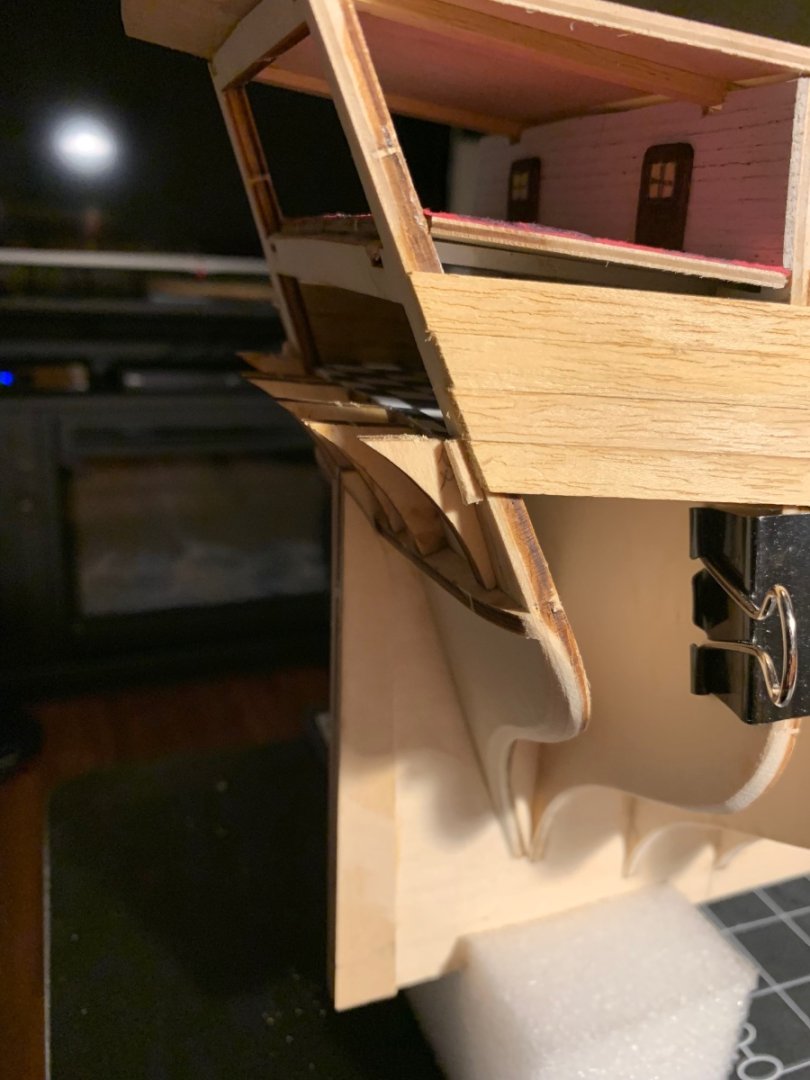
So finished planking the small stern section and made a bit of a hash of it. I really don't like working with Obechi planking provided with the kit. It is very fibrous and easily tears out at the ends. End tear out is evident in the following pictures. Because I already planked a portion of the sides I could not get good angles to attach clamps and had to use a few temporary nails. I am trying to avoid this because I am single planking the hull. It also led to some interesting clamping set-ups. Removed the nails and filled the holes, once the side planking meets up with this section I will have to use more filler to make it look decent. I read in someones build log that they were not a fan of exposed plywood edges, neither am I. I had some iron on edging left over from another build so decided to use it on the keel. In the end the stern section did not come together the way I wanted but learned lots and can't get to hung up on the results as it is part of the growth process. I will leave with two recommendations for anyone who might be looking to build this kit. First, if you are looking to produce a museum quality build either plan on double planking the hull or replace the Obechi planking strips with another type of wood. Second, if I was to start over I think I would plank this stern section first, it will make clamping a whole lot easier and would also avoid the mistake I made in the last post. On to planking the rest of the hull.
- 48 replies
-
- norske love
- billing boats
-
(and 1 more)
Tagged with:
-
 EdS reacted to a post in a topic:
Norske Love by EdS - FINISHED - Billing Boats - 1:75
-
 EdS reacted to a post in a topic:
Norske Love by EdS - FINISHED - Billing Boats - 1:75
-
 EdS reacted to a post in a topic:
Oseberg Viking Ship by Jason Builder - FINISHED - Billing Boats - 1:25
-
Very nice start, I built this kit awhile ago and really enjoyed it. I did very little kit bashing as it was one of my first projects. Looking forward to seeing how yours turns out. Cheers
- 74 replies
-
- Oseberg
- Billing Boats
-
(and 1 more)
Tagged with:
-
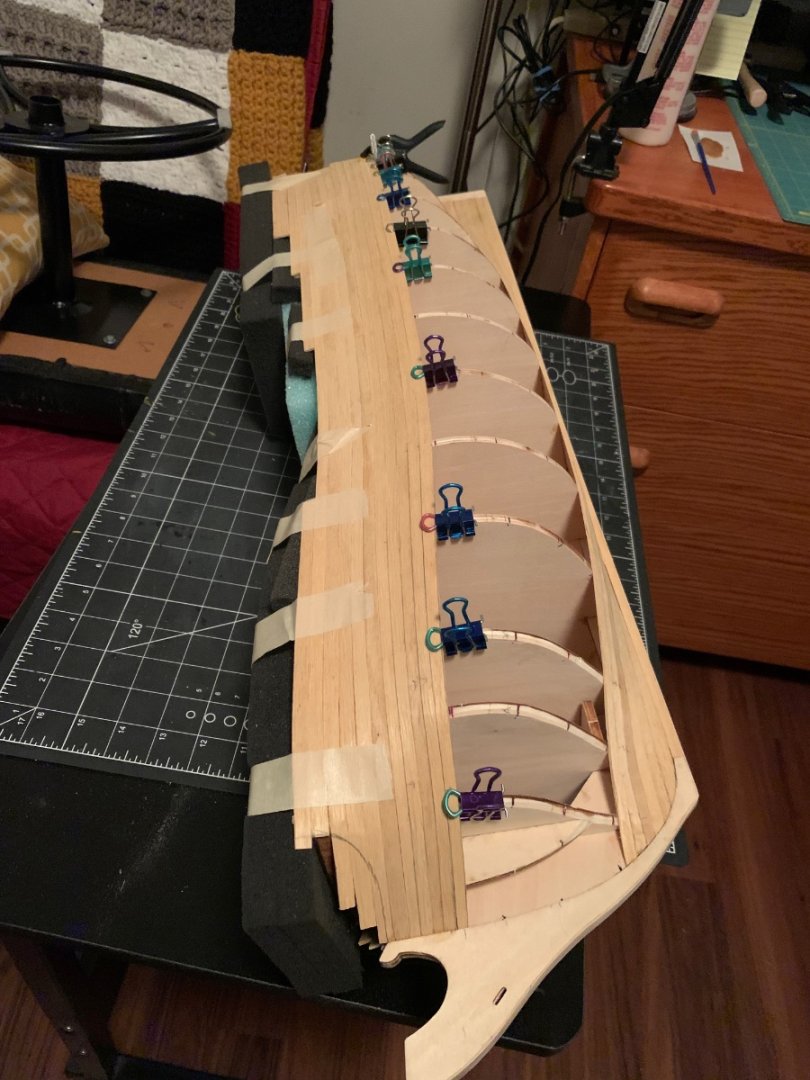
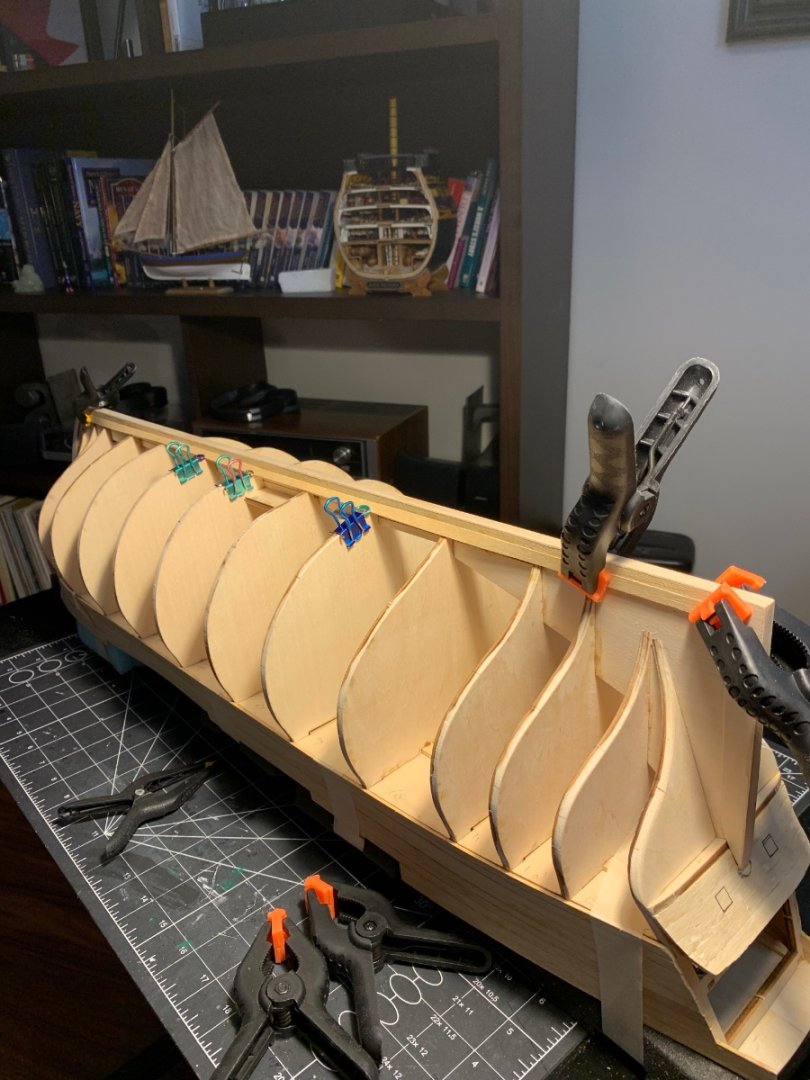
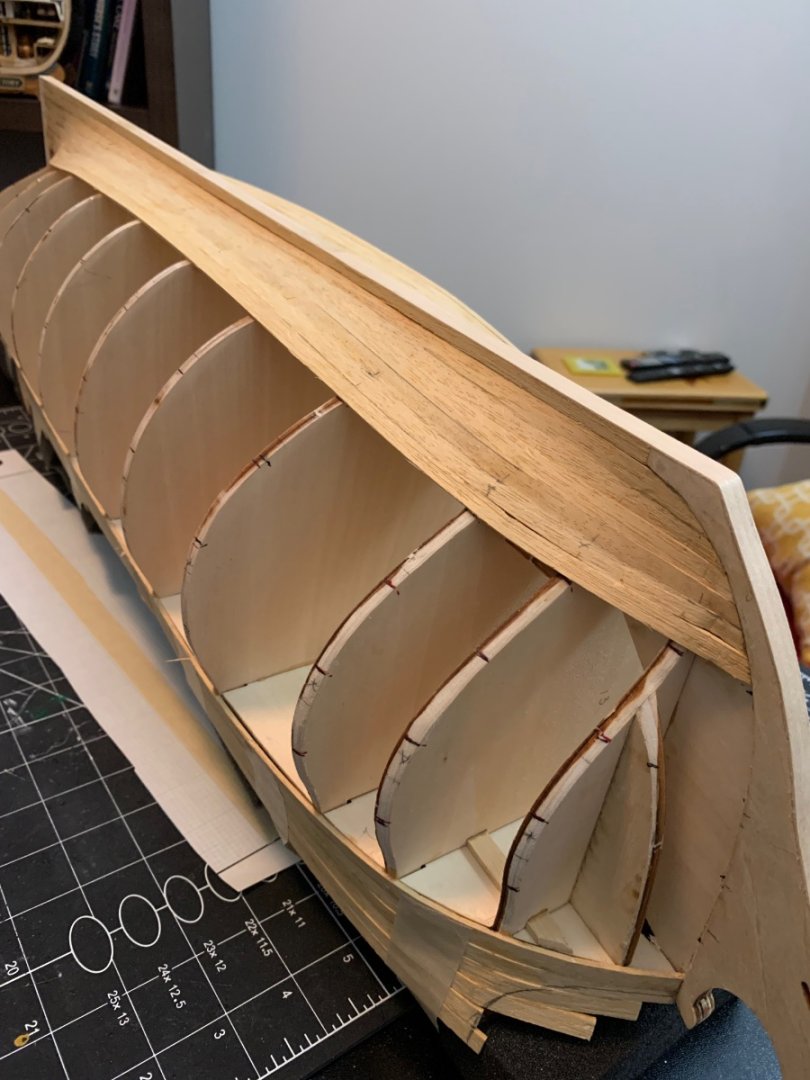
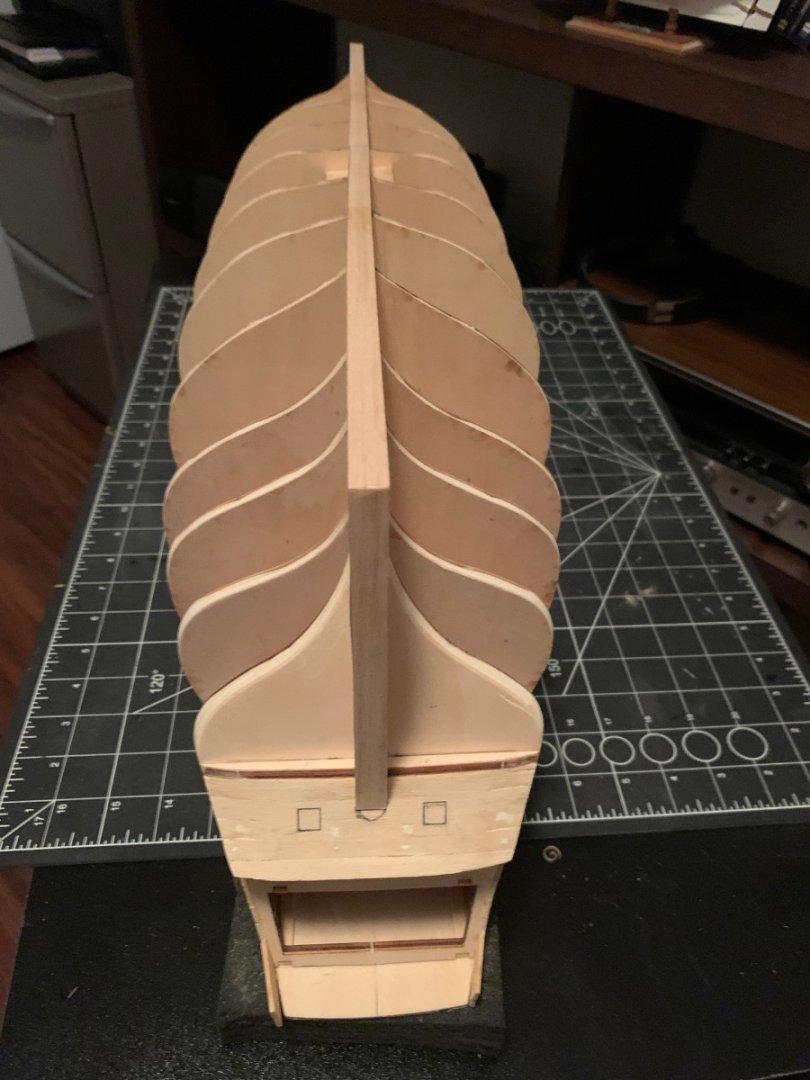
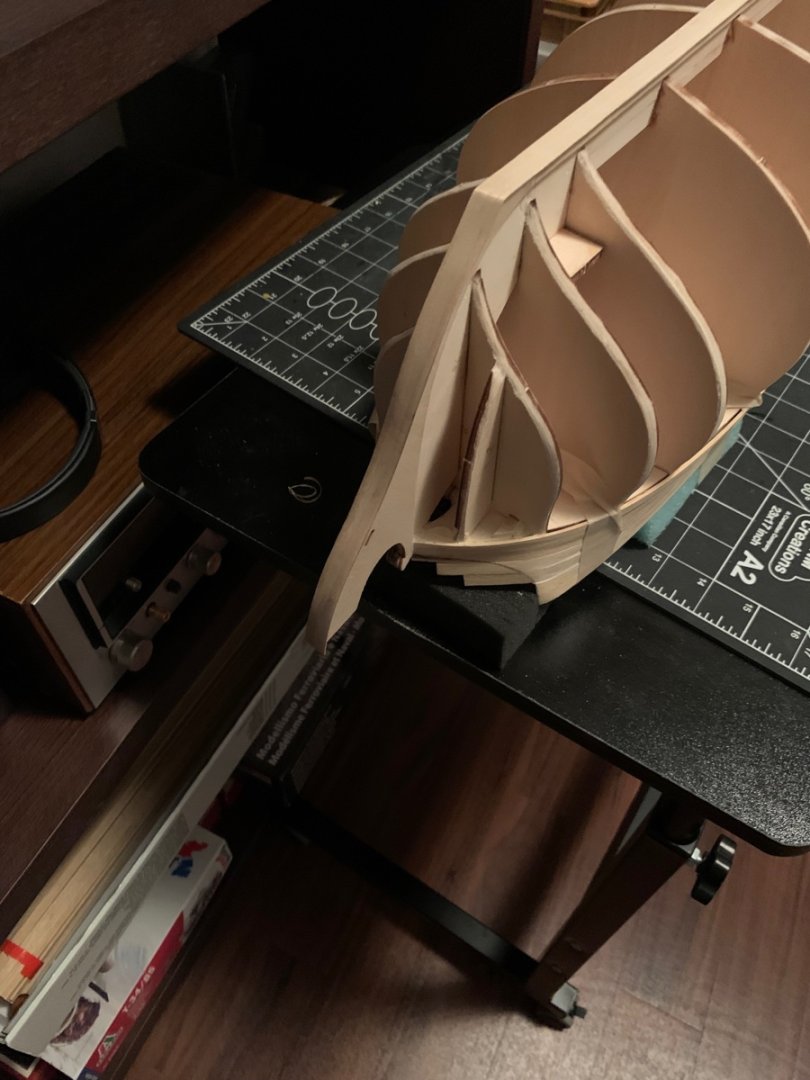
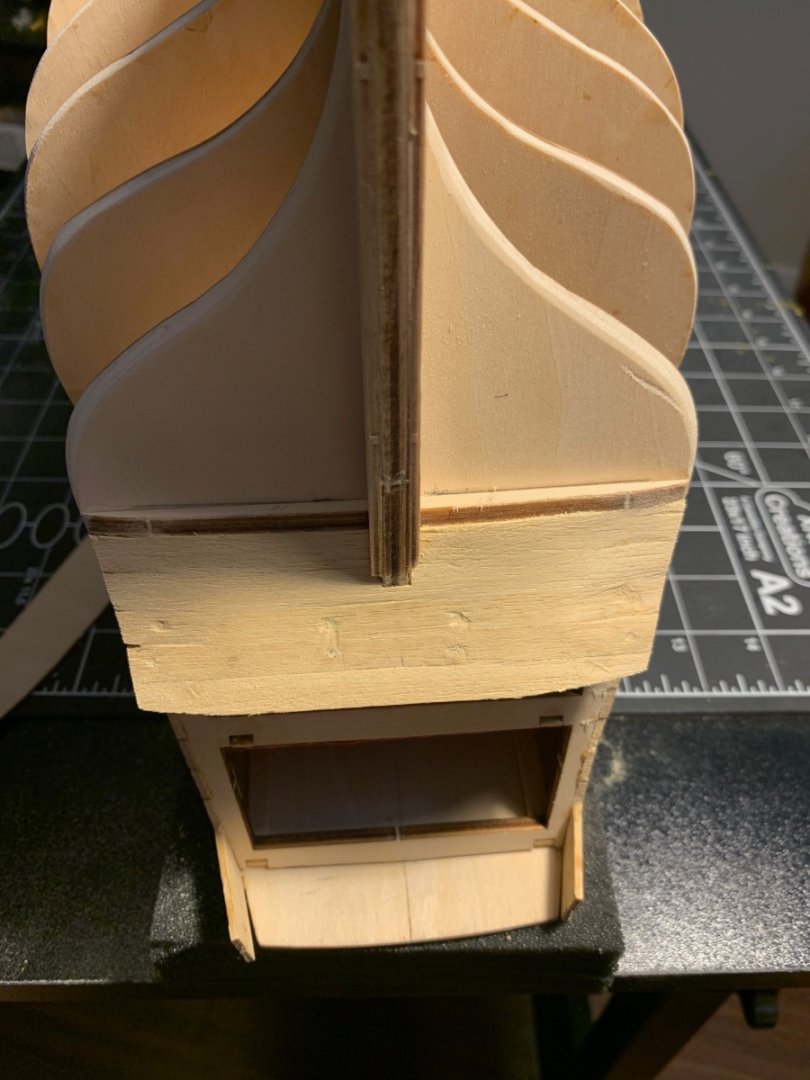
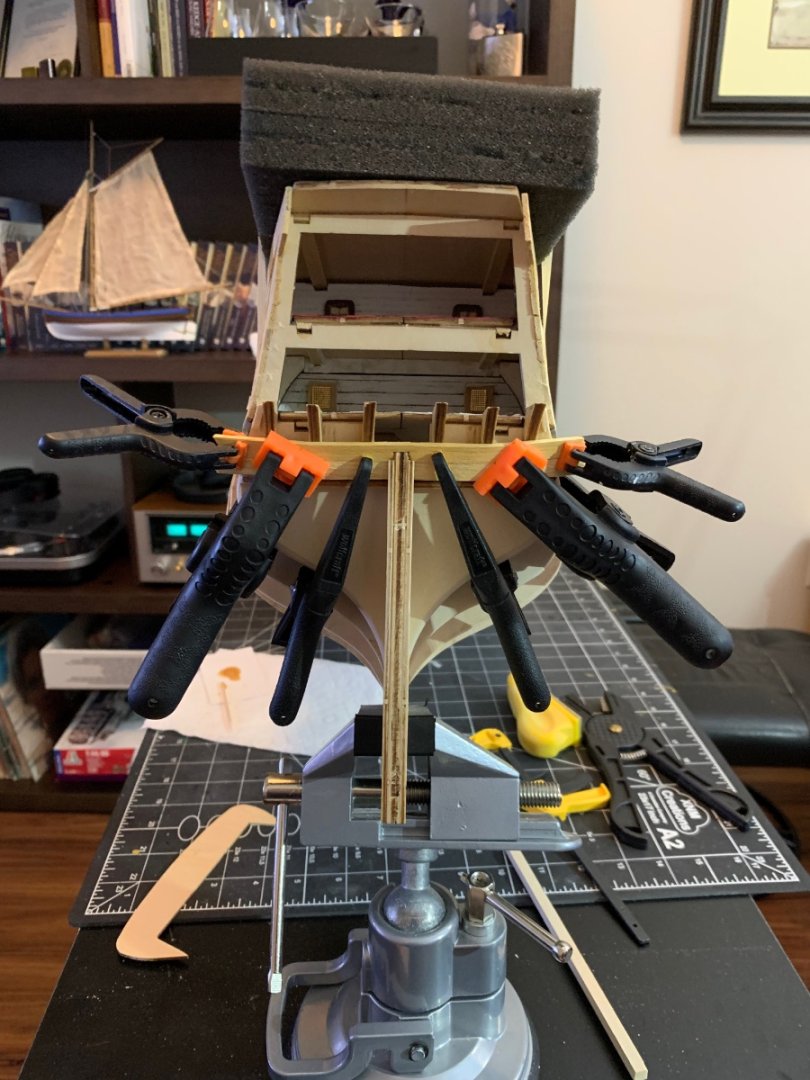
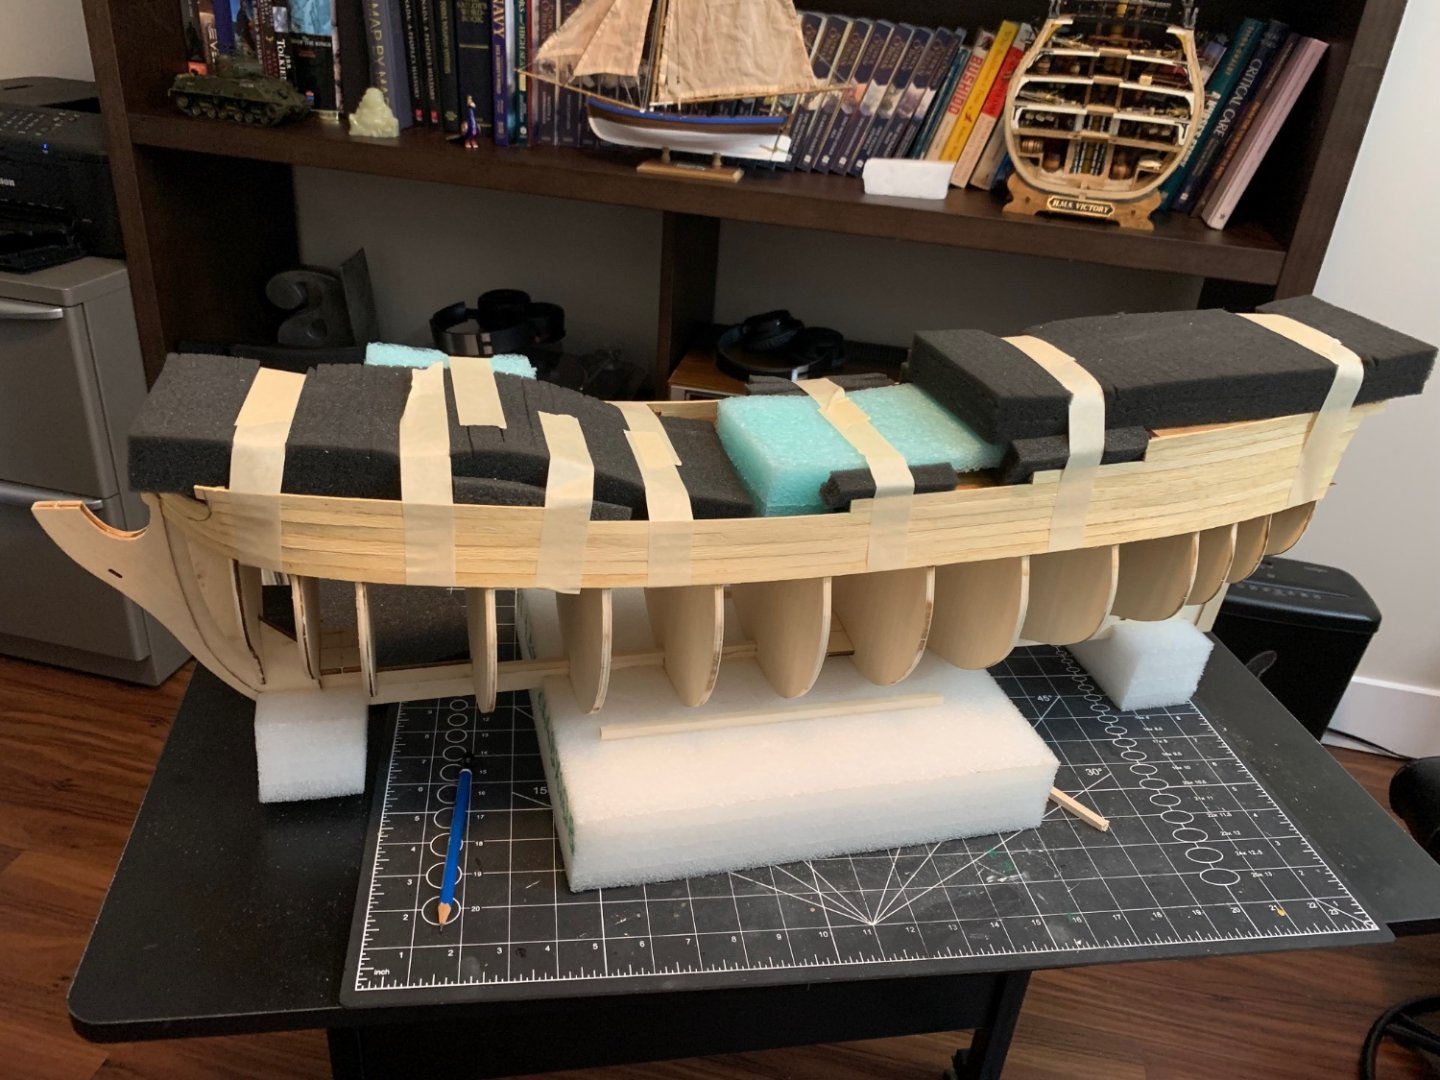
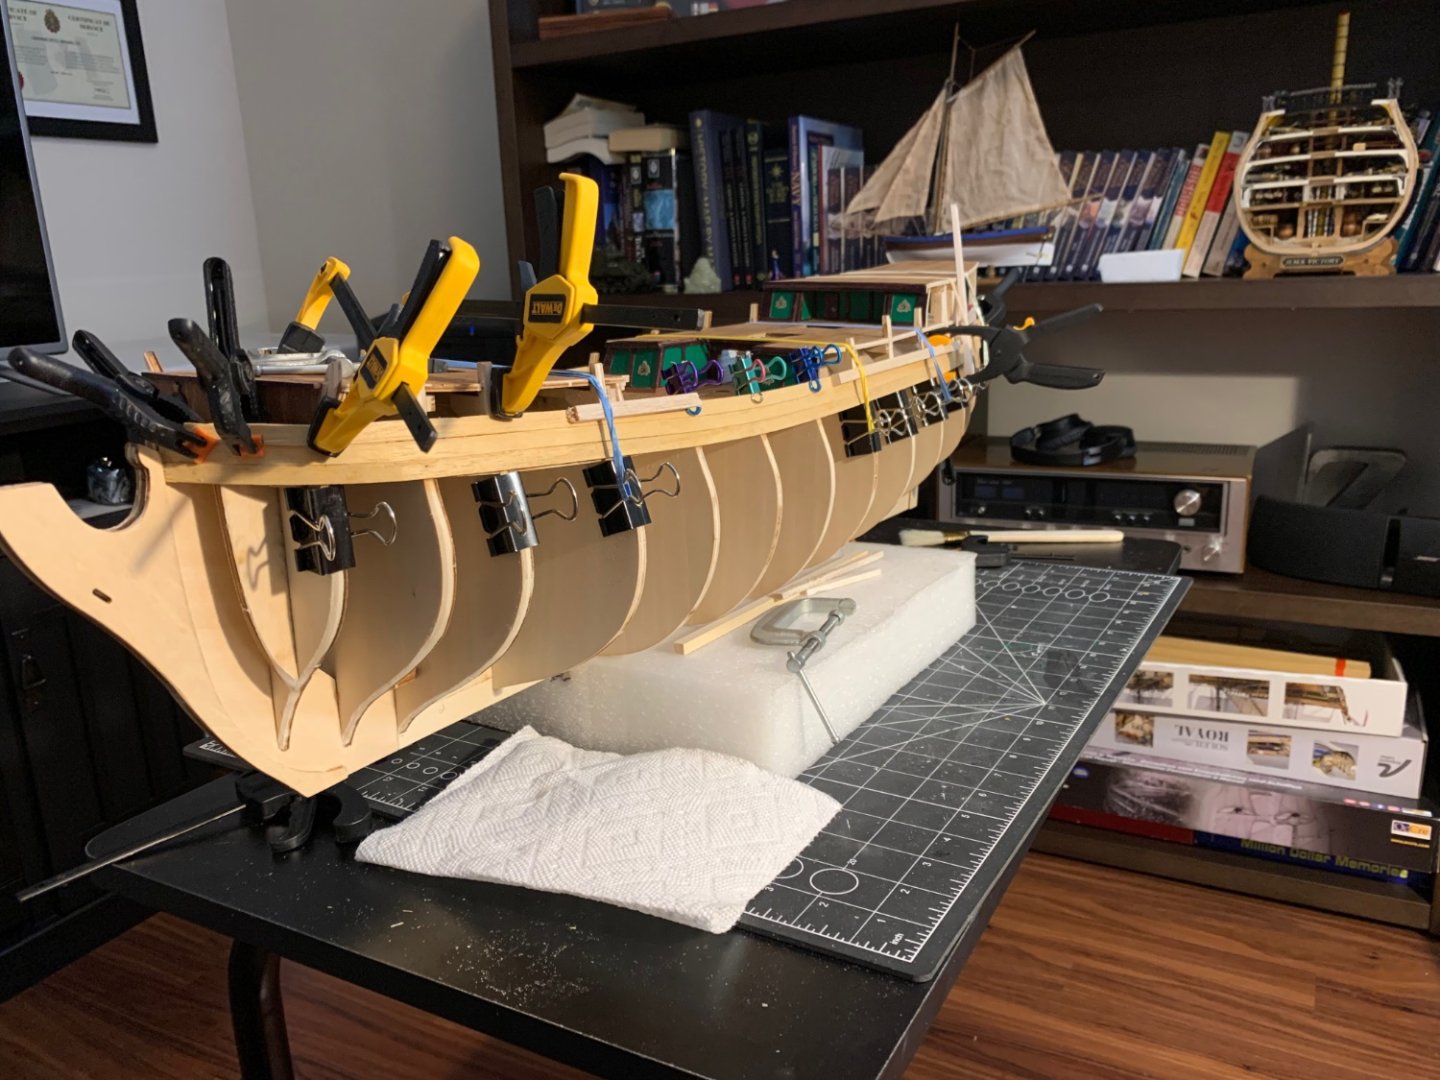
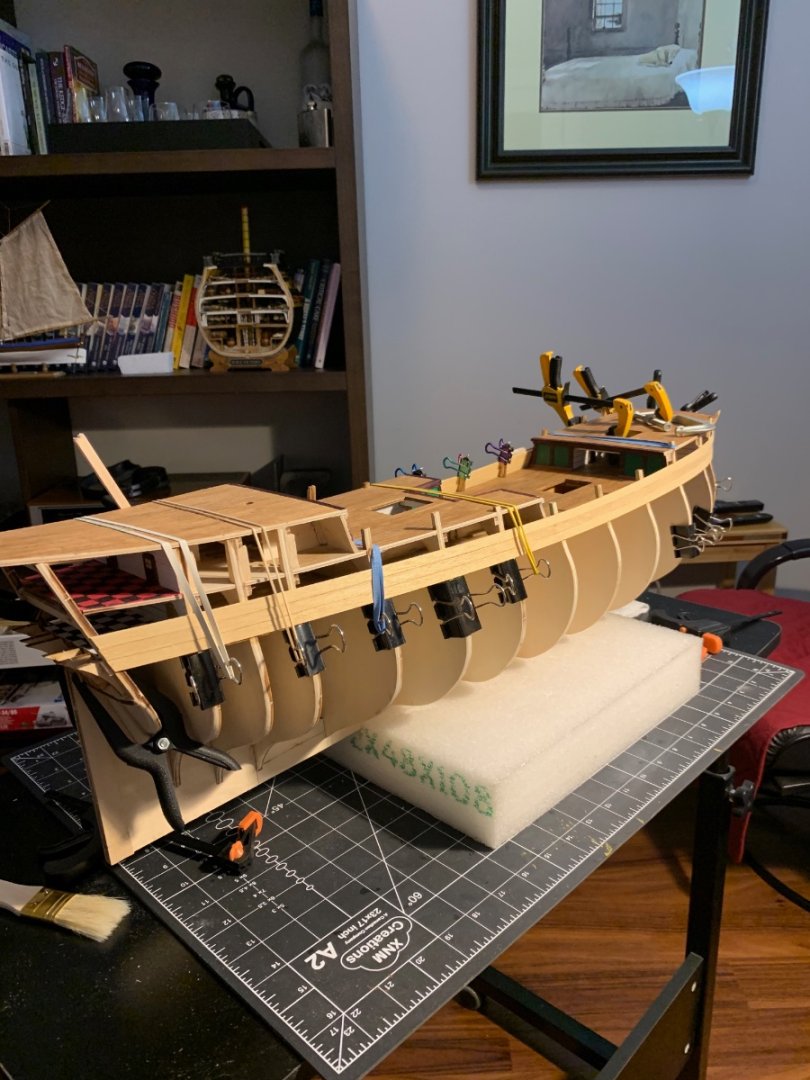
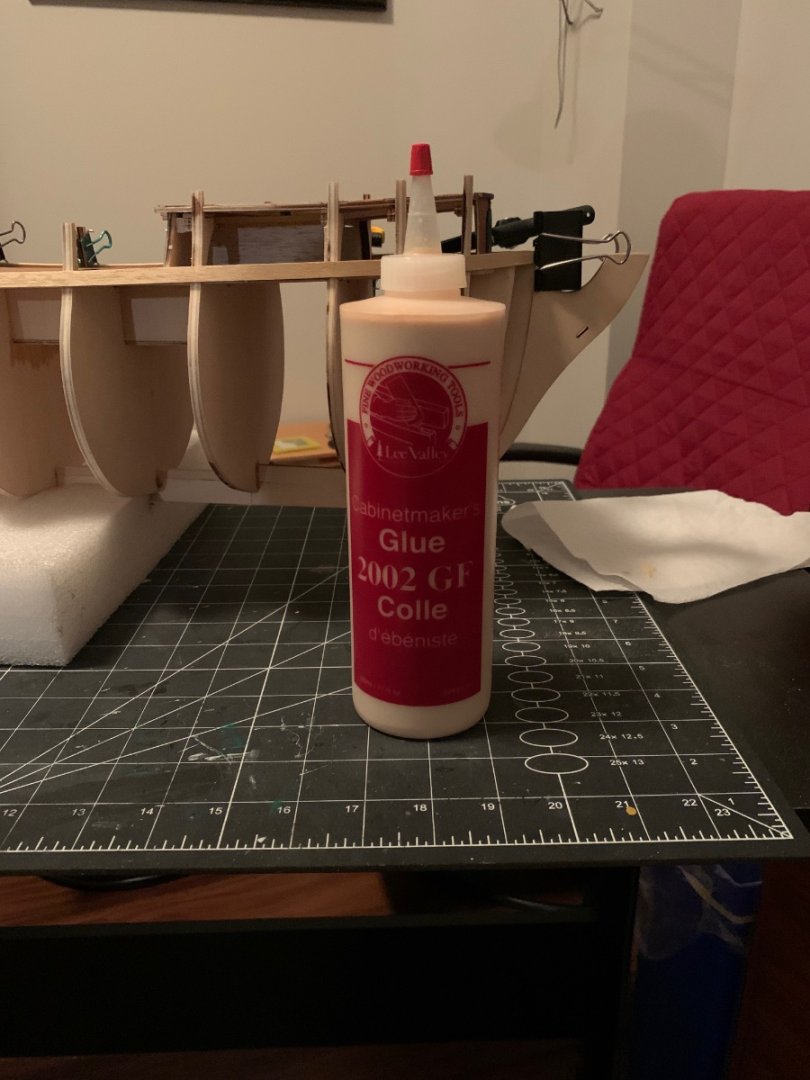
Finished stage one of planking the hull so before moving onto the next step thought I would provide a few progress pictures. The material provided with the kit is 1.8mm X 7mm Obechi, not the easiest stuff to work with but does bend fairly easy with pre-soaking. I am using this glue I got from Lee-Valley, it has gap filler in it. So far I am very happy with the results and will not have to apply a lot of extra filler on the finished hull "so far" 😬 The next image is a little lesson learned, I cut off this one plank without considering the overhang needed to meet up with the aft section. I will now have to insert a little section of planking to cover this error. So on to stage two which will be planking the aft section, ship taped up and foam in place to protect the unfinished planking edges from the ham-fisted builder.
- 48 replies
-
- norske love
- billing boats
-
(and 1 more)
Tagged with:
About us
Modelshipworld - Advancing Ship Modeling through Research
SSL Secured
Your security is important for us so this Website is SSL-Secured
NRG Mailing Address
Nautical Research Guild
237 South Lincoln Street
Westmont IL, 60559-1917
Model Ship World ® and the MSW logo are Registered Trademarks, and belong to the Nautical Research Guild (United States Patent and Trademark Office: No. 6,929,264 & No. 6,929,274, registered Dec. 20, 2022)
Helpful Links
About the NRG
If you enjoy building ship models that are historically accurate as well as beautiful, then The Nautical Research Guild (NRG) is just right for you.
The Guild is a non-profit educational organization whose mission is to “Advance Ship Modeling Through Research”. We provide support to our members in their efforts to raise the quality of their model ships.
The Nautical Research Guild has published our world-renowned quarterly magazine, The Nautical Research Journal, since 1955. The pages of the Journal are full of articles by accomplished ship modelers who show you how they create those exquisite details on their models, and by maritime historians who show you the correct details to build. The Journal is available in both print and digital editions. Go to the NRG web site (www.thenrg.org) to download a complimentary digital copy of the Journal. The NRG also publishes plan sets, books and compilations of back issues of the Journal and the former Ships in Scale and Model Ship Builder magazines.


