Supplies of the Ship Modeler's Handbook are running out. Get your copy NOW before they are gone! Click on photo to order.
×
DarkAngel
-
Posts
243 -
Joined
-
Last visited
Content Type
Profiles
Forums
Gallery
Events
Everything posted by DarkAngel
-
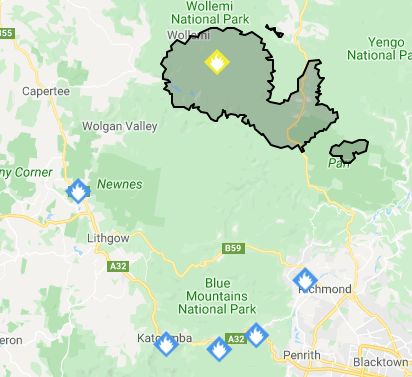
 Winds today currently Westerlies 24 km/h, gusting to 42 km/h switching to W/SW later in the day
 -
Fire update I'm in Lithgow... North WestEast South
-
Thanks Mark, I'll keep my fingers crossed for the Trump Impeachment for you
-
Fire's blaze across NSW There are multiple fire's burning across the state and as such I haven't been able to focus on my build. However I shall update with bit's and pieces as I find motivation Cabin update I've decided to add a wood layer to the metal casting which I shall color with the same Japan Black stain as I'm using across the ship. Check out my progress on the top right of the pic.

-
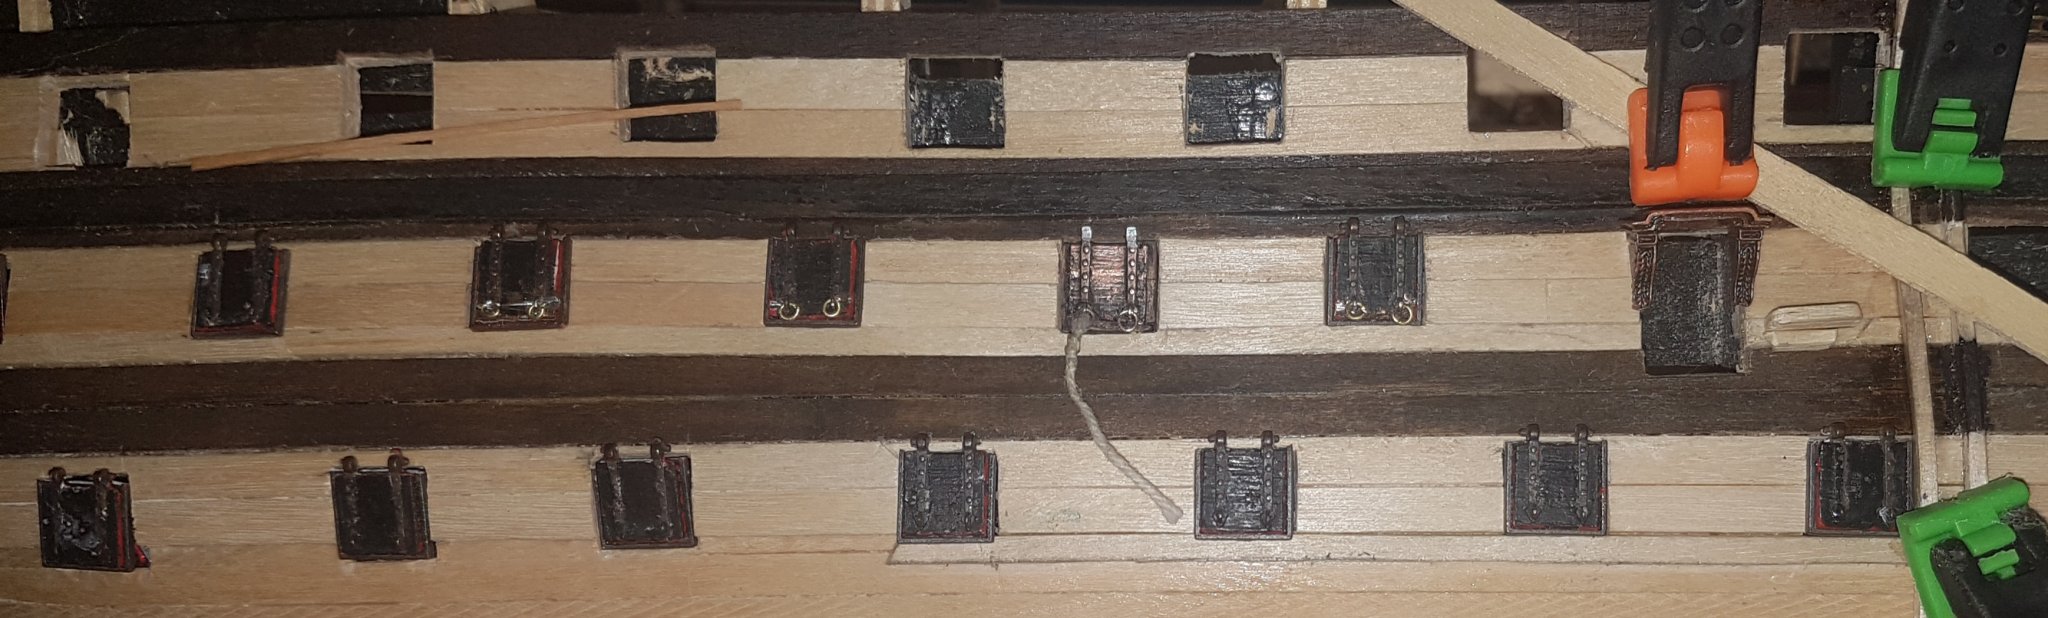
Hull fittings

-
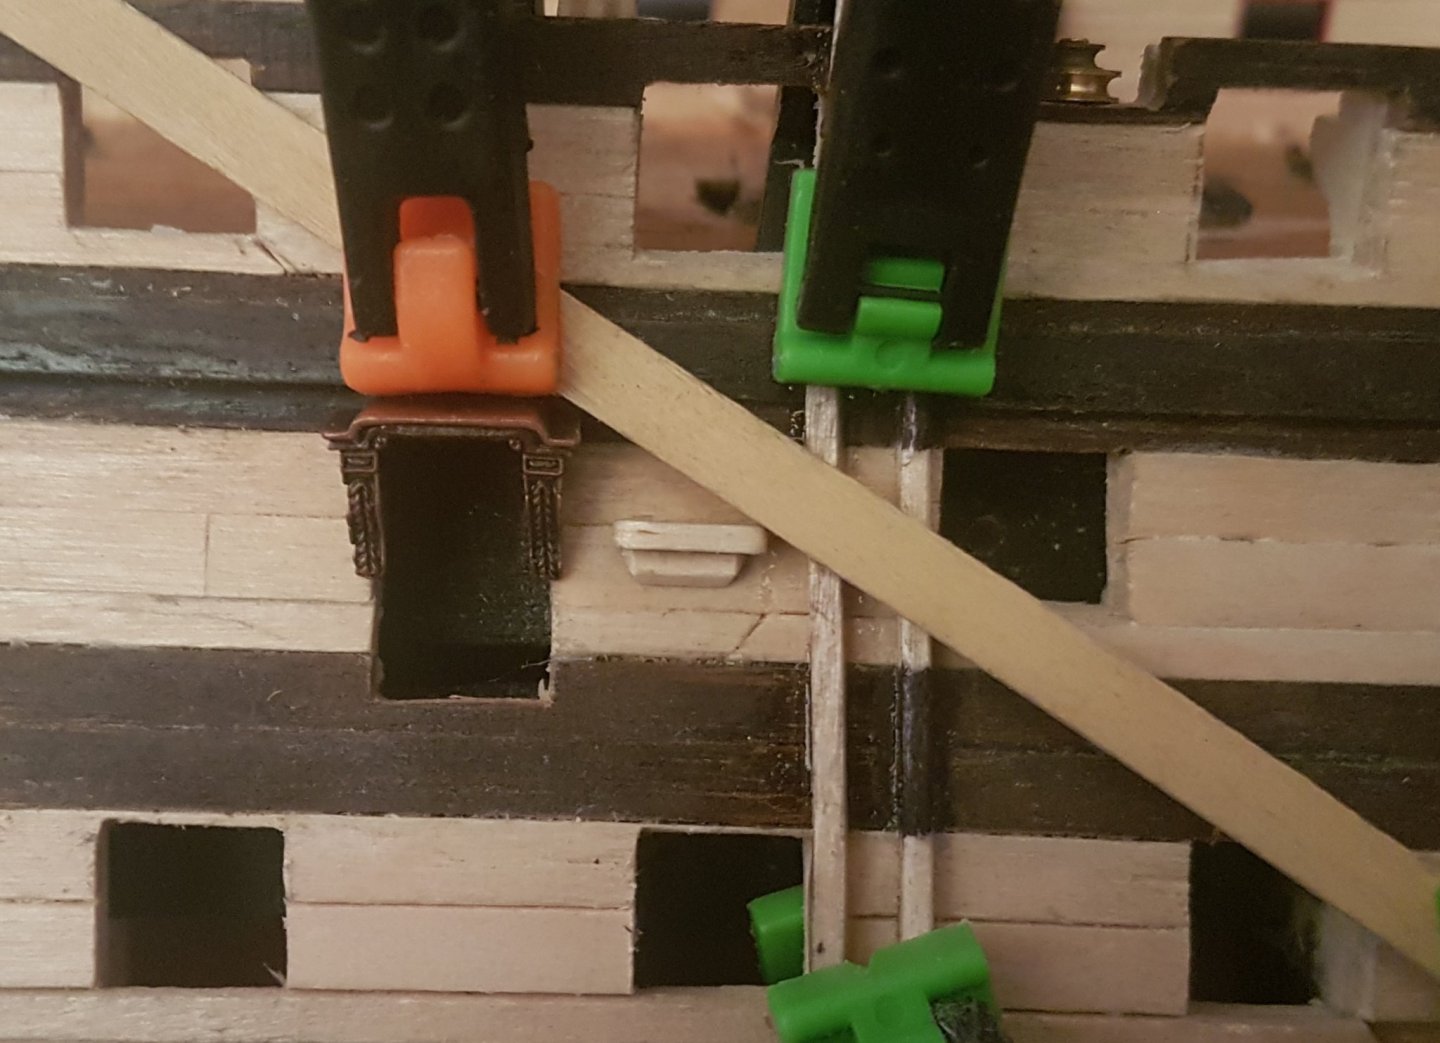
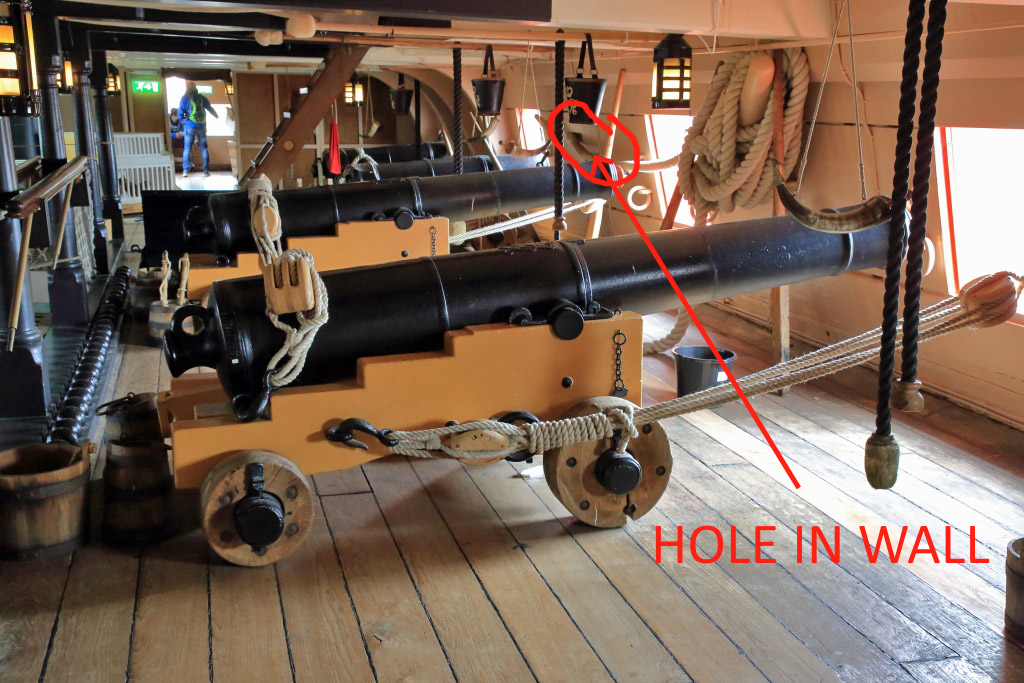
Hull progress I'm working on the 2nd planking down to the final whale, my progress includes the introduction of a hull fitting... one of two rails going vertically down the hull near the hull entrance. I'm also thinking of other fittings... there is quite a few to consider, like; inserting a pulley into the hull planking deck drainage holes eyebolts steps entrance fittings and decorations Anchor holes Hatch rain vanes The pulley in the hull goes into the Upper Gun Deck from memory where there is a huge cleat on the wall inside... this is probably for tying down a sail. I'll need to search my pic's for the location of the pulley(s) in the hull.

.png.2a0d8dfad368d570eca8fd8935966007.png)

-
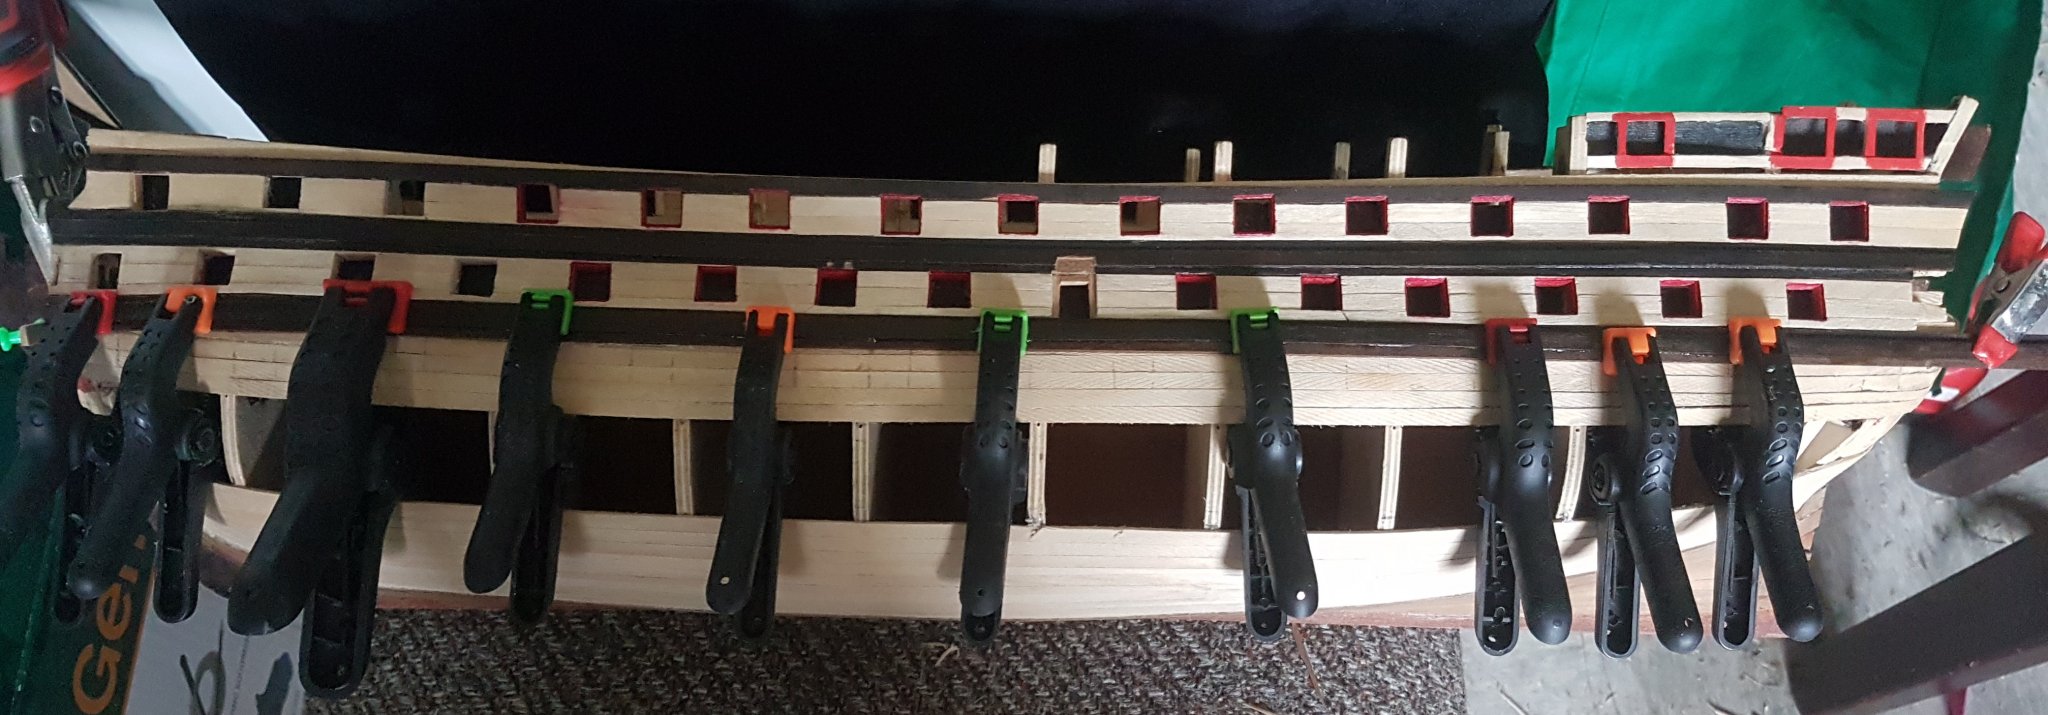
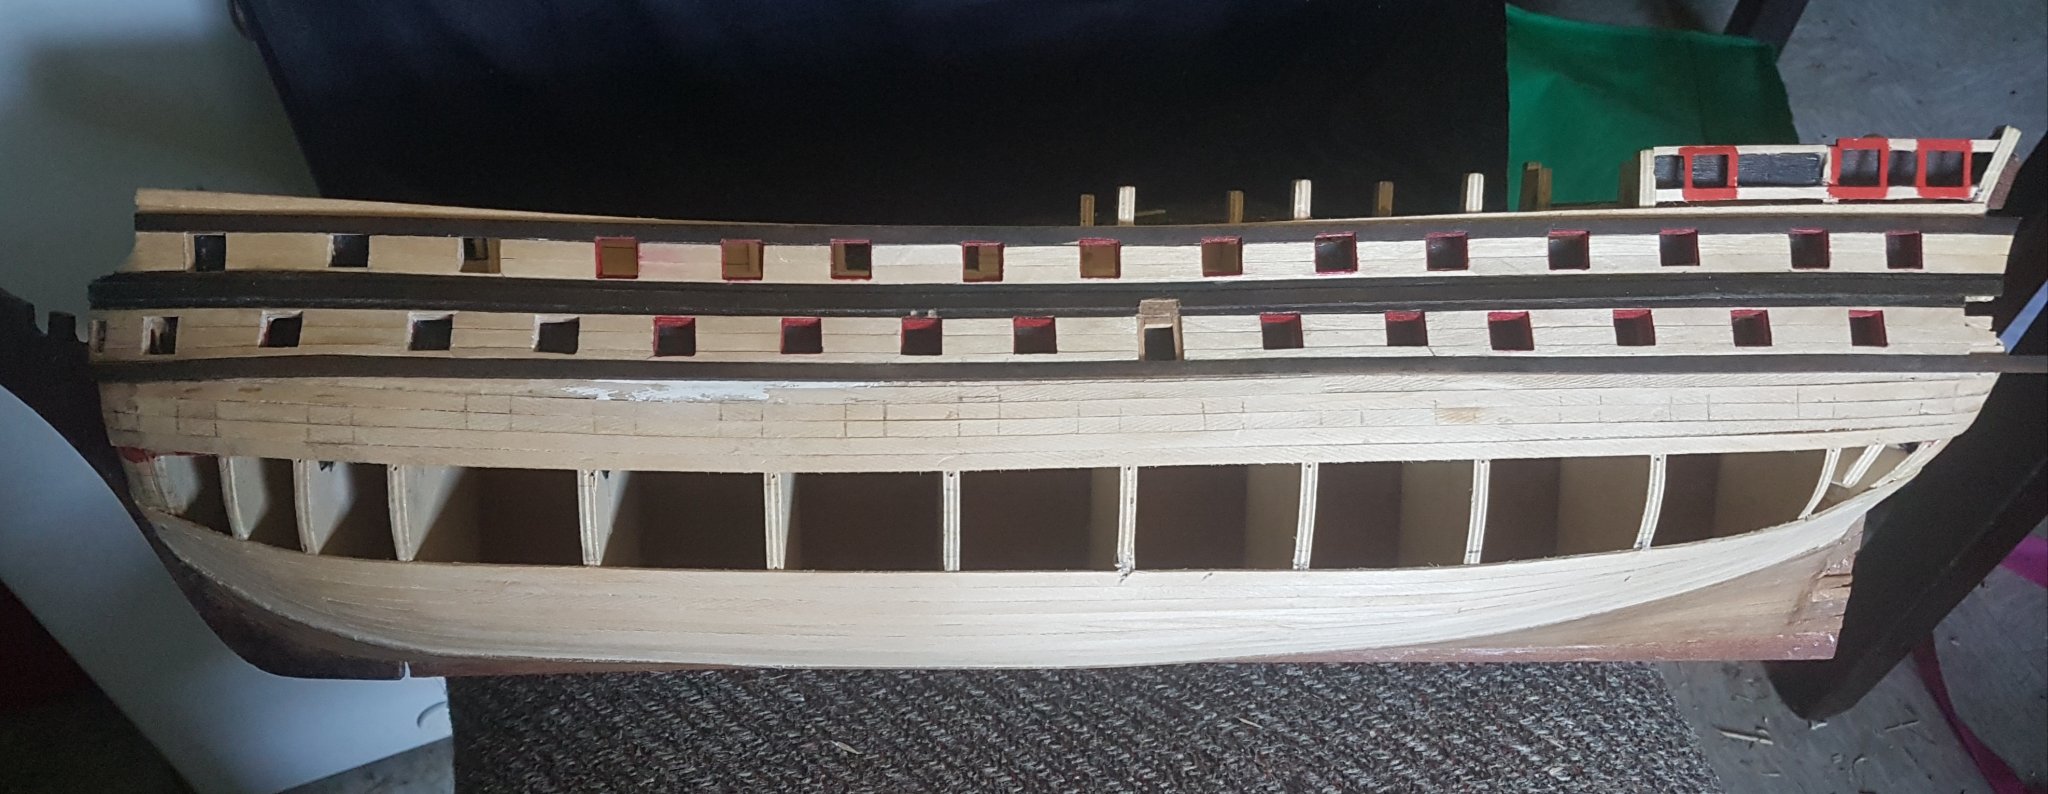
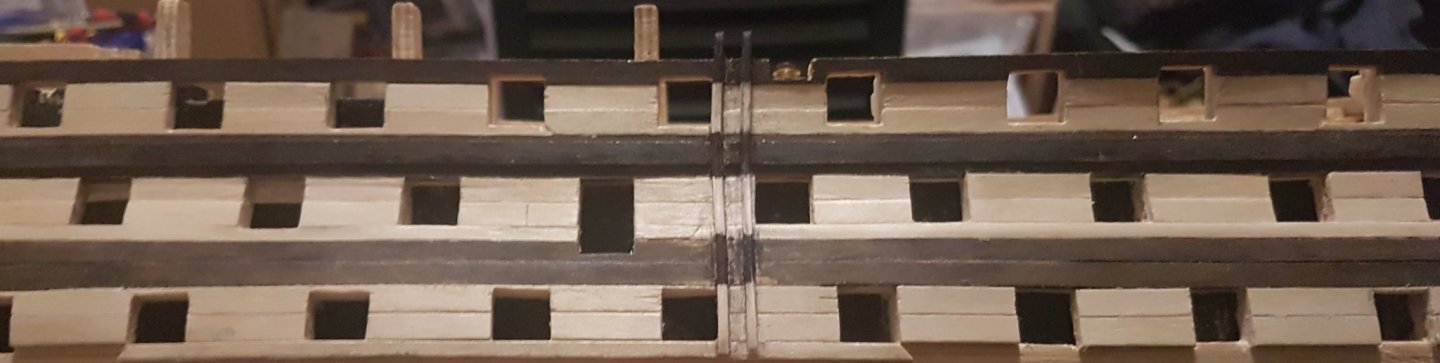
Hull update Working on the 2nd planking for the hull on the lower gun deck, and making sure all the cannon hatches are the right size.
-
Thanks Mark as always for your kind thoughts. Hatch update Here's a pic of heat shrink attached to the rope on the hatch. The heat shrink tube thickens up quite a lot as it reduces in size and is a bit thicker than I would like (as pictured) Another idea is to reduce the size of the heat shrink and taper the end near the rope and add black silicon paste directly onto the rope connecting the tapered heat shrink. I think that would work well once smoothed after the silicon dries.
-
The darker wood is Walnut with 3 coats of Japan Black deck stain... the lighter wood are white pine coffee stirrers, which will have a washed out acrylic yellow ochre / white 1 : 1 mix watered down to a very thin mix. This is so the wood grain will still be visible... well thats the plan
-
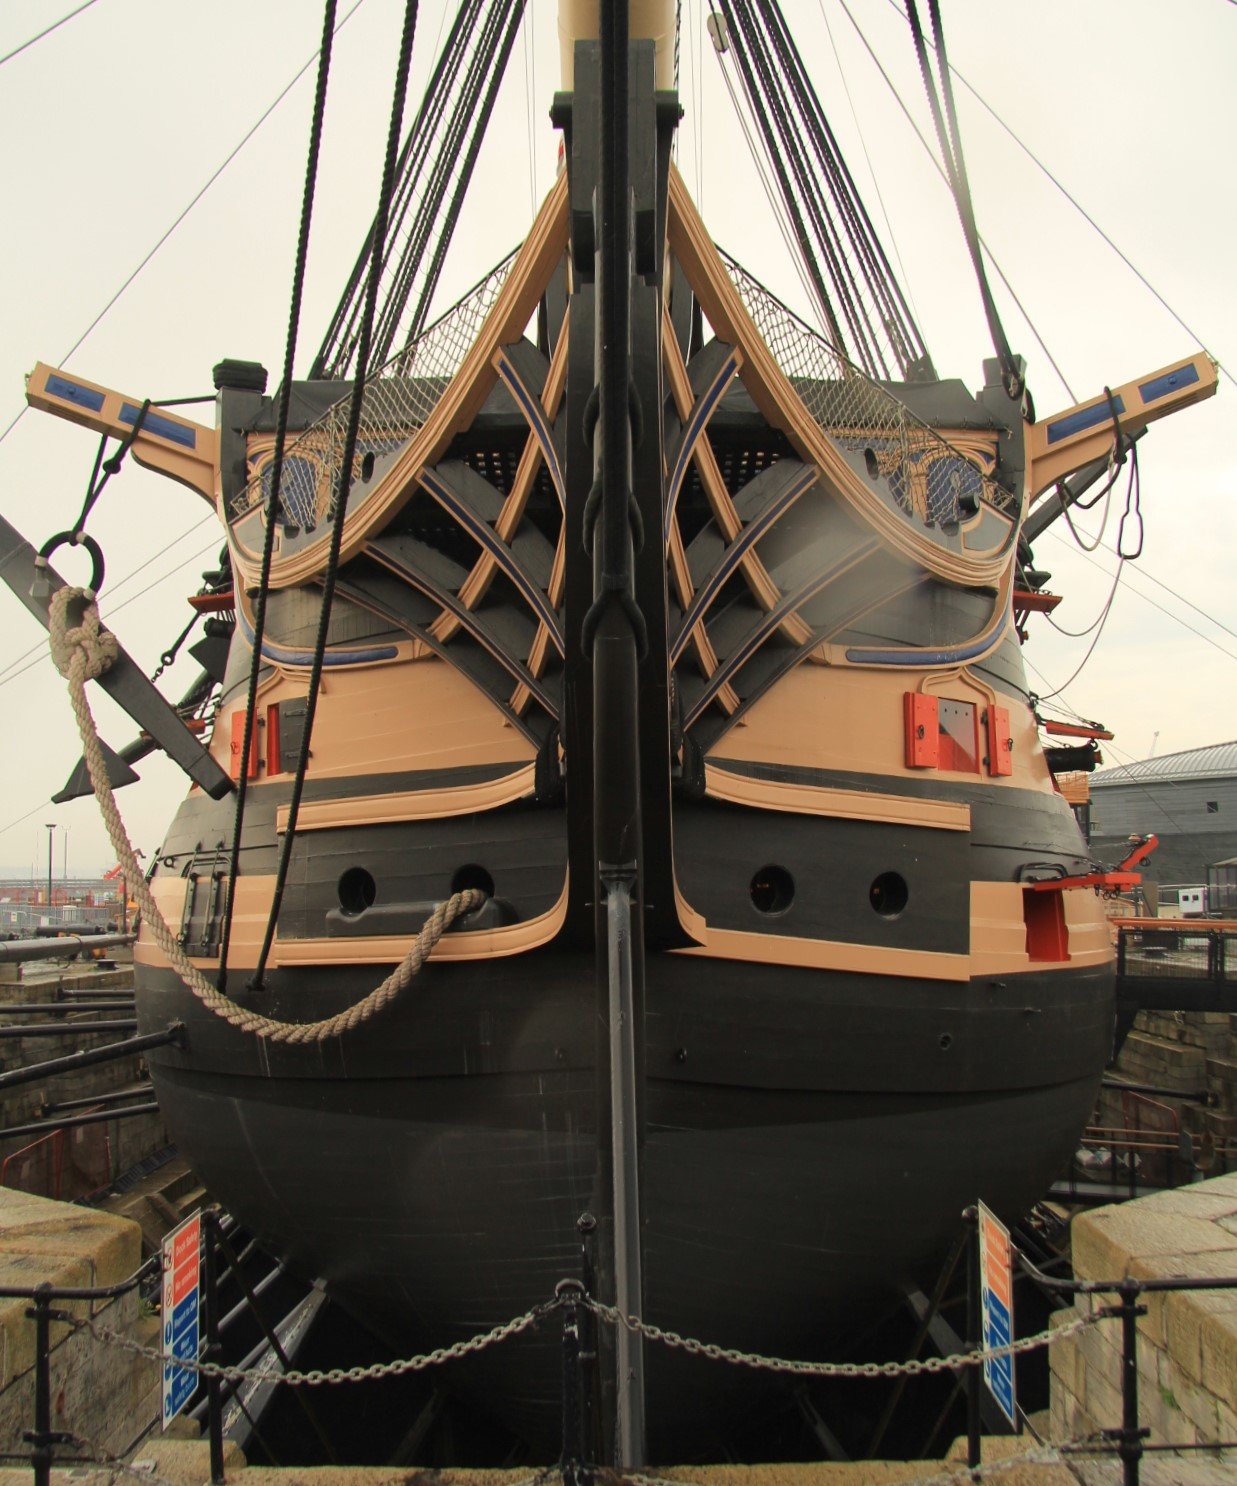
I noticed the Corel design curves the cannon hatches up on each row, where the HMS Victory photo's indicate they curve down on each end slightly.


-
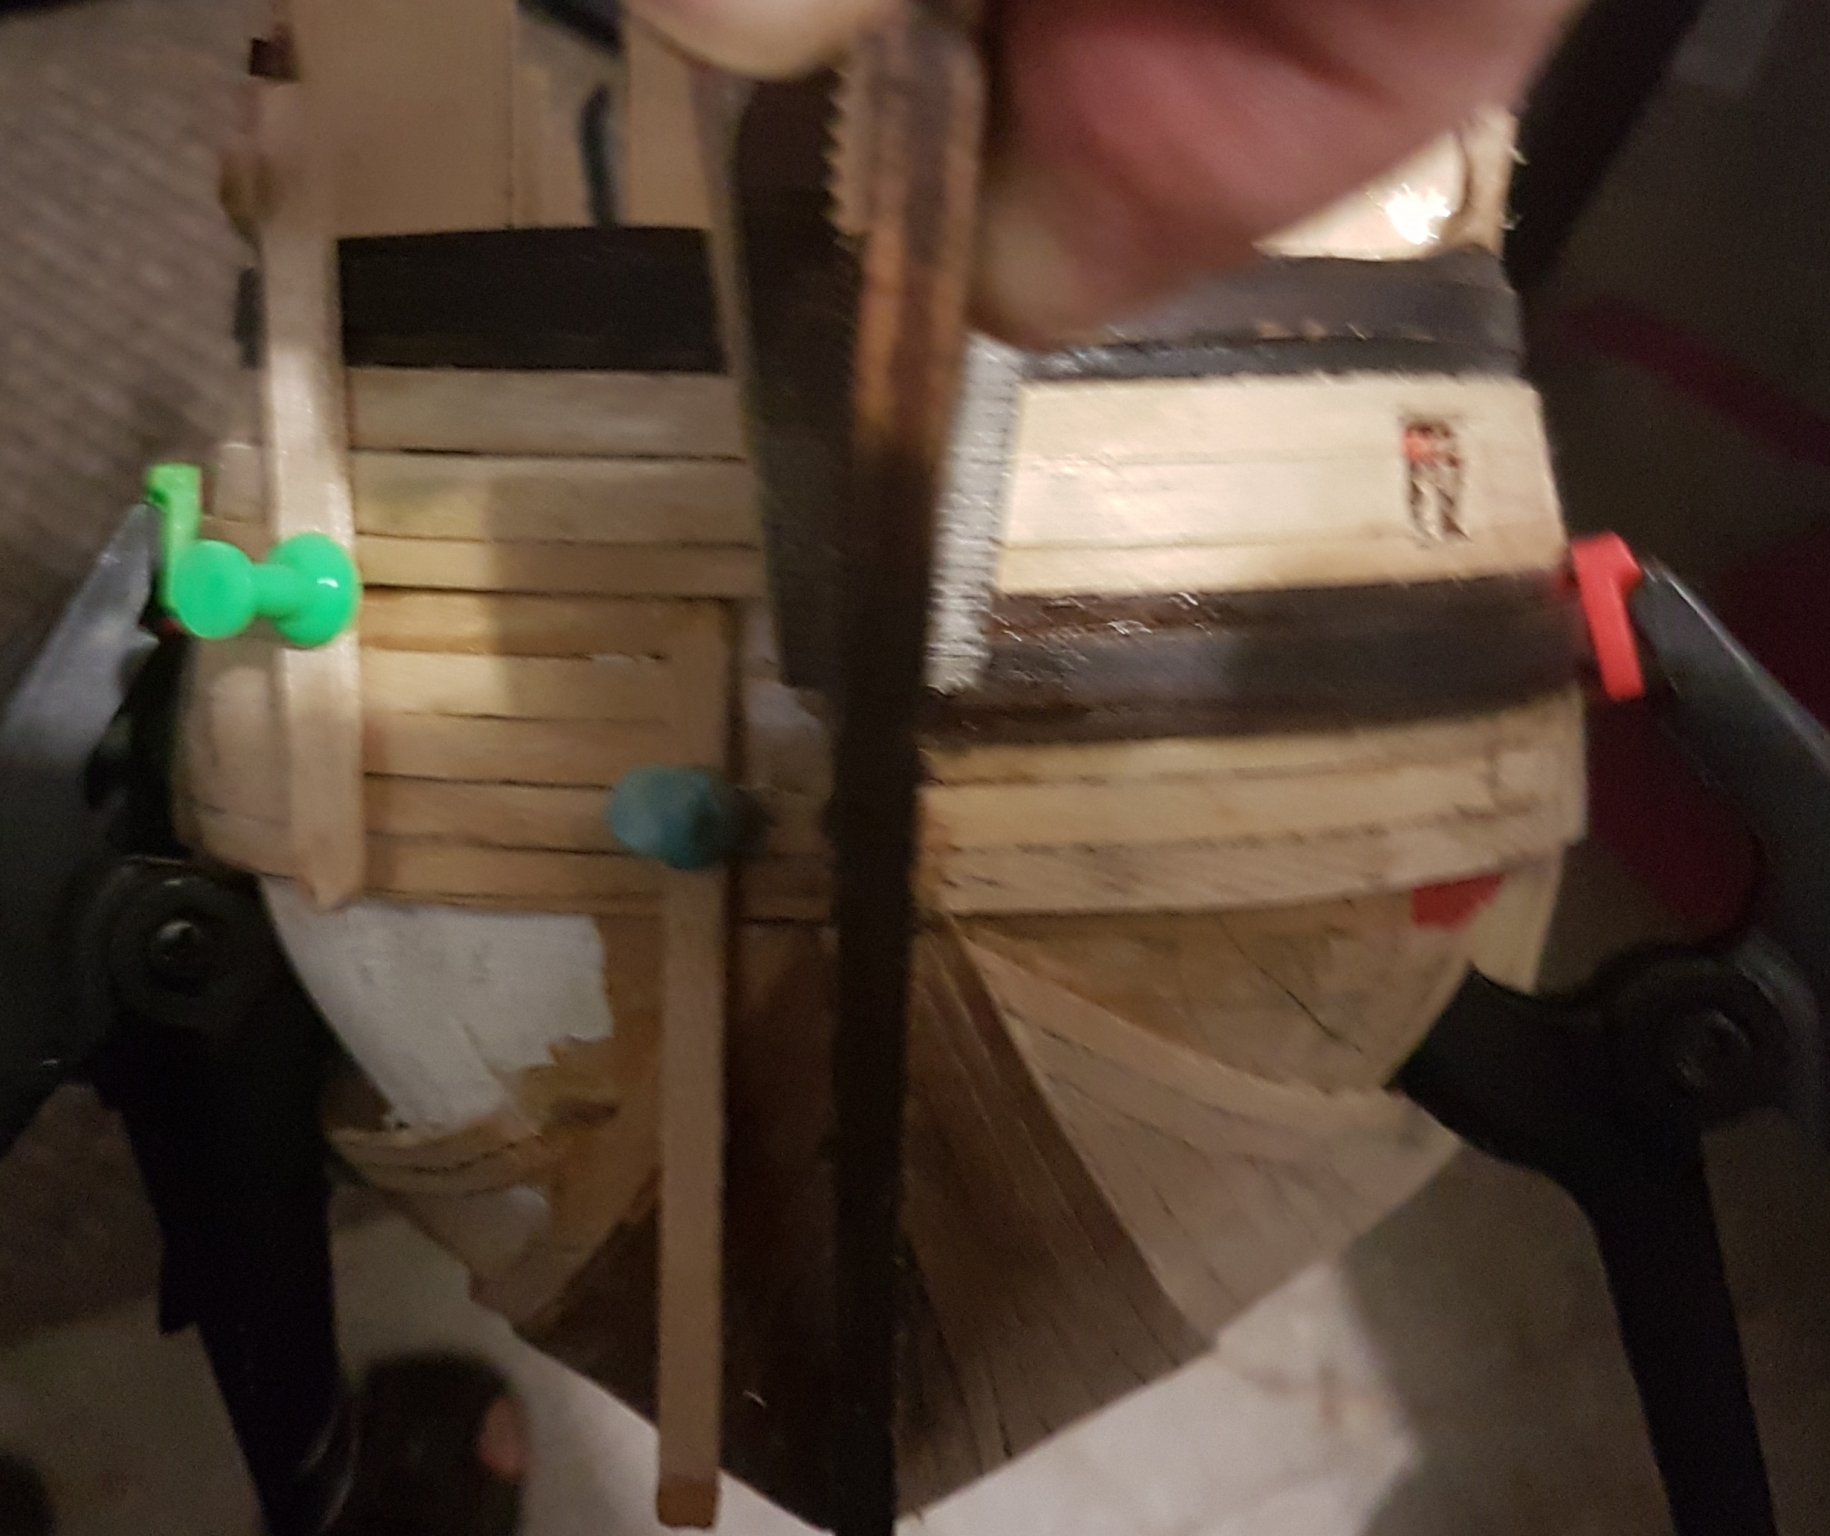
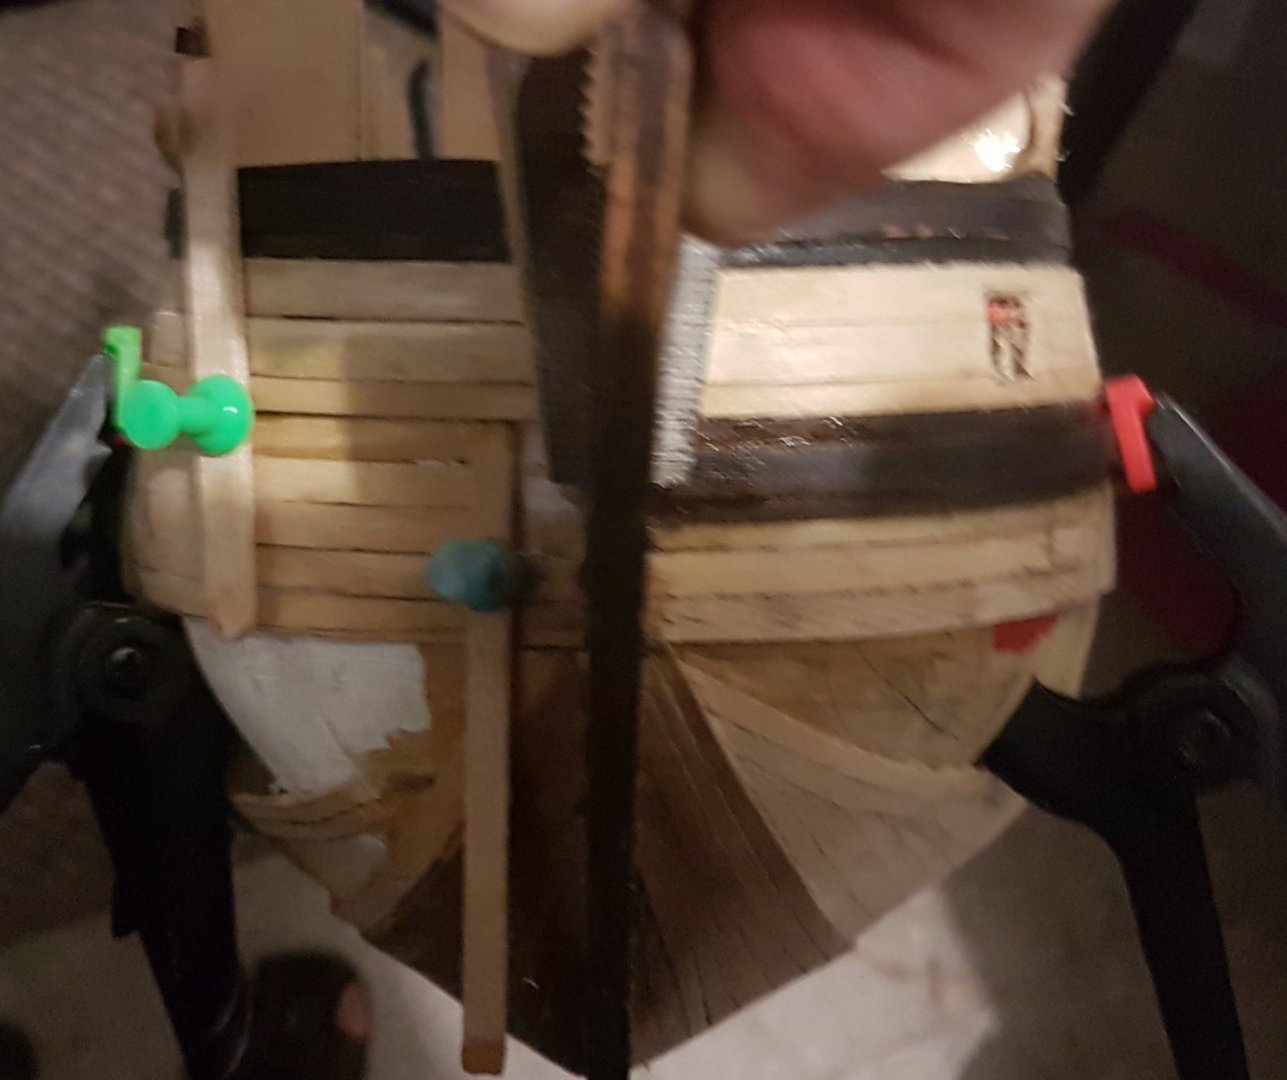
Other side of the Hull I've added the 3mm outer plank extra to the Mid Gun Deck cannon's. You can see it lines up nicely on the Bow. The Bow pic is also a good image of how the hull planking is going. The walnut below the water line is going to be difficult to merge into the next section at the front of the Bow. The first planking looks like the planking has a clear end section floating in the front of the bow and doesn't end at the Bow keel like the other planks. If I go with ignoring the sections on the 2nd planking, I have a feeling the flow will look out of whack... so I think I'll just have to go with the floating end sections to keep the rest of the hull in proportion and flowing nicely.

-
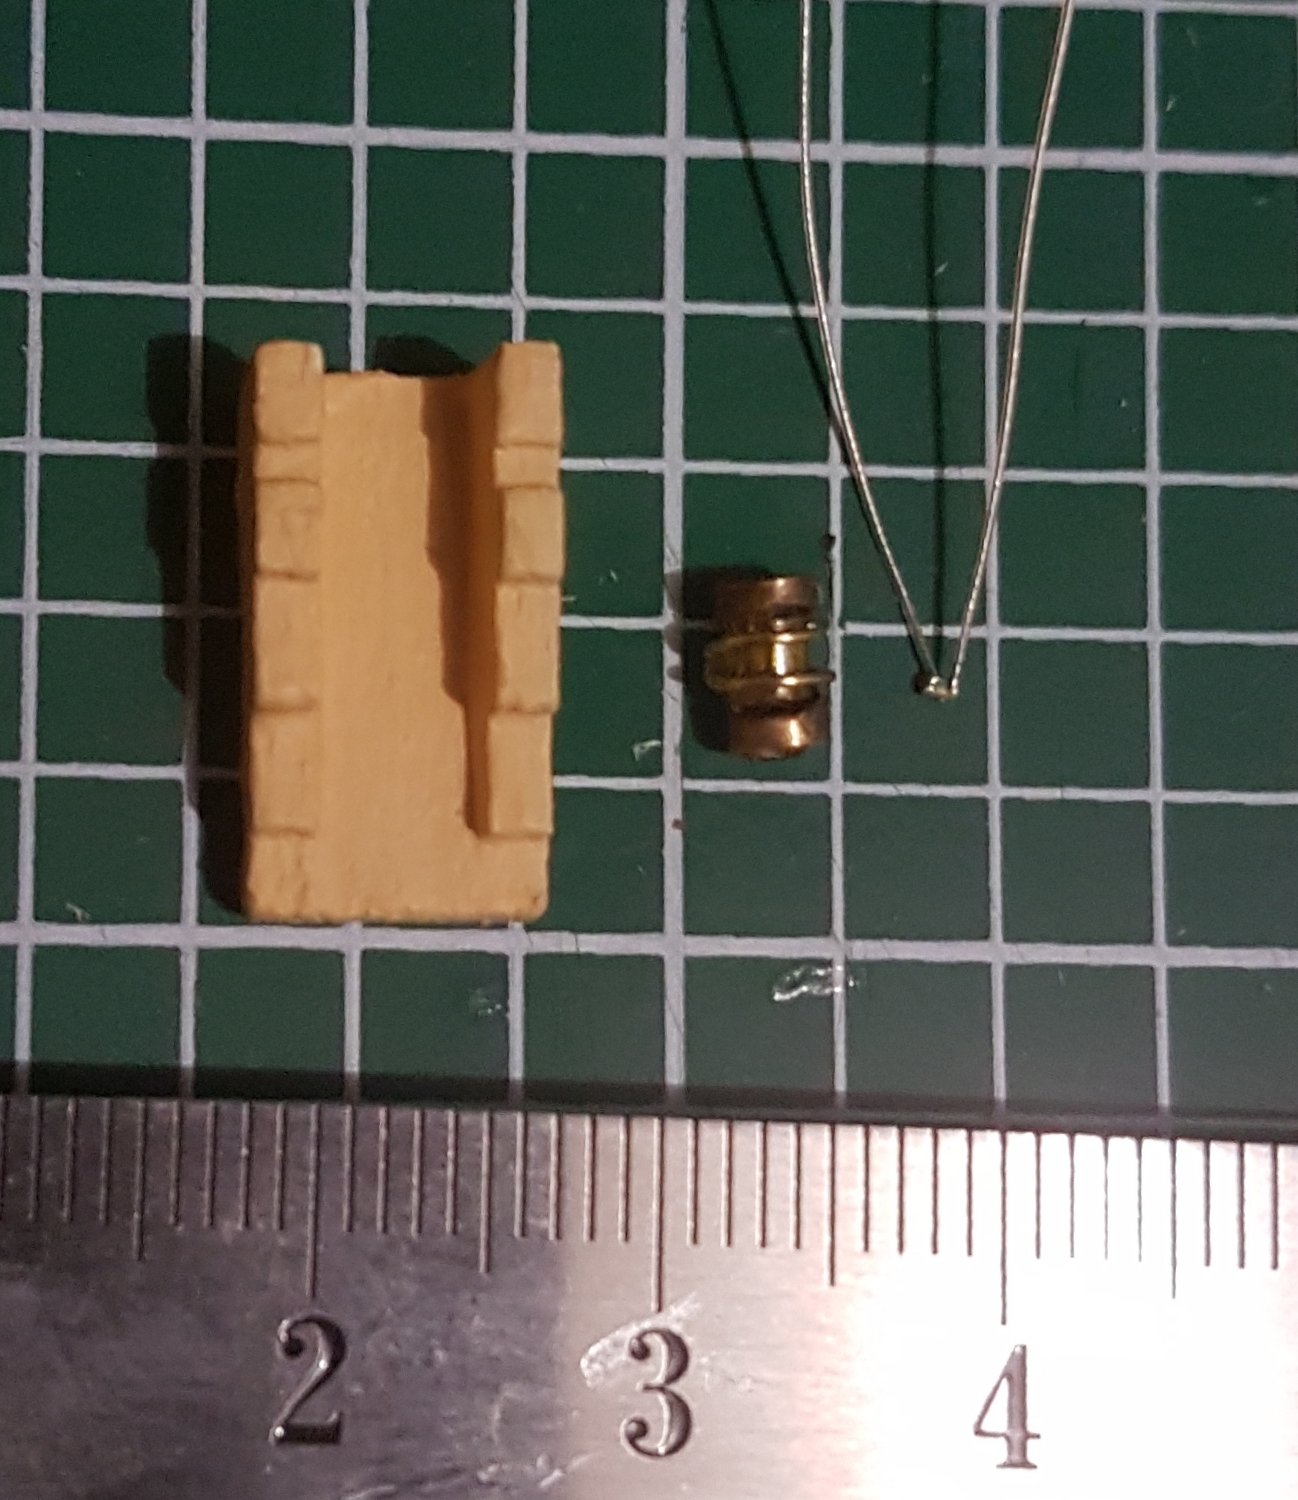
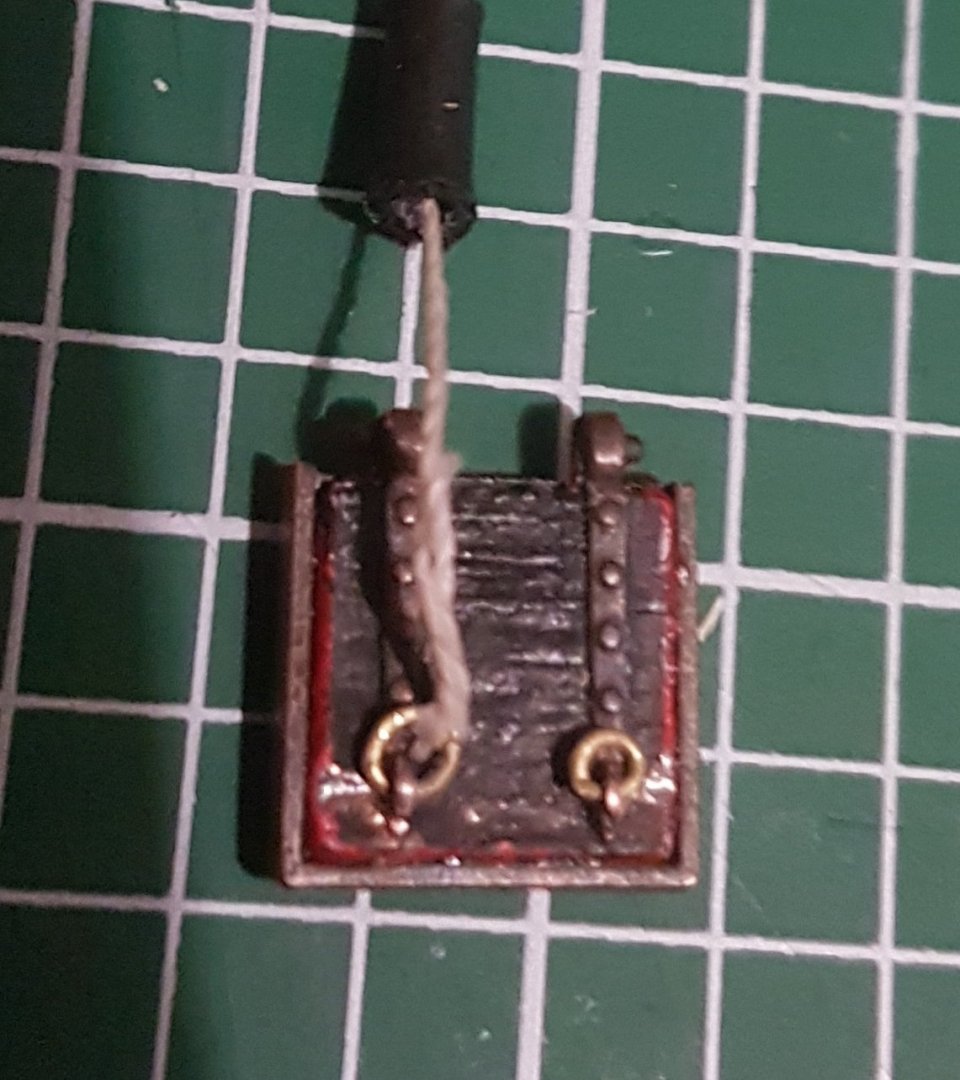
Lantern prototype (dimensions 4mm x 3mm) I've crafted a lantern from 3mm brass 0.5mm pipe, 0.5mm brass wire and the orange film included in the kit. The first pic shows the first stage of crafting, which is the brass tube and wire crafted together. The second pic includes the orange film inside the lantern and the intended 0.1mm LED to go inside. For perspective I've added a Short 12 lb'er carriage that comes in the HMS Victory kit.


-
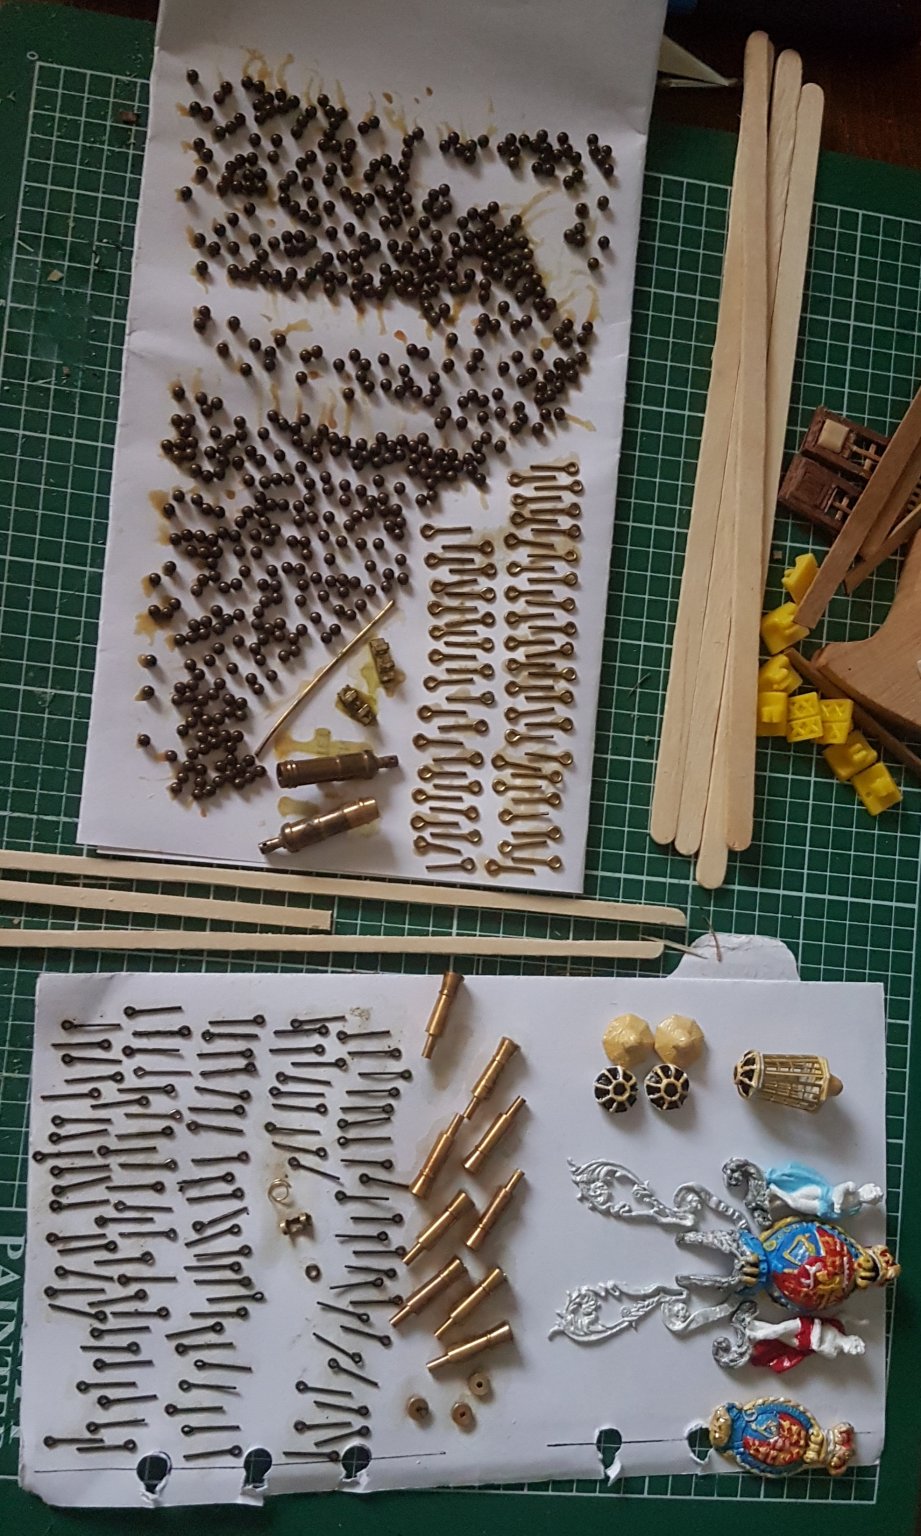
Gallery update Here's something different I got out the Liver of Sulphur solution to blacken my brass and copper items.


-
You obviously have more confidence in the Corel design than I do For lining up the deadeyes, you can consider the grooves and more specifically the large gaps in parts 85, 86 etc
-
Checklist Just a few points to remind me of what to do next. Cut 3mm pine row and fit Stain walnut strips for whales (1 coat per day x 8 2mm strips and 4 x 0.7mm strips) Check levels of Lower Gun Deck whales and hatches are balanced on each side of ship with laser level Craft doors around Nelsons Quarters Craft long 12 lb'er carriages Craft lanterns Finish painting Figurehead
-
The trickiest bit is aligning the Upper Gun Deck and Quarterdeck hatches to the gaps between the deadeyes on the rigging rails that exist within the cannon rows. The rails are positioned relative to the masts if you check the diagrams.
-
Hey Mark, sounds like you are getting back into the build... I will be continuing to follow your build blog as it progresses. Over here in Australia, Summer is coming and the daily temperature has been steadily rising. I find myself working less during the hot part of the day, however I have invested in an Evaporative cooler and a mini ice making machine. So it will be interesting to see how that affects my productivity Mini jobs 90+ hatches to craft, with 180 x 0.5mm holes to drill and 180 x 2mm rings to craft and clamp into holes. 25+ lanterns to craft, cut from tube stock with brass 0.5mm wire flattened and added in strips to cut out sections 20+ long 12 lb'er carriages to craft from Kauri wood 25+ LED micro lights to wire up in series to Relay's 16+ 20mm internal doors to craft from 2mm mahogany strips and offcuts from walnut and deck planking.
-
Shipwrights Journal Build Plan Calendar November Complete hull planking underneath the waterline on both sides Stain outer layers on hull Add staircase leading to 3rd deck behind stairs near middle mast Consider opening up Upper Gun Deck floorplan to increase floor space (and add more fittings incl. complete long 12 lb'er cannons with carriages) Design and build prototype carriage for long 12 lb'ers and 64 lb'er Carronade's from wood. Design stern cabin floor plan, dedicate lowest level for electronics setup and maintenance access. Design circuit diagram for ships electronics and input area's for charging micro usb port(s) for battery cells. Test lighting system and install once lanterns crafted New Supplies Brass 20mm Carronade's x2 (has thicker Barrel than stock) Magnifying headset to 2.5 x (for precise painting of figure head) 2mm copper eyebolts (smaller than stock, for cannon carriages)
-
November update I've been thinking on my intended schedule for this month and decided to complete the planking around the cannon rows on each side as my next hull planking priority. My focus is on getting the positioning of the lower gun deck hatches correct in regards to the Stern cabins and also lining up correctly on each side with the final planking. There are lots of little jobs I need to complete before I complete the gaps in the hull, like wiring in the Relay. update pic.

-
Hull update and Planning Another section complete I also received the 4x 12v bluetooth relay for the lighting via smartphone today. It's small enough to fit inside the lower stern cabin which is a relief After the hull is complete, I have lots to do on the stern, like a complete redesign and rebuild of the structure inside with three levels and an exterior frame for the new Amati Stern casting's. Before I begin this I'll be making a plan which I shall post. I also need to design and create a proto-type lantern for the lighting of the Gun decks and interior area's. I have even been looking at Georgian dolls house rugs for Lord Nelson's cabin !... the dimensions I require are quite tiny however.... about 90mm x 50mm me thinks. Anyway here are some Hull Pic updates


-
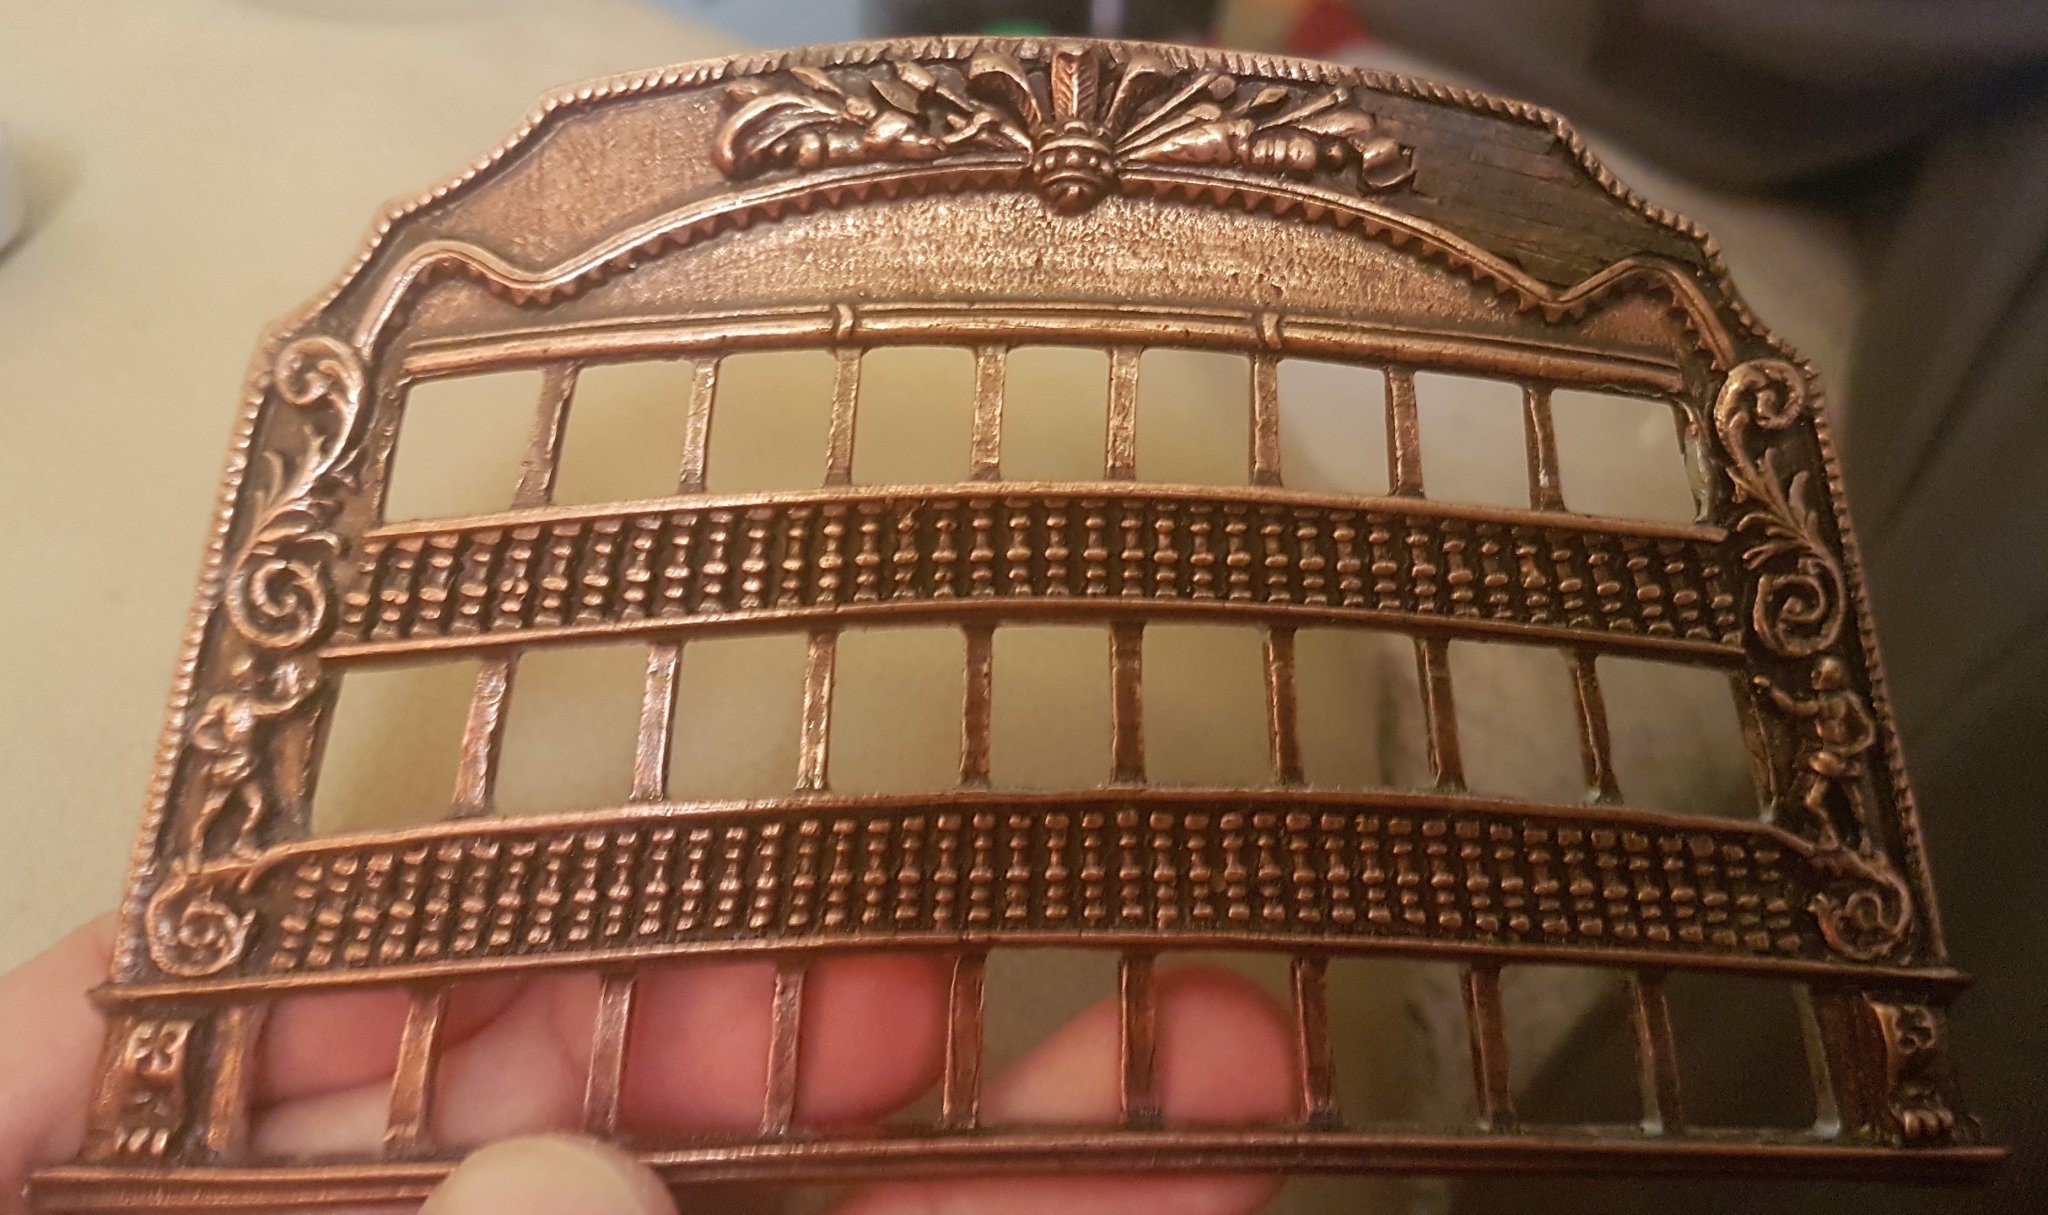
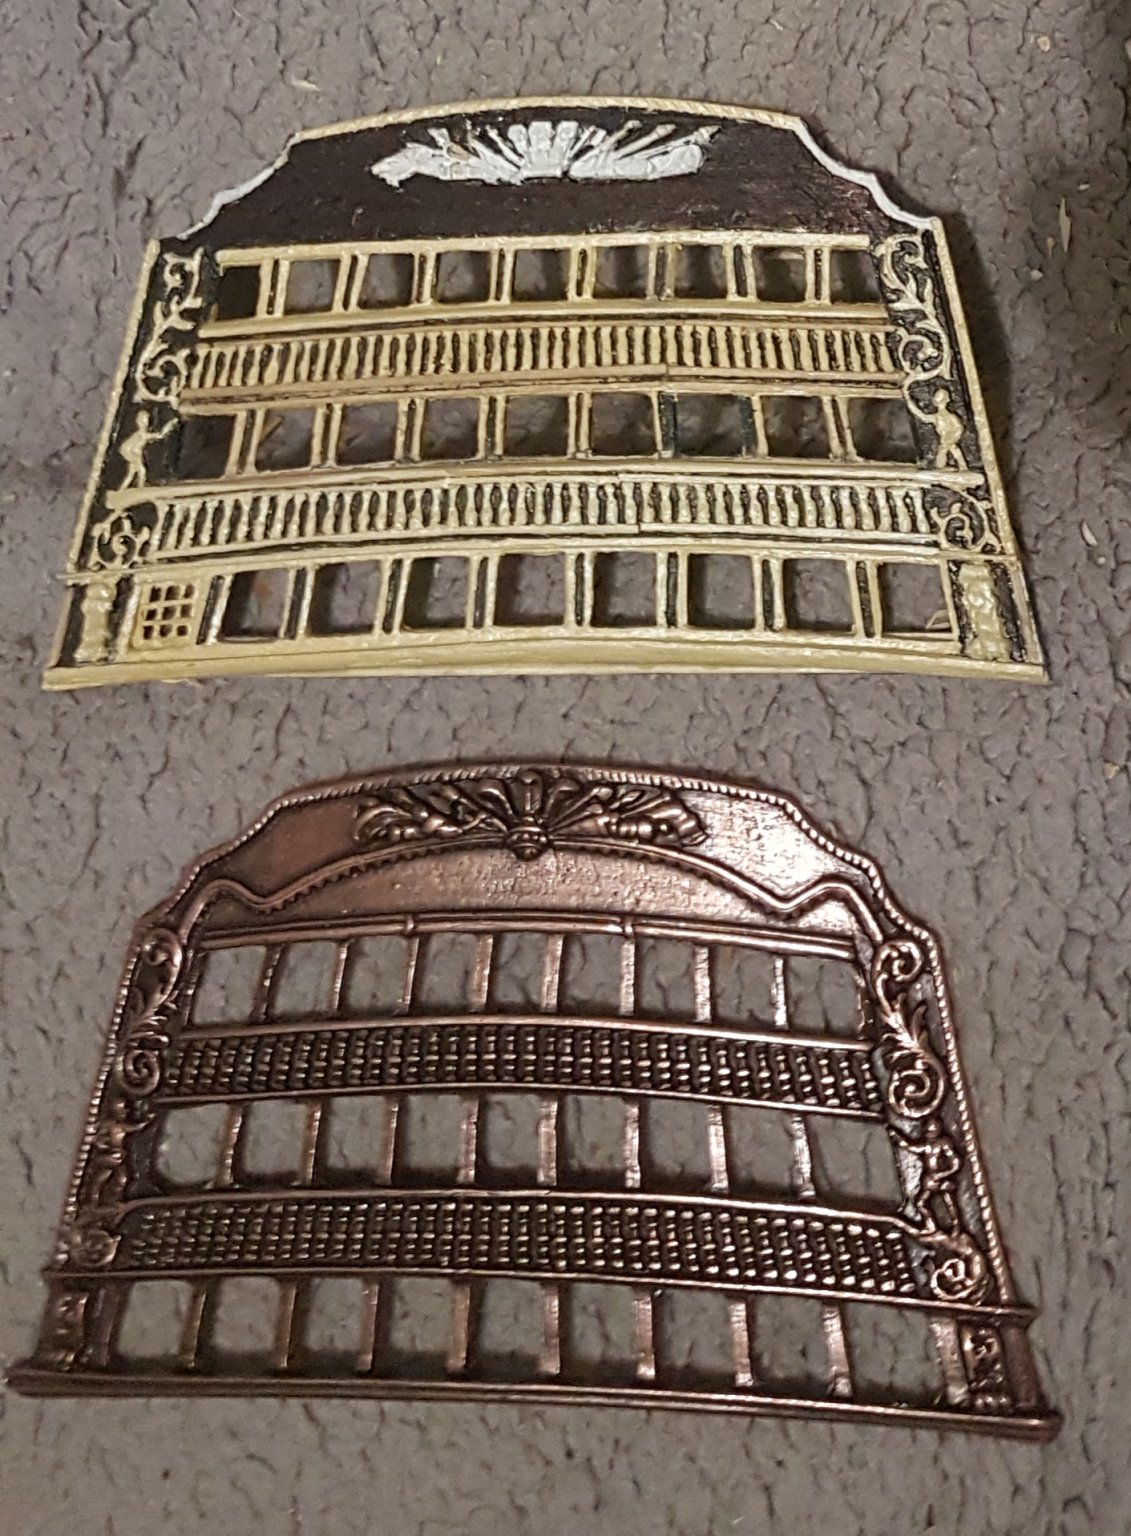
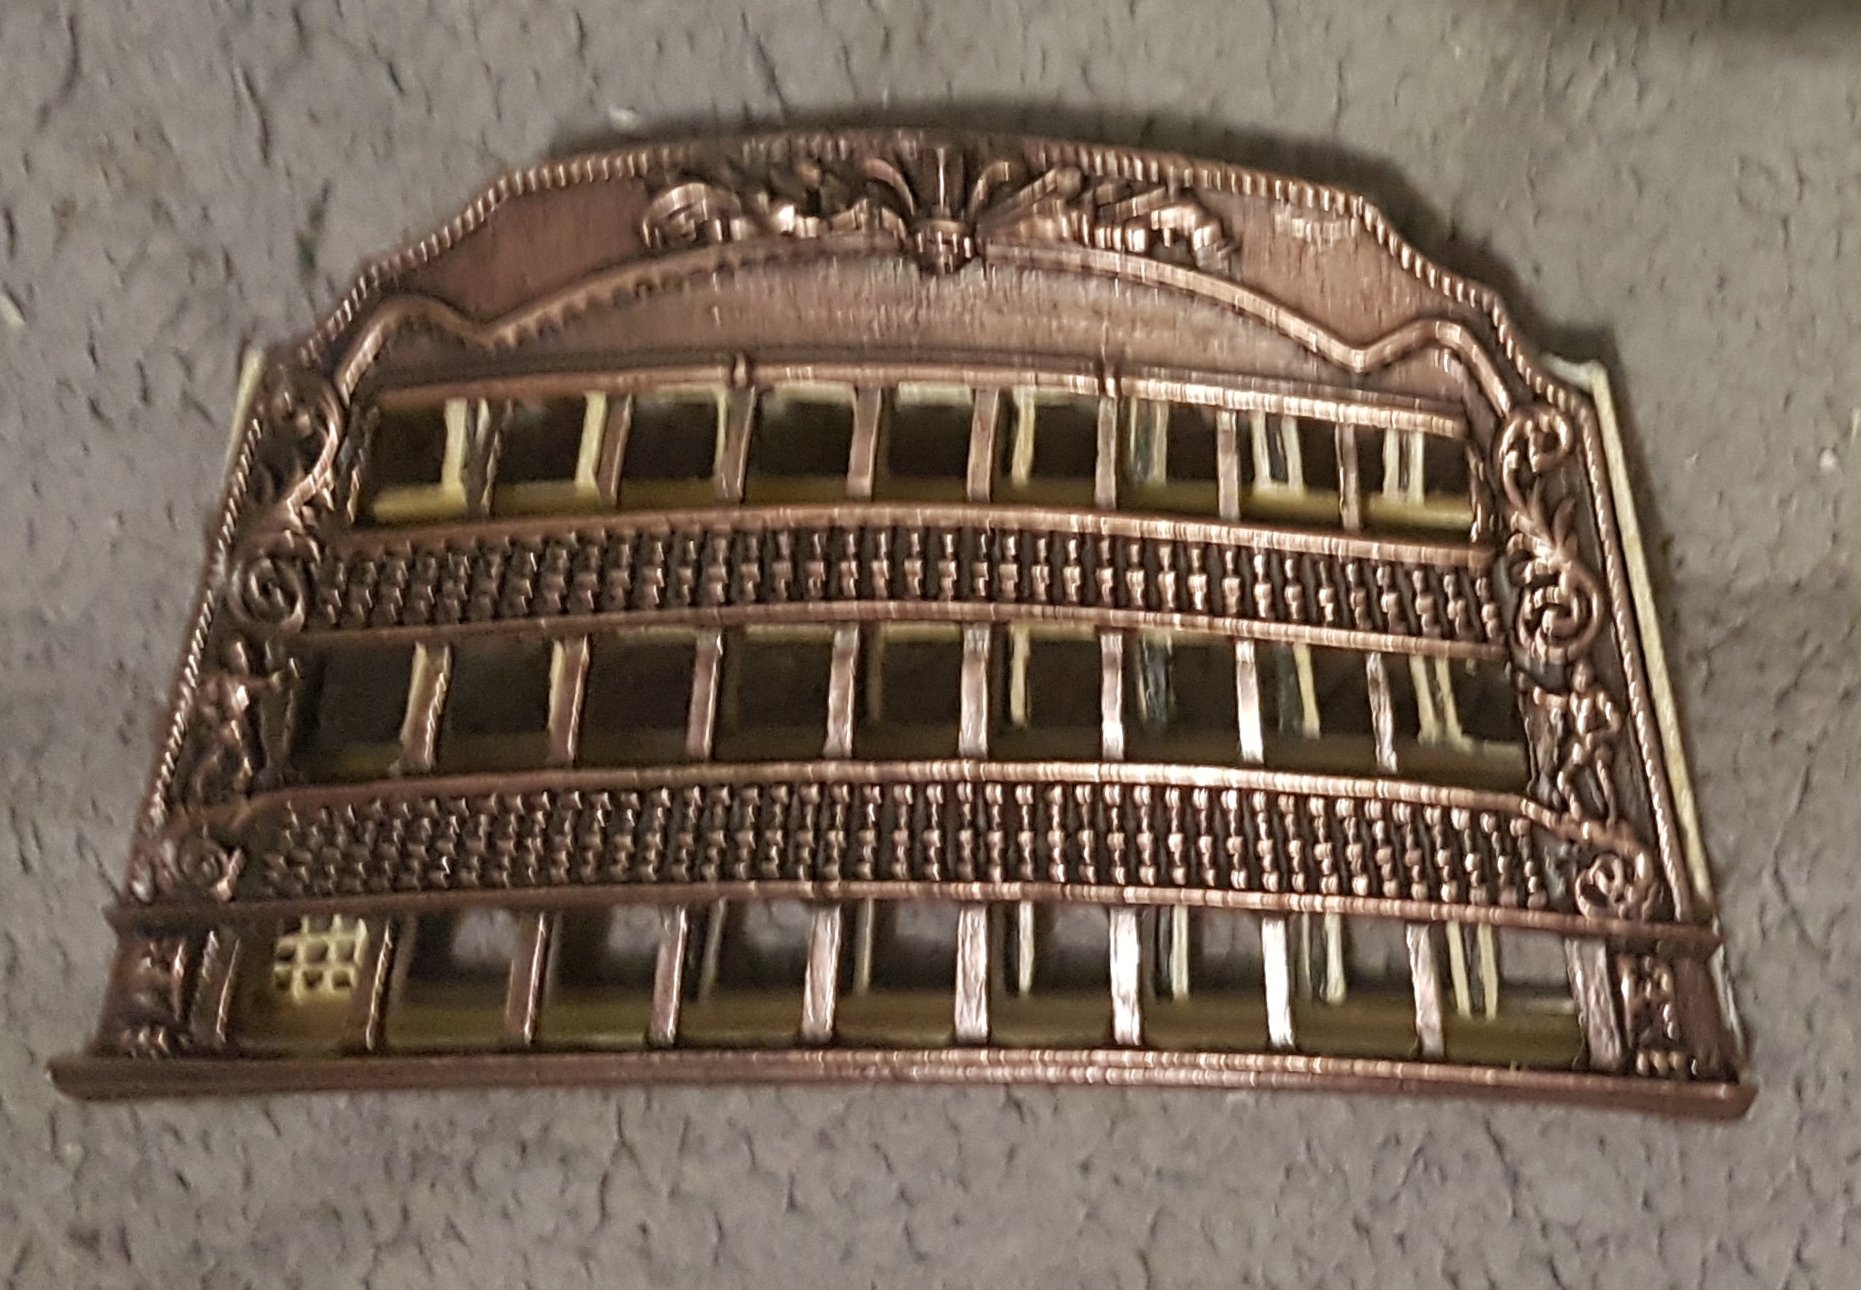
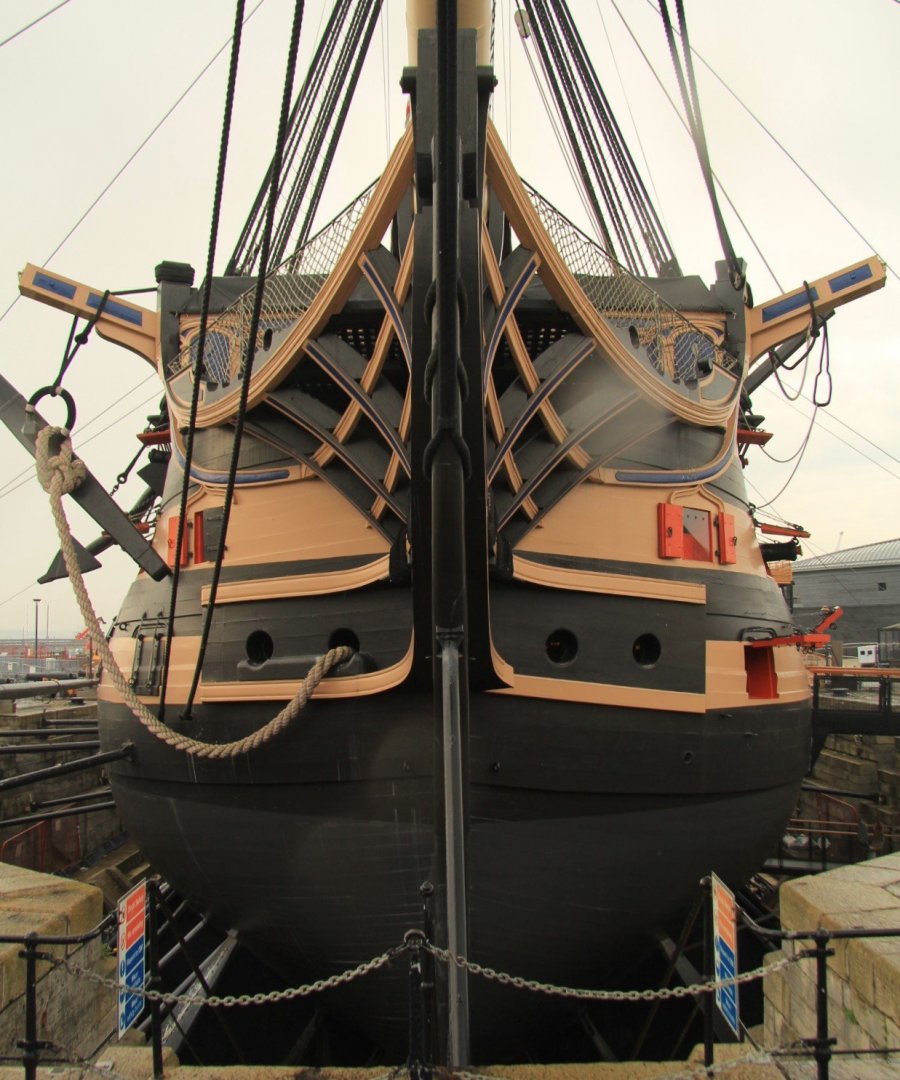
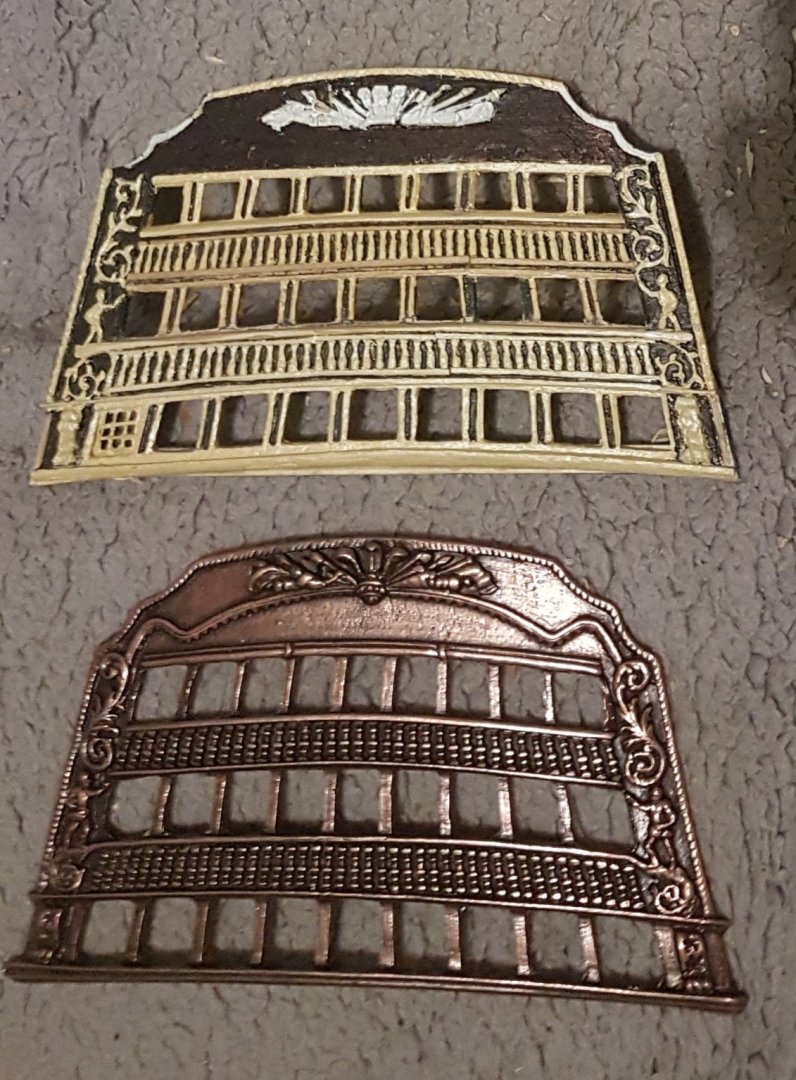
New Supplies arrived Stern castings The Amati stern casting's arrived and I noticed how similar it is to the stock Corel stern cardstock in relation to size and dimensions. This is good news as the rows of cannon hatches match up perfectly The main difference is the Amati cast metal Stern has more detail on the decorations and is slightly curved, also the side pieces are curved too and fit together nicely. Check out the pic's First pic is an overlay of the Amati Stern casting over the Corel stock card stock Second Pic check out the difference in the details, just needs a bit of finessing as the casting needs a bit of filing in some of the window sections.

-
I may use triangular sections to build up the whale layer, this would enable a jigsaw kind of finish and enable section pieces to be glued one at a time.
-
I like that idea, large rubber bands... hmmmmm... String may work too.
-
Superglue and a bit of manual pressure maybe ?... I'm open to idea's
-
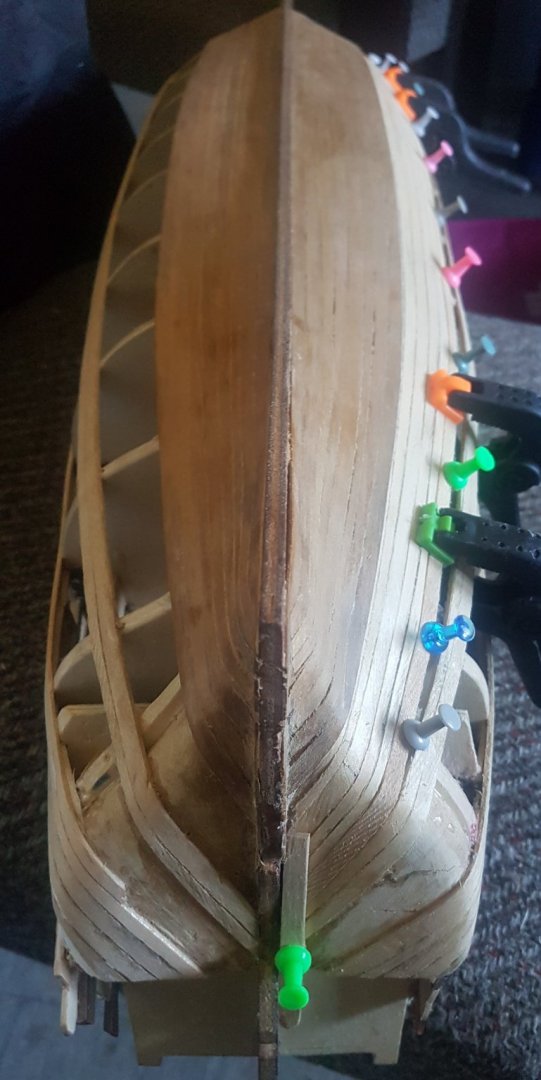
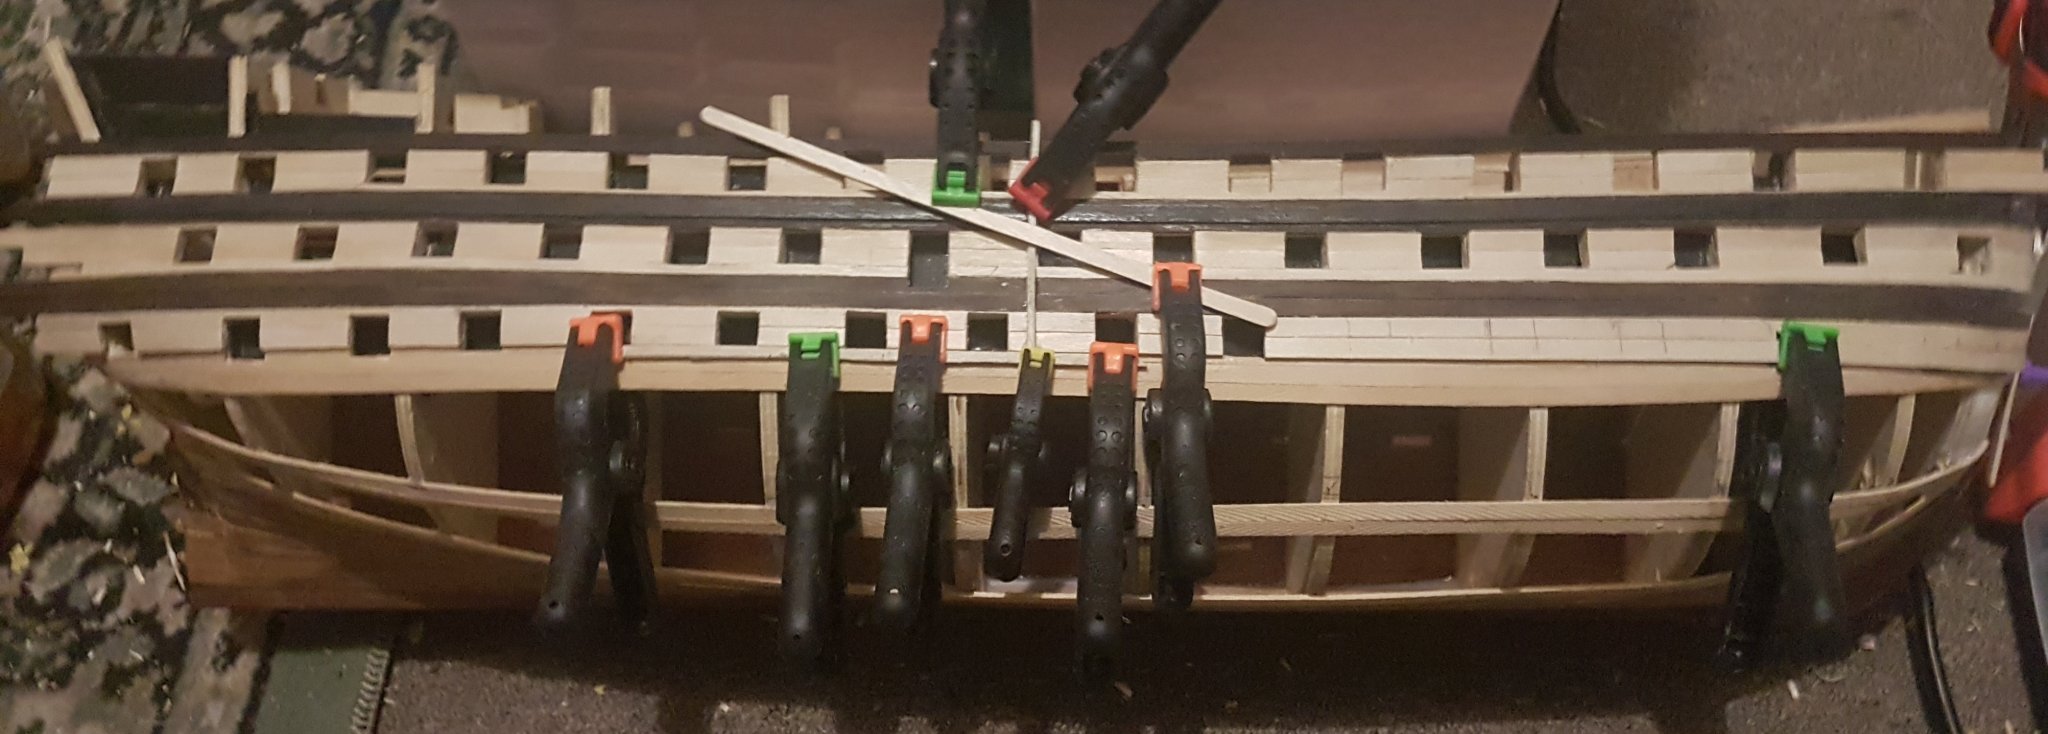
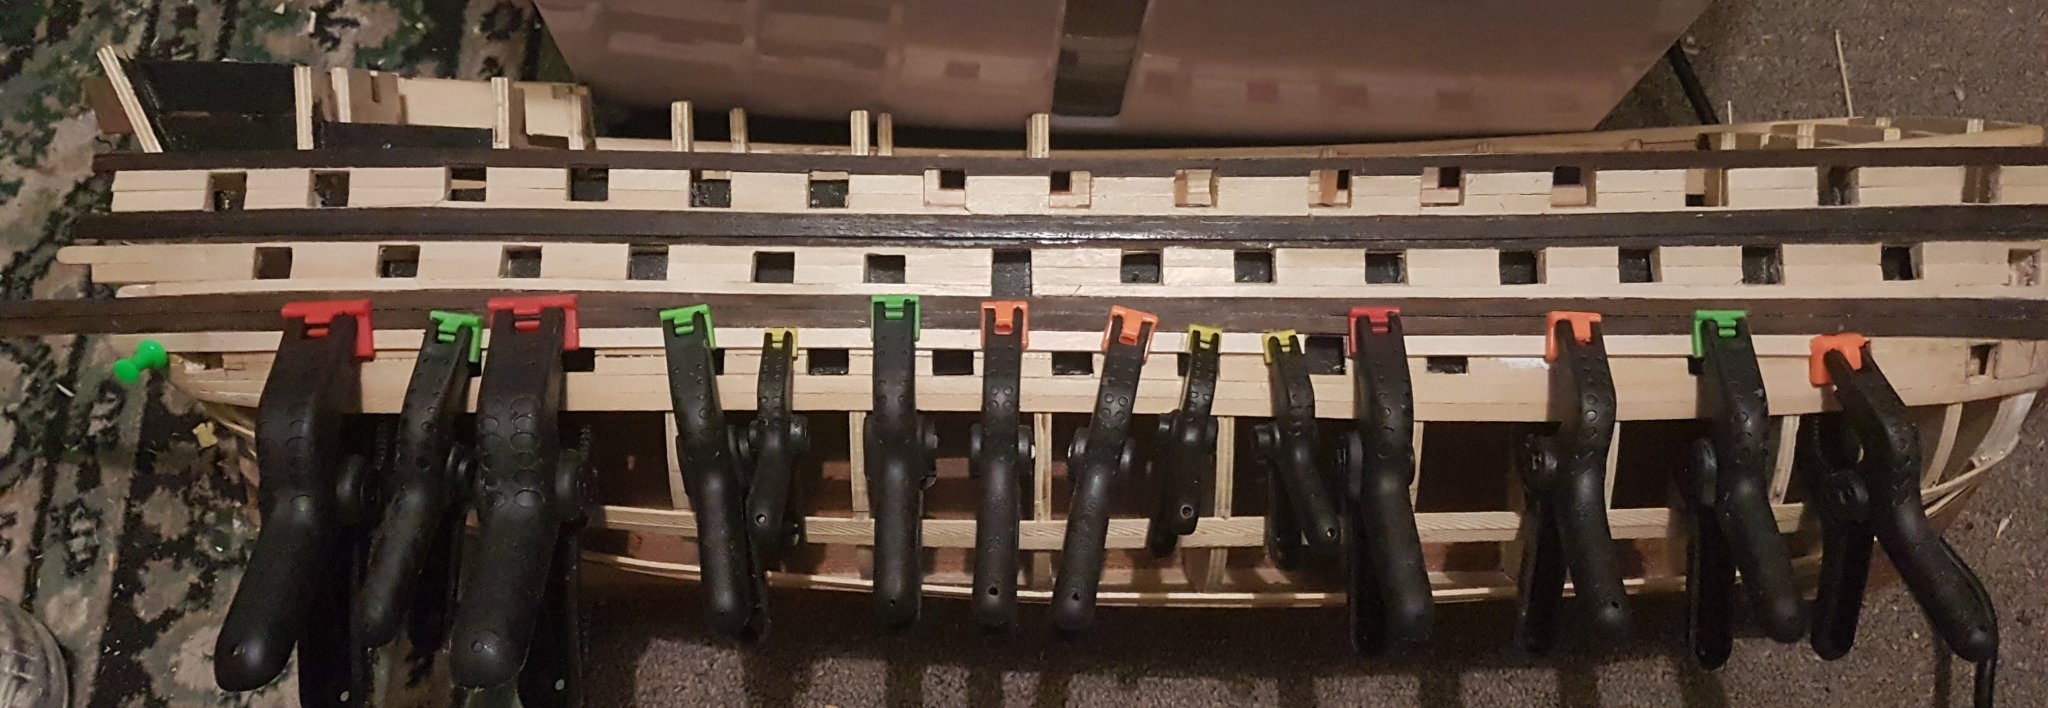
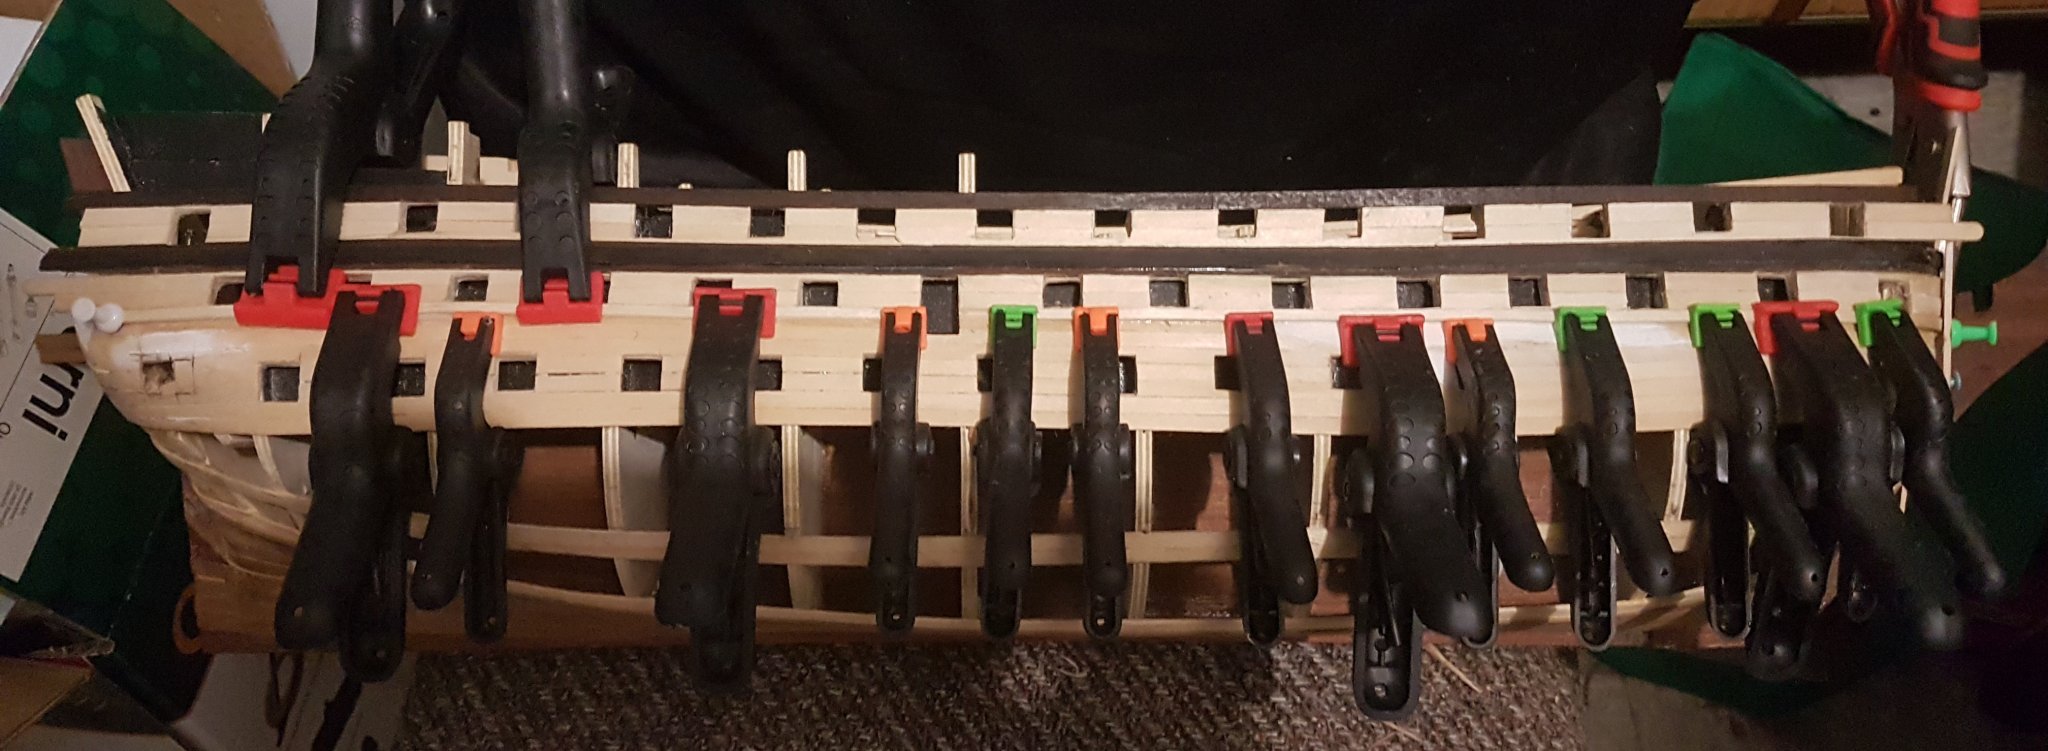
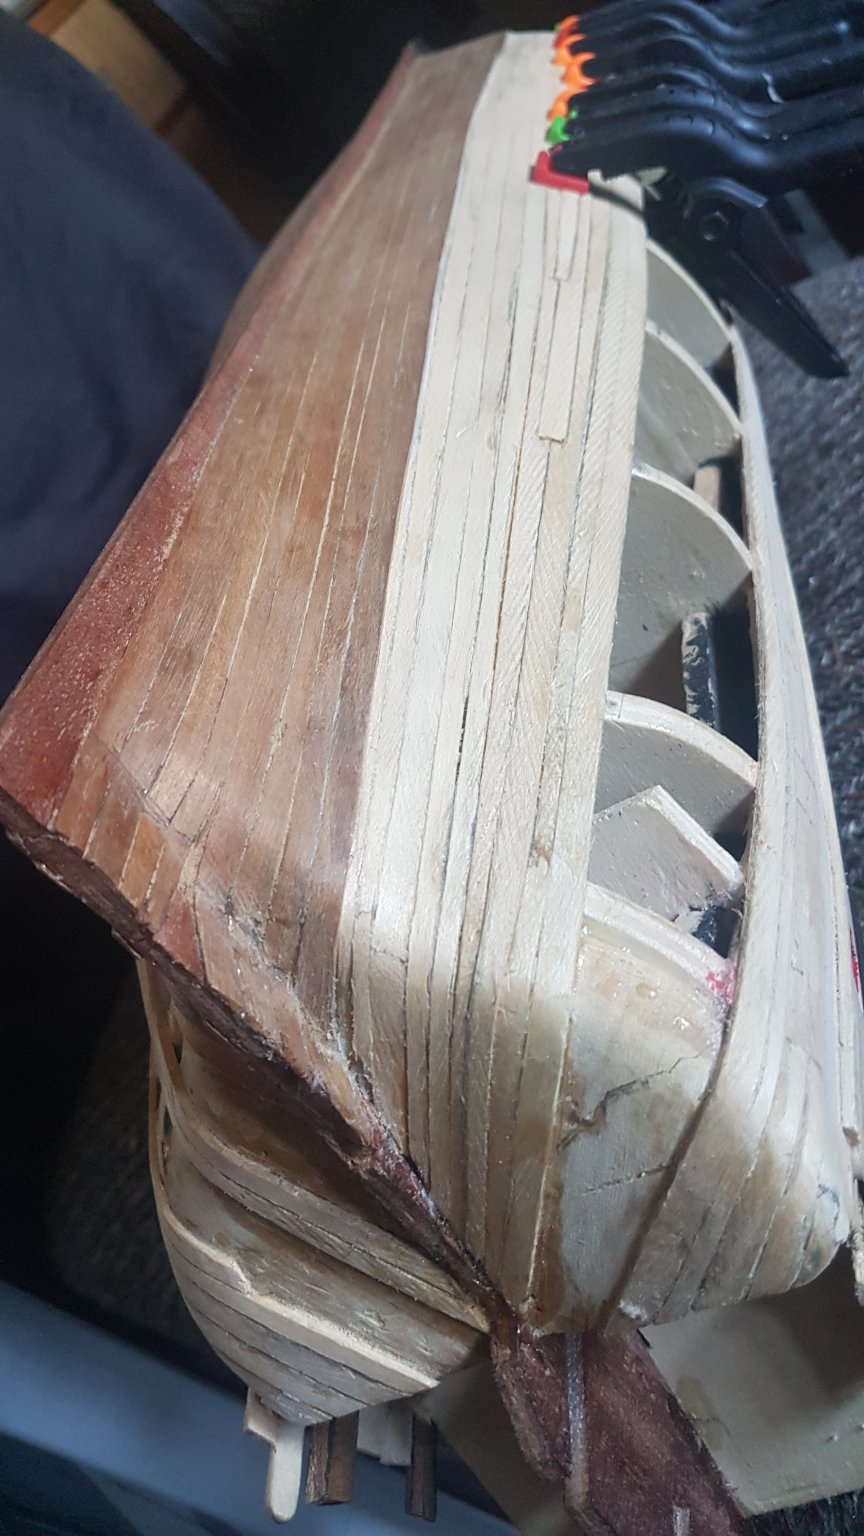
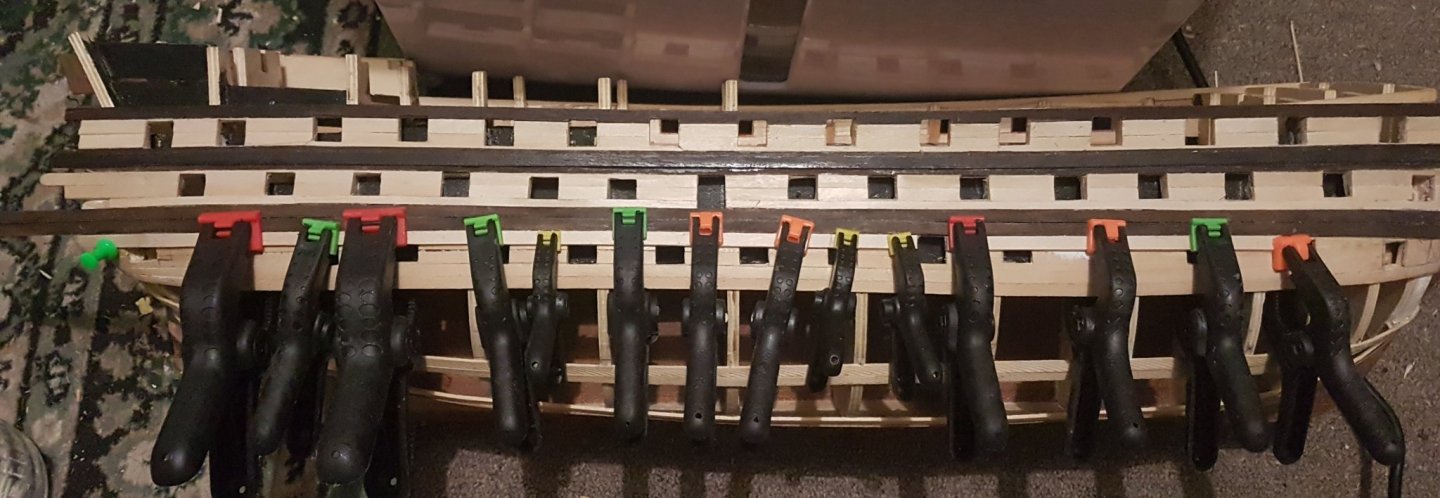
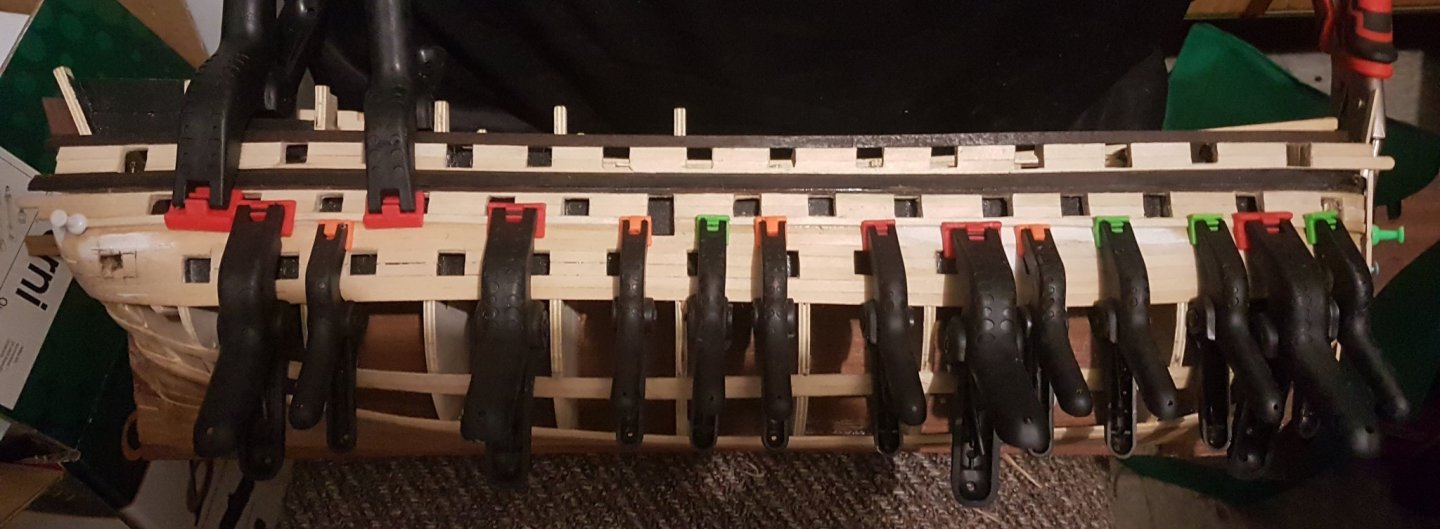
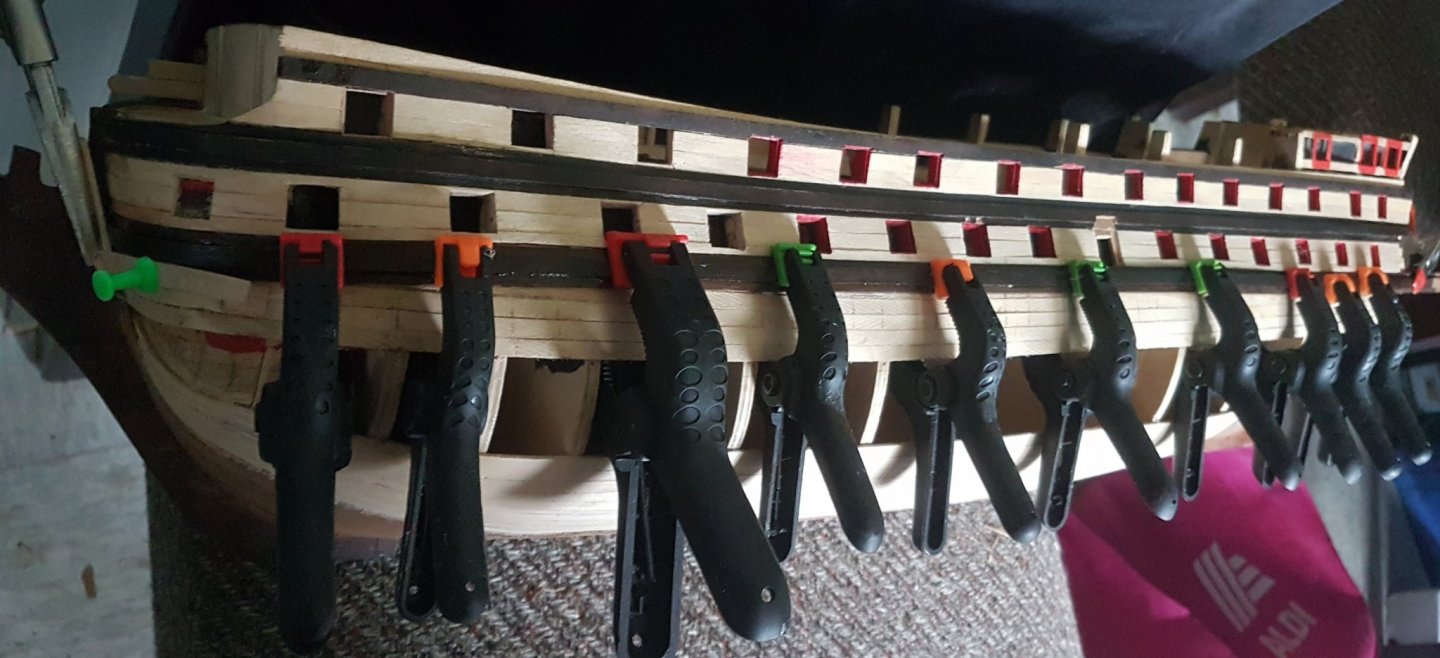
Hull update It's a slow process, but satisfying when I wake up the next morning and remove the pin's and clamps to see new progress. The hull is starting to reveal it's true shape, check out the pic