BrownBagger
-
Posts
10 -
Joined
-
Last visited
-
 RayGrogan reacted to a post in a topic:
USS Constellation by BrownBagger - Artesania Latina - 1:85
RayGrogan reacted to a post in a topic:
USS Constellation by BrownBagger - Artesania Latina - 1:85
-
Duanelaker reacted to a post in a topic:
USS Constellation by BrownBagger - Artesania Latina - 1:85
-
mtaylor reacted to a post in a topic:
USS Constellation by BrownBagger - Artesania Latina - 1:85
-
J11 reacted to a post in a topic:
USS Constellation by BrownBagger - Artesania Latina - 1:85
-
J11 reacted to a post in a topic:
USS Constellation by BrownBagger - Artesania Latina - 1:85
-
J11 reacted to a post in a topic:
USS Constellation by BrownBagger - Artesania Latina - 1:85
-
J11 reacted to a post in a topic:
USS Constellation by BrownBagger - Artesania Latina - 1:85
-
J11 reacted to a post in a topic:
USS Constellation by BrownBagger - Artesania Latina - 1:85
-
J11 reacted to a post in a topic:
USS Constellation by BrownBagger - Artesania Latina - 1:85
-
J11 reacted to a post in a topic:
USS Constellation by BrownBagger - Artesania Latina - 1:85
-
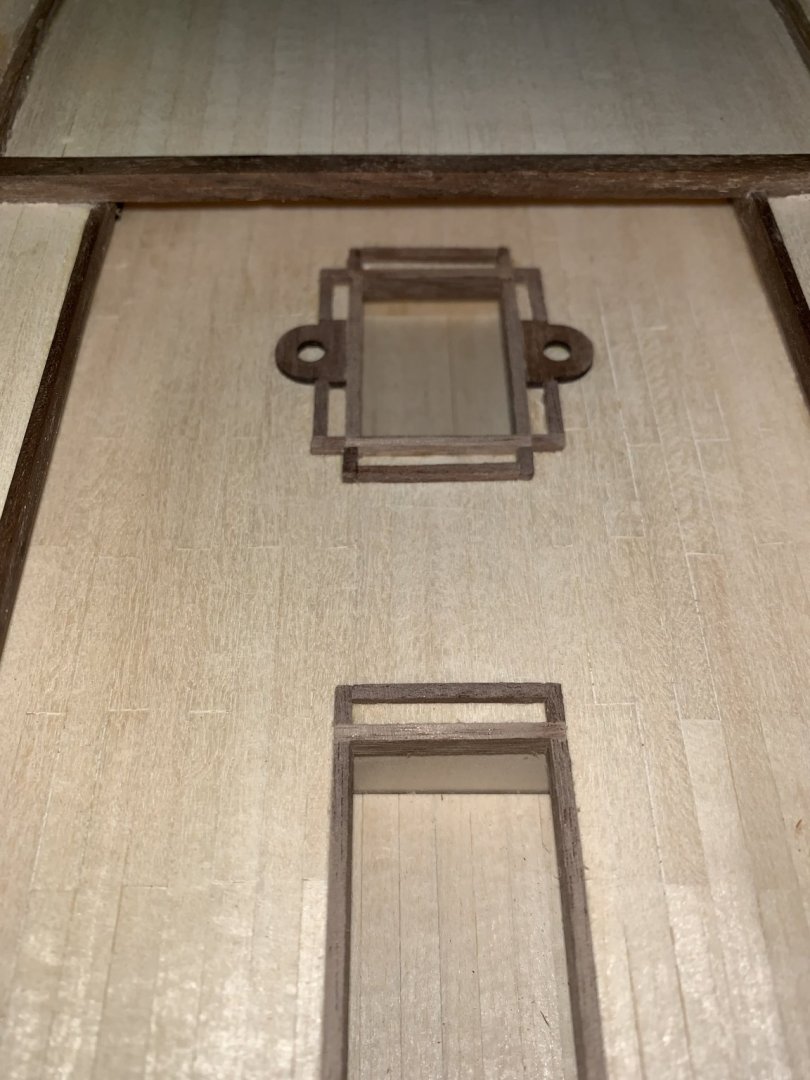
Yep, I have and I am already recognizing the impending challenge of doing anything on the gun deck. Even installing the ammo rails was a little tricky because of the main deck overhang.
-
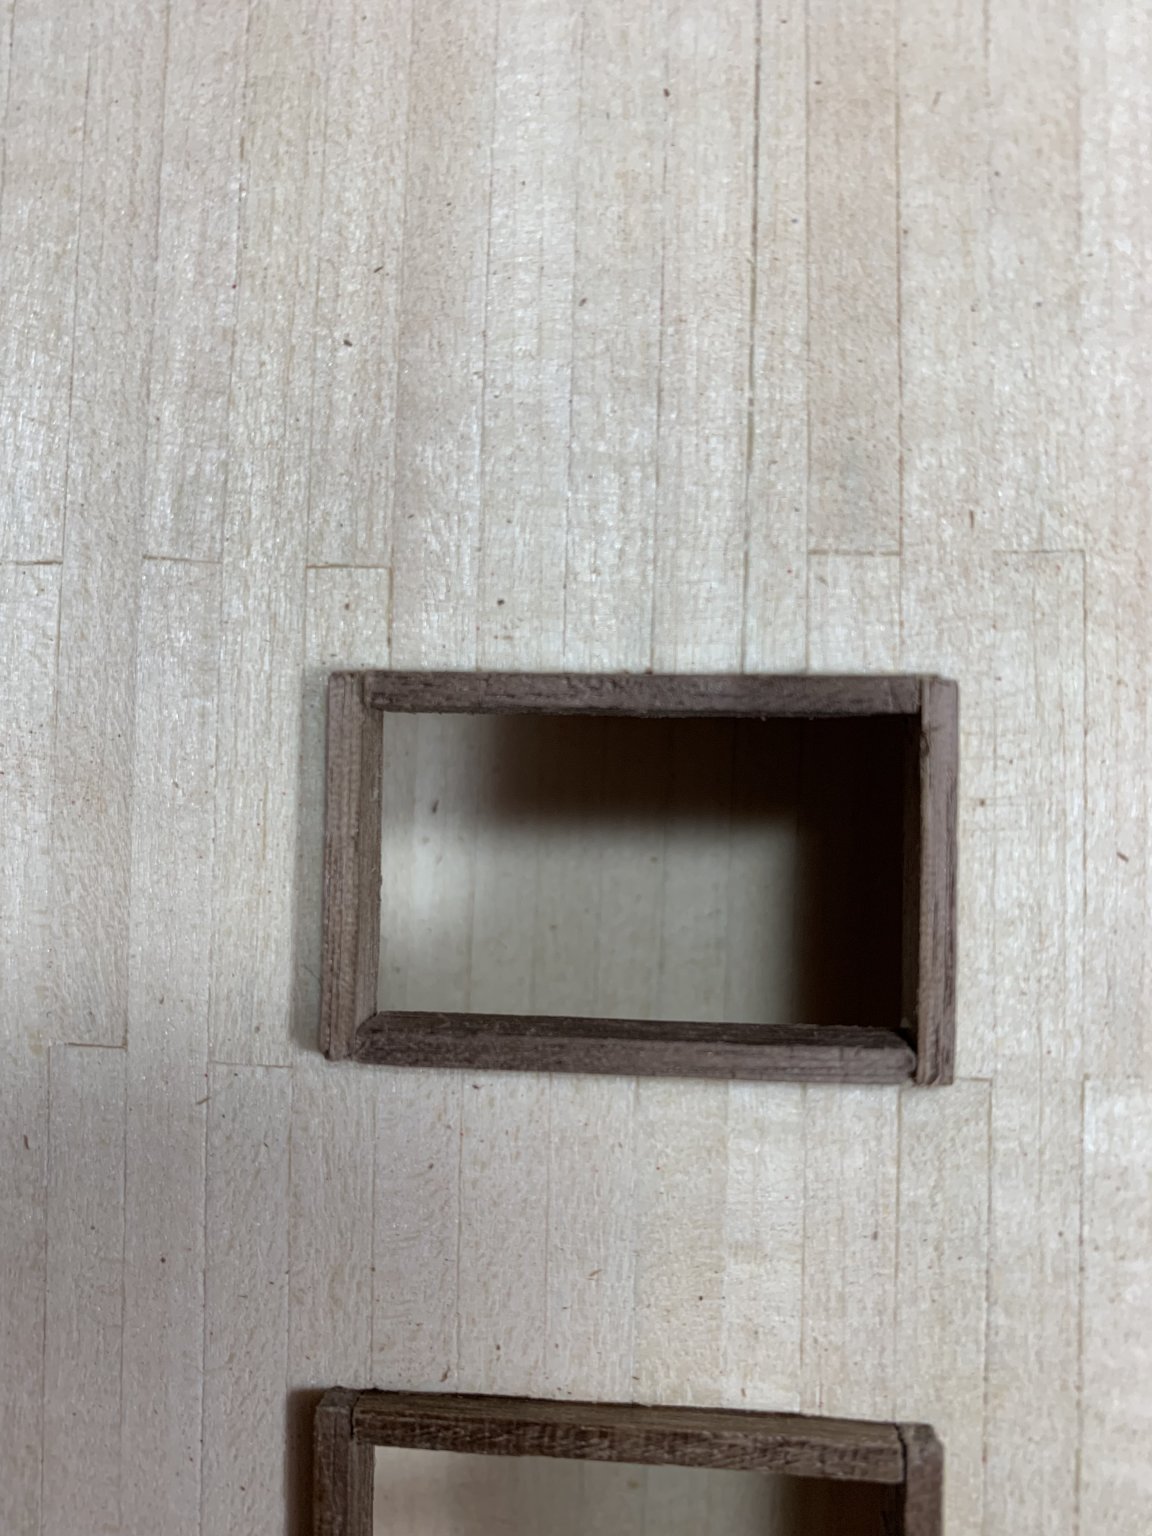
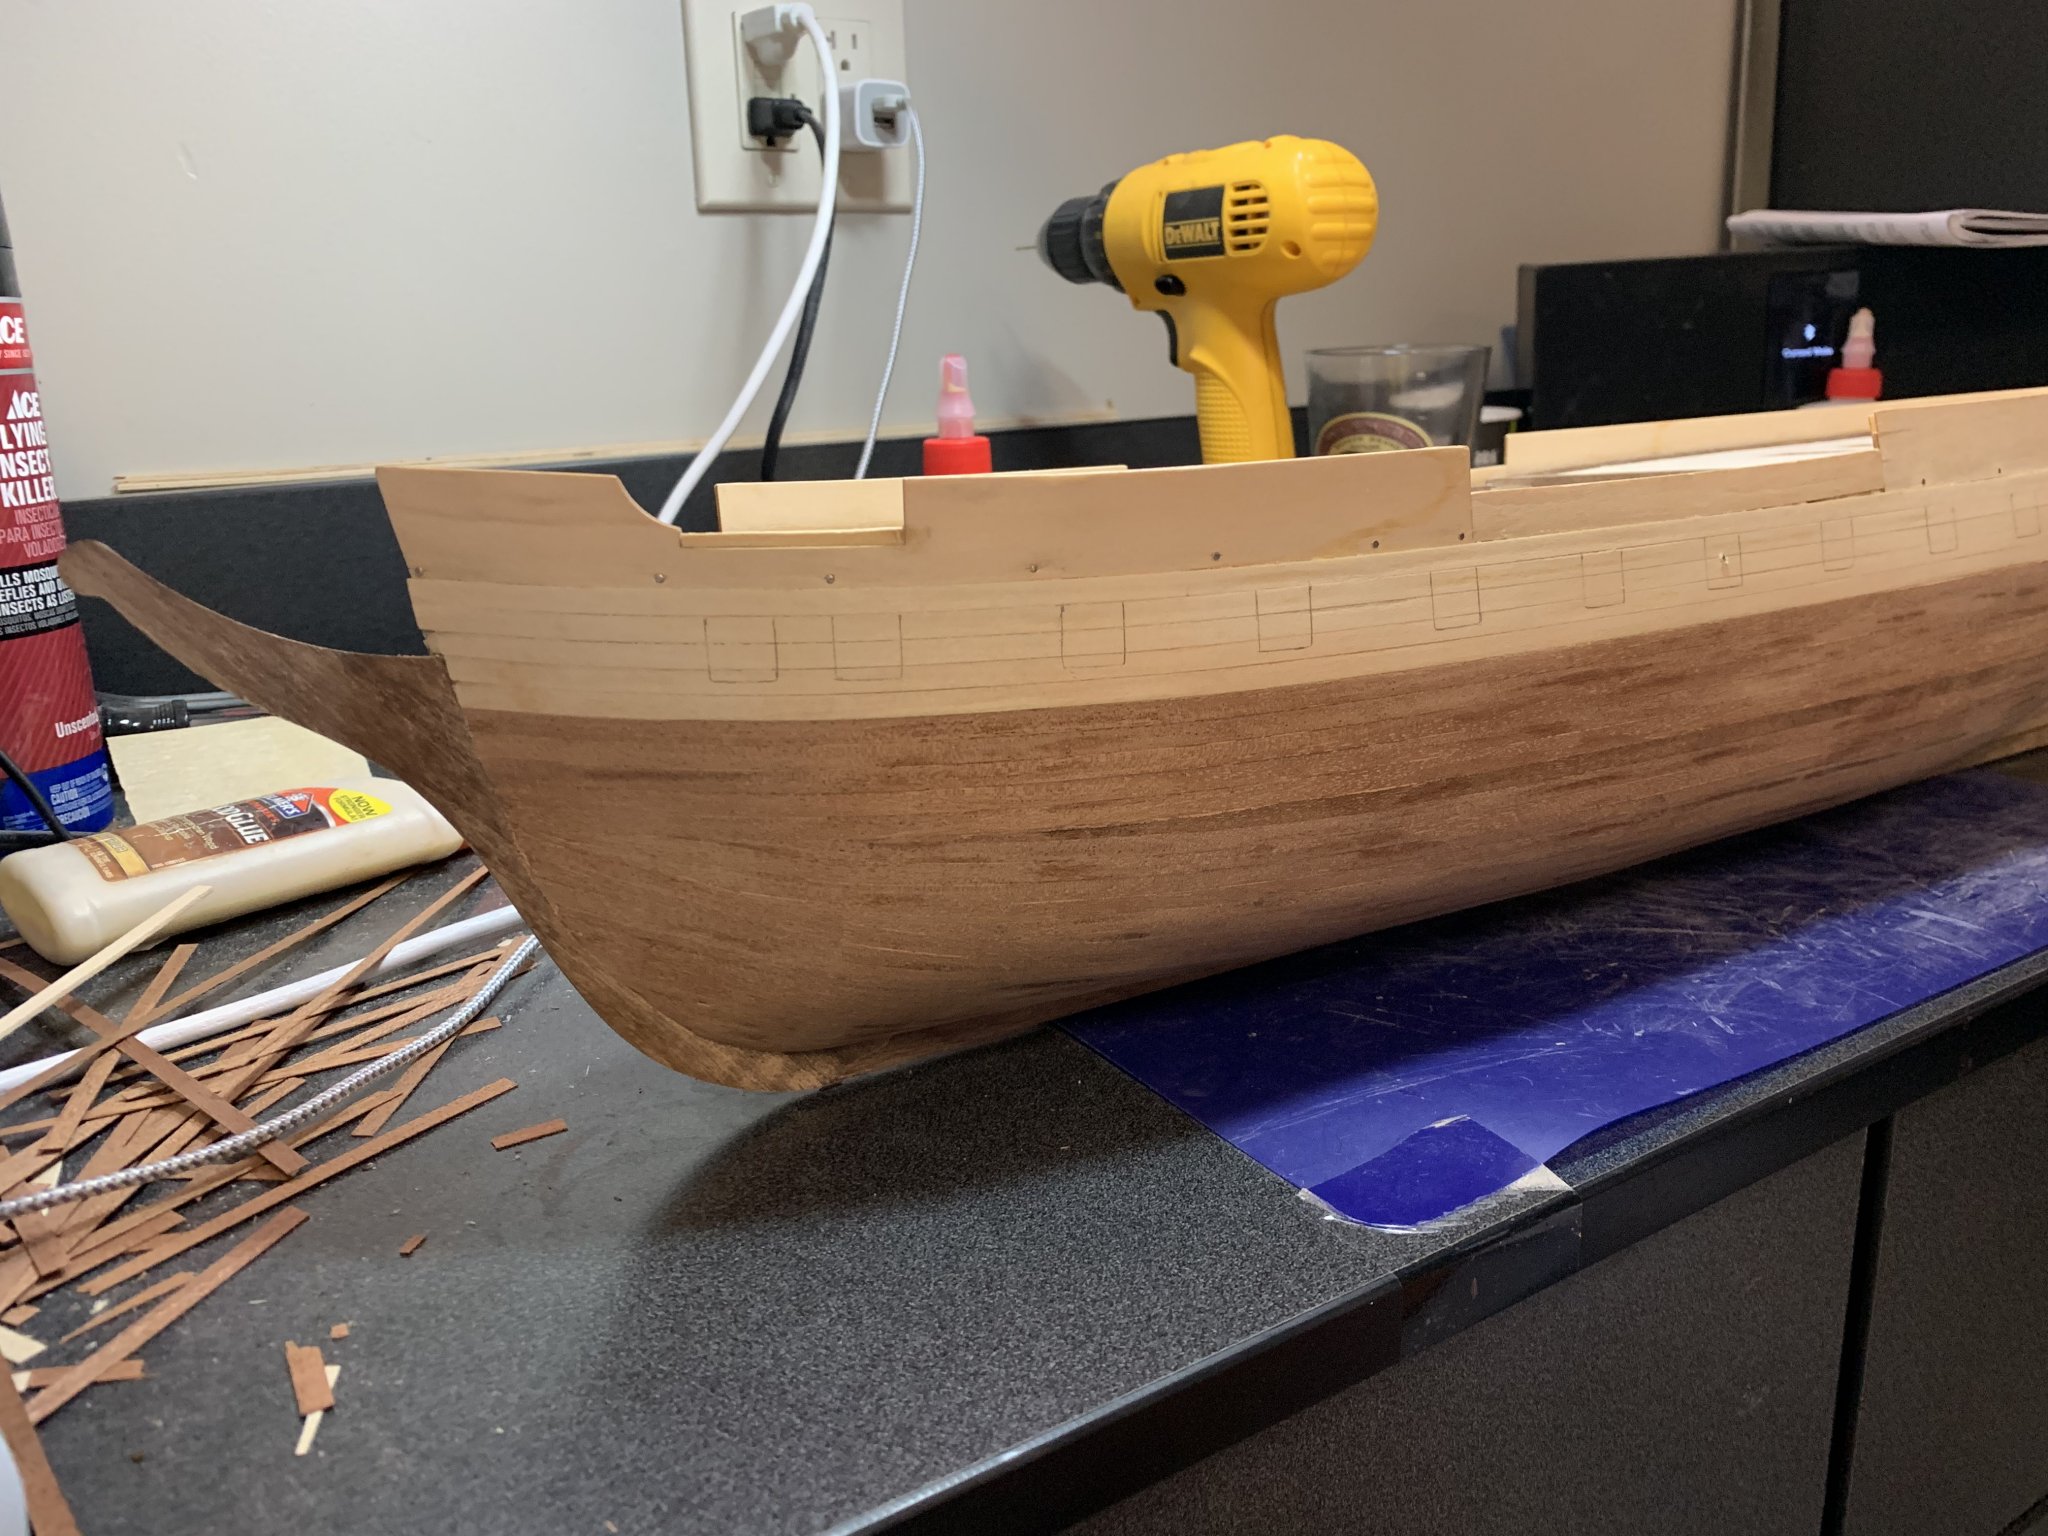
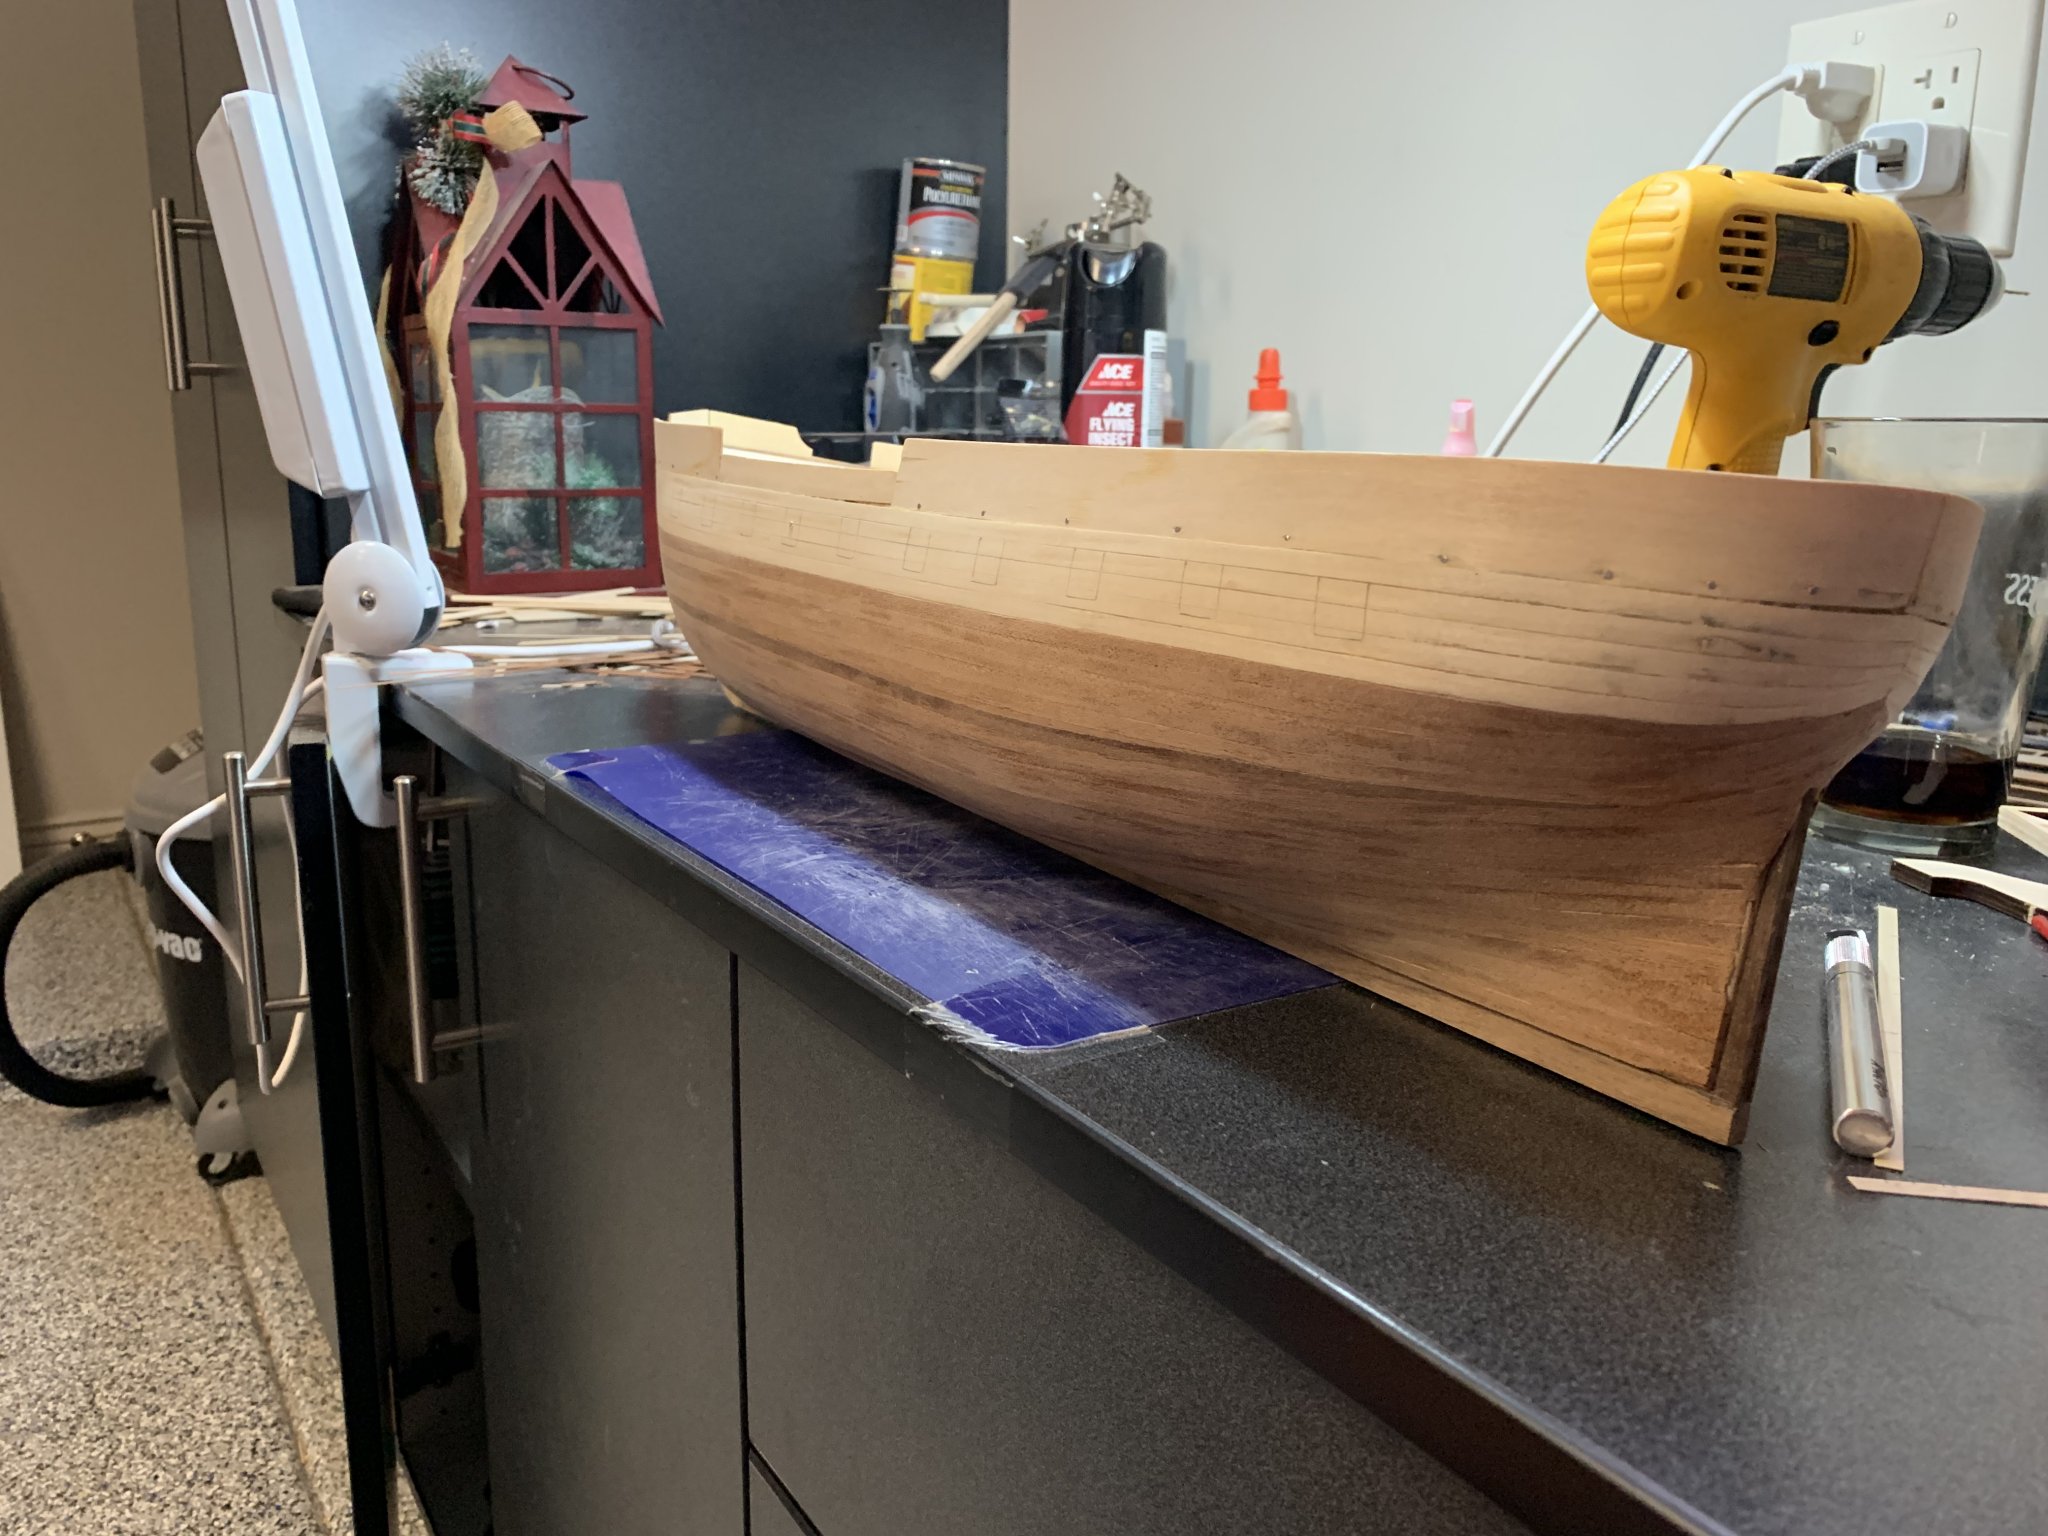
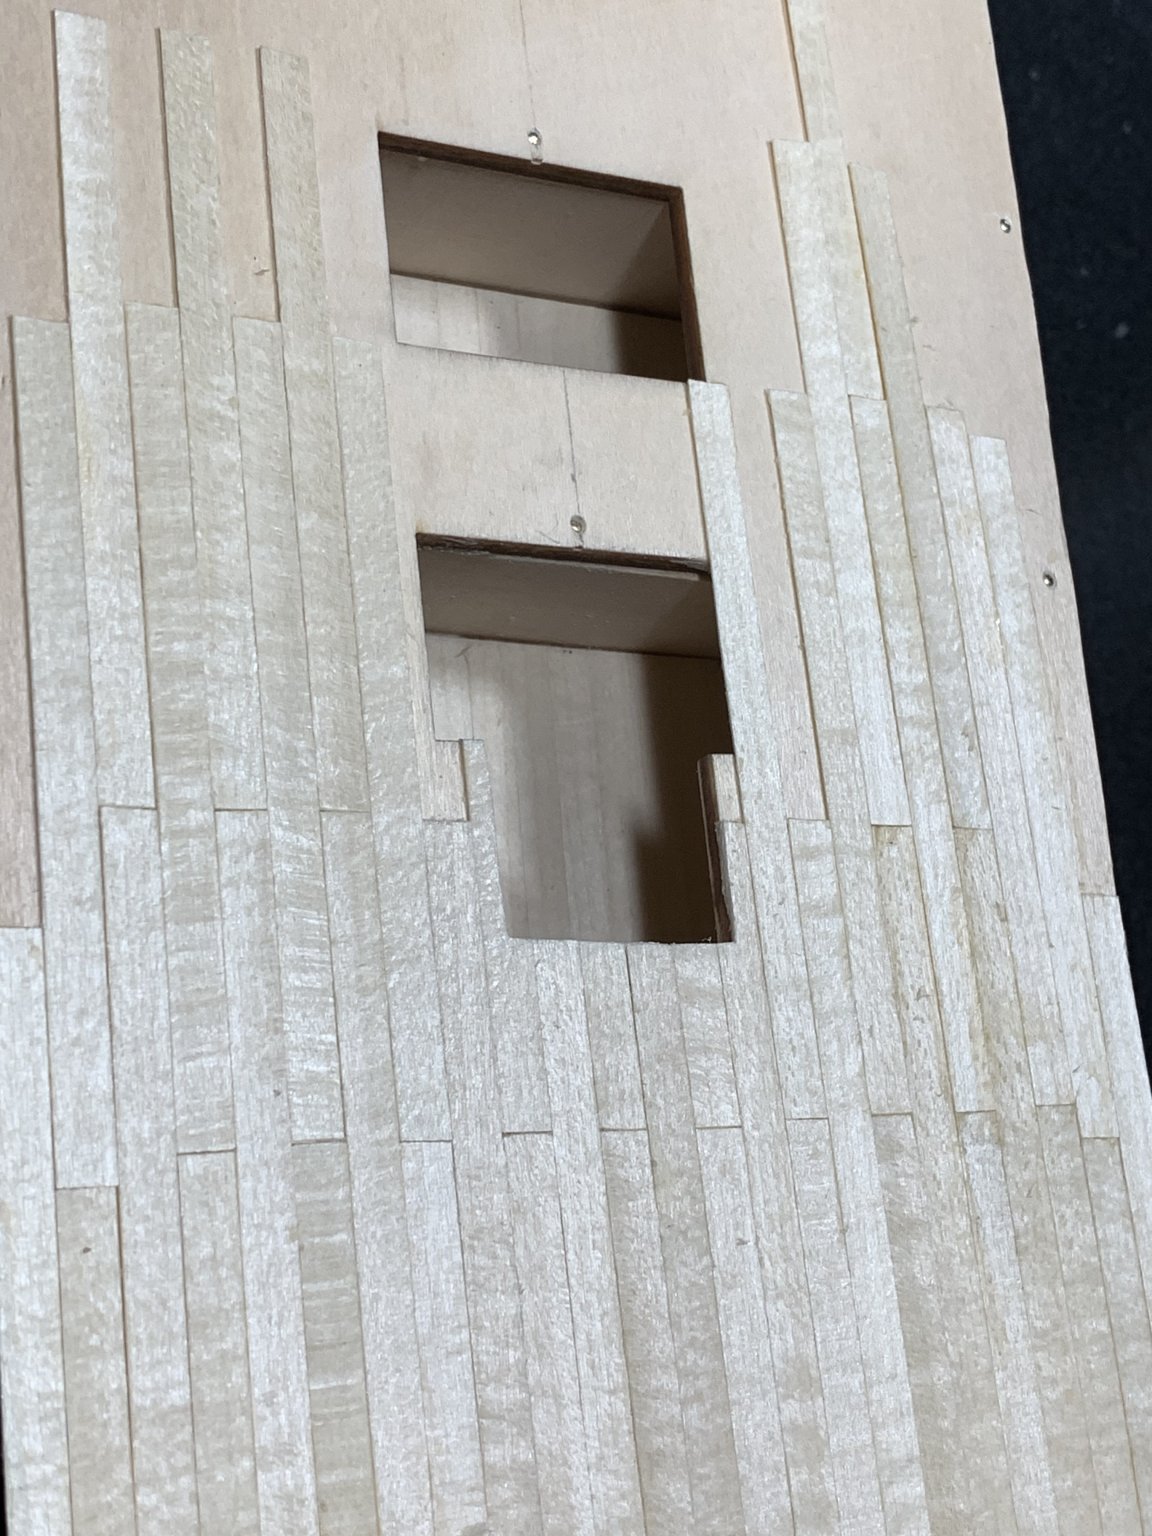
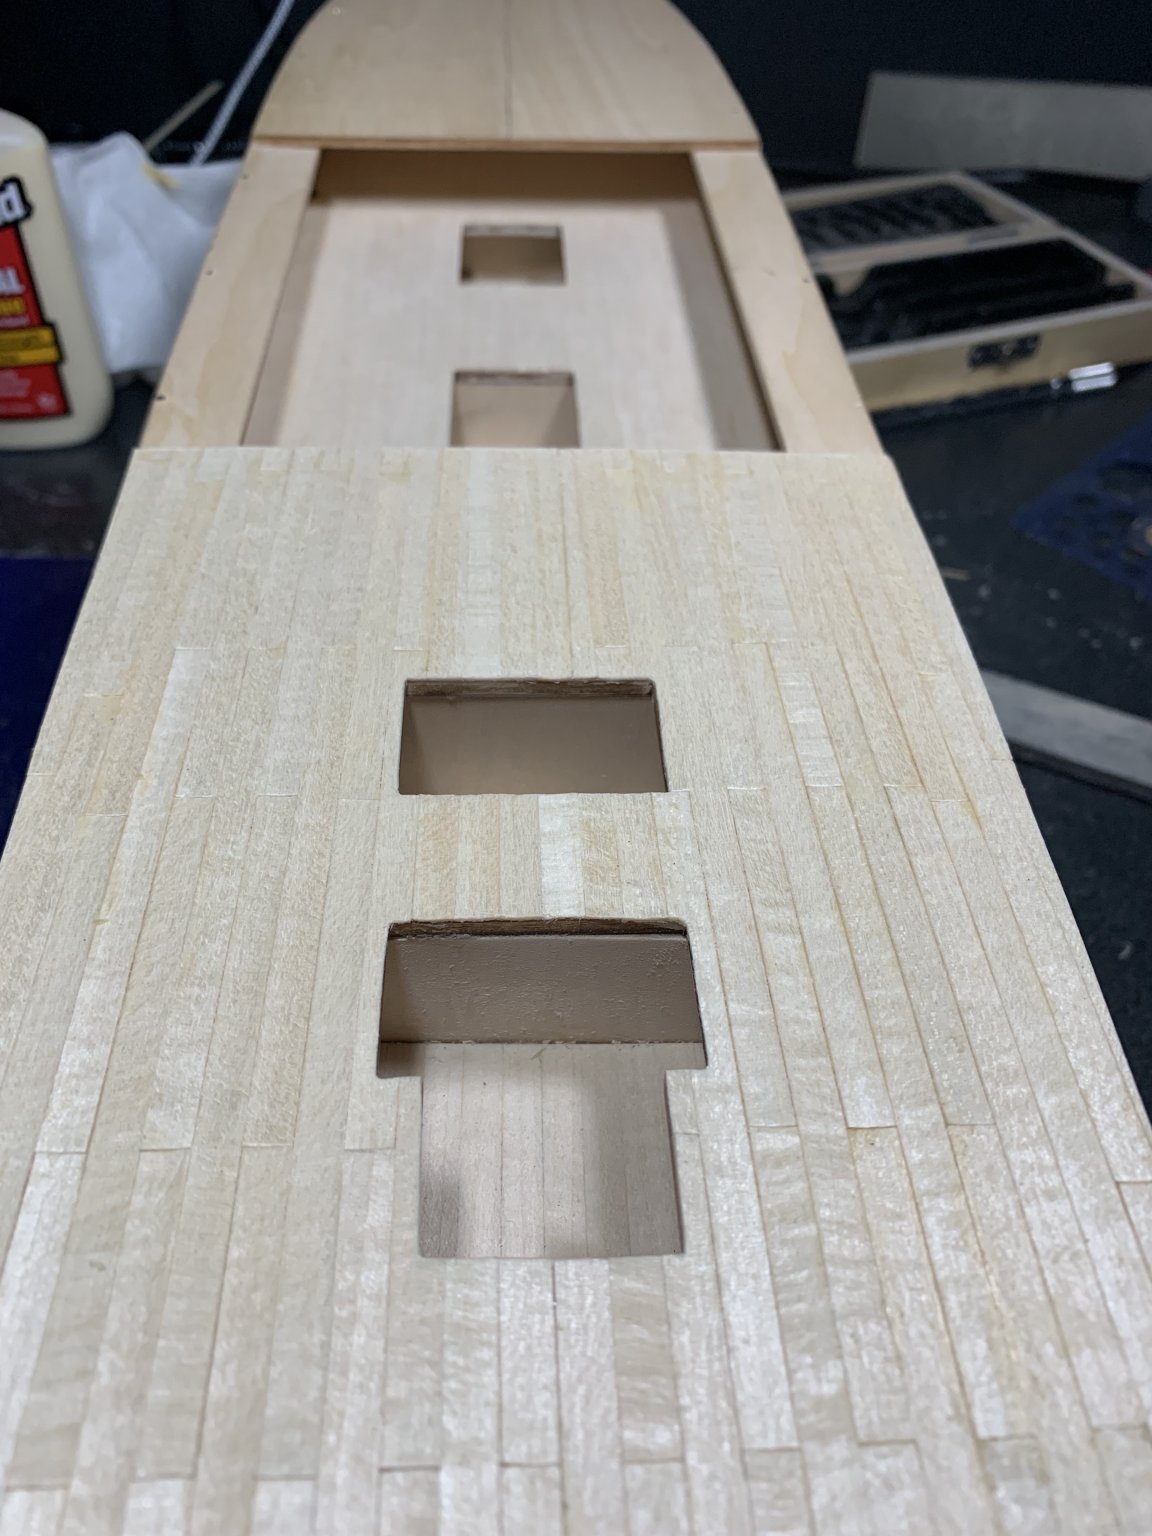
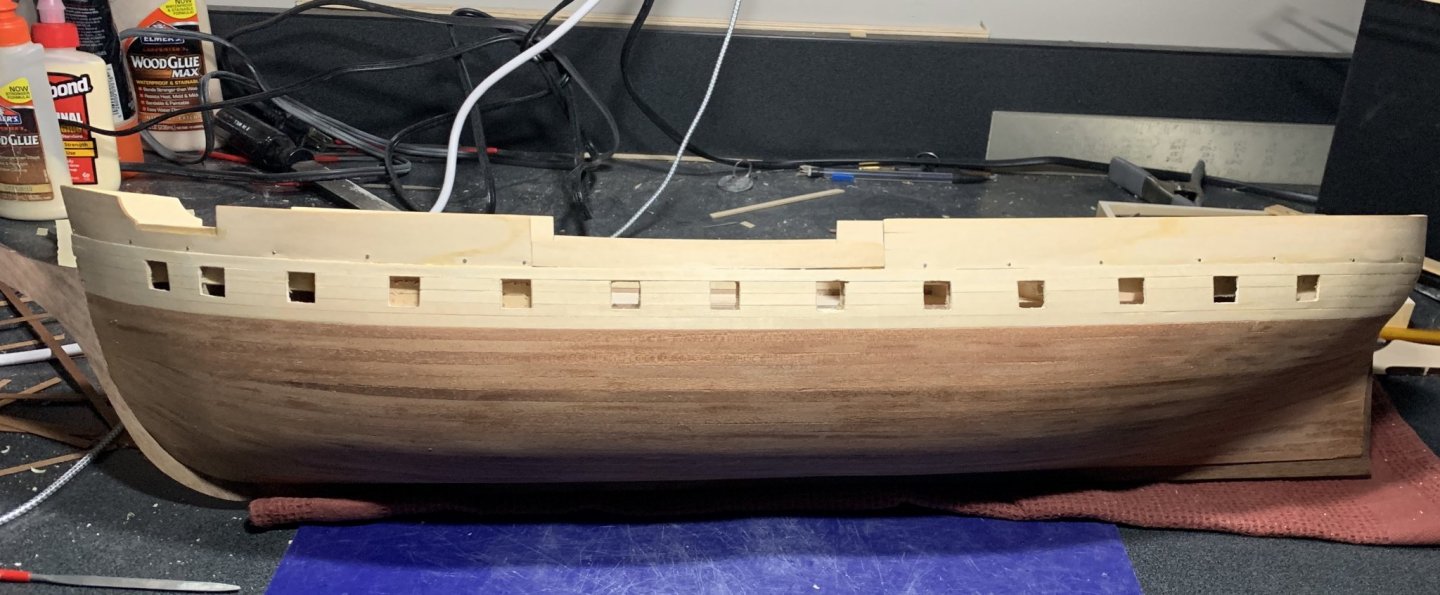
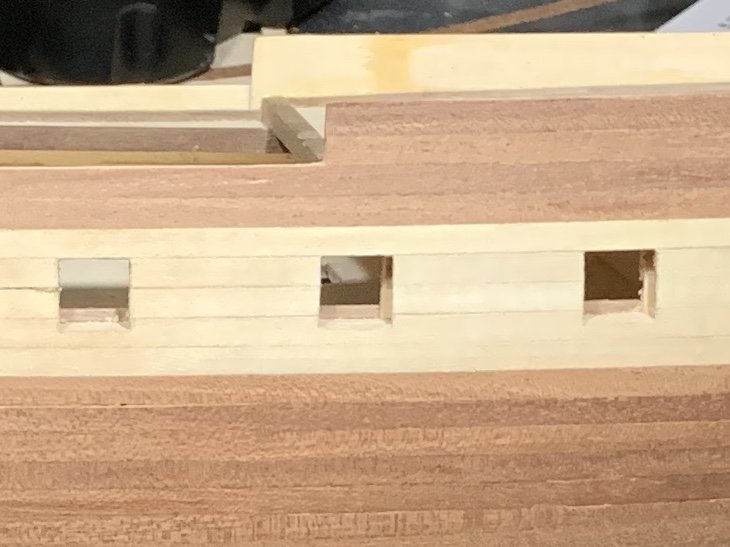
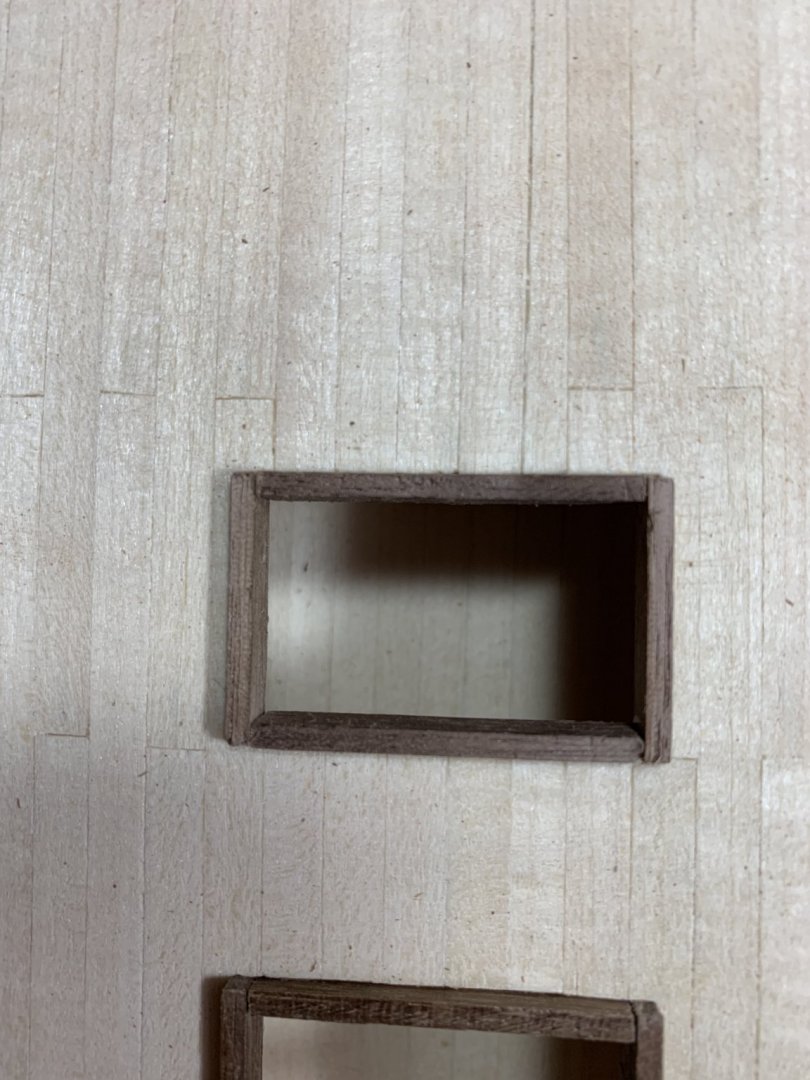
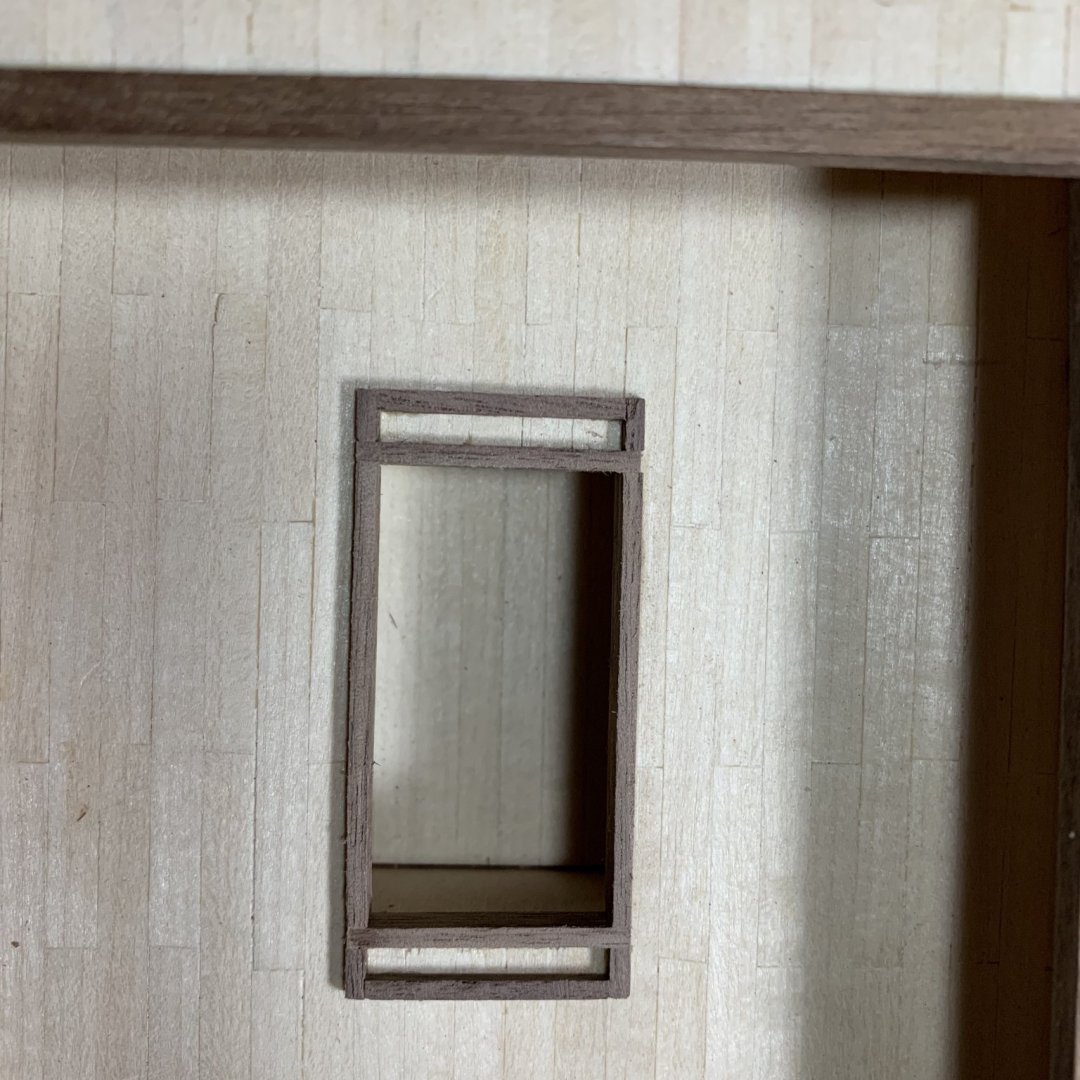
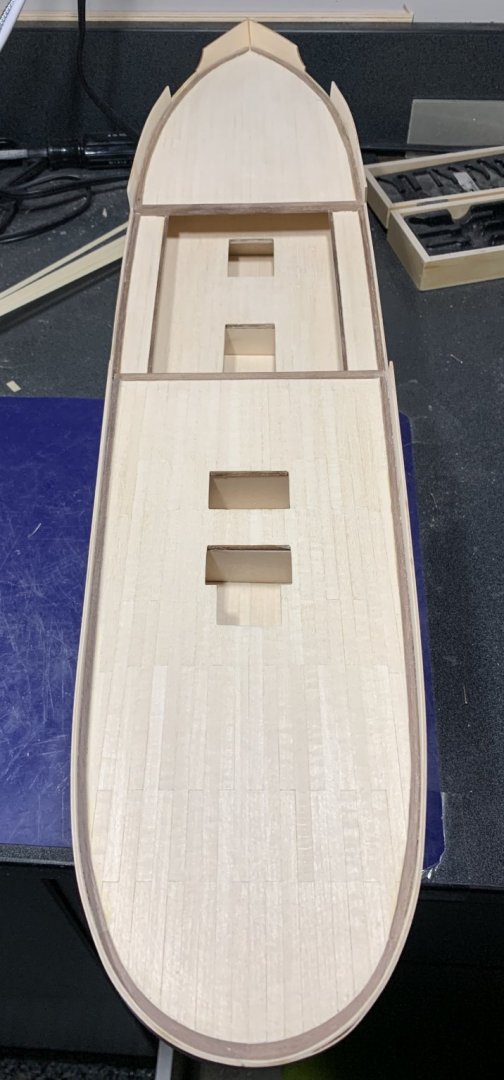
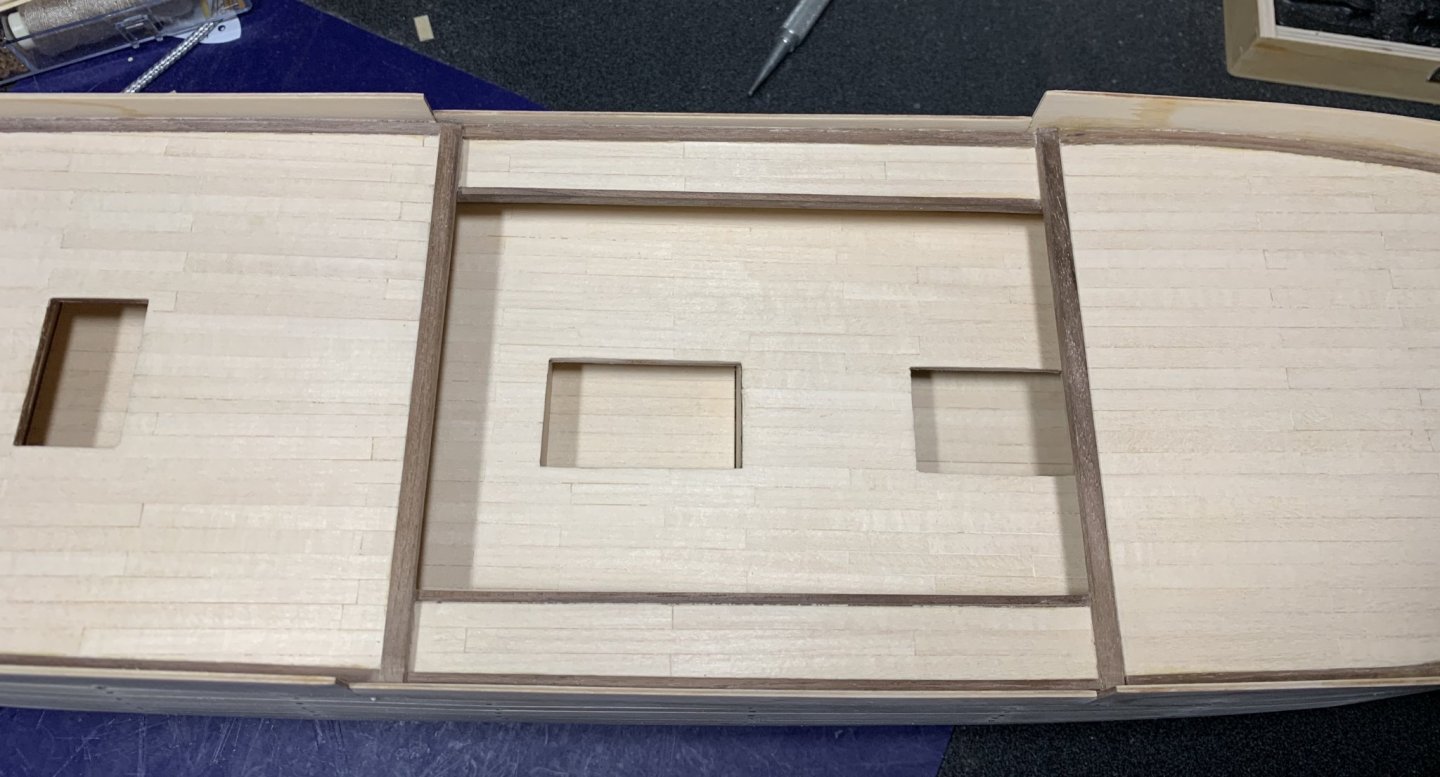
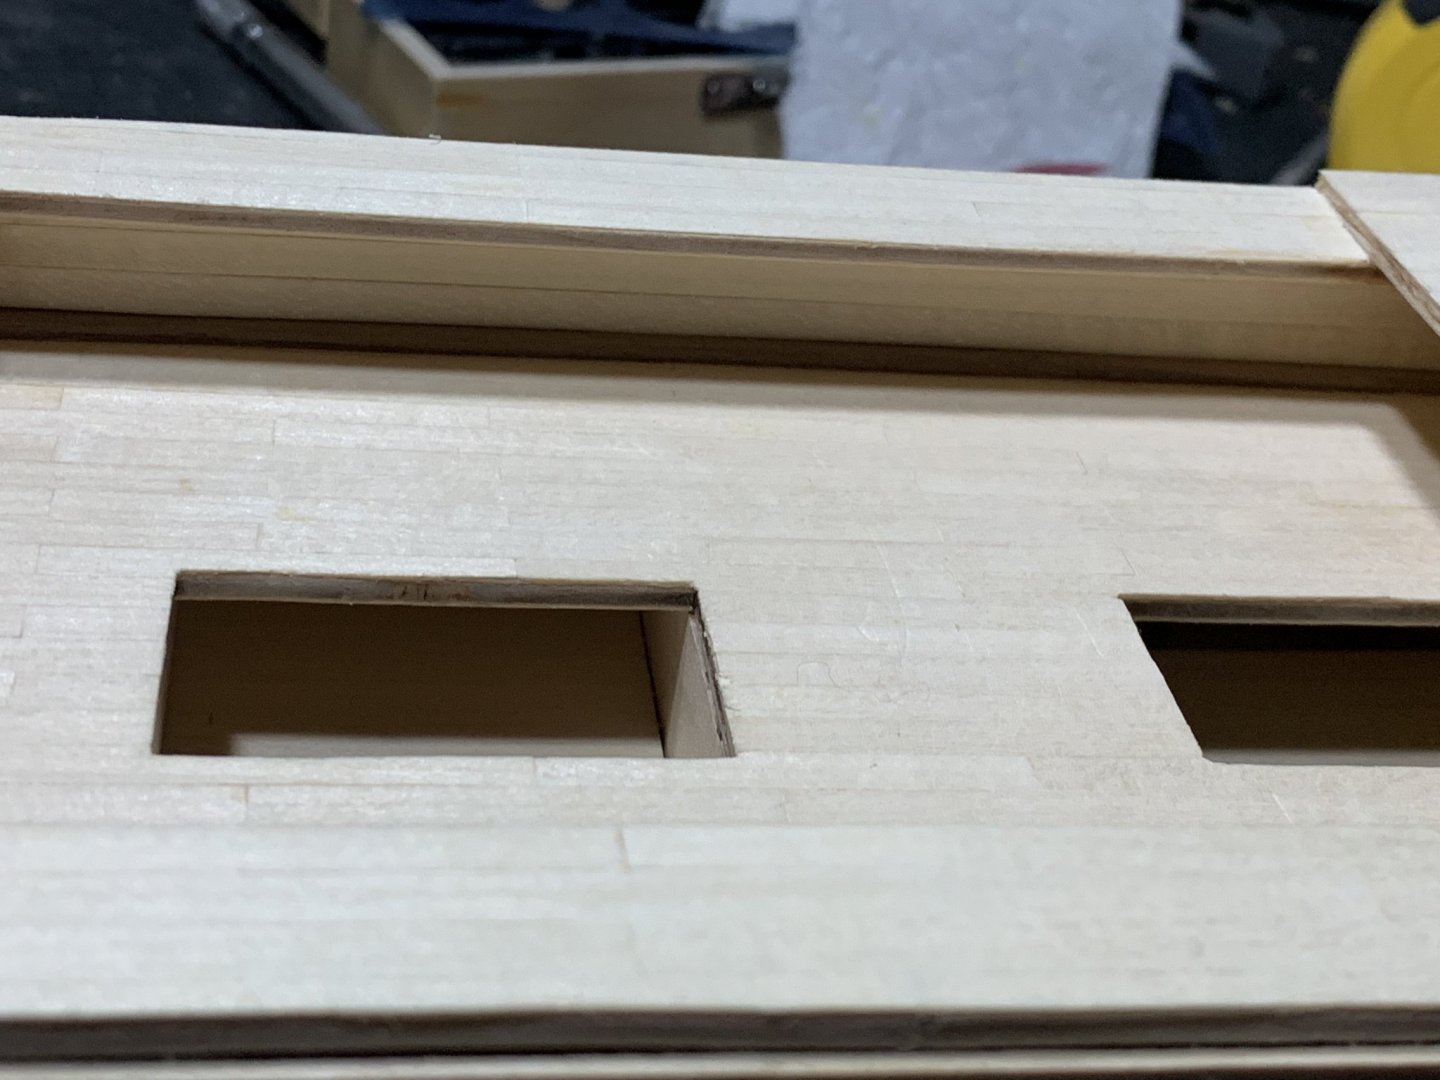
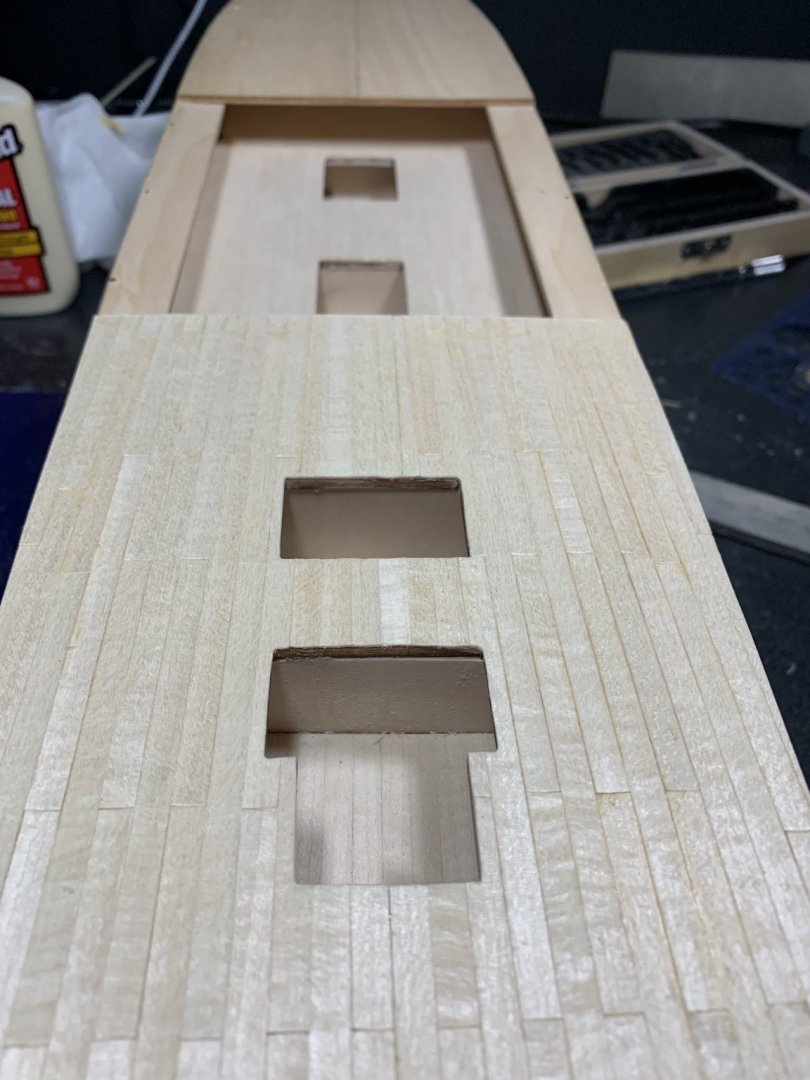
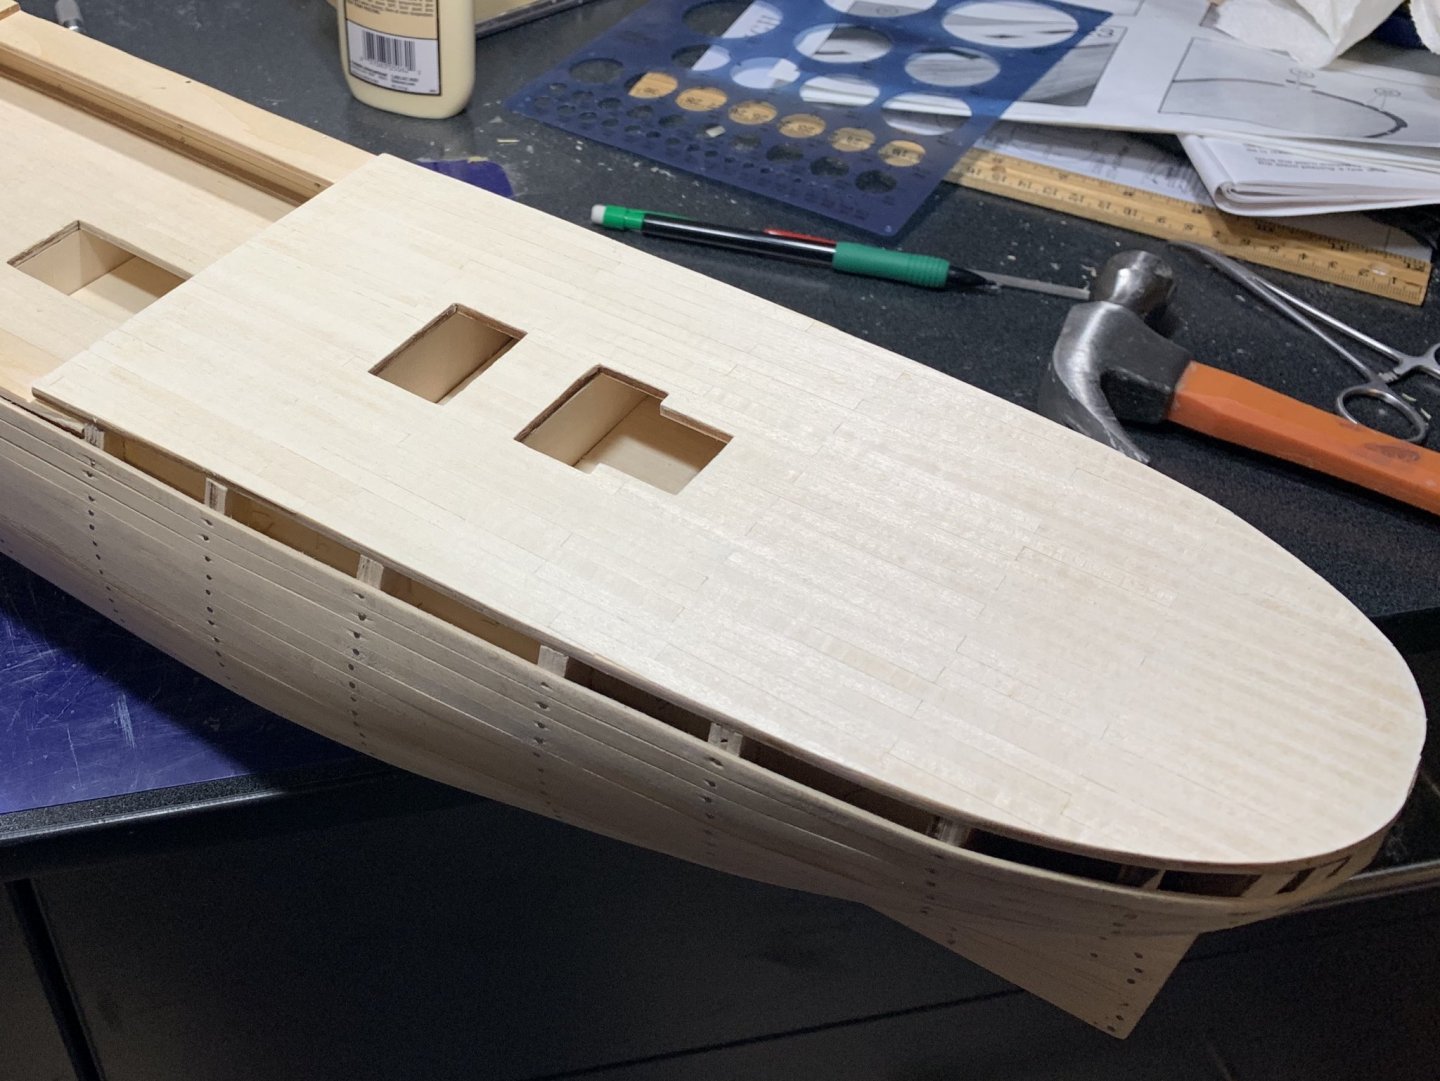
More progress over the last several days. Gun deck level gun ports cut in. Added the maple veneer to the bulwarks. Installed the ammunition support rails. You can see in the picture below a mistake in the separation of the veneer near the gunport on the left. Subsequent sanding cleaned it up a little, but afraid that’s going to have to stay as a mistake. Cutting the 2x2x5 pieces, and aligning them with the larger hatch lining was a little challenge. Knowing that having those small pieces the same size rather than precisely 5mm helped and I figured out a way to fashion a makeshift template that let me see the pieces all side by side and which pieces needed to be sanded down or recut altogether.

-
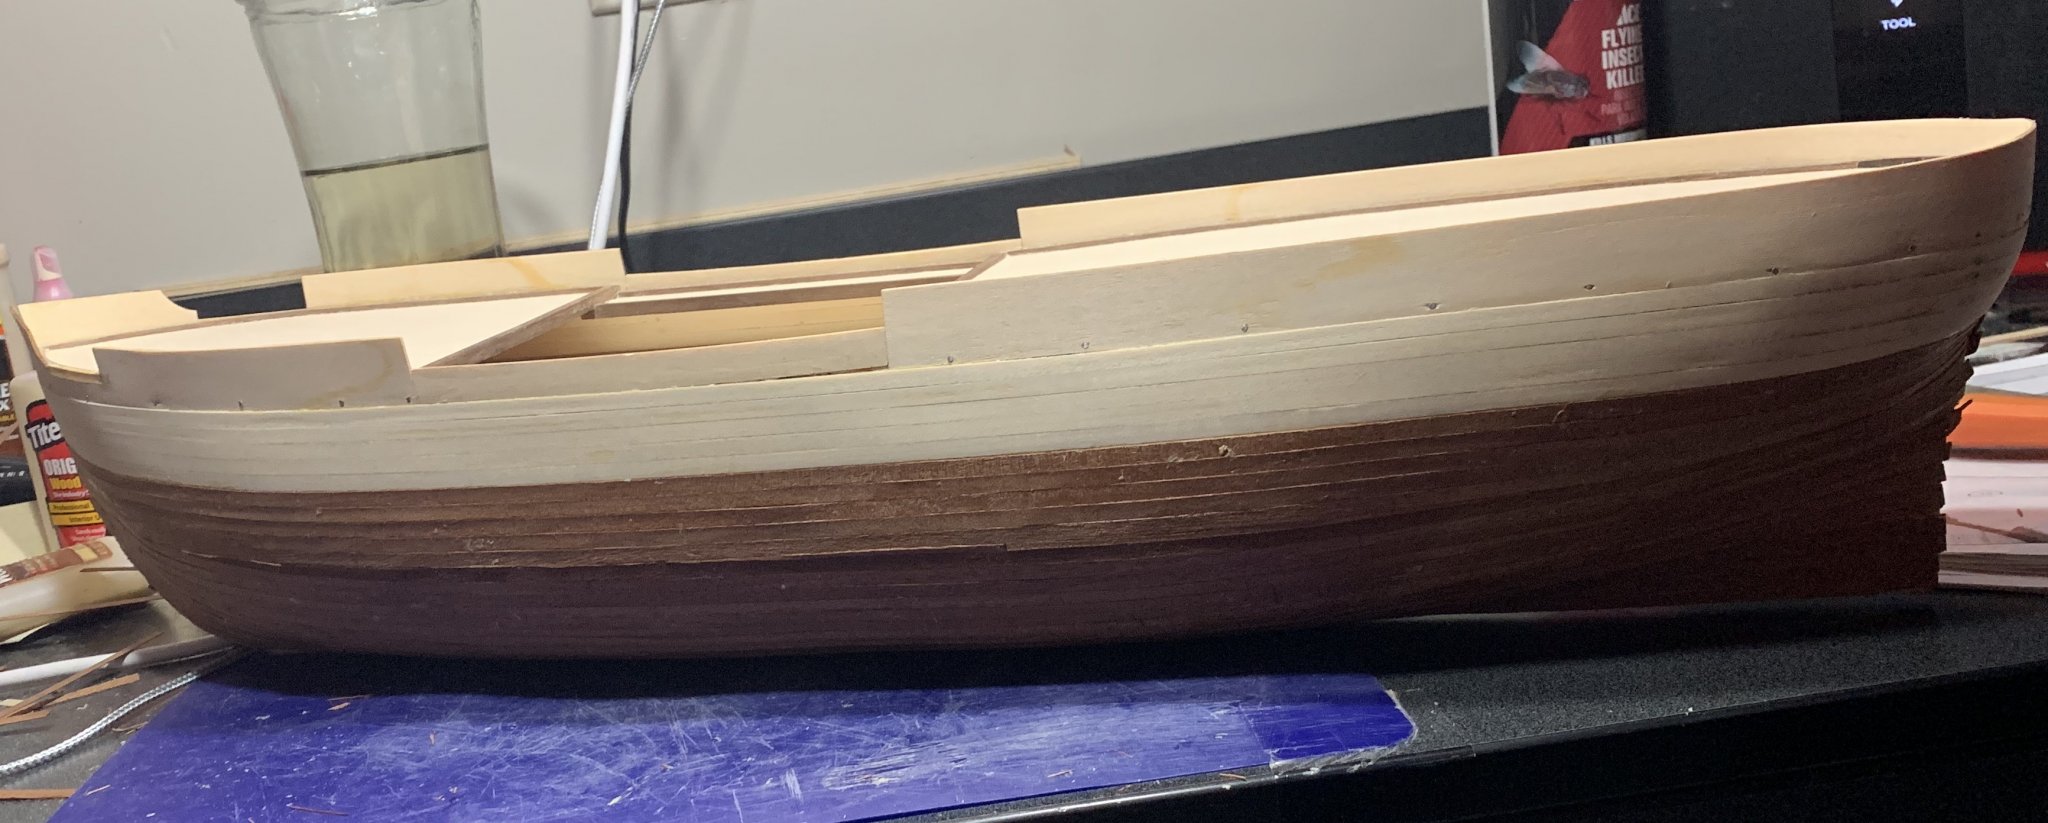
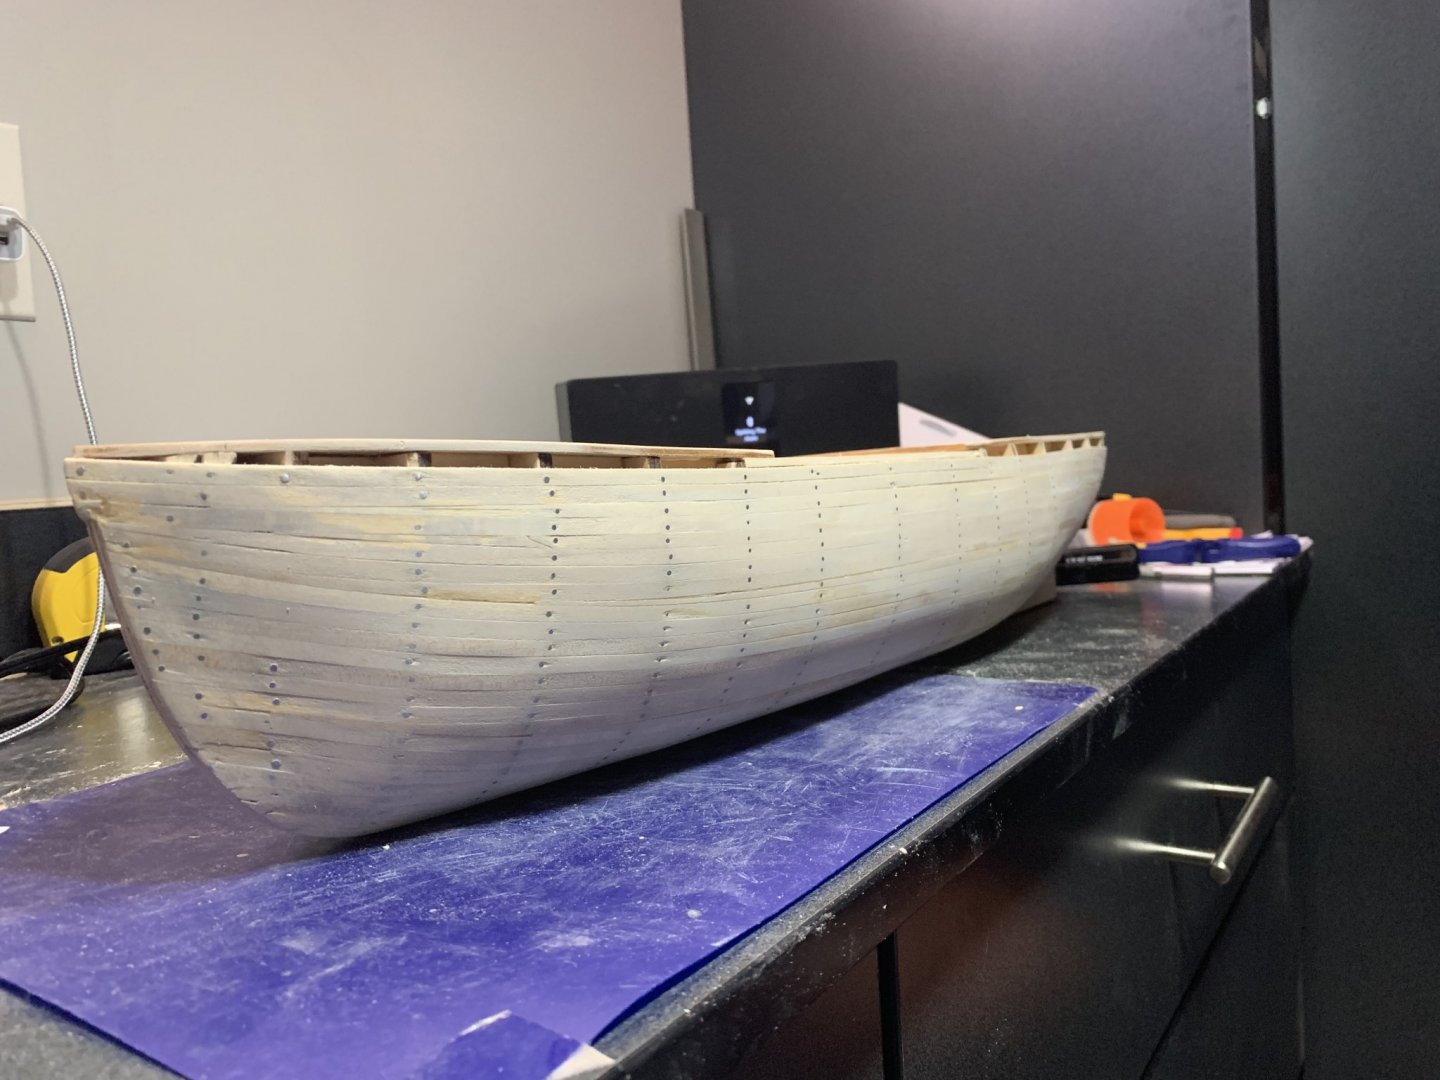
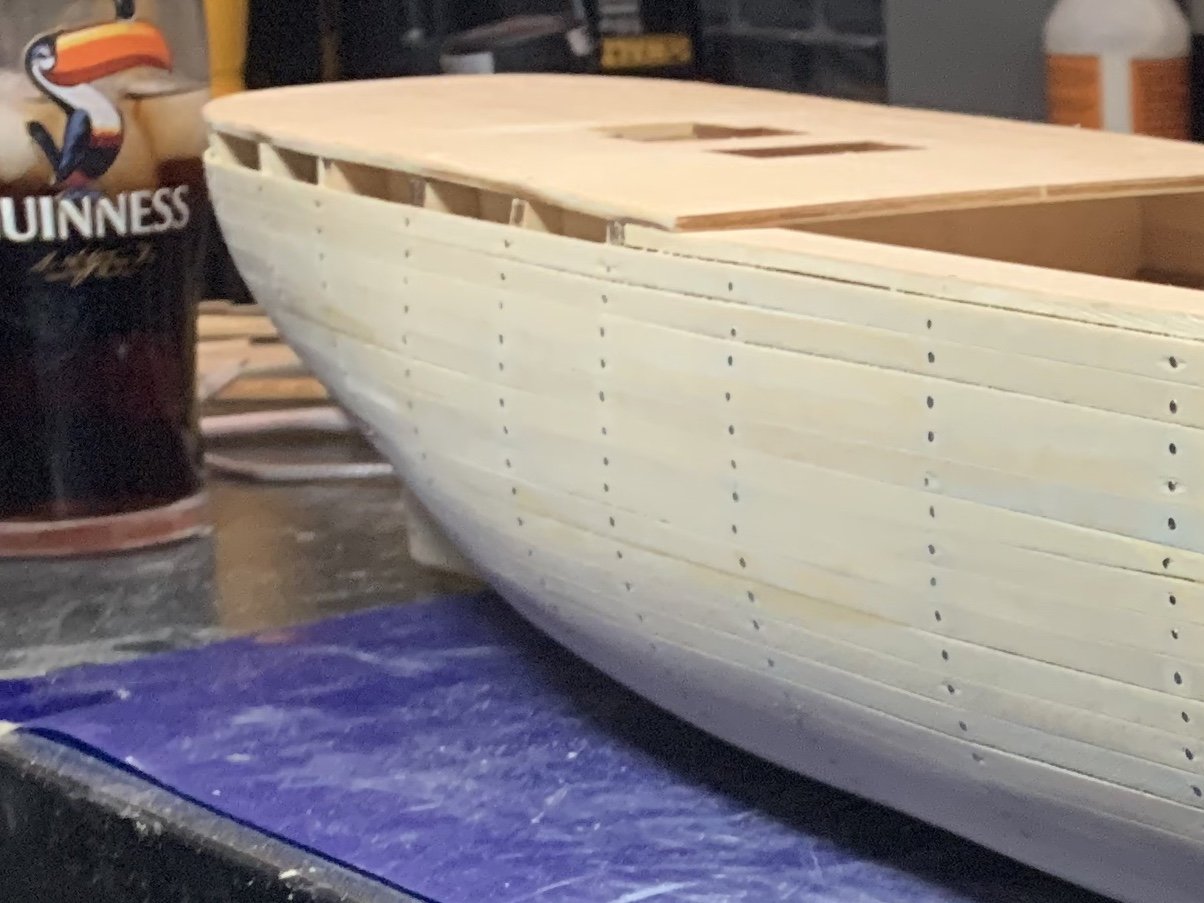
Rough install of hull veneer. For the most part I was very pleased with how it came out I definitely did not do the joins to the keel in an ideal way. I had to spend a lot of time cutting in room for the keel and in some cases adding in small patches where there was splintering. I also over sanded in some spots and had to patch those, too, but they came out really well and you’d have to know to look if you wanted to see them. But after running some 400 grit over this layer, it’s looking (and feeling) great. I am very pleased at this point, but know a lot of delicate steps are ahead.


-
Bulwarks installation I was worried about this step. Either getting the shape at the stern right, cracking them, having them look wobbly or getting them flush with the hull and deck. Lots of things, in my mind, could have gone wrong. Fortunately it went pretty well except that the bulwarks are three individual layers of wood that have been glued and pressed together snd they did separate a bit as I was shaping them. I pressed on, though and simply glued and clamped them in the places where they separated and they came out pretty close to perfect. You can kinda see that the deck on the port side is lower than the starboard. I added a small (2mm) “fill” on the starboard bulwark to make them the same relative size, assuming that when all of the final veneer is added it’ll look nice and clean and an observer will *really* need to be looking hard to notice any difference.
-
More deck installation Adding the waterways went pretty quickly. Biggest challenge was bending/shaping at the bow. But the plank bender came in very handy and I just took my time with glueing and setting each piece and ultimately felt like I got it just how I wanted it. This step took a couple days.
-
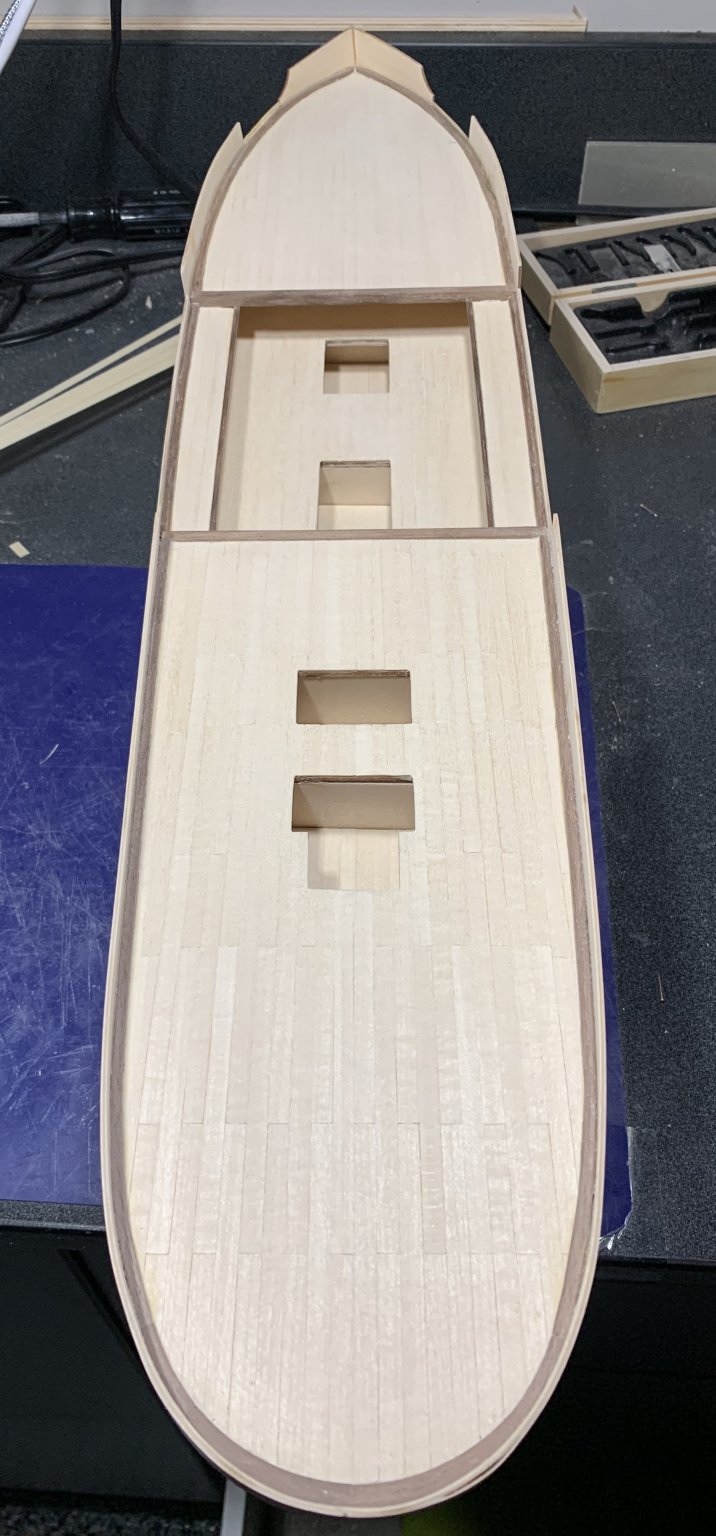
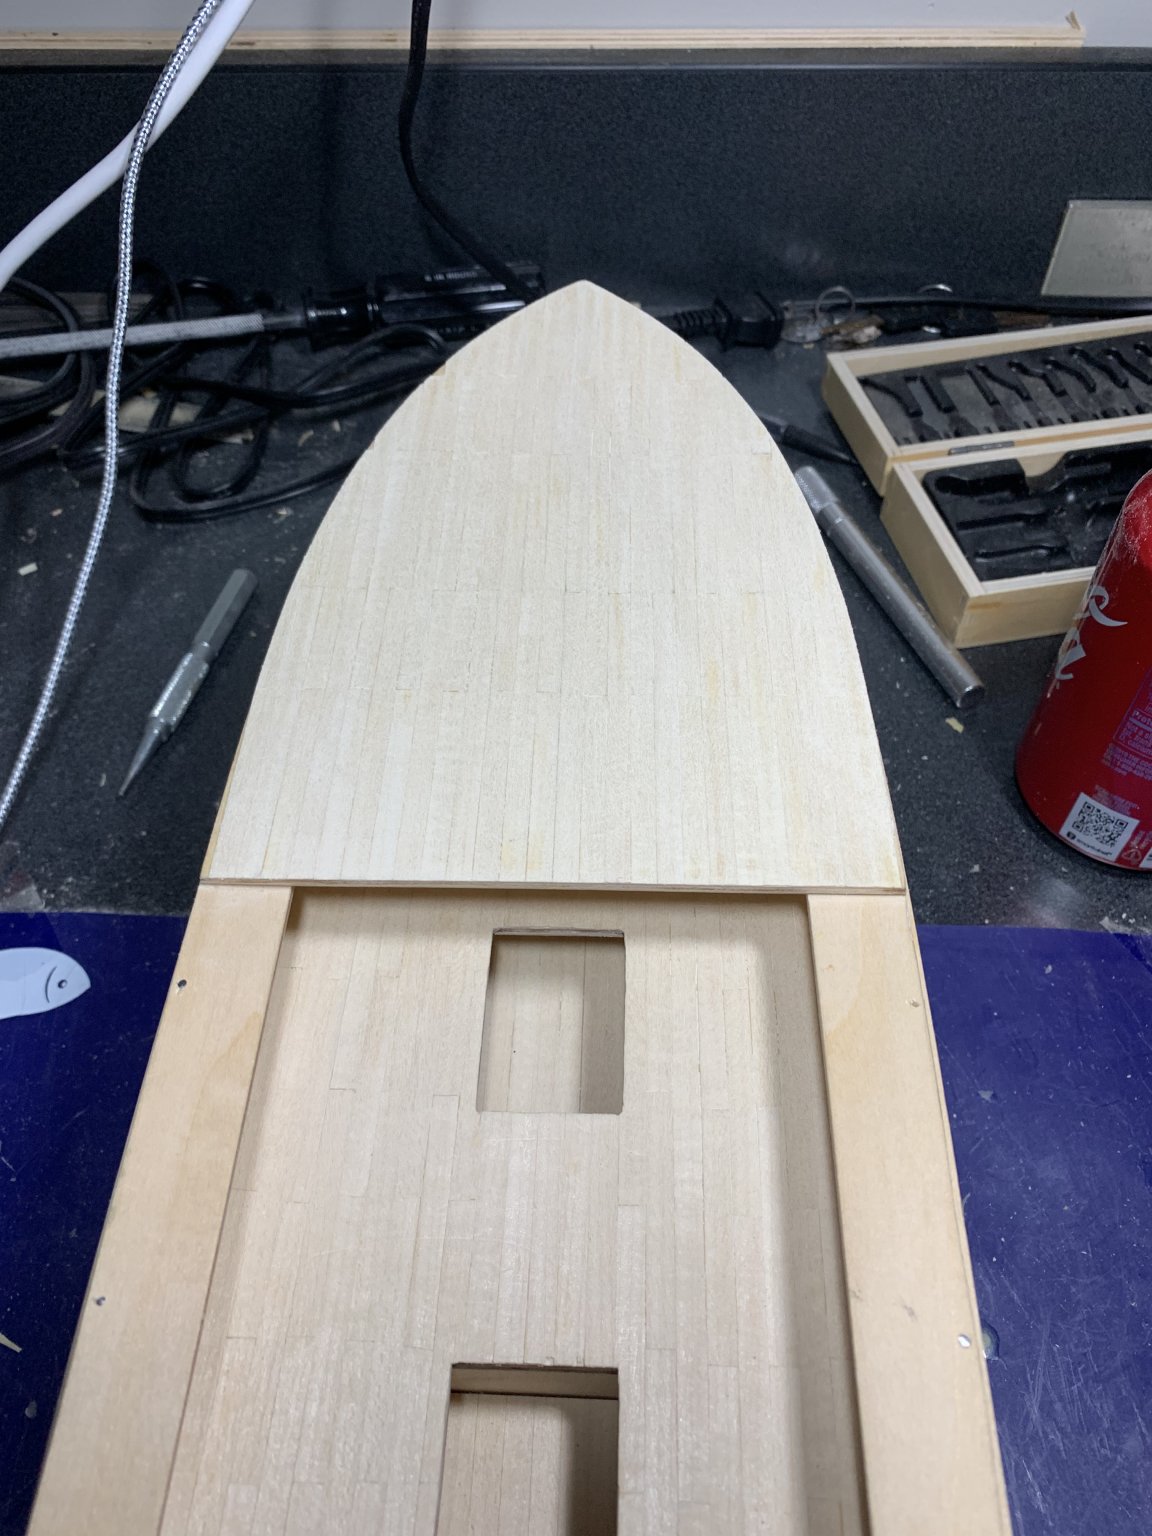
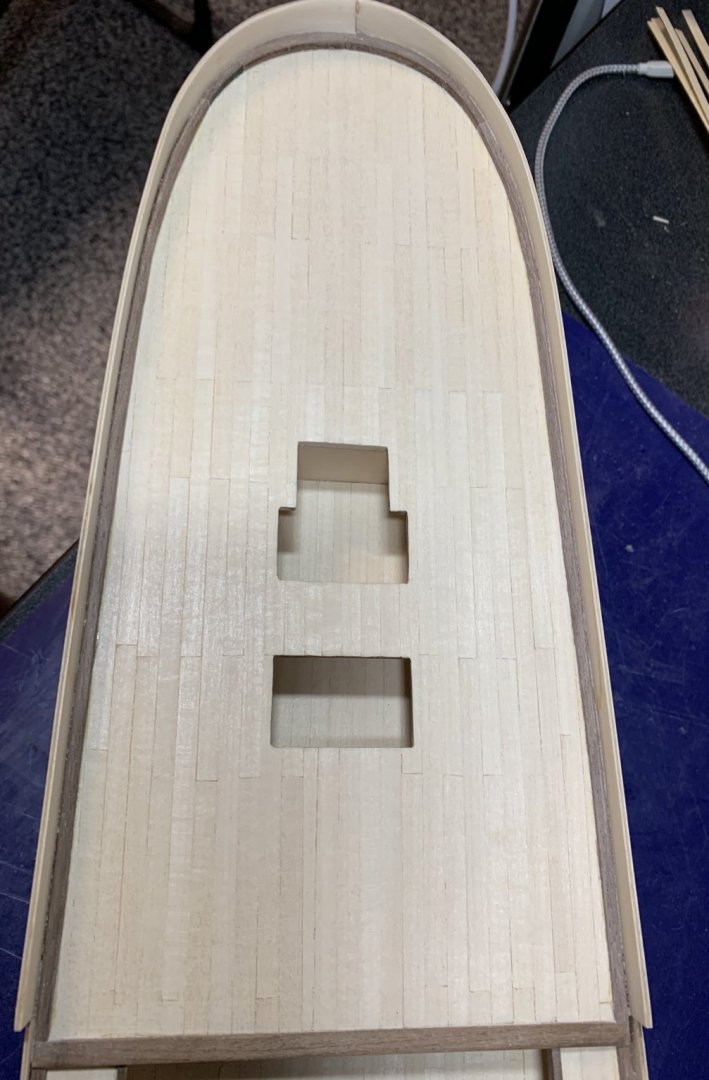
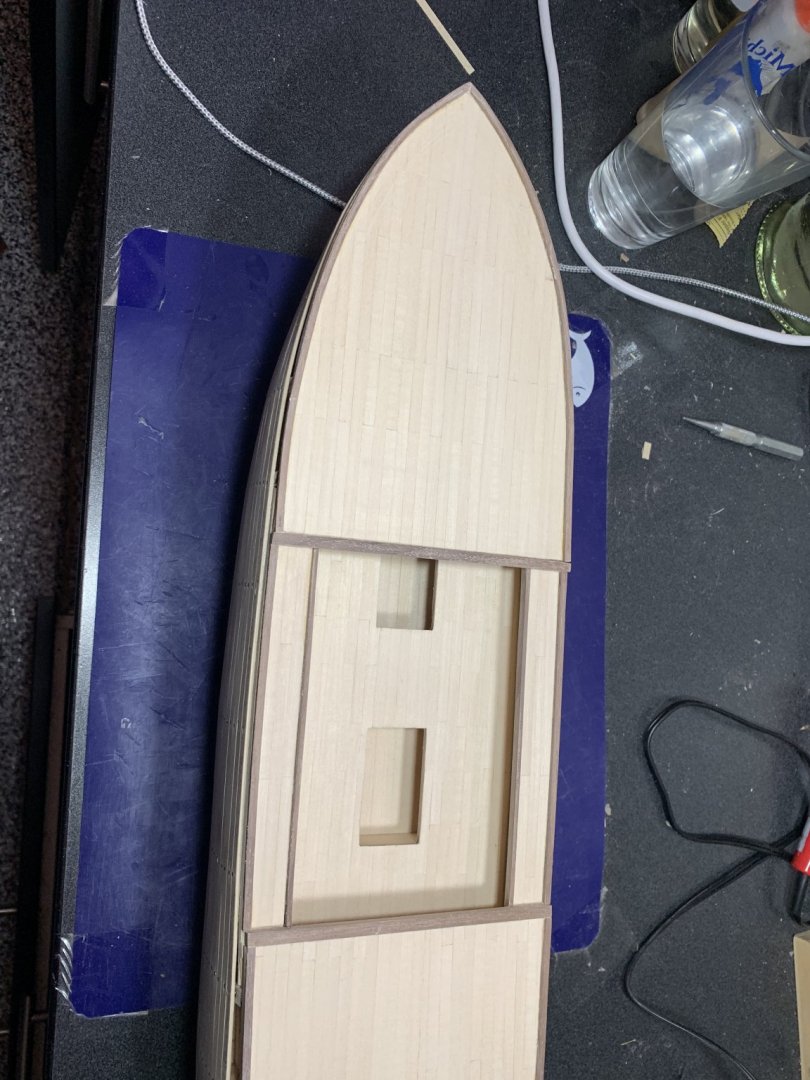
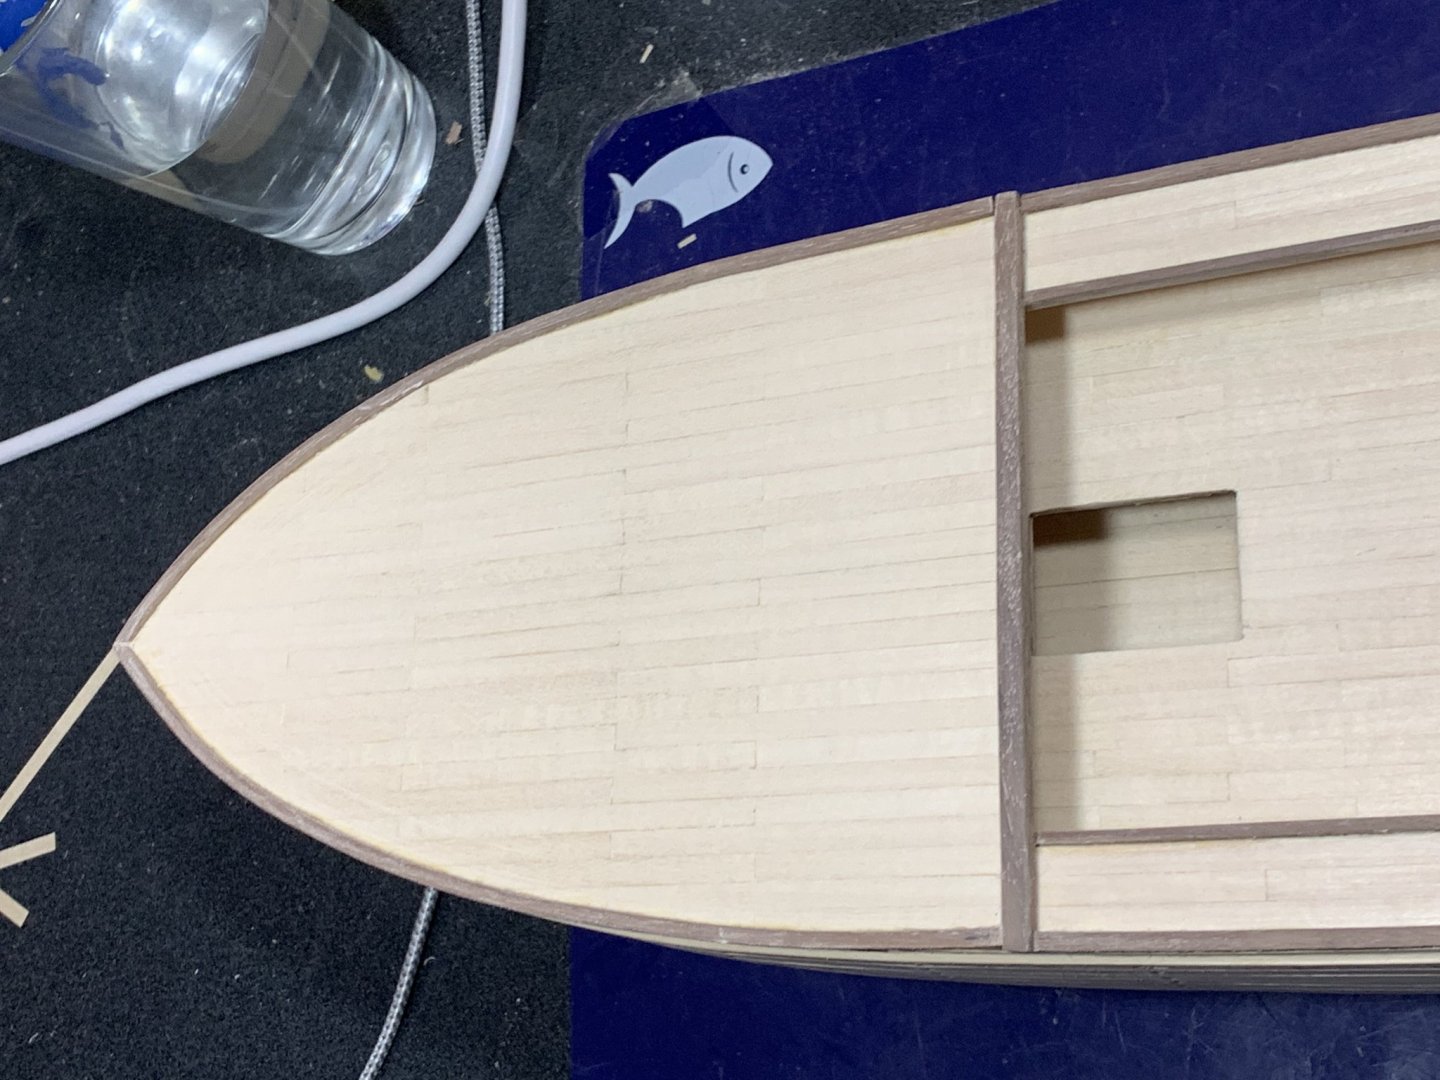
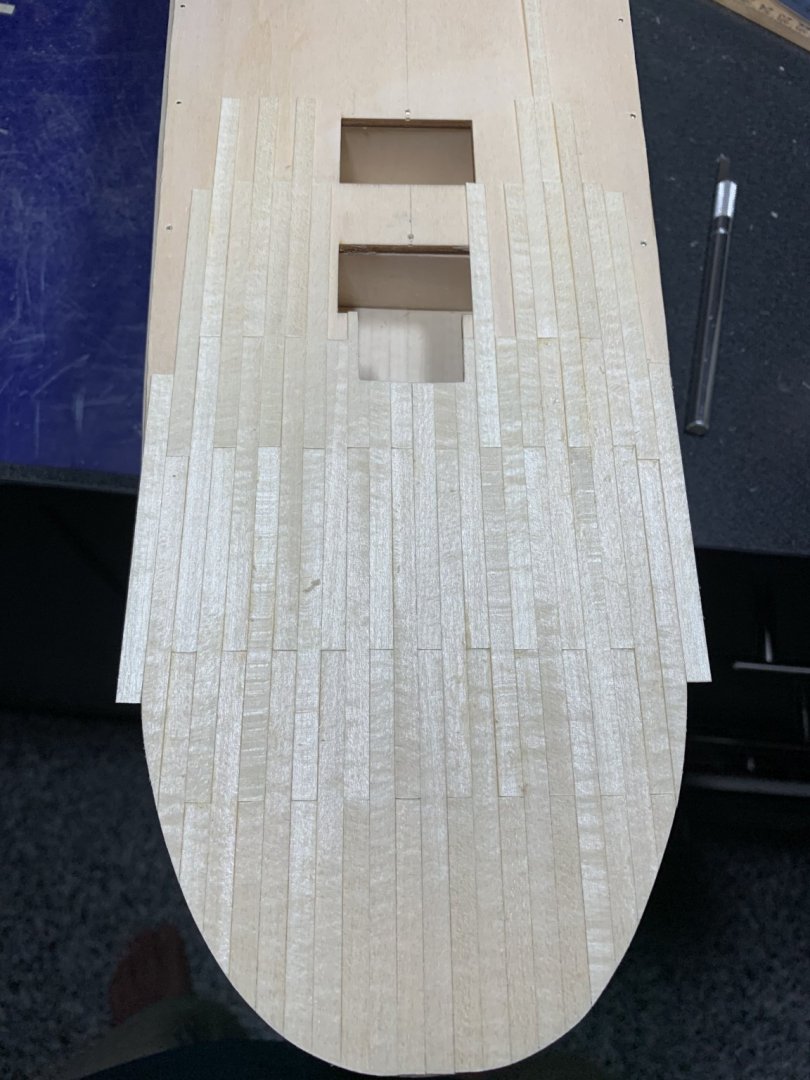
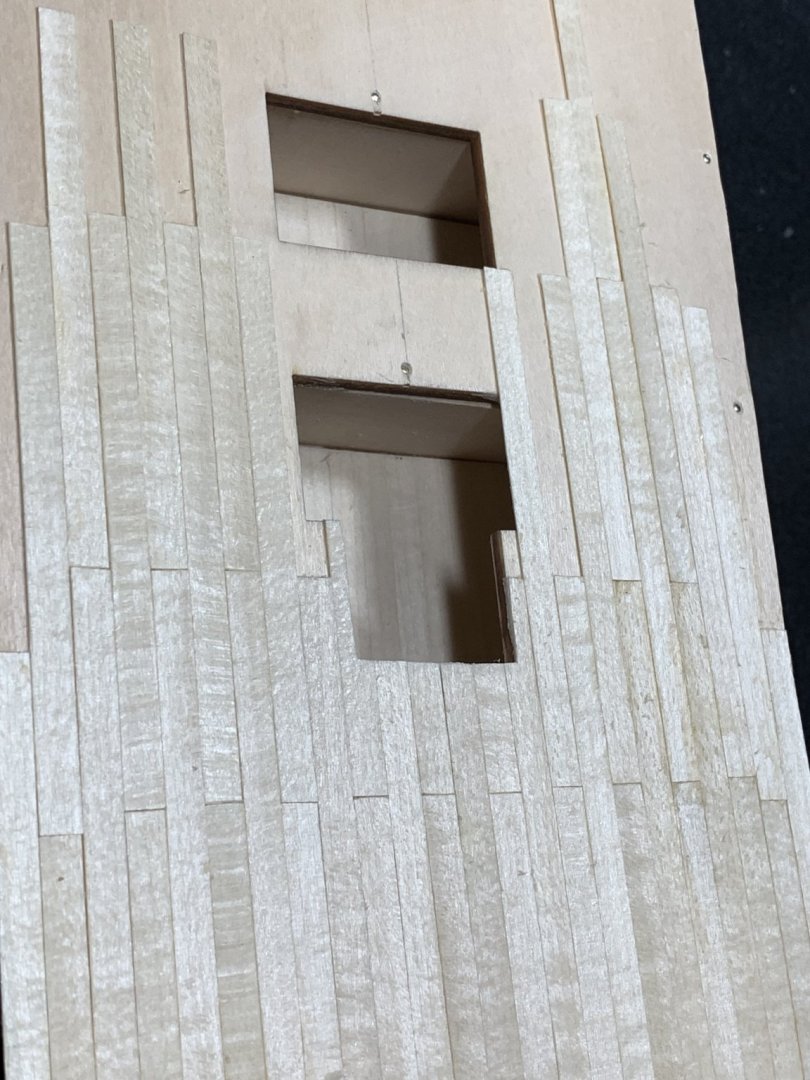
Deck installation. I was not a fan of the AL instructions for the deck. I felt the amount of detail I was prepared to attempt for this build meant I should individually cut and install each deck board instead of installing one long board and marking each “board” with a pencil. So, that’s what I did. Drew the centerline, cut a template board and a second at about 50% its length for the offset then got to work cutting hundreds of individual boards. Installation was quite tedious as you’d imagine. I did go slowly and only did a couple rows of boards at a time to make sure I was keeping true lines and letting the glue set. Overall, this step took about a week to complete. I am very pleased with the final result.


-
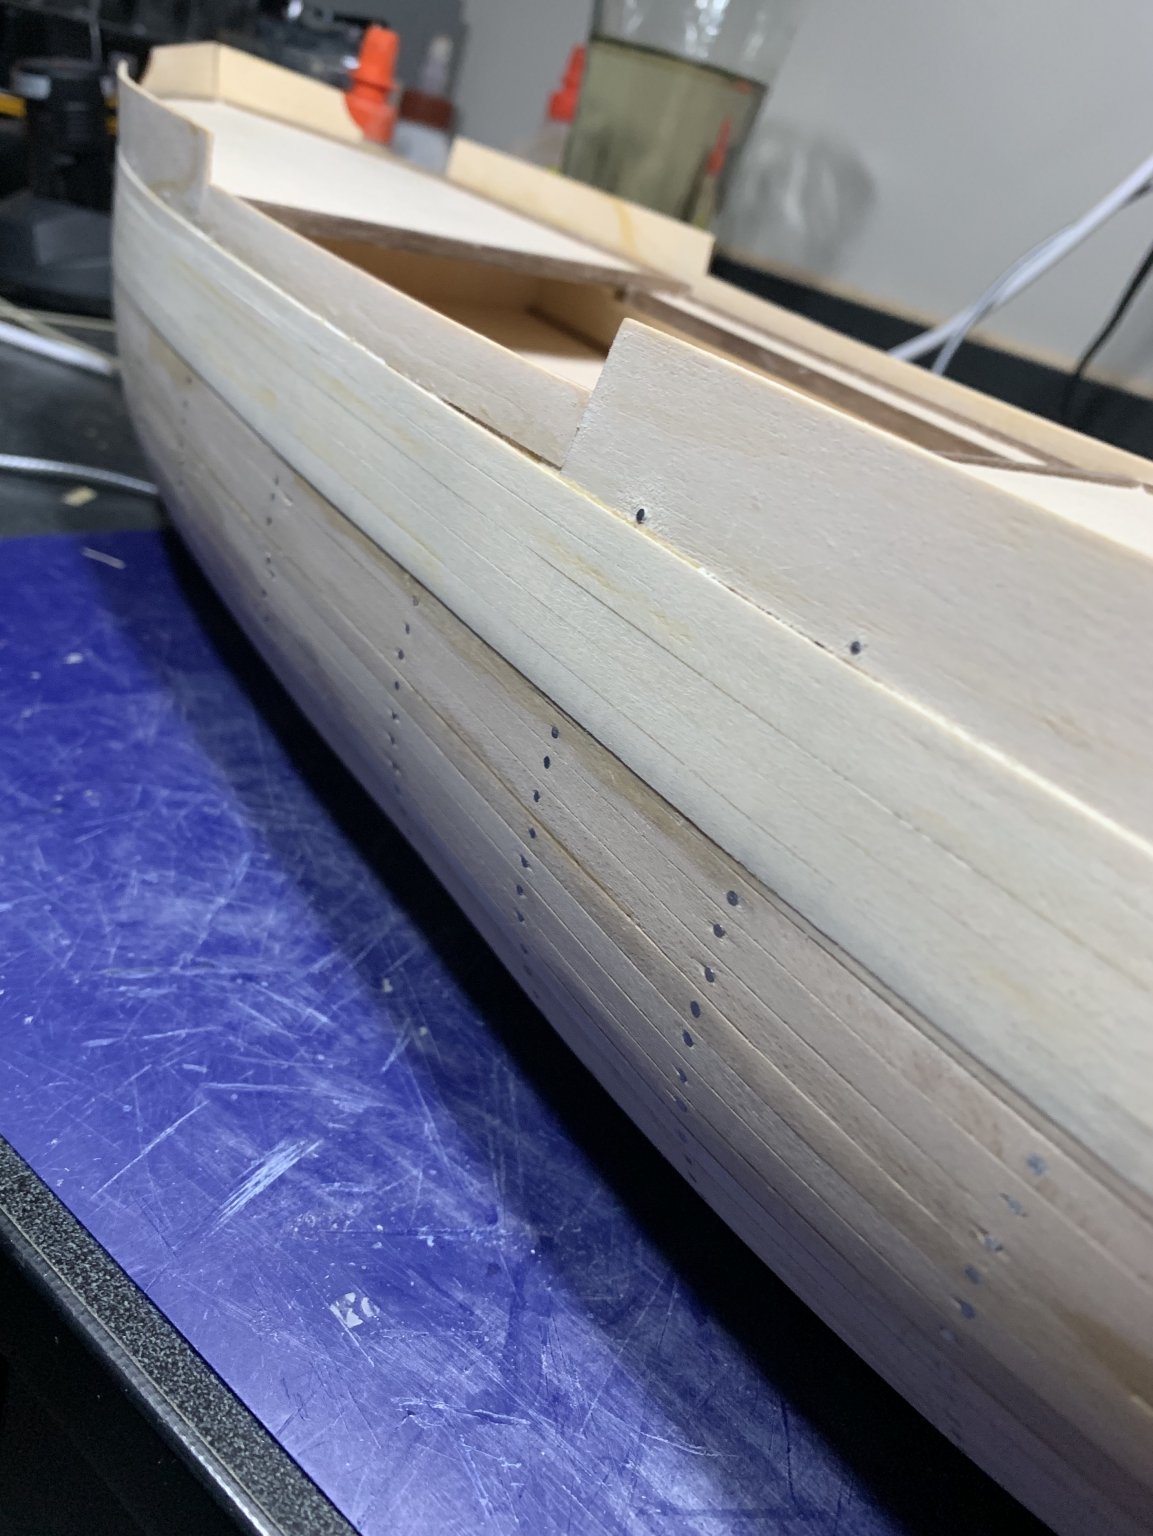
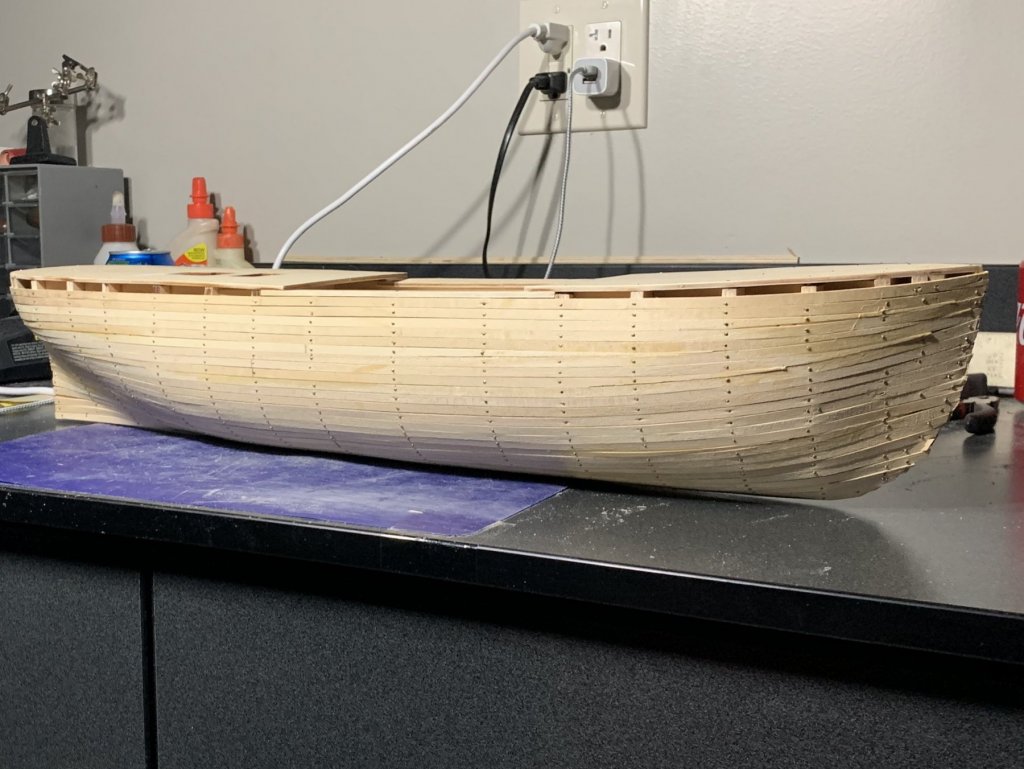
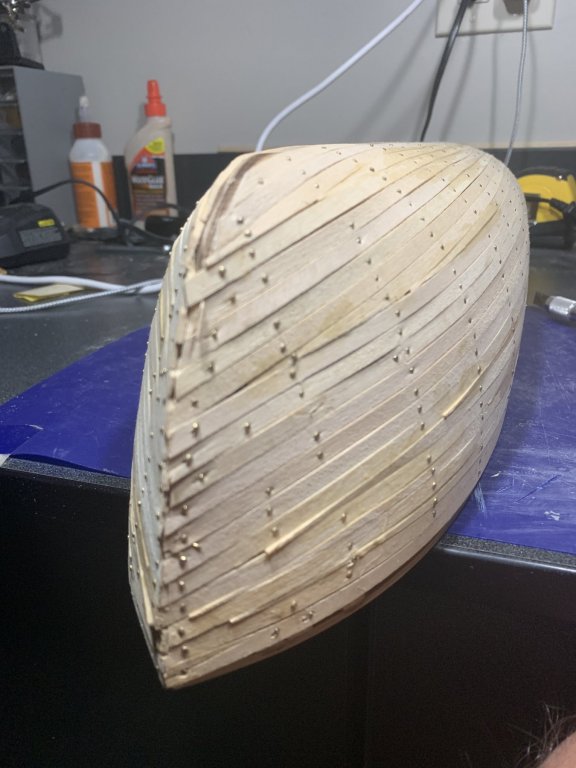
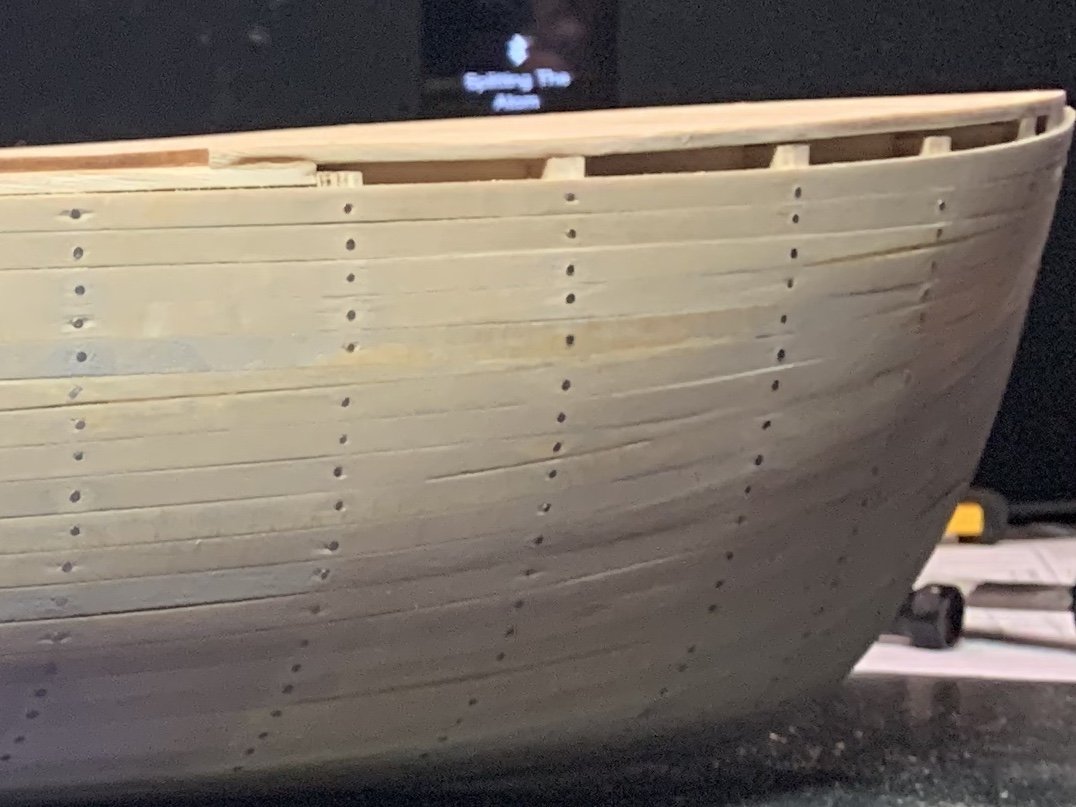
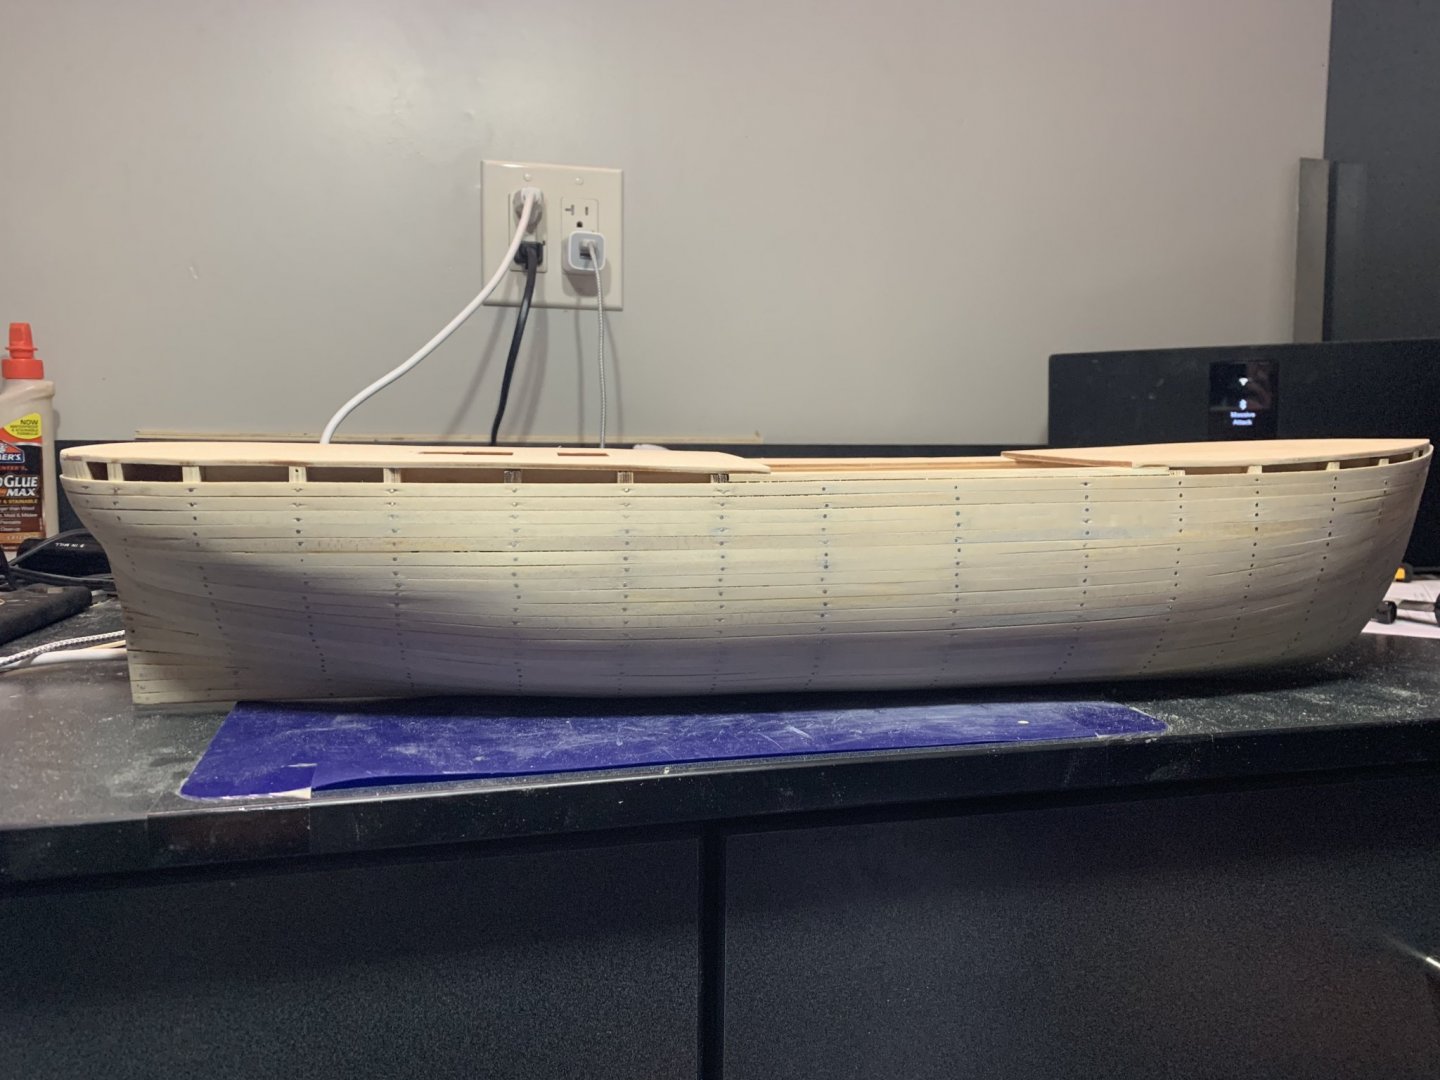
Been away a couple days, but have been working. Still posting some updates from stuff I did on the ship in July. Will get this log up to date shortly. Just didn’t want to flood it with everything all at once. Got all that really rough planking filed and then sanded down with 220 grit. I was feeling much better when I saw and felt the hull taking a more finished shape. It wasn’t perfect, of course, but I was feeling pretty good after this step. I did end up tacking each of the planks that are missing in this photo Bow detail Aft detail

-
Frankly, I’m so green at ship building that every step feels a bit more dread inducing and worrying than the last, but as I press on I am learning that even if I make a mistake, with the right patience and effort, I can pretty much fix it. I could tell that I didn’t have things exactly correct, but I knew I had some latitude since the final layer of veneer would cover small mistakes. I did buy a heating tool to help with bending the planks for the hull, which was a life saver. It took a little practice and patience to get the curve close enough to my desired shape, but it was worth it as I had basically no waste due to broken planks. Started off pretty rough, but it filed down really well and I had to do only a little patching to run through any gaps that were larger than a couple mm.
-
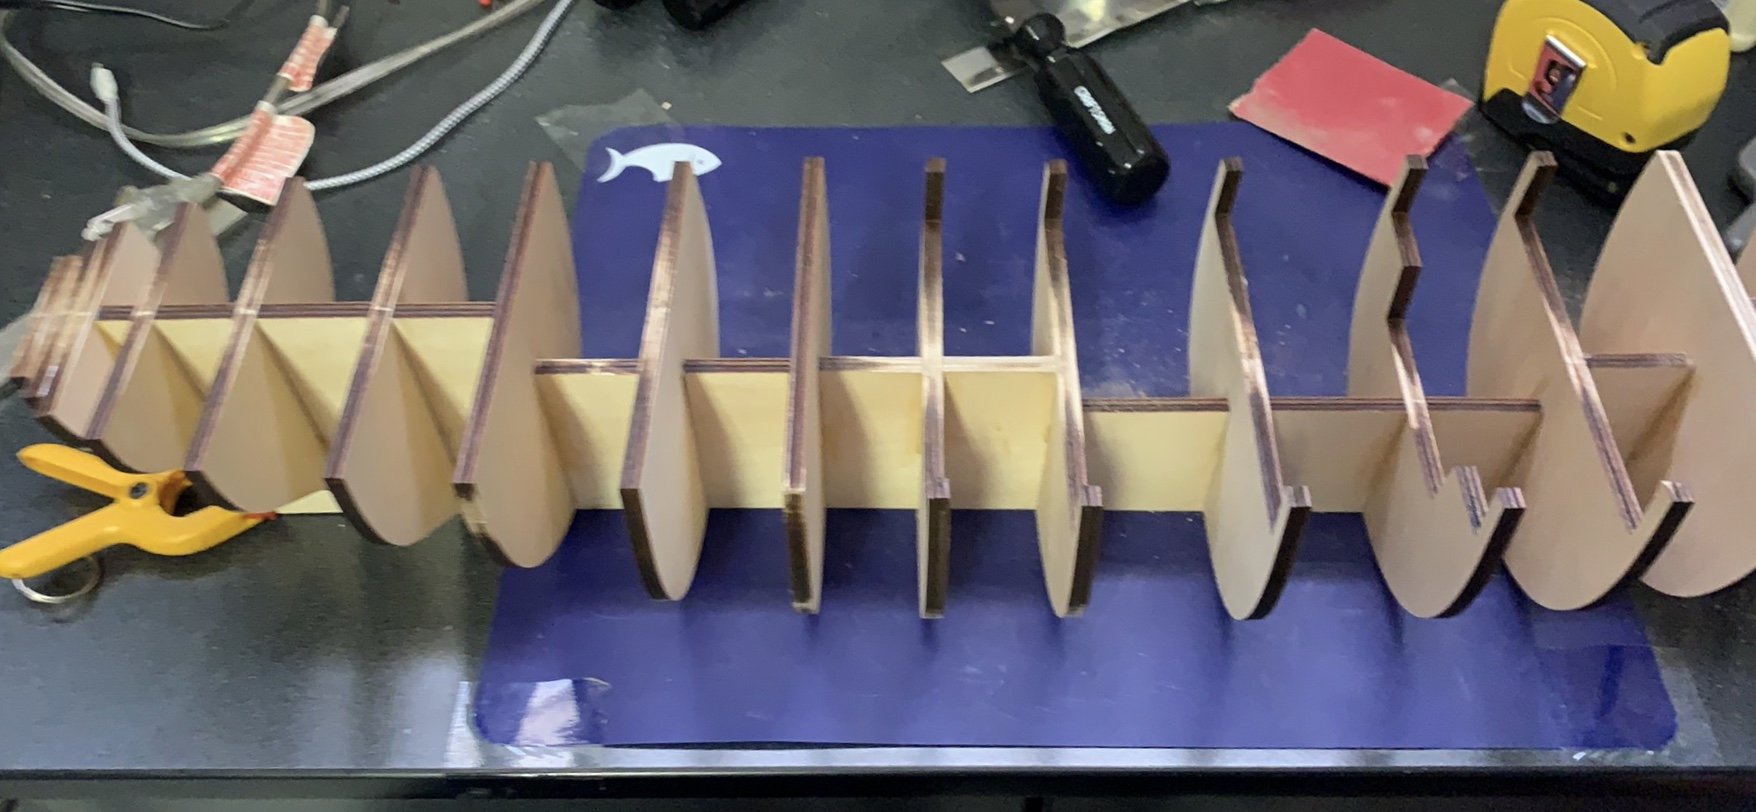
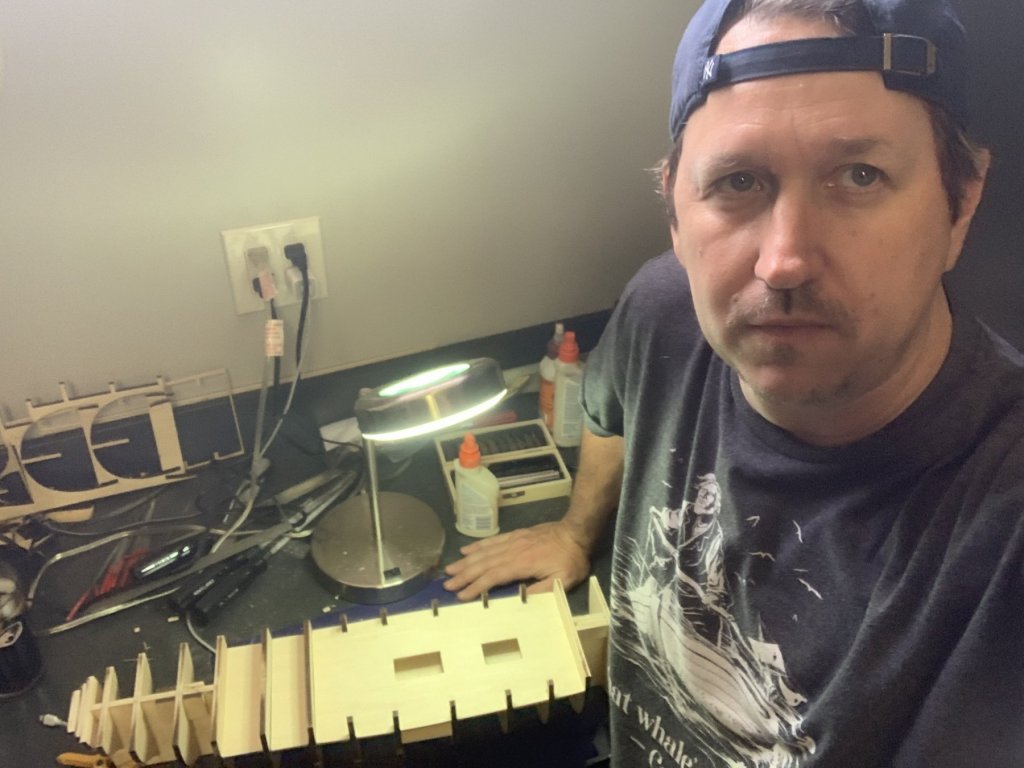
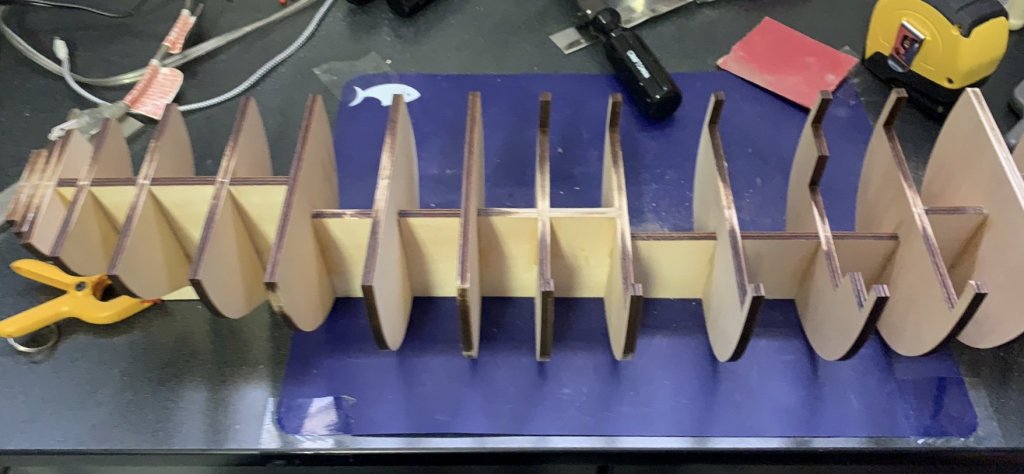
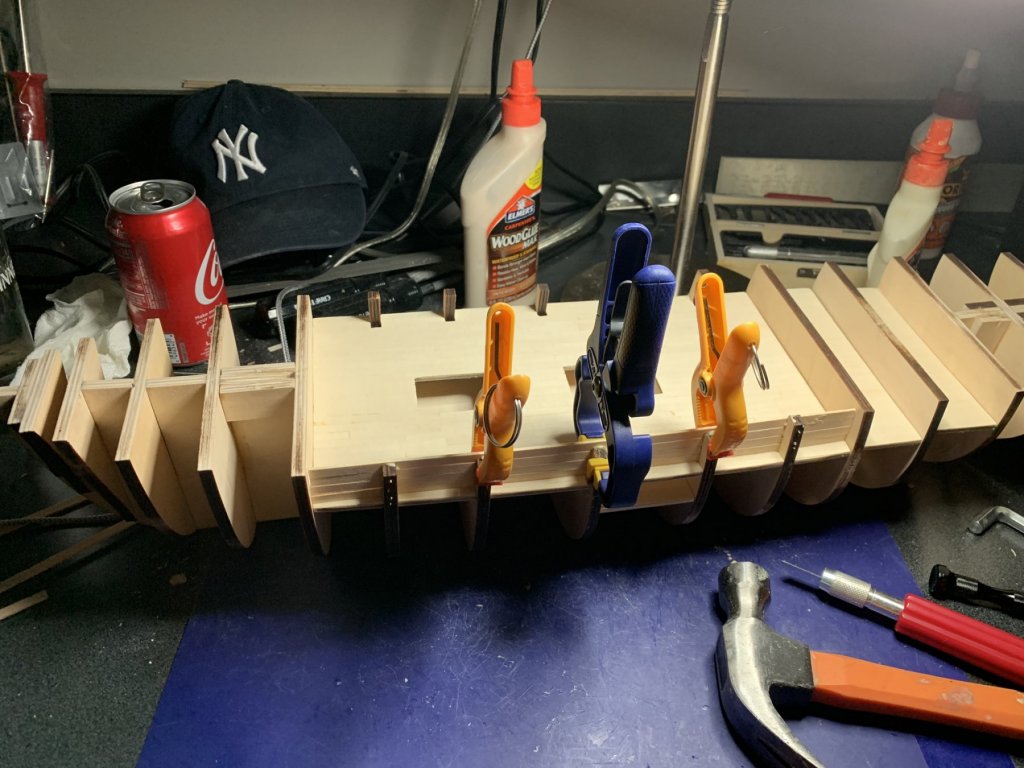
I have a pretty tight workspace in my garage, as you will see, so things tend to get crowded, but I’m making due so far. I live in Arizona and it’s summer time so the air temp in the garage is often over 90 degrees. Thankfully, we have an air conditioner installed that, given enough time, can bring the temp to a more pleasant 80 degrees. I ditched that lamp in favor of one that clamps on to edge of my workspace to save surface area. I started off this project reminding myself to stay even keeled (no pun intended) and not get anxious to move forward and to not work beyond the point where I could stay absolutely focused. I’m in no rush, but I did set a loose goal of finishing by Christmas (of 2019, thank you 😊). After the first week or so I got here. Again, attempting to be perfect while adhering to the instructions as closely as possible.
-
Ahoy, everyone. Been lurking on MSW for awhile and decided the time was right to contribute in whatever way I can. I’m a total amateur so you’re likely to witness a lot of rookie mistakes along the way. Happy to hear your constructive criticism and suggestions. There are some very talented builders here! A little background on me to set some expectations. I’ve completed one ship previously (maybe 10 years ago, now) and was reasonably pleased with the outcome but for various reasons haven’t had the time to do a second. Until now. Between work, a child, a wife, traveling and 2 dogs, I still don’t have a lot of time to work on the Constellation each day, but I am trying to do at least an hour every night. I enjoy wood working and have all the tools and supplies I need, but have almost no expertise in ship building so I am learning what I can by reading and by just doing. I actually started this project on June 1st so I have a fair amount of progress to share for my first few posts. Going forward I will keep this log updated as close to daily as I can. I am too much a novice to get into modifications to the kit so I will follow the instructions as much as I can (the AL instruction book sucks). Thank you, and hope this log won’t disappoint.