-
Posts
63 -
Joined
-
Last visited
Content Type
Profiles
Forums
Gallery
Events
Everything posted by NewbyMark
-
I feel your frustration. I don't think microsol is going to work if you have lacquer on it as it needs to penetrate the decal to soften it. I am not an experienced aviation modeller and I don't know what may have caused that issue, but I do hope you find a solution as it's looking great. Best of luck with it.
-
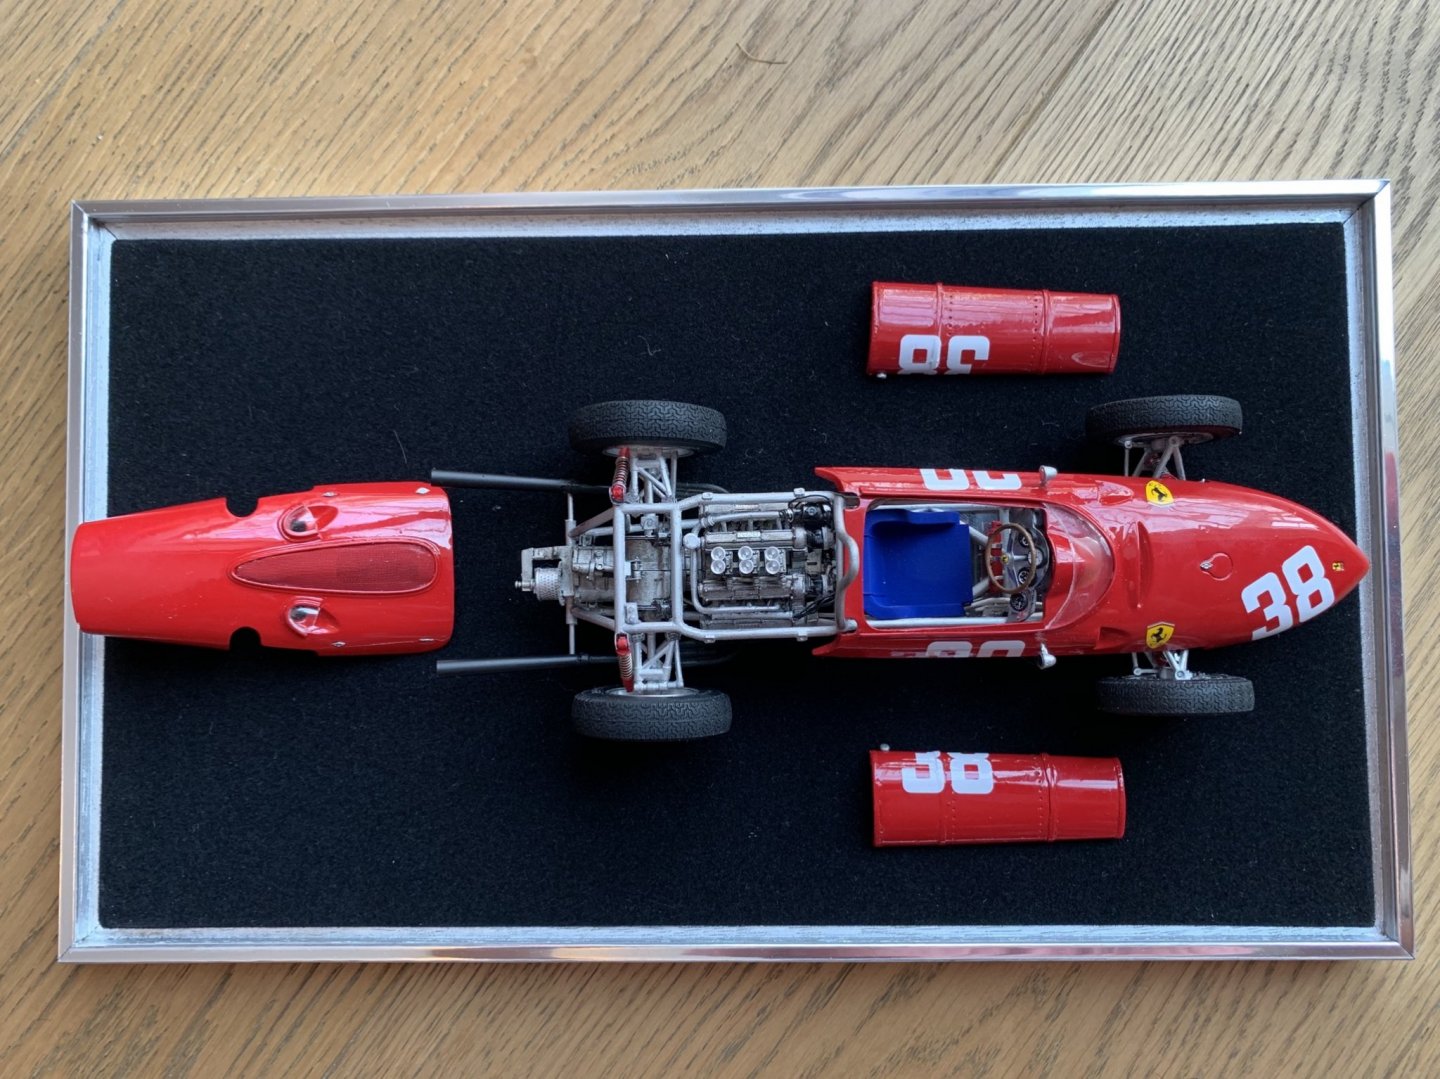
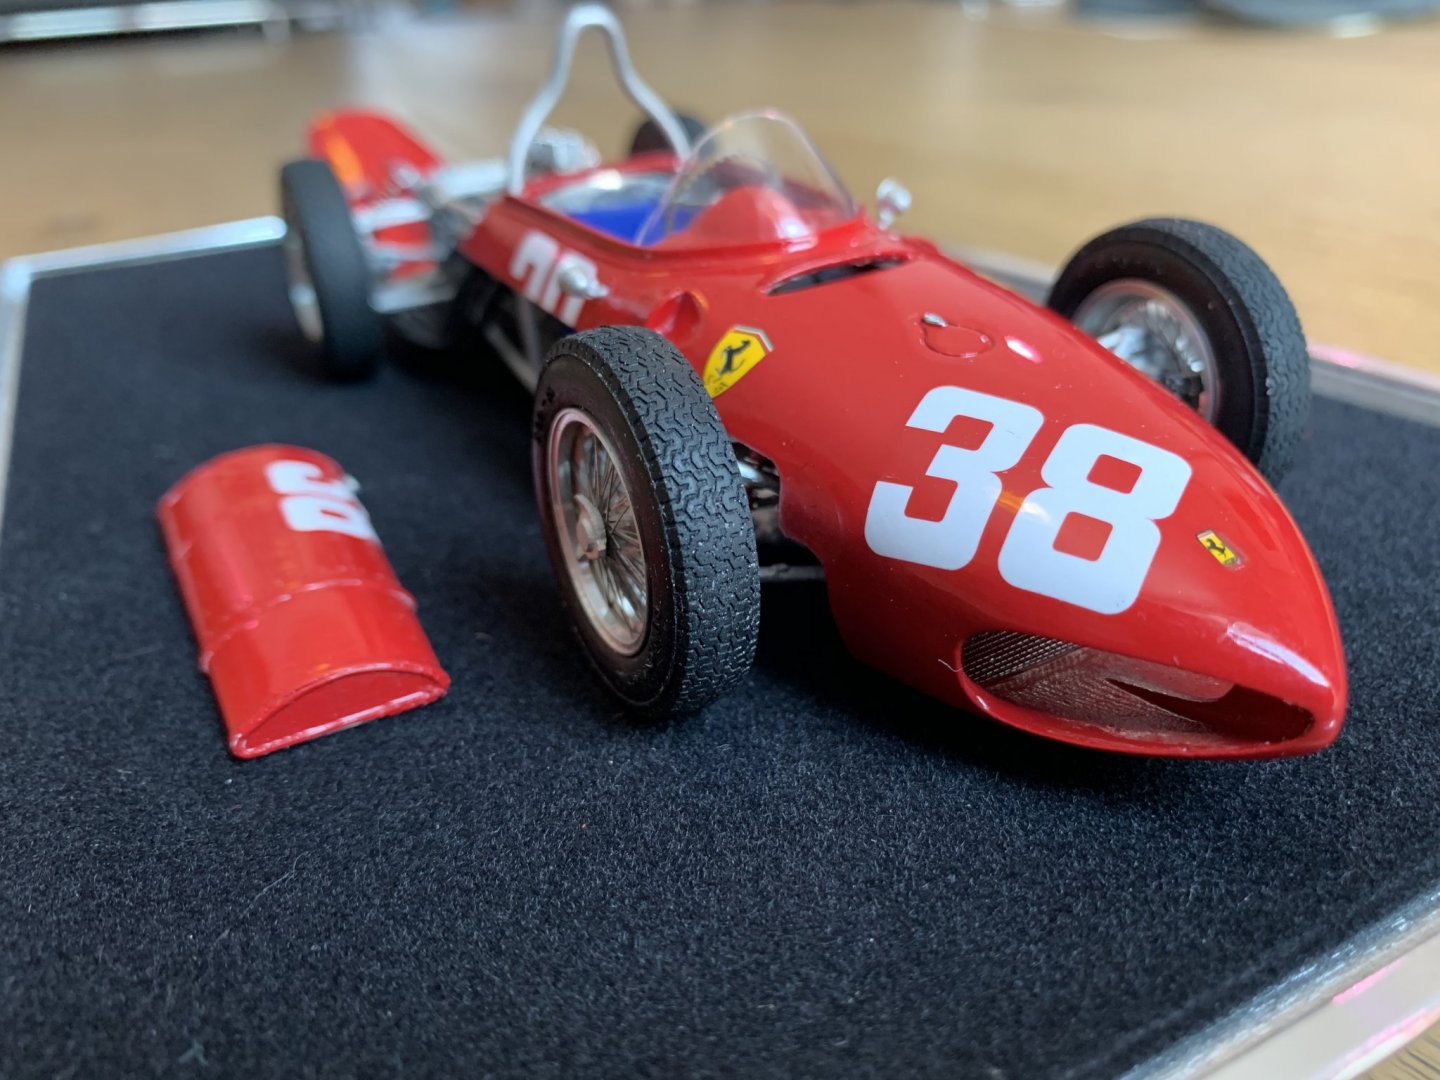
Hi all. Well after my abandoned Speedy project I decided to complete an automotive model I’ve had in my stash for a while. This is a white metal/etch/vacform kit in 1/20 scale from Japanese manufacturer Model Factory Hiro. Took me around 3 weeks working most evenings and weekends so quite a quick build compared to a ship. I enjoyed the build and now considering another ship project, only this time one without copper 😂 Hope it is ok to post this here!
-
Thanks for all the positive encouragement. This wasn't my first model and it won't be my last, but I did learn that copper is not something I am going to do again. Again, not the fault of the kit at all. Reluctantly it's gone to the great shipyard in the sky today as stripping it and sanding it yet again when the hull was already thin was not appealing. But I will try again with a different subject and would unreservedly recommend Vanguard models. But you don't need me to tell you that 🙂 You either succeed or learn. In this case I've learned!
-
Appreciate your comments, but I don't have it in me to strip it and start a third time. And as an experienced automotive modeller, I know I won't be able to get the base good enough to paint now it's been covered in glue, and I wouldn't be happy with it anyway. I think on balance it's better to write it off as a learning experience. I'm ok with it. I've learned a lot getting to this stage, and I admire well applied copper in some of the ships I see on this site. I just wasn't able to achieve it here to my satisfaction. Just to restate, it was nothing at all to do with the quality of the kit and everything to do with my skill level. Best of luck with your builds and thanks for the positive comments. Cheers, Mark.
-
Well after completing the rest of the copper I've decided to abandon this project. Nothing at all to do with the kit, I just don't like the copper at all and can't see myself displaying this model so can't see much point in devoting more time or money to completing it. It's a great kit, really well designed and thought out and in better hands than mine will undoubtedly build into a great model. Thanks to everyone for their help, especially Chris for the support and sending more parts. Maybe I'll have a go at something else - this just turned out not to be for me.
-
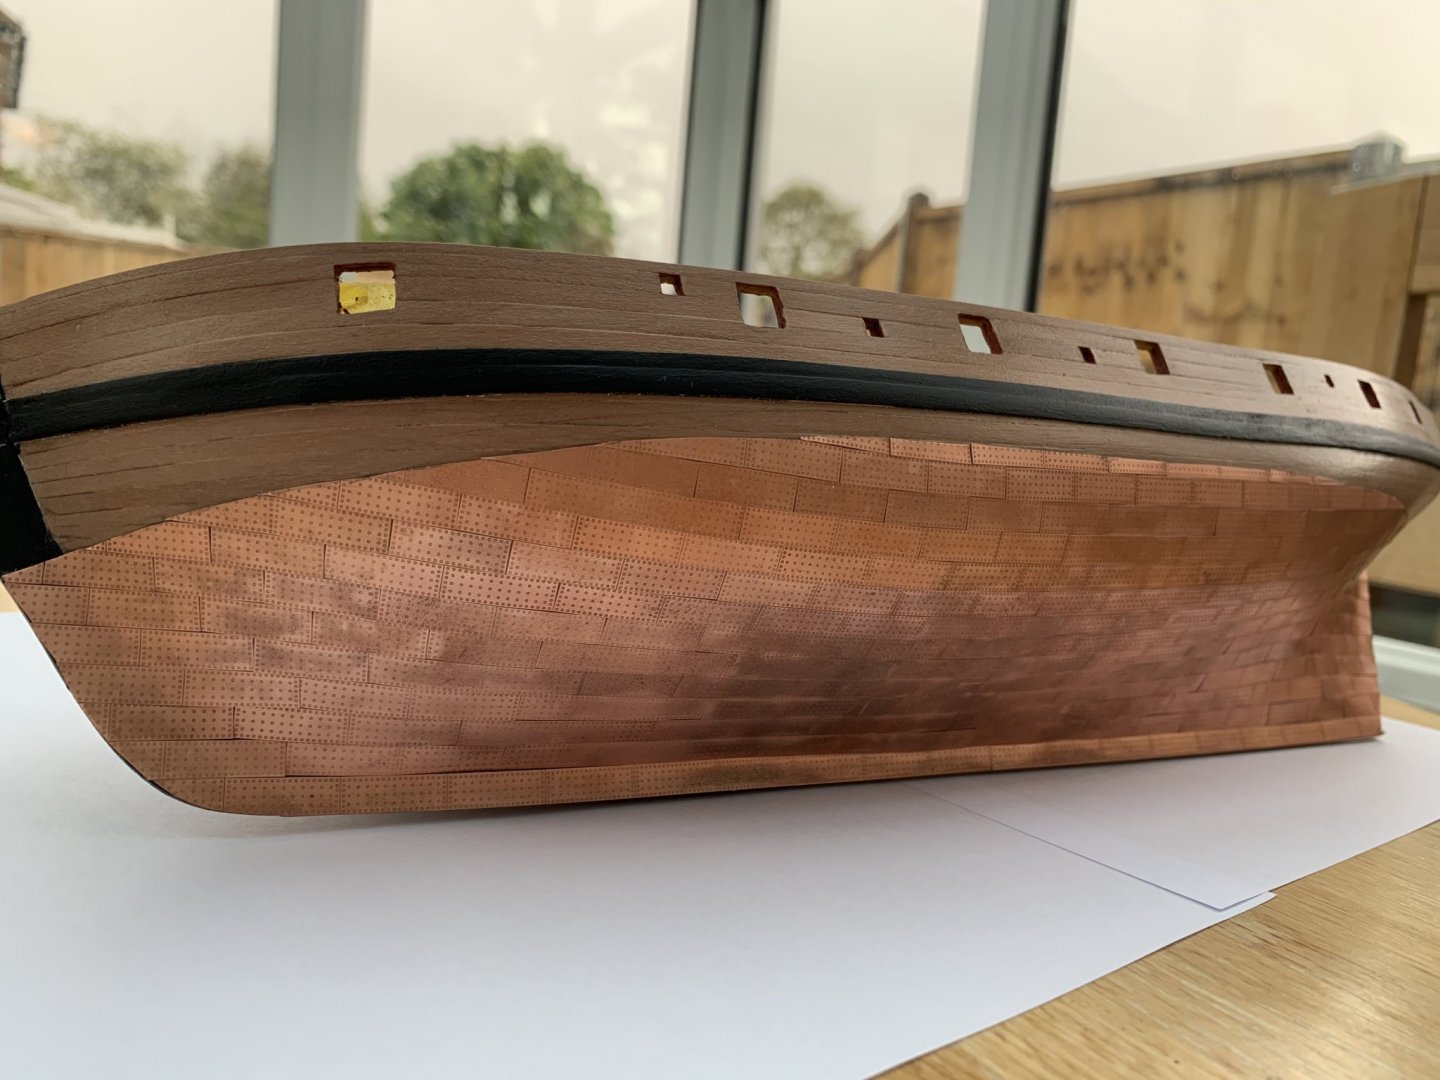
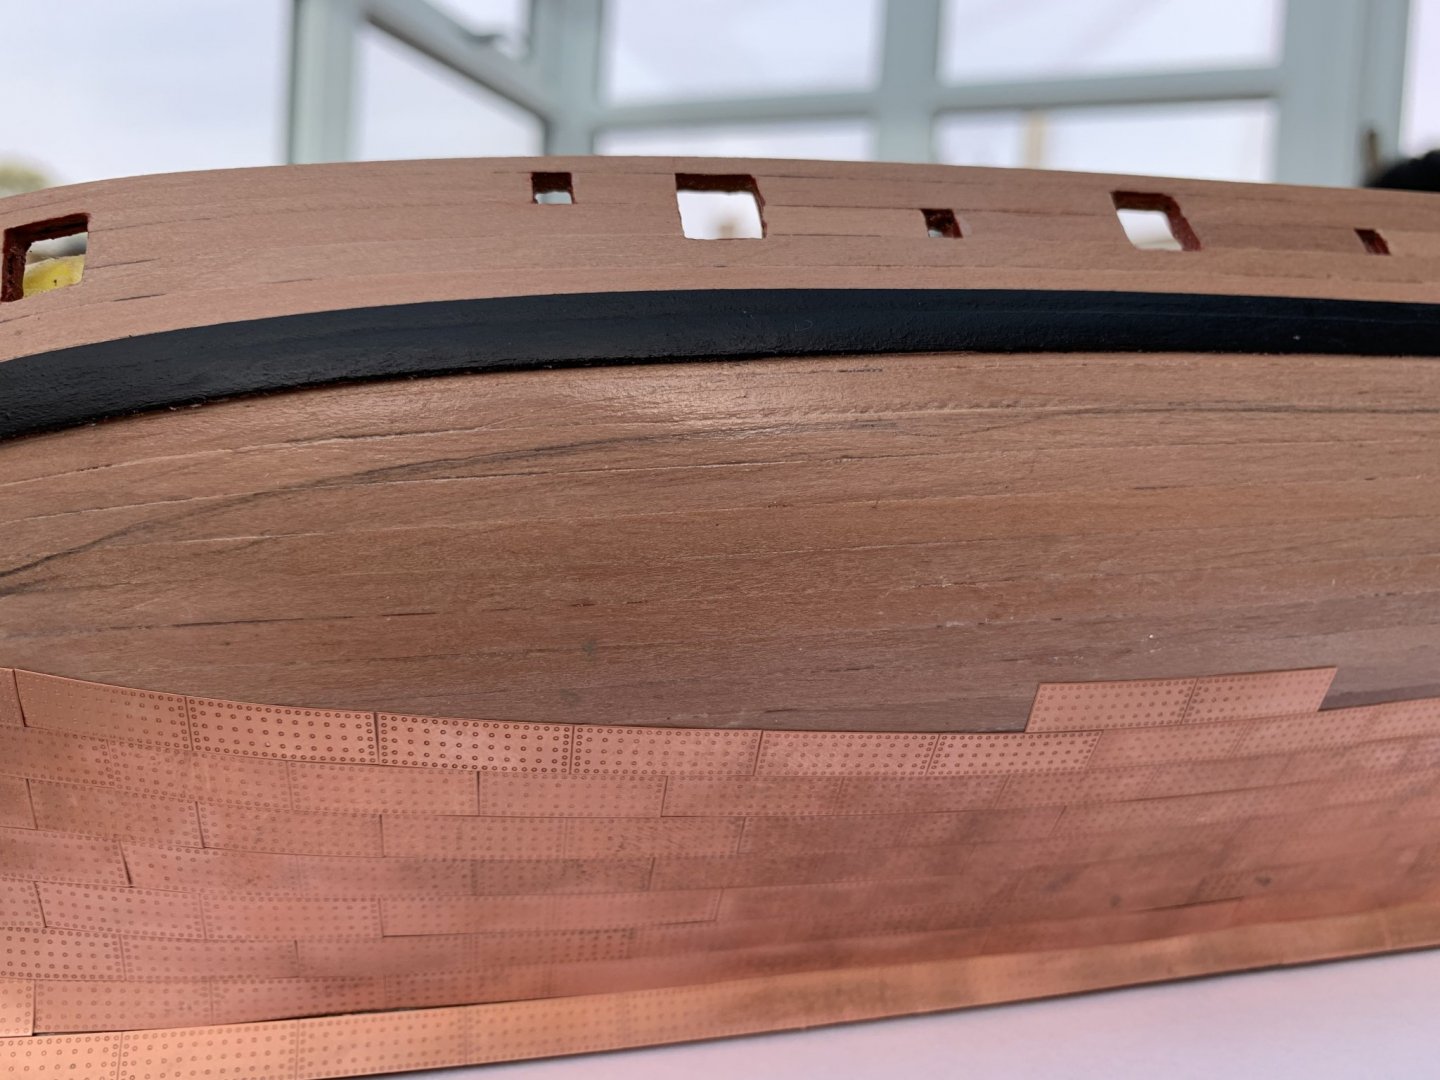
Well by comparison with some of the beautiful work on the site this isn’t the best effort, but I am ok with how this turned out in the end. I may redo some of the ‘slivers’ of copper at the waterline and I didn’t get the waterline perfect but compared to how she looked at the weekend I’ll take it! I’m not sure I would do another coppered hull though to be honest. Anyway I won’t post about copper again just wanted to show what I managed to achieve in the end. Thanks again to everyone who provided help.
-
Thanks. I think I’m in agreement about leaving it be and letting it dull over time. Yes I have a couple of small gaps. Where I seriously misplaced I took the tile off and did it again, but for some I found it hard to place the tile without any gap at all and these tiles are quite thick so the overlap is noticeable if you have one. I’ve continued further up the hull since the photos and stopped using paired tiles at the bow and stern and went back to singles which helped. I’m not going to strip any more off, but I will keep your feedback in mind as I progress. Perhaps I’ll display it from the other side 😀
-
Thanks everyone for your comments and advice. Chris shipped me another set of copper to try again. I stripped the hull and resanded and finished it over the last two days and the copper arrived today. In between meetings I’ve made a start. I found I couldn’t work in gloves so I do have some tarnishing although to be honest I quite like how copper tarnishes so that’s ok by me. It was all the glue I couldn’t stand. I’m about half way and although I’m not going to win any awards I’m satisfied with the result so far. Thank you everyone and especially Chris for shipping the new parts so quickly.
-
Thanks Mort, that's very interesting. Do you mean the sort of contact cement you use to assemble plastic models? How do you find the longevity of it? Any issues as your models have aged at all? I might look into this - the odds do seem stacked against you a bit with CA, although I clearly need to work on my skills in this area. Thanks for the comment.
-
Thanks Derek, I will review that link. I've just stripped the lot off and Chris is sending me another copper set to try again. The hull is a bit of a mess, which I think gives away that I used too much glue. I will clean the hull up this week, review that link, and try again. Very frustrating that I spent quite a bit of the weekend on this and got nowhere, but if I carry on with it looking like that it will end up in the bin. So I'd rather try again and get it right (or at least acceptable). Thanks for the advice.
-
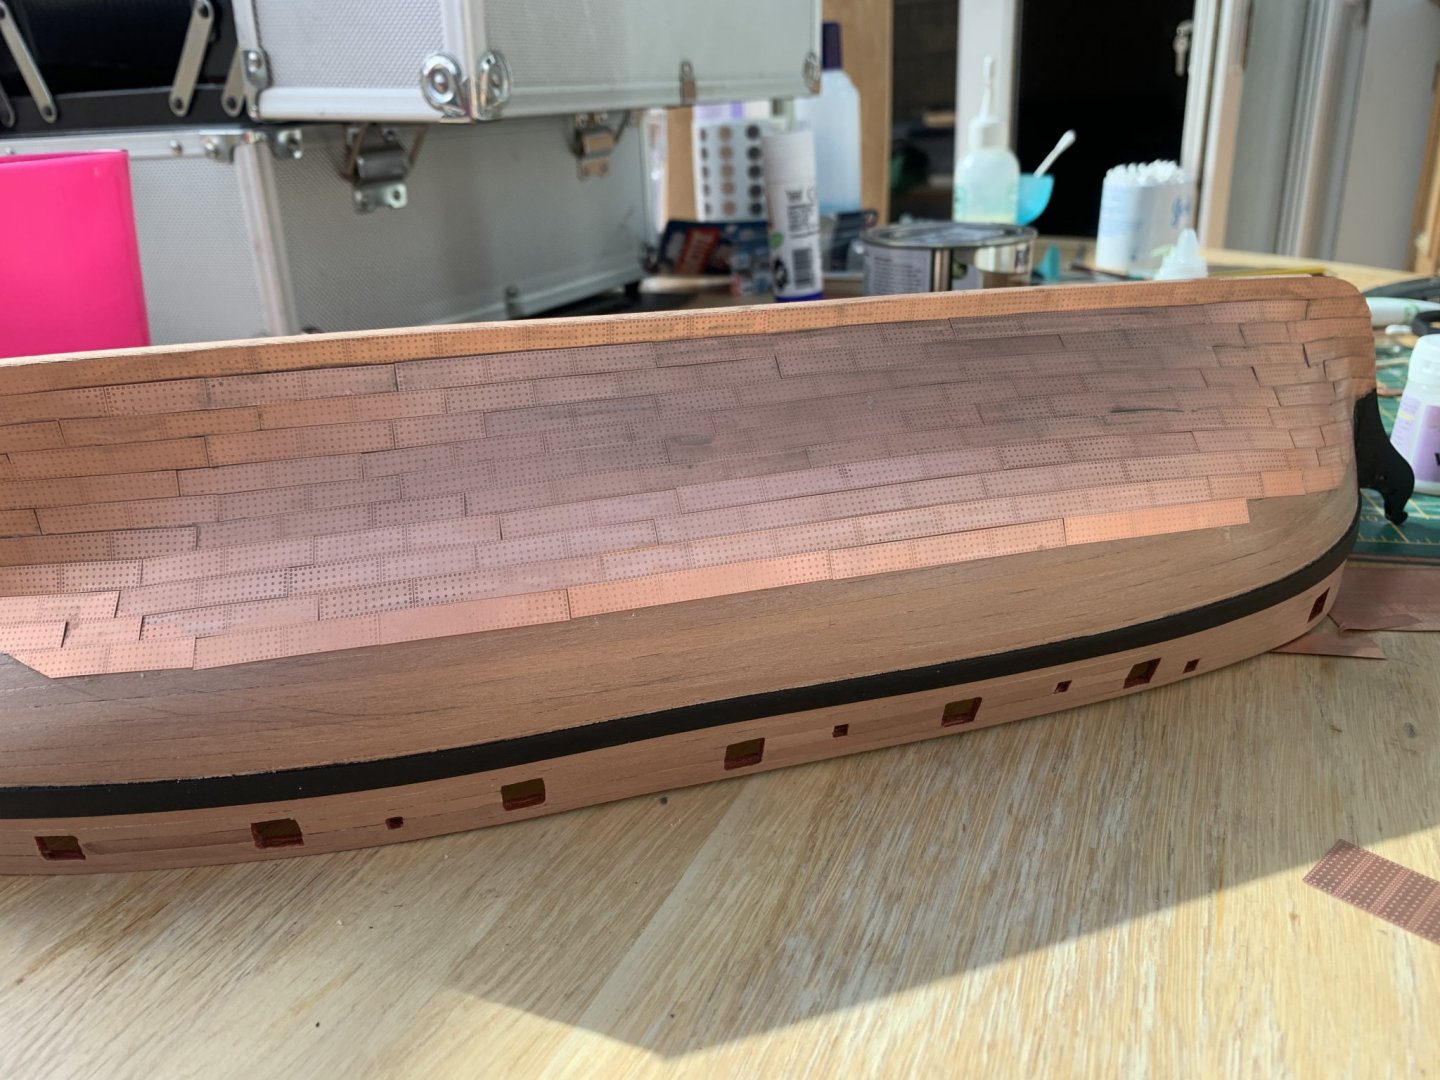
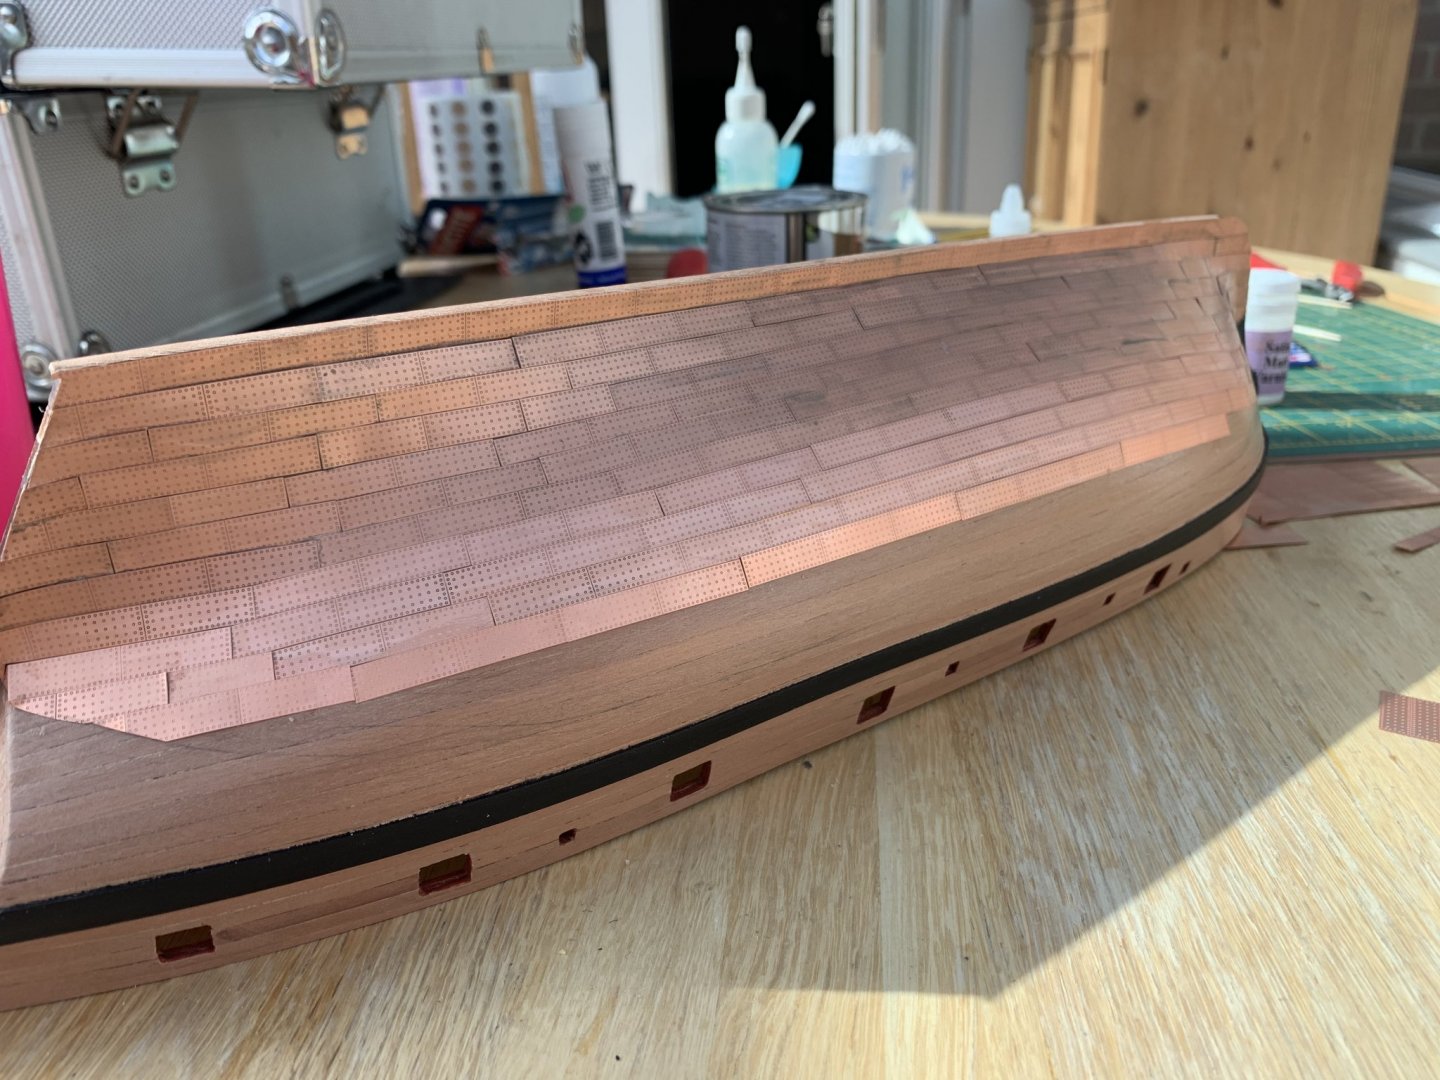
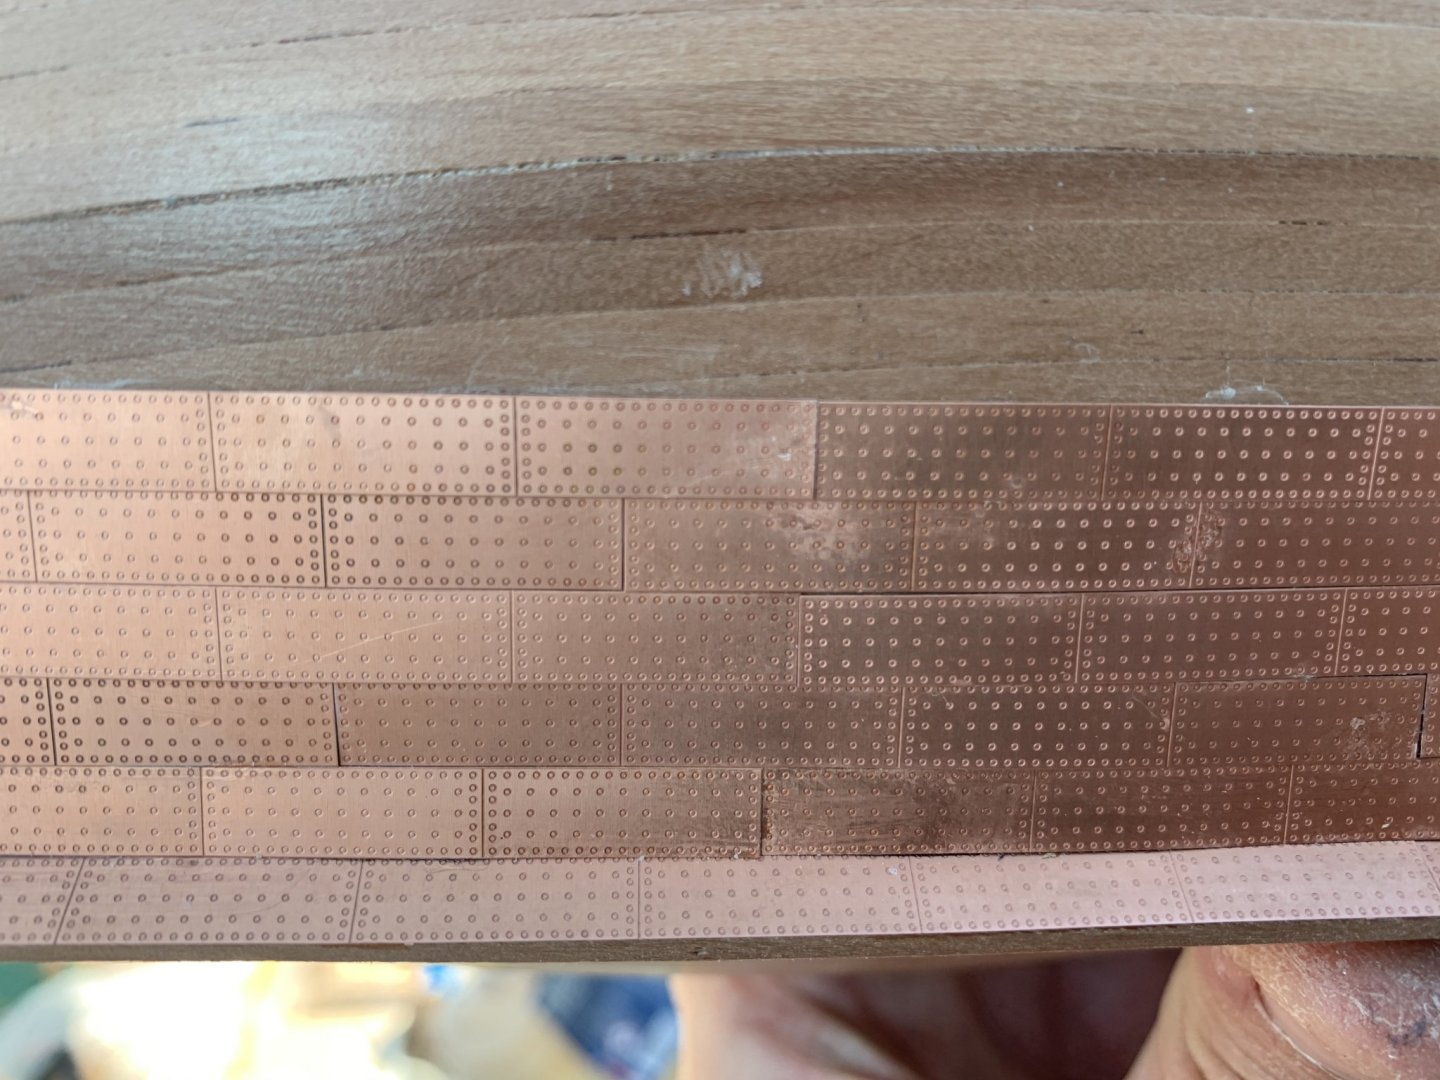
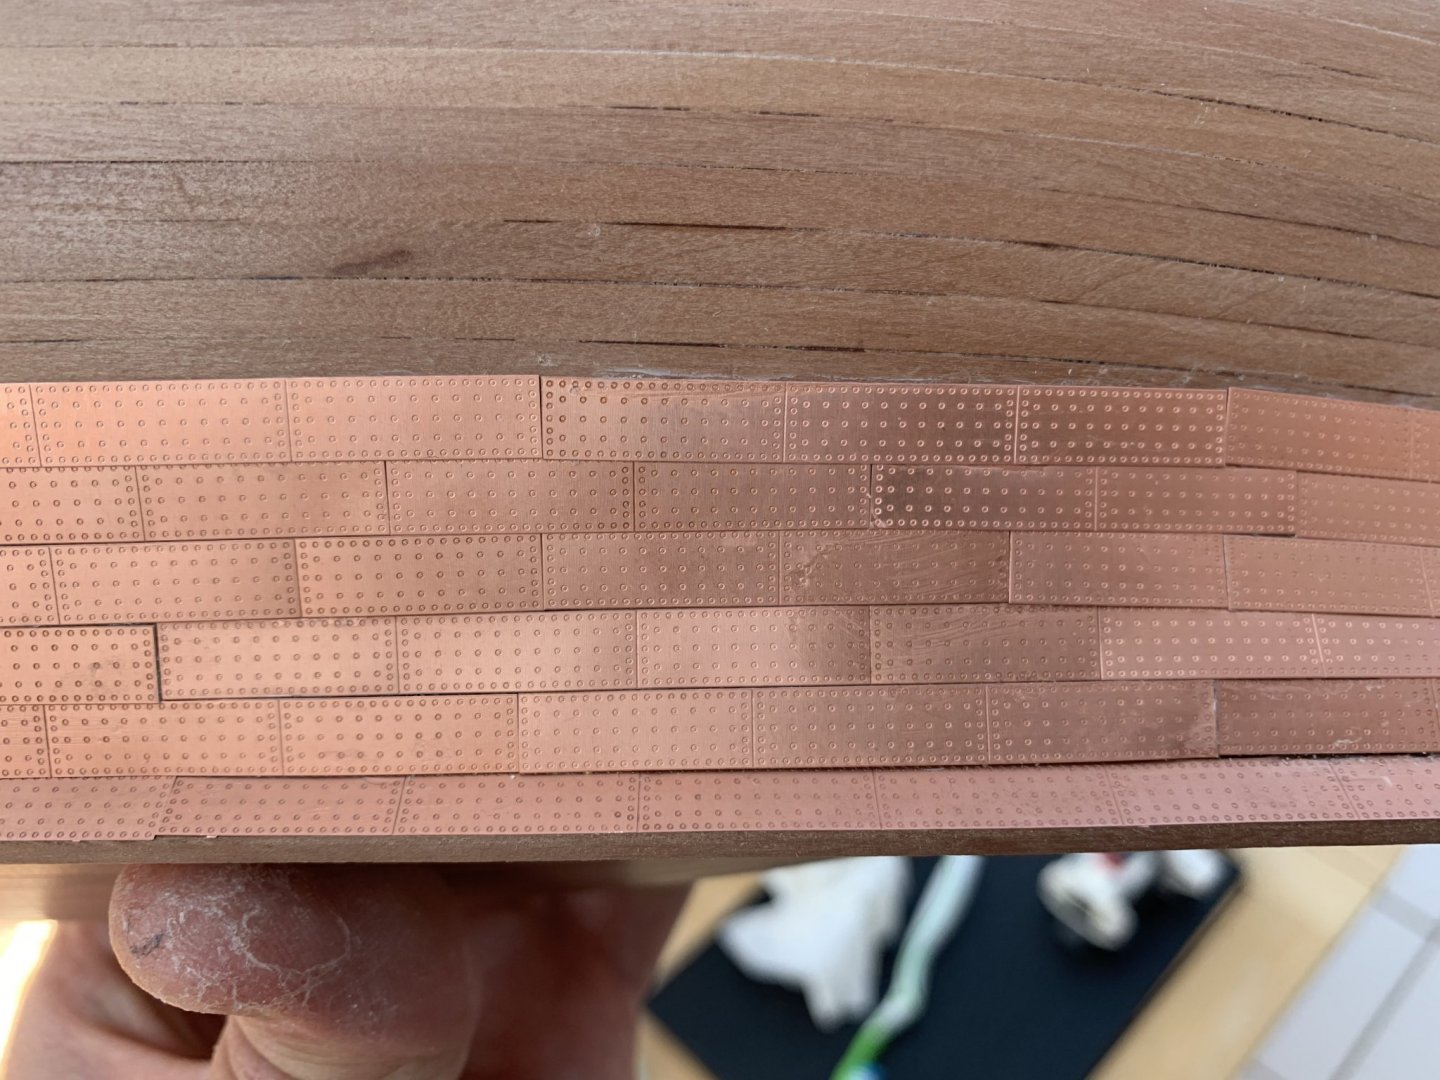
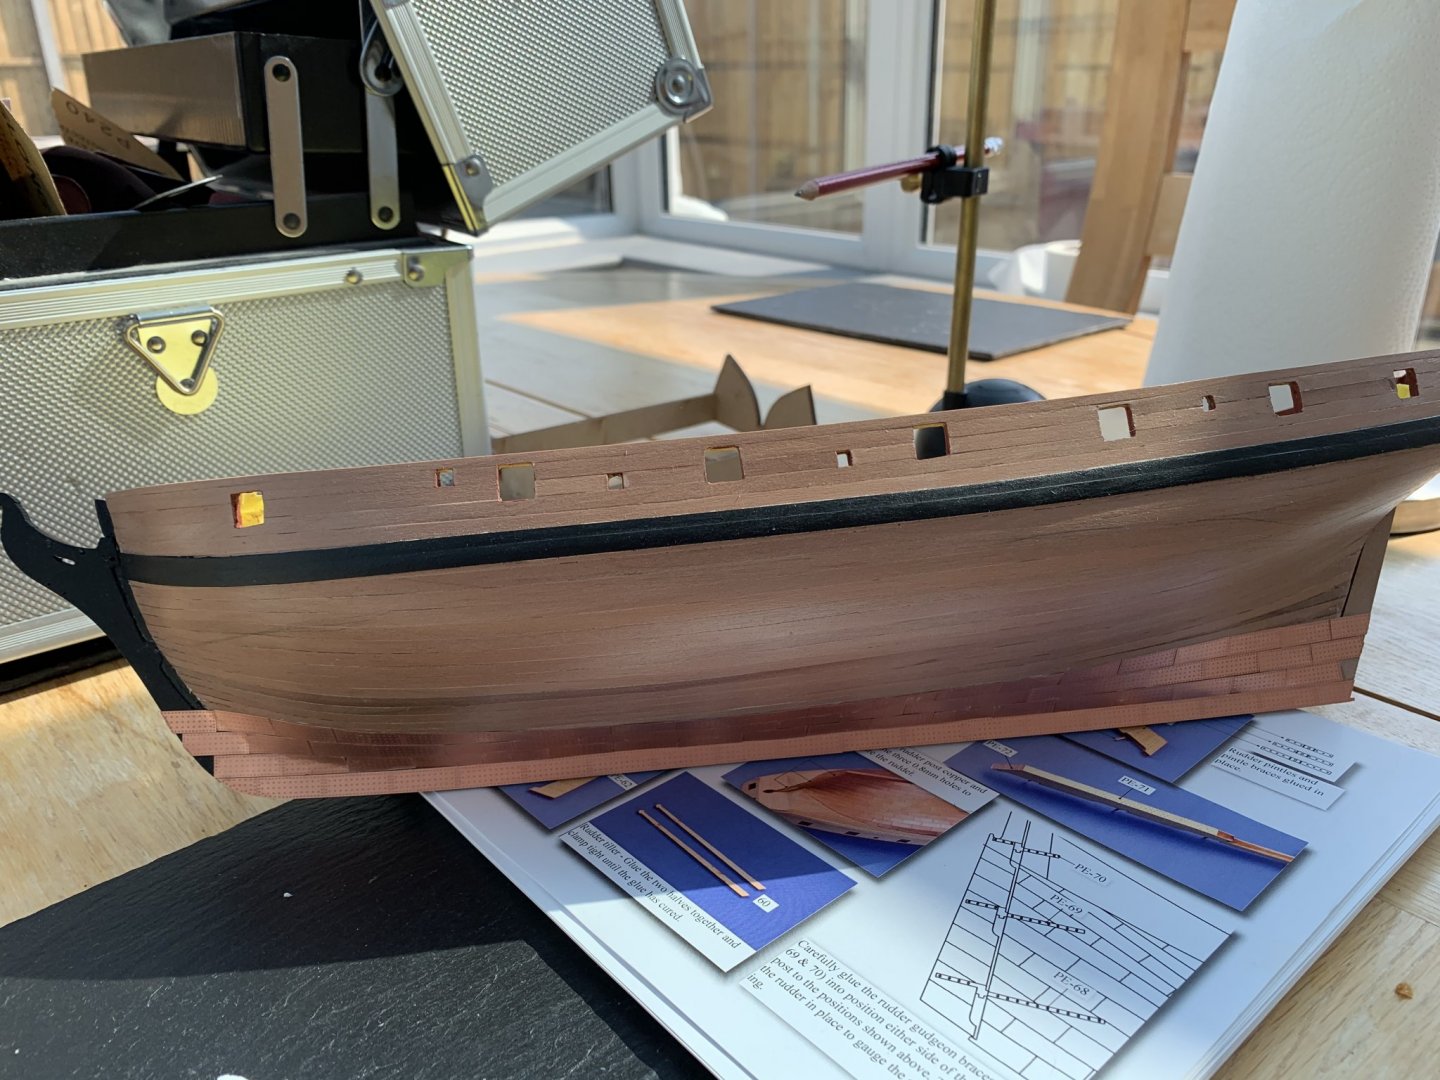
Well I think I’ve at least worked out part of the issue. I changed to a thinner glue that spread better when I pushed the tiles down. The thicker glue was leaving corners unglued and is also harder to wipe off. I tried applying a clear coat to lessen the impact of the glue. I’m not really happy with it, but you can see the better copper further up the hull after I switched glue. I’m not sure I can face ripping it all off and doing it yet again but I think this will consign this model to a practise exercise rather than display as it’s just too much of a mess. I think I’ll leave it for the rest of the weekend.
-
Well my second attempt isn’t much better. I am not happy with how much glue is ending up on the copper. I’ve used toothpicks to apply CA to the back of them and then placed them down with tweezers but still have quite a lot on there and feel like taking it off again. I’ve left it for today but here are some pics. Any advice gratefully received.
-
Well I didn't get much further, tried to use some acetone to clean the glue up and then all the glue went white and I could see just how much was on the faces. After an hour trying to clean it up, I've stripped it back down and started again. I wasn't overly happy with the lay of the tiles anyway and it's much easier/neater if you leave them joined. I might just be on the phone for some more copper, Chris, but let me see how I get in first. We'll put that down to a practise lap!
-
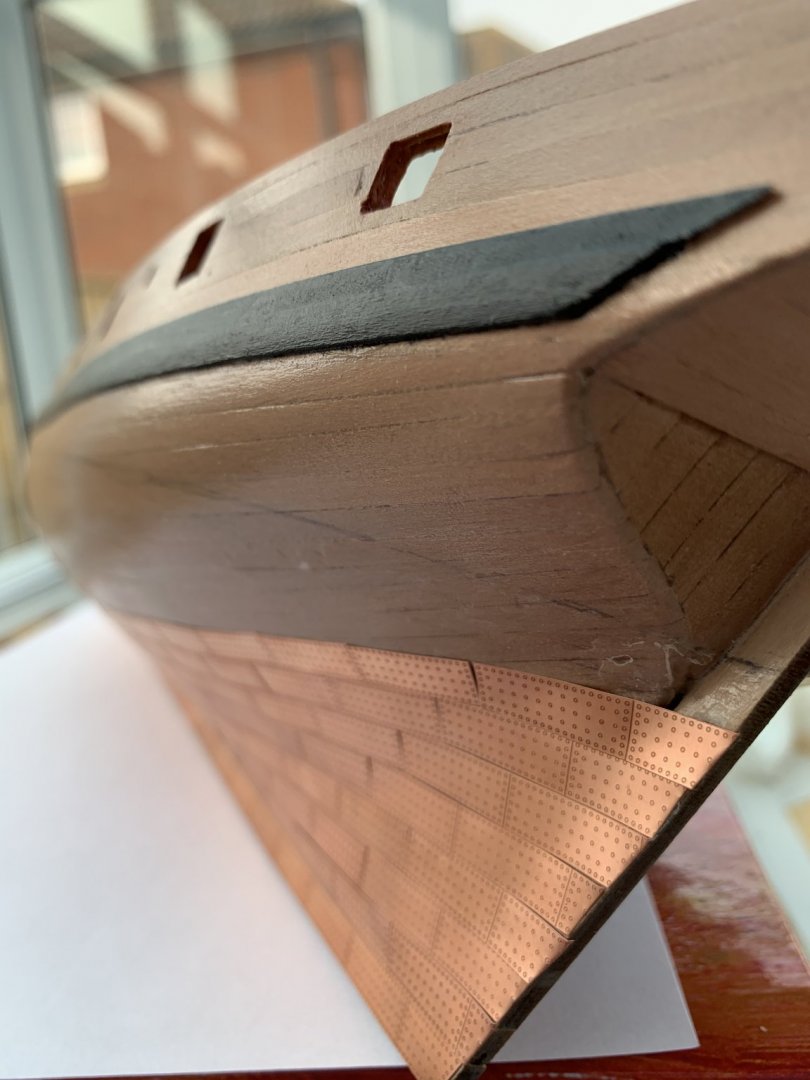
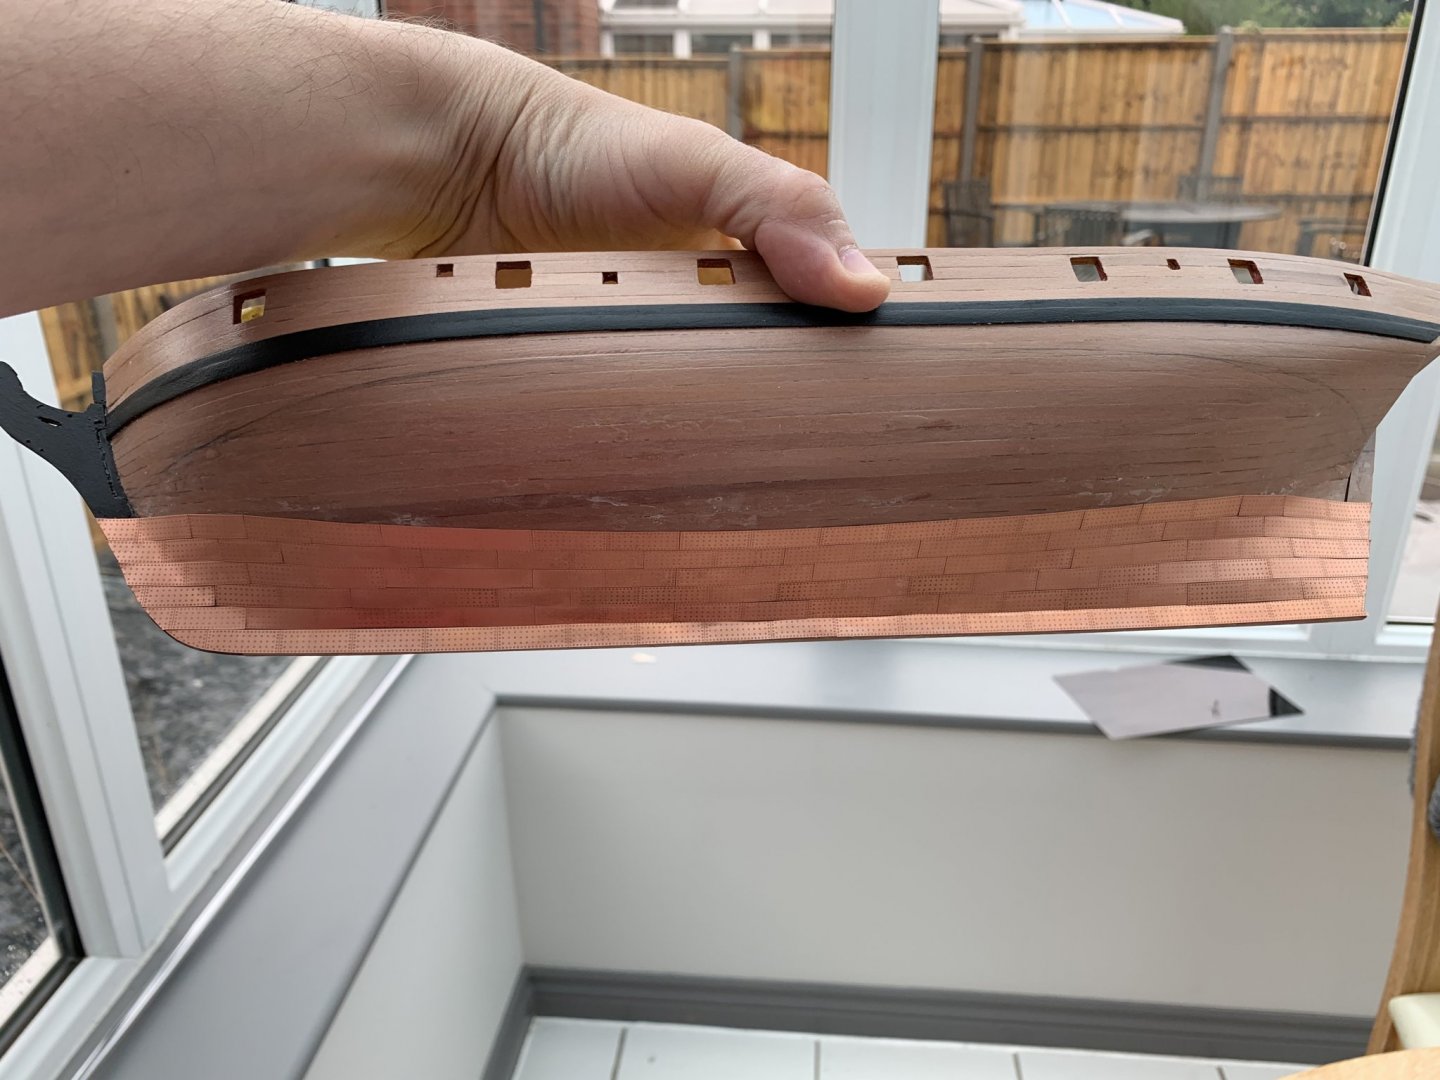
Thanks Chris, I think I will remove some of those and do it again as you've said. I was wondering how I was going to deal with the very small gaps. Hopefully there are sufficient tiles I can get away with wasting a few. Is it also ok to slightly overlap the tiles where needed? I have some small gaps at the bow where the angle of the tiles was starting to change and it looks poor.
-
The apparently simple act of glueing on the keel resulted in a broken part, two parts glued upside down, and a bleed on the model. I decided at that point to put it down and go have a beer in the garden instead. However I’m back on it today and have started the copper. Really found round the bow quite difficult and not overly happy with some of the tiles. I also have acetone on order to clean up the faces a bit from inevitable seepage. Will progress slowly over the next couple of weekends and see how I get on.
-
Crikey you work fast! I've just completed the keel on my speedy, breaking one part and gluing two others upside down. So I've decided to have a break 🙂 Fabulous build again - amazing speed and still better than anything I could turn out.
- 9 replies
-
- Fifie
- Vanguard Models
-
(and 2 more)
Tagged with:
About us
Modelshipworld - Advancing Ship Modeling through Research
SSL Secured
Your security is important for us so this Website is SSL-Secured
NRG Mailing Address
Nautical Research Guild
237 South Lincoln Street
Westmont IL, 60559-1917
Model Ship World ® and the MSW logo are Registered Trademarks, and belong to the Nautical Research Guild (United States Patent and Trademark Office: No. 6,929,264 & No. 6,929,274, registered Dec. 20, 2022)
Helpful Links
About the NRG
If you enjoy building ship models that are historically accurate as well as beautiful, then The Nautical Research Guild (NRG) is just right for you.
The Guild is a non-profit educational organization whose mission is to “Advance Ship Modeling Through Research”. We provide support to our members in their efforts to raise the quality of their model ships.
The Nautical Research Guild has published our world-renowned quarterly magazine, The Nautical Research Journal, since 1955. The pages of the Journal are full of articles by accomplished ship modelers who show you how they create those exquisite details on their models, and by maritime historians who show you the correct details to build. The Journal is available in both print and digital editions. Go to the NRG web site (www.thenrg.org) to download a complimentary digital copy of the Journal. The NRG also publishes plan sets, books and compilations of back issues of the Journal and the former Ships in Scale and Model Ship Builder magazines.


.thumb.jpeg.e1b5ee83df798f4023f2c0dc8dfb19ac.jpeg)

