
JerryC
-
Posts
71 -
Joined
-
Last visited
Content Type
Profiles
Forums
Gallery
Events
Everything posted by JerryC
-
Chuck, good looking too, I hate her, or maybe I envy her, or ma,bye I love her. Regardless, I am impressed with her talent. johnny, it’s a novel way to put these things together. It’s expected that you can figure out what’s depicted in the illustrations. With help from Chuck Seiler and others with common sense, and experience with the kit, it will be an easy and satisfying project. It’s a nice kit with good materials. I think you won’t be disappointed when you purchase the kit. U
-
Olha not Olga. Thank god for autocorrect
-
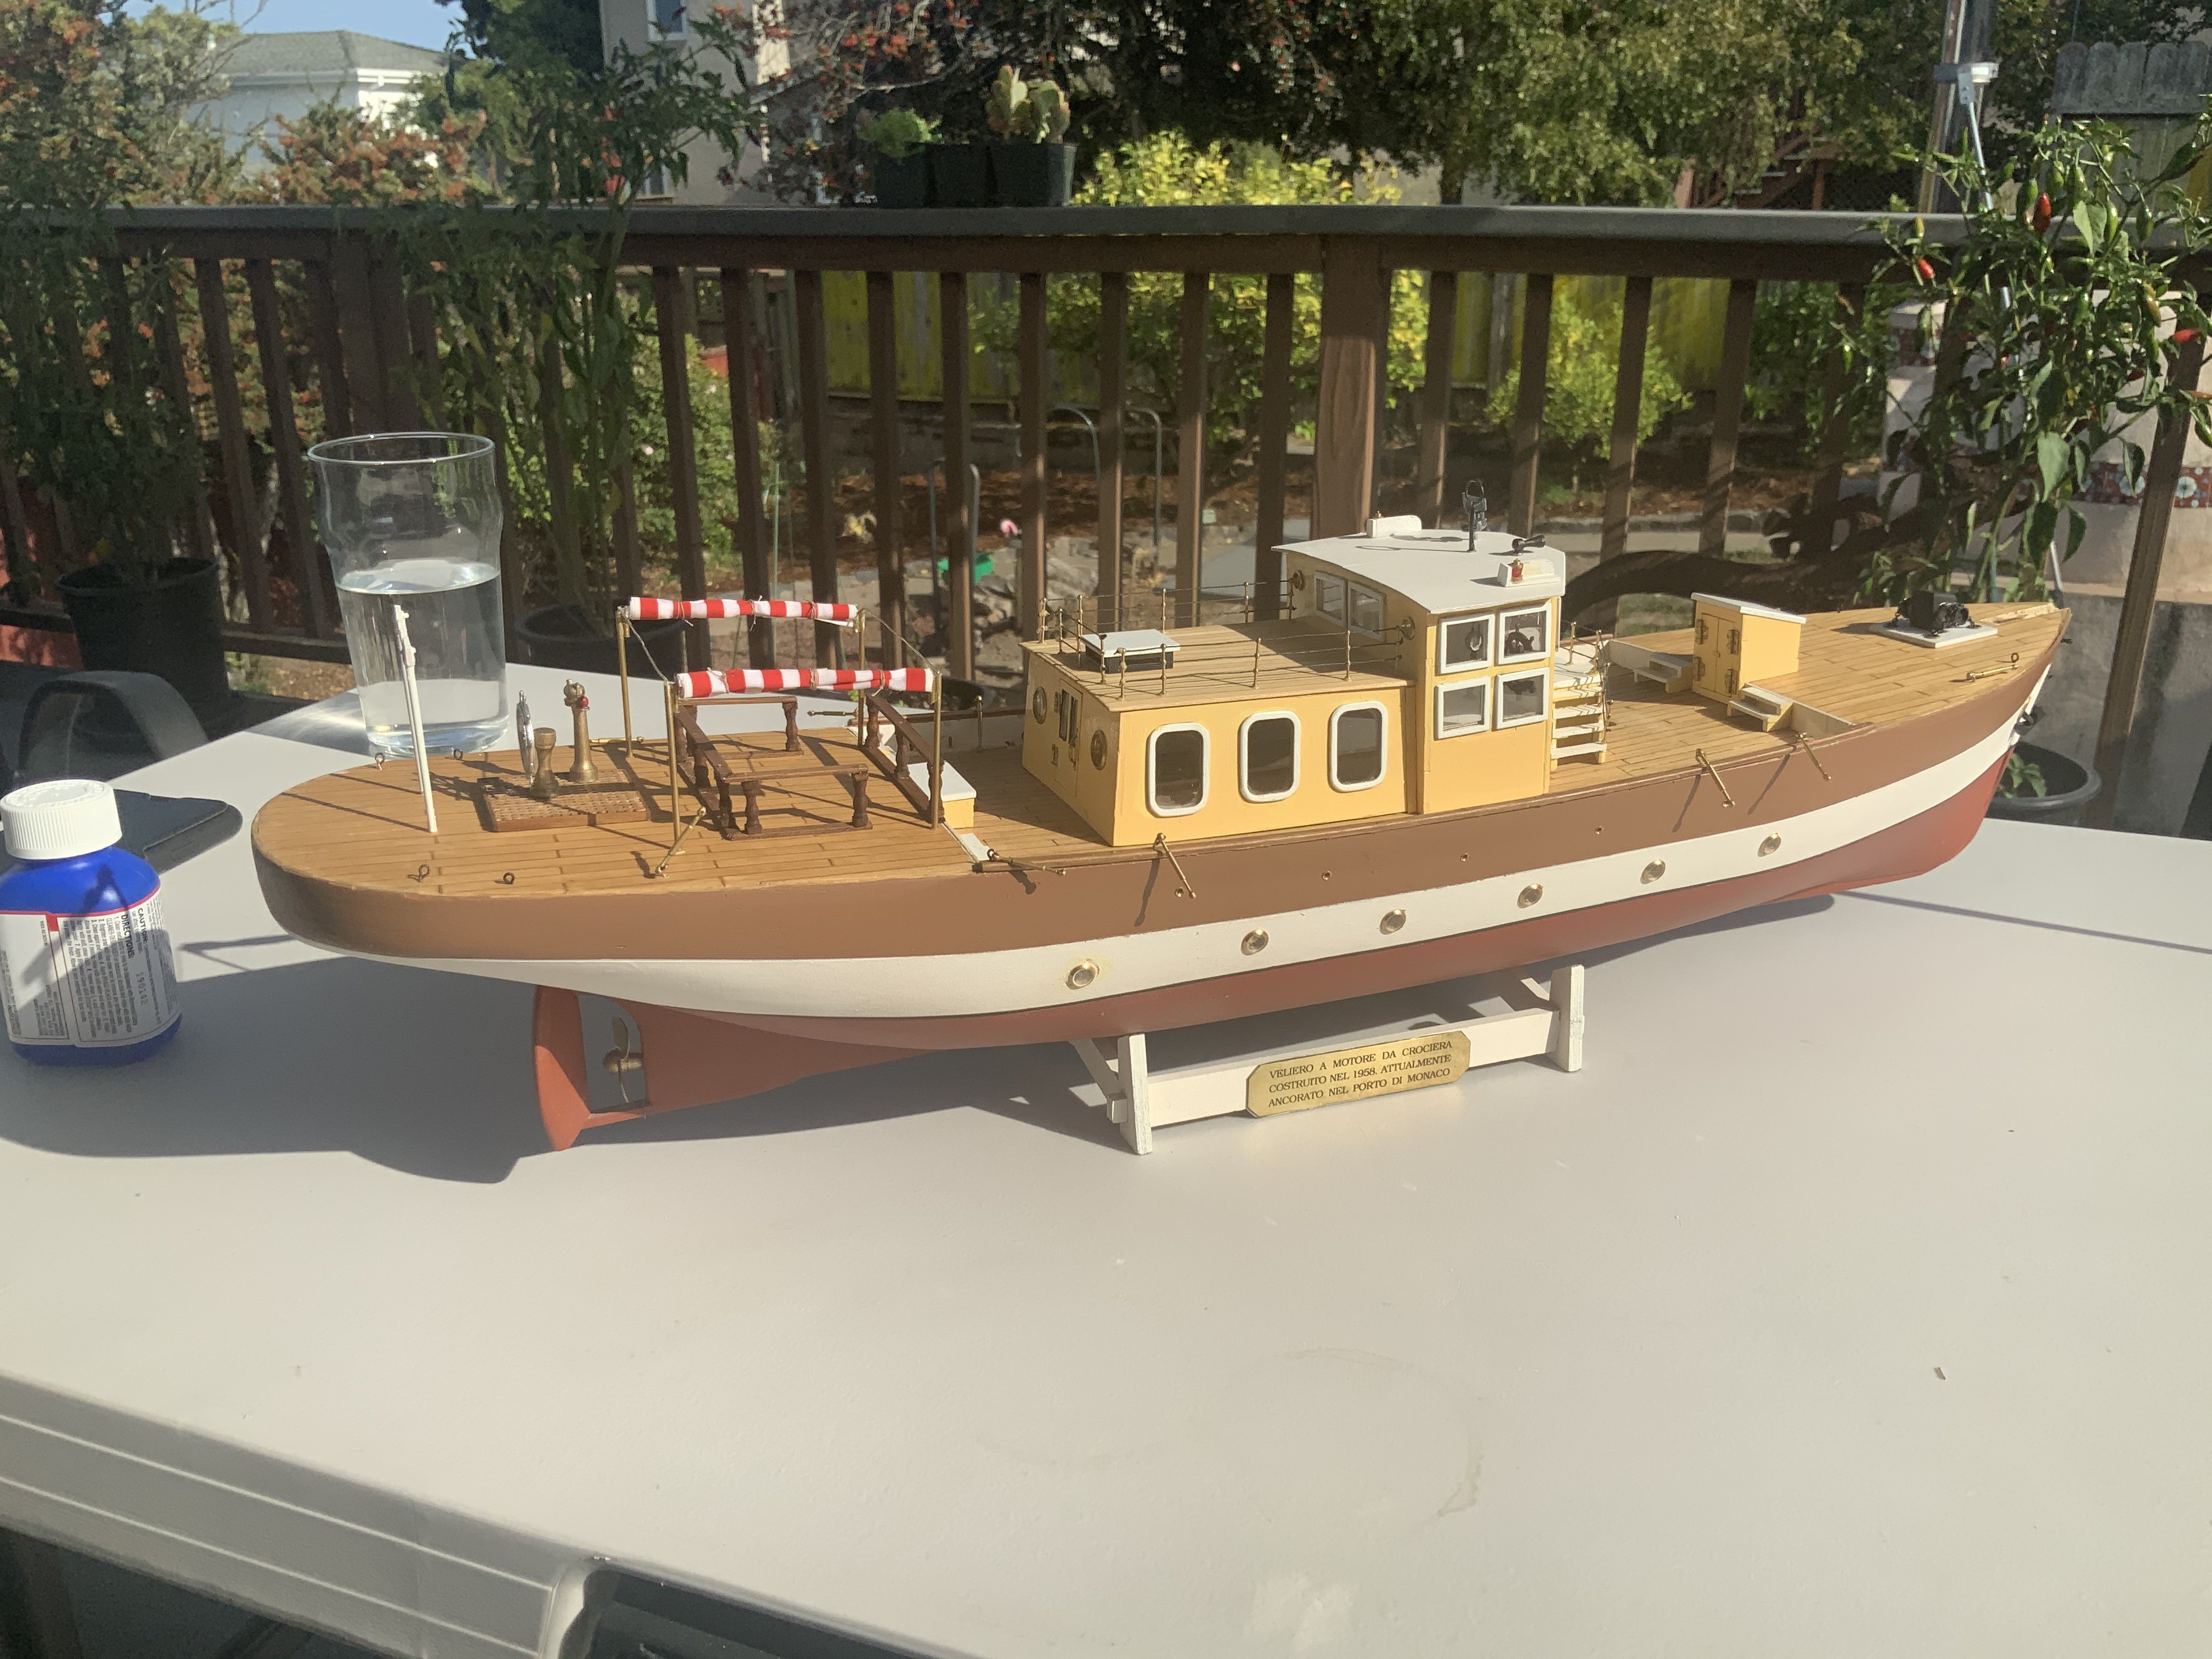
Richard, thanks for the link. That Olga is just too good.
-
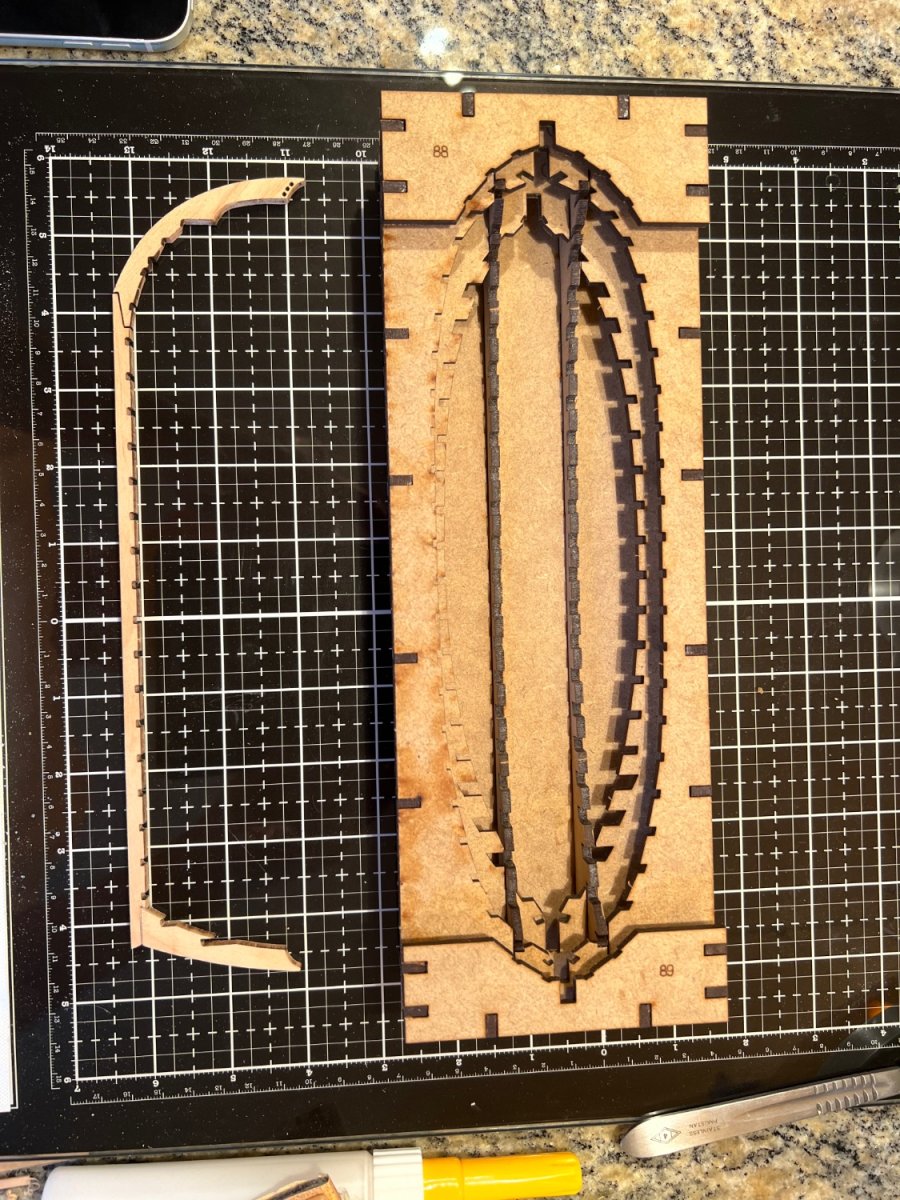
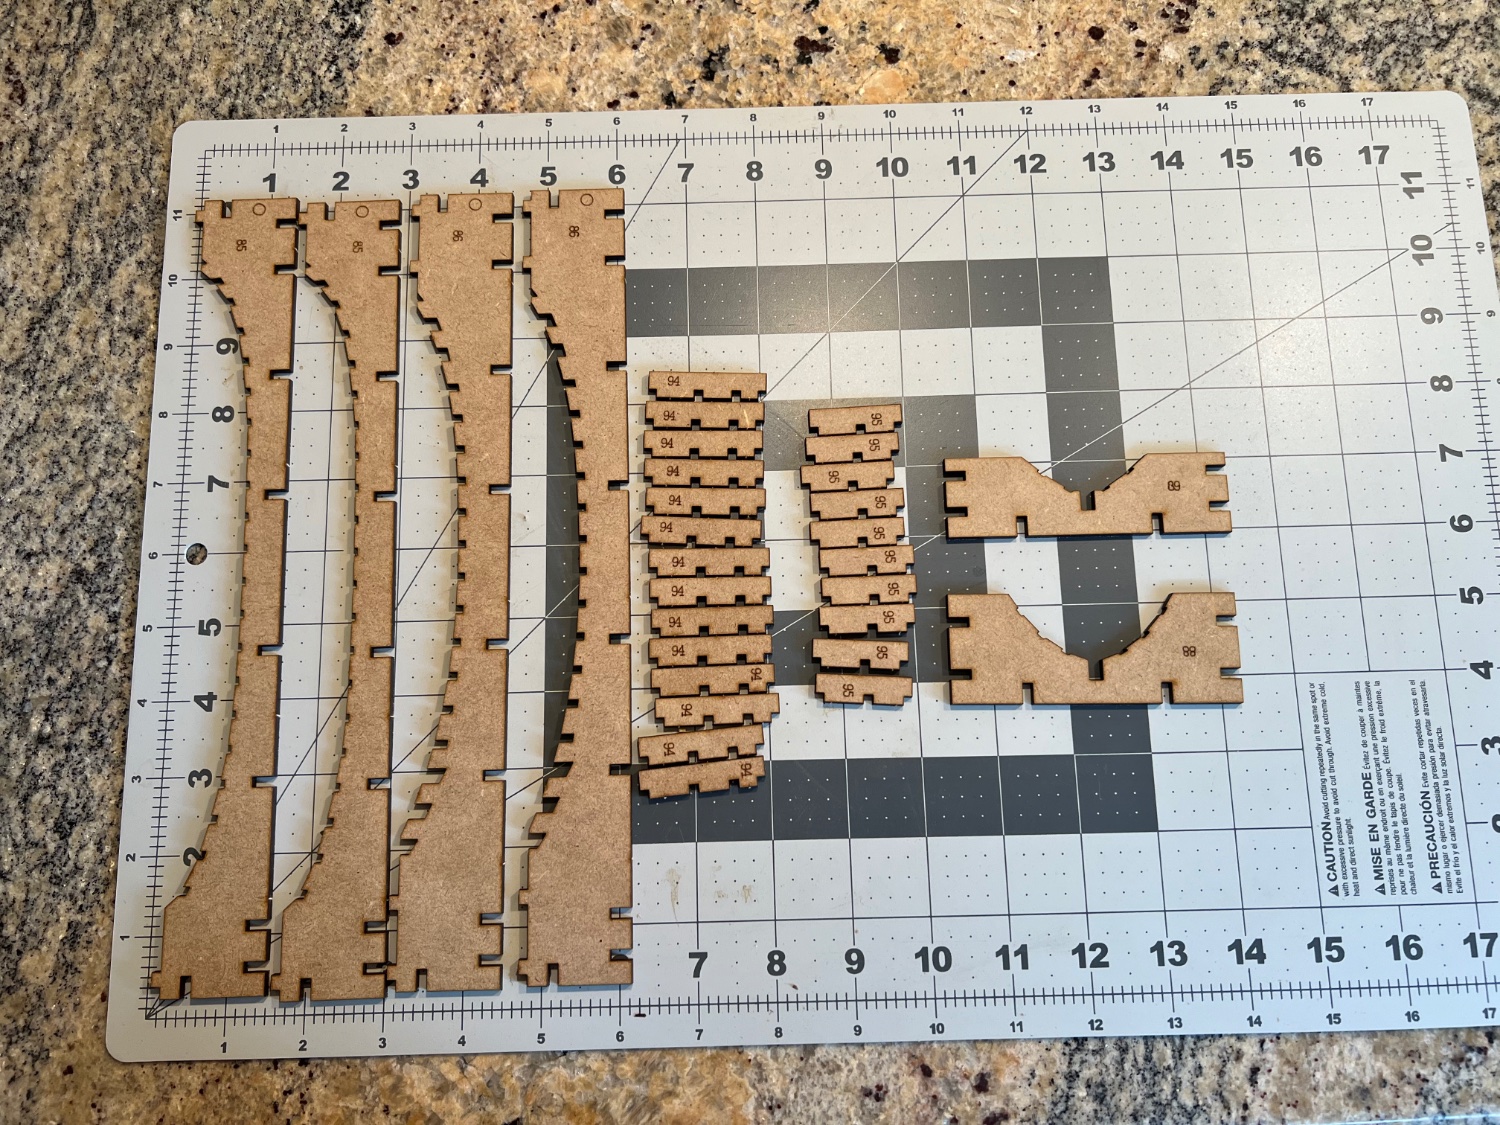
we’ll, I’ve got the full set of frames, the bow and stern frames are a little suspect. We’ll see when they are inserted into the jig. If I can get them in the jig, I’m hoping that the gunwale and the clamp will hold it all together until I can get some planking on that should hold it all together.

-
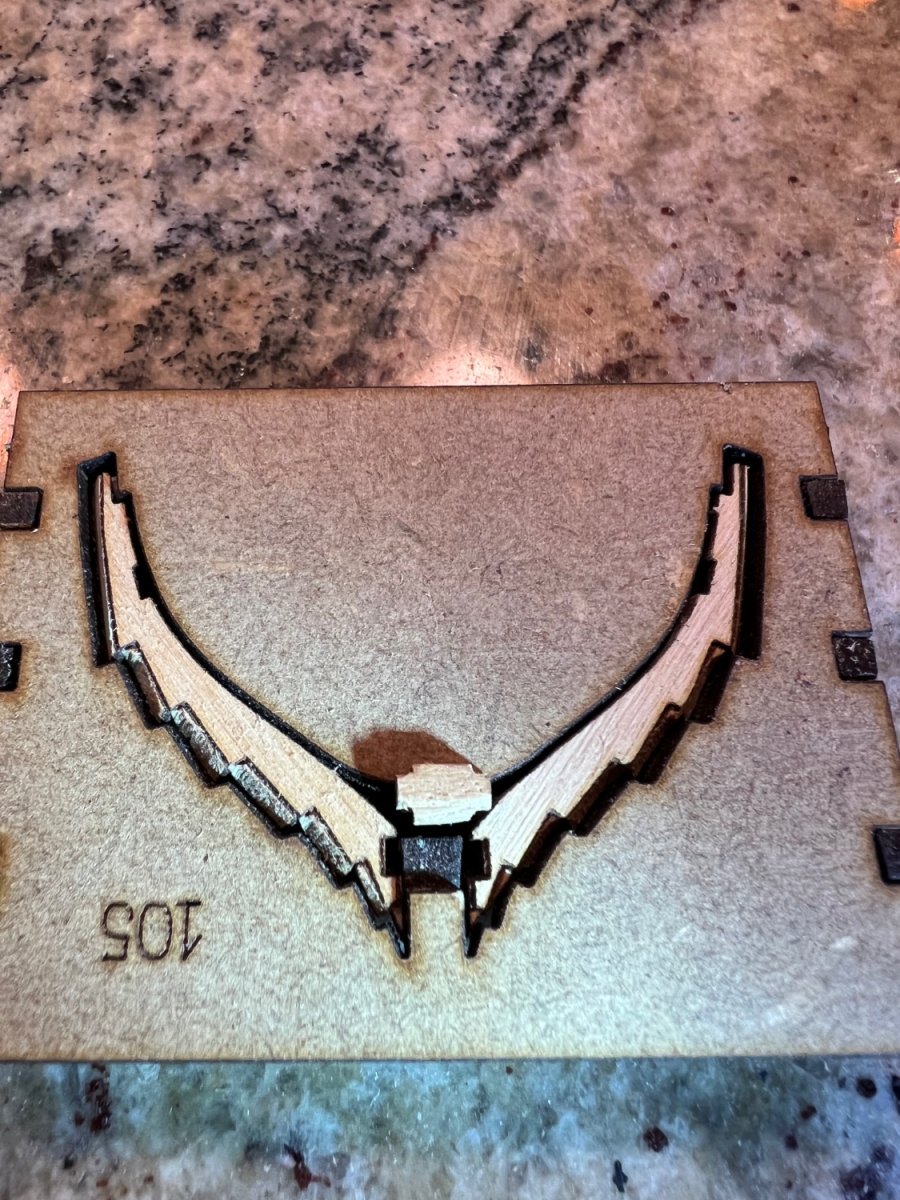
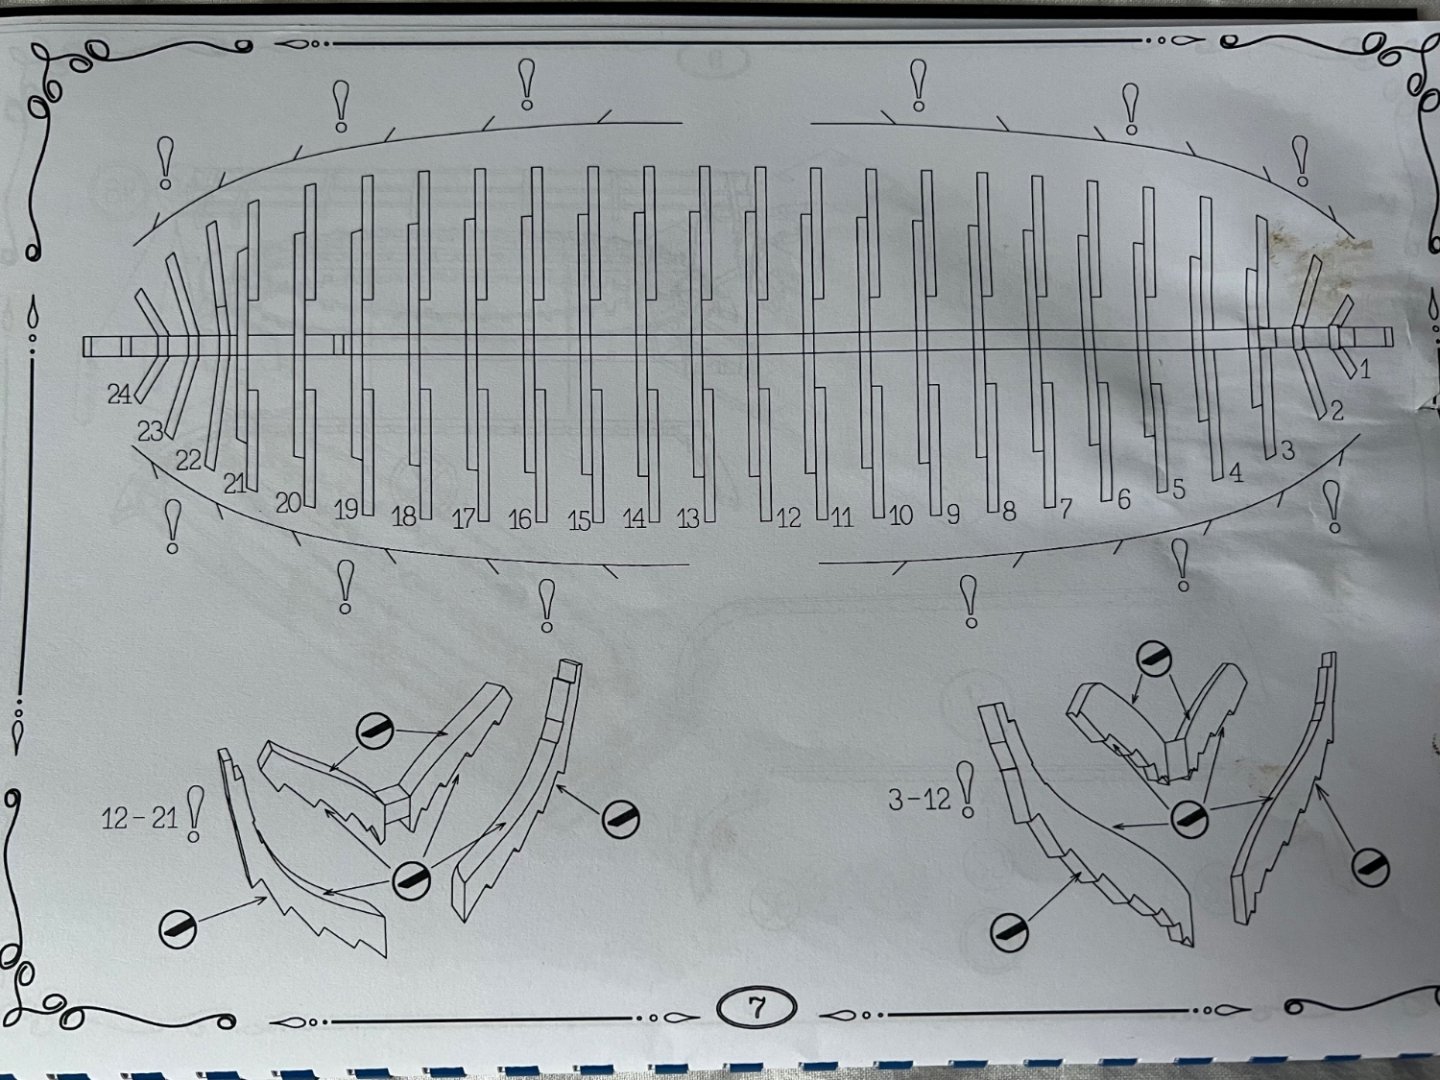
I’m stuck! I don’t understand how the cant frames go together. The center piece is raised up like the cross pieces for the other frames, but they overlap so there’s a good gluing surface. With the cant frames there’s nothing to glue to. Maybe put the frame sides in face down?
-
getting this to fit is problematic,

-
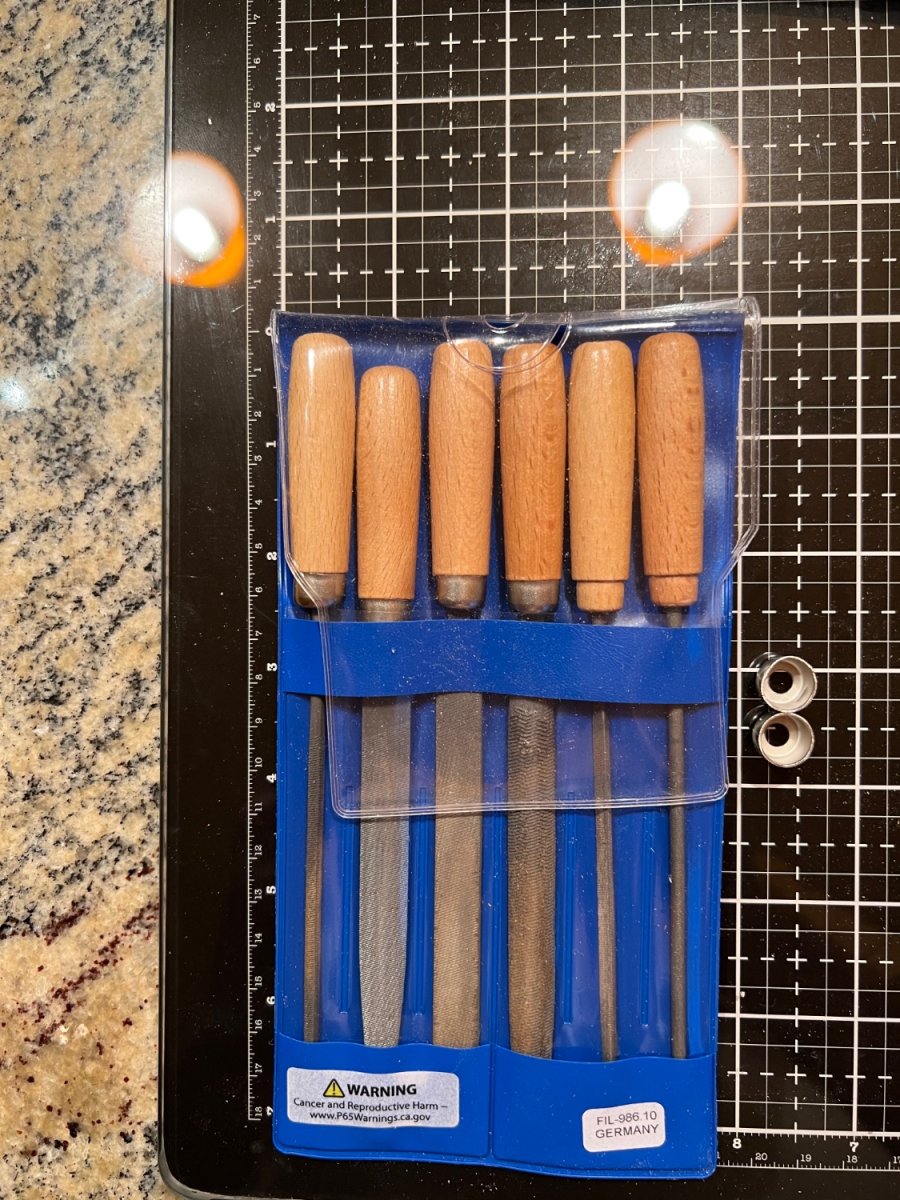
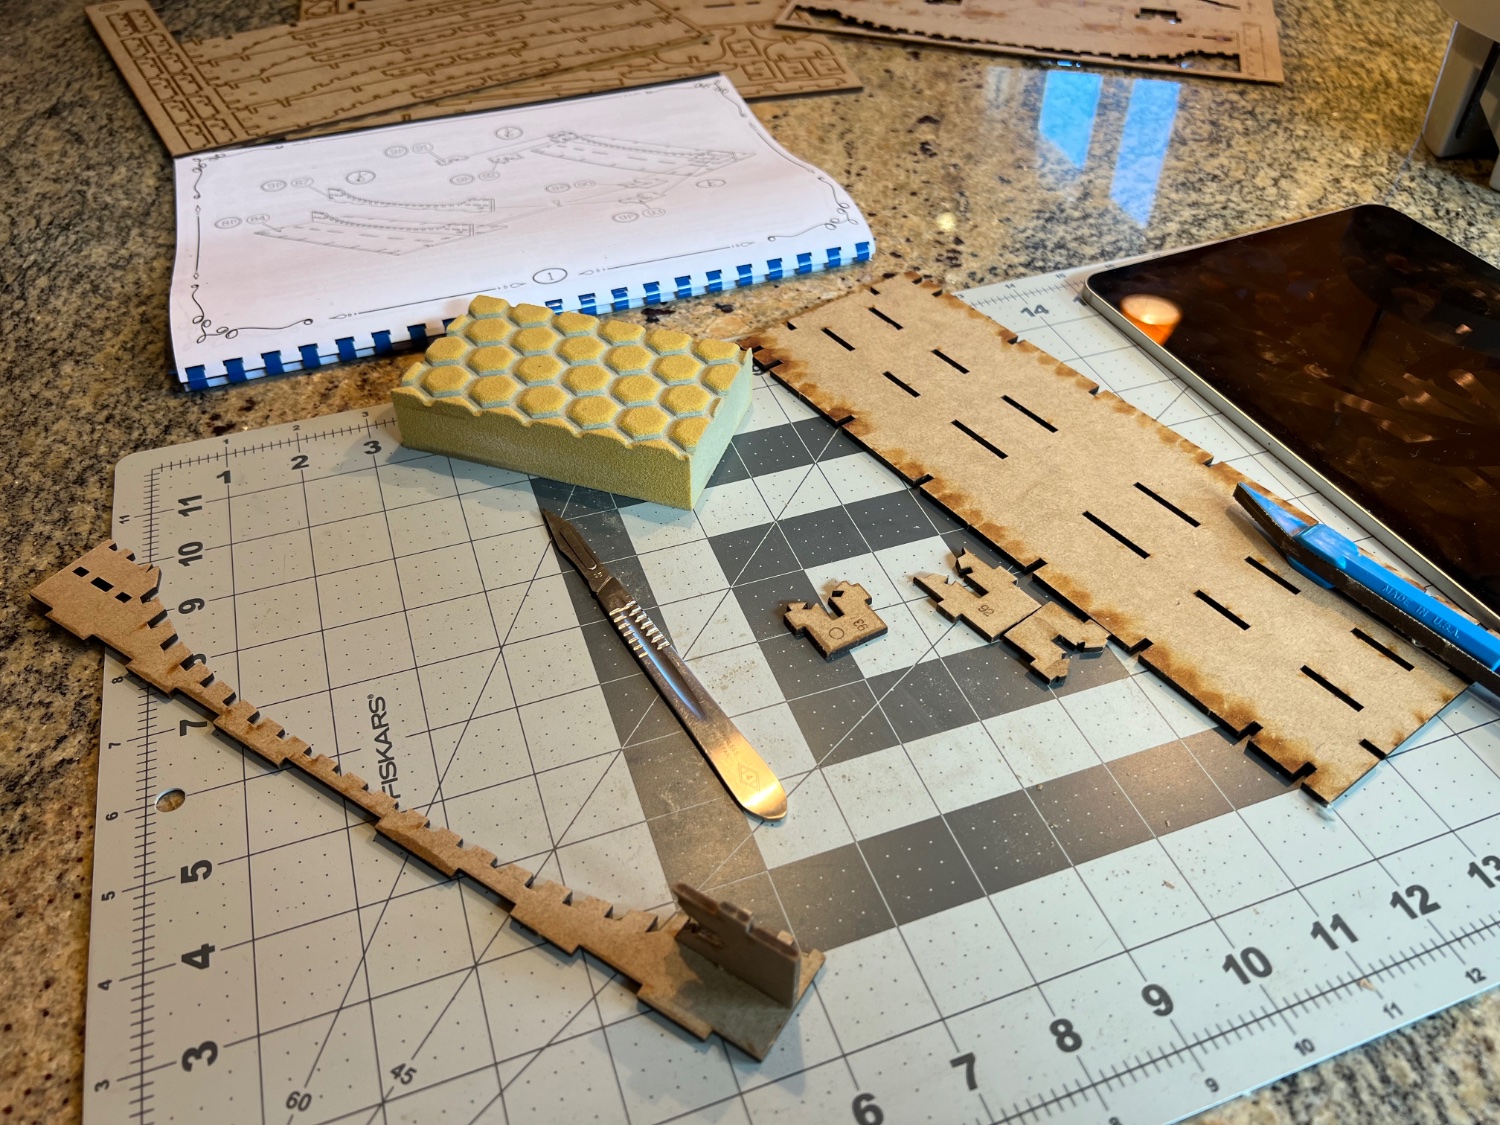
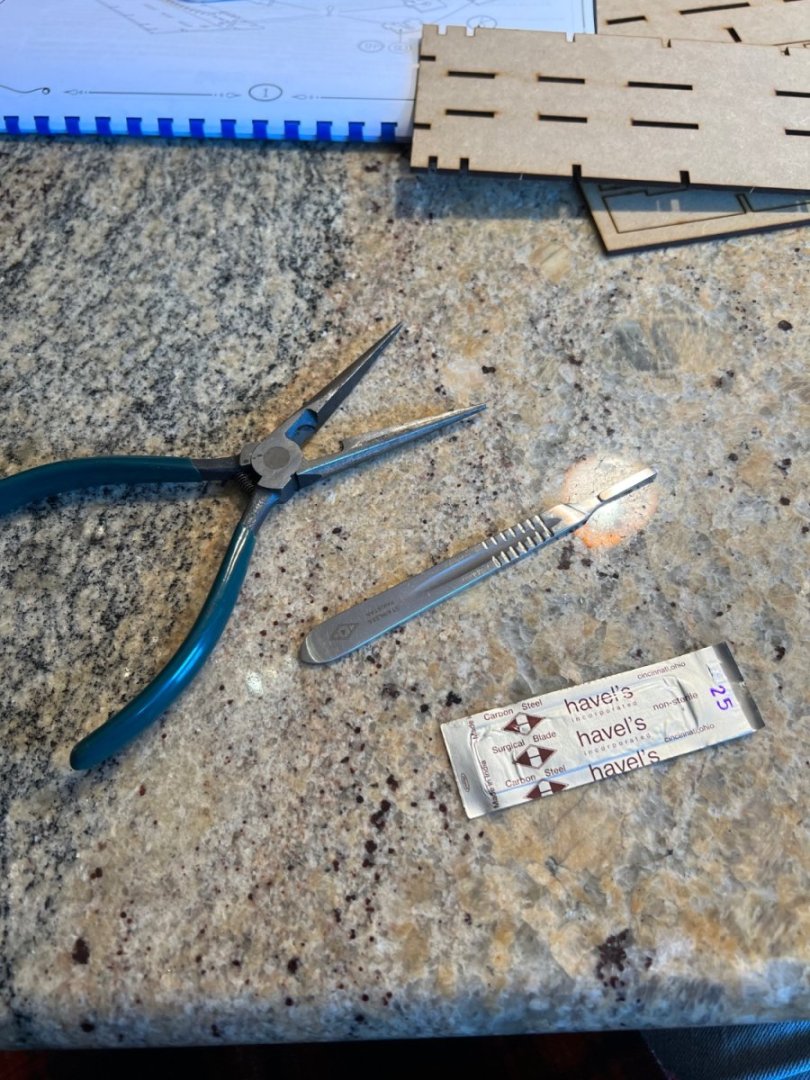
Ron, I tried a sim edge razor blade on some of the thick jig making material and was not satisfied with the results. I think the MDF is too dense and the parts are too small to feel comfortable with a razor blade that close to my fingers. I will try again when I get to the planks and other wooden parts. It’ll be all files and sandpaper for the jigs.
-
here’s what I’m using to sort the frames. I punch out a piece and stick it in the binder clip. then I use the plastic sanding stick to remove the char. the files come in handy for small spaces where necessary. I’ve got lucky thirteen done, enough for today! Tedious.
-
Matt, thanks, I’ll watch out for that!
-
Chuck, I will fair them as they are assembled. There will be an opportunity to adjust them after the construction is removed from the jig and placed on the former jig.
-
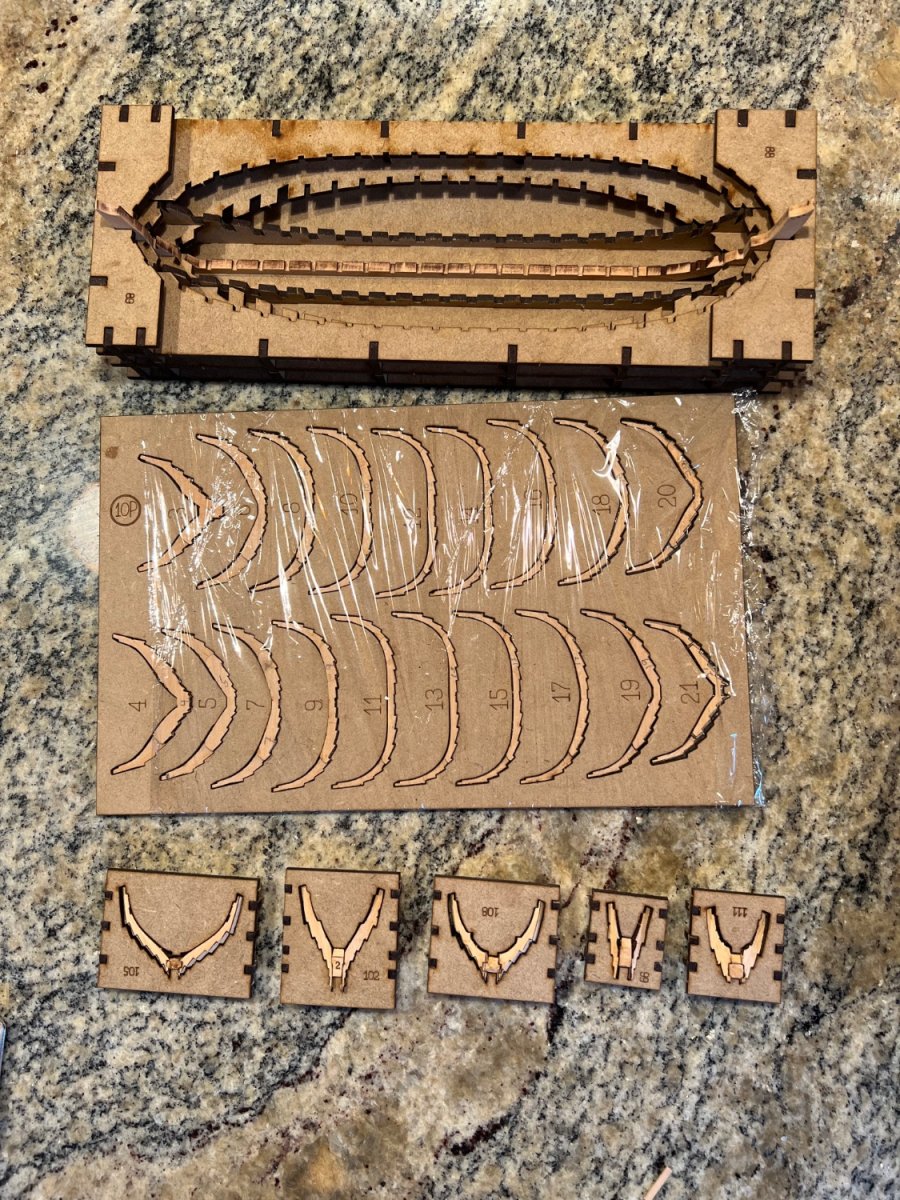
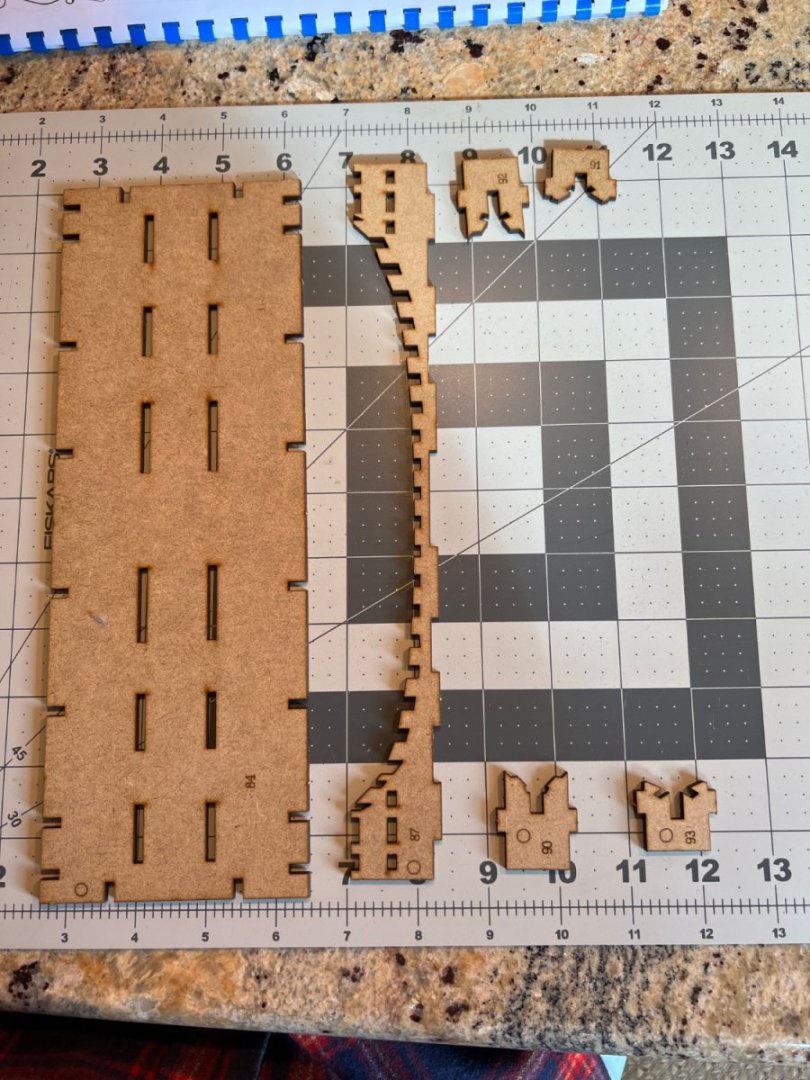
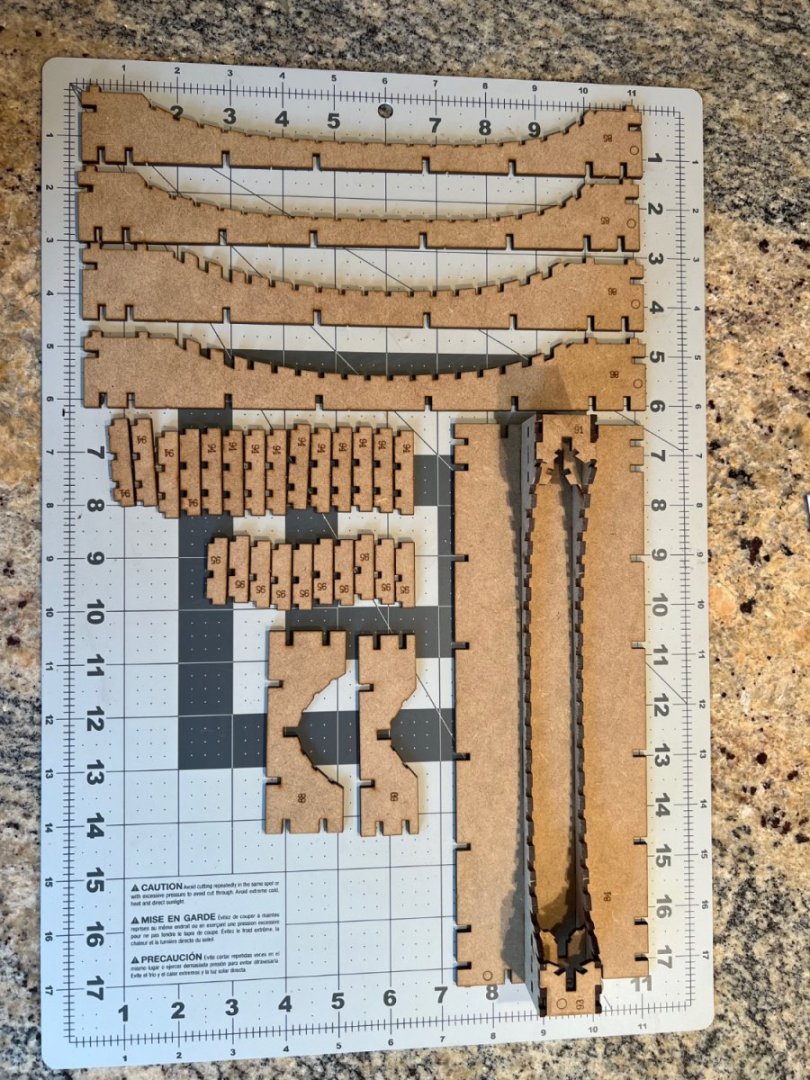
So, a little progress was made today.got a nice set of small files. Some of the ferrules are not well fastened. The files work well though. Next time I mix a up a batch of epoxy I’ll take care of that.got the keel glued up and fixed in the jig. There was a little adjustment needed for it to fit nicely.I got six of the frames worked up.
-
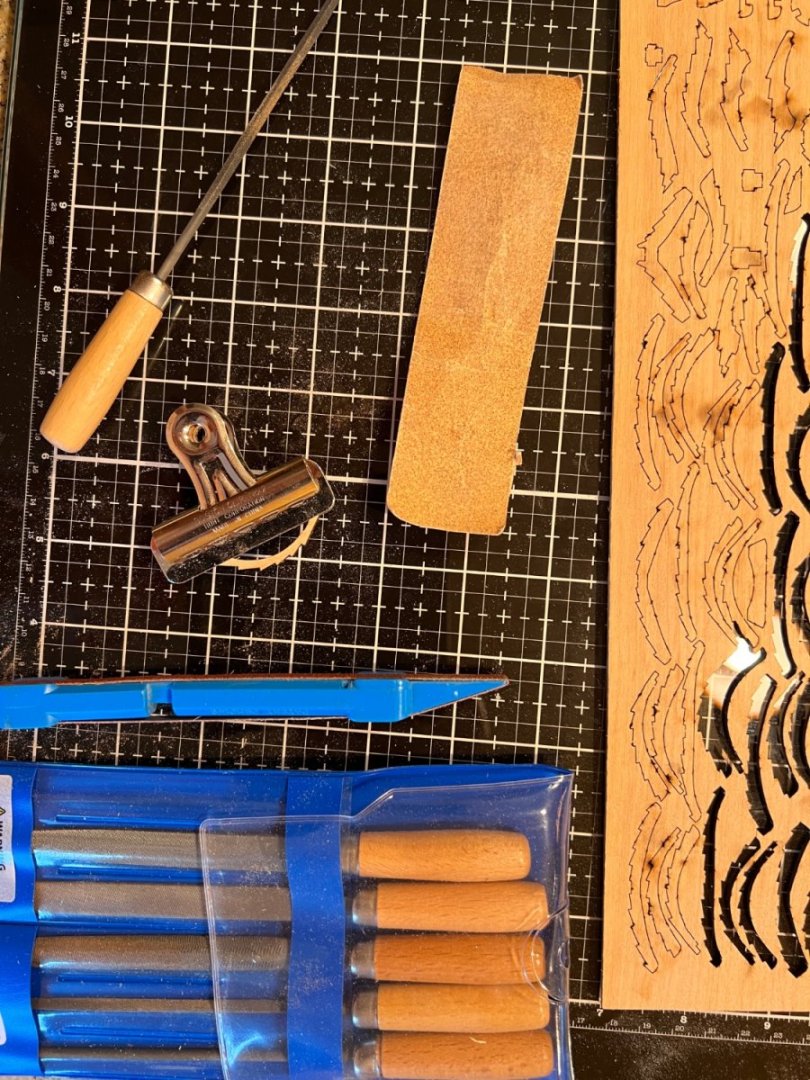
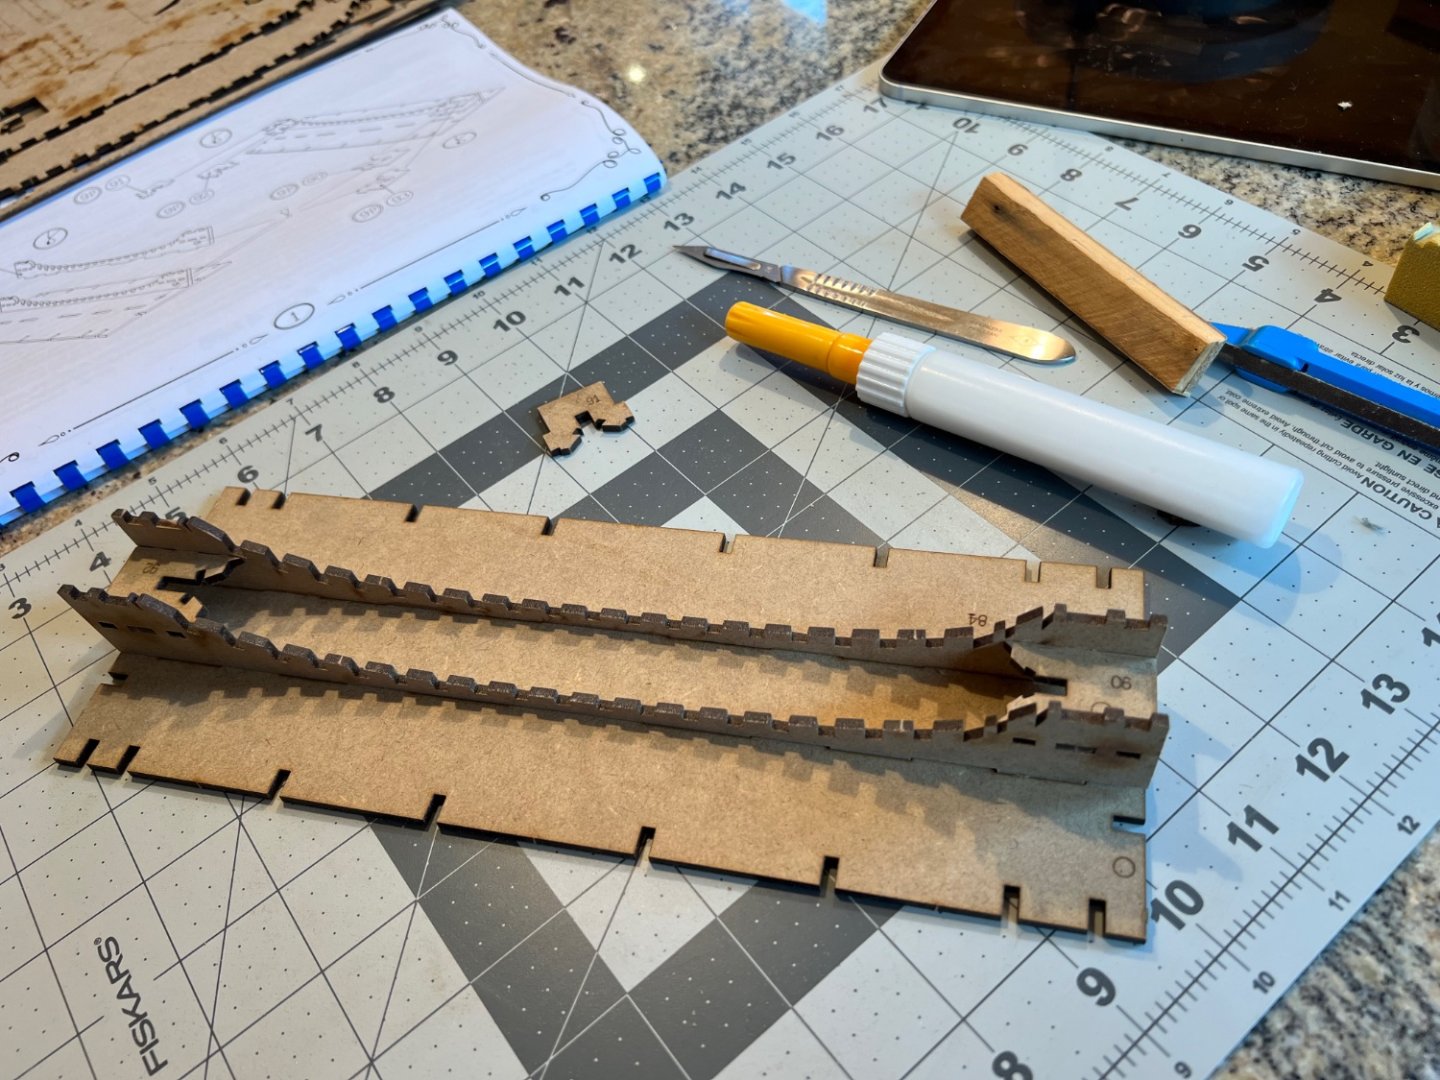
Thanks Matt. That helps, I thought the little chisel was a file for cleaning the char. It looks like they expect me to bevel the inside of the frames for the ceiling also.
-
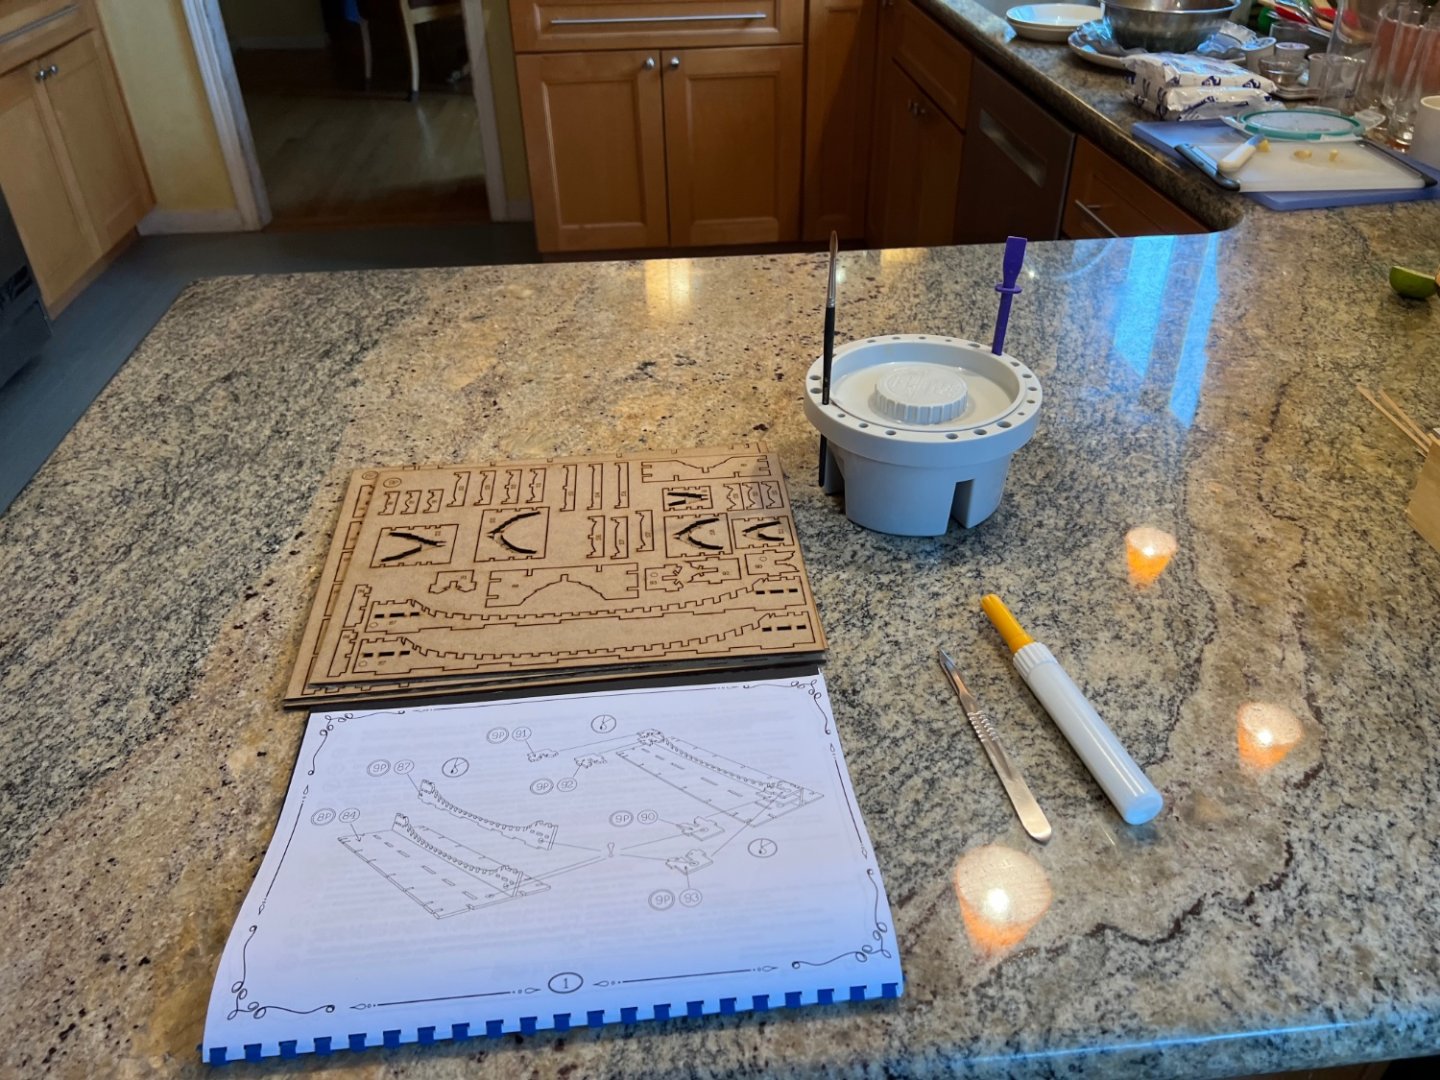
So, I’m a little stuck right now. I’m waiting on delivery of an inexpensive set of Jewelers files from Esslingler. They should arrive on Monday. They shipped the same day as ordered. I’m expecting that they will be helpful for removing char from the frame pieces and such. also, I’m at page 7 of the instruction manual and have no idea what I’m supposed to do. I get the frame part on the bottom, but what’s the upper frame illustration trying to tell me? I think it’s just saying that I will be assembling frames using glue.
-
Got it Chris, thanks!
-
Chris, where can I access the uploads?
-
I’m getting some extra photos somehow.
-
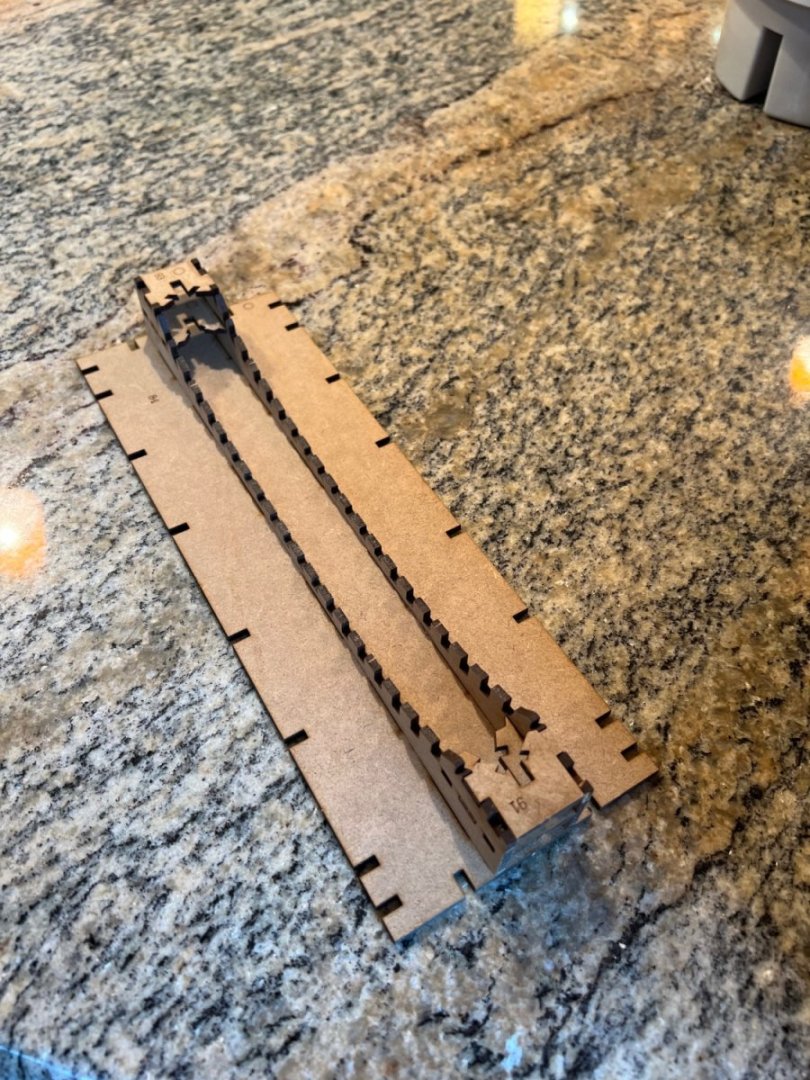
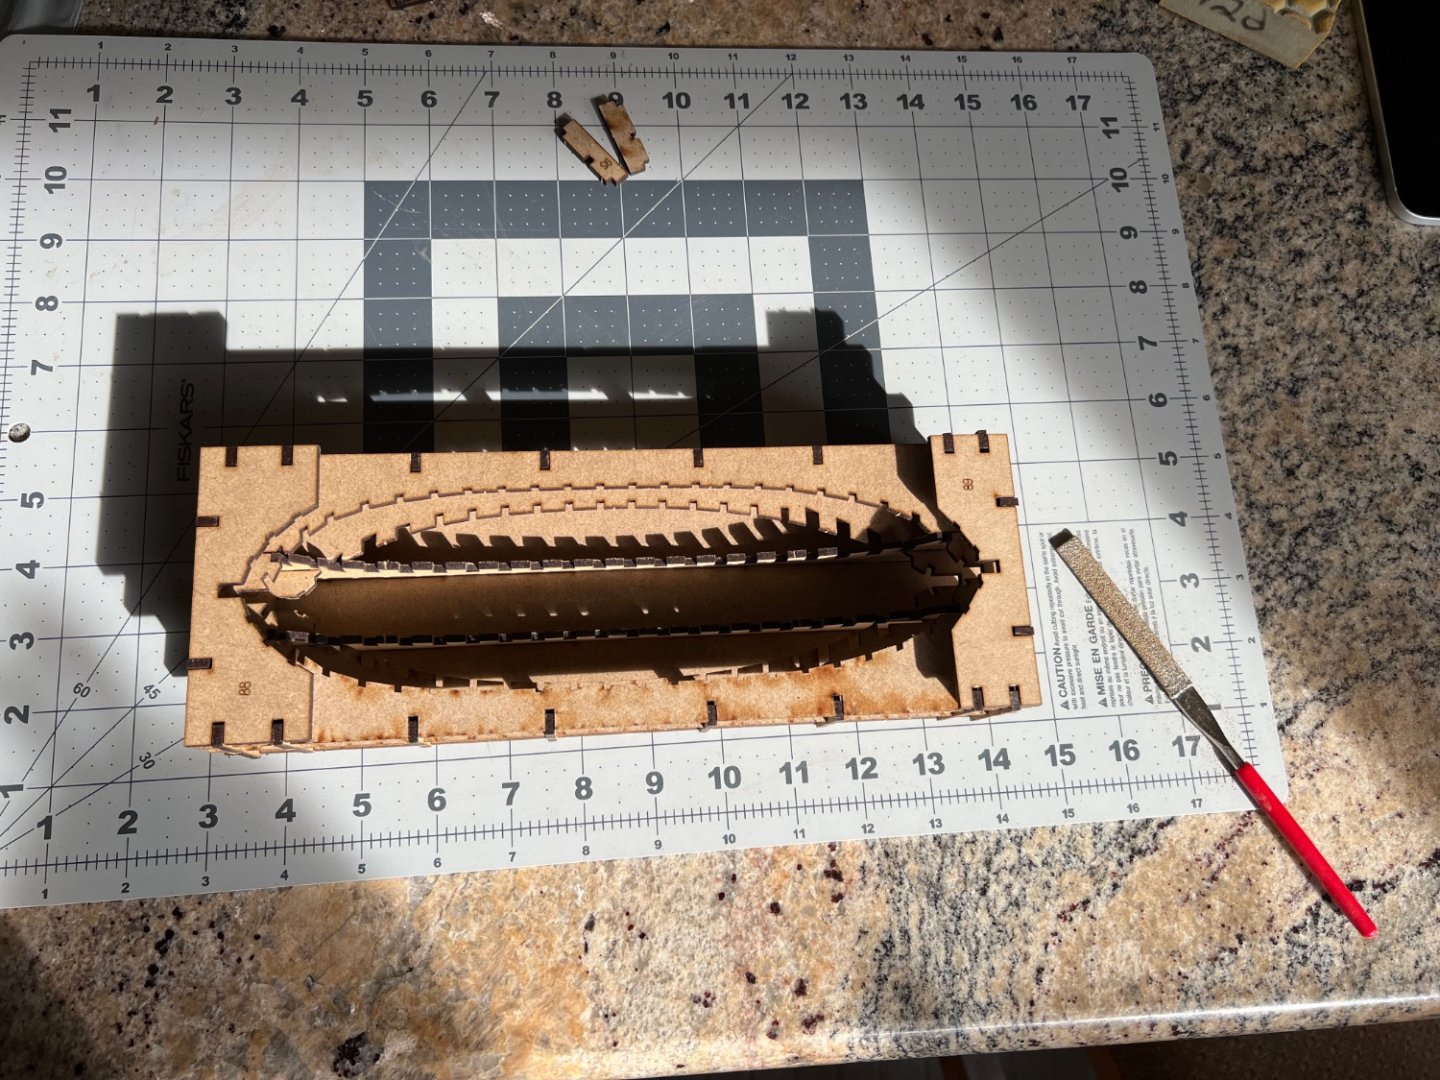
Ok, the fun has begun! my plan was to just spend an hour and knock out page 1 That isn’t how it worked out! it turns out that MDF is really dense stuff. I couldn’t get the scalpel to cut along the lines. The blade stuck and jumped the track even using light pressure.maybe a new blade? Not so easy , same results. I wound up just pressing the parts out with steady pressure.then the fun began. It took a lot of sanding and scraping to get the parts to fit. For the most part, the tabs are a little longer than the slots. a lot of dry fitting than adjustment, then dry fitting. the instructions suggest that you place the first former into the base, add the support pieces, then place the other former. I couldn’t see that working out, so I assembled the two formers with the support pieces and then fitted that assembly to the base. all in a days workit was more work than I expected, but I like the results. It was good to get a feel for the components, and I’m looking forward to the next steps. not looking forward to scraping and sanding laser char. The parts so far feel substantial and strong, but once the jigs are done and I get into frames and such, I’m worried about snapping pieces. I think I’ll spend some time over the next few days gluing sandpaper to a bunch of different shaped sticks. Ok, todays agenda, continue assembling the jig.the parts for today all punched out. It’s getting easierAfter much filing and sanding, it all fits together.just four extraneous parts left over. Now just need to disassemble it and add glue. looks just like the picture!


-
Ok, the fun has begun! my plan was to just spend an hour and knock out page 1 That isn’t how it worked out! it turns out that MDF is really dense stuff. I couldn’t get the scalpel to cut along the lines. The blade stuck and jumped the track even using light pressure.maybe a new blade? Not so easy , same results. I wound up just pressing the parts out with steady pressure.then the fun began. It took a lot of sanding and scraping to get the parts to fit. For the most part, the tabs are a little longer than the slots. a lot of dry fitting than adjustment, then dry fitting. the instructions suggest that you place the first former into the base, add the support pieces, then place the other former. I couldn’t see that working out, so I assembled the two formers with the support pieces and then fitted that assembly to the base. all in a days workit was more work than I expected, but I like the results. It was good to get a feel for the components, and I’m looking forward to the next steps. not looking forward to scraping and sanding laser char. The parts so far feel substantial and strong, but once the jigs are done and I get into frames and such, I’m worried about snapping pieces. I think I’ll spend some time over the next few days gluing sandpaper to a bunch of different shaped sticks.
-
Ok, my kit arrived on December 27th. I’m not going to post an un-boxing, James h did an excellent job of that. so far, I’ve read through the instructions and plans a couple of times. I will do that a couple of more times before I start with unpacking and identifying the parts. I became ill over Christmas and am still recuperating. I plan to take this one slow and easy. I still have to figure out how to upload pictures.
-
I just ordered Pavel Nitkin’s captain Smith’s shallop and will be posting my progress her when the kit arrives
-
Pavel Nikitin 1:32 Captain John Smith's Shallop - Ships of Pavel Nikitin
JerryC replied to James H's topic in REVIEWS: Model kits
I just ordered one. It’s almost like a plastic model except in wood, just assemble the pieces. I have no problem with that! I’ll start my first build log with this one. -
I still need to work on the rigging. I couldn’t figure out what went where from the plans provided.