


Stone
-
Posts
2 -
Joined
-
Last visited
Content Type
Profiles
Forums
Gallery
Events
Posts posted by Stone
-
-
Hi everybody,
Thank you for your interest in my shipbuilding journey!
This is going to be my first ever ship build. This has been on my wish list for a long time (to be fair, since I read Tin Tin: The Secret of the Unicorn as a boy). This interest got fueled again while reading the Bolitho novels from Alexander Kent. So last month I decided to start looking for a model and as many others, I got inspired by the HMS Victory, HMS Surprise, HMS Diana builds. However, after reading the topic "For Beginners - A cautionary tale" I decided to be smarter than myself. So because of @Beef Wellington and @Vane (which I wanna thank in advance for their detailed description on their build, as I read through your logs with much pleasure) I decided to start with the HMS Snake from Caldercraft.
If anyone has suggestions, opinions or wants to help me in any way, feel free to post a comment. As I said, I'm in new territory so my methods could be "wrong", "rookie" or even barbaric!
Some additional notes before I start my building log.
First, this is going to be a natural/industrial build. Which in my case means, I won't be painting the ship (probably only to highlight some specific structures), as when I'm finished, I want to see the building process, modifications and "scars" of my work.
Second, this won't be a historically accurate and/or Caldercrafts intended build. My "source of inspiration" is the Sloop of War HMS Sparrow from the Bolitho novels. This means I will change the armament to two 32-pounders as bow chasers and sixteen 12-pounders and probably some other things.
Third, let's go!
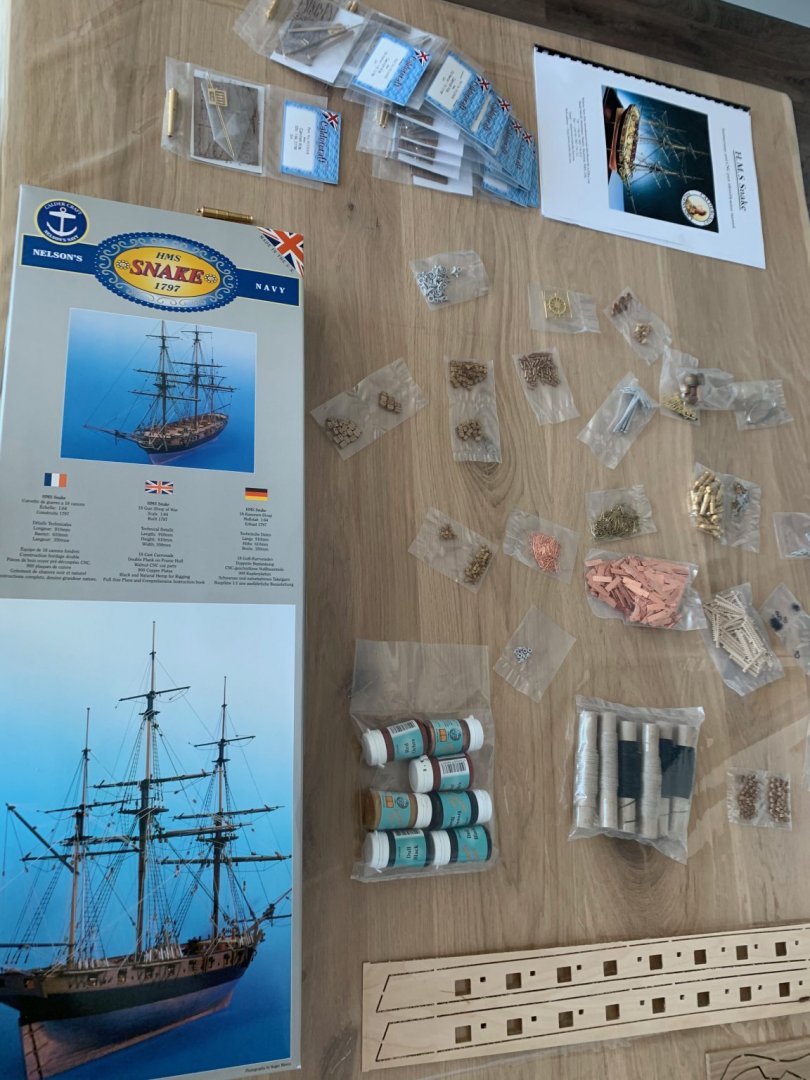

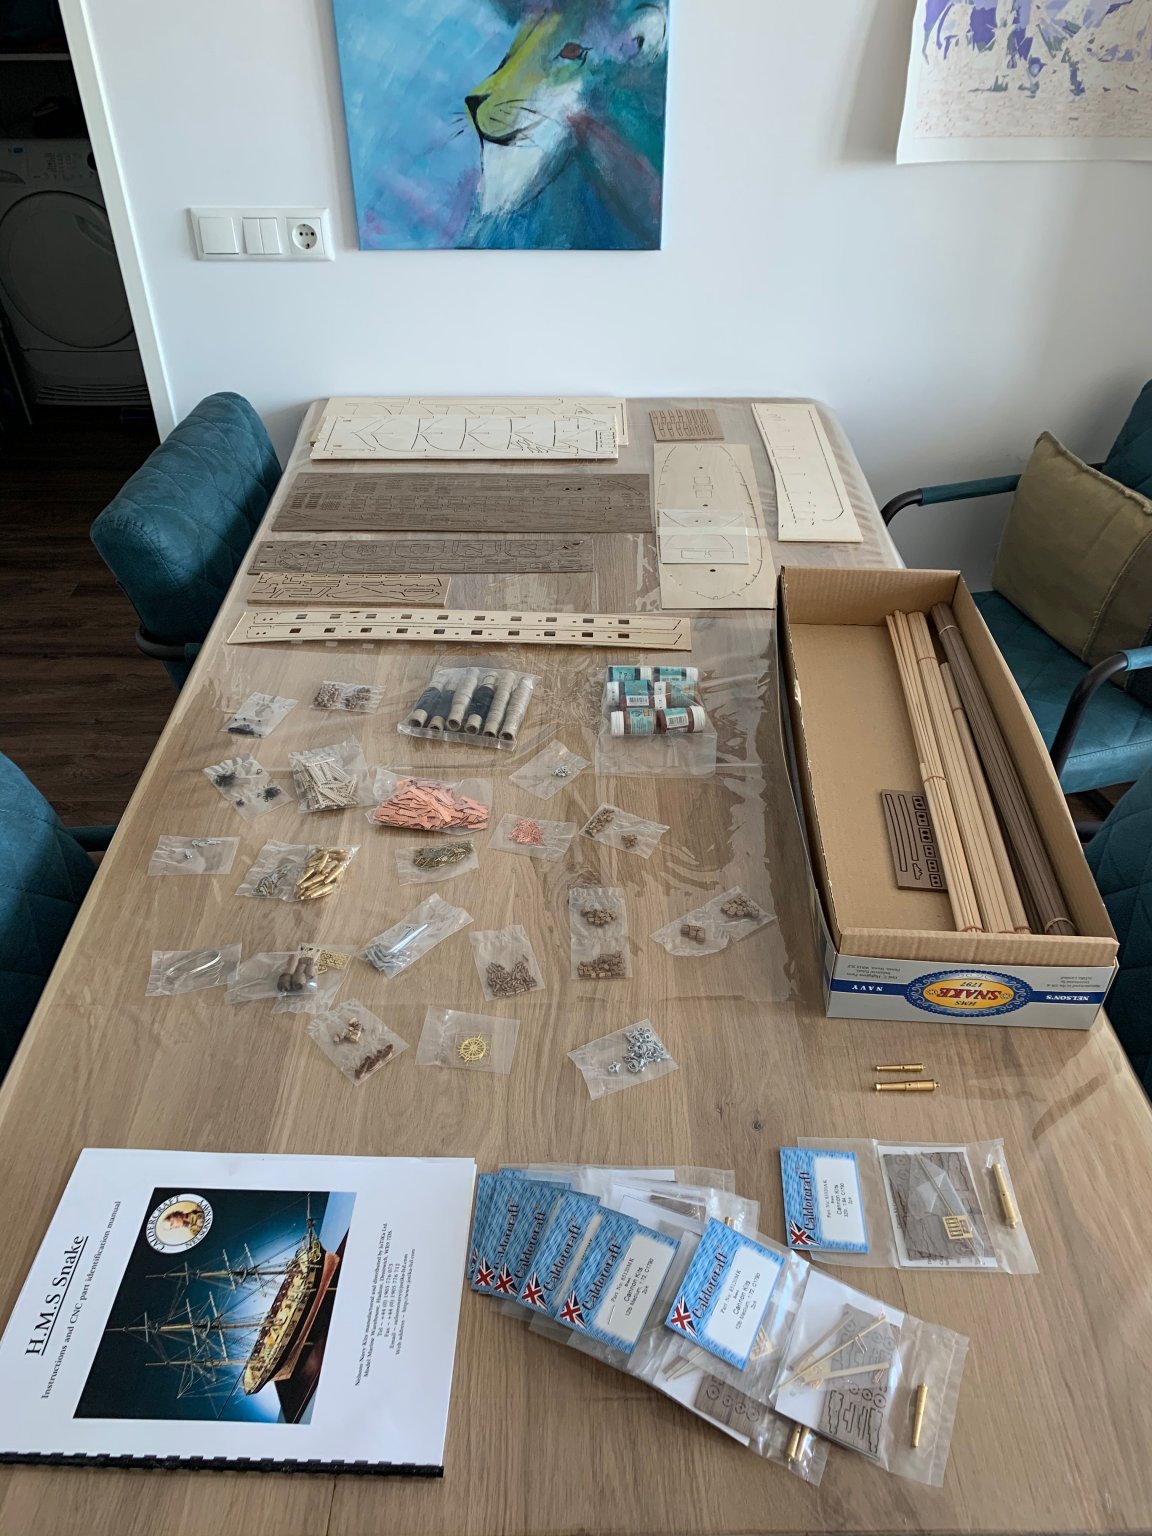
(Above) To be honest, I got a bit overwhelmed when I open the box and read the instructions. The provided wooden planking strip are pretty neat compared to what I've seen from other build, they only need some light sanding I guess.
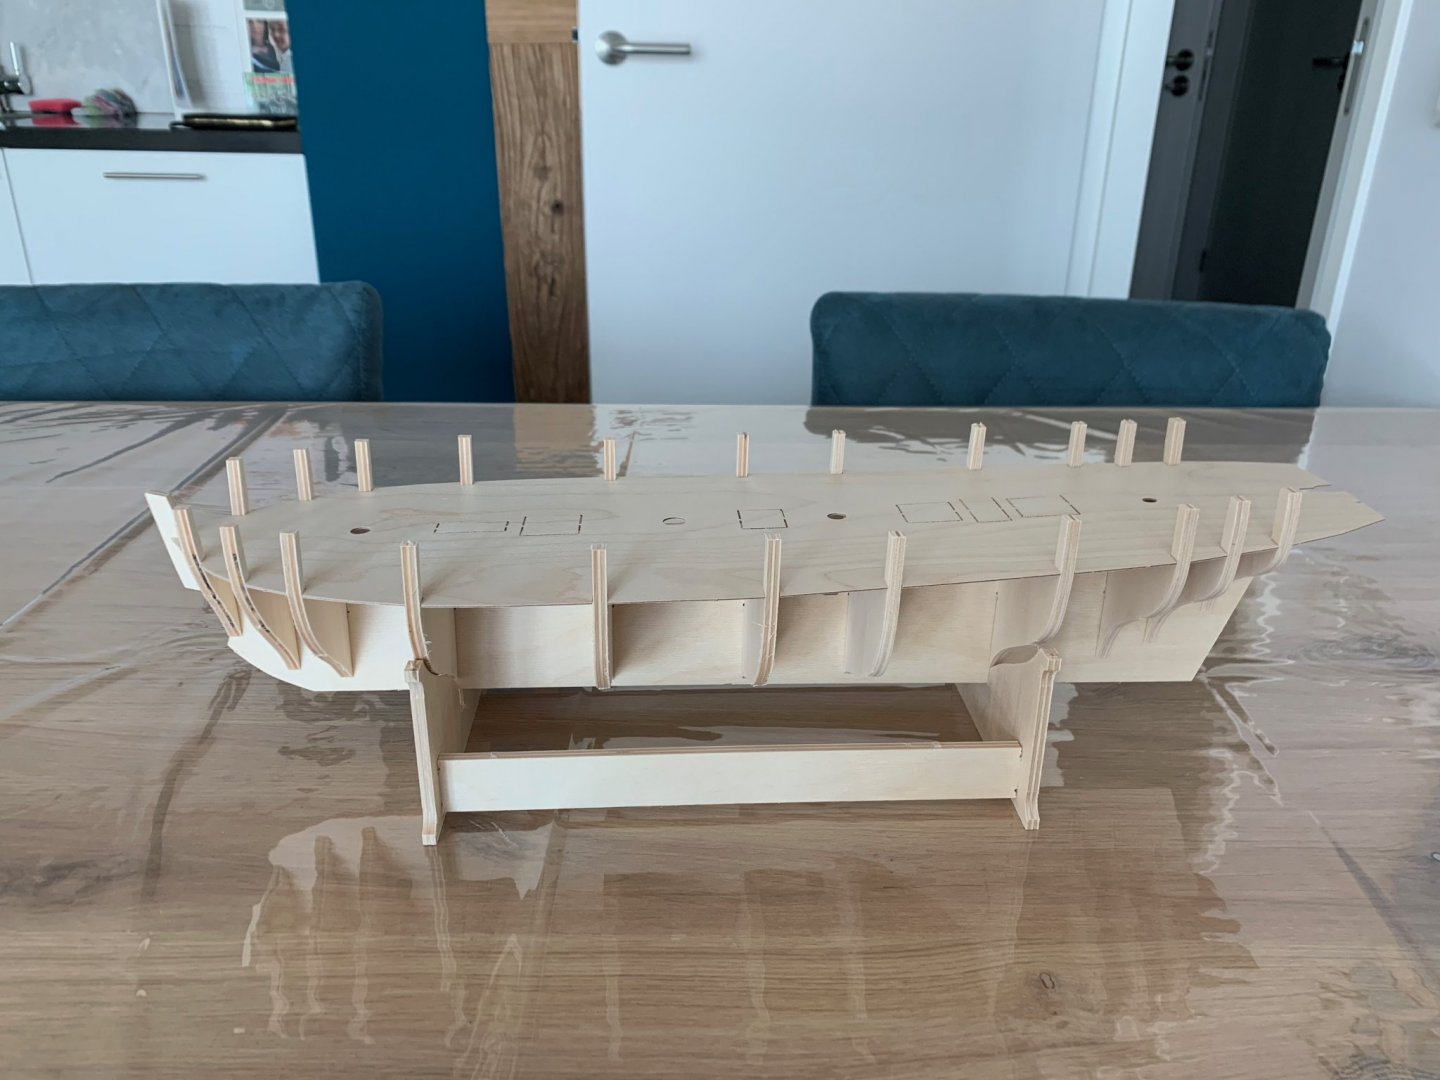
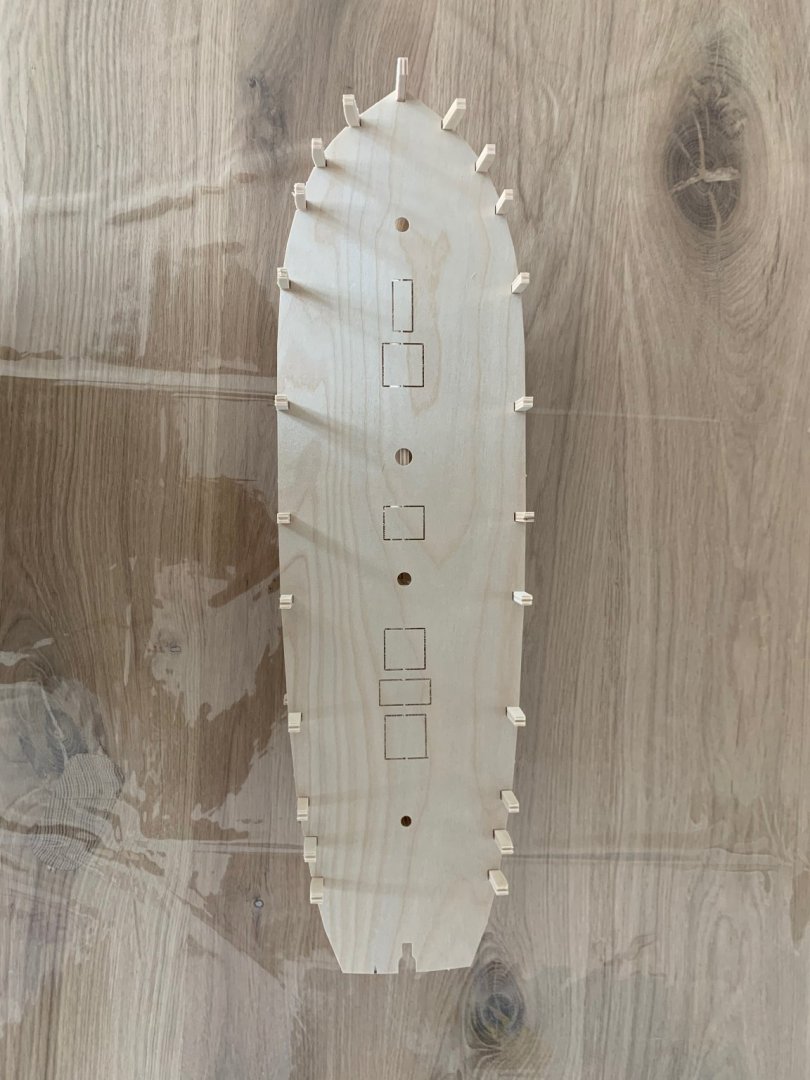

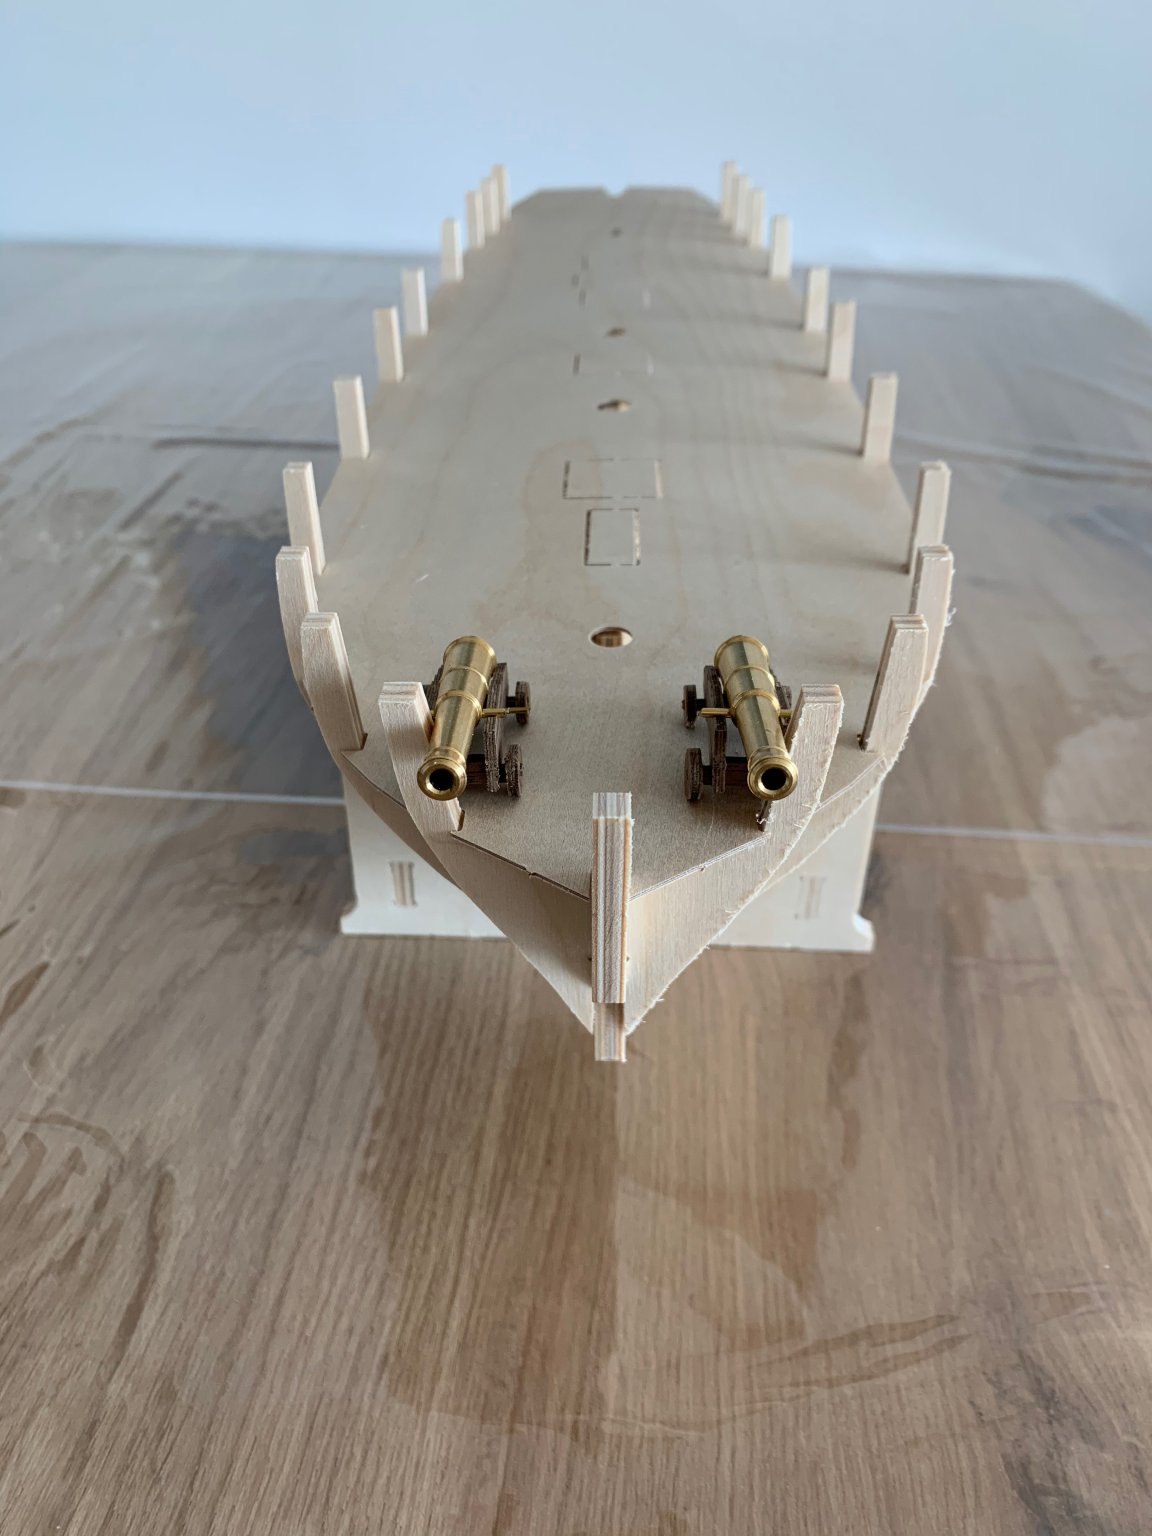
(Above) Dry fitted the keel, bulkheads and deck...they fitted pretty easily. Plus build the two 32-pounder bow chasers, very happy with those.
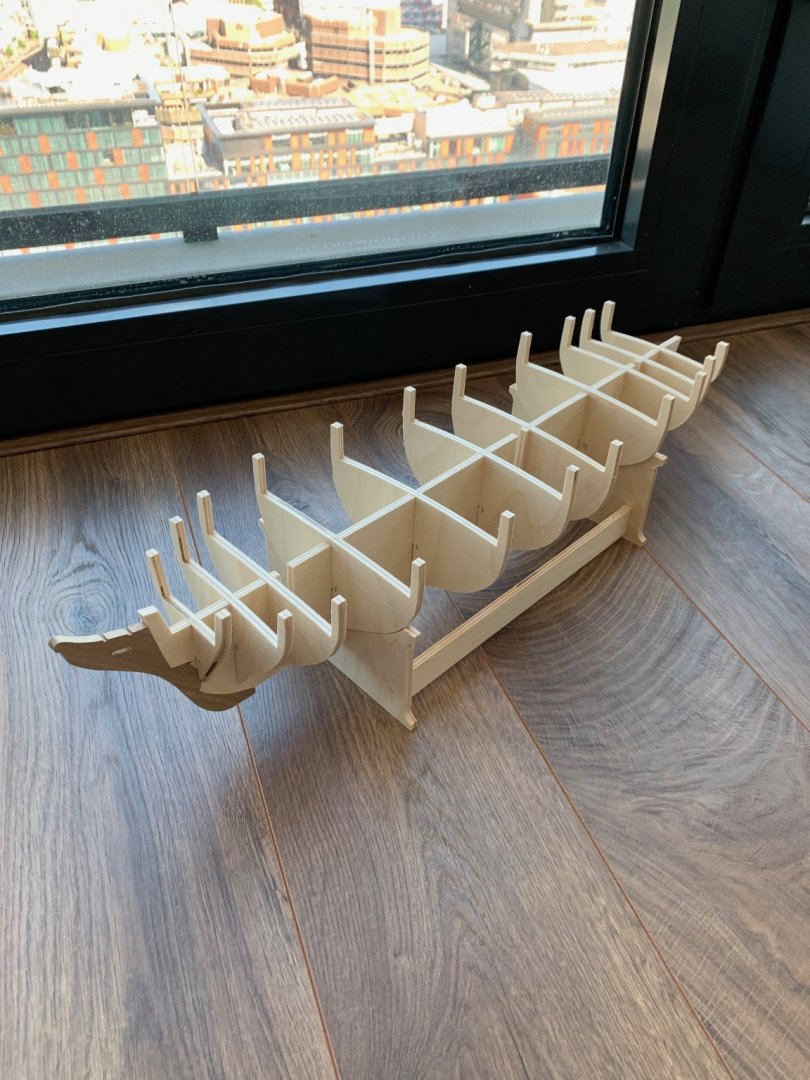
(Above) Attached the Walnut keel and the front of the keel.
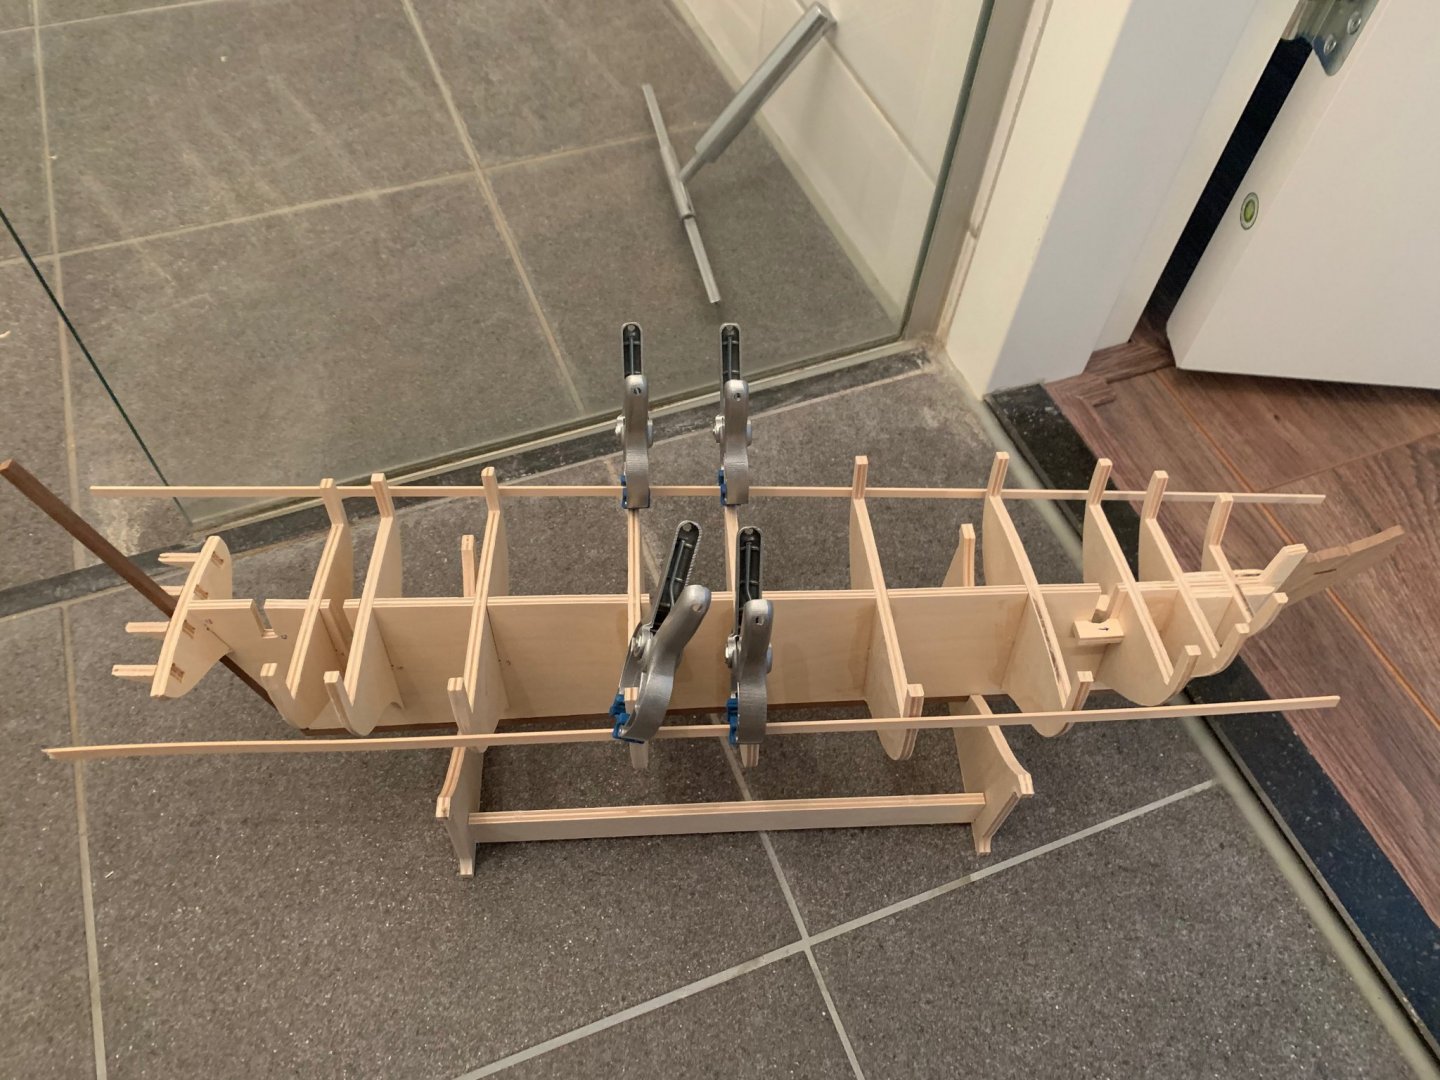
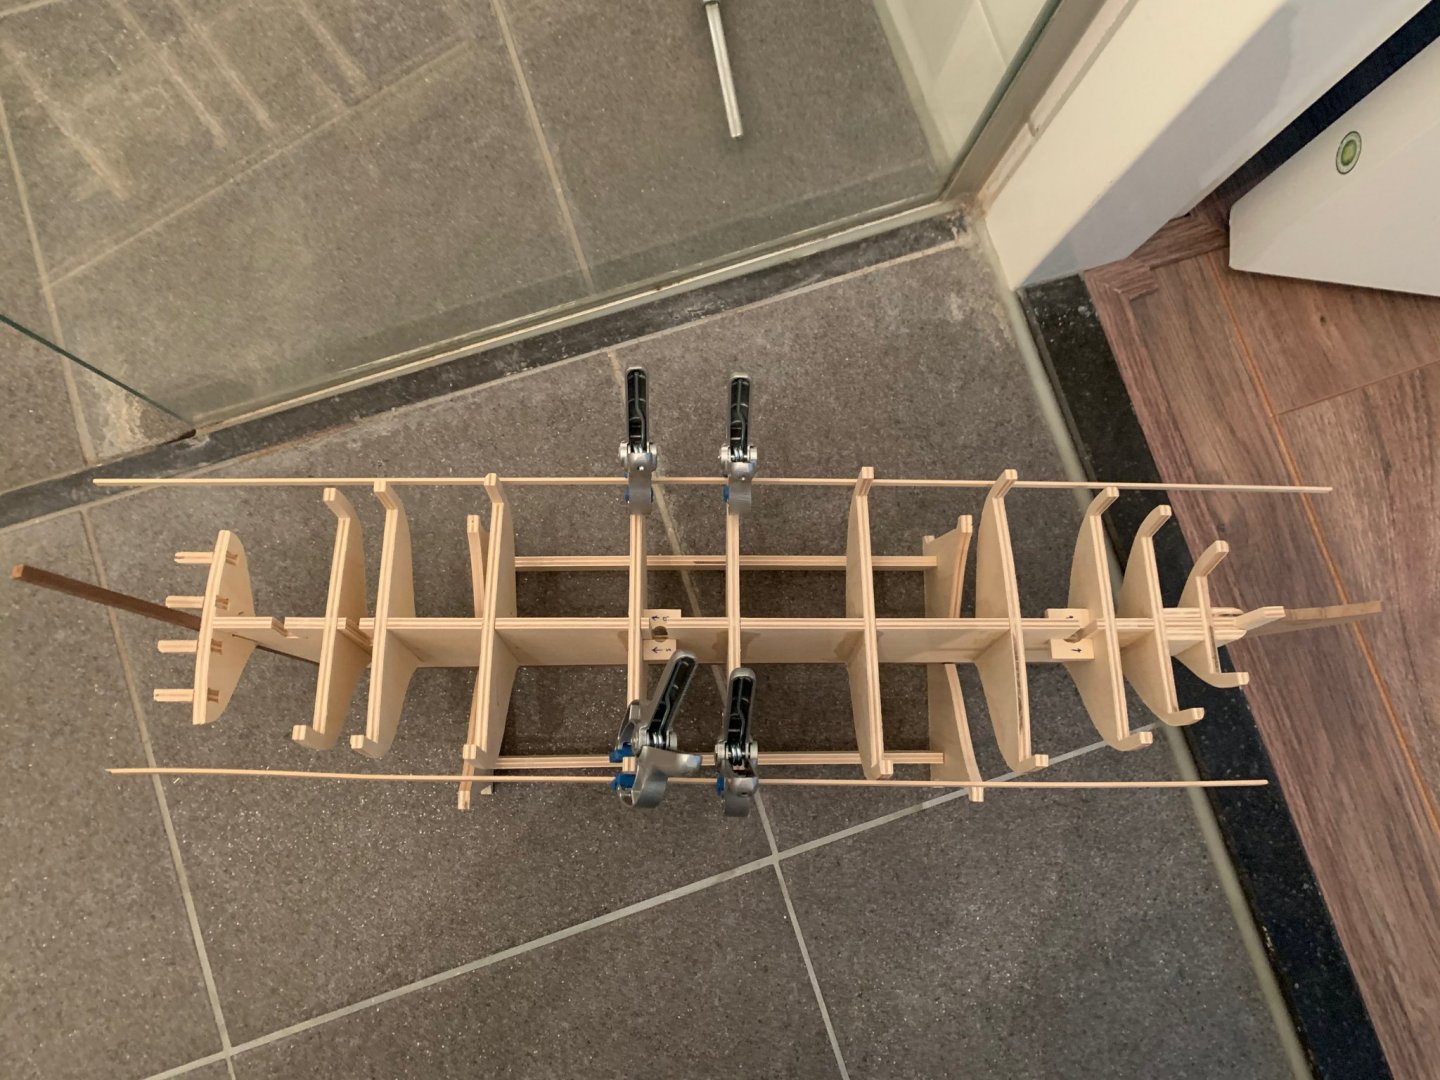
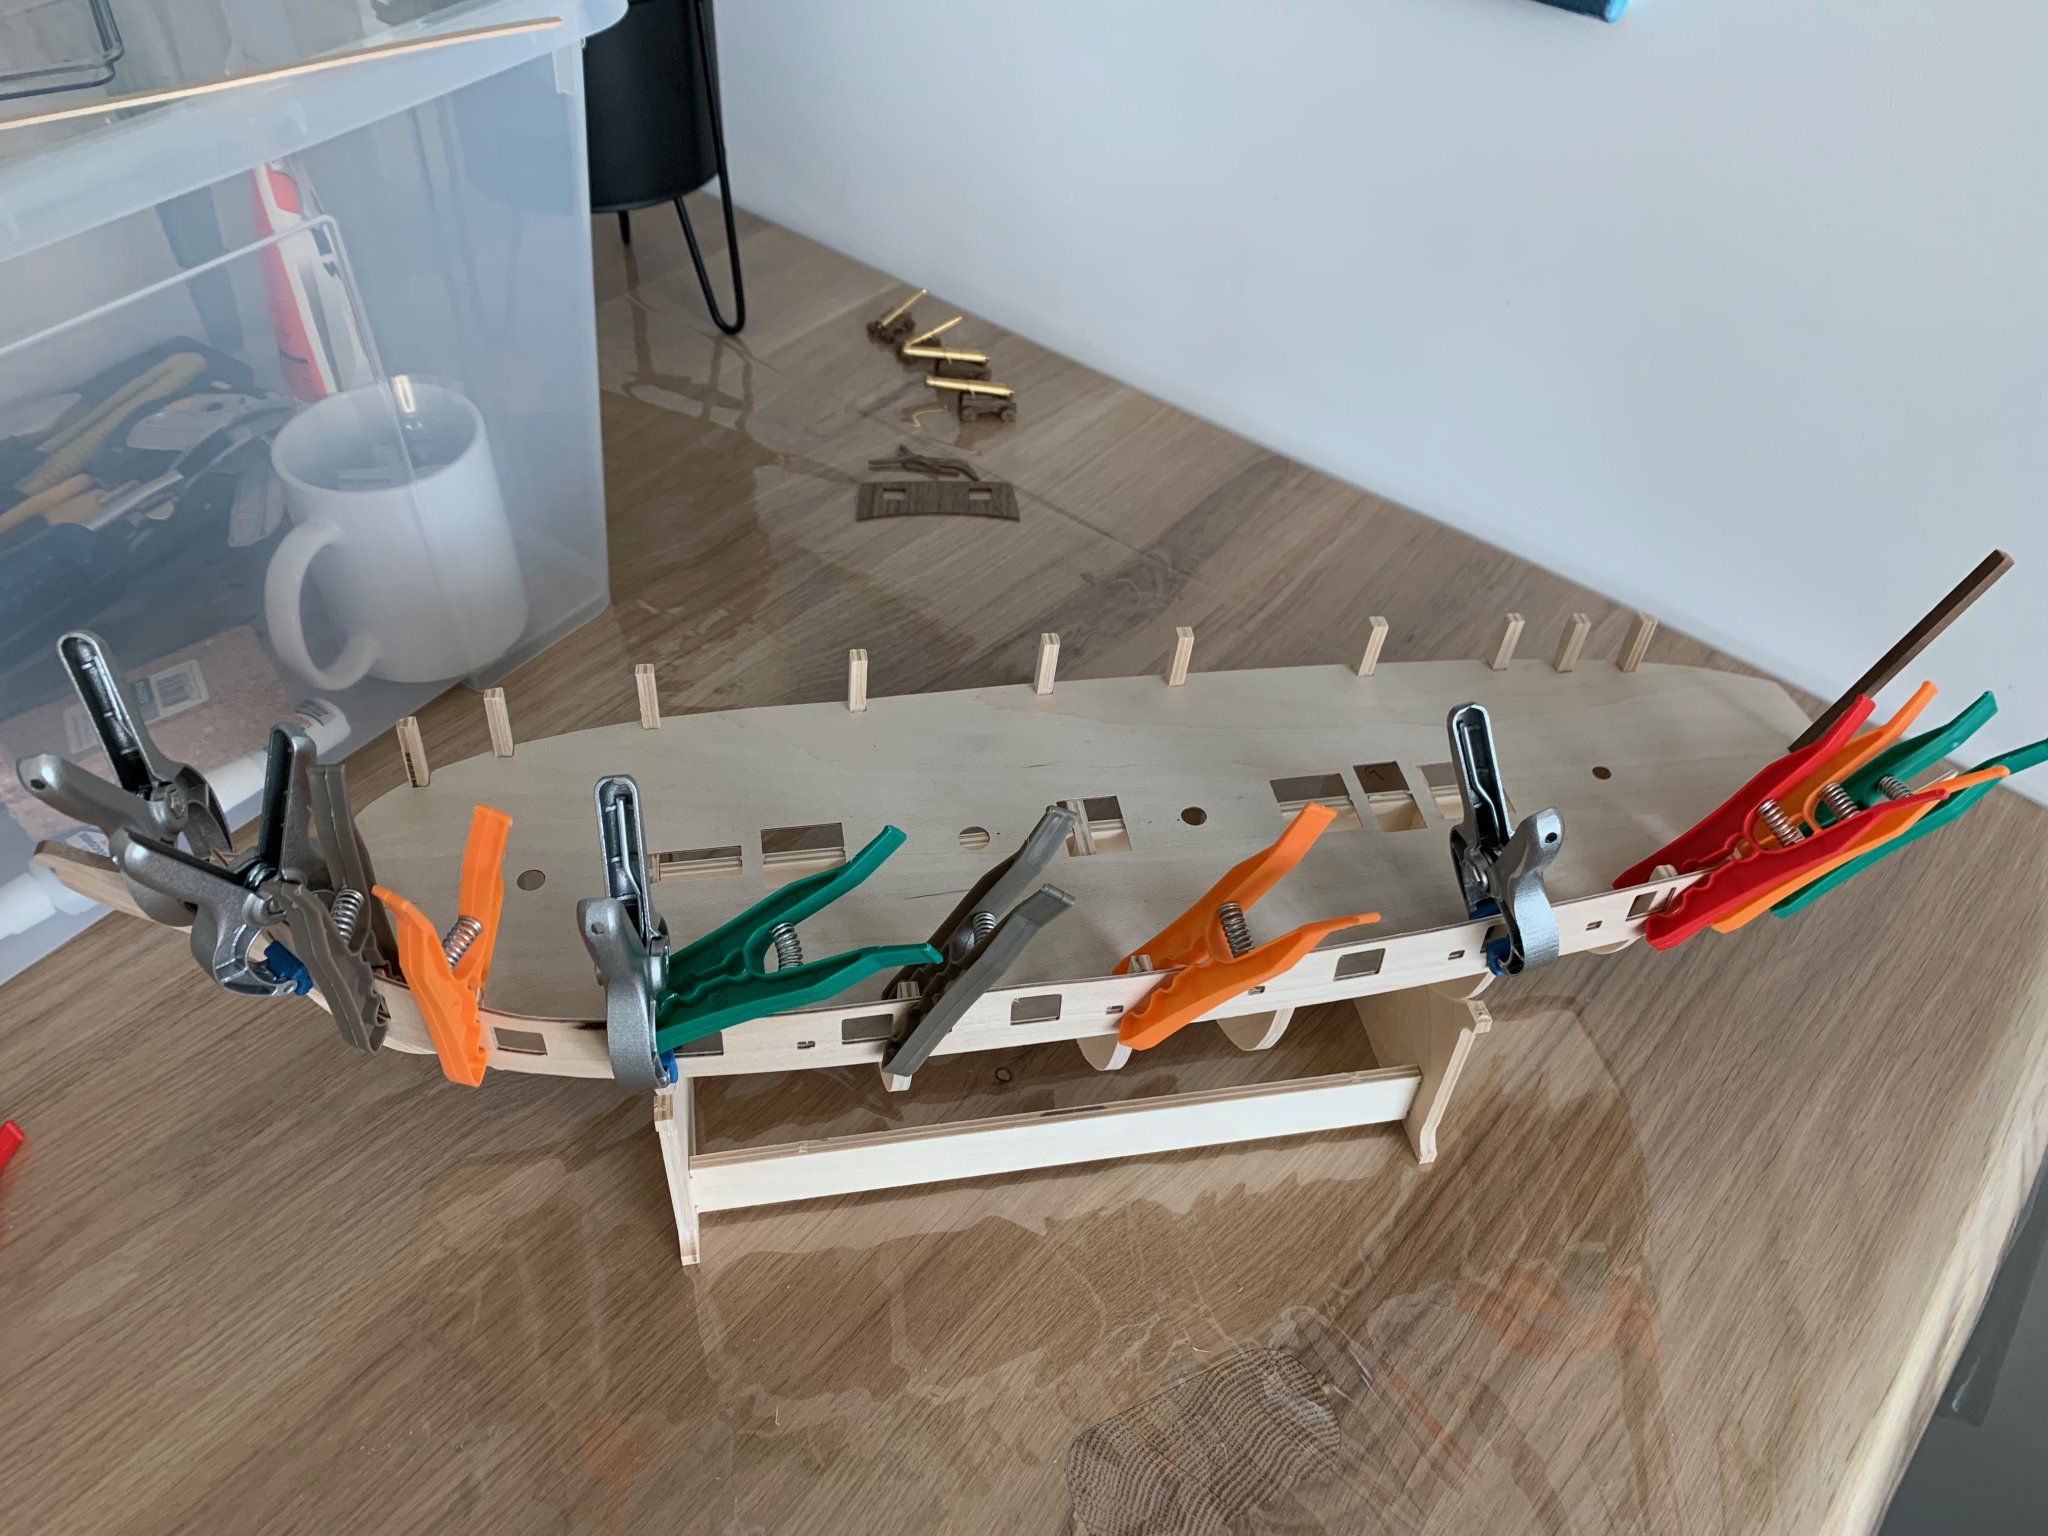
(Above) pinned two planks on the middel bulkhead to see the bulkheads curvature I needed to sand off.
(Above) To prevent being overwhelmed again with things to do, I decided to check off the things I'd already completed.

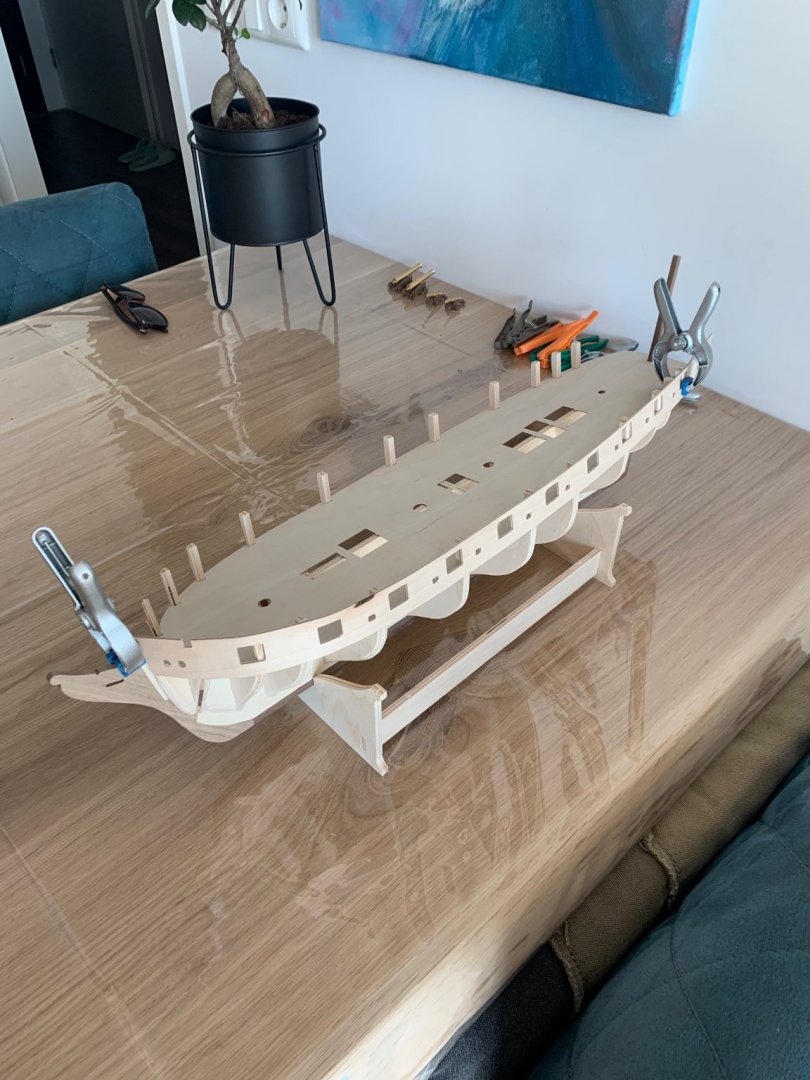
(Above) First gunport bulwark added. I used the "water-method" and decided to do a wet-dry fit (first picture). After taking the bulwark out of the water I fitted it on the bulkheads and let I dry so the wood dried in the proper shape. After which, I glued the bulwark pretty easily in position by using the cannons as reference (second picture). Now I will have to wait for the glue to dry to start on the other side. My main concern is the strength of the gunport bulwark as it does not have a lot of contact surfaces.
- maddog33, JpR62, Edwardkenway and 2 others
-
 5
5


HMS Snake by Stone - Caldercraft - Scale 1:64 - First ever ship build - Modified - A natural approach
in - Kit build logs for subjects built from 1751 - 1800
Posted
@Edwardkenway, I hope so either but I thinks that will work out just fine 😀
@ccoyle, thank you!
In this stage the progress is on detail level, mainly sanding and glueing.
As of now, I'm ready to start with planking. Hopefully, I can start somewhere next week, but first I'm going to look at some examples on this forum to help me out a bit.
So to be continued...