B-Ram
-
Posts
181 -
Joined
-
Last visited
Content Type
Profiles
Forums
Gallery
Events
Everything posted by B-Ram
-
 Thanks Bob. Things should start moving faster now. Bill
 -
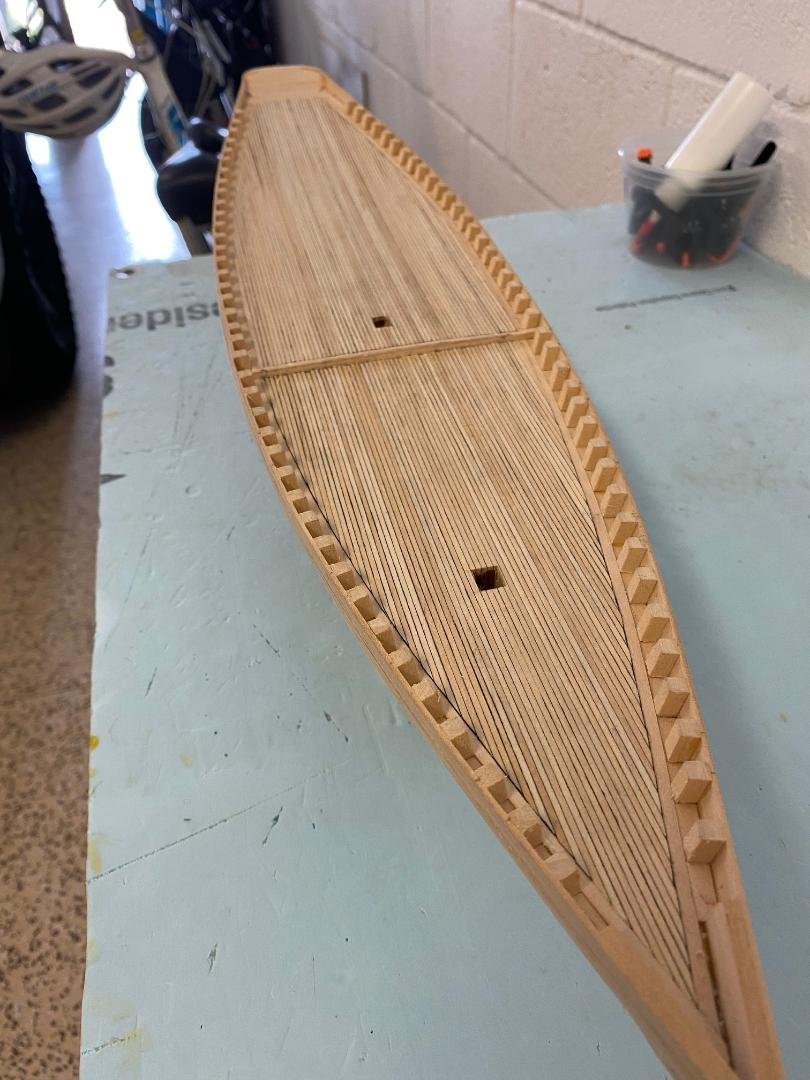
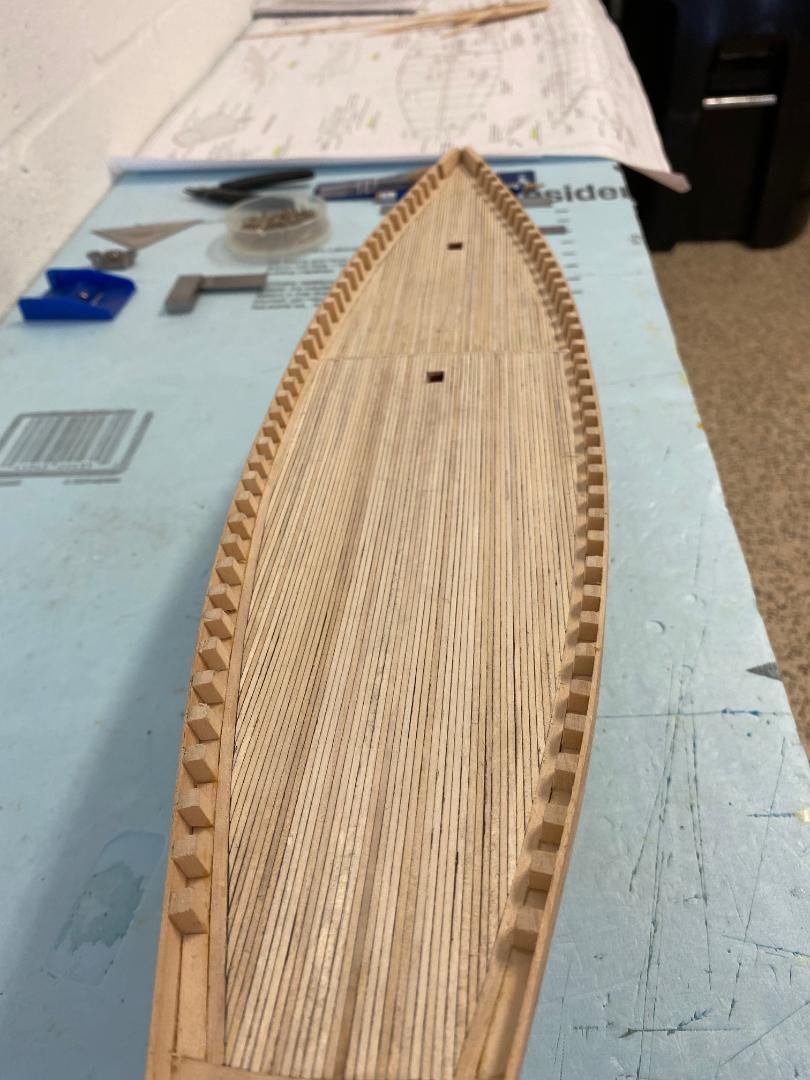
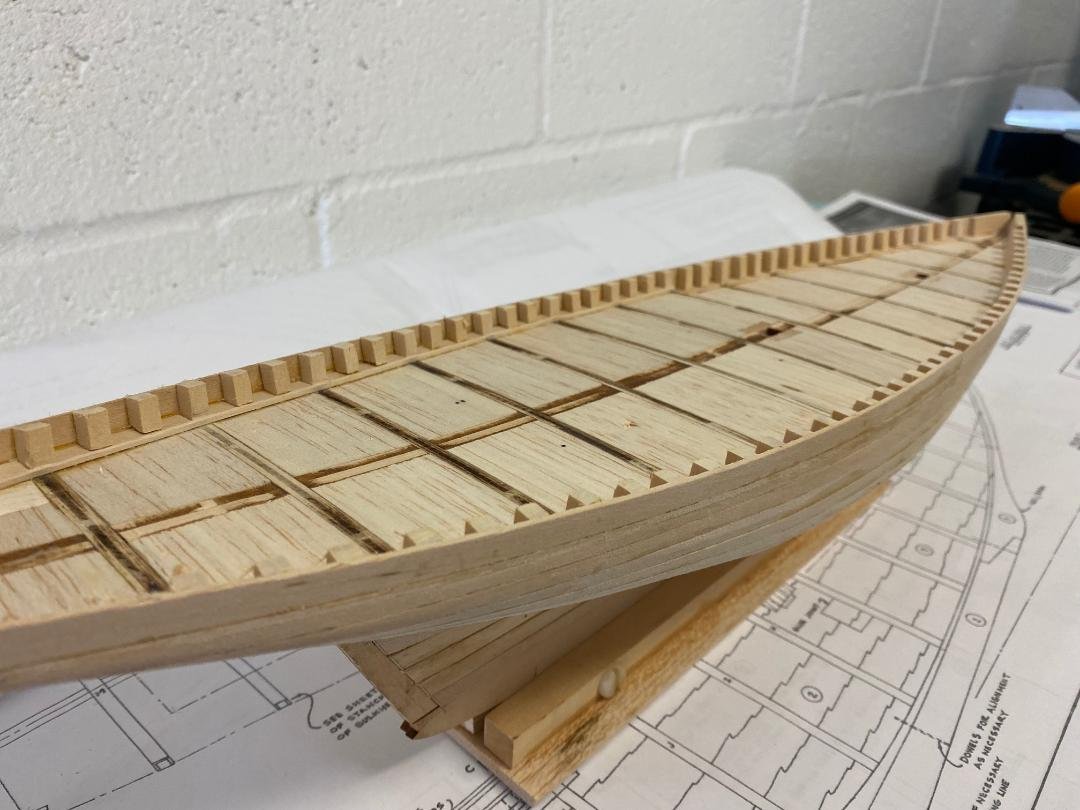
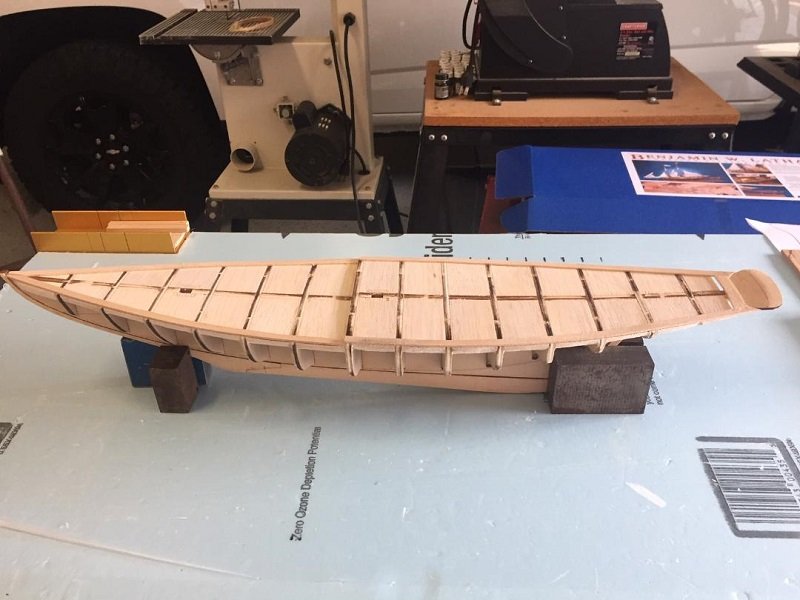
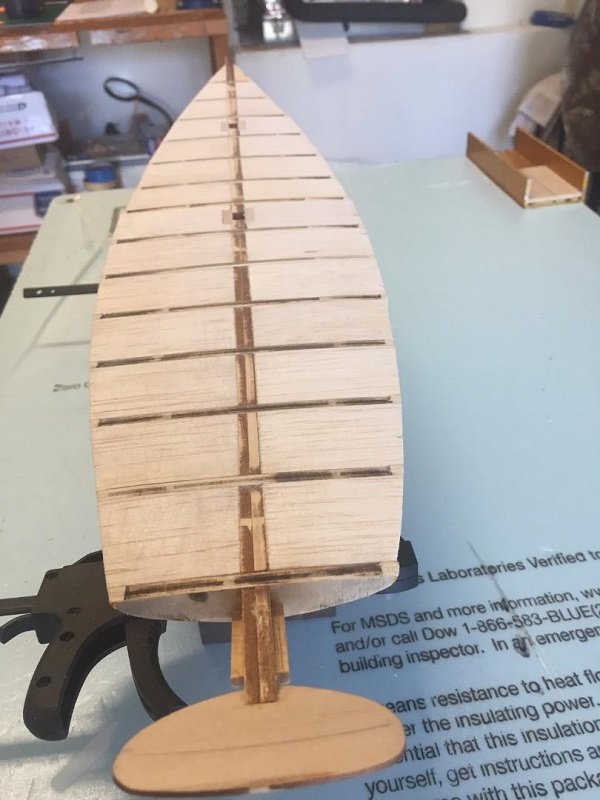
Hi everyone, I've gotten the deck planking finished. I am happy with the results being it was my first try. I have a little sanding to do, but not much. I will have to decide if I am going to stain or paint the deck. I was reading Howard Chapelle's book " The American Fishing Schooners" and in the section about fishing schooners of this time frame, they could be painted or stained. Bill
-
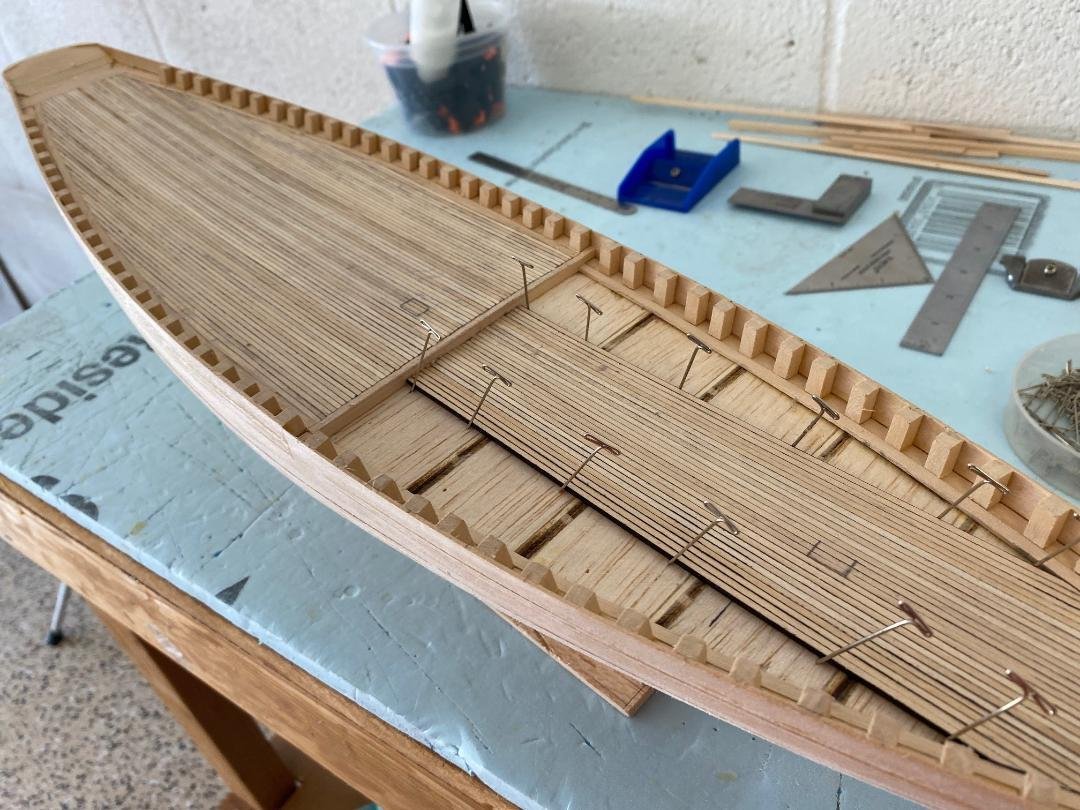
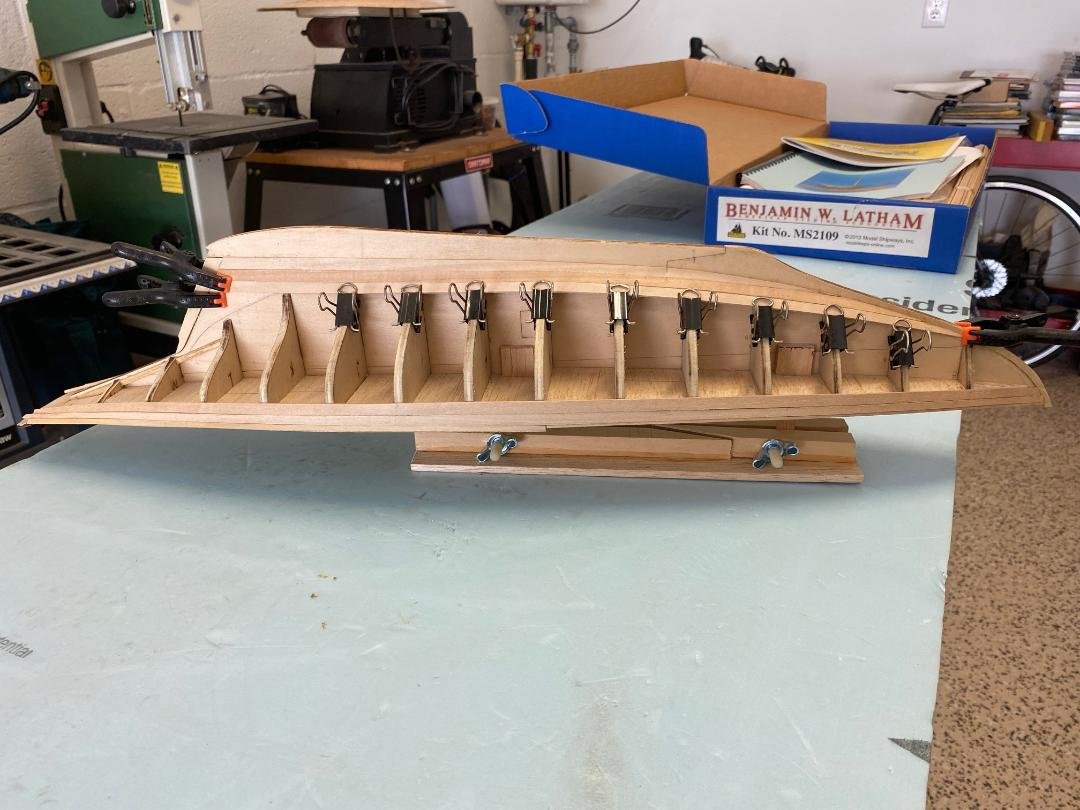
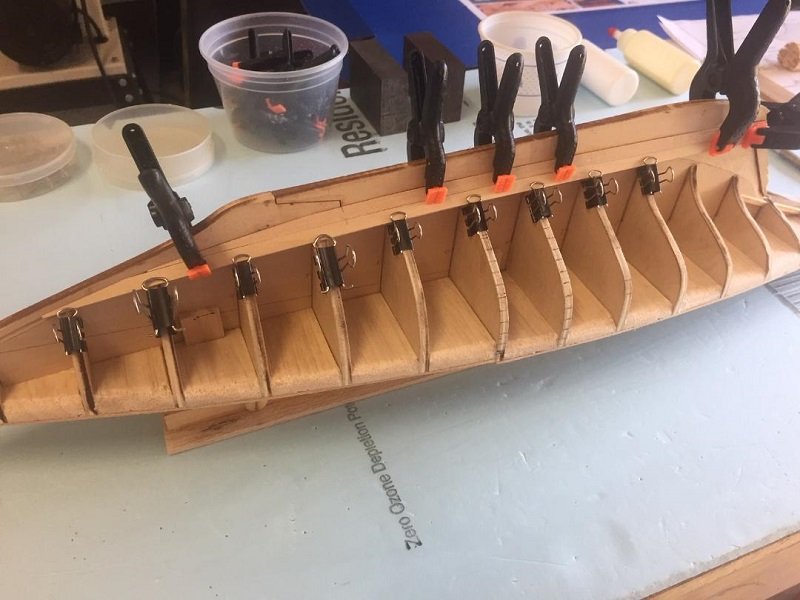
Try this again. The planking went well. Adding the material between the bulkheads helped a lot in keeping the planks aligned. Bill
-
Well that didn't work. The post above was the first time I tried posting from my iphone. I'll try again from my computer when I get inside. Bill
-
Hi everyone, I have most of the deck planking finished. It has taken a while to it finished. Hope to be finished with the planking by tomorrow. Things should speed up going forward. Also, I build in my garage and with the cooler weather here in Florida I will be able to spend more time in the shop. Bill
-
Thanks Bob for the encouragement. I am enjoying this very much and have been bitten by the bug. I am already making plans for when I finish the Latham. Bill
-
Hey everyone, Sorry for the lack of posts, but I haven't had much progress other than fixing mistakes. I've been making some progress. I have gotten the stanchions in place. When I started installing the stanchions, I discovered that I had installed the planksheer incorrectly. So I had to cut the planksheer out, which left it unusable. I made a plank sheer and fitting it in. I'm making quite a few mistakes, but I am learning and am enjoying the build. I have also been doing some sanding on the hull. Bill
-
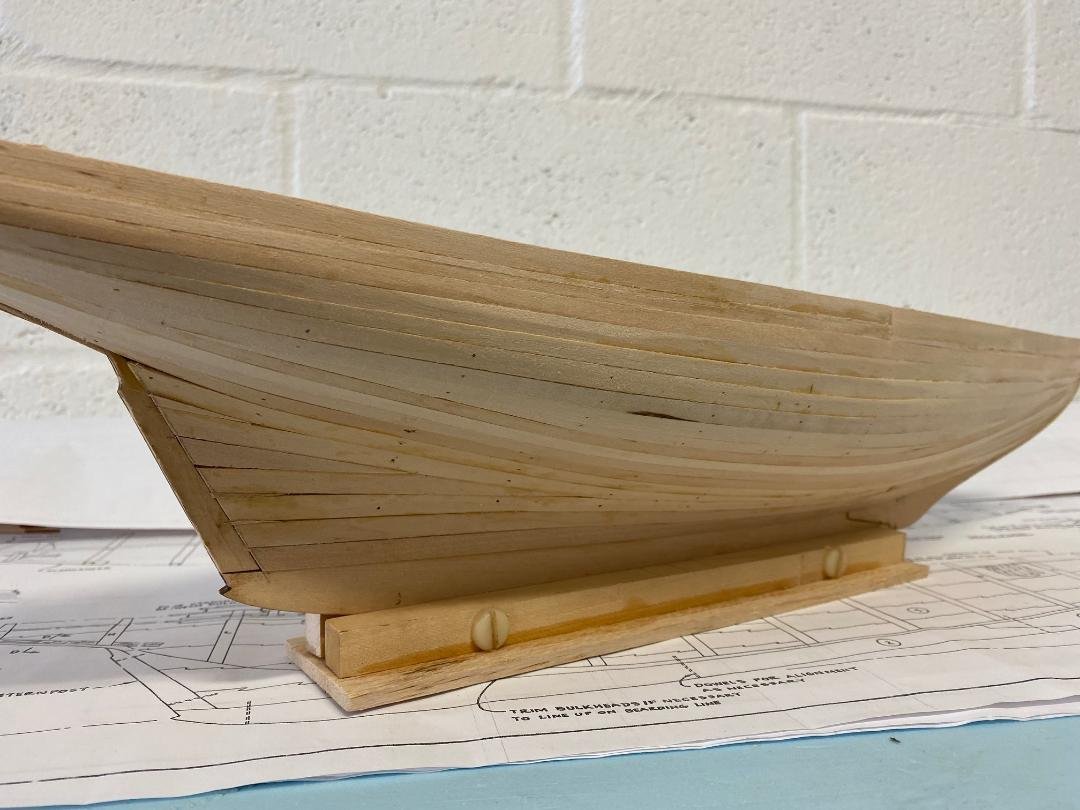
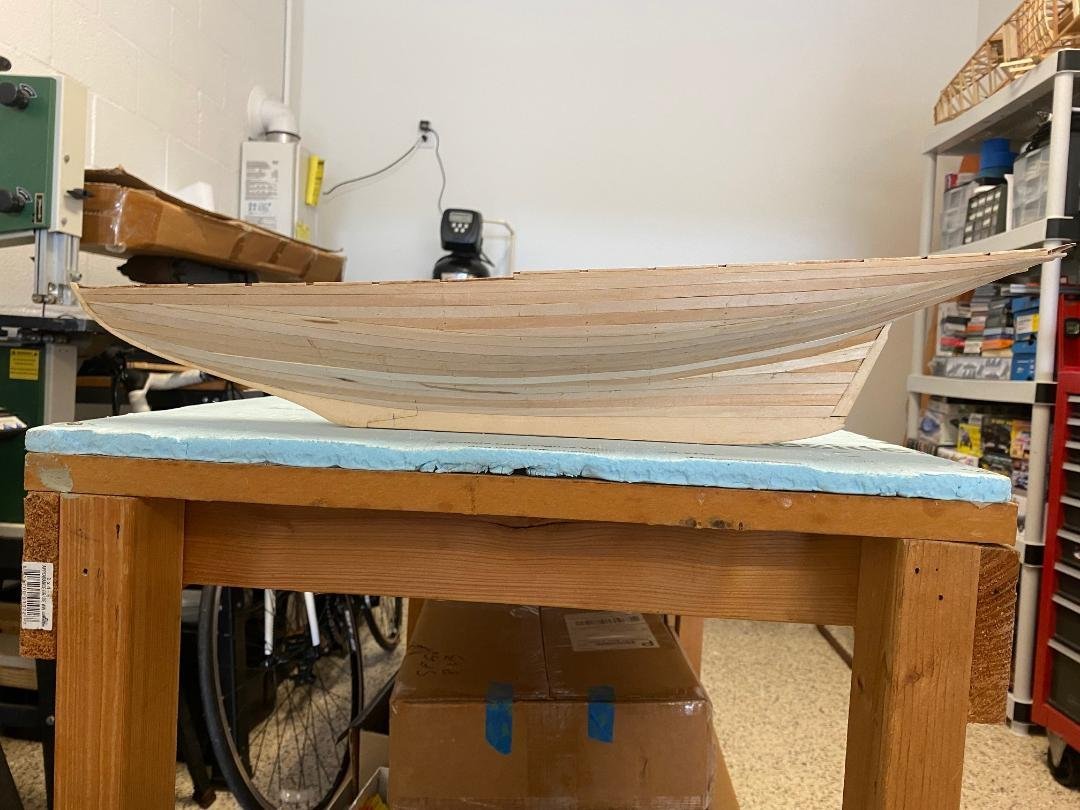
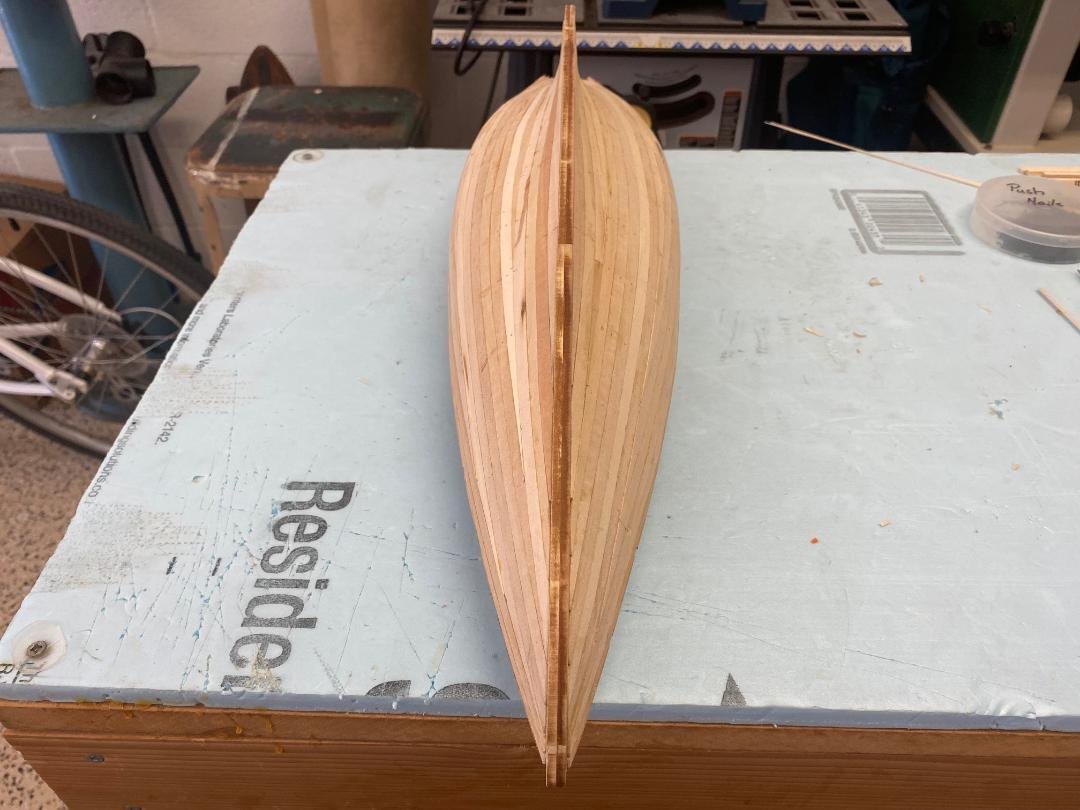
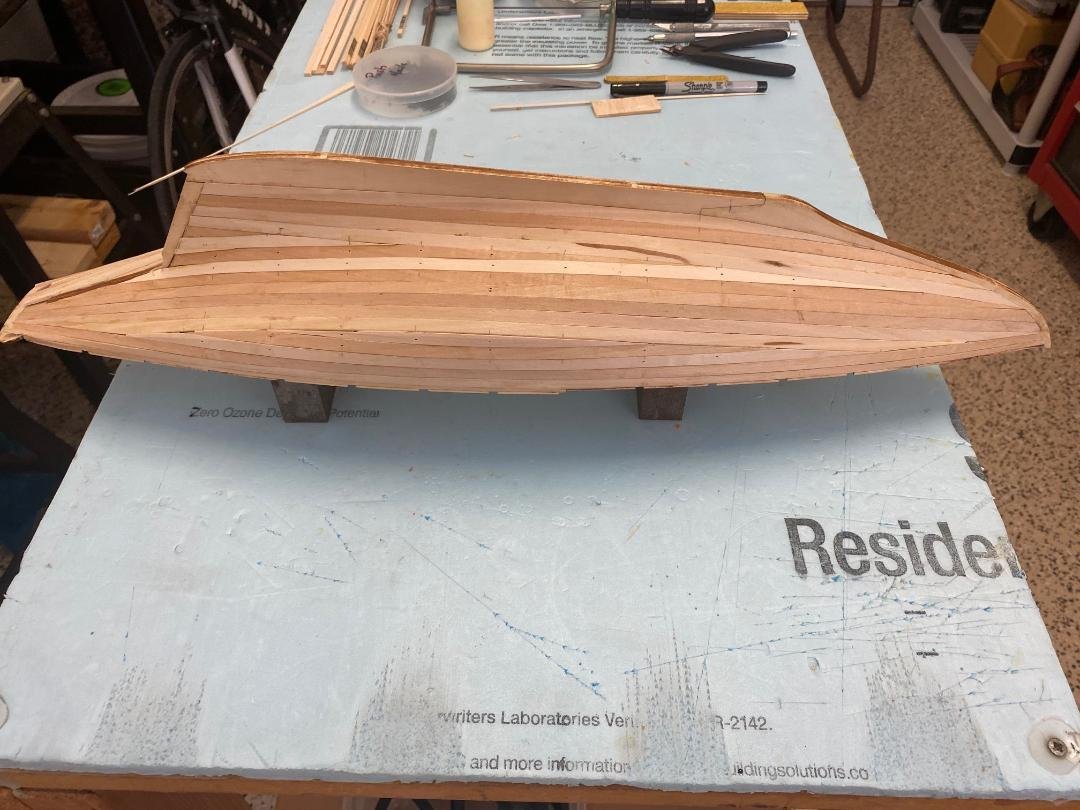
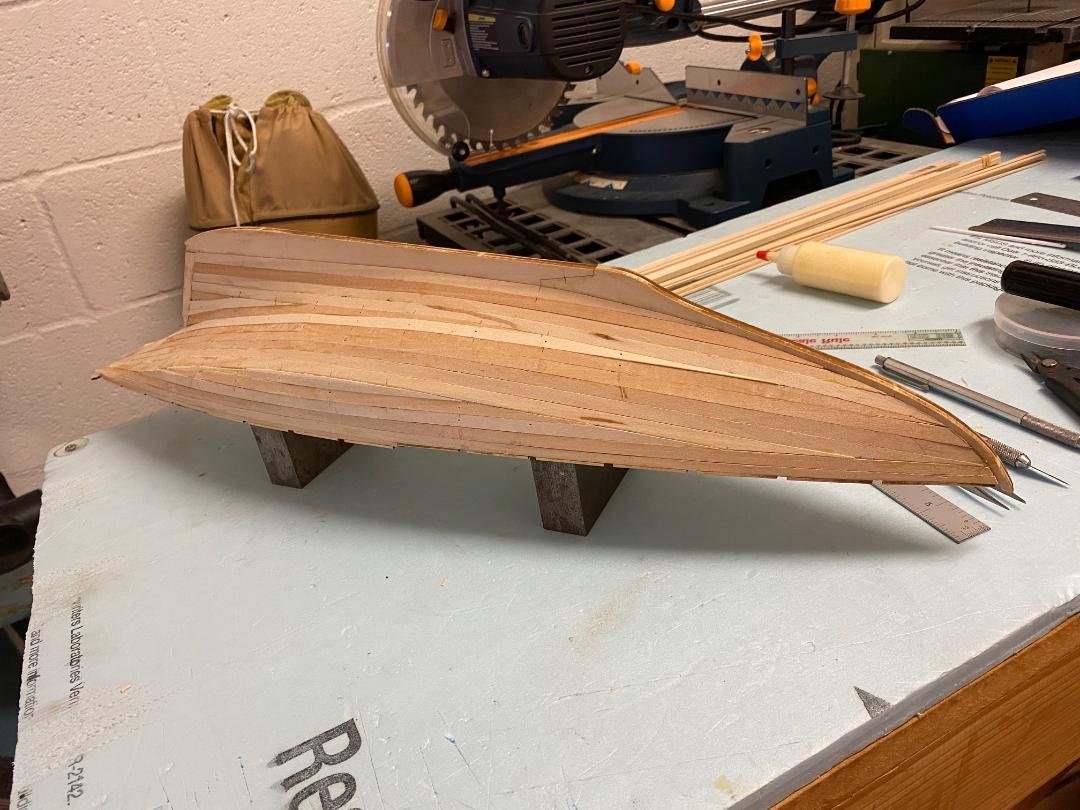
Hey everyone, I have finished planking. For a first attempt, I am very happy. Just have some filling and sanding to do. Bill
-
Hello everyone, I have gotten the port side planked. Now I have to finish the starboard half. I am sure I didn't follow the correct process for planking, but the planks went down with no issues. I will have a minimum amount of filler and sanding. I am happy with the results for my first planking effort and I am sure I will get better as I gain more experience. the biggest hurdle I found was how to hold the planks in place until the glue dries. I found that a combination of clamps and nails work the best for me. Bill
-
Hey everyone, After review of the instructions and looking at the work I had finished, I noticed there were several areas that are in need of being corrected. Among the items that need to be corrected is to remove the planksheer and replace it. I am also questioning how I started the planking. Looking at what should have been done and what I did makes little sense. My motto has always been " Don't confuse me with the facts, my mind is made up." Bill
-
Hello everyone, Well, my new home is finally finished. It took about a month longer than expected. For the most part, I have gotten my new shop set up. It's time to get back to work on the Benjamin Latham again. I am doing a little review of the instructions and what I have done so far. I've made the big start. Bill
-
Hi Bob, Well, I sold my house and am in the process of building a new one. Also, I am renting right now and everything is packed away. I should have thought this through. I am slowly going stir-crazy. The new house will be finished around the end of April. I am using this time to learn as much as I can about ship building on MSW. Lots of great builders. Bill
-
Removing molded detail from plastic models - By B-Ram
B-Ram replied to B-Ram's topic in Modeling tools and Workshop Equipment
Thanks for the suggestions Art. Bill -
When building plastic model ships, what tools do you use to remove molded detail. I have been using a hobby knife, but I seem to leave a lot of scratches around the detail area. Somewhere I saw a chisel type tool that had rounded corners, but I can't seem to find it again. Any ideas will be greatly appreciated. Thanks, Bill
-
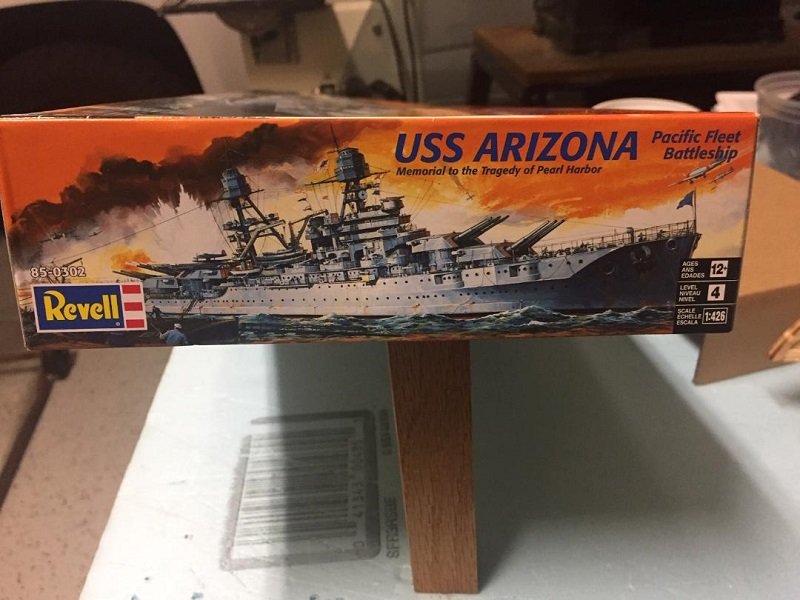
Gregory, Here is a picture of the box end. Both ends are the same. Bill
-
Sure, when I get out to the shop I’ll take some. Bill
-
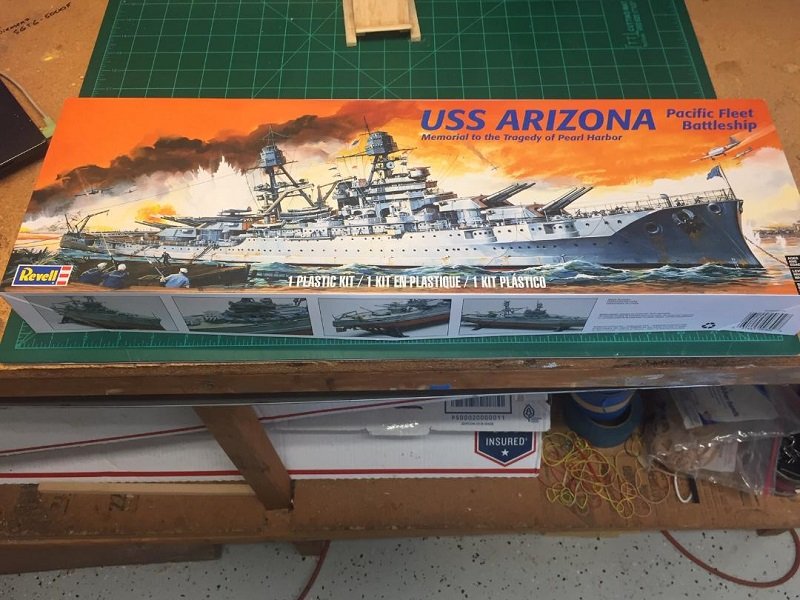
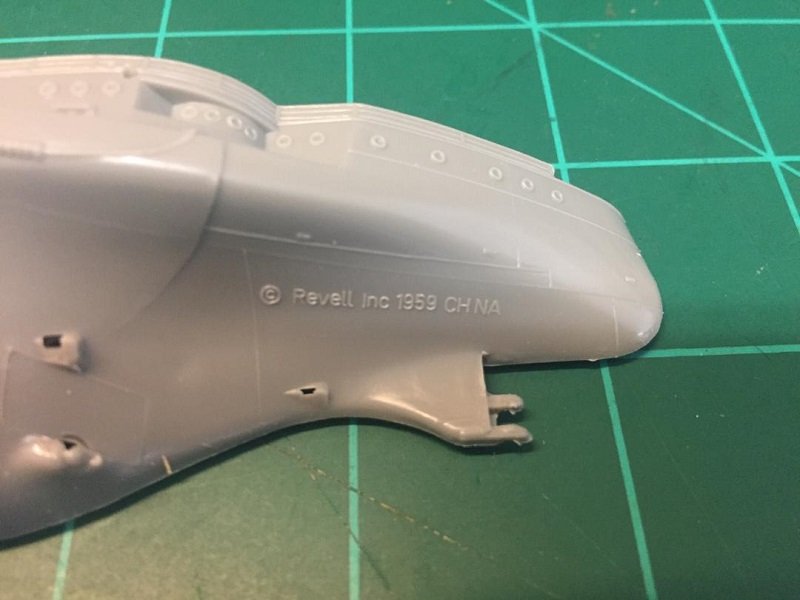
Hello everyone, I'm starting on my next plastic model. This will be my second plastic model. My first plastic model was the Revell USS Missouri. I started with these two models mainly because if I mess them up I haven't lost too much. I opened up the box and was somewhat pleased. Being the model castings were made in the 1950's, the model looks ok. The flashing doesn't look bad either. There is a date molded into the hull "1959". The hull is 17" long and is in two pieces. Holding the two halves together, it doesn't look like it will take very much work to get them to fit good. Bill
-
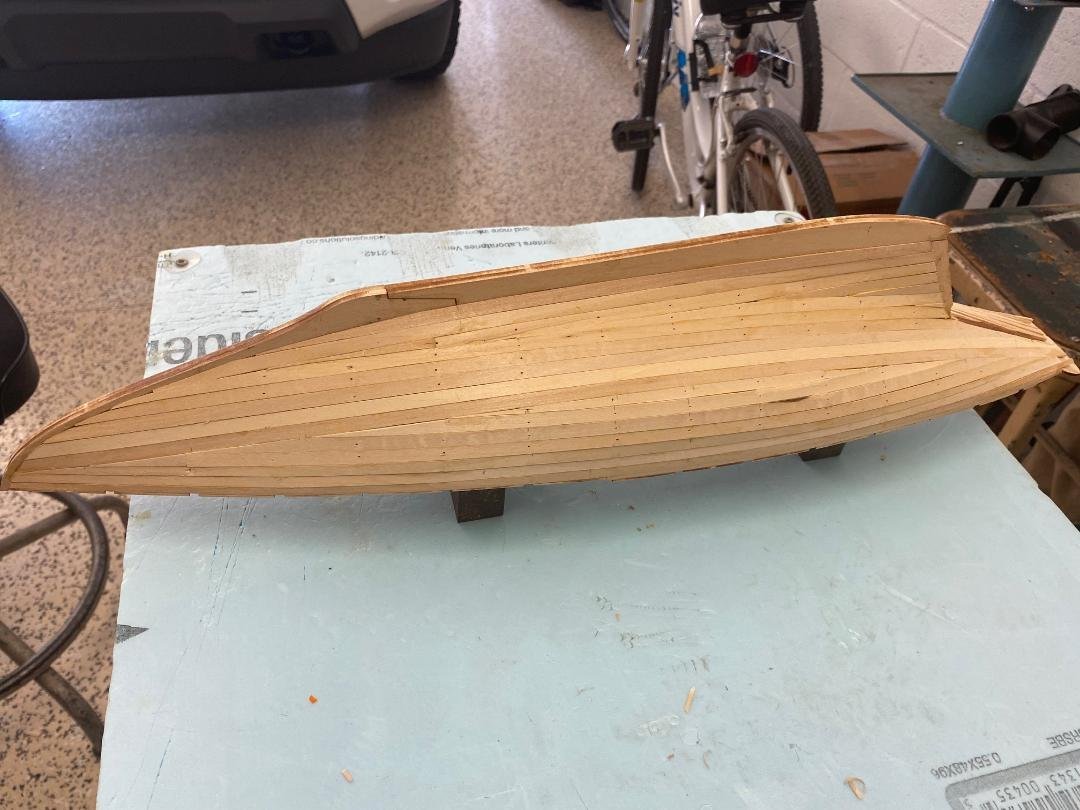
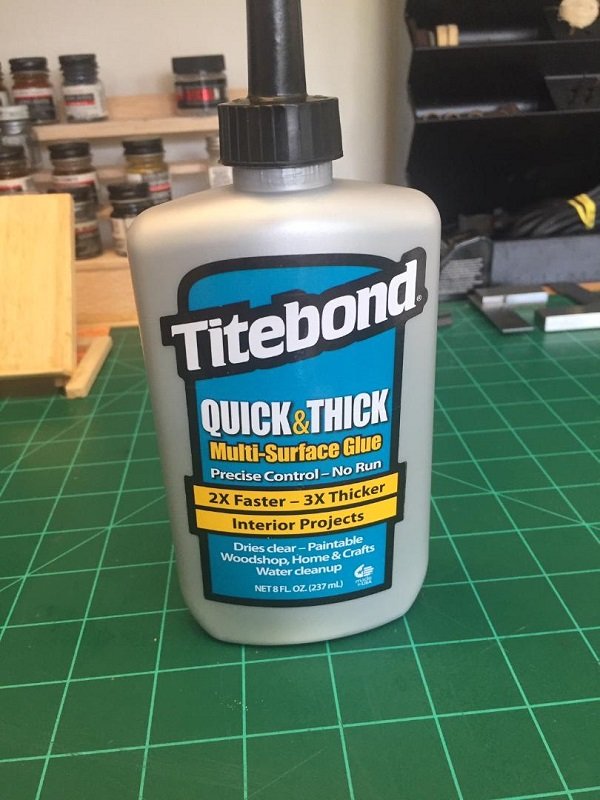
Hey everyone. I have gotten a little work started. I have the garboard strake and the second planks in place on the starboard and ports sides. The only problem I saw was that I did not get the rabbet depth consistent along along the keel. That will need a little extra sanding to get the edge of the strake smooth across the edge of the keel. Also for this build, I am going to use Titebond Quick & Thick glue. It appears to be thicker and stays in place. It also seems to set up quicker. Bill
-
Hi guys, Thanks for following along. Things are finally starting to click. I will have some new posts soon. Thanks, Bill
-
Hey everyone, Ok. I think I’m getting this figured out. I just had to go to the store and buy some cheese to go with my whine. 😊 As soon as I have some progress, I will post the results. Thanks, Bill
-
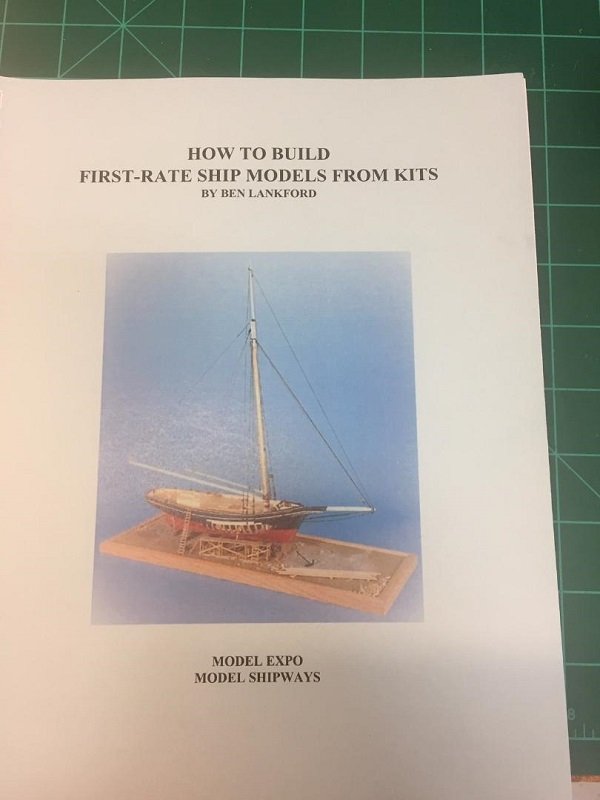
Hey everyone, OK. I never thought of myself as the sharpest tack in the box, but I am not getting this. I have read everything I can find and I have watched every video I can find, but it is not clicking yet. It will click eventually. It's just taking a while. I do have a question that I hope someone can help me with. One of the reference items I bought is the booklet "How To Build First-Rate Ship Models From Kits". For planking, the Benjamin Latham is used as a reference in the booklet. On page 27 it discusses the layout of plank marks. As can be seen in the picture below, the booklet has included a picture of the of the plank marks on the bulkhead. In counting the plank marks there are 22. When I divide the length of the bulkhead by 22 I come up with plank widths of 3/16". This is also the case when I measure the width of the planks on the plank layout on the plans The problem is, the kit is supplied with 1/4" plank material and this is confirmed on the kit material list. Are they suggesting that I cut down the 1/4" material down to 3/16". I must be missing something. I am enjoying earning everything along the way. Sometimes I just need a wack in the back of the head to give me that oh yeah moment. Where's Mrs. Tilton ( my third grade teacher) when I need that wack. 😄 Thank you so much if you can point me in the correct direction. Bill

-
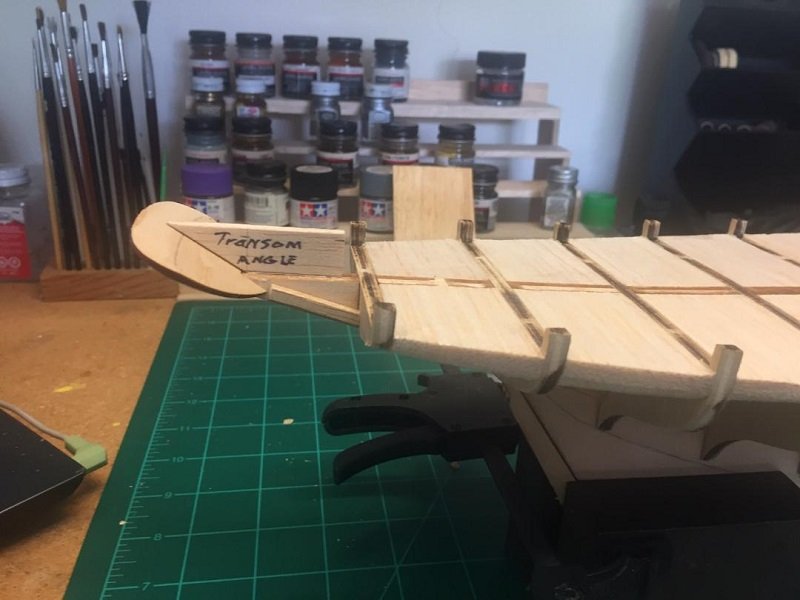
Hey everyone, I have the new planksheer in place. As I mentioned before, I think I got the transom figured out. Next up I will start planking. If you don't see anymore posts, the planking isn't going well. 😄 Bill
-
Hi everyone, After I put the transom in place, I just did not like the angle that it sat. I did a great deal of studying of the plans and looked carefully at the other build threads. It appears to me that the angle I set the transom to too high. This time I used different reference lines and came up with a smaller angle that I feel may be correct. The first picture is the original placement of the transom and the second is the adjusted placement. Don't know if the second is correct< but it looks better. Bill

-
Hi everyone, I decided to remove the timberheads. After fairing the bulkheads, the timberheads were not uniform and I felt they would never look uniform. I will replace them with 1/4 square boxwood. I am also going to replace the laser cut plank sheer with 1/4 x 1/16 boxwood. Bill
-
Hi everyone, A little progress. I have been making some slow progress. Before I move froward, I have to spend a lot reading the instructions and looking at the plans. The plans and instructions are great. It's just all new terminology for me. I'm sure I will get better as I move forward. I have the transom in place, I think. Also, I have the horn timber cheeks in place and I have finished fairing the bulkheads. Bill