HOLIDAY DONATION DRIVE - SUPPORT MSW - DO YOUR PART TO KEEP THIS GREAT FORUM GOING!
×


B-Ram
-
Posts
181 -
Joined
-
Last visited
Content Type
Profiles
Forums
Gallery
Events
Everything posted by B-Ram
-
 Thanks Bob, The Latham has been a trial and error build. With a lot of error. I hope the Endurance turns out better. Bill
 -
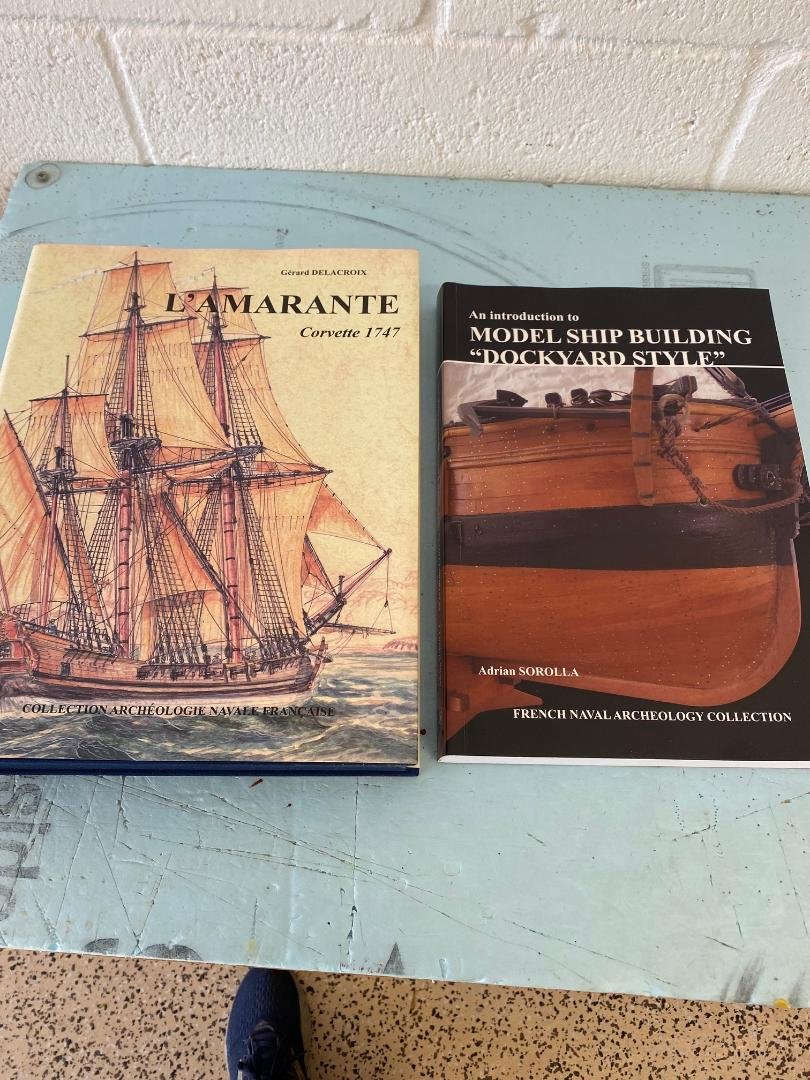
Hi Yves, Yeah I like to plan ahead. I find that the planning and research stages are as much fun as the actual building. The L'Amarante build could move around. I am also looking at the Young America from Sea Watch books. Thanks, Bill
-
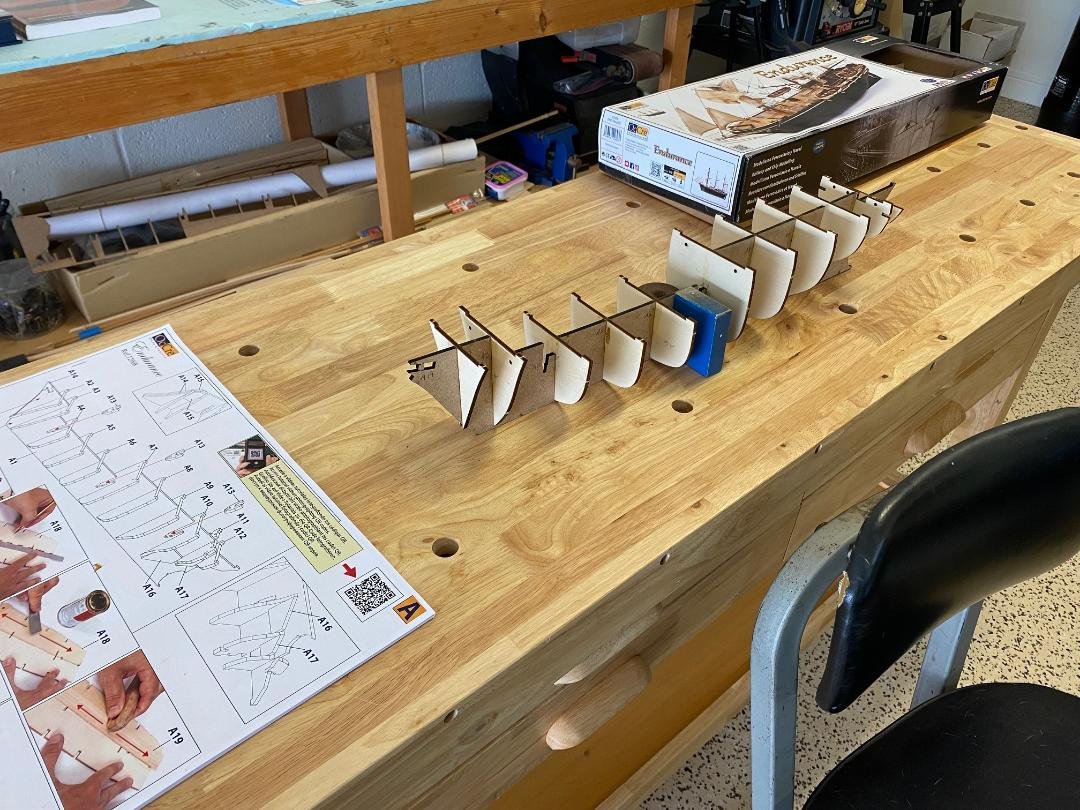
Hello everyone, I haven't made any updates for a while. I have made some progress on the Lathem. She is coming along well. I have made quite a few mistakes, but I am learning a lot. As you can see in the pictures, I have also started a new project. This is the Occre Endurance. I have started a build thread for this. Also, I am gearing up for my first scratch build. The French Corvette L'Amarante. Beautiful plans of a beautiful ship. I have also been collecting a lot of books and reading a lot of building threads. I originally started the Benjamin Latham to see I would like scale wooden ship building. Now look what I've done.🙂 Thanks, Bill

-
Hi Eric, Thanks for the reply. I plan to make changes based on the pictures that I have collected. Some of the changes are as follows: The planking for the kit appears to be too wide. The supplied material with the kit is 5mm. This would equate to an approximately 14" (355.6mm)wide plank. From looking at my pictures, the planks appear to be around 7-8 inches wide. I have read that some kit manufactures generally supply 5mm material for deck planking without regard for scale of the model. In the pictures, the planks may be painted. I can't see any end to end butts and I don't see any nailing. The smokestack (I'm not sure if there is an official name) is round in the kit. It should be a rounded rectangle. On the model, below the foredeck there is no opening. The pictures shows a opening, but I can't tell if there are any doors. More investigation needed. The model vent stacks are way too small and will need to be replaced and repositioned The hull planking is very different from the model. There are a lot more enhancements I plan along the way. It's going to be fun. Thanks, Bill
-
Hello everyone, I'm not sure if there will be a lot of interest in another Endurance build as there are many very nice builds already. This will be my rendition. I have admired Ernest Shackleton's Antarctic Expedition for a long time. What he and his men were able to endure was truly amazing. With the recent discovery of the Endurance wreck, the story has become more interesting. I have purchased the kit from a local hobby shop. I am lucky to have a hobby shop close to me. I found that the contents of the box, in my opinion, are very good. All of the supplied wood is of good quality. The laser cutting is very crisp, photo etching very nice and fittings are of good quality. The supplied instructions are very good. The instructions include written instructions, pictorial steps and there are QR codes to scan that will take you to the corresponding YouTube video for that pictorial step. This will be my second build, so I still have lots to learn. From my first build, I learned that I need to spend more time thinking about the step I am going to take before I perform the step. I found it frustrating to perform a step and come back later only to discover I did it all wrong. I did a lot of "What Was I Thinking". I plan to do a lot enhancements to the kit along the way. I have been able to gather over fifty photographs of the ships and I feel the are a lot of corrections that can be made to the kit. Along the way, if anyone has any comment on a step that I did wrong or something I could do better, please let me know. I welcome all comments and information. Thanks Bill
-
La Palme by Tobias - 1:36 - POF
B-Ram replied to Tobias's topic in - Build logs for subjects built 1501 - 1750
Hello Tobias, Very nice detail work. She is coming along great. Bill -
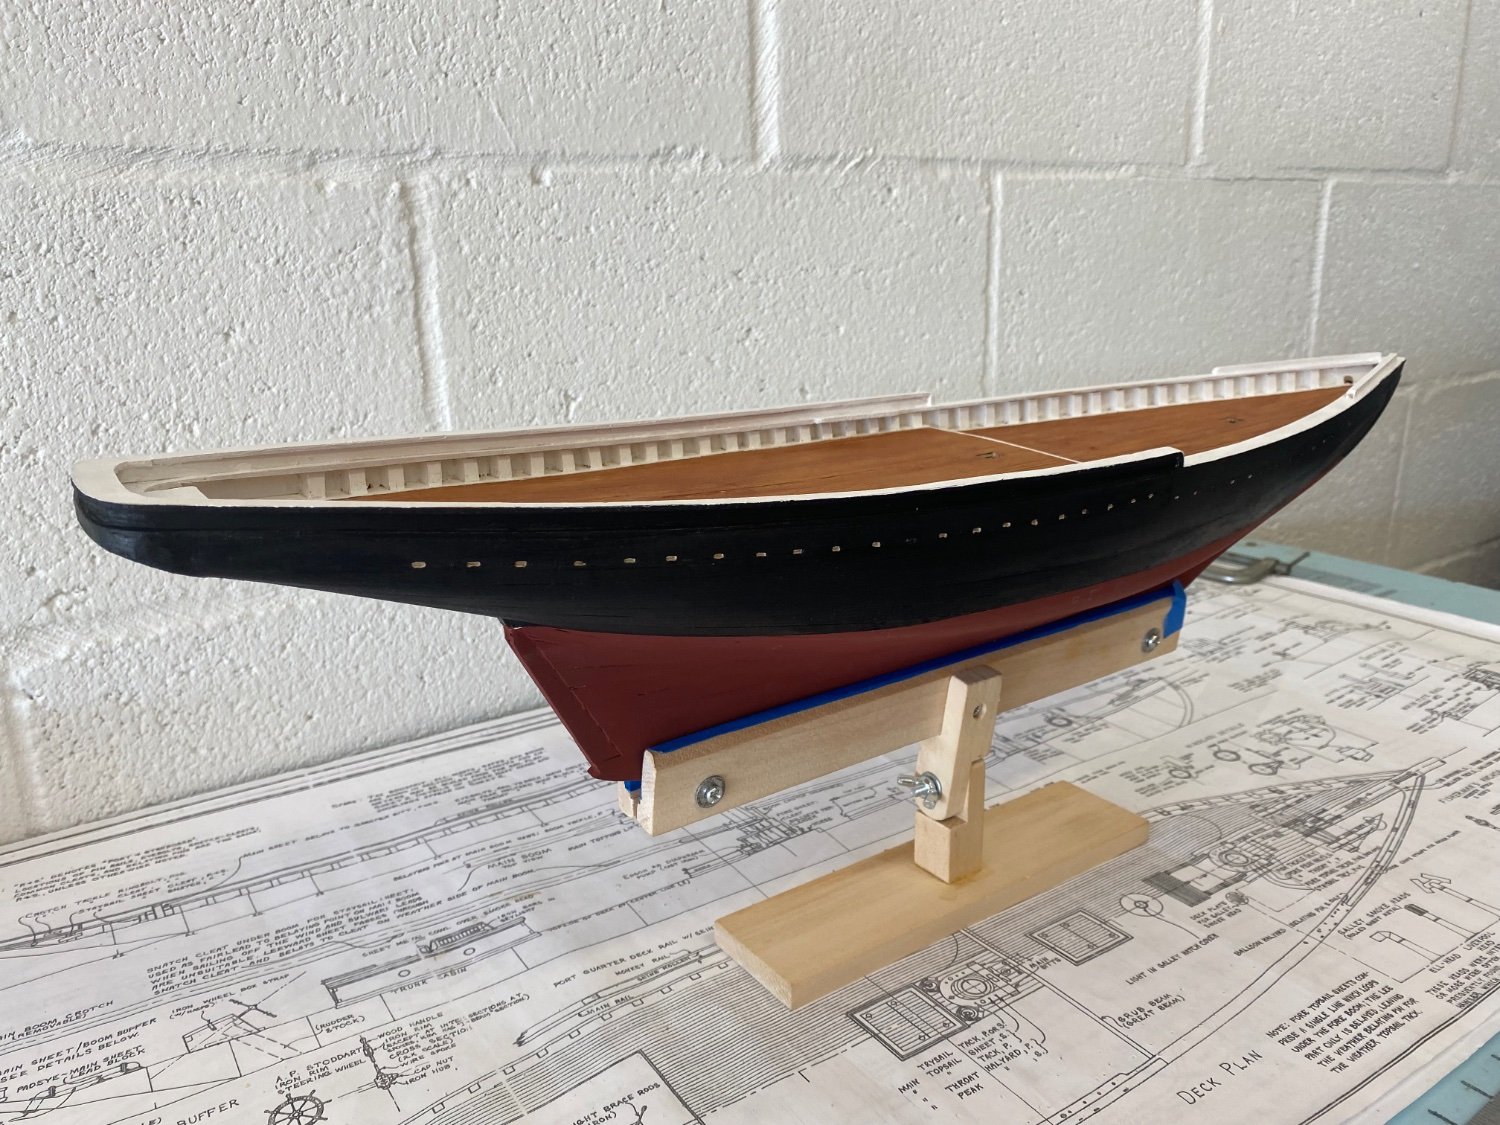
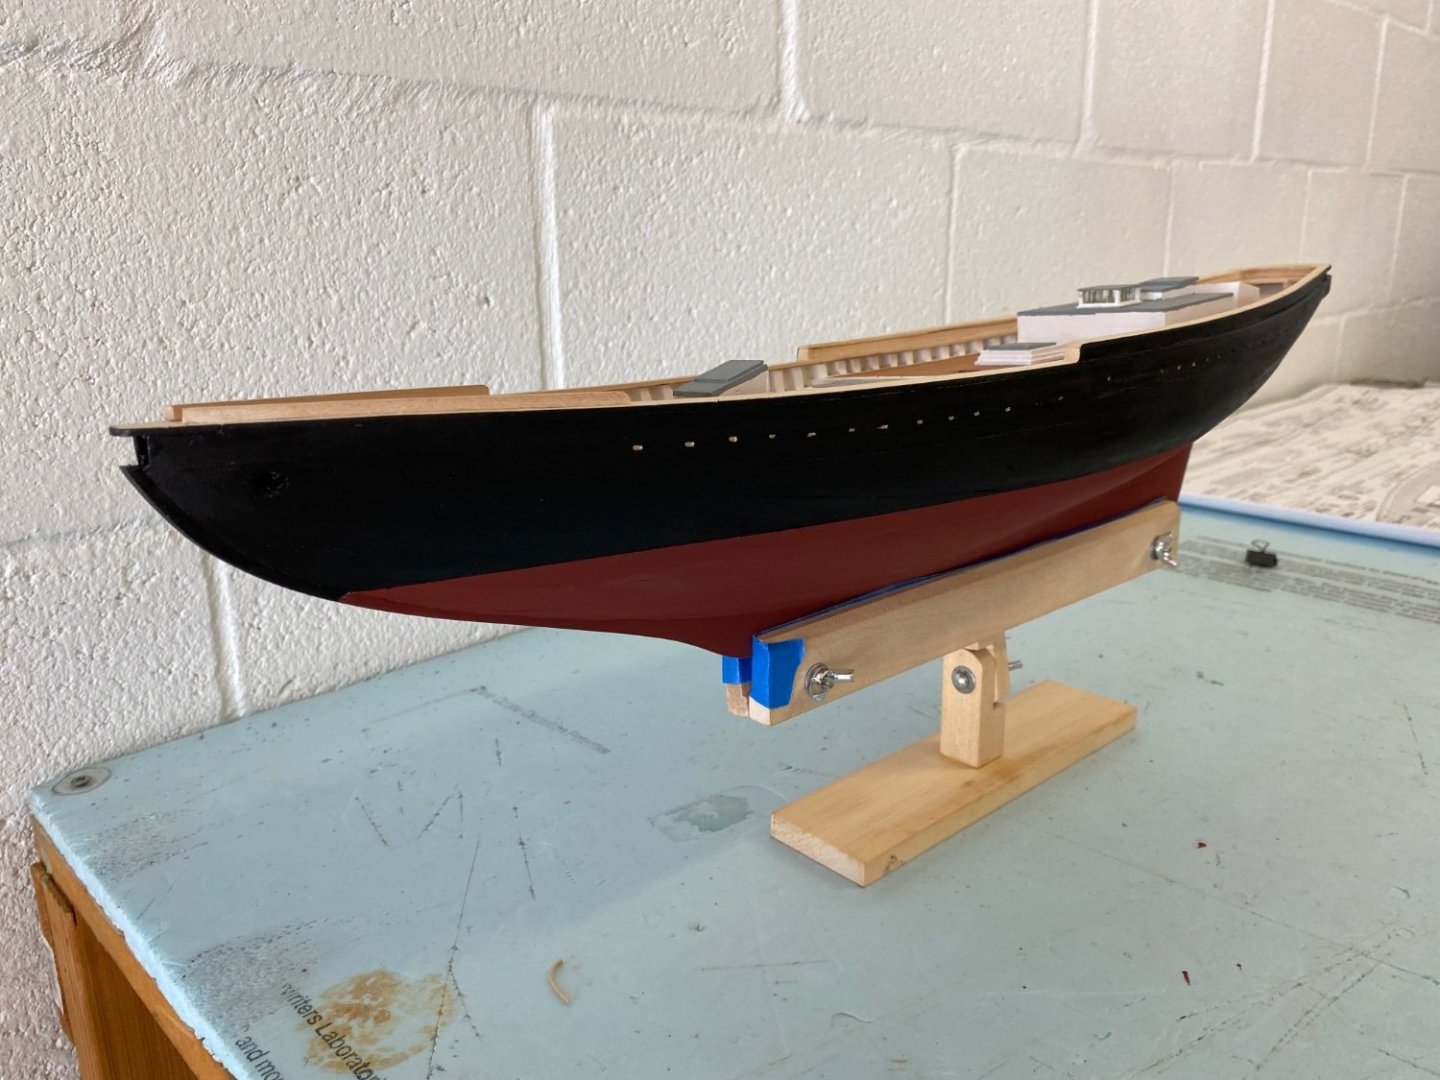
Hi everyone, The wood soaked up a lot of paint. Three coats of black and red. First coat of white and it will need several more coats. Bill

-
Sorry. I just realized that I didn’t add my picture to the post. Bill
-
Hi Yves, I agree it's a fishing schooner and all of the pictures I have seen of fishing schooners, that have been working for years, have a lot of wear. I spent a lot of time sanding, filling running my fingers over the hull and looking at it from every angle. I was just surprised that it wasn't as smooth as I had thought. Looking back, I should have used a primer before final paint. That would have allowed me the opportunity fill and sand again before final paint. I think I got a little hurried to see the hull painted and did not take the time I should have taken. Overall, I am very happy with the way it is turning out. With everything I have learned during this build, I will be better prepared for my next build. Thanks, Bill
-
Hey everyone, I’ve gotten some paint on the hull. It turned out pretty good. I thought I did a good job building and sanding the hull, but the paint accented all of the imperfections. Bill
-
It will be very interesting to see how you go about the restoration. Bill
-
Hello Richard, Your work is absolutely breathtaking. I am very much so enjoying your narrative and pictures. Thanks, Bill
-
Thanks Bob, I’m happy with the results. I’m finishing the hull next. I just have a little filling and sanding and she will be ready for paint. Thanks for the encouraging words and likes. Bill
-
Thanks Yves. That's good to know. Bill
-
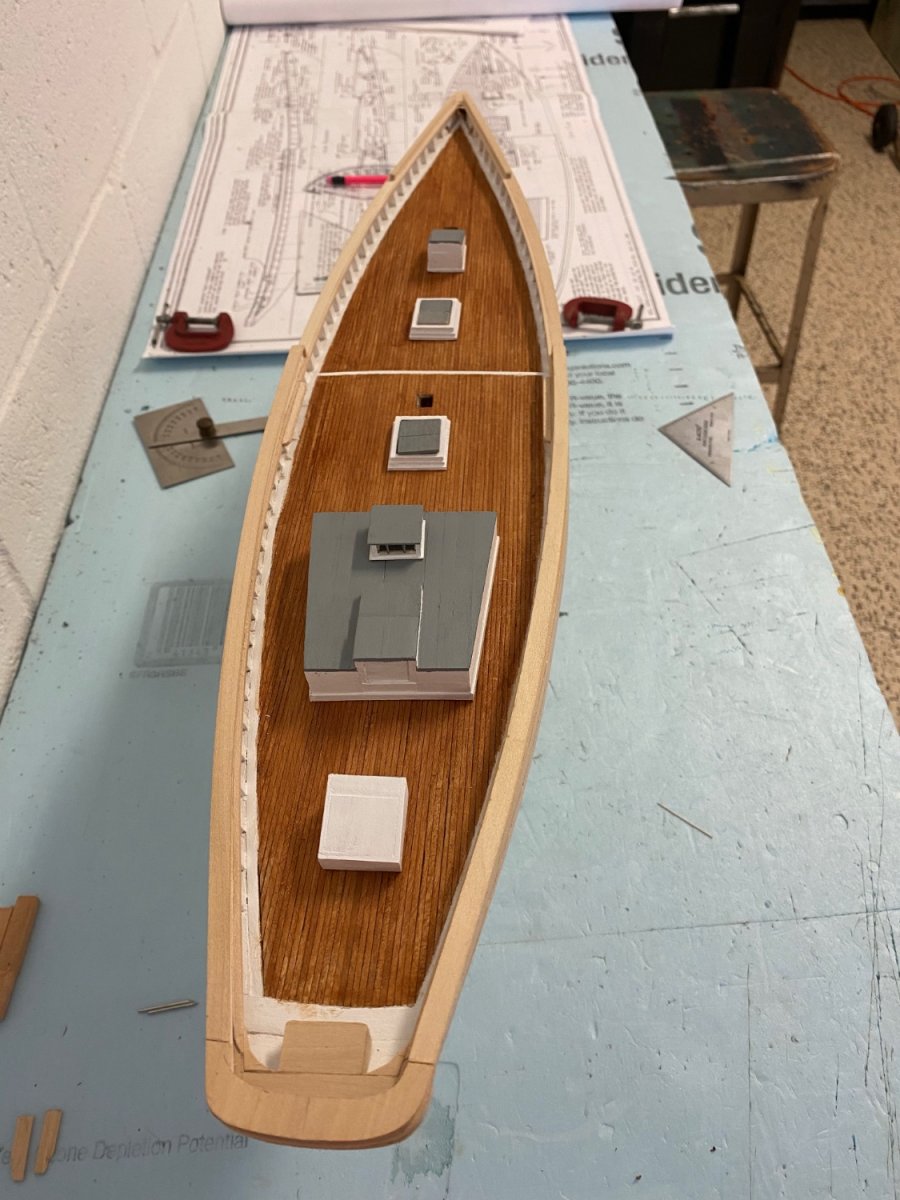
Hello everyone, I’ve gotten the deck stained. I decided to go with a water based stain. I had to do several coats for the deck to have a uniform color. As a result, the deck turned out darker than I had planned on. I’m going to have some touch up of the white paint after staining. Next I am going to get the hull ready for painting. Bill Bill

-
I think the scale appearance turned out perfect. Bill
-
I think they turned out looking great. Bill
-
Thanks Yves. I’ll check it out. I have a Lowes close by. Bill
-
Hello everyone, I have gotten to where I would like to apply a finish to the deck. This is a step I don't want to mess up and I feel I only have one try to get it right. My big problem is that I don't know anything about wood finishes. There is a lot of very good discussion on this site about finishes, such as stains or dyes, water based or lacquer based and so on. Unfortunately, after reading all of the information, I am still unsure want would be best direction. I would like to give the deck a subtle color enhancement without hiding the grain. If anyone could give me any suggestions or direct me to some information I would greatly appreciate the help. Thanks, Bill
-
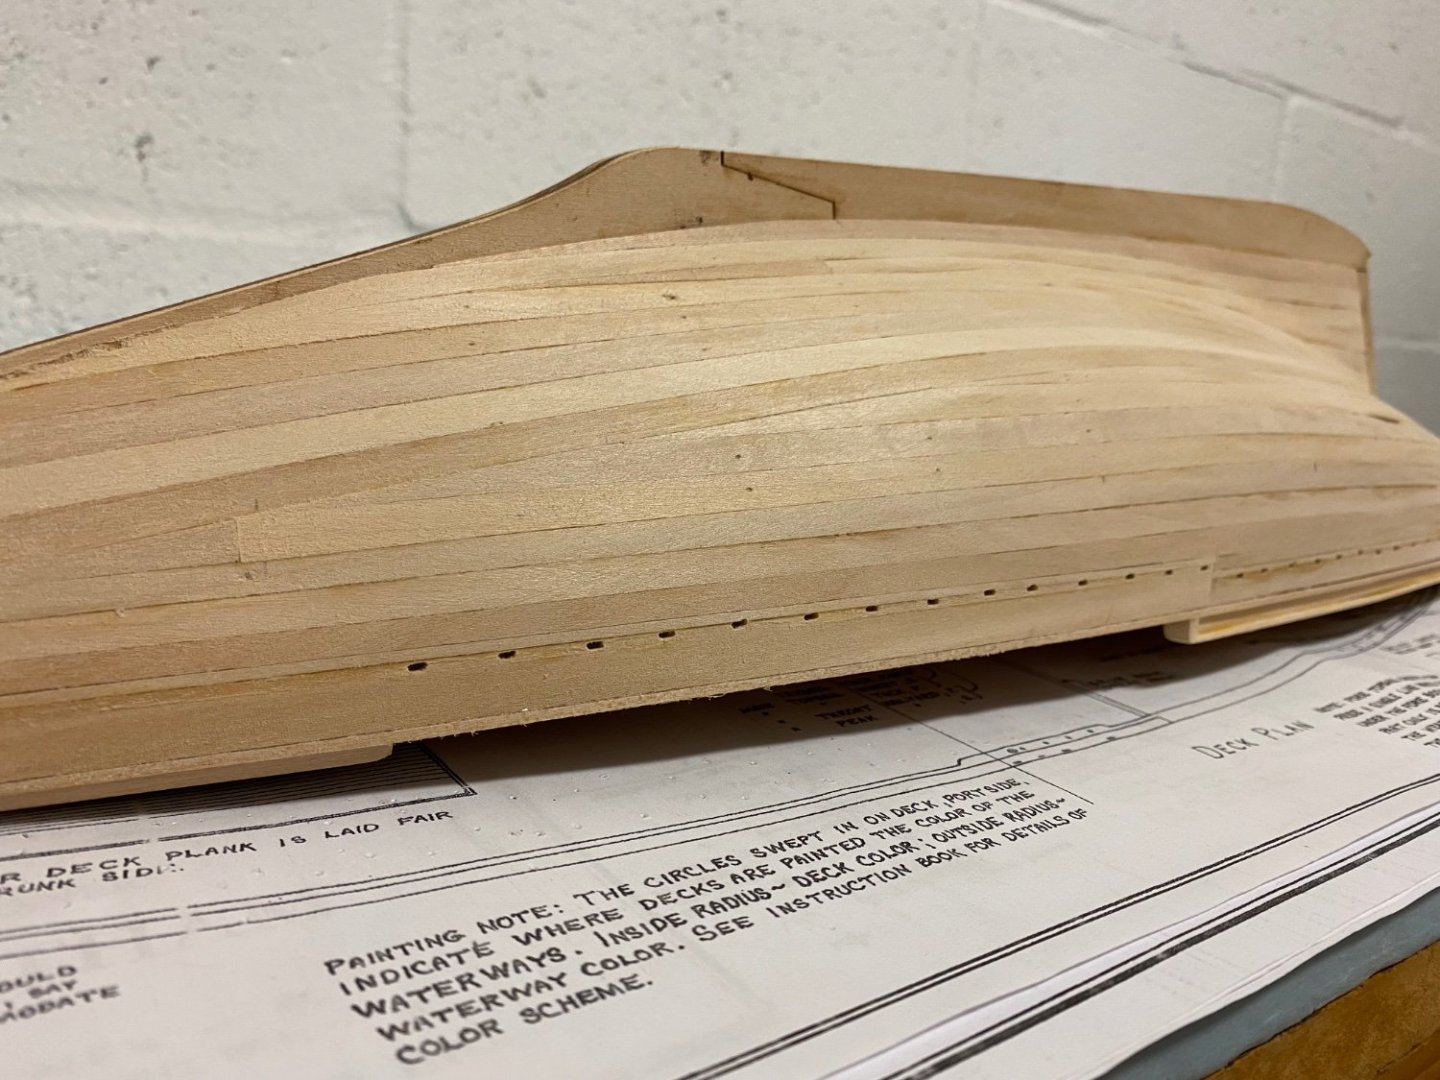
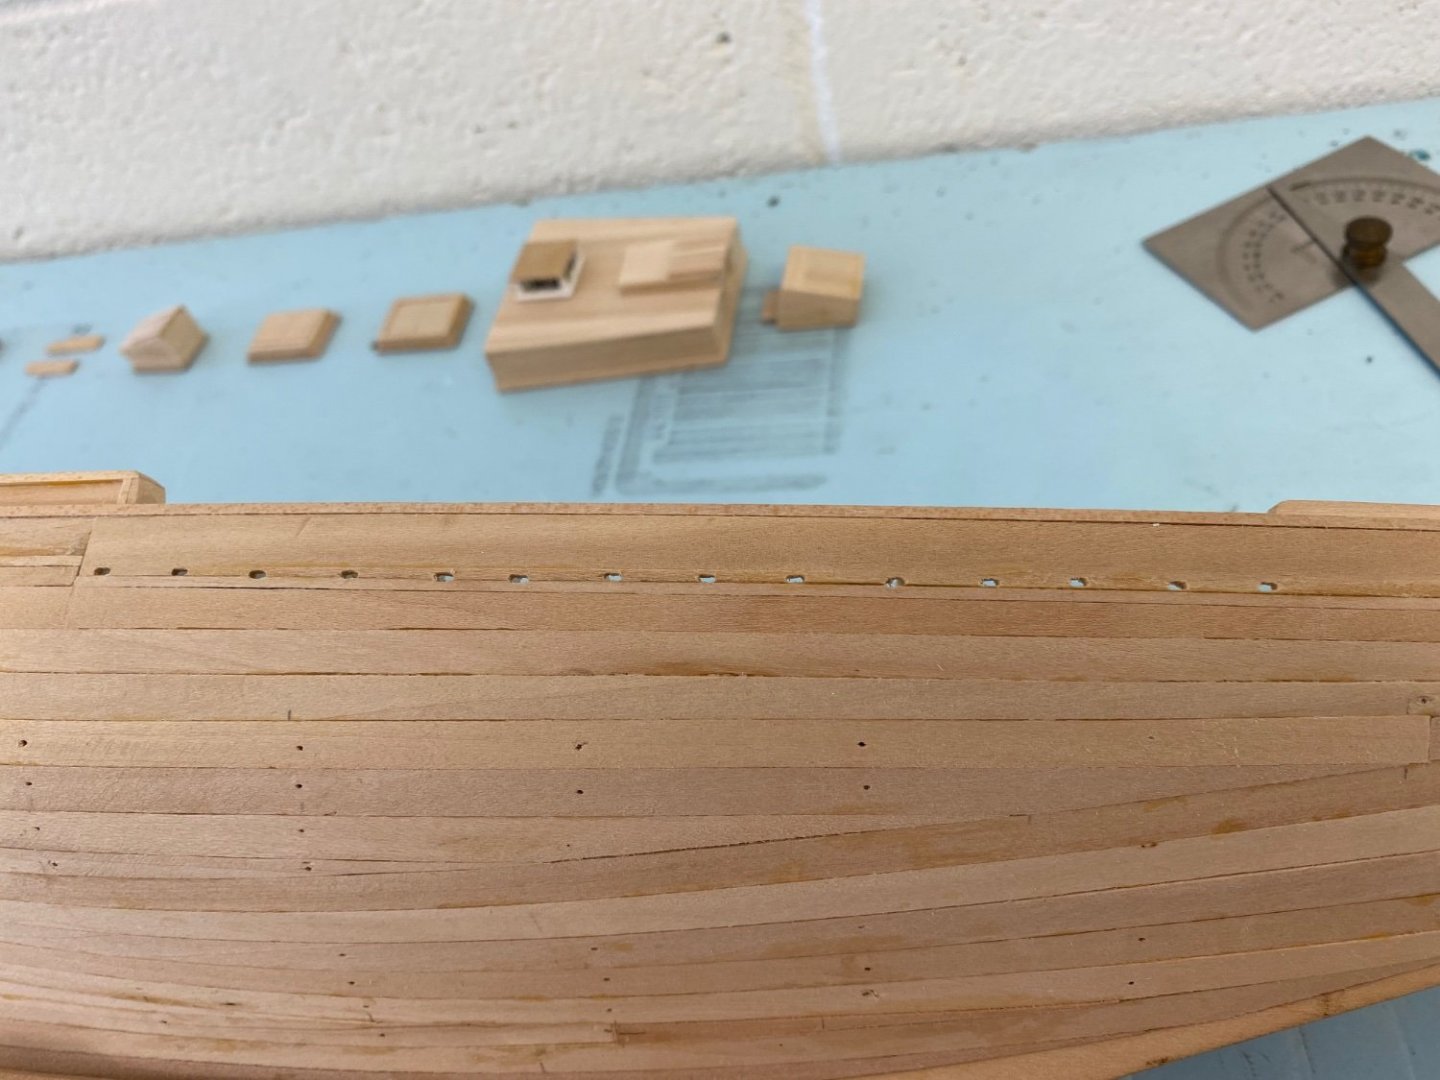
Hello everyone, I have started working on the scuppers. At this scale, the scuppers are about 3/32”. The drawings show two scuppers between the stanchions. So far, I have added one between the stanchions. Bill
-
Wow! The condition of the ship is absolutely amazing. Bill
-
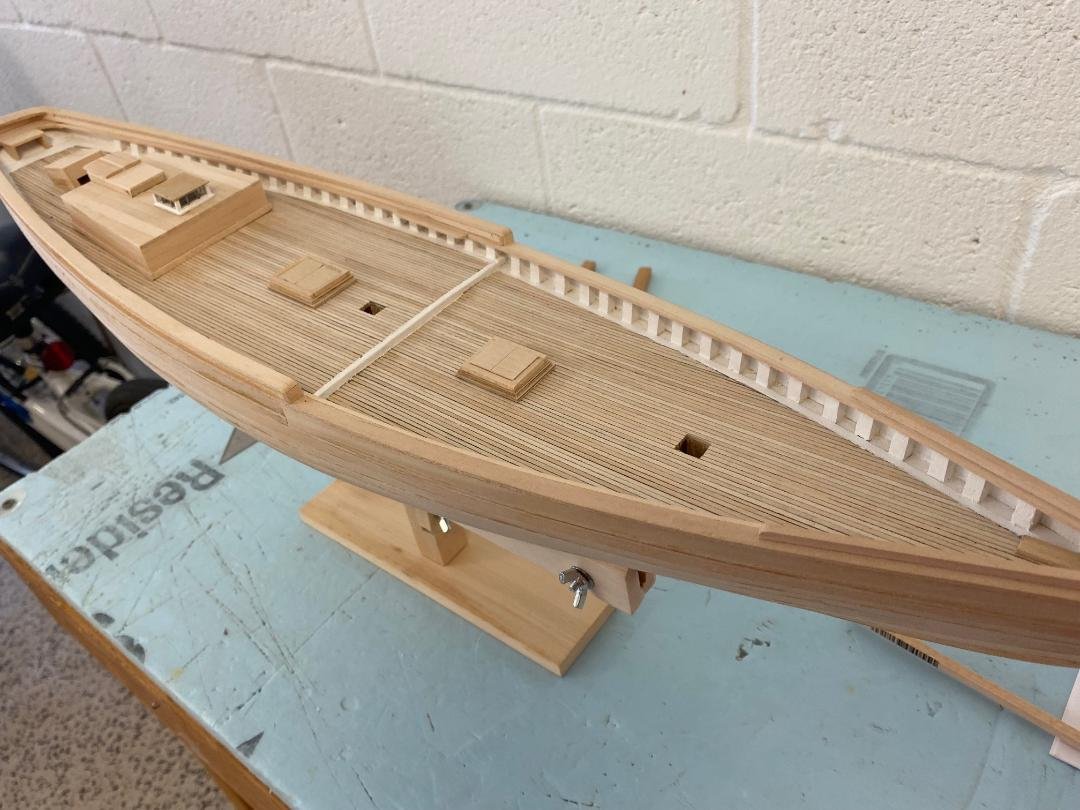
Hi everyone, I'm going along very slowly now. It seems no matter how slow I go, I am still making some glaring mistakes. I'm blaming it on age, but I am having lots of fun and I am learning so much. I have made a little progress. I have finished the deck hatches and am now working on the hawse pipe area and the manger. For reference, I am using a picture of the schooner Ernestina. There are some very nice and useful pictures on the Library of Congress website. Bill

-
Beautiful work and great detail Joe. Bill