Acker
-
Posts
38 -
Joined
-
Last visited
Content Type
Profiles
Forums
Gallery
Events
Everything posted by Acker
-
Thanks Reg and RB for your kind words and encouragement. Have been busy fitting footropes and blocks to the yards tonight and will put up some more photos soon. Richard
- 53 replies
-
- 1
-

-
- Supply
- Caldercraft
- (and 1 more)
-
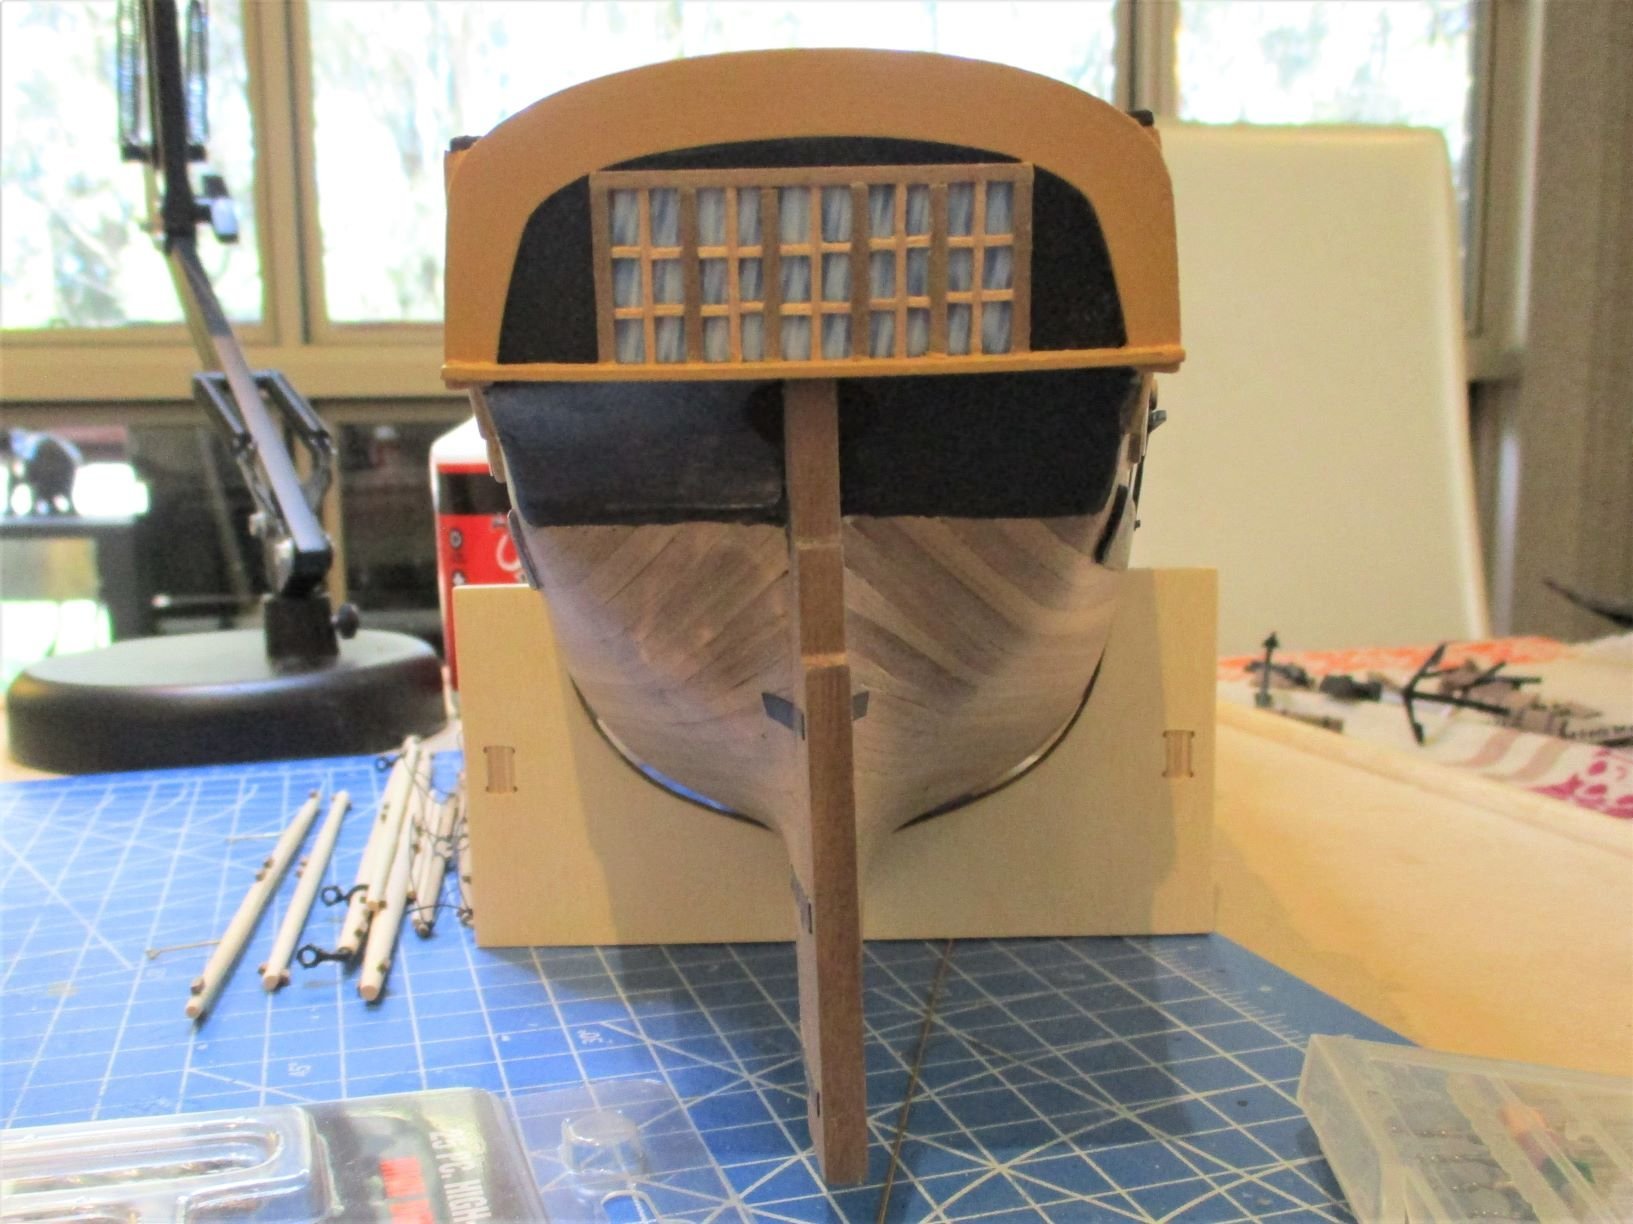
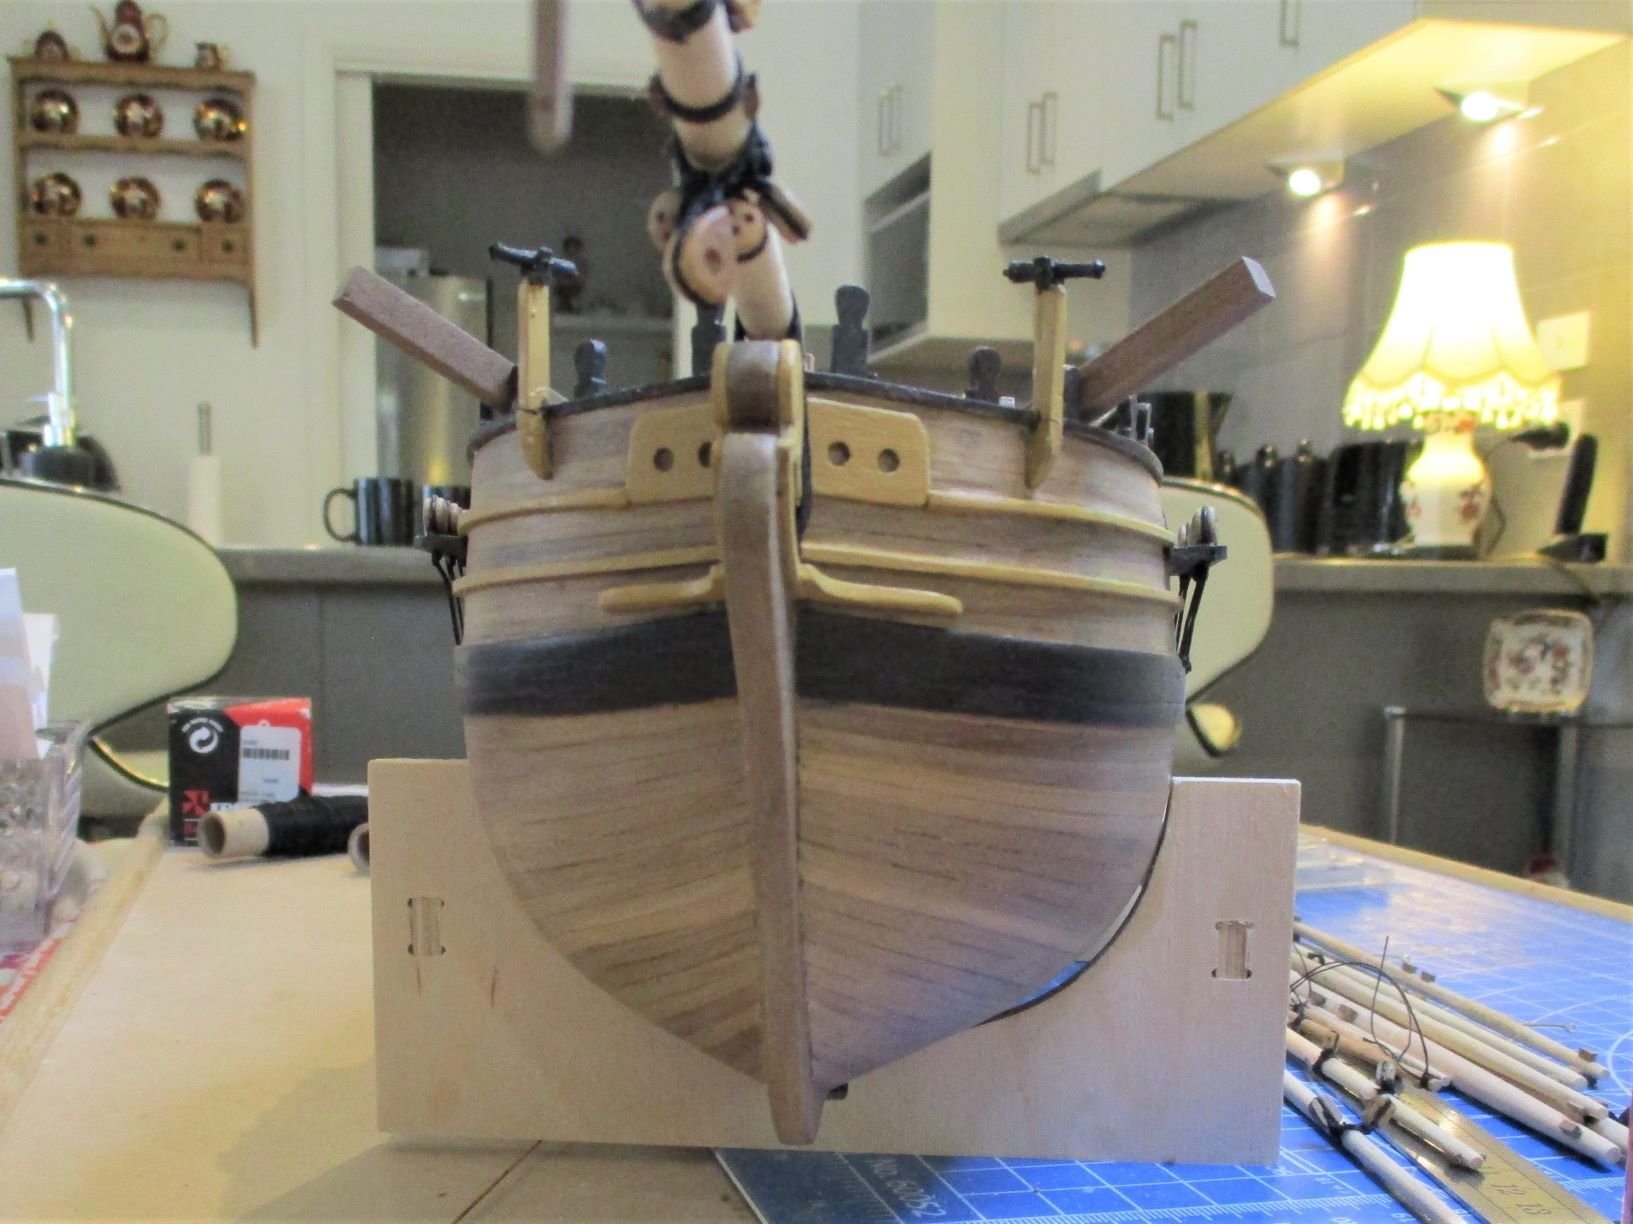
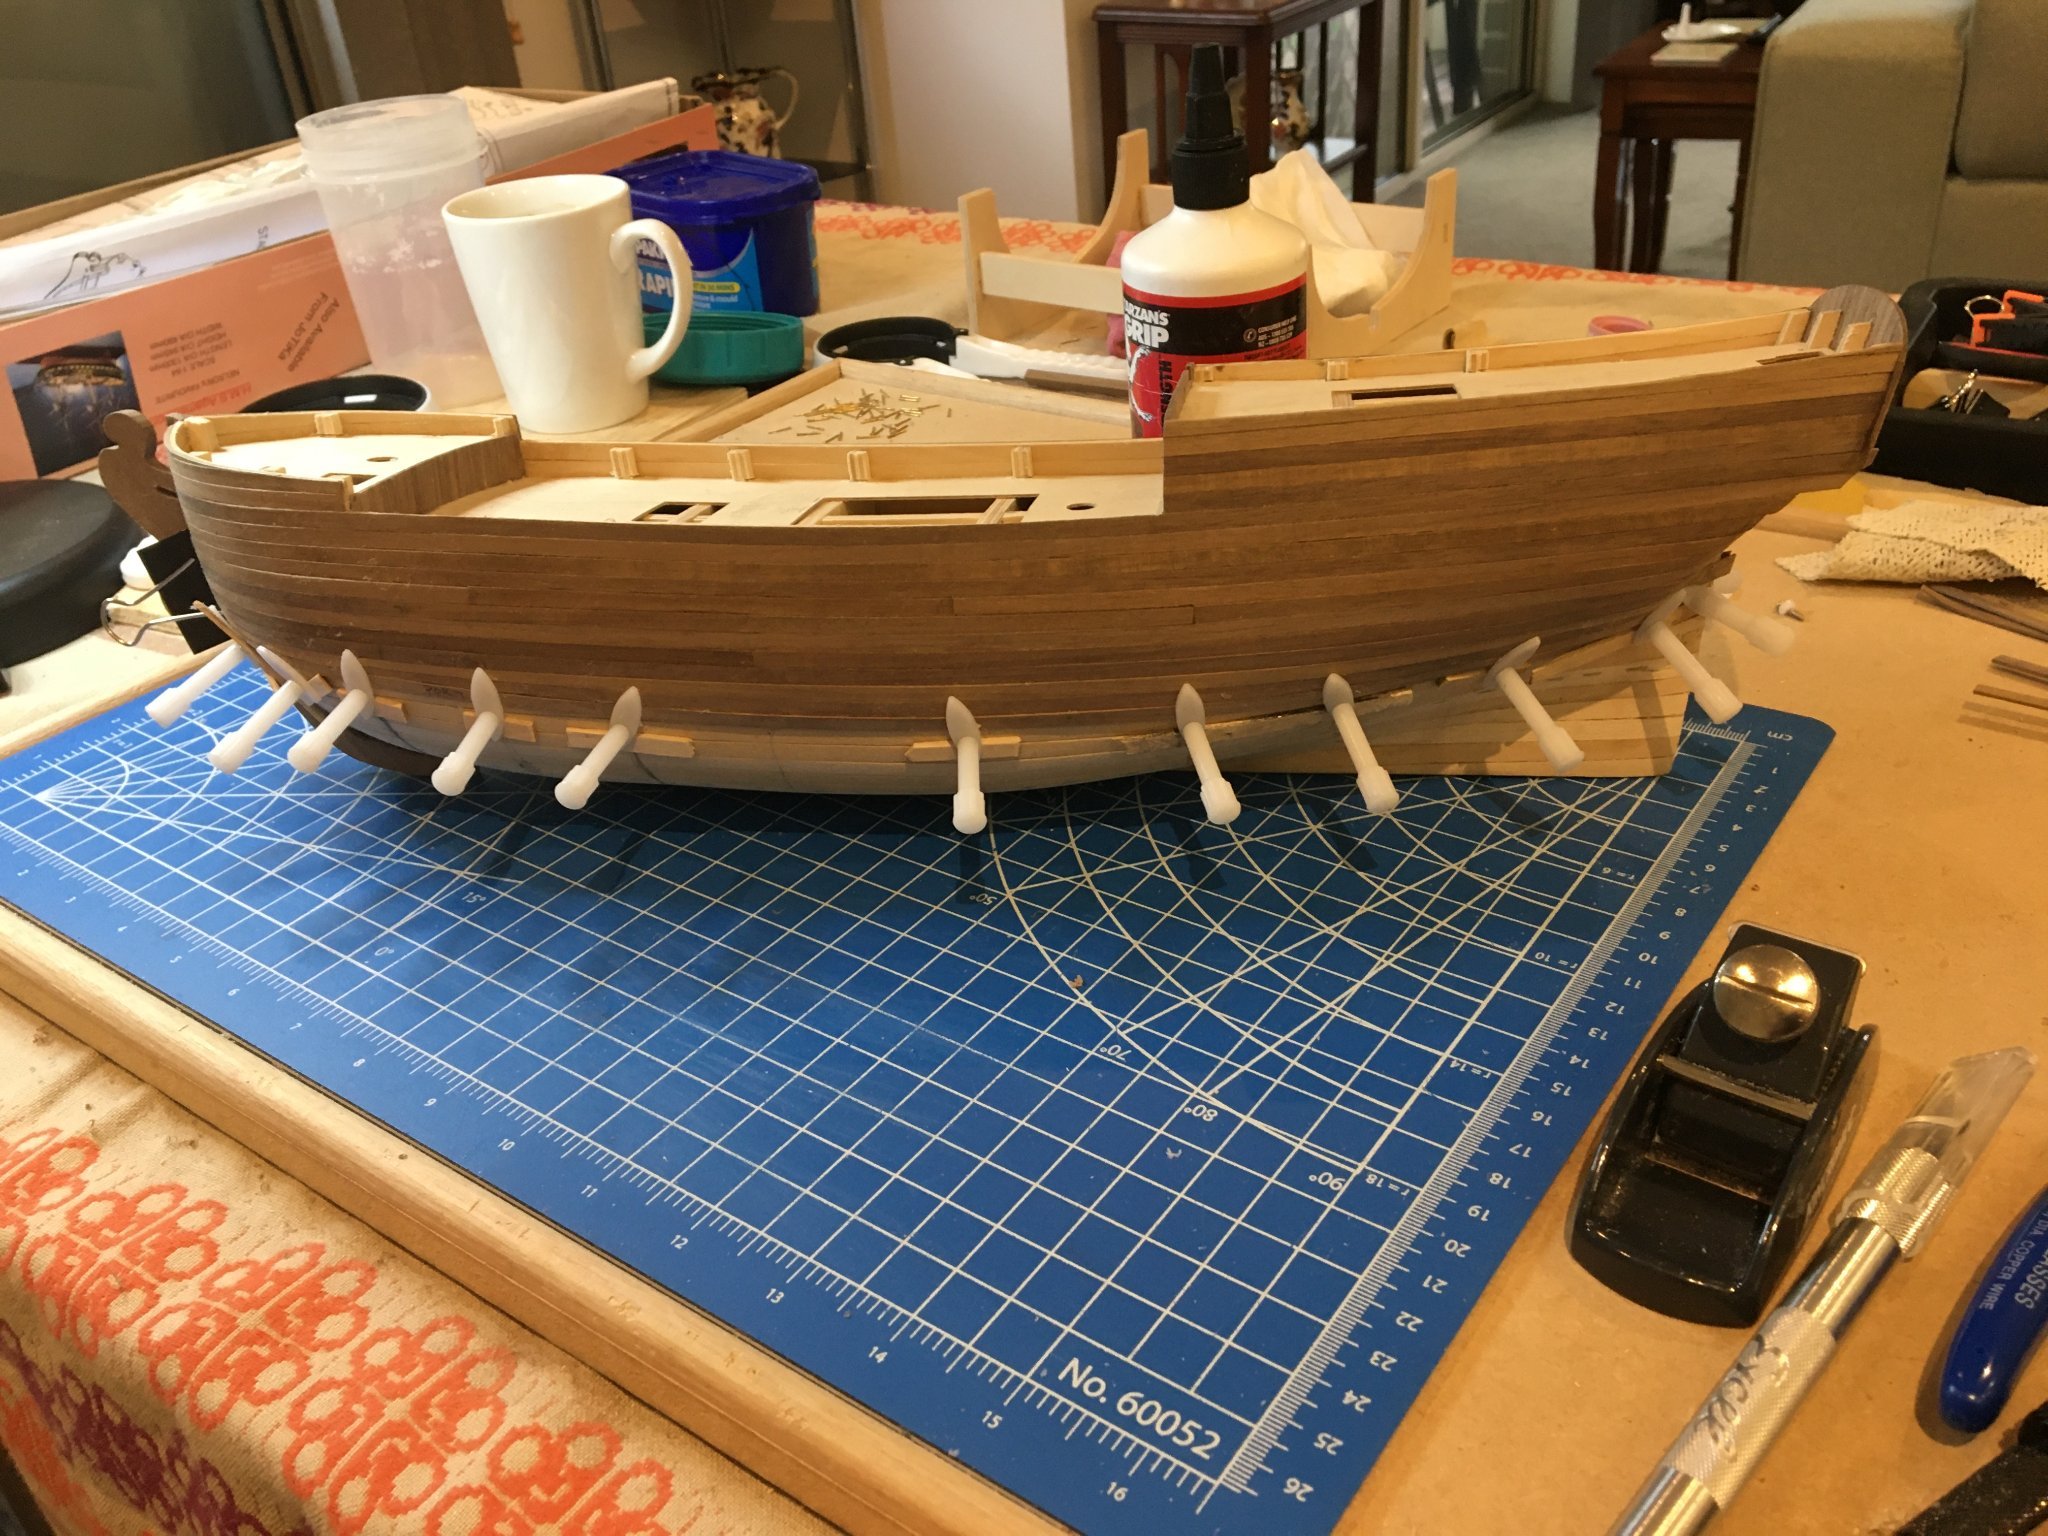
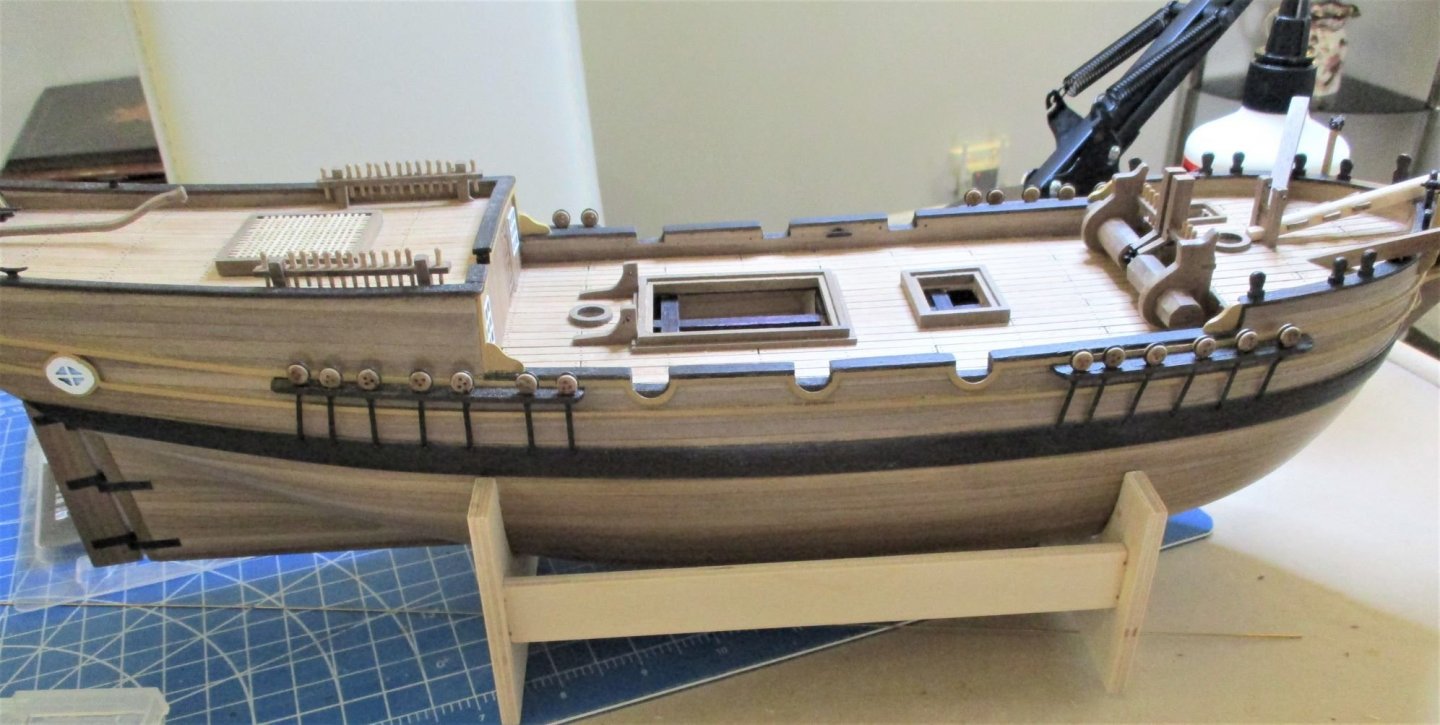
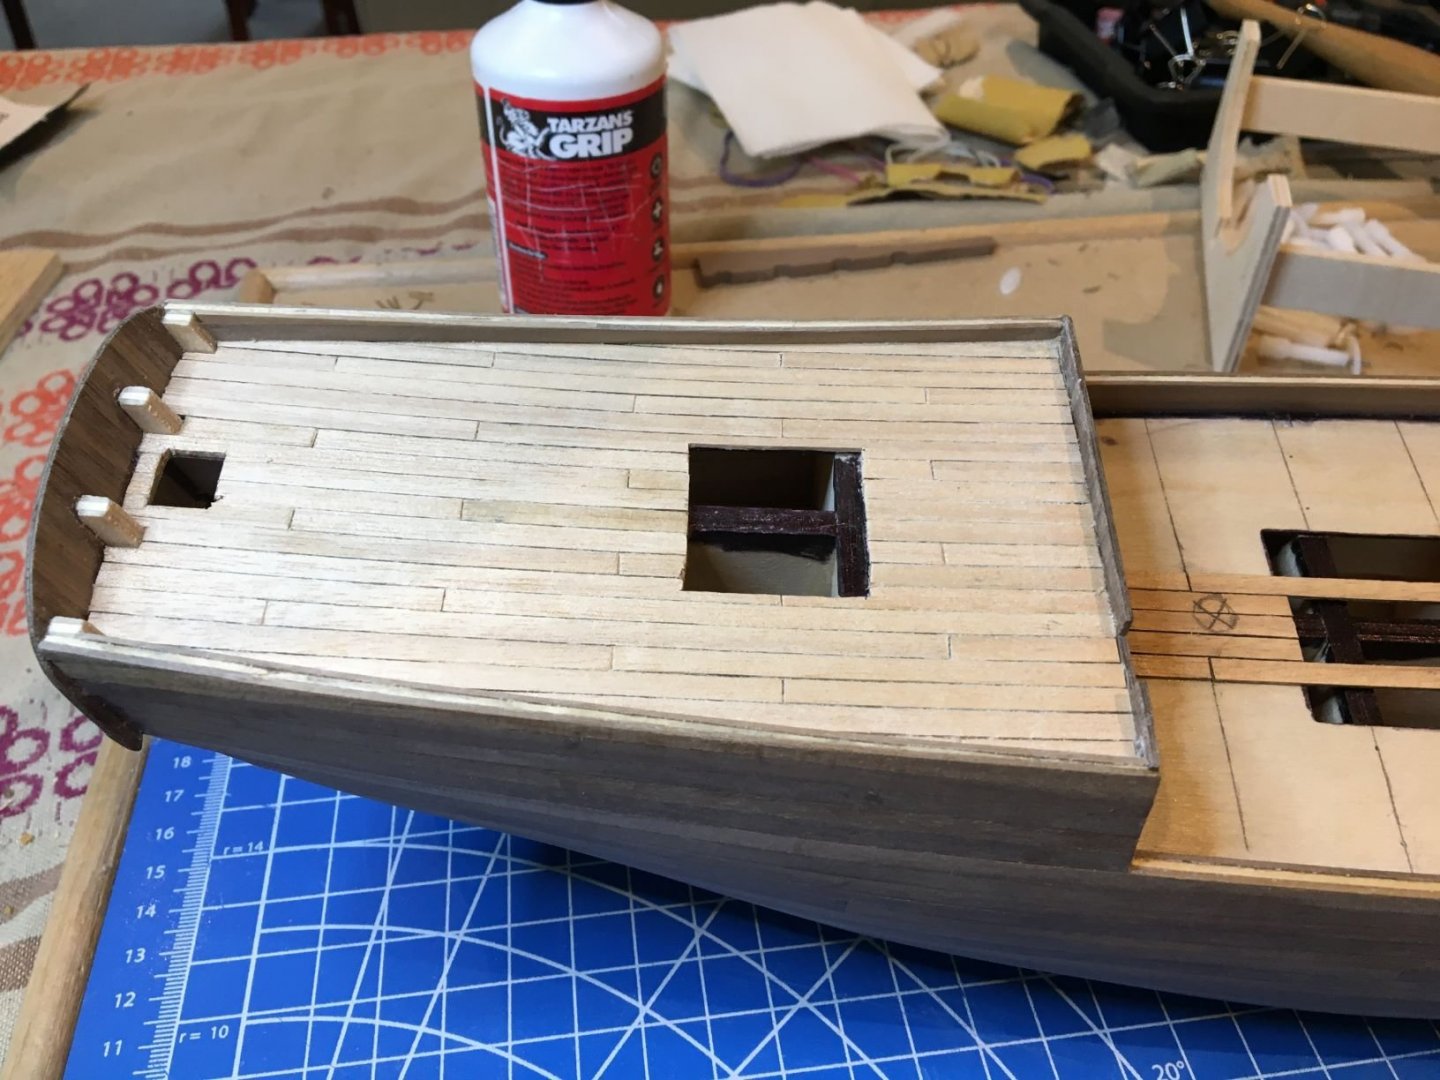
Had many goes at fixing the deadeyes and strops to the straps. Tried copying the methods used by other builders without much success but one method described by "riverboat" in his build of "Supply", where he used solder gave me a clue. In the end I soldered them together but in a different way to riverboat. The first attempt resulted in a lumpy mess but fortunately solder is easy to melt off and redo. After a while they looked OK and after painting them with black metalwork paint I was reasonably happy with the result. I wanted to put on stern windows but looking at other builds was not sure they looked right, most looked cramped into the available space with the top corners cut off. Designed my own but still not entirely happy - may yet pull them off and redesign them.


- 53 replies
-
- 5
-
-
- Supply
- Caldercraft
- (and 1 more)
-
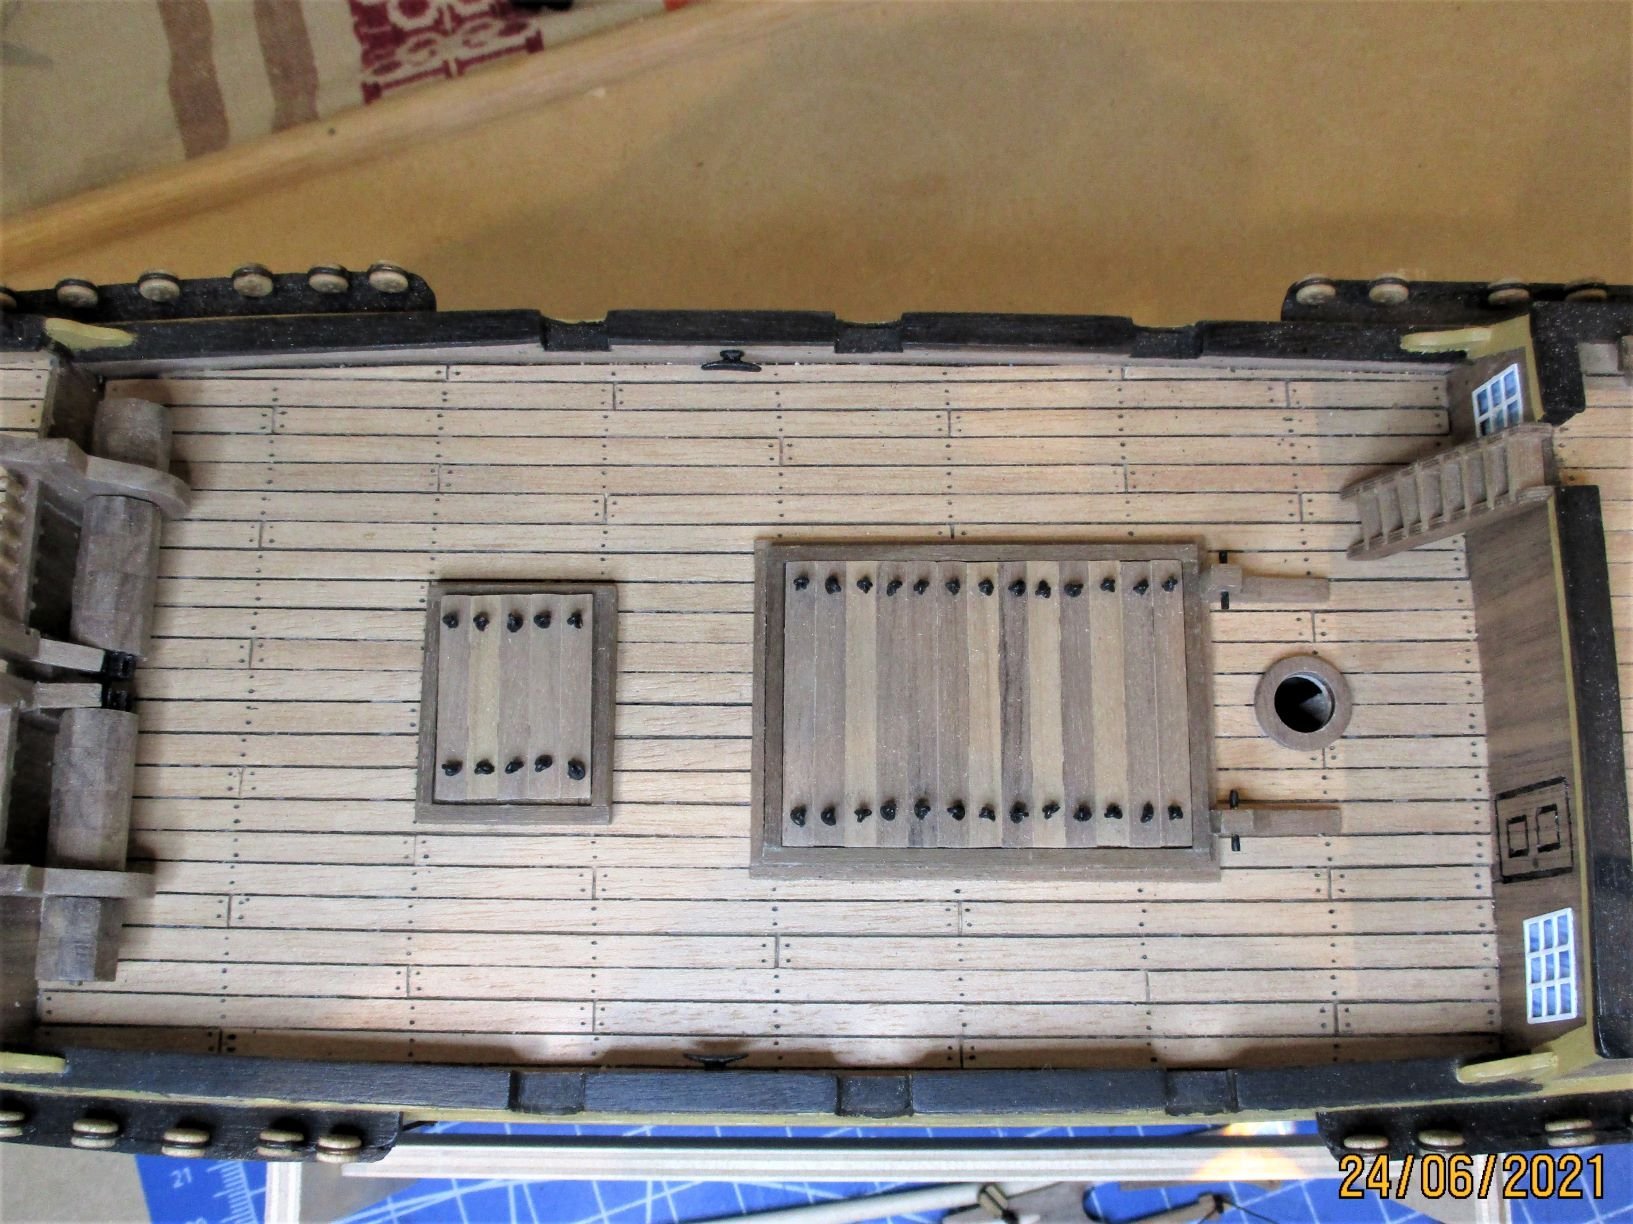
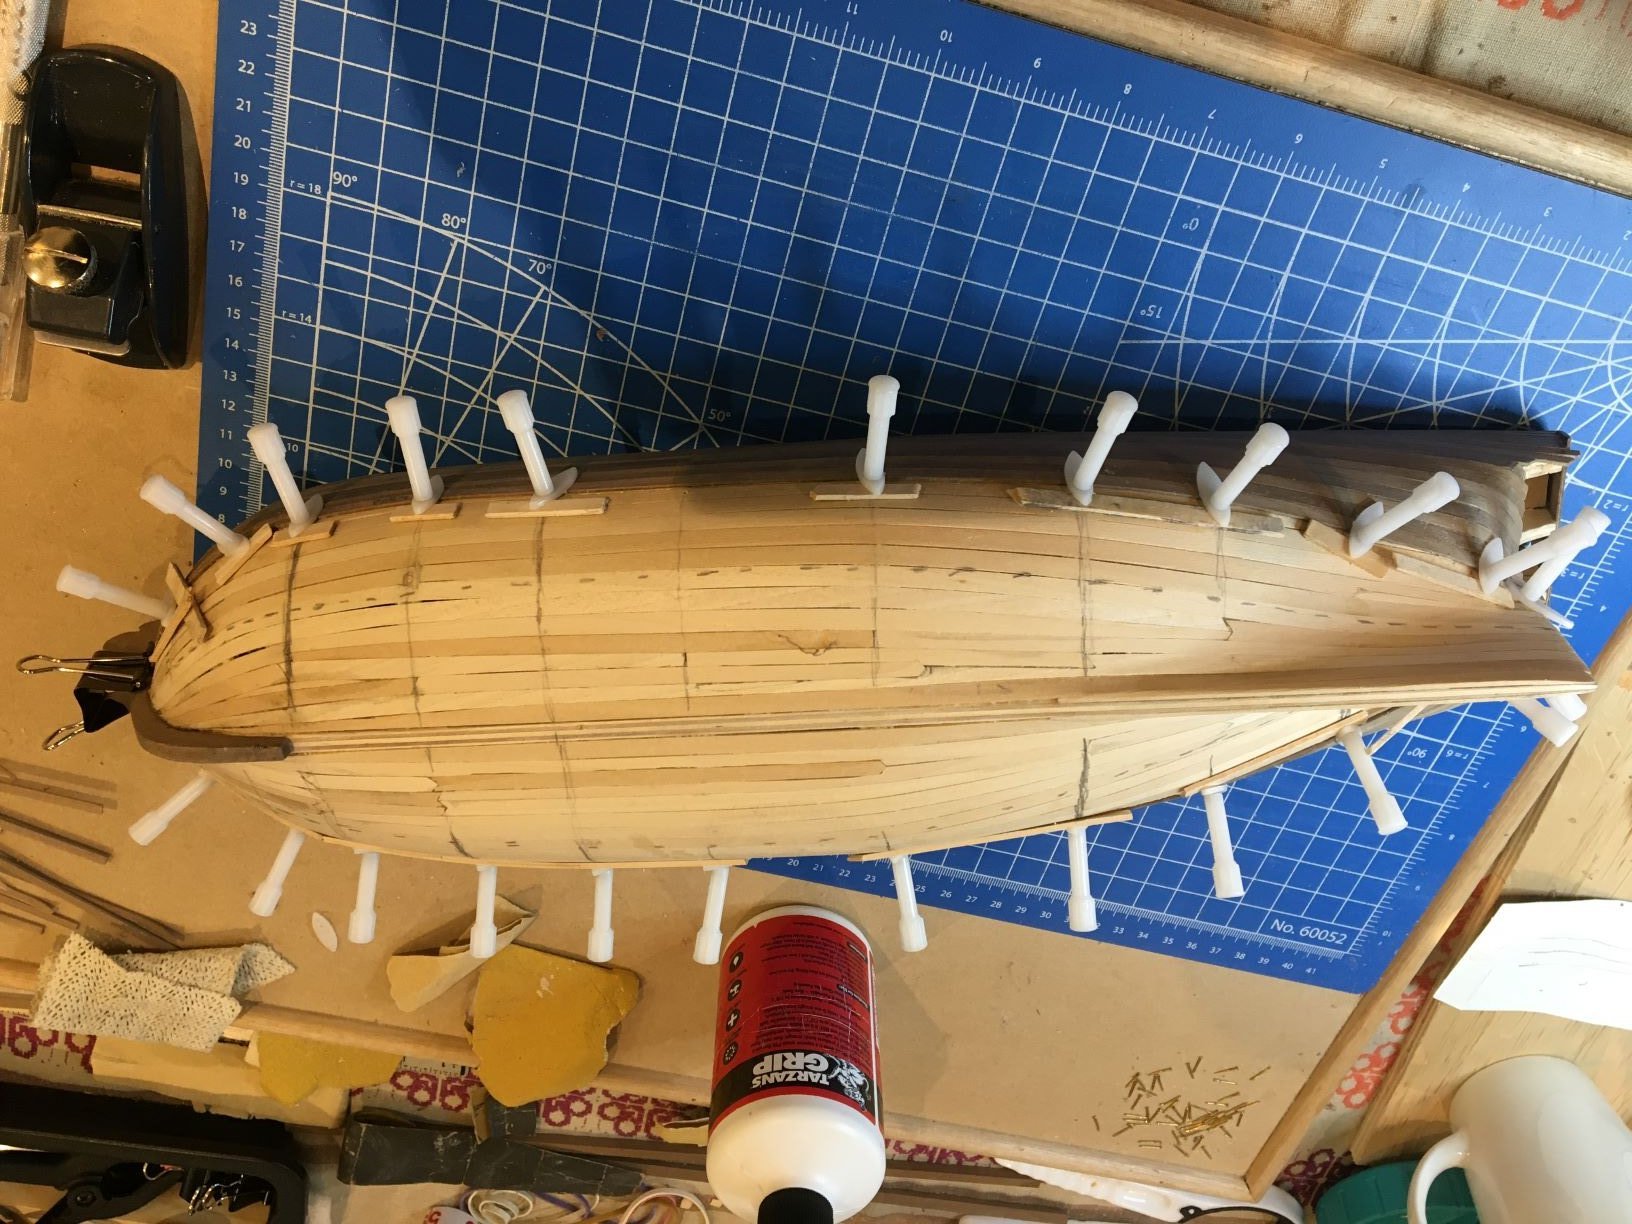
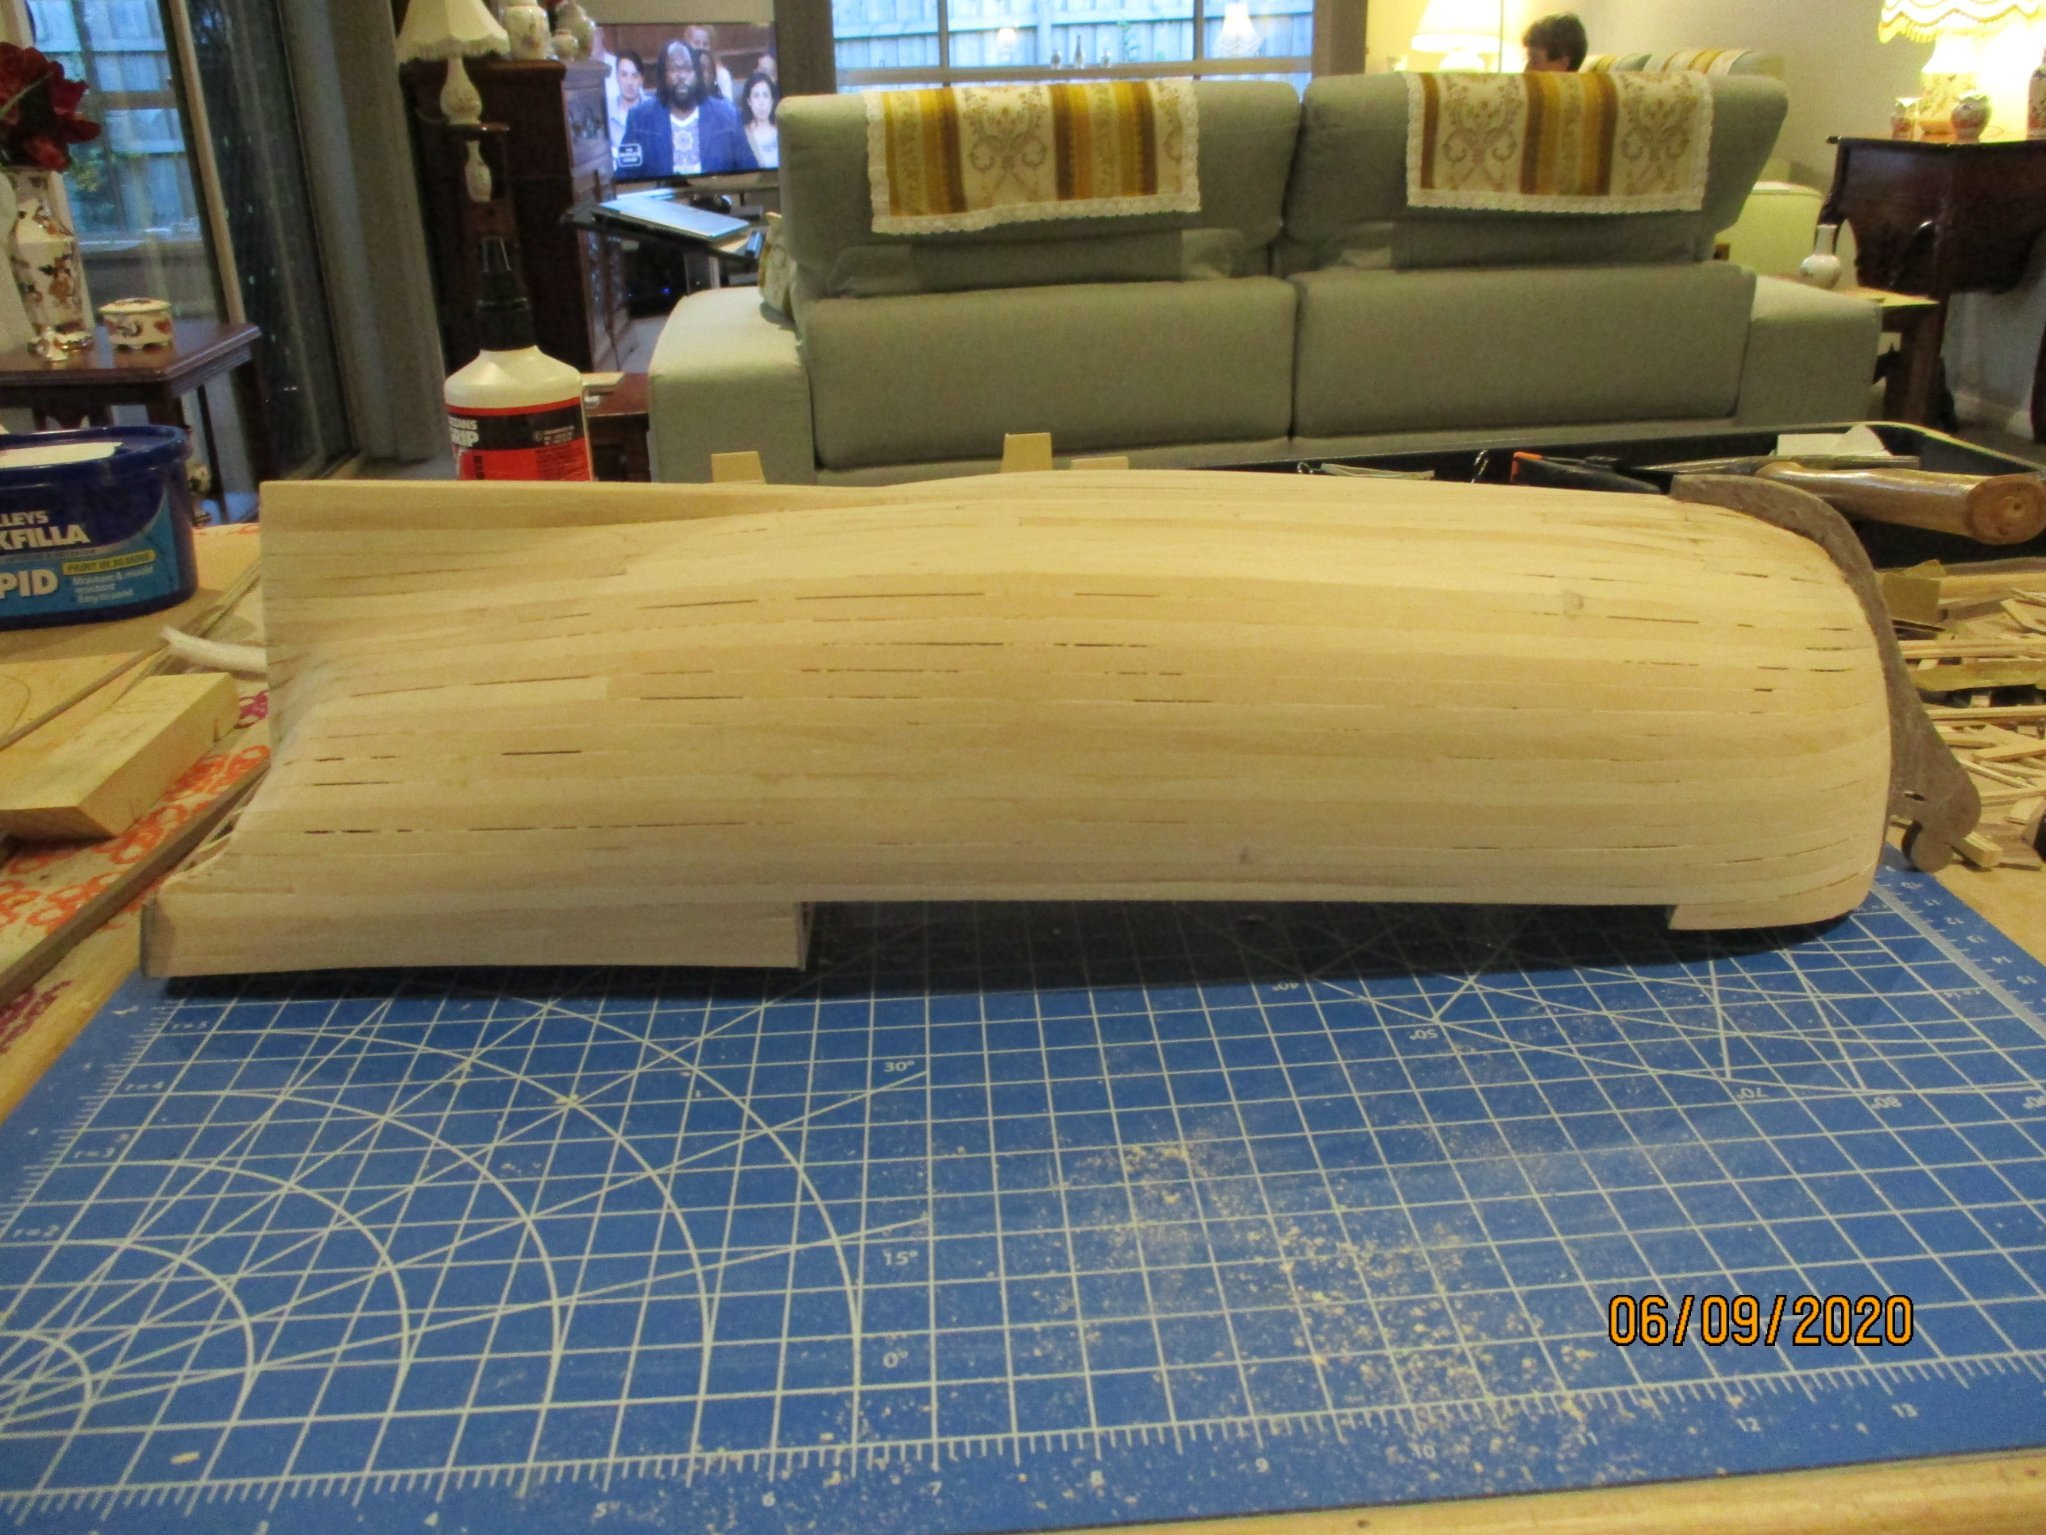
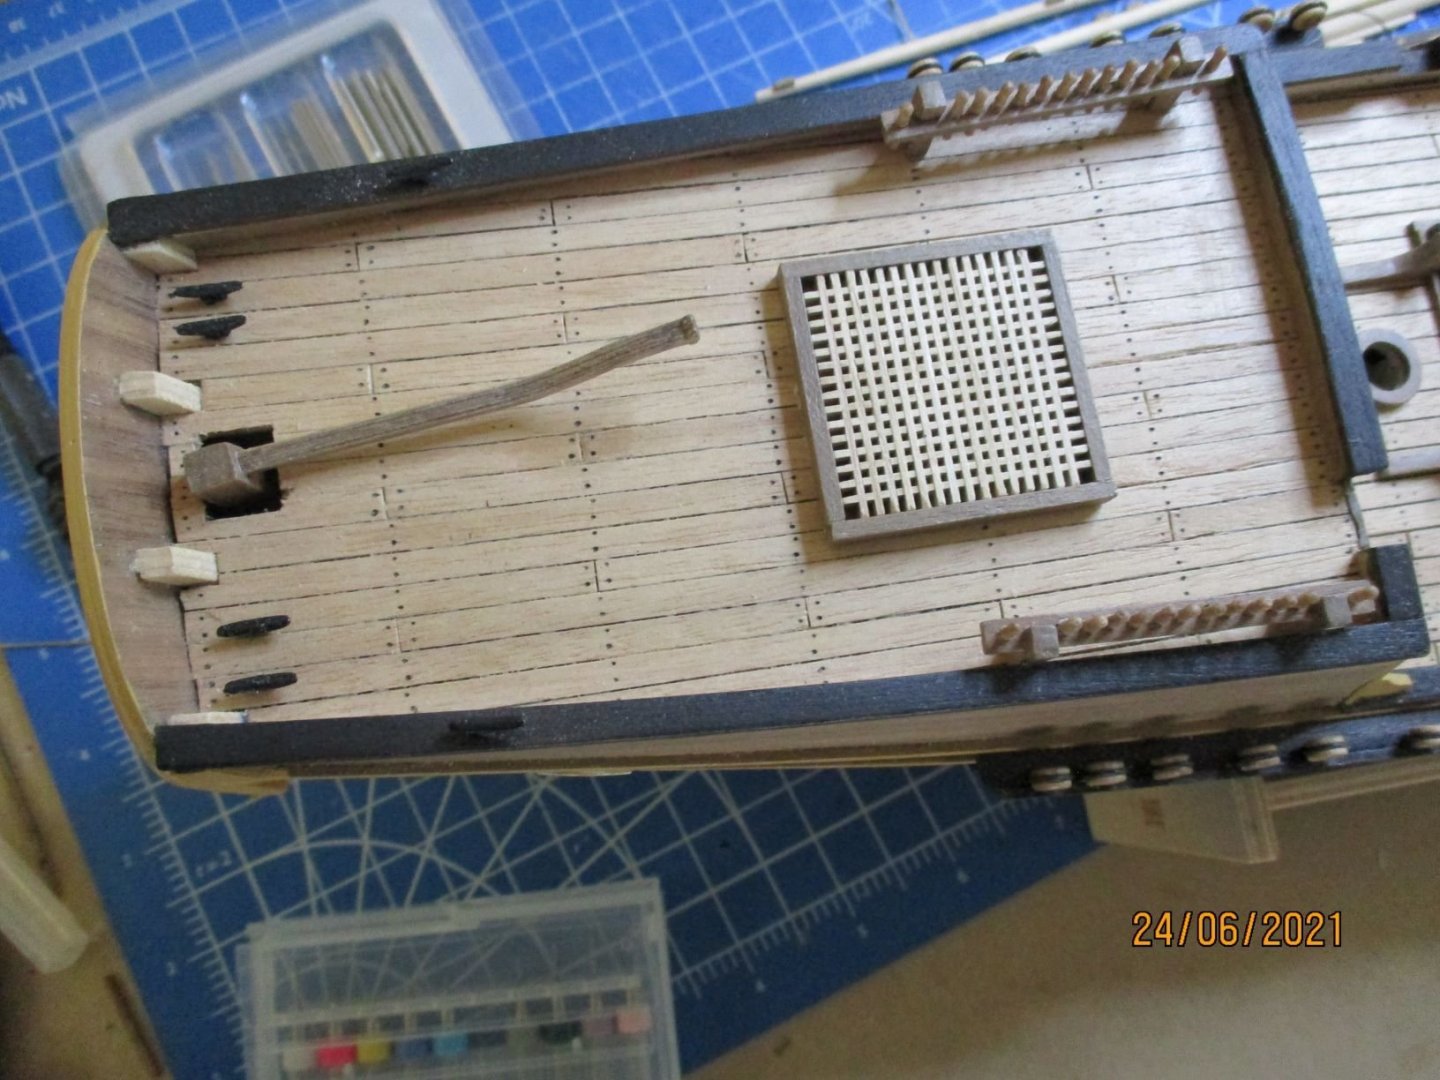
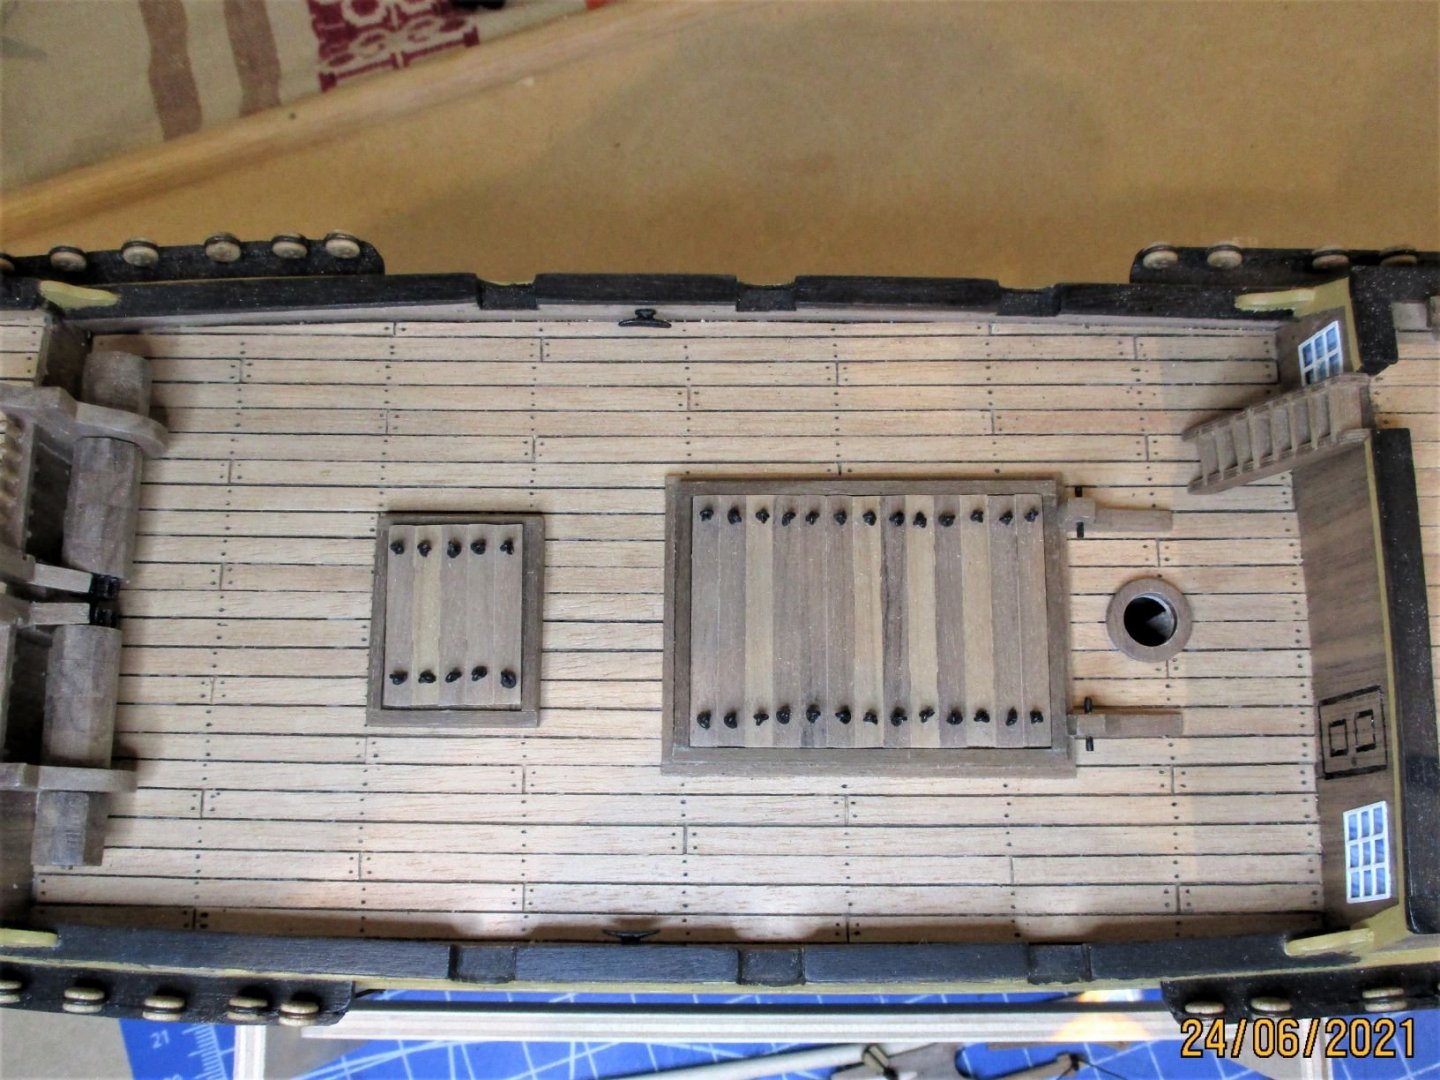
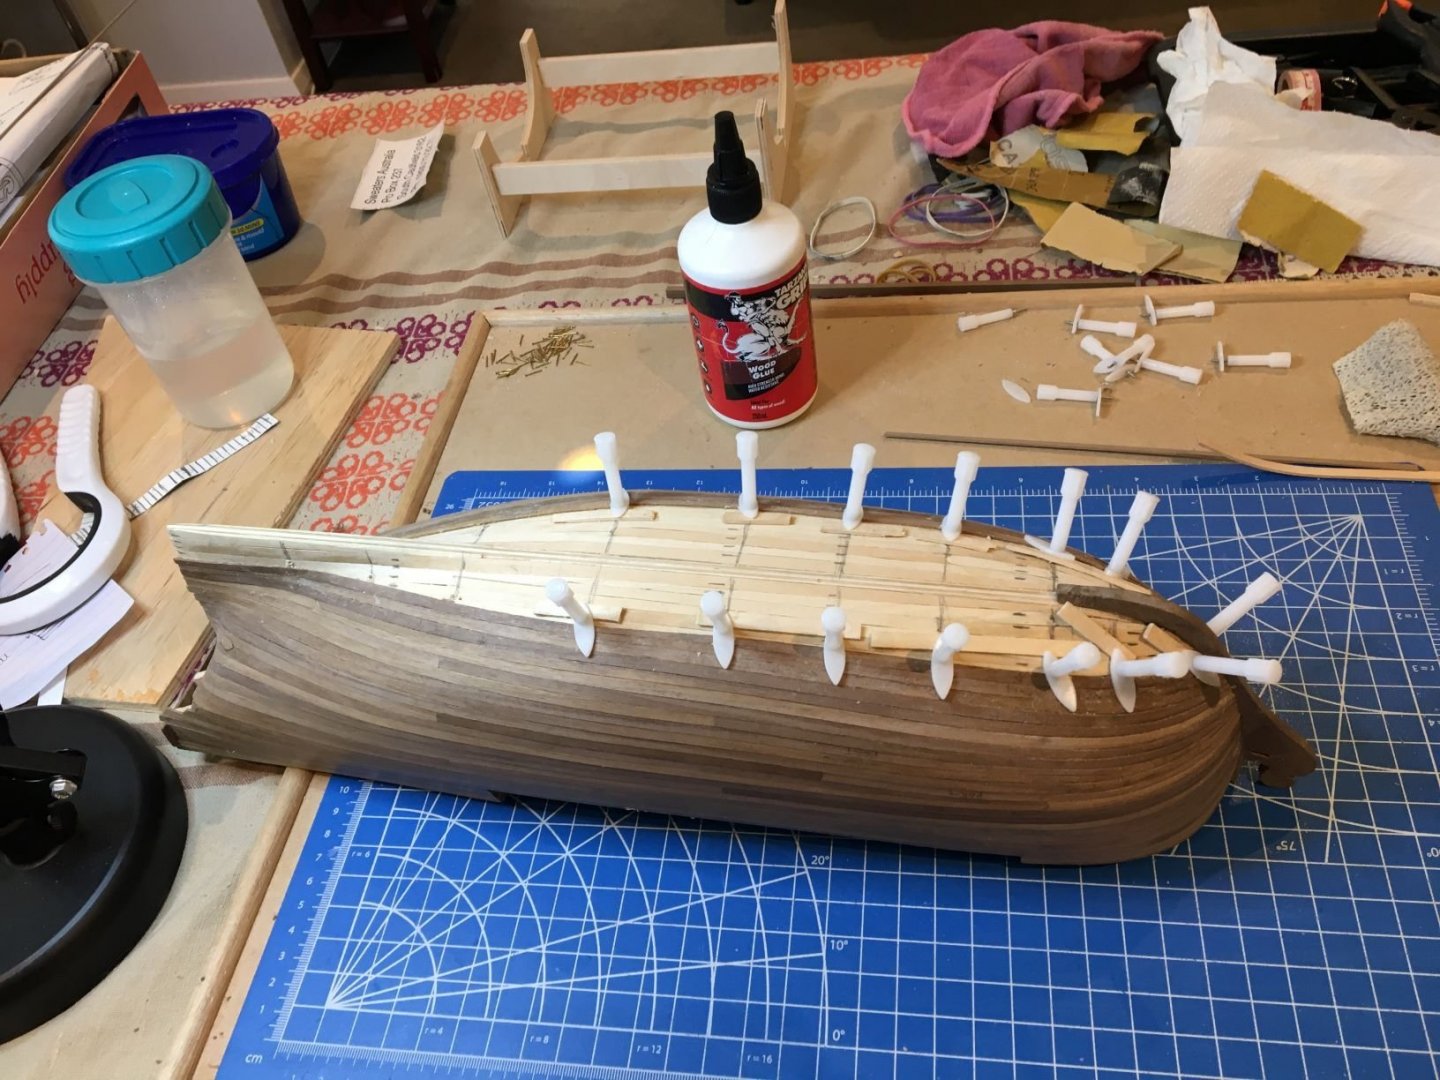
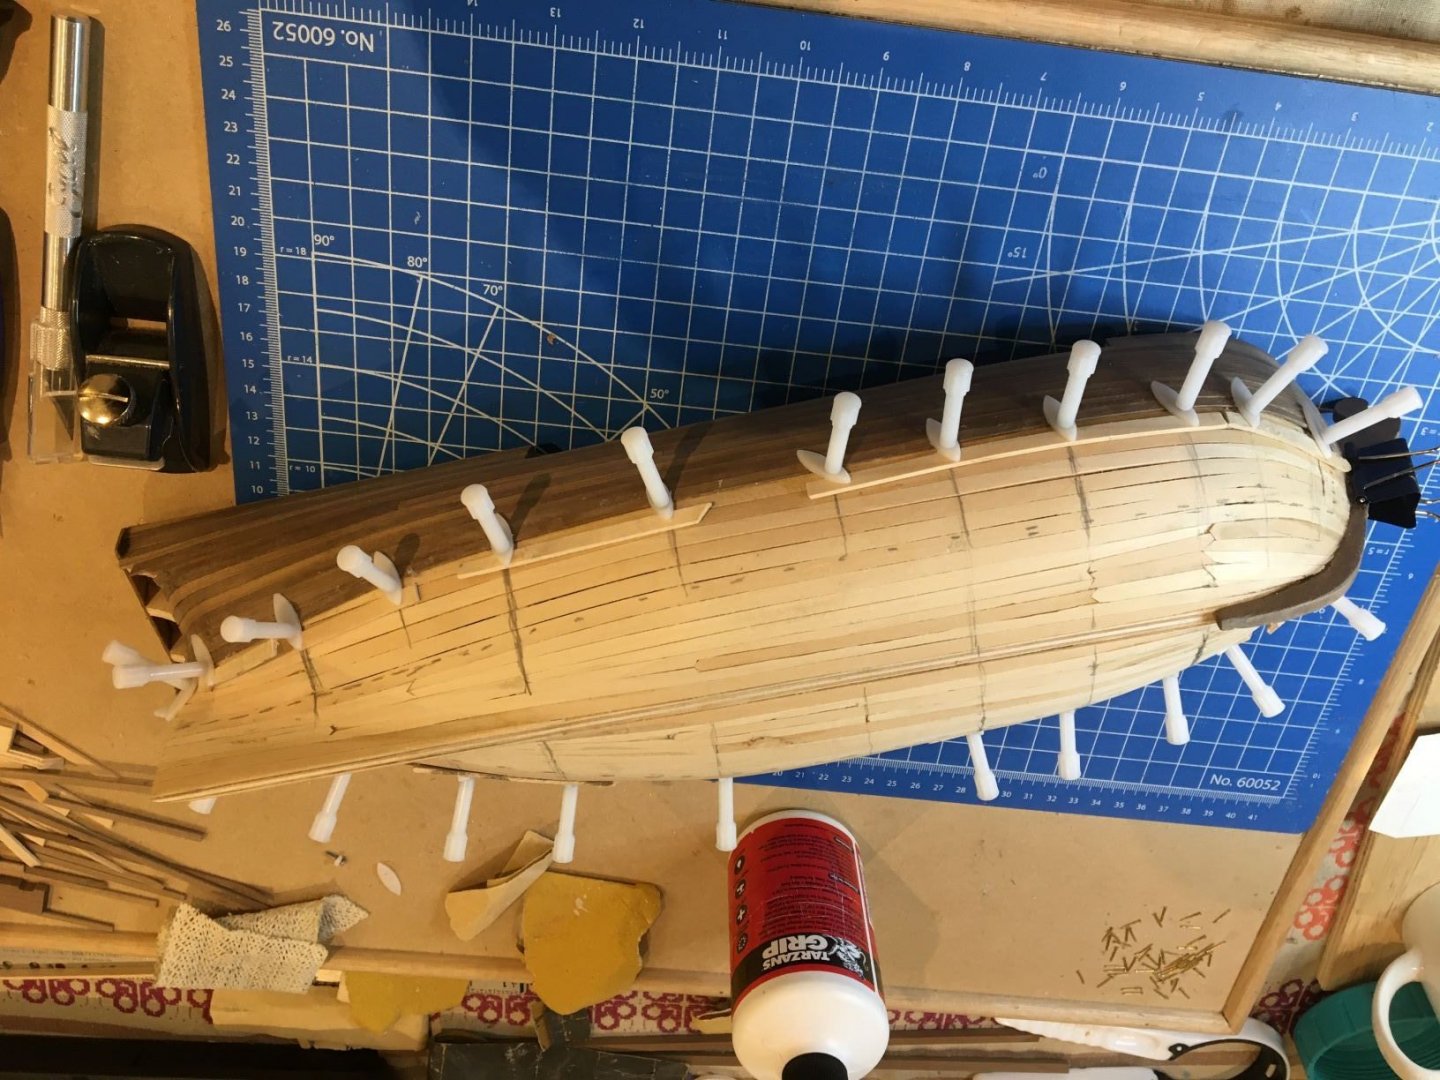
Deck planking completed, bulwark capping rails done. Deck fittings and chain plates completed.

- 53 replies
-
- 3
-
-
- Supply
- Caldercraft
- (and 1 more)
-
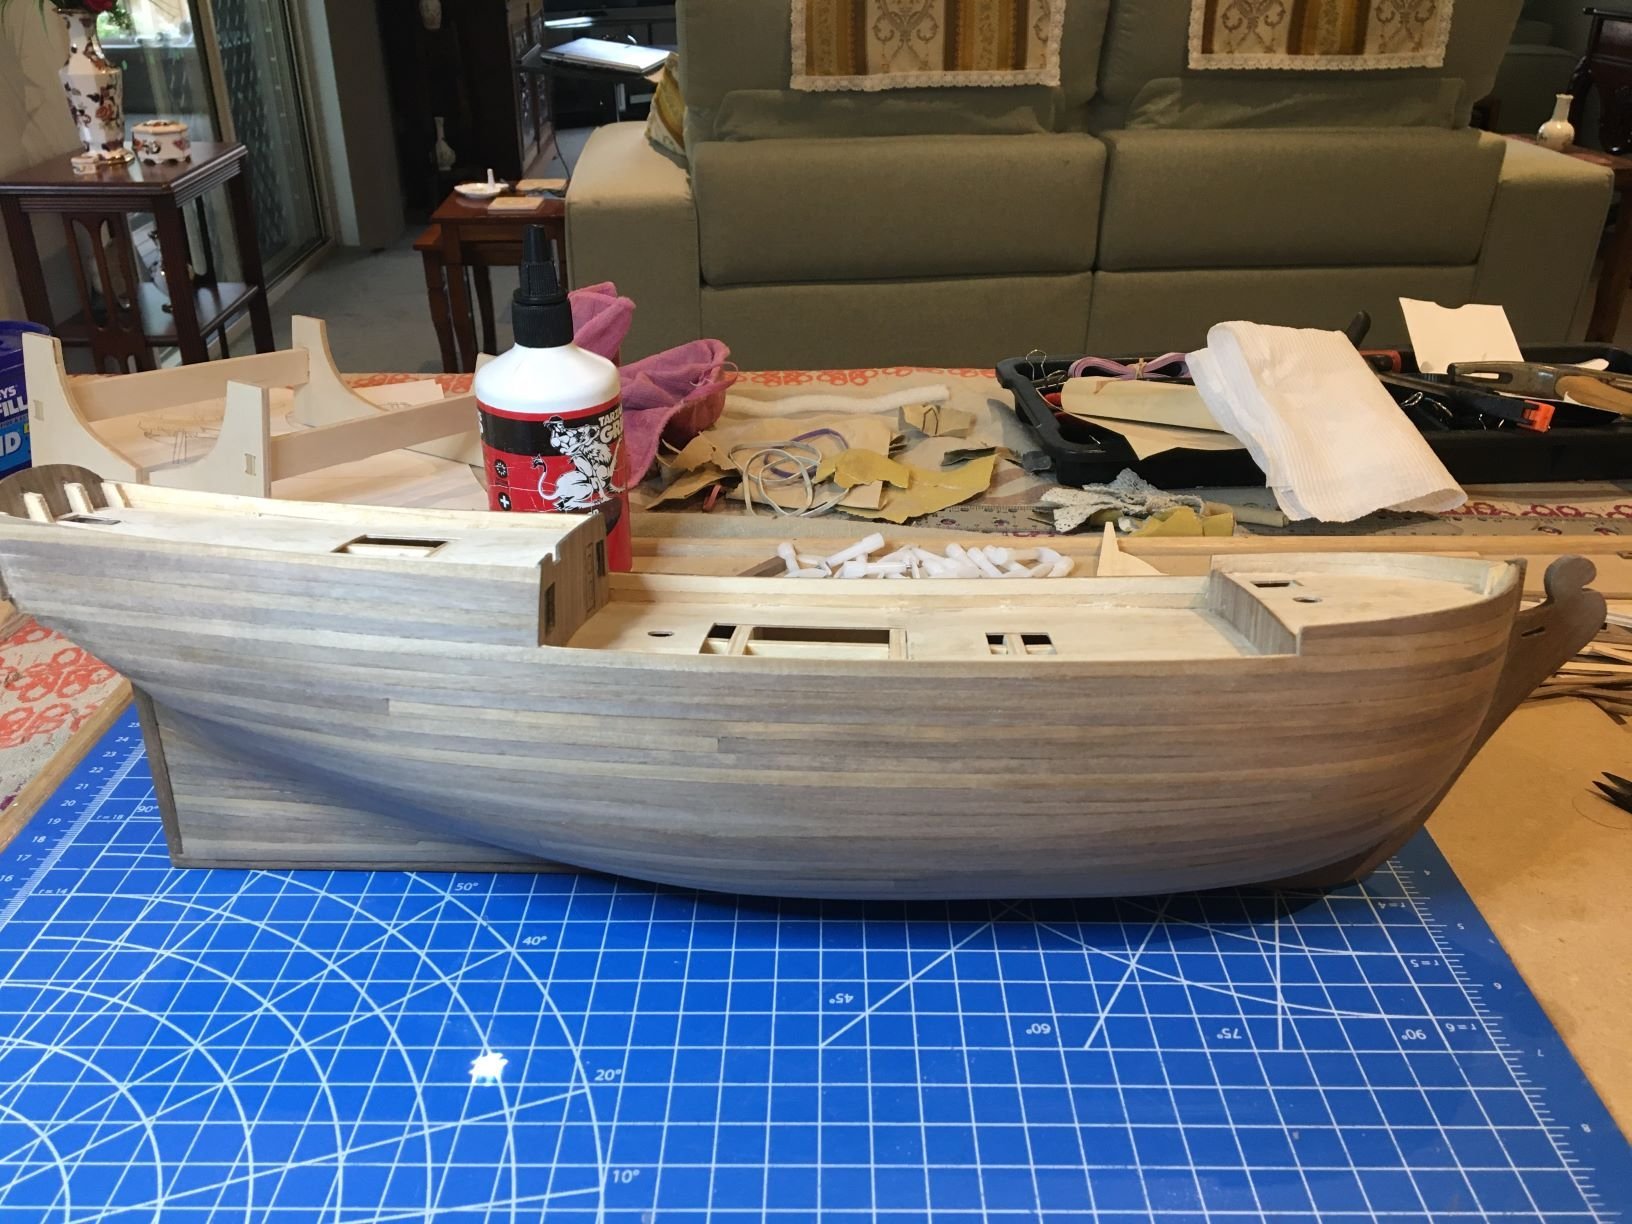
Thanks Mike - but I know where the flaws are! Thanks also to all the people that reacted to my build log - Dfell, PRS, RichardG, CiscoH, BenD, ccoyle, Bruce d. Thanks in particular to Dfell - I have been frequently using your super build of HM Brig Supply to assist with my build. Planking fitted to the inside of the bulwarks and started the deck planking .....
- 53 replies
-
- 4
-
-
- Supply
- Caldercraft
- (and 1 more)
-
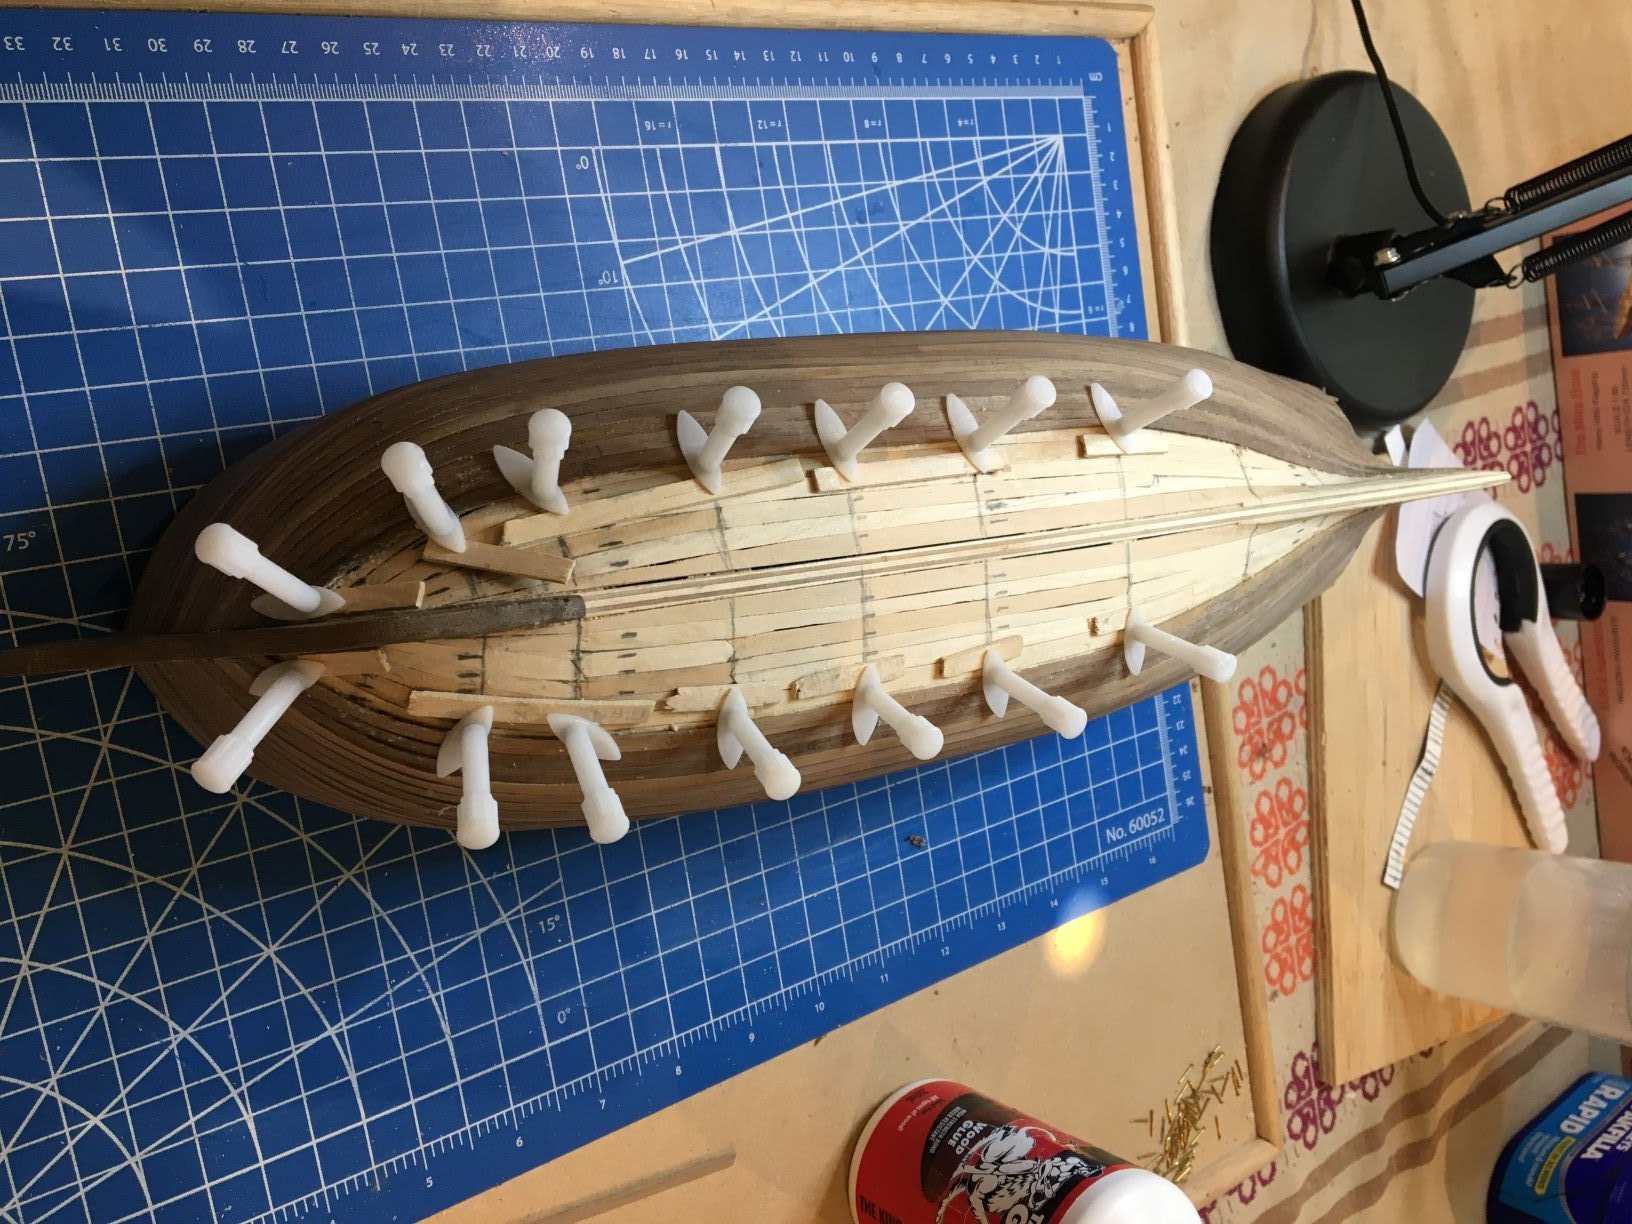
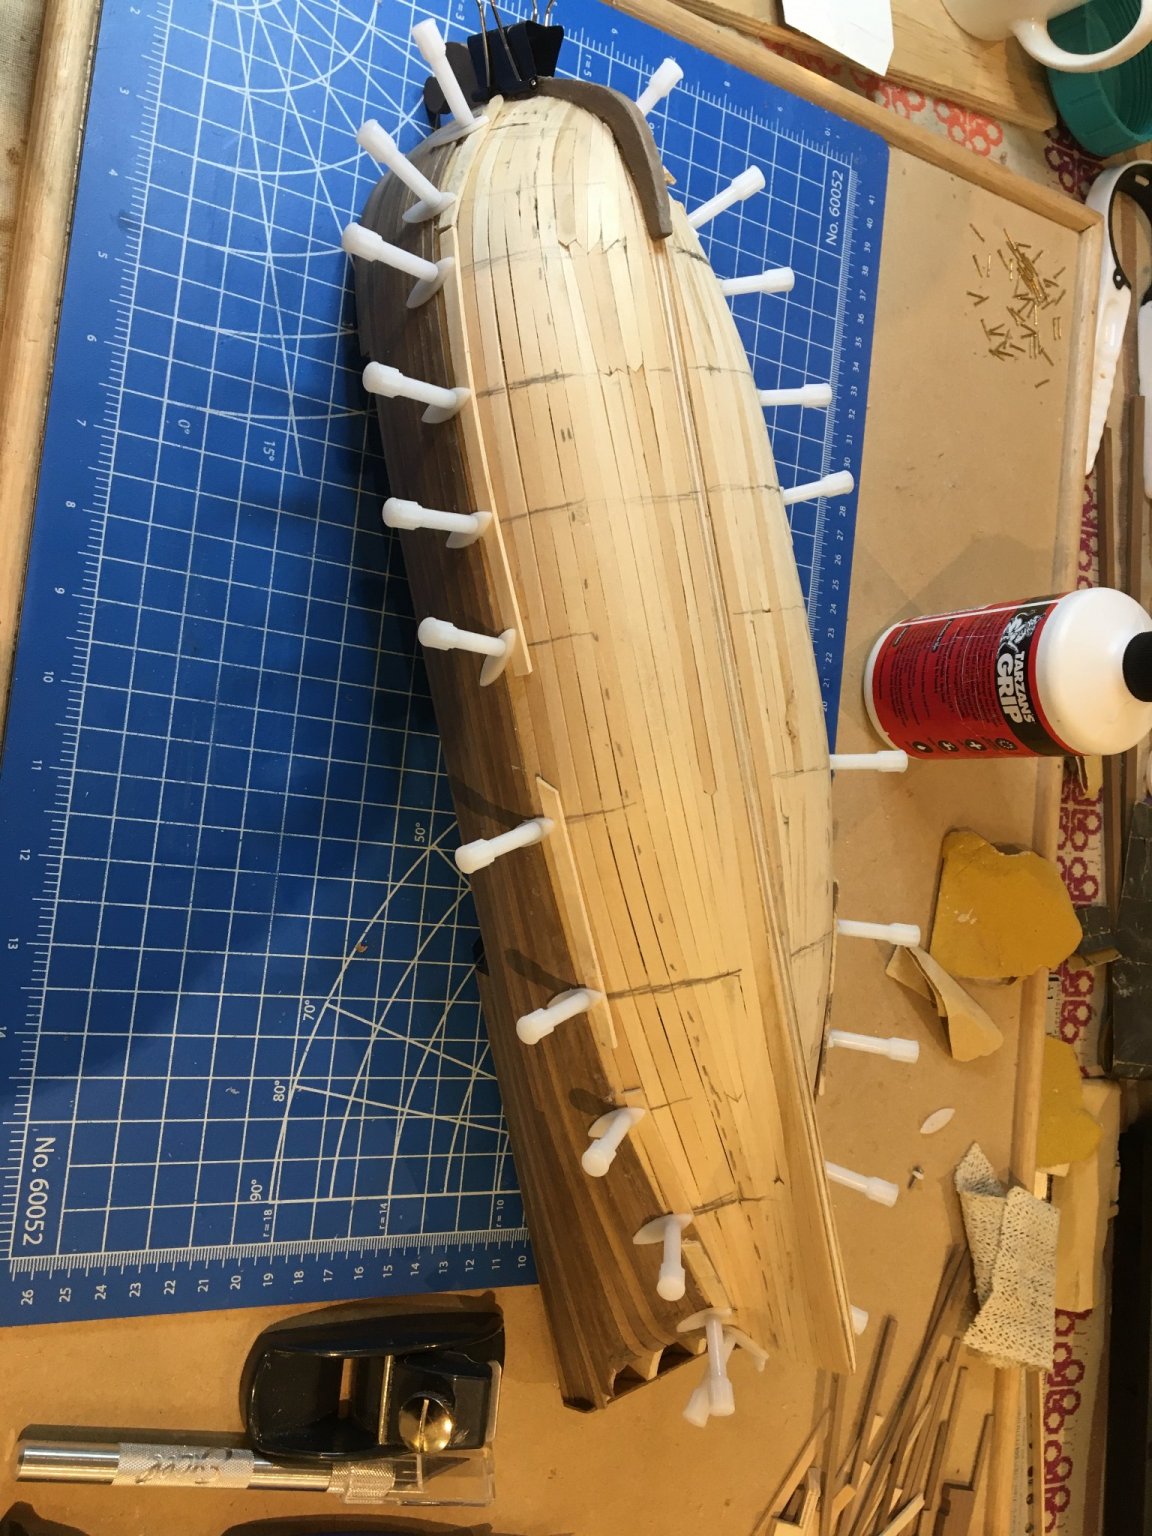
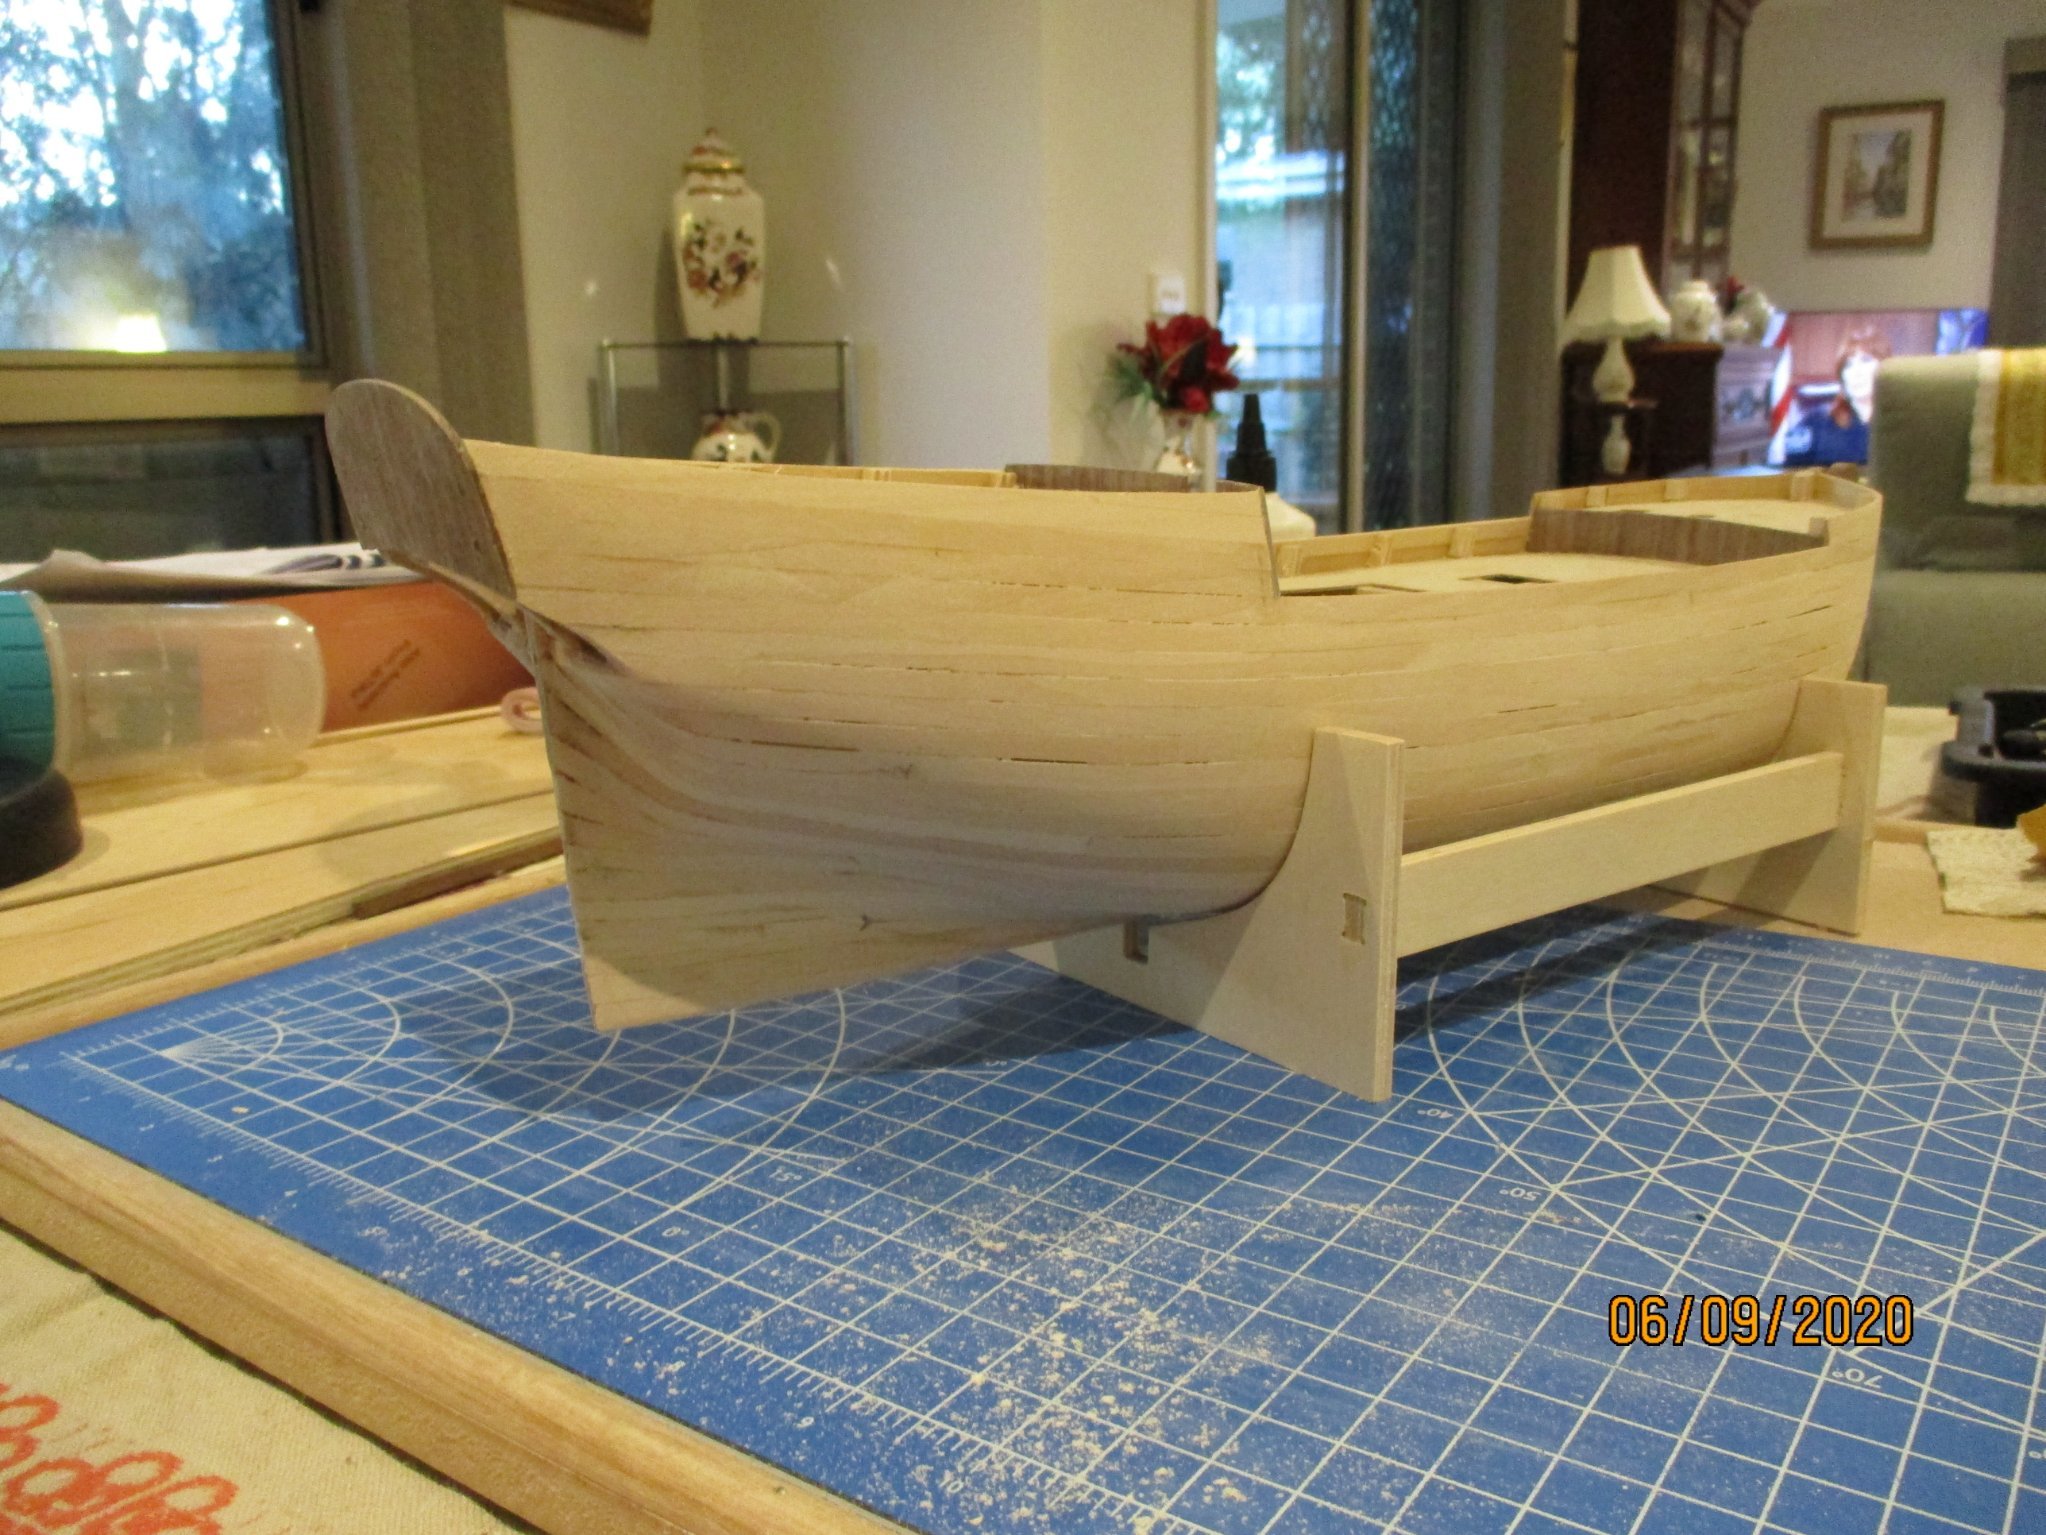
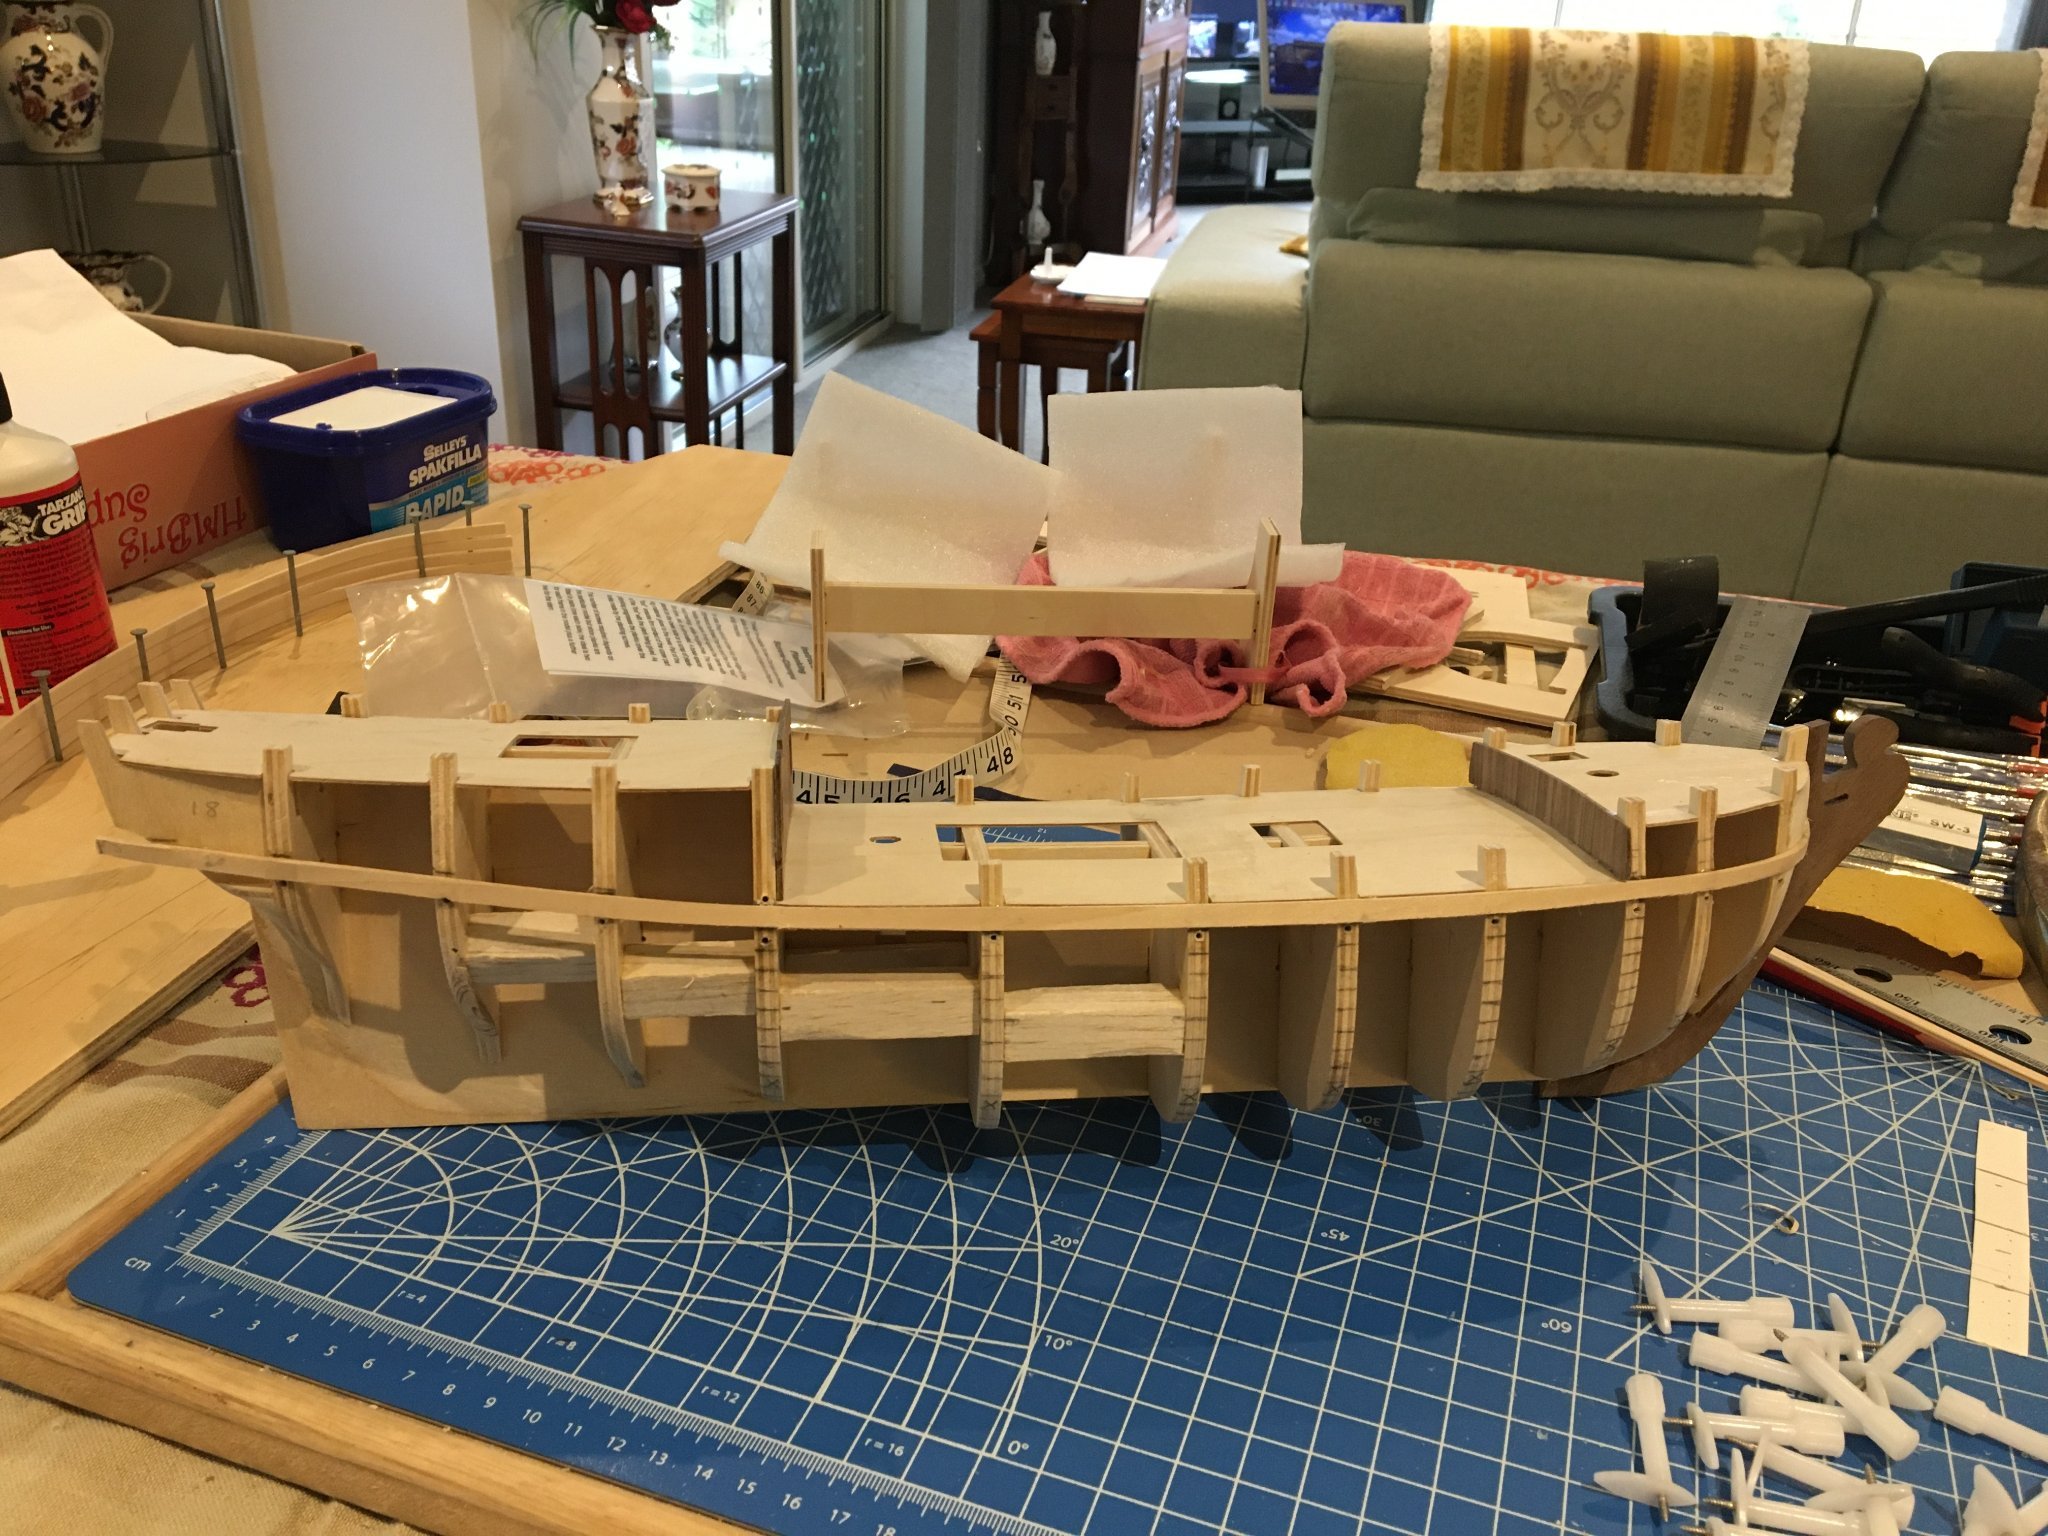
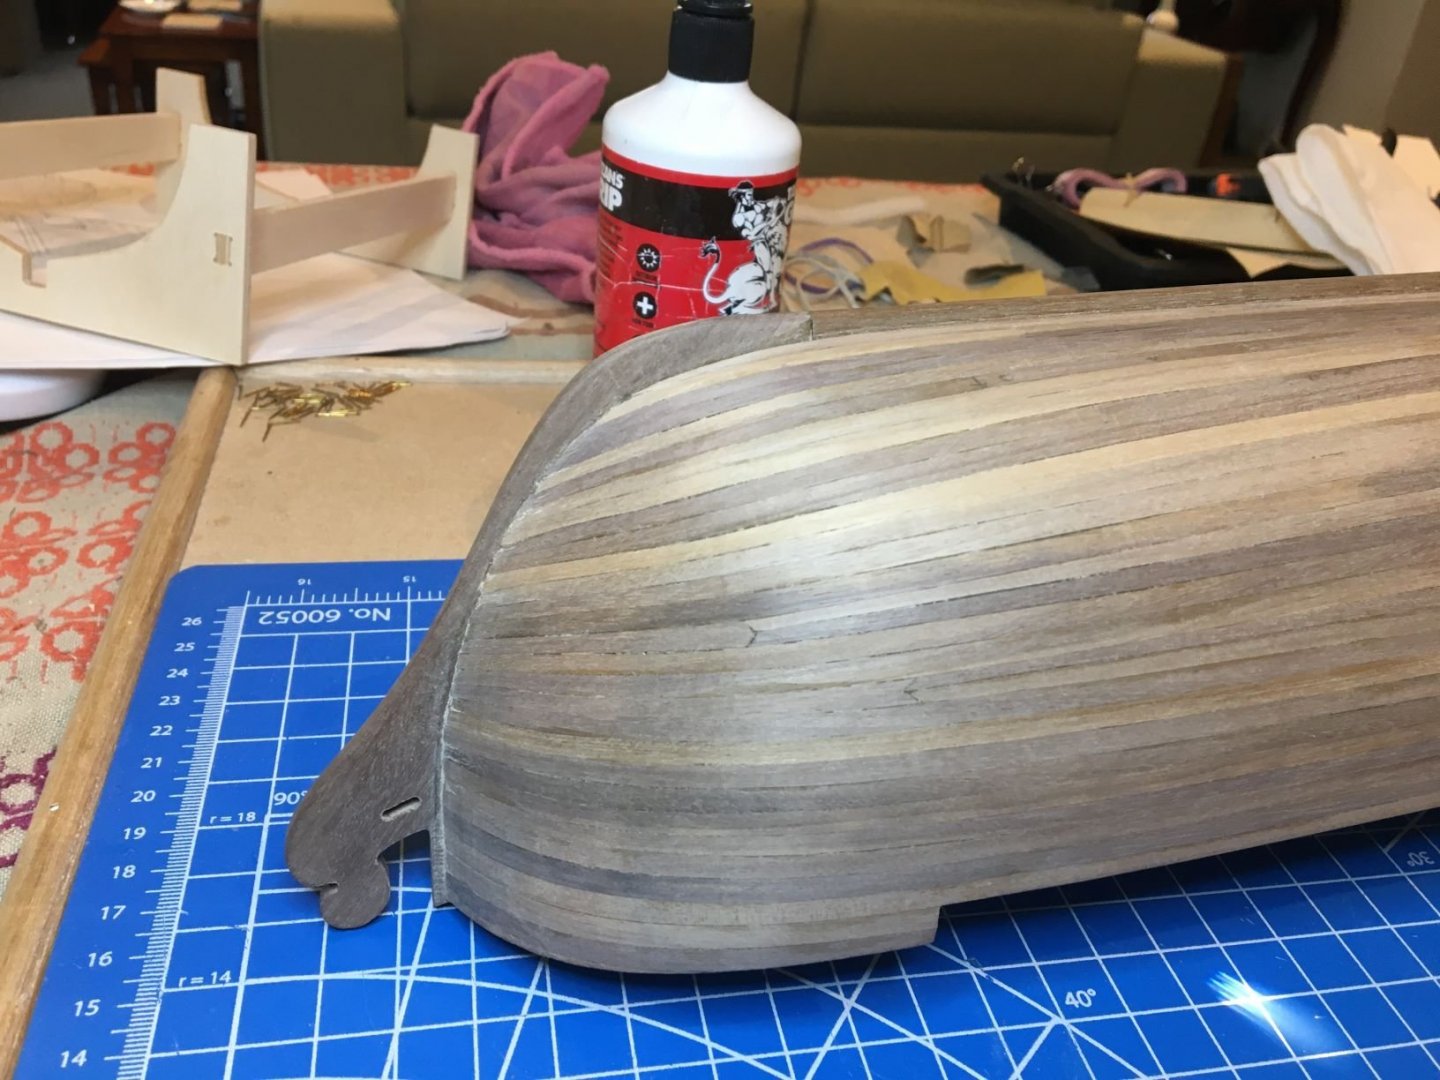
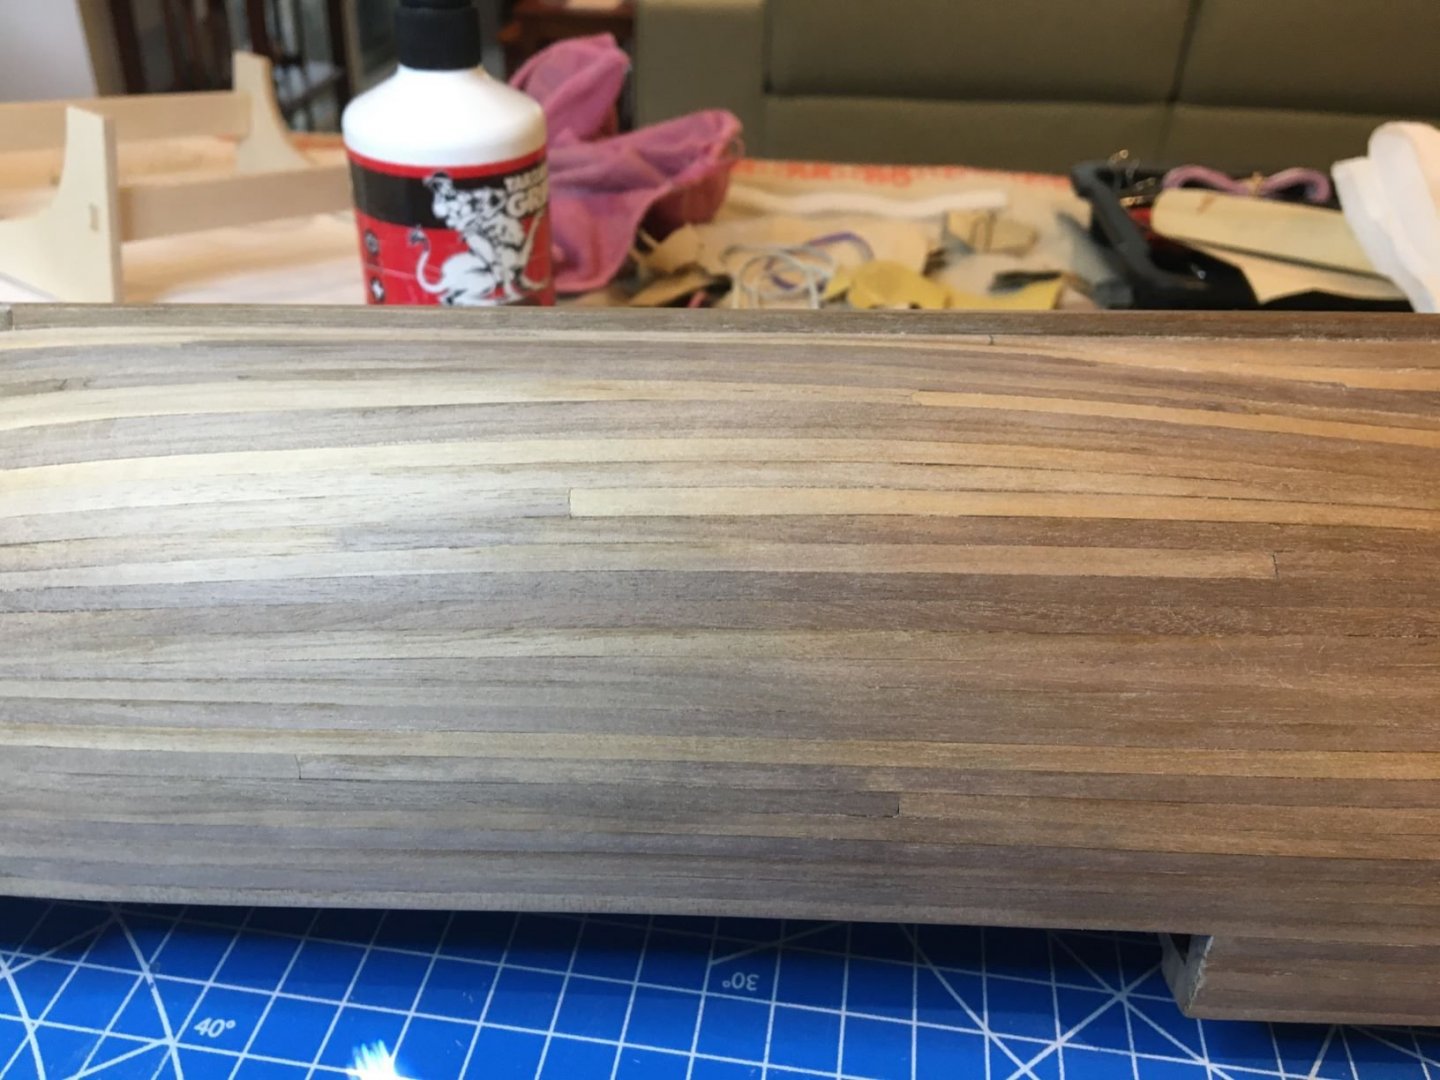
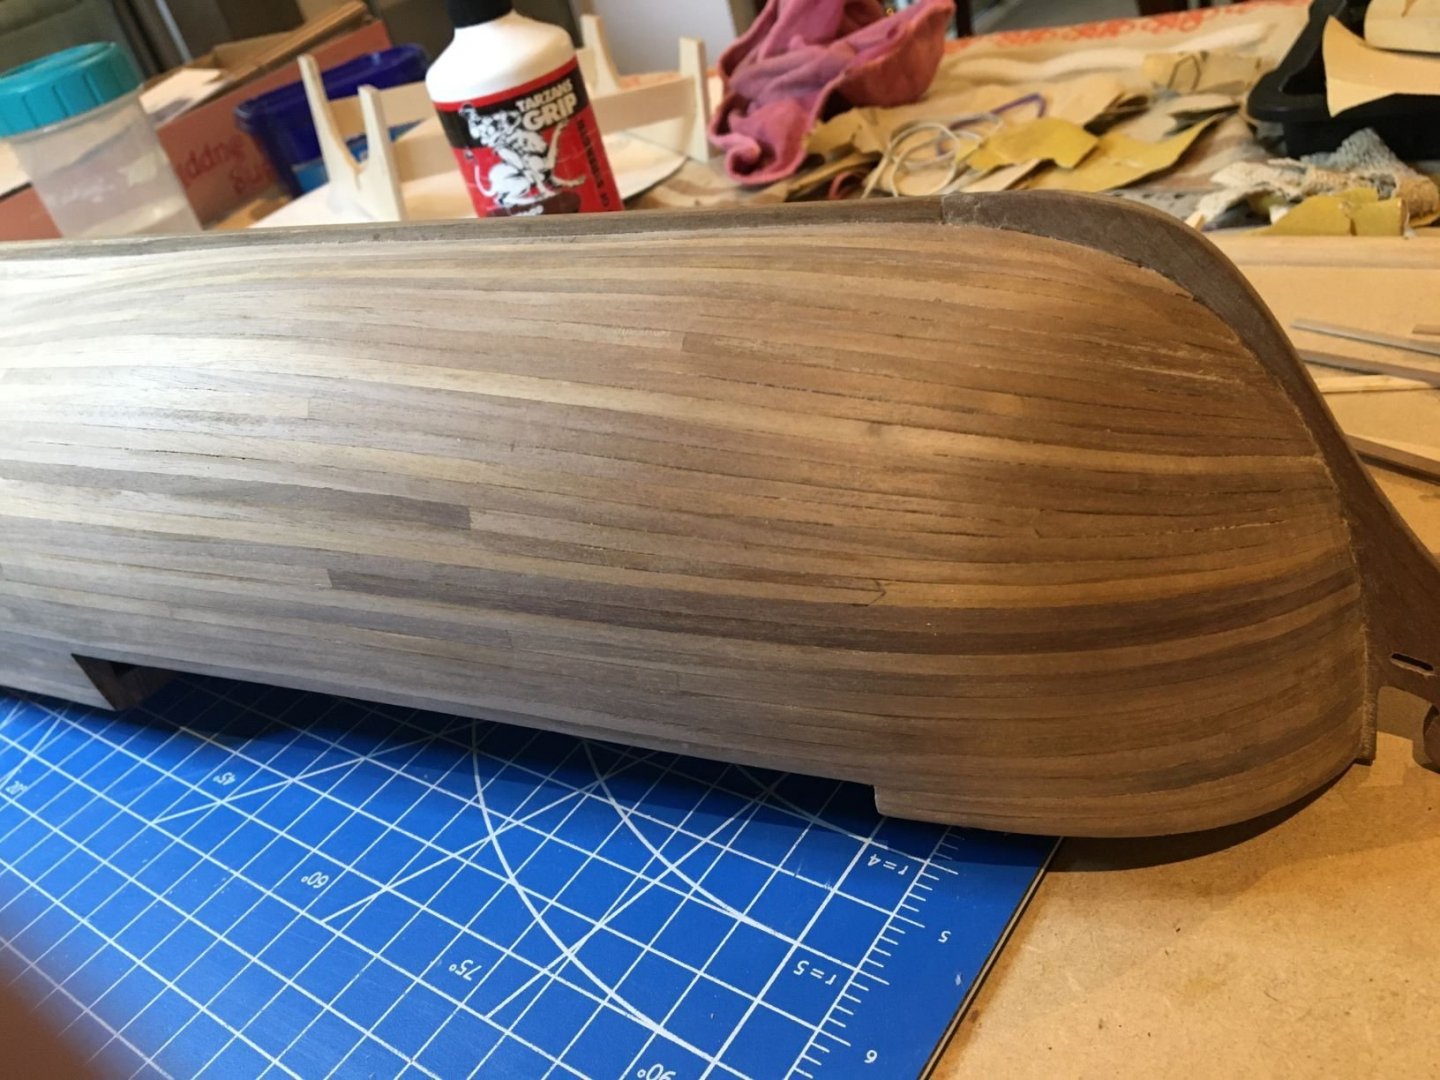
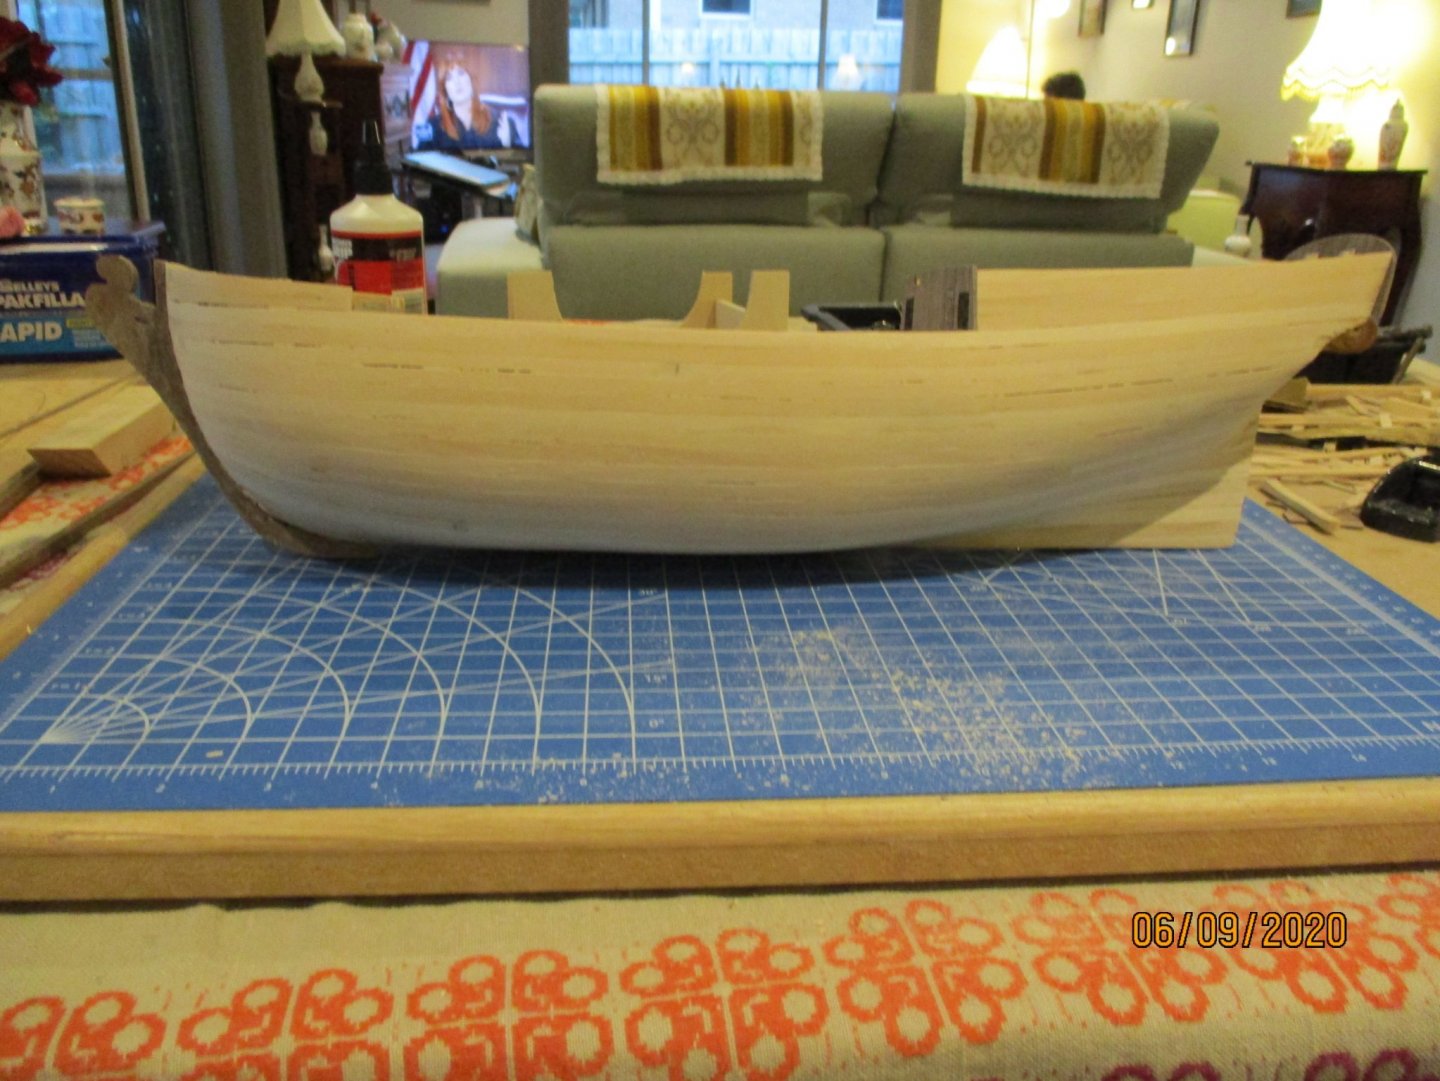
Keel on and and 2nd planking closed up. Replaced a couple of the earlier planks that looked a bit rough.

- 53 replies
-
- 7
-
-
- Supply
- Caldercraft
- (and 1 more)
-
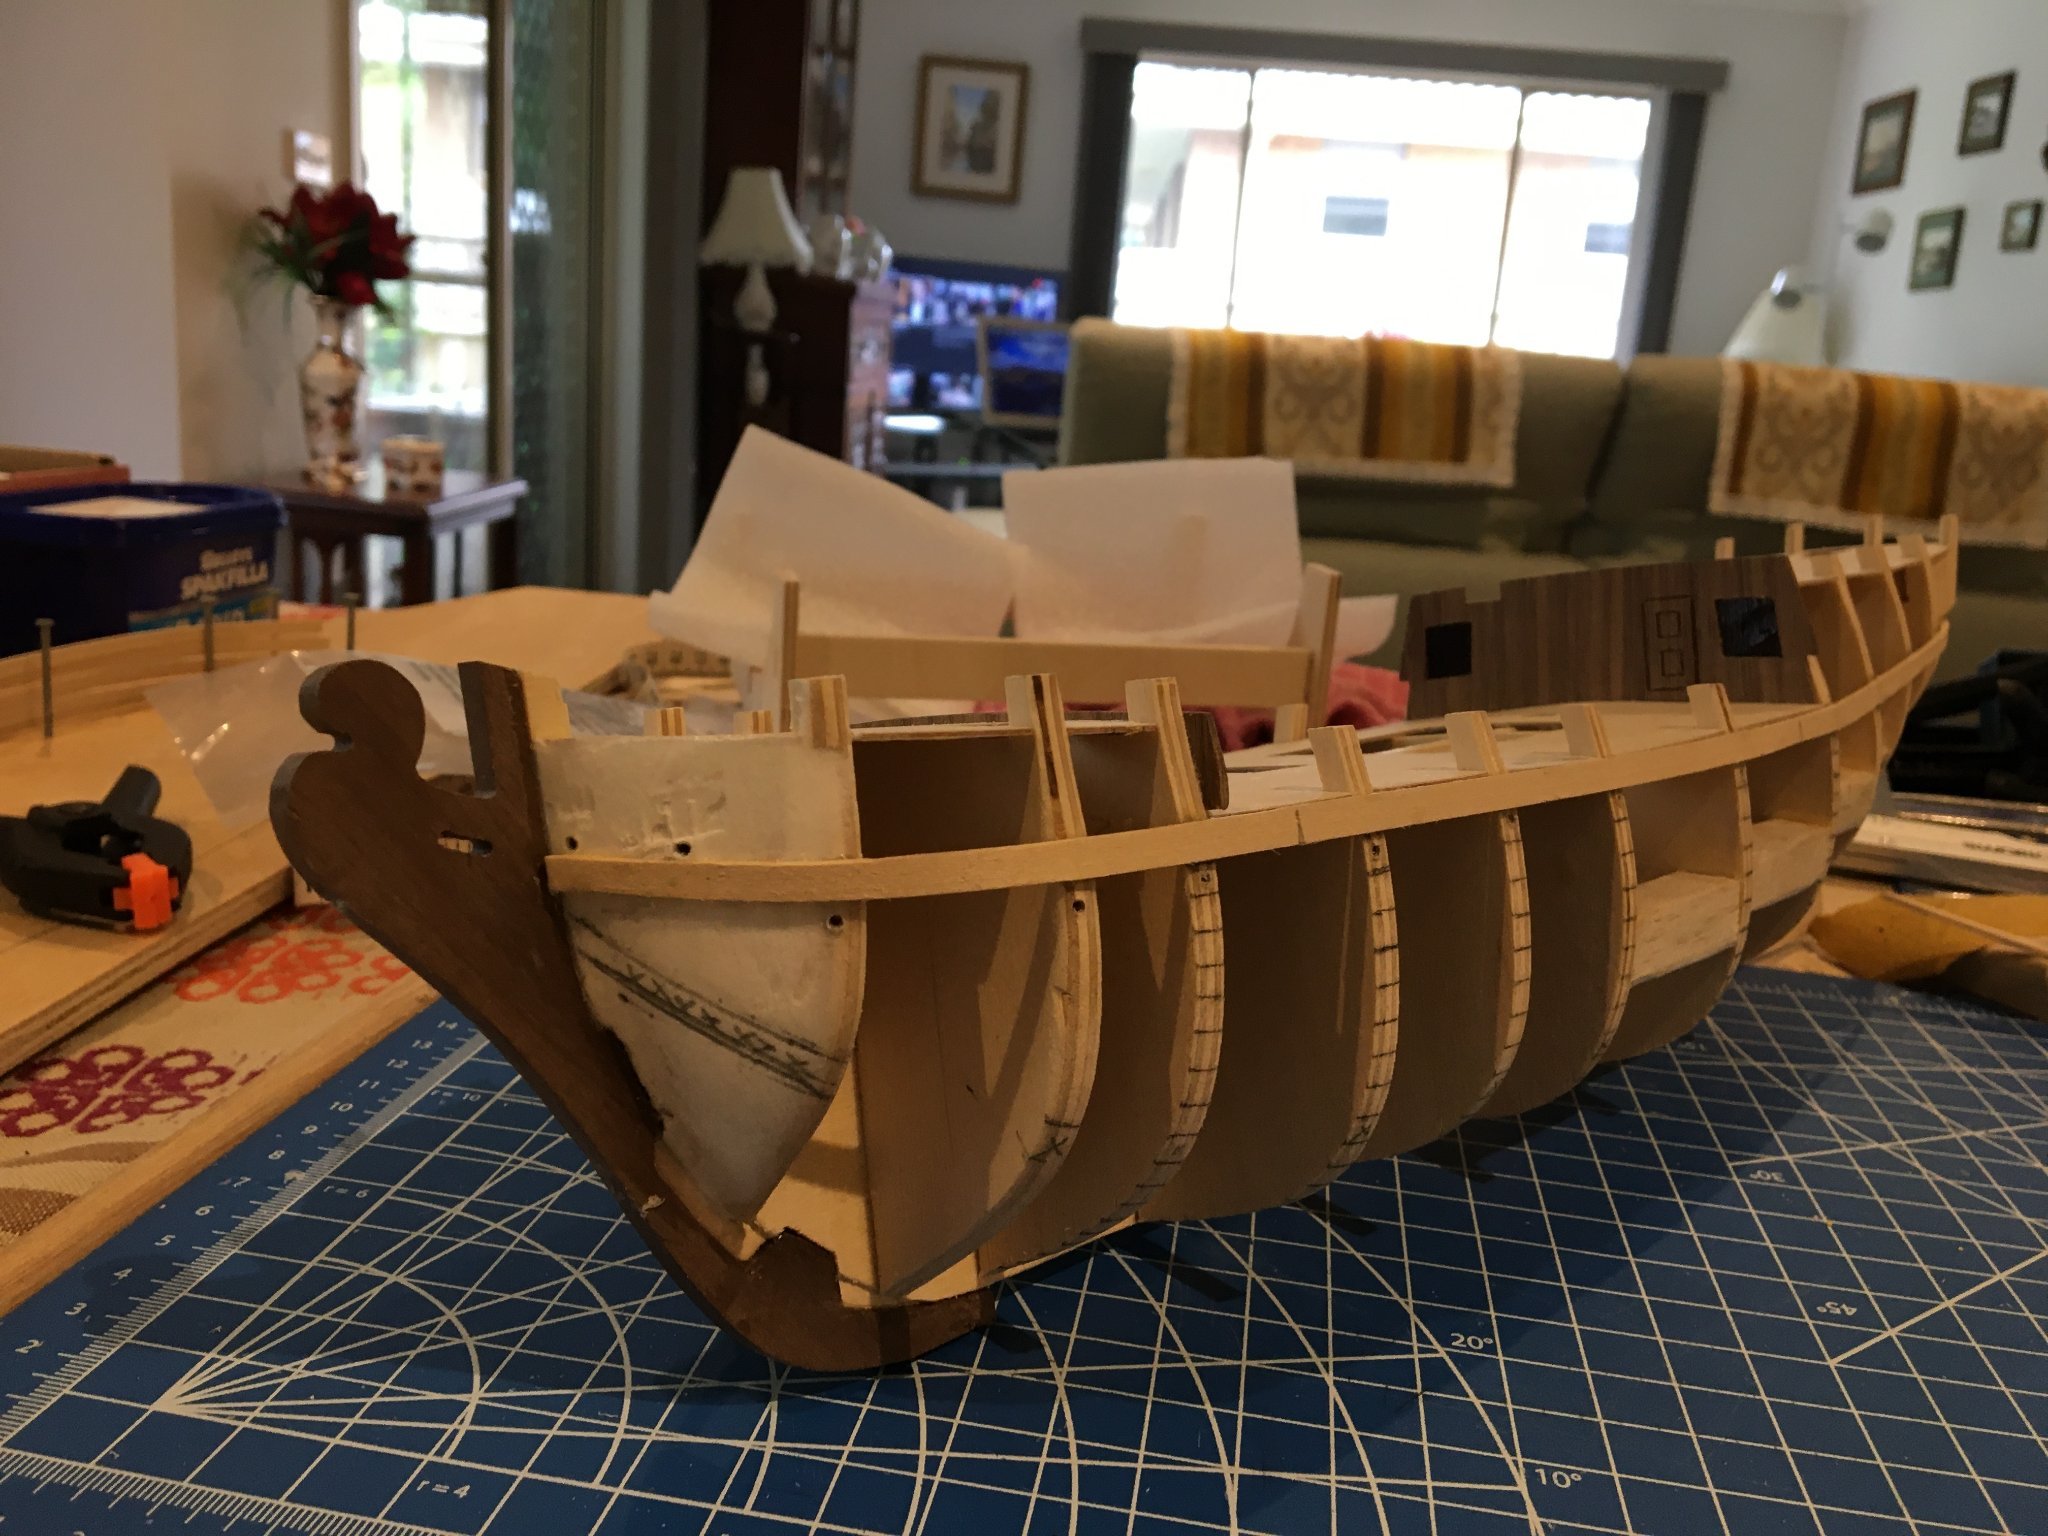
Getting closer to the keel, so had to measure carefully and apply the correct taper to the planks at the bow and add in some stealers to the stern. Trying to avoid having to insert any odd bits to make the planks line up and finish properly next to the keel.

- 53 replies
-
- 6
-
-
- Supply
- Caldercraft
- (and 1 more)
-
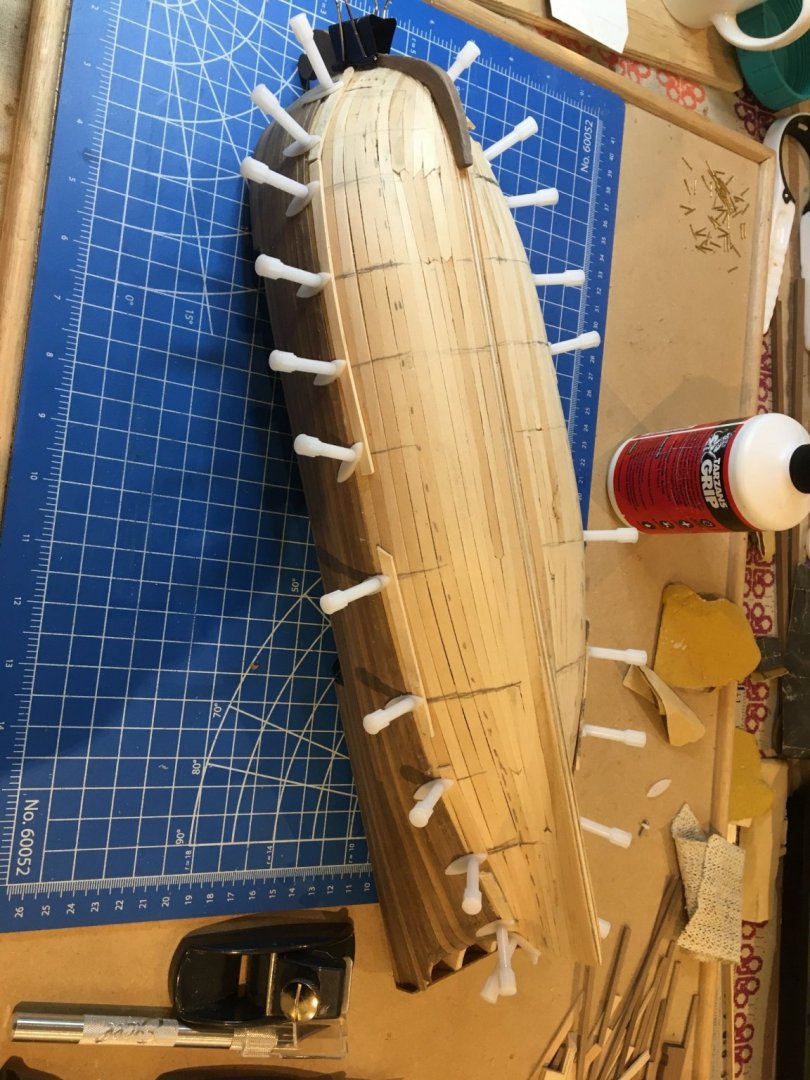
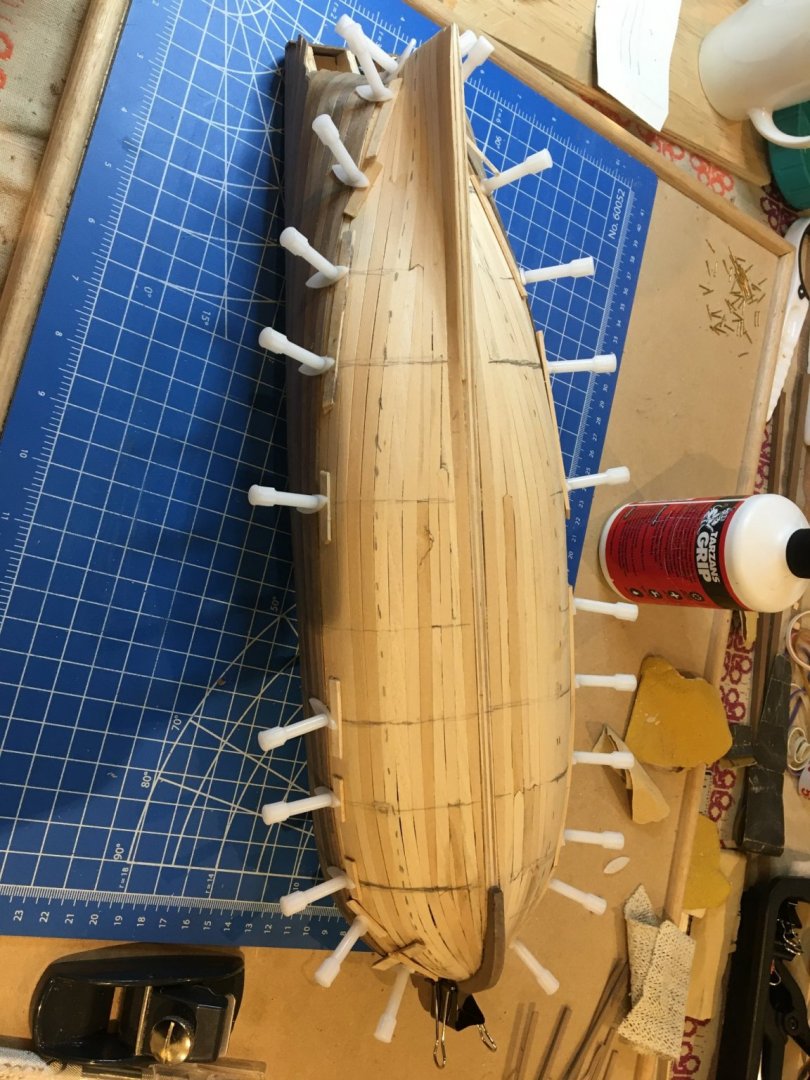
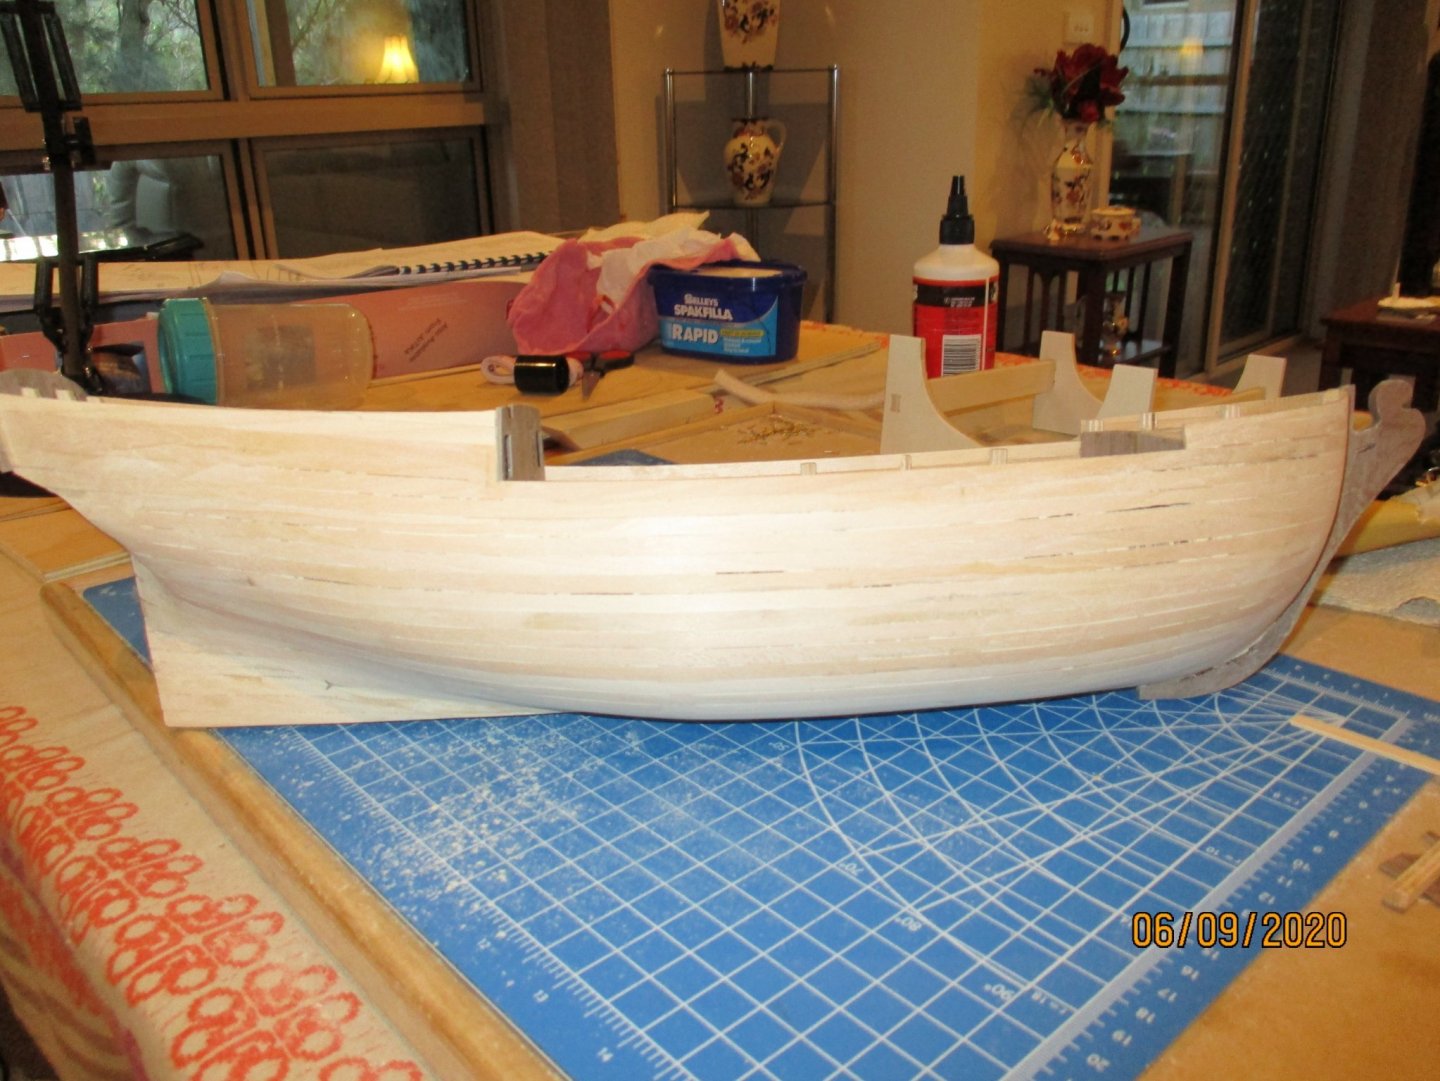
Found a much better way of bending the walnut strips, quite by accident. One strip was particularly difficult and had virtually dried out before I got the right curve. In desperation I made a cup of coffee and, without thinking too much about it, re-bent the strip around the coffee cup. Amazing - the curve turned out just right! After that I bent the rest of the planks, still dry, around the hot coffee cup and found for me that was the best way and didn't need to wait for each plank to dry. The cup had straight conical sides and by moving the strip up or down and holding it there for a short time, could get more or less curve as needed. I have realised that some of my photos are probably breaking the rules by being too many pixels. Sorry moderators. I have now reduced the size to what I hope is acceptable.,

- 53 replies
-
- 7
-
-
- Supply
- Caldercraft
- (and 1 more)
-
Hi Mike Thought I would have a look at your Lady Nelson build log. Love the modified version especially the hot tub. Can imagine sitting there just waiting for the rum bosun to shout "spirits up" again! Richard
-
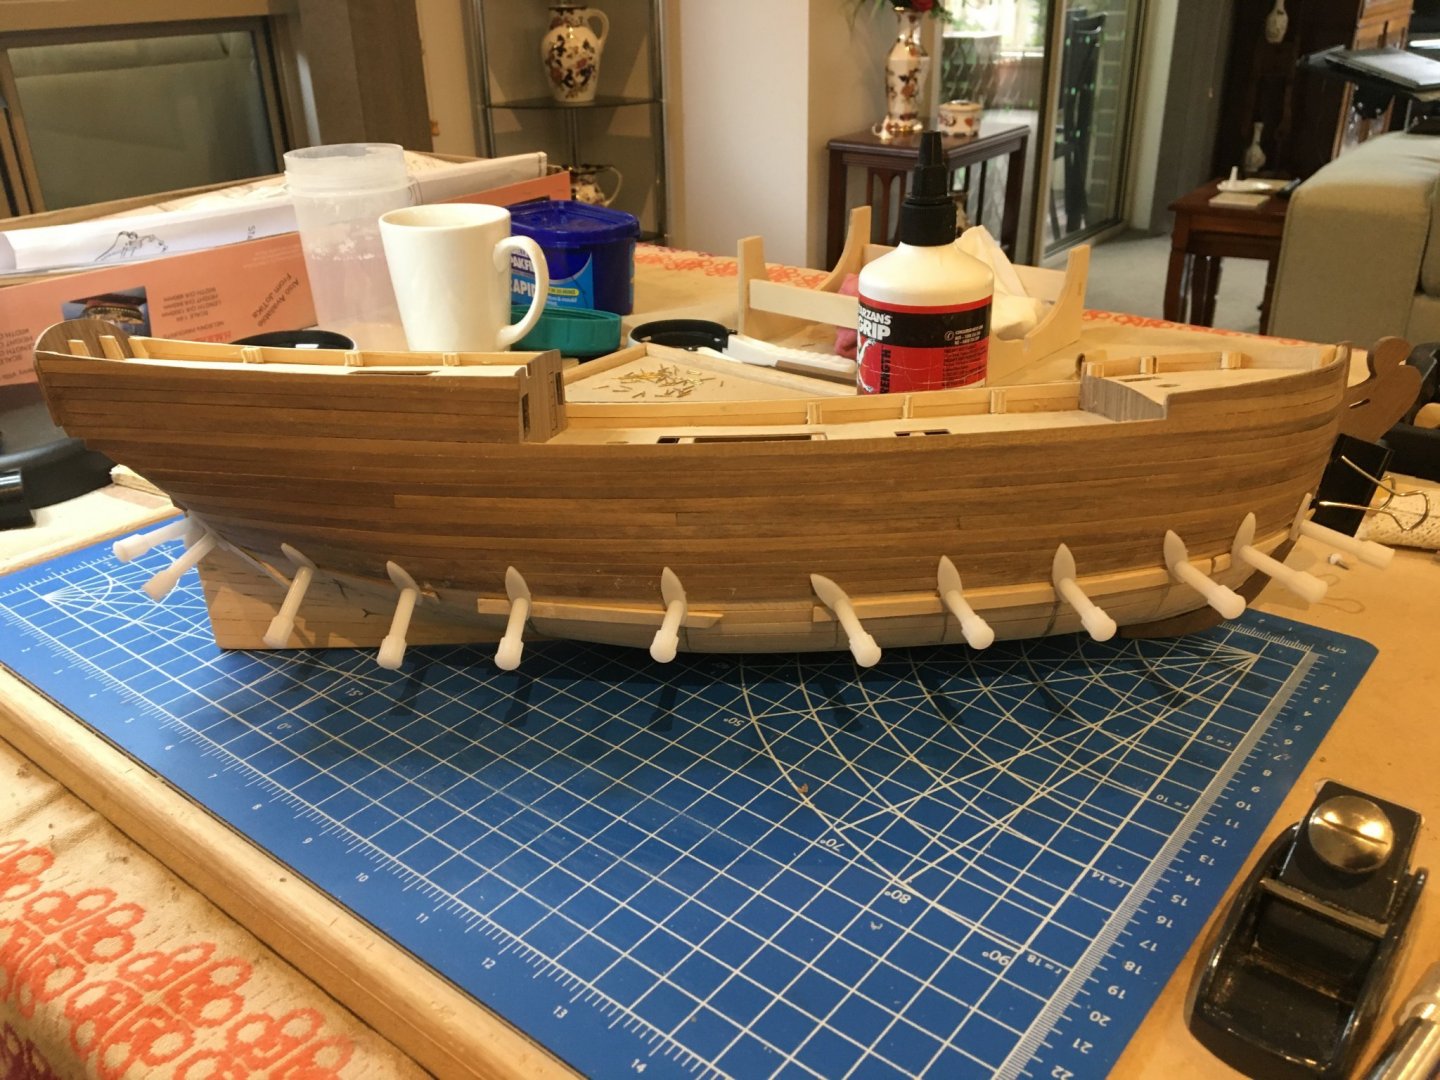
Careful sanding after the first planking made the whole hull look much better. The thinner walnut strip - 1mm x 4mm - for the second planking was much easier to bend after a short time in hot water. Started to really enjoy the second planking and made slow and steady progress. Used PVA glue for everything so far and by allowing the planks to dry out before placing the next row, managed to minimise shrinkage. Quite pleased with this as I really wanted to avoid using any filler.

- 53 replies
-
- 7
-
-
- Supply
- Caldercraft
- (and 1 more)
-
Hi Mike Thanks for your comments and welcome - hope you find my log useful. Richard
- 53 replies
-
- 1
-
-
- Supply
- Caldercraft
- (and 1 more)
-
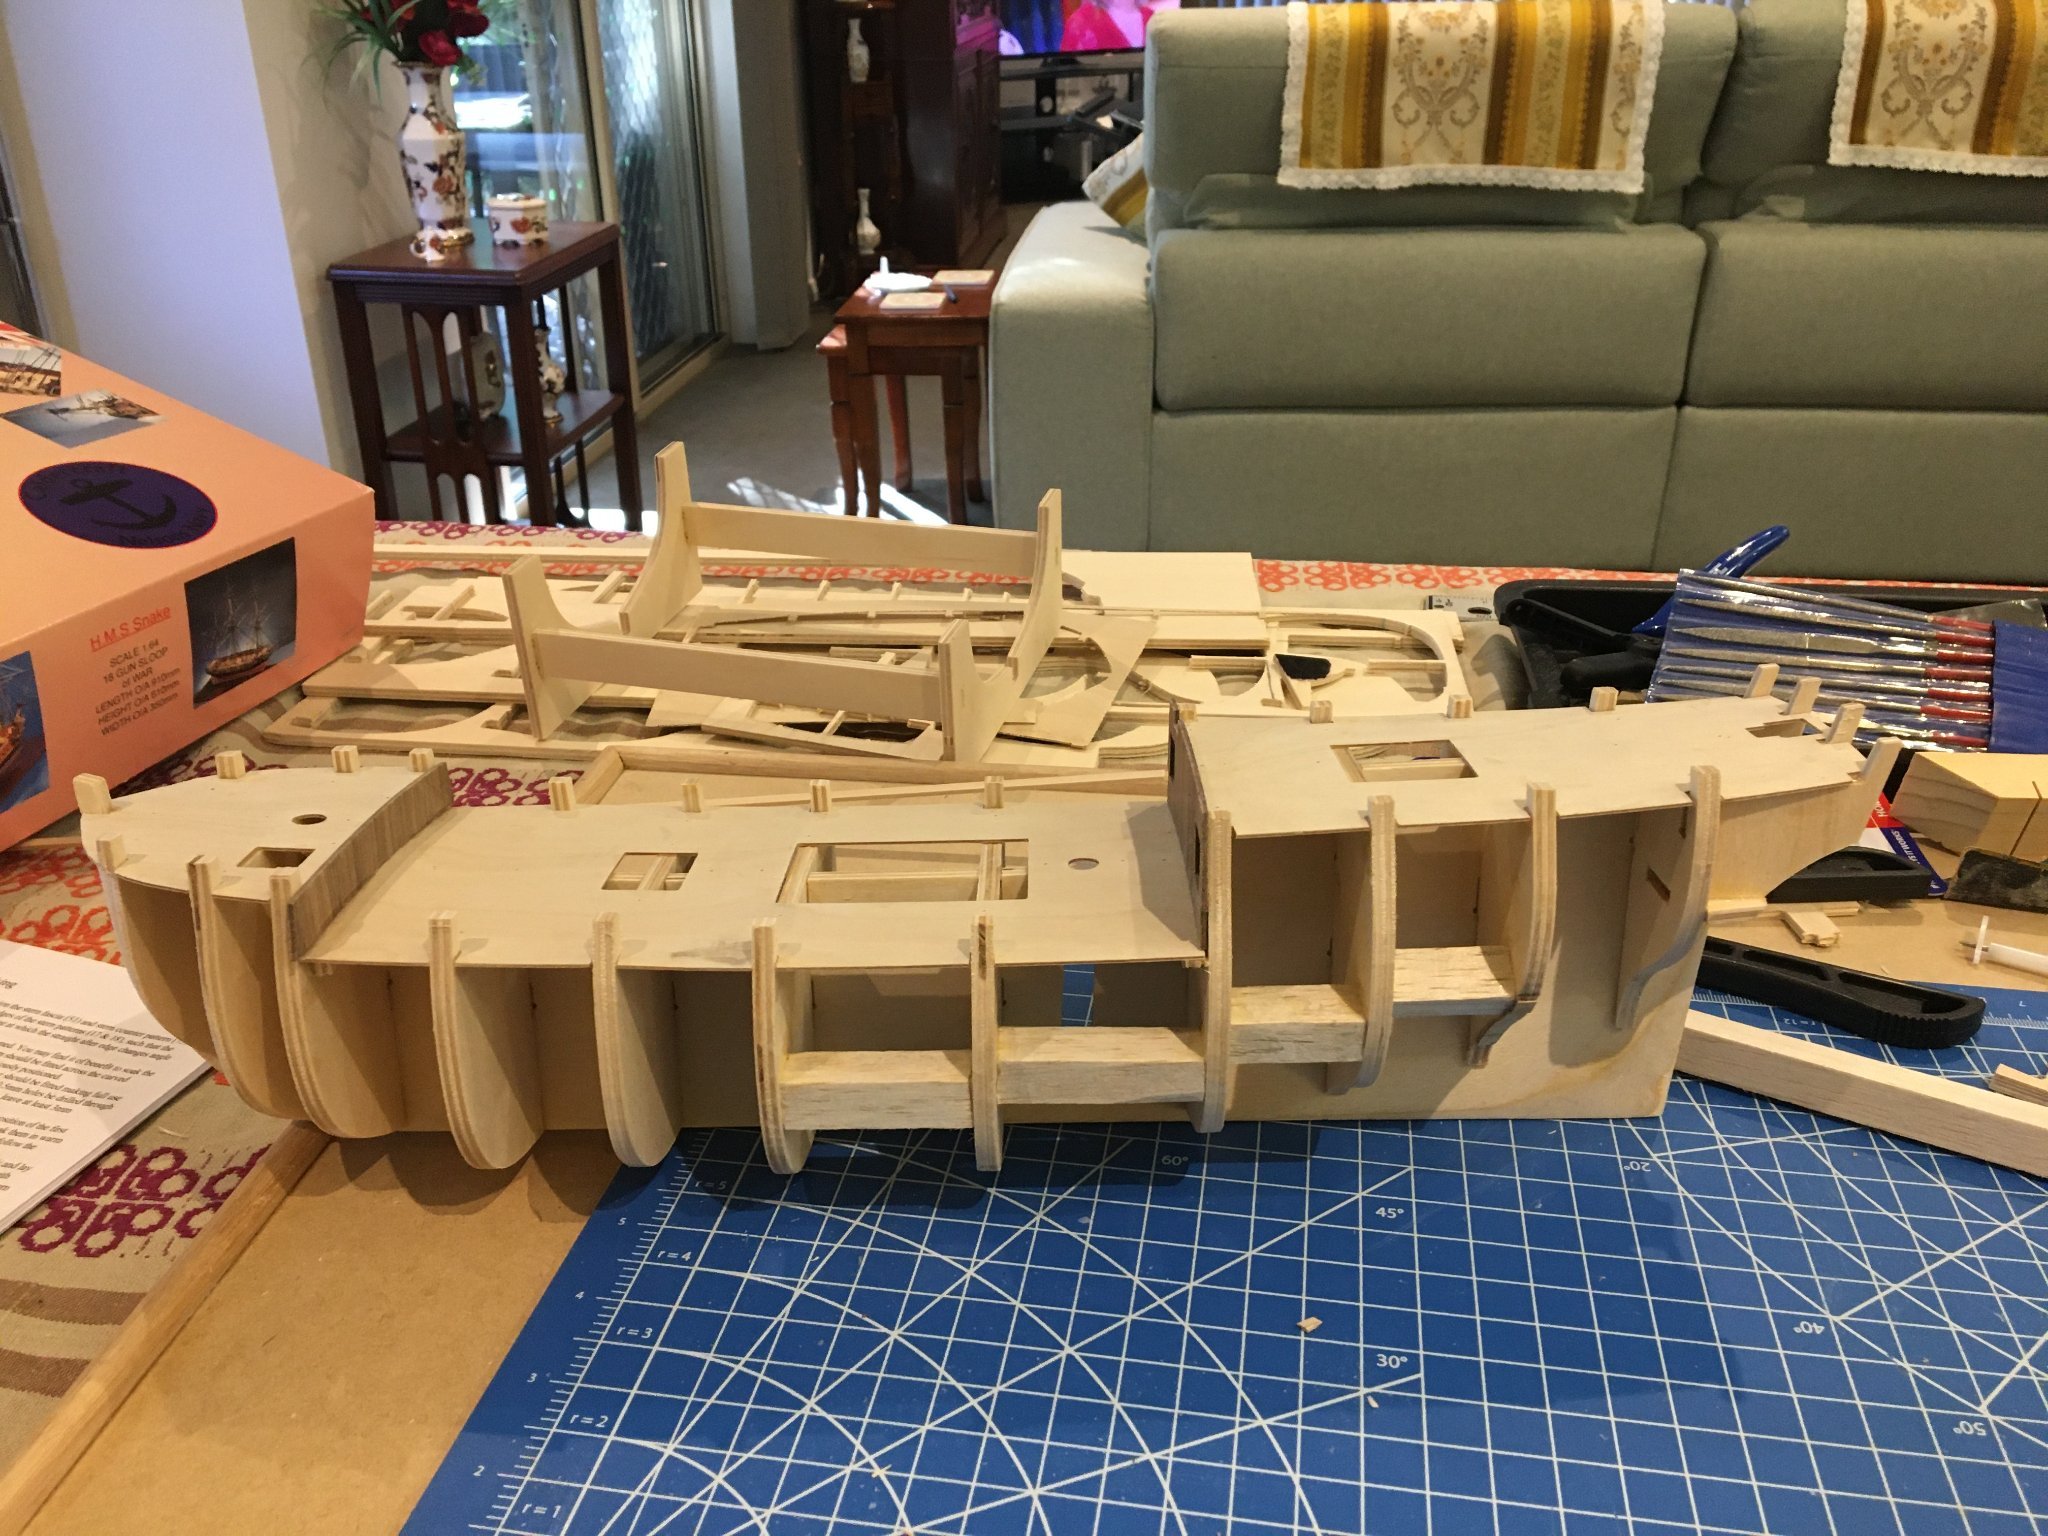
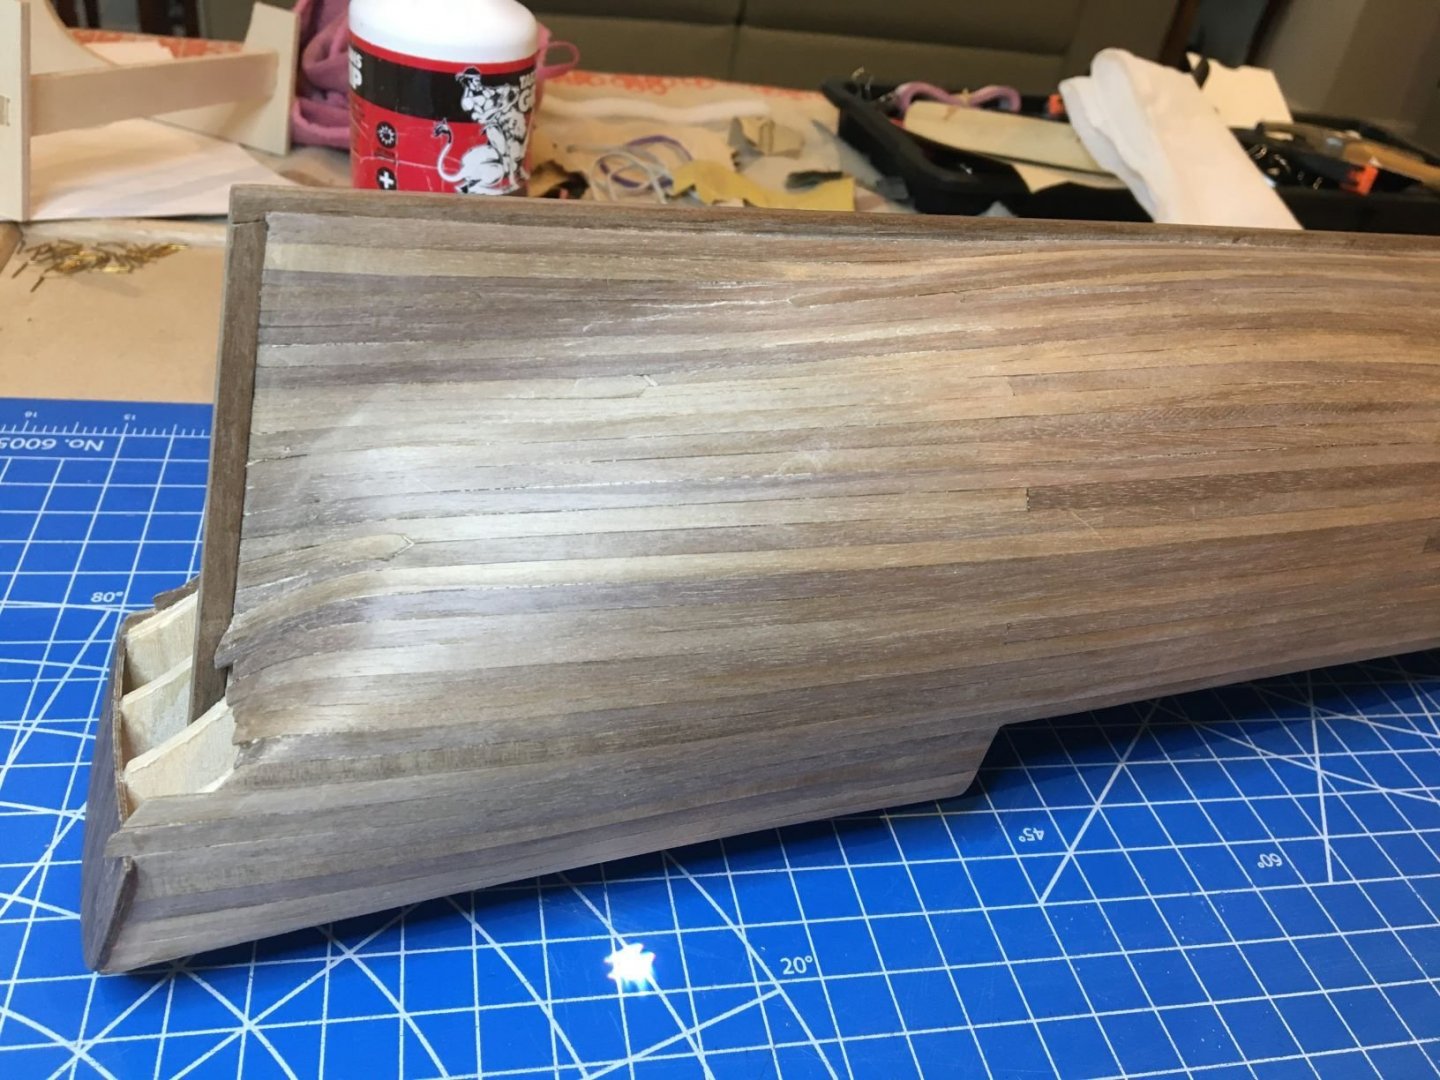
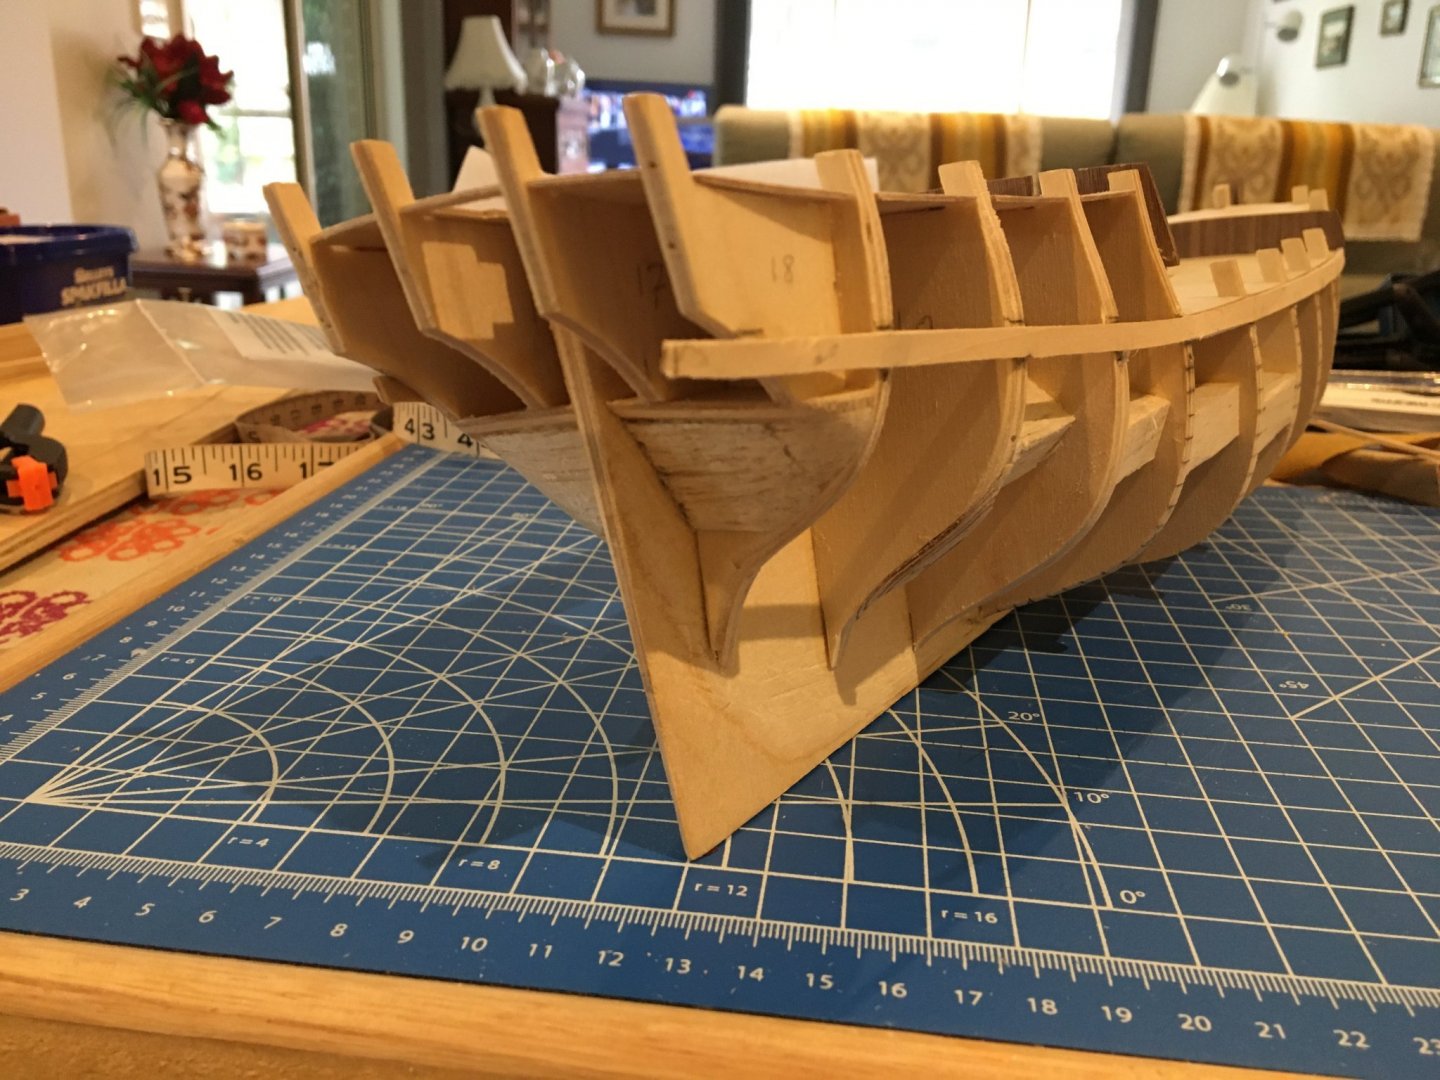
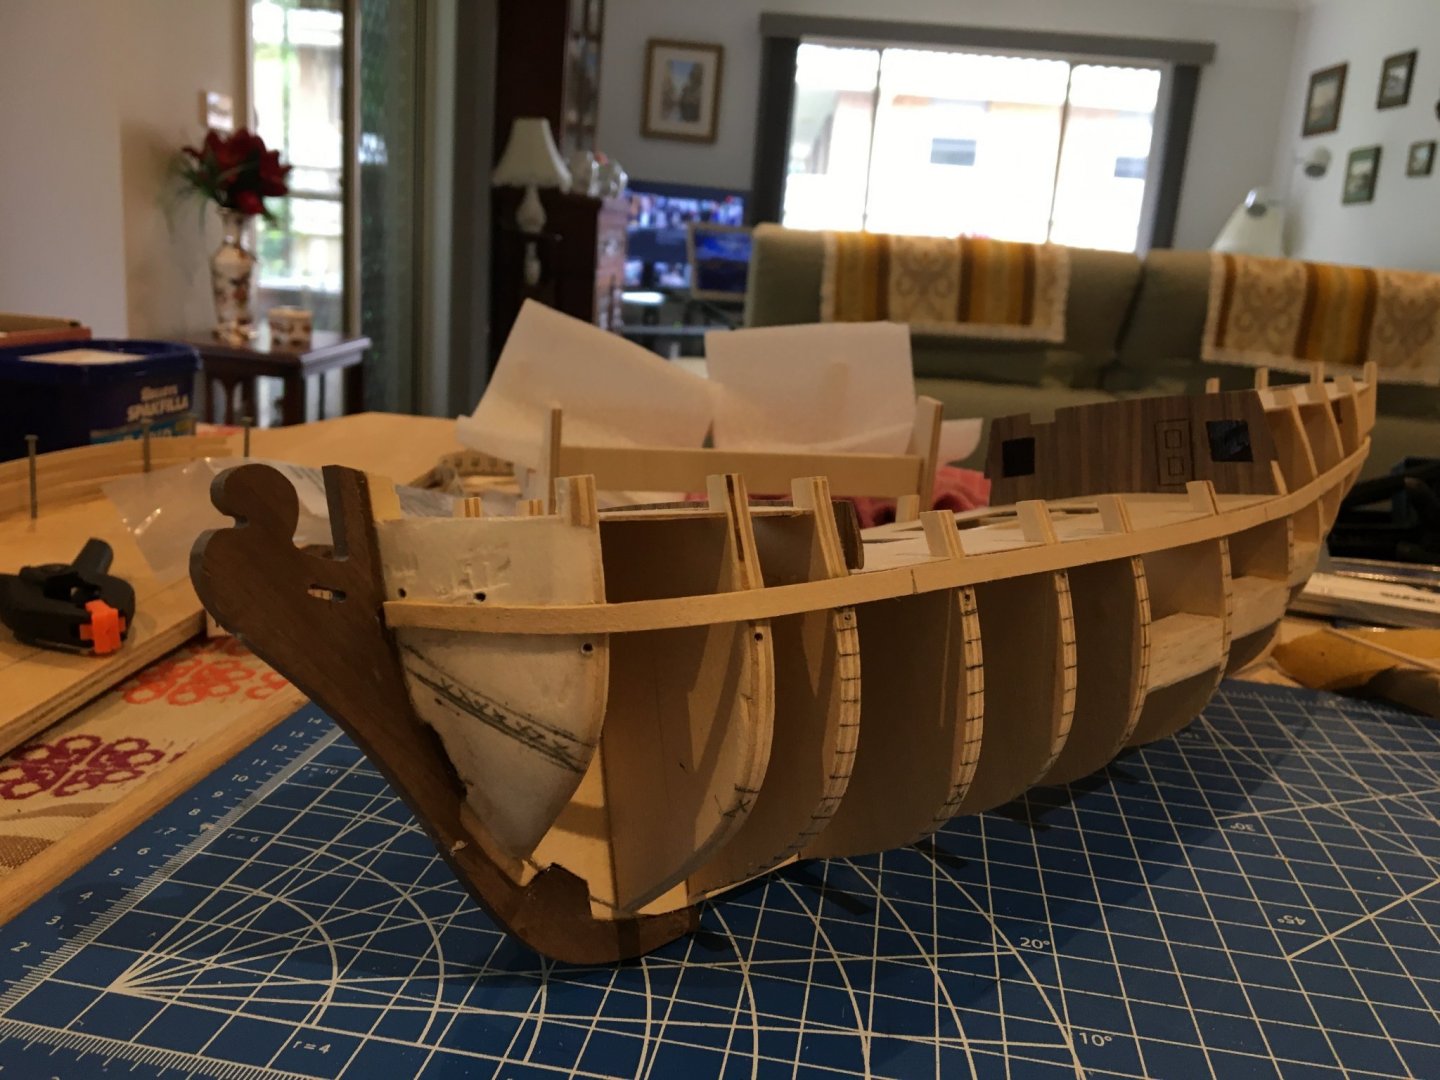
The keel had a slight bow in it - hence the balsa blocks between the bulkheads to straighten it up. Thanks to other Supply builders logs for this idea. The first planking was a real problem. The limewood broke at the slightest bend so I went online and bought a planking tool but couldn't get on with it and threw it into the bottom of the toolbox. Applying a hot iron was little better. I found a piece of plastic plumbing pipe a bit longer than the planks, stopped up one end and stood it up in a bucket of pebbles, poured in near boiling water and capped it with a mineral water cap. After a few minutes in the hot water the planks bent much easier provided I bent them slowly didn't try to rush it. The only problem I found with this was that the planks shrunk a bit when they dried out. Richard


- 53 replies
-
- 11
-
-
- Supply
- Caldercraft
- (and 1 more)
-
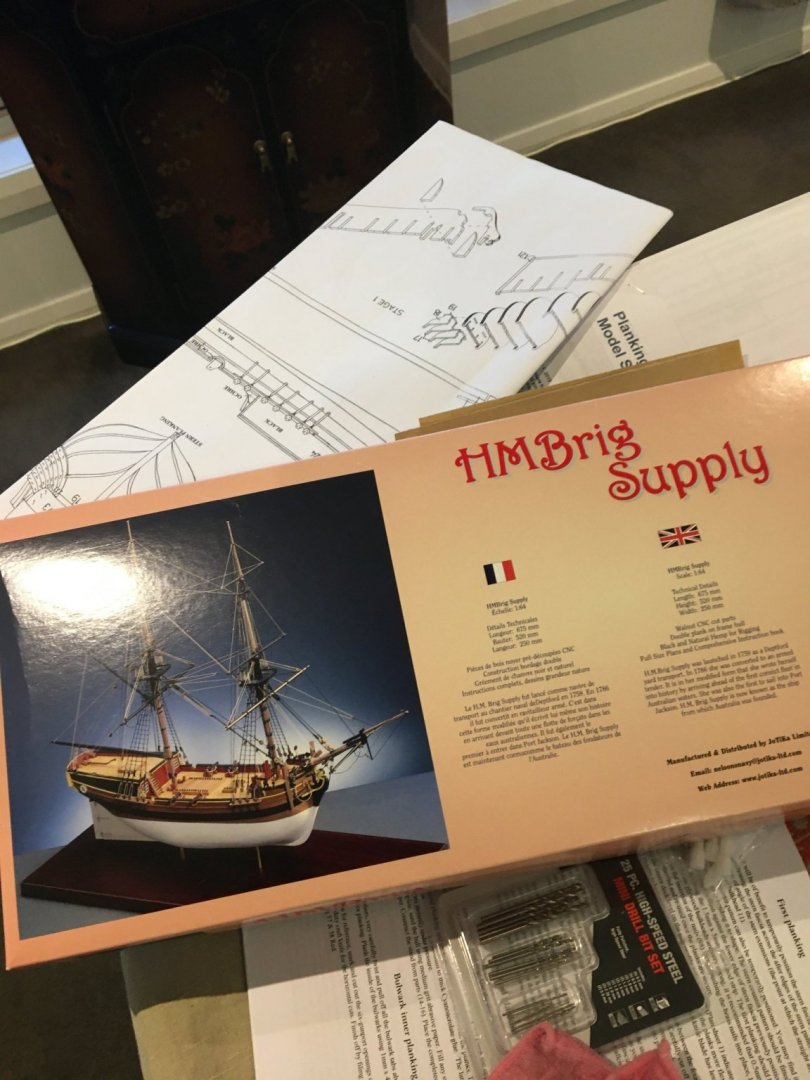
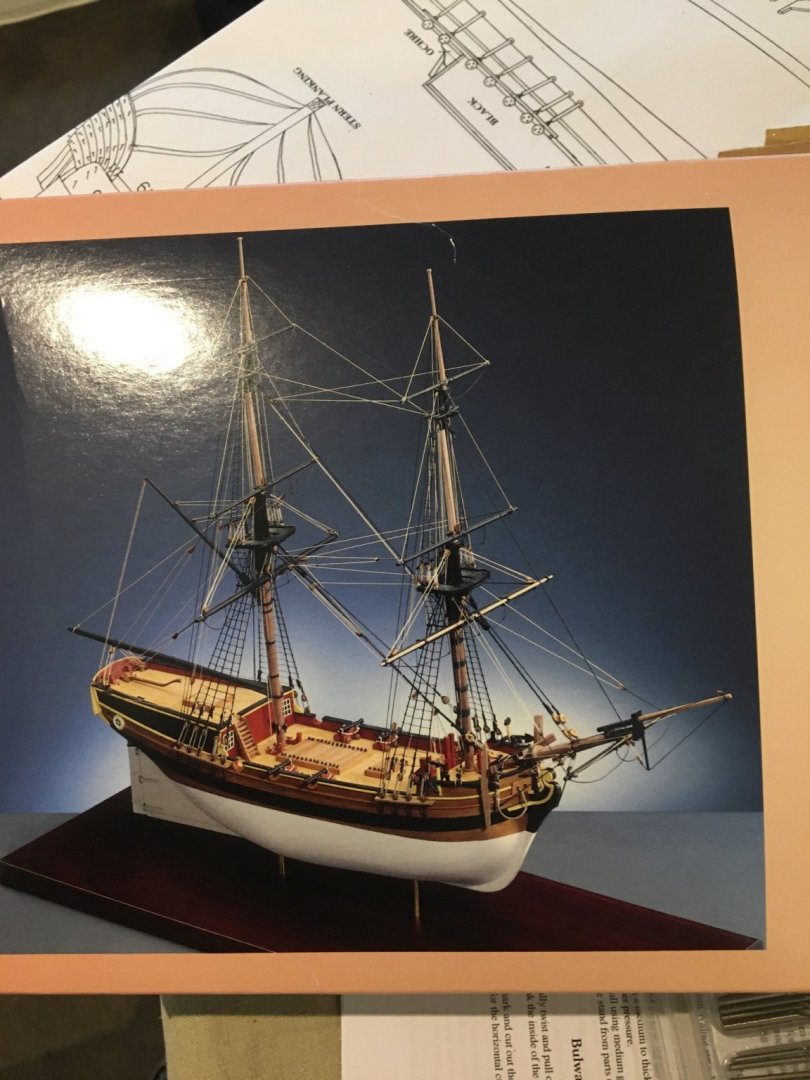
I needed to keep my mind occupied during the long covid lockdown in the Melbourne area from June to October 2020 so I thought model ship building would be good. I built a few balsawood and tissue paper model aircraft when I was a kid (a long time ago) but nothing since so thought a kit would be best and looked for one suitable for a novice. The Jotika website stated "The kit of H.M. Brig Supply has been designed with the Novice builder in mind" so this looked OK. I also like the history of the Supply, linking Britain with Australia, as I also migrated from Britain to Australia later in life. Knowing what I now know, having progressed well into the build and struggled numerous times, I would not describe the Supply as suitable for a novice and thank goodness I didn't start with a more advanced kit. I ordered from Cornwall Model Boats and the kit took about 3 weeks to arrive, which considering the logistics during covid was pretty good, and started in late July 2020. I hesitated to start a build log as I was not sure if I could complete the build but as it progressed and each difficulty overcome, step by step, I slowly became more confident of finishing the job. I also realised after completing the hull that I would need some help when it came to the rigging. Anyway here goes with some photos of the early stages.


- 53 replies
-
- 6
-
-
- Supply
- Caldercraft
- (and 1 more)