


Gabek
-
Posts
278 -
Joined
-
Last visited
Content Type
Profiles
Forums
Gallery
Events
Posts posted by Gabek
-
-
The Preface
It has taken me a while to build up the courage to start this log...but after a few months of reading these forums I now realize just how accepting and supportive the people are here. Also, discovering that I'm not the only person who has an "accidentally long-term project" has made me less embarrassed to tell my story!
But first, please bear with me as I explain how it all started...
1974.
I was in grade 7 and I had just found out that a teacher in my school built wooden ship models. How cool! But I nearly died when I priced out kits in a local hobby store. For years I would drop in and just dream of the day I could afford to buy one. This started a minor obsession - I began reading Alexander Kent novels and I became an amateur historian of Napoleanic-era ships, particularly the Royal Navy. Dreaming, ever dreaming.
1986.
University was finished and I was starting a career. Still a bit broke with rent and car payments – still dreaming of getting a kit. My girlfriend (now my wife), knowing just how much ships have been on my mind all these years, gives me Artesania Latina's "Swift" as a Christmas gift. (And that was probably the moment I knew she was the right one!) Boxing week was spent buying tools and supplies.
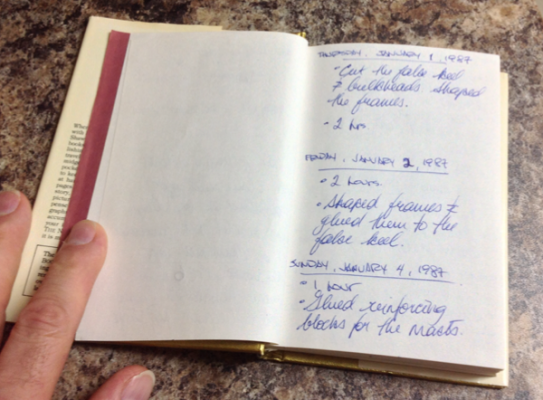
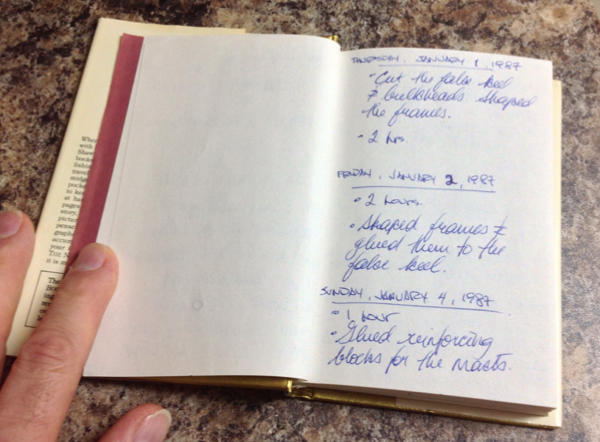
That same Christmas I happened to get a little journal from someone else and I decided to use it as a log for this build. So, in the box with all the parts this little book has sat and I have faithfully (more or less) kept track of every step in this project. The first entry...
"Thursday, January 1, 1987. Cut false keel & bulkheads. Shaped the frames. 2 hours."
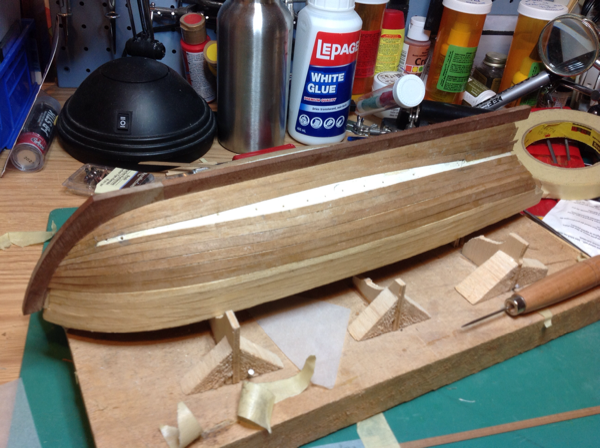
Let's just say that over the next 25 years I spread the work out pretty thinly, with a few big gaps around the birth of our two sons and switching careers. Between 1987 and 2012 I logged 156 hours and I had a hull with partially finished second planking. Sitting in the box were completed cabins and tapered masts and spars. In that time I also built a pretty good collection of books and tools.
A quarter century in and the Swift looked something like this:

In the next log I'll go over some of the highlights up to this point in the build.

Swift by GabeK - FINISHED - Artesania Latina - first wooden ship build
in - Kit build logs for subjects built from 1801 - 1850
Posted
1987 - 2012
With a lack of skill with wooden models I knew I would have some difficulties with my first ship. What I hadn't expected was that the kit itself would provide so many of my headaches: unclear instructions and having to fabricate so many parts from scratch.
Some interesting consequences of taking years to complete the Swift:
Because I don’t have a lot of pictures of the early stages of the Swift I’m not going to log all my work. Here's just a rundown of some the headaches, mistakes and modifications I made during this time:
August 1989: Planking and Bulwarks
The first layer of hull planking was finished but I can't say that the hull looked very good. I now understand the reason for tapering the edges of planks! On the deck I had used black felt pen on the edges of the limewood strips to simulate caulk and I followed a very beautiful, regular pattern of staggering the butt joints. I now realize that I was thinking more like I was building a deck in my yard rather than a deck on a boat. A shipwright would want to have the longest possible planks with the fewest joints. I discovered a layout (can’t remember the book…I’ll have to find it again) that made so much more sense and is much more accurate than the beautiful but inaccurate planking I had done on the Swift
I was already noticing an asymmetry in hull. I wasn't too concerned because I knew I was going to use filler before the second planking. Little did I know how this would haunt me…20 years later!
It was now time to install the bulwarks. Unfortunately, these die-cut plywood pieces, when dry-fitted, splayed outward drastically and did not follow the upward curve of the hull at all. I tried shaping the lower edges to fit the deck line better but it was a losing cause. I realized that I was going to have to fabricate new bulwark pieces.
December 1989: New bulwarks
Using the shape of the old bulwarks as a guide, I made patterns with card stock and traced them onto 1/16" plywood. (I never knew such stuff existed! Now I keep a little supply of this and 1/32" on hand.) Much better lines now, but they didn’t meet well at the bow. I ended up cutting off the bow section of these new bulwarks and making, yet again, new pieces. After gluing I spent many hours working the edges of the bulwarks to get the shape I wanted.
July 1993: Planking the bulwarks; Deck Cabins; Tapering masts and spars
I found it odd that the outside of the bulwarks were going to be planked over, but the inside was to be the left plain plywood. I decided to plank the insides to make it look a little more realistic. As per the instructions, I planked the outer bulwarks and transom with limewood.
[you can see the planking on the interior of the bulwarks and the deck planking pattern I followed]
In December 1993 my first son was born and in 1996 my second son came along. The next entry in my log was…
July 1998: Installing the keel and stem
I bought a few books in the 5 intervening years and became an armchair modeller. Based on several readings I departed from the instructions and chose to install the keel and stem before the second planking was done. After they were affixed, I carefully cut a rabbet into these pieces for the next layer of planks to fit into. I was much happier that I had done this. This whole process took two days…the only two days I would work on the model in 1998 and I wouldn’t take the model out of the box until…
April 2003: Second planking on hull
From April 2003 to October 2012, between running kids to soccer, baseball, music, scouts, etc., back surgery and completing my M.Ed, I managed to squeeze in about 7 hours of work on planking the Swift. I had started at the deck line and was working downward and I felt that I was doing a good job on tapering the planks at the bow. And, I was very happy to hide the ends of the planks in the rabbet I had cut into the stem. However, it became evident that I was going to have to install joggles. I was also having a heck of a time getting the planks to sit flat on the hull, particularly at the bend in the bilge, even with screw clamps.
So we’ve reached 2012.
My boys are big, I have a pretty nice little workshop and I don’t have to pack away the model each time I stop. I have actually started the Harvey and a vintage ship in the bottle kit I got on Ebay. My ship modelling library has become fairly impressive and I started scratch-building a miniature of the Beagle. I also got an iPad and it became really easy to document my work in photos and make quick little notes. It sits beside me as I work – playing music and giving me quick access to the internet if I want to look something up. I still kept up the written log in my little book, though. The rest of this log should be in smaller chunks.
And…my wife still puts up with me!