-
Posts
76 -
Joined
-
Last visited
Profile Information
-
Gender
Male
-
Location
Olympia, Washington
-
Interests
Ship Building of course
Recent Profile Visitors
-
 Mr Whippy reacted to a post in a topic:
Swift 1805 by Scotty W - FINISHED - Artesania Latina - 1/50th scale - Virginia Pilot Boat
-
 Mr Whippy reacted to a post in a topic:
Swift 1805 by Scotty W - FINISHED - Artesania Latina - 1/50th scale - Virginia Pilot Boat
-
 Knocklouder reacted to a post in a topic:
Swift 1805 by Scotty W - FINISHED - Artesania Latina - 1/50th scale - Virginia Pilot Boat
-
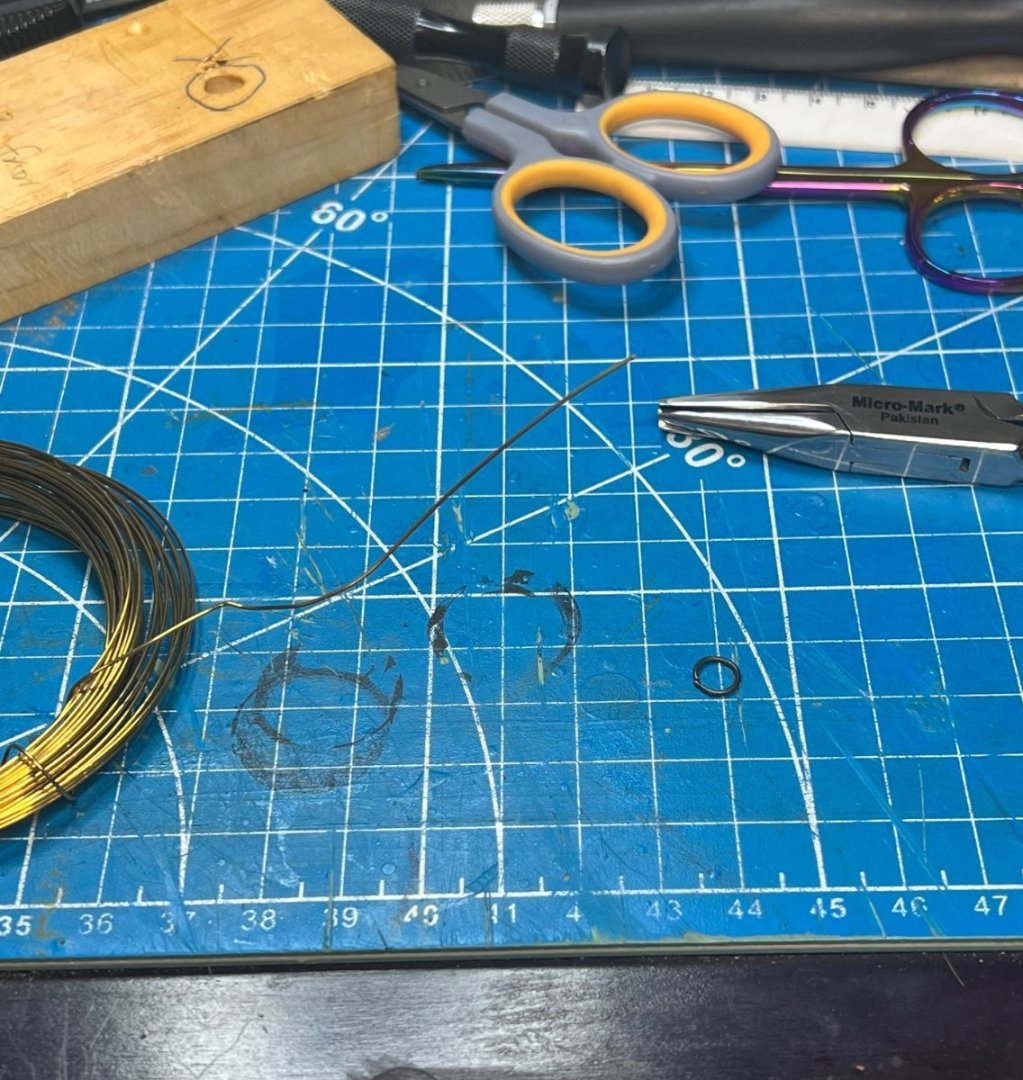
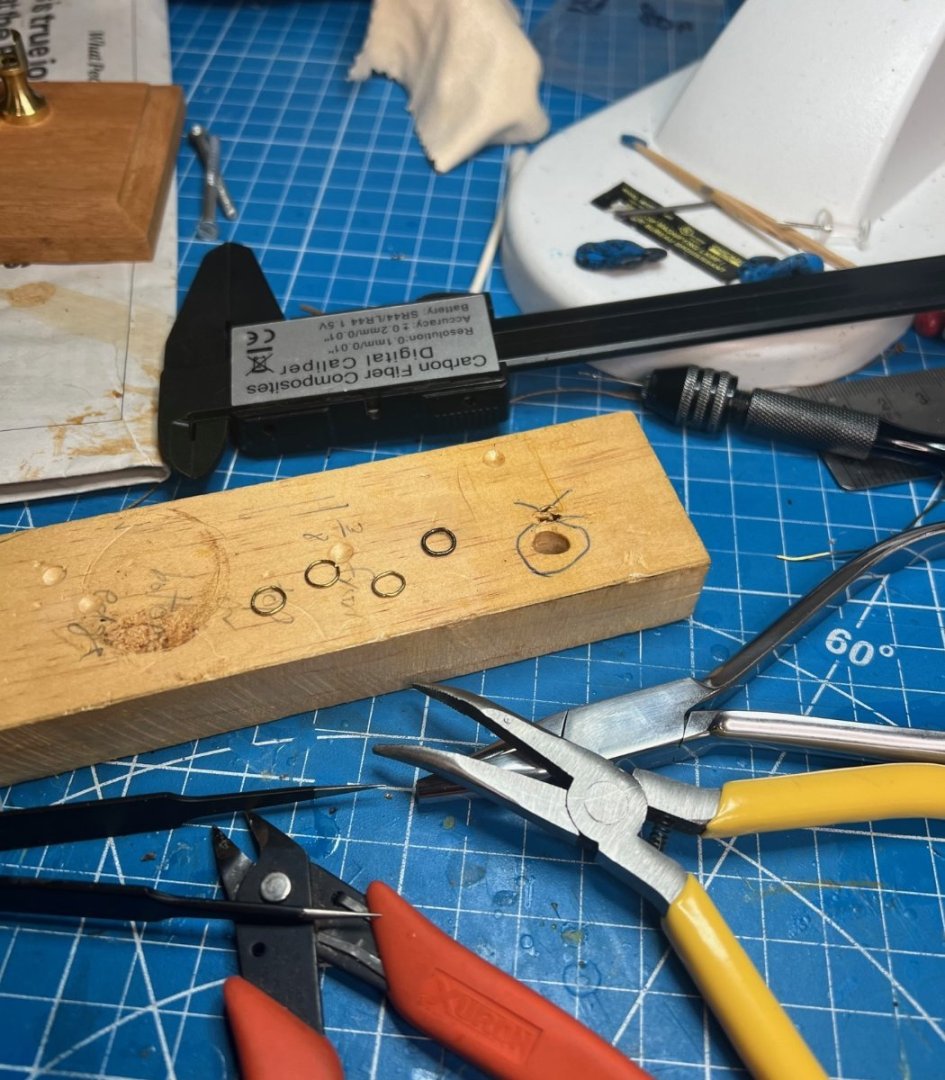
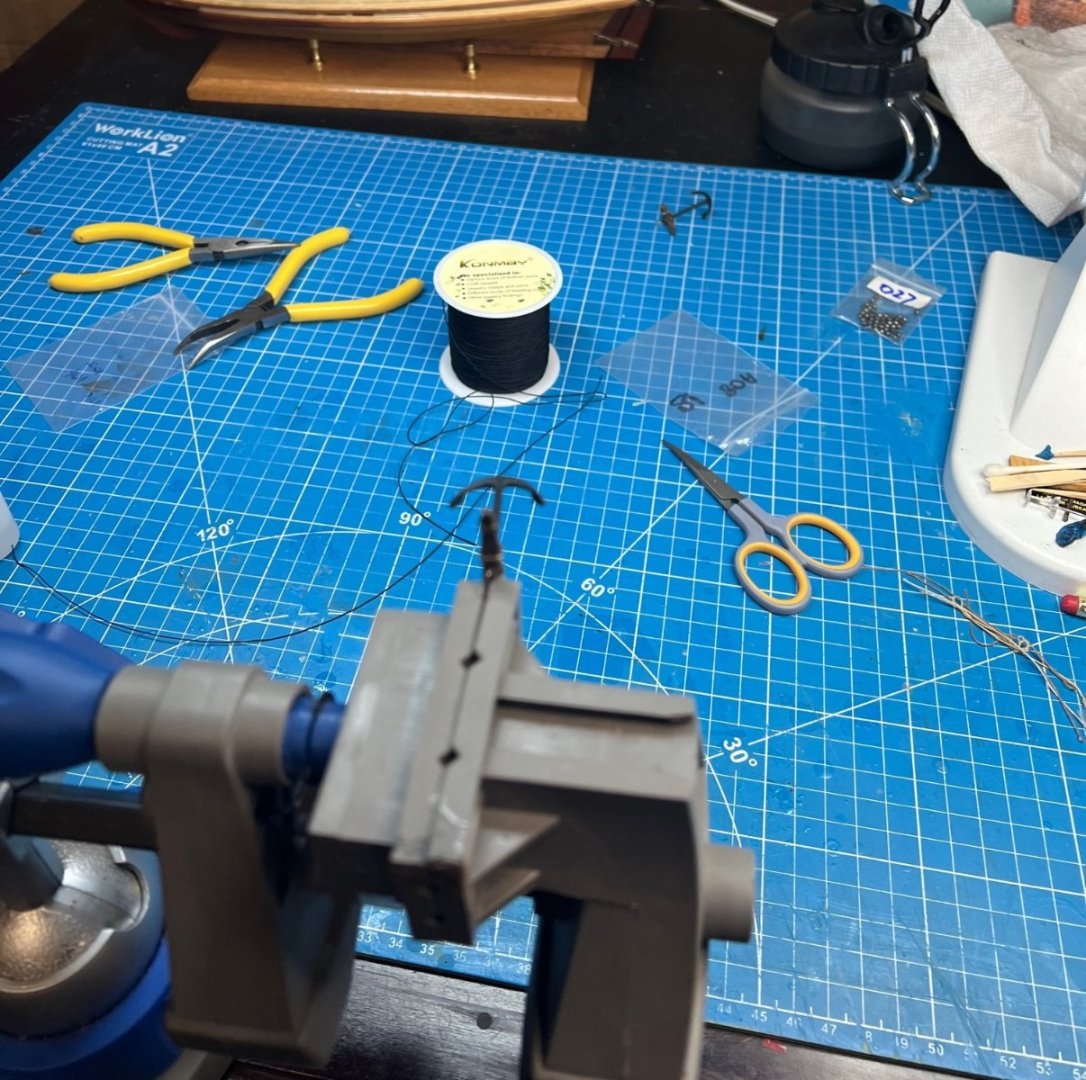
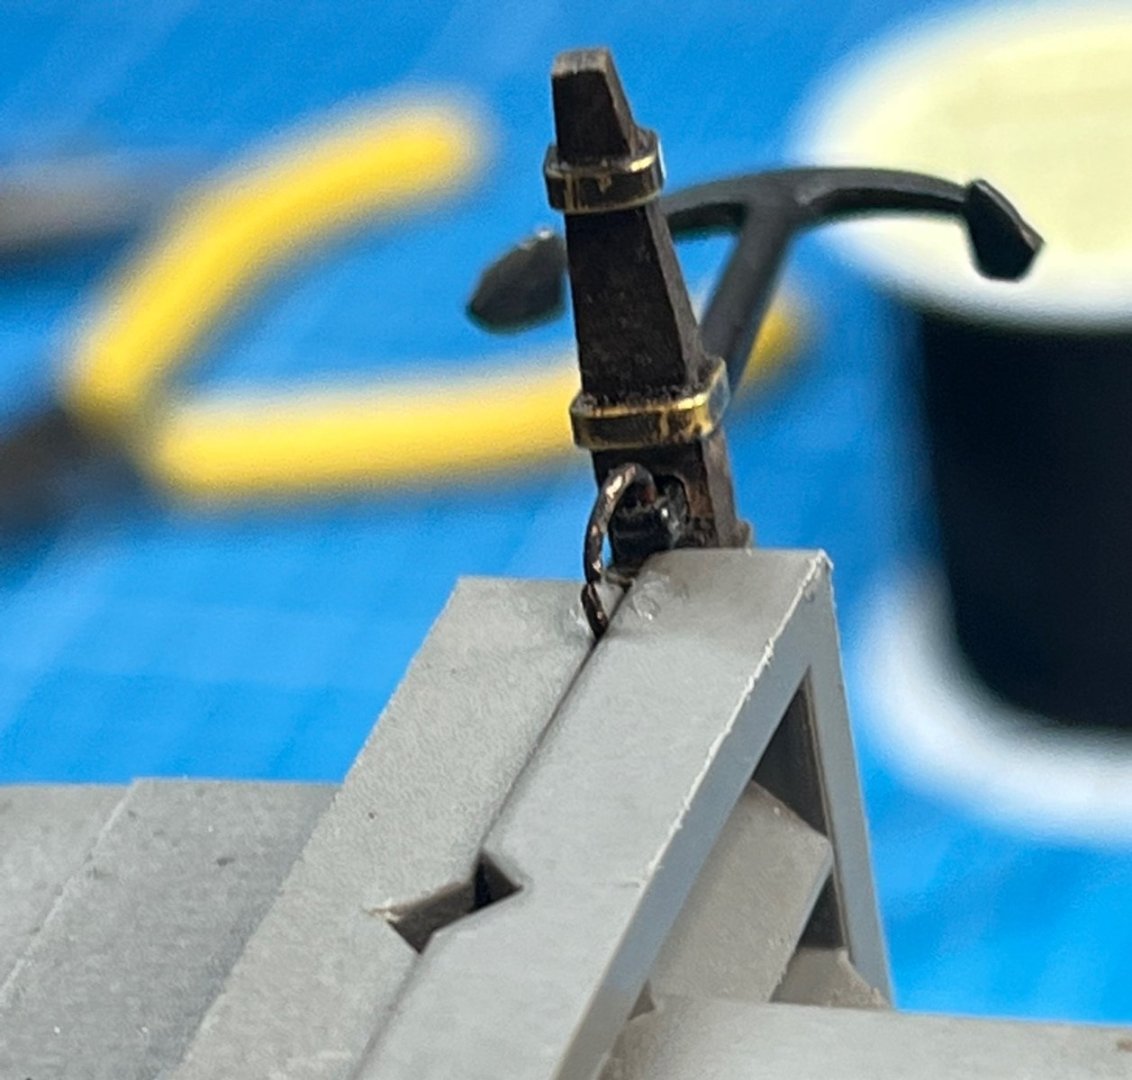
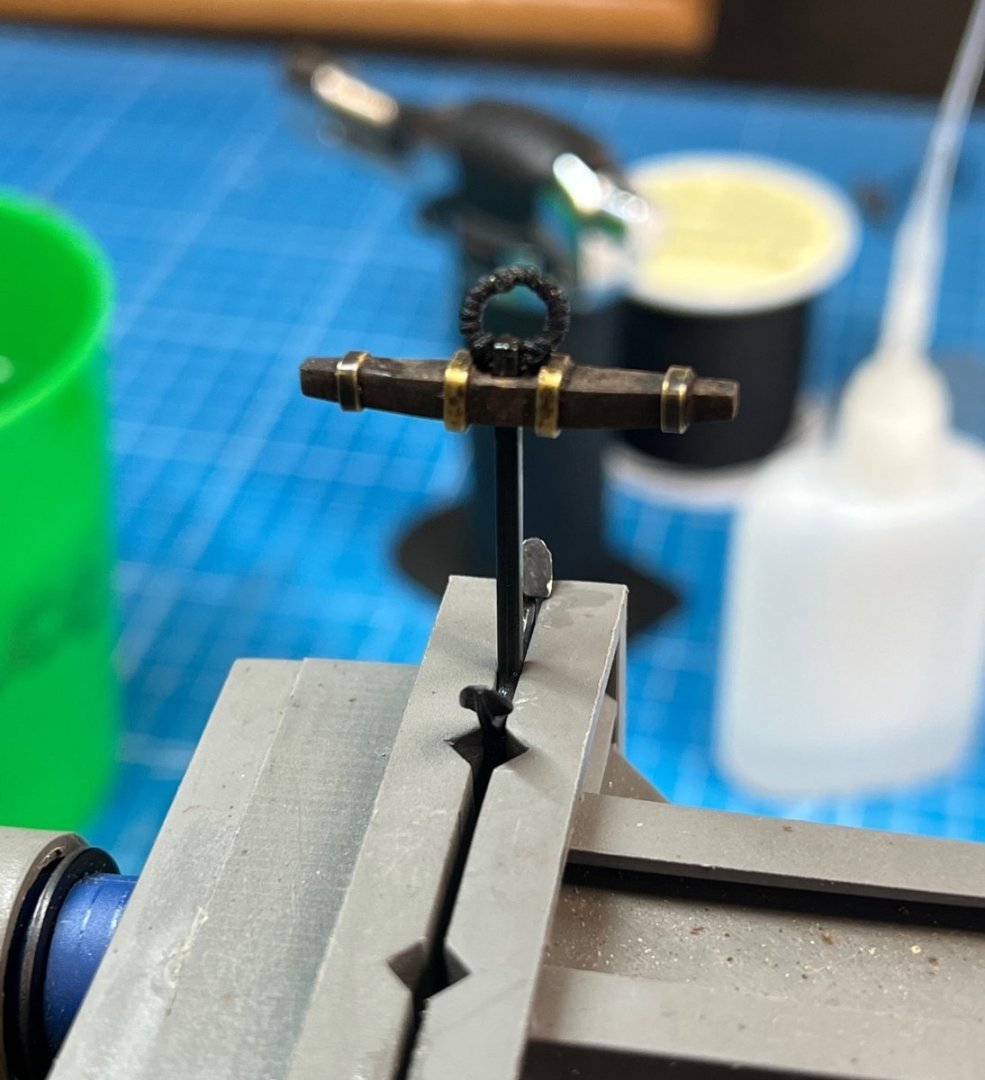
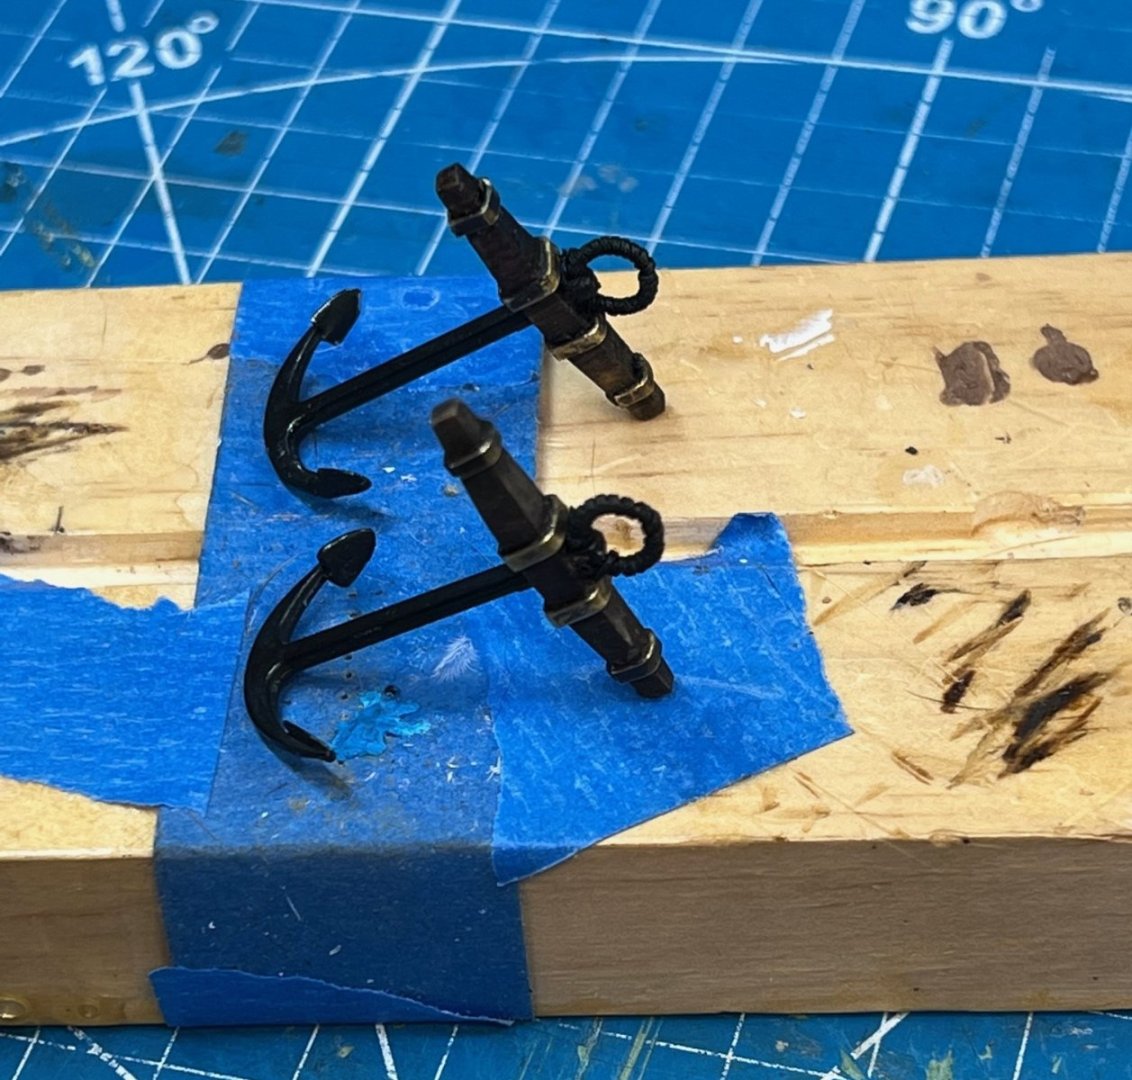
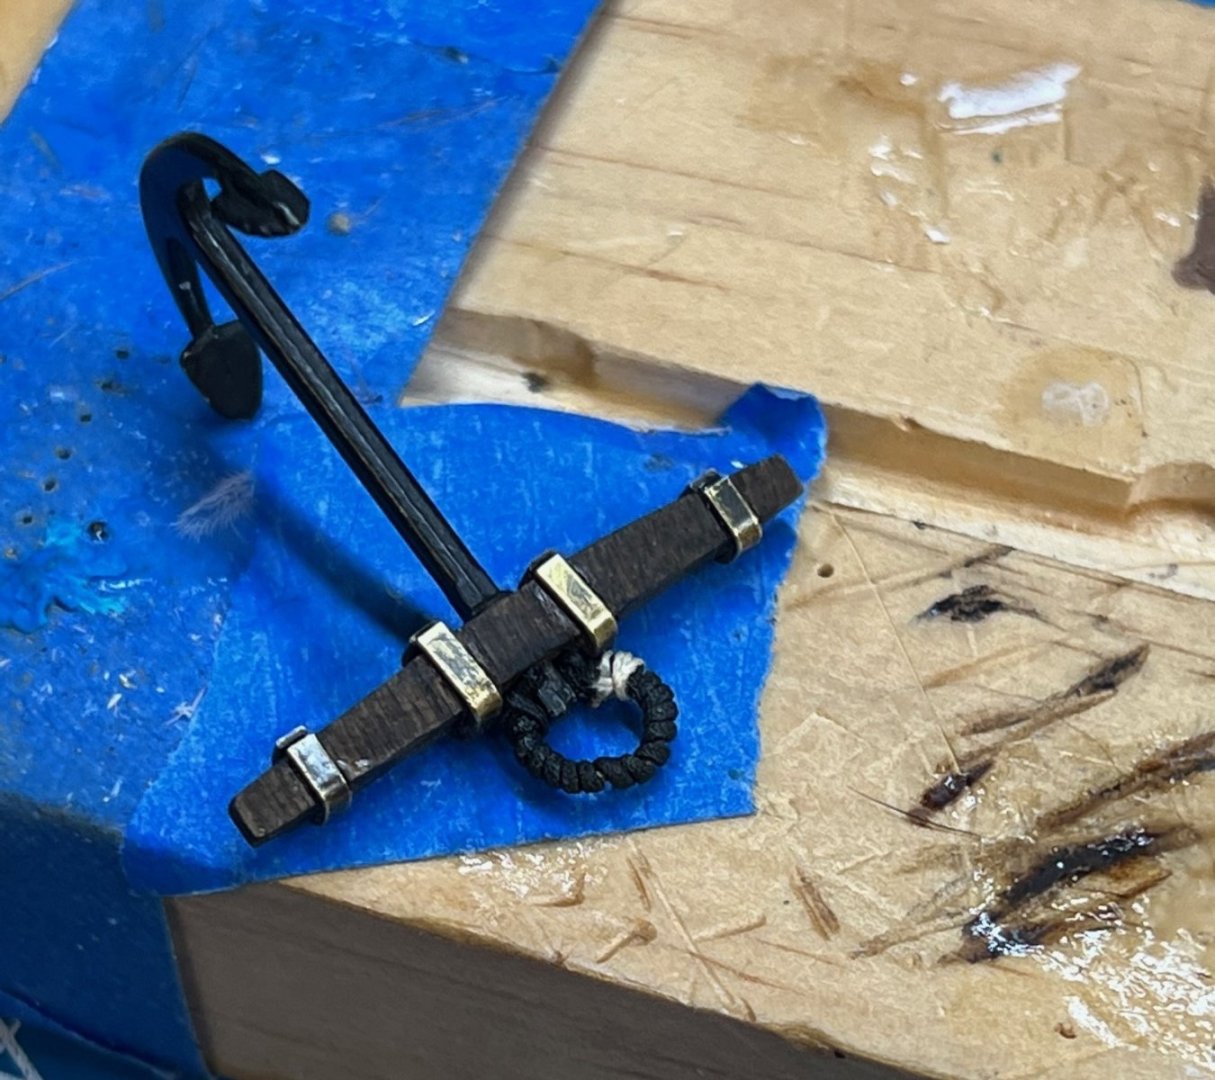
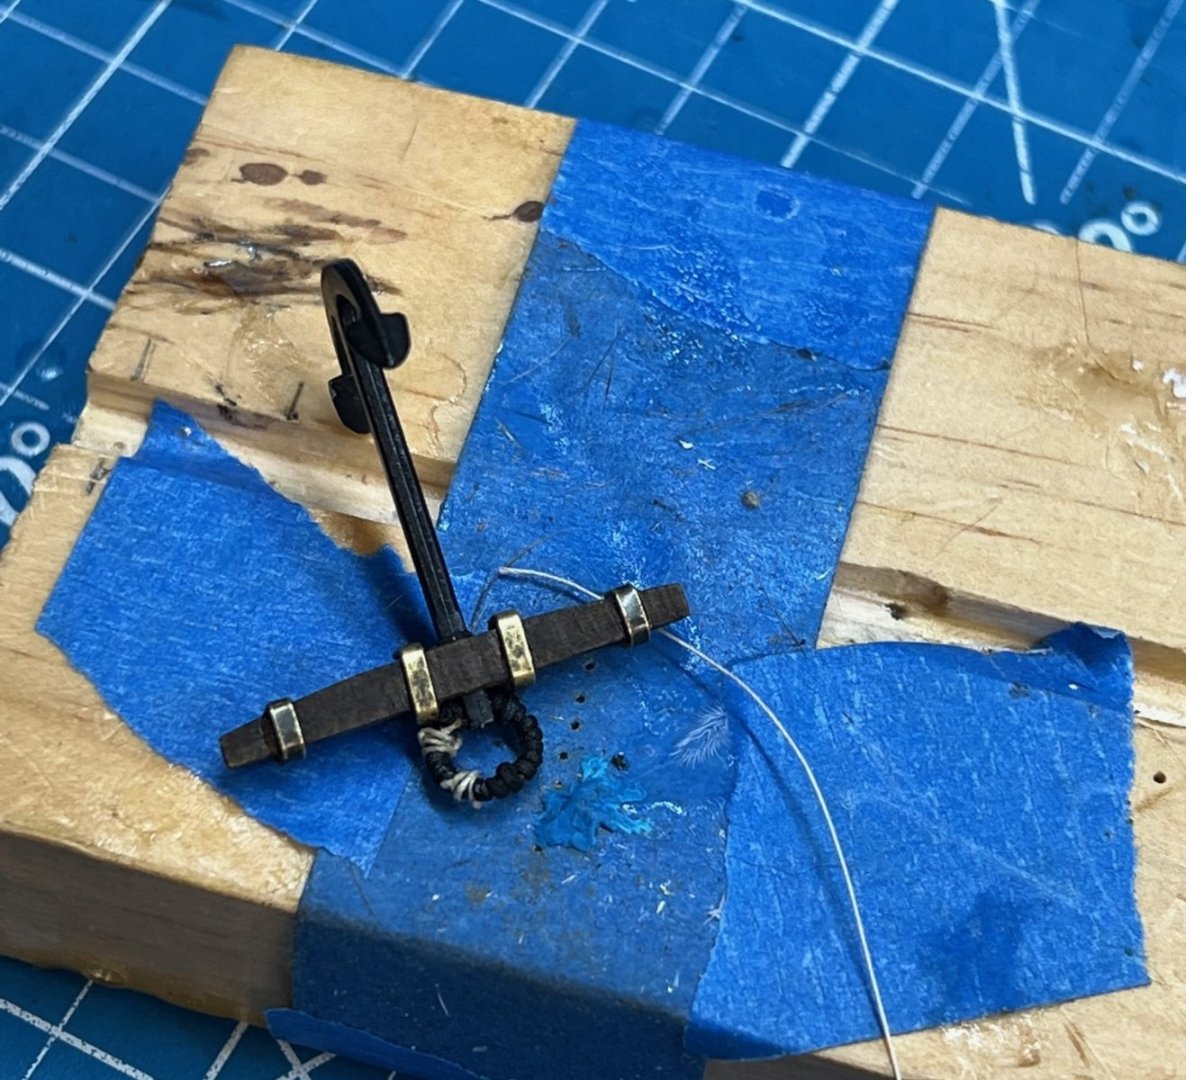
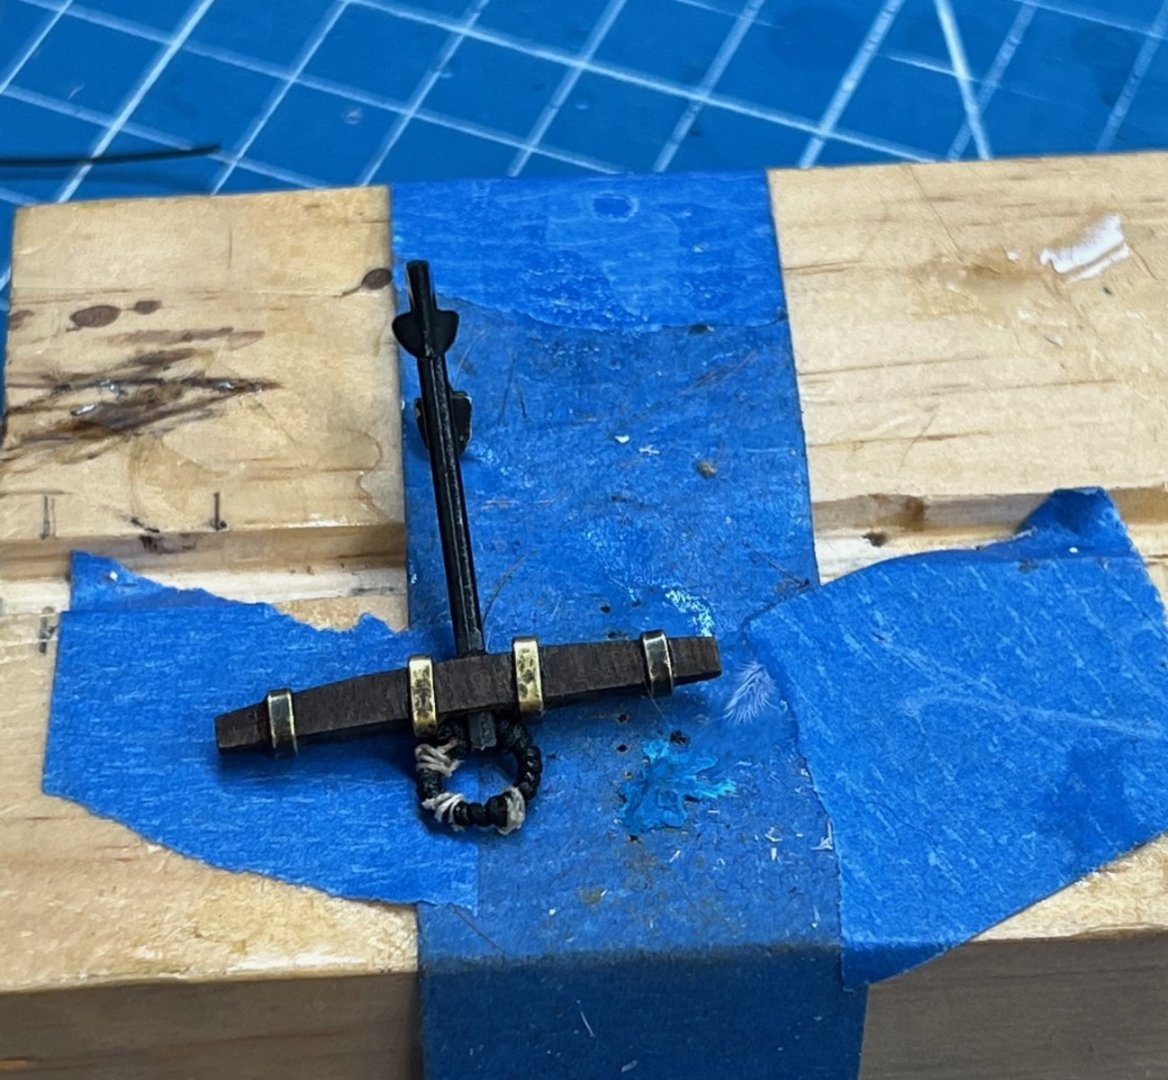
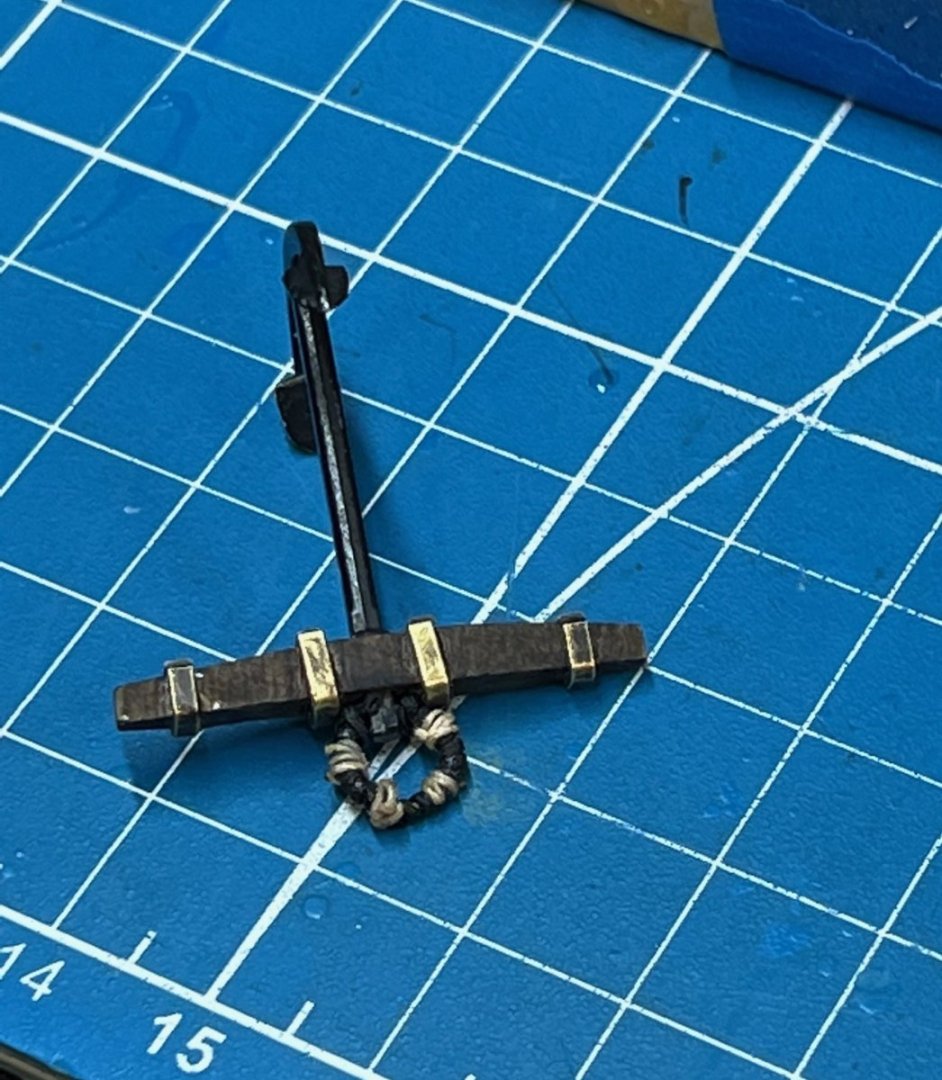
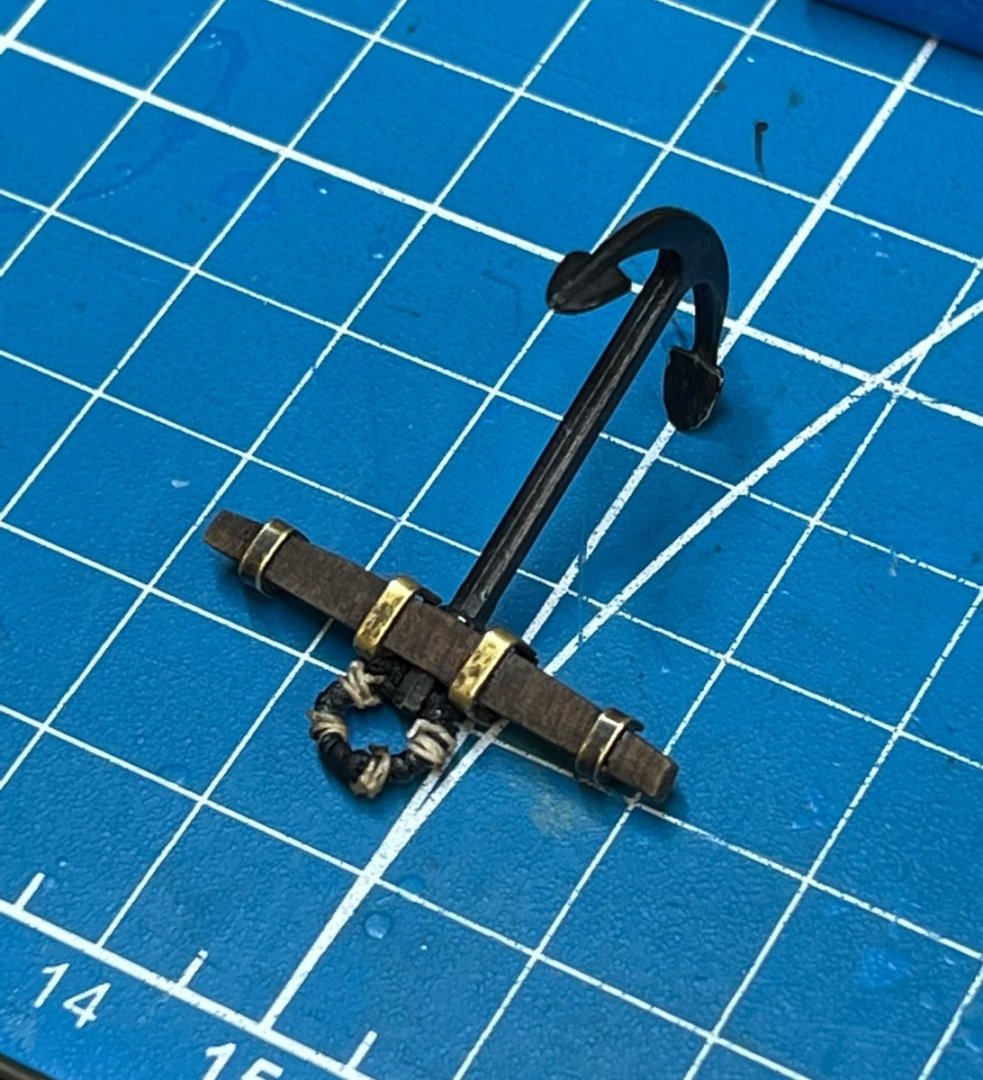
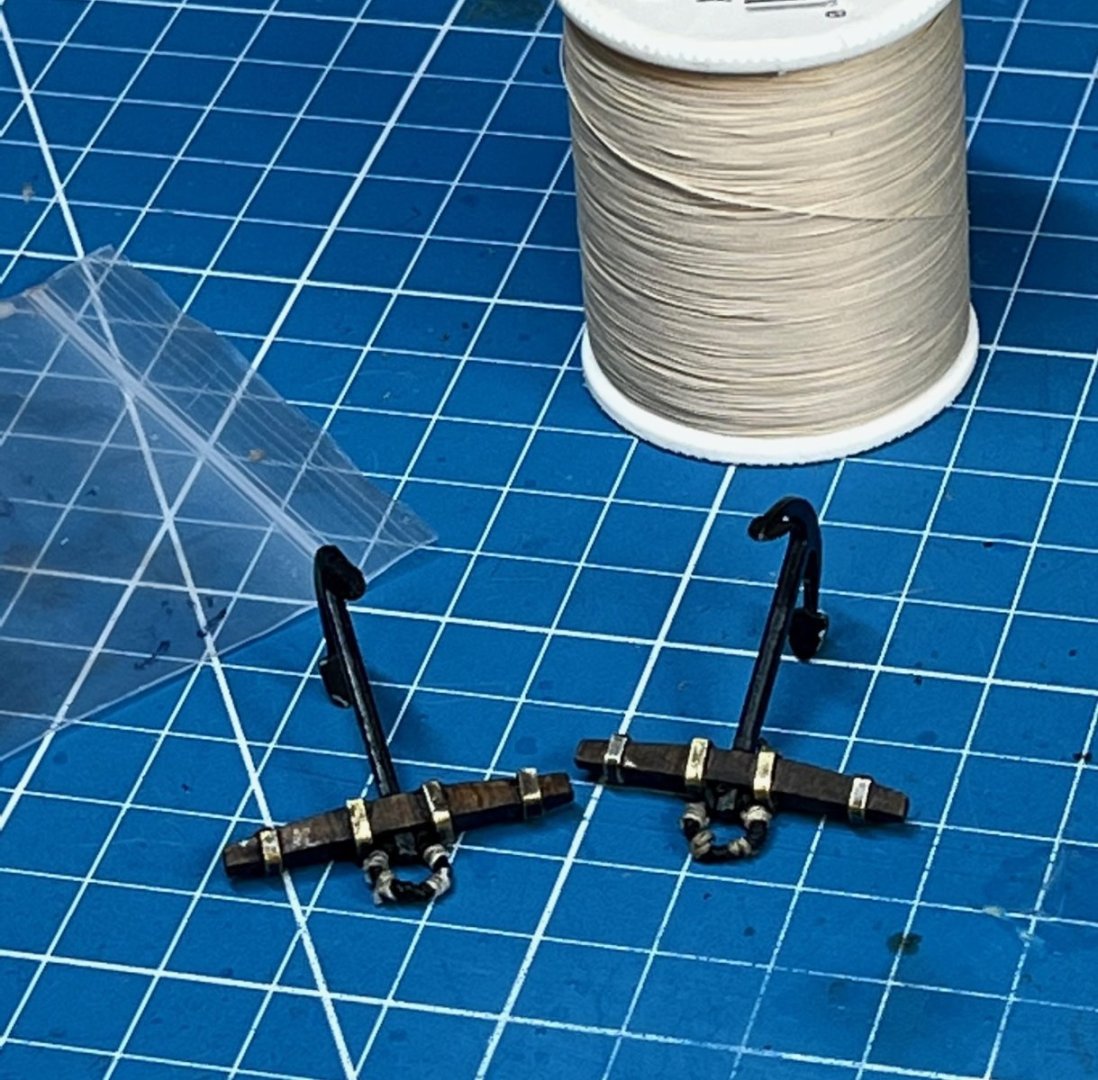
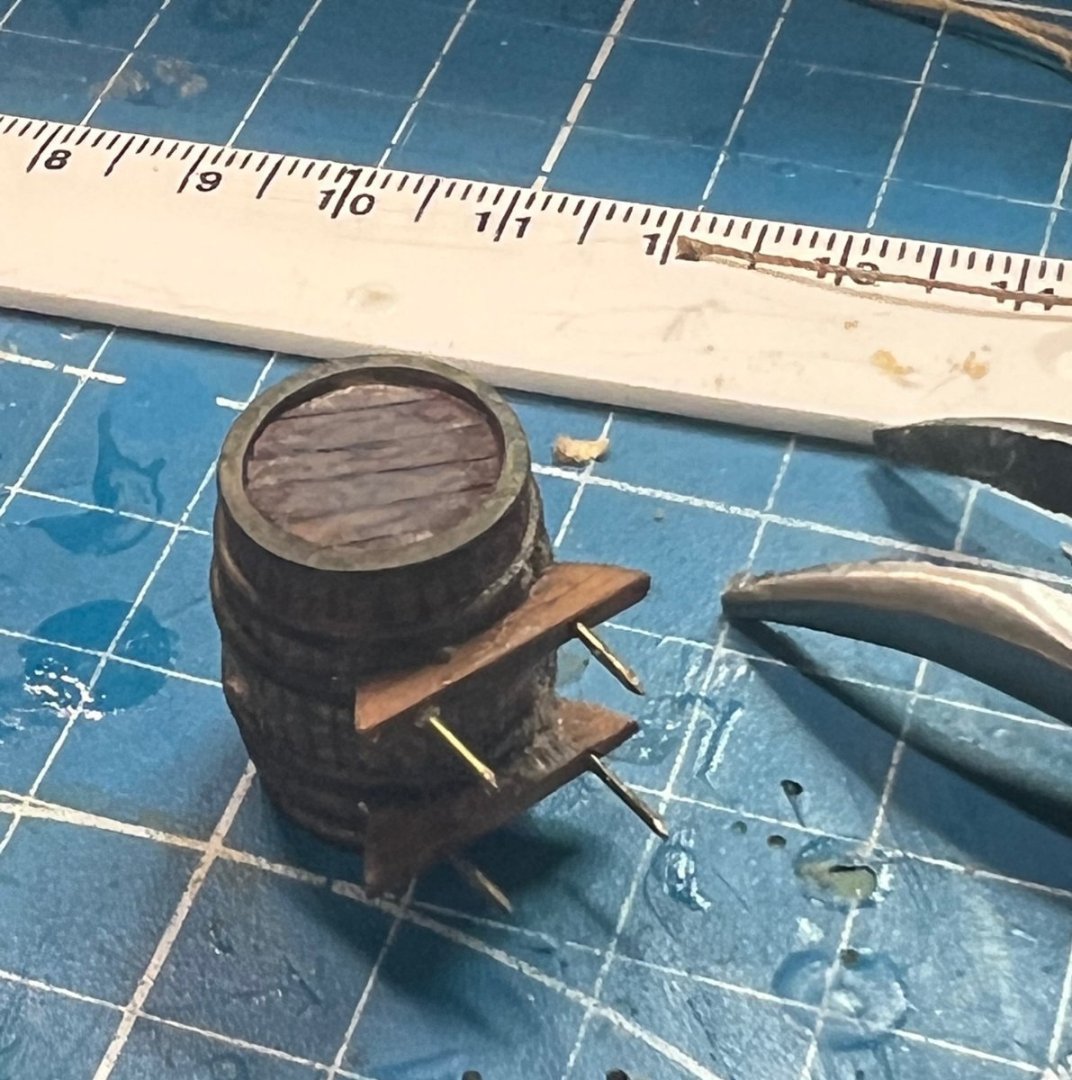
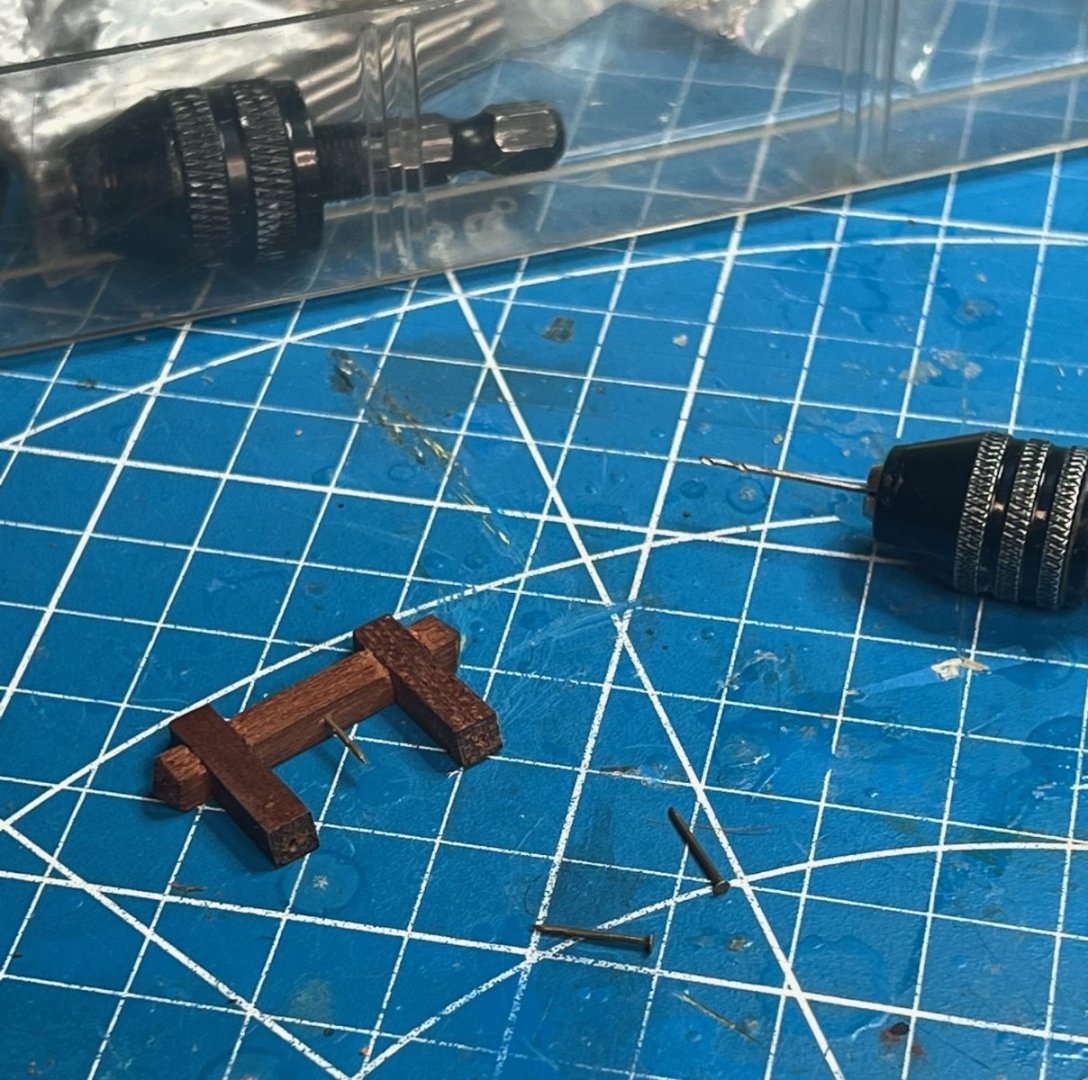
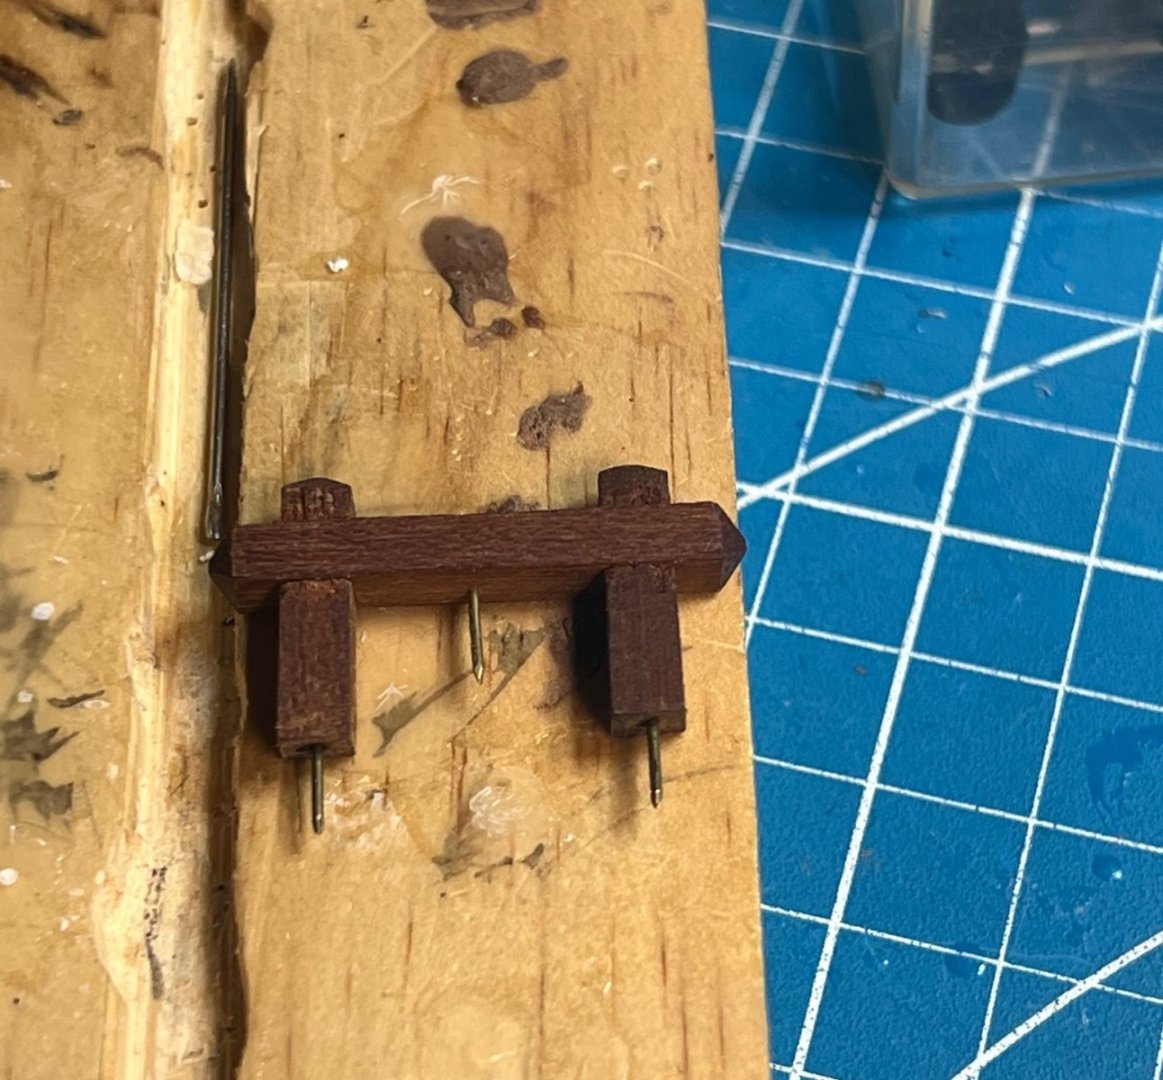
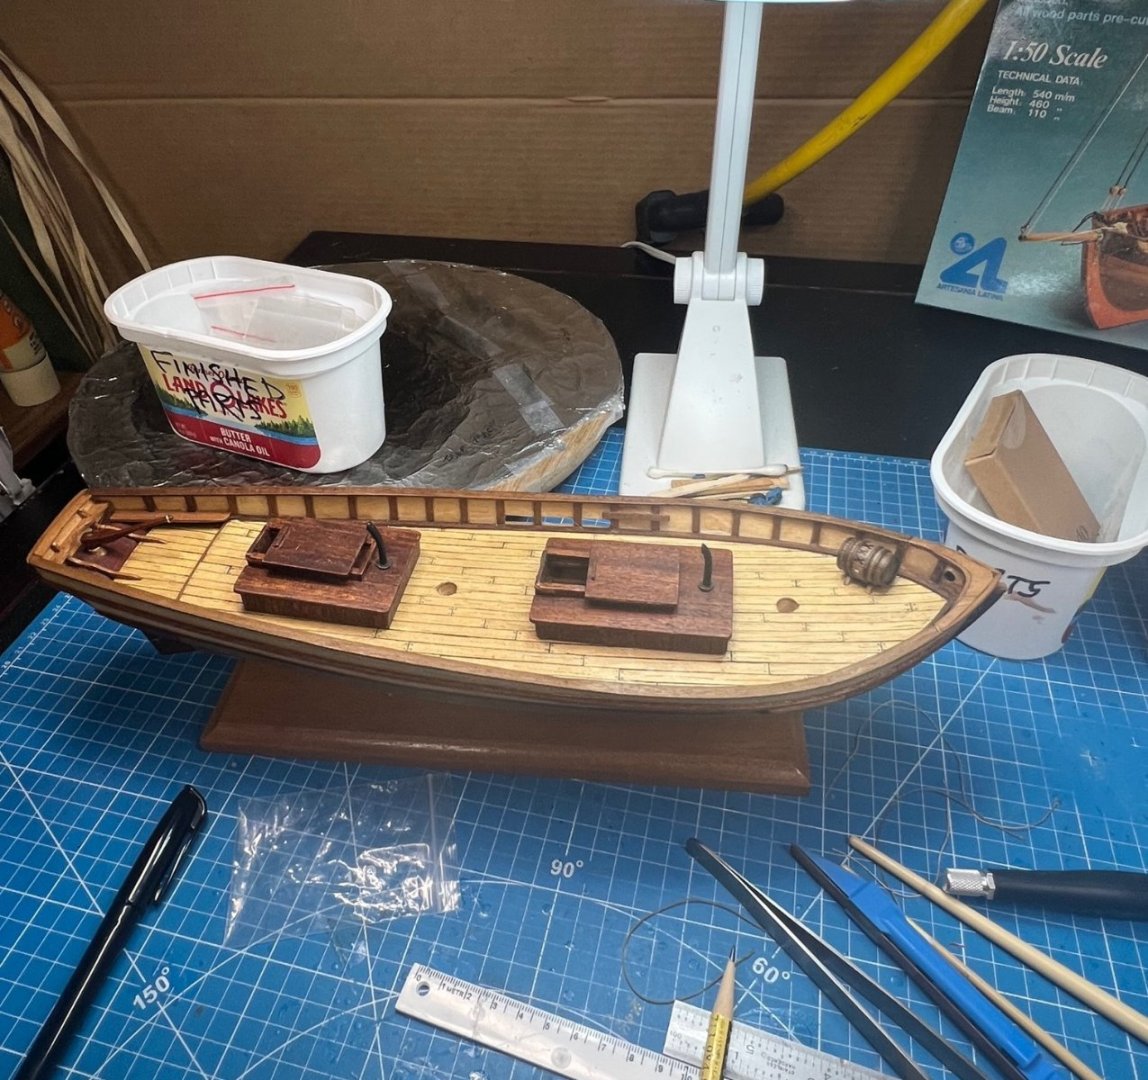
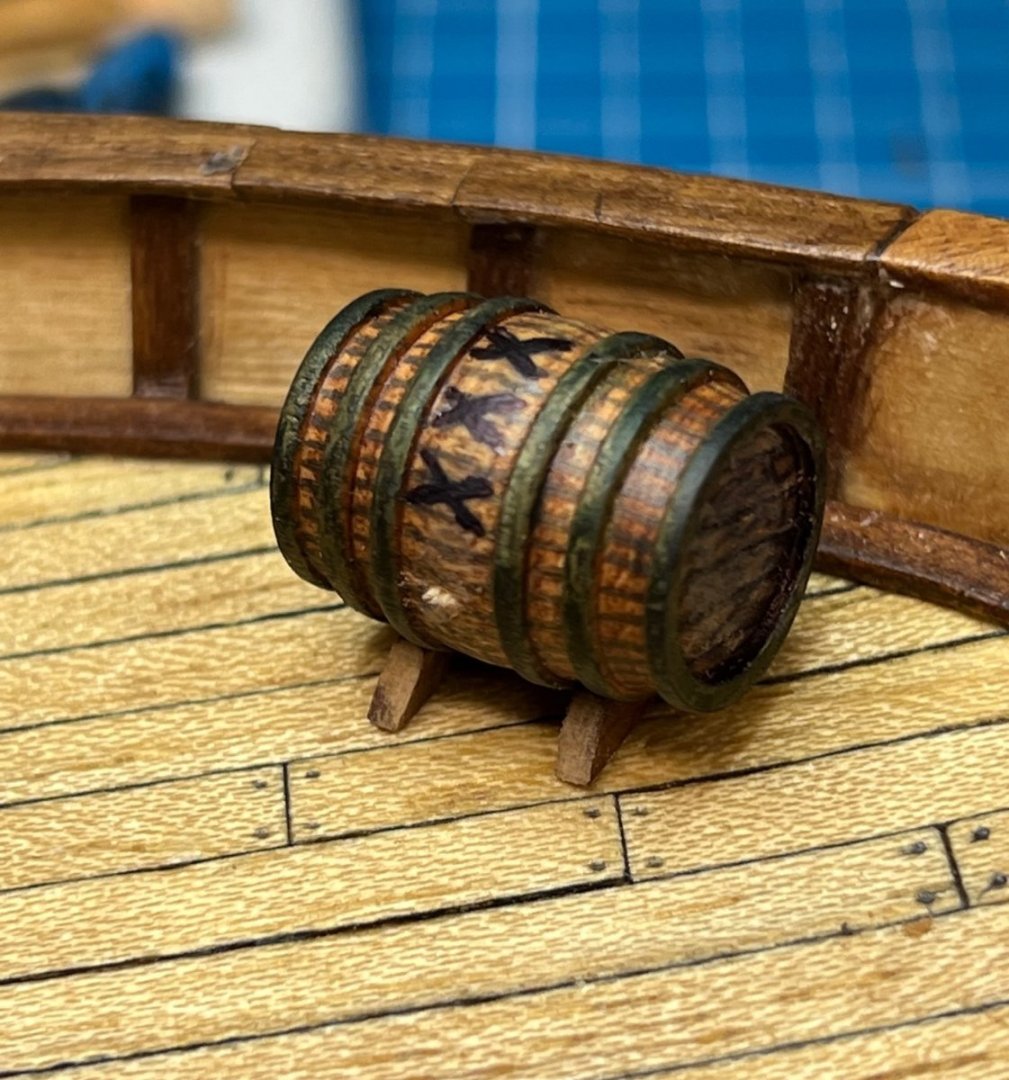
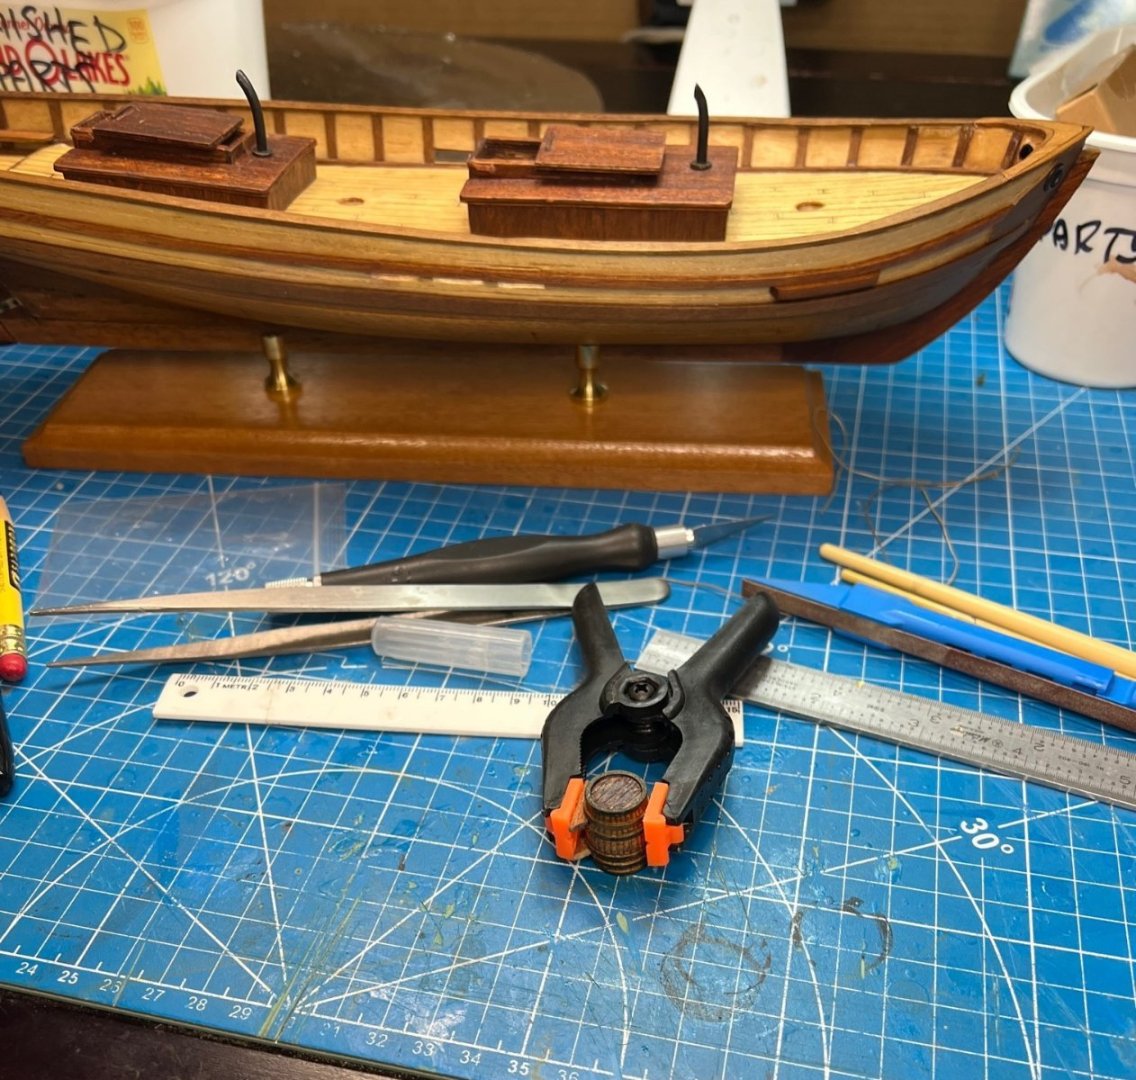
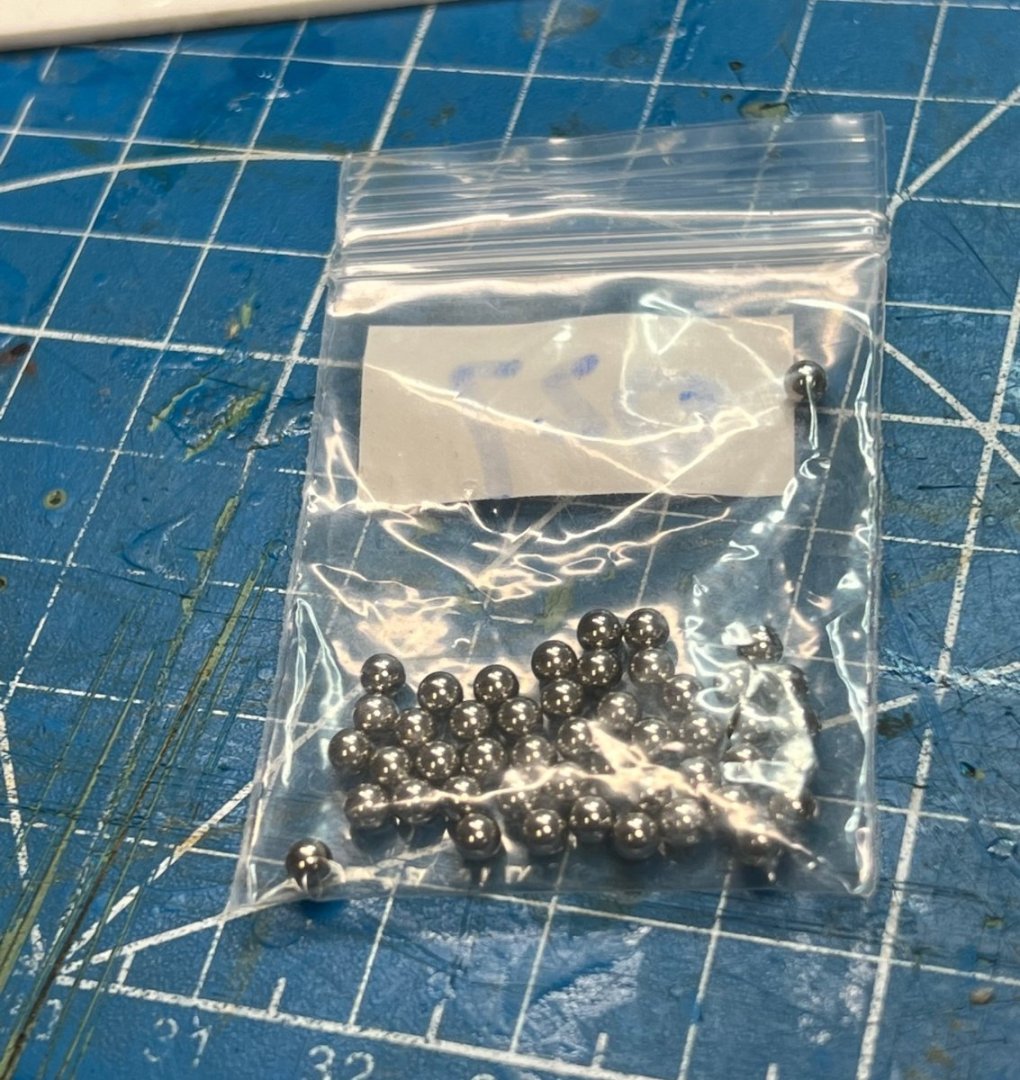
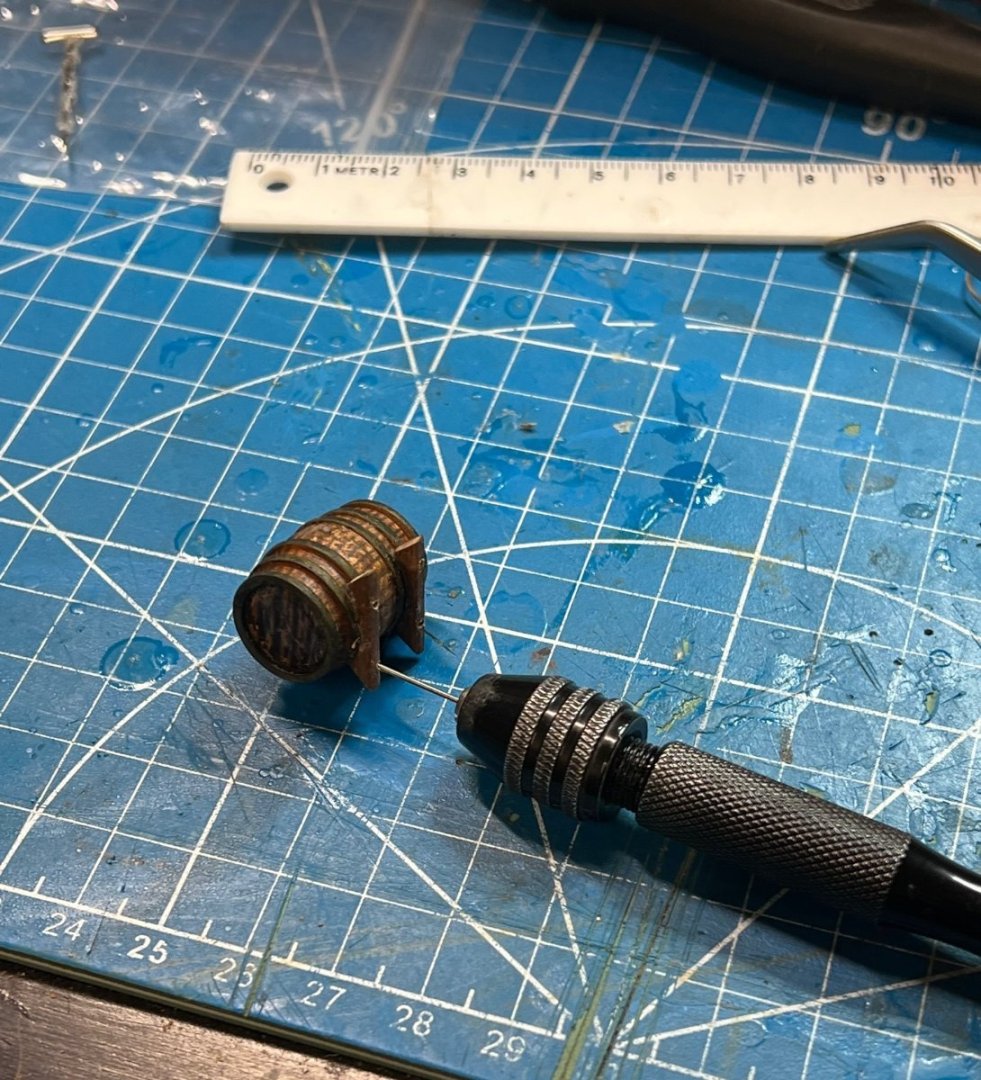
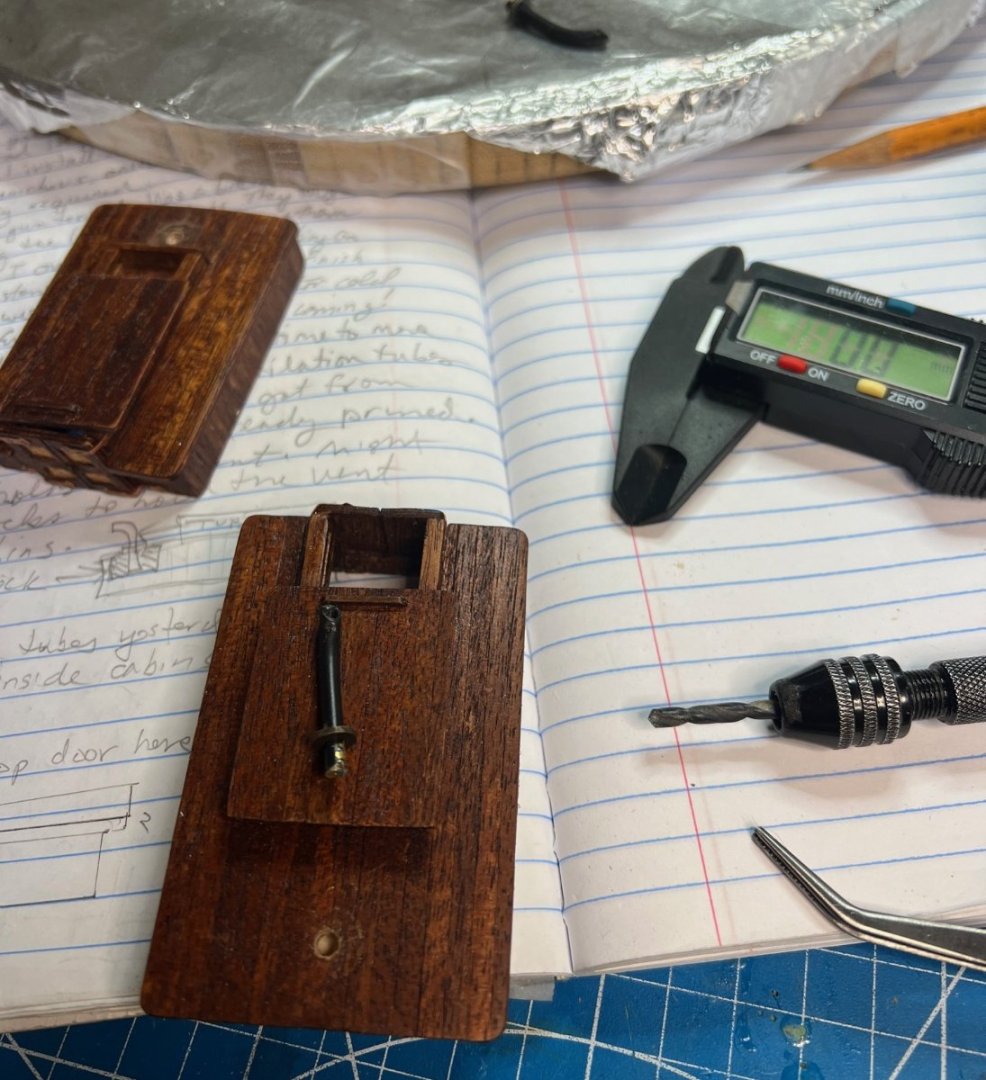
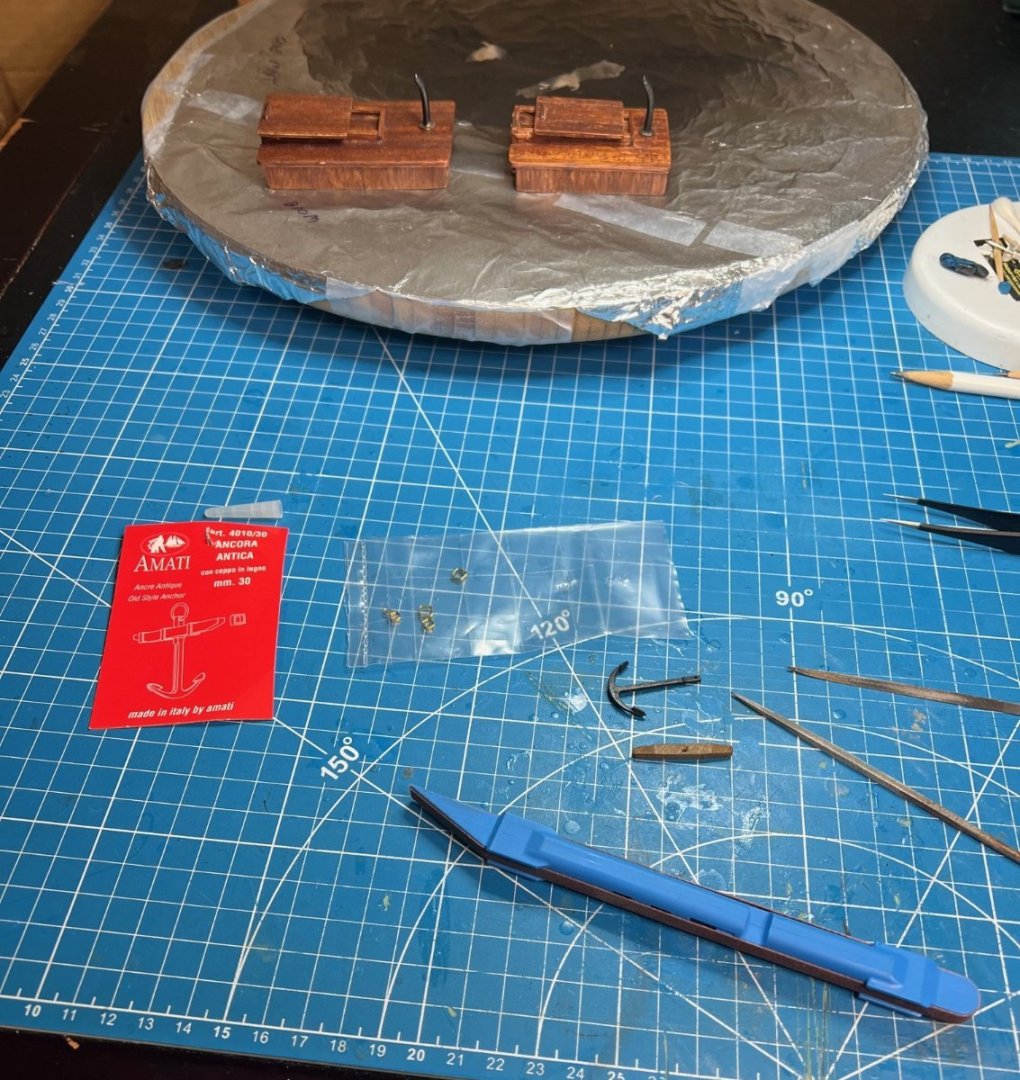
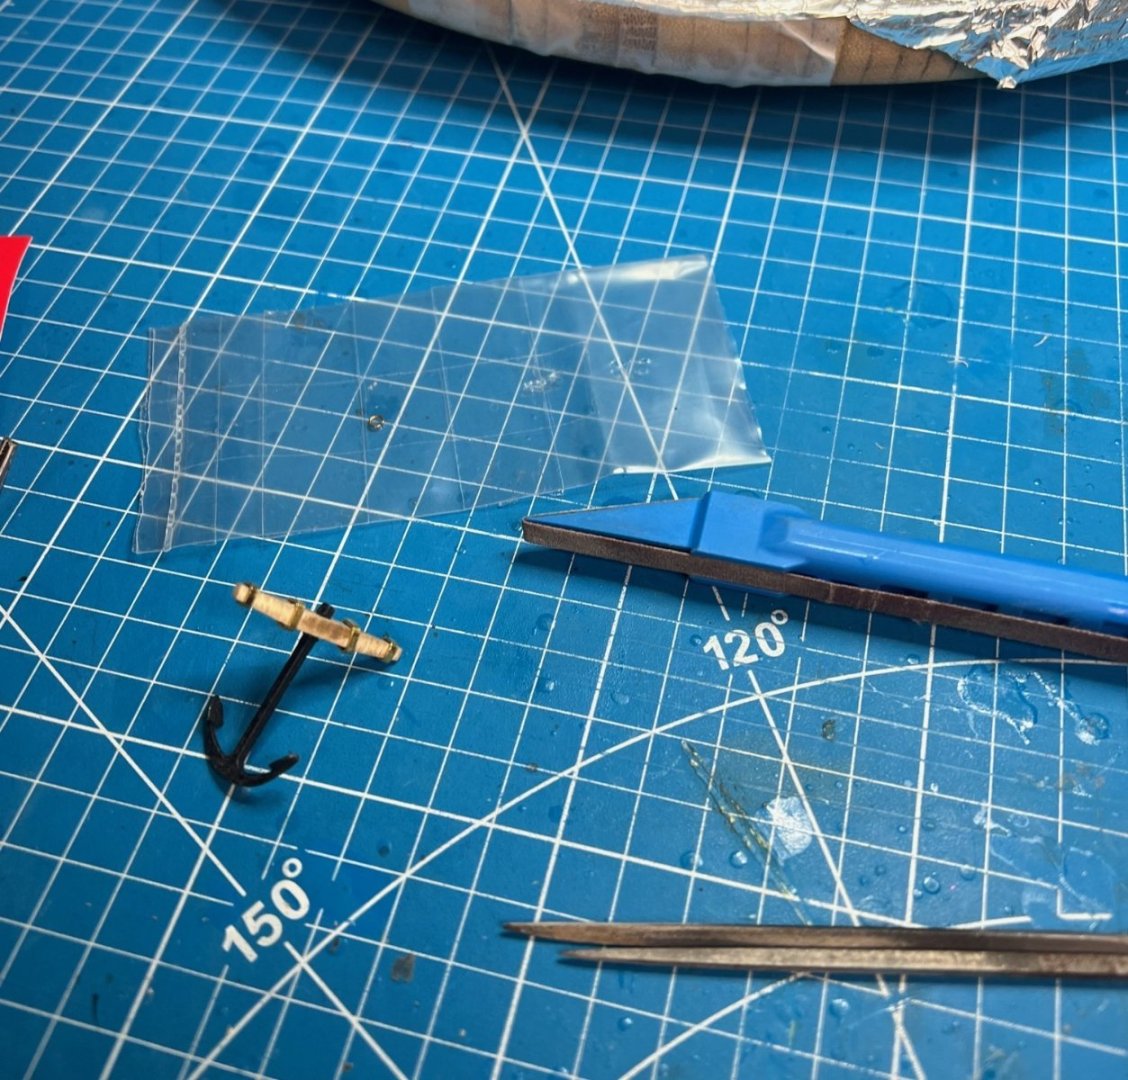
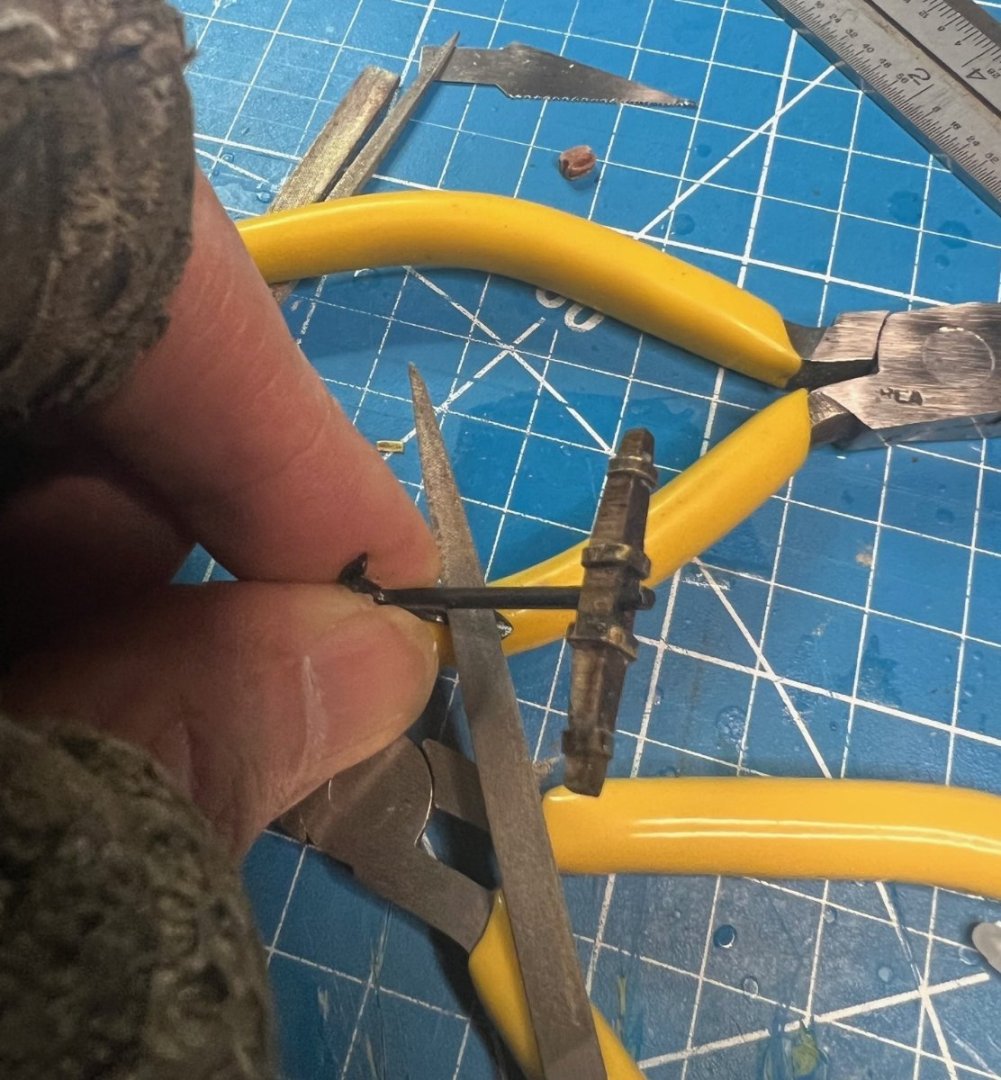
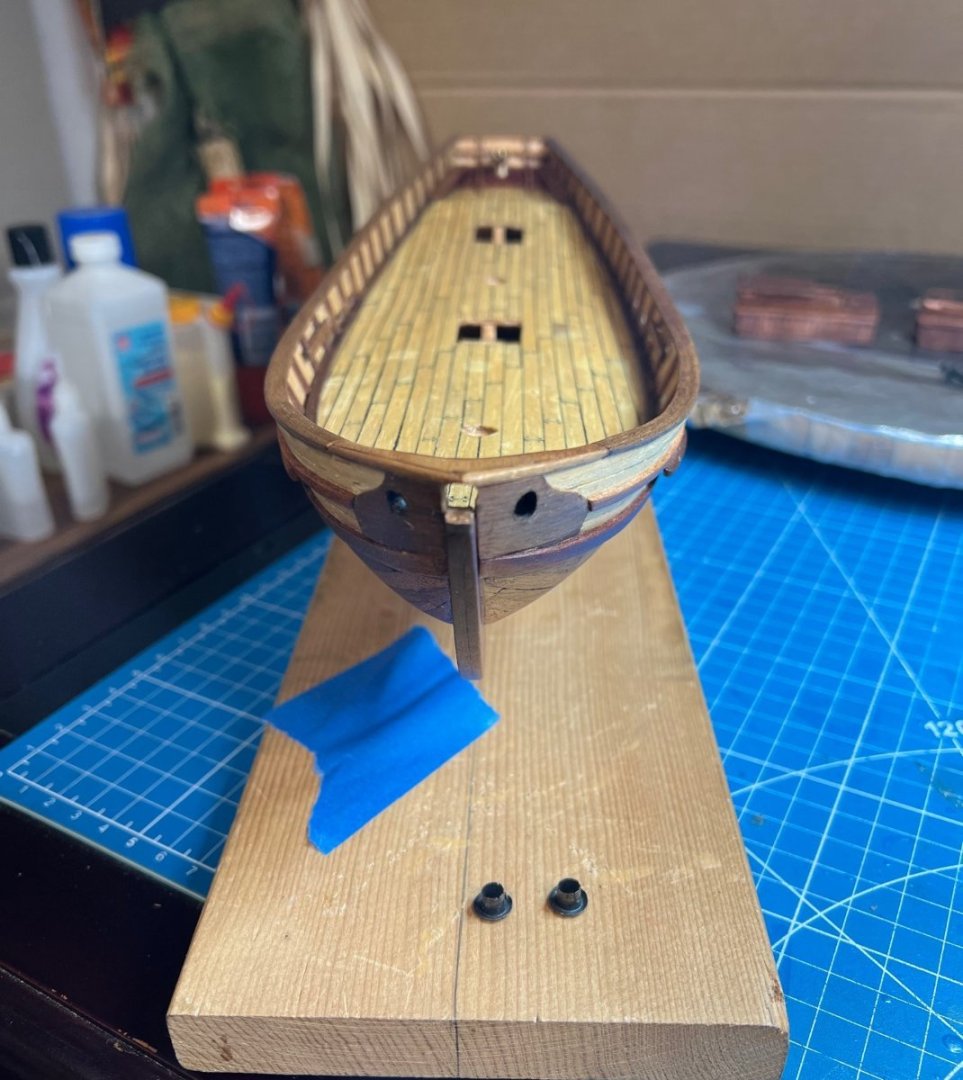
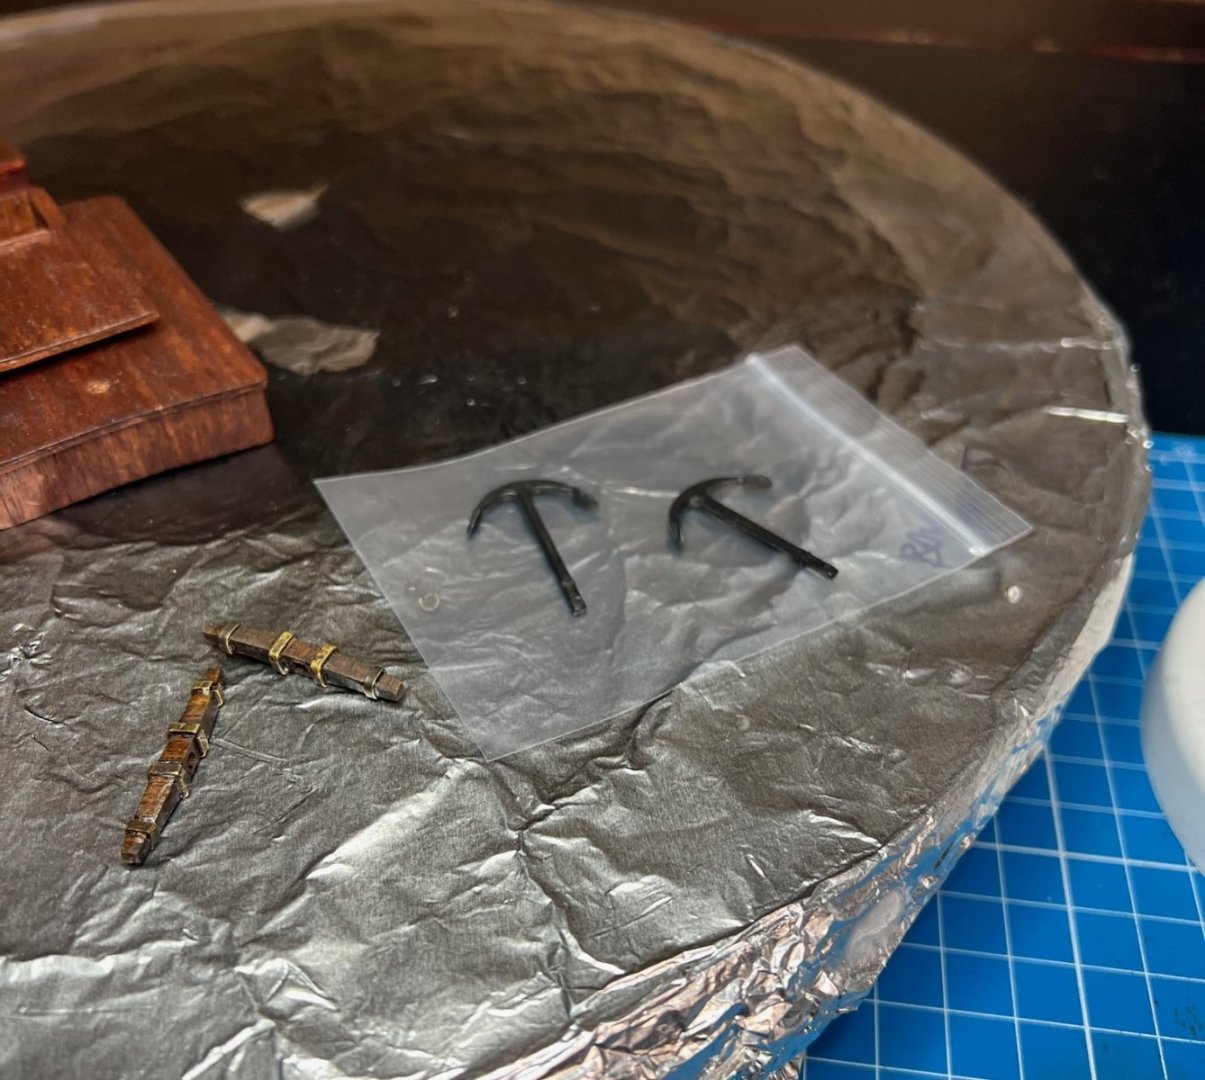
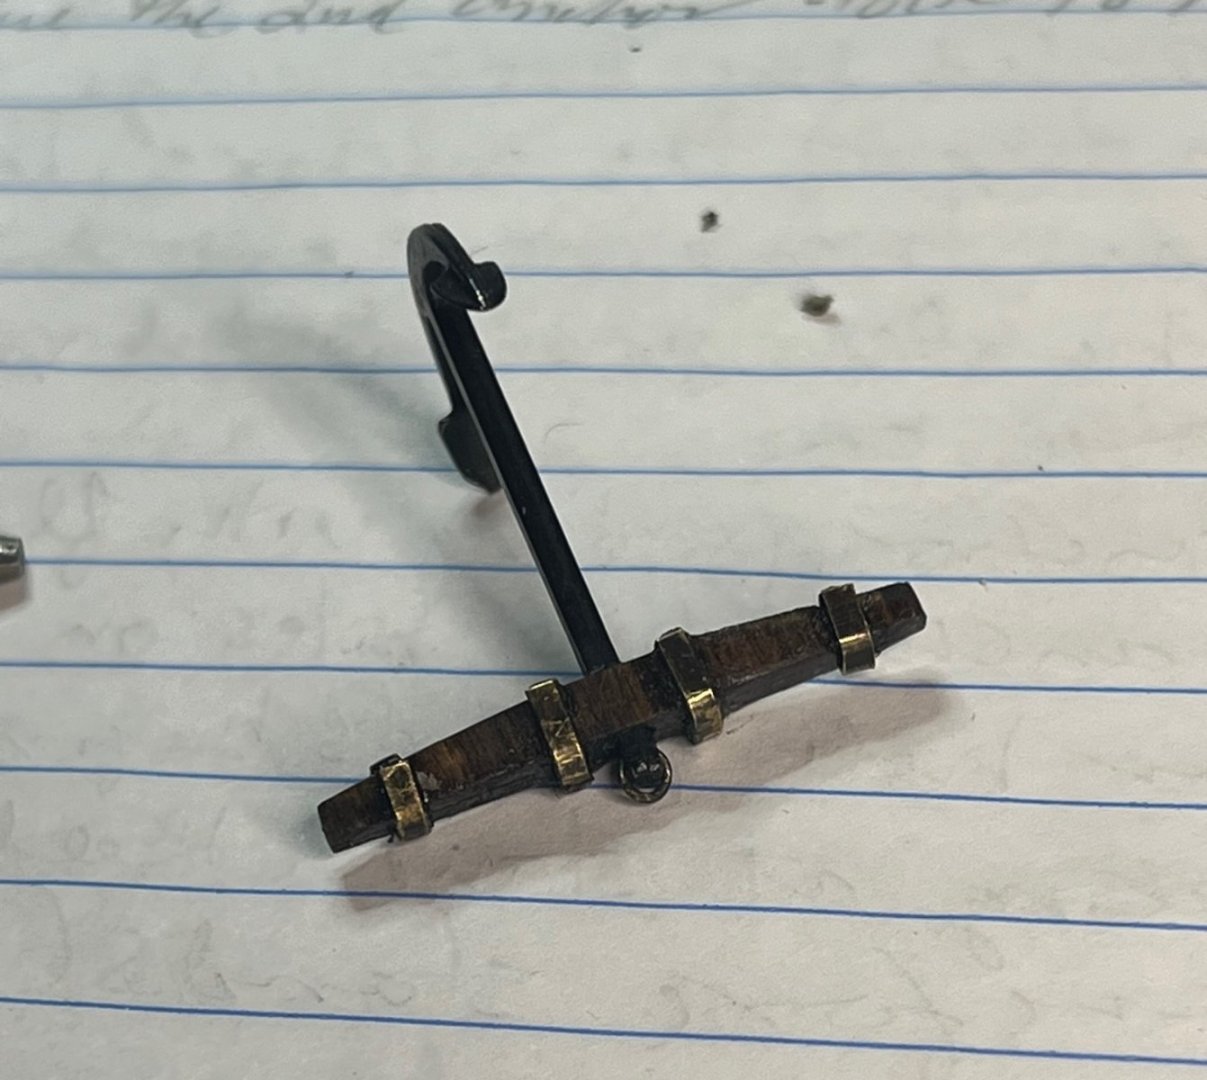
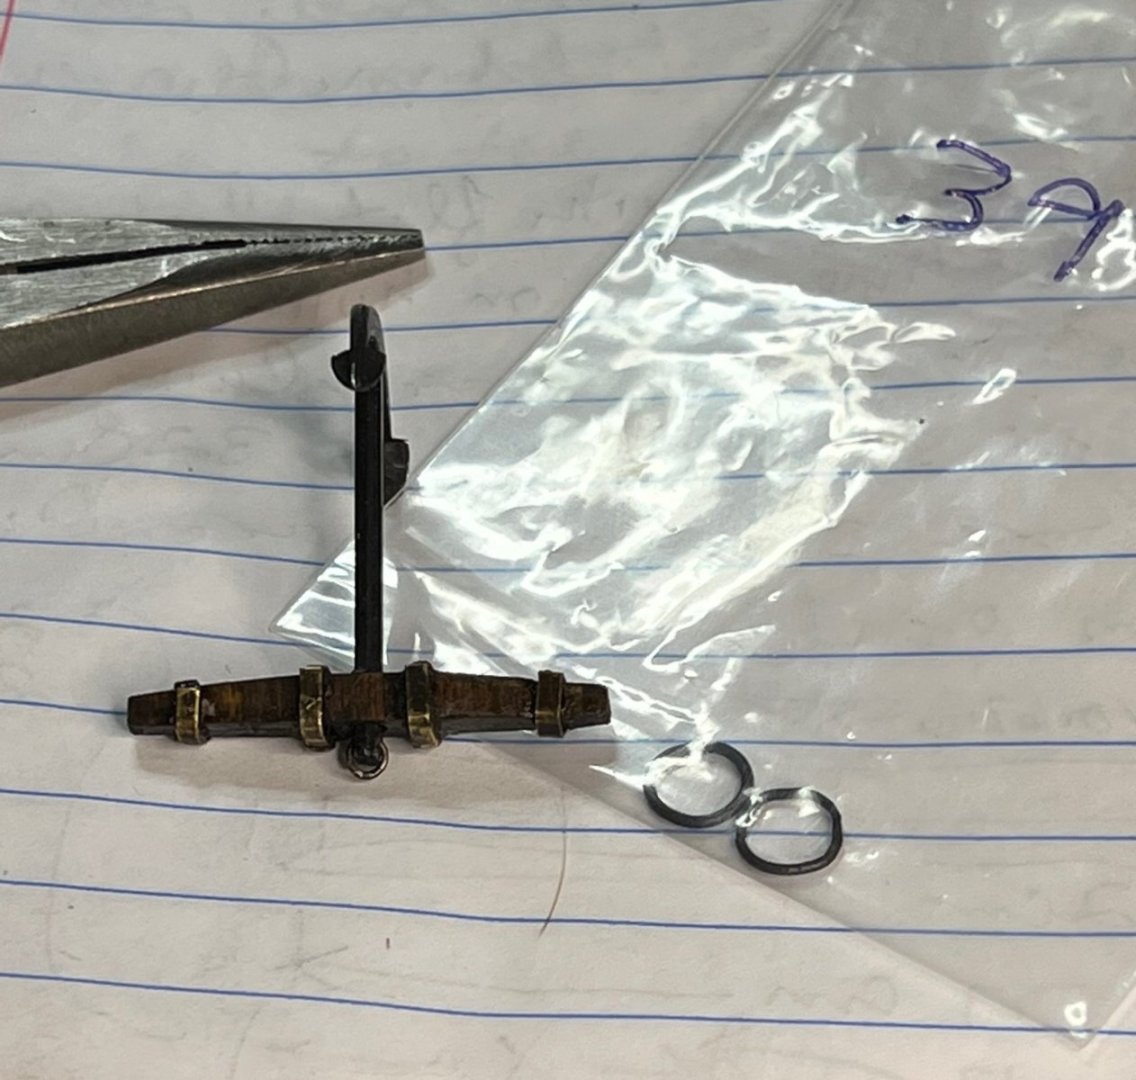
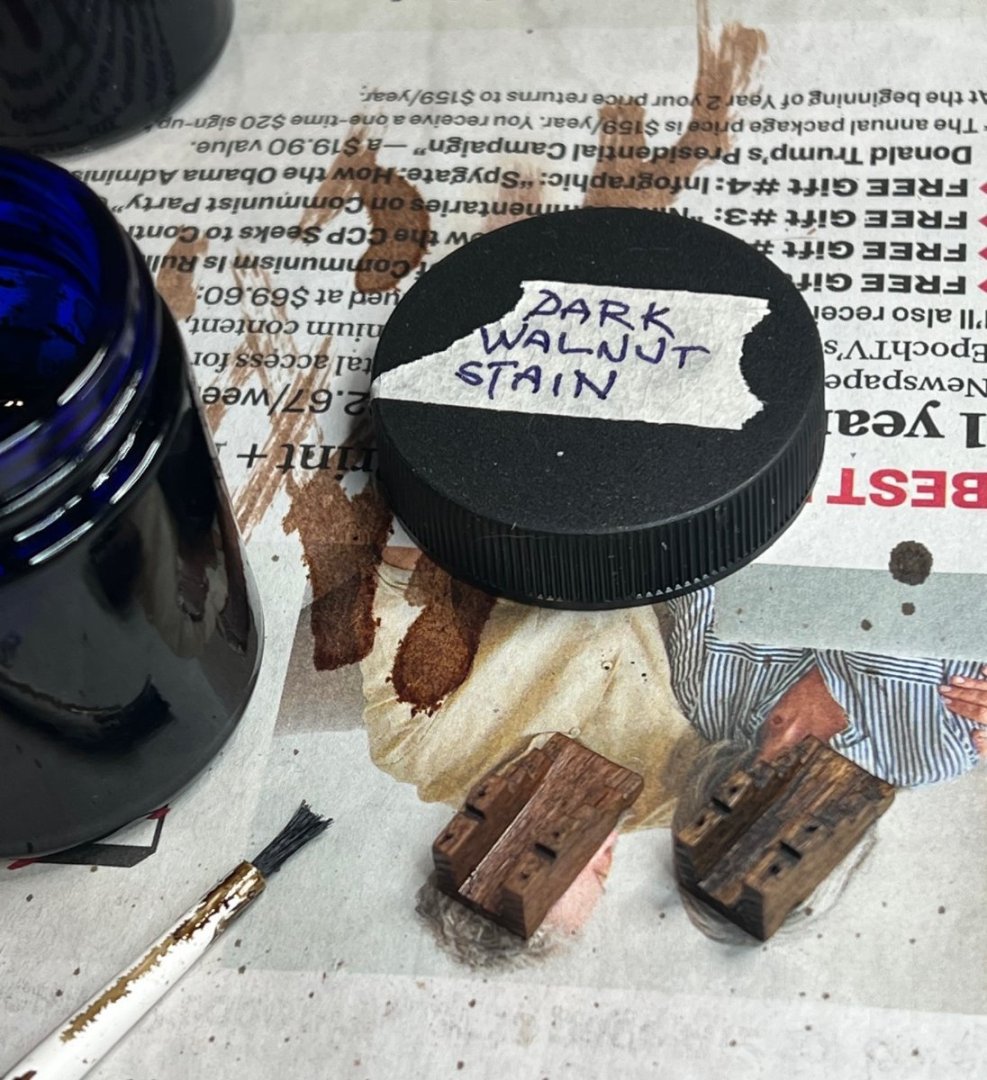
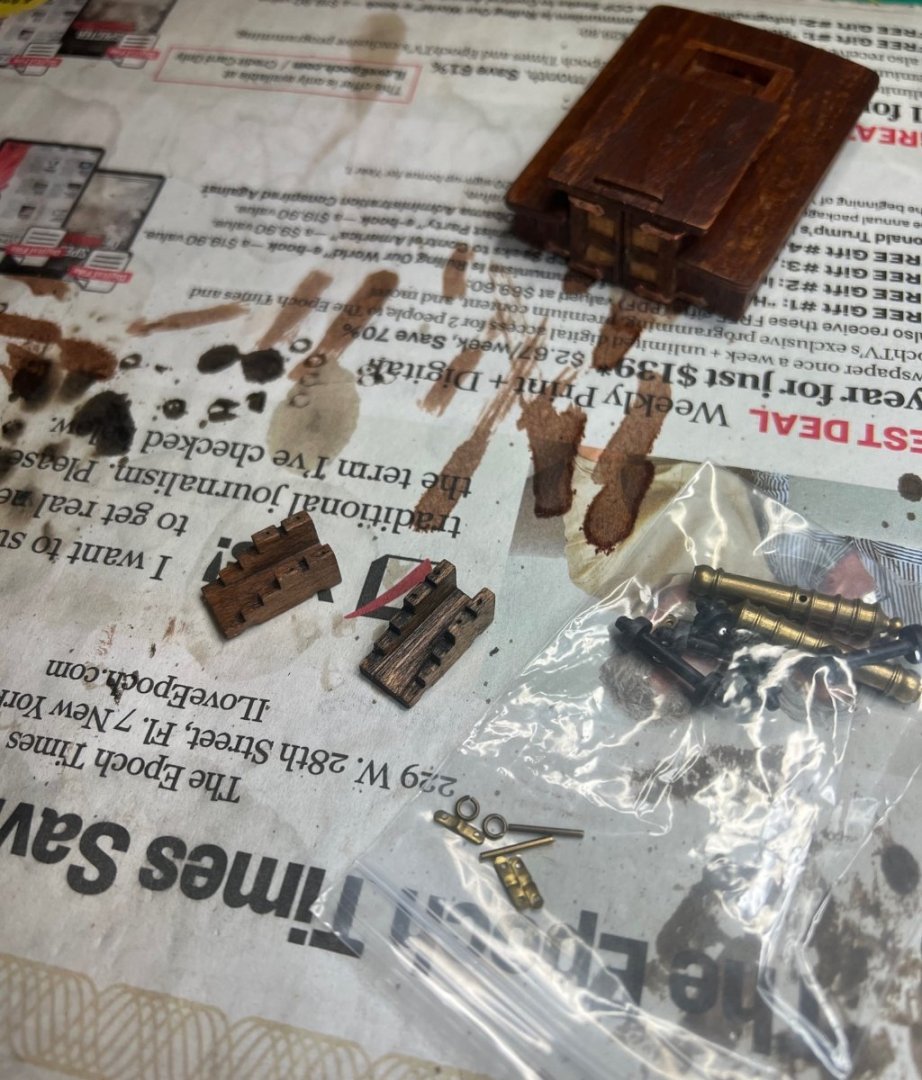
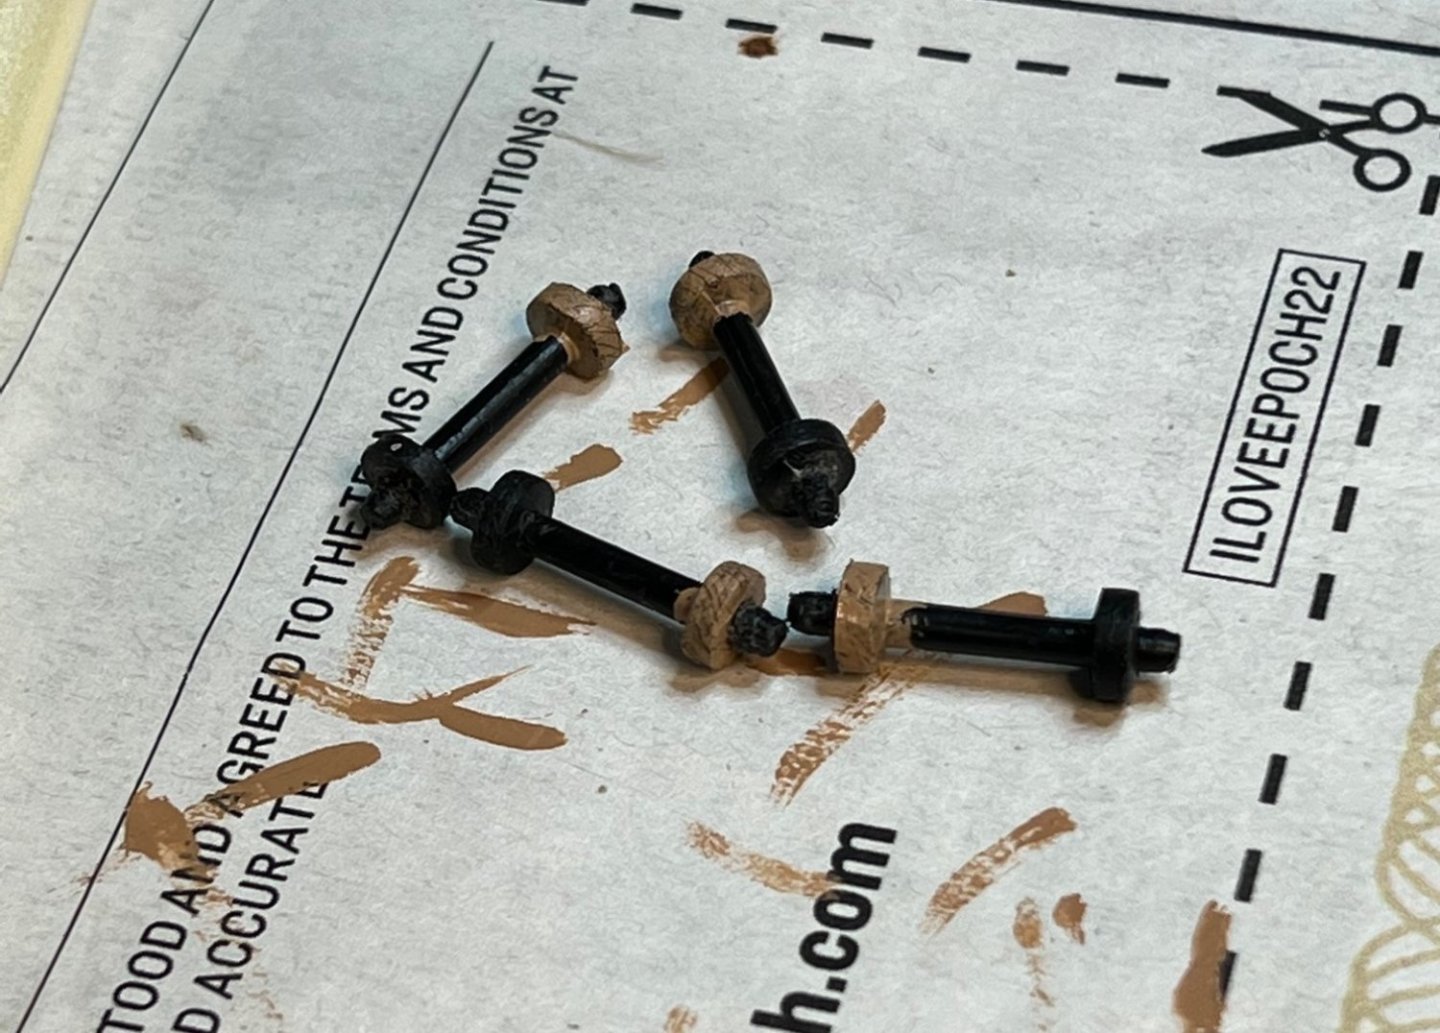
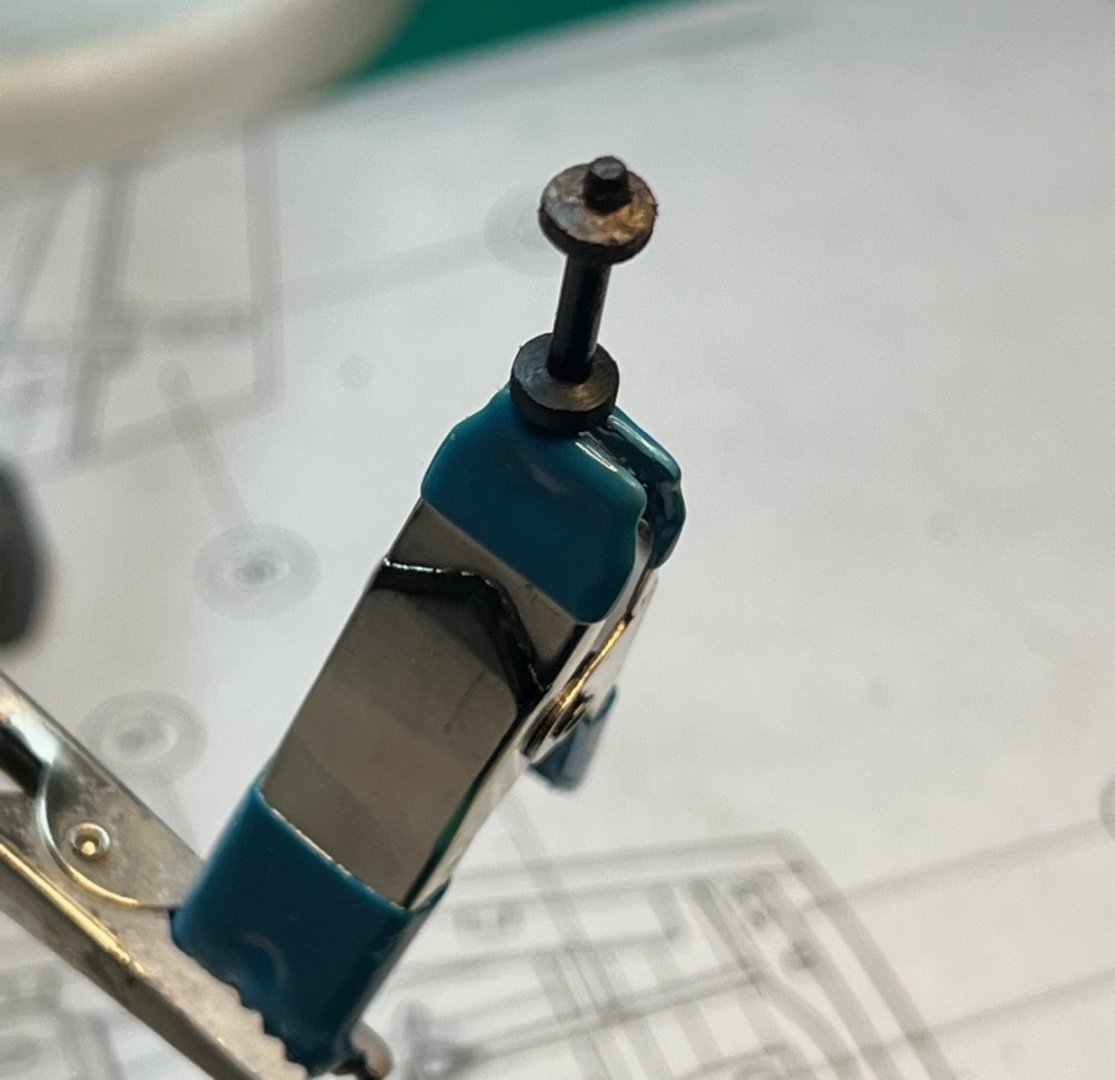
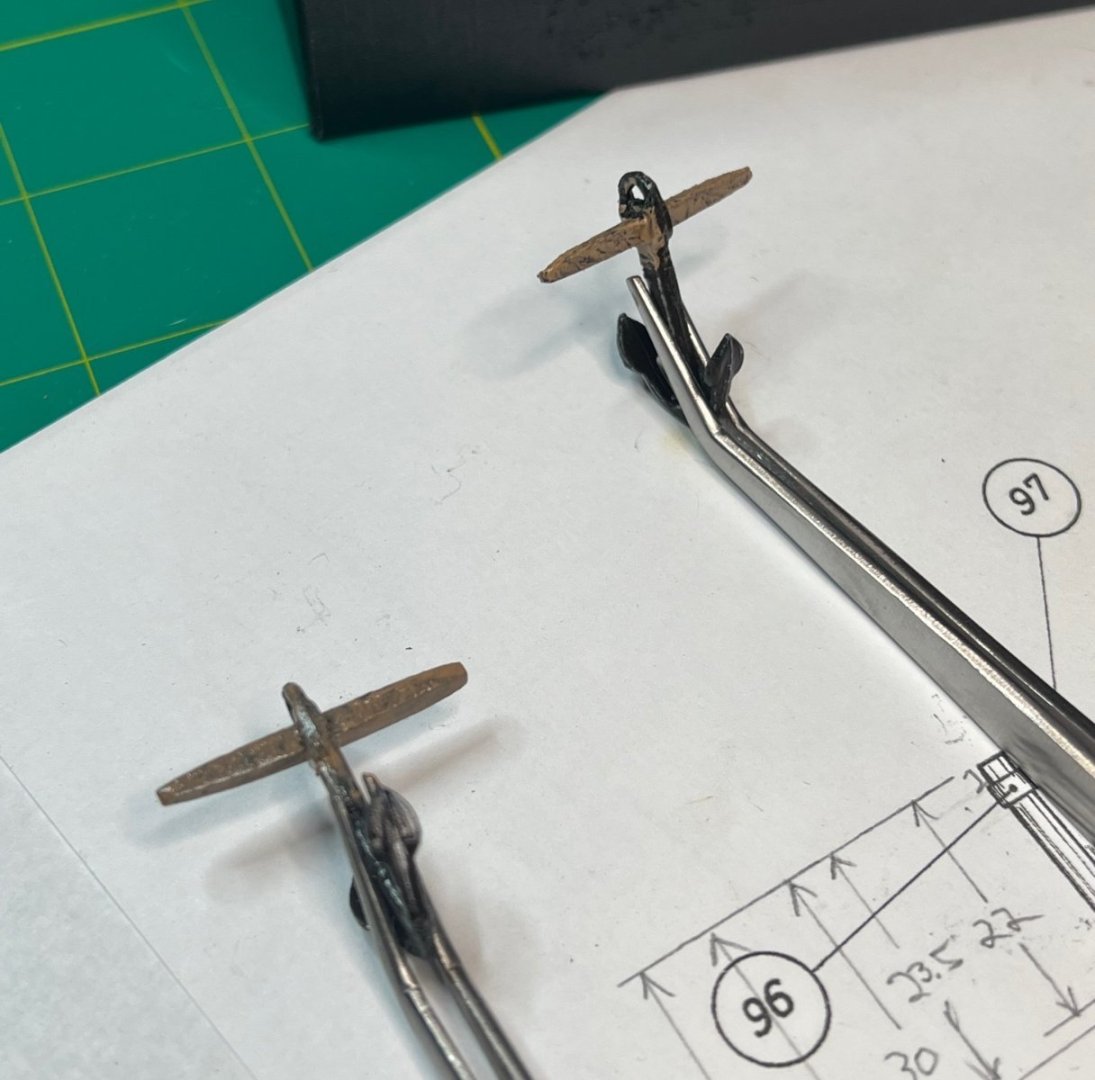
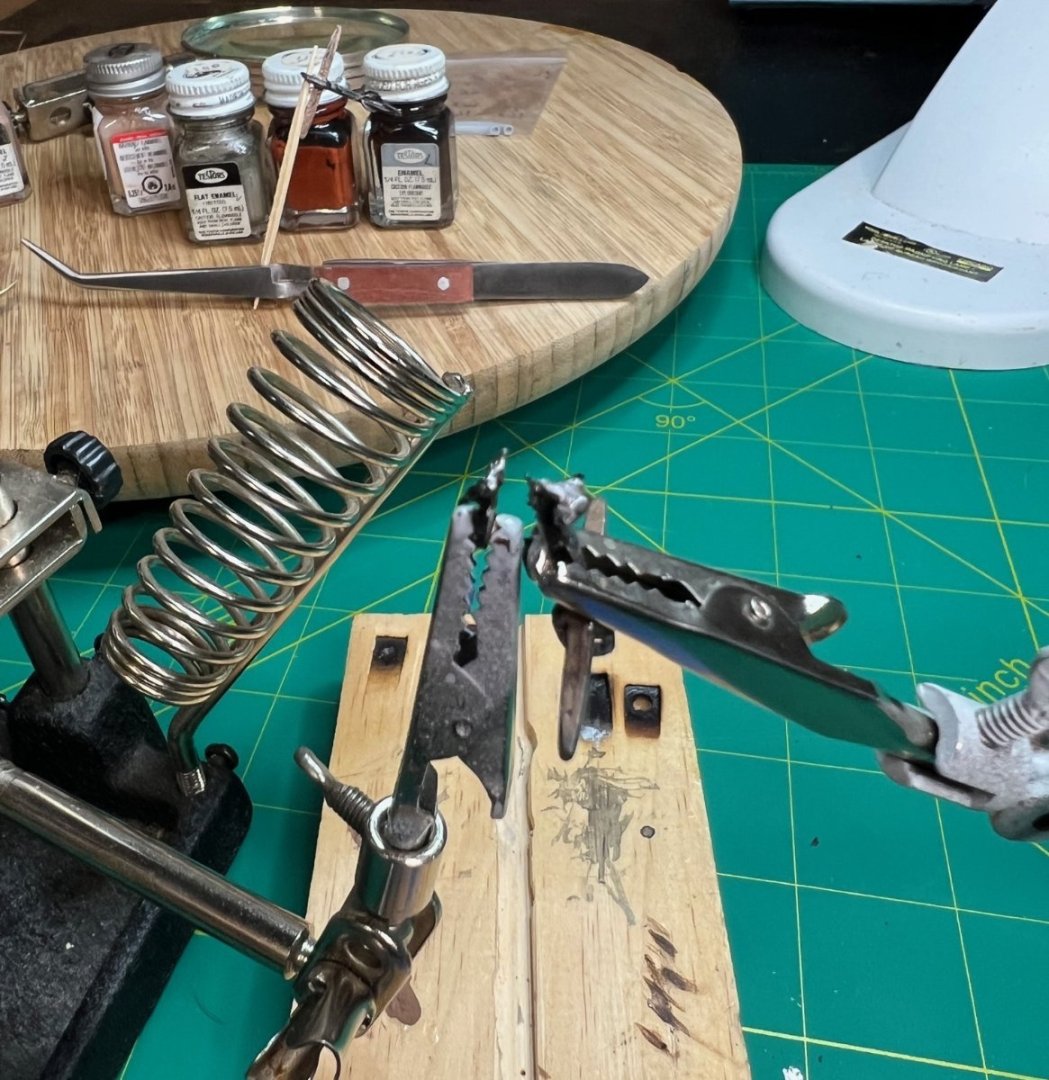
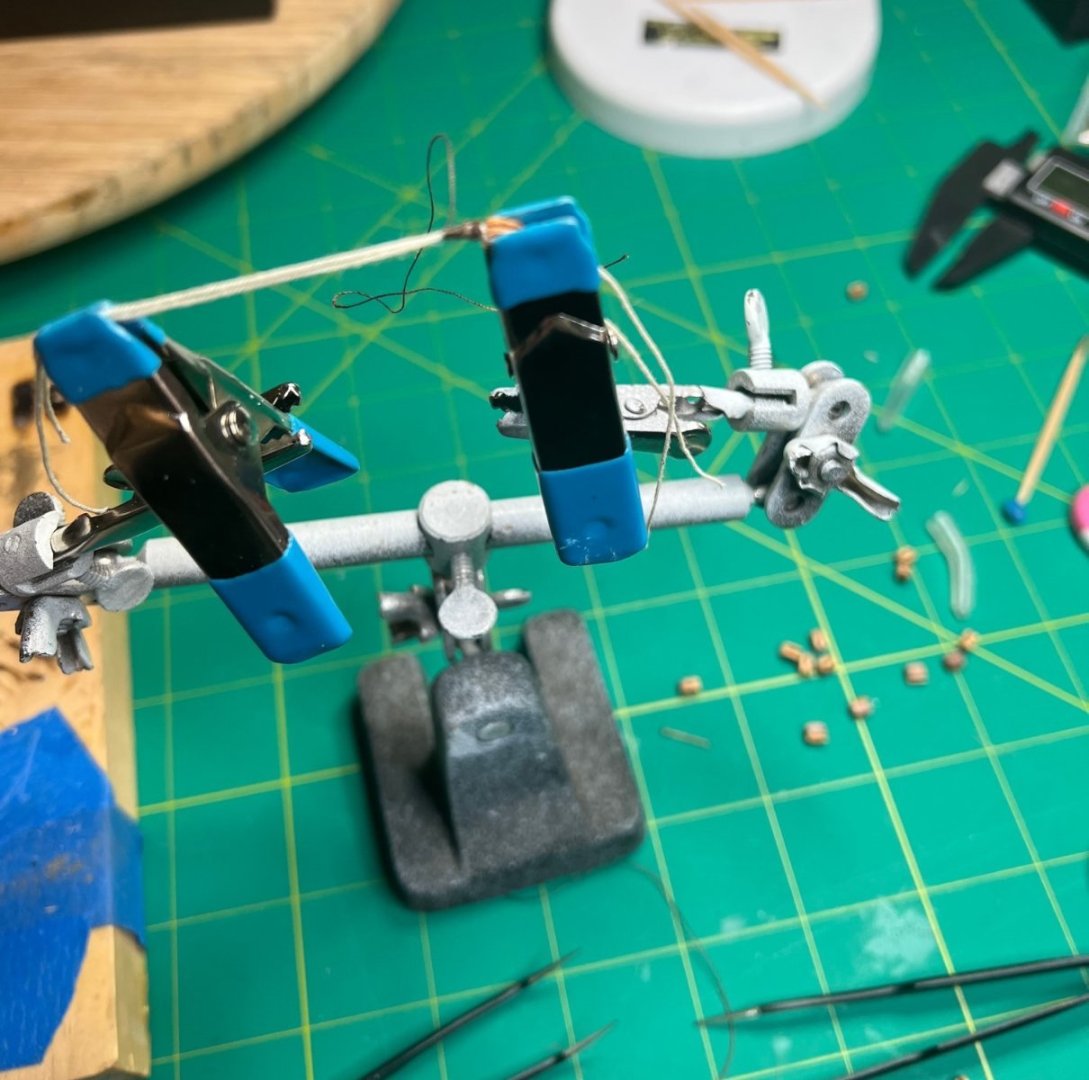
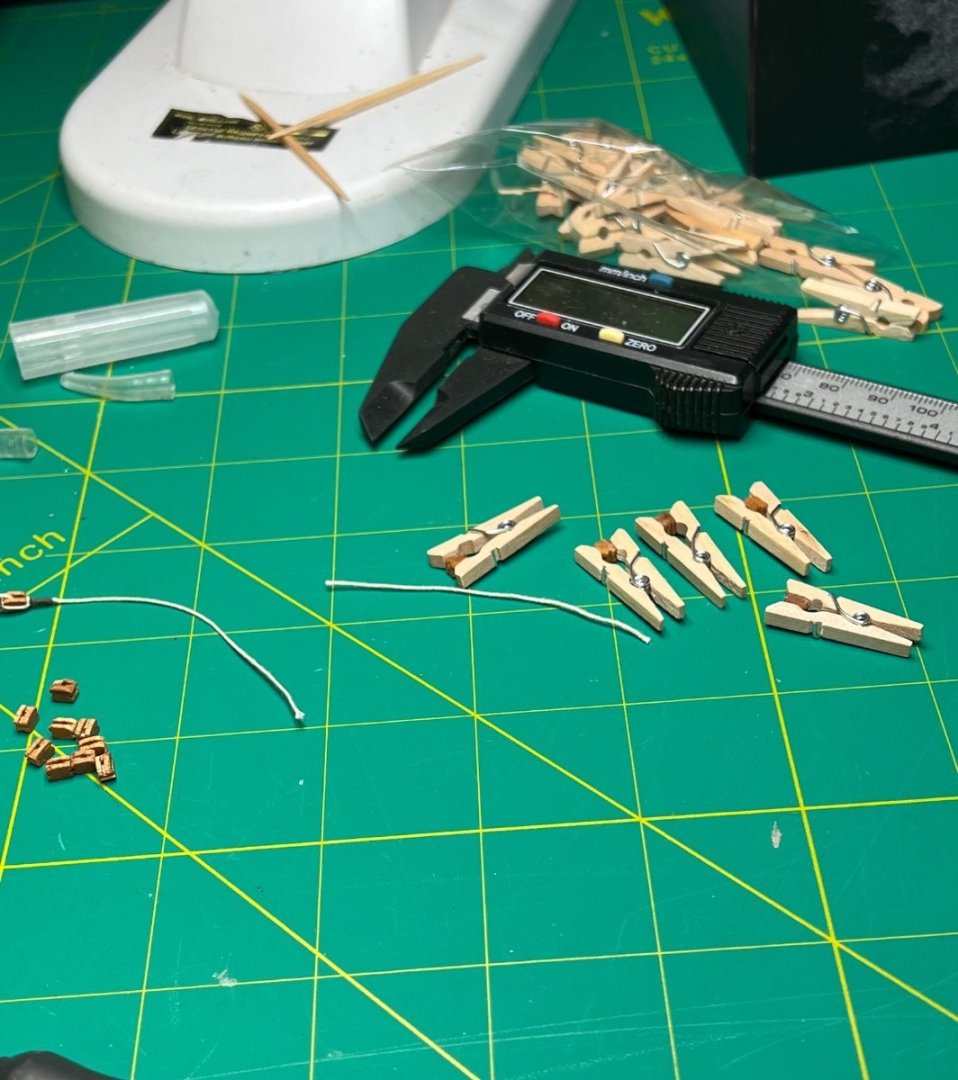
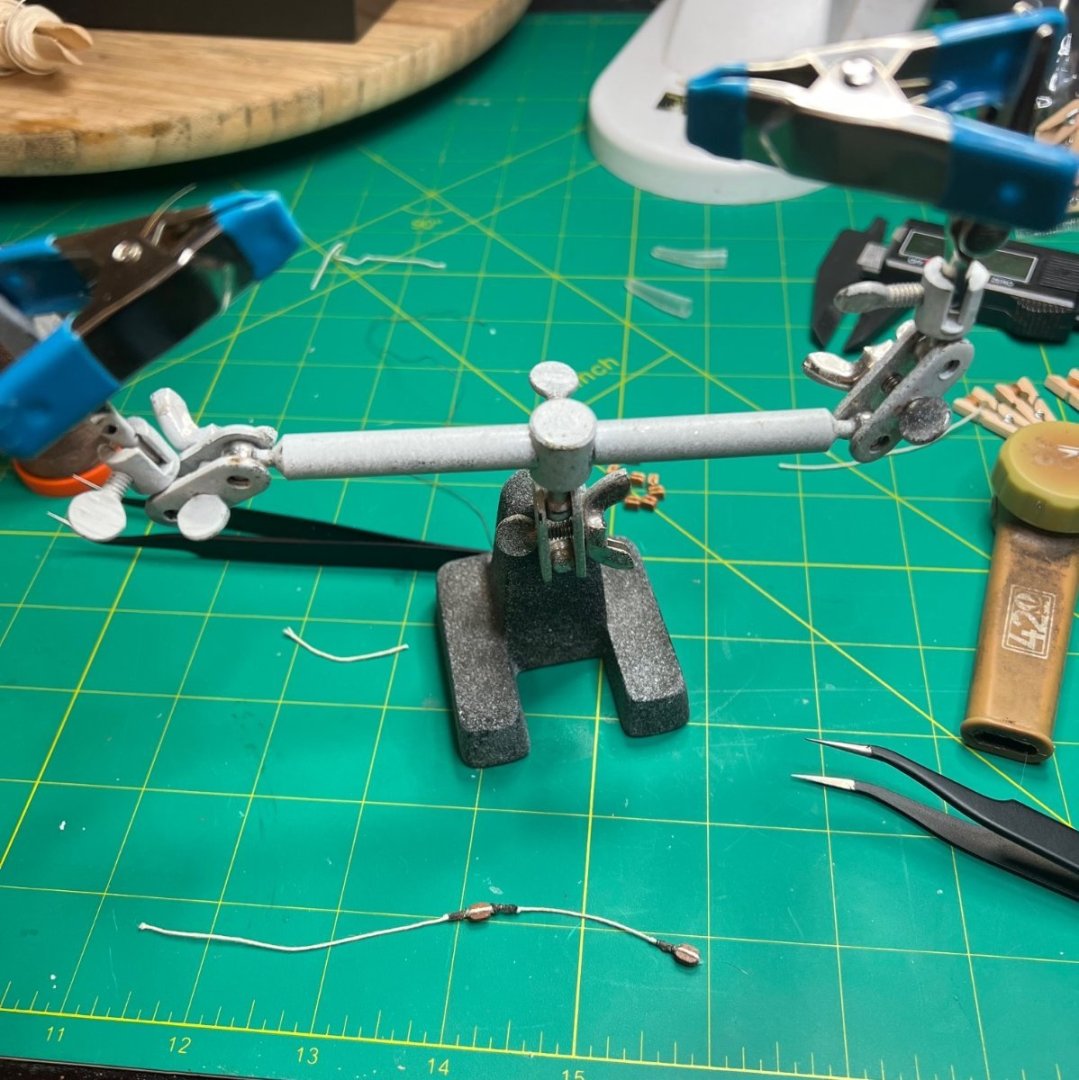
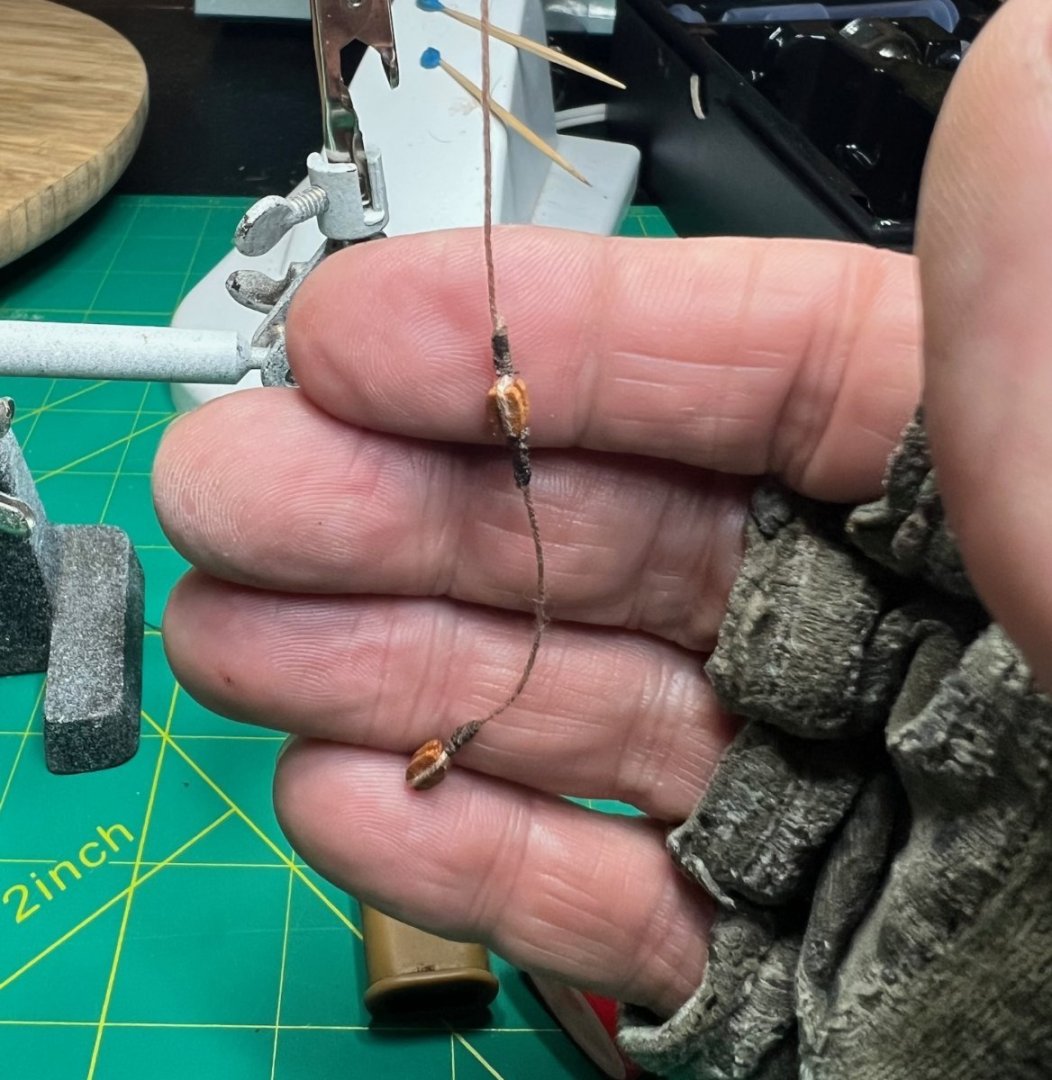
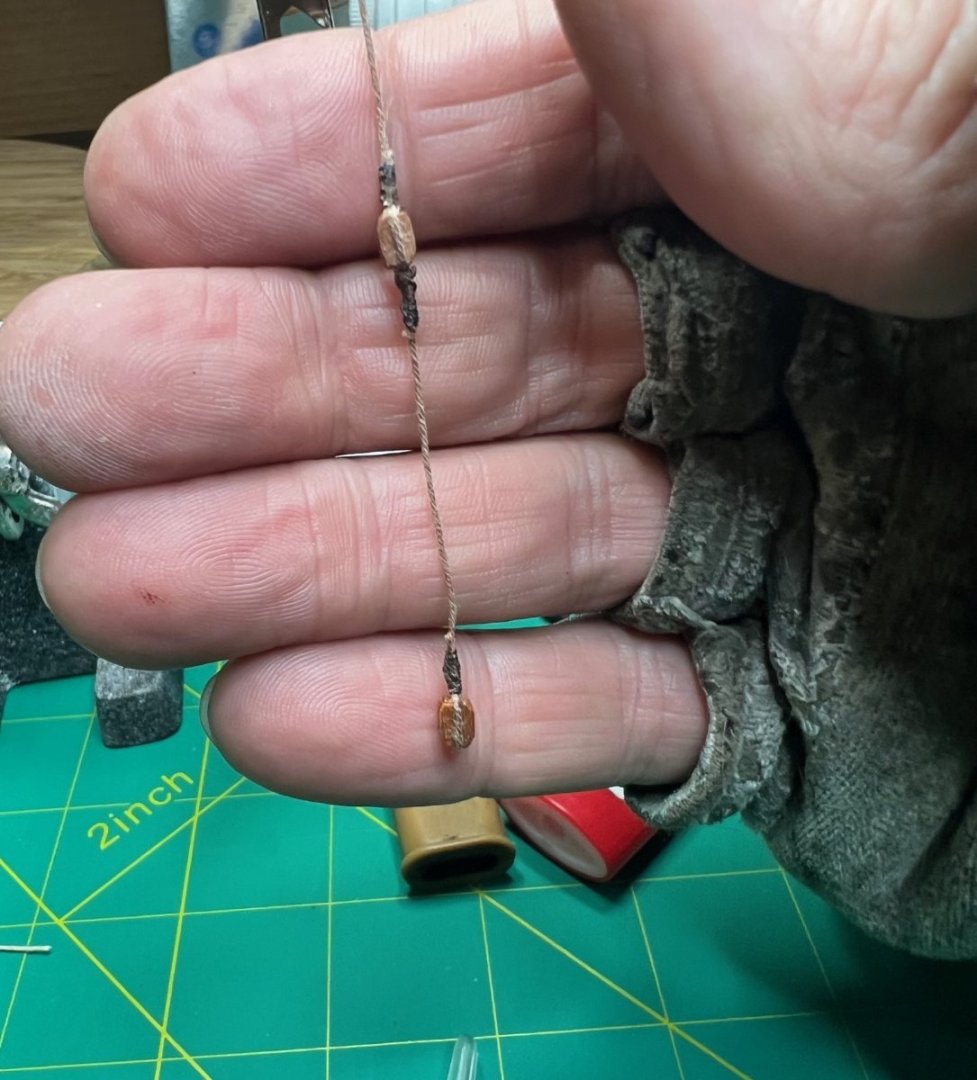
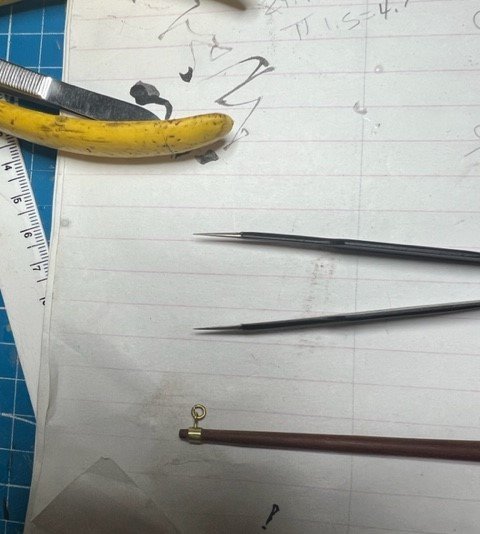
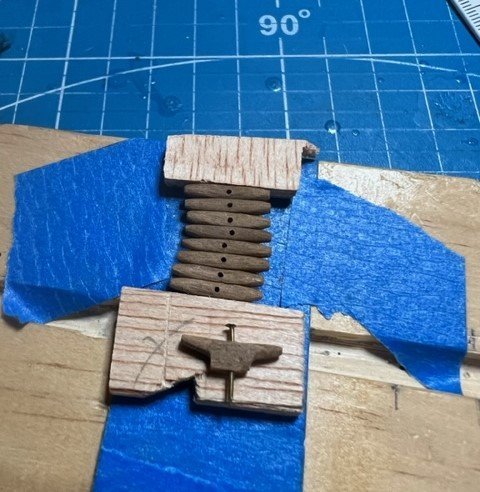
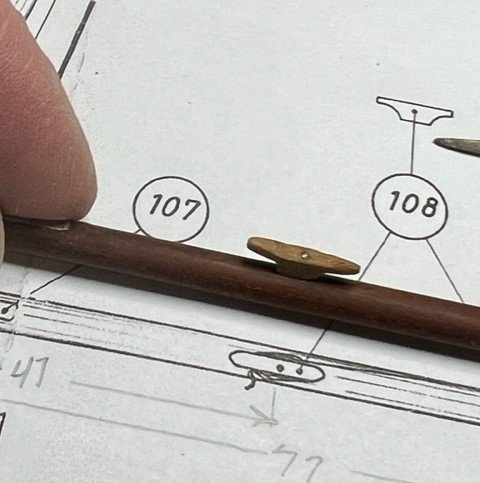
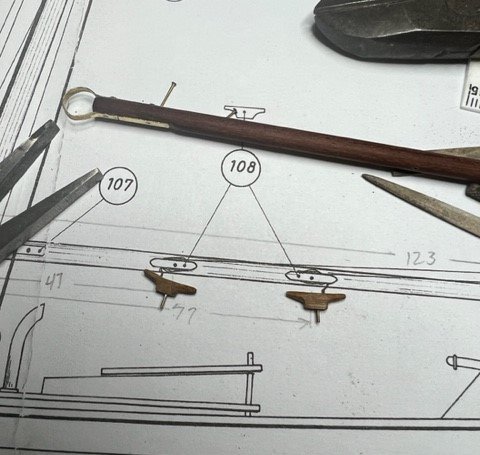
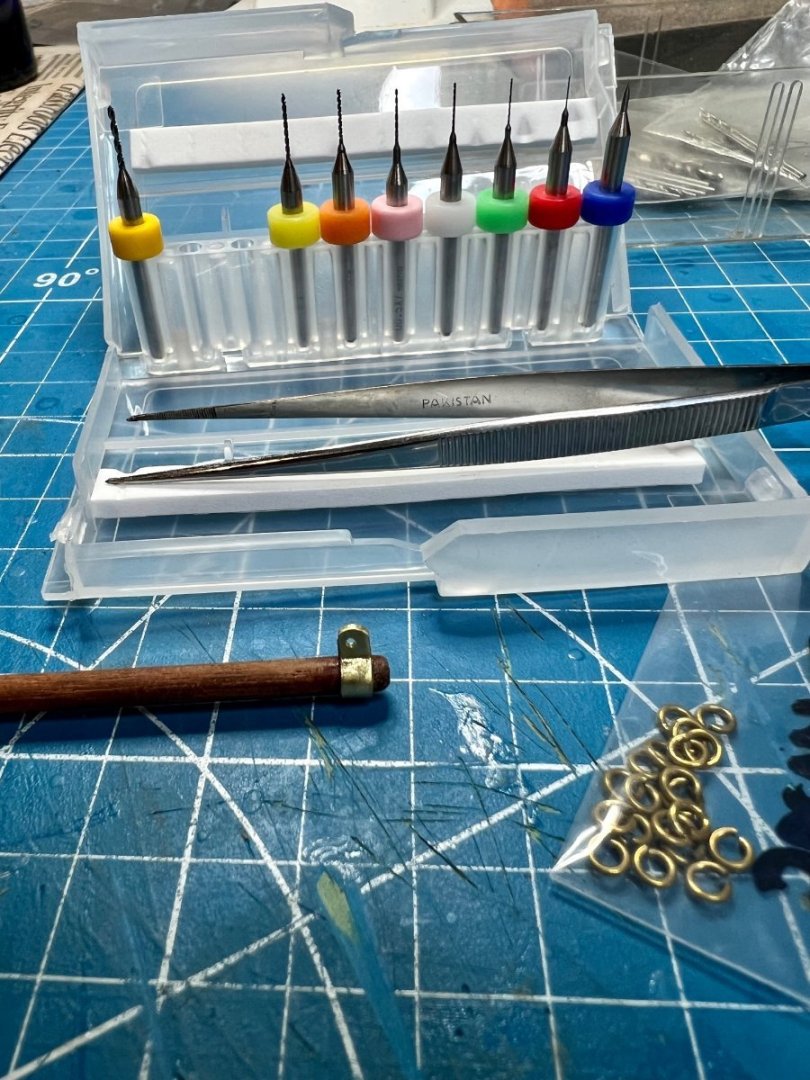
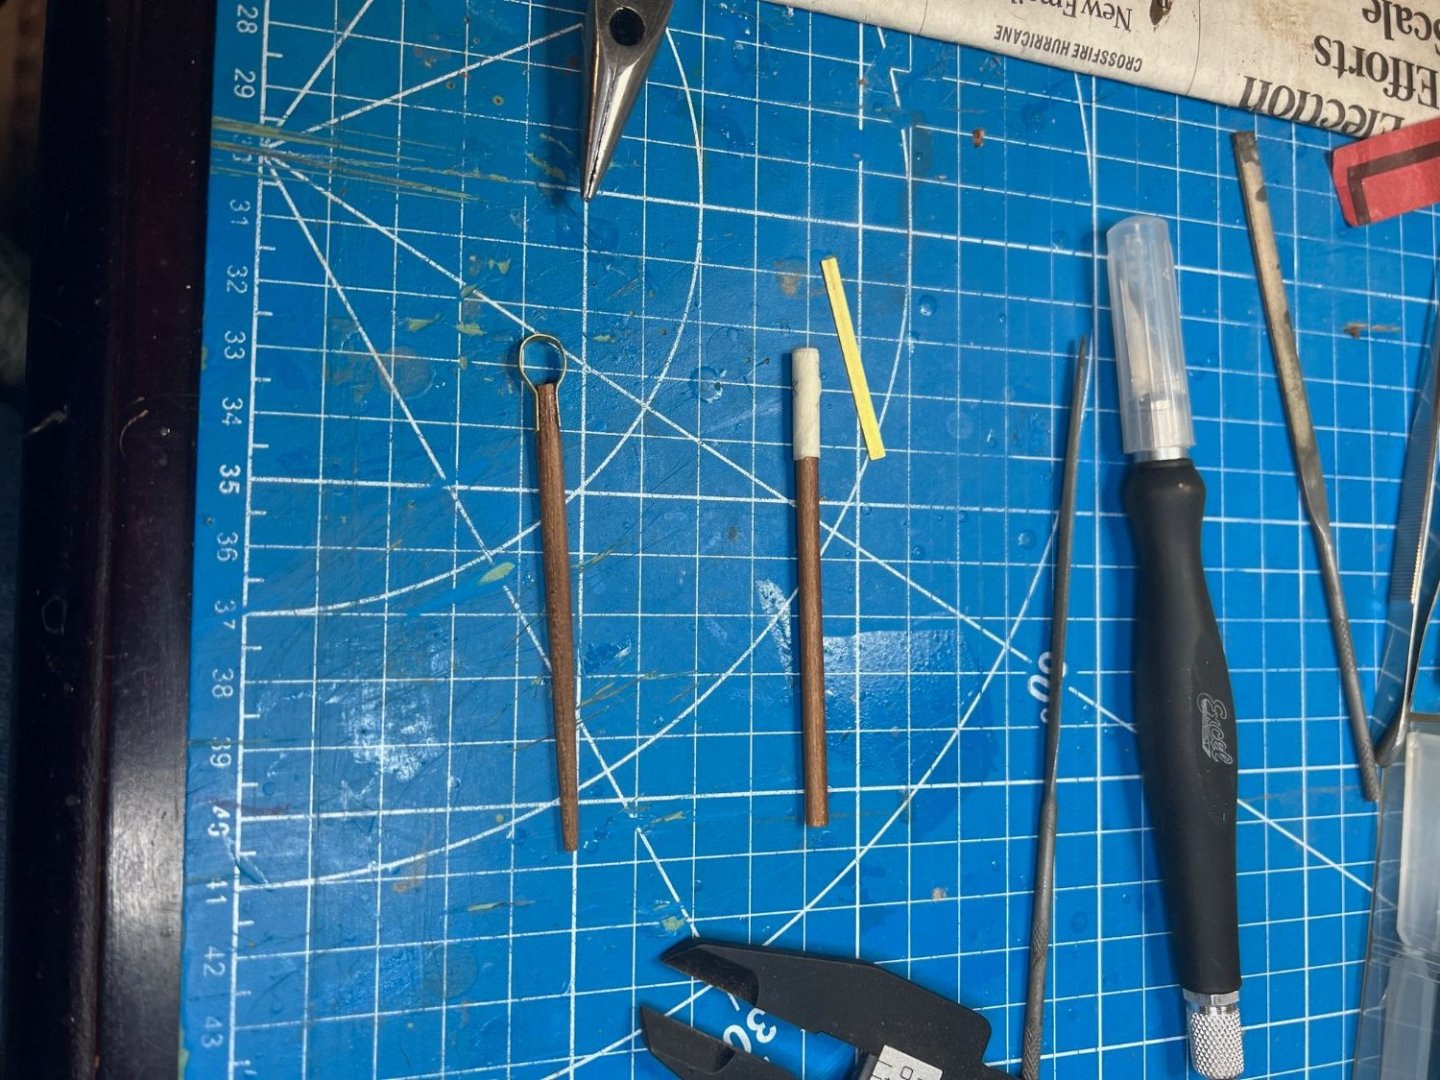
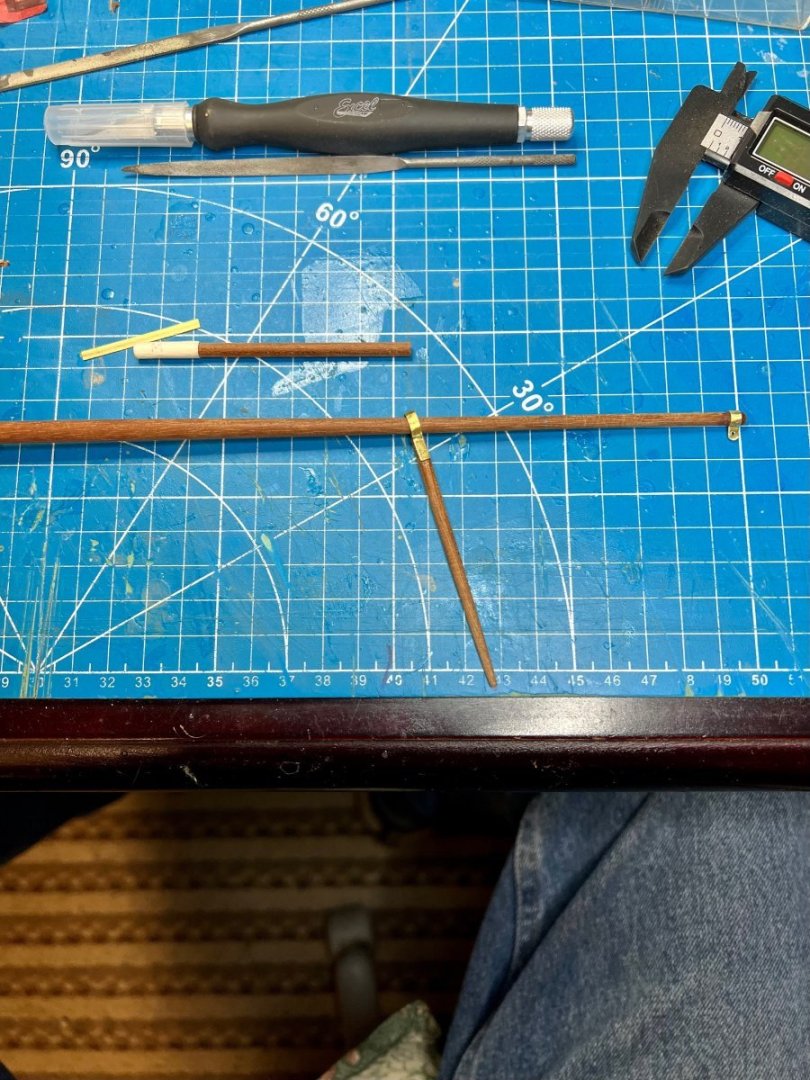
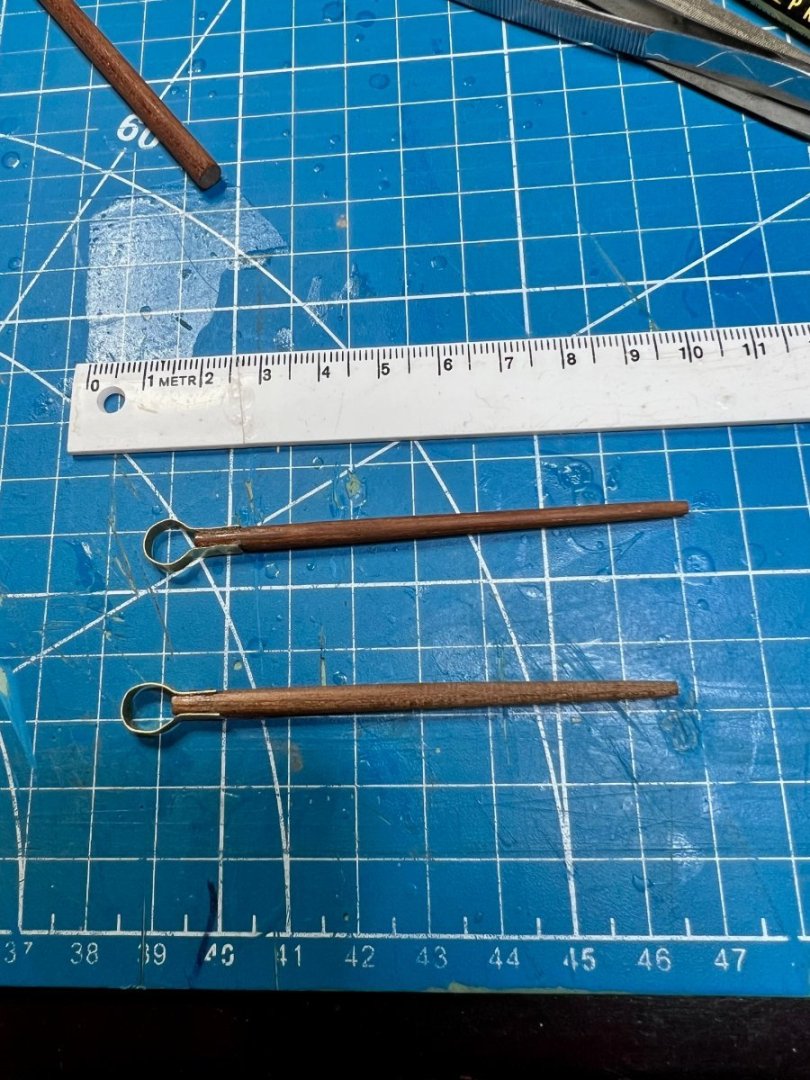
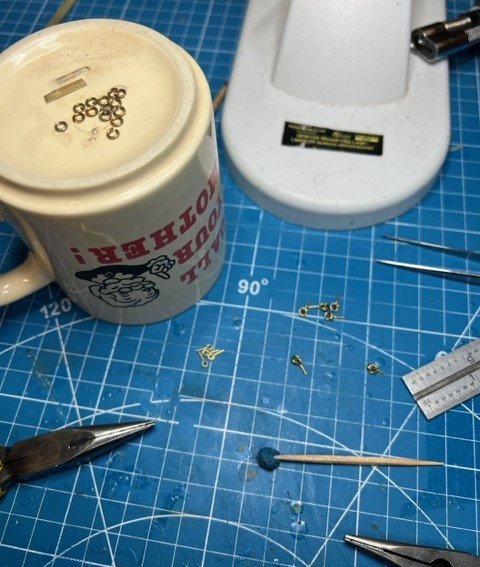
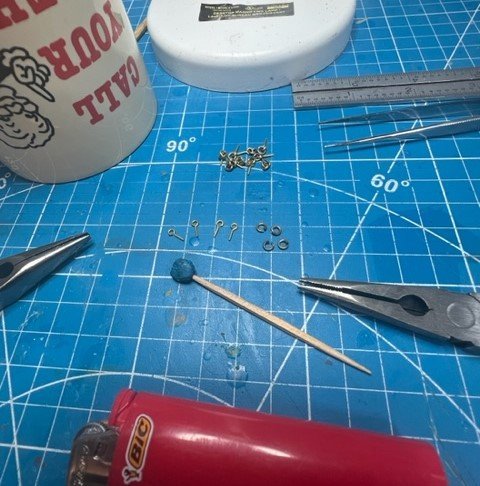
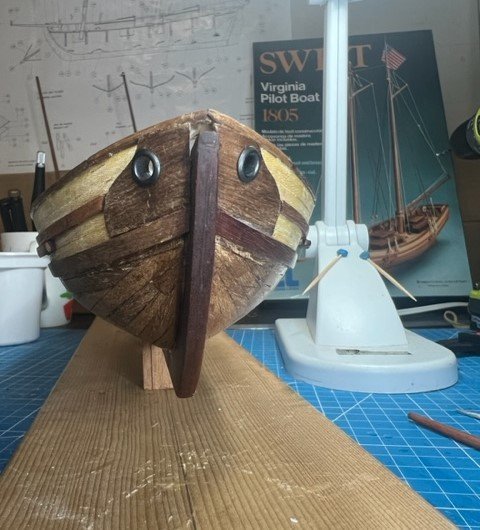
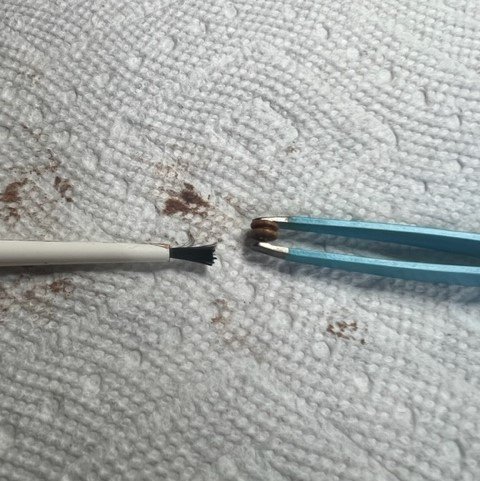
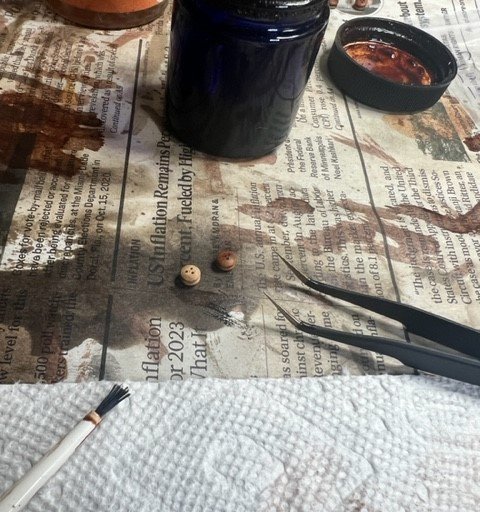
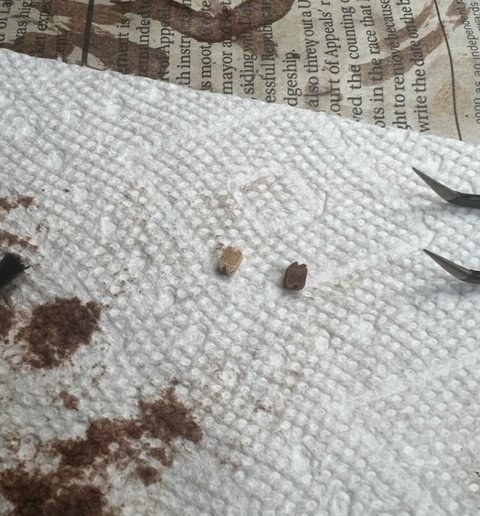
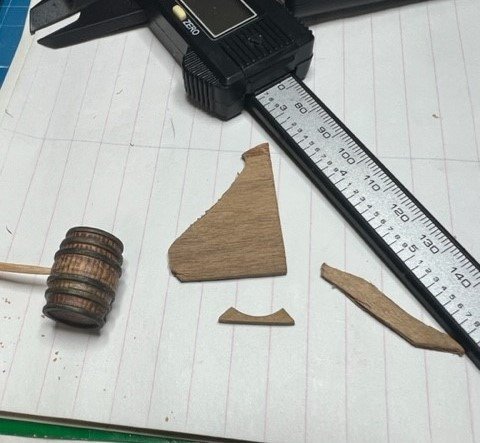
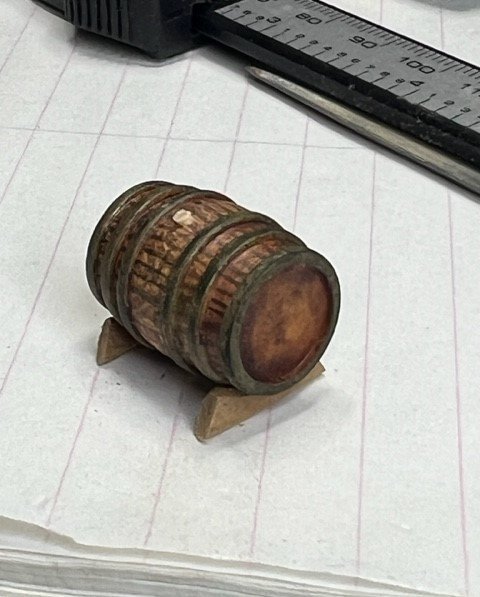
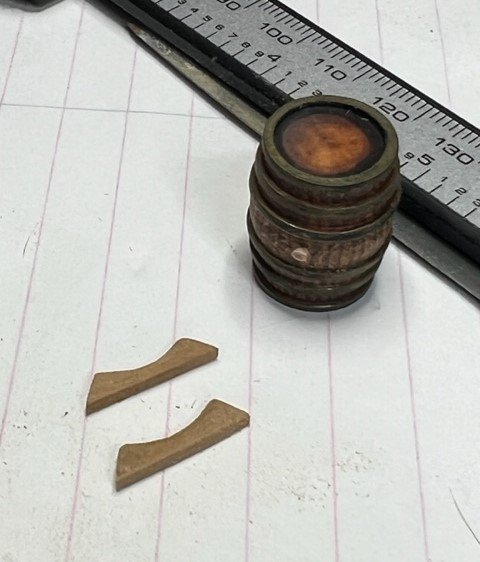
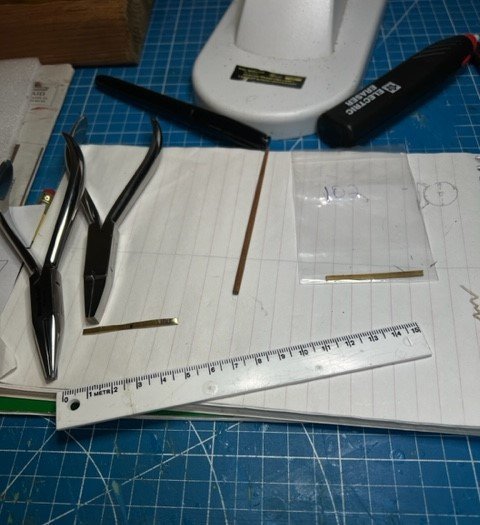
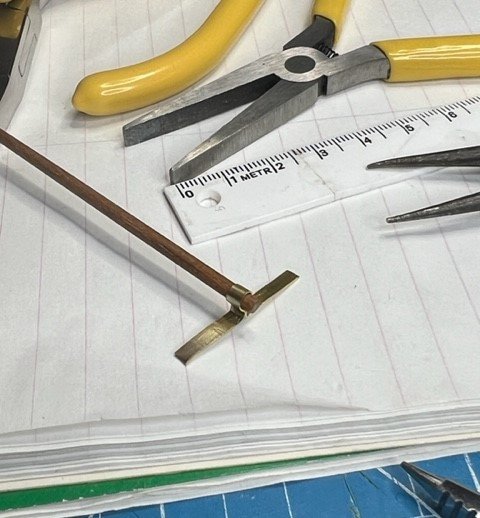
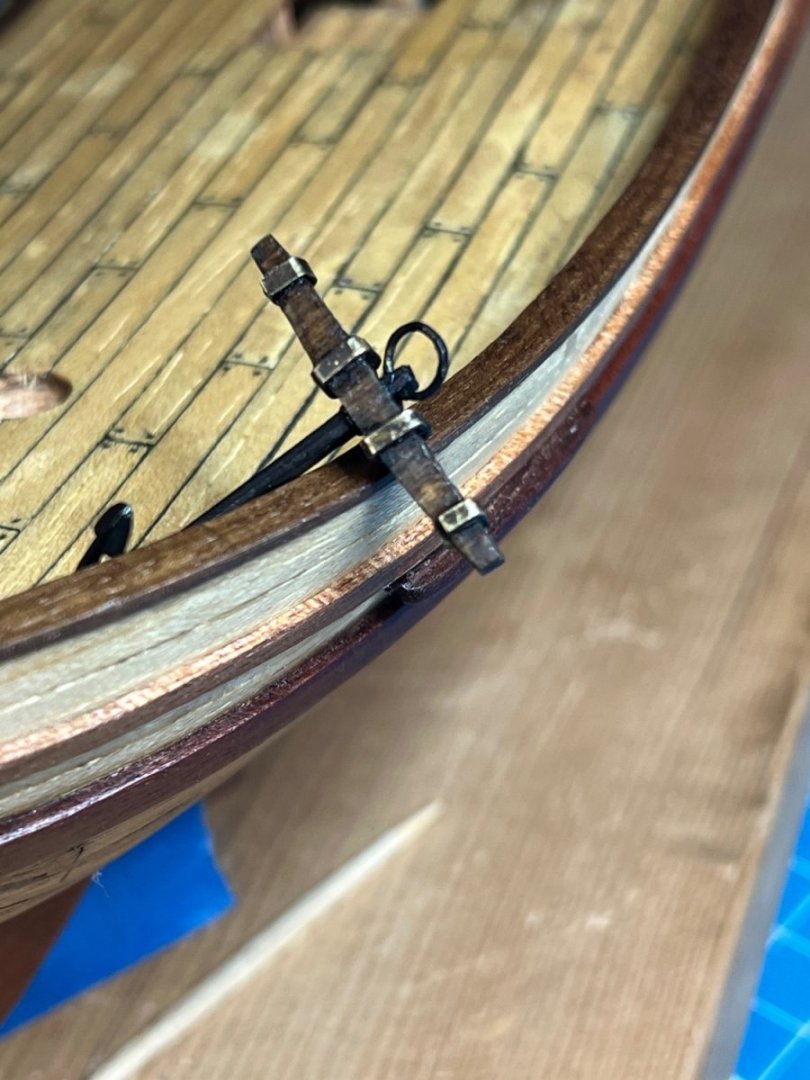
Puddening? Really? Puddening? Last day of March and still waiting for the .4mm thread to get here to “pudden” the anchors. I made new anchor rings from .6mm brass wire because I didn’t like the ones included in the old kit. So I got both rings on the imported from Australia Amati anchors waiting for the thread so I could try my first go at puddening the anchors. Meanwhile, I pinned the two uprights of the knightshead to pin to the deck. I used taught tape over the pins to make a drilling template for the matching holes. Turned out I had to bend the pins I installed a little to get them to fit the holes but it worked out great. I also scratch-built the deck racks for my barrel of Kentucky Bourbon I made. I pinned the two deck racks and put them aside to install when I was ready. I was terrified to install anything not knowing if it would be in my way at some point of installing something else. Today I received the new calipers with metal calipers instead of the cheap plastic one that failed for numerous reasons and it proves you get what you pay for. I ordered a mini-vice from Micro Mark today to help with upcoming rigging. It’s time for me to stop and plan out exactly what order the details on the ship need to go on. My masts and spars are still sticky from the satin spray varnish so I can’t handle those yet. Been a few days so I’m wondering if they just stay sticky or what? I leave for a Mexican Riviera cruise in a week for 9 days total so I have to find a stopping place I can pick up when I get back. I will miss working on the ship but will take my notebook so I can plan things, in between cruise ship cocktails lol. Got the stainless balls today to use for my bullets but my plans to burnish them with brassblack didn’t work because, uh, they’re stainless, duh. So I used black paint in a jar lid to keep rolling them around until they were covered and it eventually worked out and I had black cannonballs (bullets) for my guns. Turned out I had to bend the pins I installed a little to get them to fit the holes but it worked out great. I also scratch-built the deck racks for my barrel of Kentucky Bourbon I made. I pinned the two deck racks and put them aside to install when I was ready. I was terrified to install anything not knowing if it would be in my way at some point of installing something else. Today I received the new calipers with metal calipers instead of the cheap plastic one that failed for numerous reasons and it proves you get what you pay for. I ordered a mini-vice from Micro Mark today to help with upcoming rigging. It’s time for me to stop and plan out exactly what order the details on the ship need to go on. My masts and spars are still sticky from the satin spray varnish so I can’t handle those yet. Been a few days so I’m wondering if they just stay sticky or what? I leave for a Mexican Riviera cruise in a week for 9 days total so I have to find a stopping place I can pick up when I get back. I will miss working on the ship but will take my notebook so I can plan things, in between cruise ship cocktails lol. Got the stainless balls today to use for my bullets but my plans to burnish them with brassblack didn’t work because, uh, they’re stainless, duh. So I used black paint in a jar lid to keep rolling them around until they were covered and it eventually worked out and I had black cannonballs (bullets) for my guns. I received my .4mm thread today, 4/4/23, to put the puddening on my anchor rings. I served both the anchor’s rings and was happy with the results. Next I had to seize white thread around the serving in 4 places equidistantly spaced. It came out great after having to start over several times. Just had to stay with it until it was done and looked good. The next day, I received the mini-vice from Micro Mark. It was rusty and instead of sending it back, I got the WD-40 and a brass brush after it and made it work. Disappointing for an expensive Micro Mark tool but I didn’t want to wait for the replacement. I made a base for it from scrap wood. I lubricated all my tools since I was leaving for our cruise tomorrow and didn’t want to start the next job of rigging blocks to the spars until we return. This will be my last post before our 7 day cruise to the Mexican Riviera so bon voyage for a bit.
- 59 replies
-
- Swift
- Artesania Latina
-
(and 1 more)
Tagged with:
-
 Ryland Craze reacted to a post in a topic:
Swift 1805 by Scotty W - FINISHED - Artesania Latina - 1/50th scale - Virginia Pilot Boat
-
 Scotty W reacted to a post in a topic:
Swift 1805 by Scotty W - FINISHED - Artesania Latina - 1/50th scale - Virginia Pilot Boat
-
 Scotty W reacted to a post in a topic:
Swift 1805 by Scotty W - FINISHED - Artesania Latina - 1/50th scale - Virginia Pilot Boat
-
 VTHokiEE reacted to a post in a topic:
Swift 1805 by Scotty W - FINISHED - Artesania Latina - 1/50th scale - Virginia Pilot Boat
-
 ccoyle reacted to a post in a topic:
Swift 1805 by Scotty W - FINISHED - Artesania Latina - 1/50th scale - Virginia Pilot Boat
-
 chris watton reacted to a post in a topic:
Swift 1805 by Scotty W - FINISHED - Artesania Latina - 1/50th scale - Virginia Pilot Boat
-
 Keith Black reacted to a post in a topic:
Swift 1805 by Scotty W - FINISHED - Artesania Latina - 1/50th scale - Virginia Pilot Boat
-
 Scotty W reacted to a post in a topic:
Swift 1805 by Scotty W - FINISHED - Artesania Latina - 1/50th scale - Virginia Pilot Boat
-
 JacquesCousteau reacted to a post in a topic:
Swift 1805 by Scotty W - FINISHED - Artesania Latina - 1/50th scale - Virginia Pilot Boat
-
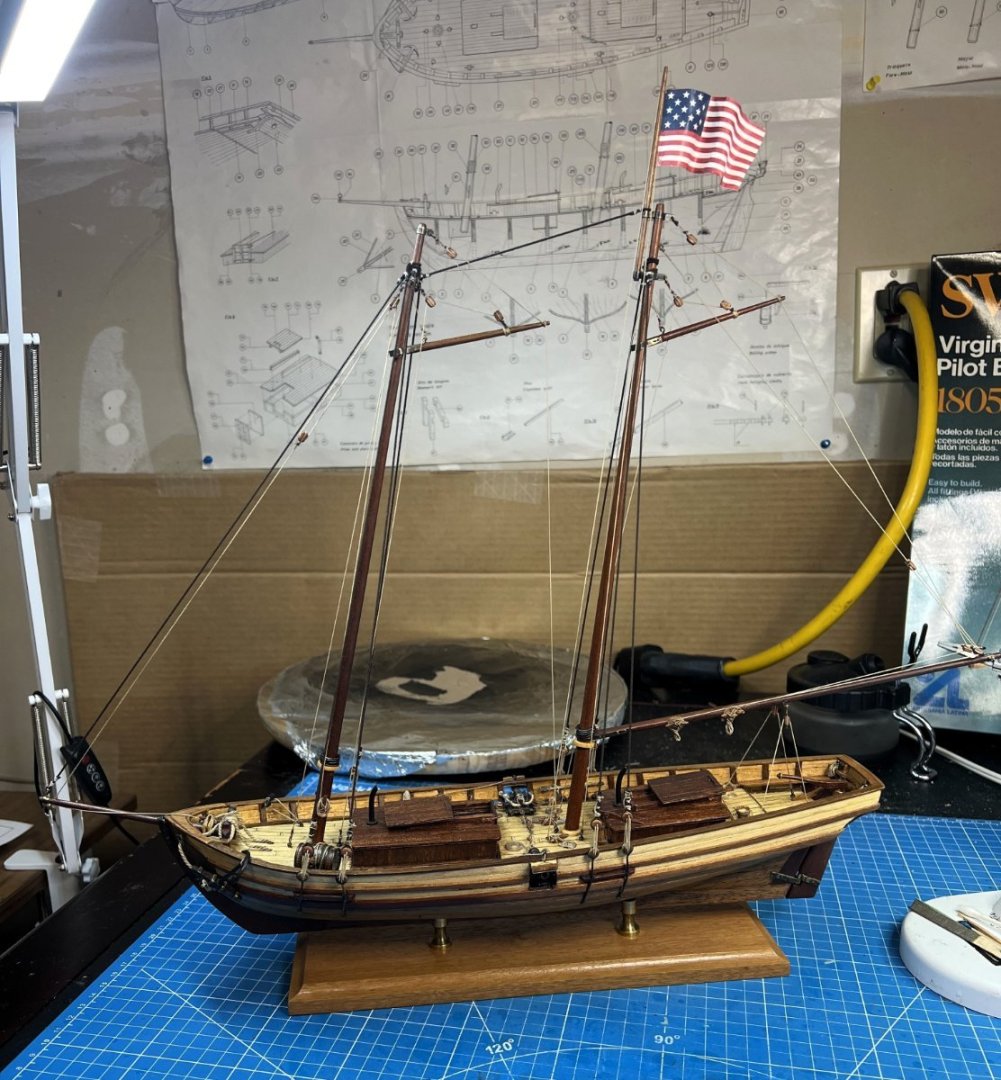
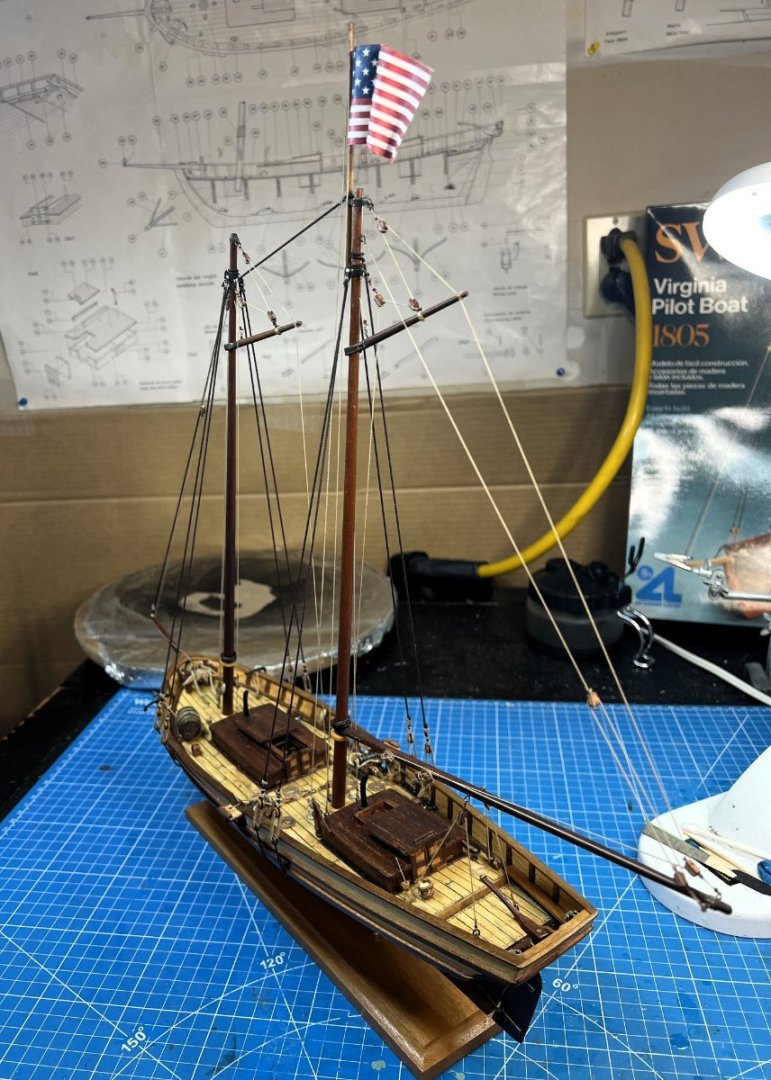
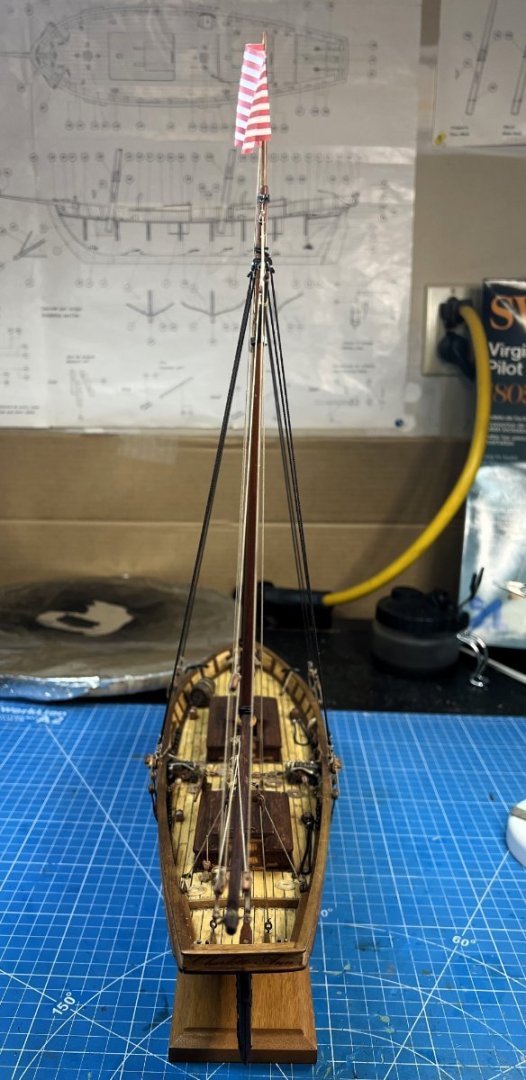
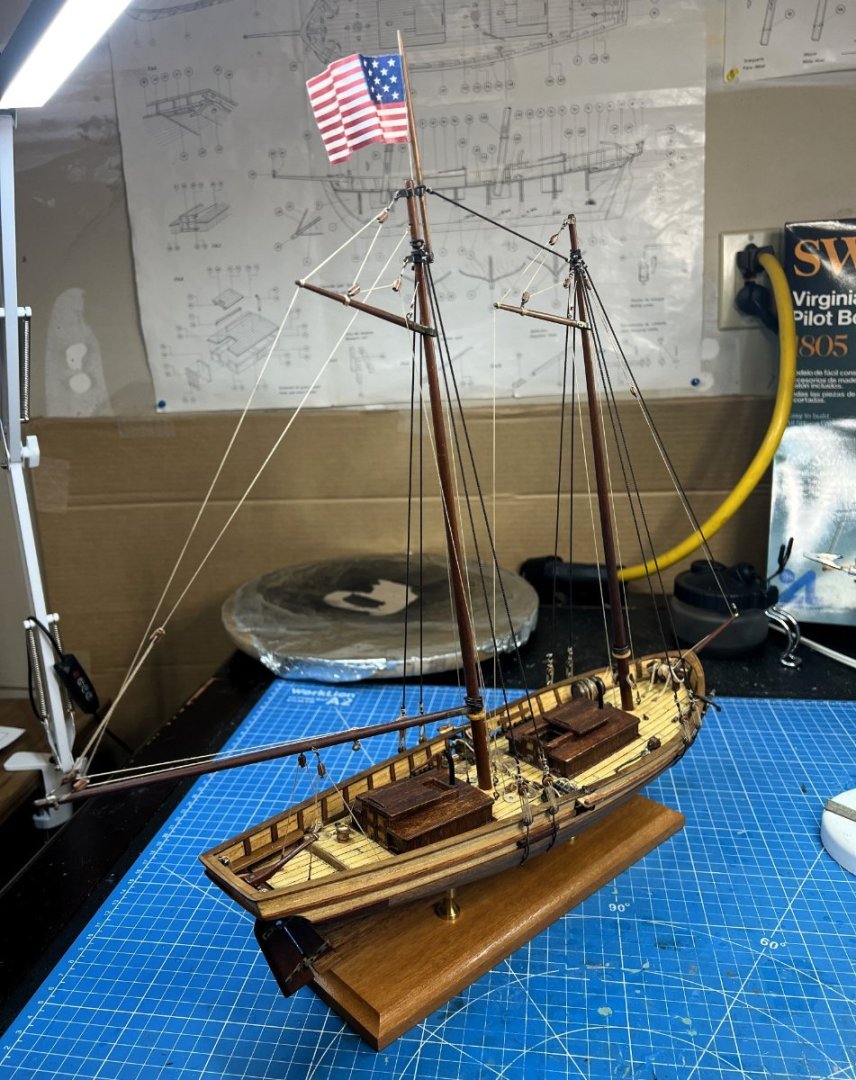
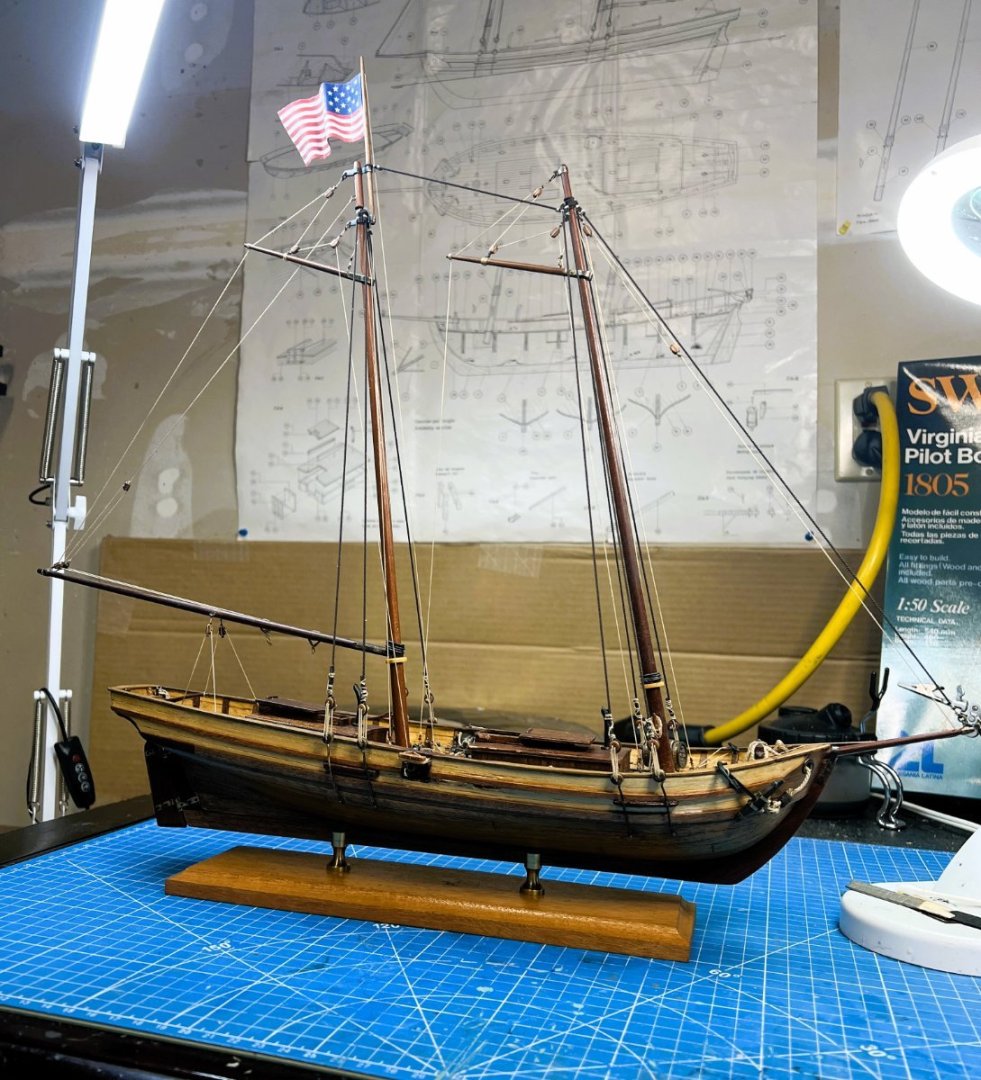
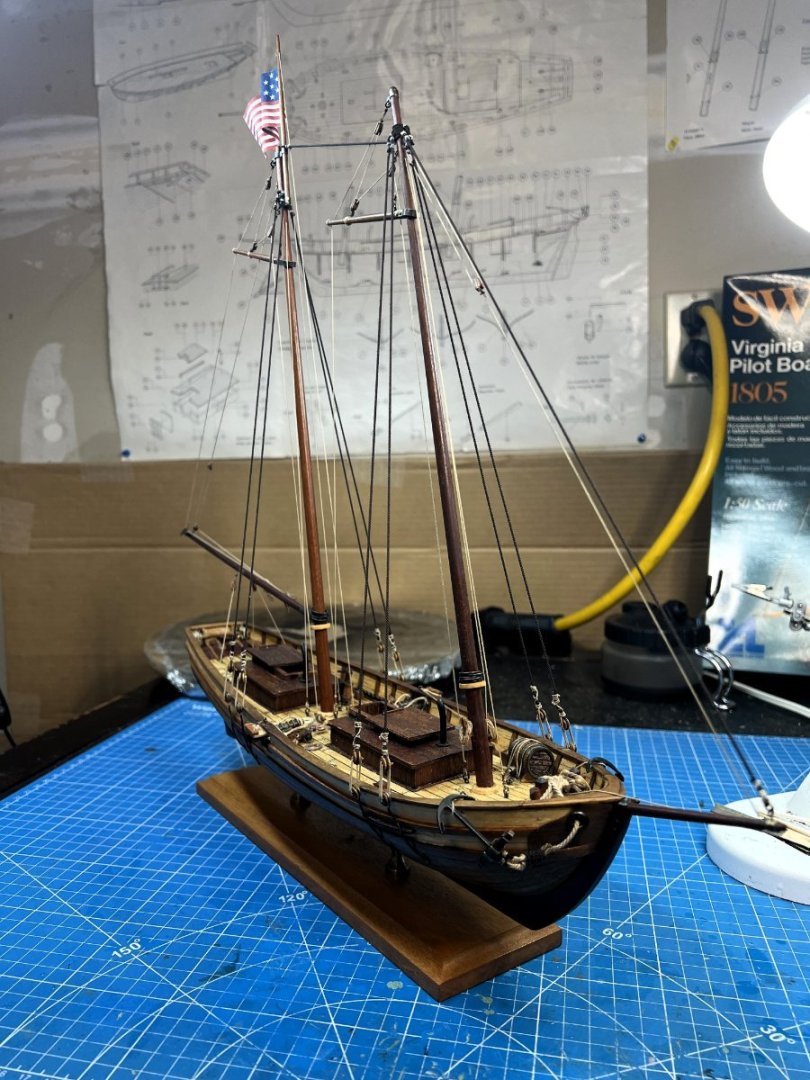
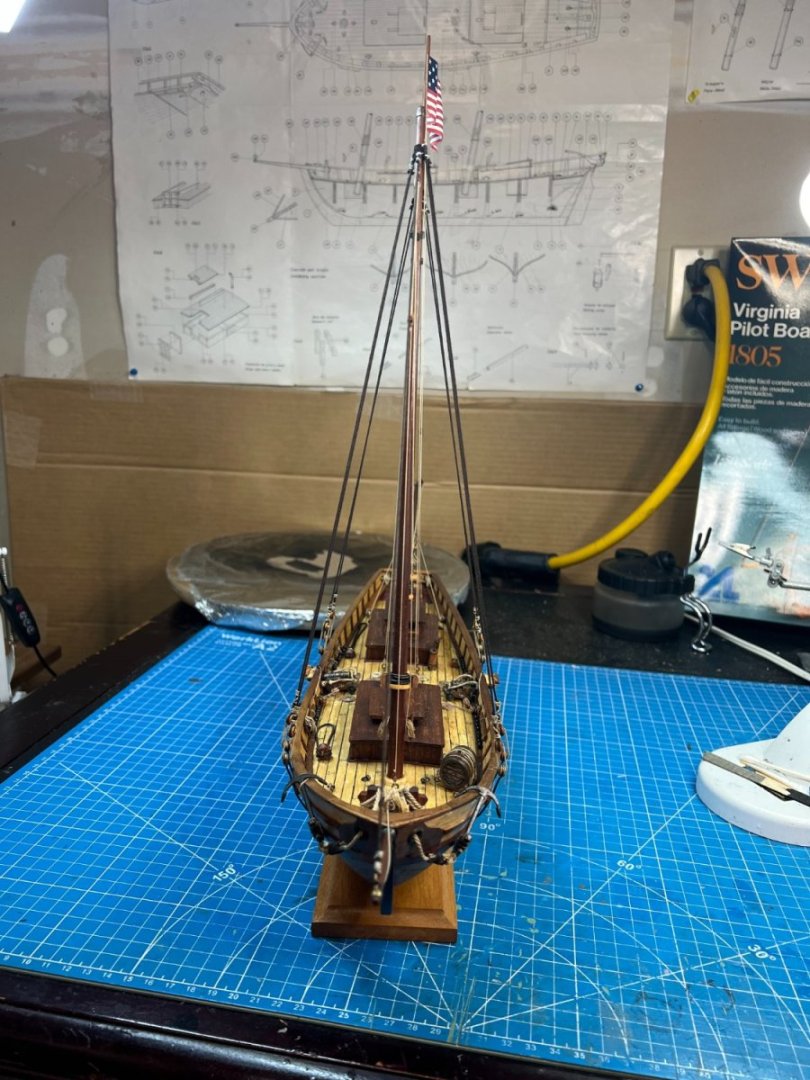
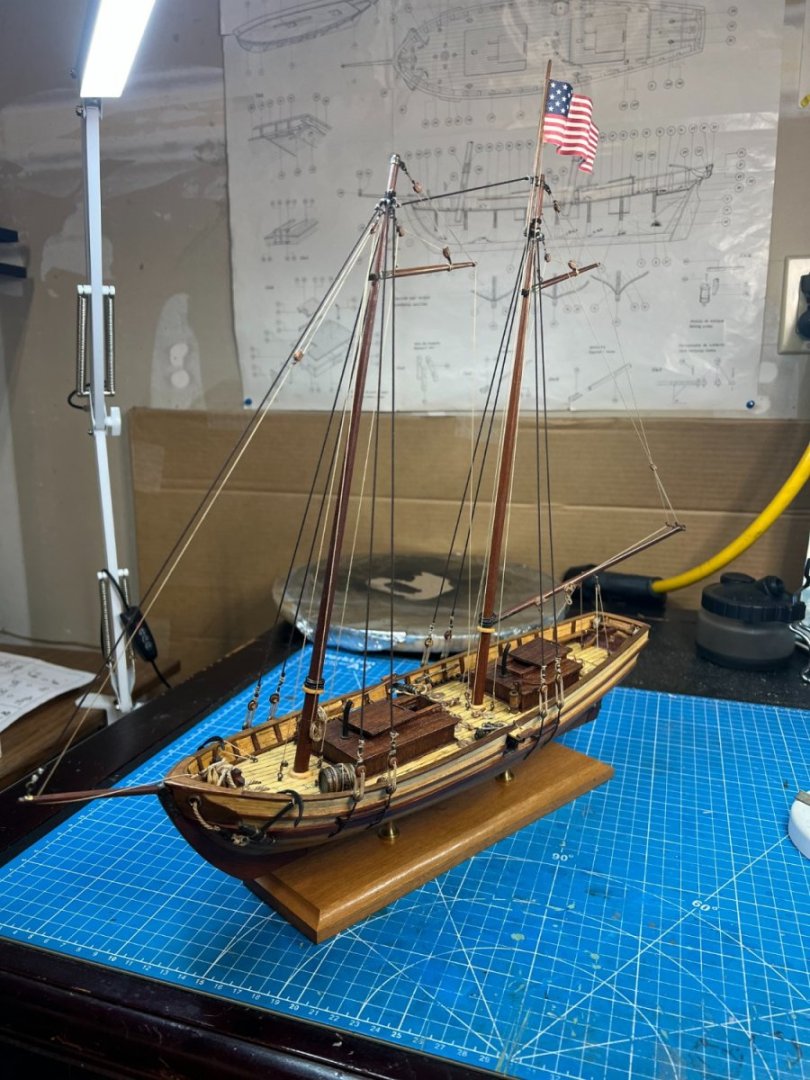
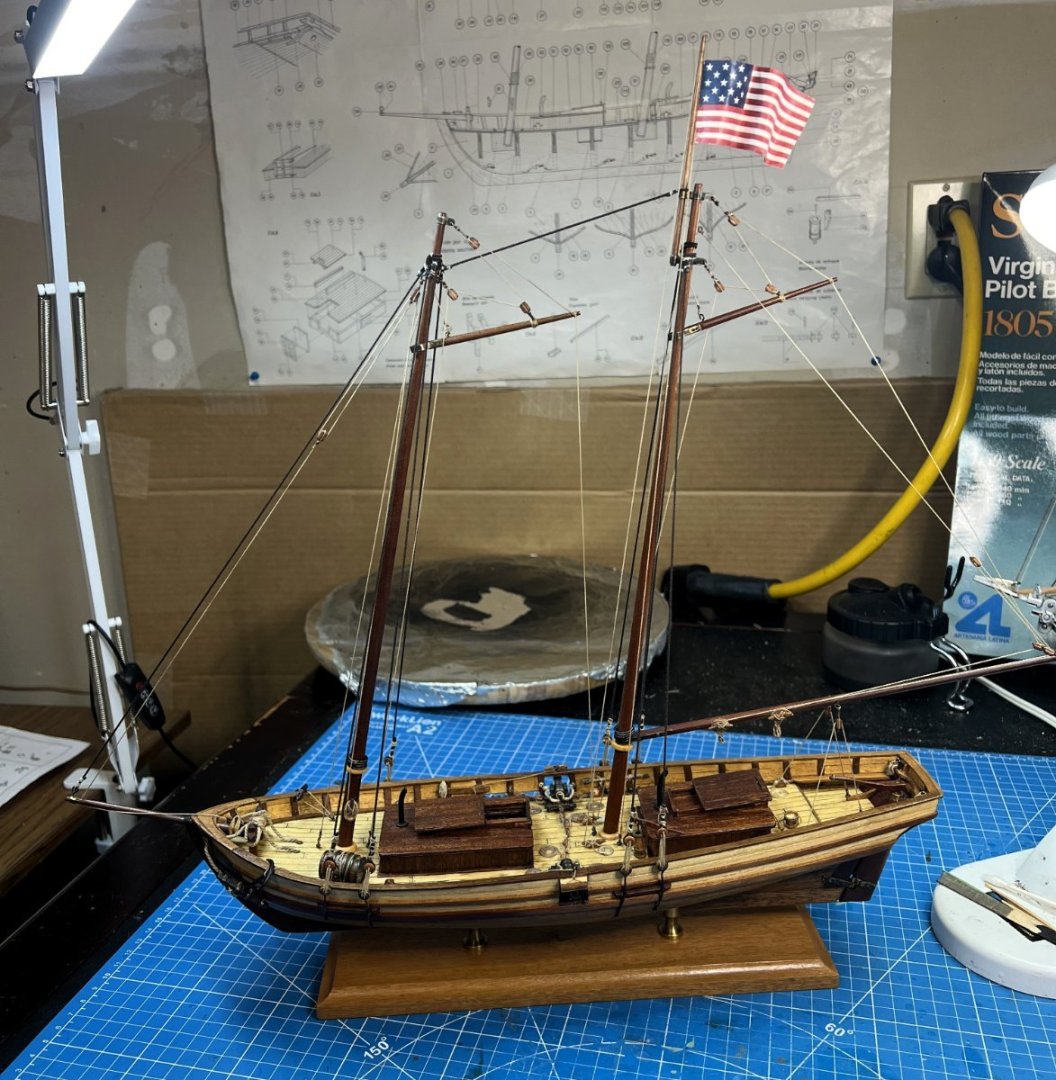
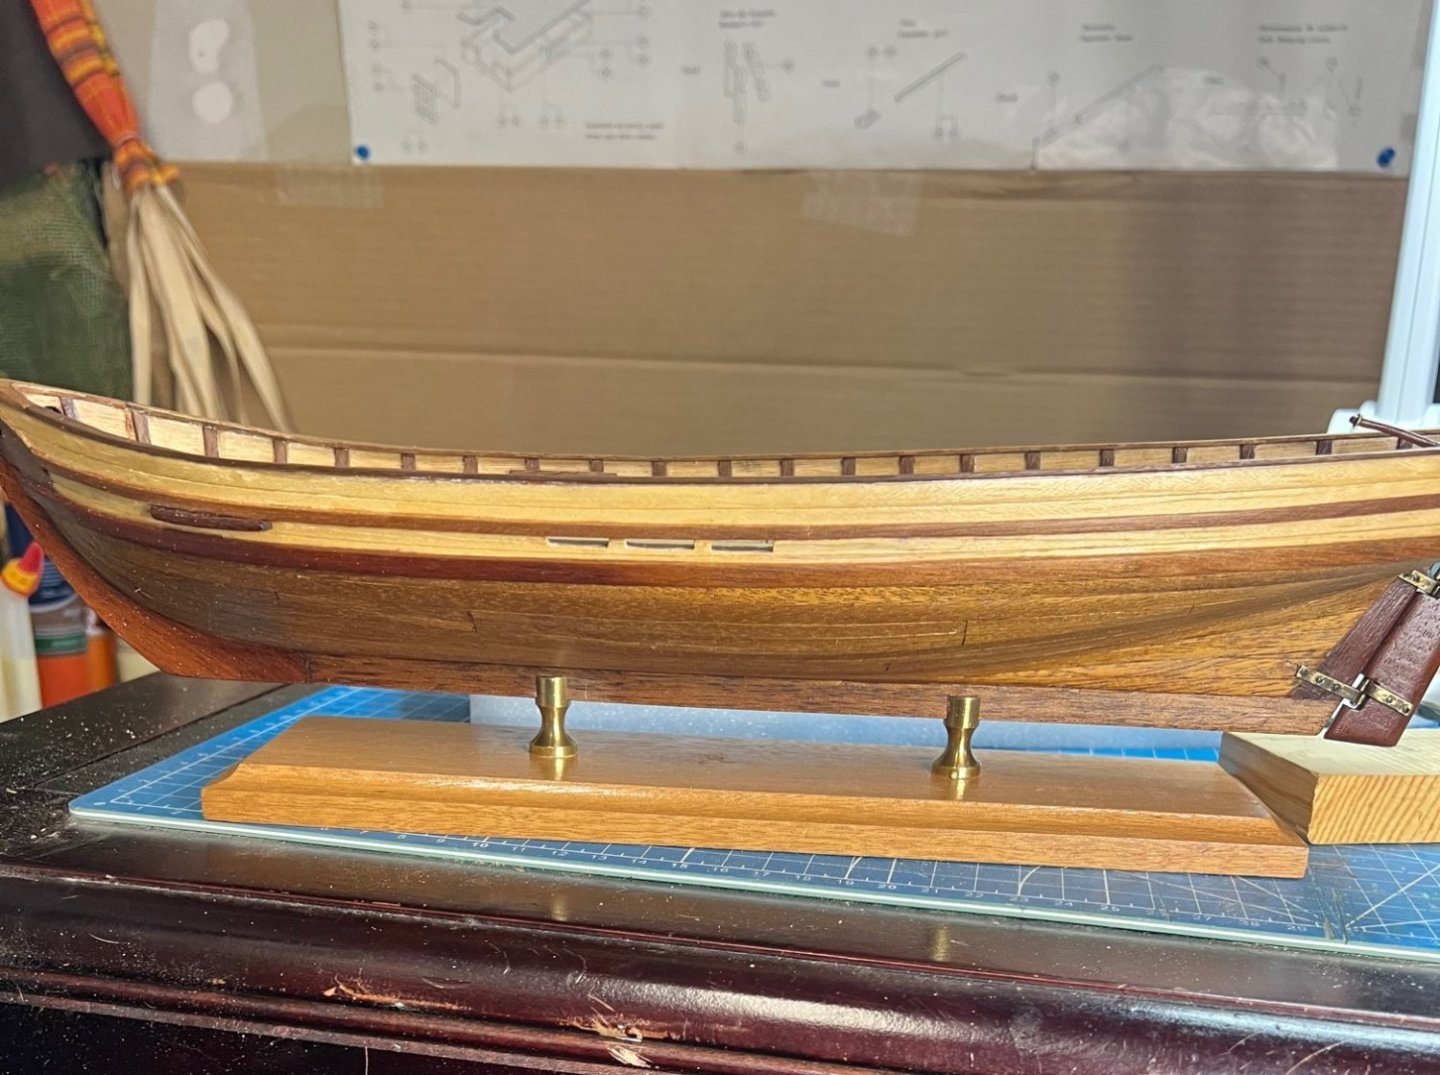
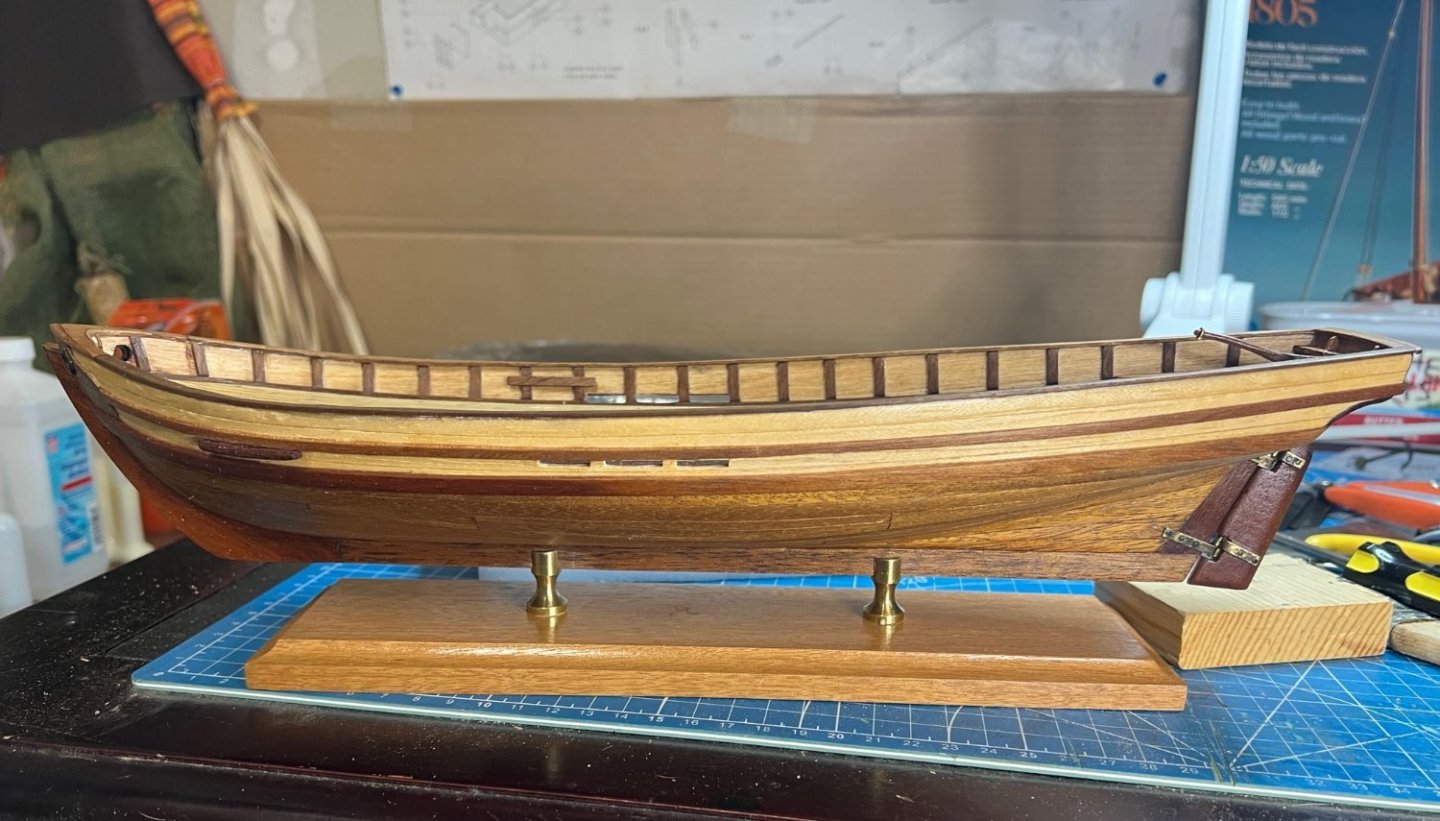
Howdy! So nice to meet you neighbor! Thank you for your compliments. I am sorry I failed at responding to you any sooner, my bad. I get lazy and just goof off at times. The ship has been complete since 8/4/23 but I fought my resistance to finish all this typing and git 'r done! Stand by for the completion of the Swift, this one strapped with two 12 pounders, because, why not, they included them in the original 1984 kit. Anyhow, here's a spoiler of the final product but I will continue my build log through completion because there is so much more comedy to come. Regards, I give you the Charlotte Ann (my wife's name). More later. Thank you all for helping me to complete my first wooden model ship. My next chapter will cover the puddening of the anchor rings.
- 59 replies
-
- Swift
- Artesania Latina
-
(and 1 more)
Tagged with:
-
 Scotty W reacted to a post in a topic:
Swift Pilot Boat by GioMun - FINISHED - 1:48 - from Artesania Latina plans
-
 Scotty W reacted to a post in a topic:
Swift 1805 by Scotty W - FINISHED - Artesania Latina - 1/50th scale - Virginia Pilot Boat
-
 ccoyle reacted to a post in a topic:
Swift 1805 by Scotty W - FINISHED - Artesania Latina - 1/50th scale - Virginia Pilot Boat
-
 Scotty W reacted to a post in a topic:
Swift 1805 by Scotty W - FINISHED - Artesania Latina - 1/50th scale - Virginia Pilot Boat
-
Scotty W changed their profile photo
-
 Scotty W reacted to a post in a topic:
Swift 1805 by Scotty W - FINISHED - Artesania Latina - 1/50th scale - Virginia Pilot Boat
-
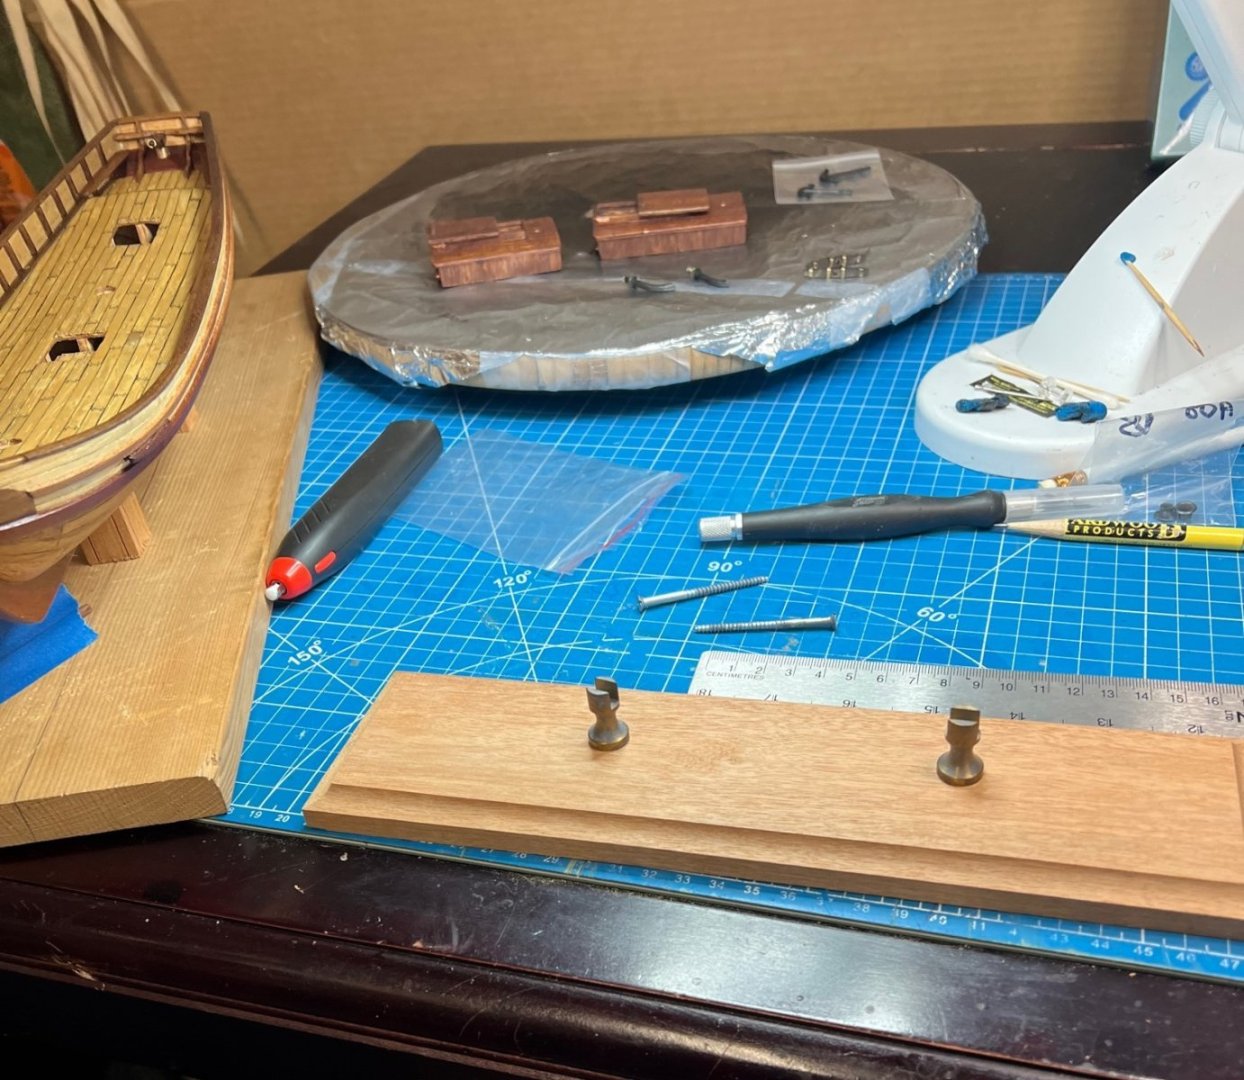
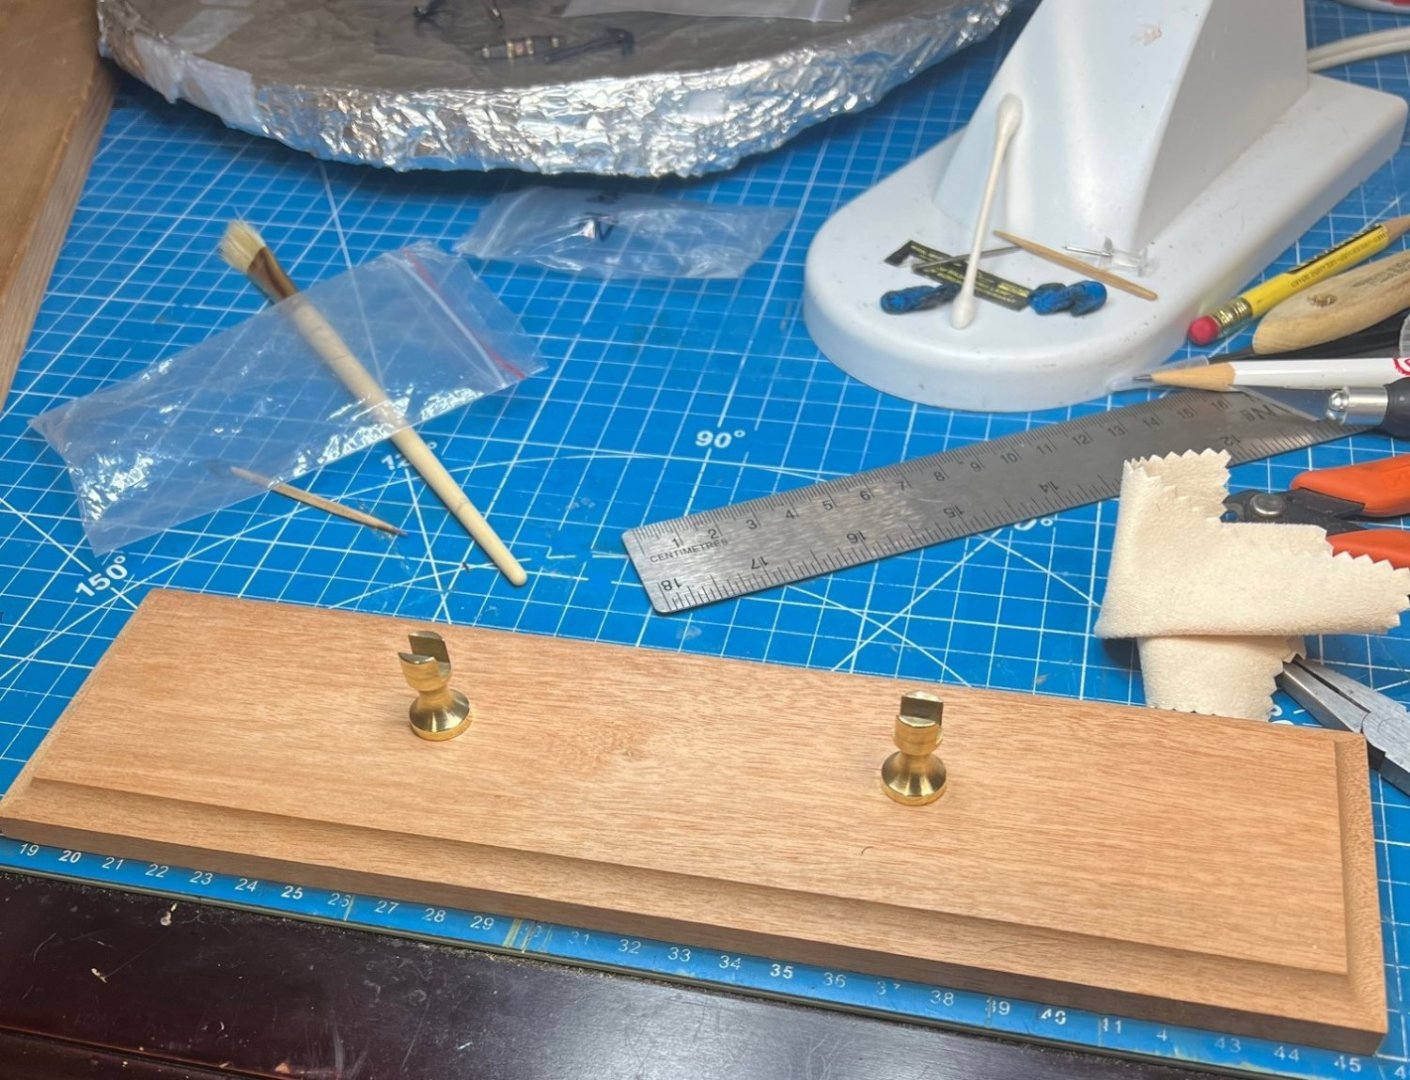
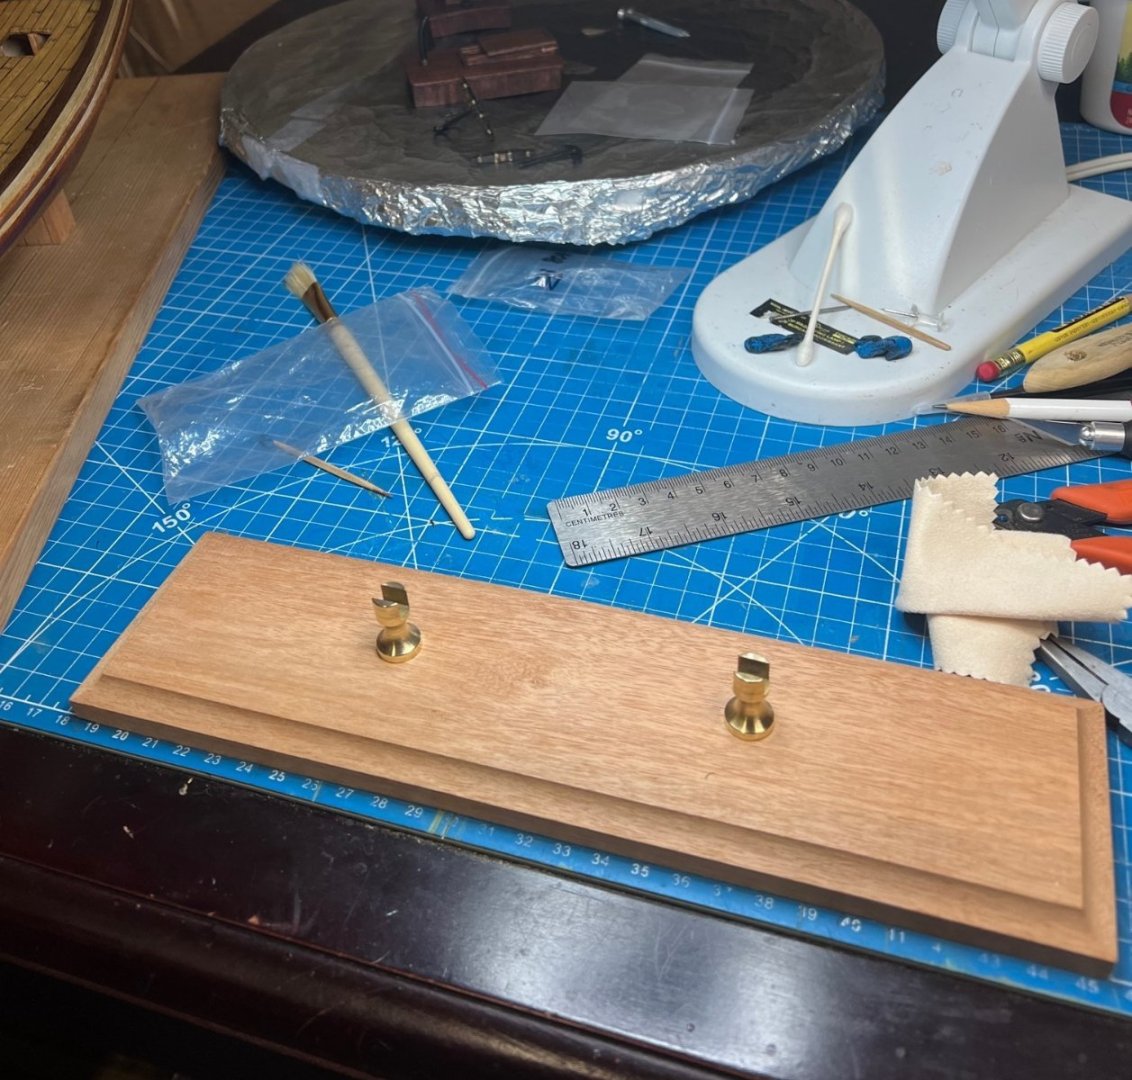
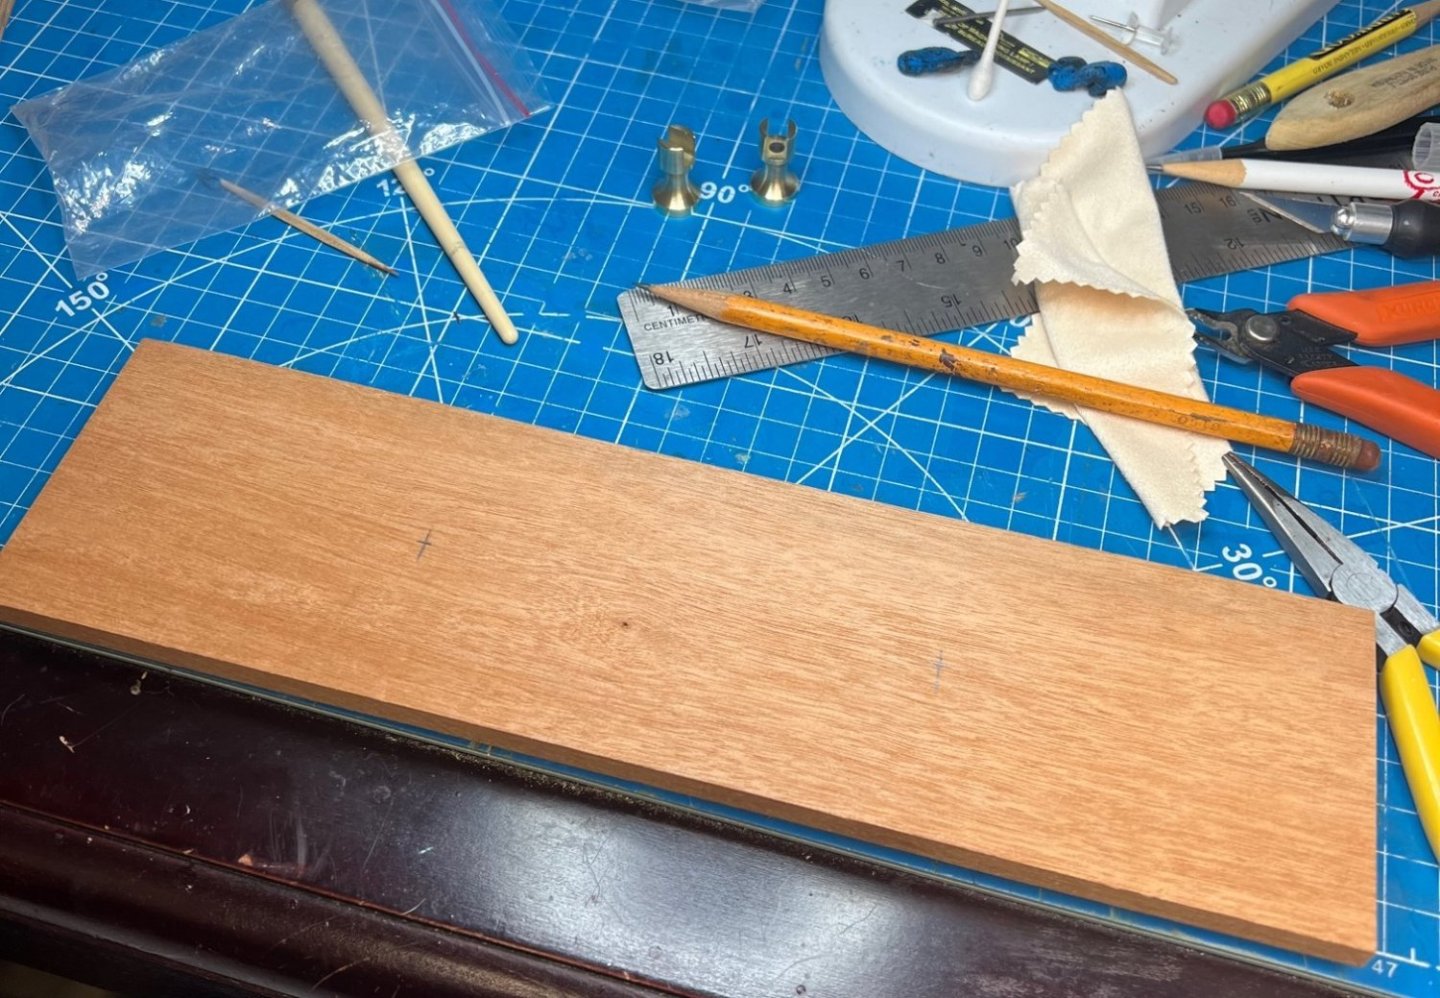
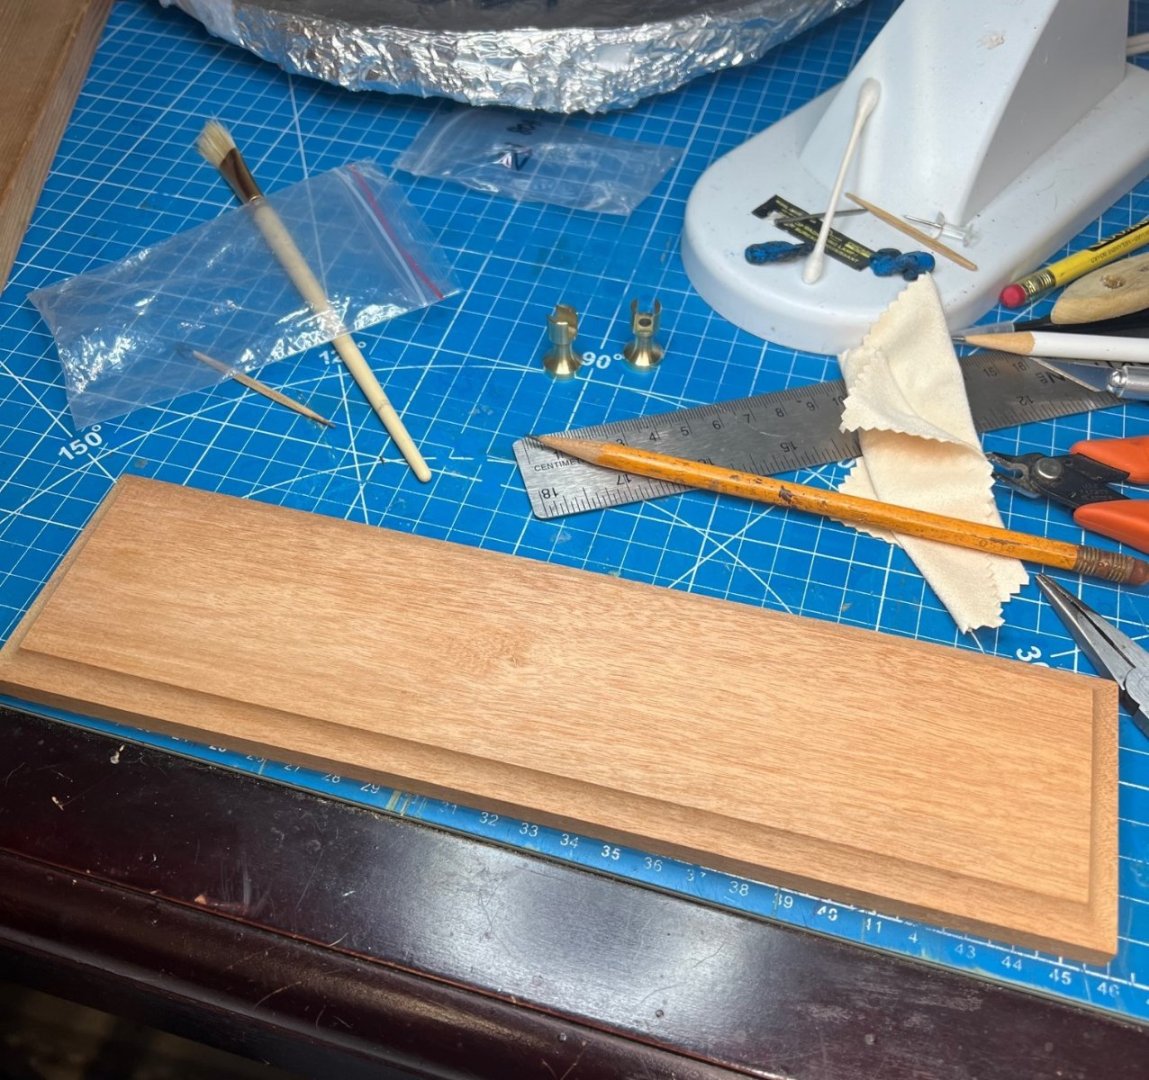
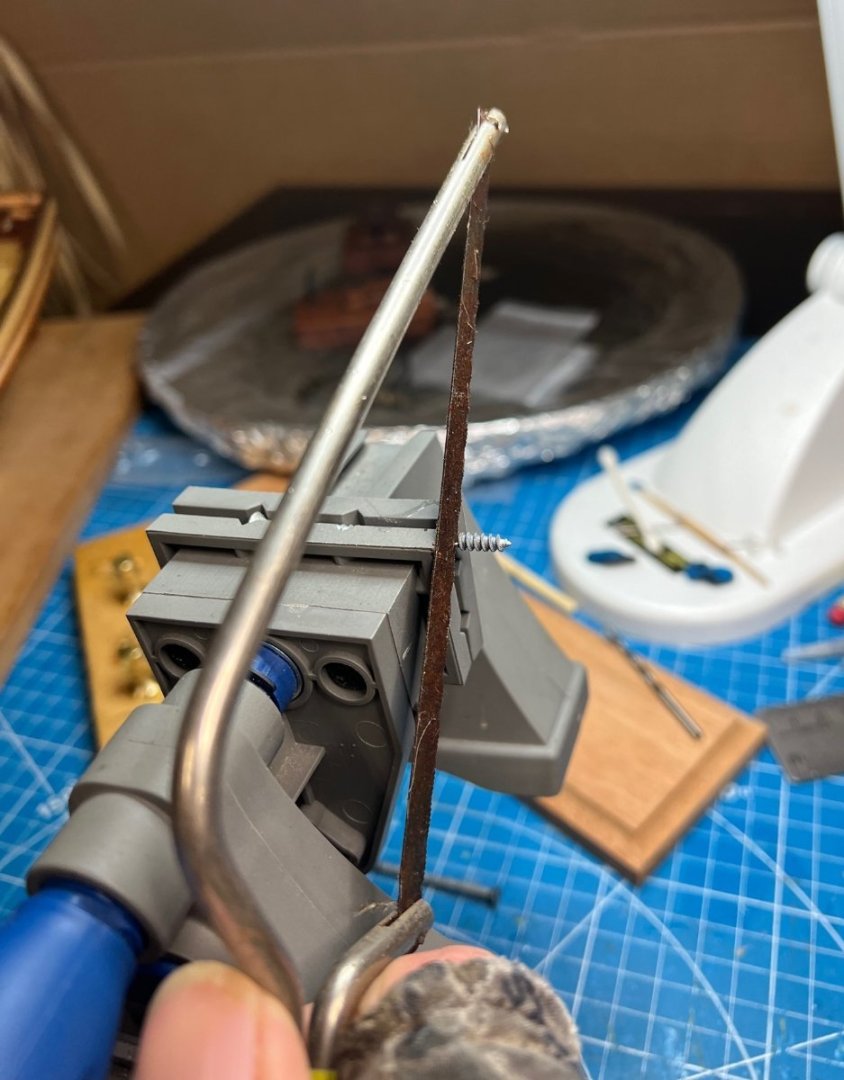
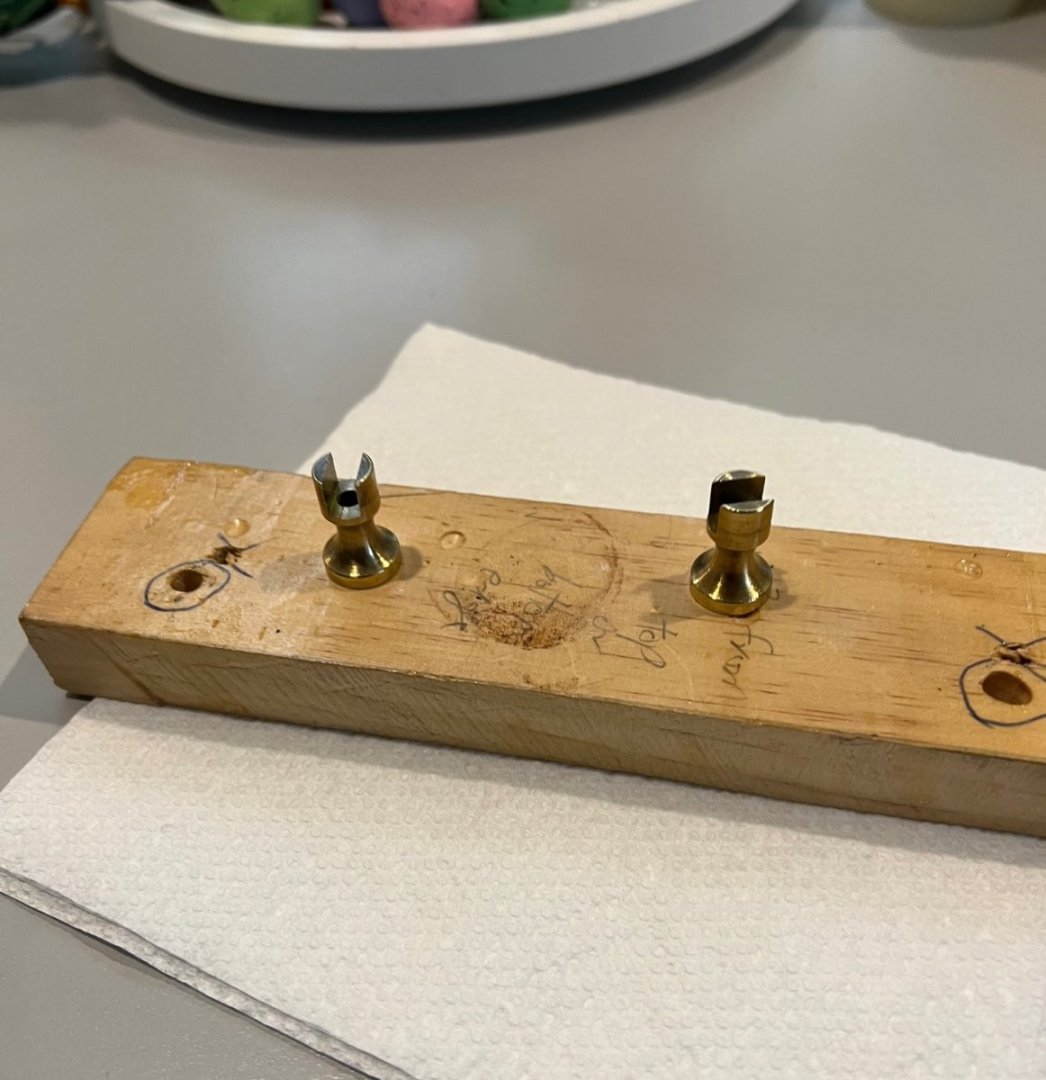
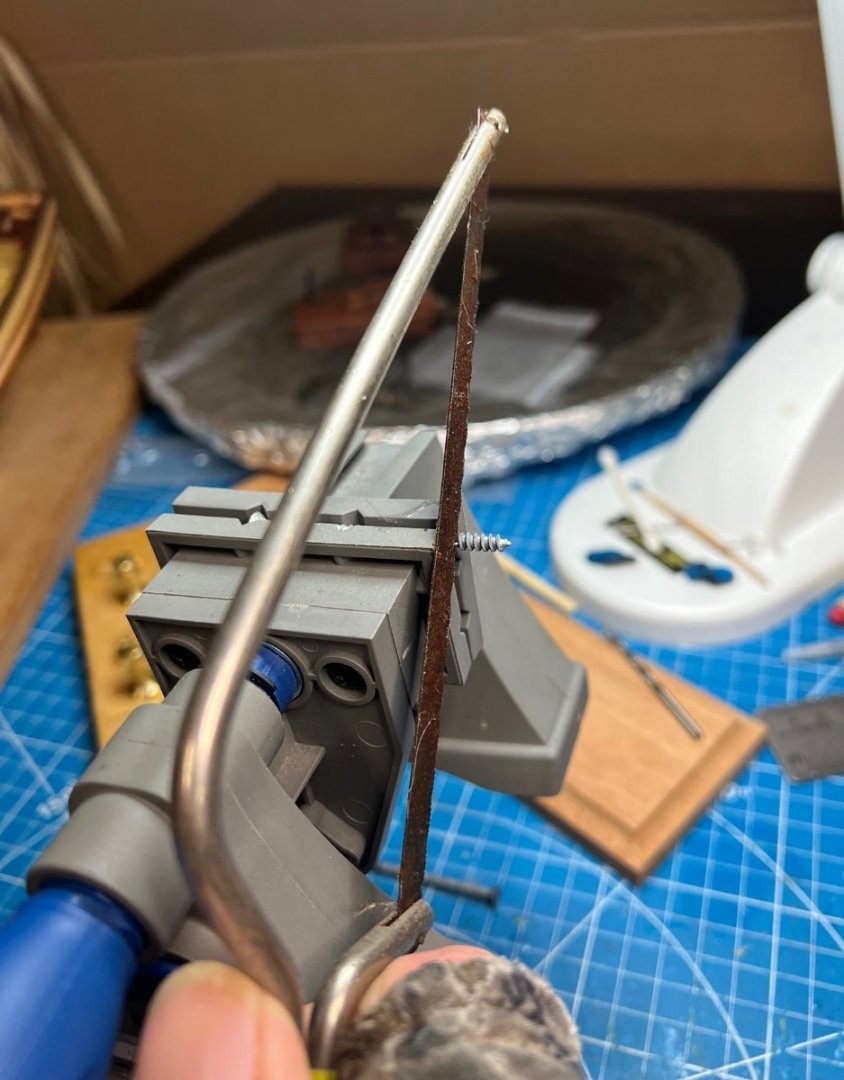
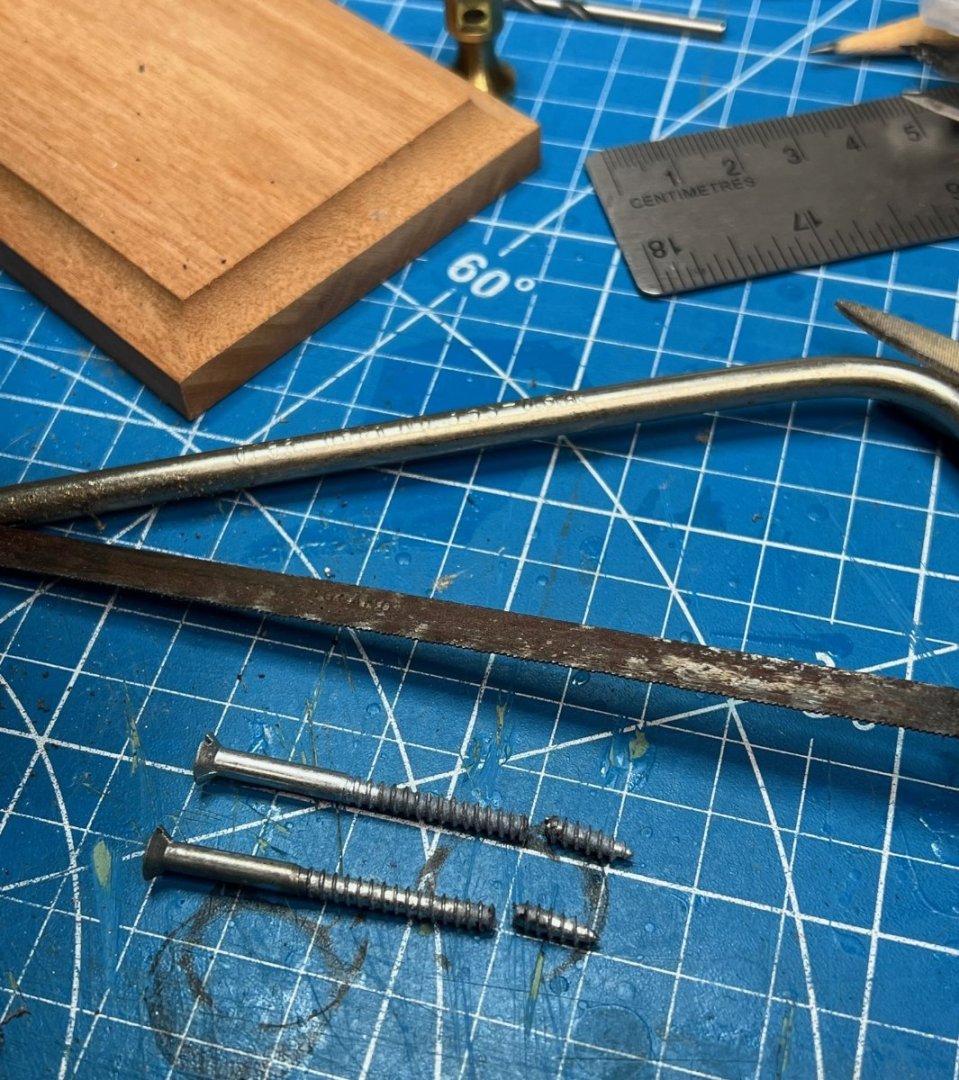
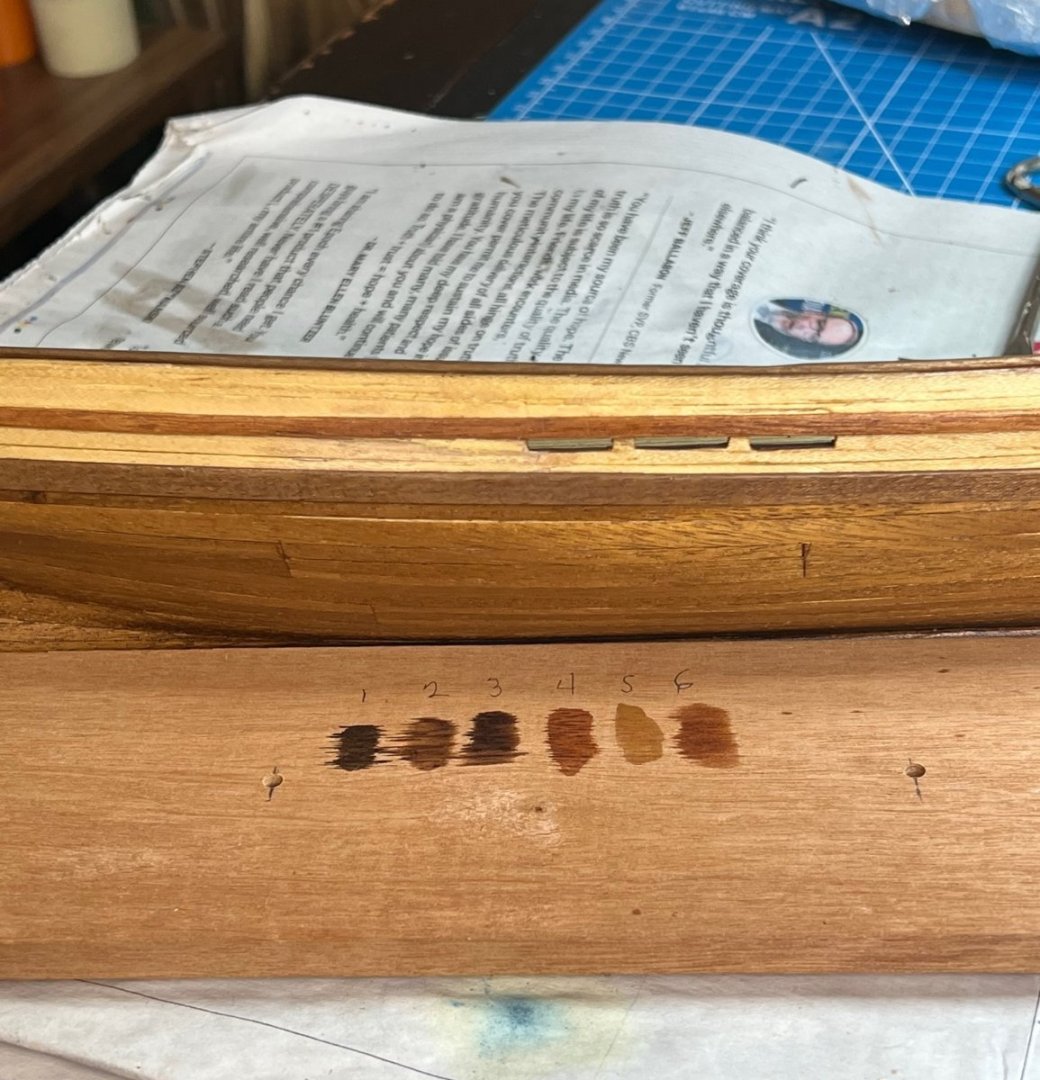
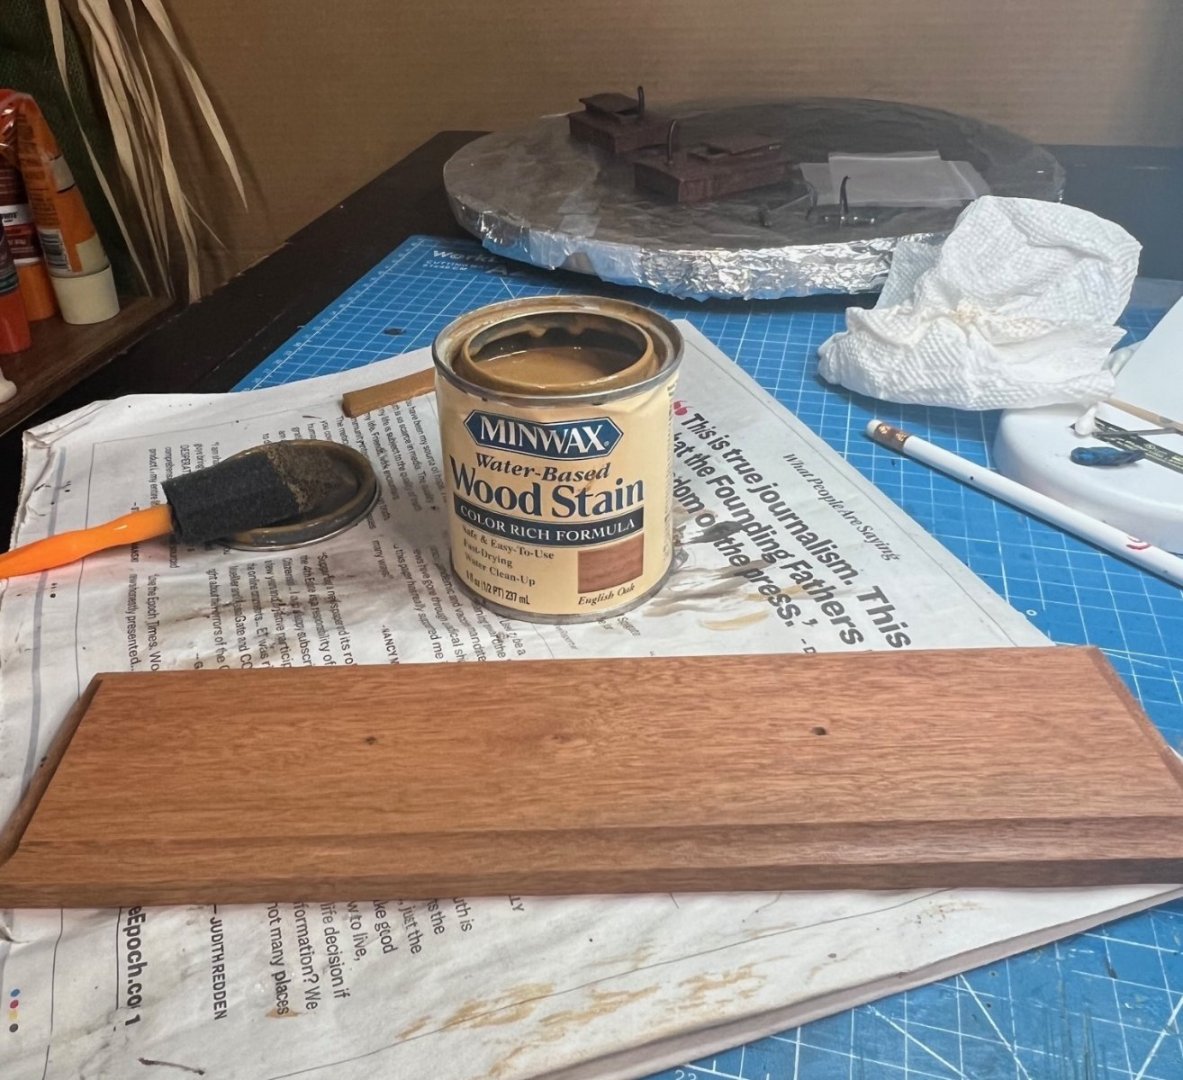
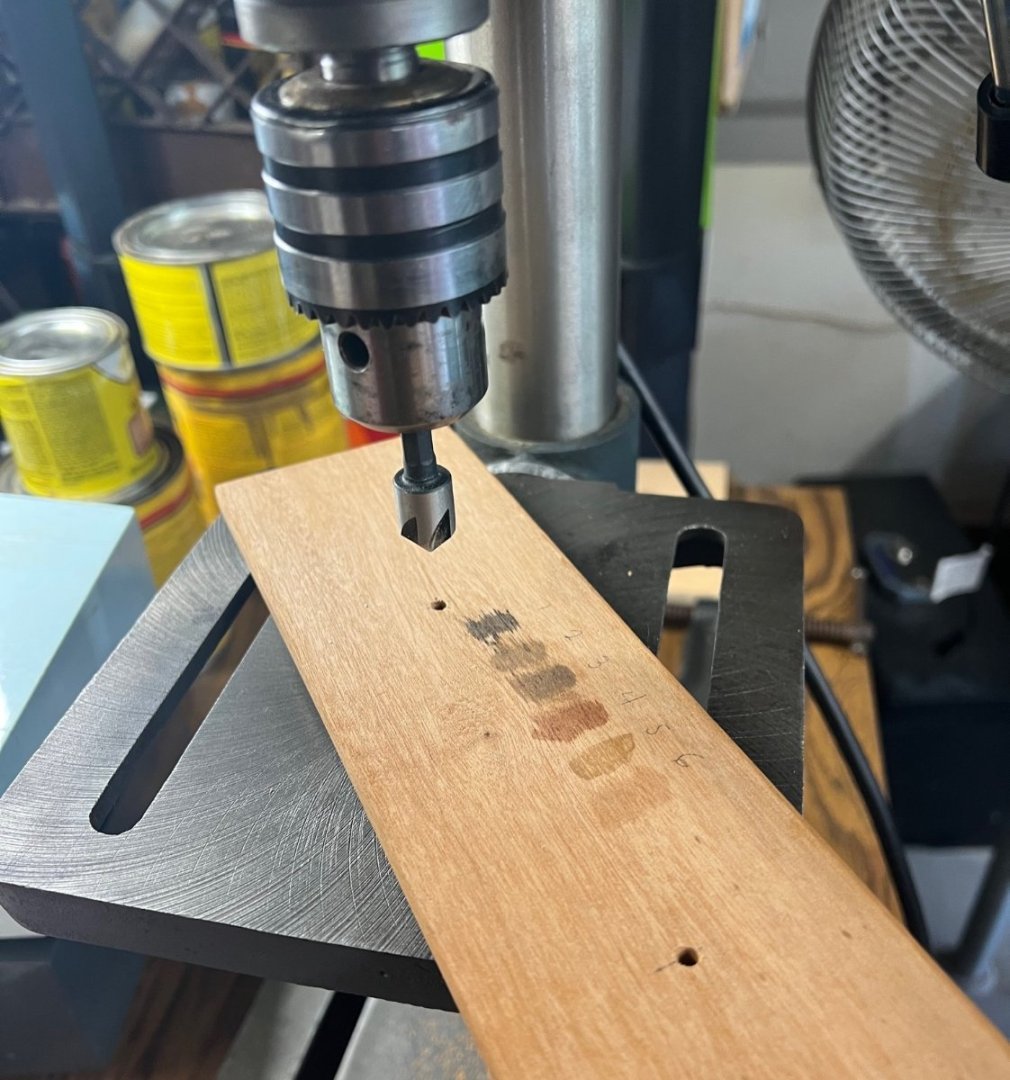
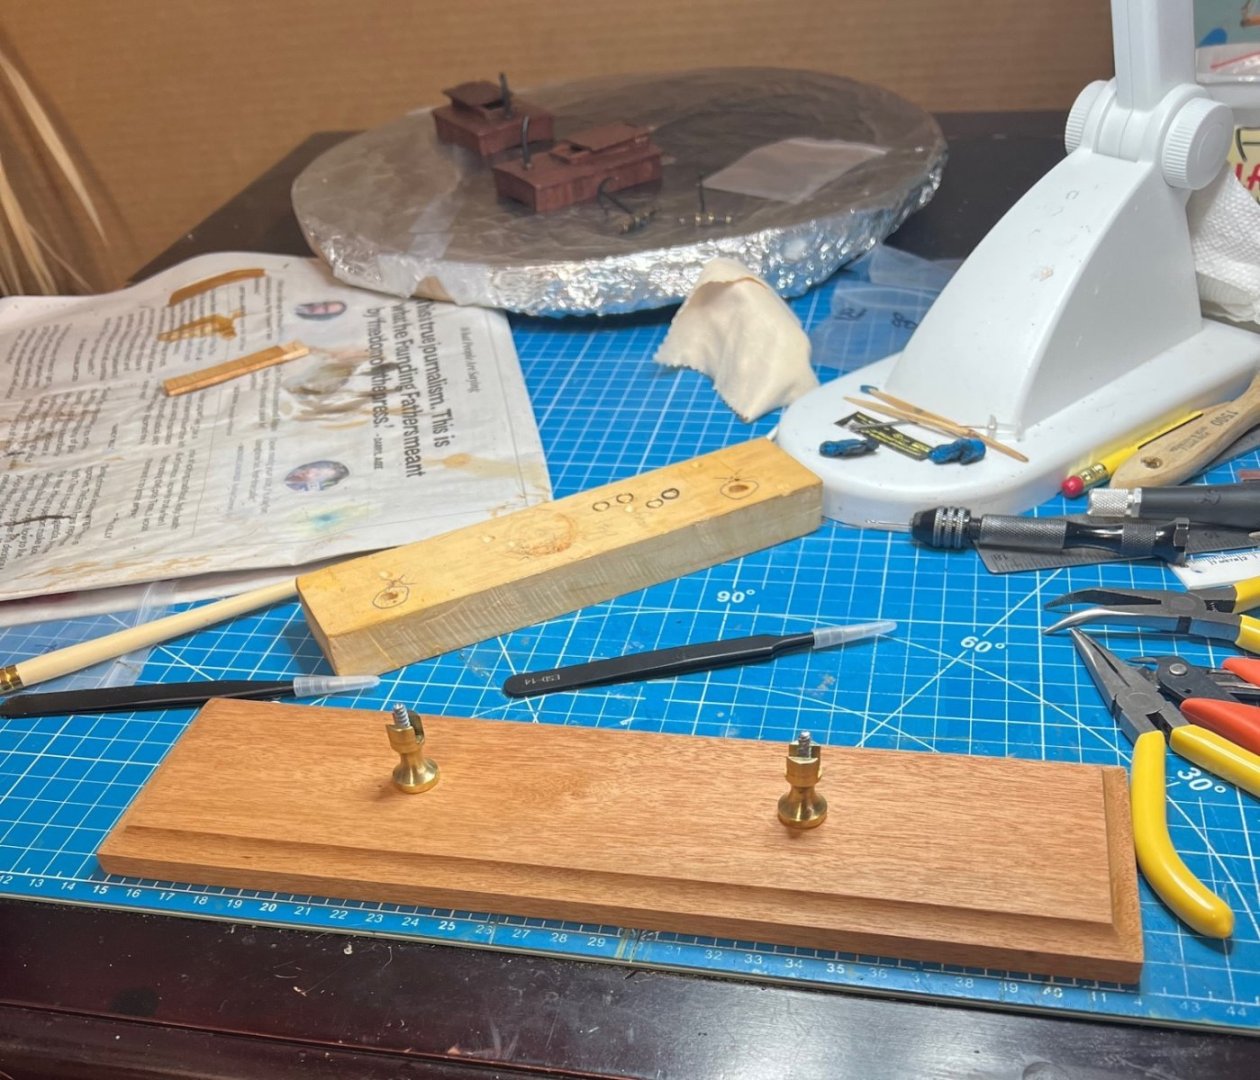
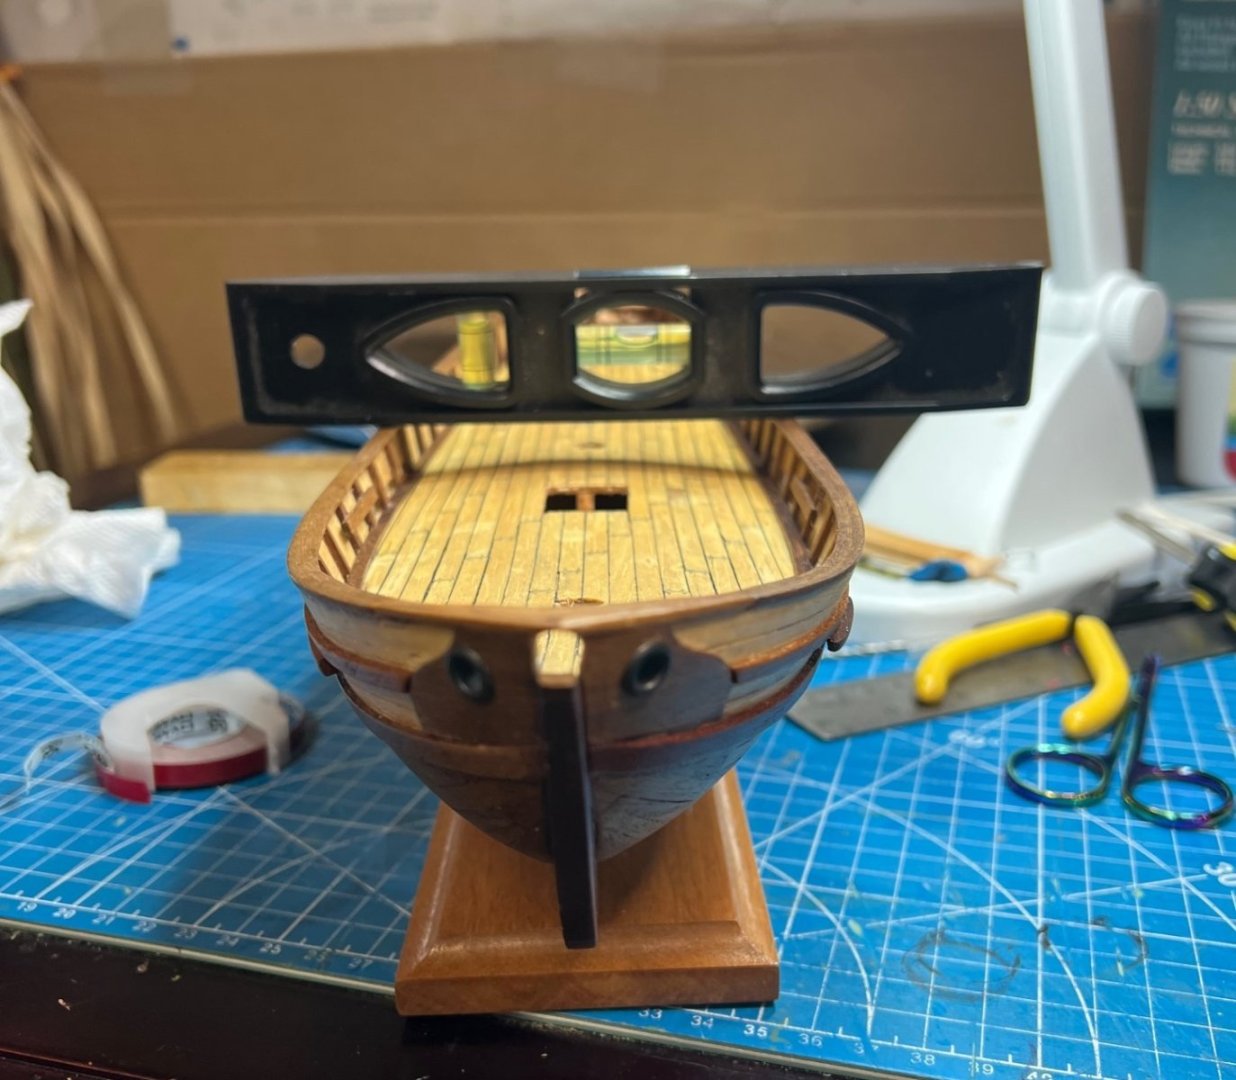
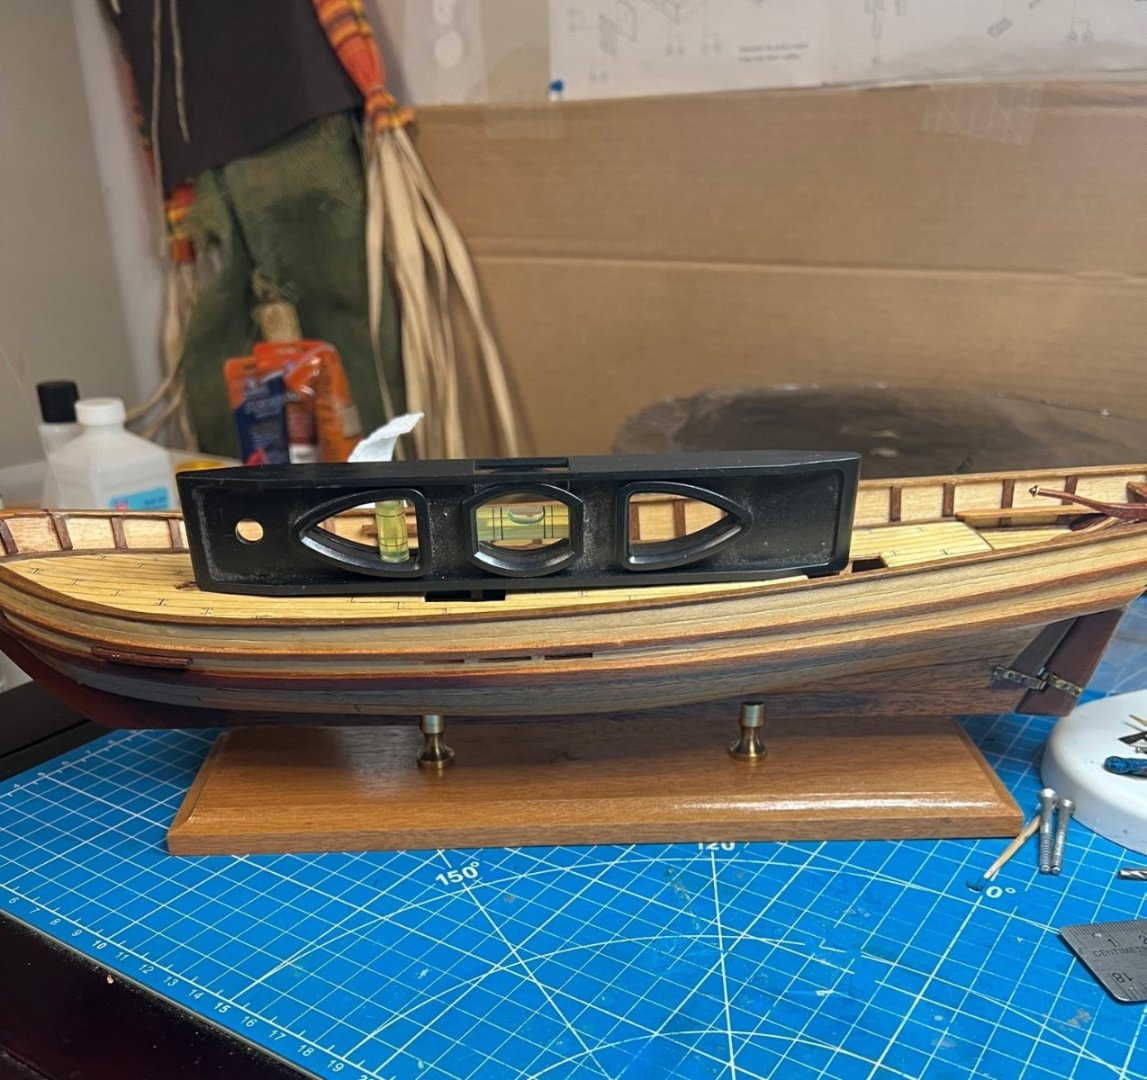
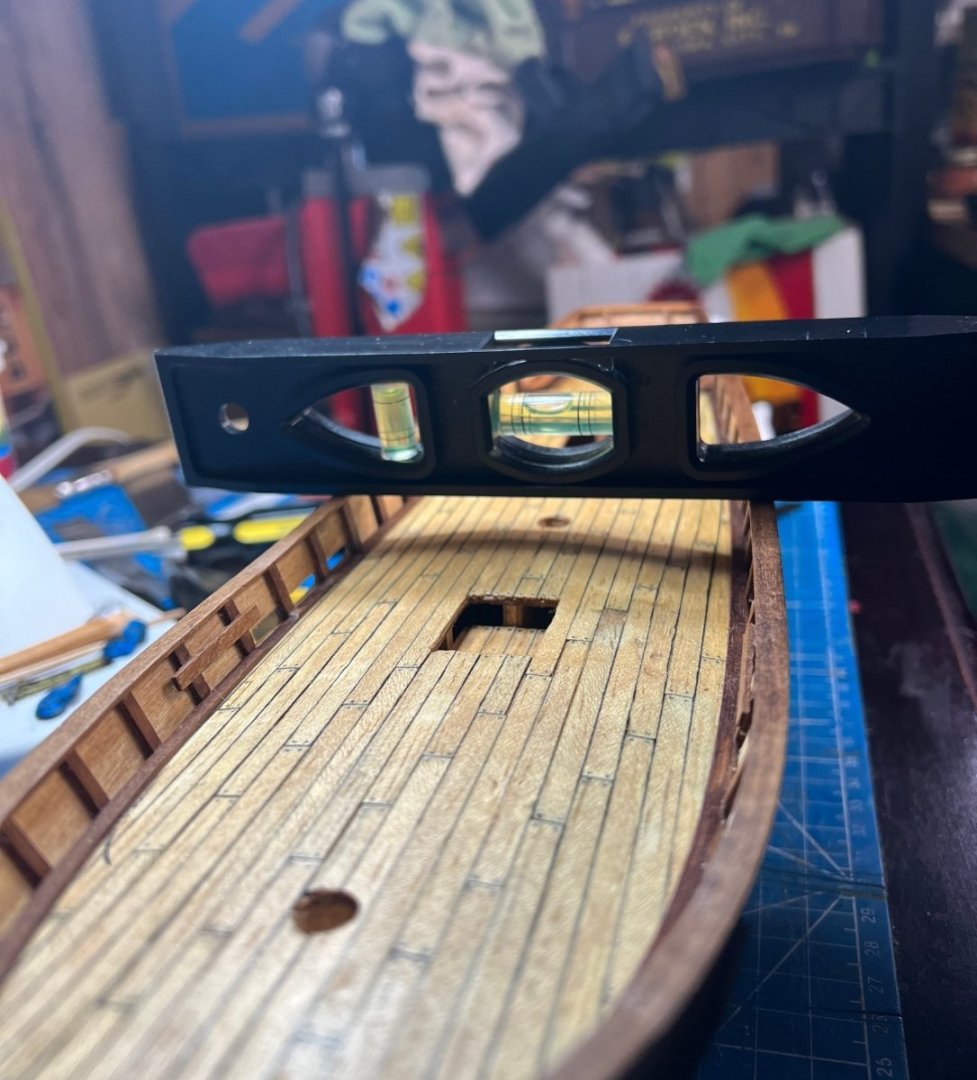
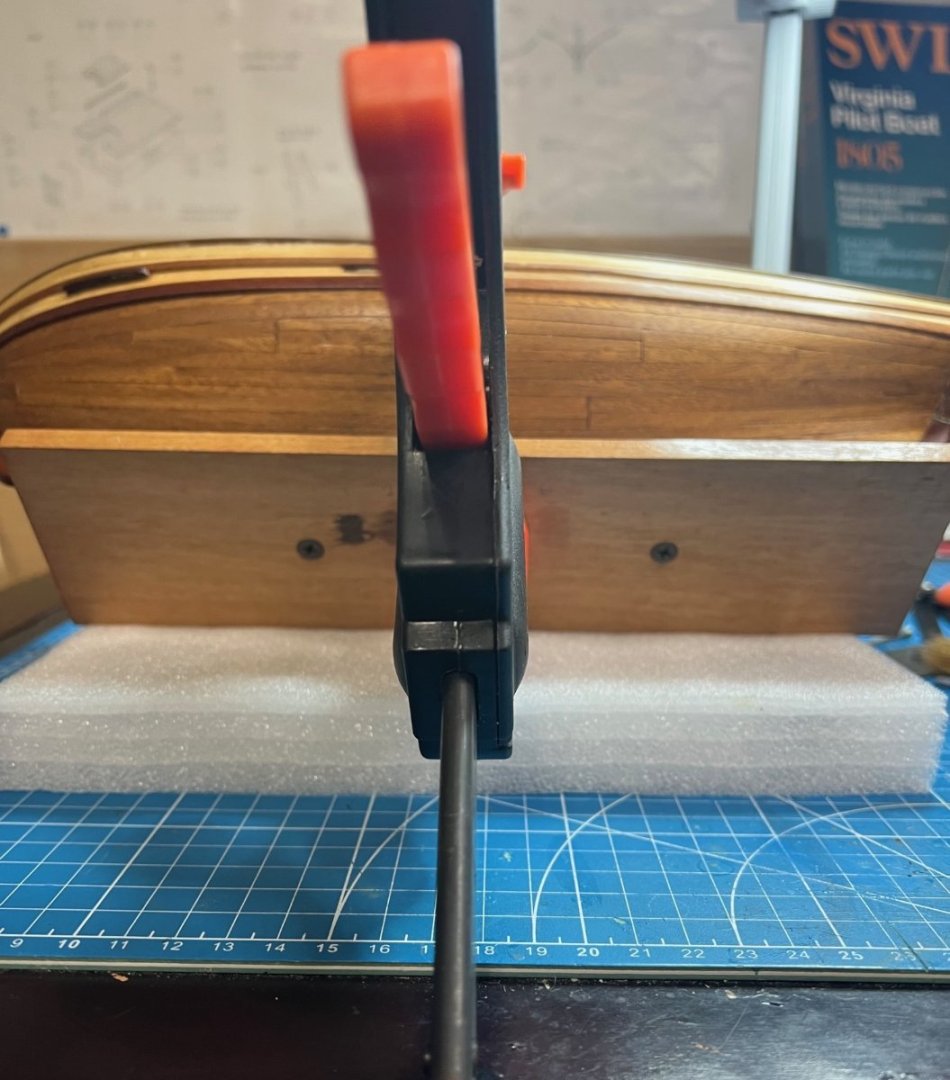
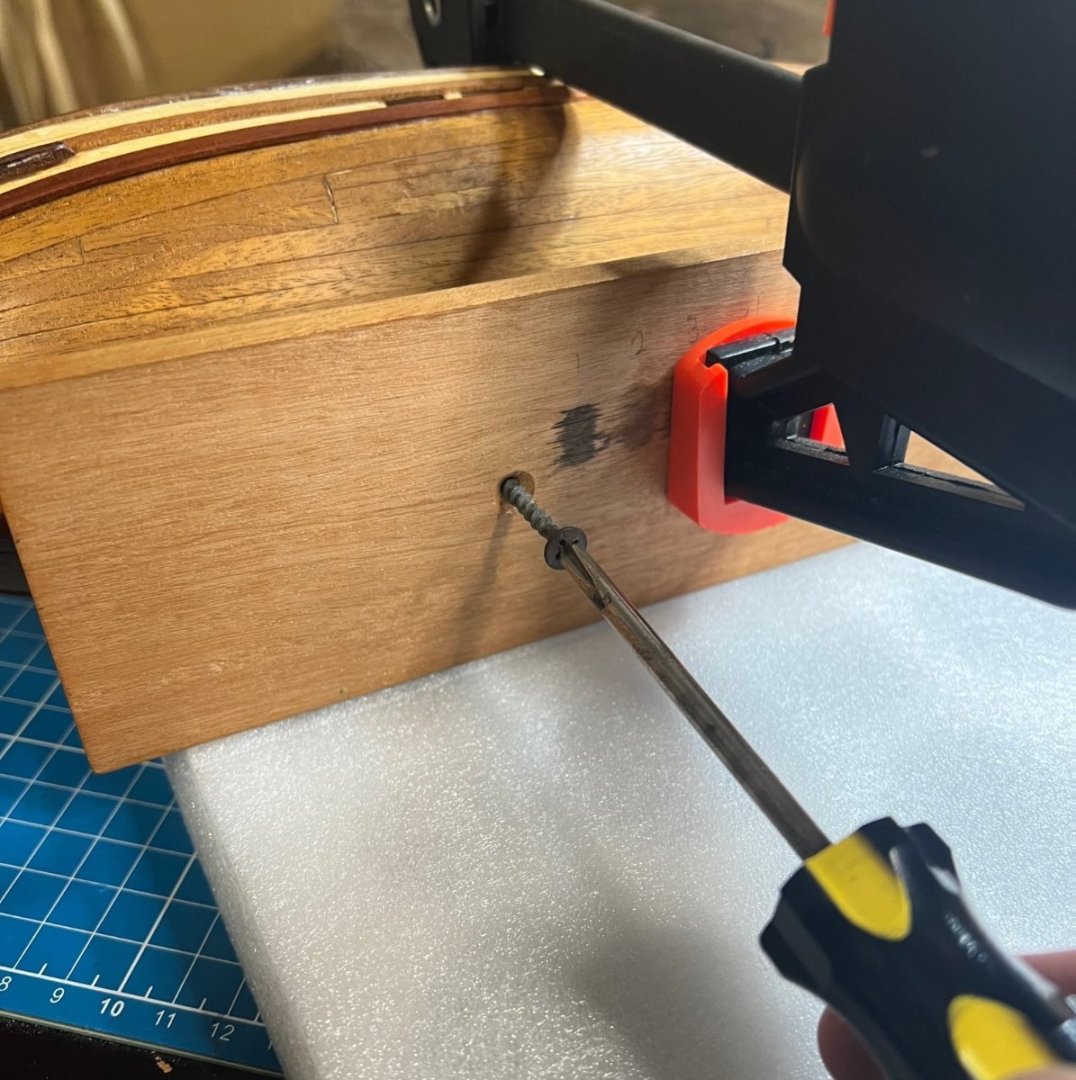
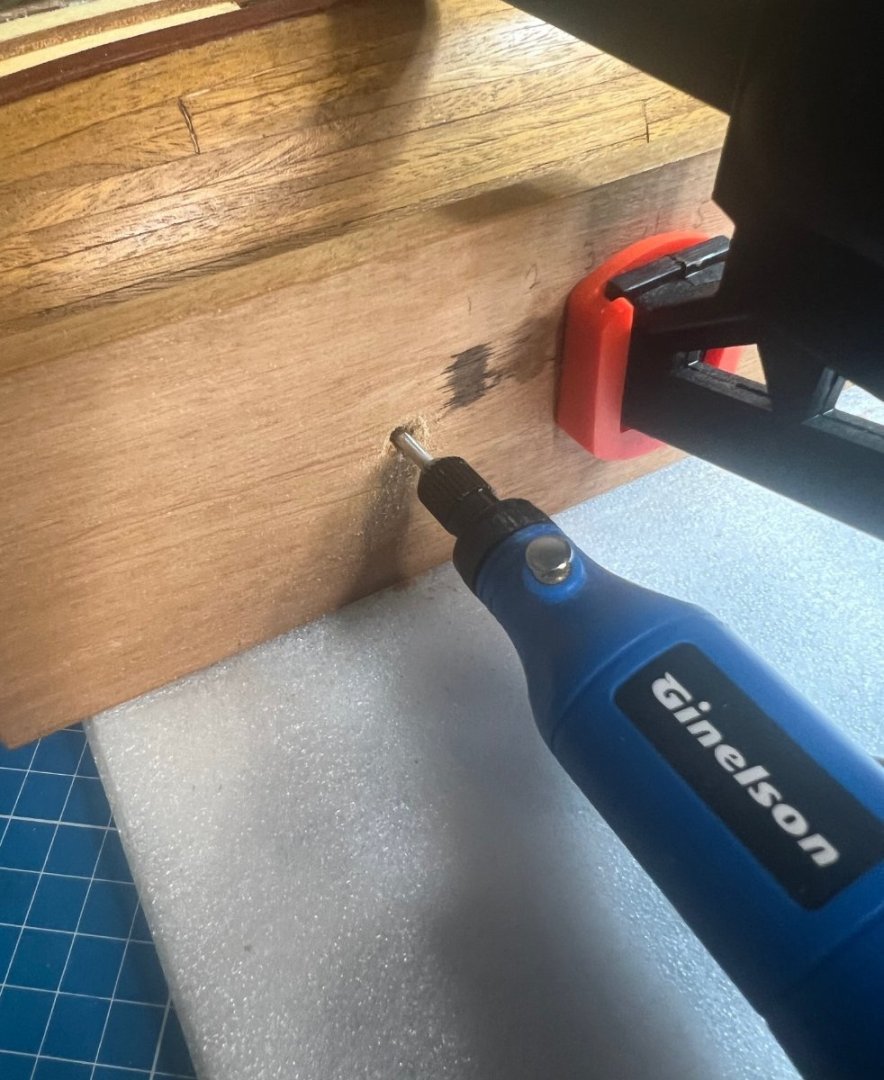
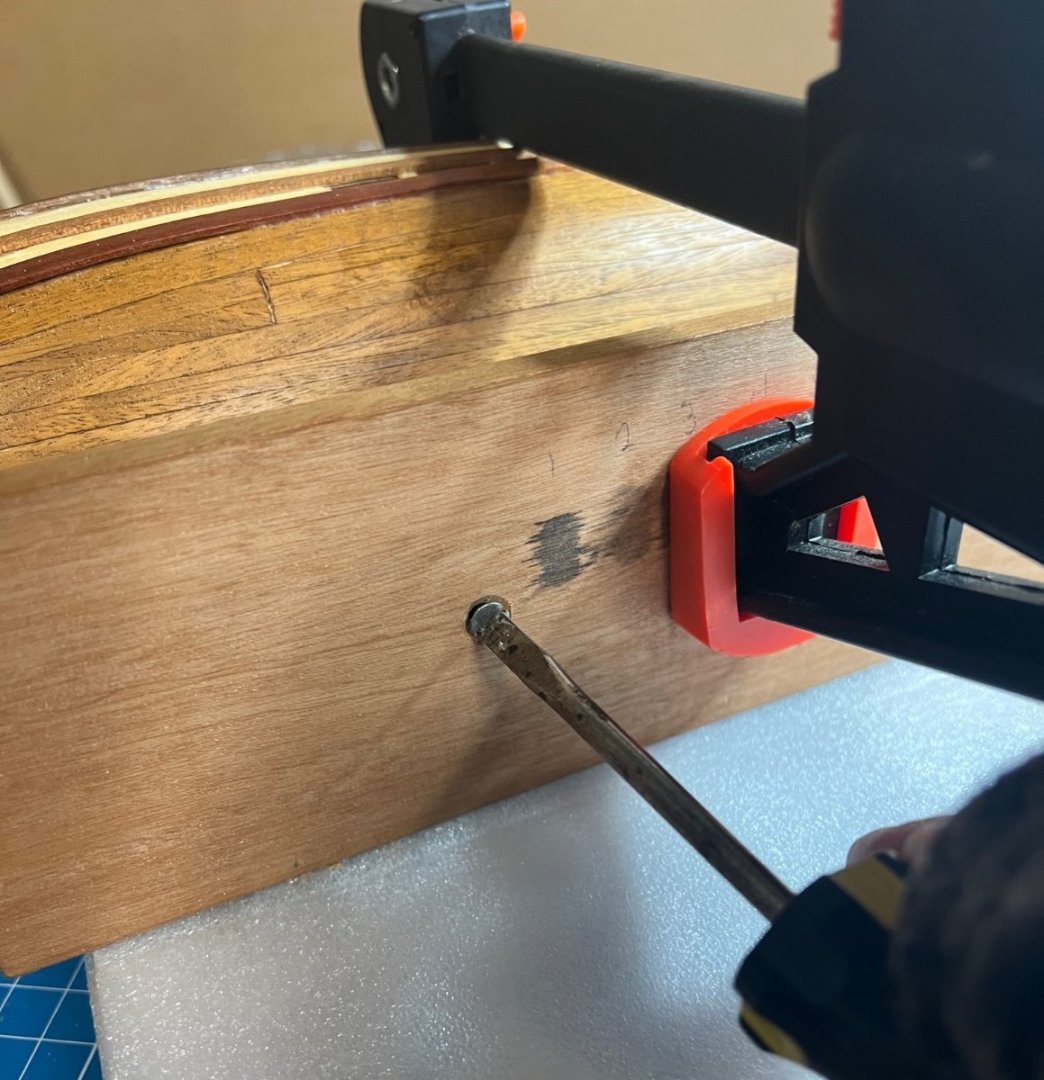
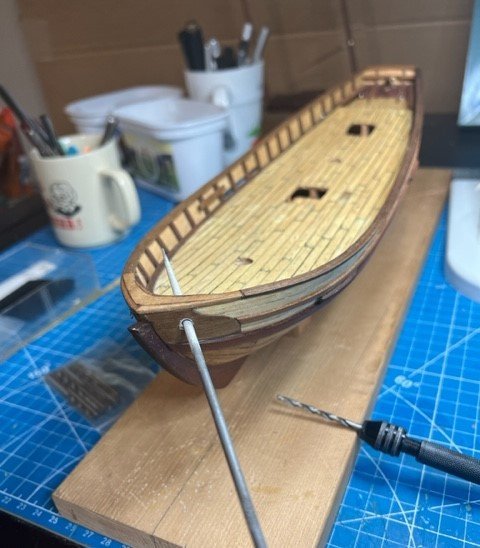
Mounting her, (to a base), get your minds out of the gutter. Now it was time to get the ship mounted on its permanent base from its temporary construction mount. I was terrified to drill the mounting holes for the screws through the keel and into the interior of the ship. I measured and measured and planned and planned how to do this critical step. I searched for the best possible screws to do the job since I thought the ones that came with the kit were too long. The kit supplied a beautiful piece of wood for the stand, already routed on the edges. It just needed a little sanding, some stain and good gloss varnish. The brass mounts were terribly tarnished after being in the box for almost 50 years, so I gave them to a neighbor to clean up with his Brass-o since he was so interested in the model. He brought them back shiny as new a couple of days later, thanks Rob, so I never touched them with my bare fingers and gloss varnished them as soon as I could. Next onto drilling holes in the stand for the mounting screws. I measured two points along the centerline of the stand equidistant from the ends of the stand and at points on the ship that broke the keel into thirds. After searching for better replacements for the kit screws, I went with the originals but had to cut off a little from the end of each so they wouldn’t go into the interior of the ship but stop in the keel. I had to find a shorter screw to hold the brass stands in place while the ship sat in them so I could use them as a drilling guide to drill into the keel from below. I countersank the holes on the bottom of the stand where I’d tested the stains so the screw head would be flush with the base. Once it appeared level side to side, I clamped the ship to the base and flipped it on its side. I them removed the temporary shorter screw and drilled the final sized hole into the keel through the base and brass stands, holding my breath all the way in. I only had a mm or so of clearance on each side of the keel. . Having gone well, I screwed the permanent screws in and done. So glad to be done with that, it was stressful but I managed and it looks great. Thanks for reading! More to come when I get not lazy enough to write about it. Model on!
- 59 replies
-
- Swift
- Artesania Latina
-
(and 1 more)
Tagged with:
-
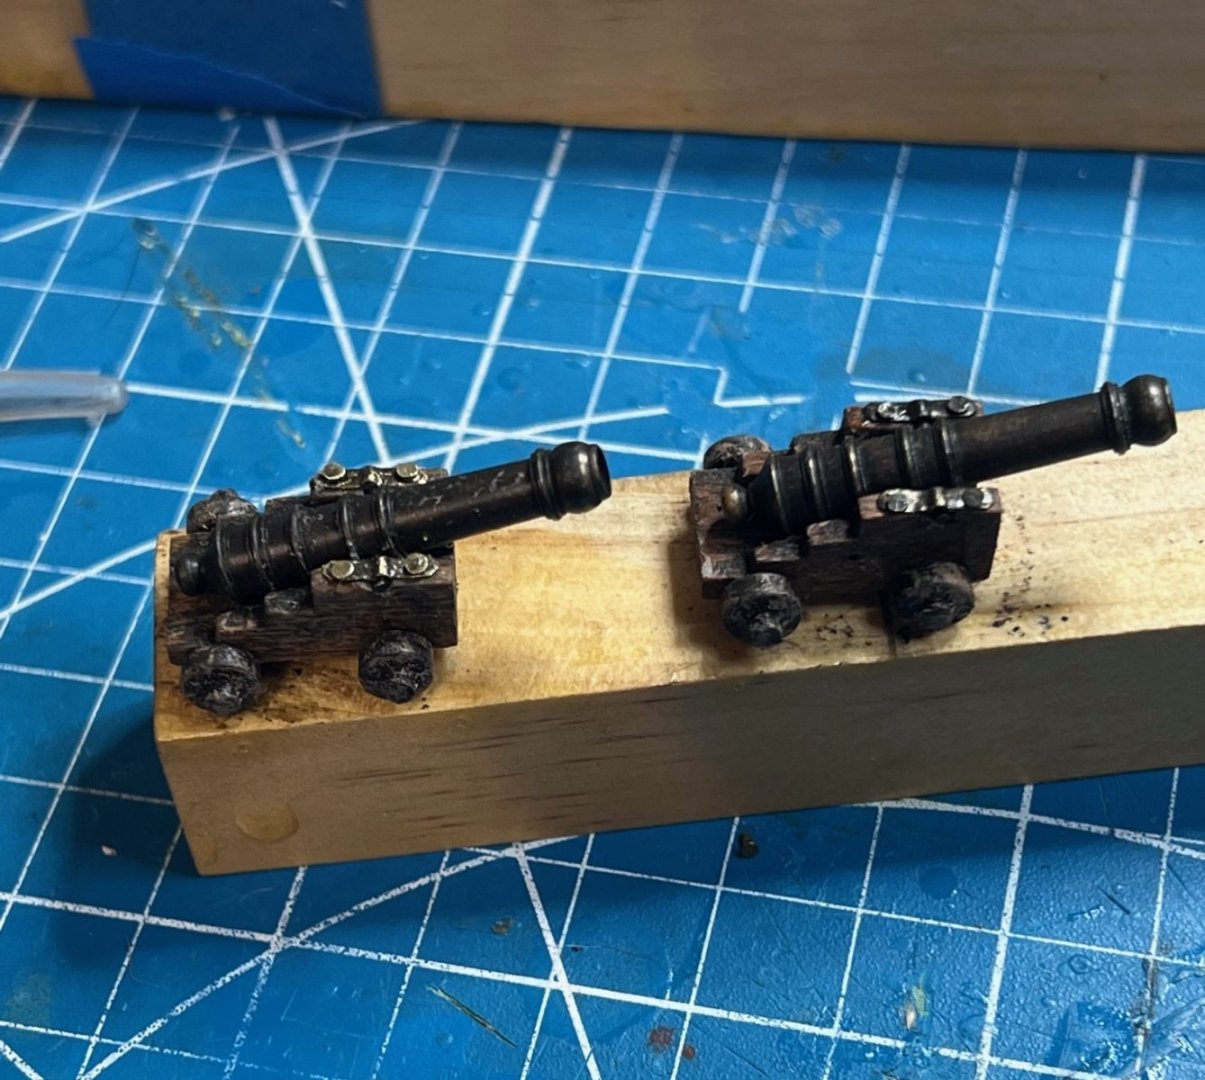
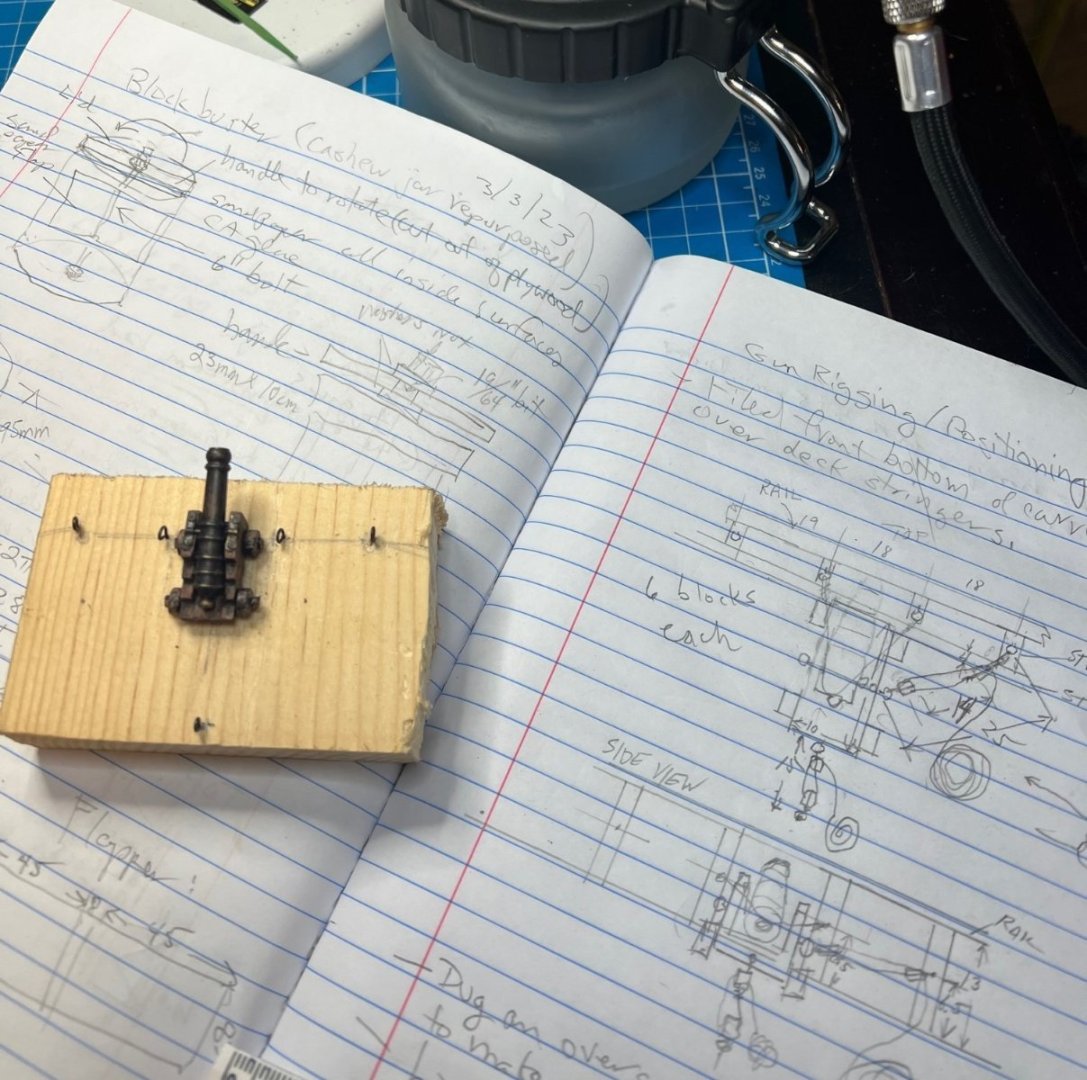
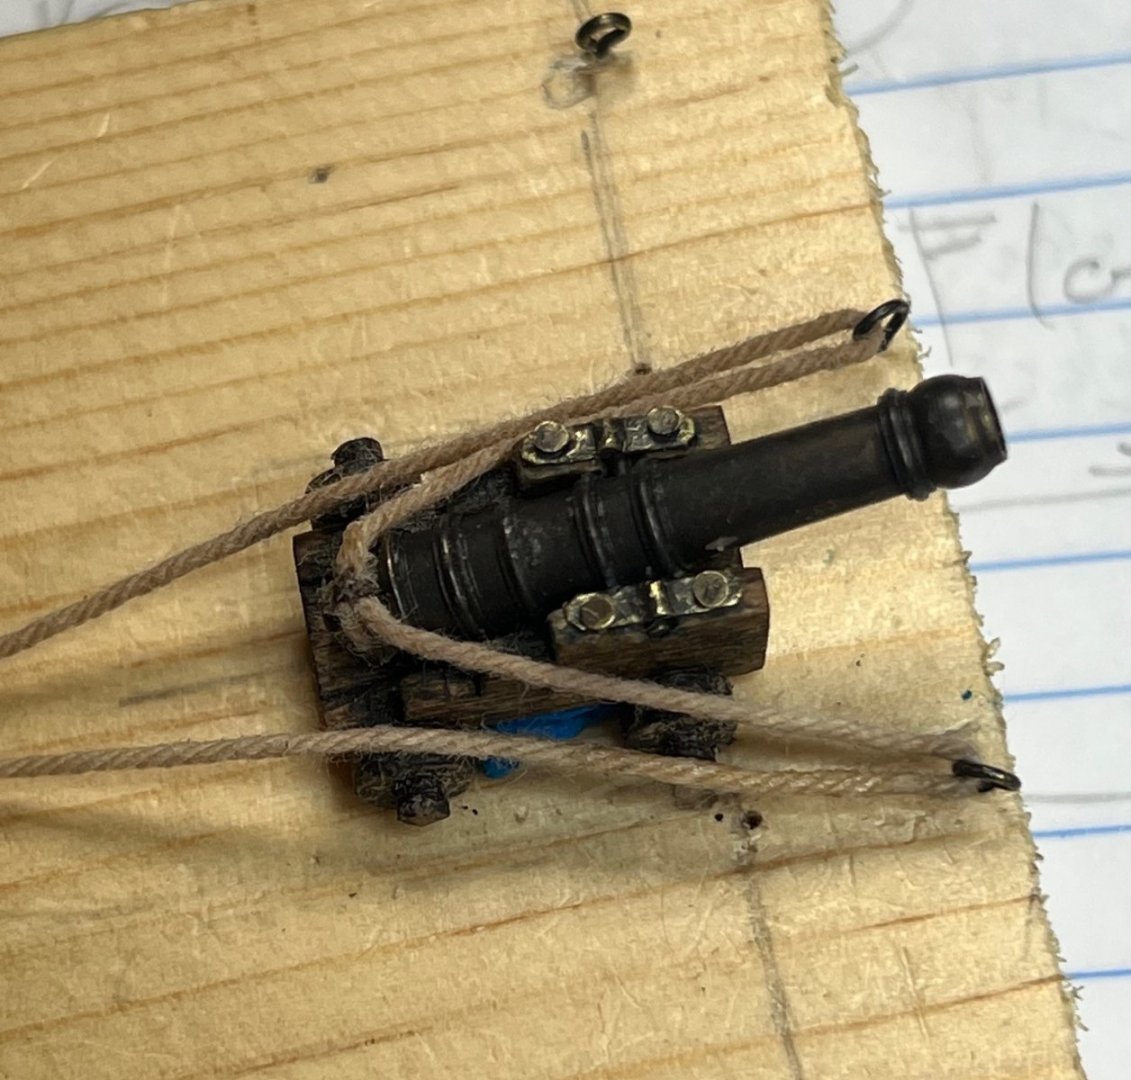
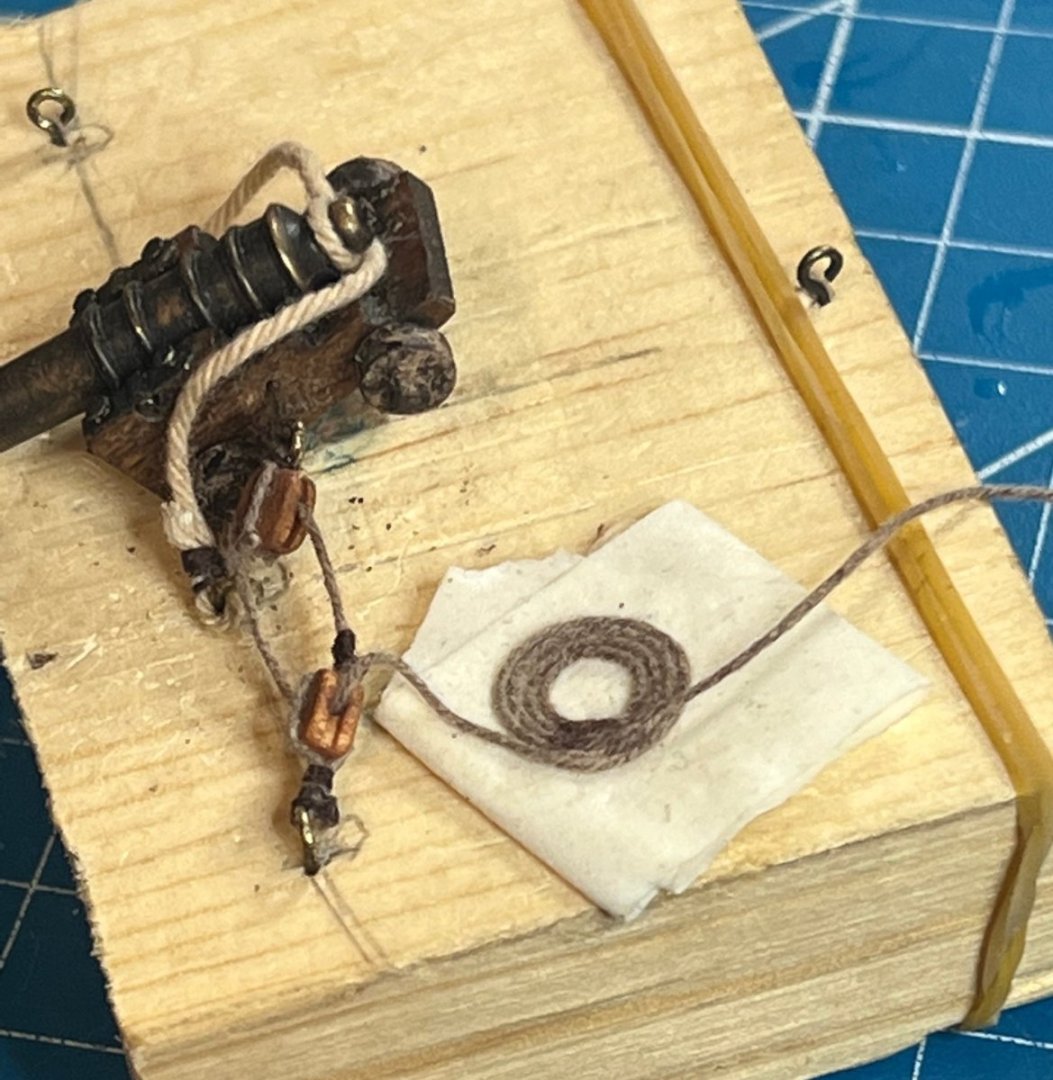
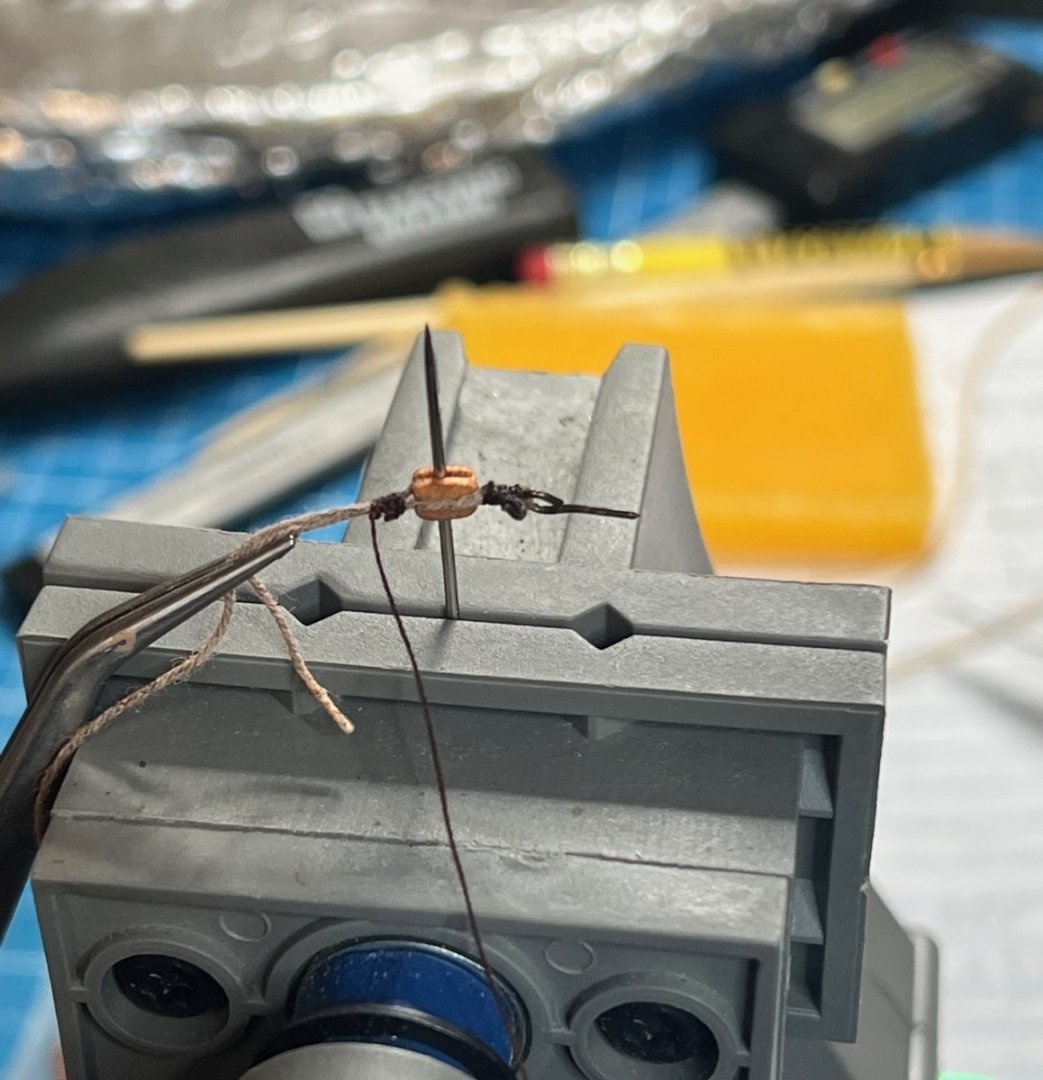
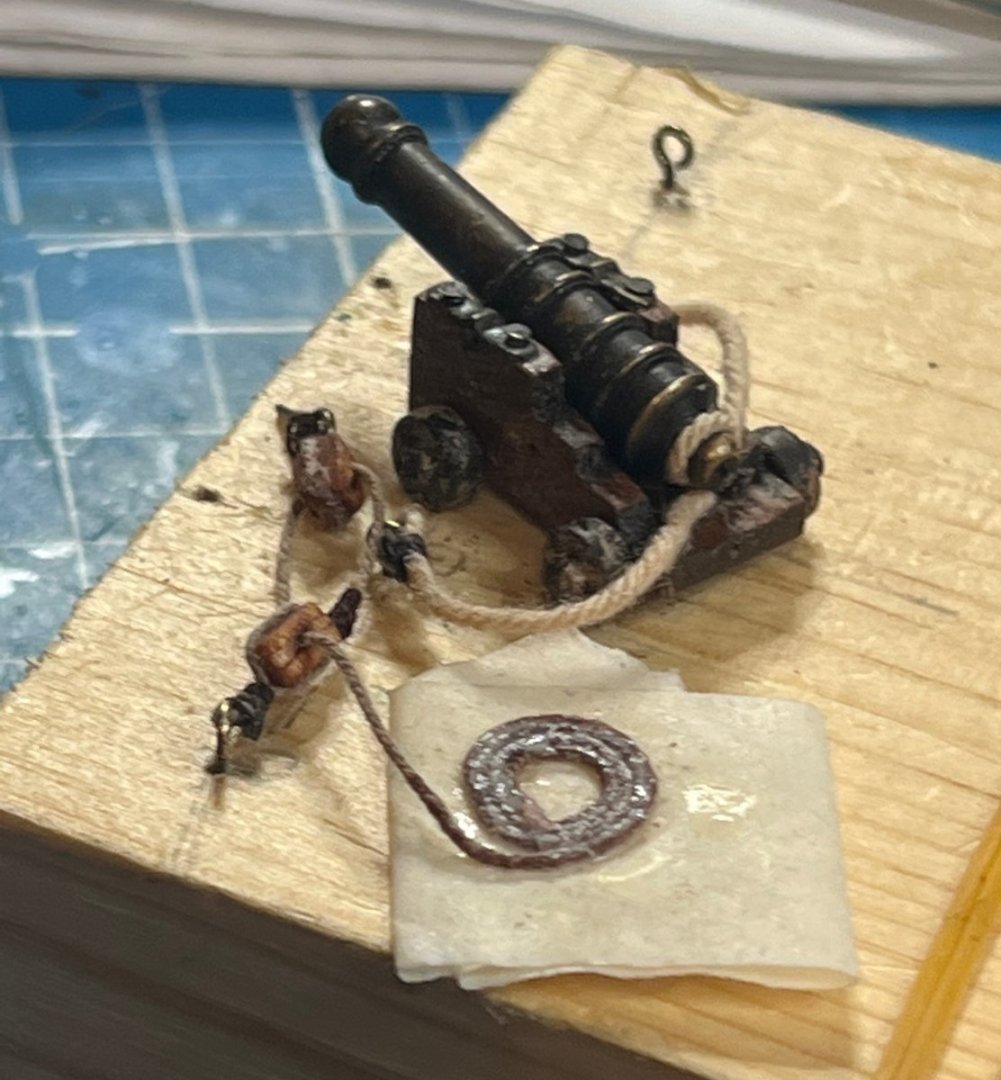
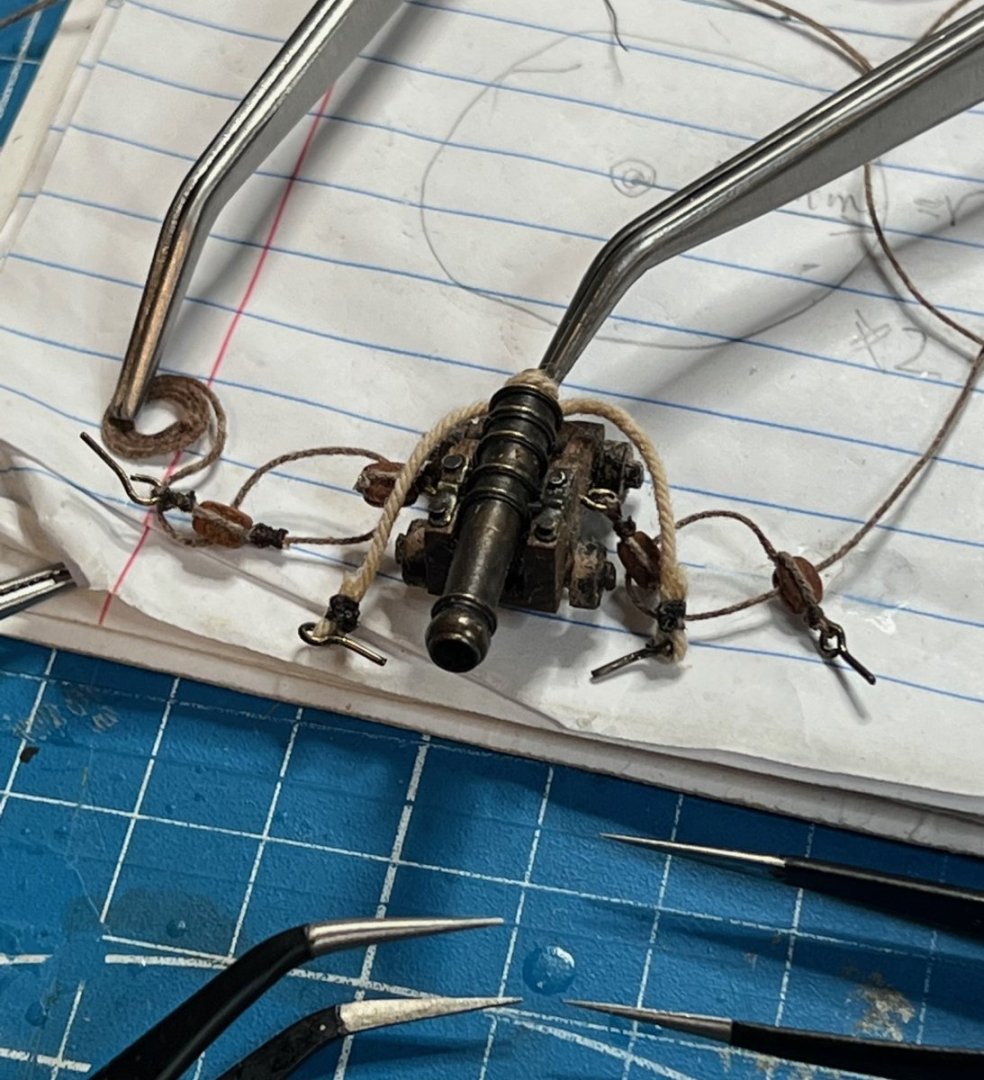
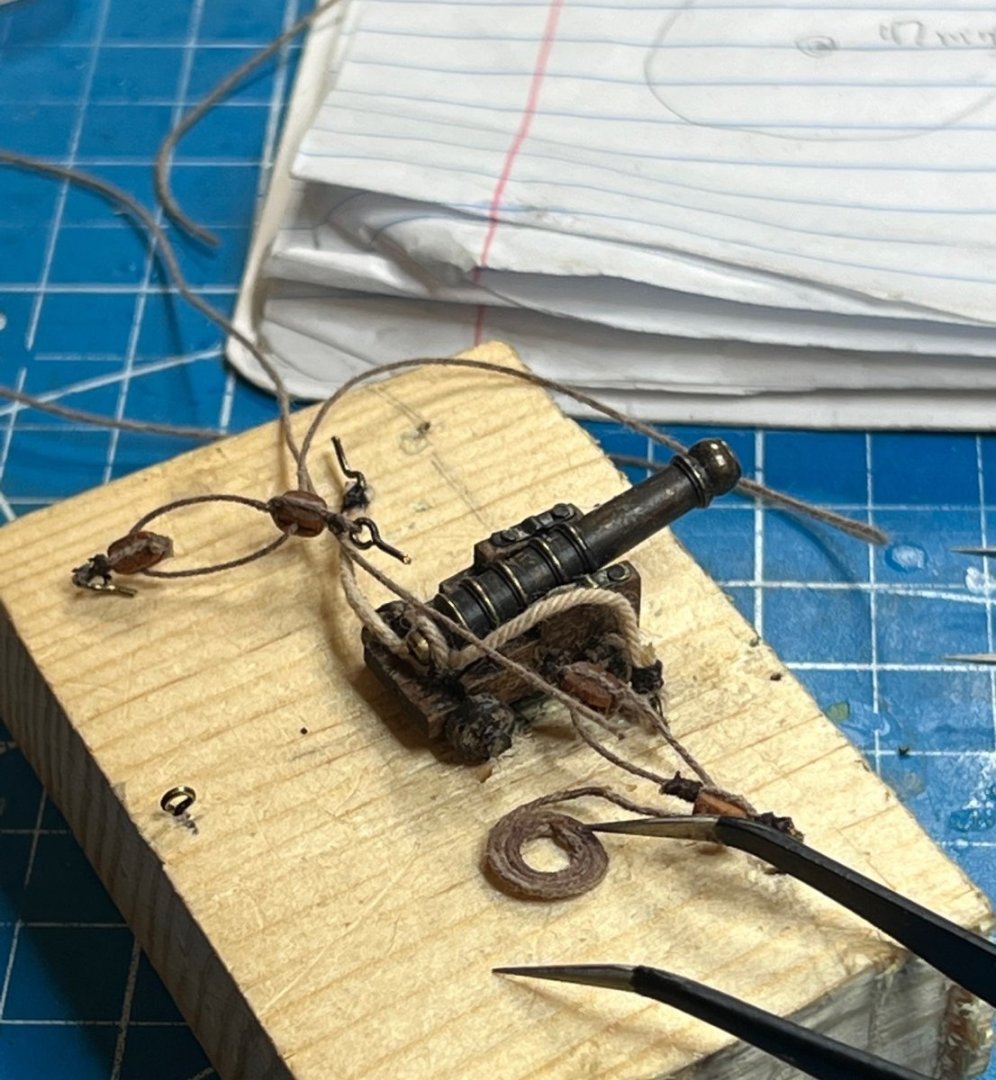
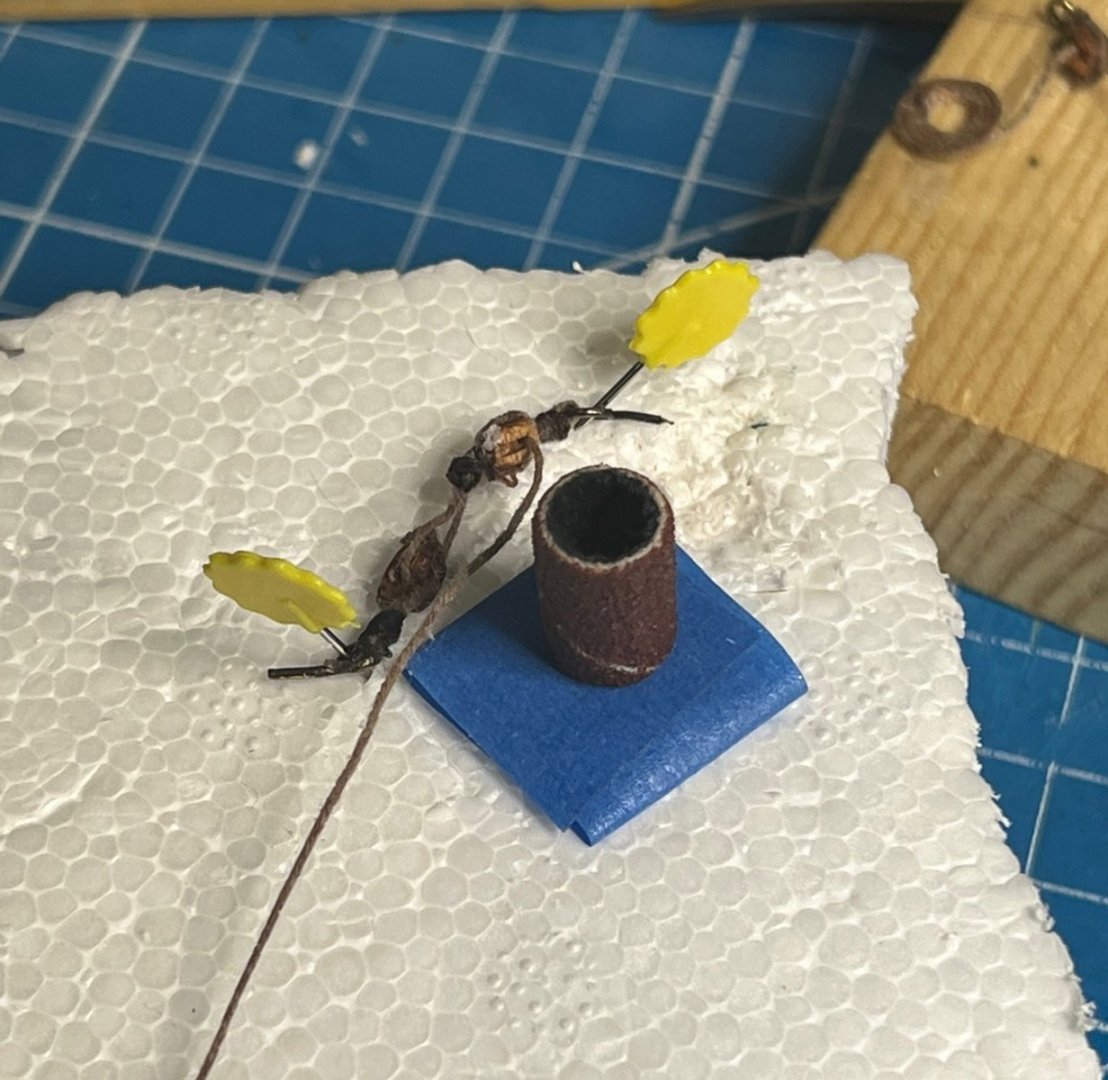
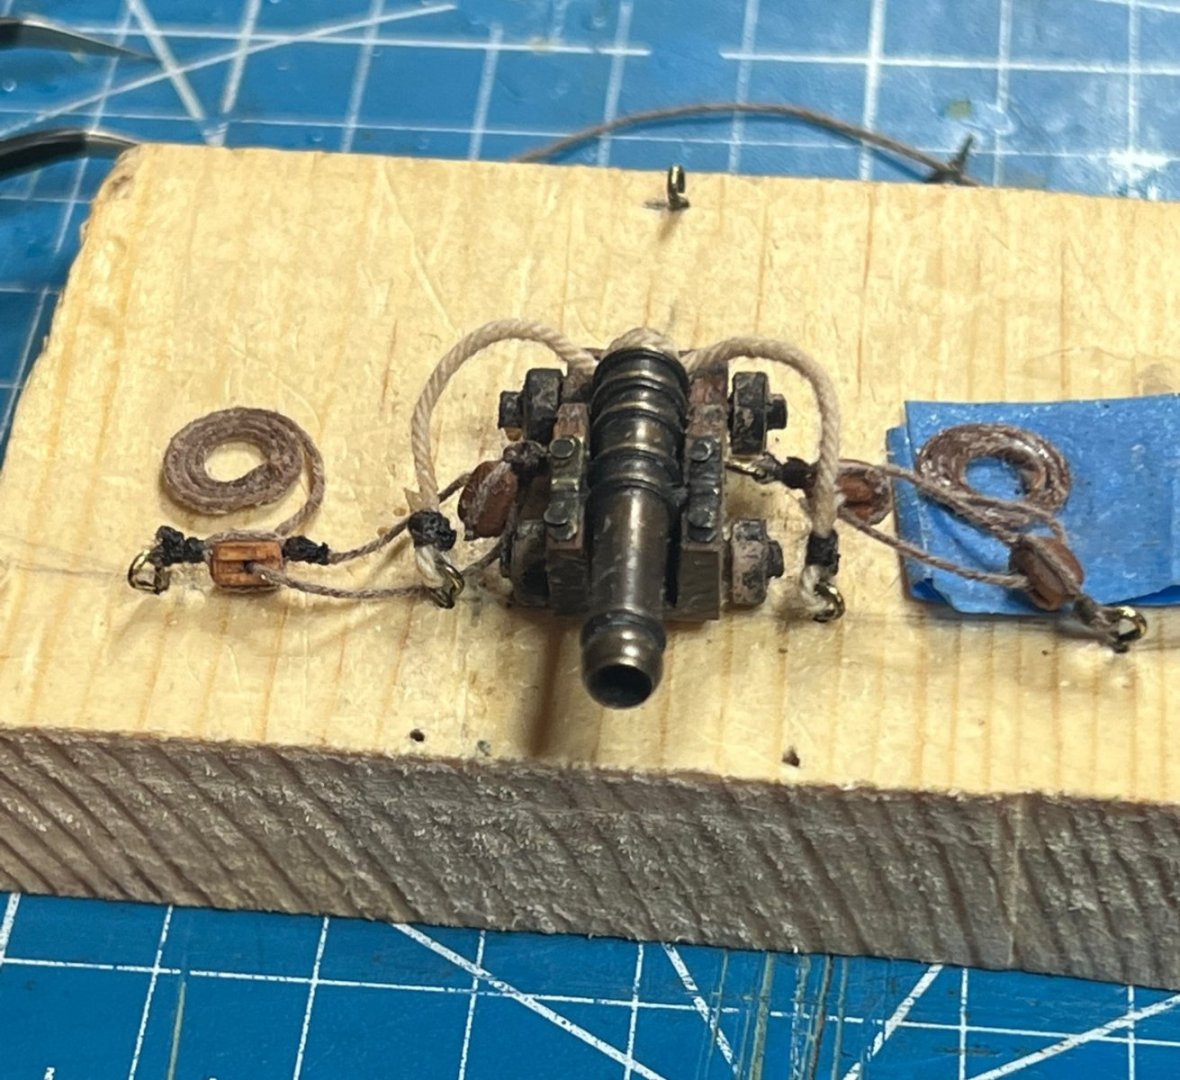
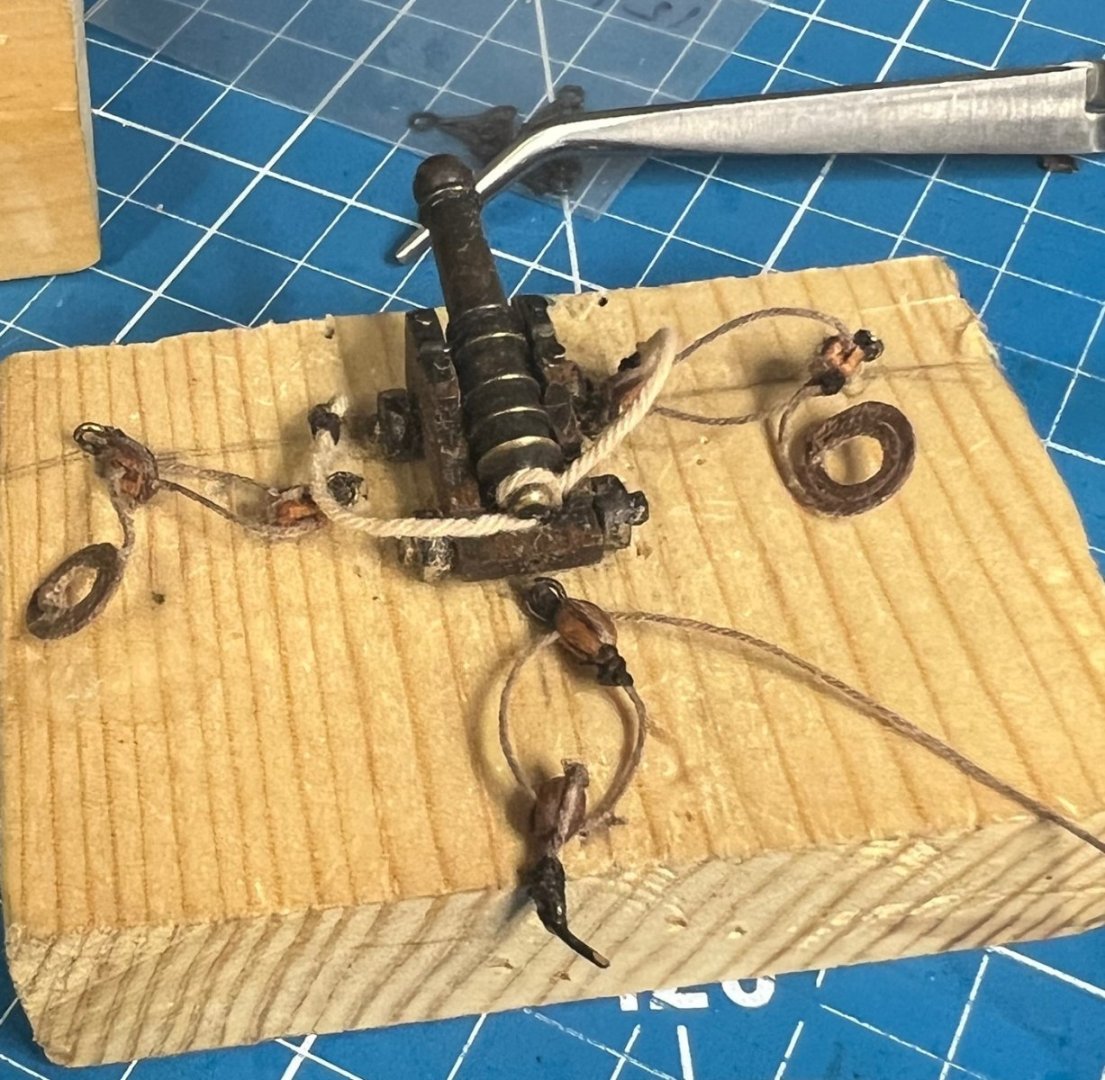
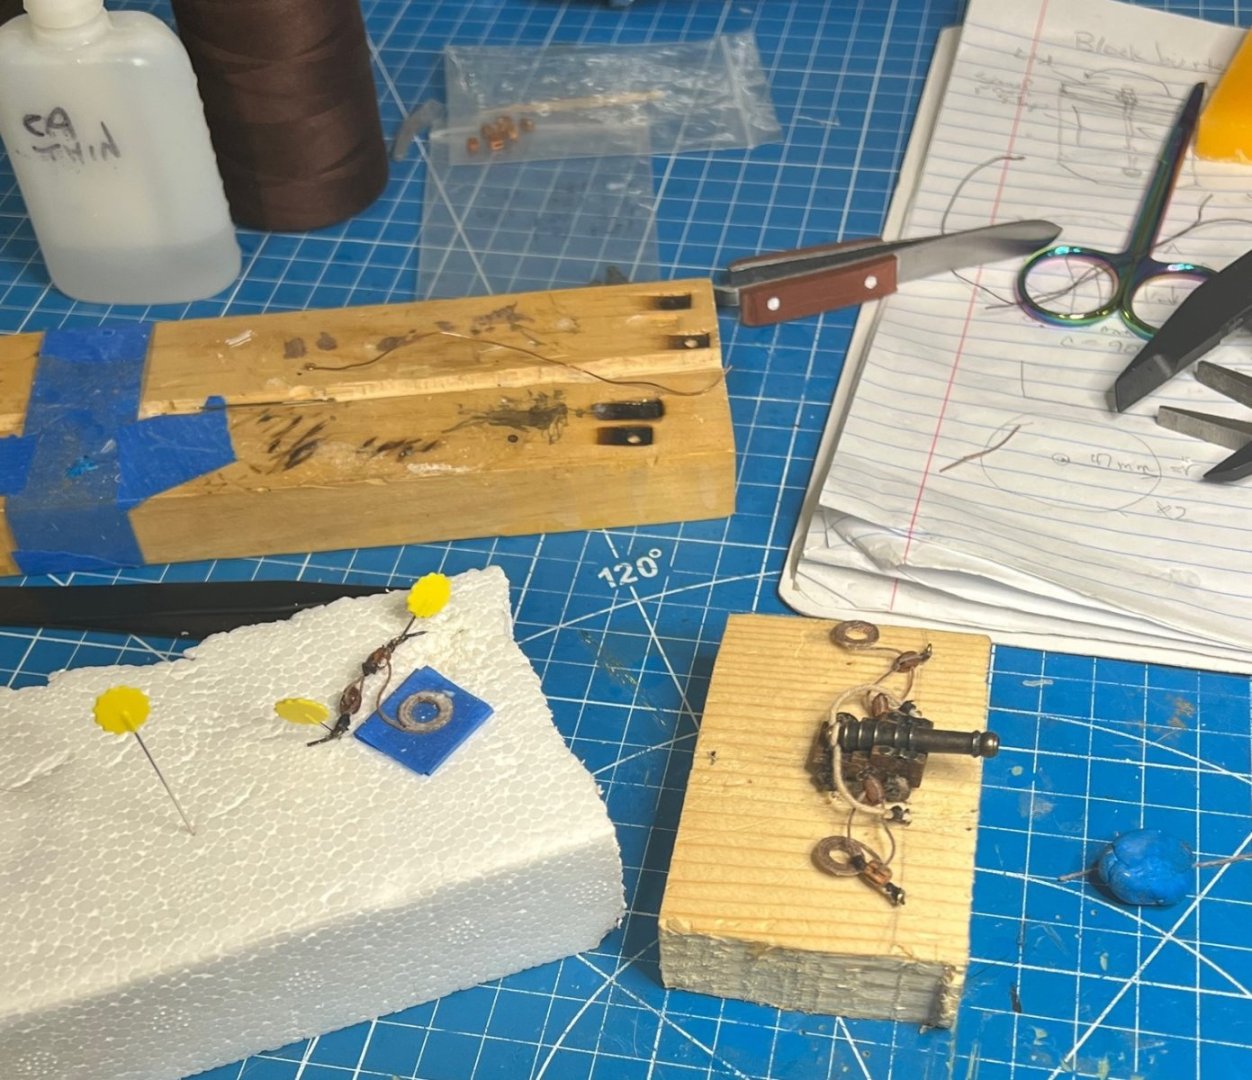
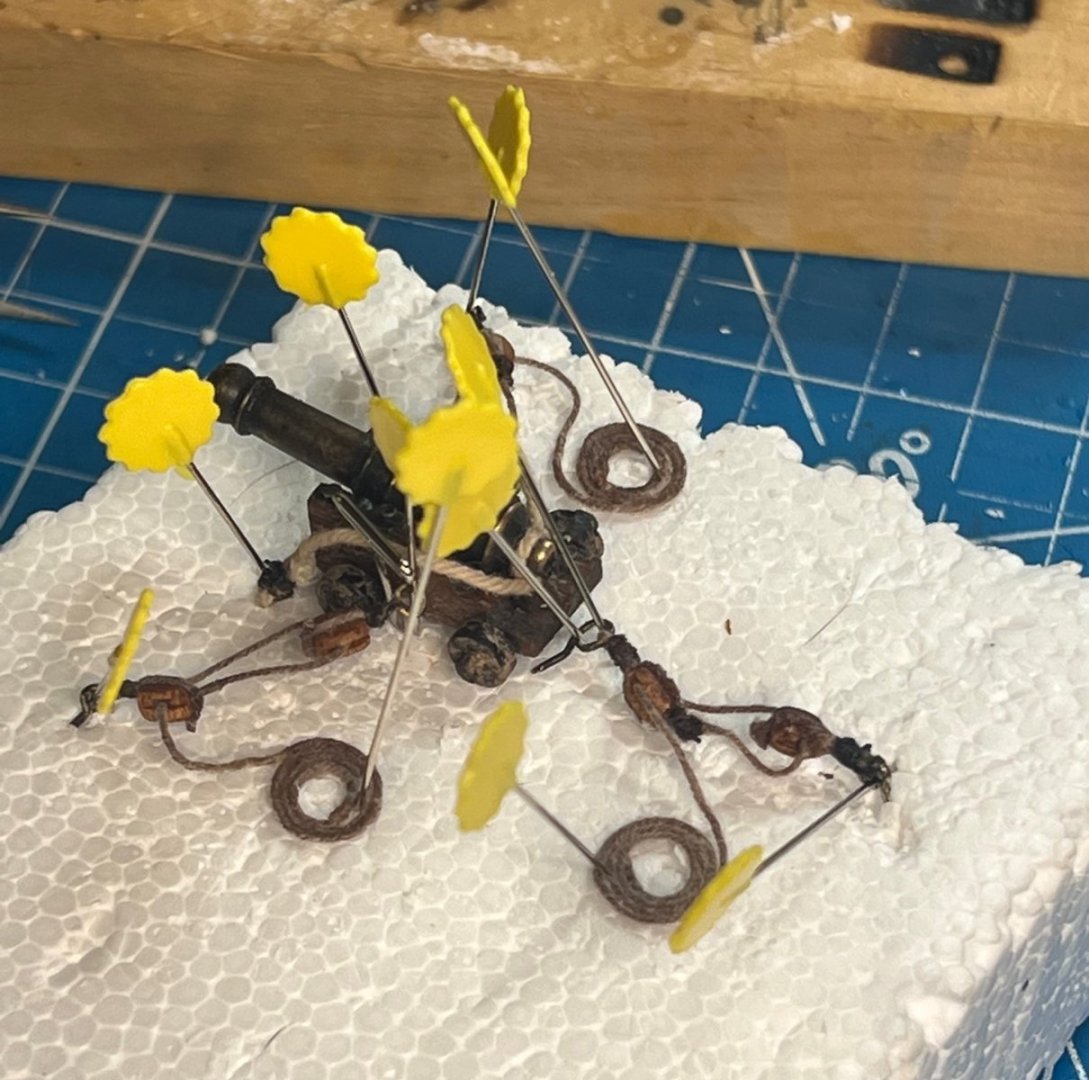
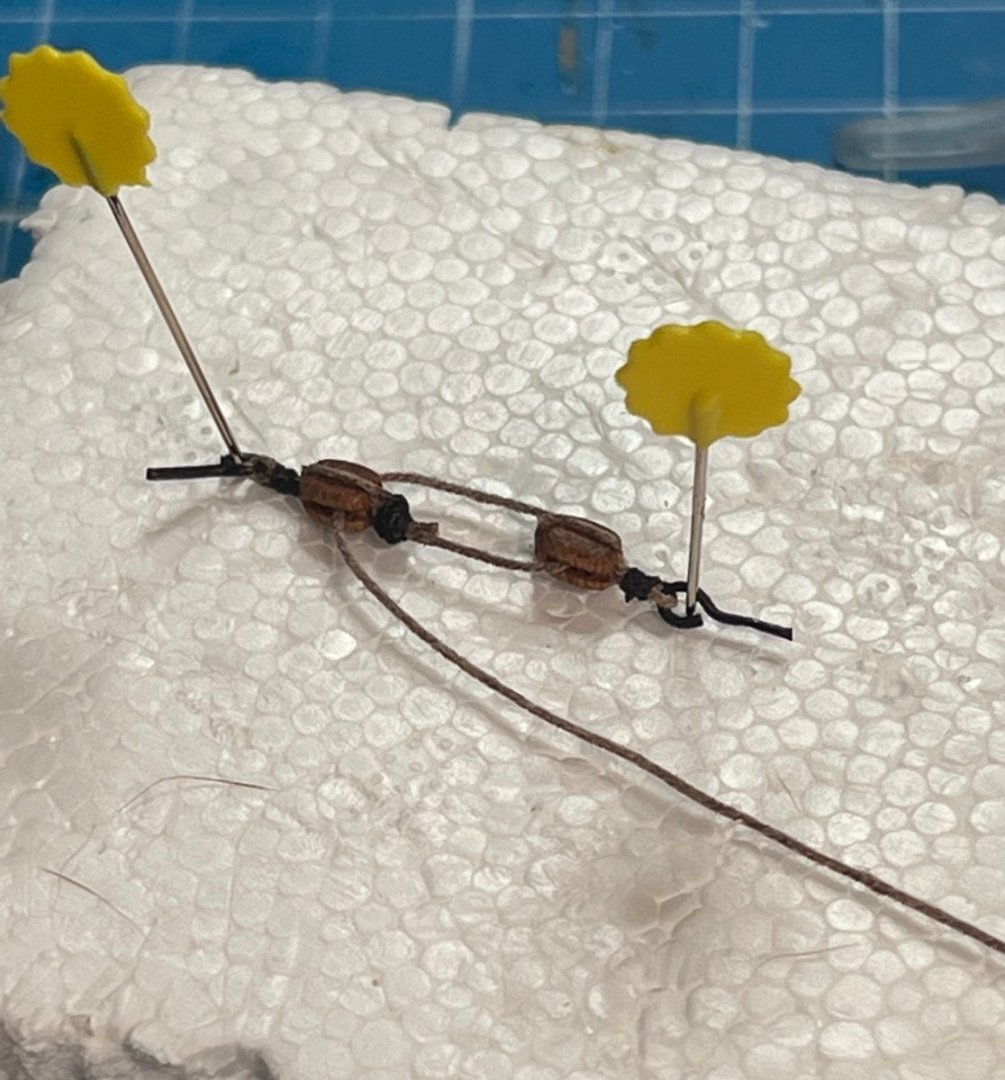
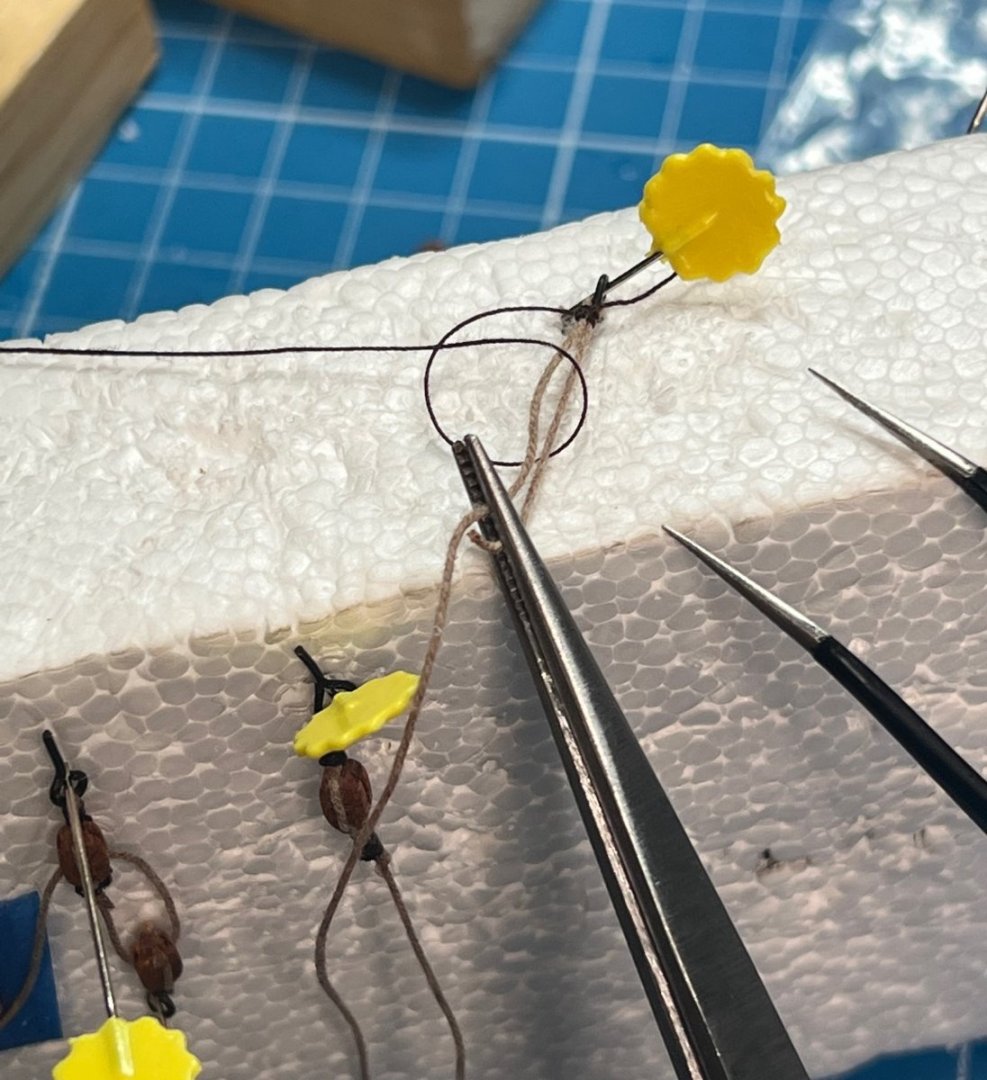
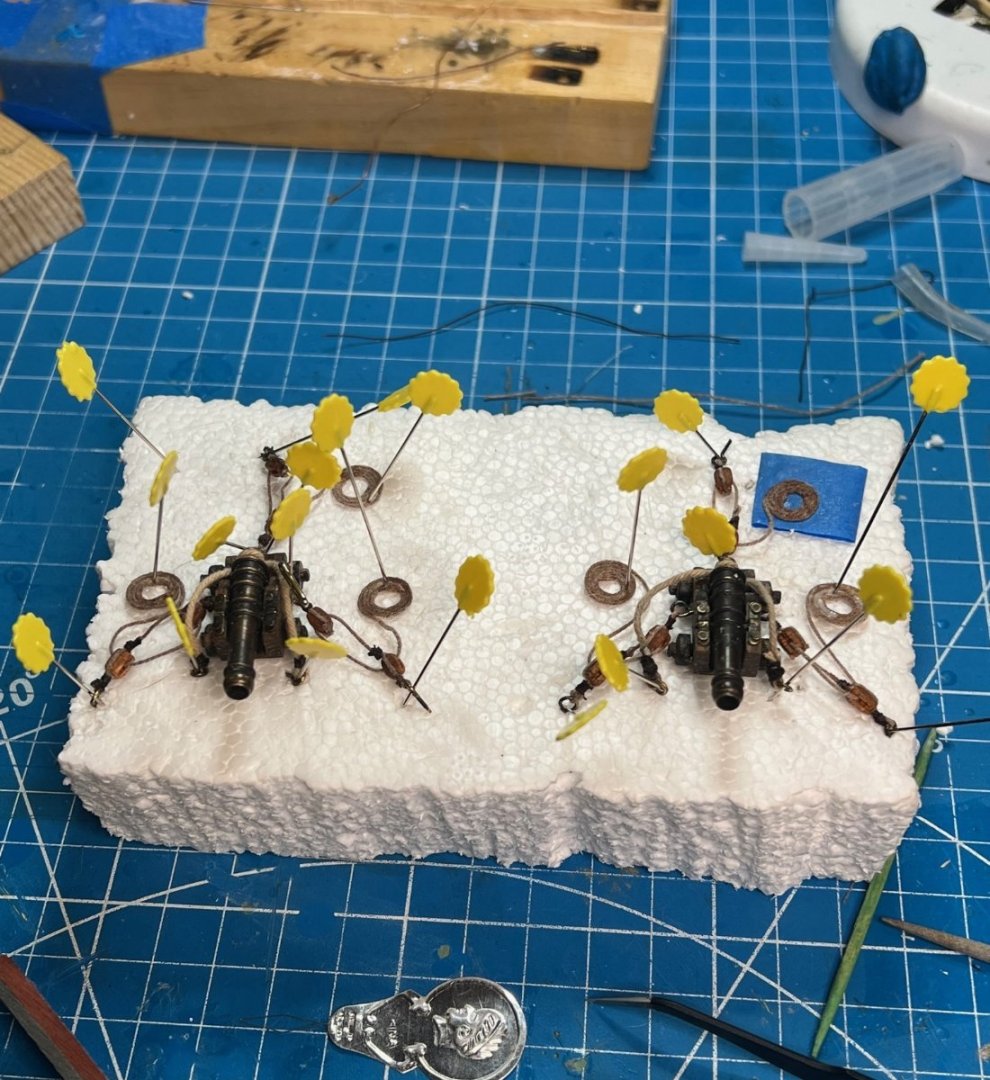
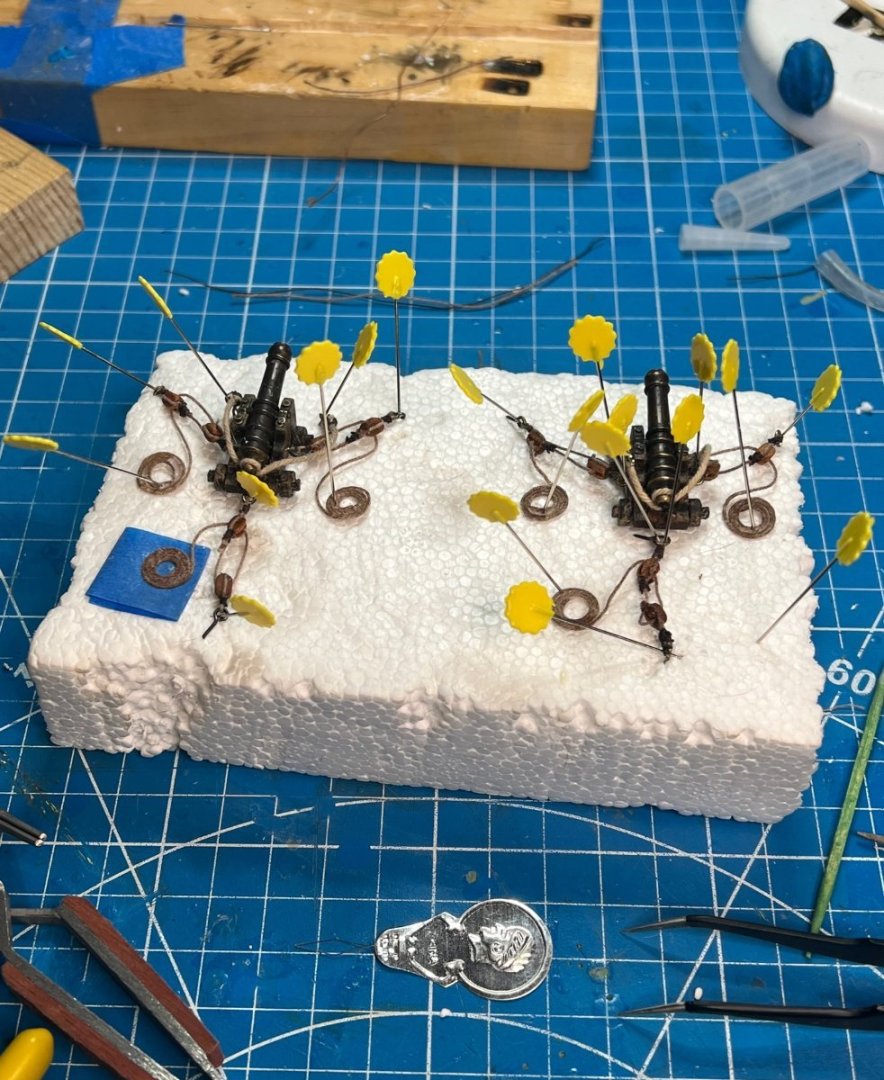
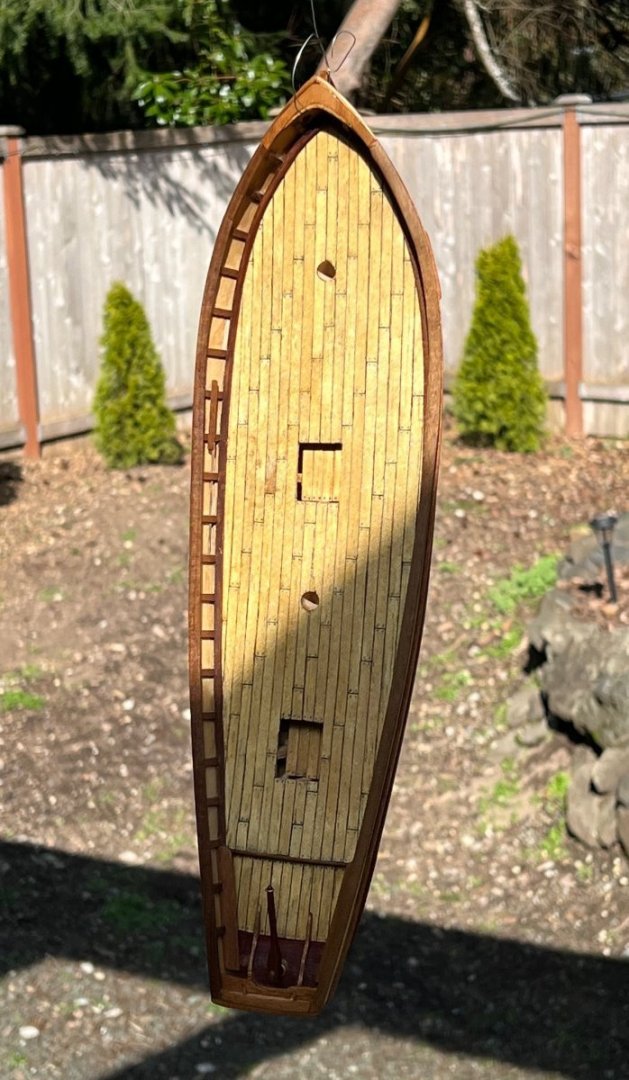
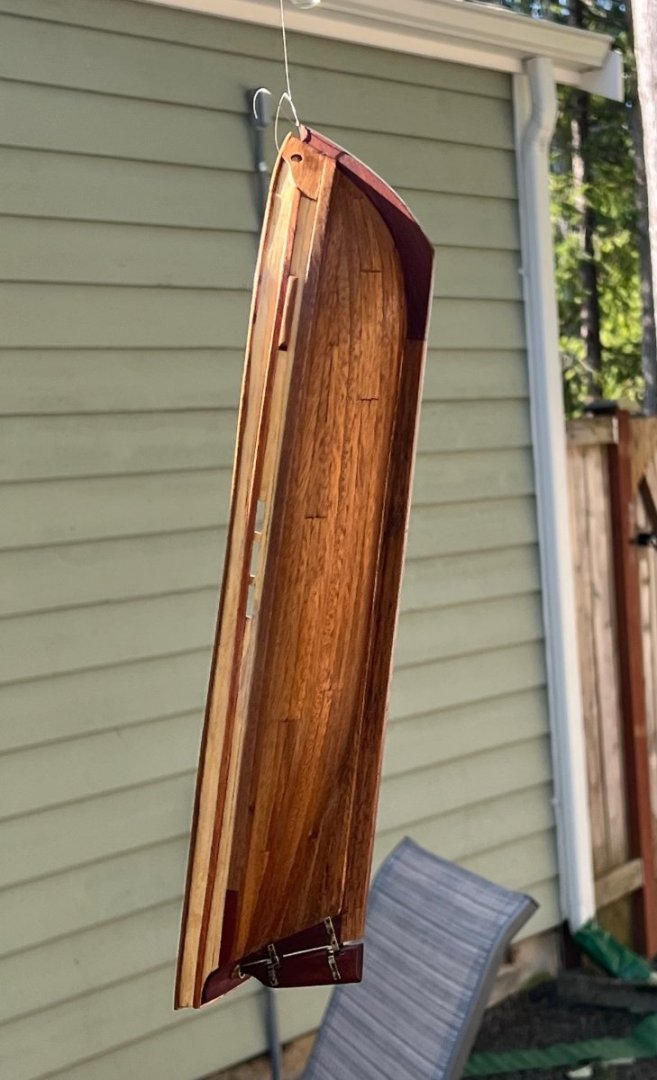
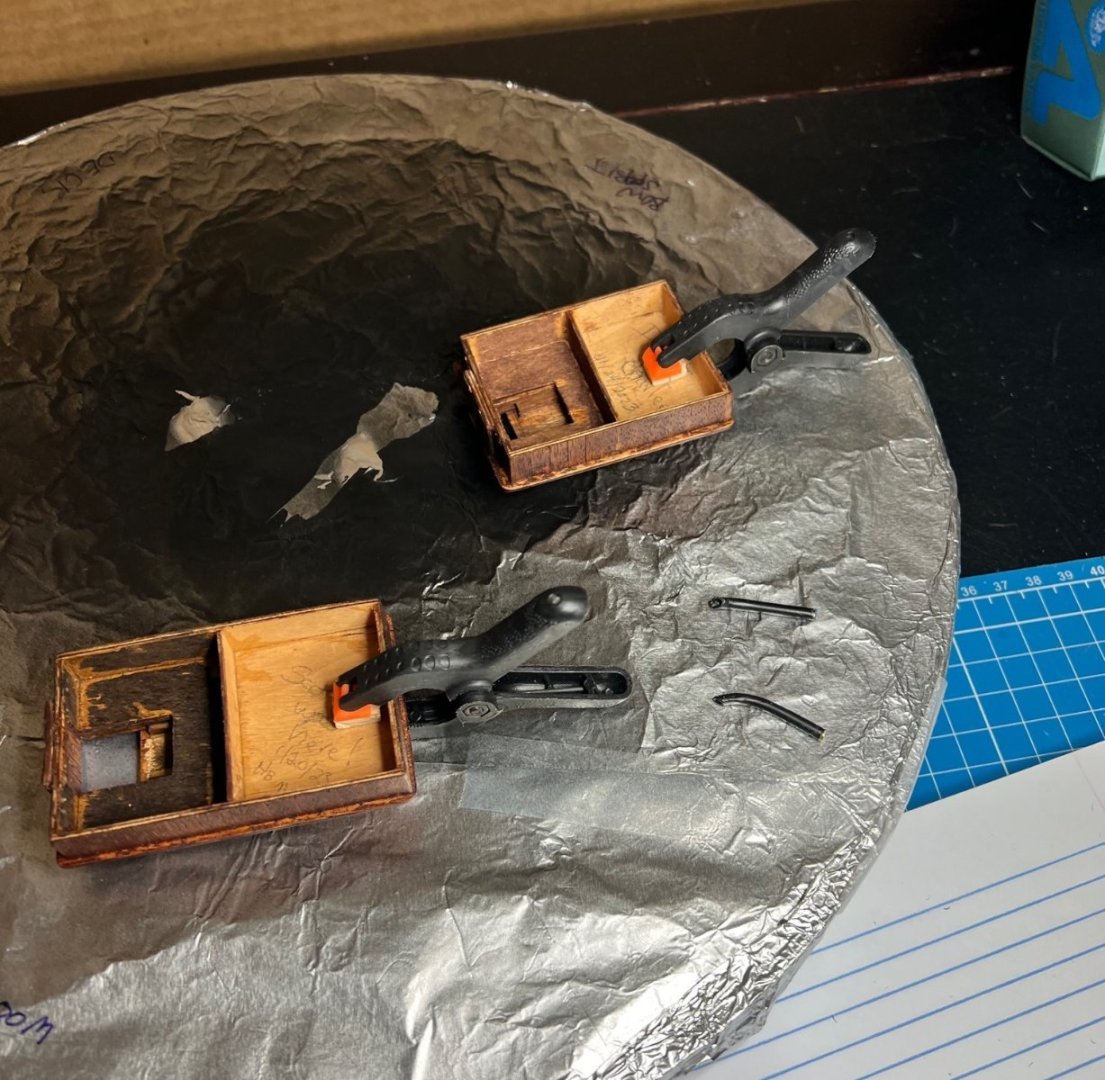
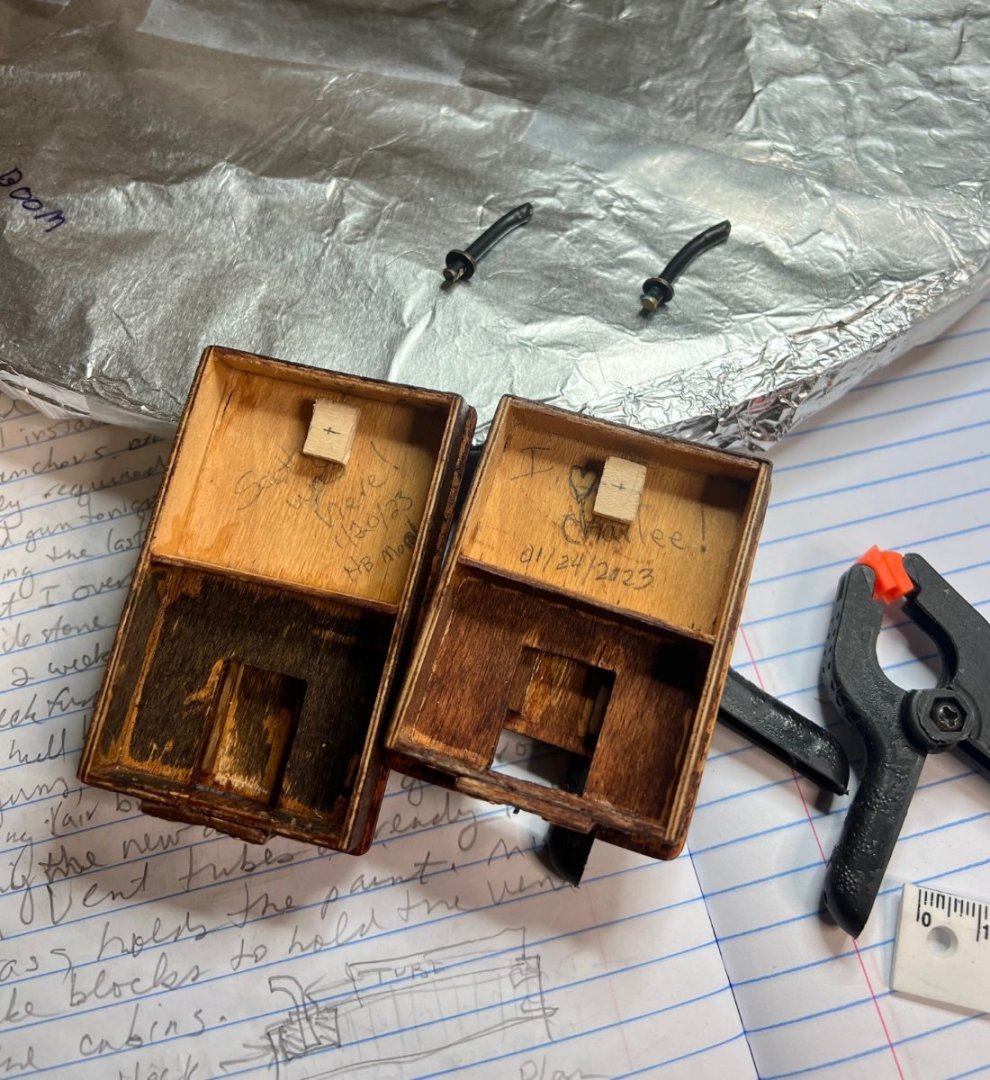
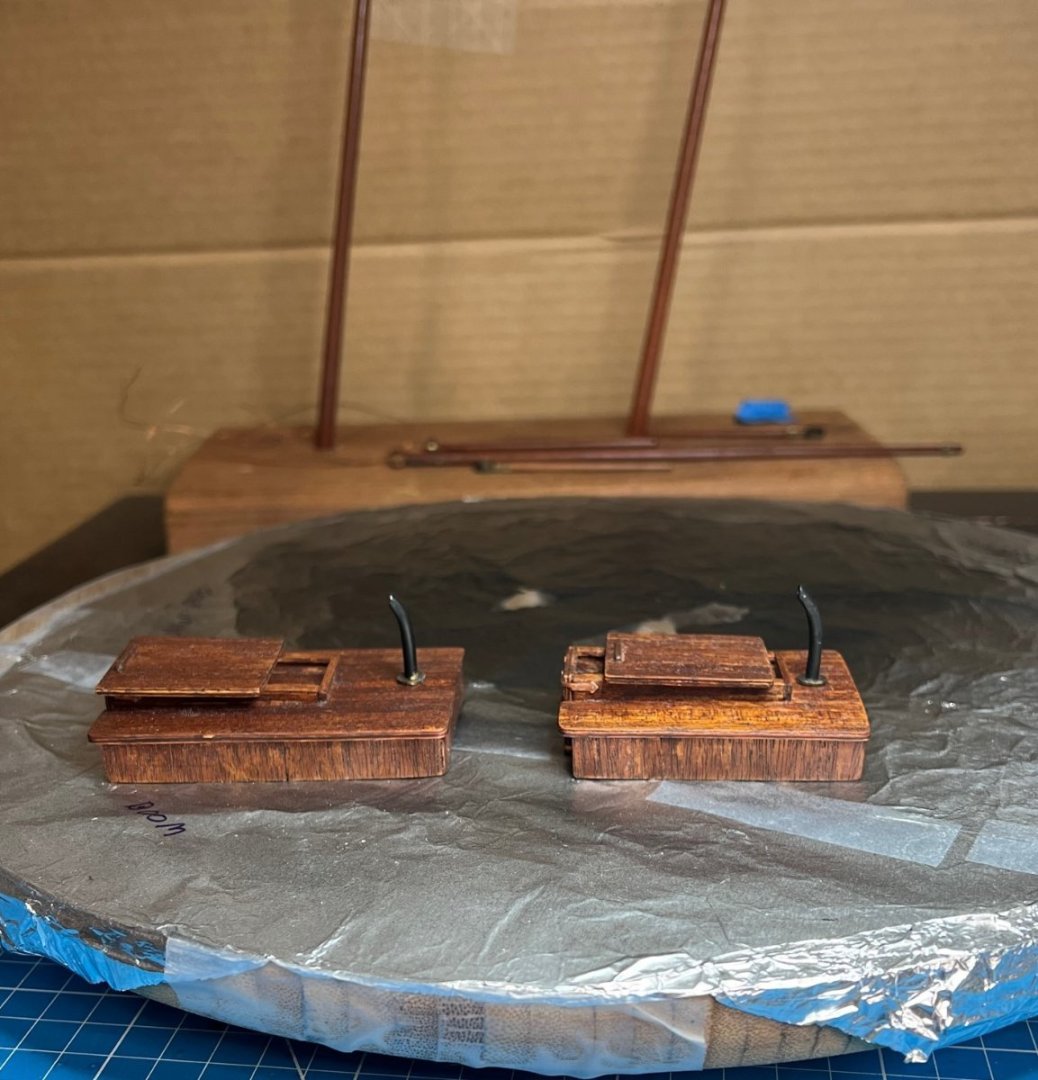
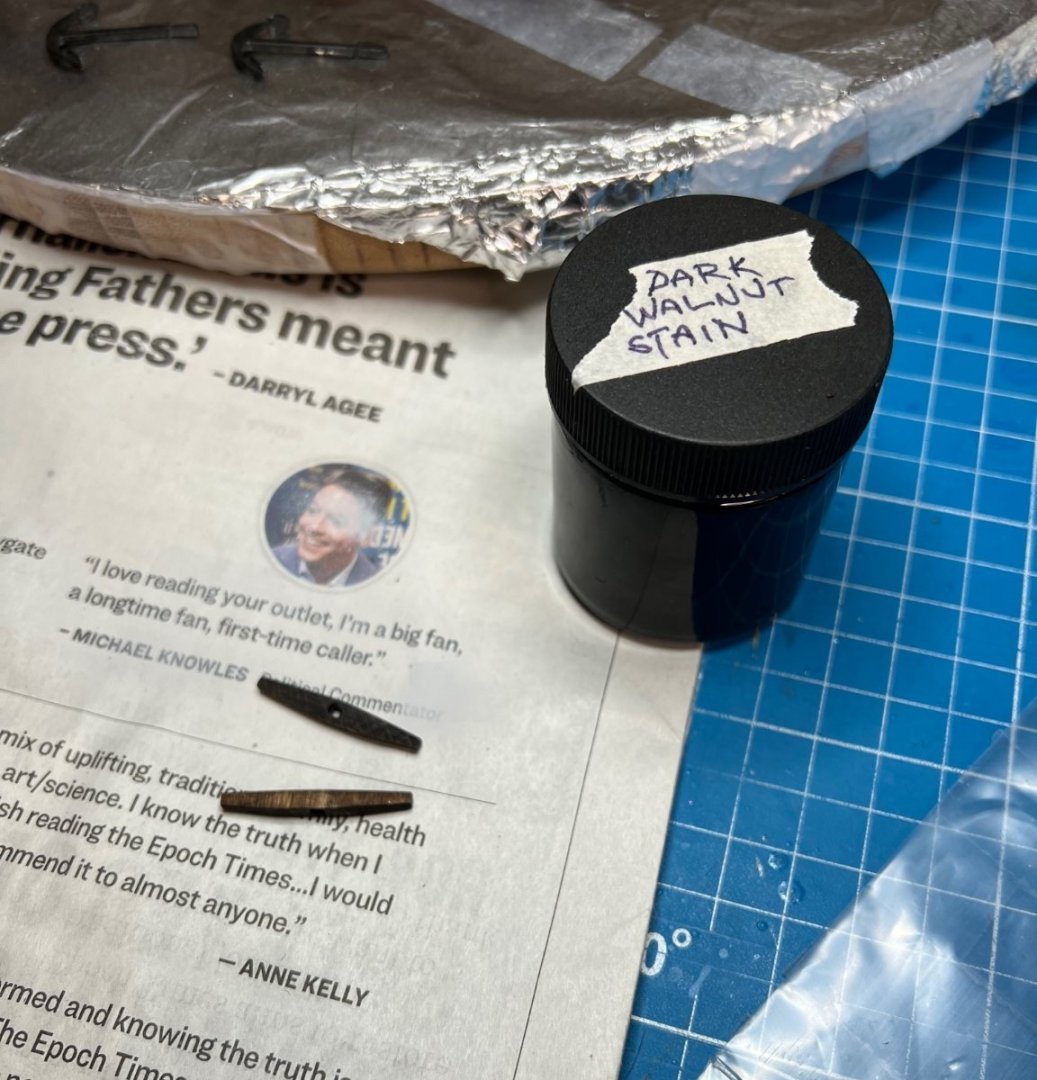
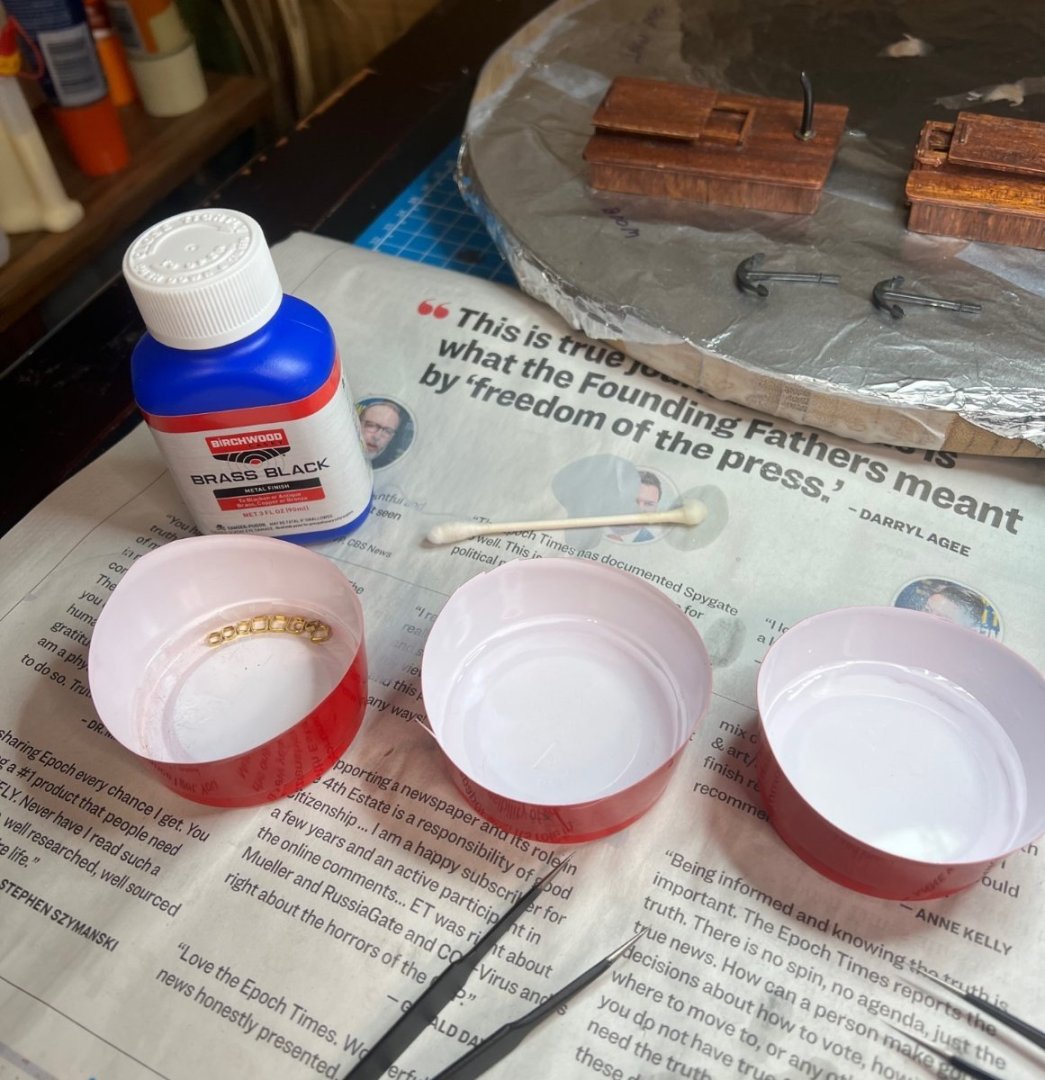
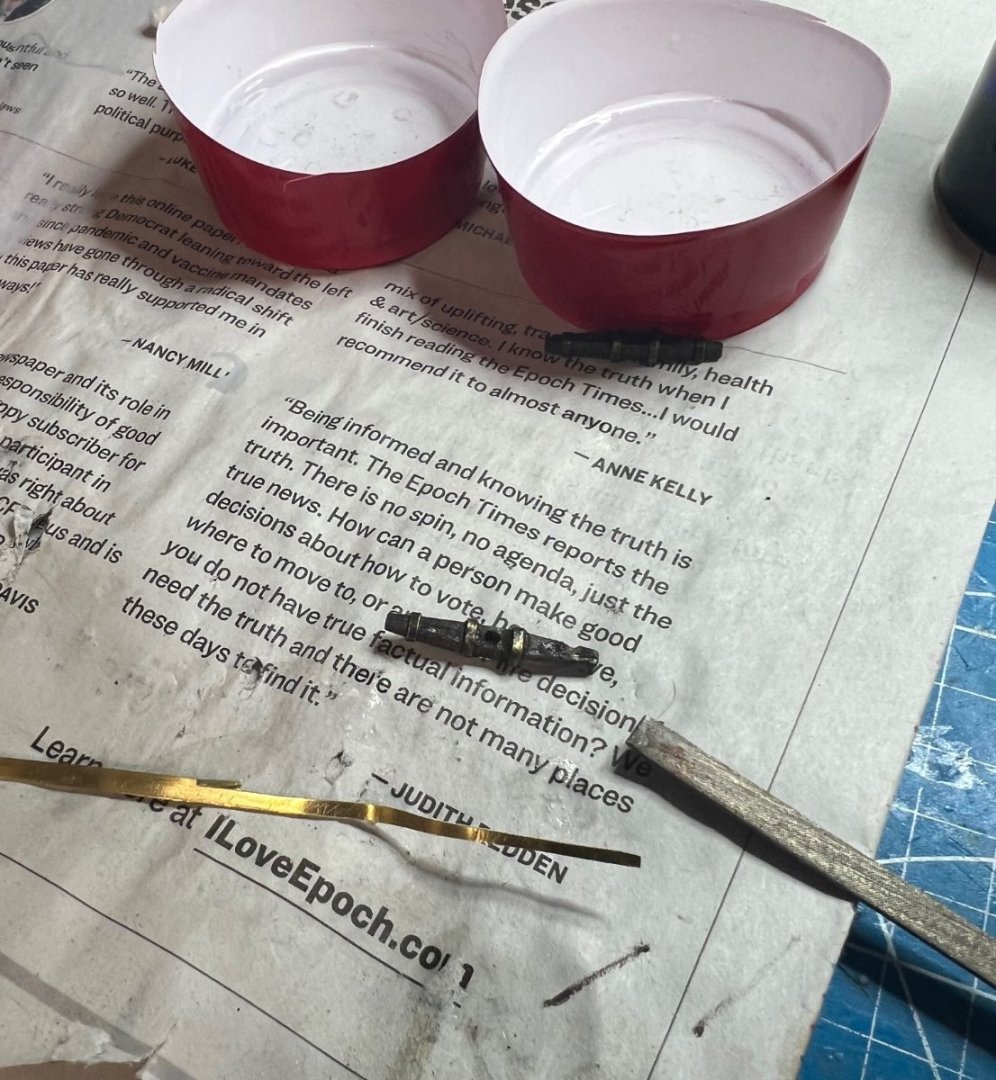
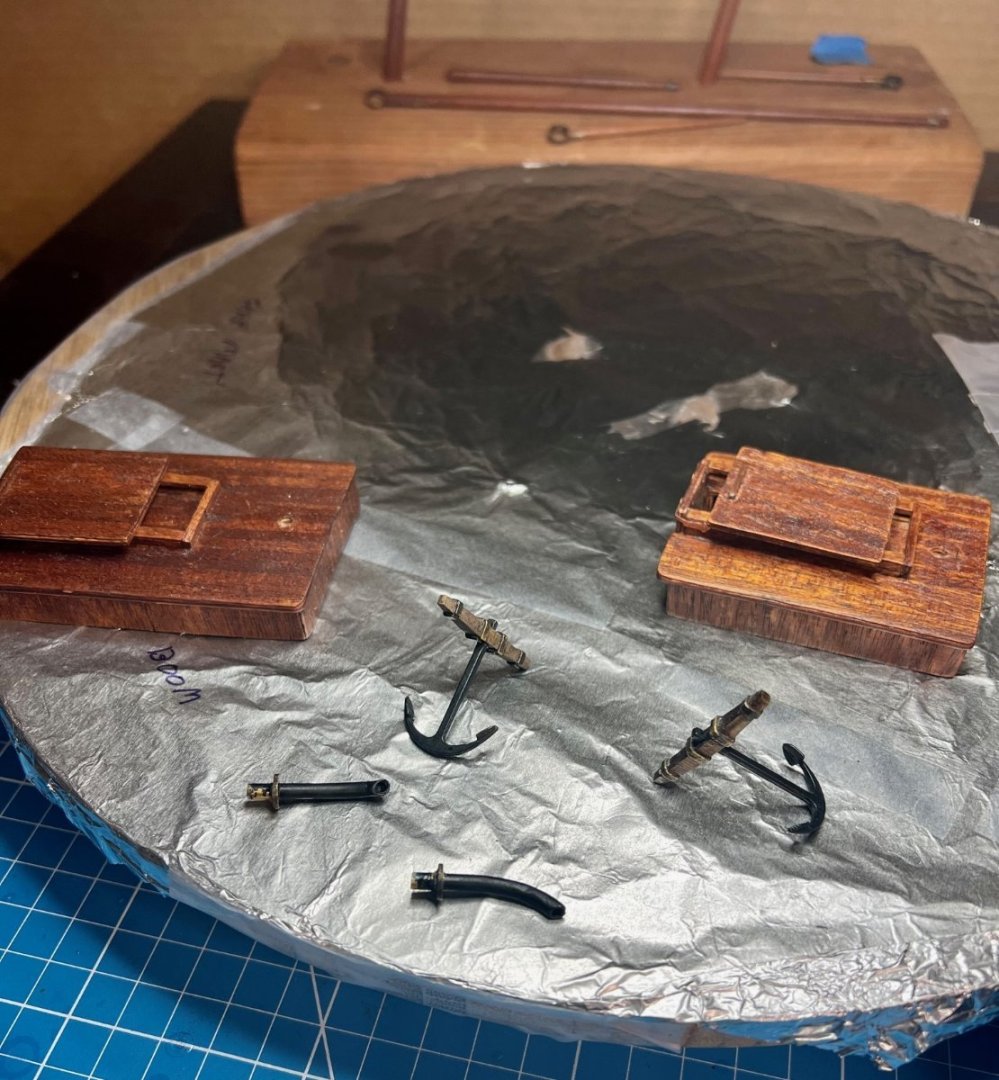
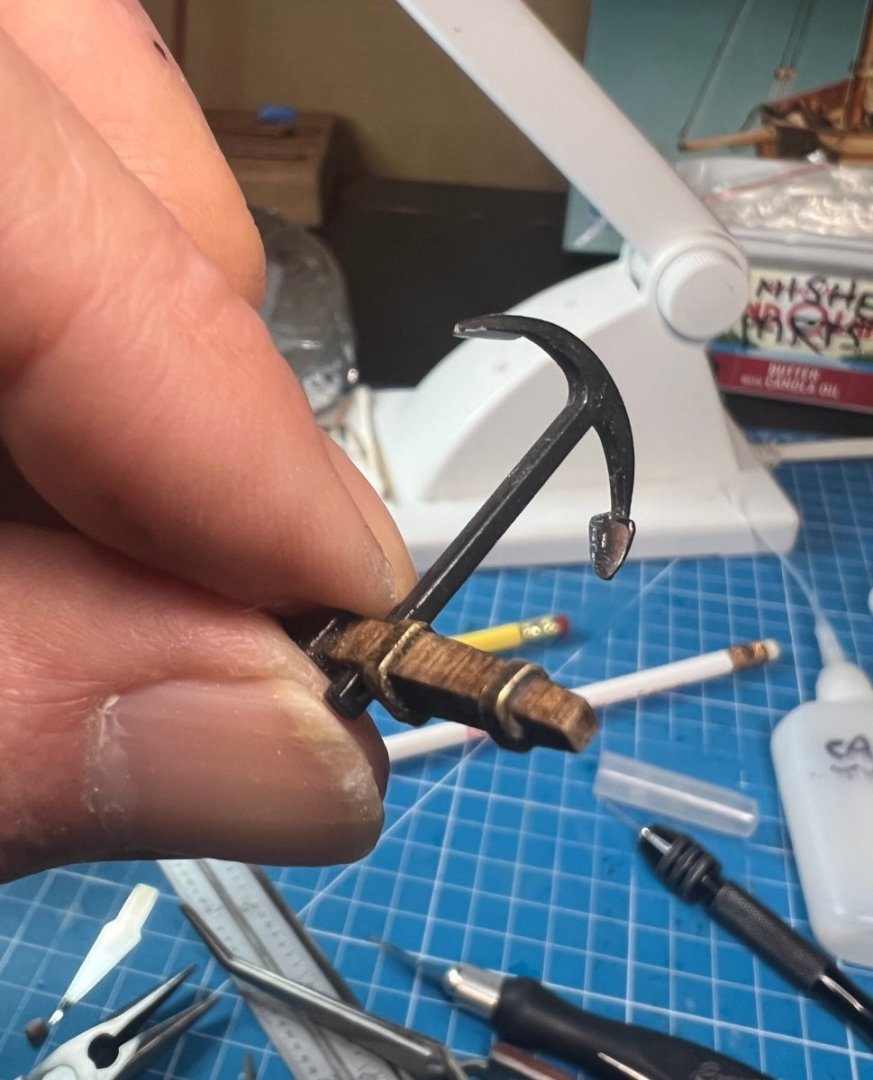
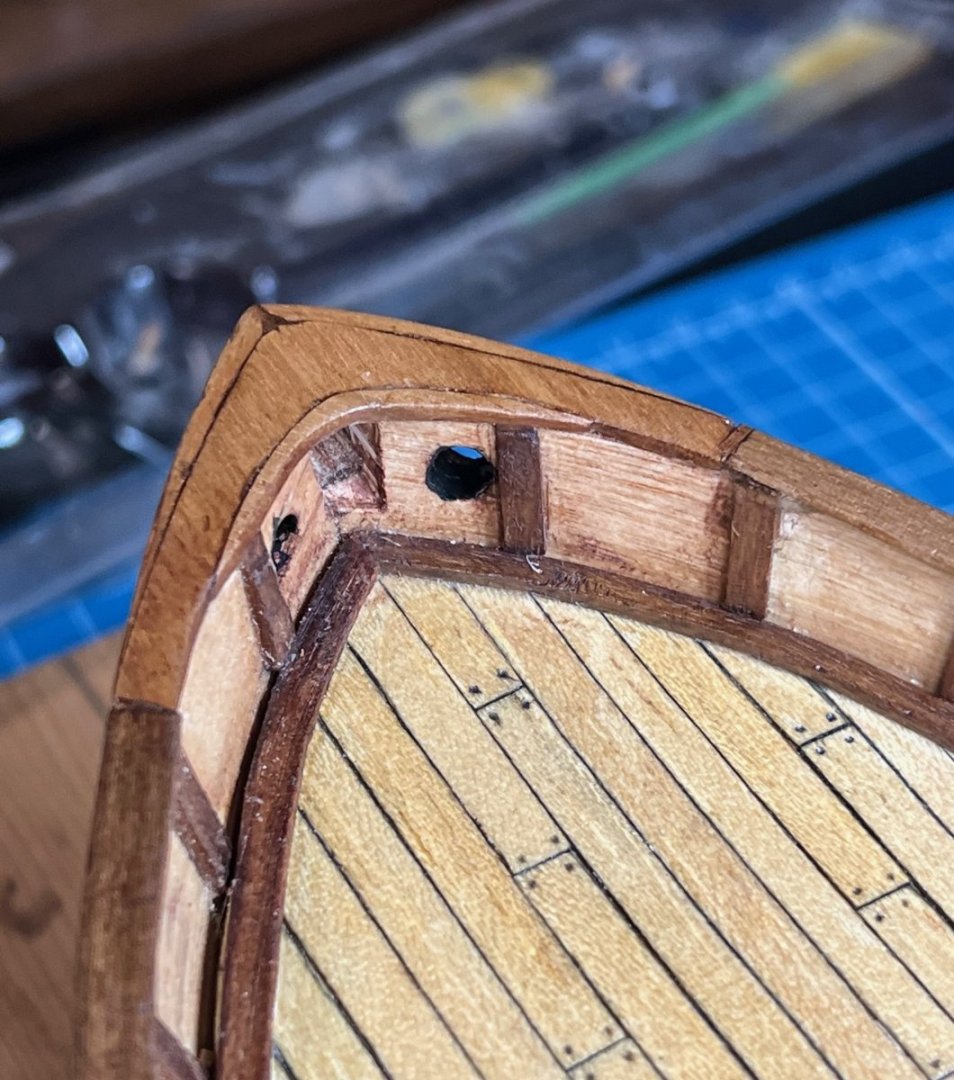
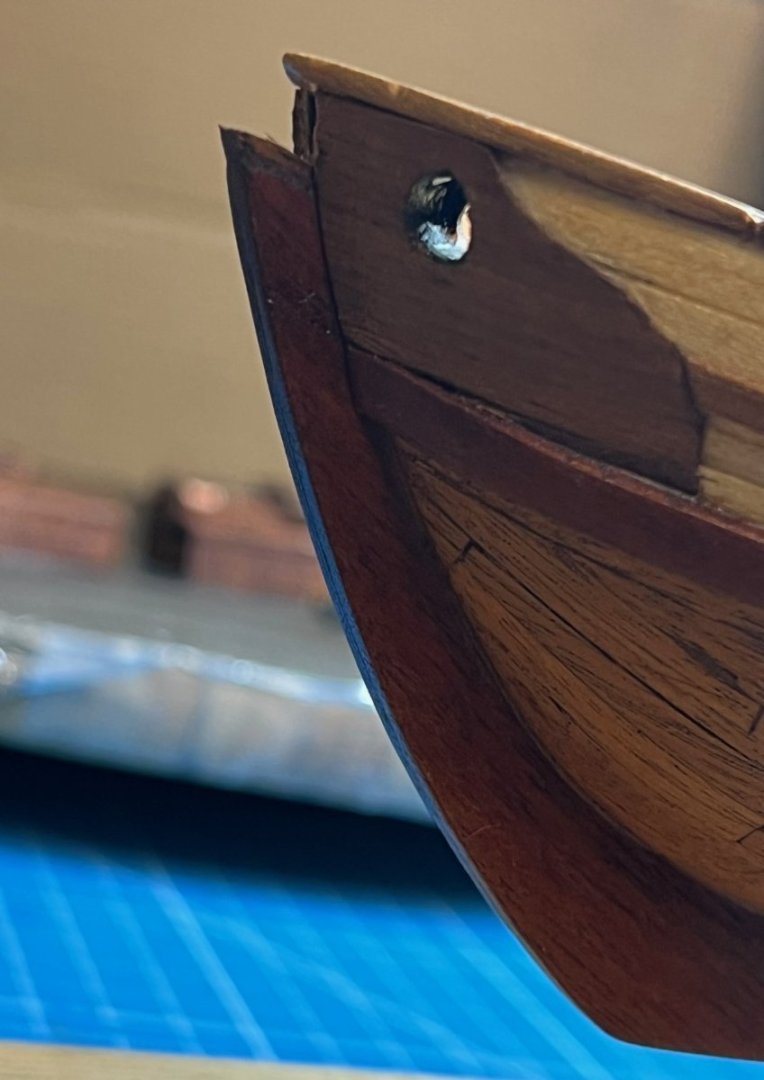
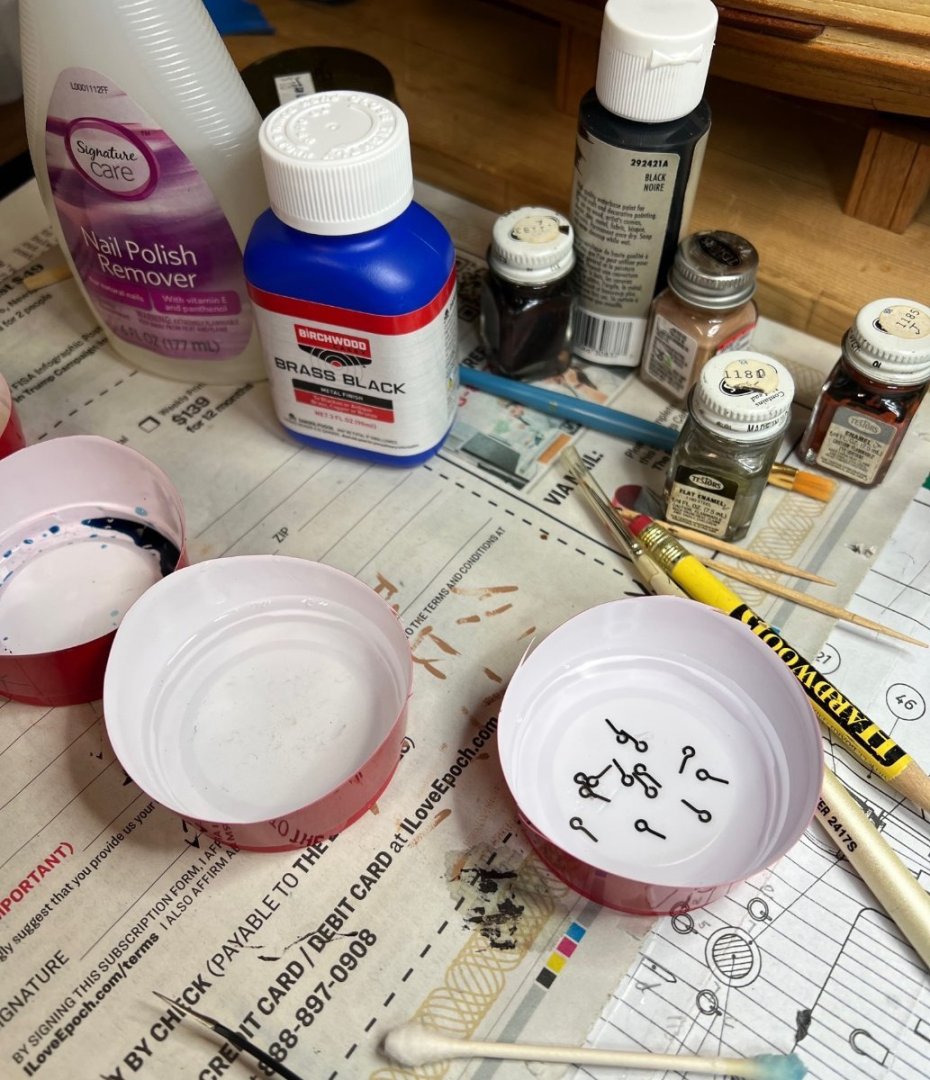
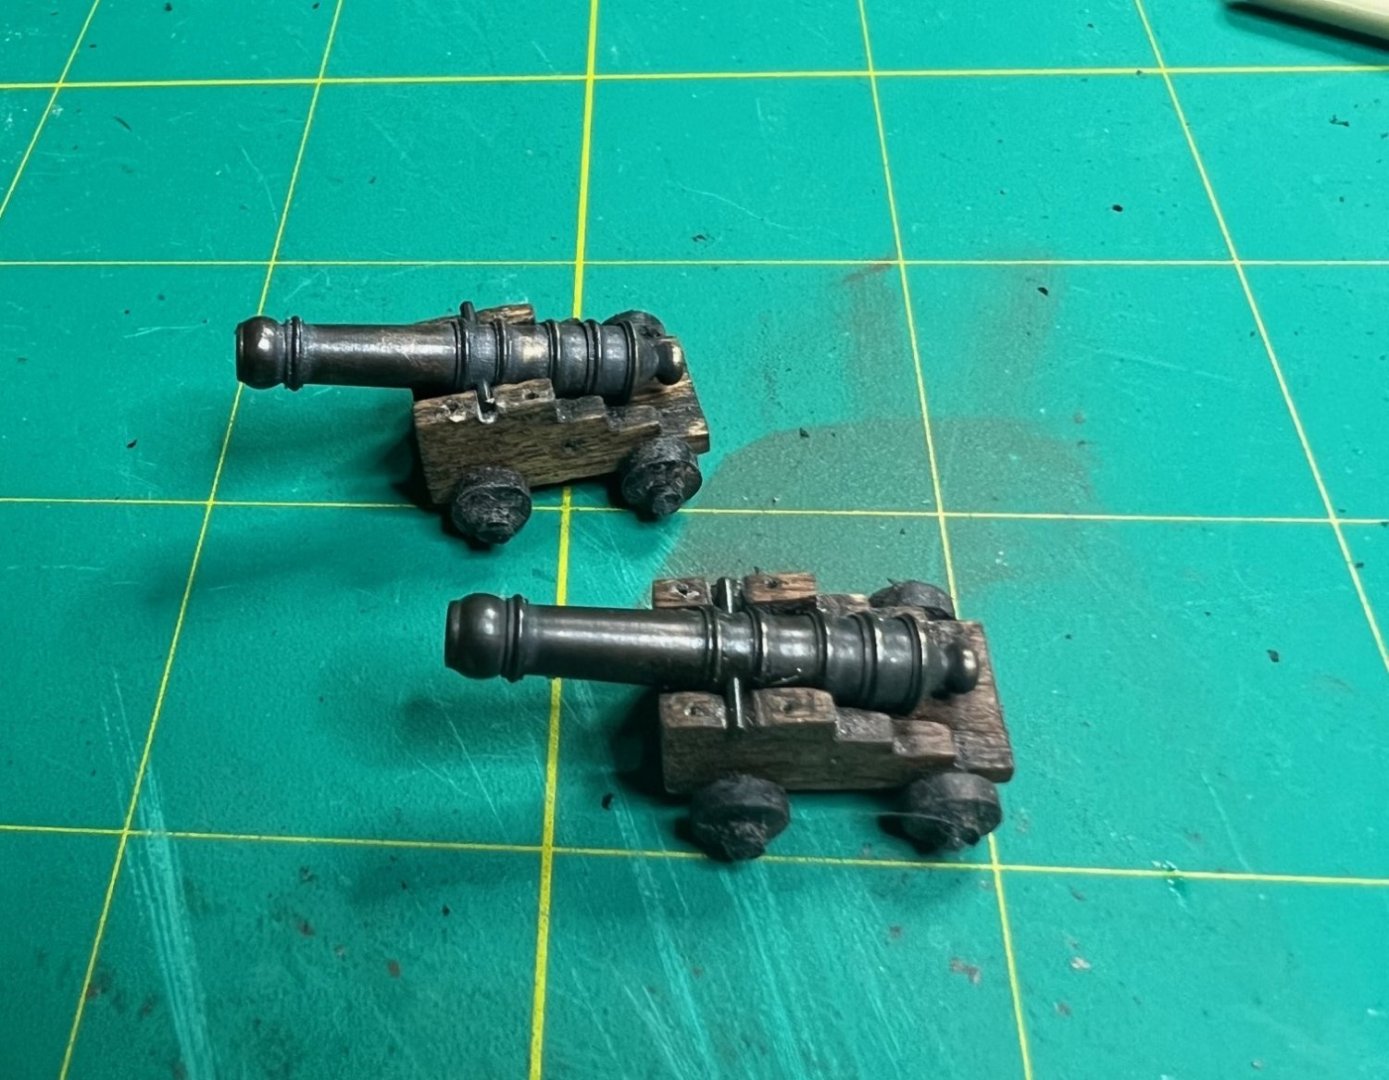
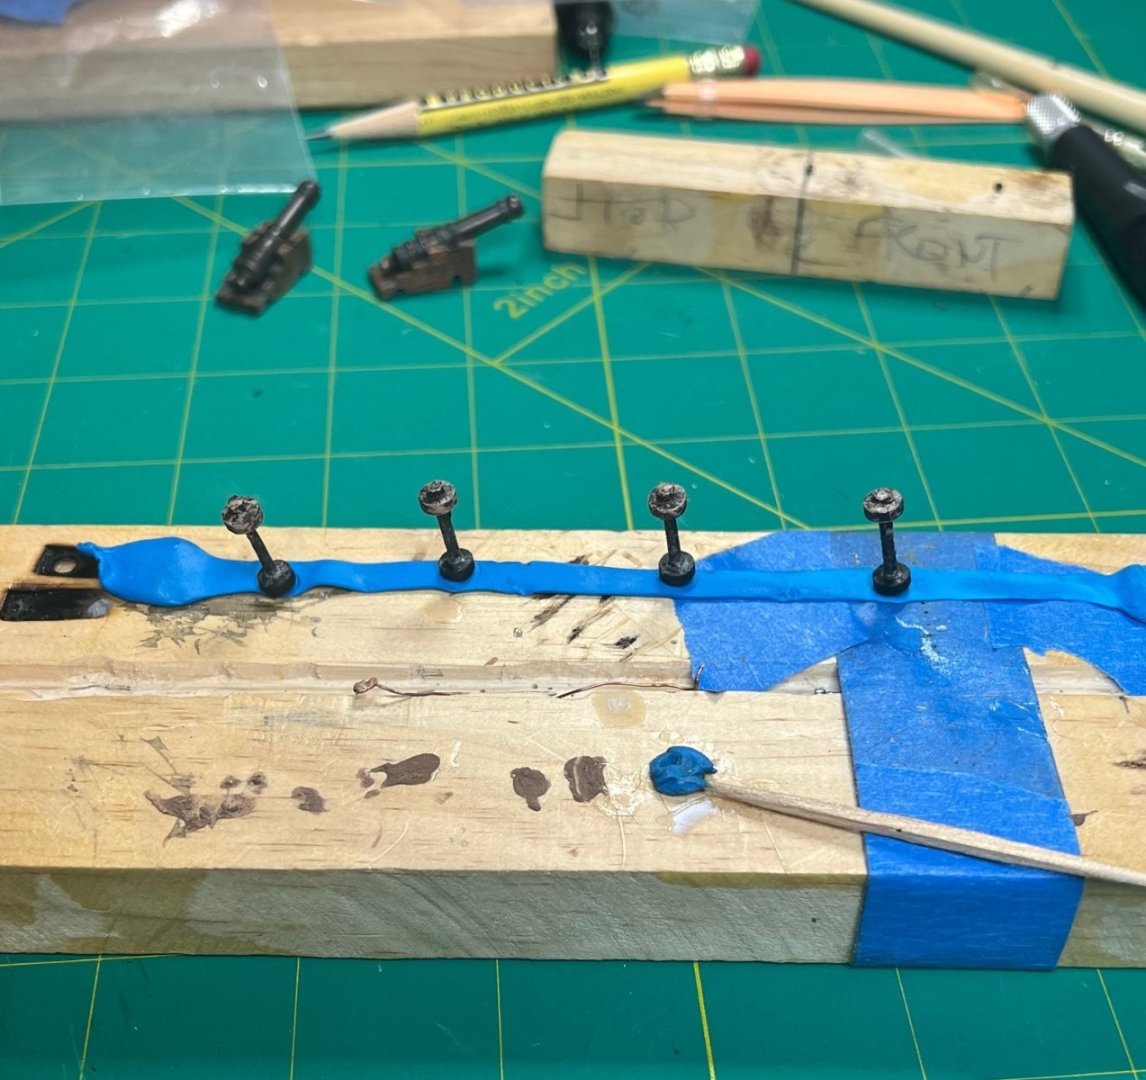
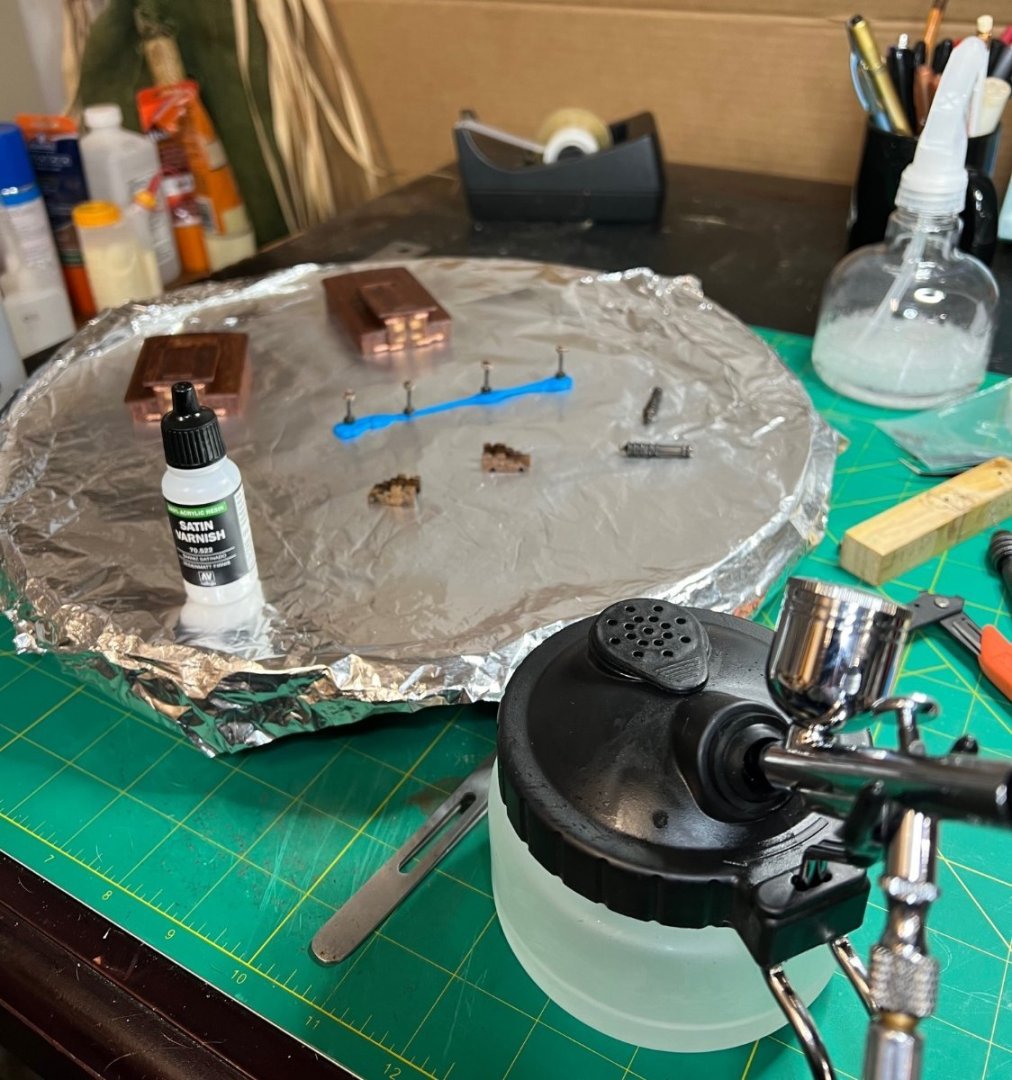
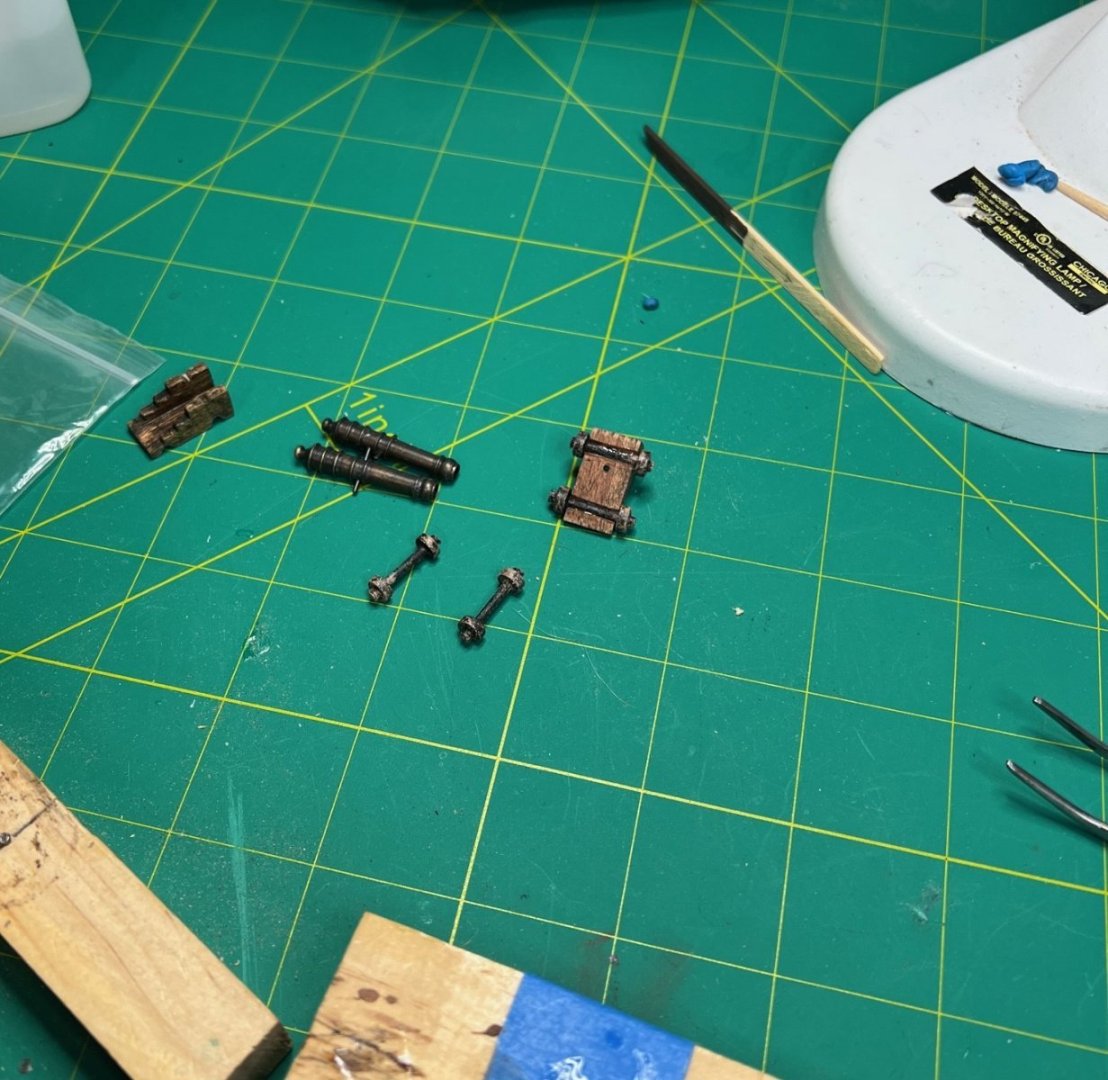
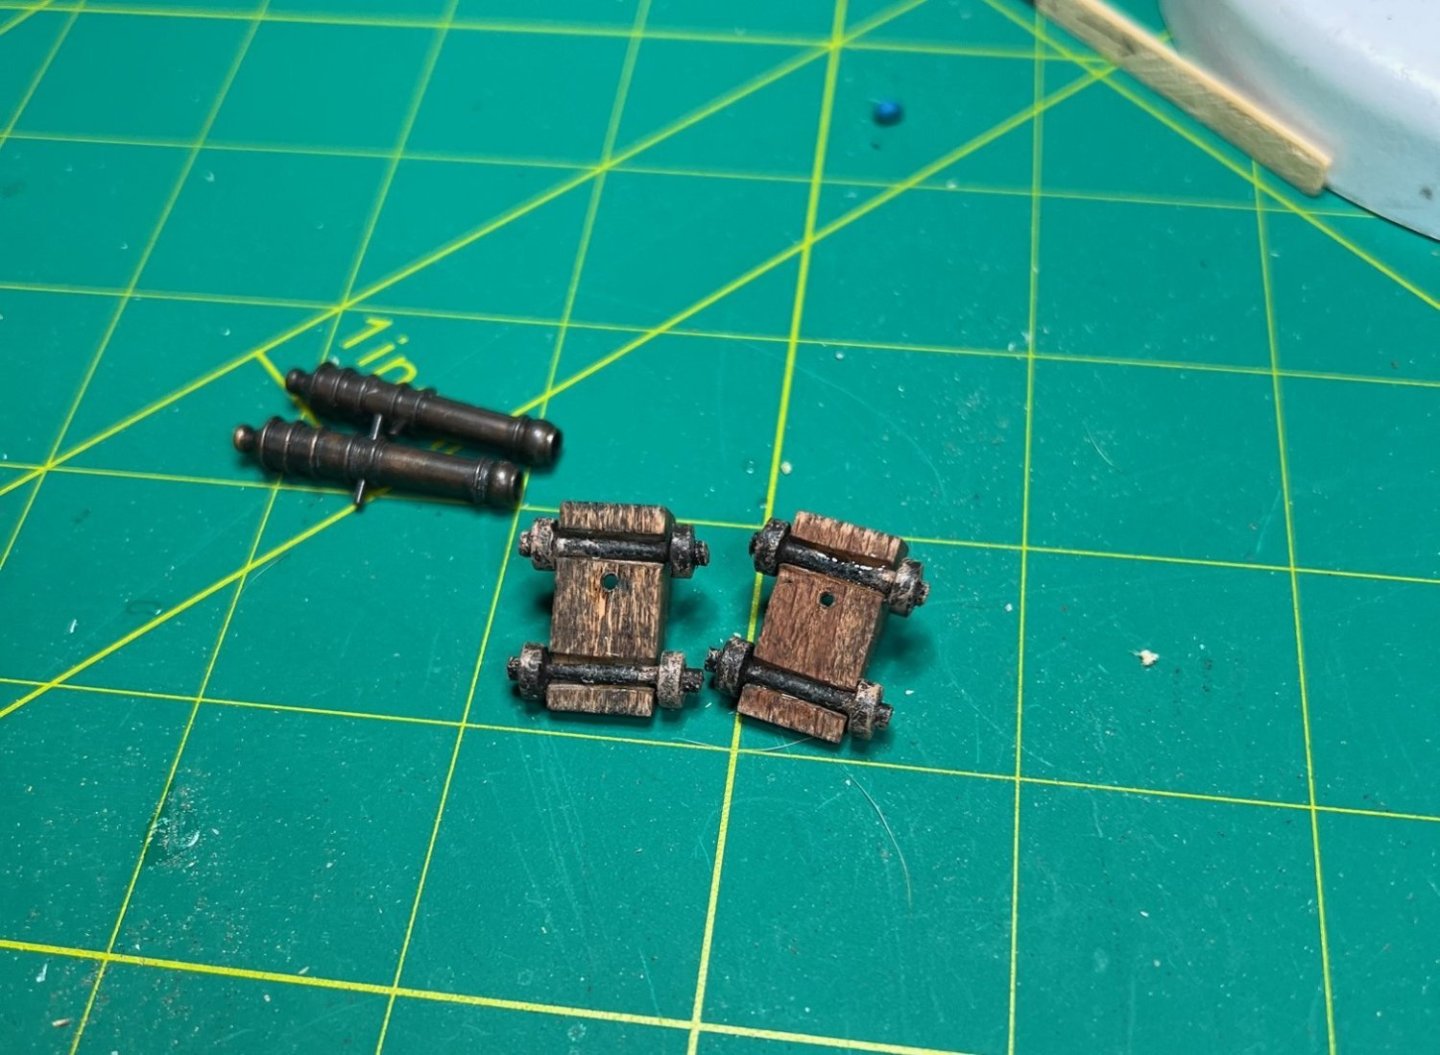
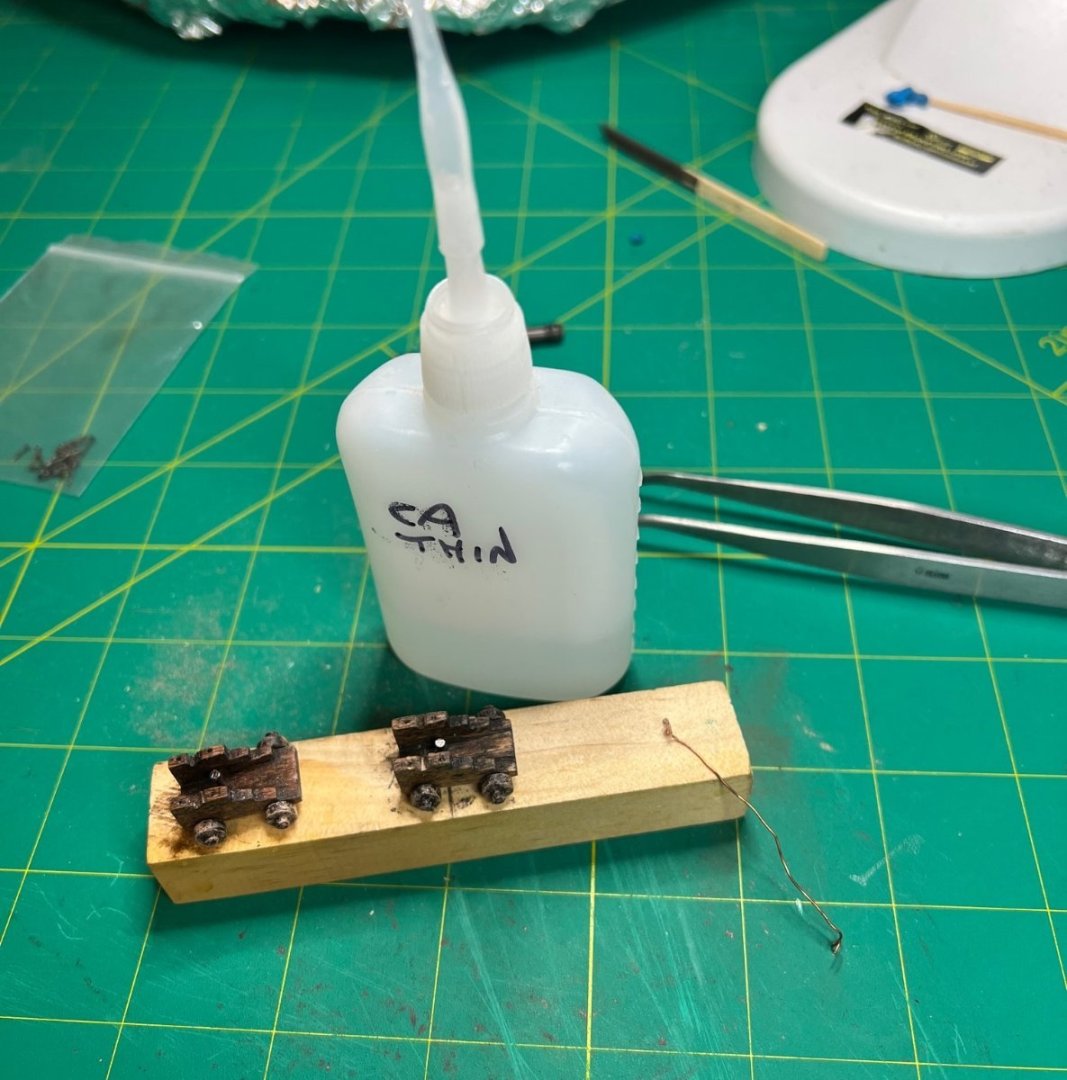
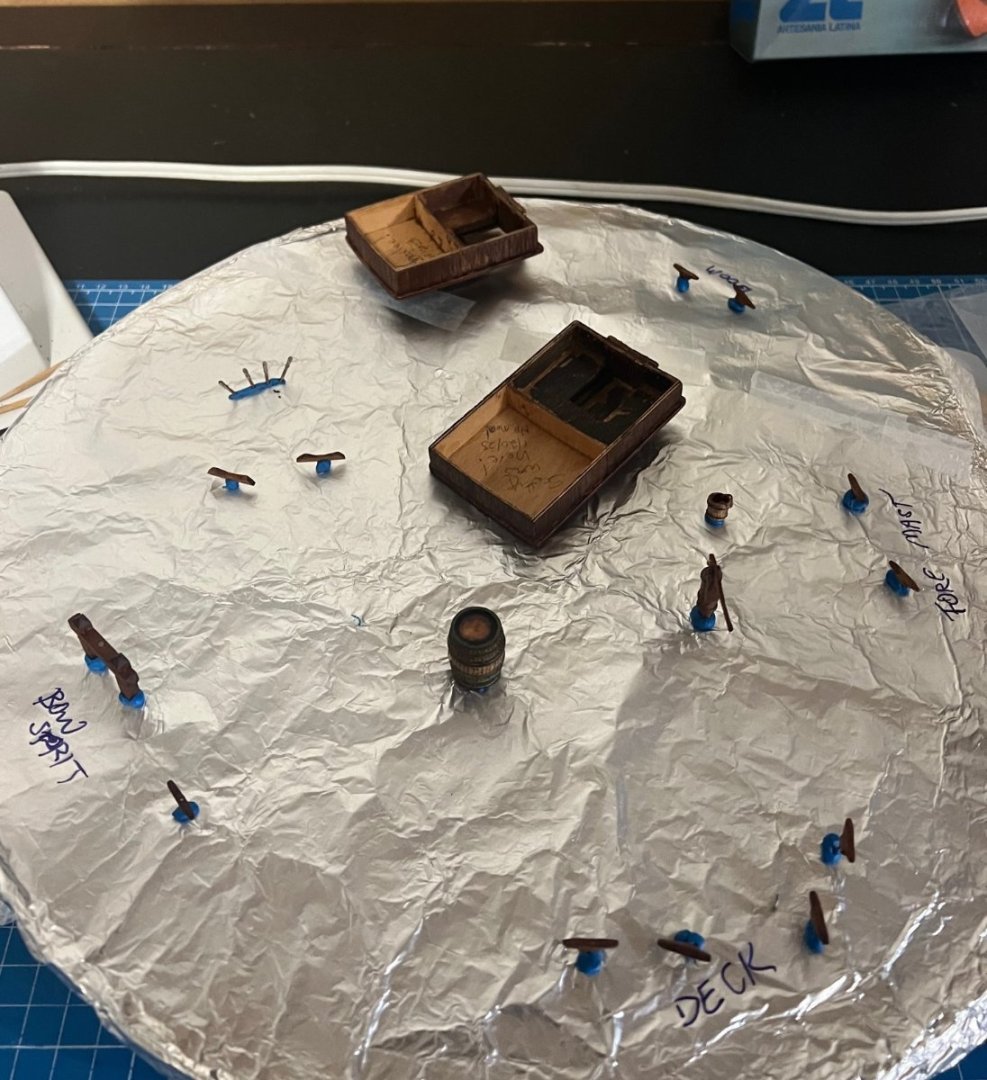
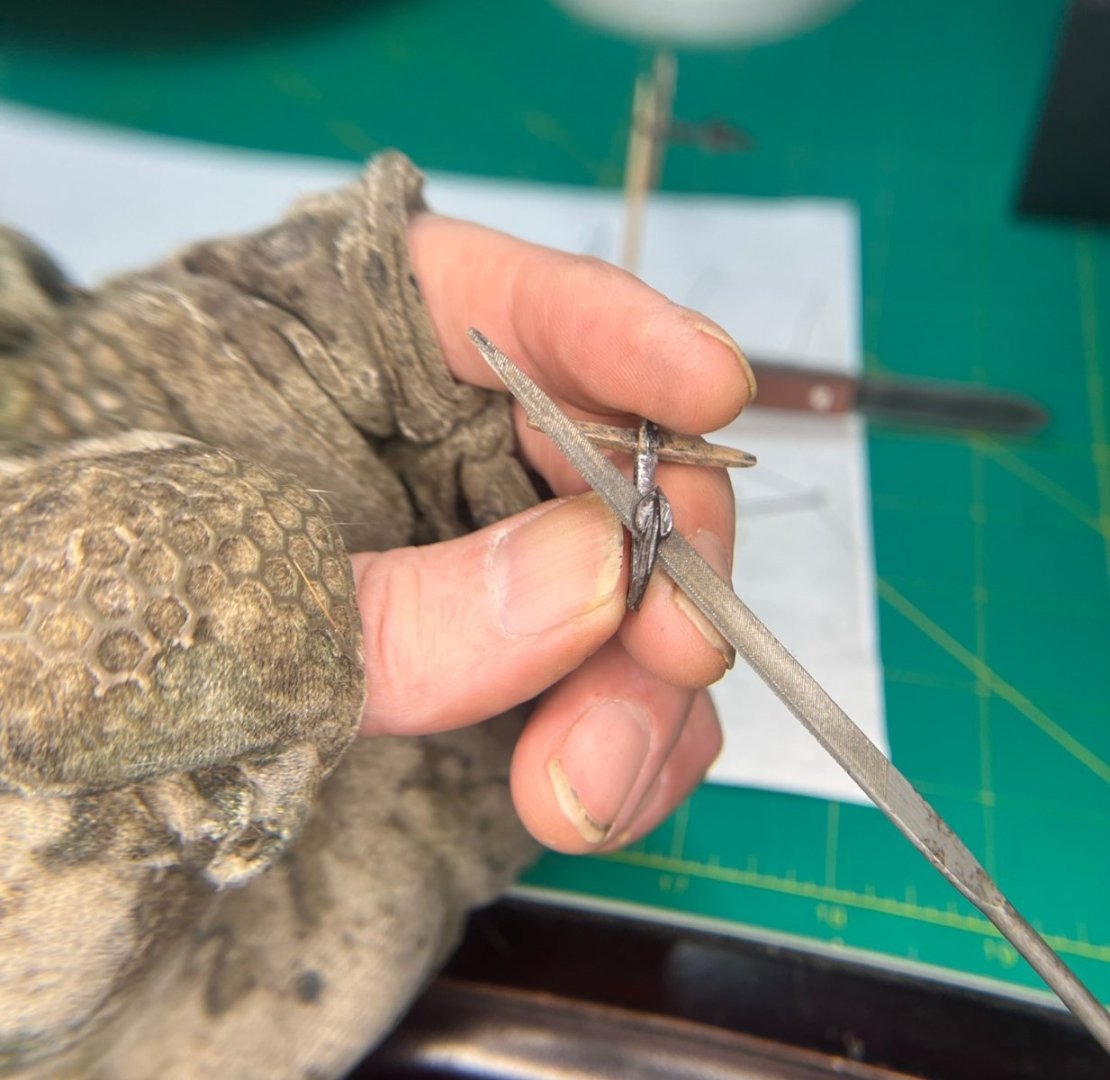
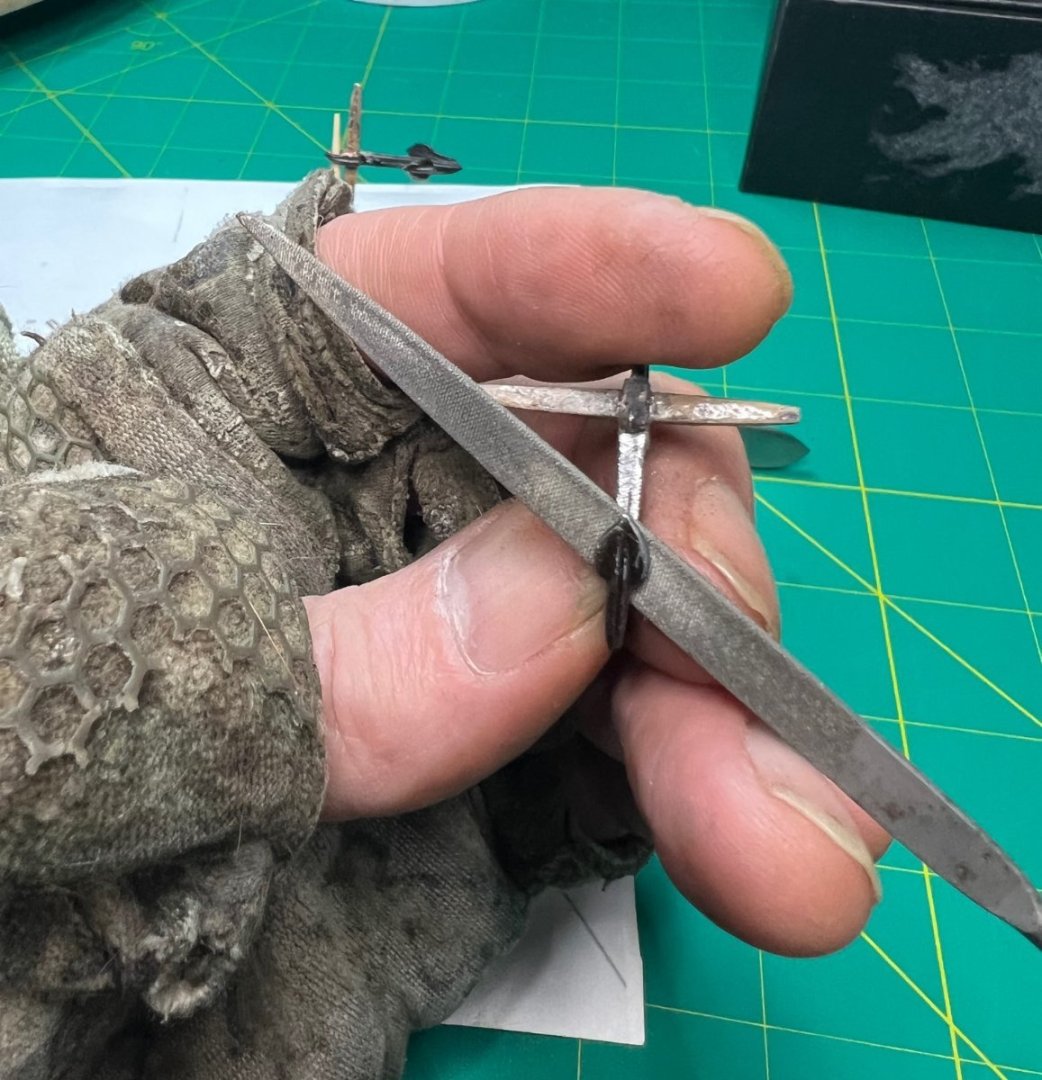
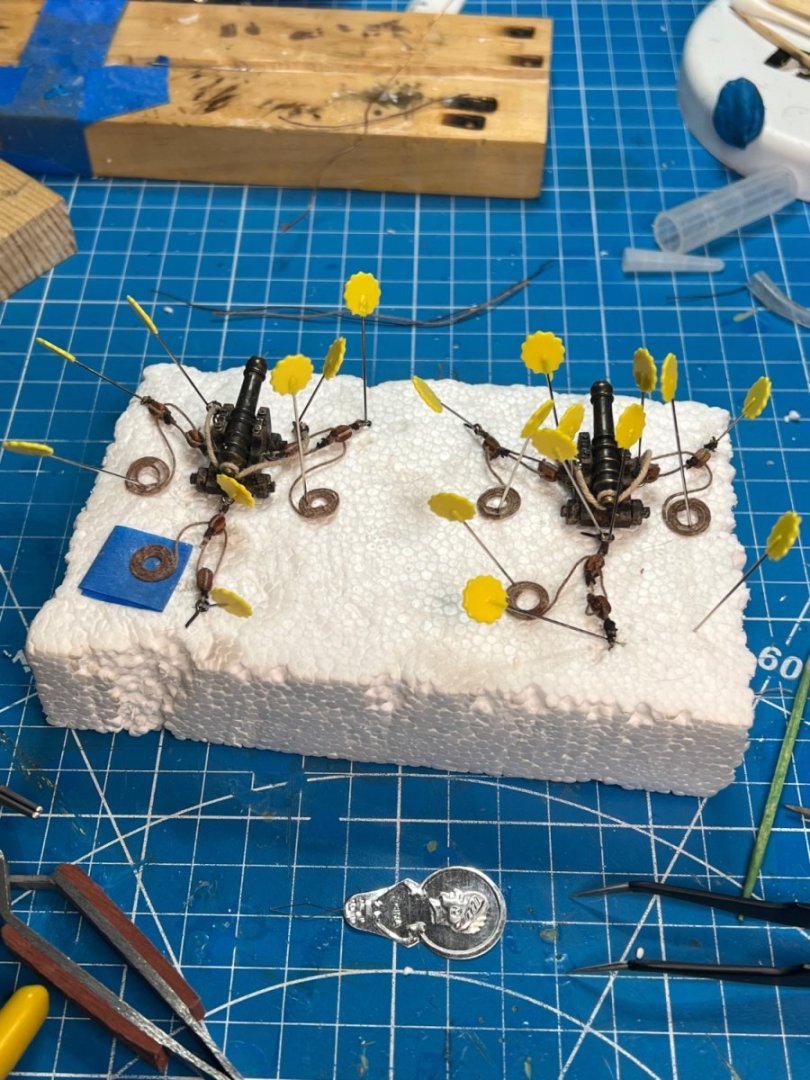
Guns, guns guns, Pt 2., and more! Having my blocks ready, it was time to complete and rig the guns. I’m just glad there was only two of them. I wasn’t anywhere near ready to install the guns, but would complete them and store them on a pinned up piece of Styrofoam with the pins holding all my tackle in place. I watched others create the coils of rope and gave that a try, not too bad. I dyed and used the line that came with the kit to rig the guns, saving my Ropes of Scale good stuff for the ship’s rigging. I made up wooded jigs to rig the guns on and transferred them to the foam when done. This was my first block stropping other than the two practice ones I did way back. I didn’t know I needed polyester thread to create the “Olha” knots for seizing where you make a loop and then wrap the thread around the tip of your finger a few times and back through the loop and place around the line with tweezers and tighten. So these were just wrapped, tedious. Fiddly, finicky work but satisfying once done. Now with a short stent of warmer weather, it was time to varnish the hull and mast with satin varnish. This was an outside job, so I made hangers from old guitar strings I still had. The varnish really made the walnut pop on the hull and the deck was looking good too. While the varnish was drying, I mounted the scratch made ventilation tubes to the tops of the cabins. I didn’t glue them in yet since they might get in the way of rigging something later. The cabins won’t get installed for quite a while yet. For support, I glued a little block of wood inside the cabins where the vent would be glued since one layer of the thin plywood was not going to hold it. Next, I moved onto assembling the Amati anchors I had waited to get here from Australia. I blacked the brass parts and stained the wood. The anchor was already painted black and looked fine, so I left it. I did manage to lose one of the small hoops to the carpet monster, so I fabricated one out of the thin brass strip that I had left over from the mast bracelet I had to replace after breaking. That went fine. I filed the casting seam lines off where they were bad on the anchors and touched up with flat black paint. I cut the anchor line holes into the bow next and painted the inside of the channels flat black since grommets were only supplied for the outboard of the holes. With the anchor parts ready to assemble, I glued them together and mounted the brass rings. I didn’t like the size of the supplied rings, so I made new ones with brass wire. I hadn’t yet learned that puddening would need to be put on the rings much less what puddening was so that would come later. That completes this finally done chapter, sorry, I've been finishing the ship and I'll show you more soon! Thanks for checking it out! This gets us to March 25, 2023 so you see how far behind I am with the log. Until next time! Keep modeling! Next, it's time to put her on her base.
- 59 replies
-
- Swift
- Artesania Latina
-
(and 1 more)
Tagged with:
-
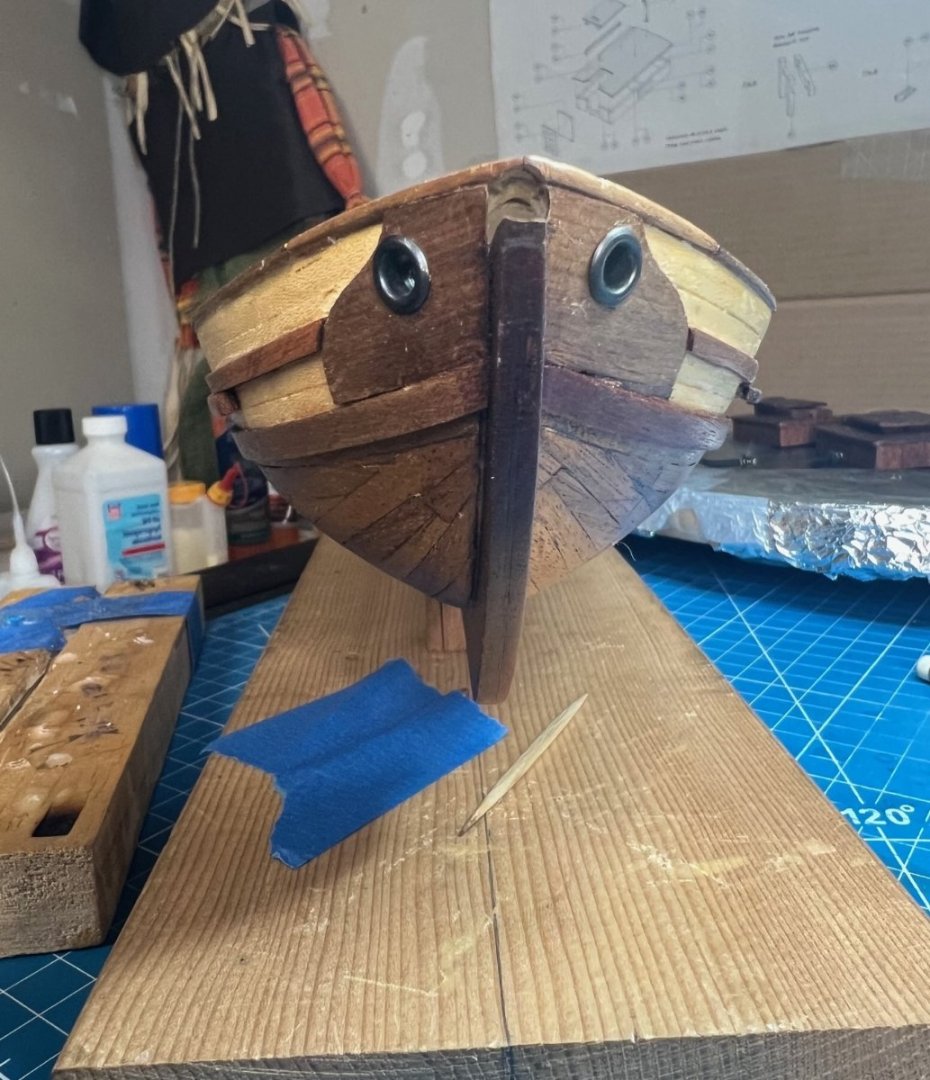
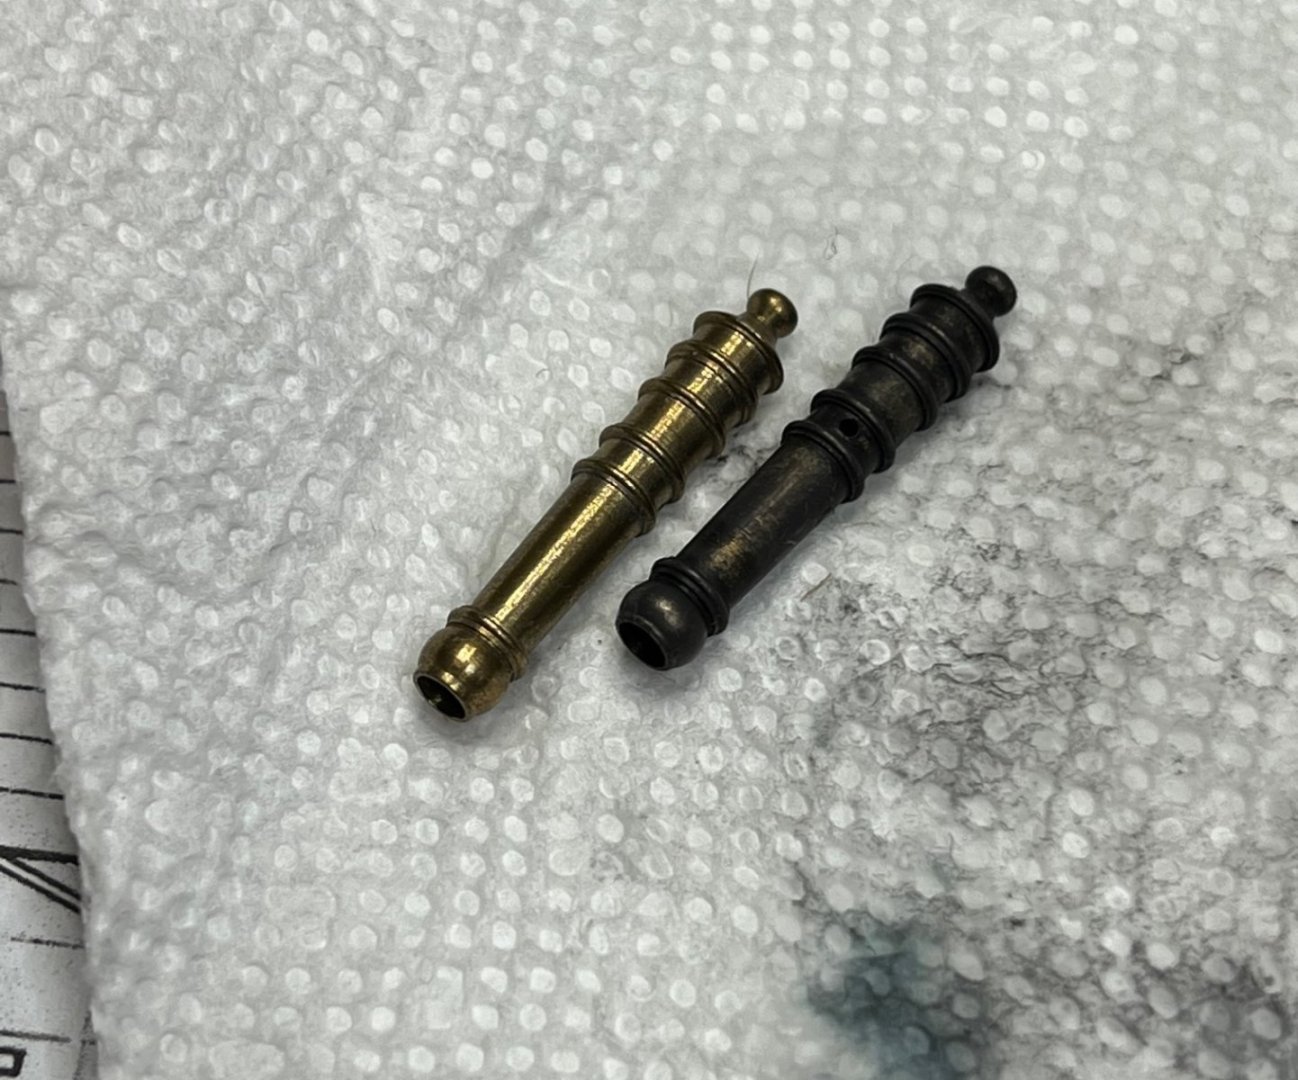
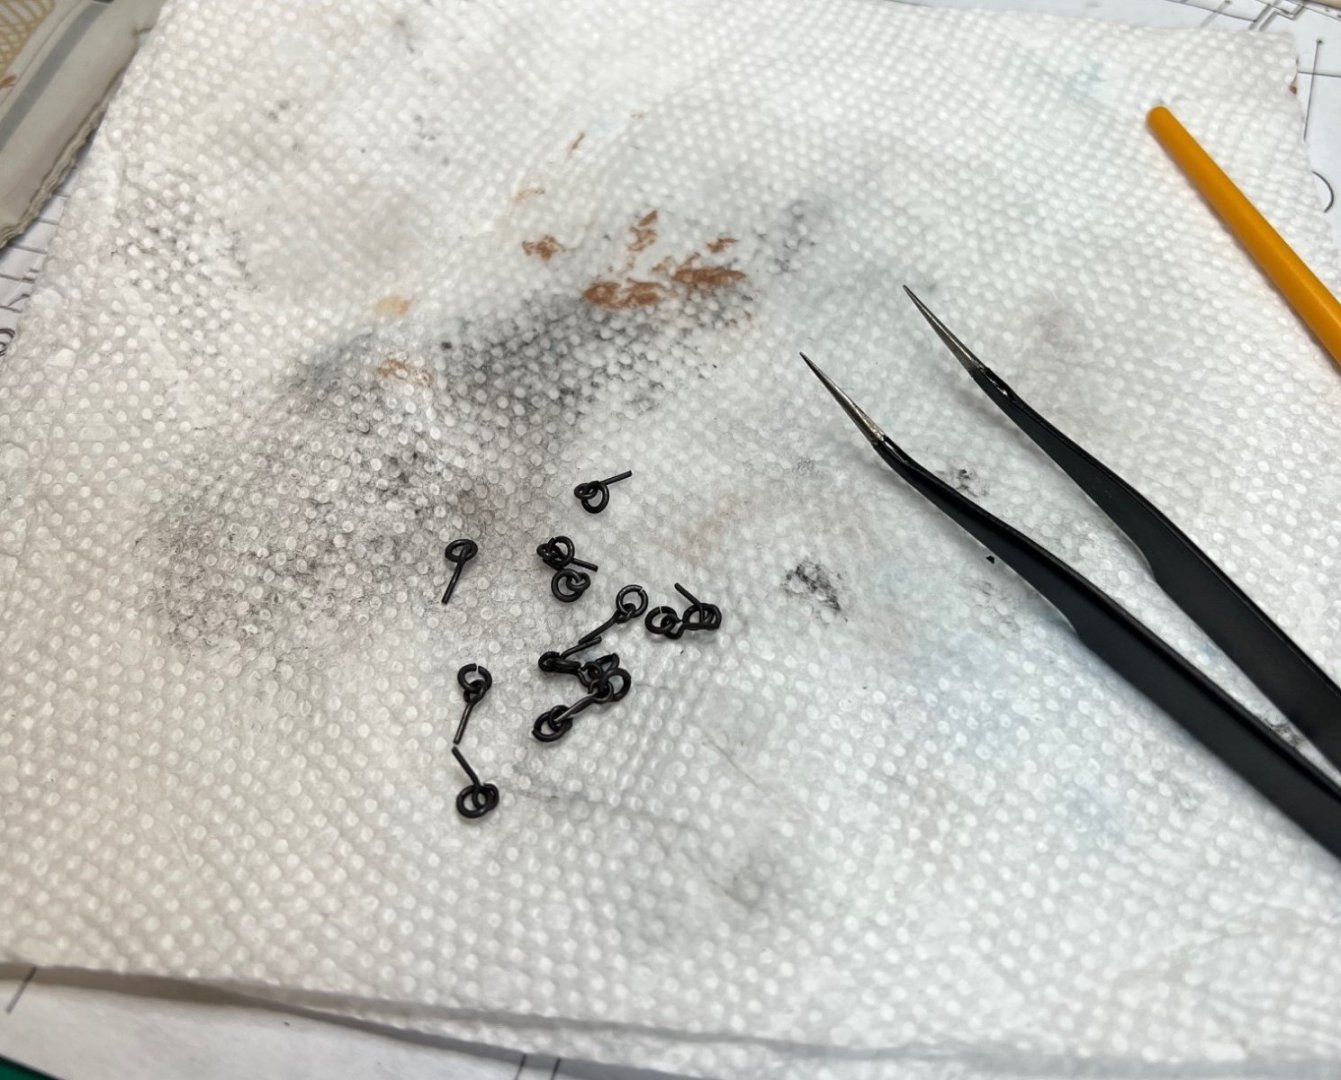
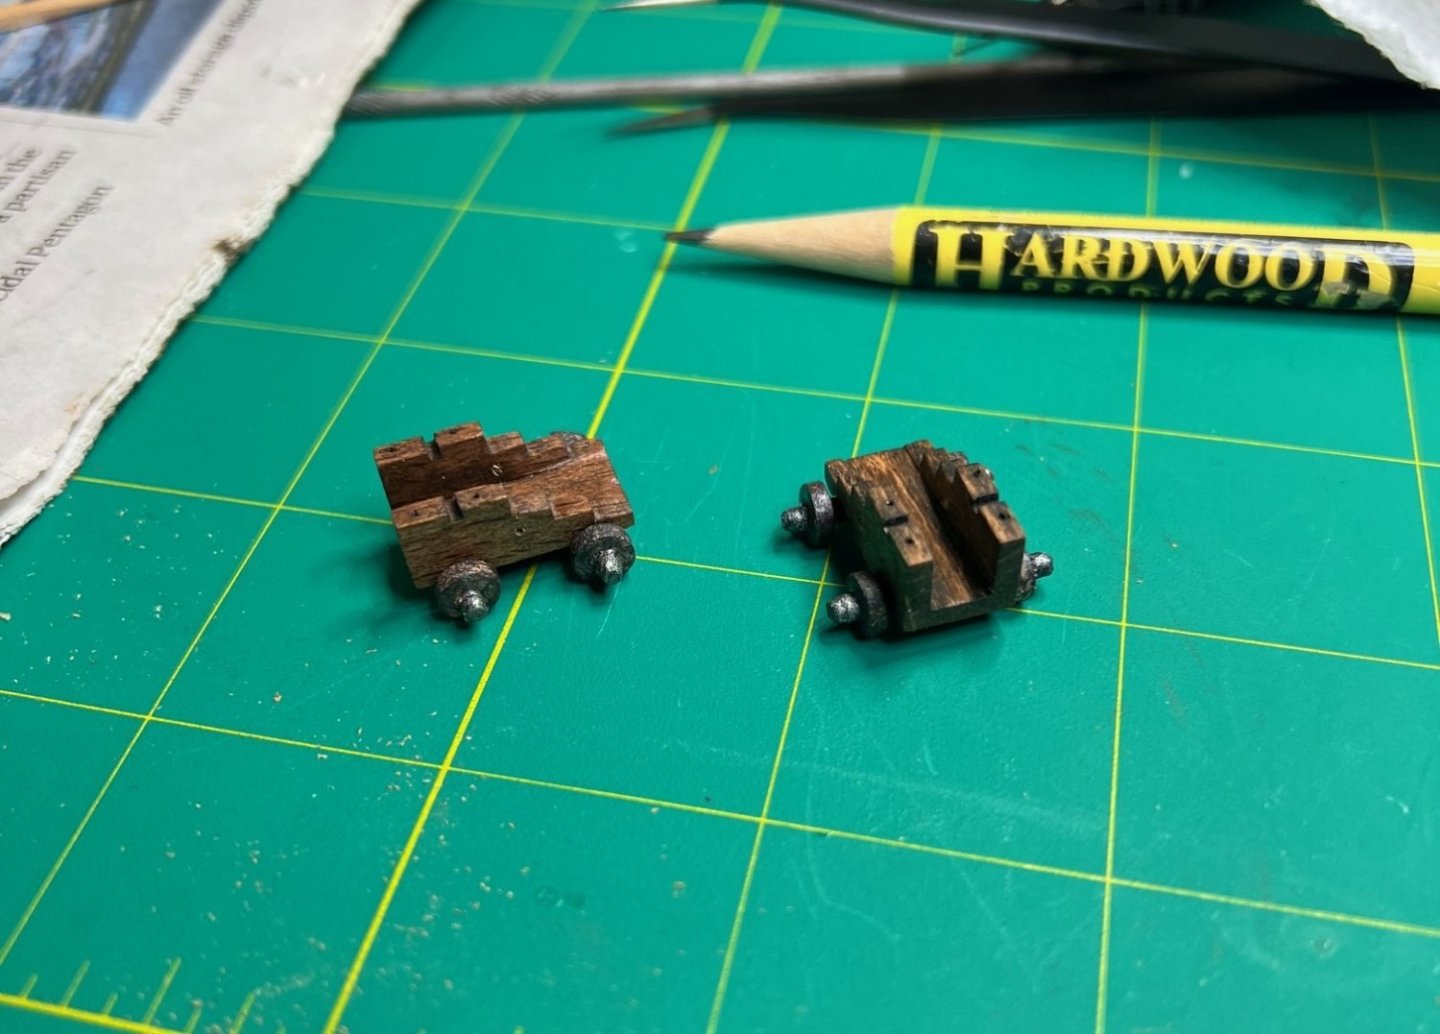
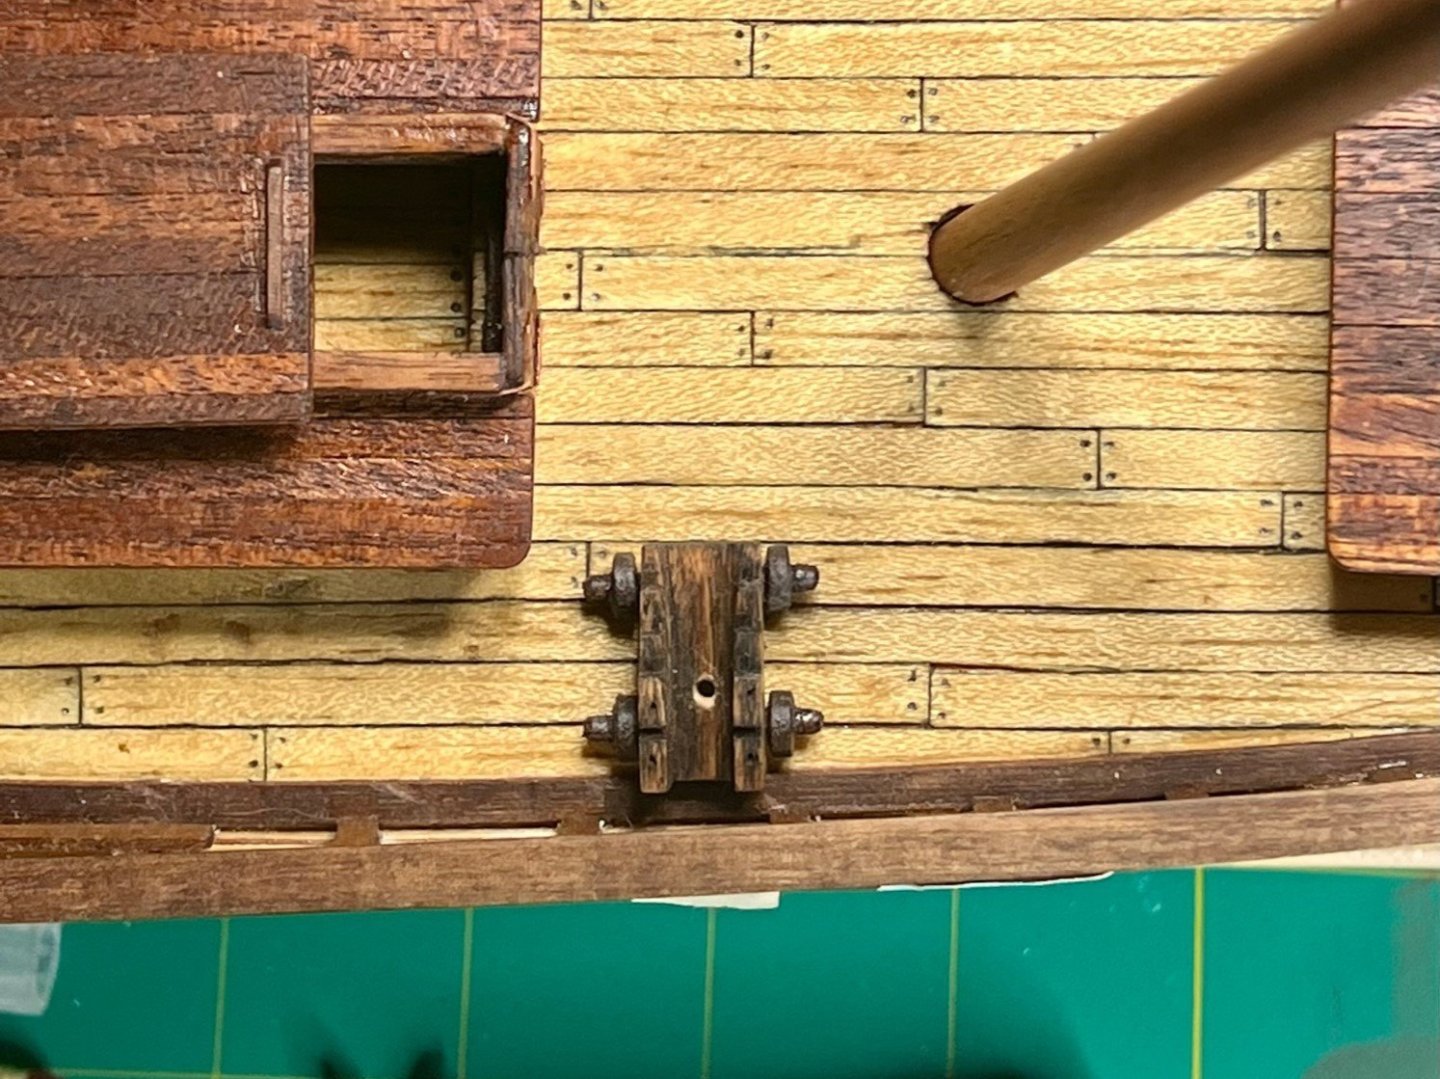
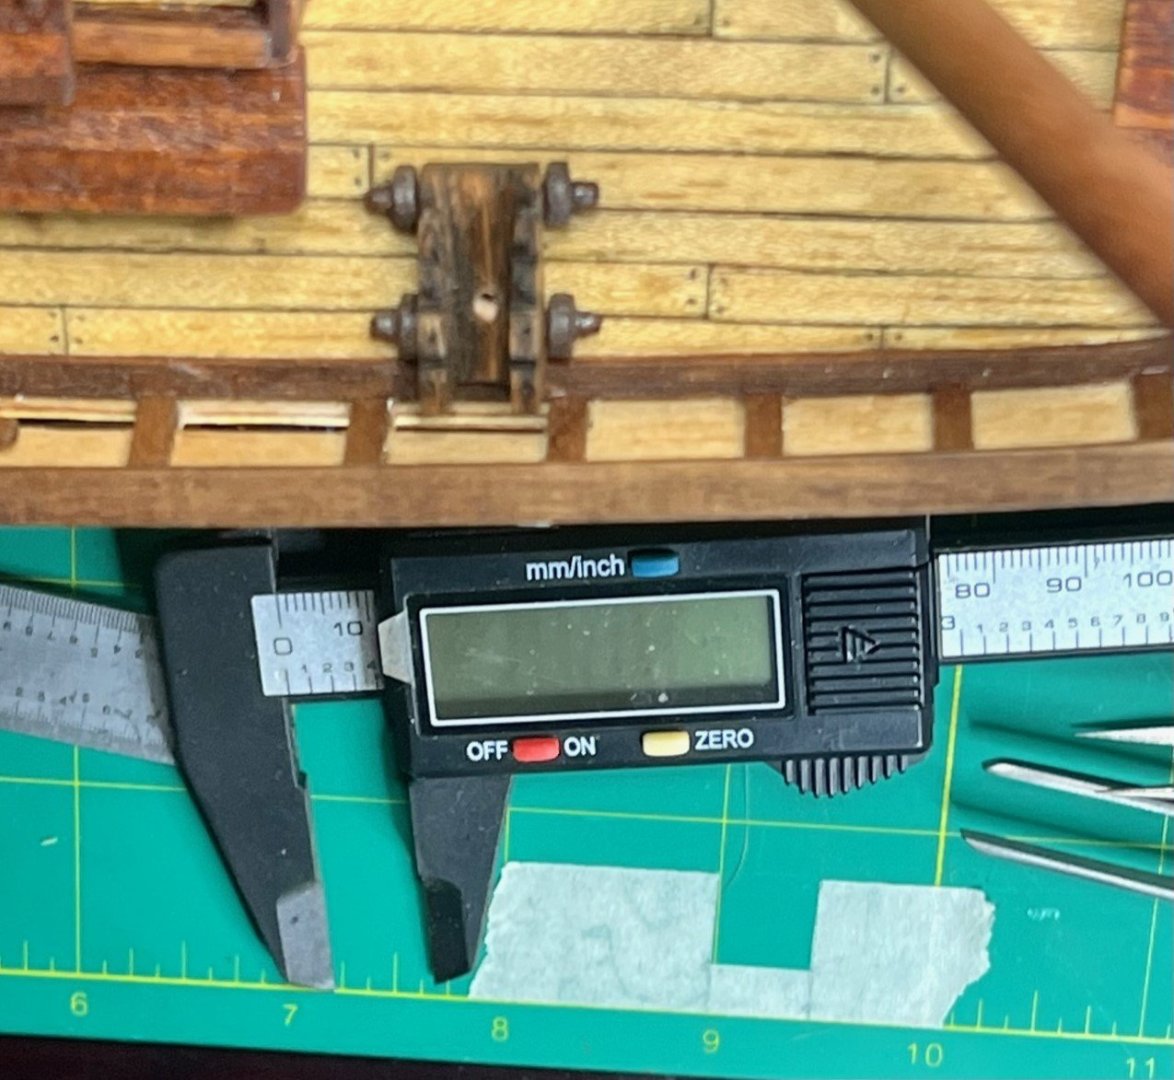
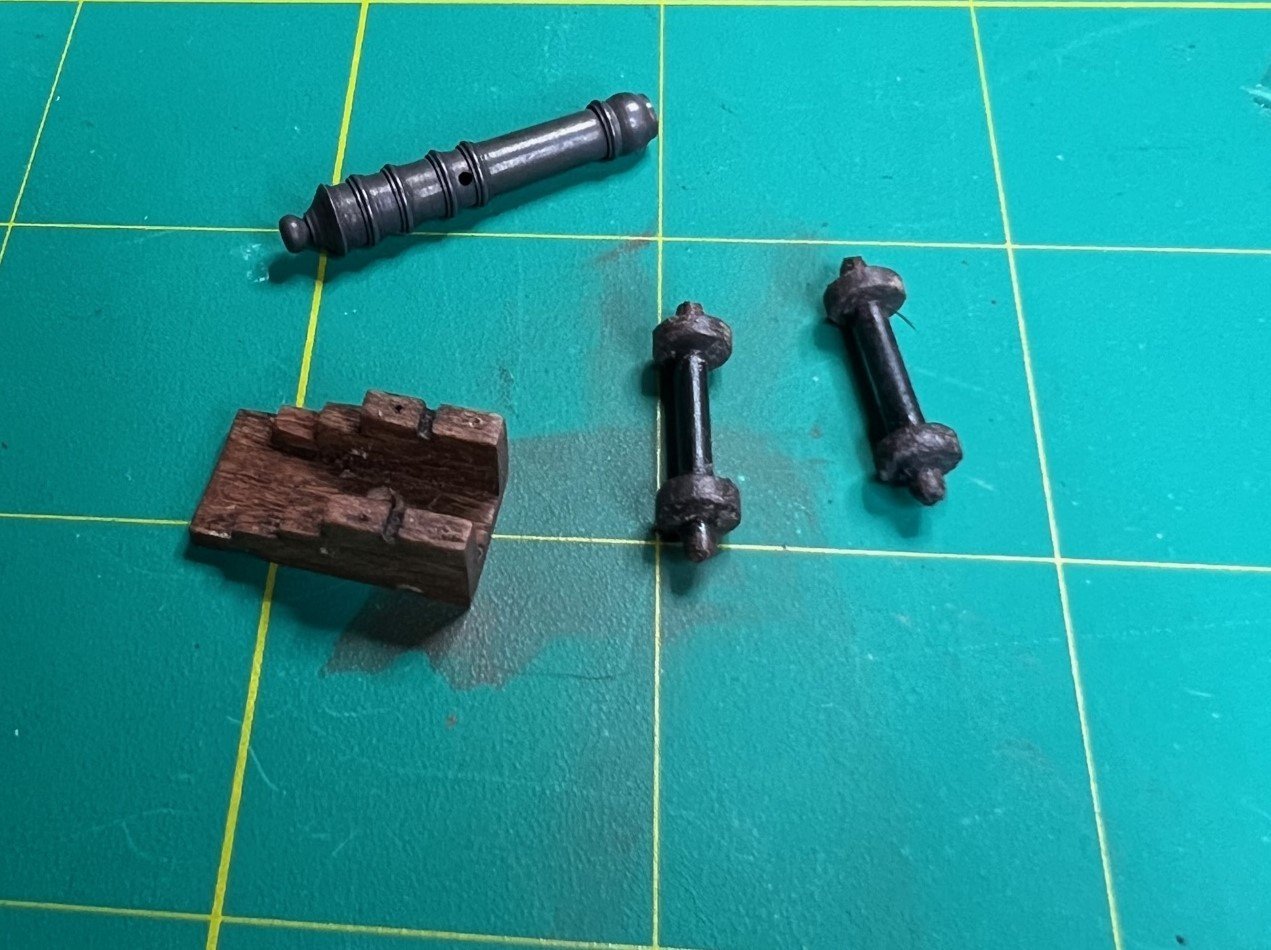
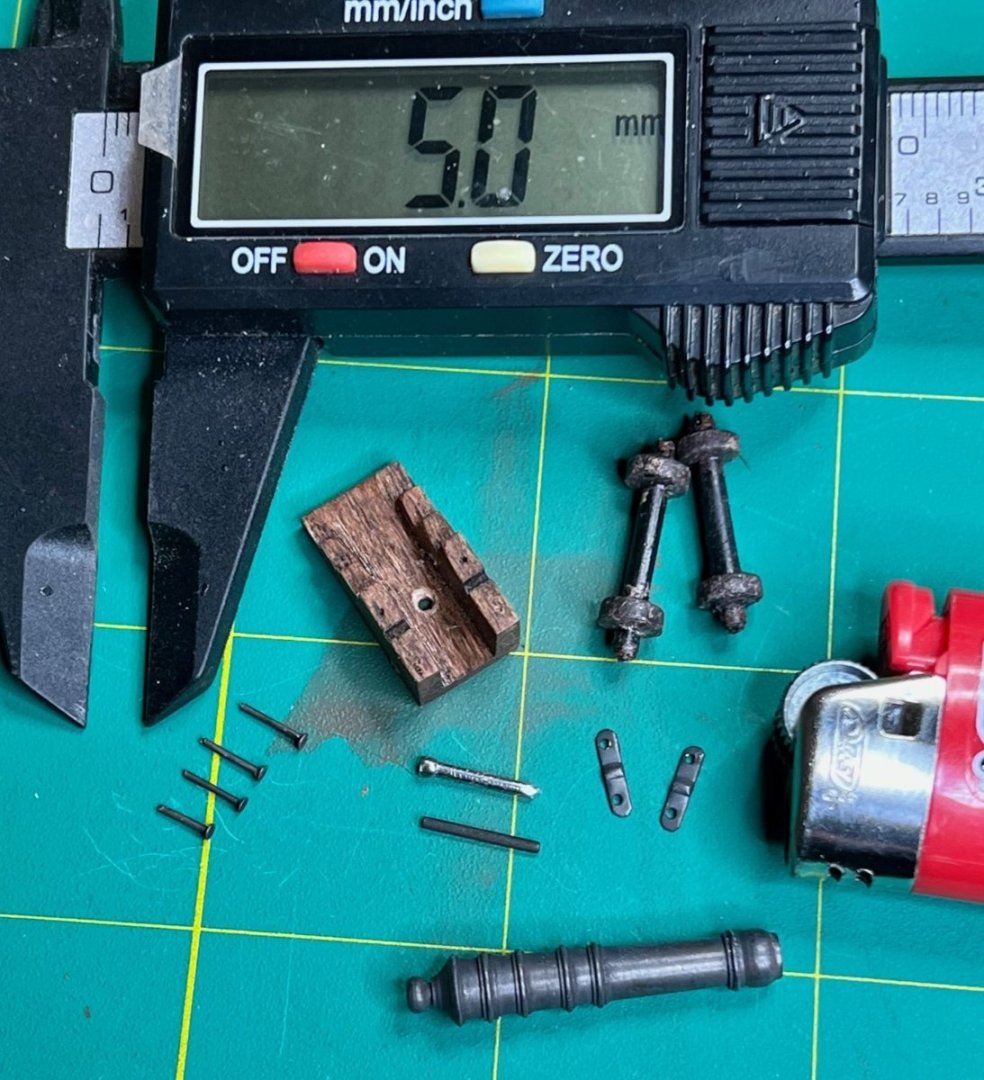
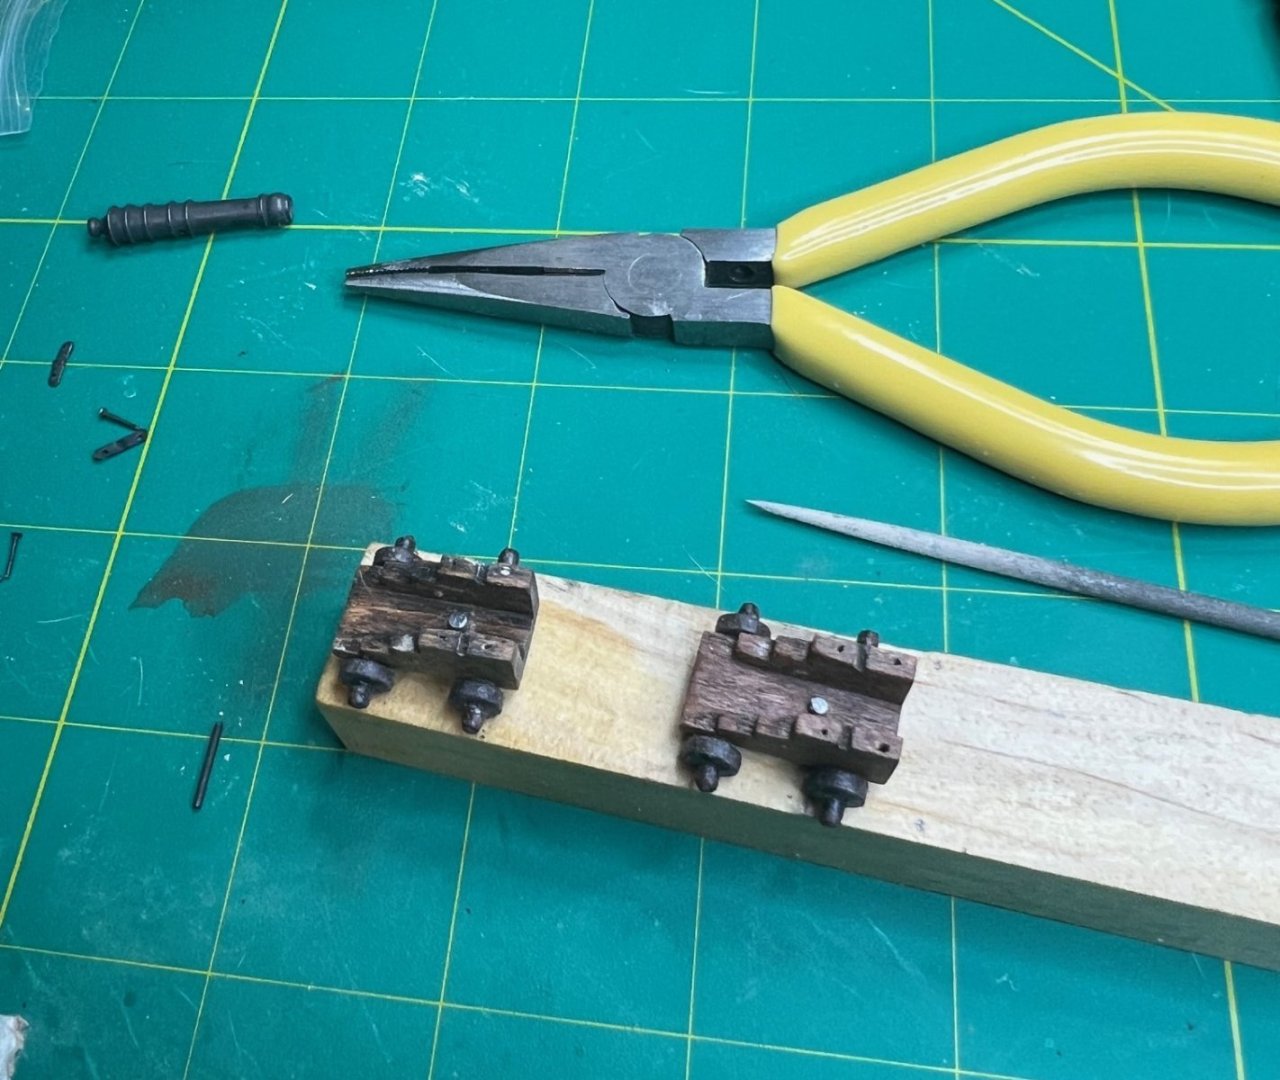
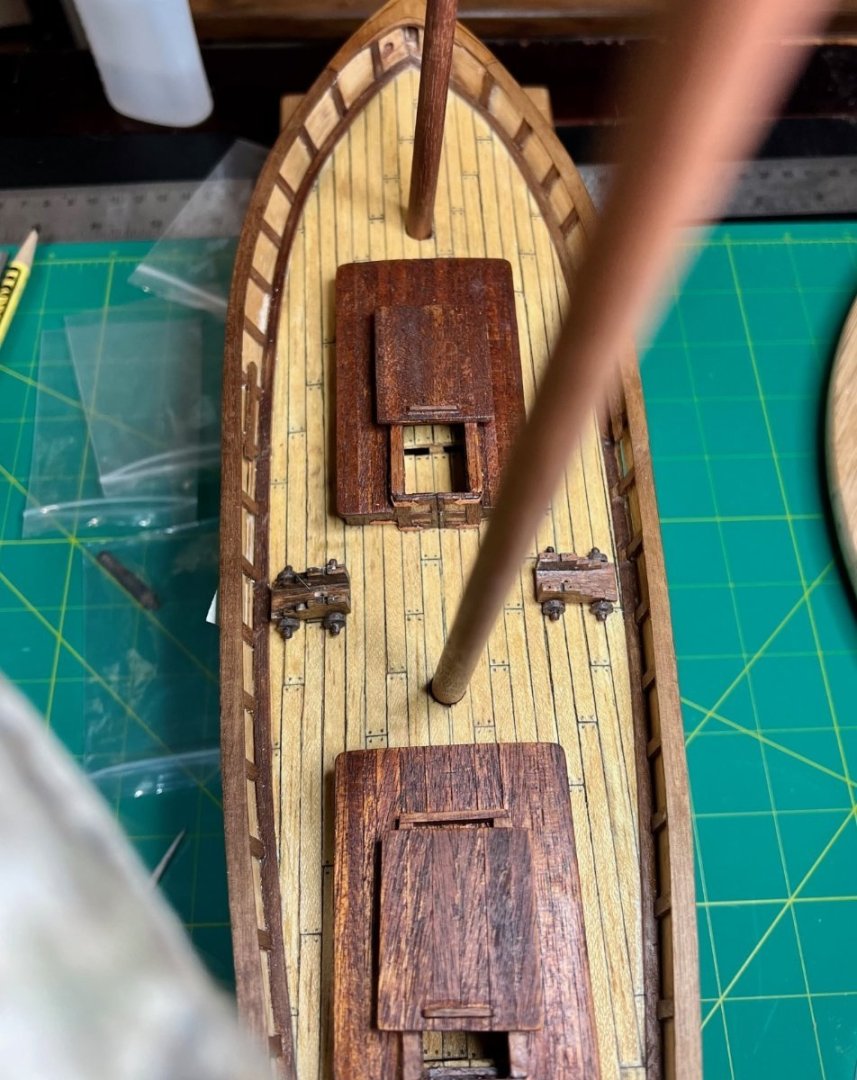
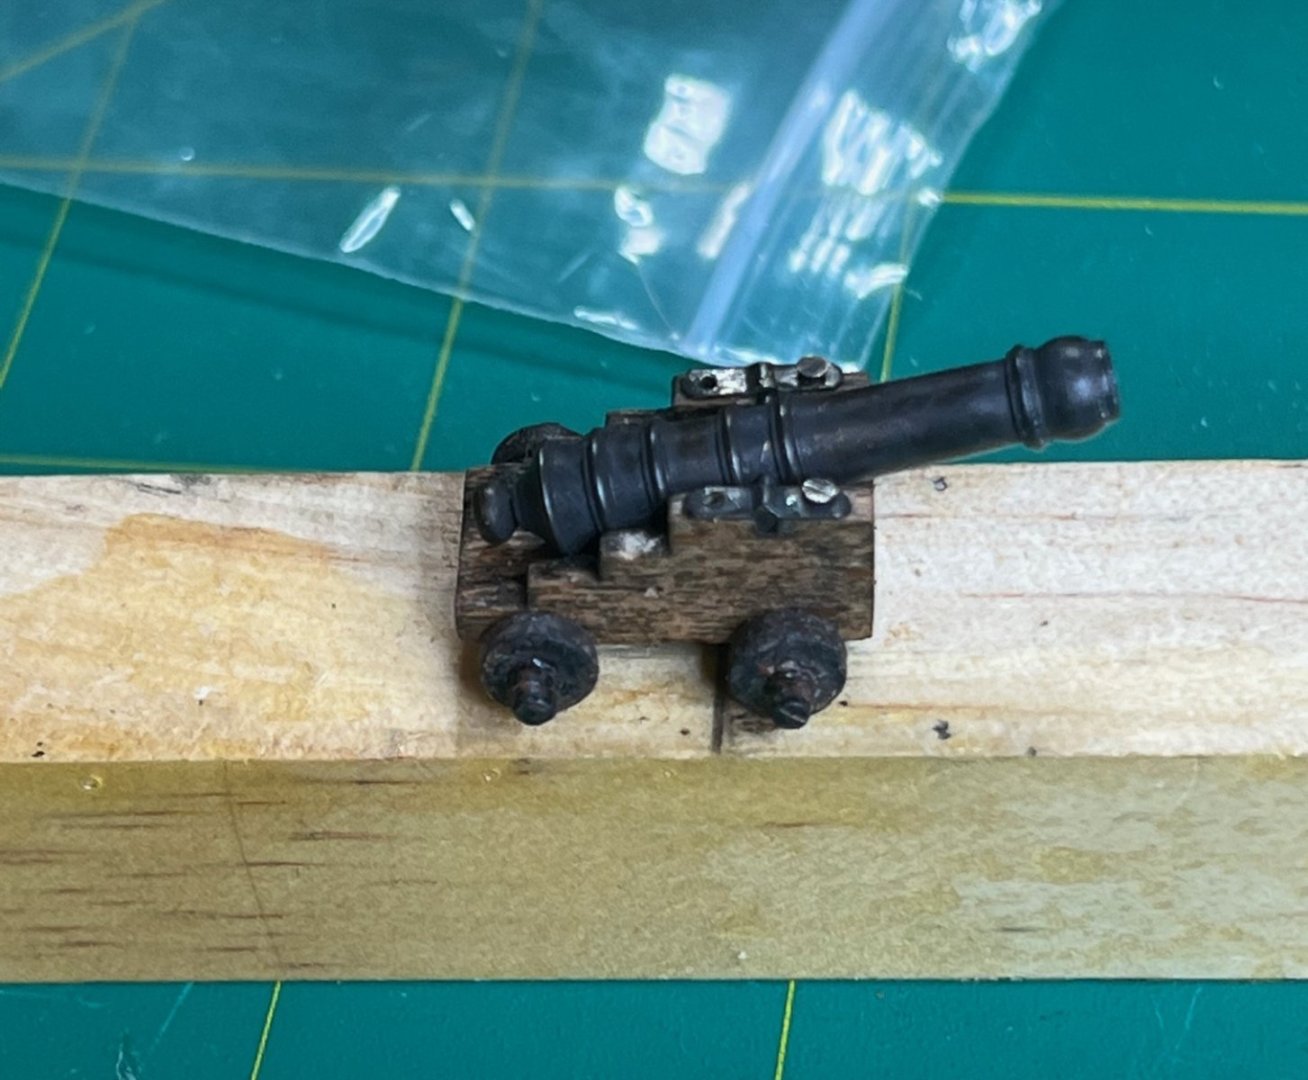
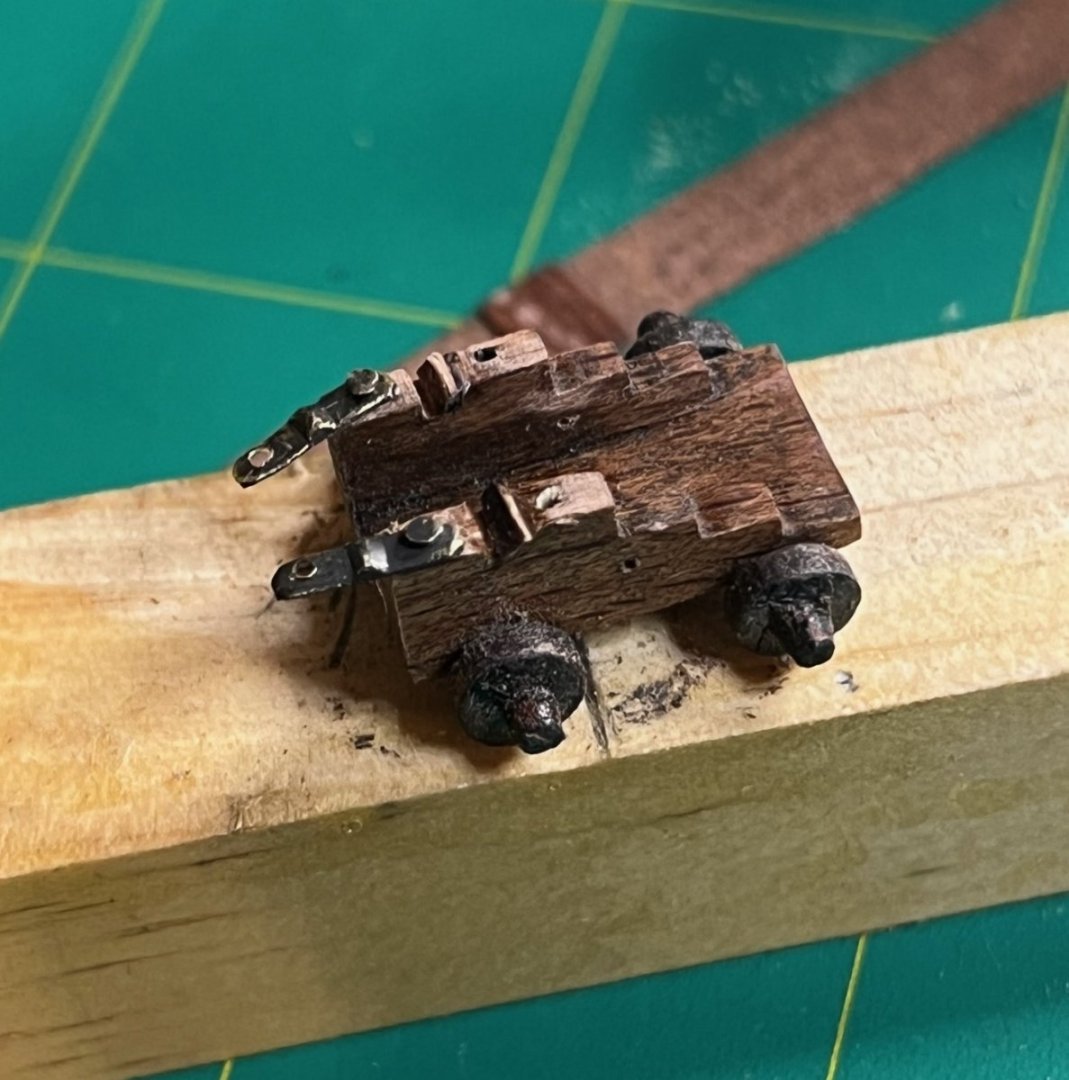
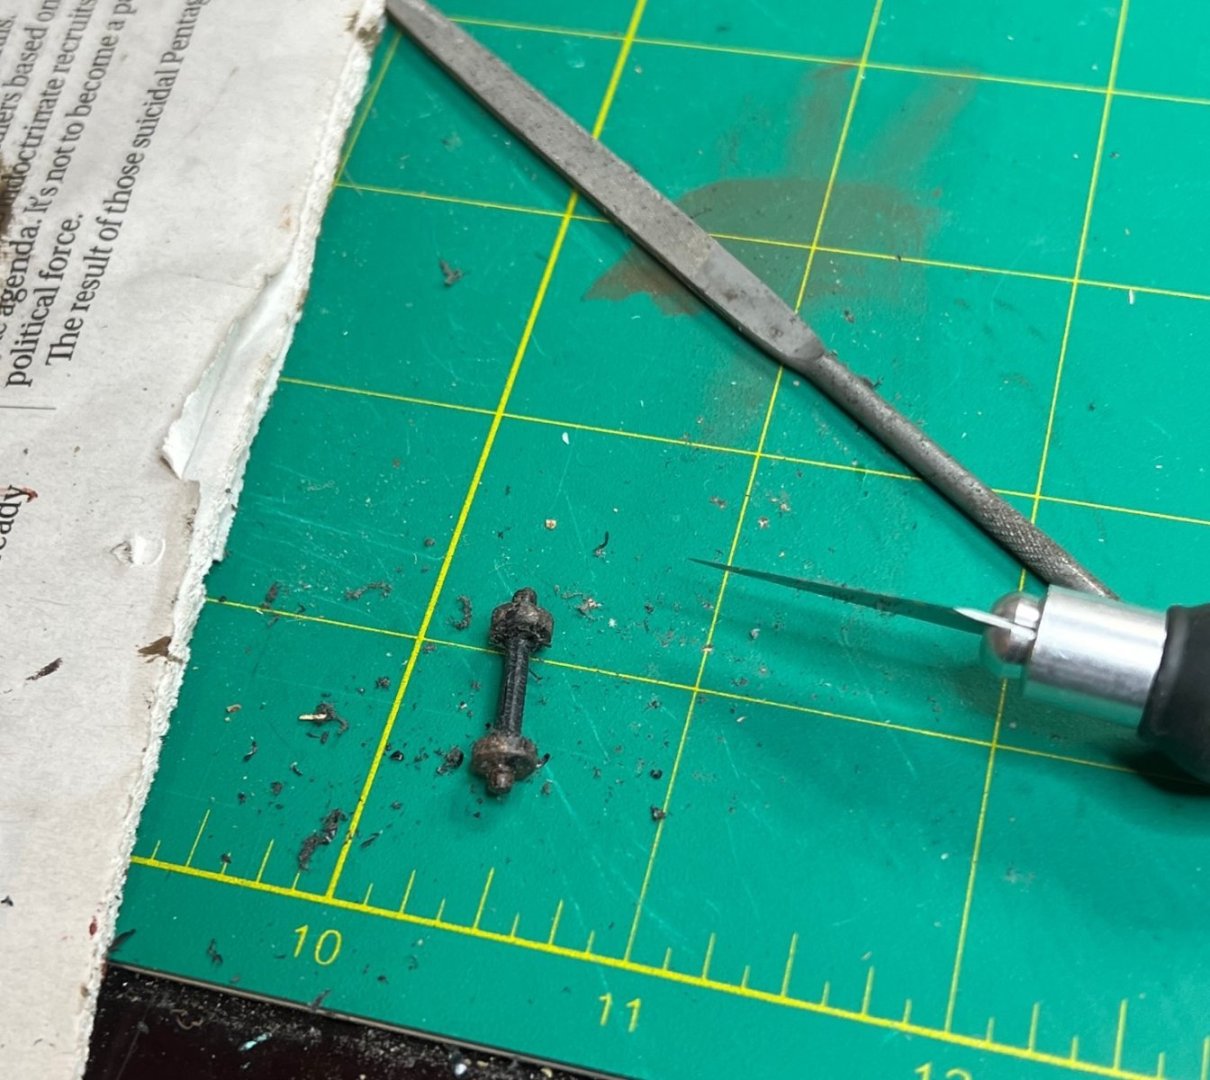
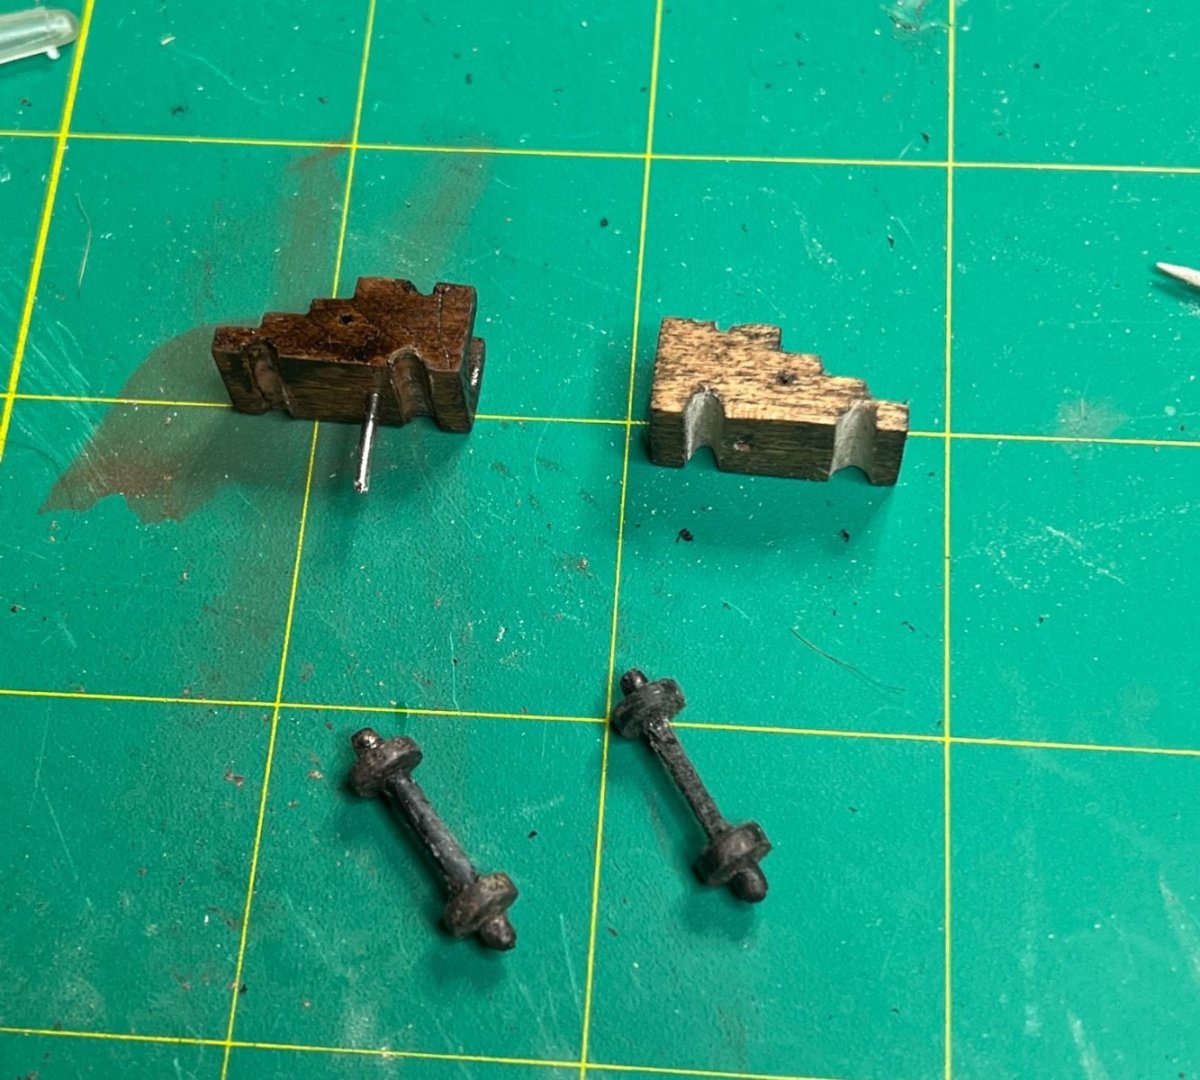
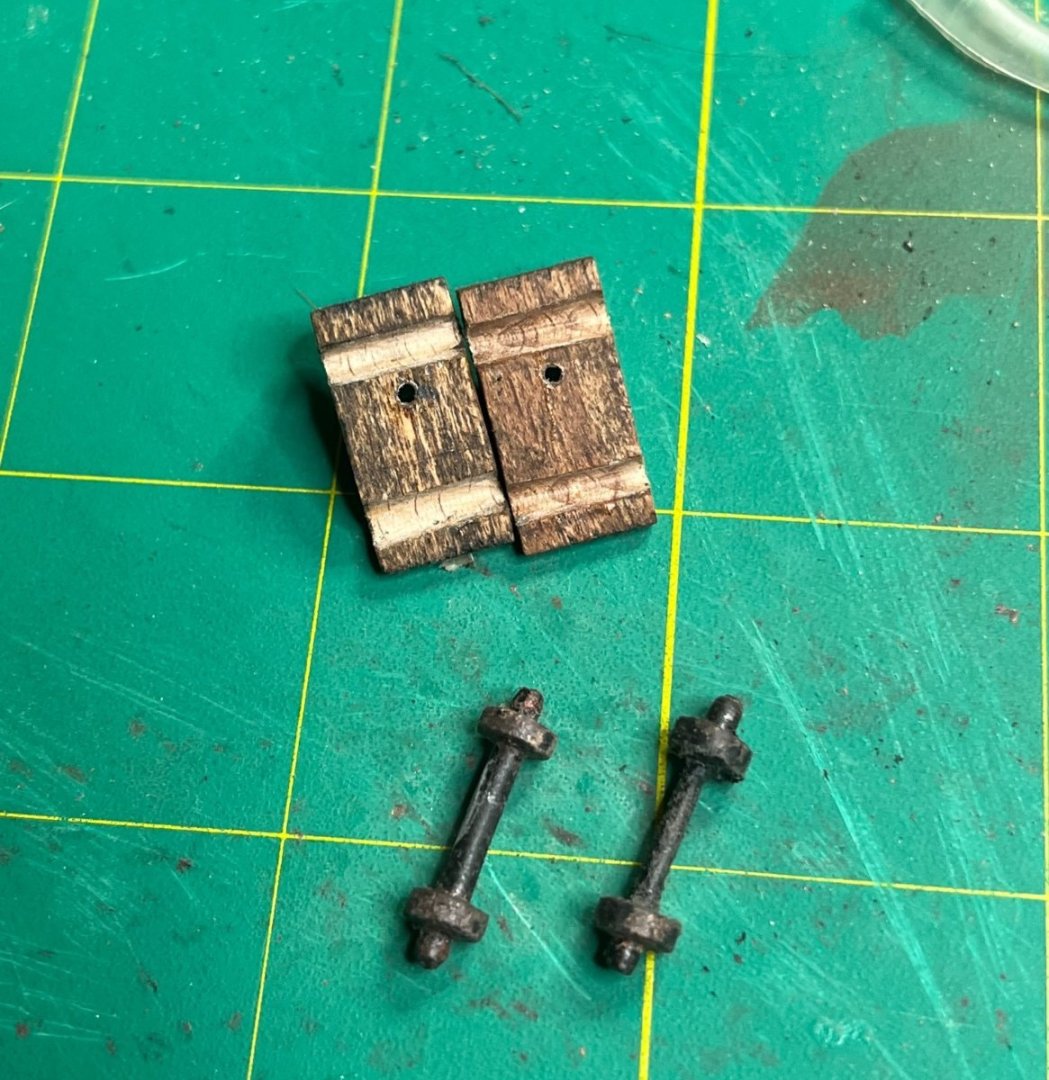
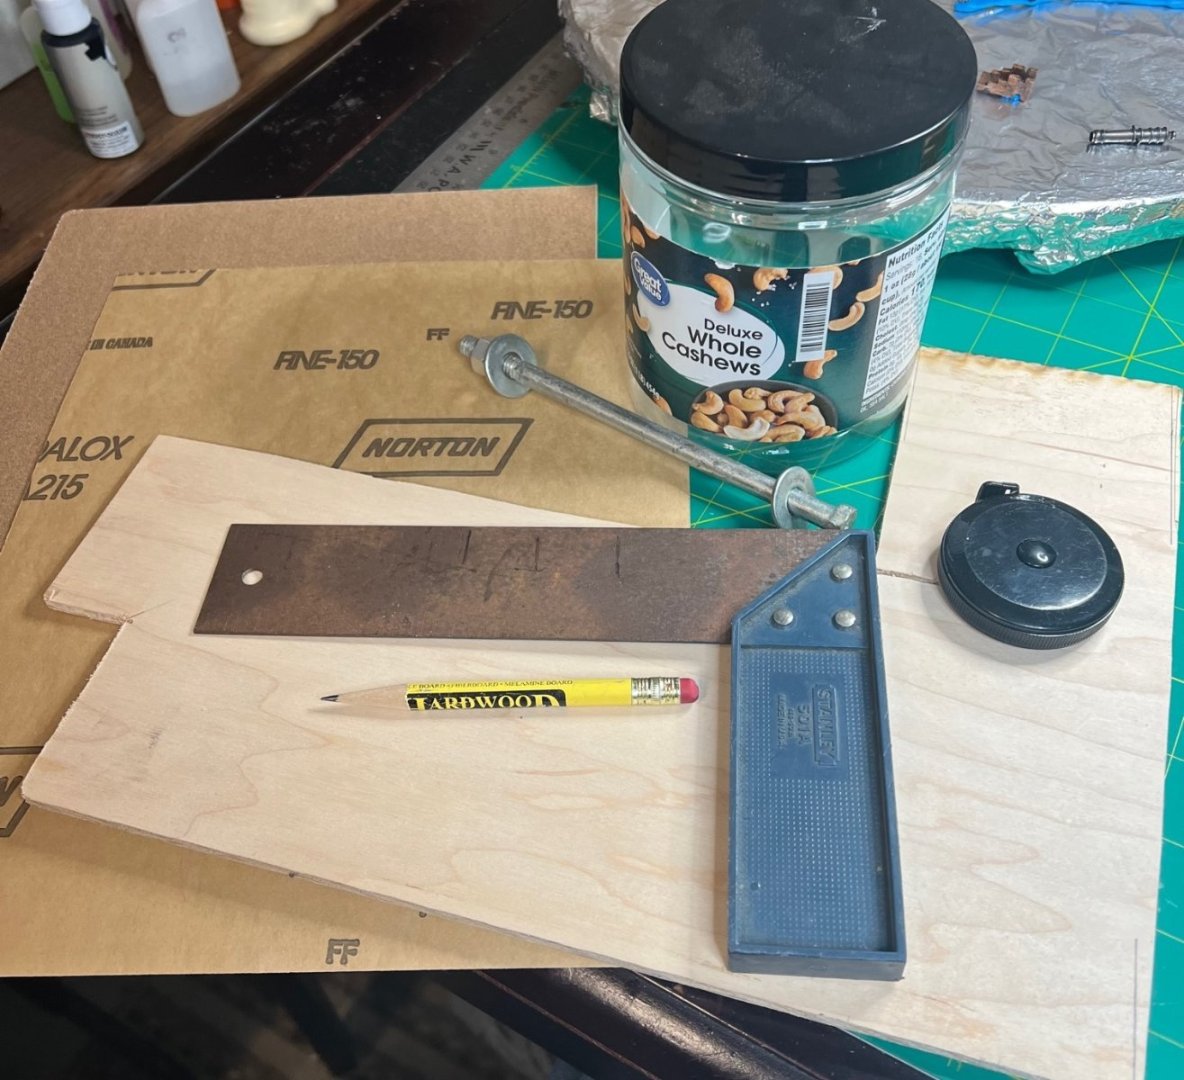
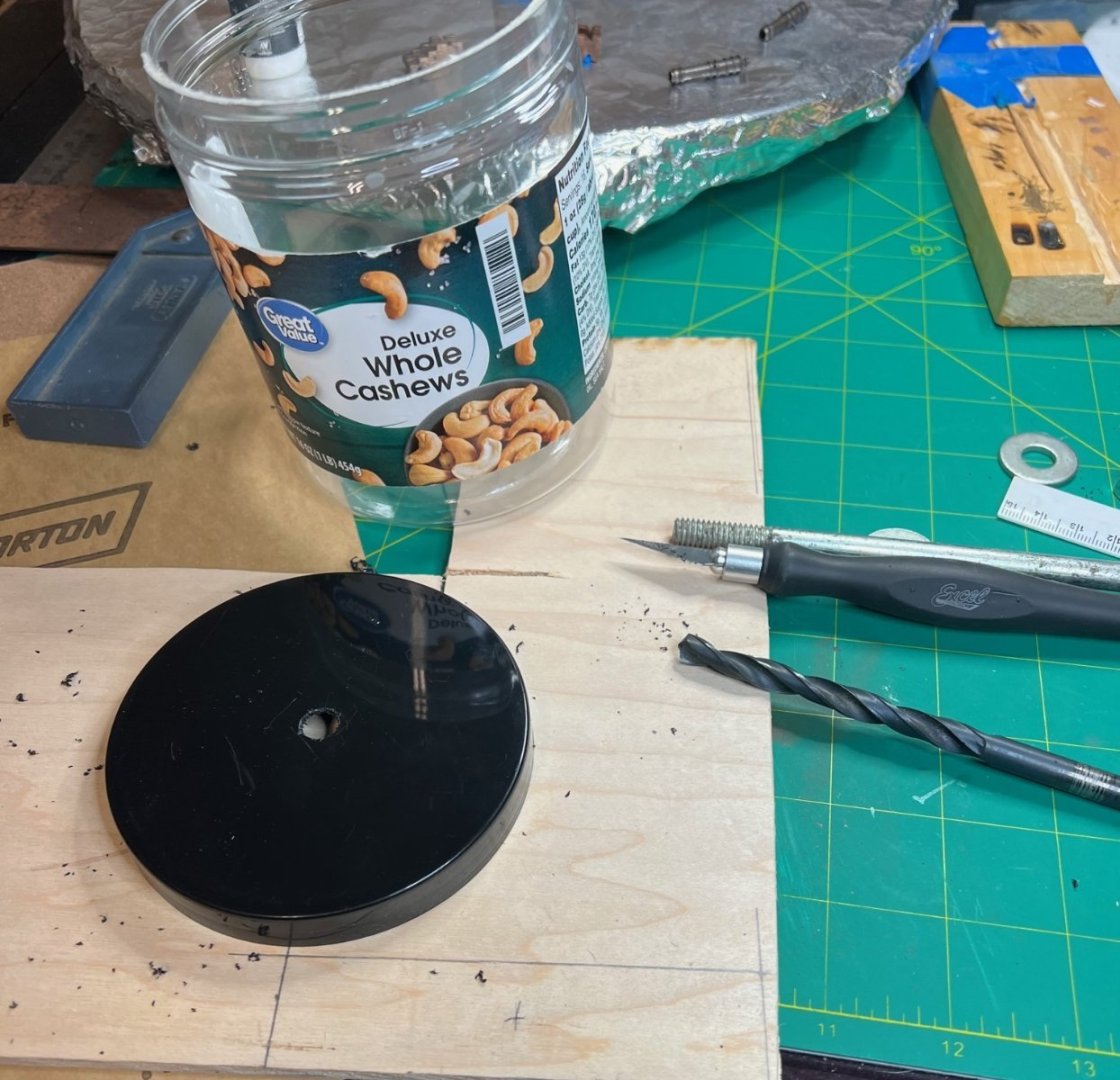
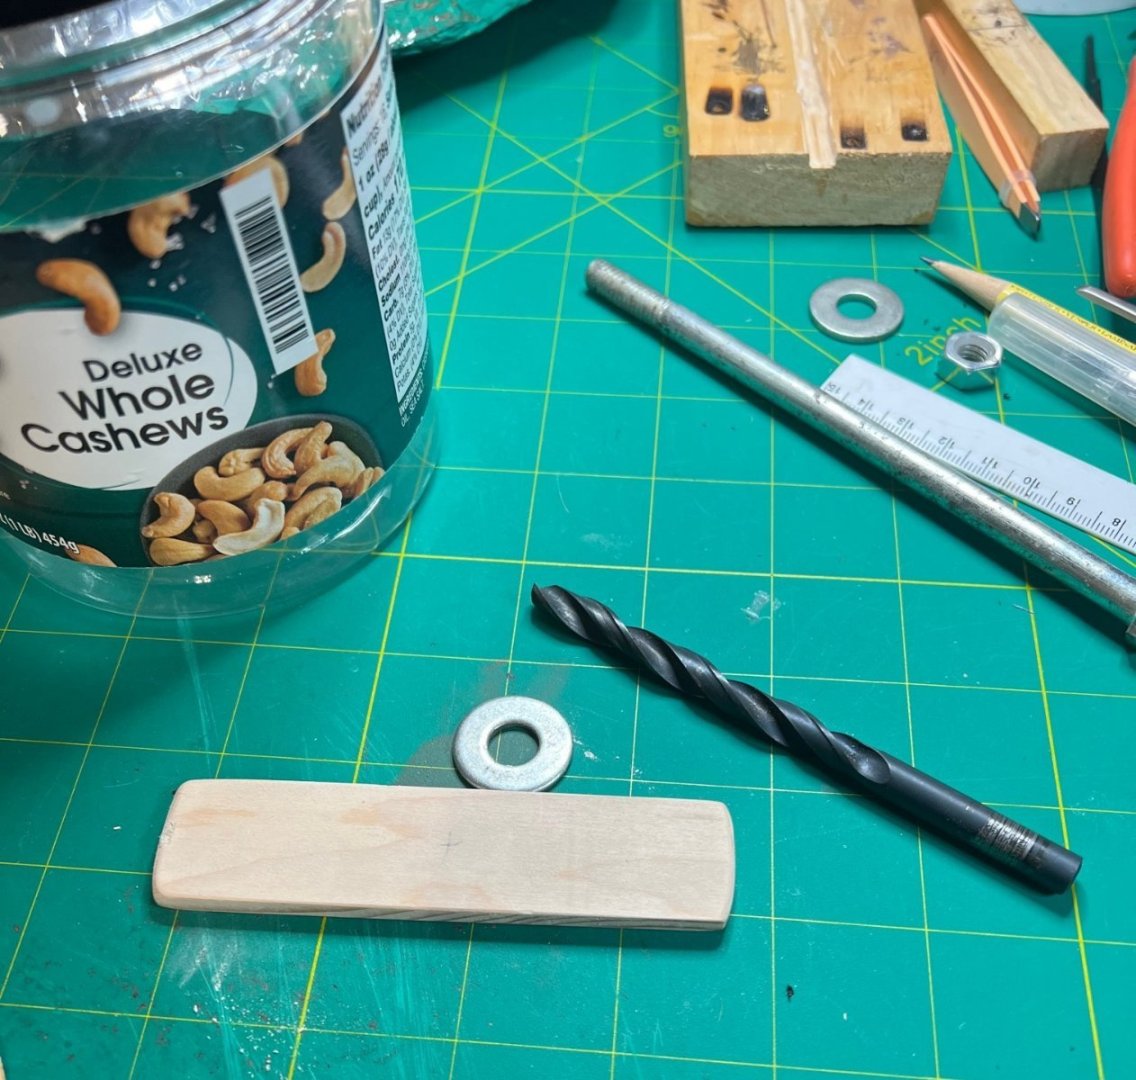
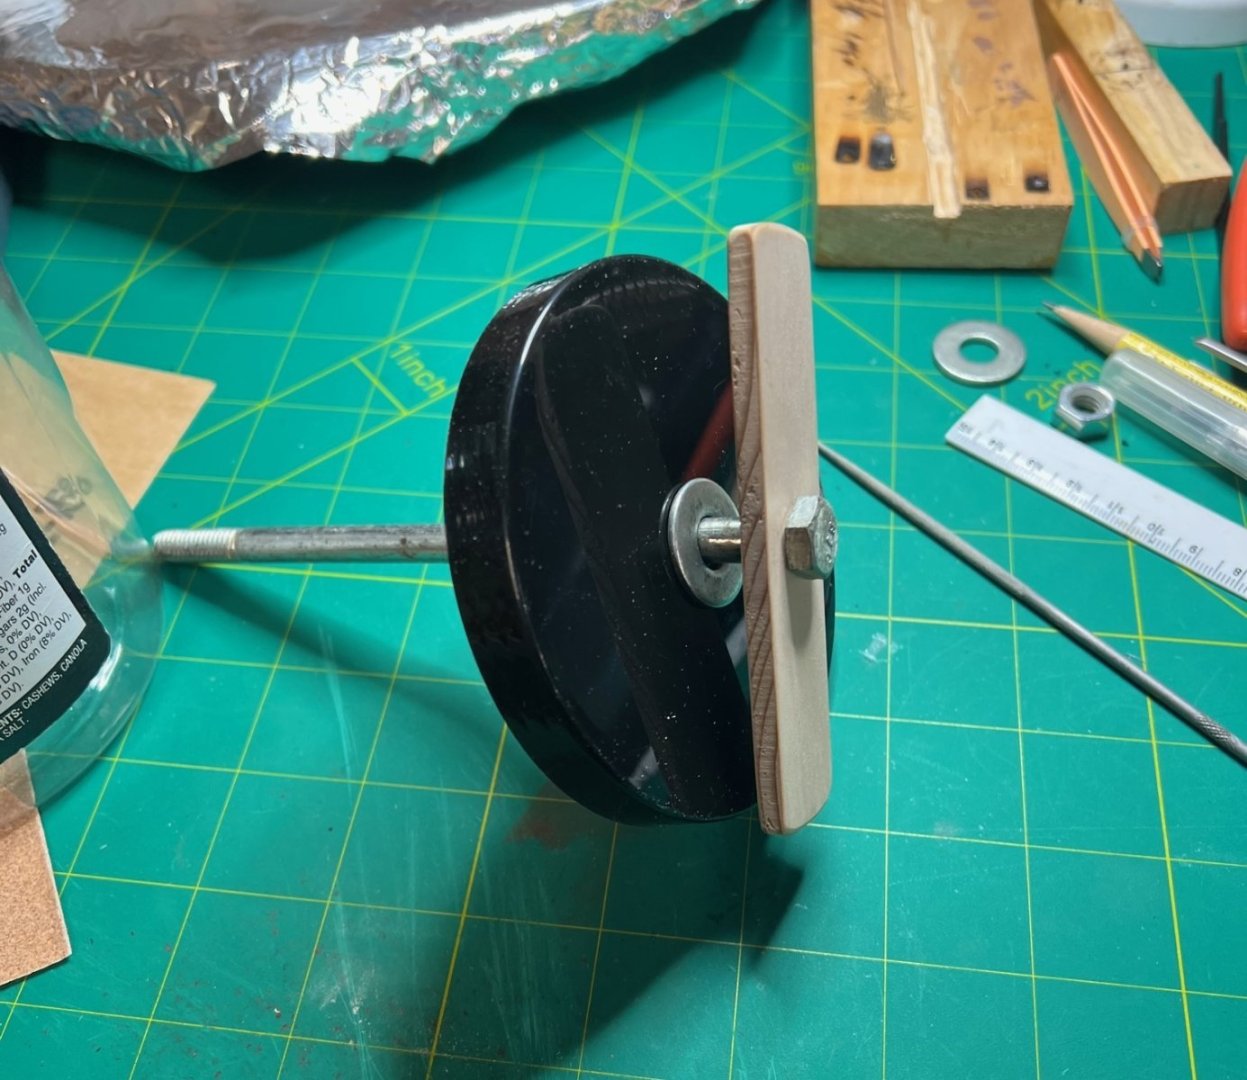
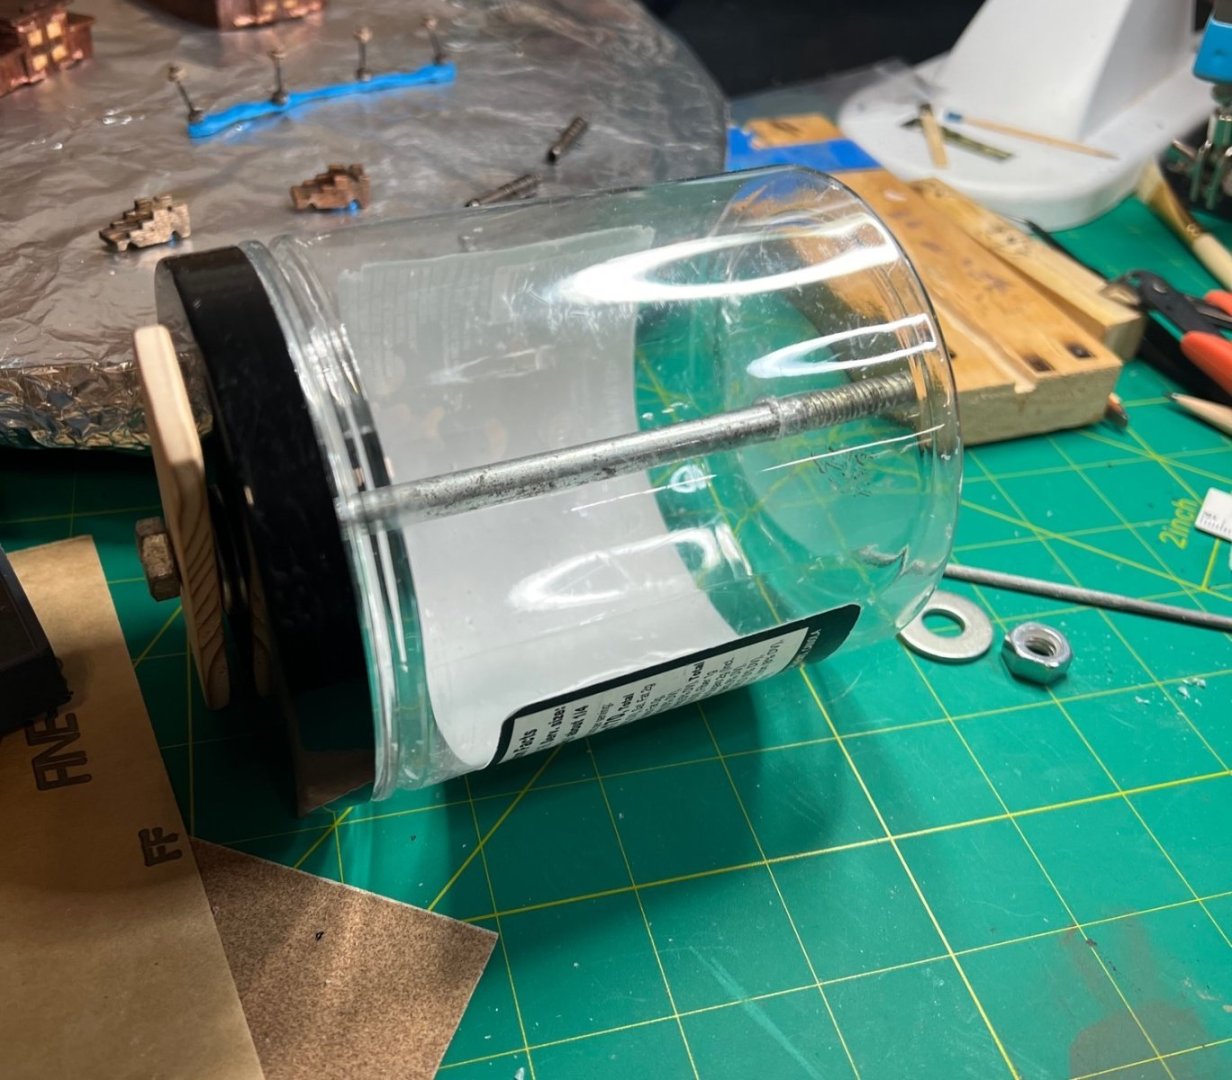
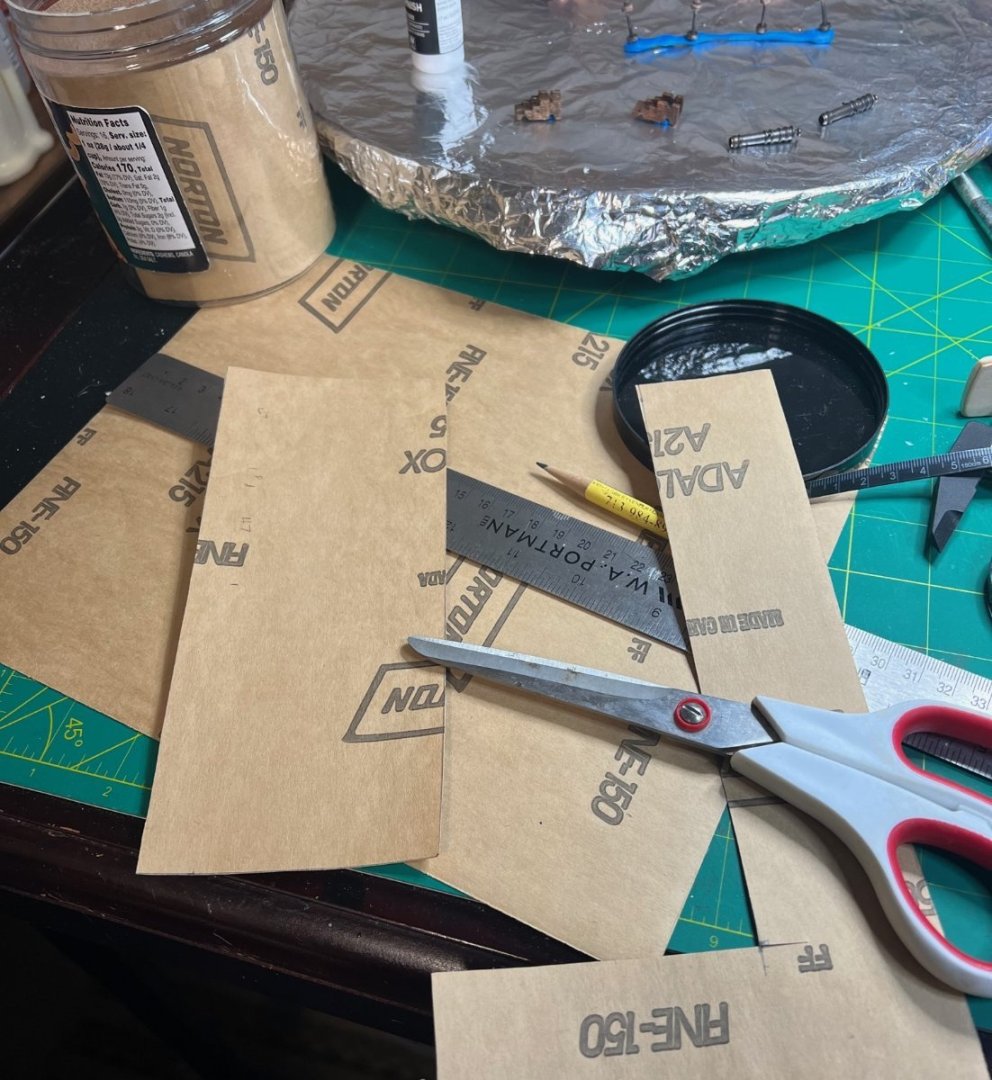
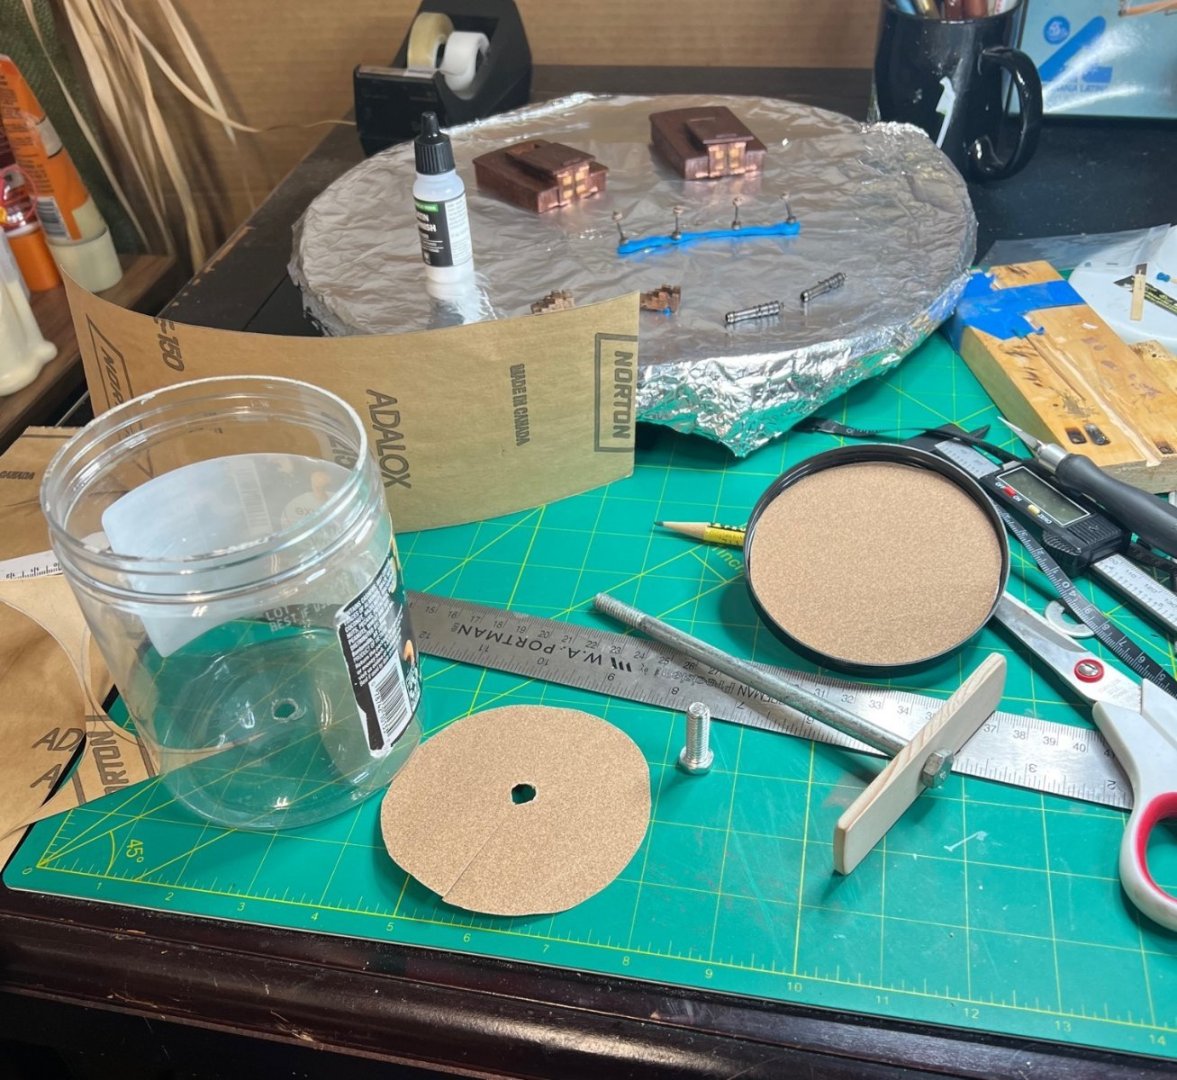
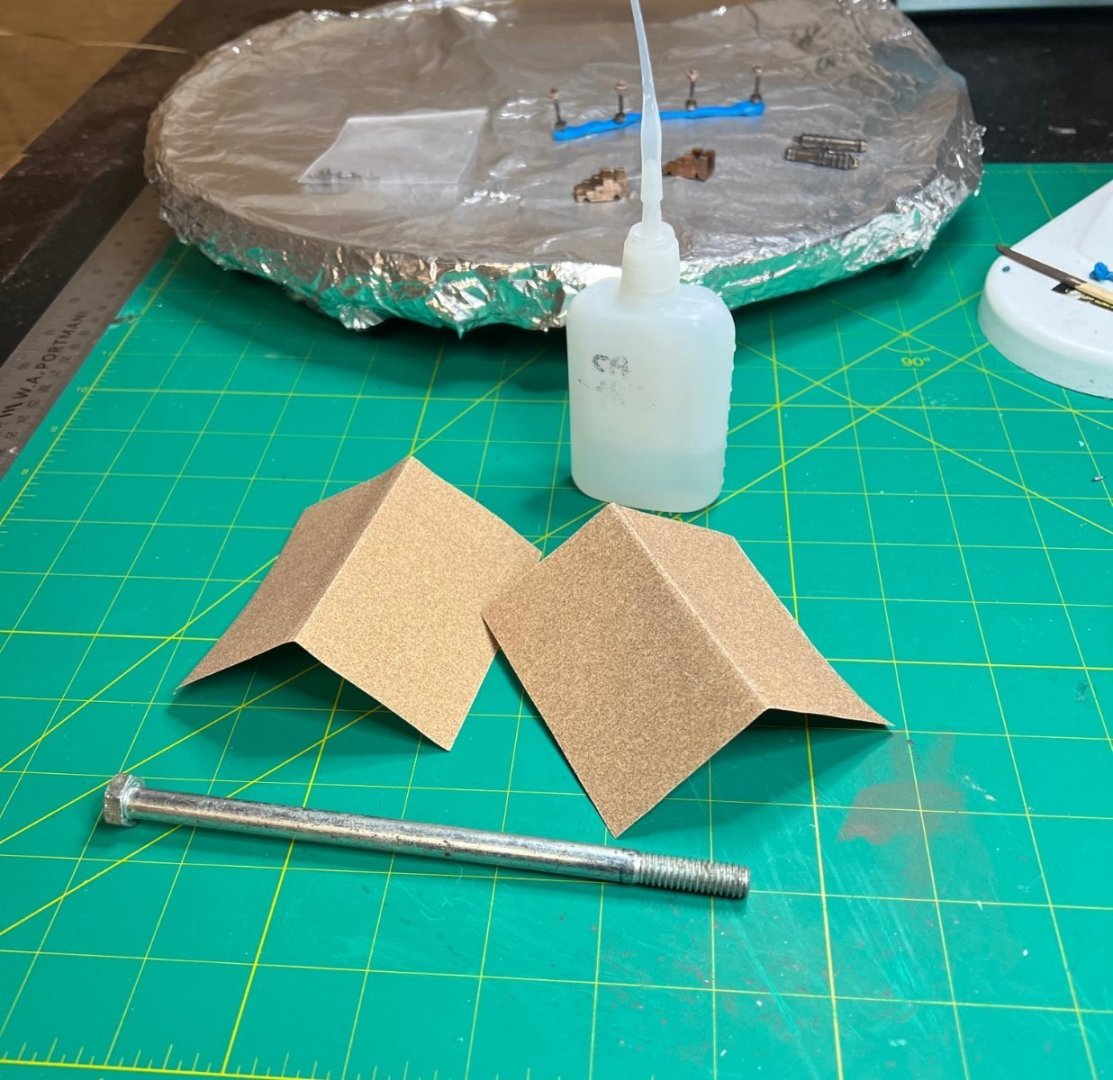
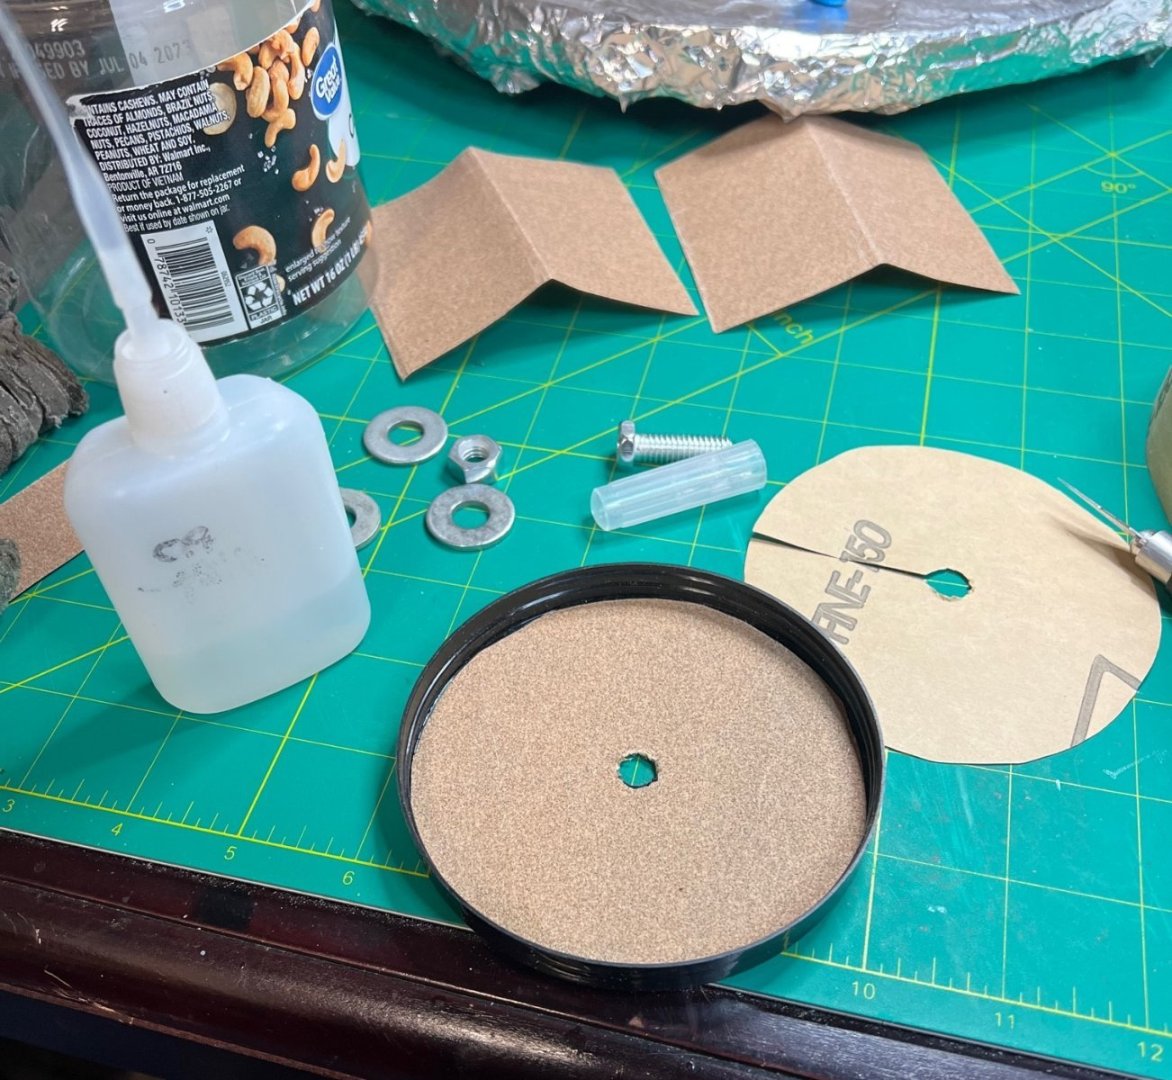
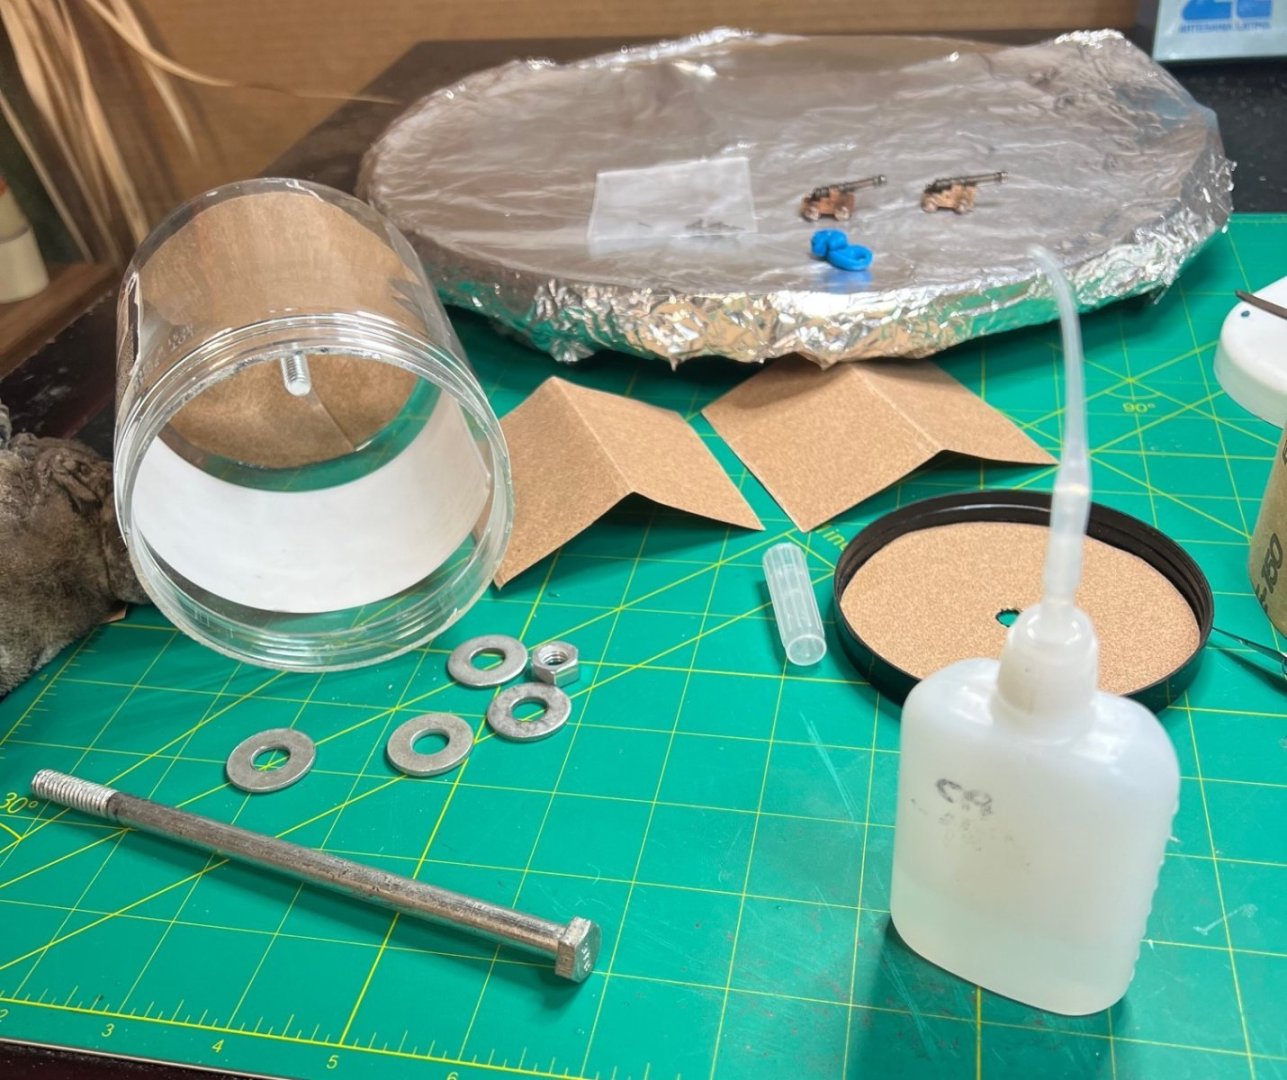
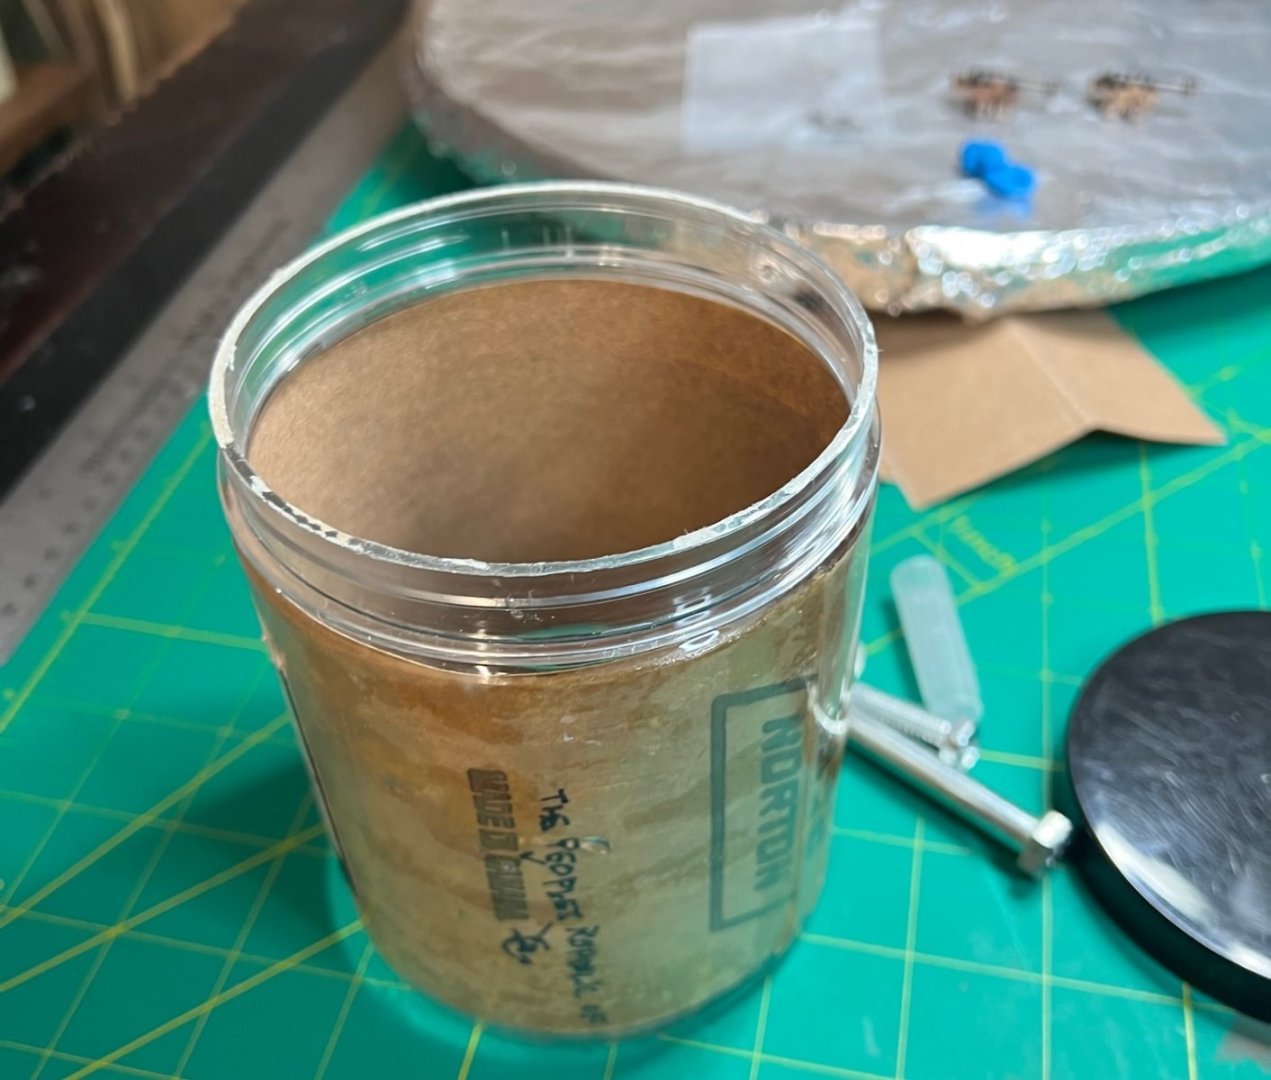
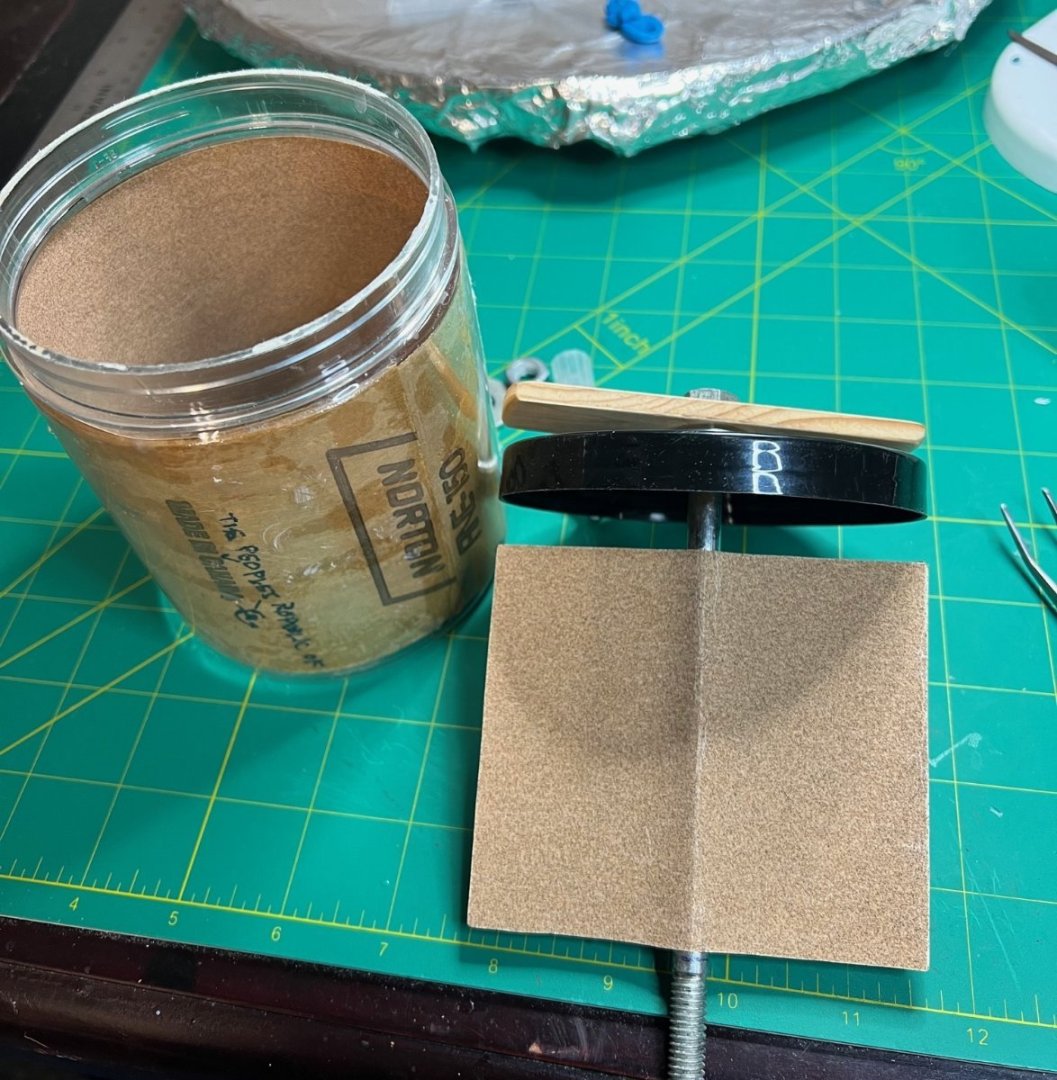
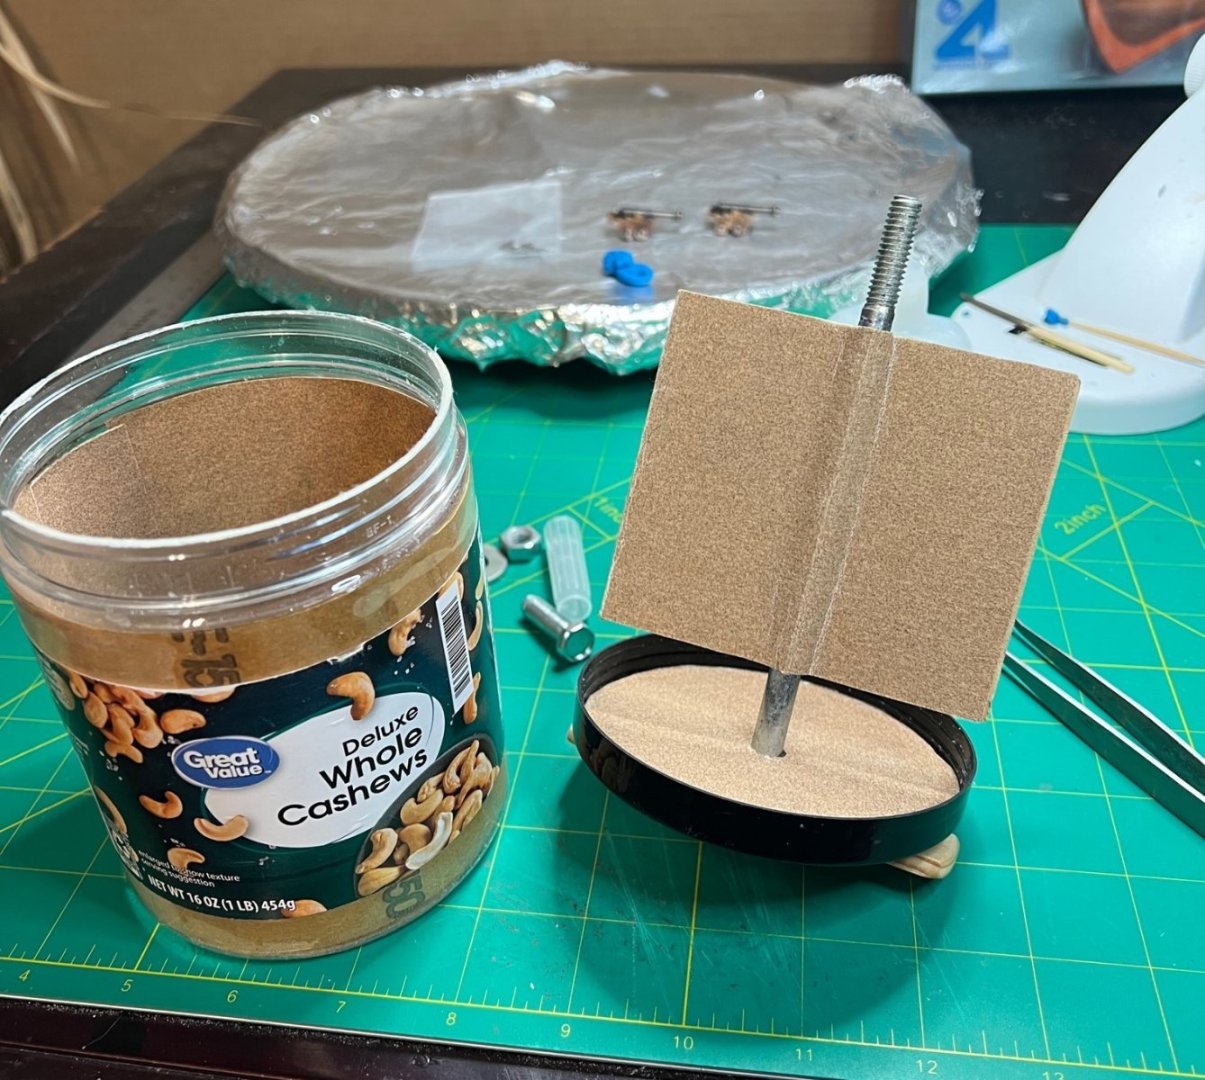
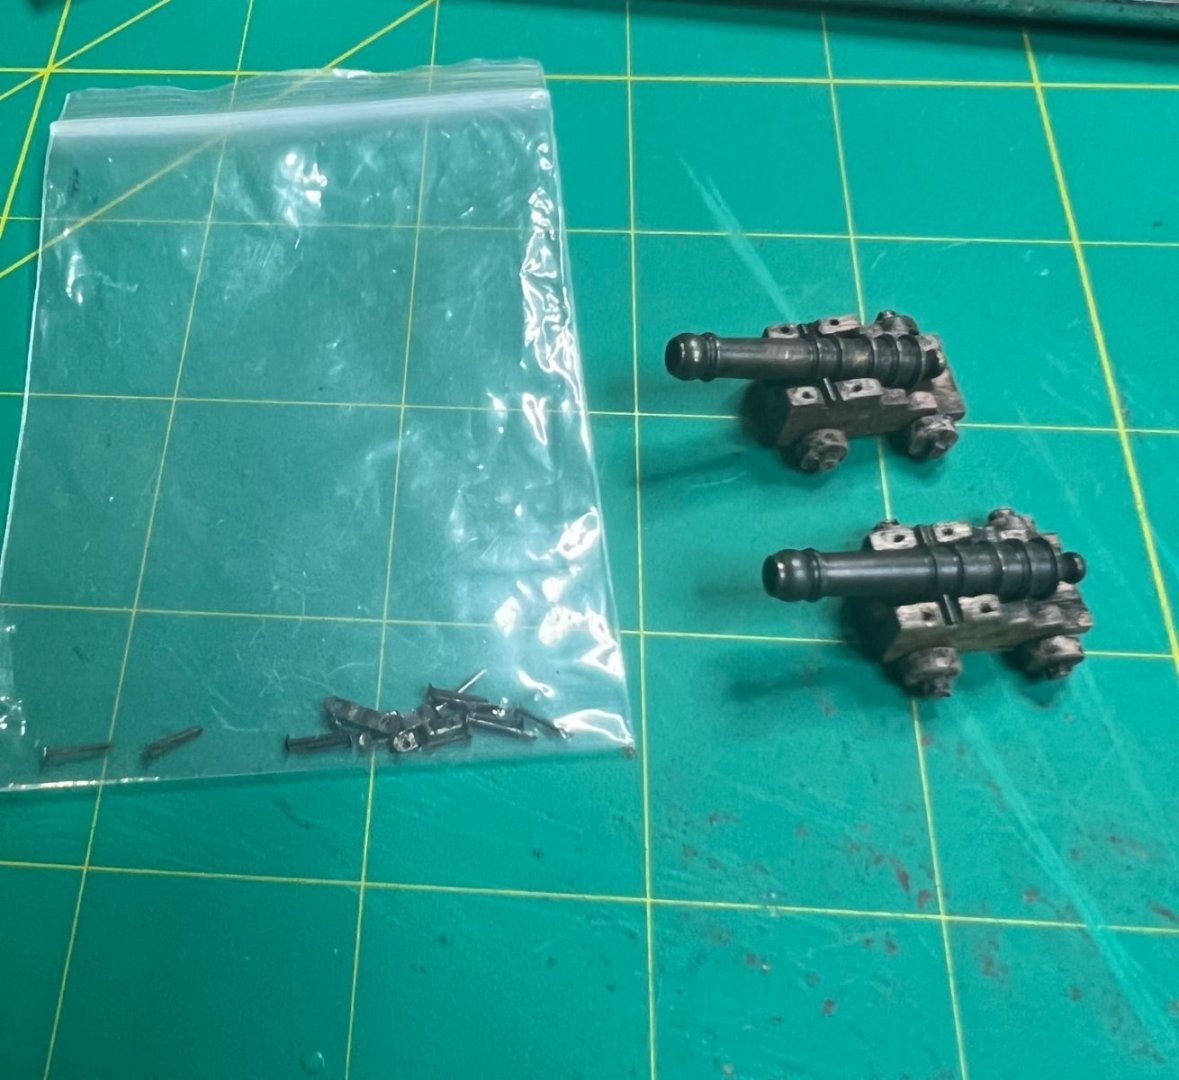
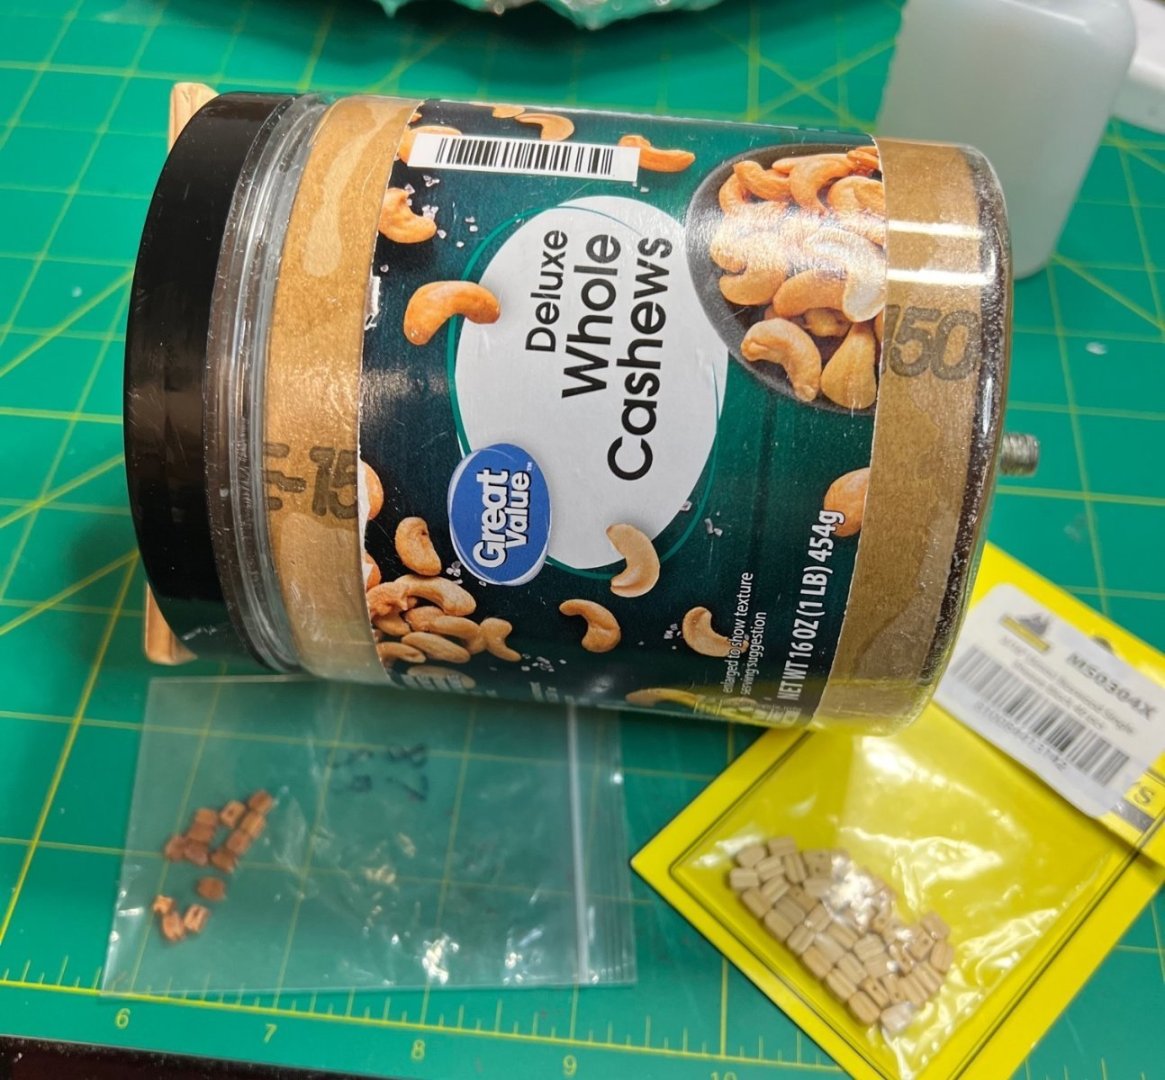
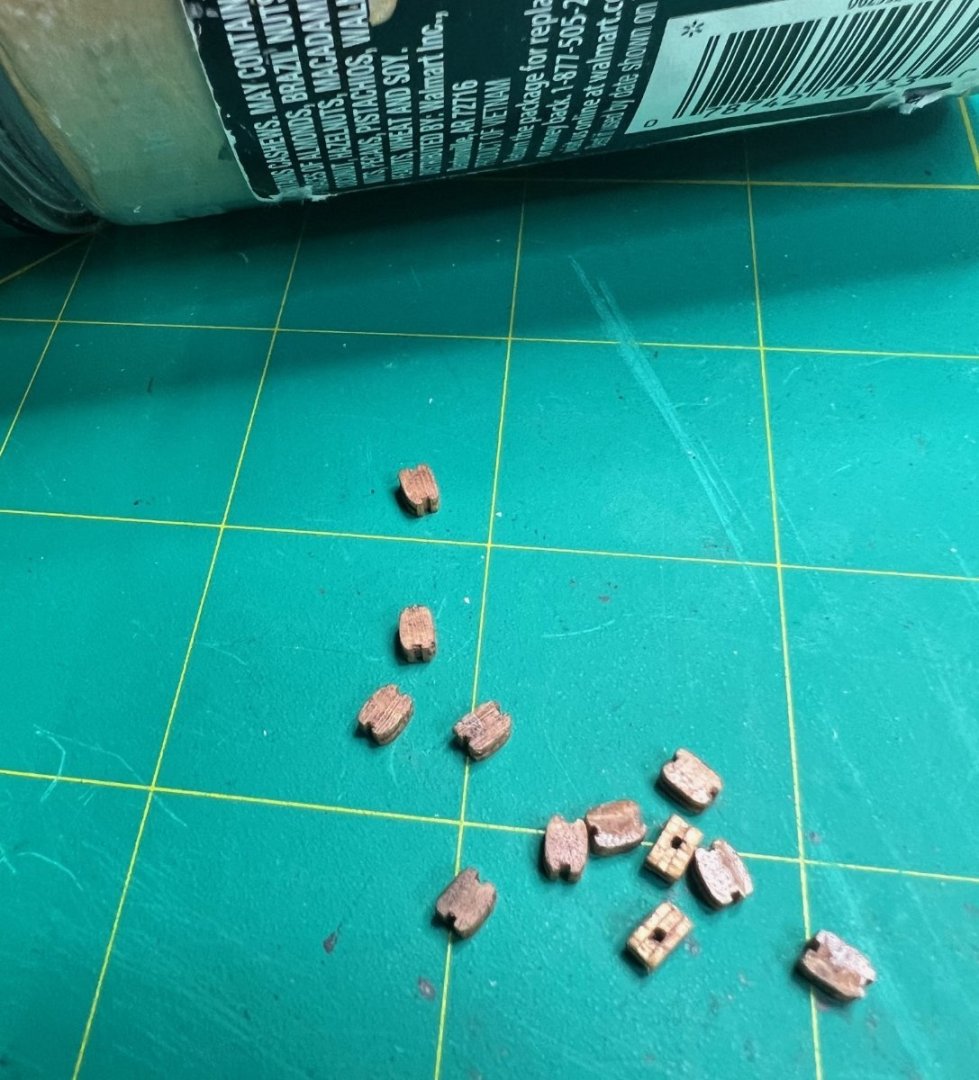
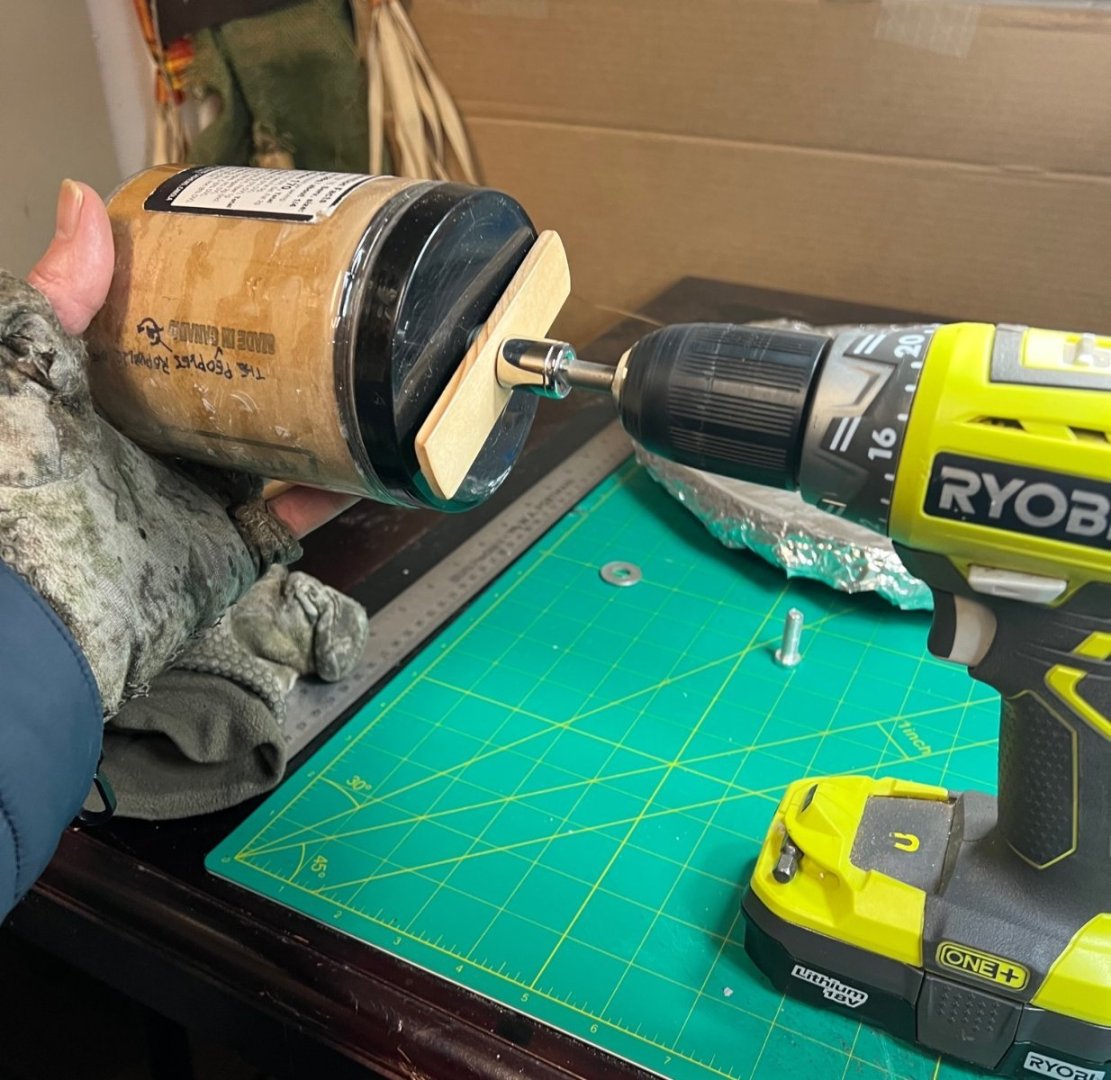
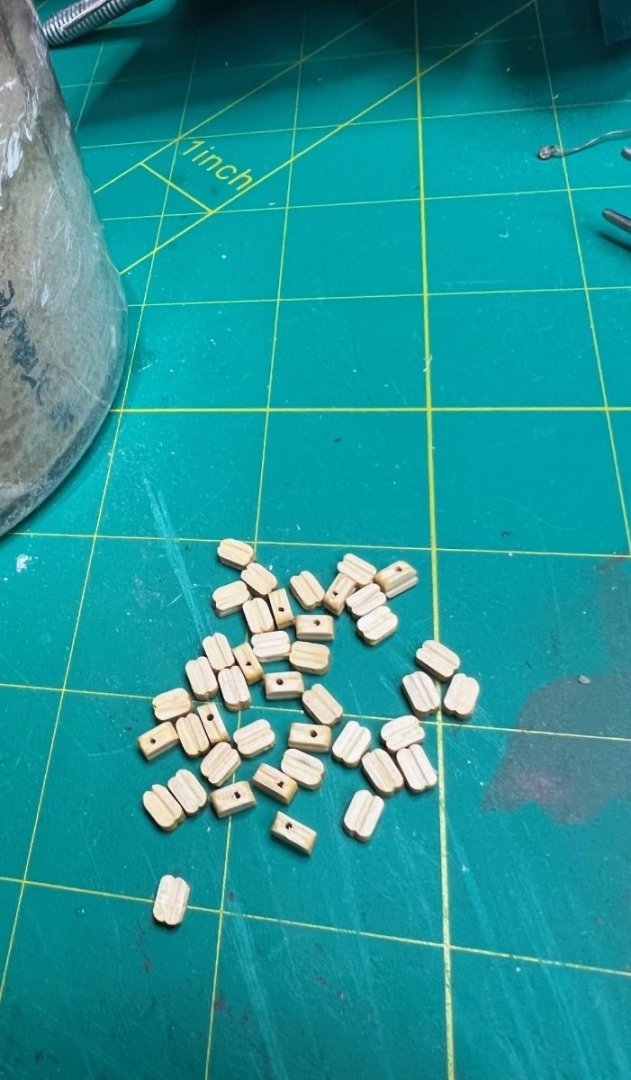
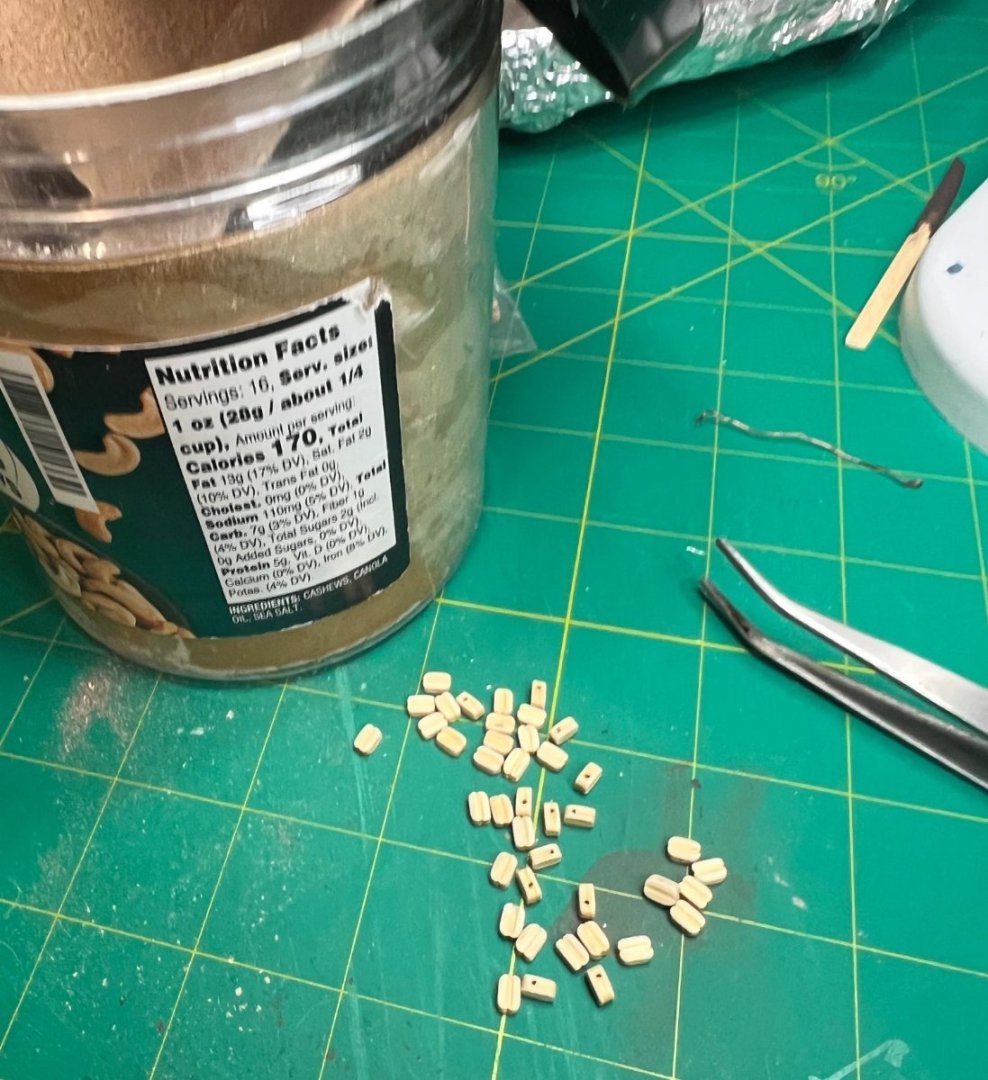
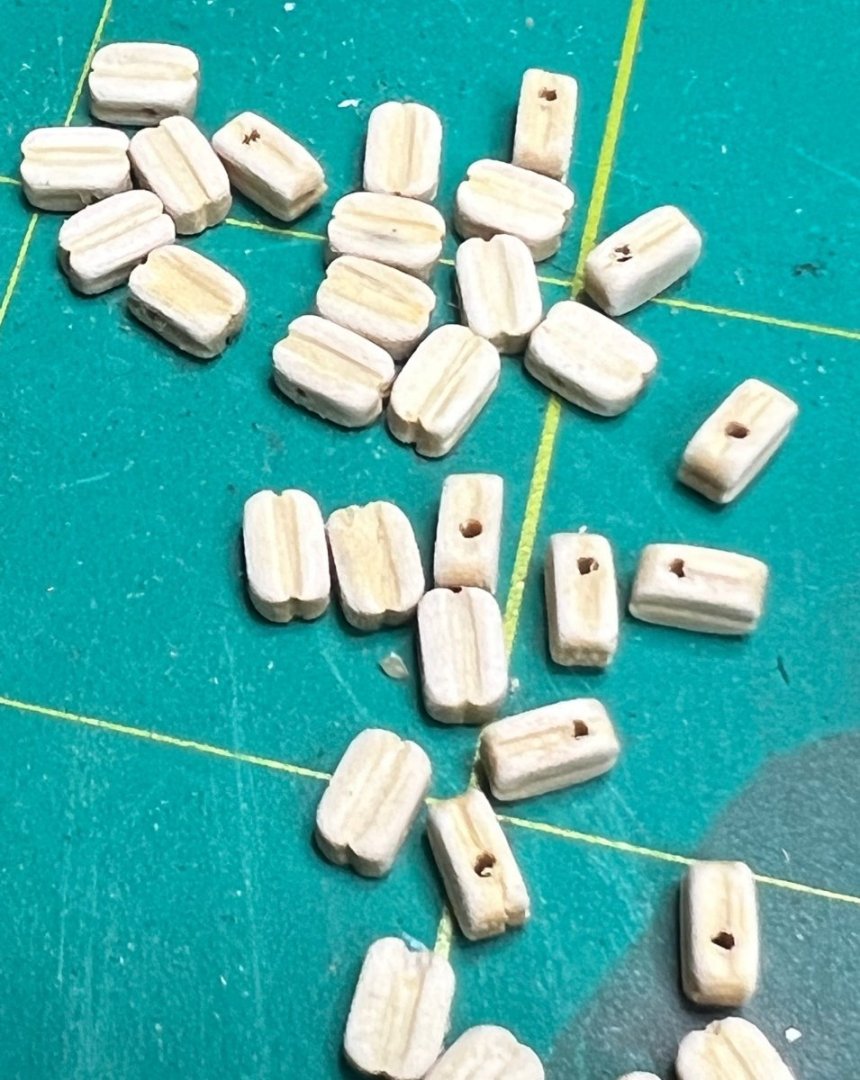
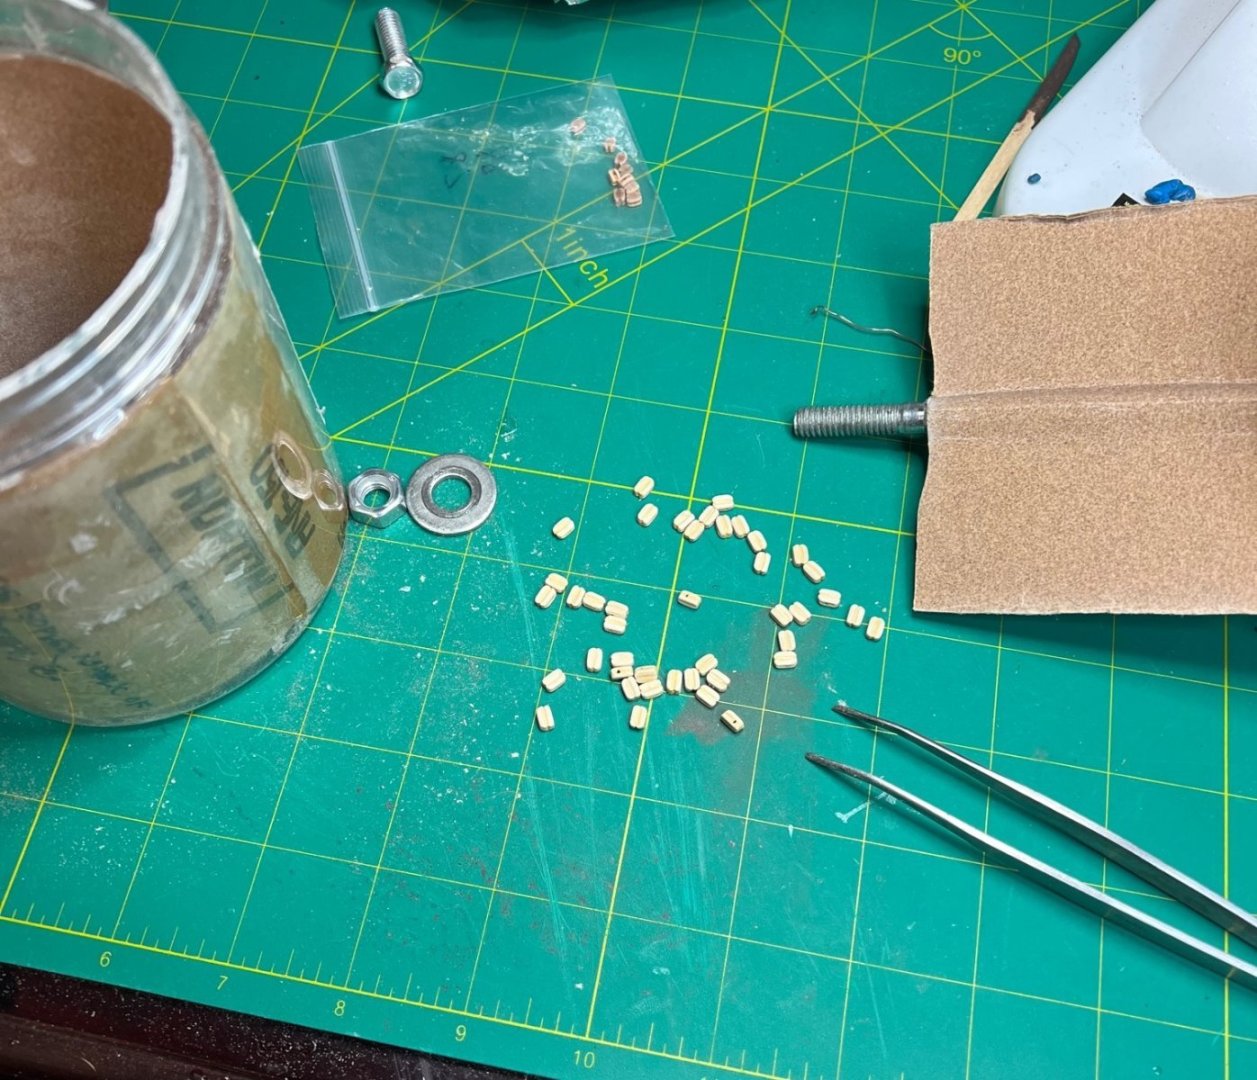
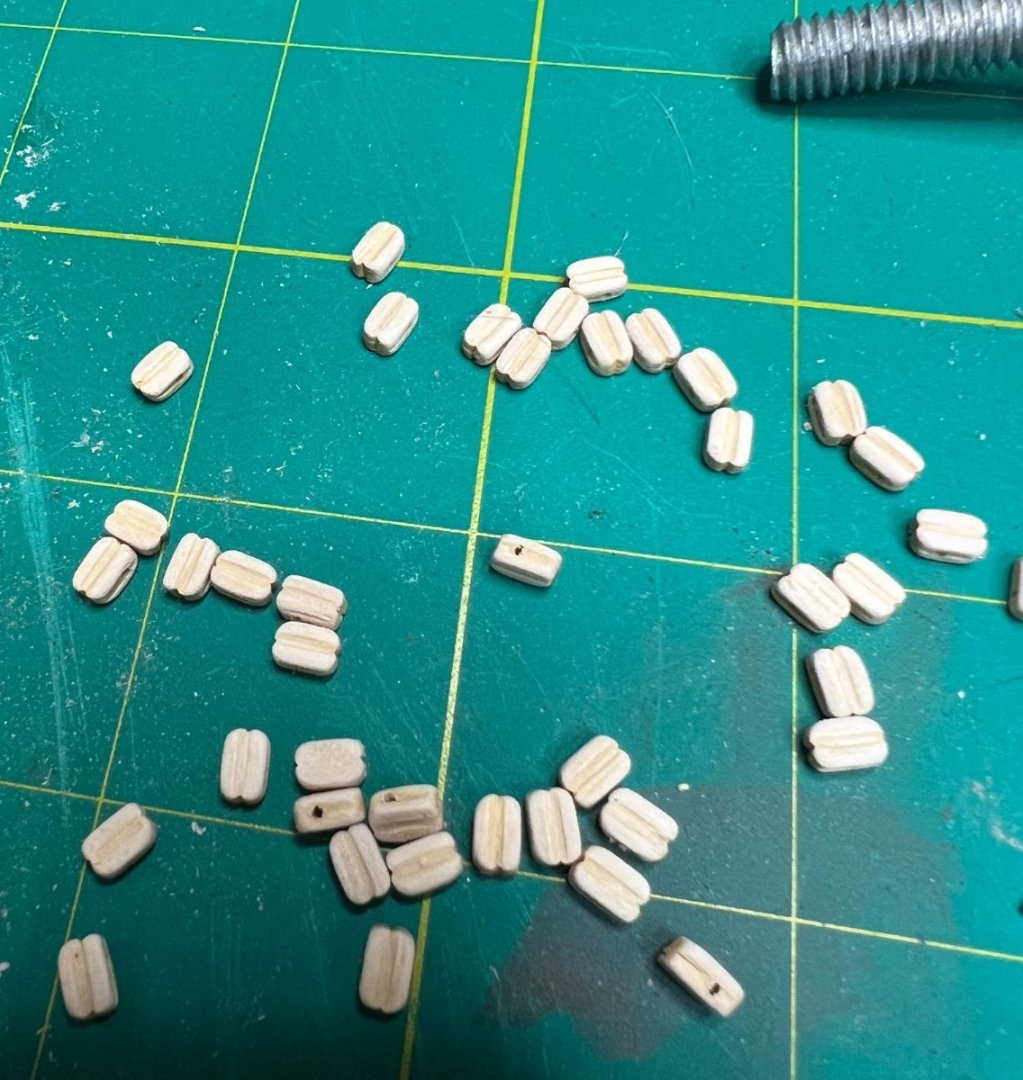
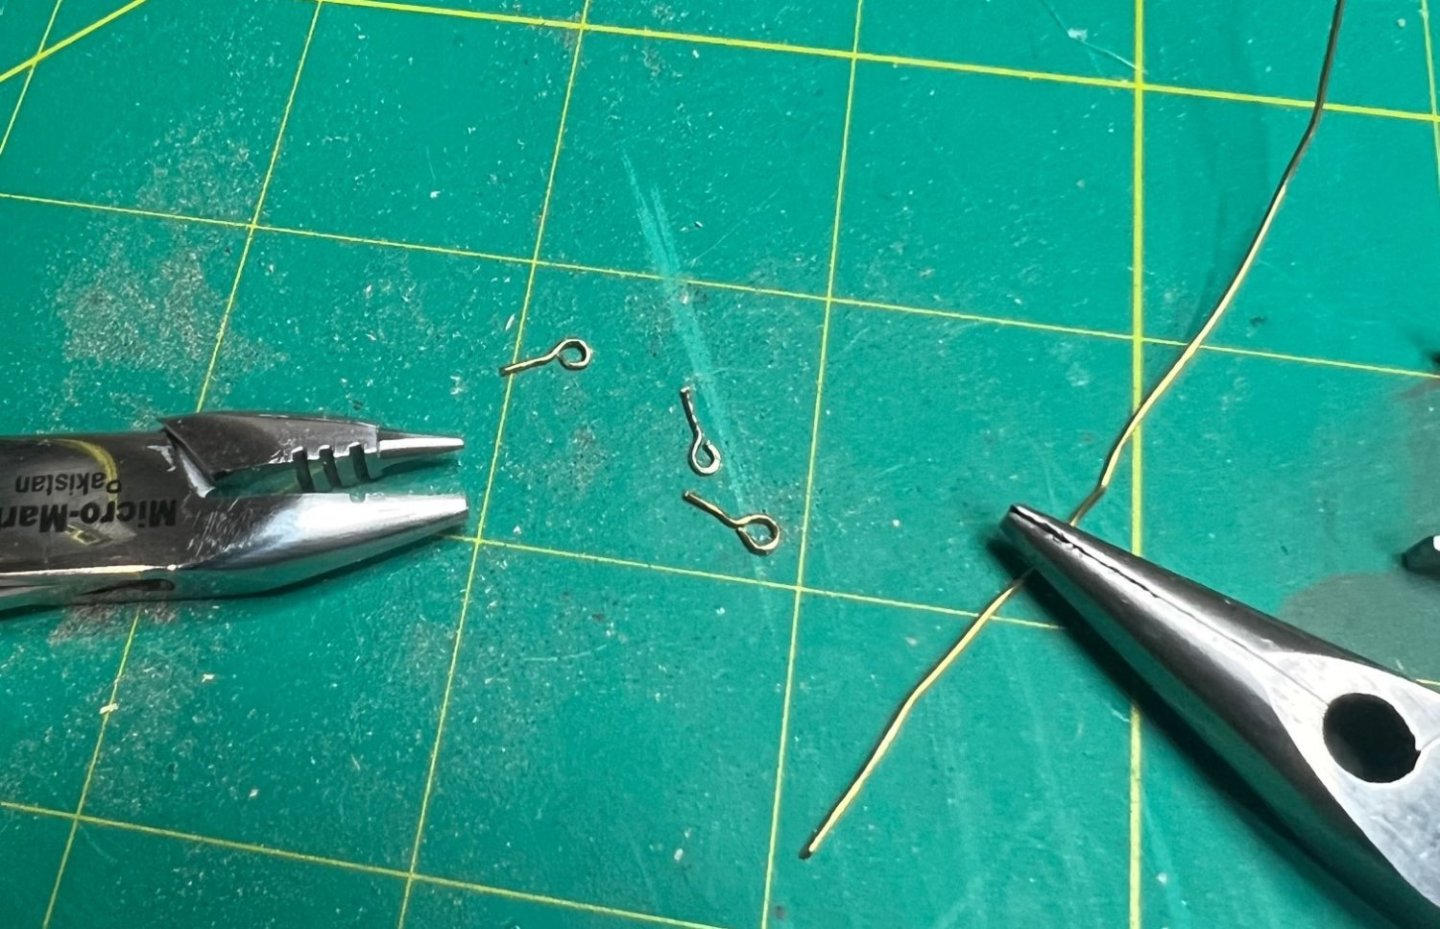
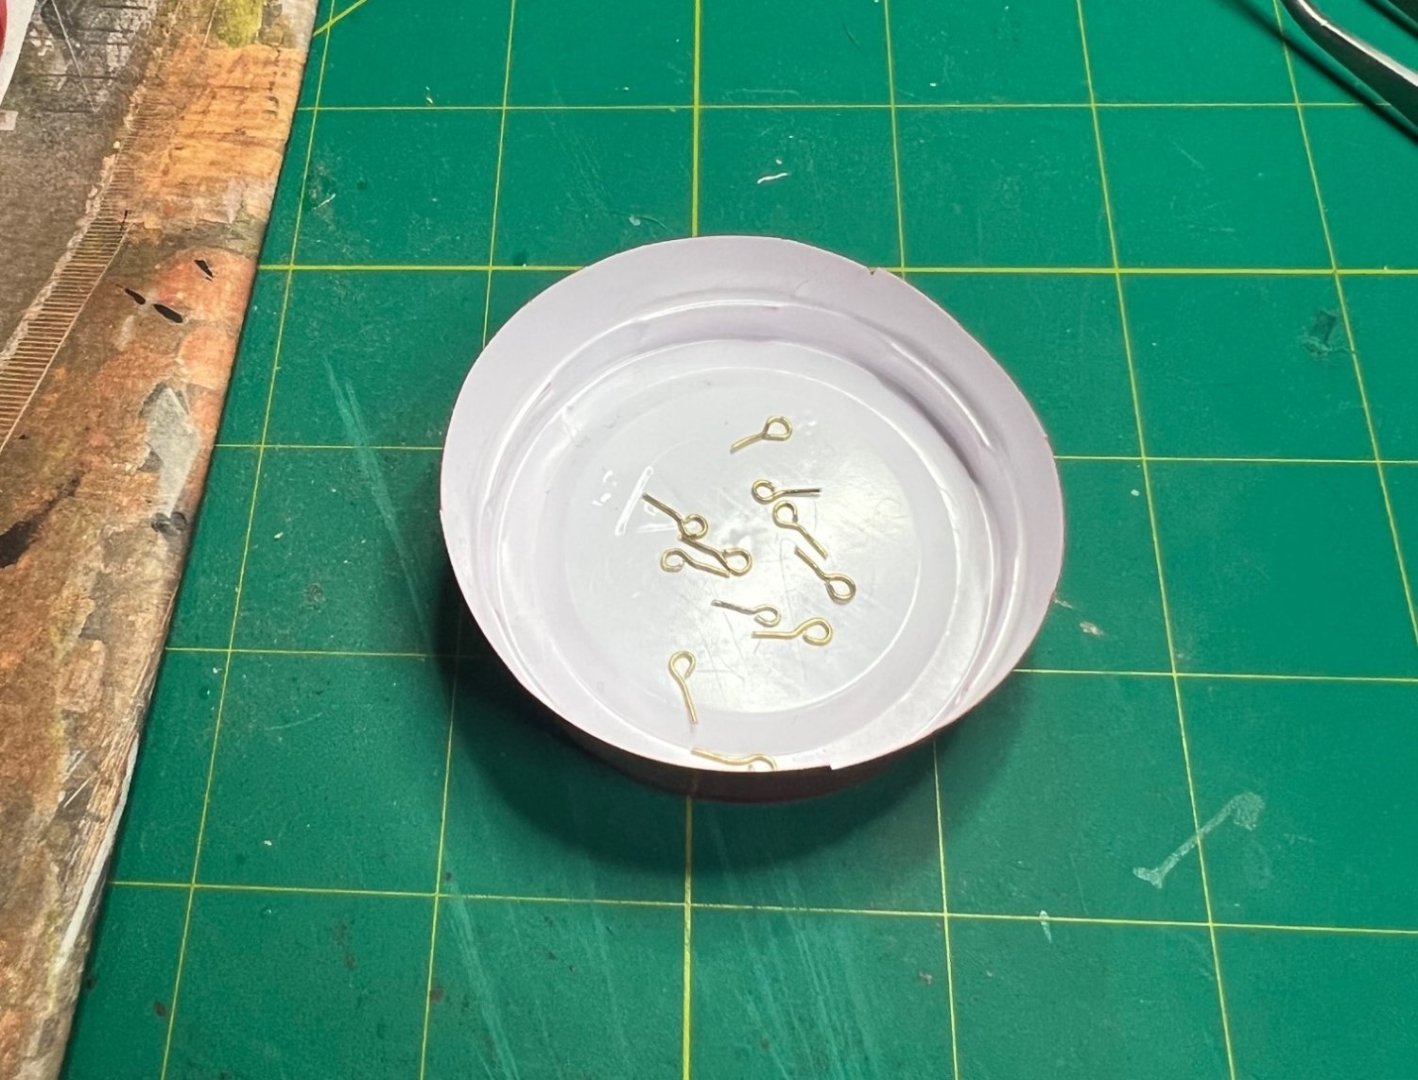
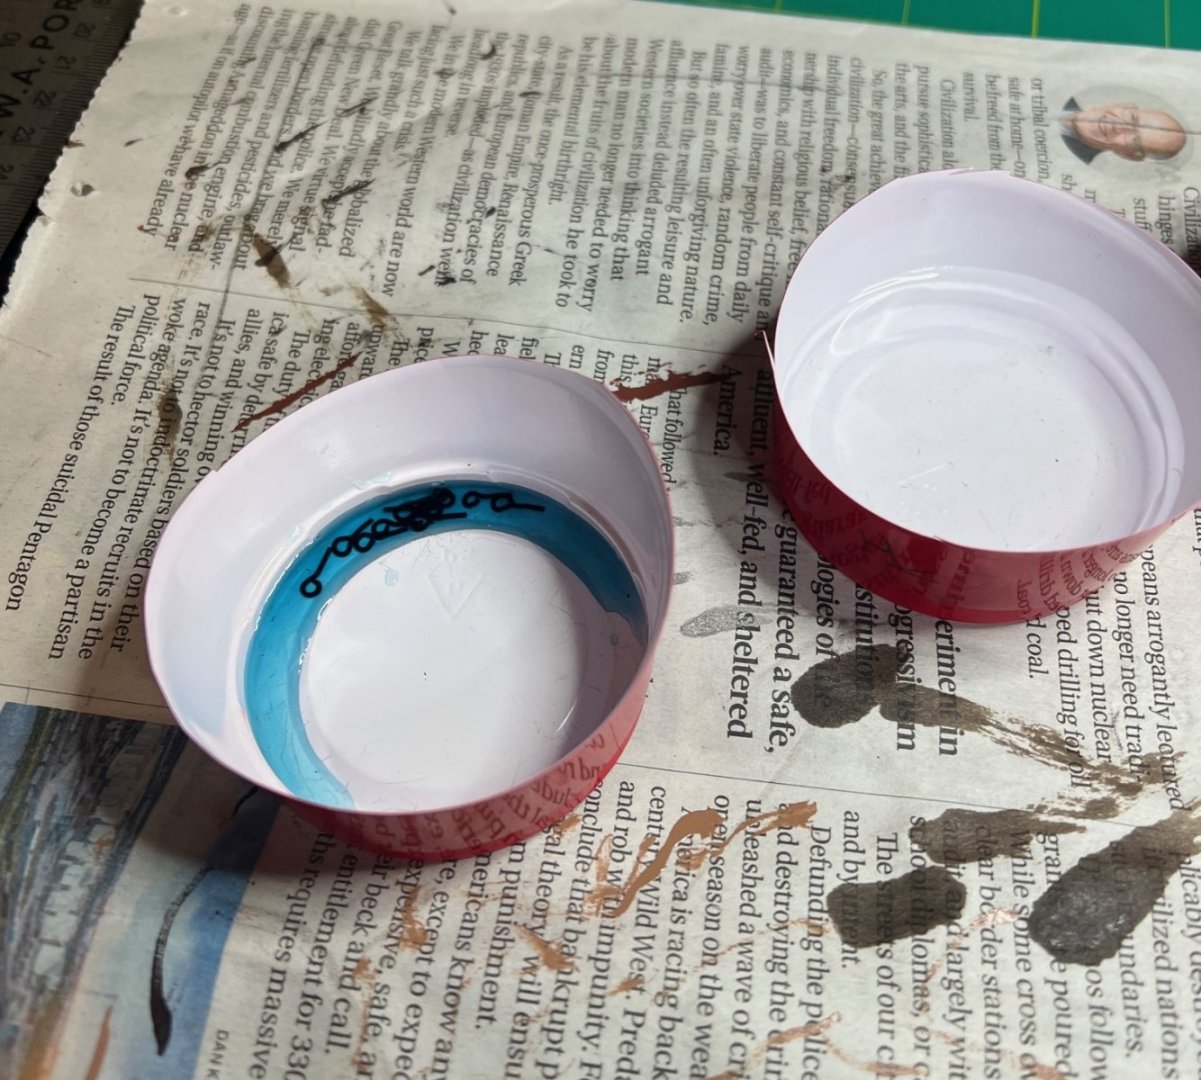
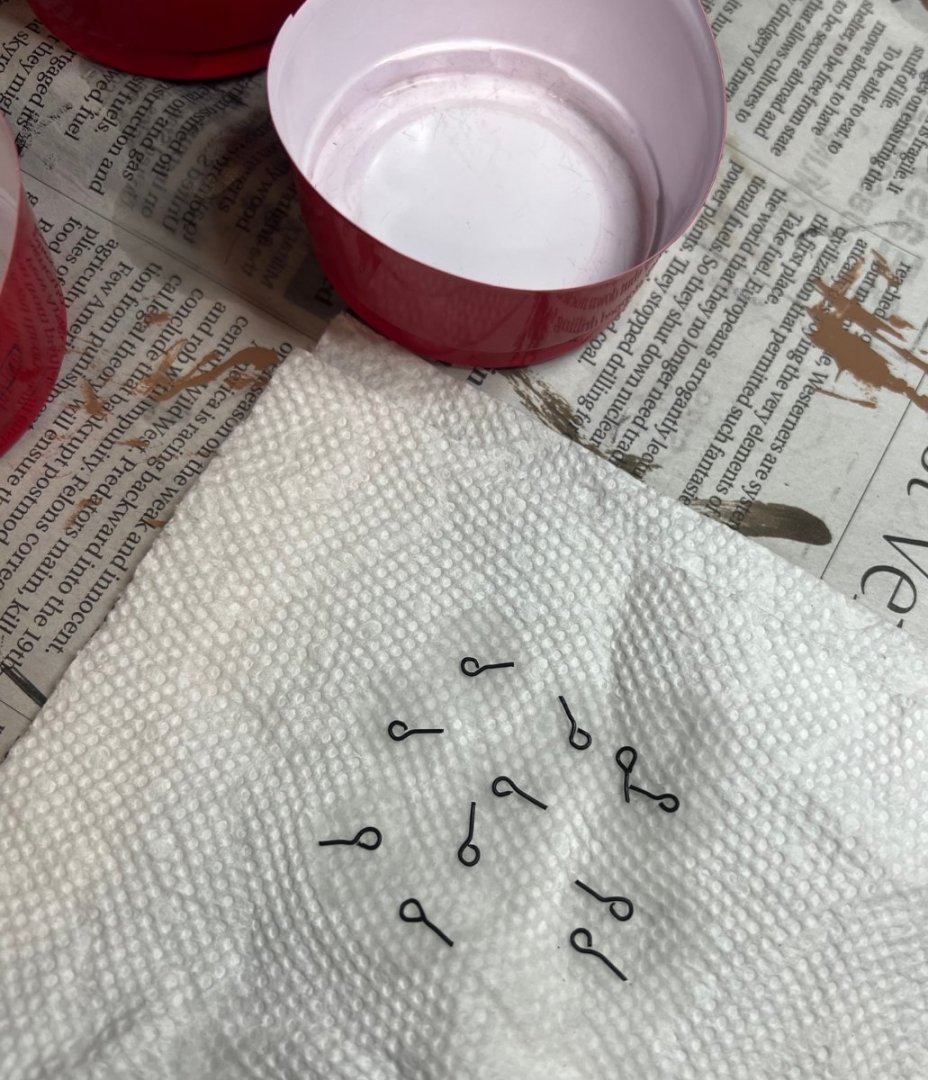
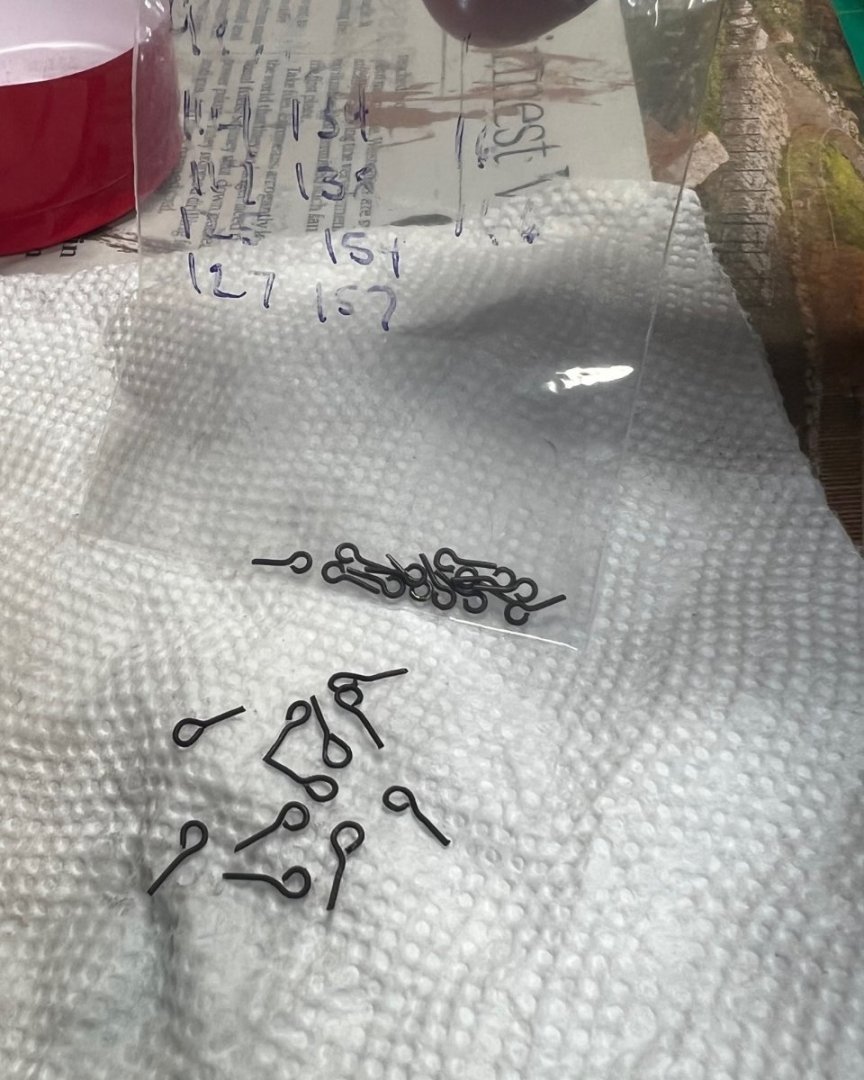
Guns! Guns! Guns! At least two guns anyway. The kit included a bonus set of two guns which were optional. I pondered long and hard to decide if I wanted to include them. They would take up most of the midship if rigged completely as was shown in the diagram they included. I watched several videos on gun assembly and installation and after finding another place to mount the barrel, I decided my ship would be strapped and got to work. The guns were a kit in a kit. I would have to get more blocks since two guns would use up 18 blocks if rigged completely so I ordered some 4mm blocks, slightly larger than the 3mm blocks that came with the kit. I ended up using the kit supplied blocks on the guns and the 4mm blocks for the ship’s rigging. First, I stained the wooden cannon stand dark walnut. The wheels and axles were on piece plastic parts, soft plastic. When test fitting the frame on the axles, I discovered they would be far too high off the deck to even fit through the lower gun ports I would cut above the aft scupper. I both filed the slots deeper into the bottom of the frame and tried to reduce the diameter of the axles to make the guns sit lower on the deck. I thought maybe I could cut the wheels off the axles and just glue them to the side but decided not to. I would keep thinning the axle which was difficult because it was soft plastic and didn’t take to filing or sanding very well. Next the brass parts of the guns would need to be blackened. I realized I was going to run out of kit supplied eye bolts so I ordered some 0.6mm brass wire so I could fabricate my own. Had to wait to get the blocks to continue so I started on a block buster. I saw on YT how to make a “block buster” from a plastic nut jar, a long bolt, nut and washer and sandpaper. So I made one and it worked great. I also needed more eye bolts so I got some wire and made some. Thanks for reading, this post is getting too long so I'll continue in another. This gets us up to March 5th, 2023 so we’re slowly getting this log caught up. Next, finishing up the guns and rigging them. Model on!
- 59 replies
-
- Swift
- Artesania Latina
-
(and 1 more)
Tagged with:
-
 Scotty W reacted to a post in a topic:
Mast install?
-
 Scotty W reacted to a post in a topic:
Mast install?
-
I think I'm ready to install the two masts on my 1805 Swift but I'm terrified I've forgotten something before I do. This is my first timber ship and I am spending all my time on the ship trying for figure out why I shouldn't glue the masts on yet. Please someone calm my nerves and give me a checklist for what to have done, other than the obvious, before I glue the two masts on. I have attached all the blocks and drilled all the holes into the masts and spars. The bowsprit is already installed as are the guns, hardware (cleats and rings), the anchors and the deck furnishings except the cabins, pumps and fiddly details. What am I overlooking? Pictures to come on edit...
-
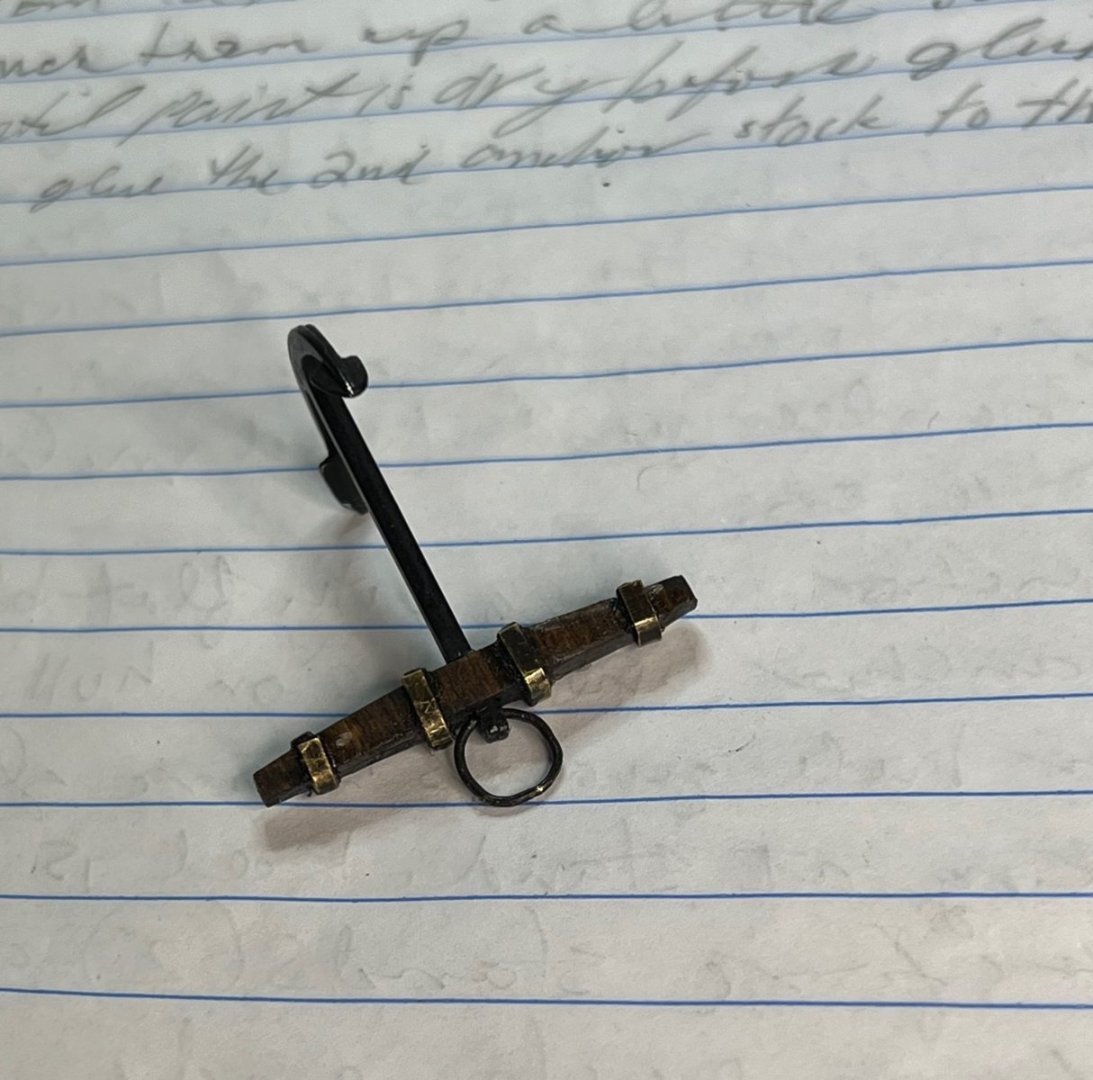
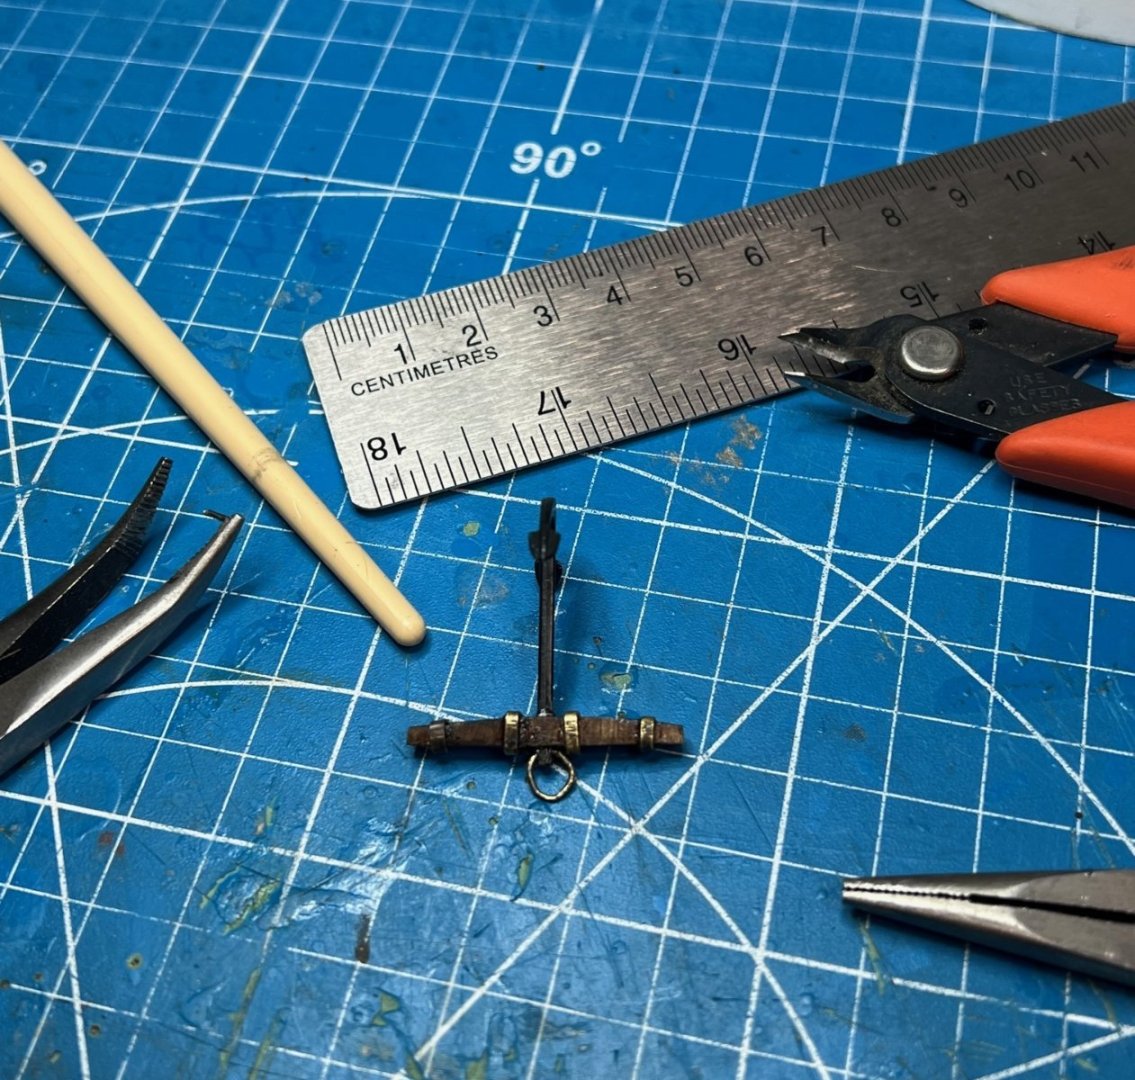
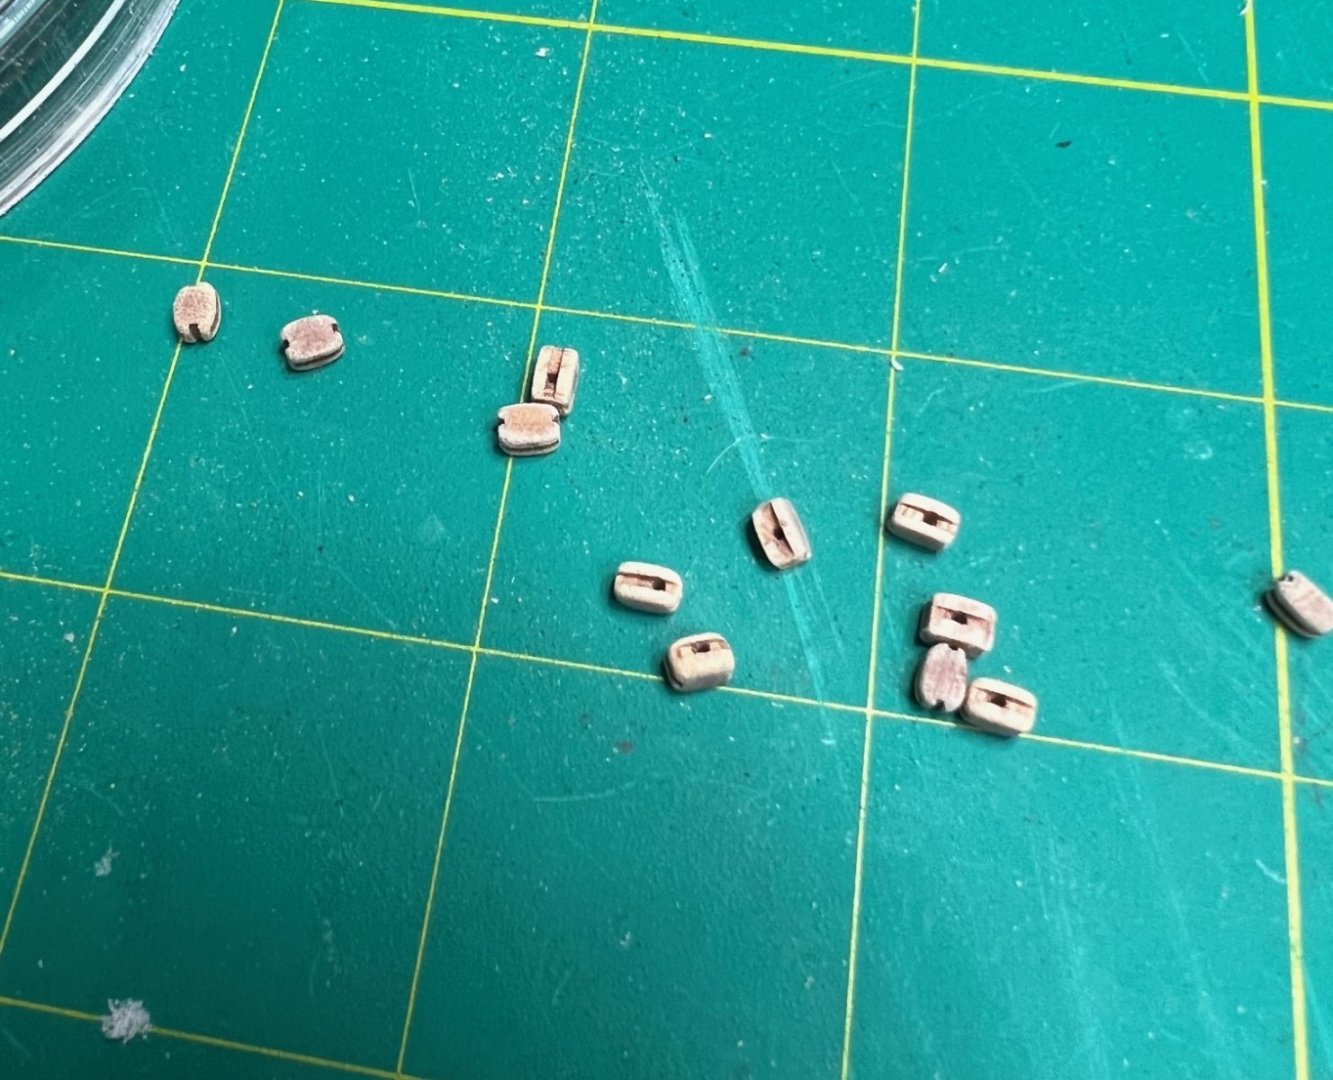
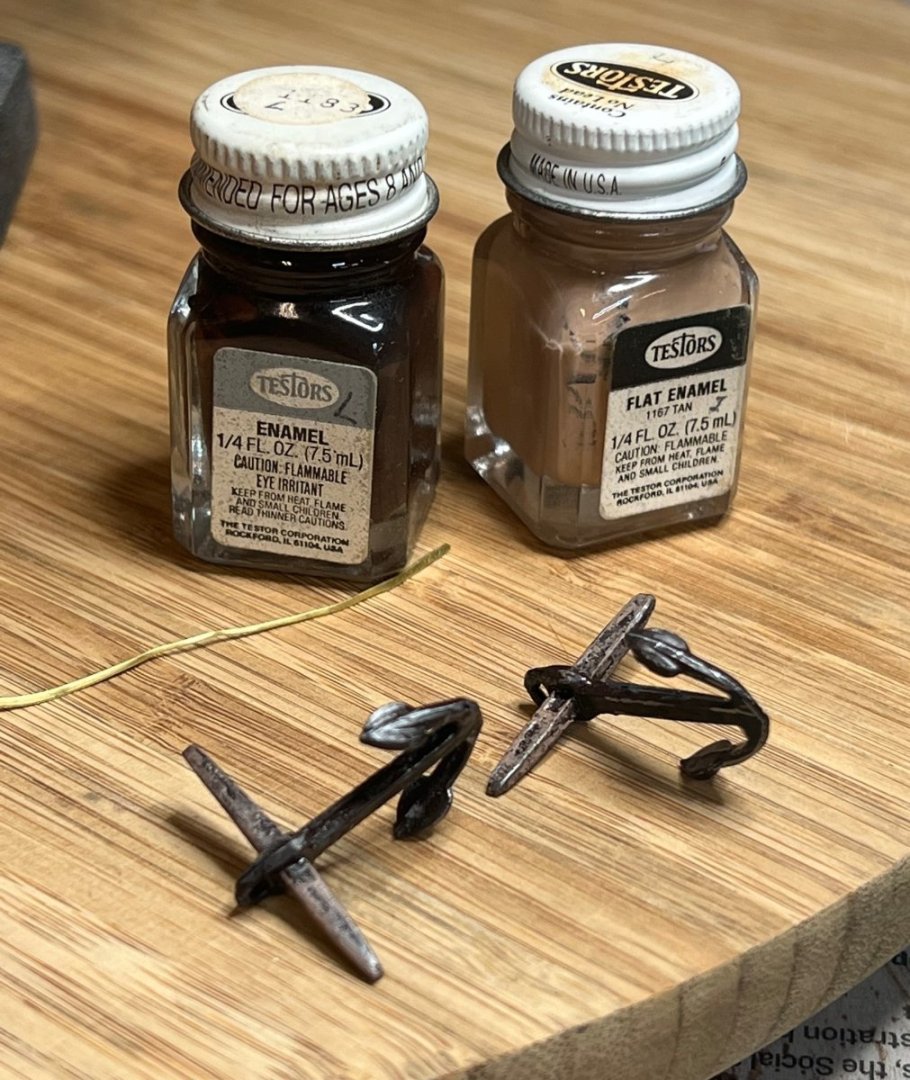
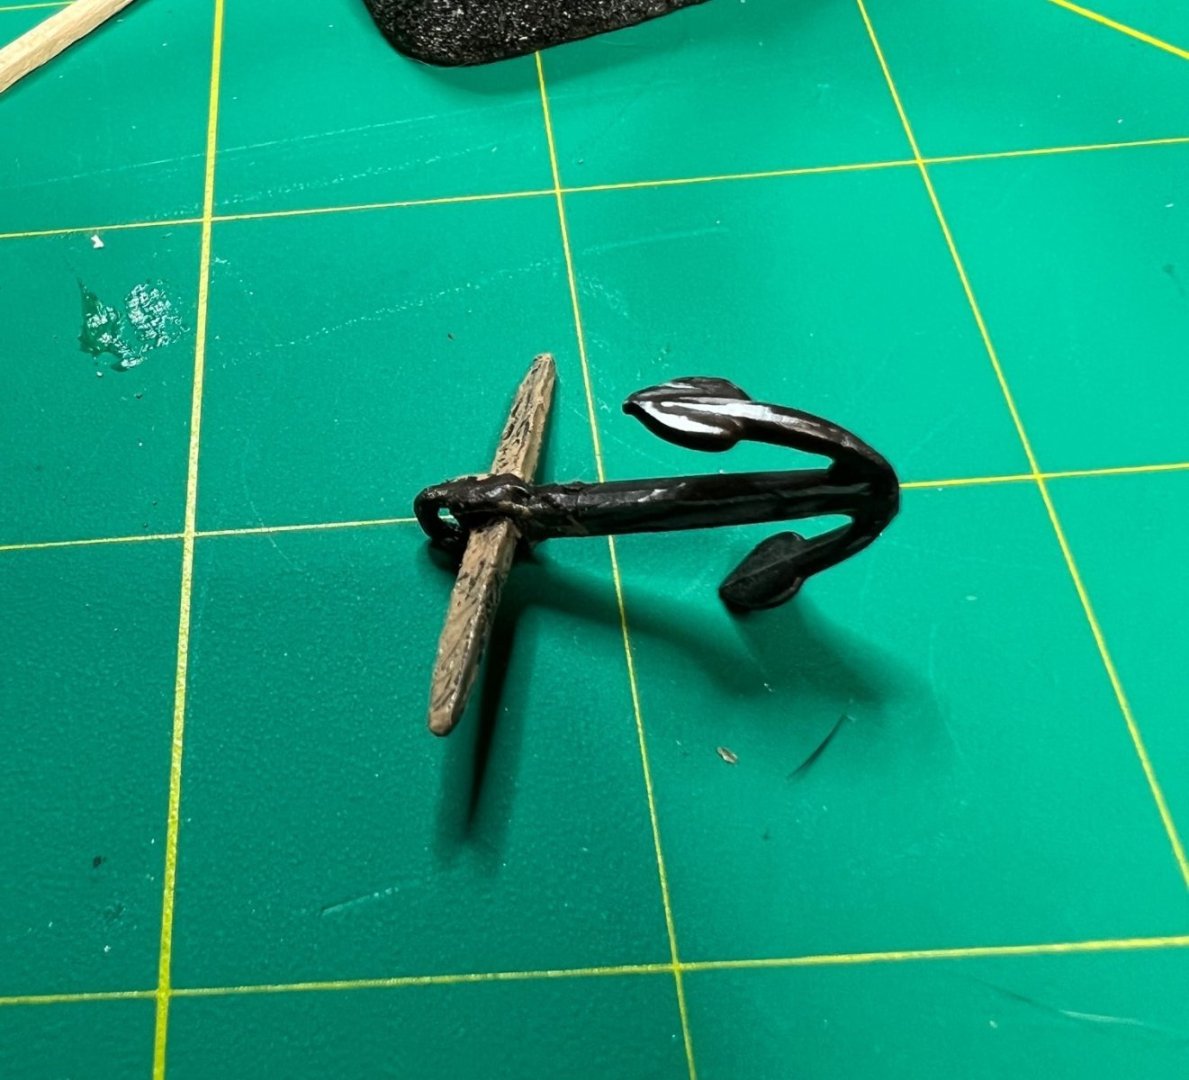
Now I decided to get off onto the anchors. The kit came with two cast zinc or some crap metal anchors that didn’t impress me but I was going to use them anyway. First I picked a couple of old enamel colors I had to try to paint them to look like wrought iron and wood. I put them aside for a week or so and then when I came back to them, I noticed they needed a lot of filing to remove the hideous seem lines from the casting process. It was during this “clean up” that I cleaned up a little too hard and broke one of them. I thought surely I can solder the broken piece back on but as you can see in the photo, this resulted in disaster. I think the melting point of the anchor was less than that of the solder so… one anchor now. What to do? I measured the anchor and ordered two Amati anchors that were within a couple of millimeters of the size of the kit anchors from Modelers Central, the only place I could find online that would ship to the US. Turns out they were coming from Australia so throw another shrimp on the barbie and have a Fosters while we wait four weeks for my two new anchor kits. Oops! Melt down. Here's the one anchor that turned out ok. Still needed the bands around the stock but the fake wood looked ok to me. In the meantime, I practiced stropping blocks with some of the kit rope since I didn’t want to waste any of the fine ropes I got from RopesOfScale.com practicing. I used my helping hands as I learned on YouTube videos to try my first ever block stropping in 65+ years on this planet. It was a learning experience but gave me confidence that I could do it when the time came. My old blocks split like crazy when I stained them, so I had to glue them back together. Ended up ordering new blocks online to replace. I ordered 4mm because I thought the 3mm blocks in the kit were too small but I could use both. In the next episode, I make a block buster to knock the rough edges off the blocks I learned how to make from Olha. Still no anchors so I had to decide if my ship would be strapped and since I stay strapped I figured my ship would be too. That is next. Guns, guns, guns! That gets us to Feb 23, 2023. Thanks for reading! Until next time, keep on modeling!
- 59 replies
-
- Swift
- Artesania Latina
-
(and 1 more)
Tagged with:
-
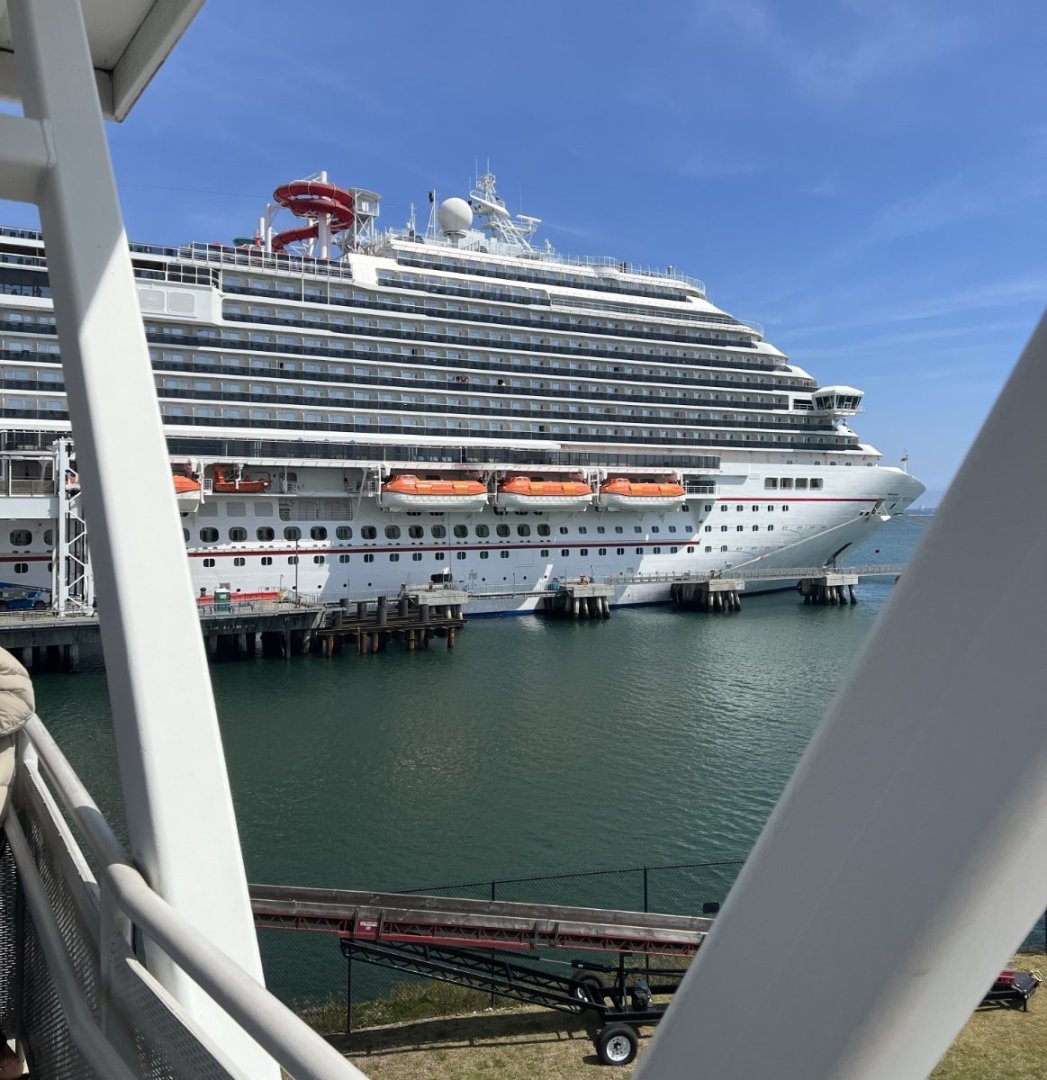
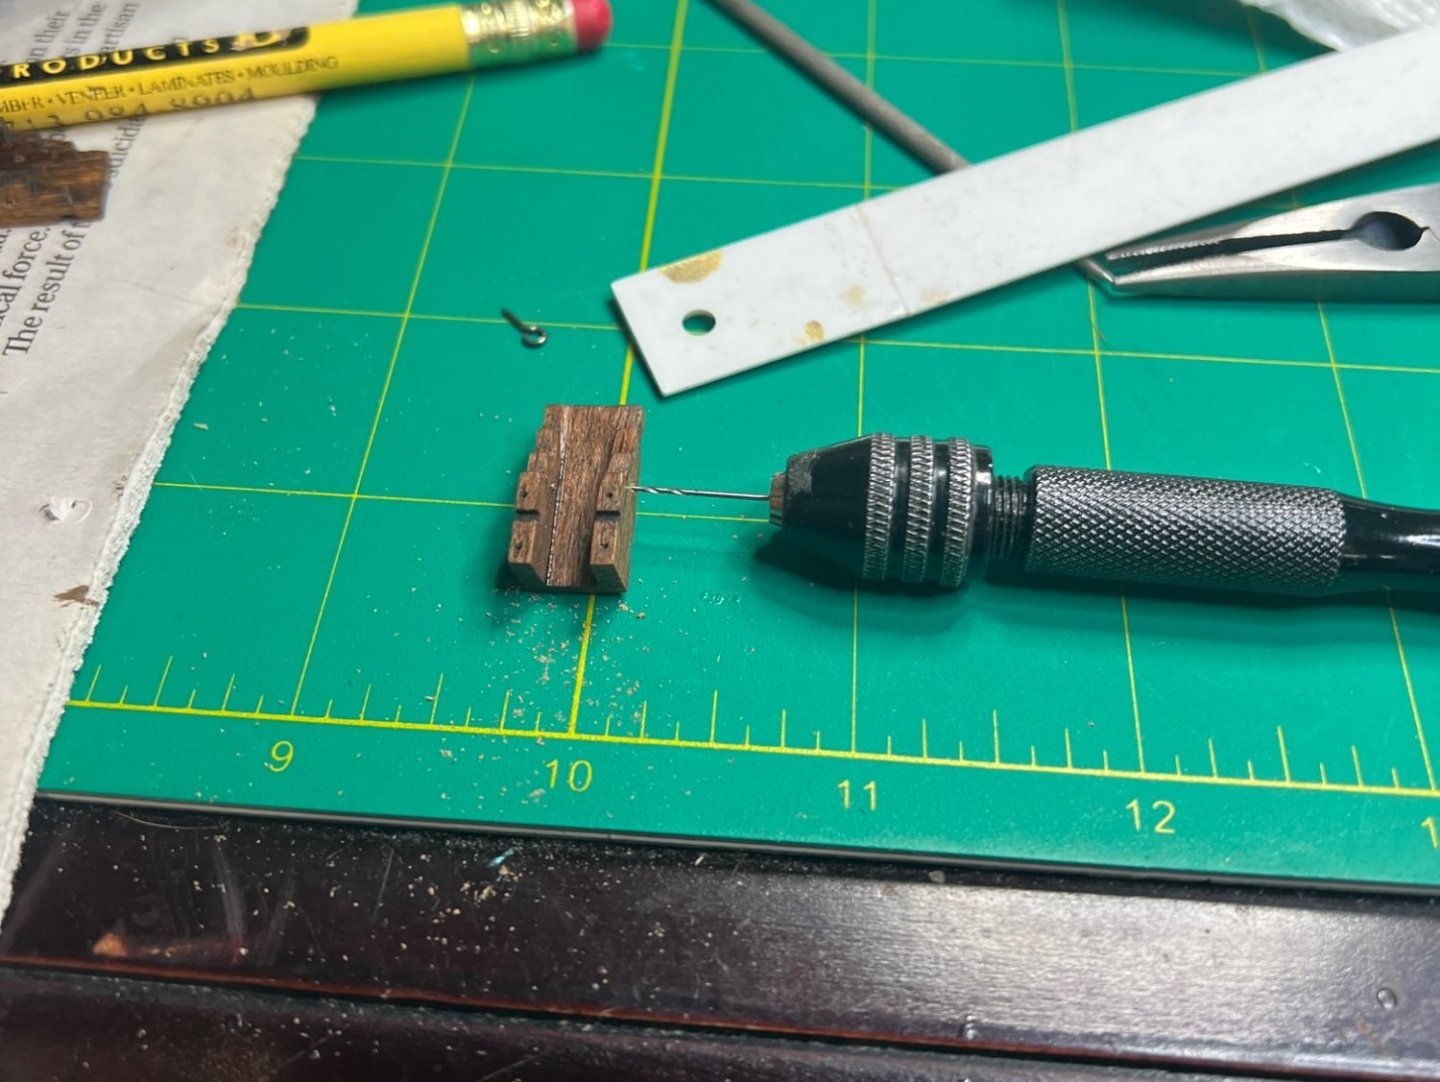
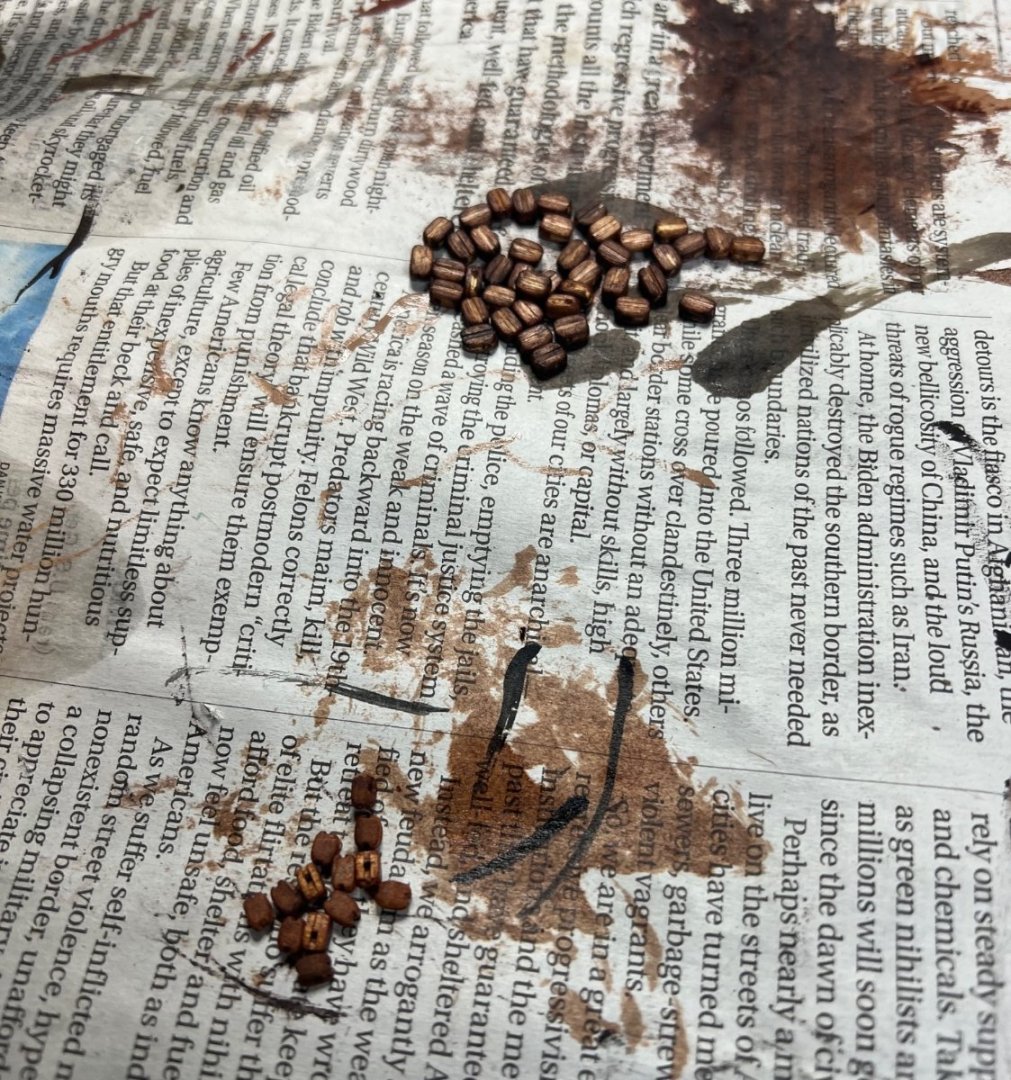
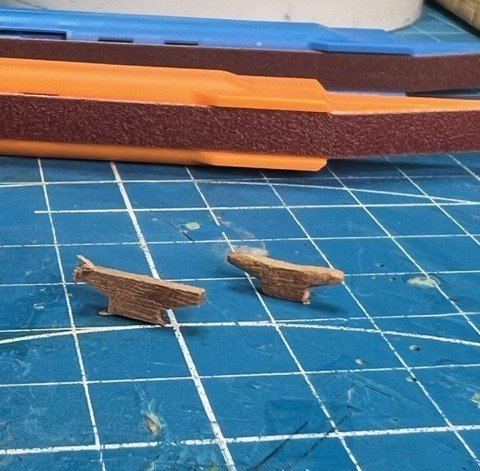
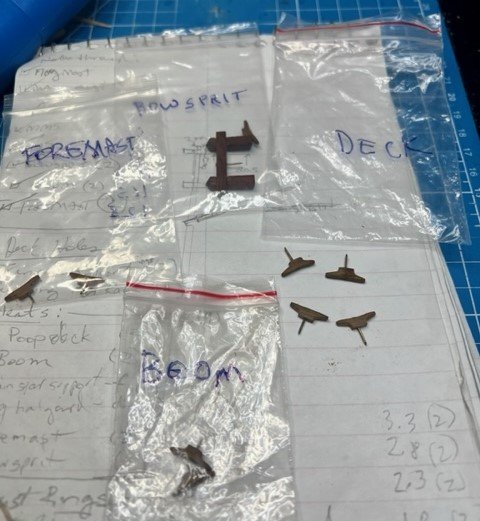
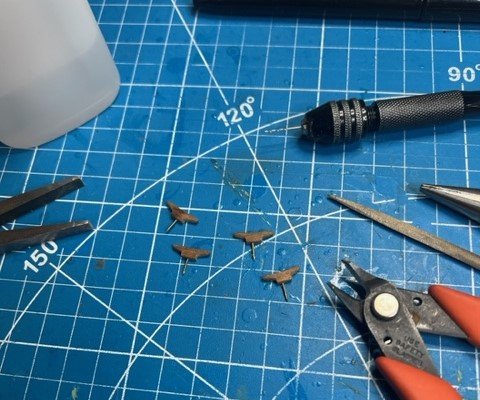
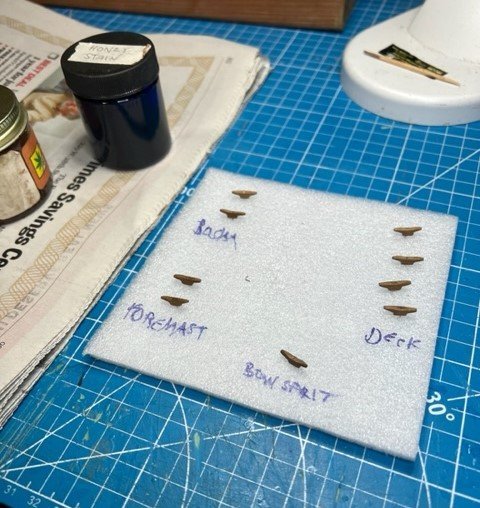
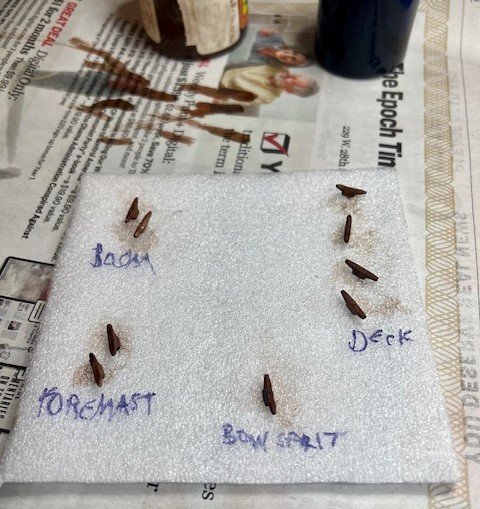
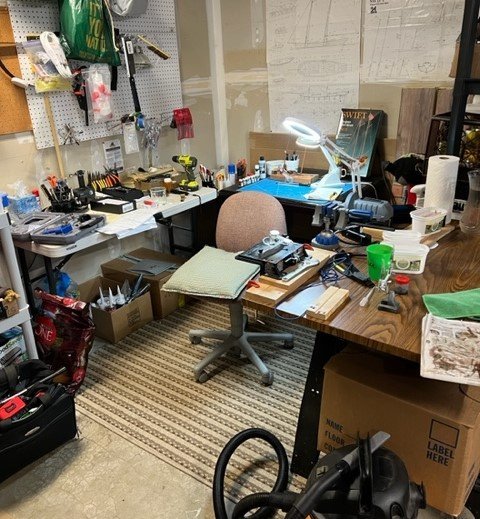
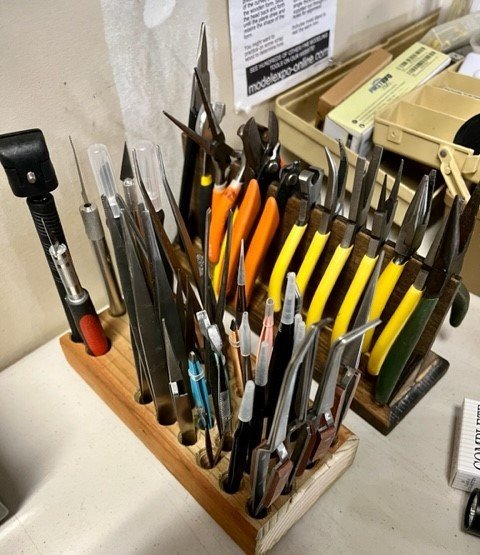
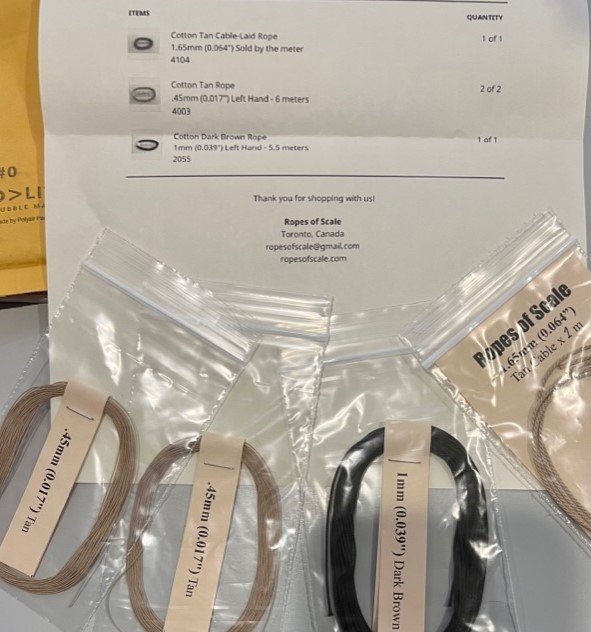
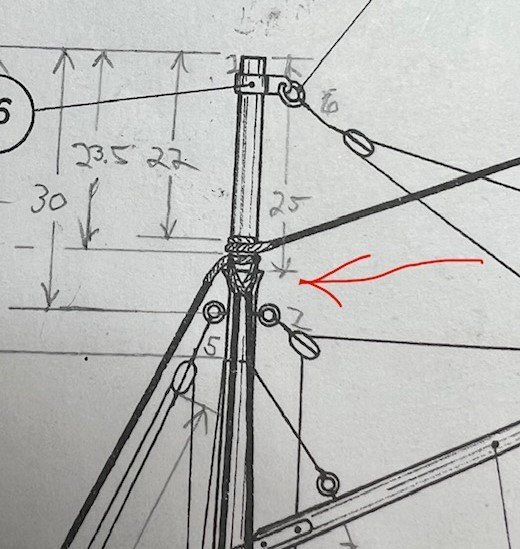
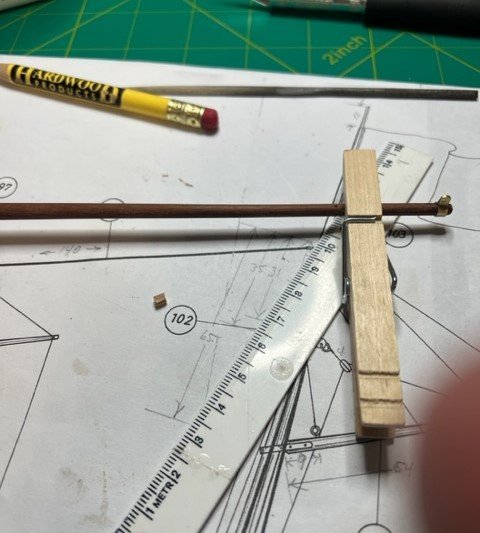
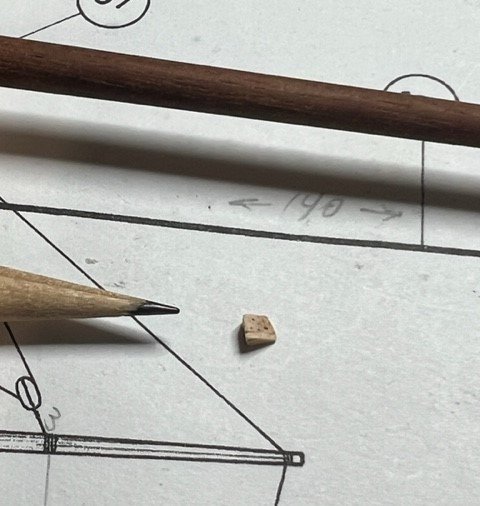
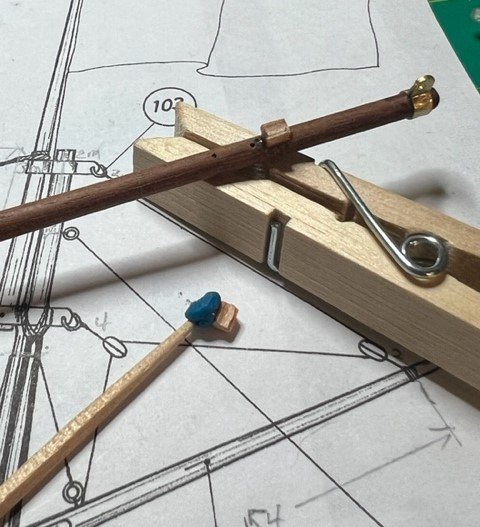
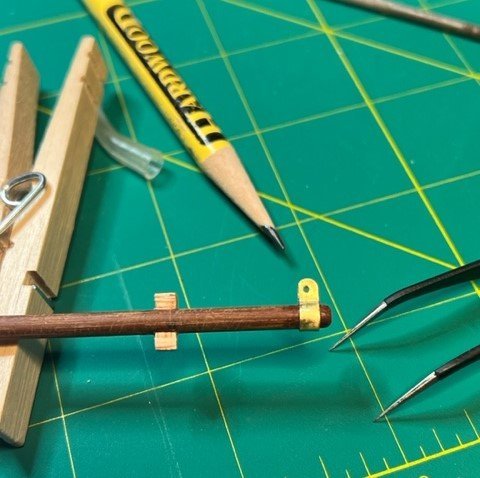
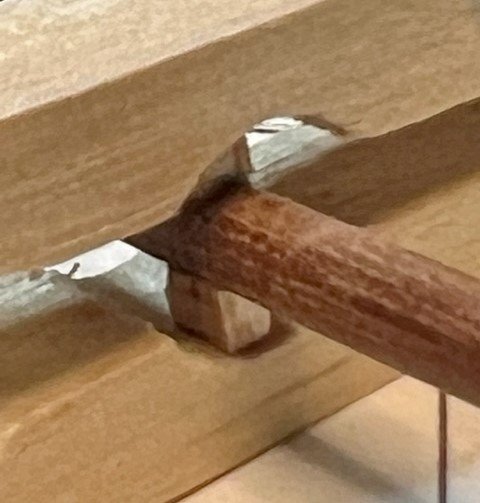
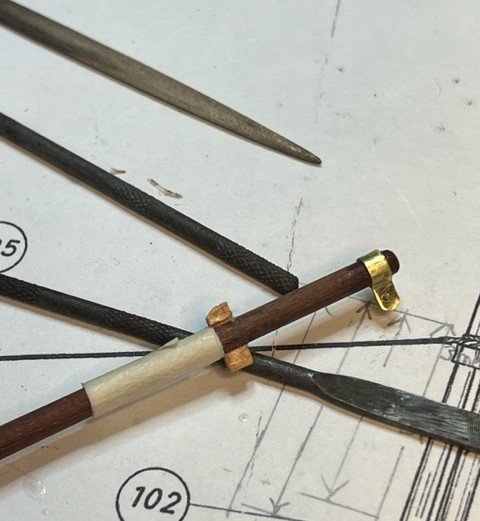
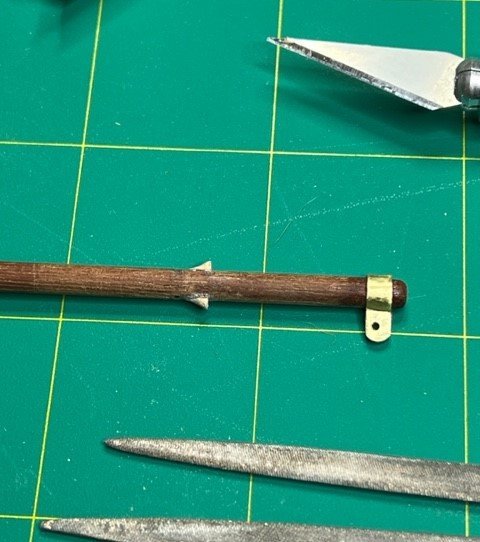
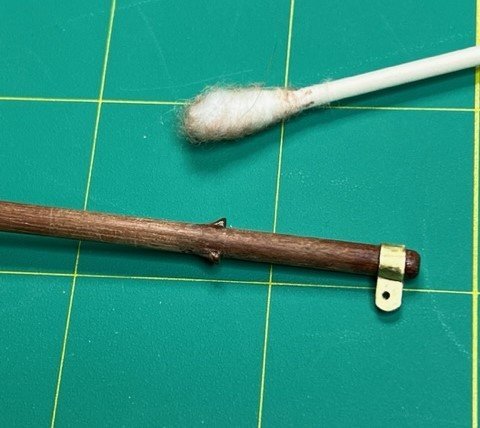
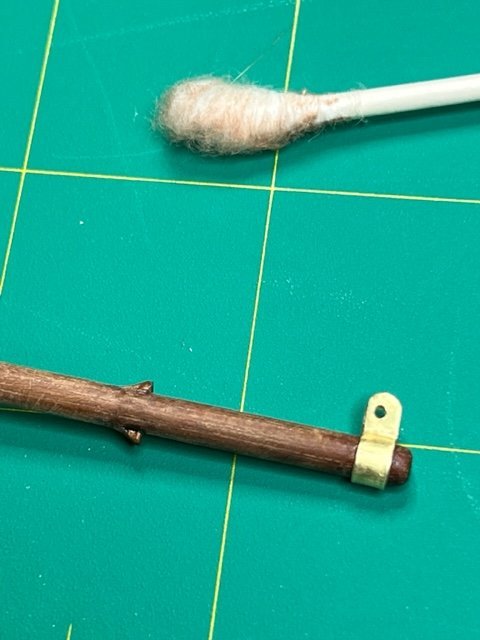
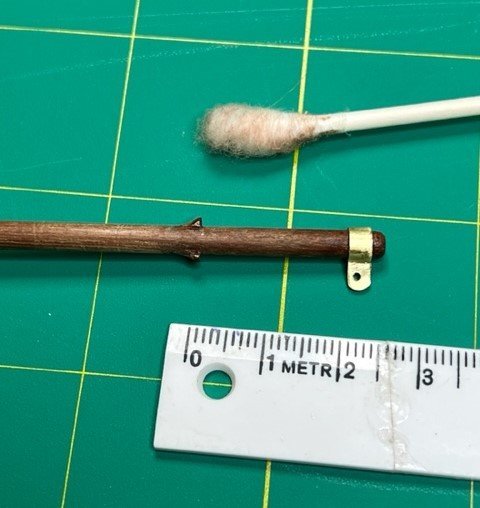
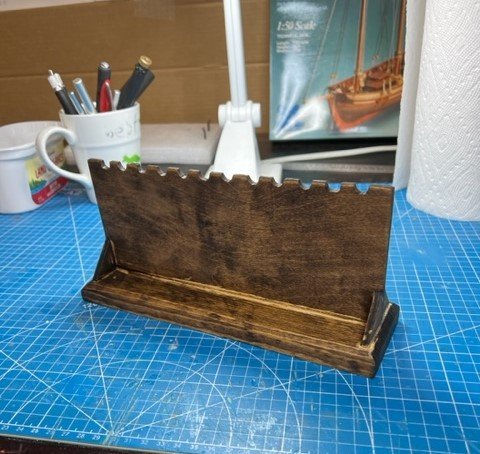
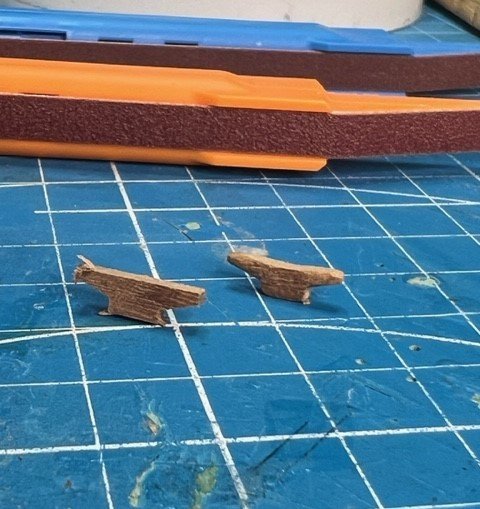
Cleats and an unfortunate discovery about the foremast, but a solution and ropes arrive. Sorry it’s been so long since my last post. I took a very cold Mexican Riviera cruise on the Carnival Panorama to Mazatlán, Puerto Vallarta and Cabo San Lucas. The ports were warm and beautiful, the Pacific was cold and windy. Then the weather got better here and I didn’t want to sit in the house and type and I wanted to make progress on the model and I have. Now to try to get you caught up with where I am I brought my laptop outside to enjoy the better weather and get on with this build log. The cleats were supplied with the kit and were rough die-cut so they needed a ton of shaping to curve out the right angles. I used my new sanding stick to slowly shape them. I then asked on MSW if I should pin them and the answer came back yes so I drilled 0.6 mm holes into the bottoms and glued in the points of pins to complete. I dry fit each one to decide where best they would fit and placed them onto a sheet of foam, labeling where each would go before staining. Some needed a radius on the bottom to fit masts. Afterward I bagged them up in labeled bags so I’d know where they went later and placed in my “completed parts” butter dish. Next I finished off the masts and spars with the brass pieces needed and stained them up. I then gave them a coat of satin varnish. Meanwhile, here's a shot of my shipyard and some tool holders I made. And here's my RopesOfScale.com order I received from Toronto. This is when I studied up on how the stays would “stay” on the foremast and looked more closely at the plans and saw a “shoulder” on the mast. I asked in the forums and got affirmation that I needed to install shoulders on the mast to hold up the forestays that would be seized around the foremast near the top. I got several suggestions on how to do it and chose to scratch make some parts to attach to each side of the mast and shape after they were glued on. You can see how tiny these parts were in the pictures below, and they was BEFORE shaping. I started with little rectangles that I could glue to the mast with both PVA and CA glue to try to increase the strength of their bond. The next day I shaped them to be little shoulders with a file and they seem very strong. I won’t know until I put the stays on and put some tension on them. I stained them to match the mast and varnished. I just hope they hold. The alternative was to make them pass-through the mast with one piece which would have required cutting a slot in a toothpick to pass the shoulder through. I doubted I could accomplish that so I went with two pieces instead. This gets us to Feb 21, 2023. I hope to continue to update this when I get time. I have made a lot of progress and can't wait to share. Thanks for reading and model on!
- 59 replies
-
- Swift
- Artesania Latina
-
(and 1 more)
Tagged with:
-
 Scotty W reacted to a post in a topic:
Swift 1805 by Scotty W - FINISHED - Artesania Latina - 1/50th scale - Virginia Pilot Boat
-
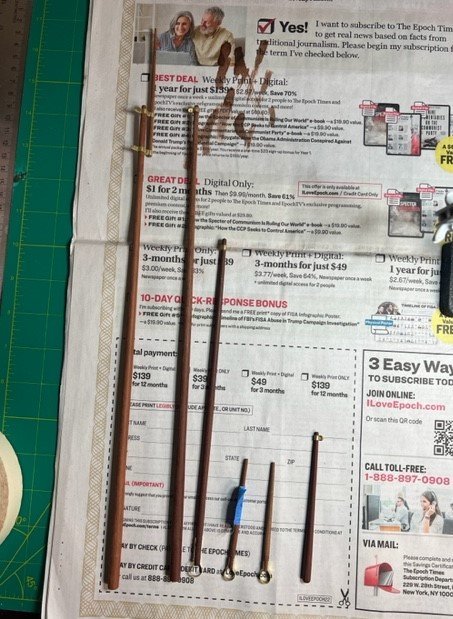
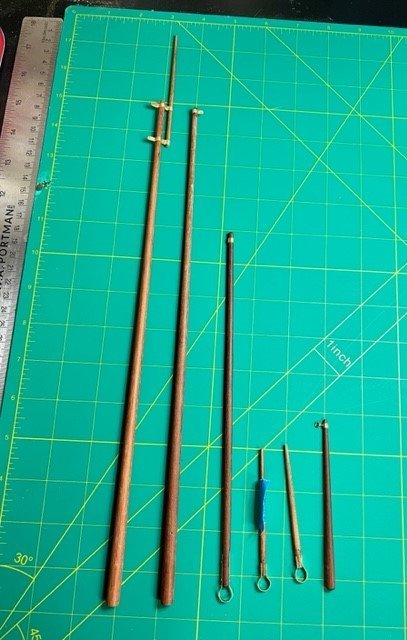
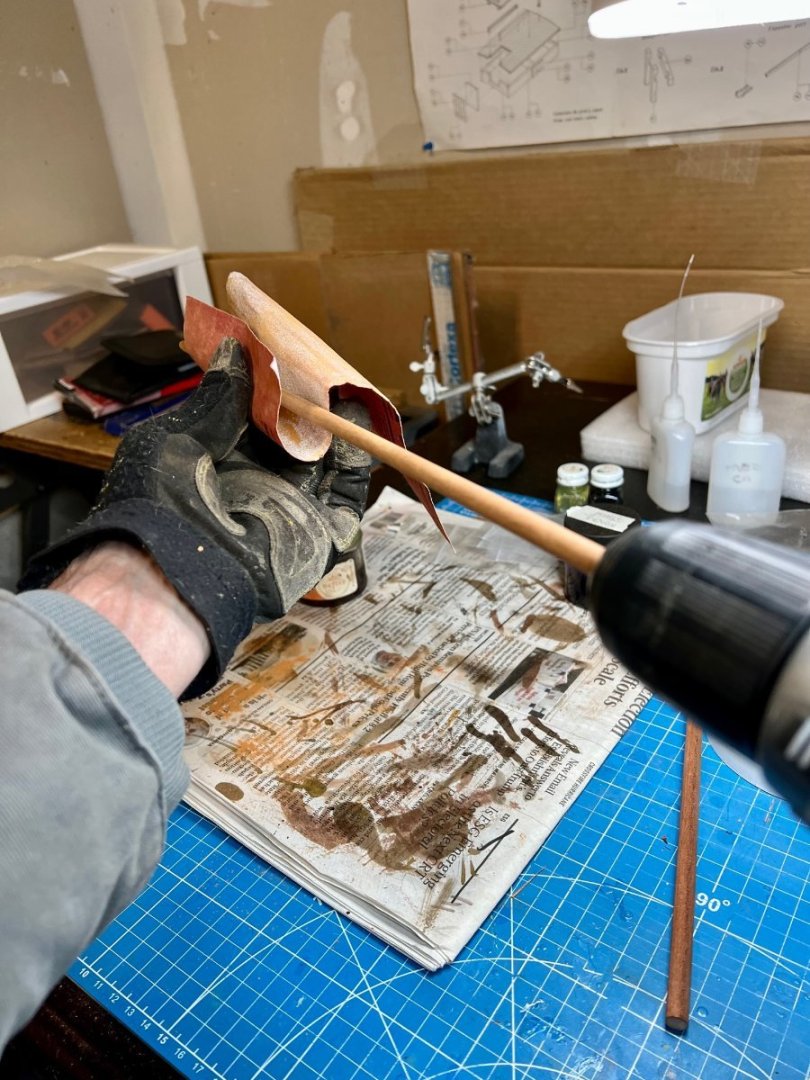
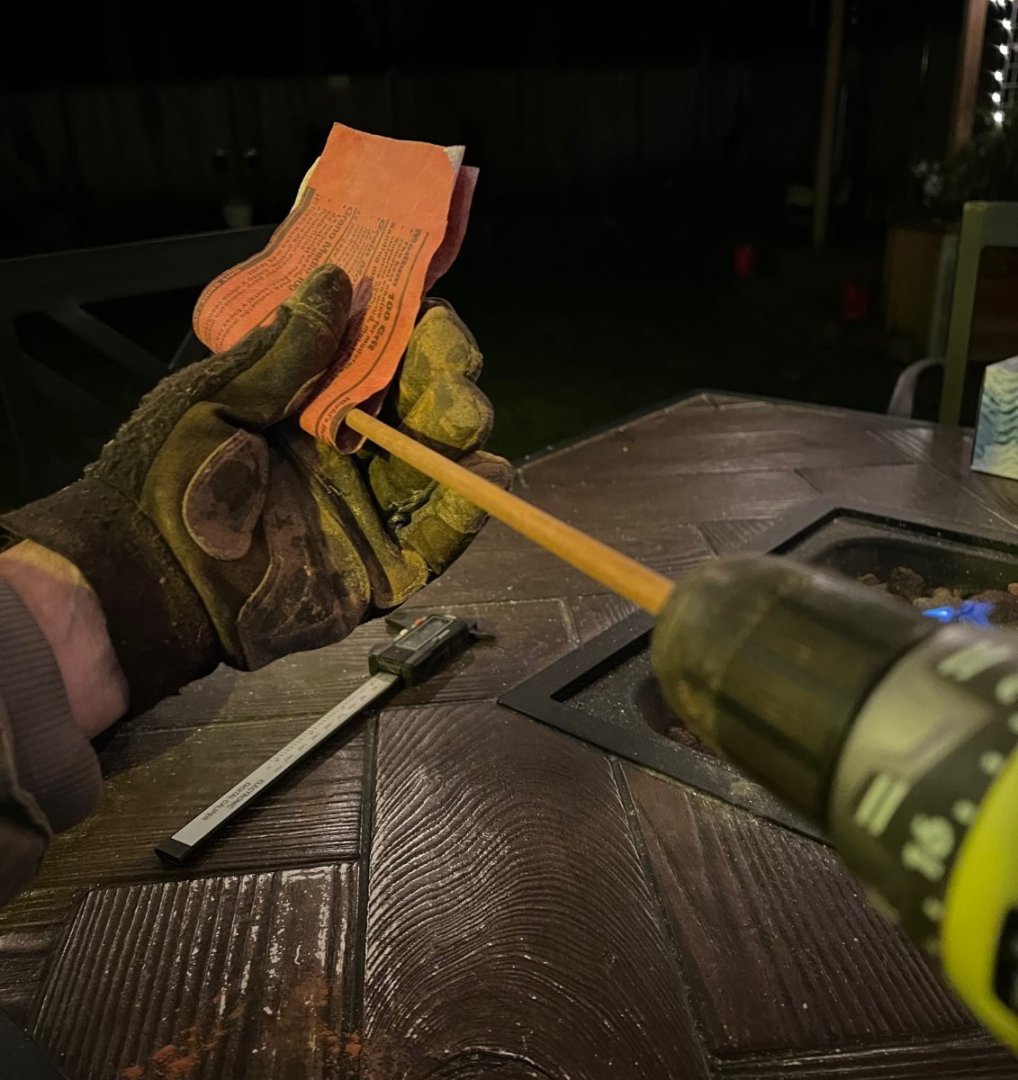
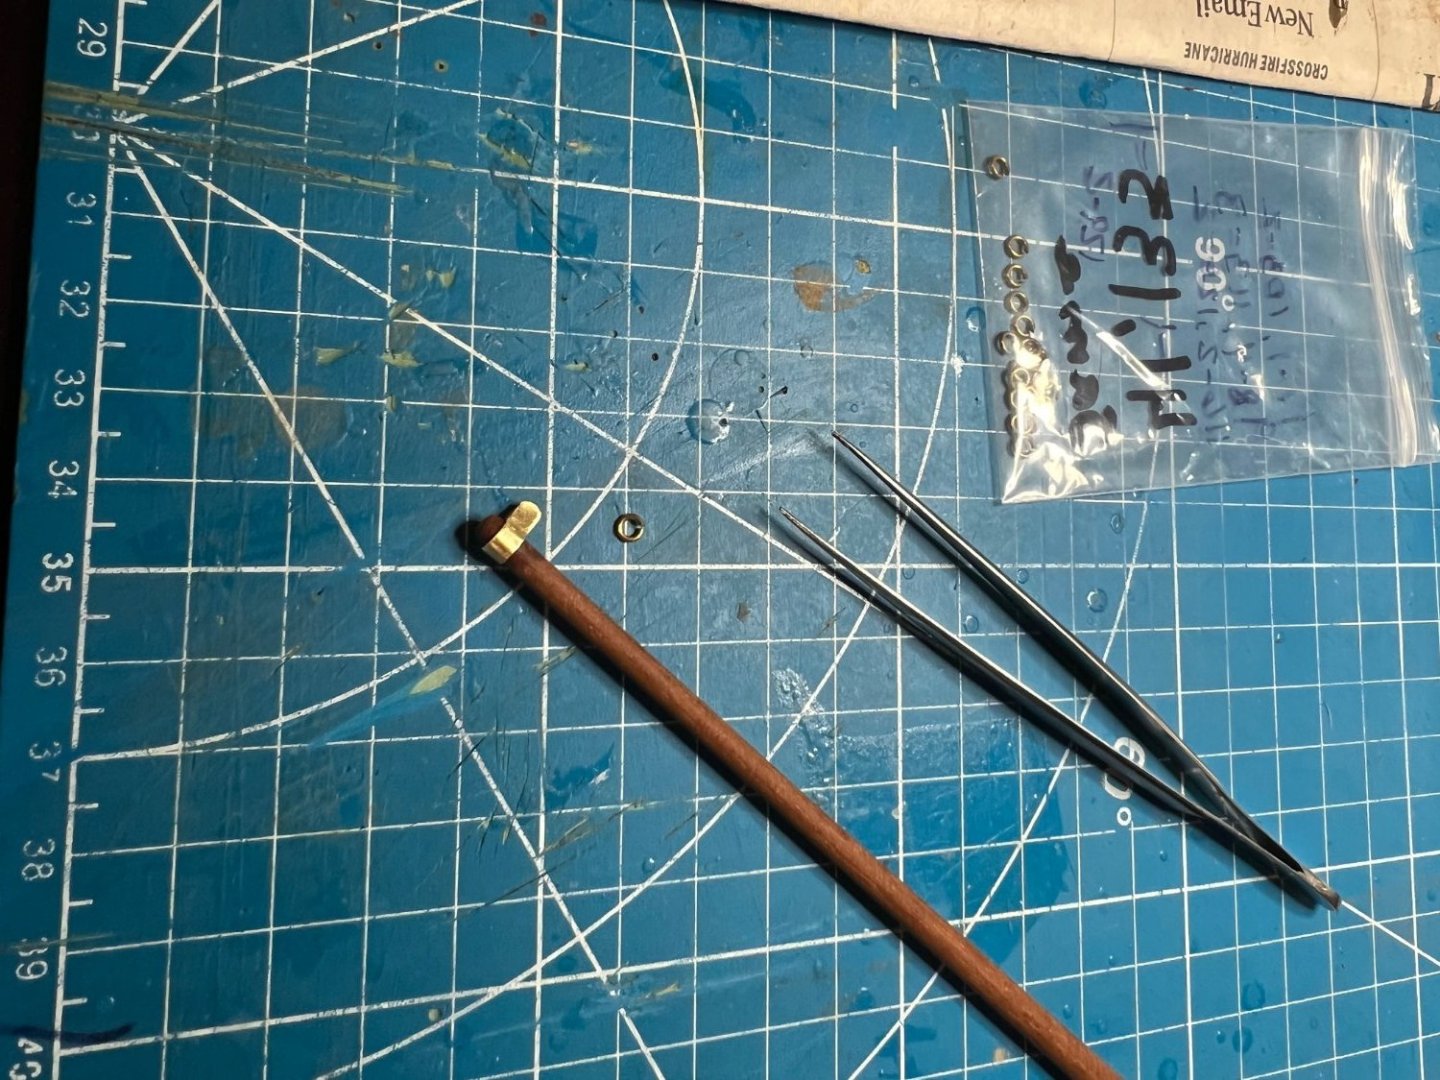
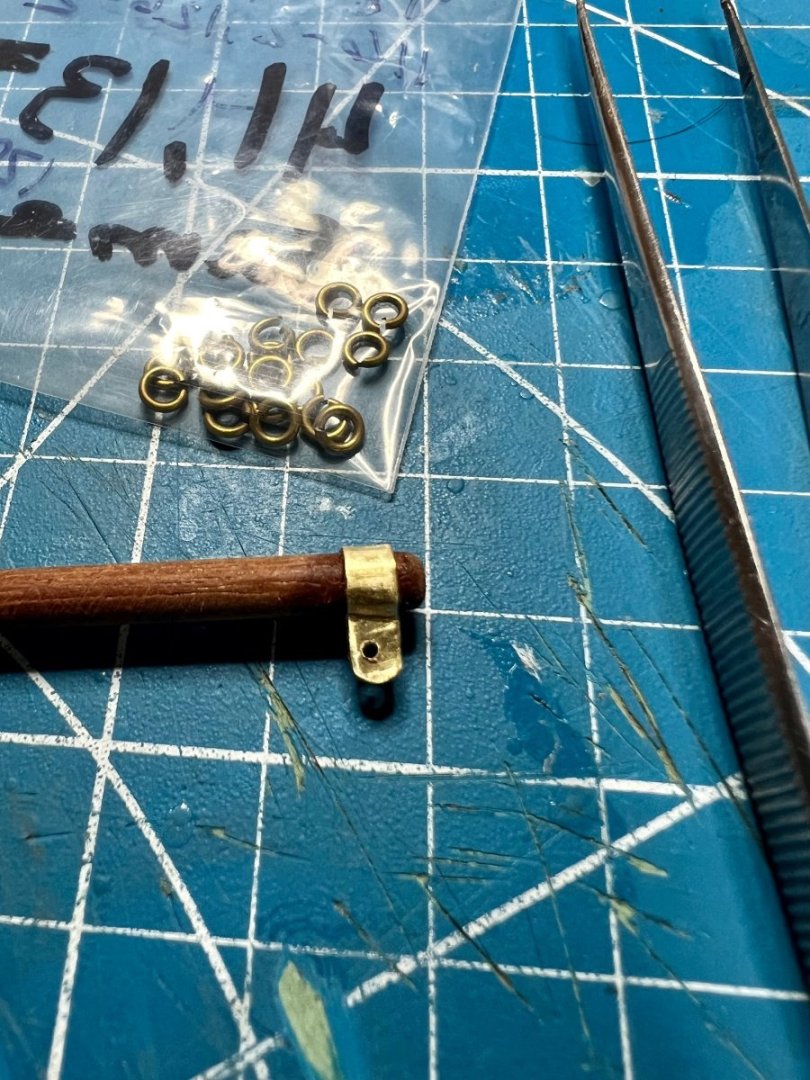
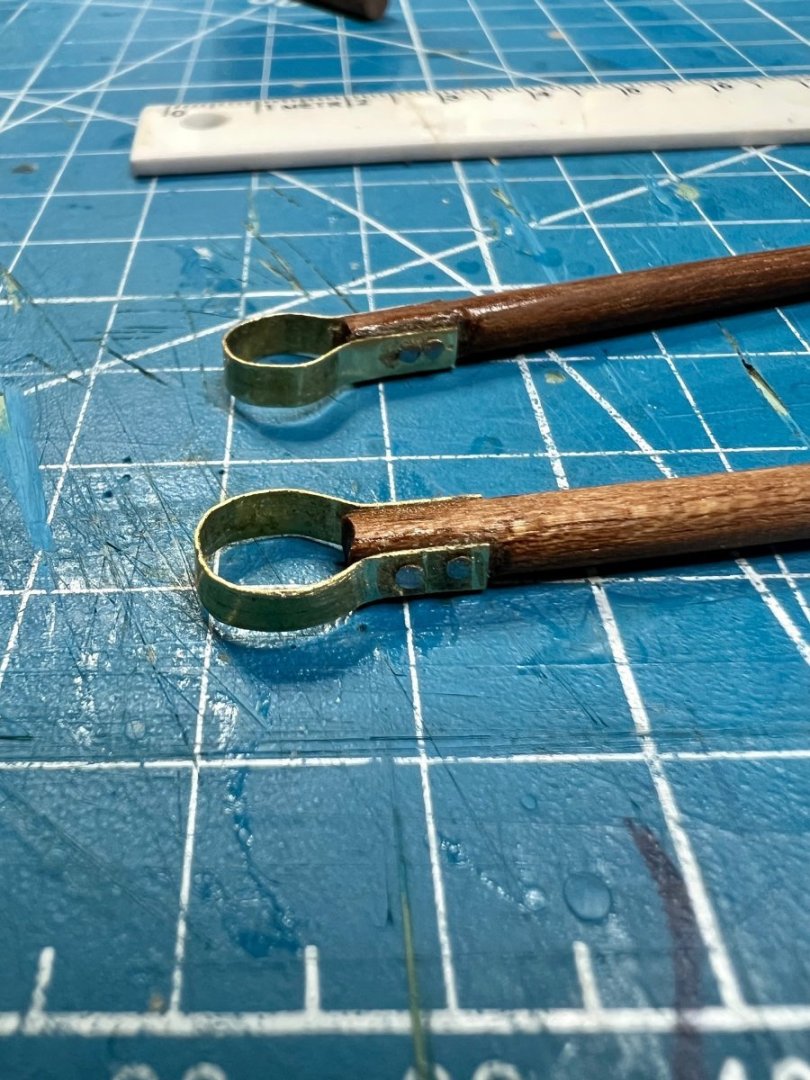
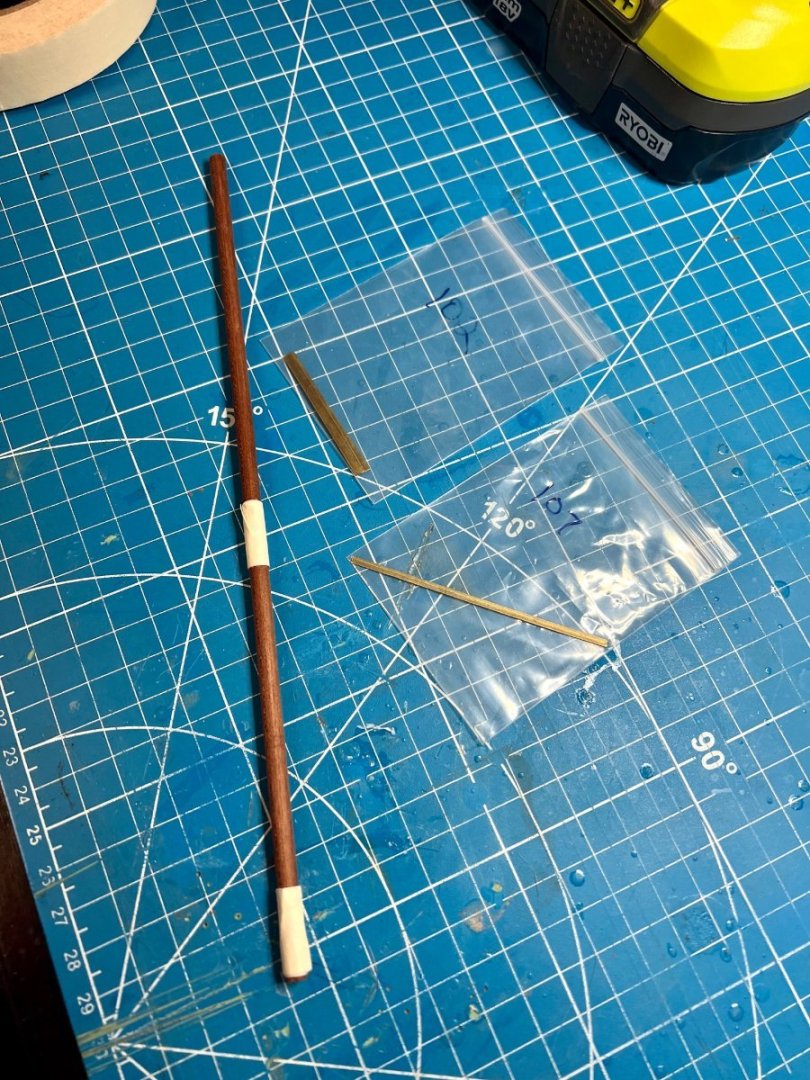
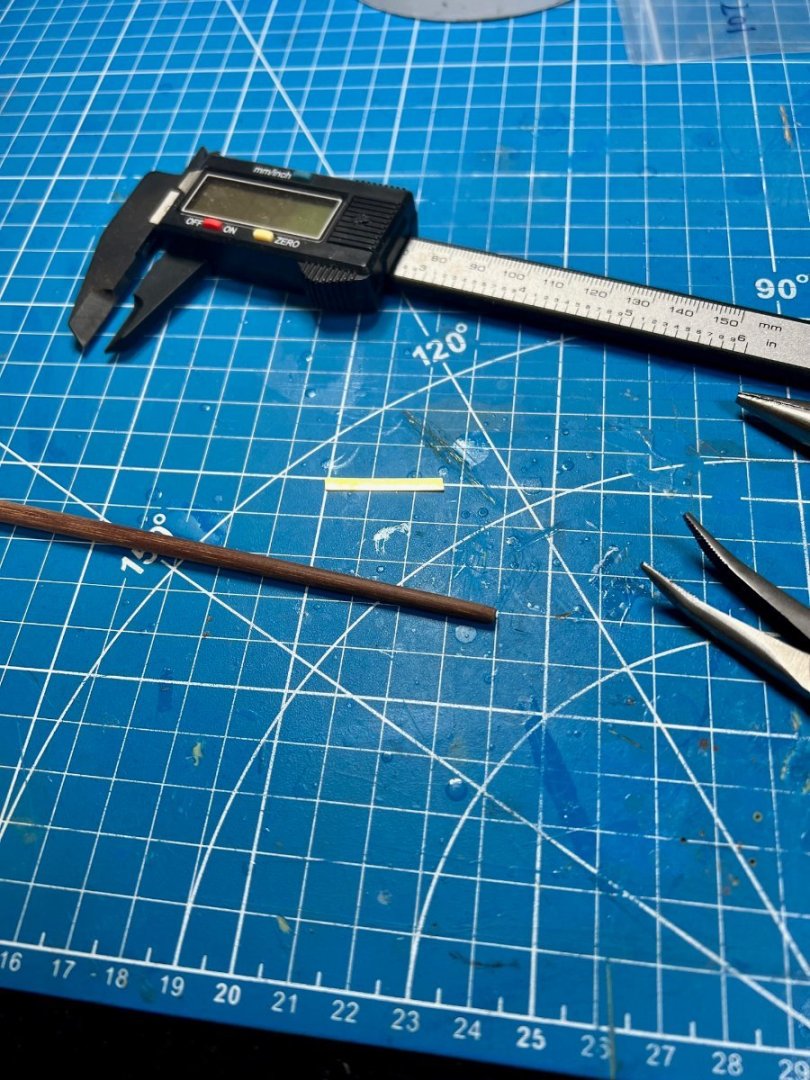
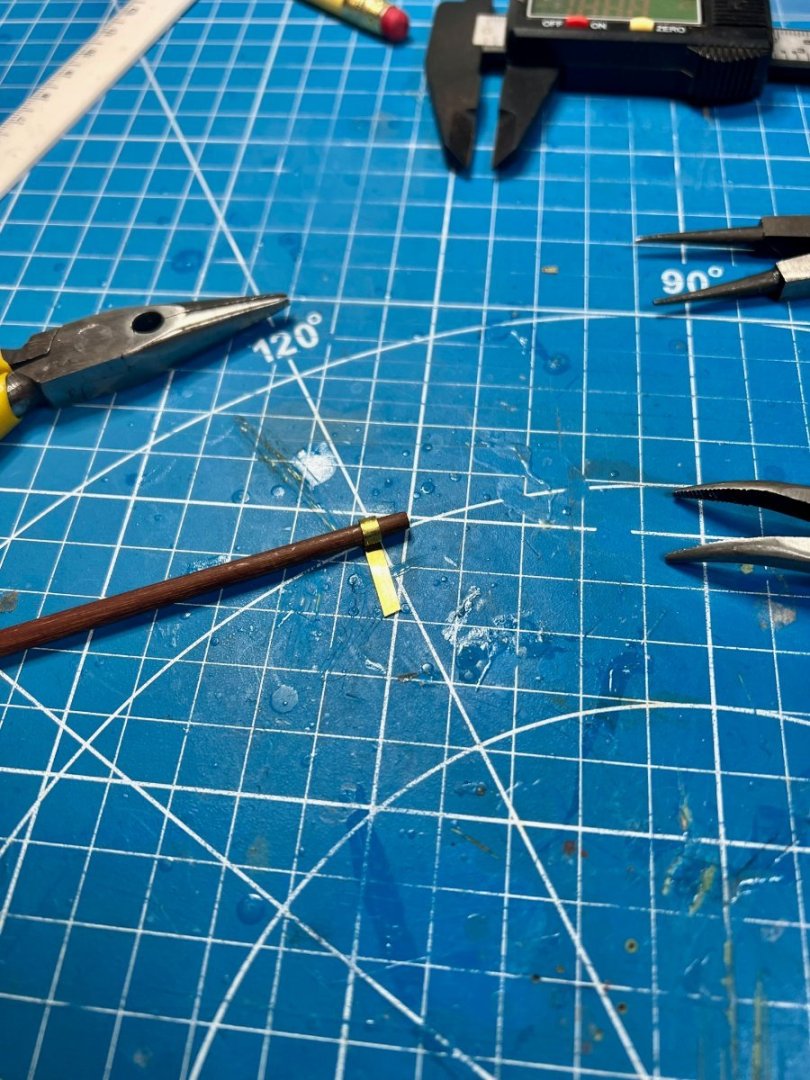
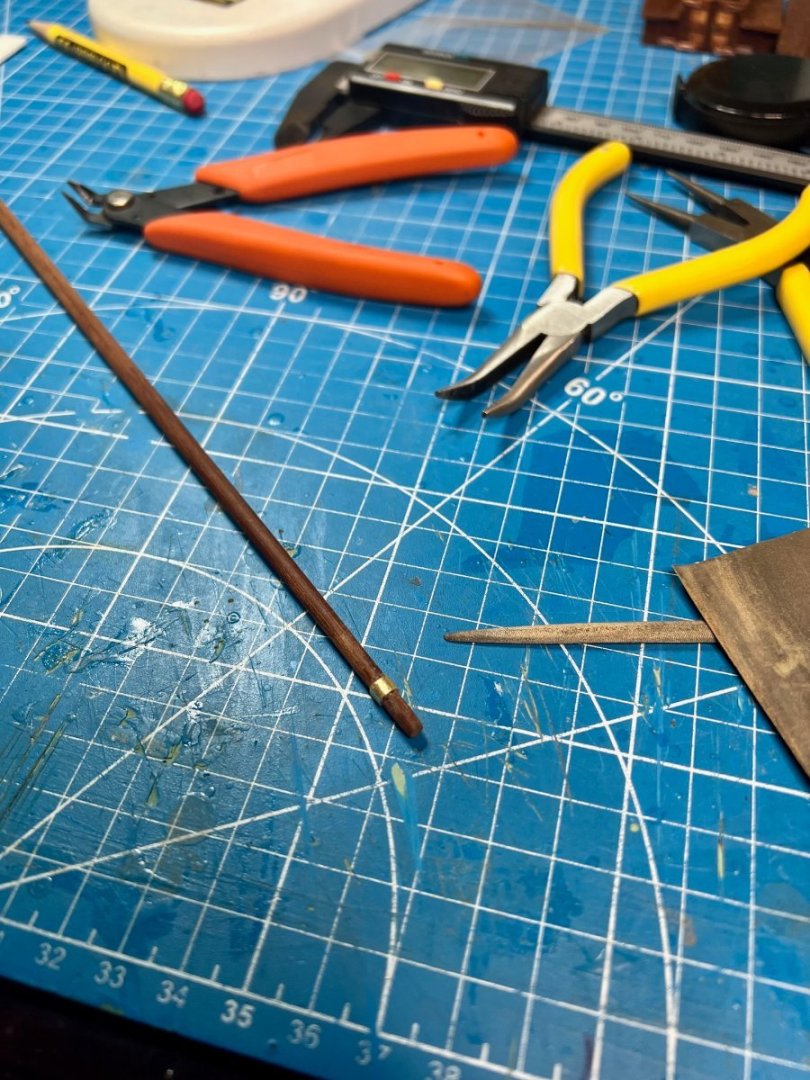
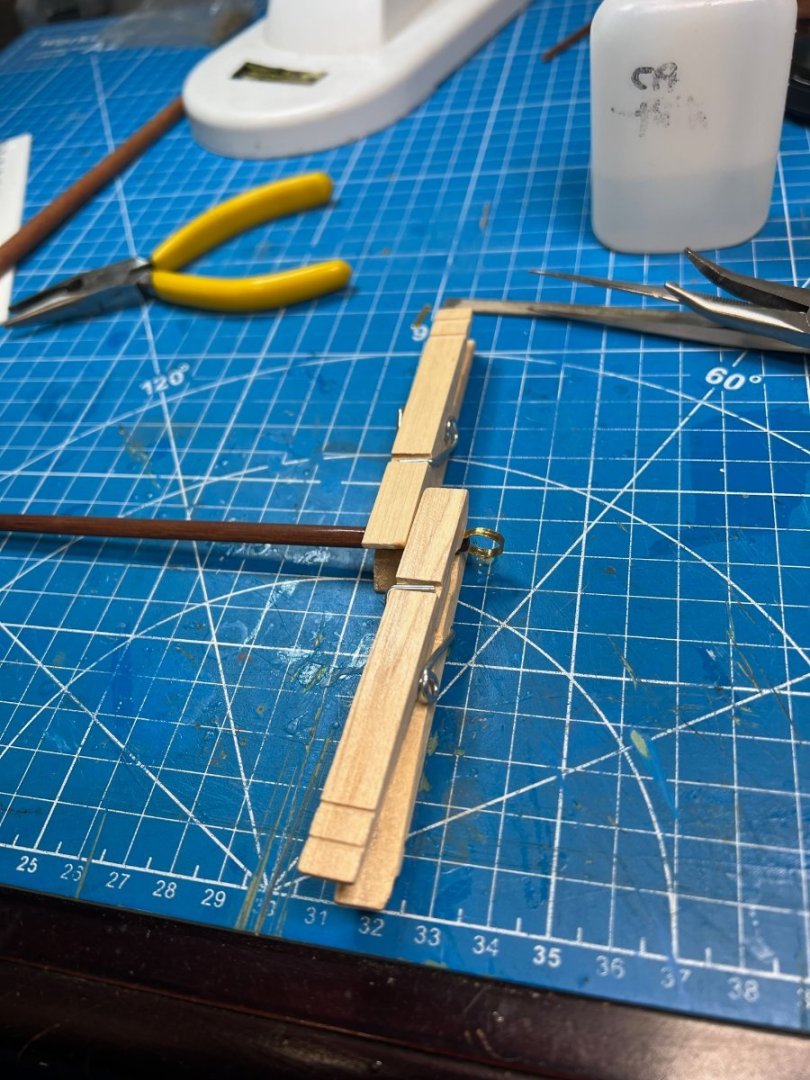
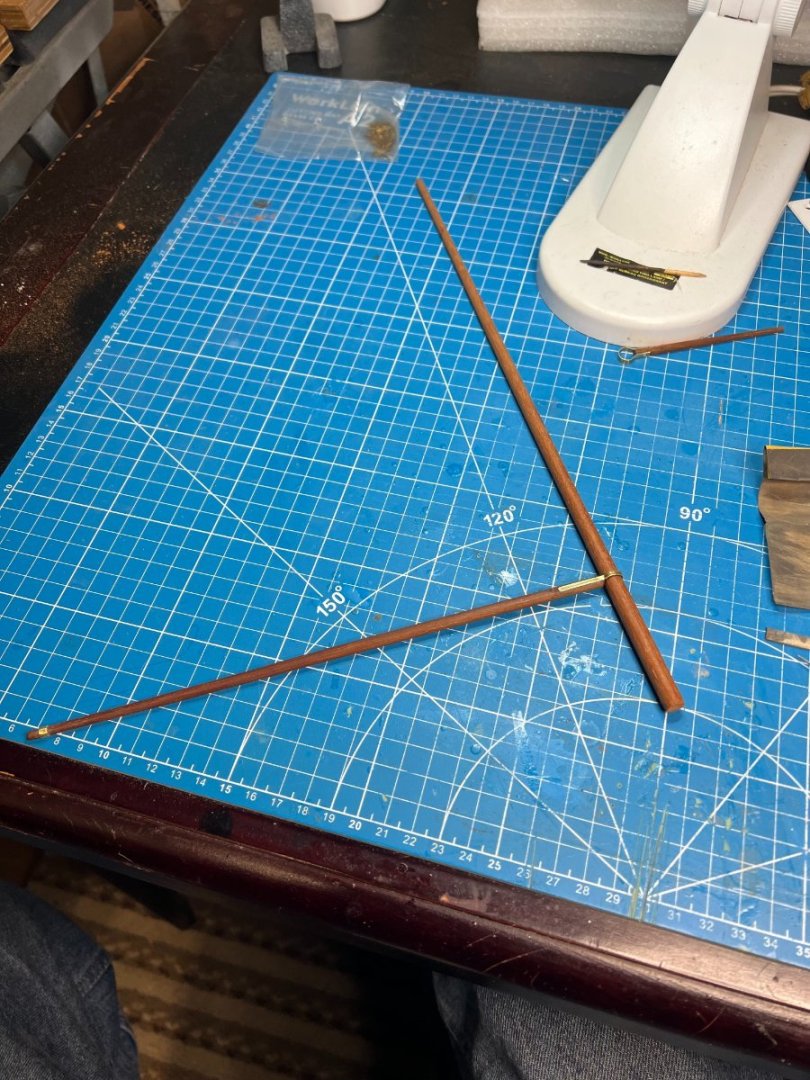
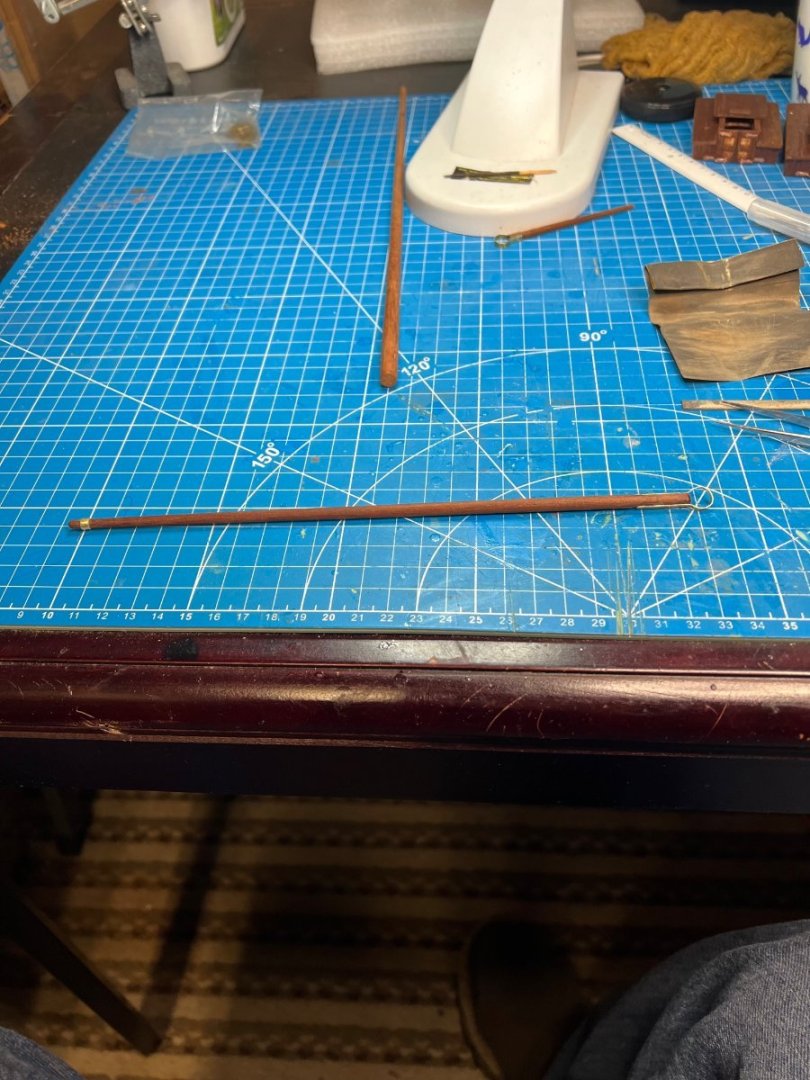
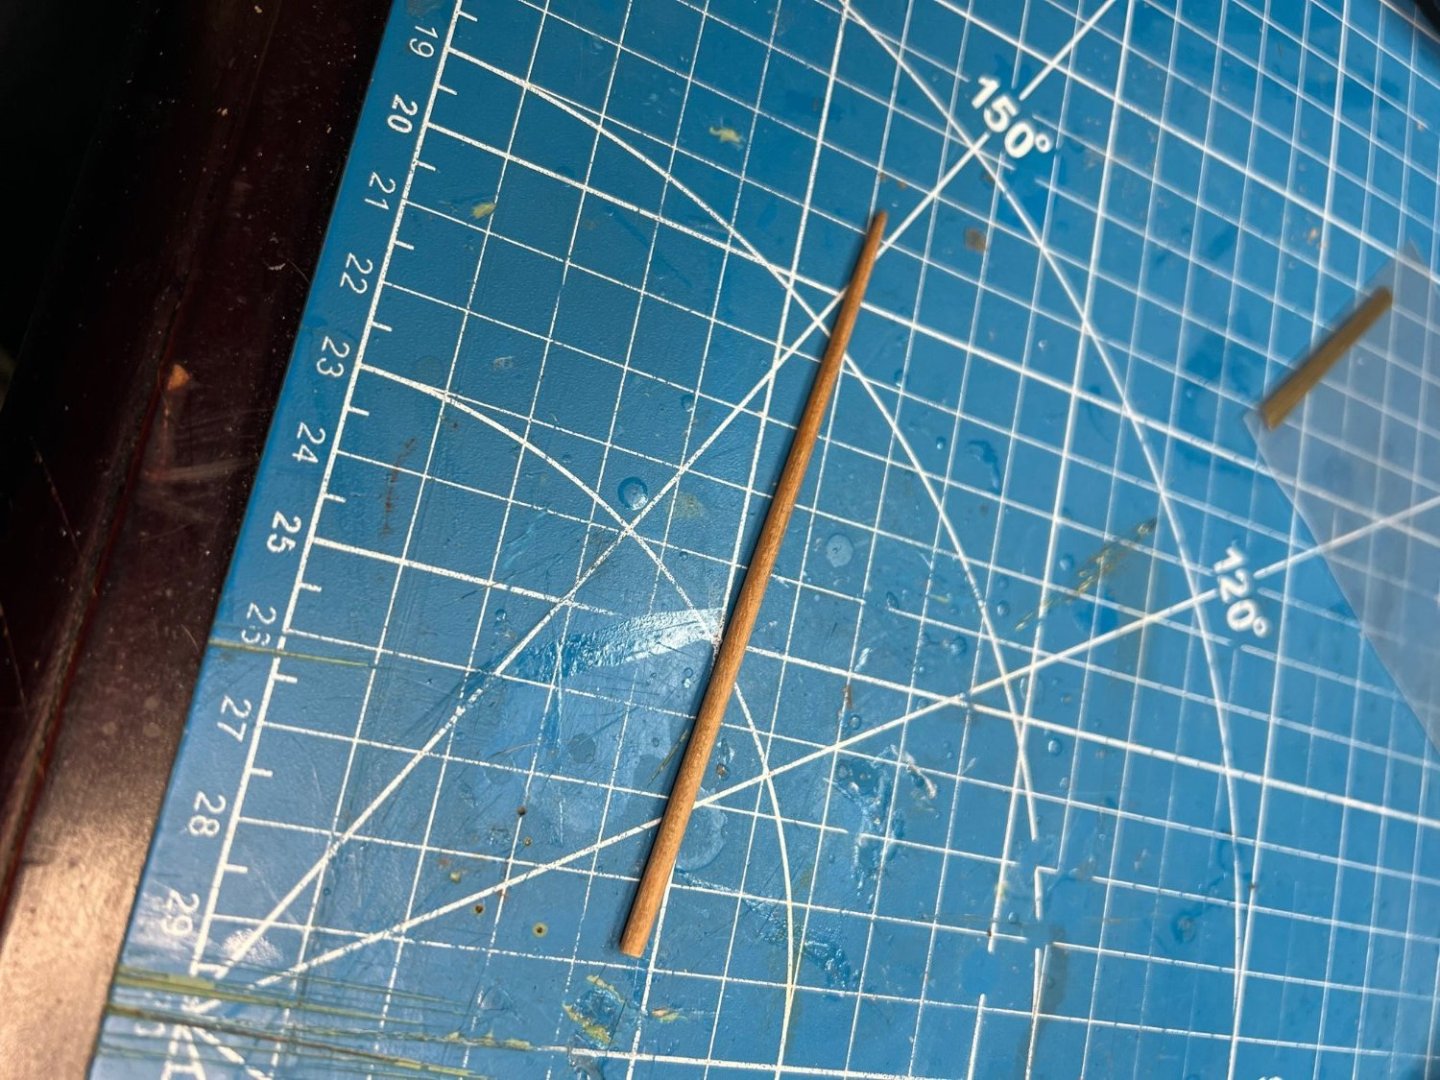
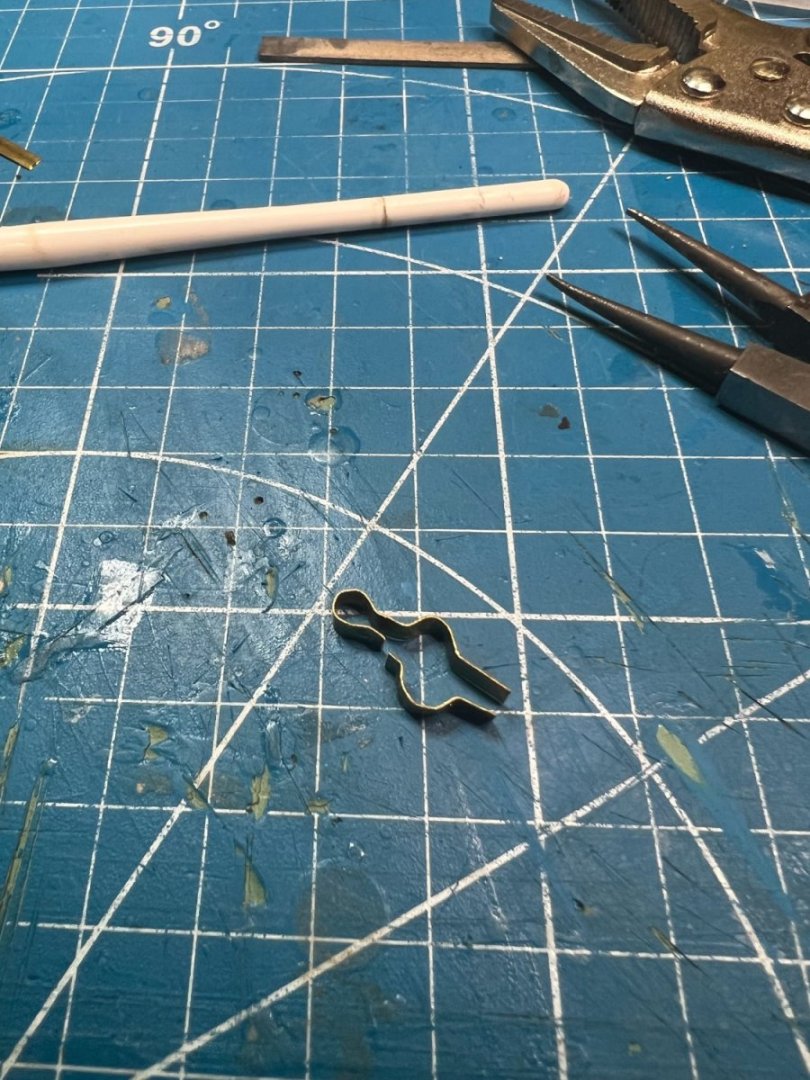
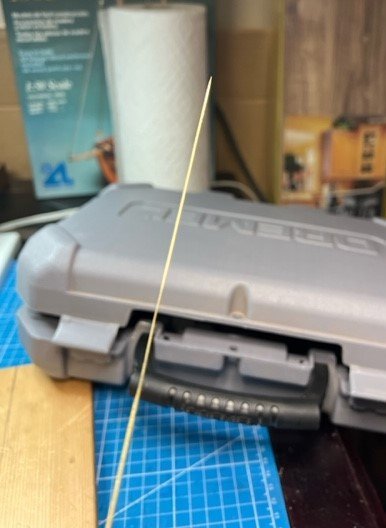
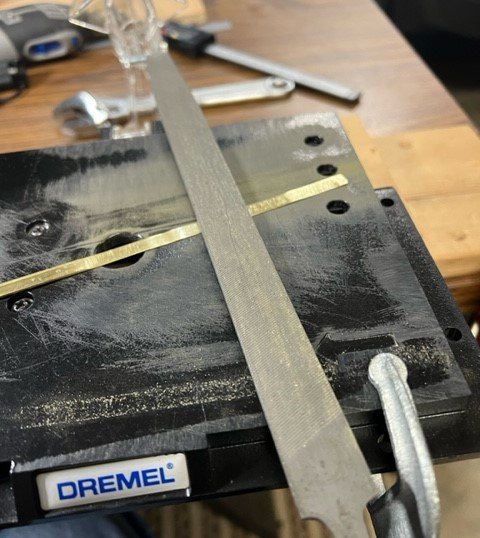
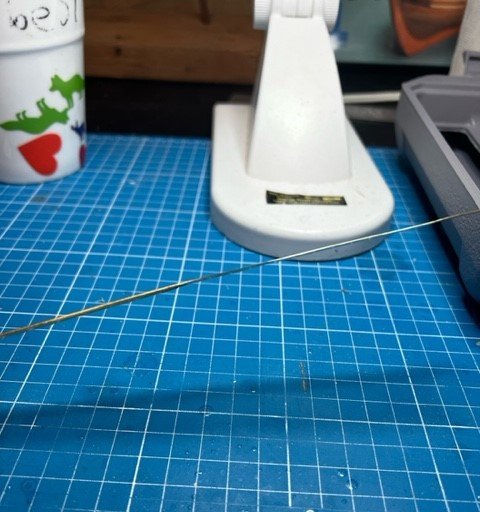
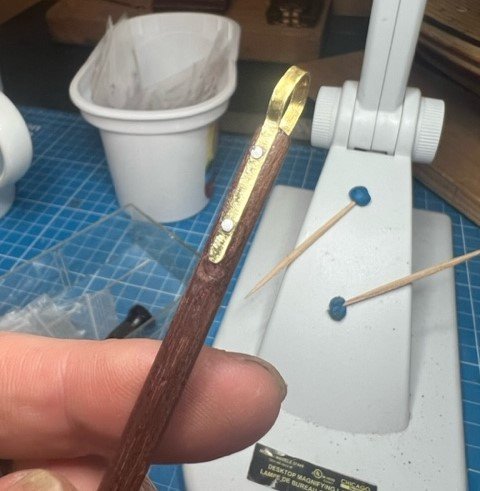
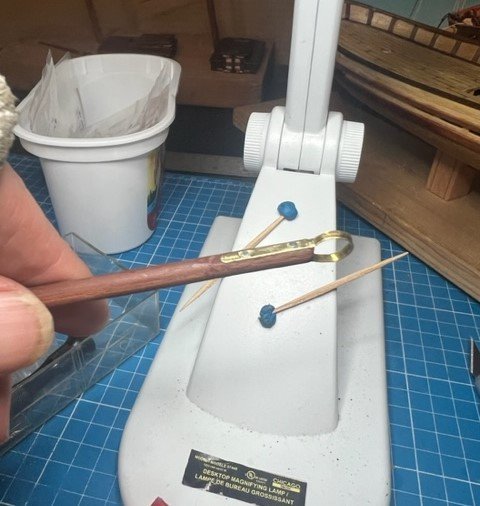
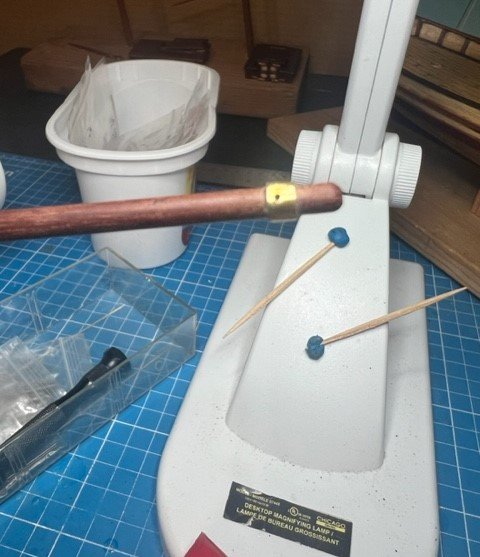
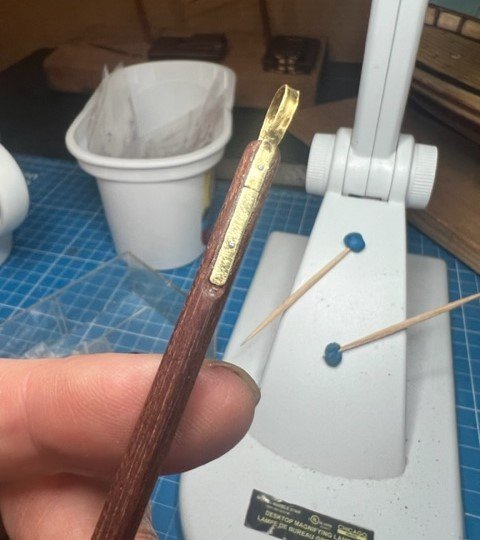
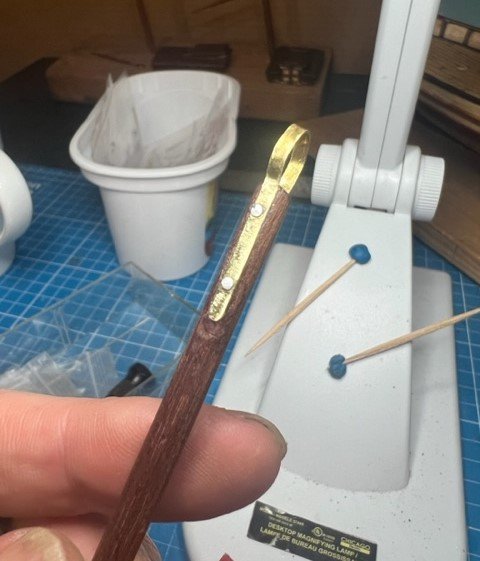
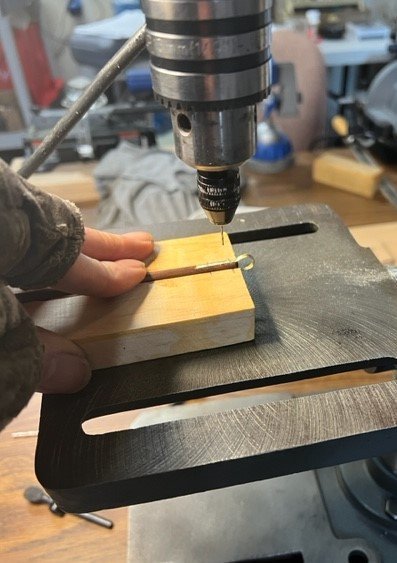
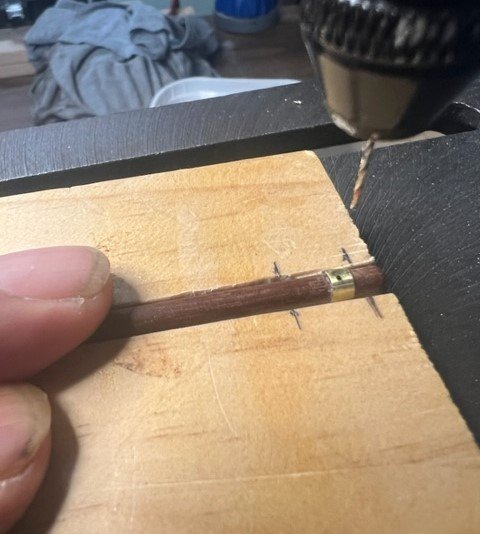
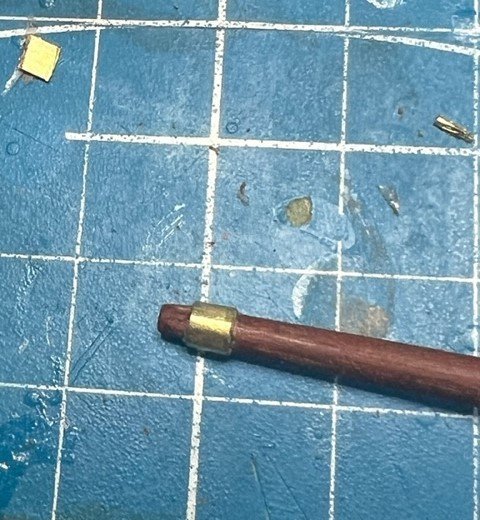
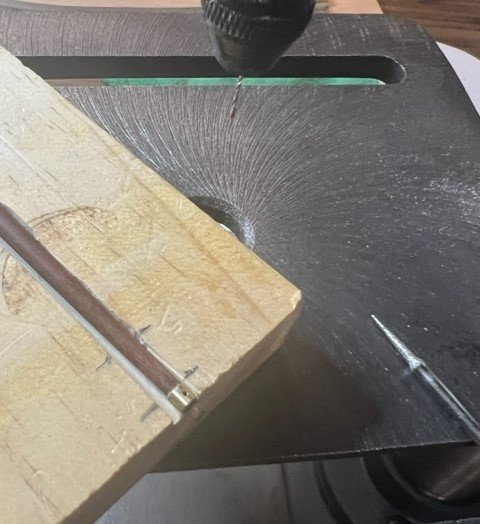
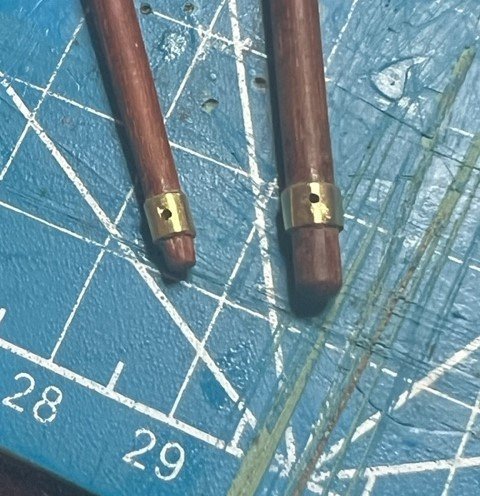
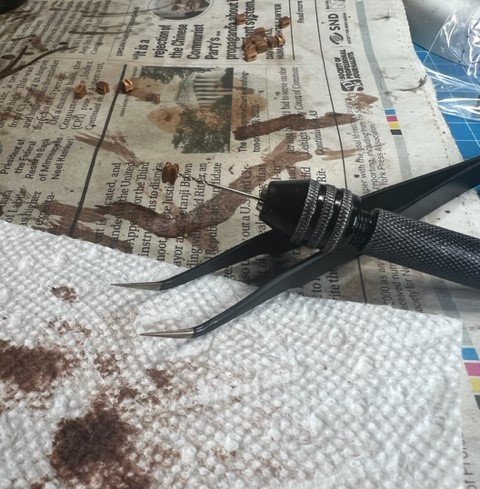
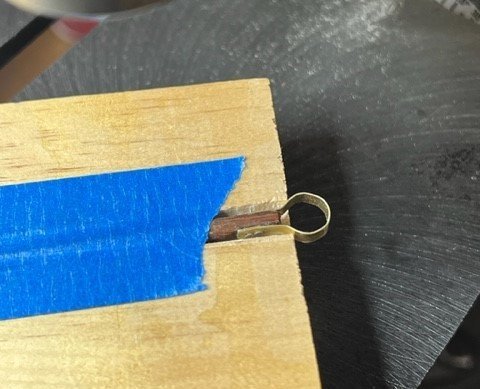
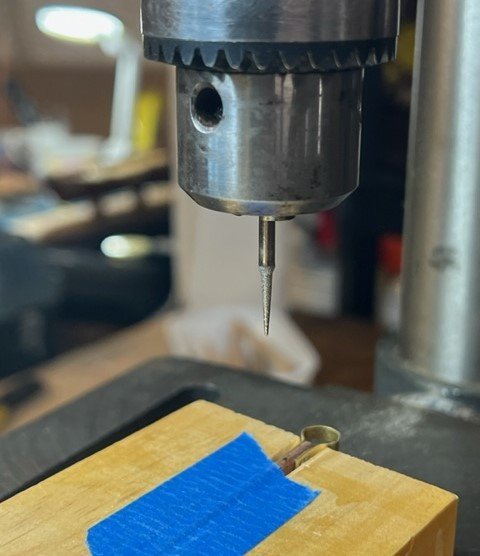
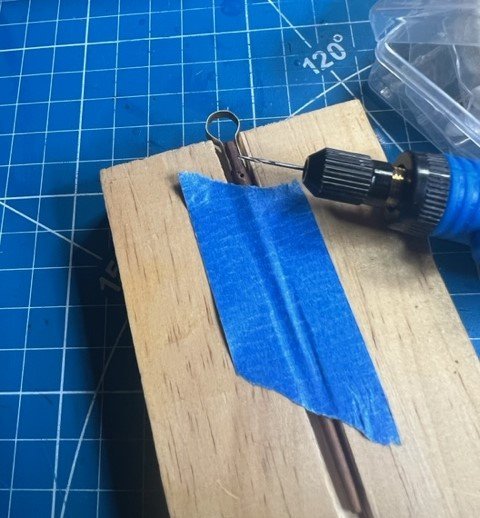
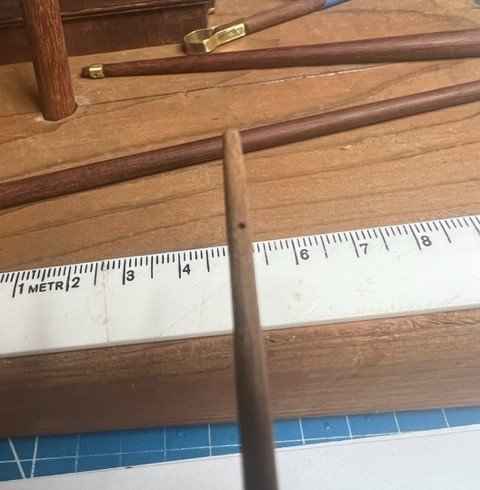
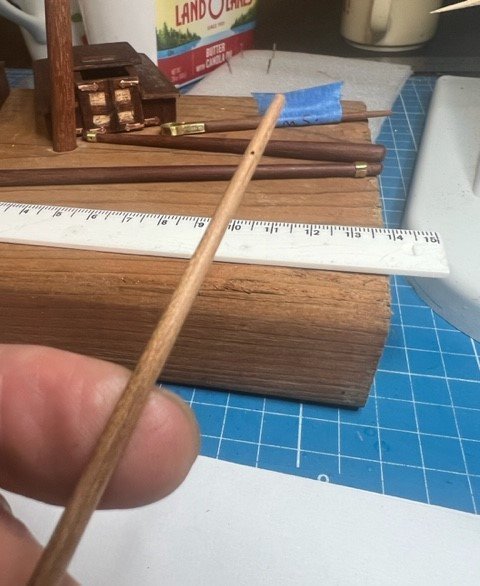
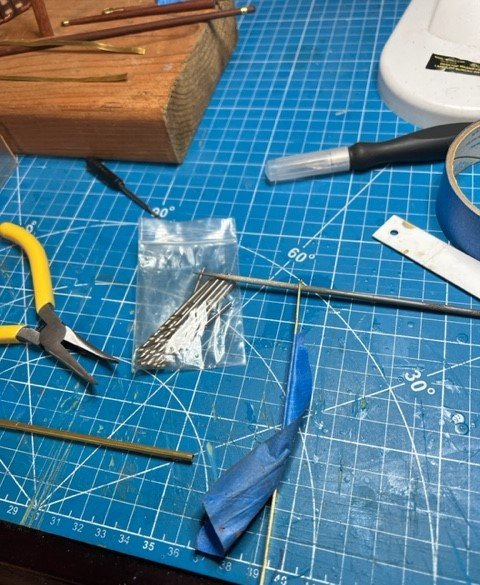
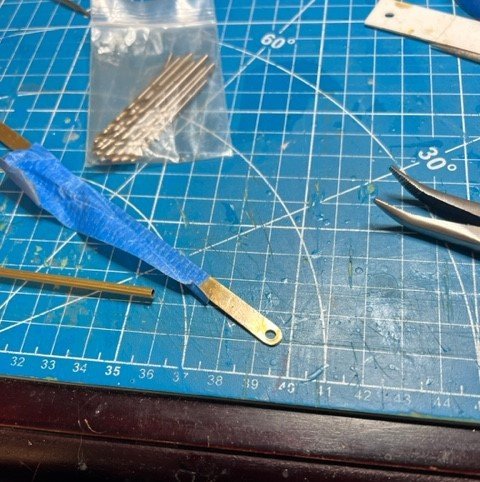
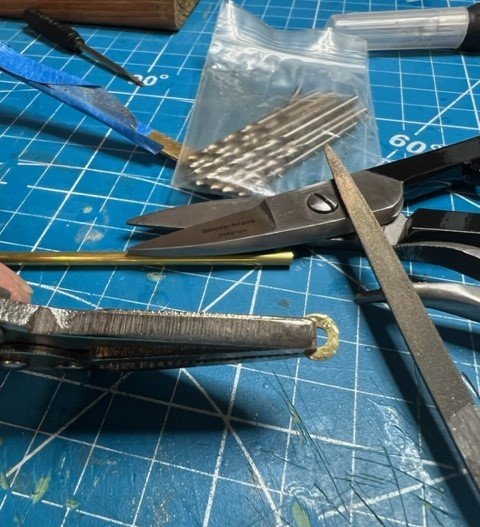
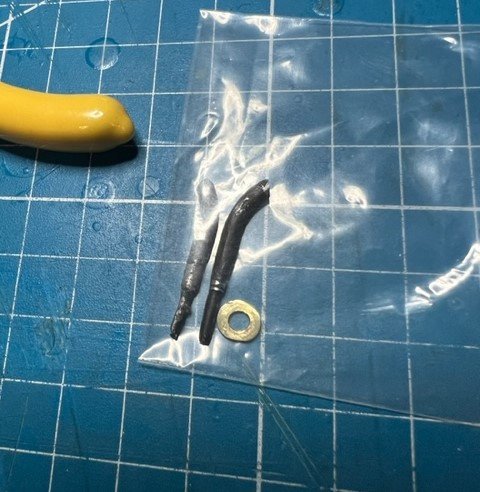
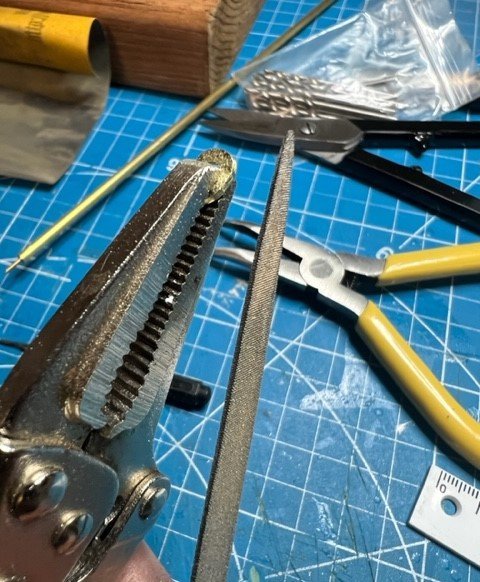
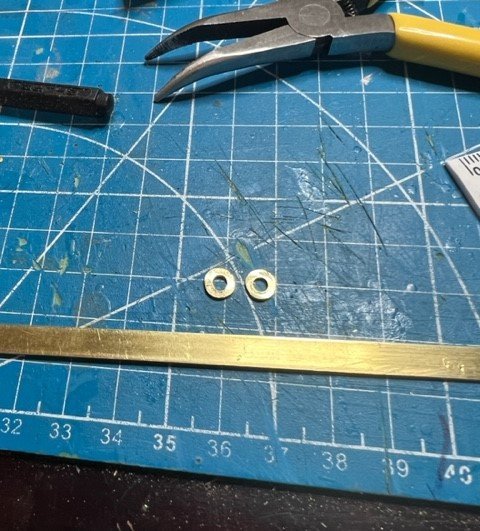
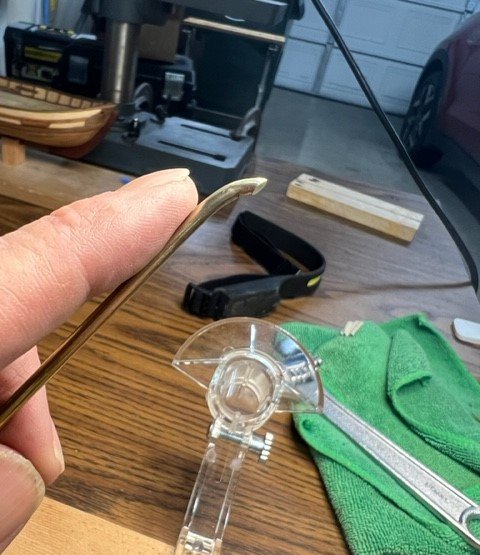
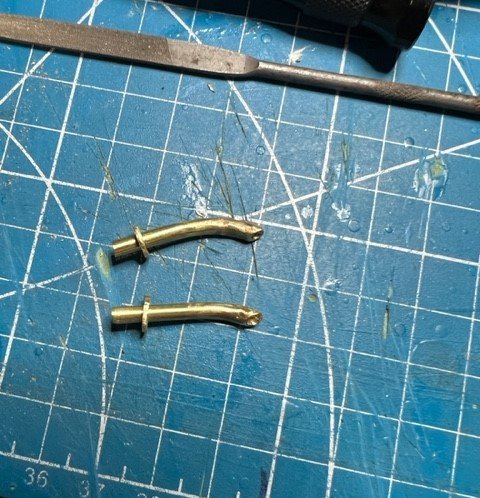
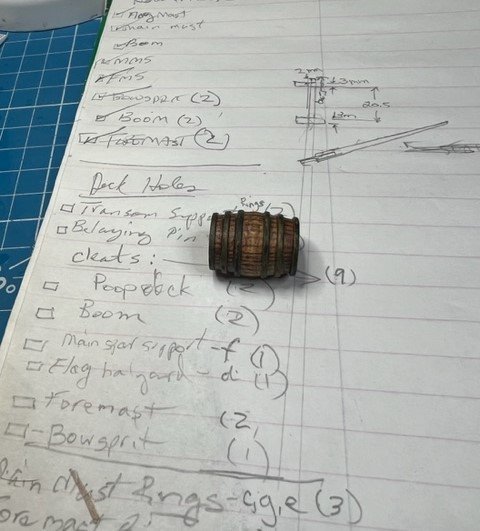
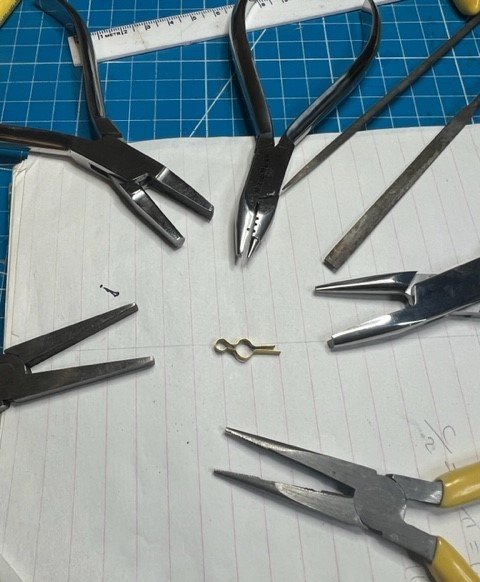
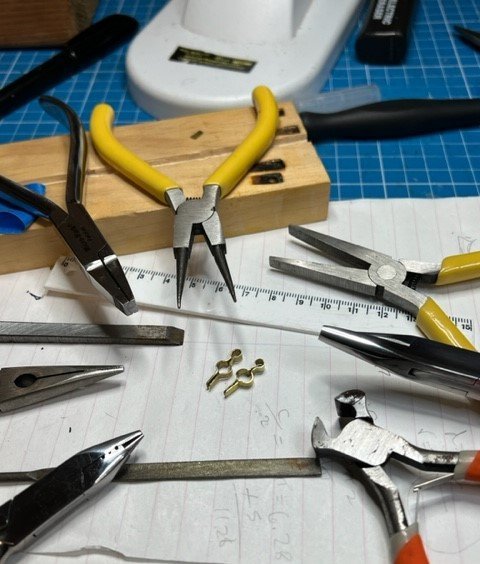
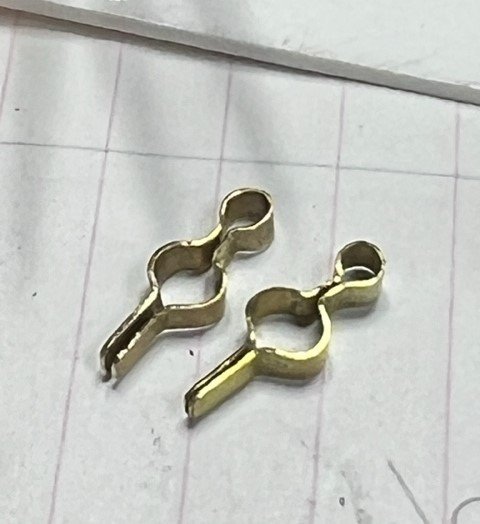
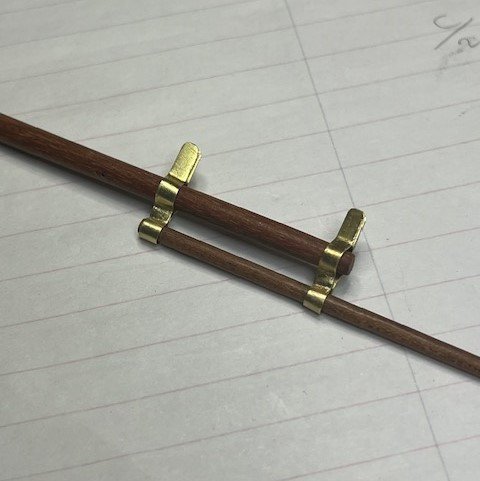
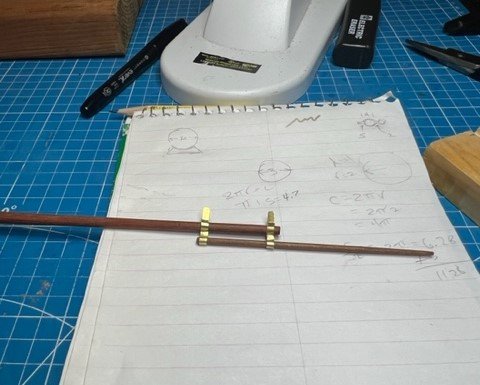
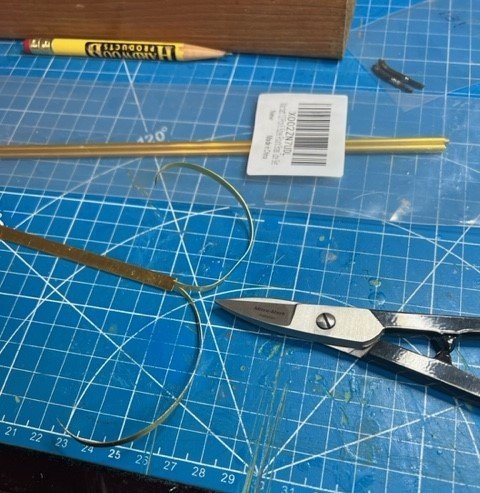
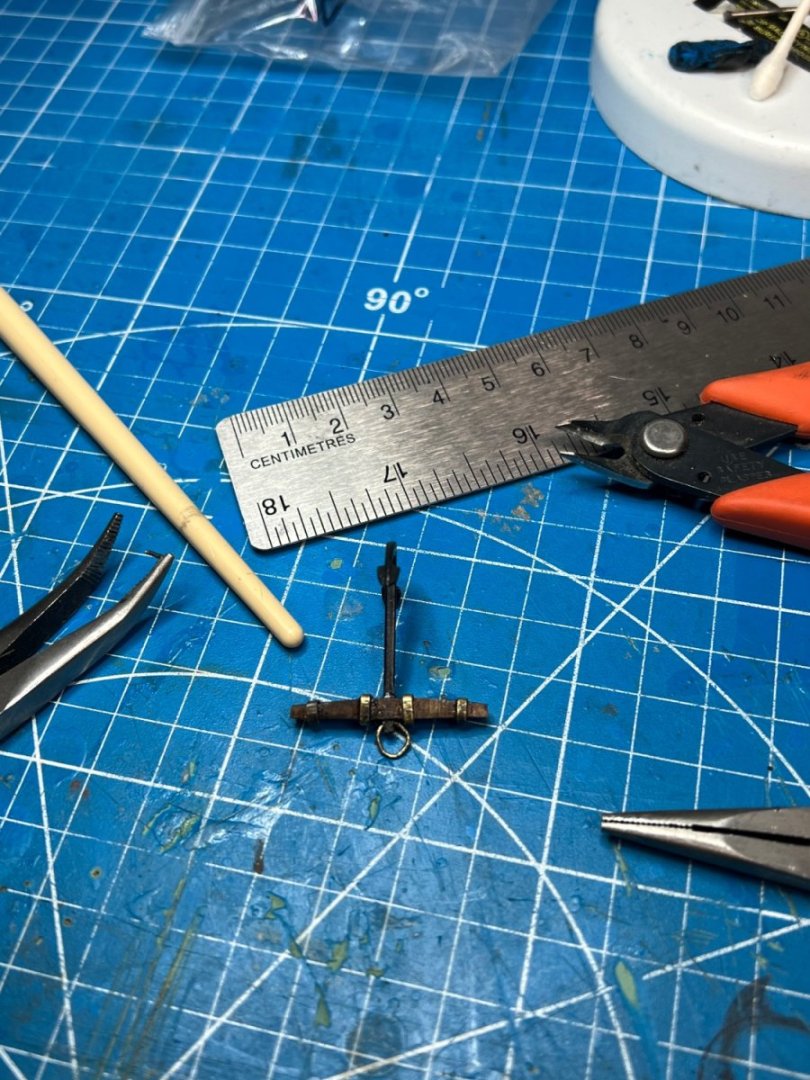
Masts, spars, brass agony and other stuff… It was time to move on according to the instructions, which I began taking more with a grain of salt, to the dowels (masts and spars) and some of their rigging. Lots of firsts for me here. I had never used a drill as a lathe before that I could recall. I had never tried to shape little brass strips and wire into components of my models before. They were all plastic models, and I never used any photo etch. I had never had to drill a dead center 0.6mm hole in a toothpick before. Probably a few other things too. I quickly found out to do this outdoors with the amount of sanding dust it produced. I did ok with the tapering. I just kept calipering it at penciled off places on the mast to see if it met the model of it I had drawn and calculated the diameter at various places using that racist math. I got them pretty close. Here’s some shots I took along the way. Then came the brass parts. Little strips and tiny rings are a challenge with my clumsy paws and after a lot of rewarding bending, shaping and drilling, I had some what I thought were nice looking pieces. I used my smallest needle nose pliers to bend, all I had at the time, the shapes into the claws that would go around the masts and attach to the boom and spars on both sides. The one on the boom broke off in a flat section that attached to the boom so I just installed both pieces and there’s a tiny seam there that no one would have ever known about until now. All that out of the way, it was time to tackle the hardest pieces, the two pieces that connect the flag mast to the main mast. Keep in mind that I wasn’t here on MSW yet and wasn’t getting all the helpful advice from you folks. That would cause me great agony as you’ll see below. Turns out, trying to bend unannealed brass into tiny little curves with square angles off the curves is a really bad idea. I pondered and thought for a few days and then decided to go looking online for help with bending brass. I had disrembered what I learned at Texas A&M Engineering School in metals class about annealing until someone on here reminded me about heating that stuff up before you try to tie it in knots. Having found the answer I was looking for here, I began asking more questions and always get great responses. I found a great source of scale rope here as well. Thanks BenD. My plan was to get more brass strip, a set of bending pliers I found on Micro Mark and a small butane torch, which I did eventually. I also got some tiny shears from Micro Mark to cut the brass strips length. I could not find any strips thin enough, so I ordered the thinnest I could. I thinned them with a regular sized file on a shaper table until they matched the thickness of the piece I broke. File, caliper, file, caliper, you get the picture. Meanwhile, while waiting for all that stuff to arrive, I built a rack for my pliers and cutters from some scrap I had. I also decided to shape the cleats using my new sanding sticks with the elastic belts I could change when full and was finally happy with their shape. I would later pin them when I asked here on MSW if they needed pinning and received a resounding yes. I still had a zillion tiny holes to drill in the toothpicks (masts and spars) and got some good advice on MSW for how to do it. I cut a channel in a piece of wood to lay the masts in while drilling. I’d tape them down with the side up I wanted to drill and using a diamond sharp tipped file in my drill press, made a little dimple so the tiny bit wouldn’t walk. It worked on most of them but misdrilled one on the boom where a cleat would be pinned but fixed it. Annealing and attaching the rings to the eyebolts: Back to drilling: Since I was still waiting for my benders, why not go ahead and drill the anchor line holes and dry fit the parts that went into them. Still waiting for my bending pliers, why not stain up some deadeyes and blocks. Also, I had more tiny holes to drill into toothpicks. I had the brass strip for the bracelets thin enough from earlier so had to try my new shears when they arrived and was pleased. Finally I sheared them to width, and it worked out that I had twice as much thinned brass as I needed in case of another disaster. I learned quick to make more of the little scratch made parts I needed because I would lose them often, off into creation somewhere. I would set my little brass strips aside until my bending pliers arrived, but I had them ready. Next came the task of scratch building the ventilation tubes to replace the old ugly ones from the kit. I had received a set of telescoping brass tubing with the largest roughly matching the diameter of the kit tubes but I needed the donut shaped flange at their bases where it meets the roof of the cabins. I probably could have used cardboard or wood or anything but the brass strip I decided to use because I didn’t think of using anything else. Oh well. First, I drilled a hole the diameter of the tube, simple. Then I filed the hole a little, taped the brass strip down edgewise and filed a semicircle to the end, attempting to match the hole. Having gotten that half of the flange done, I cut it off and holding it with mini vise grips, filed the other half of the circle. Took forever and totally would have done something else before jumping into that headache. Anyhow, got them done, they’re not perfect but I’m ok with them. They’ll get blackened later and placed on a dark cabin top so no worries. I don’t have any tubing bending tools but tried to get away with bending a single tube without the springy tube required to bend them with and discovered that was not going to work. Not having metal rods the correct diameter, I simply telescoped all the tubing together which created a brass rod with a tiny hole in the center of the end I’d later use as a pilot hole to enlarge the opening. I bent them best I could at the top, again, not perfect but I won’t live long enough to finish this kit if I keep redoing things so there they are, ready for paint and touch up. The primer helped a lot with the dents. Still waiting on parts to do the mast bracelets, I decided my barrel needed trivets or whatever they’re called to secure them so they can’t roll around the deck. I had some excess from one of the sprues that my Dremel shaper table and disk sander made short work of. I made two of those and added a cork which is the end of a toothpick. I still need to touch up the top hoops where they meet the ends of the barrel. I’ll have to eventually tie it down as well to the deck. I can’t put it where the plans say because I decided that my ship would be strapped and was going to include the two cannons (guns) that were included in the kit as a bonus. We’ll get into that later, it turned into a monumental affair. Finally, the bending pliers arrive. Must have been a slow boat from China. With the new tools in my arsenal, I became “Scotty, master brass bender” lol, not really. Those bending pliers really made the curves fairly easy with a little patience and practice. I made the two bracelets carefully and got them to fit exactly where the plans showed. I only glued them to the flag mast after lining up so I could take the flag mast off until needed because I would certainly break it off before getting it in a case, it’s what I do. That’s enough for now, way too much in fact but trying to get caught up with it. This gets us to Feb 15th, 2023 so not too far behind now. Thanks for checking it out, feel free to comment. I barely know what I'm doing.
- 59 replies
-
- Swift
- Artesania Latina
-
(and 1 more)
Tagged with:
-
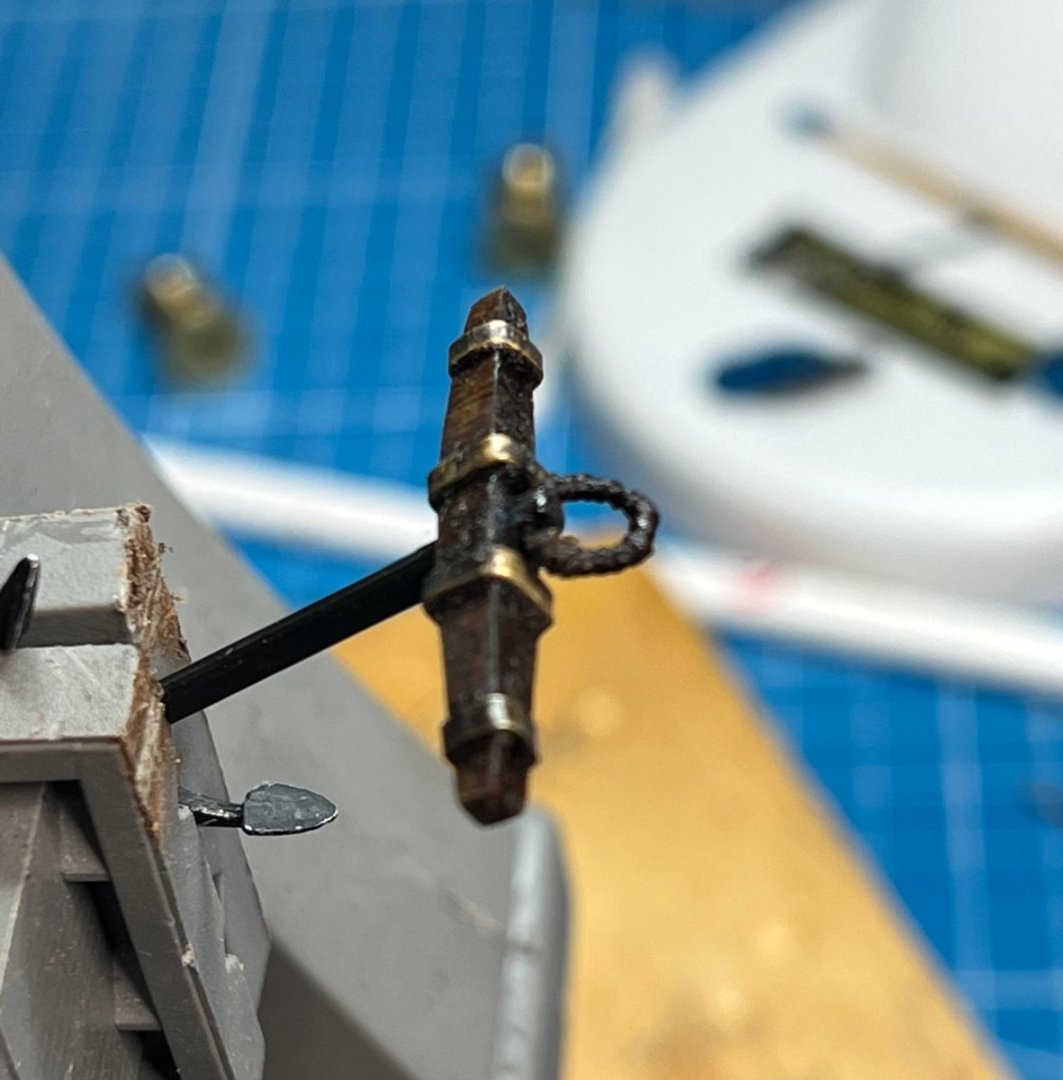
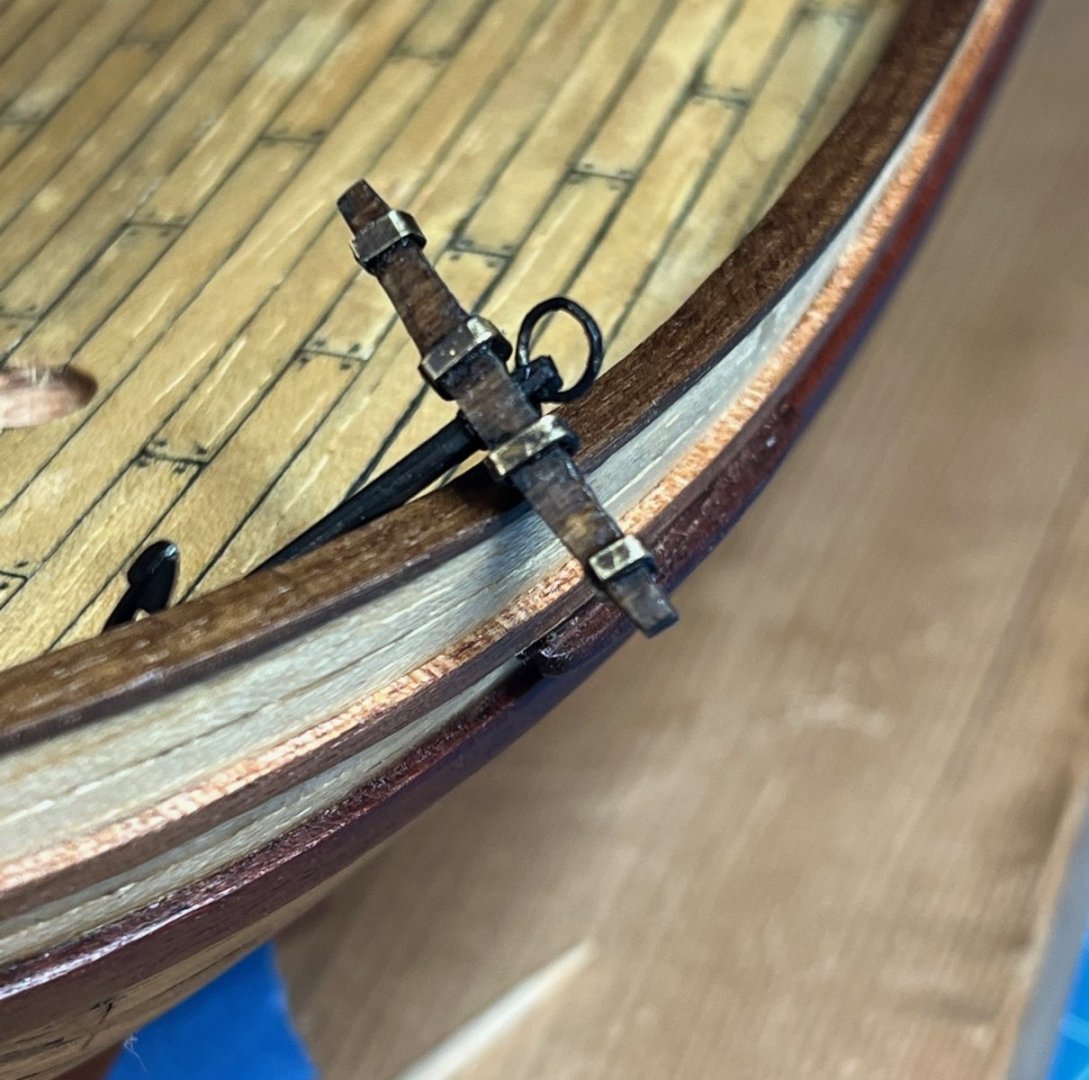
I melted one of the 50-year-old kit anchors trying to repair it. I ordered two anchors from the only source I could that closely resembled the original kit anchors, albeit they were 4mm too long in the shank, from clear around the world in Australia, ModelersCentral.com. After paying so much (shipping) and waiting so long for these after-market anchors, I'm going to use both of them along with both of the guns that were included with the old kit. The hoops look great to me in this scale. I had to scratch build one of them from brass strip I had filed down to thickness and width because I lost one of the smallest hoops when squeezing it onto the stock to remove the gaps. It broke the stock as well since I suck at this but I CA glued the splintered stock back together and covered the join with the scratch built brass hoop. This is a legacy build for my long gone father who I gave the kit to in 1984. He would want it strapped, so I will include my Australian anchors and two guns and may leave a model i-Phone laying on the cabin roof. lol This is a learning build, my first timber ship, not a recreation of an actual ship that existed and I love my new anchors and gun rigging and now building the kit supplied stand since the mast rigging is next, maybe. I'm going to just strap the anchors to the side of the hull using the extra unused rings on the deck near the foremast to rig the line and wrap the anchor line around the knightshead and leave a coil next to it since this ship certainly only anchored in shallow water. I could run the cable through a hole in the deck near the knightshead and tell everyone there's an electric wench down below that weighs the anchor. lol I just got through varnishing the polished brass base stands as I'm readying to put the ship on it's base before proceeding to mast rigging because if I wait, I'll break something off while mounting it to the base, so base first. But I digress. Anchors away! Perhaps I'll scratch build super accurate anchors on my next build. Thanks for the info. I will add the puddening to the rings if I can figure out how to do it.
-
What is “two blocking”? Is that applying two blocks inline to half the force needed to apply a force in a certain direction like the blocks used on my guns to aim and reload it?
-
-
Everything you wanted to know about anchors but were afraid to ask: https://heritagensw.intersearch.com.au/heritagenswjspui/bitstream/1/10611/1/Noth Head Achors Sydney CMP.pdf
-
Ok, took the ring off, straightened the wire and measured and cut it to as close to 15.7mm as I could to result in a 5mm diameter once bent. Fortunately, it didn’t break. How’s this for size? It’s not quite a circle but you get the idea. Still working it, fiddly. May have to reburnish it unless I choose to serve it with thread. The jury’s still out.
-
I had planned on seizing the line to the ring. I think Maury is talking about winding thread around the ring like you'd serve a rope and I haven't researched if that would have been on an 1805 Pilot Boat anchor but would add some detail. I will have to find out the best way of doing that if it's required. I can shrink the ring a little but will be fiddly as most things with this ship are. If it breaks when bending, and it might cause it's old and corroded a little I see when looking close, I'll have to get some appropriate sized wire and make more. I annealed them before brass blacking them but still not sure it will withstand any more of my abuse. lol The crew of this ship must have been super strong men because there is no wench to weigh the two anchors at all. The cables just loop around the knightshead from what I see in the kit and that would limit them to anchoring in very shallow water (which may have been the case) since you can't put that much line on the knightshead.
About us
Modelshipworld - Advancing Ship Modeling through Research
SSL Secured
Your security is important for us so this Website is SSL-Secured
NRG Mailing Address
Nautical Research Guild
237 South Lincoln Street
Westmont IL, 60559-1917
Model Ship World ® and the MSW logo are Registered Trademarks, and belong to the Nautical Research Guild (United States Patent and Trademark Office: No. 6,929,264 & No. 6,929,274, registered Dec. 20, 2022)
Helpful Links
About the NRG
If you enjoy building ship models that are historically accurate as well as beautiful, then The Nautical Research Guild (NRG) is just right for you.
The Guild is a non-profit educational organization whose mission is to “Advance Ship Modeling Through Research”. We provide support to our members in their efforts to raise the quality of their model ships.
The Nautical Research Guild has published our world-renowned quarterly magazine, The Nautical Research Journal, since 1955. The pages of the Journal are full of articles by accomplished ship modelers who show you how they create those exquisite details on their models, and by maritime historians who show you the correct details to build. The Journal is available in both print and digital editions. Go to the NRG web site (www.thenrg.org) to download a complimentary digital copy of the Journal. The NRG also publishes plan sets, books and compilations of back issues of the Journal and the former Ships in Scale and Model Ship Builder magazines.


