CS Sailor
-
Posts
6 -
Joined
-
Last visited
Content Type
Profiles
Forums
Gallery
Events
Everything posted by CS Sailor
-
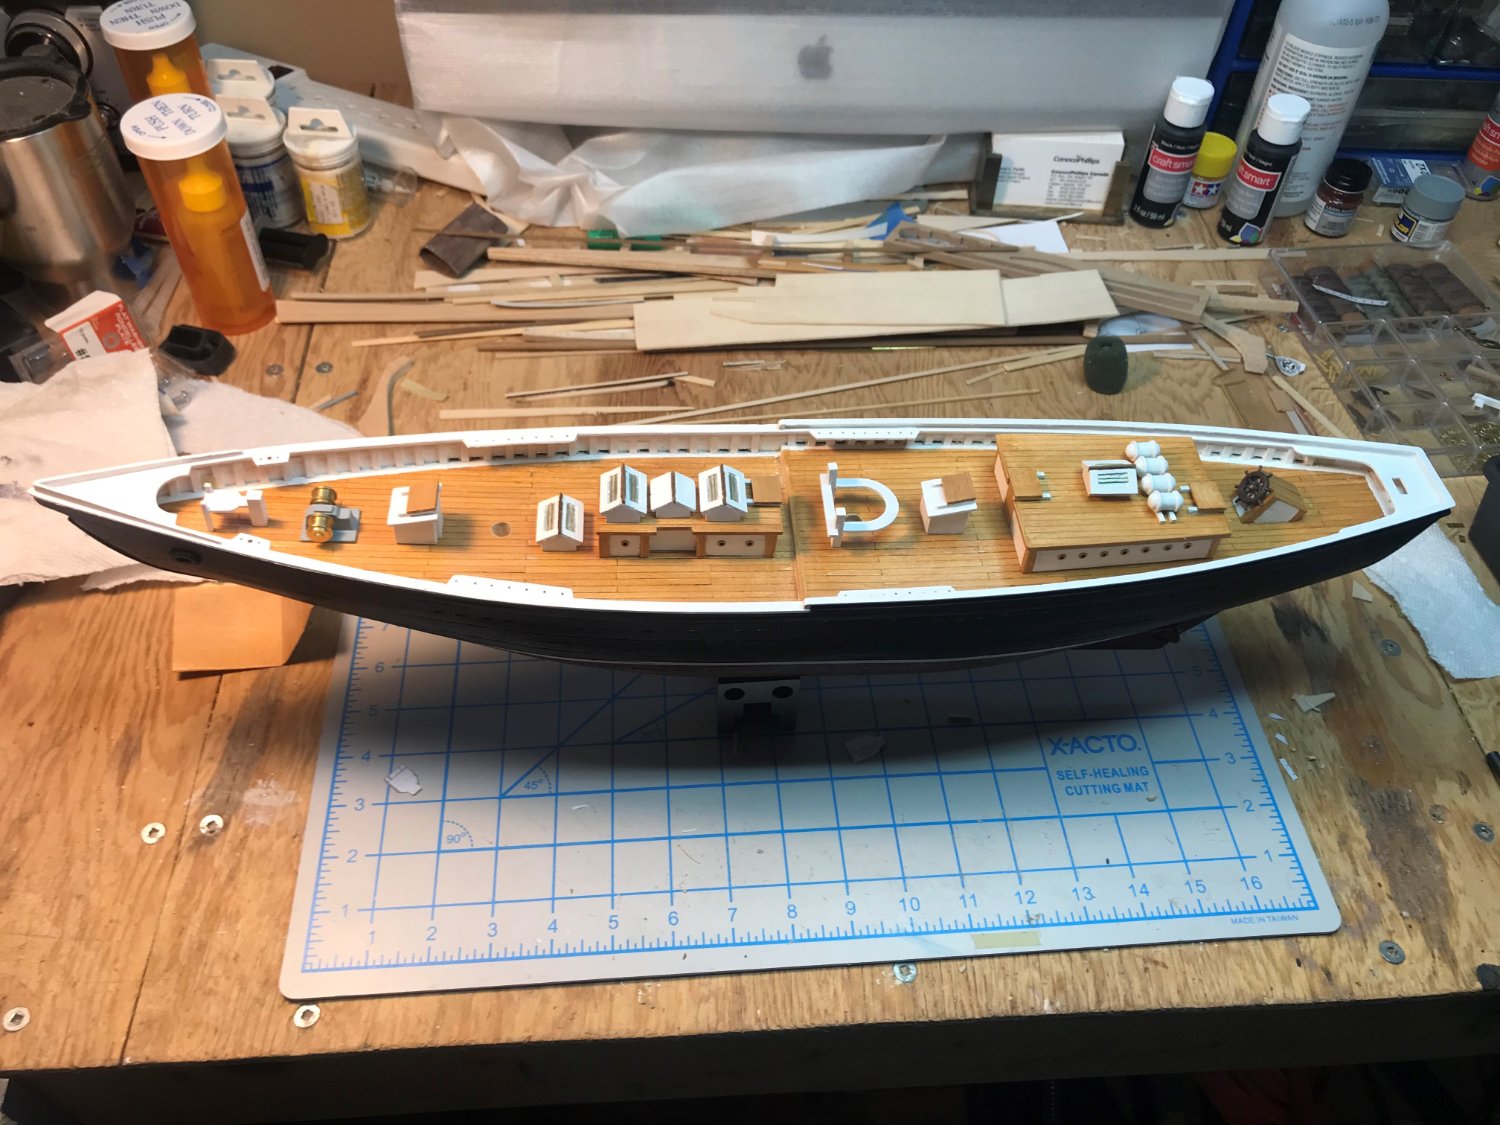
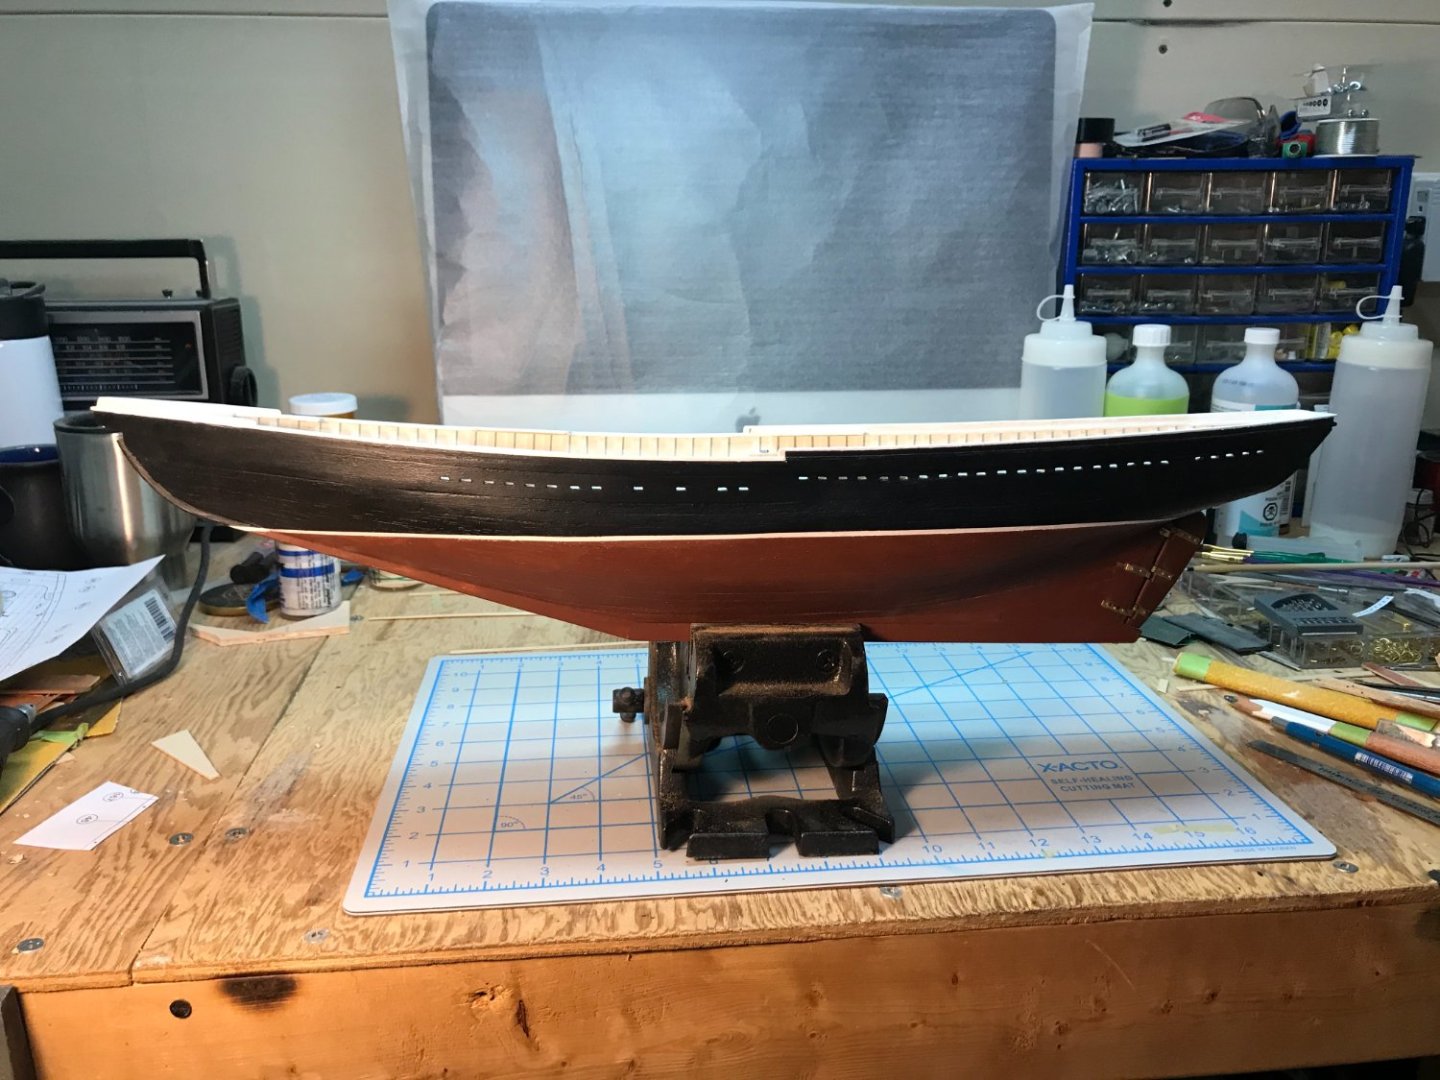
Latest picture with most of the cabin top work done and now working the other deck details. Installing the prop shafts was a challenge as I messed up the supplied shaft struts and had to fabricate new ones from brass strip. Of course the big challenge is getting everything symmetrical. In the end I was happy with the result. I don't want to use the supplied bow scroll work but still trying to figure out how do this with paint. My hands are not that steady for a very fine brush and not sure if I can do a template.


- 8 replies
-
- 2
-

-
- Bluenose II
- Artesania Latina
- (and 1 more)
-
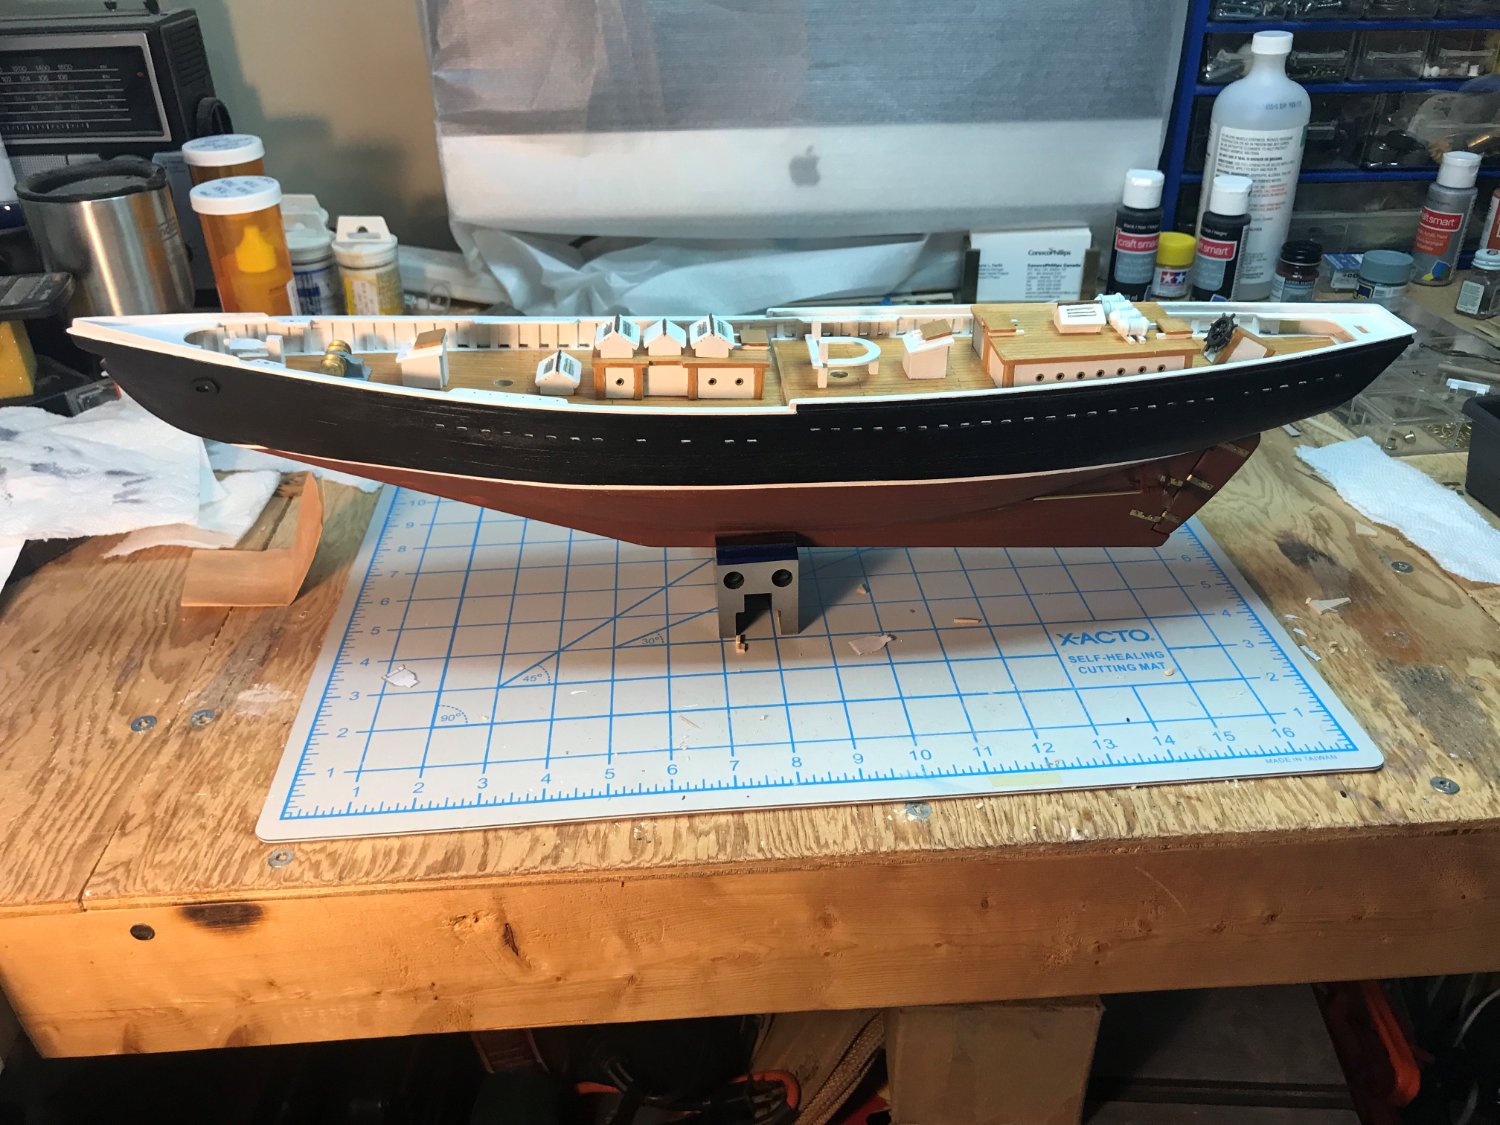
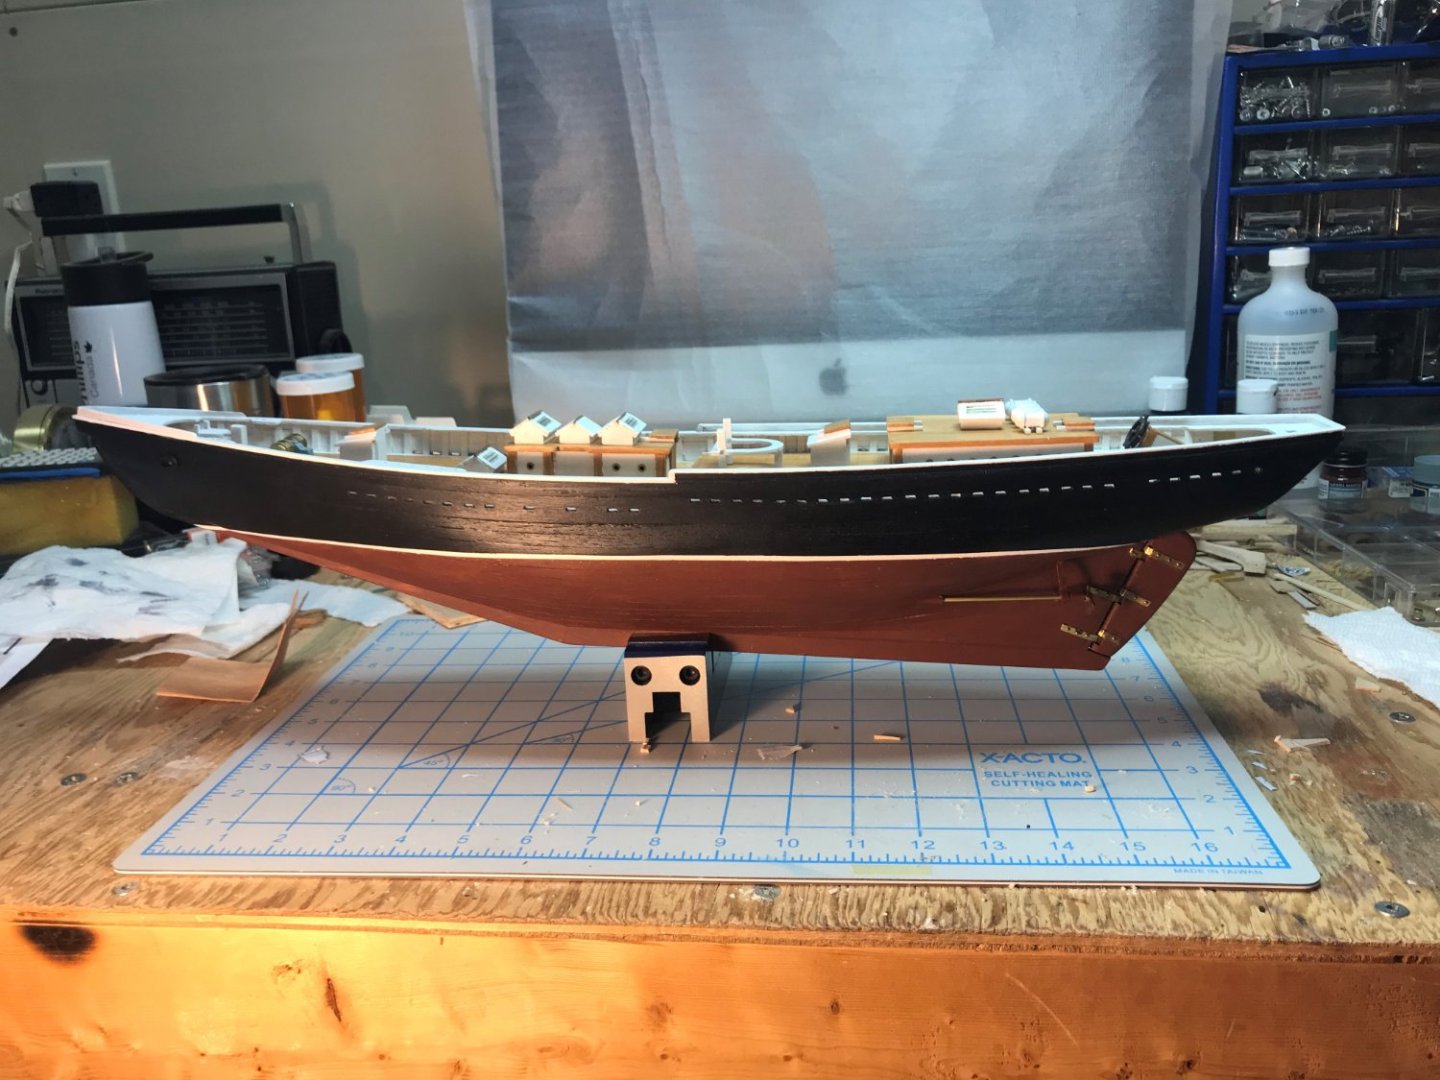
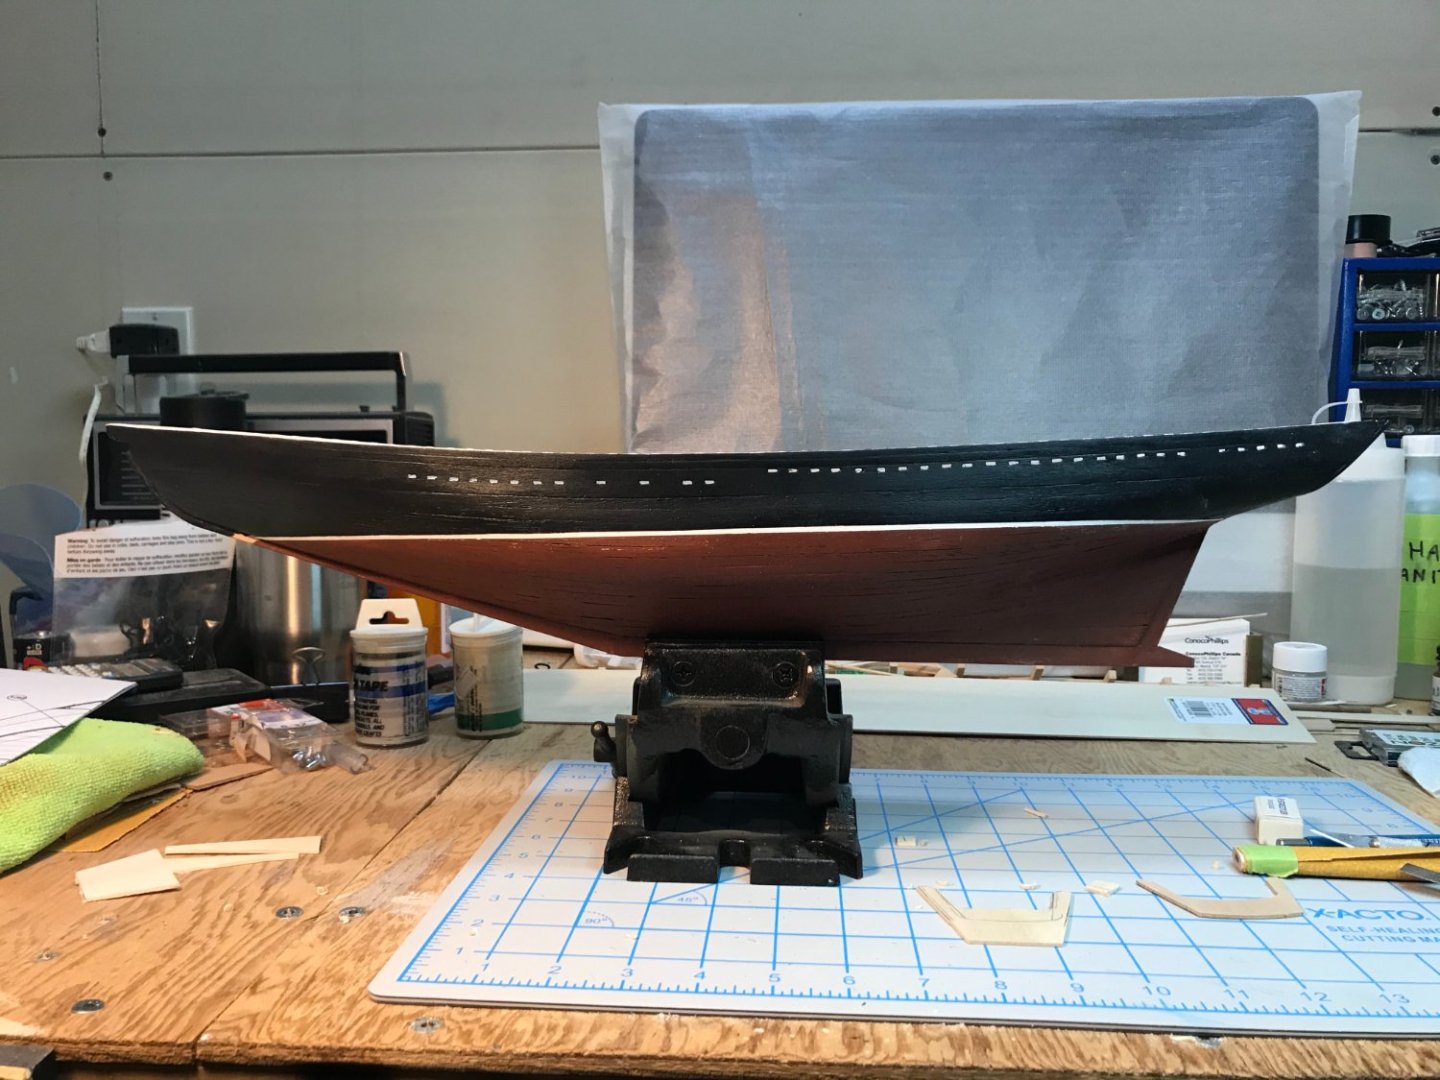
I have not posted in a long time. I made some more progress getting the bulwarks in place and the scuppers drilled and filed. I started on the cabin tops and also got the rudder installed. I stalled out for awhile but I have started up again and I am nearing completion of the hull. Lots of little detail bits to do and then finally starting the rig. It took me a couple of days to work out how I was going to drill the holes for the masts at the required rake. Finally got it done. The attached picture take me up to getting started on the cabin tops.

- 8 replies
-
- 2
-
-
- Bluenose II
- Artesania Latina
- (and 1 more)
-
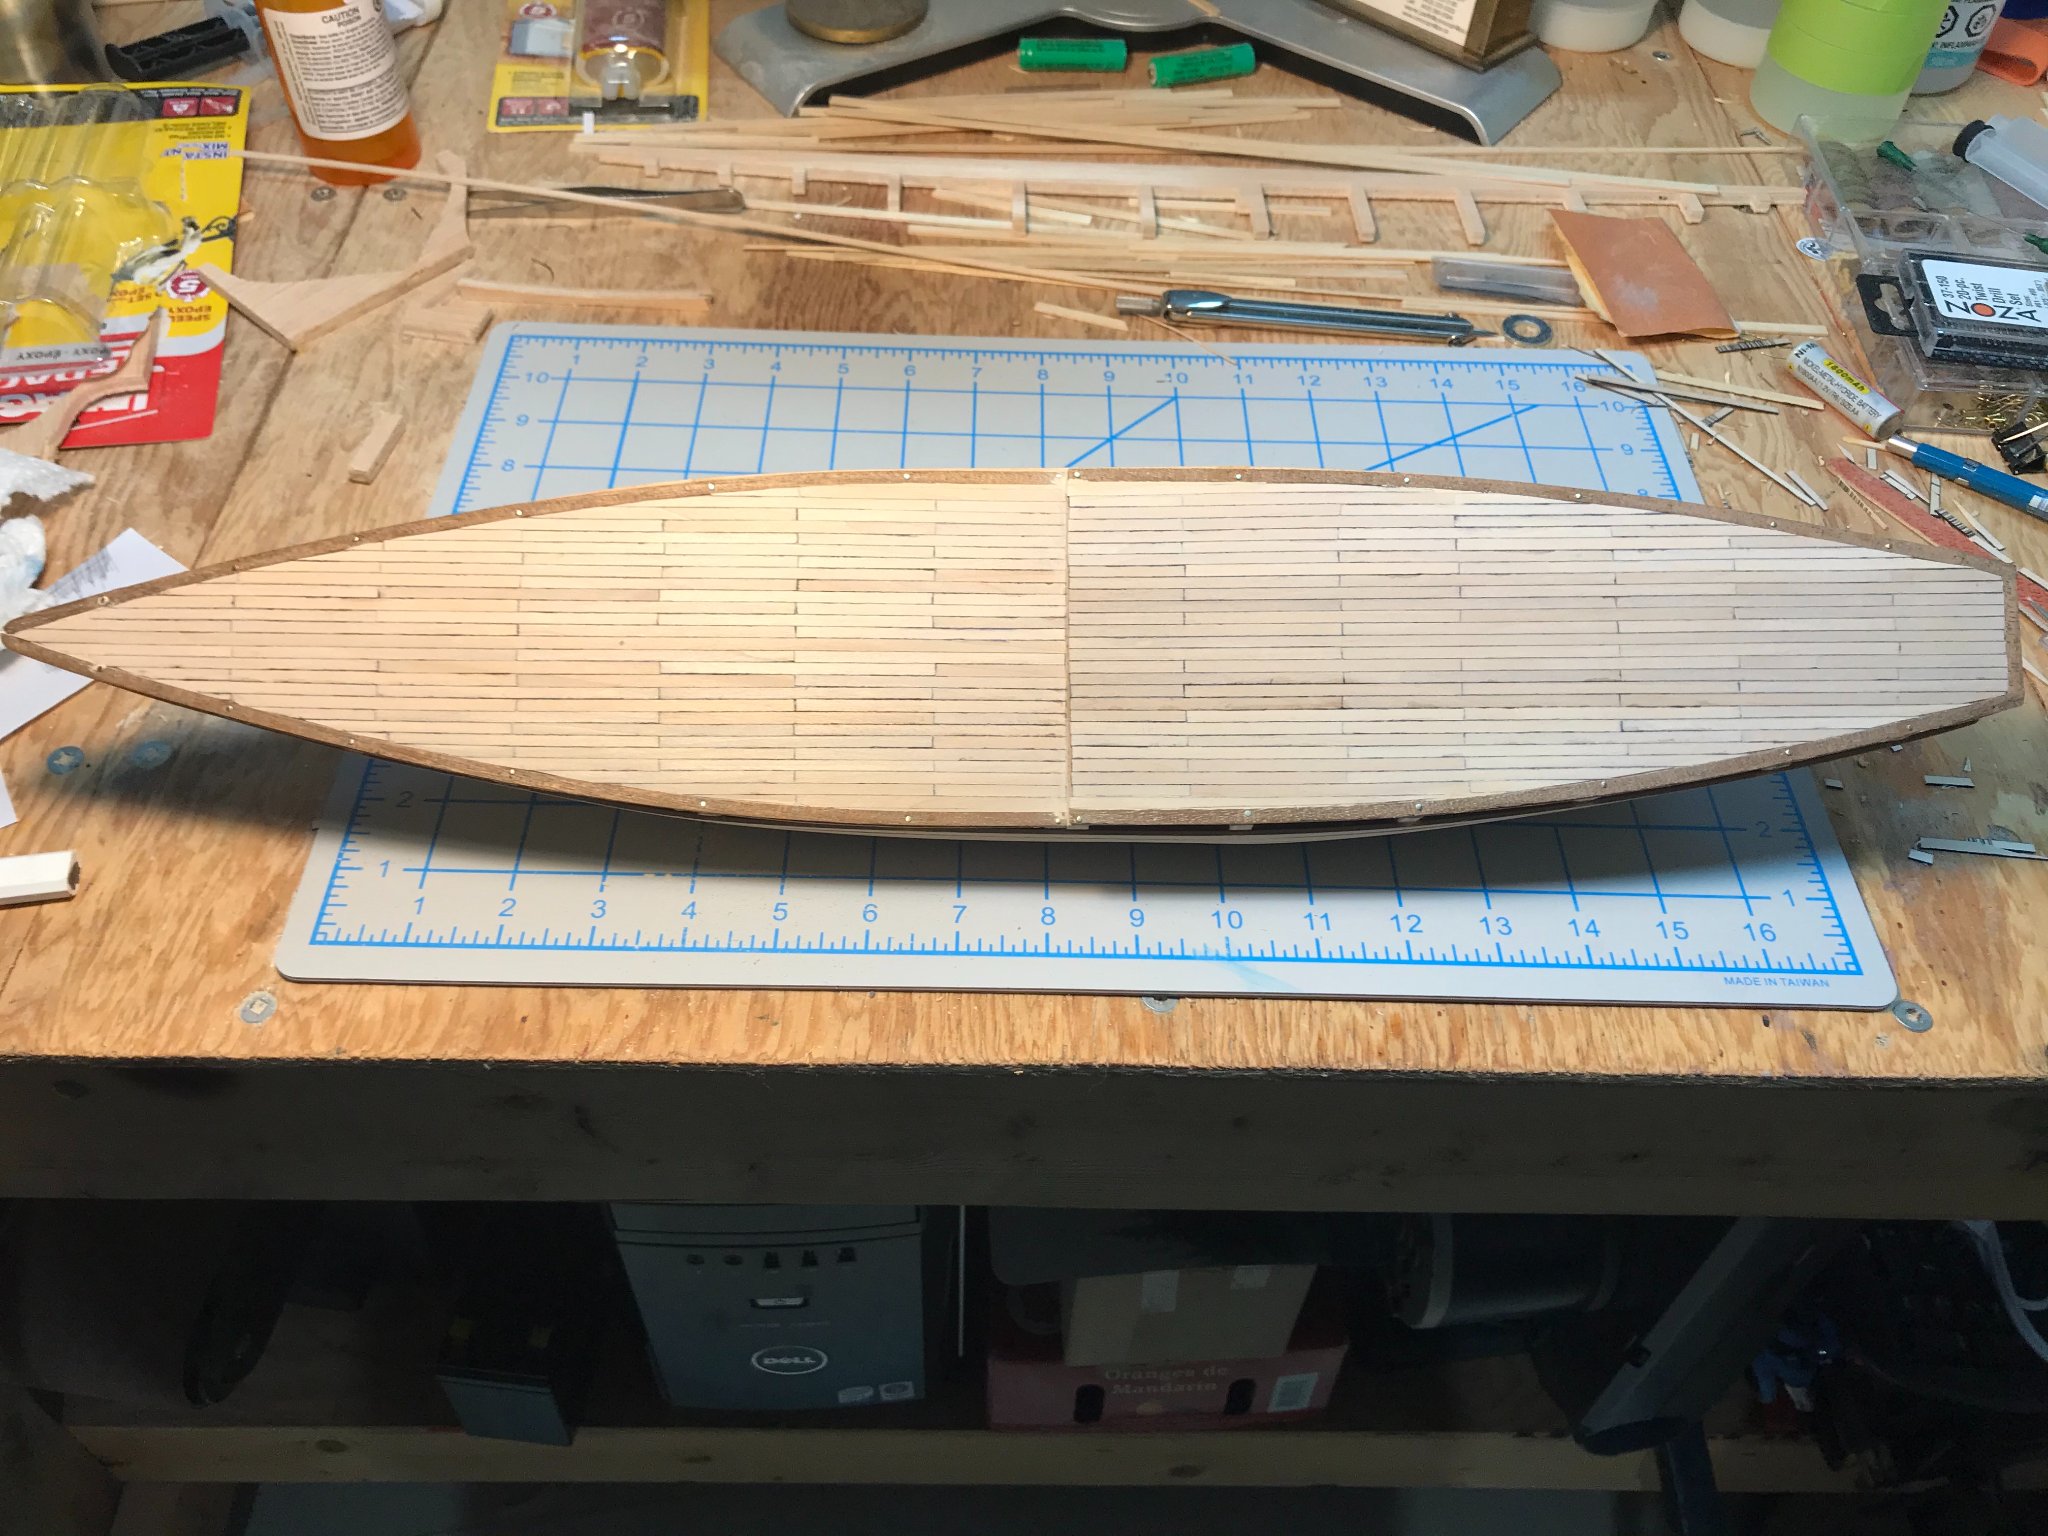
I am building the same kit and yours seems to be coming along fine. I also found doing the deck planking challenging and time consuming. The coments about taking your time are excellent. I worked from the center outwards doing some planks on each side and checking the remaining distance to the waterway to ensure I did not end with large gap on one side. I opted for using thinner strips of basswood to do the deck and found there were slight variances in width of the strips. I tried to use the same strip on both sides so the distance remaining to the edge stayed even.
-
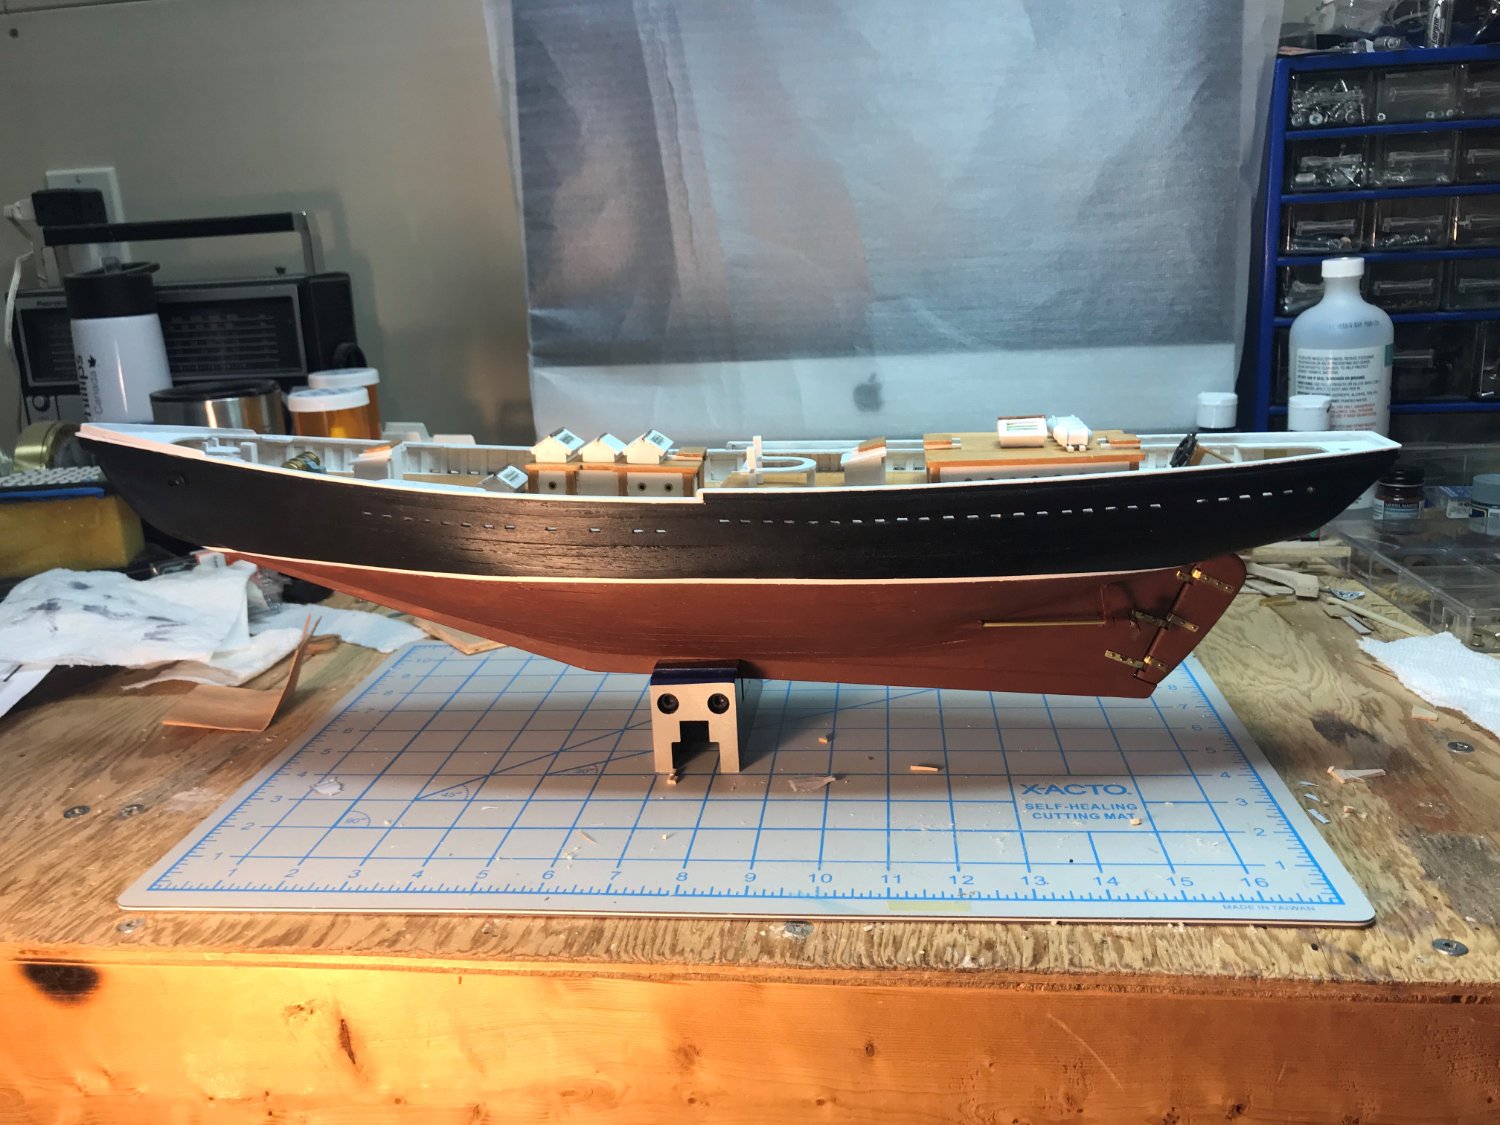
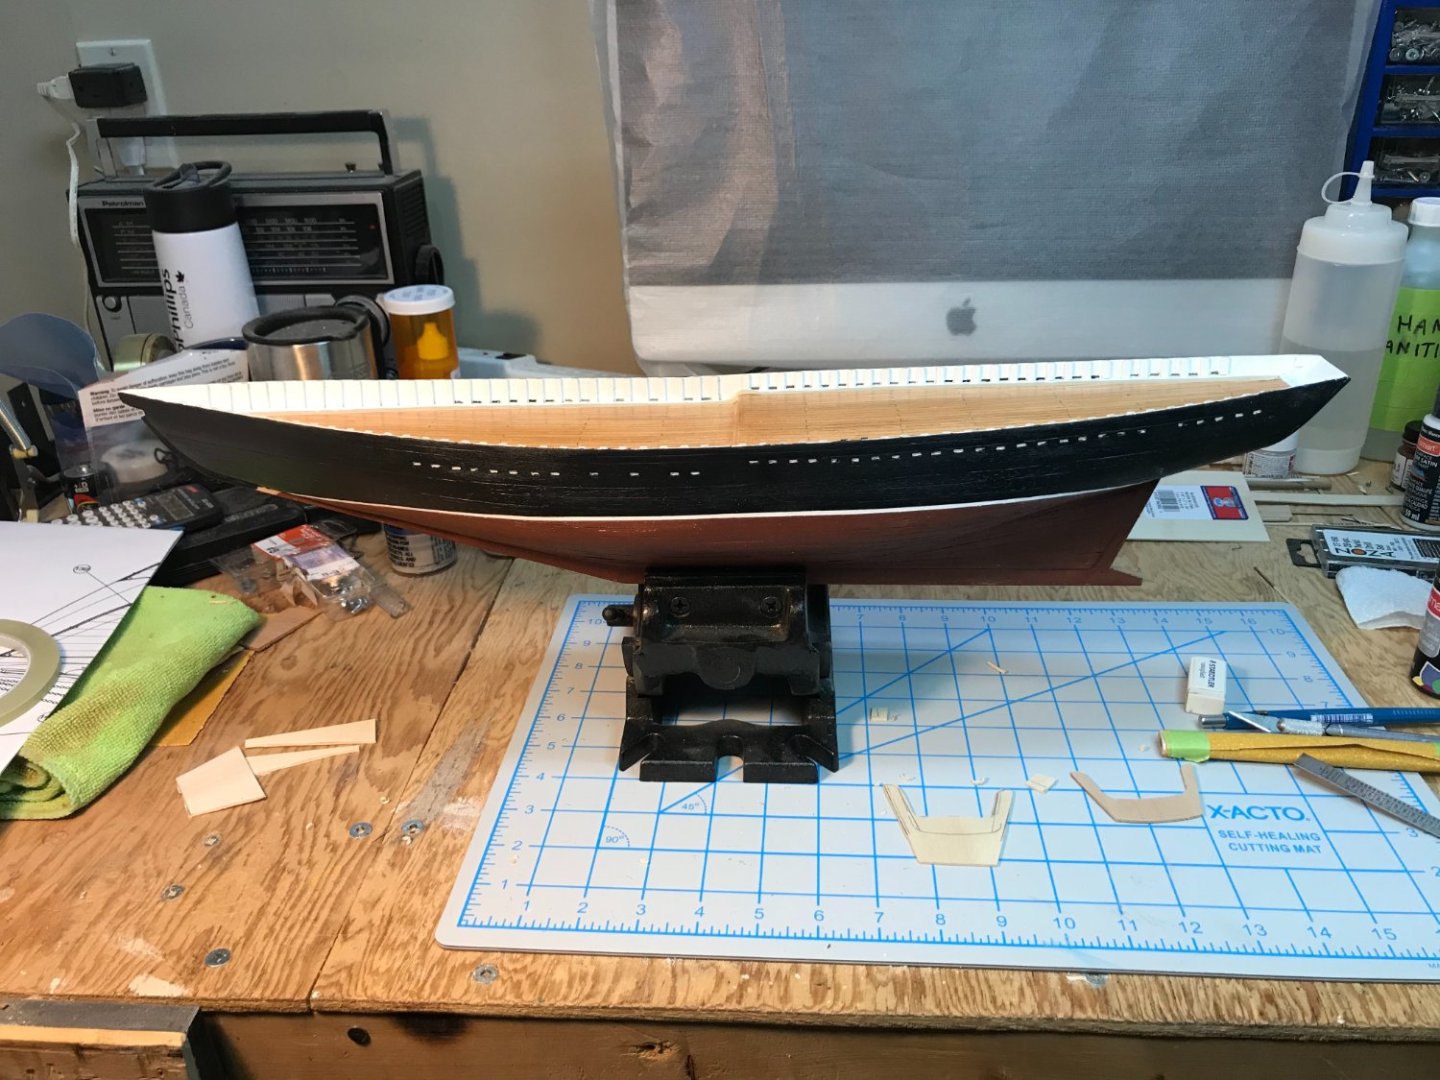
Thanks everyone for the encouragement. After planking the deck I decided to stain it and then get a protective coating on it. I made a real mess of my first staining attempt but fortunately the deck planking was thick enough to allow me to sand it down again. My second staining attempt turned out much better. Next came building the bulwarks following the John Earle instructions. I used bristol board to get the proper line from the top hull plank and then transferred it to the kit supplied bulwarks. I slowly cut and sanded the bottom edge of those pieces till they matched the top plank line then used them to trace out the proper line on 1/16 basswood. One the first piece of the bulwark was in place I added two more strips to get to the final bulwark height. I then followed on doing the stanchions. I had put a few in place to make fitting the top two bulwark strips easier. Next step is to finish the transom and then start cutting the scuppers. Any suggestions on how to neatly and consistently cut the scuppers would be appreciated.

- 8 replies
-
- 1
-
-
- Bluenose II
- Artesania Latina
- (and 1 more)
-
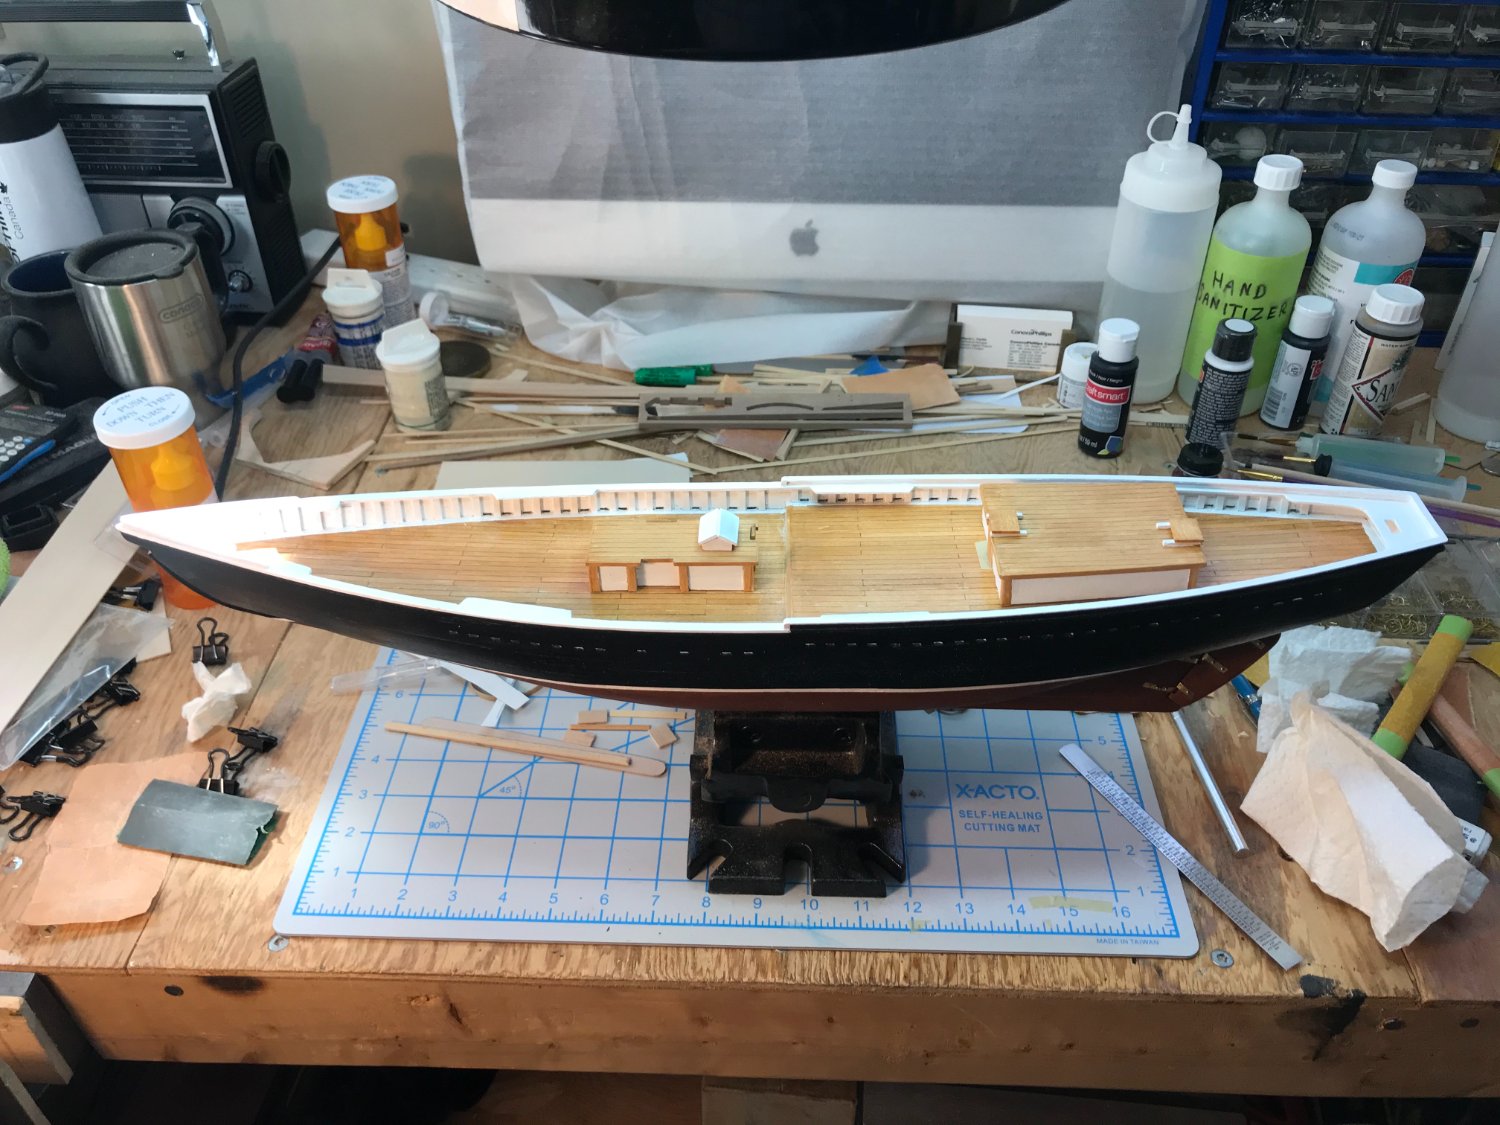
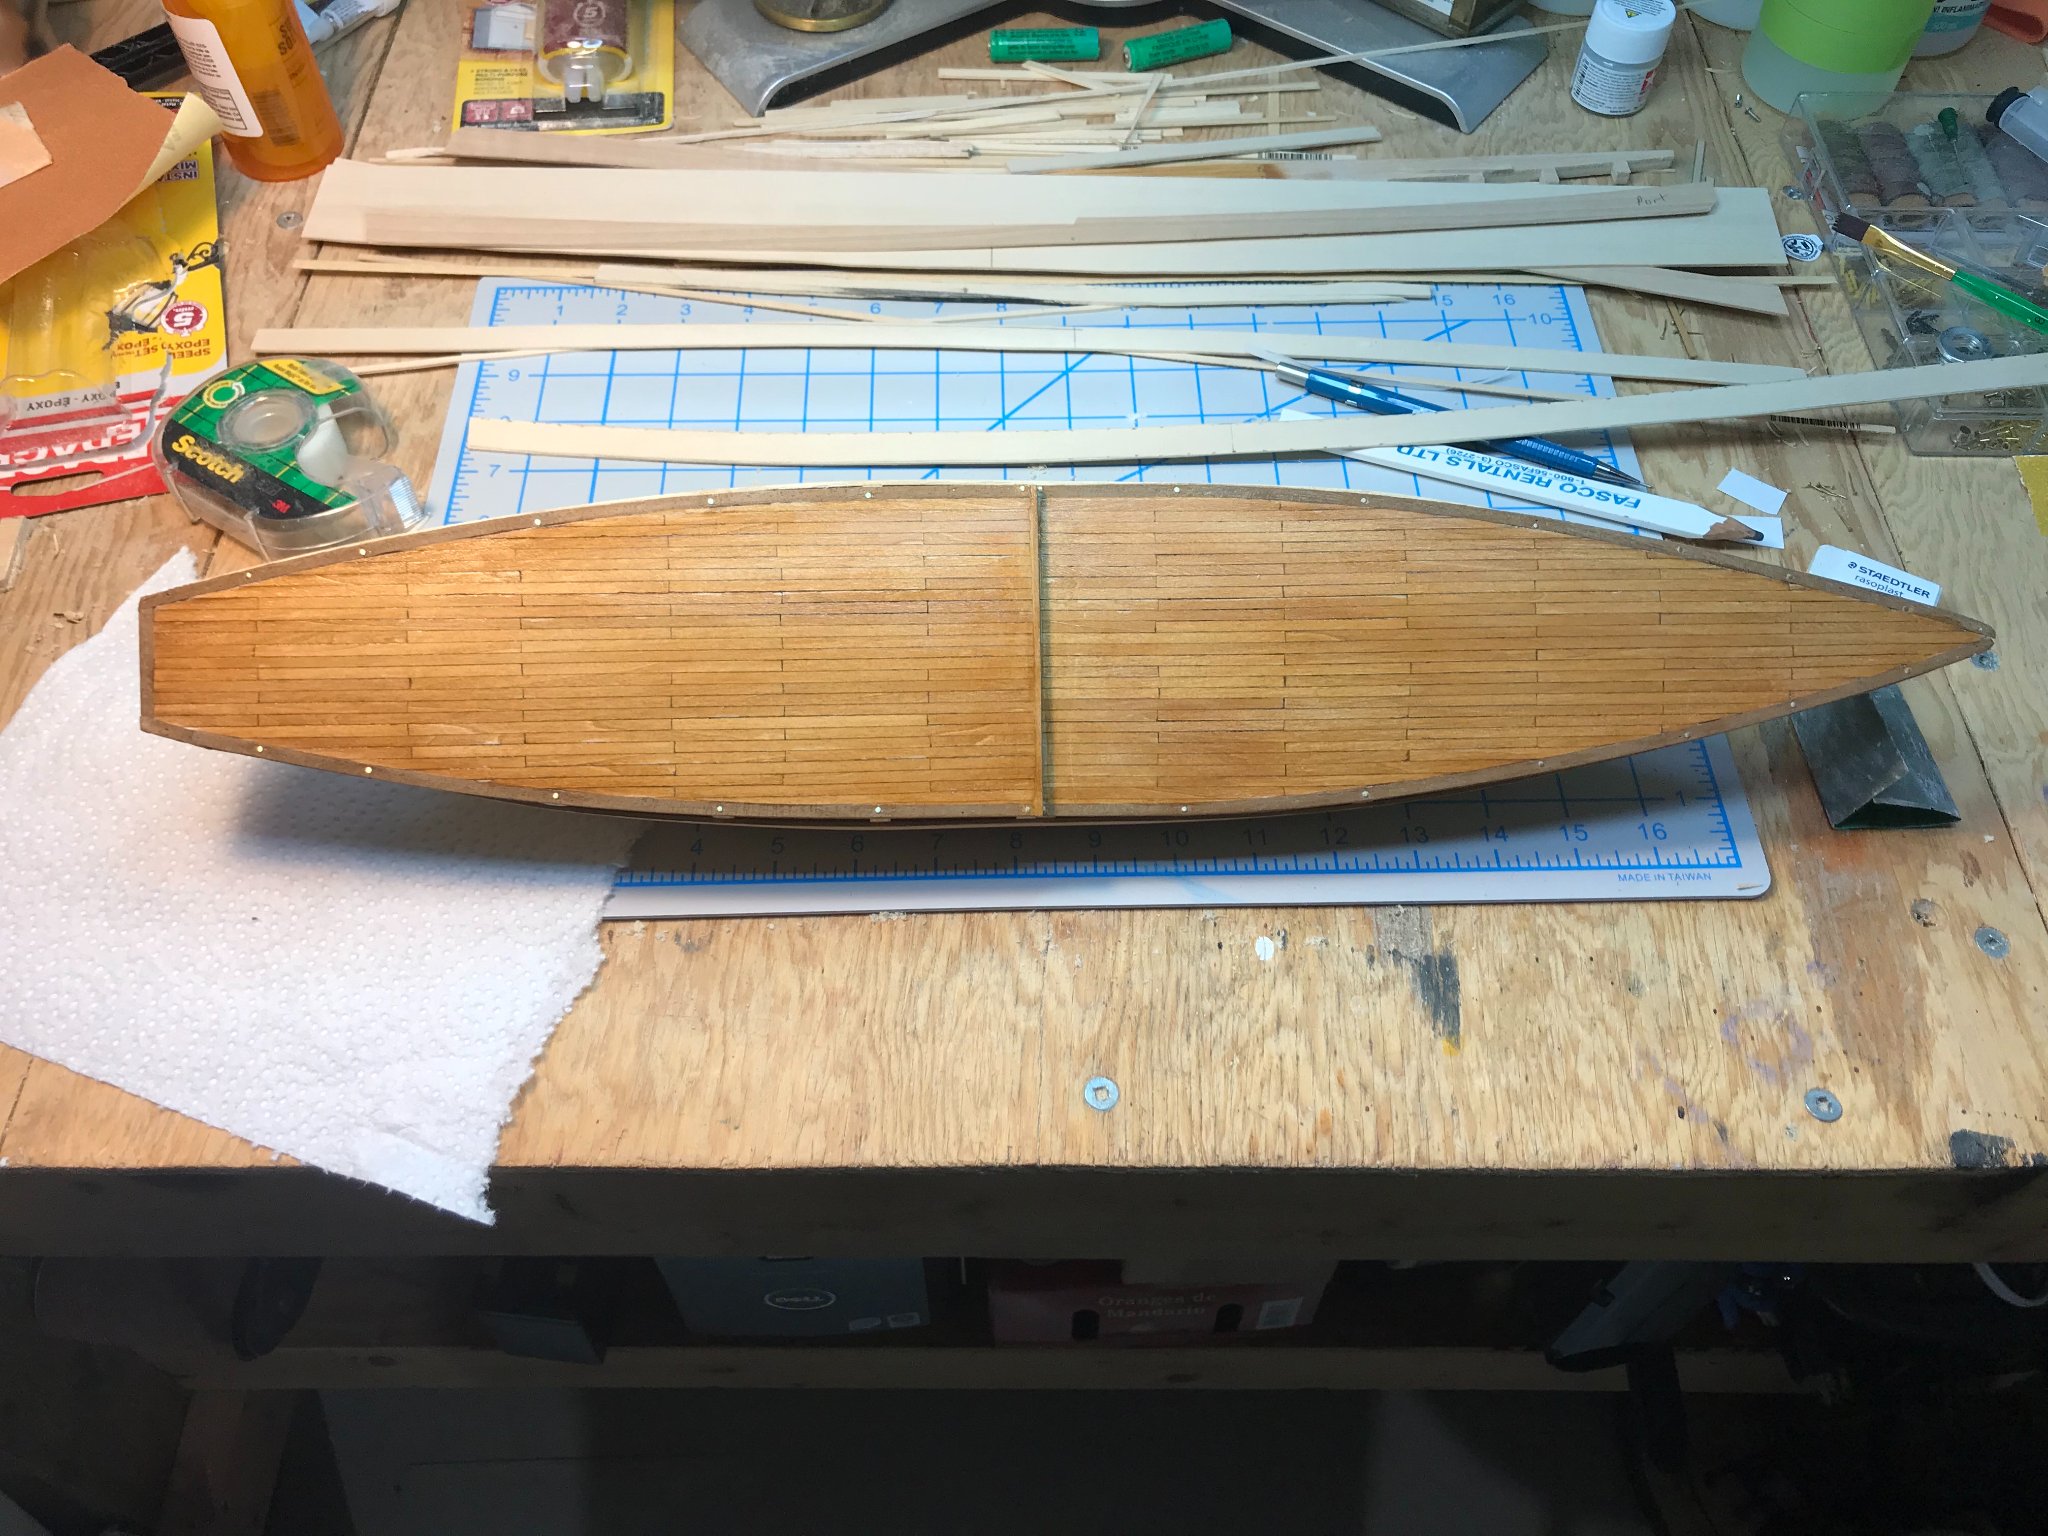
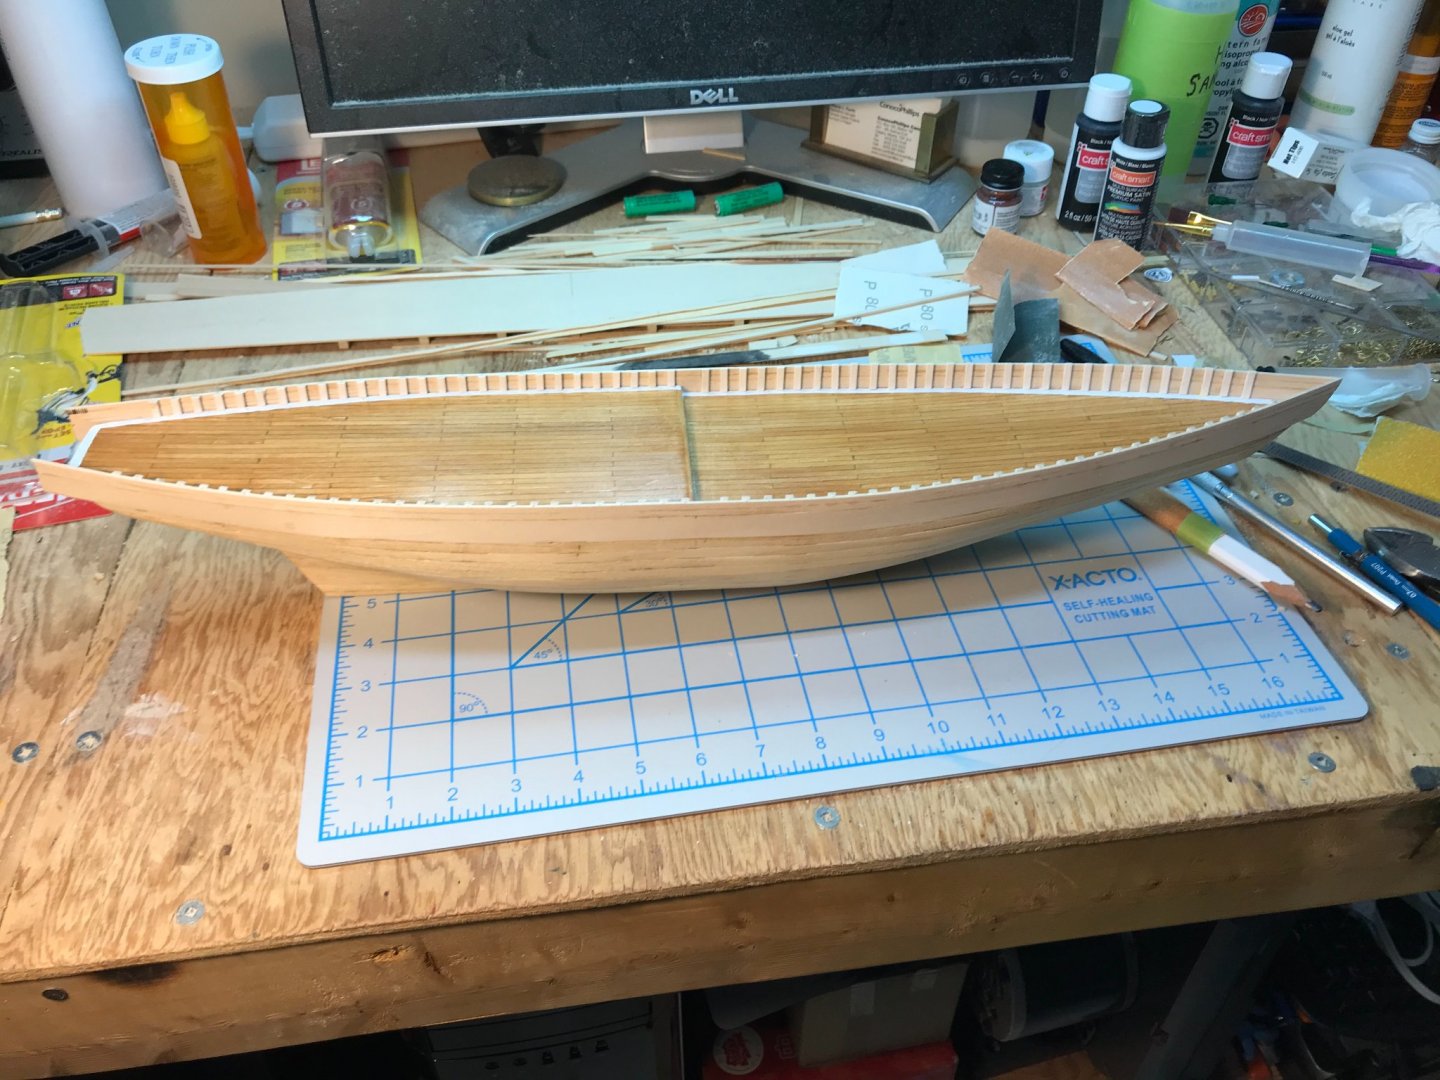
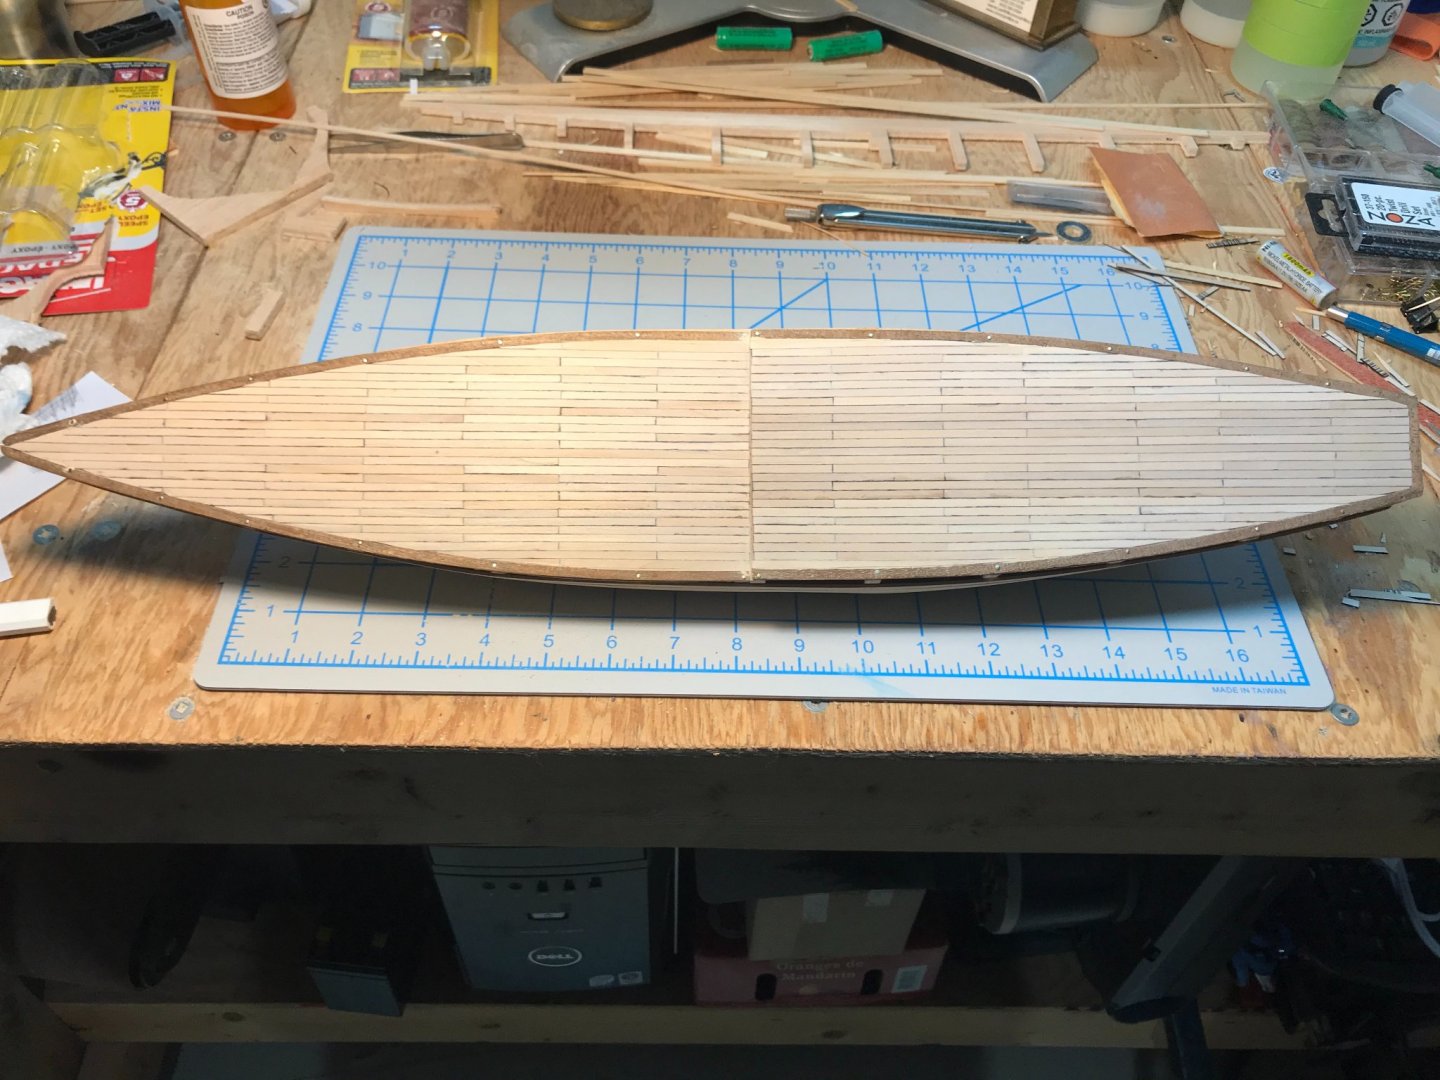
I am using the John Earl instructions along with the kit instructions. This has been very helpful along with the build logs I have found on this site. After getting the hull planked it was on to deck planking. At this point I decided to invest in thinner basswood strips so as to be closer to scale. I also opted to use a black sharpie on the edges to simulate the caulking. As per the John Earle suggestion I put the waterways in place first and then fitted the deck planks so they were at the same level. However I decided not to follow the curve of the water ways on the afterdeck. The earliest picture I took of my progress is after completing the hull planking.

- 8 replies
-
- 1
-
-
- Bluenose II
- Artesania Latina
- (and 1 more)
-
I am new to this site as well as being new to model ship building. I have had this kit for quite a few years and just never got around to starting it. With COVID 19 keeping us more at home I thought it would be a great time to start building model.
- 8 replies
-
- 2
-
-
- Bluenose II
- Artesania Latina
- (and 1 more)