
Capt Nemo
-
Posts
27 -
Joined
-
Last visited
-
 GrandpaPhil reacted to a post in a topic:
HMS Beagle by Capt Nemo - Mamoli - 1:64 scale - second try
GrandpaPhil reacted to a post in a topic:
HMS Beagle by Capt Nemo - Mamoli - 1:64 scale - second try
-
Robp1025 reacted to a post in a topic:
HMS Beagle by Capt Nemo - Mamoli - 1:64 scale - second try
-
Yes sir I am, but i've been busy with life and it's slowing progress down a little. I'll try and get an update up within a couple days as i'm finishing up the decking now. So much work to get everything looking presentable! Edit: Thanks for the link, was a great read.
-
Siegfried reacted to a post in a topic:
HMS Beagle by Capt Nemo - Mamoli - 1:64 scale - second try
-
Ryland Craze reacted to a post in a topic:
Bluenose II by Capt Nemo - Artesania Latina - scale 1:75 - first build
-
Rik Thistle reacted to a post in a topic:
Bluenose II by Capt Nemo - Artesania Latina - scale 1:75 - first build
-
GuntherMT reacted to a post in a topic:
Bluenose II by Capt Nemo - Artesania Latina - scale 1:75 - first build
-
clearway reacted to a post in a topic:
HMS Beagle by Capt Nemo - Mamoli - 1:64 scale - second try
-
ccoyle reacted to a post in a topic:
HMS Beagle by Capt Nemo - Mamoli - 1:64 scale - second try
-
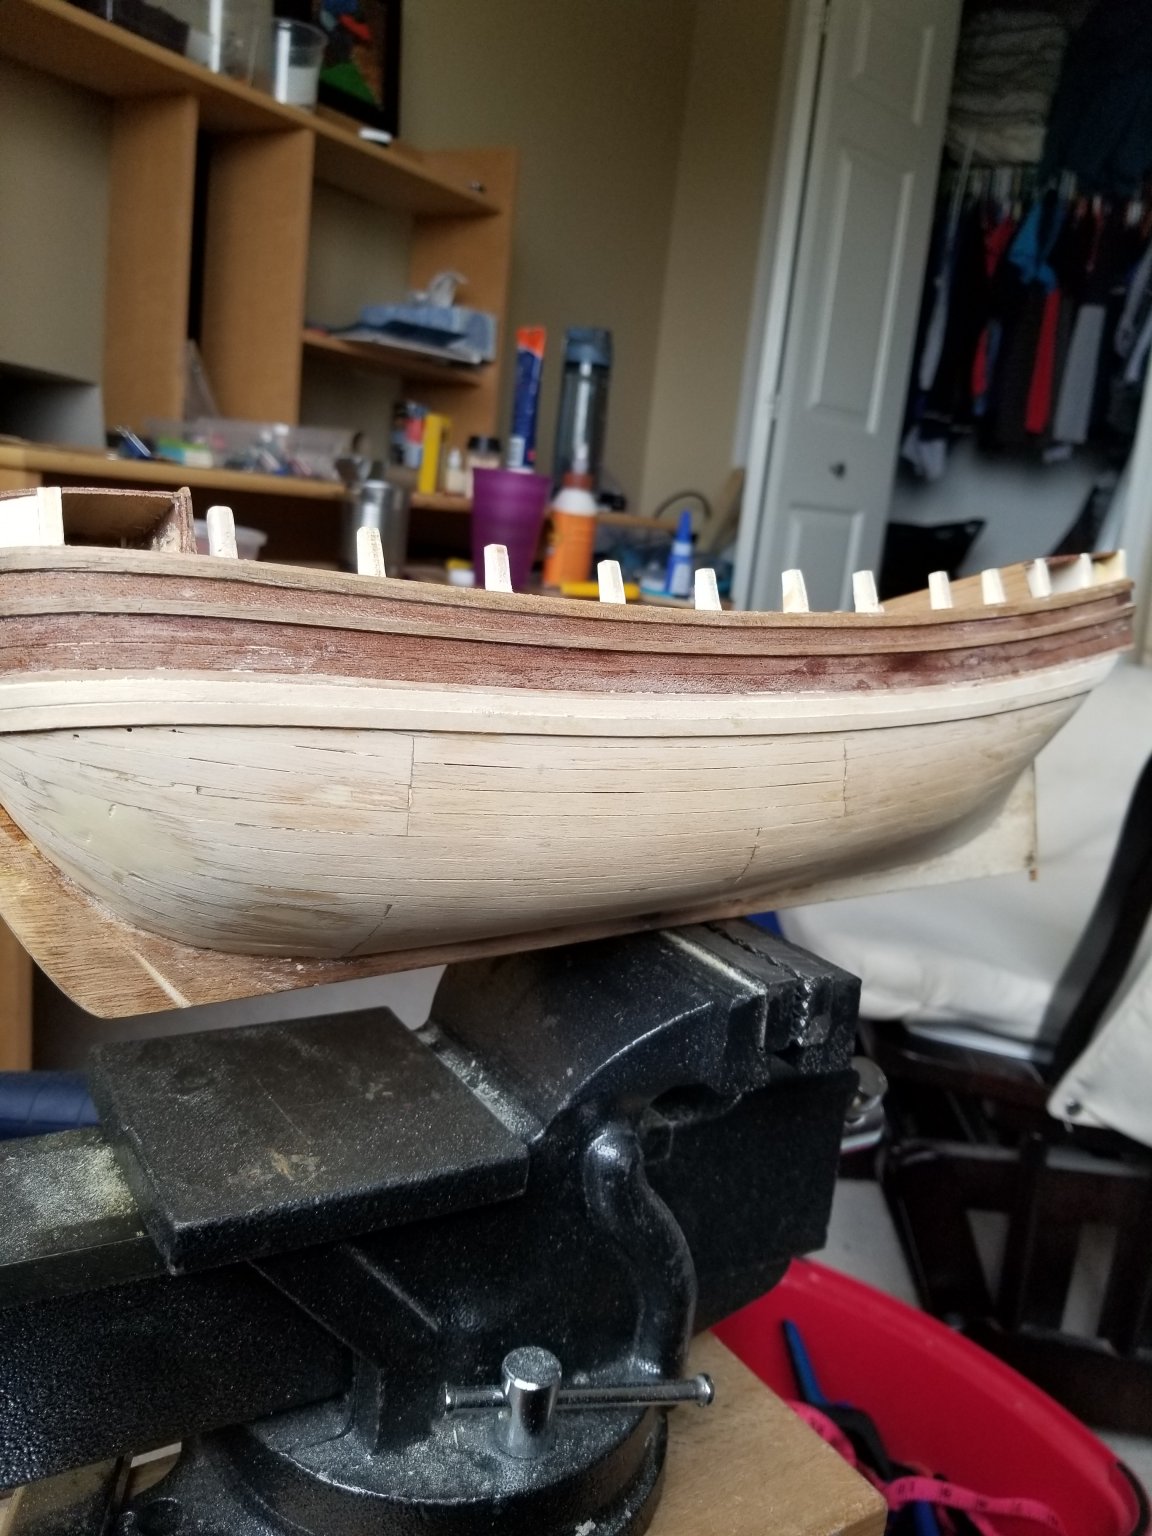
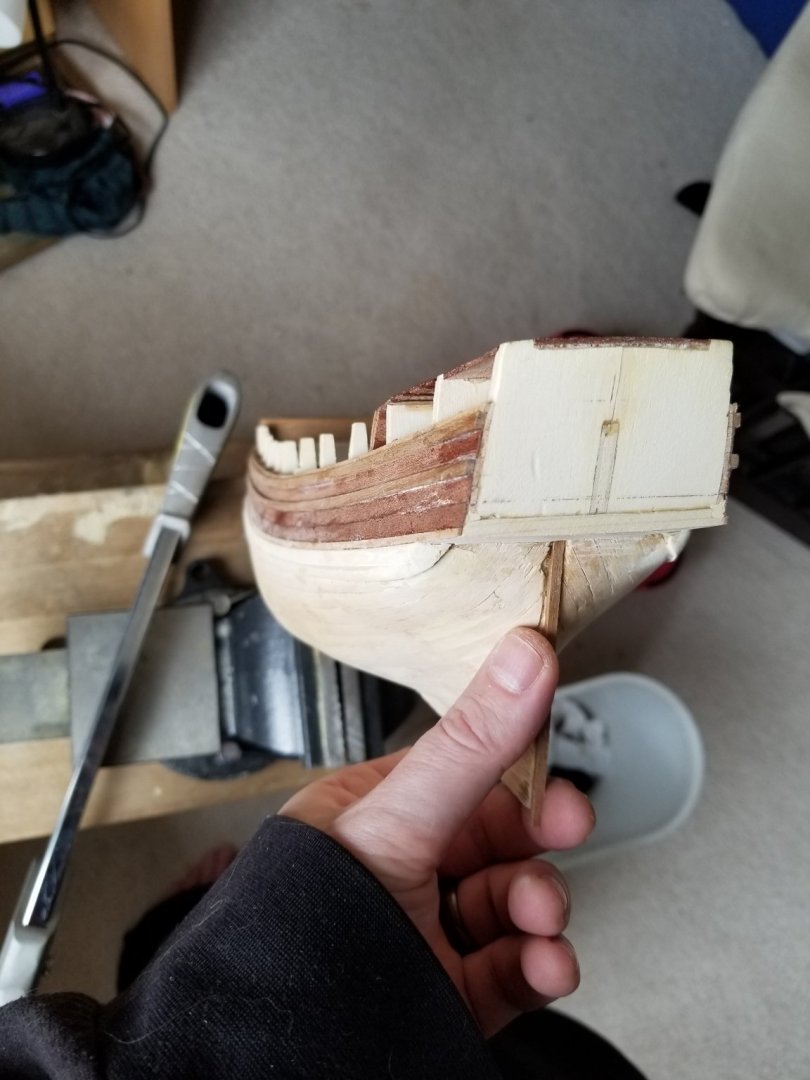
Got the bulwark, I believe its called; done and now I'm ready for the final planking. The wood glue with a little CA to hold it worked wonderfully. Got a little wood filler on there and haven't sanded , but I'm pleased with it sofar. Had to do a few modifications for better measurements and placement of wood and still have lots to go but that was a big step for me, especially bending the larger diameter wood. Now I'm about to start the final planking on the hull. Q: What is a proper length of plank on the hull. Scale is 1:64 with an overall length of 645mm. My planks are 4x0.5mm so I was guessing around 150mm long. My knowledge on the subject is very lacking so any advise is welcomed. While I'm asking about the plank length, on the decks I was thinking a little shorter.... say 120mm?
-
johnff reacted to a post in a topic:
HMS Beagle by Capt Nemo - Mamoli - 1:64 scale - second try
-
Old Collingwood reacted to a post in a topic:
HMS Beagle by Capt Nemo - Mamoli - 1:64 scale - second try
-
Thanks for droping in Cathead, I was leaning tword wood glue as well so your second opinion on the matter pretty much settles the debate for me. Got some wood bent to shape for the bulwark tonight so i'll try gluing them on and using a bunch of the rubber bands along the hull to hold things in place for drying/curing of the glue. Should do the trick. I believe i can't just post you my e-mail on the forums, but i truely would love to get my hands on those photos. I find the beagle to be absolutley facinating... her voyages/passenger changed everything. I read about them building it back in the early 2010s if memory serves me. How close is the replica to an original of when Darwin sailed on her?
-
Capt Nemo reacted to a post in a topic:
HMS Beagle by Capt Nemo - Mamoli - 1:64 scale - second try
-
Capt Nemo reacted to a post in a topic:
HMS Beagle by Capt Nemo - Mamoli - 1:64 scale - second try
-
Capt Nemo reacted to a post in a topic:
HMS Beagle by Capt Nemo - Mamoli - 1:64 scale - second try
-
Capt Nemo reacted to a post in a topic:
HMS Beagle by Capt Nemo - Mamoli - 1:64 scale - second try
-
Thank you YT, I'm always my worst critic, so your words are encouraging. That majestic creature is 2 years old now... pretty much a furry ball of joy at this point that seeks out sunspots through out the house. 😸
-
Thanks Don, I would very much like to see those 2 ships of yours on here one day. It's a learning process for me sofar.
-
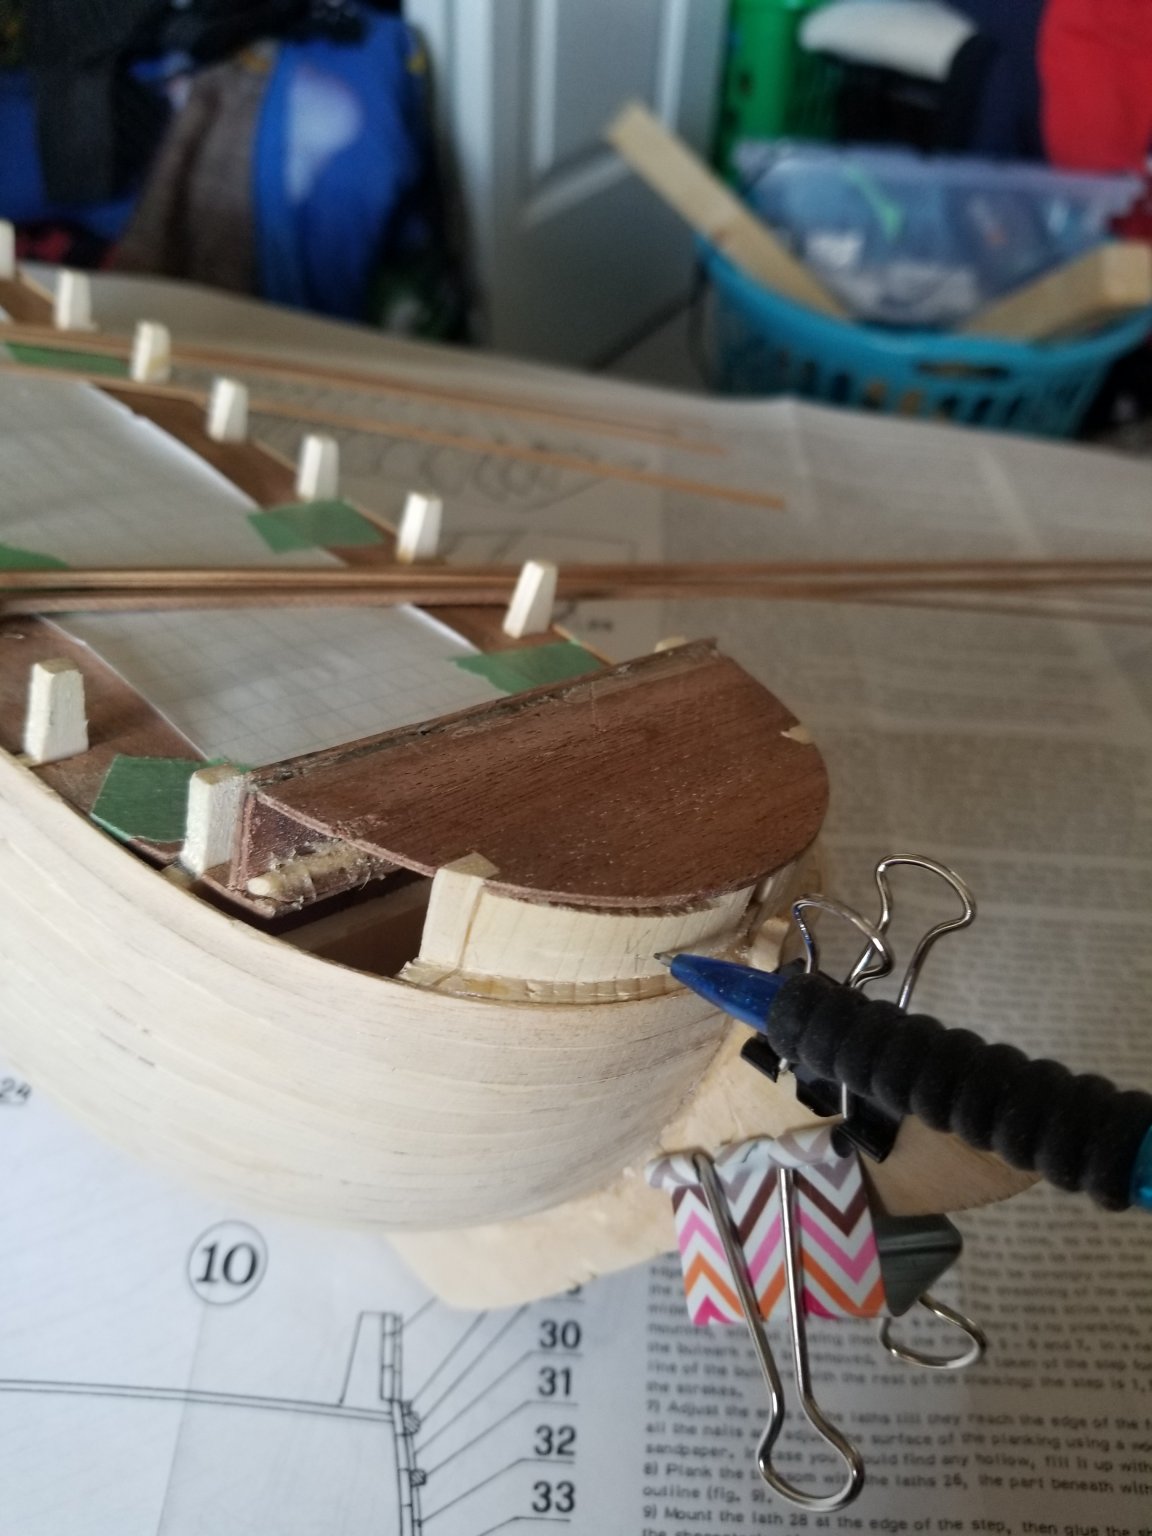
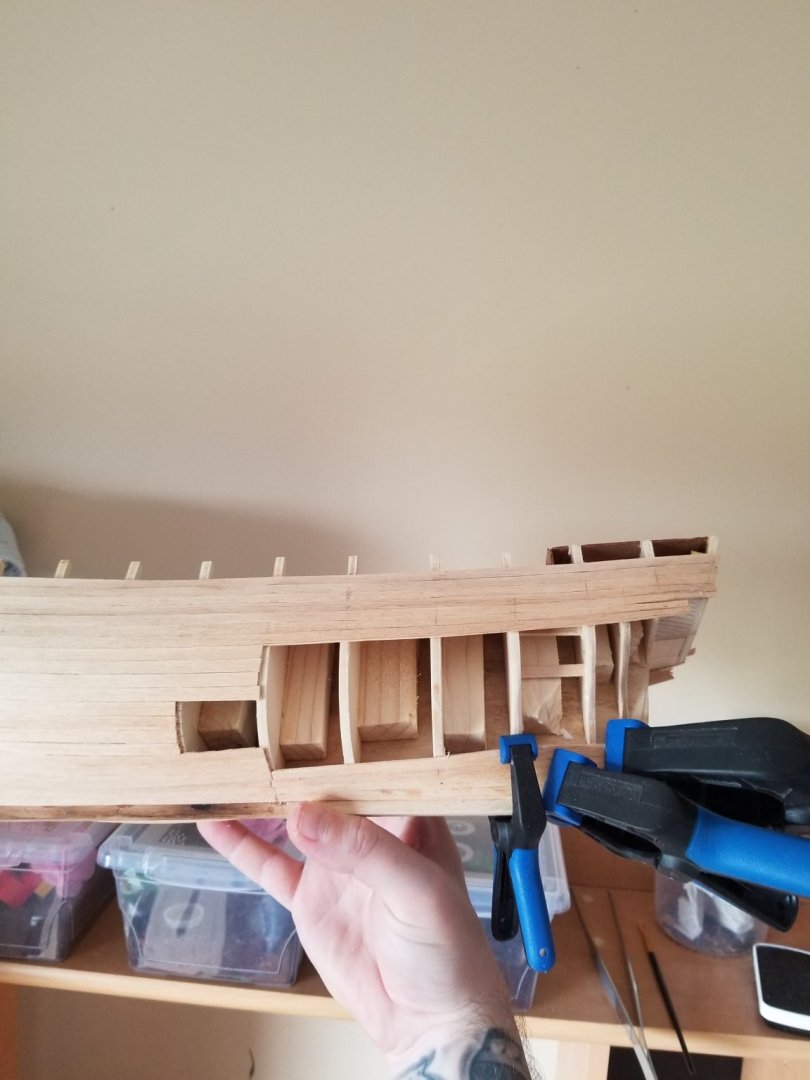
Colman thanks for the kind words, I have heard that the mamoli factory burnt down and that dusek took over. Never got my hands on a dusek kit, but they do look much better with "updated" parts and wood that the original did not. Very much enjoying the mamoli kit, but I do see some big draw backs that have to be overcome/re-invented... but isn't that expected in most kits? Example Those blocks had to be hand made because in the old kit (mine) those were missing. Same as the back end and it took me awhile to figure out how to curve the planks. Conclusion for me was to build a block so as to have a nice smooth bend that I figured would be very fustrating/impossible to achieve without it. I hand made the ones in the back as well and it came as a surprise to me when I saw pictures of newer kits with these blocks included. All that being said, I'm sure dusek is going to do these kits right and I wish all the best to them. I was looking at some of their viking longships and to my unprofessional opinion, they look like some great quality kits that I would very much like to "add" to my burgeoning shipyard. 😁

-
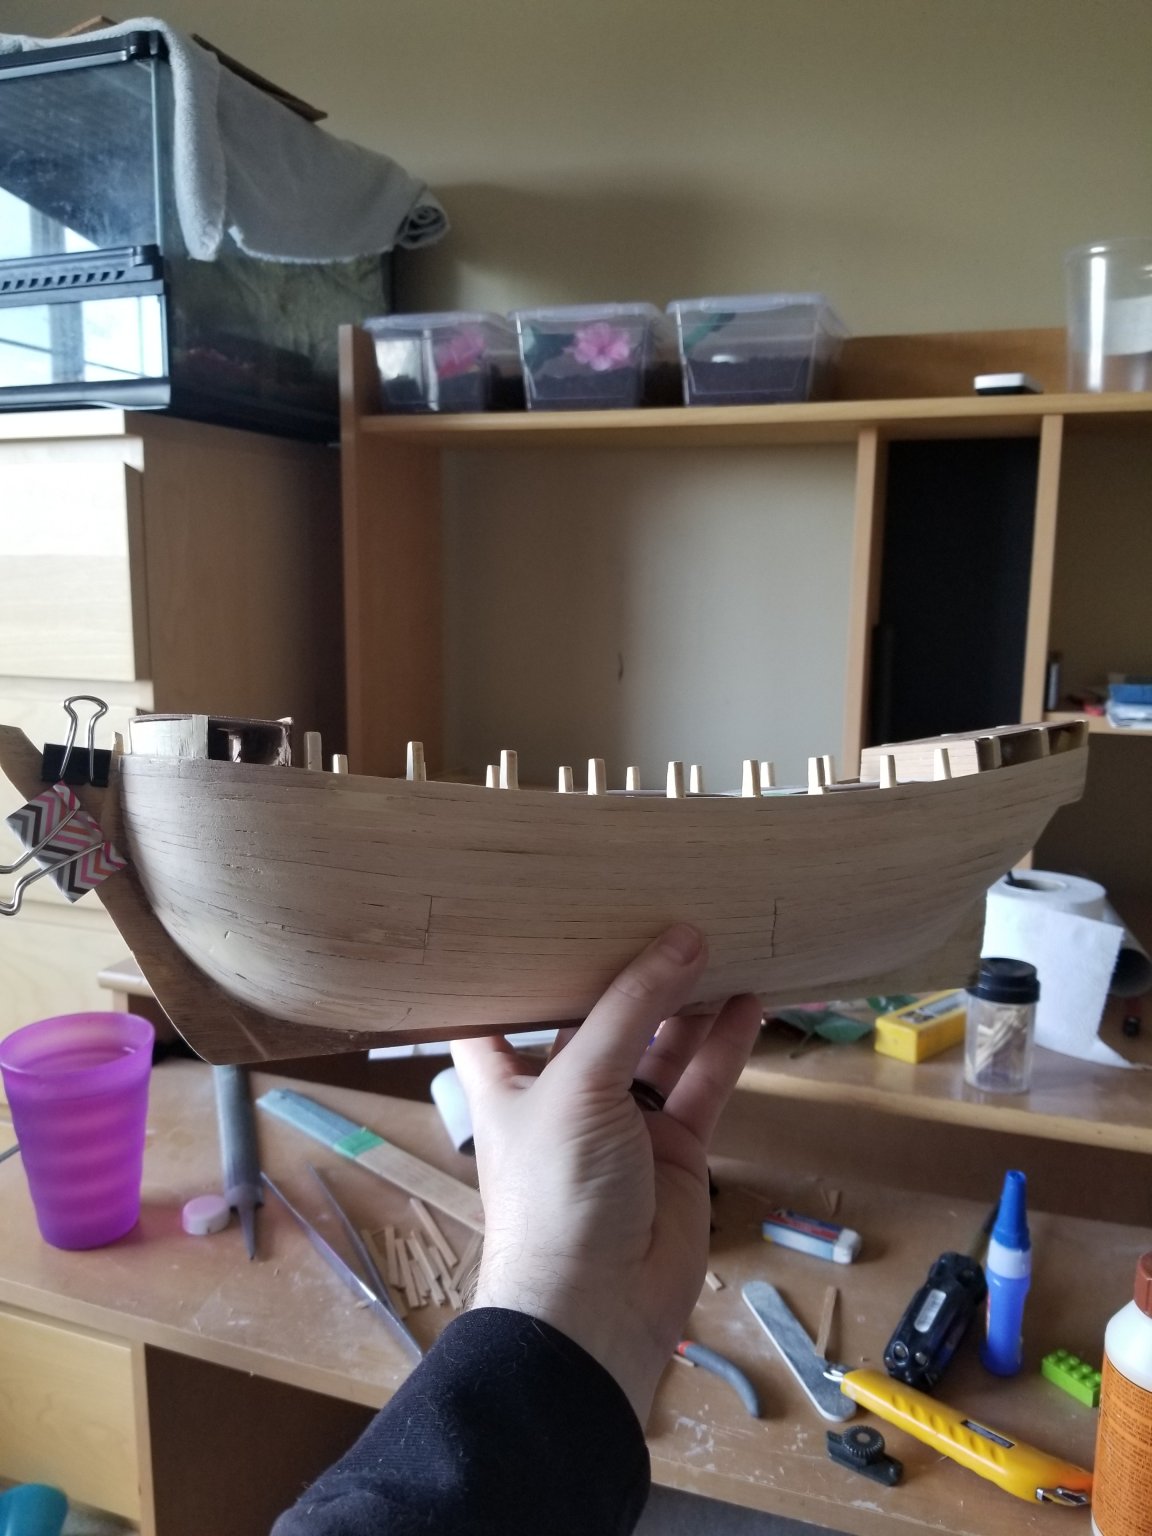
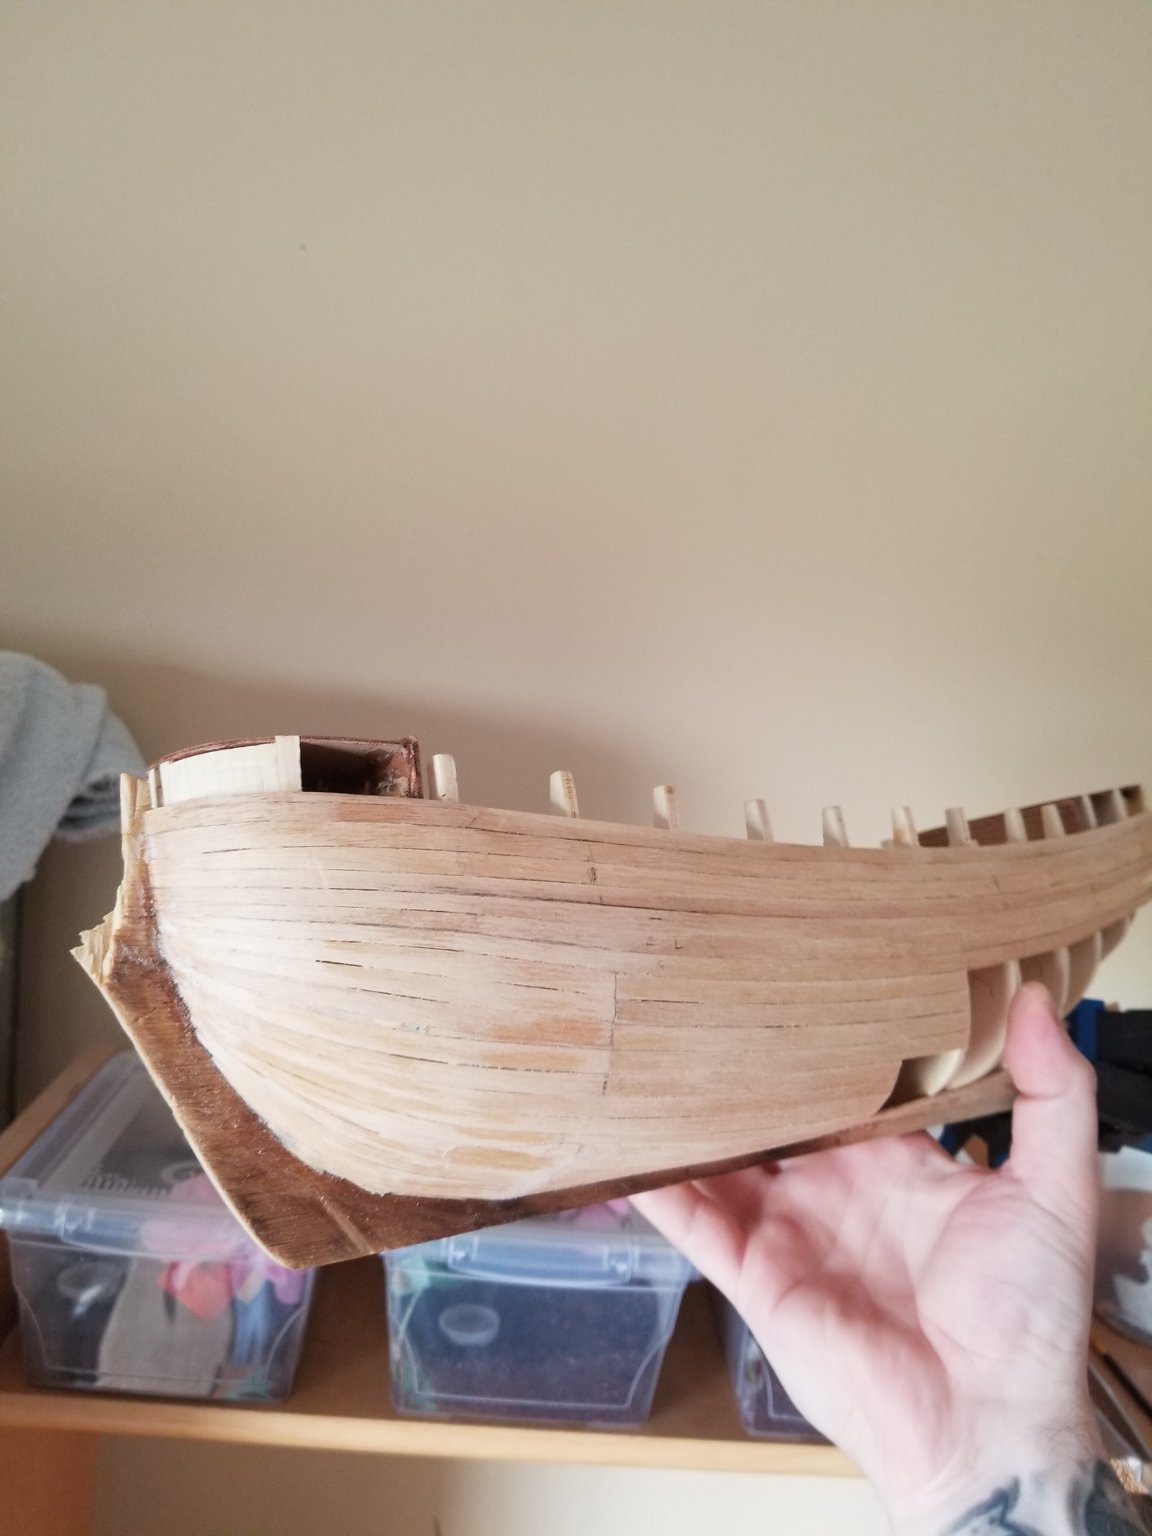
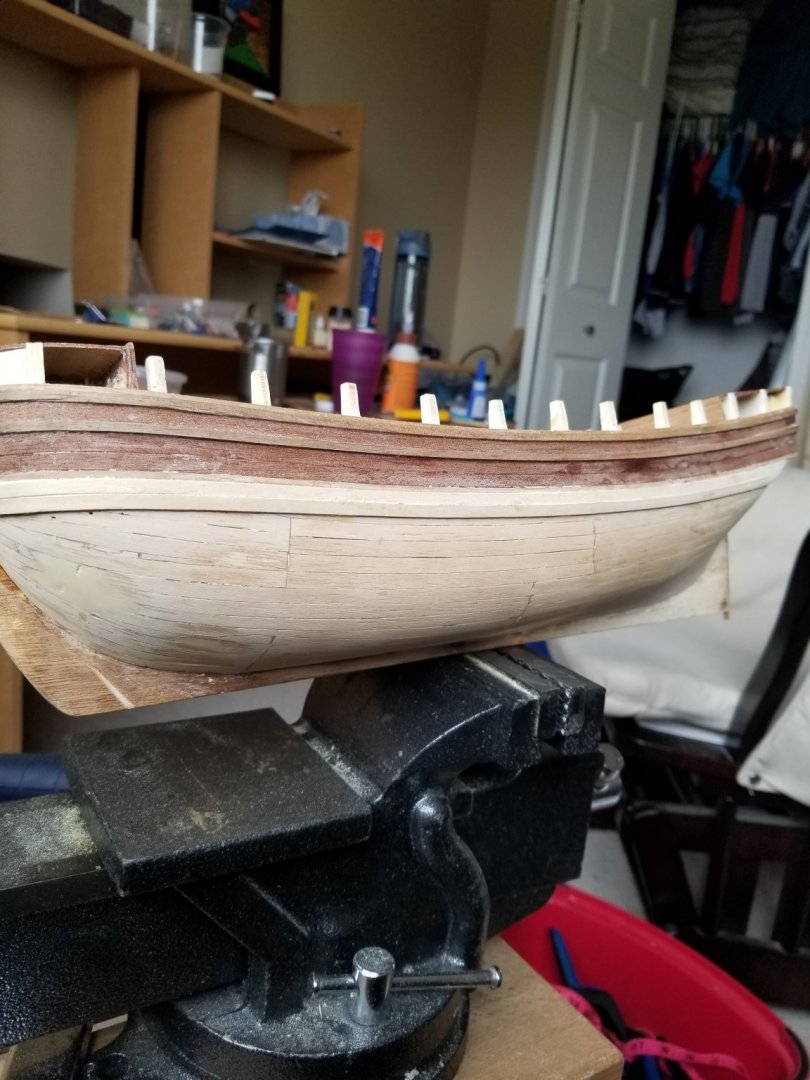
Finished up the first planking and about to start the second layer. Got a question here... Q: What glue should I use for the final planking? I got the first layer on with CA glue, but wondering what the easiest way forward is when it comes to the second planking. There is nothing to clamp the planks to and nailing/pinning dosen't seem like a sound idea to me at this point. So please, anyone with some guidance for a first timer would be much appreciated. The planks are 1×4mm walnut for the final layer.
-
Thanks Don, beggars can't be choosers, hoping to get a keel clamp/slipway for the next one. I very much wanted to do the bounty, such a fascinating story and an even more amazing naval achievement in the getting back home for the crew.
-
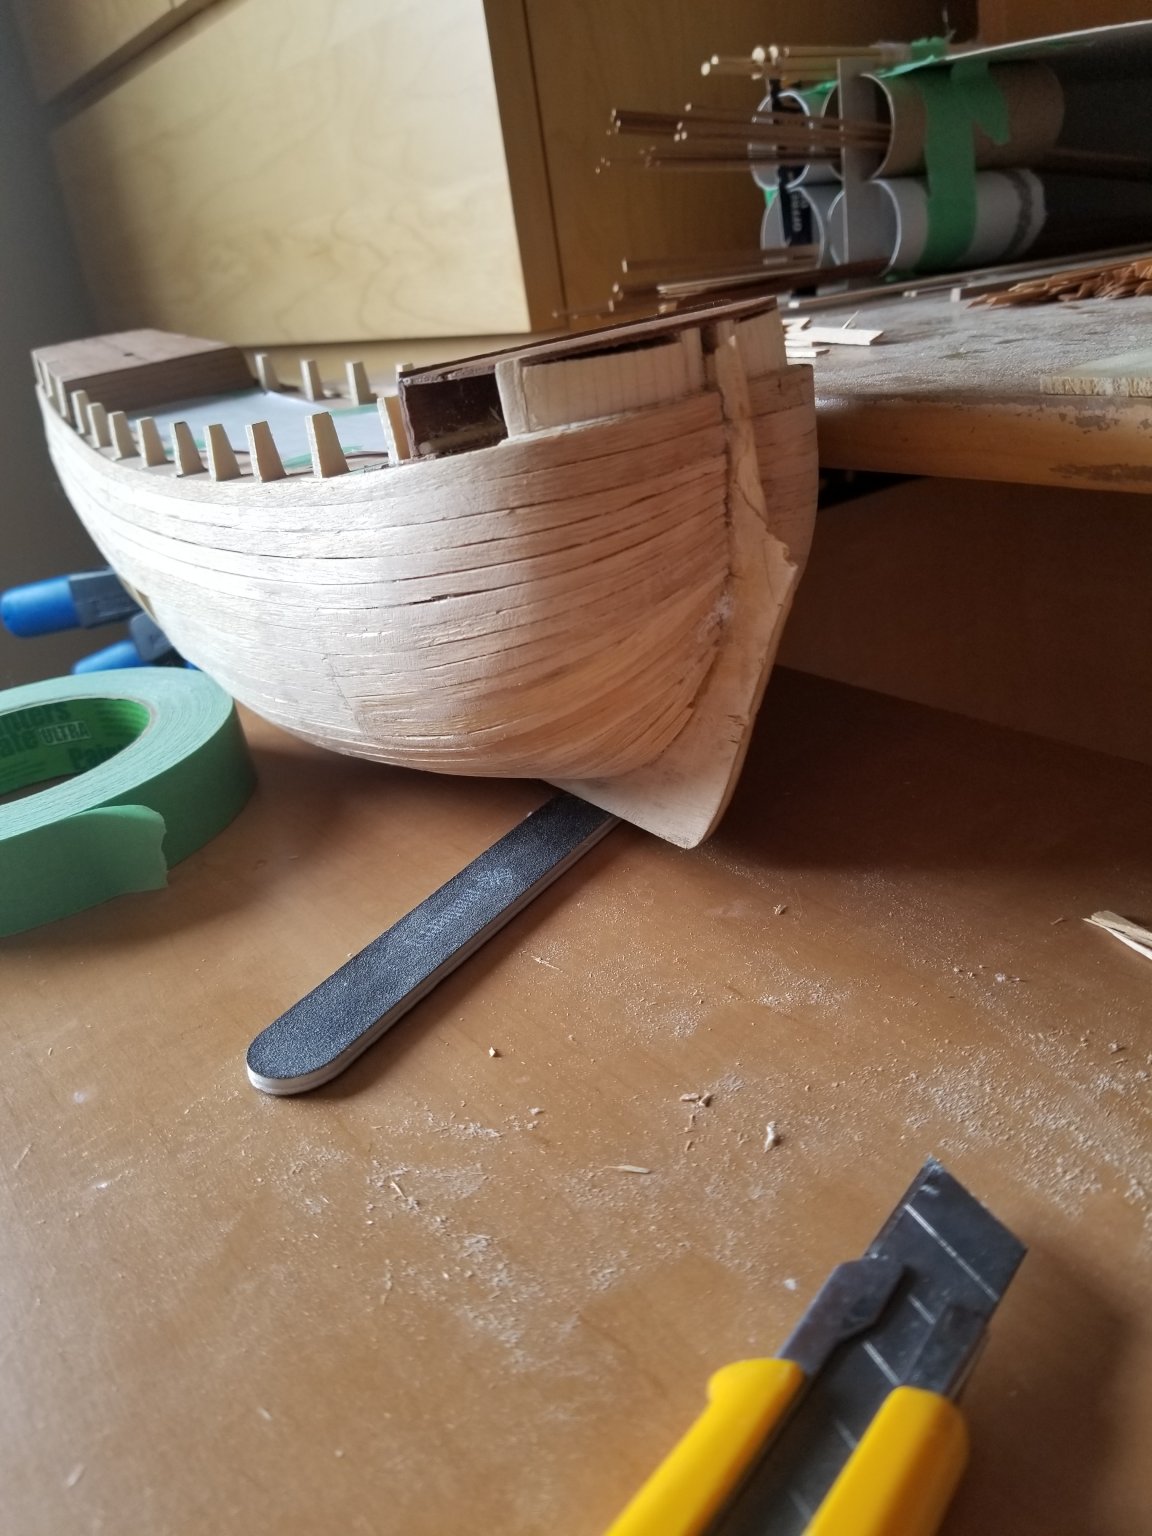
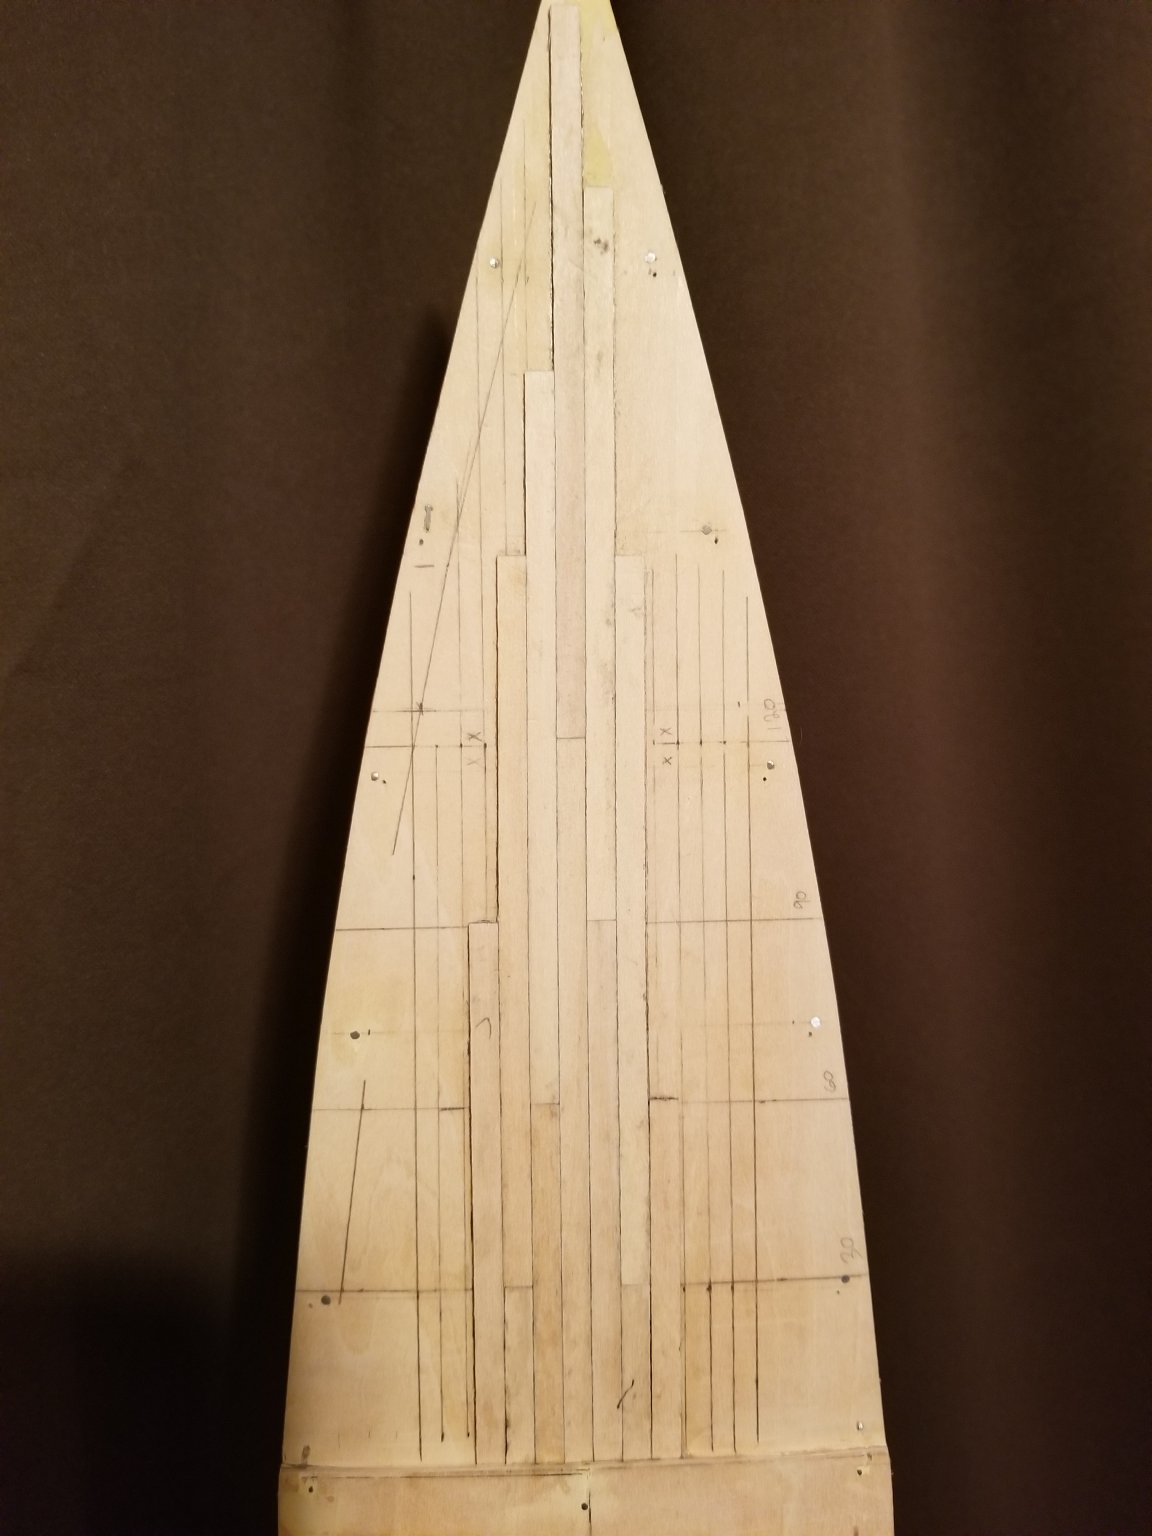
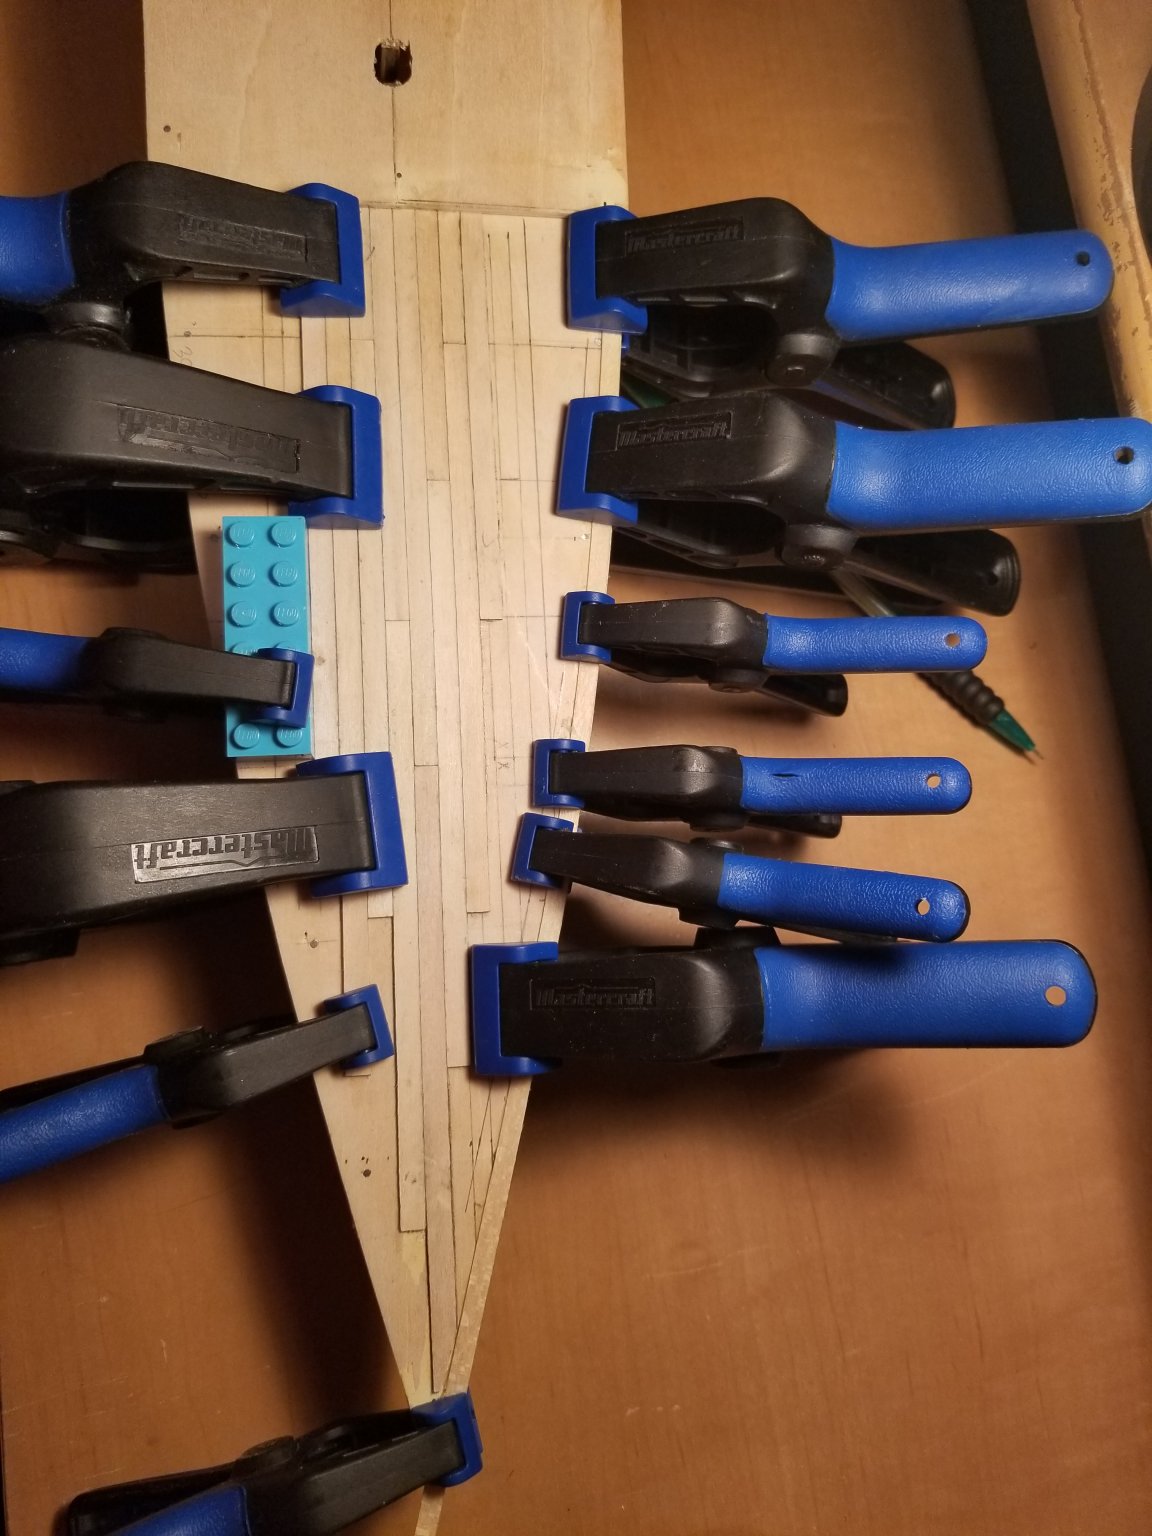
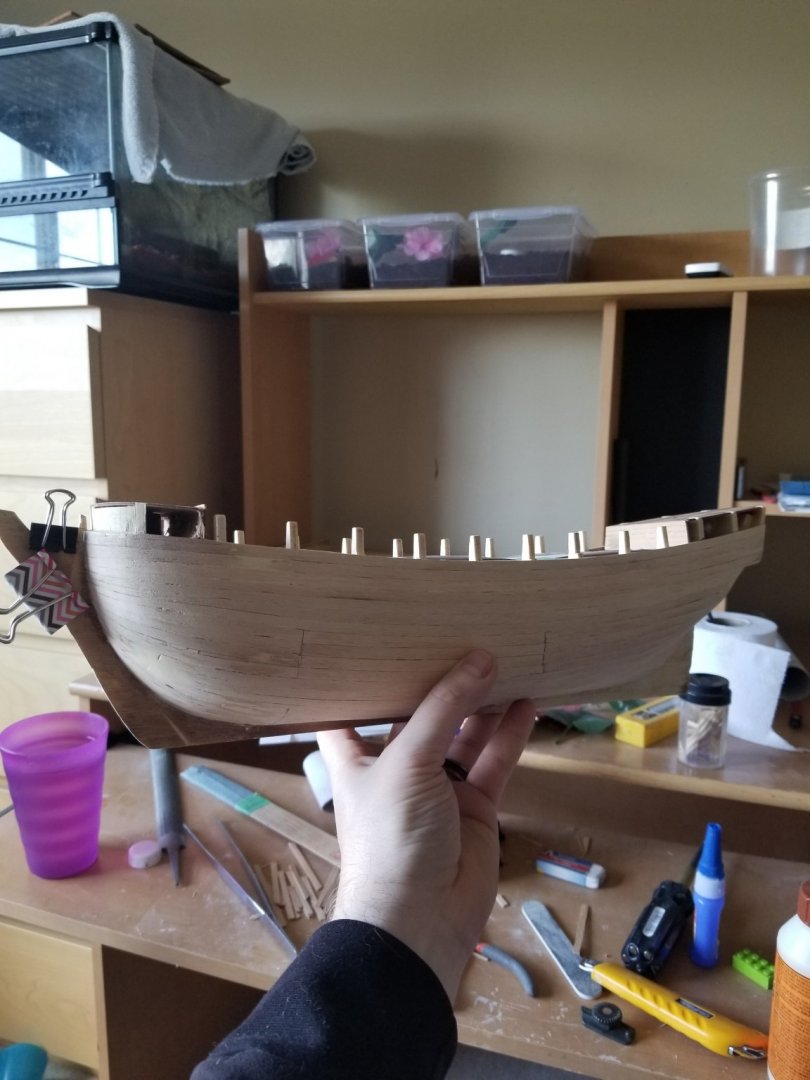
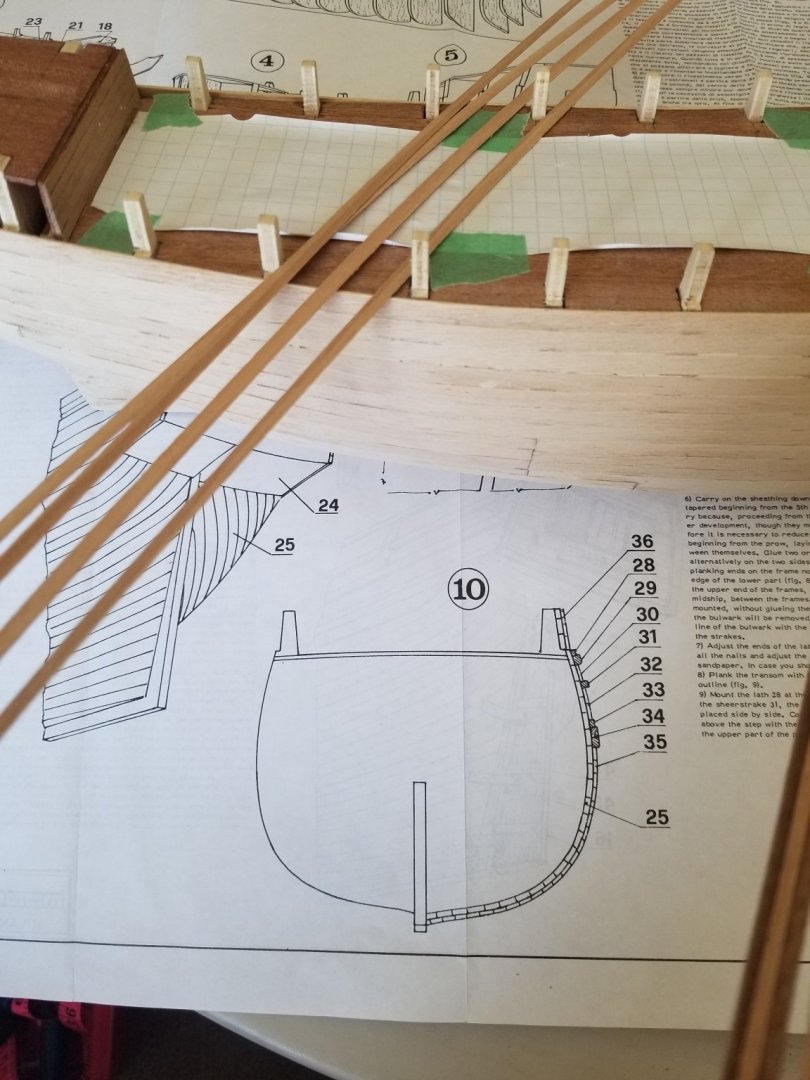
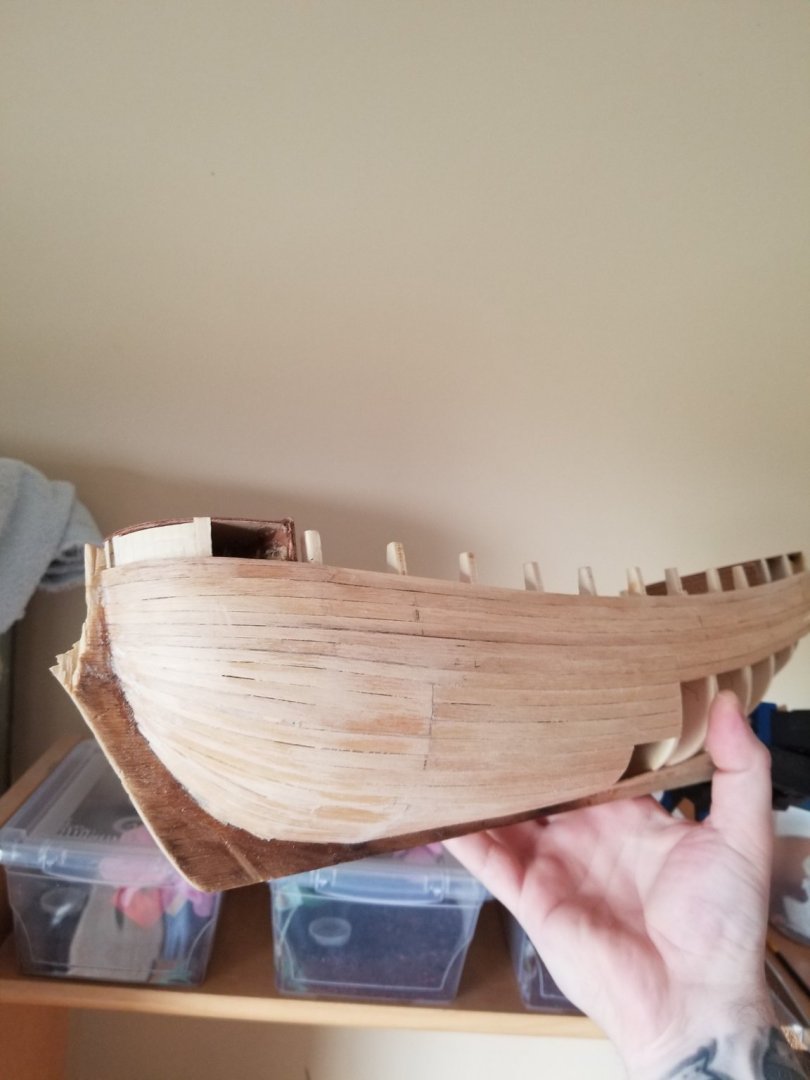
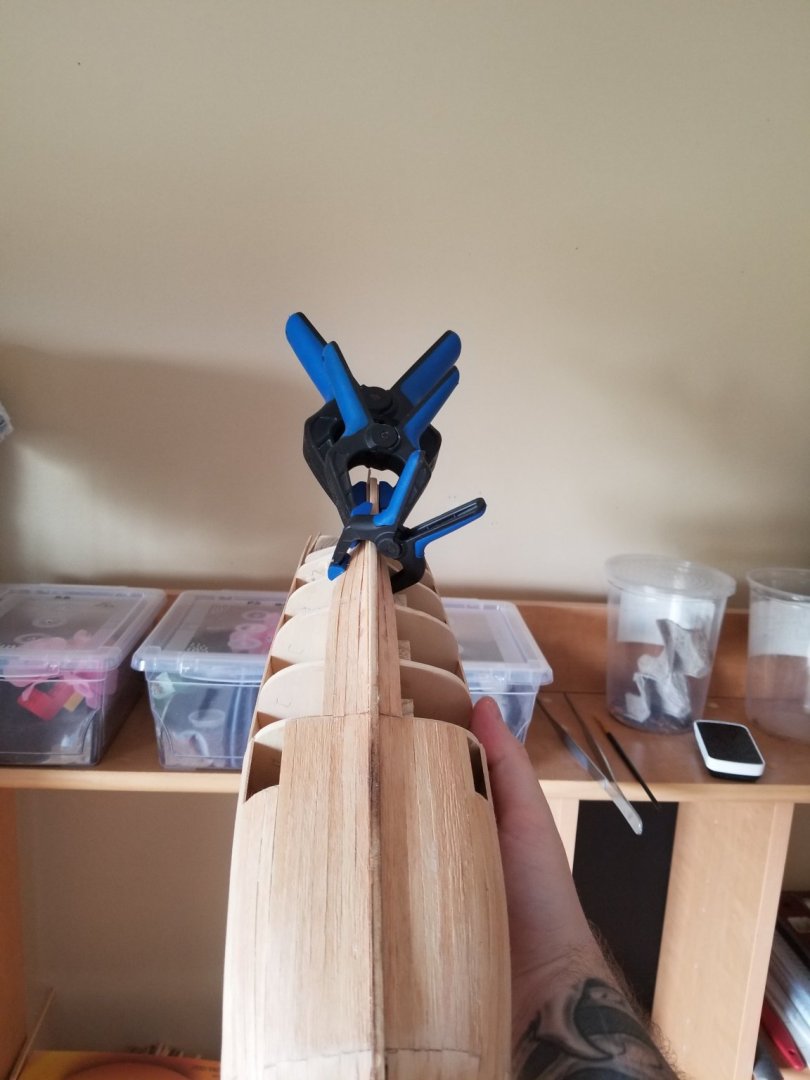
After my 7th plank I notice my math at the nose and tail end aren't adding up so I started to split the planking in sections for easier visualisation of the work. Ended up hacking the "nose" in as best I could, going to need much more hands on for the first keel planks in determining were to end the planks befor the "nose" of the ship. I believe that's where I went wrong because I calculated 18 planks midship and kept that number on bulkheads A thru M (every bulkhead). Don't think keel planks hit all bulkheads going forward of the ship towards the "nose" of the ship. Please bare with me, still learning ship liguistics. Having the planks sit well with no stress in them is mostly what I'm focused on atm. Never used pins or clamps to hold them, used CA as I went. At the rudder I have some clamps cause I'm using type2 wood glue there.

-
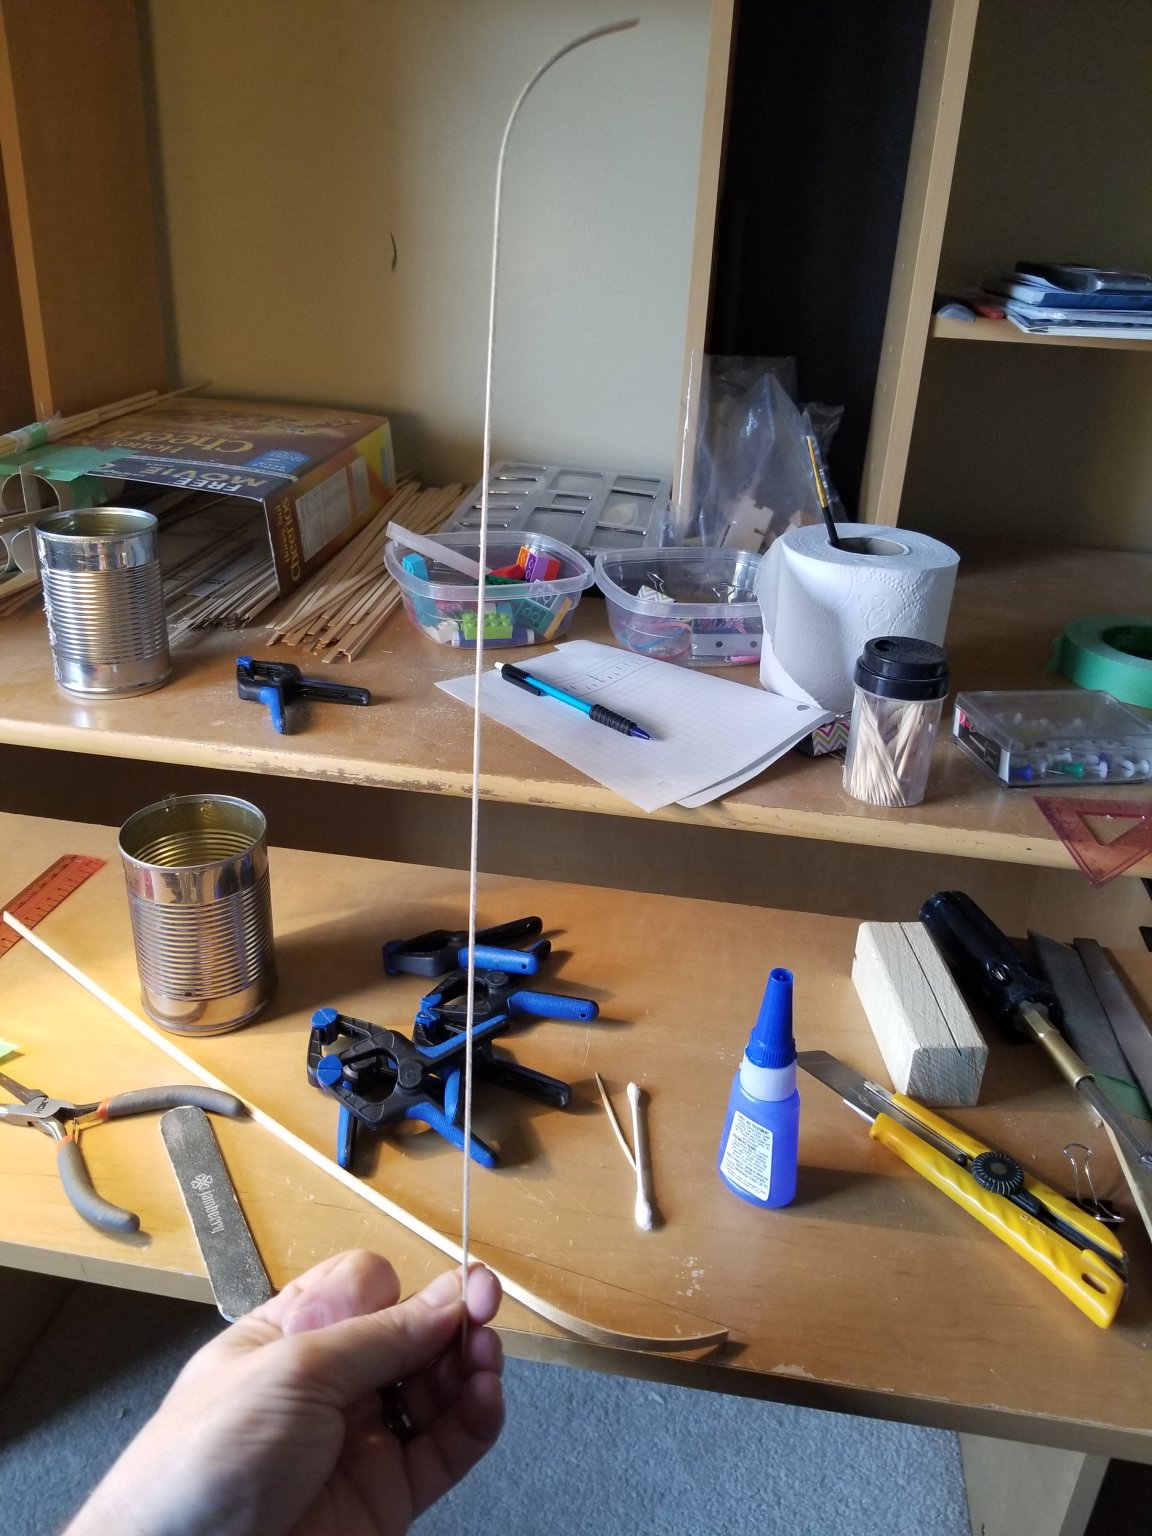
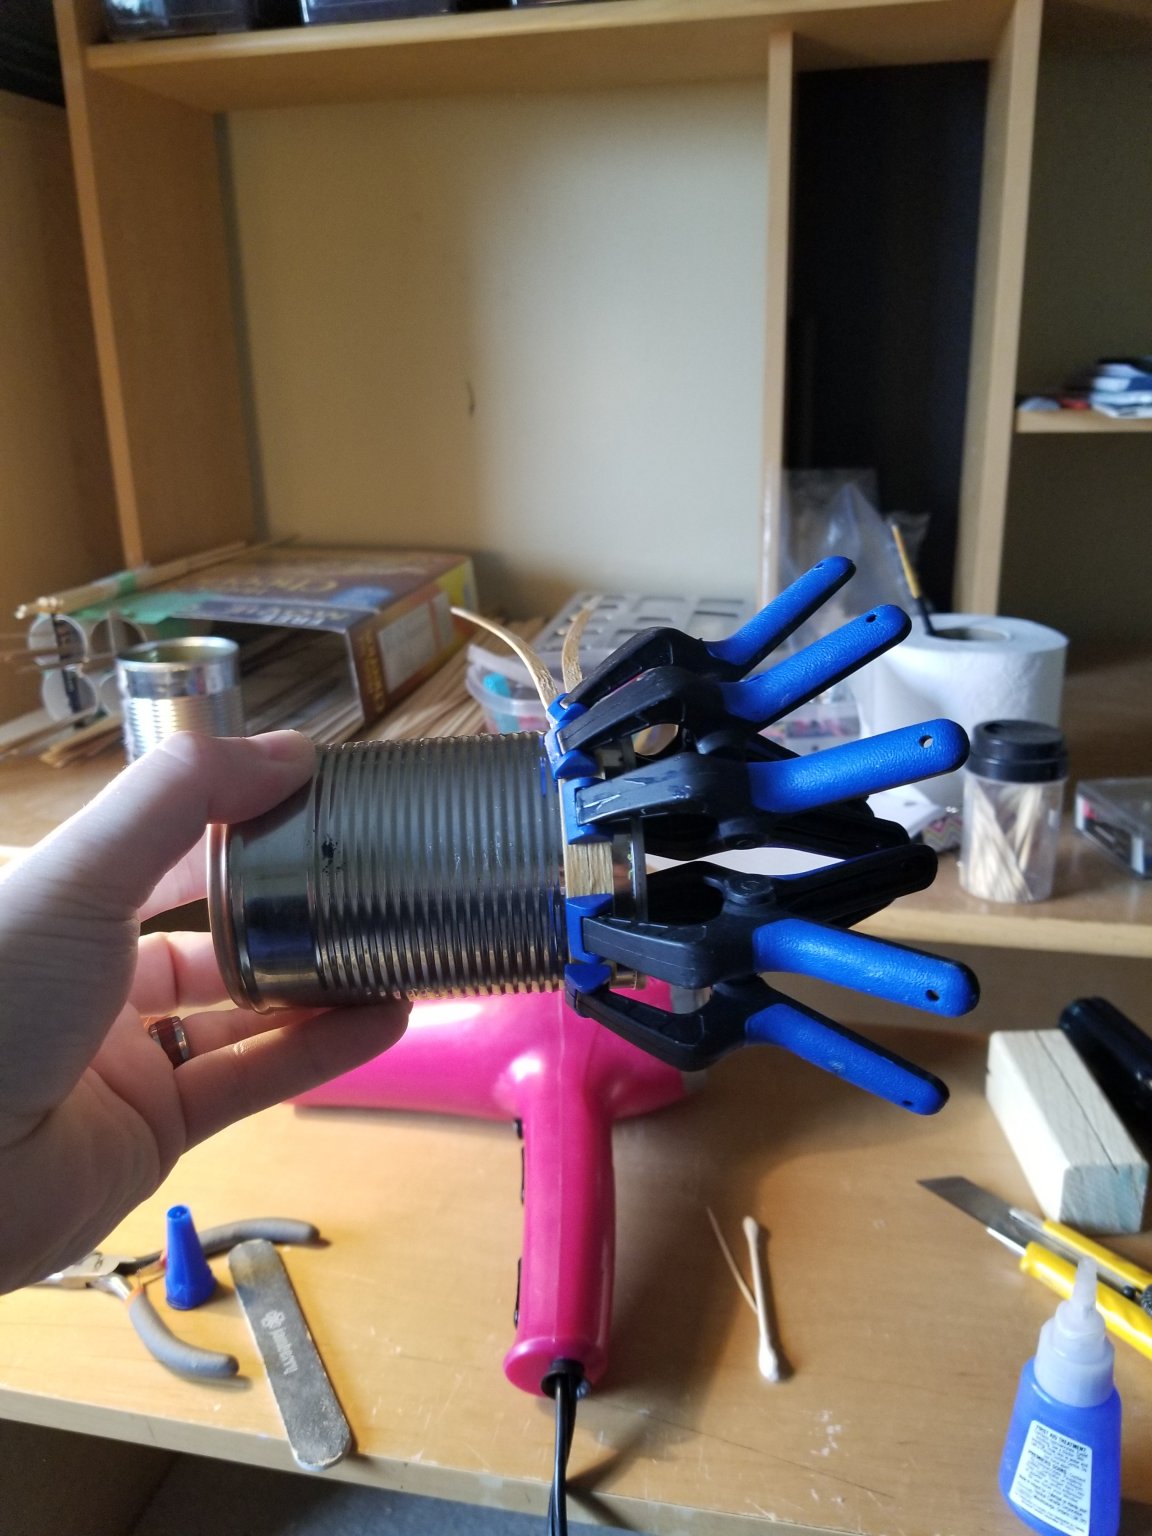
I found "wetting" the wood only enough so it doesn't snap and heating it up with my professional bender (wife's pink hairdryer) and forms (soup can) I could get some fairly radical bends in wood withing a couple minutes. I bent all my planks with a side bend using clamps to stop lifting and then a 90 degree bend with can to round the "nose of the ship into the keel. Looks straight but it has a few inches worth of side bend through the lenght of the plank. I also "split" planks believe its called along the whole length. Midship I'm at 5mm and tappered to 2.5m at the tail and nose of the ship.


-
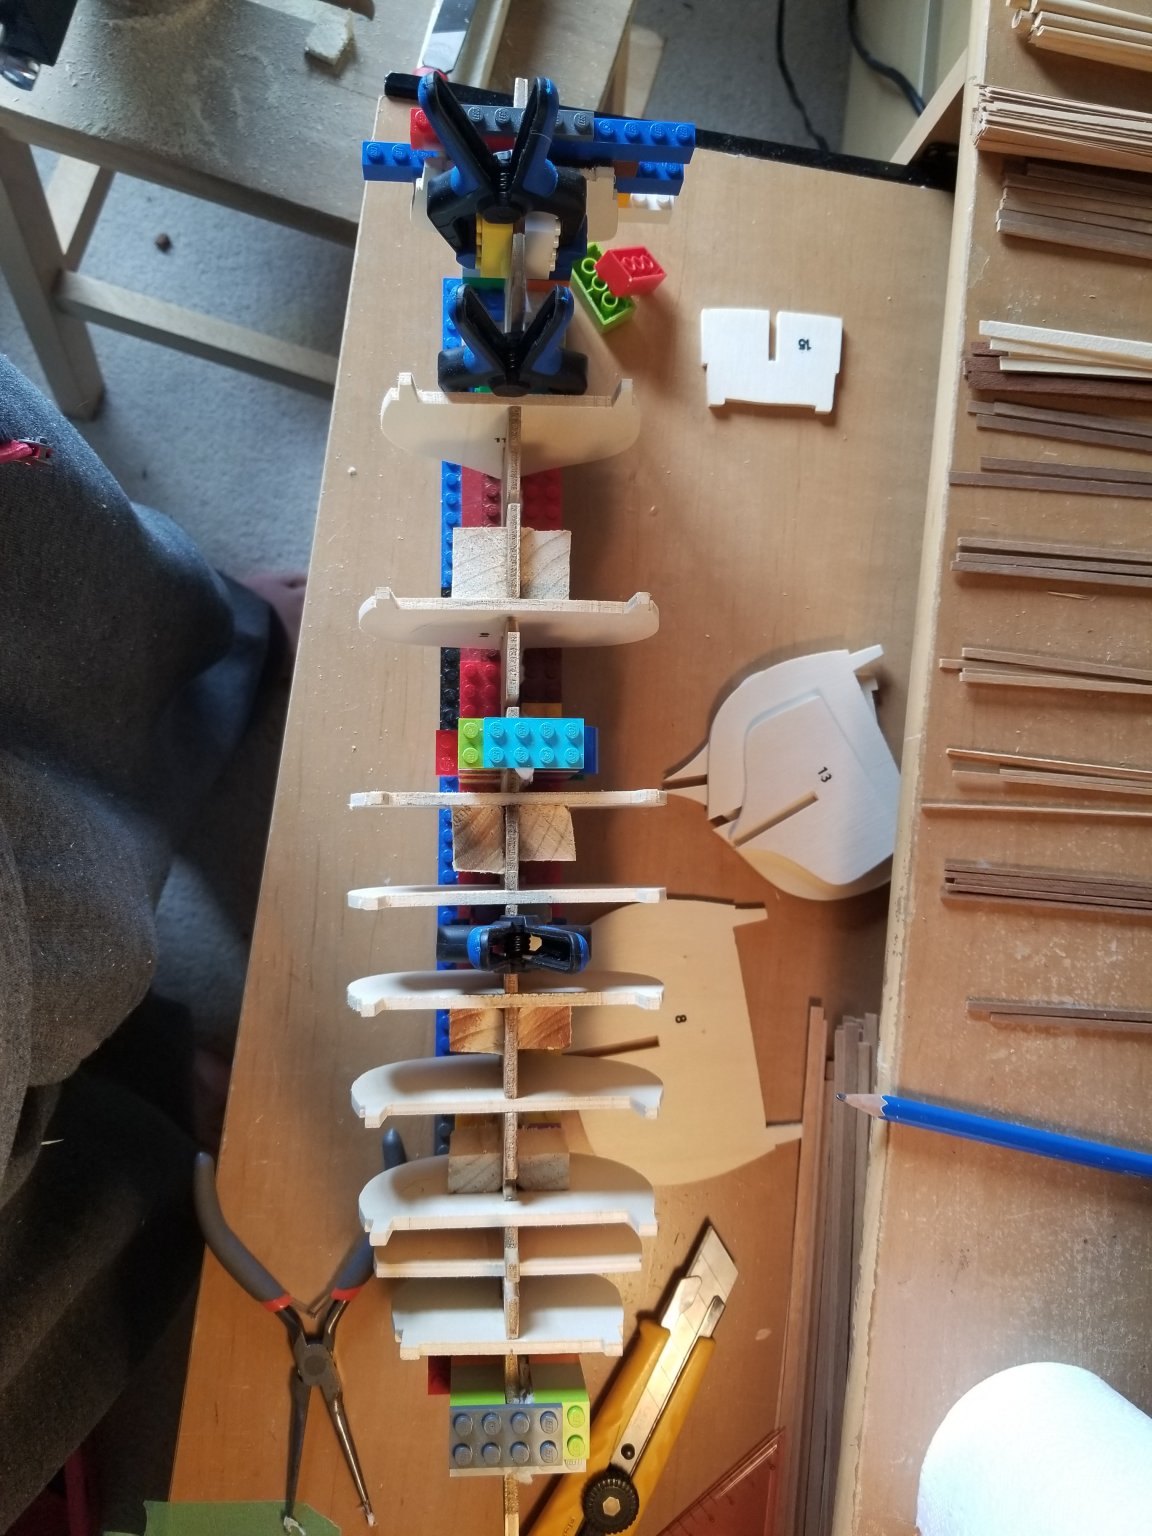
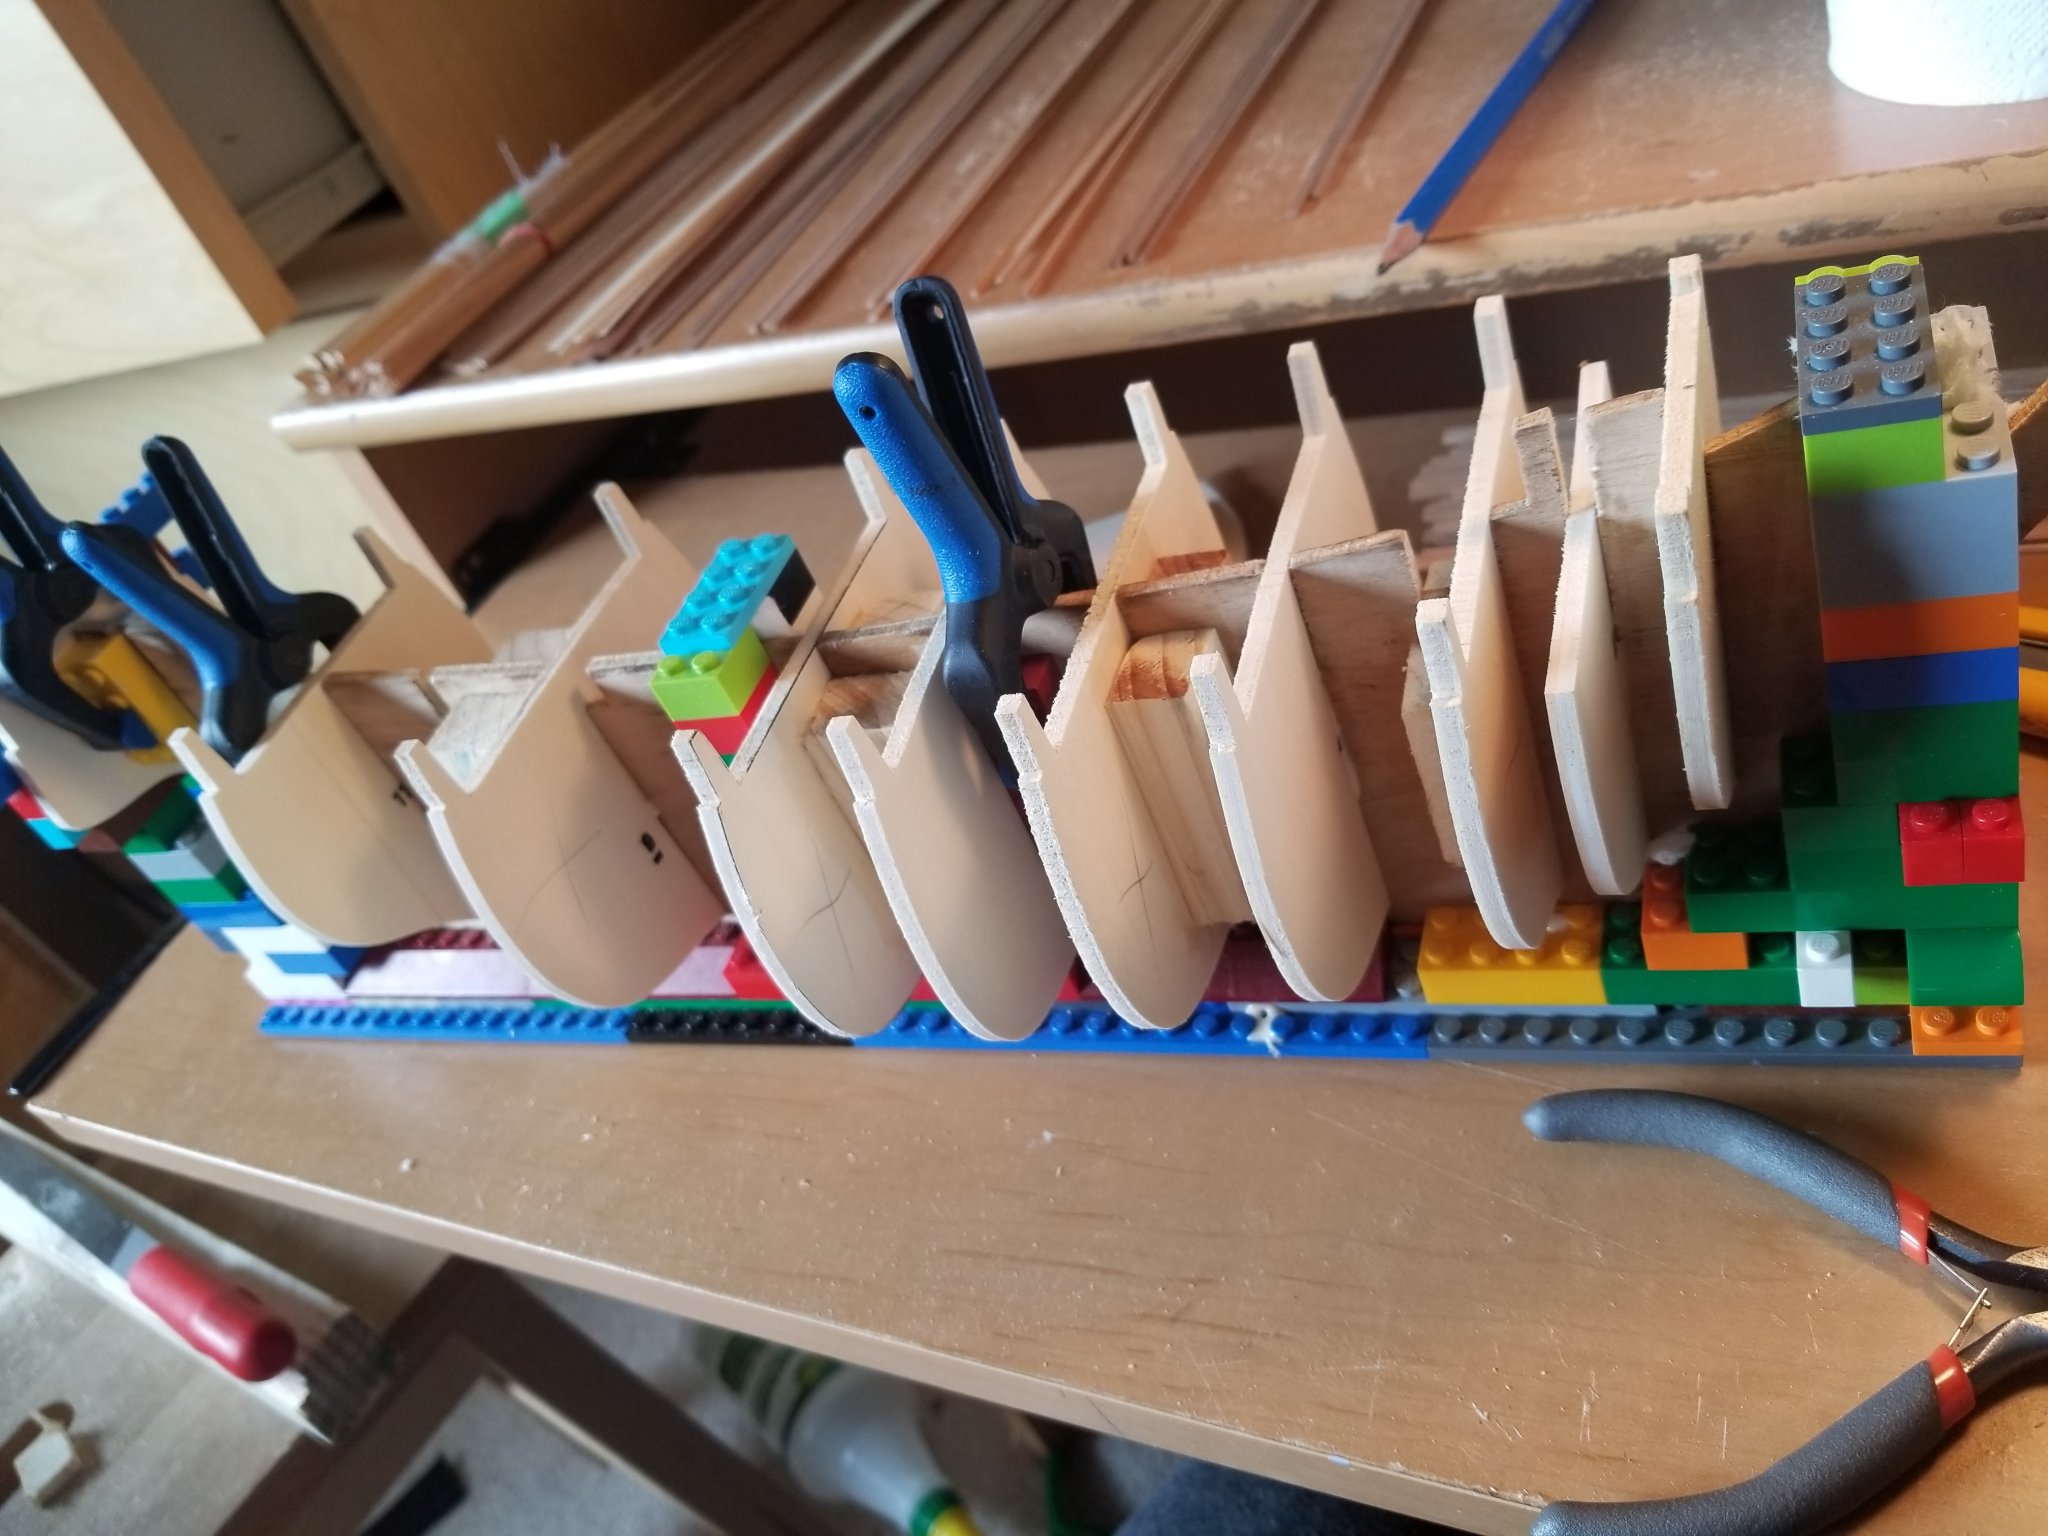
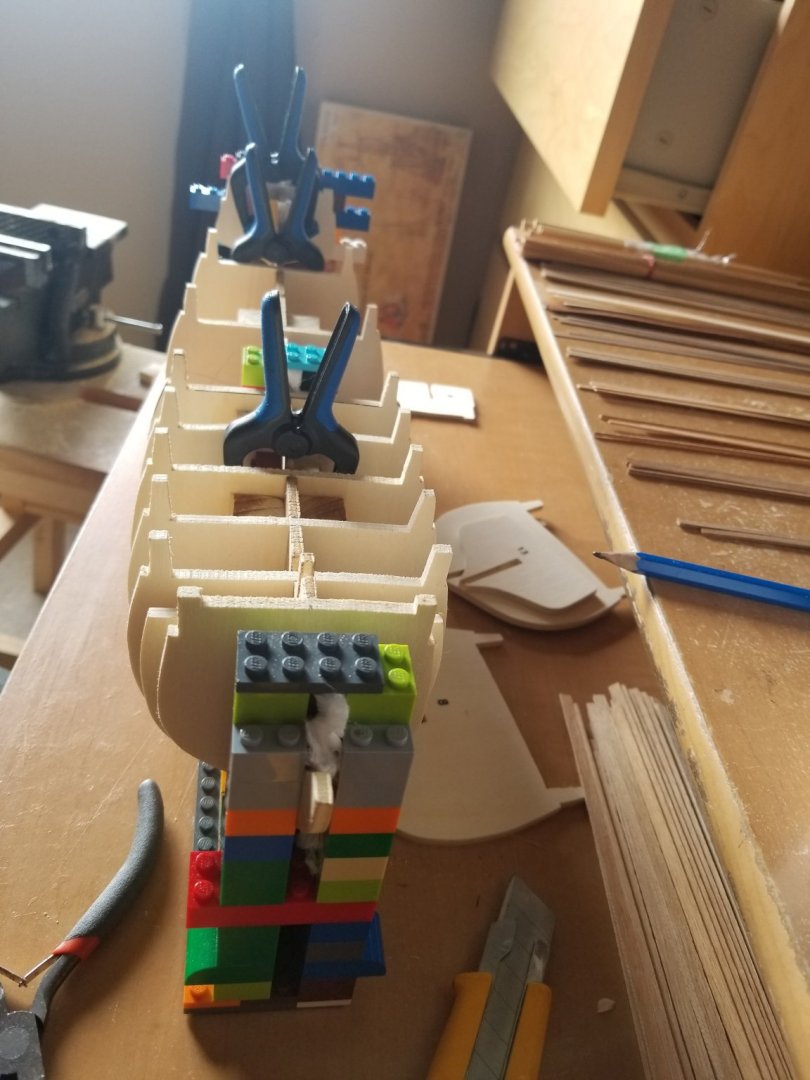
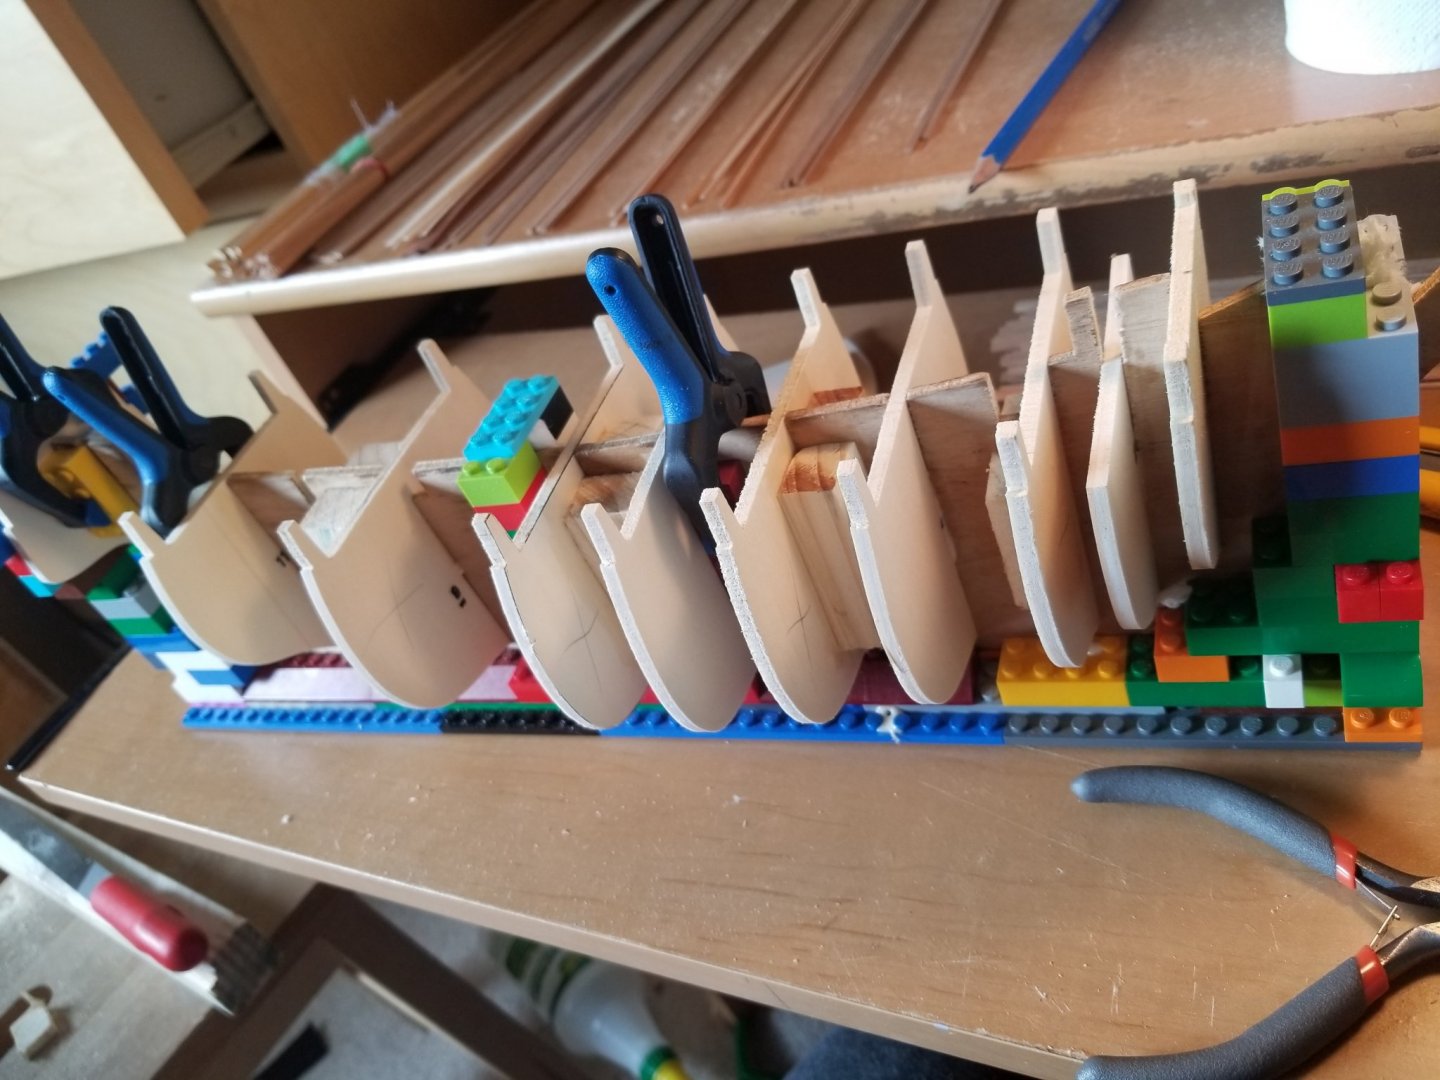
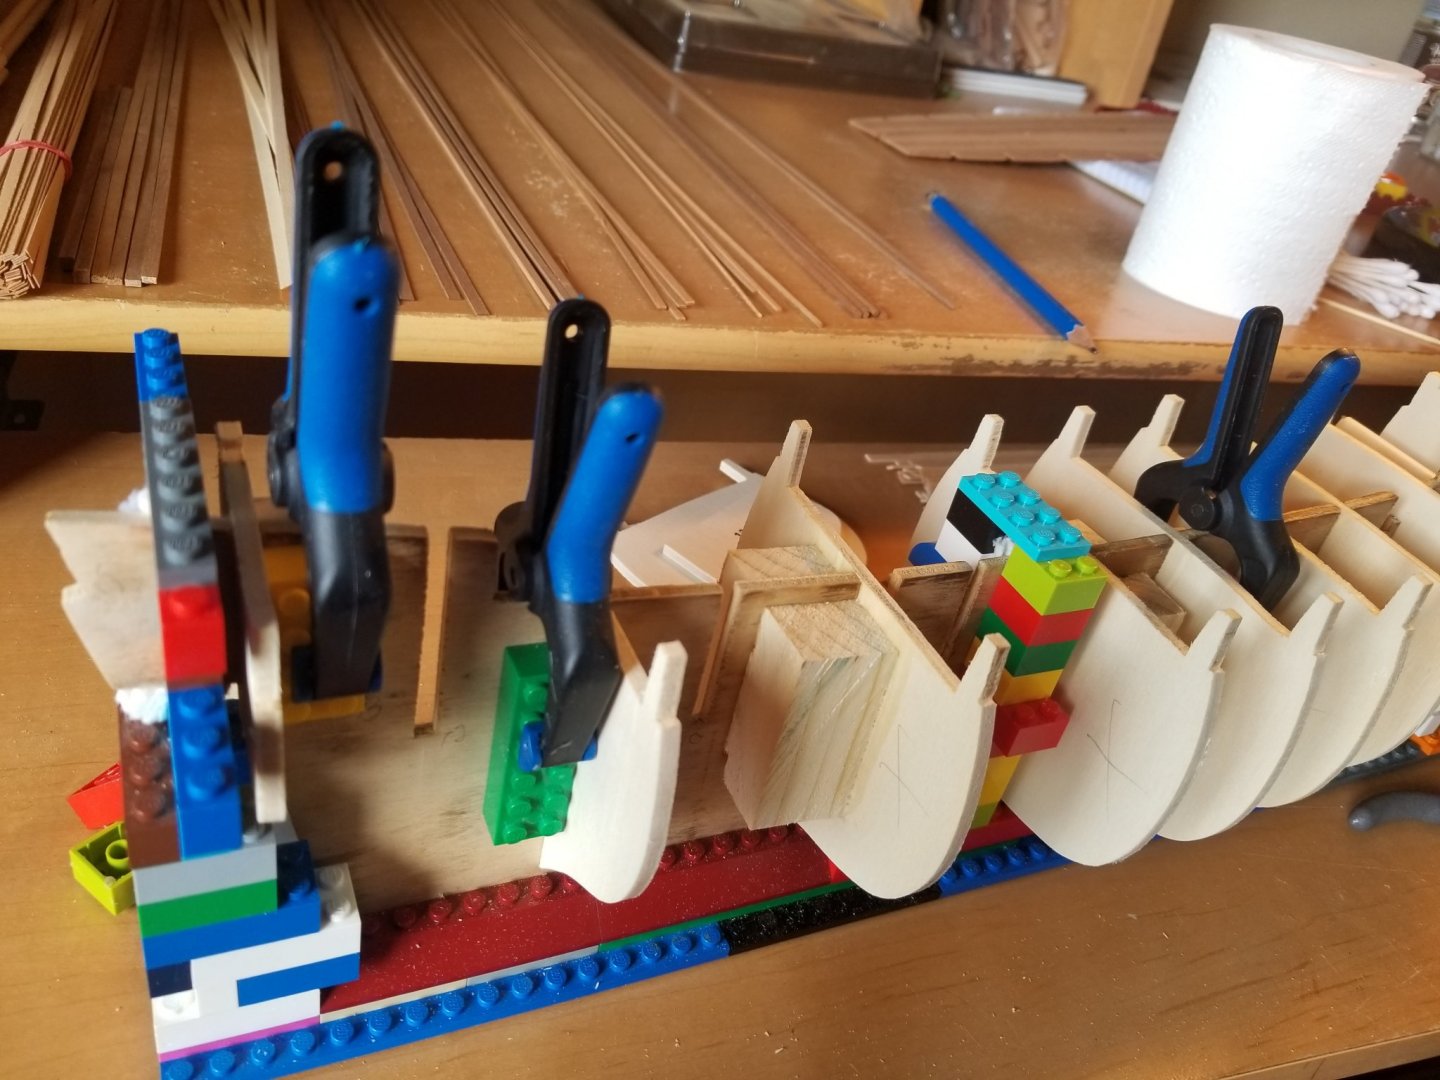
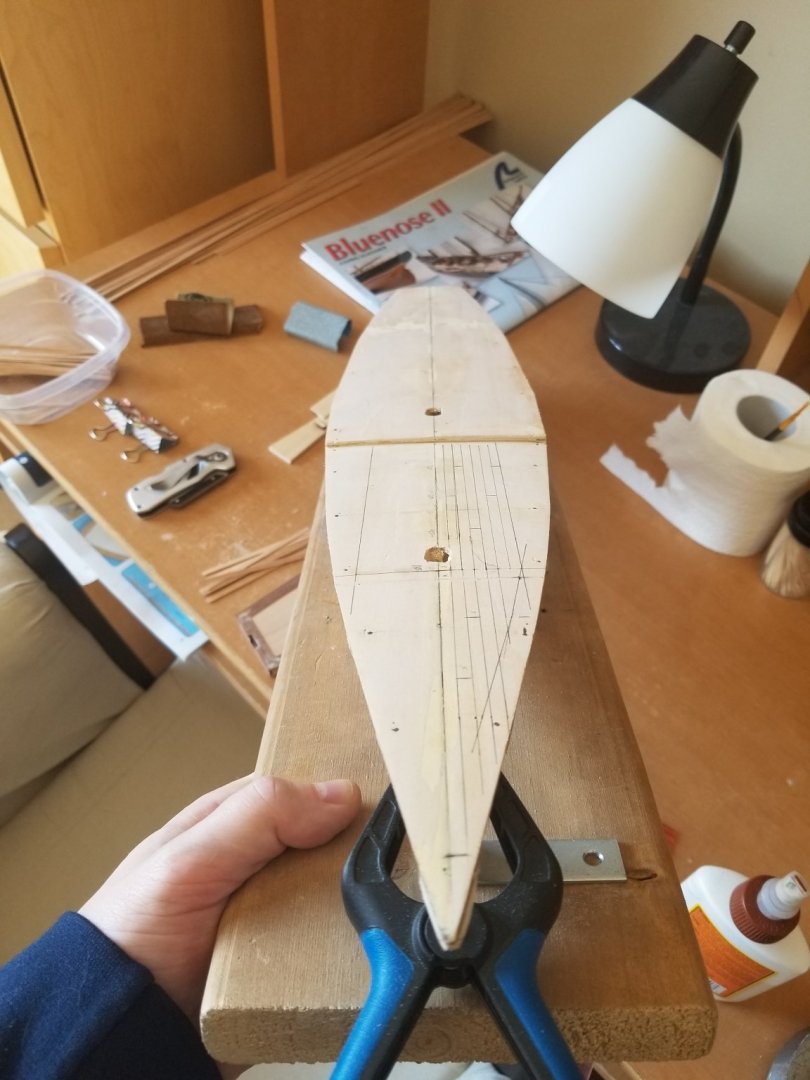
Here is a few pics I took after I straightened out the keel and started balkhead assembly. At times kids can help in their own way... as in letting daddy raid your legos!

-
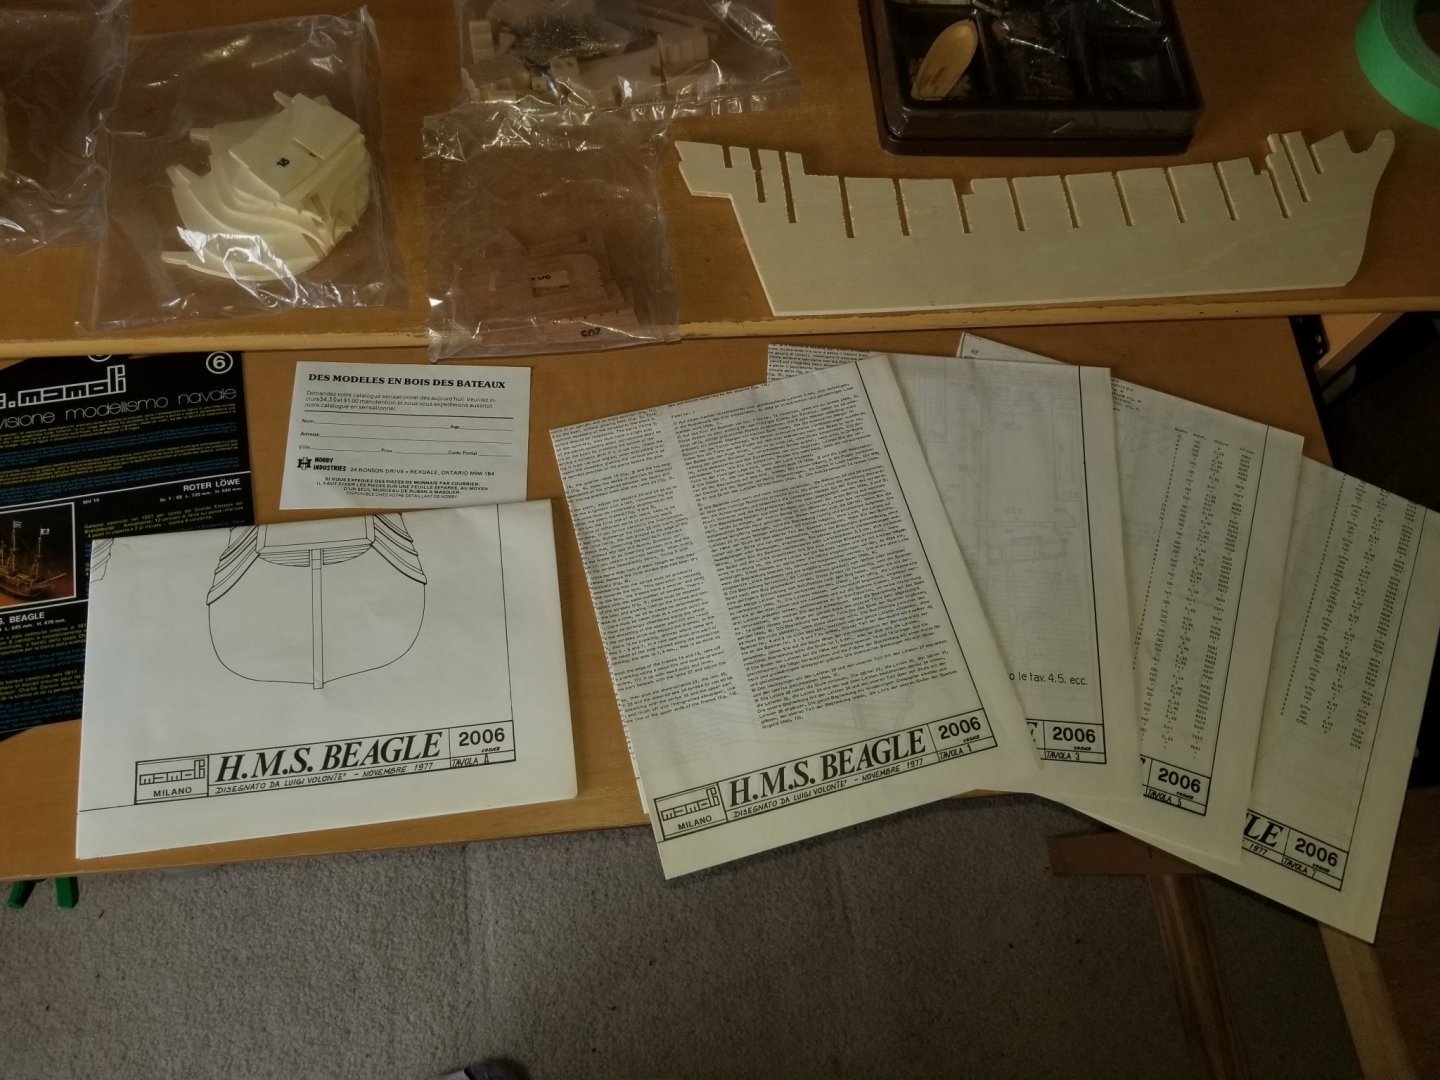
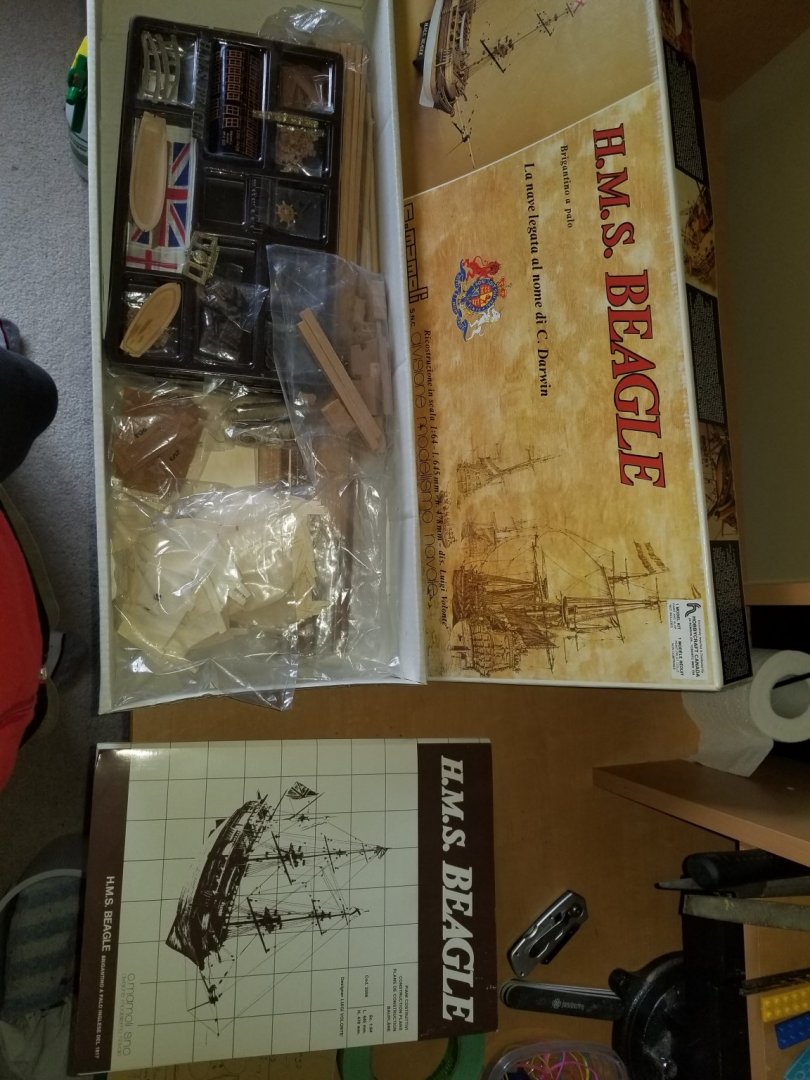
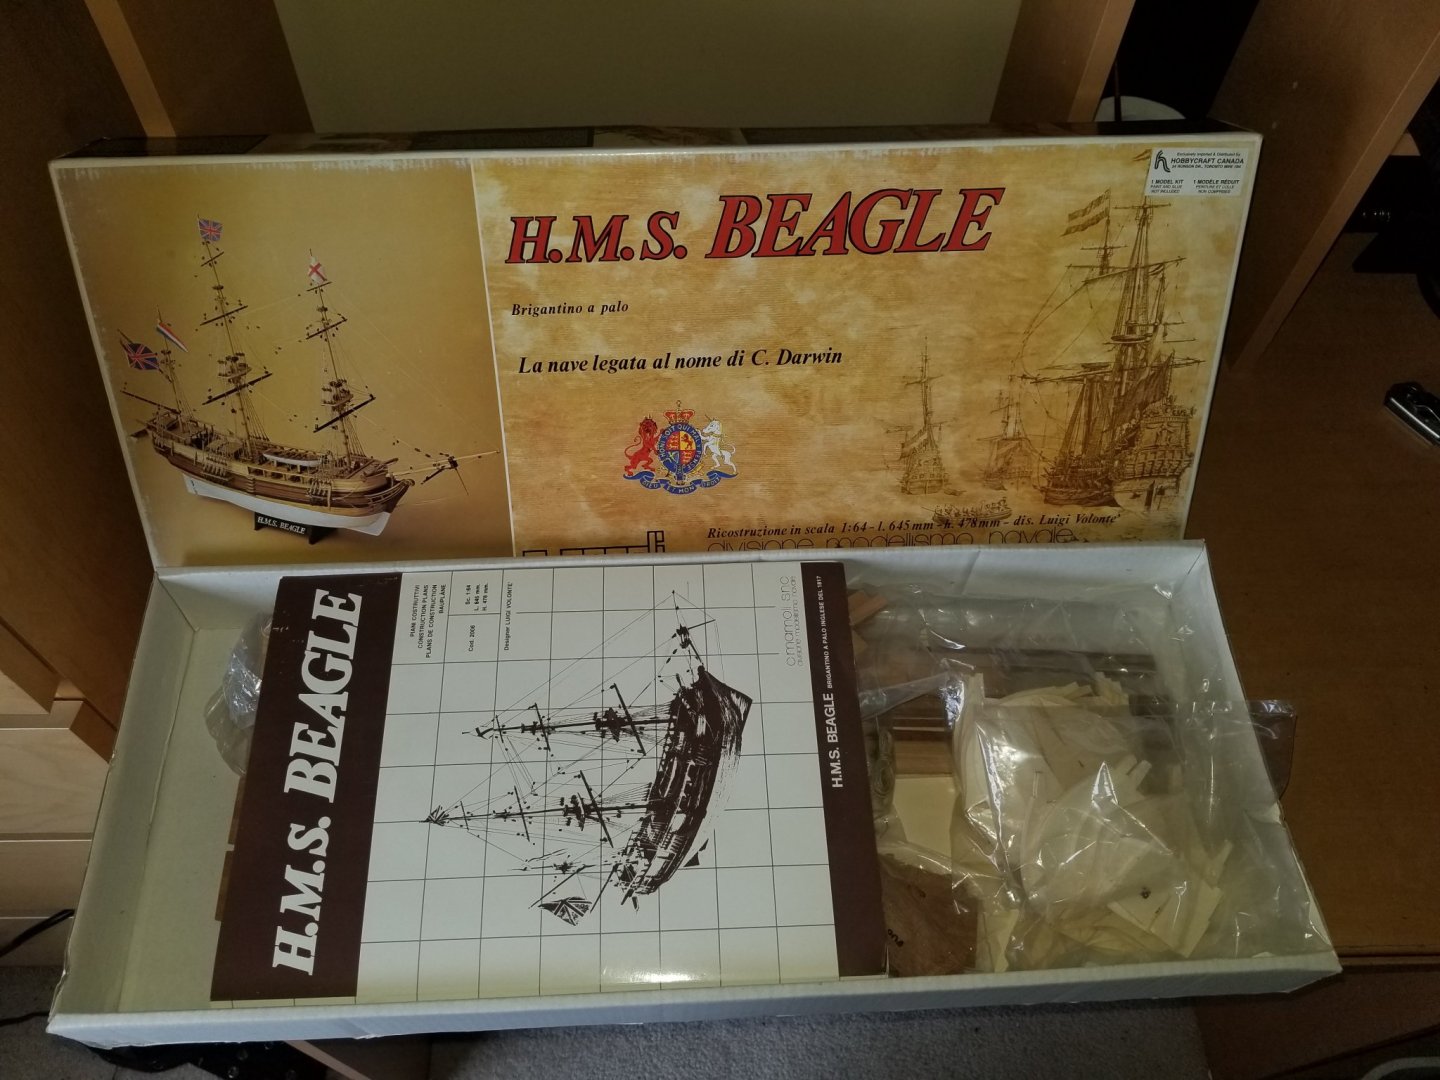
I started this build log for one reason, there wasn't much of these being built for such an important ship. I tried my hand at the bluenose 2 as a first build and ended up abandoning her... let's just say one late night there was a shipwreck, might end up being a scratch build in the distant future. For know I'm tackling mamoli's kit. At first I noticed the plans are so much worse then artisana's, thank God for the interwebz as I'm learning how to build from those befor me. The wood as well is in very poor quality, I had a warp in the keel and the balkheads were very badly cut (all pre-cut by hand). The wood planks were all mixed up in one big bag, and some broke just by handling them, in part from the old kit and some just broke (5×5 broke in 1/2 cause if a knot in the middle). As a clear indicator of age on this kit... the little rubber bands that were suppose to hold a plank bundle together was basically brittle plastic that disintergrated on touch and stained the wood. I guess I grabbed a very old kit. I'm missing lots of wood like the blocks on the "nose" of the ship to round the plank into the keel. Had to fab up my own, no big deal but still a bit of a headache as this is my first real go at things. To do it all over again I wouldn't have bought the mamoli as the price of the kit isn't representative of quality in the slightest. Anyways, mamoli bashing aside her we go with a few pics. Of my cat... because why not start with that adorable face 🤣 These are the pictures I took upon opening of the kit. Anyone willing to guess at the age?


-
Very nice work sofar, she'll be a beautiful example once completed! I love the deck pattern on the Terror, such a beautiful and historically important ship.
-
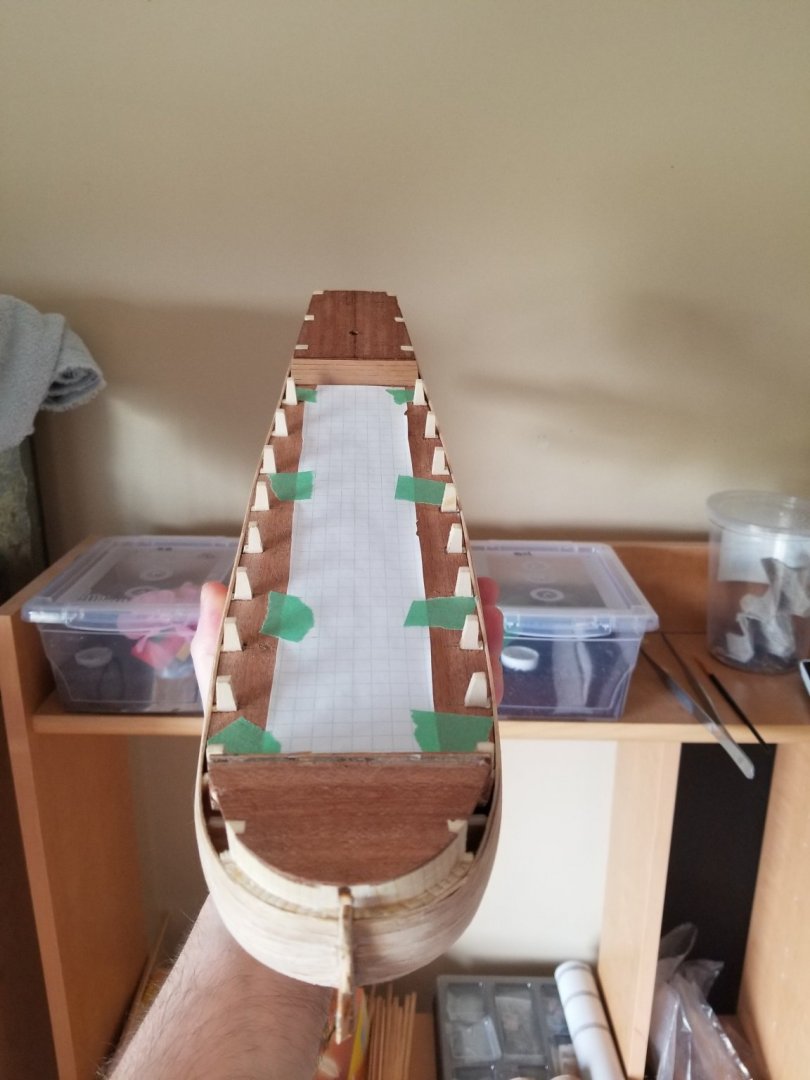
Started the planking with watered down wood glue and it's working beautifully, especially with the pencil simulating the caulking. Only got a few planks on and cured but I can already see a huge difference from my first attempt. Hard to tell in the picture with all the measurements, but once done and varnished it'll be awsome.


- 14 replies
-
- 4
-
-
- bluenose ii
- artesania latina
- (and 1 more)
-
Deck did go back on, filled and sanded. Got the foredeck's plank pattern penciled on.
- 14 replies
-
- 1
-
-
- bluenose ii
- artesania latina
- (and 1 more)