HOLIDAY DONATION DRIVE - SUPPORT MSW - DO YOUR PART TO KEEP THIS GREAT FORUM GOING! (Only 53 donations so far out of 49,000 members - C'mon guys!)
×


histprof1066
-
Posts
69 -
Joined
-
Last visited
Content Type
Profiles
Forums
Gallery
Events
Everything posted by histprof1066
-
Apologies for the double post, it seems that once the reply was uploaded, the photos changed location. I hope that my descriptions of construction work are enough to compensate.
-
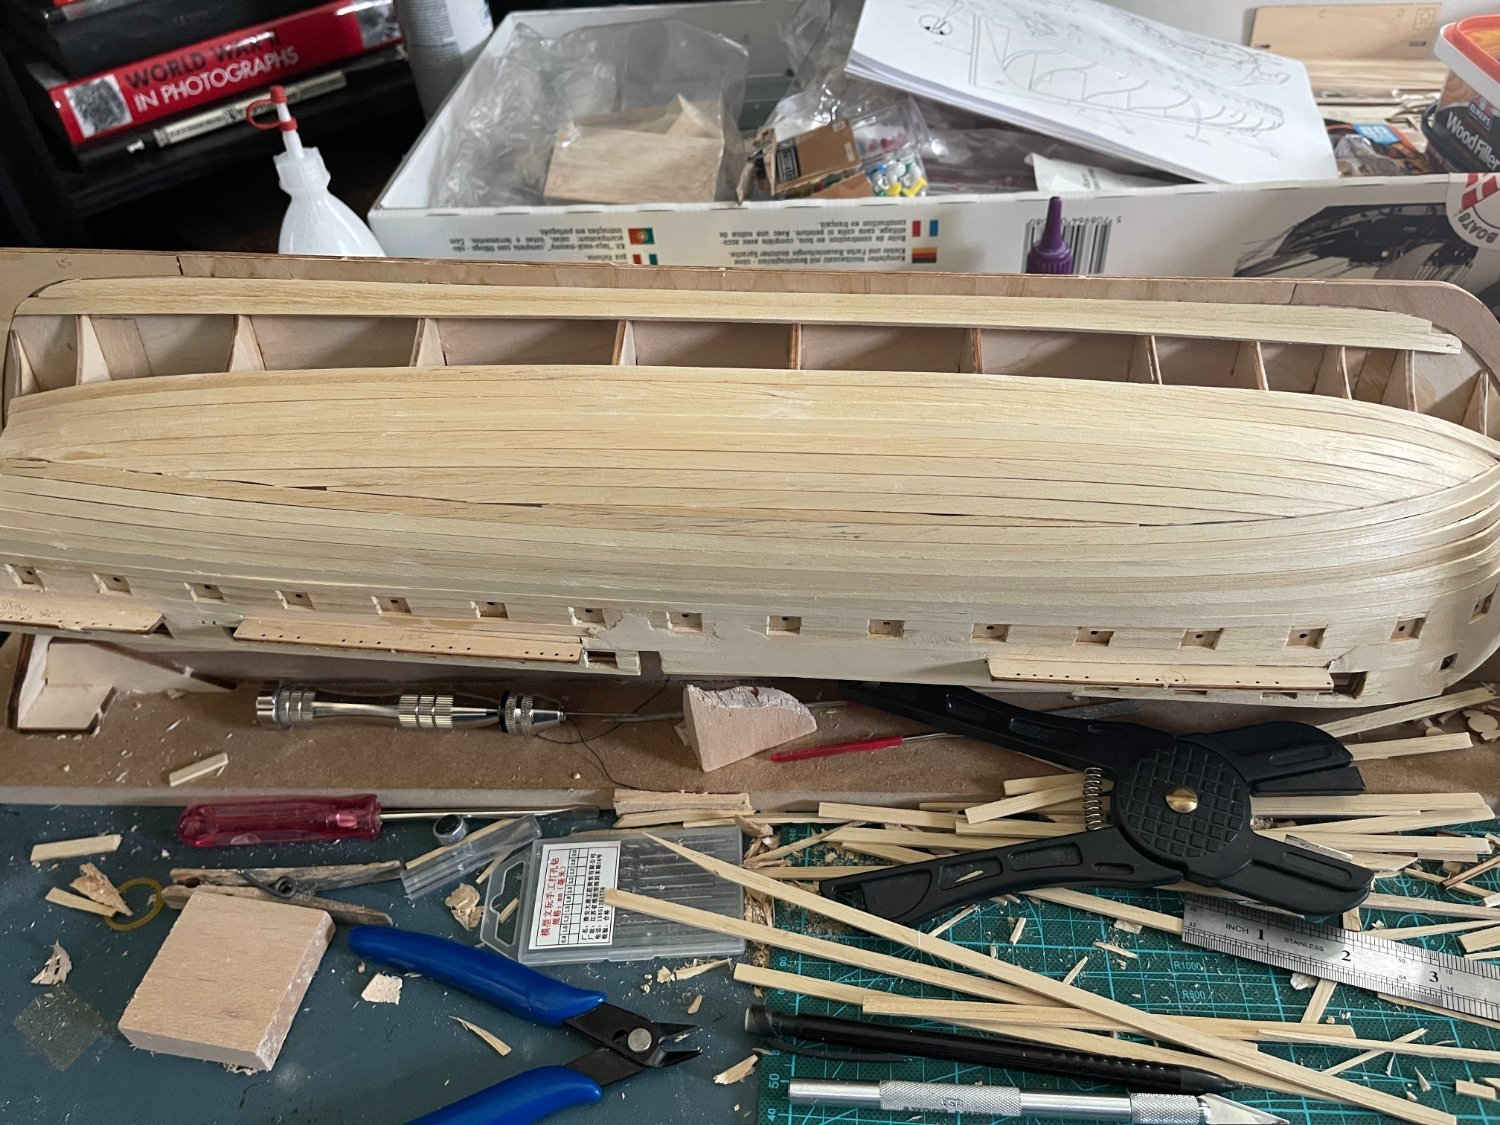
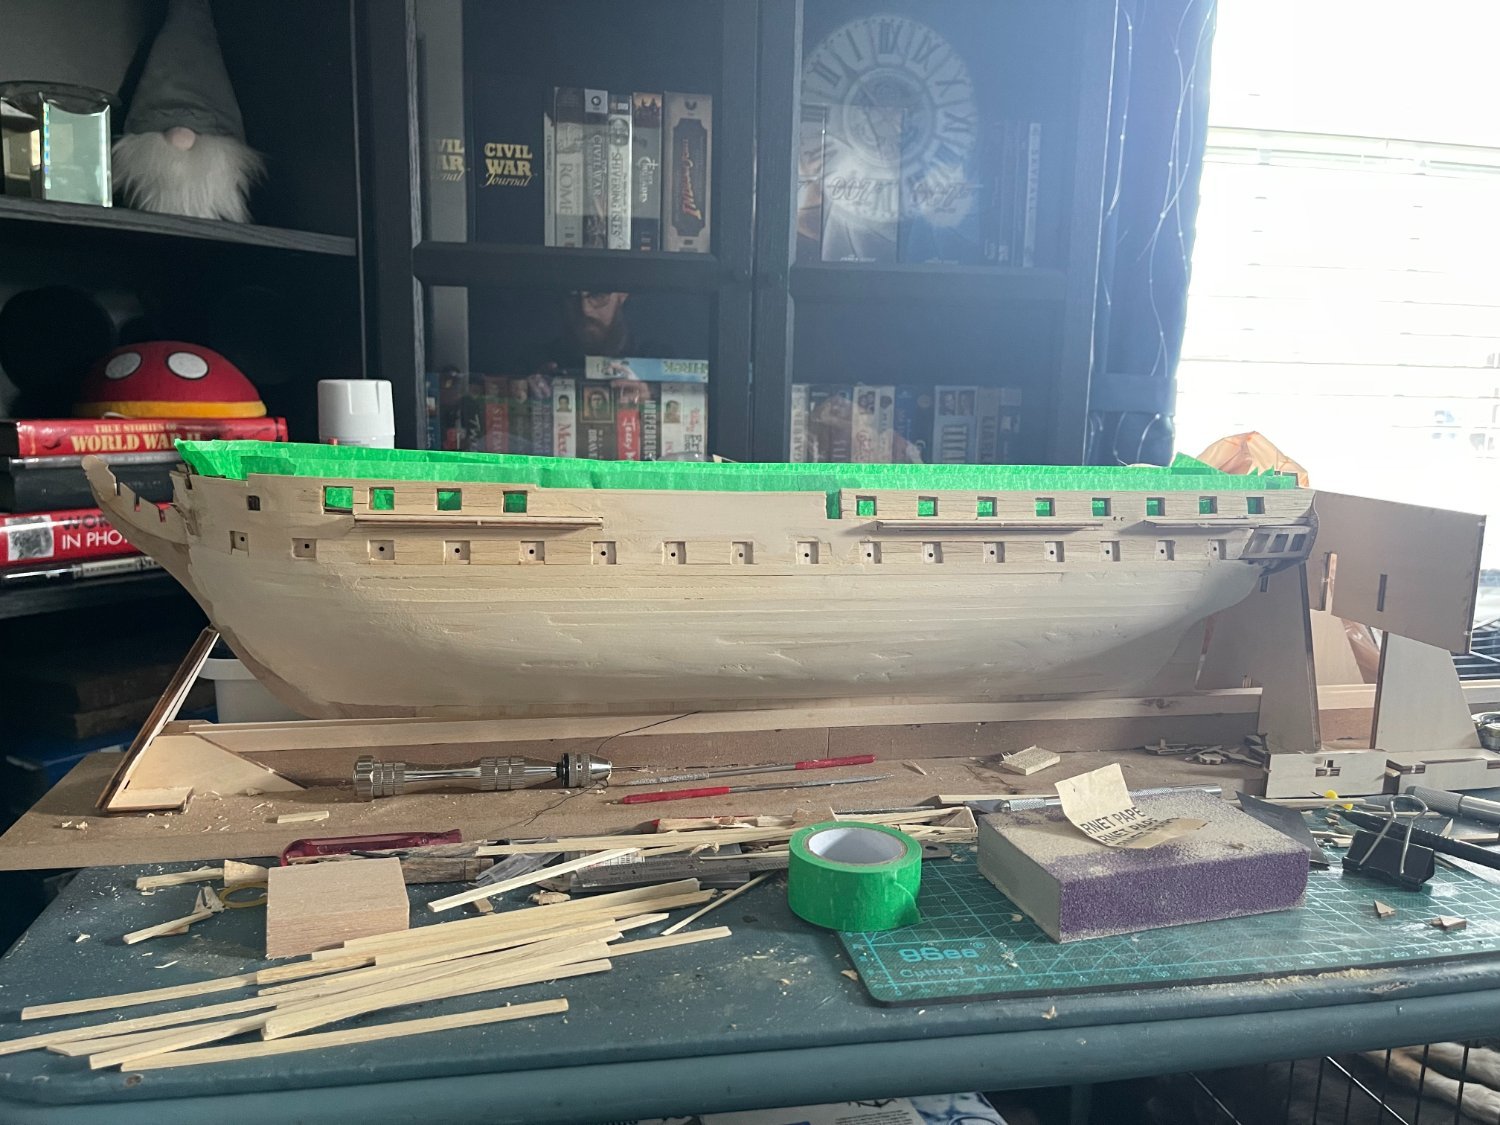
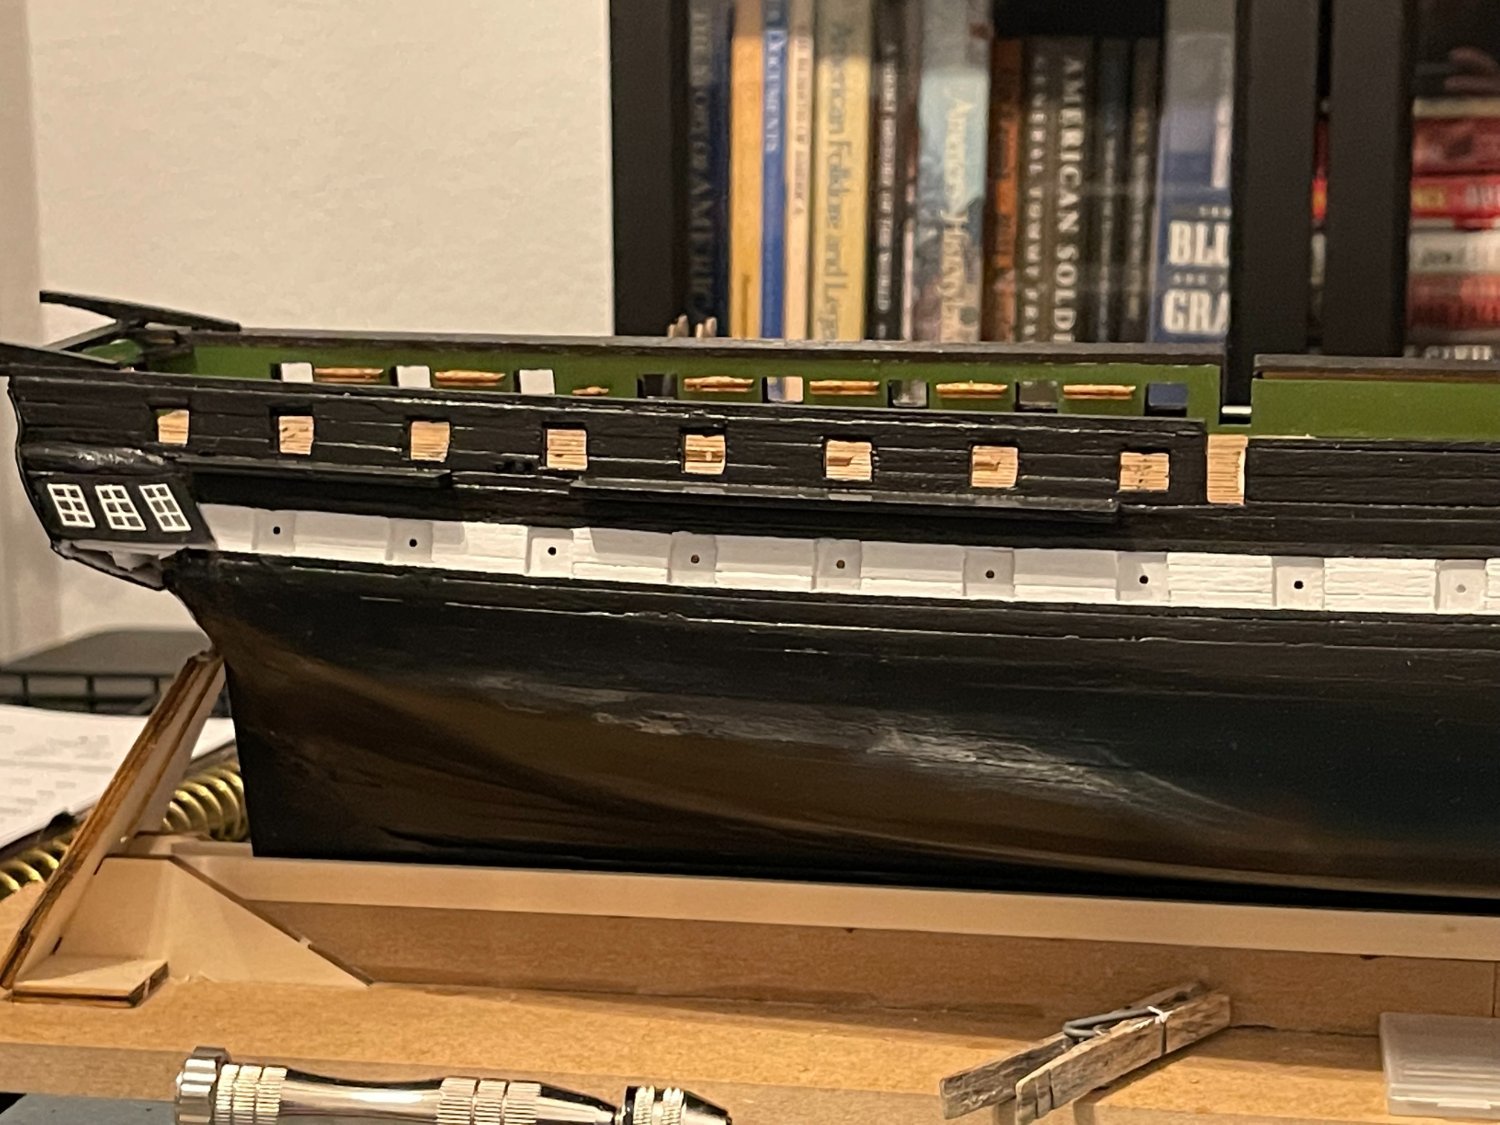
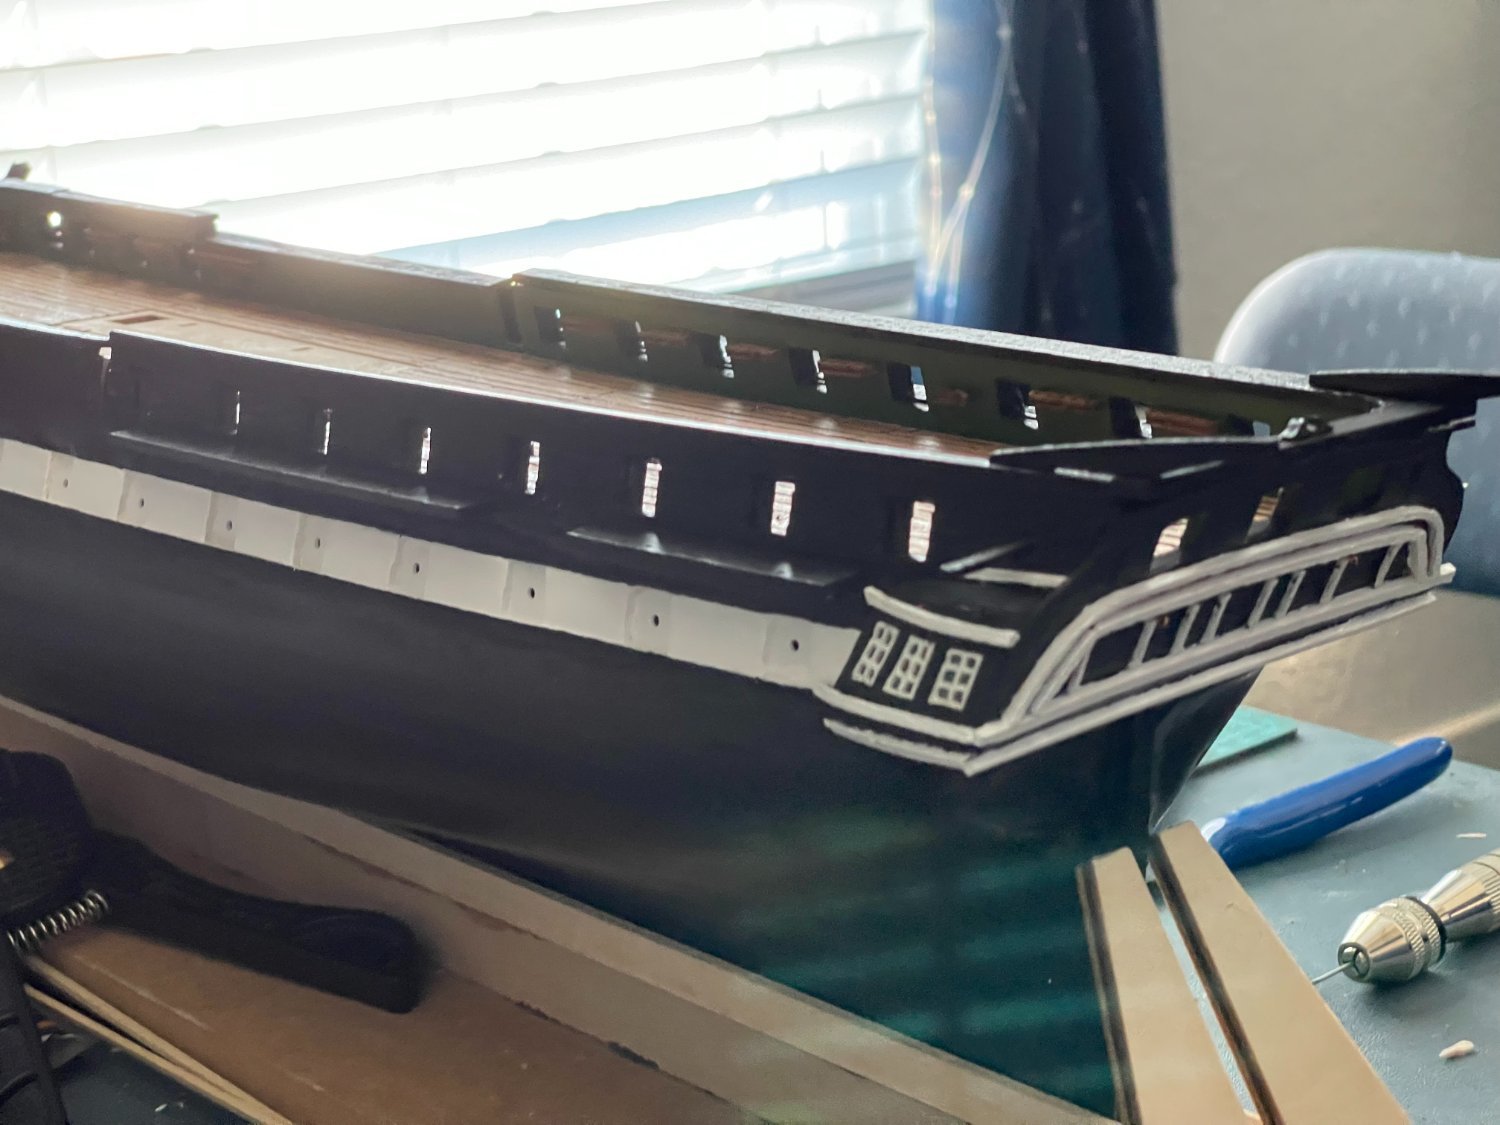
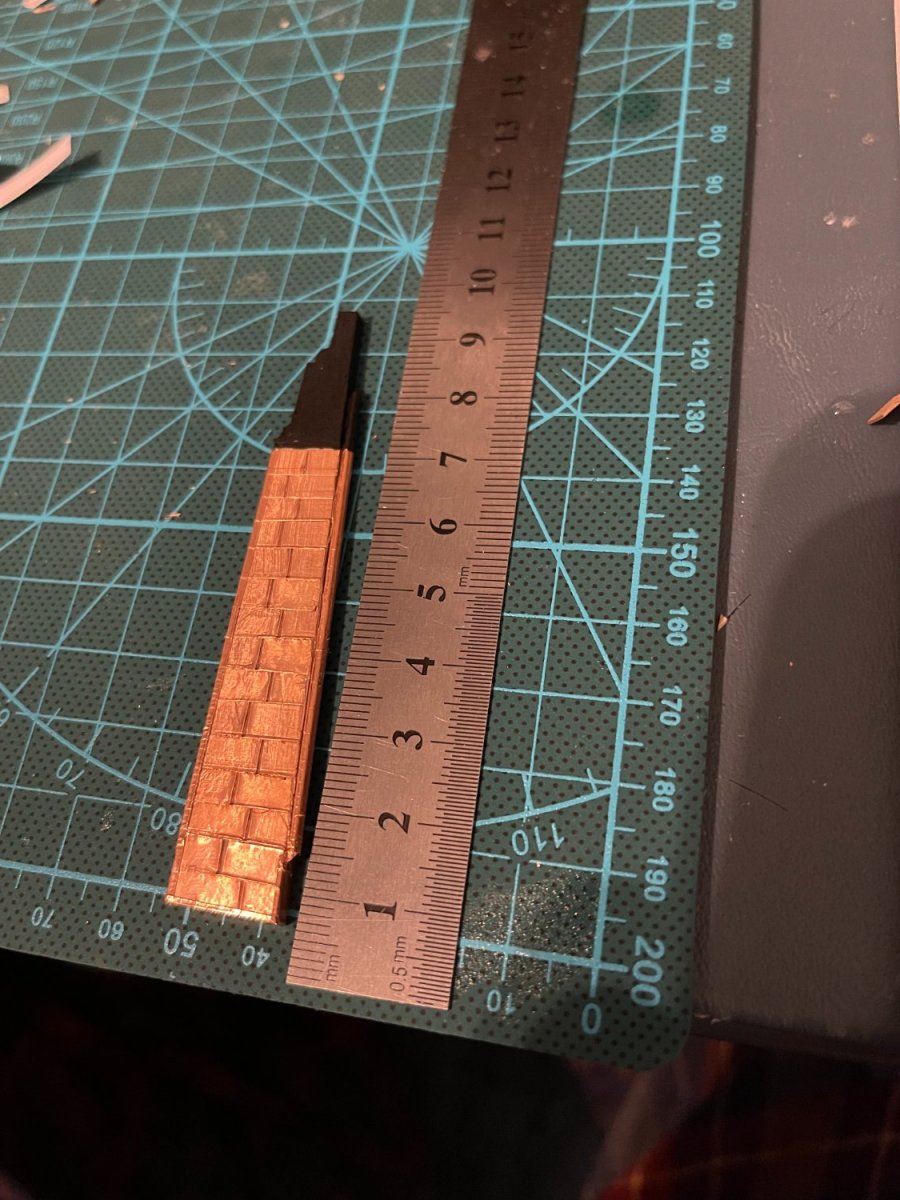
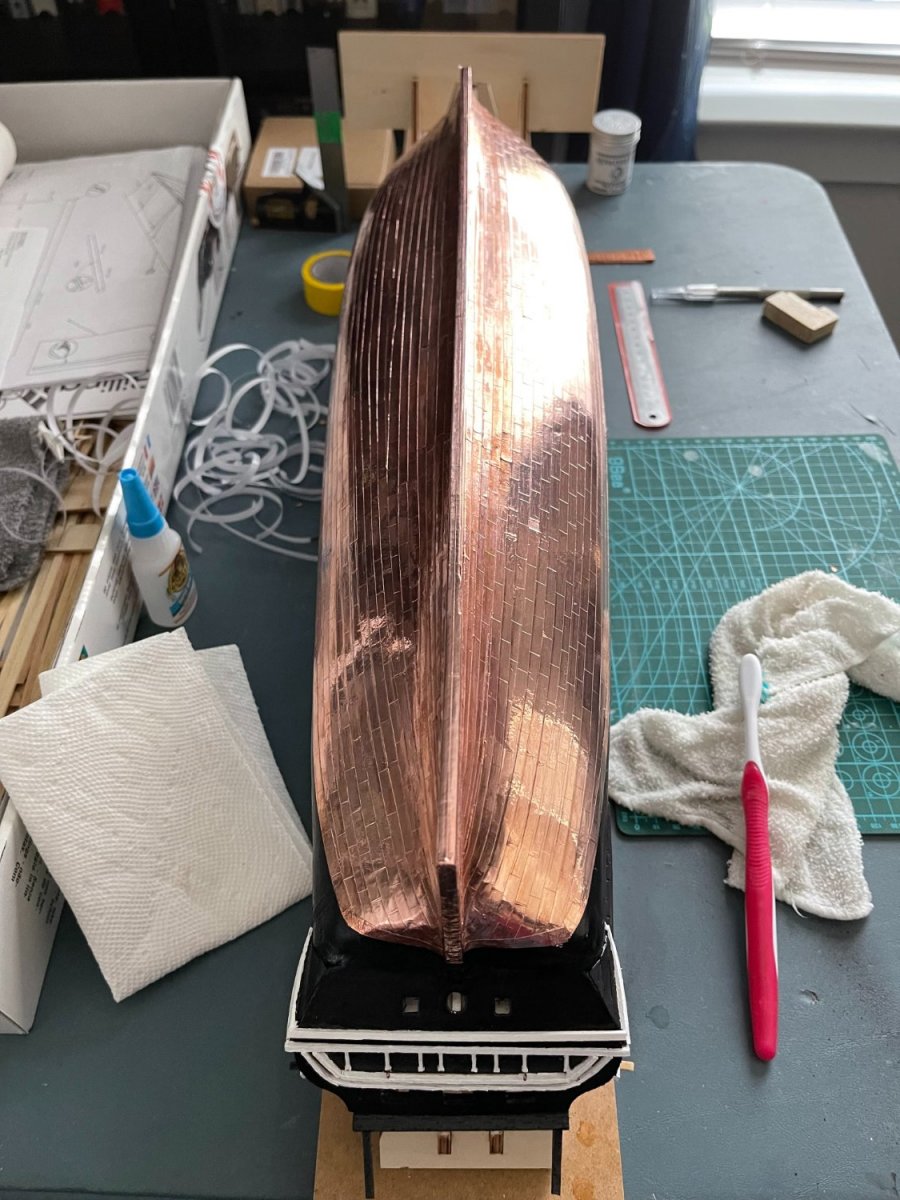
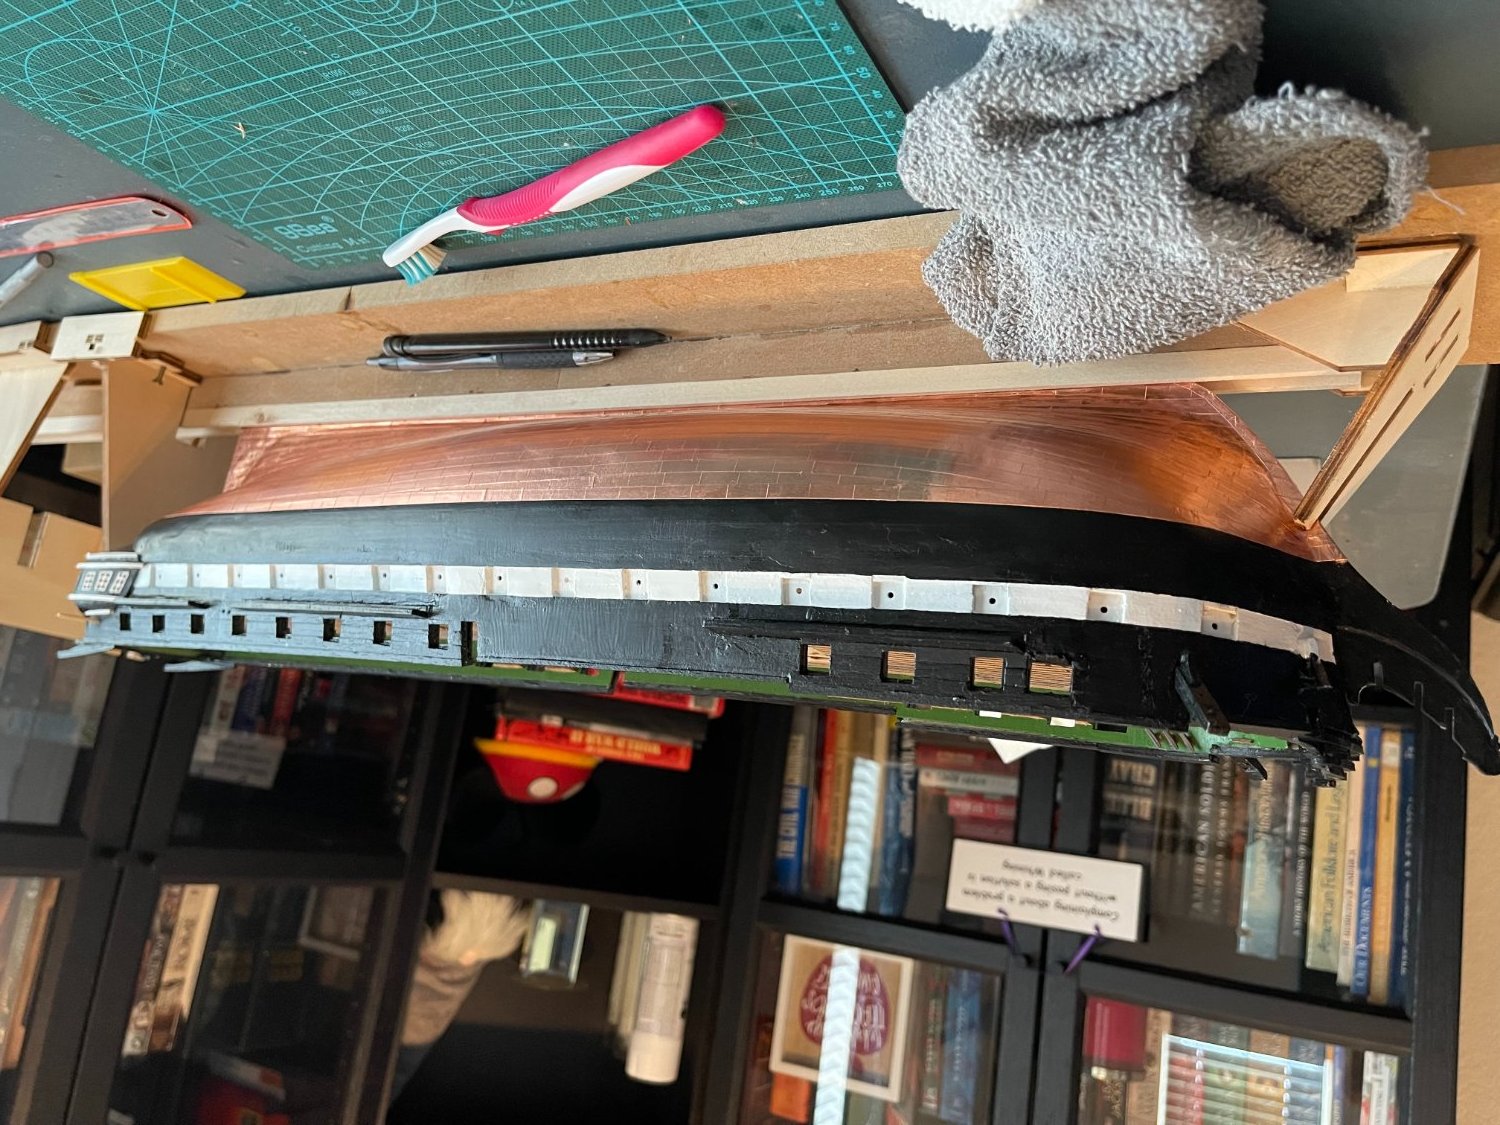
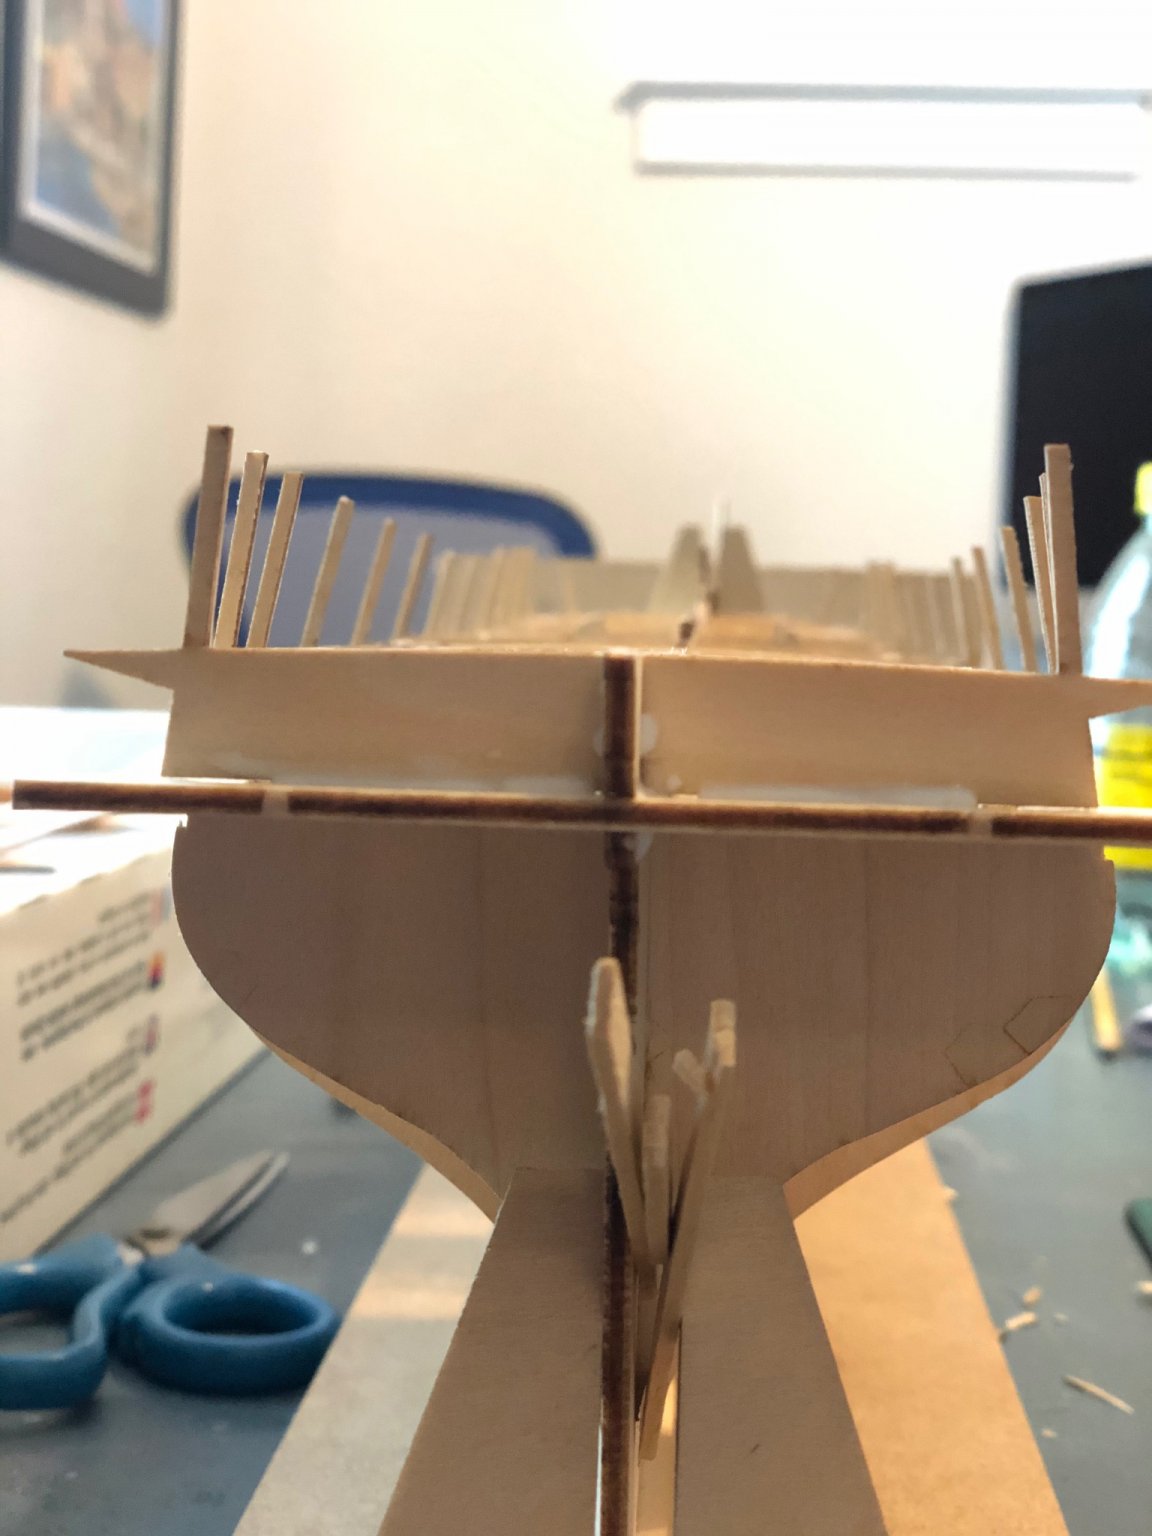
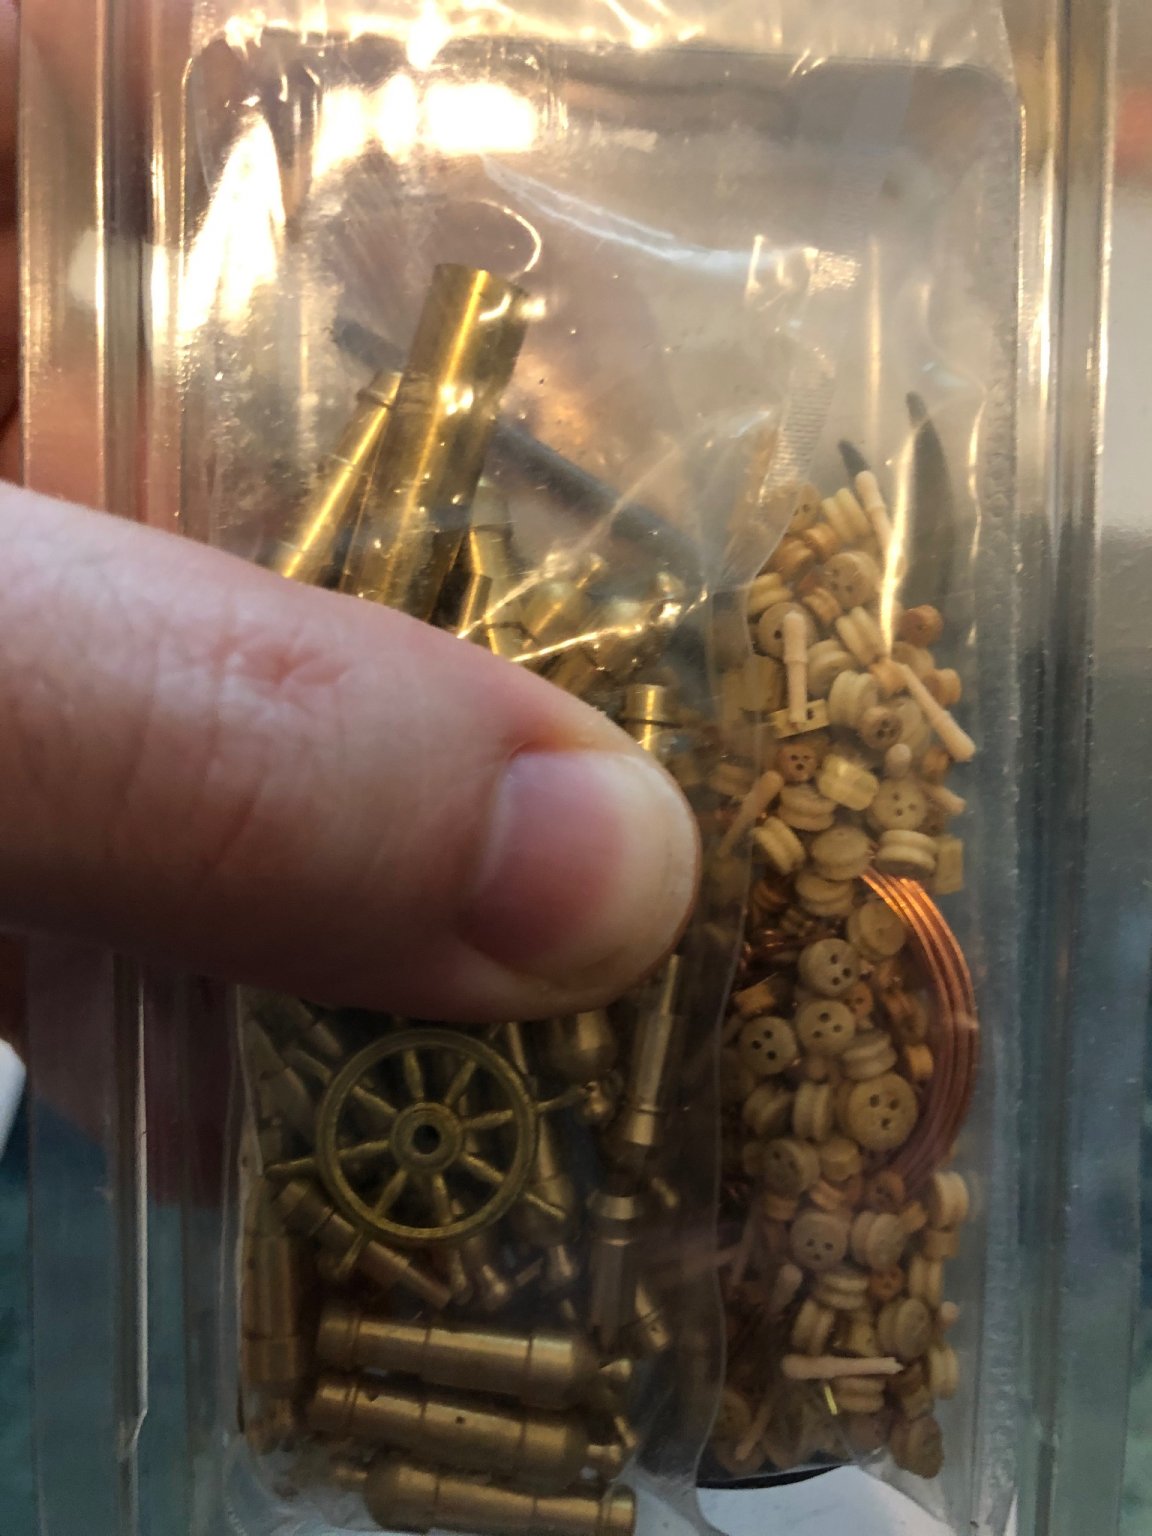
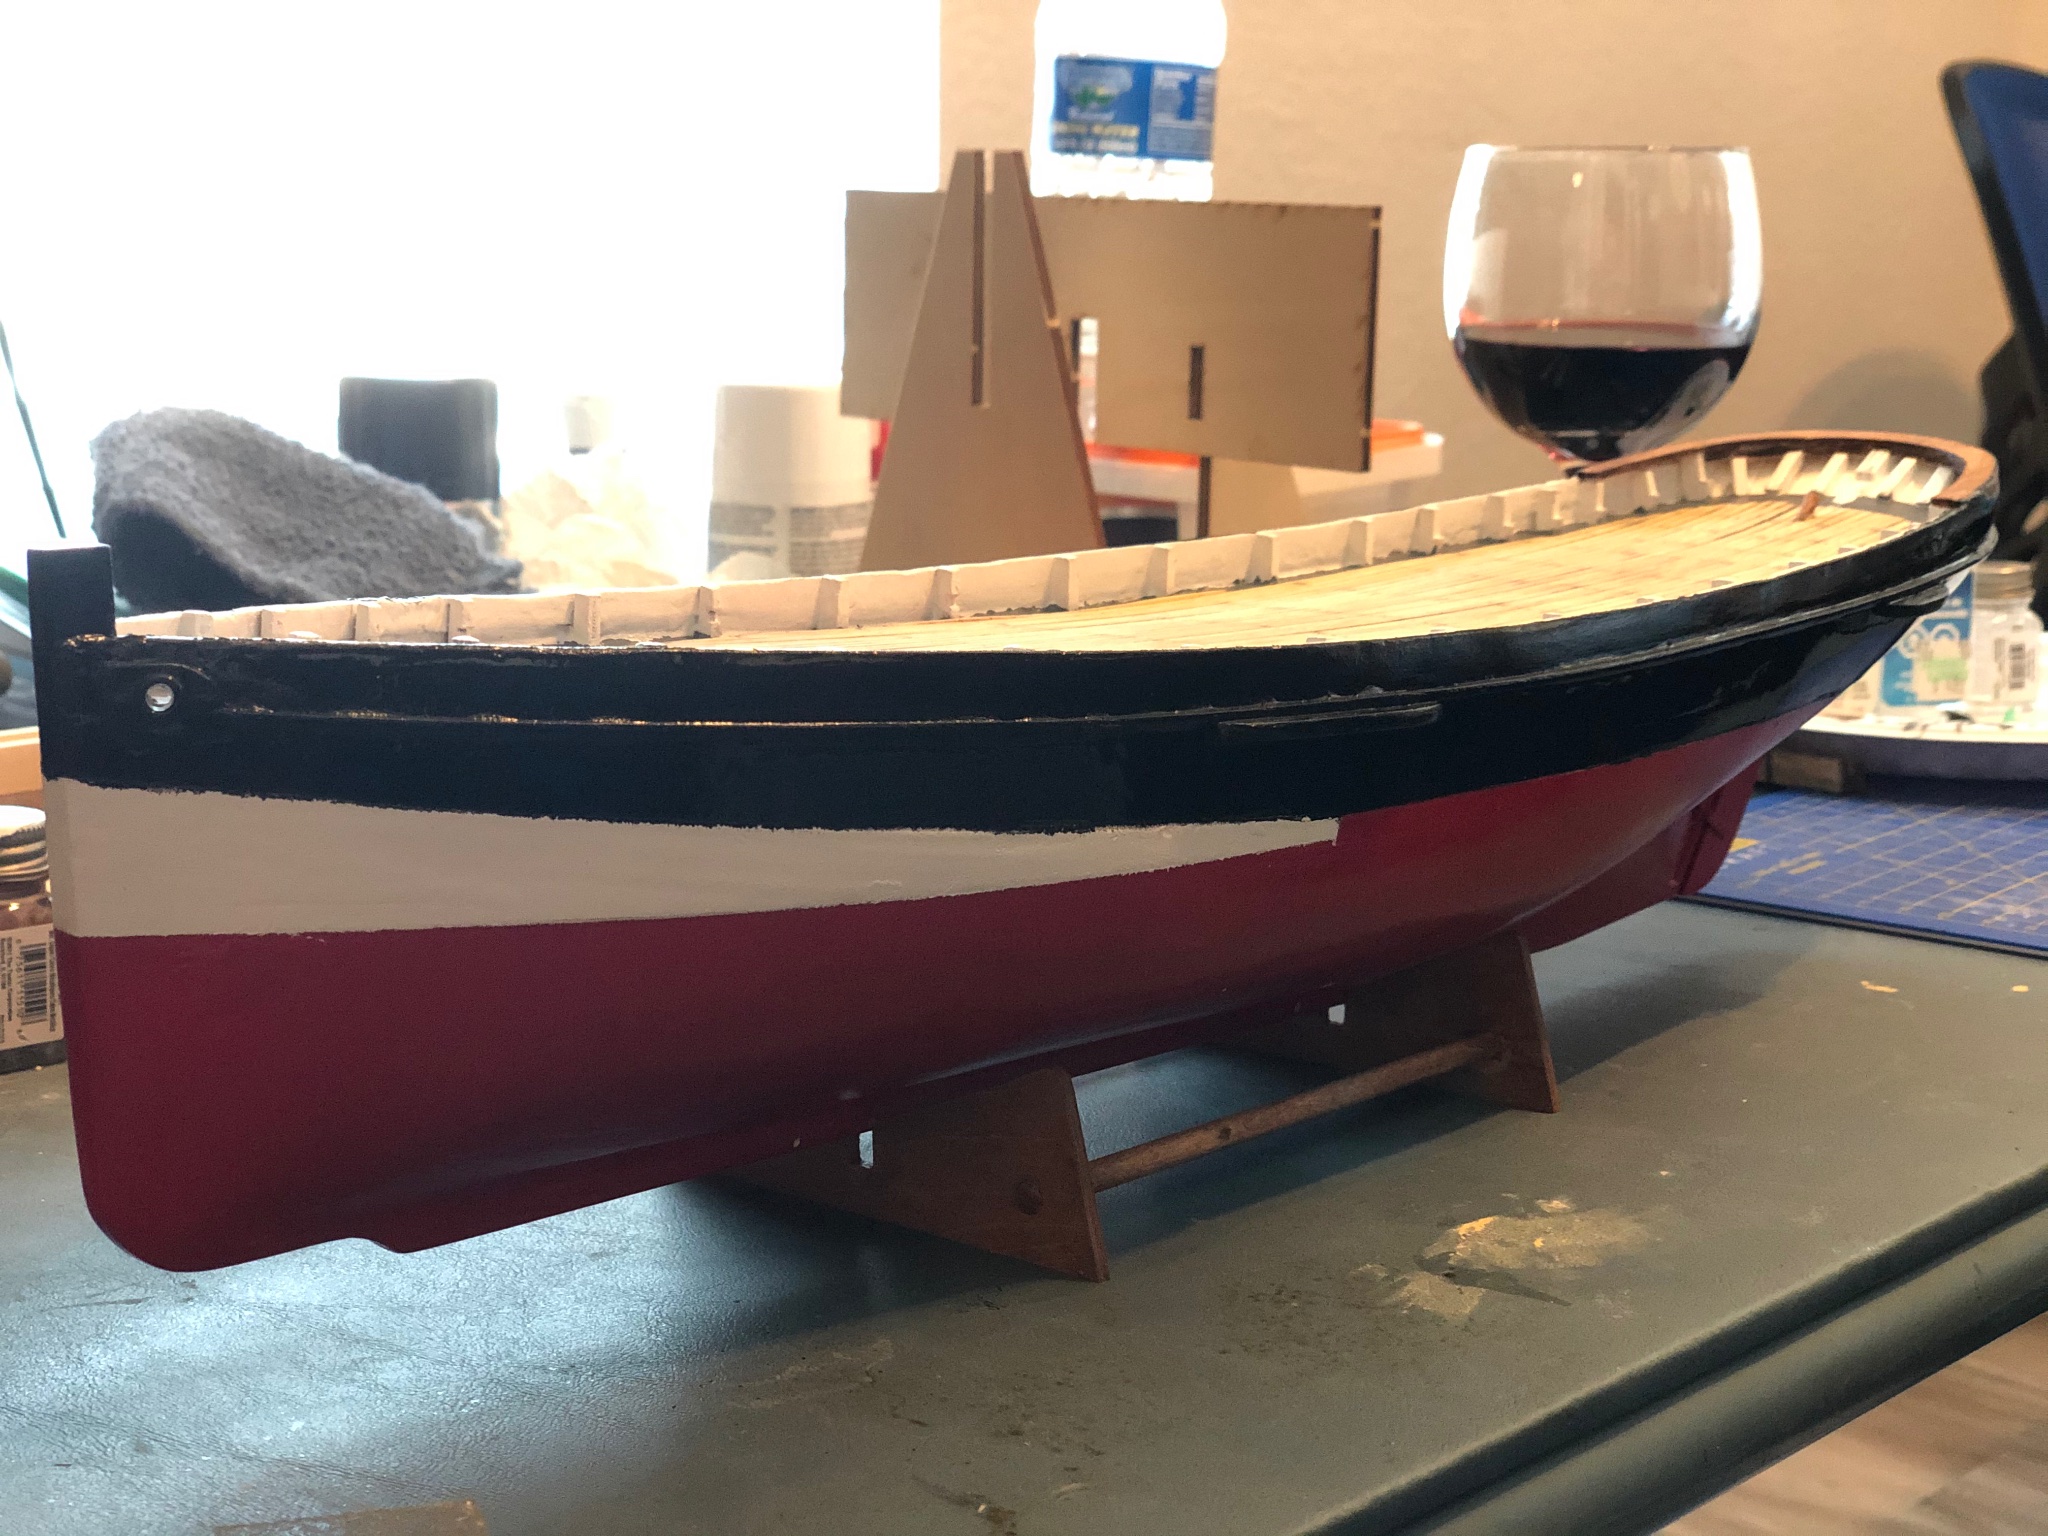
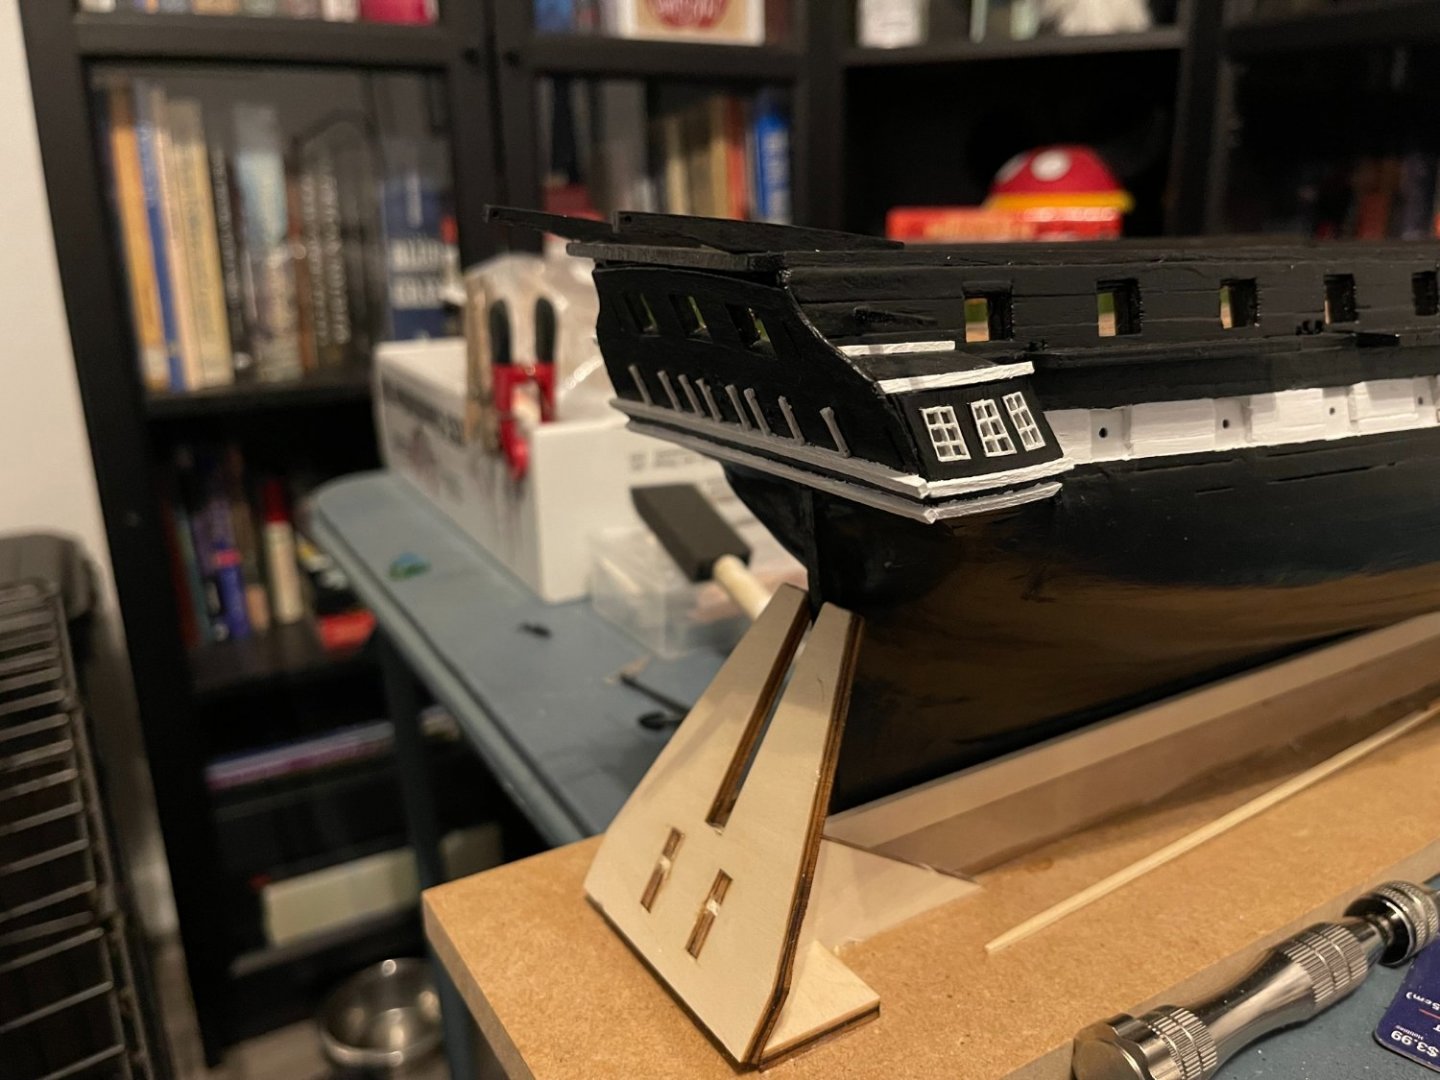
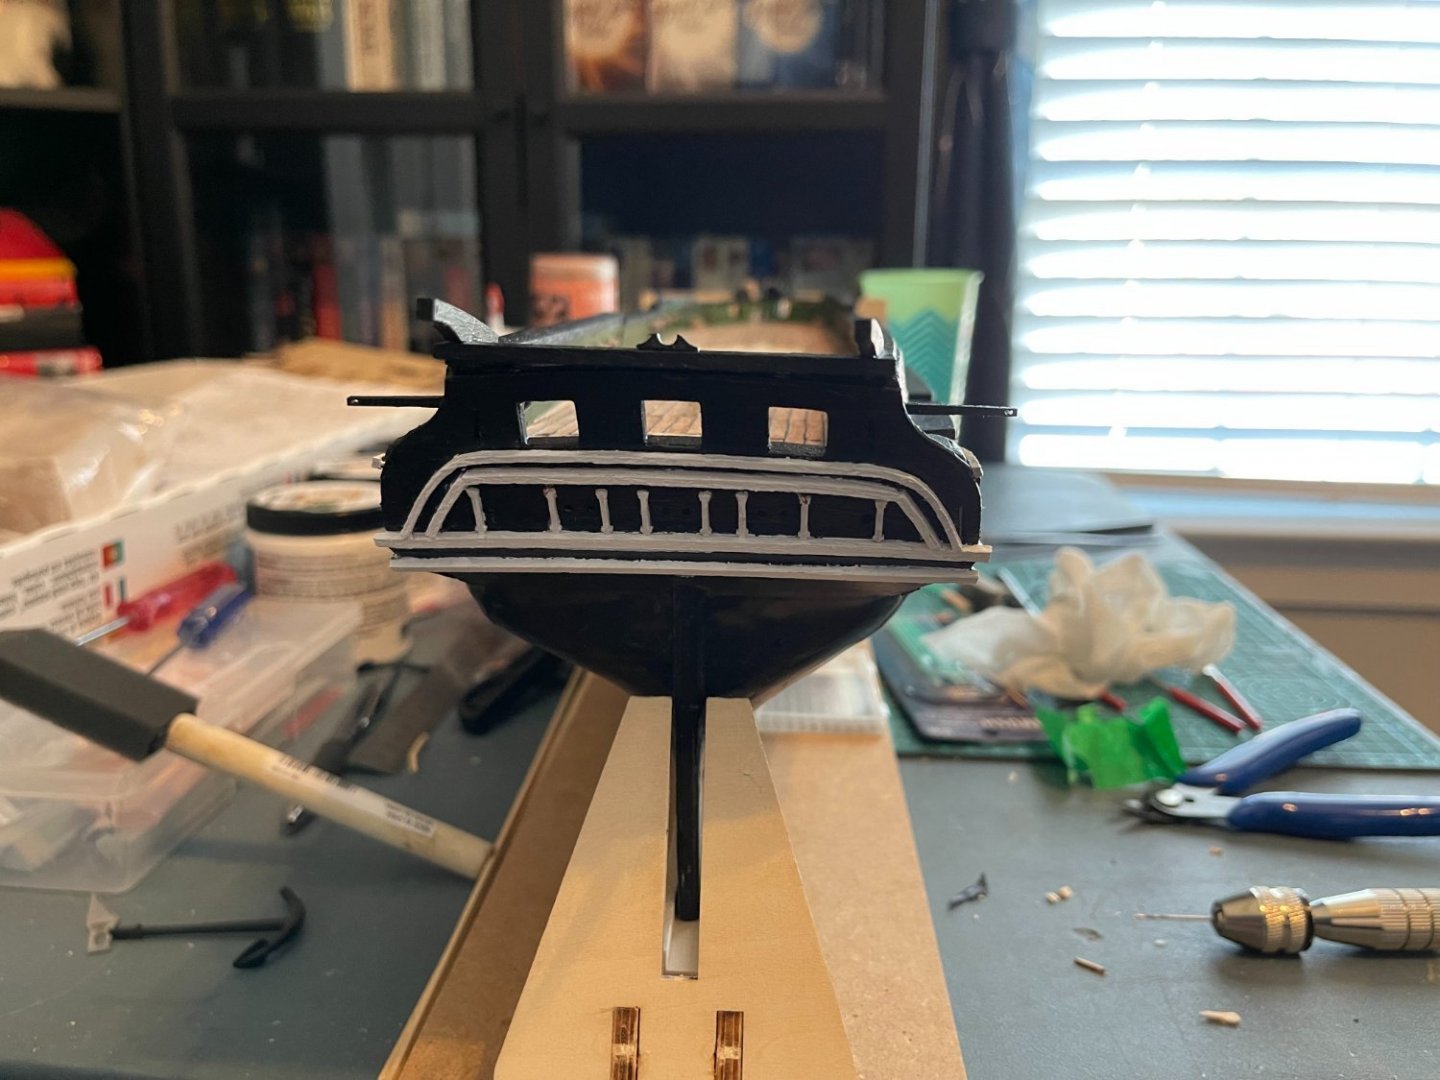
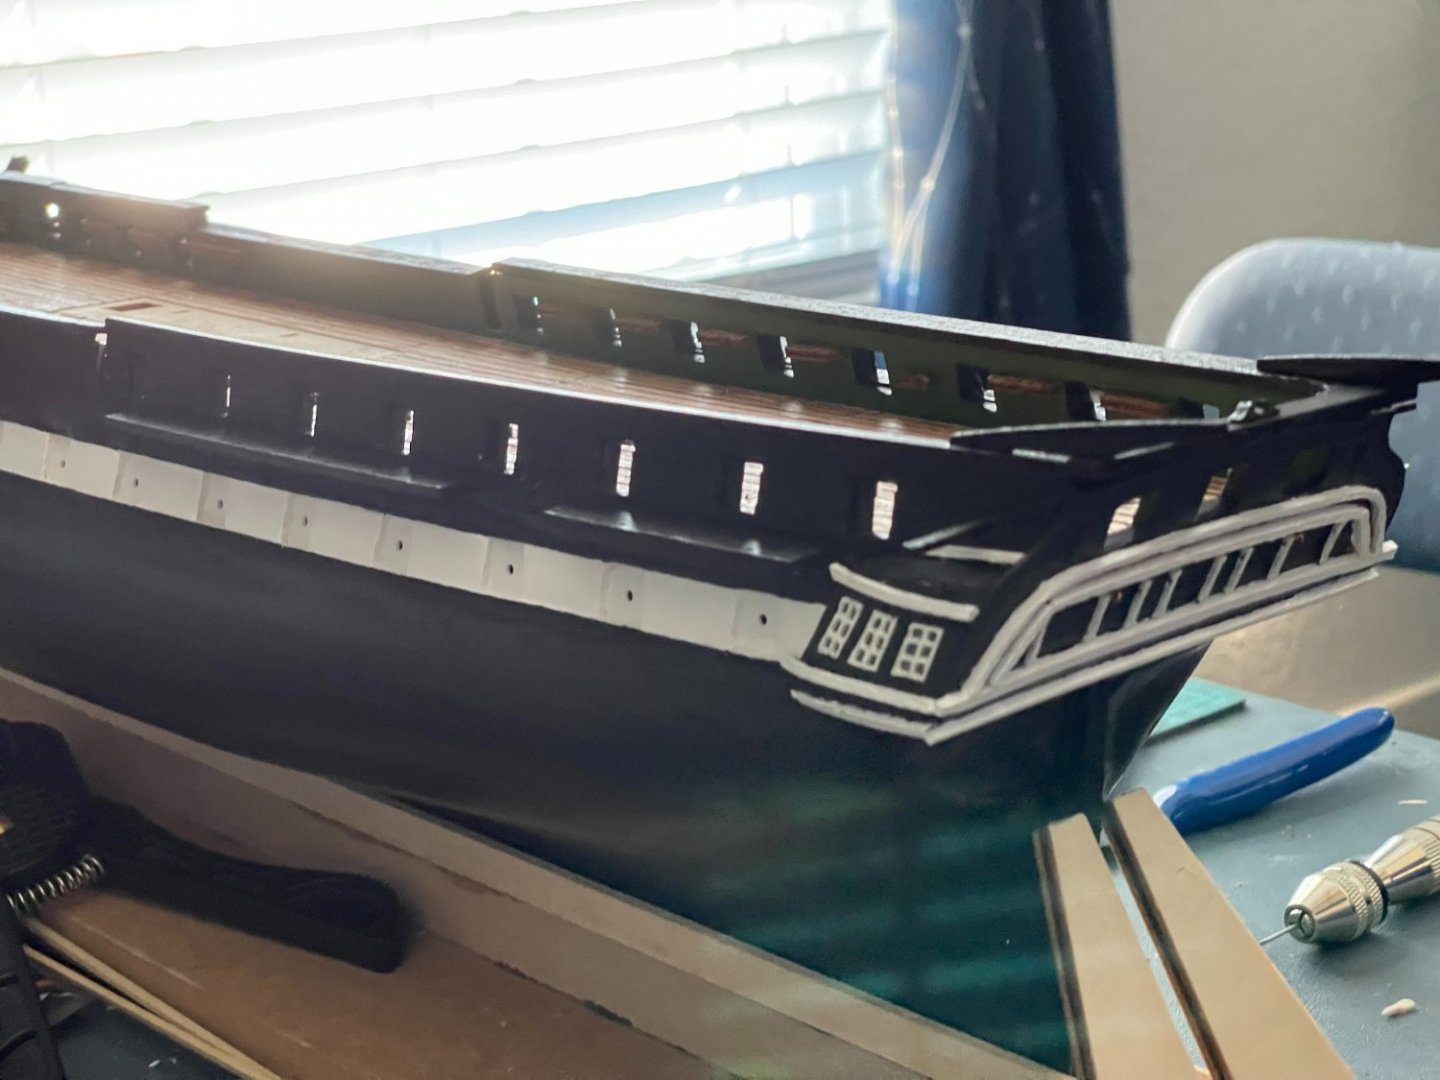
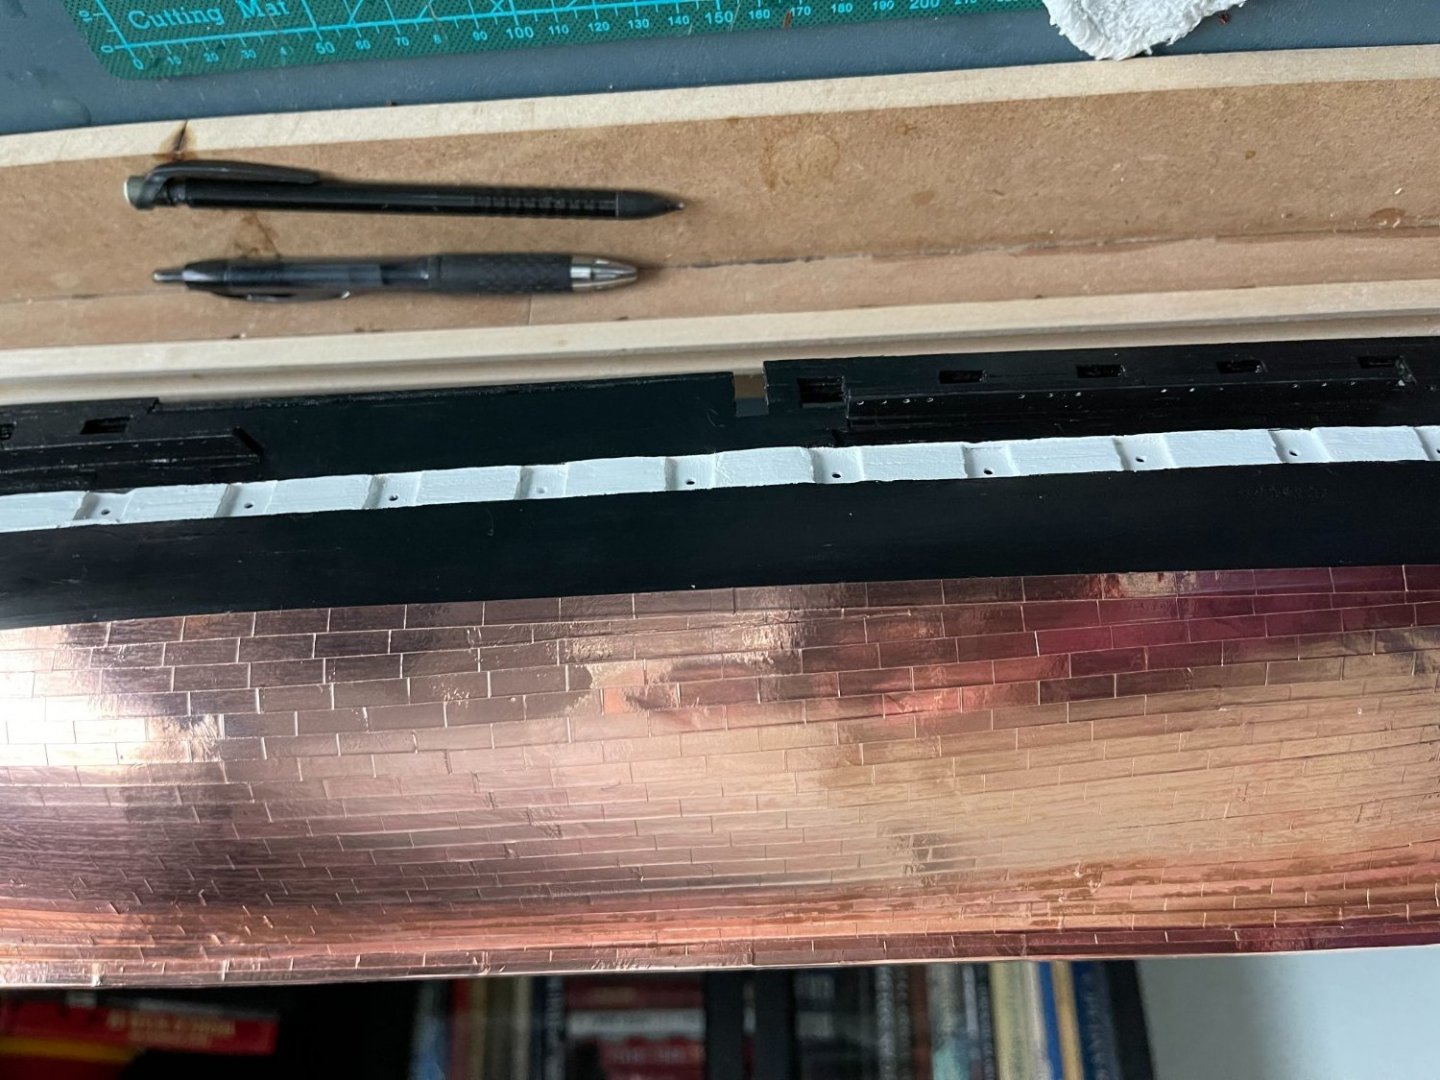
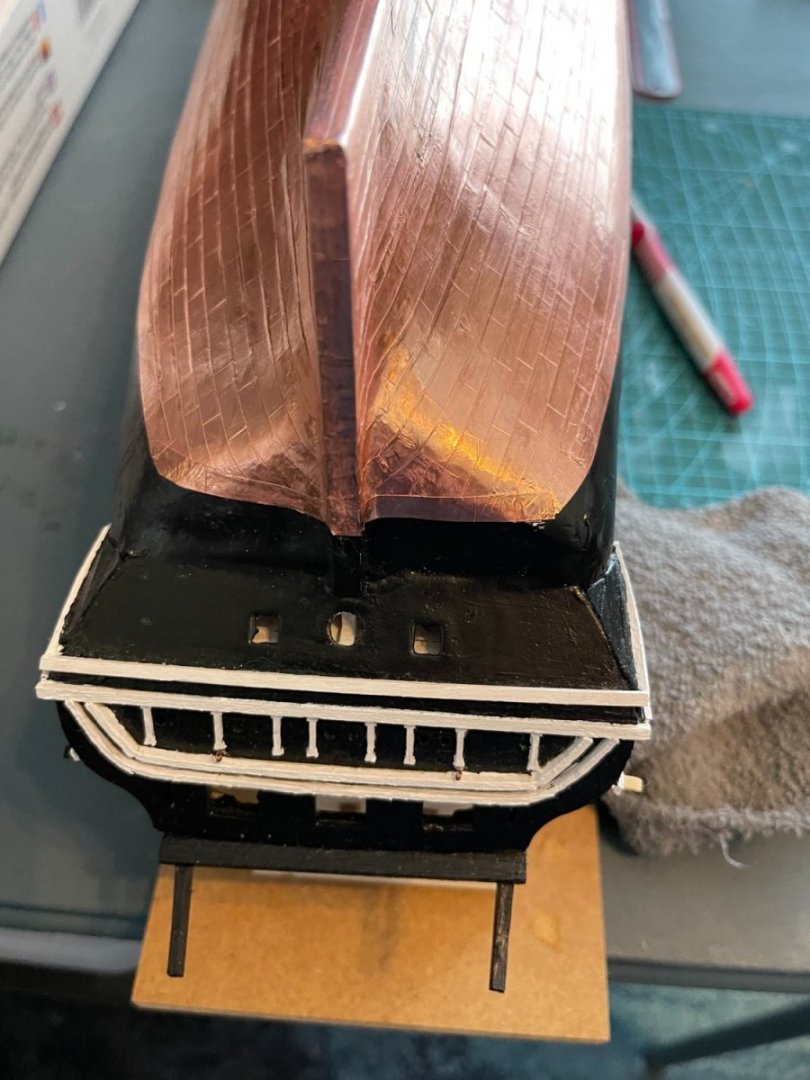
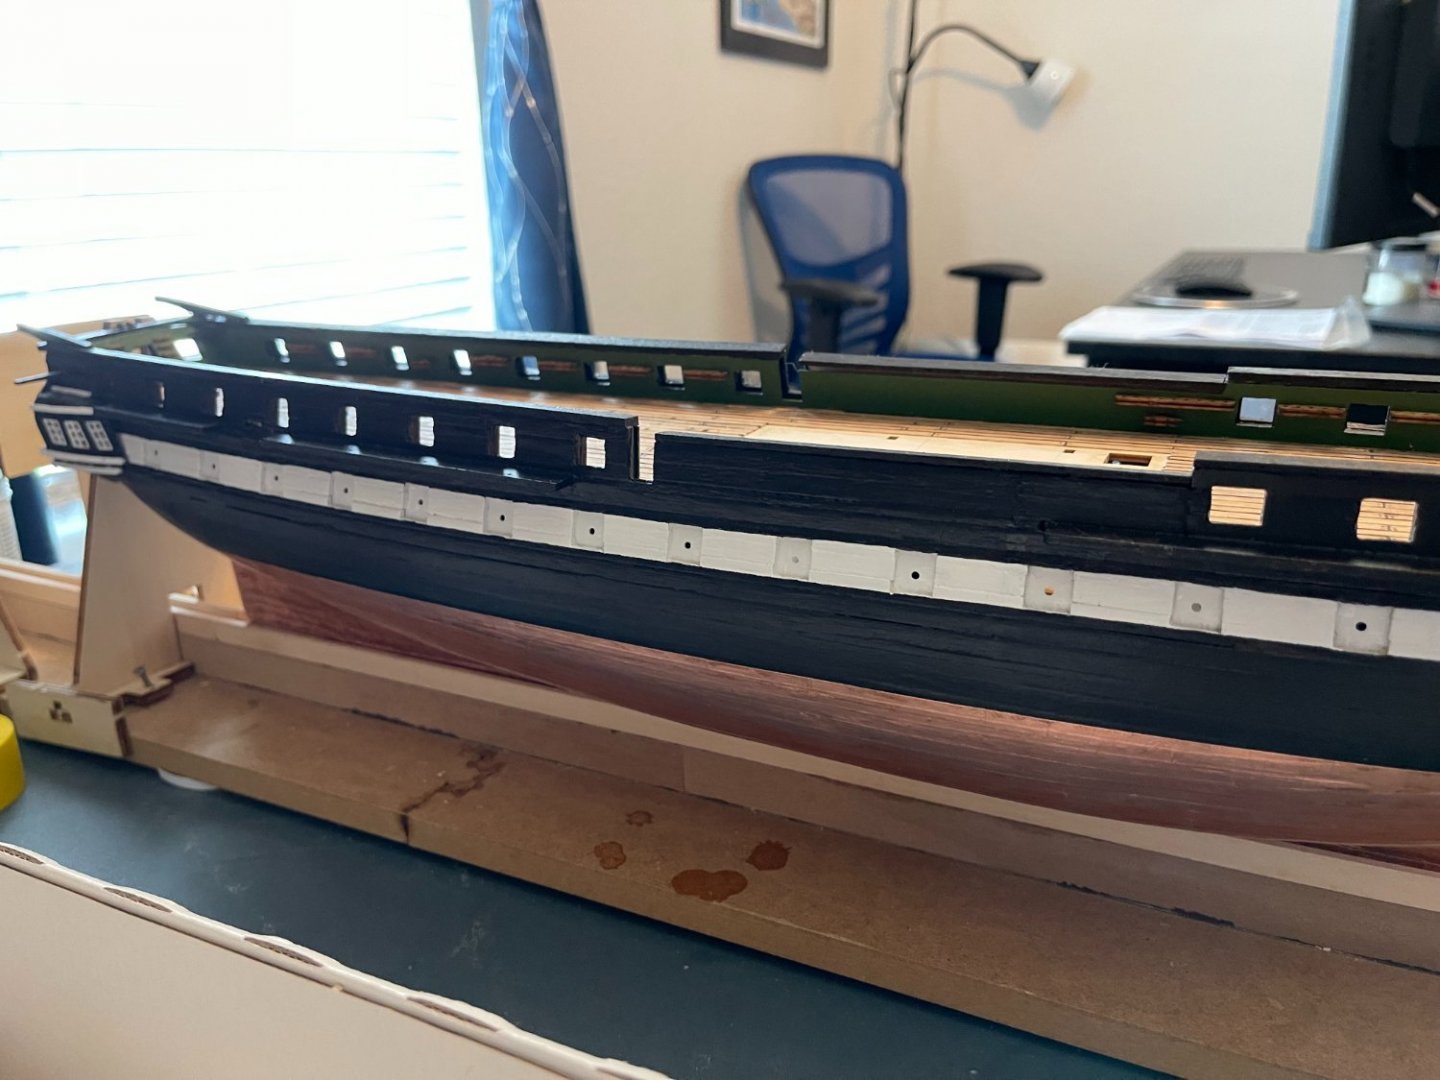
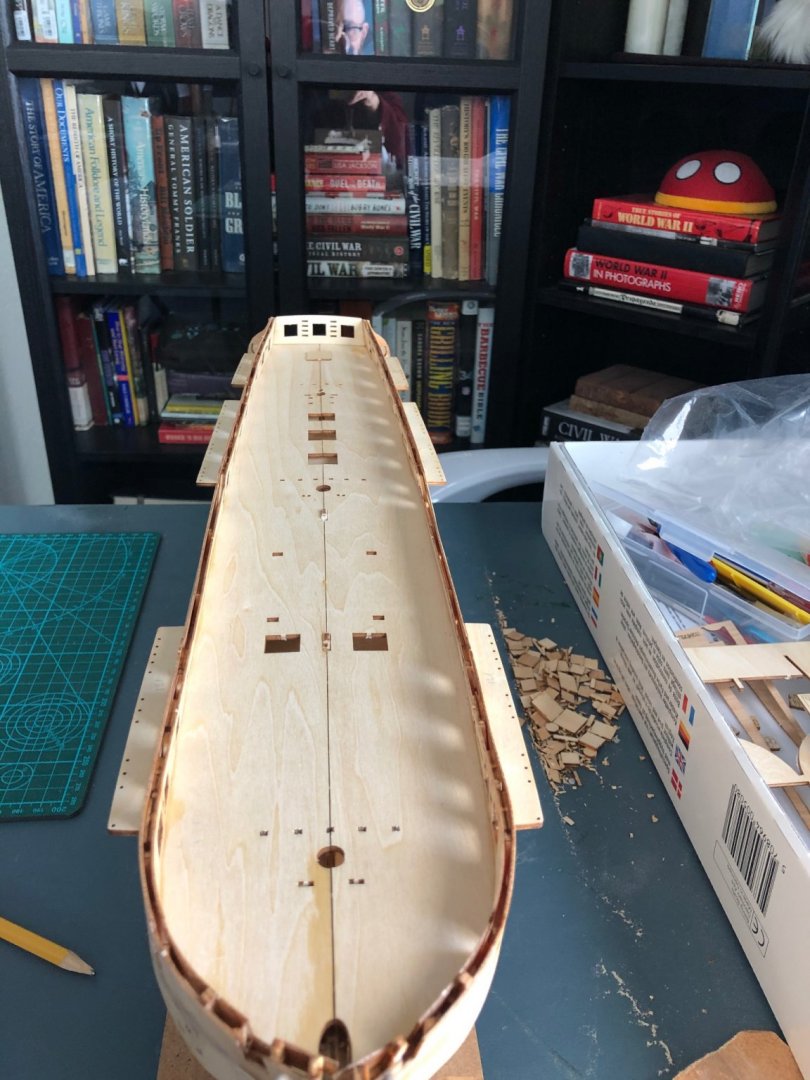
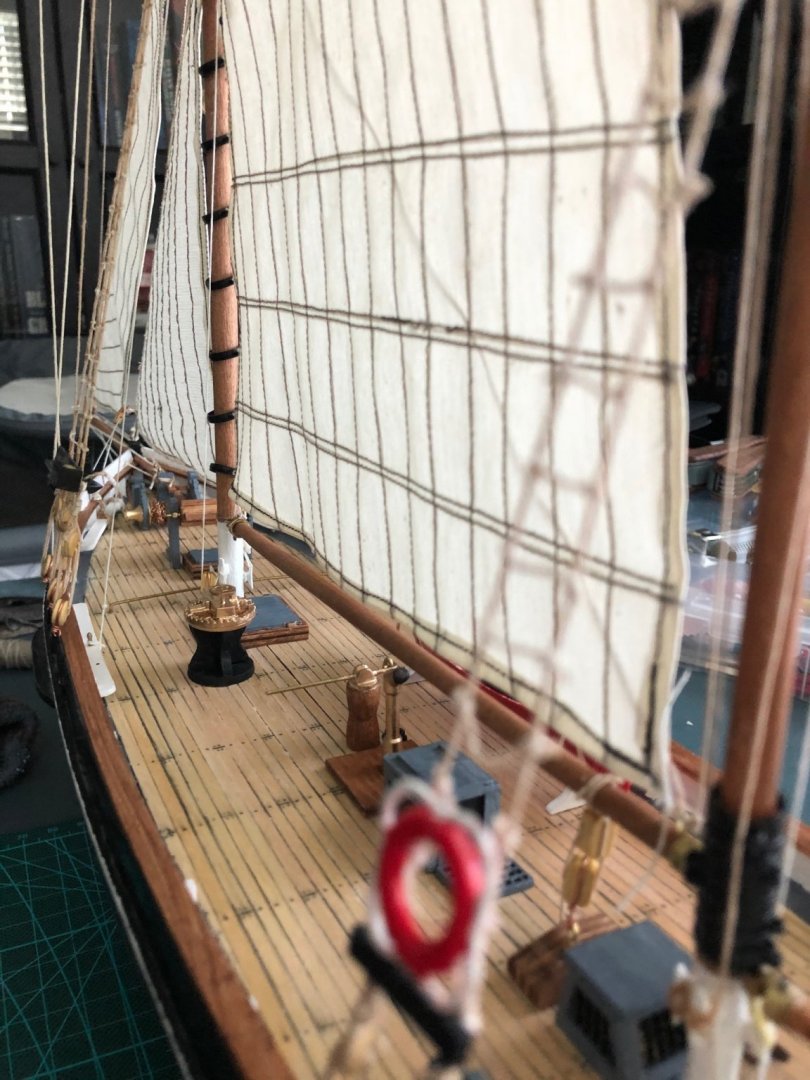
Hello, It has been some time since I posted anything in my build of the Constitution. I have had setbacks and not a good deal of time to work on the ship. I have become a father for a second time, and being a father of a young child gives me little hobby time. With that being said - I wouldn't change it for the world. I have assembled most of the hull, planked, painted, and coppered the bottom of the ship as best as I could find materials in my budget. I am including some photos from my journey to bring you up to speed. In the images, you can see my progress. hopefully they will stay in order and I will narrate based on what should be the construction process. I started planking and left a part at both ends off to be filled with balsa blocks and then planked over. The process was not good as you can see in the second photo so changes had to be made in order to continue progress. I finally finished planking (as you can see no doubt, my worst area of expertise) by the third photo, some areas needed a decent amount of filler. After sanding, you can see in the fourth photo the port side and how nicely it looked at least most of it, so I began searching for some model paints that were closer to the original Constitution. I found a medium green and used a rich black - all in a satin sheen instead of flat, that way I do not have the issue with it chipping off as much during the construction process (as I tend to be clumsy). I used a bit of tape to get the rough shapes of the areas for black and white around the cannon ports, and then with a #0 sized brush, cut in and straightened the lines as you can see in the 7-10th photos. I is in the 9th and 10th that I made the addition of the rear galleries, and I did a very nice job in my opinion, though the roof slope isn't what I wanted exactly, my carving skills are not the best, but sufficient. You can see the adornments in the 11th-13th photos showing my first attempts at wood bending - using a curling iron to get the trim pieces. I again used a #0 brush to paint and touch up in the areas so they would look smart. Because my planking job wasn't the best and I wanted as flawless looking of a hull as I could get, I decided to copper the hull. I used self adhesive copper tape in a 5mm width to simulate copper tiles instead of springing for a lot of tiles (hence a great deal of money as well). Anyway, knowing now what I do - I really bit off a great deal - especially not having done this before and doing what I could to mimic the coppering pattern on the actual ship. The coppering pattern on the ship seems to have varied historically with contemporary prints of the ship in the 17 and 1800's and then later with restorations in the 1900's so I figured that as long as I kept to a couple of rules, I ought to be okay. First being that I would copper from stern to bow. Second, that I start from keel and work up. Lastly, I try to follow the tape and cut where I need. I placed in areas of the hull that needed a bit more help 2 strips of copper tape, placed them on top of each other to give a thicker copper, and in others it was just one strip thick. You can see from the 14-15th photos the way I was planning to do the coppering. I know some people state that Ought to have used a ponce wheel, but at the 1:100 scale, I received a lot of conflicting advice, so decided to not use a ponce wheel to simulate nail heads on the copper plates. In retrospect, this was probably a good idea. Coming to the 16th photo, you can see I finally finished a side of the coppering and it had become tarnished. So, I decided to use lemon juice and a toothbrush - something I had remembered in home economics about the acidity of lemons being used to rid metal of tarnish. I placed two coats on the finished hull when I finished coppering both the port and starboard sides. I then wiped the hull down with a wet cloth and let it dry. The 17th and 18th photos show the cleaned copper gleaming before I put a thick coat of Renaissance Wax to the hull. I let it dry probably a bit too much before I started to buff, but I took a terry cloth rag to buff the copper to the point that you see in the last three pictures. I have only placed one thick coat of Renaissance Wax - as time got away from me and I had to stop (life of a newborn dad). I plan on putting two or so more coats of wax on top of what is already there being careful each time to make certain my hands are clean to avoid fingerprints and such. My question is do I place two more coats of wax, or do I use a polyurethane on top of the one thick coat of wax I have installed already. Thank you for your time and attention to my post, apologies that it is so late in coming. Hopefully now that summer break is upon me, I can have some time to get myself going to complete the hull and get closer to the rigging.


- 88 replies
-
- 4
-

-
- Constitution
- billing boats
- (and 1 more)
-
Thanks bonedoctor. I have had to slow working on the ship, but I'm hoping to get back into it later this week.
-
thanks! the cannon ports are giving me fits though. I am trying to find an easy way to make them perfectly square.
-
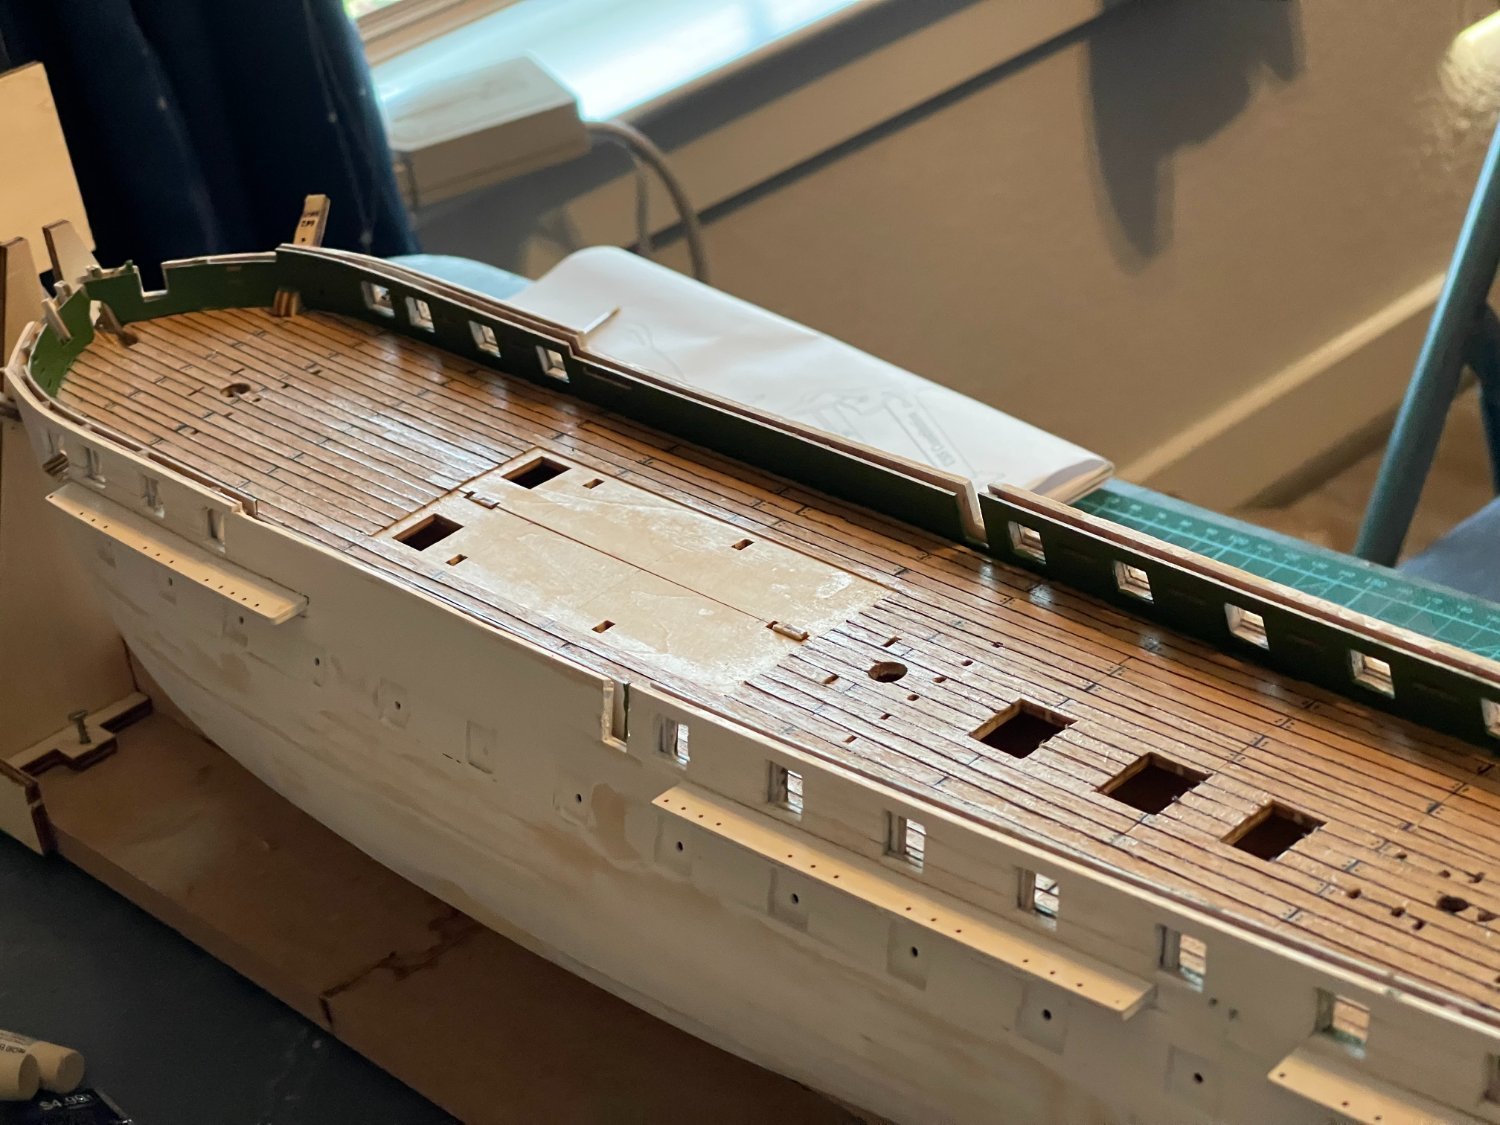
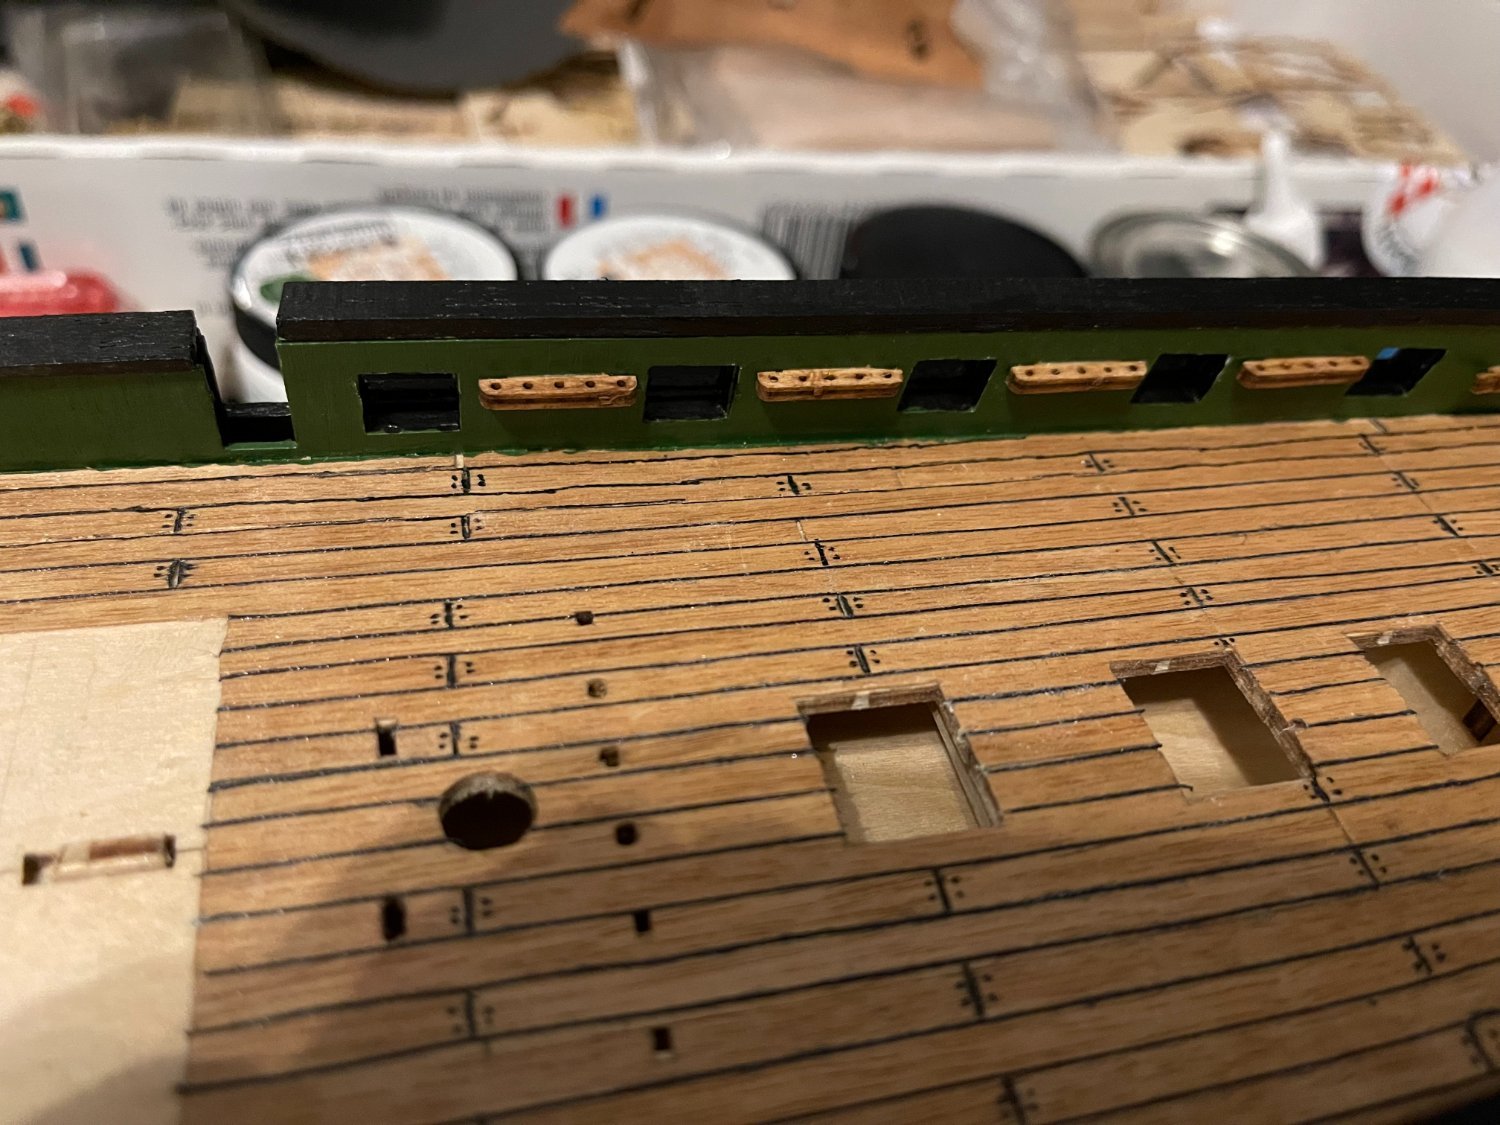
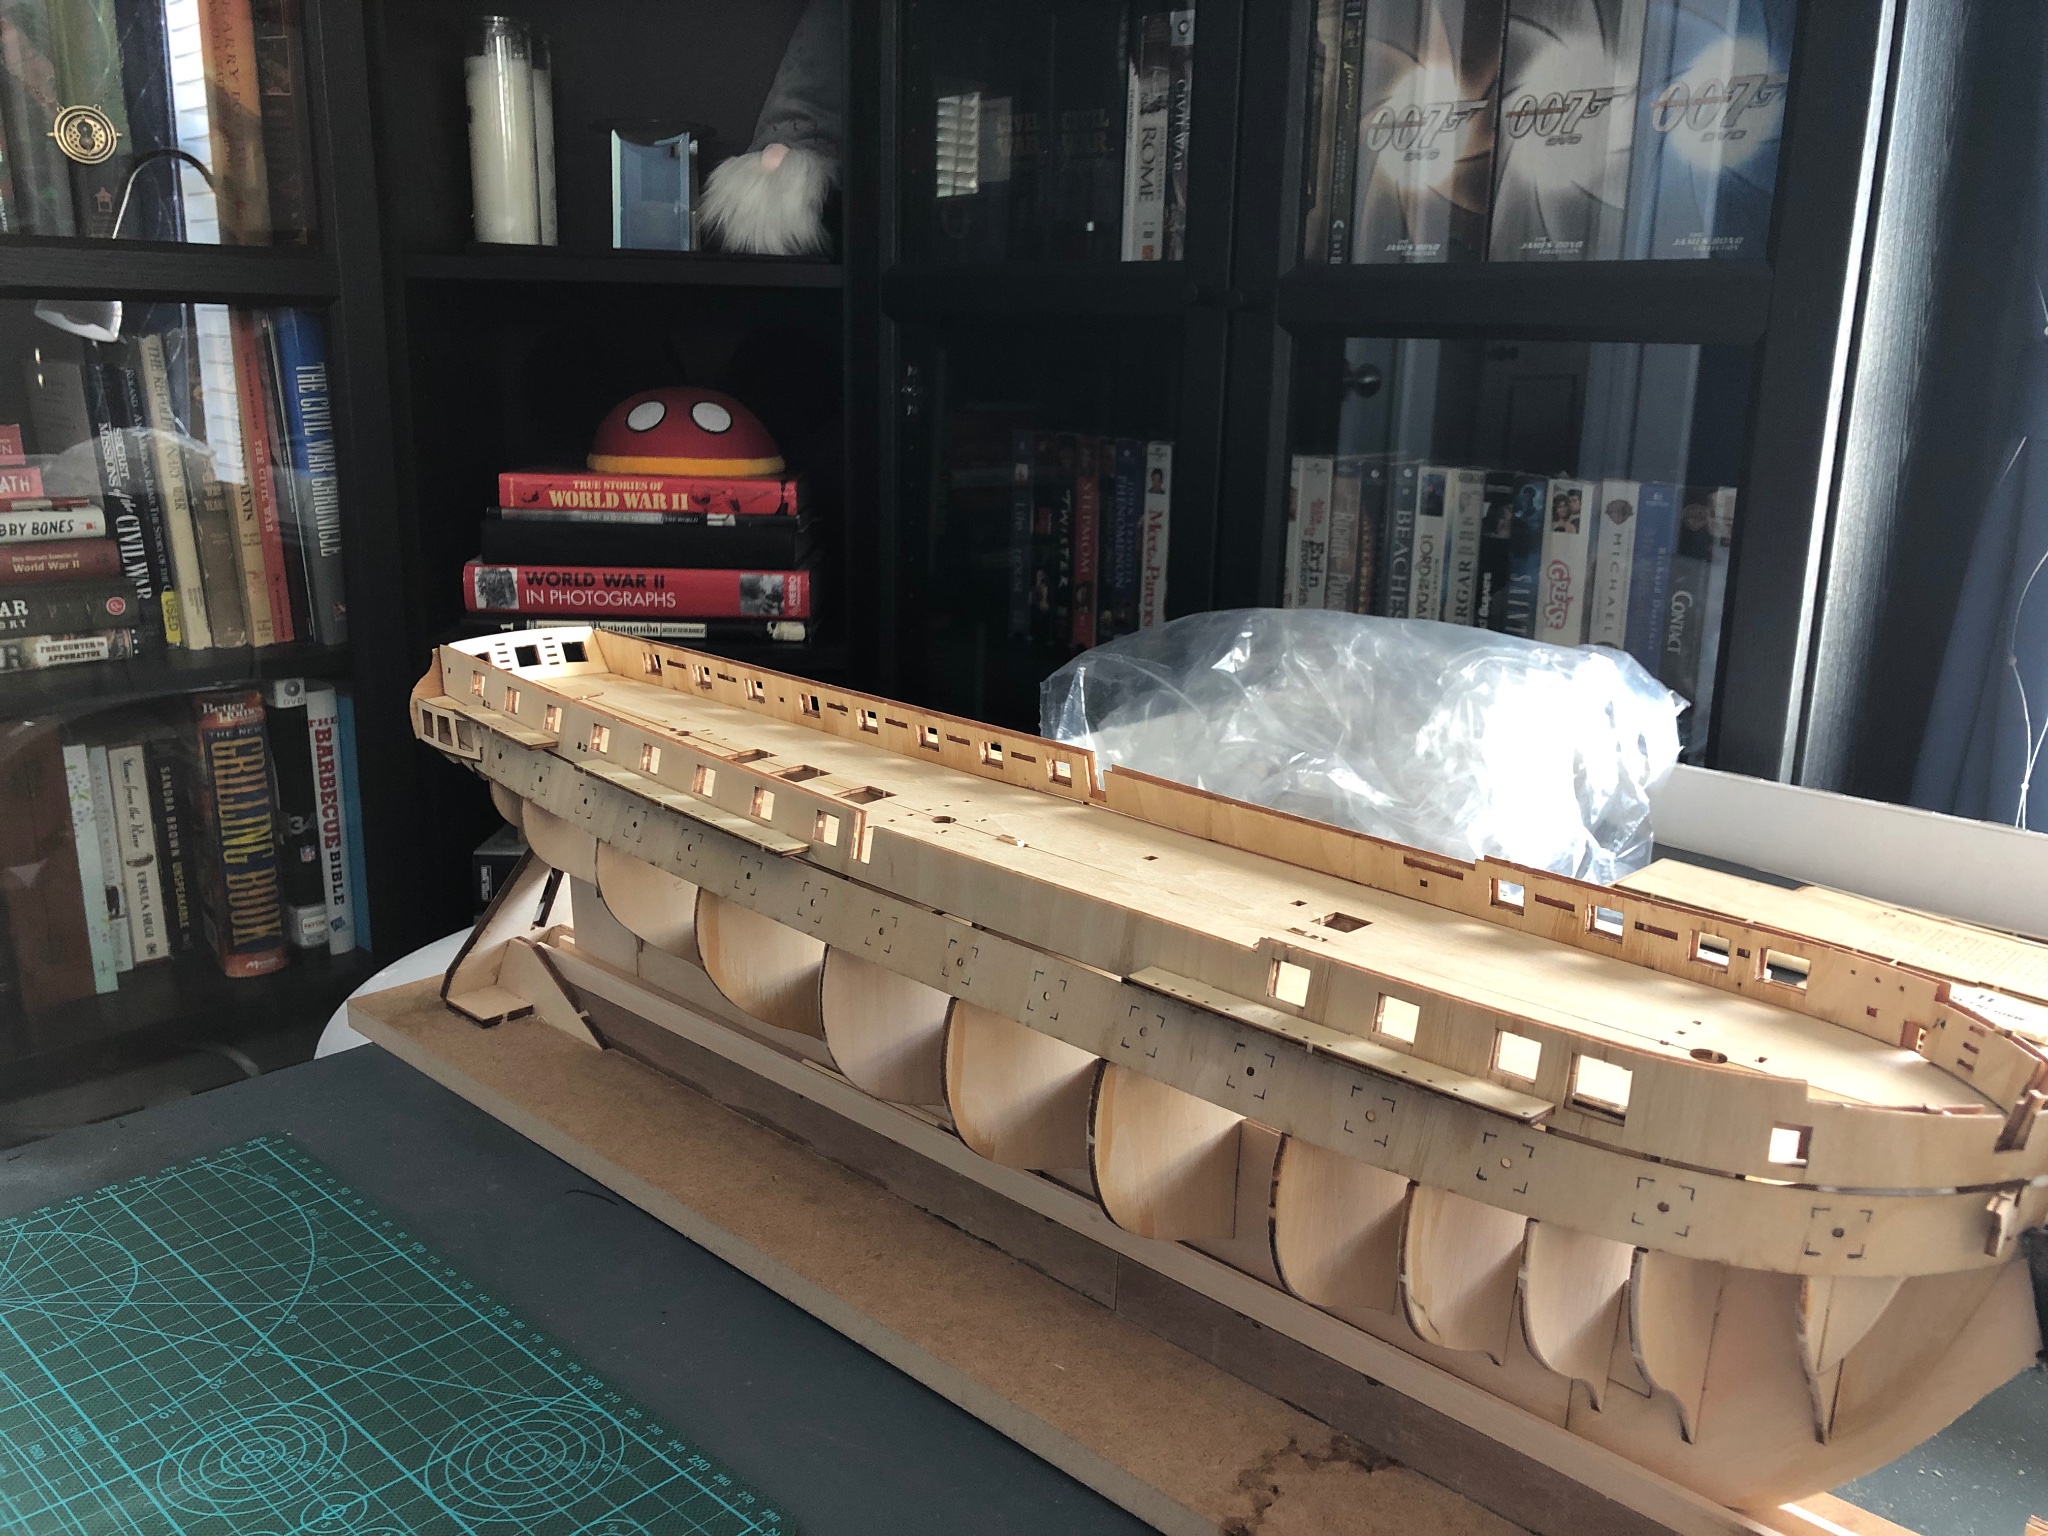
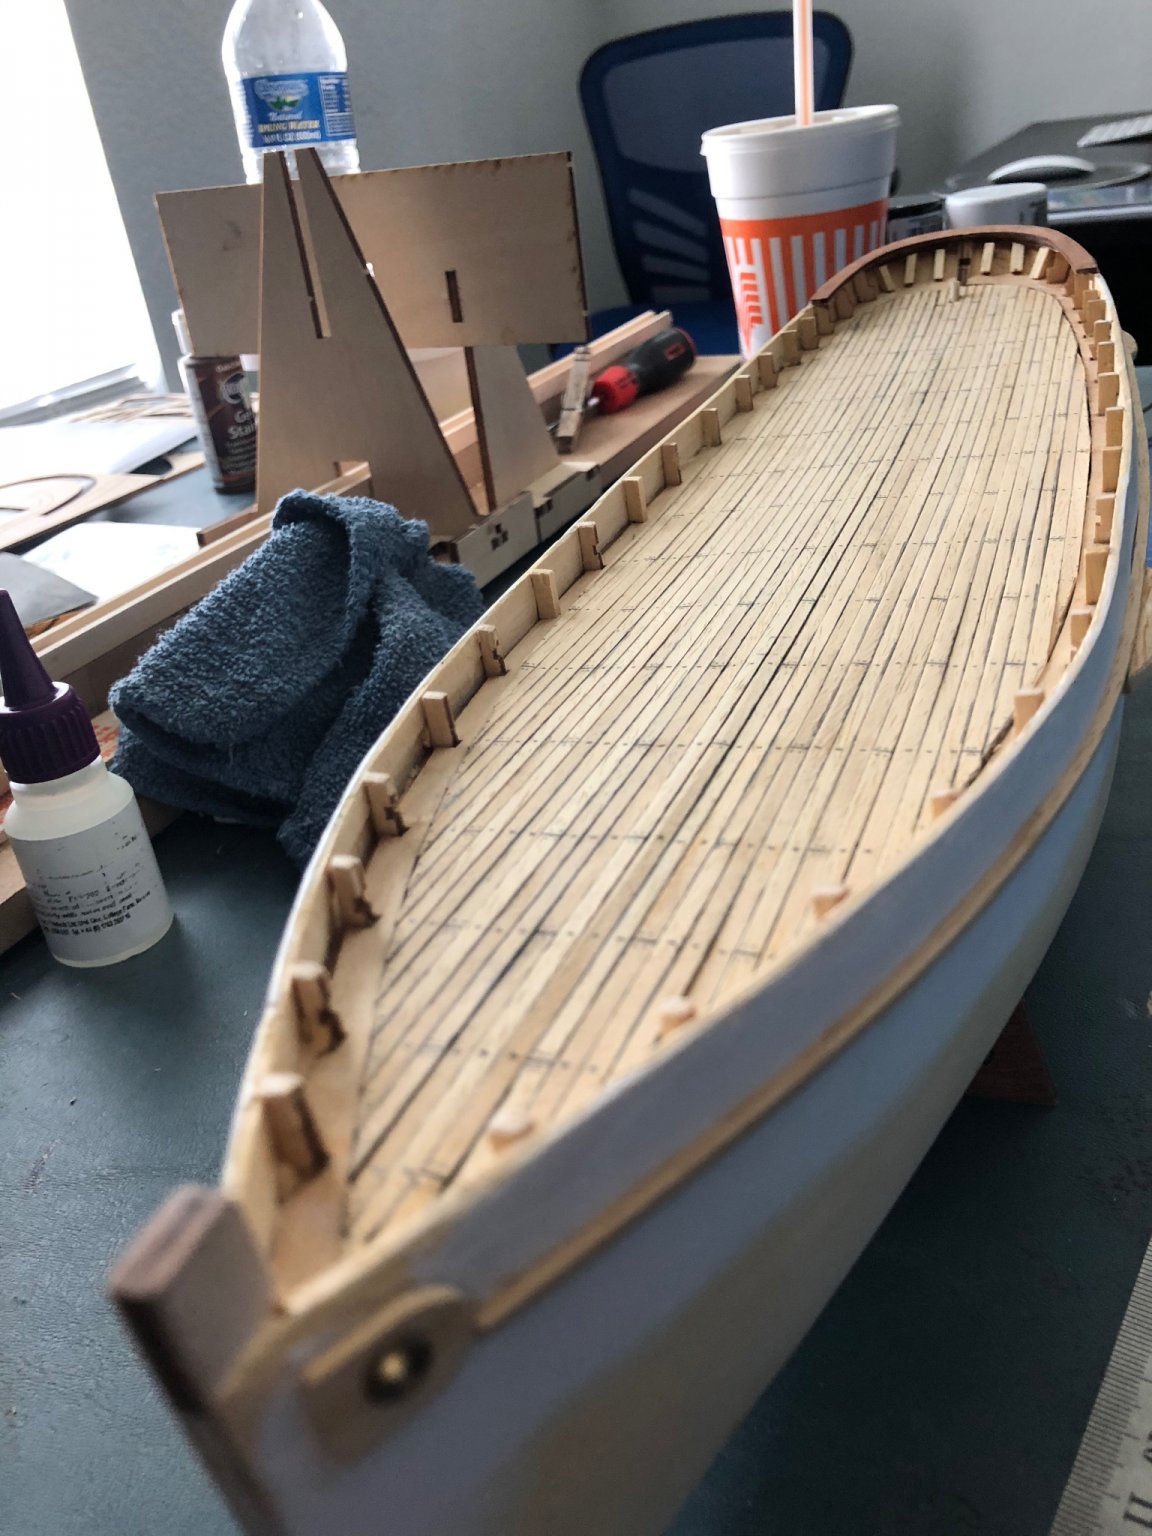
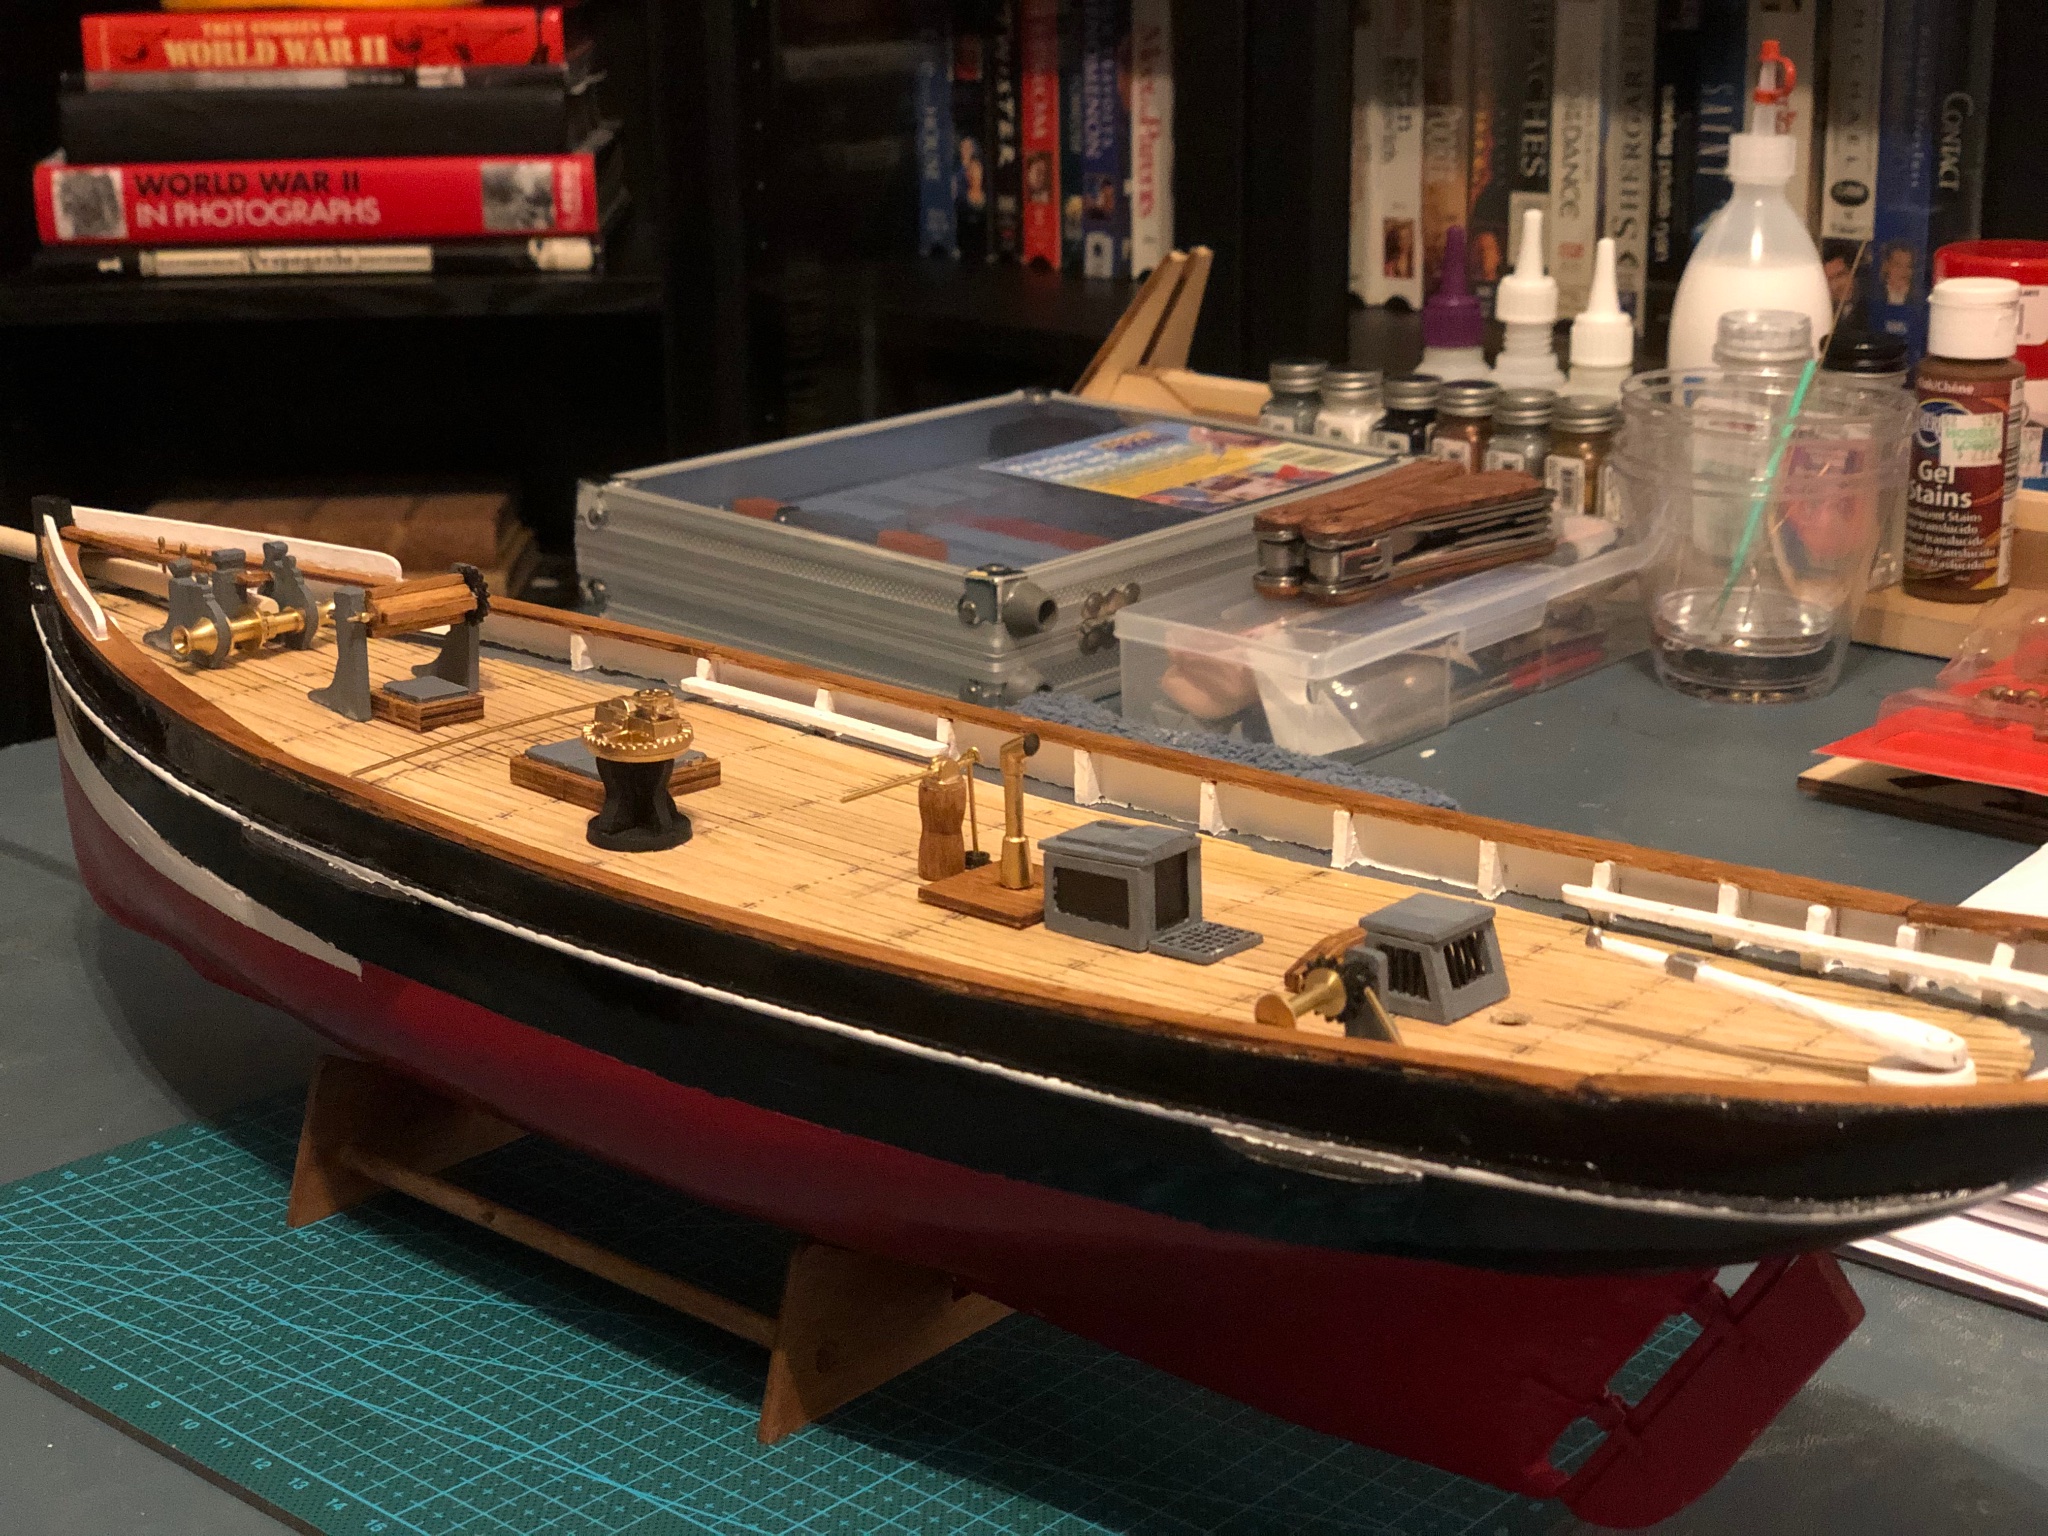
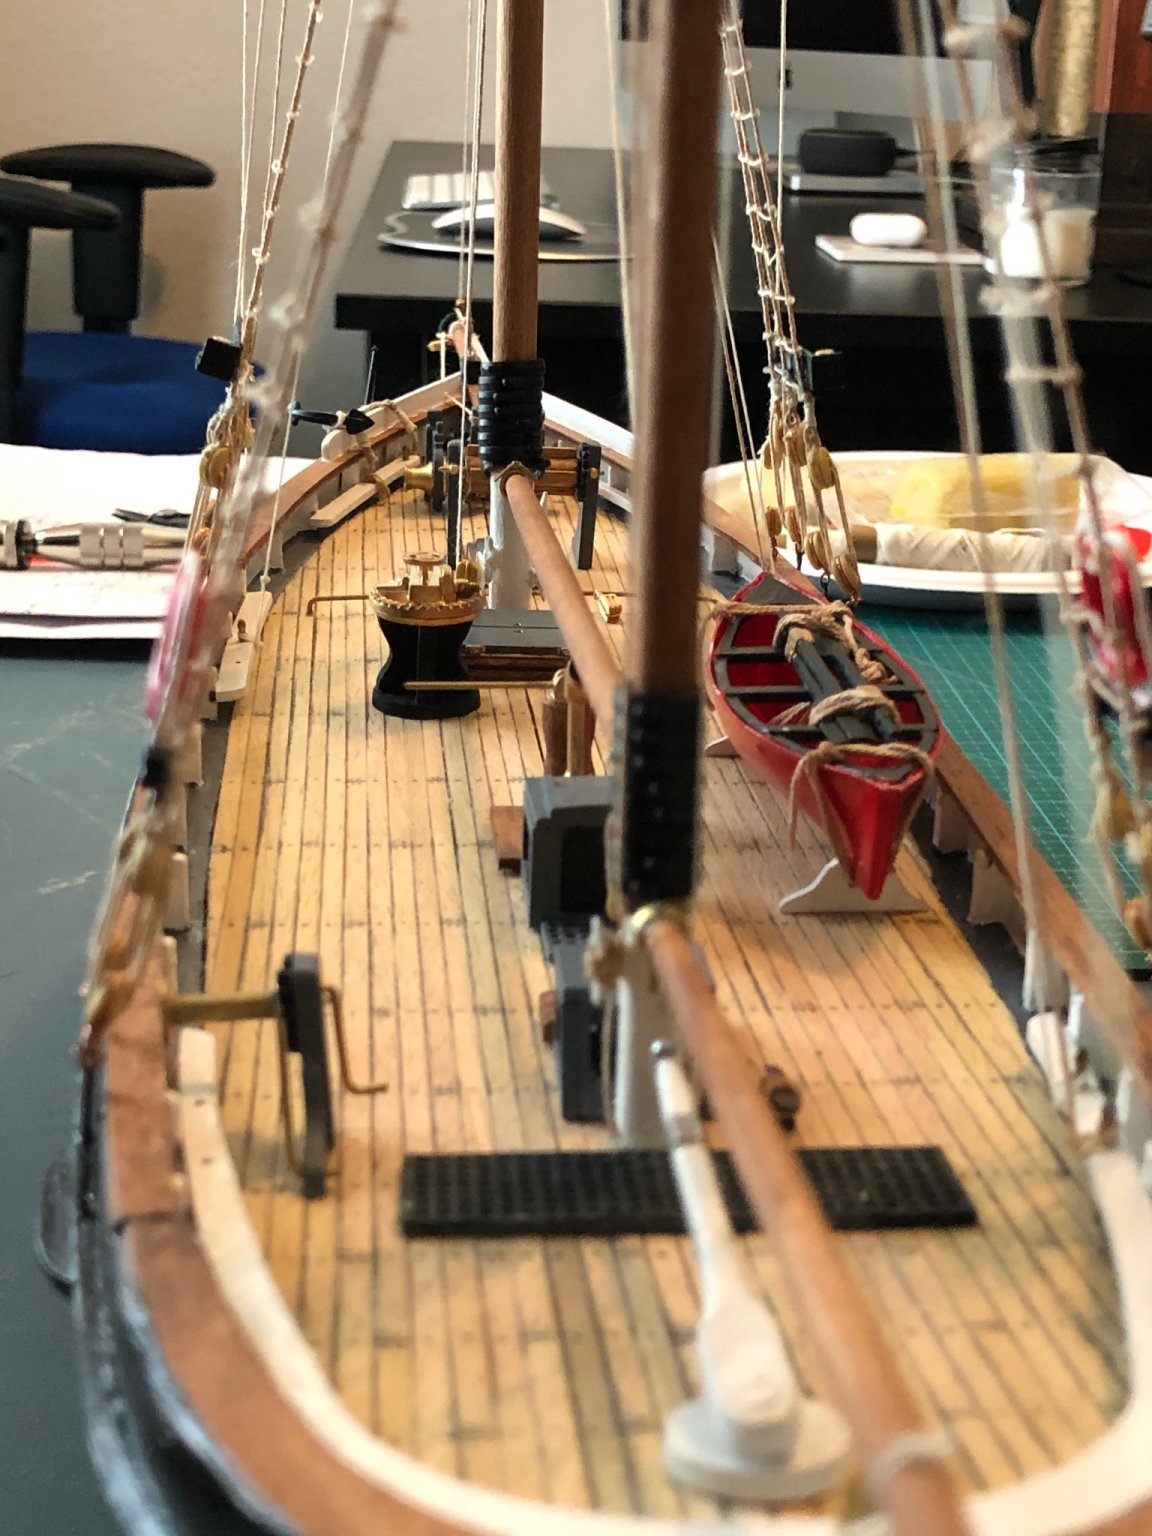
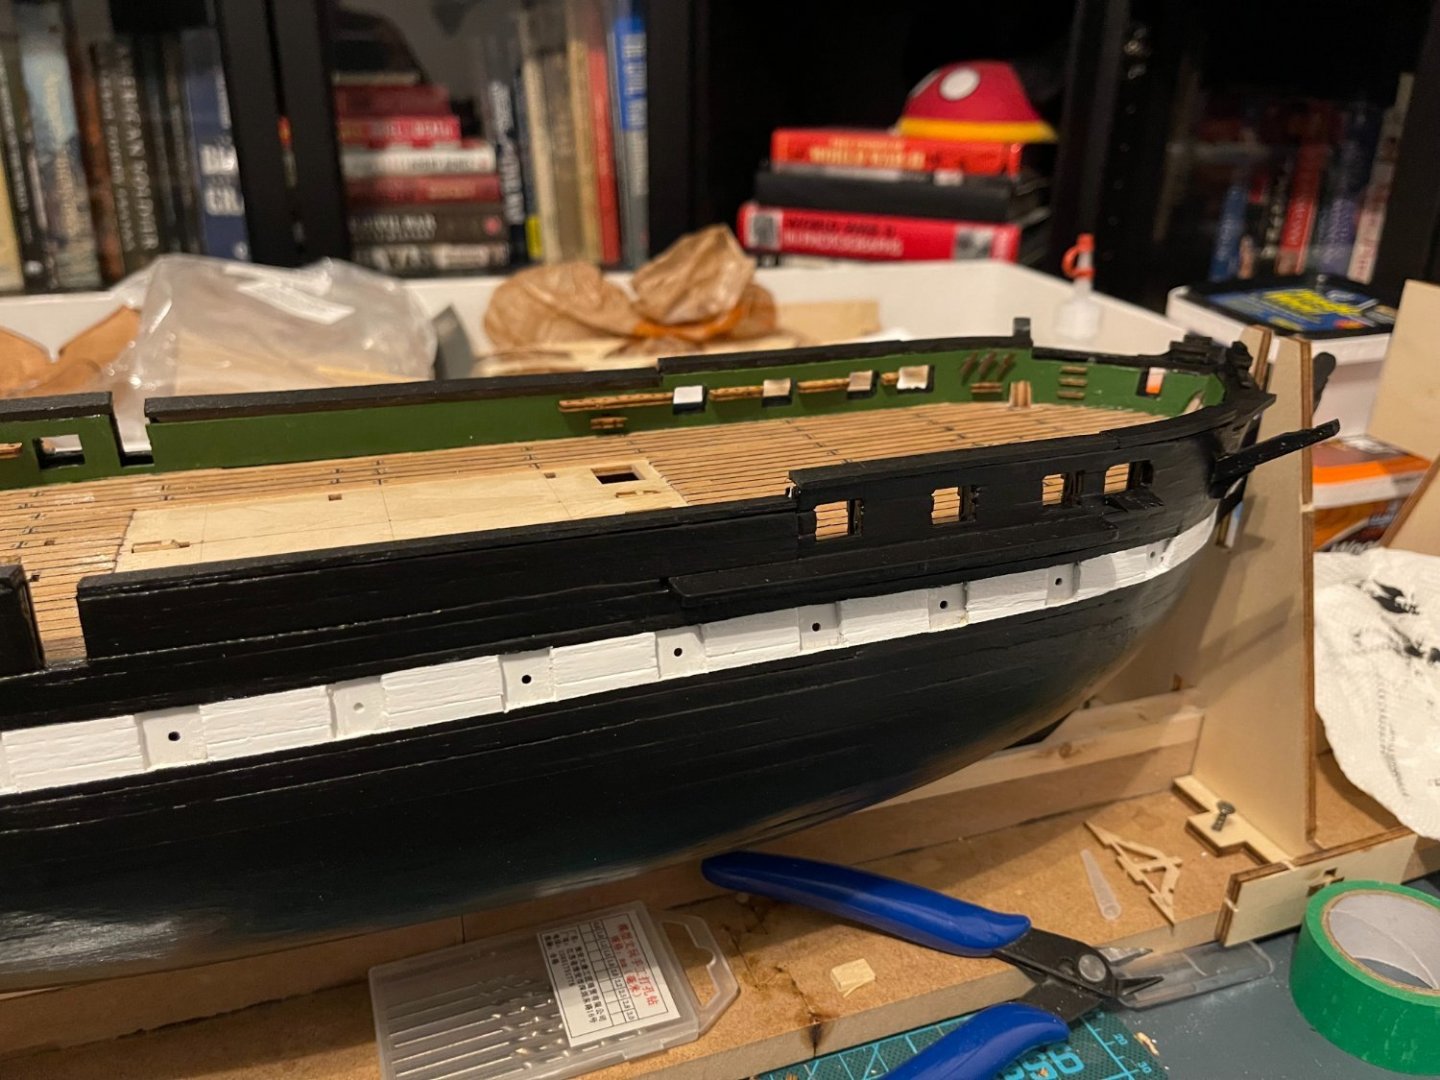
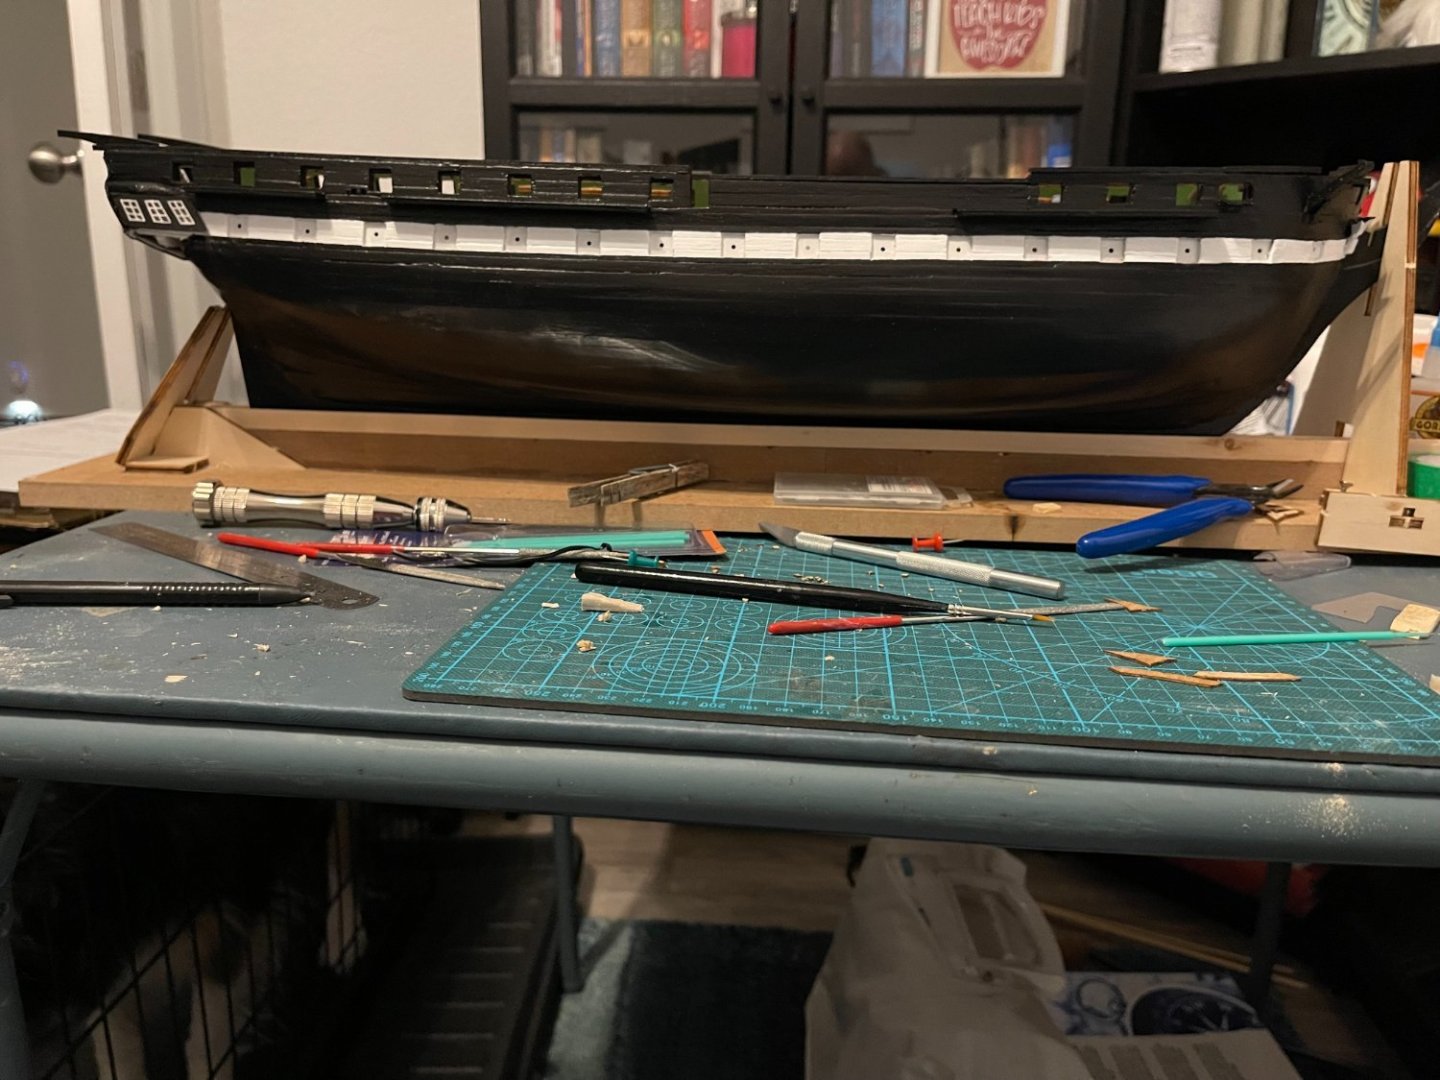
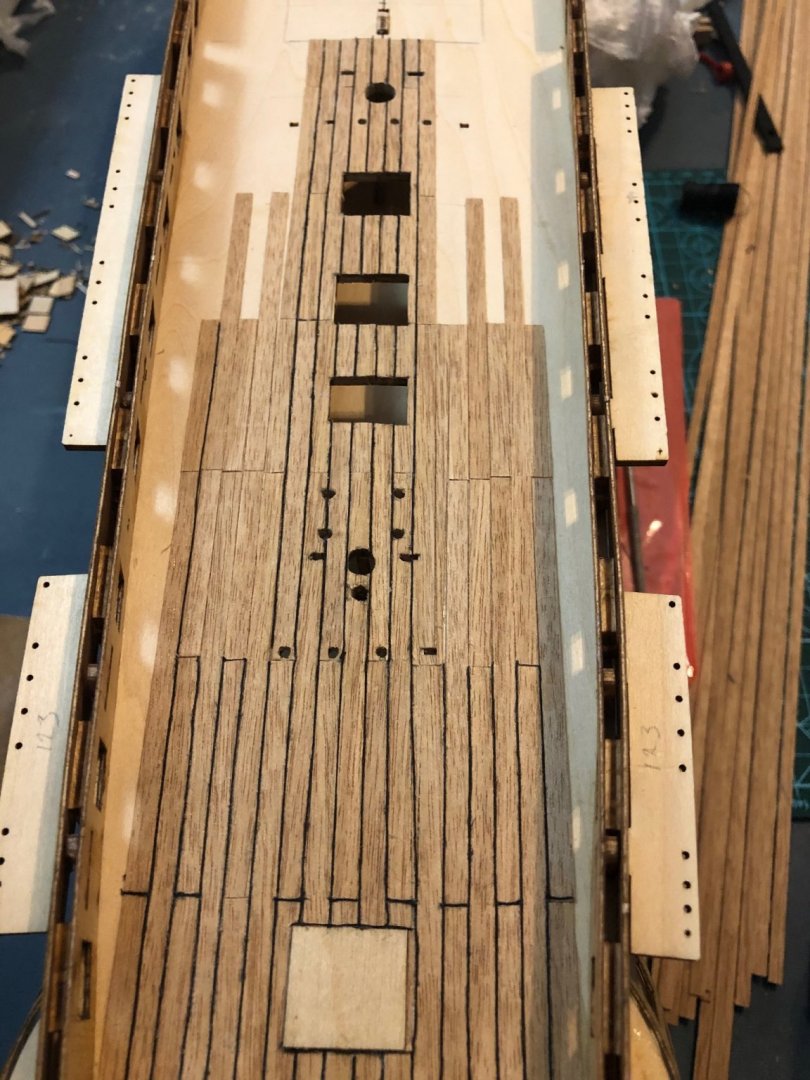
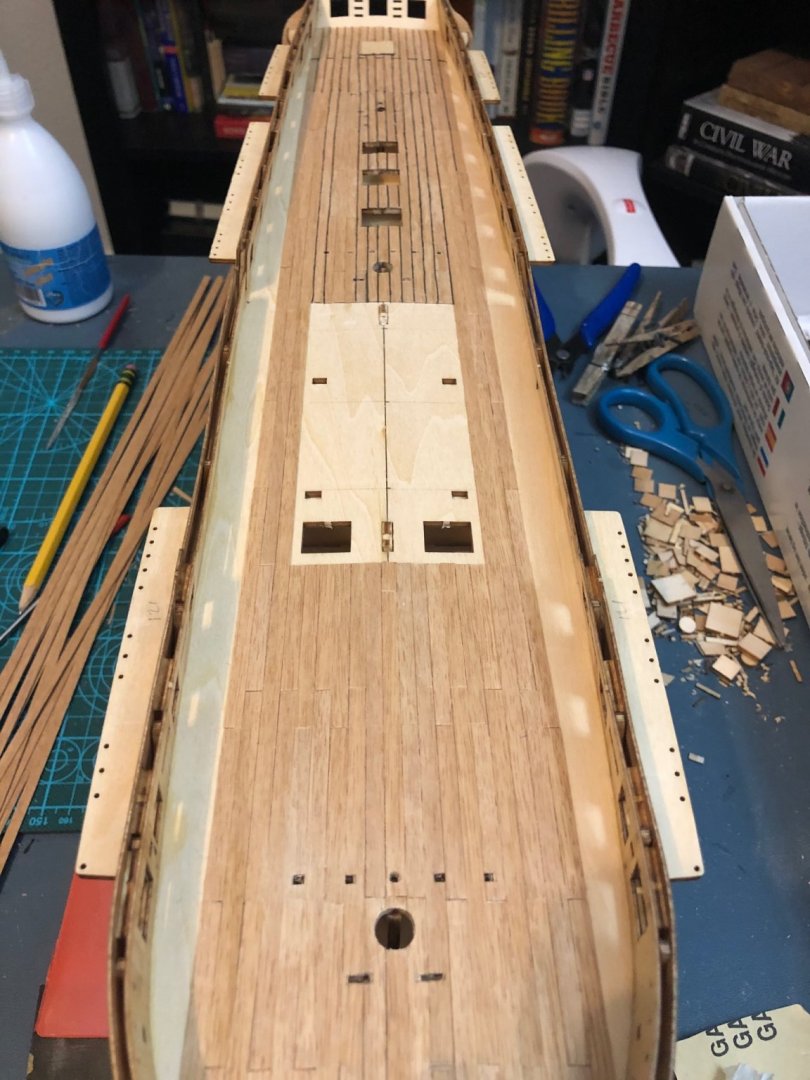
Good morning, I am posting for the first time in a while because we had the 'snowstorm' and power loss for a week, hence - no progress. Anyway, I was able to put up the external bulwark, stern pieces, lower cannon ports, and have made a good deal of progress with the decking. I am using small diameter sewing thread to mimic the caulking between the planks after I have installed them on top of the false deck. So far, I have almost completed the decking, but the caulking is a different story. I have attached pictures. Thanks for reading and advice.


- 88 replies
-
- 5
-
-
- Constitution
- billing boats
- (and 1 more)
-
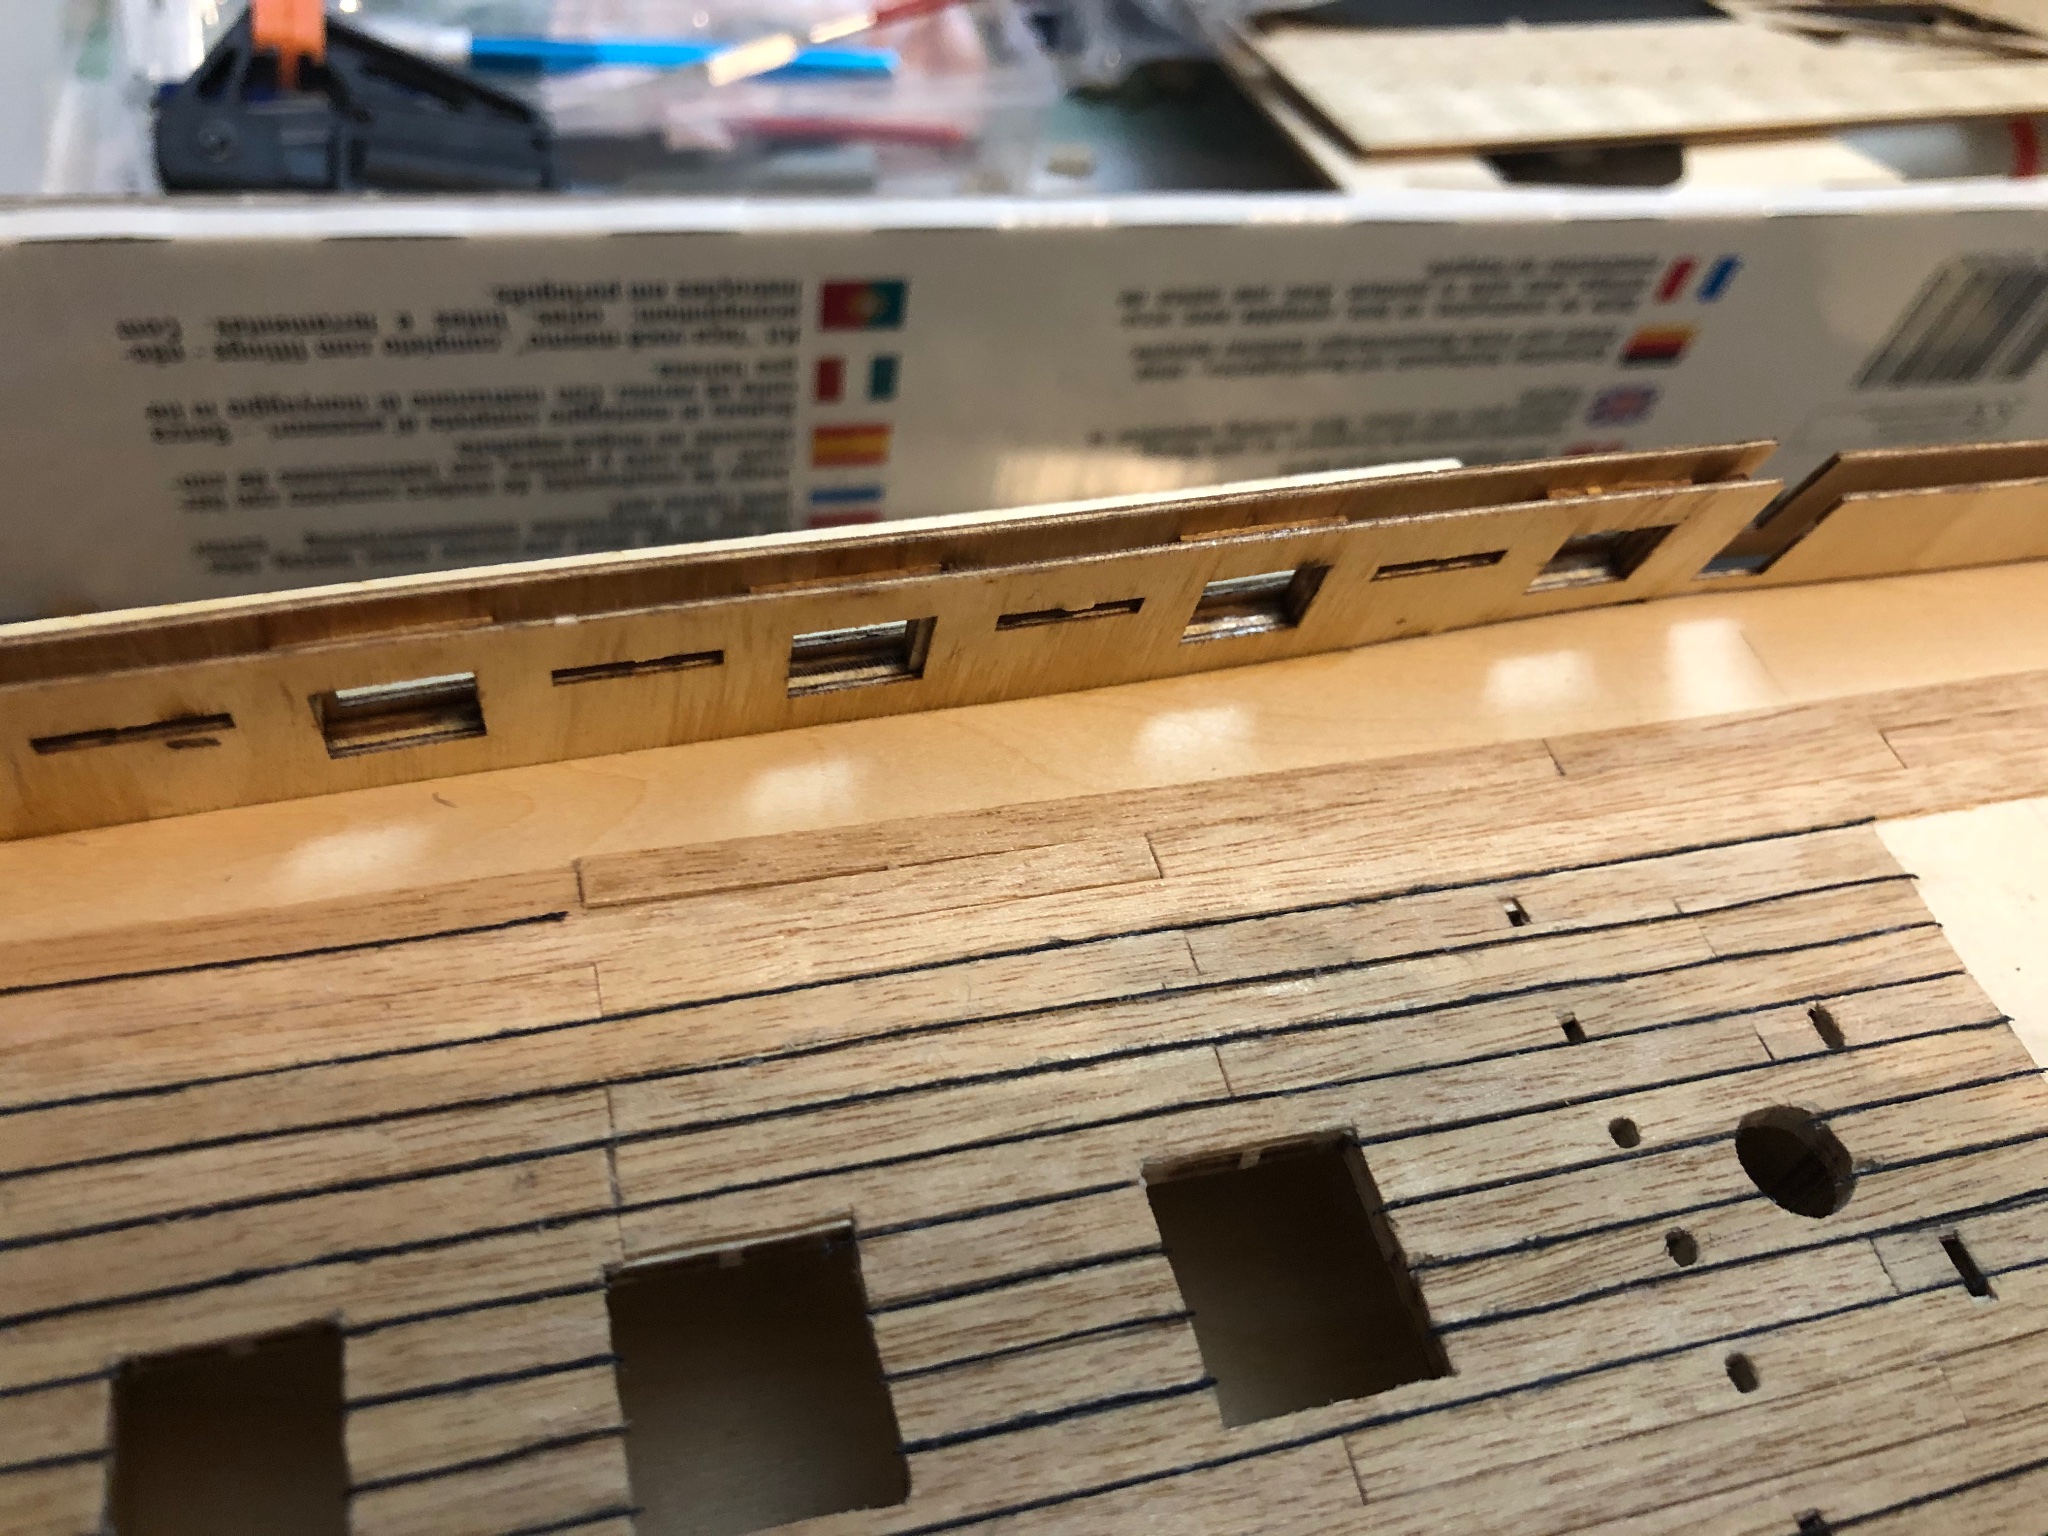
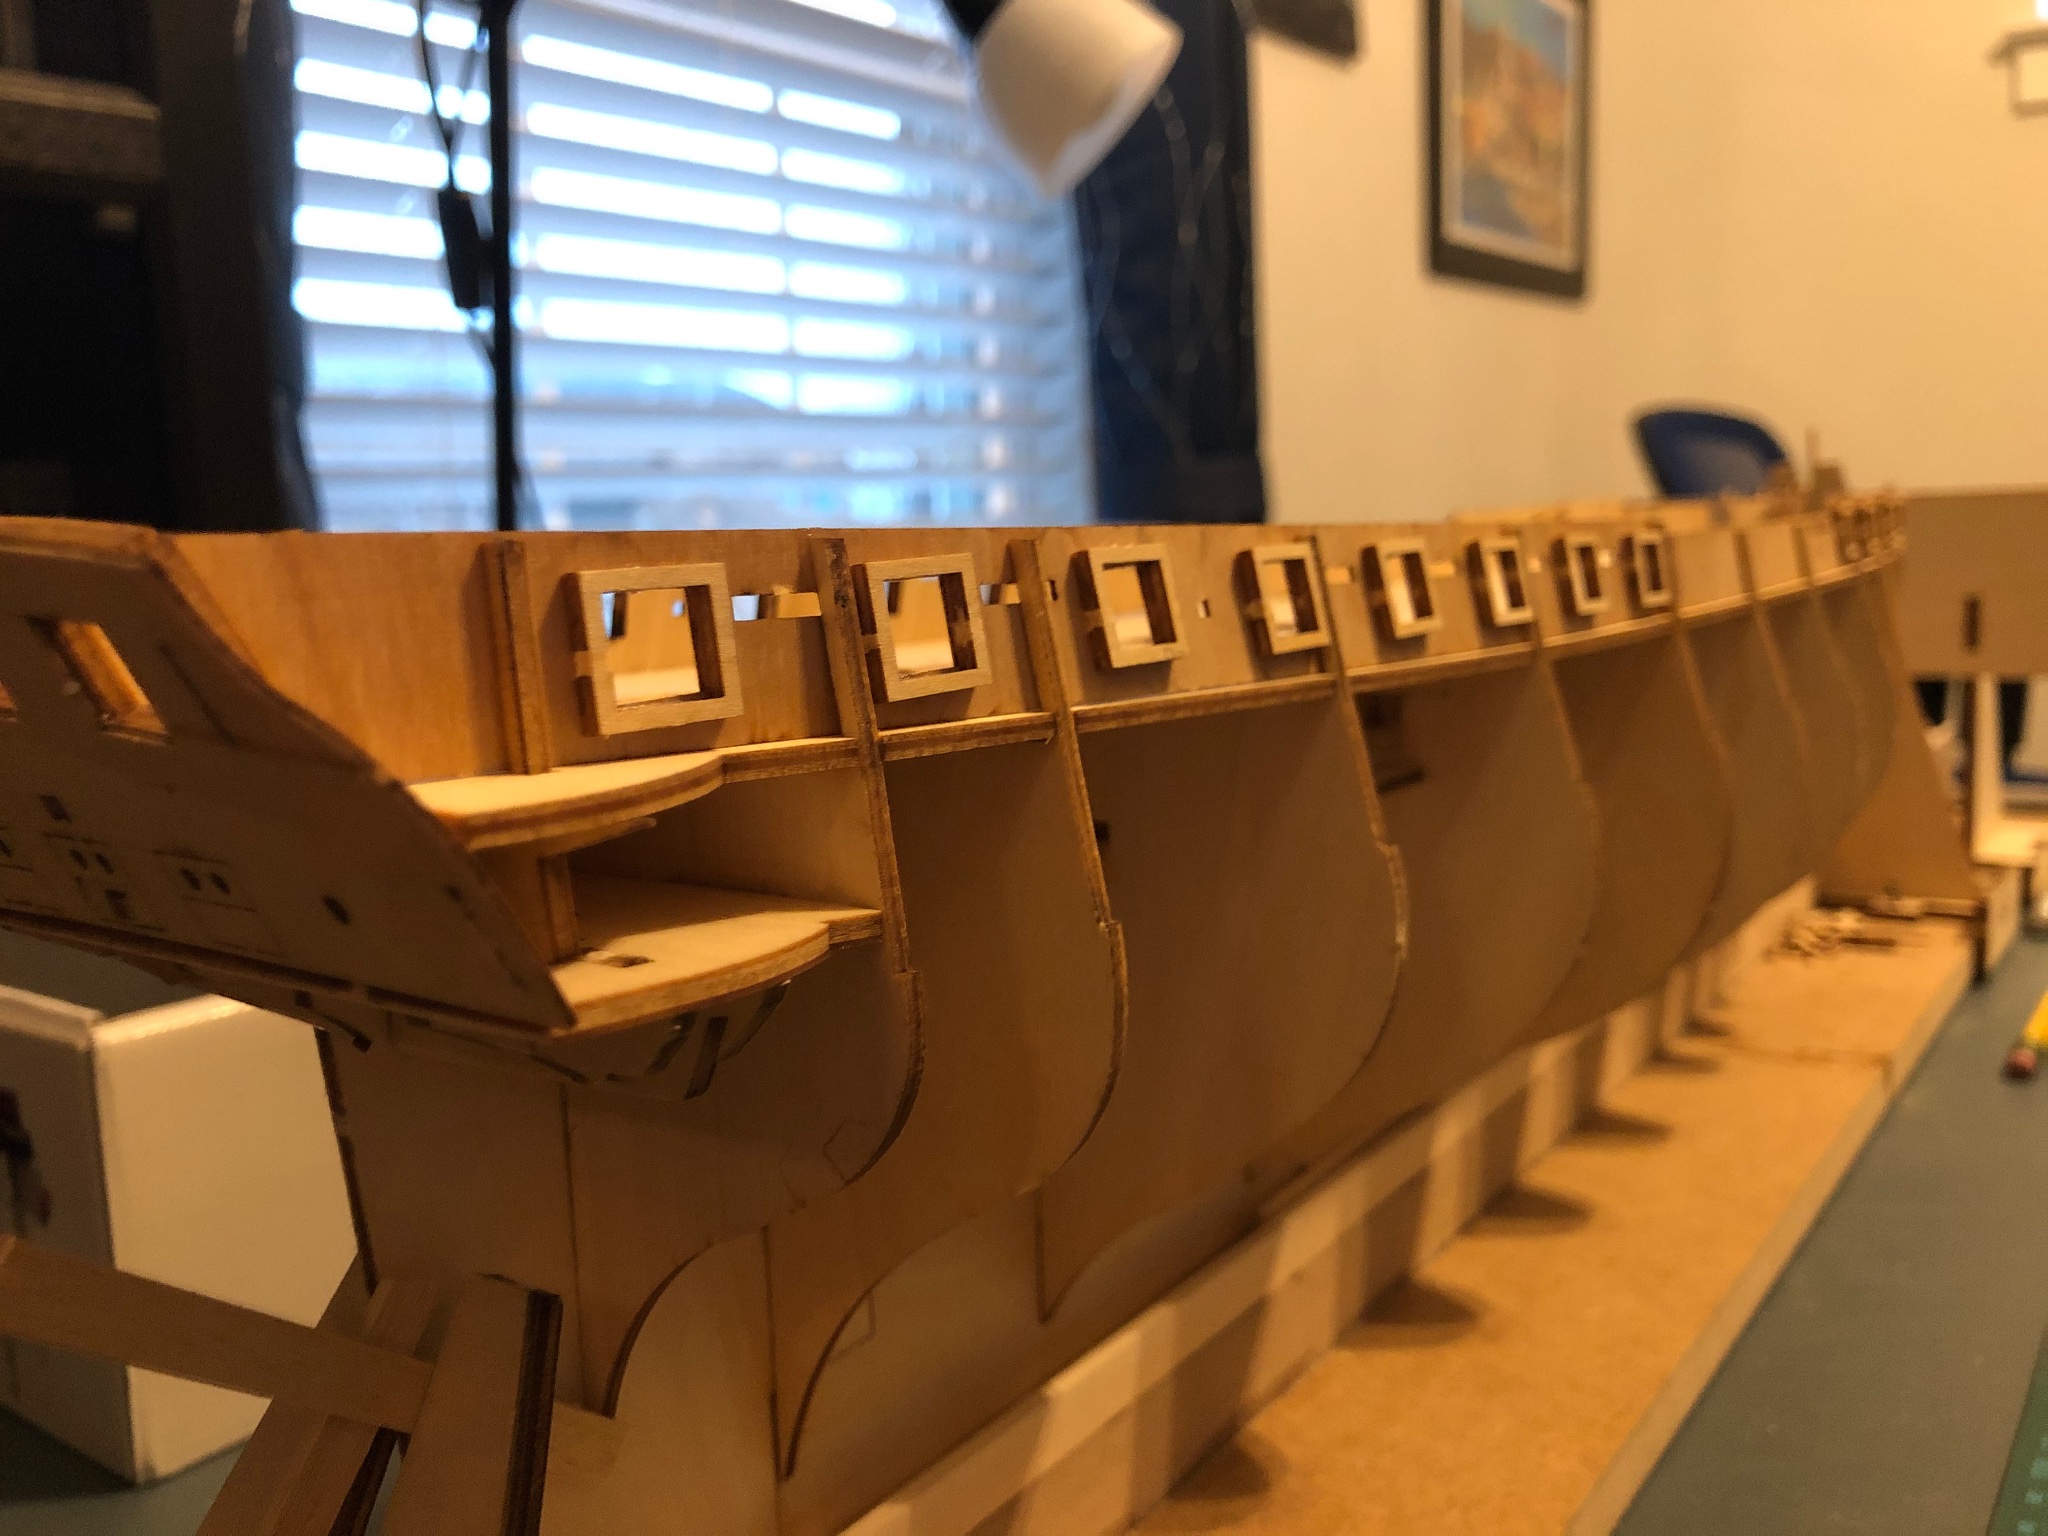
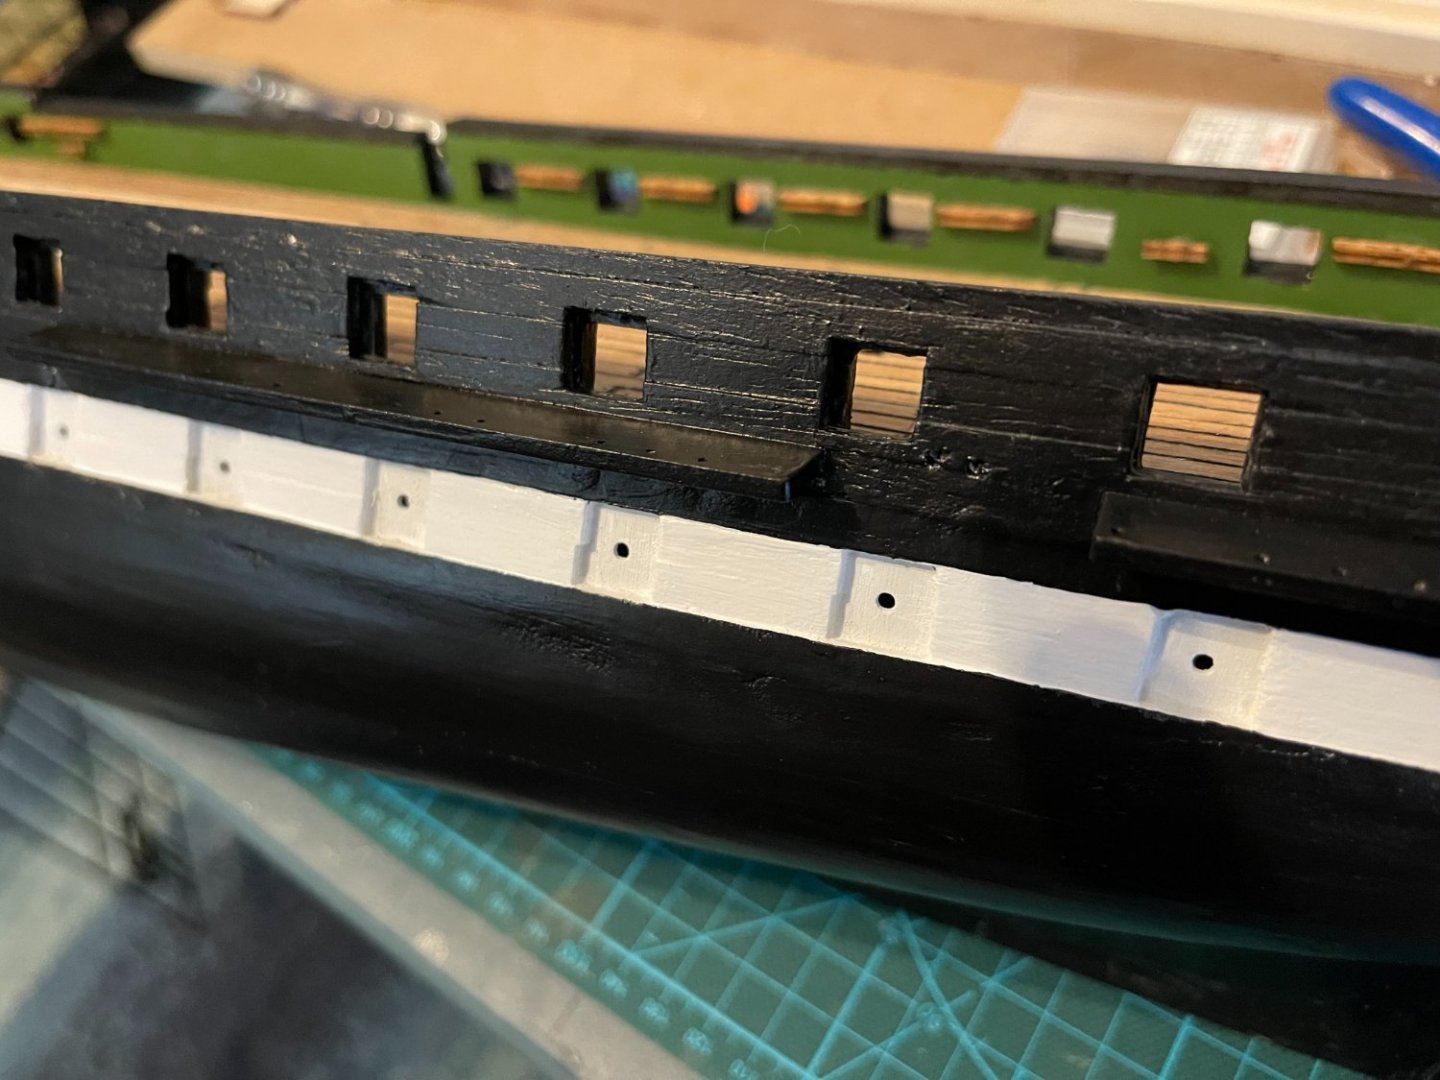
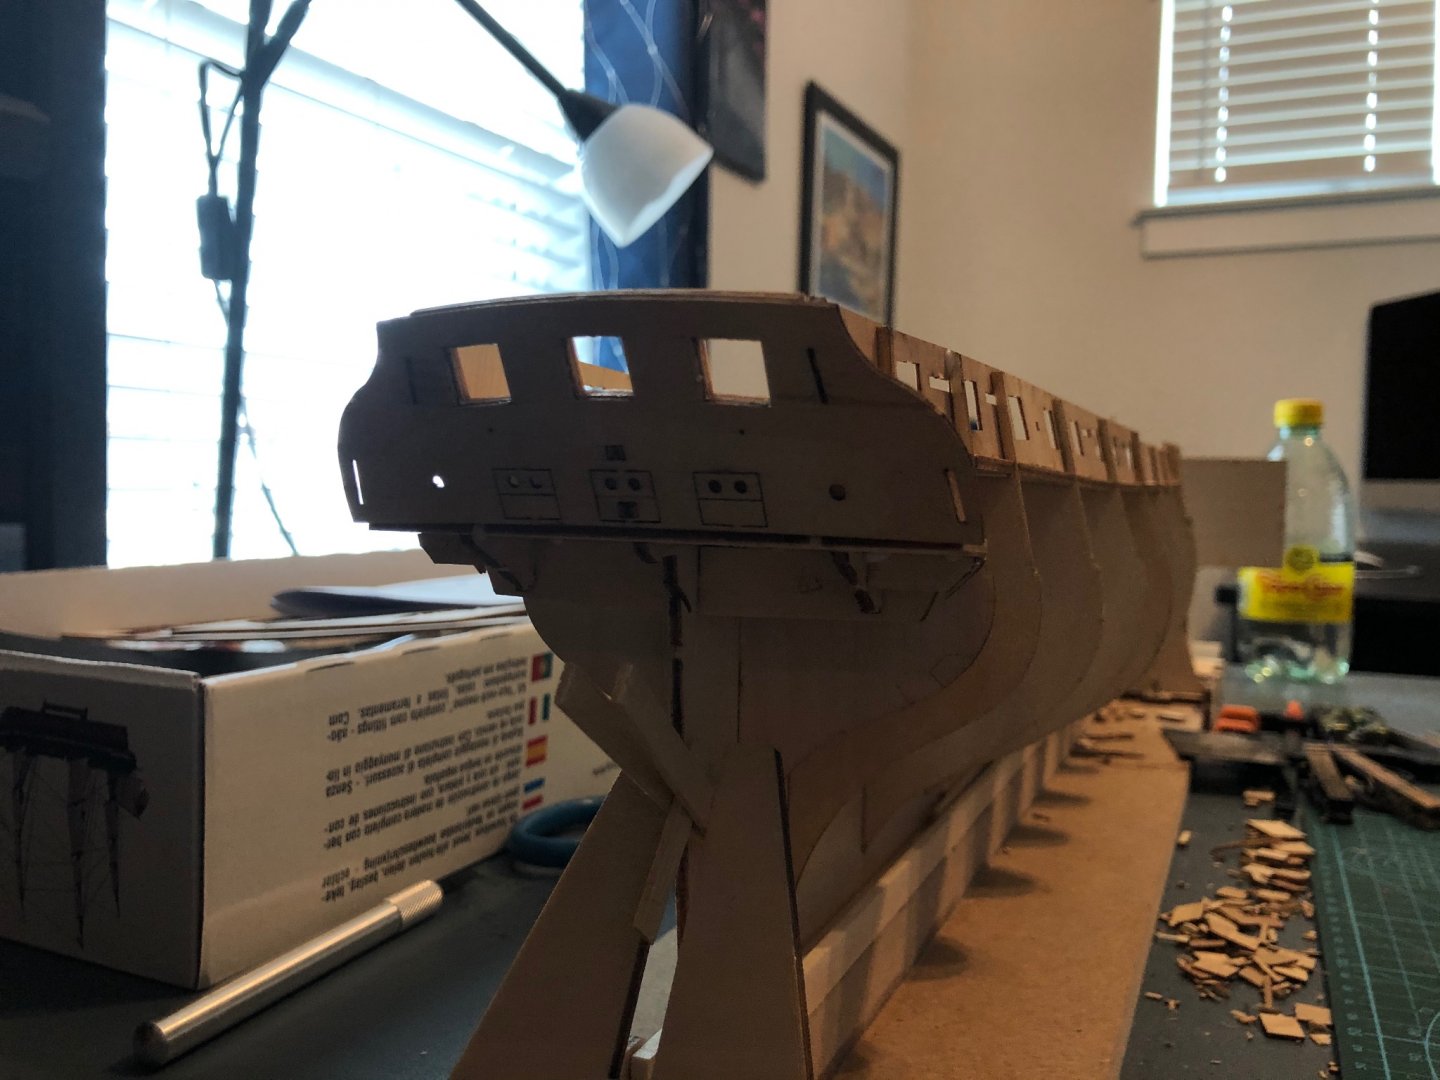
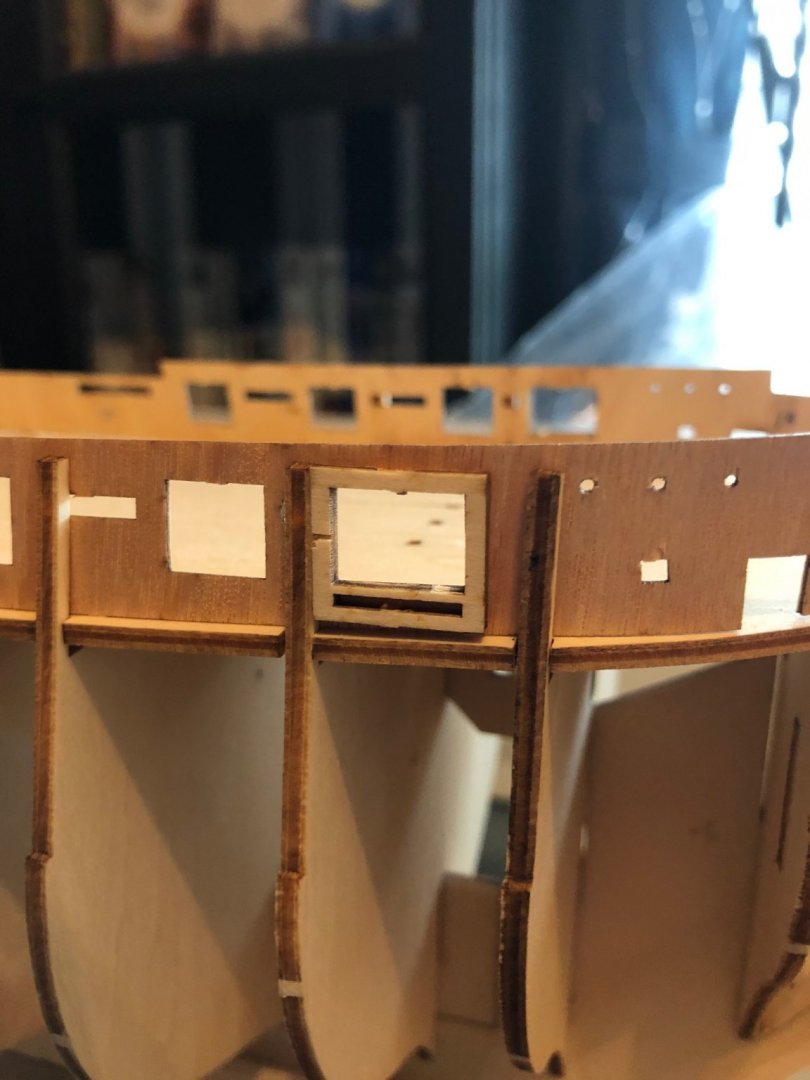
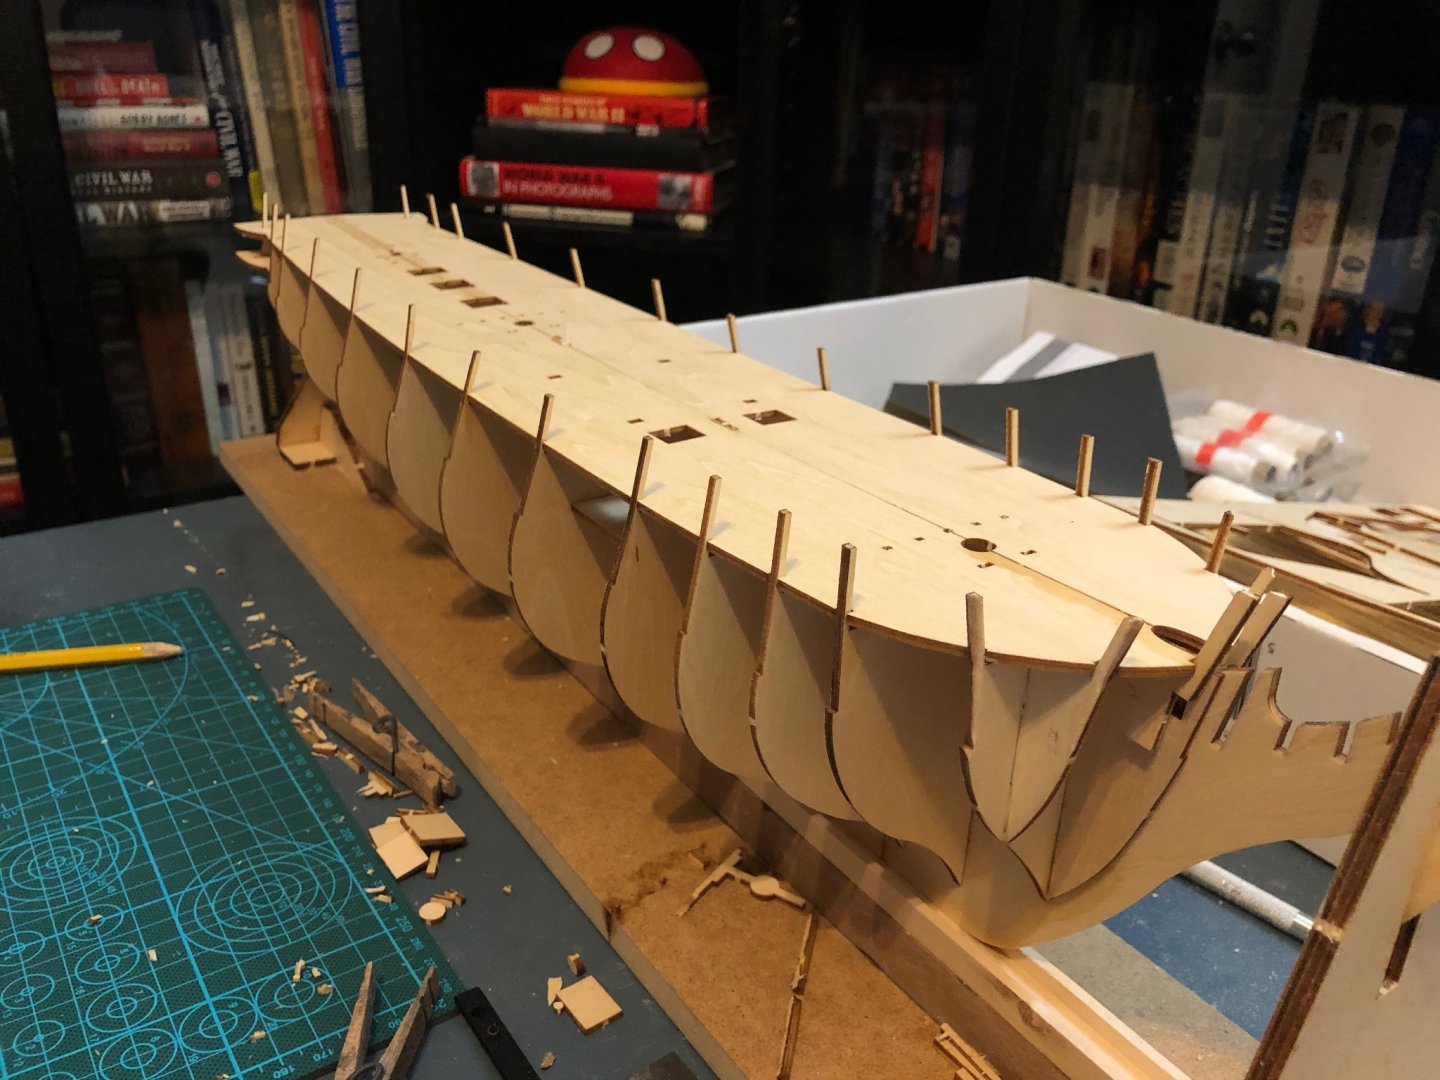
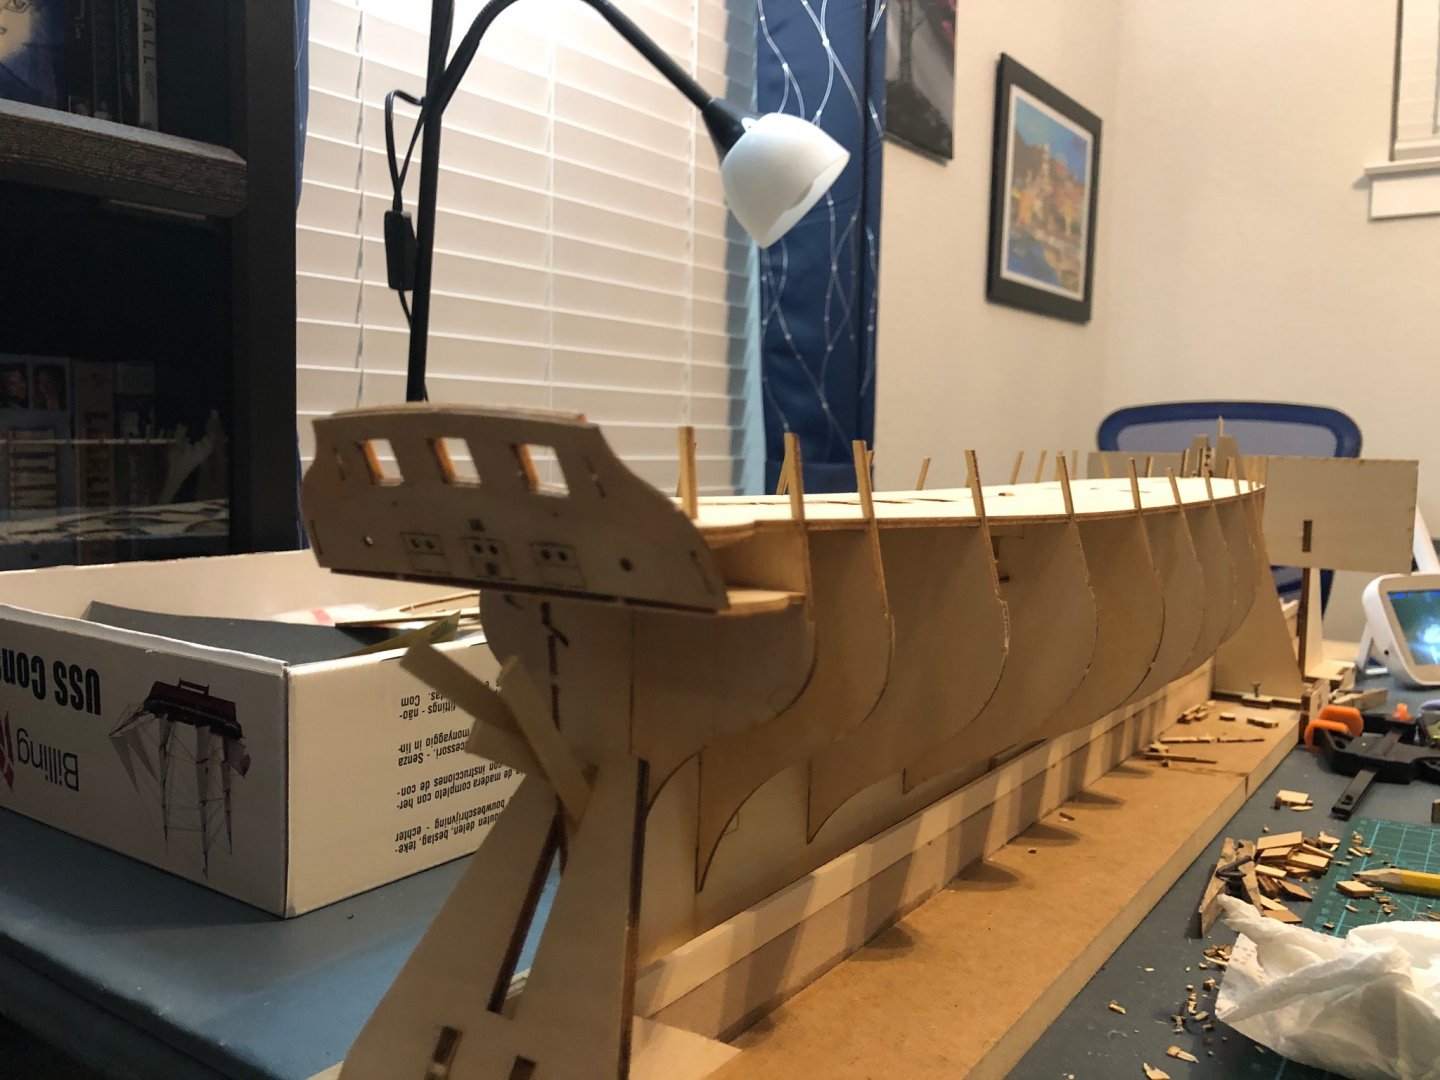
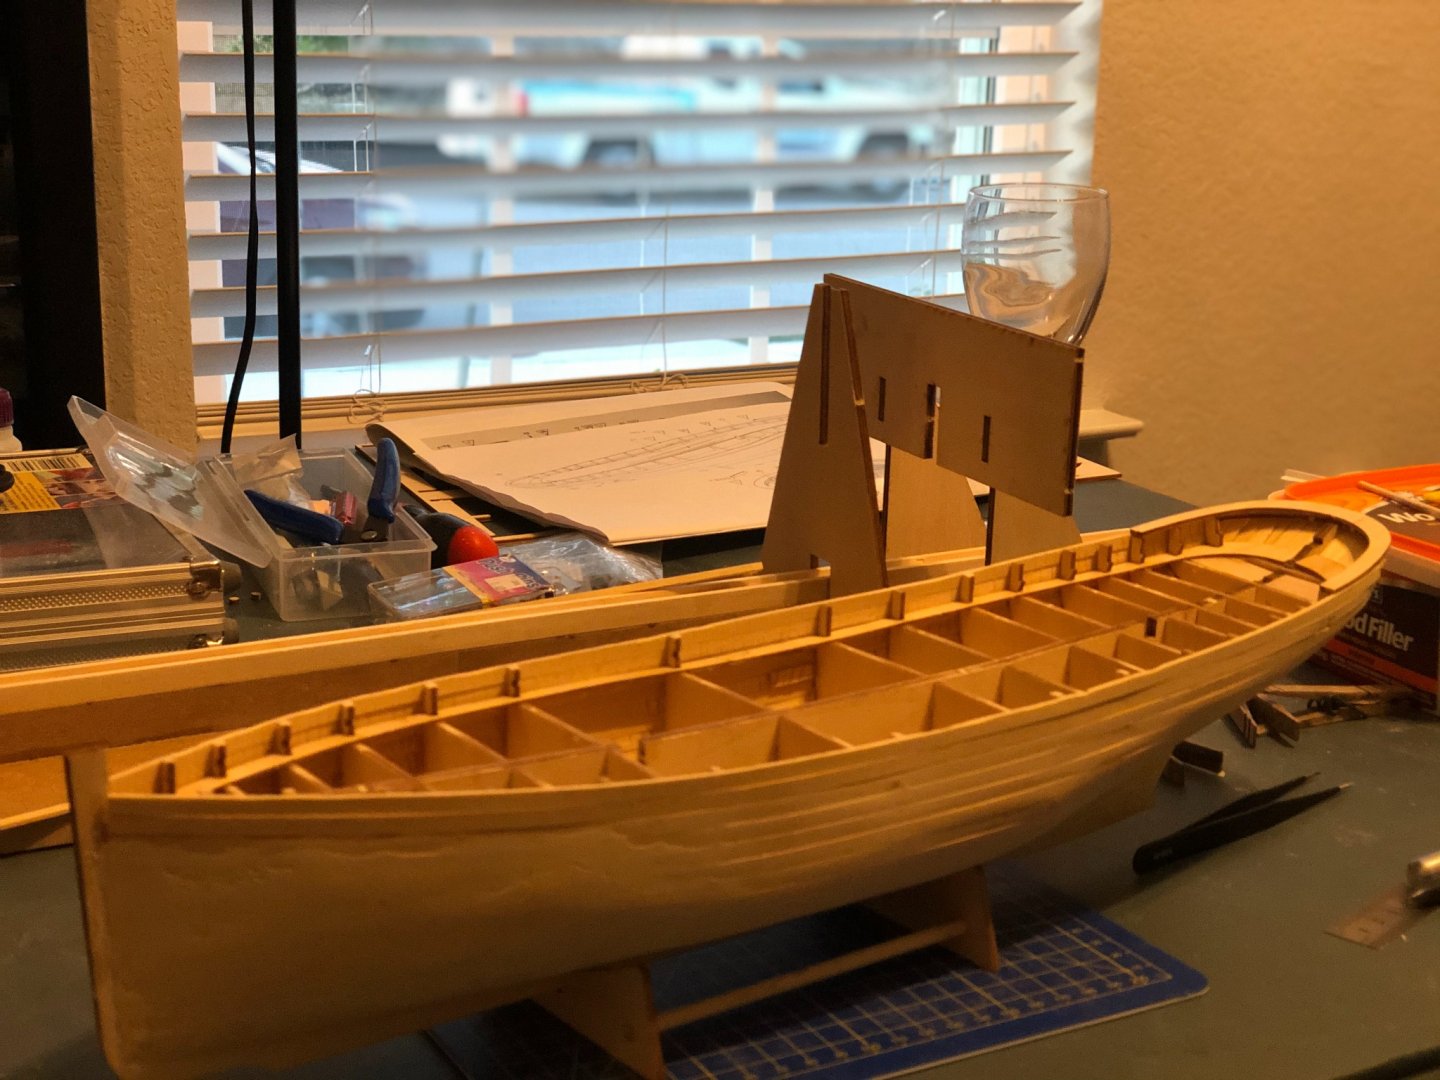
okay, the third day I have been working on this model, I began working on the pieces that will form the walls surrounding the cannon ports. Billings made this a double wall design, which I don't know if is standard for multiple builders - but I like it. Anyway, I put the balsa pieces up using the CA and wood glue, and allowed it to cure. Again, as it cured, I cut out the regular and special cannon ports. I have included a close up of one of these special ports. I also worked on the supporting pieces for the stern - all said, a very productive day. The ports are installed and the hull is ready for fairing...I have only faired one hull before - that didn't go so well, so it may be a while before I post another update. Before I go, here's another view of the starboard side cannon ports.


- 88 replies
-
- 6
-
-
- Constitution
- billing boats
- (and 1 more)
-
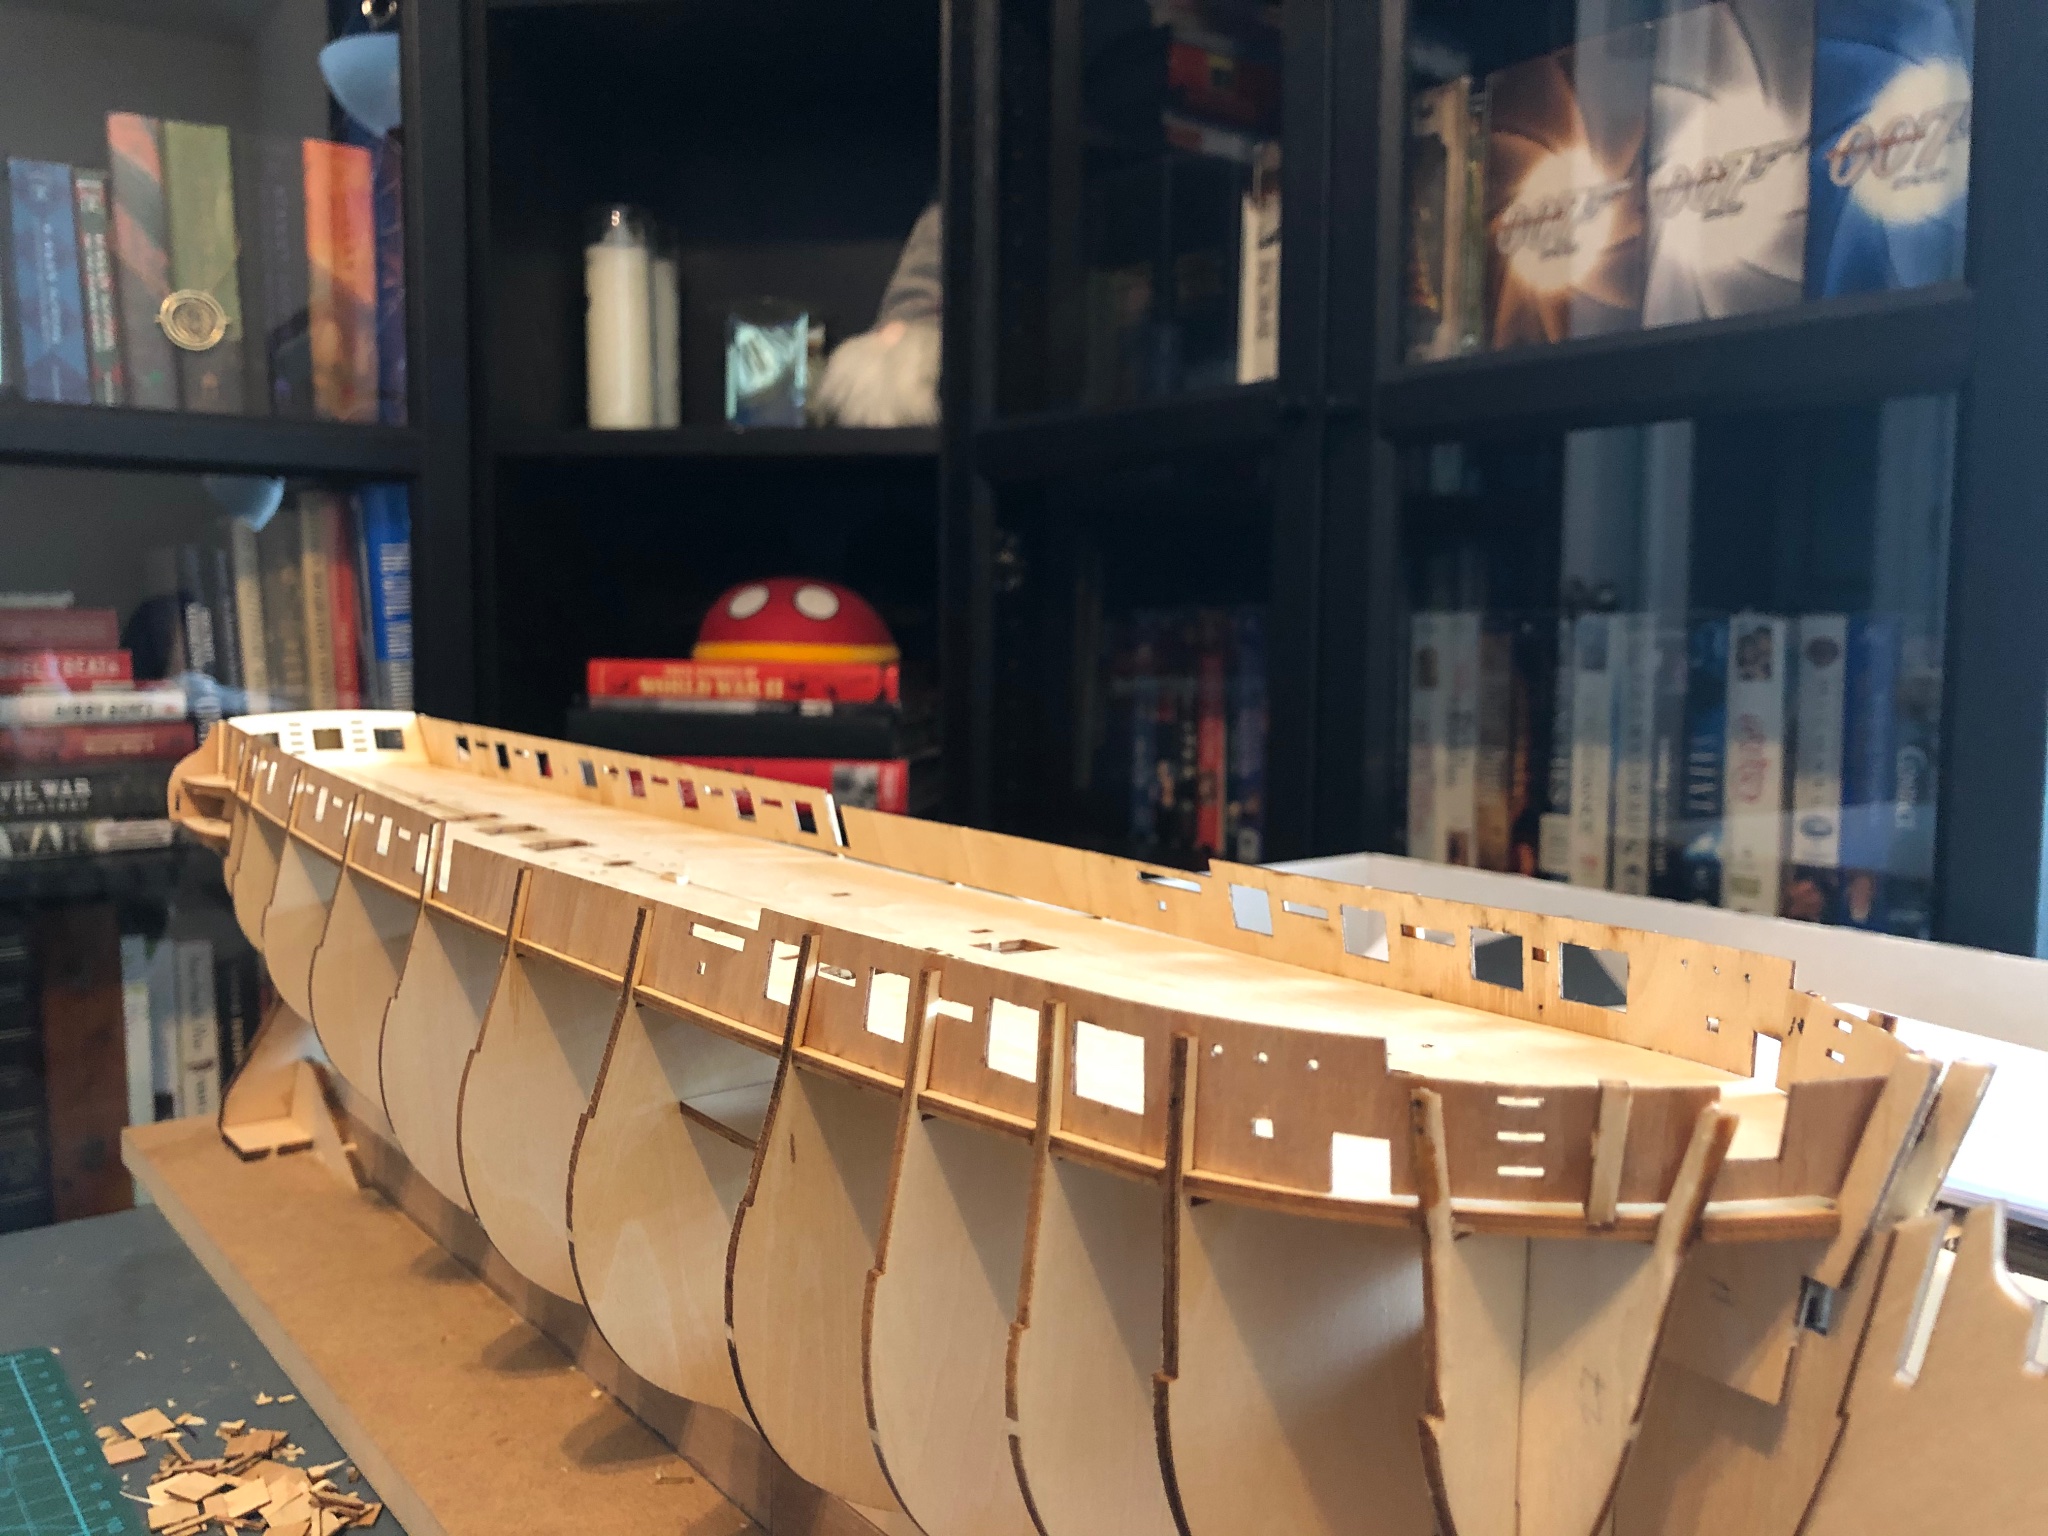
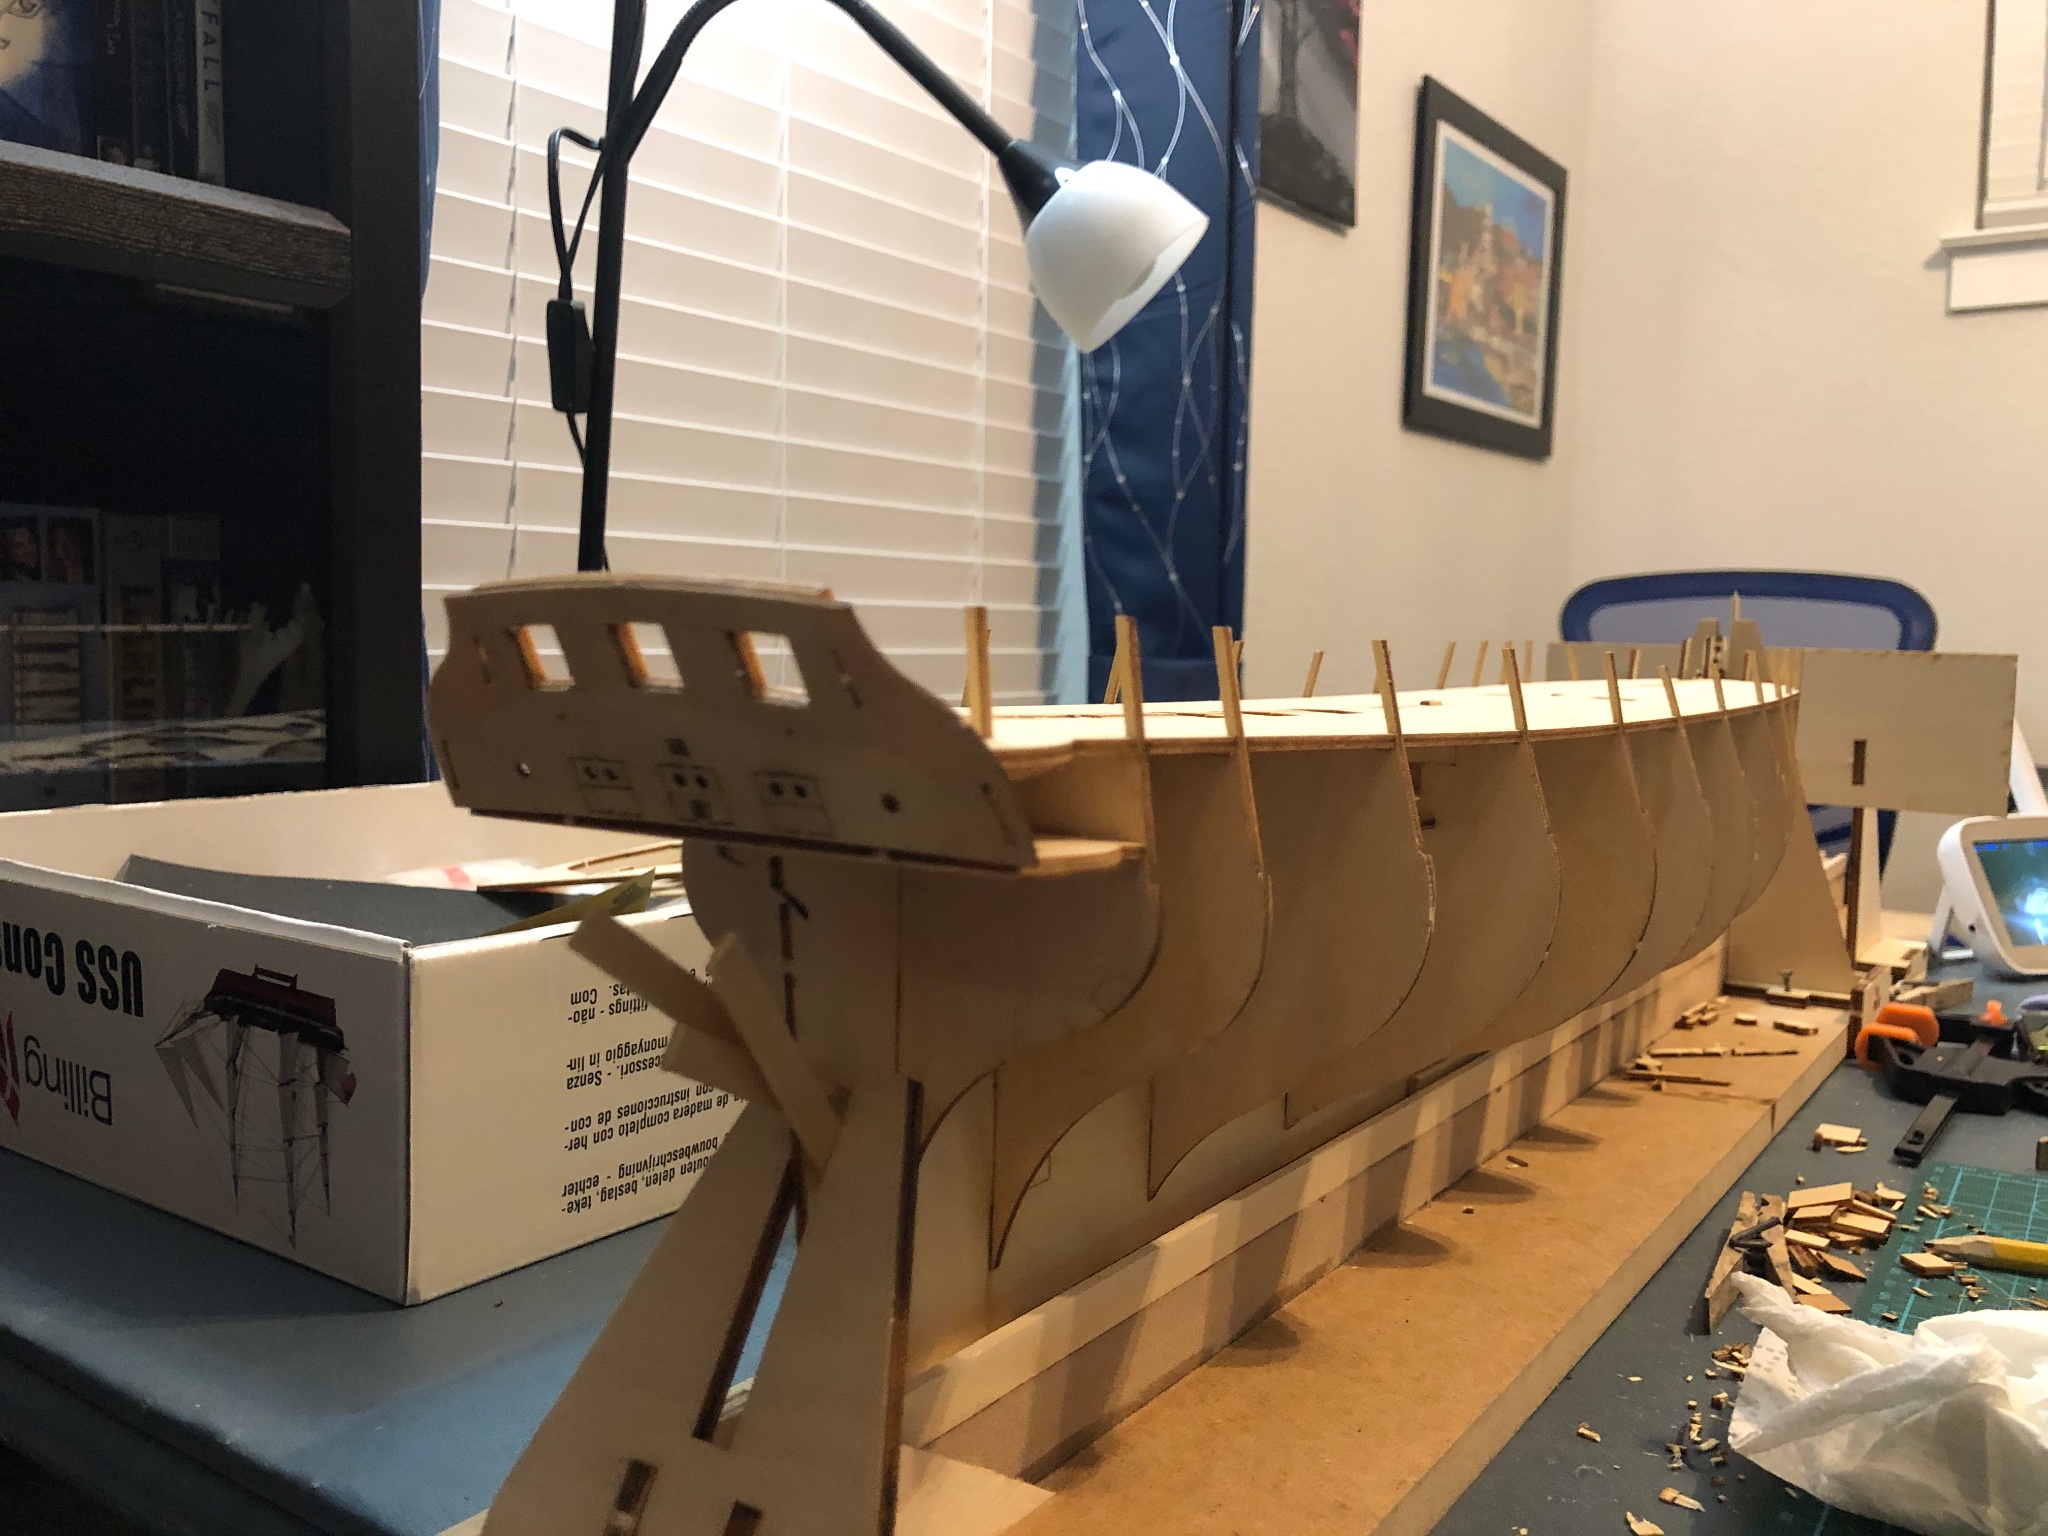
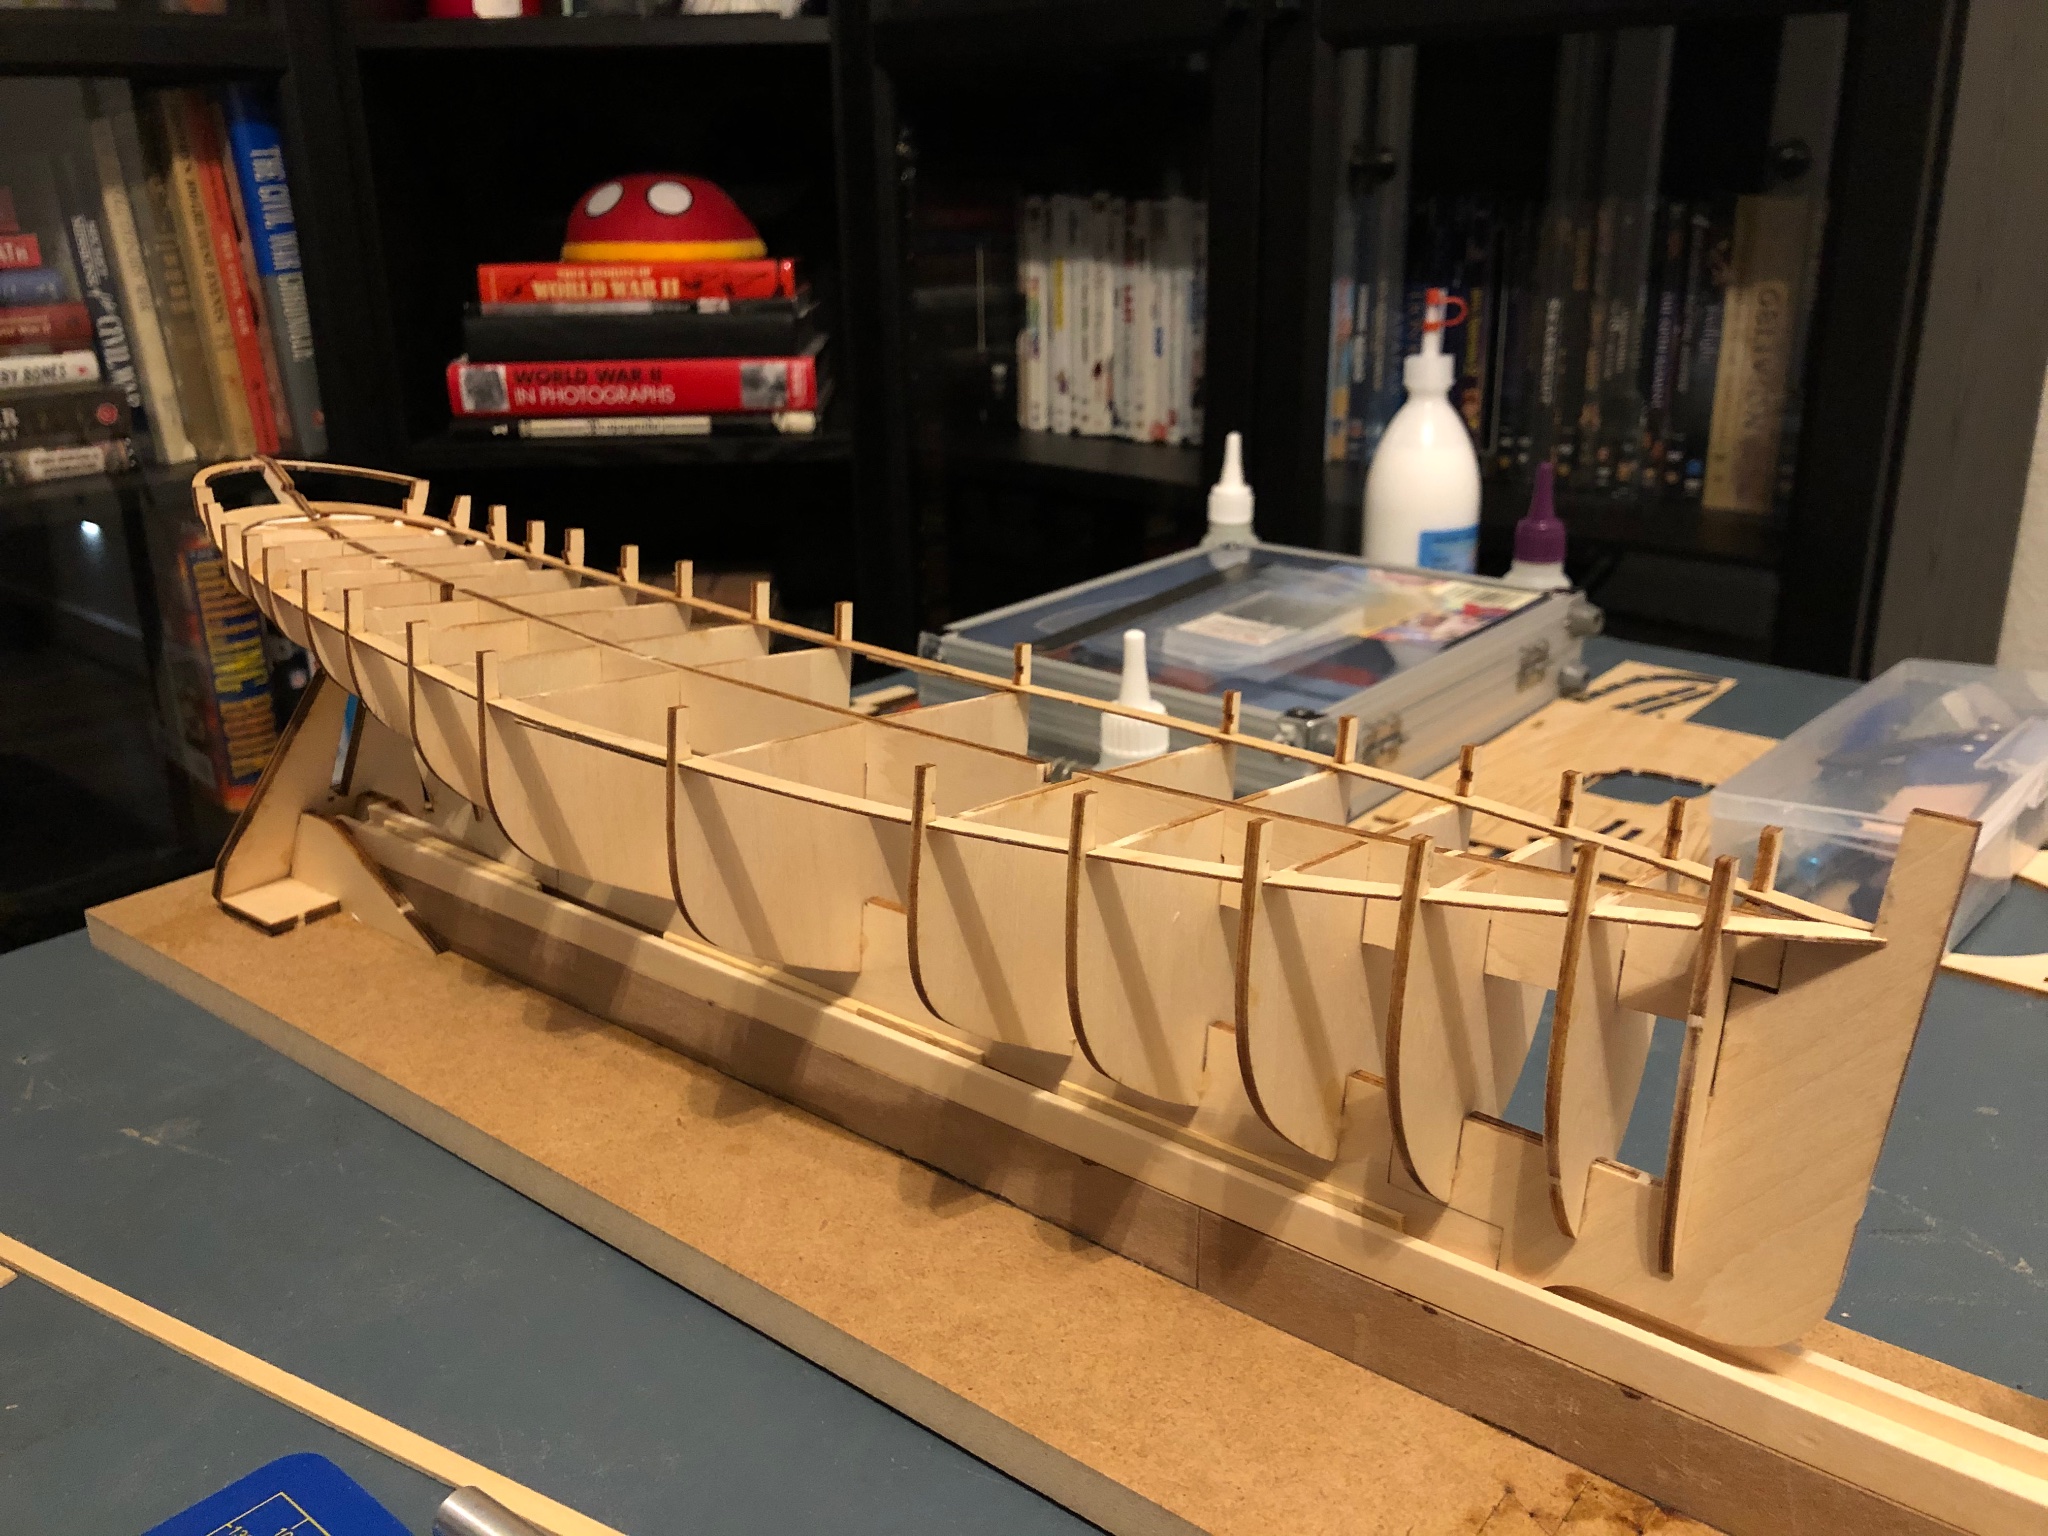
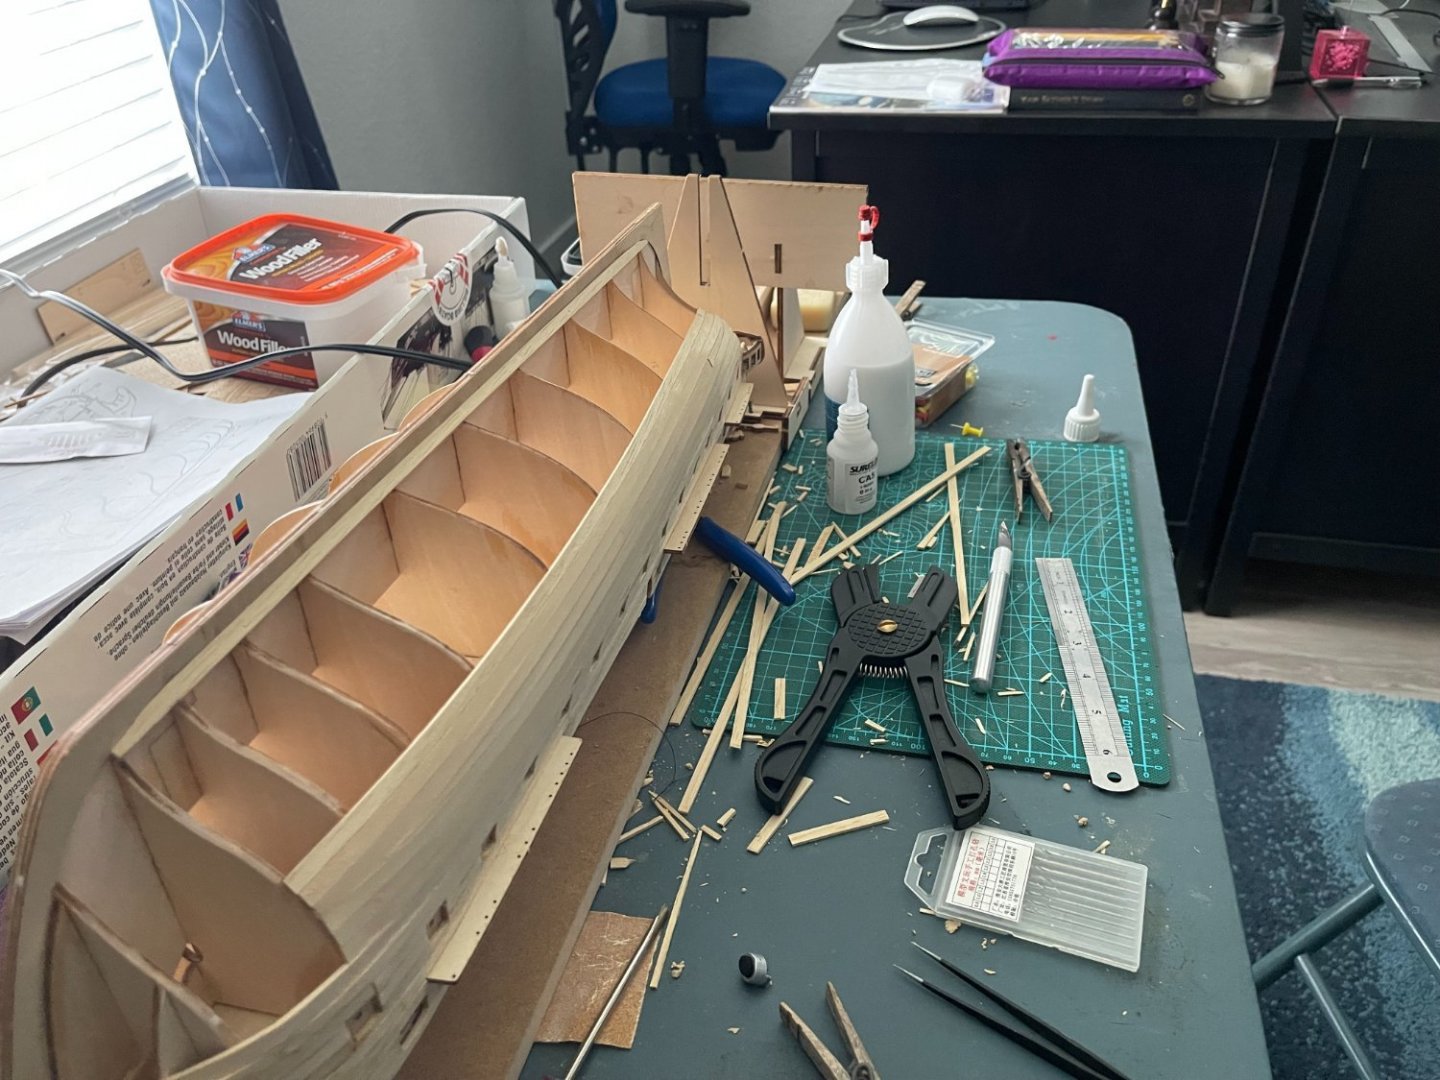
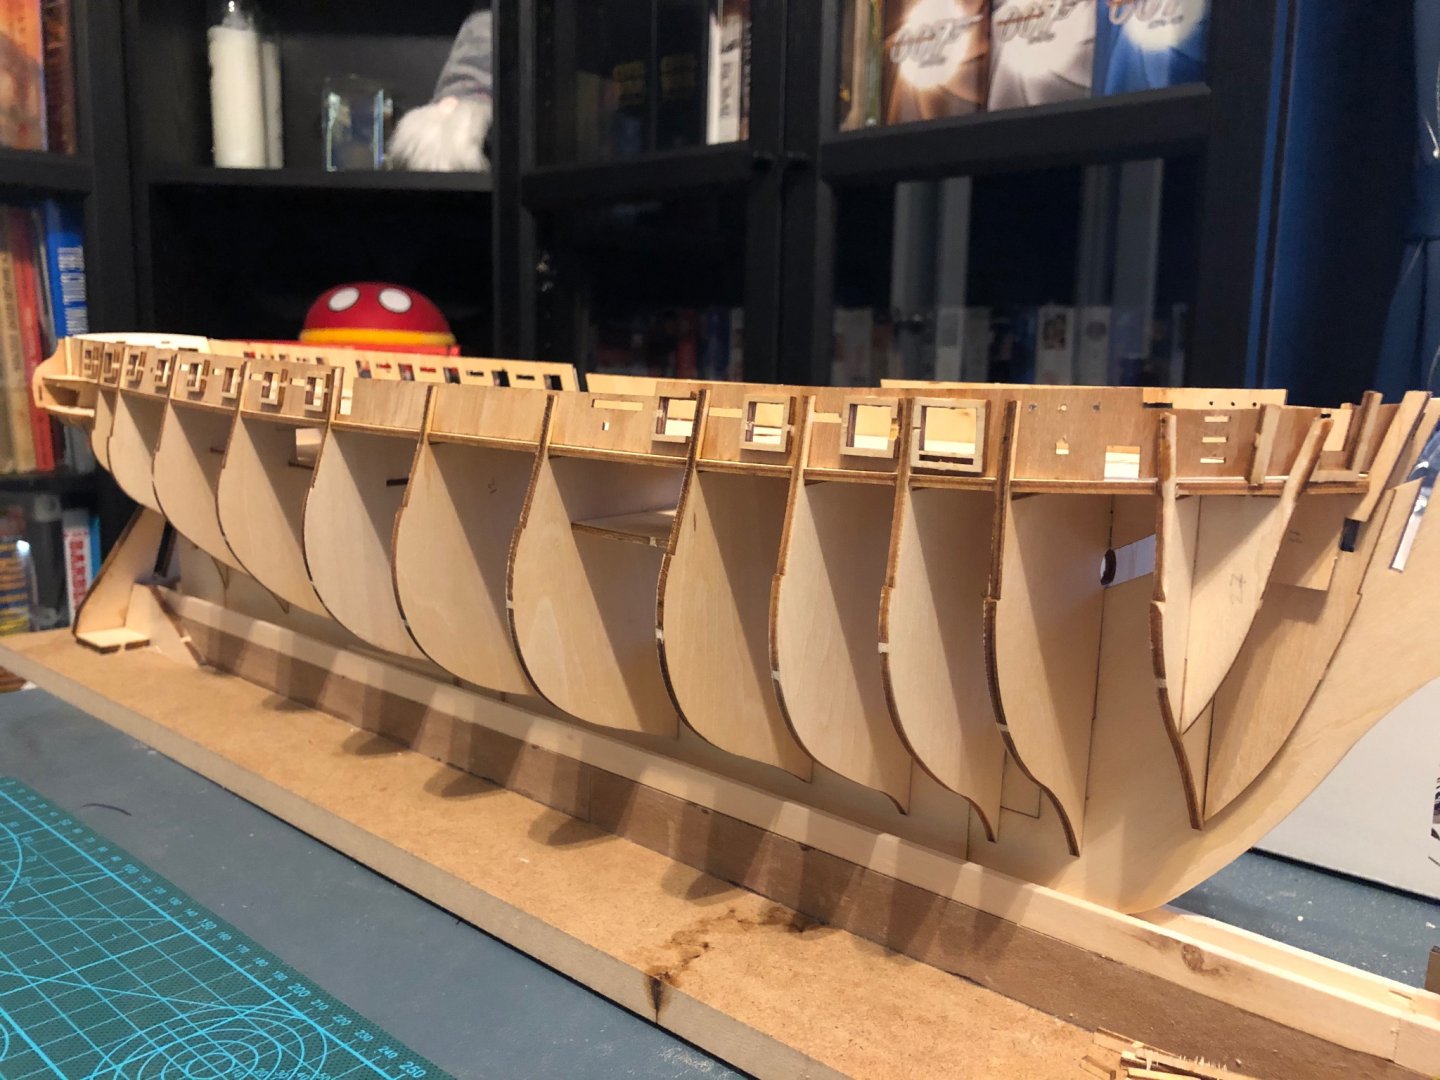
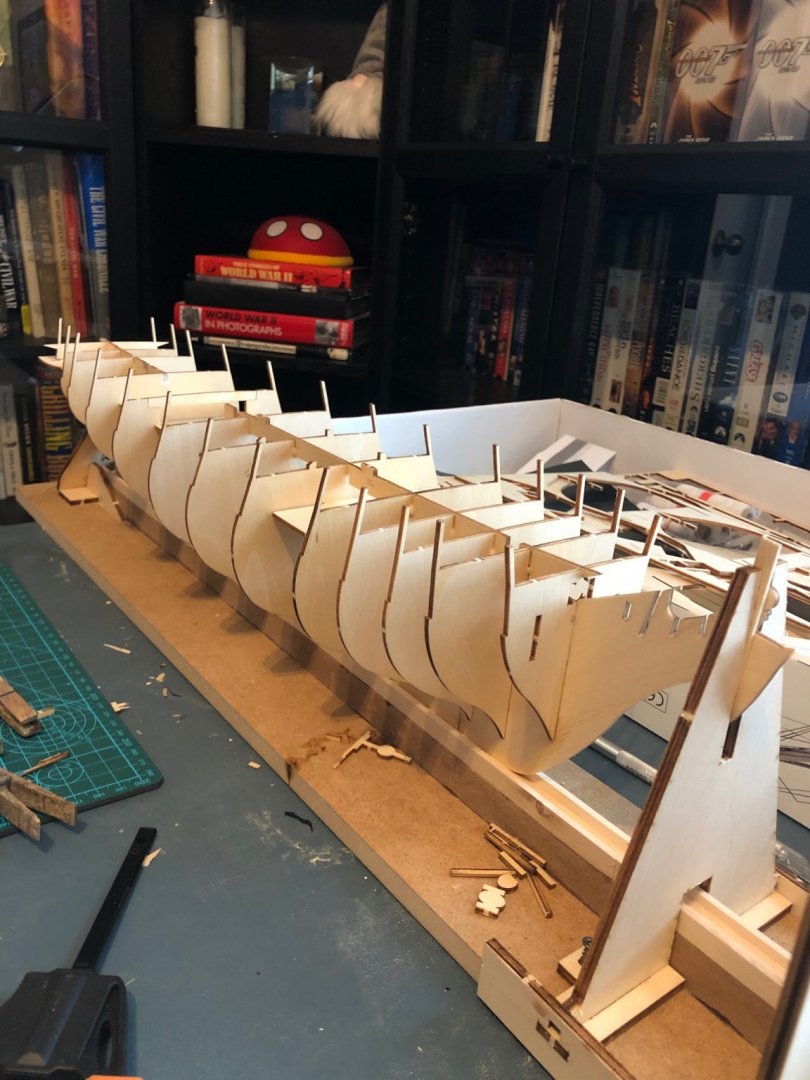
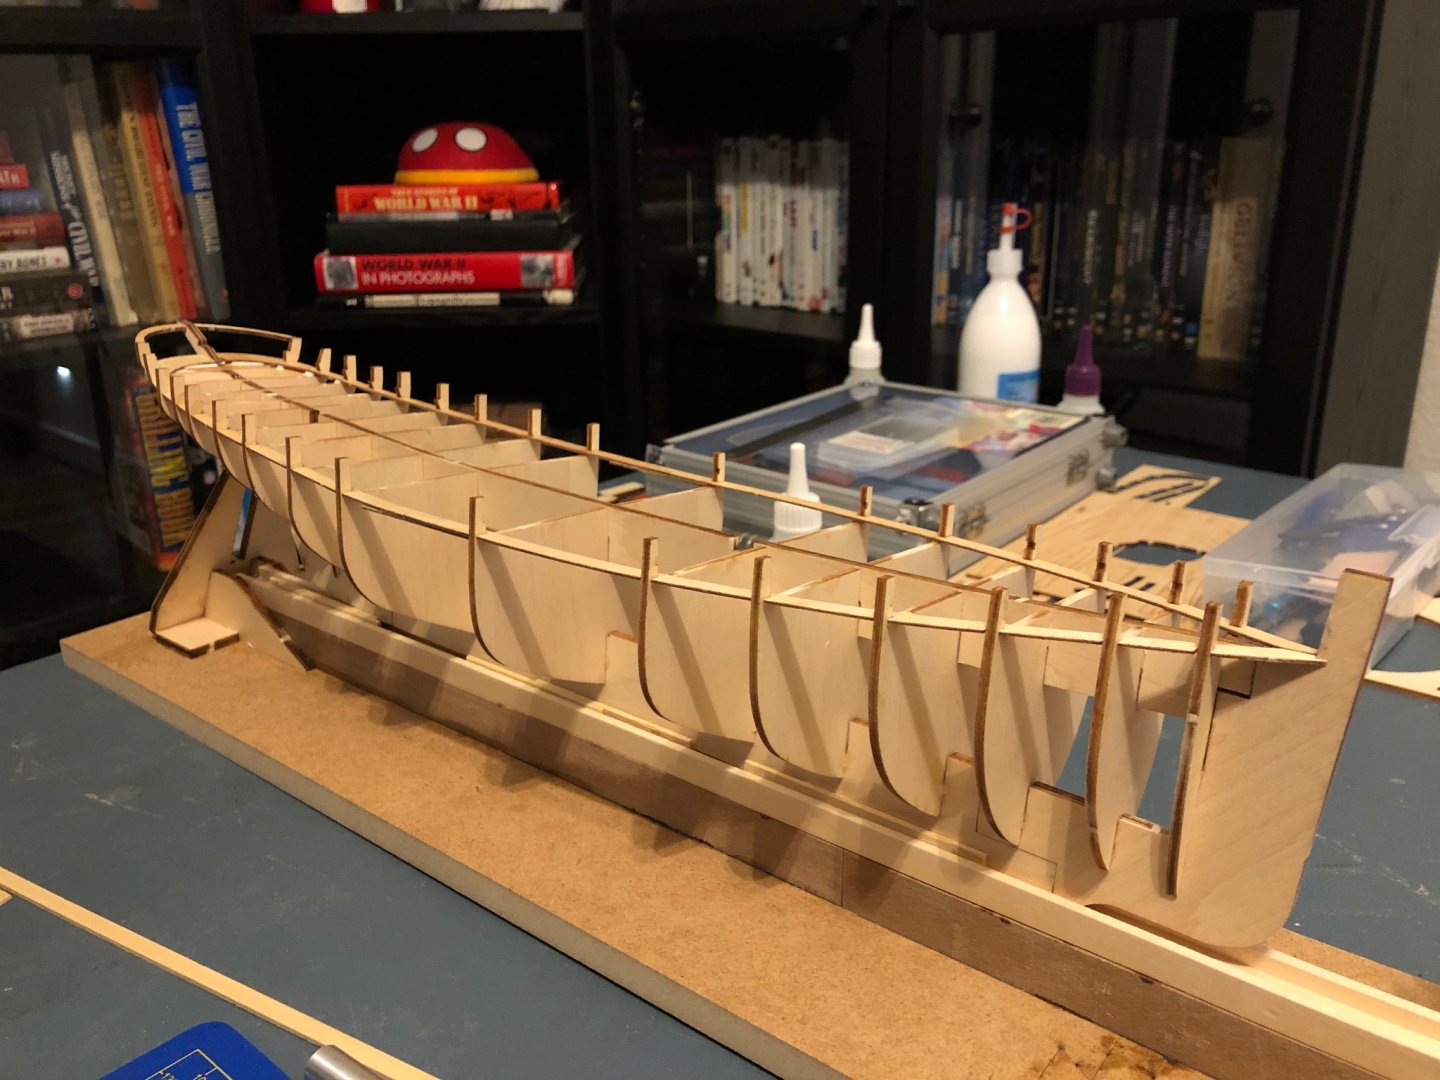
The very next day, I began working on the kit. I spent most of my time making sure that the bulkheads are plumb/level/square so there are no surprises later on in construction. I used a bit of CA and PVC wood glue in order to make sure I got a long lasting and thorough bond. After the glue dried, I worked on the ship a bit more at night. I cut out and added the false deck and some stern pieces.

- 88 replies
-
- 2
-
-
- Constitution
- billing boats
- (and 1 more)
-
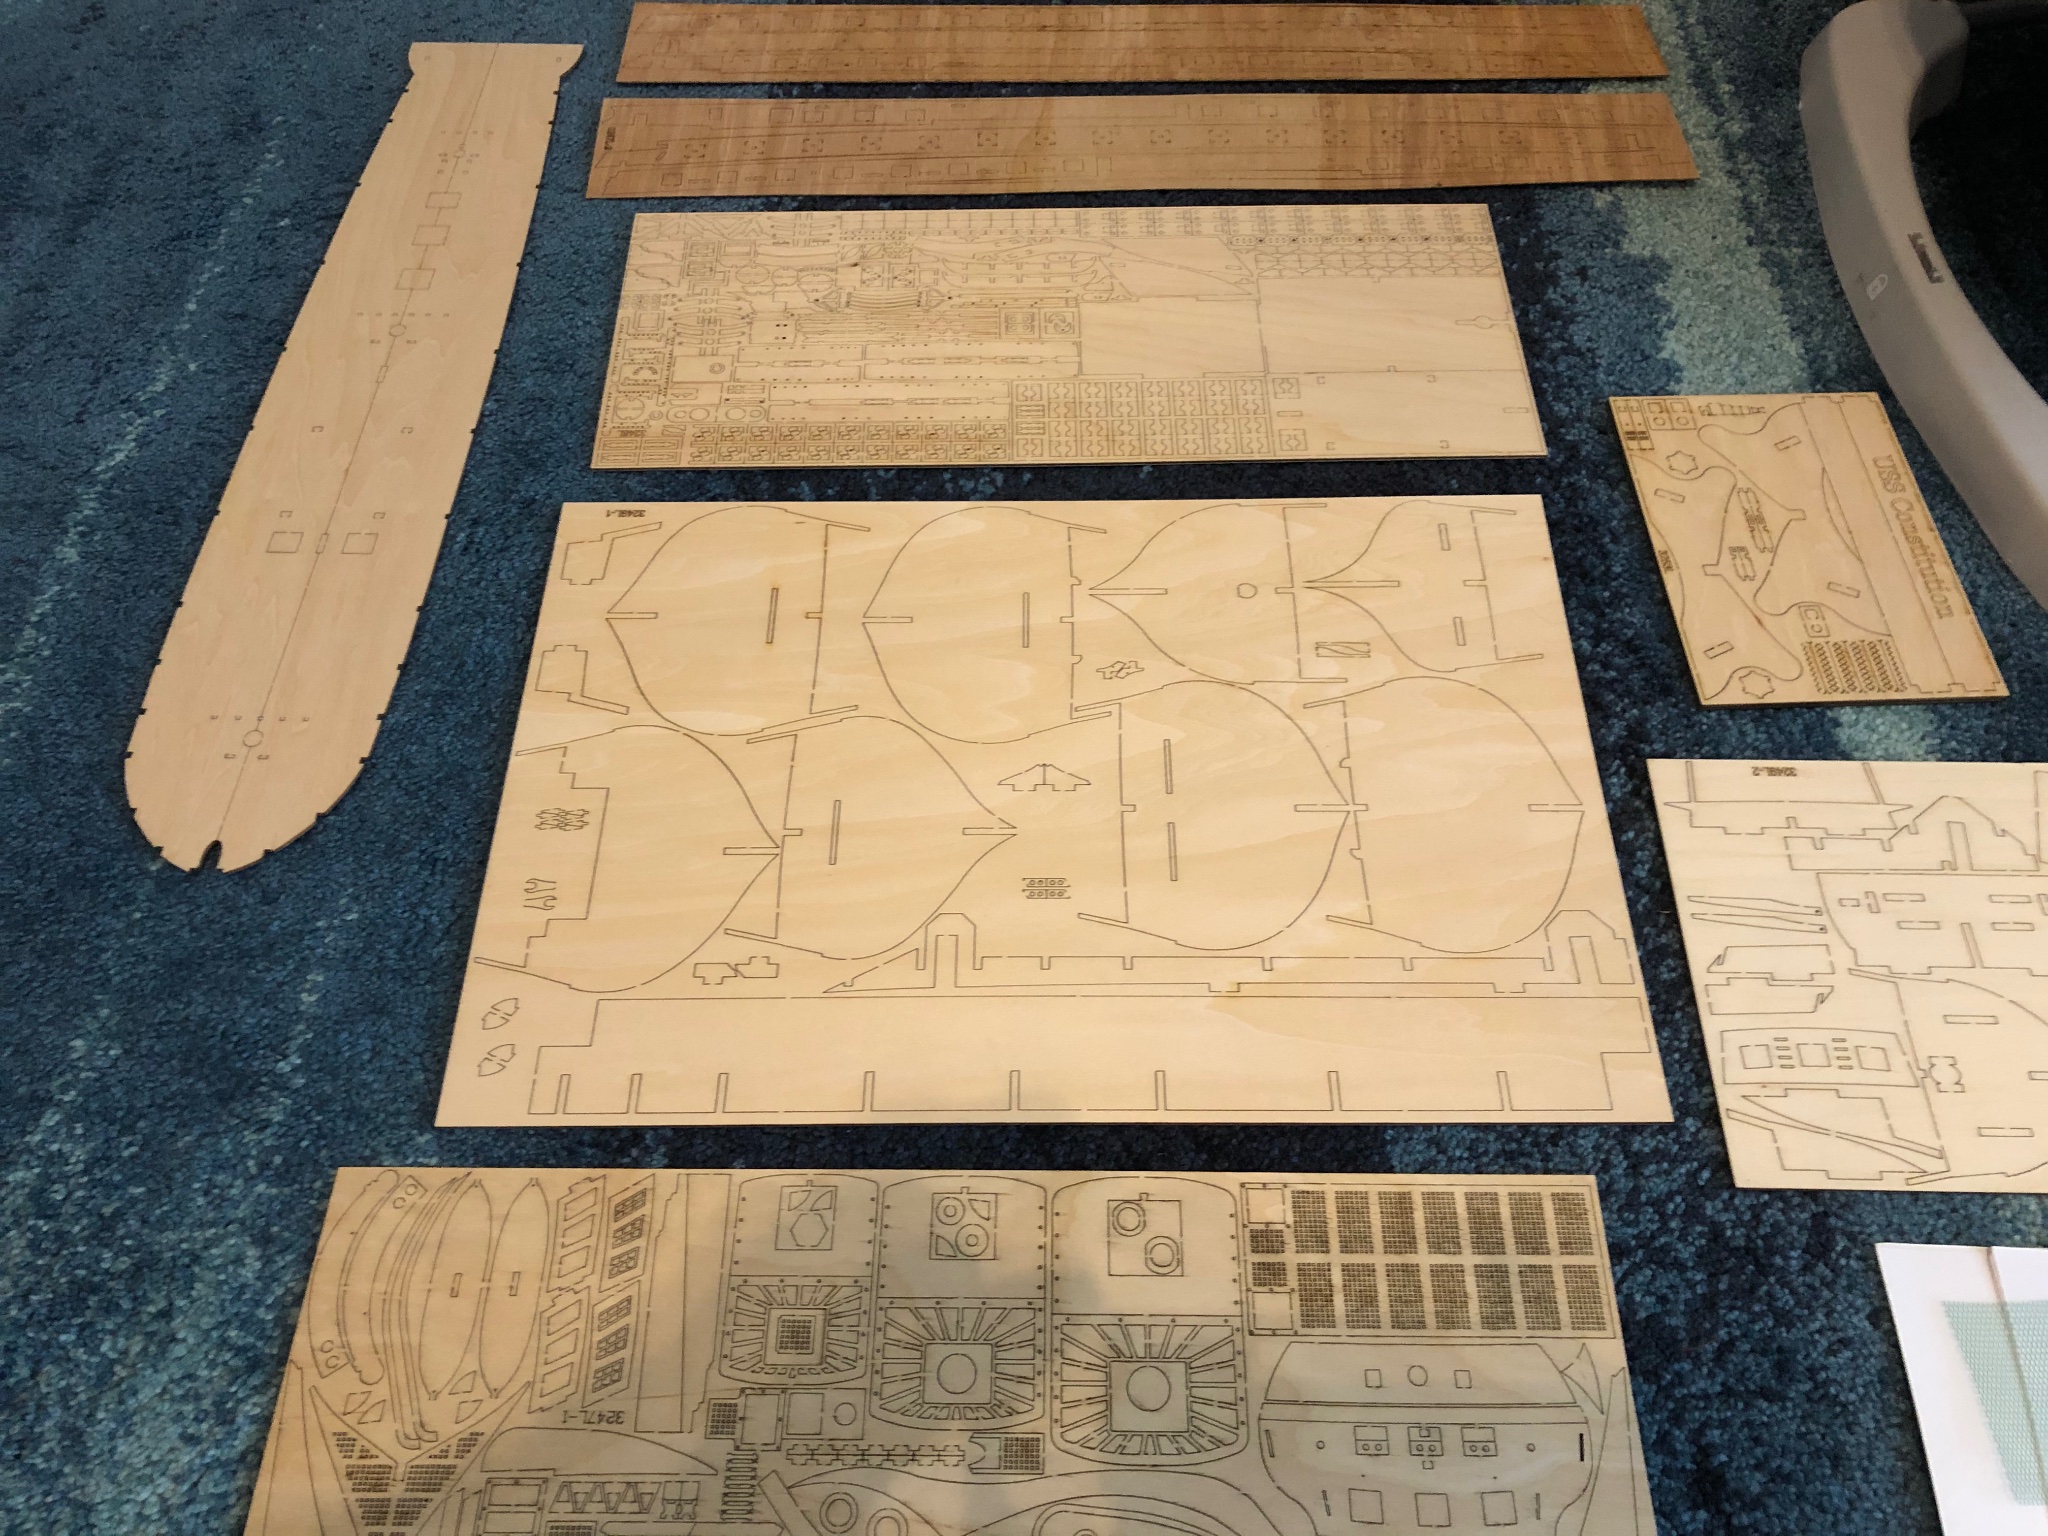
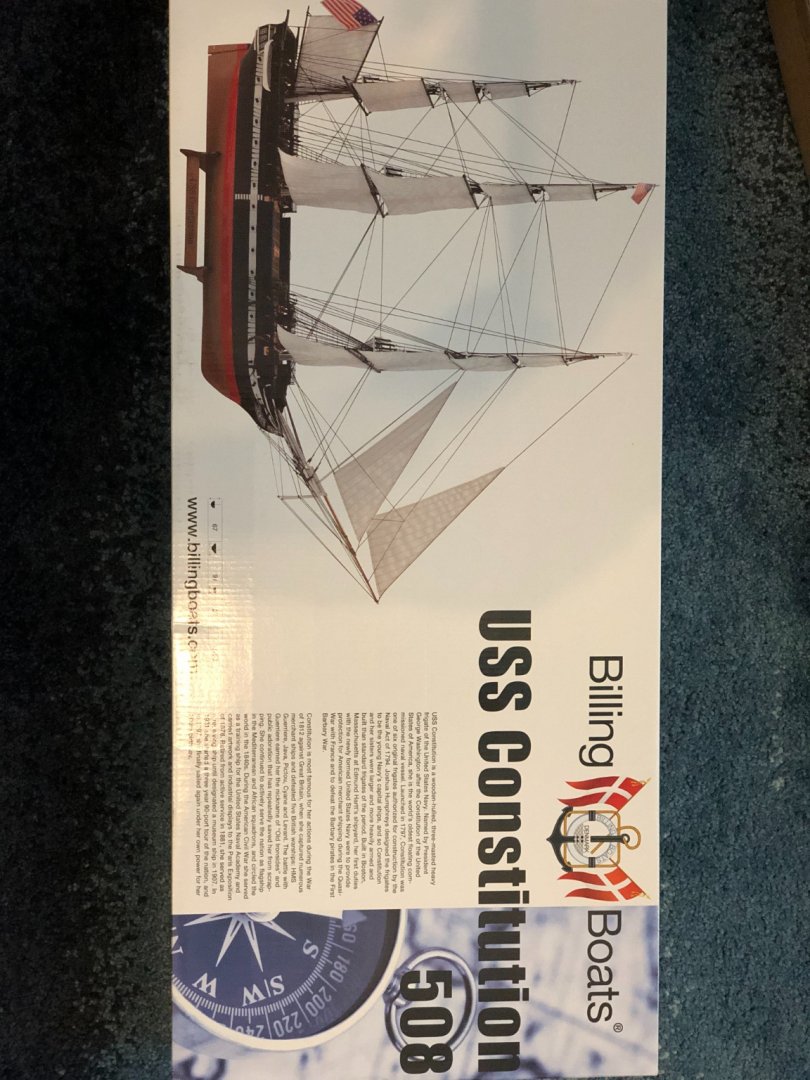
Good Evening, I am writing this build log to chronicle my second ship build from Billings Boats, and altogether. I received the ship model as an early birthday gift, and could not wait to get started.


- 88 replies
-
- 1
-
-
- Constitution
- billing boats
- (and 1 more)
-
Thank you Backer. I see you finished the Wasa... I may pick your brain once I get to that level.
-
Thanks all for the warm welcome. yes, Whataburger cups aren’t the beet container for red wine. Though when I work I really like to relax and immerse myself in the history of the model.
-
I have been to Fredericksburg and seen his house and museum. 😎
-
Thanks, I'll try that out and see how it goes
-
Thank you mtaylor. I appreciate the feedback - my first attempt at planking did not go as well as I thought so I am planning on working much more slowly on that process to eliminate some sanding and fill. I'll be asking for advice on planking on the next model I am going to complete.
-
Thank you Bruce!
-
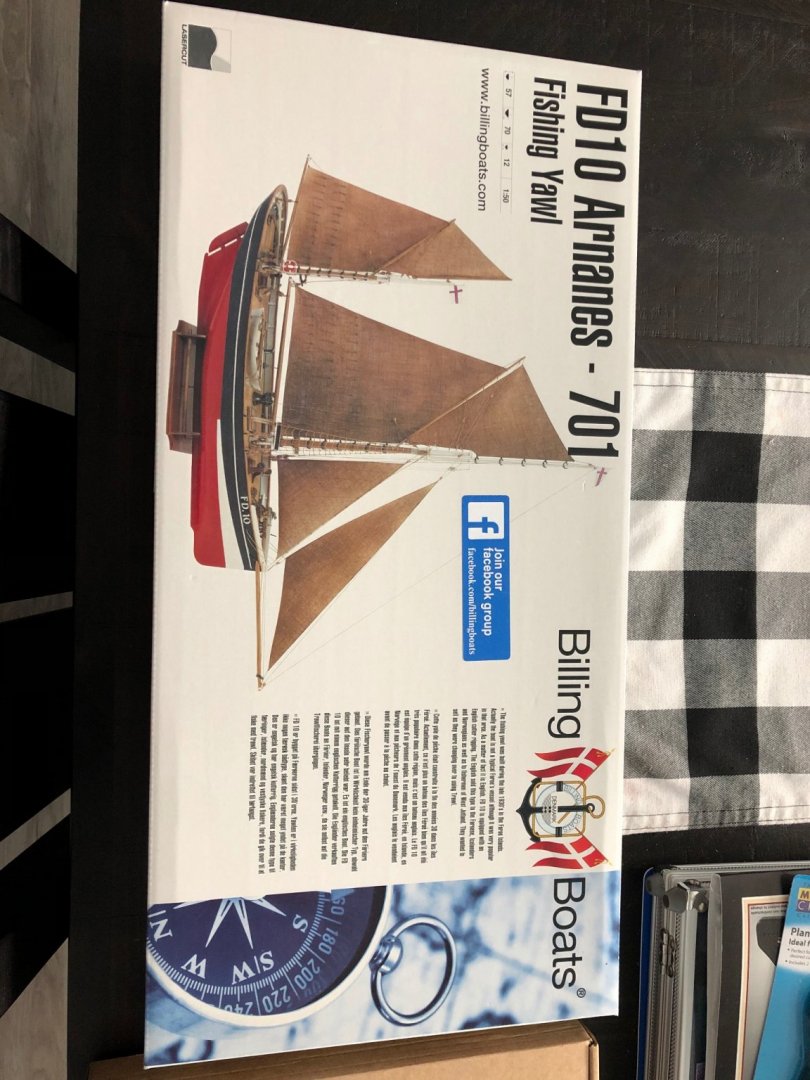
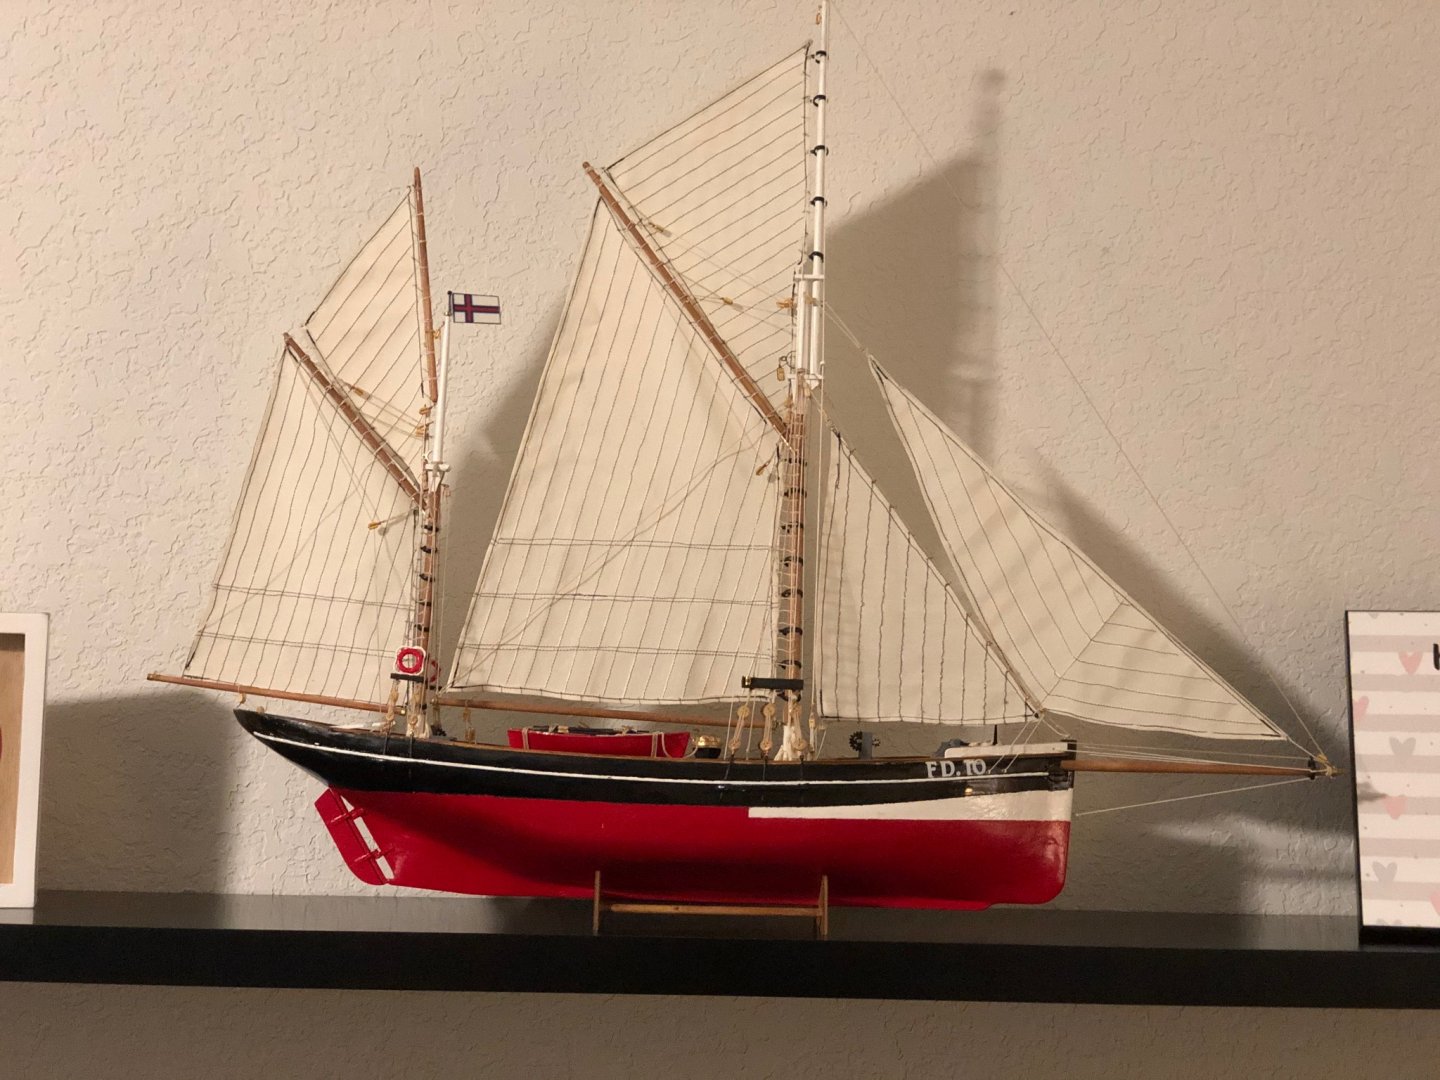
Good afternoon, I am writing this from Texas, where it takes me most of the day to reach the beach and visit any ships. With that being said, I took an interest in model ship building after having spent a good number of years completing military models (armoured vehicles as well as planes). This last year saw a lot of change to my life, including the passing of my father. I also completed a ship model FD10 from Billings Boats, for which I have not completed a build log here. This was my first wooden model, and it went well. My carpentry skills are not the best, so after a bungled attempt at starting a BB 440 Wasa (a very old kit), it was suggested I try something more my level. As a result, my mother decided I ought to finish a Constitution (also from Billing Boats) - note here that I looked at multiple ships before I decided on this one - so no bias towards that one brand. I will be starting the new model once I receive it this week and set aside time to work, though progress will be slow. Thanks in advance for your advice and assistance in completing my model. Please see attached photos from my completed Billing Boats "FD10 YAWL/Arnanes".


-
Newer to Model Building, requesting assistance.
histprof1066 replied to histprof1066's topic in Wood ship model kits
Thanks for the input guys. I have noticed that the decking wood has been warped a bit and was thinking I 'may' be able to use steam to moisten and reshape it but I am uncertain if it is completely possible with the age of the wood. The mahogany that they use in these old kits, does it fare well to being reshaped or steamed? Thanks for your help and input. As for the 3D printing, you're right about the cost. -
Newer to Model Building, requesting assistance.
histprof1066 replied to histprof1066's topic in Wood ship model kits
Thank you to both of you for your replies. Thank you as well for that completed model picture. I'll definitely take the advice to heart. -
Newer to Model Building, requesting assistance.
histprof1066 replied to histprof1066's topic in Wood ship model kits
Thanks, I will look into Sculpey and see if that is something that will work well. Would 3D printing some pieces work as well? Where would I find that type of information for sculptures to input into a 3D printer? -
Hi there, I am newer to model ship building, having built mostly military models (of a plastic nature) and only an intermediate kit by Billing Boats. I have recently acquired a vintage model by Billing - a NR 440 Wasa and was looking for advice. This is not the model I was expecting to put together when I found it, the gallery is not correct, the decking is simply a painted mahogany board, and the directions for the decor are non existent apart from telling me to carve from a wooden block. I haven't tools to carve little figurines or figureheads but at the same time, I do not want to put a partial model together either. Is there anybody that has put this kit together that can provide advice on how best to proceed given my current limitations?