Captain Mantooth
-
Posts
4 -
Joined
-
Last visited
-
 GrandpaPhil reacted to a post in a topic:
Yankee Hero 1899 by Captain Mantooth - BlueJacket Shipcrafters - Scale 3/8" = 1'
GrandpaPhil reacted to a post in a topic:
Yankee Hero 1899 by Captain Mantooth - BlueJacket Shipcrafters - Scale 3/8" = 1'
-
GrandpaPhil reacted to a post in a topic:
Yankee Hero 1899 by Captain Mantooth - BlueJacket Shipcrafters - Scale 3/8" = 1'
-
Ed Gibbons reacted to a post in a topic:
Yankee Hero 1899 by Captain Mantooth - BlueJacket Shipcrafters - Scale 3/8" = 1'
-
Captain Mantooth reacted to a post in a topic:
Yankee Hero by Jeffrey - FINISHED - BlueJacket Shipcrafters - first build
-
Captain Mantooth reacted to a post in a topic:
Yankee Hero by Jeffrey - FINISHED - BlueJacket Shipcrafters - first build
-
Captain Mantooth reacted to a post in a topic:
Yankee Hero 1899 by Captain Mantooth - BlueJacket Shipcrafters - Scale 3/8" = 1'
-
JerryC reacted to a post in a topic:
Yankee Hero 1899 by Captain Mantooth - BlueJacket Shipcrafters - Scale 3/8" = 1'
-
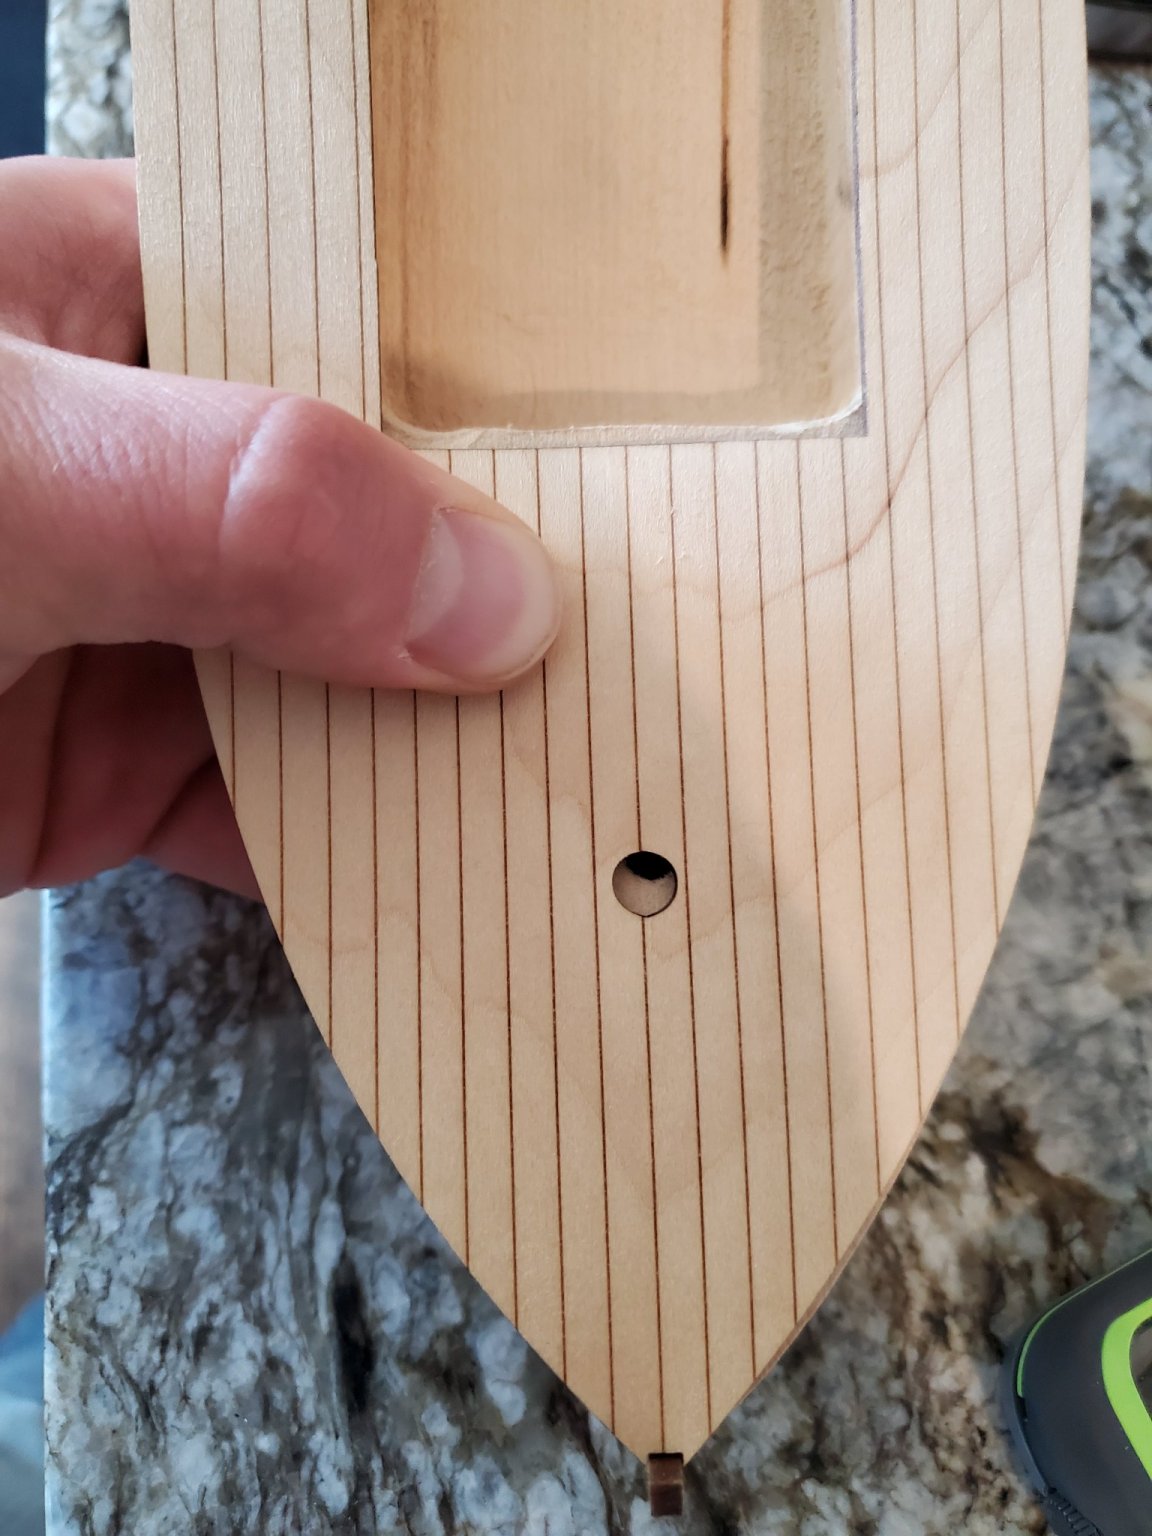
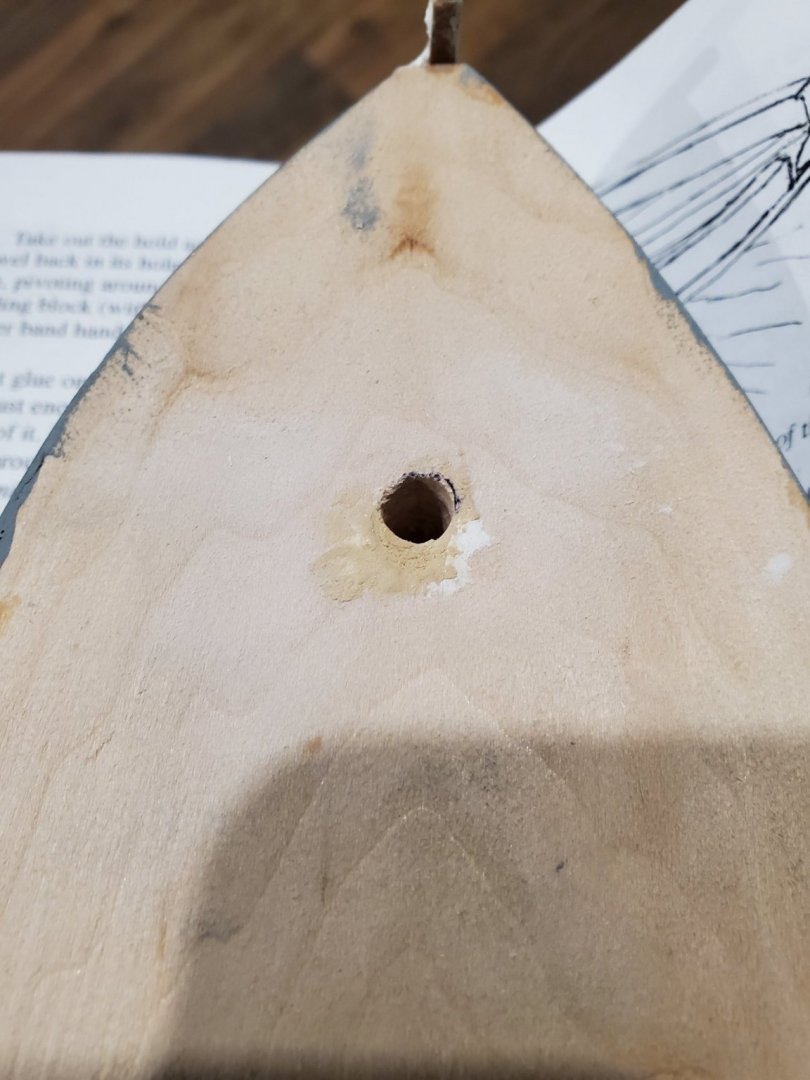
I had to go out and get a stronger wood filler as the bit kept trending to the original hole. Once I settled that, it was easy to relocate the mast hole. After that I glued the top deck and off to the next steps!
-
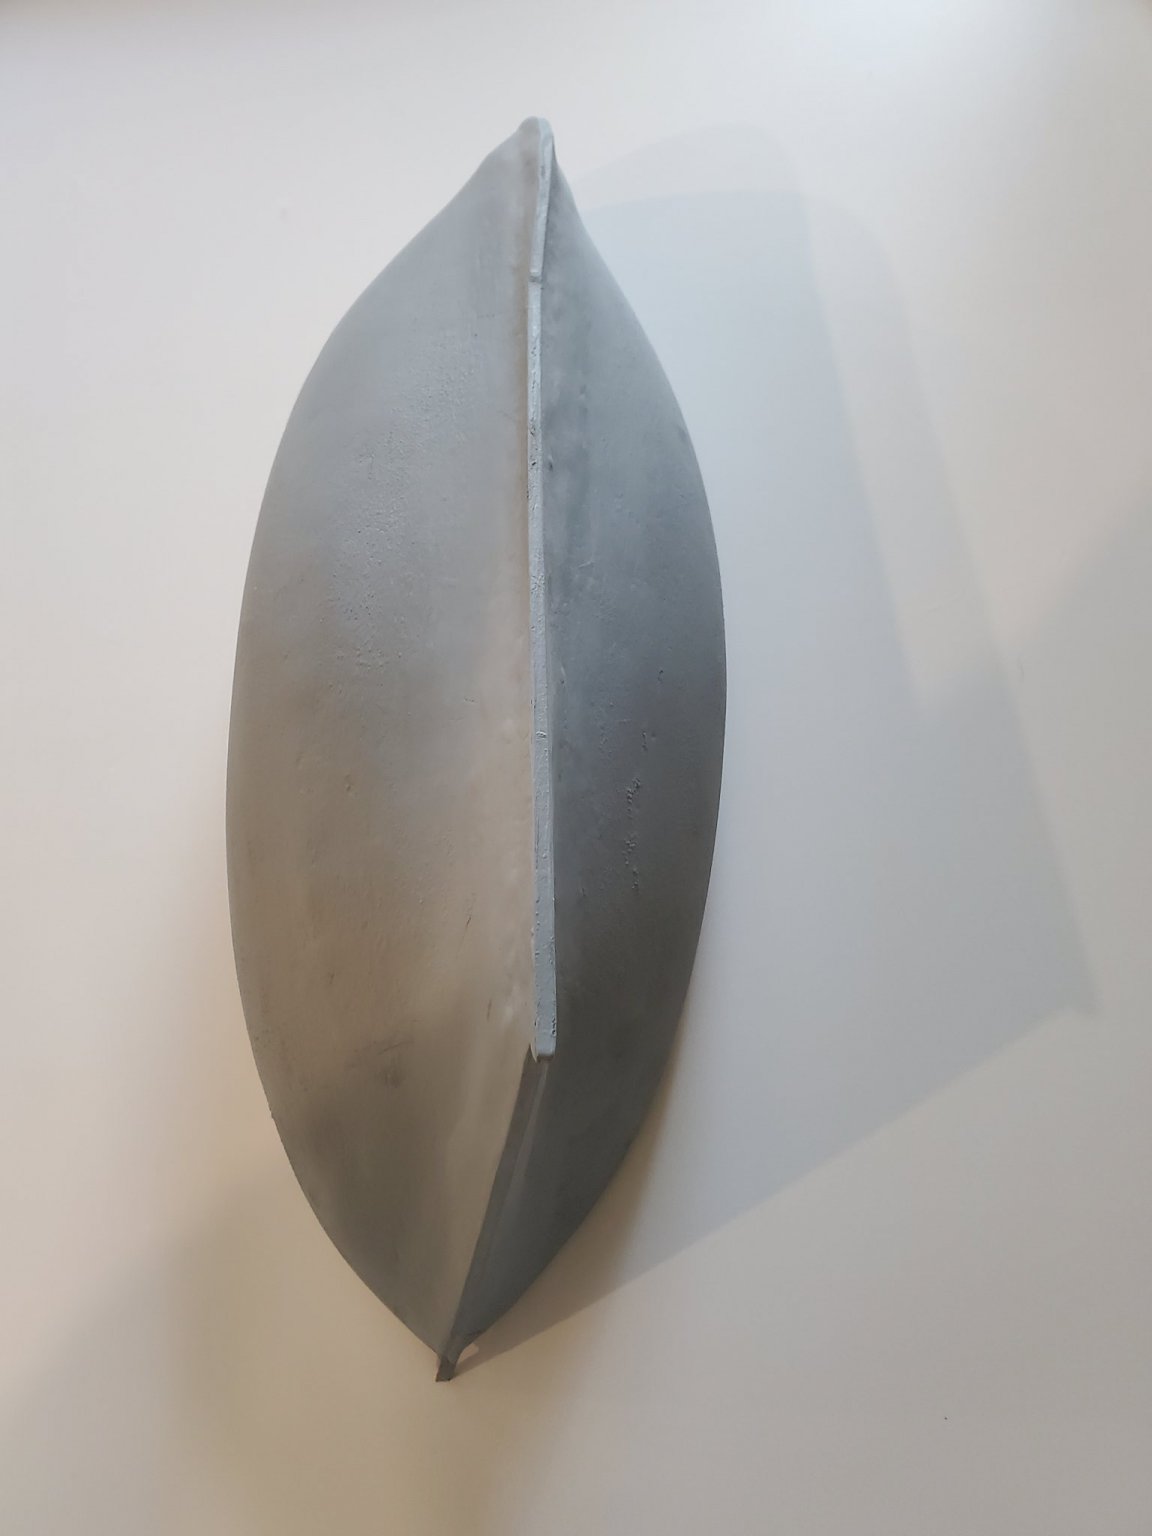
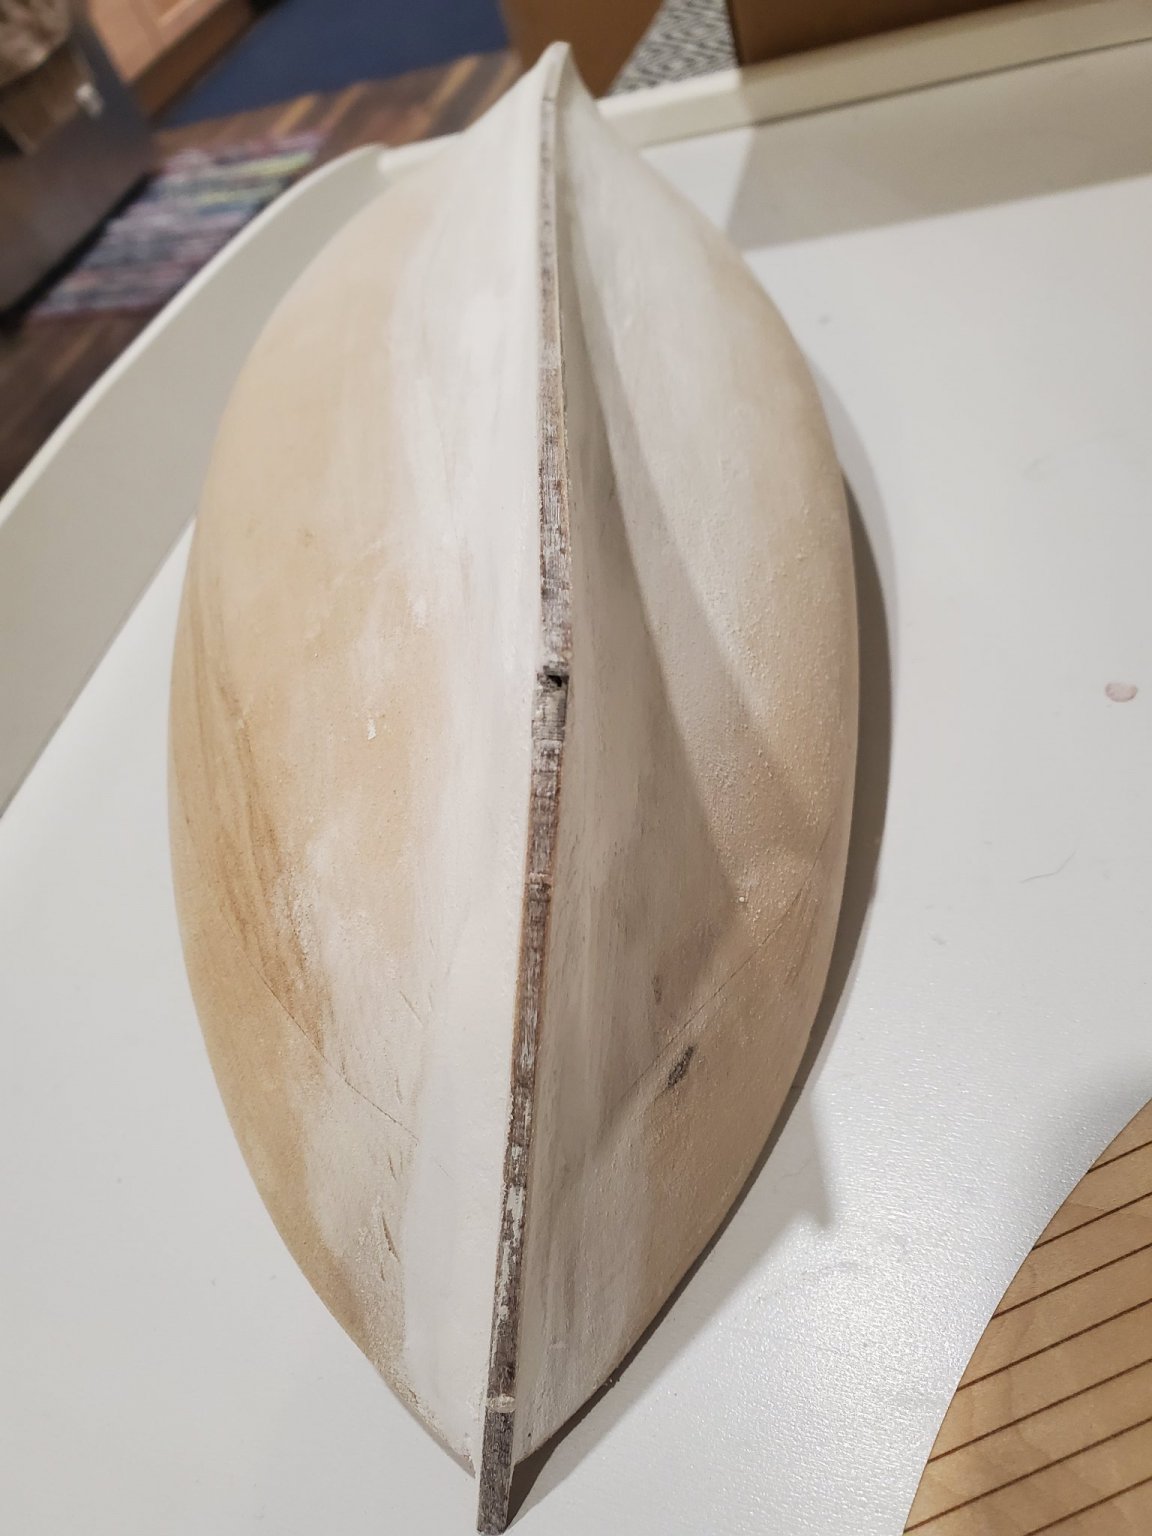
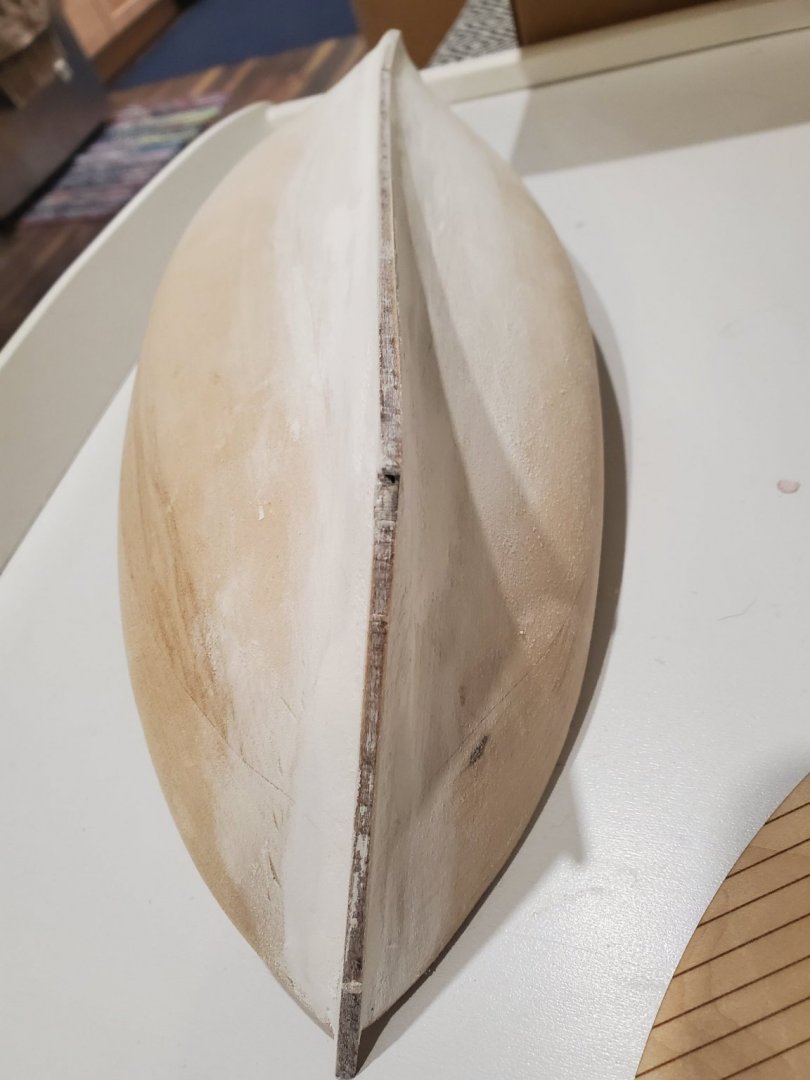
A few items I learned on finishing the hull: - The grey primer fills a lot of gaps. I spent a lot of time using wood filler that was easily sanded off. - I did the primer before putting on the deck. I could be a more liberal with the paint and not worry about the deck - My mast hole was off . . .I filled the hole and I will drill a new one tonight - and yes, my hull line has a few curves. Once I went to glue everything, I had gone off the center line a bit. Sanding and wood filler got it "close" to normal


-
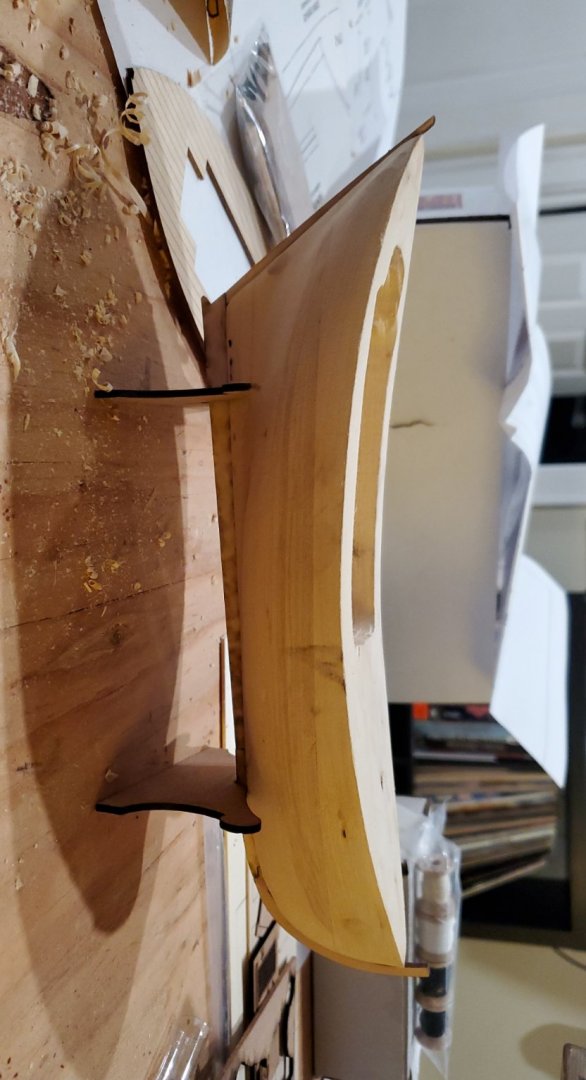
Making progress after a slow start. As a Gen Z/Y or Millennial, I grew up on Lego picture instructions. I found the instructions sometimes vague for how detailed and precise the kit is. I was able to get to this step, but it was difficult. Looking at instructions and other posts, I thought I was going to be carving out more wood. (Looking ahead at how S1, K1, K2 and K3 fit together (with K1 being cut shorter), was helpful)) I was suprised to see no videos of others building too! Maybe a thought for a future build. This has been very fun kit. I'm excited for the hold and cabin!
-
ccoyle reacted to a post in a topic:
Yankee Hero 1899 by Captain Mantooth - BlueJacket Shipcrafters - Scale 3/8" = 1'
-
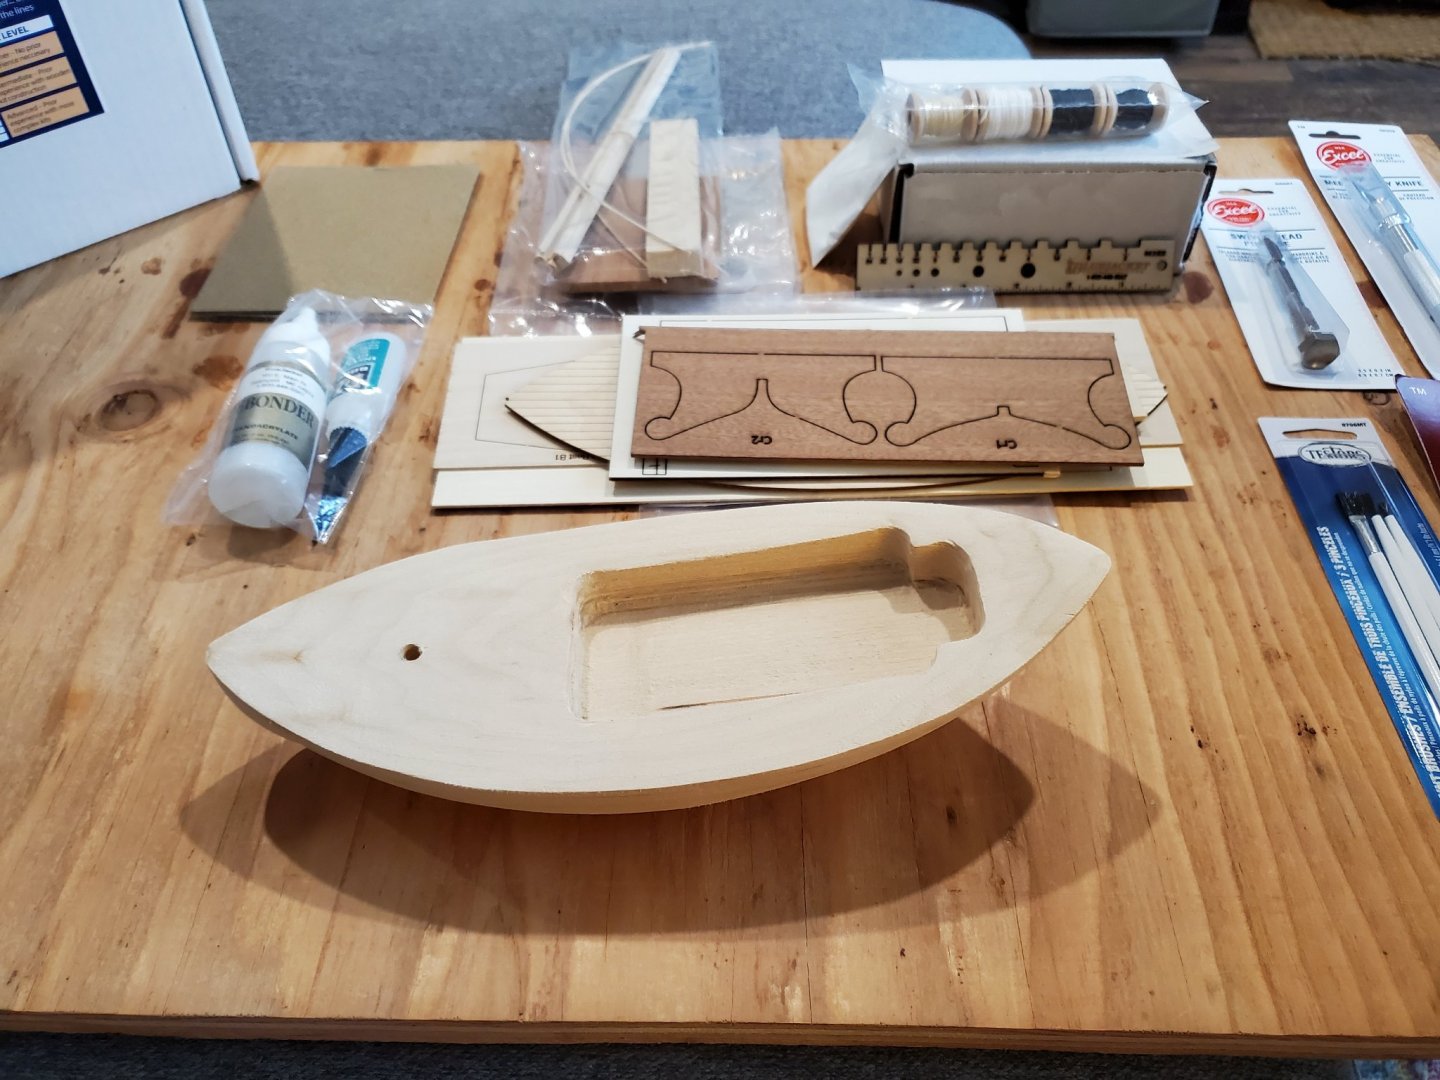
Here we go! Starting on a rainy Vermont spring day. It has been great to read other users posts about starting and points along the way. Thank you to everyone who contributed to the hobby!