Markus16
-
Posts
40 -
Joined
-
Last visited
Content Type
Profiles
Forums
Gallery
Events
Everything posted by Markus16
-
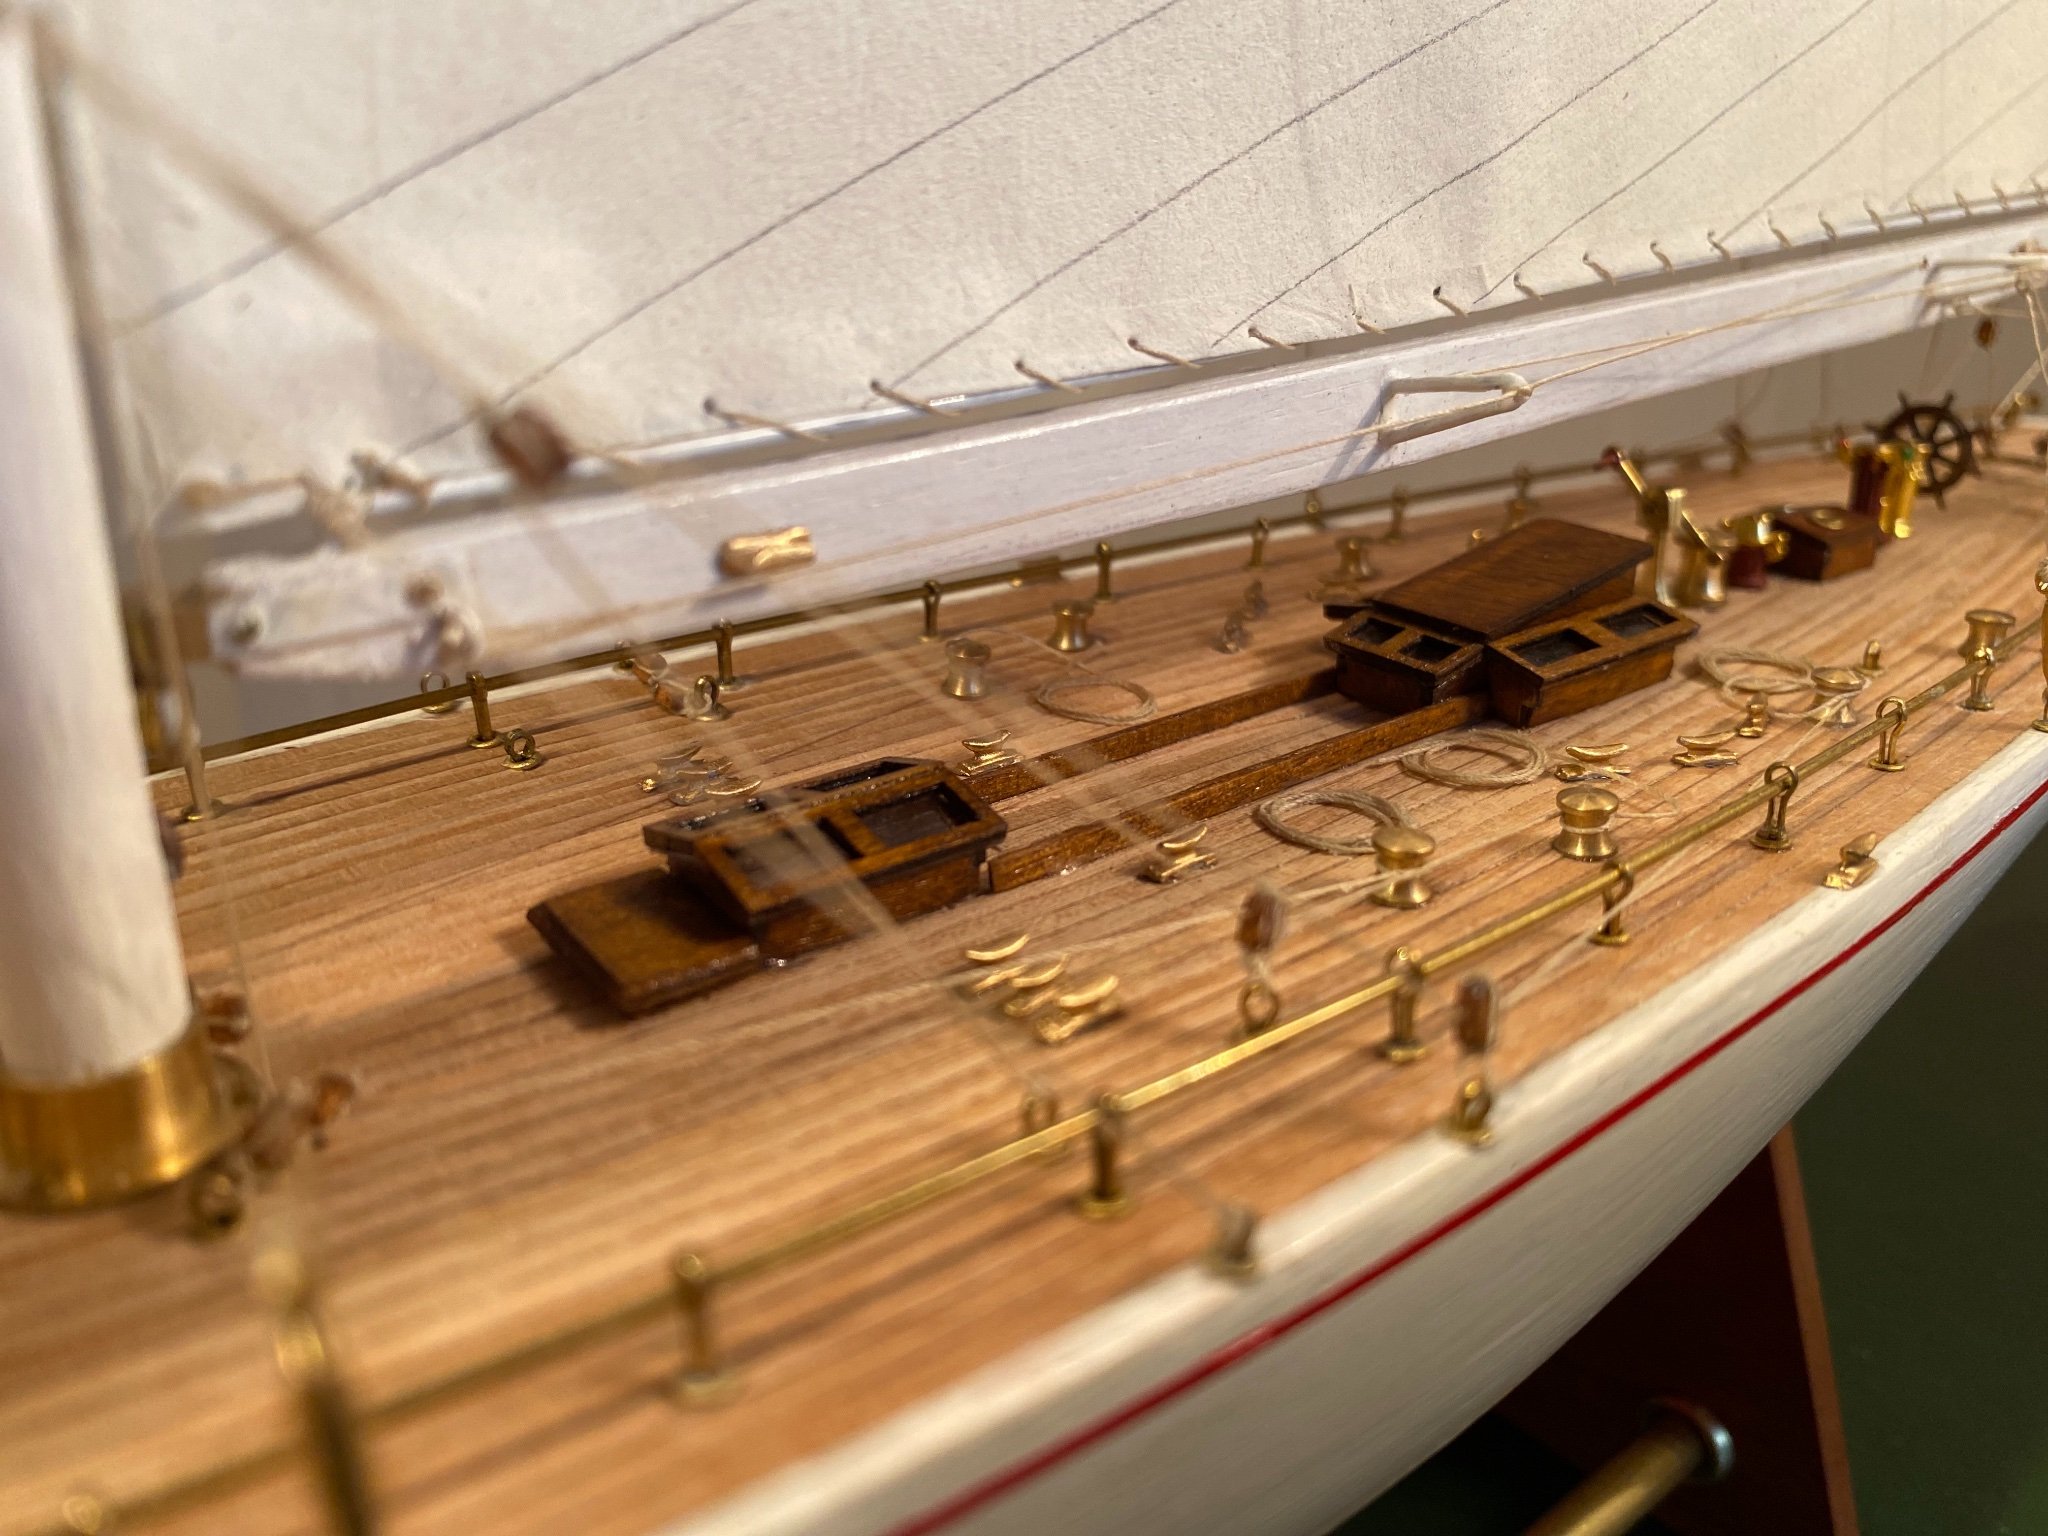
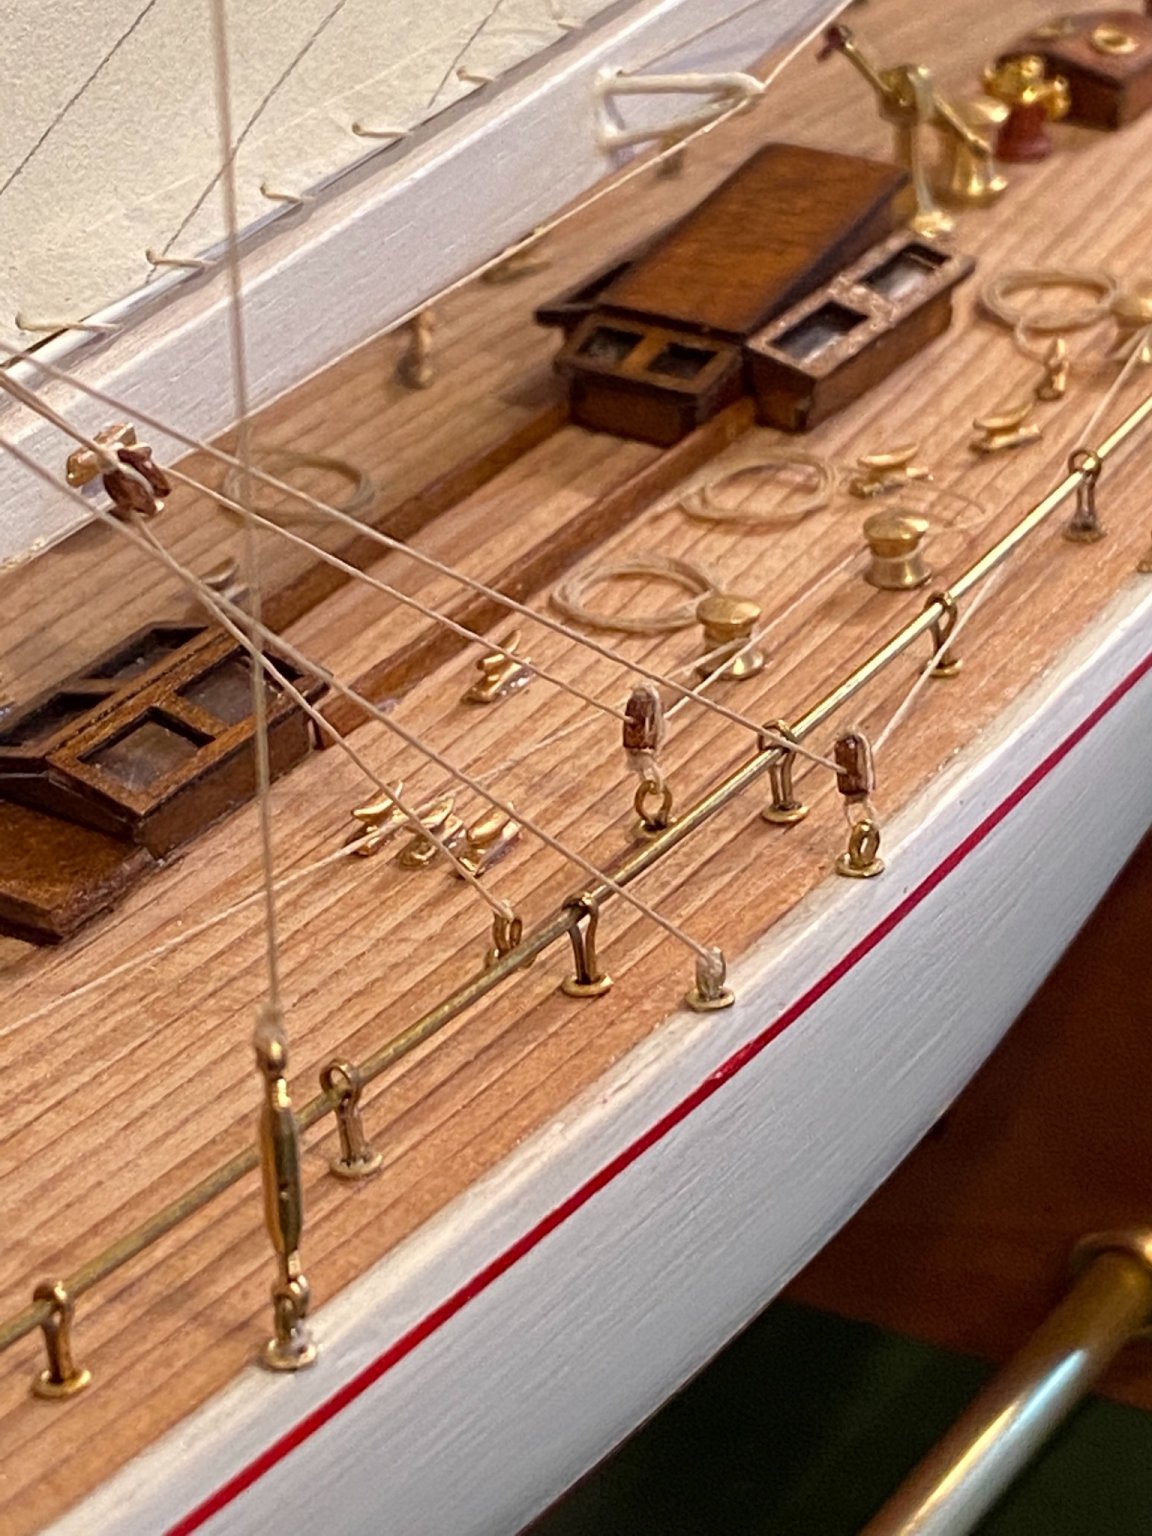
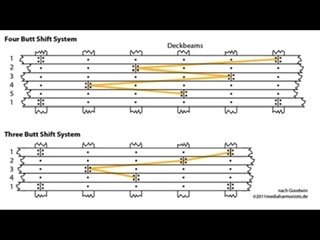
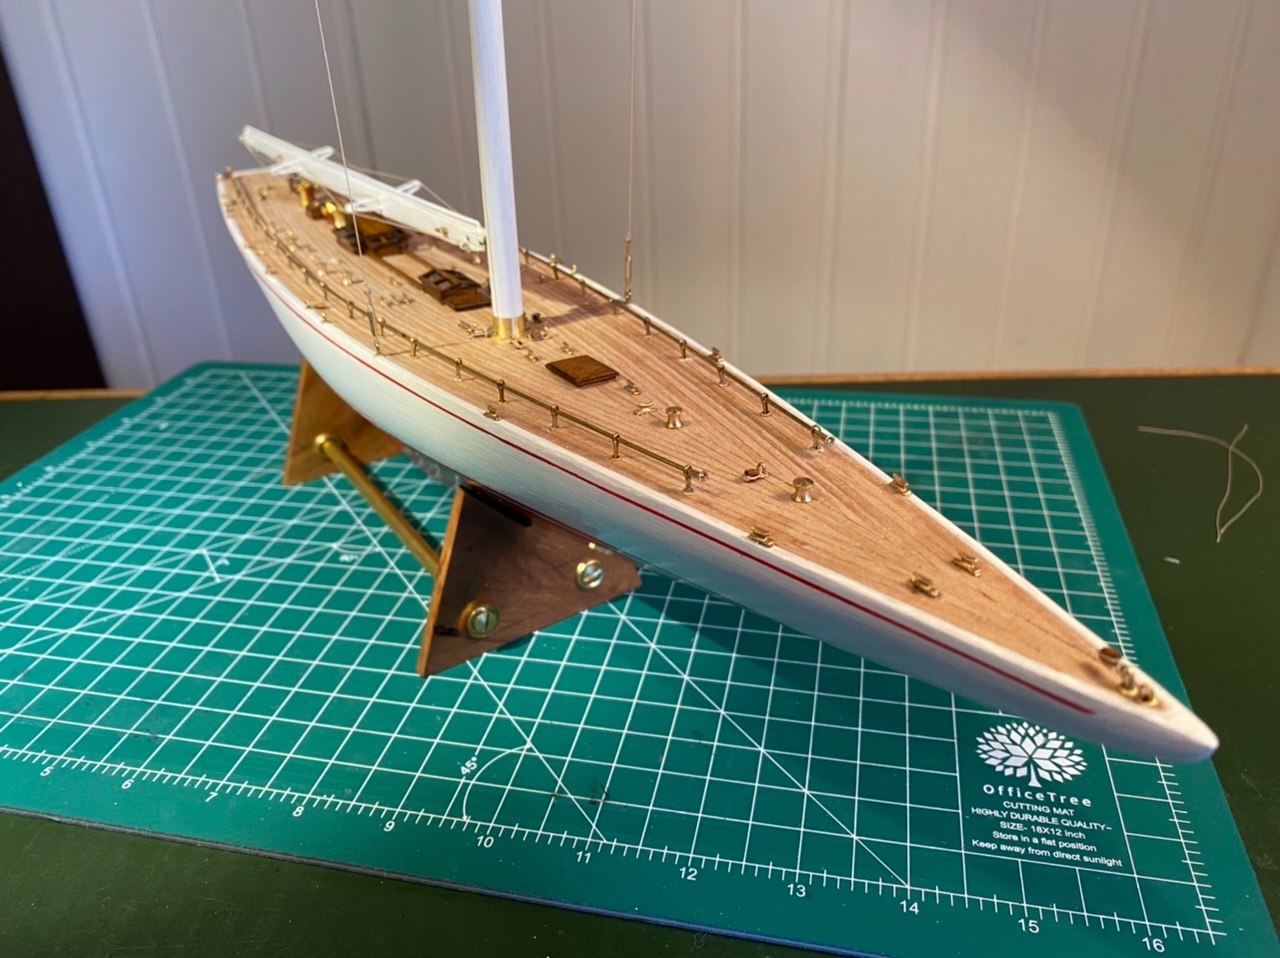
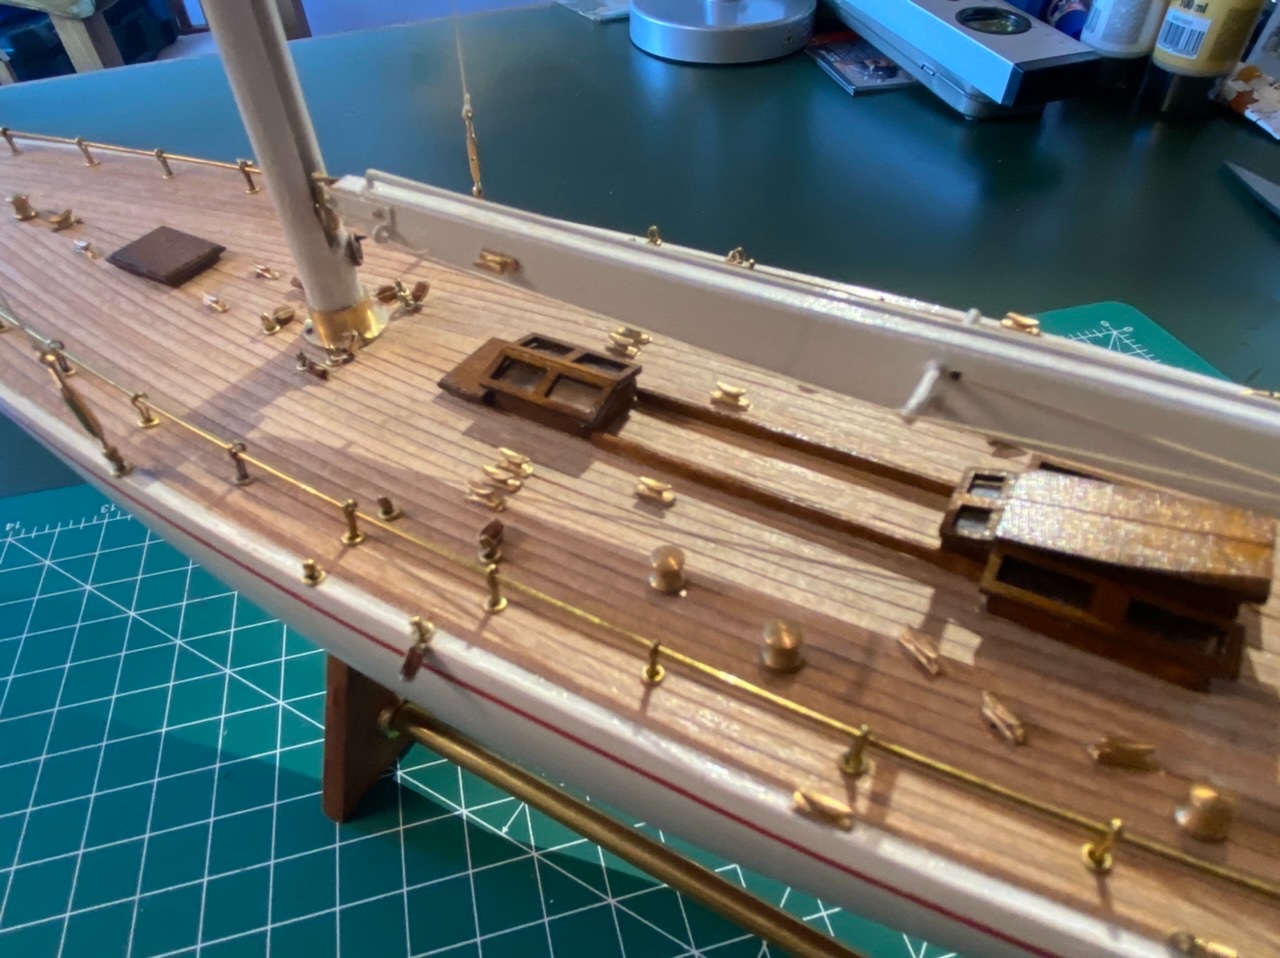
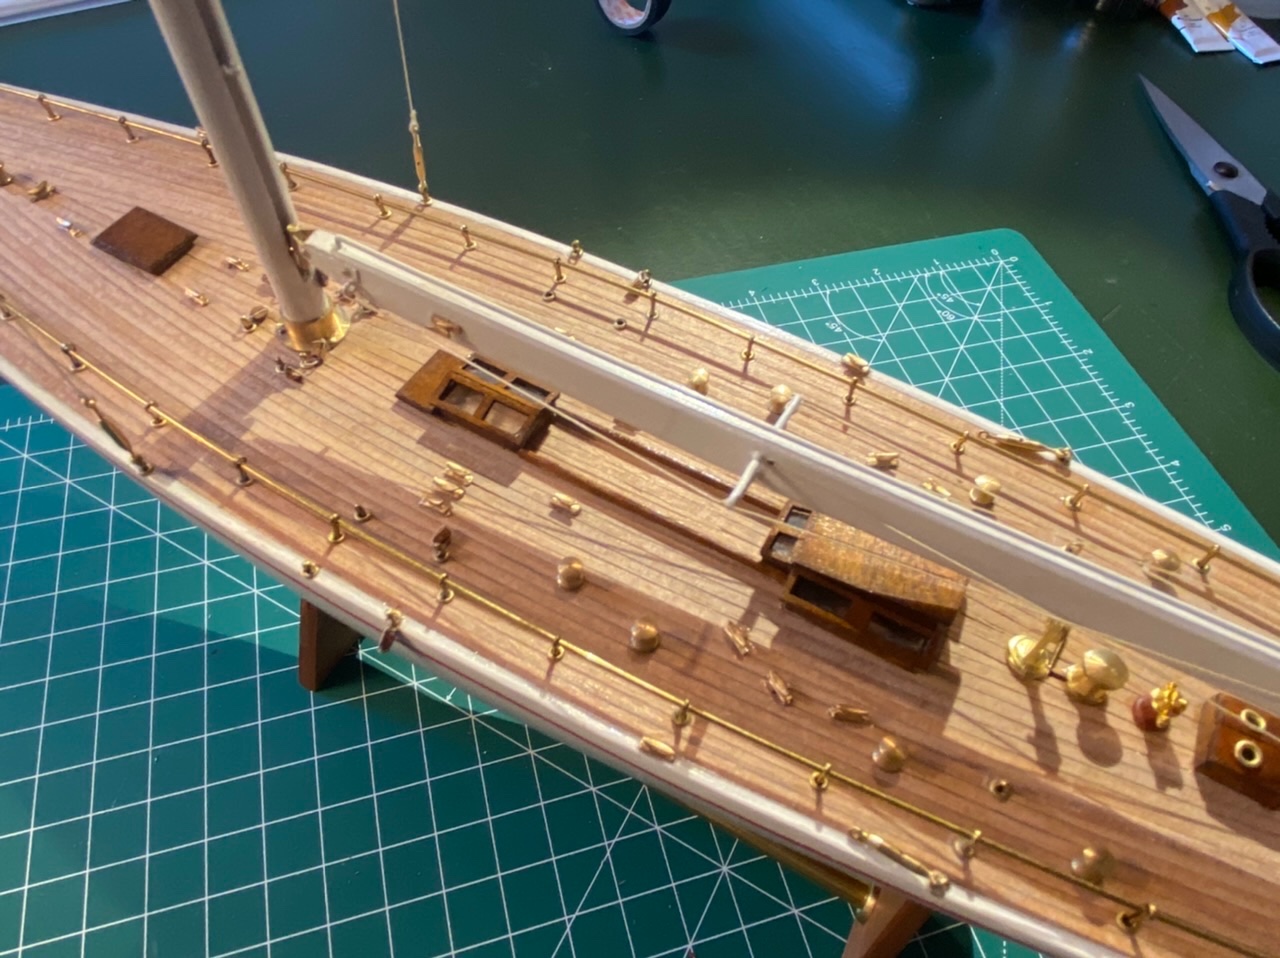
 After a longer creative break, I have now completed the deck. The sides of the planks were colored black with pencil to imitate the calfation. As described above, I decided to plan for the three butt system.
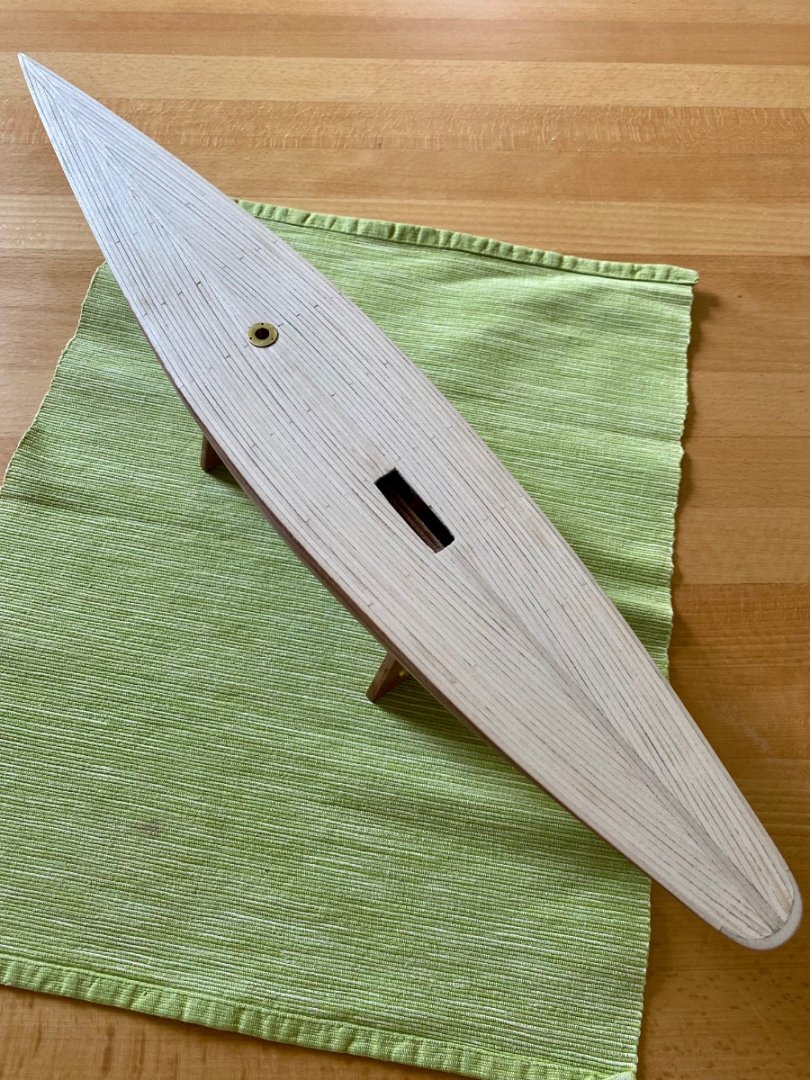

-
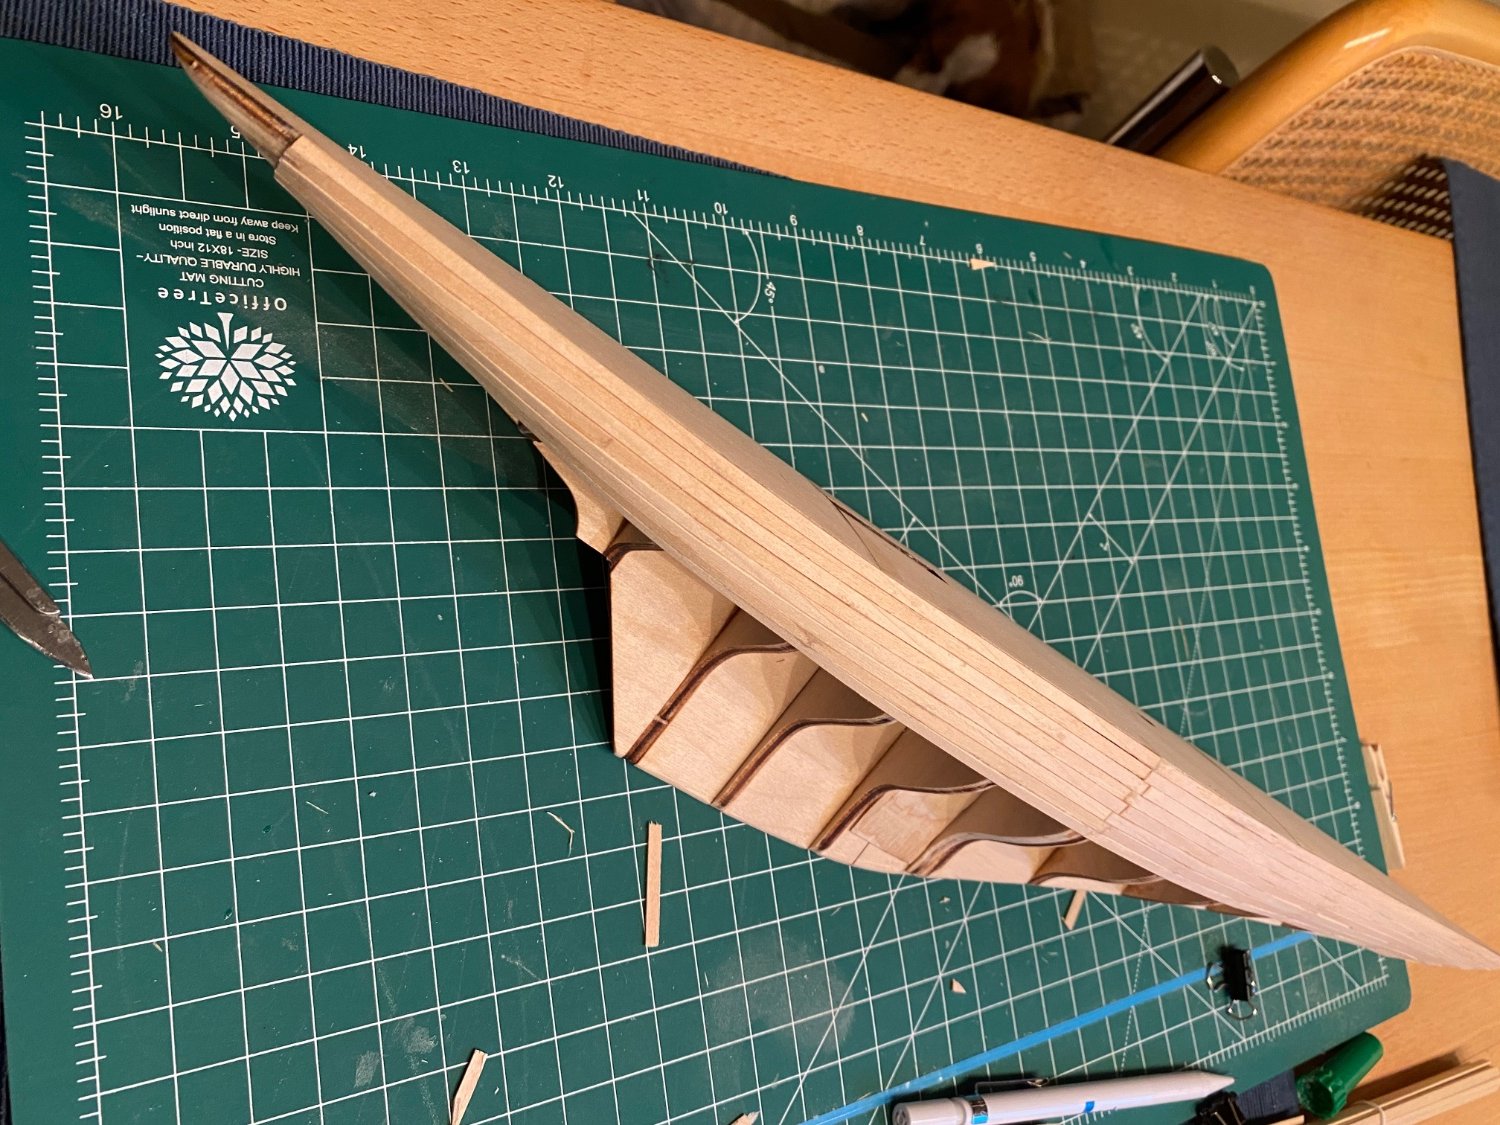
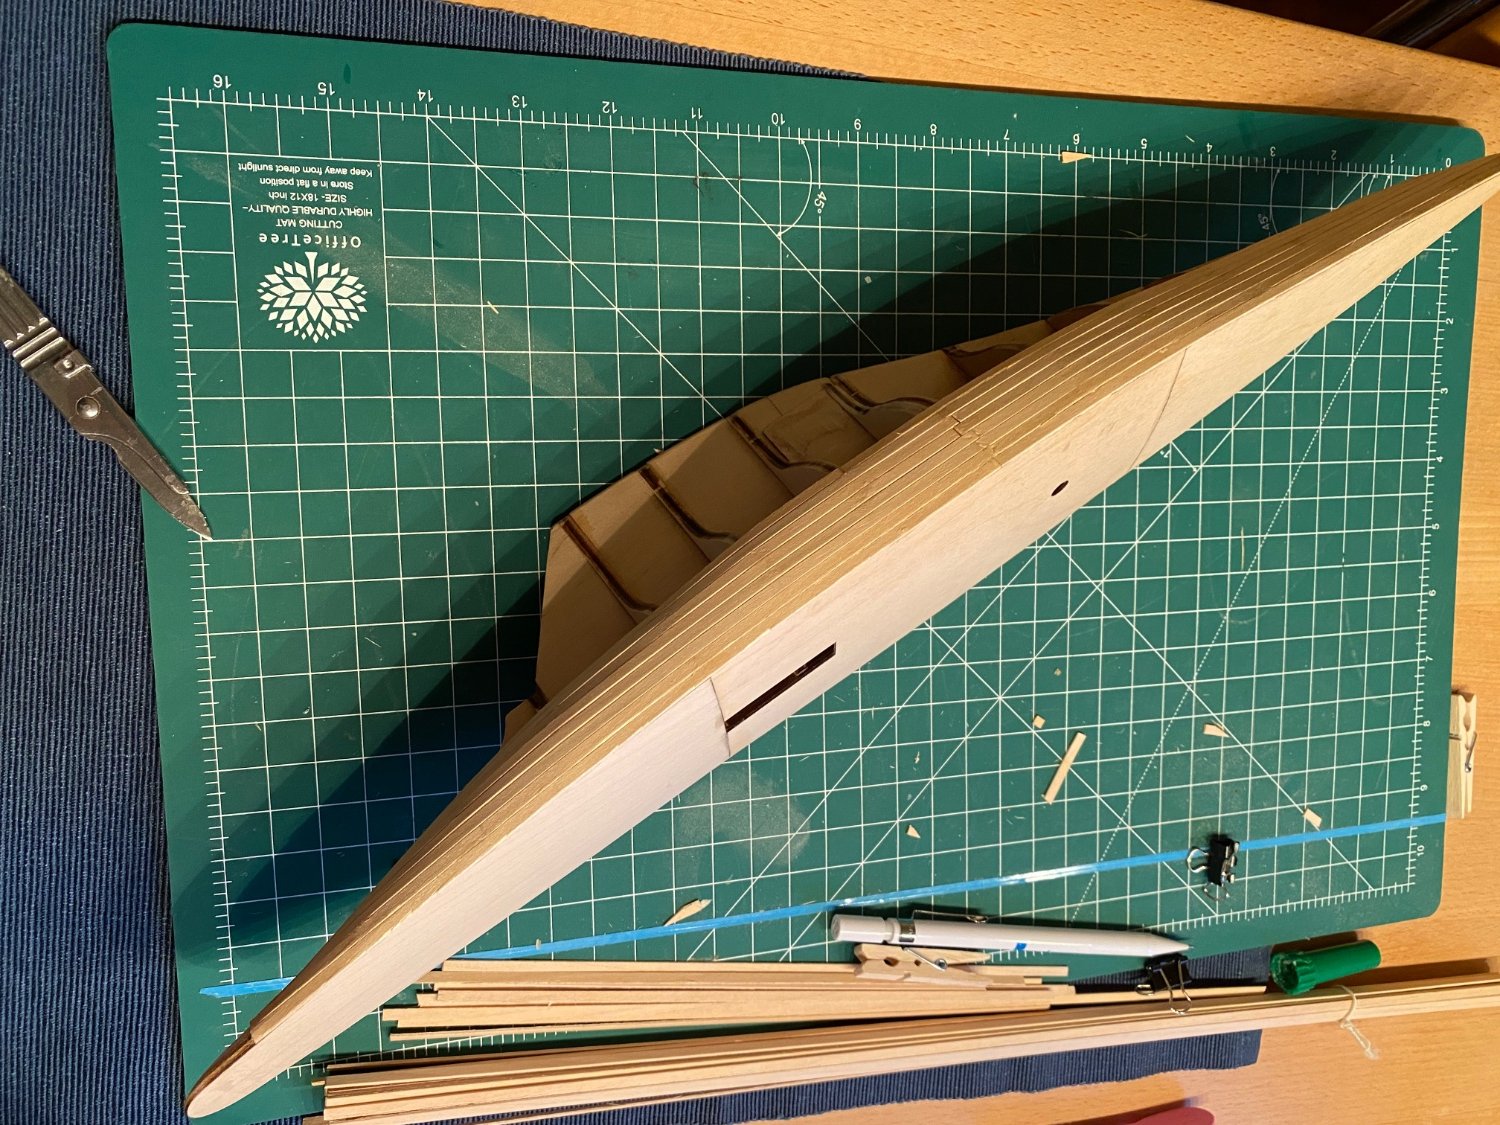
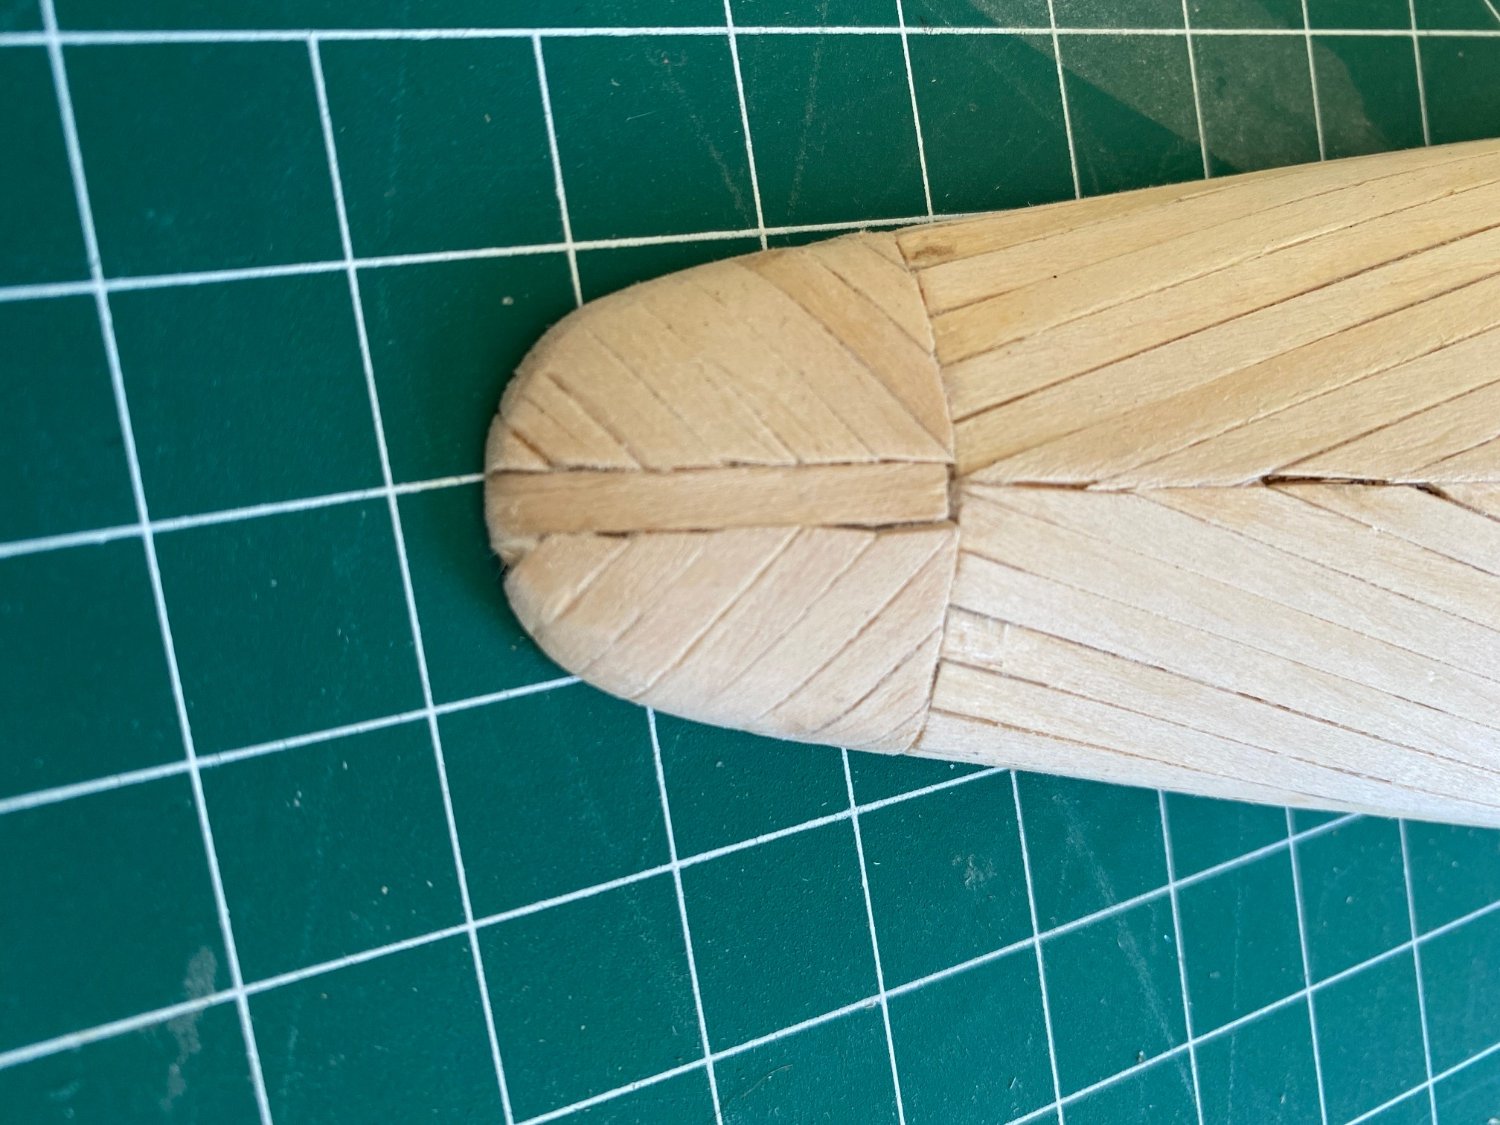
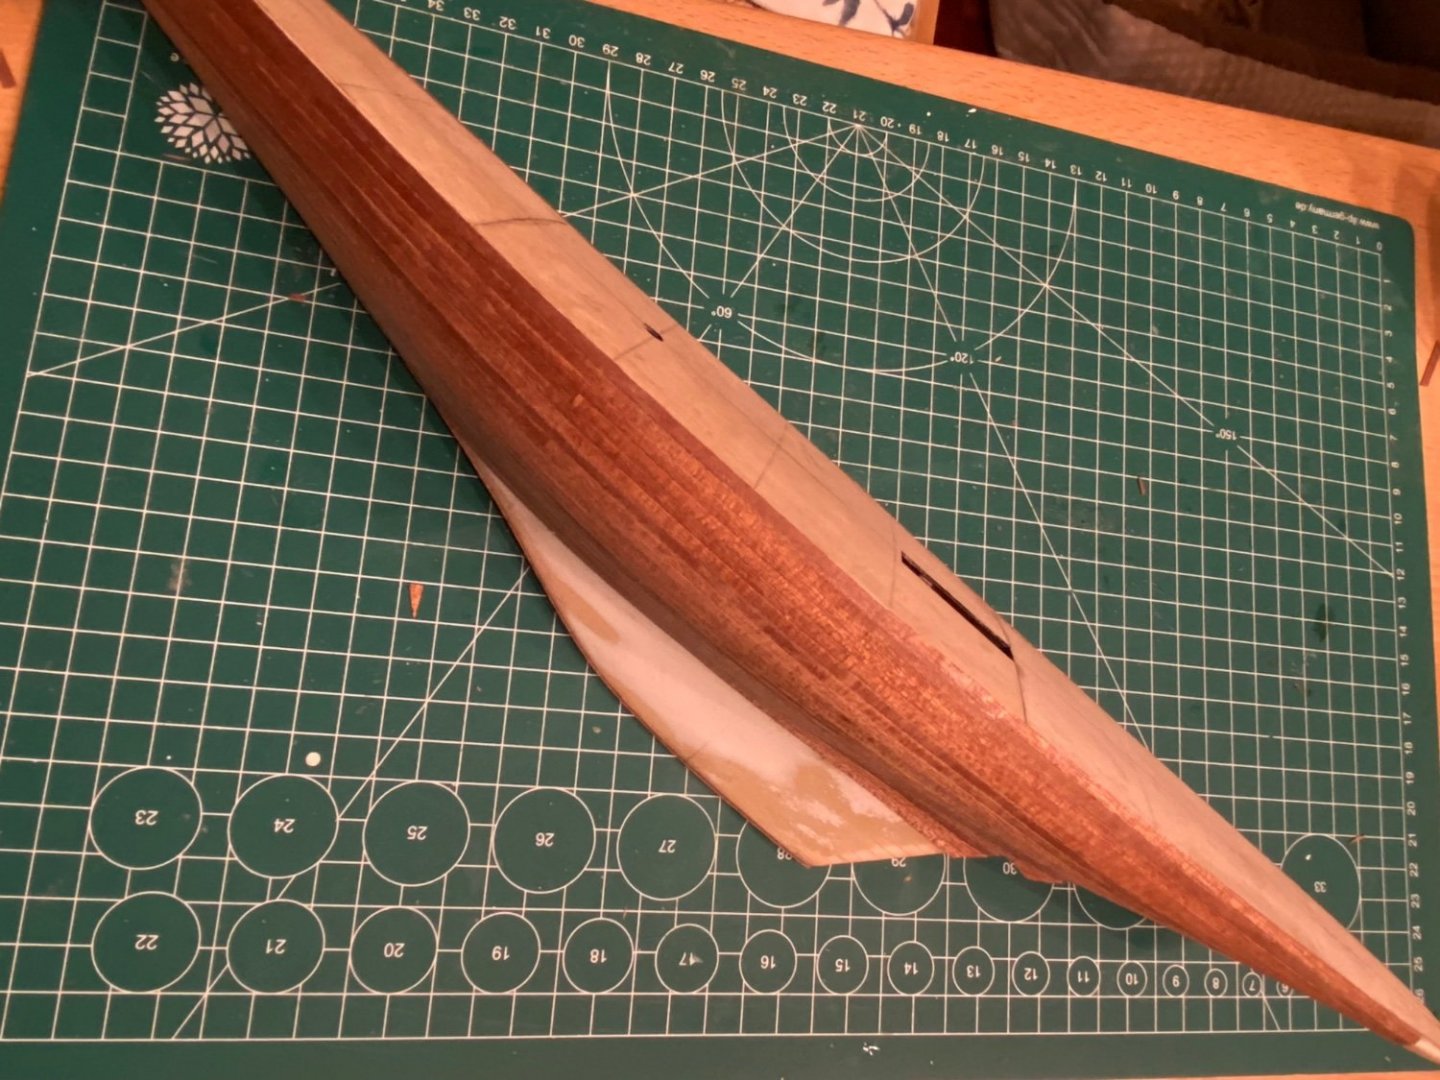
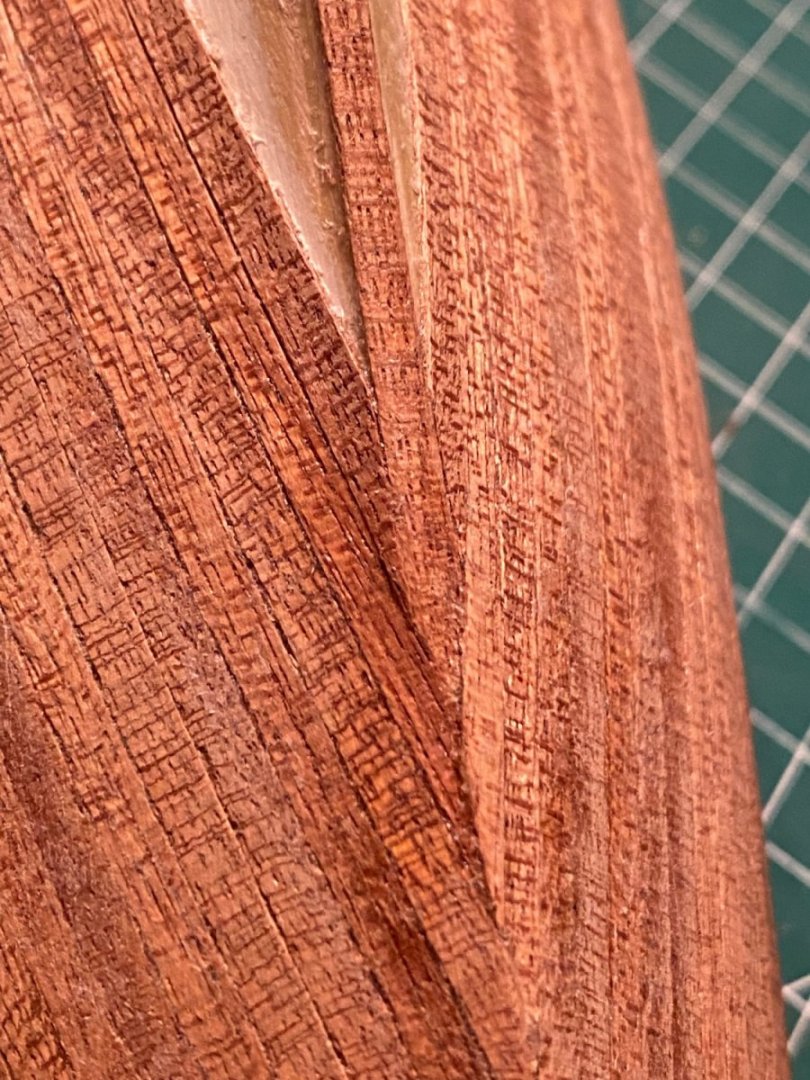
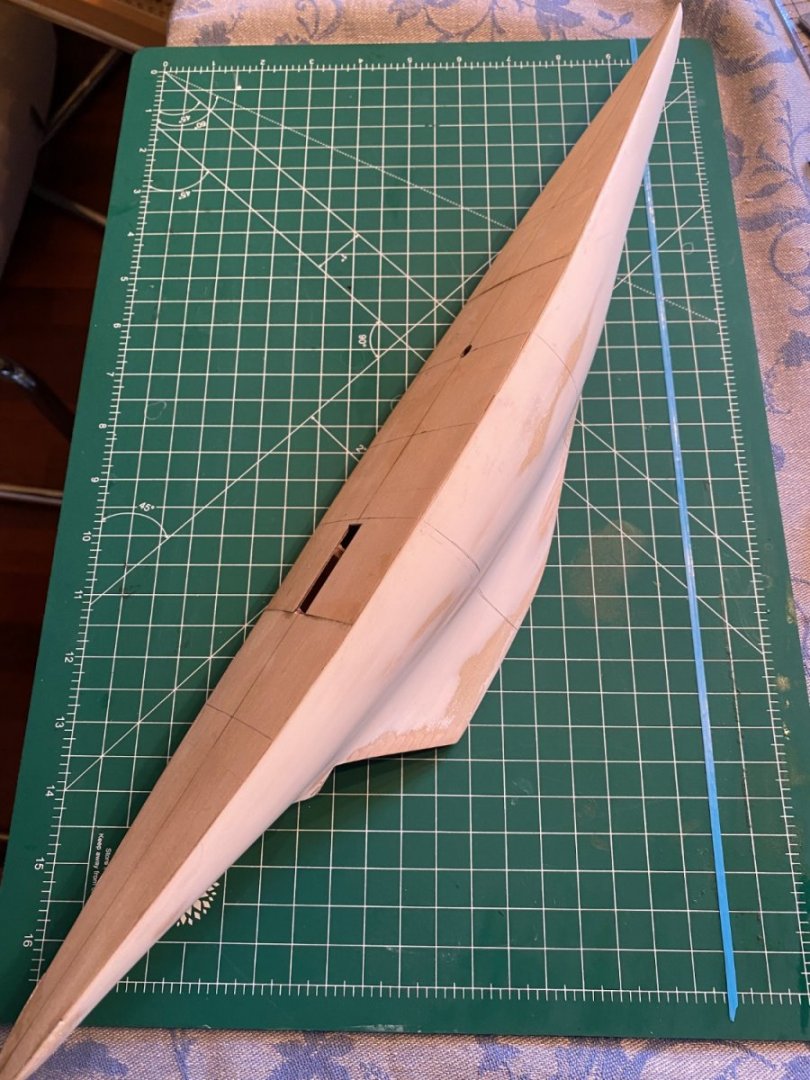
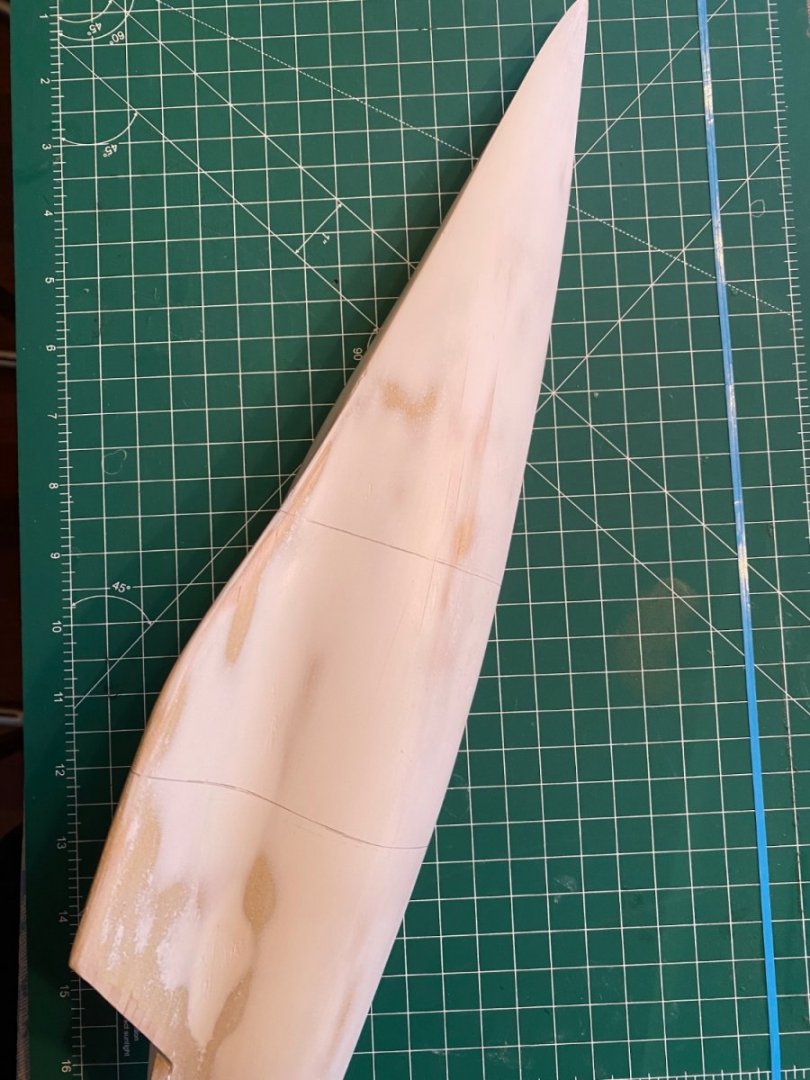
Now the second planking is almost done. I thought hard about planking from deck downwards and from keel upwards at the same time. But I decided against it and just worked from the deck to the keel. As you can see, the result is ok. I also attached this planking with wood glue as corrections can still be made during the drying process. It was essential, especially in the central area, to water the wooden strips extensively beforehand, otherwise they would not have adapted to the curves. Likewise, in these critical areas I did not glue the planks in one piece, but mostly in threes. A permanent pressing of the planks is absolutely necessary, otherwise they stand out slightly (which unfortunately happened to me too, as you can see). Since they are very thin, there won't be much room for sanding.


-
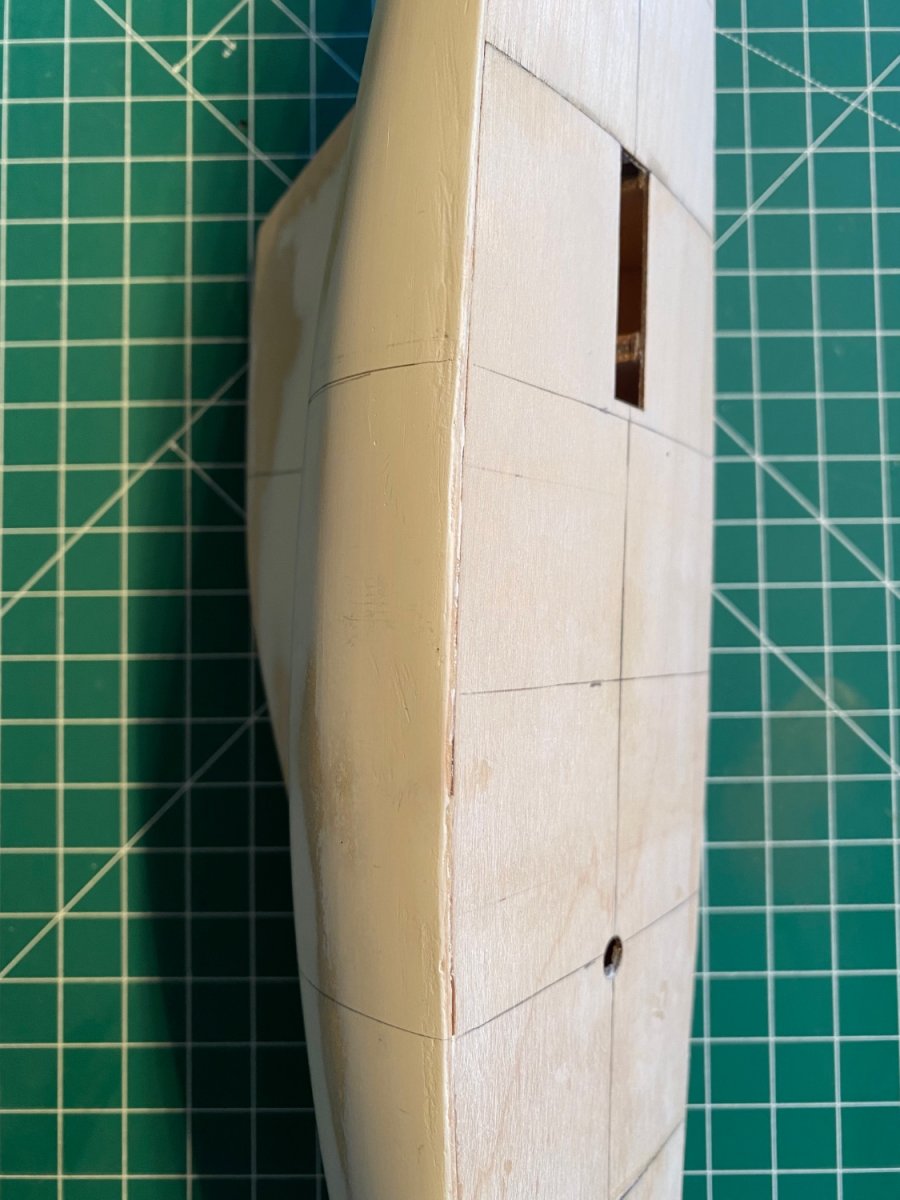
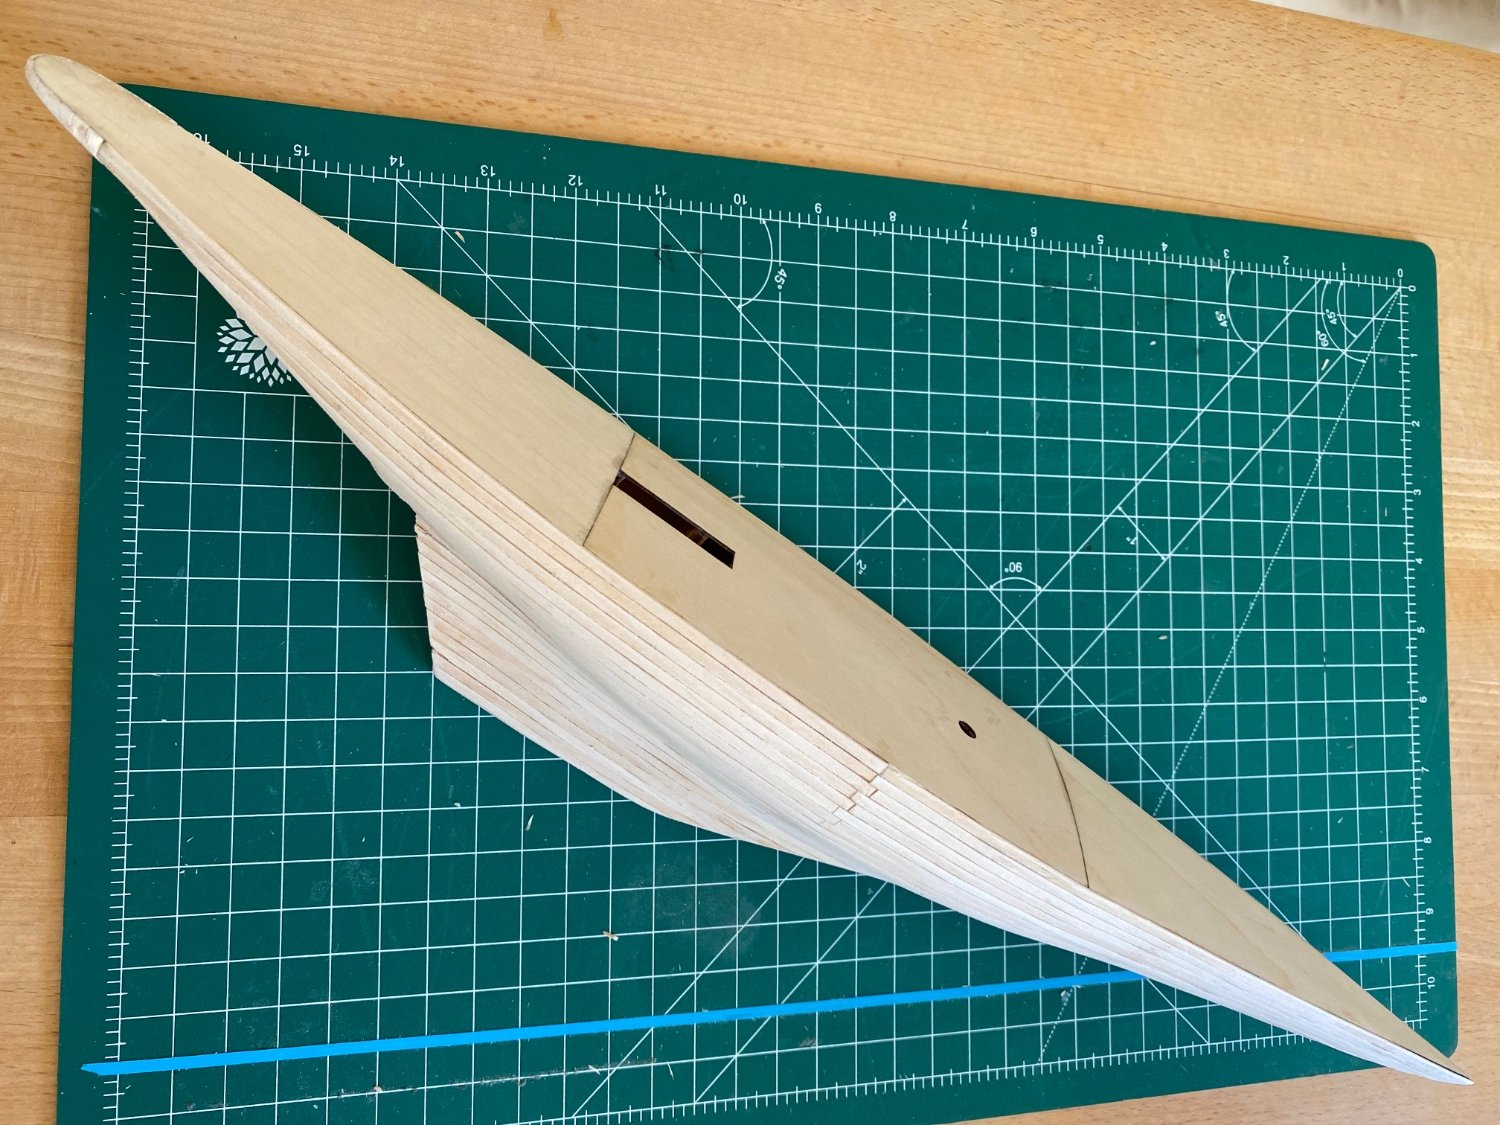
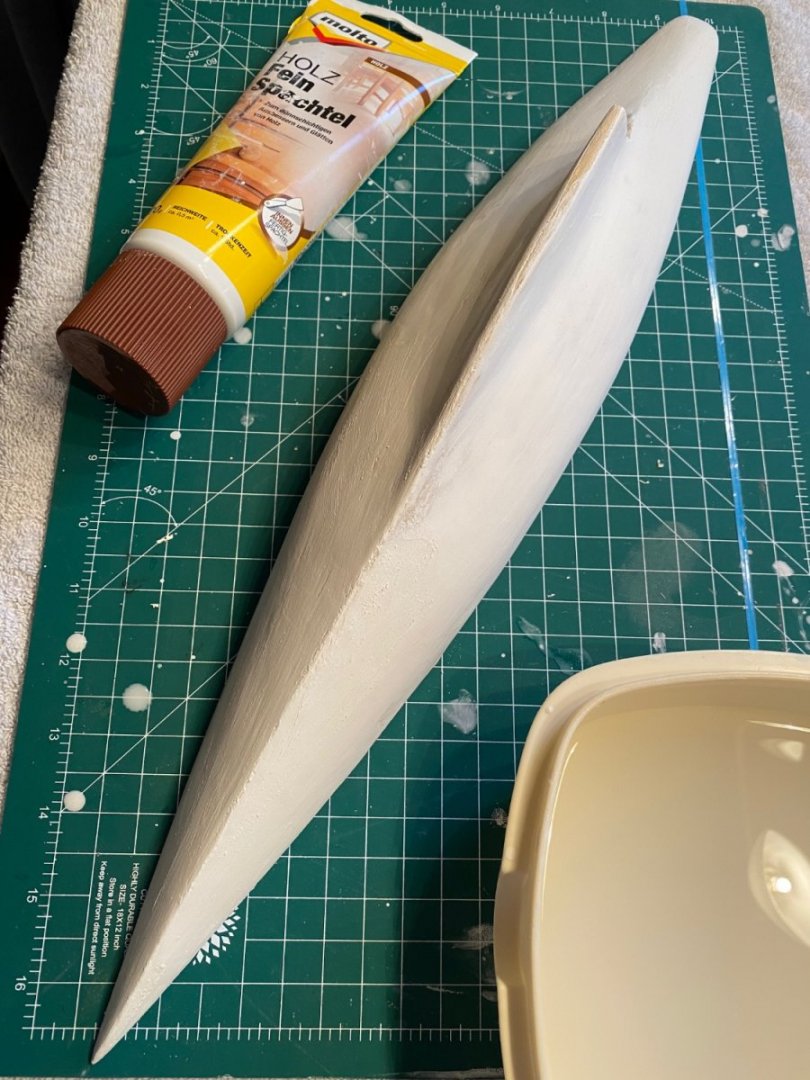
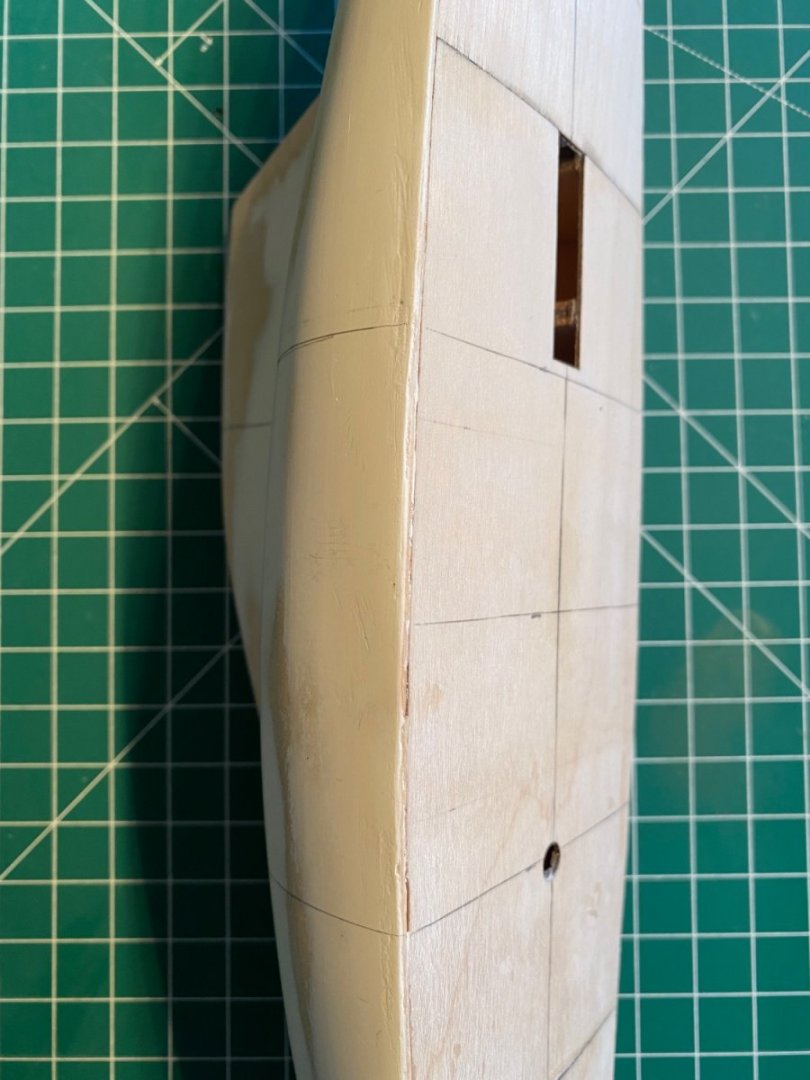
Now the hull is prepared for the second planking. Unfortunately, I had first bought wood putty that was too coarse. At first I thought about making my own putty from wood dust and glue, but then decided against it and bought fine wood putty. I didn't need any tools, just applied the putty with my hands and smoothed it out with lukewarm water after a very short drying time. Since I would like to have a shifted planking of the deck (see illustration), I marked two vertical auxiliary lines on the hull to have an even offset here as well. Incidentally, I had bought a small adjustable vice, but realized very quickly that I didn't need it at all.
-
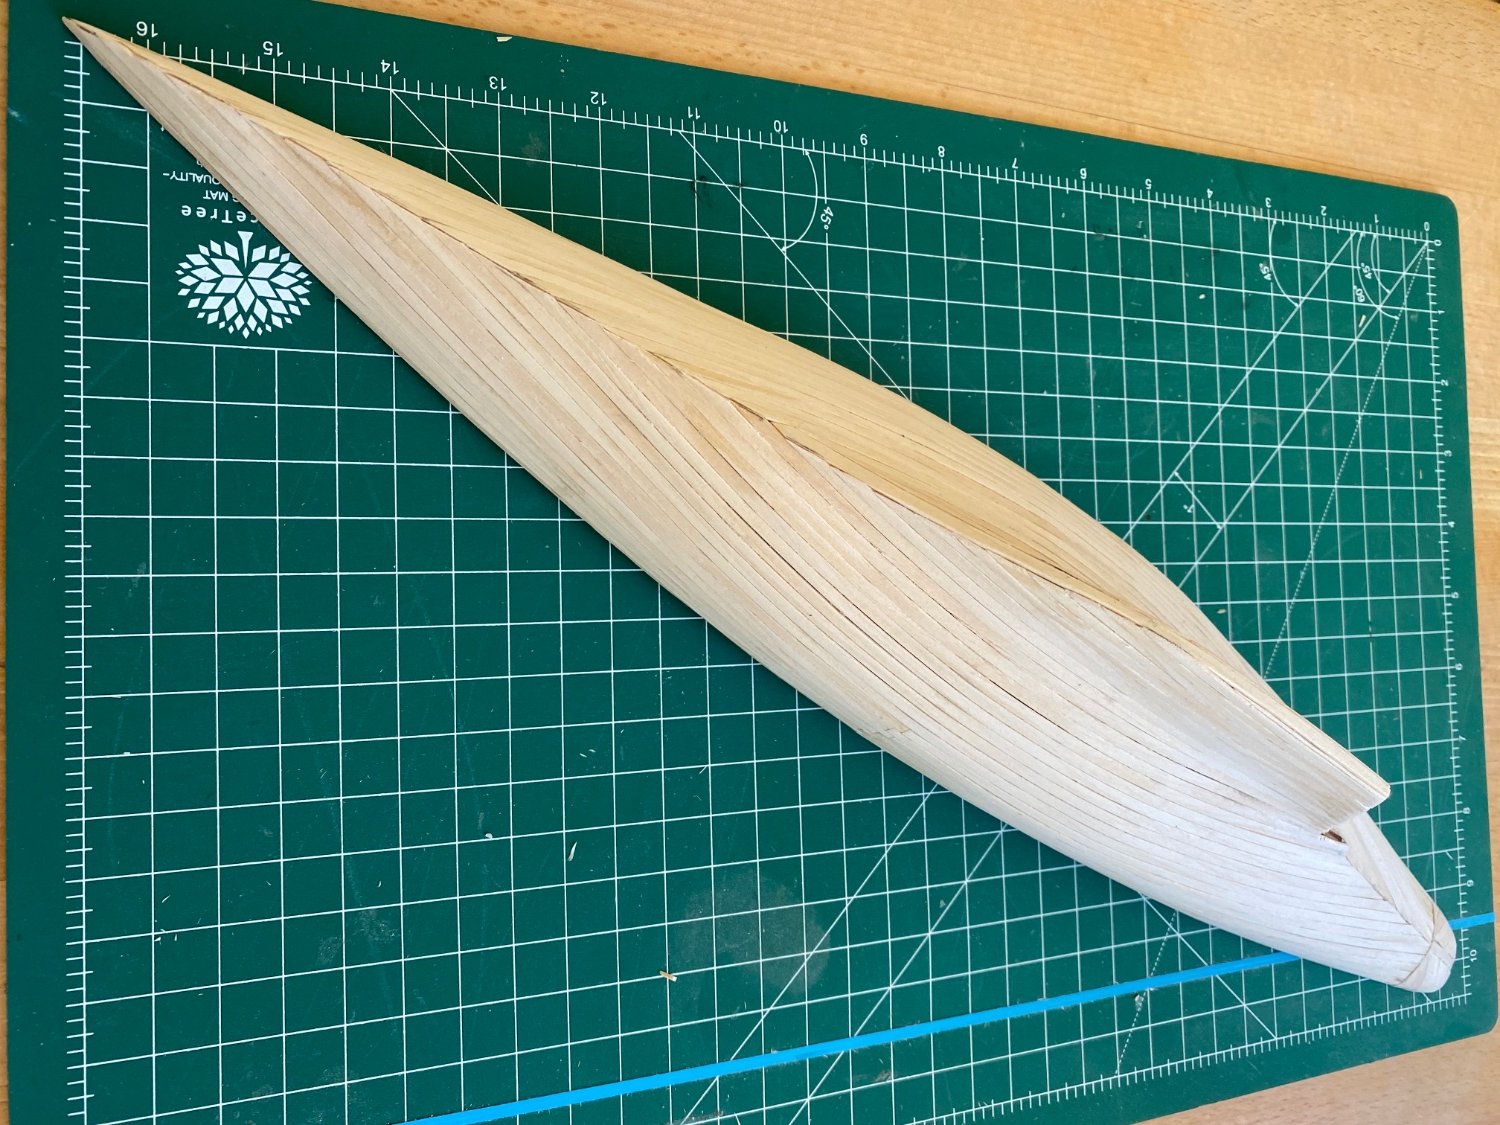
Building a ship with a solid hull is certainly a good warm-up exercise. But it's much more fun to build the hull with wooden planks. I wasn't overly cautious with the first layer, knowing that the finishing touches would be done with sandpaper and putty. When I look at other users' topics, I'm full of admiration for the skills some people have. I'll try to give a few comments on this topic of which mistakes I've made and which tips I have for model builders who, like me, have little experience, in order to avoid typical beginner mistakes. If you have any questions, please contact me.
-
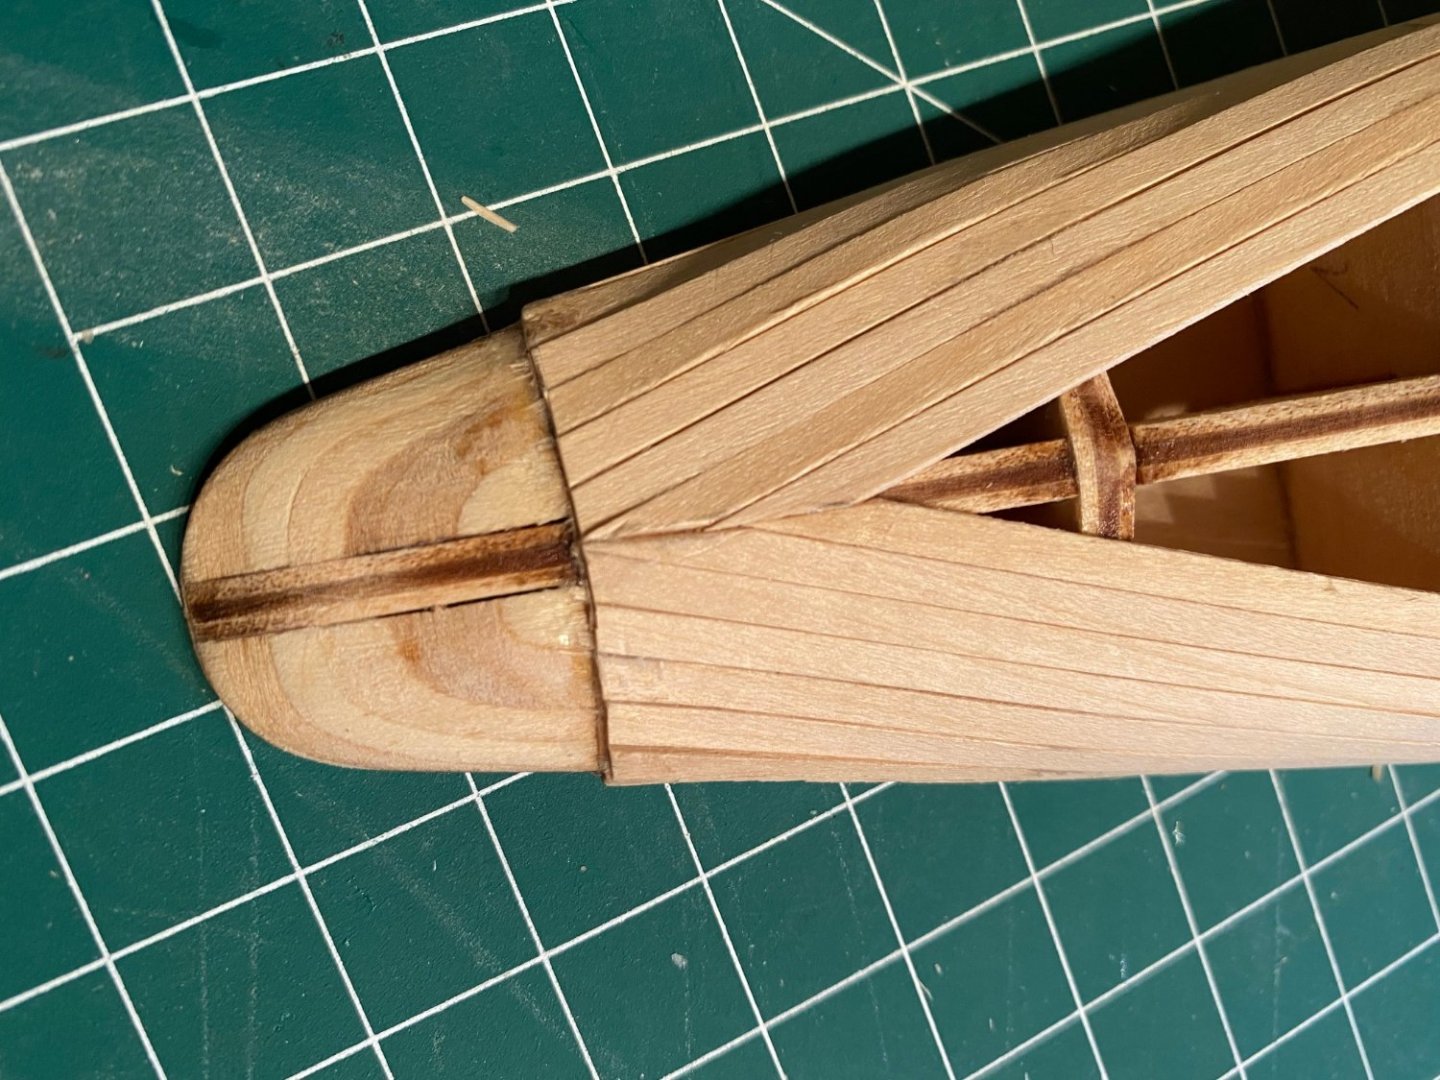
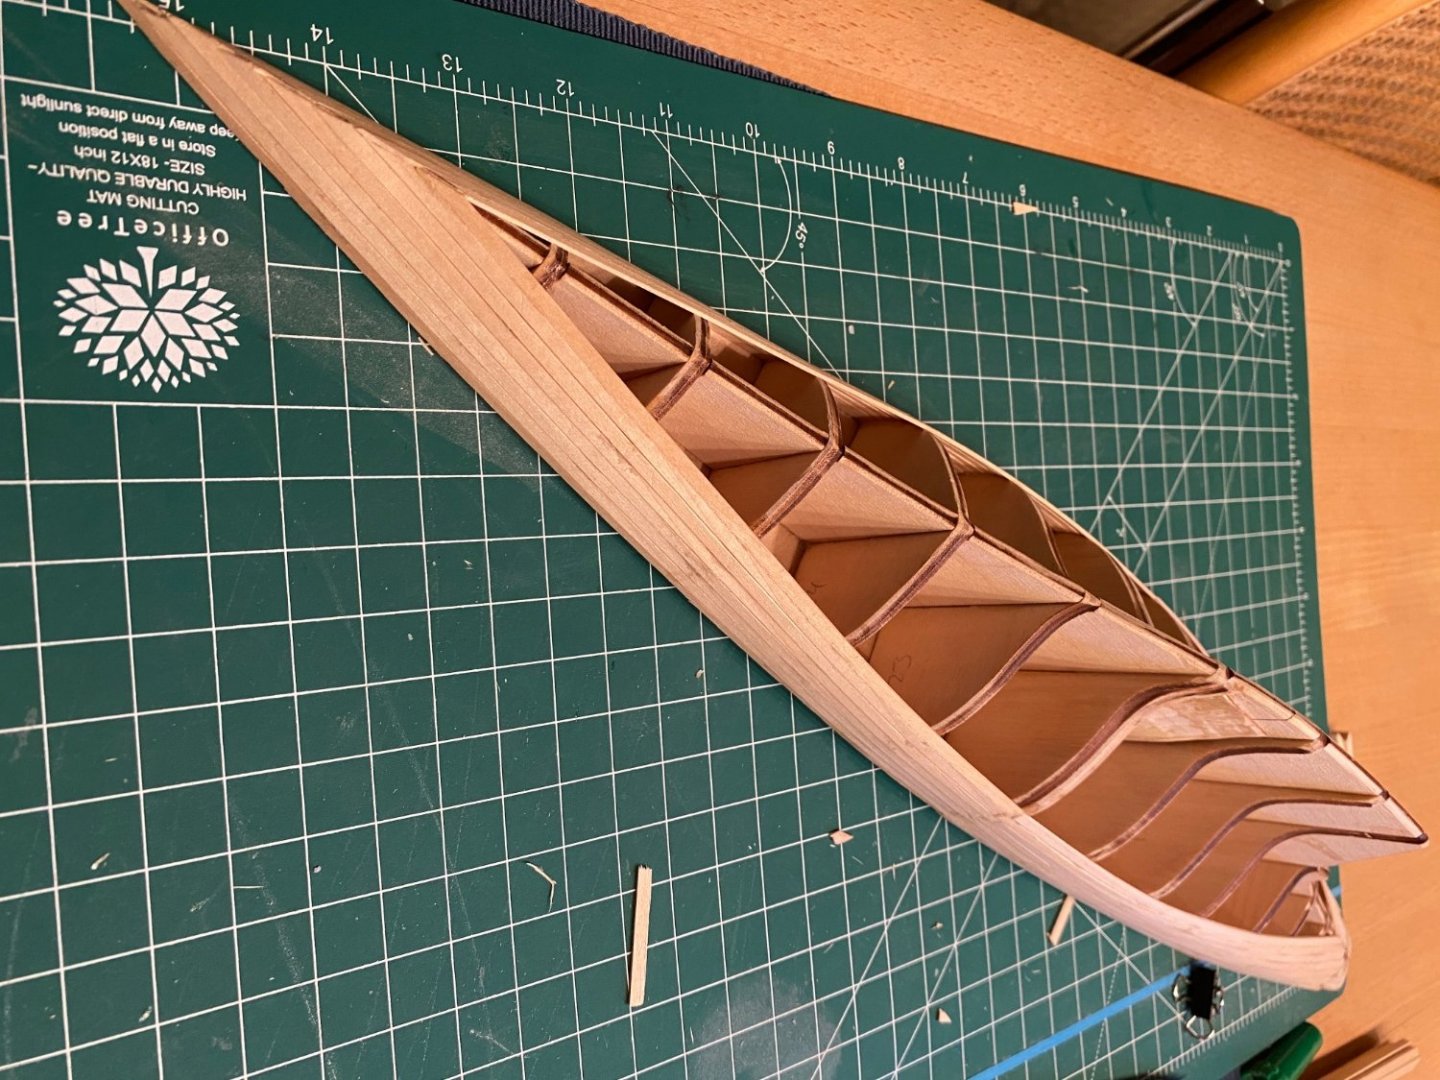
First planking finished. I decided to use CA-glue for this part.


-
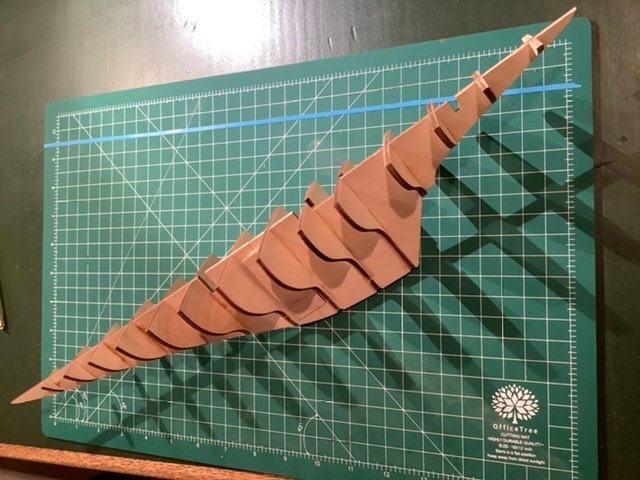
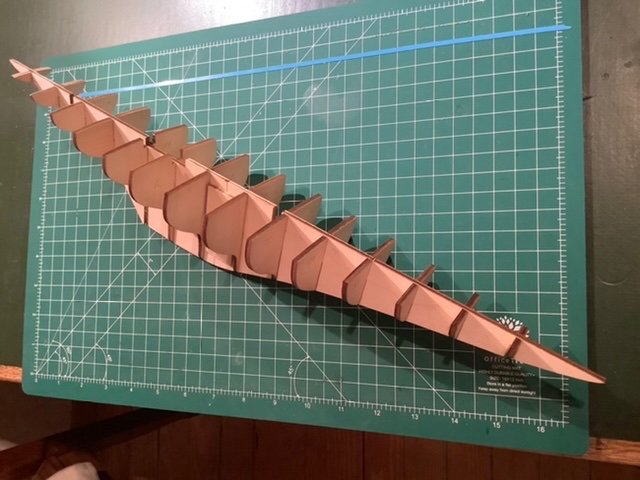
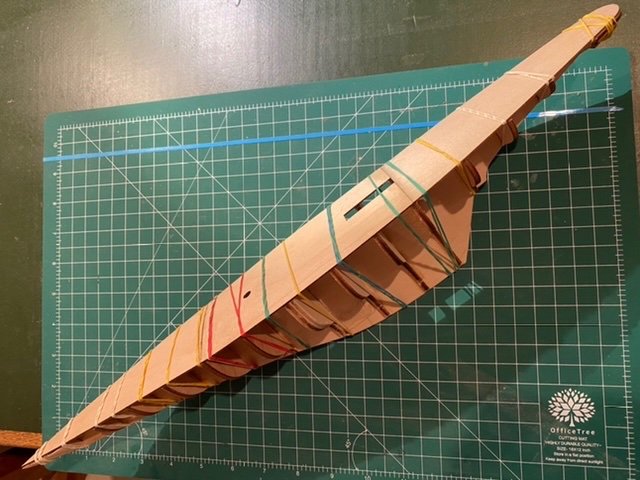
I sanded the small wood plates, which connect the front and back part of the keel, before glueing to make sure they wouldn‘t jut out when applying the planking. To ensure that the frames are absolutely square, I used a small piece of wood with a precise 90° angle and always checked the right angle while the glue was drying. Fixing the deck with rubber bands was the best option since it is not plain , but there is a slight concave bending from bow to stern and a convex bending from starboard to port.

-
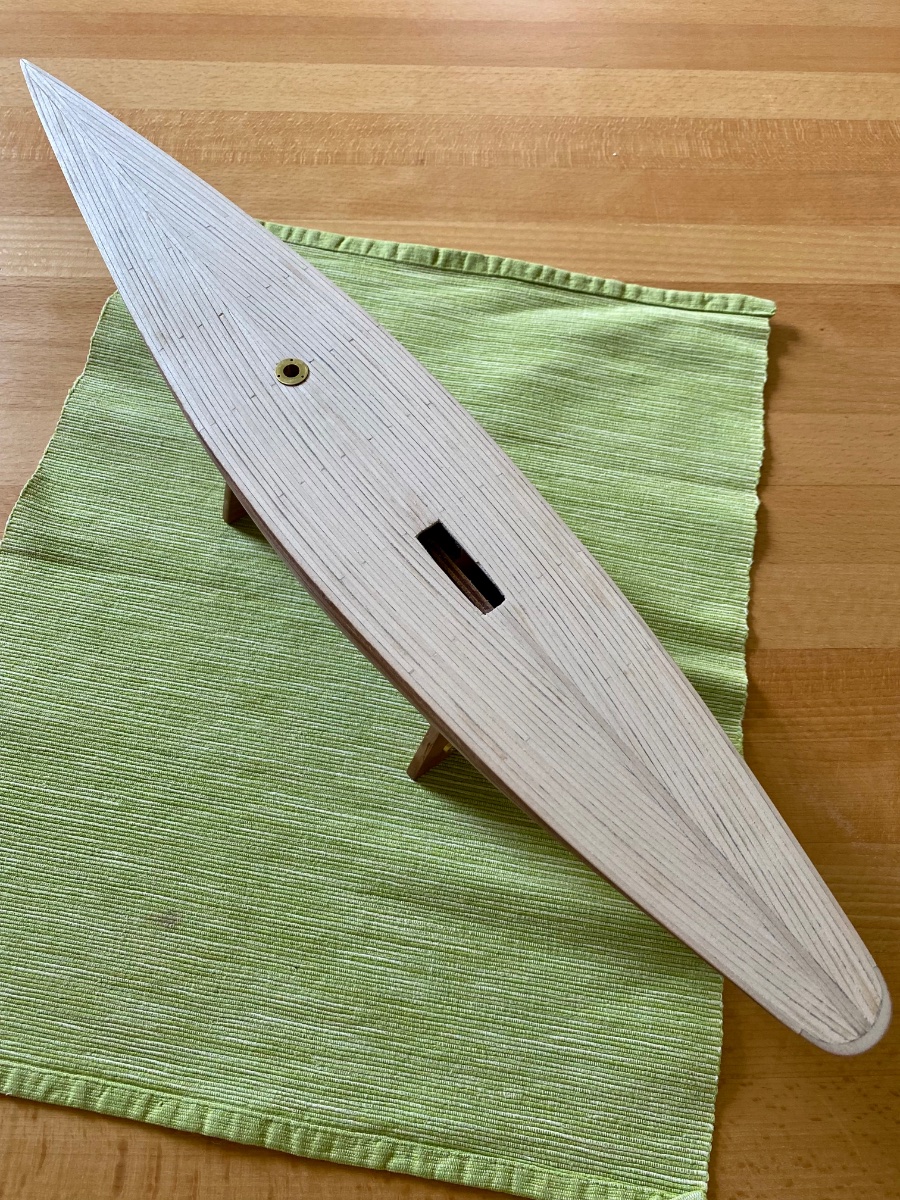
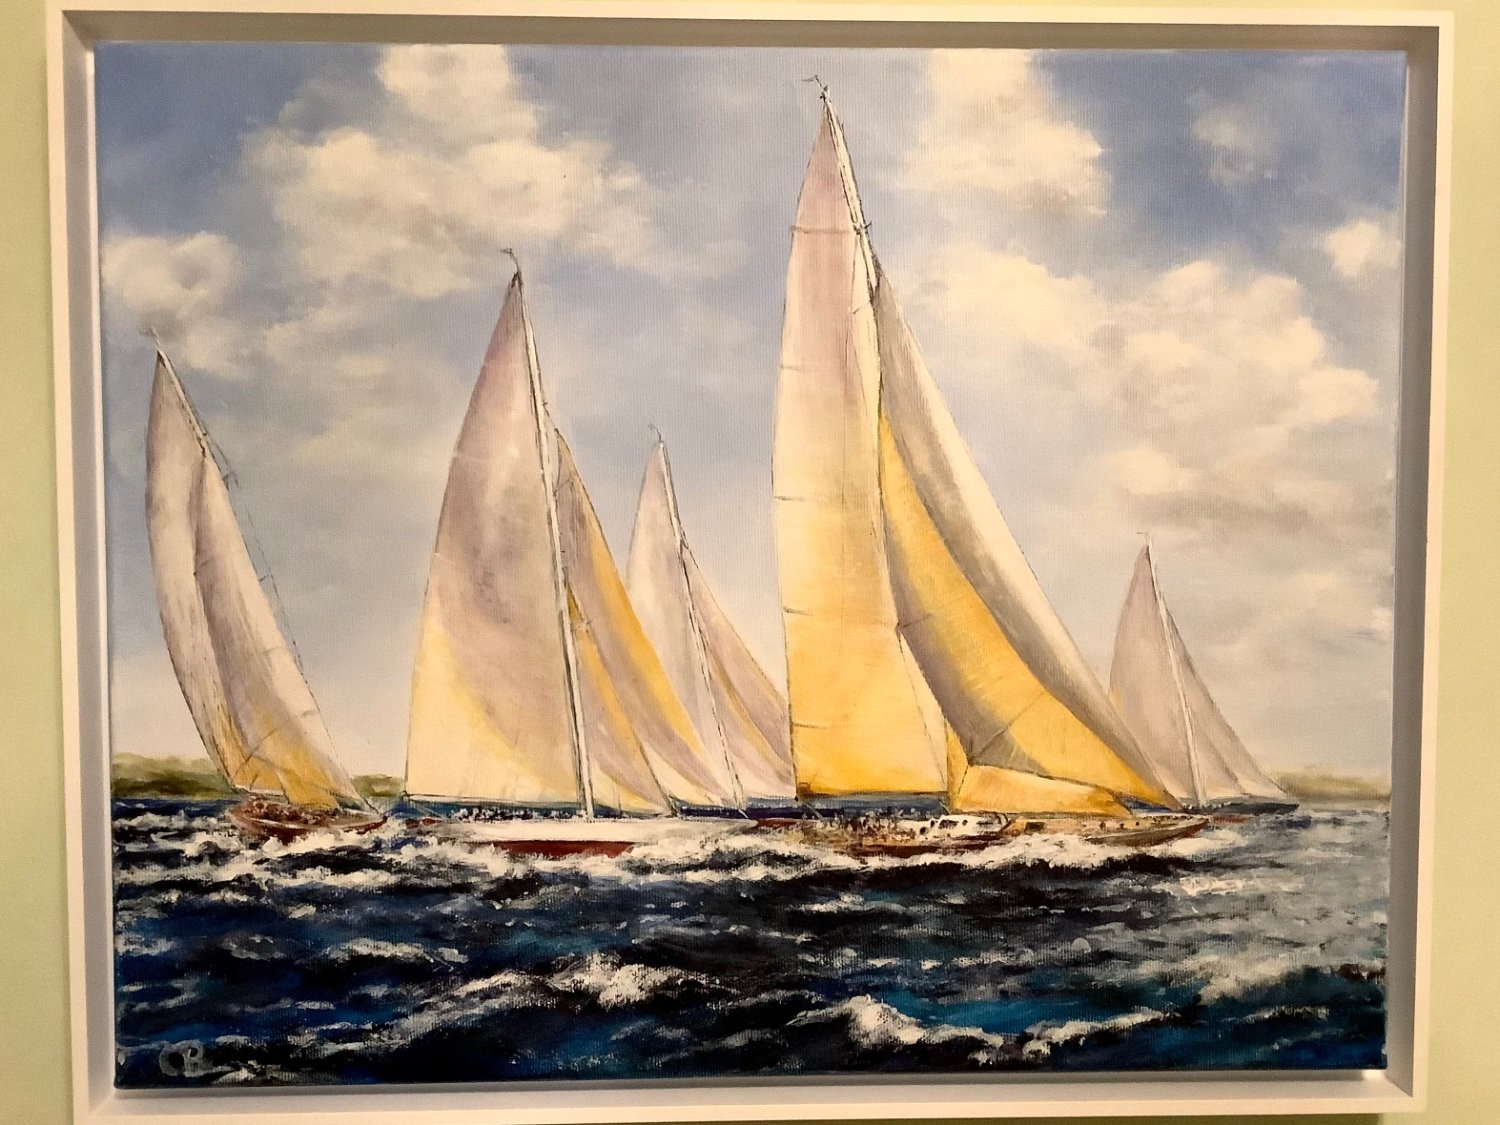
So here is my second project, the Amati J-Class Endeavour. It took me quite a while to start this and as a sort of motivation I had this acrylic picture painted by a friend. The template was a picture I found in the net. Since the model of the Rainbow, which was the winner of the 1934’s Americas cup, came with a ready resin hull, the model of the challenger, Endeavour, has a wooden hull. So this is a new challenge for me.


-
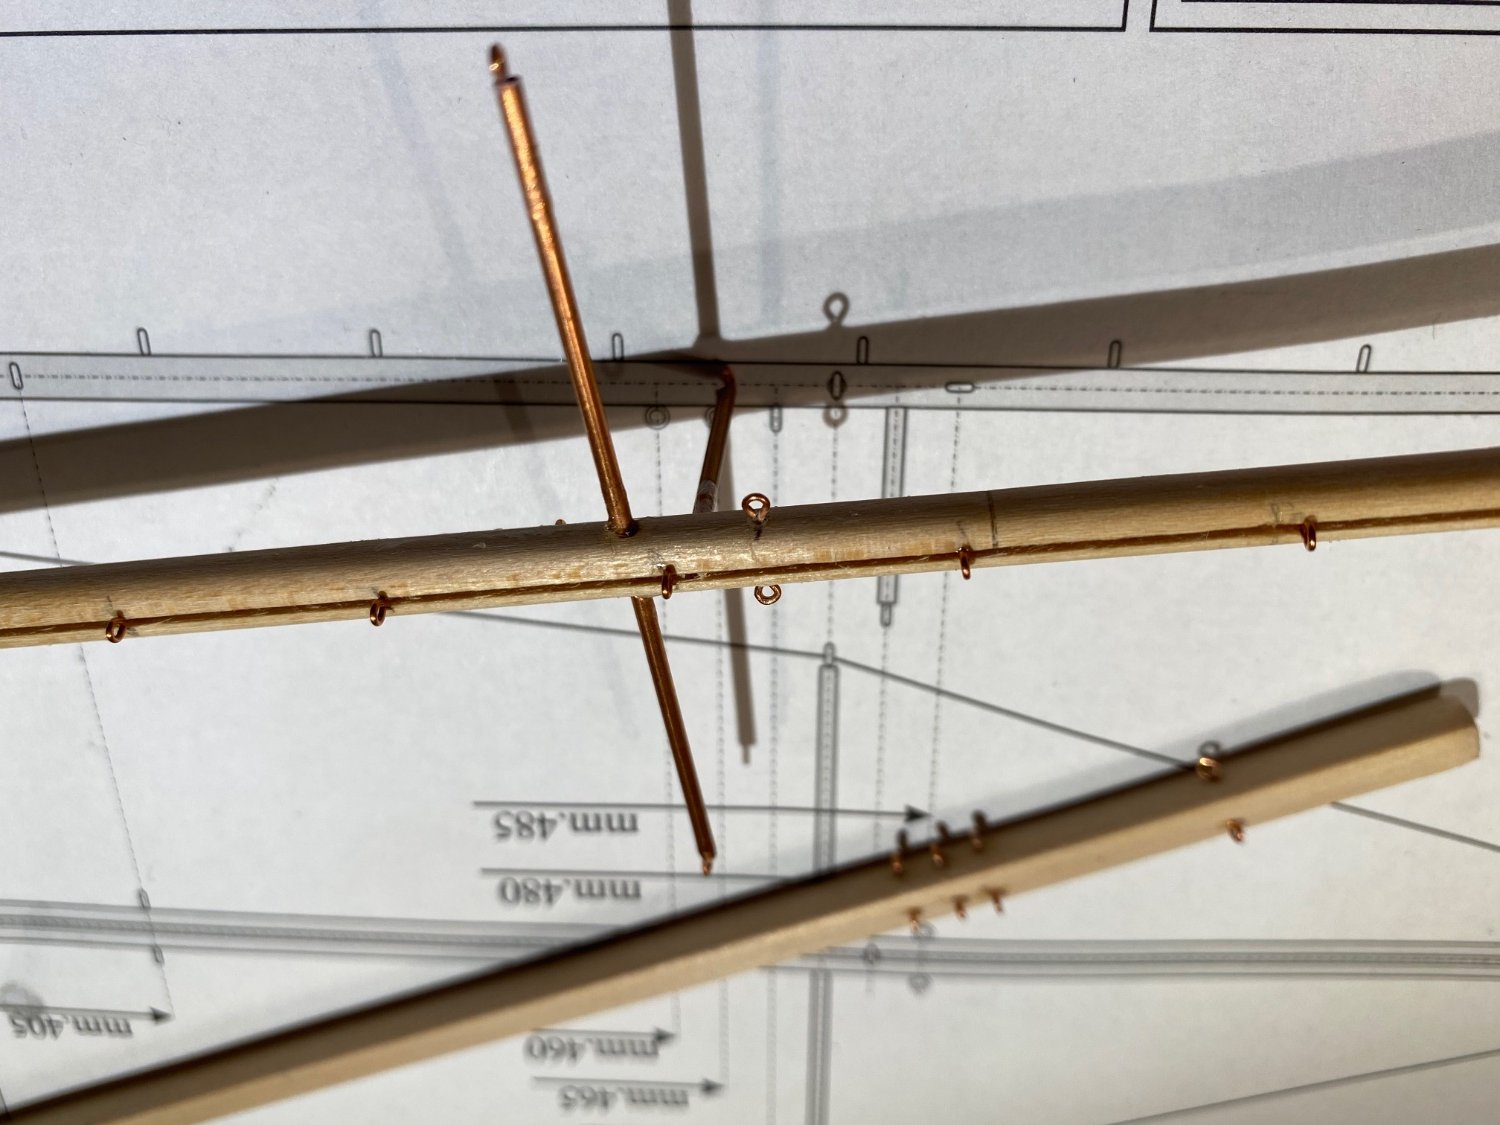
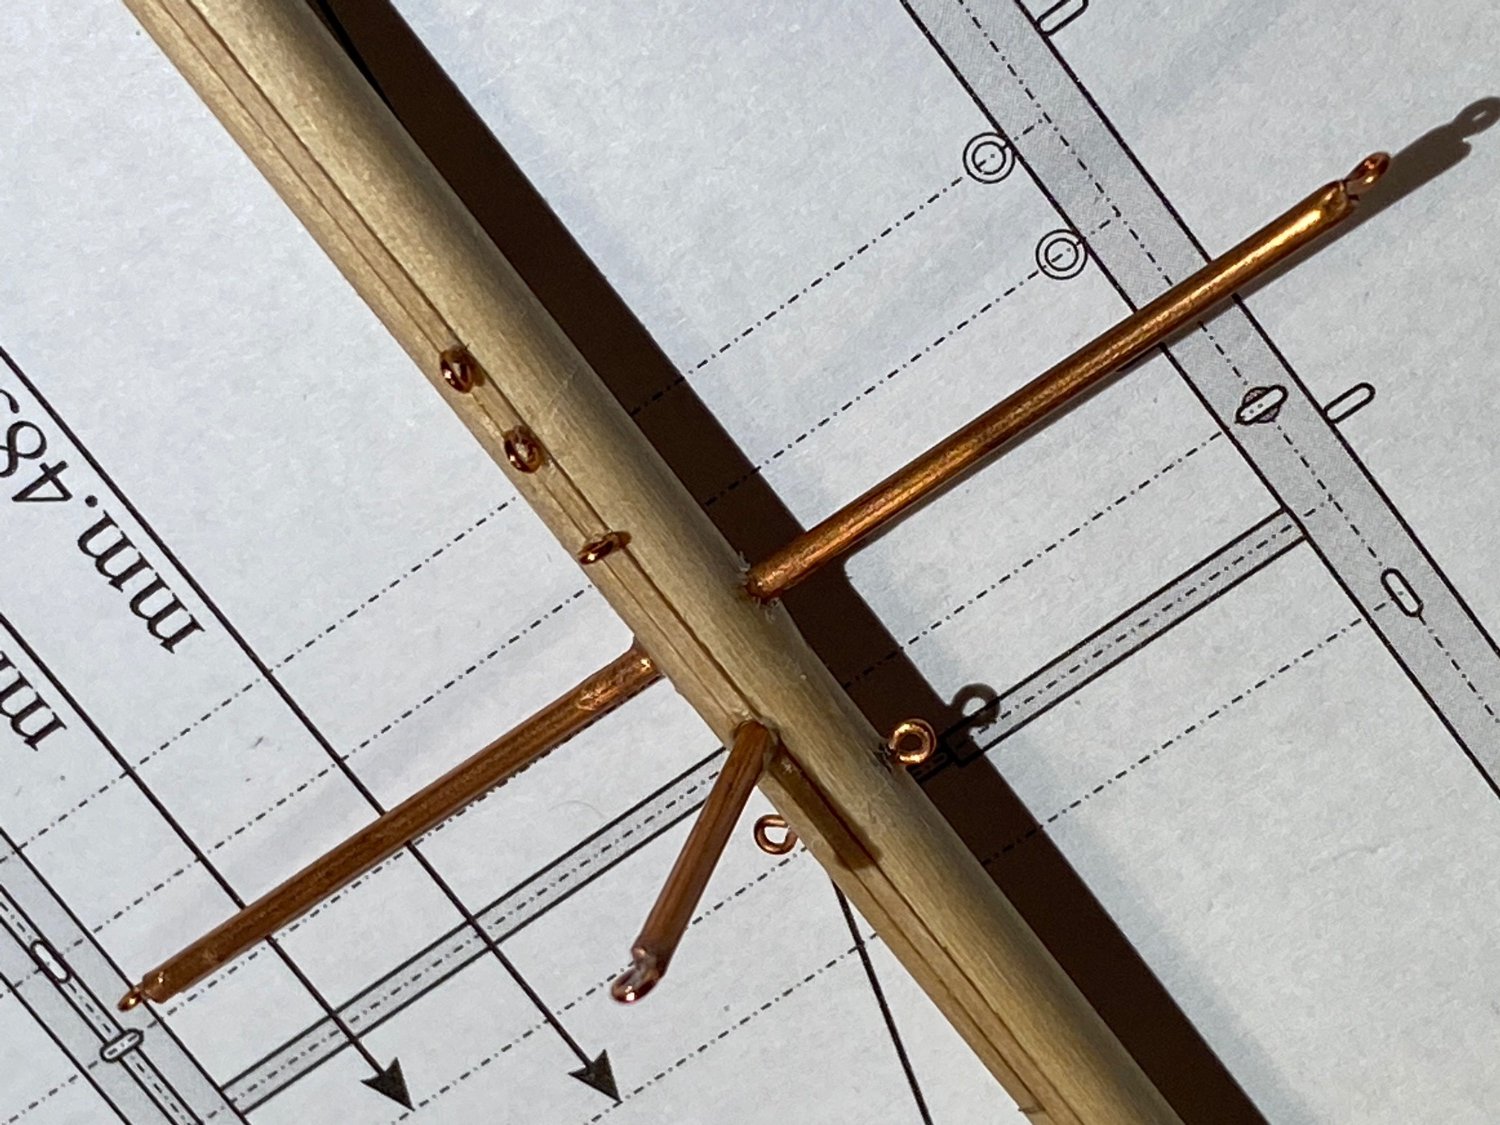
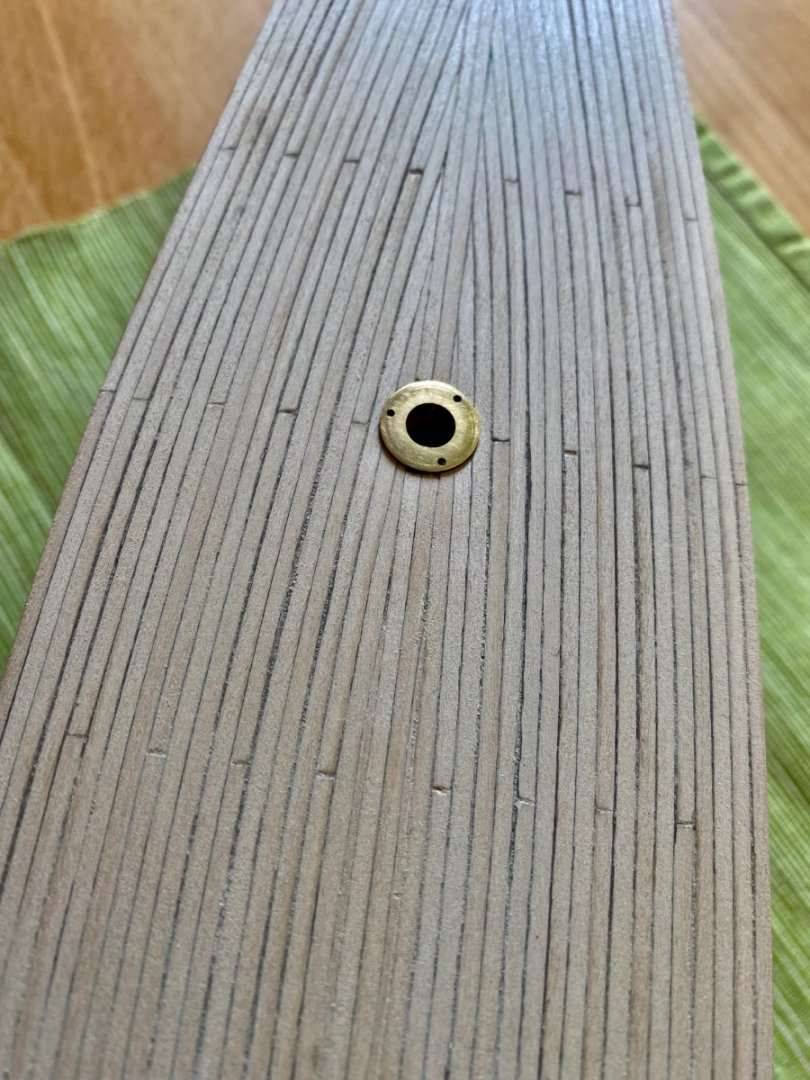
@Sal: I just marked the positions for the holes with a ruler and a pencil to have the holes evenly spaced. @ Tom: Thank you very much. I hope you‘ll enjoy building the Rainbow as much as I did. Send me a PM if there‘s something I can help you with. I have just started to build the Endevour. Since the keel was twisted I ordered another one from Amati which arrived a couple of days before. Best wishes, Markus
-
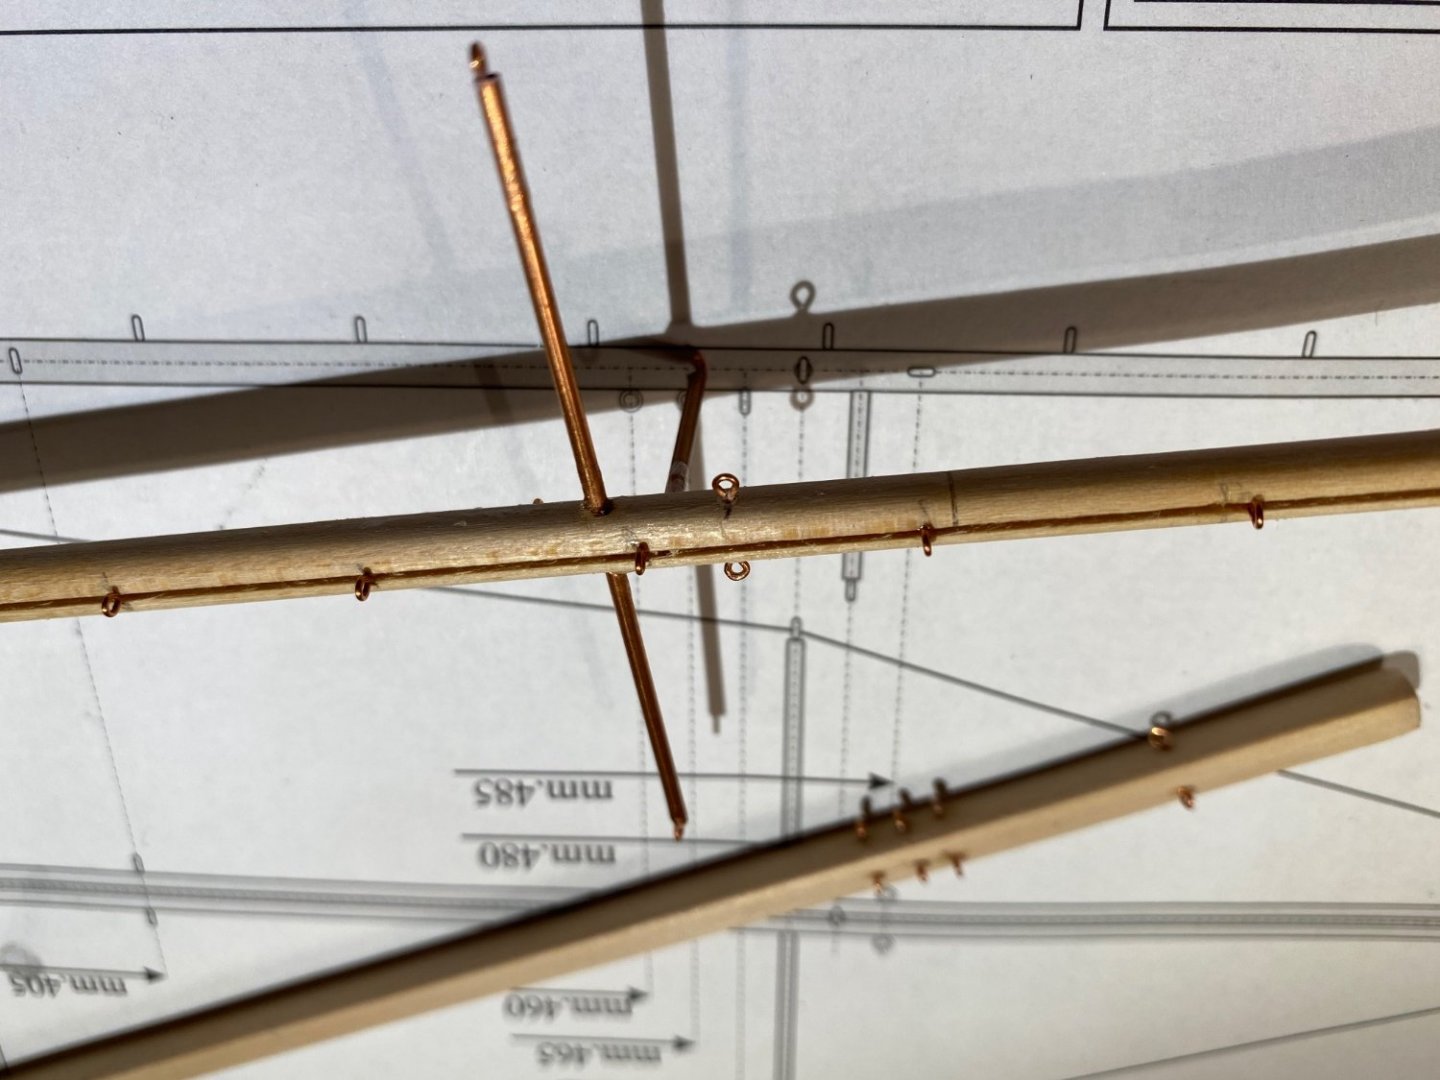
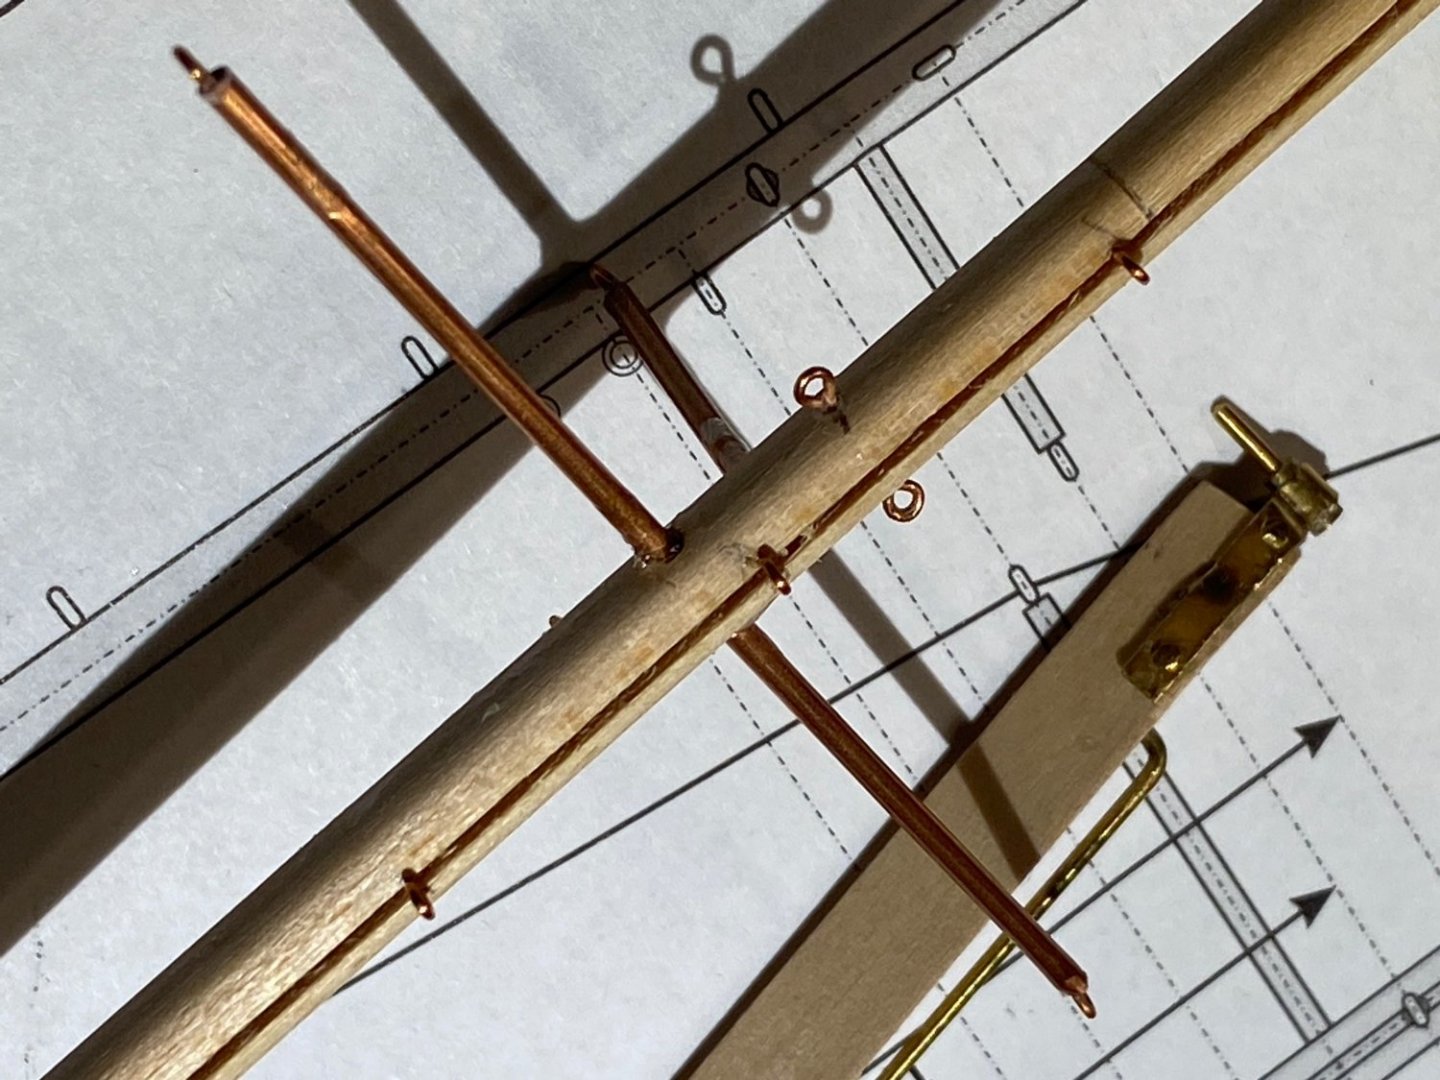
Sorry for my late reply, lots of work. Unfortunately it didn‘t work, although I tried it twice. My replacement part will be delivered from Amati in Italy. Unfortunately there‘s nothing for me to do right now. The mast and he boom are already finished and now I‘m (im)patiently waiting for the replacement part.
-
@Gregory: Thanks, I understood it that way. It‘s in the oven right now!
-
Hi, Gregory, dragonflyxlii and SpyGlass, thanks so far fpr your advice, I‘ll give it a try and also contact Amati. I‘ll let you know as soon as I’ve made any progress.
-
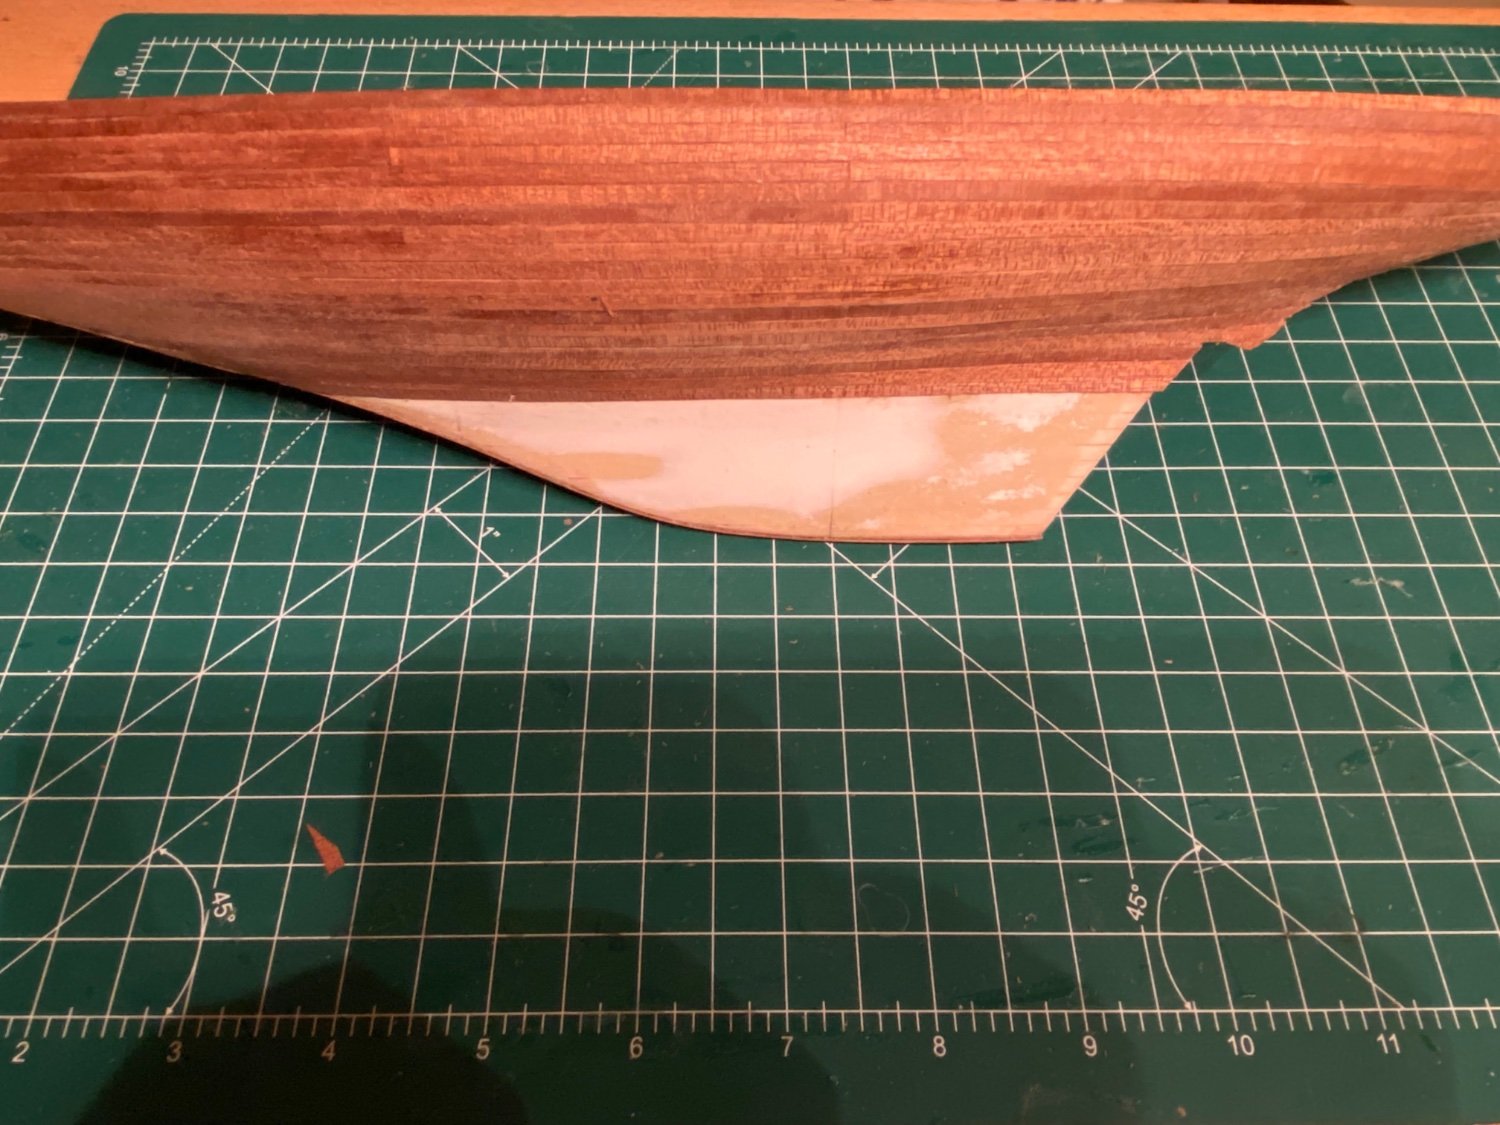
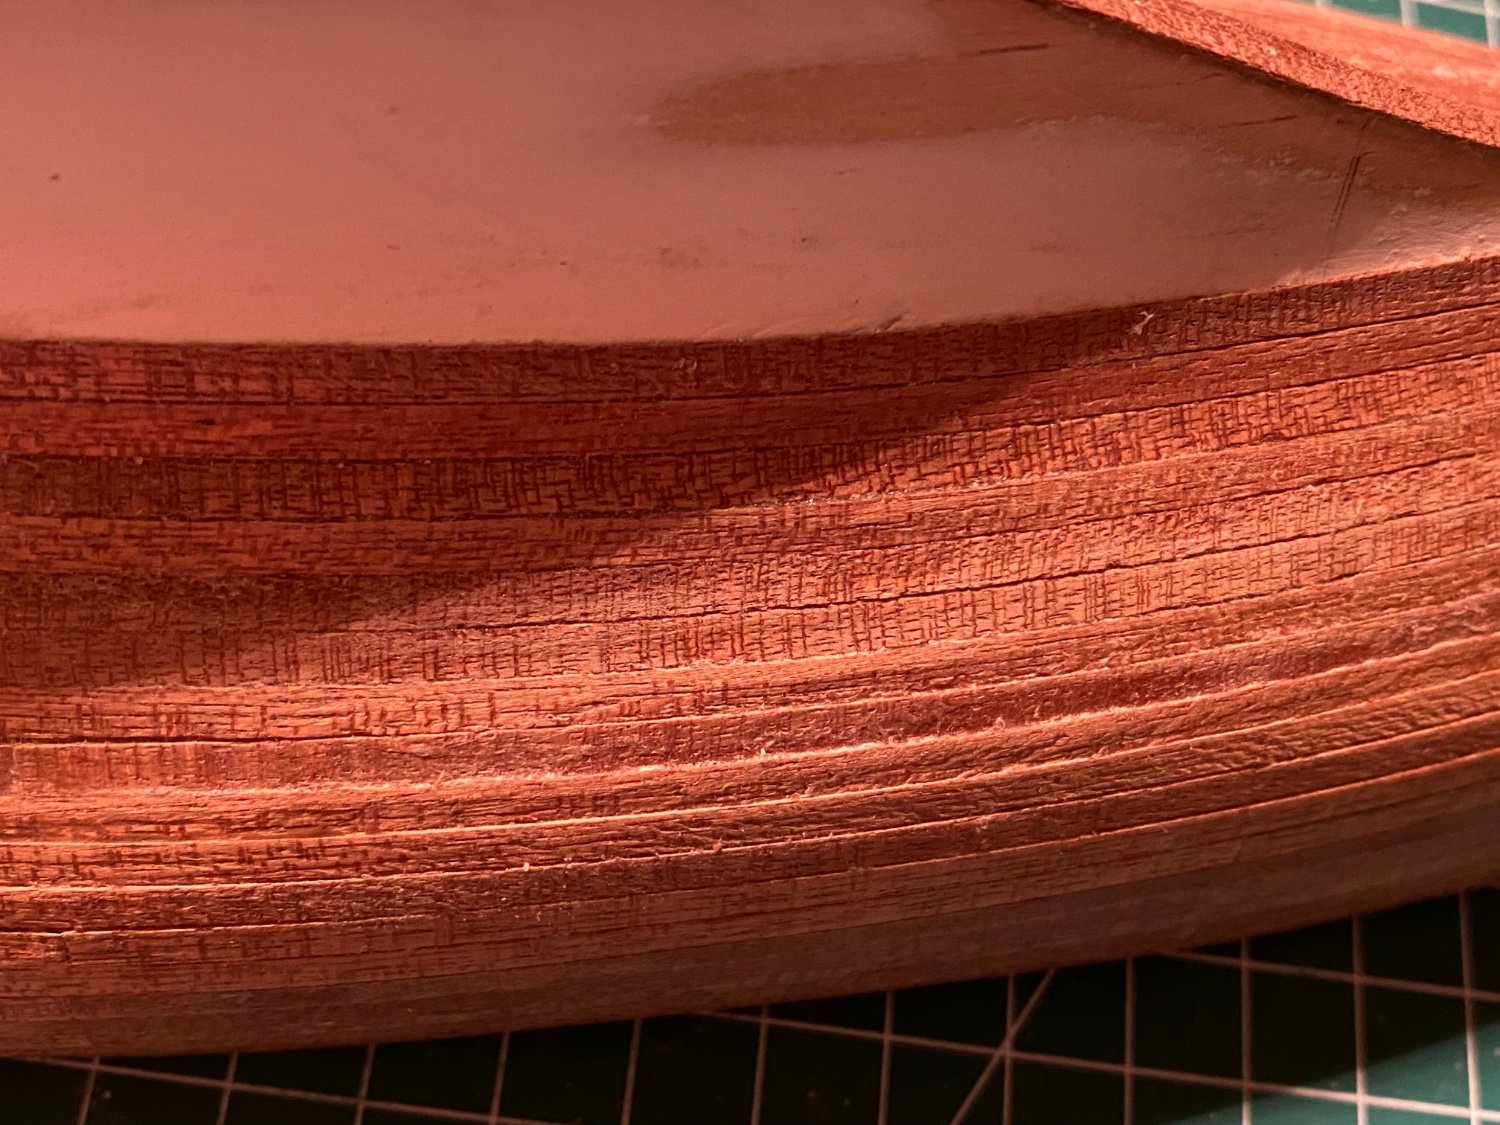
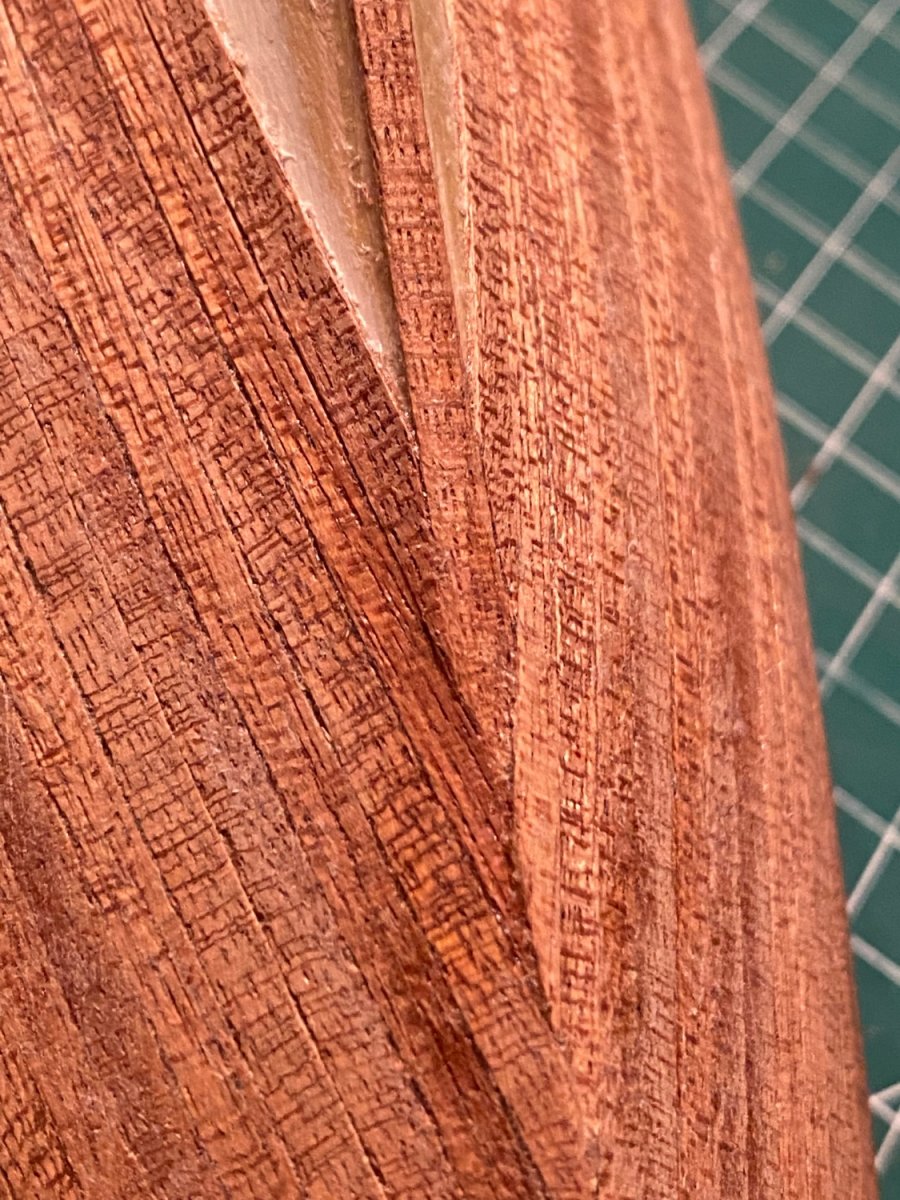
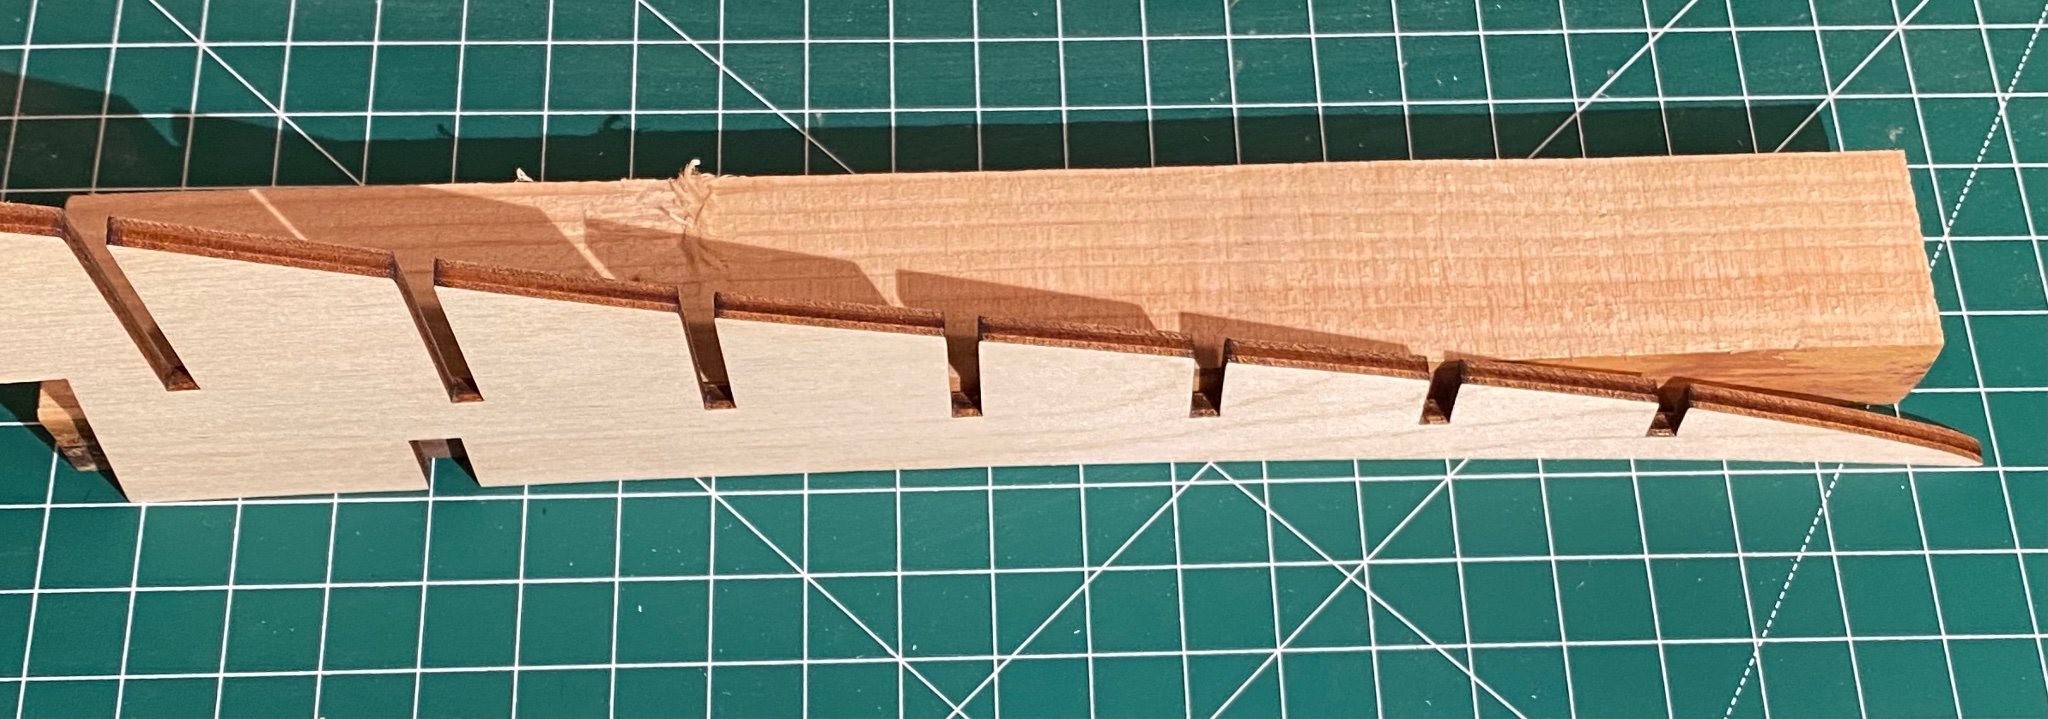
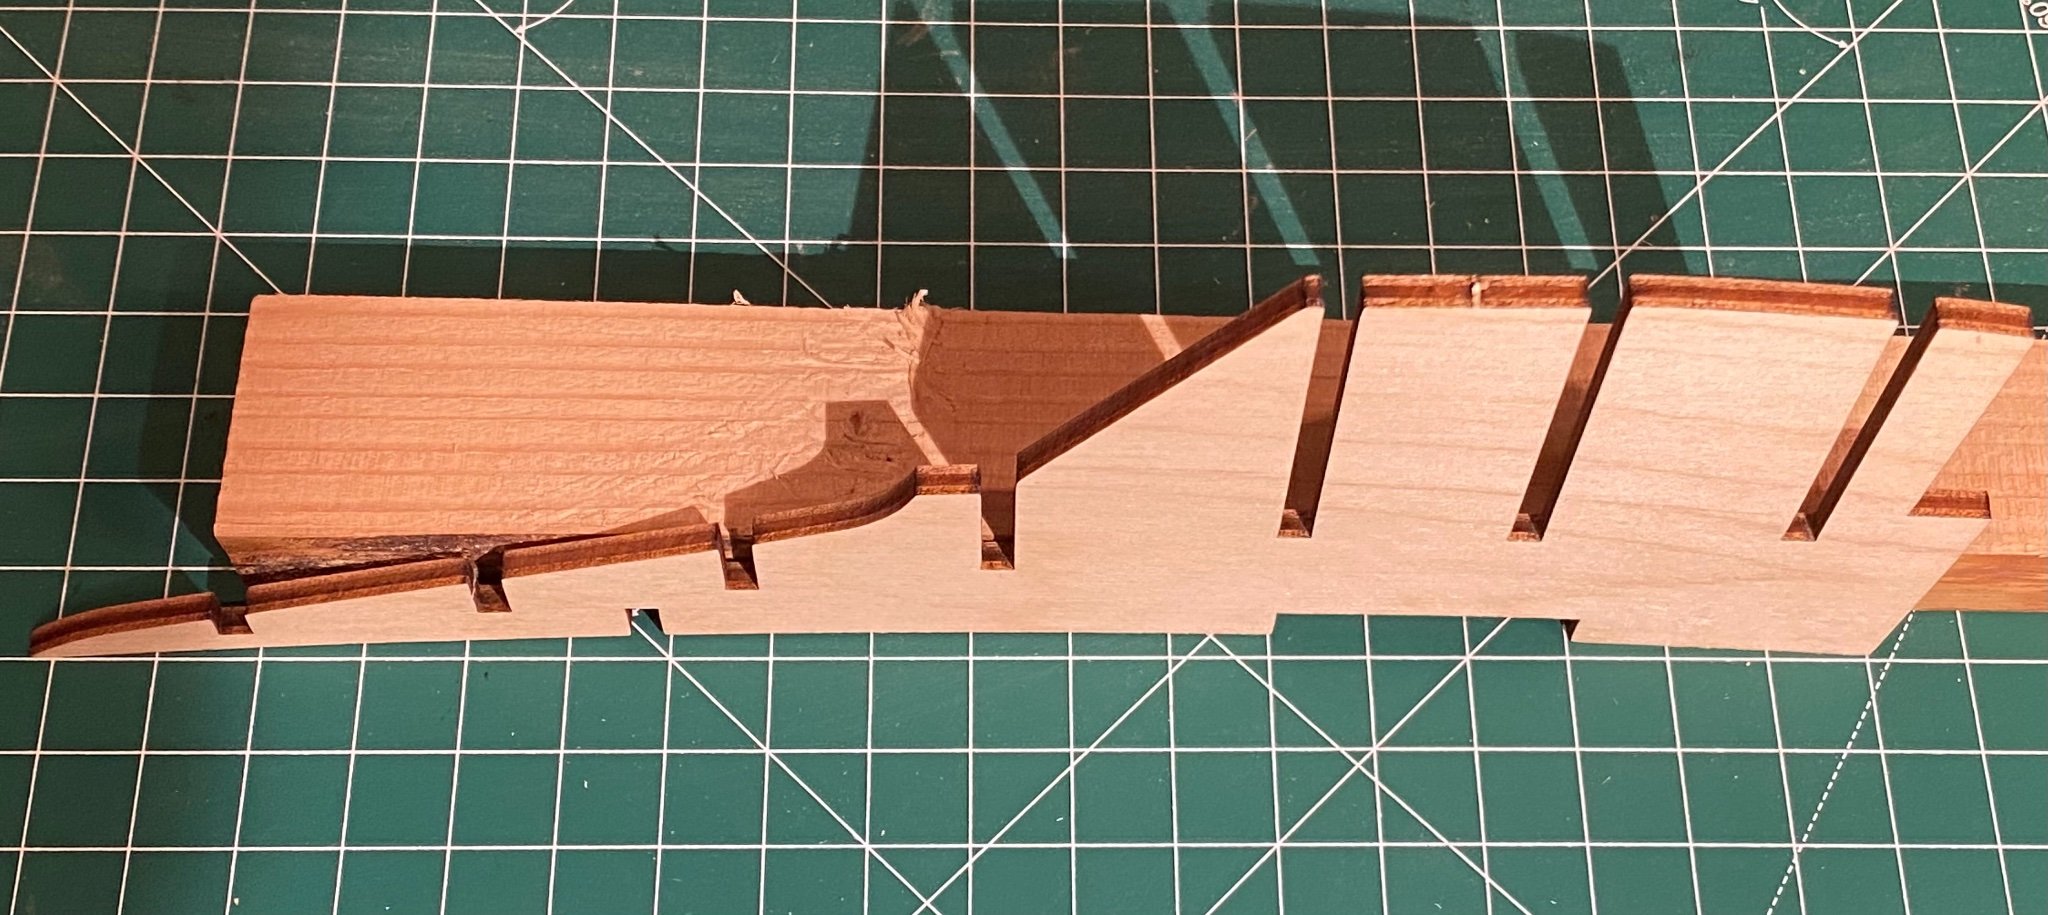
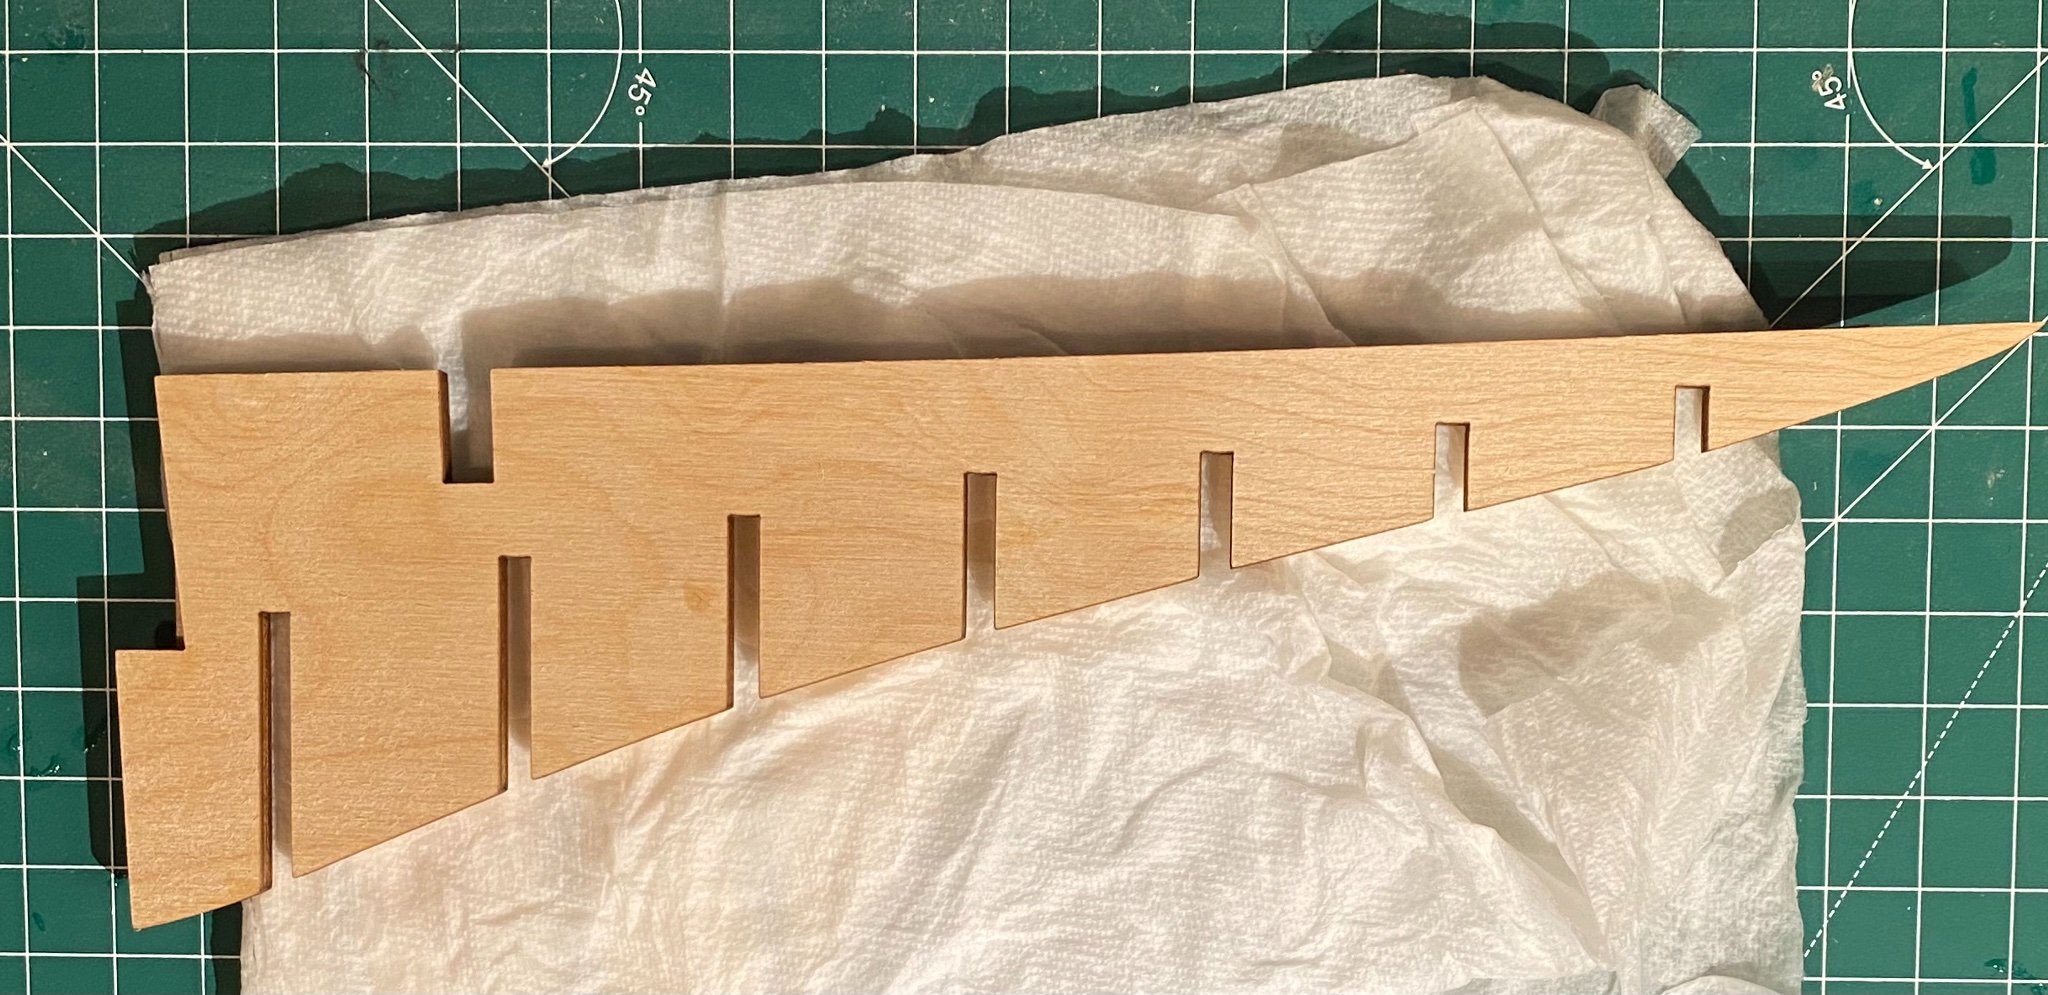
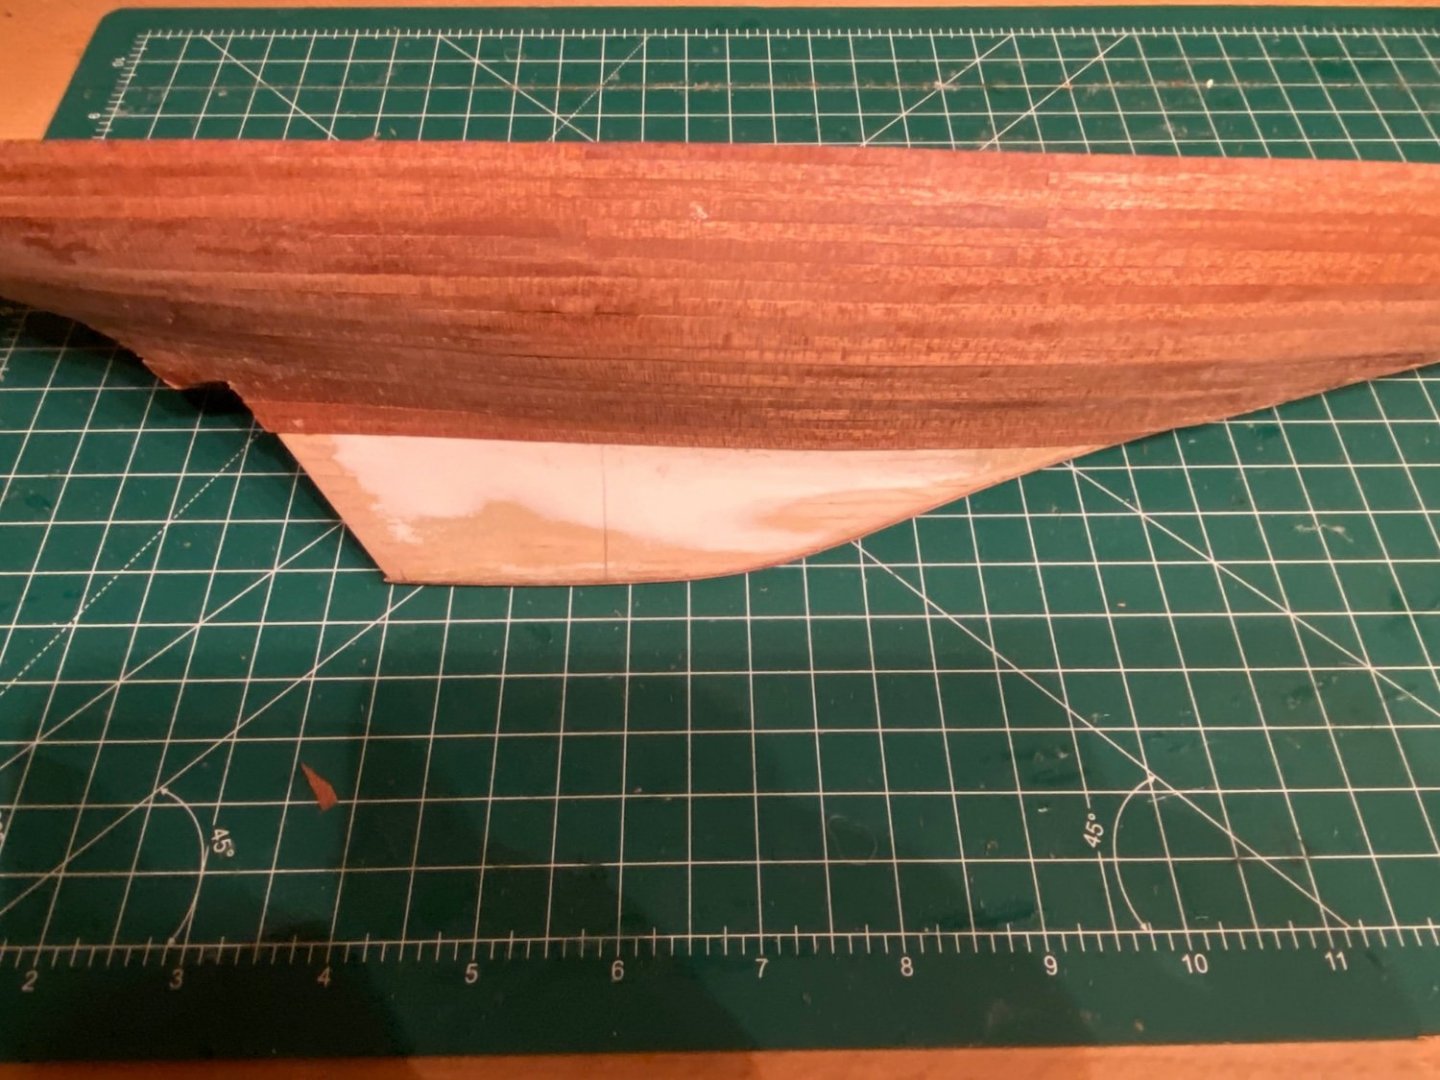
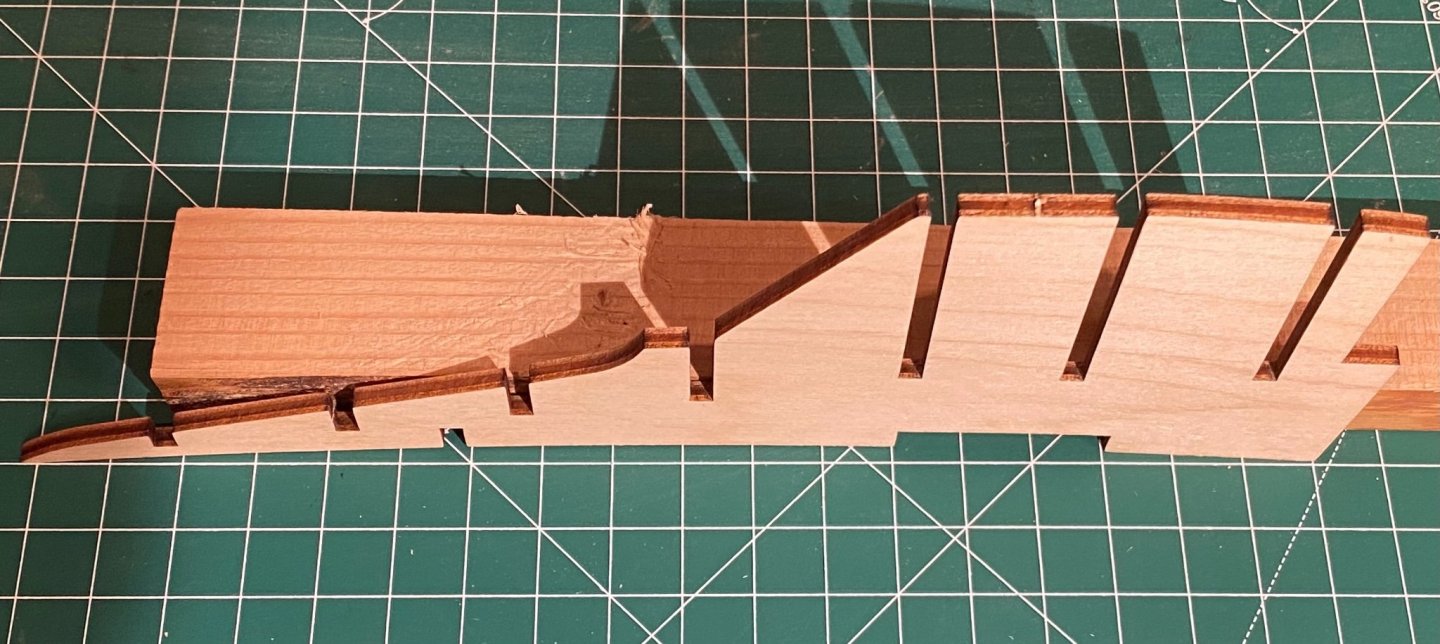
Dear forum members, I‘ve just started to build my second ship (Endeavour 1:80 by Amati) and had to realize that the whole plate with the keel and the frames is bent. I tried moistening the concave sides and clampening them against each other, with poor results (see pictures). Could anybody give me a helping advice? Thanks in advance and the best of health to you!


-
Thanks!
-
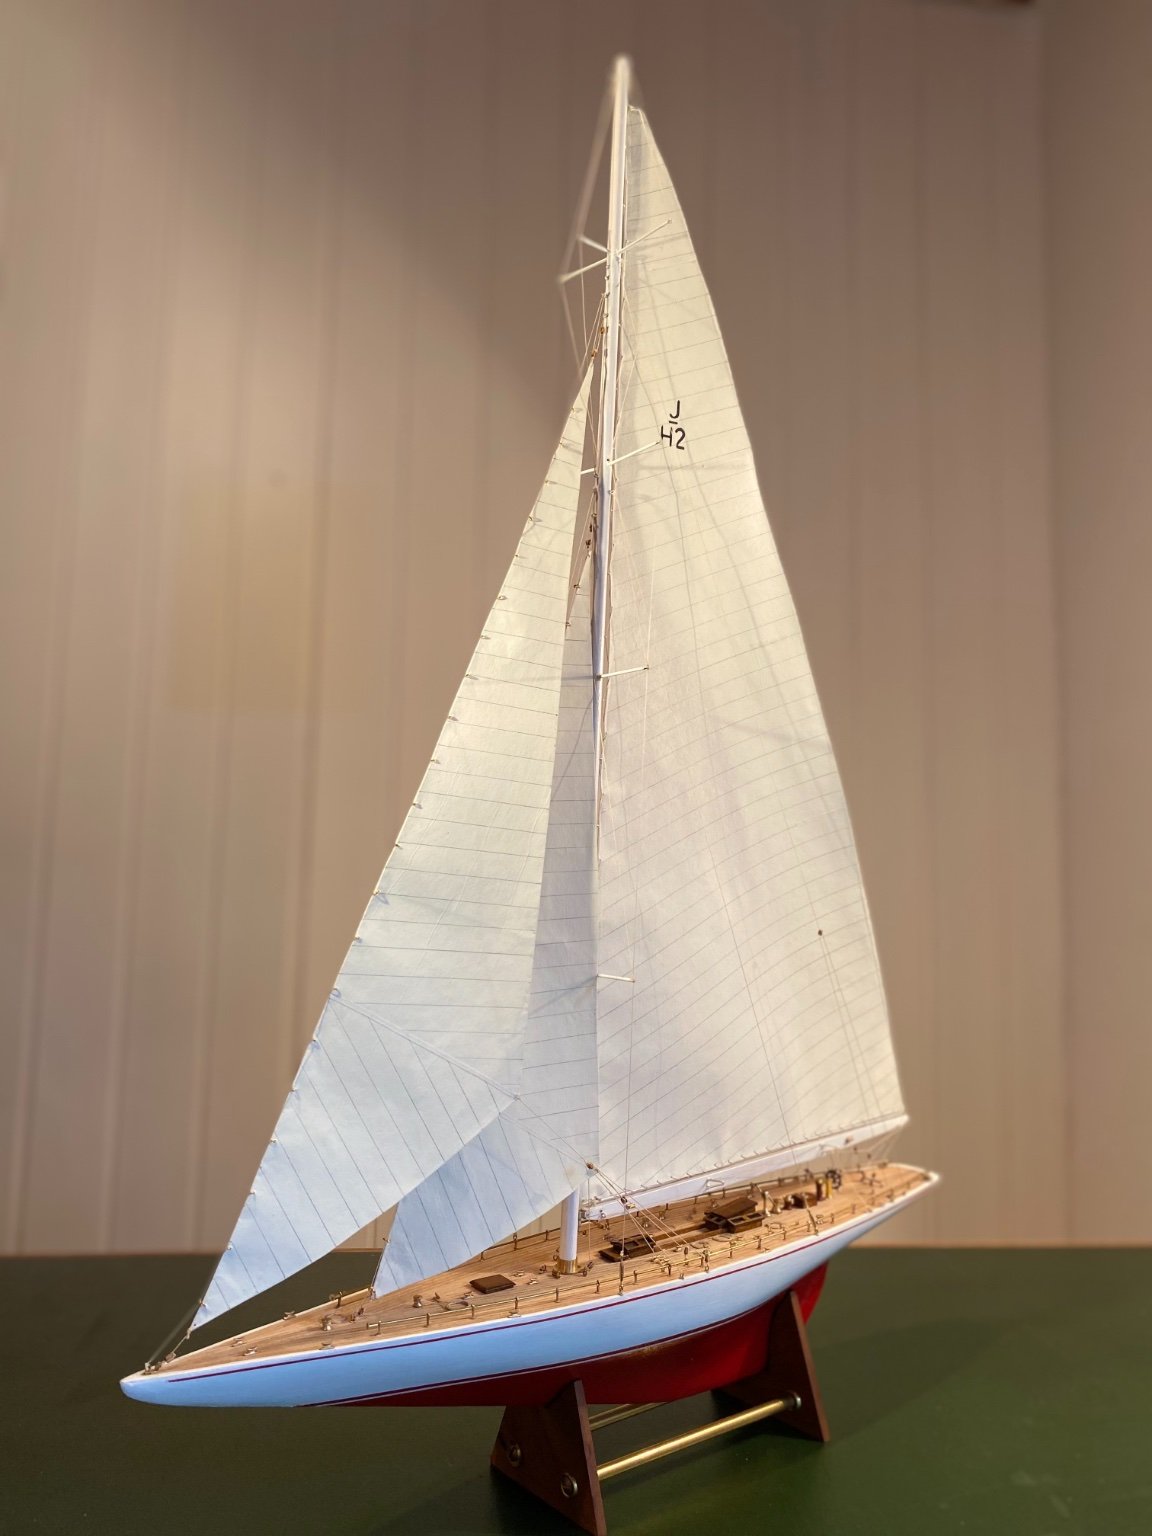
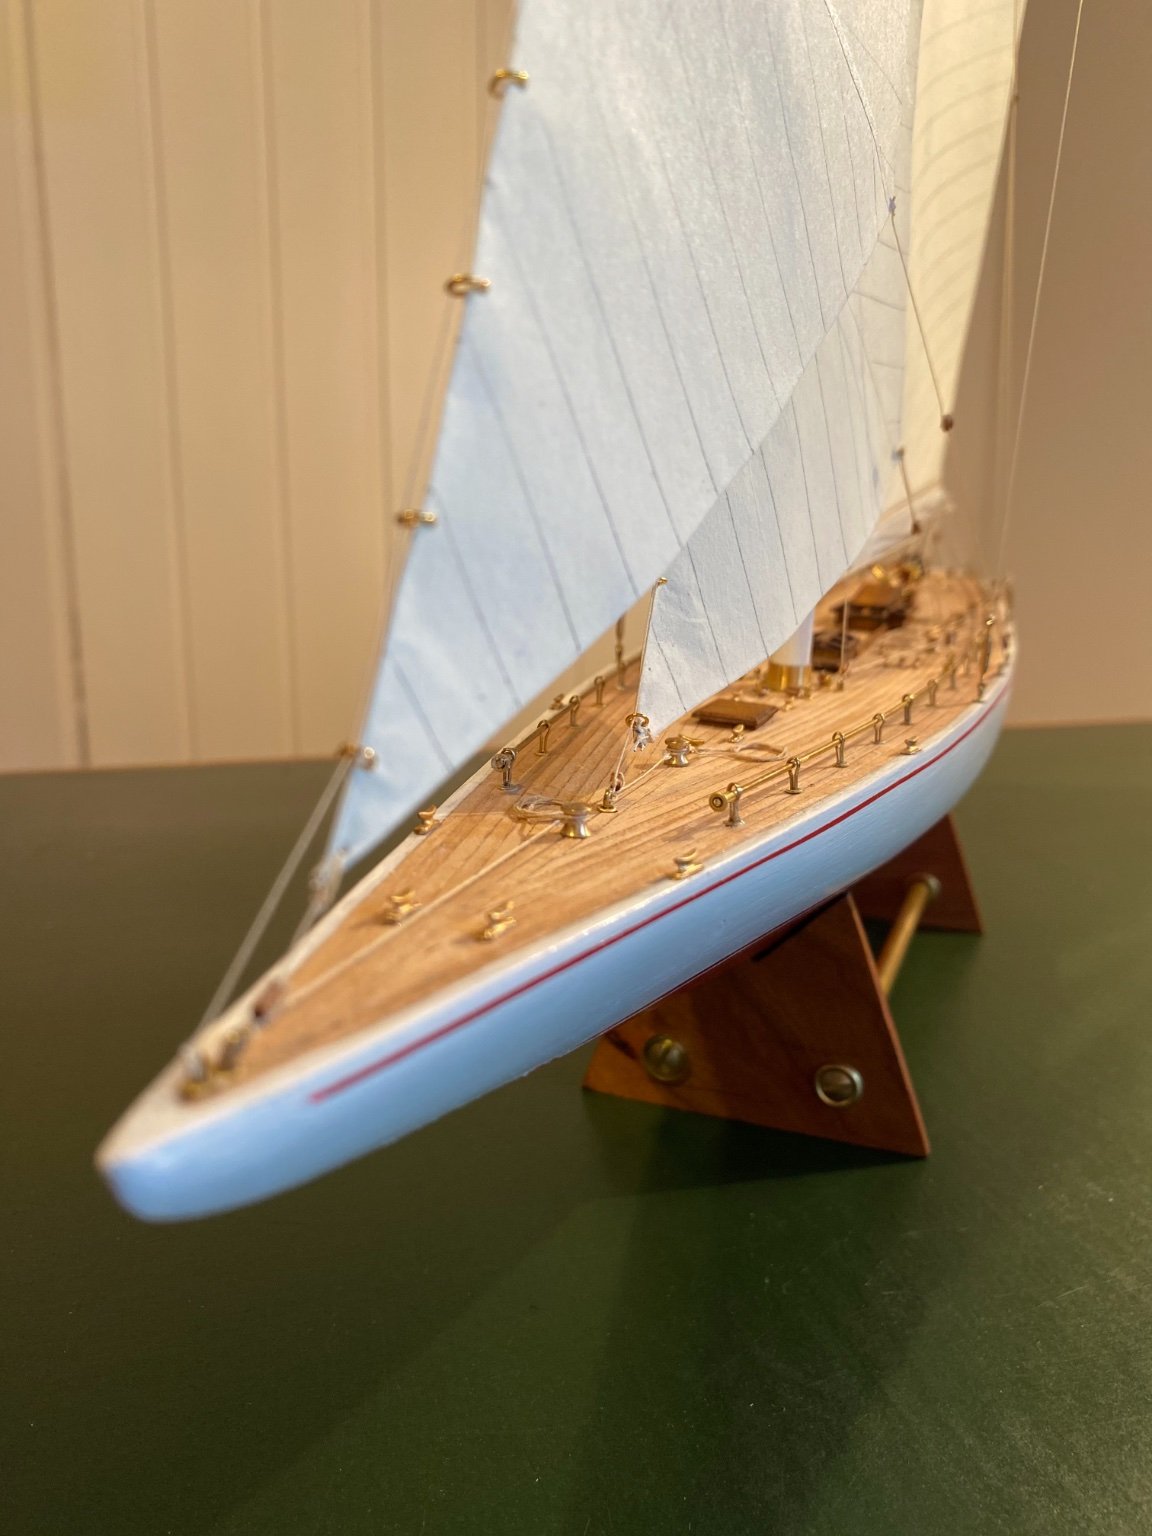
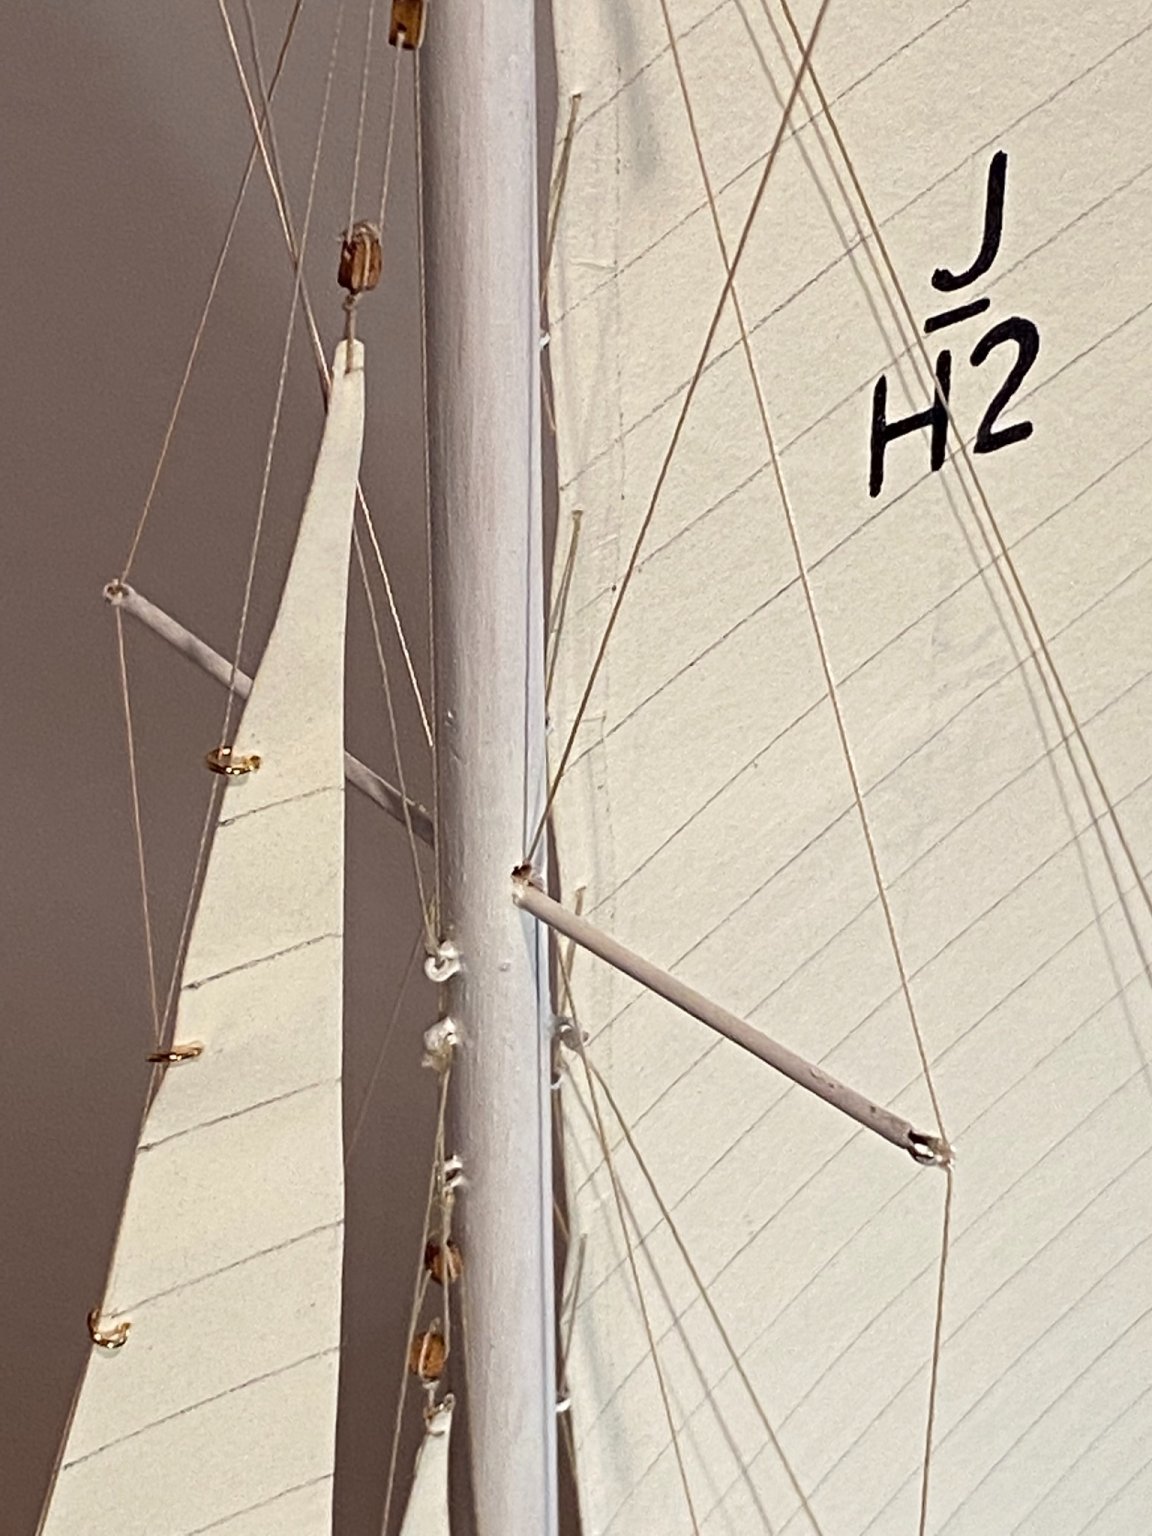
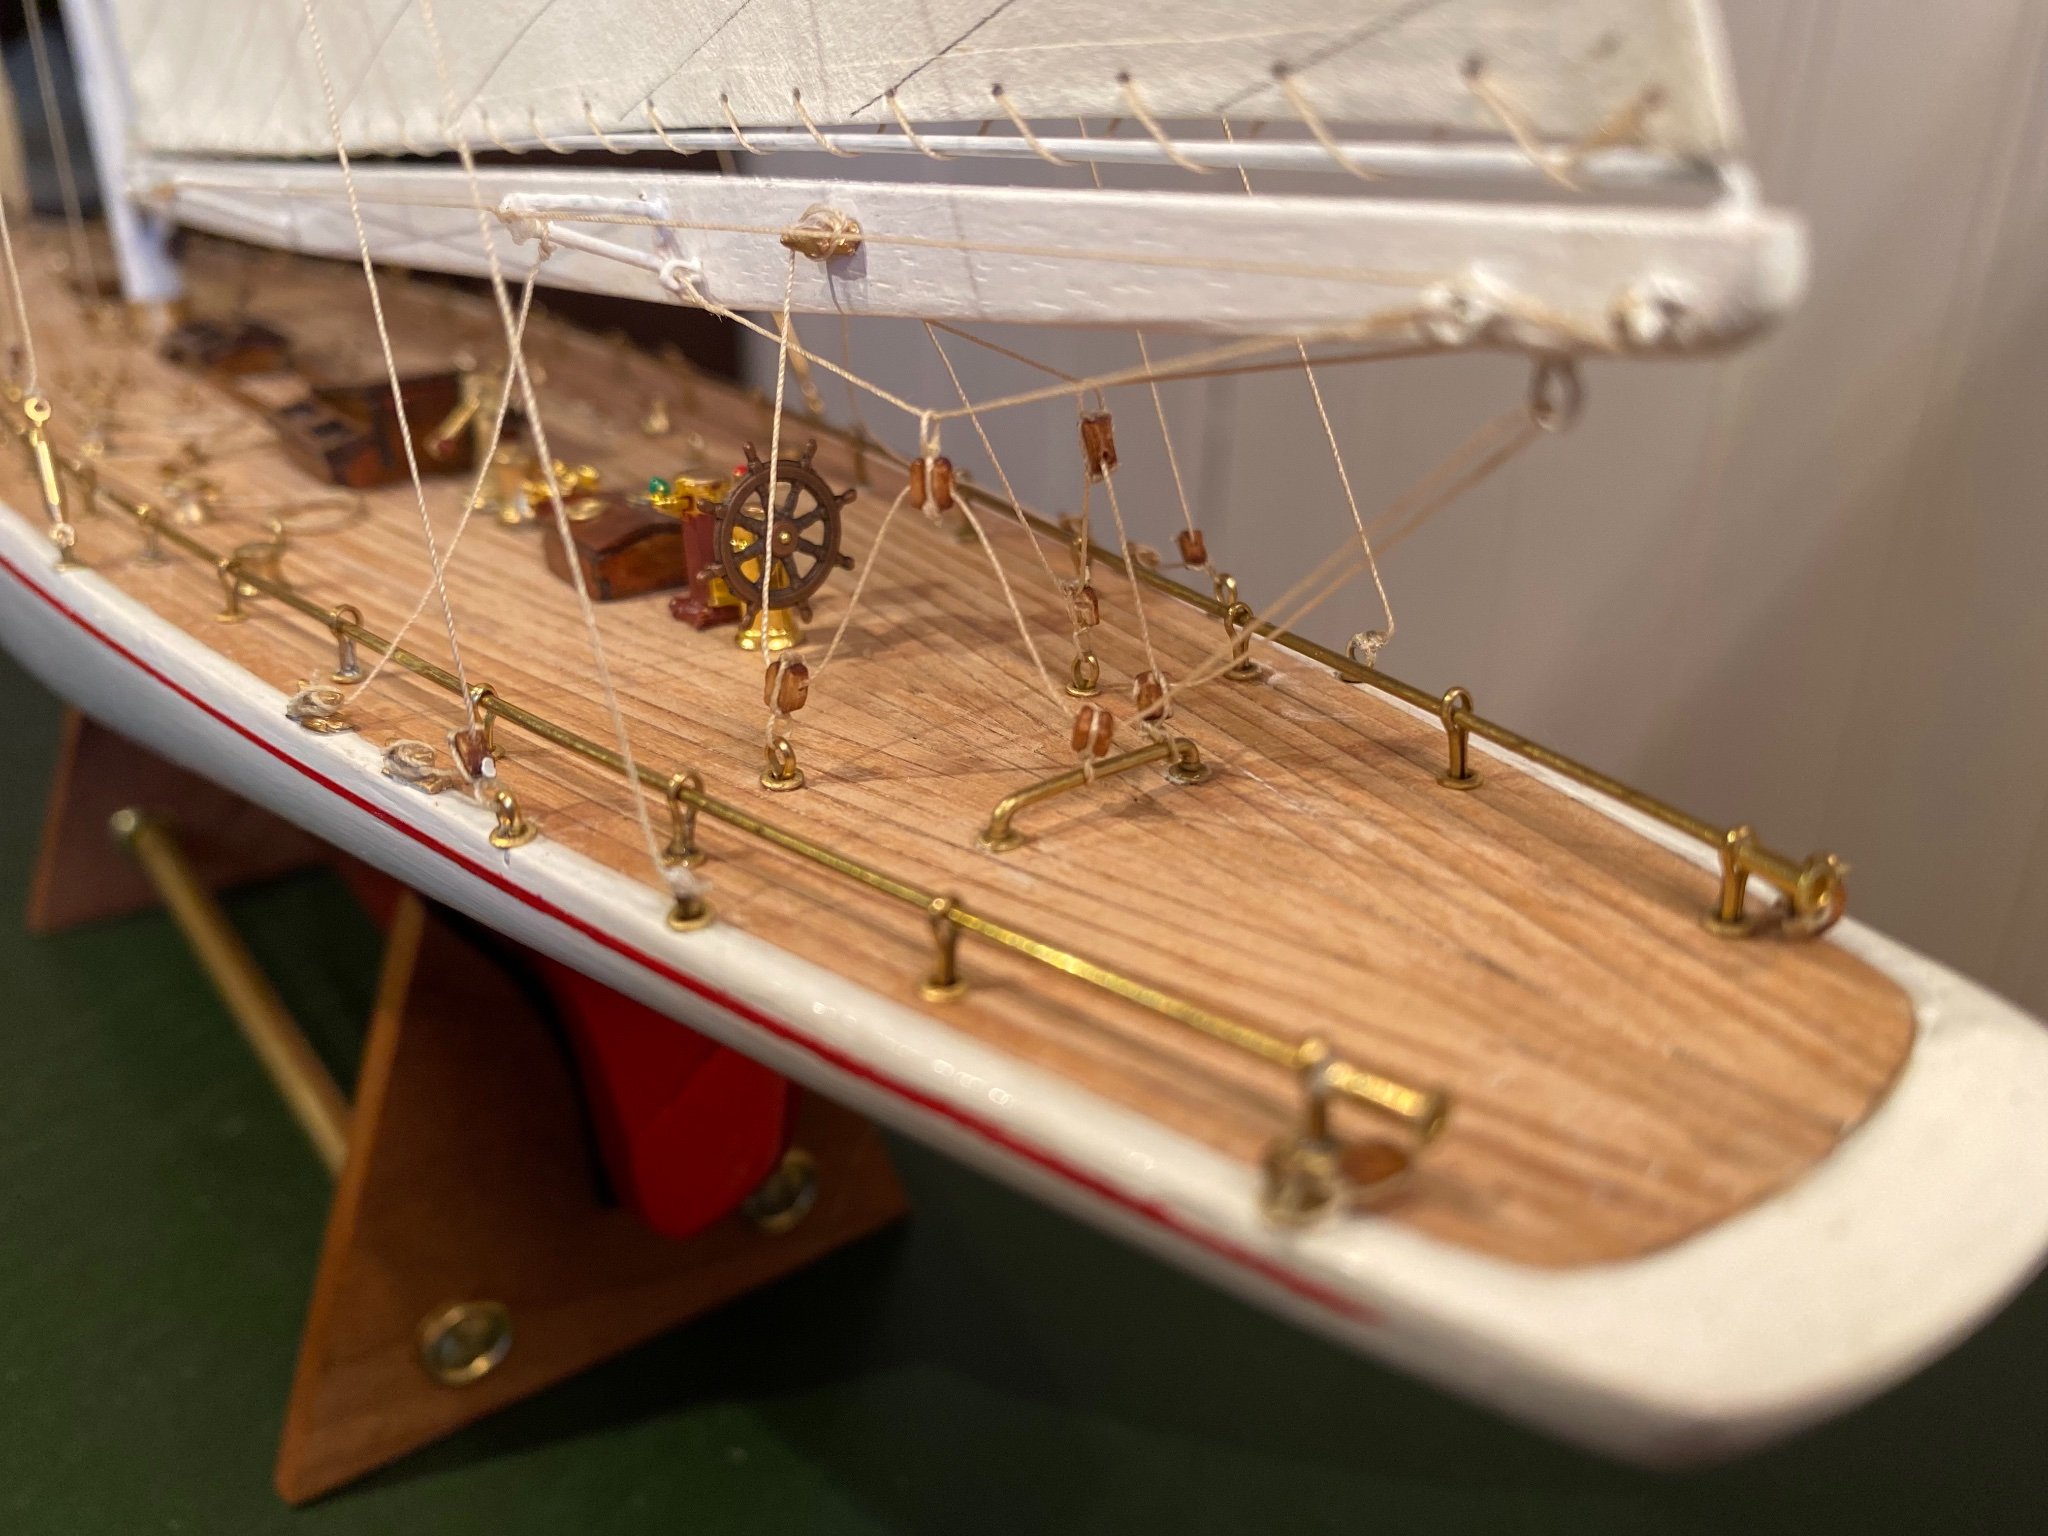
Ok, so it was meant literally! Although I‘ve kust finished my boat, I‘m not fully satisfied, because the sails made of silkspan do still look like paper. I‘m already thinking about unrigging it and sewing new sails. If only I had the right cloth and had the required skills with the sewing machine…
-
Sorry, Roger, I‘m German and don‘t understand what you mean with „muzzleloading rifle patches“.
-
Thank you very much!
-
Dear Tom, thanks for your help. In a post before you mentioned that you would try to omit the middle layer next time. I checked it, but it still looks blotchy. Since I would have to buy an A3 size paper for the middle layer, I think I will try to use my tissue paper. I will let you know about my efforts.
-
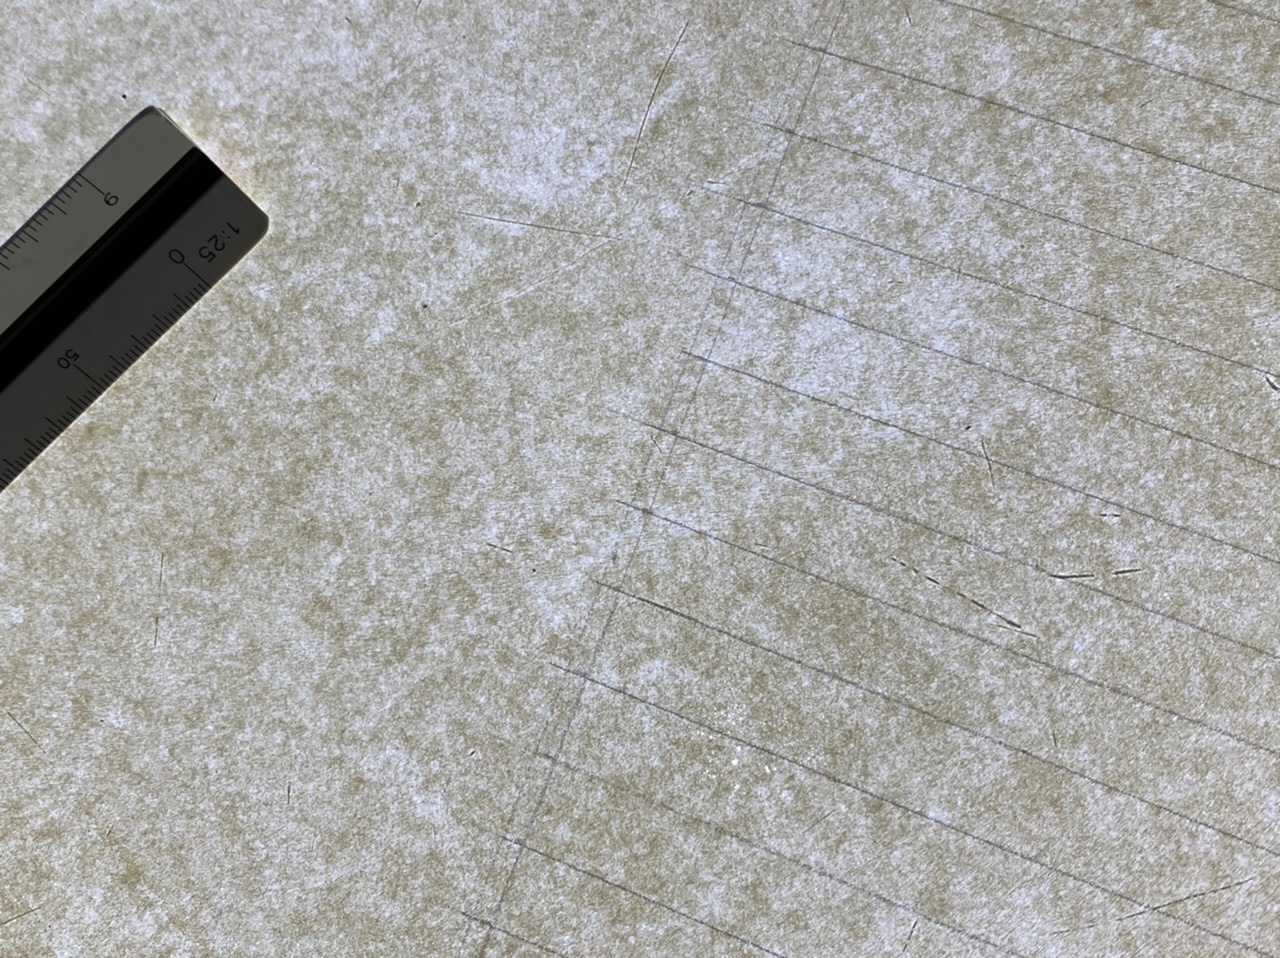
Yeah, that‘s what I tried to achieve, but not that blotchy parchment look when light is shining through (second picture).
-
Dear forum members, after several failures with the material I think I found the right one now. I tried a thin polyester cloth also used for model planes first, but the one that worked so far is translated as „span paper“ (Bespannpapier) in German. Right now I‘m at a loss and a little bit frustrated. After painting the silk span with an ivory acrylic paint as cautiously and evenly as I could, the silk span now looks like parchment when light is shining through (see picture). On a solid ground it‘s pretty much like what I intended it to be. This parchment look might be appropriate for an old ship, but on a J Class Yacht to me it looks inappropriate. Can anybody help me?

-
Dear Tom, thank you very much for your reply. I looked up your build log of the Leopard, it‘s absolutely stunning!! I‘m deeply impressed about this piece of art. I think on Monday I will first try to support my local dealer. If he cannot help me, I‘ll order from Bluejacket. I recognized that I have to be a little more patient since I‘ve made a pretty quick progress so far.
-
Hi, Justin, Imagna and Keith, many thanks for your posts. The post of the Cutty Sark is really good. There is no literal translation for silk span in German and so I bought something literally translated as „silk paper“, which turned out to be „tissue paper“ and crumbled and was torn into pieces when I tried to paint it. I think I‘ll have to ask for material for model planes to get the right material.
-
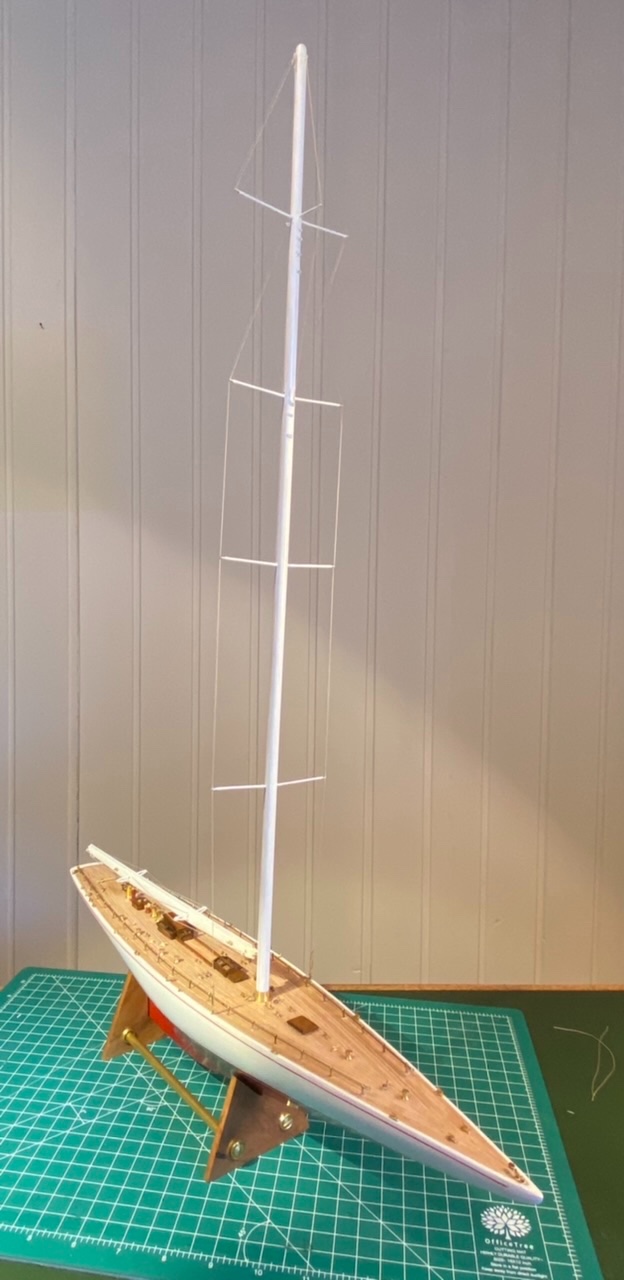
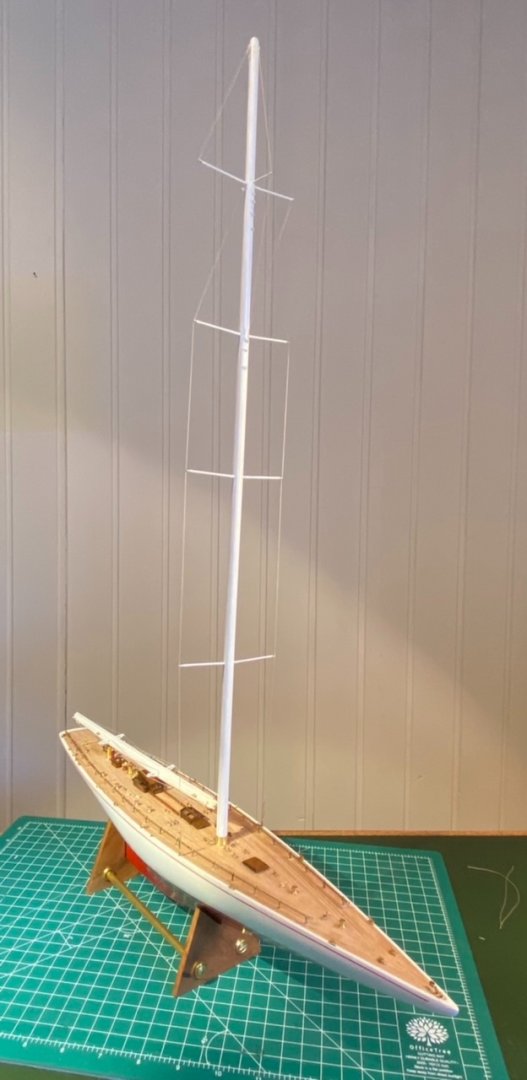
Just finished the mast and boom and now the Rainbow is waiting to be rigged completely and the sails to be set.
-
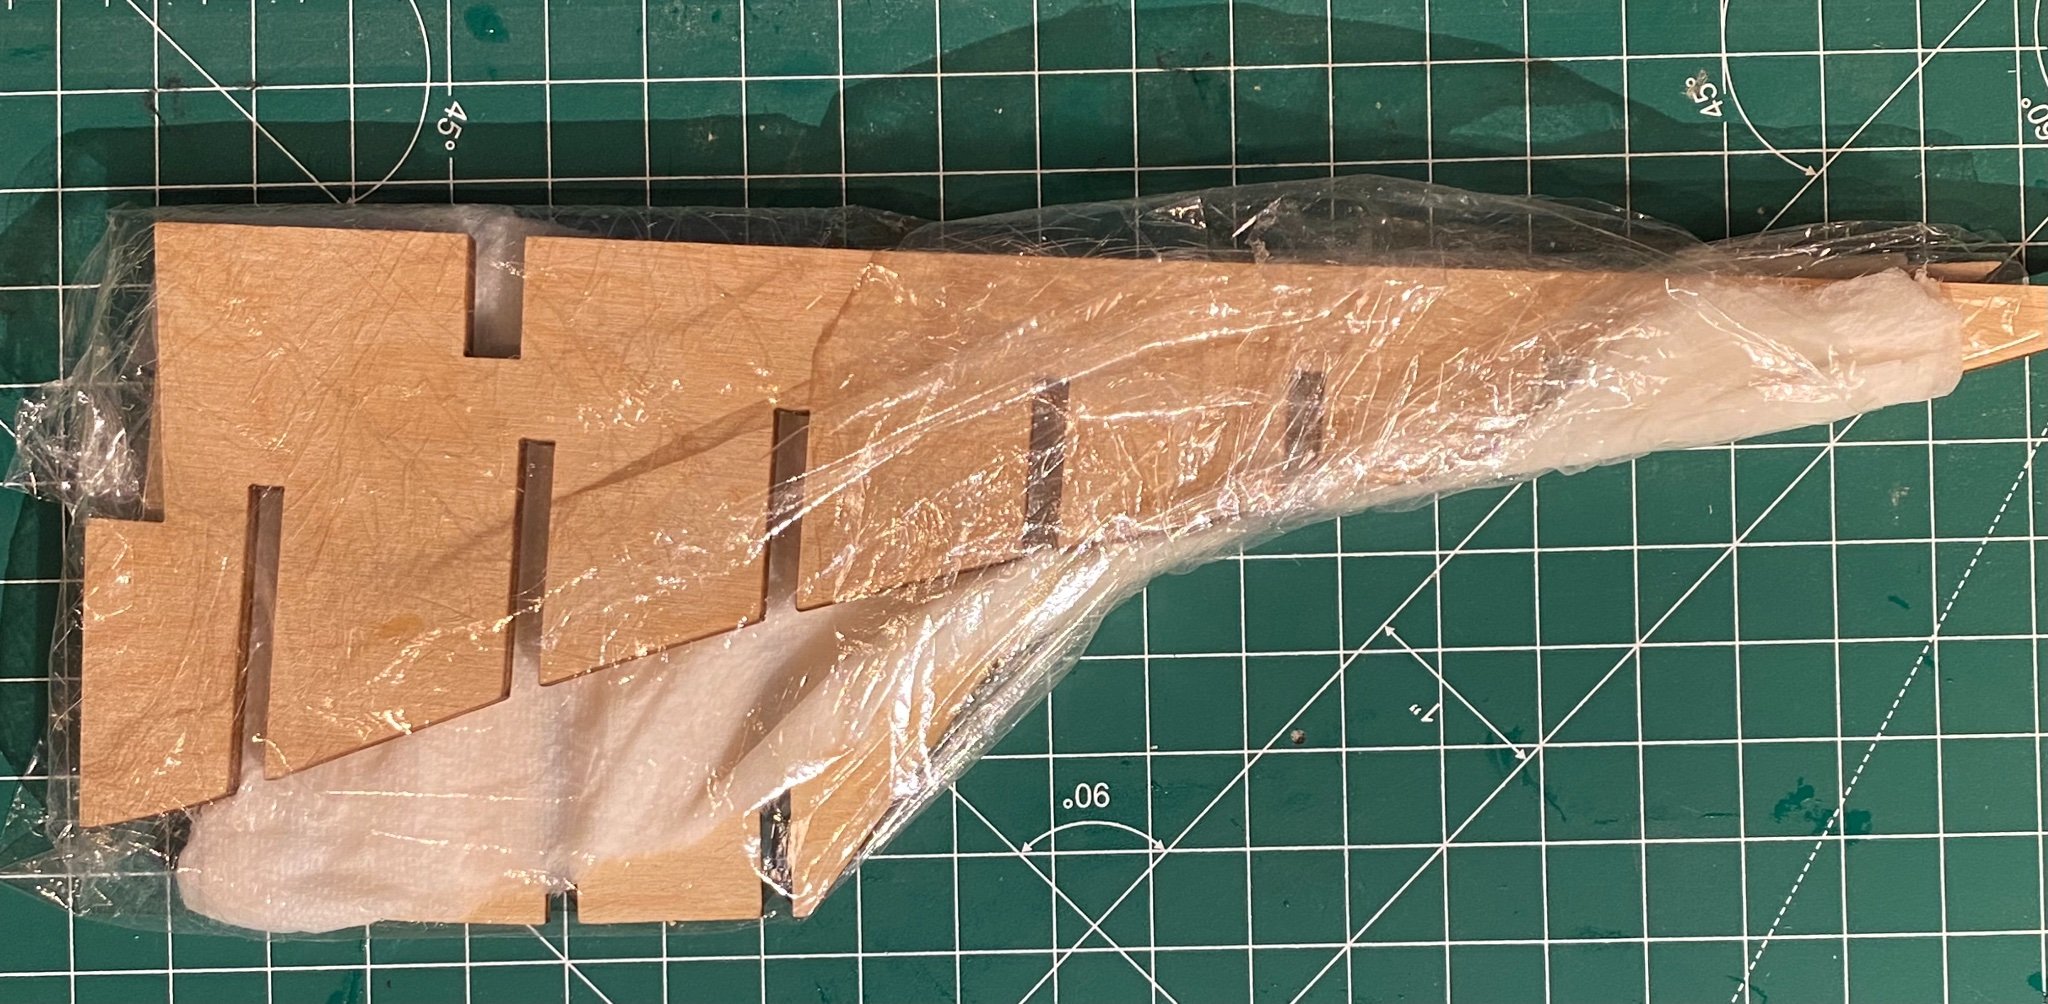
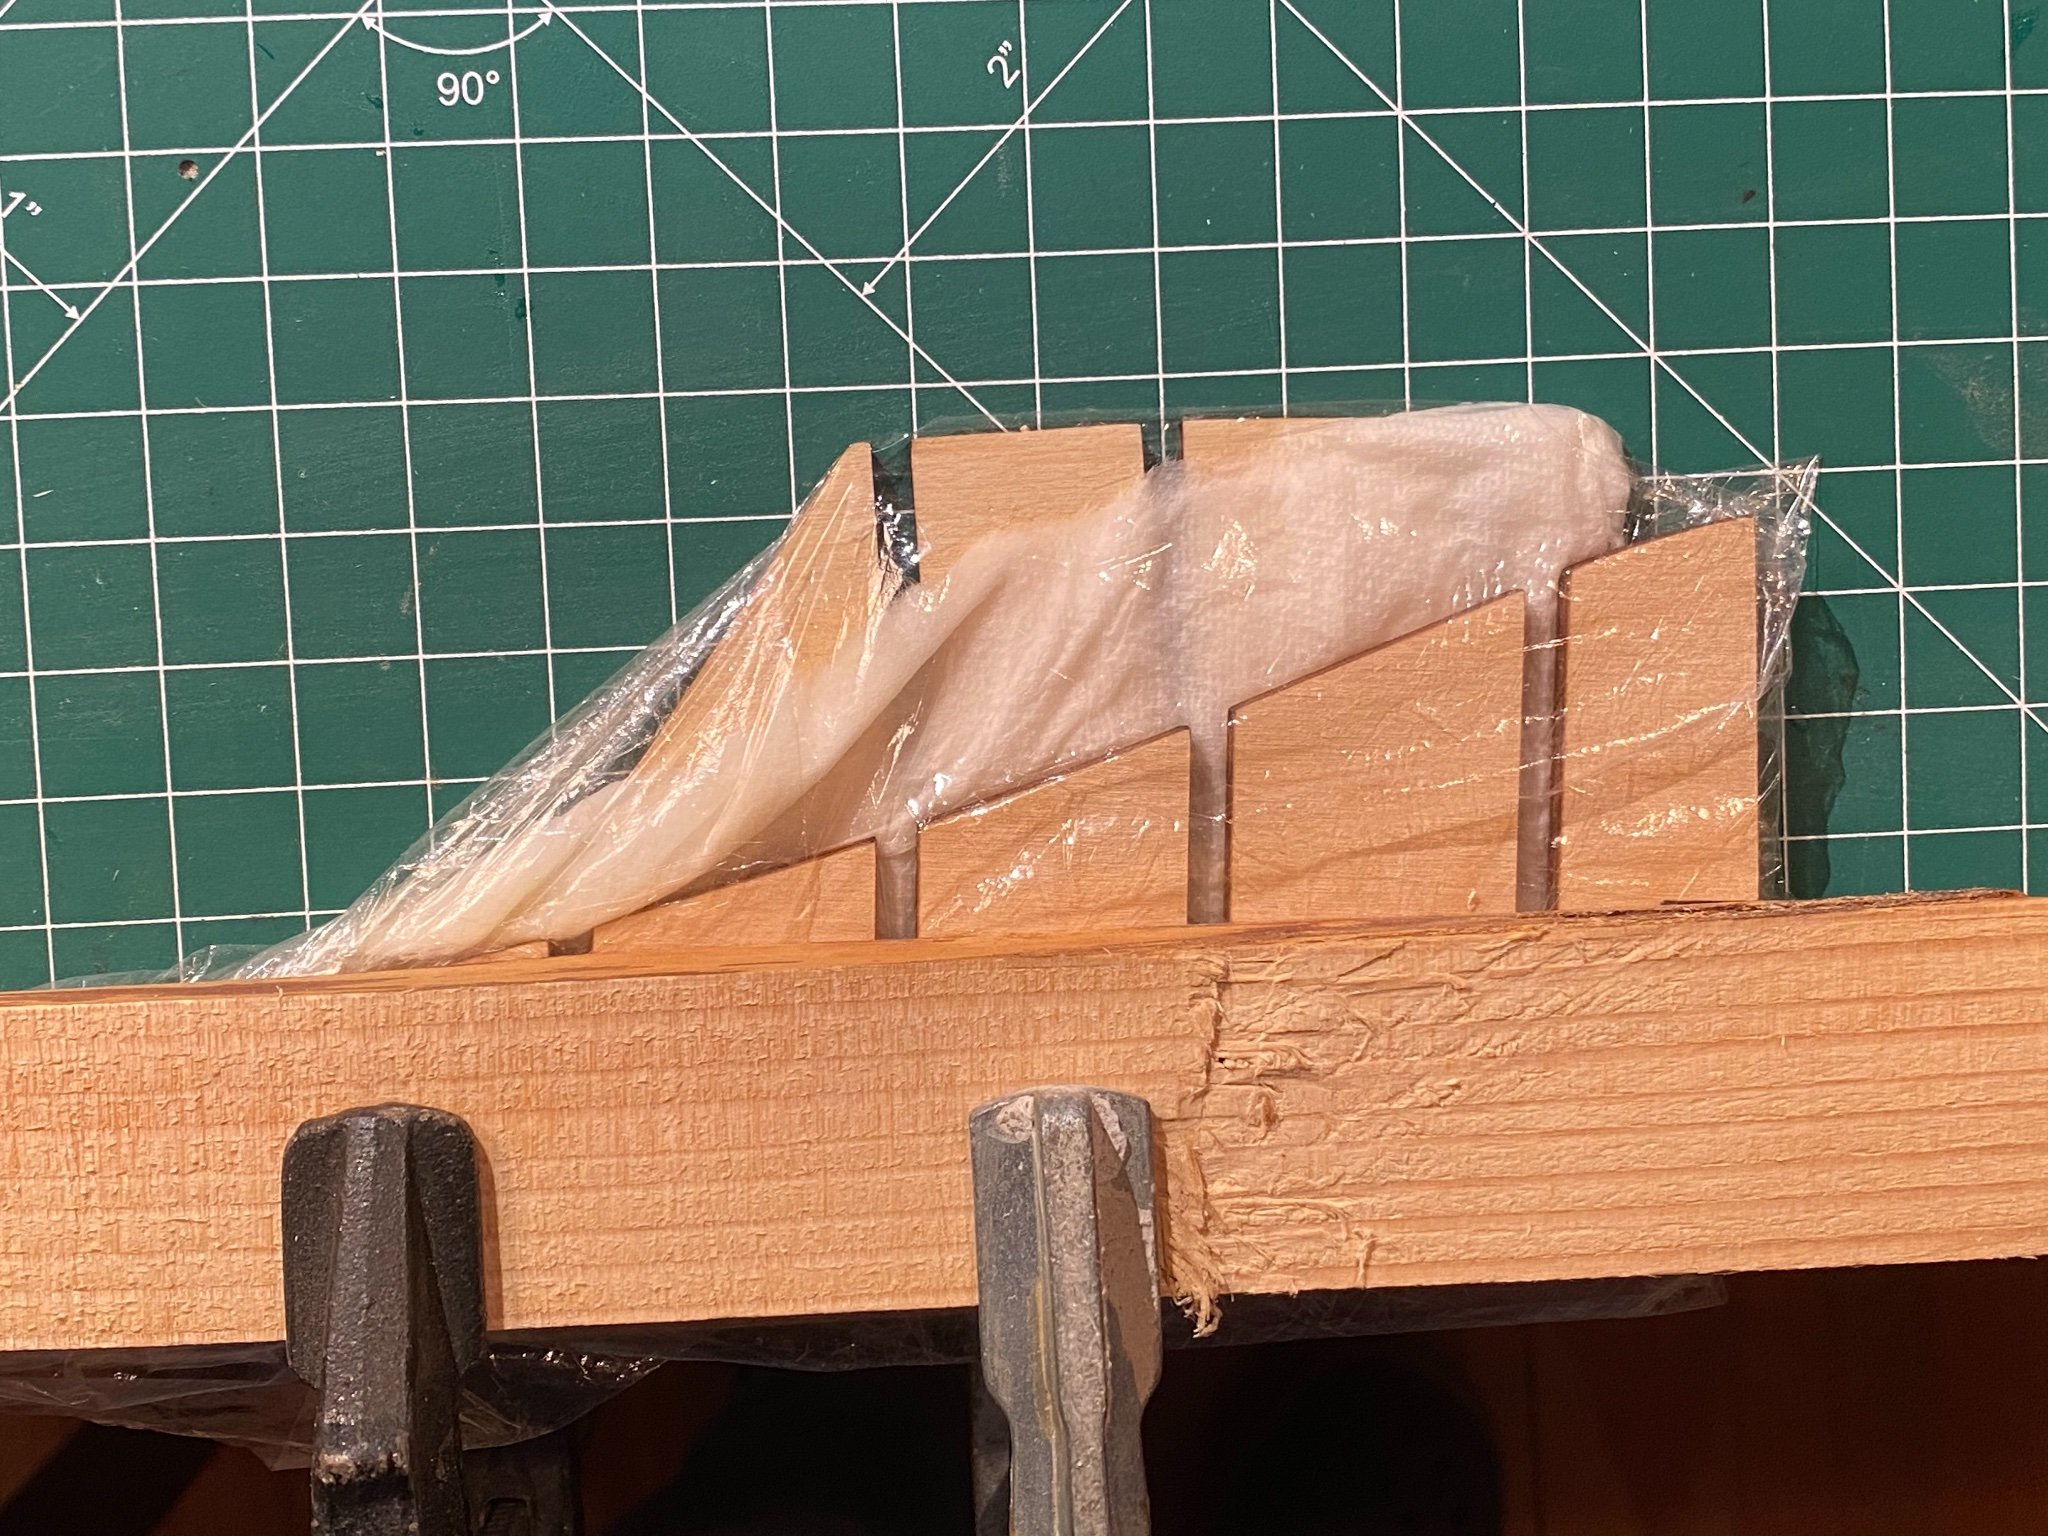
Dear forum members, my Amati Rainbow is making good progress and I‘m just planning to make the sails with silk span. The videos from Tom Lauria are really helpful. Do you have any experience to imitate the shape of windfilled sails? My thoughts in this directions are fixing the edges of the sails in a sort of frame, moisten them with a mixture of 2/3 water and 1/3 glue and then weighting them with something like sand to achieve an even distribution over the whole sail surface. I‘d be happy about any good advice.