
Captain Shaun
-
Posts
94 -
Joined
-
Last visited
Content Type
Profiles
Forums
Gallery
Events
Everything posted by Captain Shaun
-
 Taking a break from wood working I made the Morse Teleflex Dual Control using a wood base covered with aluminum tape and two borrowed pins from the sewing supplies. I also made the Pot Hauler making the base the same way with wood block and aluminum tape. The pinch wheels are aluminum discs that I flared the ends of by hammering over a 1/2" dowel I had chamfered the end of.
.thumb.JPG.bb6f95663ee3e937ff046621e9a6b0f8.JPG)
.thumb.jpg.3e88ebbe13a2e89c1142954e0d64126e.jpg)
-
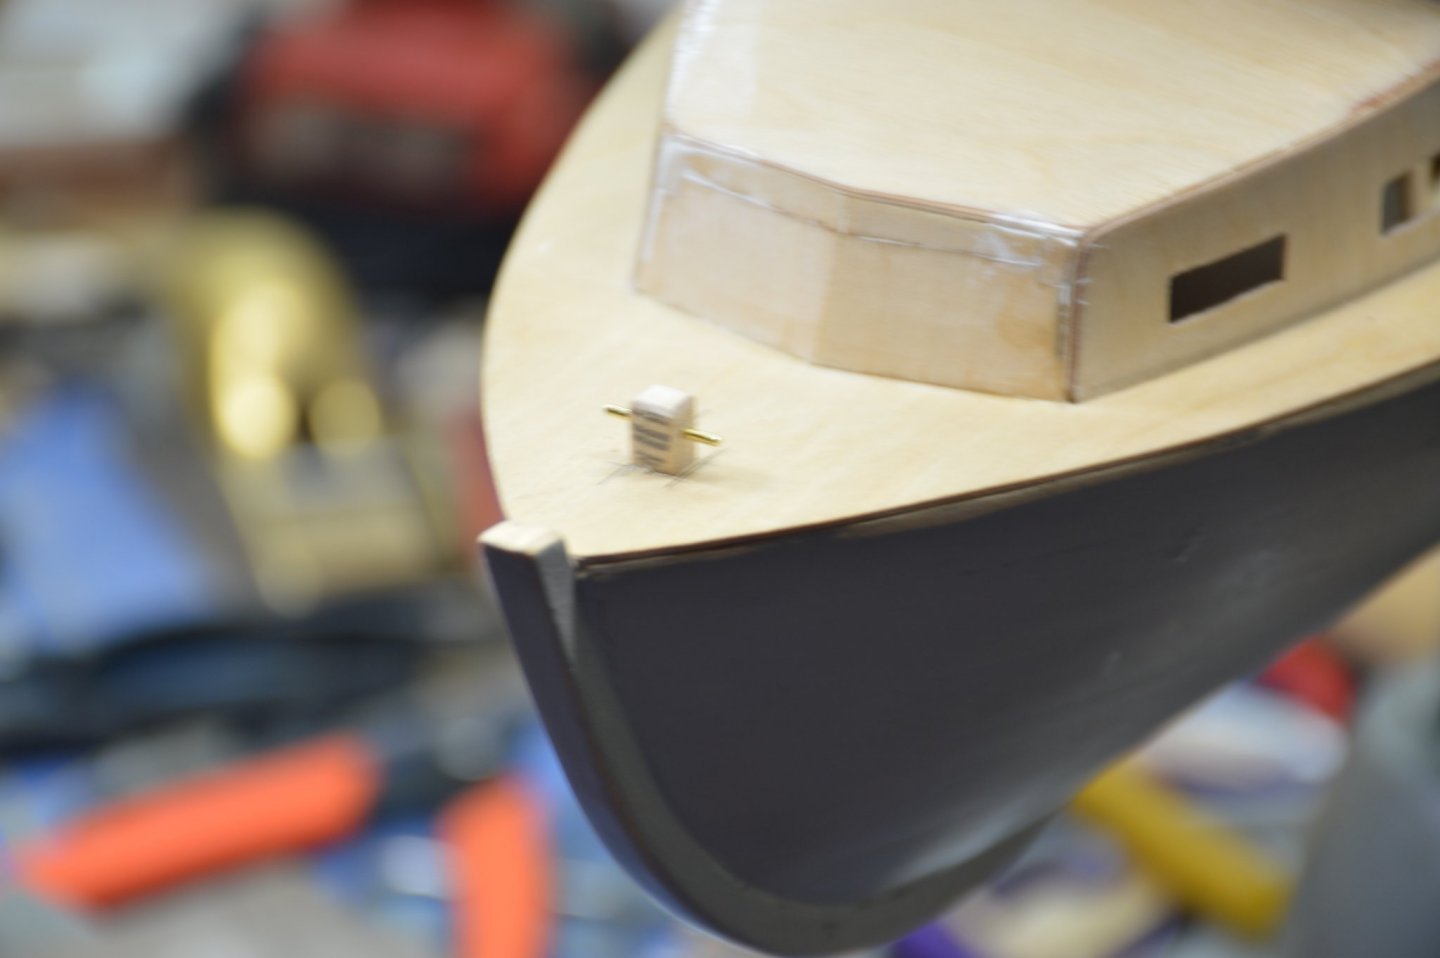
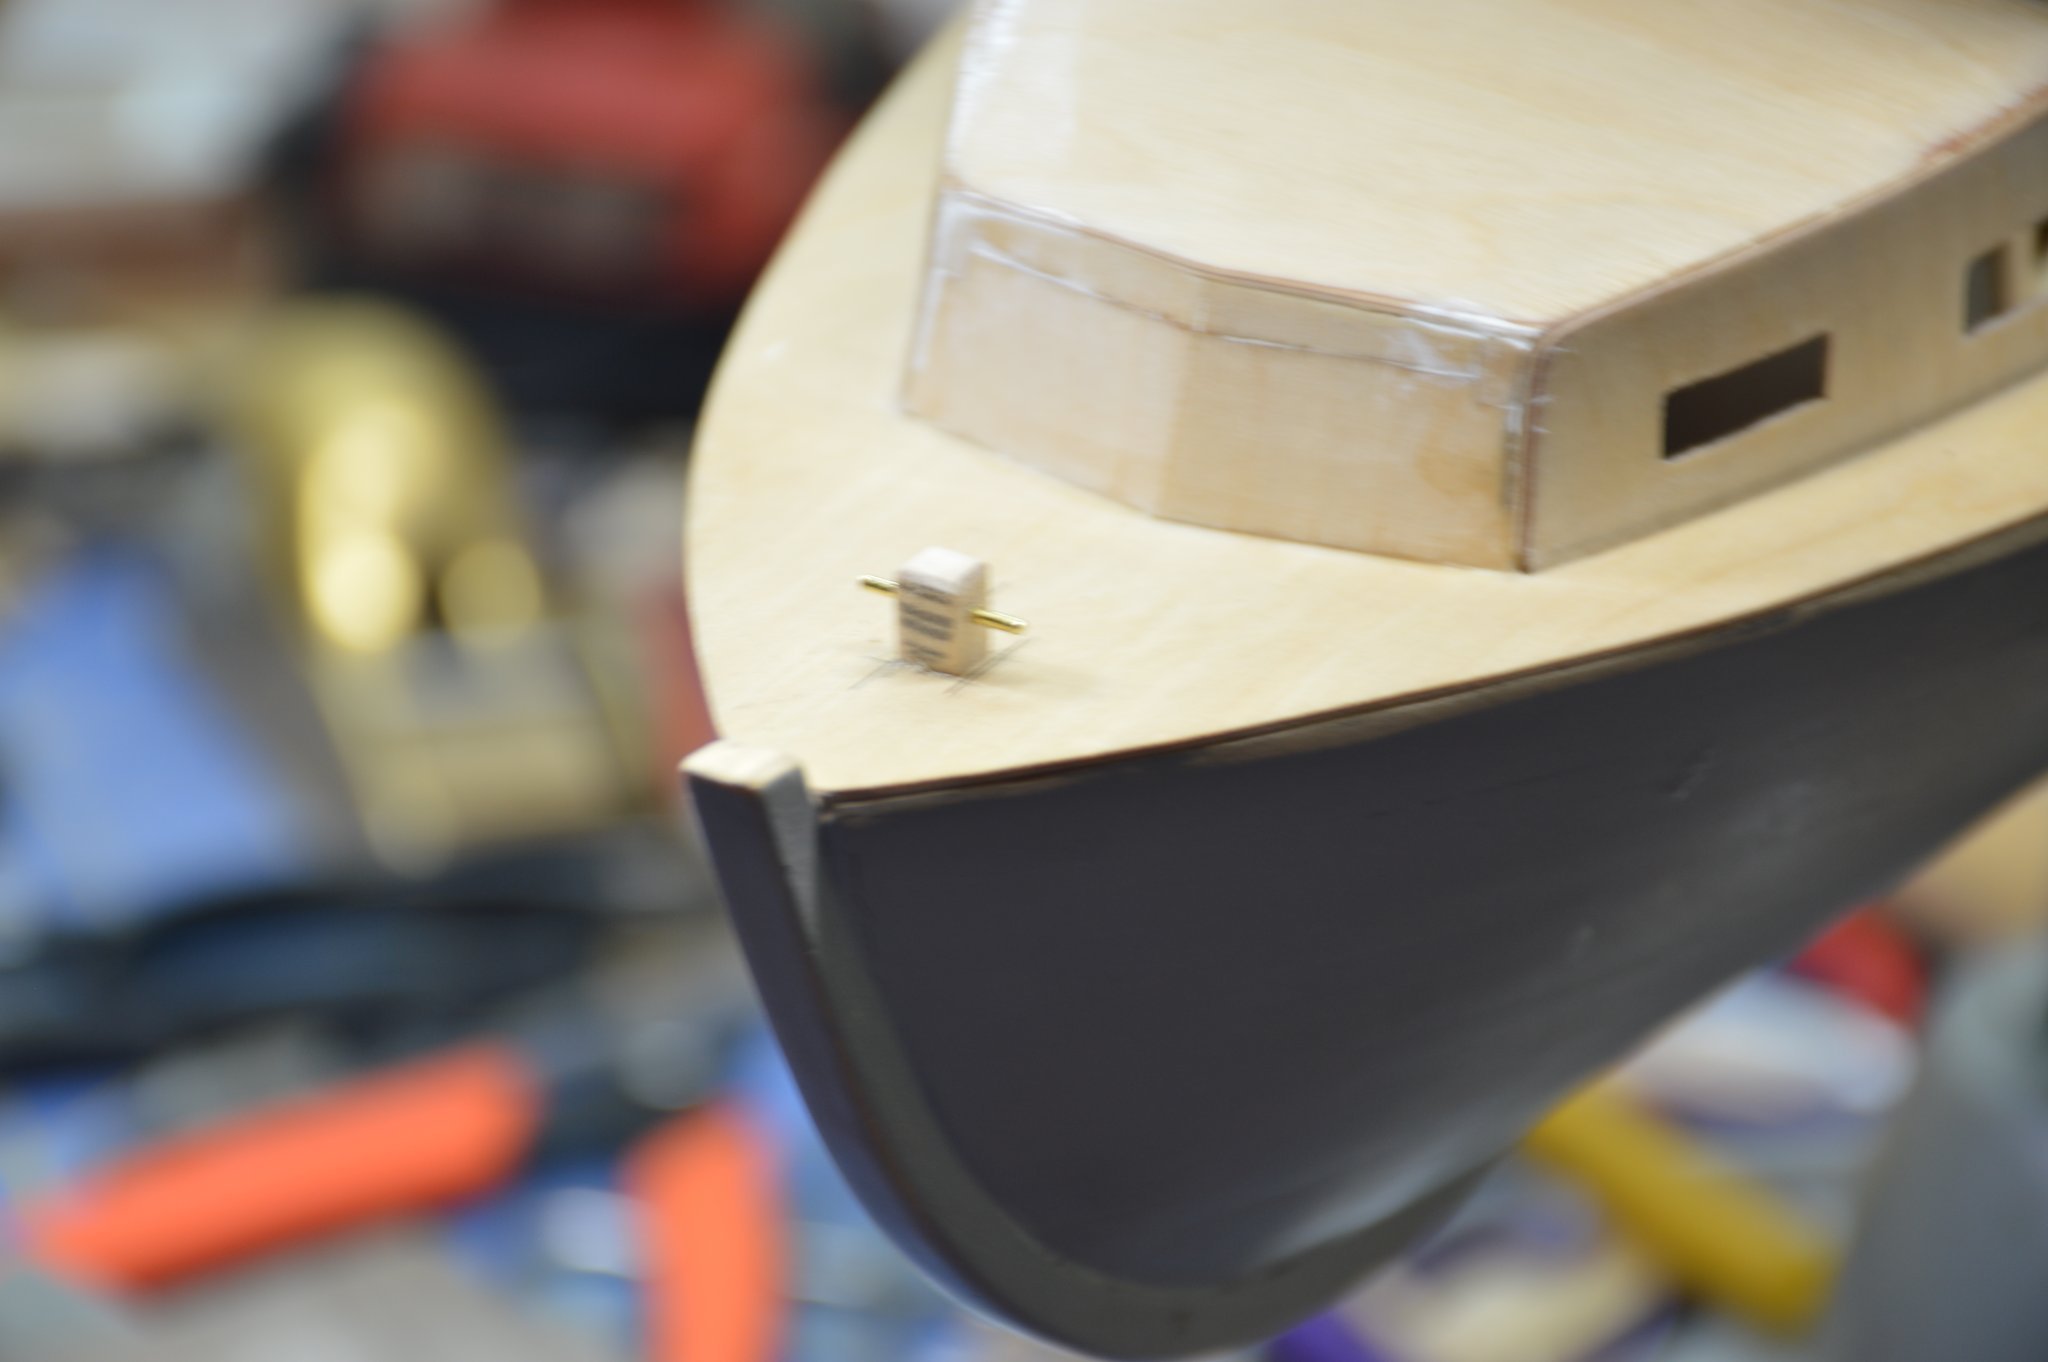
The rub rails commonly install are half round metal attached to wooden rails. I couldn't locate half round but I had 24" round stock in the size needed so I used a tool that is for cutting a groove in leather to recess stitching. I cut a groove in an oversized piece of wood and then trimmed it to size with a plane and put the round brass rod in as a single piece, I was quite pleased with the result.
.thumb.jpg.0e9037eab370c33d30054e3df4009837.jpg)


-
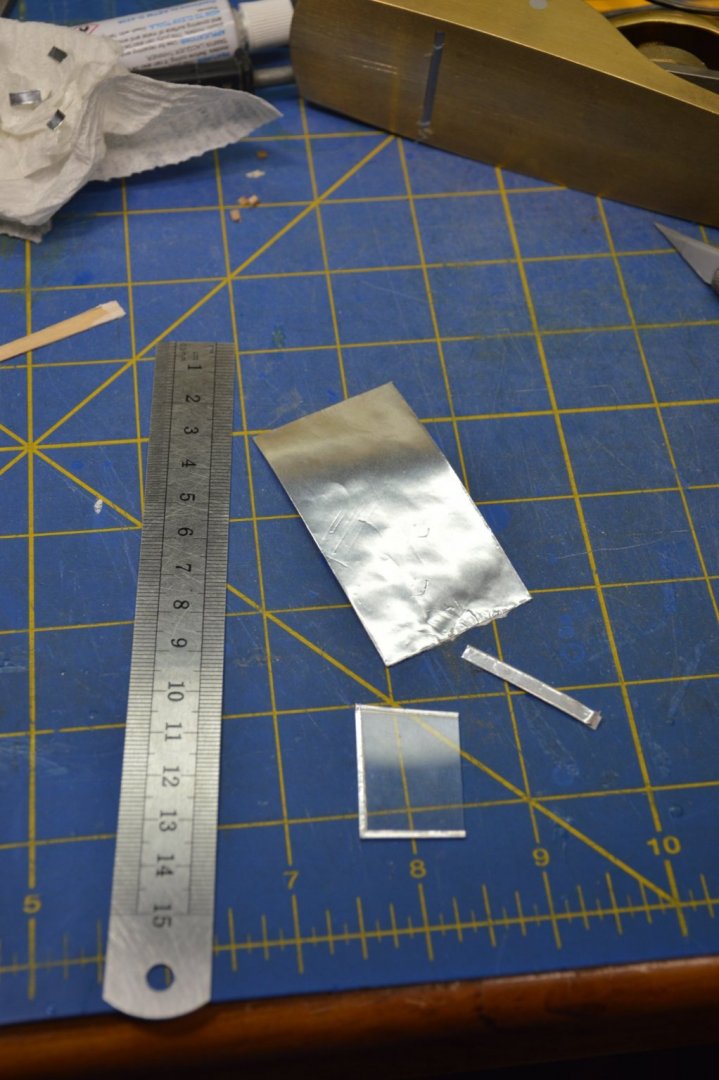
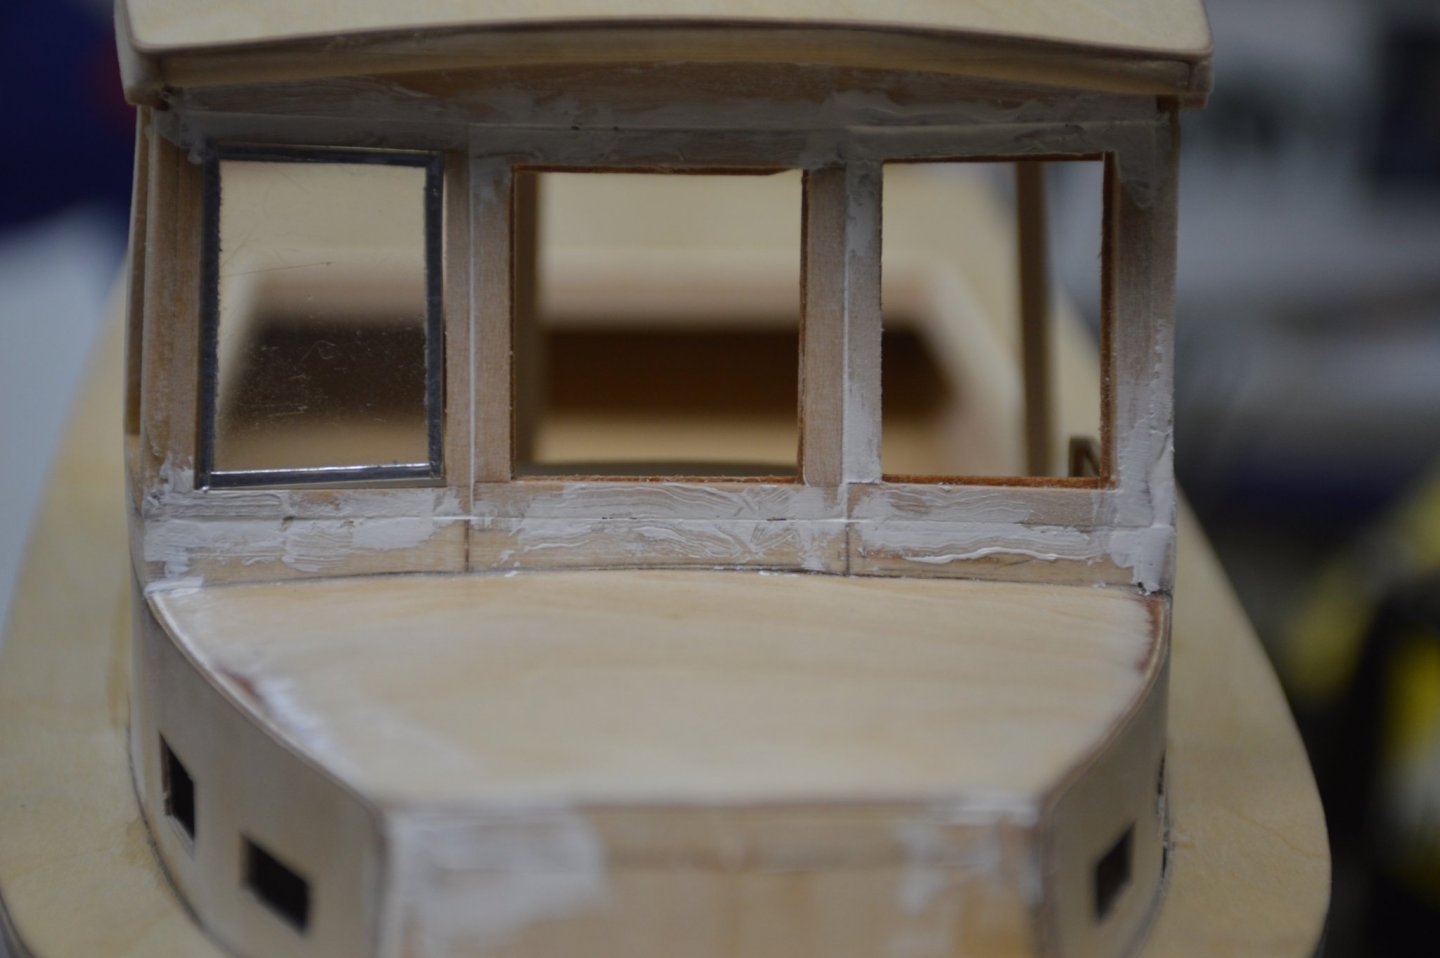
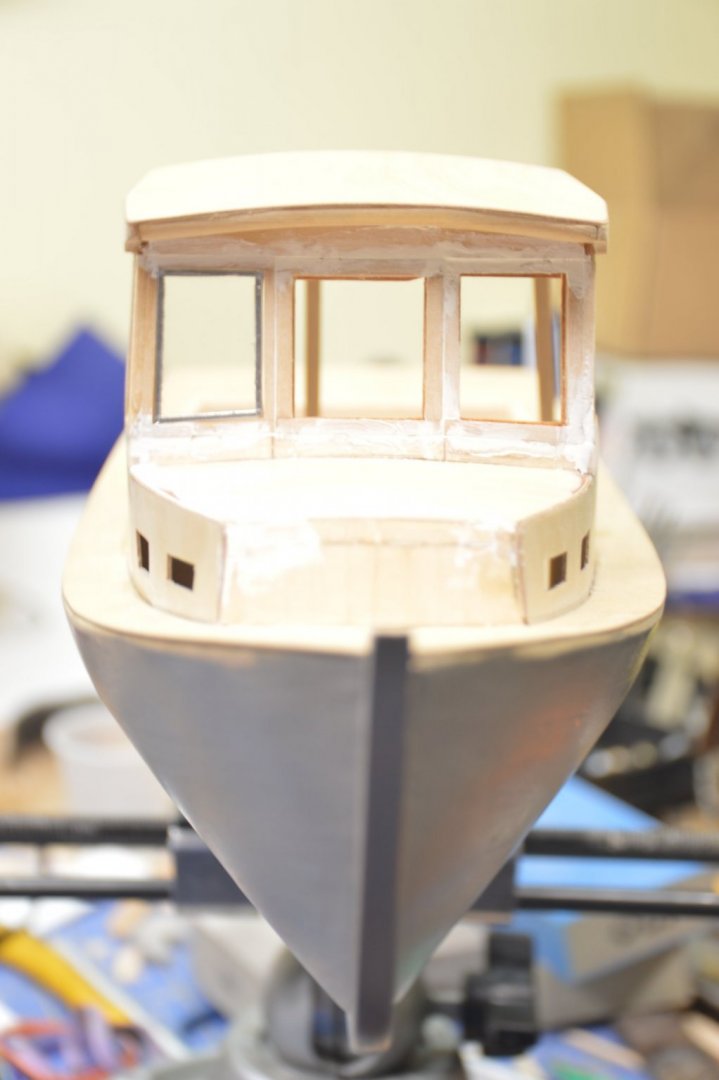
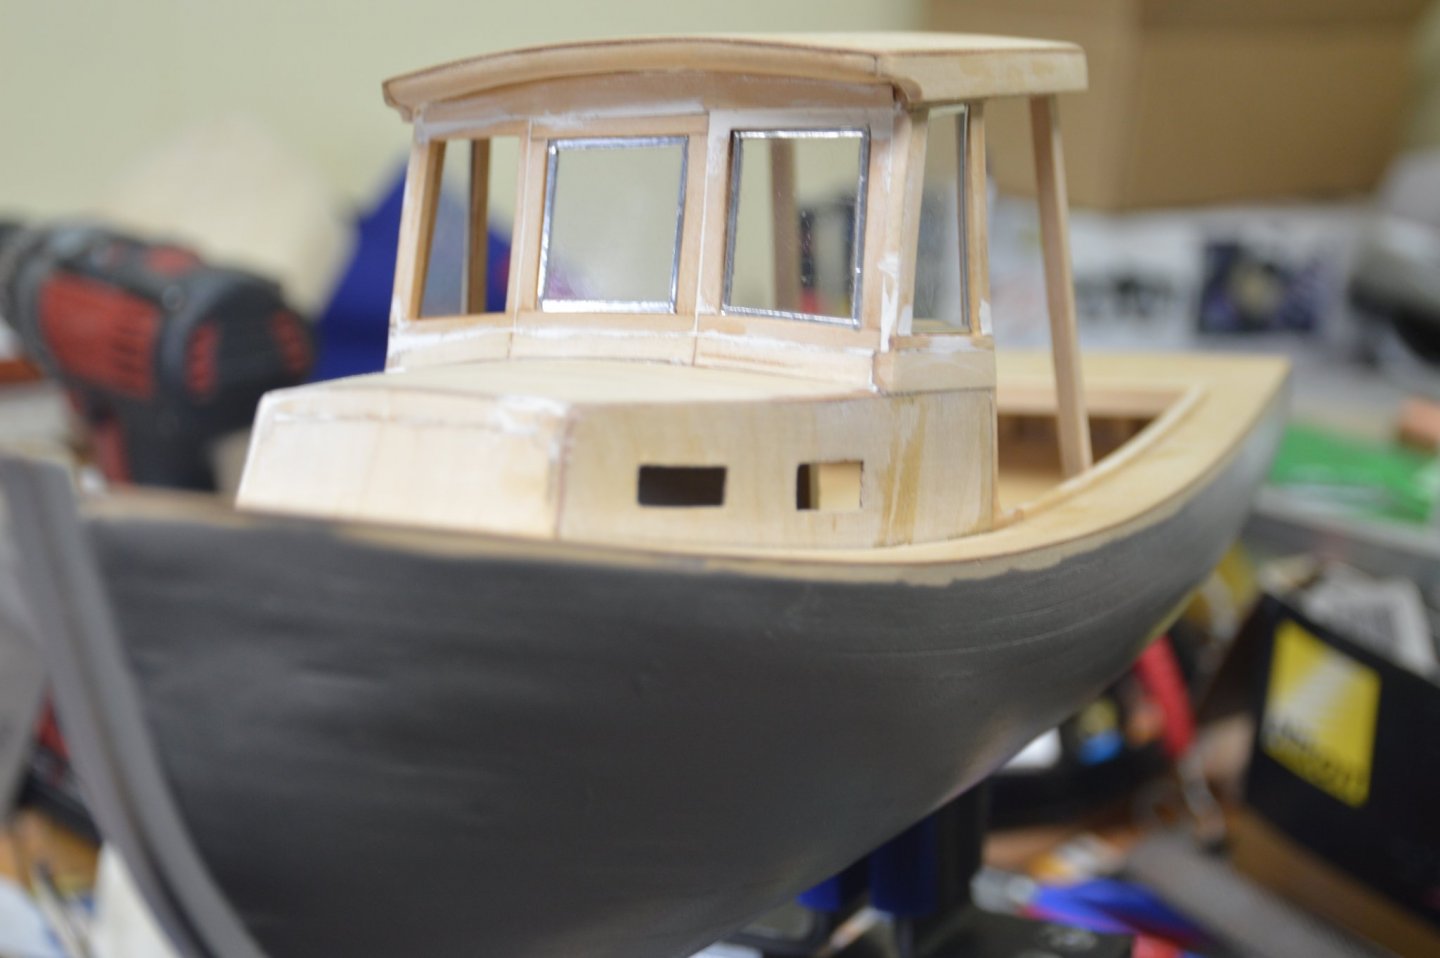
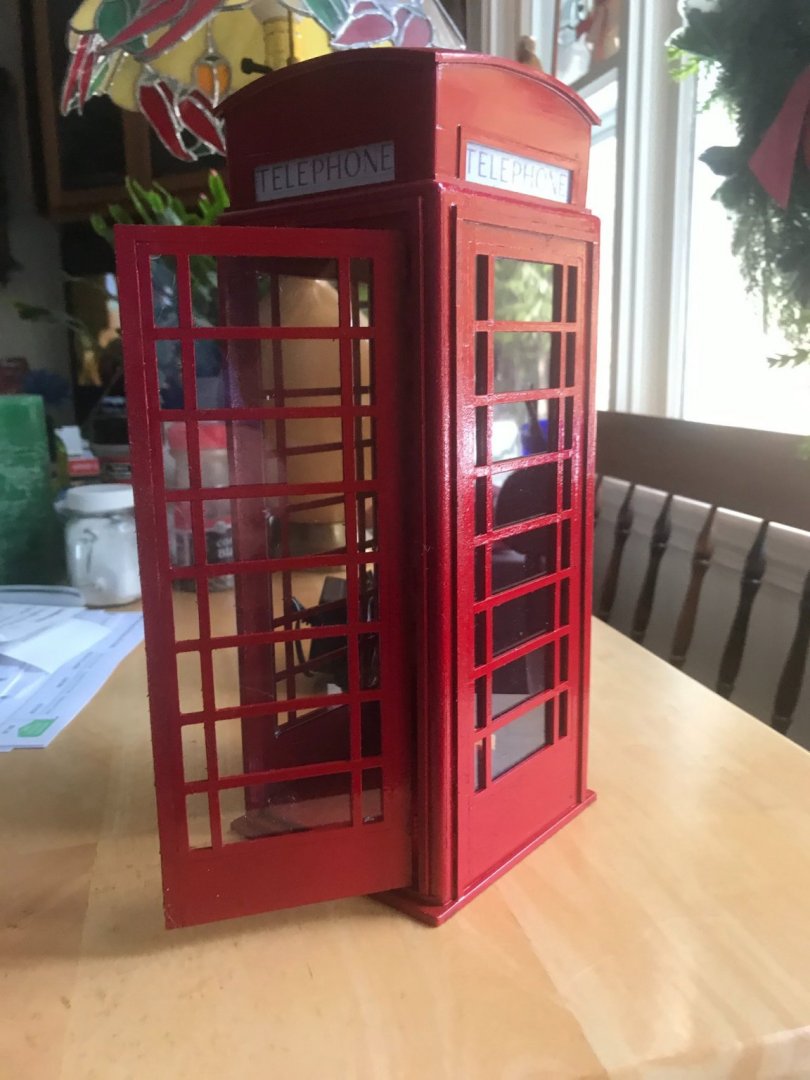
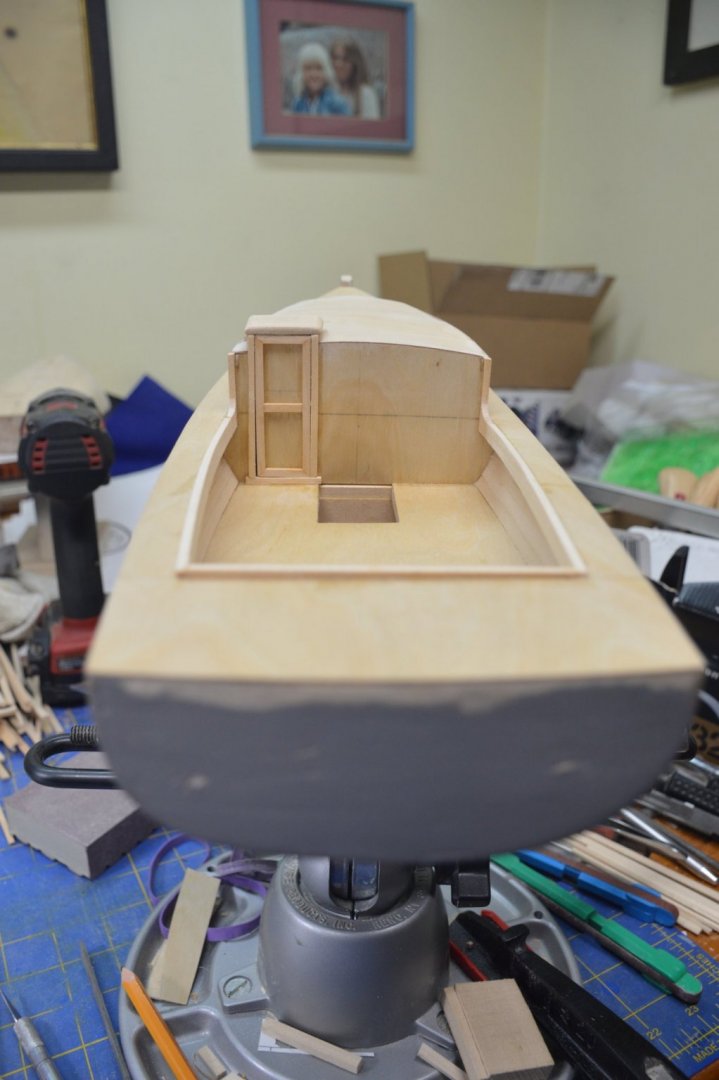
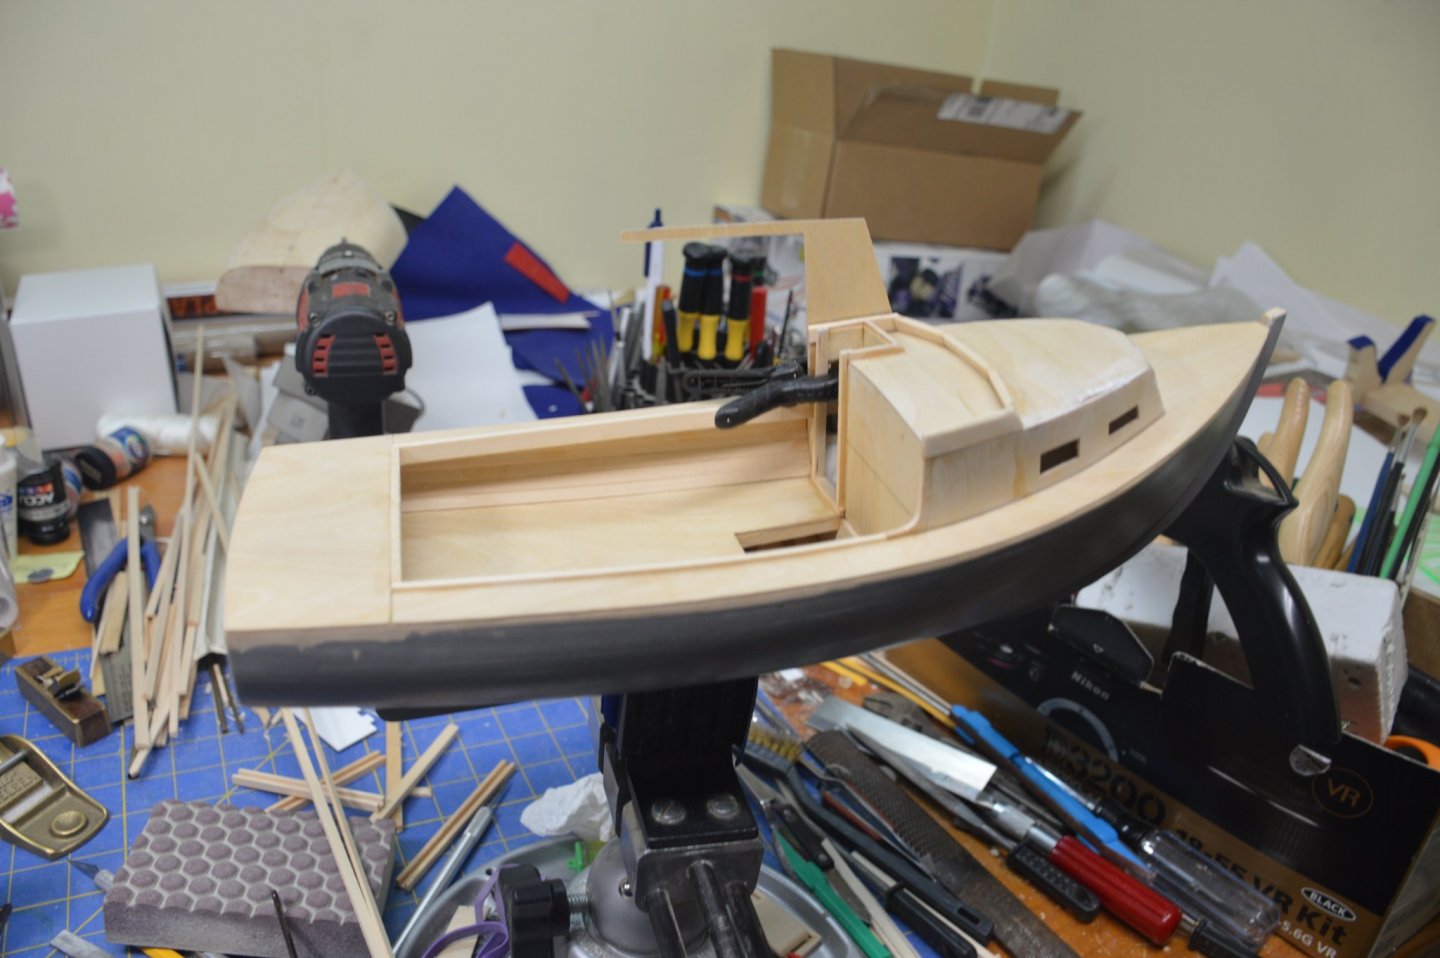
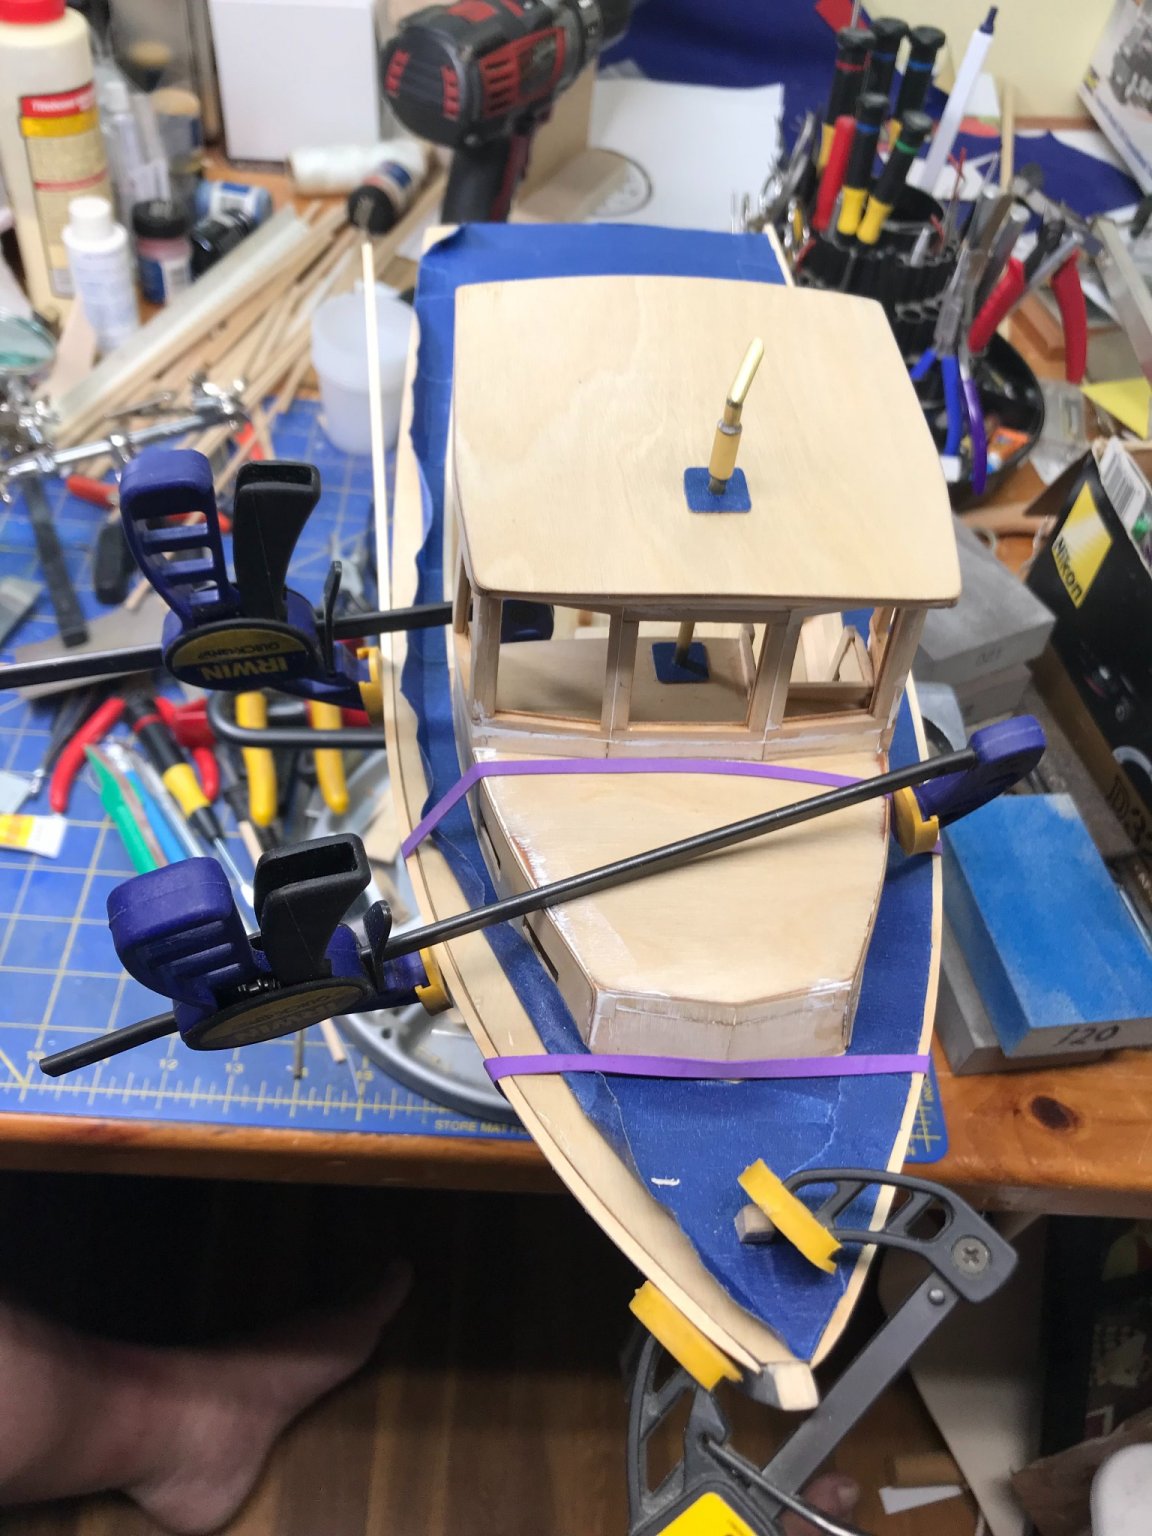
Frames for the windows are being fitted. I made a template for each one and built them on the bench. I made a LOT of templates. I had quite a bit of plastic "glass" left over that I had purchased off of Amazon to use in a Britbox phone booth I made for my daughter last Christmas. It is PET (Polyethylene Terephthalate) plastic and is very clear and soft enough to to cut with scissors. I cut it just outside the line and trim it to fit with a block plane. To simulate the aluminum frames on the windows I used aluminum tape. The starboard window is going to be the opening one in front of the wheel. I wasn't happy with this first one and remade it. Took a break from the windows and built the engine cover. Back to the windows. All of the fixed ones are done. Bow bit it in.


-
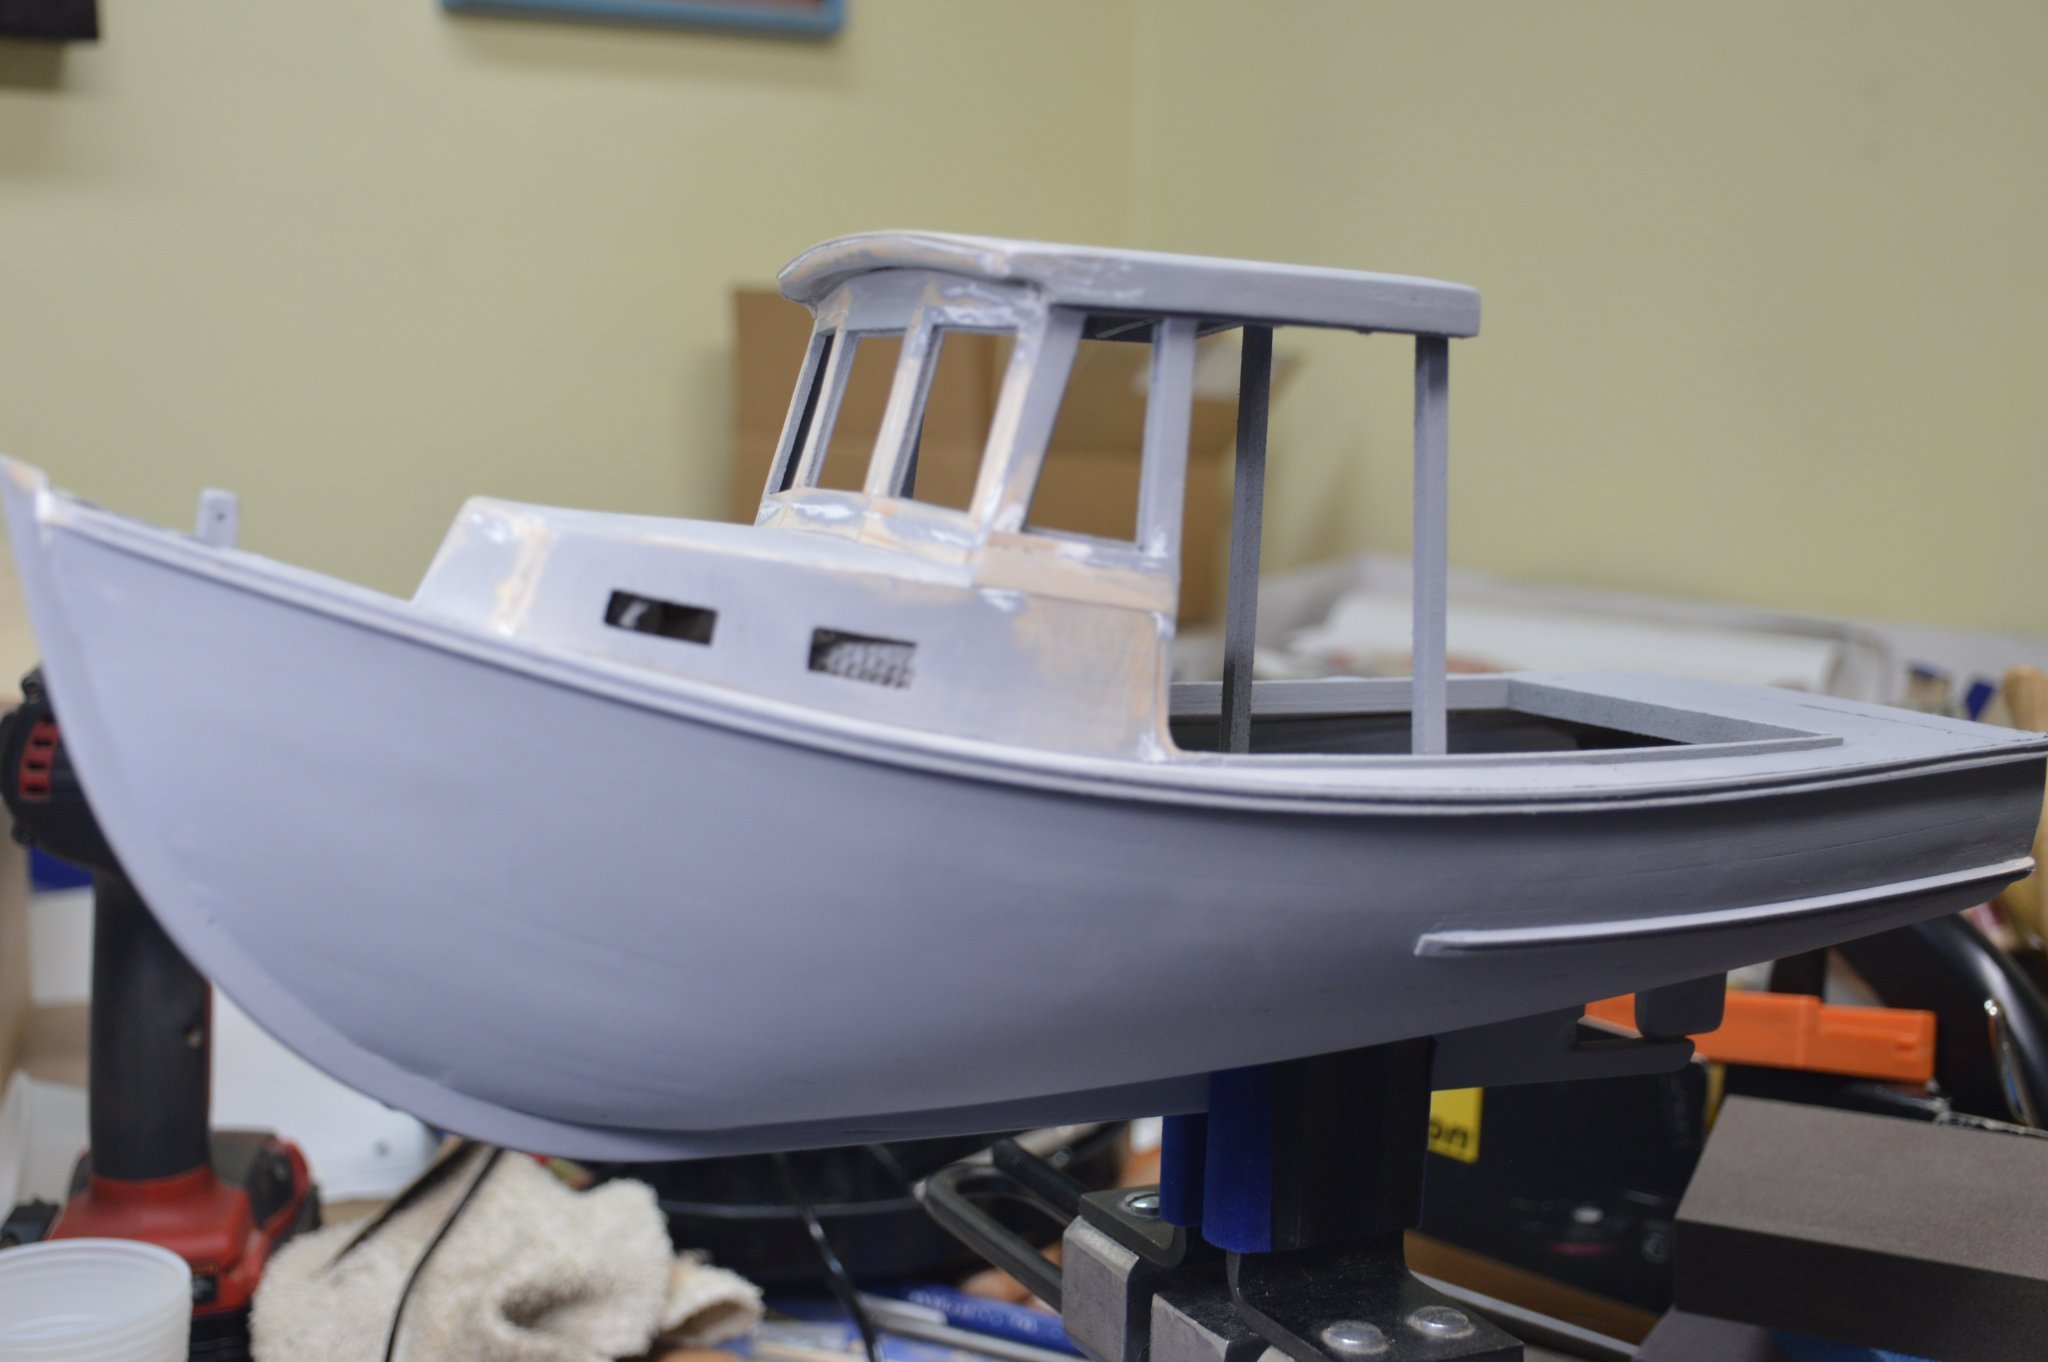
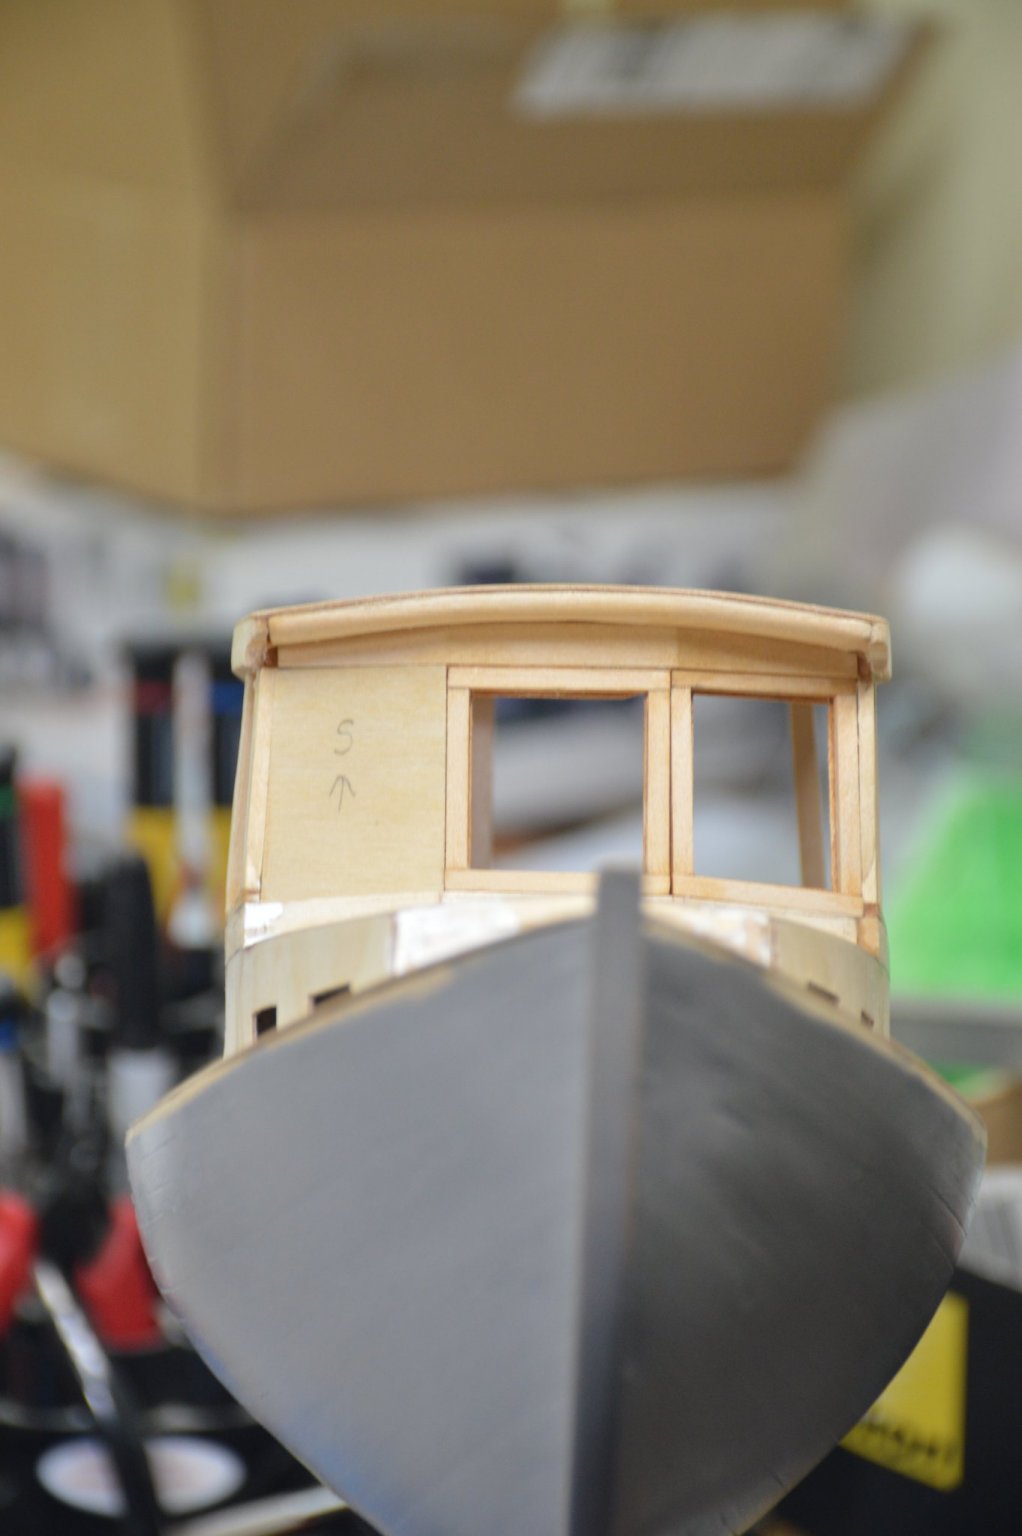
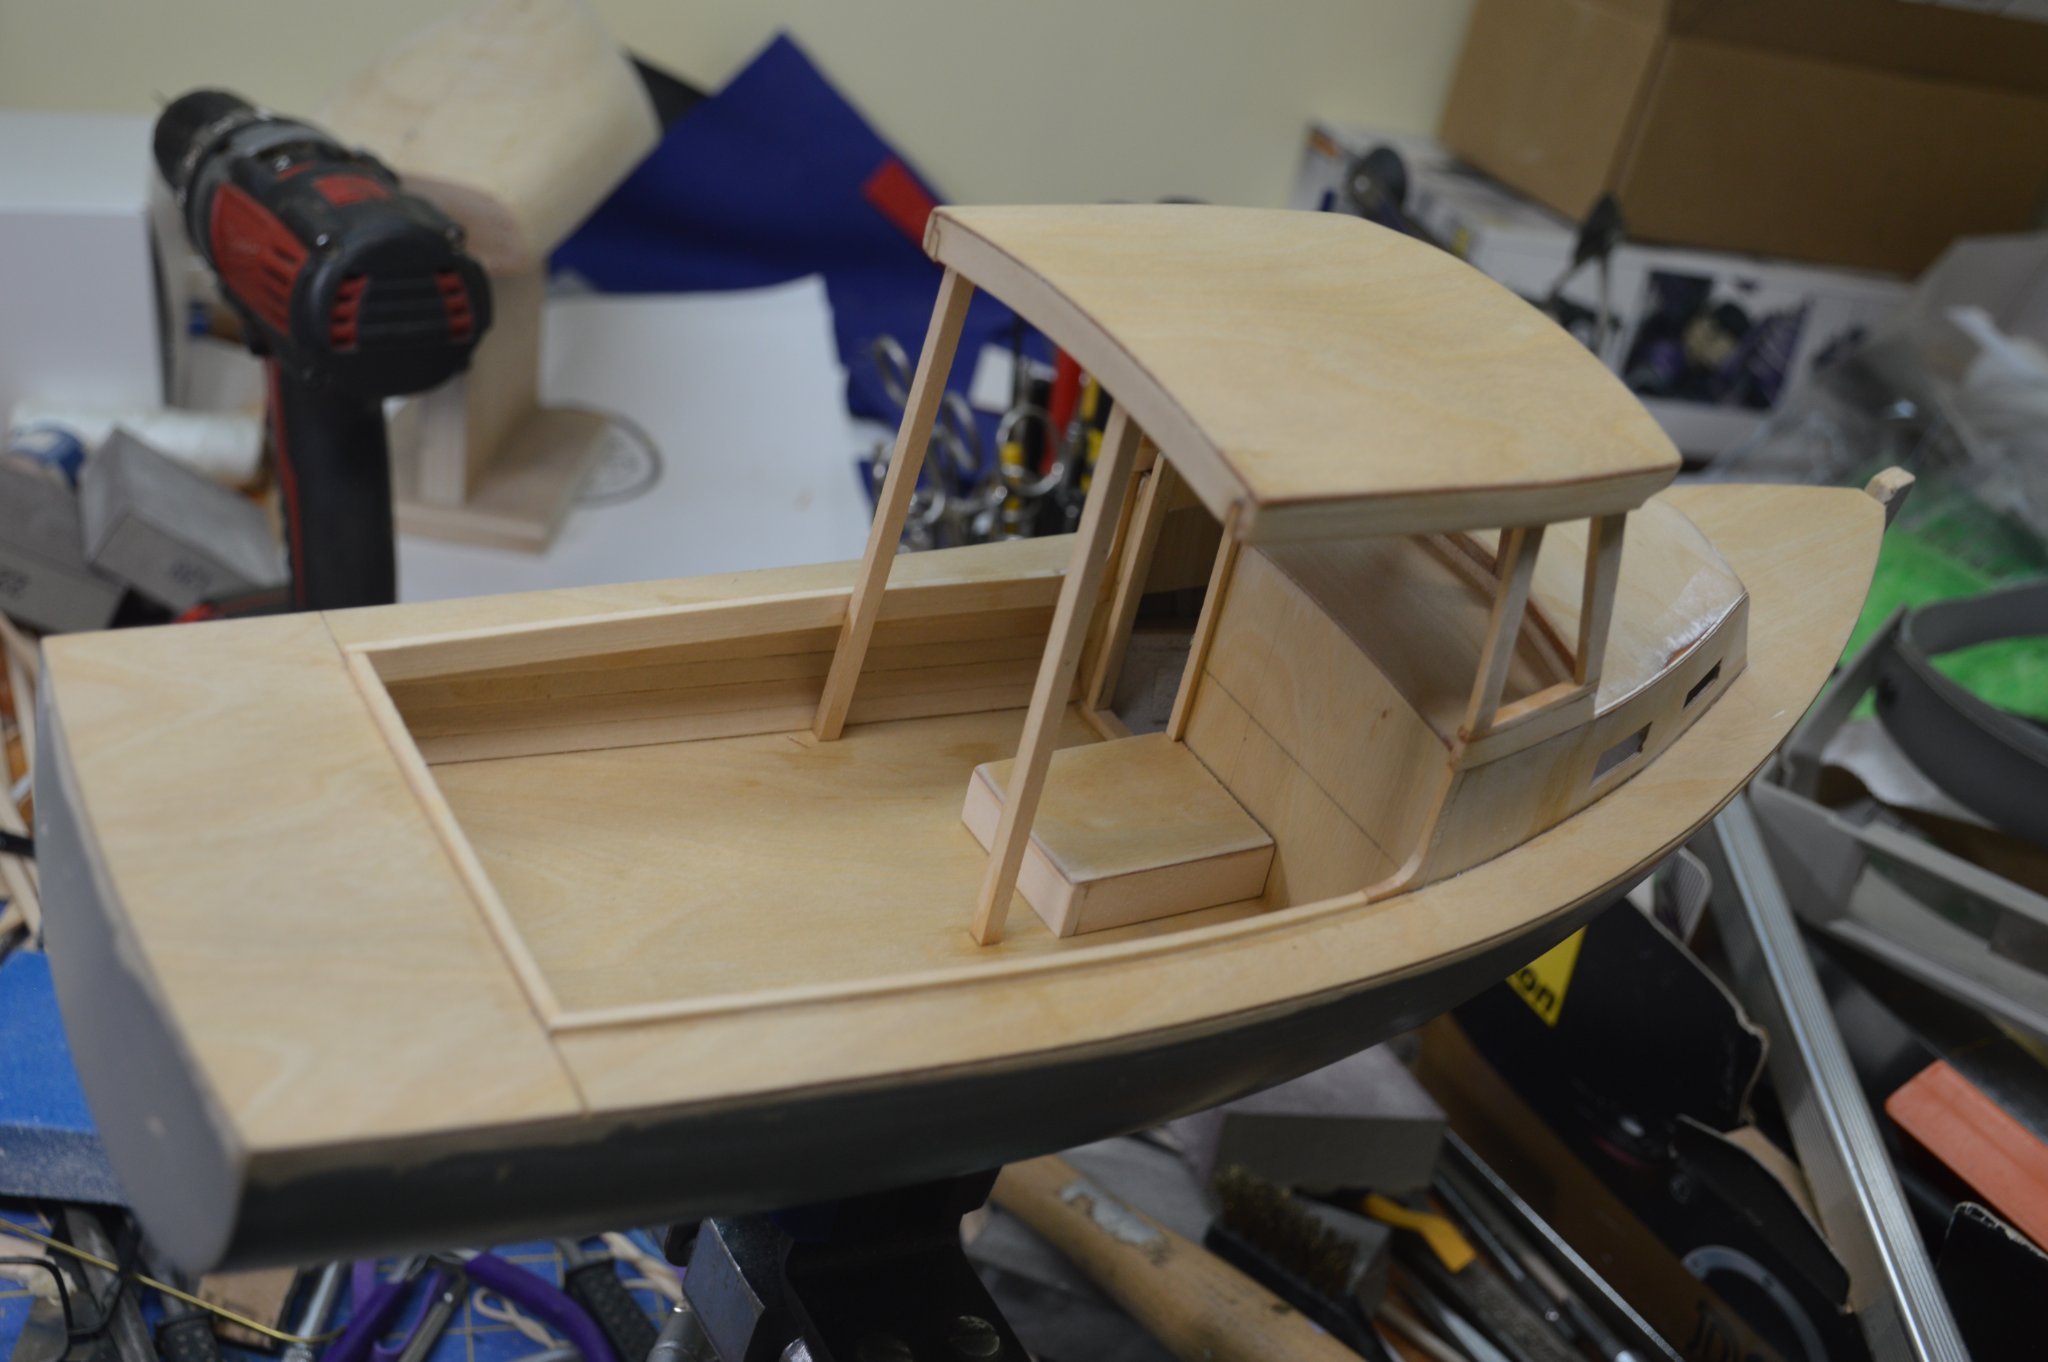
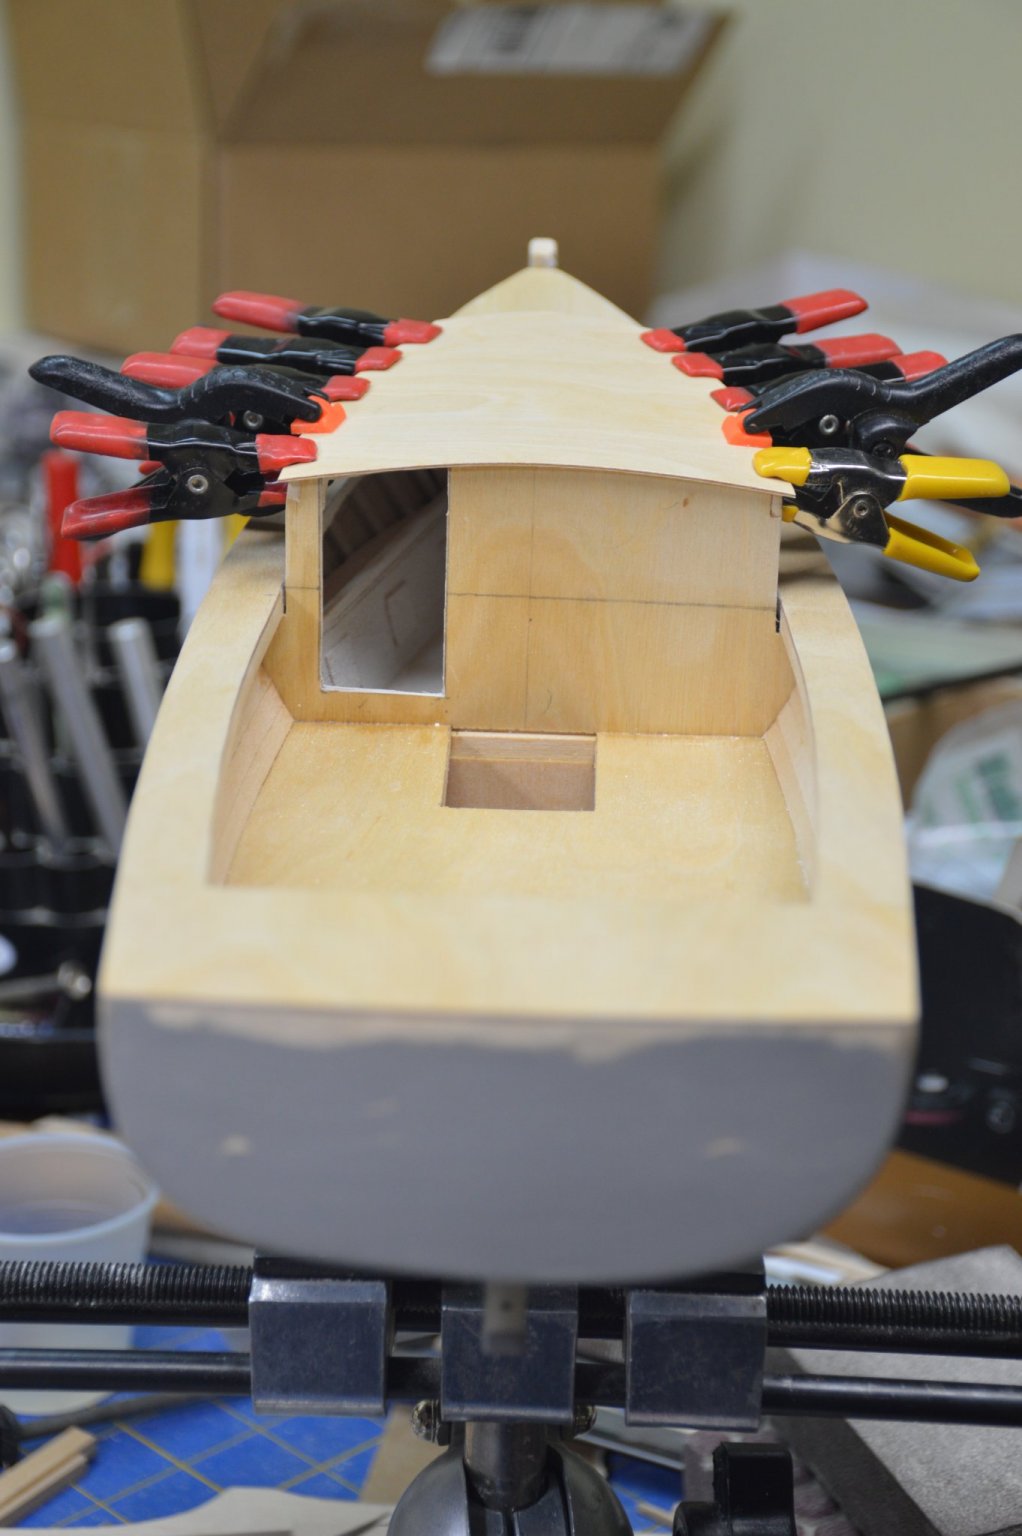
Masked off to paint the cabin interior. Painted the interior of the cabin and now the roof is being attached. Cabin door and hatch are done and the cockpit coaming has been installed. Template for the pilothouse side is being test fitted. Pilothouse side window frames have been roughed in roof installed.


-
Thank you Roger. I really enjoyed building it. May plenty of mistakes but that's how we learn.
-
Nice build John. Think it should list home port as Biddeford Pool Table though. I just finished a scratch built lobster boat for my daughter who lives near the NH coast and will be starting the Bluejacket Shipcrafters Bowdoin soon for my other daughter for next Christmas, She went to Bowdoin.
- 51 replies
-
- 1
-

-
- laughing whale
- maine lobster boat
- (and 1 more)
-
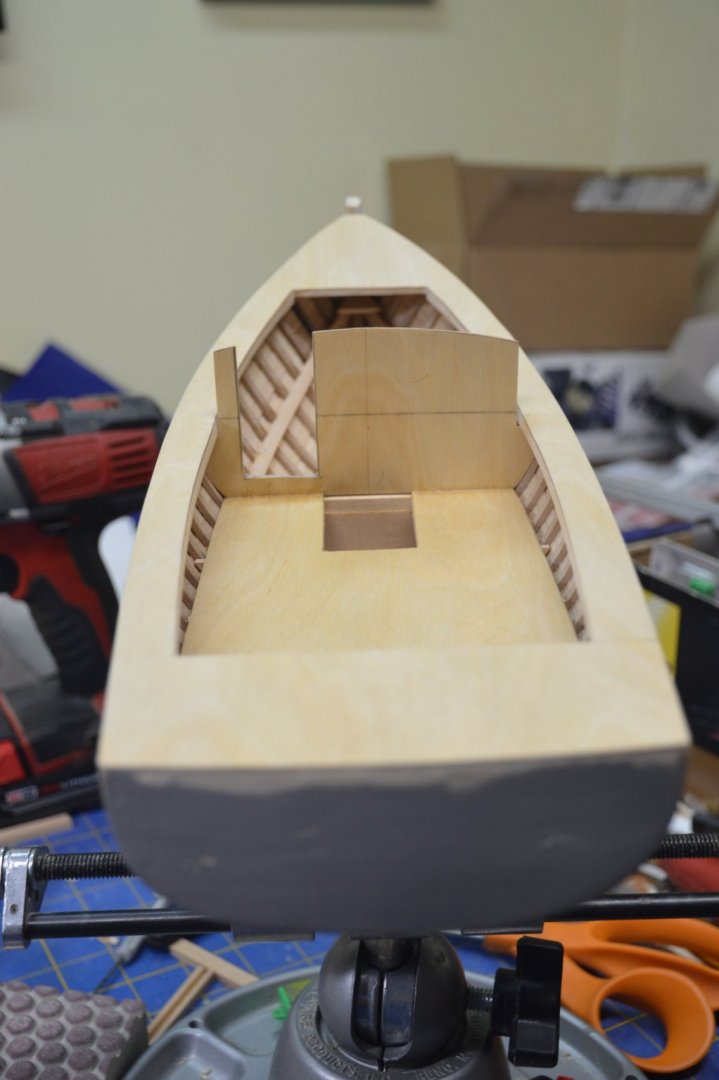
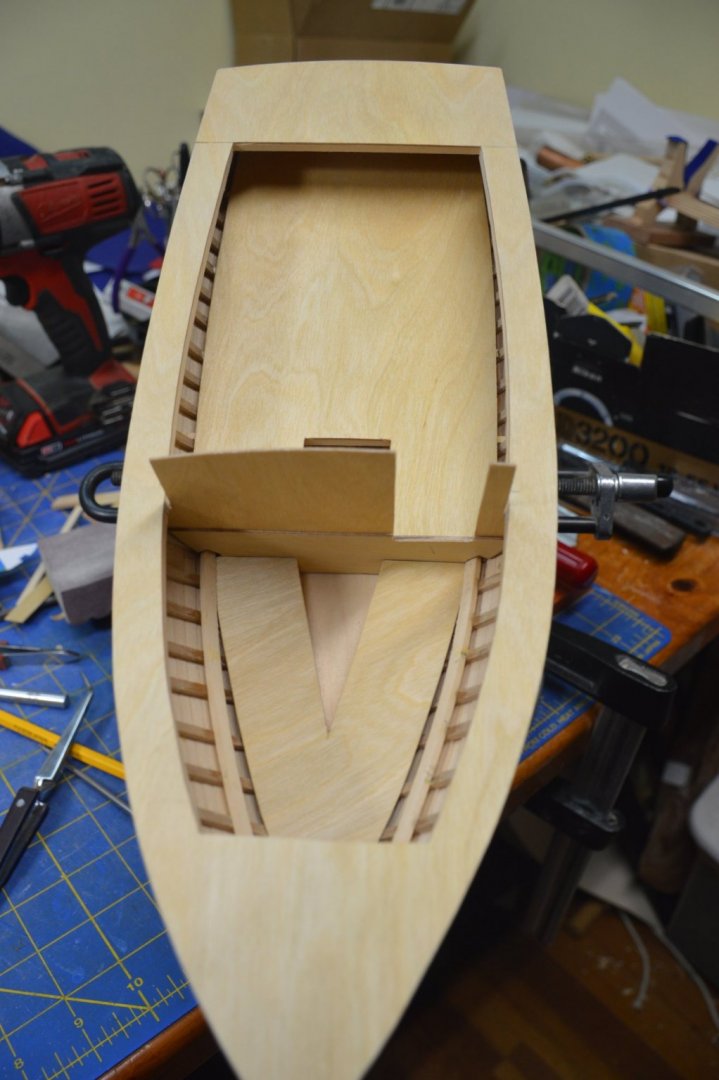
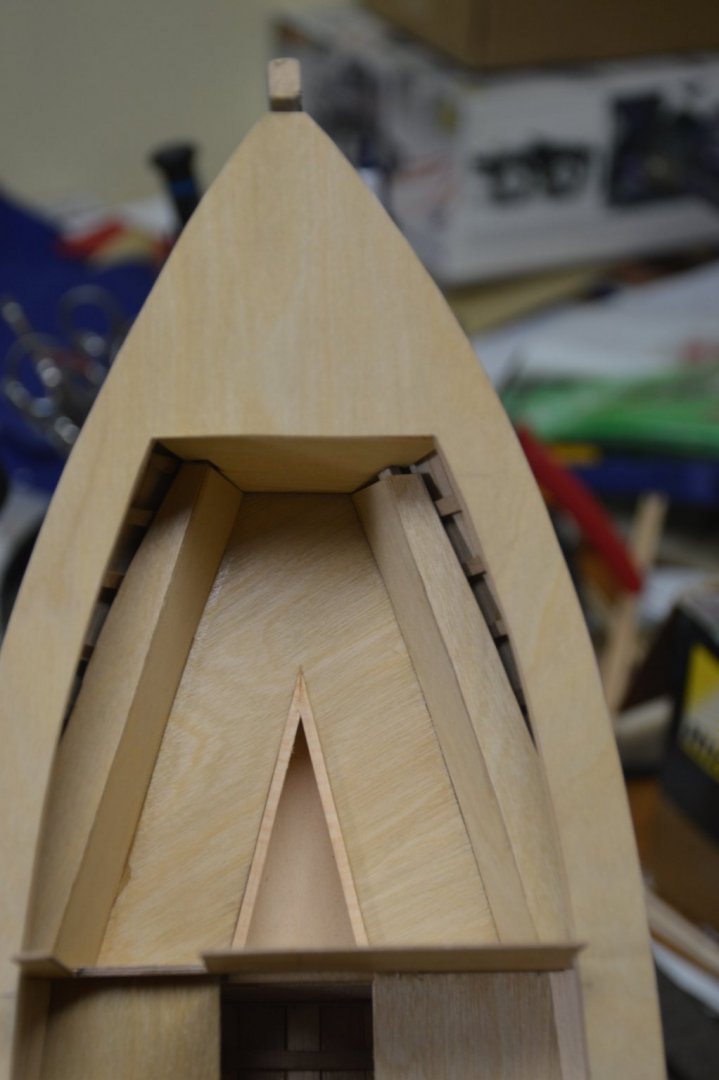
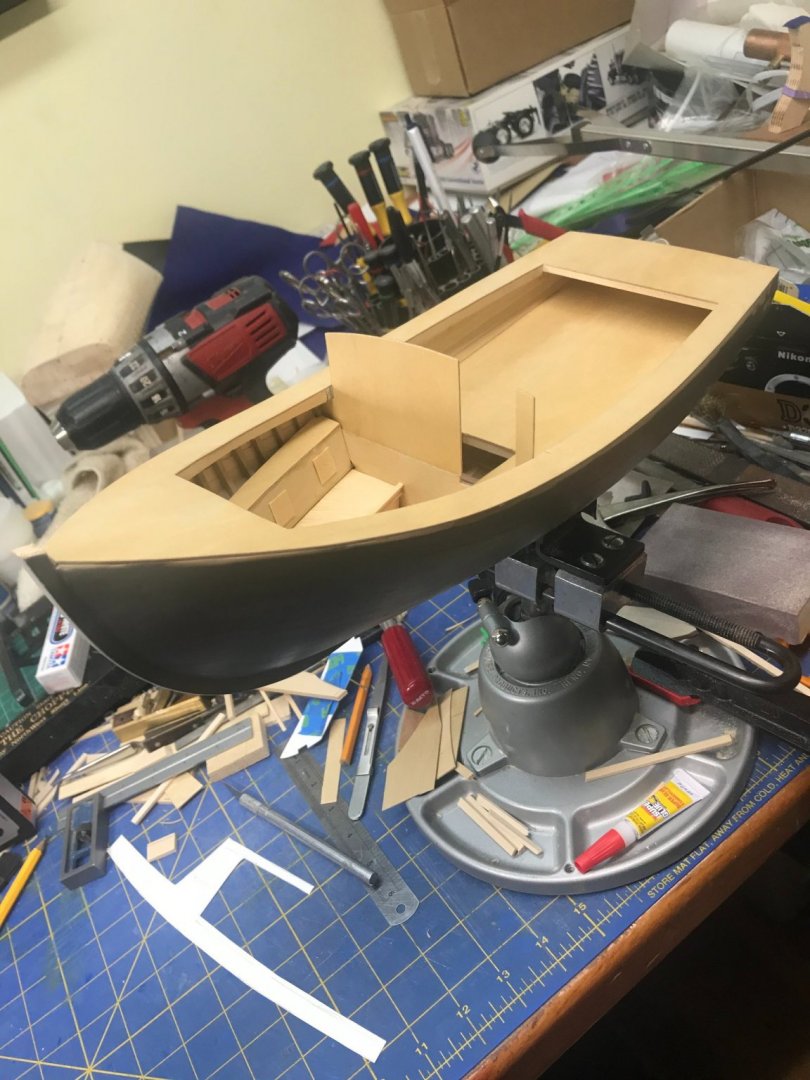
50 Yrs of tool collecting, mostly quality used but obviously some splurging now and then. Main deck sub floor install. Deck is plywood from Northeast Scale Lumber, they have excellent quality wood and top notch service. Primed the hull to show defects so I could fix them while hull was bare. Main bulkhead being fitted. Starting the V berth platforms. Cabinets are added. Put doors on cabinets. I was not going for detail here, just the illusion of the interior since it is almost impossible to see into the cabin. Framing the cabin top. The planks required some severe twisting and the adjustable wrench was just the tool for the job.


-
Thanks Keith, yes I started in 7th grade shop class (1967) and have every tool known to man it seems. I have too many interests and work with wood, metal, plastics, leather and others. I started building models around the same time in 7th grade, we had a model club. I built the Revell USS Constitution at age 12. My main interest is trains and trolleys. Feel a strong pull from the ship modeling though. My daughter went to Bowdoin College in Maine and will now start the Bluejacket Shipcrafters Bowdoin model for Christmas 2022.
-
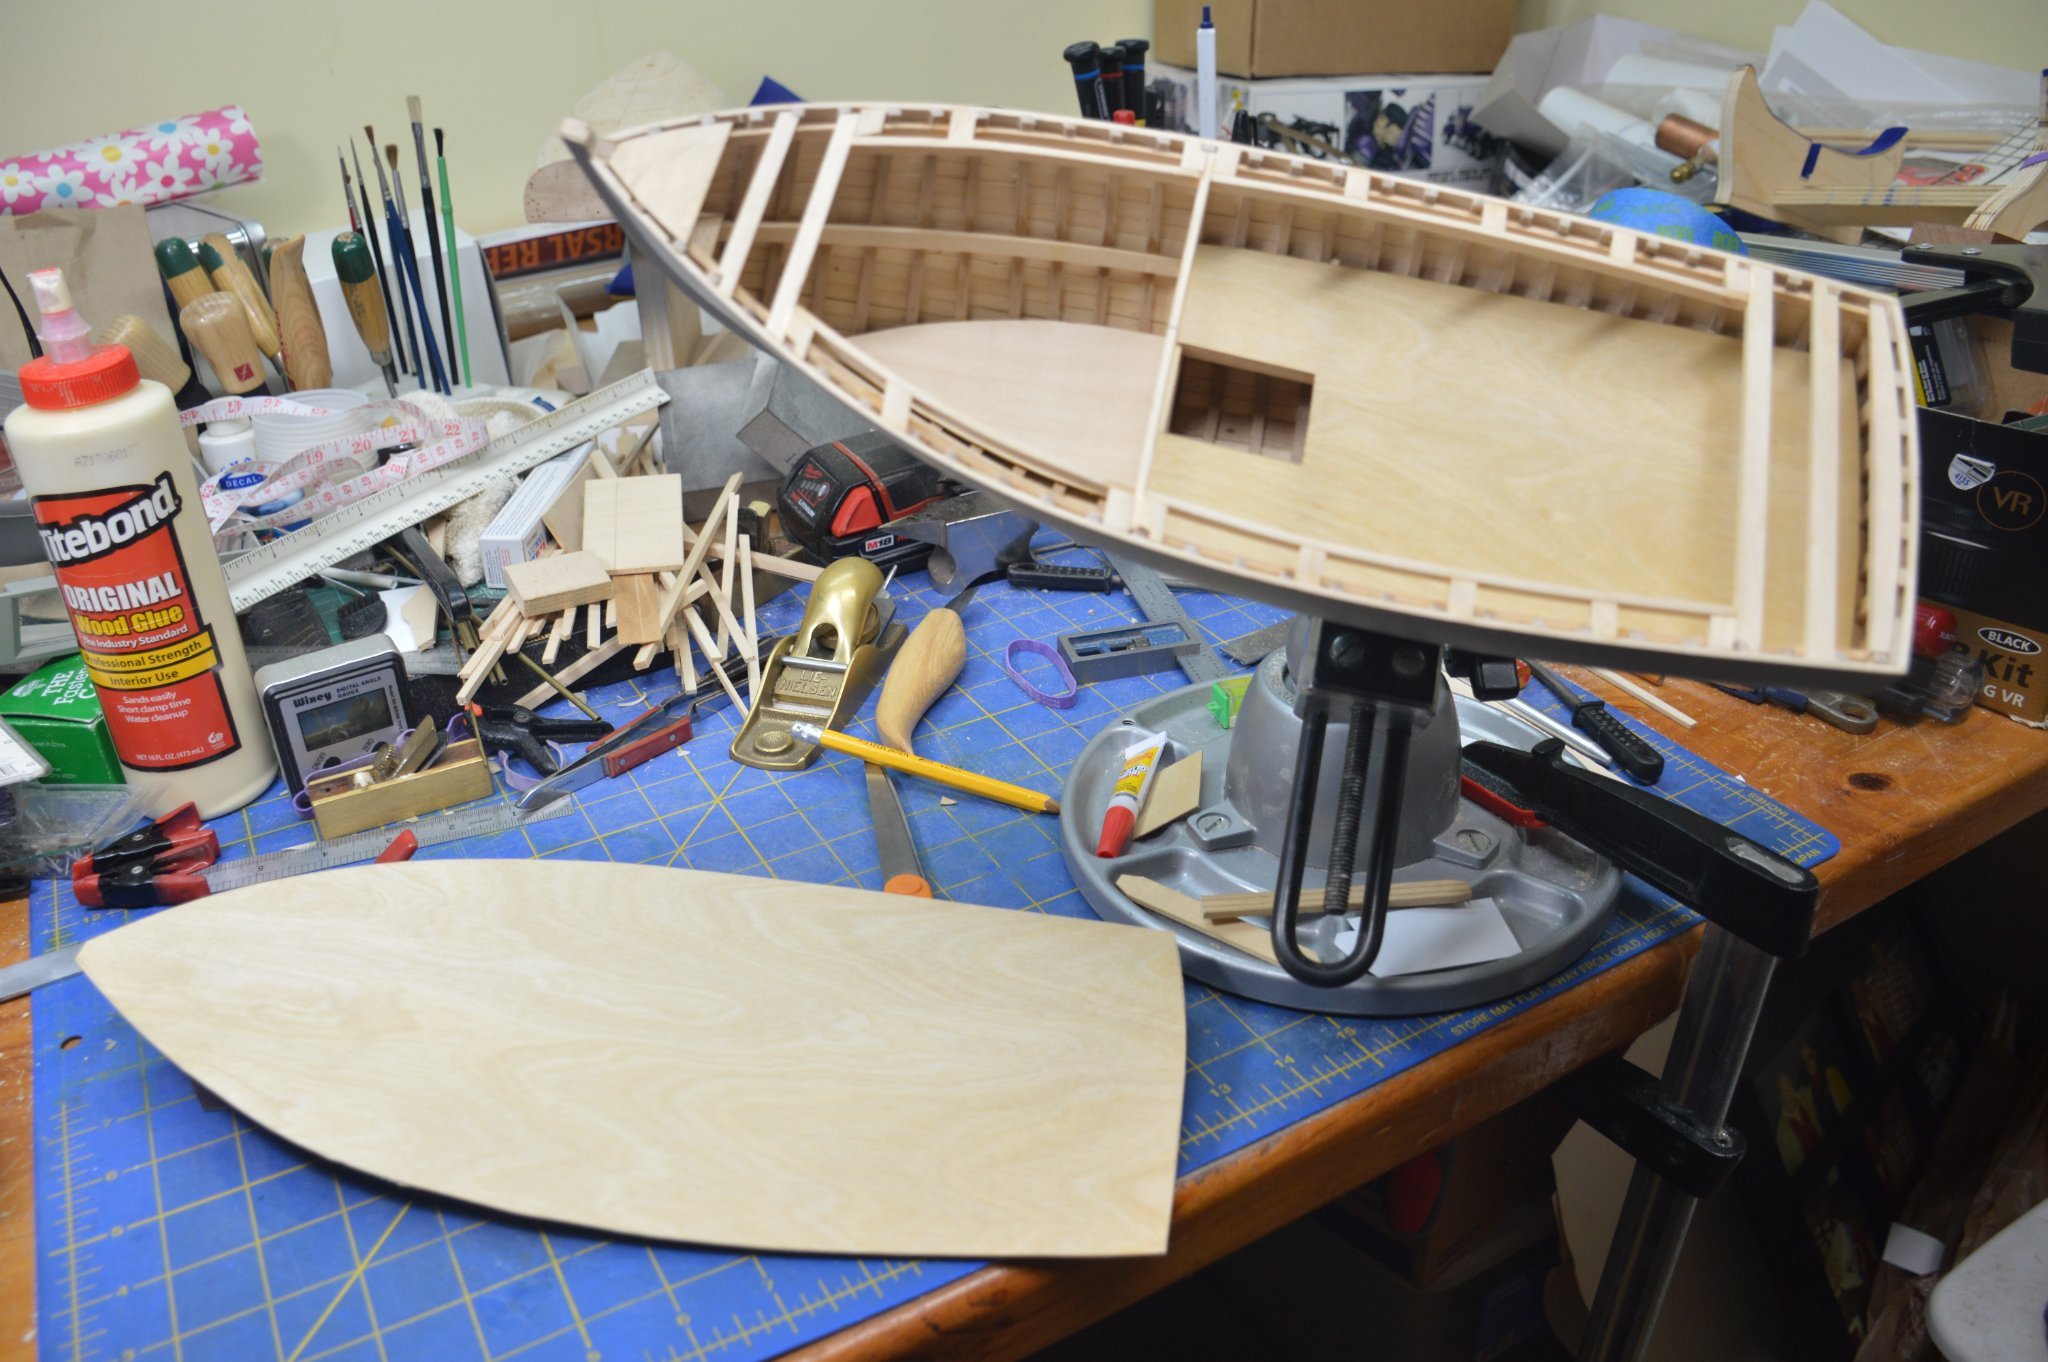
Bracing for cabin deck installed and main deck supports being added. Cabin and cockpit decks are in and main deck plywood is cut and ready to install.

.thumb.JPG.f2e22d68cb88ec3947f97e75b3af4b96.JPG)
-
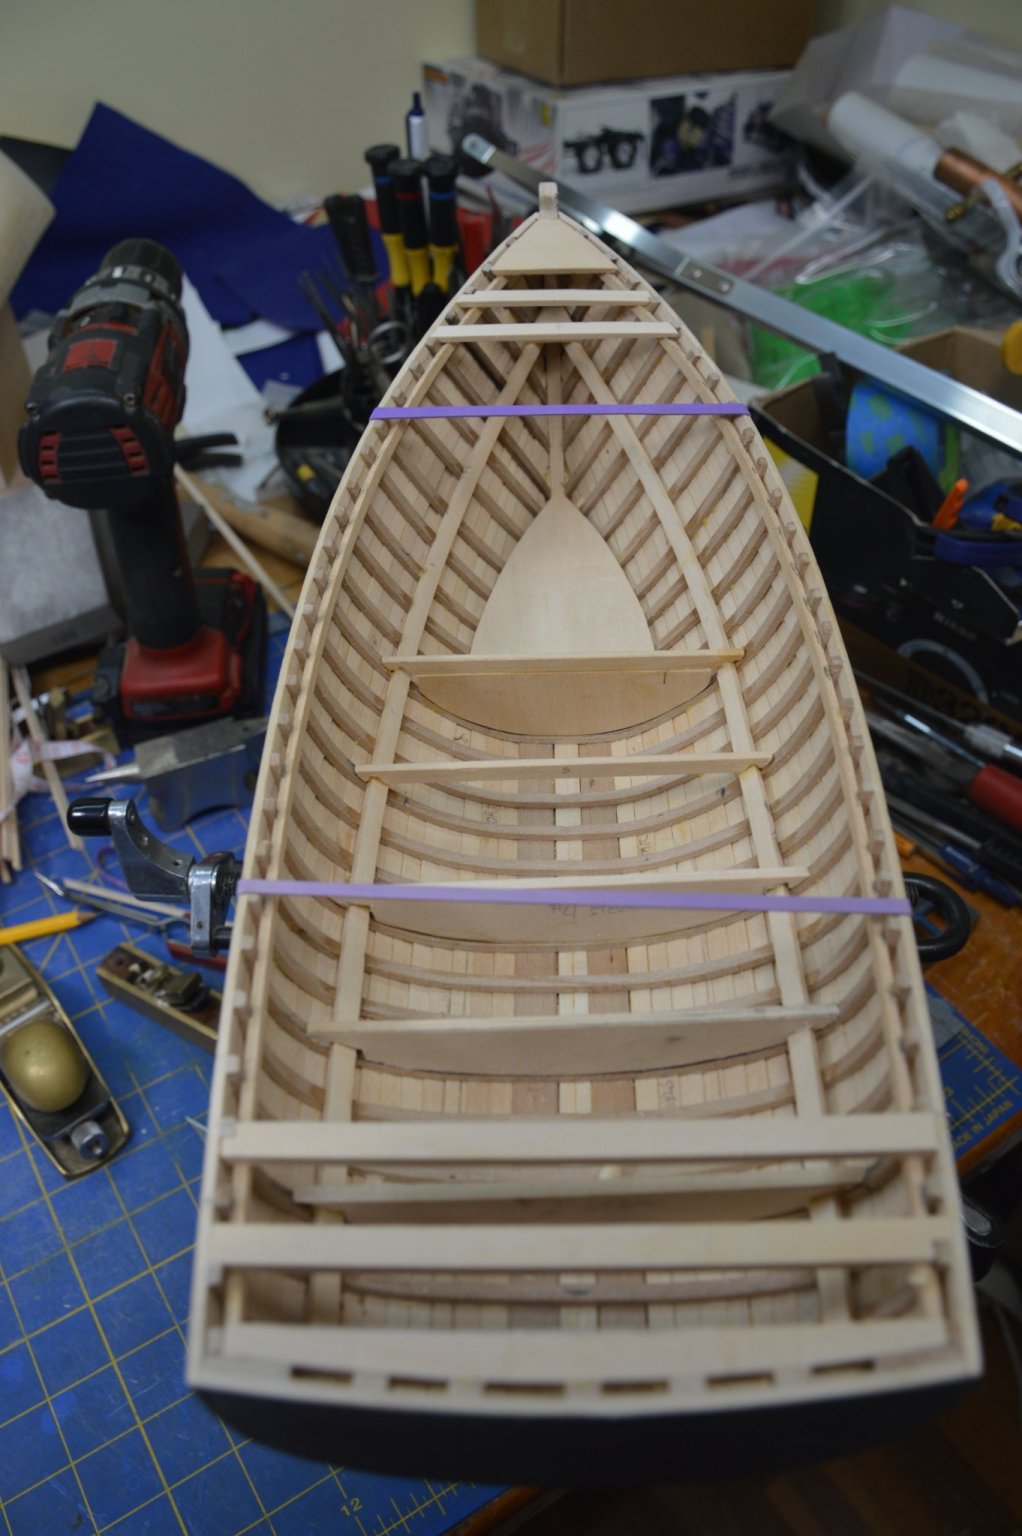
Shear and bilge clamps going in.

-
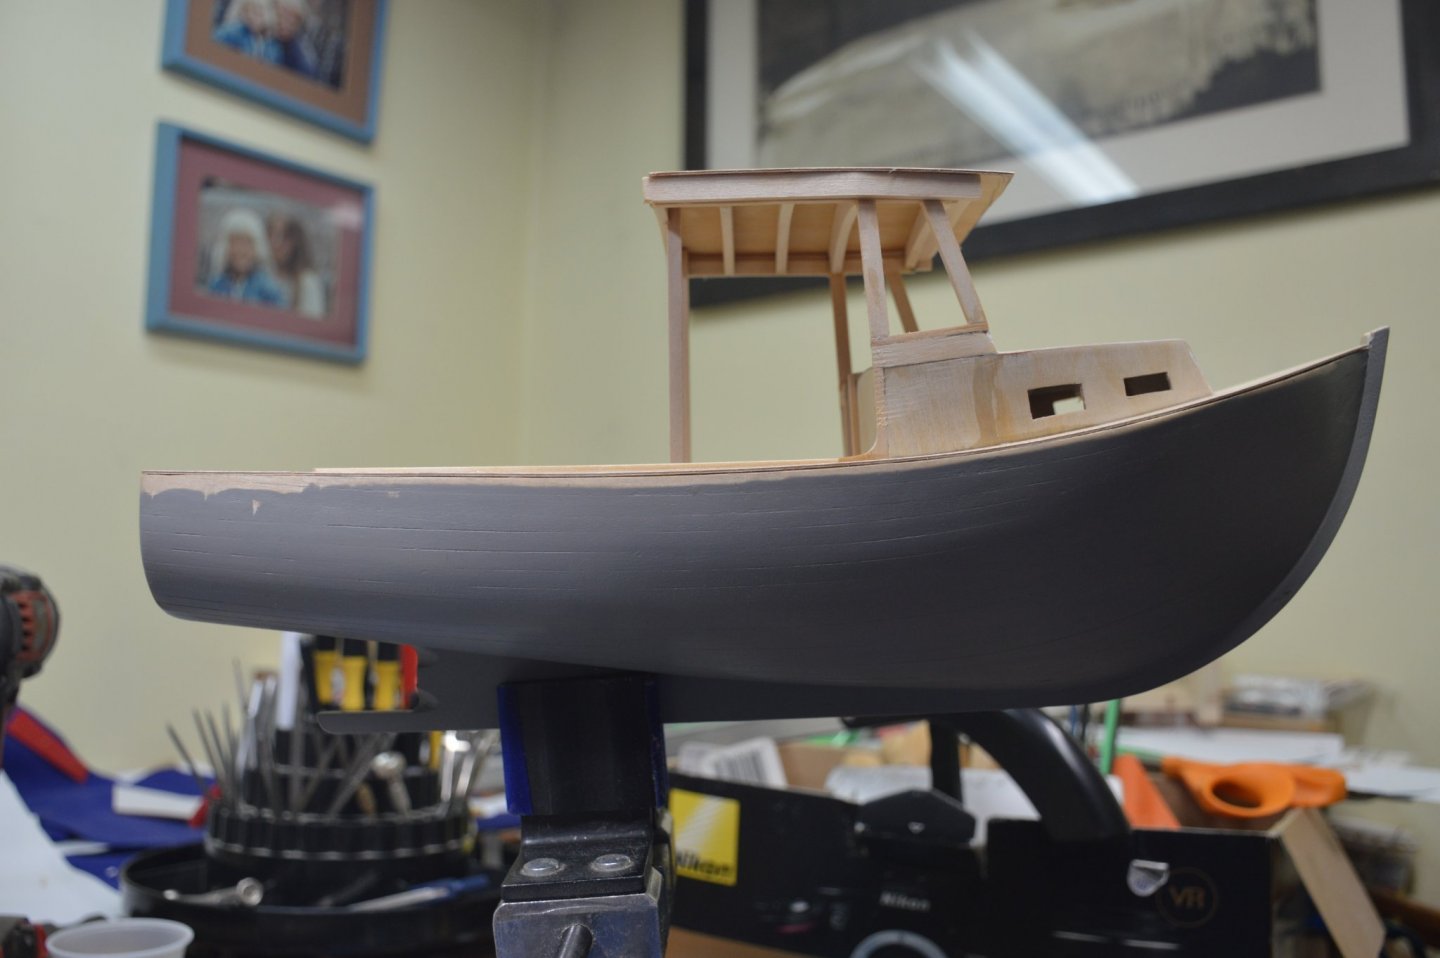
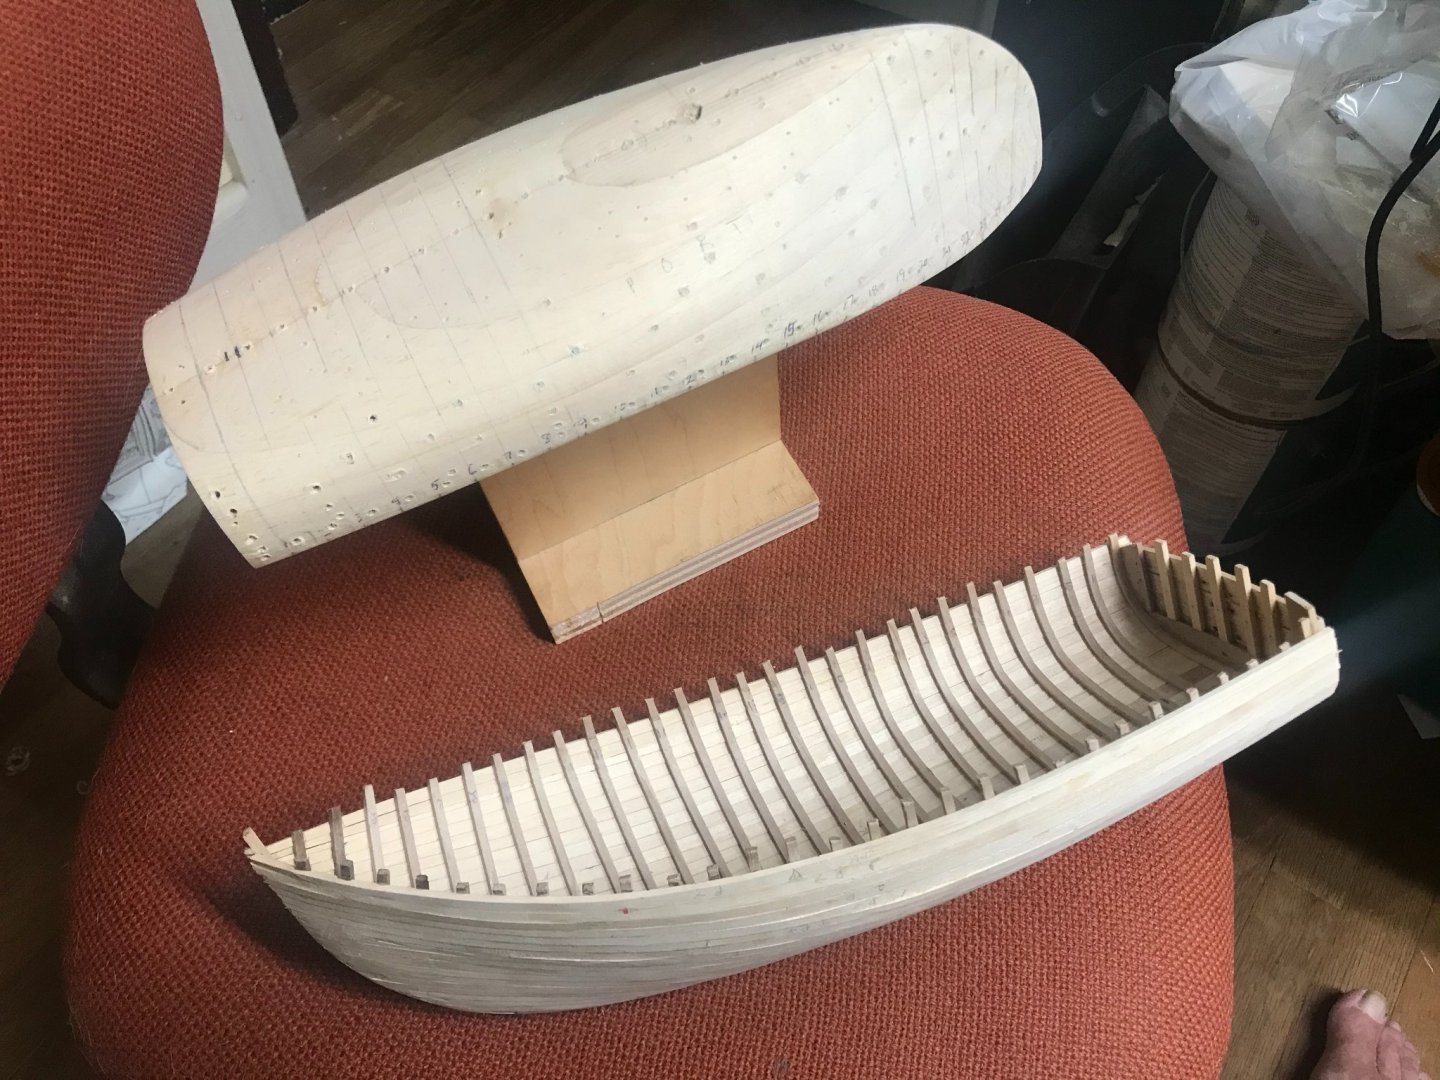
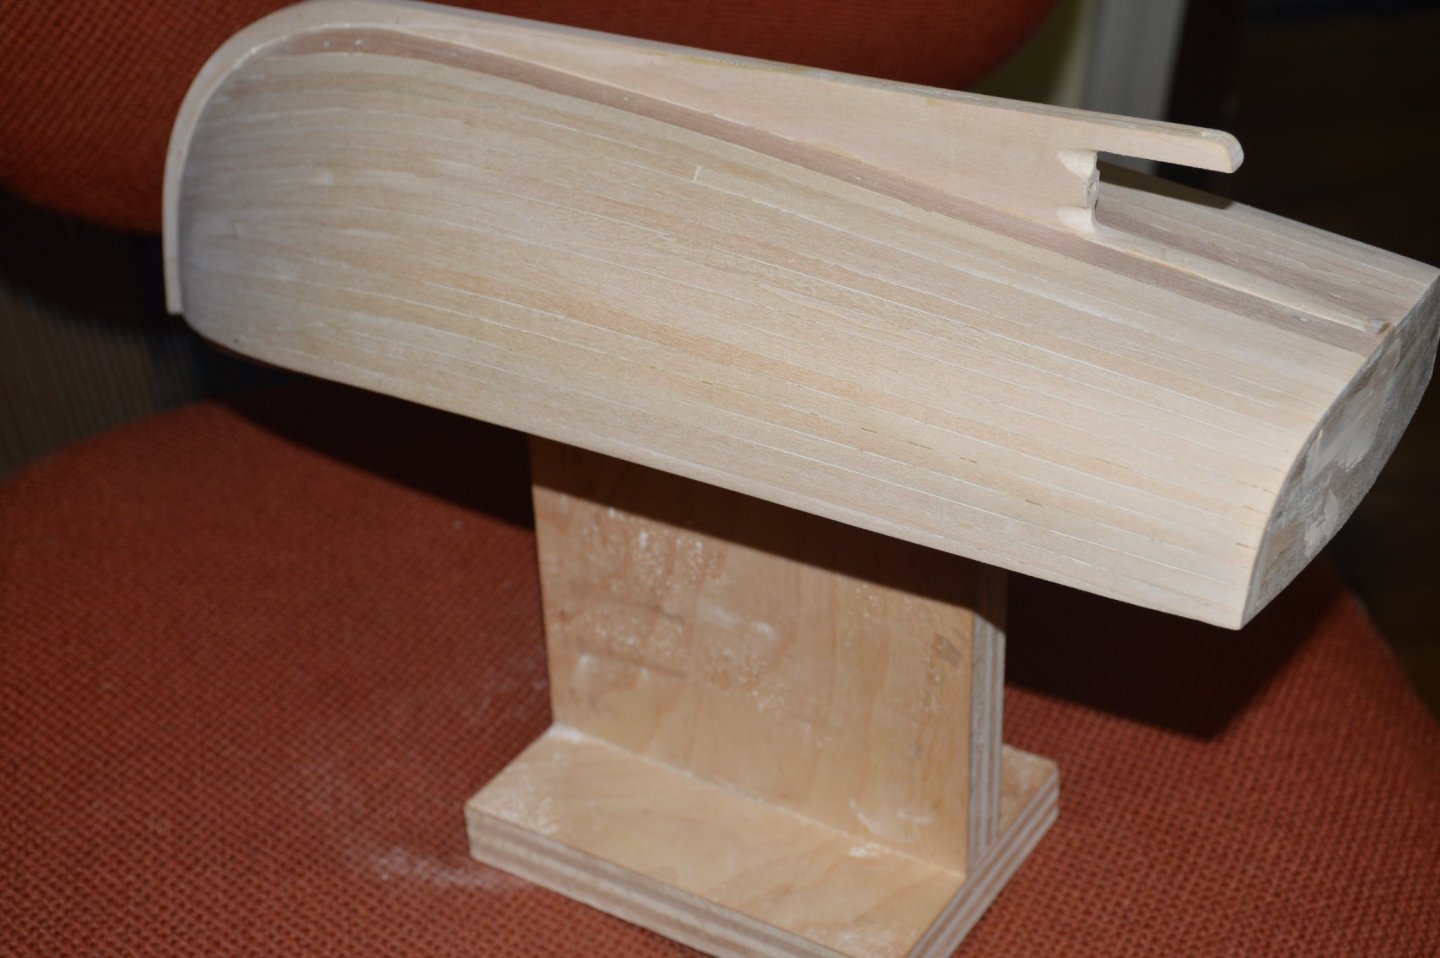
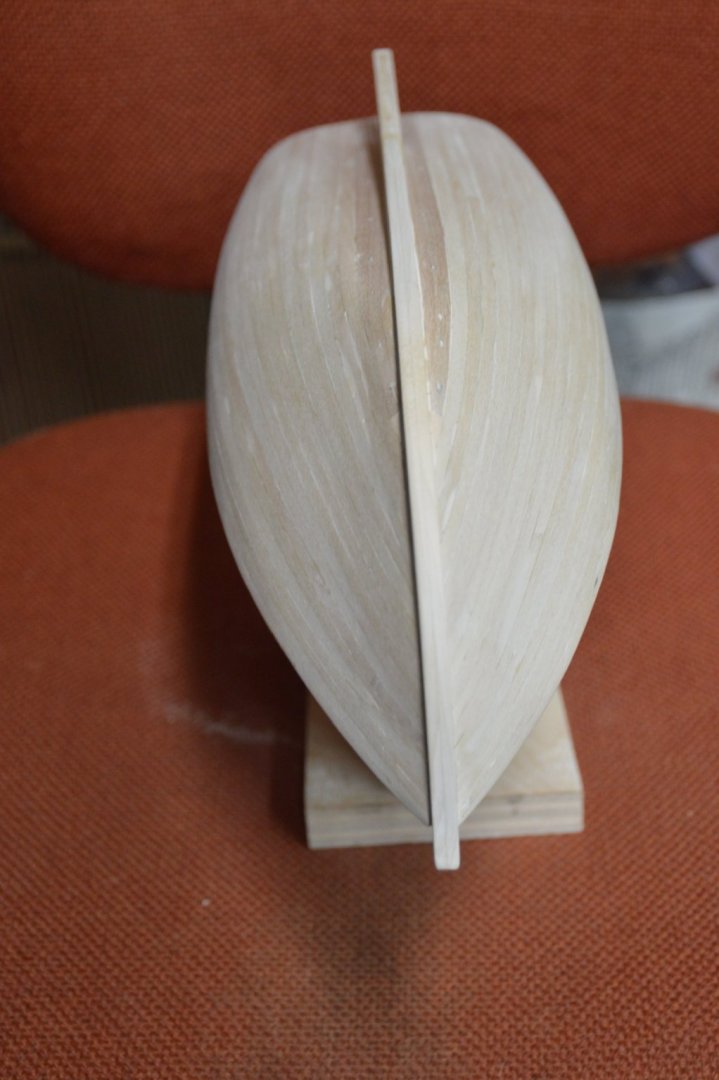
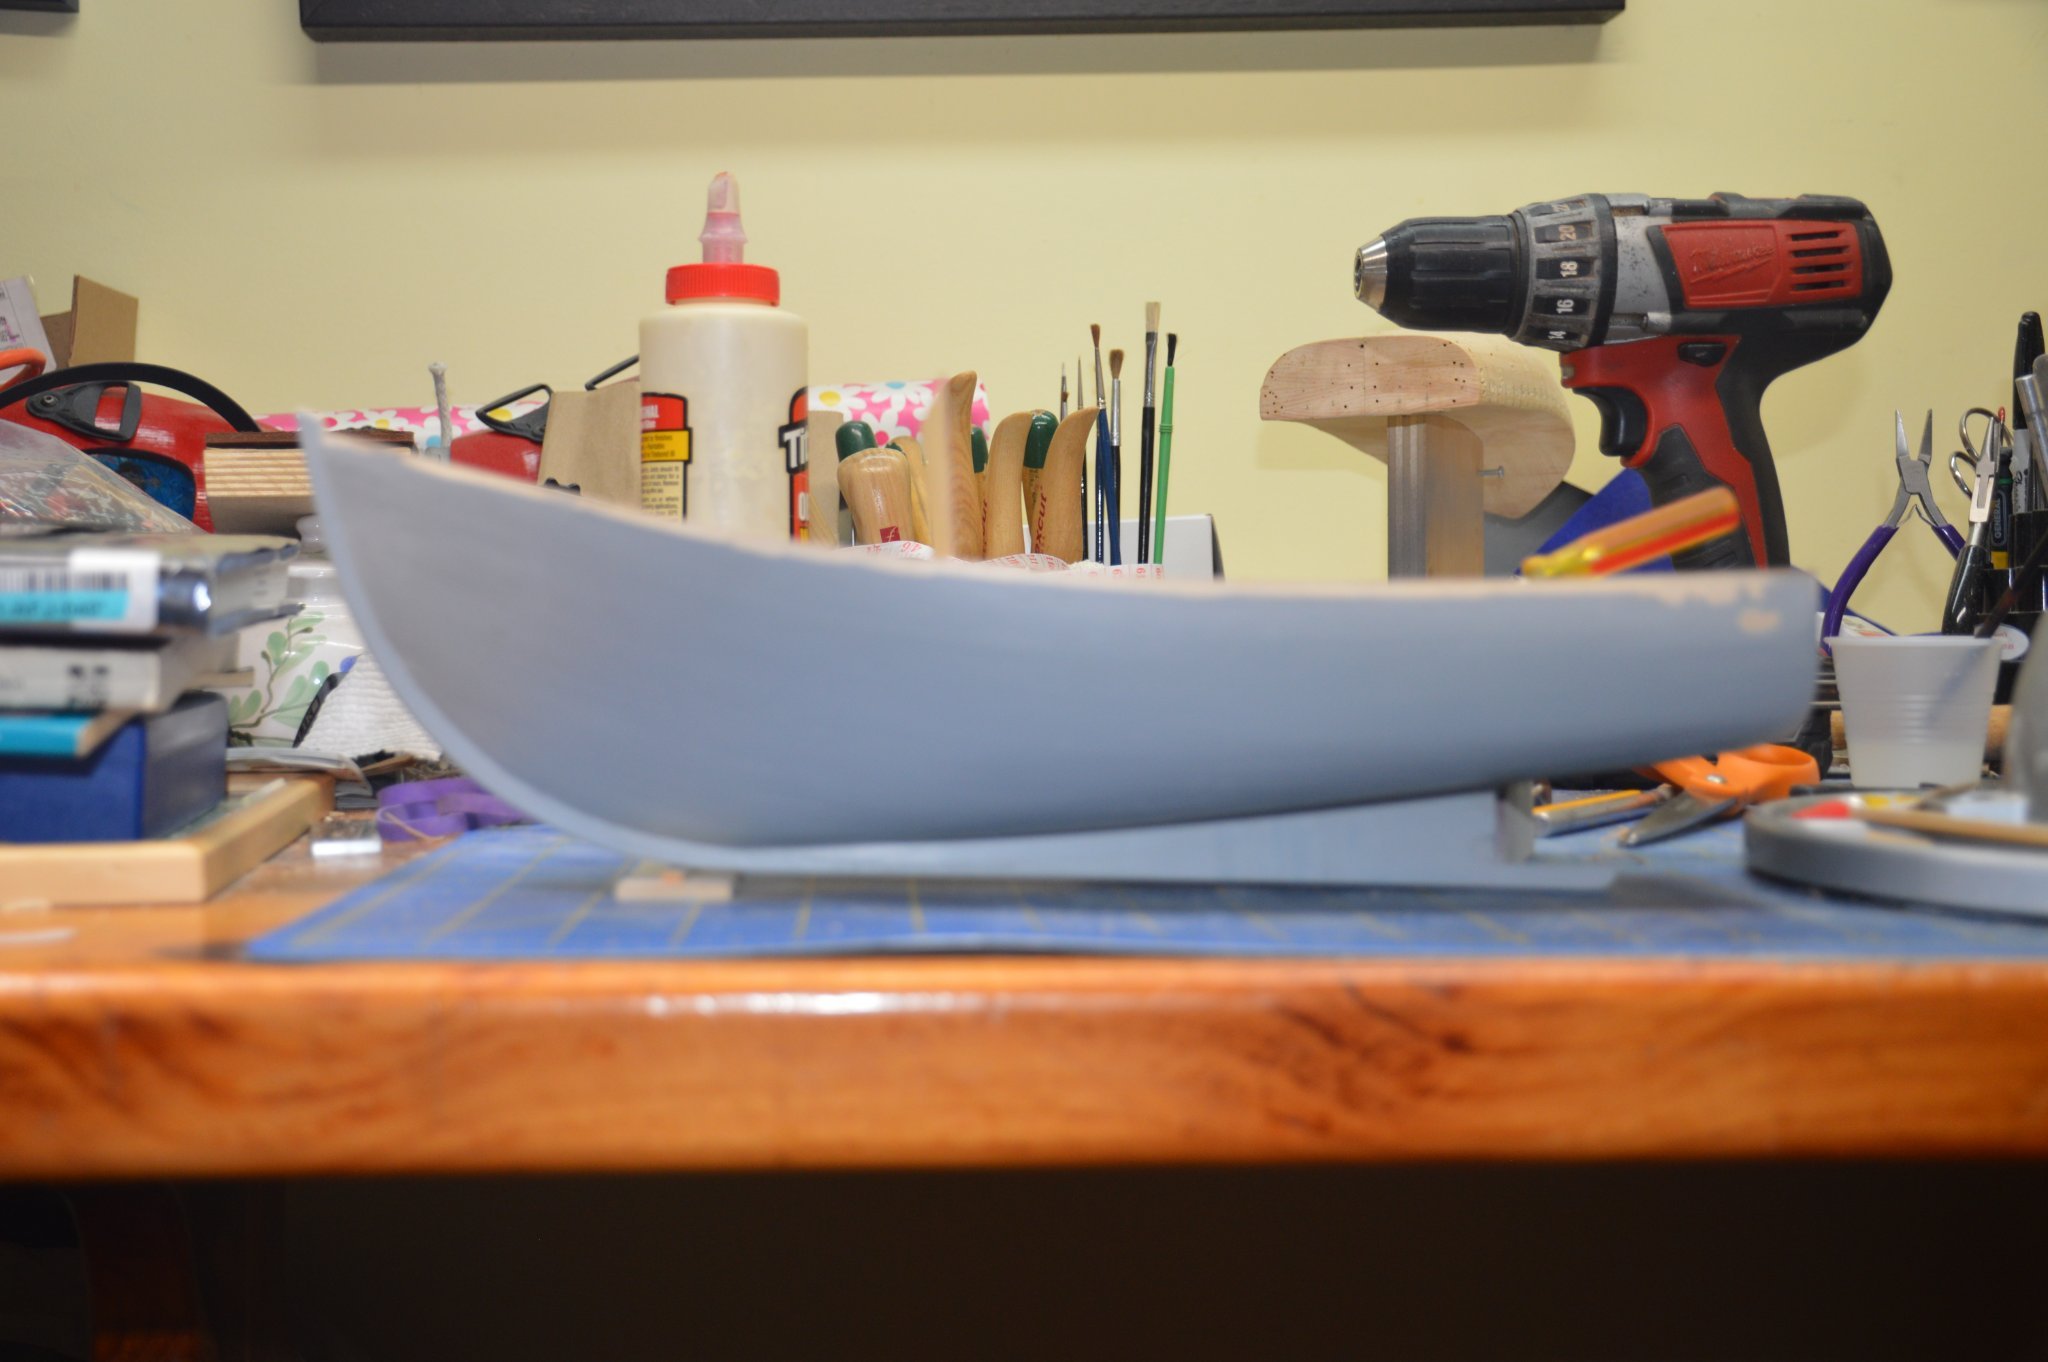
Planking all most done. Off of the mold! Filling and sanding .
-
You can buy waterslide decal paper from many places, it is available for inkjet or laser printers. The link is for the inkjet one I use. Just make your art work on whatever program works for you, I use Excel. Do a test print on paper and then print it on the decal sheet. in order to protect the ink you need to clear coat with spray can clear lacquer. I let that dry overnight and then you can use them just like any waterslide decal. https://www.amazon.com/Nova-Horizon-Waterslide-Transfer-Printable/dp/B07X7GCP46/ref=sr_1_9?keywords=nova%2Bhorizon%2Bwaterslide%2Btransfer%2Bprintable%2Bpaper&qid=1636946168&sr=8-9&th=1
-
Why not print your own water slide decals?

-
Brass piano hinges
Captain Shaun replied to Chariots of Fire's topic in Metal Work, Soldering and Metal Fittings
I have used these piano hinges. they are nickel/silver and you need to assemble them. opened dimension is about 4mm. https://www.modelcargarage.com/eshop/pc/viewCategories.asp?idCategory=28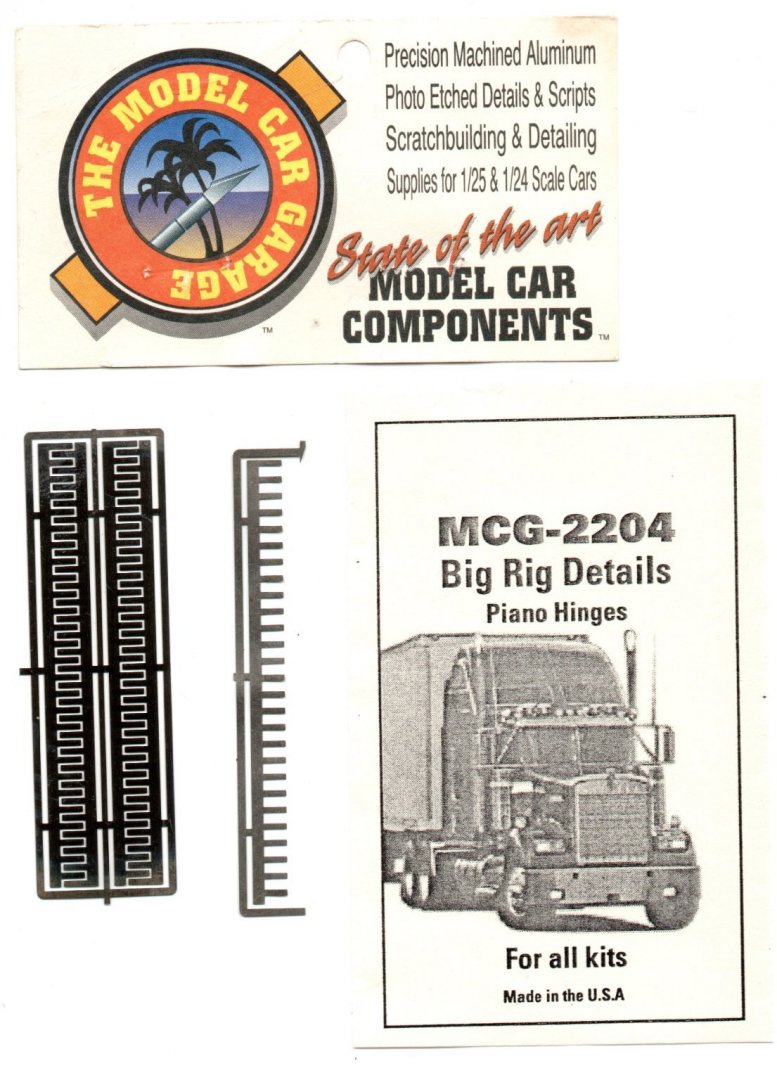
-
Thanks Keith
-
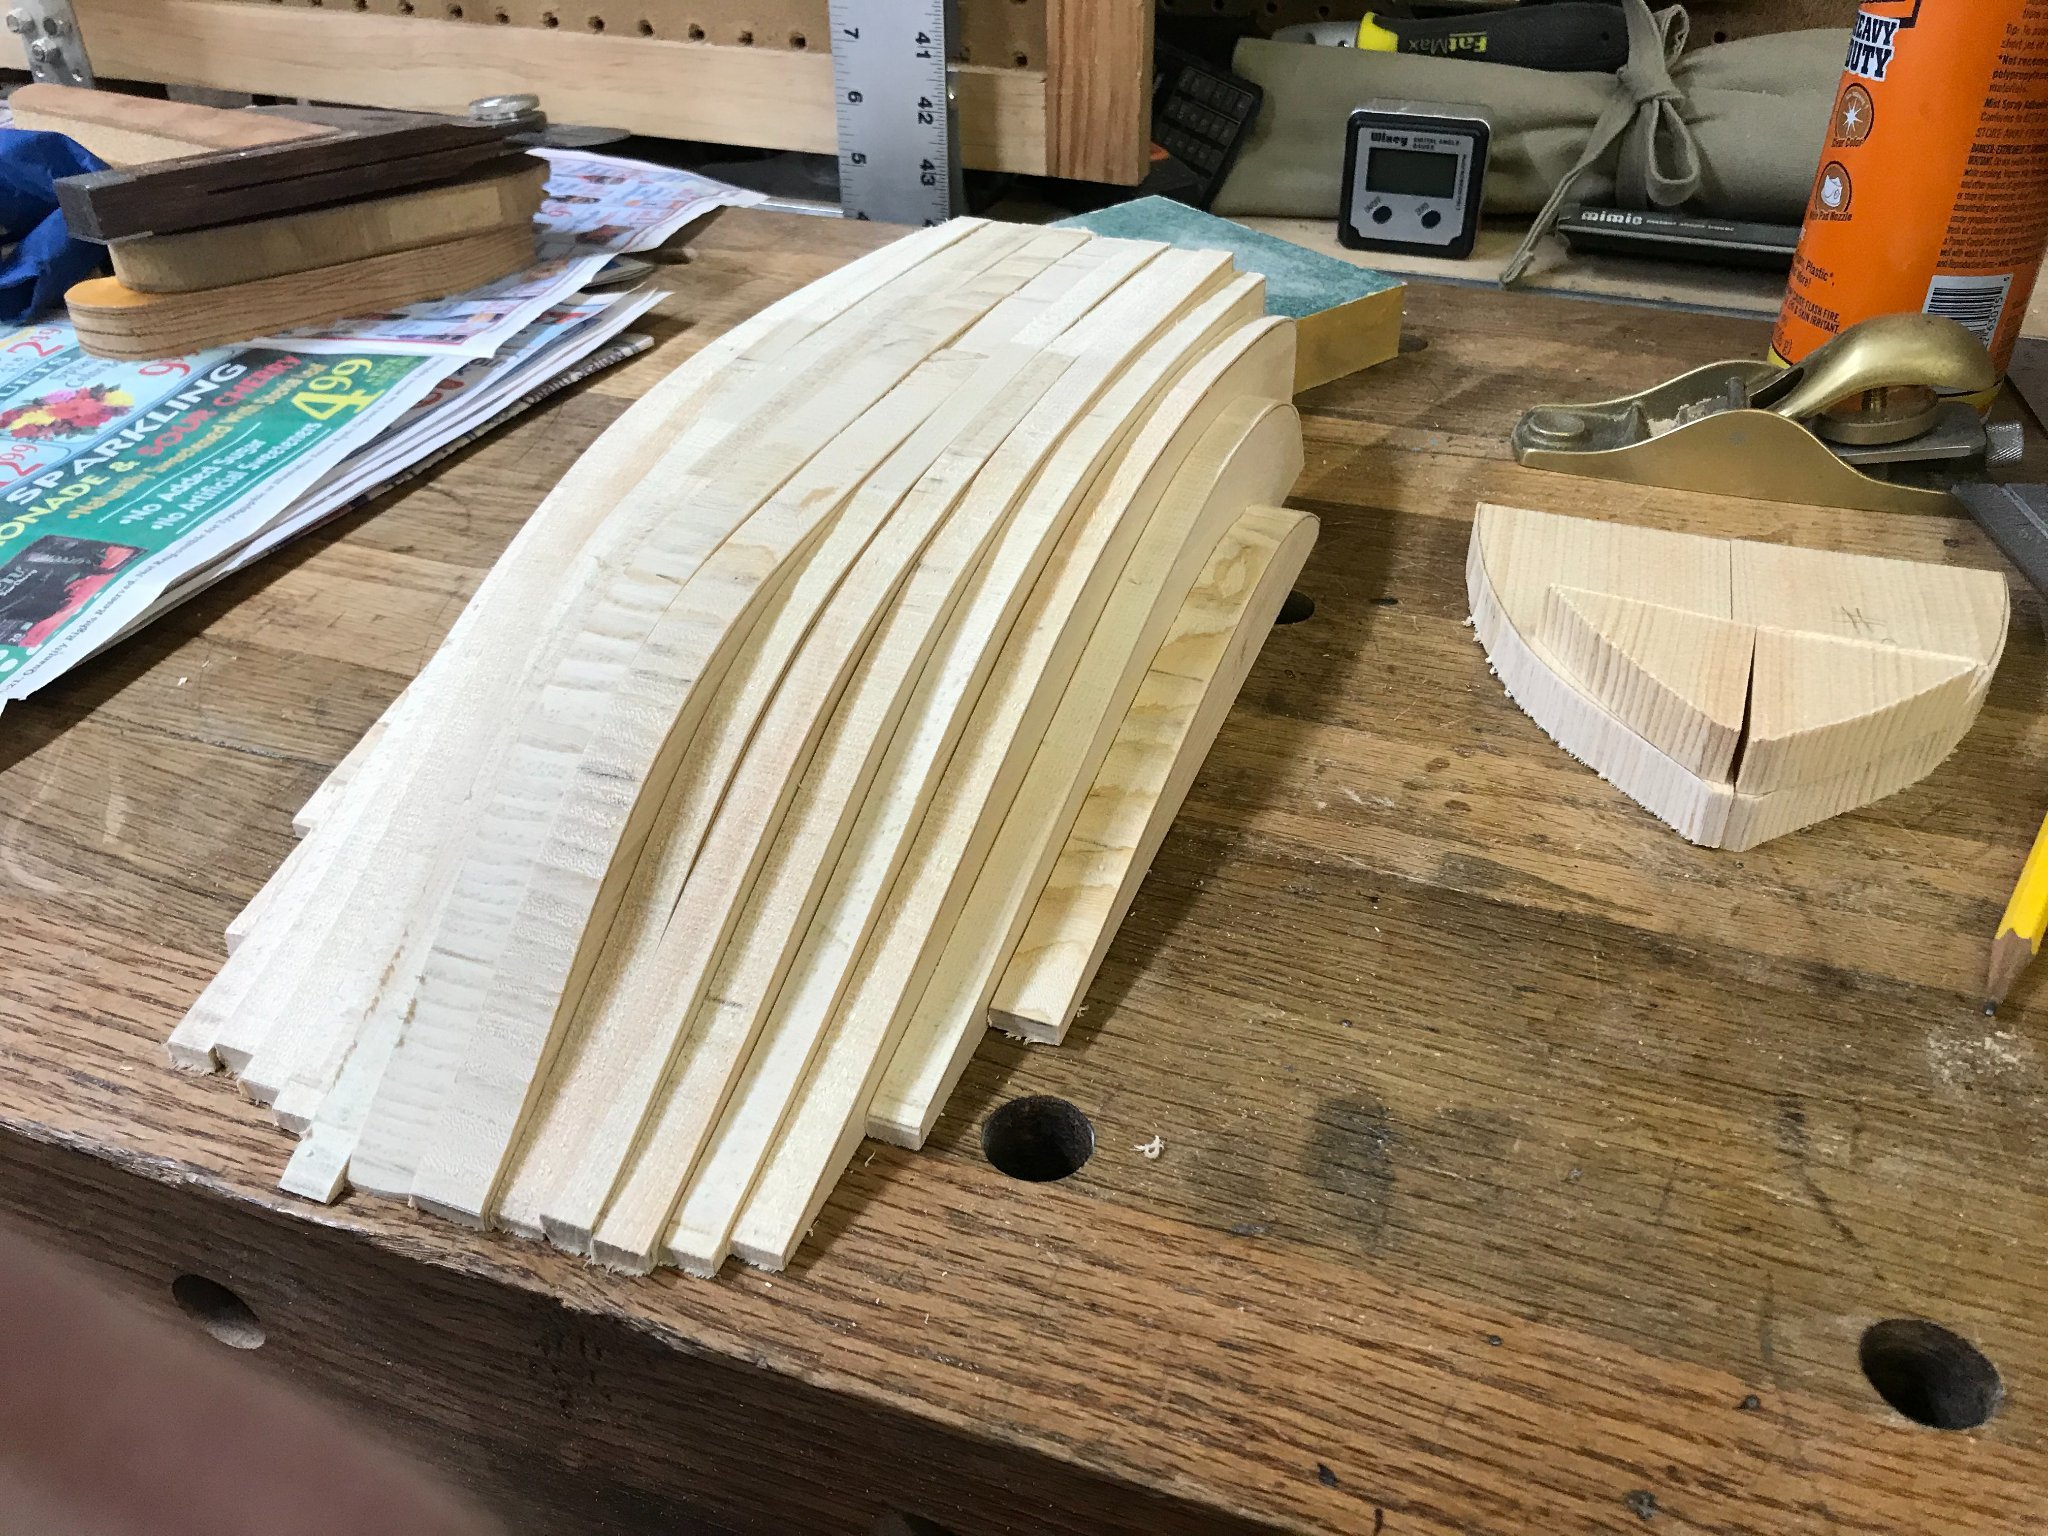
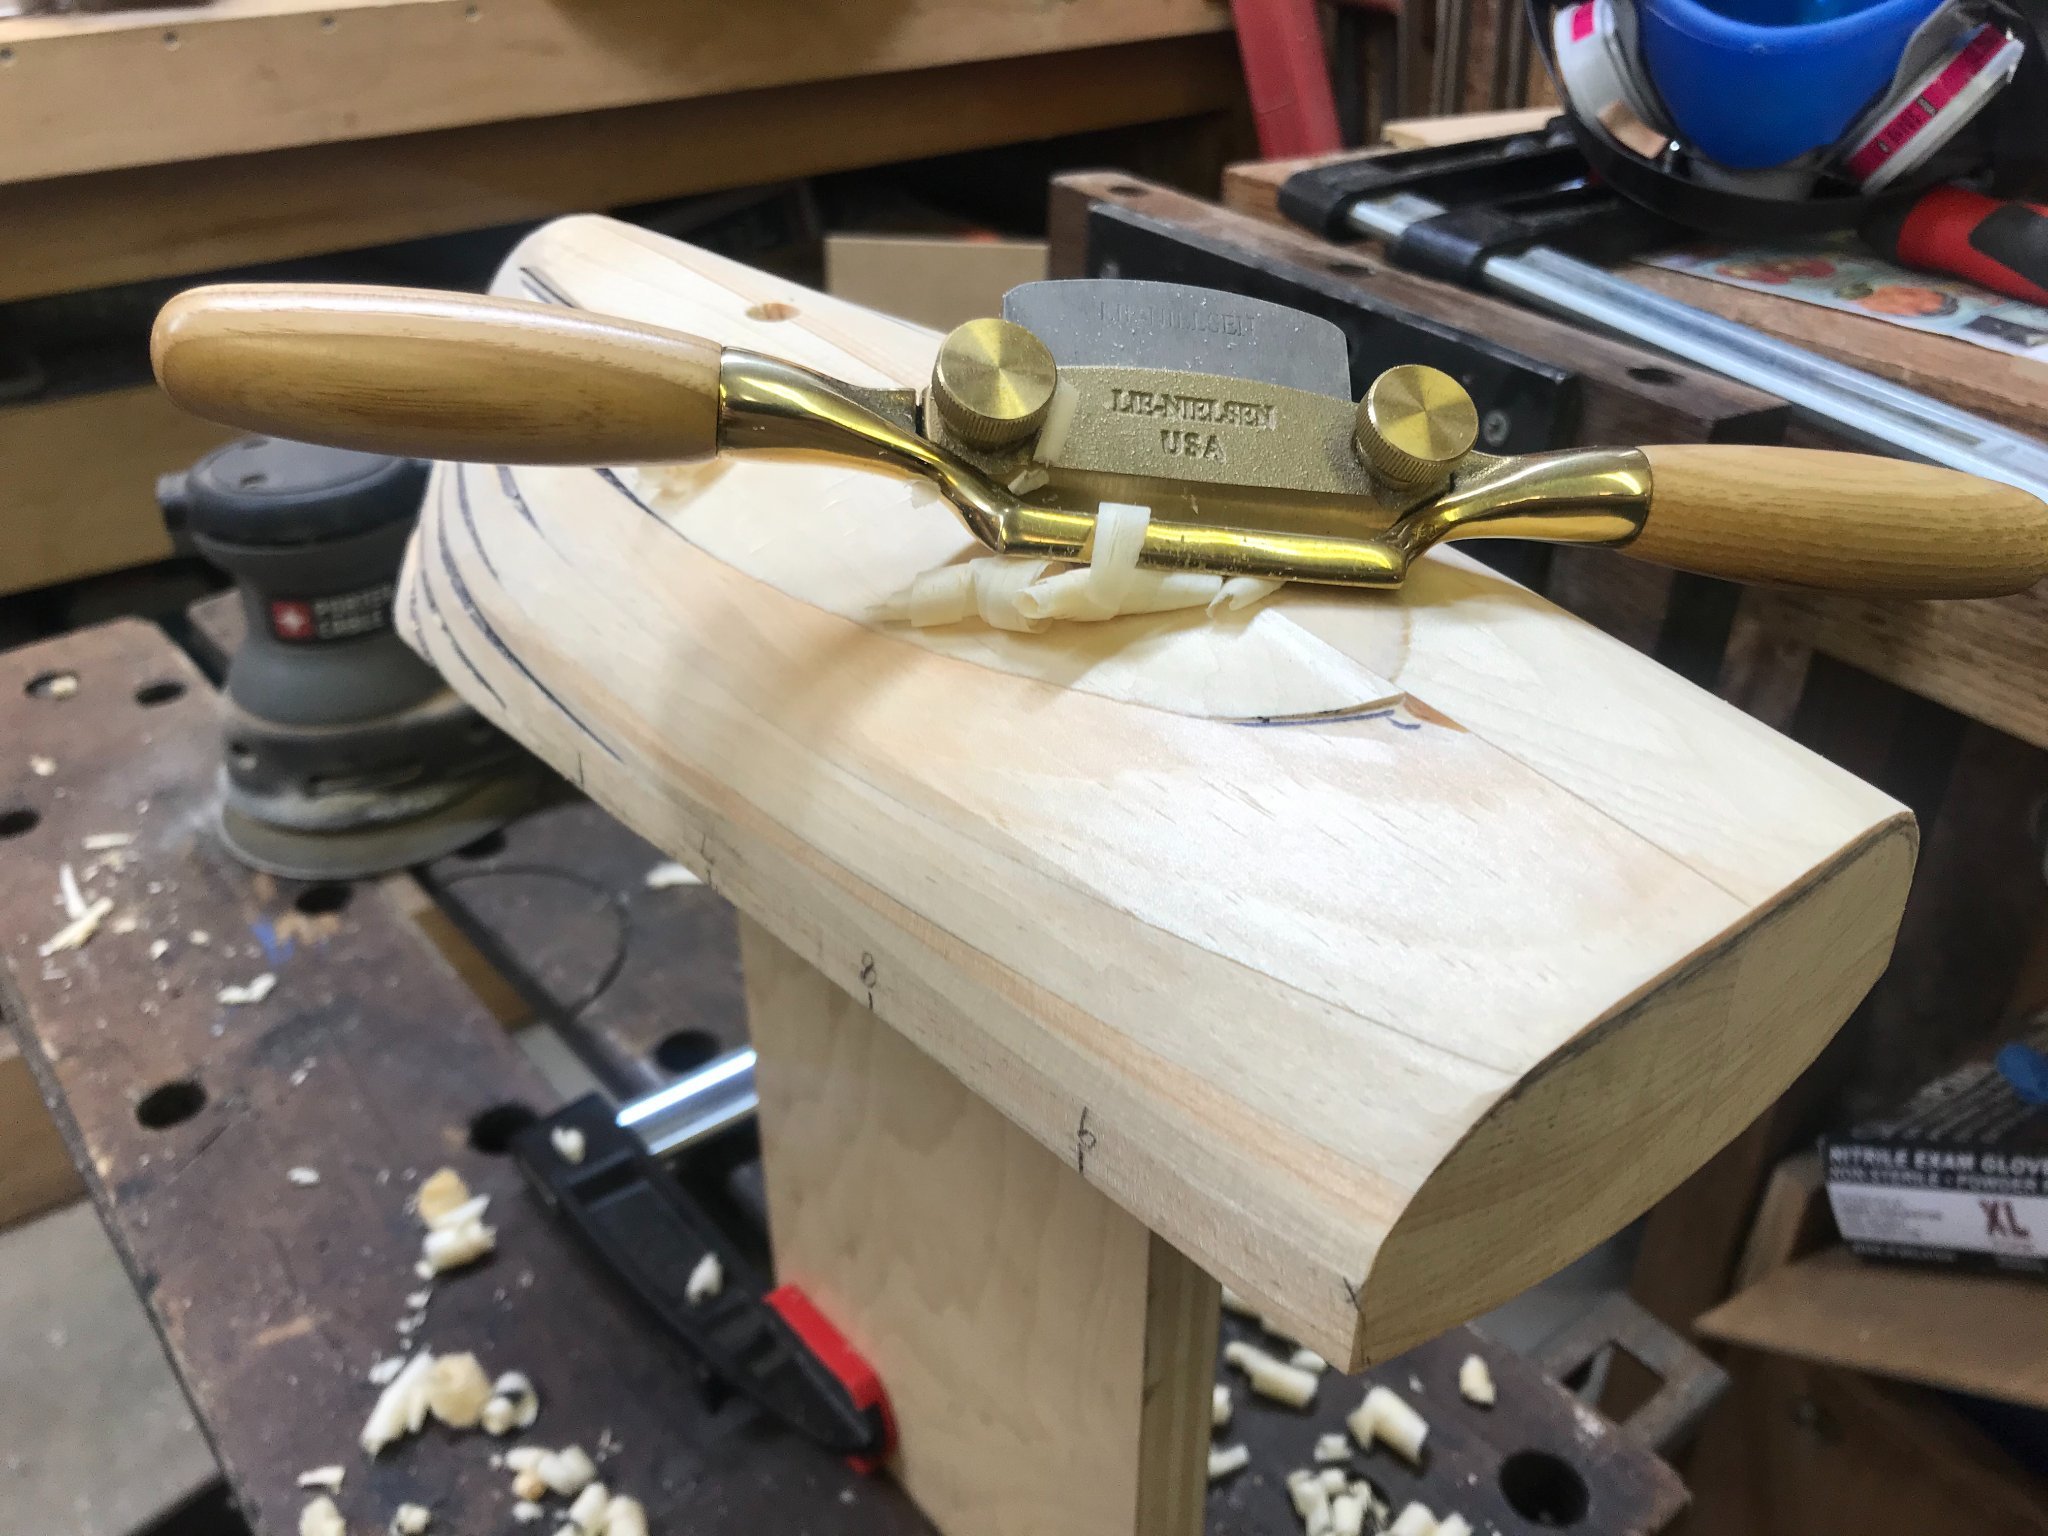
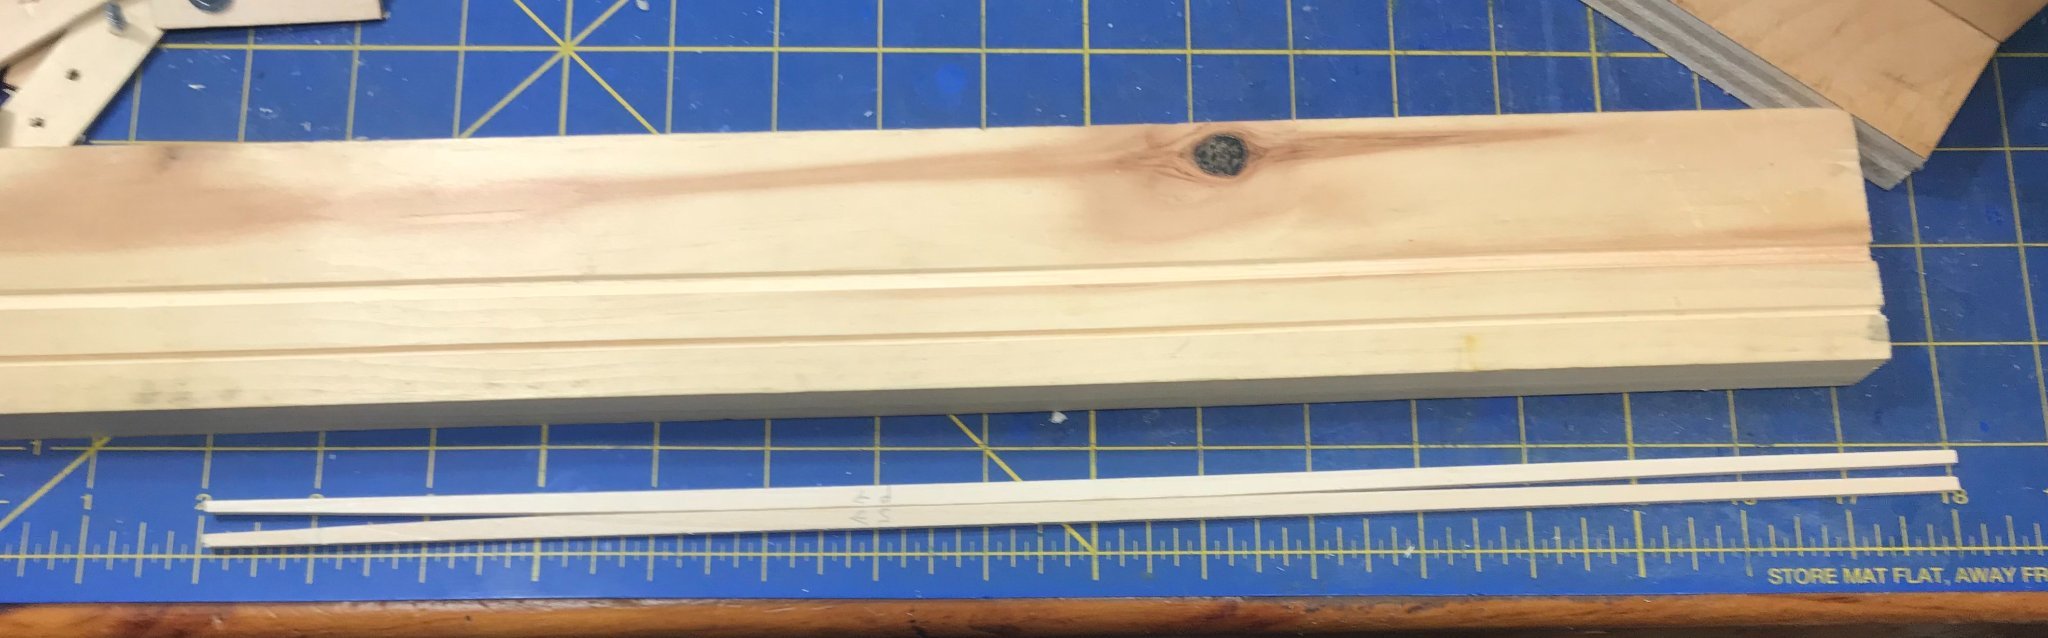
Making good progress on the planking. I made a jig for holding the planking boards for trimming with a plane. As with most tools sometimes it pays to buy top of the line, this Lie-Neilsen block plane is a joy to use.
.thumb.jpg.4a31170bb753142f85fbd06bc410c656.jpg)
.thumb.jpg.aca8c722af22839672e413cbd8fea641.jpg)

.thumb.JPG.830a15962eb57816dfcd20468e7b20ac.JPG)
-
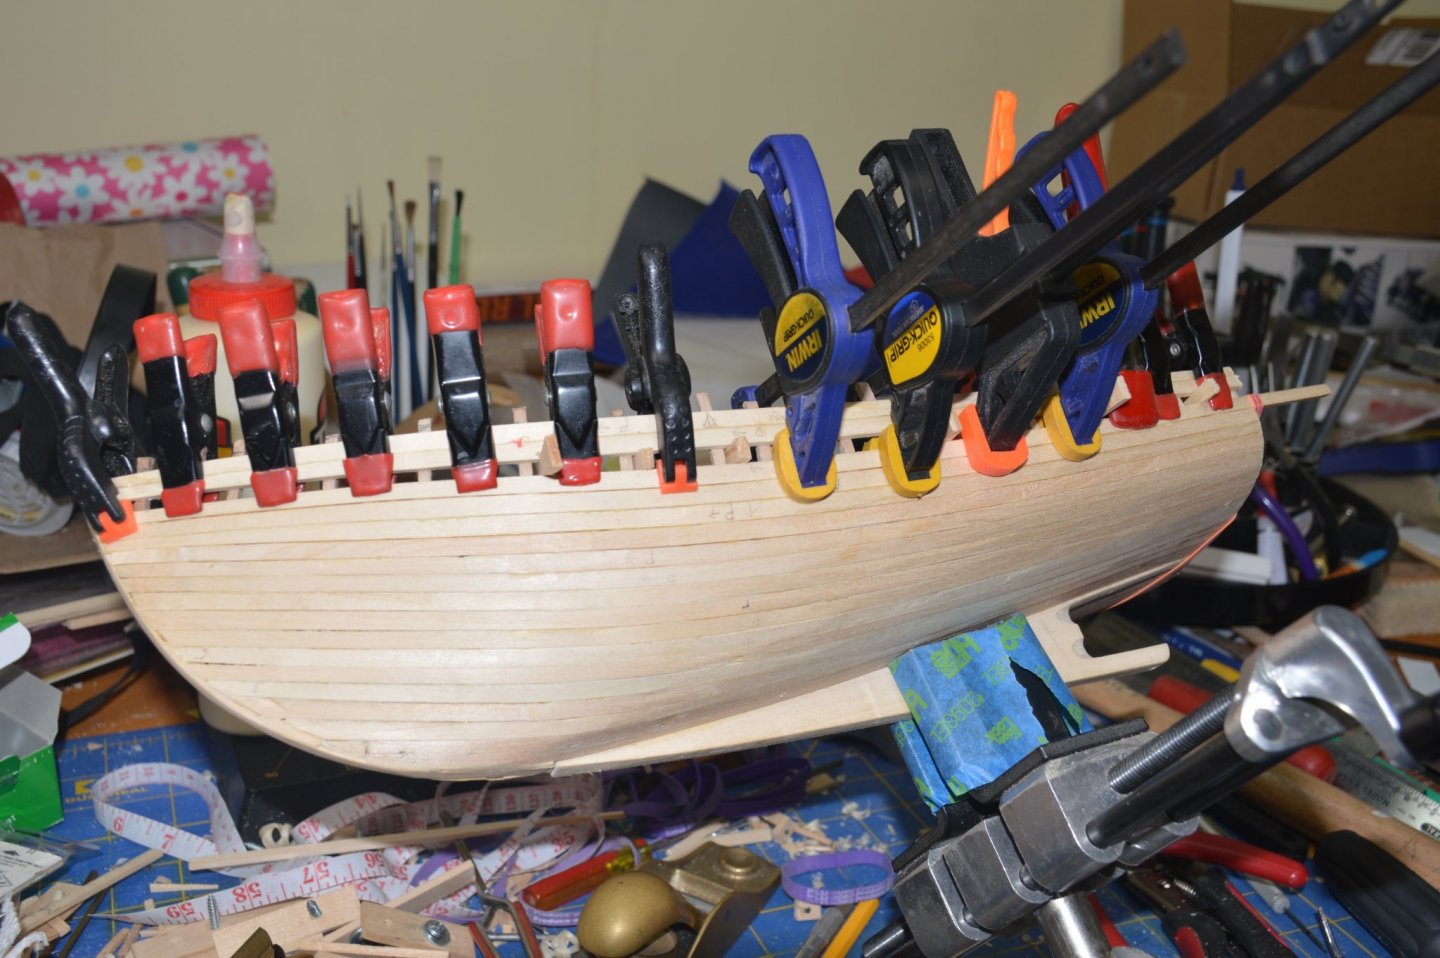
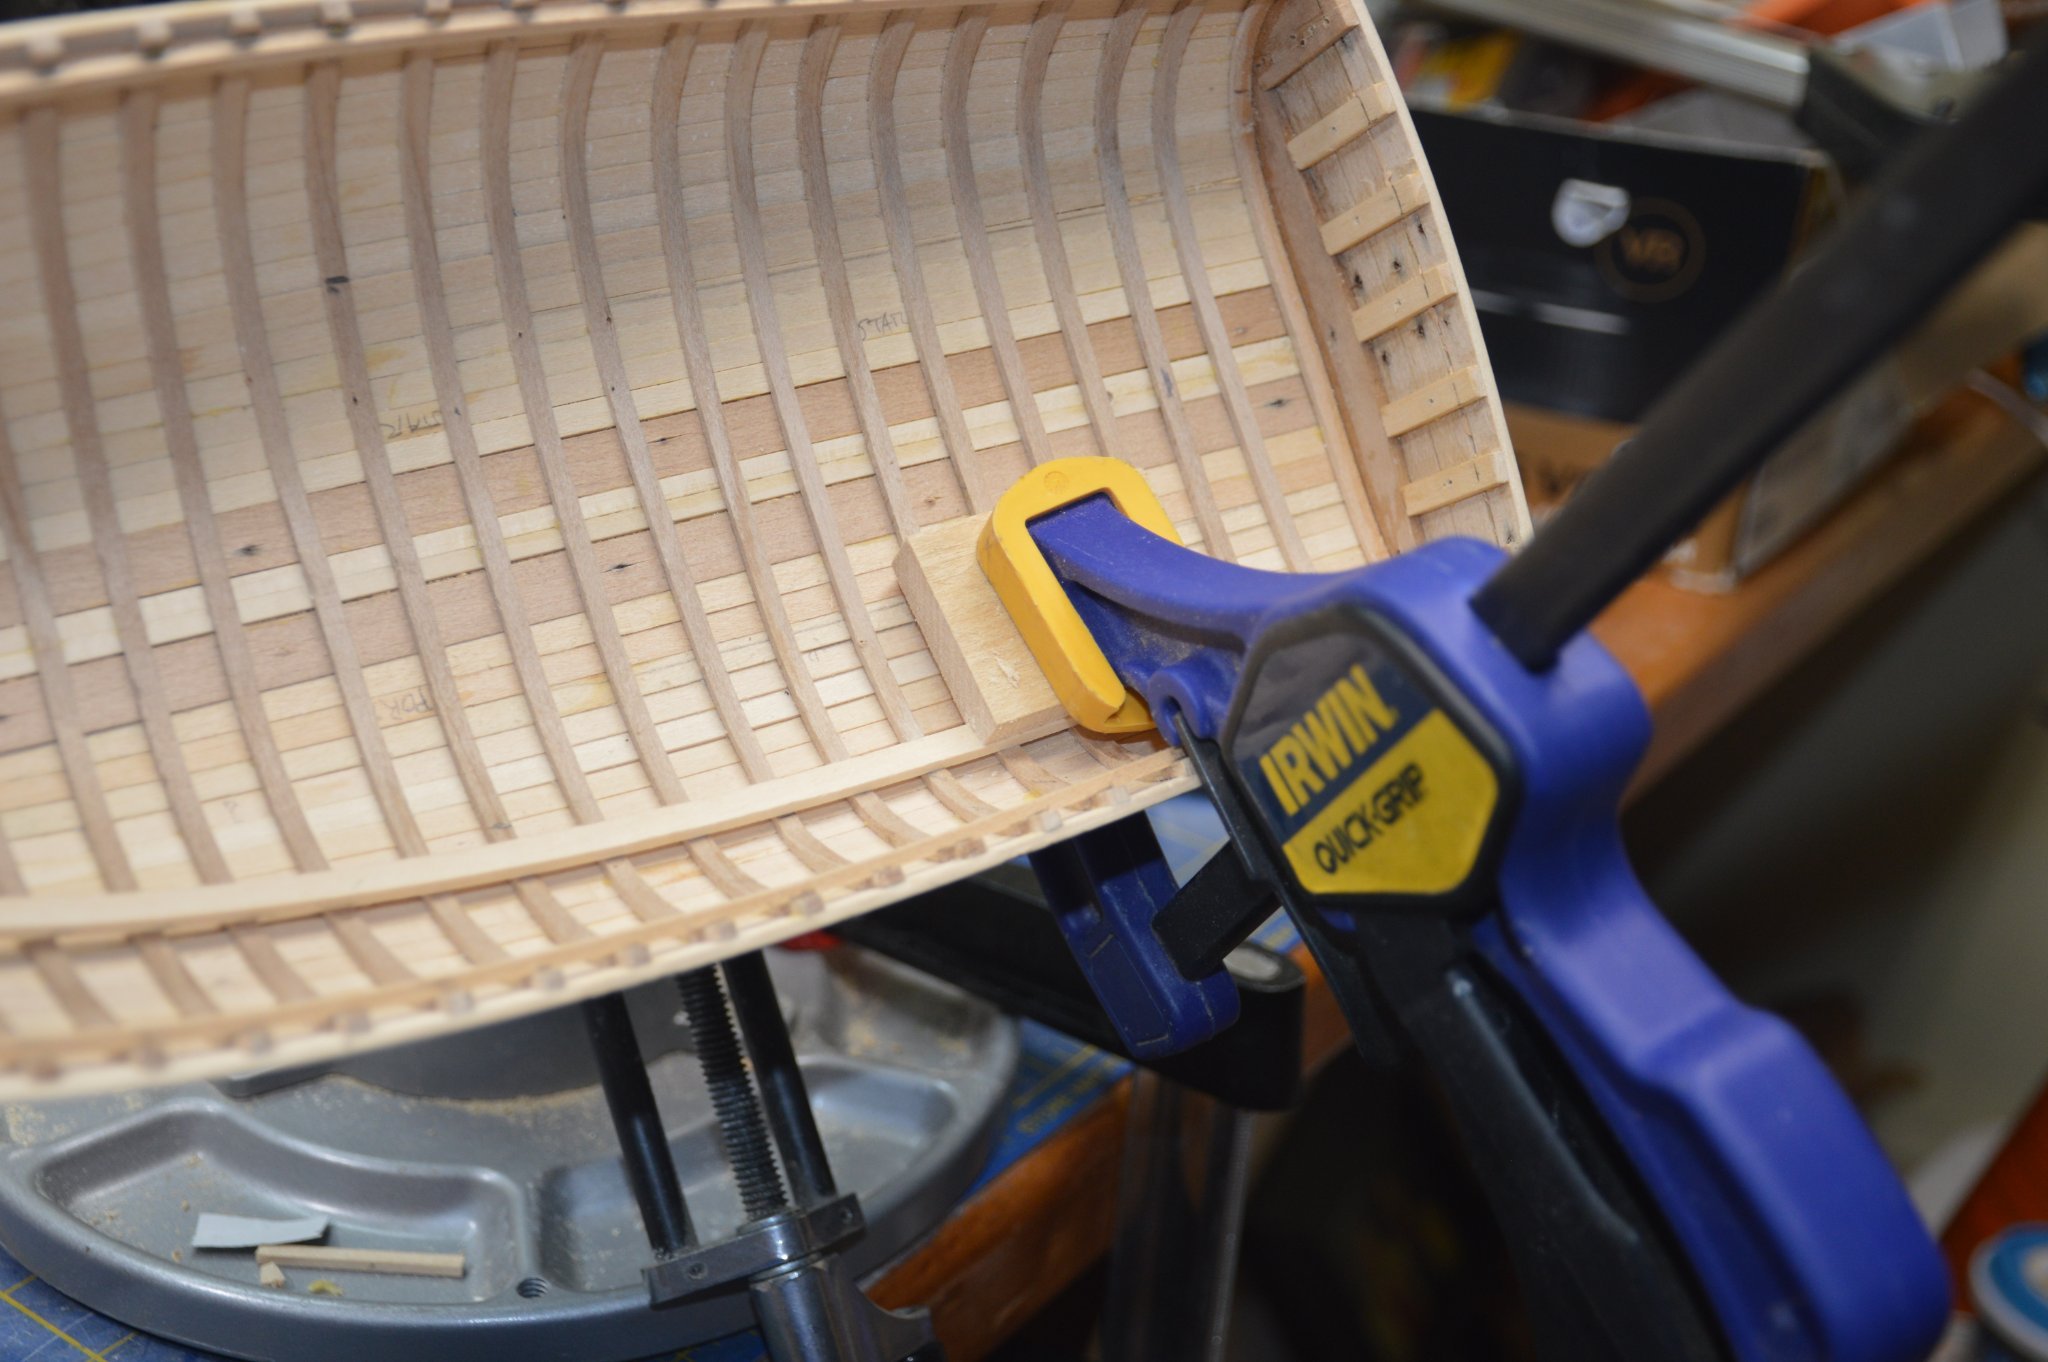
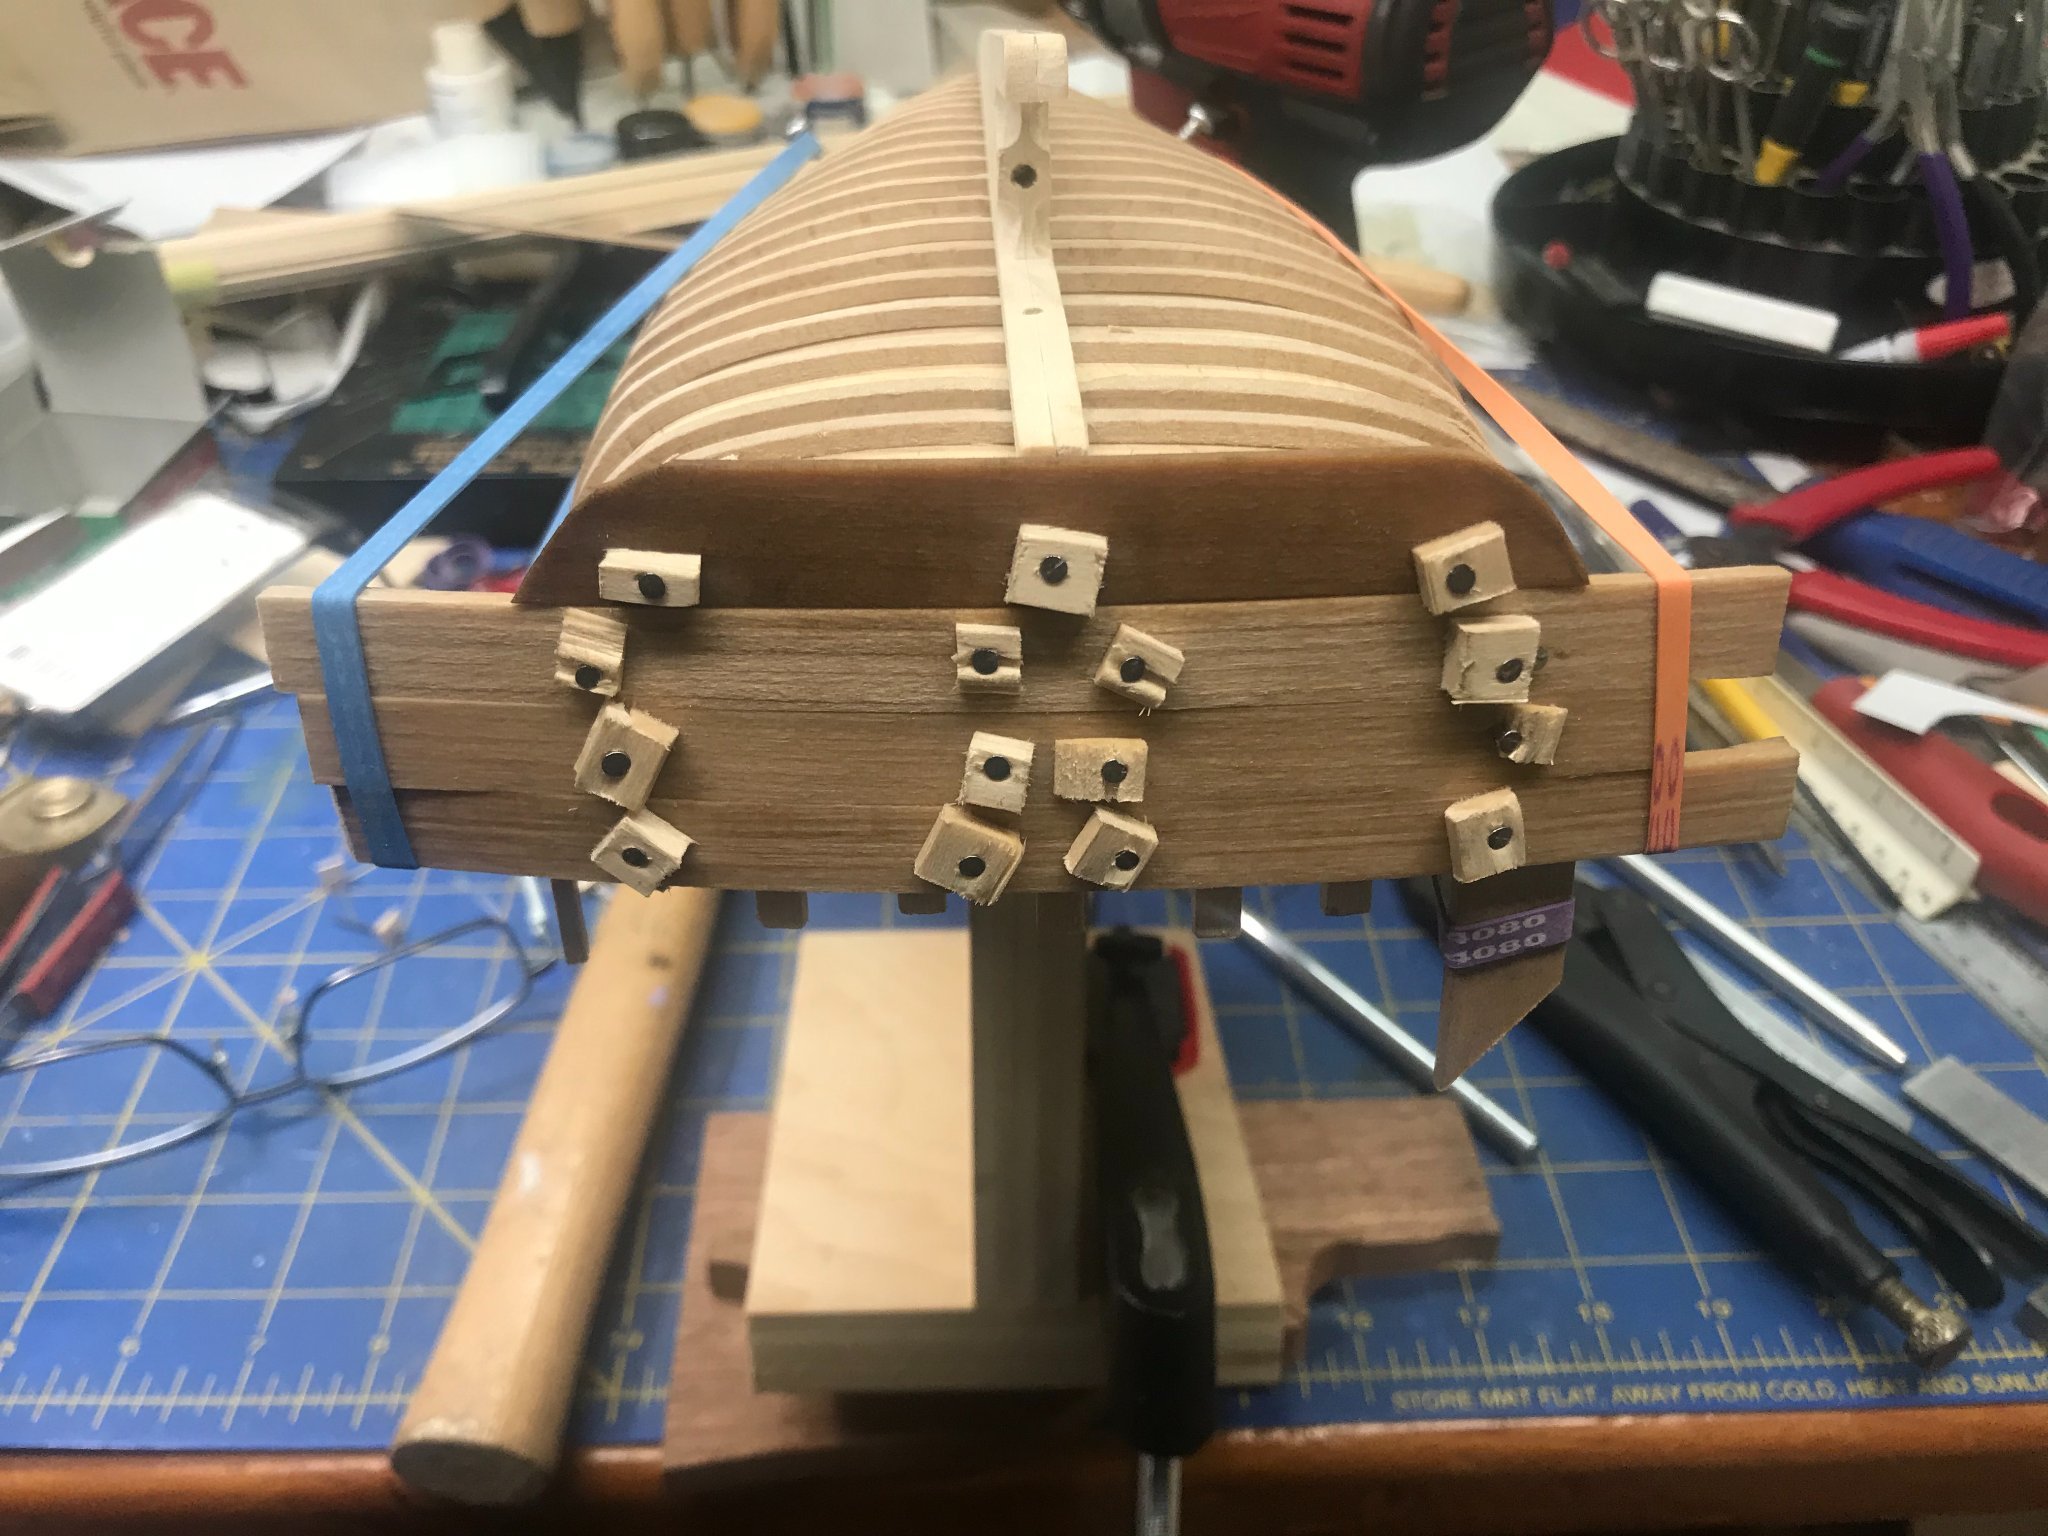
Using wedges to close gaps on the planking.
-
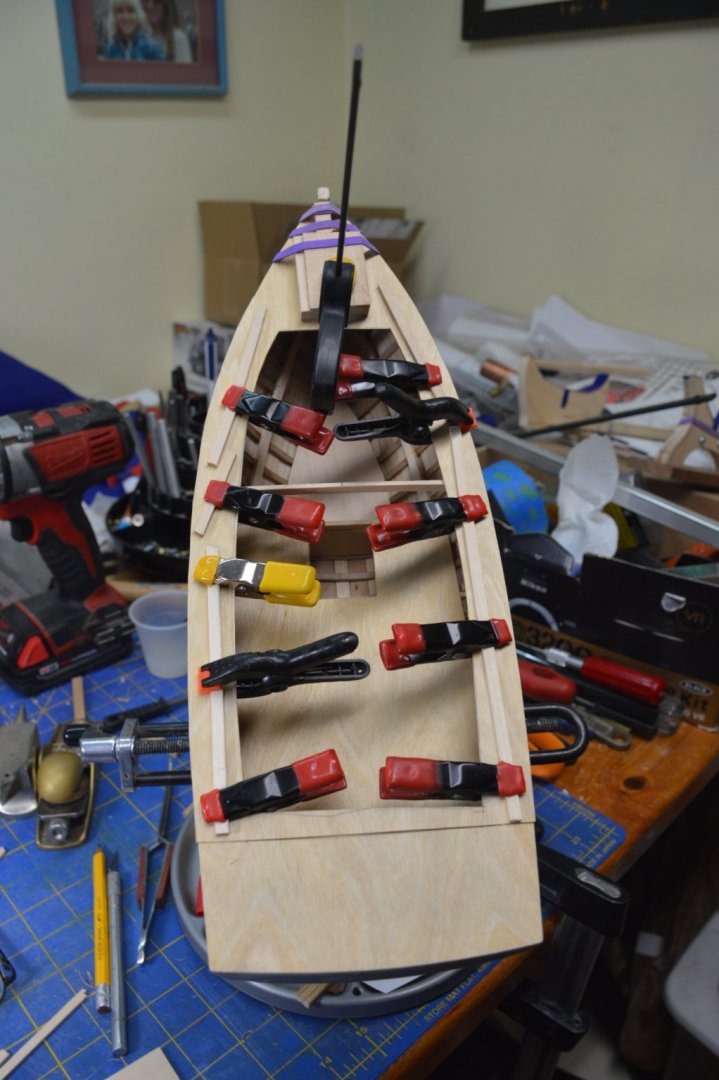
The first plank! Using cantilevered boards for clamps as the planking continues, this definitely is learn as you go.

.thumb.JPG.672c6708e58e40fbb24dacdc3eae6f4f.JPG)
-
Fitting the Garboards.
-
Keel and bow stem are on, adding the bow timbers.
.thumb.jpg.e727292260a6d7e4ef51cda4ba533c30.jpg)
-
Planking the transom.
-
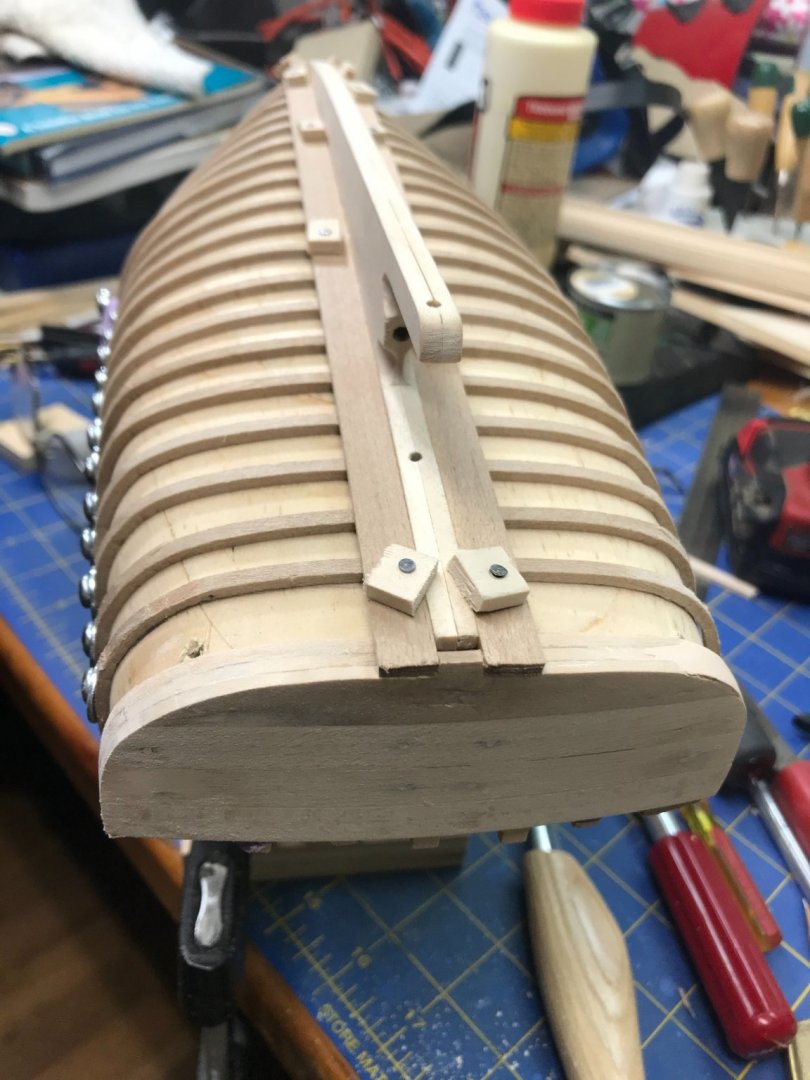
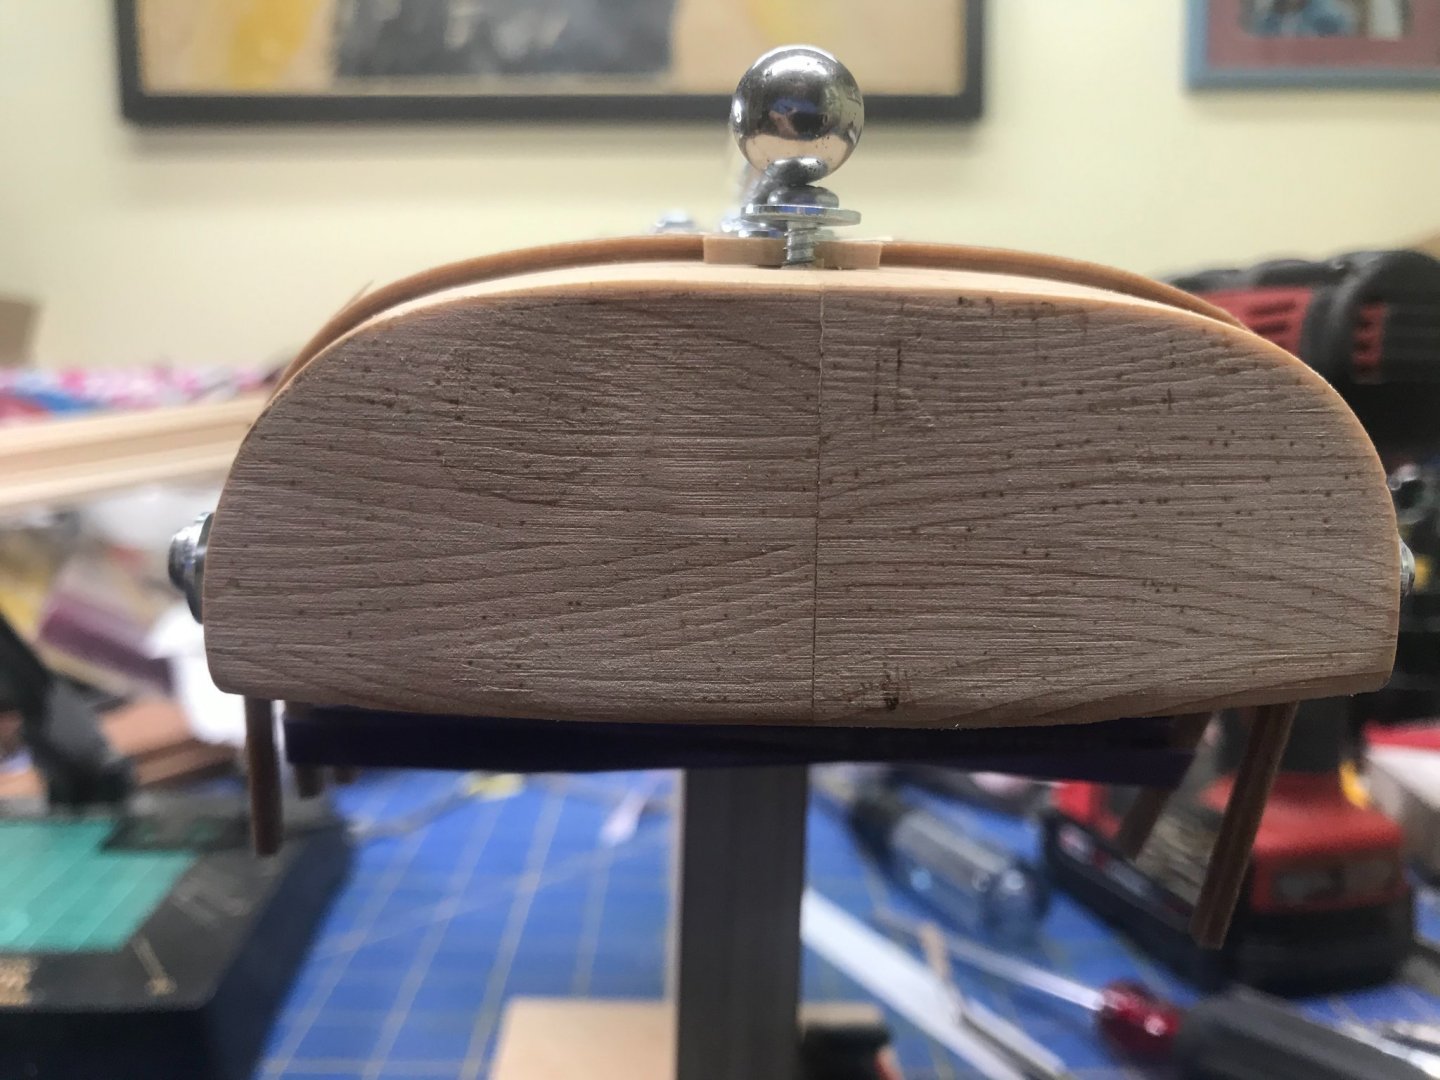
Starting to fit the keel.
.thumb.jpg.db6b5f466322a2b82a7d0b28056db84a.jpg)
-
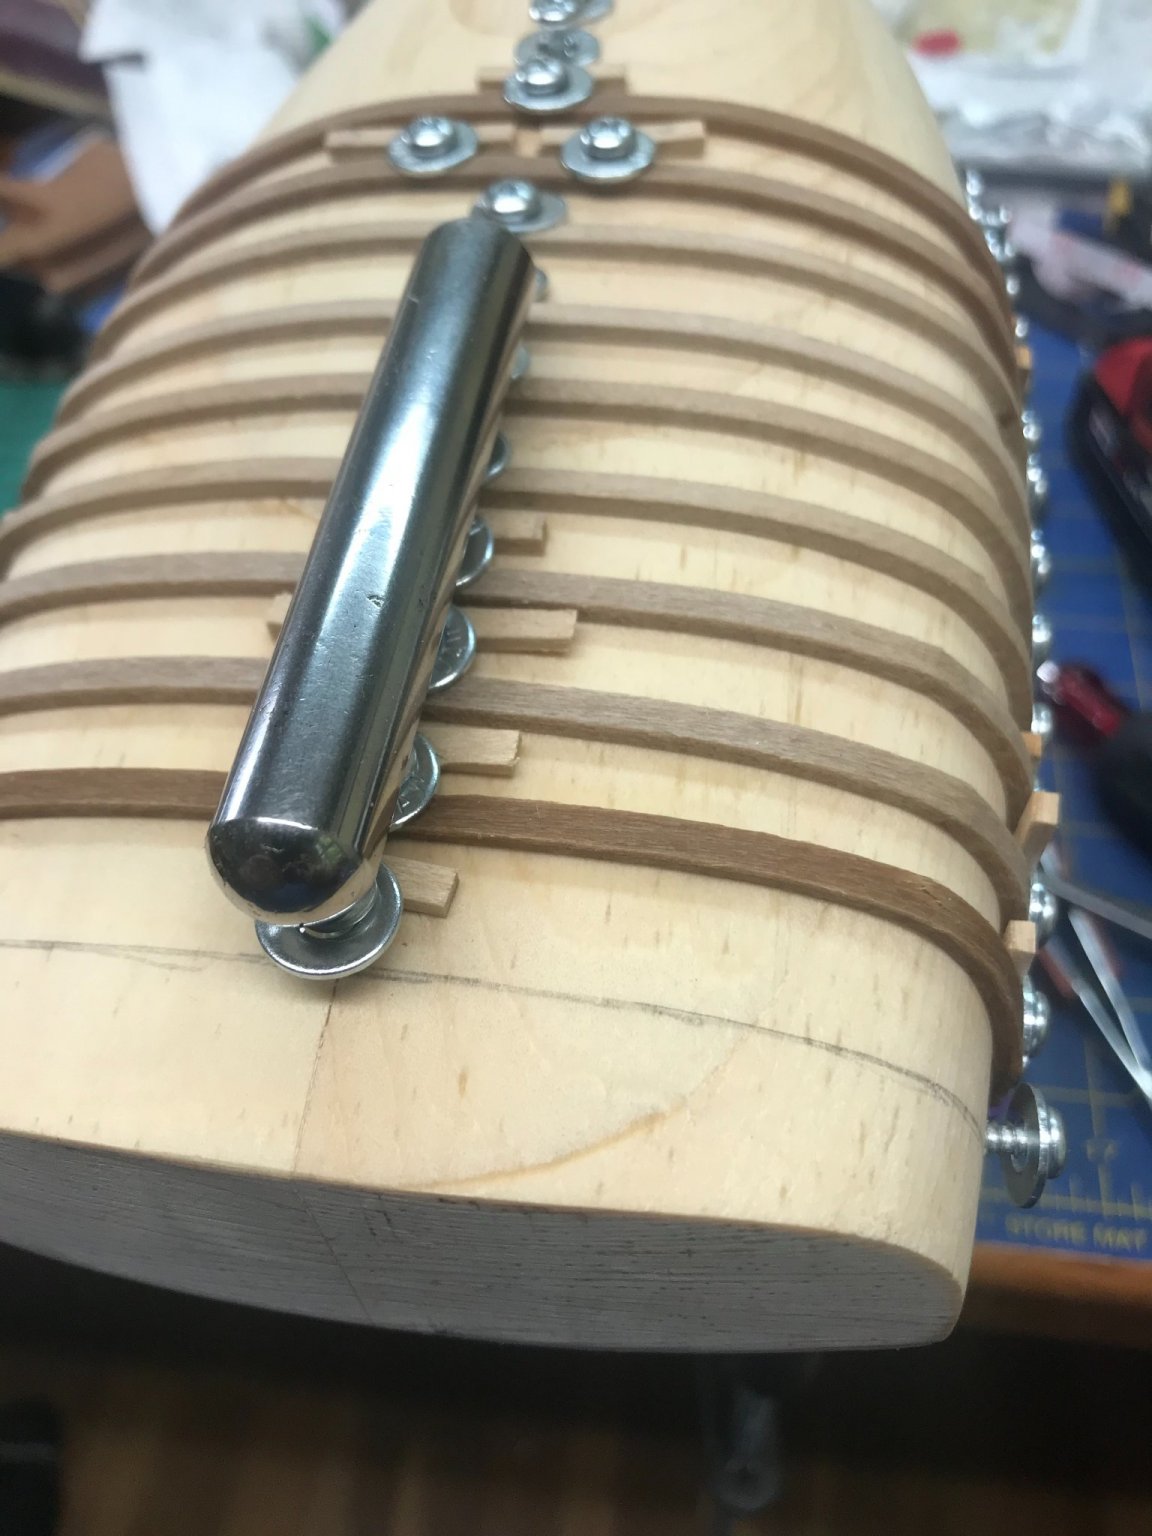
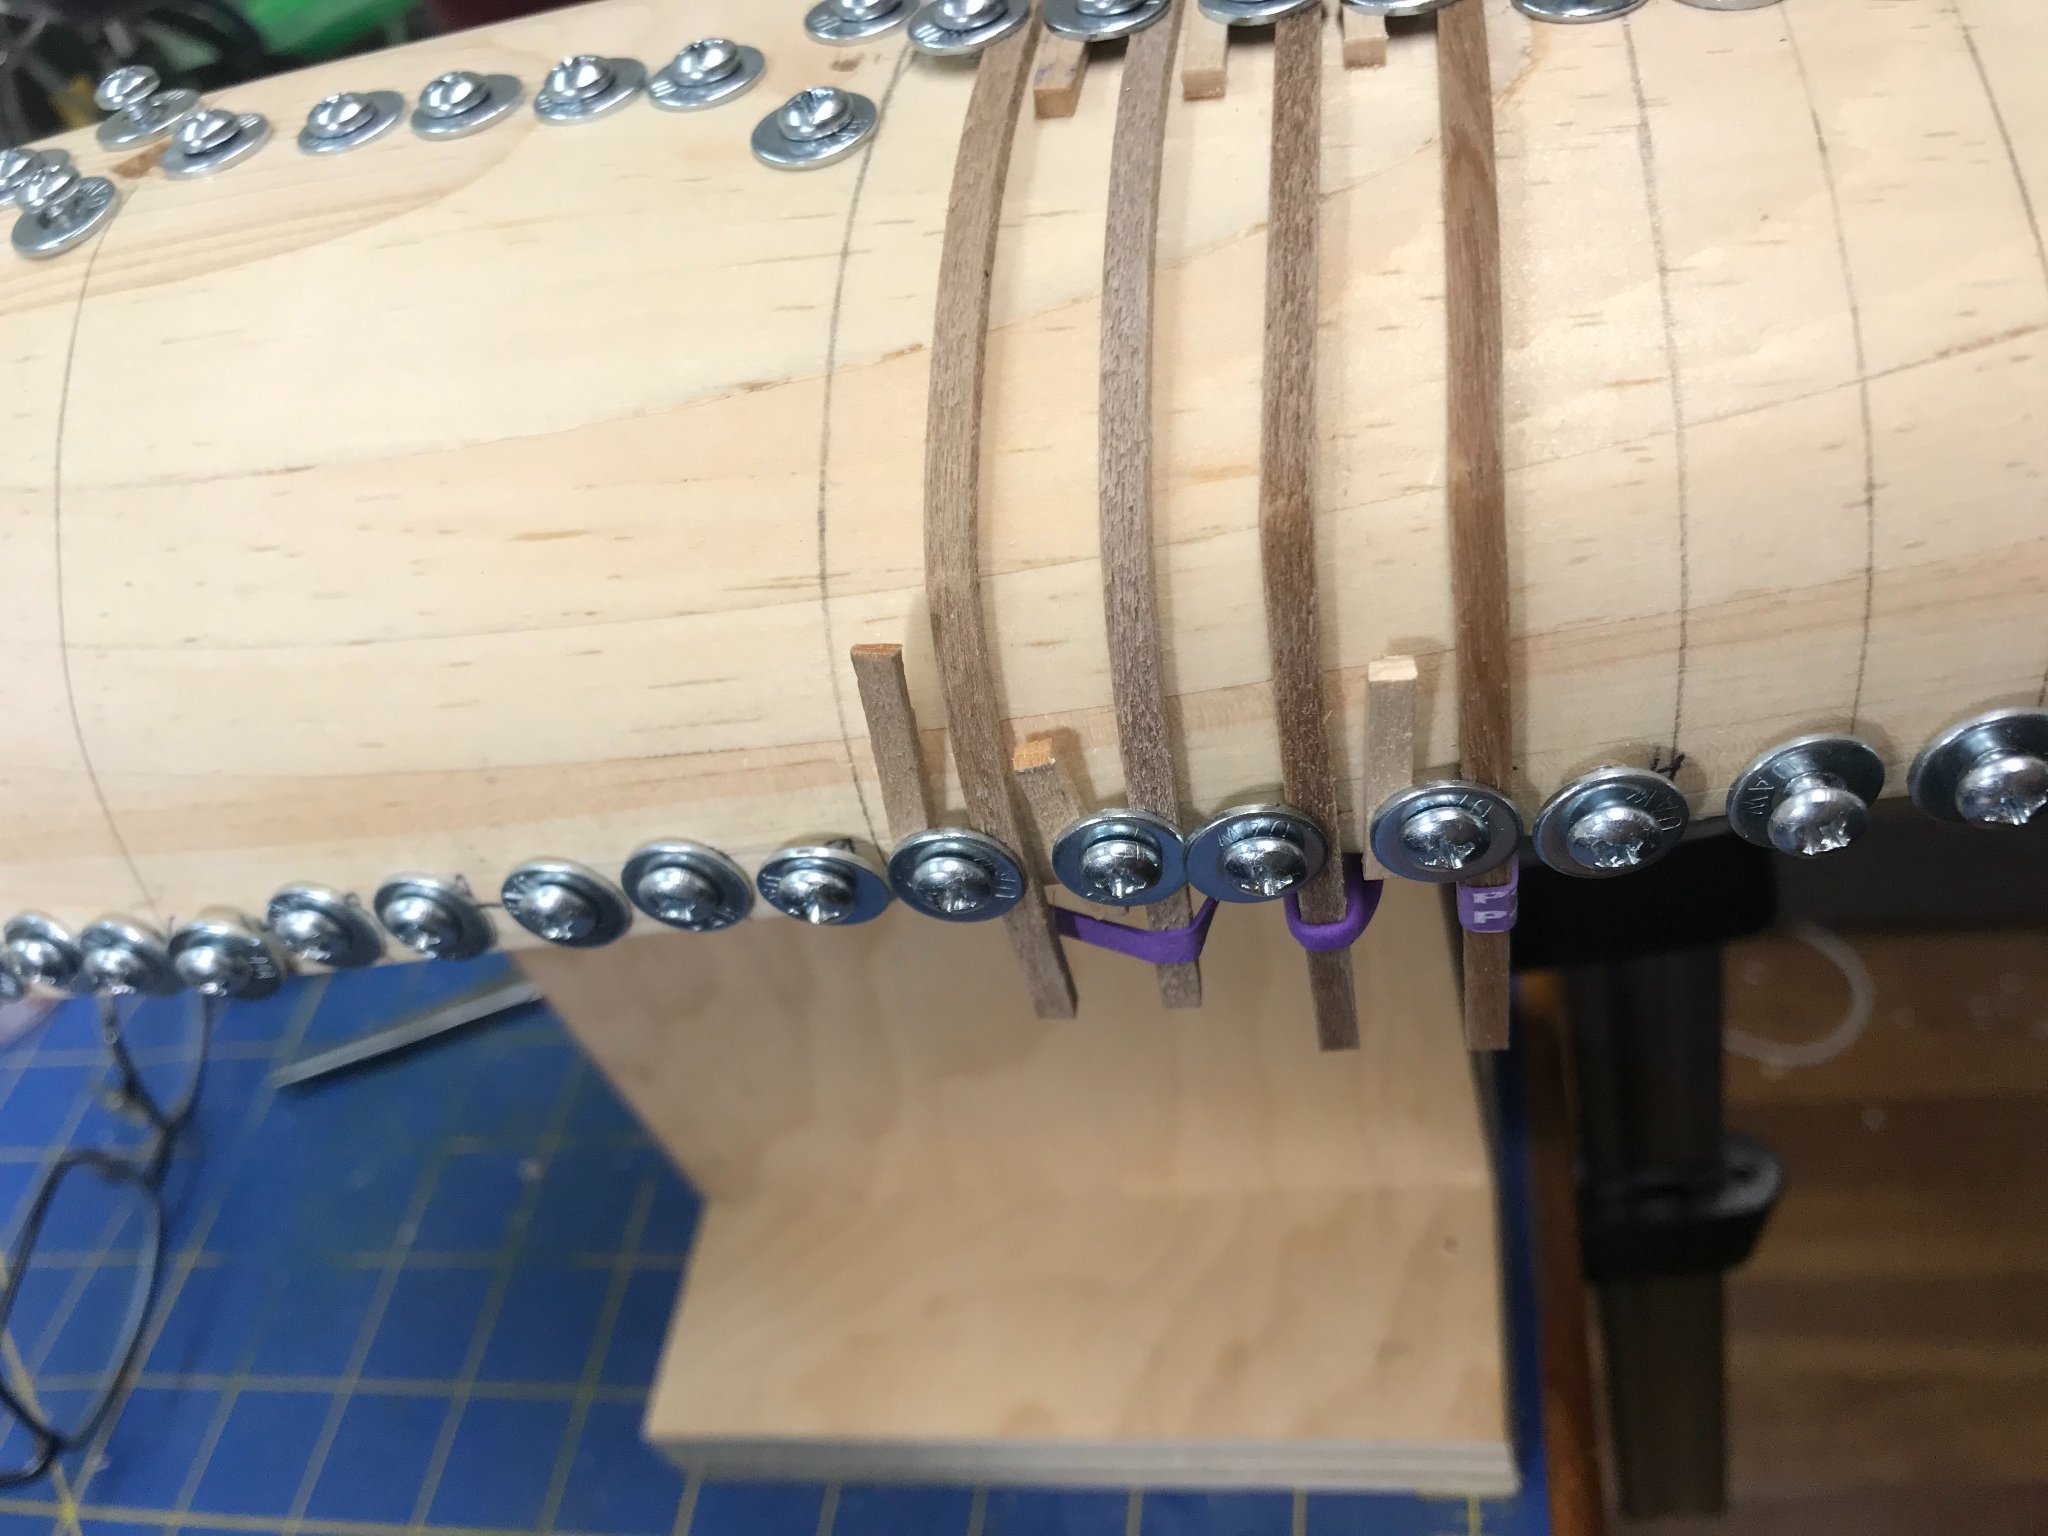
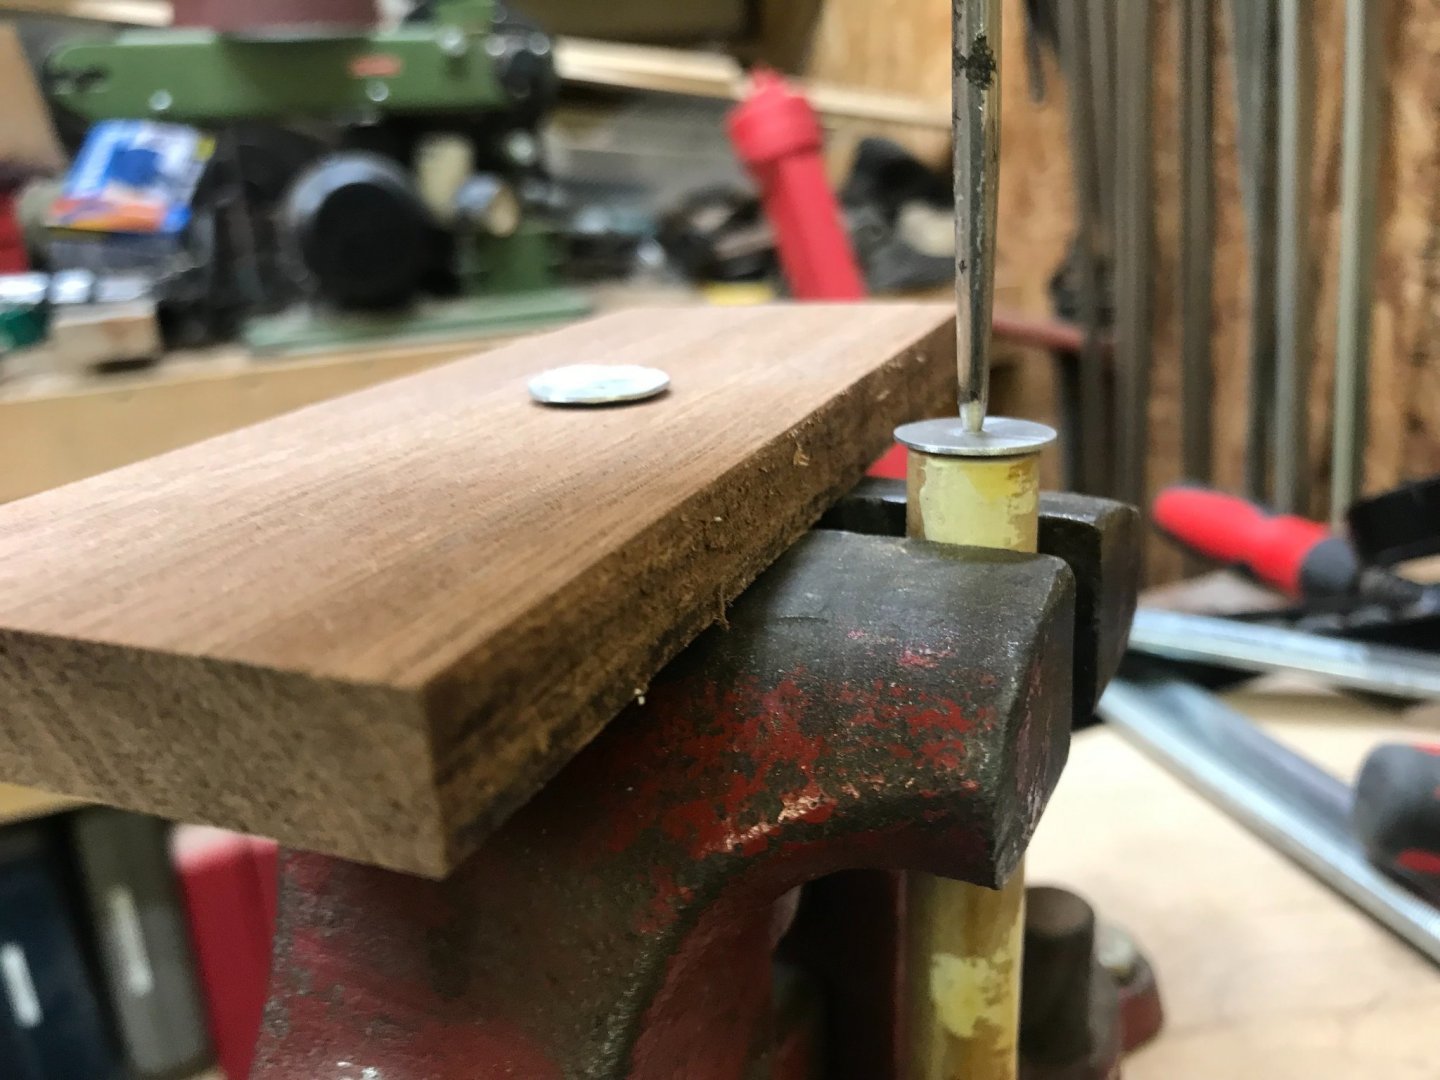
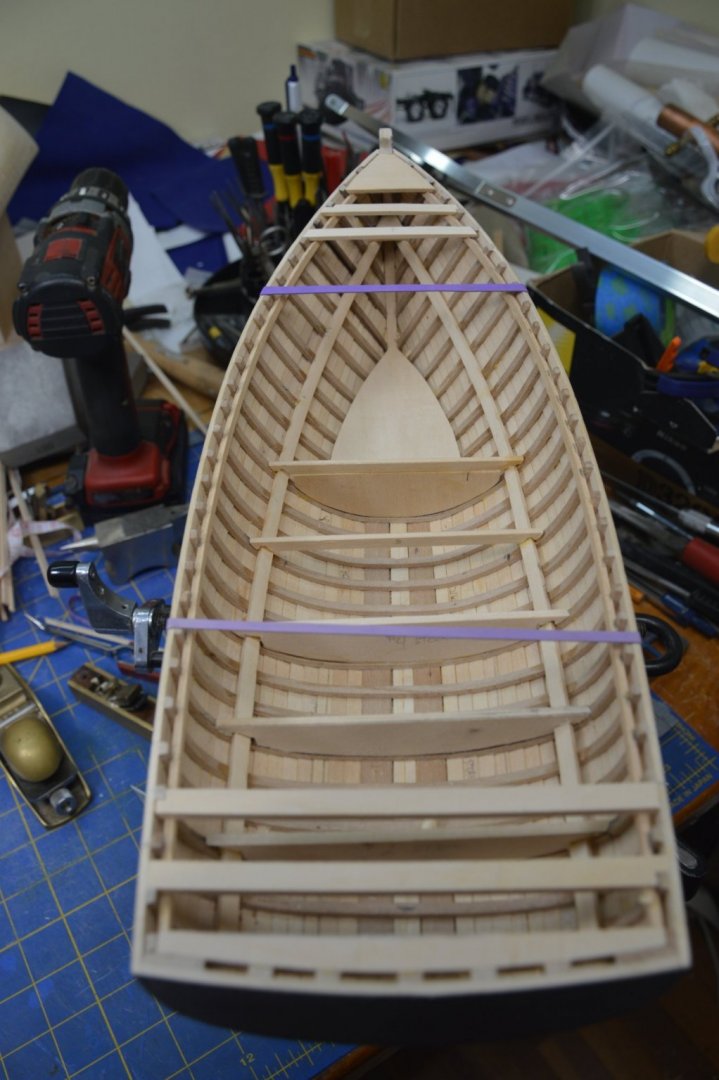
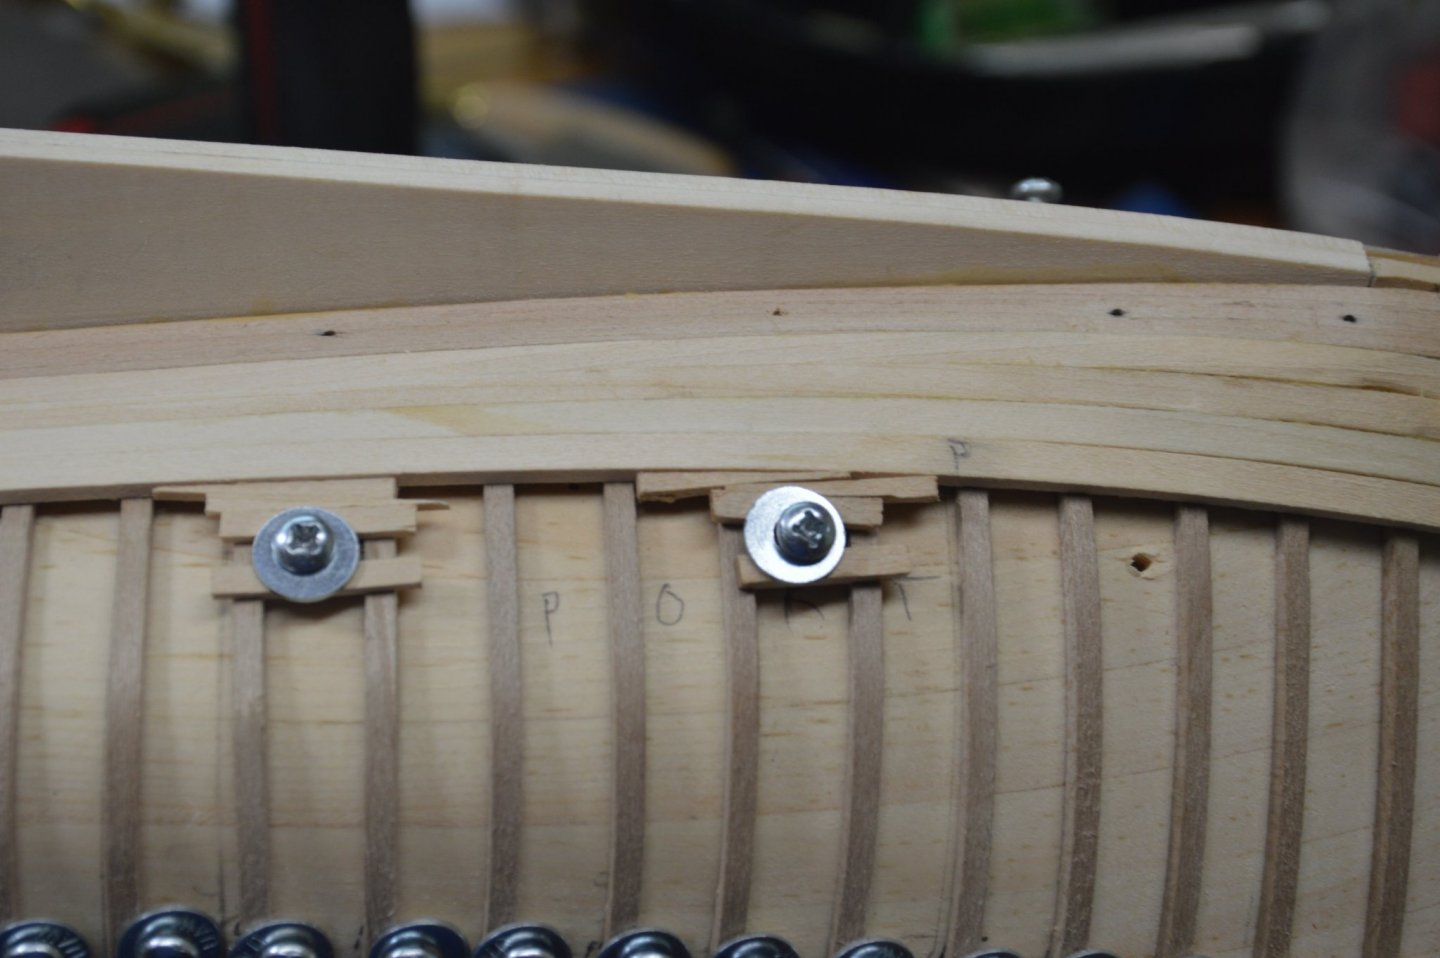
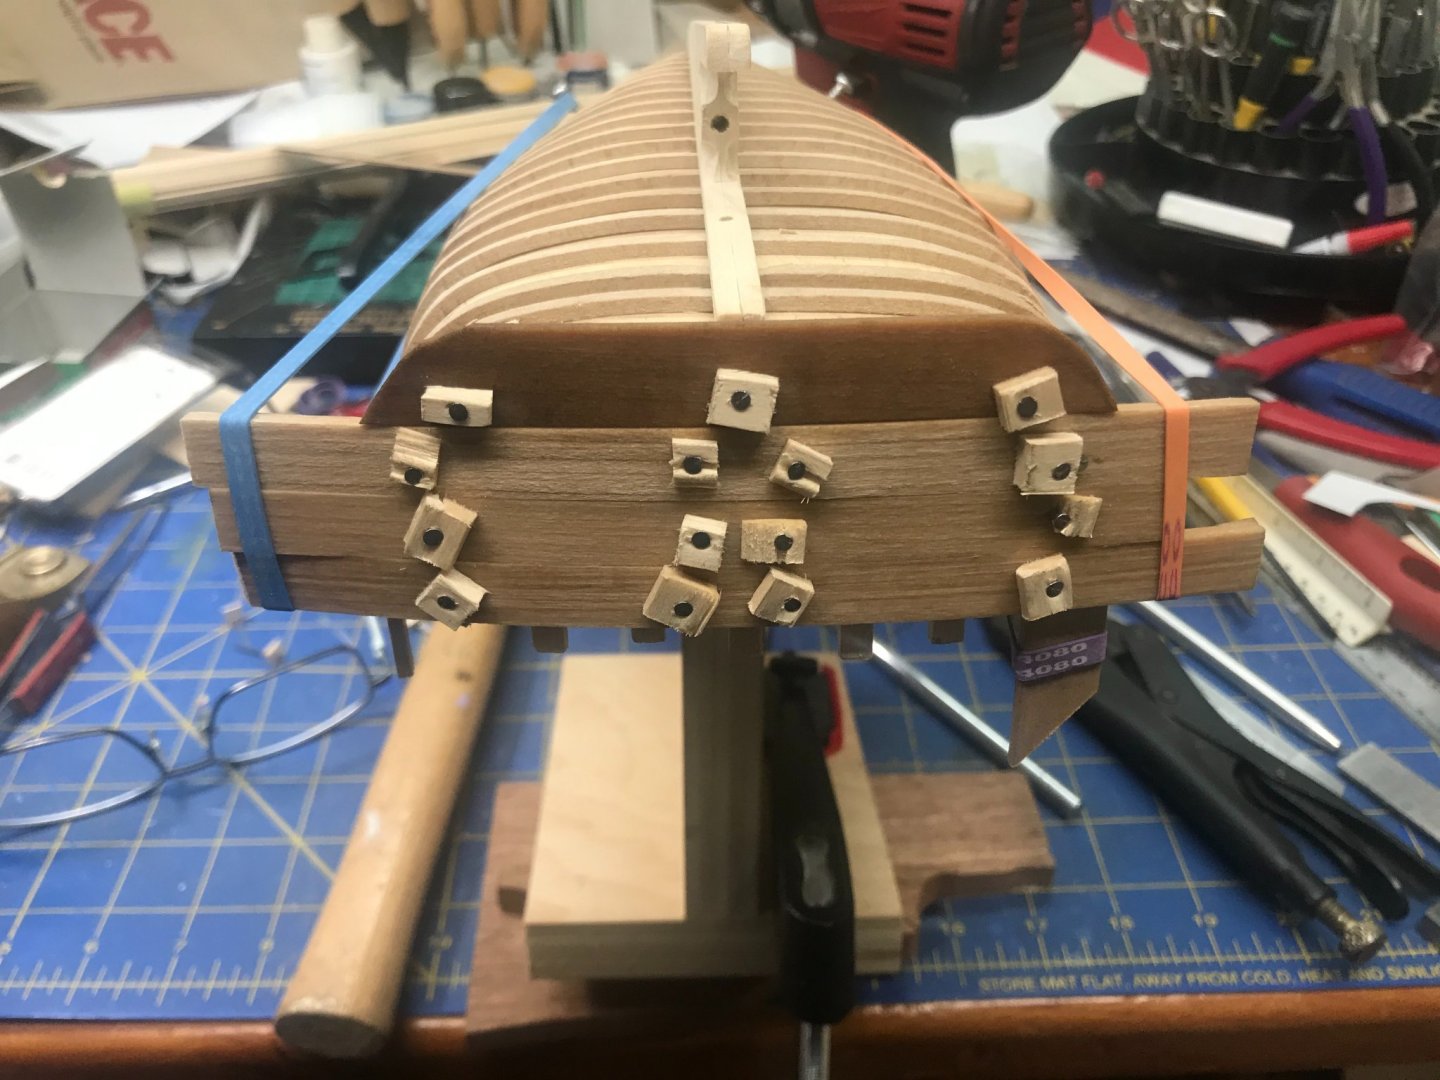
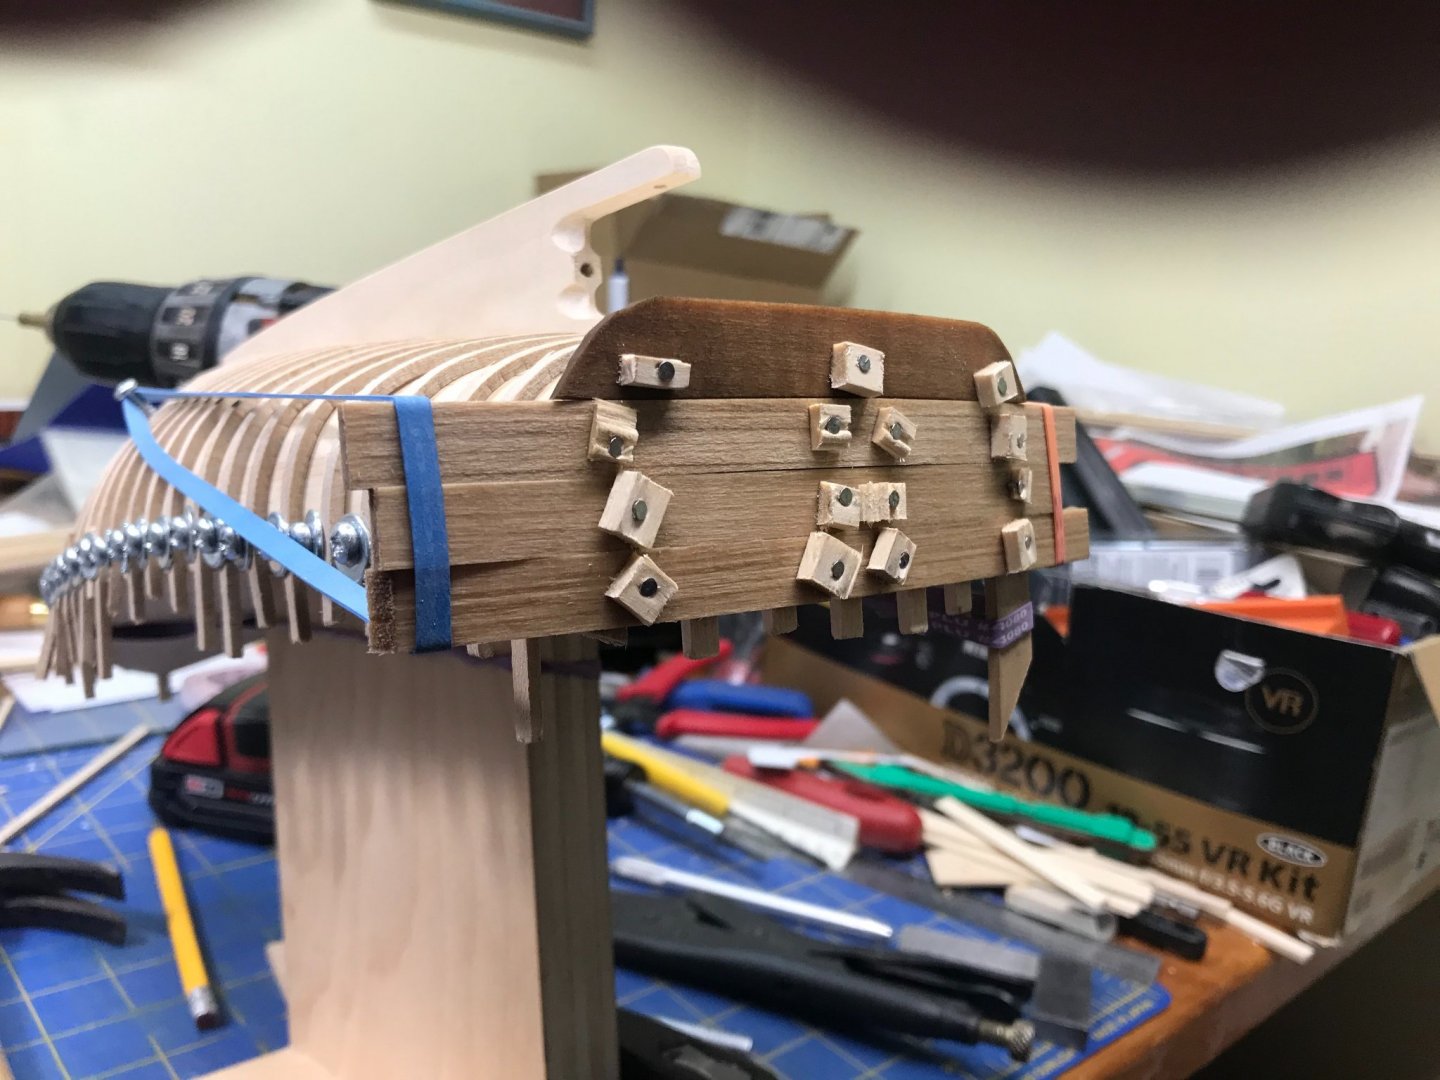
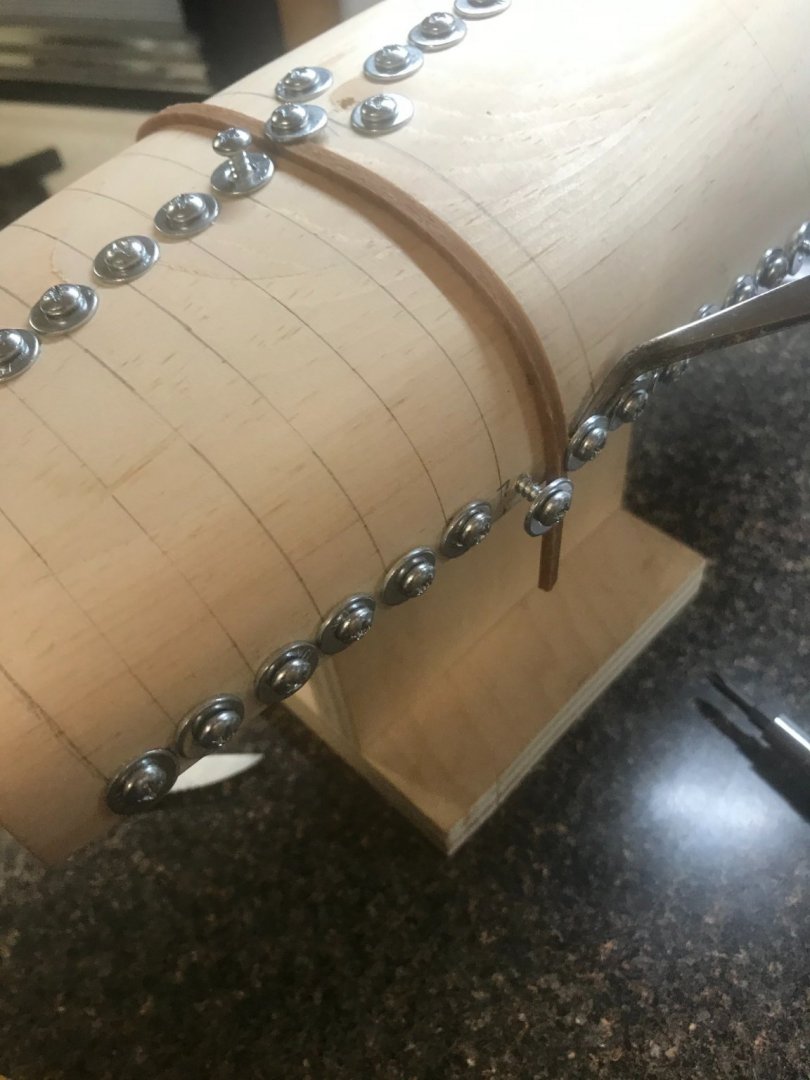
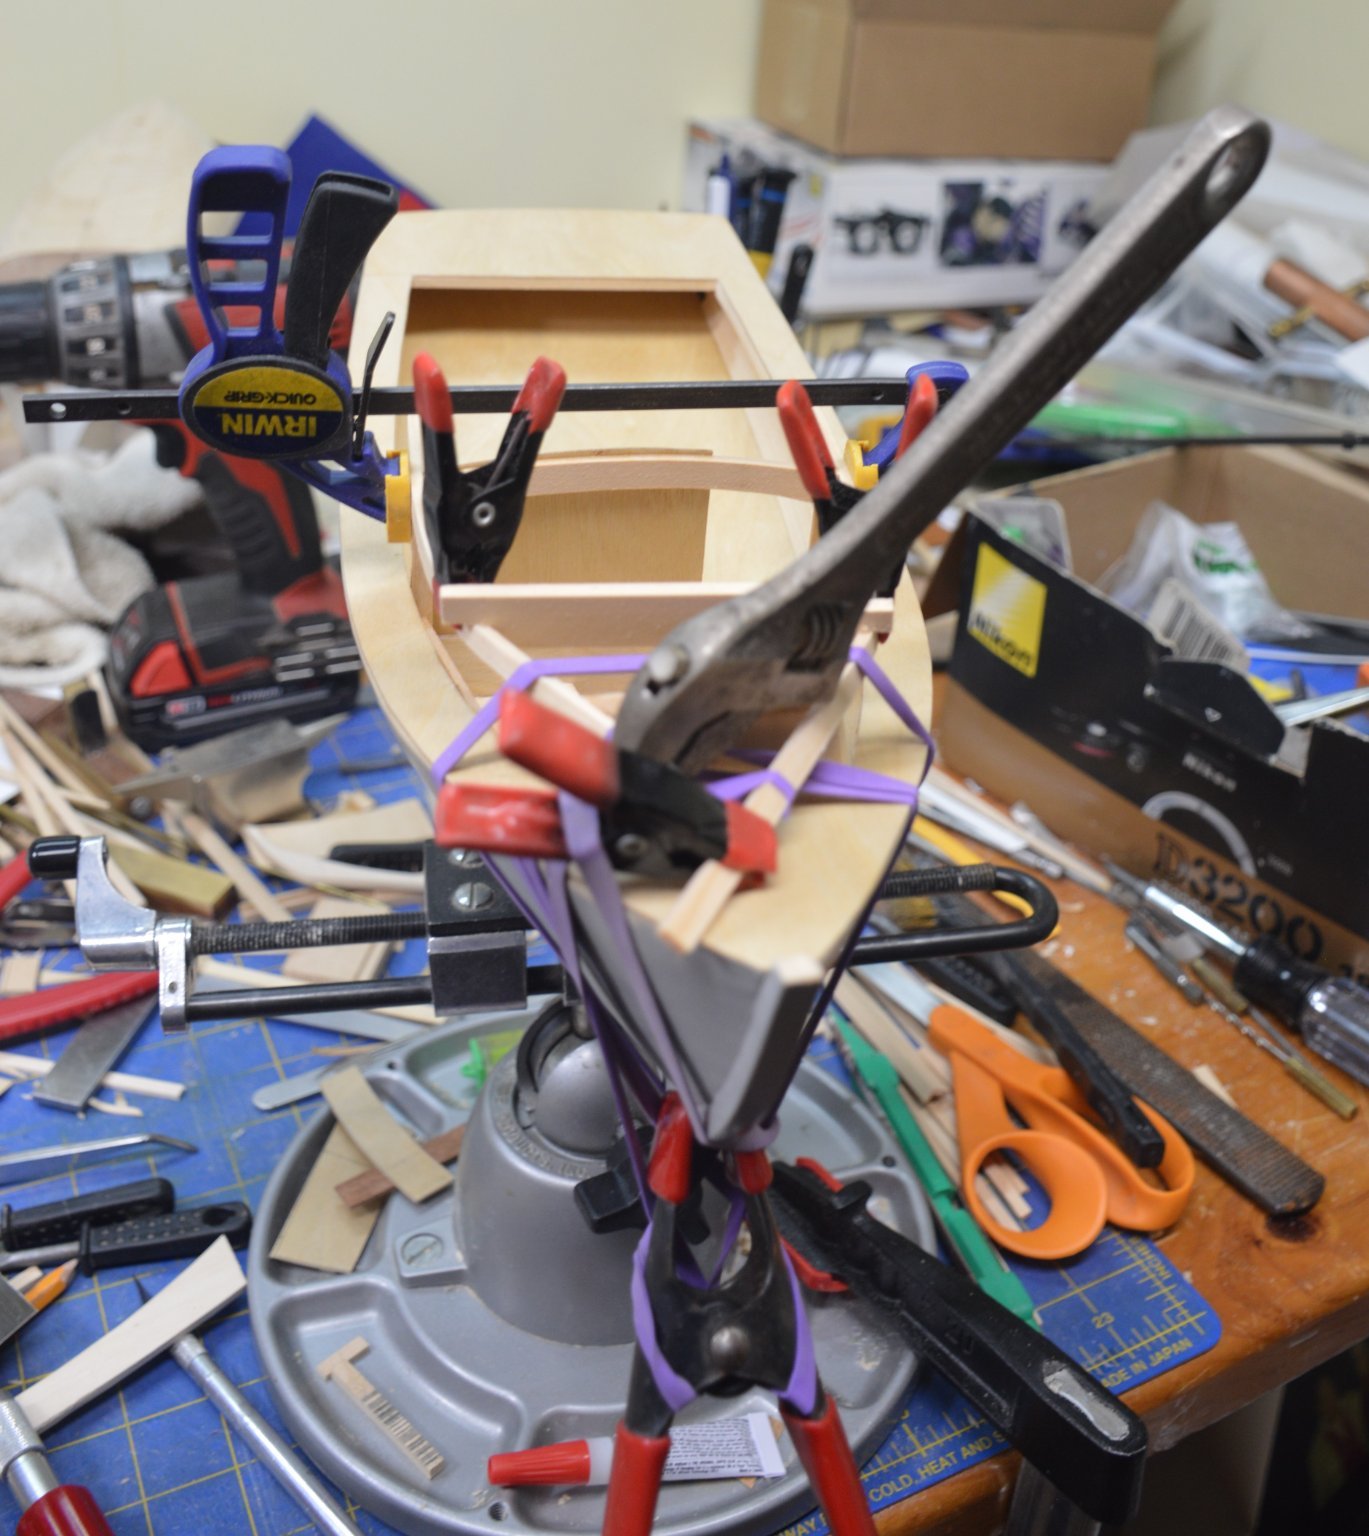
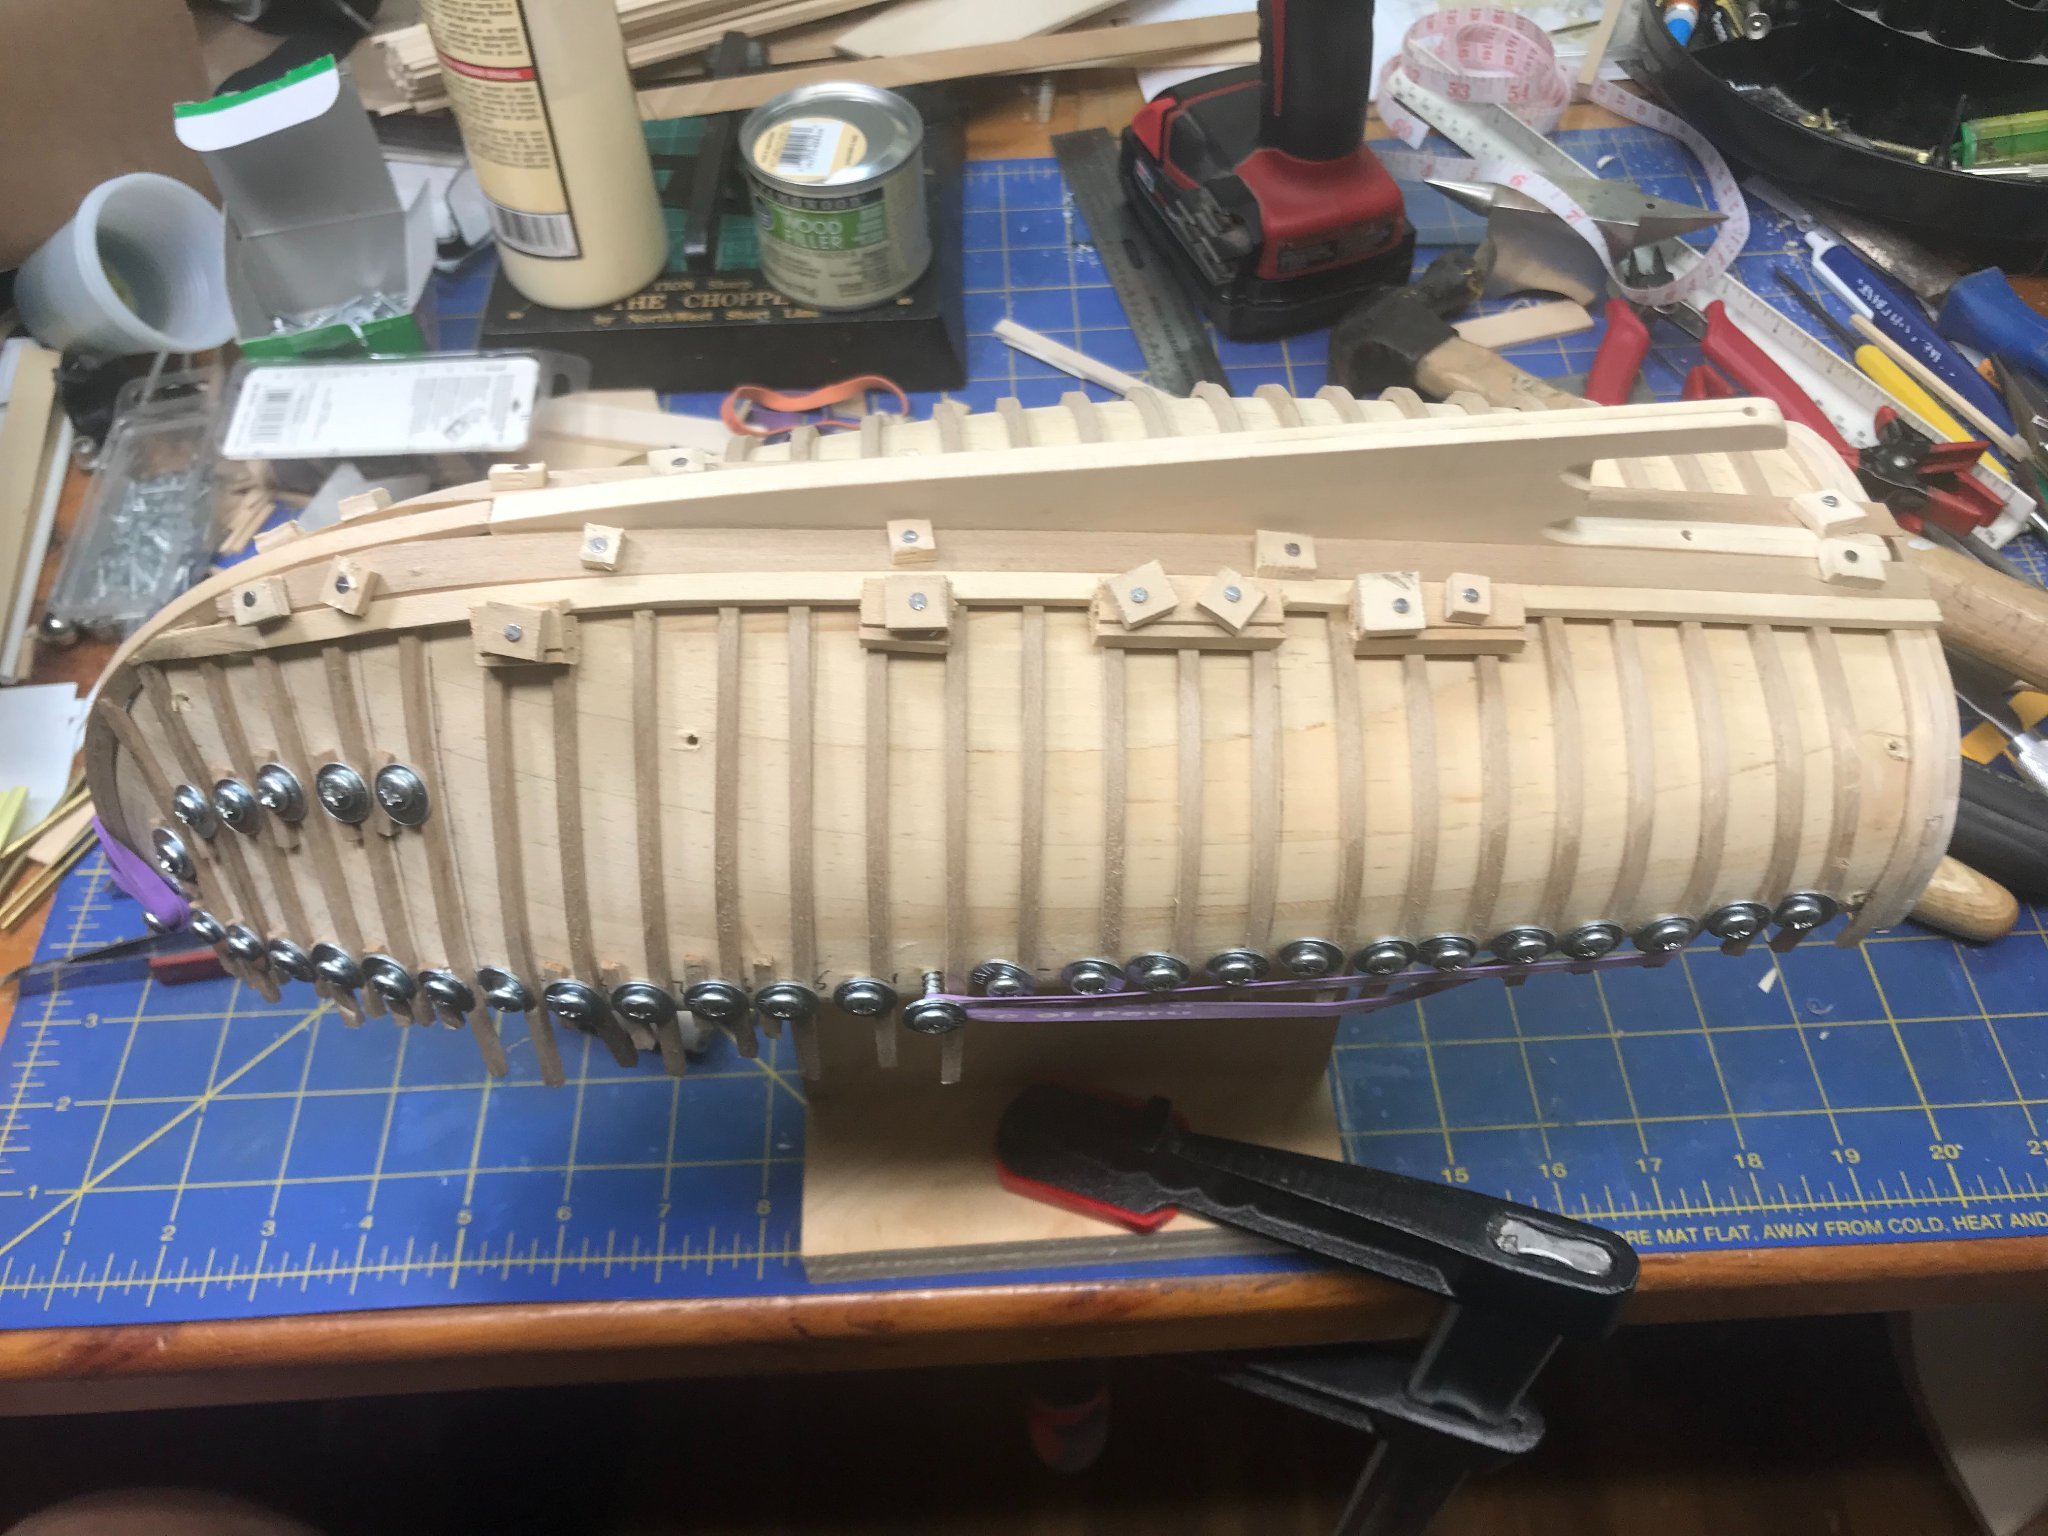
I added a spacer block on the opposite side of the screw so the washer would stay flat and not dent the timber. The magnet bar really helped by holding the washers up so I could get the hot timbers under them quickly.


-
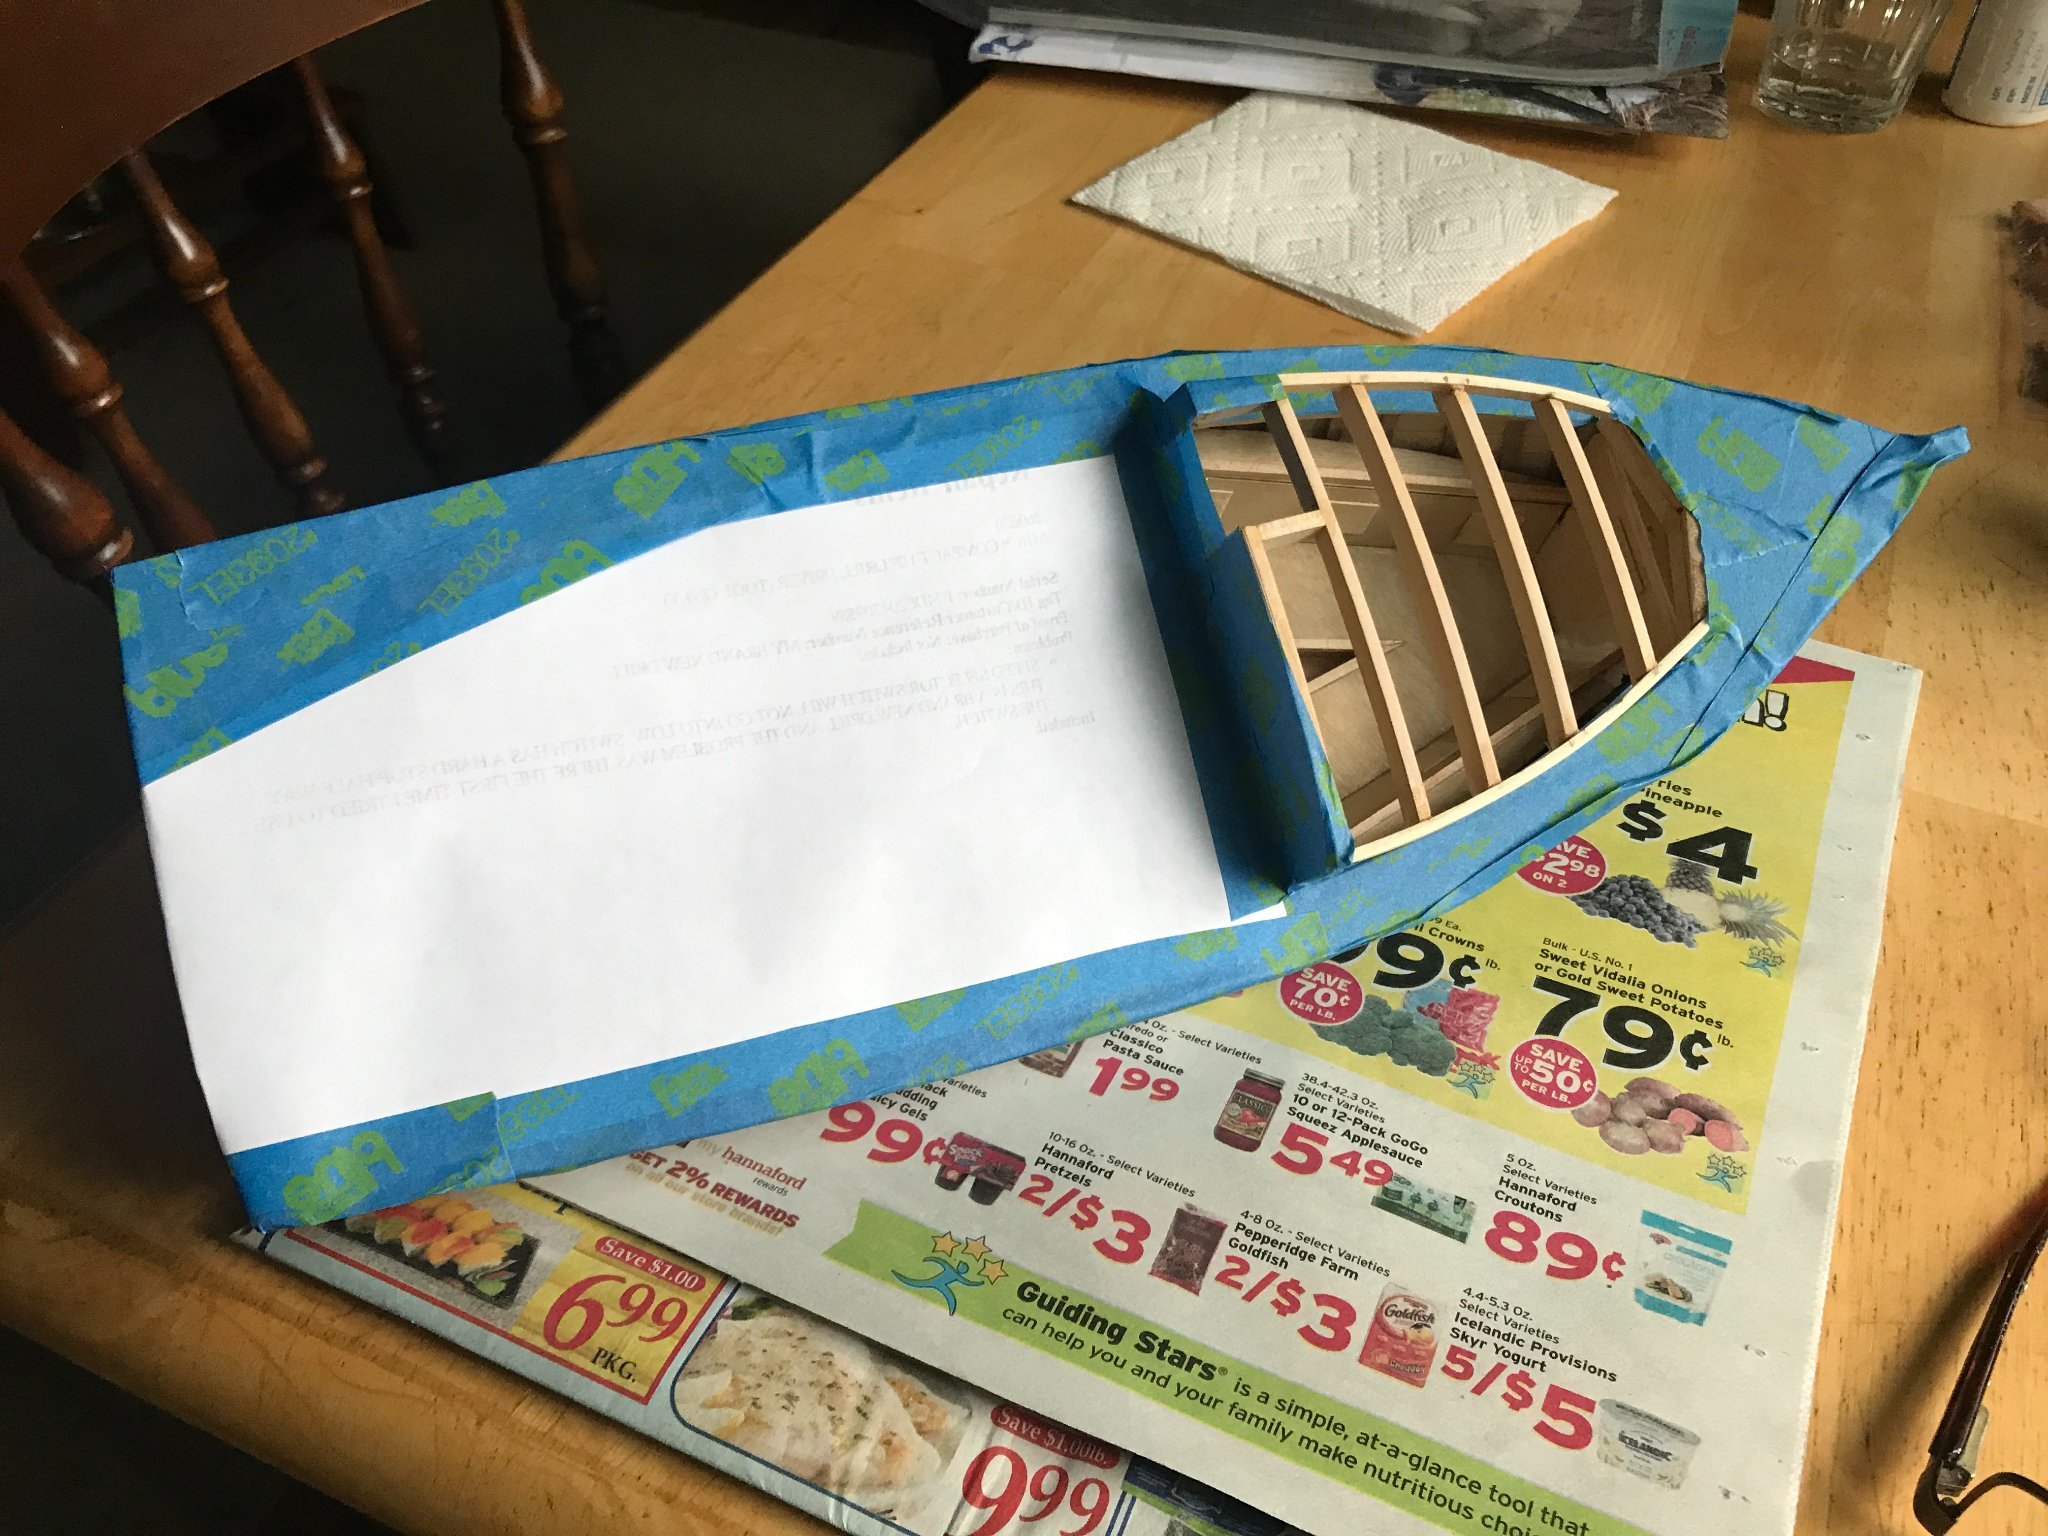
I plan on reusing the hull mold and did not want to fill it with hundreds of nail holes and devised this method of using screws and washers to hold the timbers, it worked very well.
-
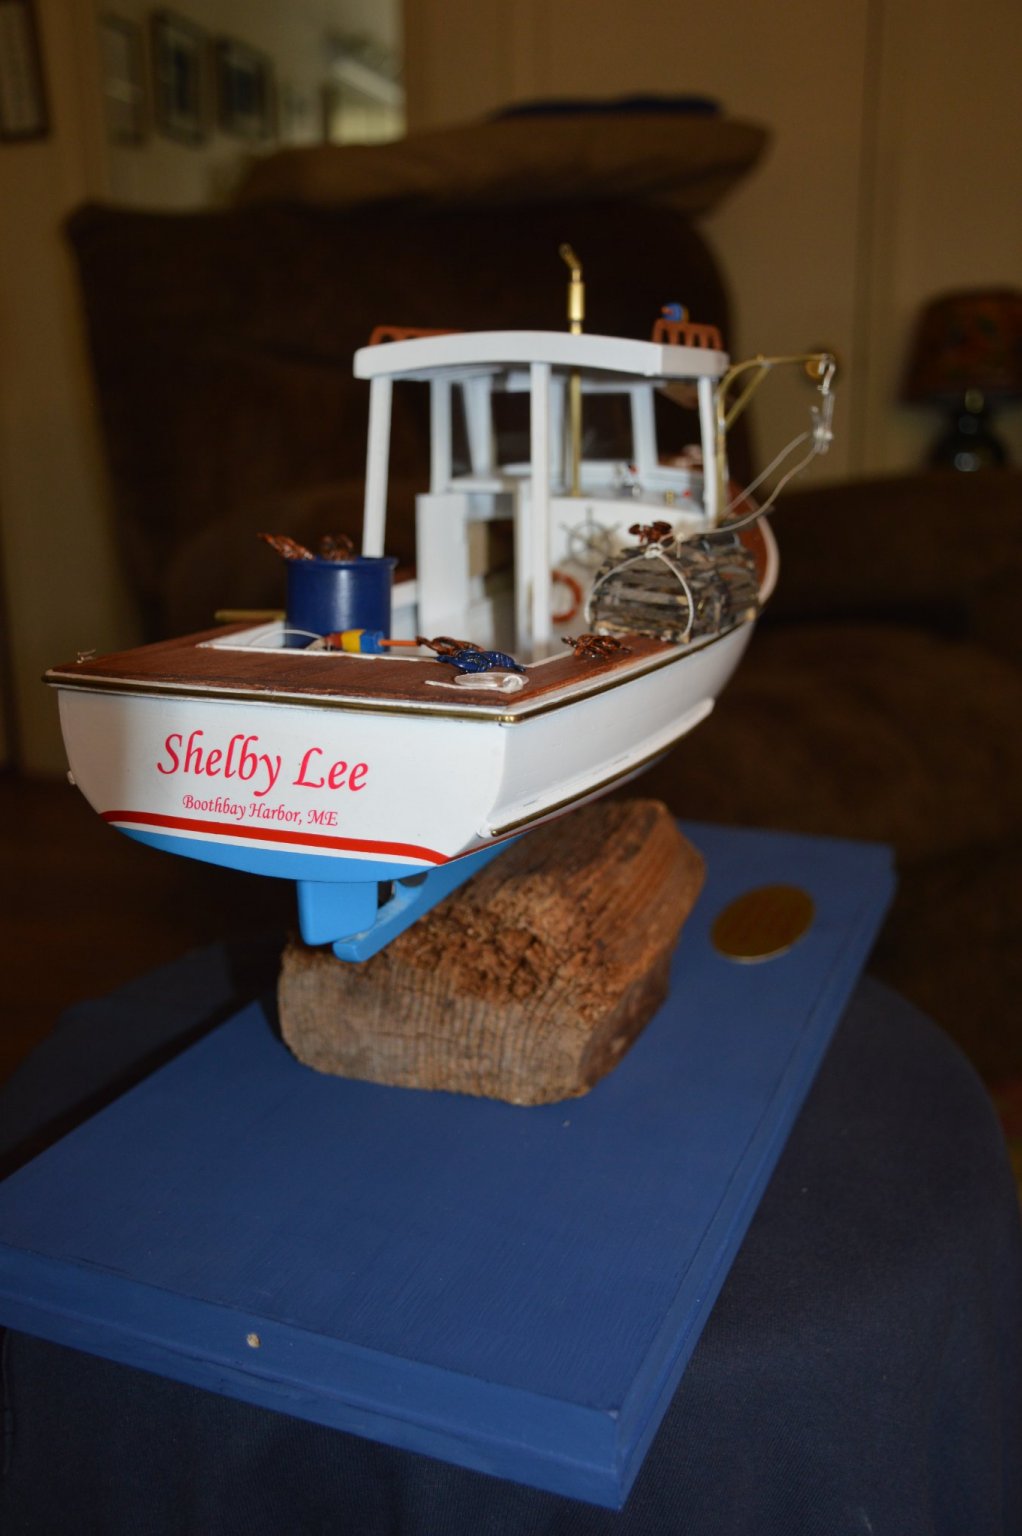
Thank you, I decided to build this for my daughter's (Shelby Lee) birthday (11/7 see the registration numbers) and started researching last February. I obtained three books that were extremely helpful. I used the hull lifts from Harold "Dynamite Payson's - Boat Modeling the Easy Way to build a 1/2" scale hull mold and combined techniques from Steve Rogers & Patricia Staby-Rogers - Model Boat Building The Lobster Boat and my favorite book Boatbuilding Down East - How LobsterboatsAre Built by Royal Lowell (1 Foot scale).


.JPG.f6406a285a13c26277fbedff14233d0f.JPG)

.jpg.18cf63b0ebc28159bd47fc536860234f.jpg)

.jpg.755953d6b41e5469112e81595a9c0fa6.jpg)


.JPG.dedf507cac8b302d6b5888d89b99f294.JPG)


.jpg.a91e6f8e2be4b4064f55e66fa1f49e15.jpg)
.jpg.9542e67642a4e2536dd0633b090ed0a2.jpg)
.JPG.2acb10d3db038a735913358ad4e497a5.JPG)

.JPG.96752f581a39570f5e0dd14620060196.JPG)

.jpg.5f252212a0f5828f944d8f91513edce2.jpg)

.jpg.b3ab38be6ccc3bcf371d715521045c08.jpg)