
Captain Shaun
-
Posts
94 -
Joined
-
Last visited
Content Type
Profiles
Forums
Gallery
Events
Everything posted by Captain Shaun
-
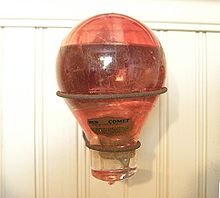
 It was a common agent for fire extinguishers until banned. I was a volunteer firefighter for 30 yrs and worked as a propane tech. I always carried a few new ABC extinguishers on my truck and would convince many elderly homeowners to trade me the carbon tetrachloride ones for them. A common one I found were glass balls filled with it that were usually hanging in a holder near a fireplace. The holder had a two piece tab soldered together that would melt in a fire dropping the ball to the floor and (hopefully) put out the fire and maybe you as well since when heated to decomposition it will emit fumes of extremely toxic phosgene and hydrogen chloride.
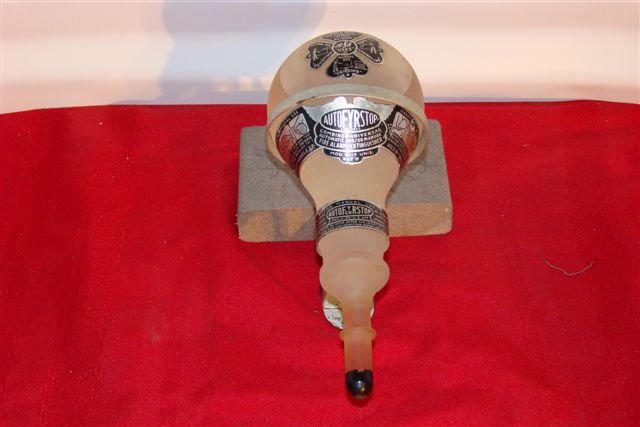
-
I have those same ones excellent quality. Cabinet scrapers like those work by filing the edge square and than forming a hook on the edge with a burnishing tool. Any hardened steel rod will work such as a drill bit or you can but tool made for that. It is not as hard as it sounds just find a YouTube video on it.
-
As an alternative to sanding I prefer to use a scraper for removing excess filler. I use a single edge razor that I have filed the edge a bit to remove the sharpness. Excellent control and little chance of removing too much surrounding material.
-
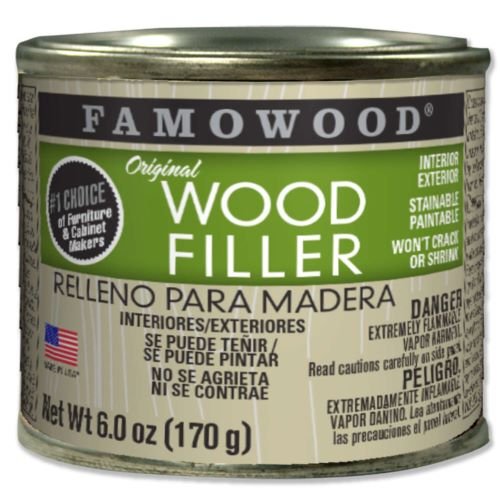
I use Famowood Filler. It is water based, dries fast and hard, sands nice and takes stain well. It comes in a bunch of wood types and the 6 oz cans will do a lot of filling. It is available on Amazon and many other online retailers, also available at Ace Hardware and Home Depot.
-
Hi Bill. I use lead free solder most of the time. I do wear gloves and a respirator when using leaded solder, can't be too safe. Here's a link to a good reference article. https://www.qtsolder.com/what-is-lead-free-solder/ Shaun
-
Keel klamper alternative
Captain Shaun replied to zamboknee's topic in Modeling tools and Workshop Equipment
I use a Panavise Model 350 with a home made keel clamp. Panavise is not cheap but will last a lifetime and there are many variations available. Keel clamps are just two pieces of wood with nut, bolt and washers to tighten it. I put some scraps in the bottom of the clamp that match the keel thickness to avoid crushing keel.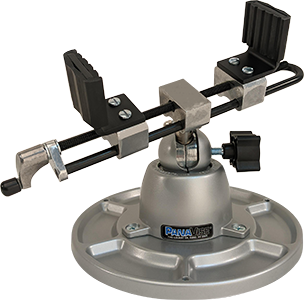

-
In Model Railroading we call them rivet counters. As in any hobby enjoy it at whatever level you like, some just like to watch toy trains go round and round in circles and some built museum quality dioramas that never move but both are happy.
-
Using the "Chopper"
Captain Shaun replied to jdiven's topic in Building, Framing, Planking and plating a ships hull and deck
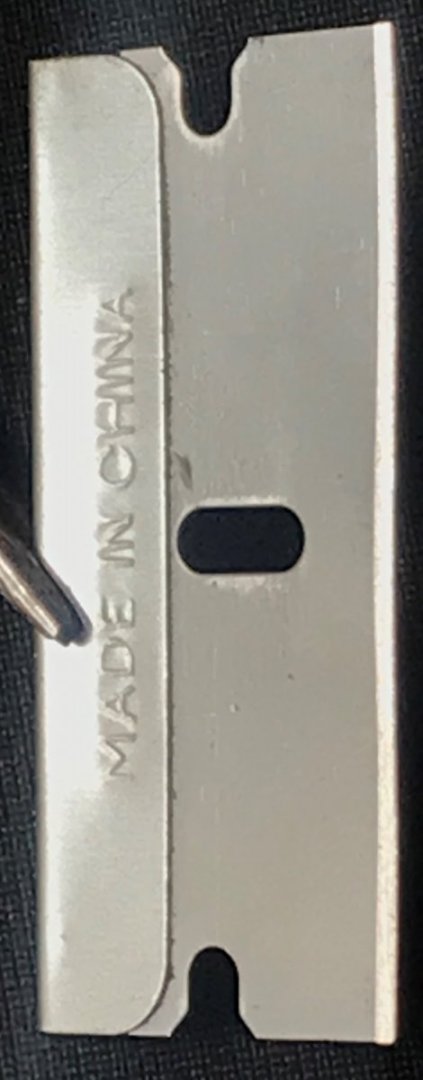
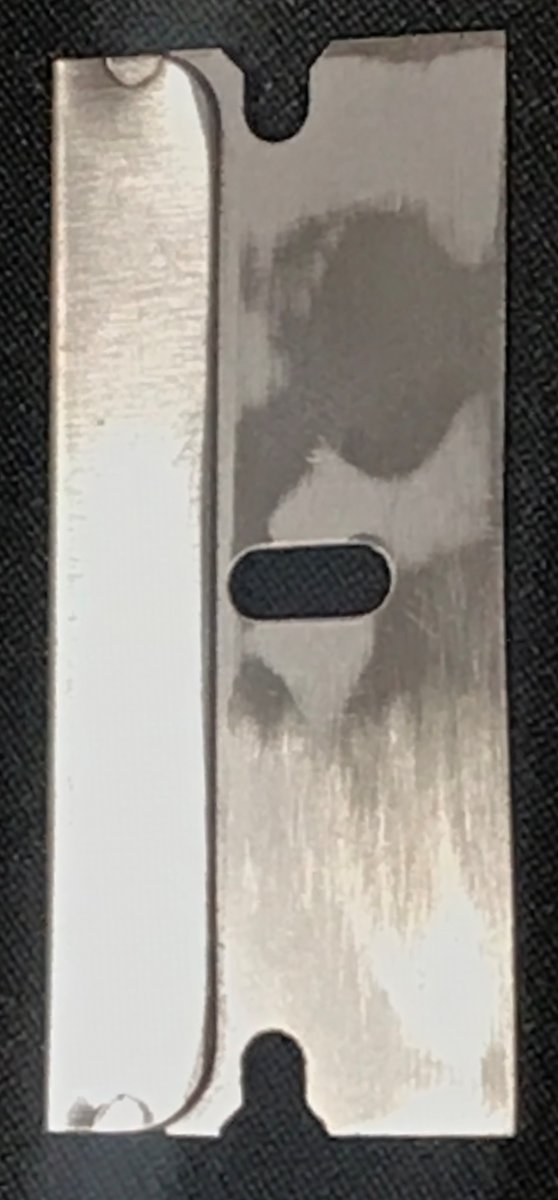
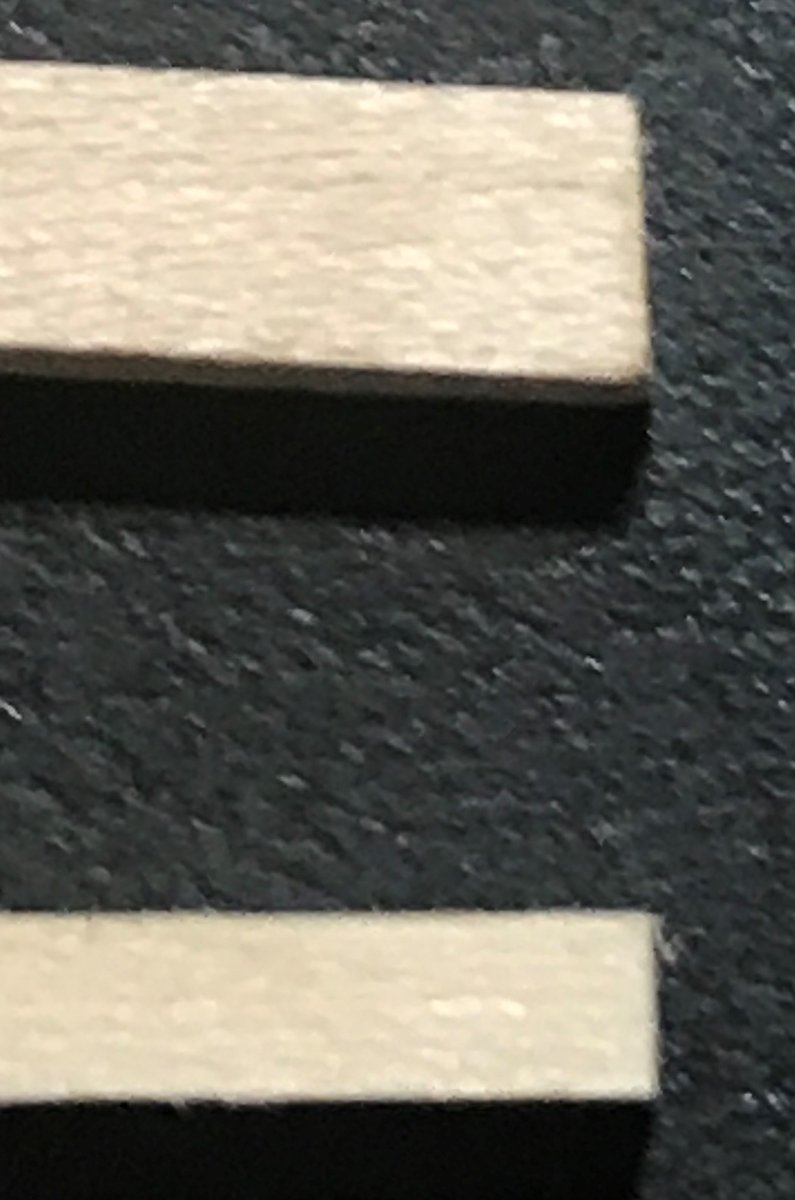
I know this is an old thread but I decided not to start a new one. I too have been using a Chopper II for Model Railroading for 20 years and never had a issue with the slight angle of the cuts that is caused by the fact that the razor blades are sharped on both side of the blade coming to a point in the center. I was cutting the short timberheads for my current build of BlueJacket's Bowdoin and decided the solution was a flush trim blade I was not able to locate any for sale and so I made one. I have a series of progressively finer grit diamond plates for sharping my woodworking tools and after grinding the blade edge off I ground in a new one on one side only. Voila! Square smooth cuts. There is a caveat in that I need to cut them a bit long and do a second cut too get the square edge. Works much better than the razor saw/miter box combo. This is the blade I made, Front side is beveled and back side is flat. You can see the difference in the cuts below. Sorry for the bad focus, my camera is out of sorts and my phone camera is not so great.


-
Thread snips used by seamstresses and quilters work very well. I use my wife's pictured below with the finger loop which allows you too keep them in hand for instant use. As with most tools you get what you pay for.


-
One advantage is the dark color makes for good looking seams on hand laid decking. 🙂
-
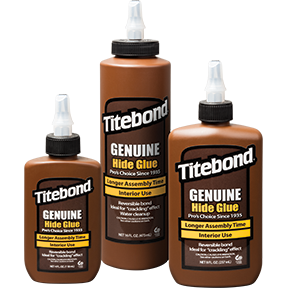
Titebond has a ready to use out of the container Hide glue. Hide glue has a longer open (set) time and gives you more time for larger glue ups. It also is reversible with heat in case you need to fix it. You need to pay attention to shelf life so I buy small bottles. it dries dark so be aware of that.
-
replacement X-ACTO blade #30
Captain Shaun replied to Peanut6's topic in Modeling tools and Workshop Equipment
Just picked up this Bridge City Toolworks HP-8 (lower one), it comes with adjustable side plates that allow you to use it as a thickness planer for small stock. Upper plane is my old tried and true Lie Nielson low angle block plane that I adore.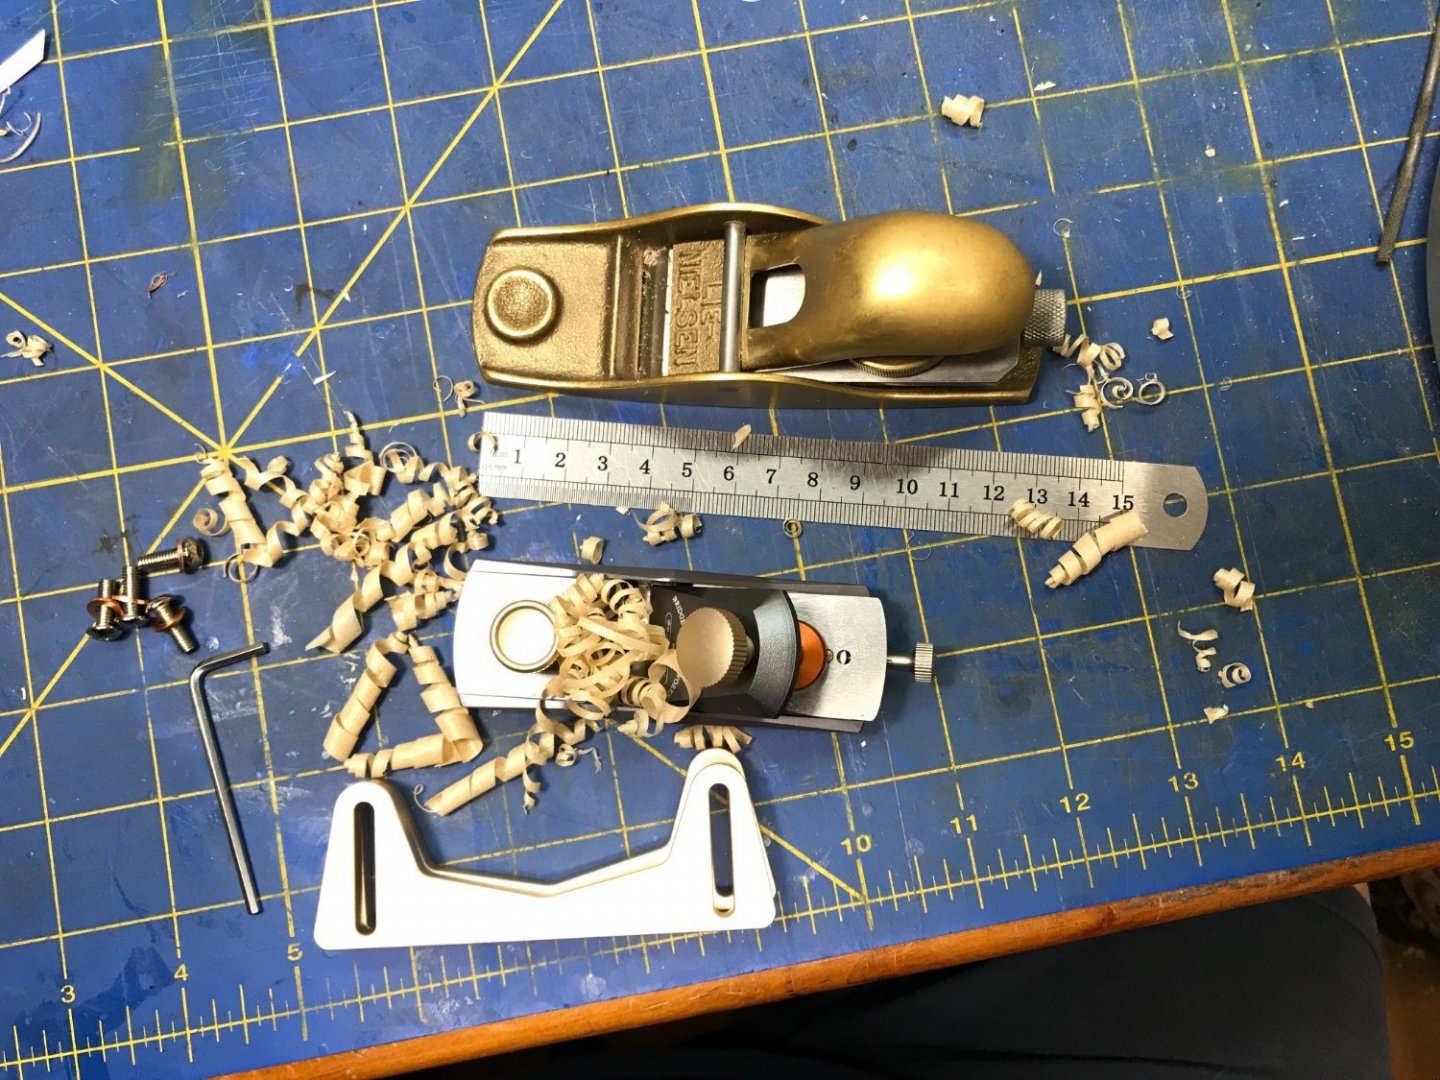
-
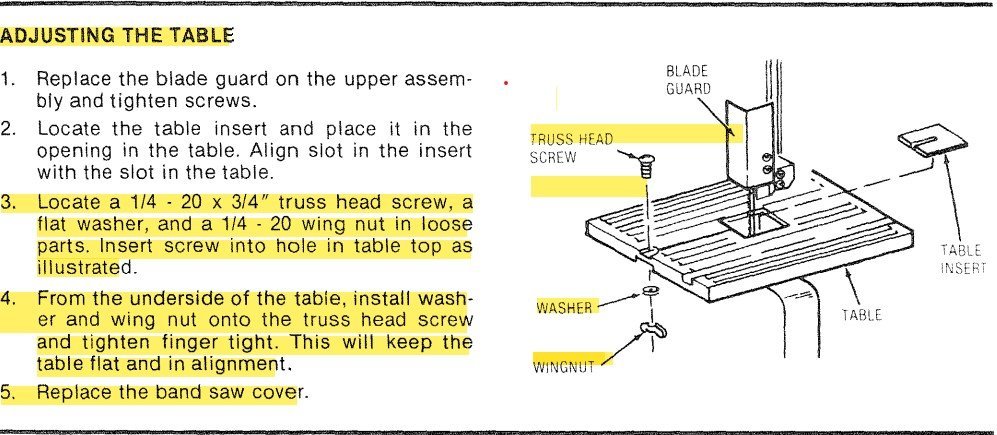
Agreed. Manual shows on page 13 that they are for table alignment. If I only owned one power tool it would be a bandsaw.
-
Hello from Southern California
Captain Shaun replied to Rodedwards's topic in New member Introductions
Welcome Aboard Rod, I too spent some years in SoCal. Drove a cab in LA, lived in Venice and moved to Catalina Island where I had the job of captaining a 1944 LCM 3 with a recycled Budweiser delivery truck on a daily freight run to San Pedro. Loved that weather but love it here in New Hampshire. Your copper work is looking very nice. -
"I know they are not perfect, but they are my children and I love them" That's why I build them. Mateusz, witamy w rodzinie , Shaun
-
Welcome Michele. I just joined about a year ago when I too was building my first wooden boat and have found answers to all of my questions. Shaun
-
Thanks Ben, I'll try it now. Got It. 😃 Shaun
-
Not sure what I am doing wrong here. I choose a photo, upload it and get the error message below. 1 file was larger than the maximum file size of 51.2kB, and was skipped The photo is 1.08mb and seems to about average size looking at a number of my photos properties. What am I missing ? Old guy with no teens around to help me here. 😐

-
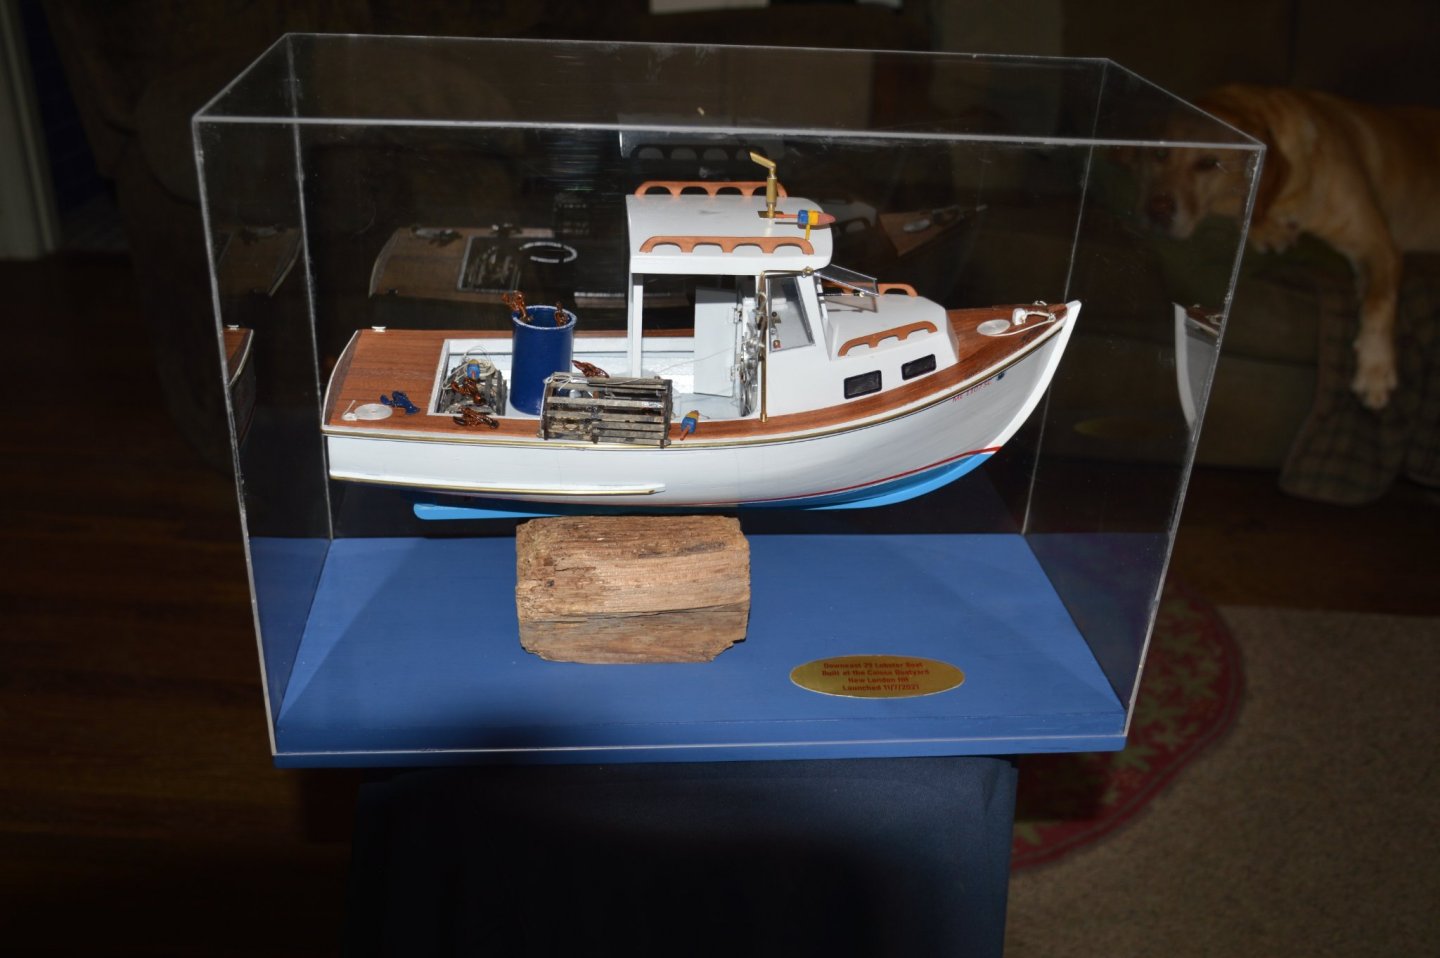
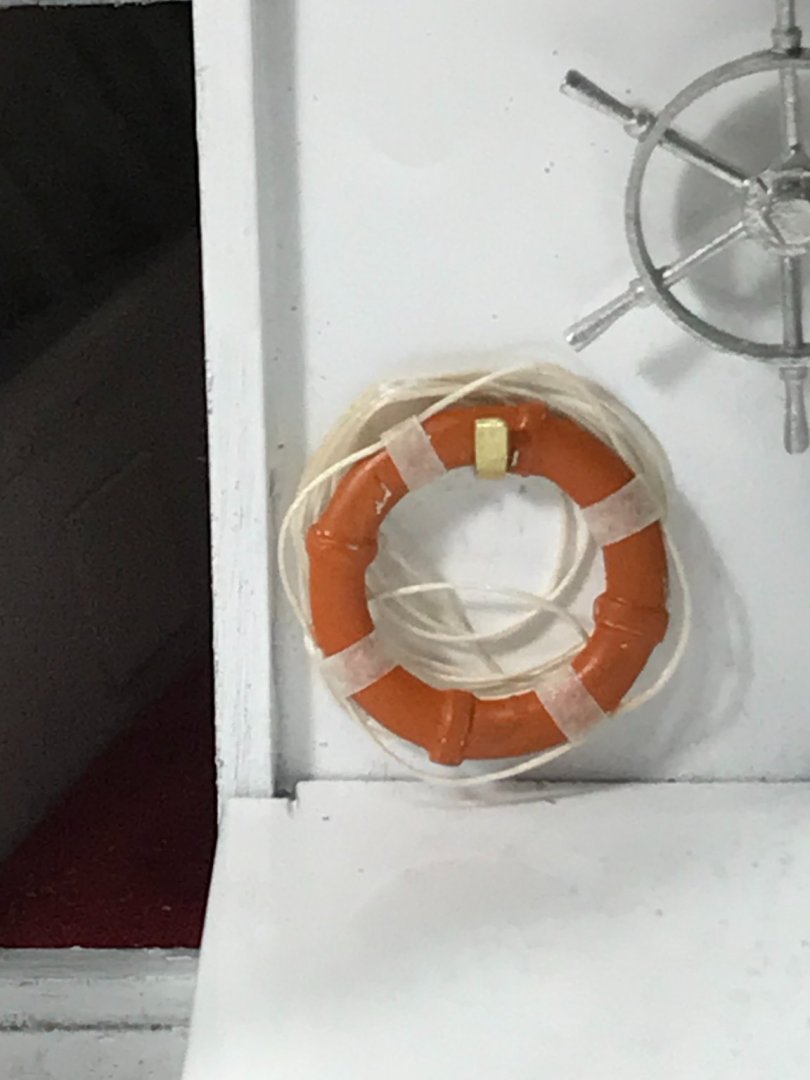
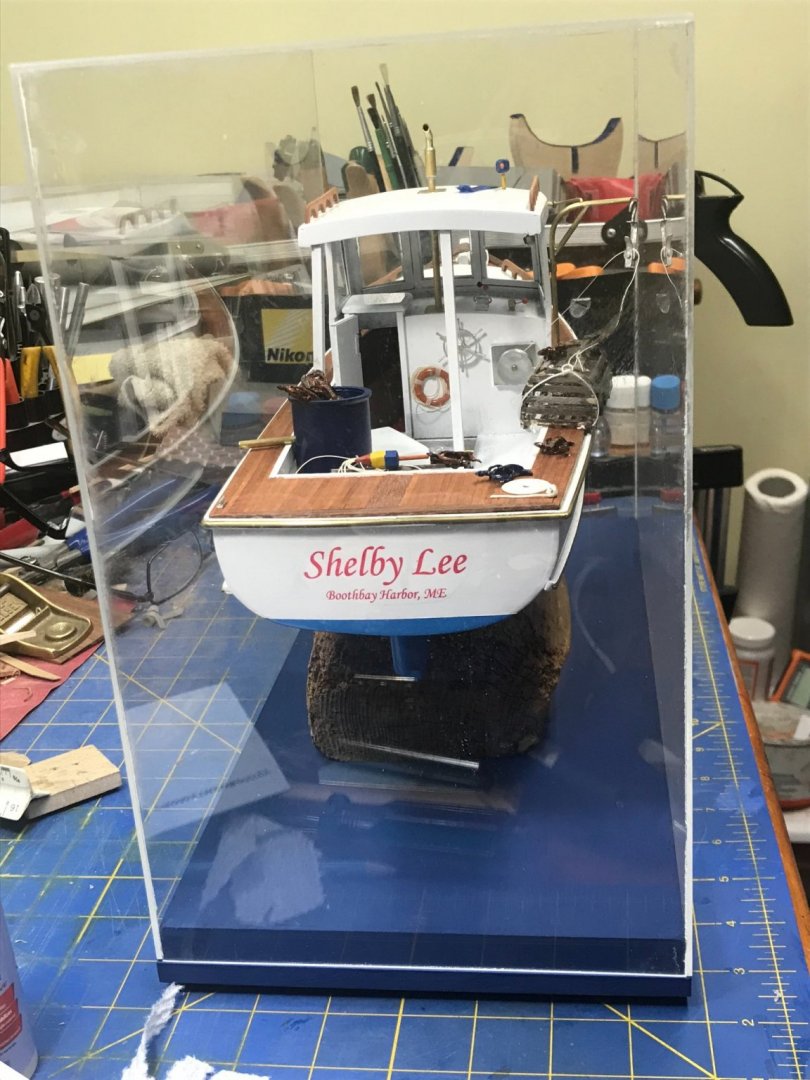
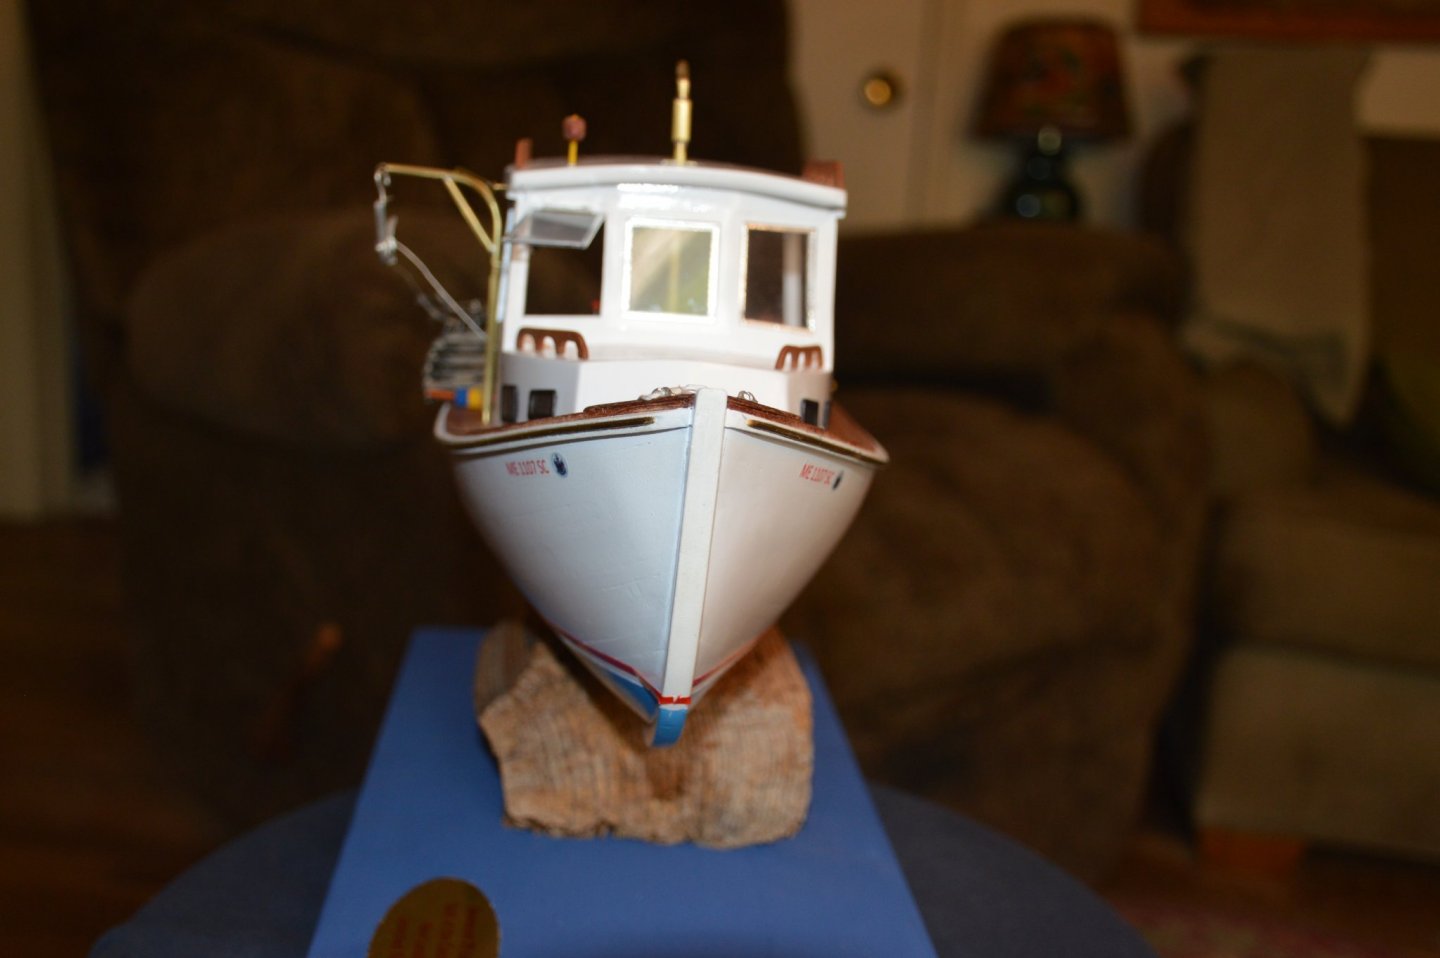
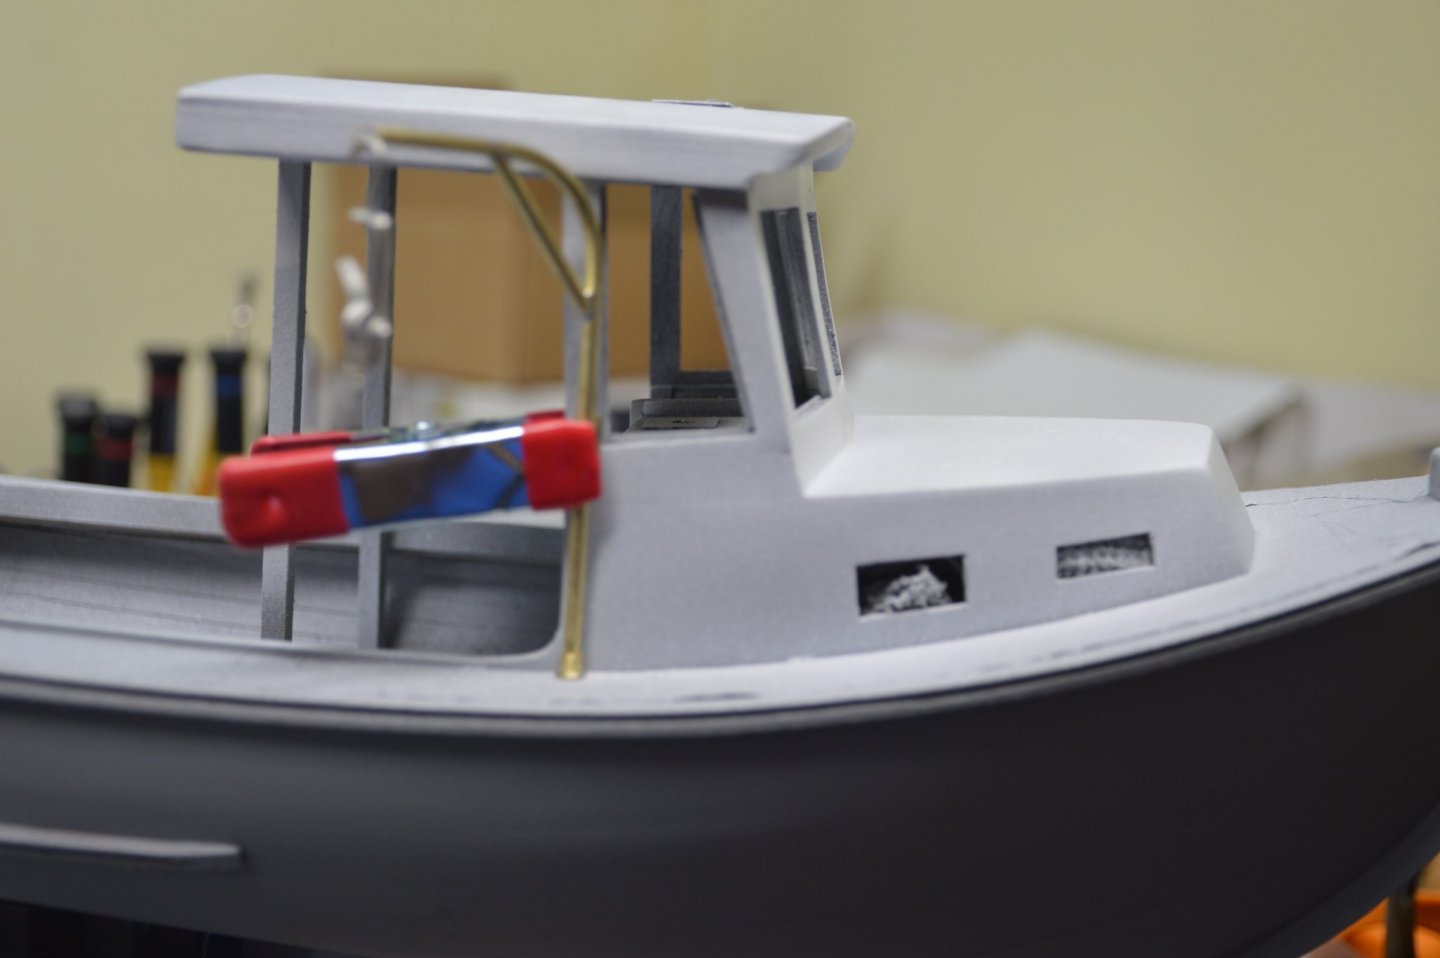
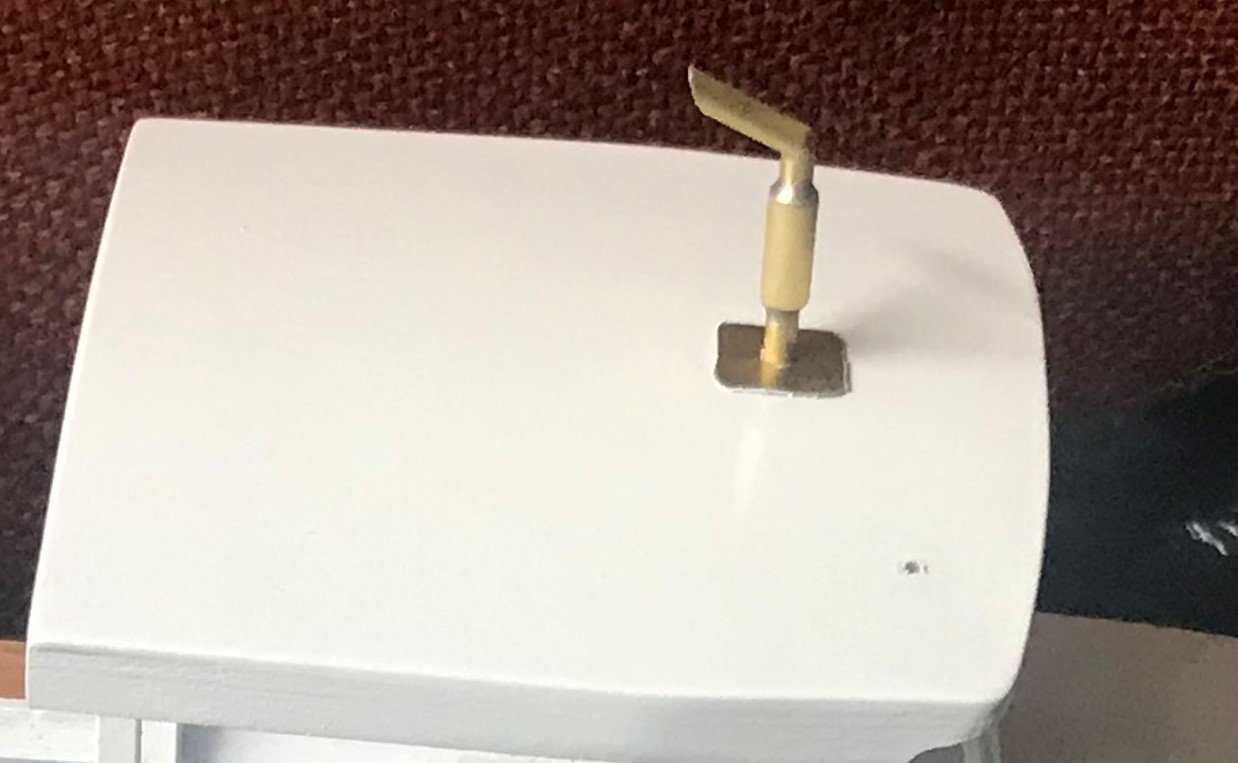
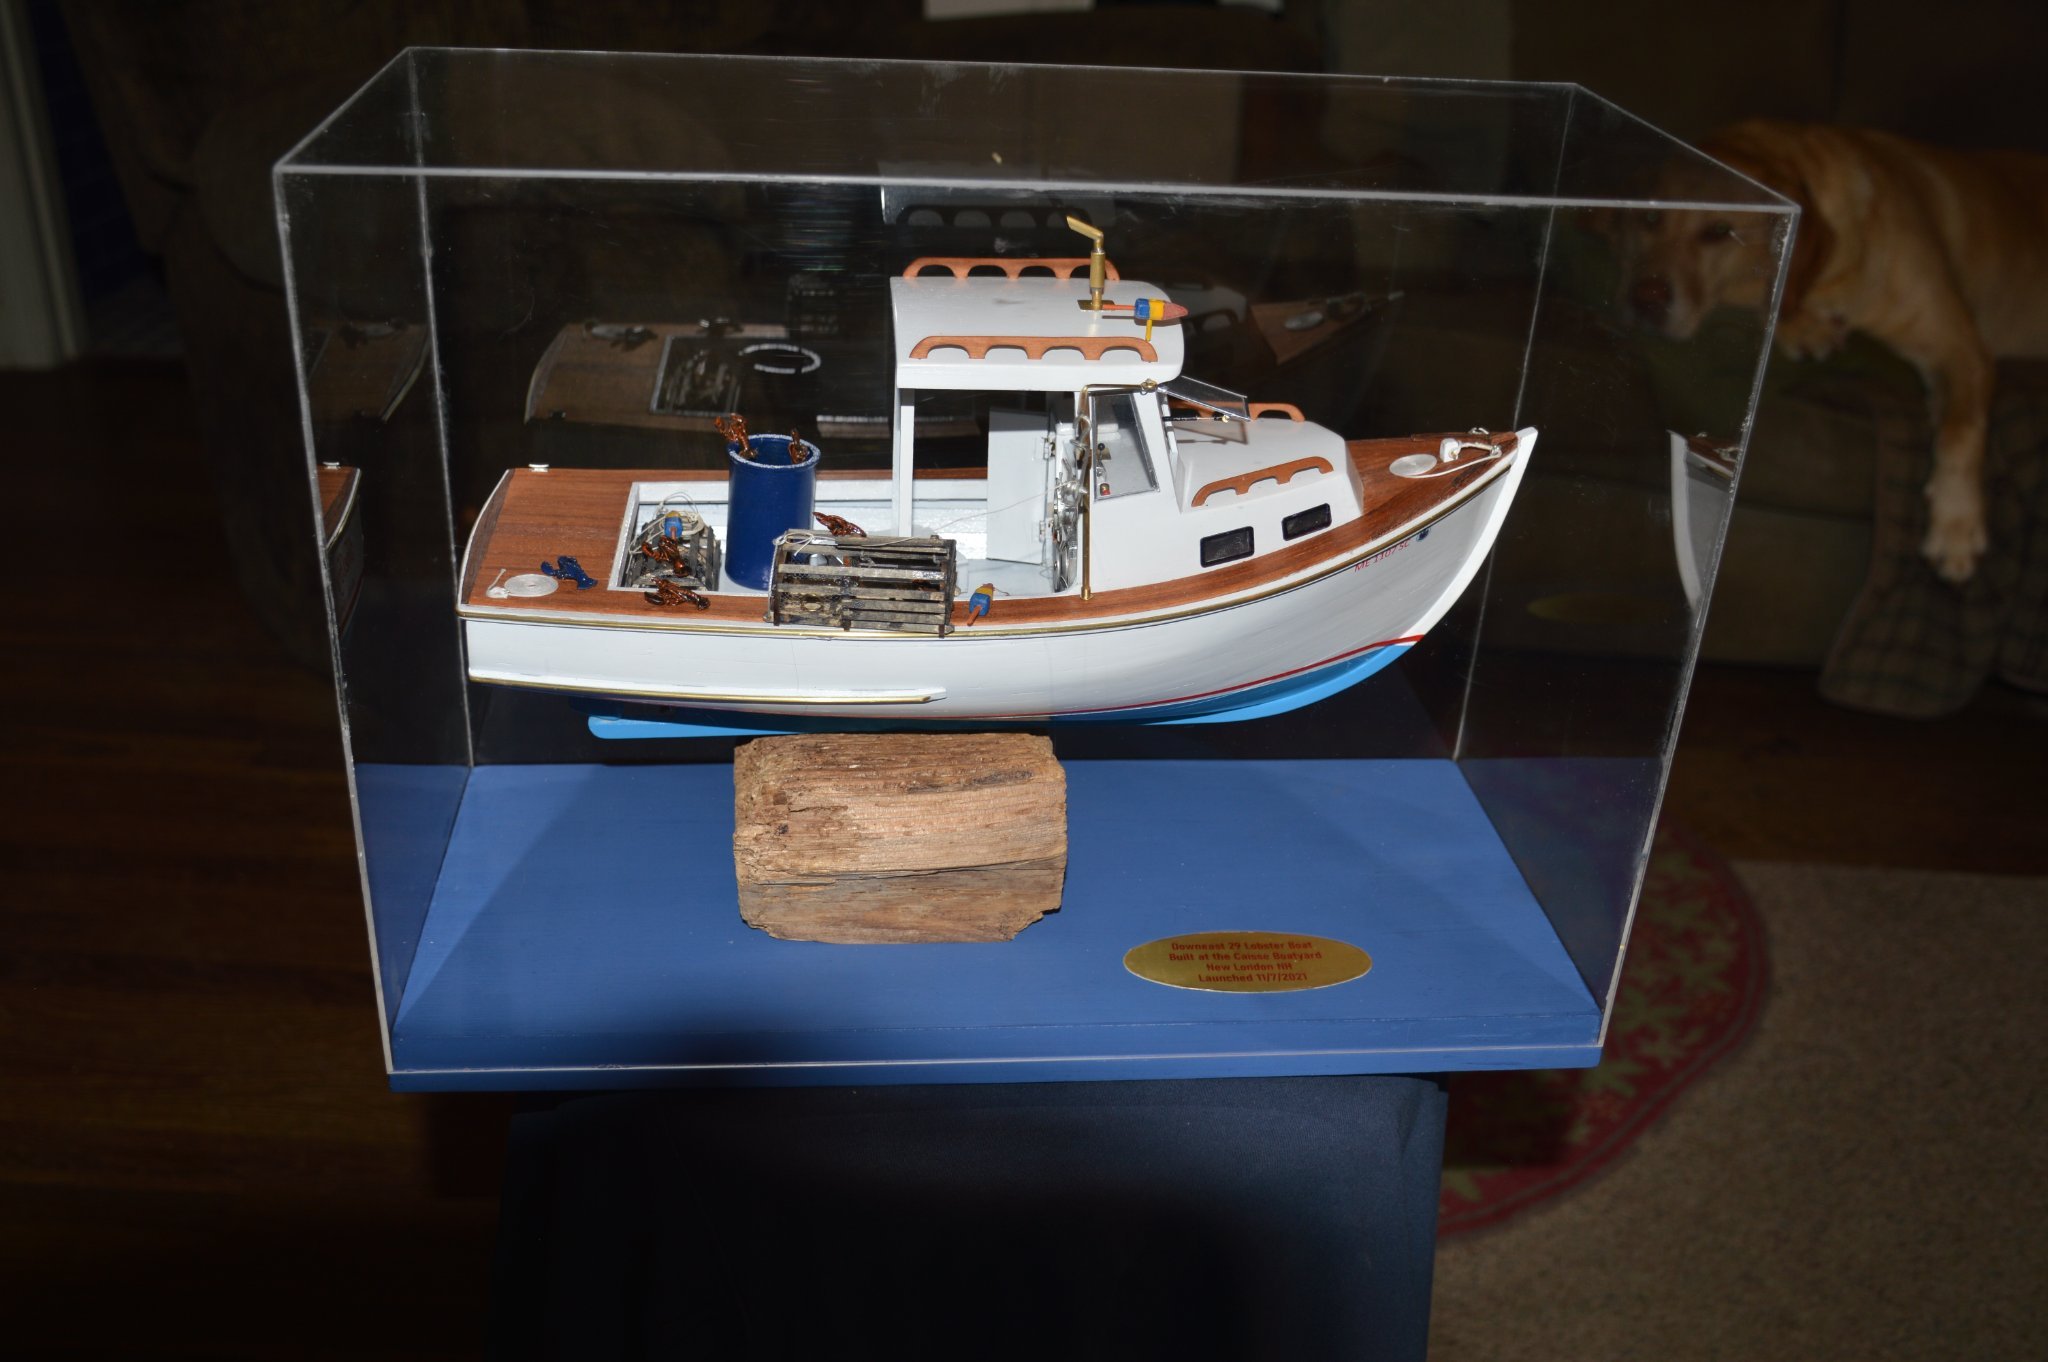
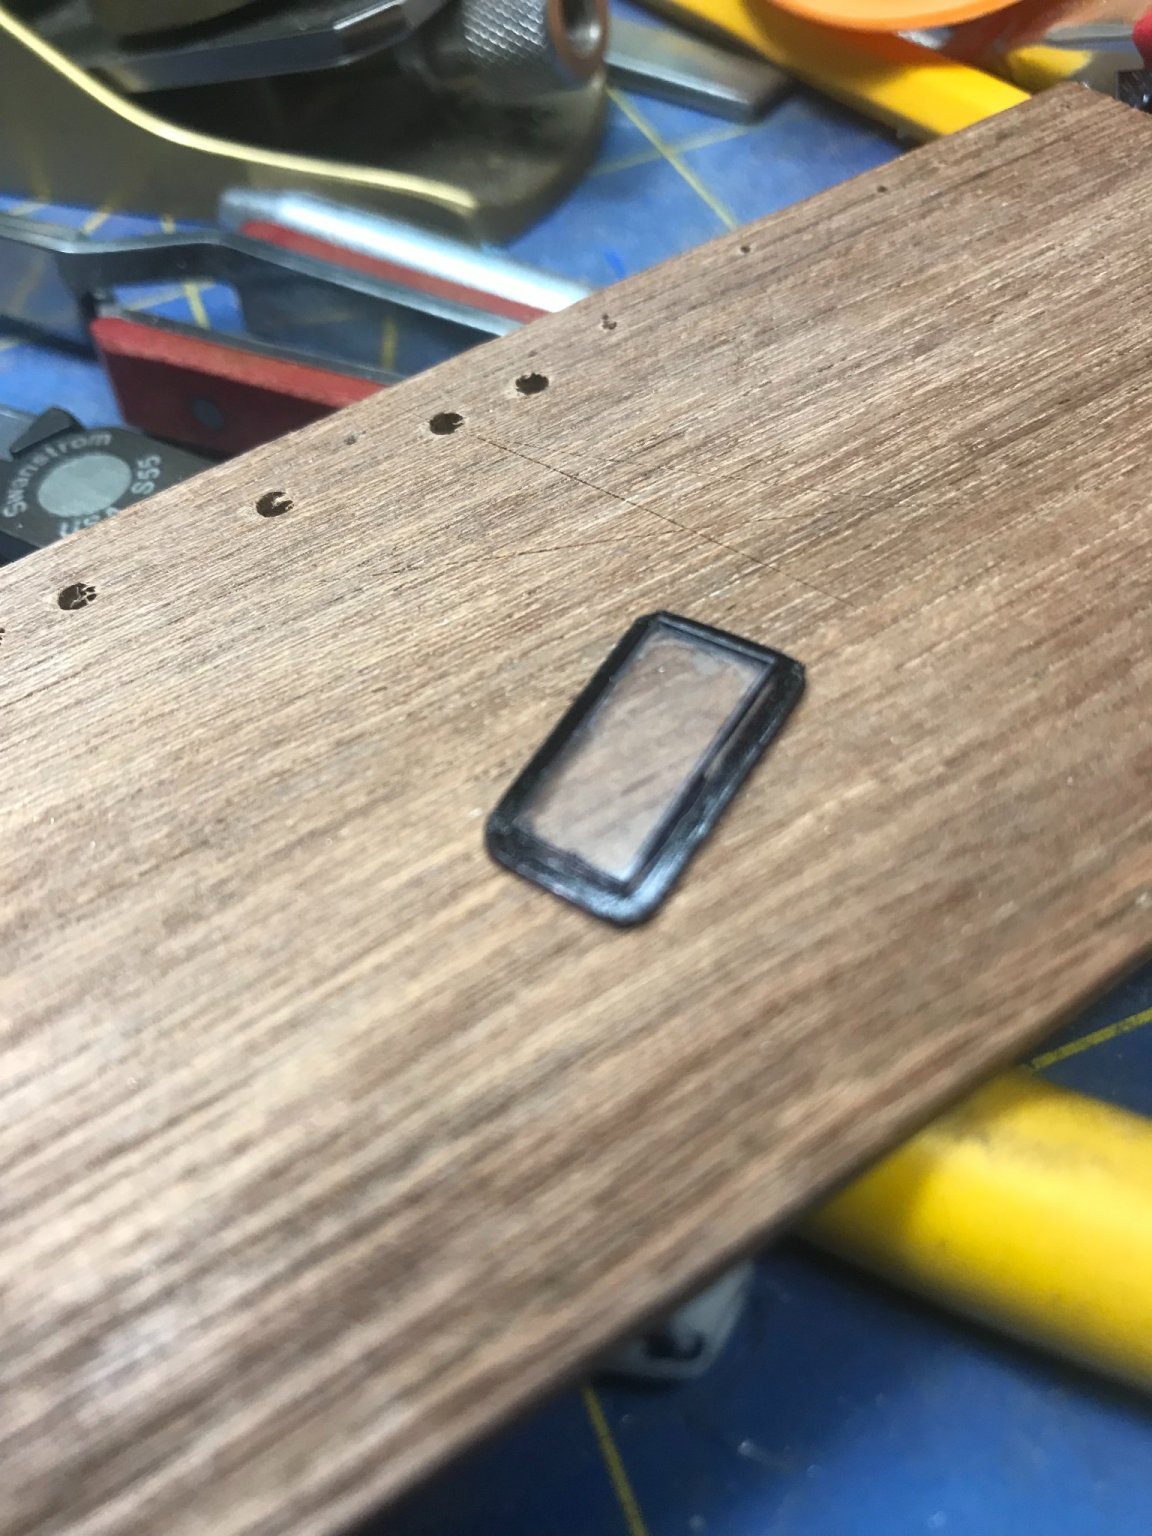
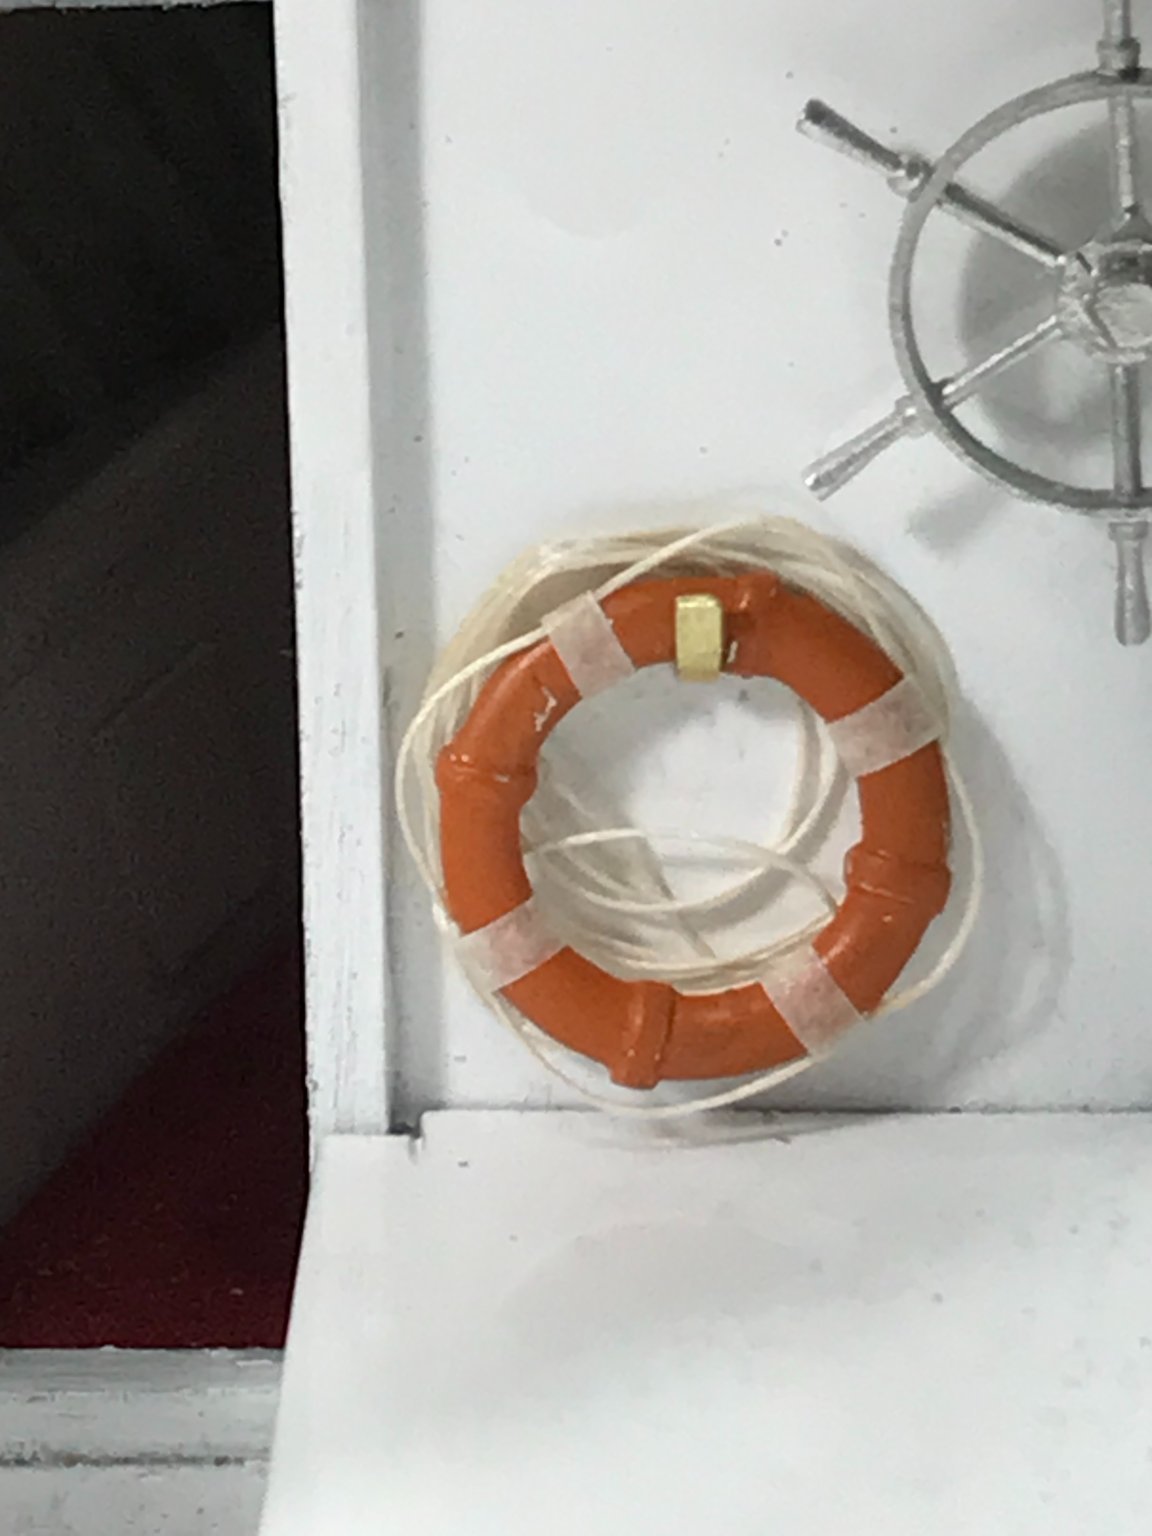
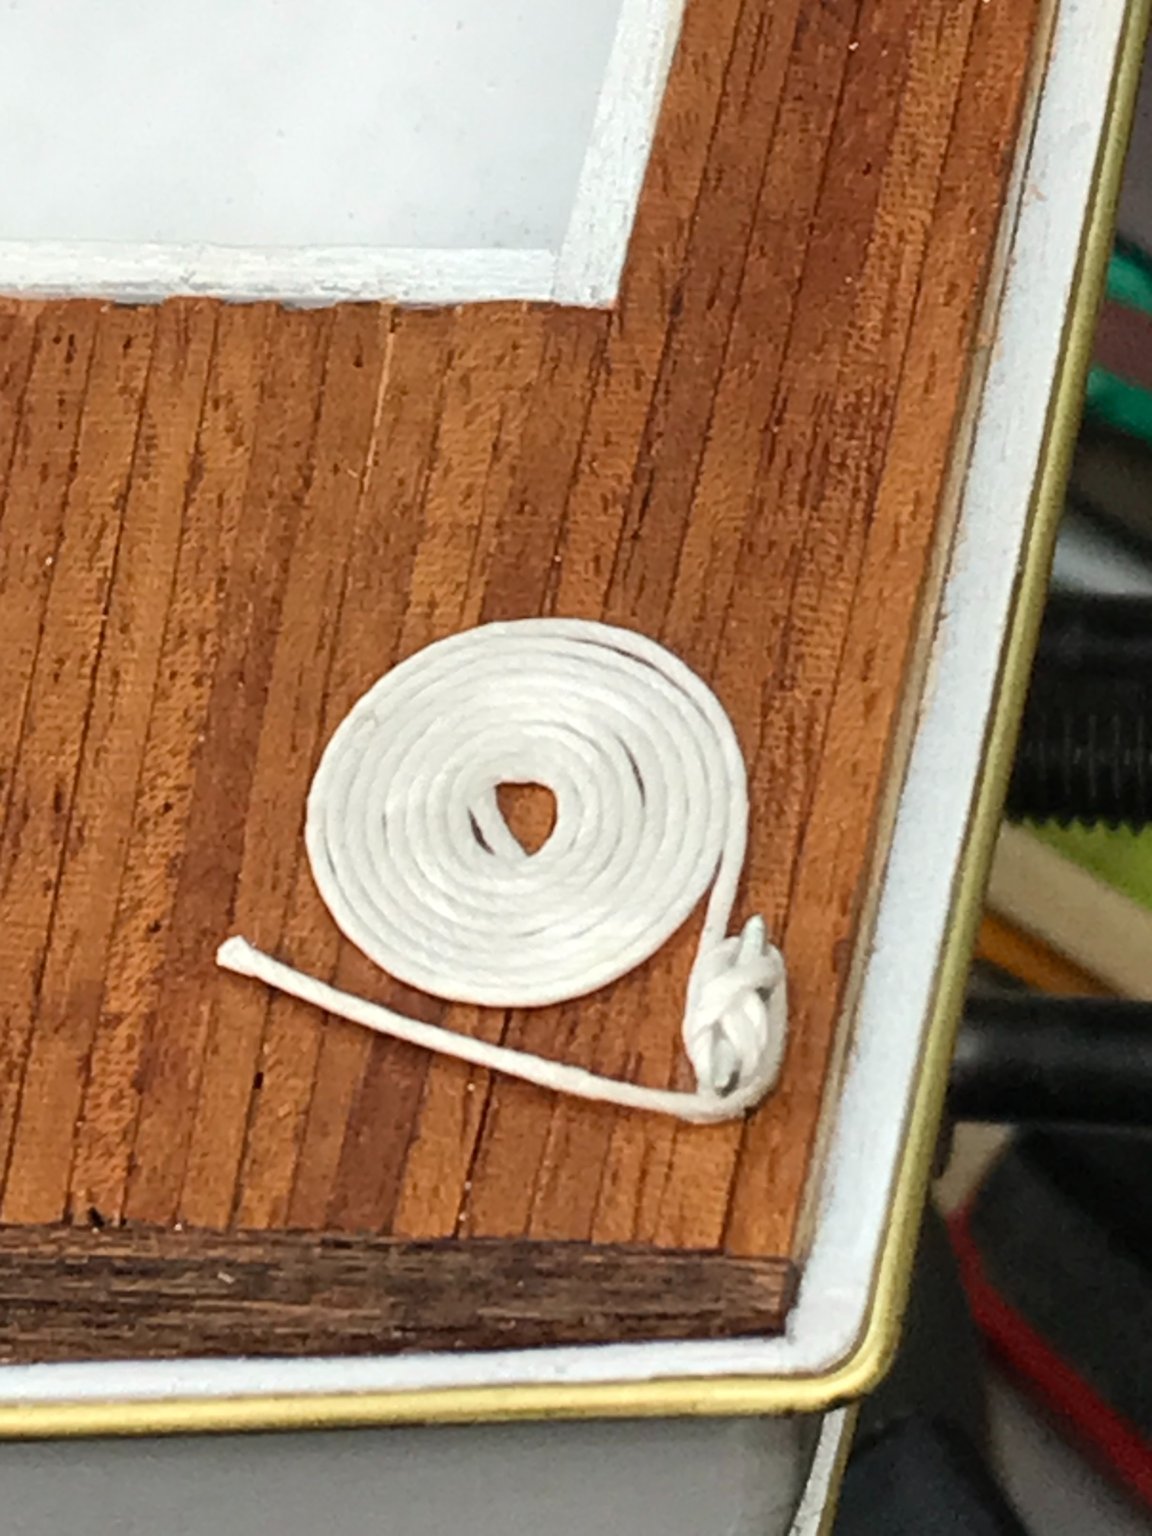
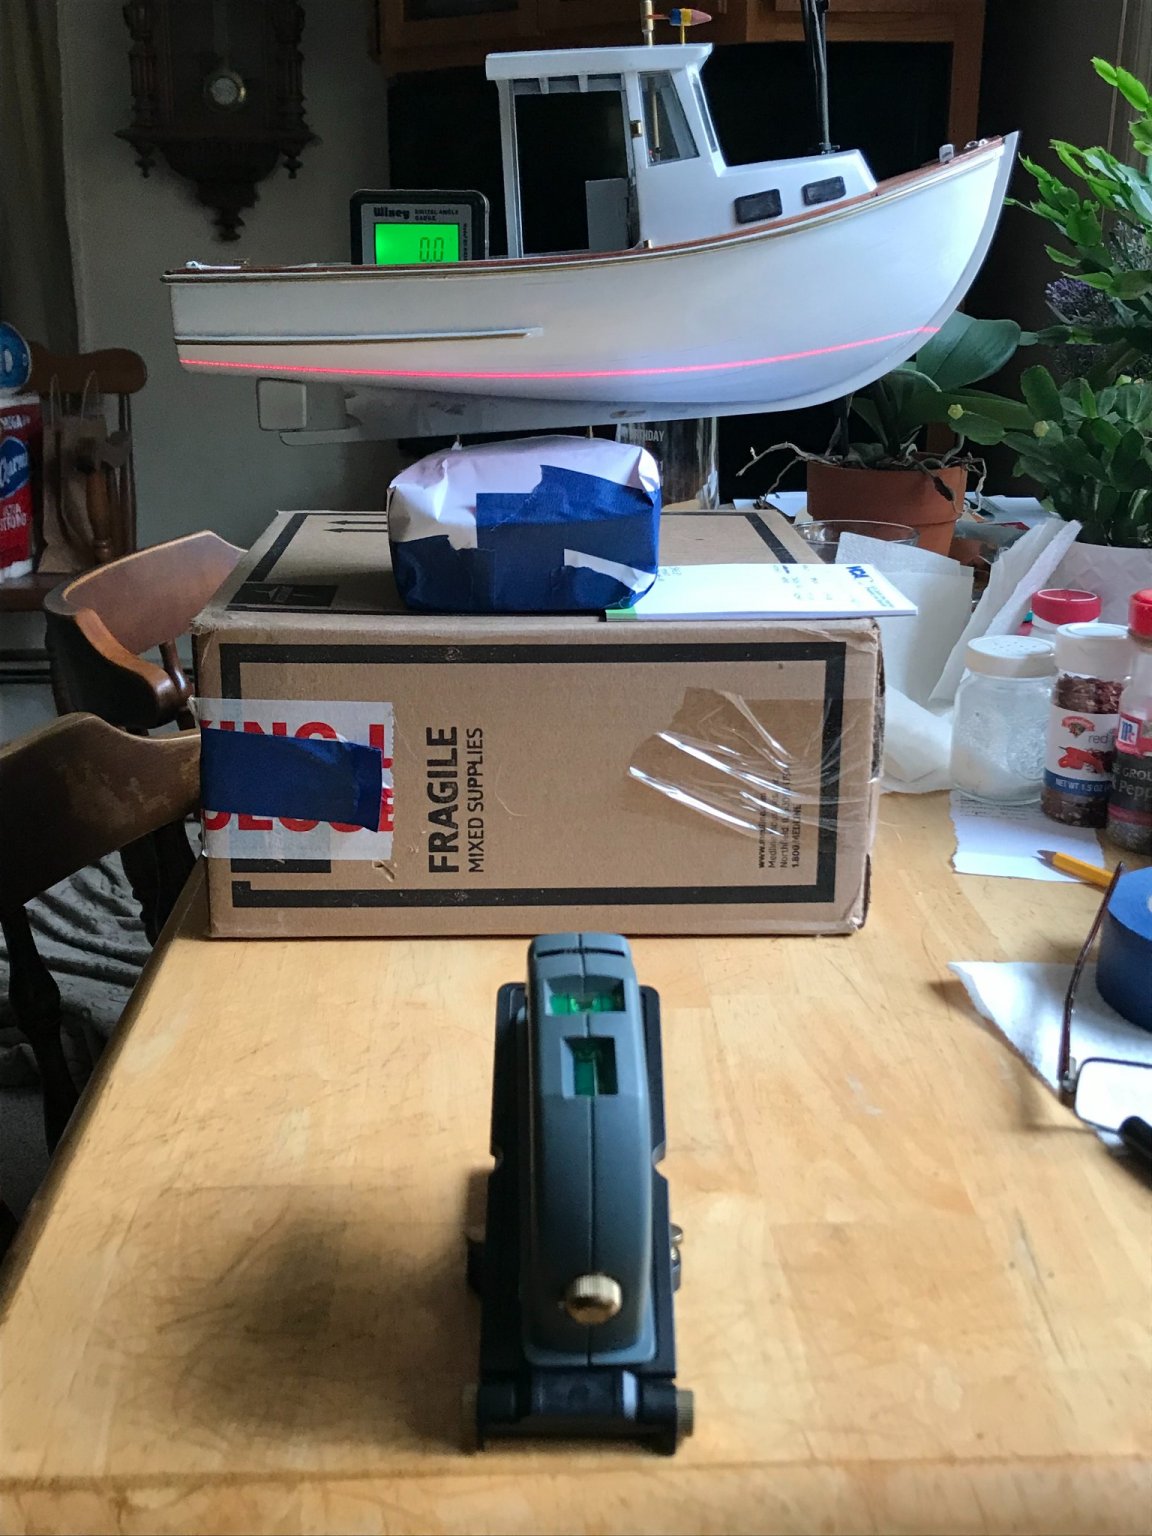
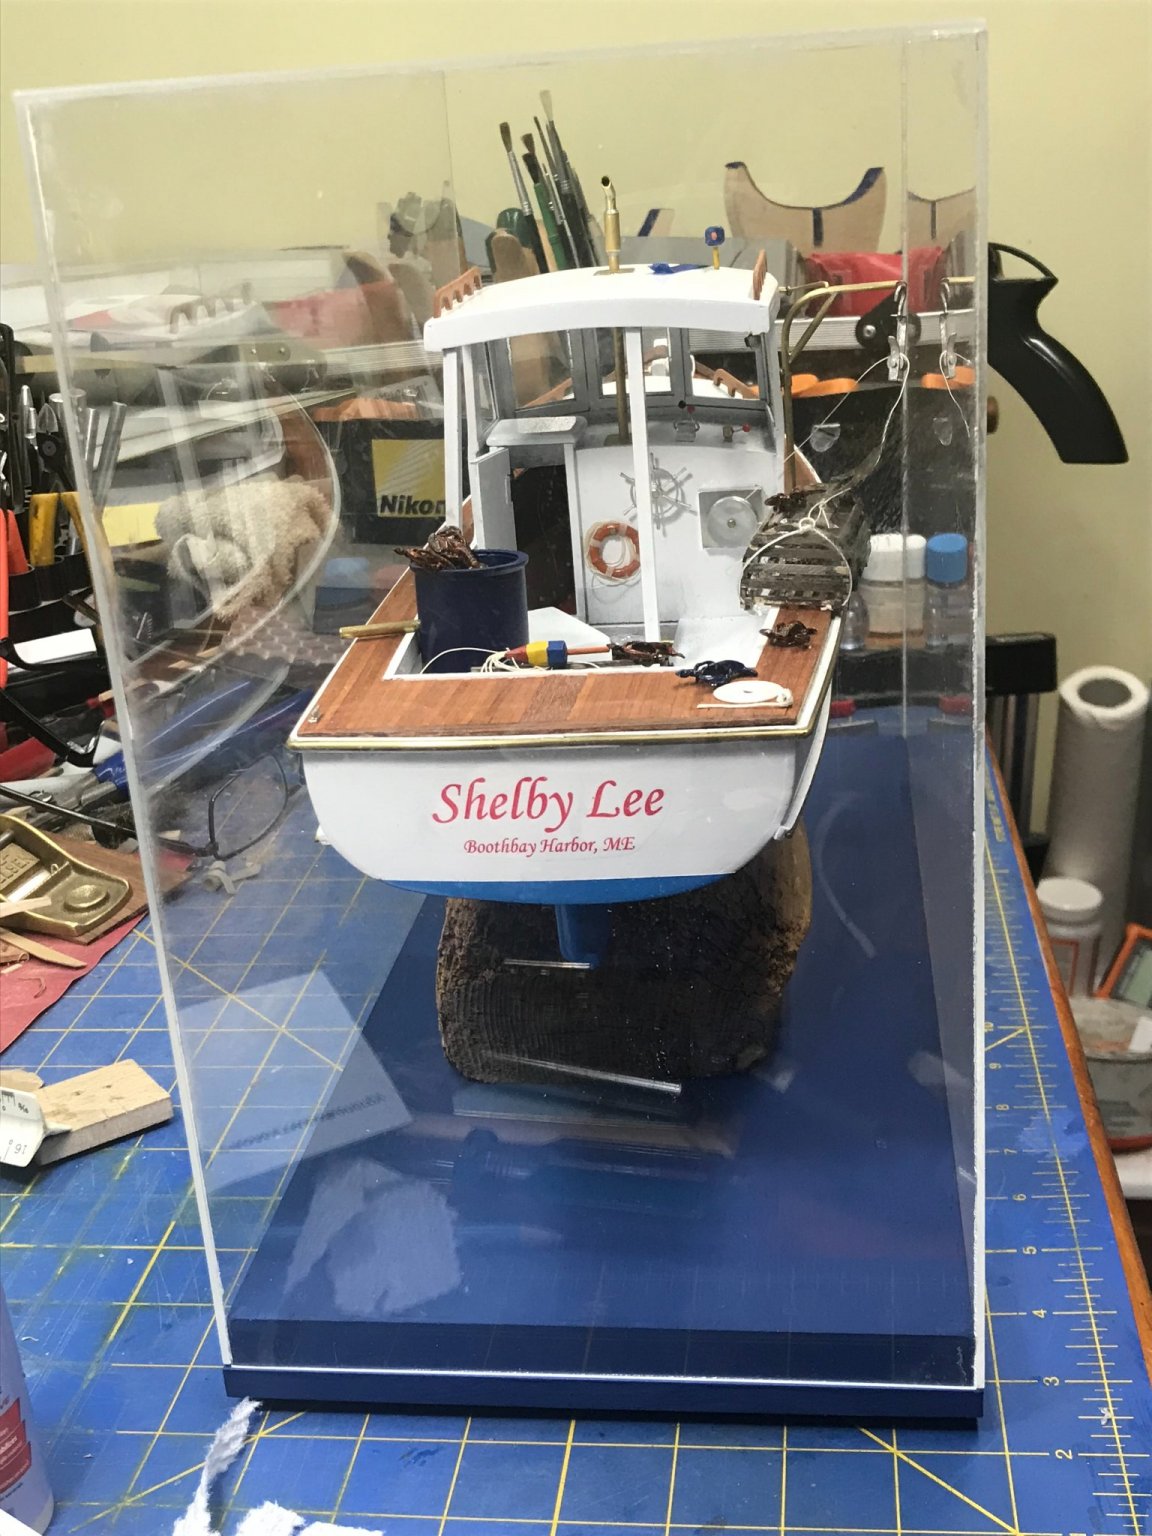
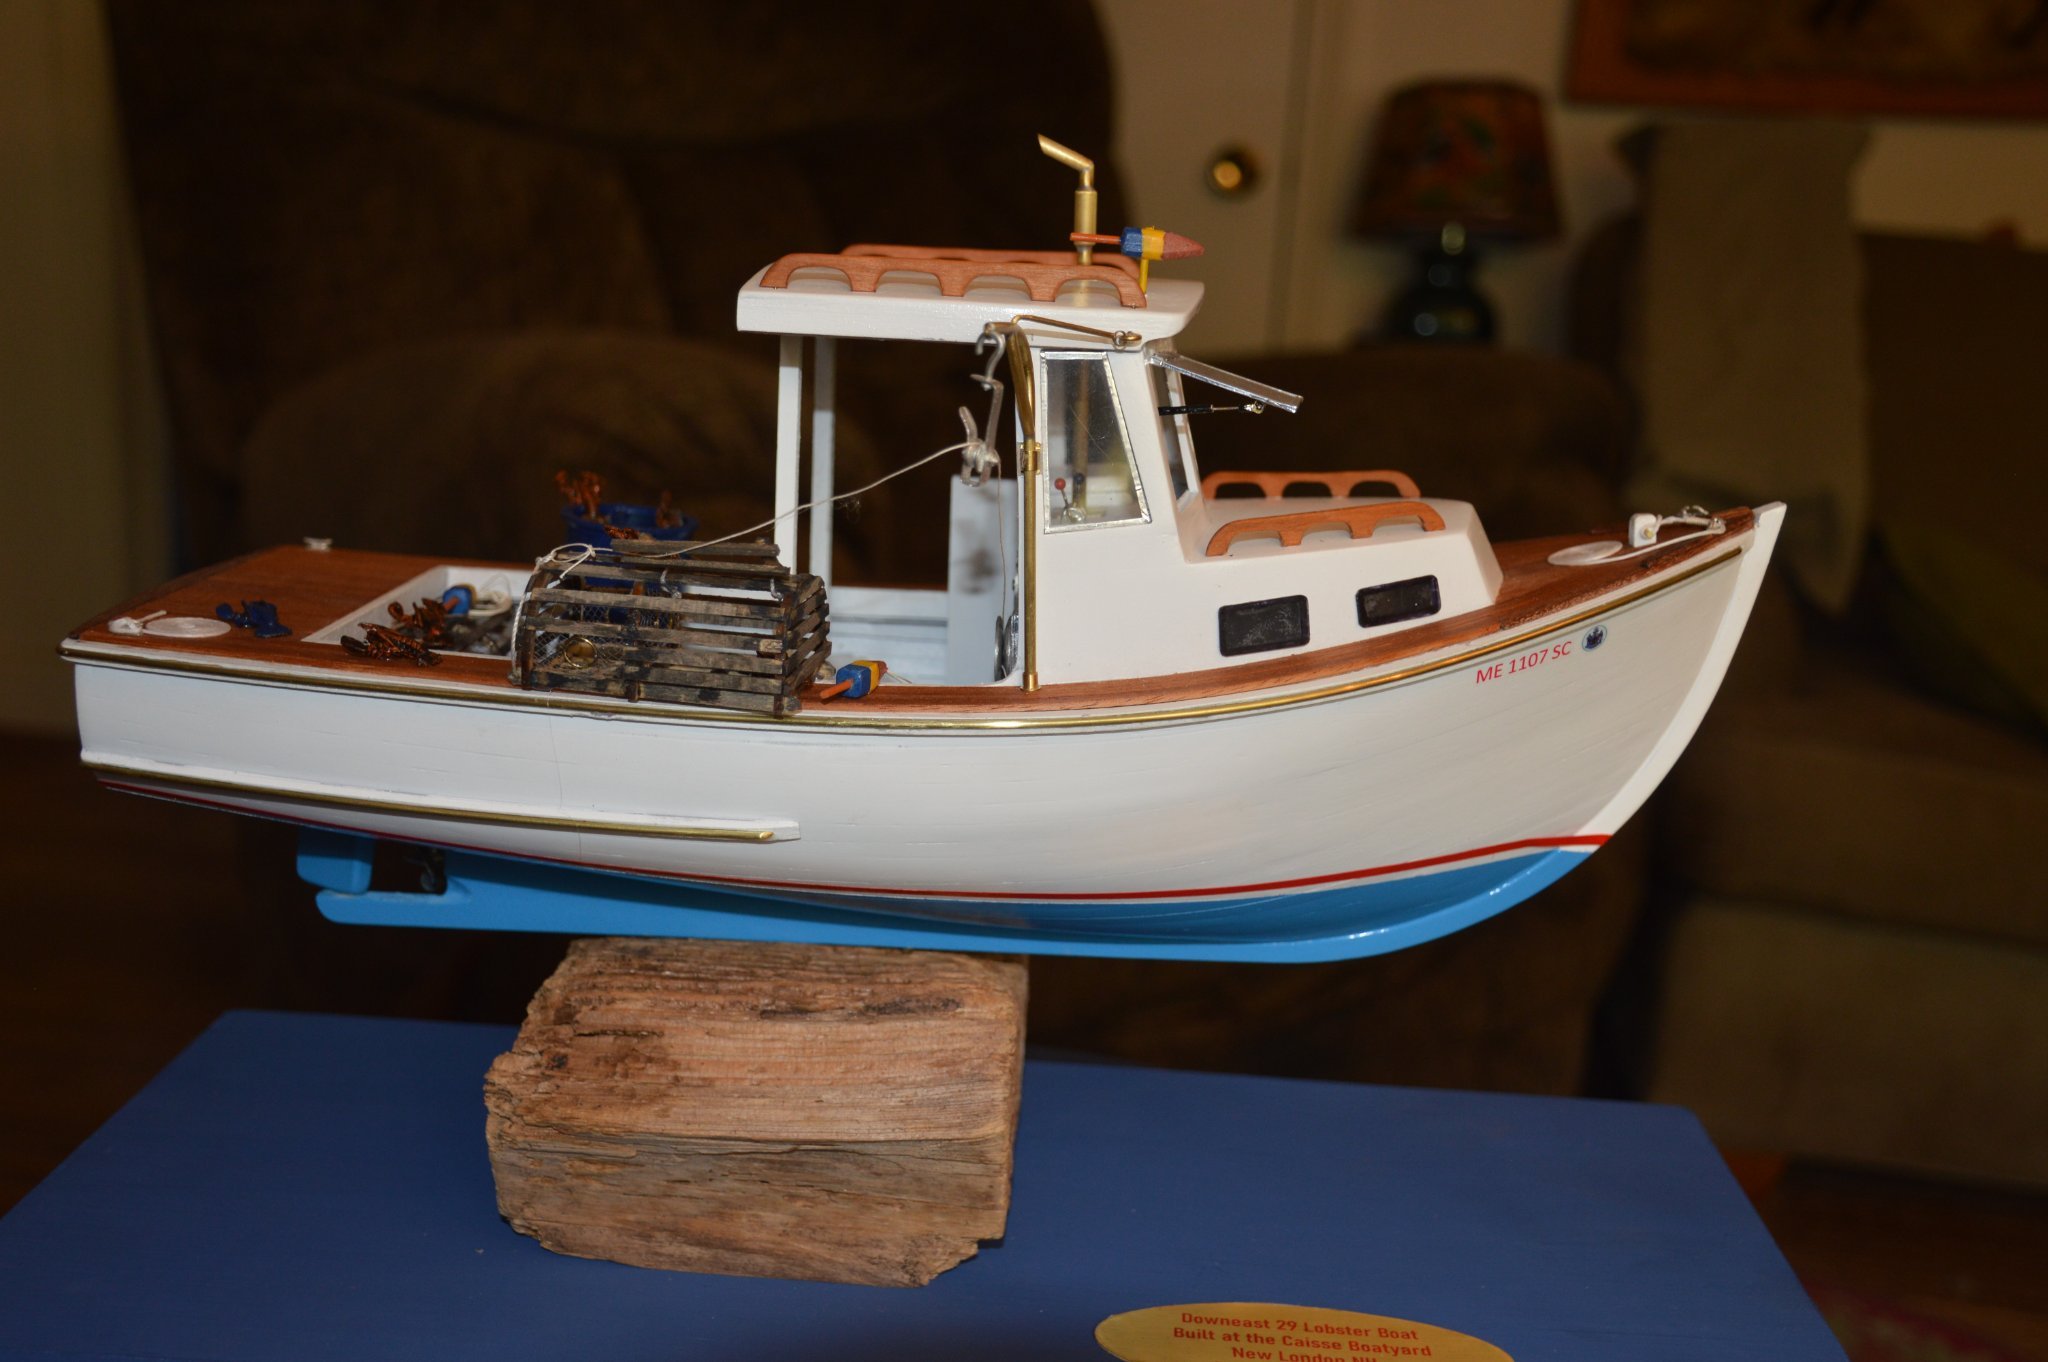
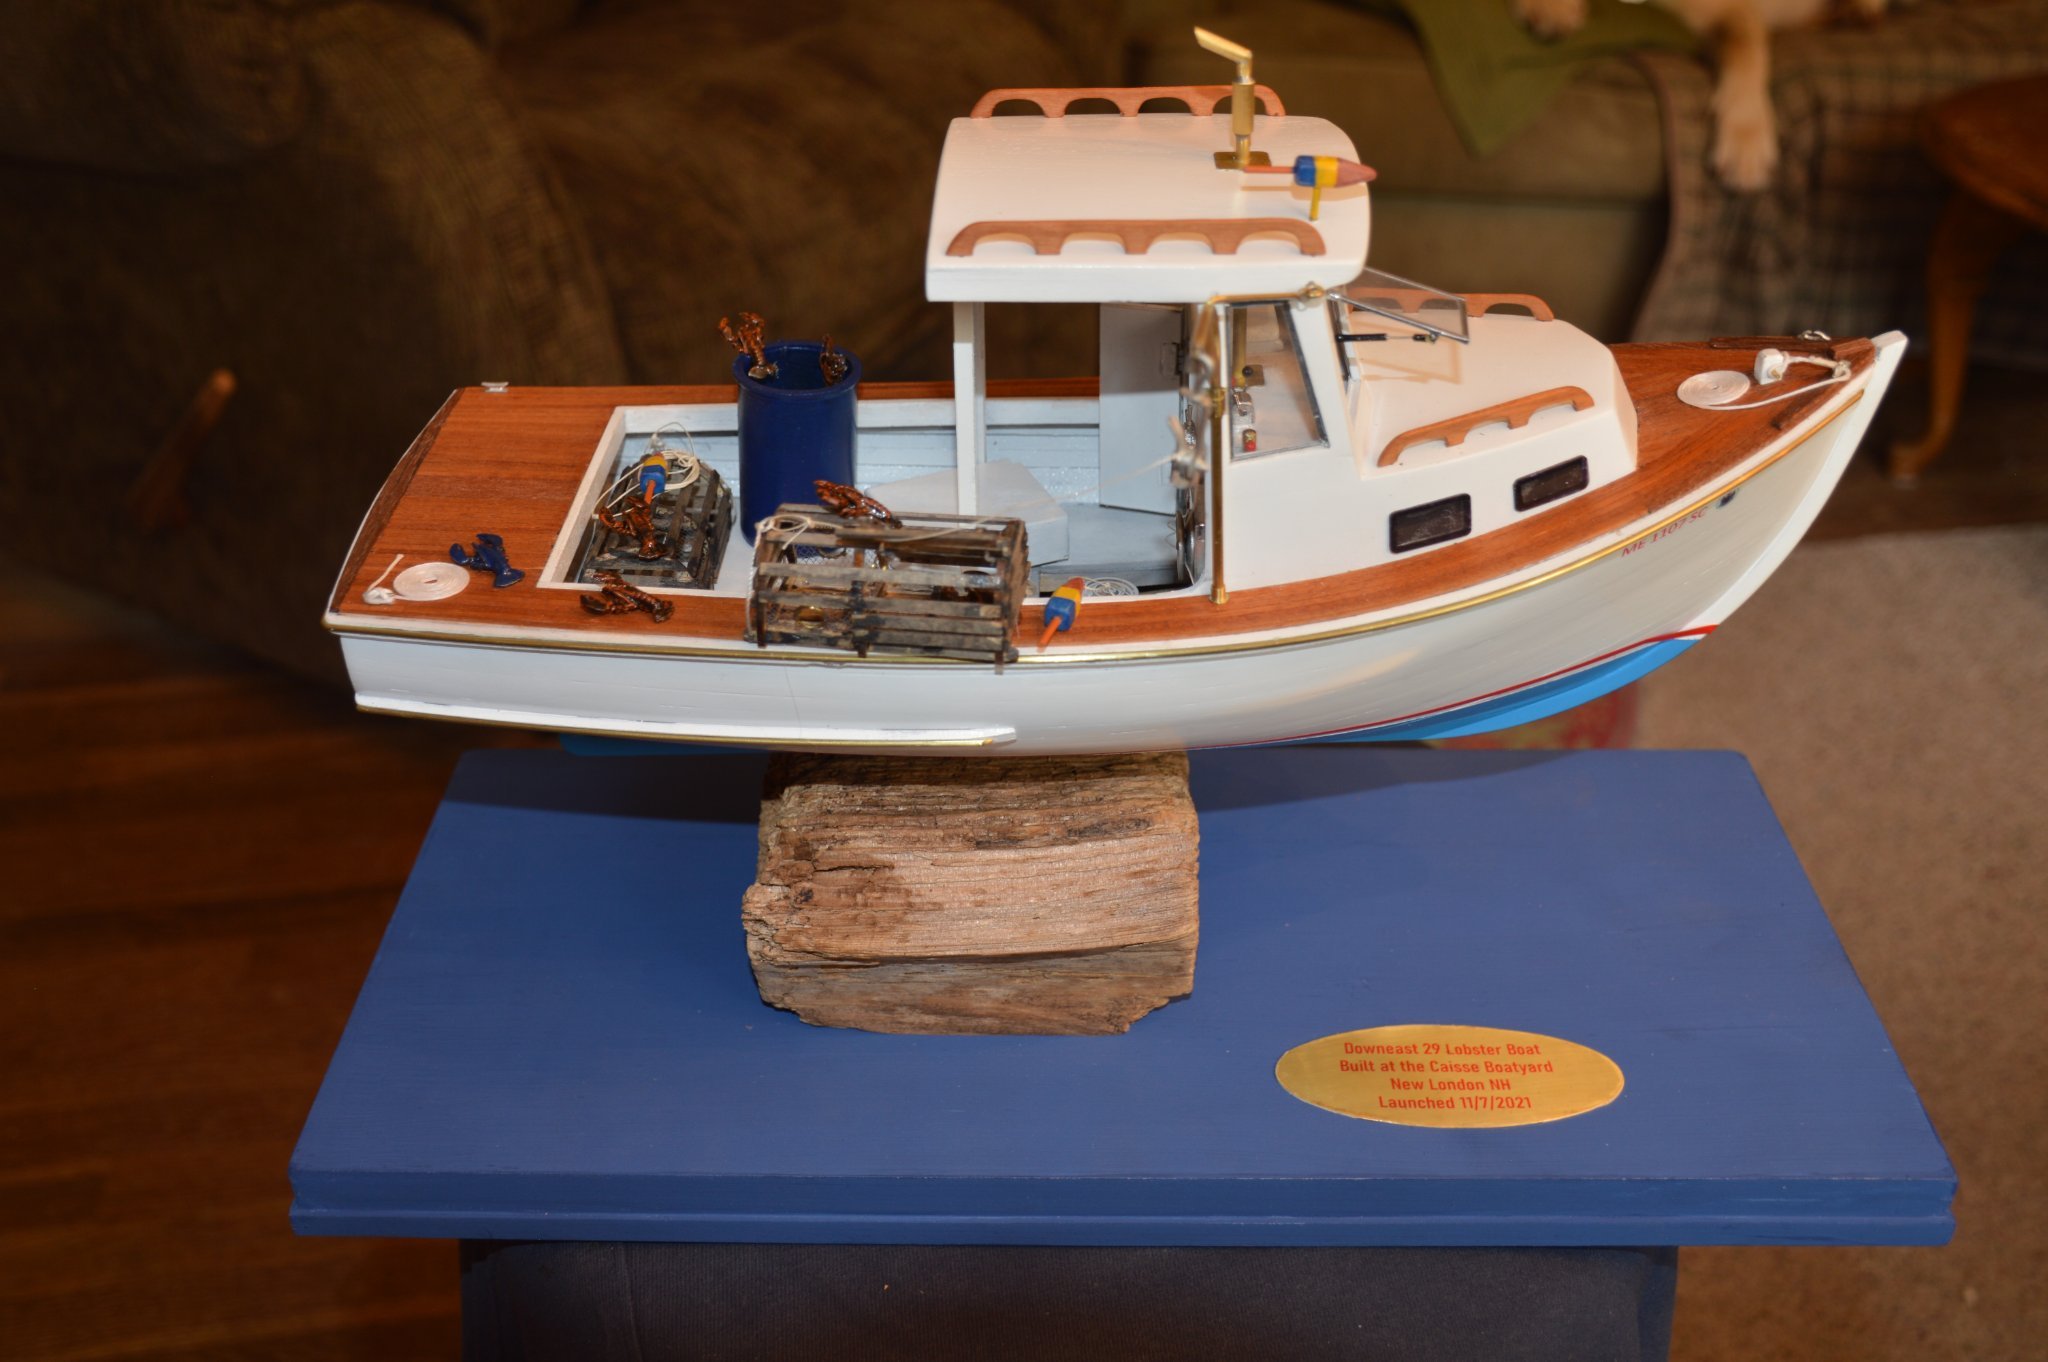
Starting to add the finishing touches. The cabin portholes are made by laminating two pieces of the clear plastic and outlining them with a black Sharpie permanent marker. Davit and block are installed. The opening window is a working window, I made a gas strut for it that works. Life ring and wheel are Bluejacket Shipcrafters castings. Keep those lines neat to avoid tripping on them. Time to mark the waterline. I used my laser line tool combined with the digital level to locate it. Bottom paint is done and red boot line was done using pinstriping tape. The block it's mounted on is a piece of driftwood found in Boothbay Harbor. The decals were made with waterslide transfer paper using artwork I did on Excel and printed using my inkjet printer and then sprayed with clear Lacquer paint, they worked flawlessly. Hadn't planed on building a case but then I remembered the two cats in residence and made one. This was my first boat model since 1967 and I had a blast making it, made plenty of mistakes but learned a ton. I am now onto the Bluenose Shipcrafters kit of the Bowdoin Schooner, a gift for my Bowdoin graduate. Build log coming soon.


.thumb.JPG.63338b922327e7cfd9fad100fabc9202.JPG)
- 37 replies
-
- 11
-

-

-
- freelance
- Scratch built
- (and 1 more)
-
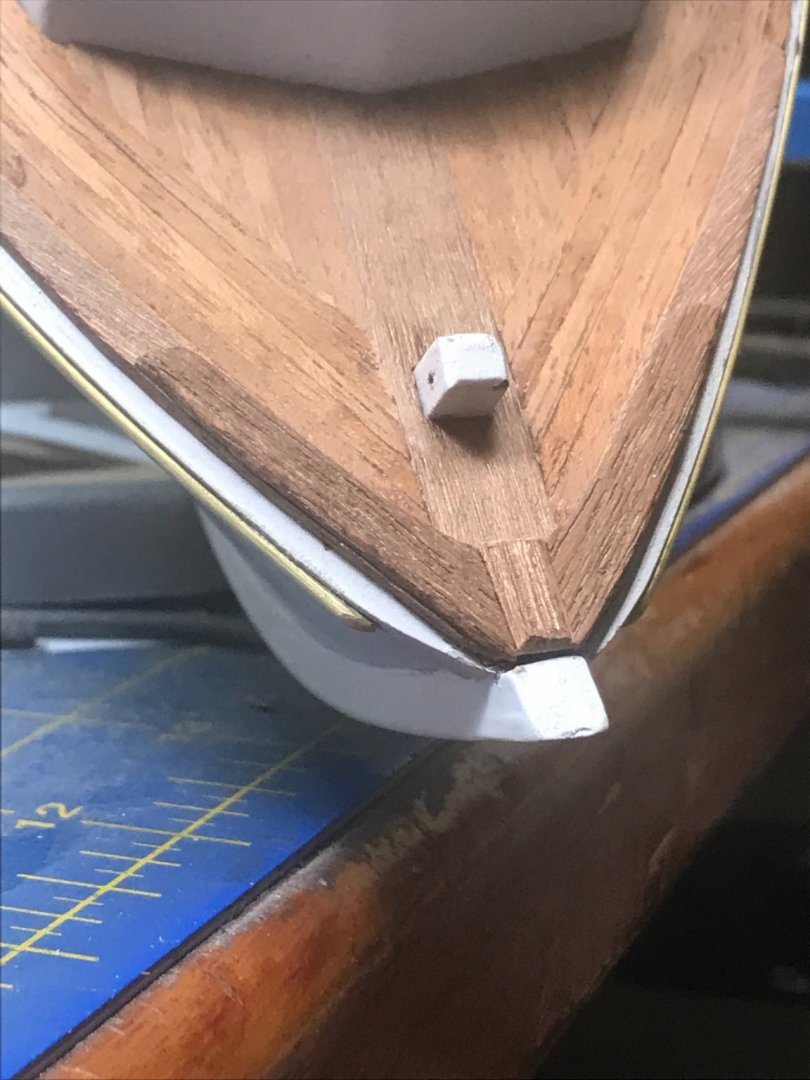
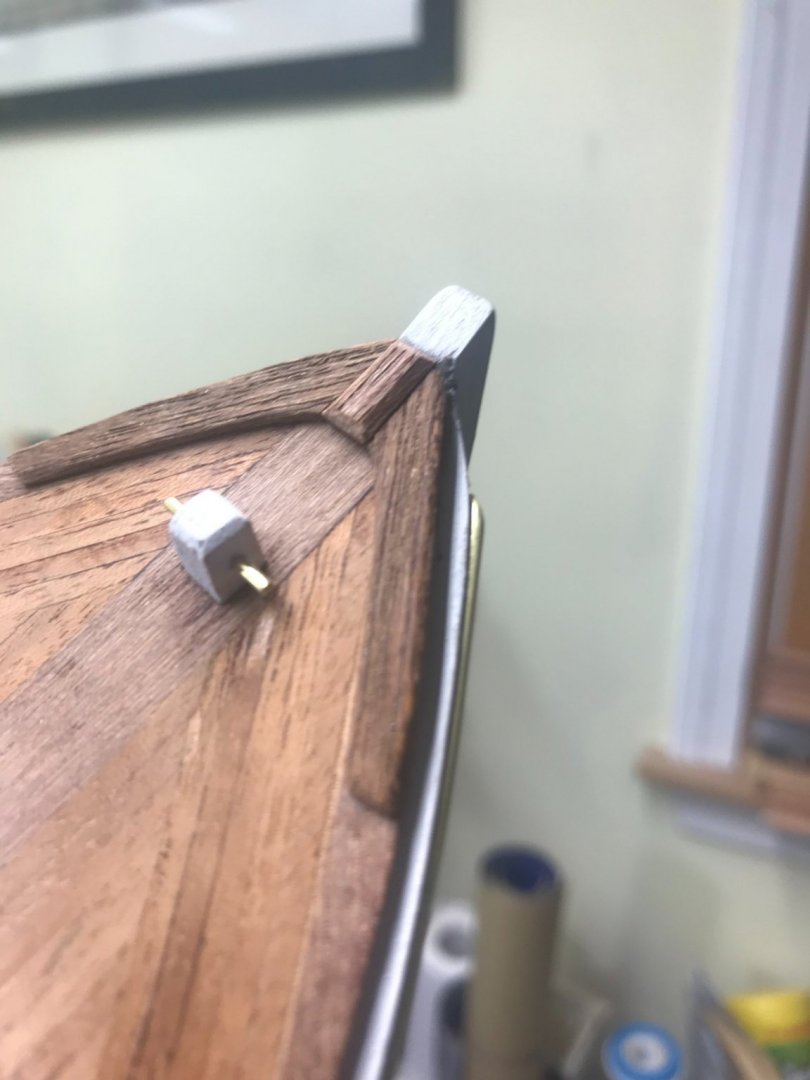
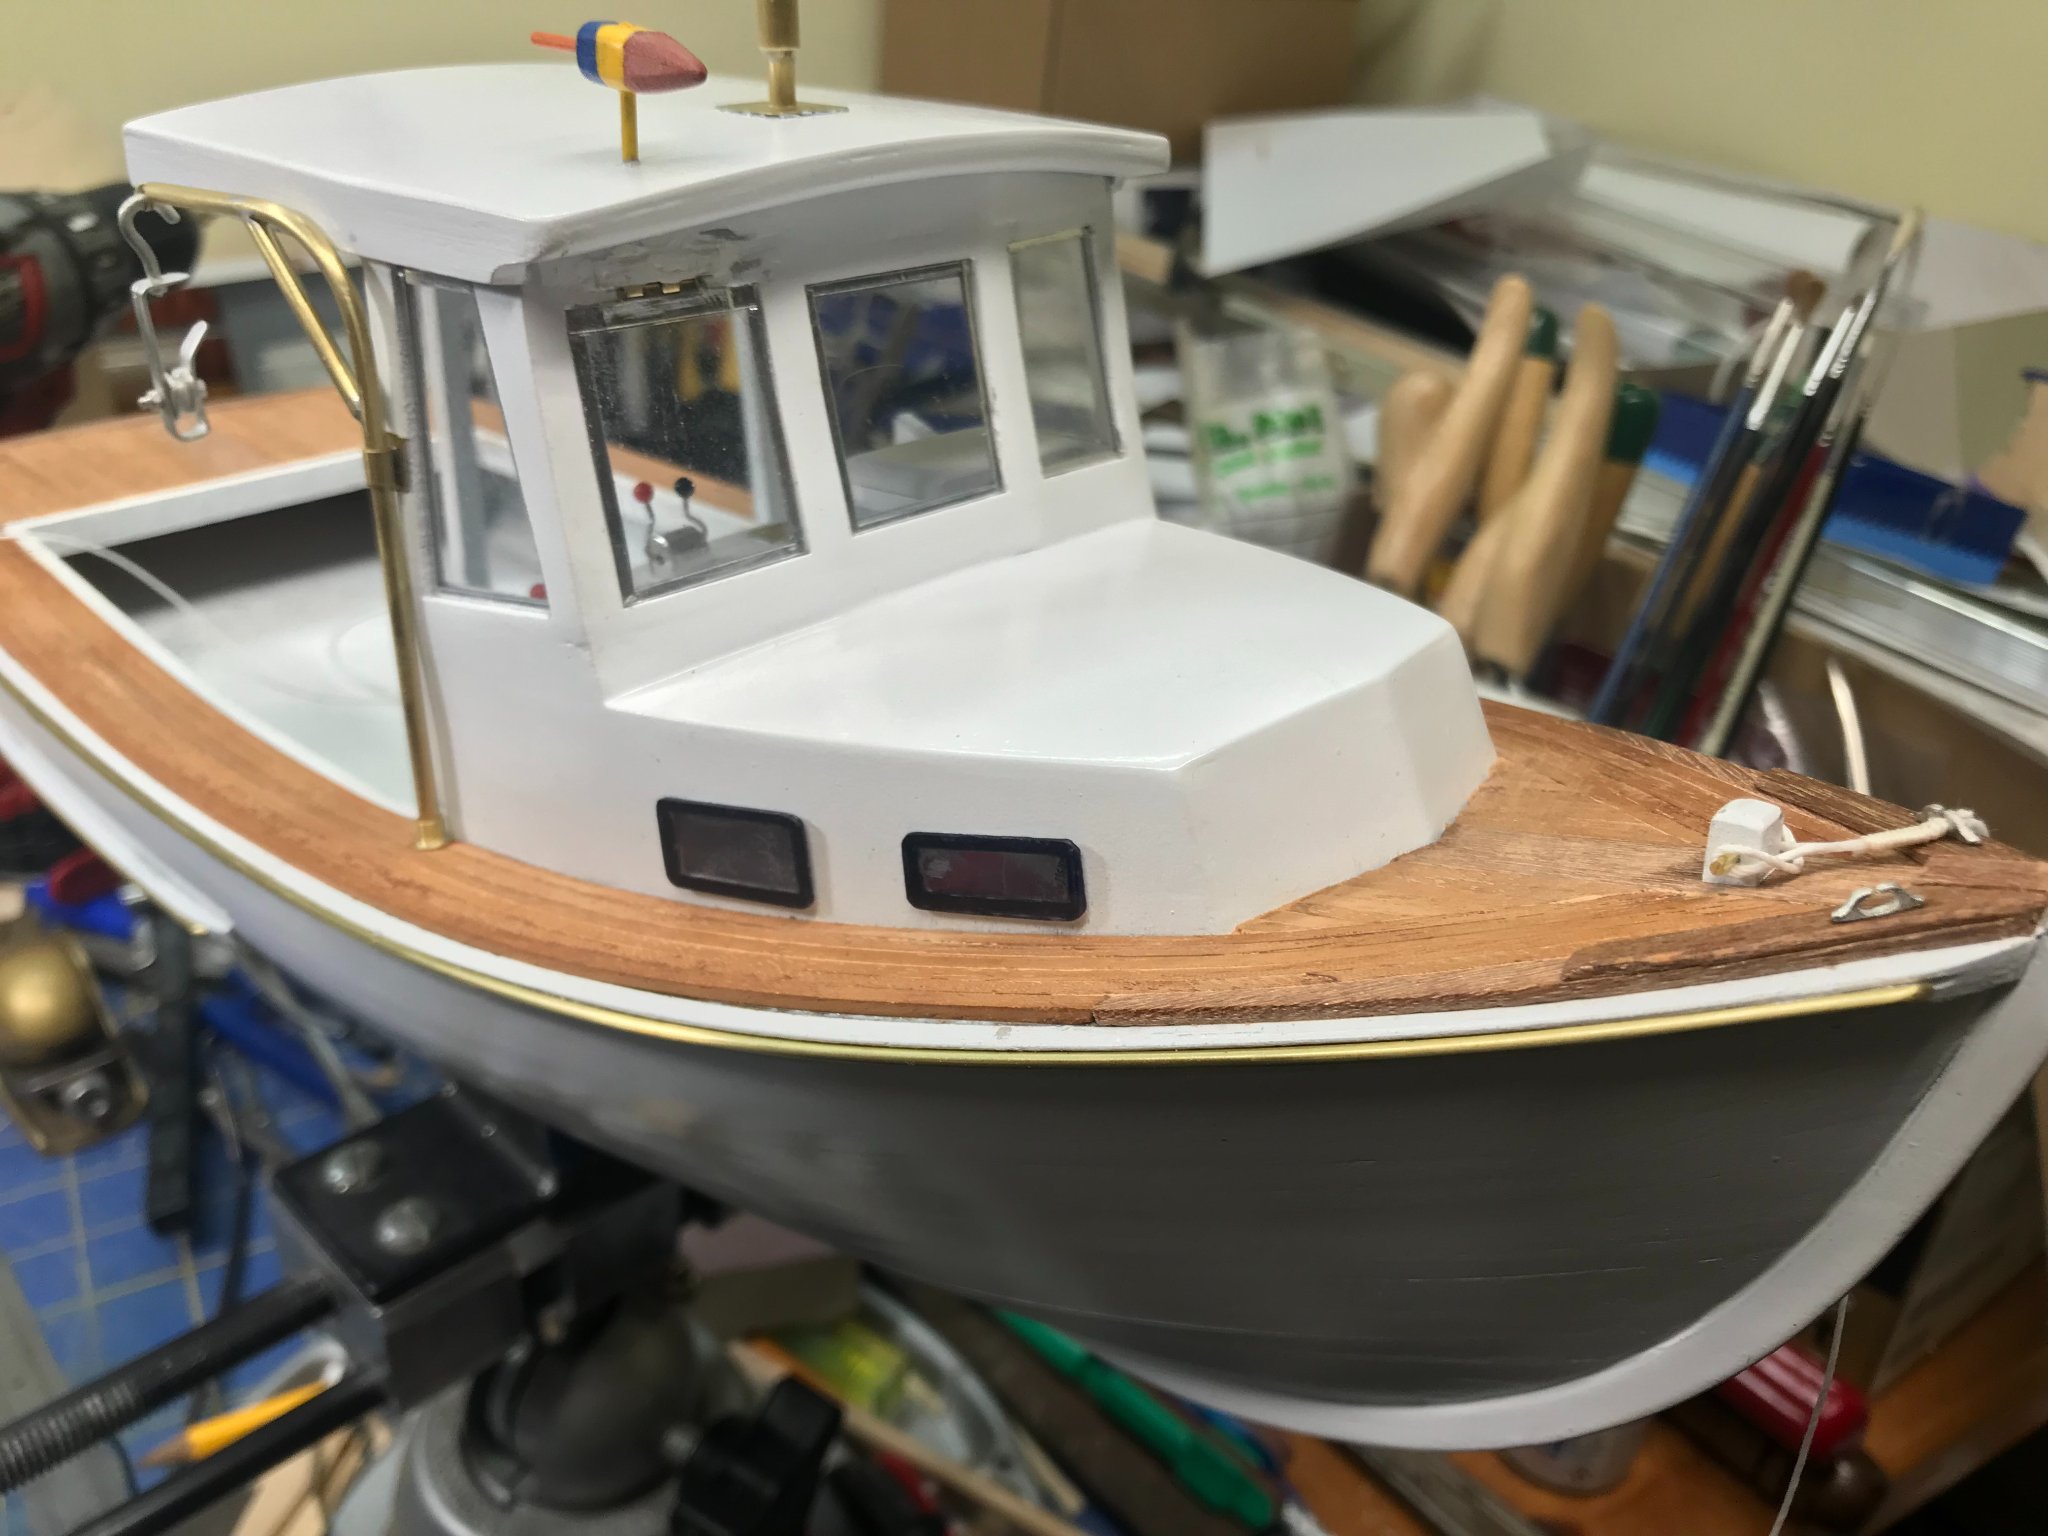
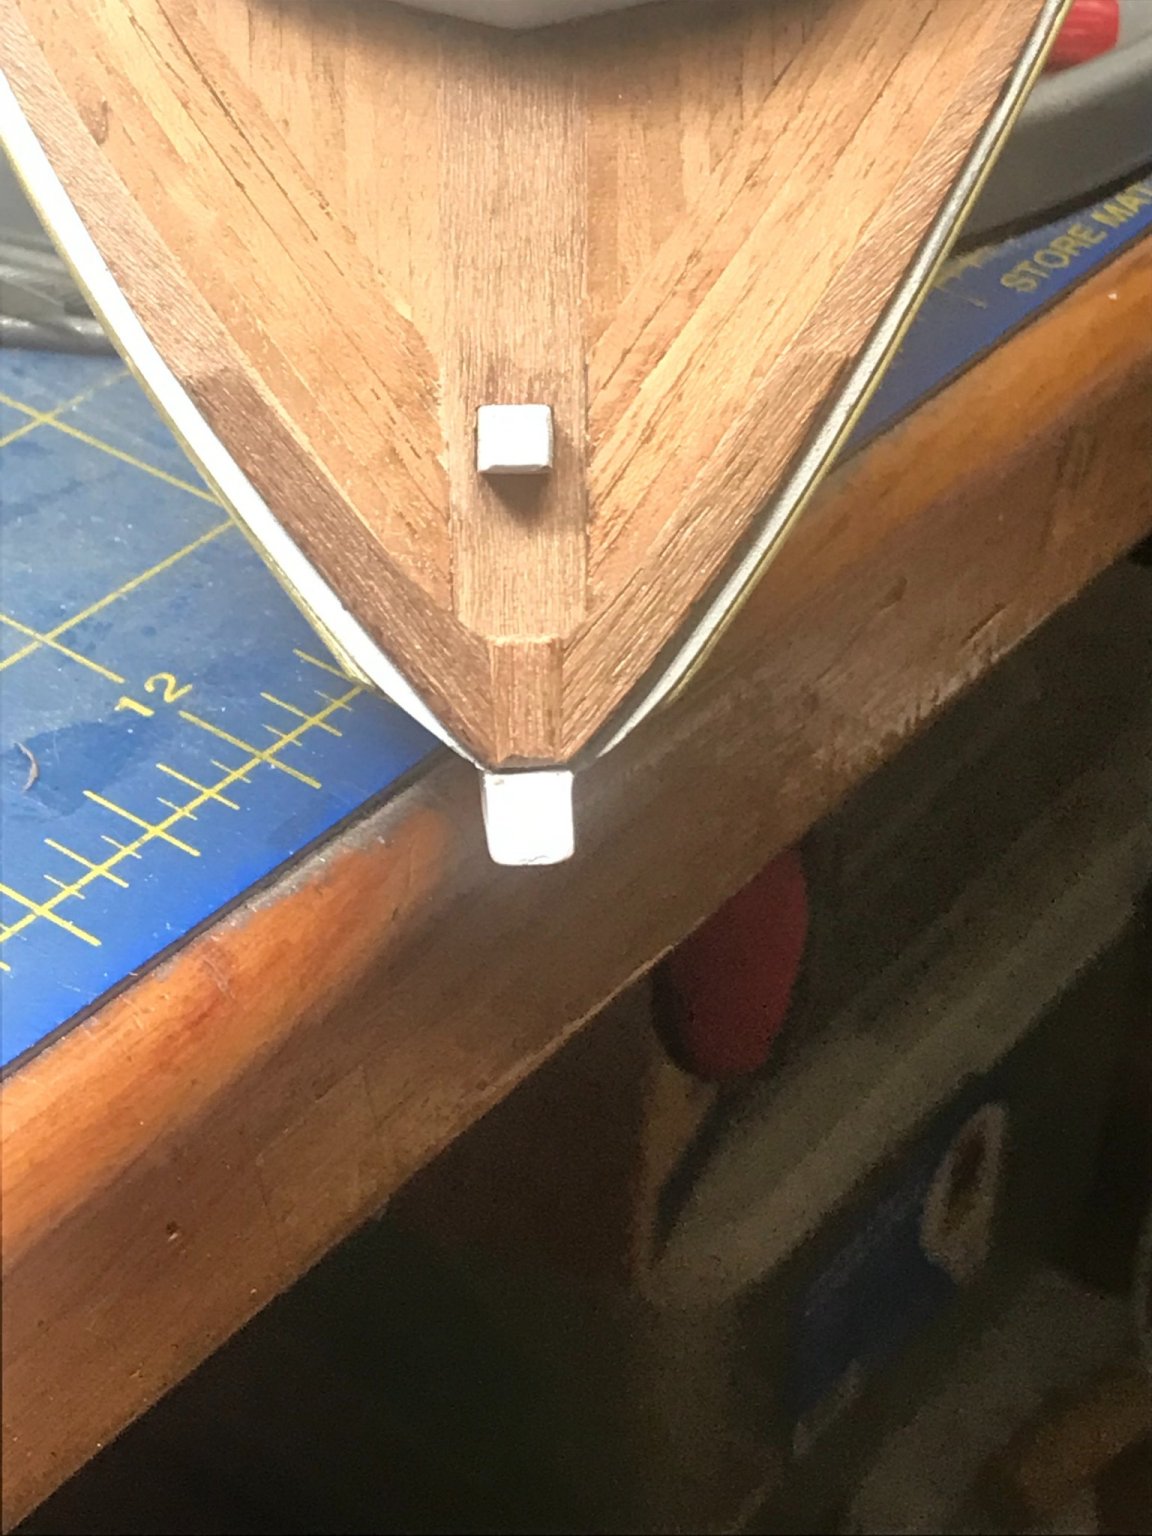
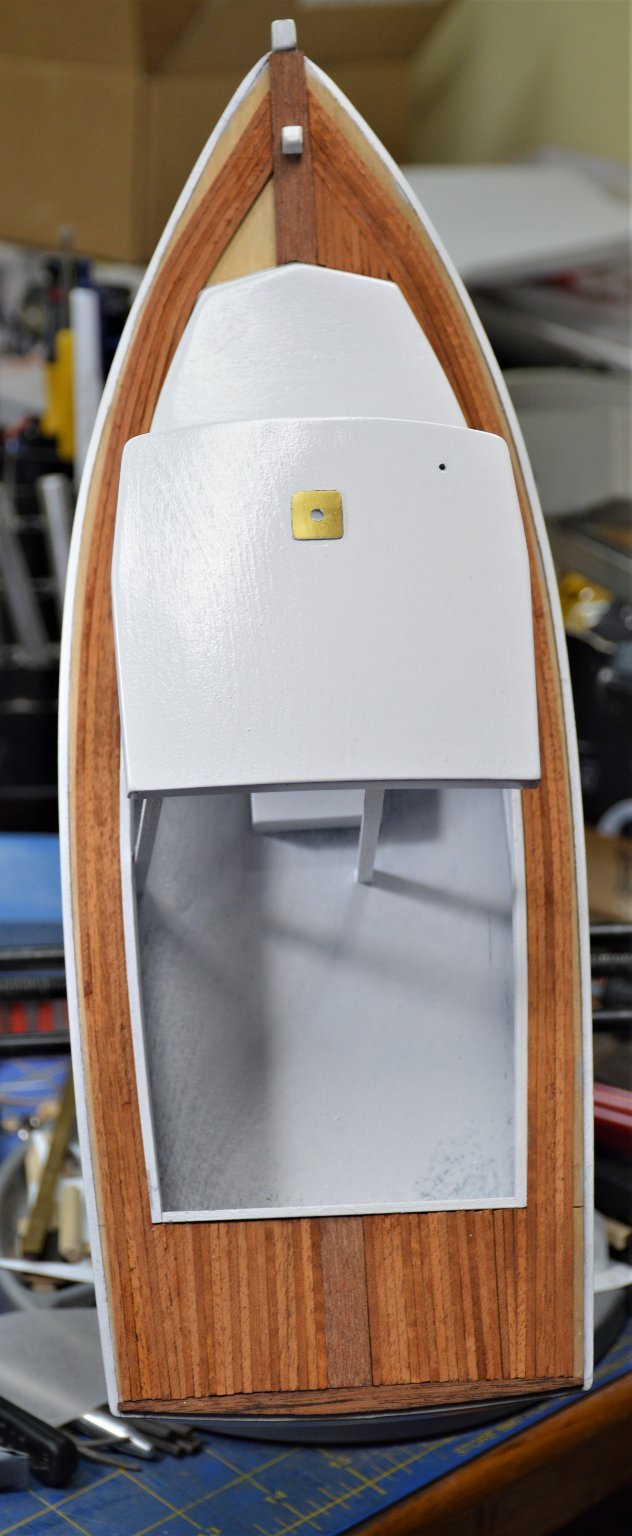
The white painting is done so on to the decking. I used mahogany strips that I soaked in boiling water for an hour and then fit and clamped with any method I could come up with until dried. Fore and aft king planks were installed and then the strips were laid. I pulled the first strips in a bit too far and ended up with minor kinks at the forward corners of the cabin that I didn't notice until after the glue was dry so I left them, this caused the planking to not be parallel and I had to do some extra fitting towards the bow. Most of the deck has been installed. The bullhorns have been fashioned and installed


.thumb.JPG.18852c21bac95165de10612f1ed6507a.JPG)

- 37 replies
-
- 5
-
-
- freelance
- Scratch built
- (and 1 more)
-
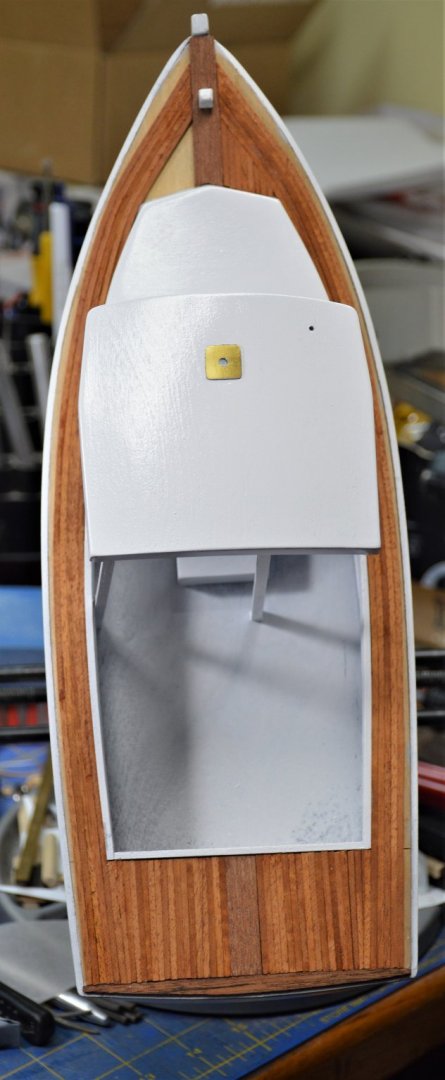
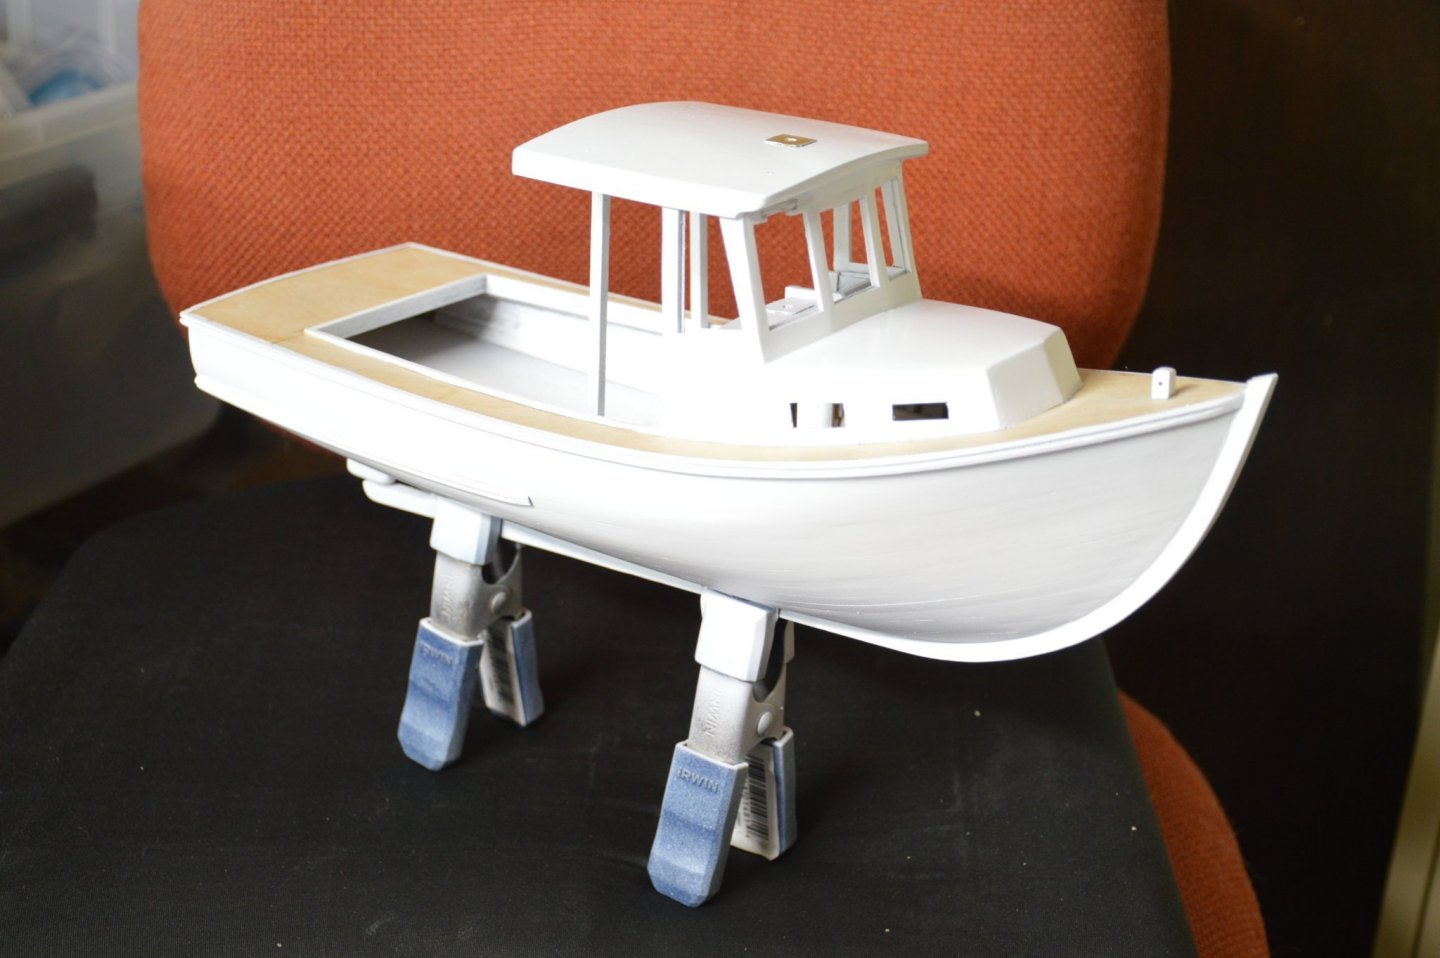
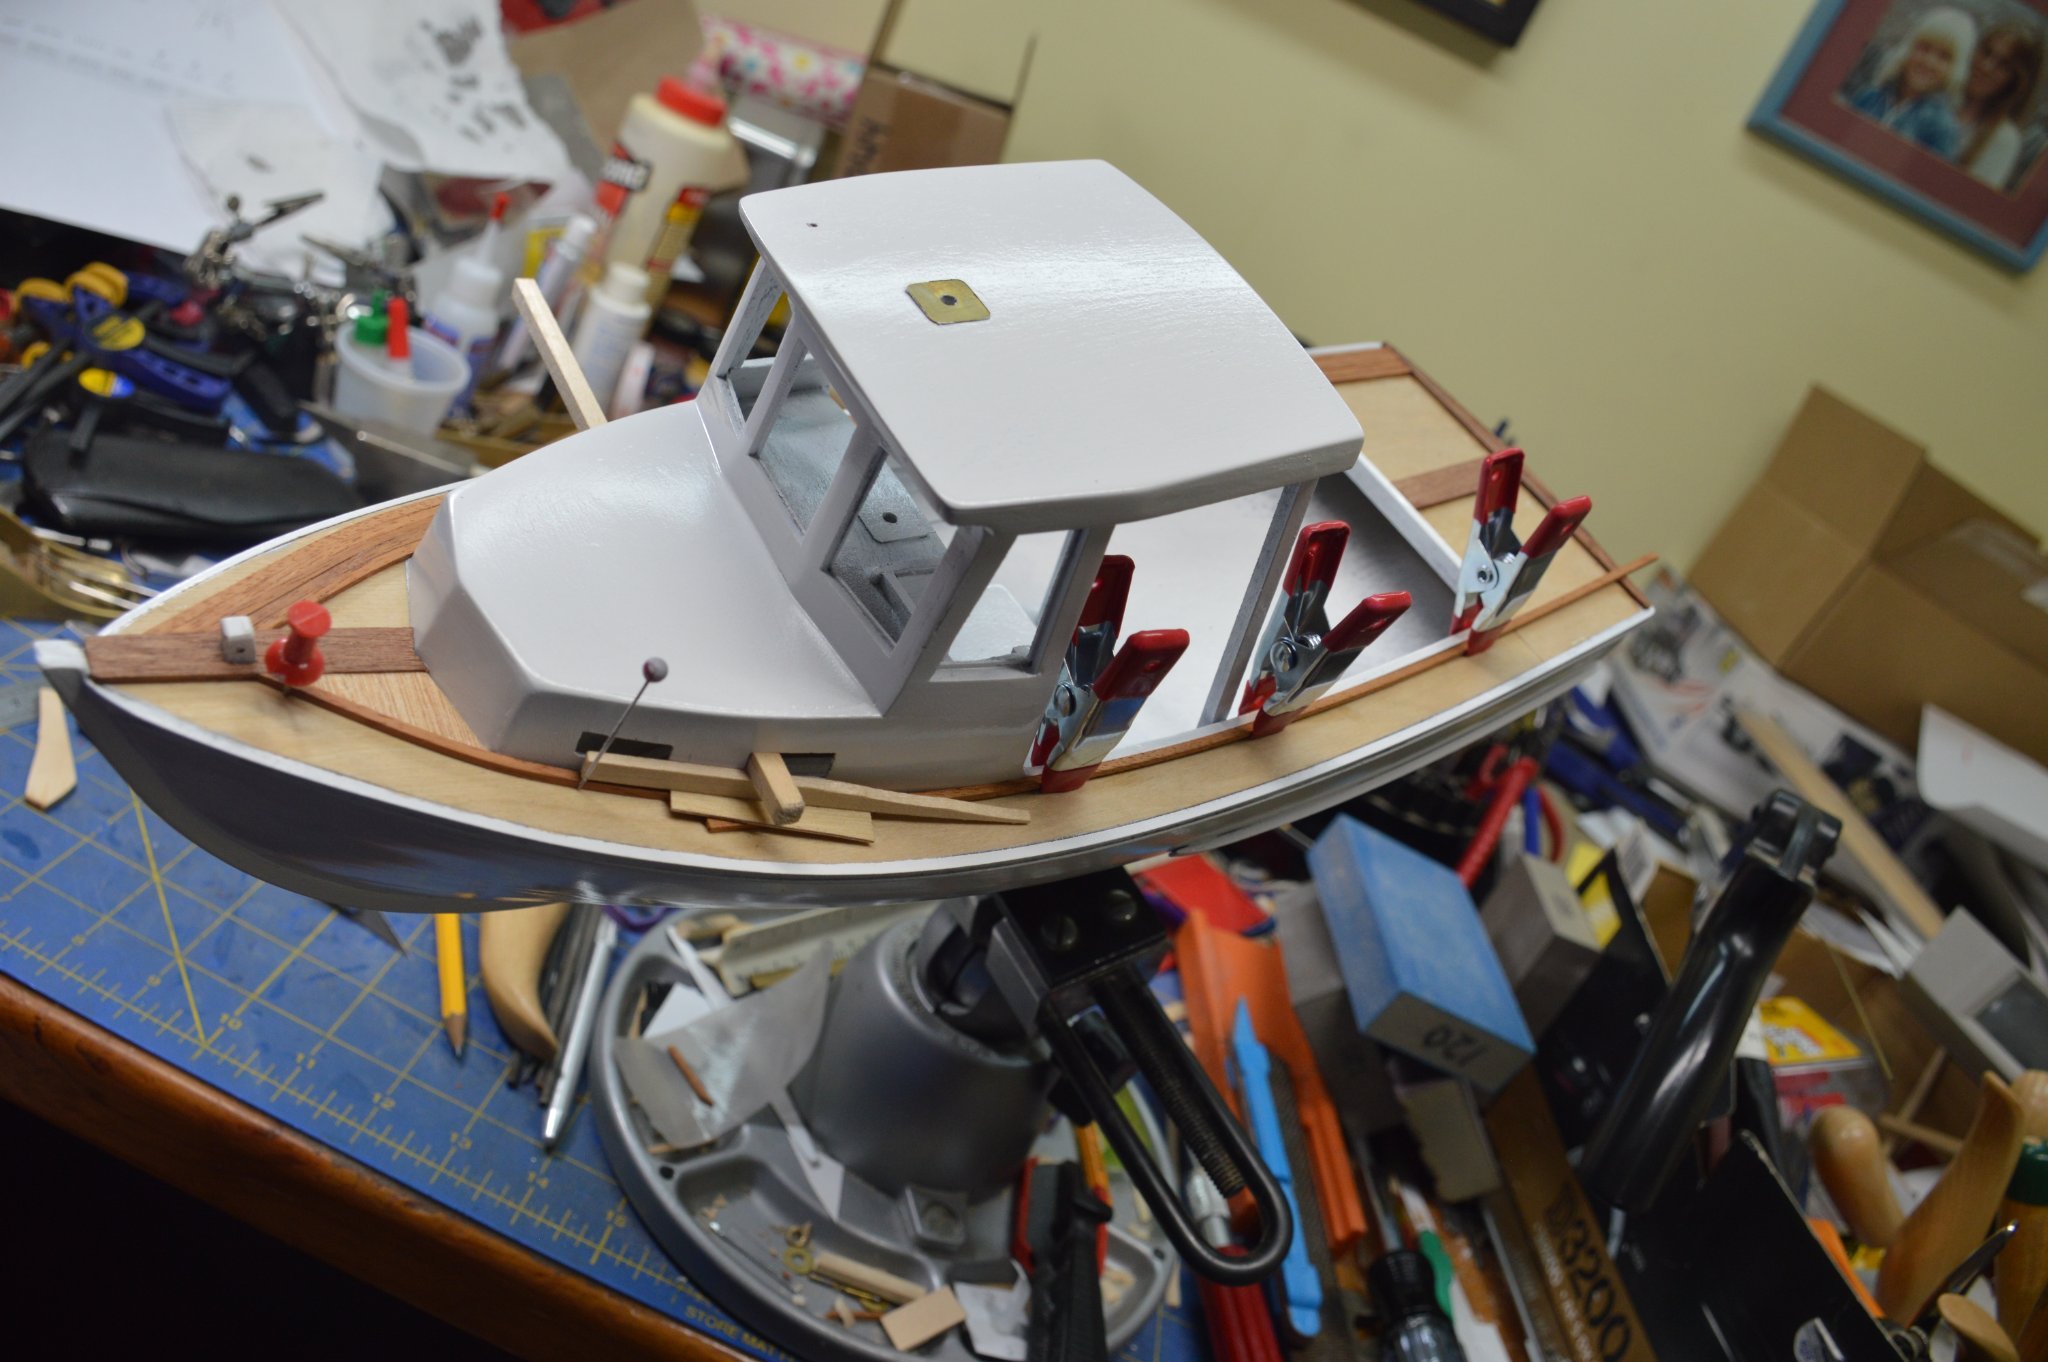
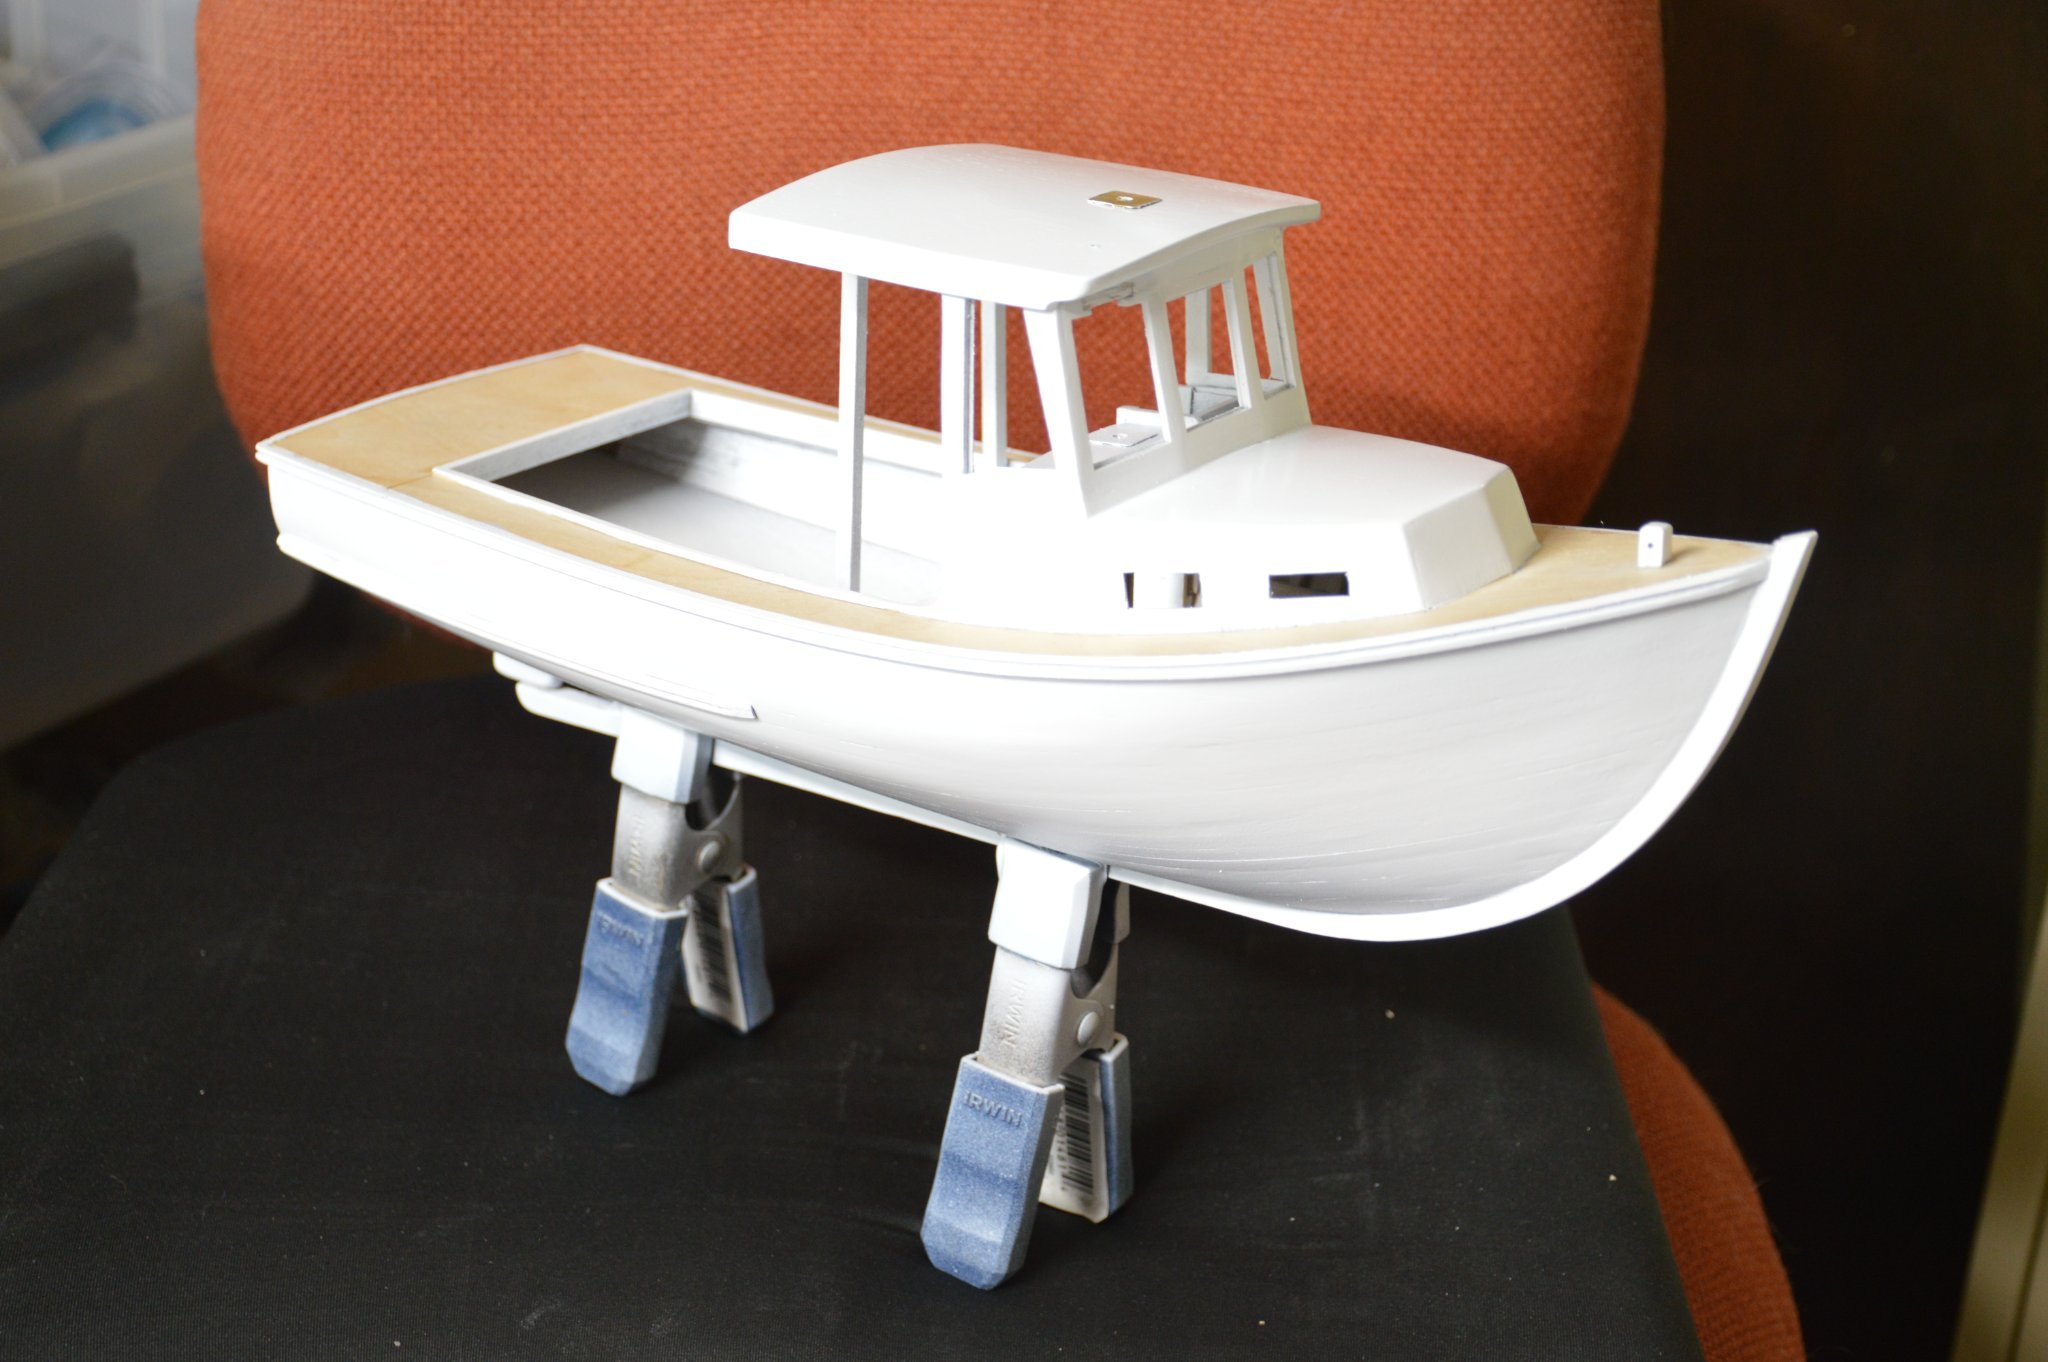
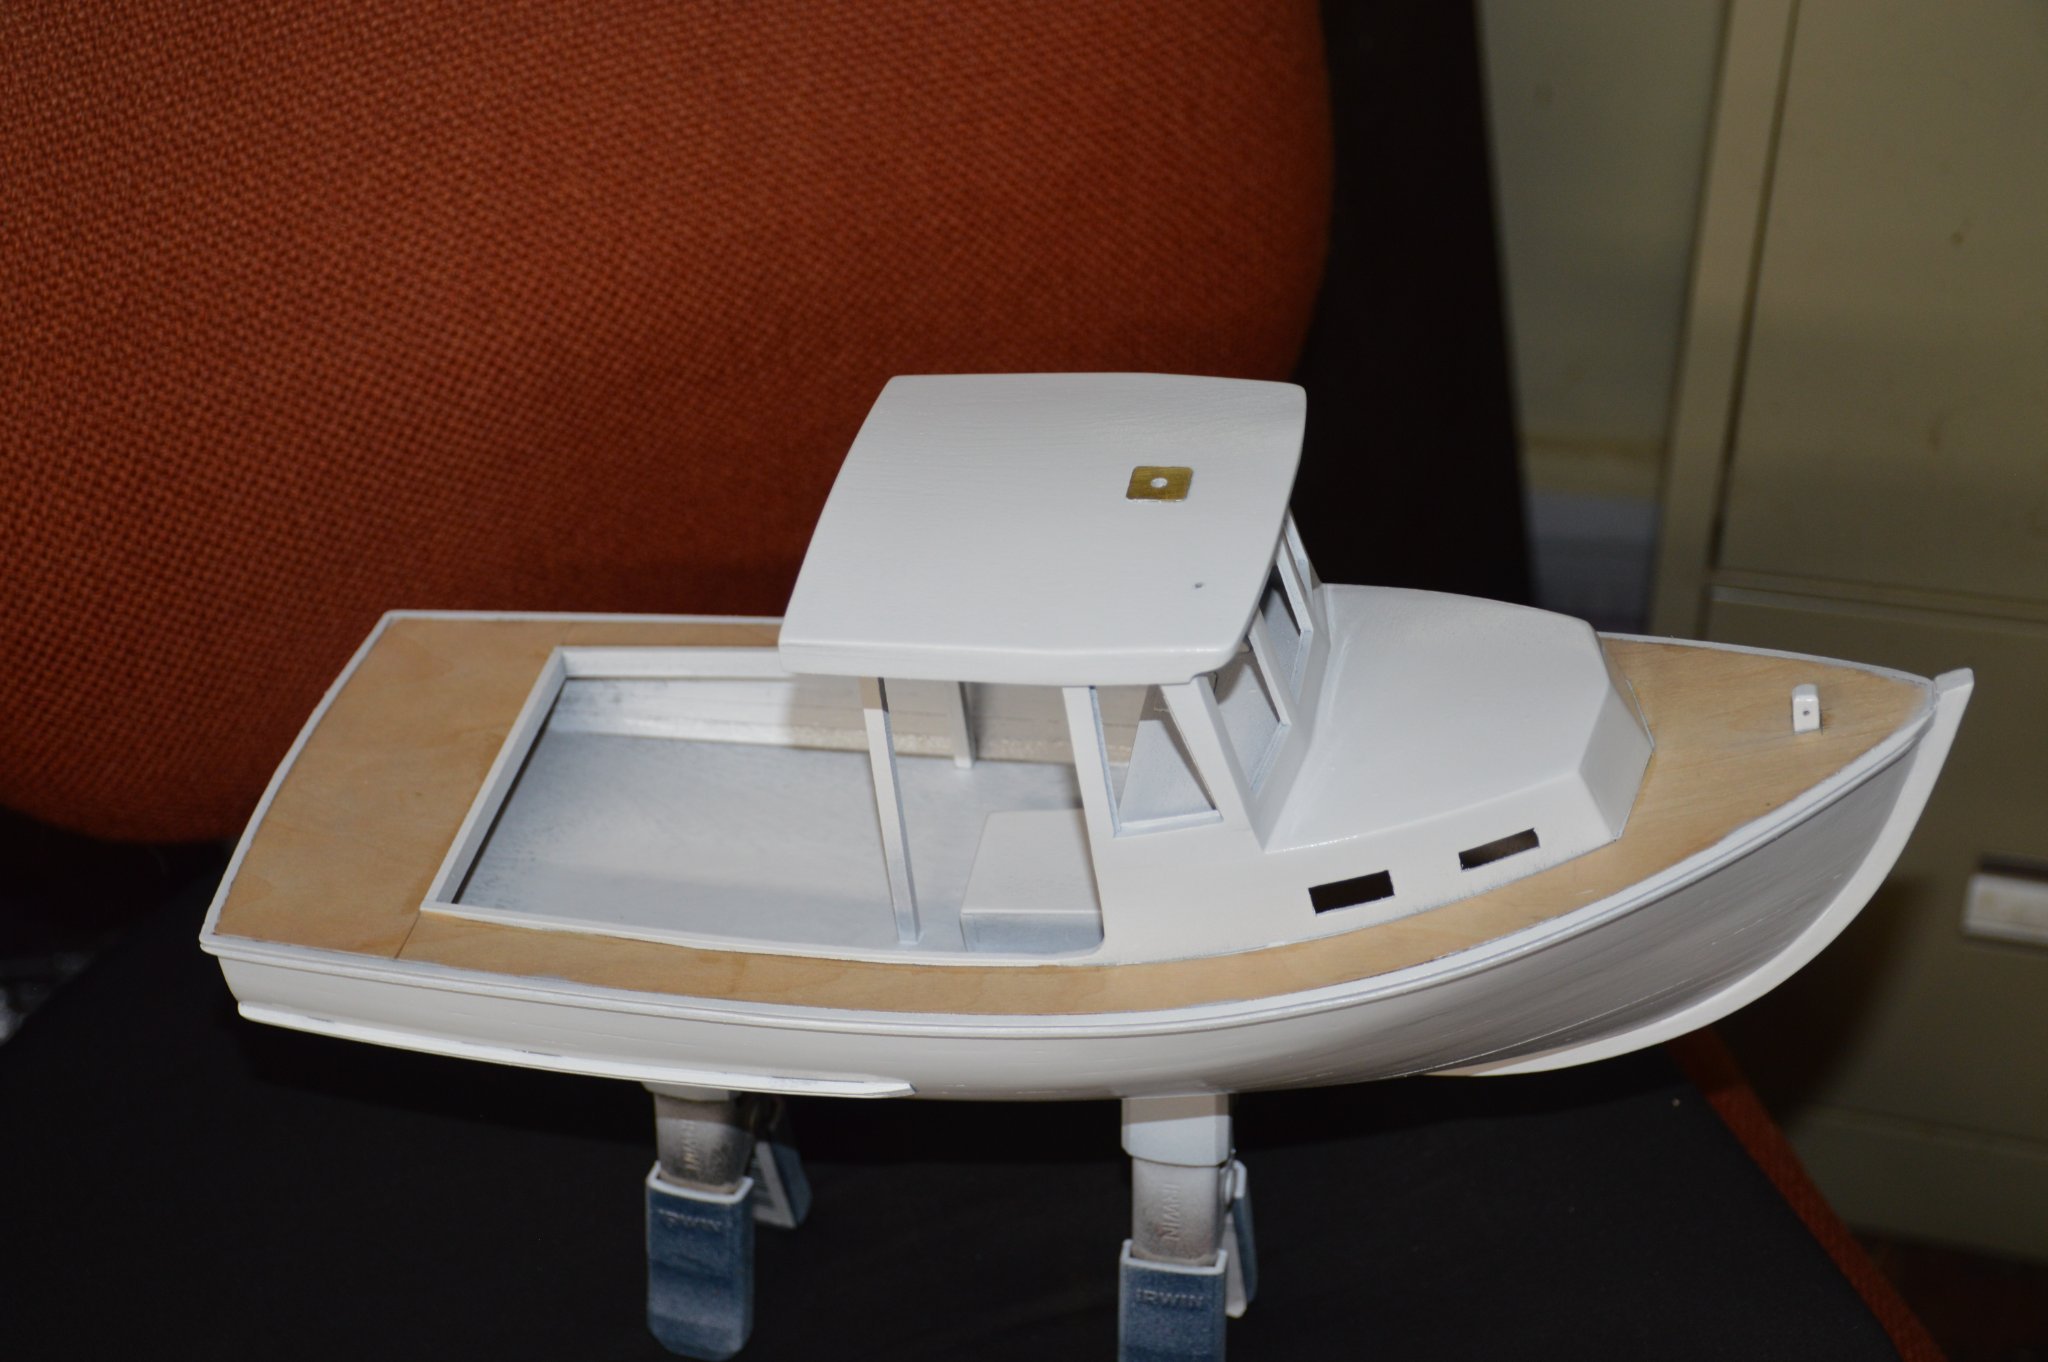
Finishing the body work with primer and filler. I like the Tamiya putty, it goes on easy, dries fast and stays put during sanding. .Insert Test fitting of the pot hauling davit. Top coat of white. My airbrush was not cooperating so I used Tamiya spray cans. Ready to start the decking.


- 37 replies
-
- 8
-
-
- freelance
- Scratch built
- (and 1 more)
-
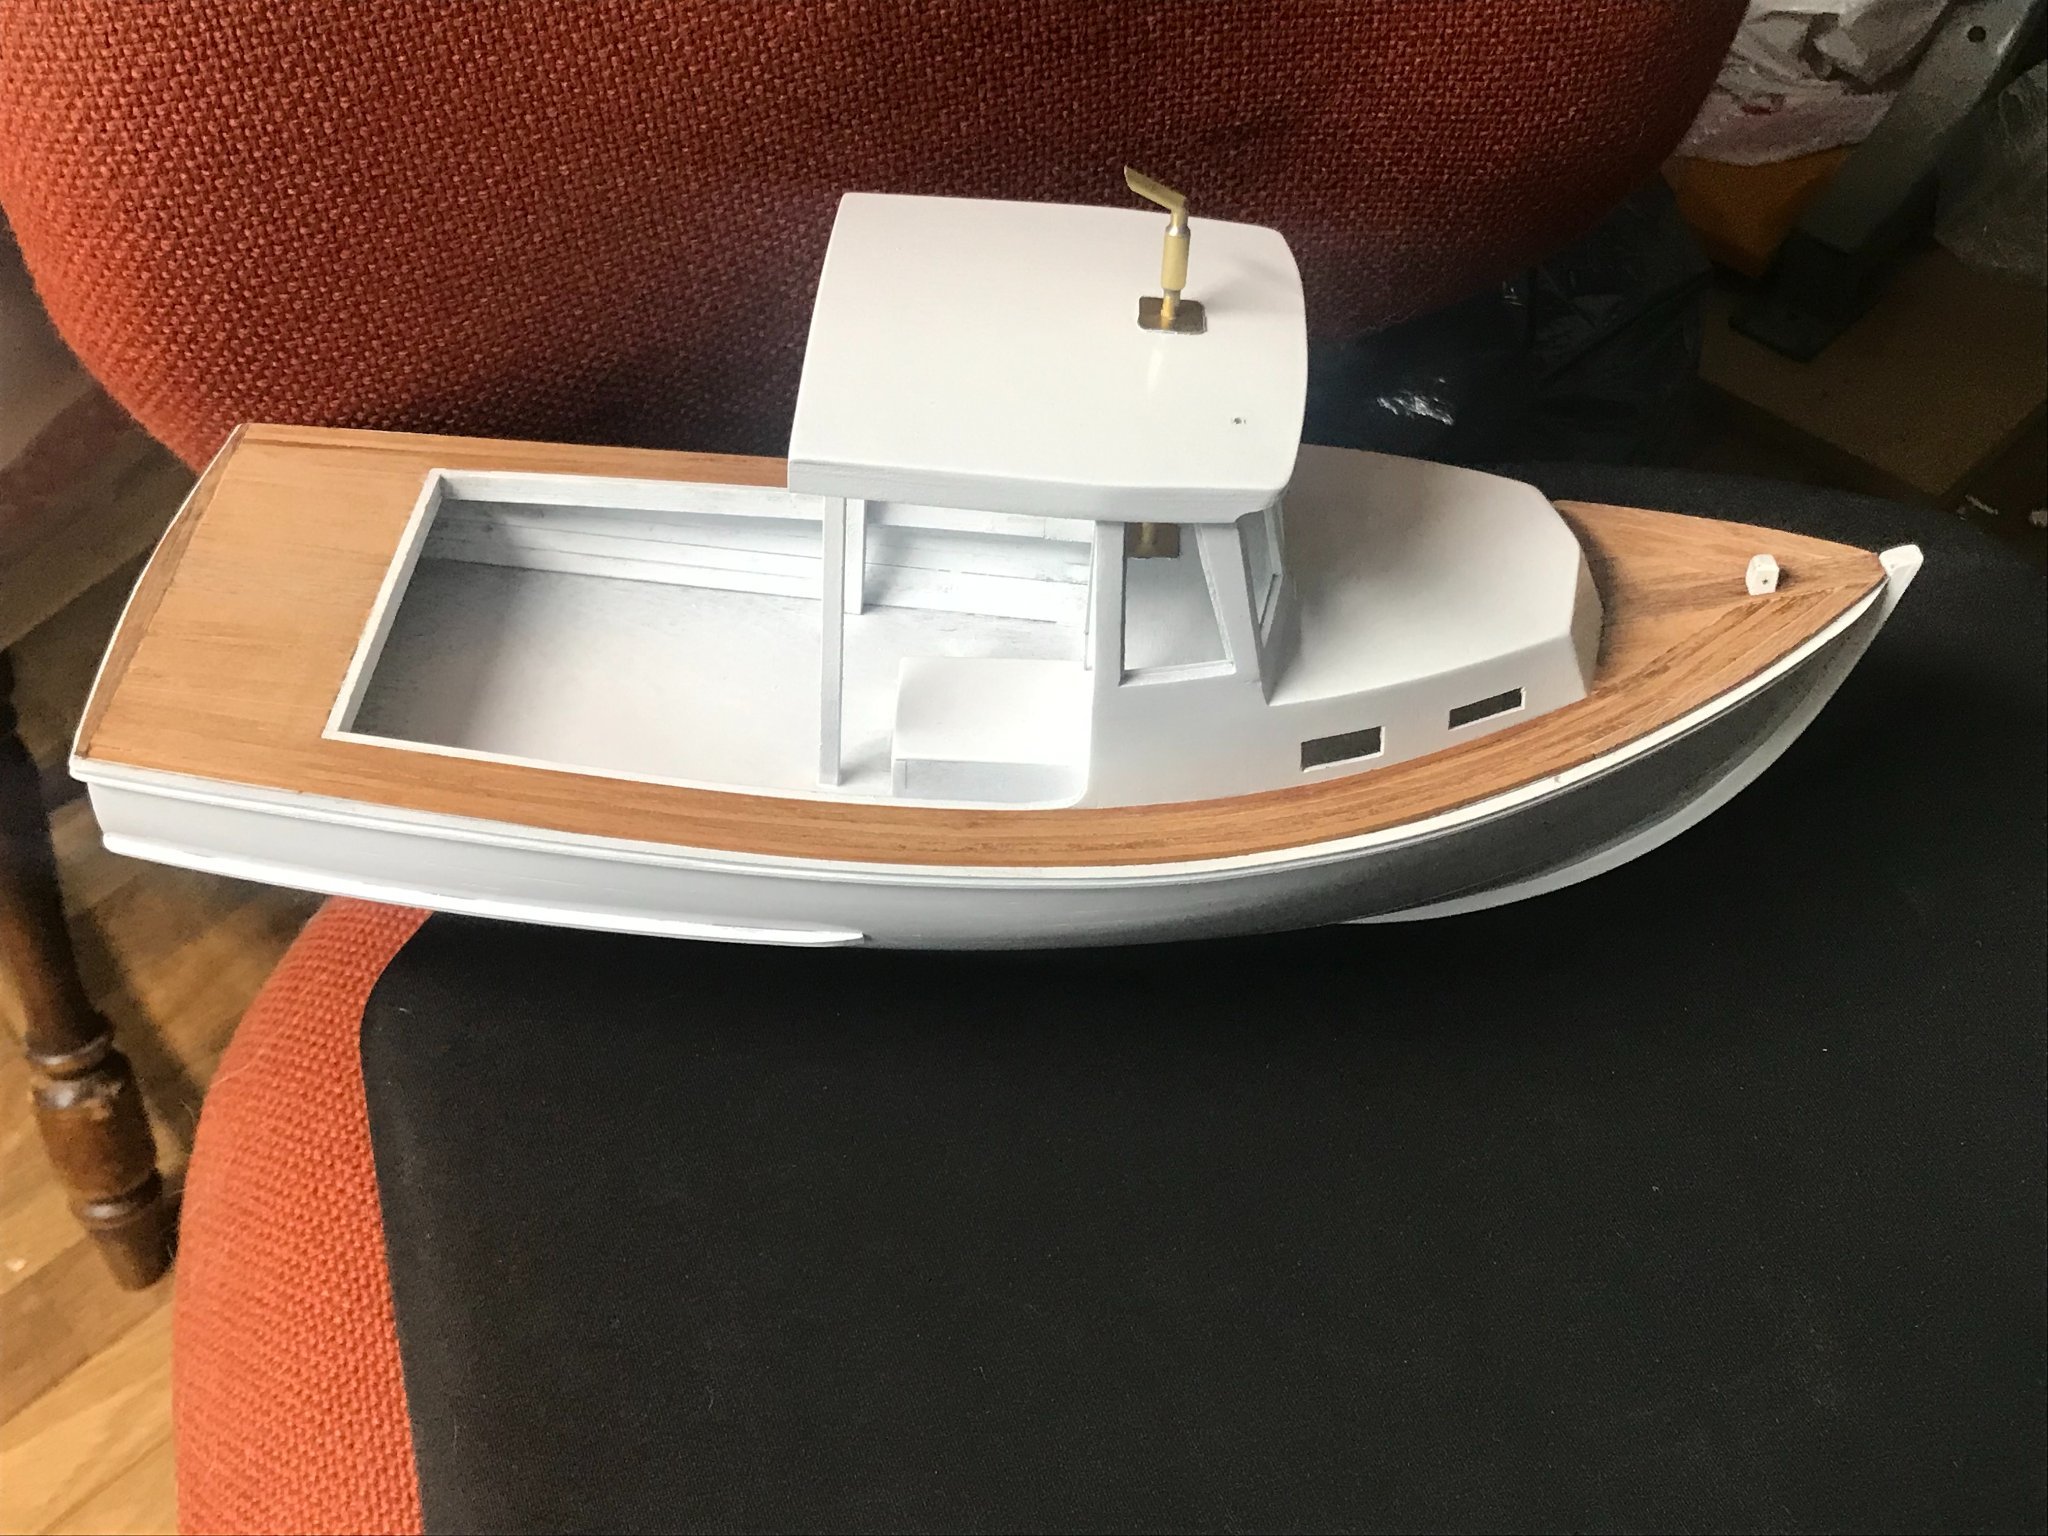
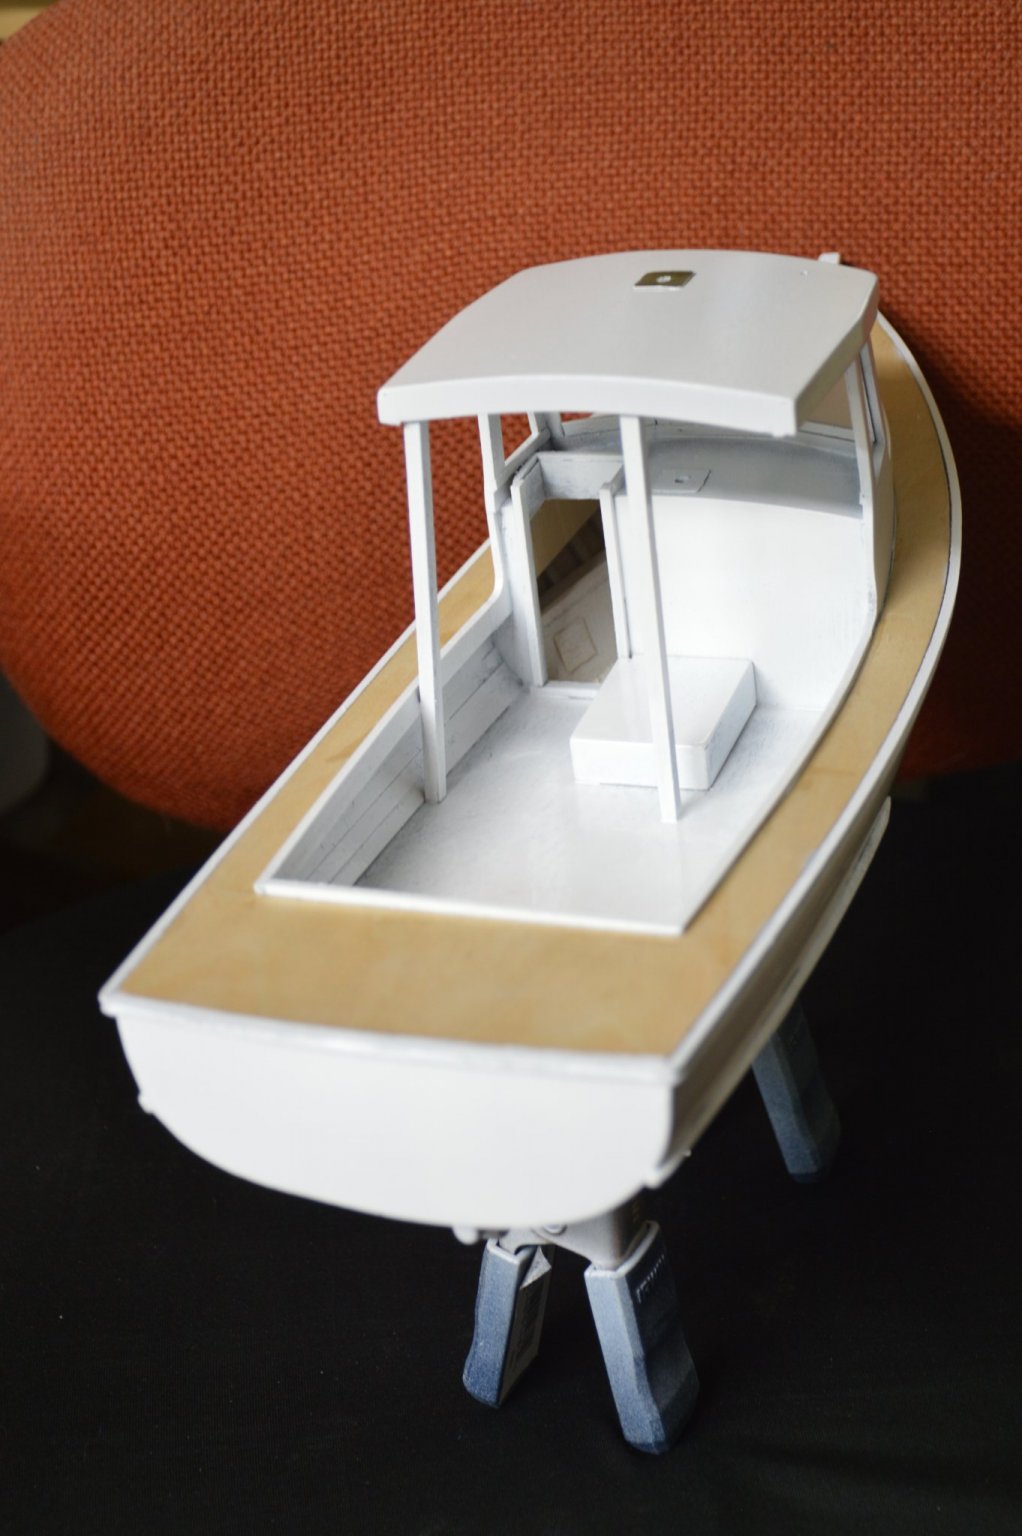
Thanks Flyingfish, the hull shape was from a book by Harold Payson and is based on an inshore boat from Gloucester Massachusetts.

- 37 replies
-
- 3
-
-
- freelance
- Scratch built
- (and 1 more)
-
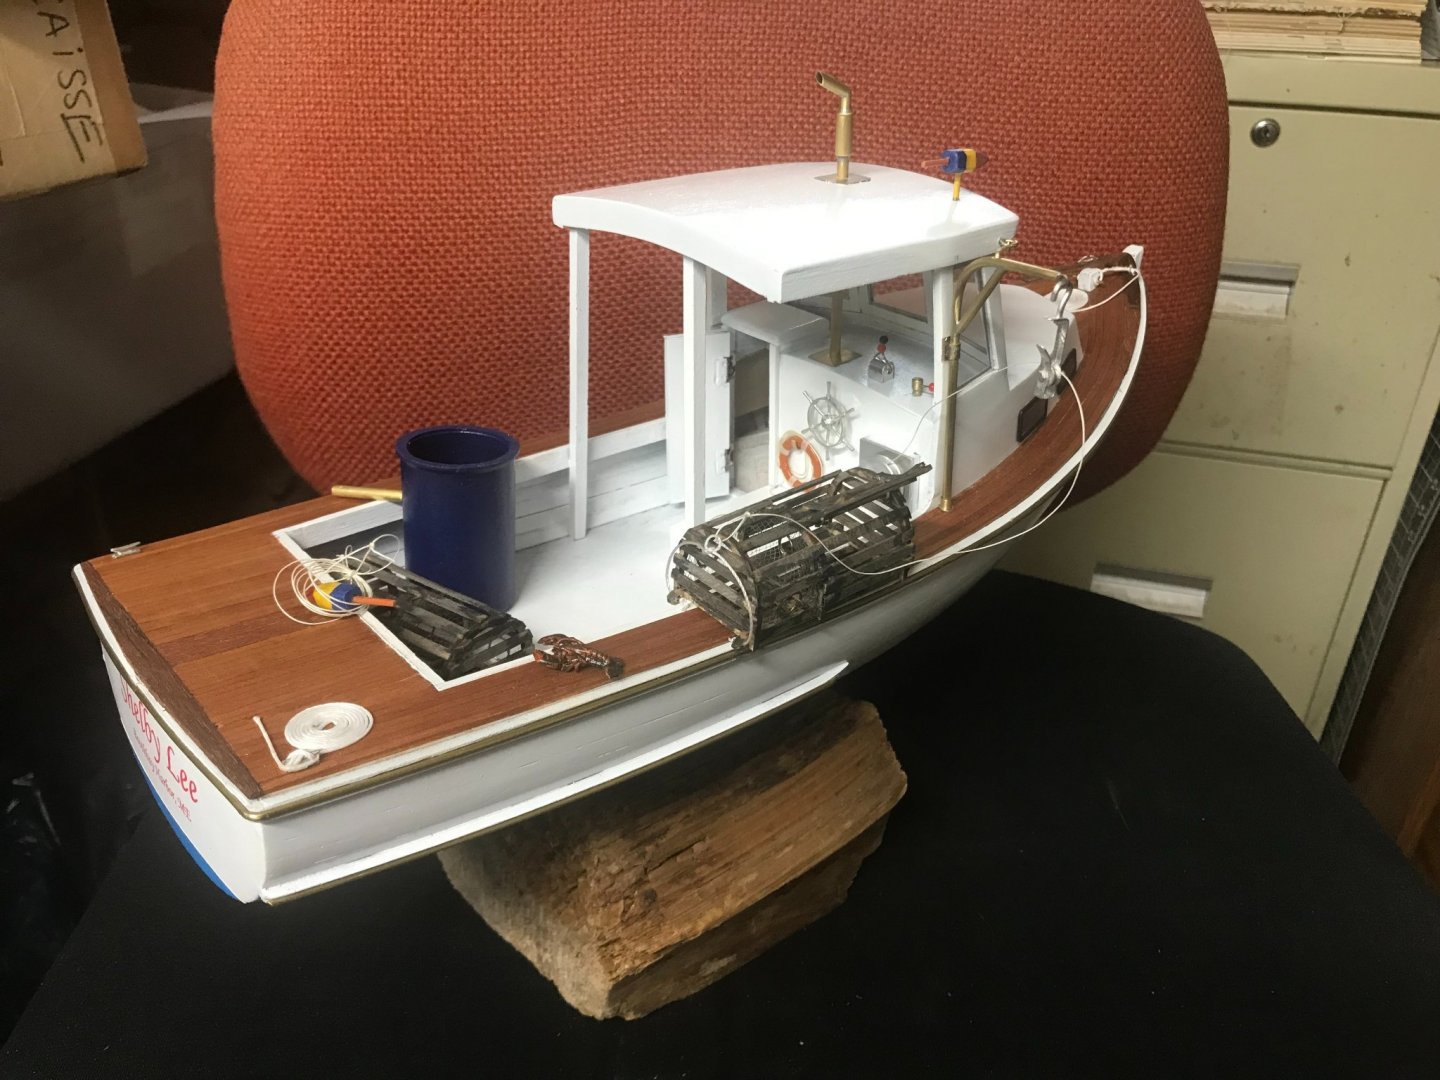
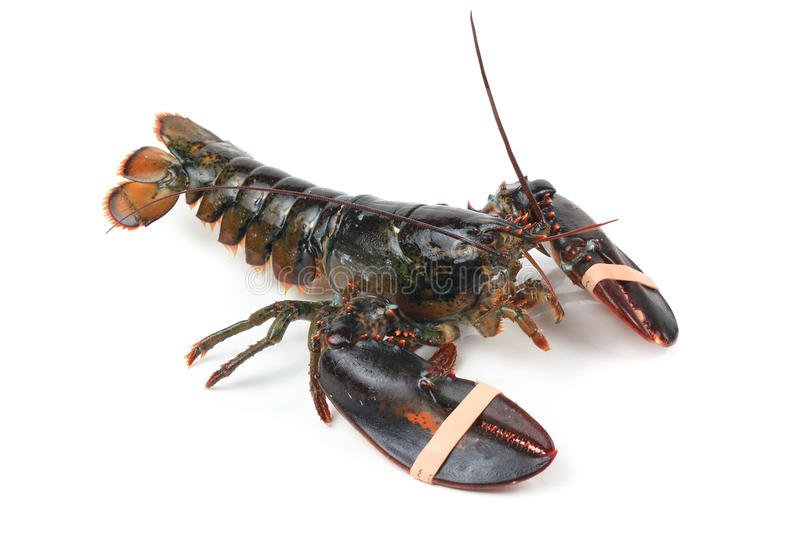
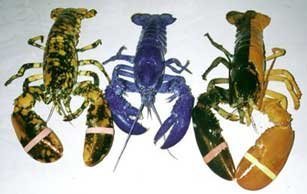
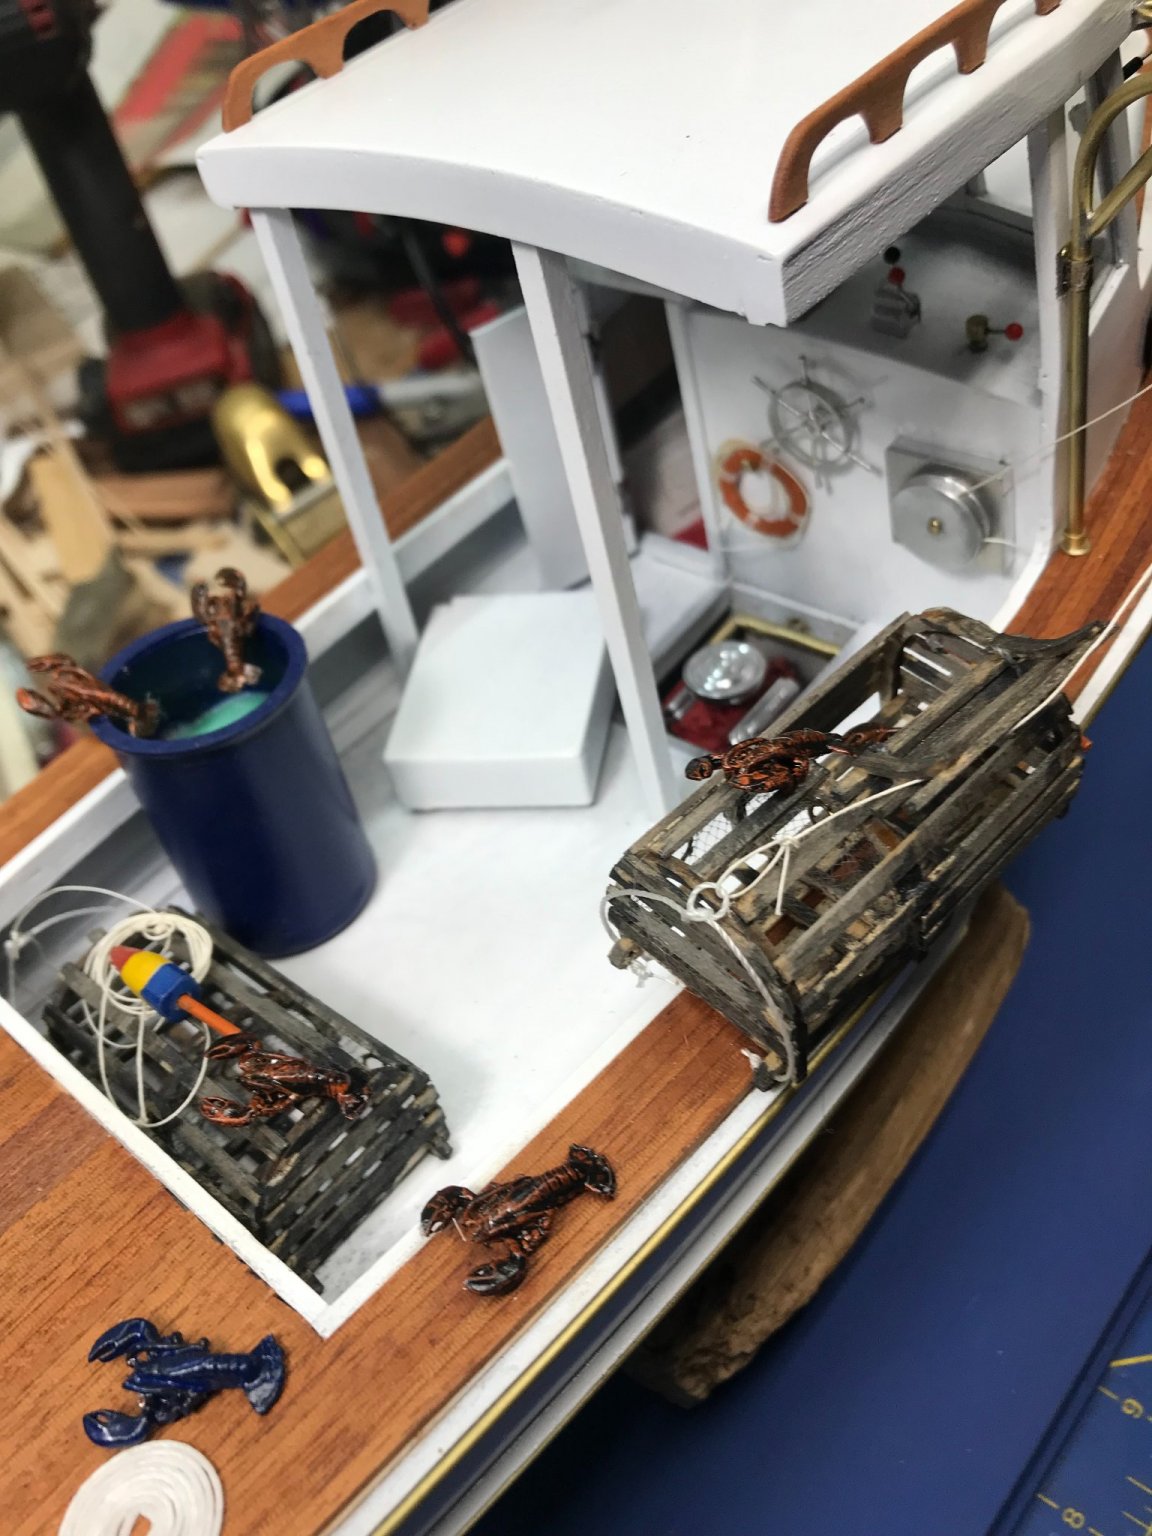
I scaled this model in 1/2" scale and Bluejacket Ship Crafters had some very nice cast Britannia lobsters but the traps were not available in that scale so I got the closest they had, 5/8" scale a little oversized but okay. A surprising number of people think live lobsters are orange like a cooked one but most are a mostly brown base color with flecks of orange. my painting choices were quite experimental and serendipitously obtained. I had a number of old model paints from my train modelling supplies. I started with a base ACCU flex Milwaukee Orange and then dipped it in Engine Black mixed with a bit of SP Daylight Red but wasn't happy with the result so I added some of the orange but it didn't mixed well. I think they came out perfect. Bluejacket Shipcrafters lobster trap, Actual Maine Lobster My painted ones. The V notch in the tale indicates a female of reproductive age the was previously caught with eggs visible so the lobsterman cuts the notch and throws her back and anyone who catches her later will also throw her back (it's the law). There are a number of odd colored ones found in Maine waters. Below are some from the Maine state aquarium. You can see the escaping lobsters led by the Blue Lobster on the transom here

.thumb.JPG.65b1262fe2703cb99e3e64254852b662.JPG)

- 37 replies
-
- 9
-
-
- freelance
- Scratch built
- (and 1 more)
-
I used these in my work as a gas technician, they are expensive but top quality. The ones with handles are nice and save the constant changing in a pin vise. https://andersonforrester.com/
-
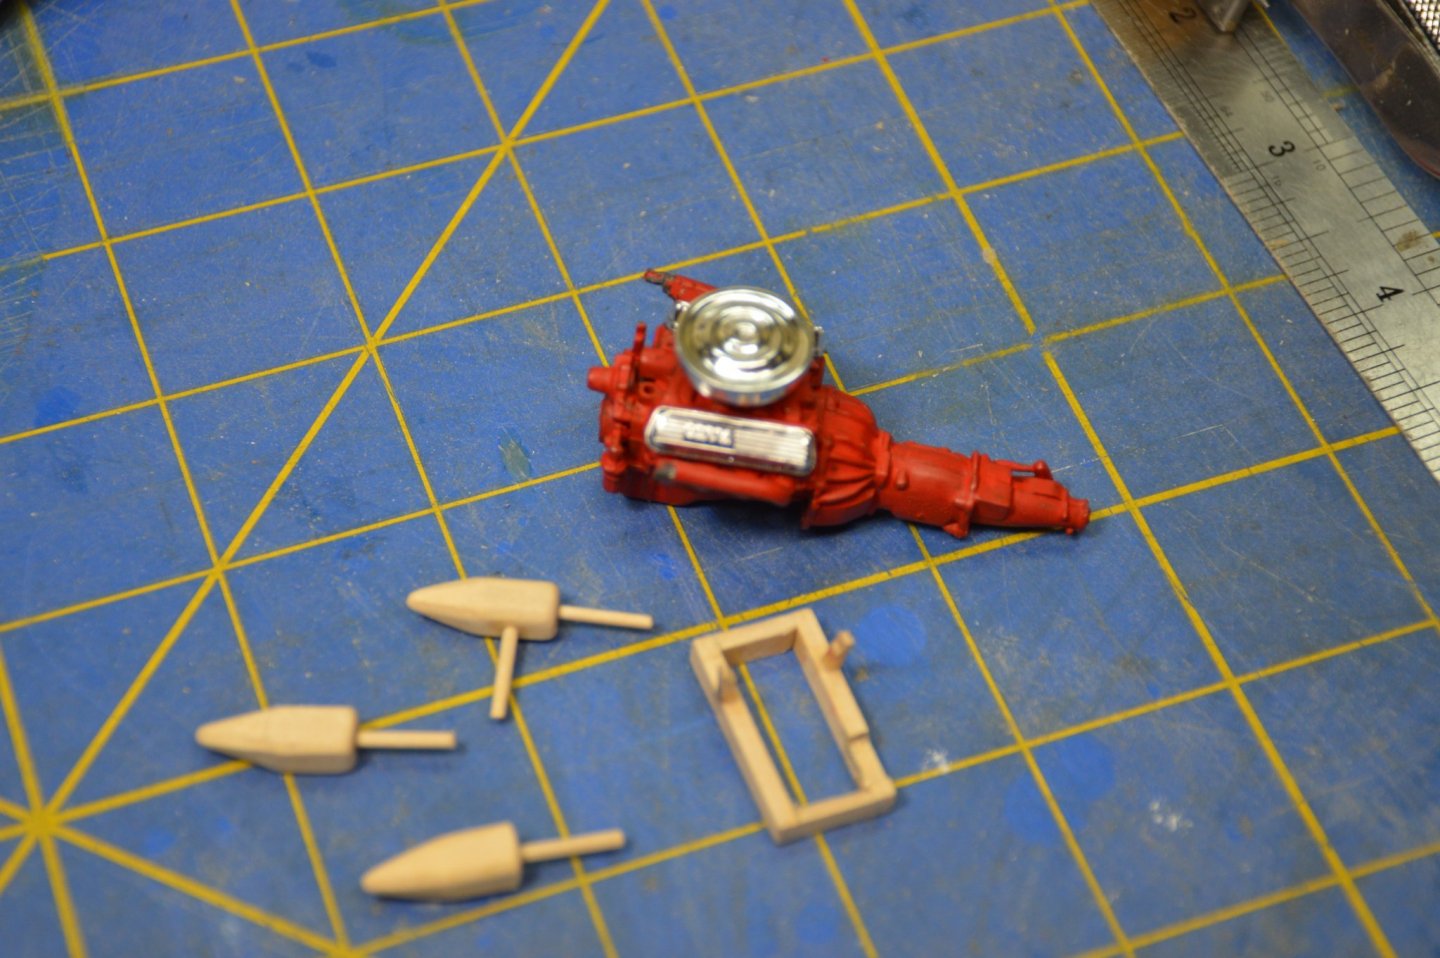
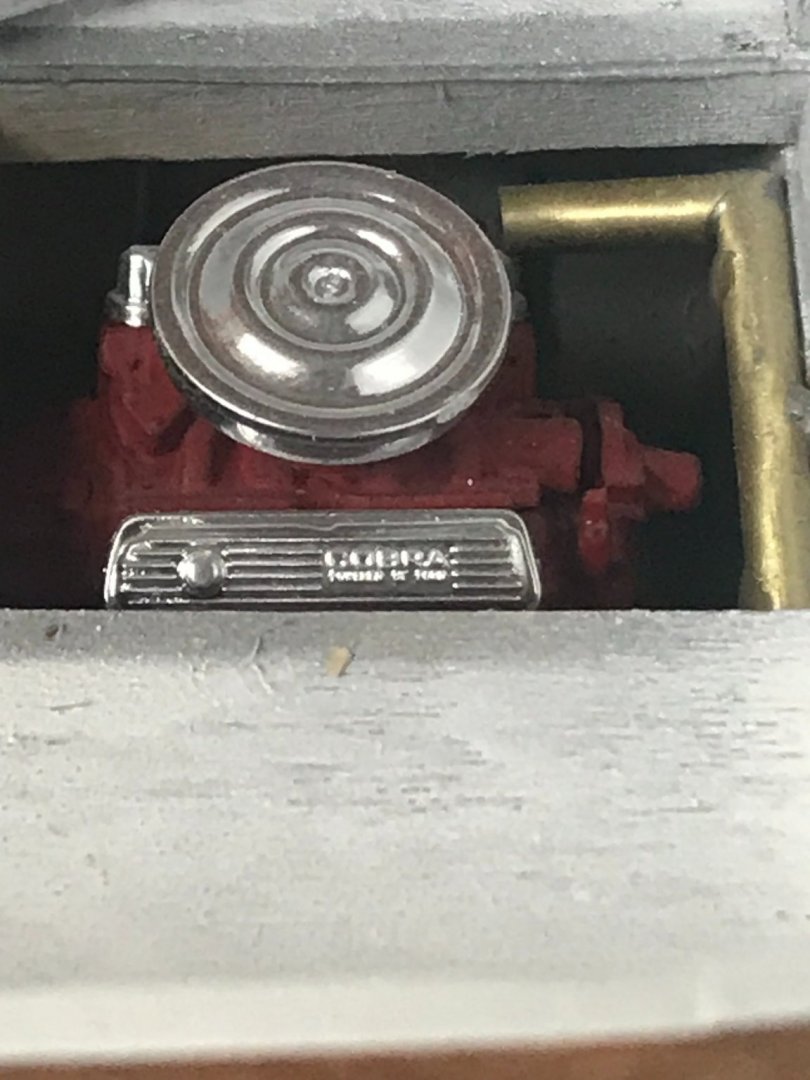
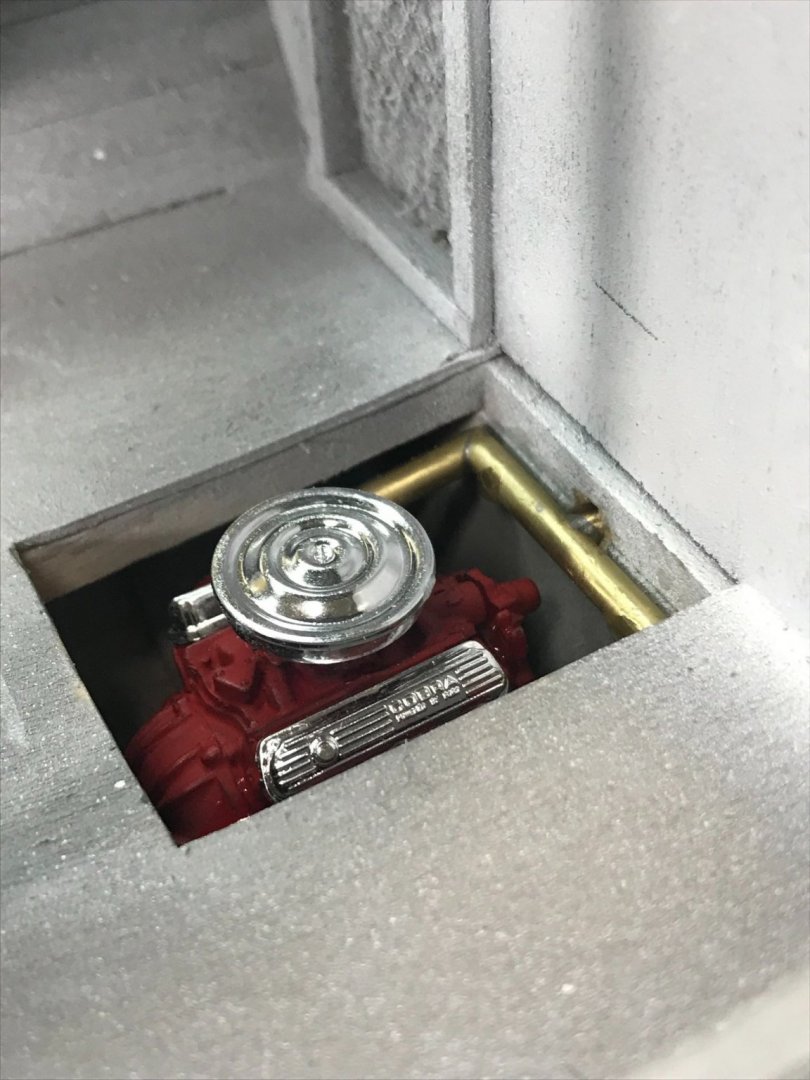
Since the boat is named for the recipient Shelby Lee I felt it necessary to install a Carroll Shelby 289 Cobra engine. I installed the manifolds backwards and made a custom exhaust system.
- 37 replies
-
- 7
-
-
- freelance
- Scratch built
- (and 1 more)


.JPG.51533bc425204e011e0477eba1d31793.JPG)


.JPG.845ce86c94b83003d2c971b48e14b4a1.JPG)


.JPG.461e0d5ab0c07abd6bd438ce8fc6b53d.JPG)