DONATION DRIVE - SUPPORT MSW - DO YOUR PART TO KEEP THIS GREAT FORUM GOING! (91 donations so far out of 49,000 members - C'mon guys!)
×


Organ tech
-
Posts
125 -
Joined
-
Last visited
Content Type
Profiles
Forums
Gallery
Events
Everything posted by Organ tech
-
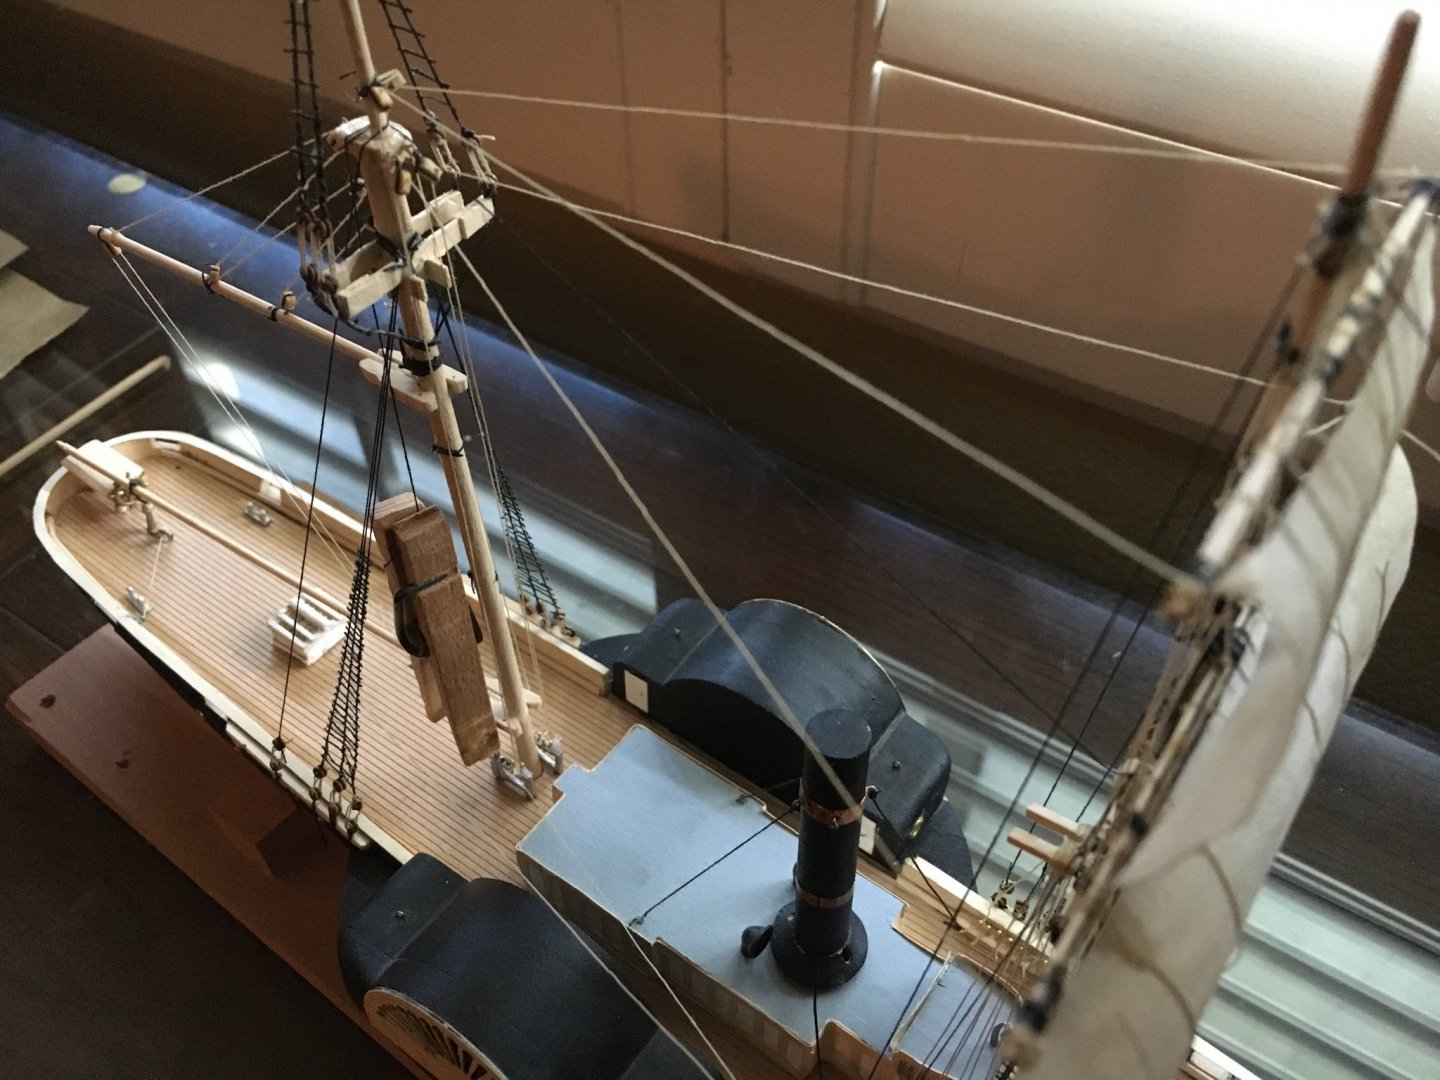
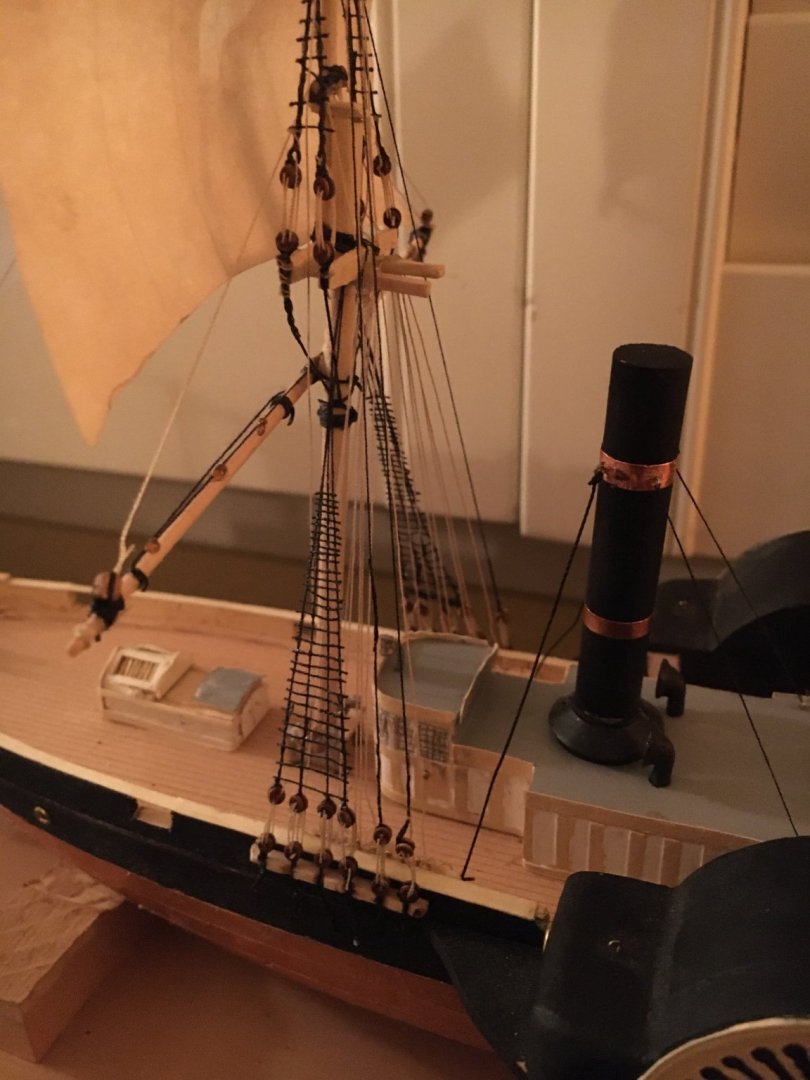
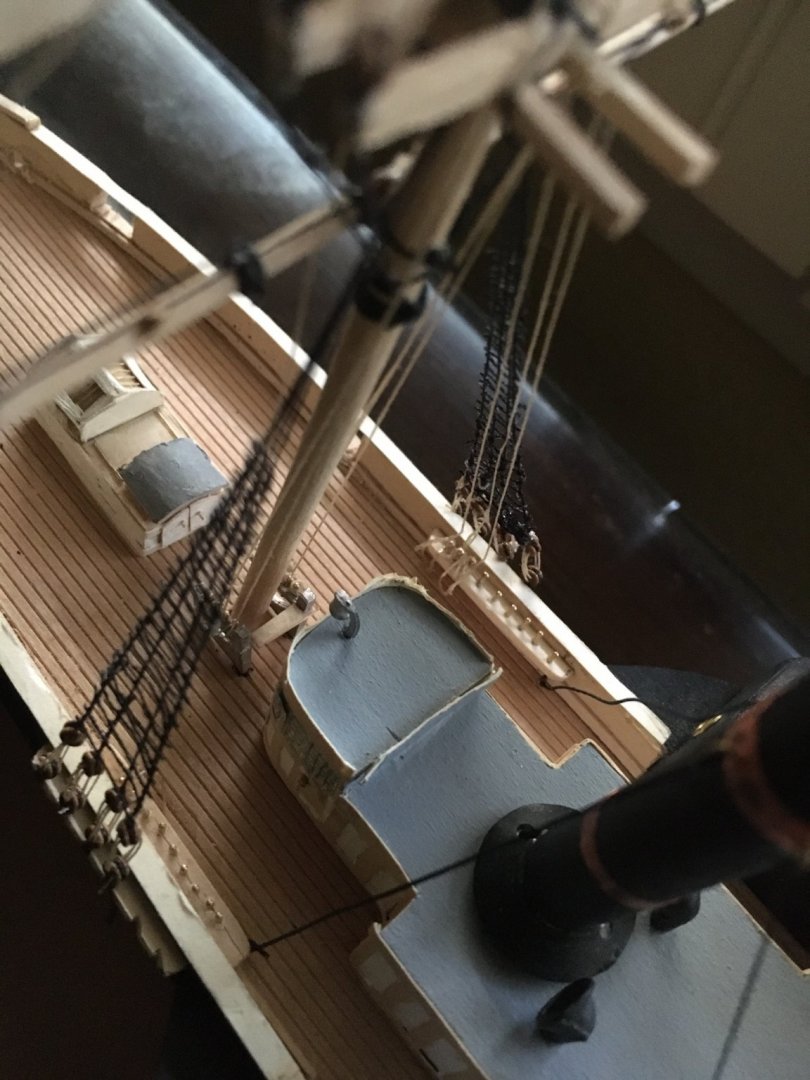
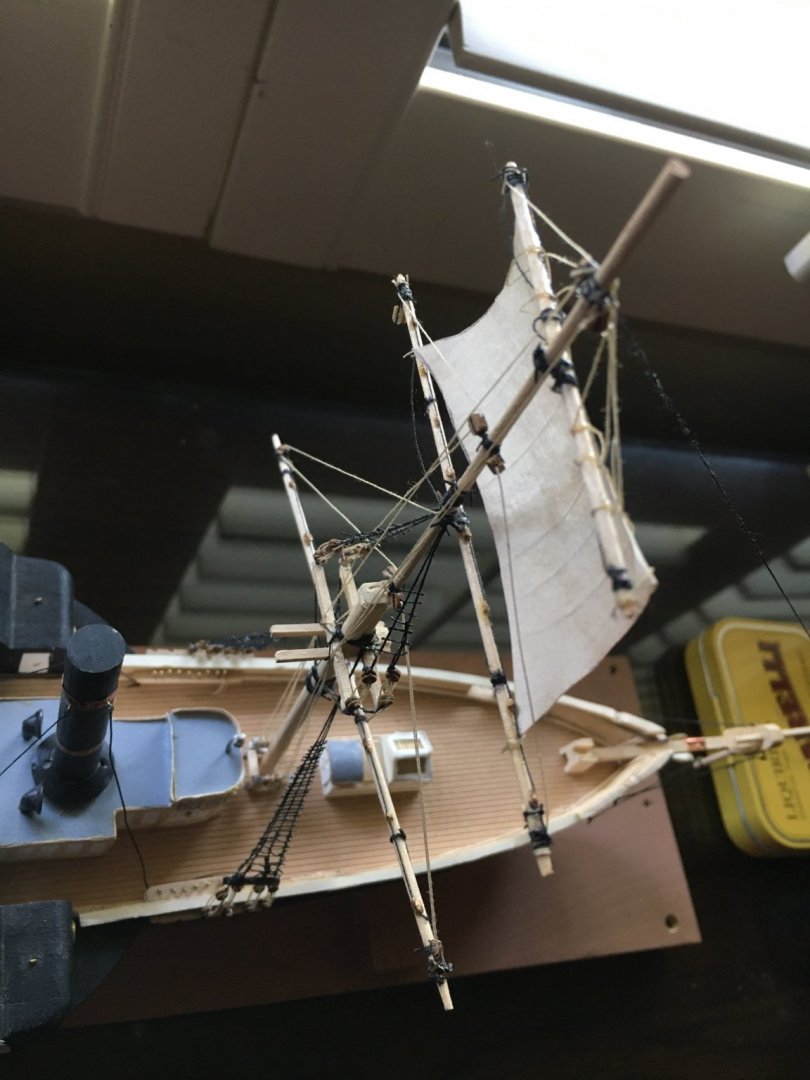
 King posts, more companionways, and skylights in place. The windlass, anchors, ladders, lifeboats, and 2 more skylights are left.
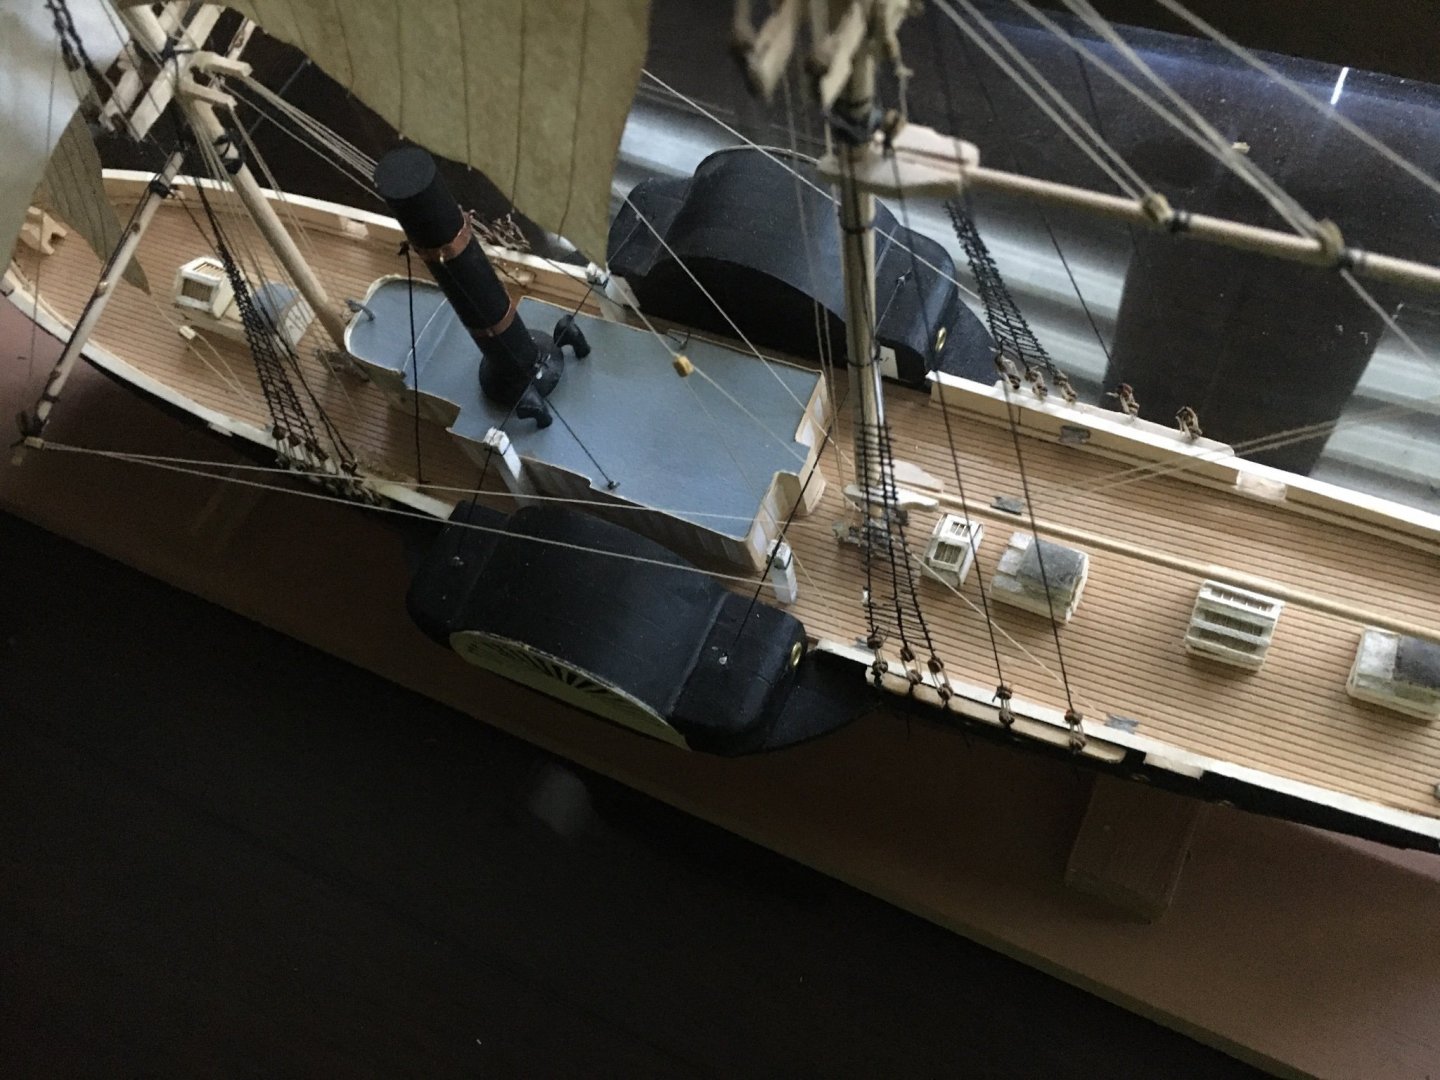
-
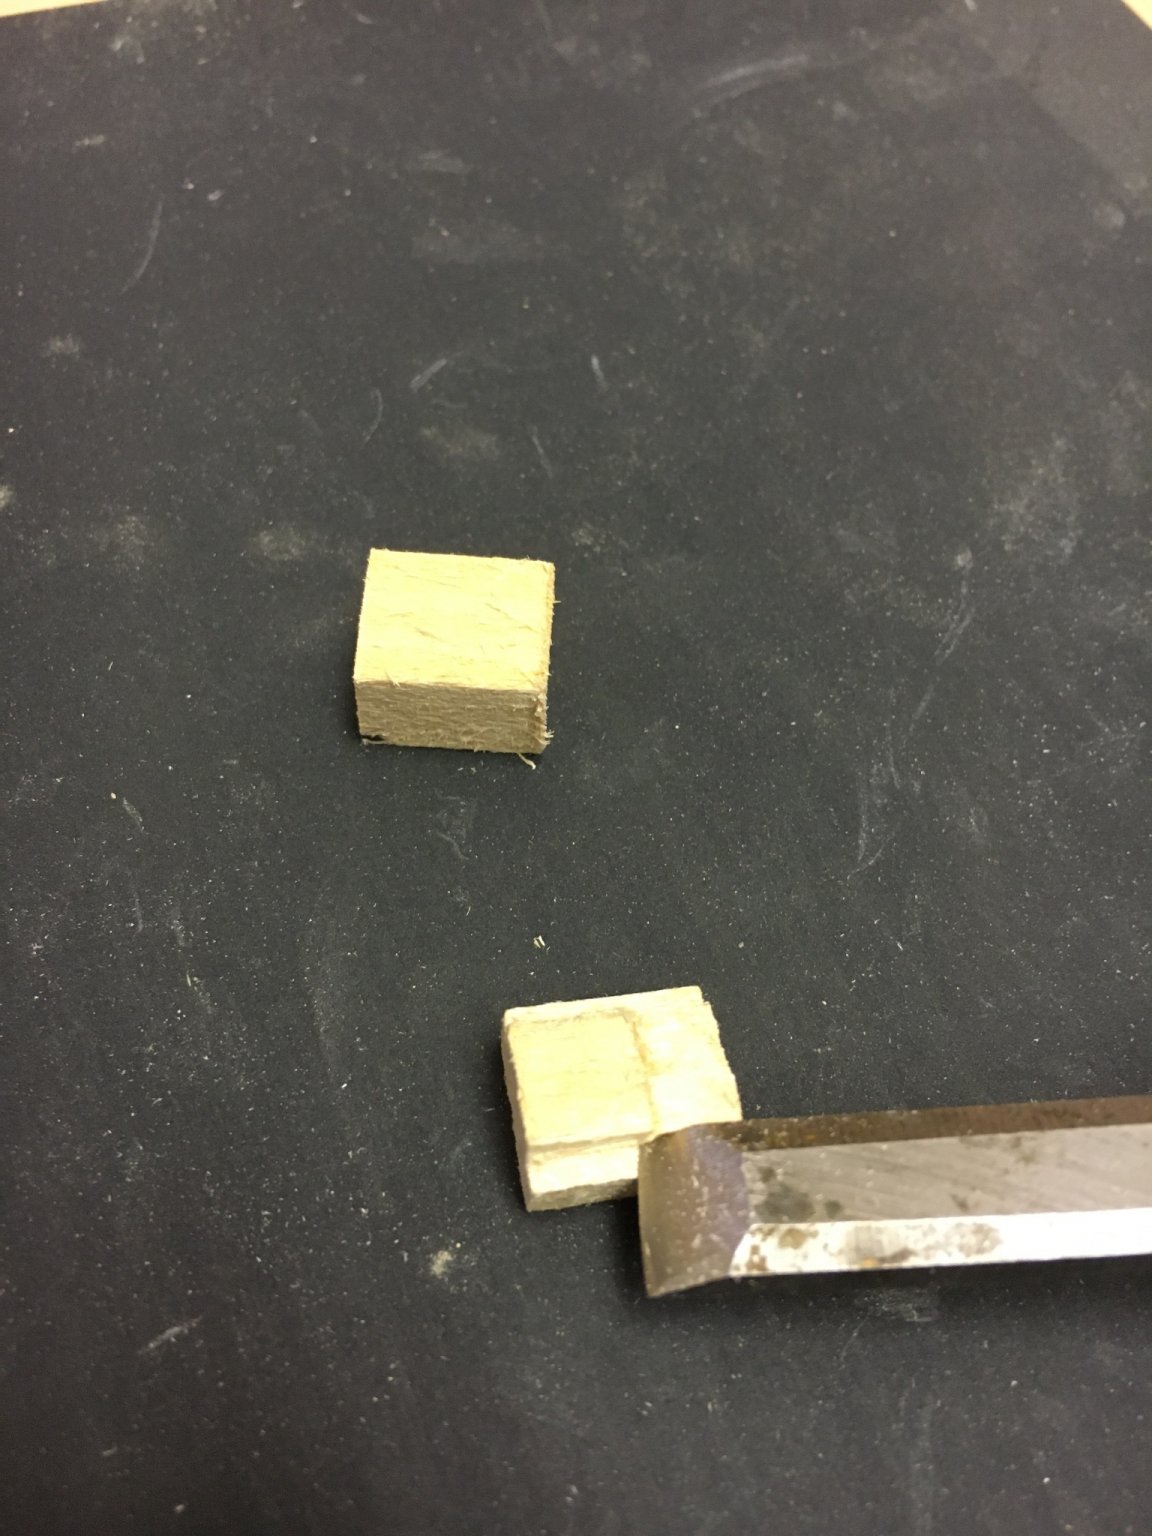
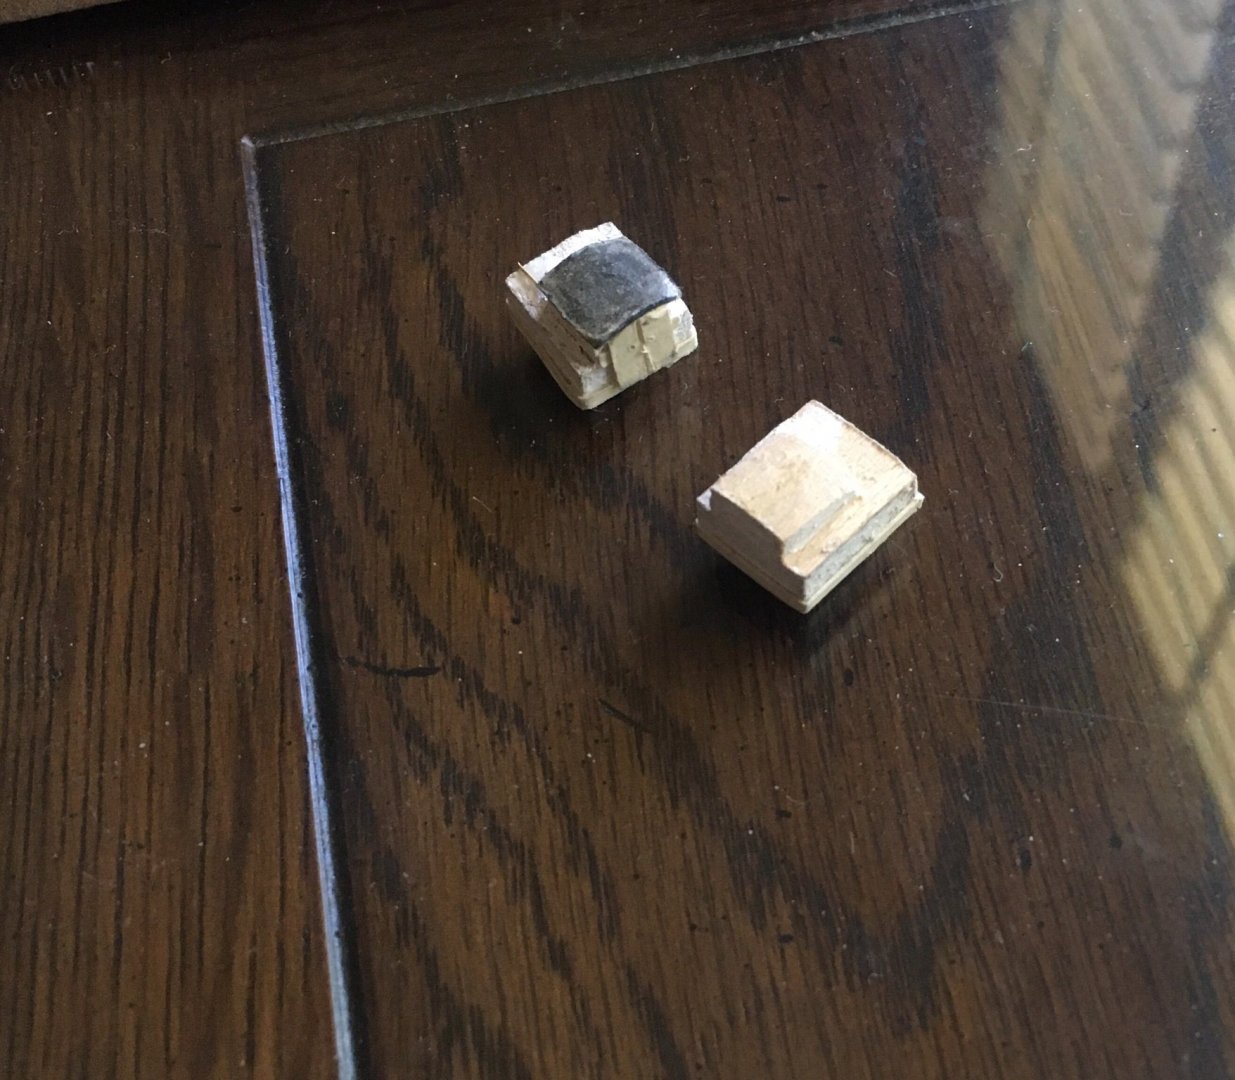
I have not abandoned ship- just shore leave, due to volunteer work, my fine art creation, and organ building/ tuning/ repair. I am making and installing the last of my skylights and companion ways. I cut my king posts (KP) and am waiting for the white paint to dry. The supplied chain for those is too thick for my scale so I will simulate the KP chains with black thread. The chain will be good for the anchors.
-
Thanks for sharing. I knew the black and white one is contemporary but didn’t realize it was the HL. I will still, probably omit them from my model.
-
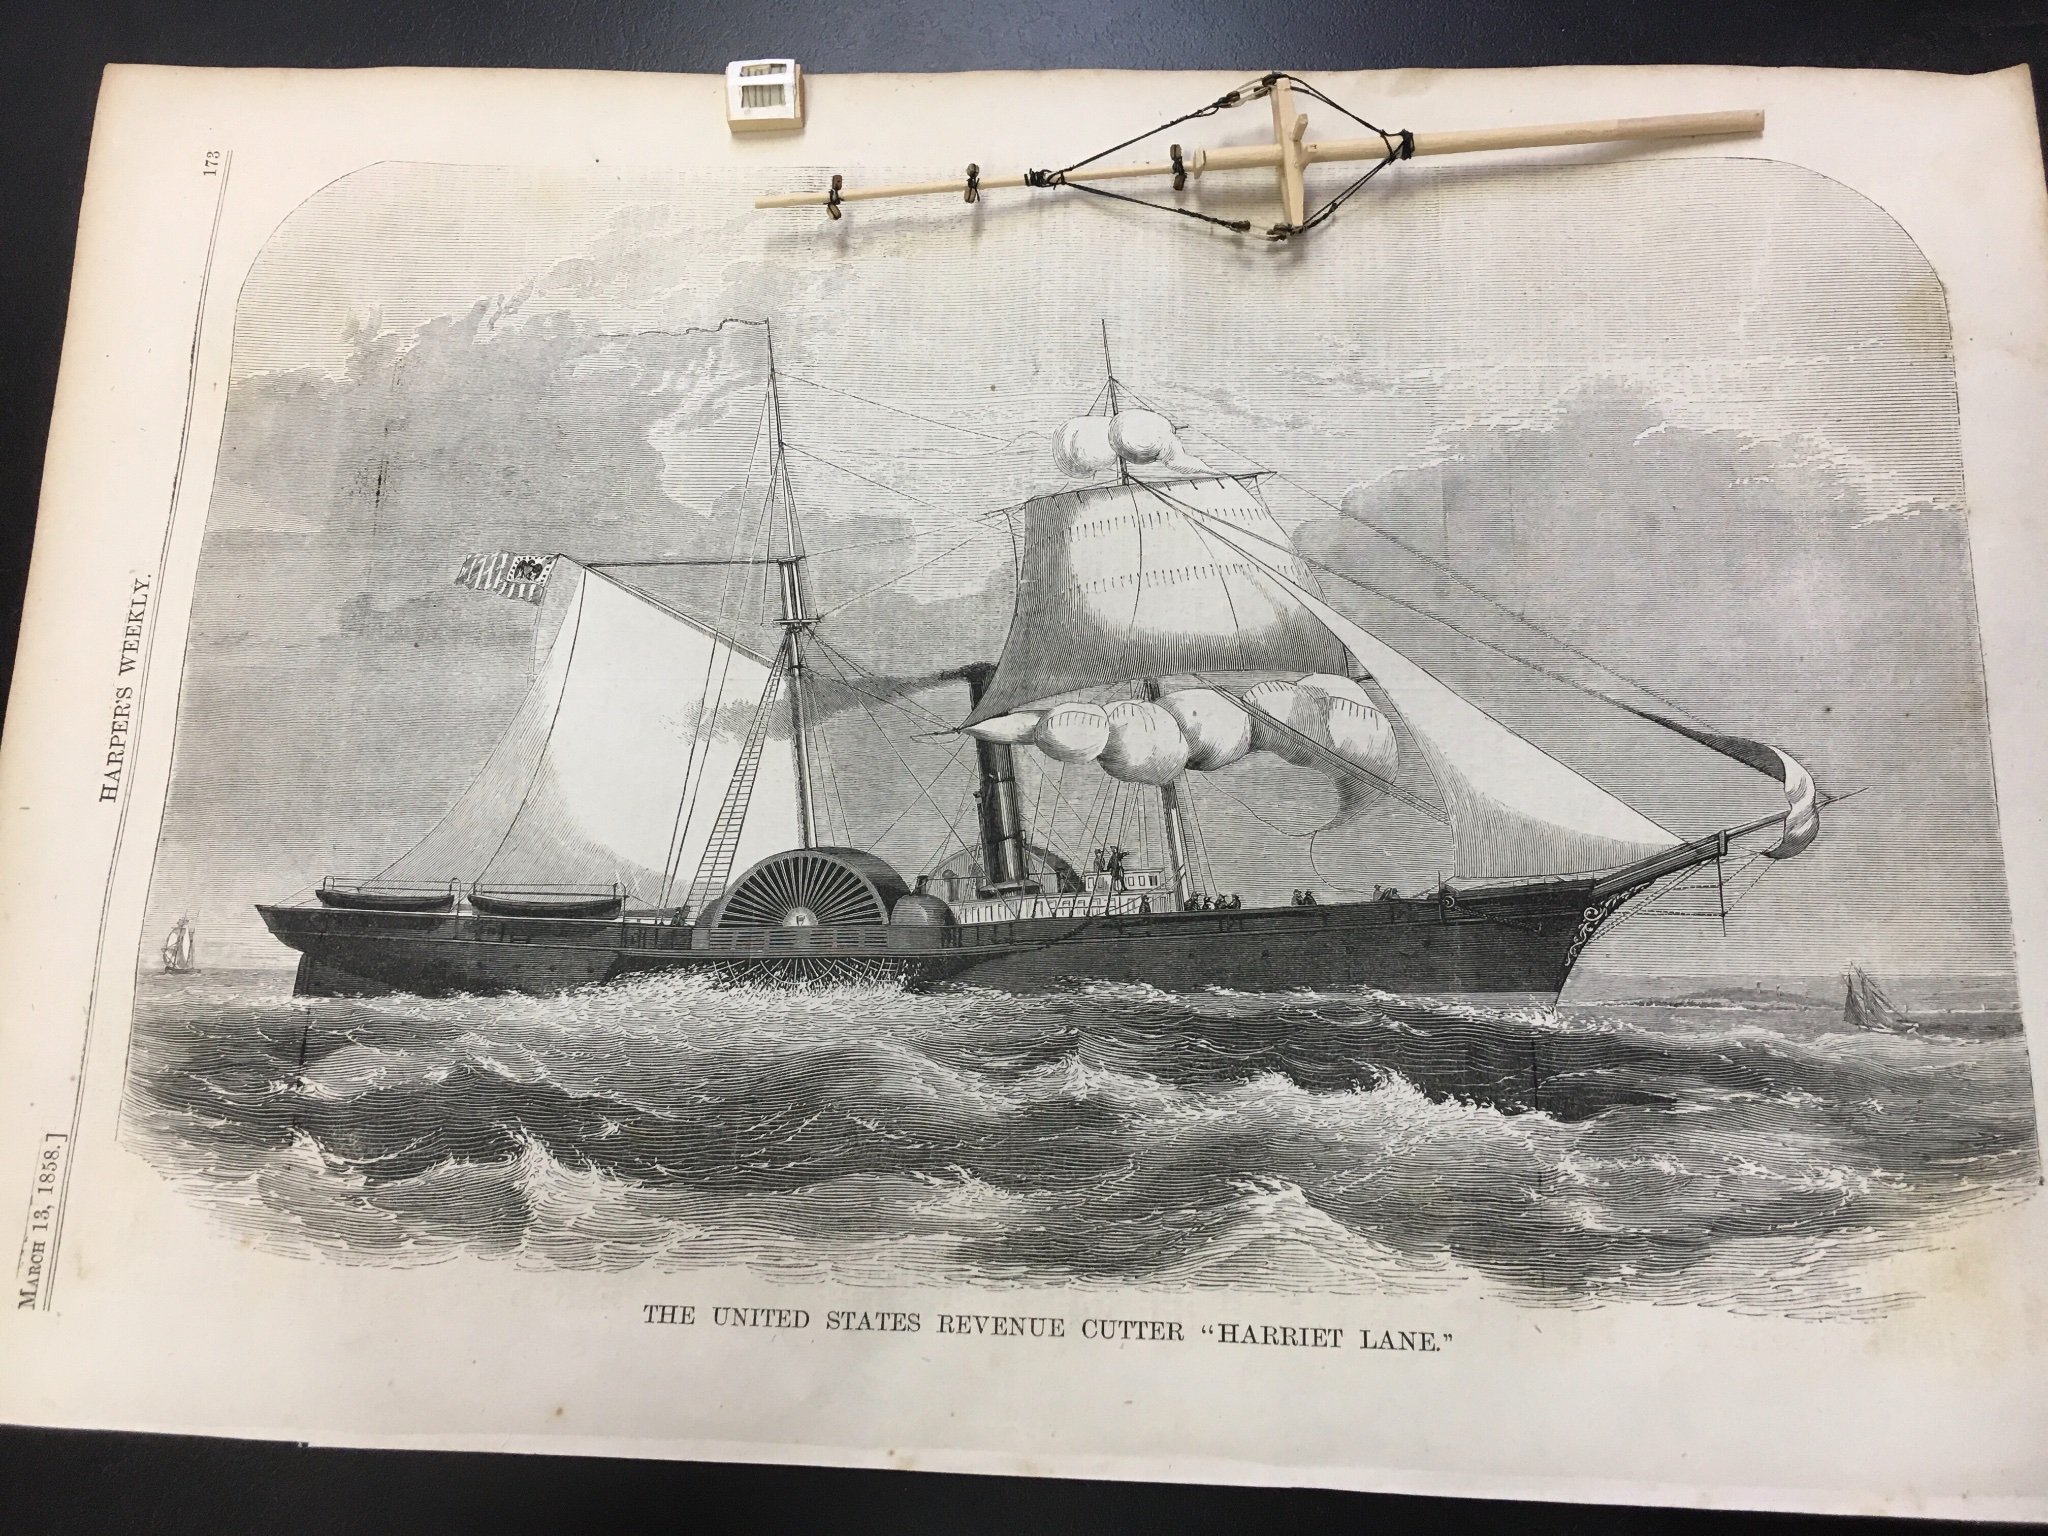
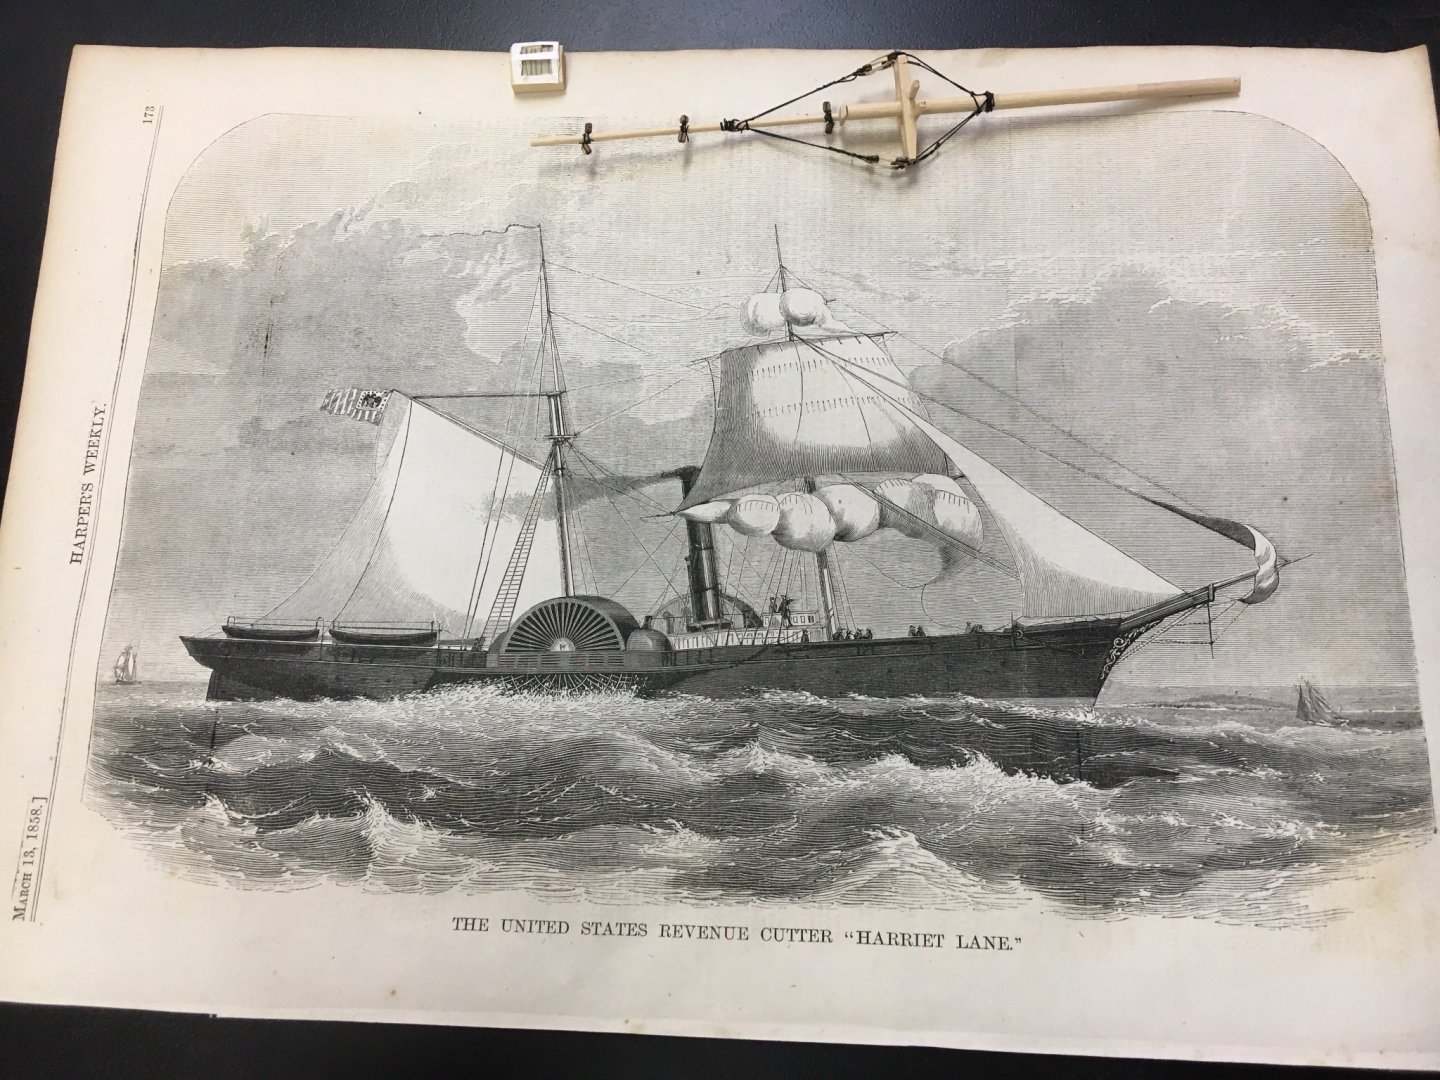
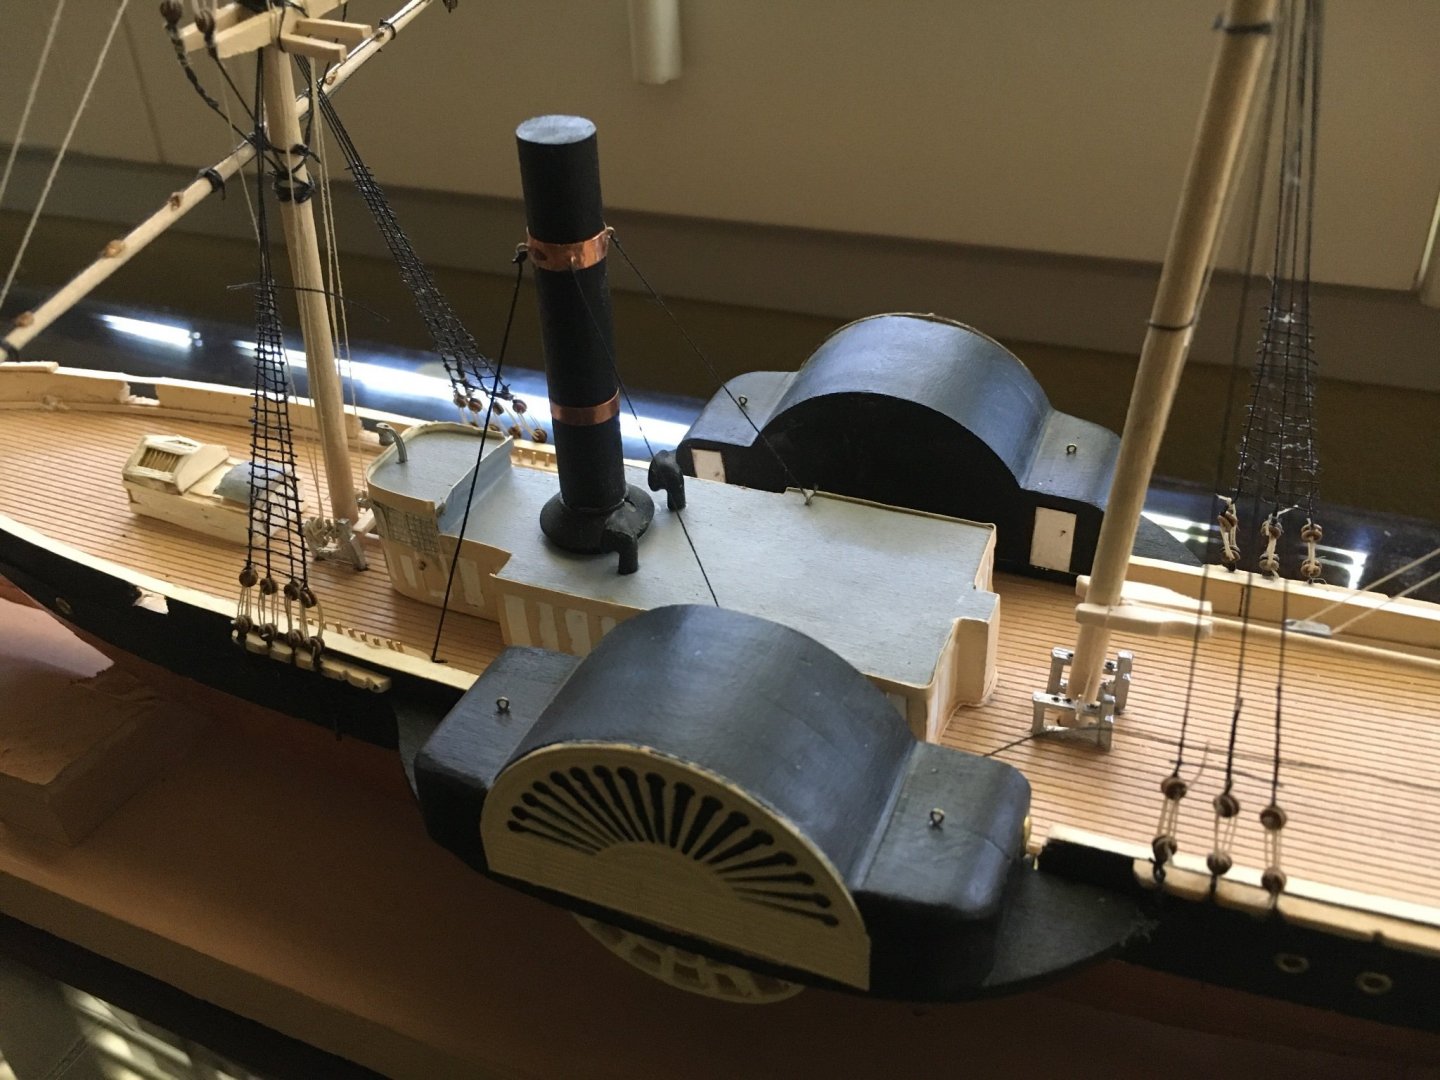
I am going to omit the bridges, to reduce a cluttered look. No photos of this ship are known but there are several contemporary artist depictions that vary in quality. None show the bridges. One of these, from 1858, Harper’s Weekly, is attached. Amusingly, the smoke blows the wrong way here😀 Artistic license. I will add the king posts and wheelcover chains.
-
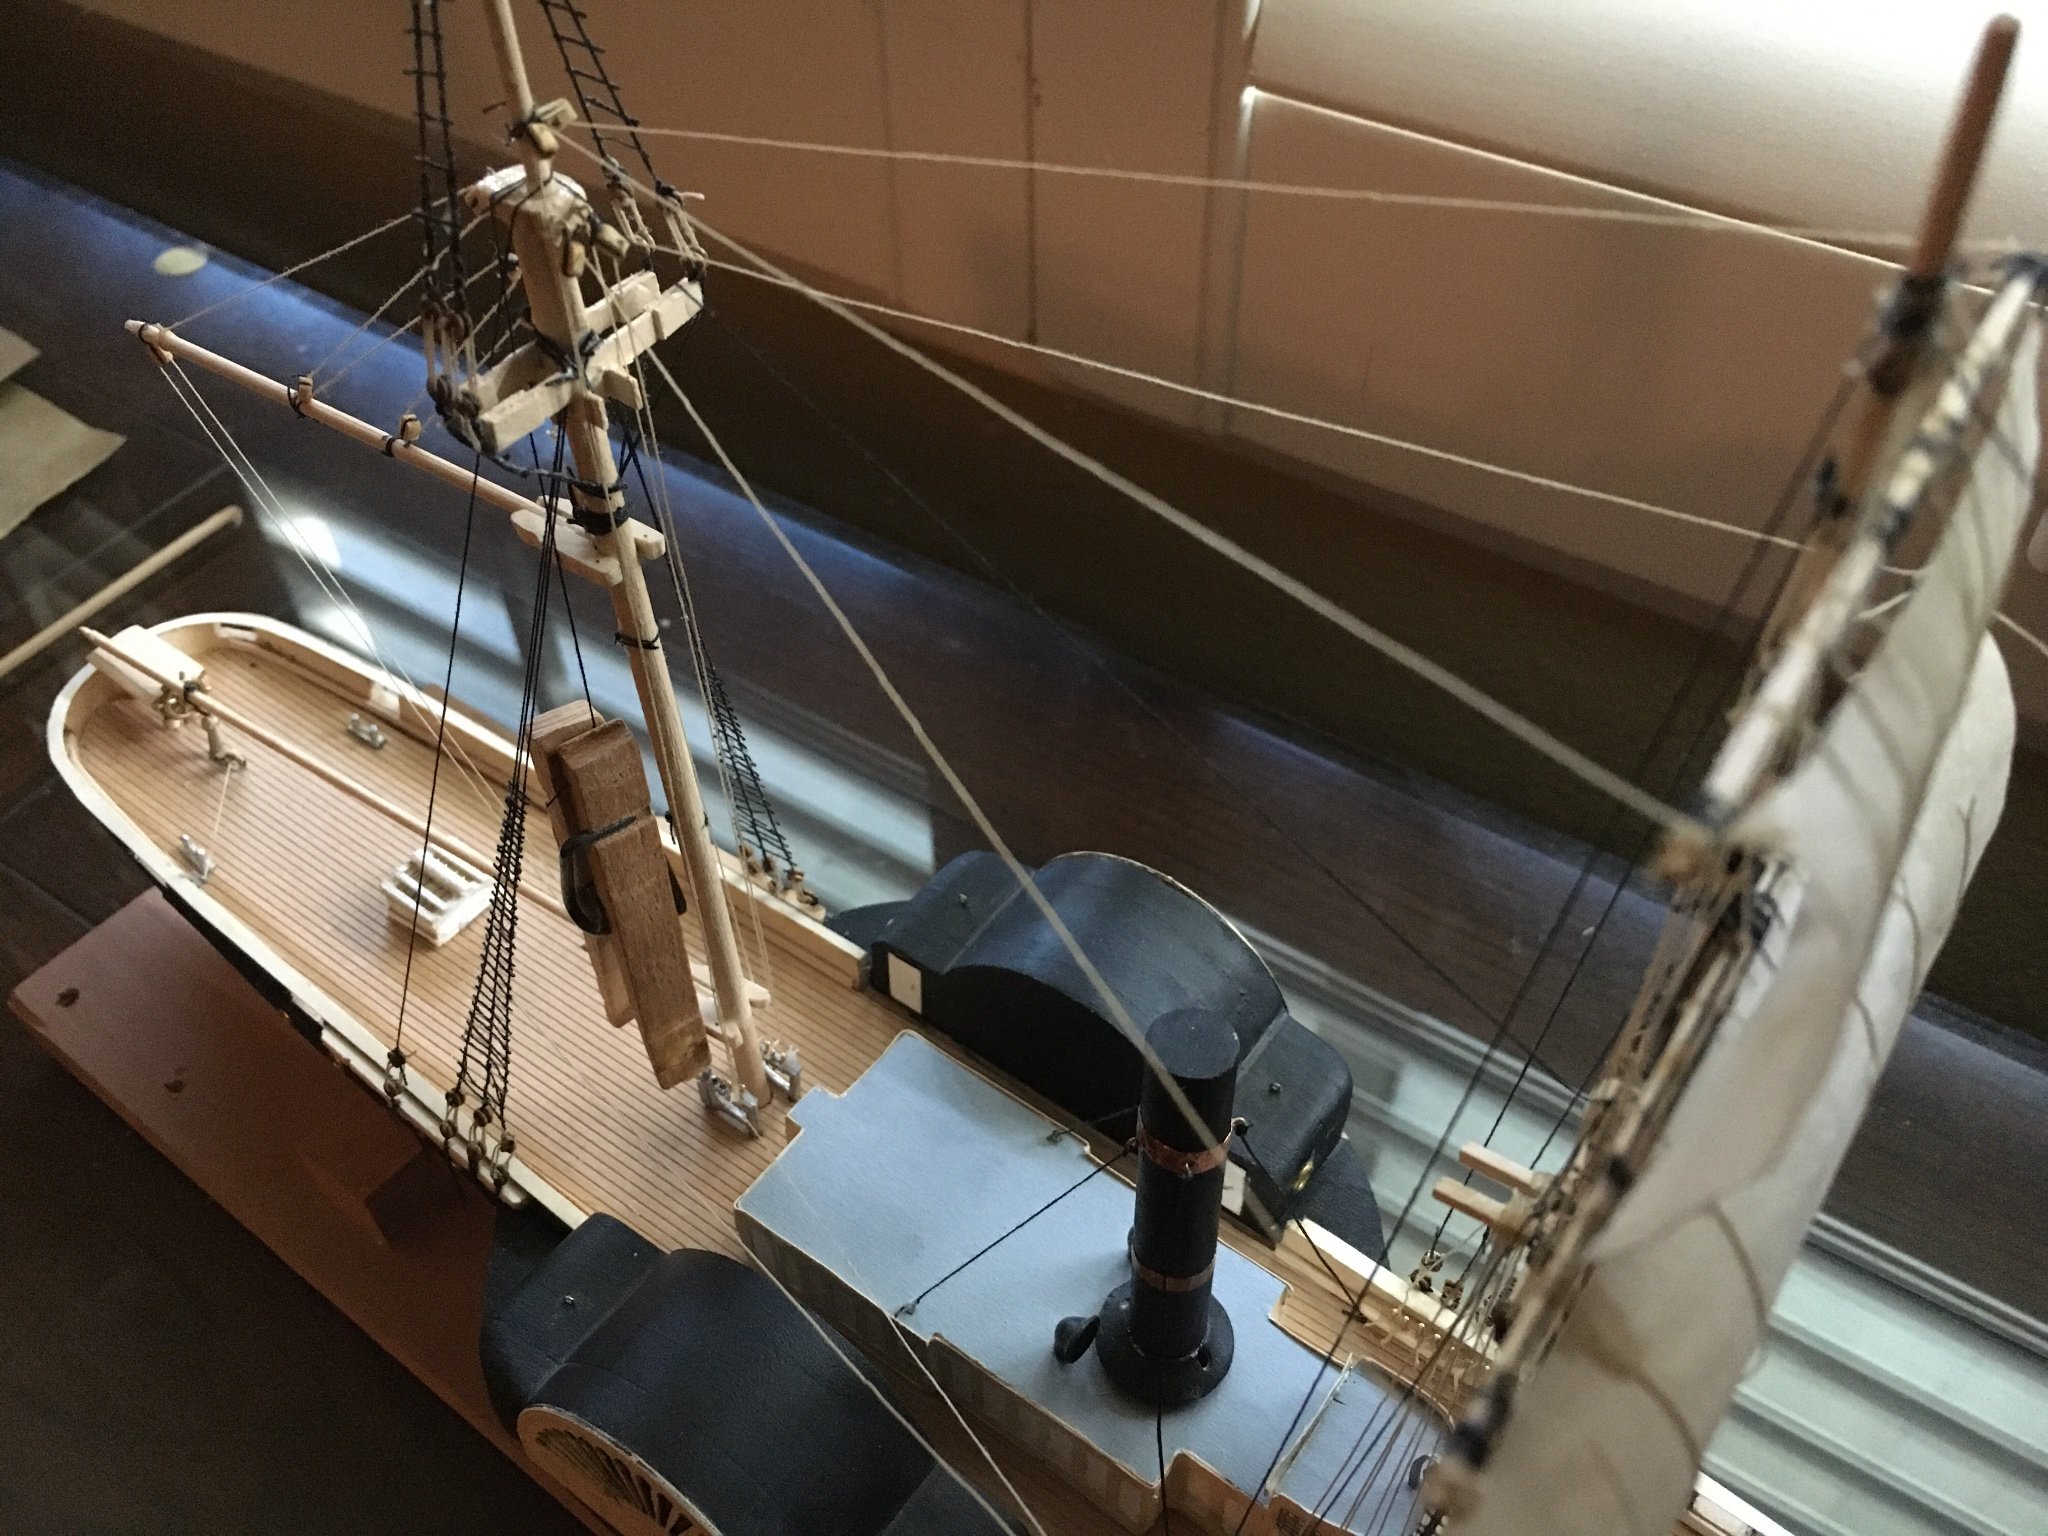
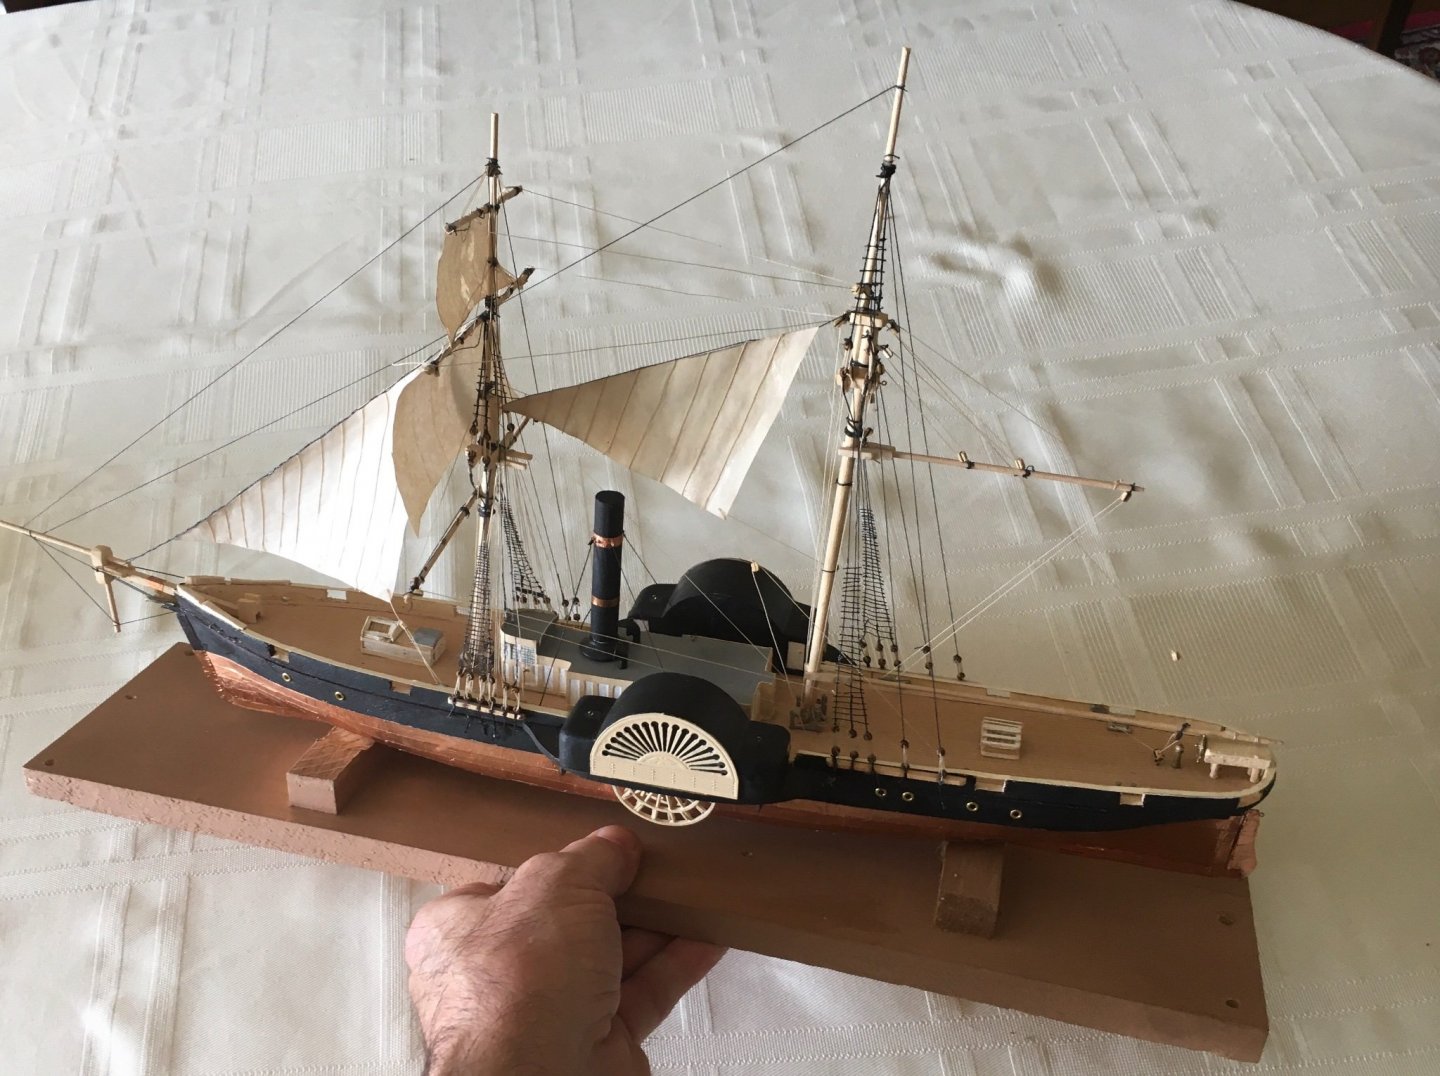
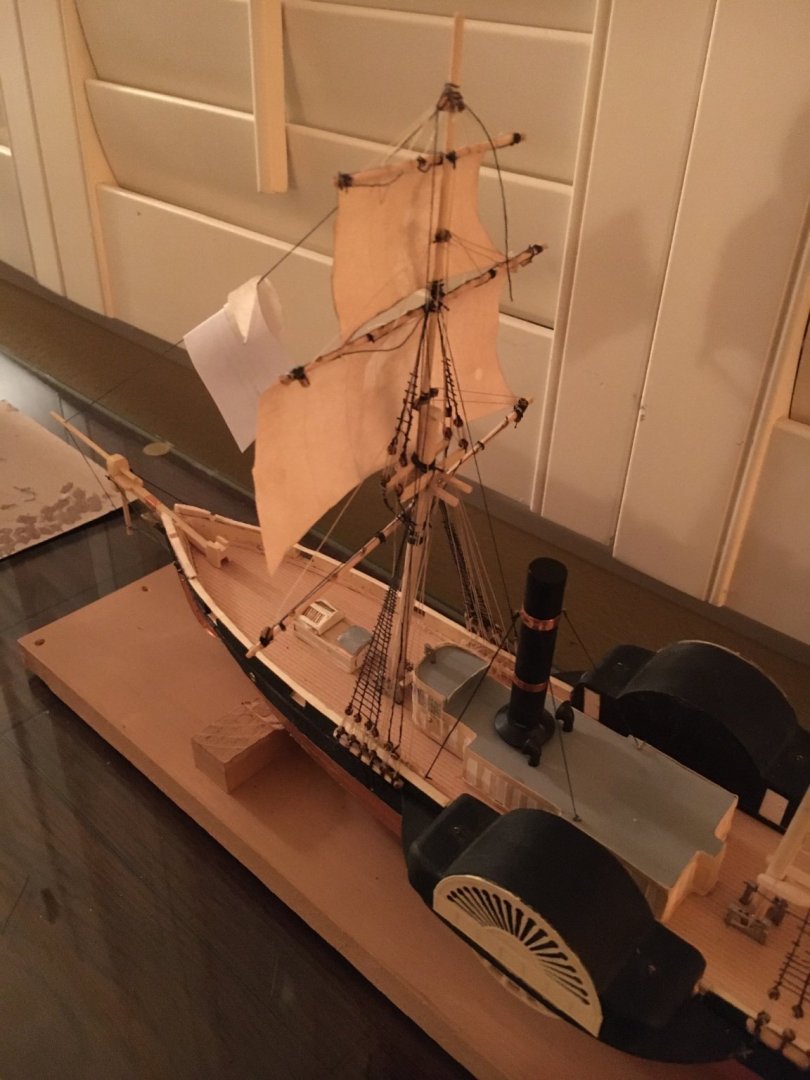
My rigging is done. Just deck stuff left——- life boat ( or boats), cannons, windlass-anchors, and the rest of the skylights and companion ways. Many glitches, but the overall effect “looks convincing”. —- to me🙂
-
I will consider it. It is crazy glue. No sails are being installed on the main mast.
-
I am always grateful for advice from more knowlagleable and more experienced builders.
-
I think I’m stuck with it horizontally. It is glued and rigged.😕
-
Five of the six foremast braces are in place and belayed to the mainmast fife rail. I am adding the four mainmast stayes. The starboard lower is in place. The four were pre-fabd, with deadeye reaving beforehand.

-
Since I do much of my work while wearing loops like those used by dentists, my restricted vision make thrusting my hand in the wrong place an ever present hazard.😕
-
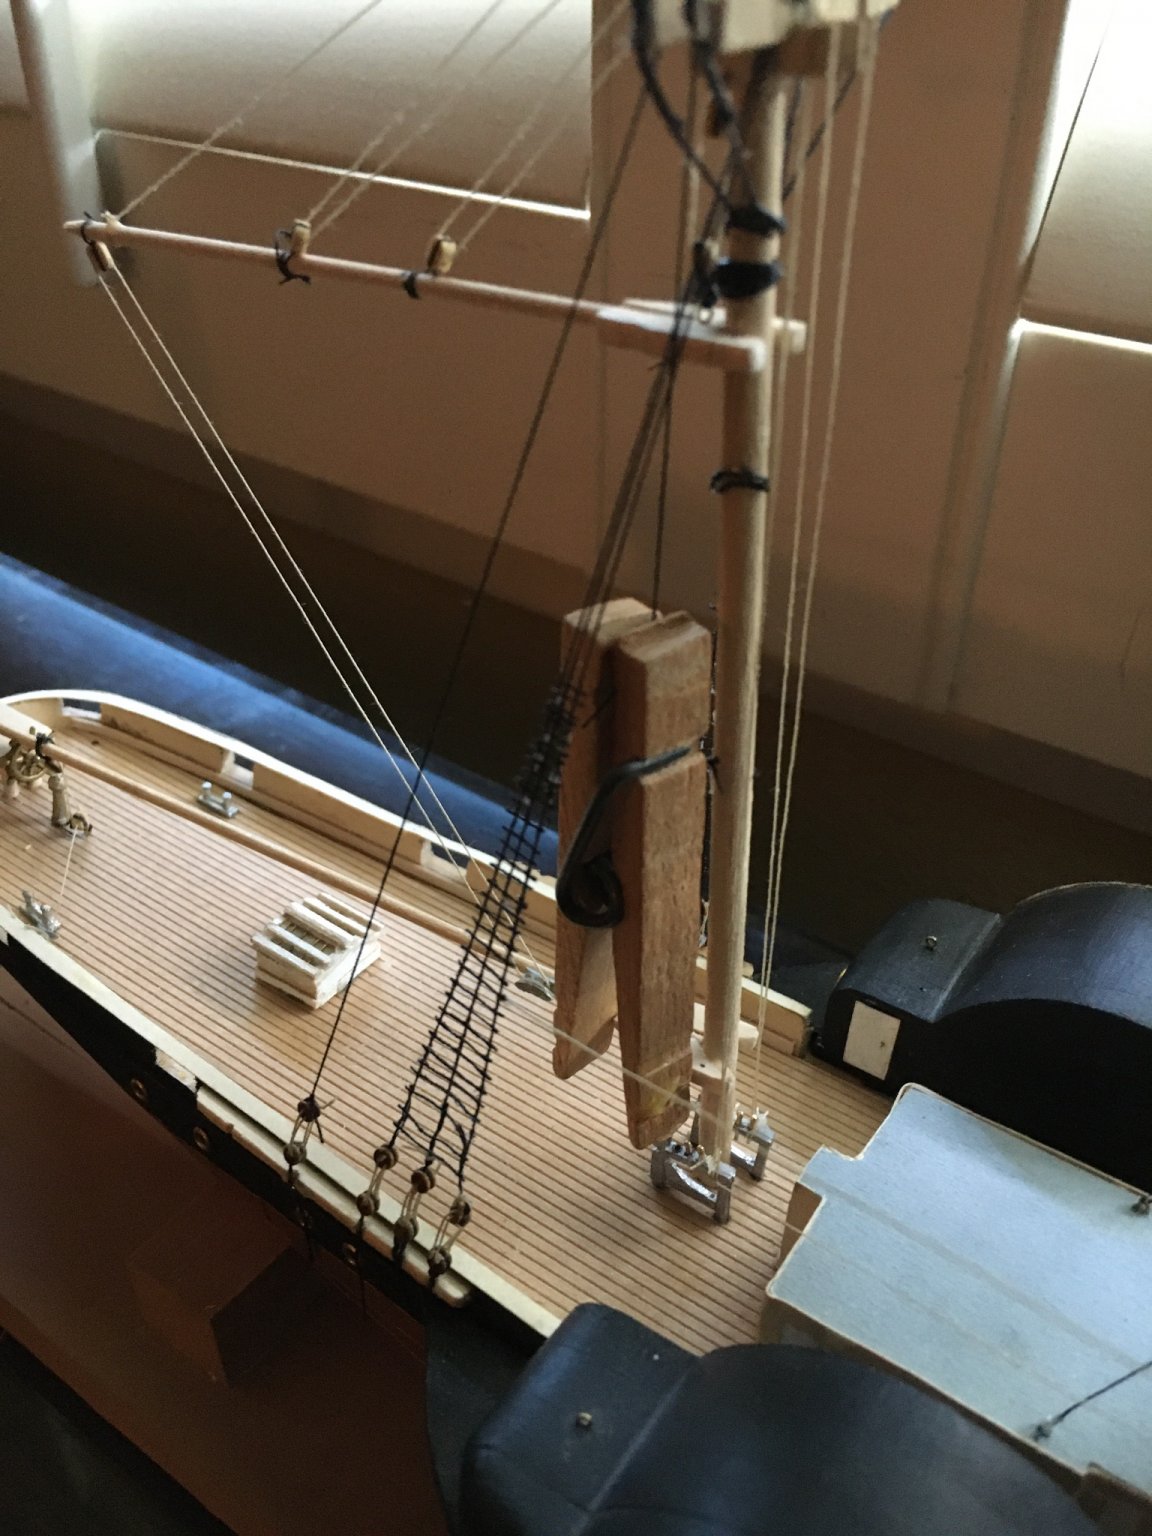
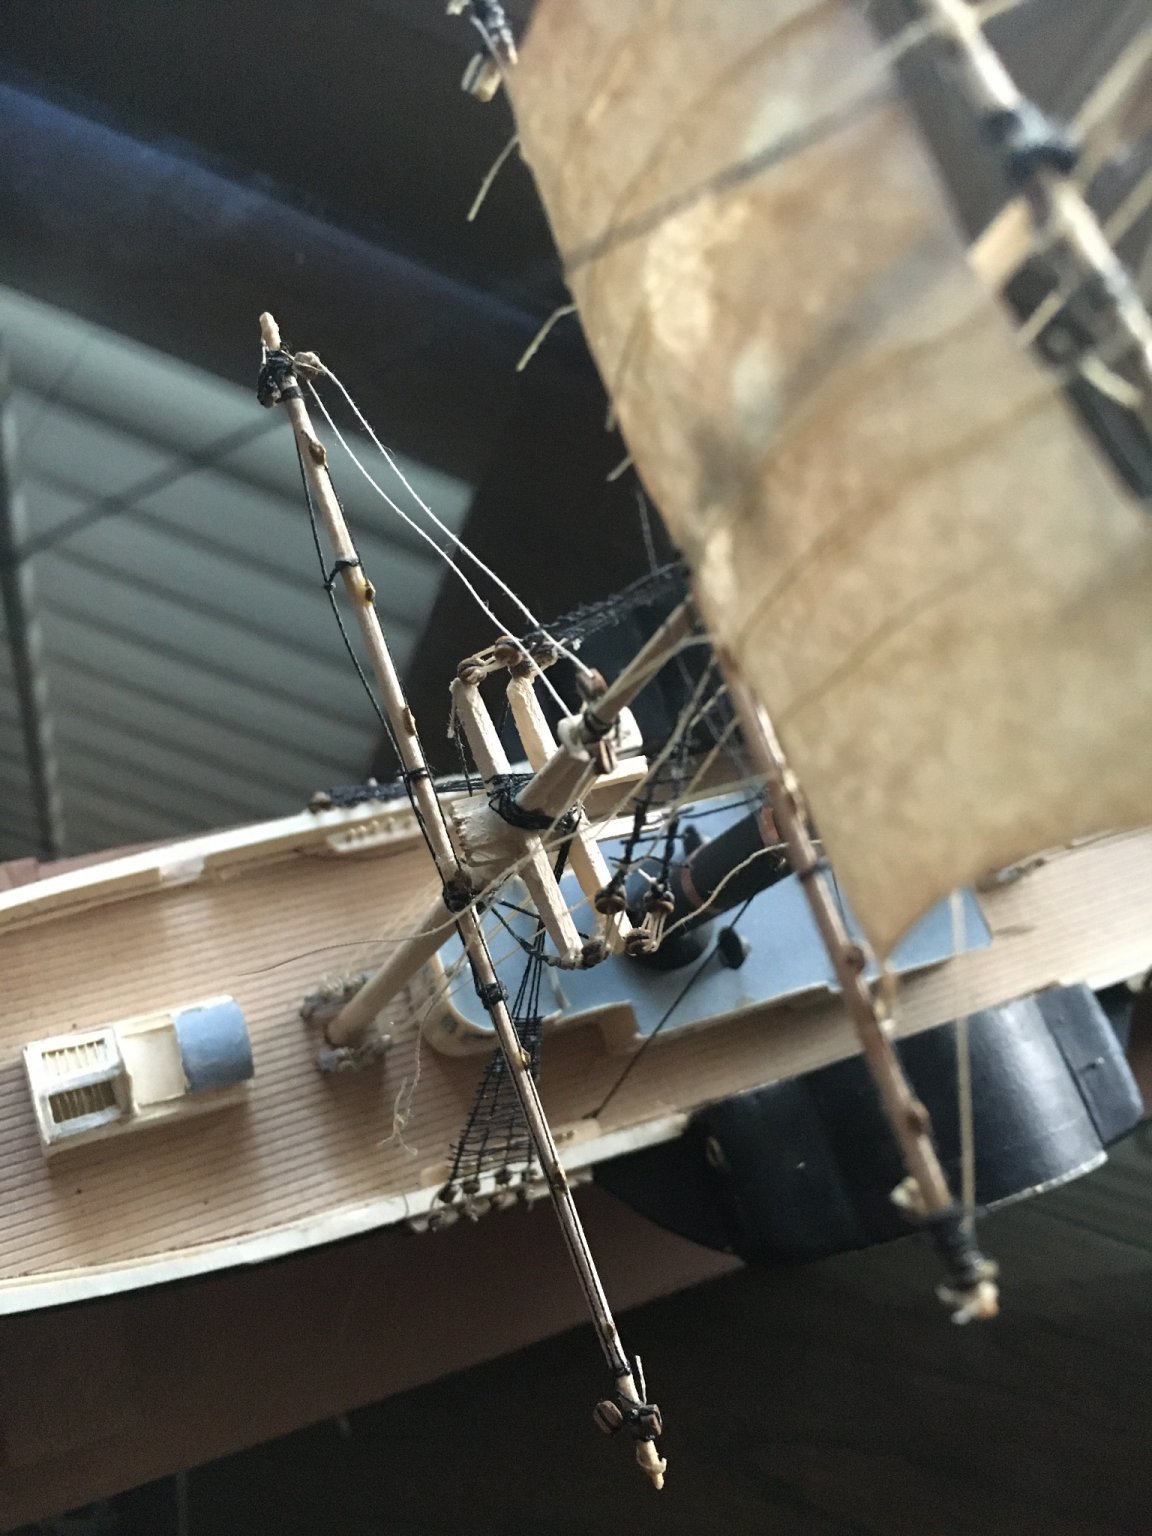
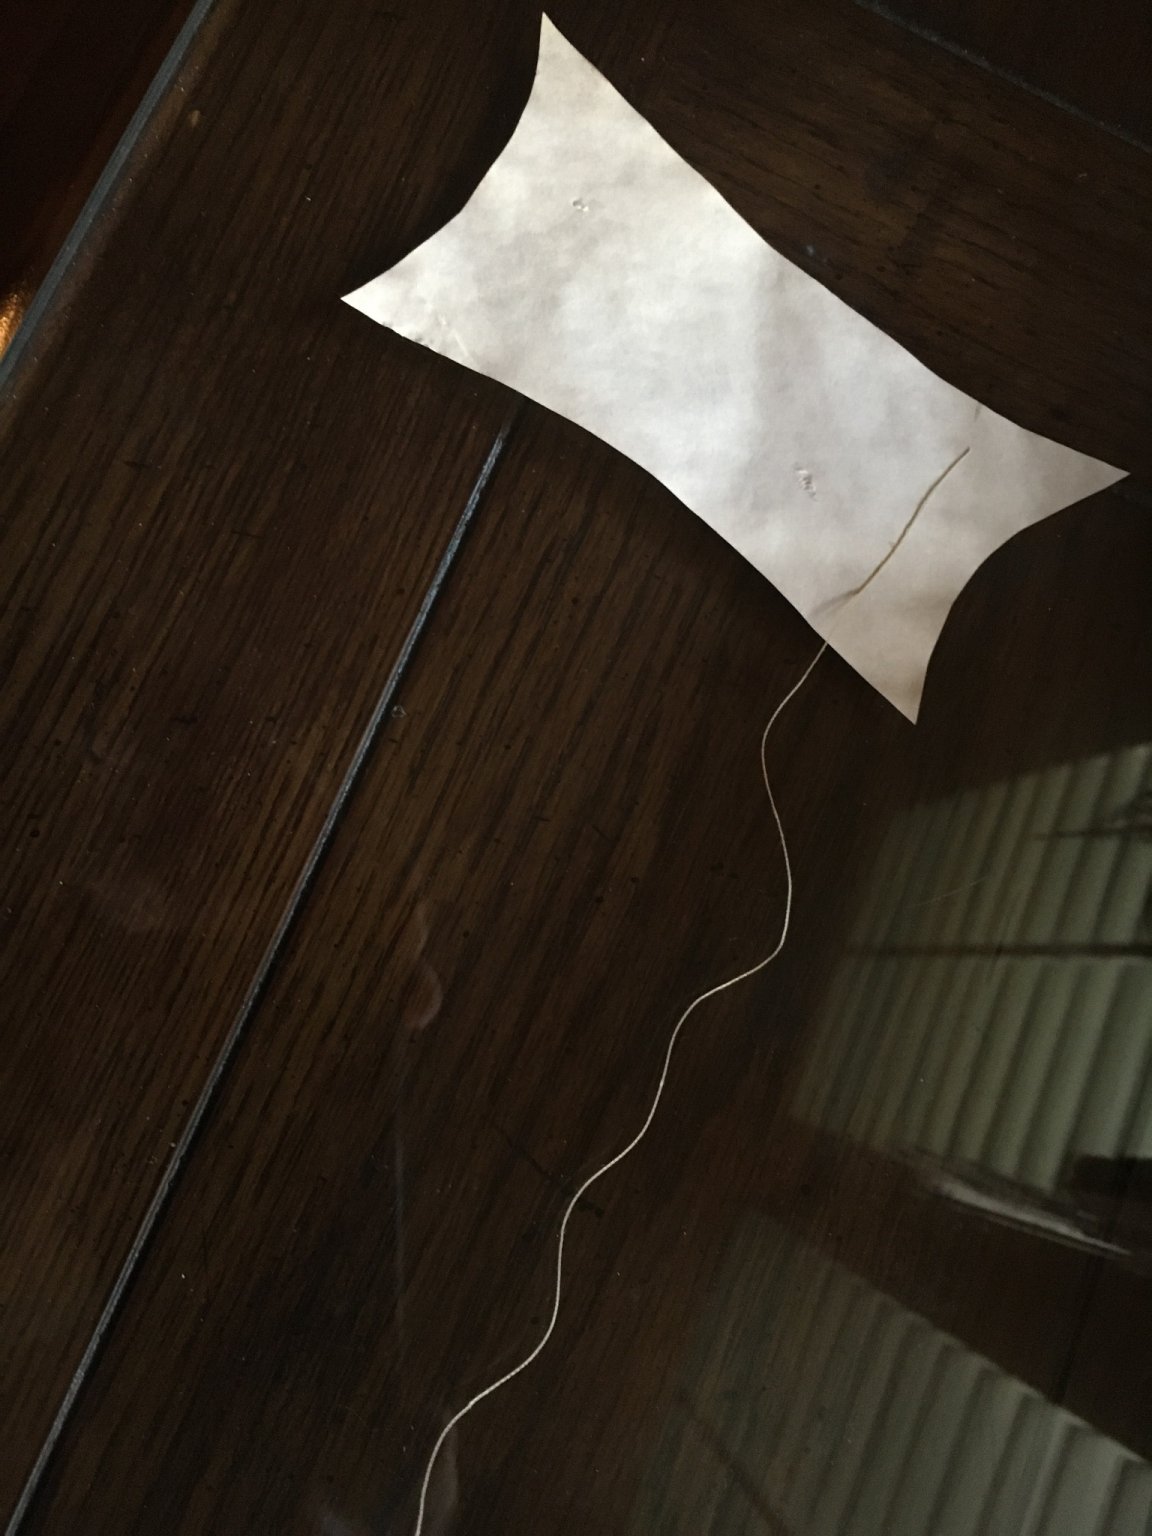
My buntlines and clewlines are in place. One more shroud and my rigging on the square rigged foremast is complete. I need to reave and prepare five more shrouds, one for the foremast, and four for the main mast. Next I will add the stays, then the braces. Also a couple of jib sails. After that, more skylights and deck accessories like the windlass, bridges, cannons and davits. The end of my modeling is in sight. The paper object on the forestay is to remind me it is there, and help me to not stick my hand into it.🤣
-
Once on the pin, the buntlines are secured to the mast, such, that on this tiny model, they appear to go to the sails, when they, in fact, stop at the cross tree.
-
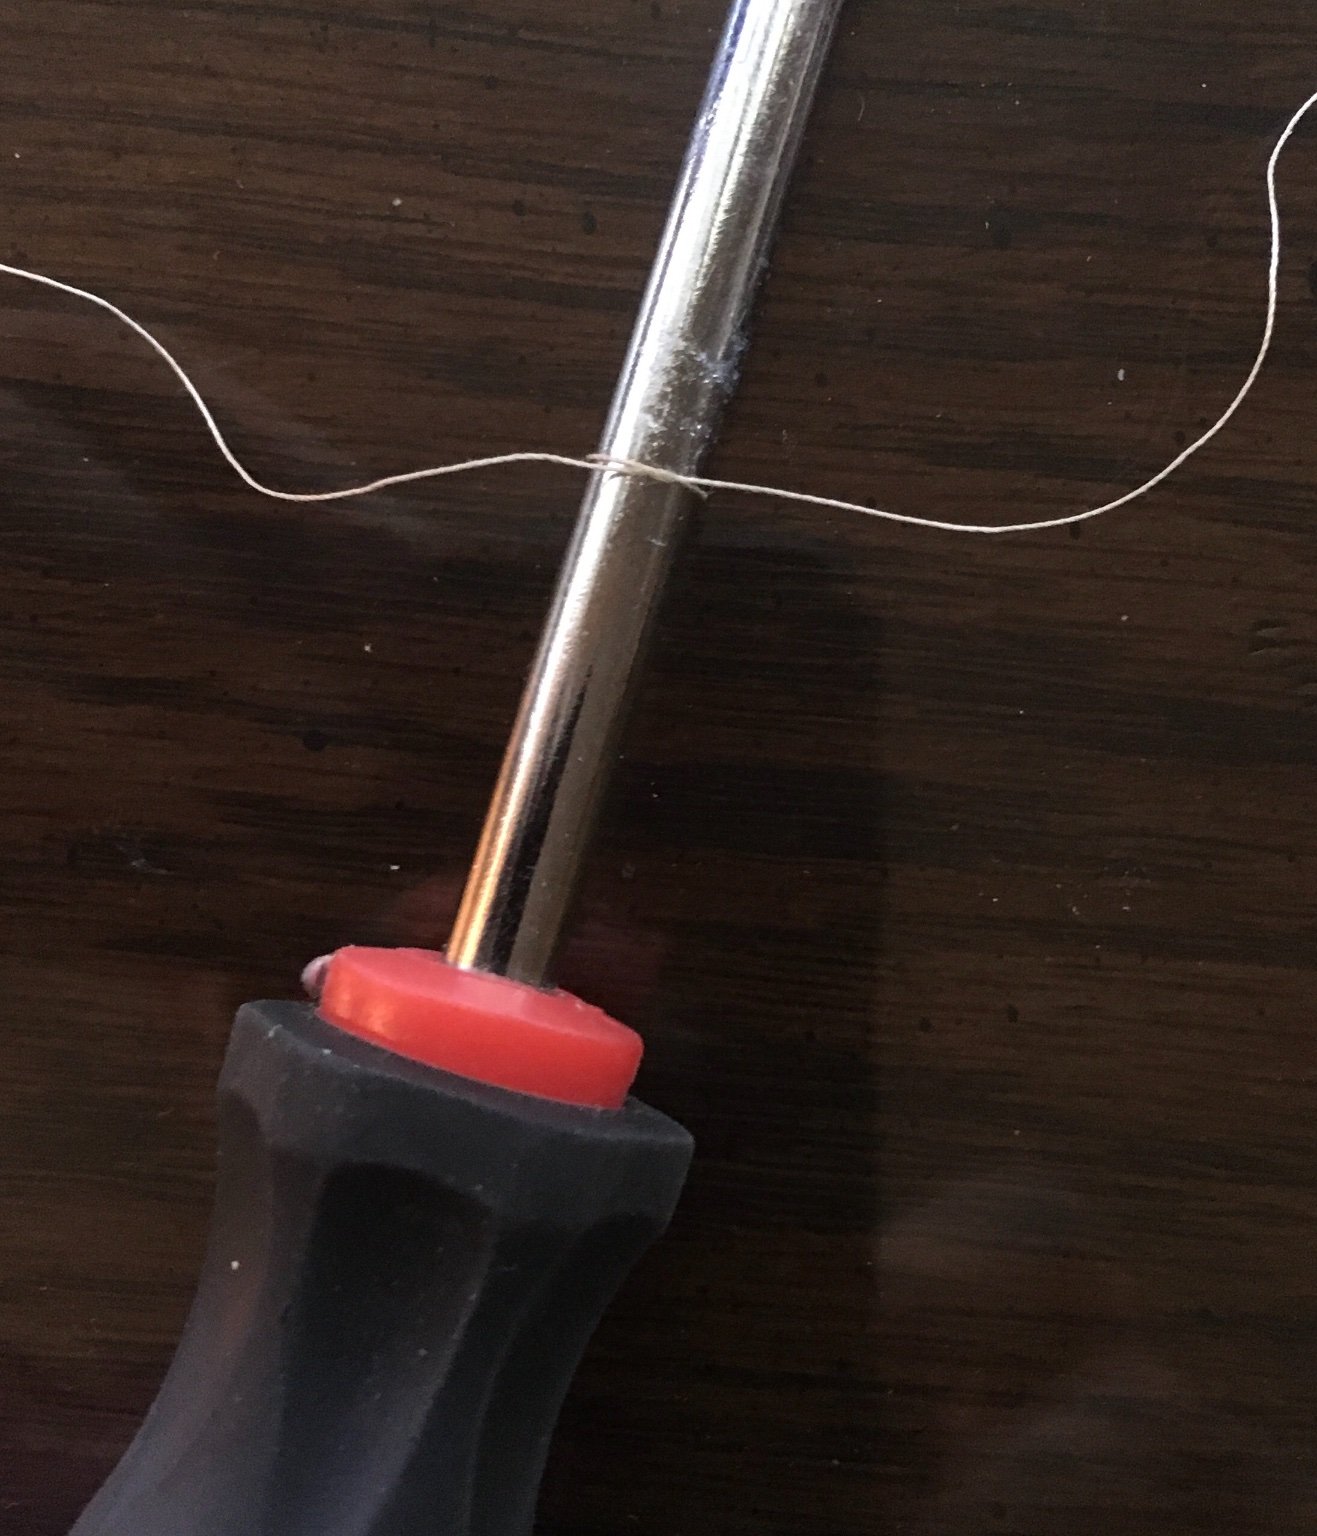
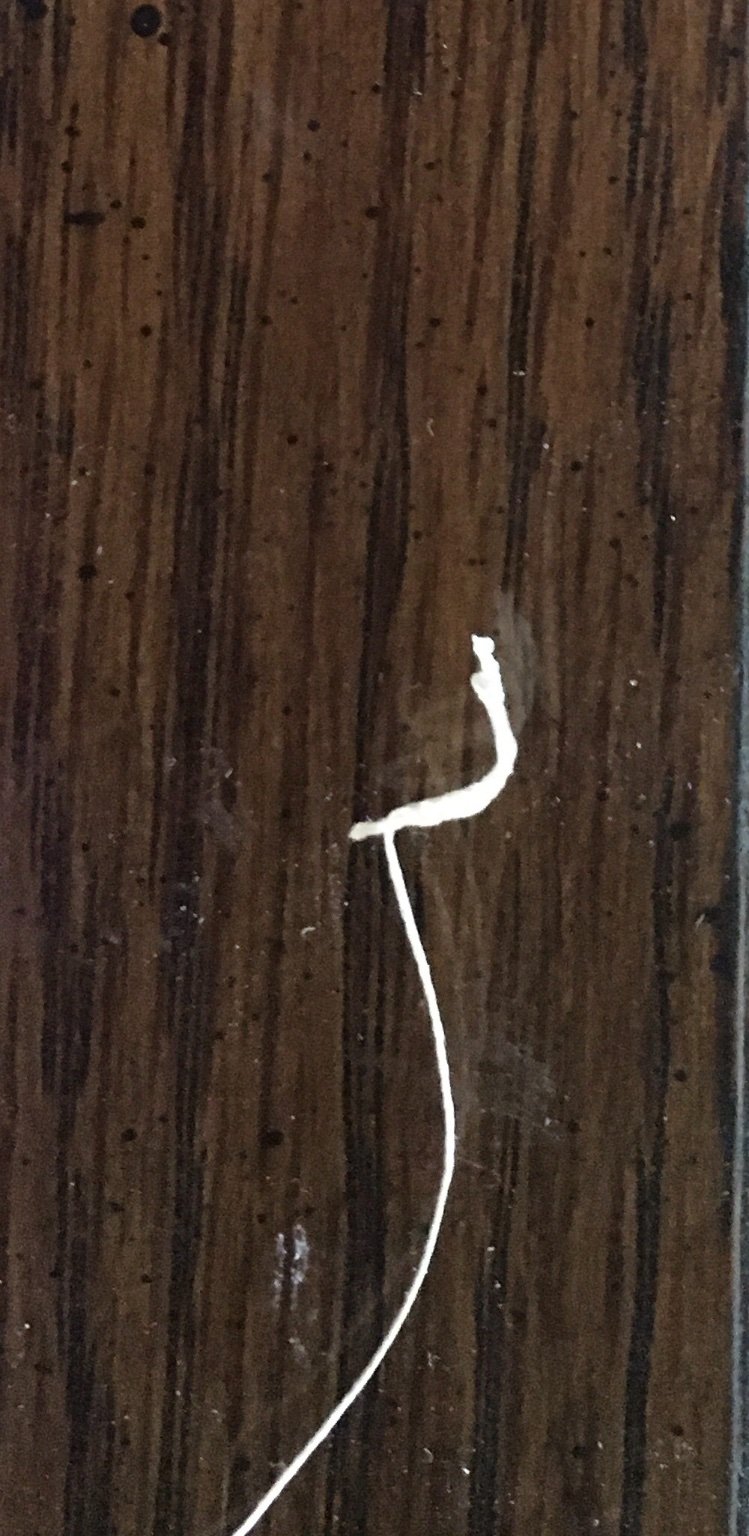
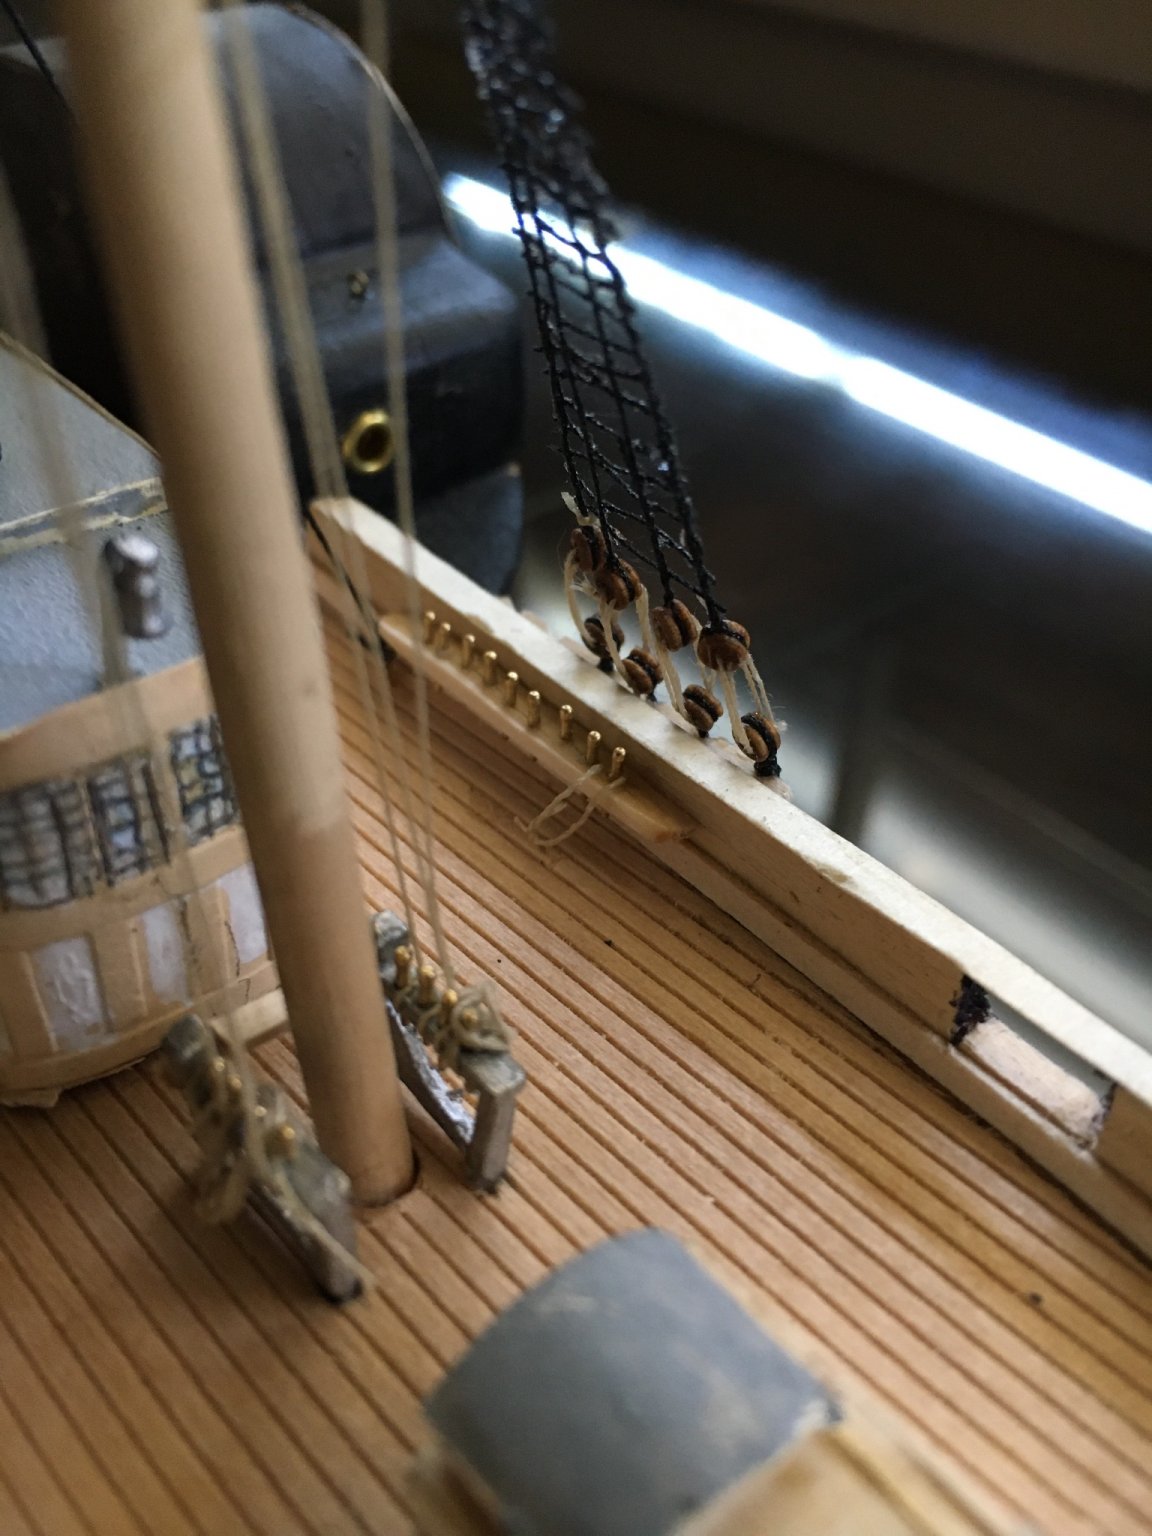
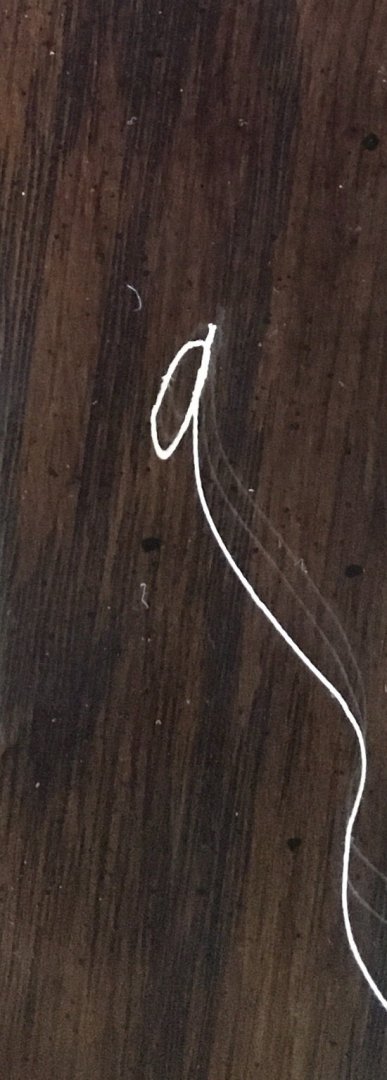
Preparing the buntlines. Loop formed around metal shank, secured with an overhand knot and a minuscule drop of glue. Then the loop is “trained” by soaking in glue, flattening, and bending to act as a rope draped over a belaying pin. This is then placed on the belaying pin, with long pointed stamp tongs, and secured with a minuscule glue drop.


-
Belaying my buntlines to the starboard pinrail one by one. This pushes my model making ability to the max. I am creating the illusion that they go to the mast top but they end at the cross tree. After these are in on both sides, I will add the back stays.
-
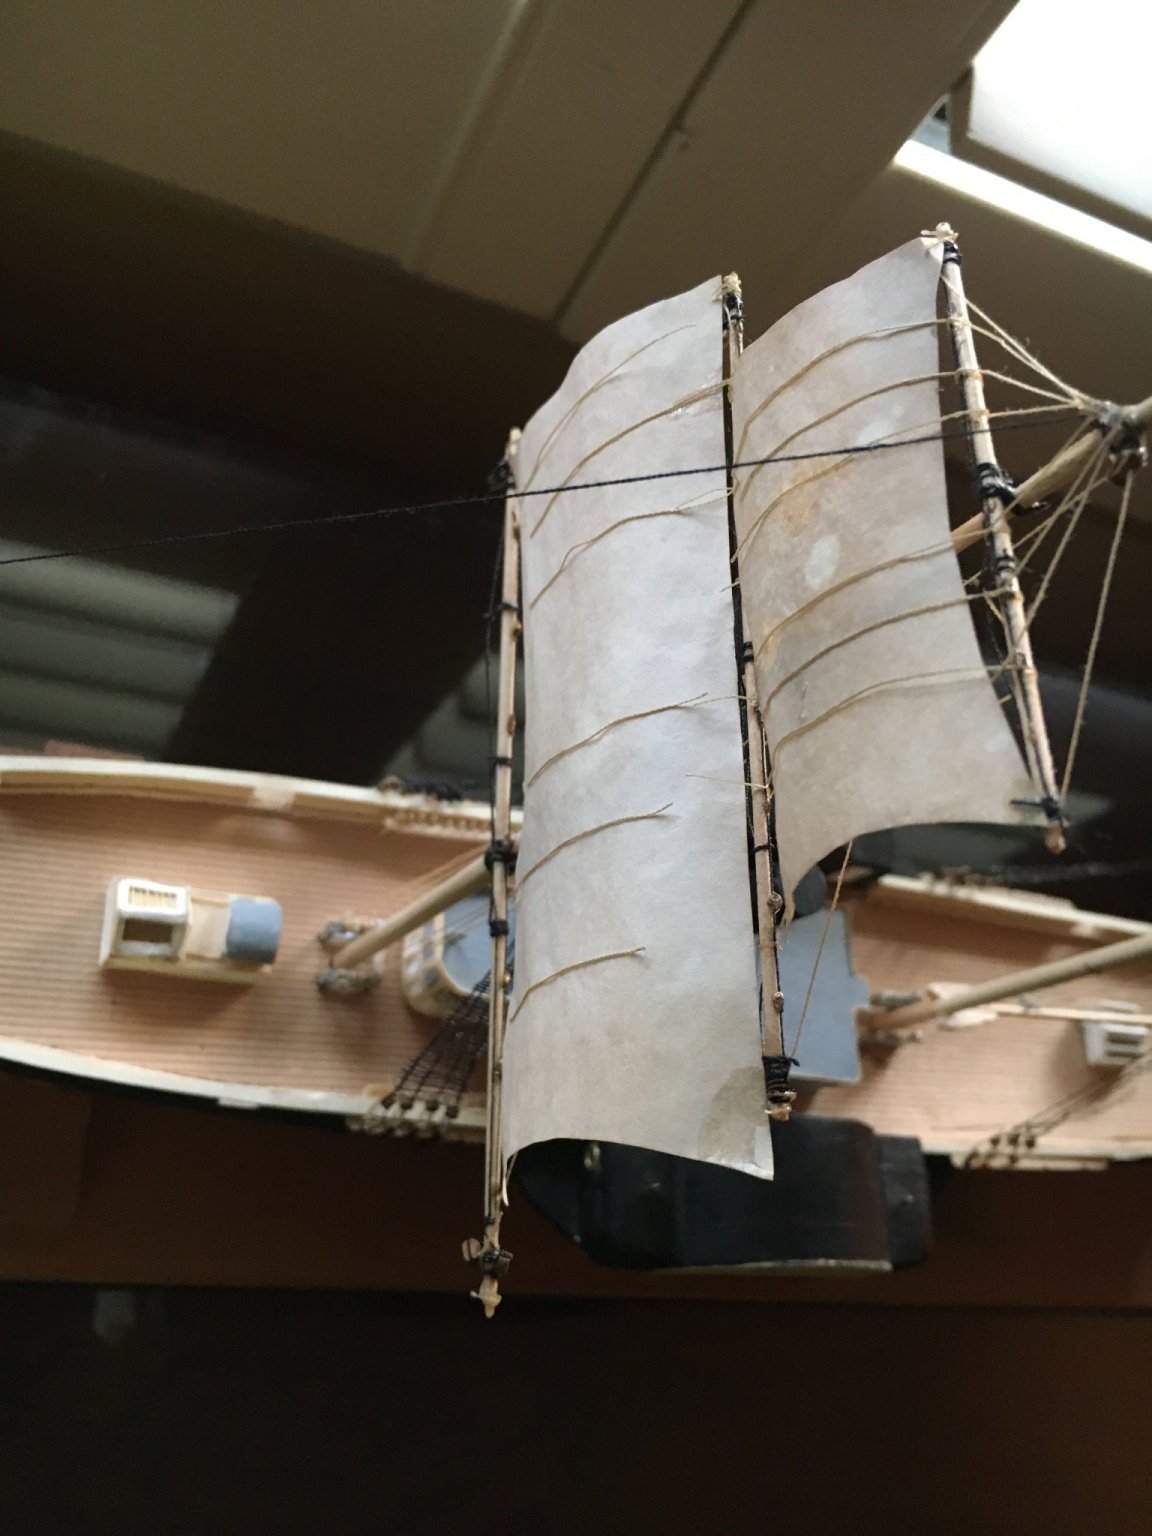
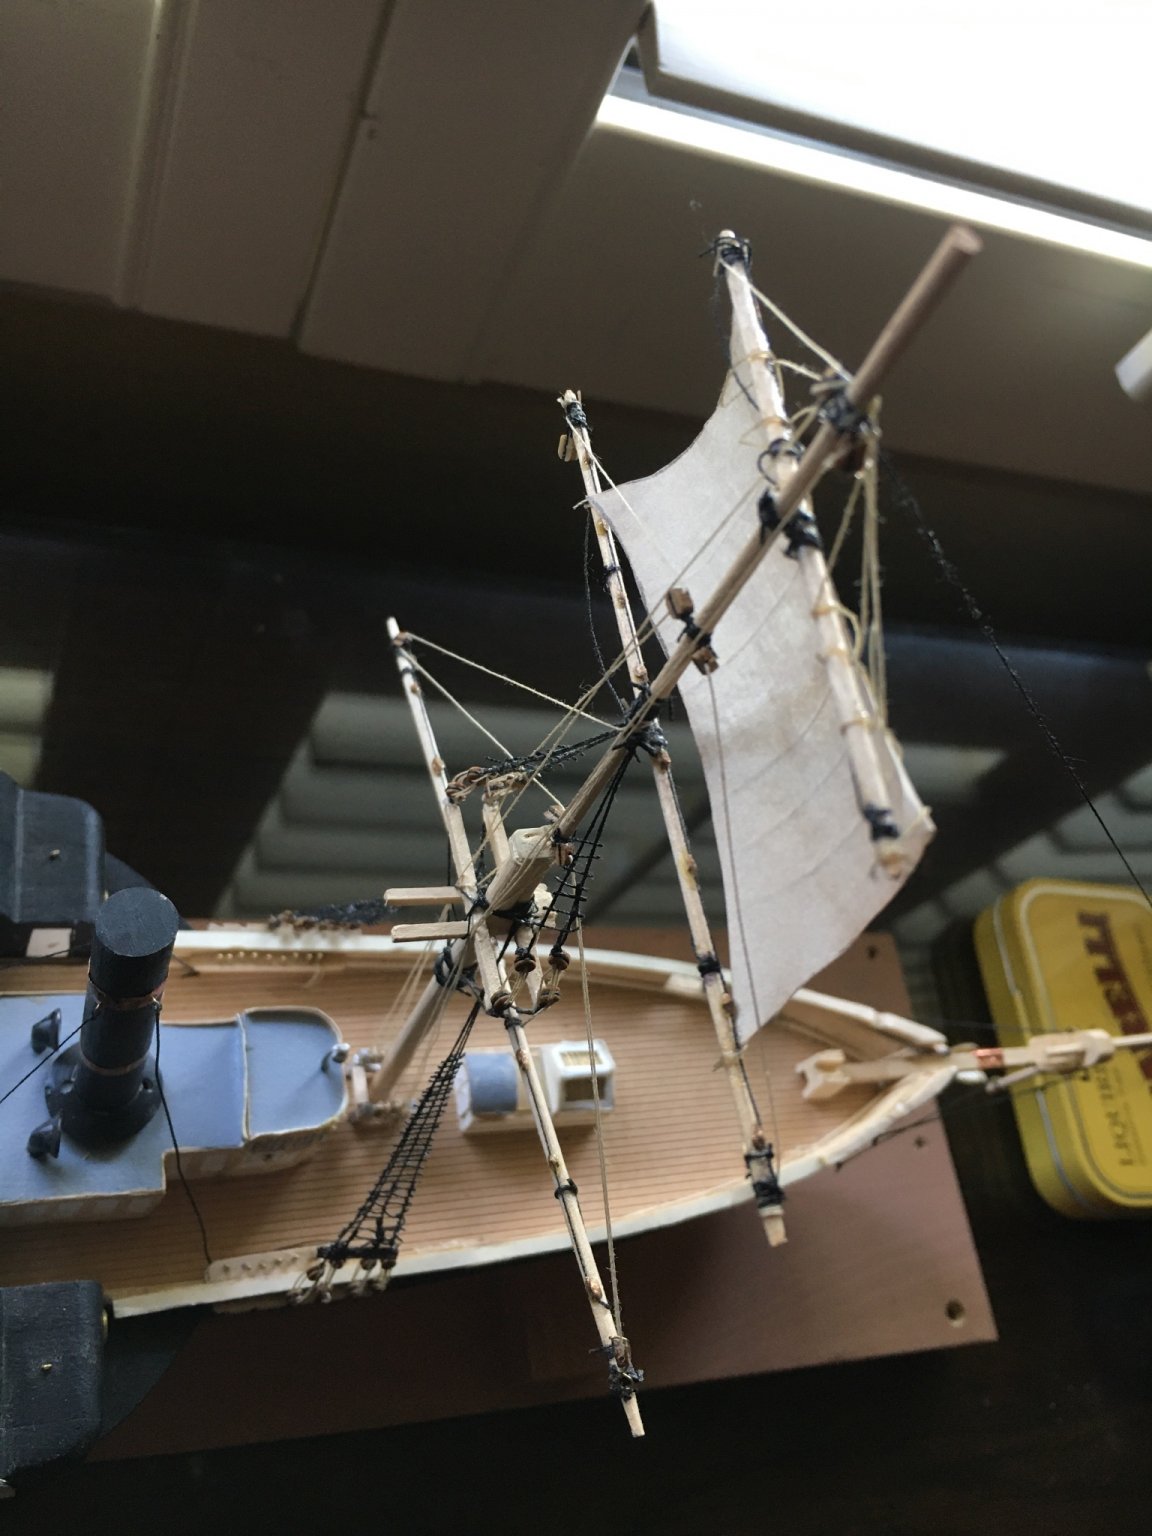
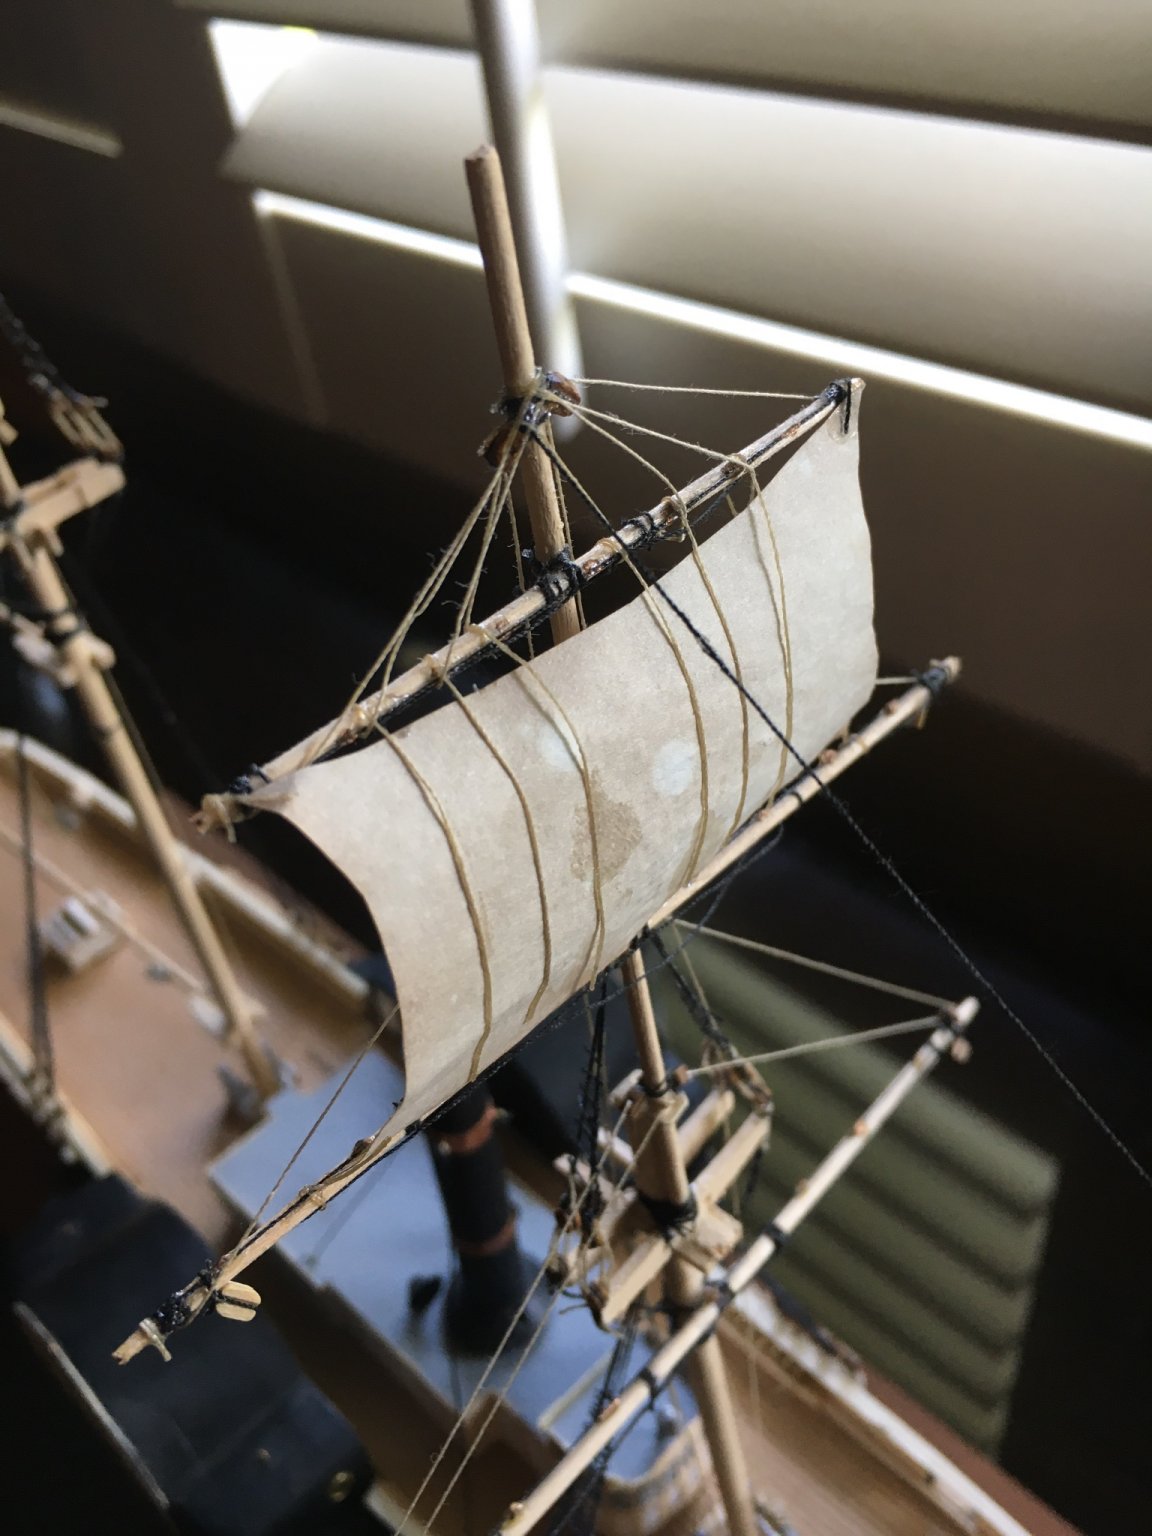
I replaced the top sail with one that looks secured correctly.

-
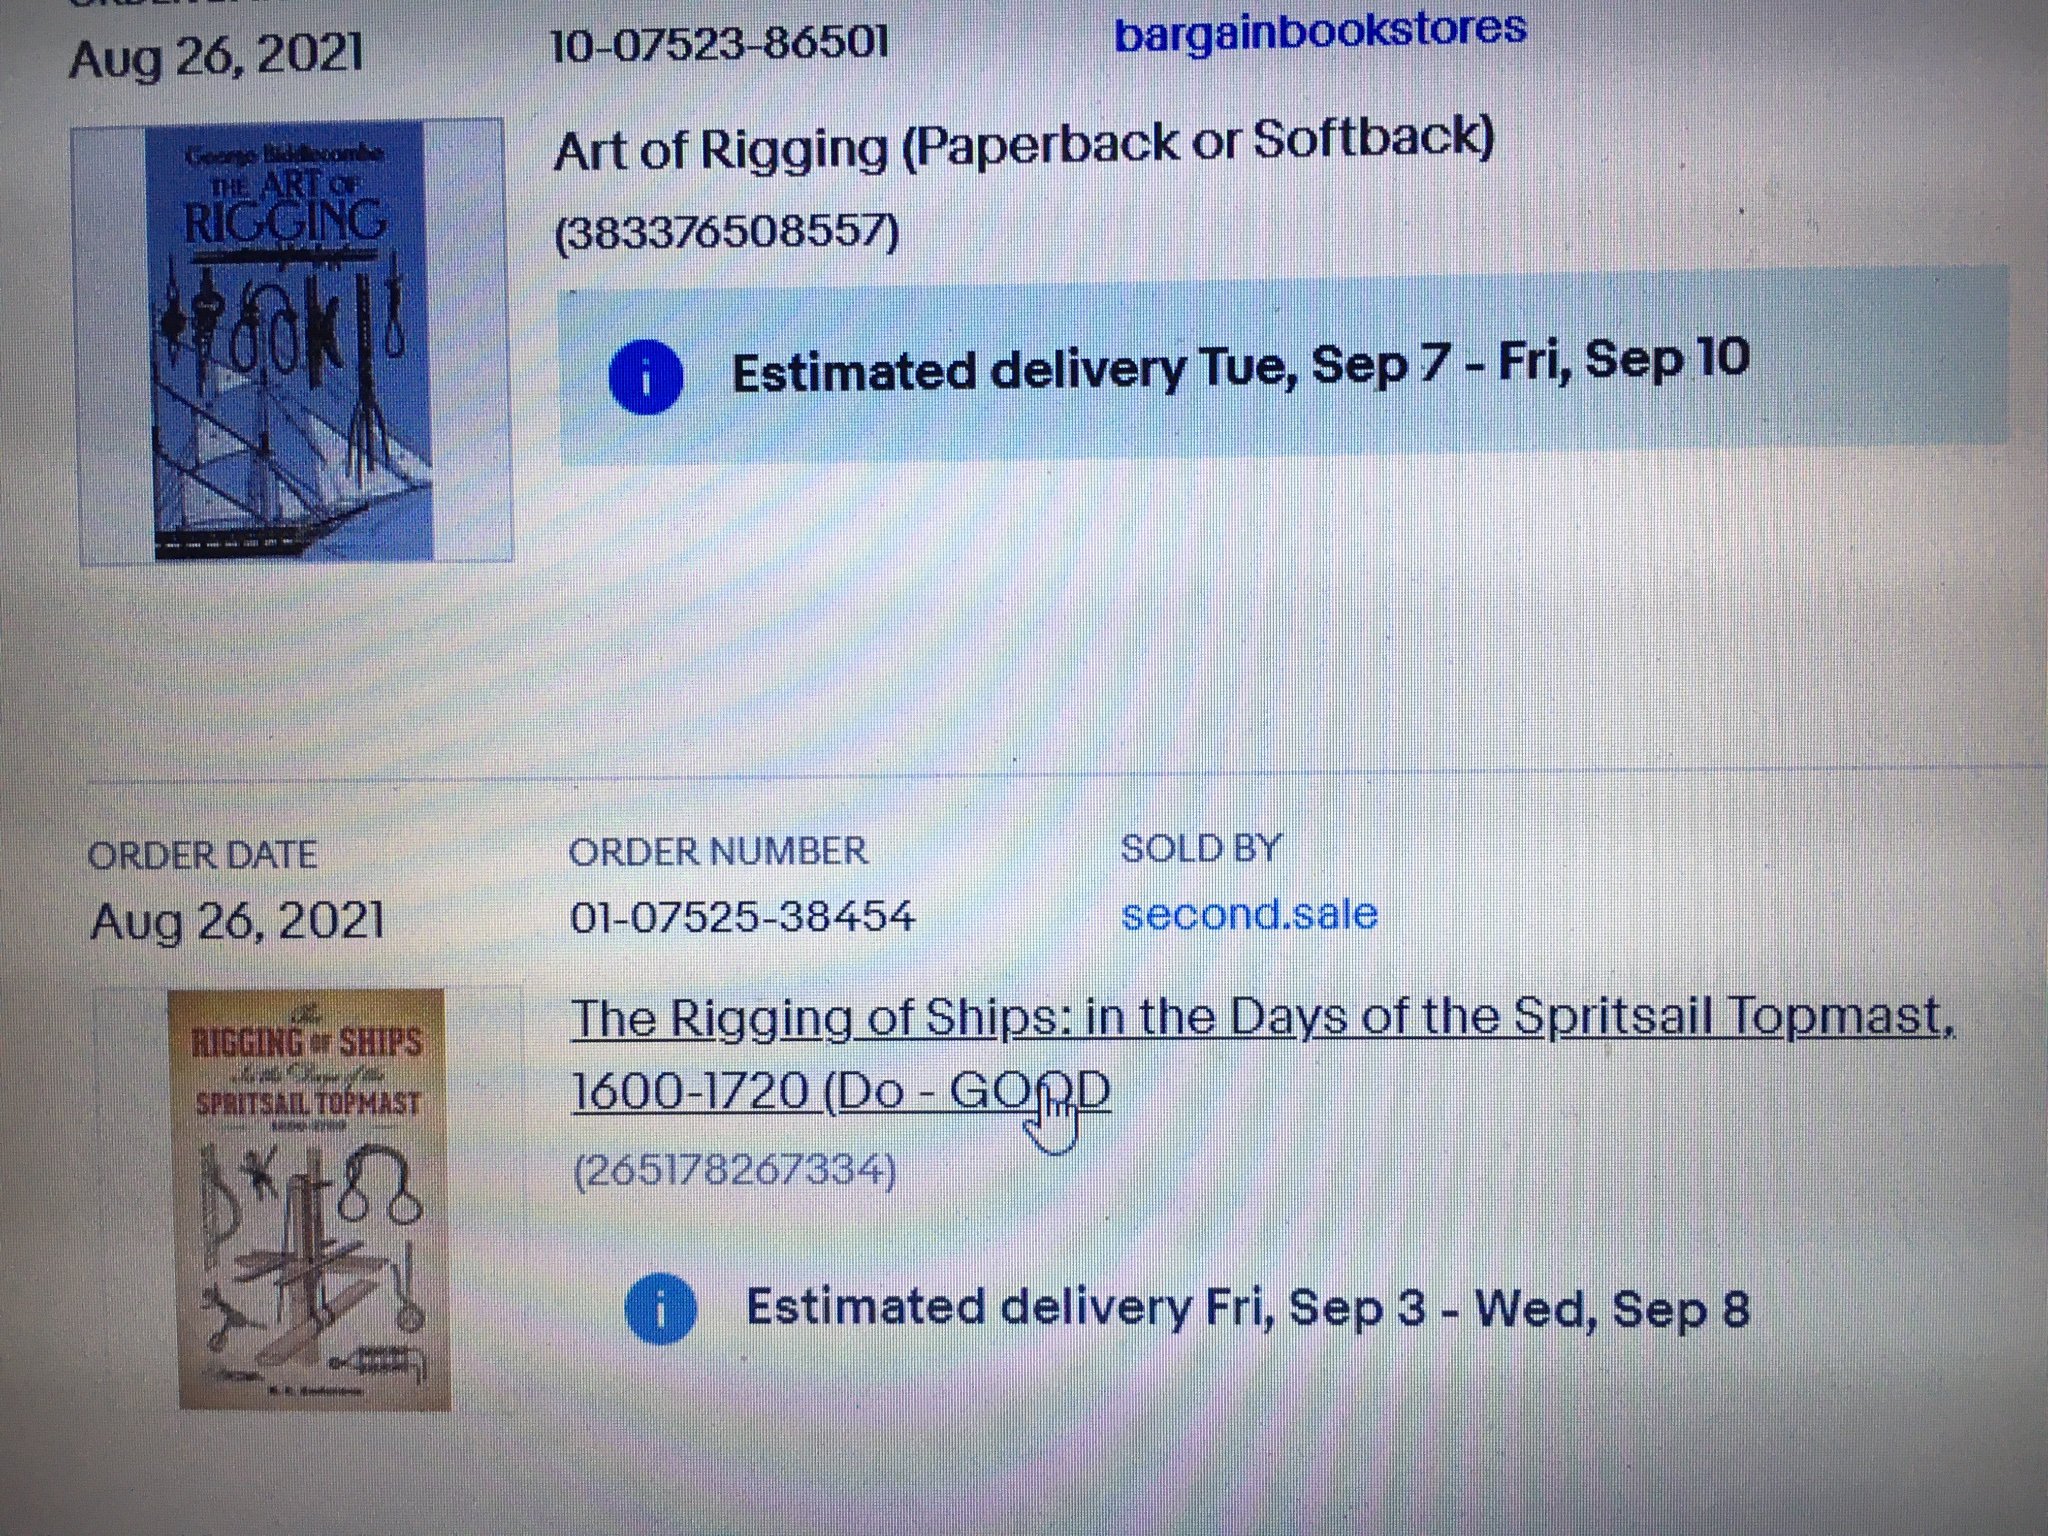
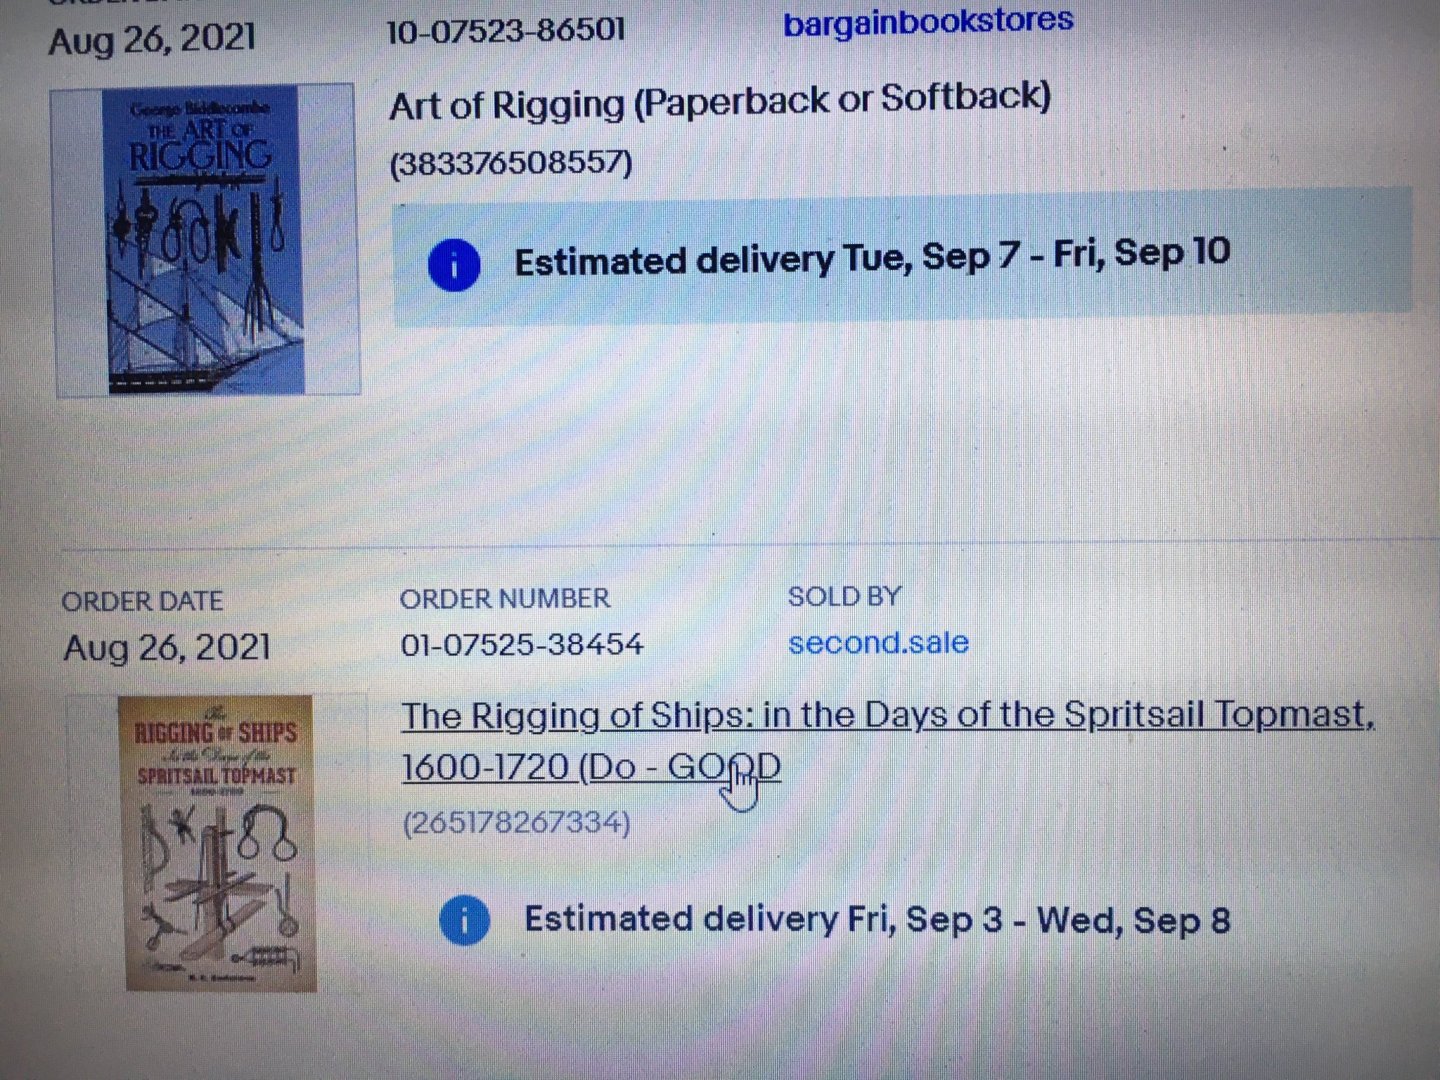
I bought two books that should answer my questions even though I know one of dates way before the period of my ship.
-
I am replacing the top sail with one that appears to be more correct. I am only putting these two square sails on the model. I am going to add two of the jib sails and need to study how those are rigged. Any instruction is welcome!
-
I am replacing the top sail with one that appears to be more correct. I am only putting these two square sails on the model. I am going to add two of the jib sails and need to study how those are rigged. Any instruction is welcome!

-
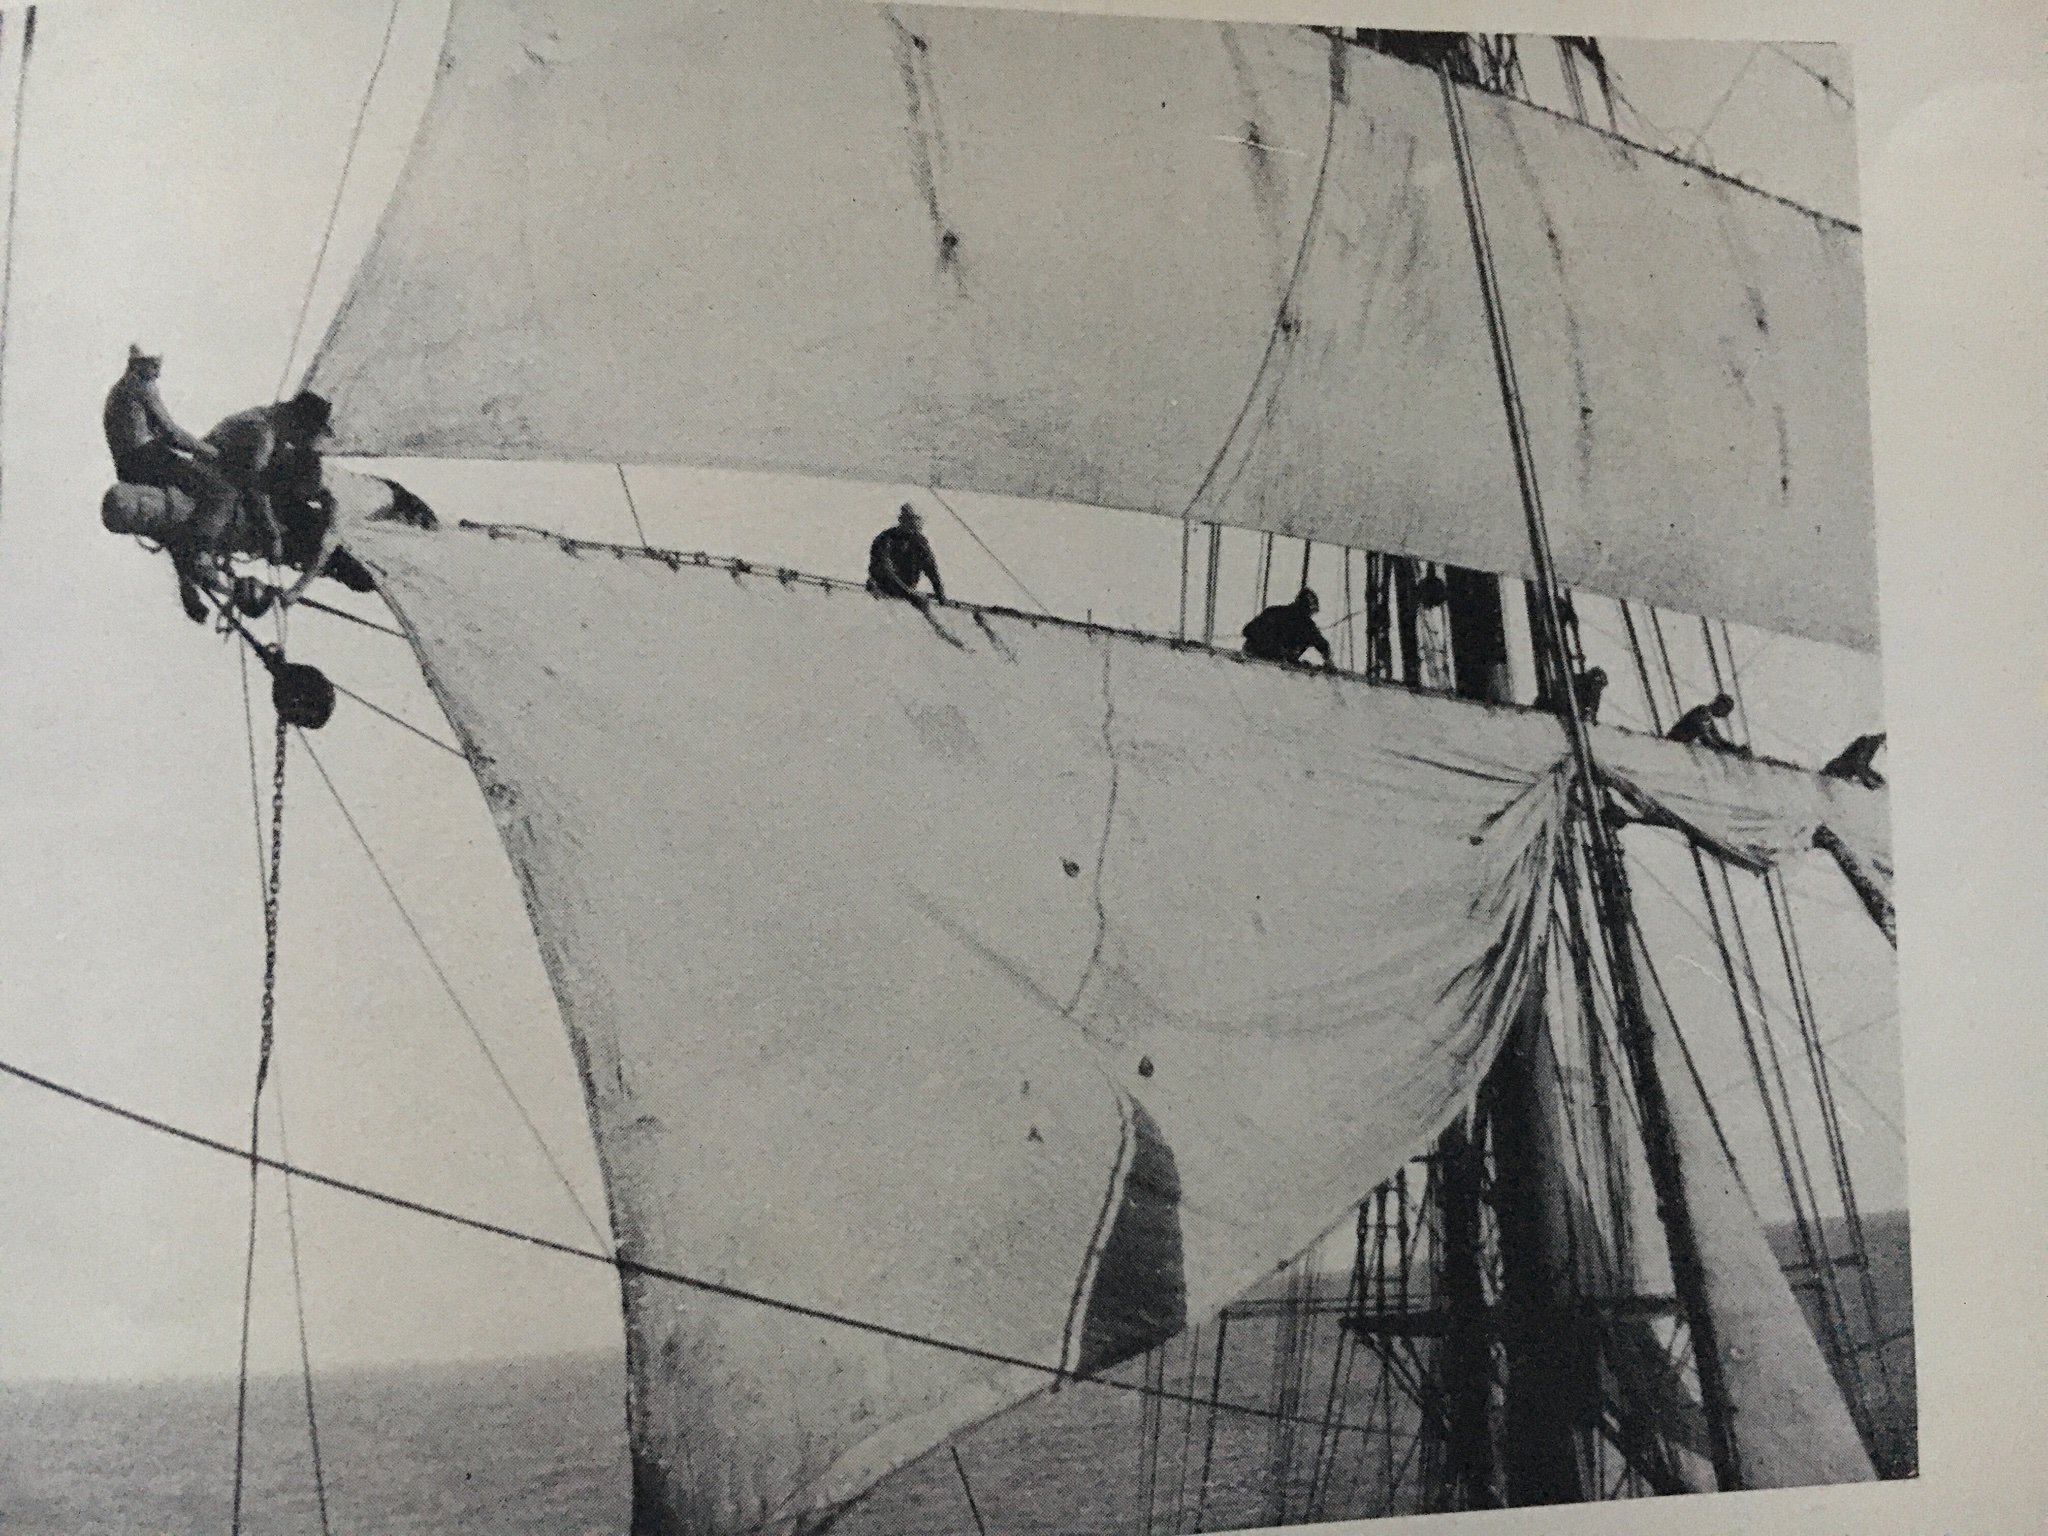
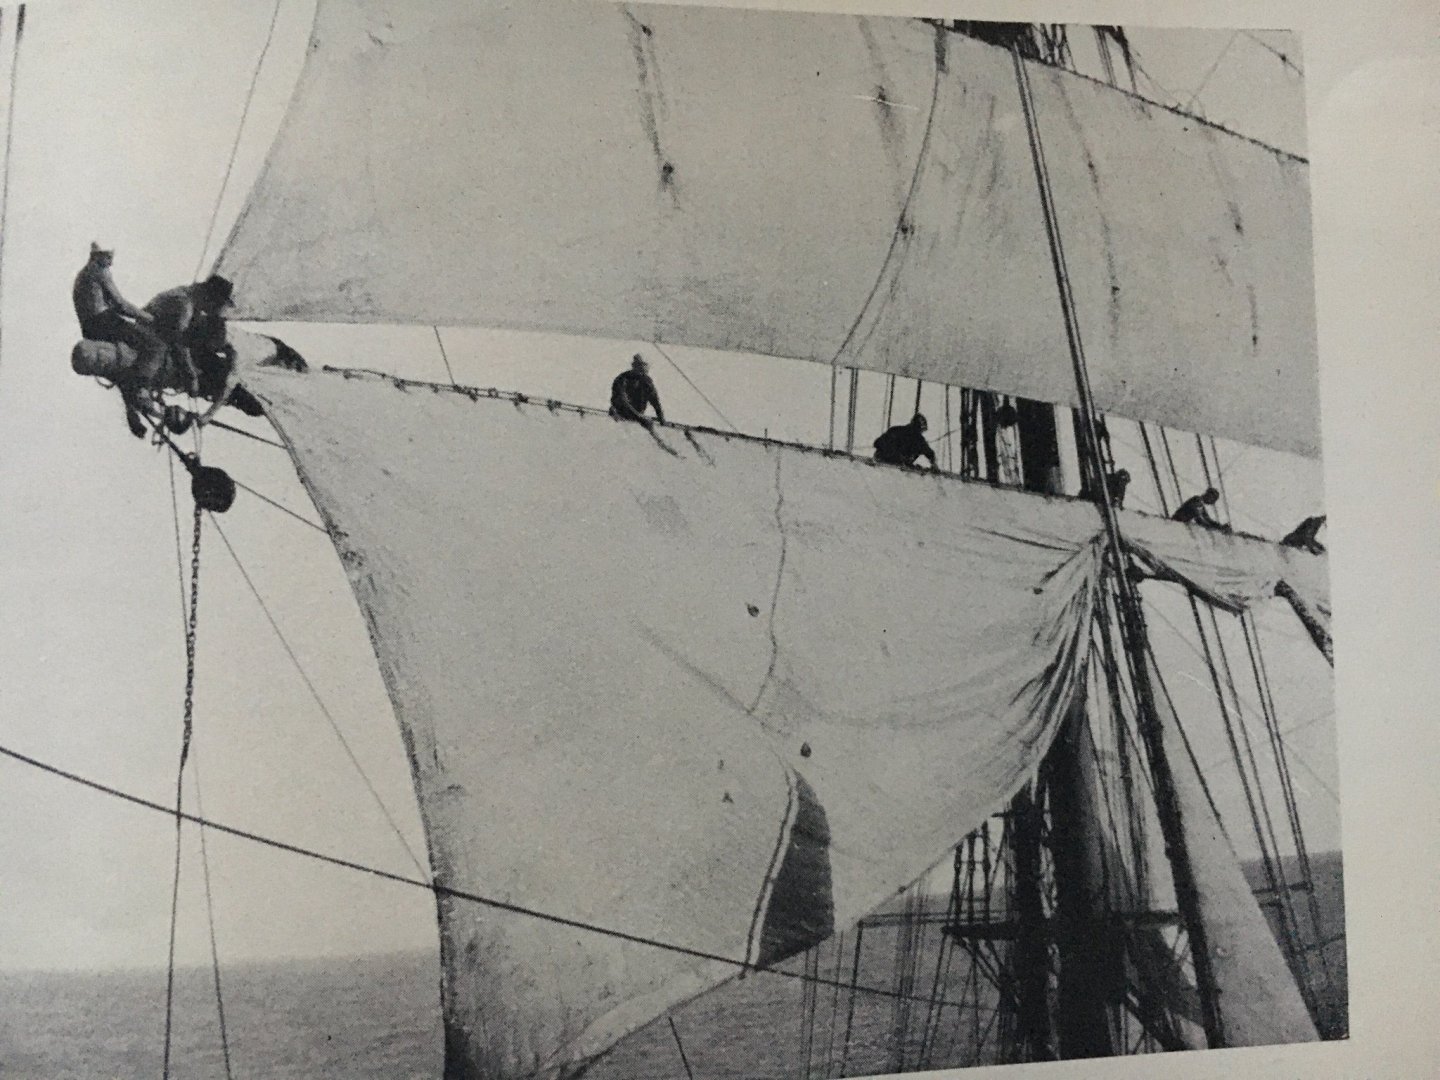
I see—— you are absolutely right!! I wasn’t heading my own source material, such as the attached photo from Villiers, Last of the Wind Ships.
-
I see—— you are absolutely right!! I wasn’t heading my own source material, such as the attached photo from Villiers, Last of the Wind Ships.
-
Top sail secured. Looks messy , but the bunts will all go to their homes.

-
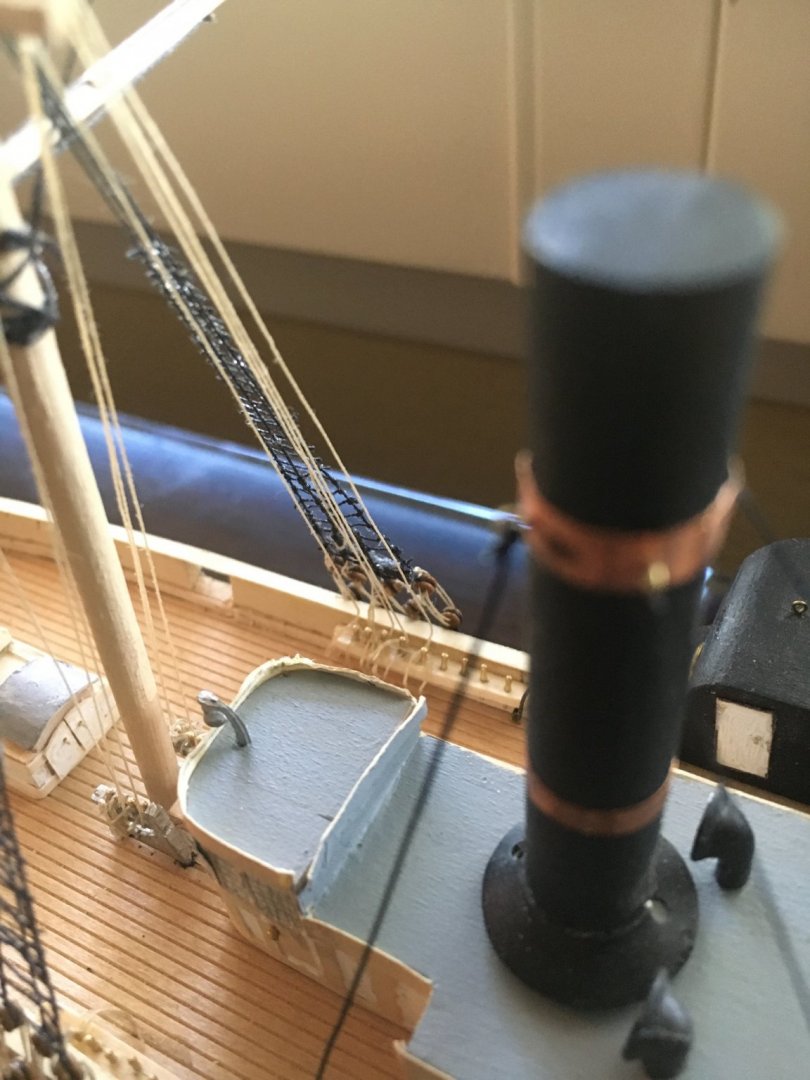
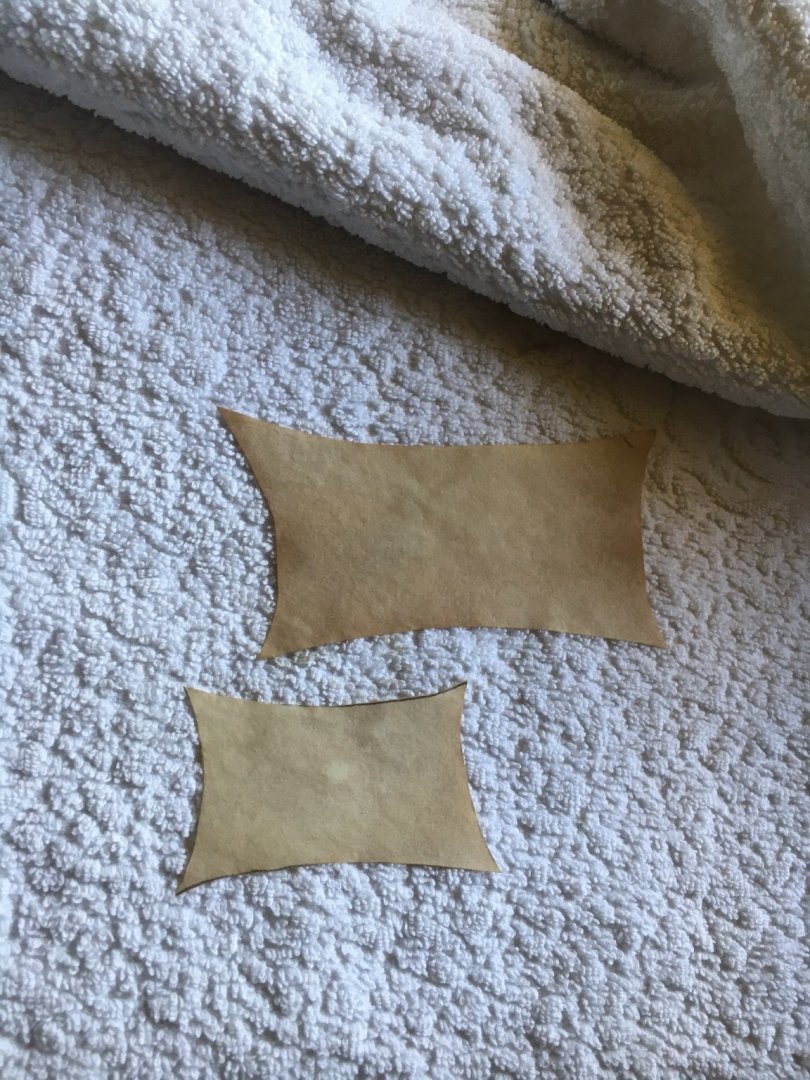
My sail making consists of copy paper, soaked in black tea, with buntlines glued on. The topgallent sail is in place. On the real ship, the bunts would pass through much smaller blocks, on the mast, than those on the mast for lifts and braces. On this scale, I omitted them. I will create the illusion of the full buntlines by making the mast to pin rail runs, separate pieces of thread.


-
Small glue soaked thread loop glued to the bulwark belying pin. I will thread the bunt and clew lines through these loops. If done right, I will create the illusion that the lines are on the pins. The loop will be coaxed under the pin rail a little more.

-
Still working on my model🙂. All of my shrouds are up, but not the back stays yet. I am waiting on those to give me more room to reach in to belay the bunts on the pinrails. I am glueing the ratlines one by one to the shrouds. I have way to much glue on them, giving them the look of icicles, that real ship crews delt with.
-
Thanks for the kind words and encouragement 🙂. The civil war was very transitional in that breach loading and mussel loading were used side by side. More research my reveal that HL’s guns were breach loading(?)