HOLIDAY DONATION DRIVE - SUPPORT MSW - DO YOUR PART TO KEEP THIS GREAT FORUM GOING! (Only 66 donations so far out of 49,000 members - Can we at least get100? C'mon guys!)
×


Organ tech
-
Posts
125 -
Joined
-
Last visited
Content Type
Profiles
Forums
Gallery
Events
Everything posted by Organ tech
-
 It isn’t shone in the plans or provided for in the parts. It would be easy to add and I may.
 -
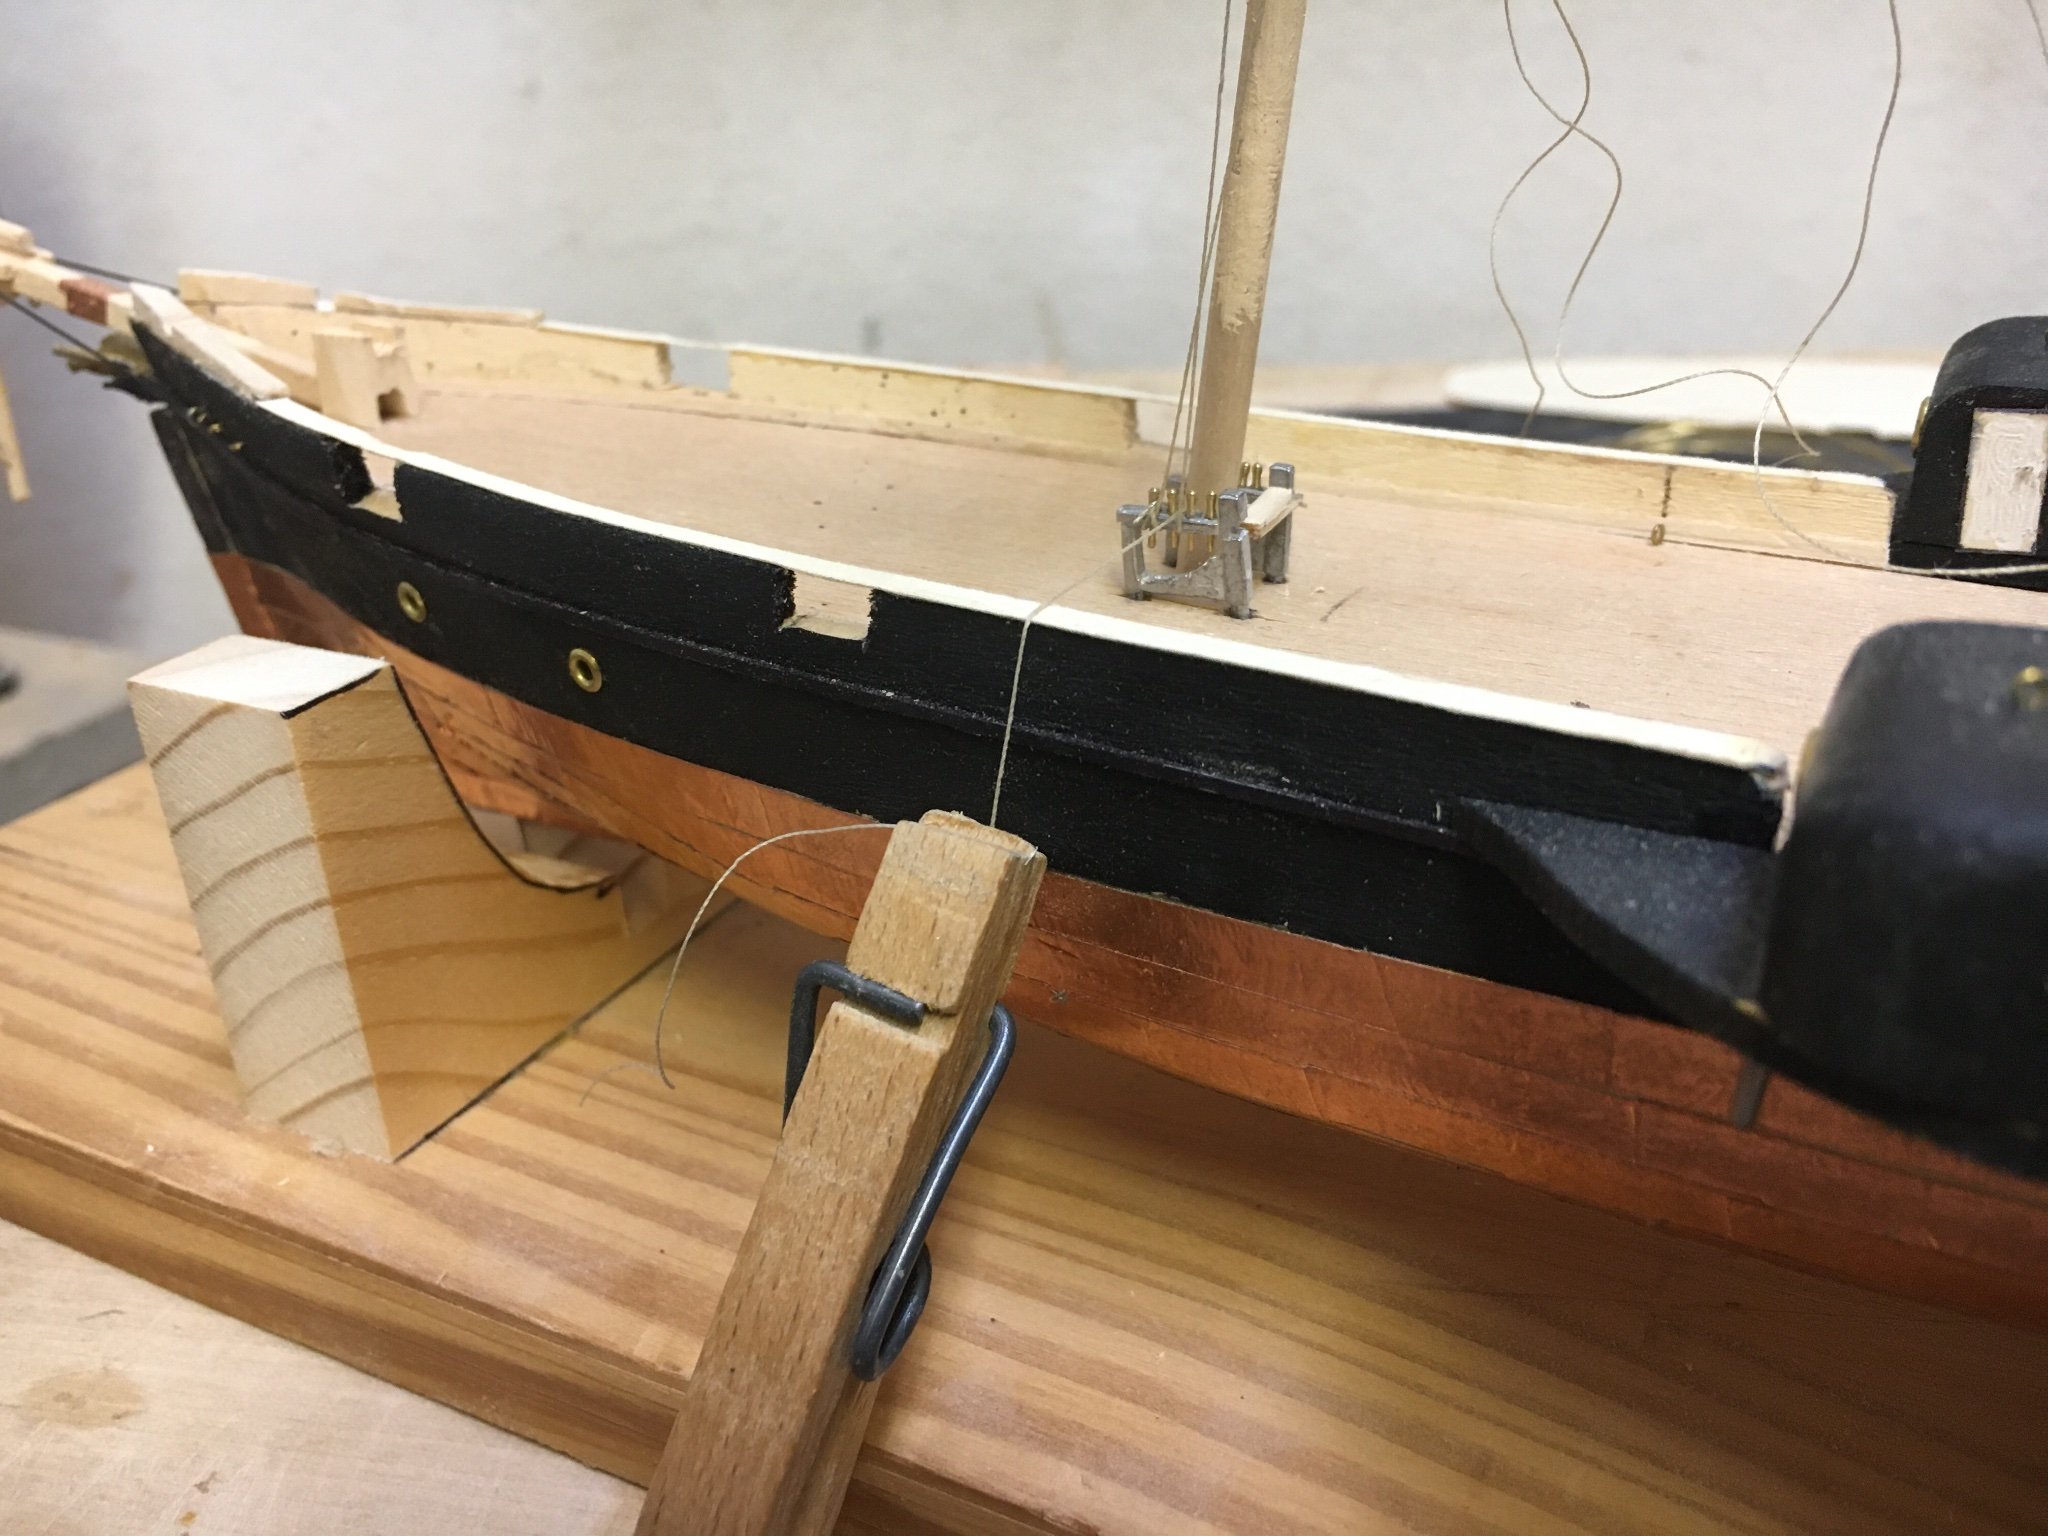
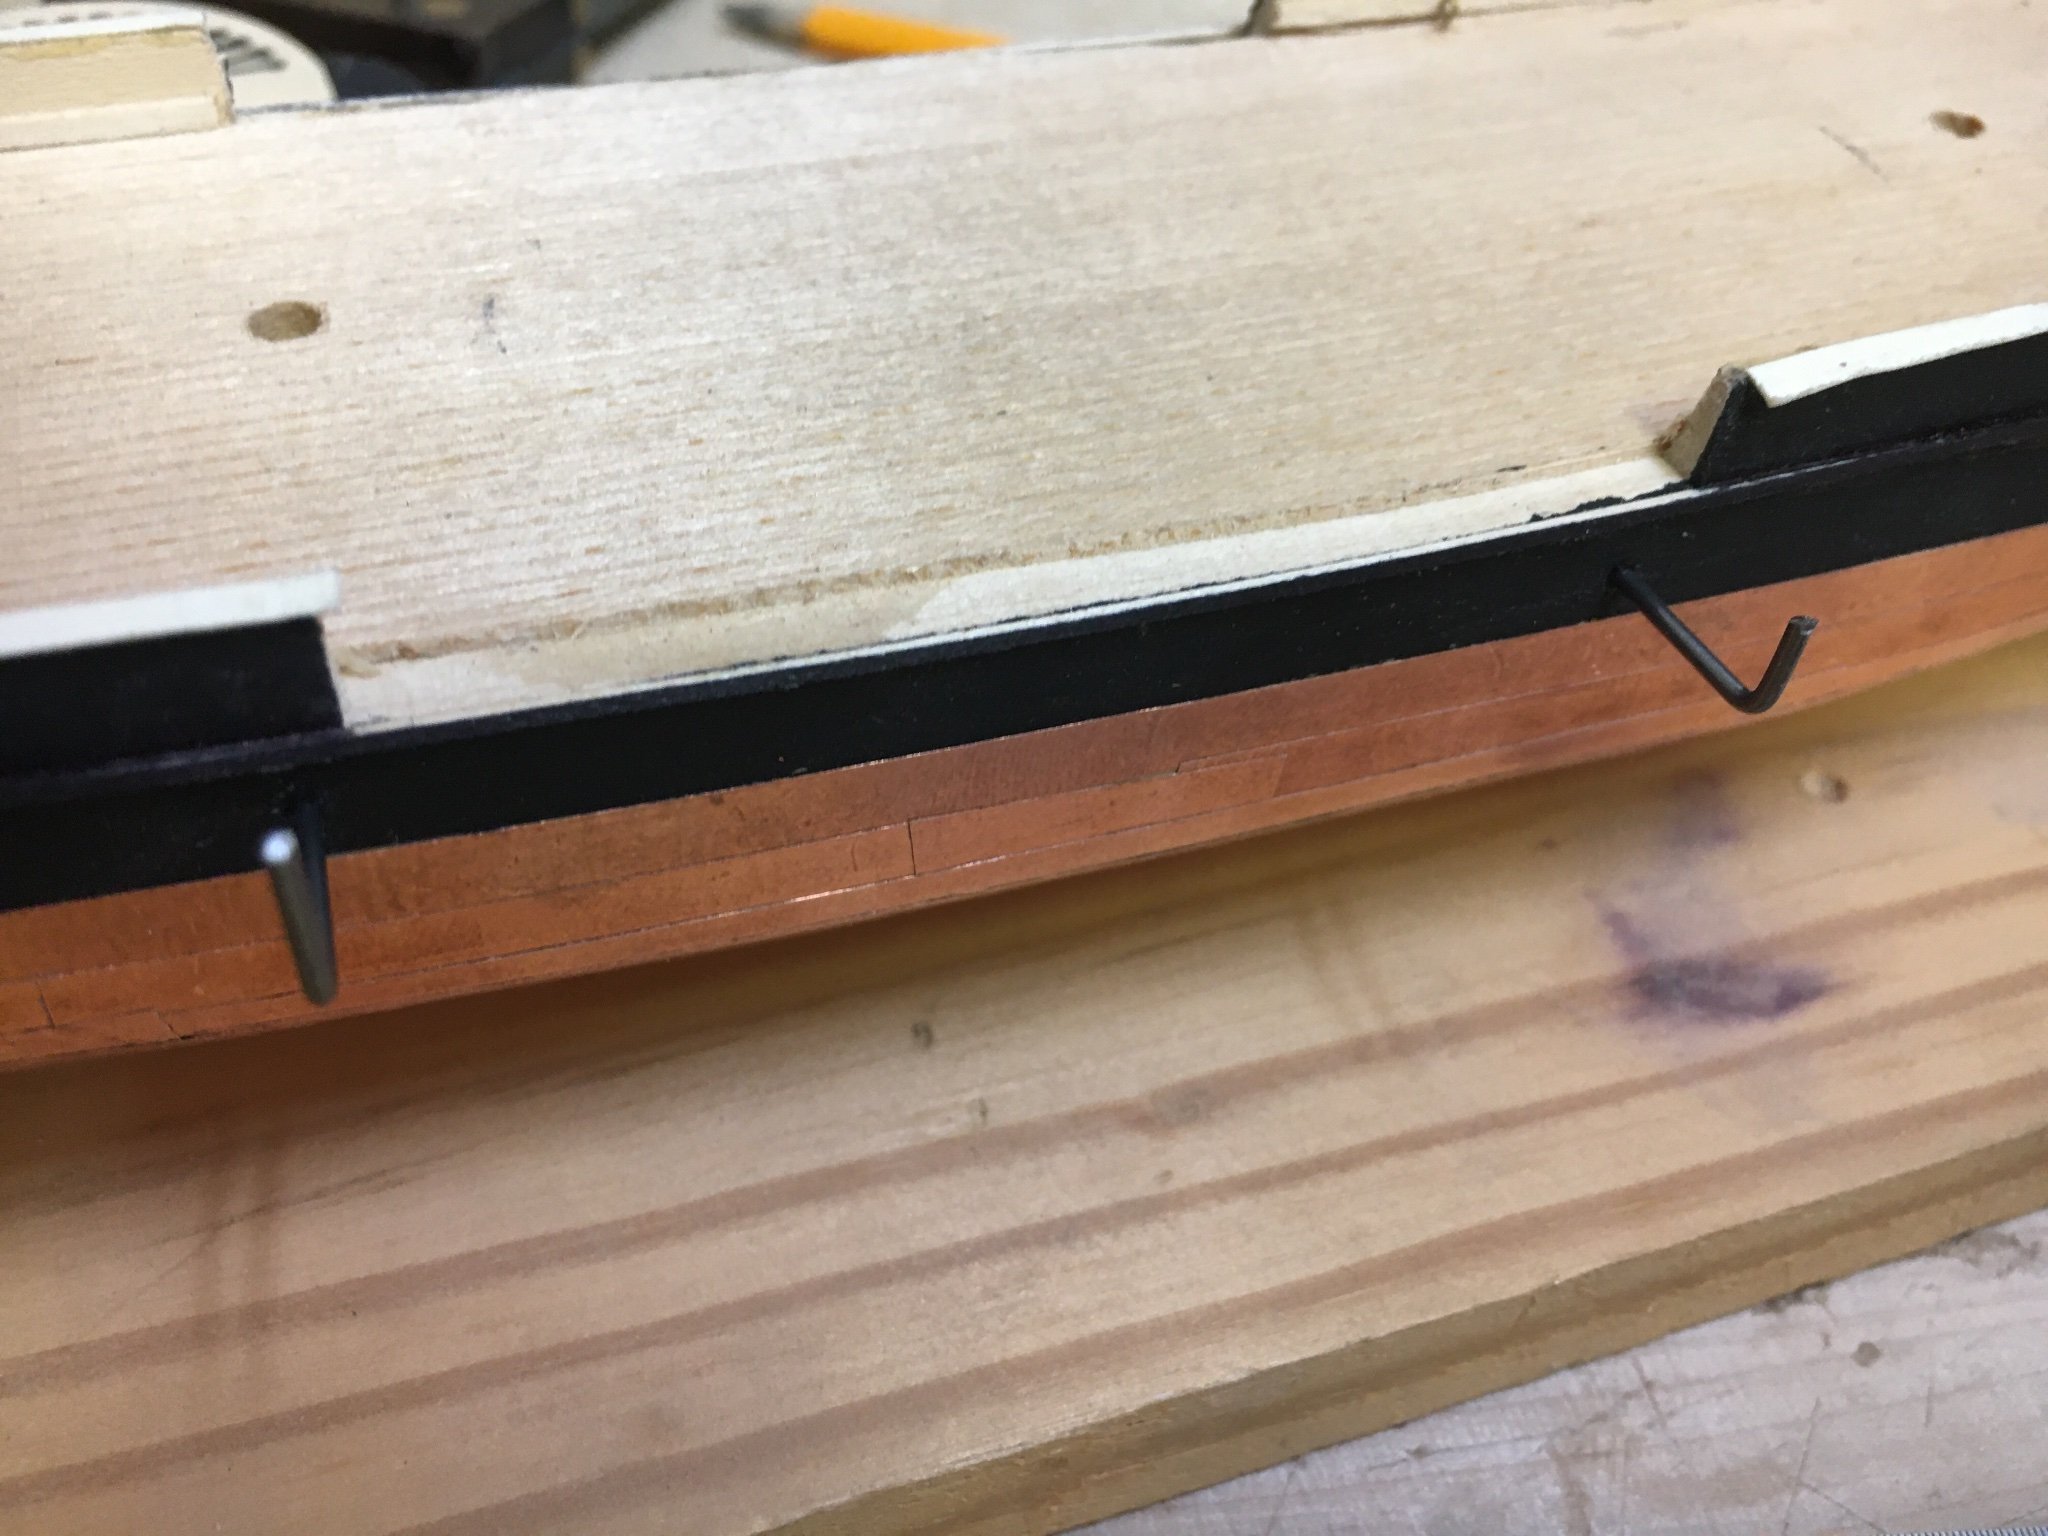
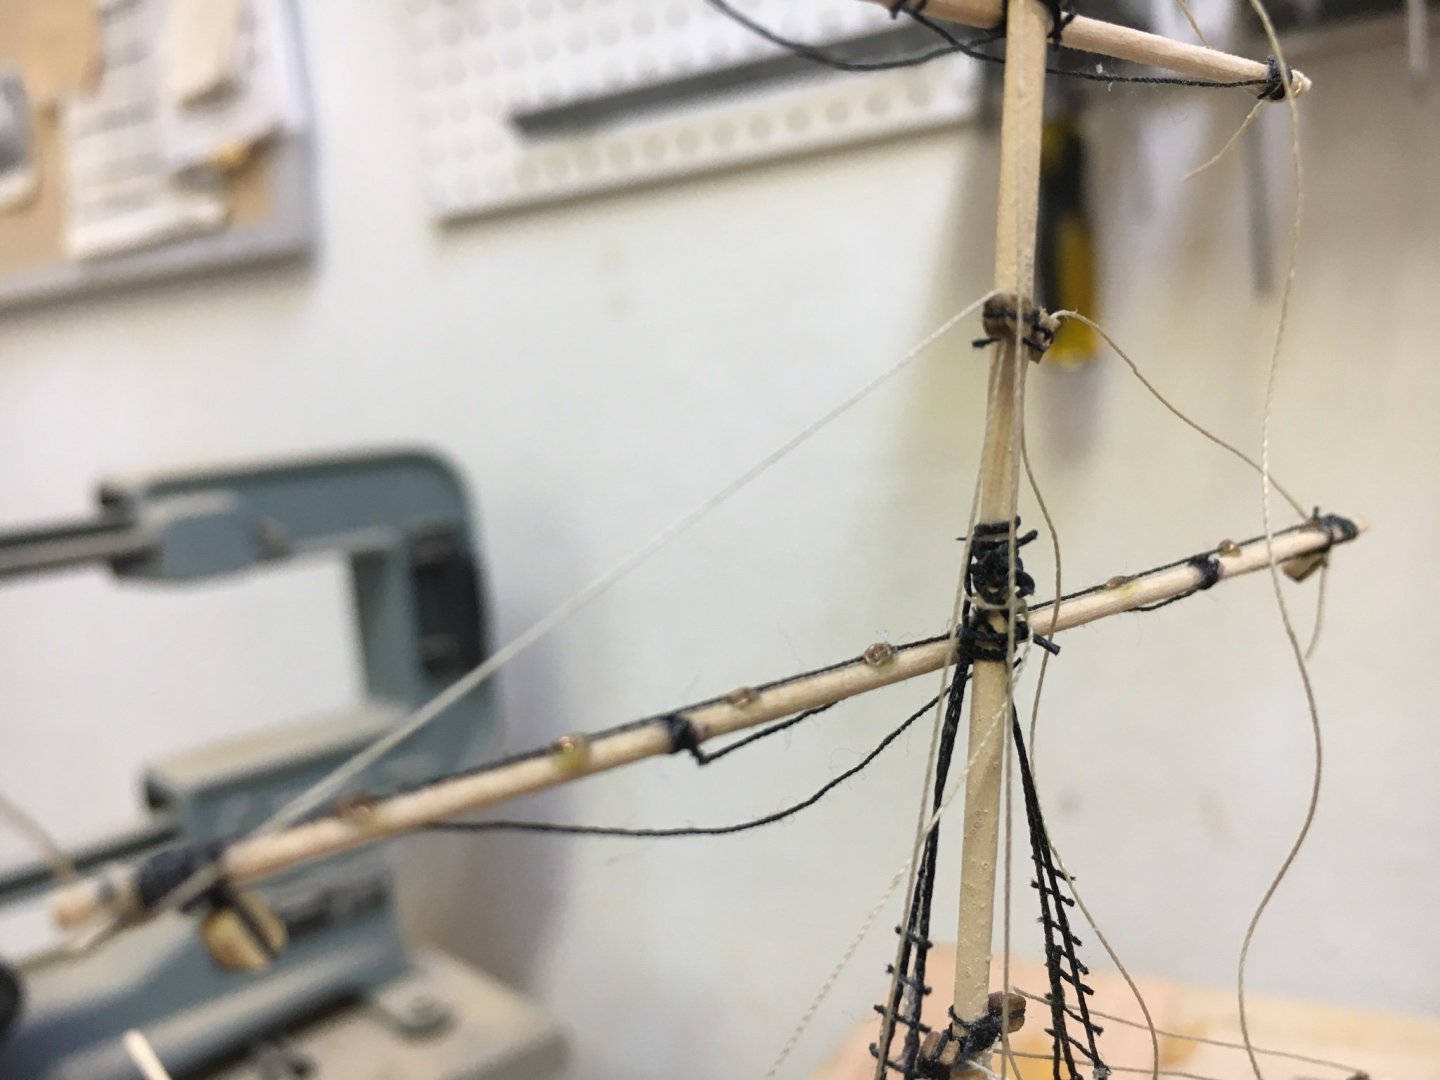
I have glued the deck structure- pilot house in place. The chains, supplied, for staying the funnel are too large to scale so I used the supplied thread, which is too large to scale for any of the rigging. I failed to get the curve on the bottom to conform to the deck. I also added the port side pin rail, not in the plans, as I am adding one or more sails to the formast to hide the out of scale rigging there. I wish I had bought finer thread. The running rigging thread looks better.

-
Rope loops on belaying pins. I formed them around a 16 penny mail, add glue to the side of the fife rail, then drape them over the pin with pointed tongs.
-
I did get the direction right, just didn’t secure it to the eye right☹️
-
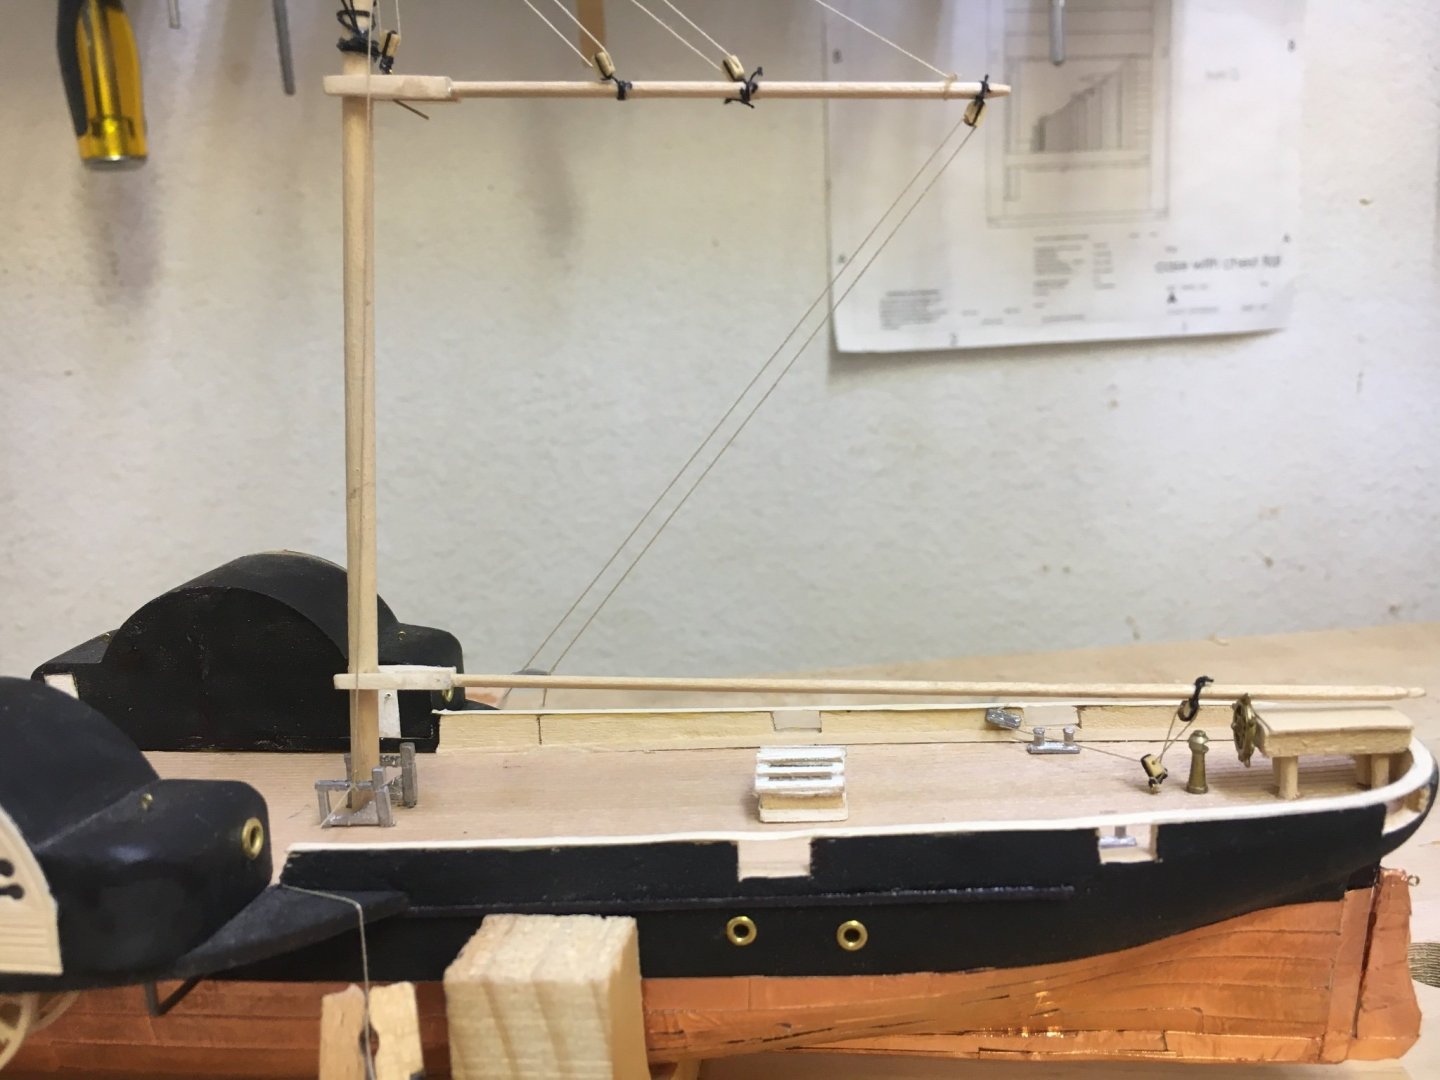
My main mast is glued in. The gaff lift is belayed and the boom sheet secured. I am disappointed that the deck block is askew, but will leave it and press on.
-
The stern area is ready for the main mast. I have the boom sheet block secured to the deck, with an eye, ready for the line that I will thread 1st, before glueing the mast.

-
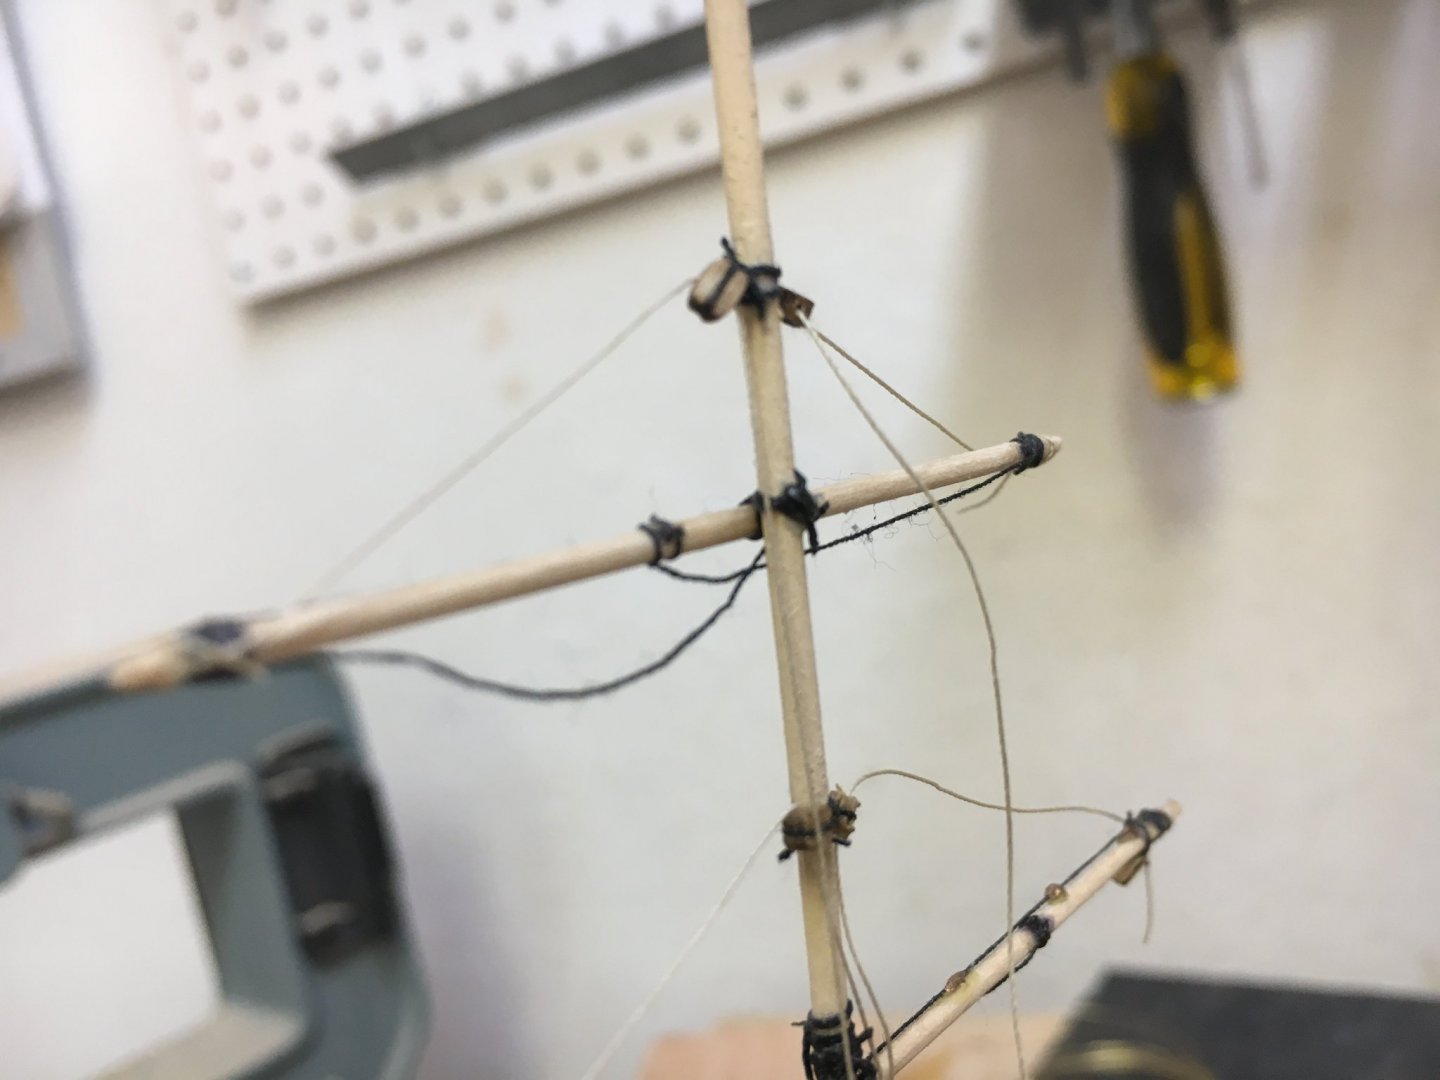
The lift looks taught at the top.
-
Belaying all of the lifts-halyards. I hang a clothes pin on the line to make it just taught, but not bending the mast, then add a drop of clear glue. I will simulate the rope wrap- arounds on the pins, later, with extra thread.

-
If I made a lot of ship models I would get a watch makers lathe and turn them from wire. I bought extra blocks from a firm in Australia. I think they have pins too🙂
-
Thanks for the compliment! It is a stock item that came wit the kit.
-
Thanks druxey🙂
-
I work with very small parts on top of a piece of 600 grit black sandpaper. This reduces bouncing and rolling and makes small things easier to see.
-
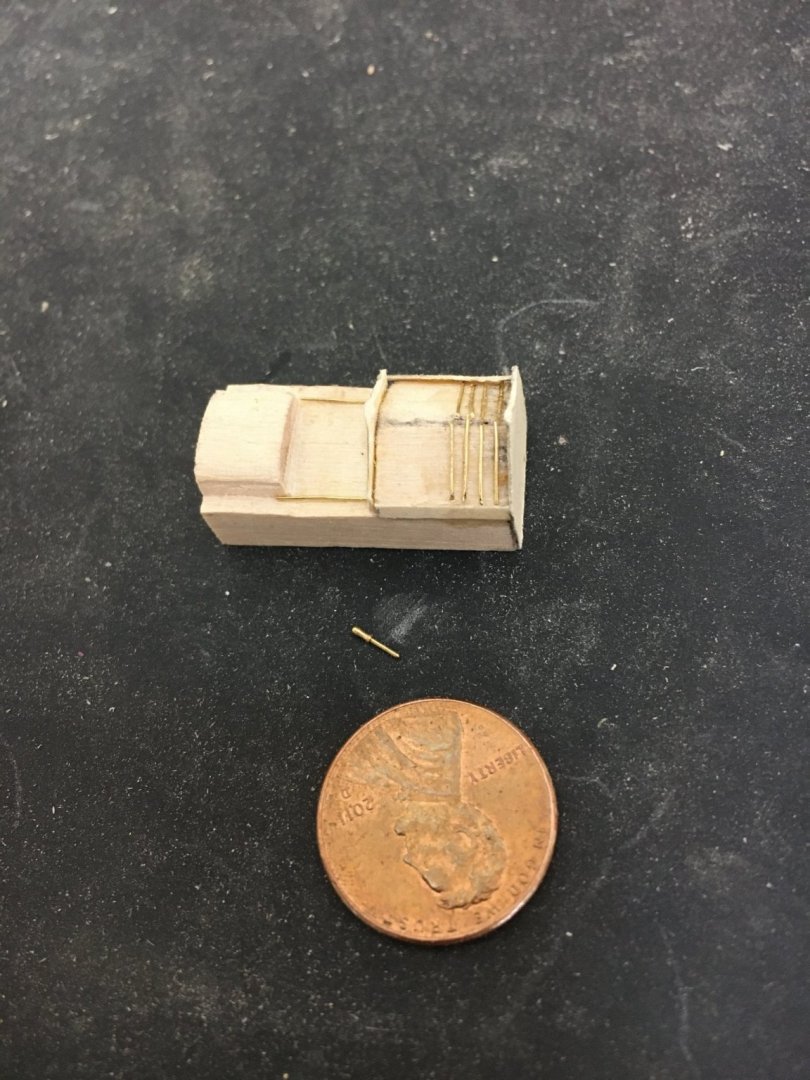
I also added my figure head. Here, I made the mistake of gluing in the bowsprit first, not leaving enough room to fit the correctly fashioned figurehead assembly. I went ahead and installed it wrong. I might correct, as I see a way to re-do it.

-
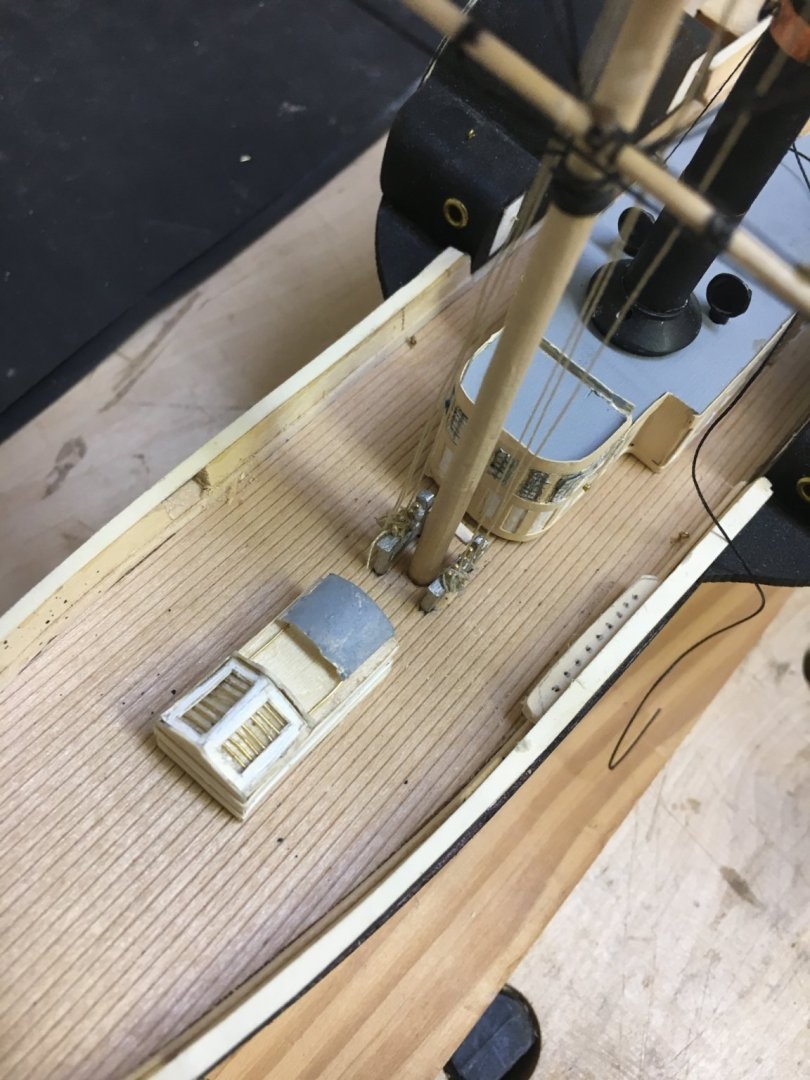
I assembled and installed the foremast fife rail. One piece is missing so I used wood. Too bad I spilt the deck under the rail when installing! In this small model, I only noticed it in the photo. I tensioned and belayed the port topgallant halyard to it, after gluing in the foremast at a little too much rake :-(.

-
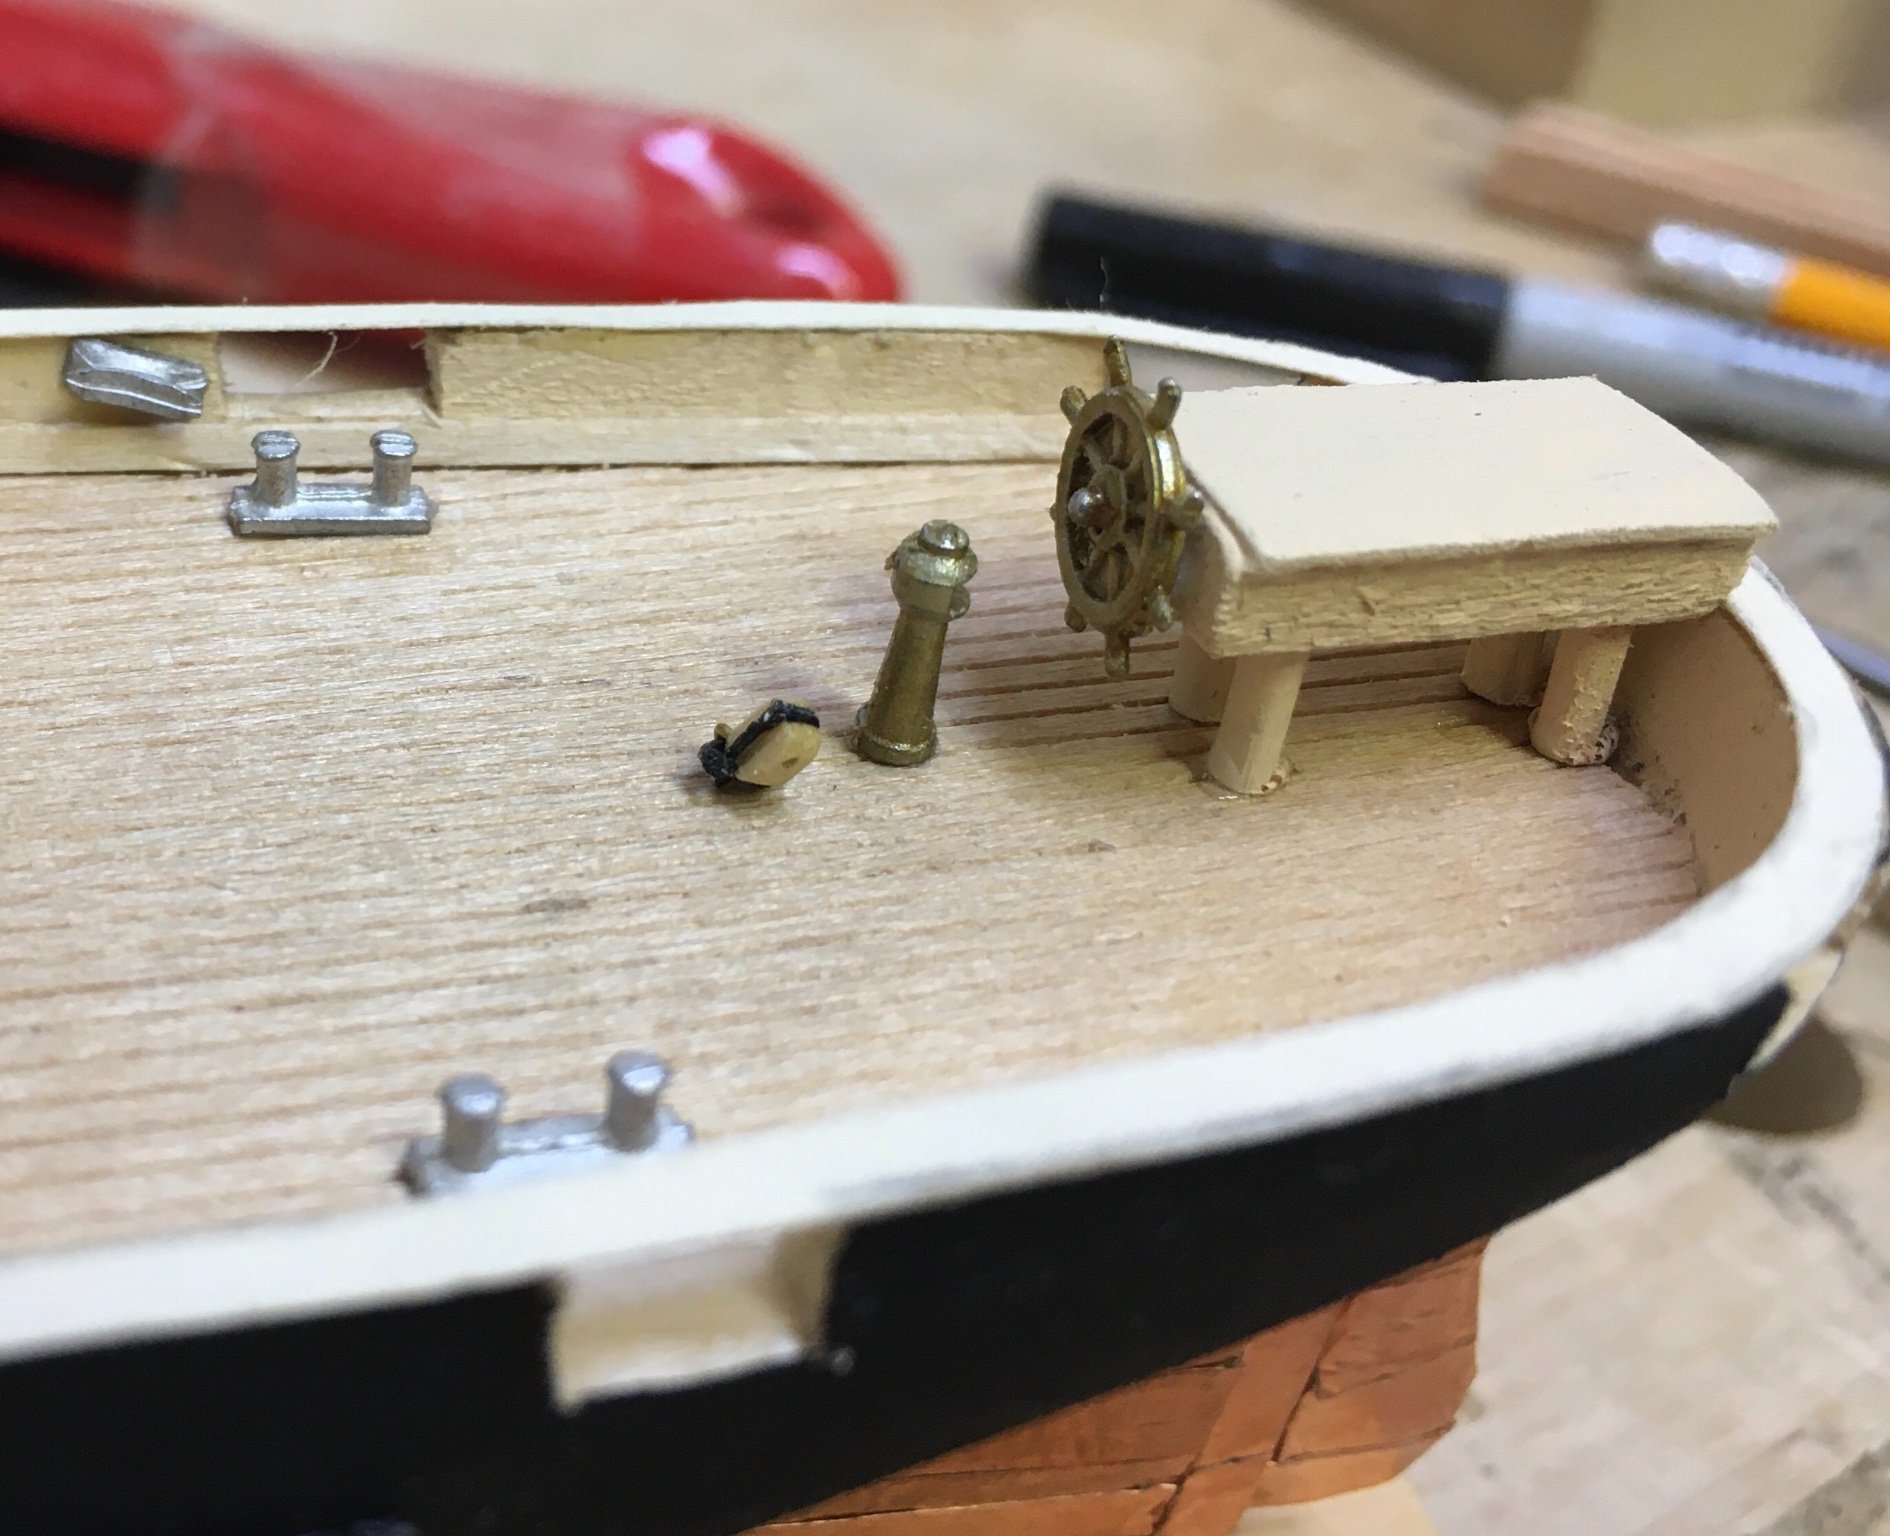
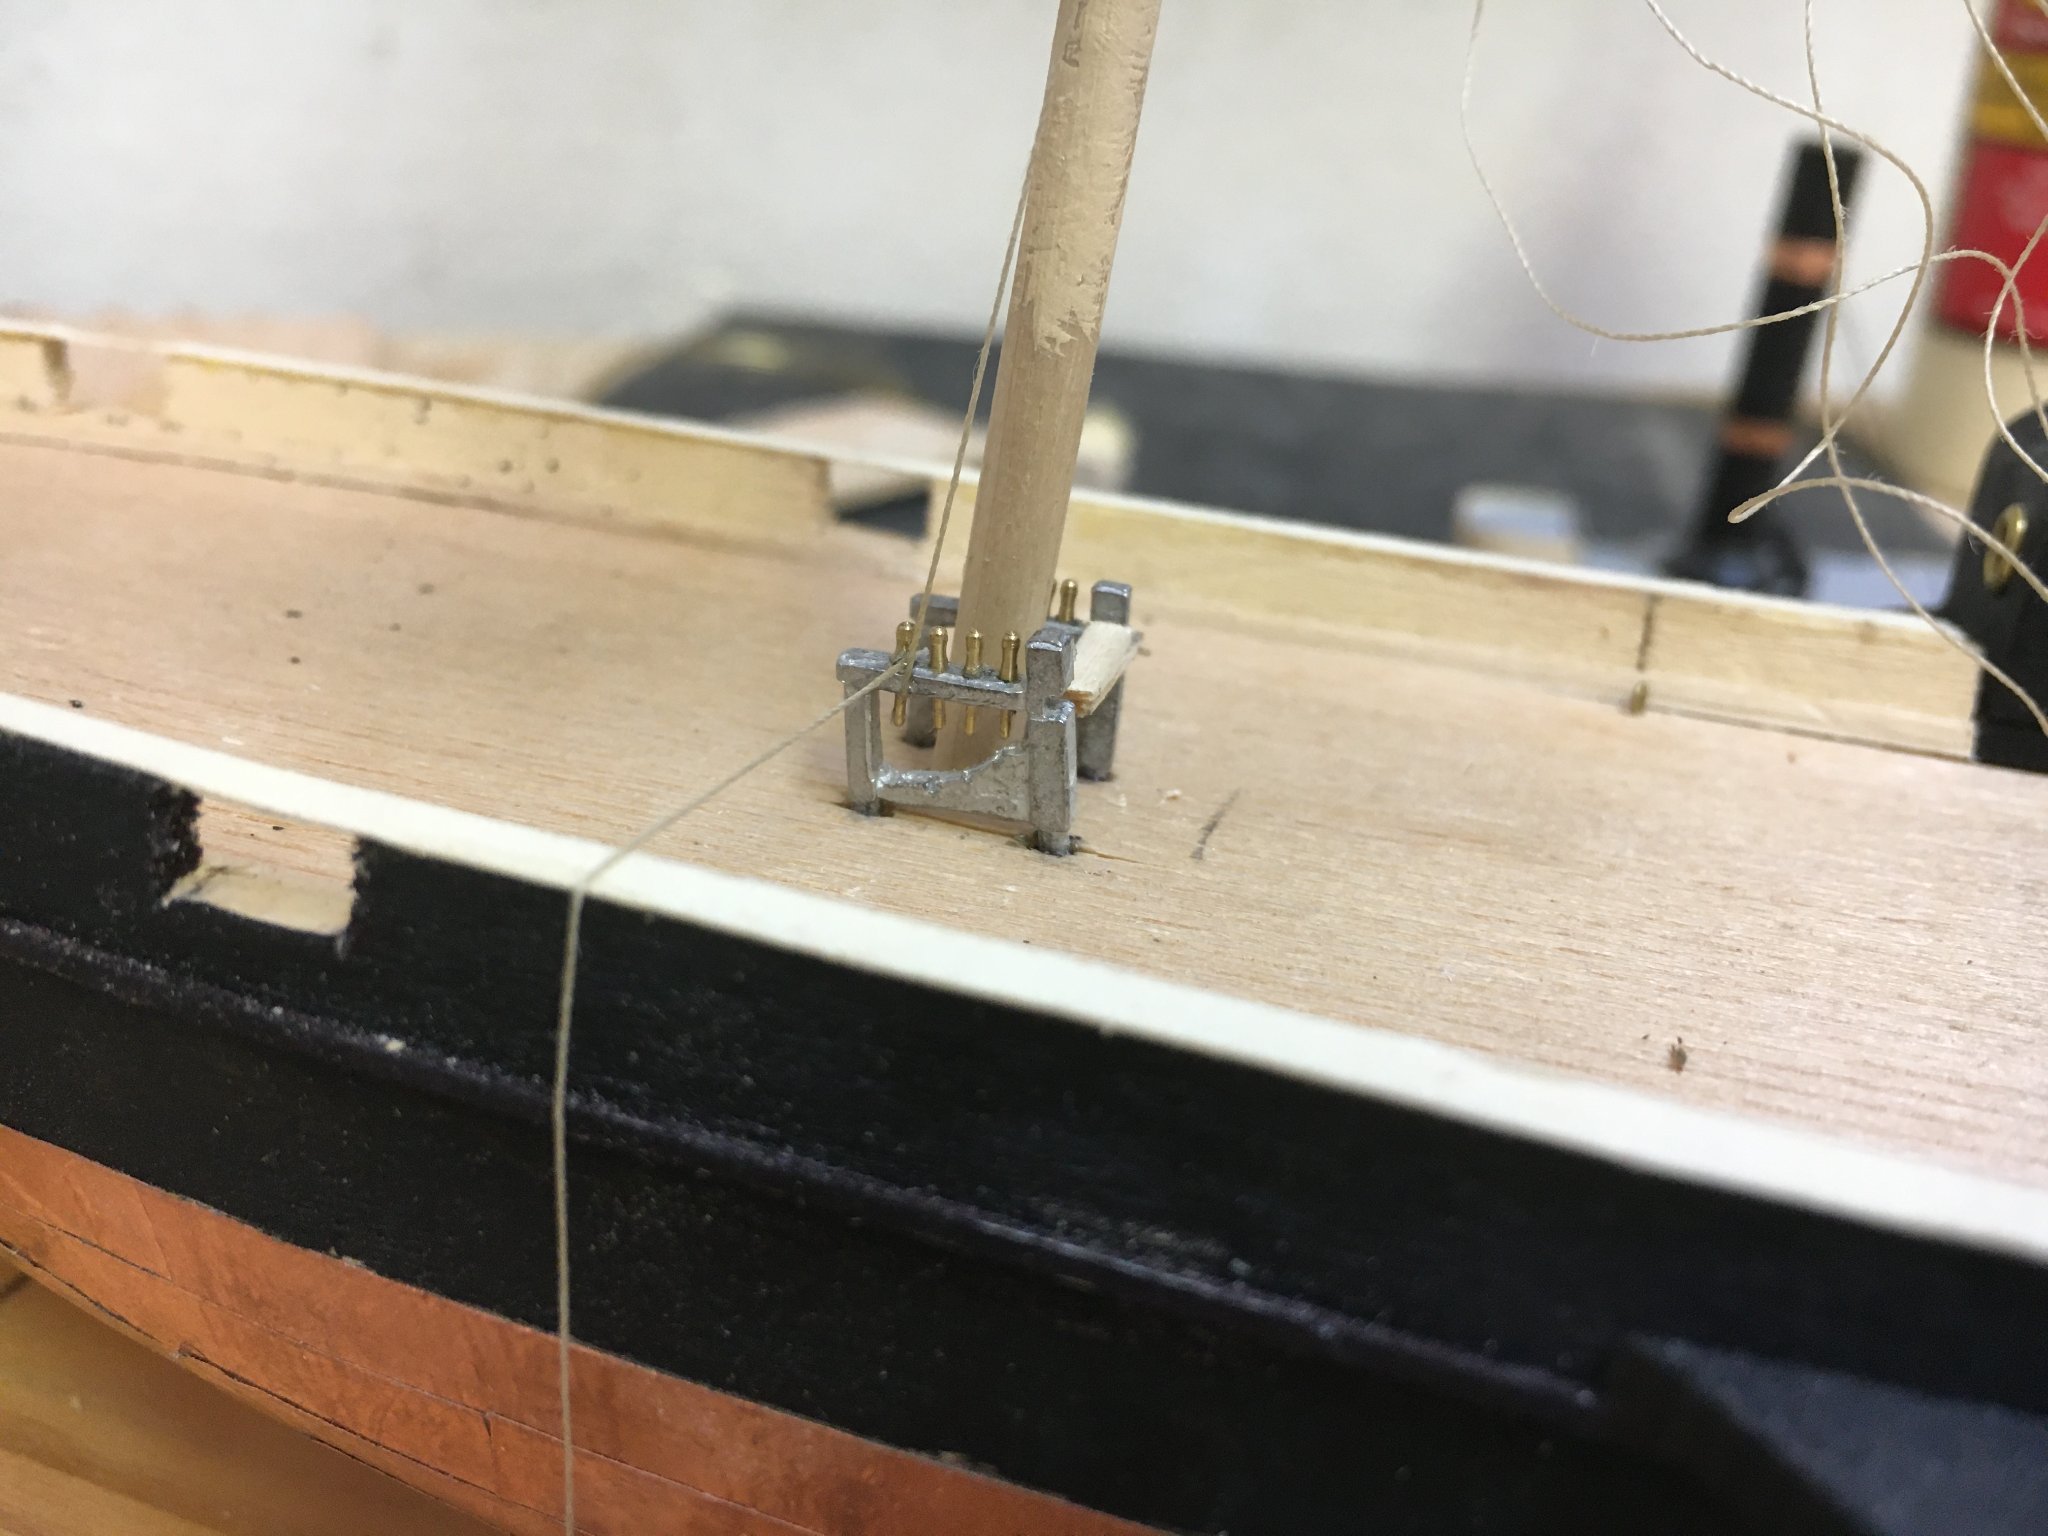
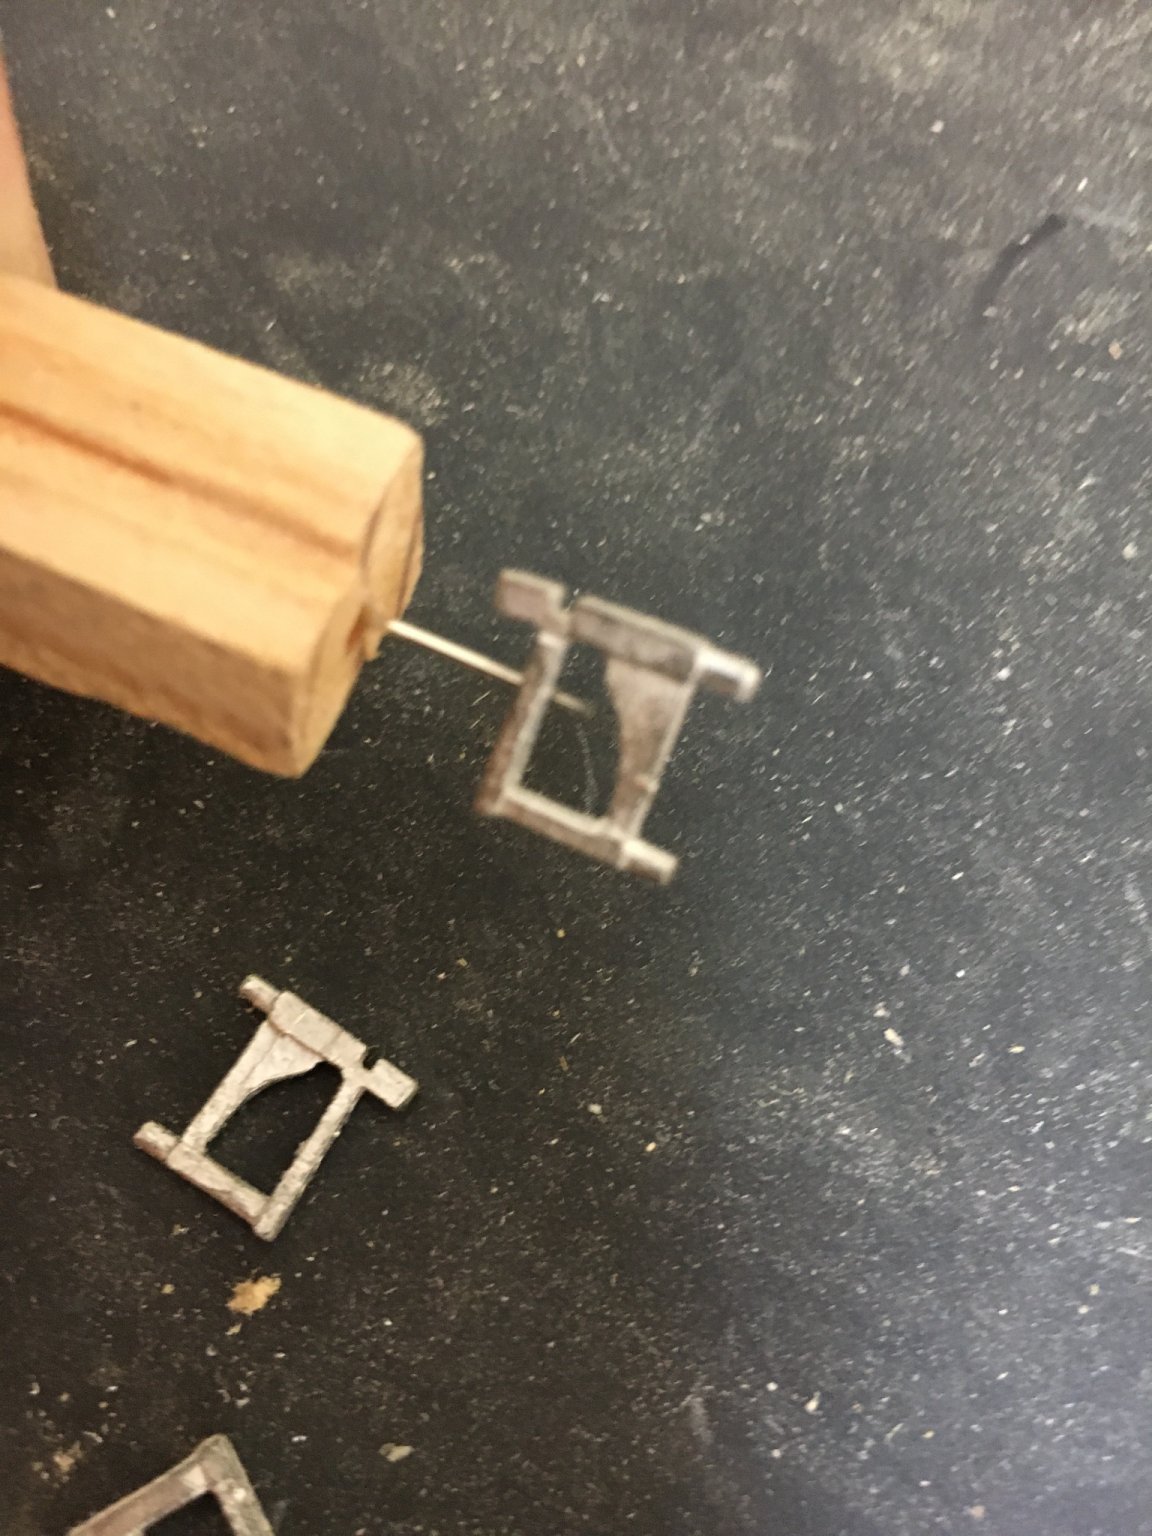
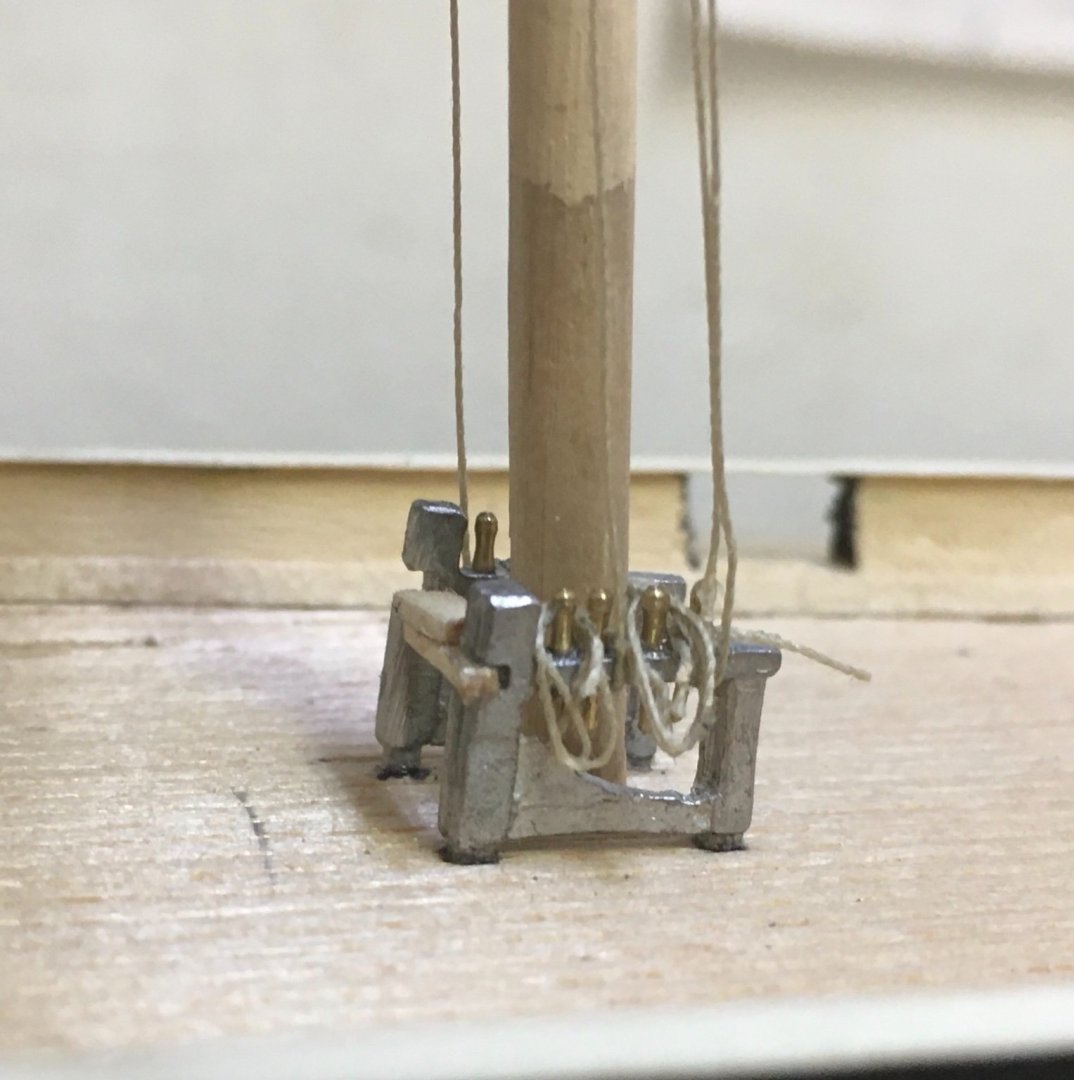
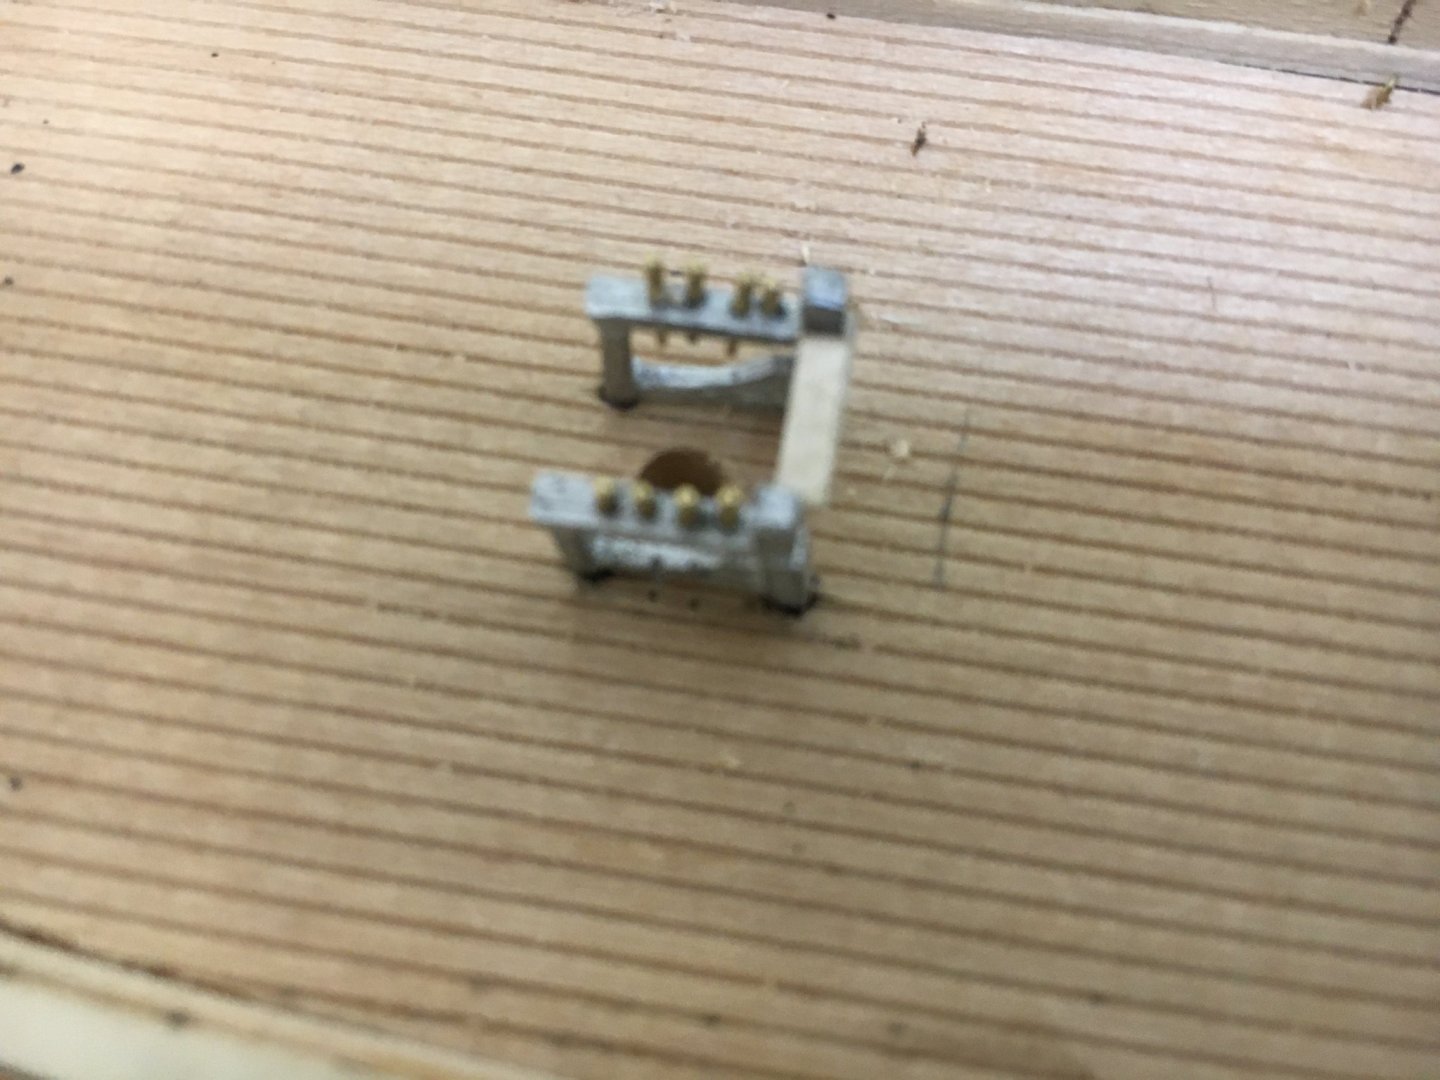
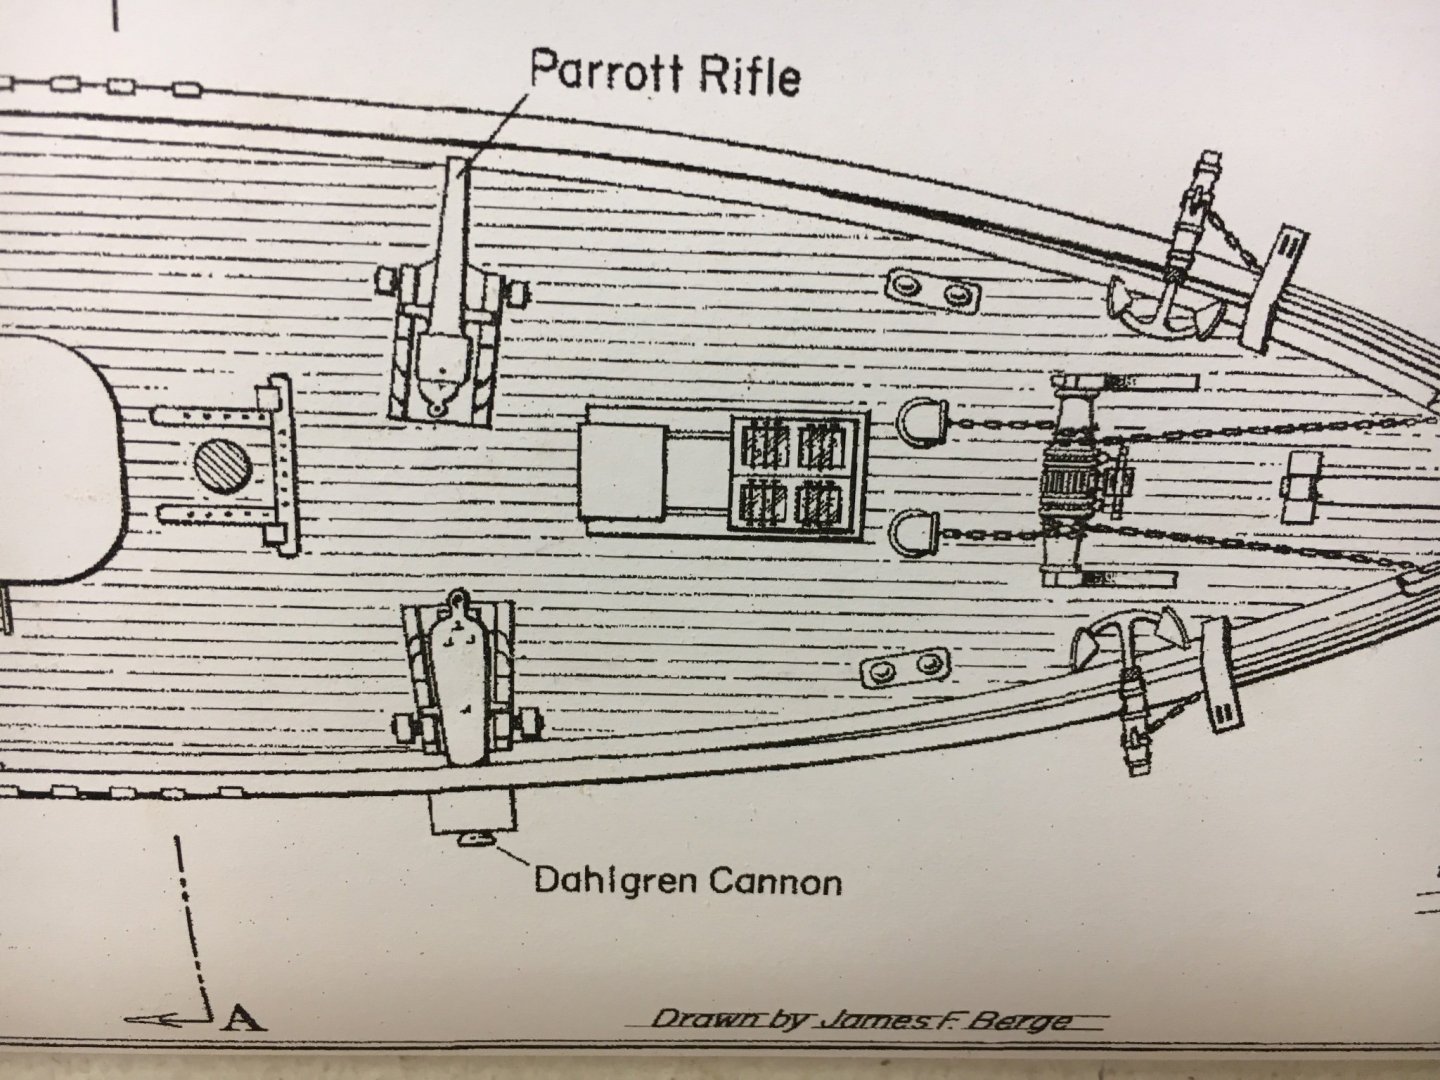
I am drilling the holes in the fife rails for the belaying pins - a modified sewing pin works well as a drill for the Britannia metal. The plan shows the foremast fife rail 180 degrees oriented to how I would expect it ( see my photo of the top plan view). I want the haulyards to belay behind the yards so I will place them accordingly. I am not sure why the main mast has a fife rail, but will ask that in the right forum.

-
The masts are still not glued. I increased the rake. The plans show more rake for the main mast, when it seems the square rigged formast would need as much or more(?)
-
Good point They are a little. The main mast needs to be a little more. The masts are not glued in yet.
-
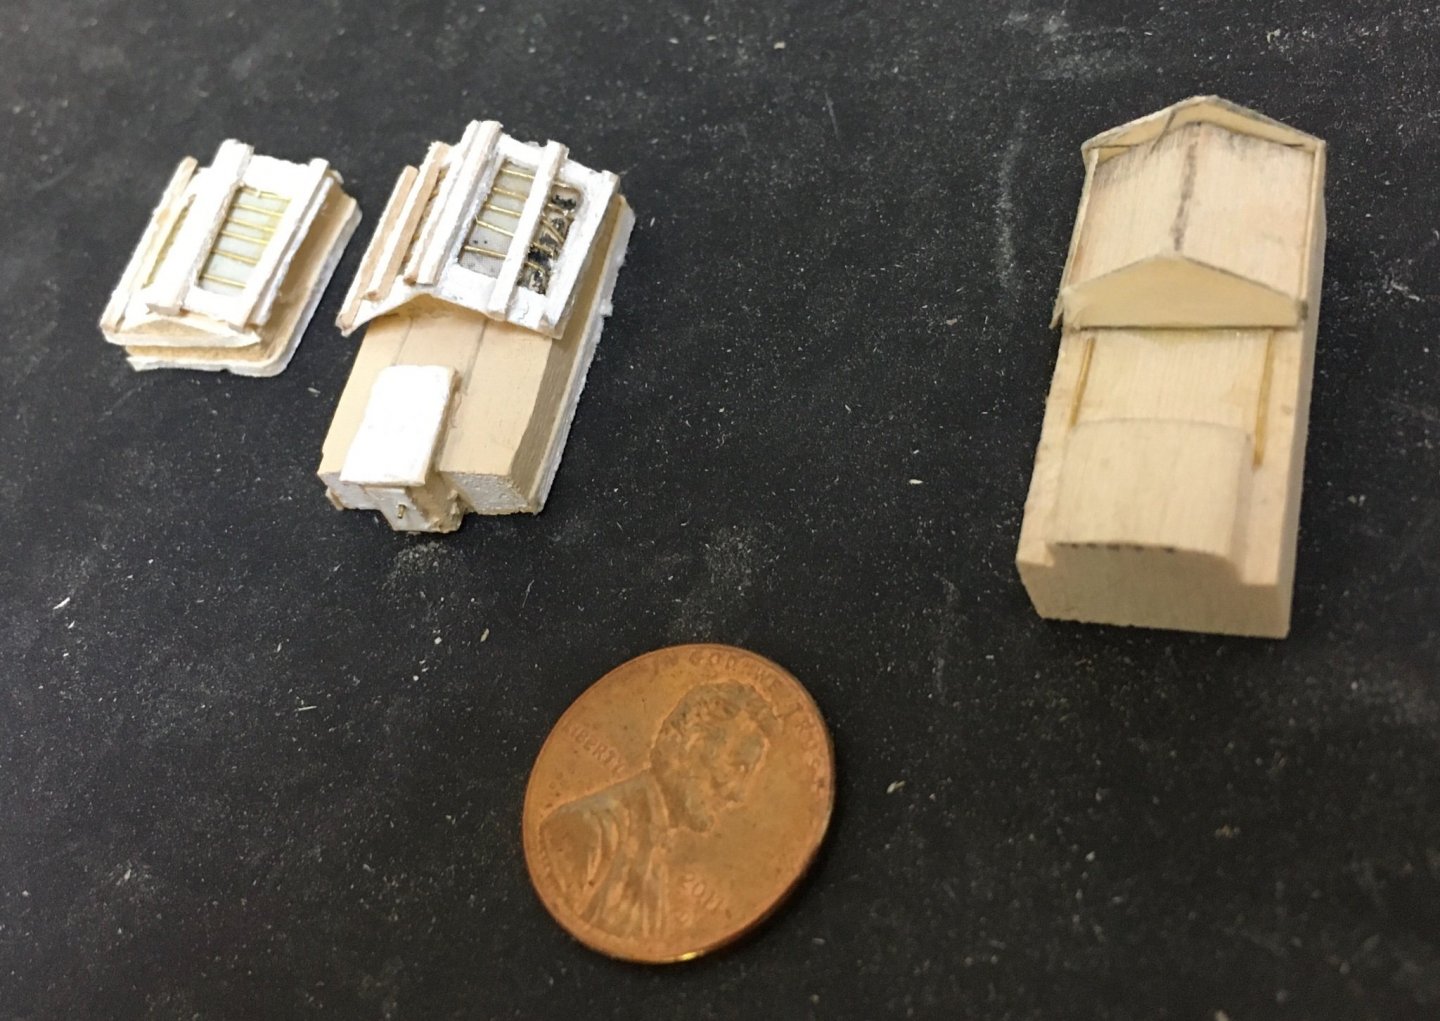
I am redoing my forward companionway and a couple of other deck structures. I can do better. My ship with the deck house in place, not affixed yet, just a photo op.the windows on the pilot house don’t cut it either. I will re-do them.
-
—-has a fife rail (?).
-
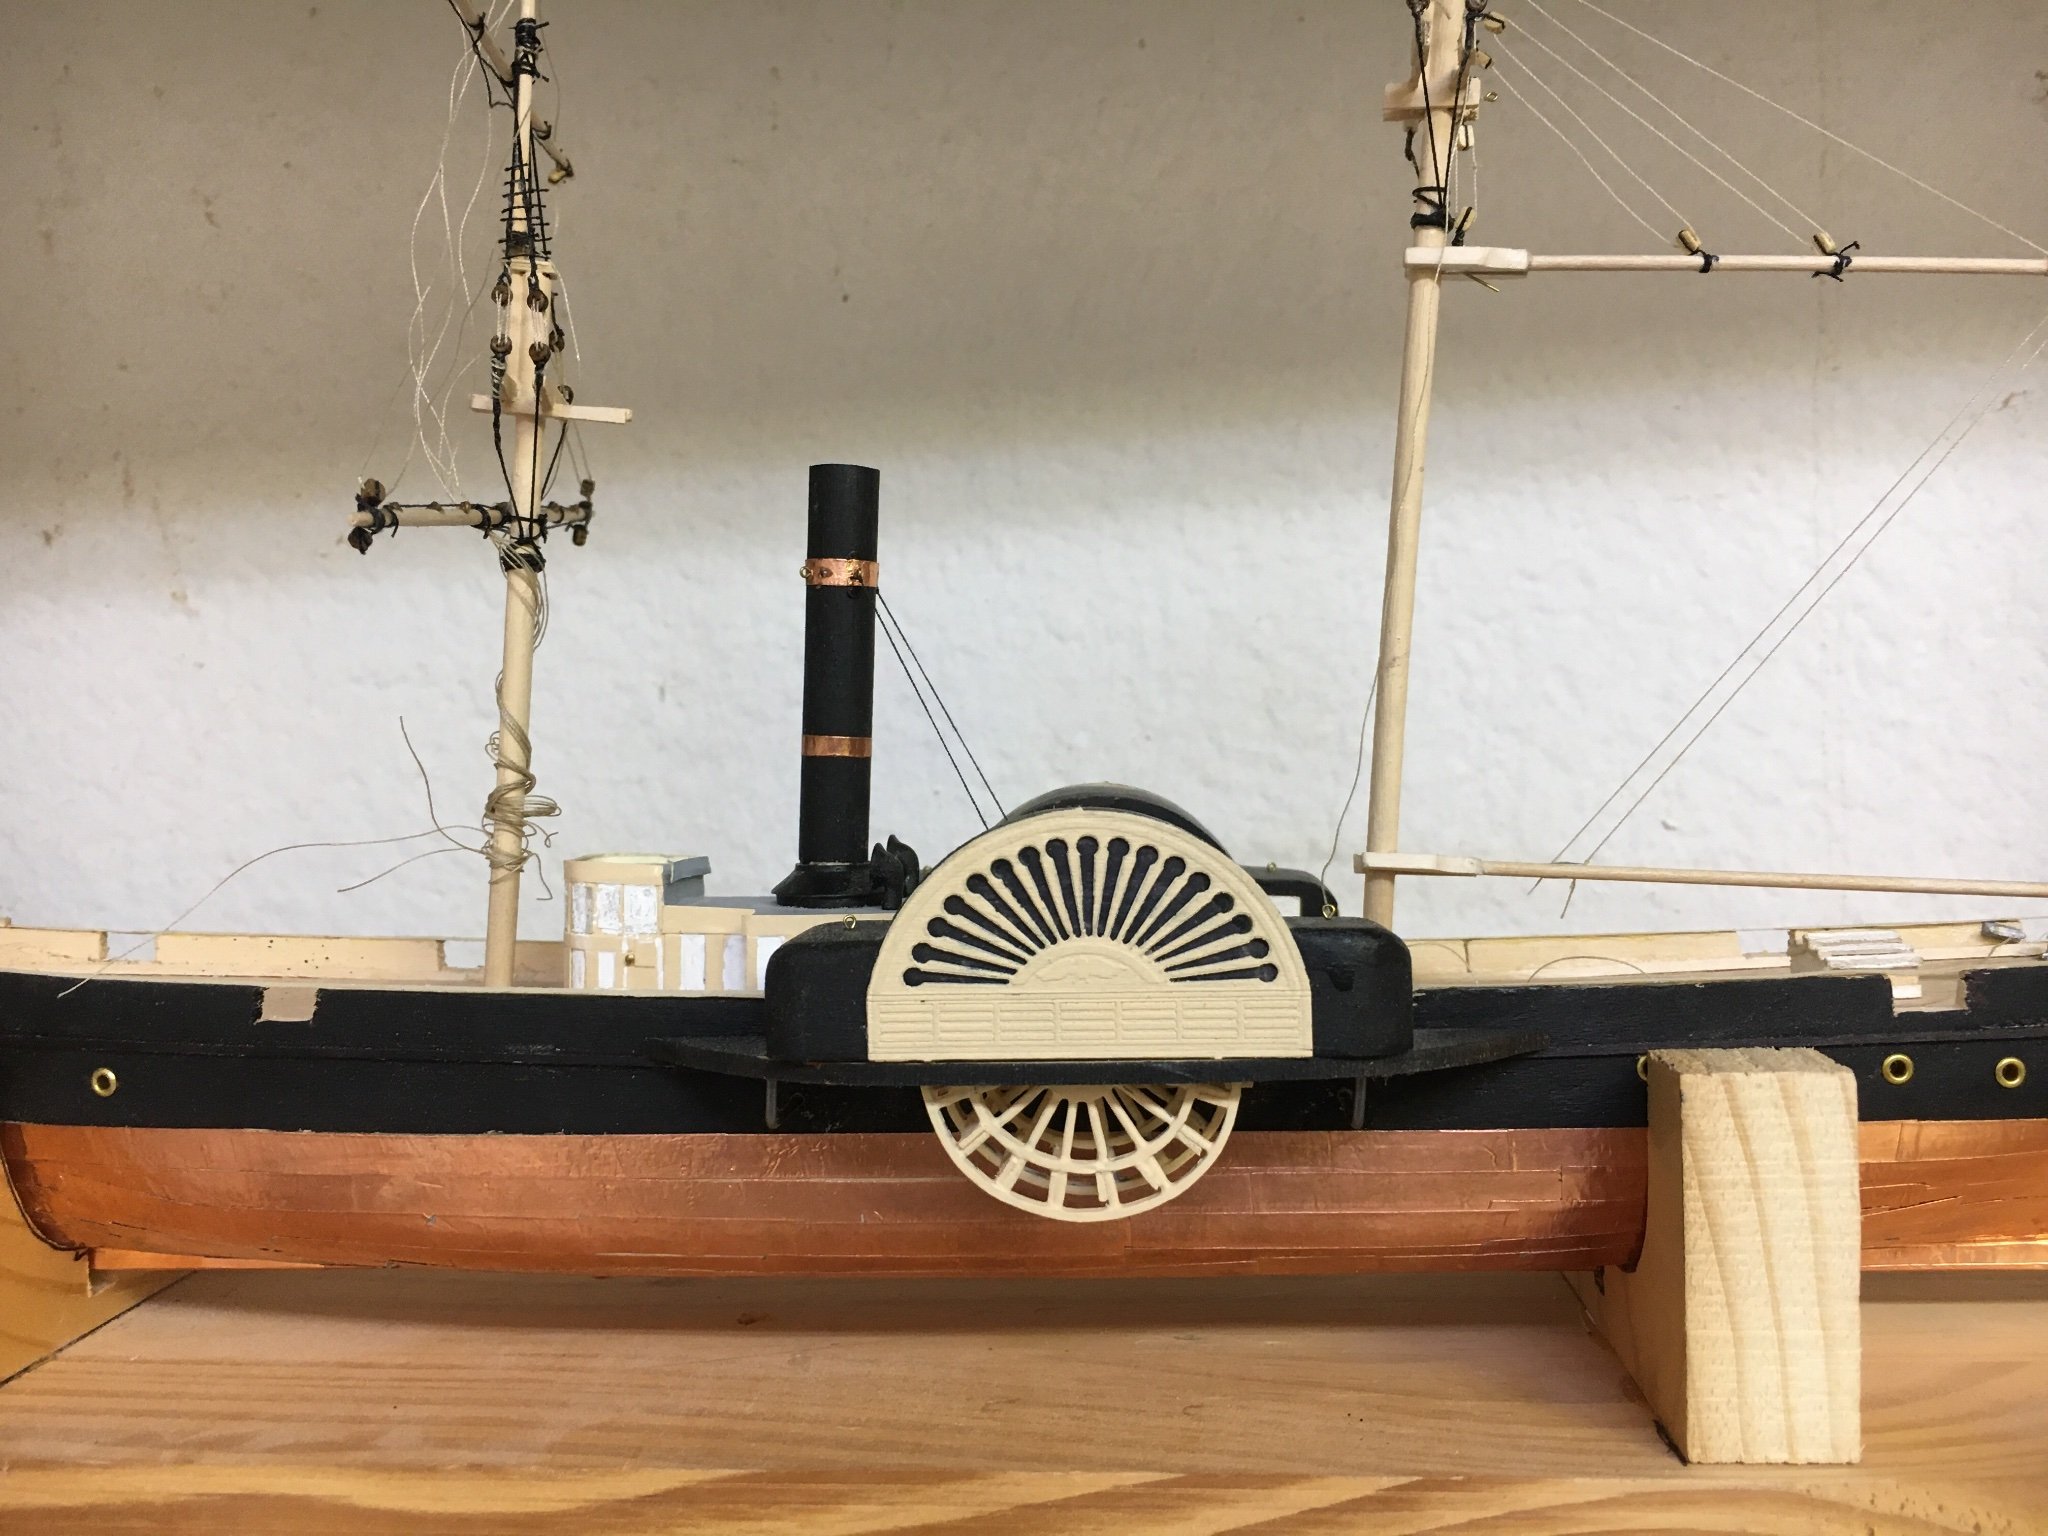
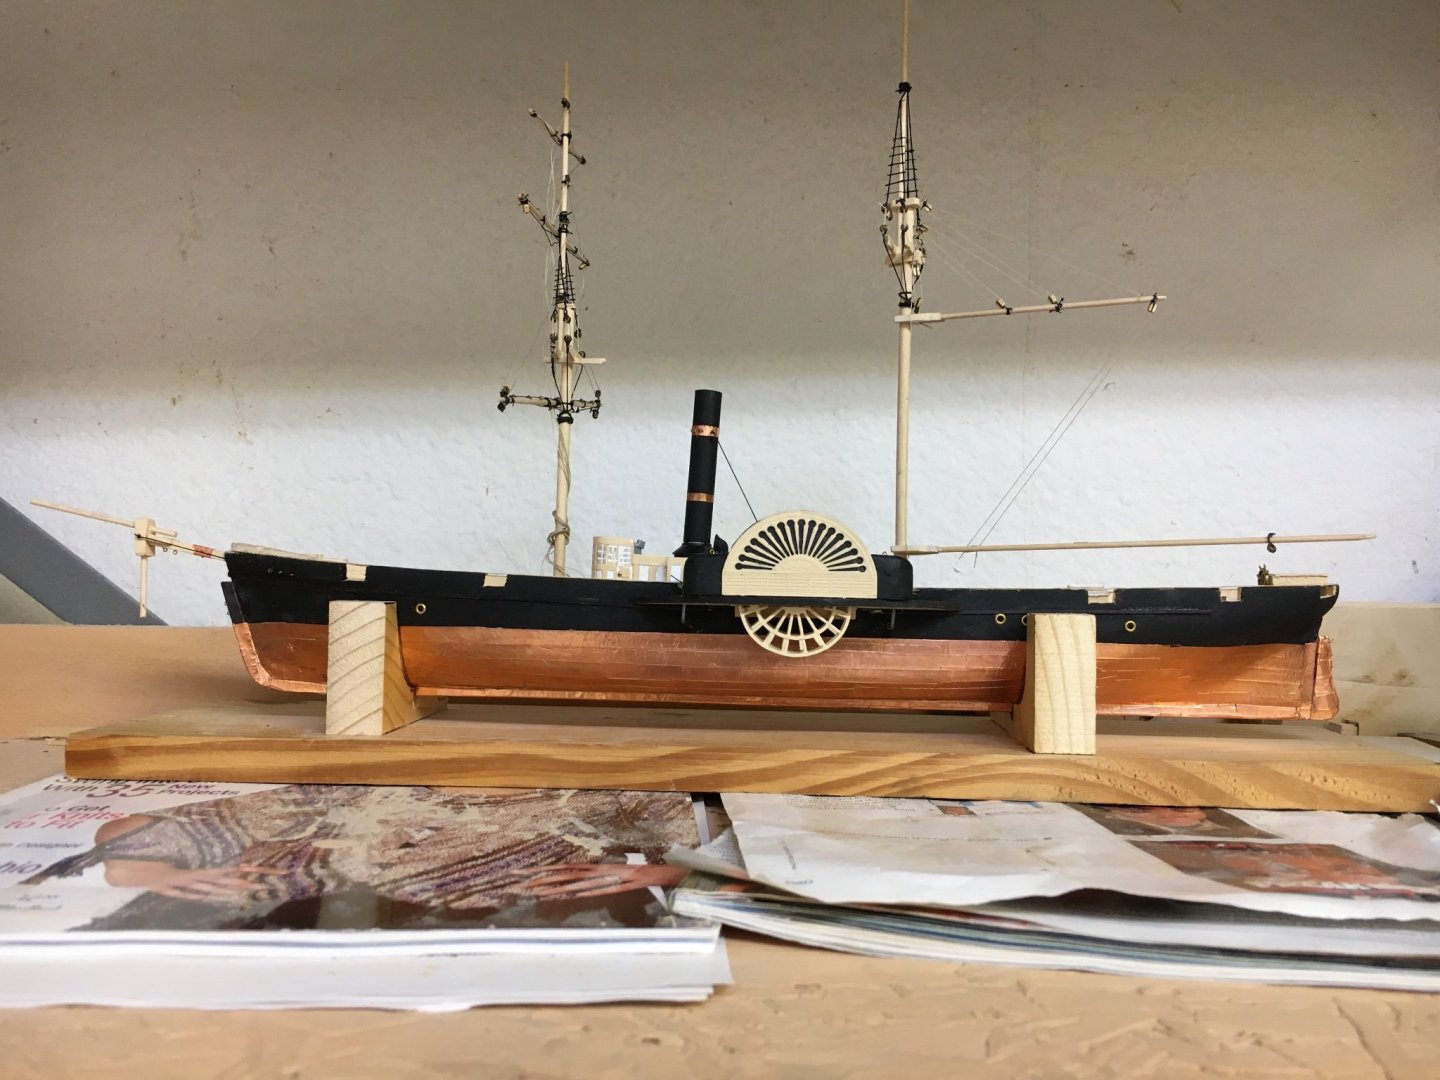
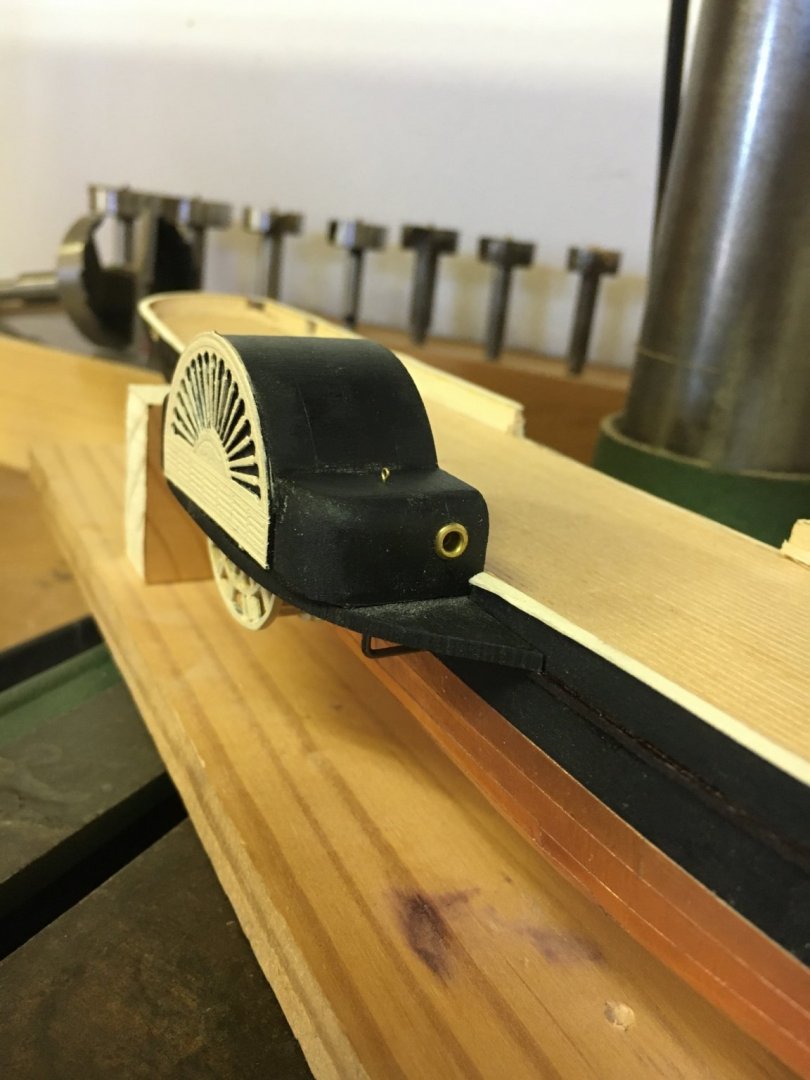
Ship posing with its main mast and both paddle wheel assemblies in place. Before I glue in the masts, I will add the fife rails, debating whether to use the Britannia metal parts supplied, or to fabricate from wood. I am not sure why the aft rigged main mast has one. Maybe included in the original builders plans in case an owner wanted to square rig this mast(?).

-
thanks Druxey 🙂
-
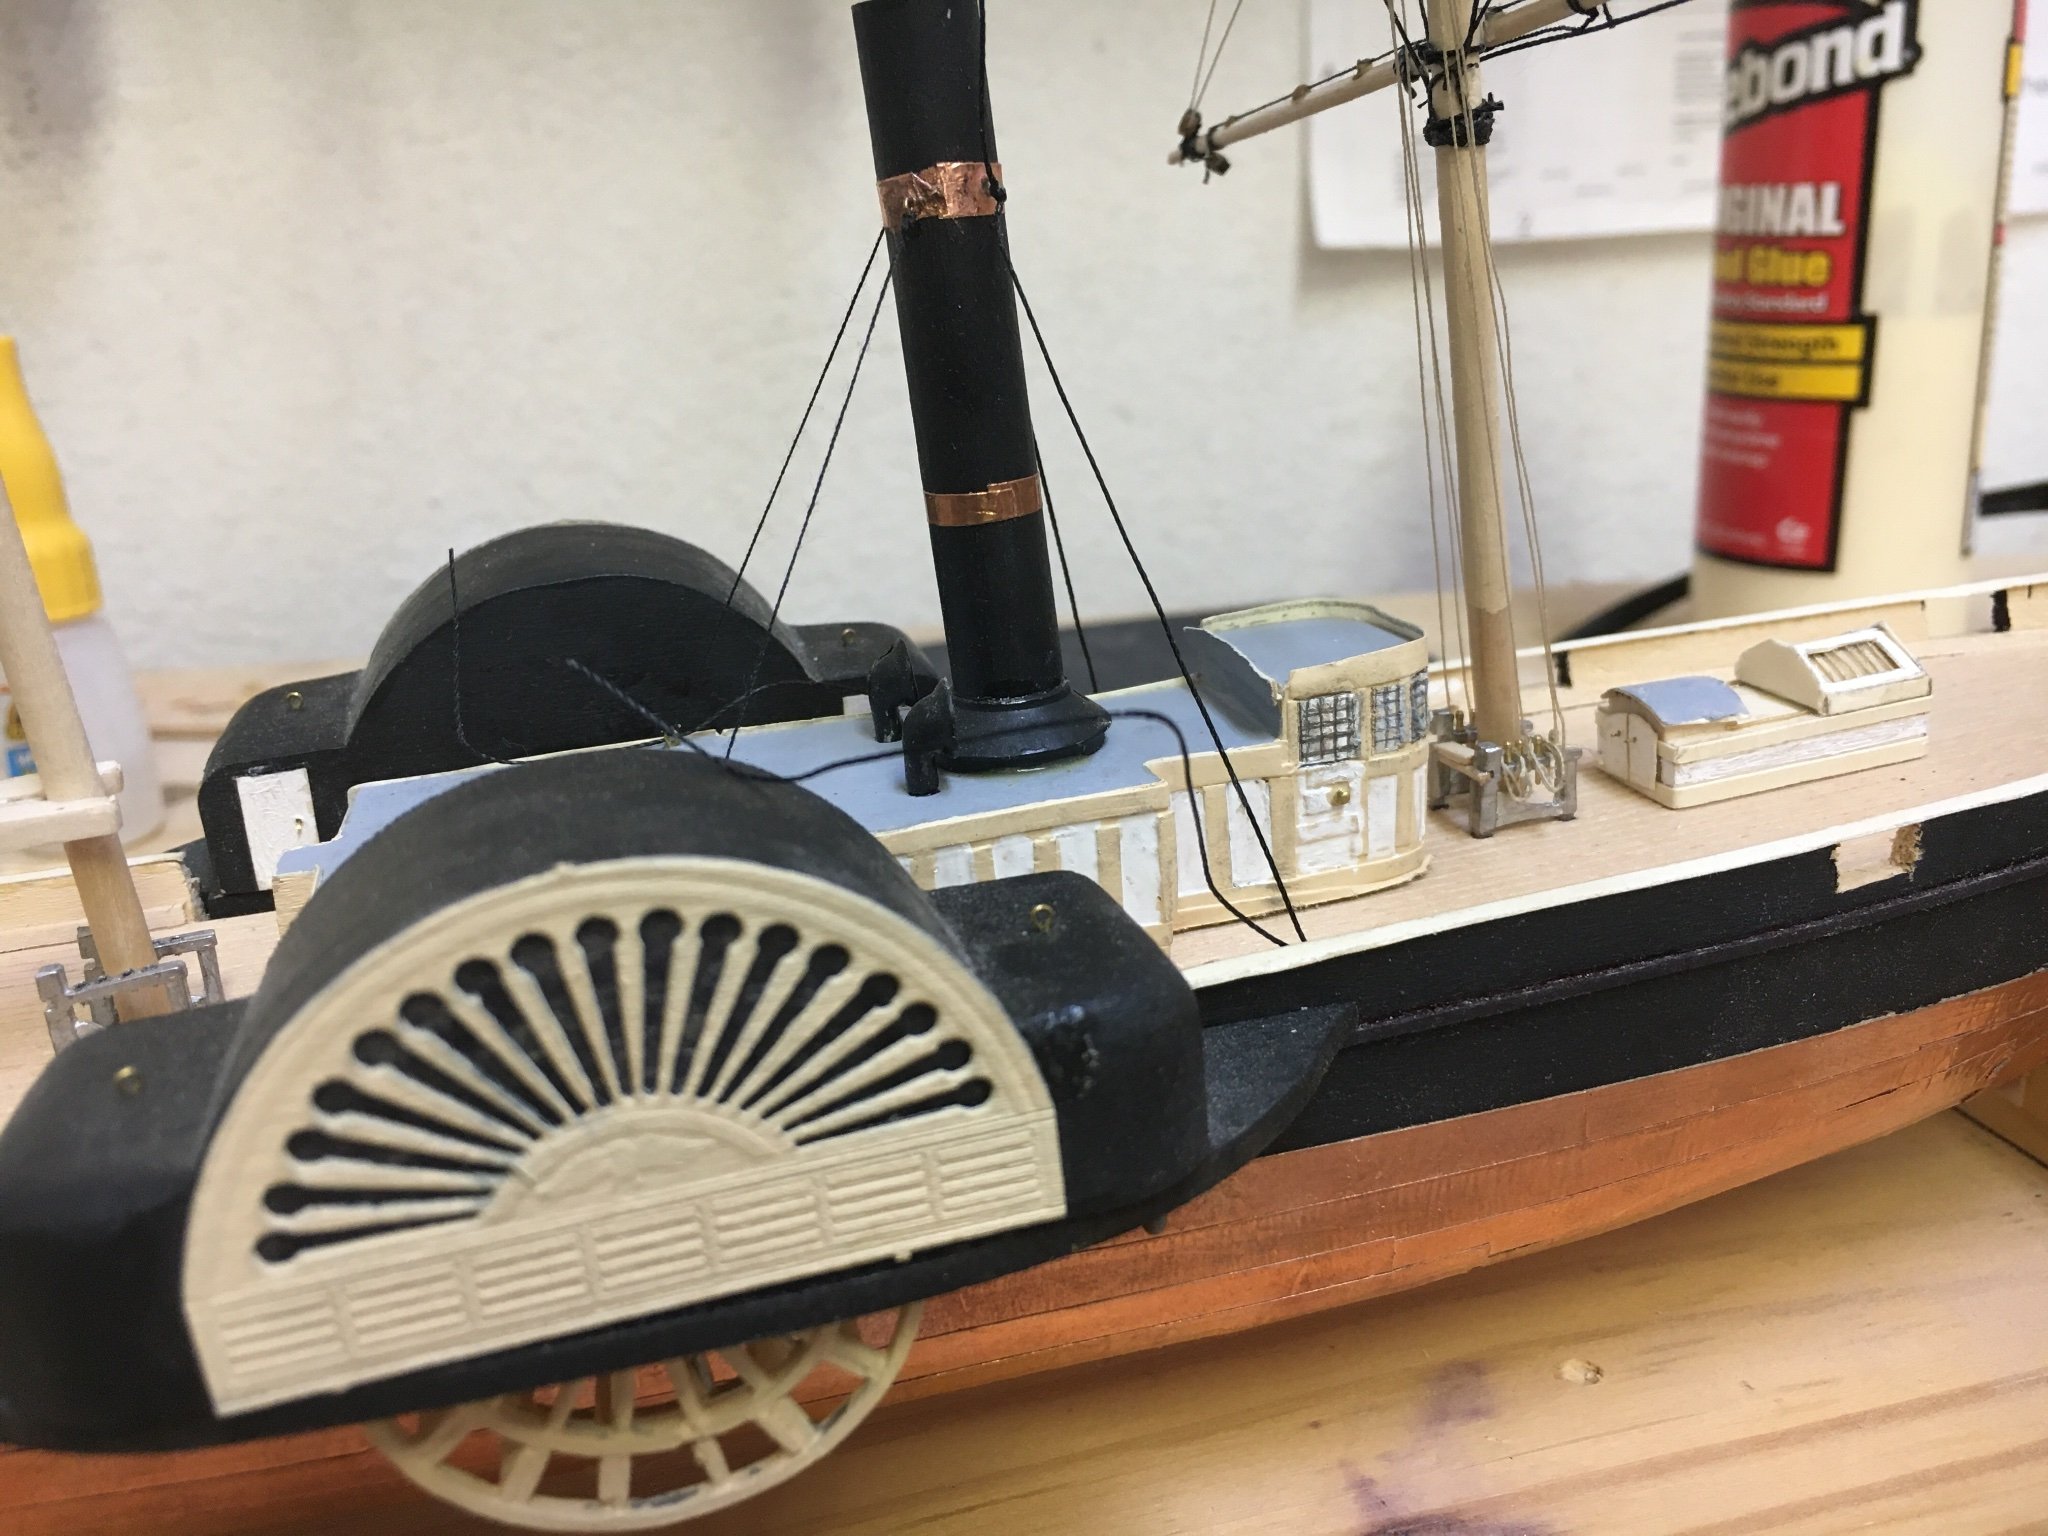
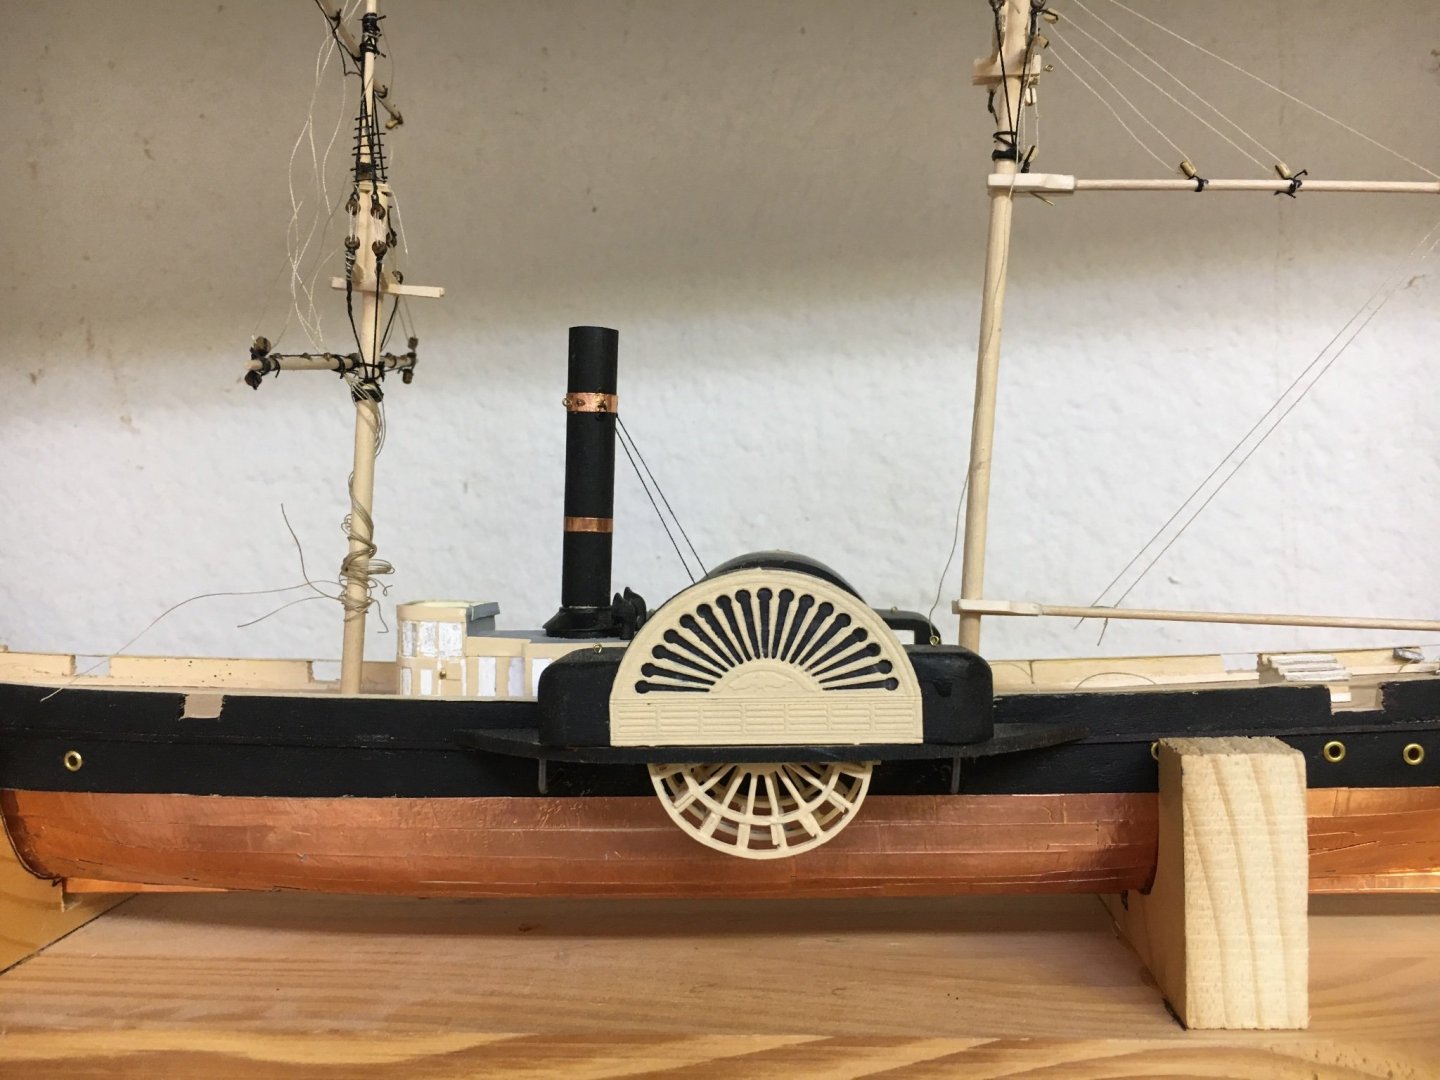
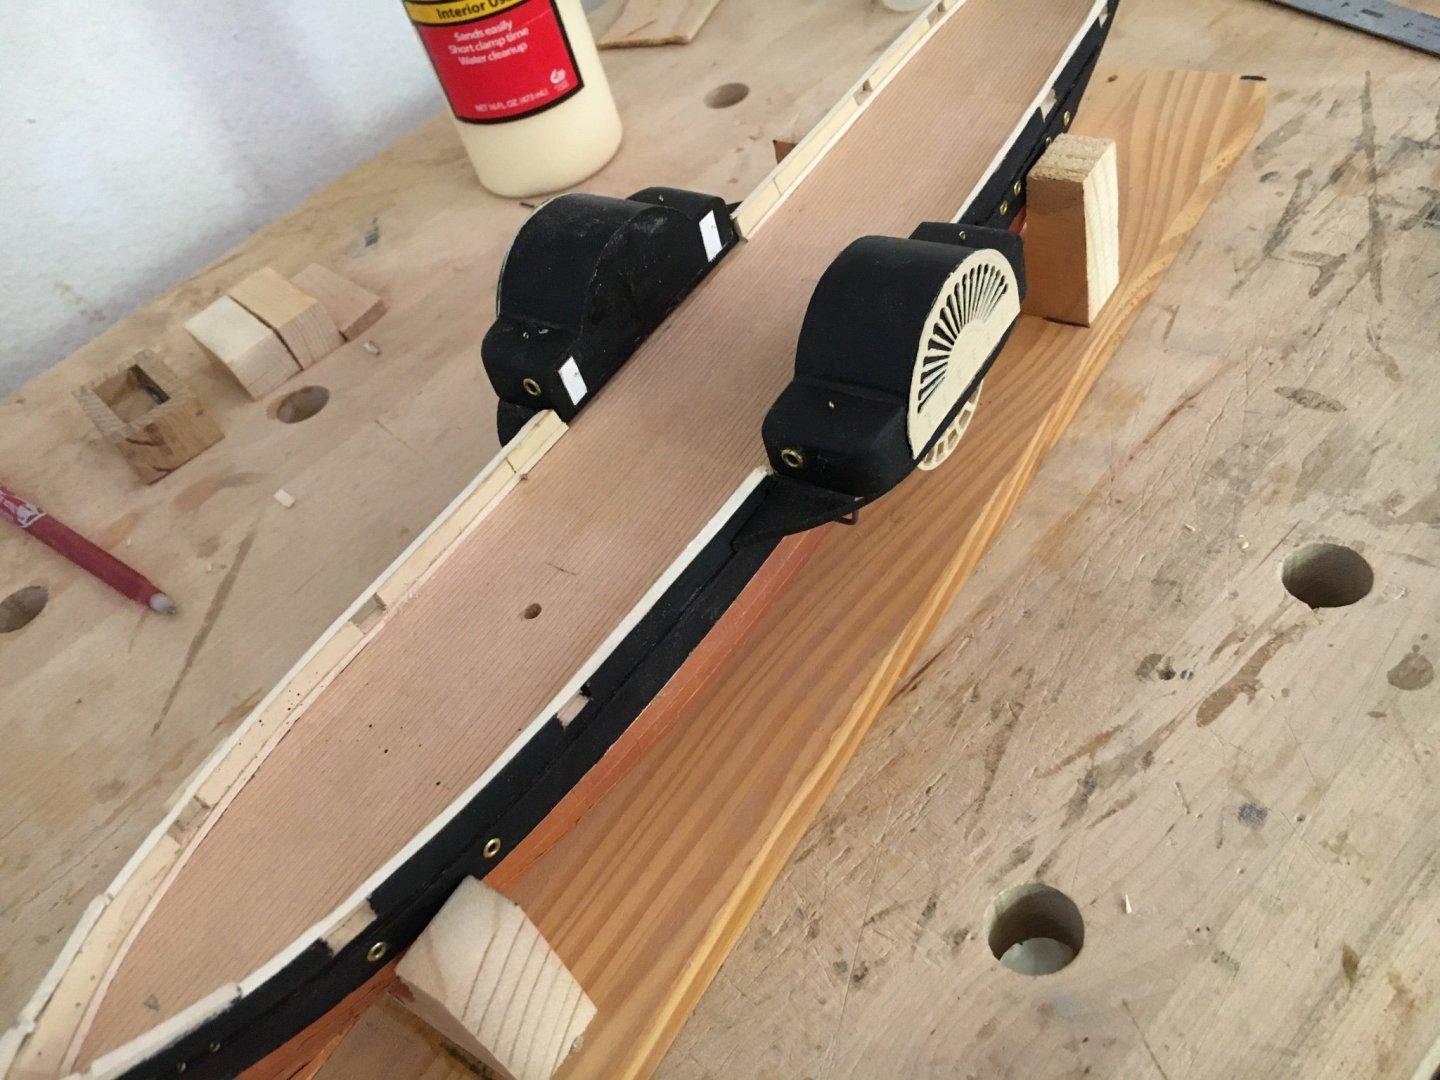
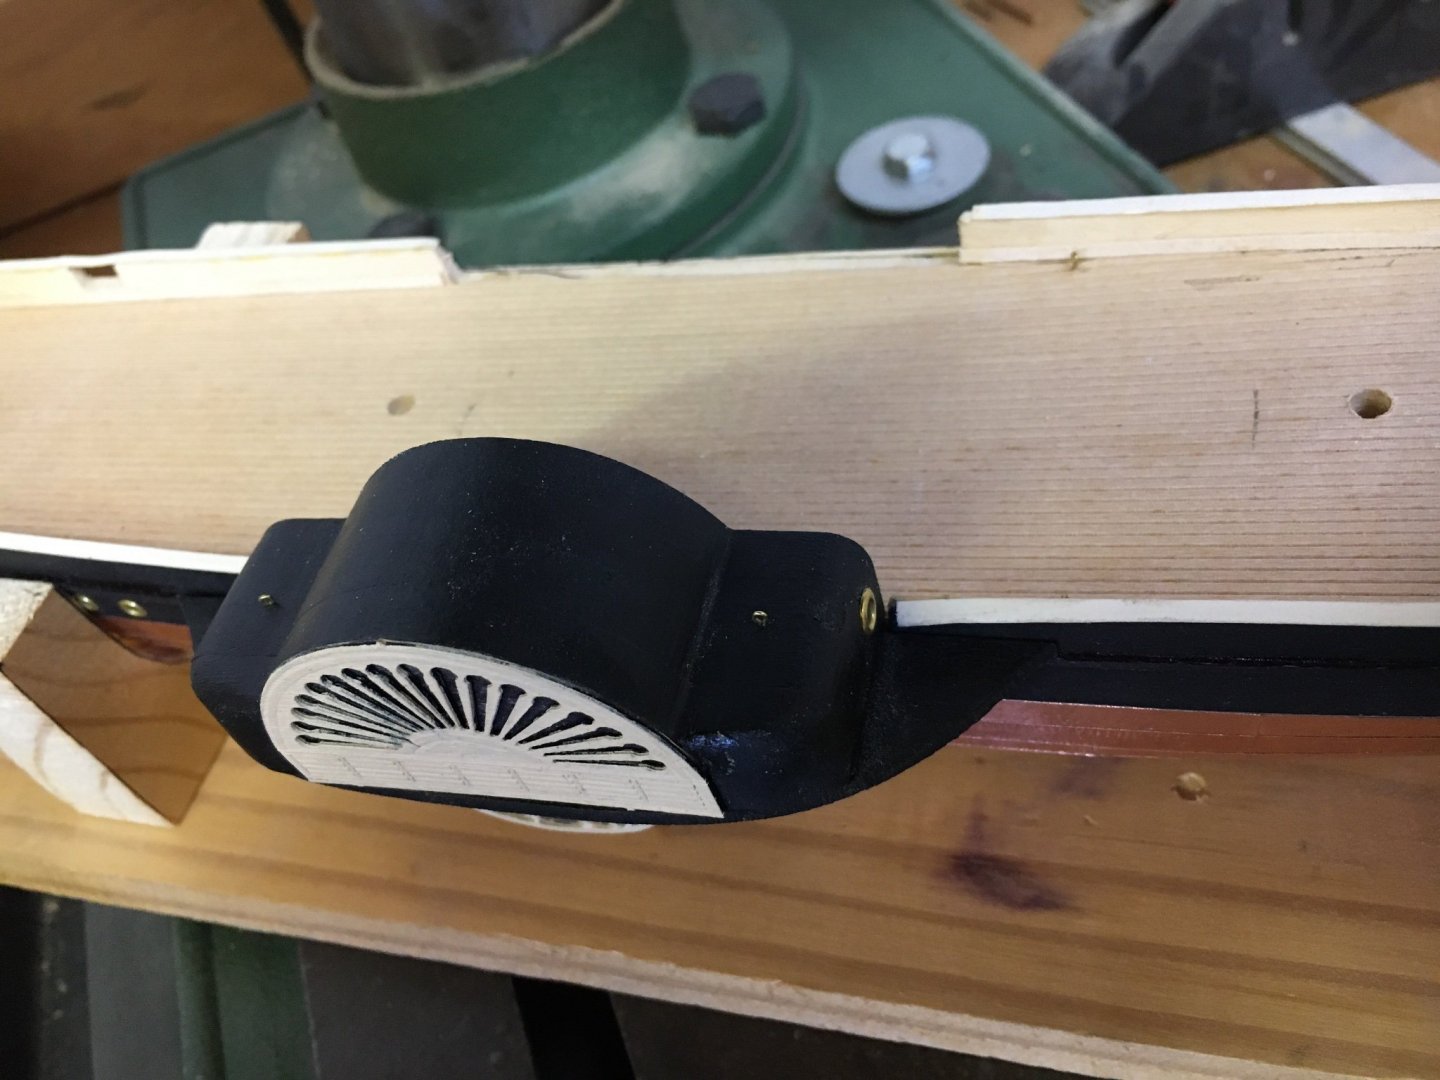
One paddle wheel assembly glued in. I simplified this by making “dummy” helper sponsons that hide behind the paddle wheels, giving extra support.

-
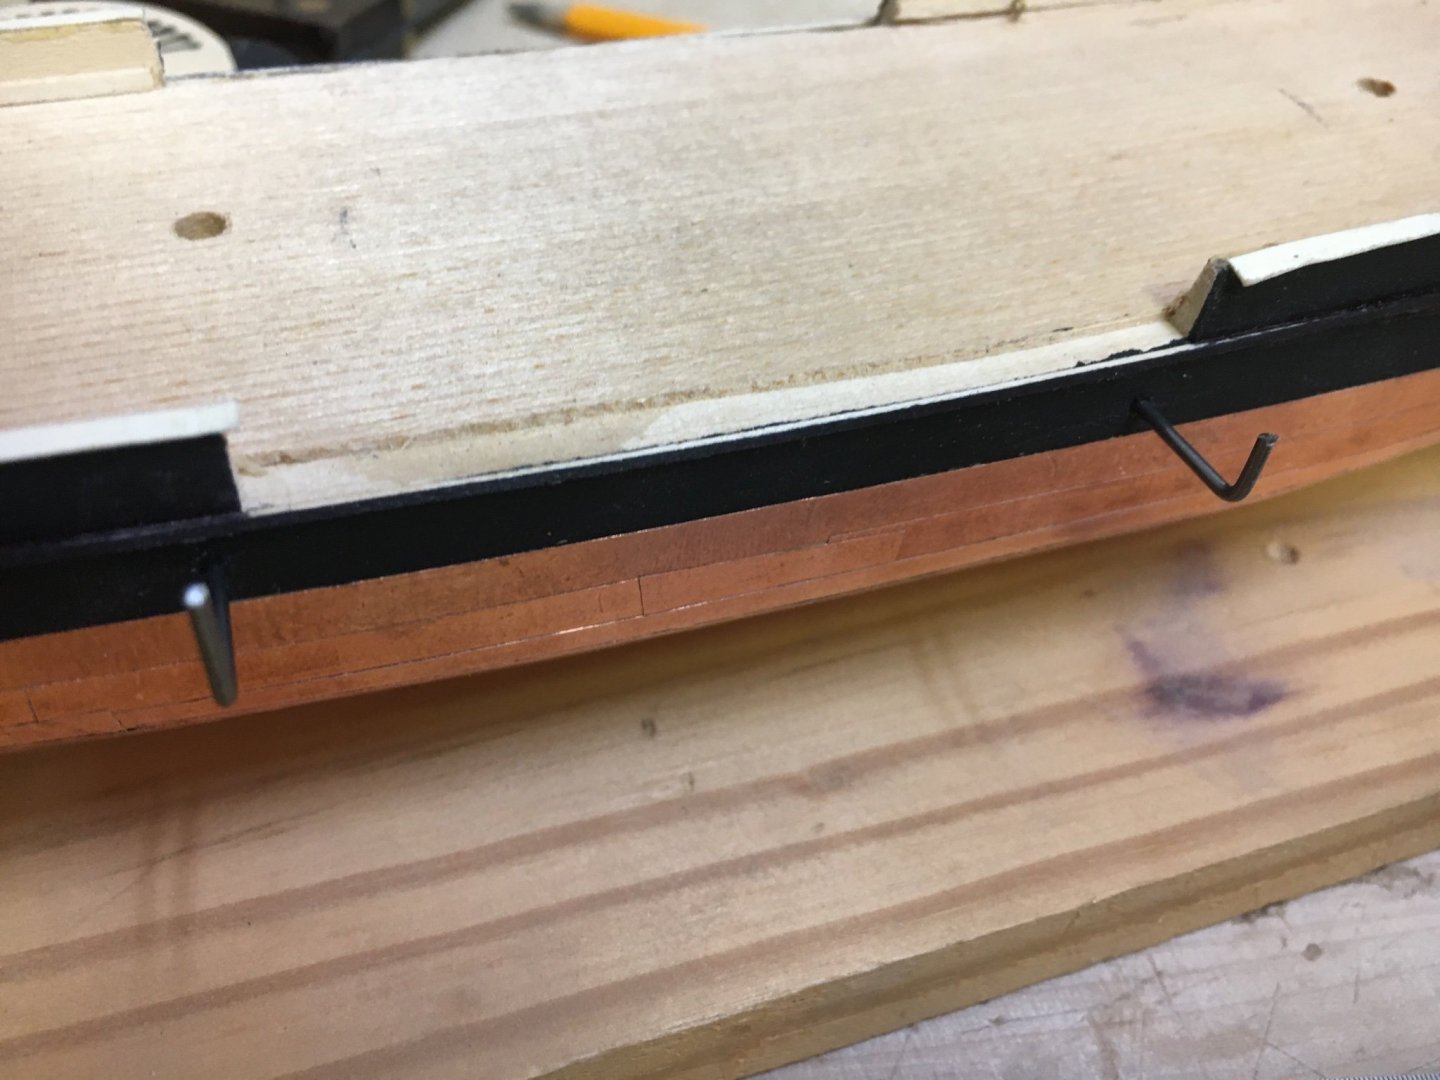
Sponson supports are steel wire. I am carefully shaping them so the wheel assemblies sit plumb in their openings, trimming and bending with pliers.