HOLIDAY DONATION DRIVE - SUPPORT MSW - DO YOUR PART TO KEEP THIS GREAT FORUM GOING! (Only 64 donations so far out of 49,000 members - C'mon guys!)
×


Organ tech
-
Posts
125 -
Joined
-
Last visited
Content Type
Profiles
Forums
Gallery
Events
Everything posted by Organ tech
-
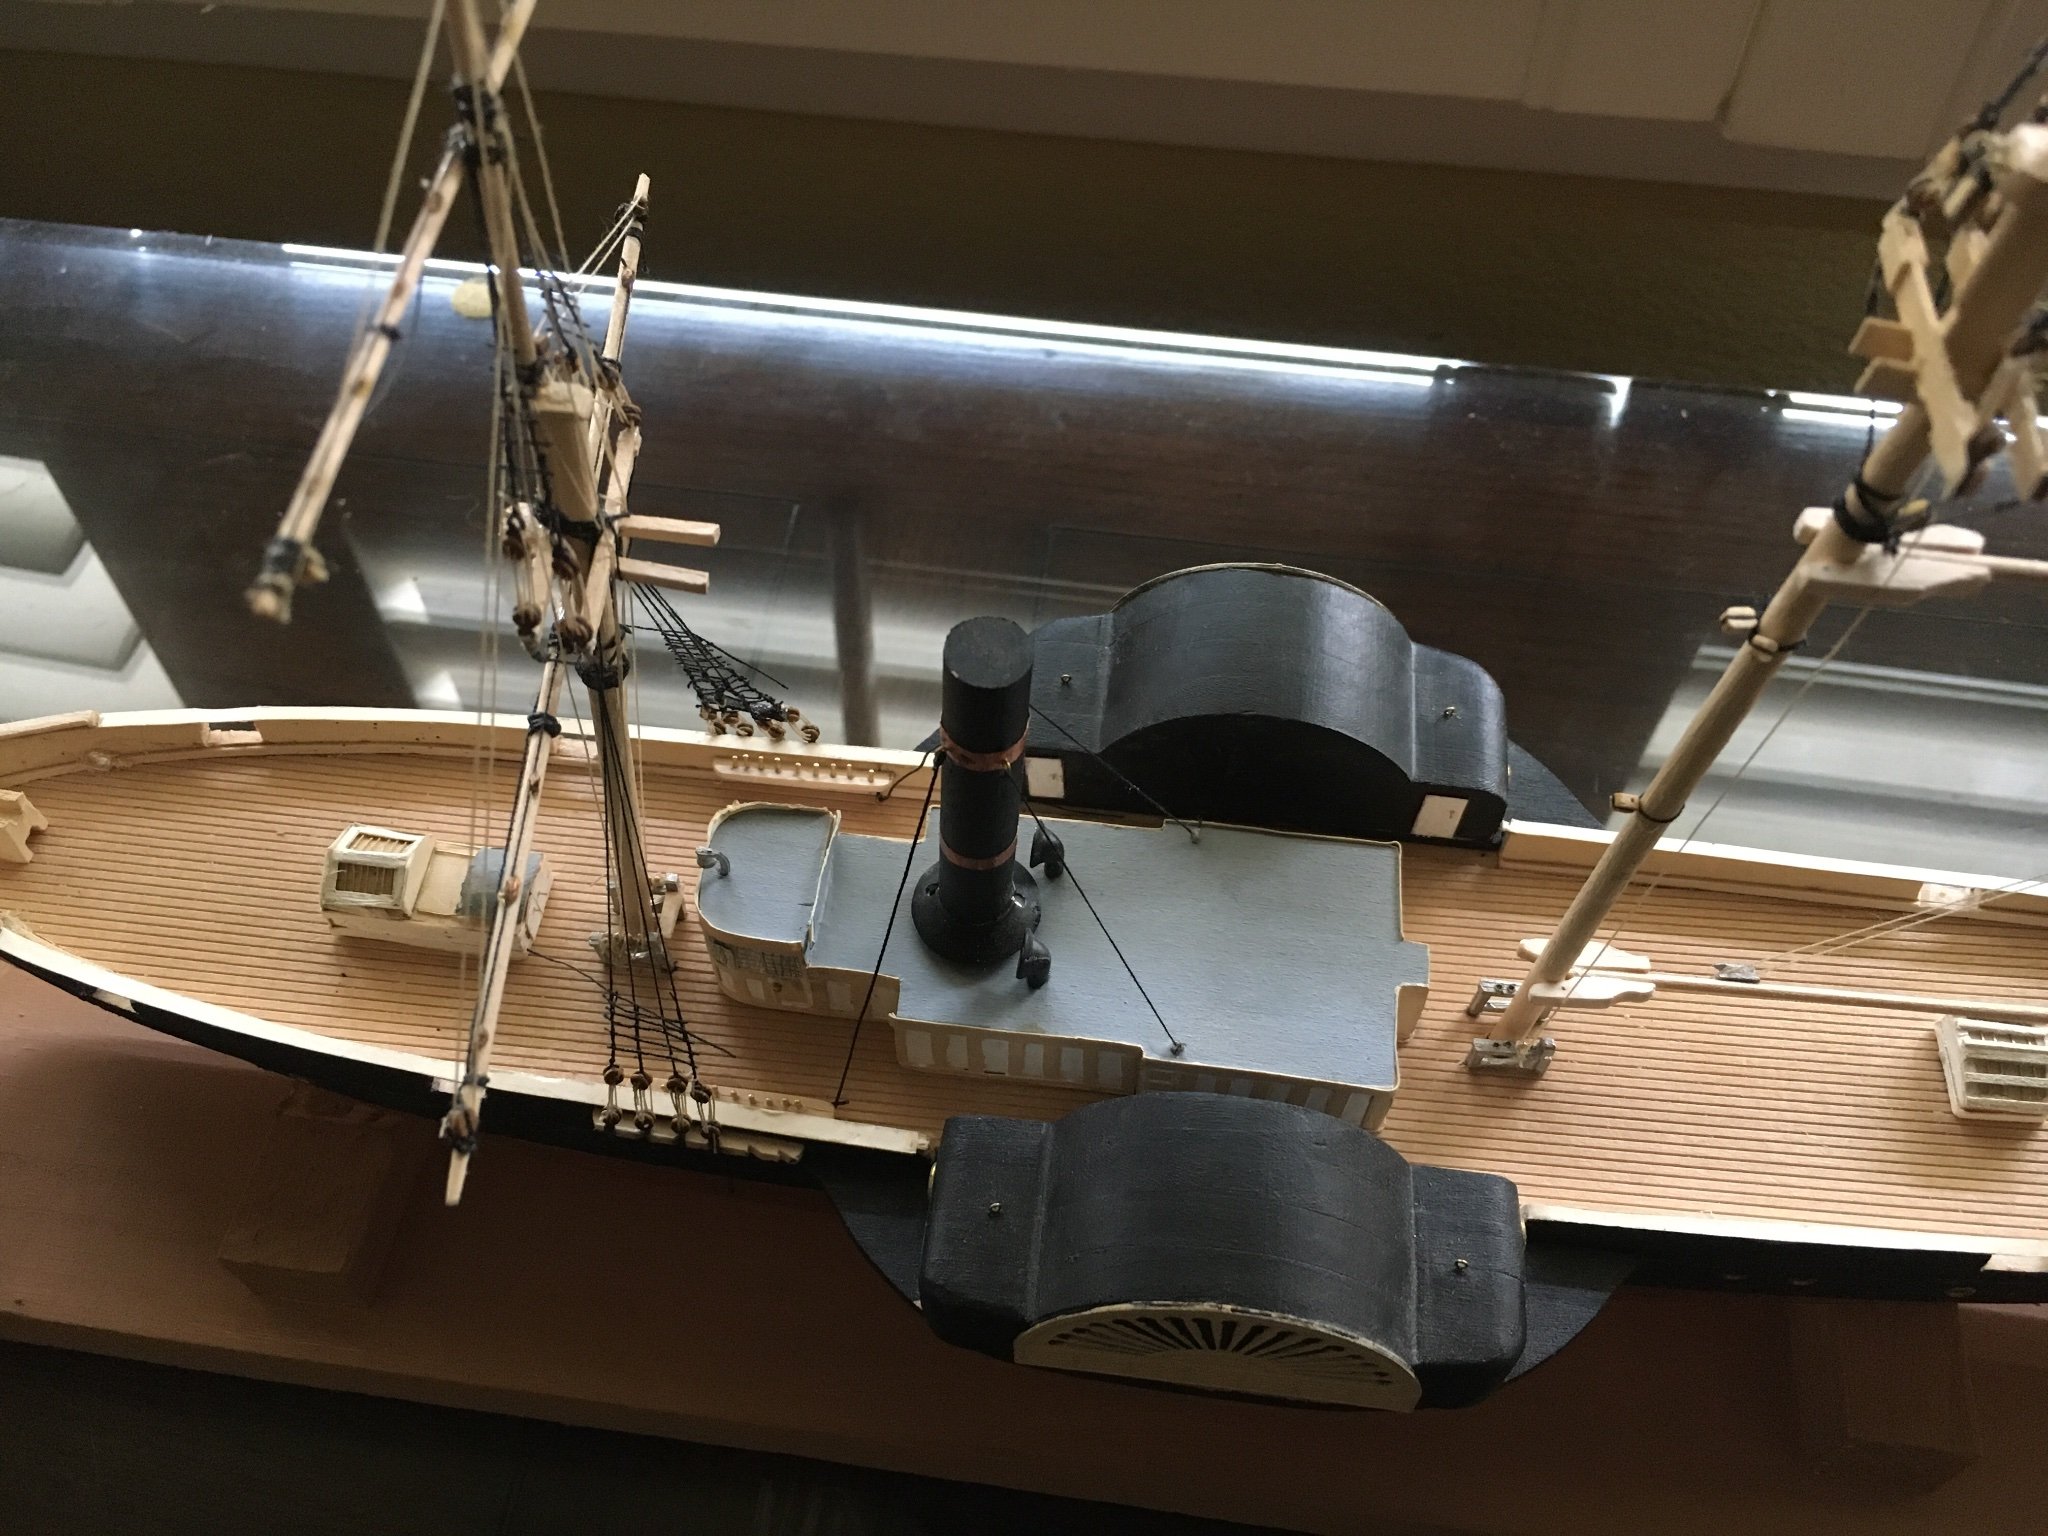
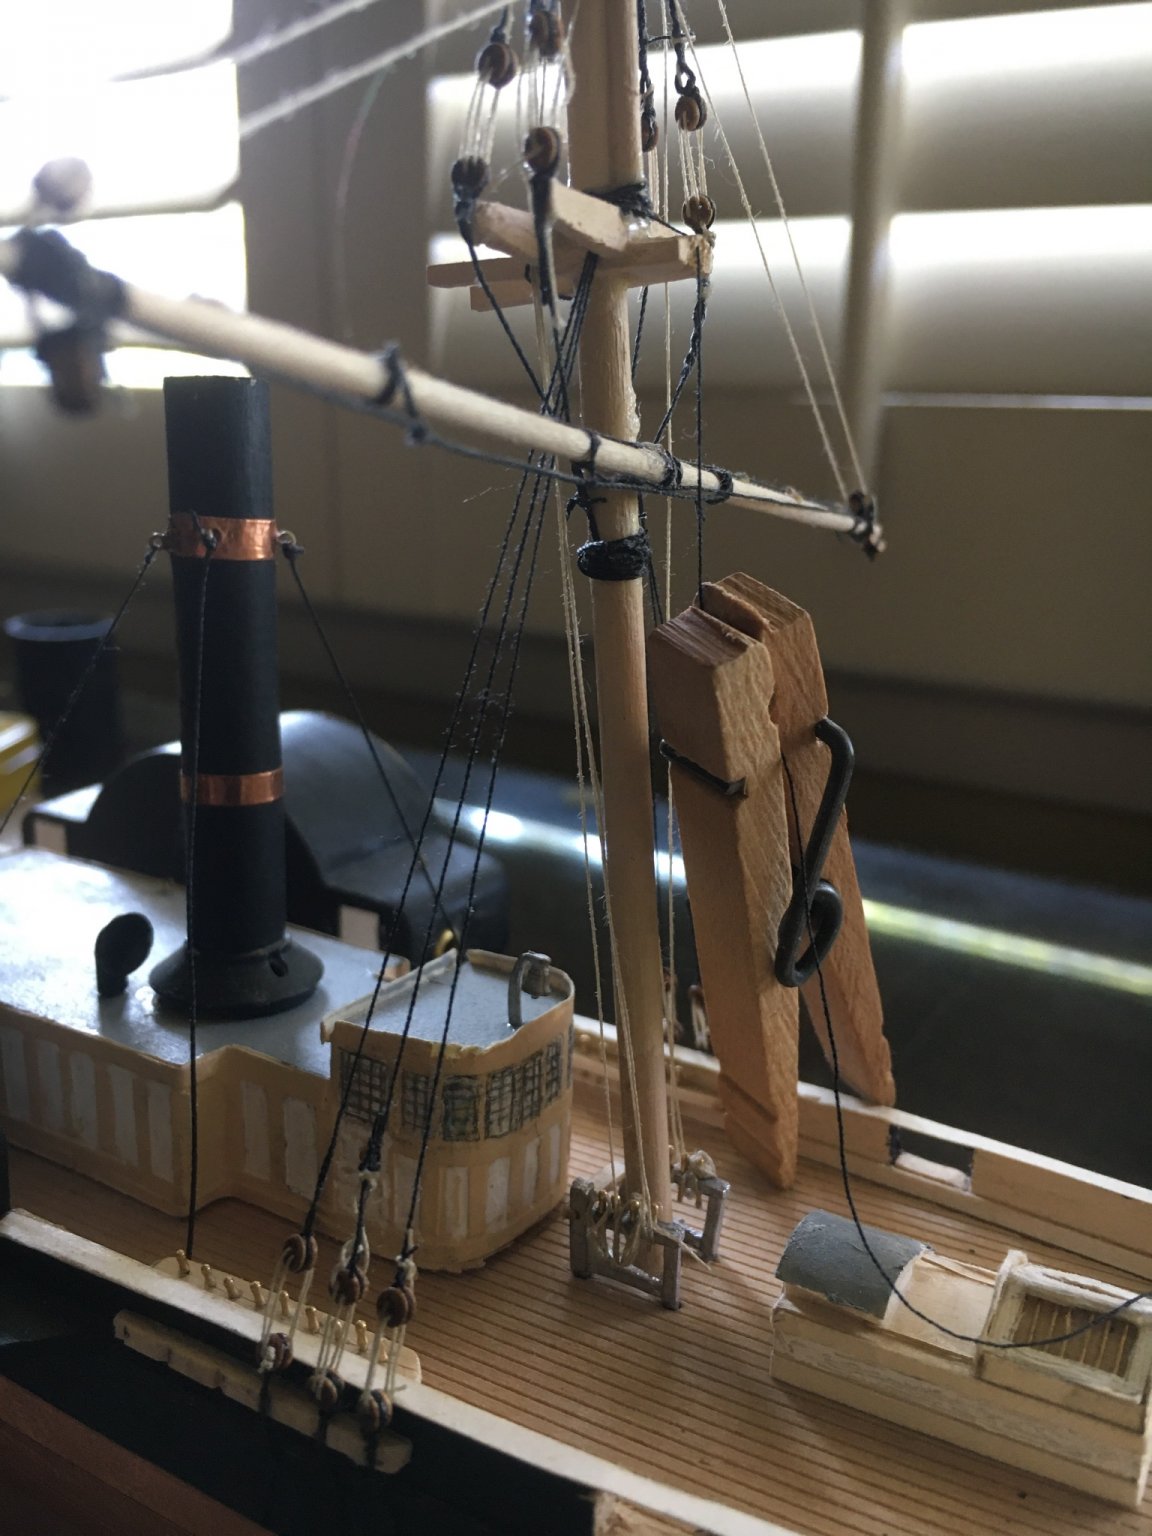
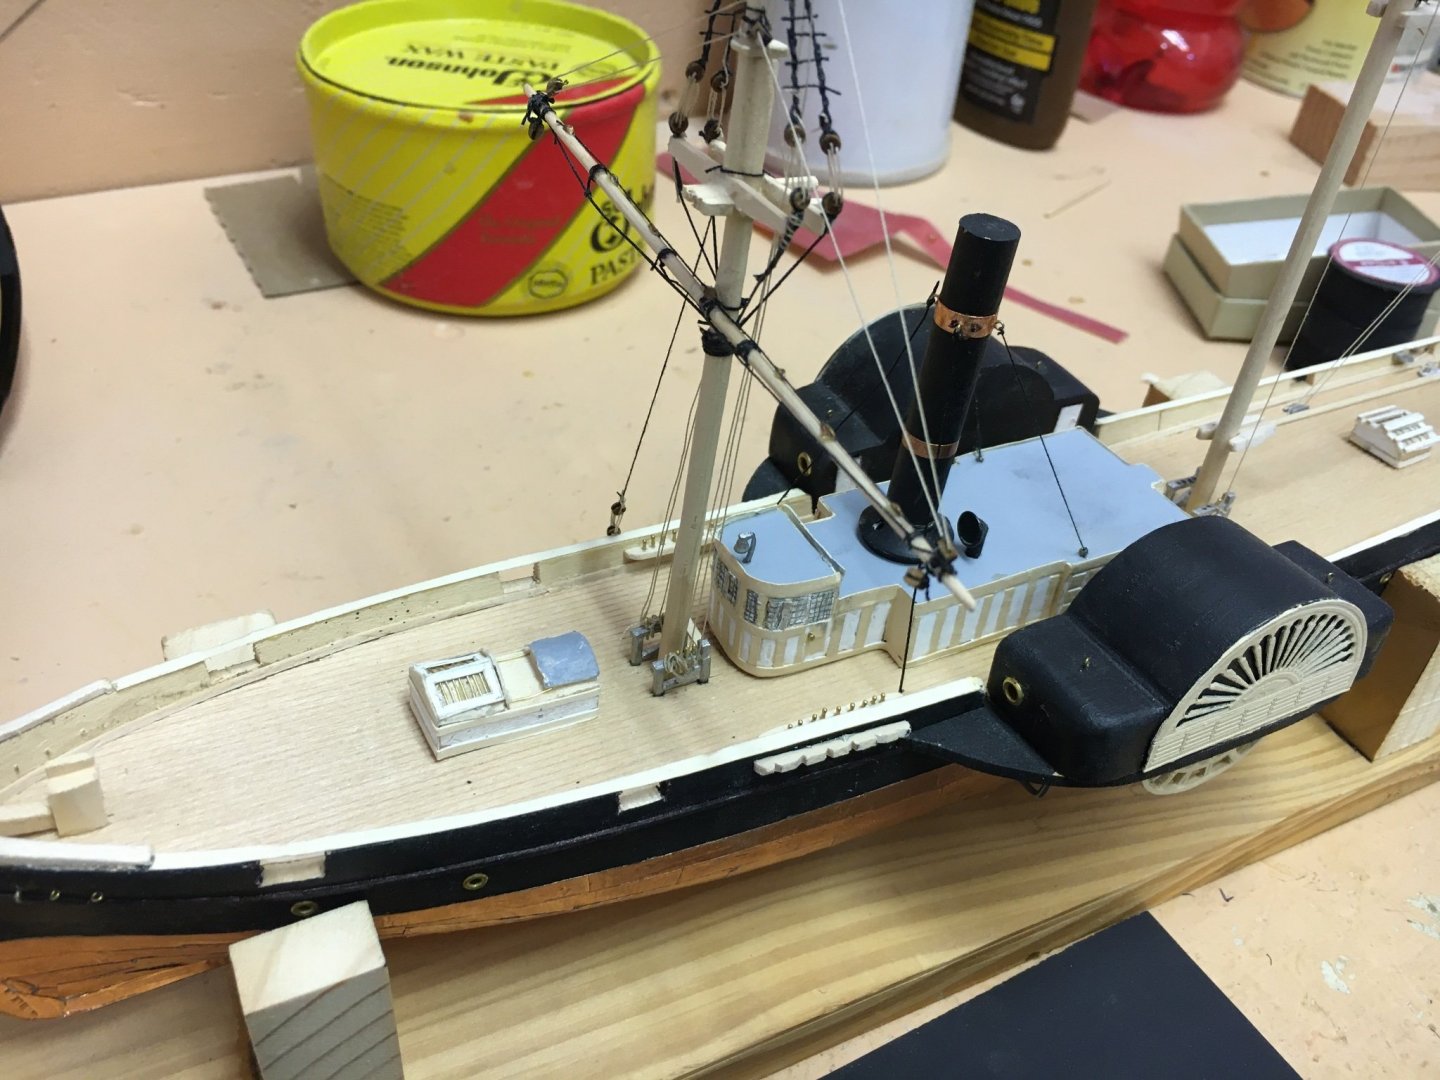
 My biggest boo boo on this whole project is that my skylights and companionways are misplaced, and glued down such that the guns cannot be placed realistically ( and there are more of them to place) 😞. If they are mussel loading. This ship was captured in the civil war by the CS and used as a merchant ship- tender, with one blockade run to Cuba. I could hang a confederate navy Jack, in place of the American flag aft. 🤣🤣
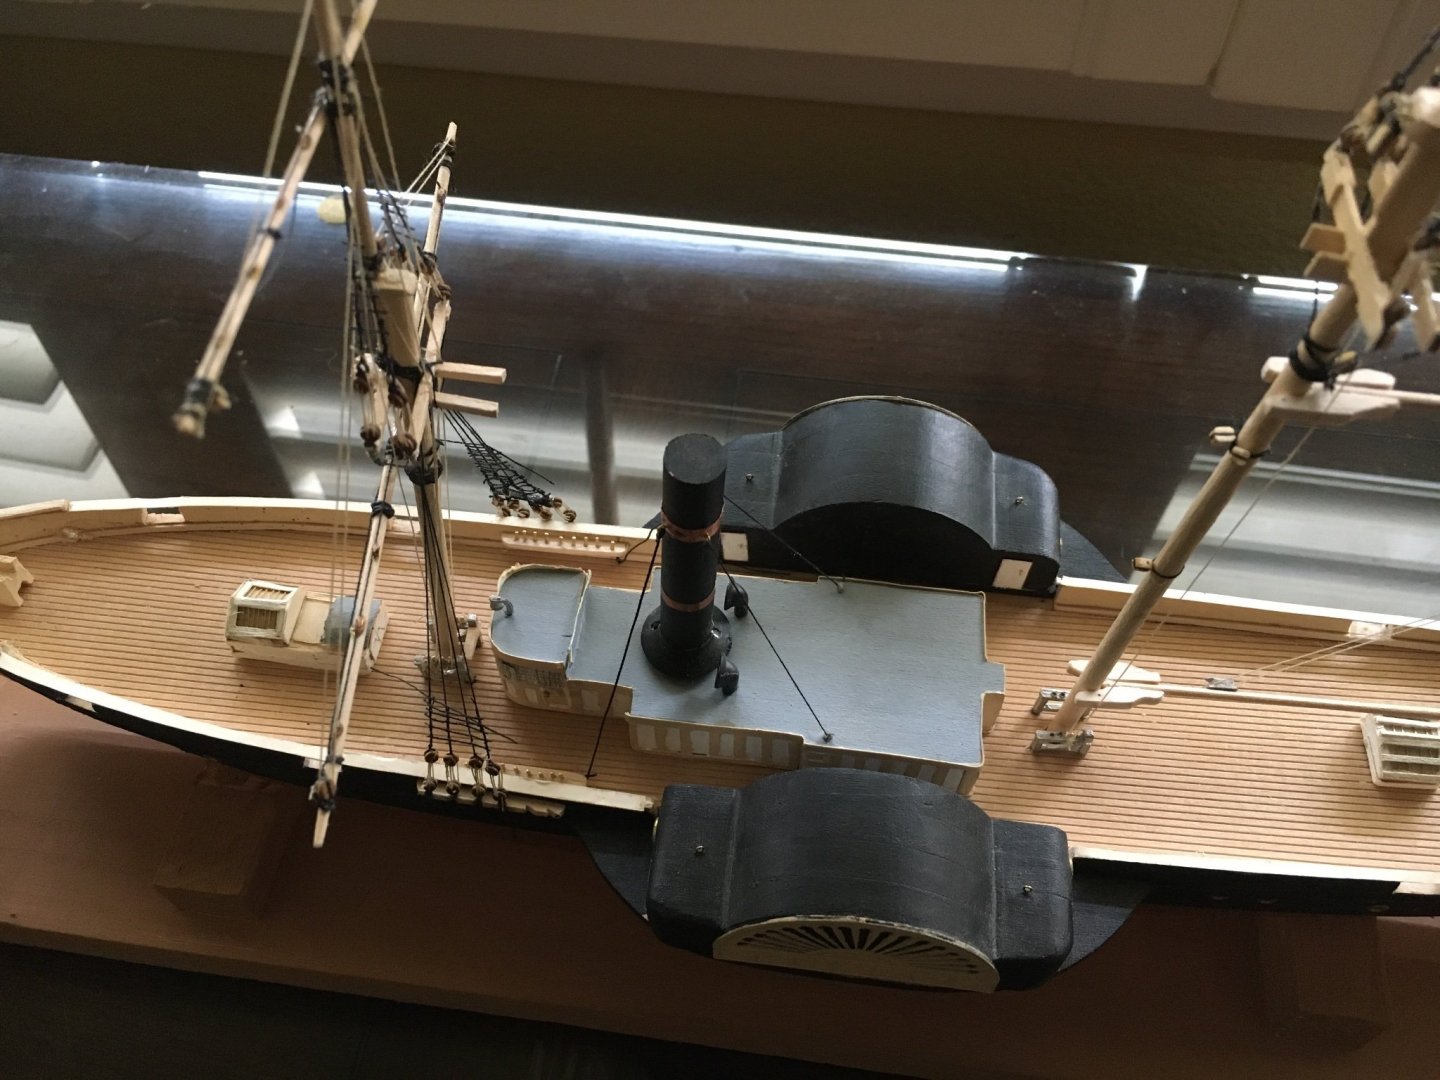
-
Afterthought— I could synch new shrouds to the existing dead eyes. 🙂
-
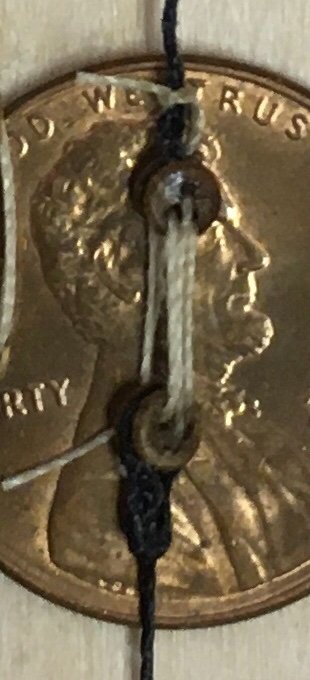
They don’t look quite bad enough (to me) to replace. The knots have glue in them so the shrouds would be entirely replaced. The labor intensive deadeye/ lanyard work makes that a lot of backtracking. I could always do this later, long after completion of the model🙂
-
So I see🙂. My clove hitches on the lower third of my starboard formast shrouds will stand as a monument to my learning experience. Luckily, at normal viewing distance, they look OK, sort of like antique votive ship modeling.
-
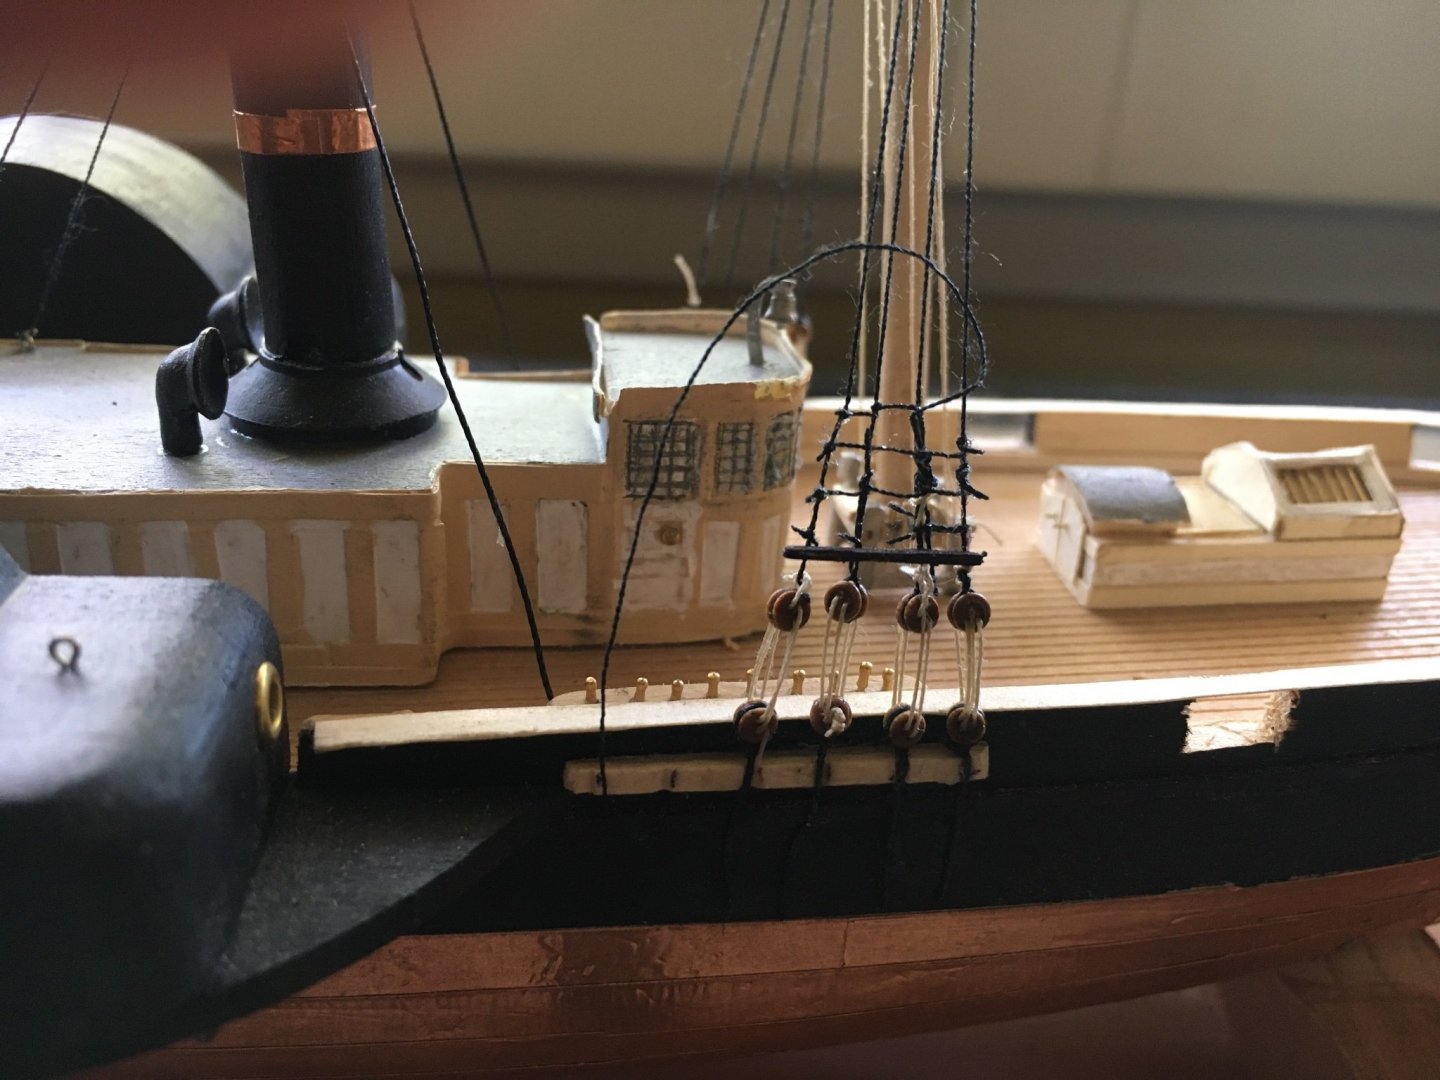
Clove hitches weren’t looking good so I am glueing ratlines to the shrouds ( as the instructions suggest). The knots are just too big for even this fine thread.

-
Rat lines in progress. Even with my much finer thread, the clovehitches make big lumps and create a staggered look. To the naked eye they look OK.
-
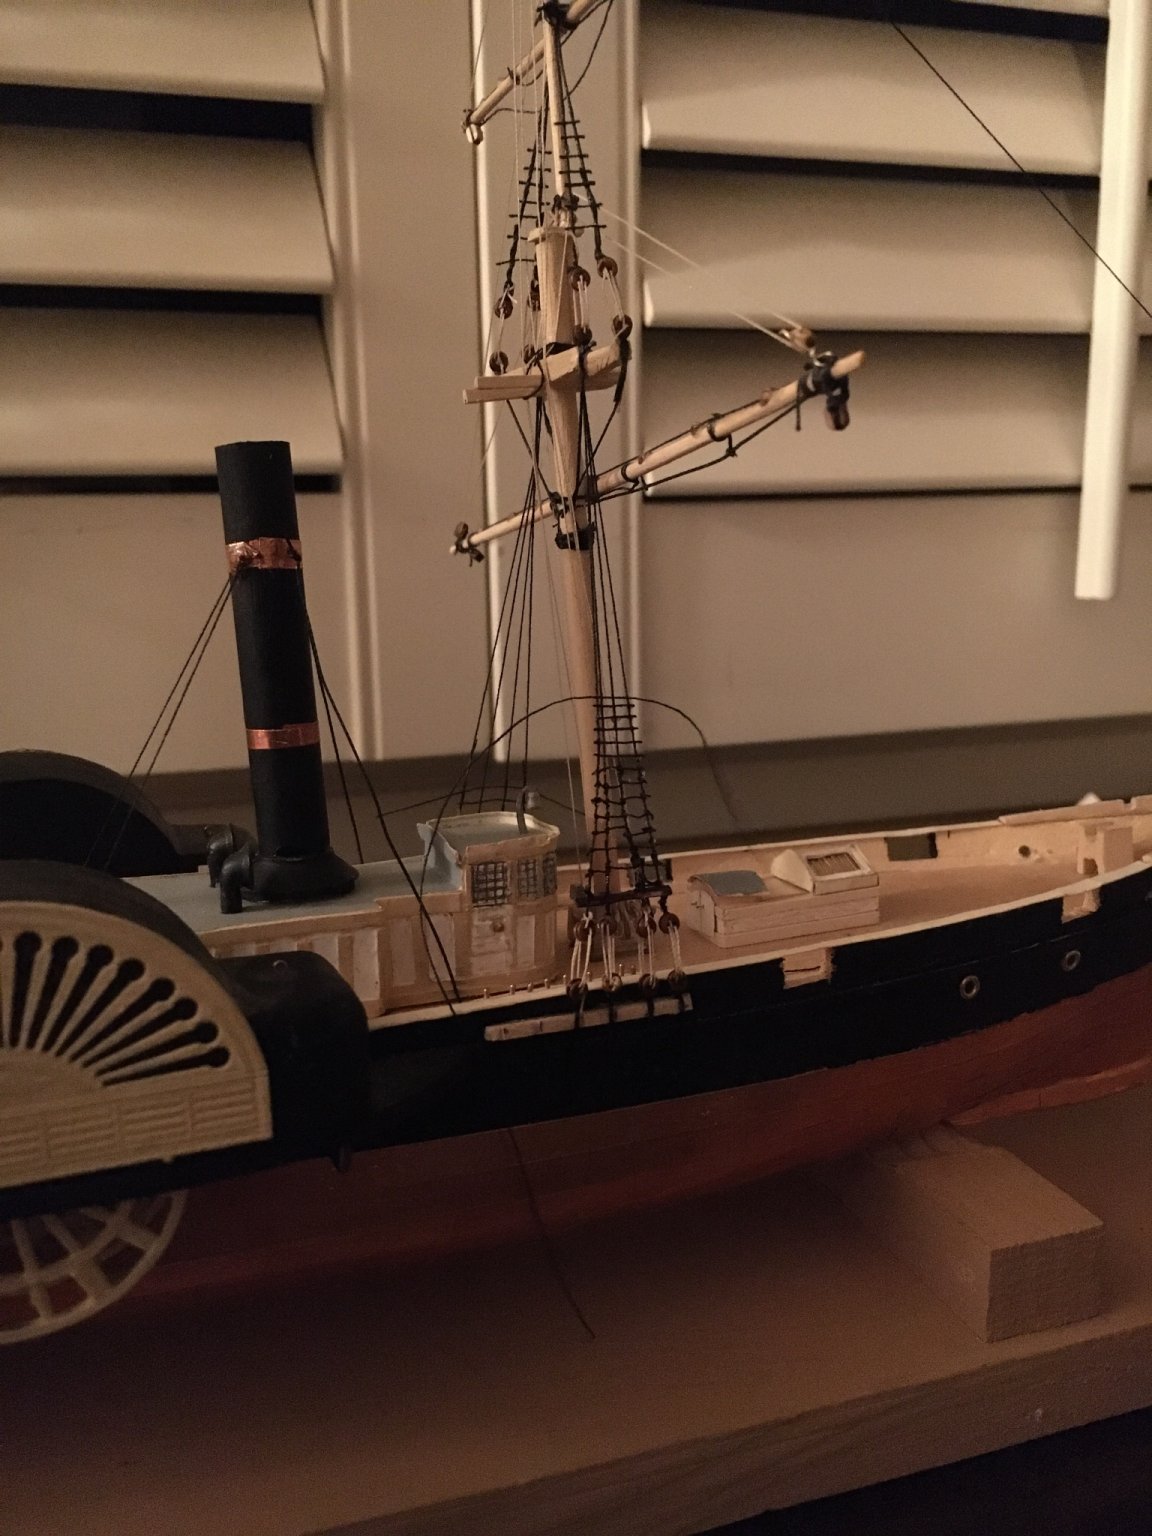
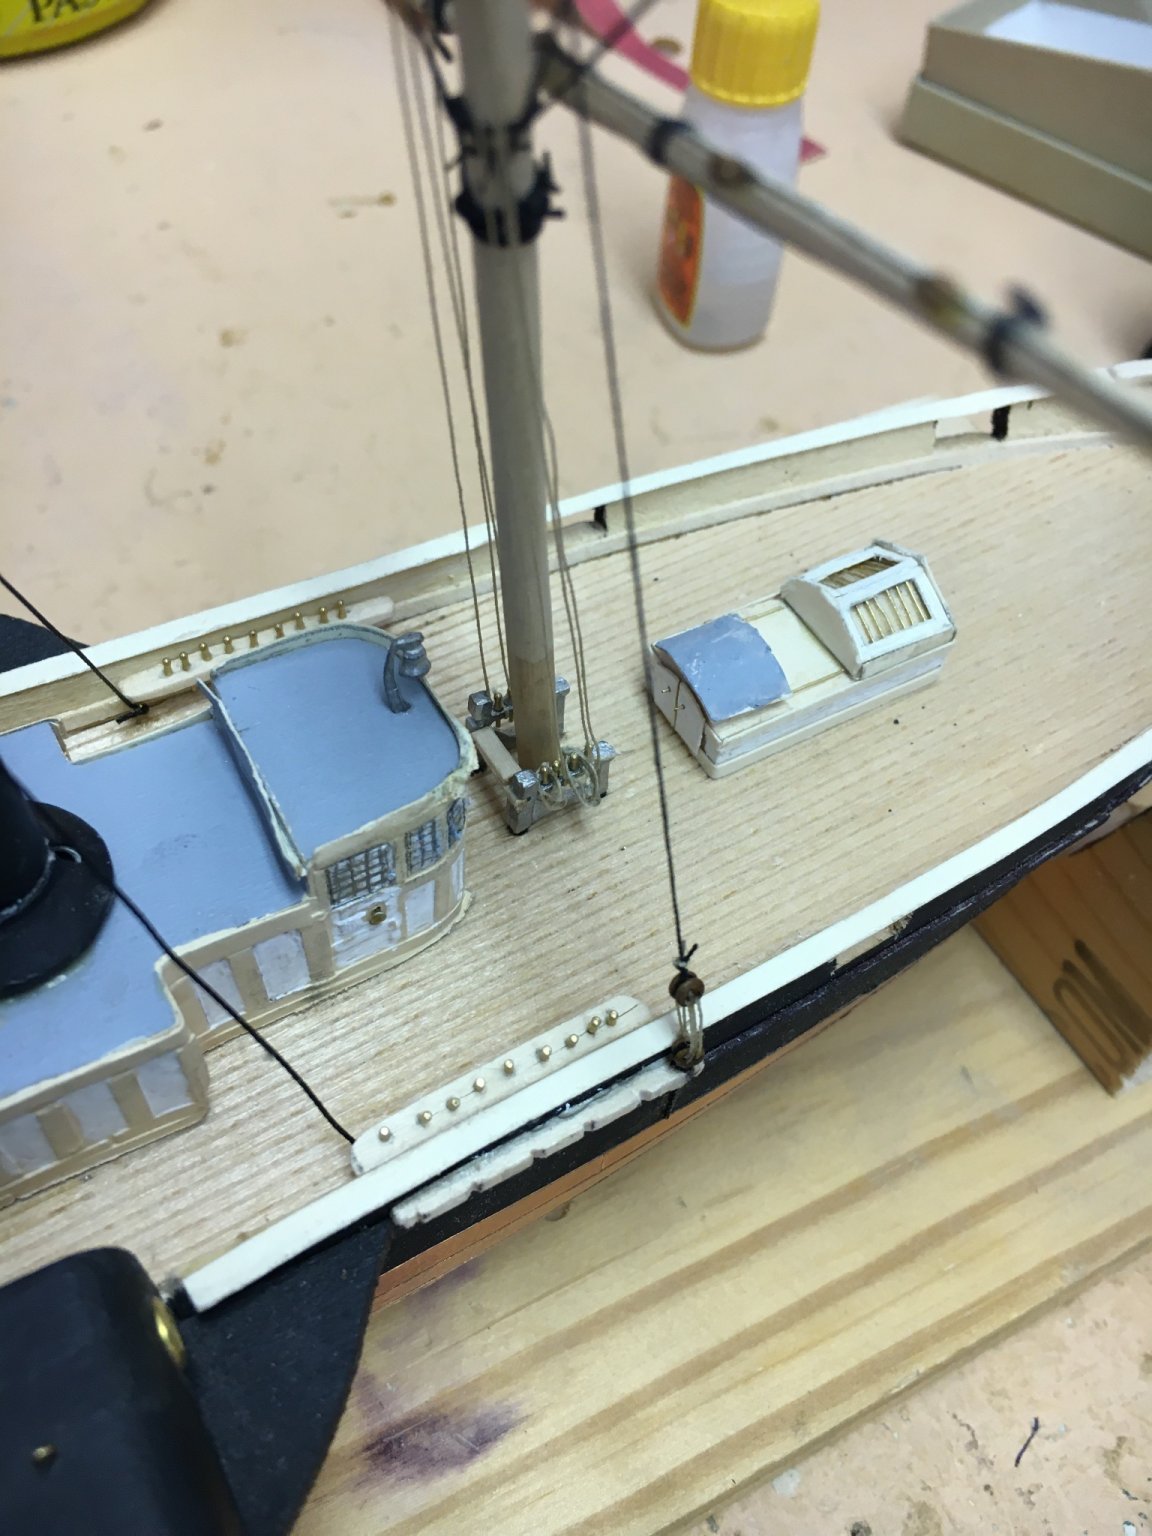
Going too slow to post much. I am getting my shrouds up one by one. I glue the chain plate in place 1st, then thread over the cross tree an tension with a weight( clothes pin) before glueing. The small size of this model has me using “bottle ship” techniques, I.e. creating visual illusion, such as gluing, alone, rather than tying knots, in many places.

-
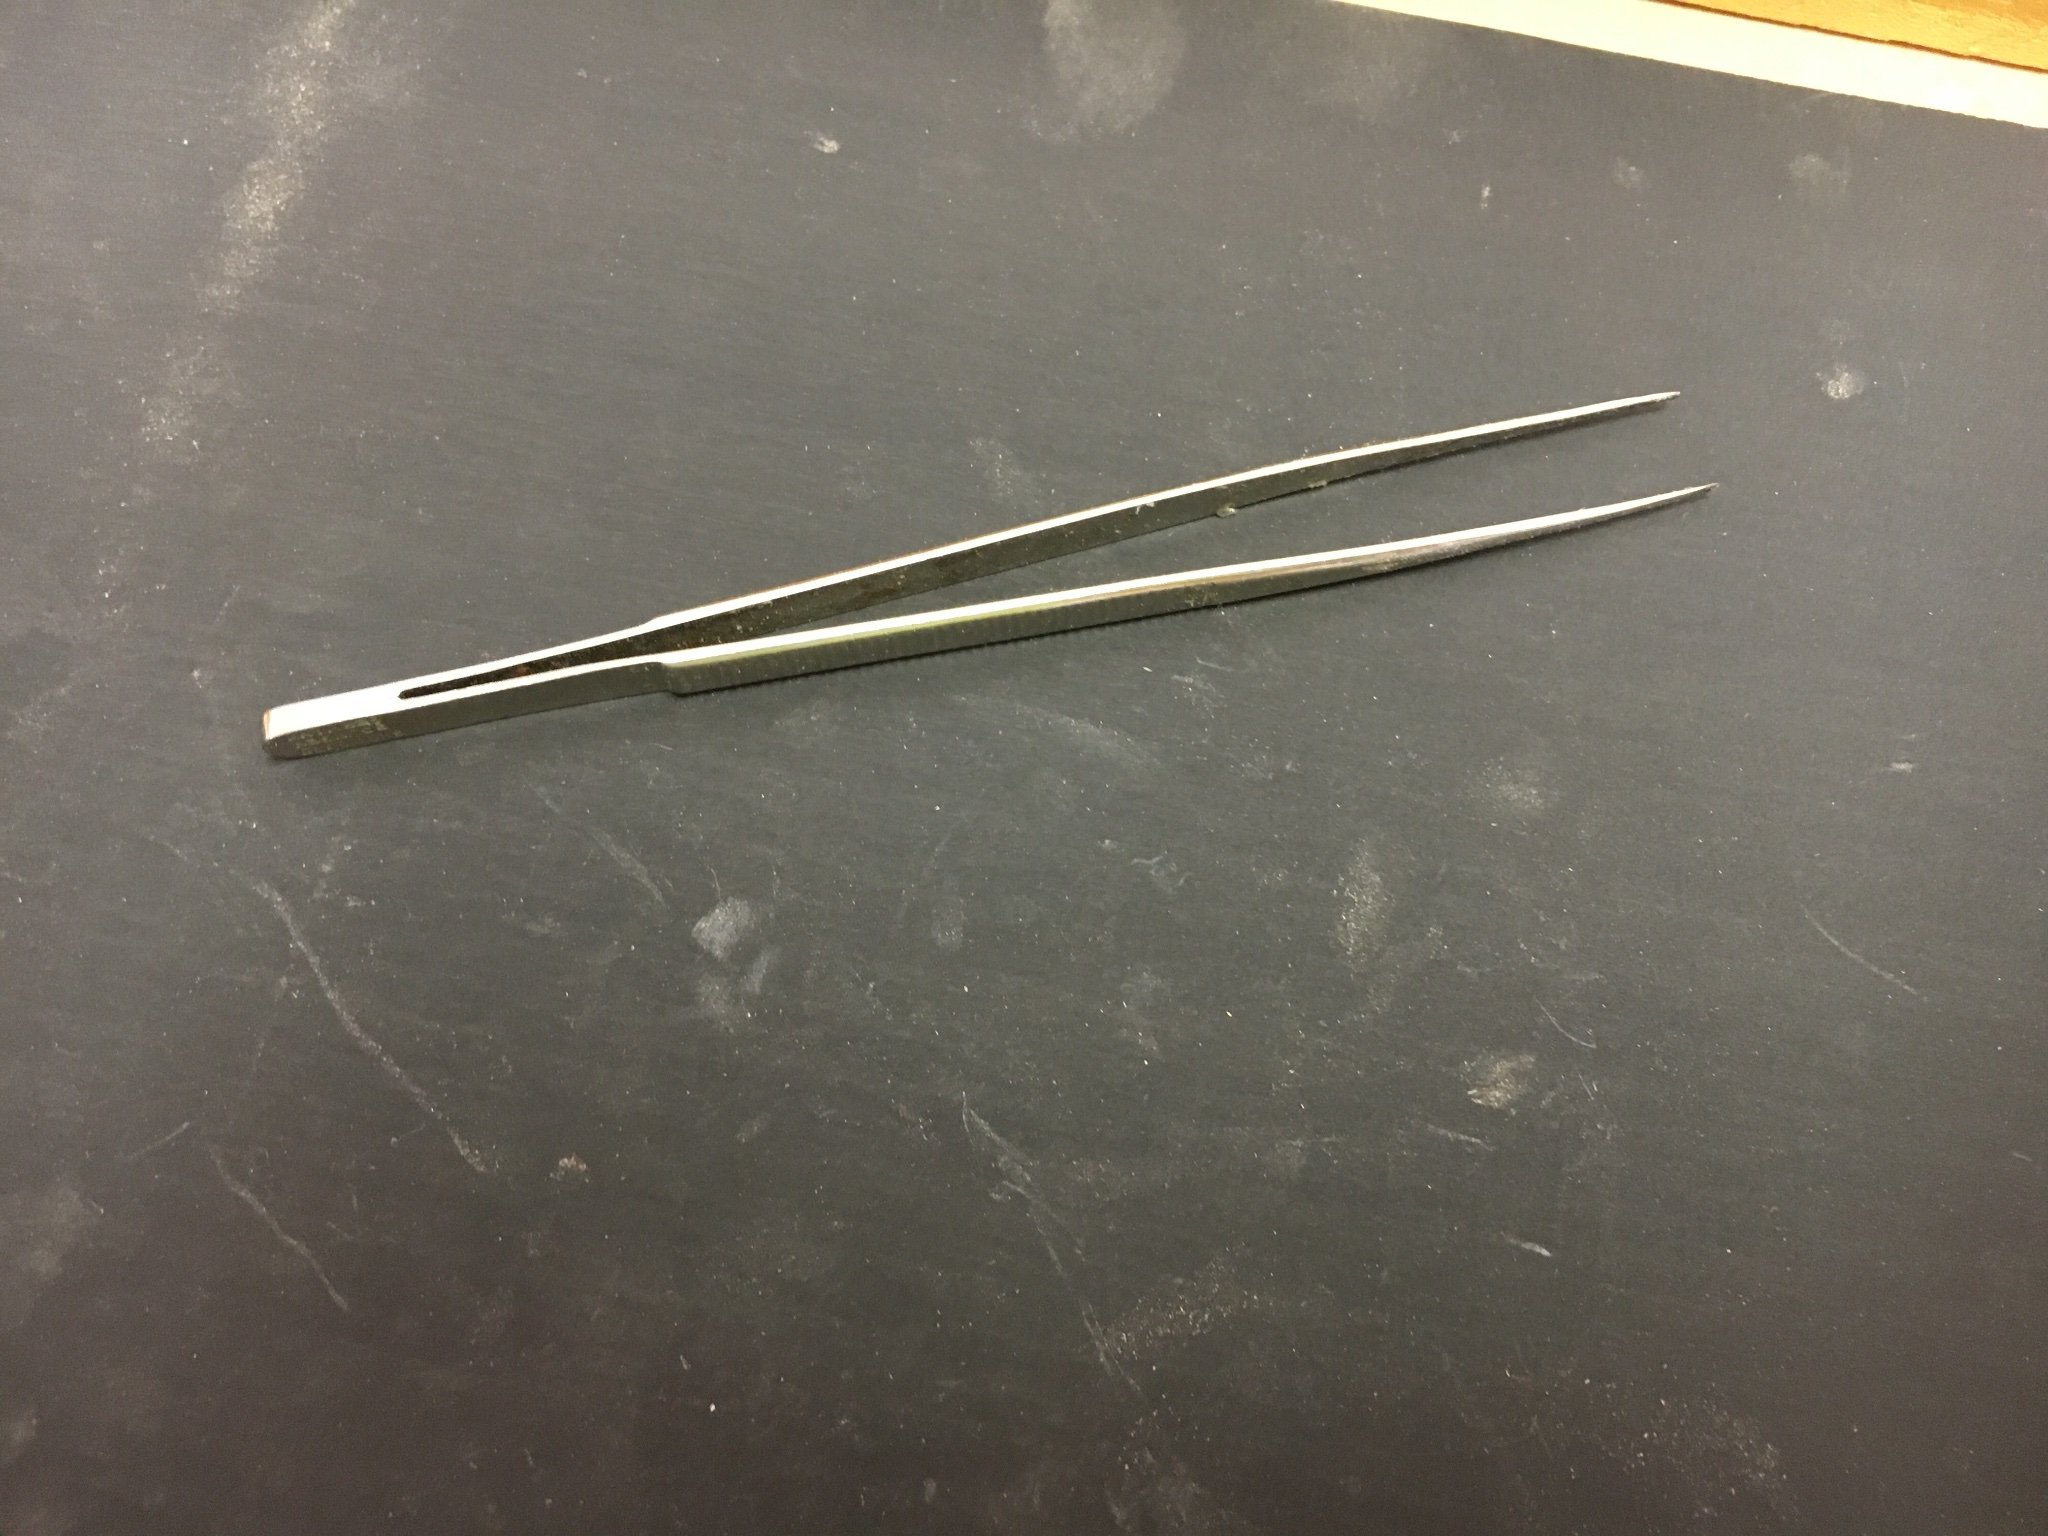
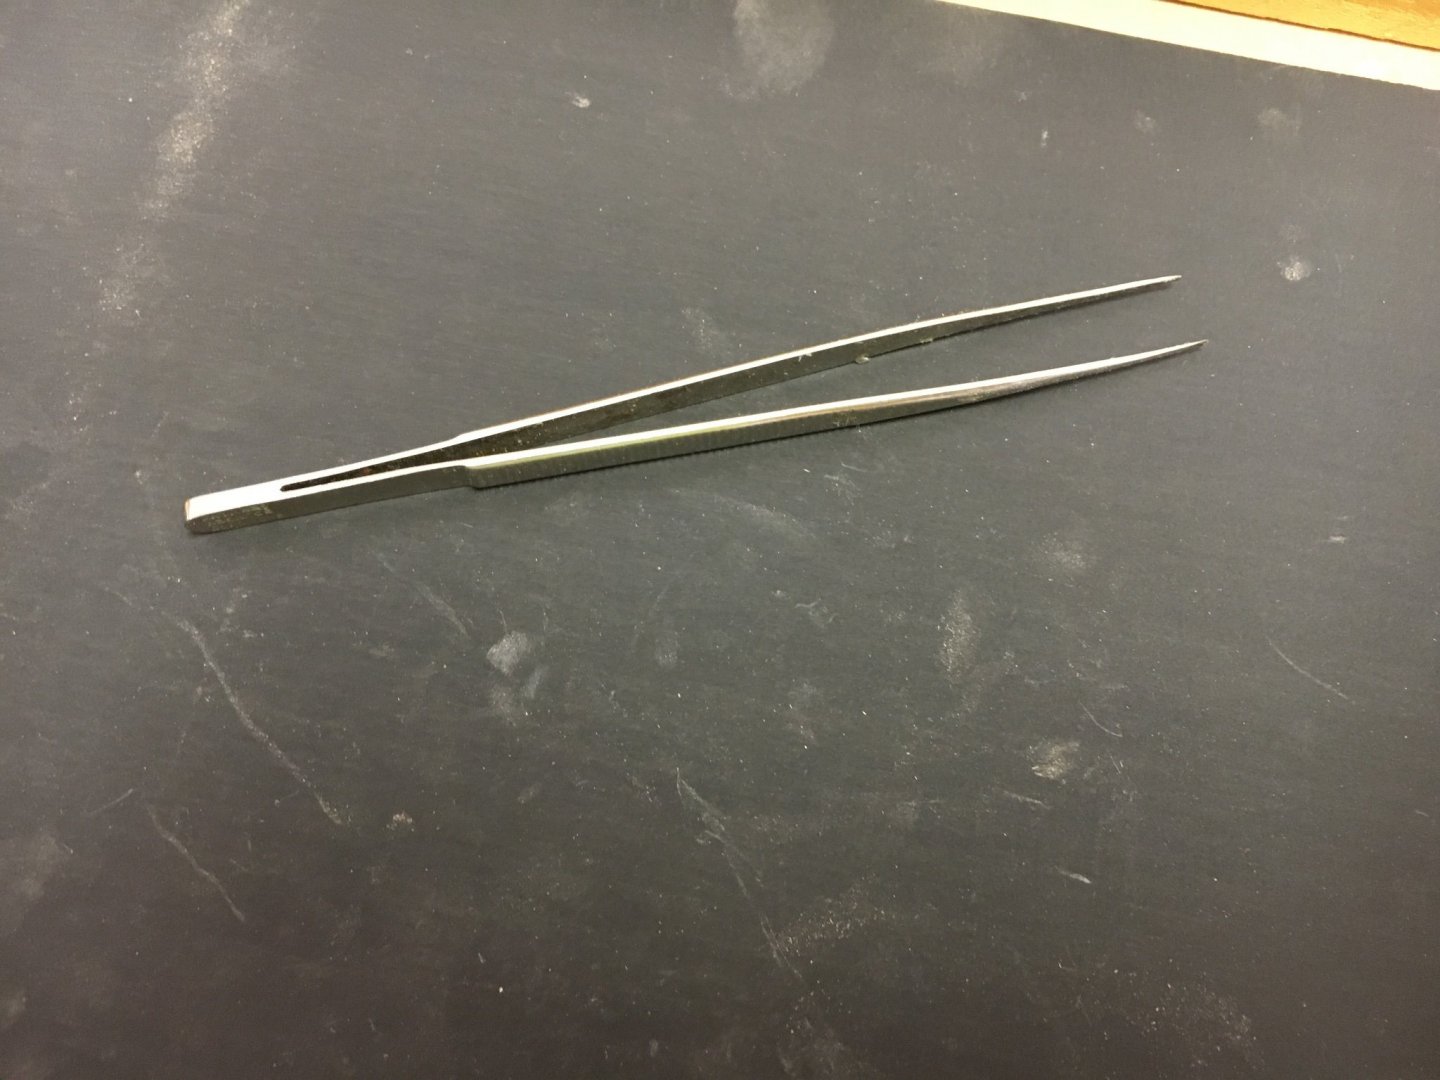
More shrouds added, this is going fast. Two pairs of stamp tongs make short work of getting these over the cross tree.
-
1st shroud in place. Easier than I thought. Long pointed stamp tongs are much better than tweezers for this work. I am also putting up the inter mast stays.

-
Thanks for the compliment!🙂
-
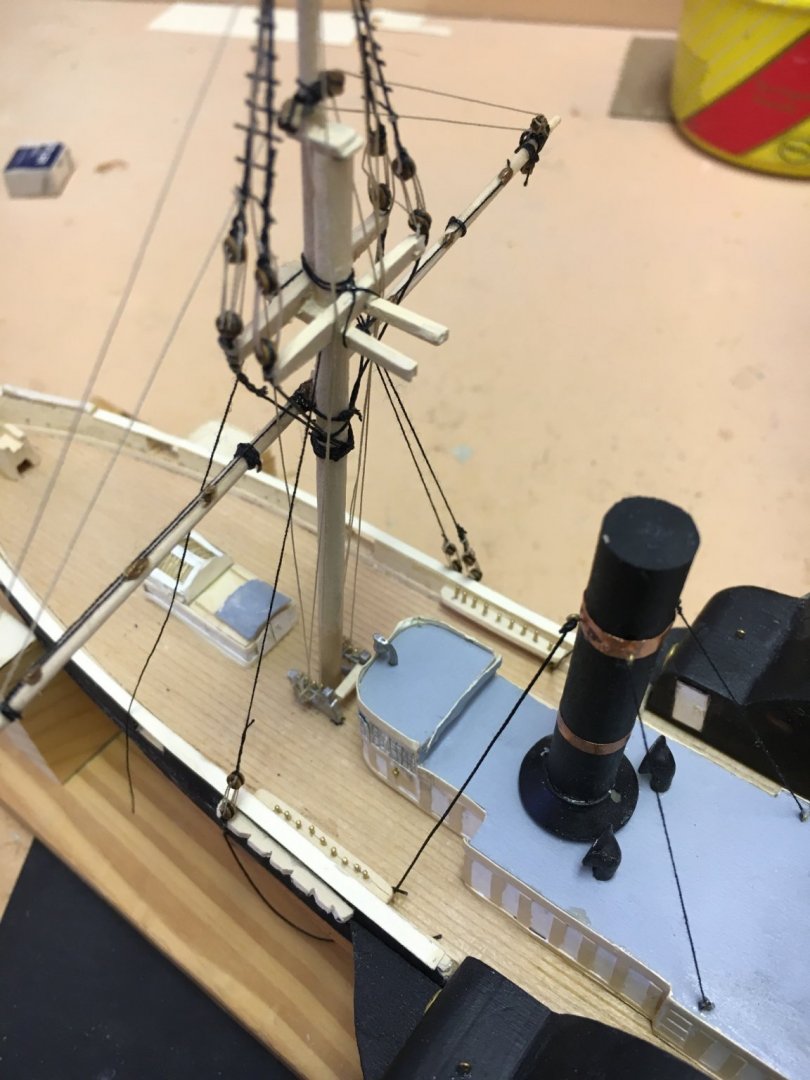
I am also confining the supplied chain to the anchors and paddle wheel detente, too thick for the funnel guys. I used thick thread there.
-
I am currently building this exact model (my 1st attempt at a model, save for a childhood failure with the Revel Constitution). You have done a wonderful job!! I decided, after adding my standing rigging to the foremast, that the supplied thread is to thick for the model scale. I have since moved to much thinner thread. The chains are fine for the anchor and paddle wheel housings, but too big for me to use for the funnel guys. I used thick thread there.
-
I am currently building this exact model (my 1st attempt at a model, save for a childhood failure with the Revel Constitution). You have done a wonderful job! I decided, after adding my standing rigging to the foremast, that the supplied thread is to thick for the model scale. I have since moved to much thinner thread.
-
I am also building this exact model. Good work on yours! I decided, after adding my standing rigging to the foremast, that the supplied thread is to thick for the model scale. I have since moved to much thinner thread.
-
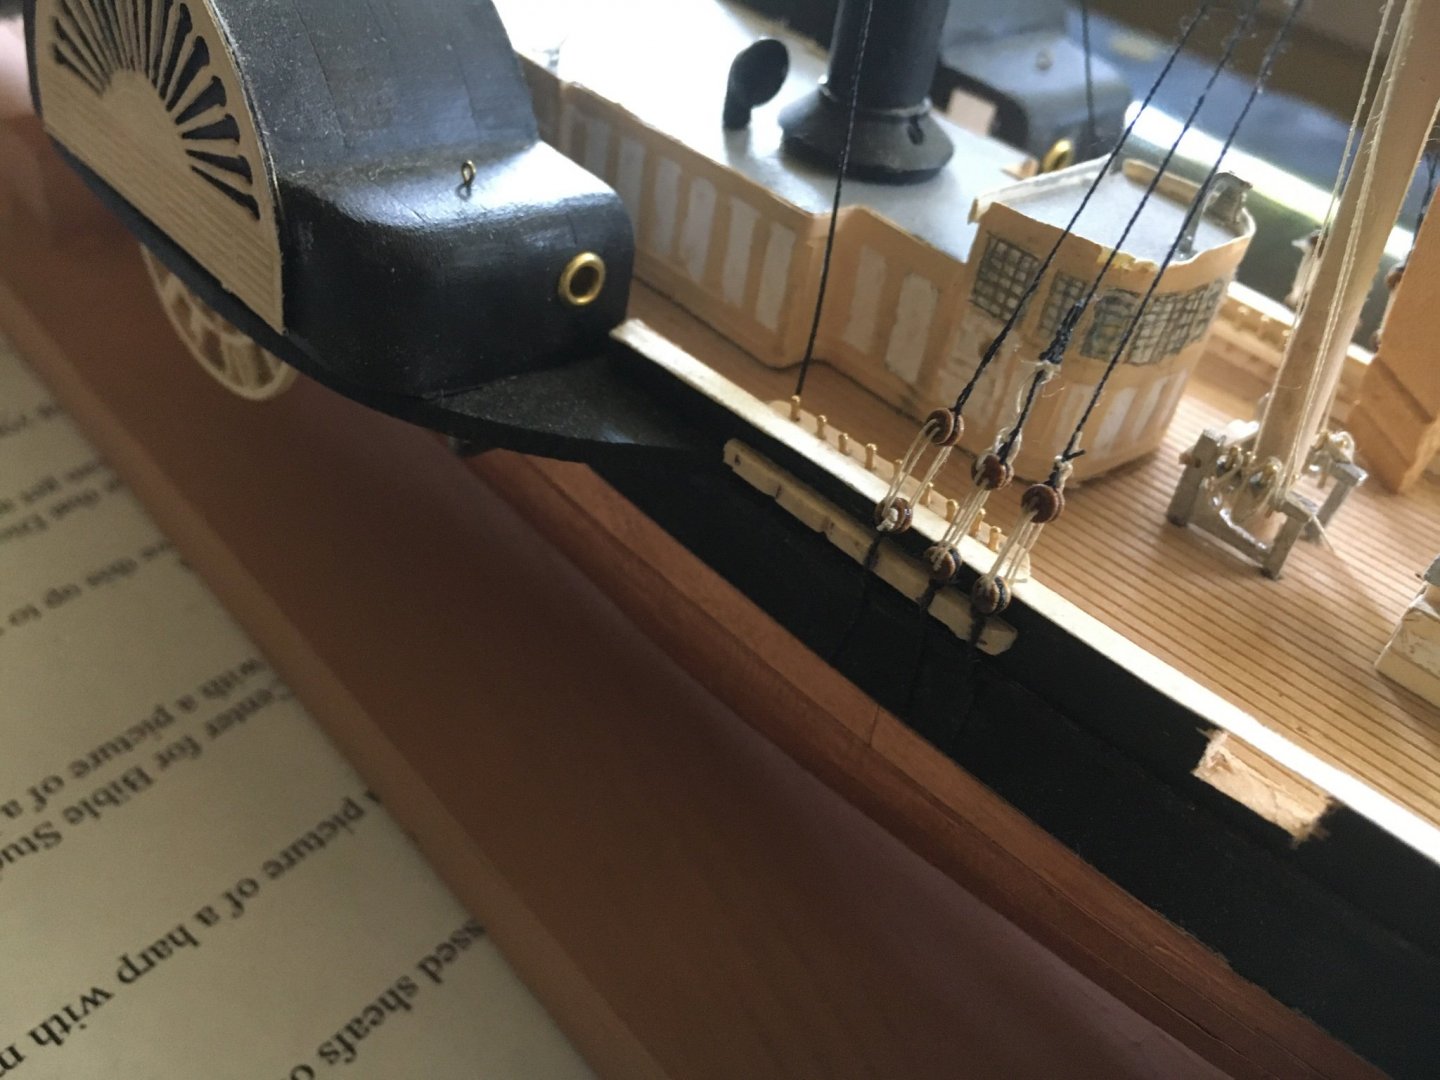
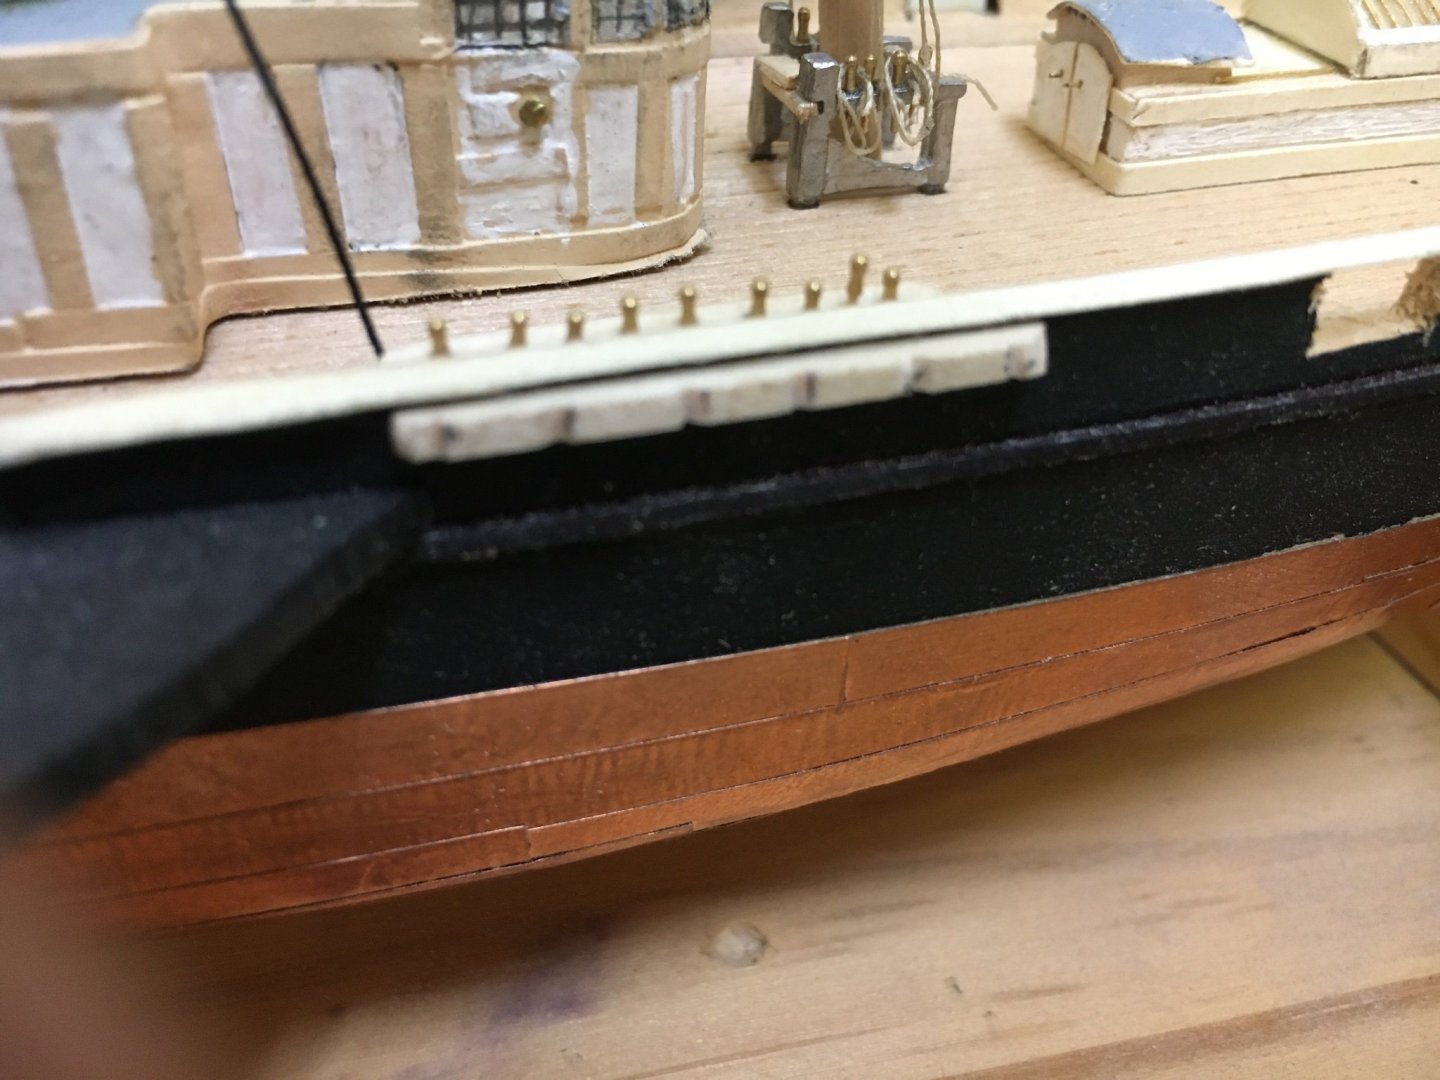
I will make the wooden “ shroud seat” thinner before painting, to make it less conspicuous.
-
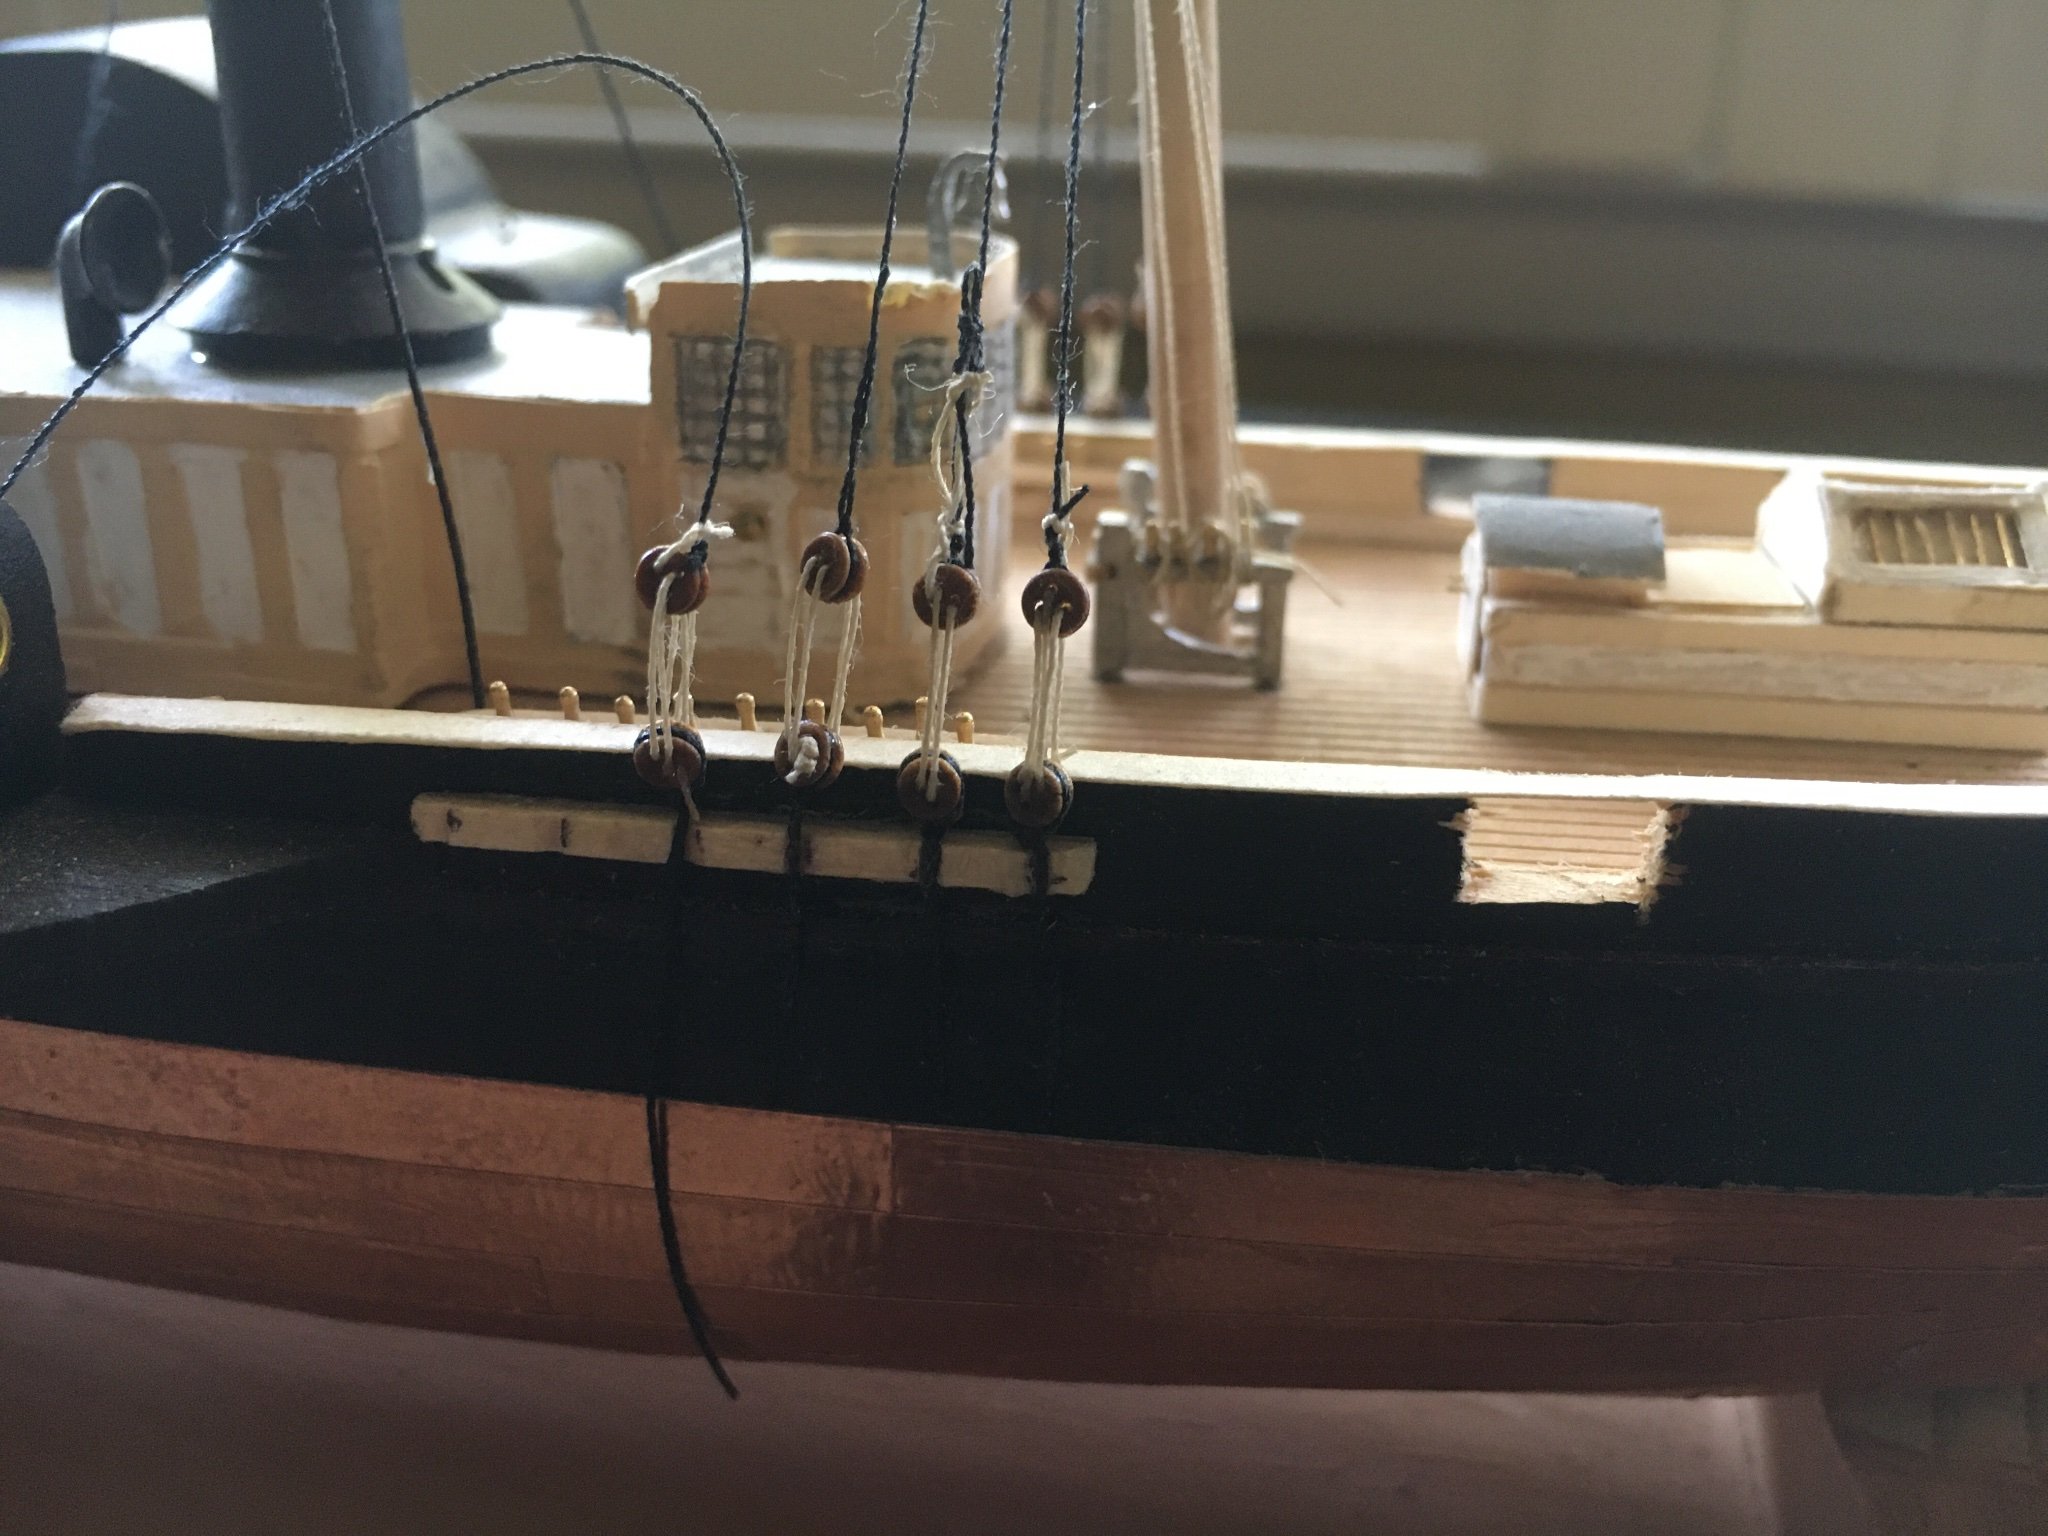
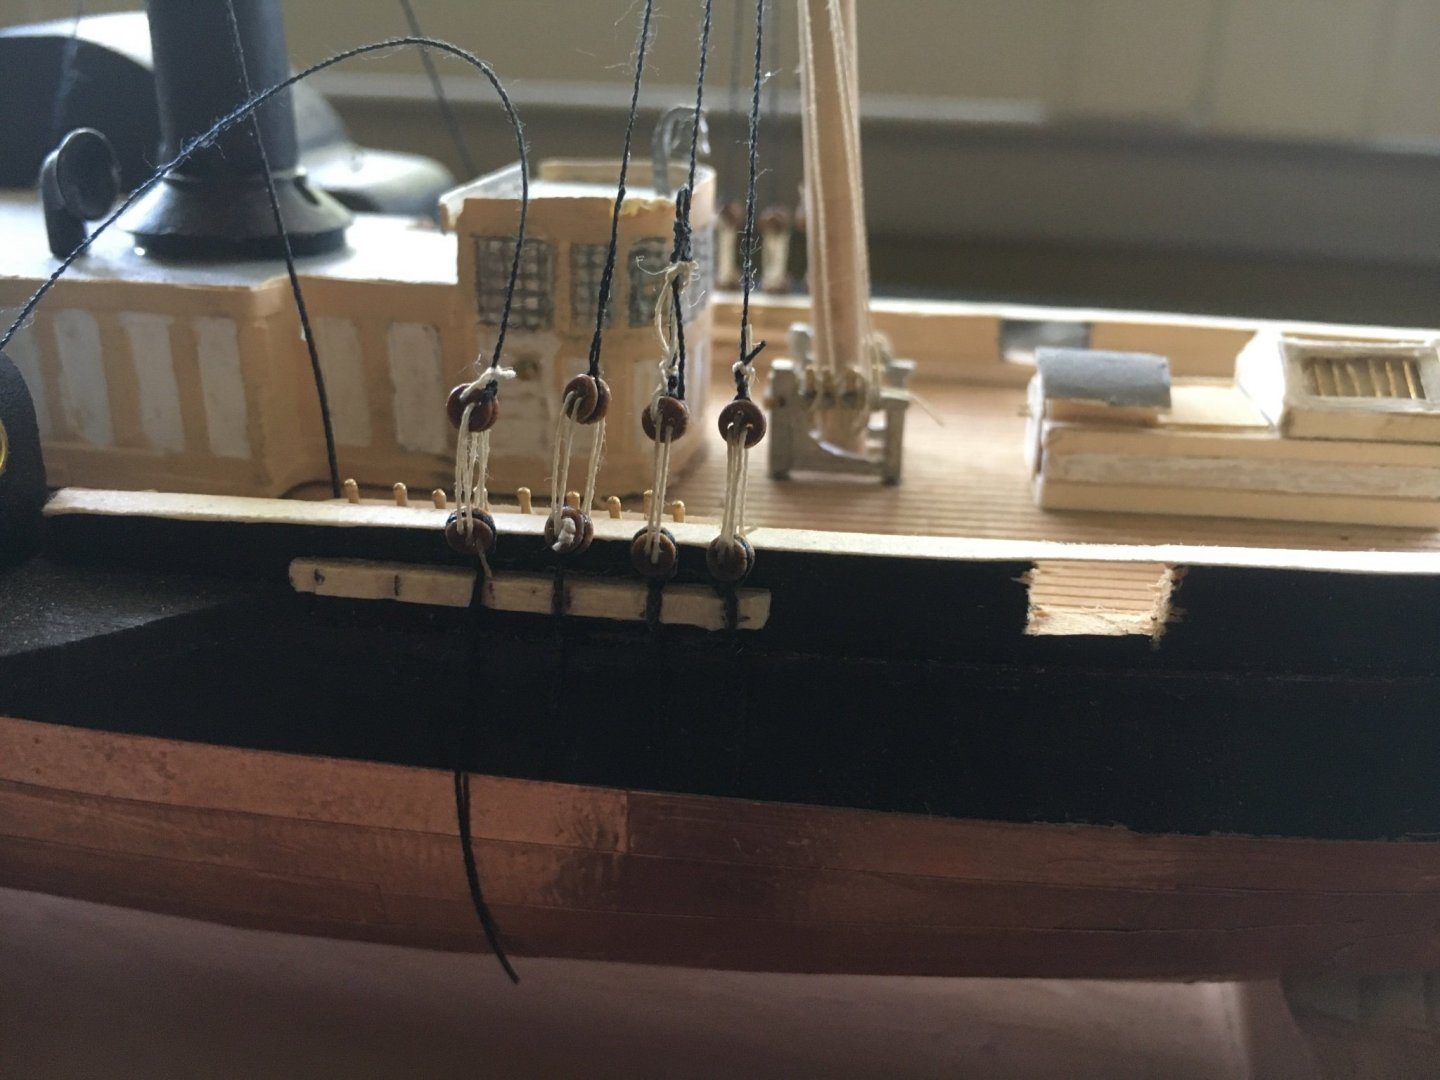
The lower shrouds need to be in place before I belay the foremast clew and buntlines, so before adding the square sales, I am making the 22 lower shrouds for both masts. The buntlines and clewlines will pass through a guide, fastened low on the shrouds. Since my rail is thin file folder cardboard, for authentic scale, I am faking in a thick spot in wood, to be painted black, to seat the shrouds. Another “invention” for this model.
-
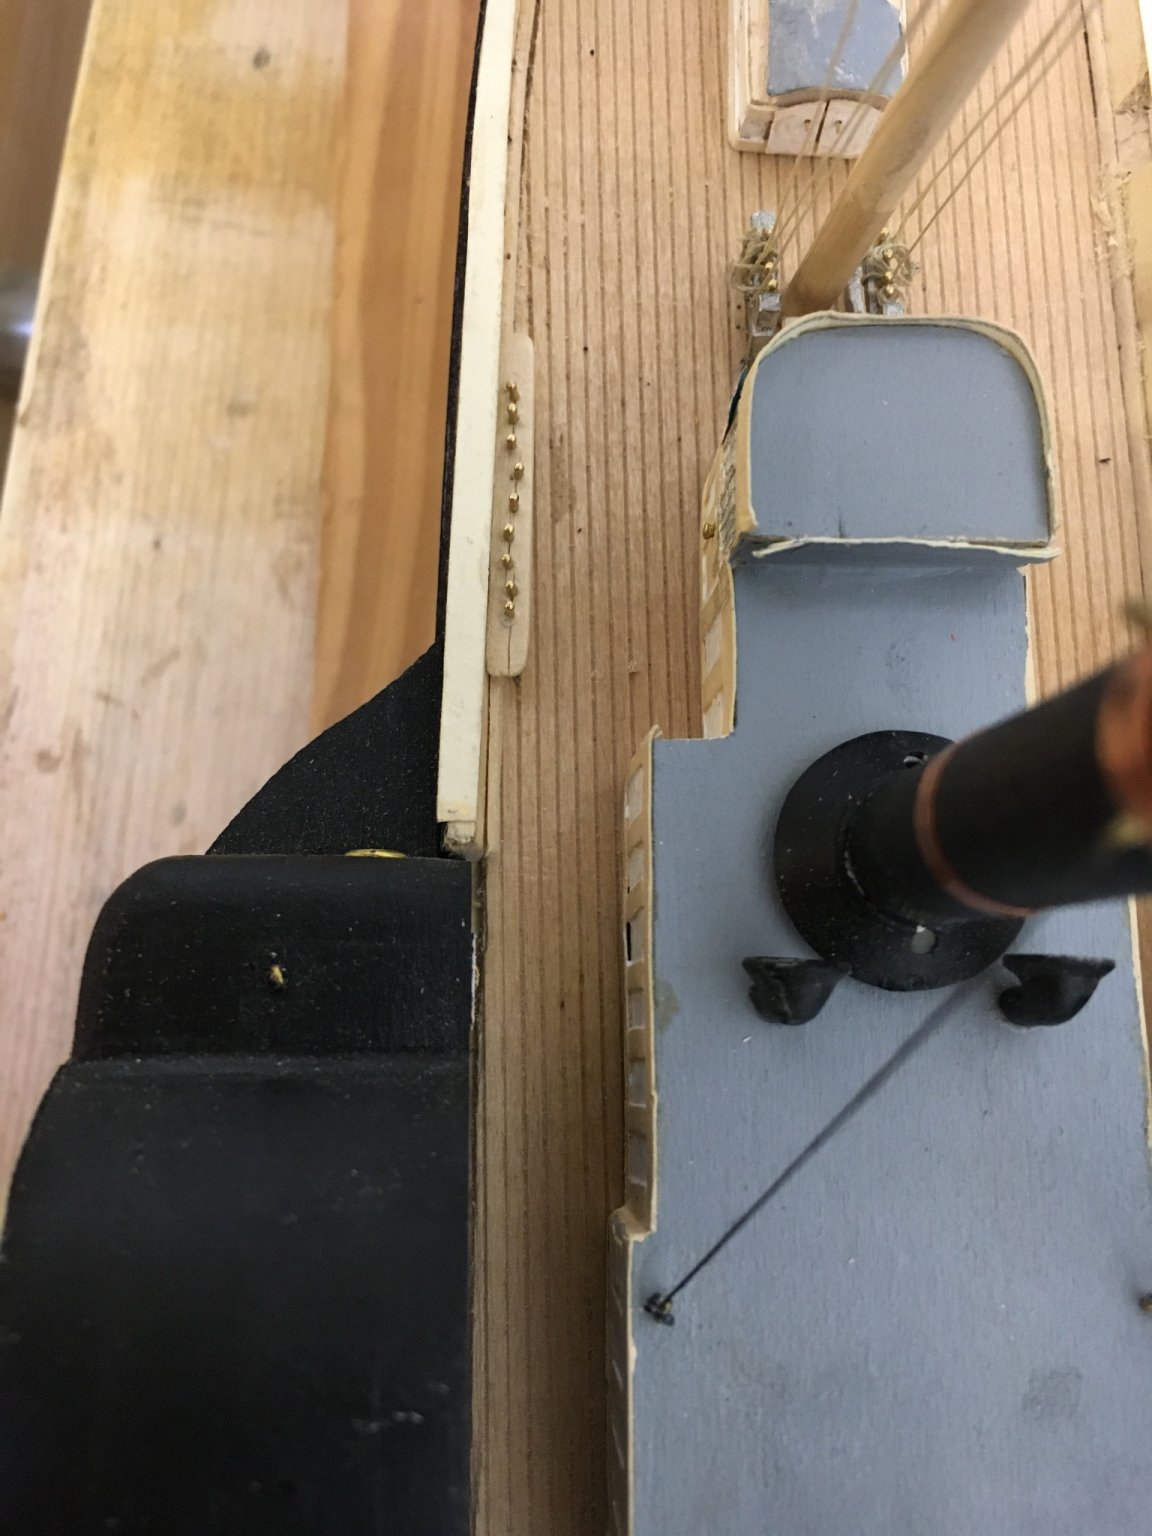
My port pinrail is glued in place
-
My port pinrail is glued in place

-
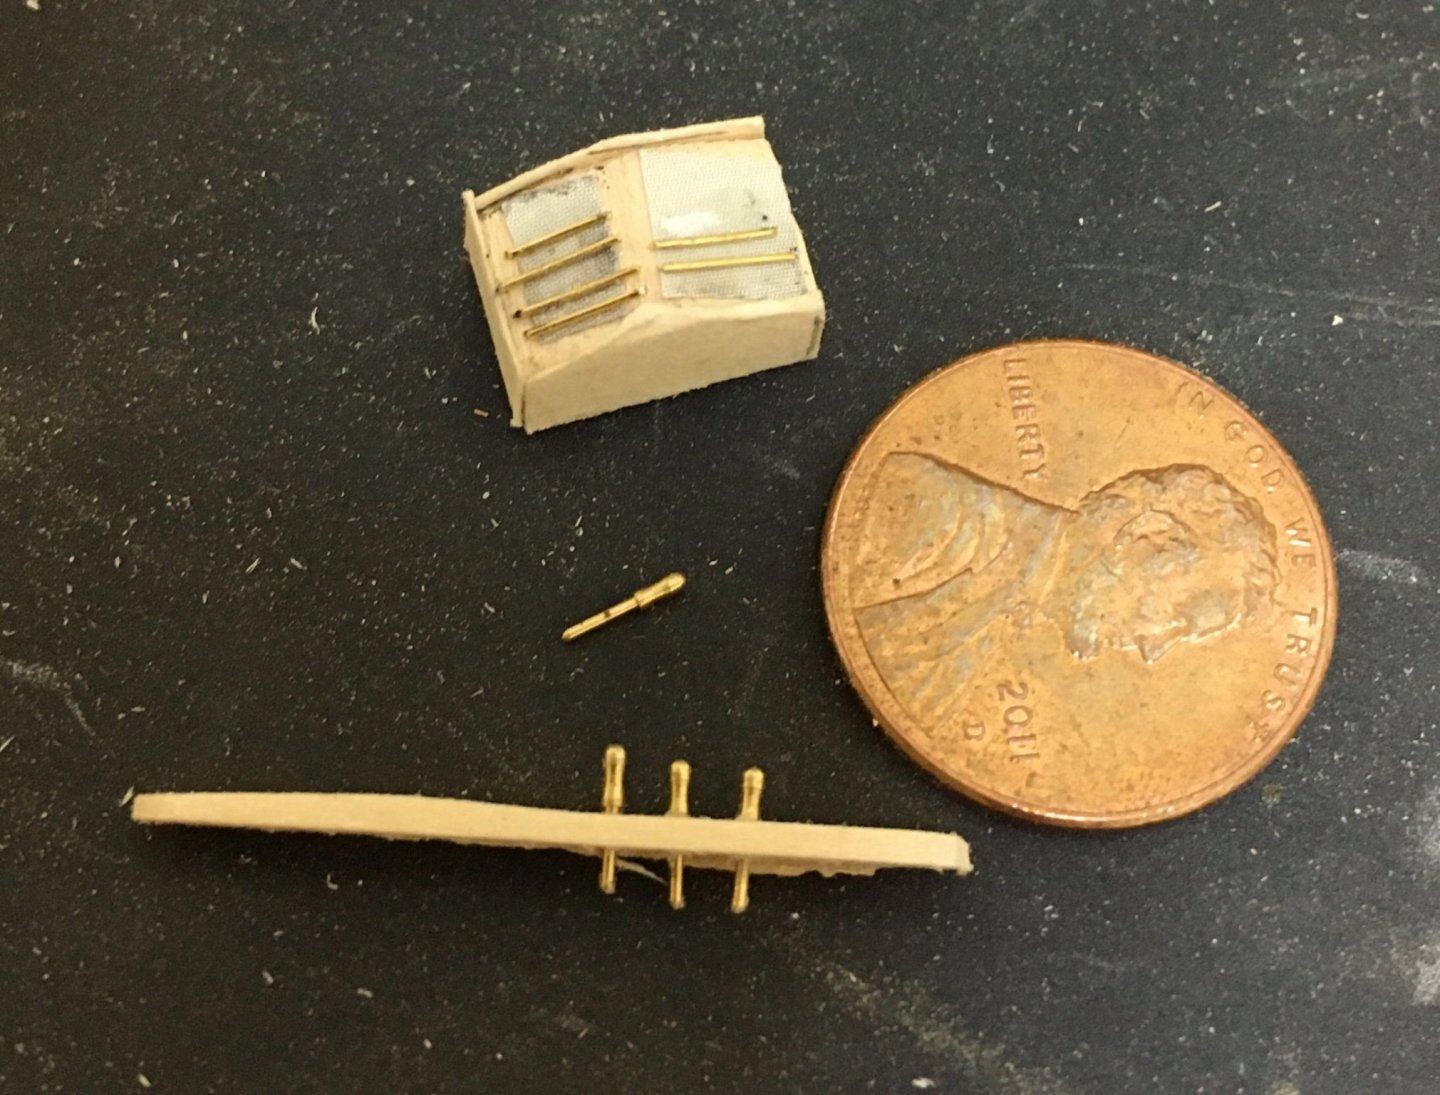
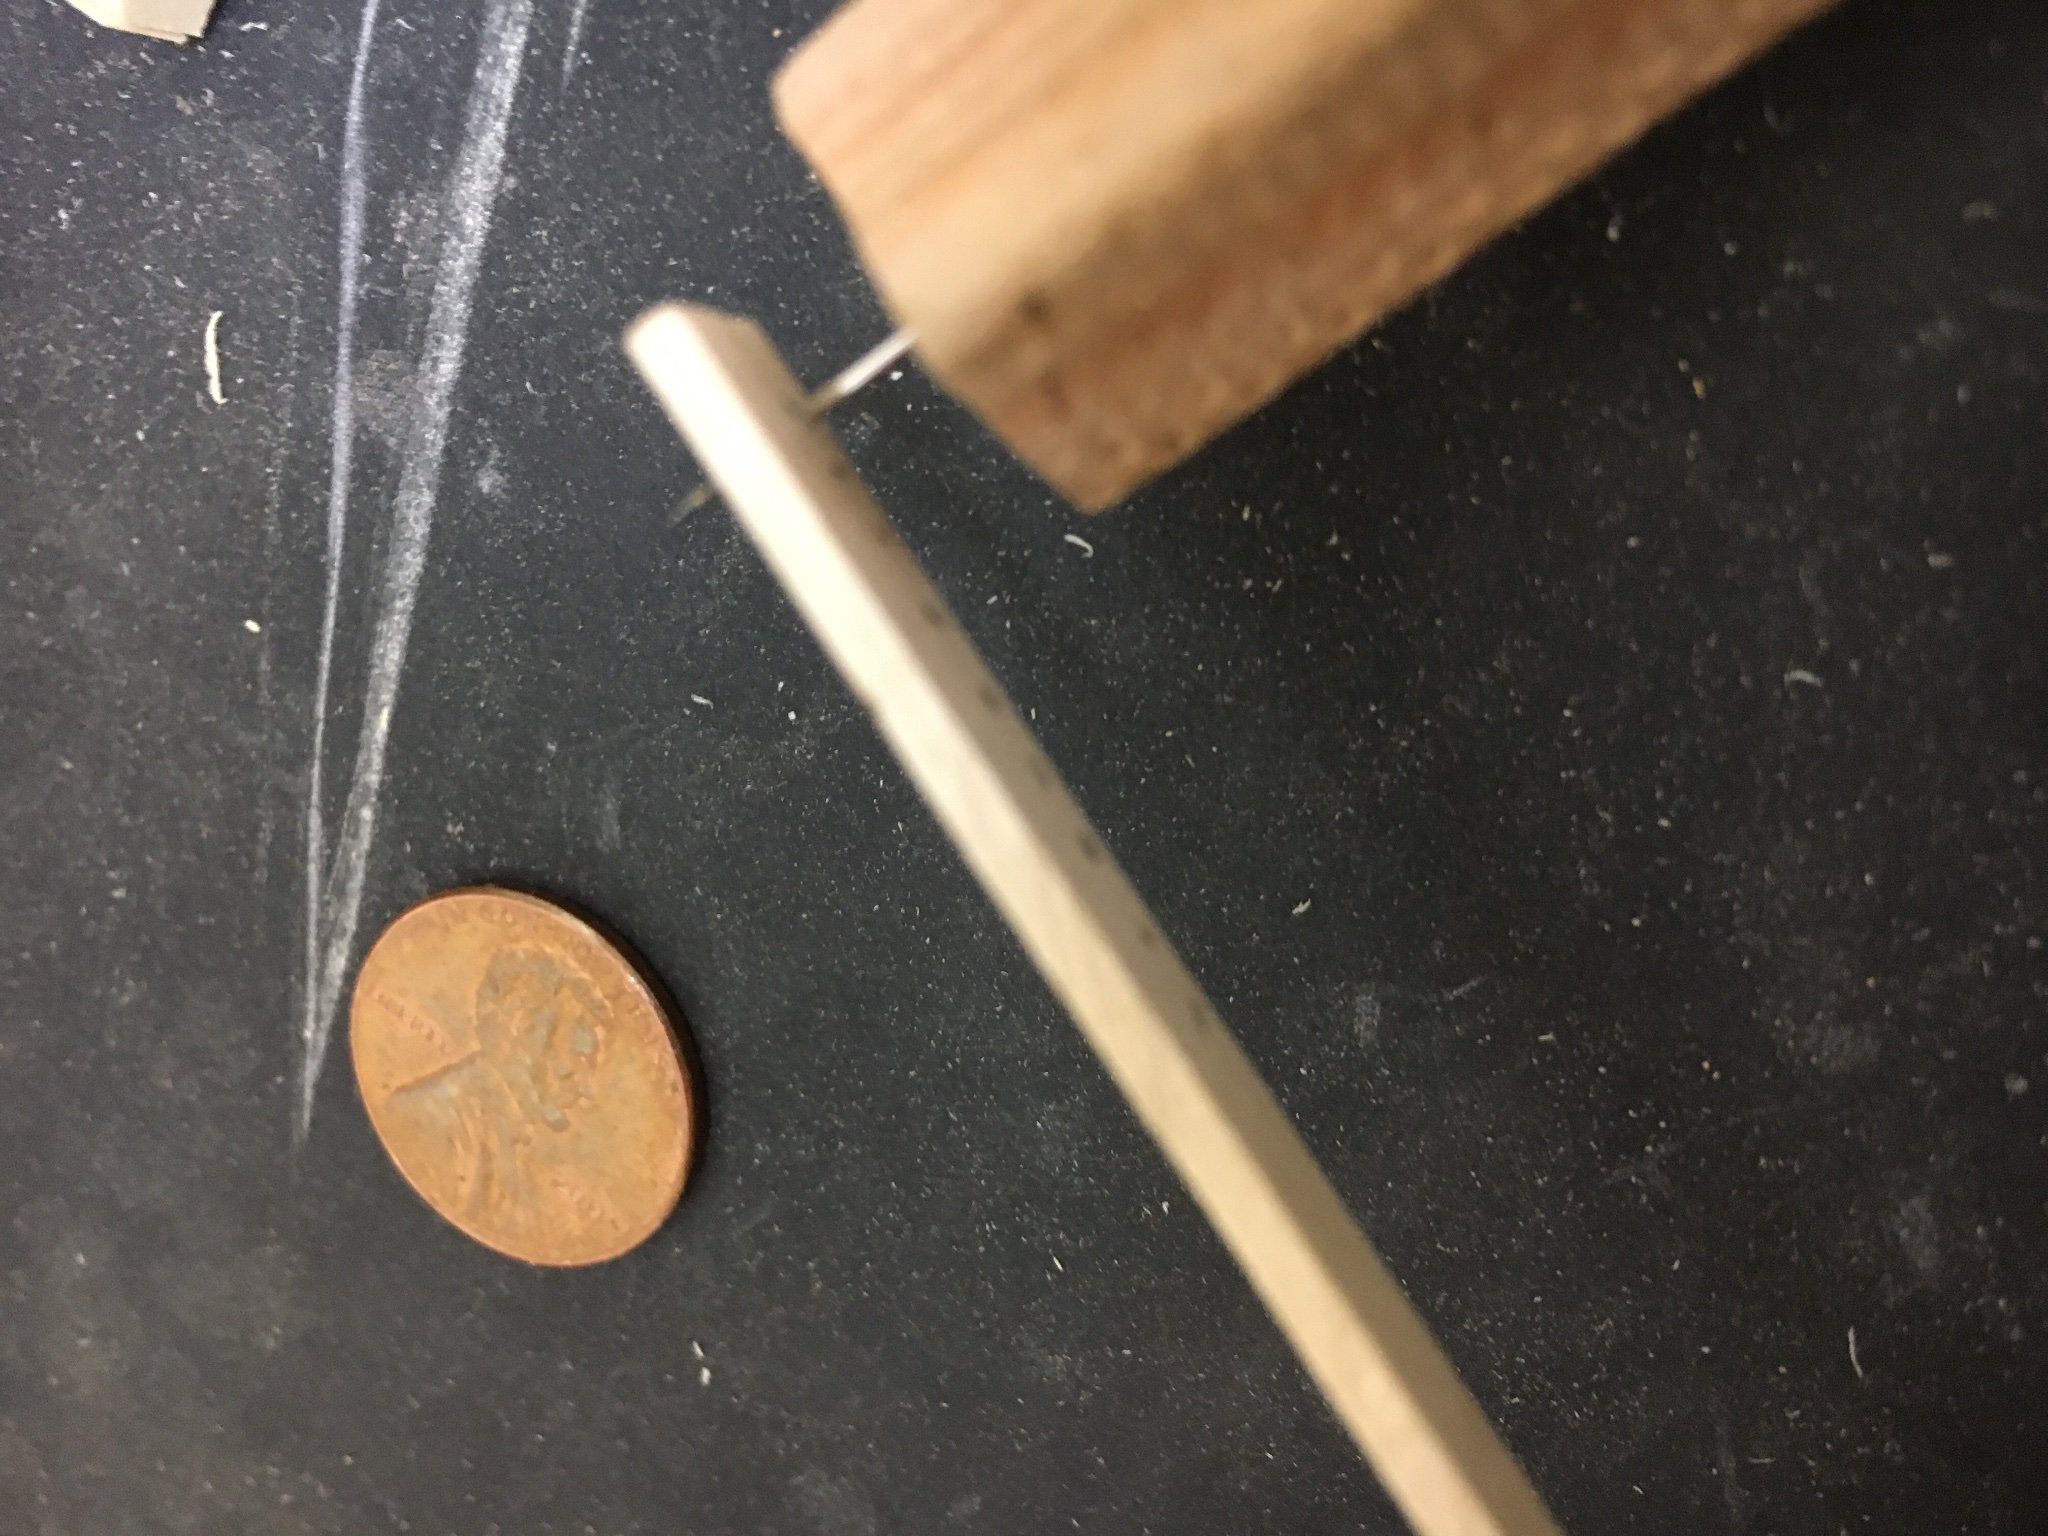
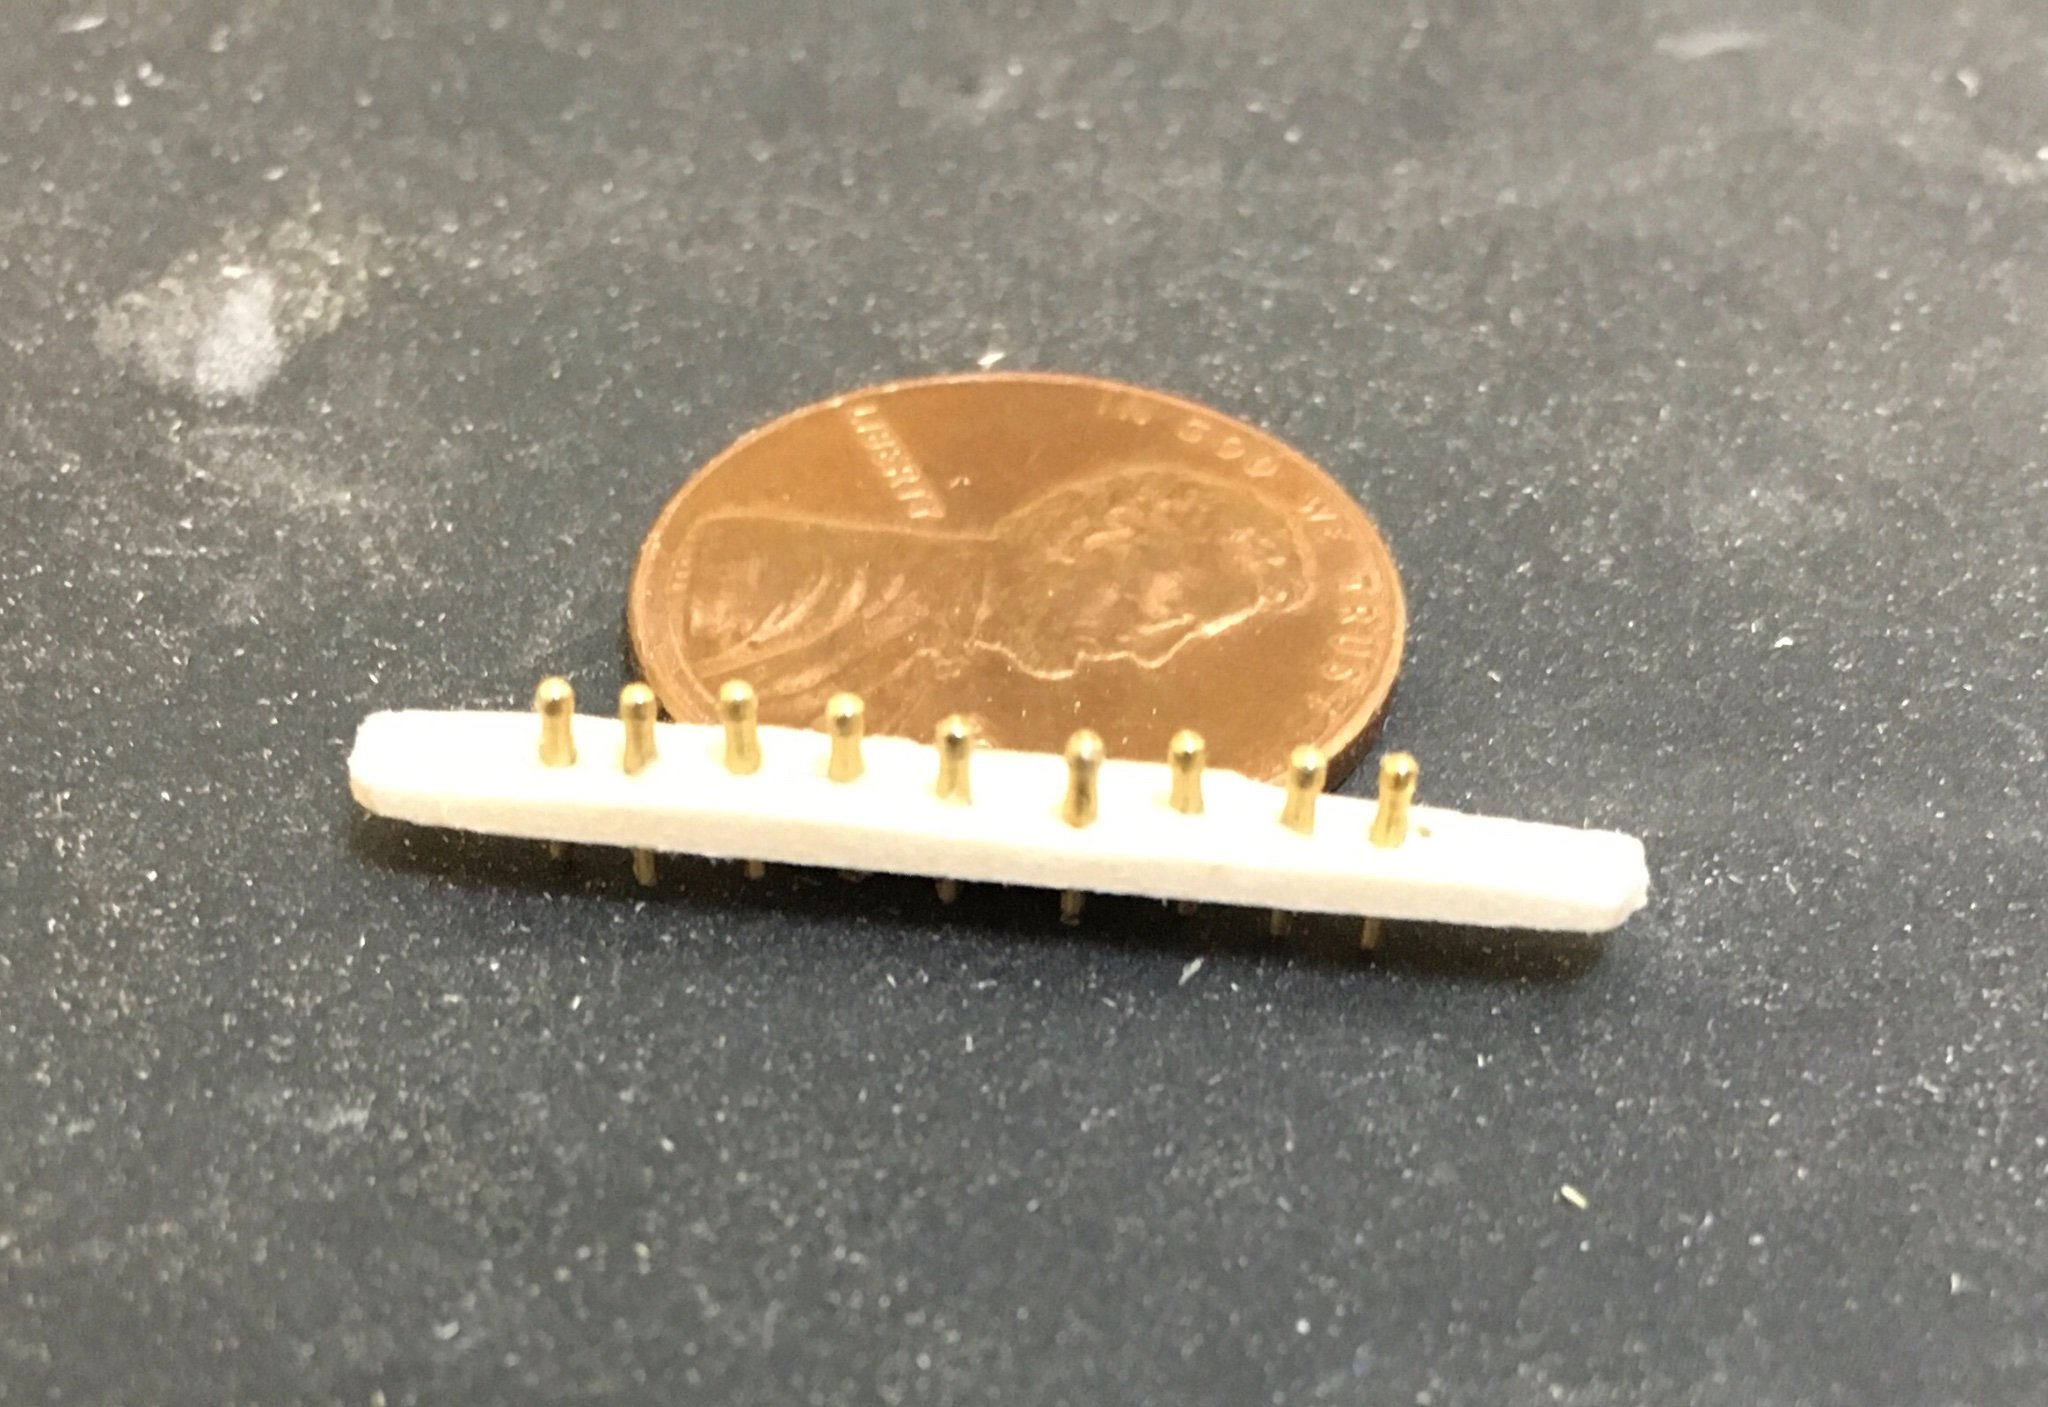
Still at it but slow going. Since I am adding a couple of sails to my square rigid for-mast, I am making pin rails to secure the buntlines. First drilling the holes, adding the belaying pins, then reducing the rail to its final dimensions.