HOLIDAY DONATION DRIVE - SUPPORT MSW - DO YOUR PART TO KEEP THIS GREAT FORUM GOING! (Only 20 donations so far - C'mon guys!)
×


Admiral Beez
-
Posts
184 -
Joined
-
Last visited
Content Type
Profiles
Forums
Gallery
Events
Everything posted by Admiral Beez
-
 I was thinking that too. I have to cut the top in order to separate the two sides, but I can tie it together at the mast head.
 -
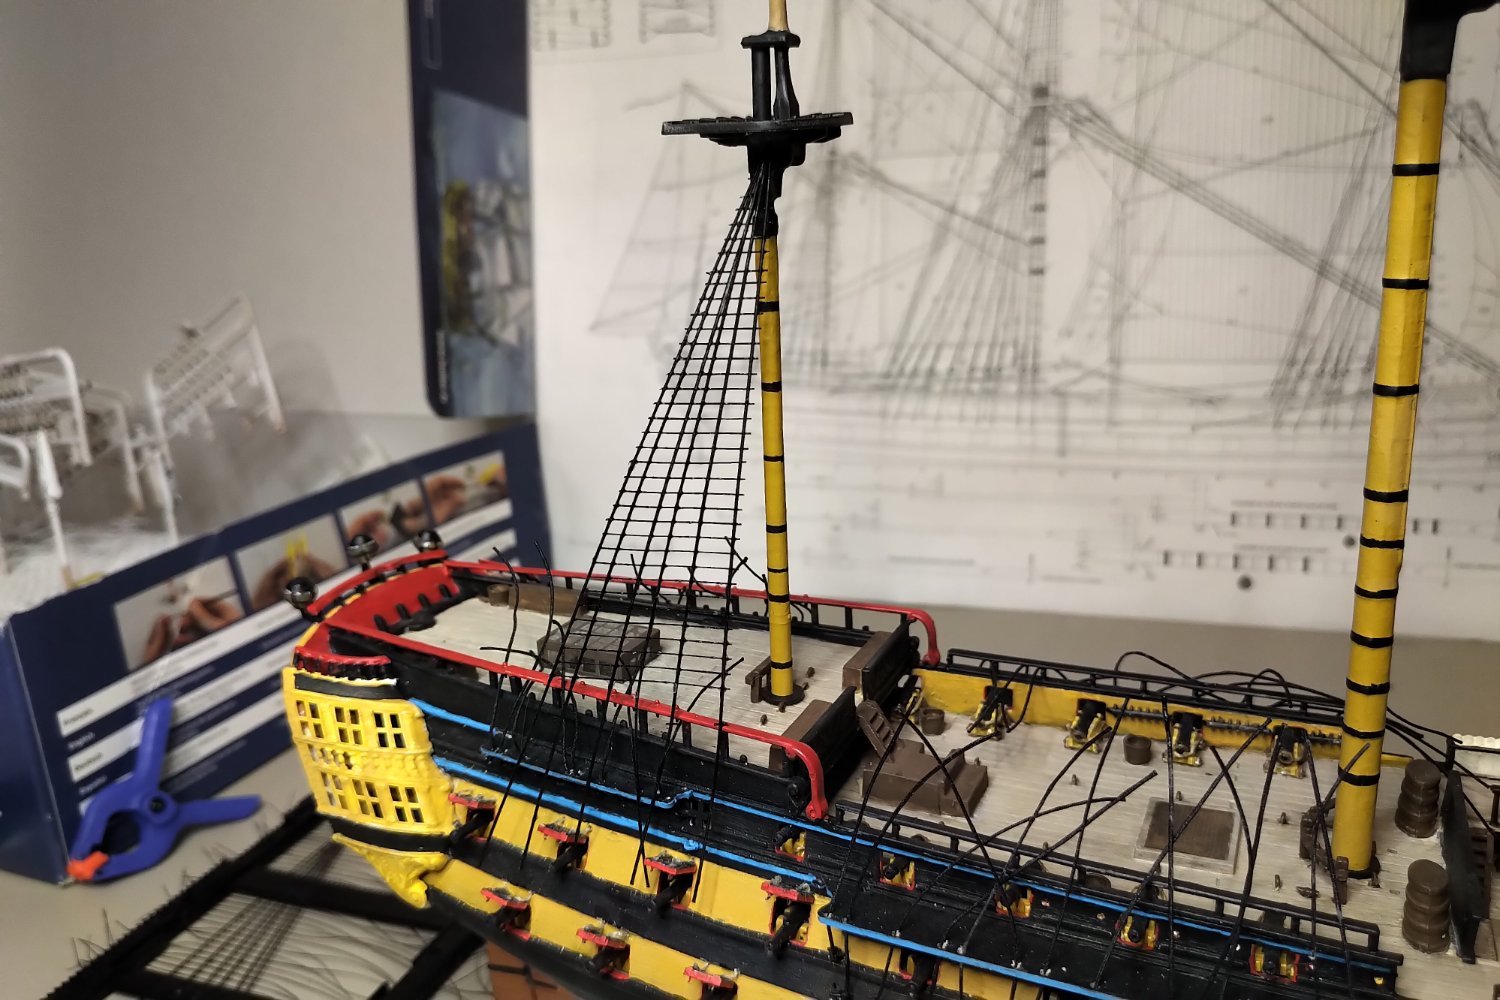
Shucks, I cut the top off the shrouds at the wrong spot, so there’s not enough material once I put the lowest rat line above the ship’s rail. Also I don’t like the alignment of the shrouds to the chains. Before I glue it again I’ll confirm the alignment. So, we start again. That’s okay, I call this the Learning Ship.
-
Best I can tell there is no wrapping, instead the top of the shrouds are glued in place beneath the top platform. I might add a little rope to appear that it's wrapped over the mast head. The spacing from ratline to ratline is about 2.75 - 3 mm, which at 150 scale would put them at about 41 - 45 cm apart at full scale. My one concern is getting the bottom of each shroud to line up with the matching line in the chain-whales, as they don't seem to line up with the holes, though the dead-eyes may hide any issues.
-
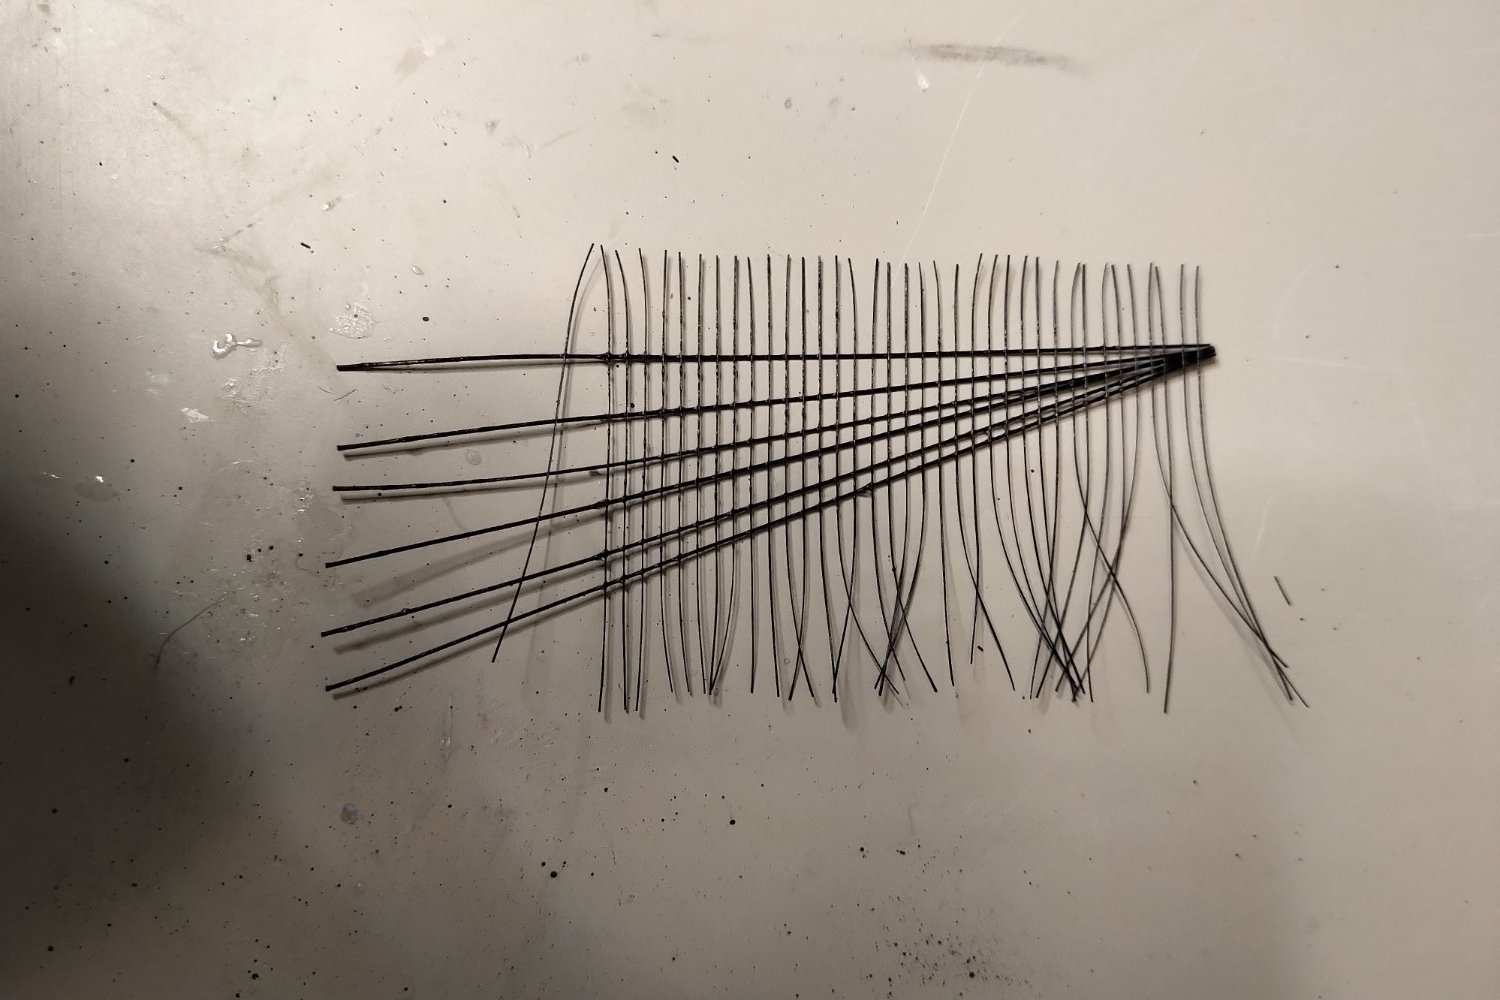
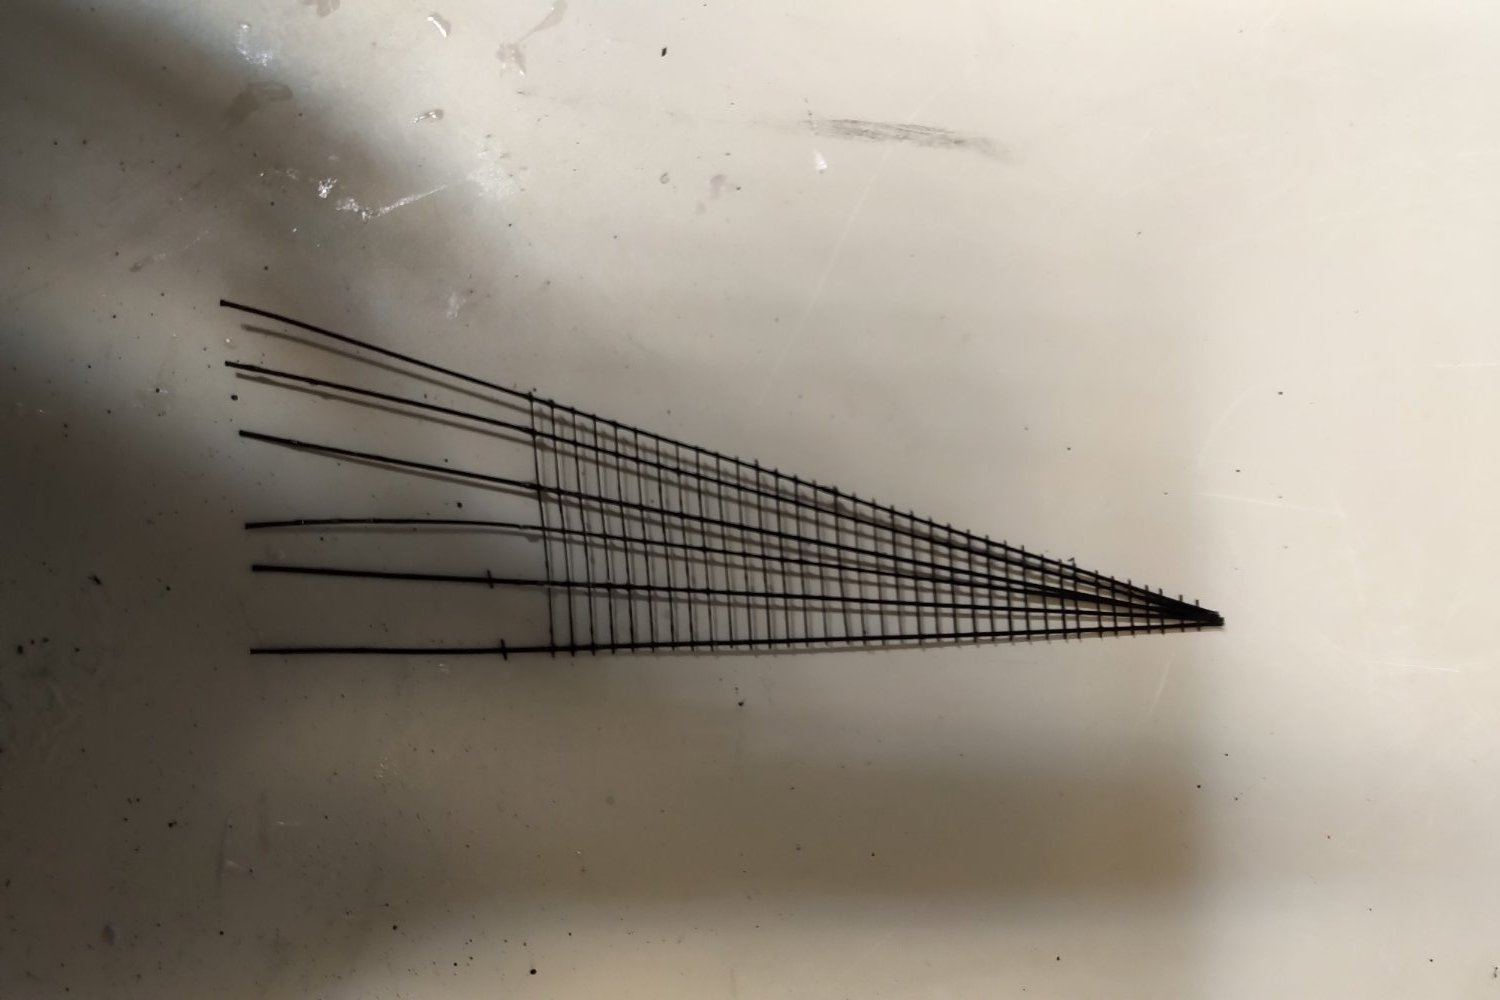
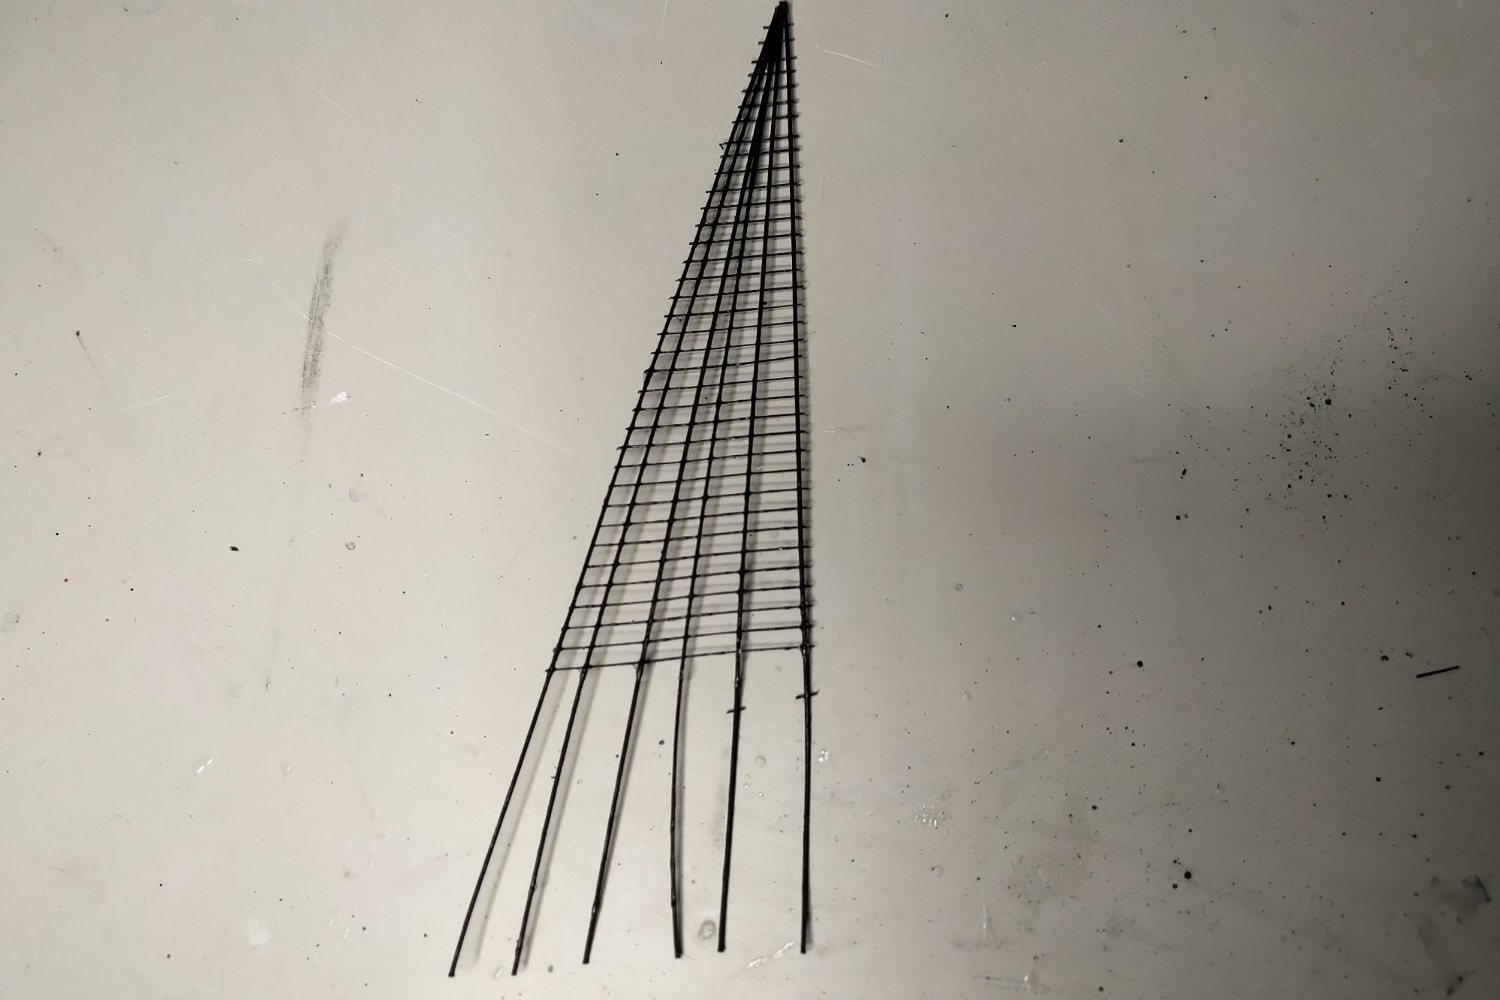
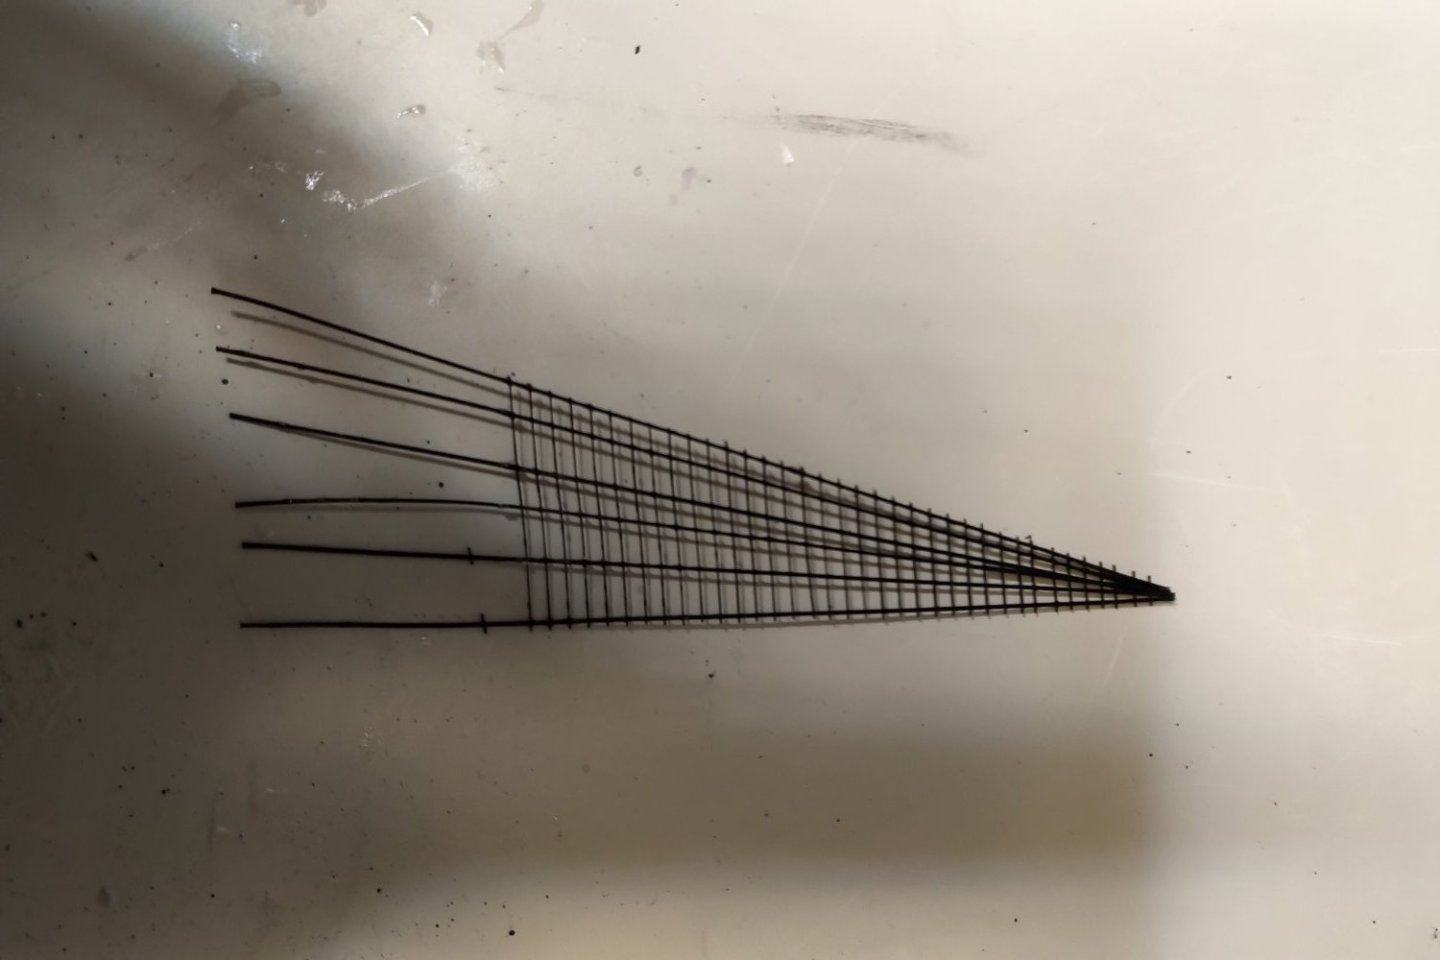
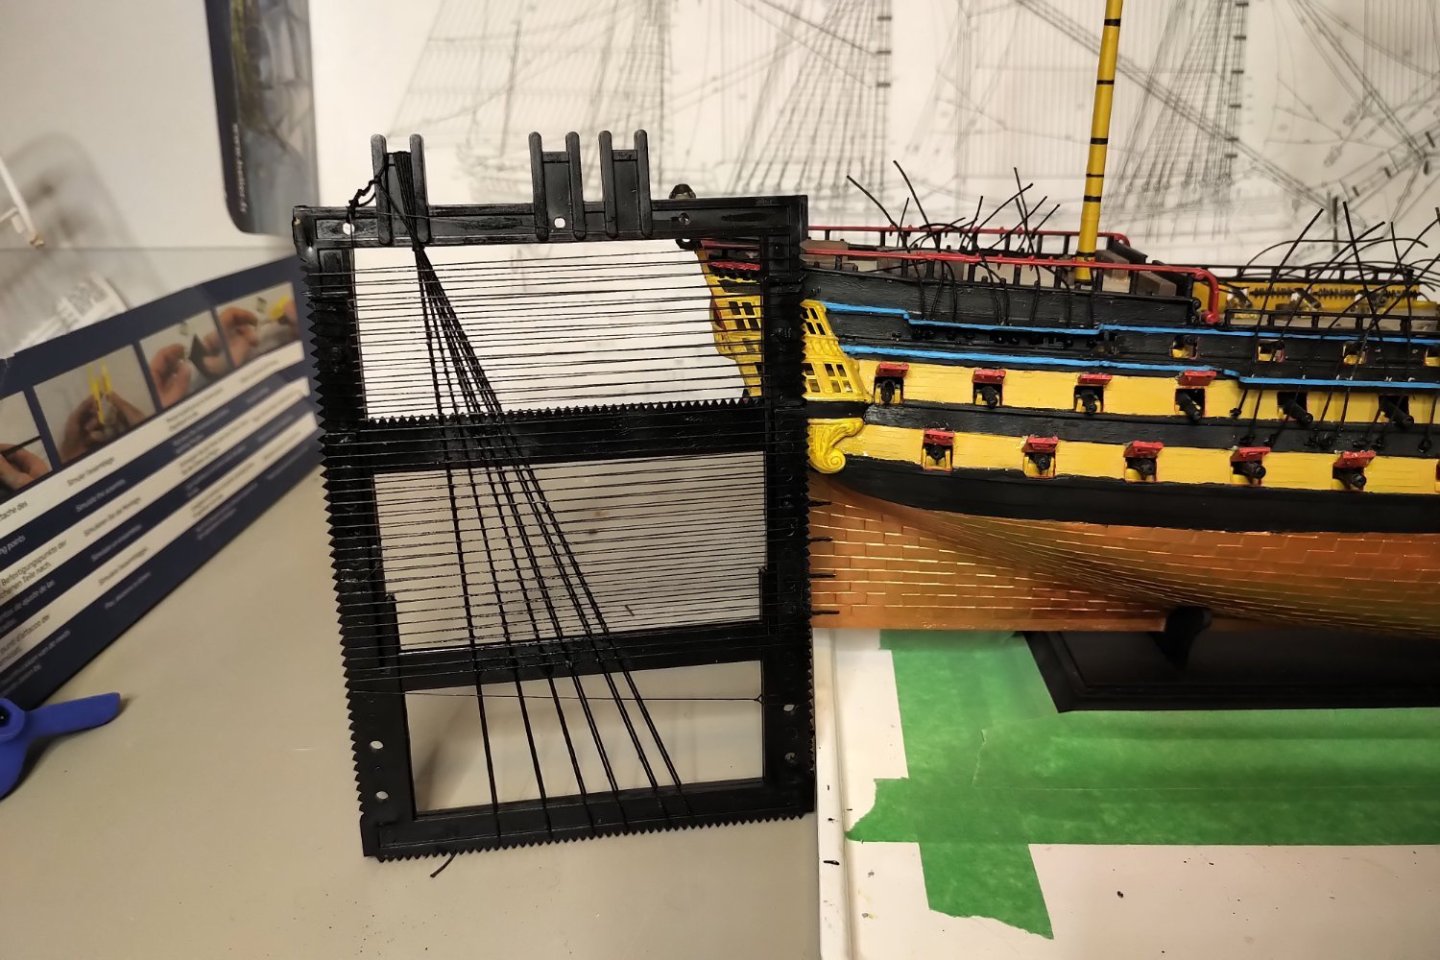
We've given it a go, and I think I'm satisfied, especially at this small 1/150 scale. I still need to trim the outer edges. On my first attempt I used water-dilluted Gorilla glue, but it turned into a pasty mess. So, I tried again using my standard CA glue and once generously applied with a throwaway paint brush the entire structure became solid, like plastic overnight. I like how it should remain taut without me having to tension the dead-eyes, etc.


-
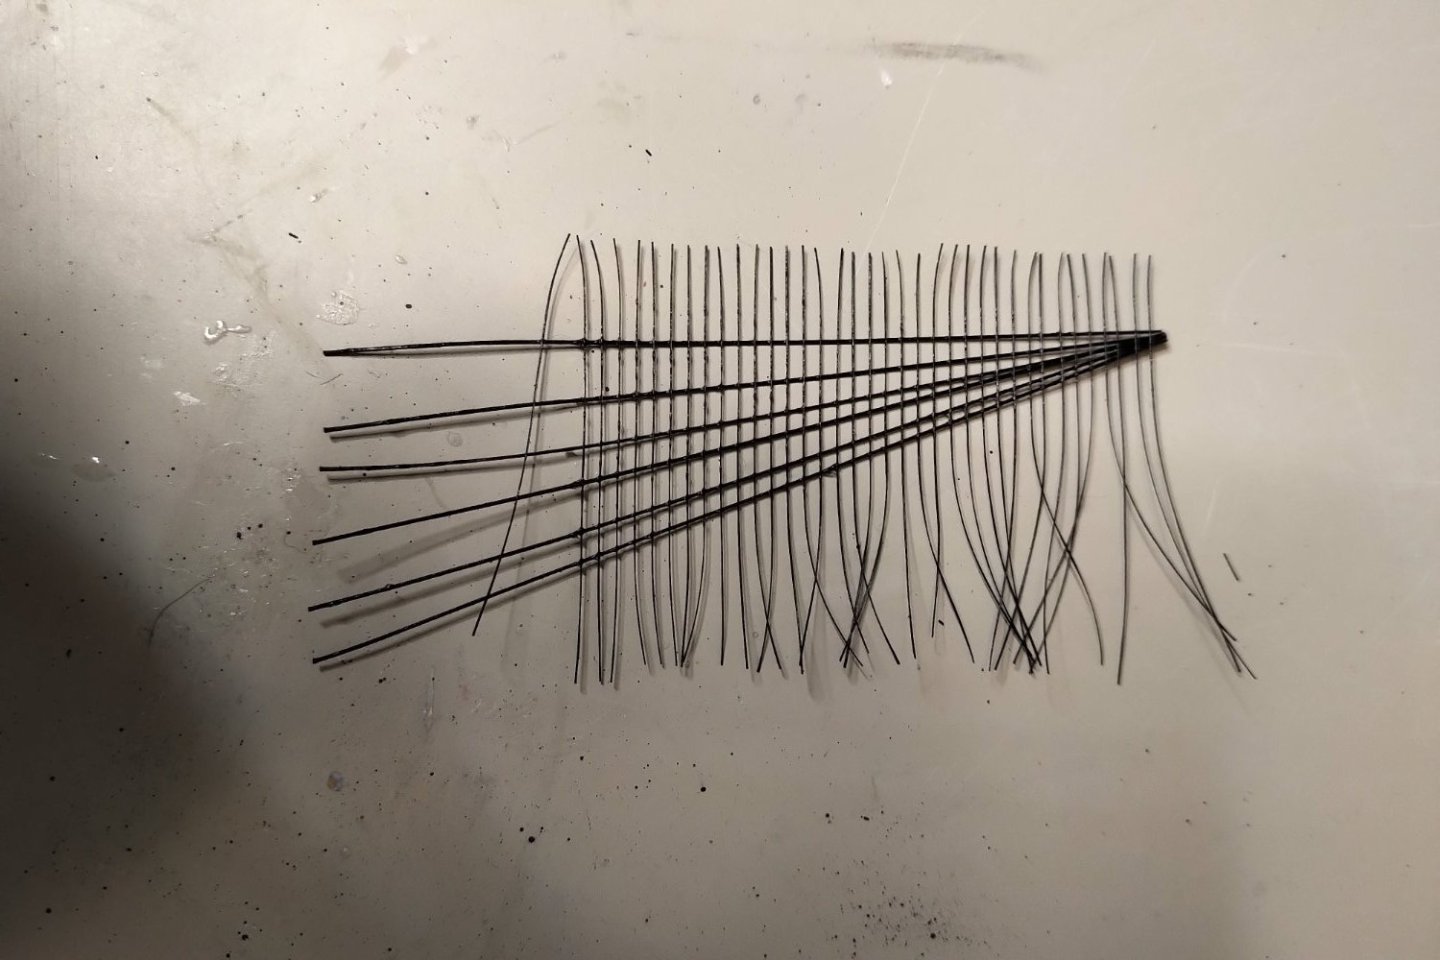
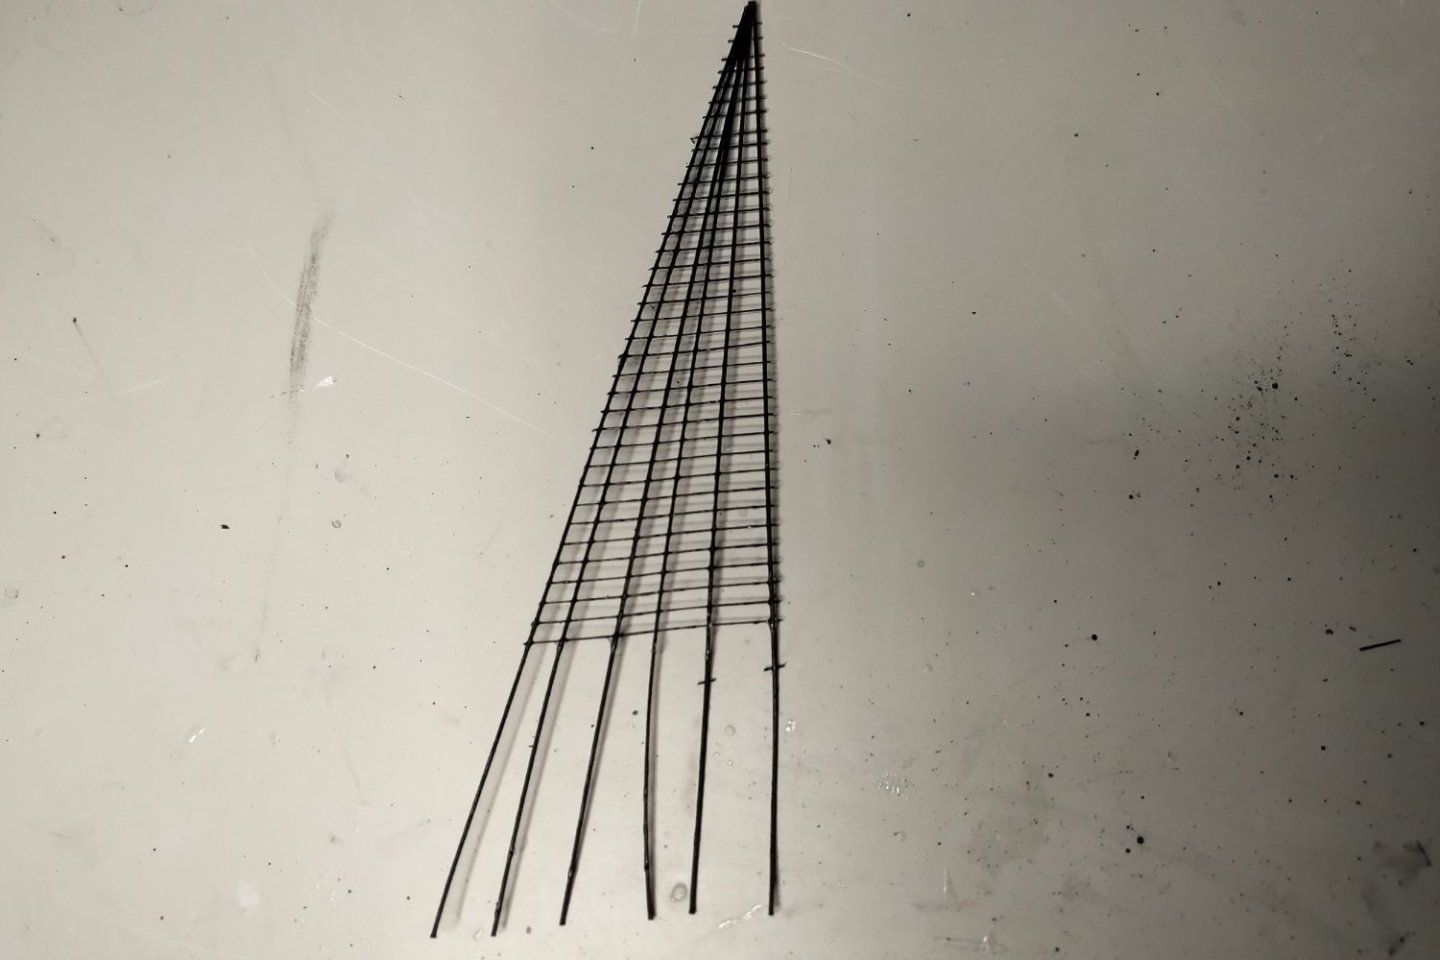
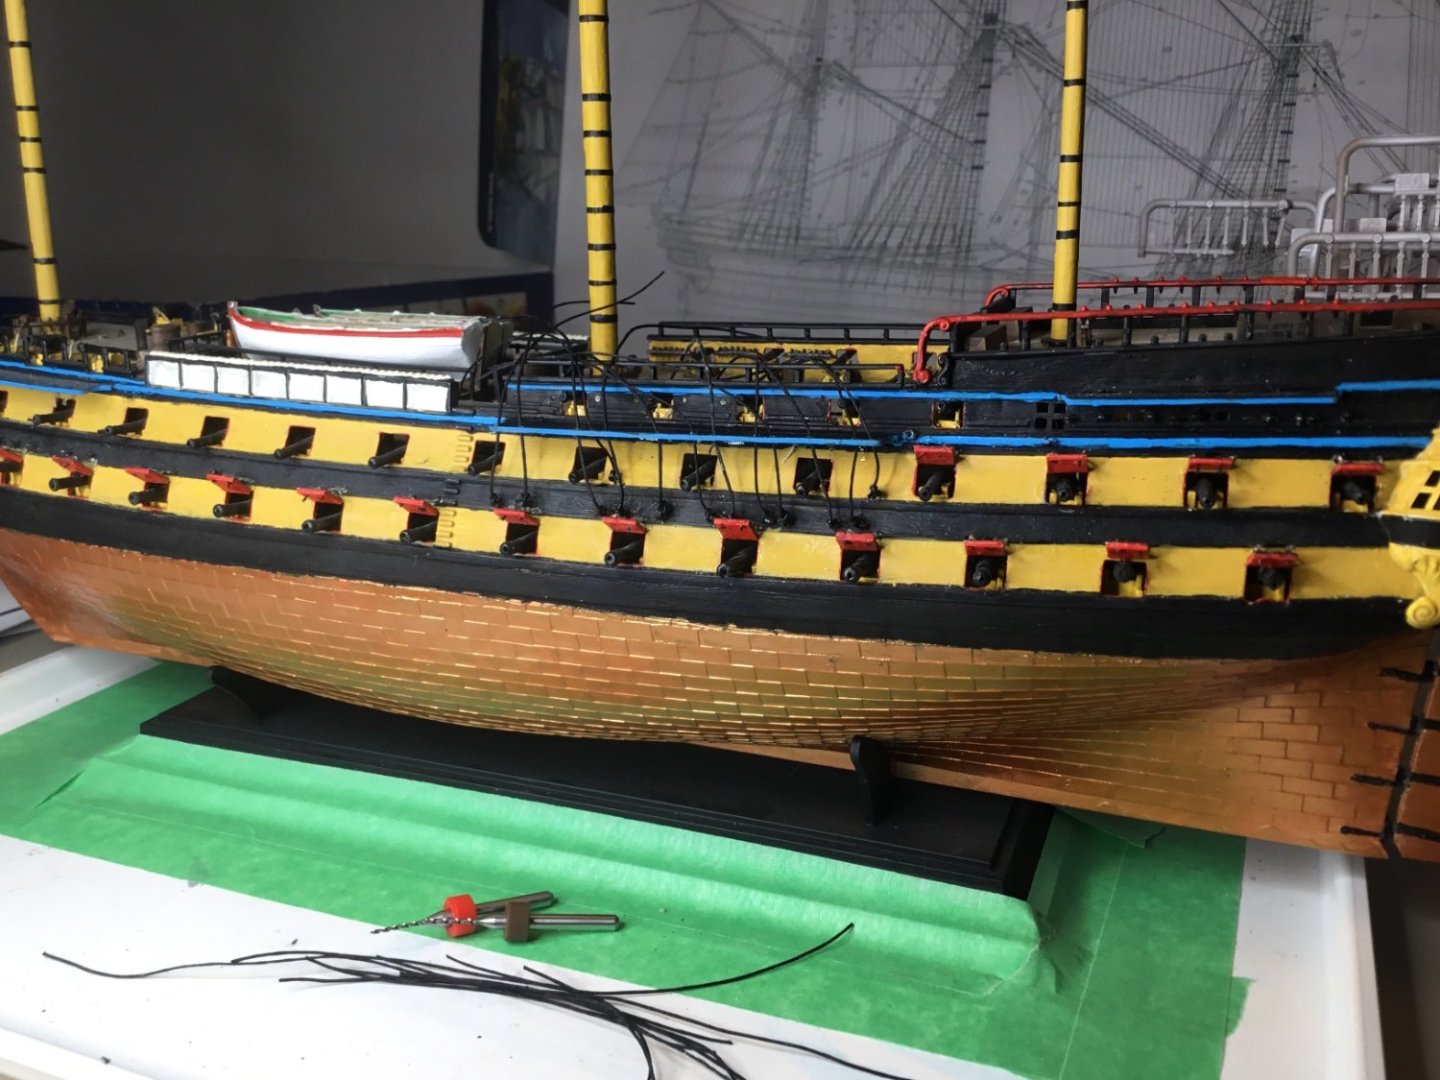
Rigging underway. 0.4 mm for the vertical lines, 0.25 mm for the horizontal lines. This shroud tool seems useful. I’ll paint the lines a taupe colour where they’re glued to the backside of the plastic deadeyes. Shrouds just placed for show. I still need to trim the sides and adjust the bottom so to align with the plastic deadeye pieces.

-
We’re moving along nicely now. I brushed white craft glue onto the tips of the threads and micro drilled by hand the holes to facilitate inserting the stays. Below you can see the micro drills and threads awaiting glue drying. I also CA glued each knot and then trimmed away the extra thread past the knots. CA glue the knots first! Only then trim the knots!
-
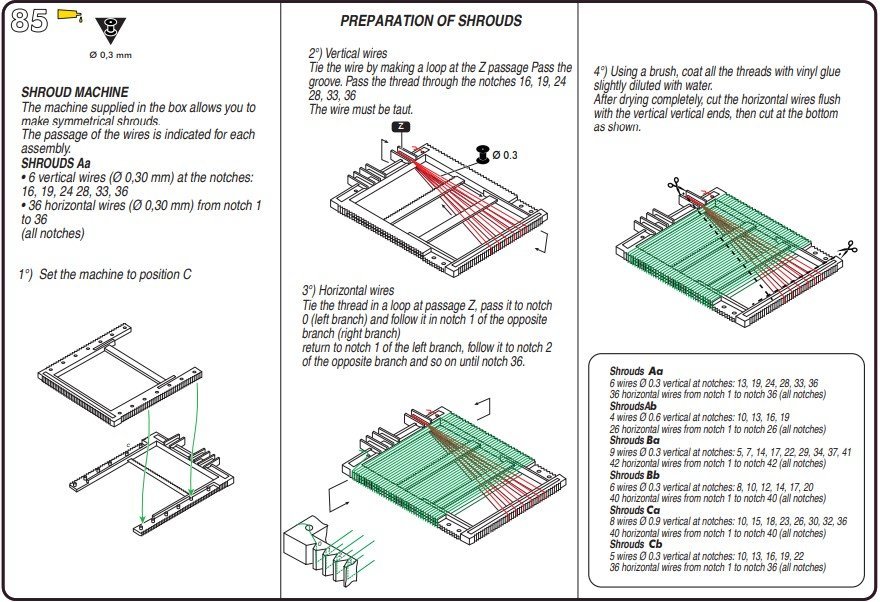
I was having difficultly understanding the shroud tool so I sent an inquiry to Heller in France. They replied with a new set of assembly instructions, see https://www.heller.fr/downloads/1000808950_MA_Building_Instructions.pdf These are MUCH better!

-
I received a helpful email reply from Heller France today, directing me to the much improved instructions https://www.heller.fr/downloads/1000808950_MA_Building_Instructions.pdf. I'm going to try to use the tool.
-
You're probably right, but I'll try to make one shroud and see how it looks. At this small 1/150 scale it might look fine.
-
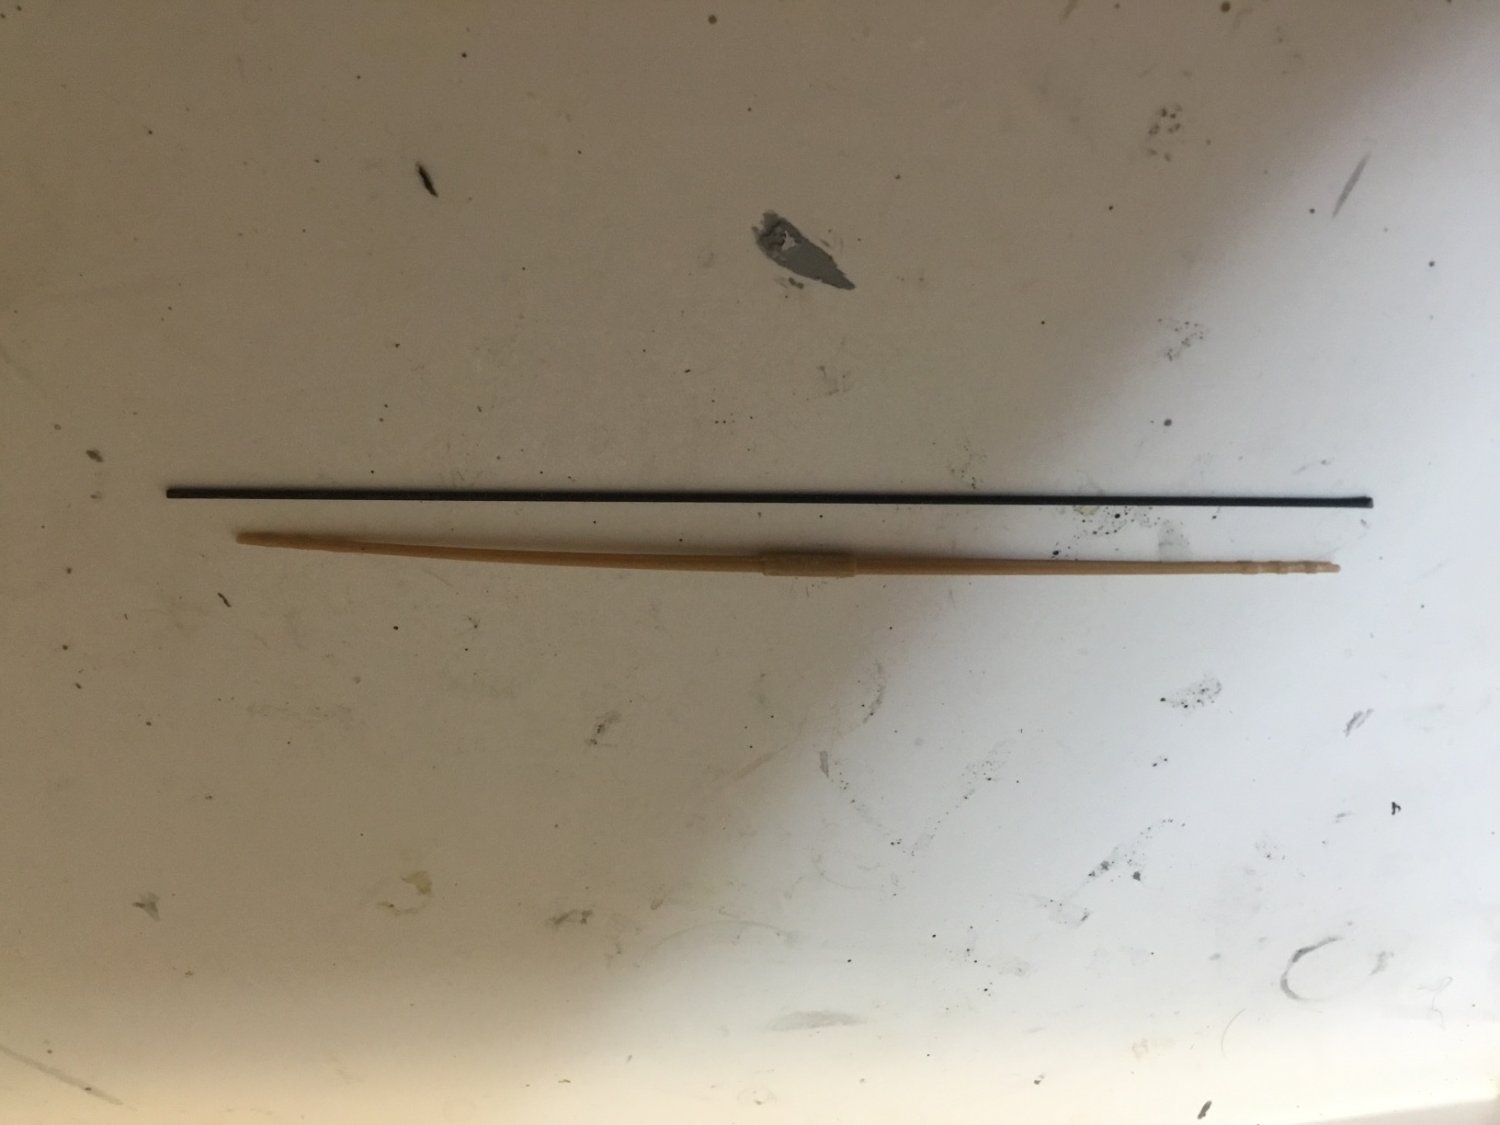
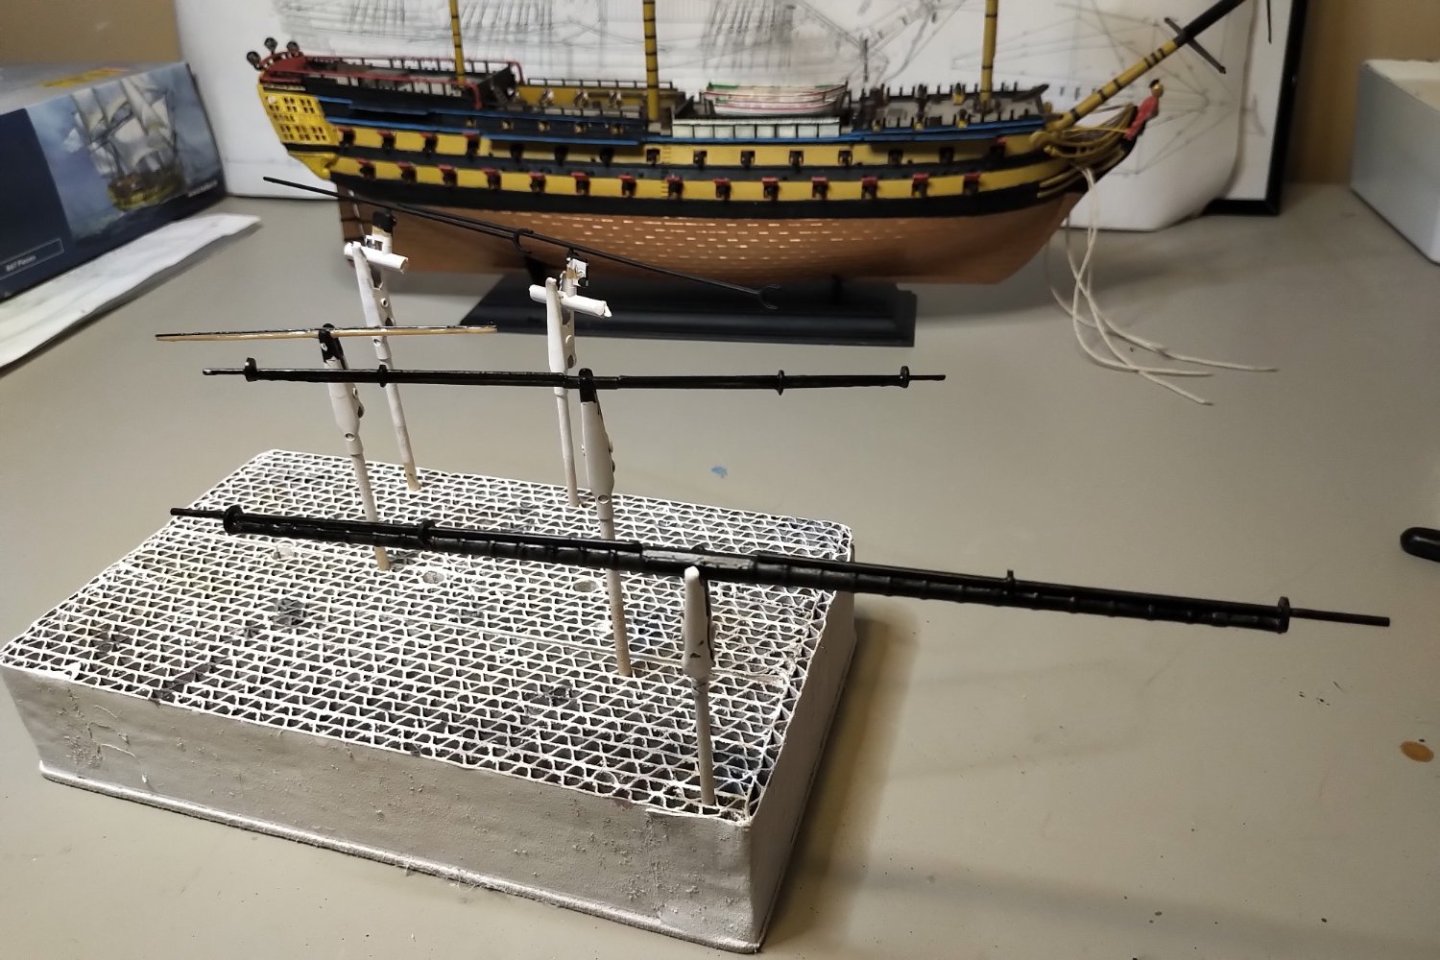
I'll likely have a similar experience, but I think I'll give it a go. Many builders of the Heller kits toss the yards and masts and replace them with wood, which is easy enough, but I took the stubborn view and used everything, but reinforced both with carbon fibre rods on either the inside or affixed to the outside. Here's a video of the rig in use.
-
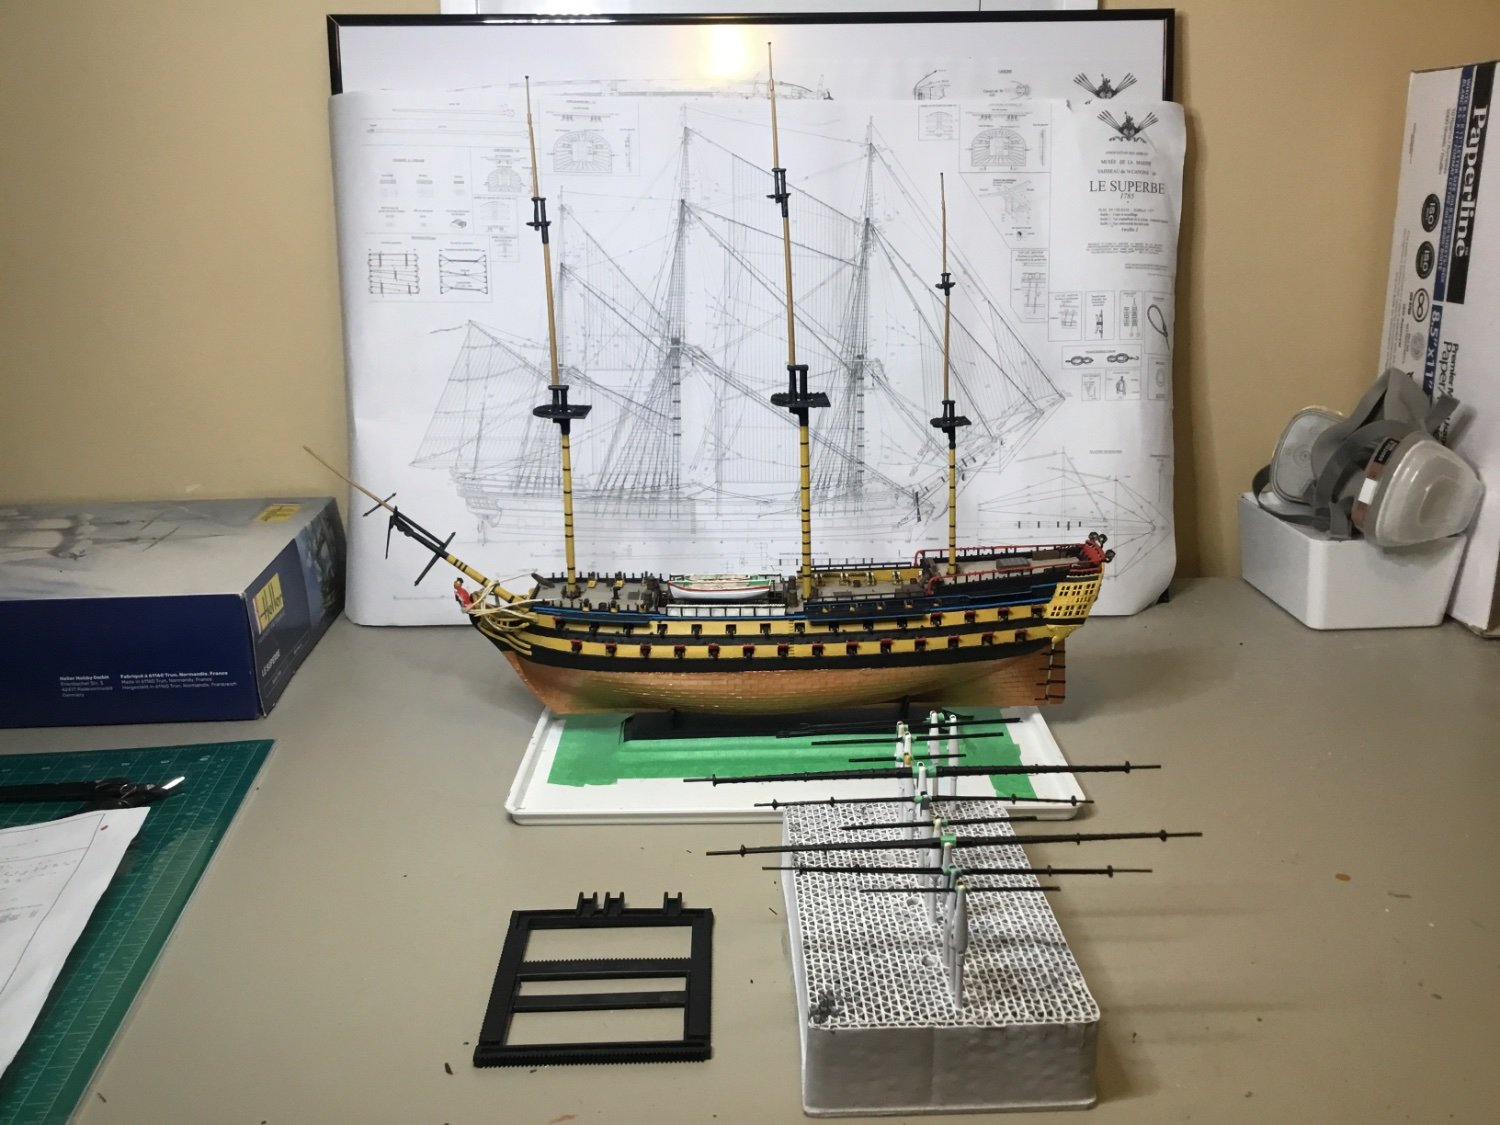
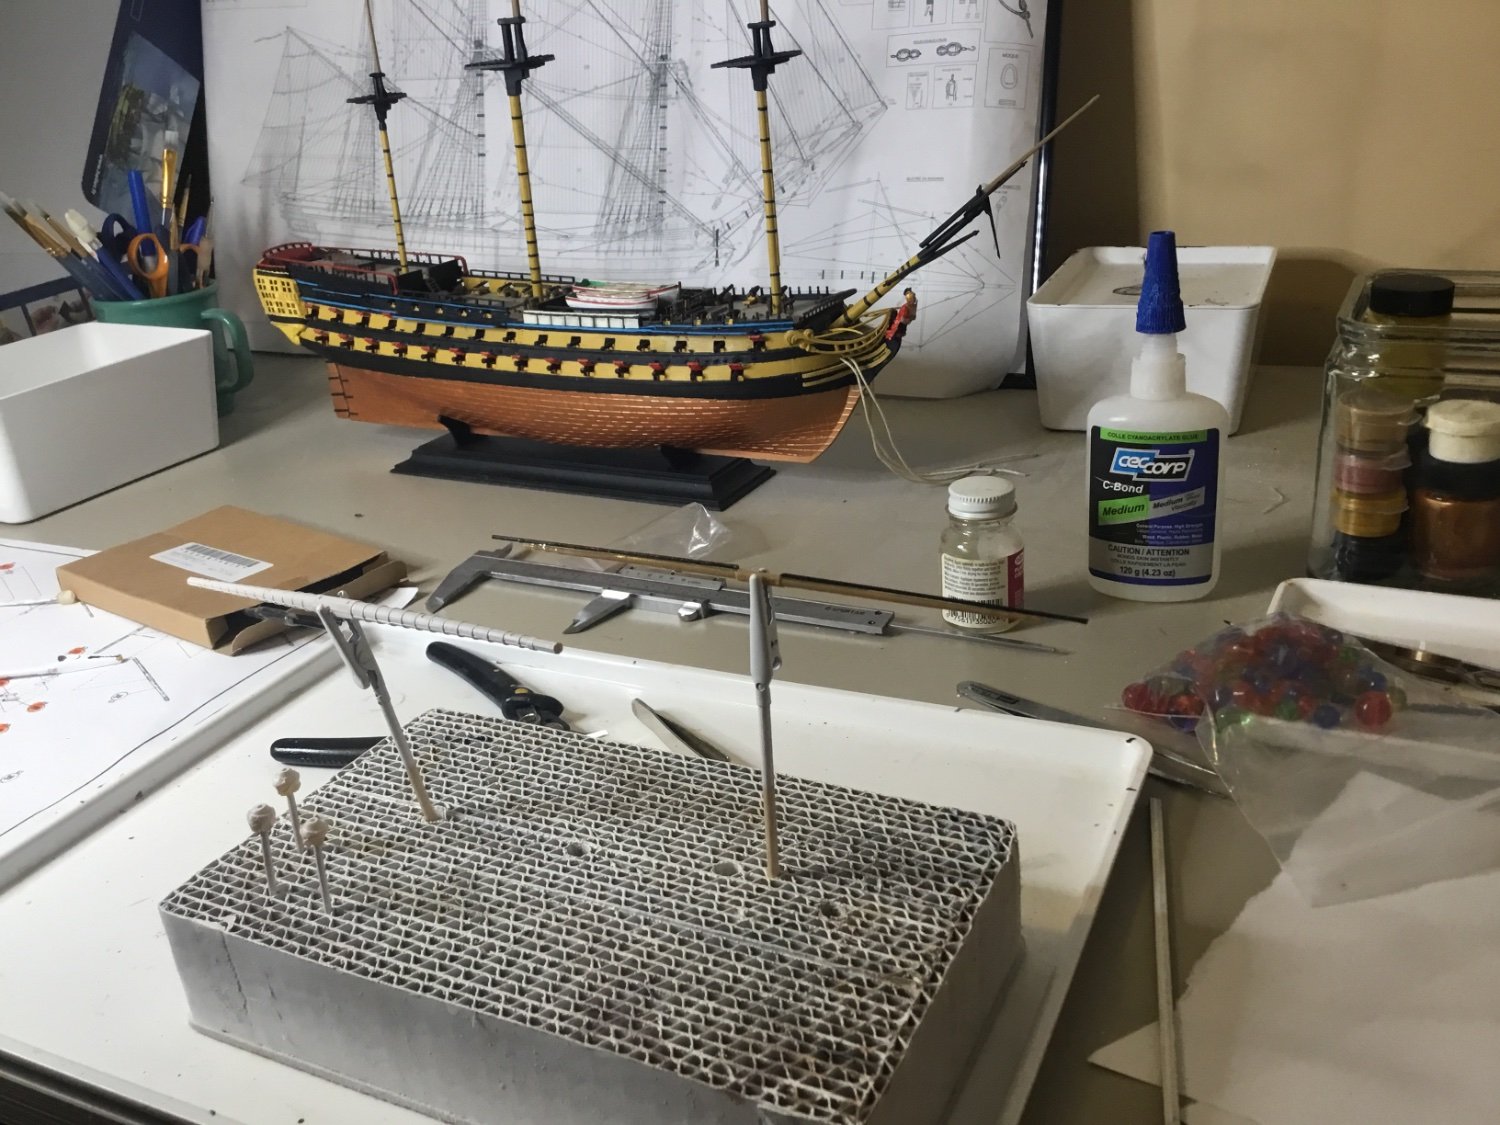
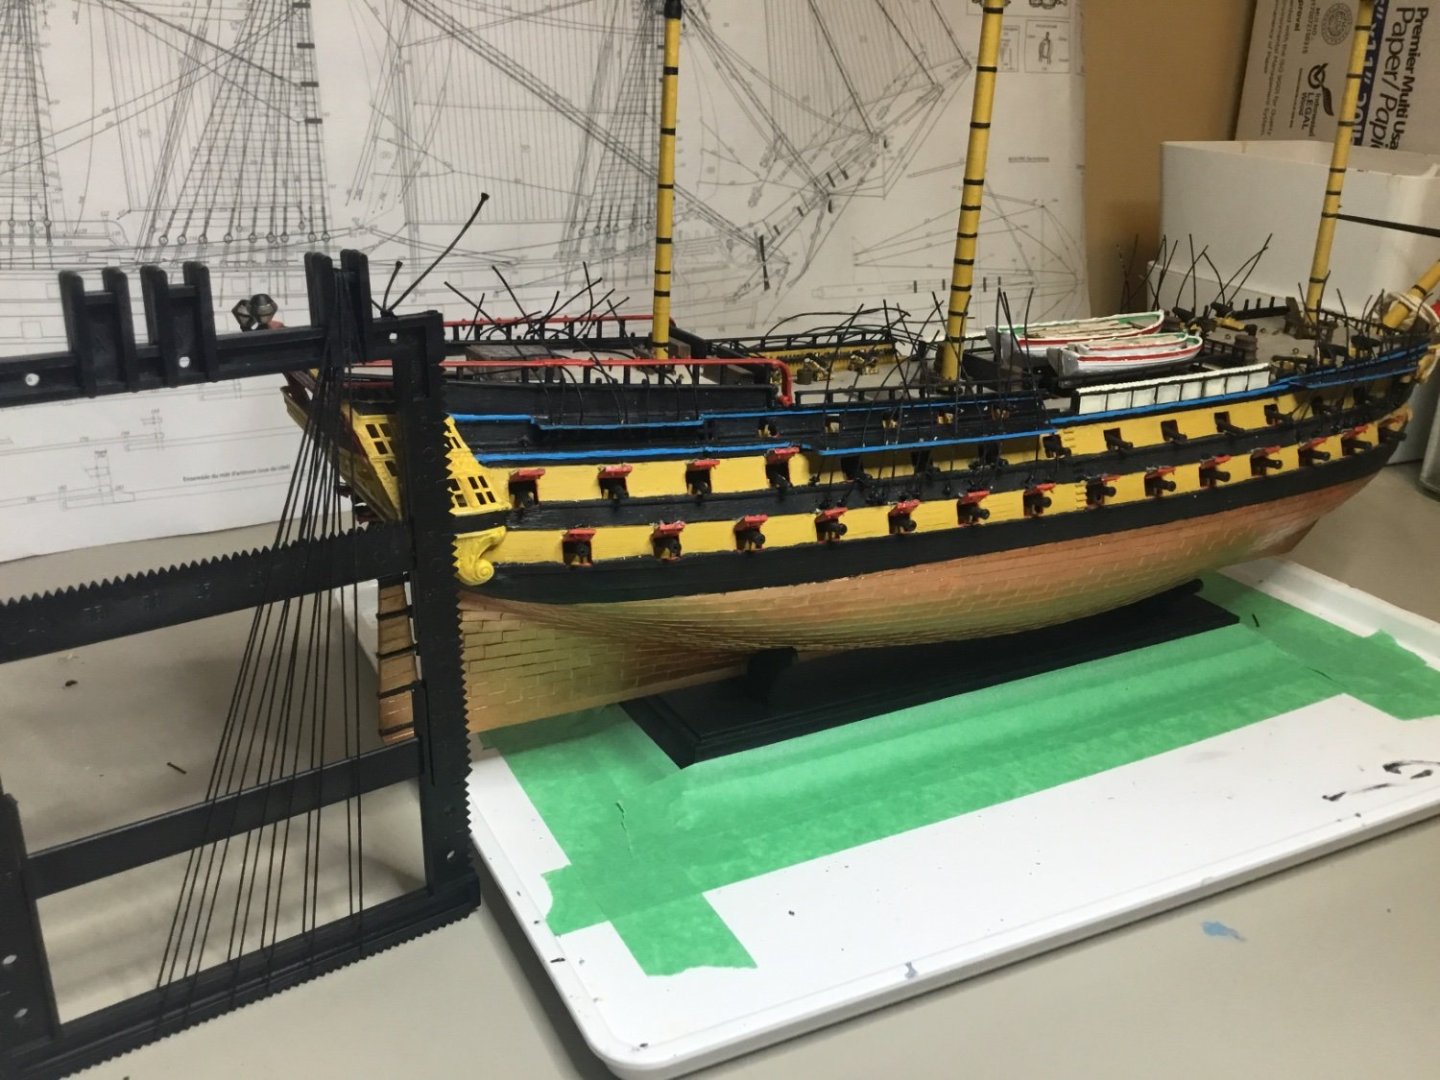
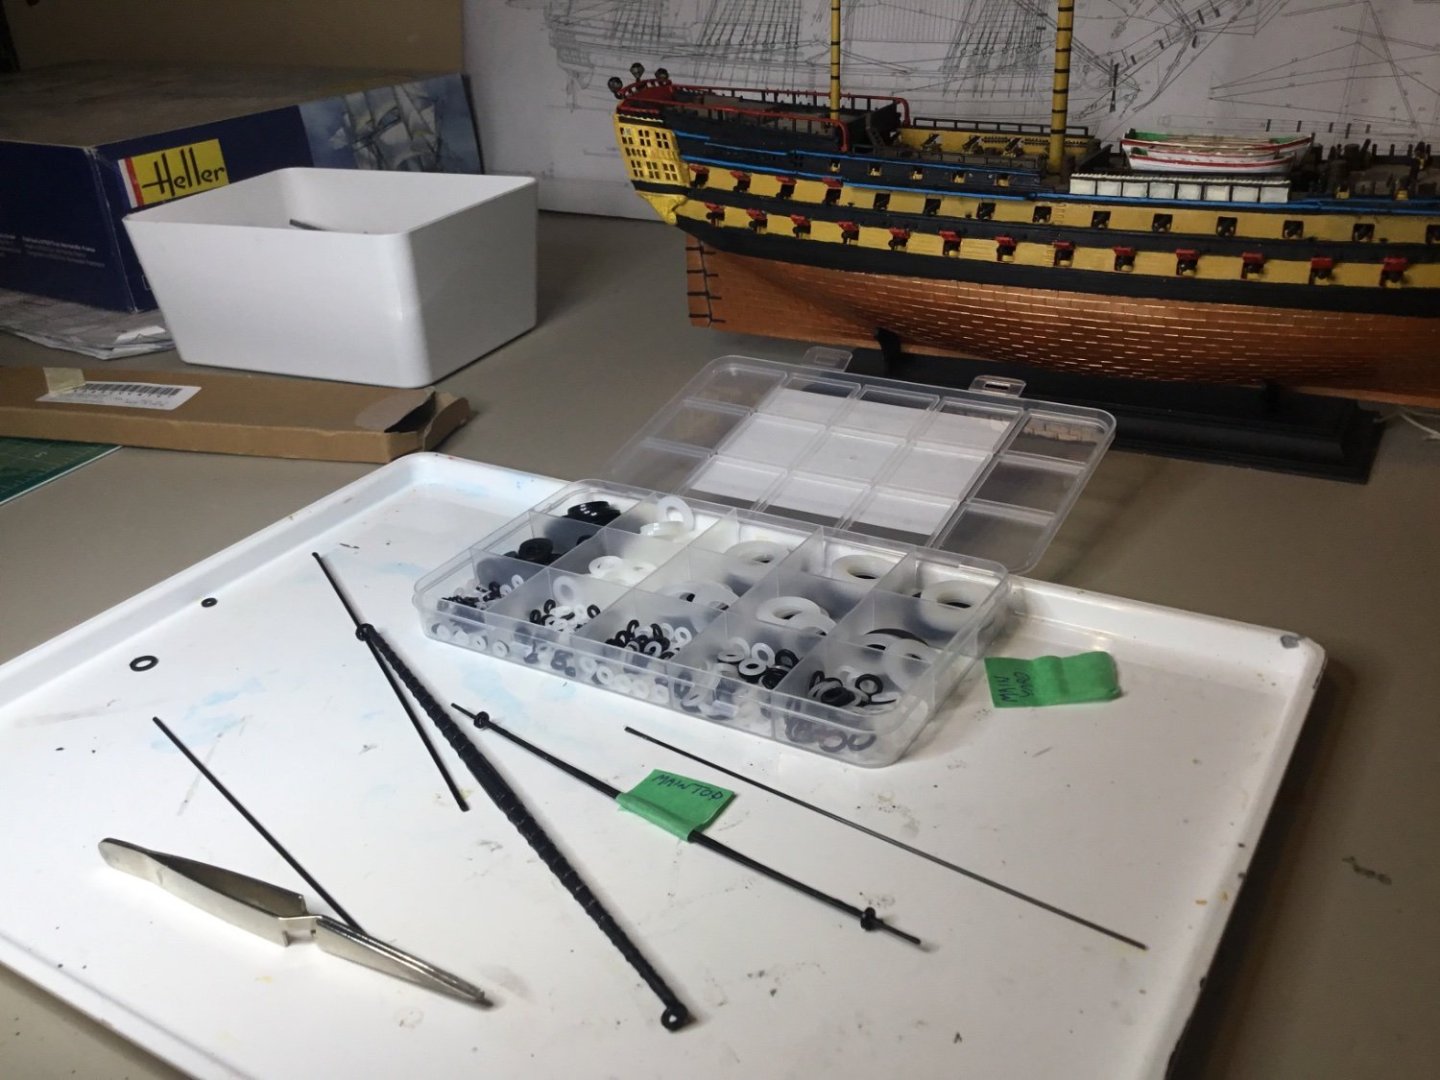
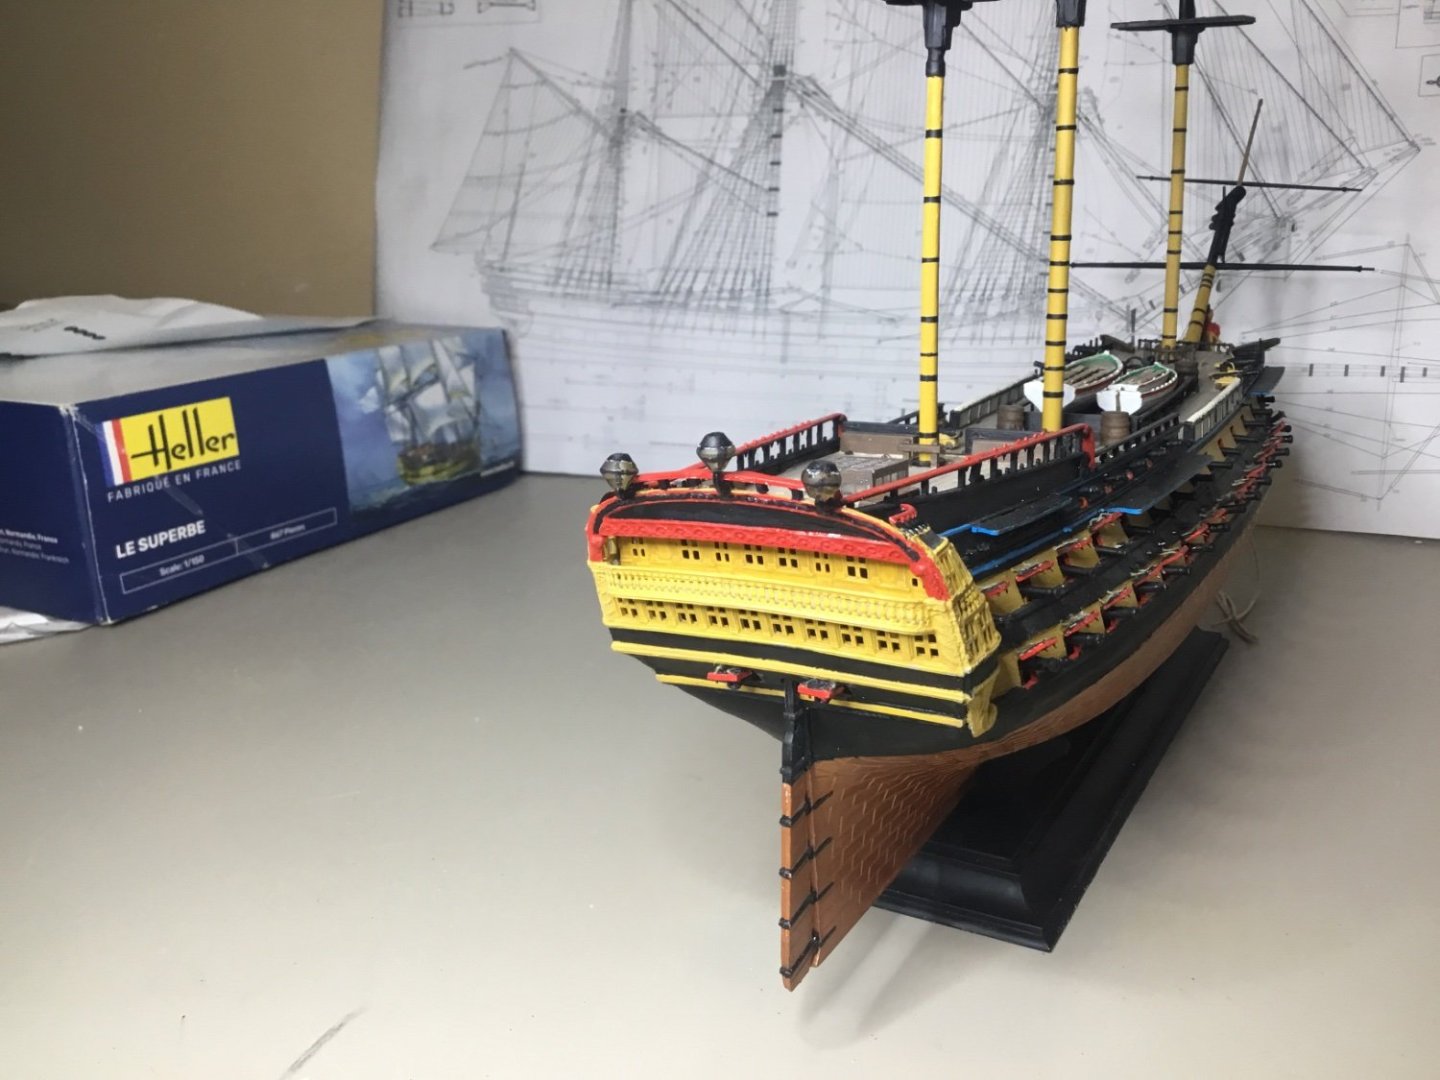
My kit's now complete except the rigging. Has anyone had success with Heller’s shroud loom, shown below beside my build? I’d welcome any tips.

-
The ship build is now complete, except the the rigging. I’m a little trepidation about using the shroud loom (click here for how to video), but we’ll give it a go. Next steps is collect the various gauge black and tan threads for standing and running rigging. I’m going to attempt to install the yards with only rope, no glue, but we’ll see.


-
Here's the set https://www.amazon.ca/dp/B092V33YX3
-
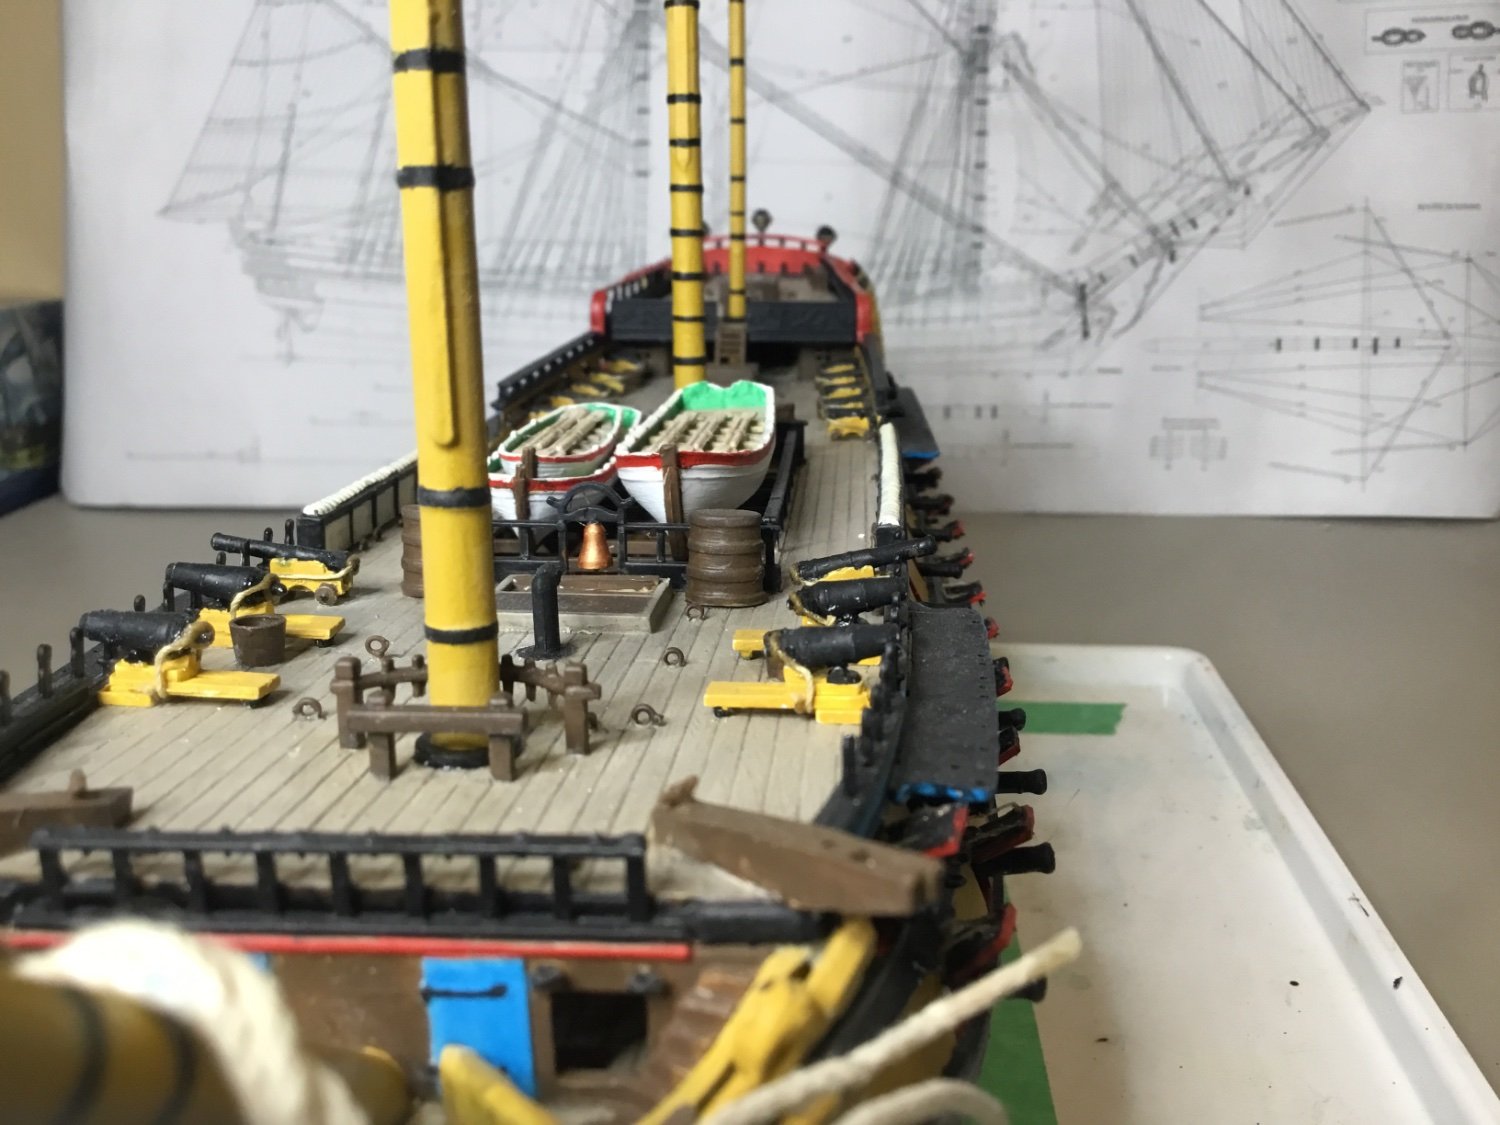
@AON Here we go…. I usually reduce my displayed images to 700 pixels in order not to crowd people’s screens and not to delay page load speed, but if you click on the photos they’ll open to full size.

-
Will do today. I'm also keeping a photo journal of the entire build.... https://modelshipworld.com/topic/30073-hms-spartiate-by-admiral-beez-heller-1150-kit-bashing-the-heller-le-superbe/
-
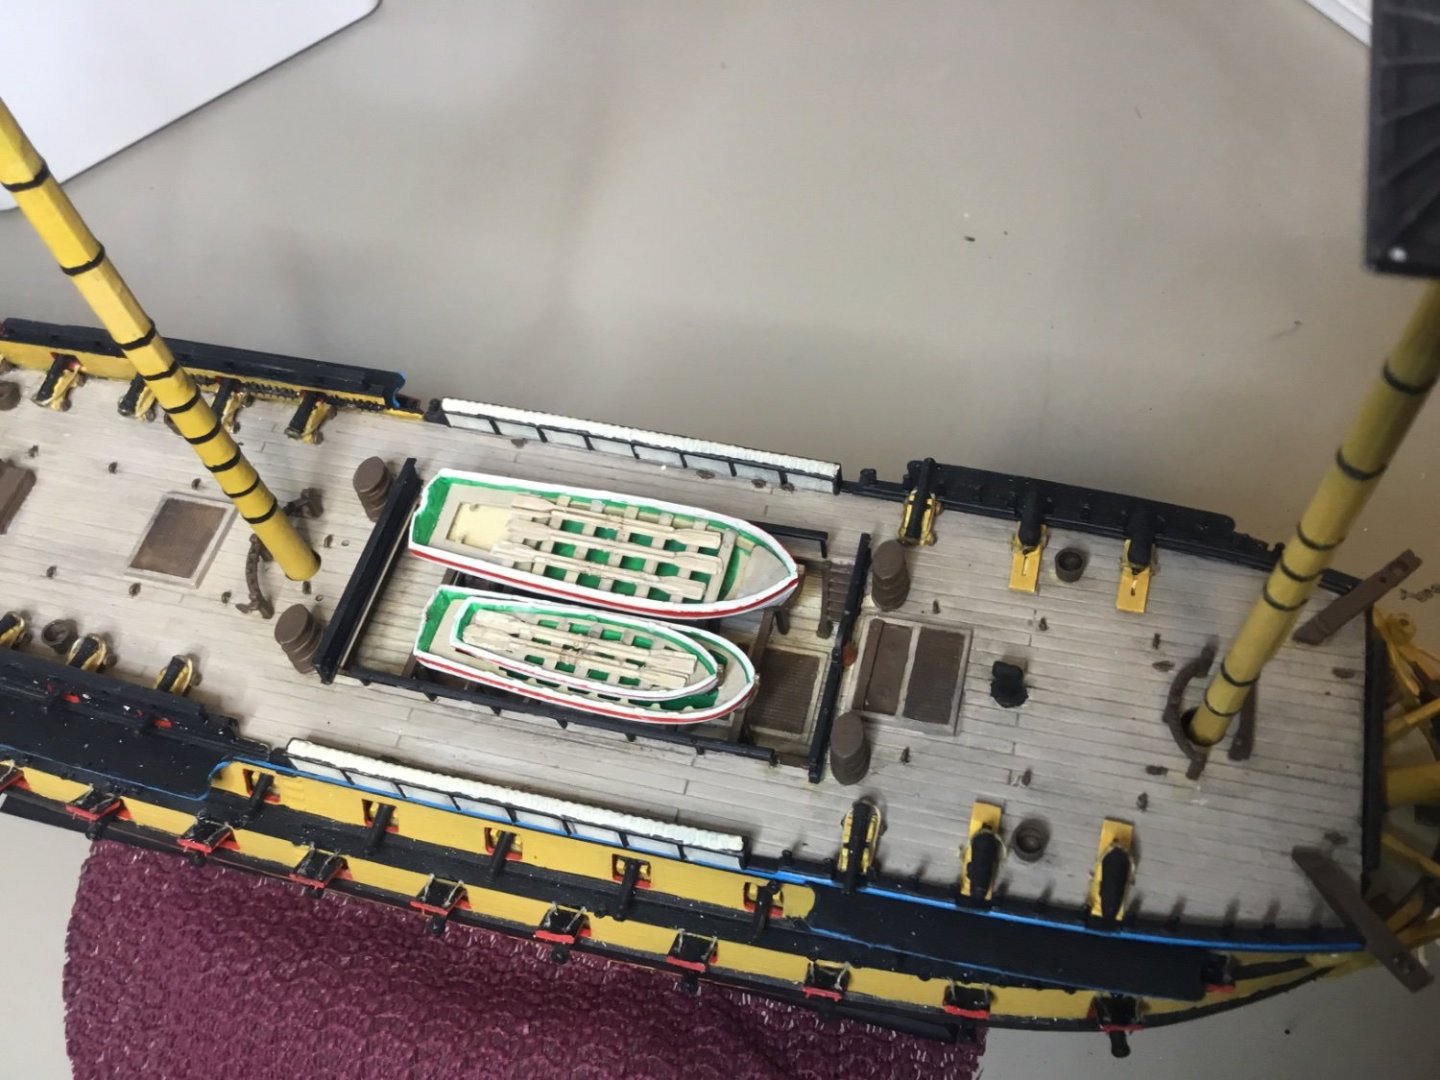
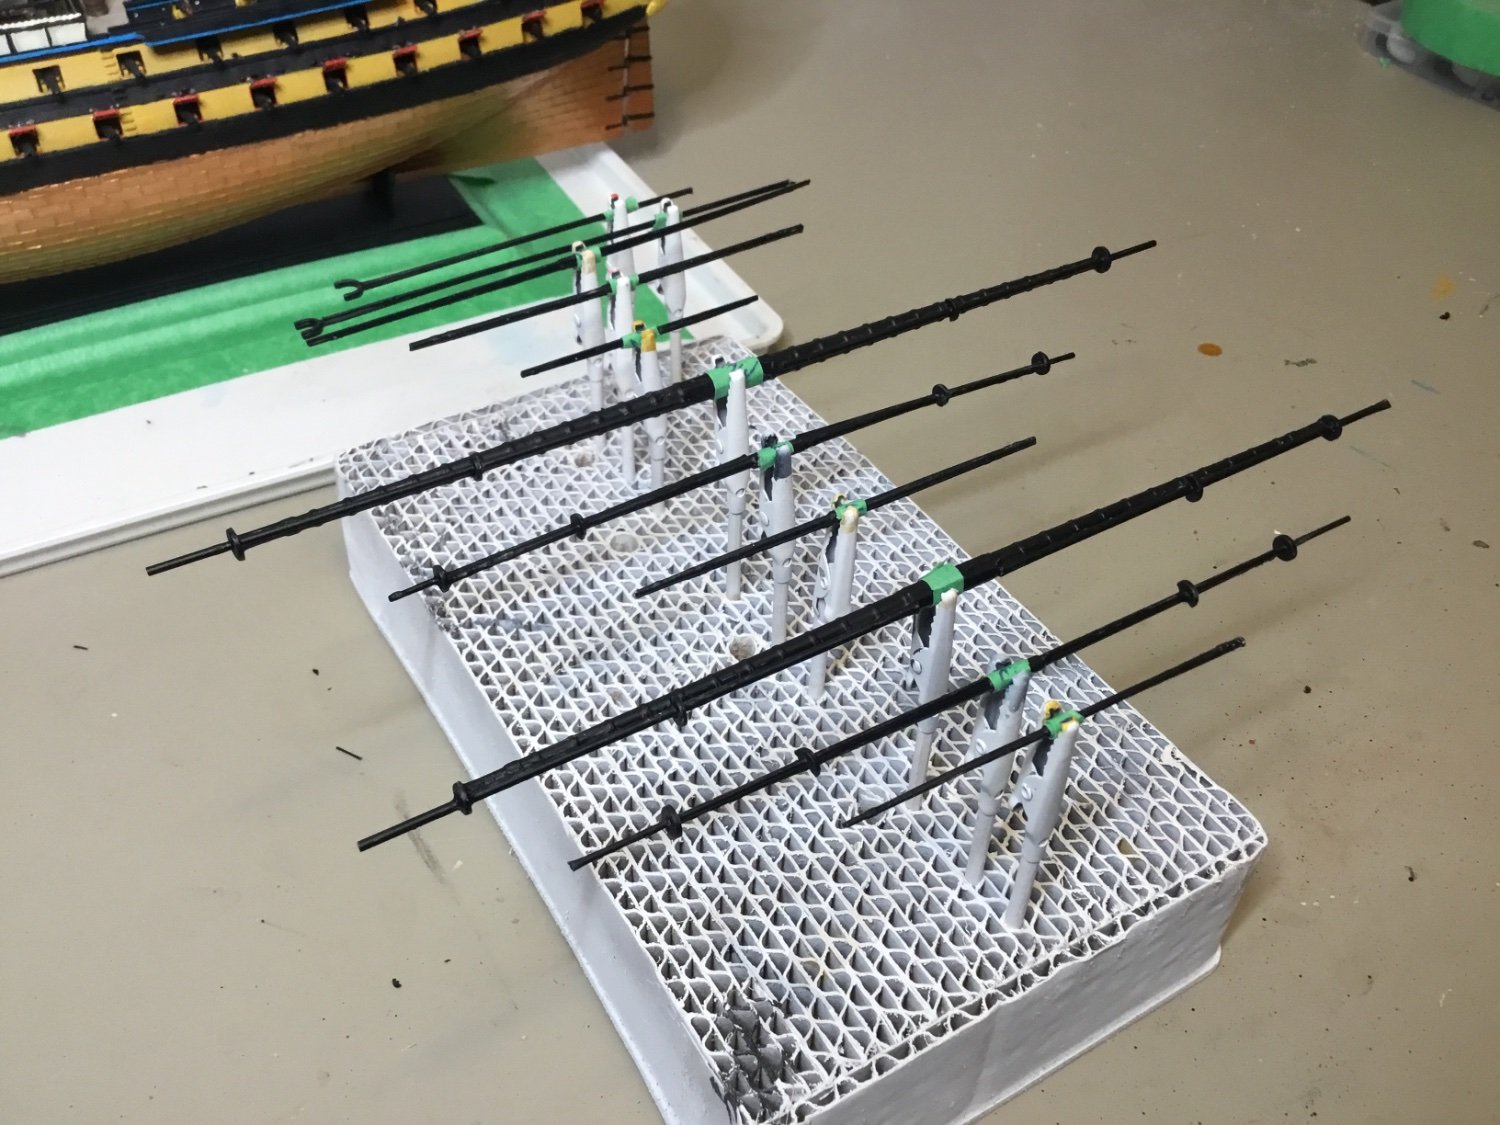
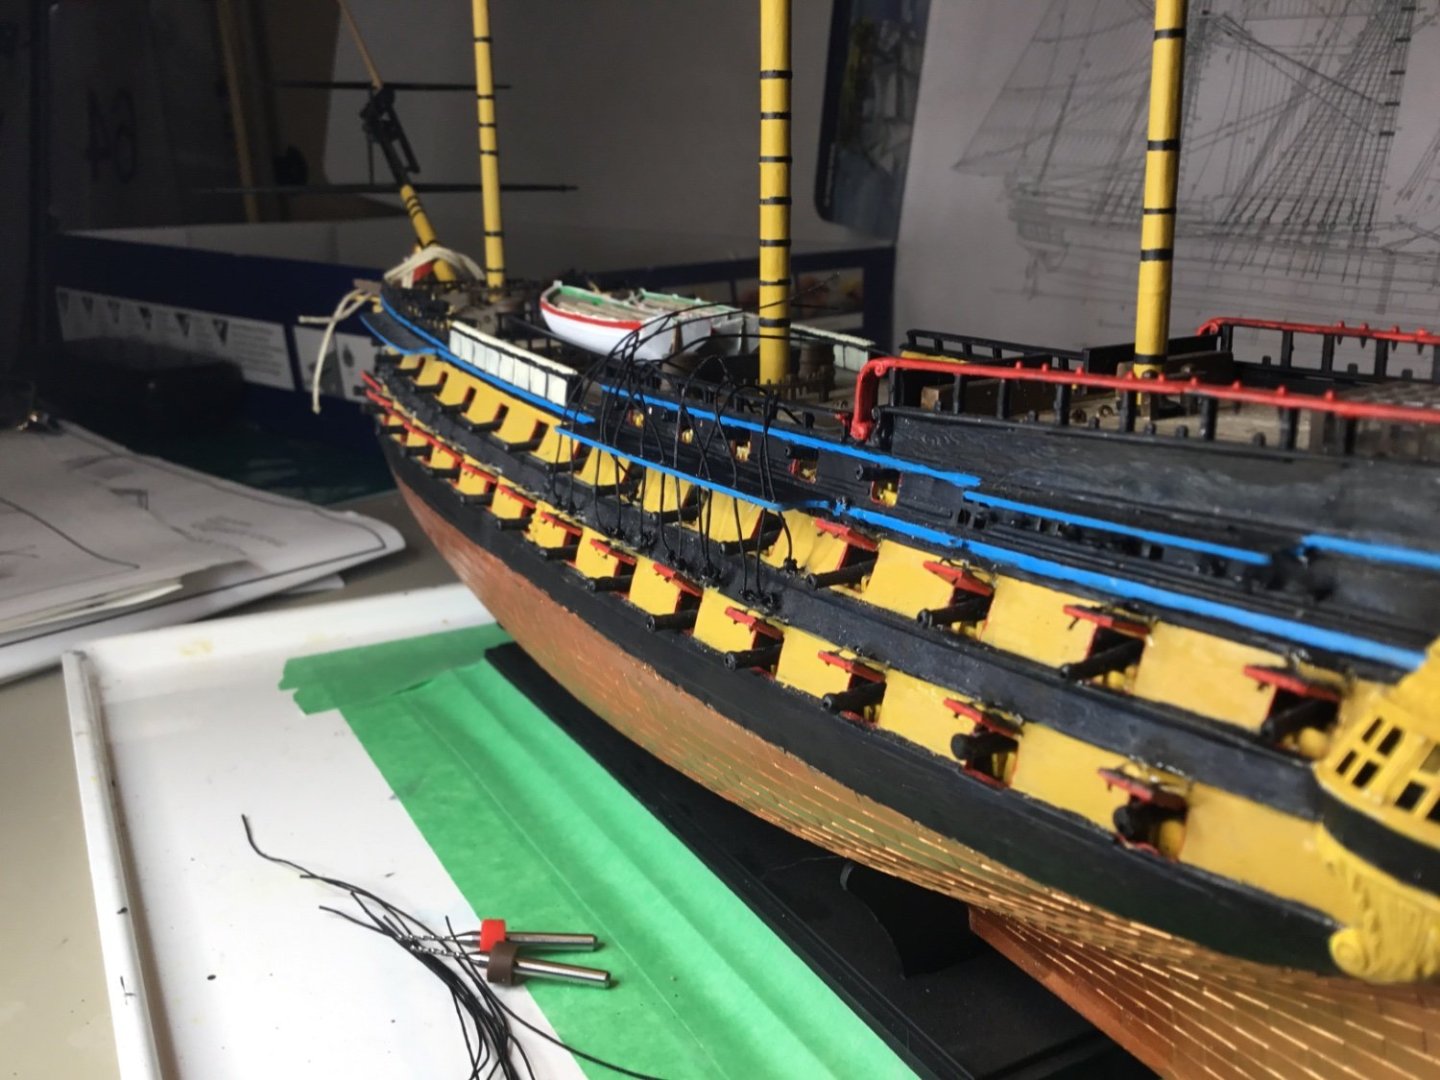
The box of assorted nylon washers has proven to be very useful. Since this kit does not include studdingsail booms, I used nylon washers to add rings to the end of the lower yards. I’ll then use spare carbon fibre rods, originally bought for reinforcing the masts, to serve as studdingsail booms.
-
Thanks again Allan. I used some fibre washers and I’m pleased with the results.

-
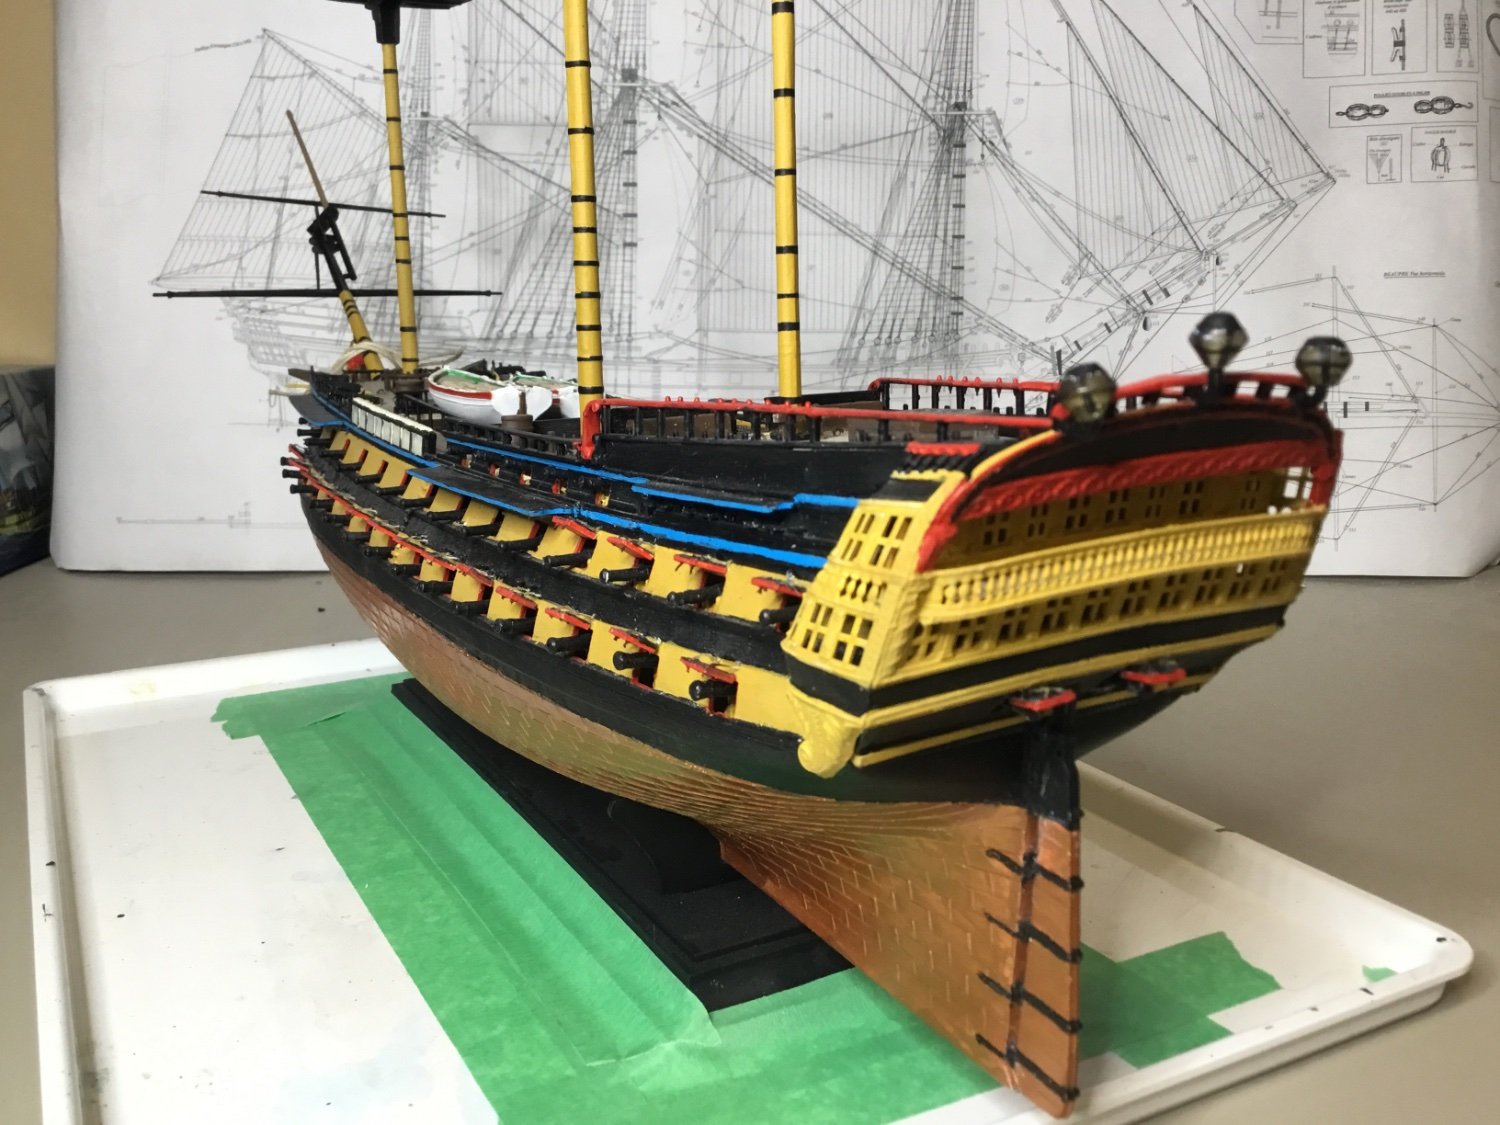
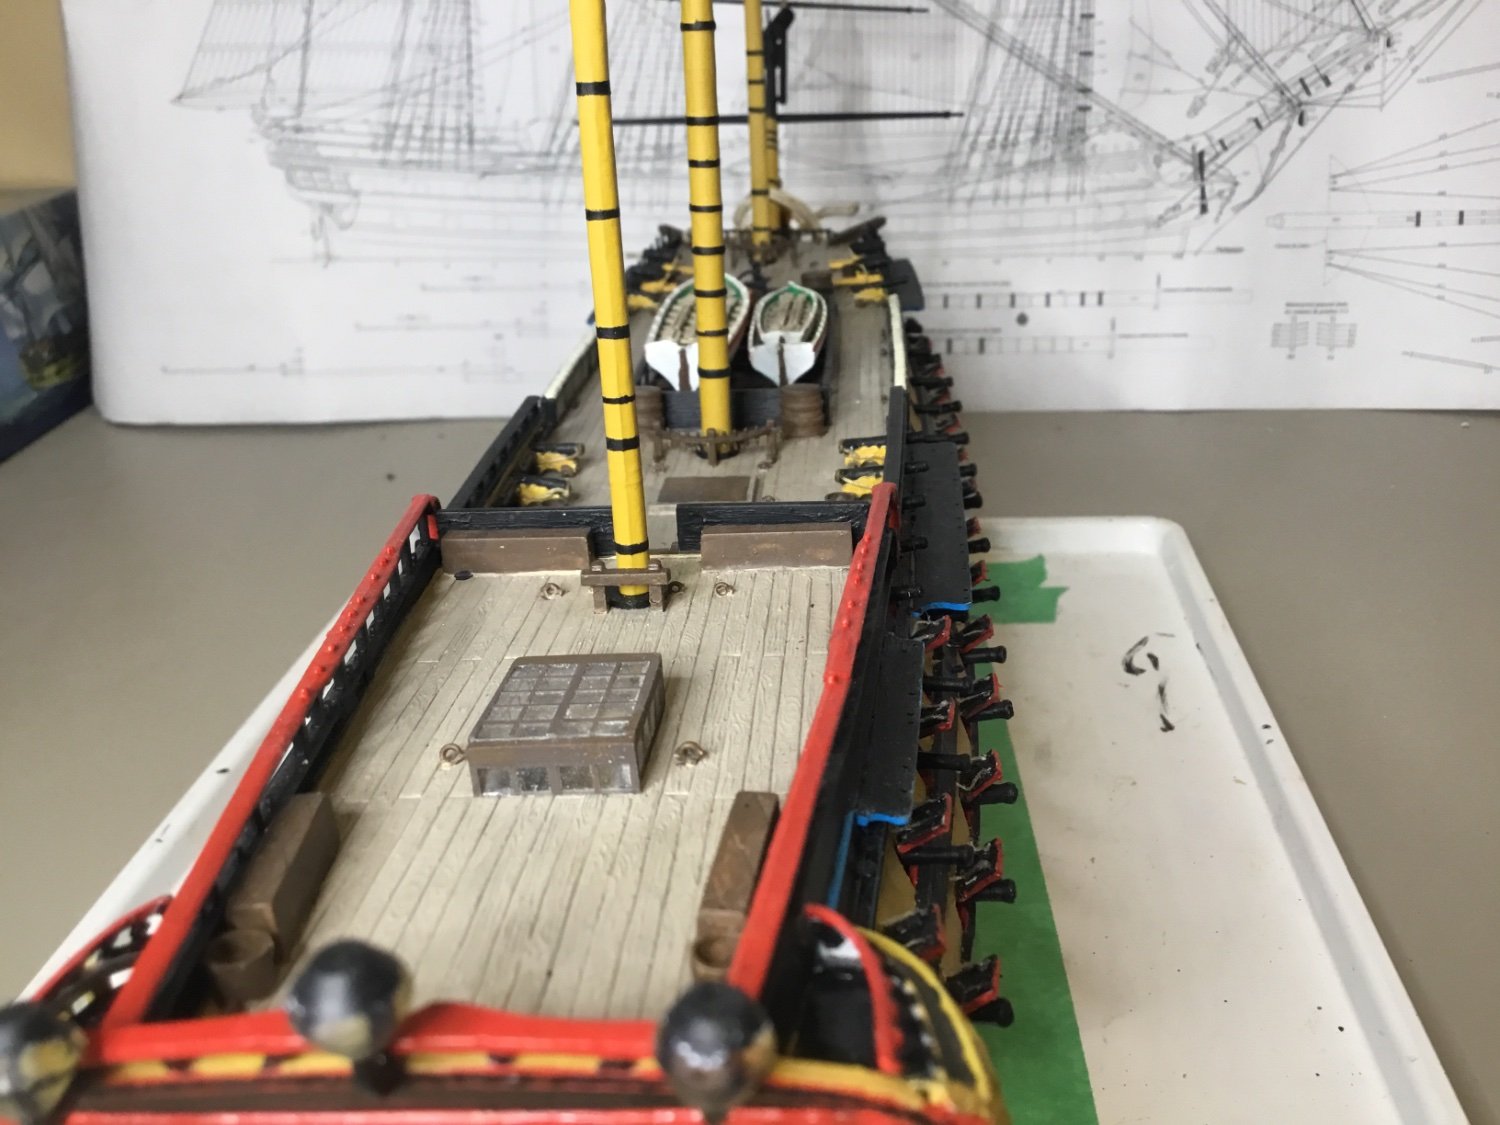
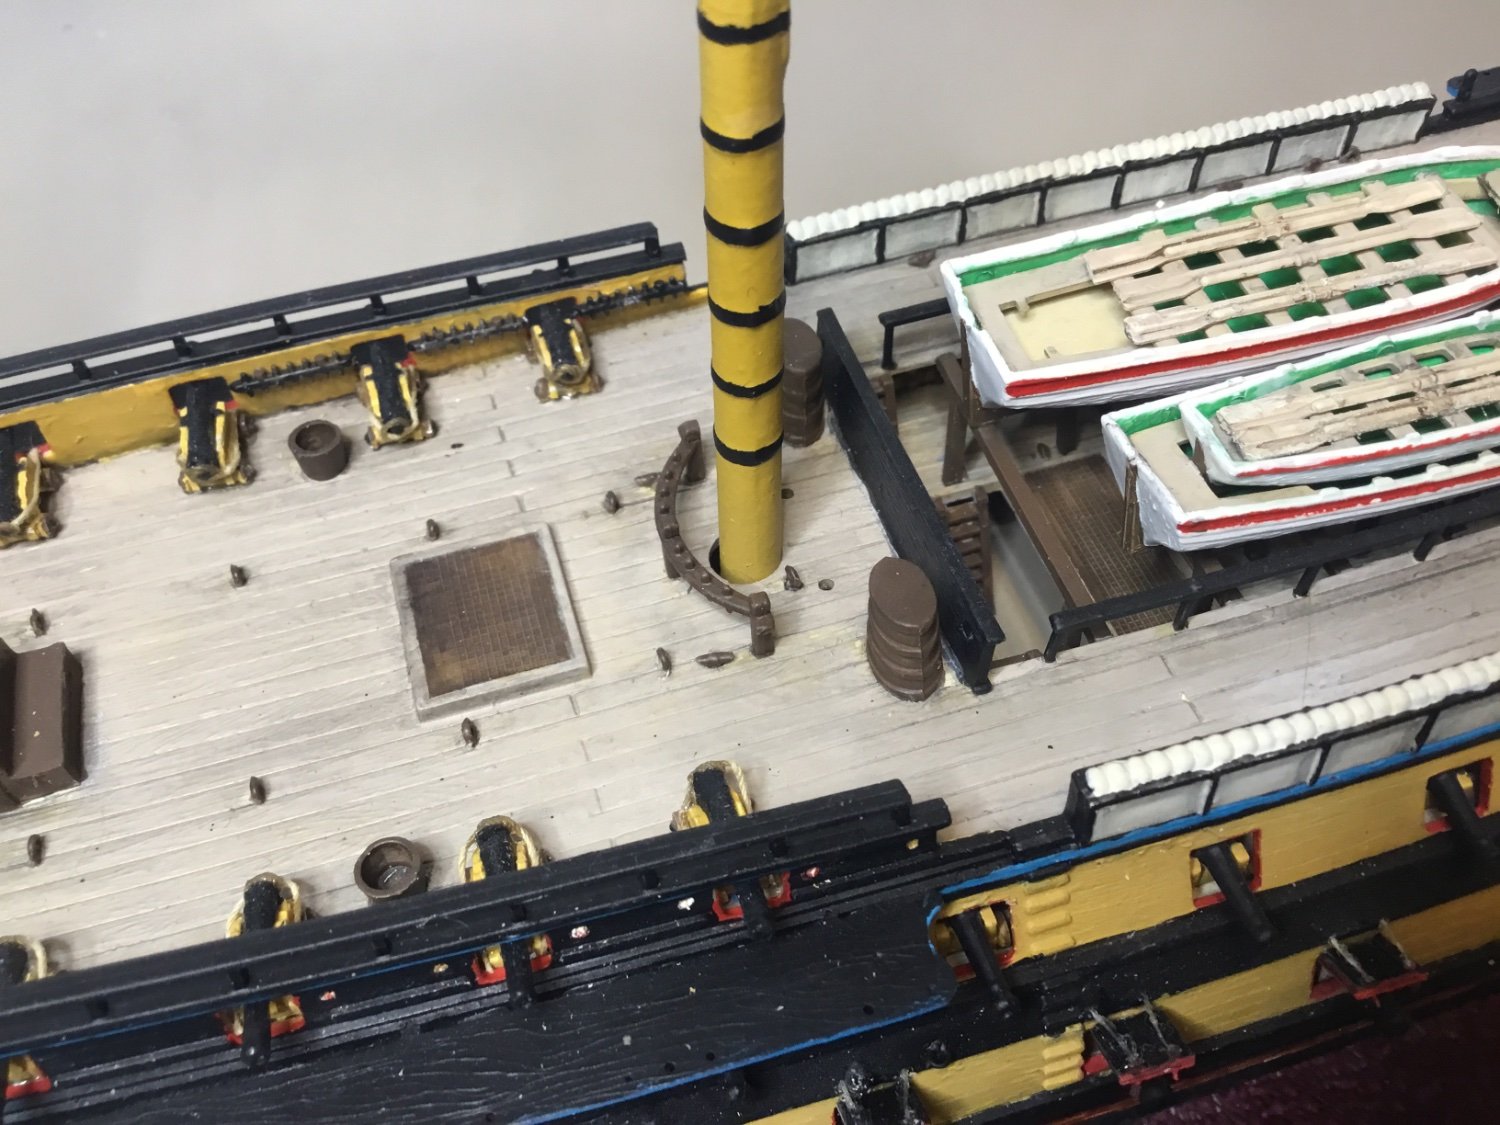
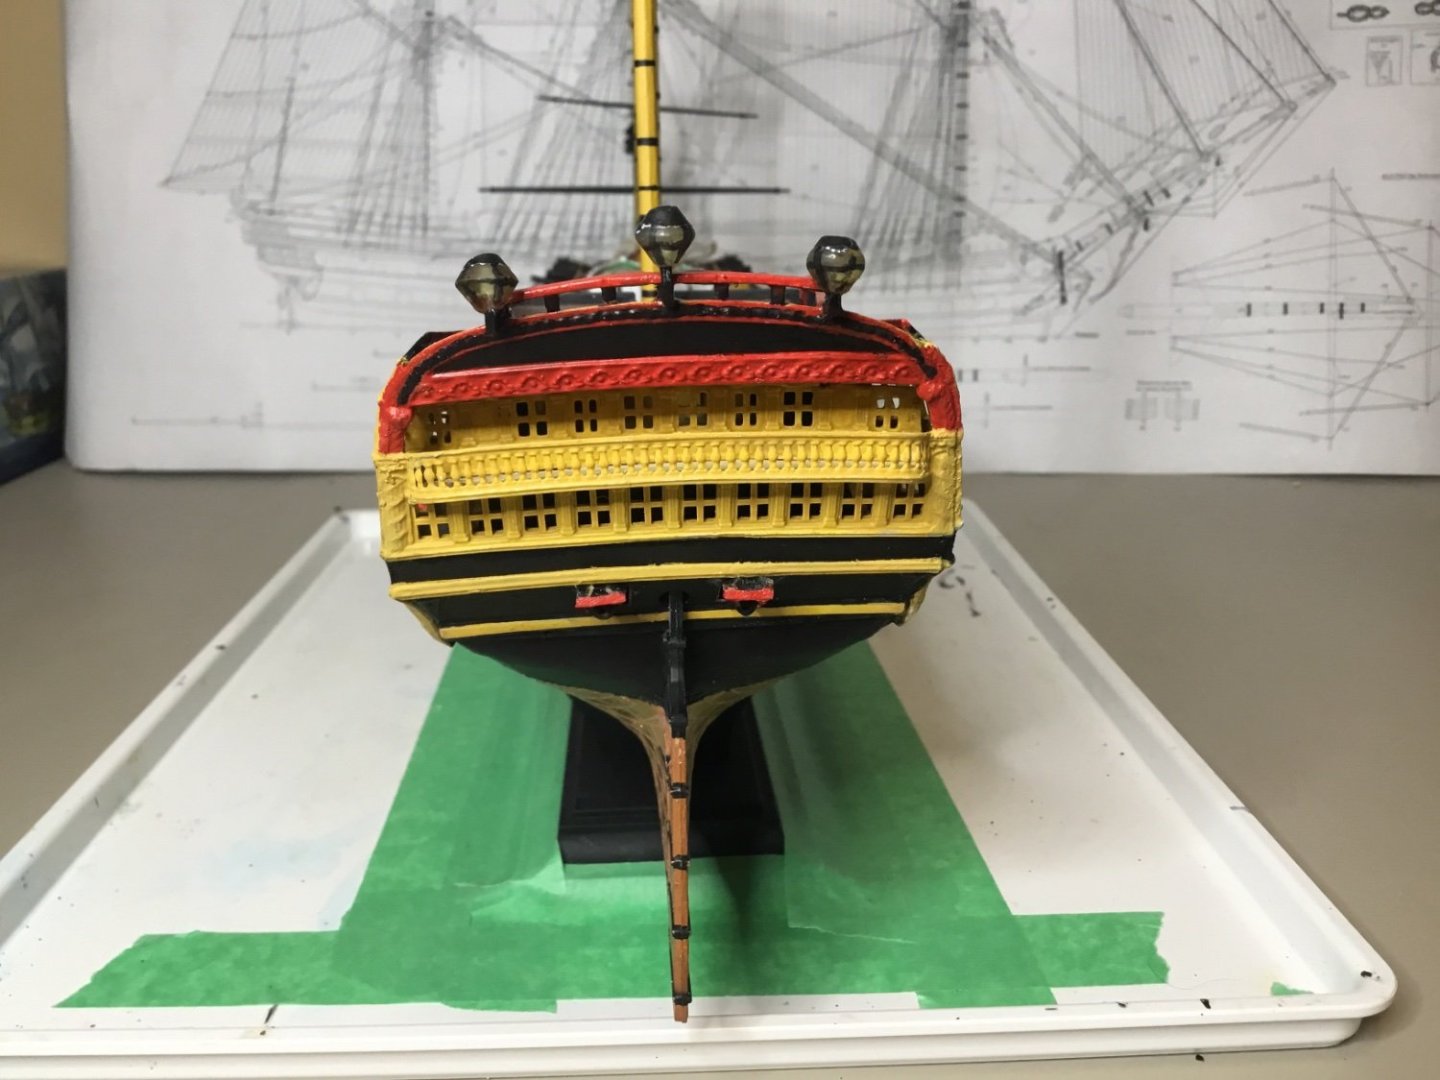
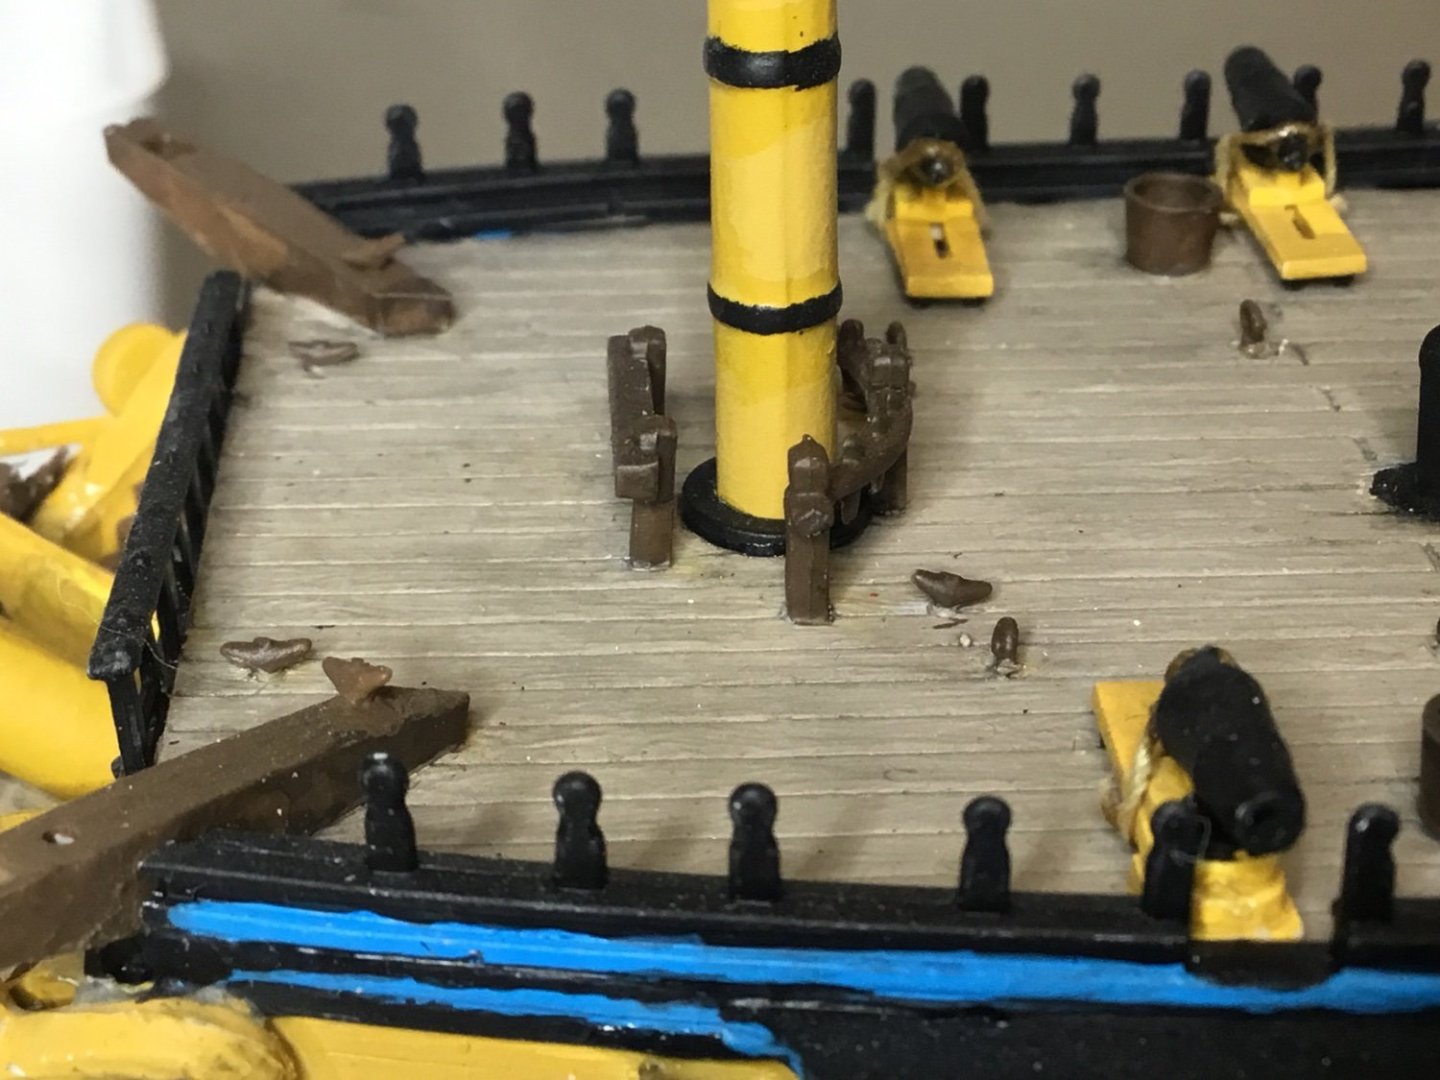
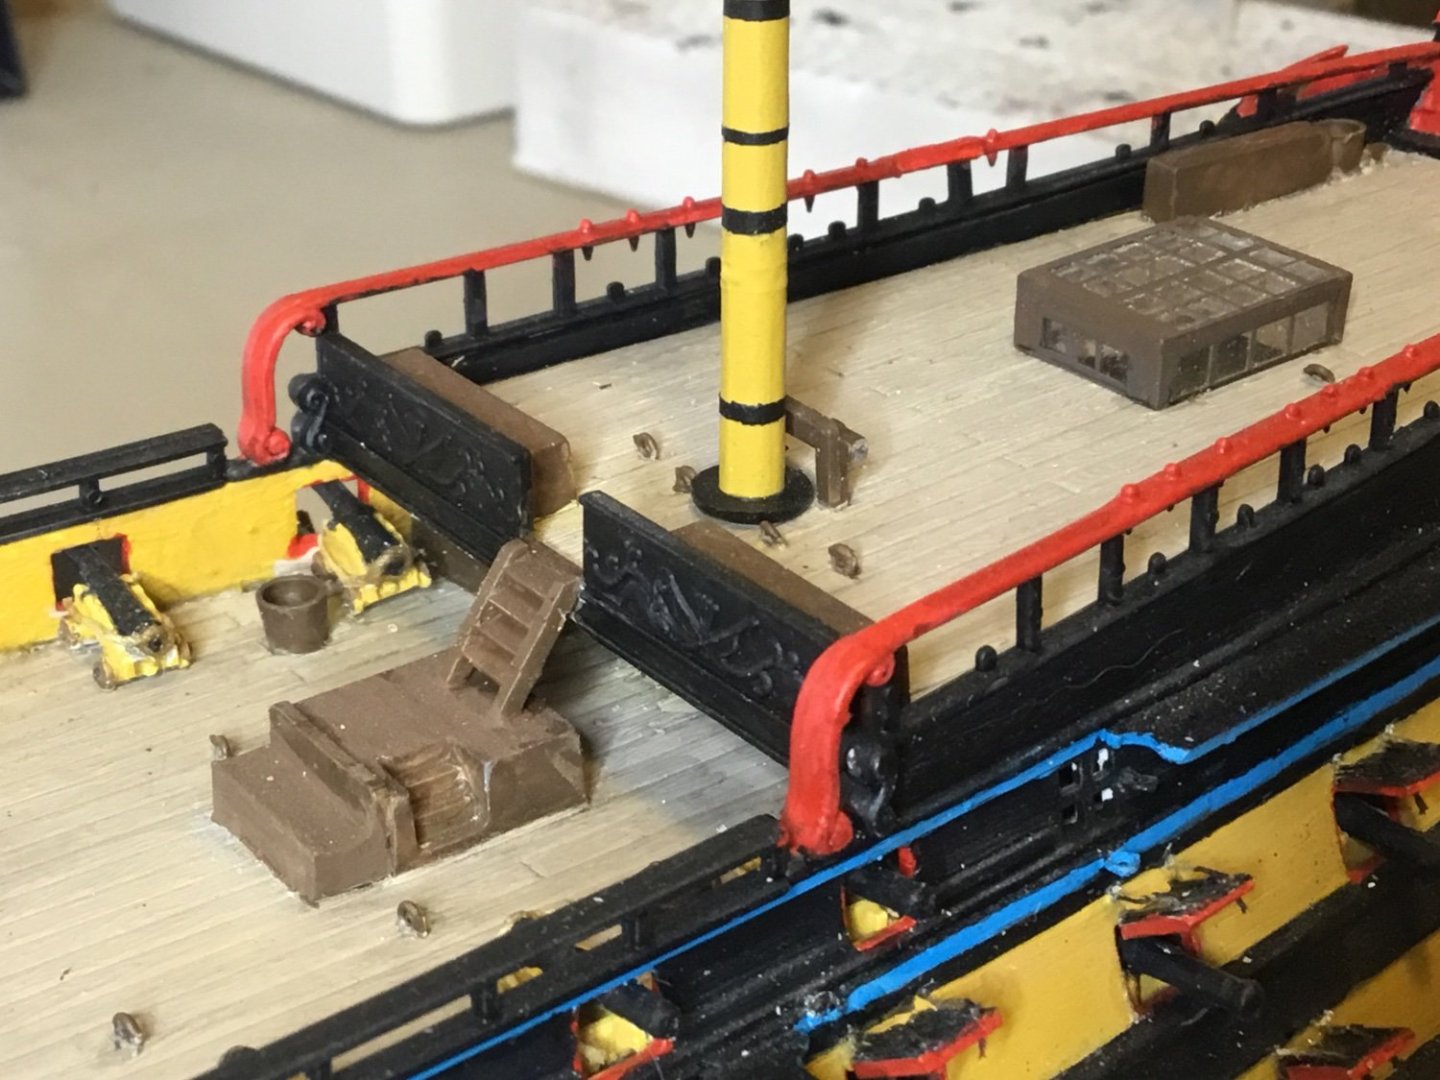
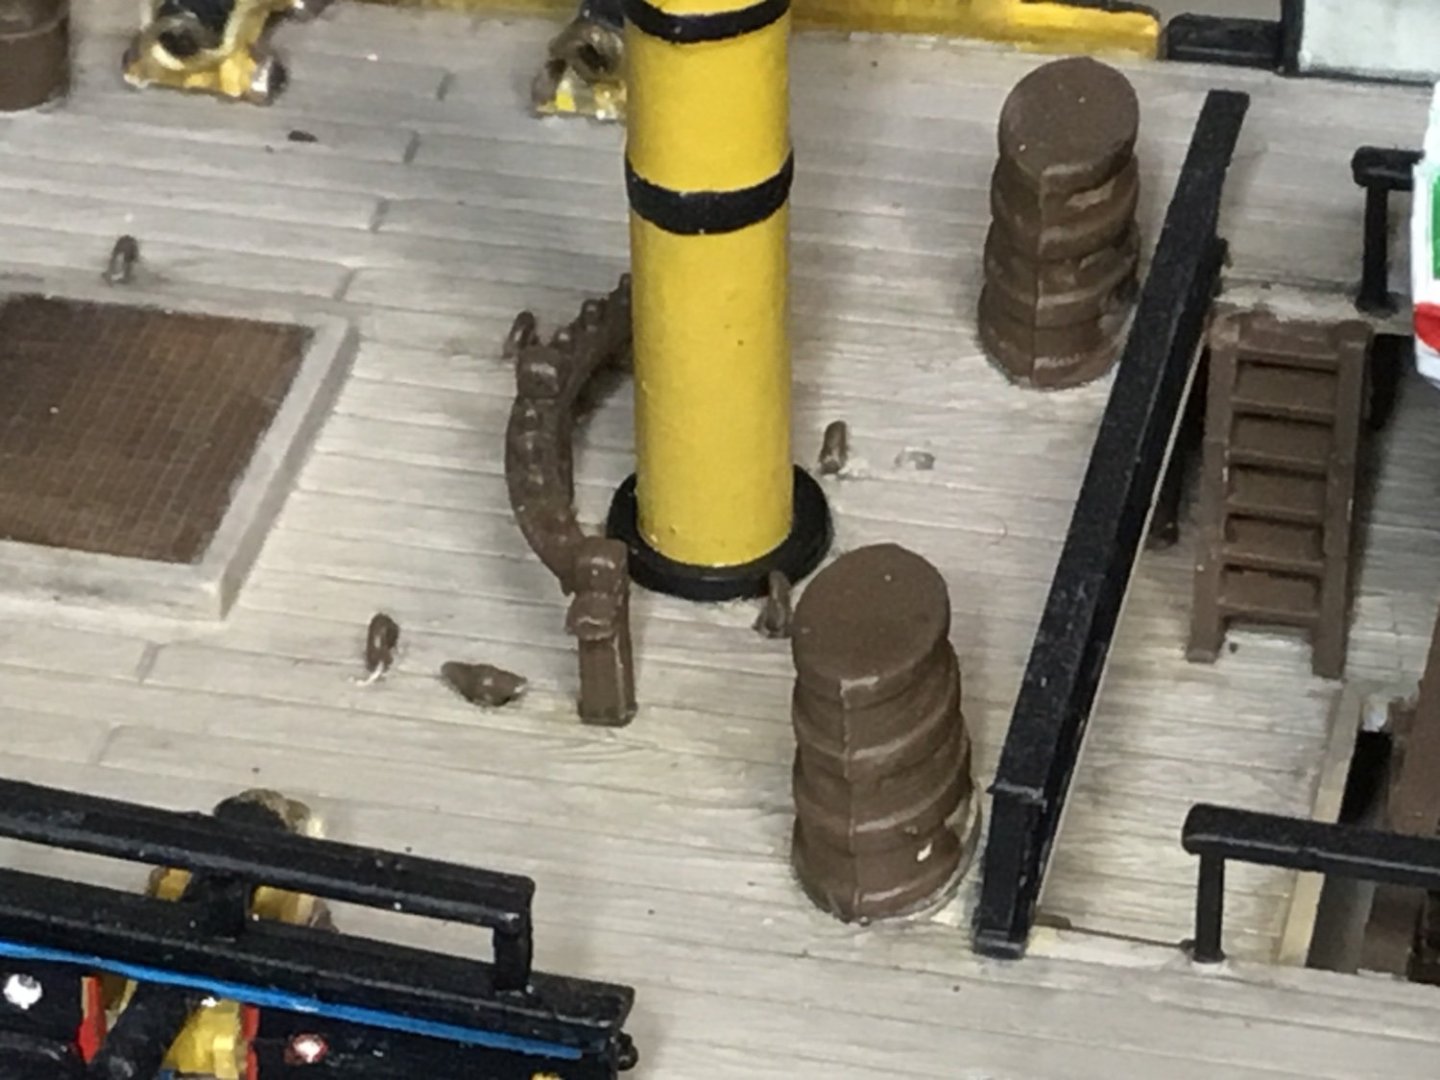
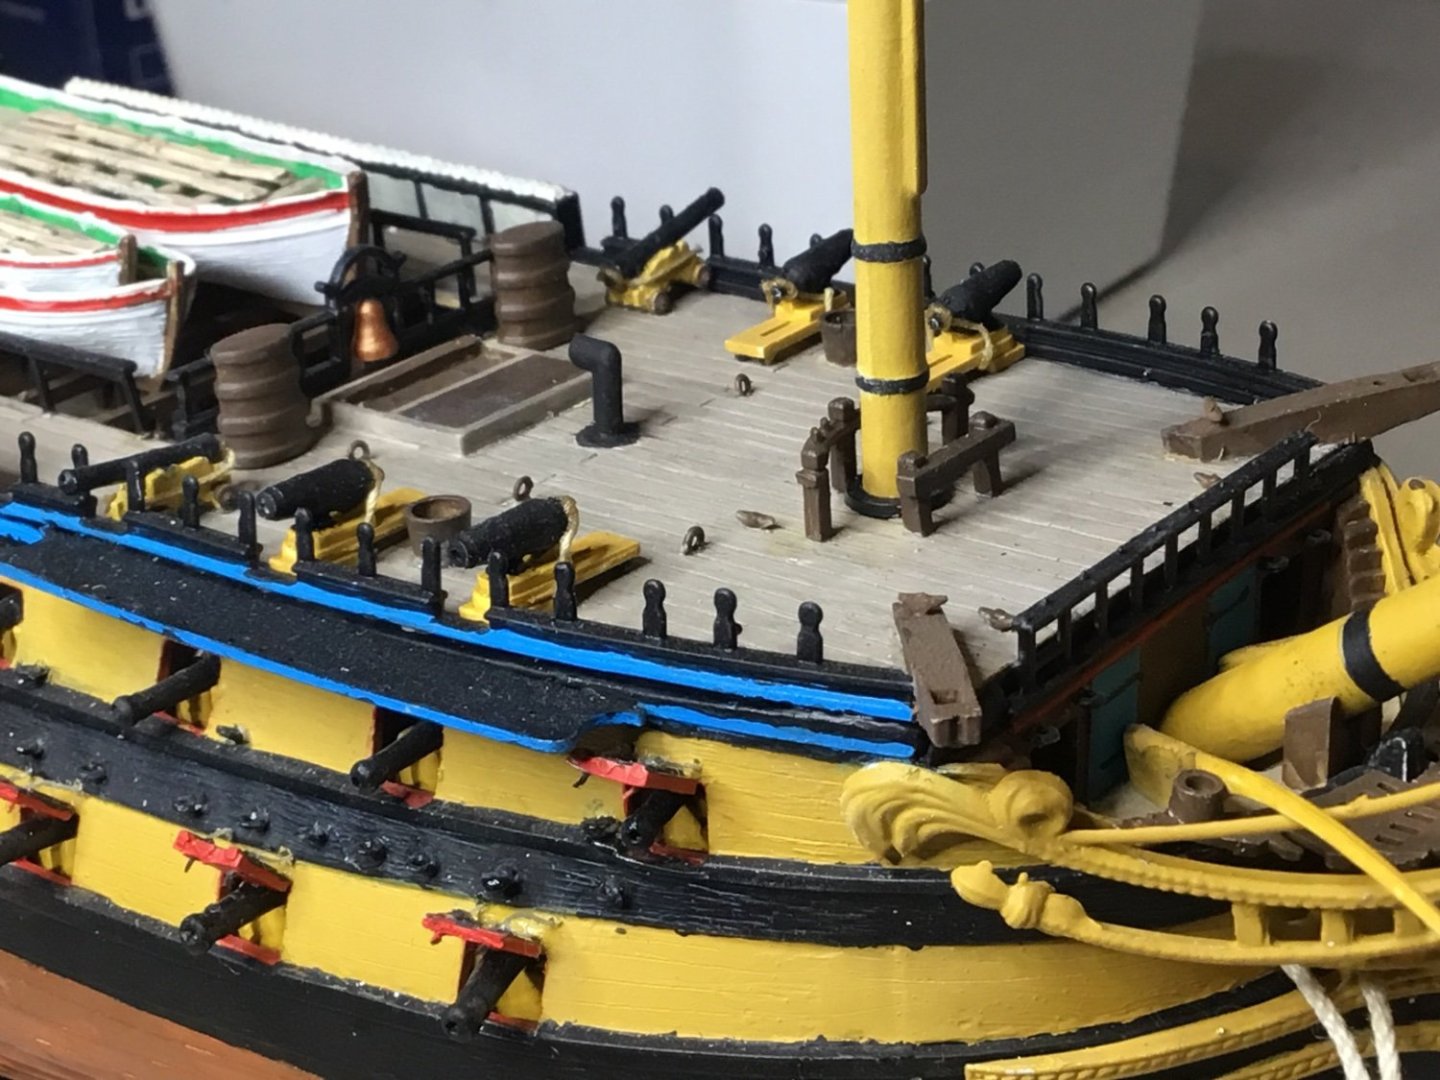
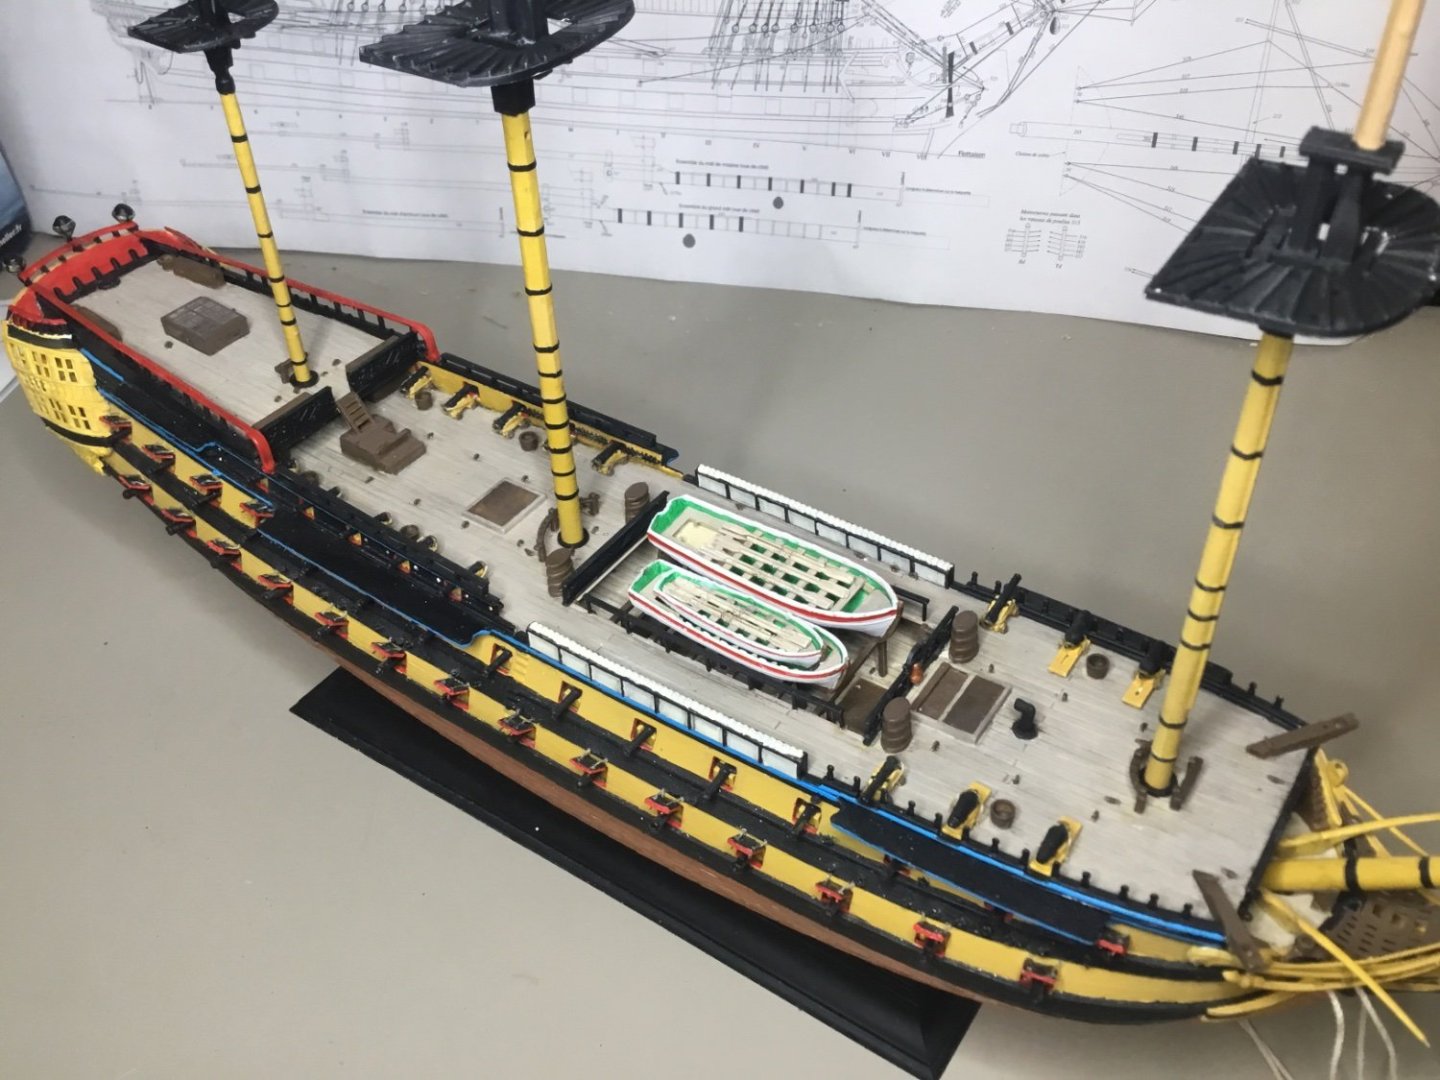
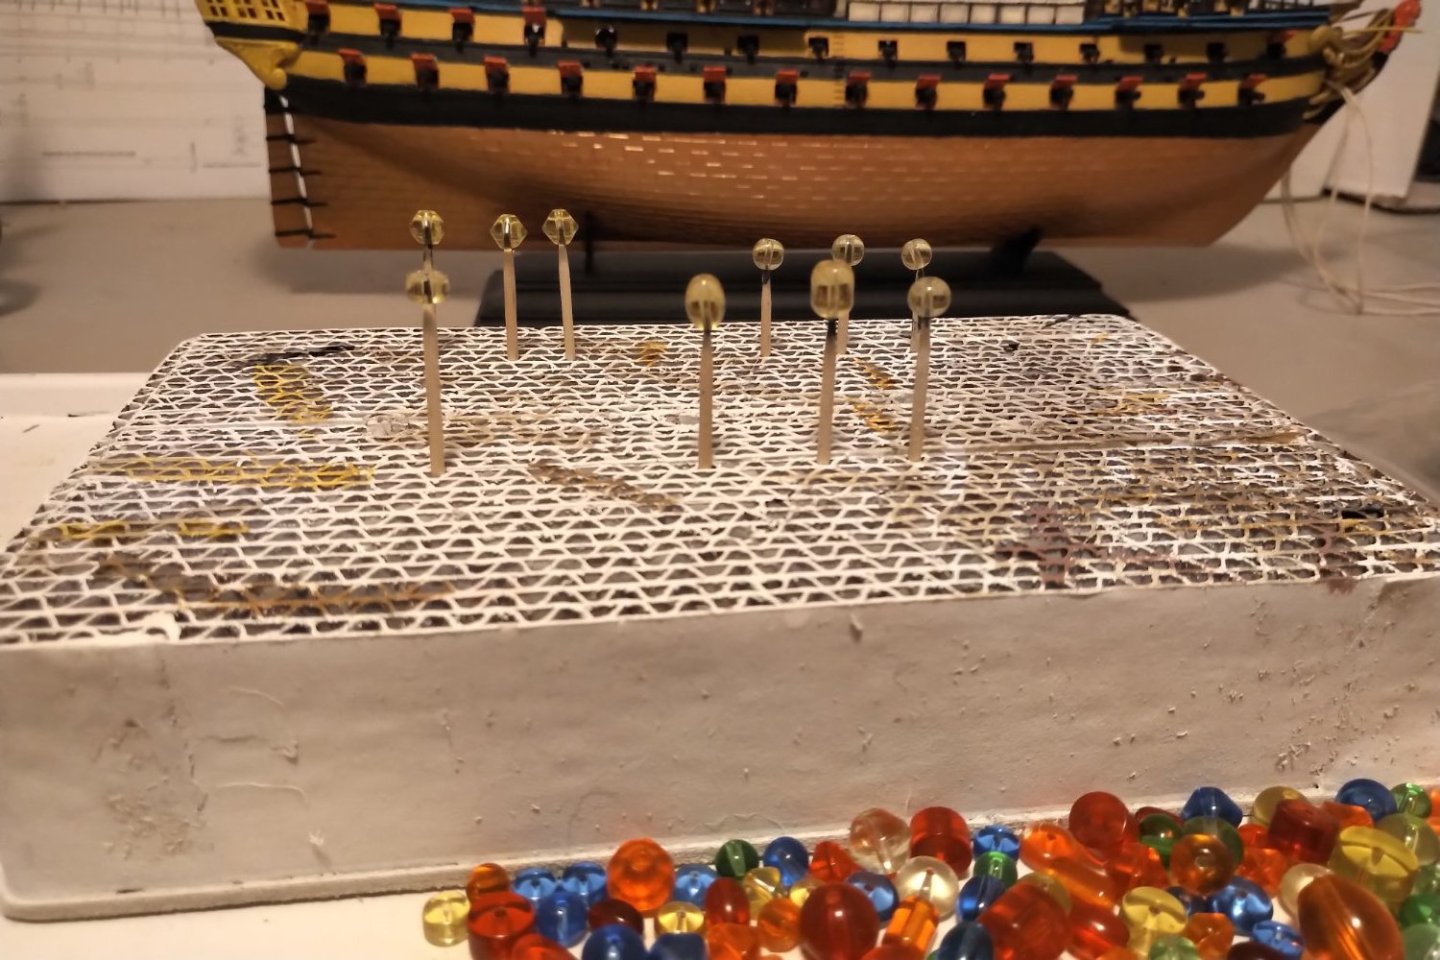
Merry Christmas everyone. I hope you’re having a safe and happy day. I’m pleased with the latest progress. I bought a pack of nylon washers and used different sizes to serve as the ring deck seal around the masts. I used a cone bit on my Dremel to enlarge the hole size to fit each mast. For the stern lights that I fabricated using my wife’s plastic beads, I cut additional nylon washers to serve as the mounts. I still need to touch up the paint on the stern.
-
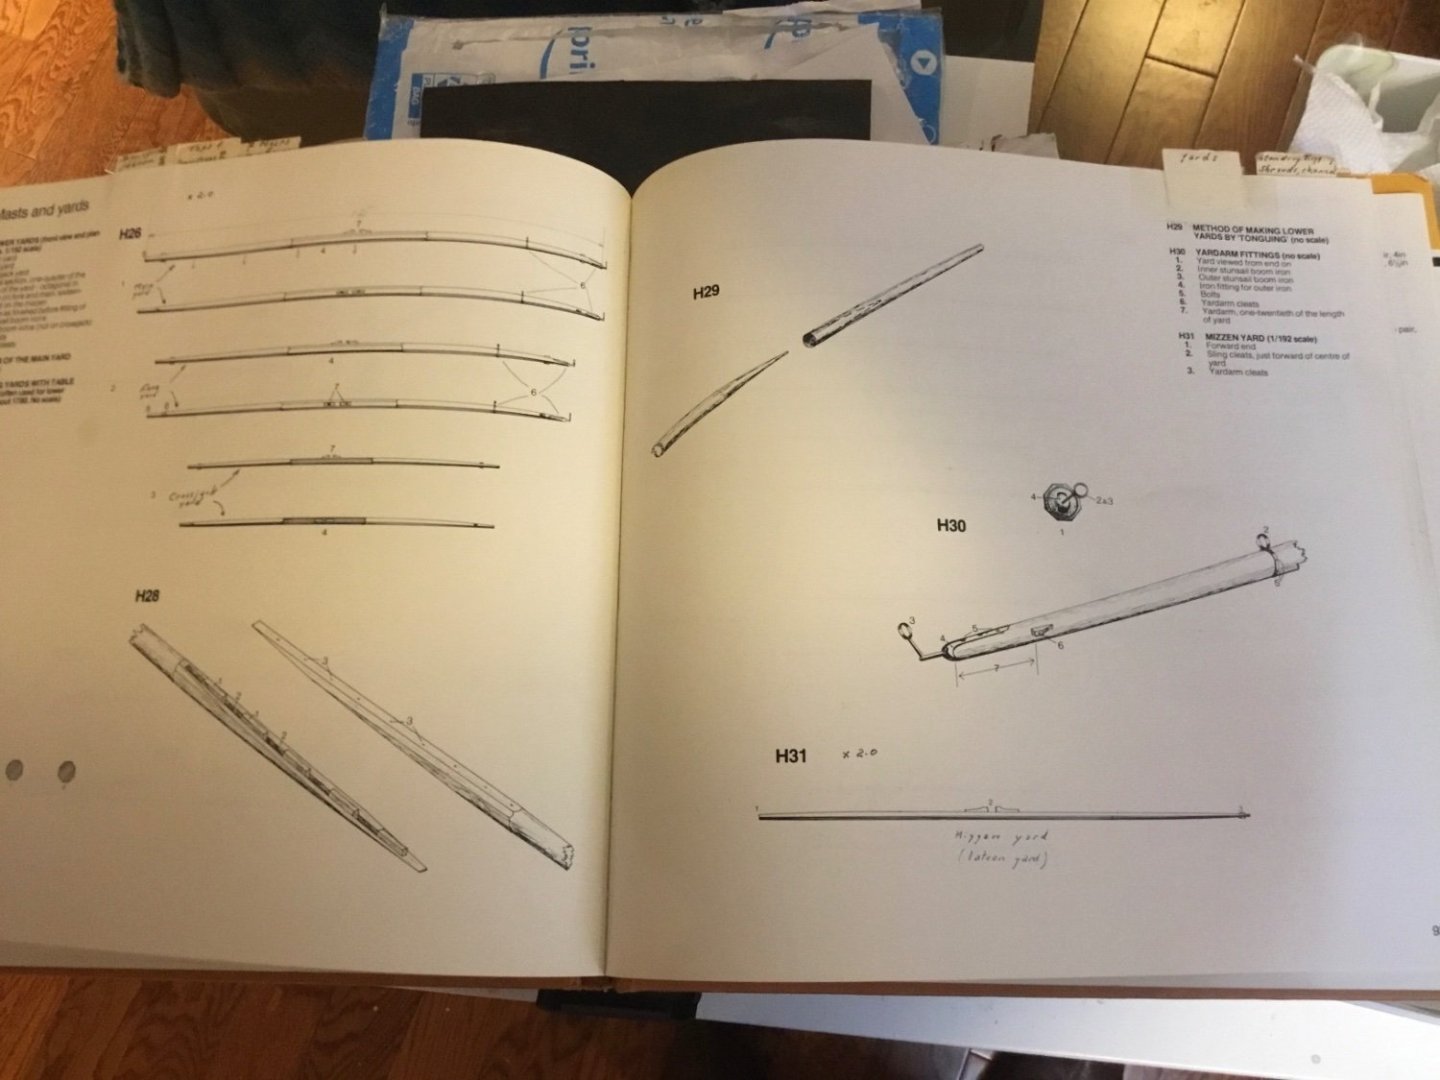
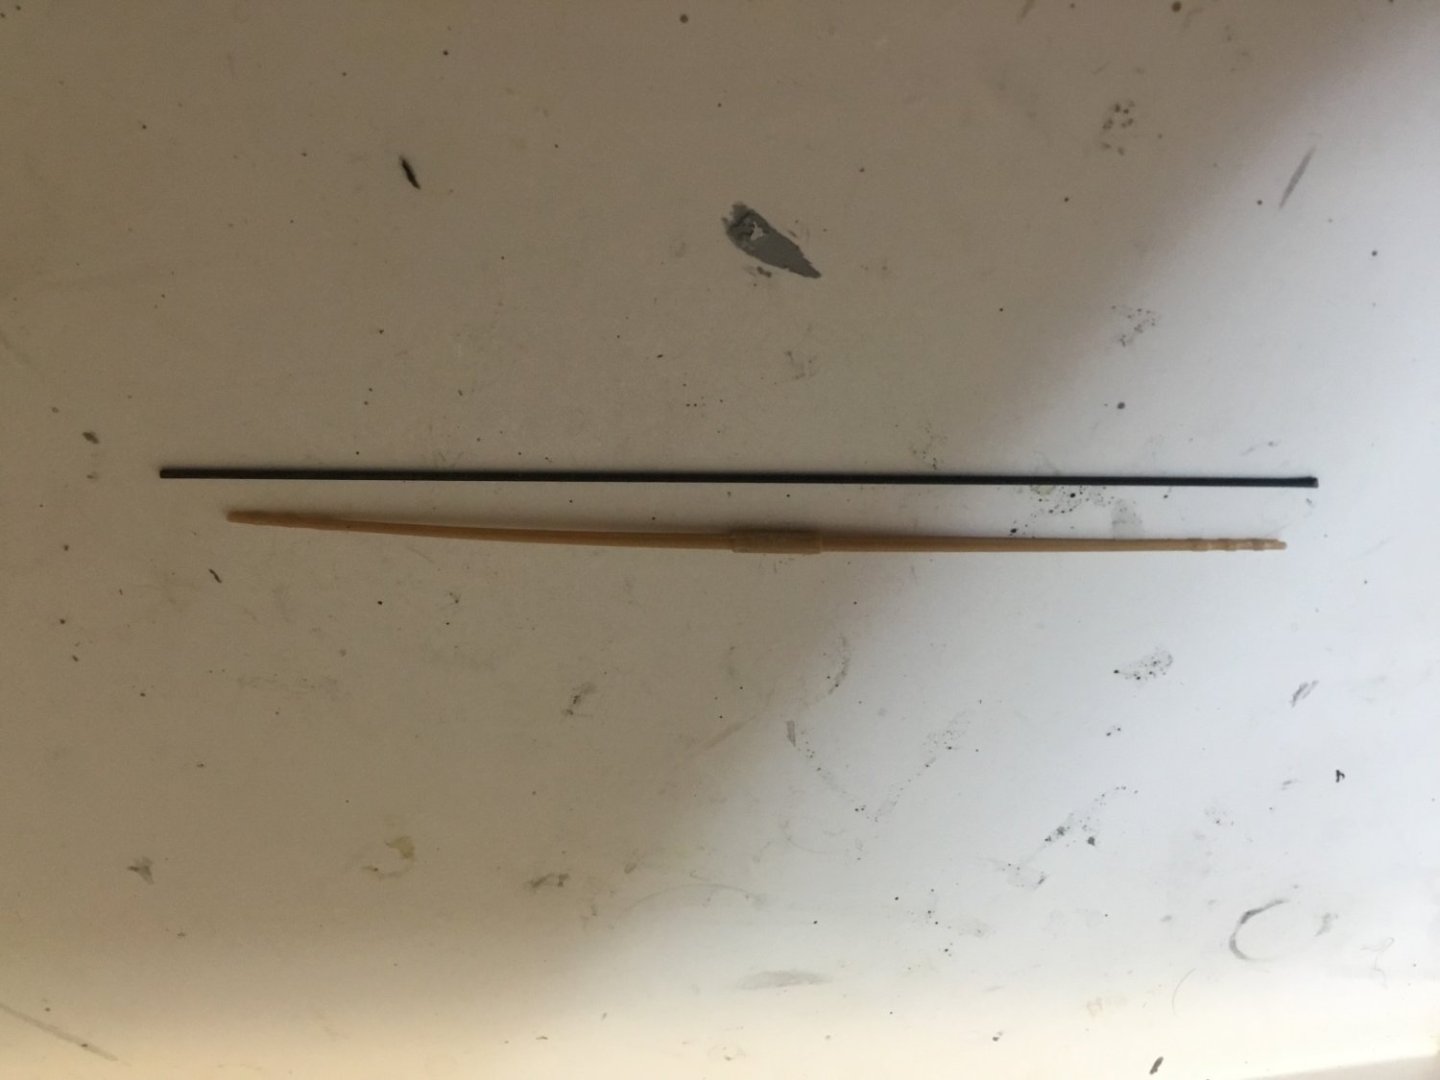
The topsail and topgallant sail yards are very flimsy. Also, the kit does not include studding sail yards, as shown on this model… So, I have a solution to both strengthen the yards and address this omission; carbon fibre rods cut in the middle and affixed to the yards.

-
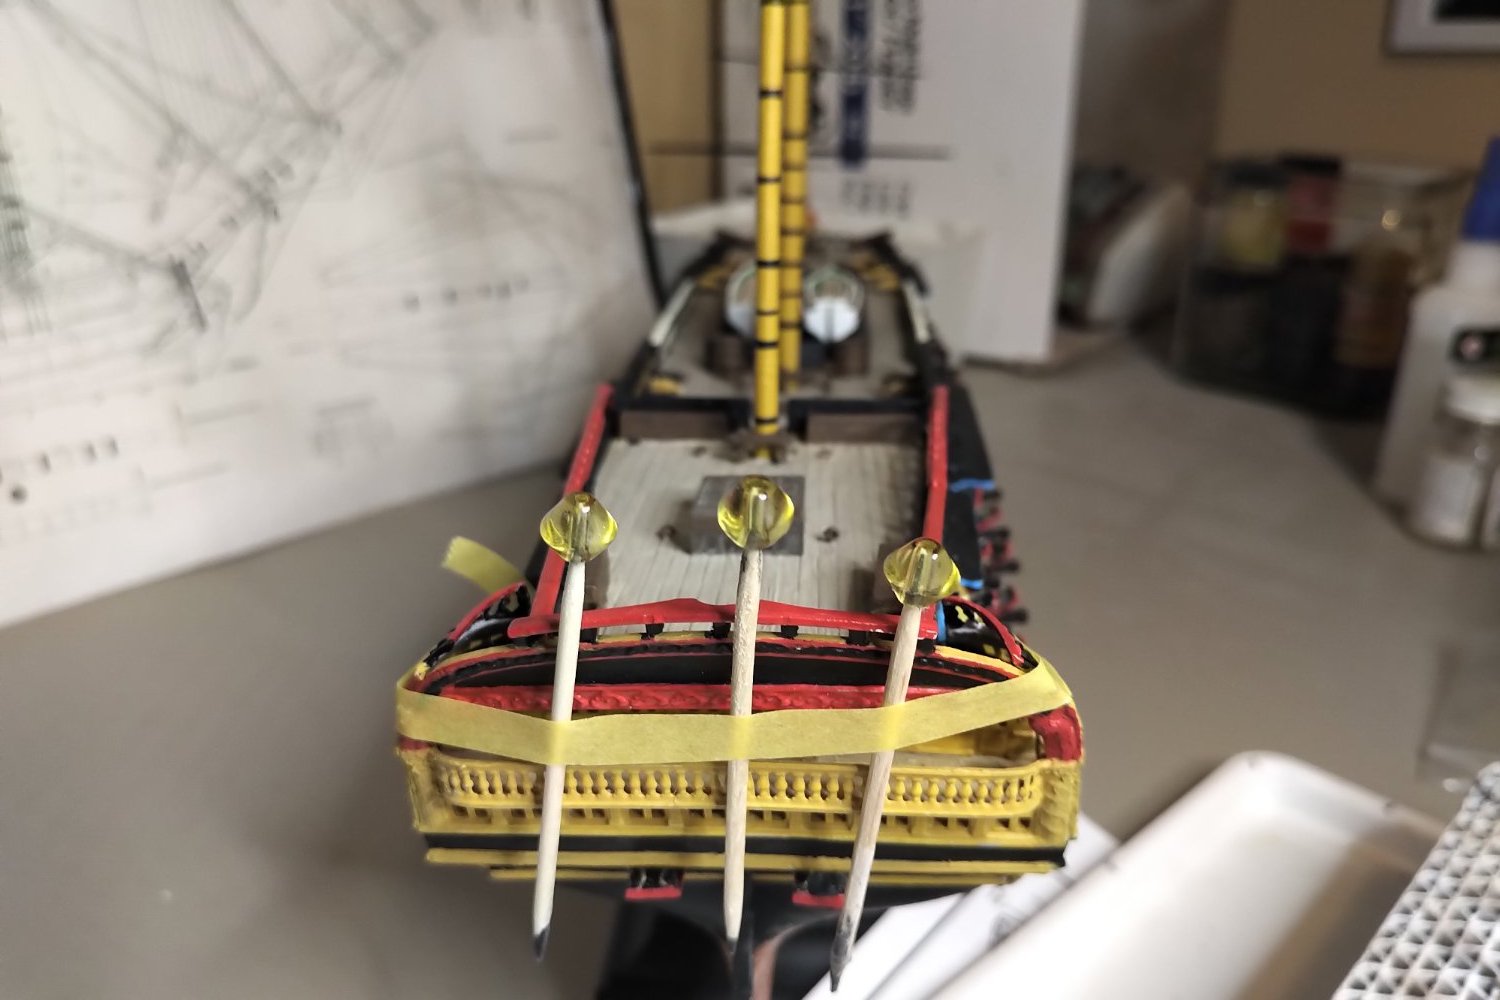
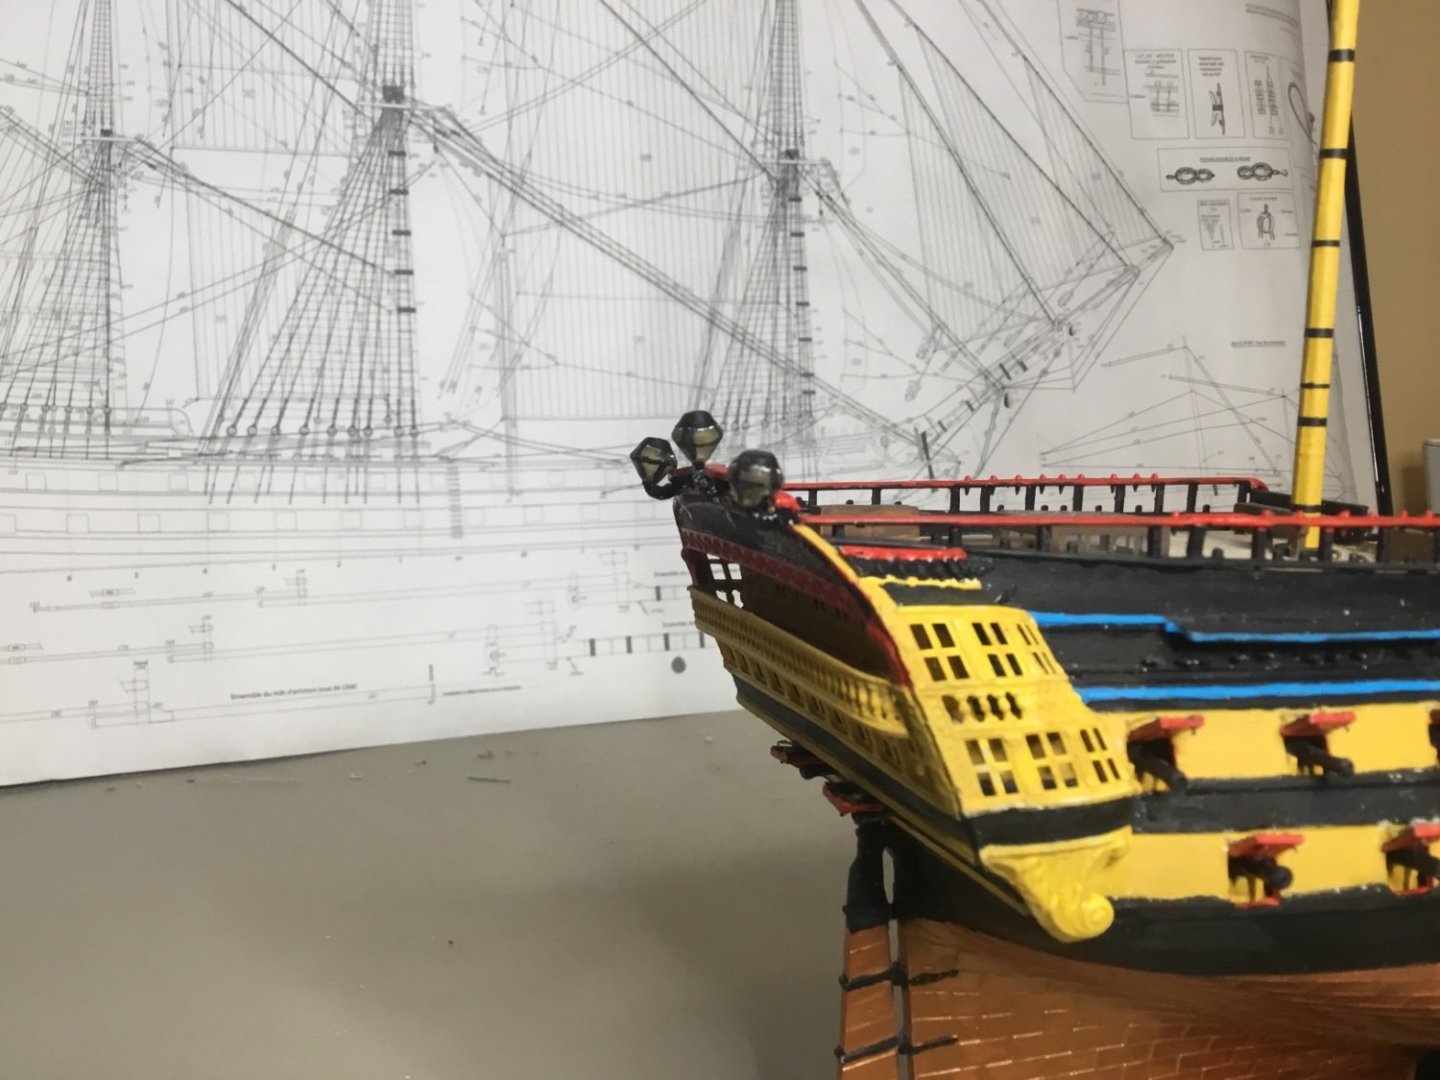
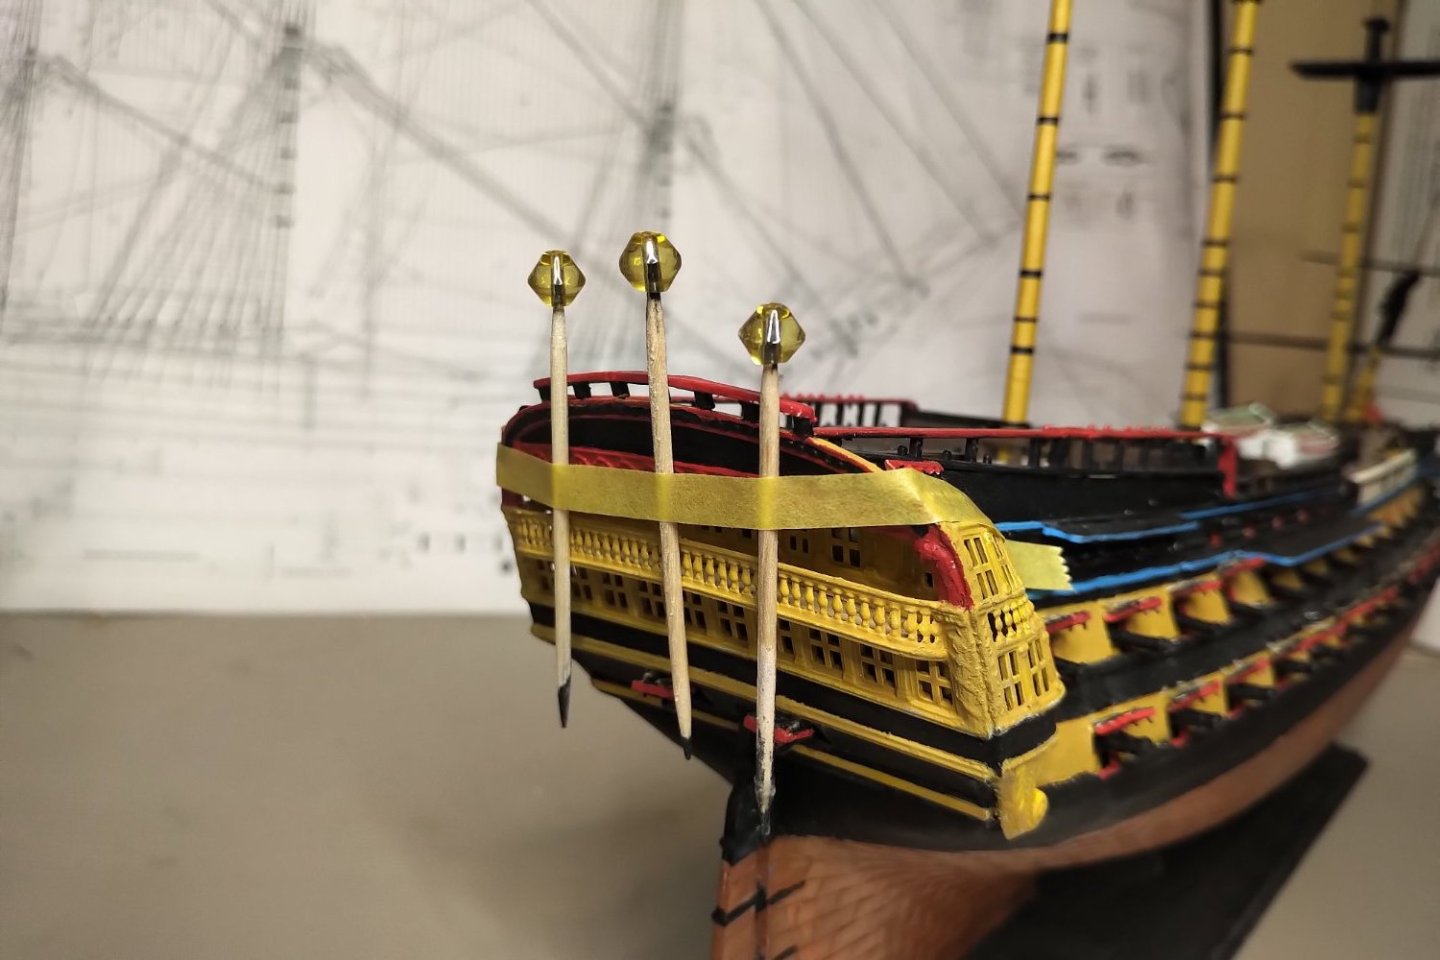
The single large stern lantern that comes with the kit will not do for the Royal Navy, where three lanterns are the norm. So I have raided my wife's collection of plastic beads to see what works. There are larger oval shapes, smaller ball shapes and medium sized diamond shaped beads. I think I'll go with the latter, which I can paint black or ochre on top and put verticals lines below to suggest the framing for the glass panes. Here's HMS Victory for reference. The middle lantern is supposed to be larger like below, but I think the three equal-sized beads I've chosen will work best, as the smaller ones I have a round balls and would look inconsistent with the diamond shaped middle lantern.


-
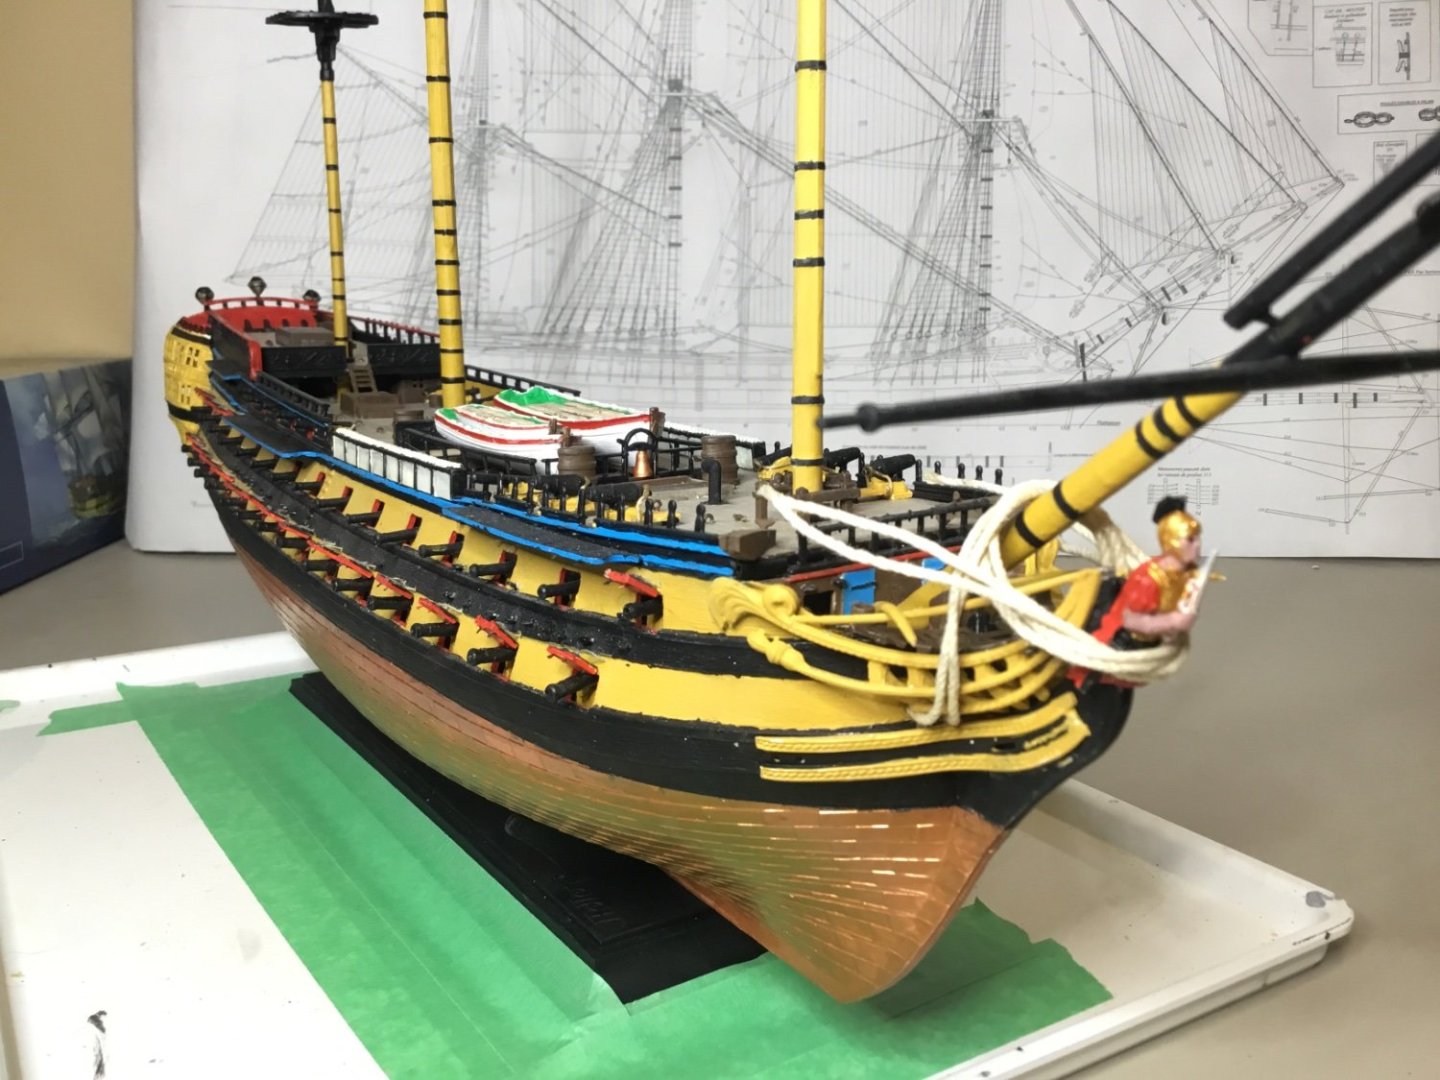
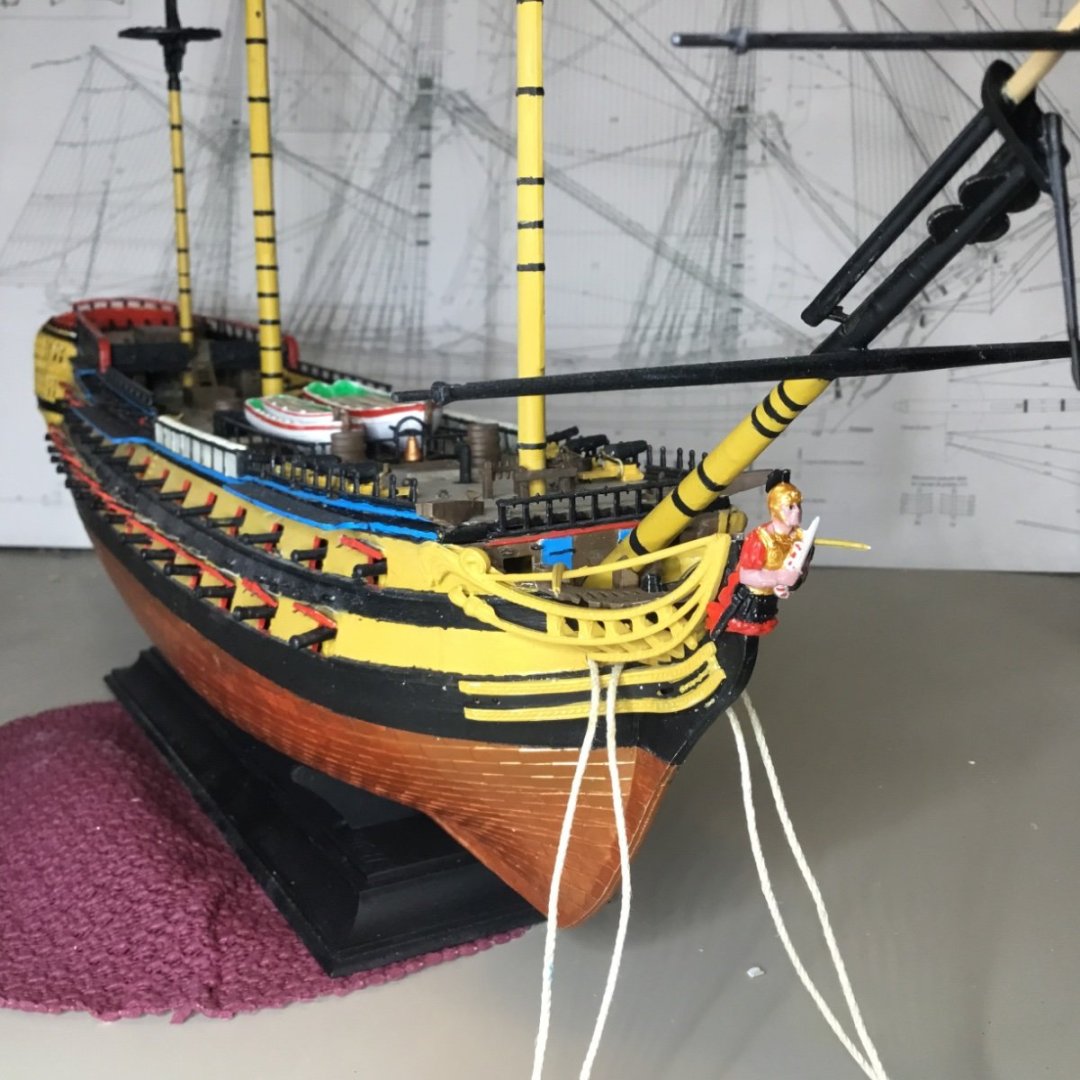
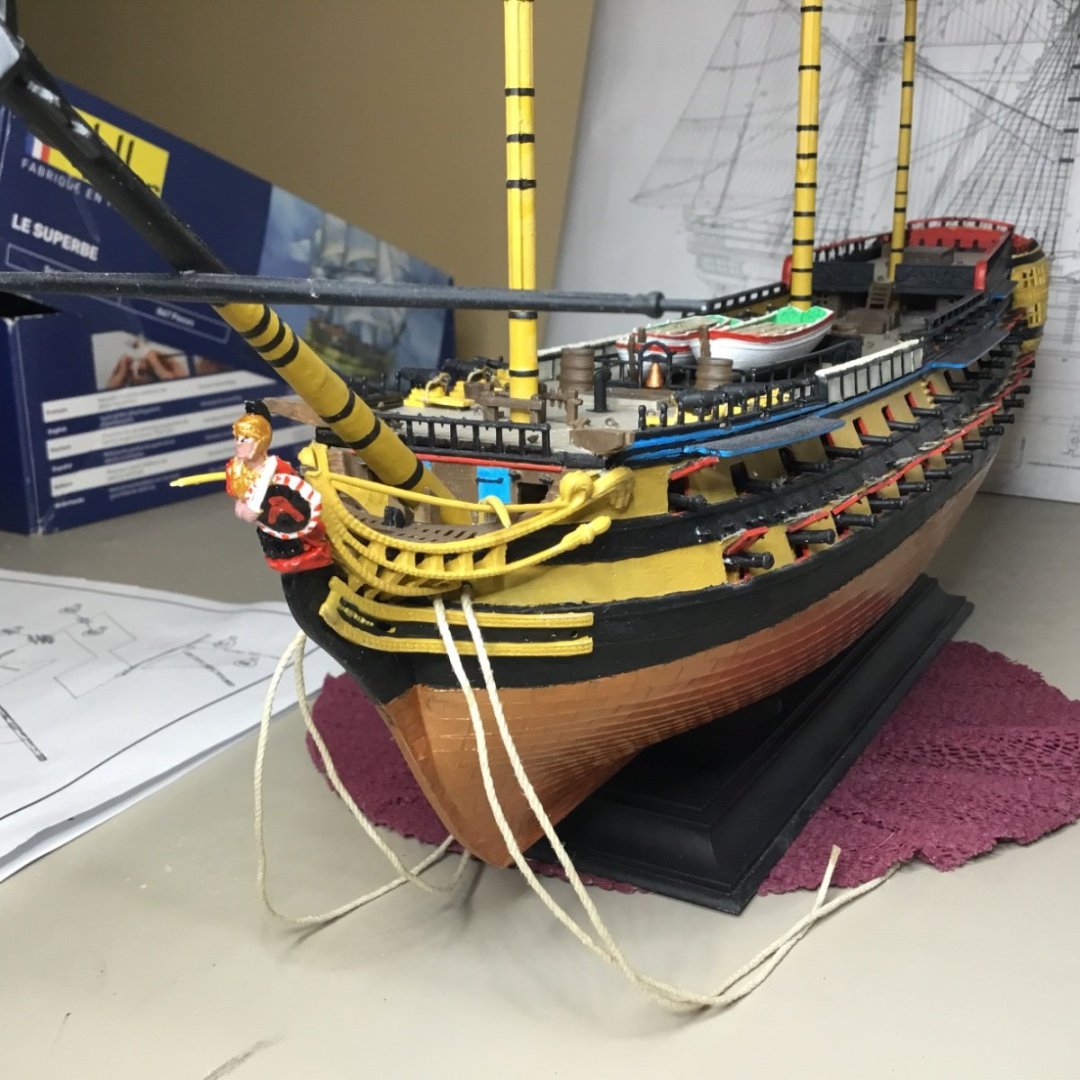
Spartan/Roman figurehead now installed. Masts completed. Next step I need to fabricate the three stern lanterns the British used rather than the single large lantern that comes with the kit.
-
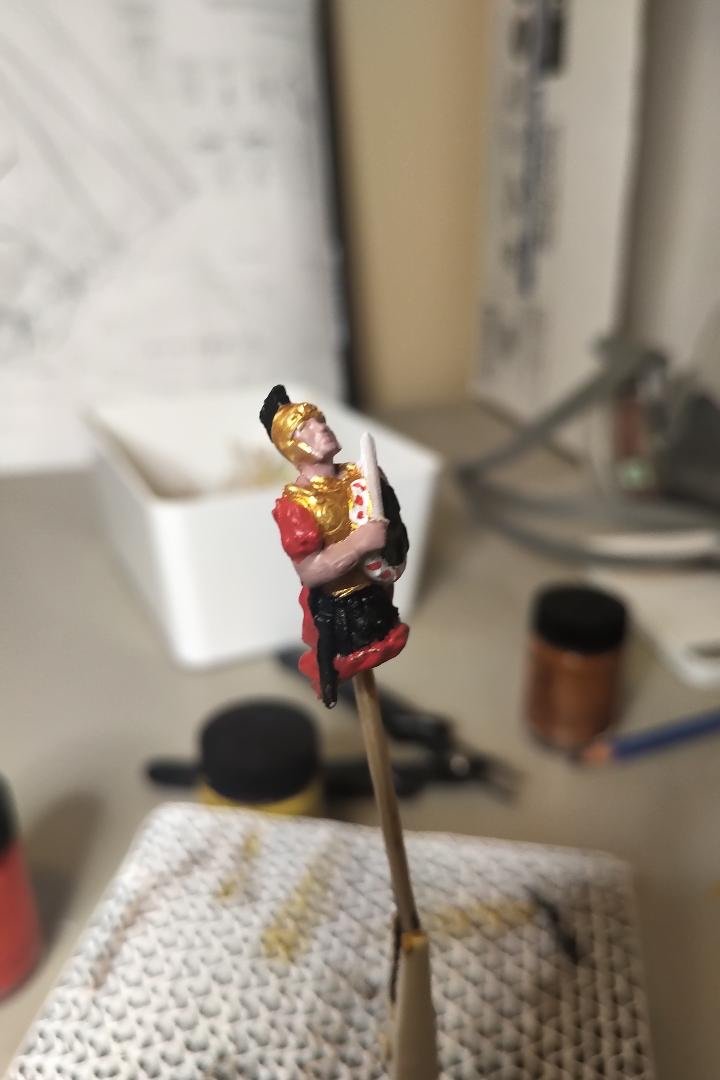
I’ve got a donated Roman Centurion to stand in for the Spartan figurehead. See Spartan below. I need to add the eyes, the Greek A onto the shield and perhaps darken the sword. I may also paint the figure’s nose gold to better model the Spartan helmet.
-
I'll go to the hardware shop and buy some fiber washers to mimic the mast seals.
-
Thanks @allanyed. This is a great help. I shall cut out some circles from card stock and paint them black to serve as the canvas ring. Question, should my canvas reach up the mast, like on HMS Victory below? I like this image. The Type 45 destroyer in the background is just slightly shorter than an Invincible class battlecruiser.
-
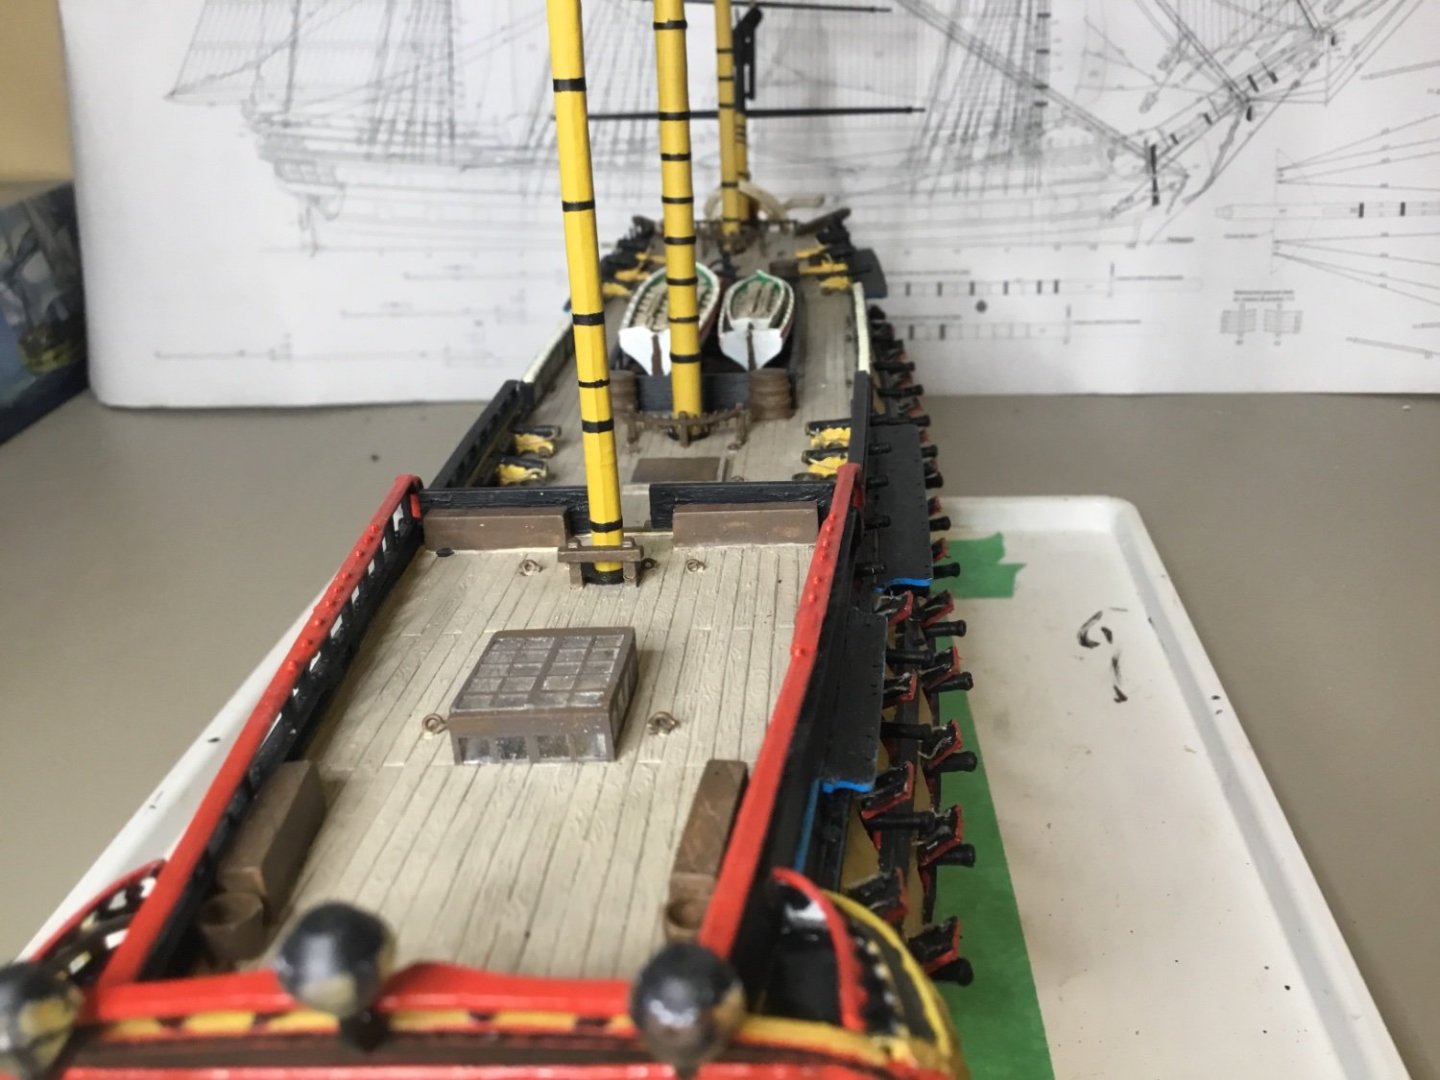
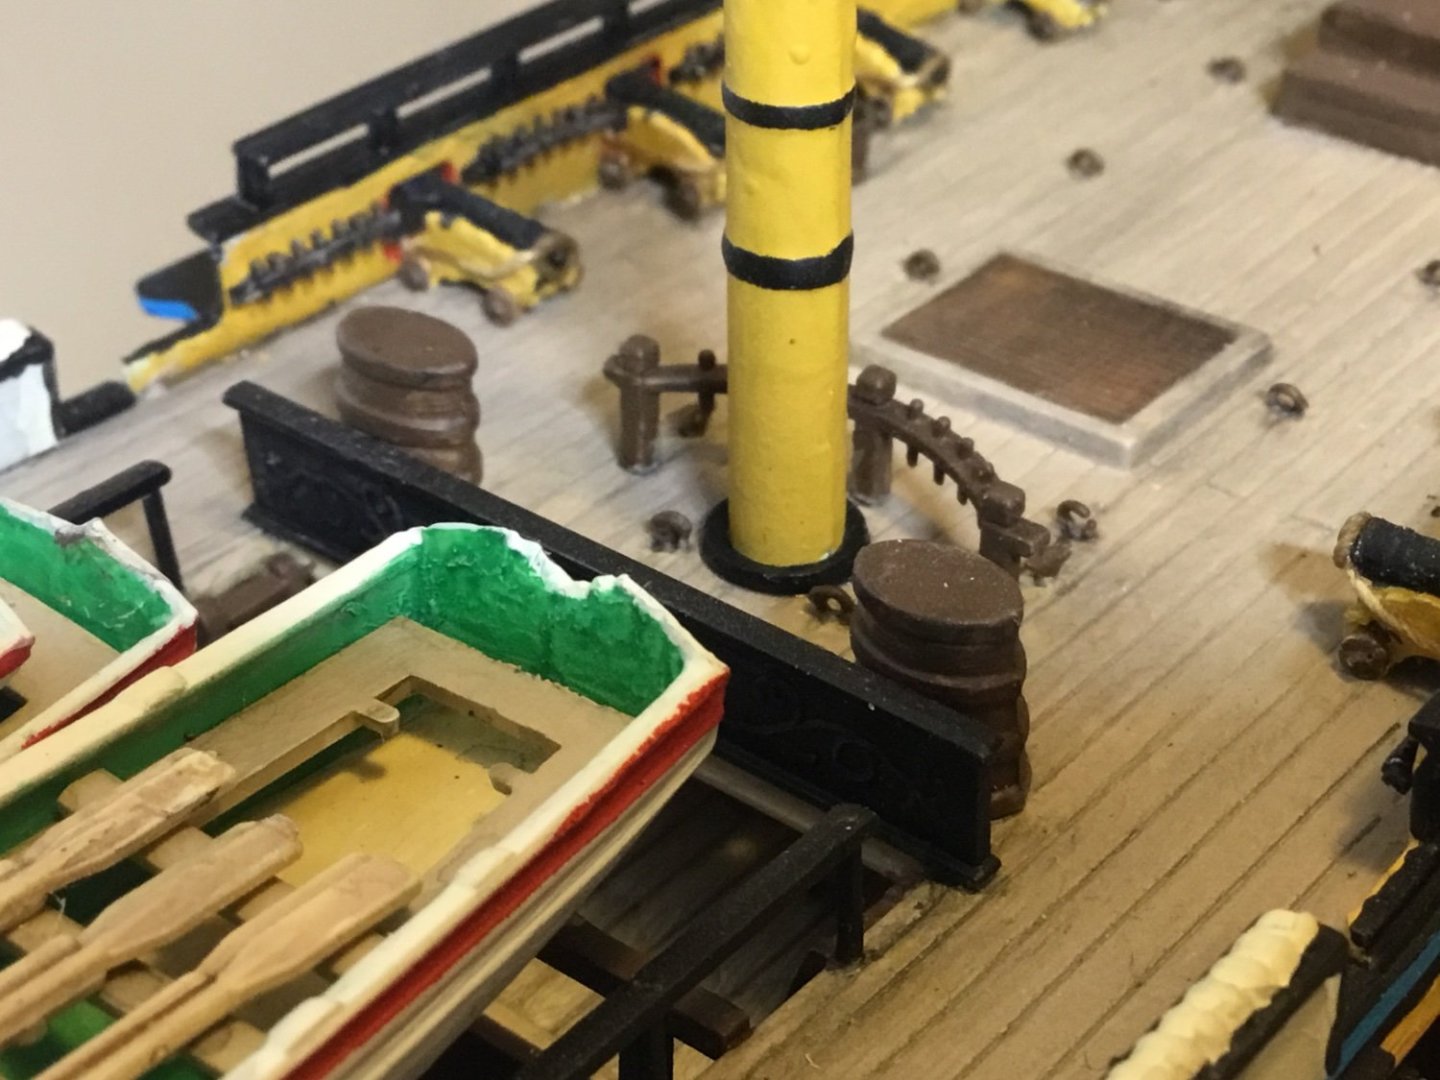
I’m building a plastic kit, Heller’s Le Superbe. Before I permanently install the masts, shouldn’t there be a gasket or seal to close up the large holes in the deck around the masts. I understand that the hole was supposed to be bigger to allow for flex and rake changes, but we can’t have the water flowing in. What do we recommend? Online HMS Victory and Trincomalee appear to have a seal of some sort around the base of the masts. Thanks for any guidance or info.