Admiral Beez
-
Posts
177 -
Joined
-
Last visited
About Admiral Beez

-
 Admiral Beez reacted to a post in a topic:
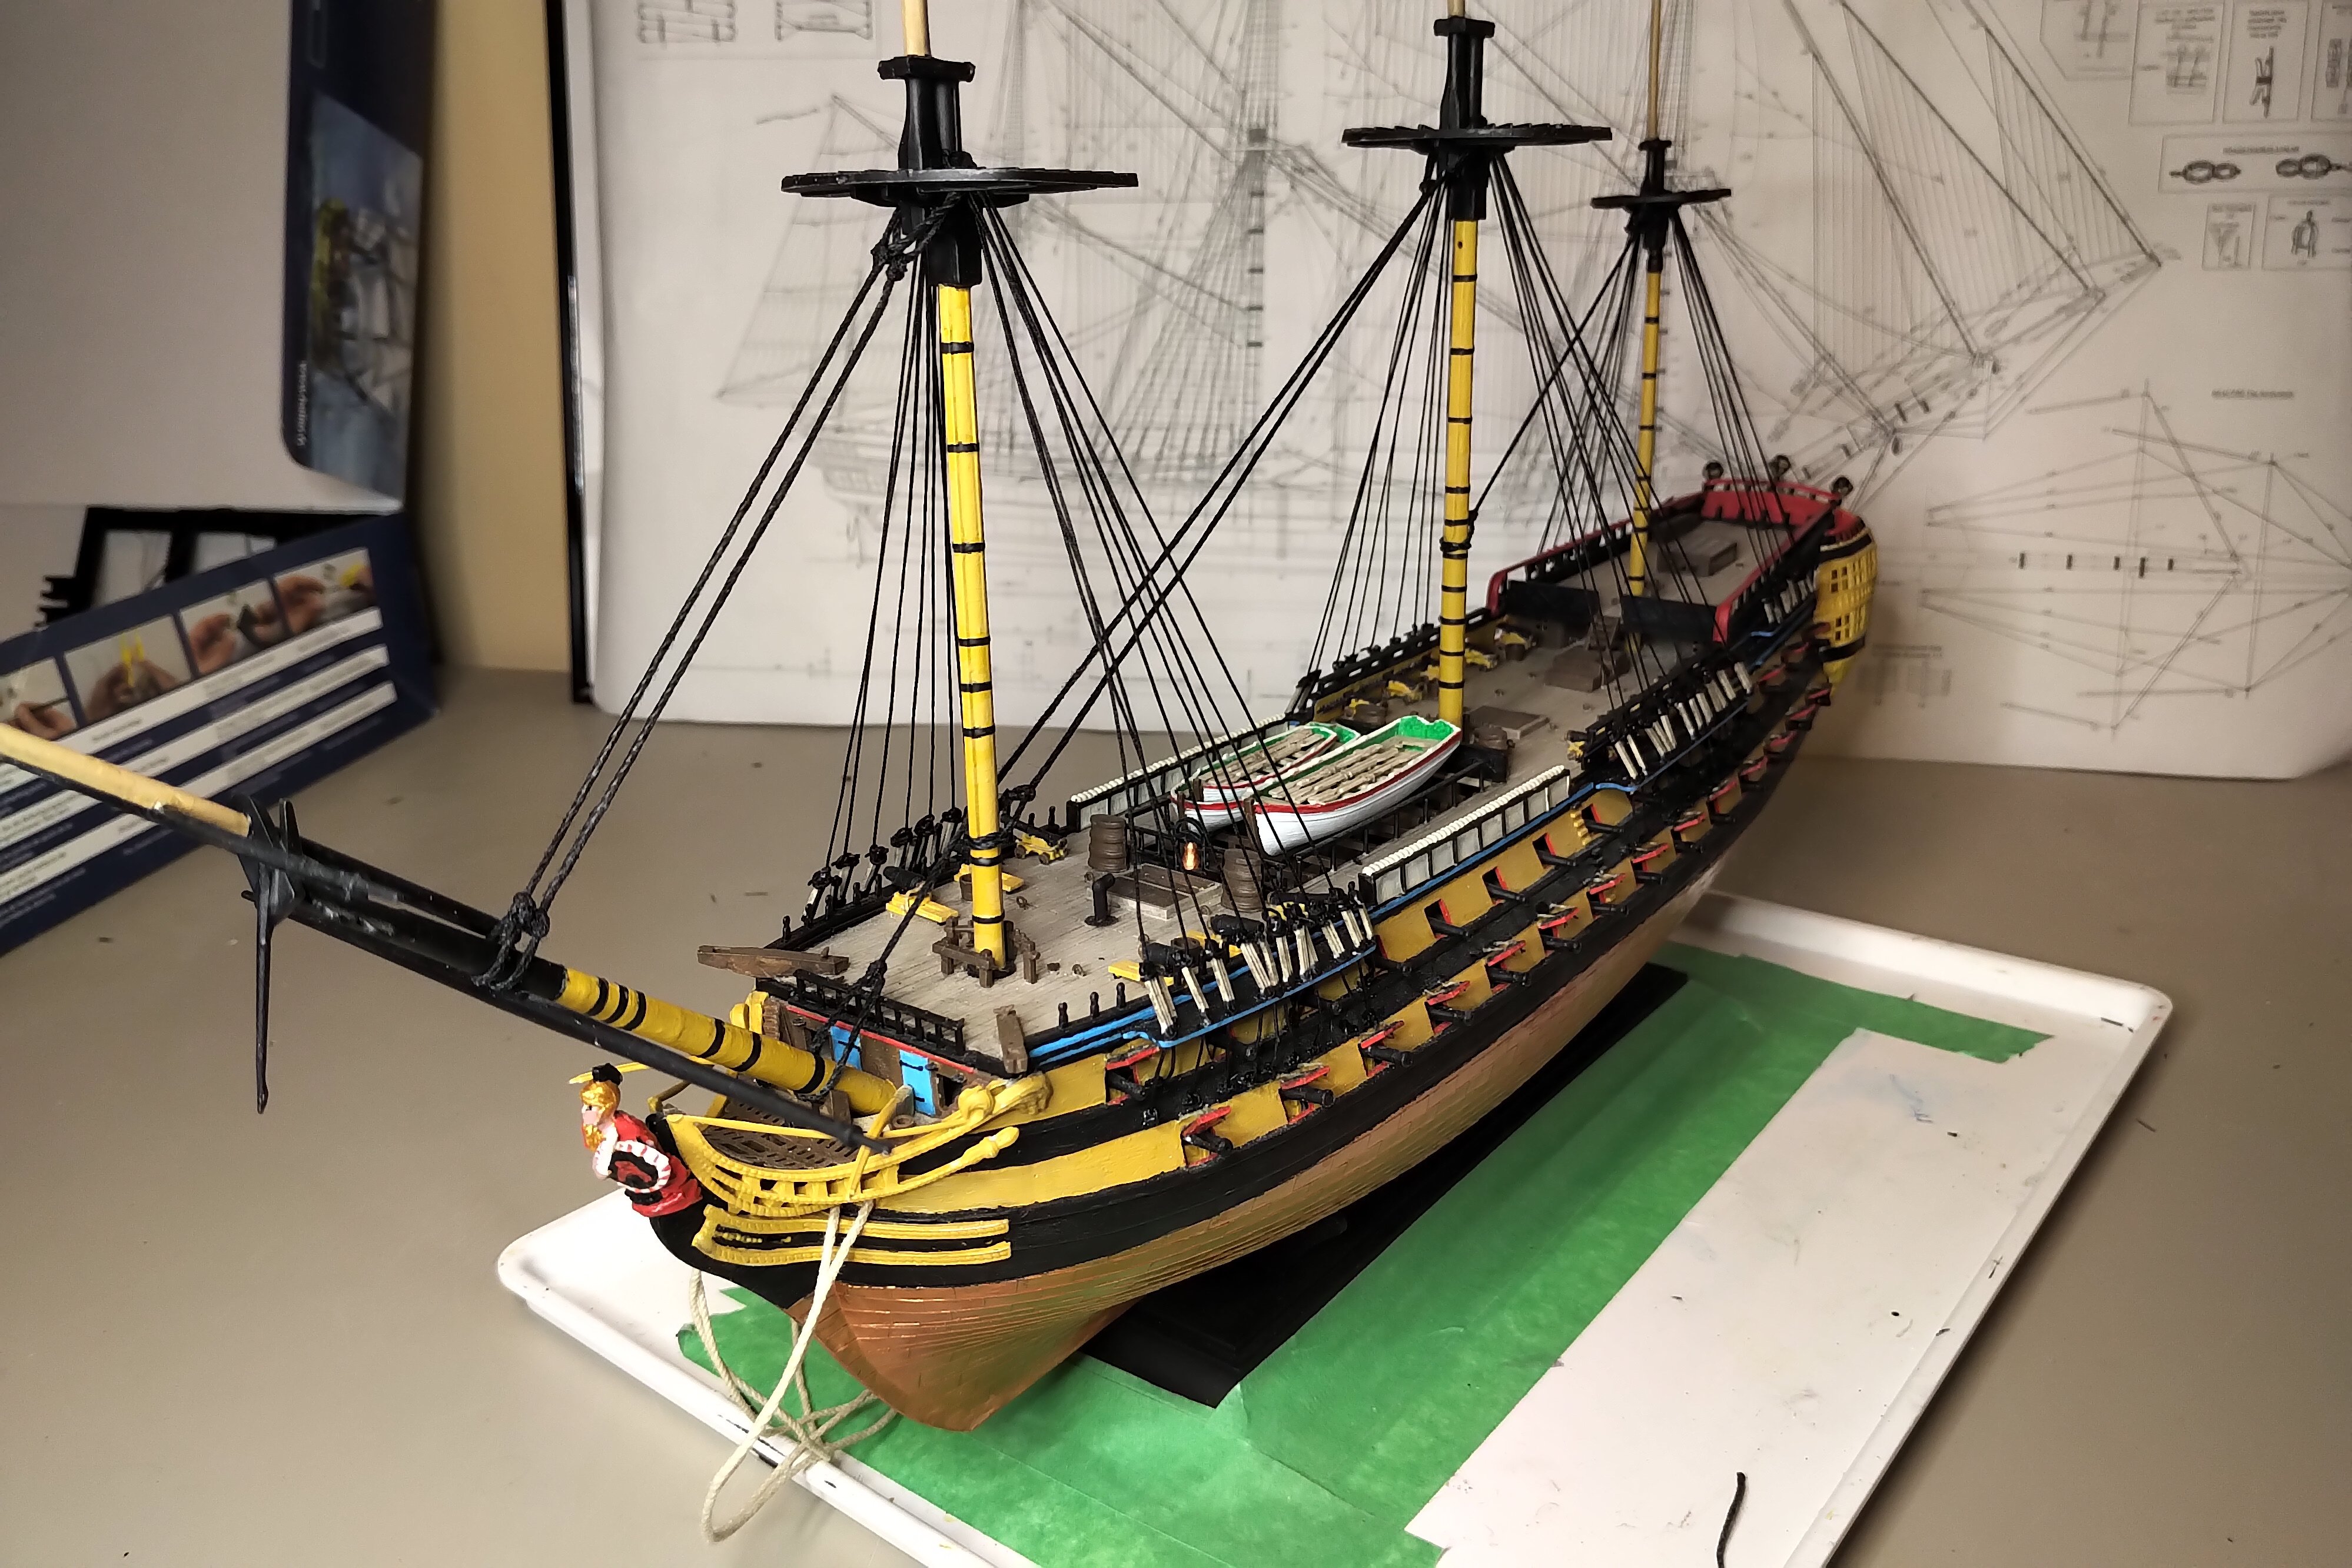
HMS Spartiate by Admiral Beez - Heller - 1/150 - PLASTIC - kit-bashing the Heller Le Superbe
Admiral Beez reacted to a post in a topic:
HMS Spartiate by Admiral Beez - Heller - 1/150 - PLASTIC - kit-bashing the Heller Le Superbe
-
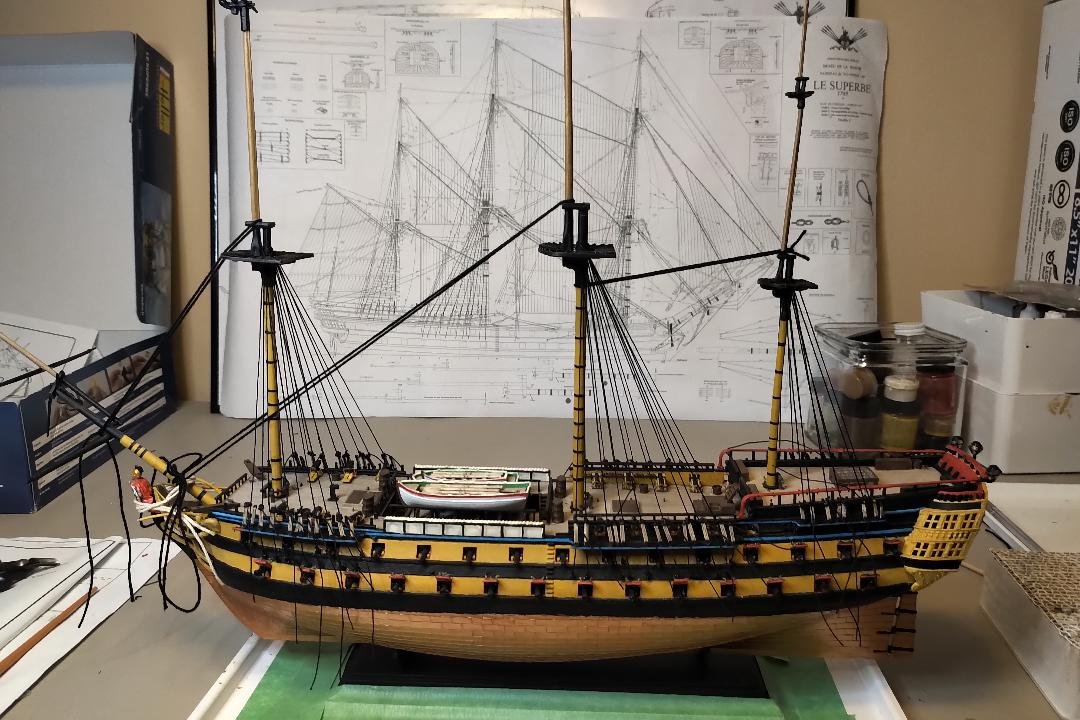
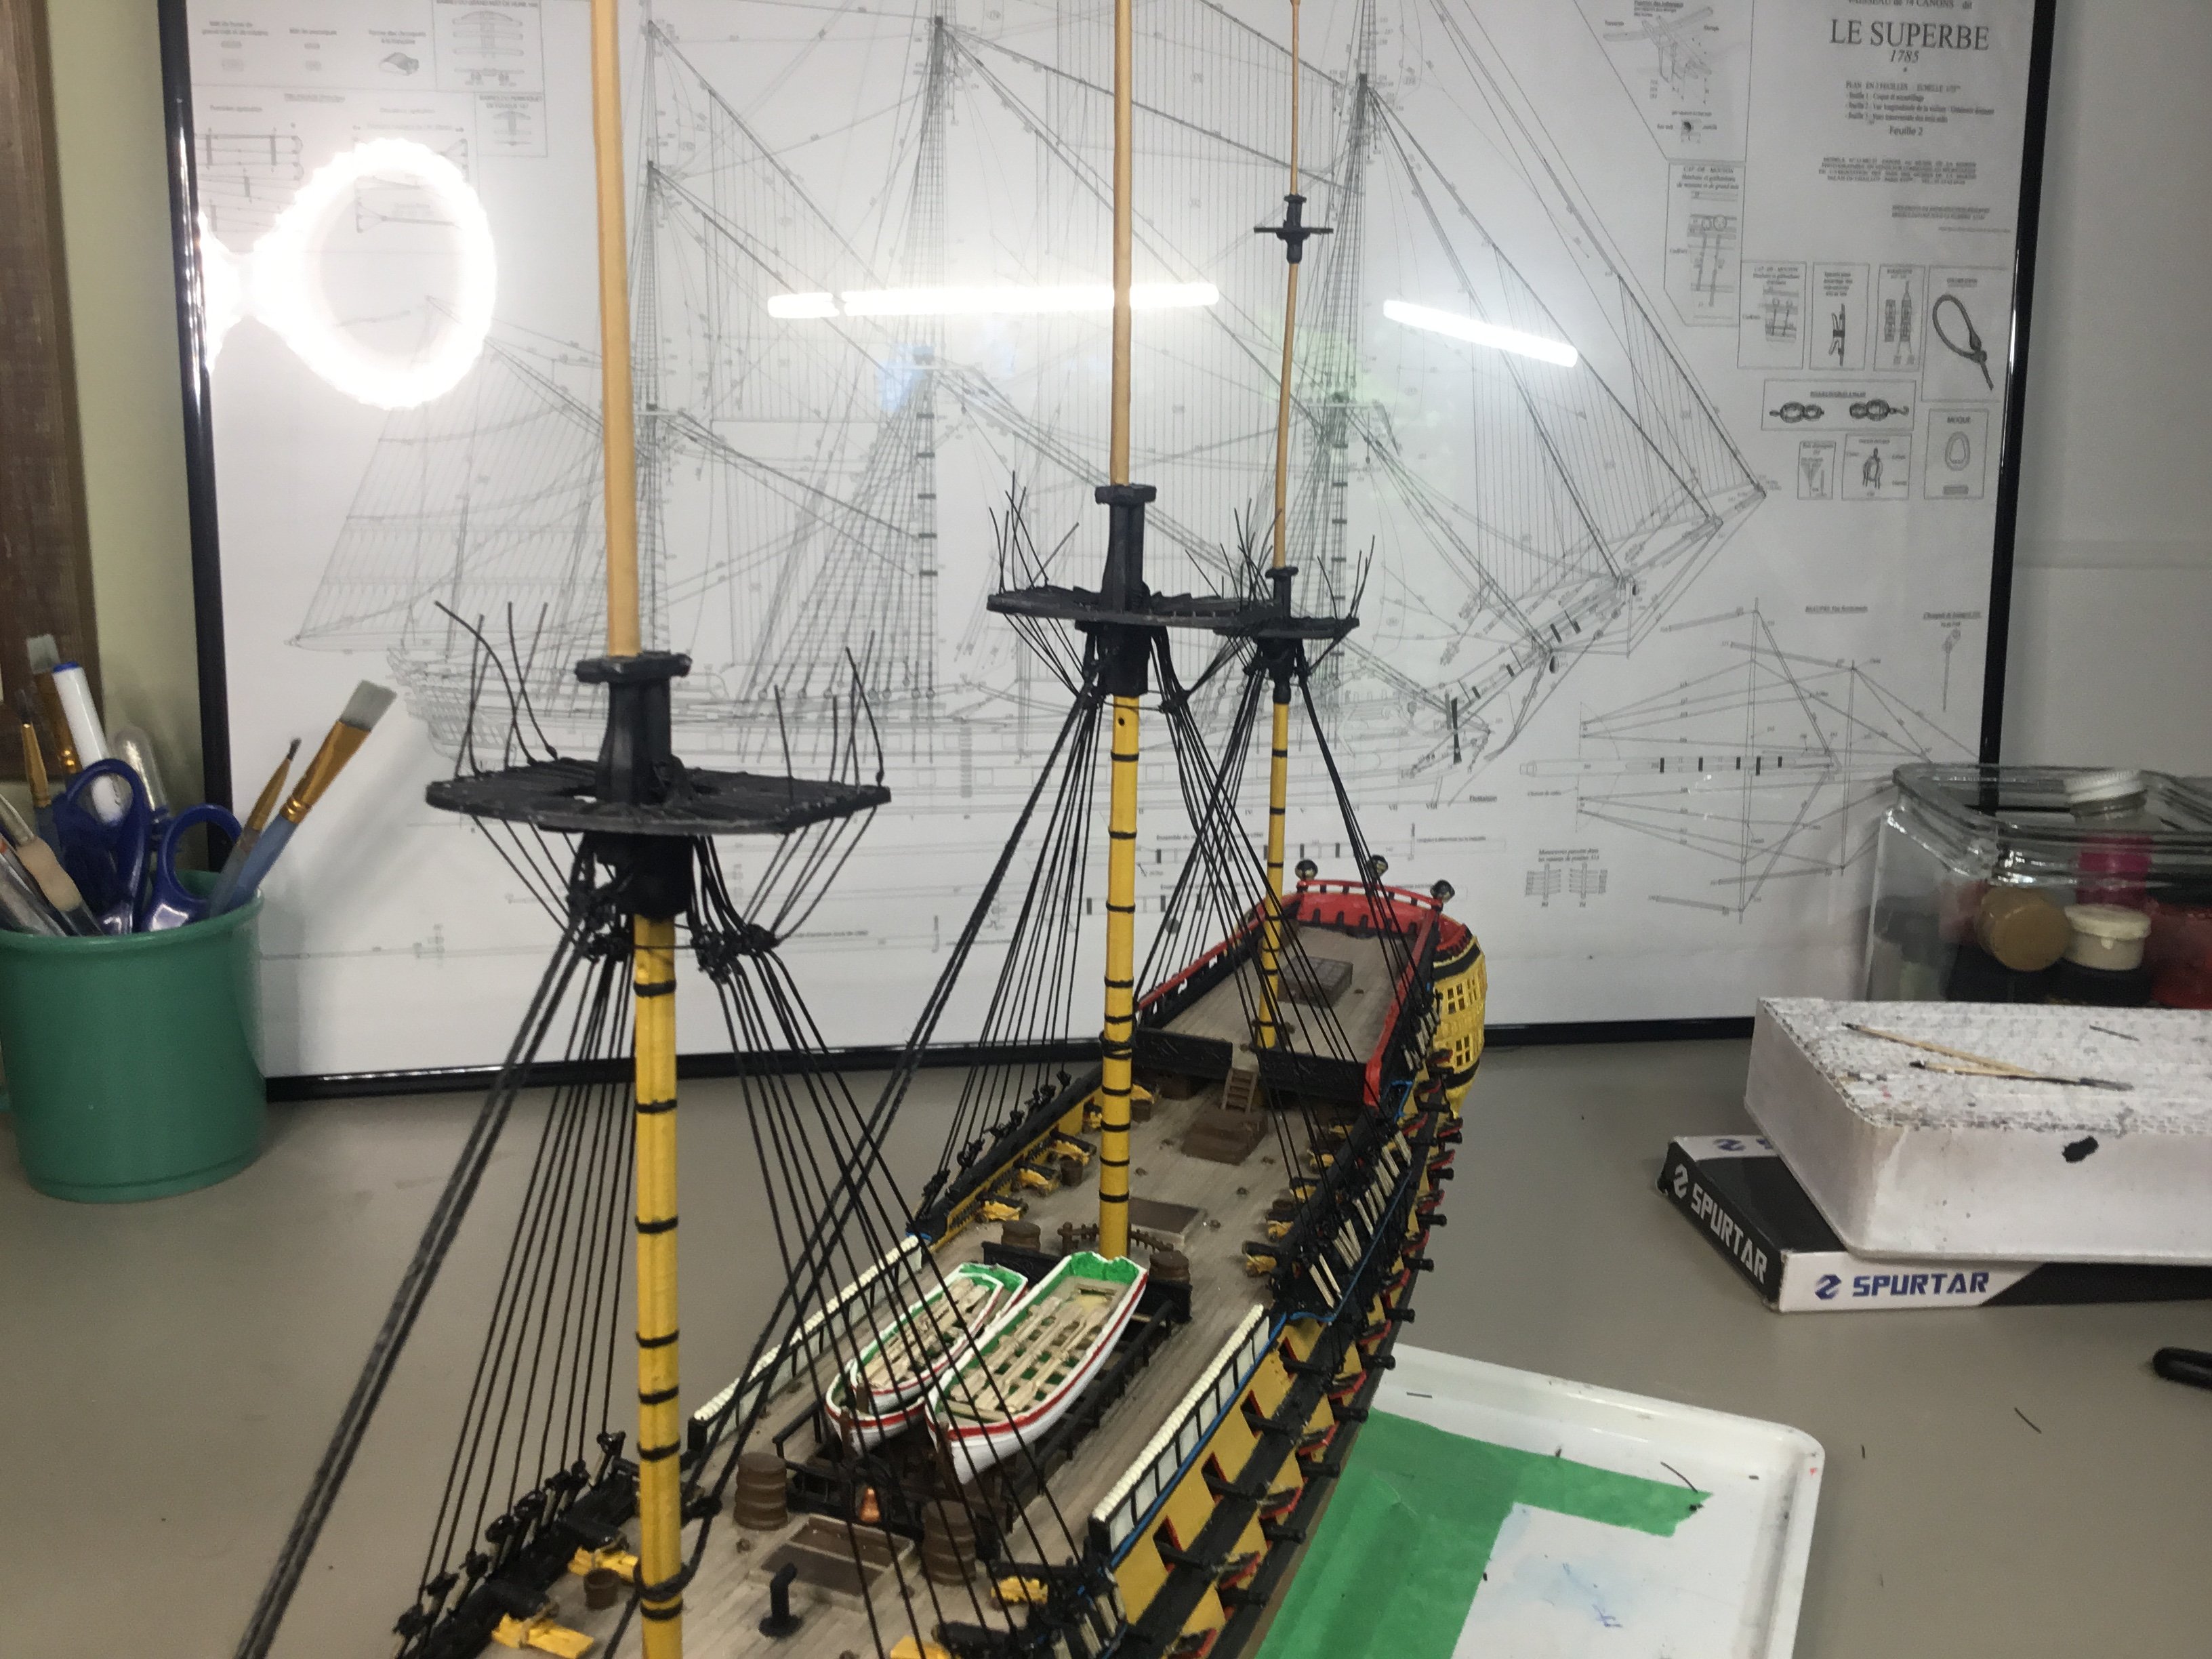
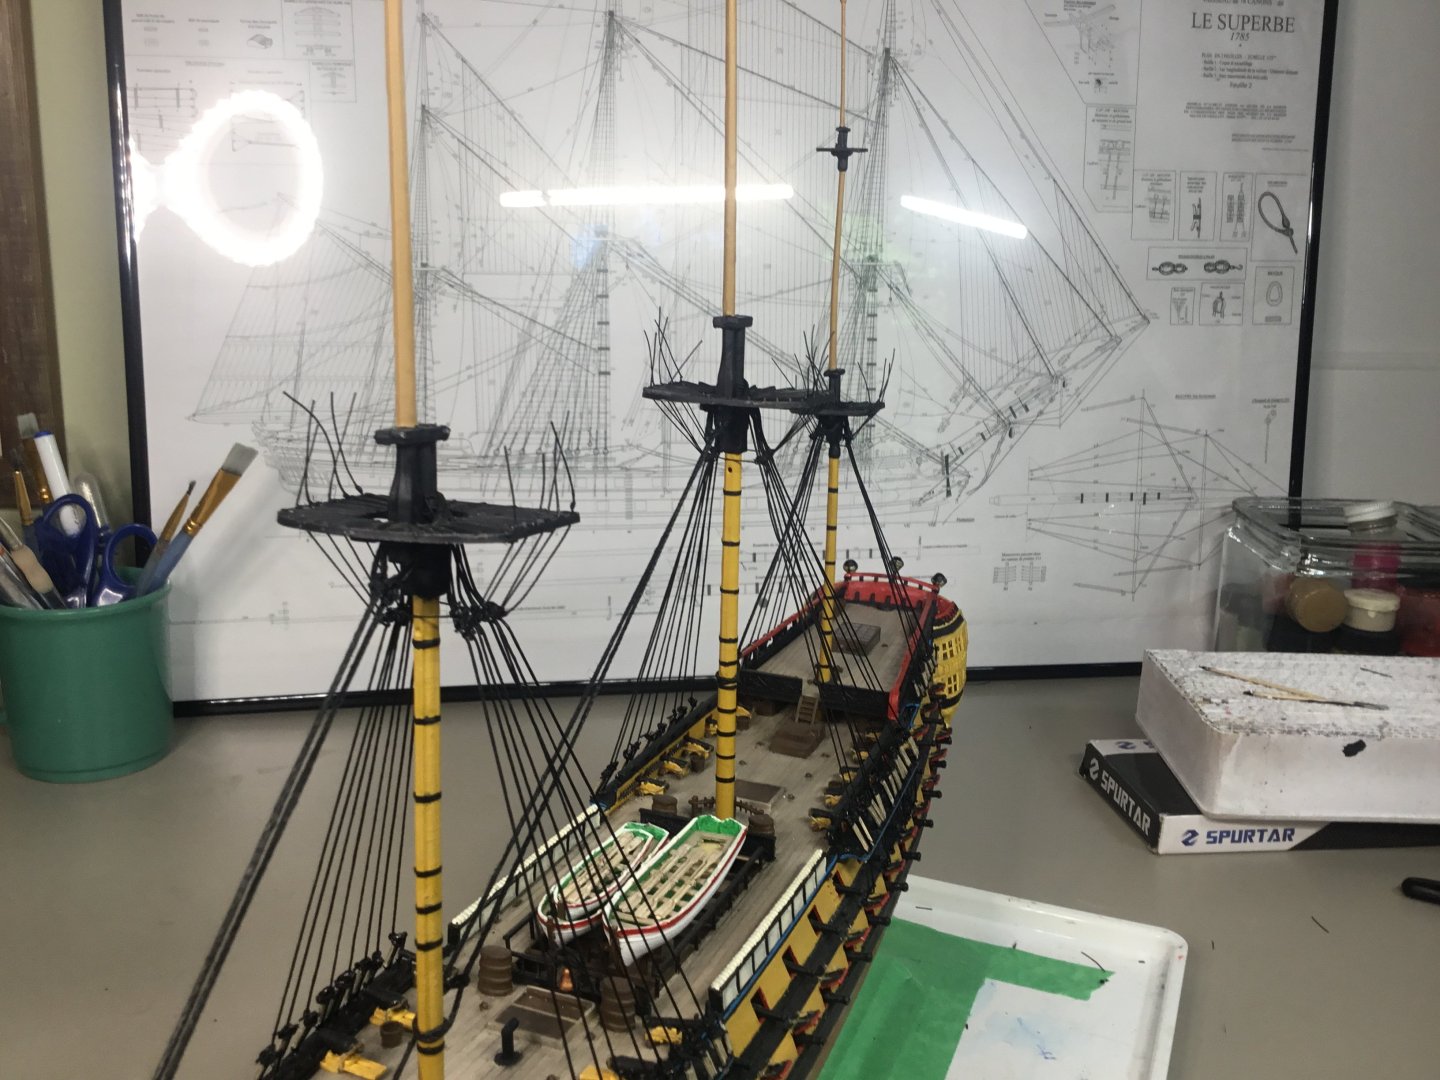
 I've gone as far as I wanted on masts and booms. I'm stuck at the moment as the running rigging can't get around the belaying pins as provided, so I must pull them off and redesign it.
 -
Admiral Beez reacted to a post in a topic:
HMS Spartiate by Admiral Beez - Heller - 1/150 - PLASTIC - kit-bashing the Heller Le Superbe
-
Admiral Beez reacted to a post in a topic:
Applying Hasegawa Wooden Deck to the Hasegawa 1/350 Mikasa
-
Admiral Beez reacted to a post in a topic:
Le Superbe by PqLear – Heller – PLASTIC – Built as “HMS Vanguard”
-
TomRigg reacted to a post in a topic:
HMS Spartiate by Admiral Beez - Heller - 1/150 - PLASTIC - kit-bashing the Heller Le Superbe
-
pennytimeline reacted to a post in a topic:
HMS Spartiate by Admiral Beez - Heller - 1/150 - PLASTIC - kit-bashing the Heller Le Superbe
-
yvesvidal reacted to a post in a topic:
HMS Spartiate by Admiral Beez - Heller - 1/150 - PLASTIC - kit-bashing the Heller Le Superbe
-
yvesvidal reacted to a post in a topic:
HMS Spartiate by Admiral Beez - Heller - 1/150 - PLASTIC - kit-bashing the Heller Le Superbe
-
yvesvidal reacted to a post in a topic:
HMS Spartiate by Admiral Beez - Heller - 1/150 - PLASTIC - kit-bashing the Heller Le Superbe
-
yvesvidal reacted to a post in a topic:
HMS Spartiate by Admiral Beez - Heller - 1/150 - PLASTIC - kit-bashing the Heller Le Superbe
-
ccoyle reacted to a post in a topic:
HMS Spartiate by Admiral Beez - Heller - 1/150 - PLASTIC - kit-bashing the Heller Le Superbe
-
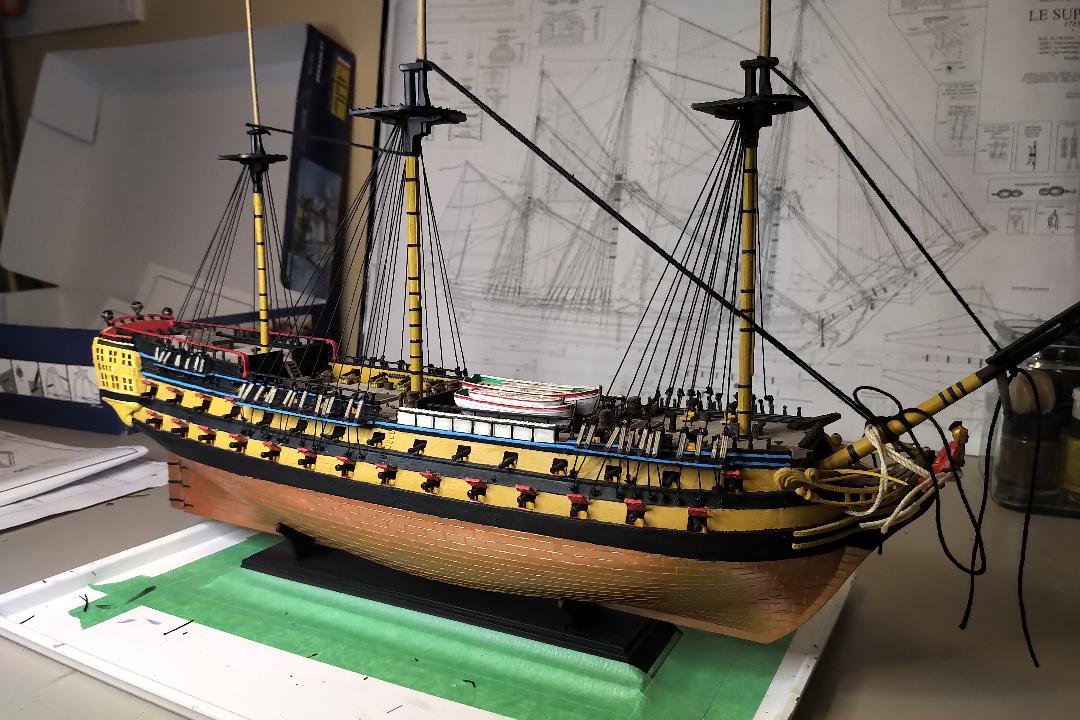
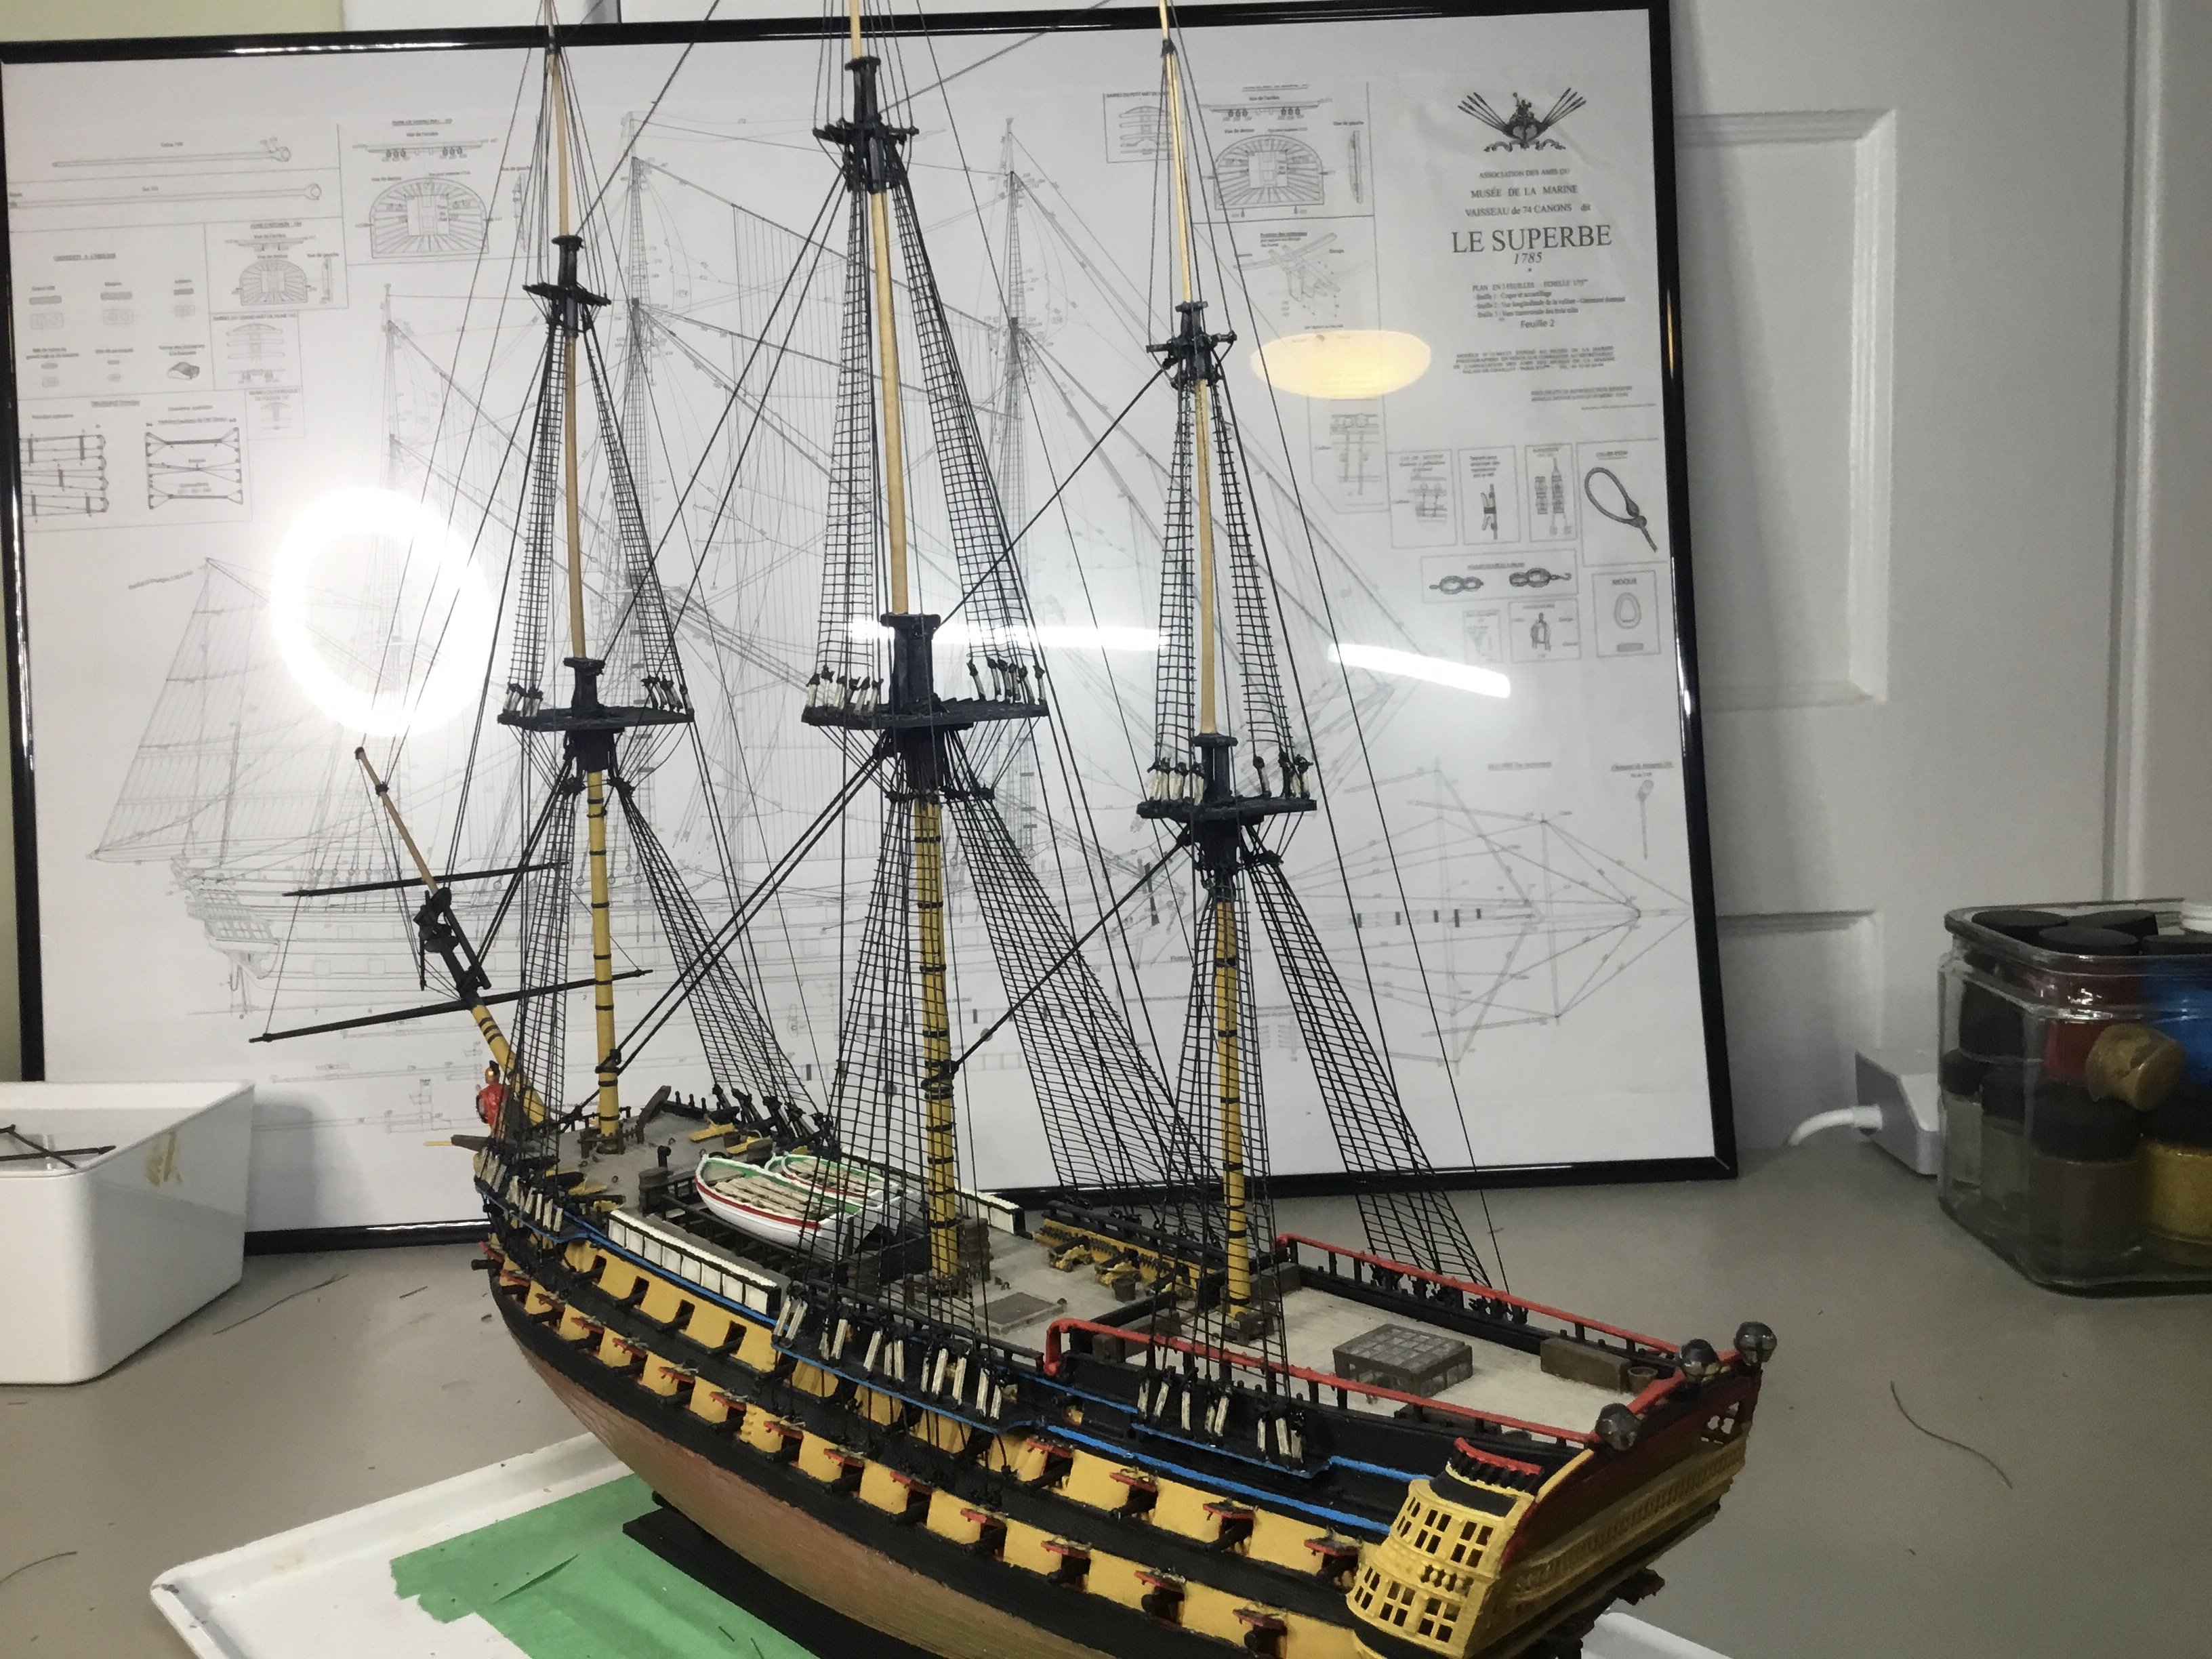
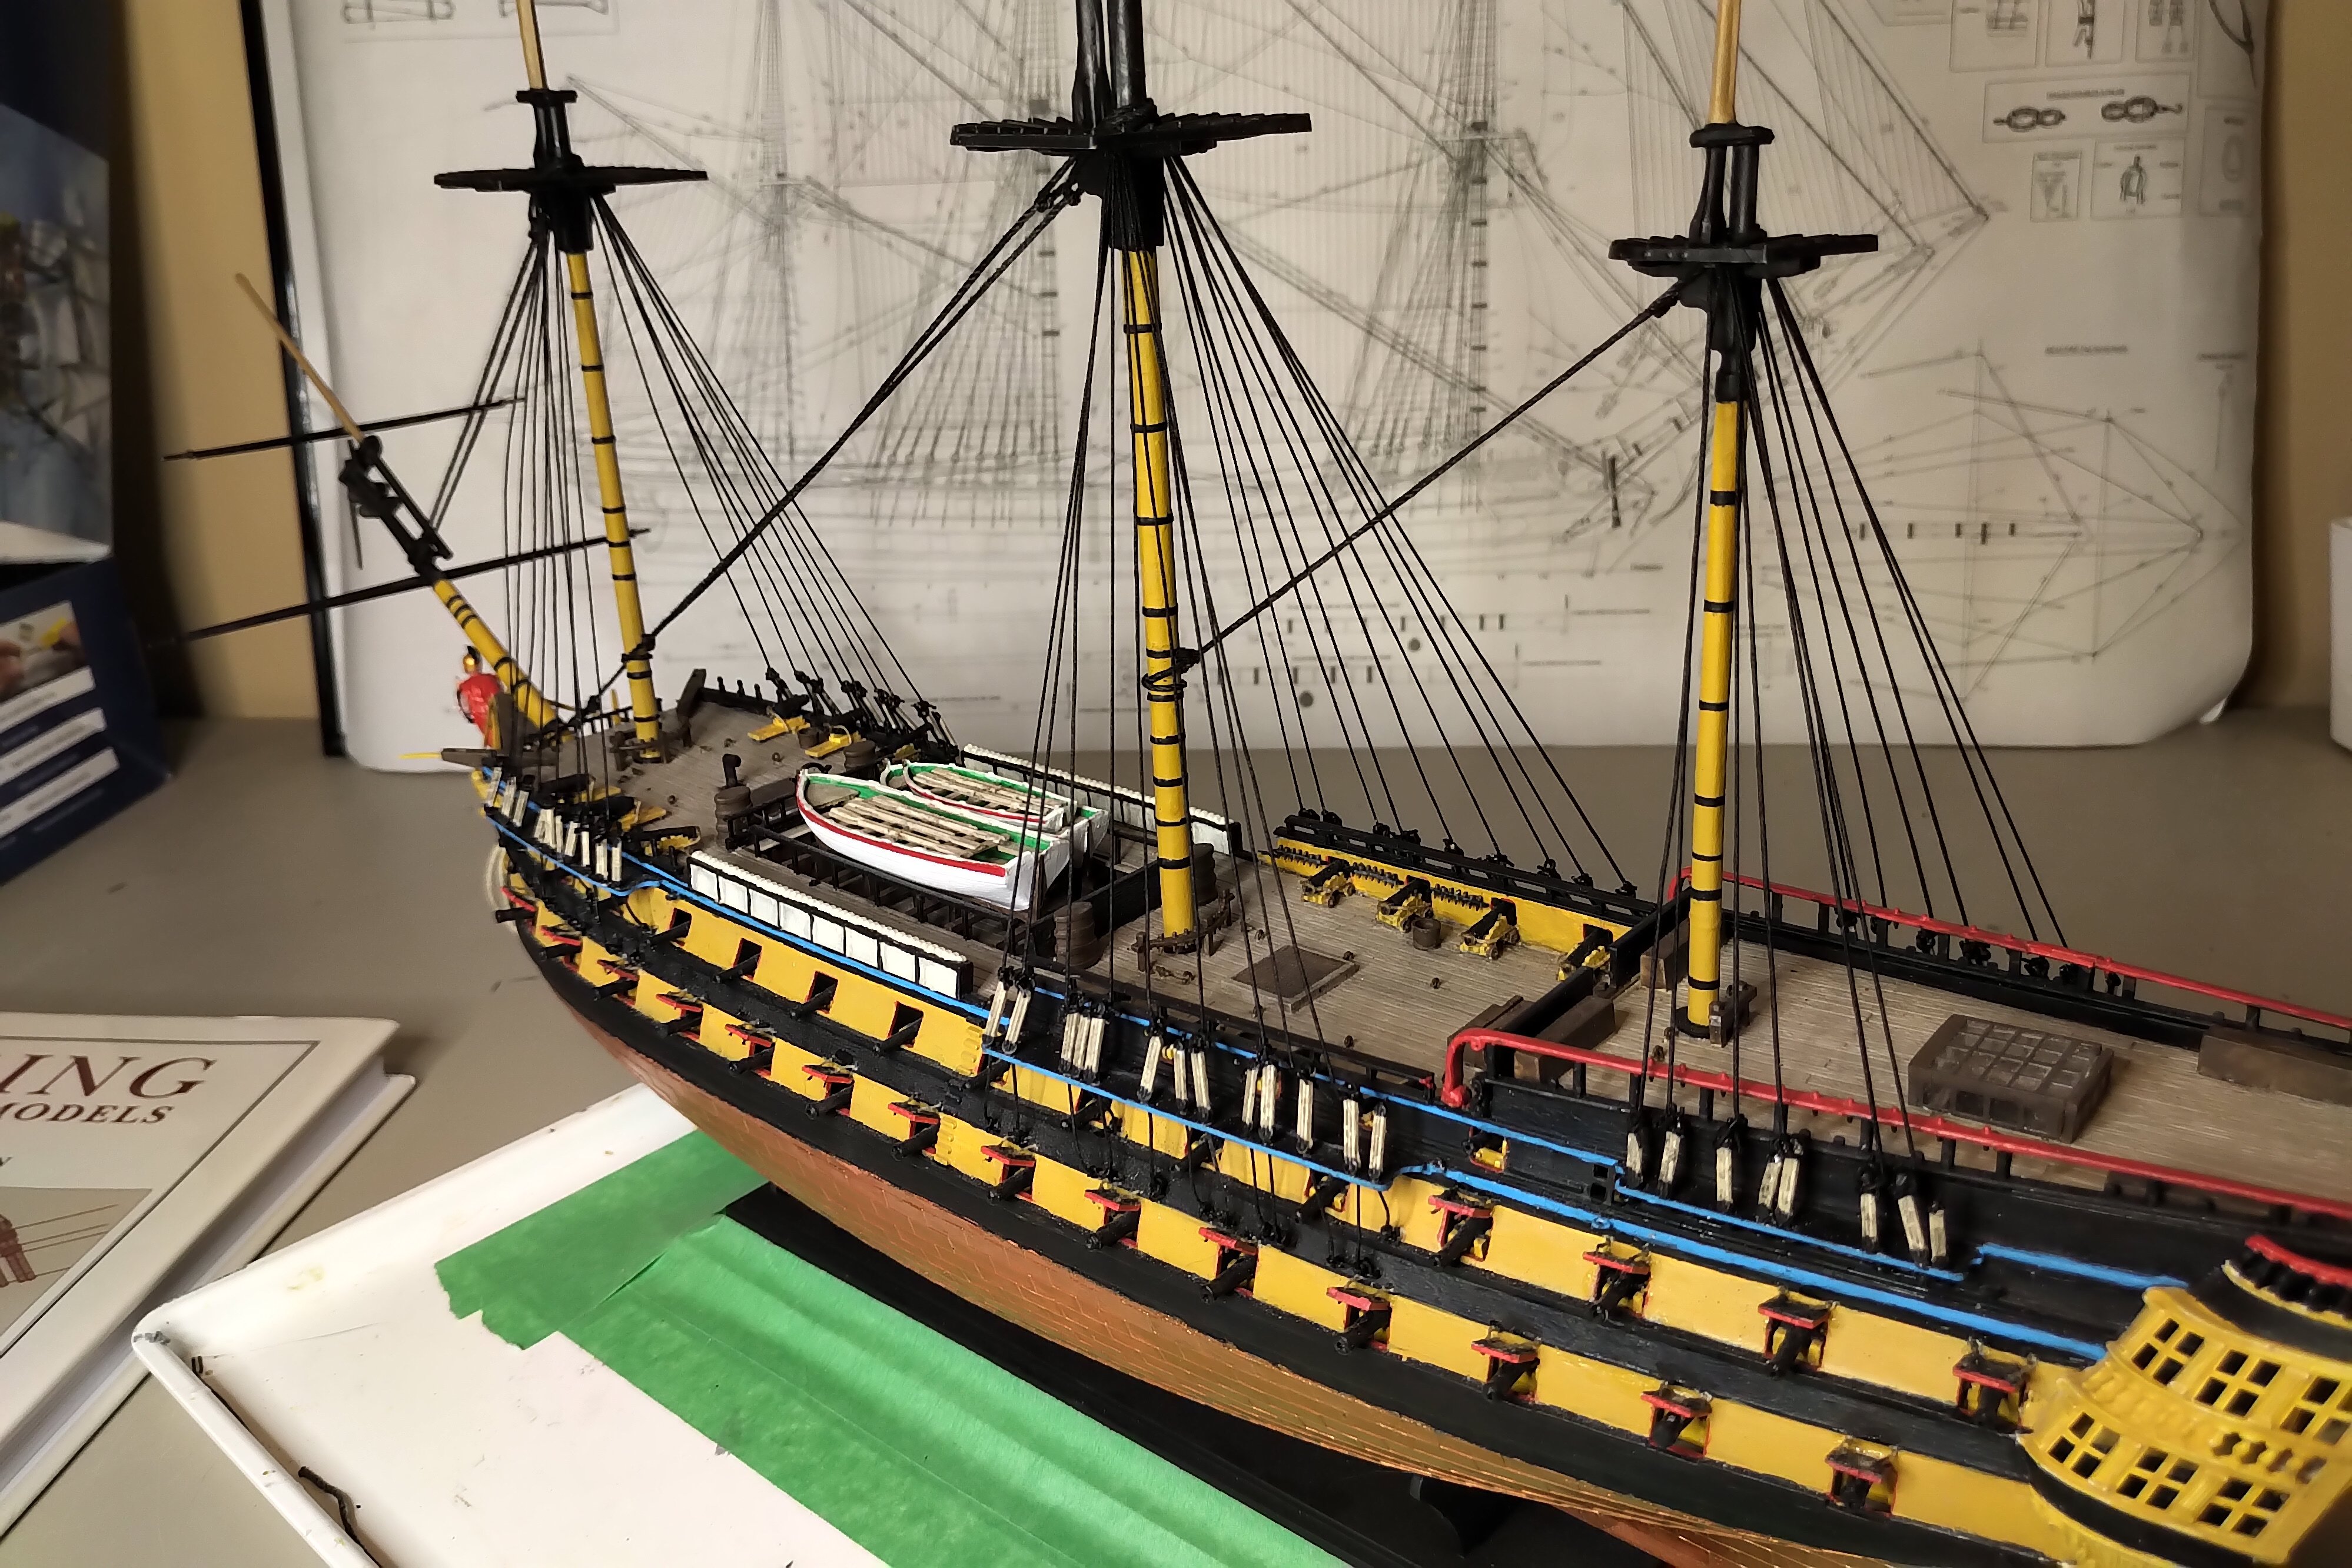
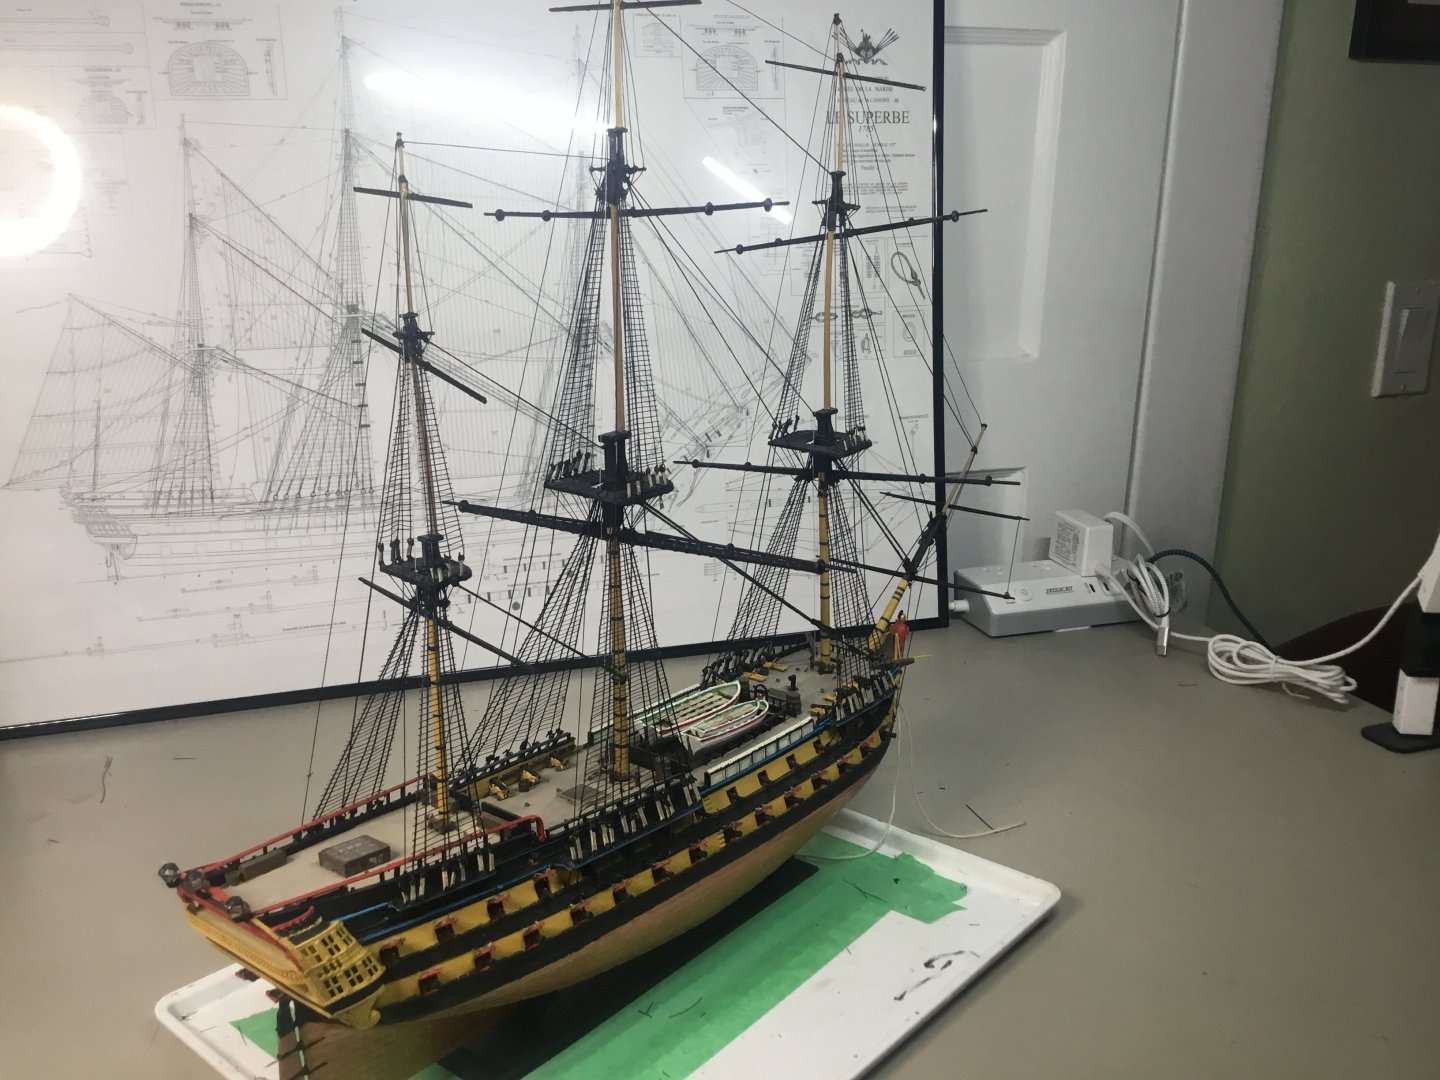
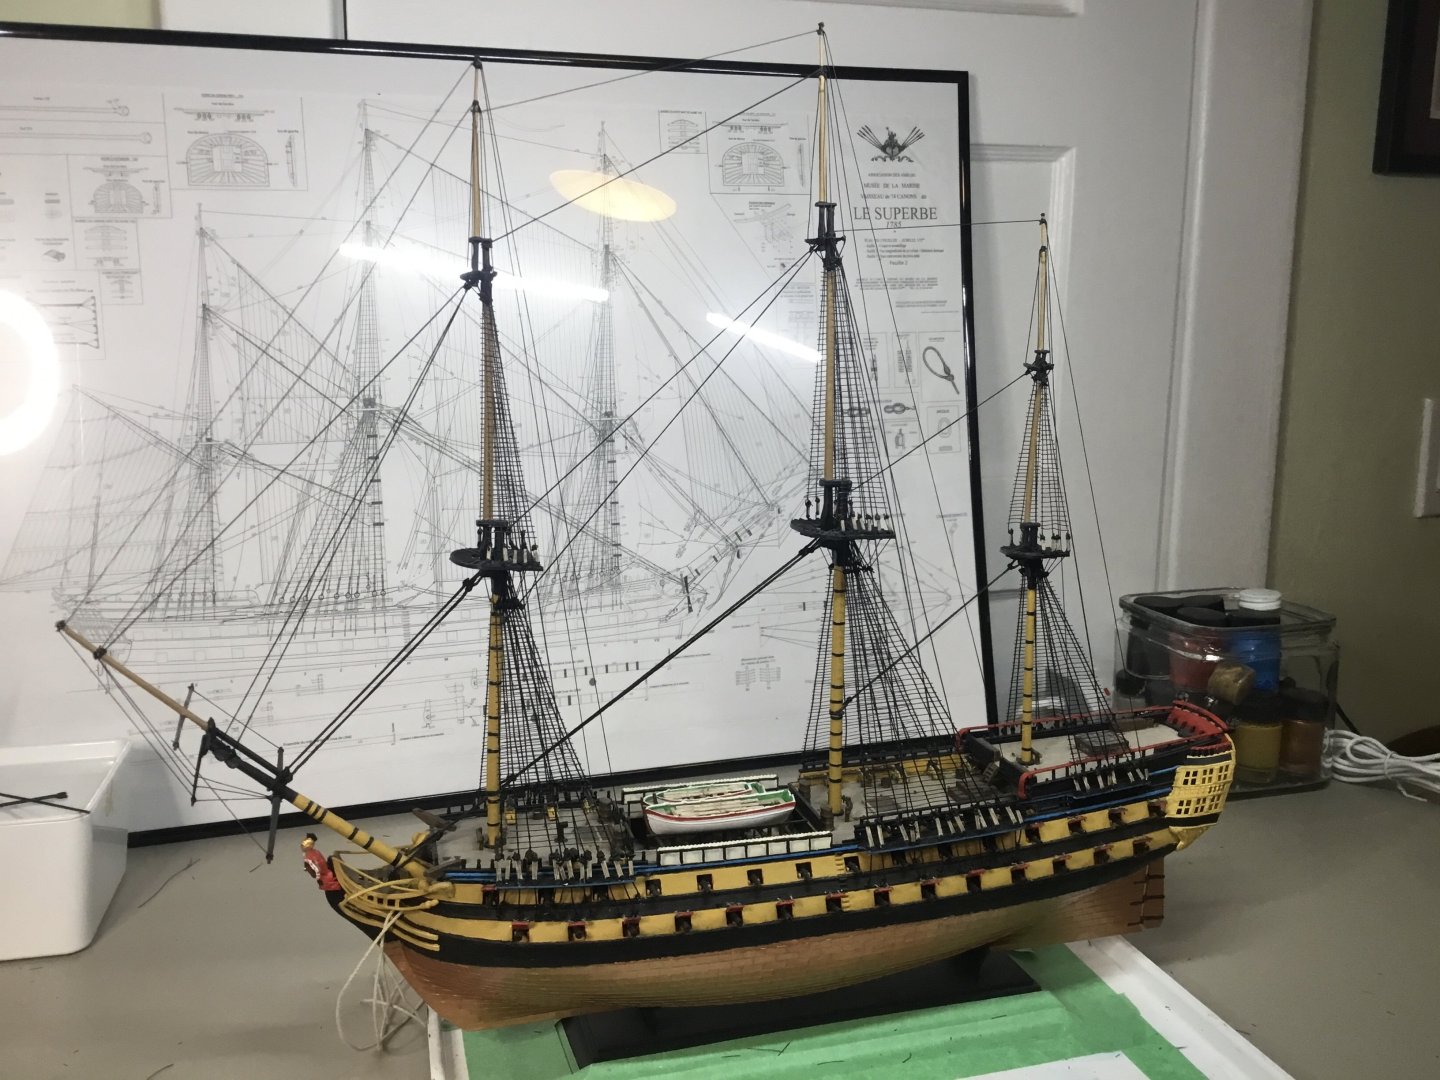
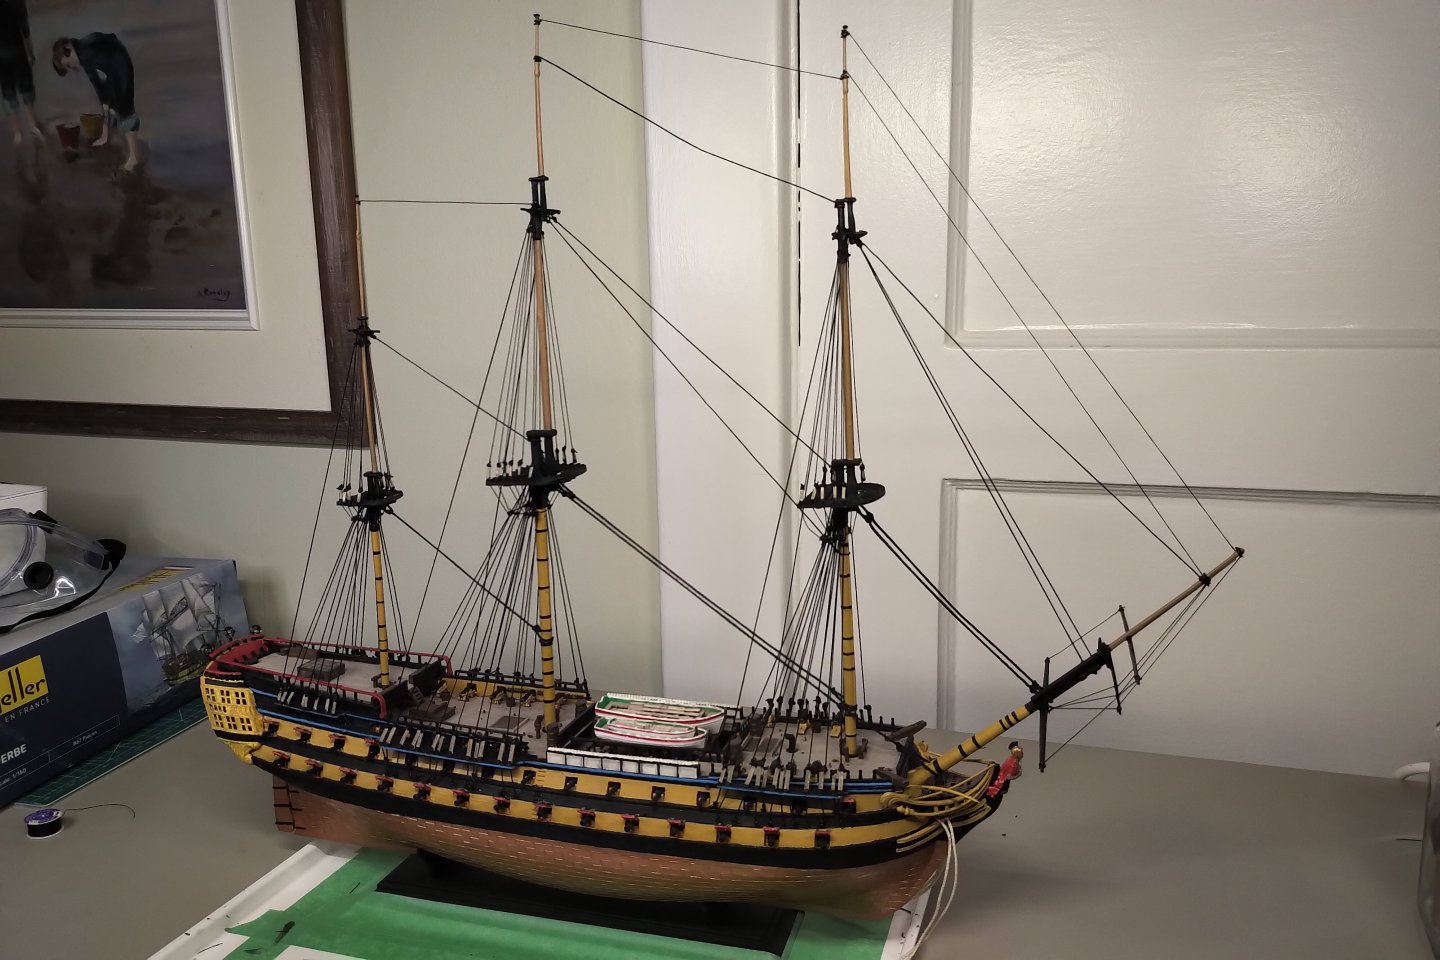
All standing (black) rigging complete, all yards (less the mizzen booms) now hoisted. Now onto the natural (tan) colour running rigging that will straighten out the yards. I’ve switched to natural line for the topgallant yard lifts.
-
Javelin reacted to a post in a topic:
HMS Spartiate by Admiral Beez - Heller - 1/150 - PLASTIC - kit-bashing the Heller Le Superbe
-
BLACK VIKING reacted to a post in a topic:
HMS Spartiate by Admiral Beez - Heller - 1/150 - PLASTIC - kit-bashing the Heller Le Superbe
-
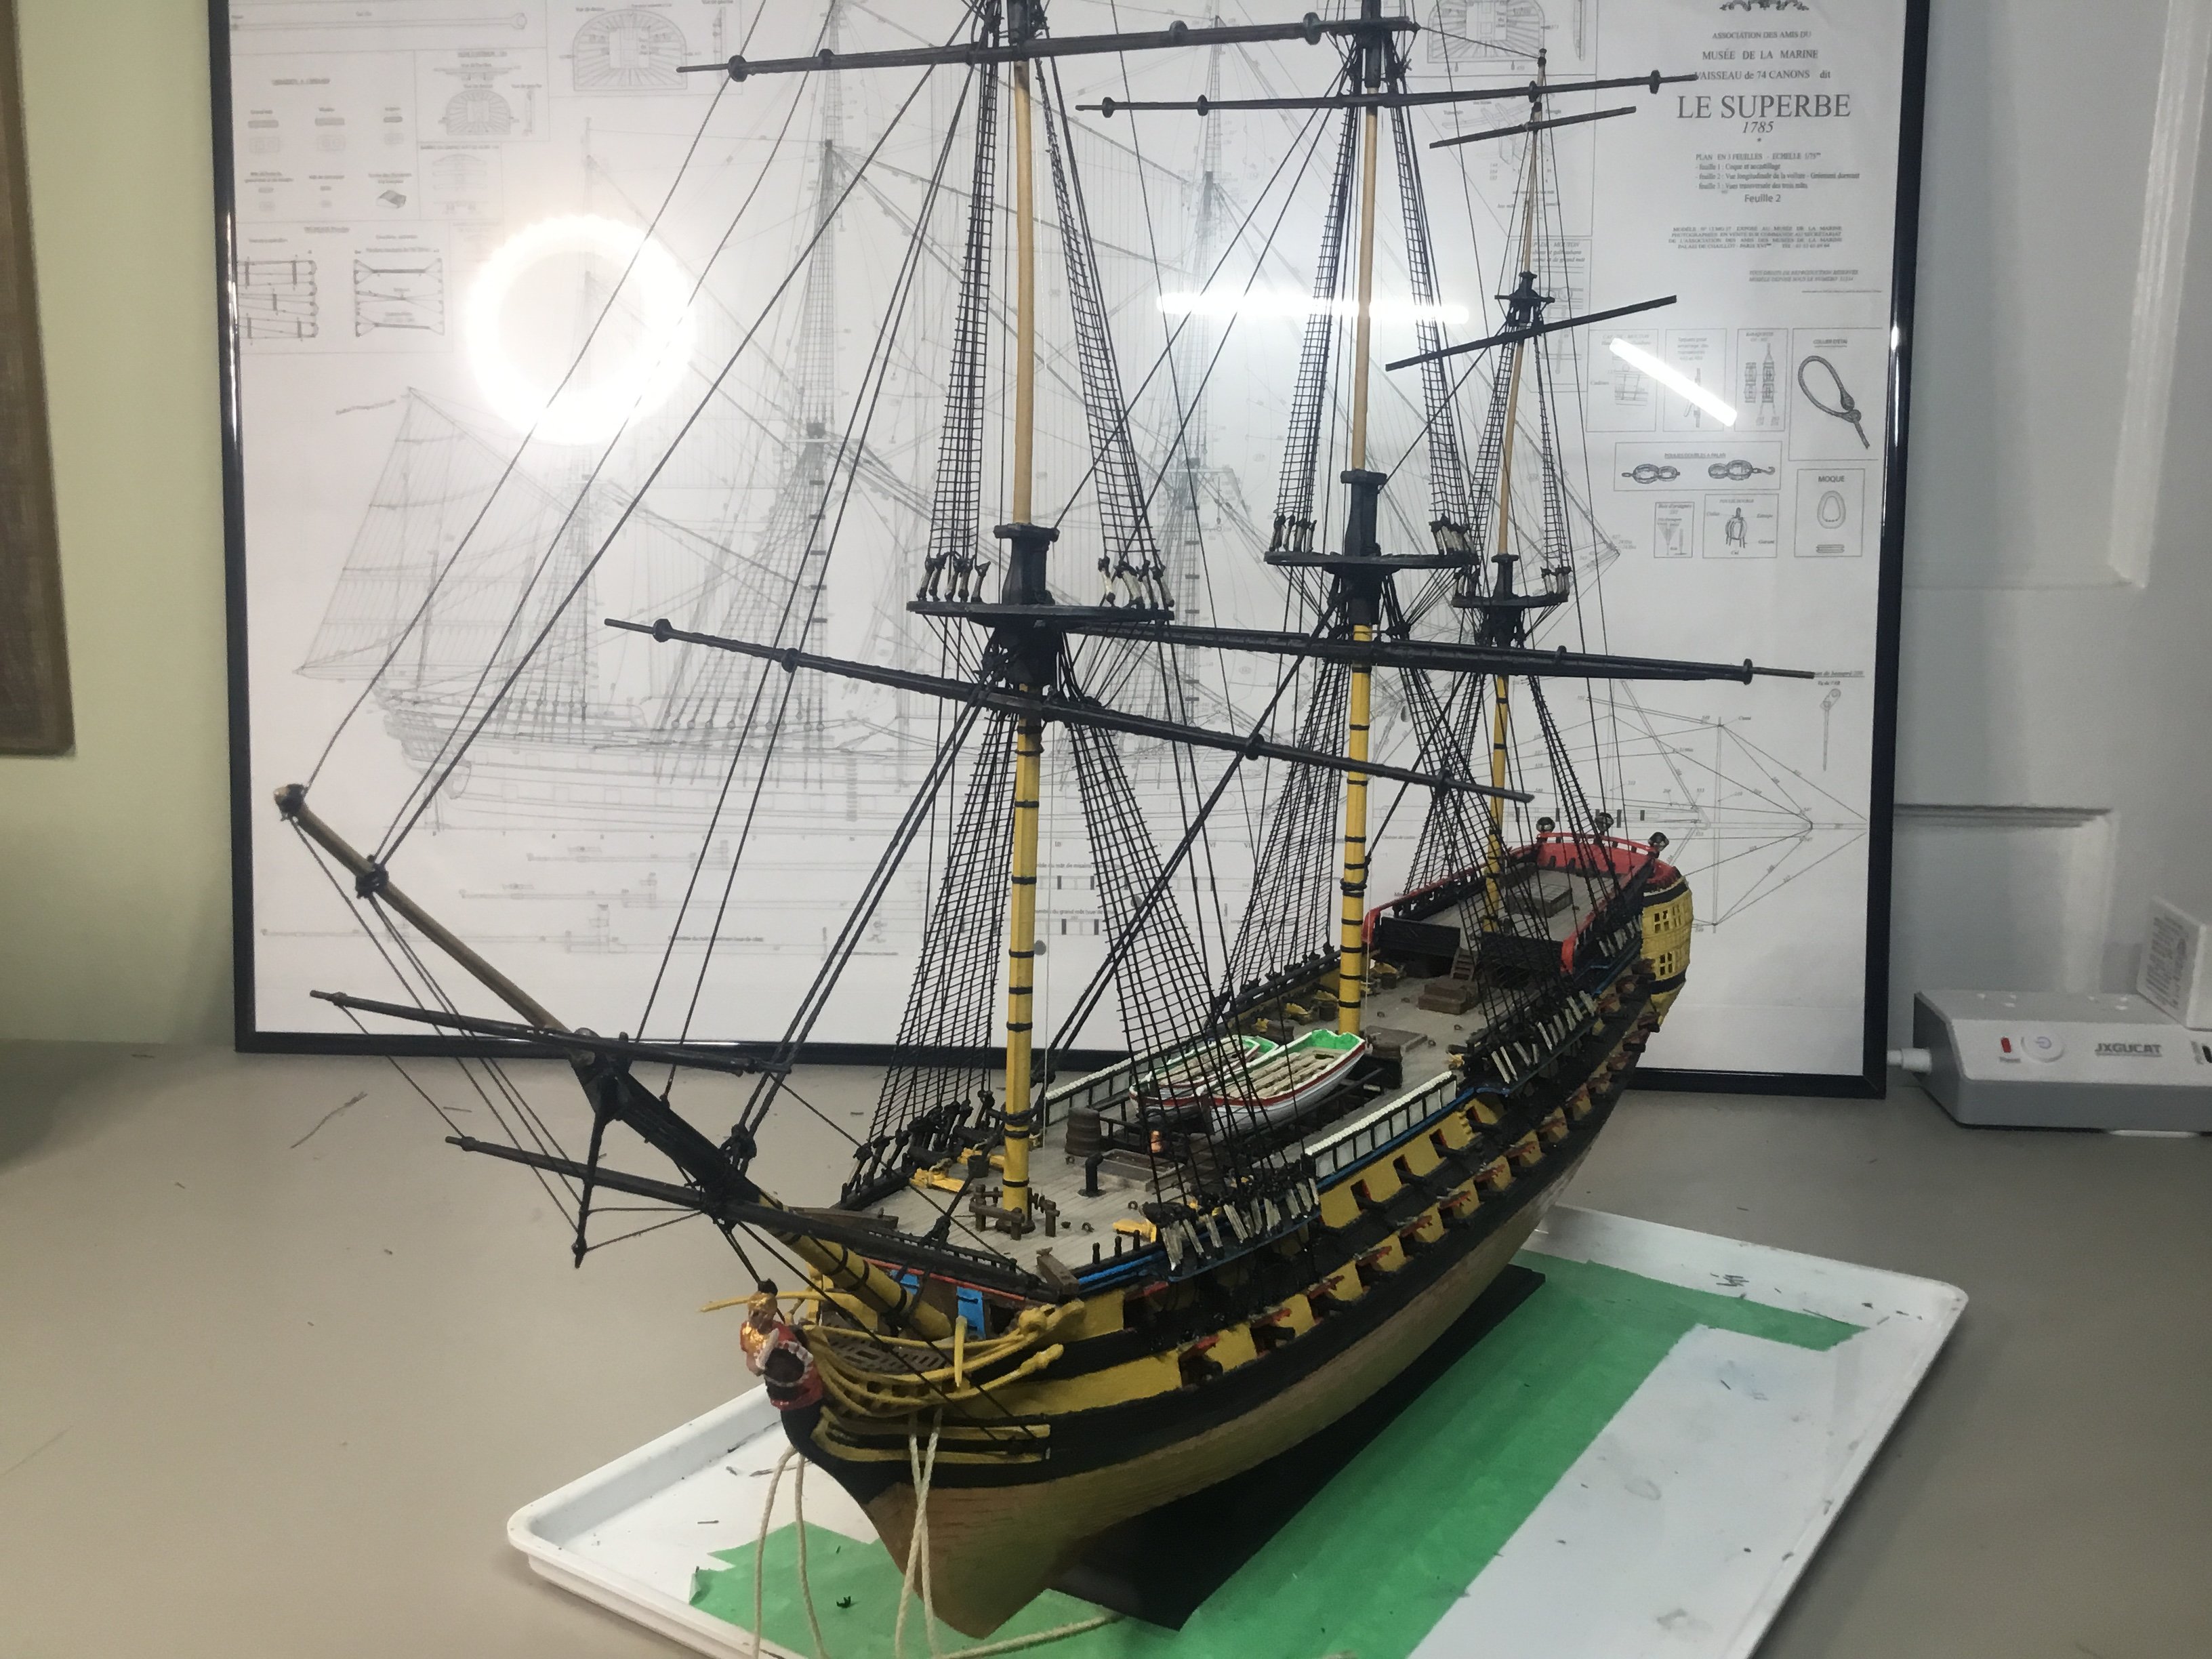
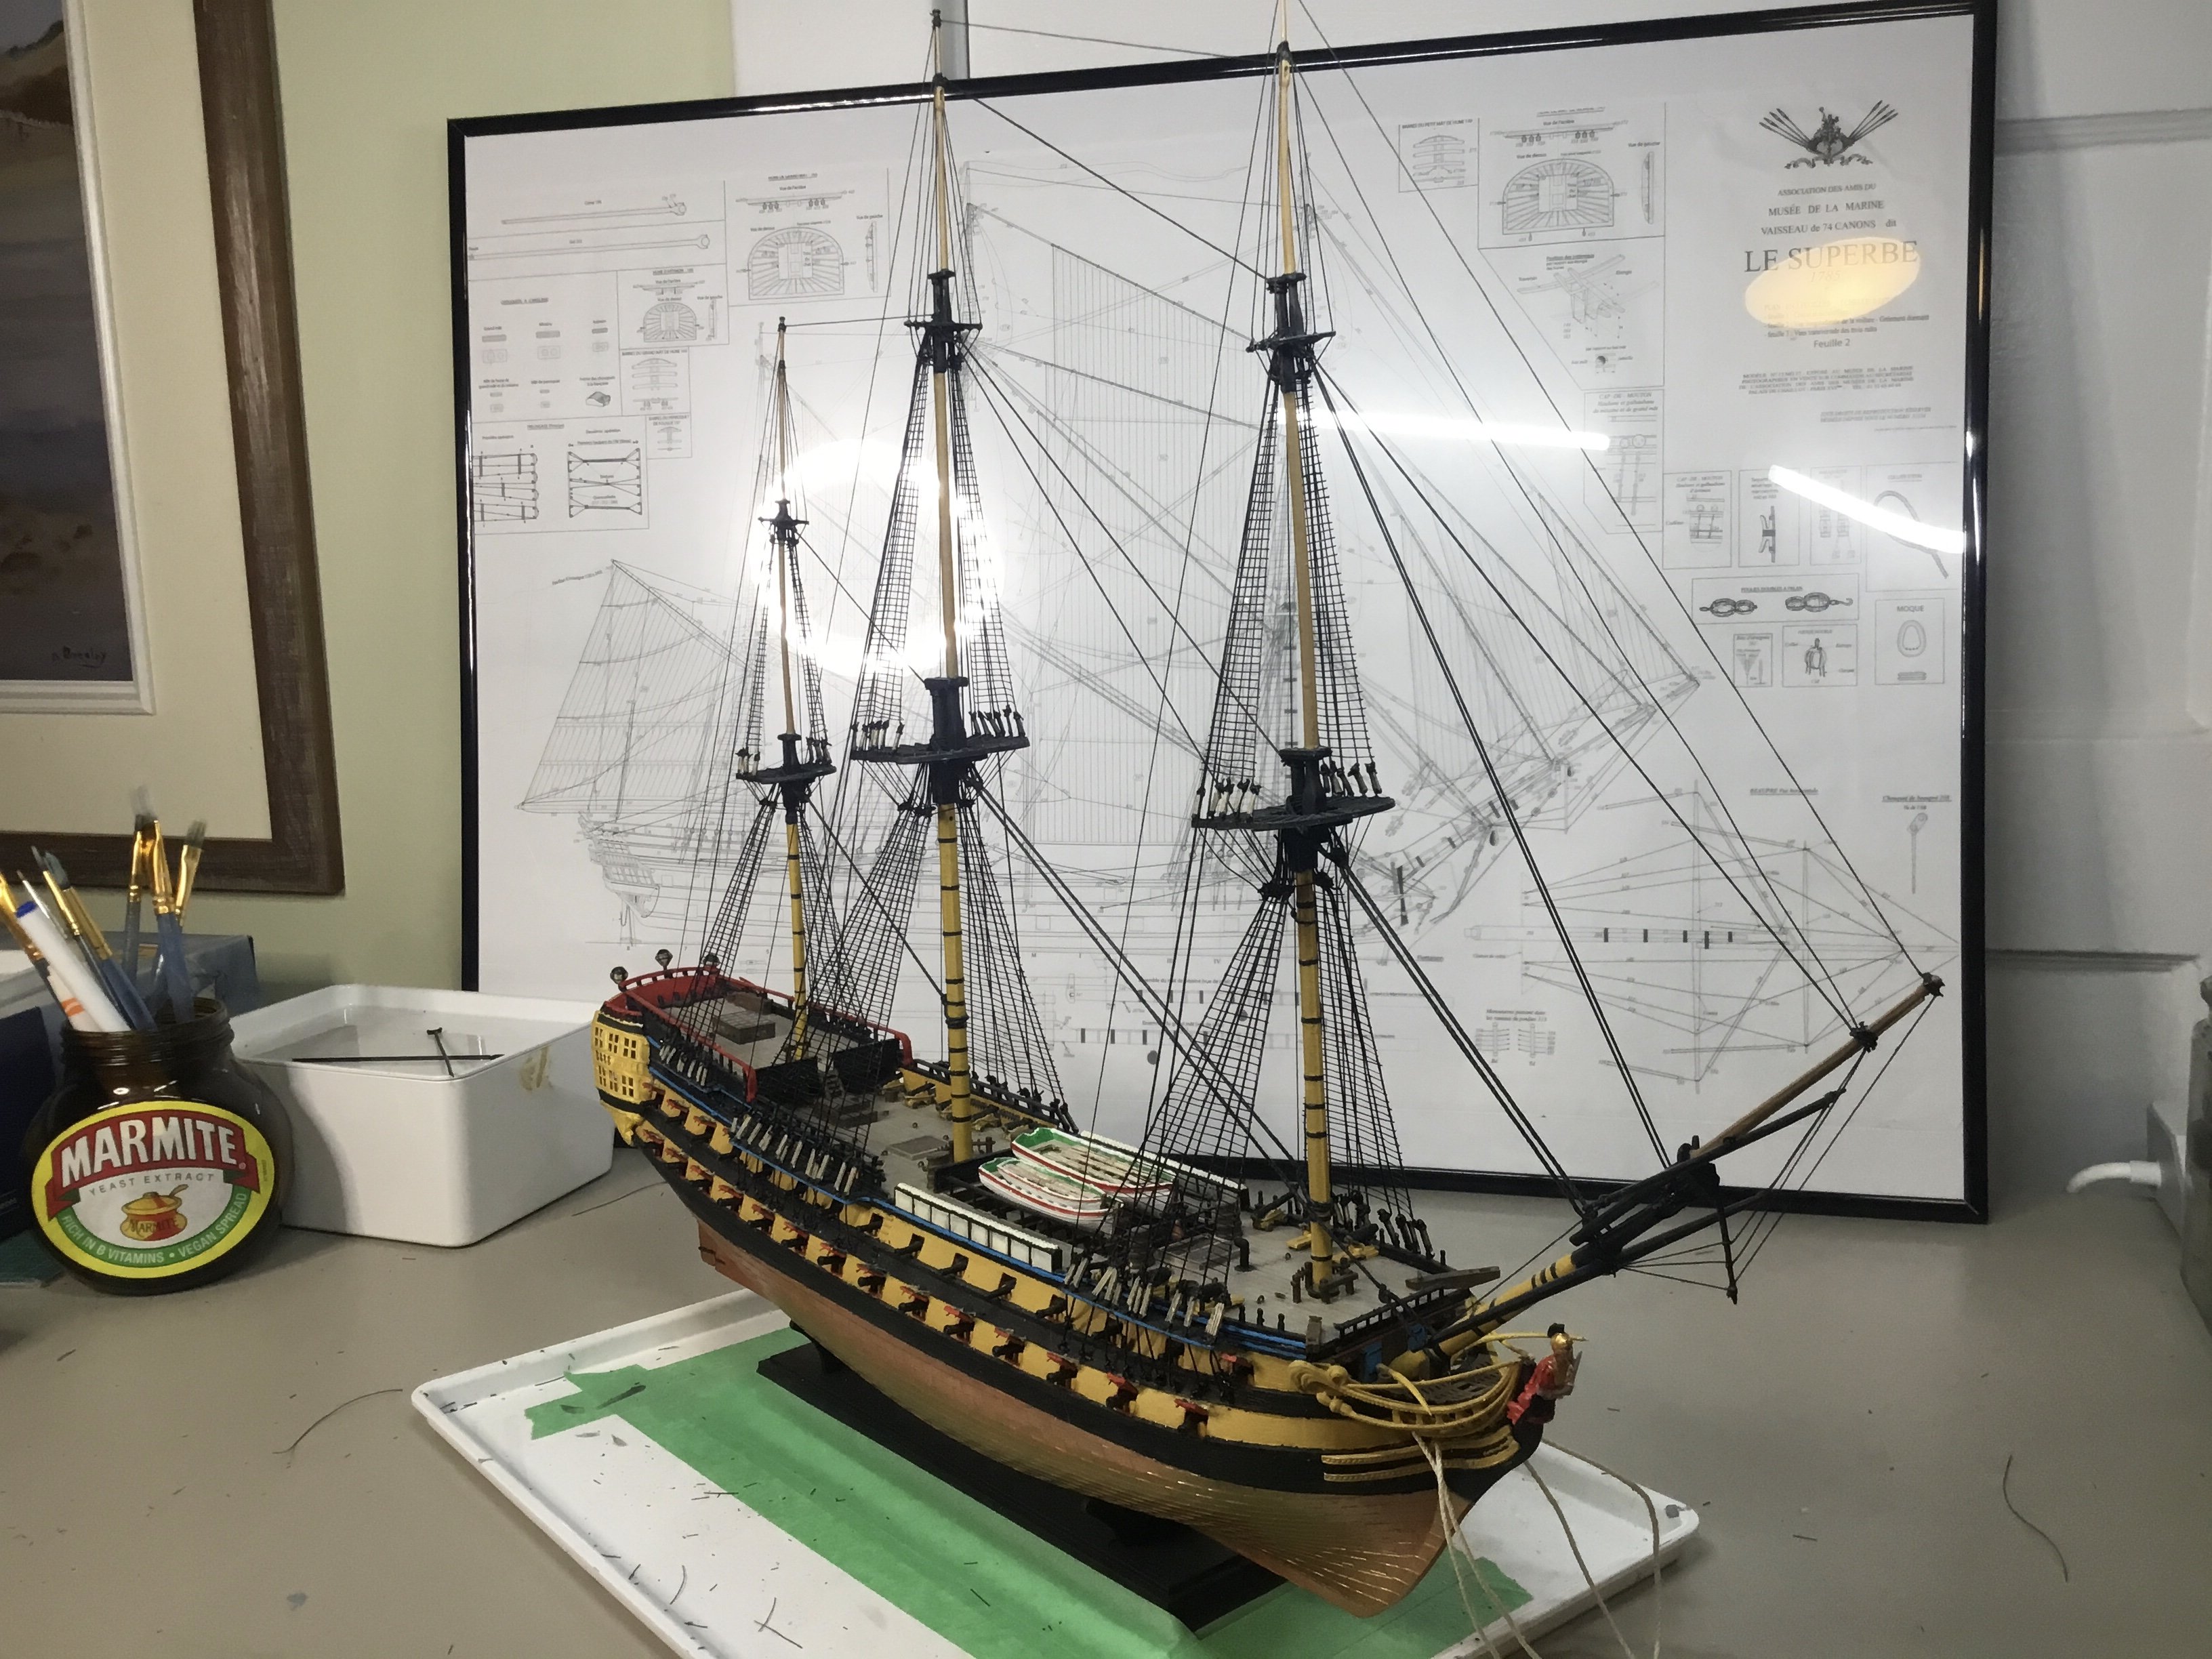
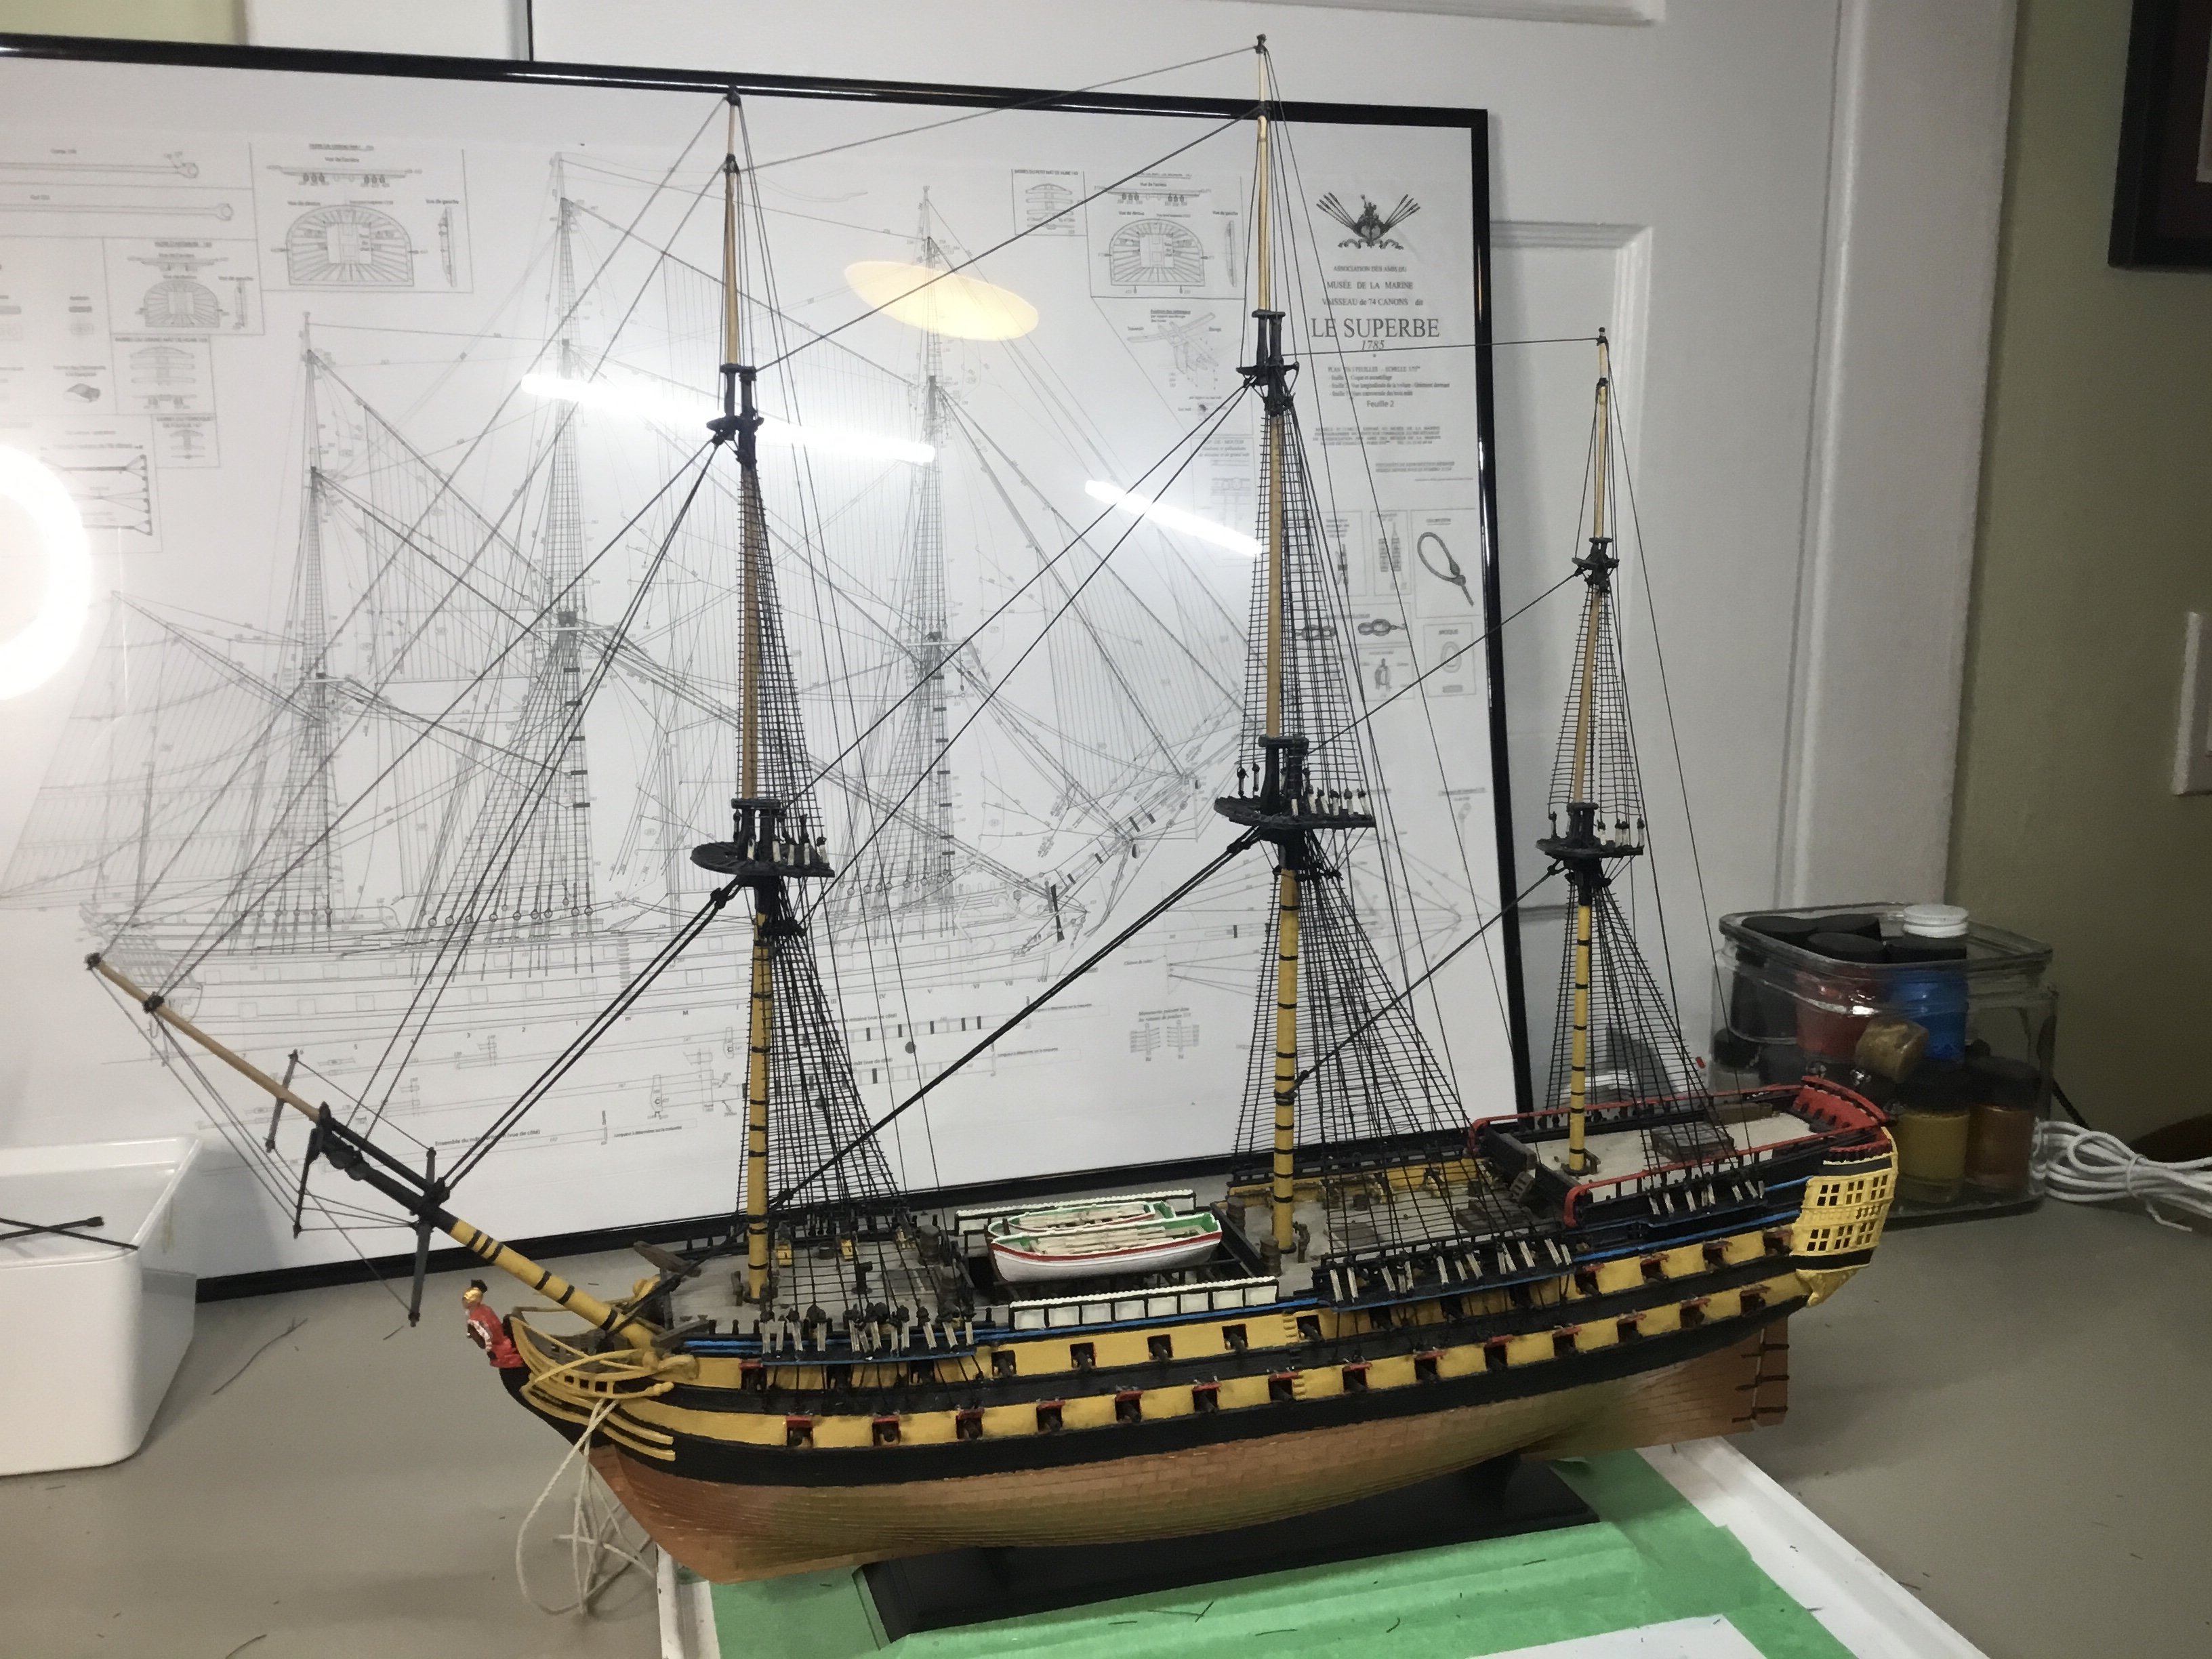
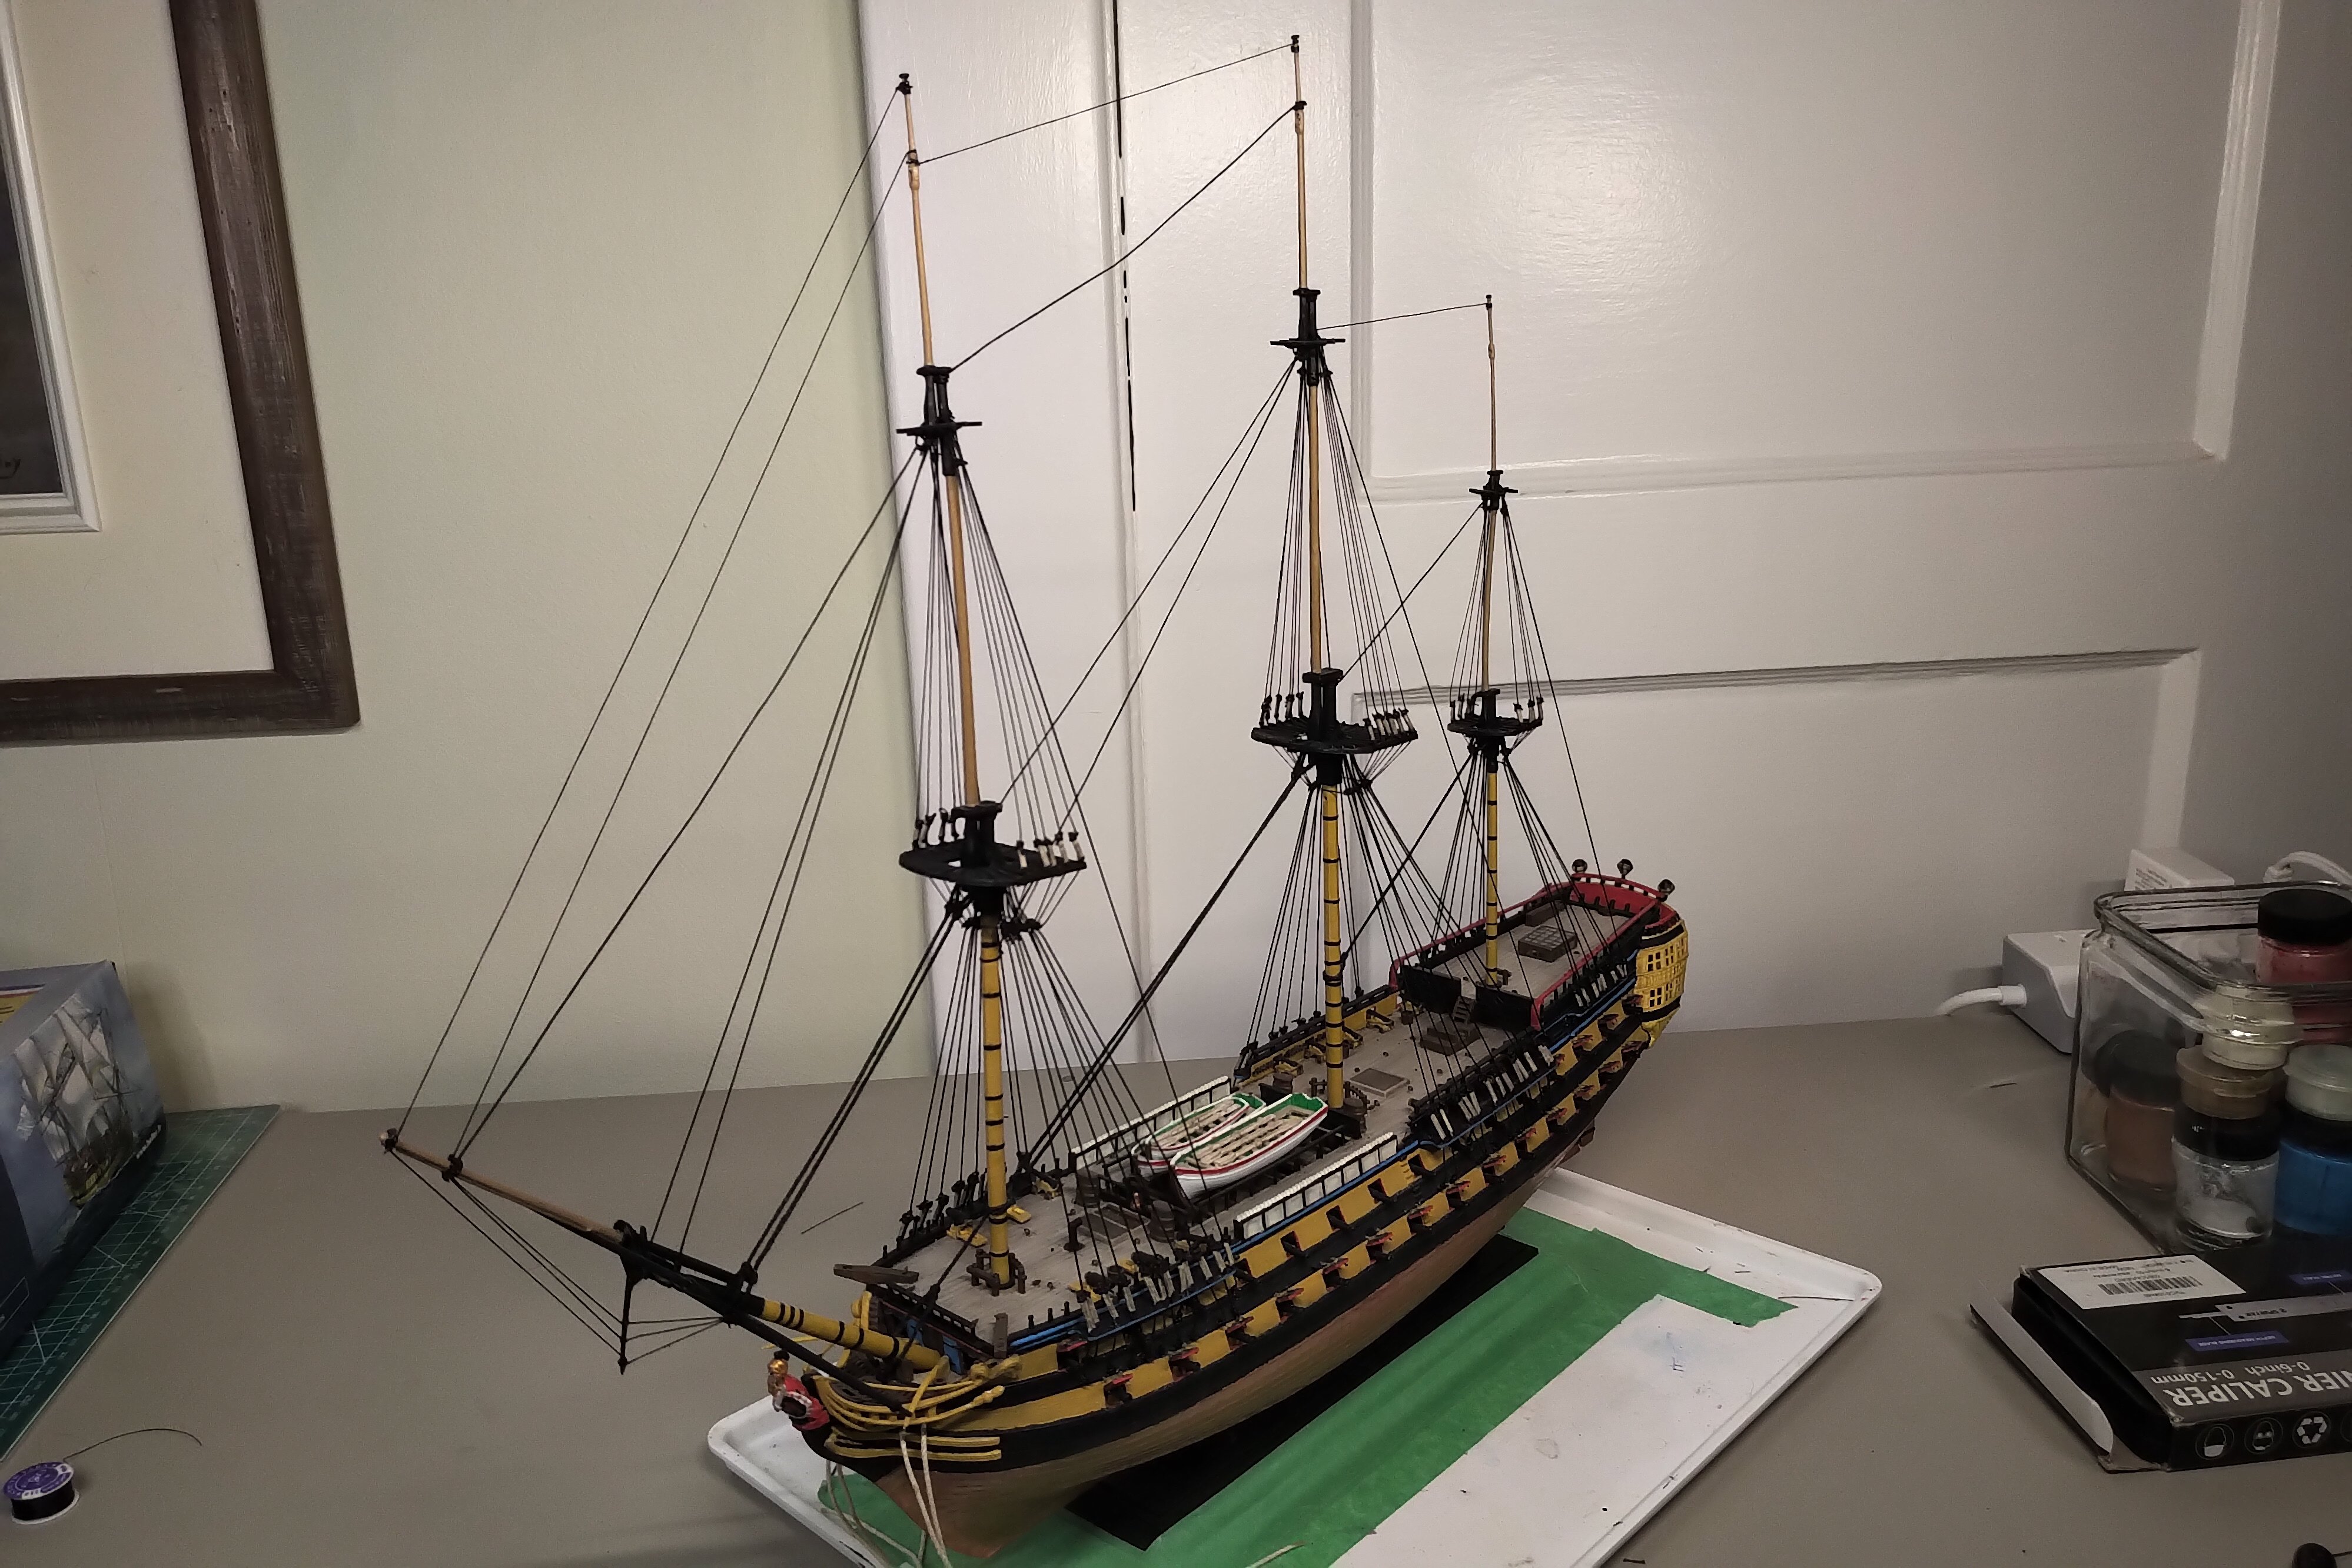
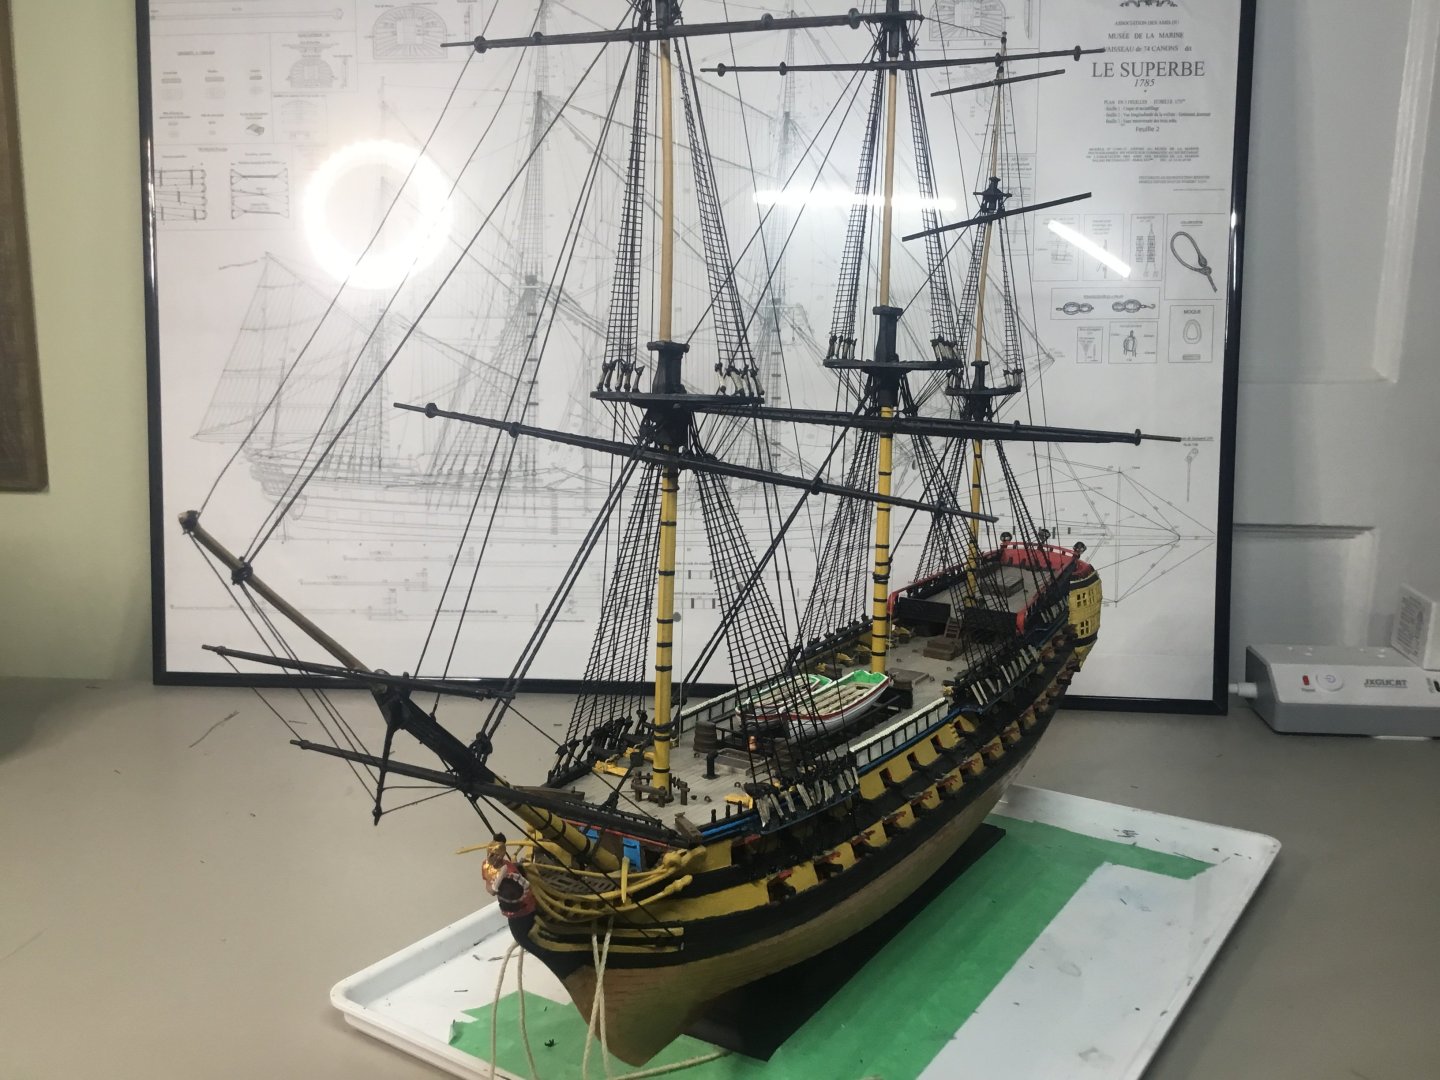
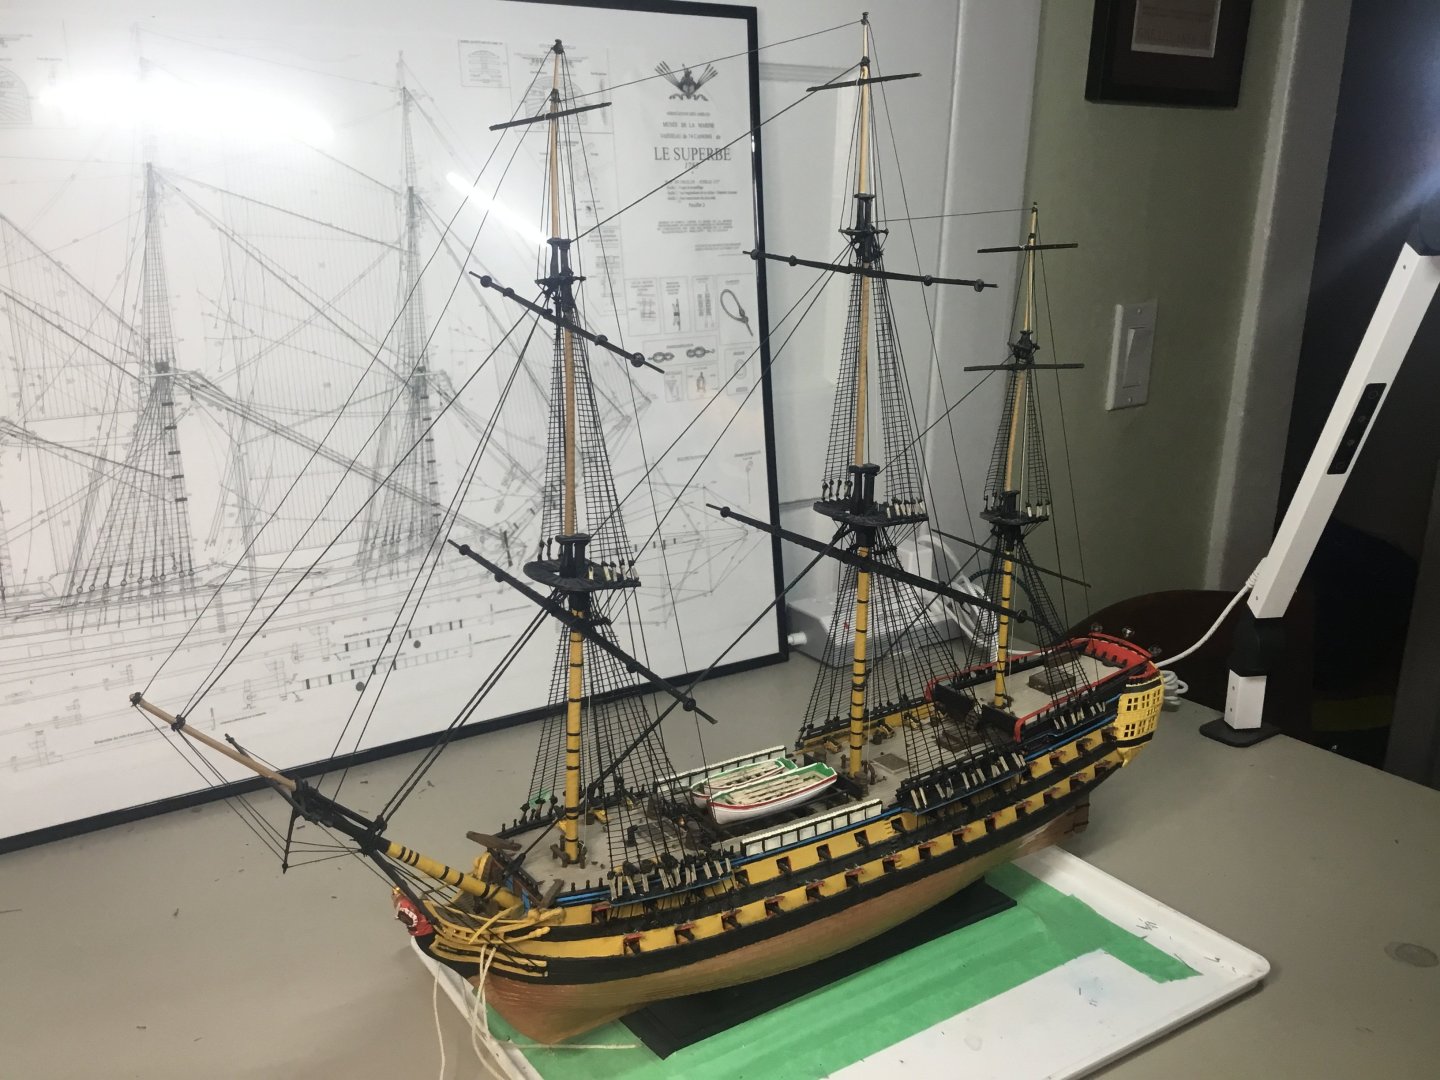
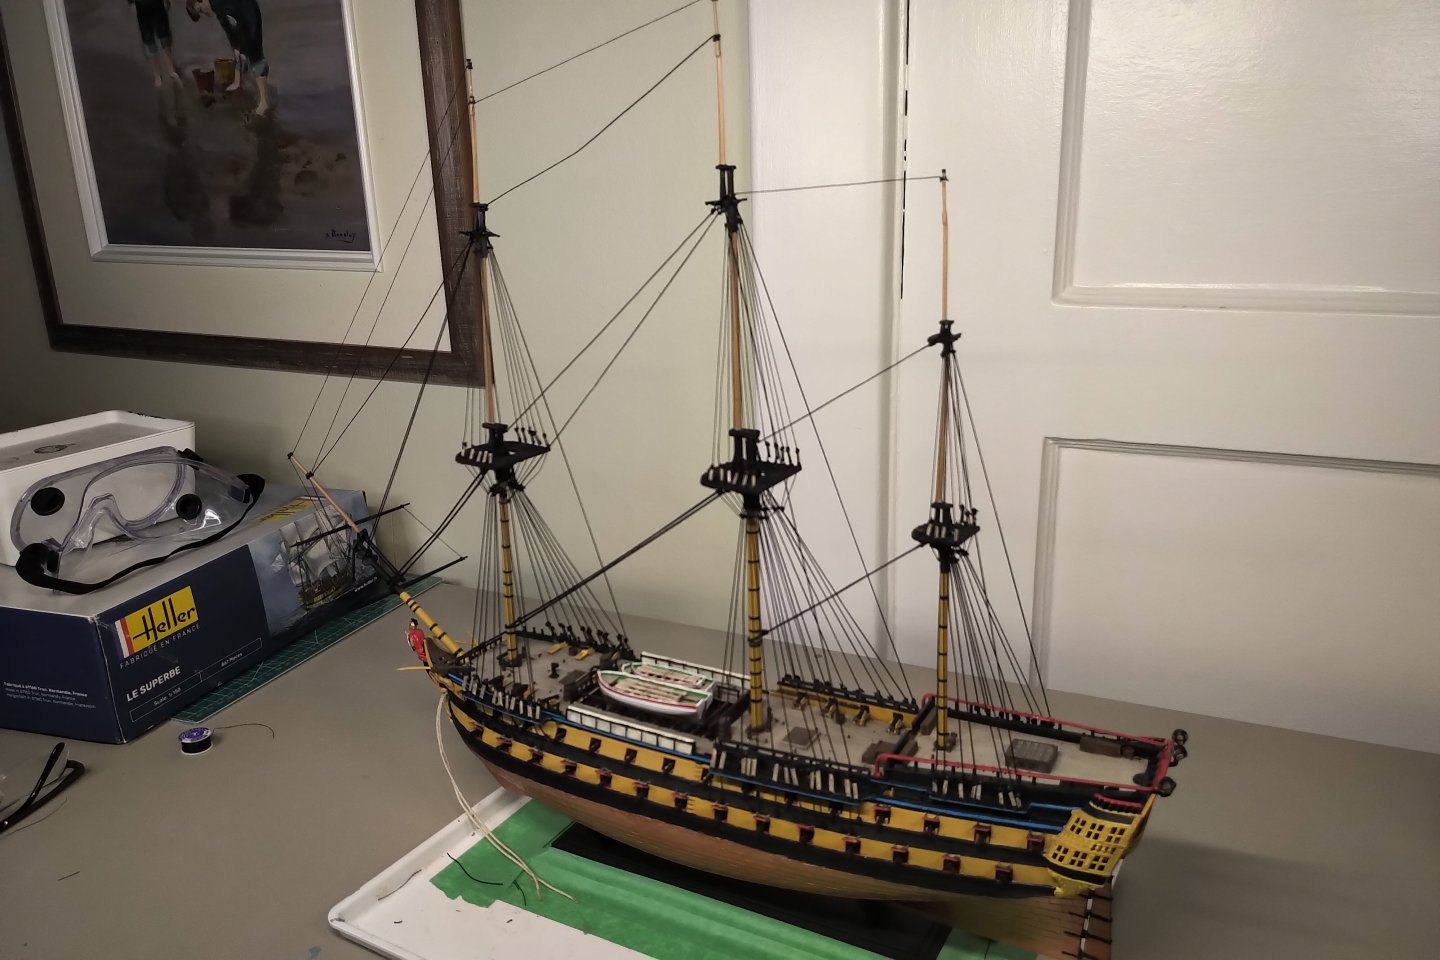
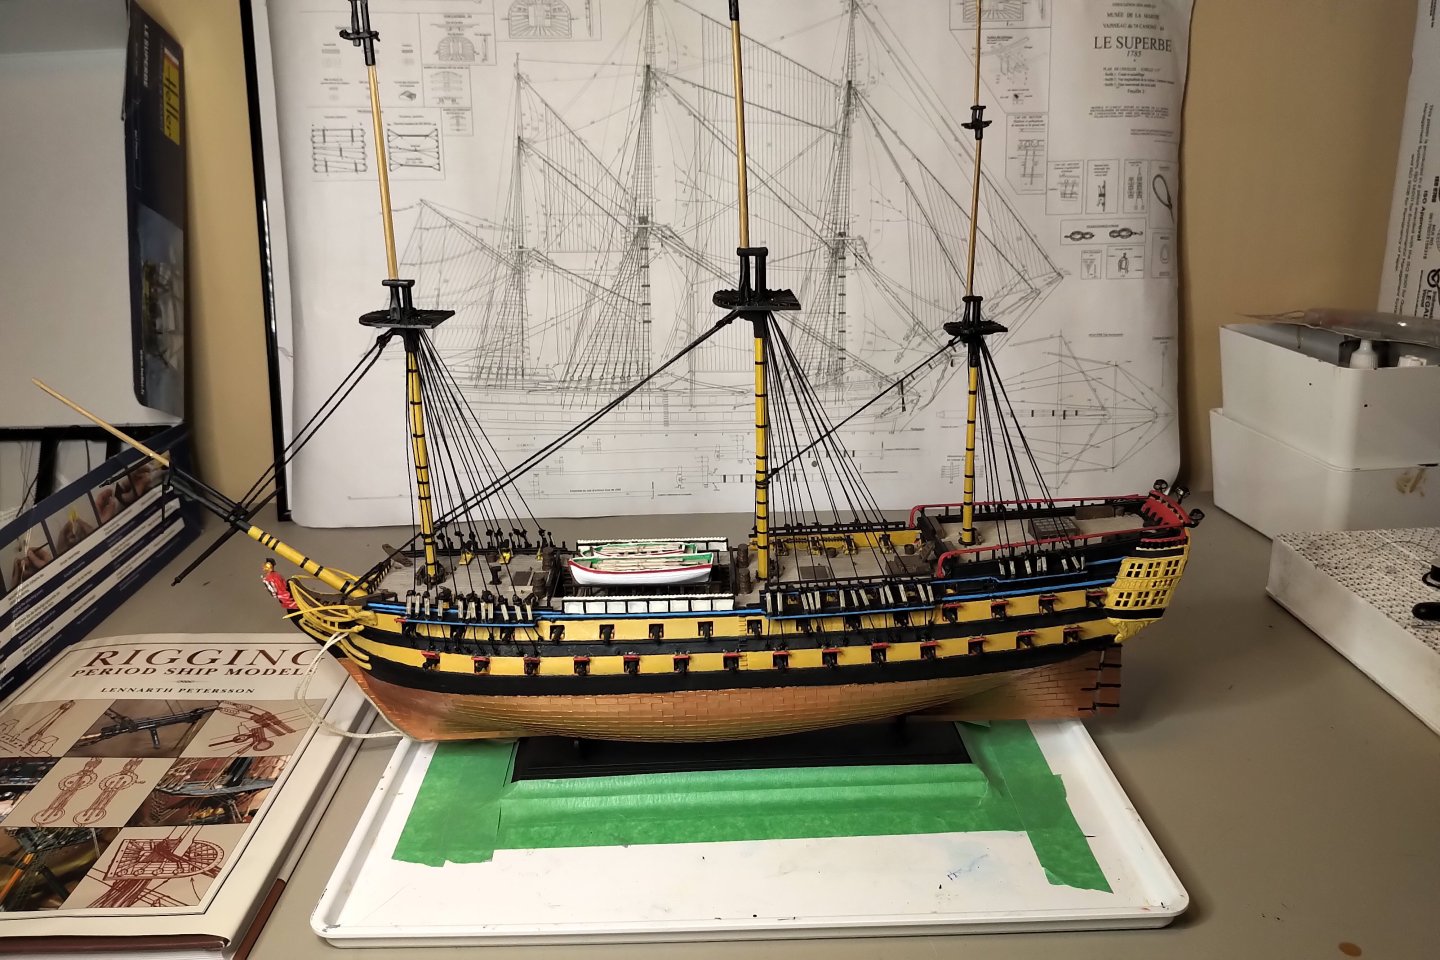
Standing rigging and ratlines now complete, less bowsprit shrouds (WIP). I should get through the yards, sails and running rigging fast enough. I think this will be the last (and my first) rigged model I build for a while.


-
Landlubber Mike's technique for furled sails
Admiral Beez replied to Landlubber Mike's topic in Masting, rigging and sails
Thank you for sharing this. I shall give it a go. -
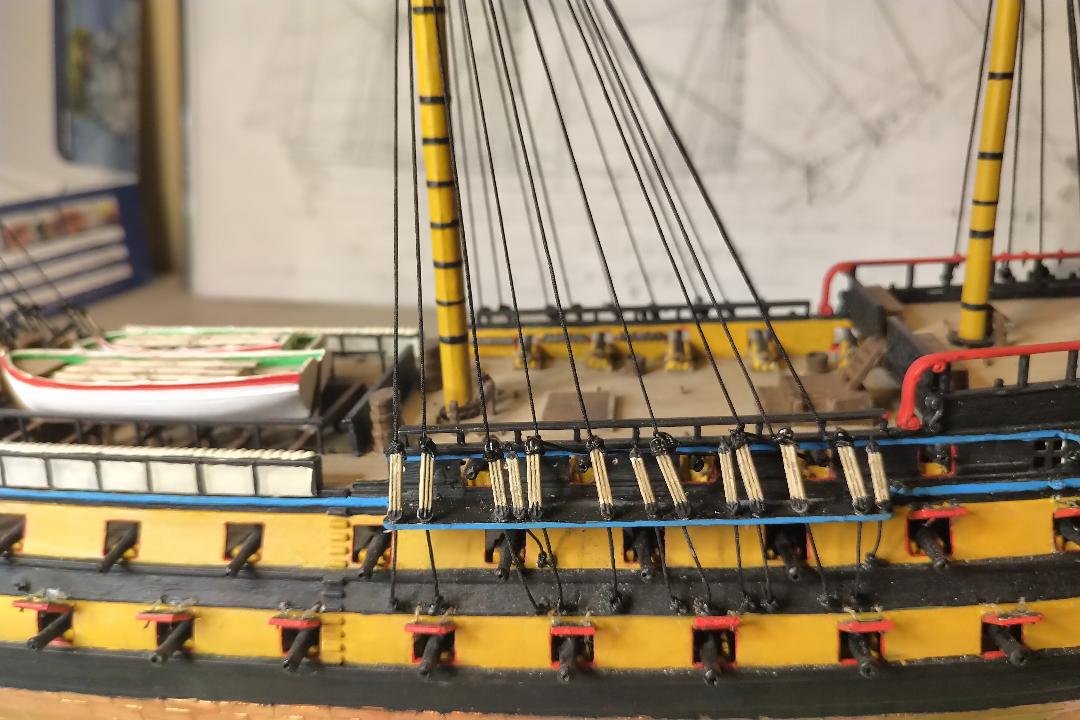
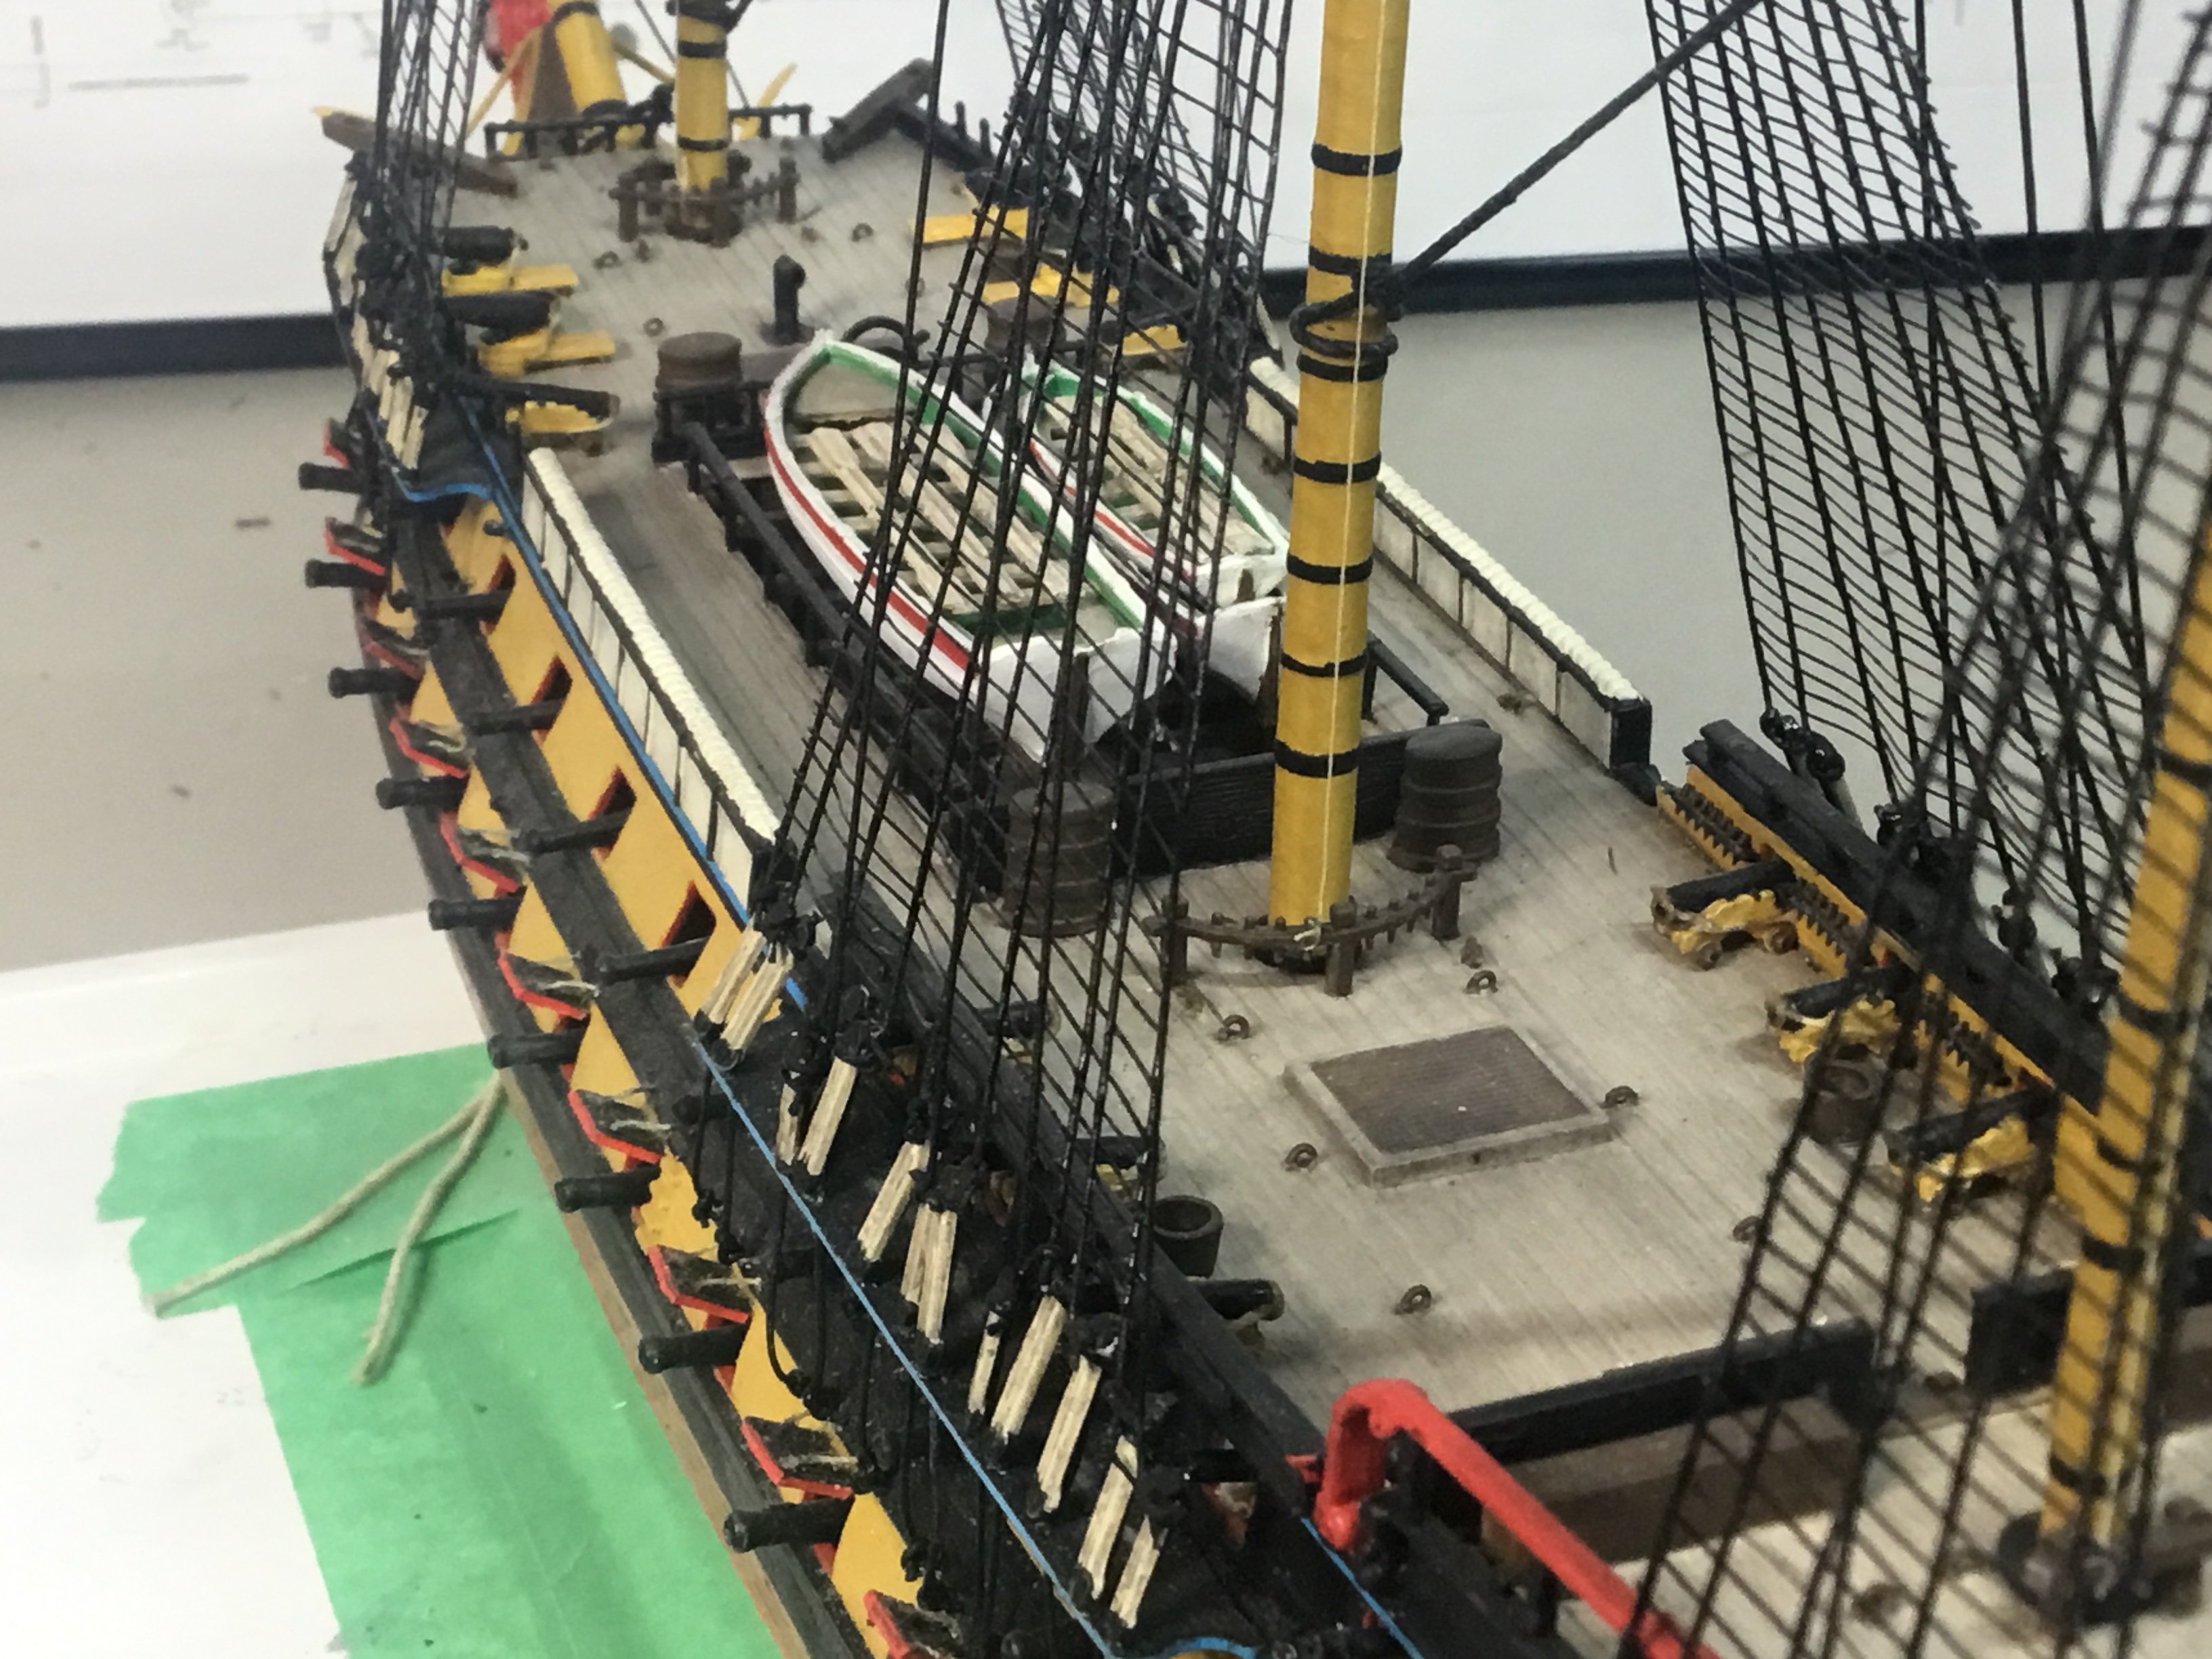
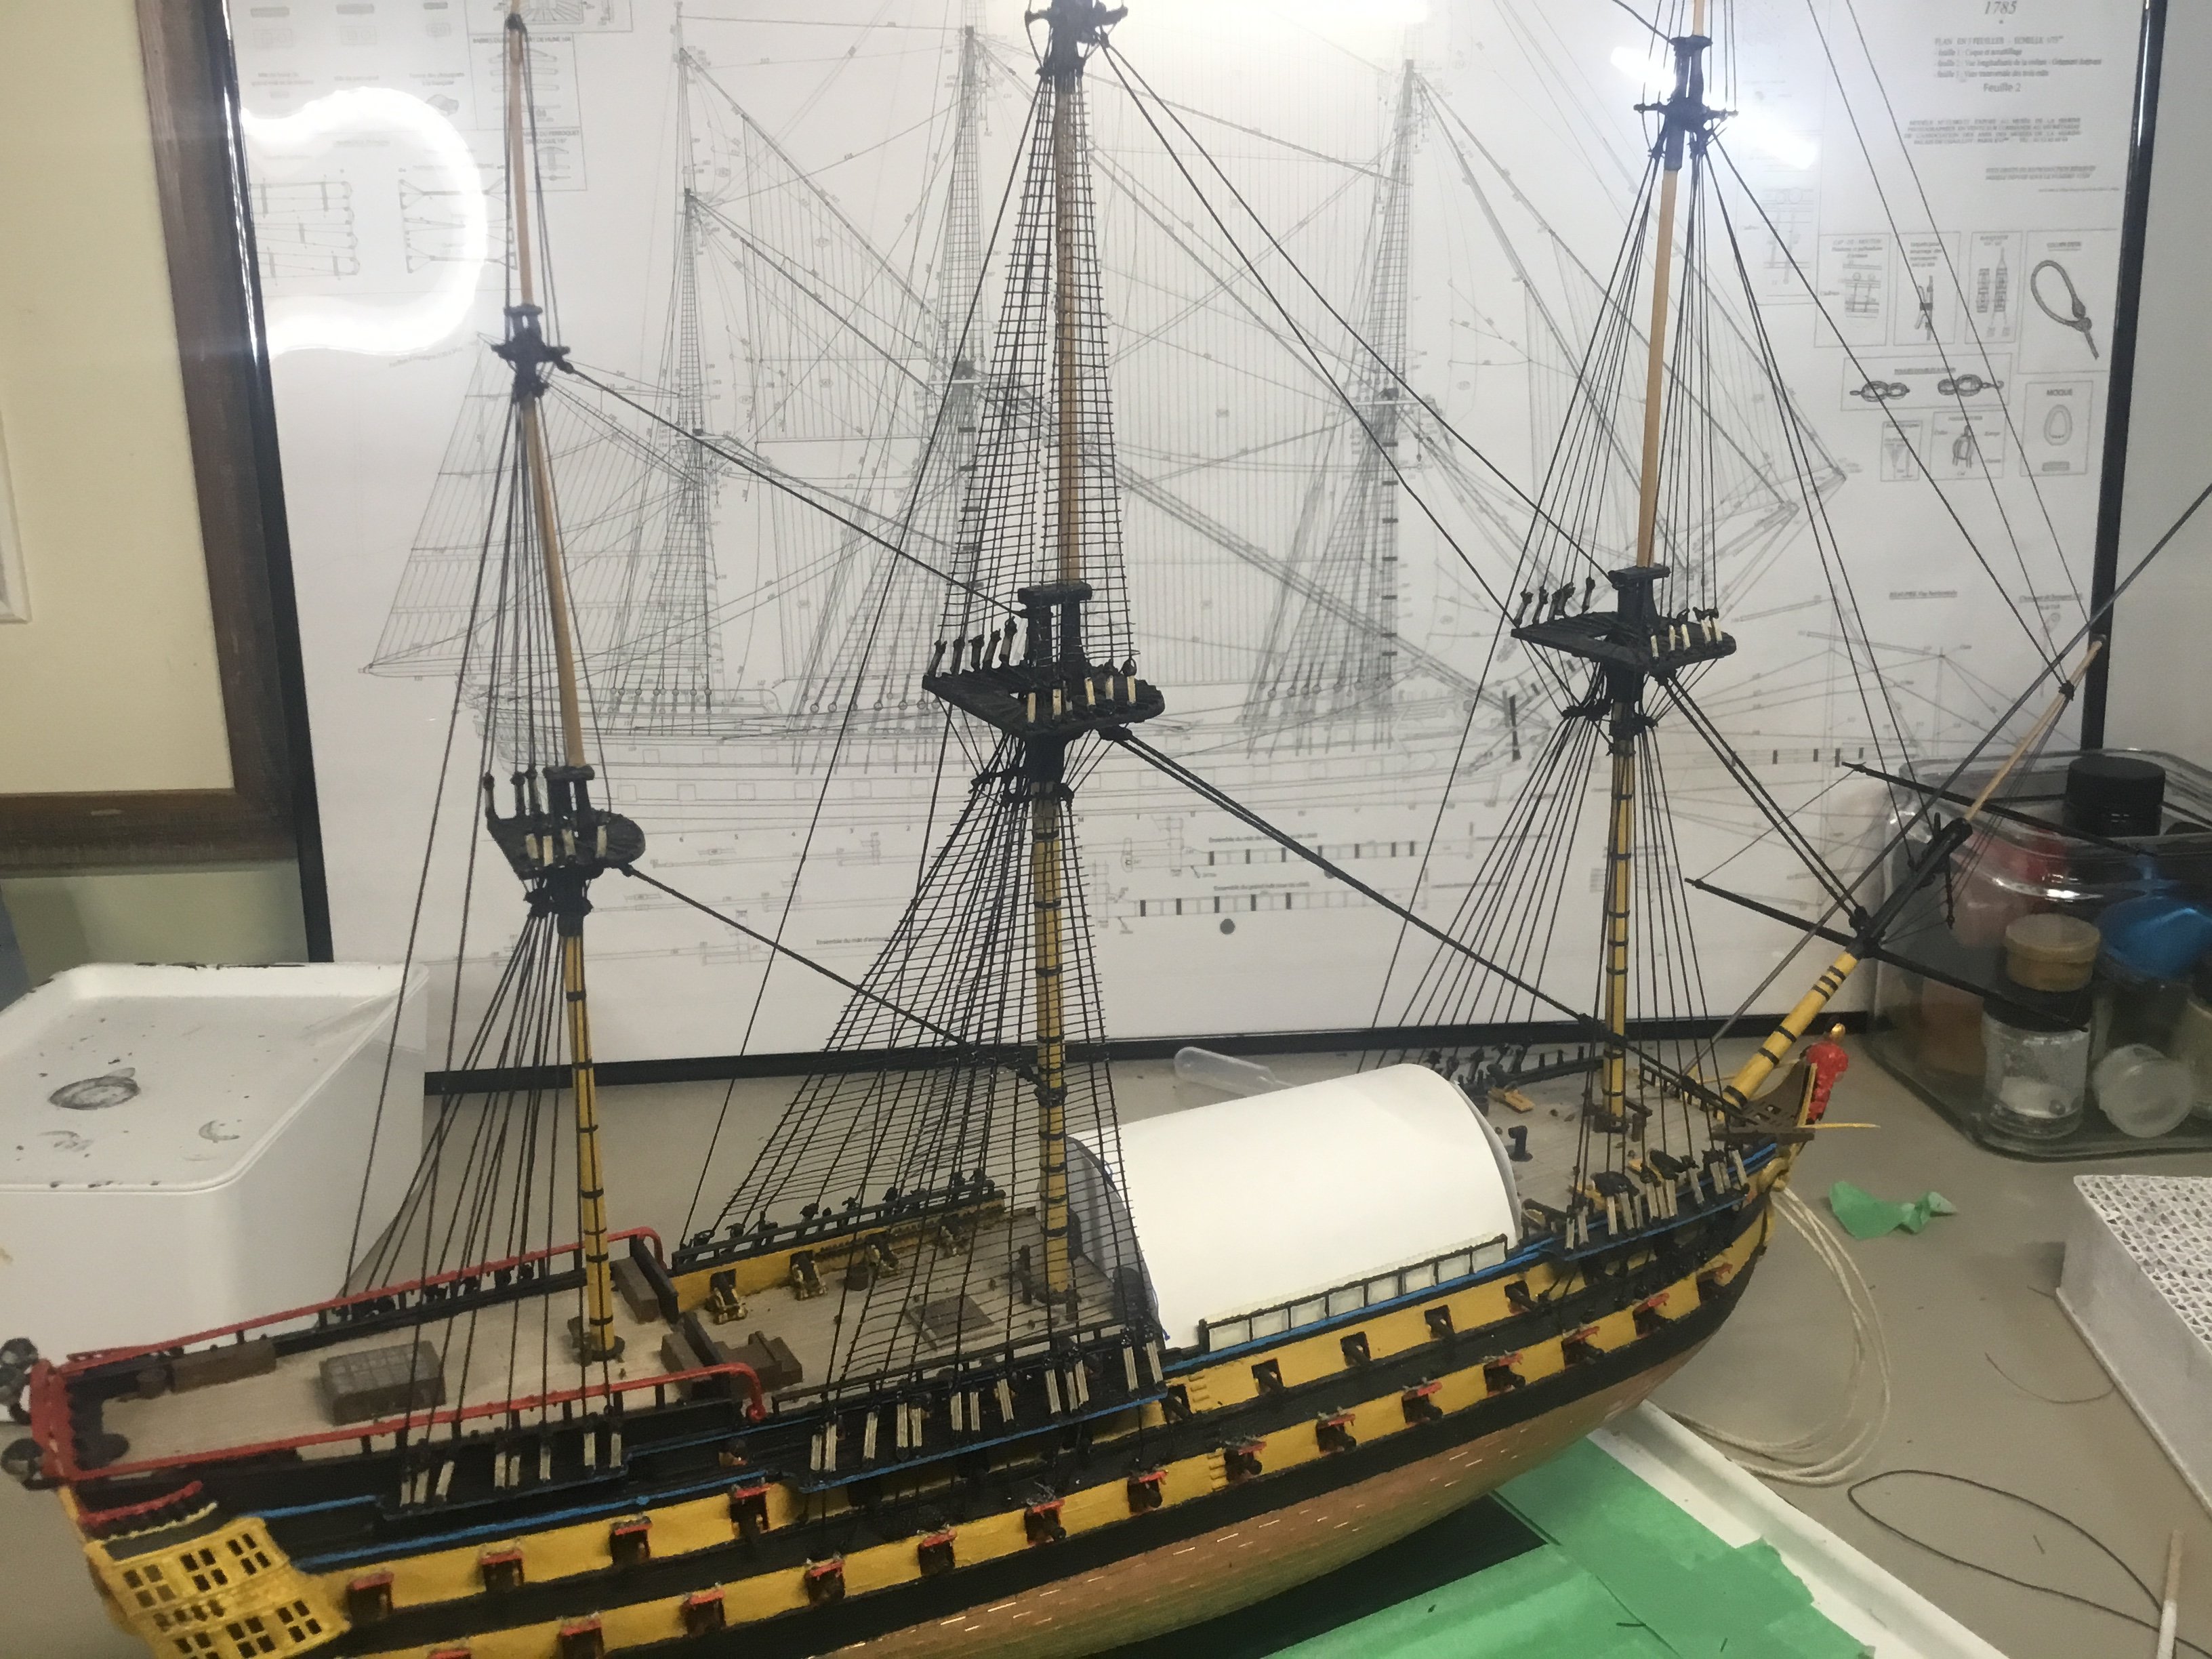
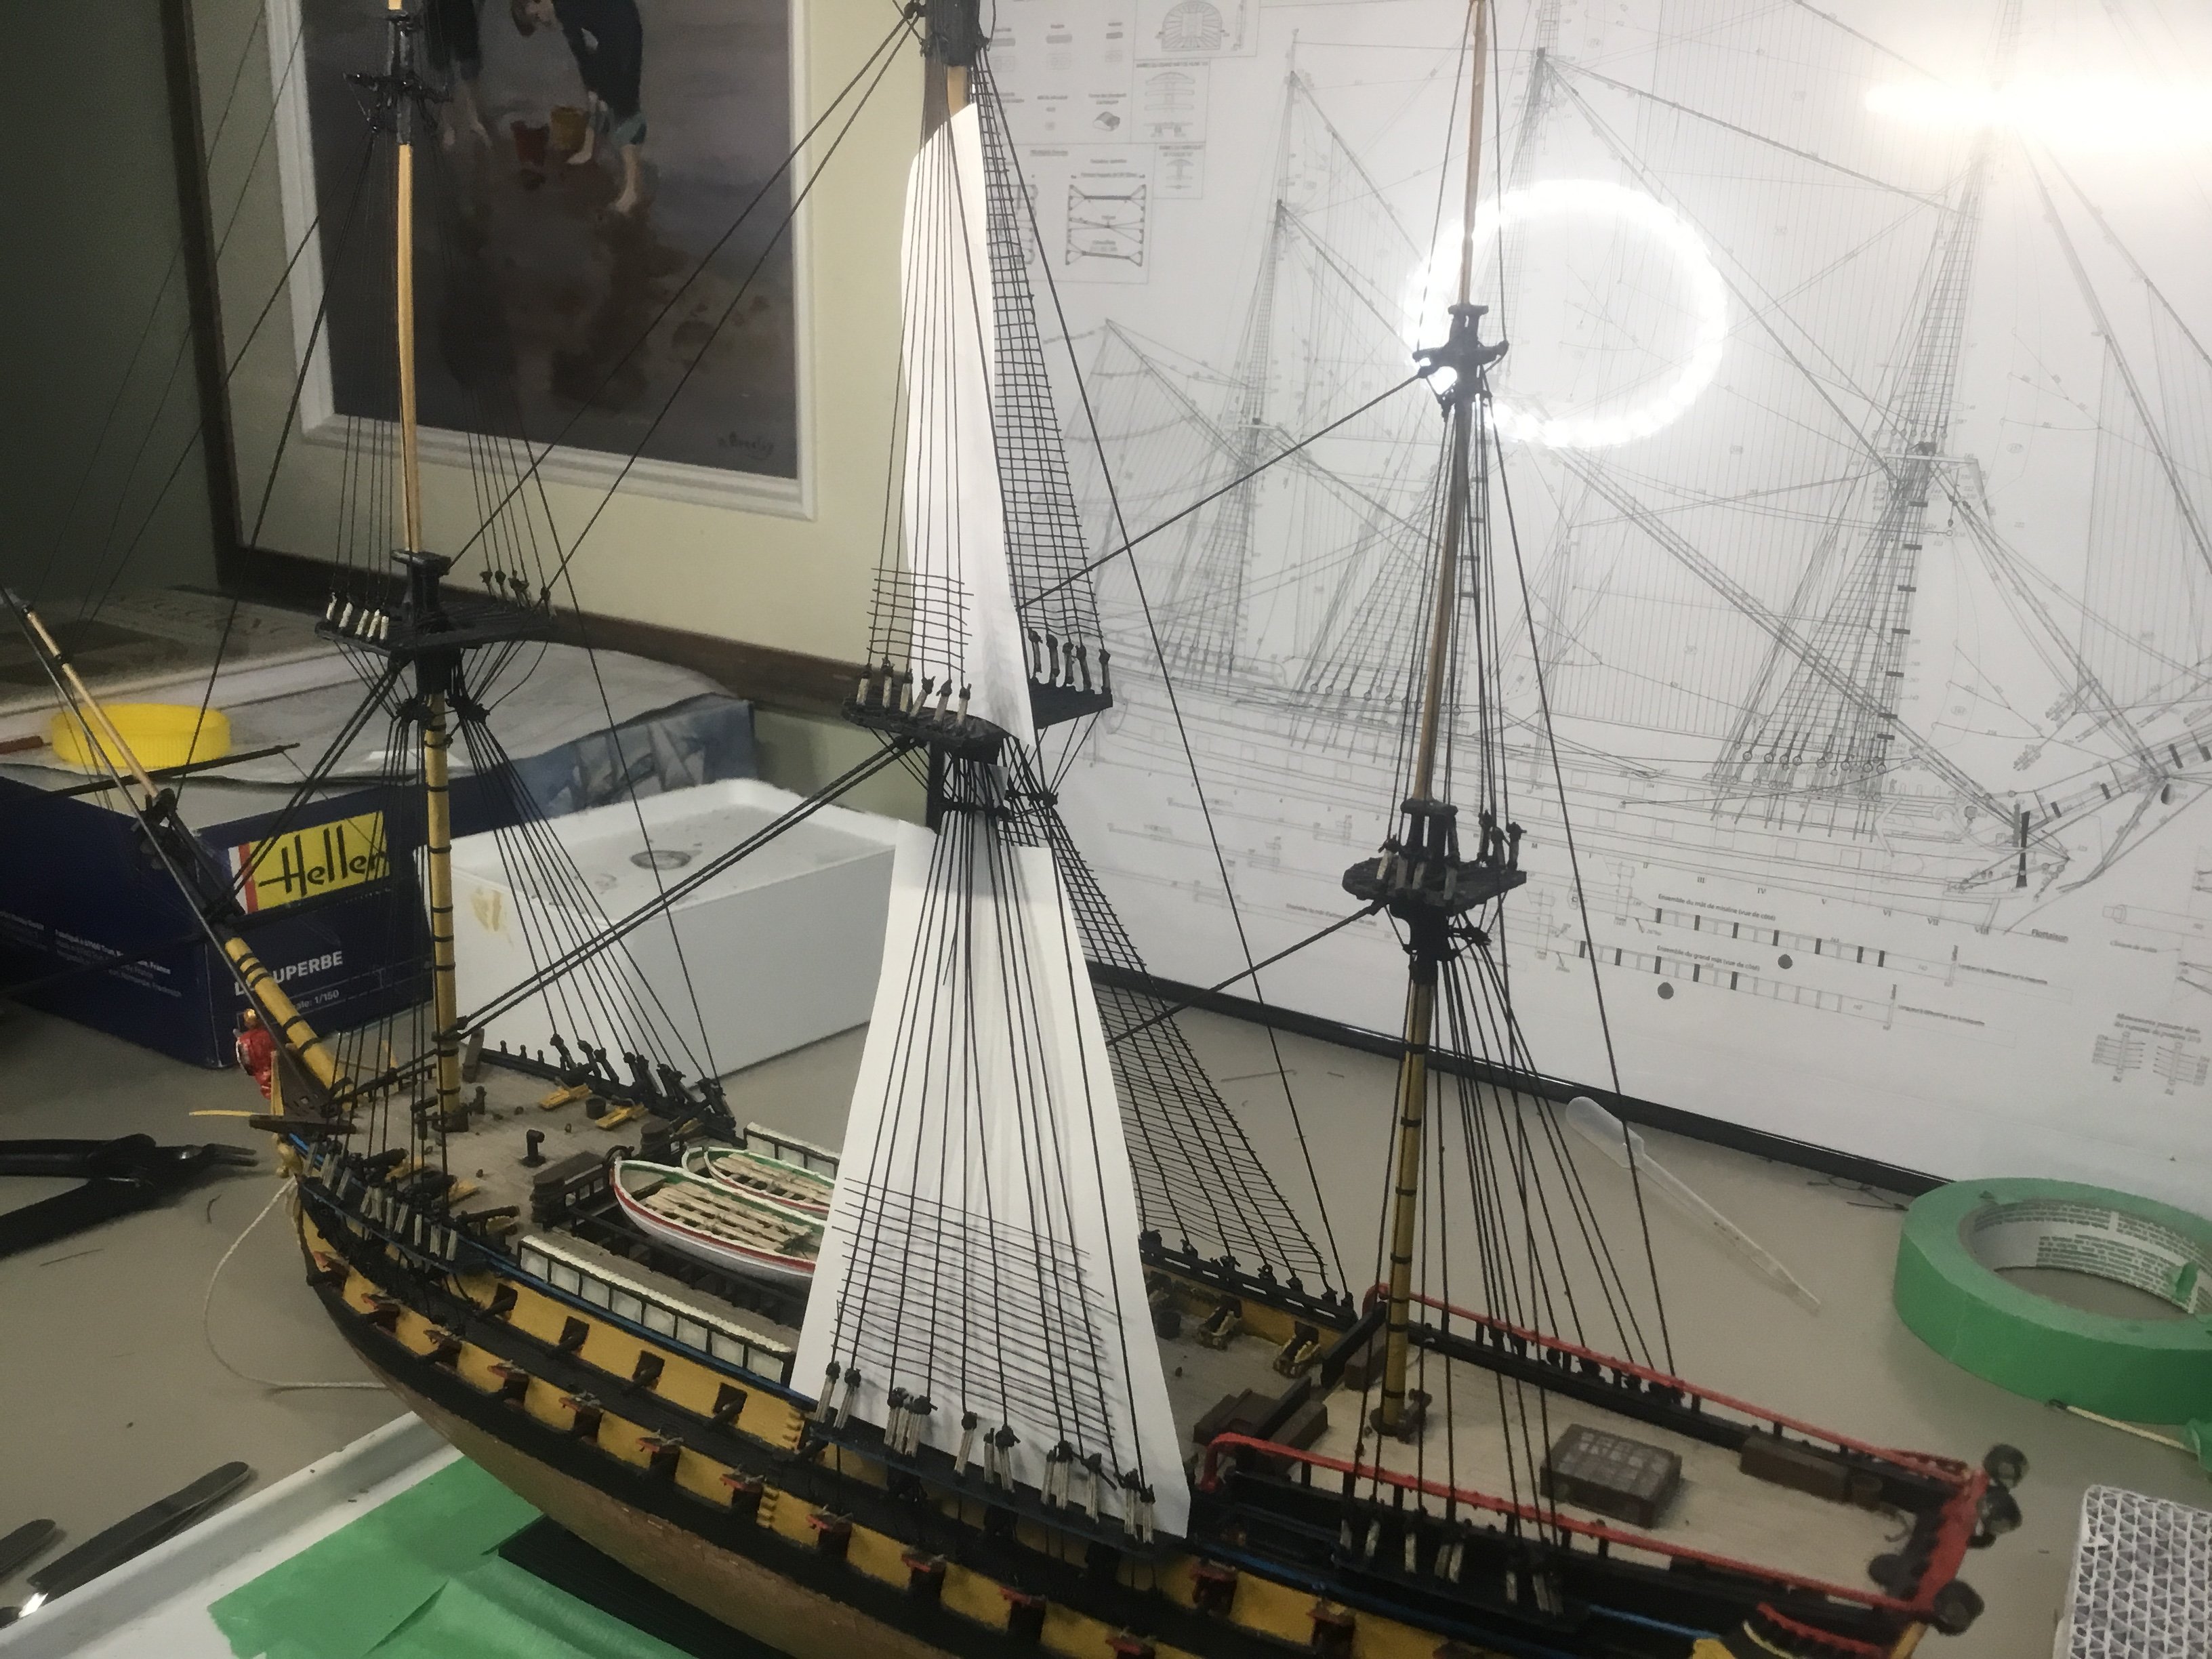
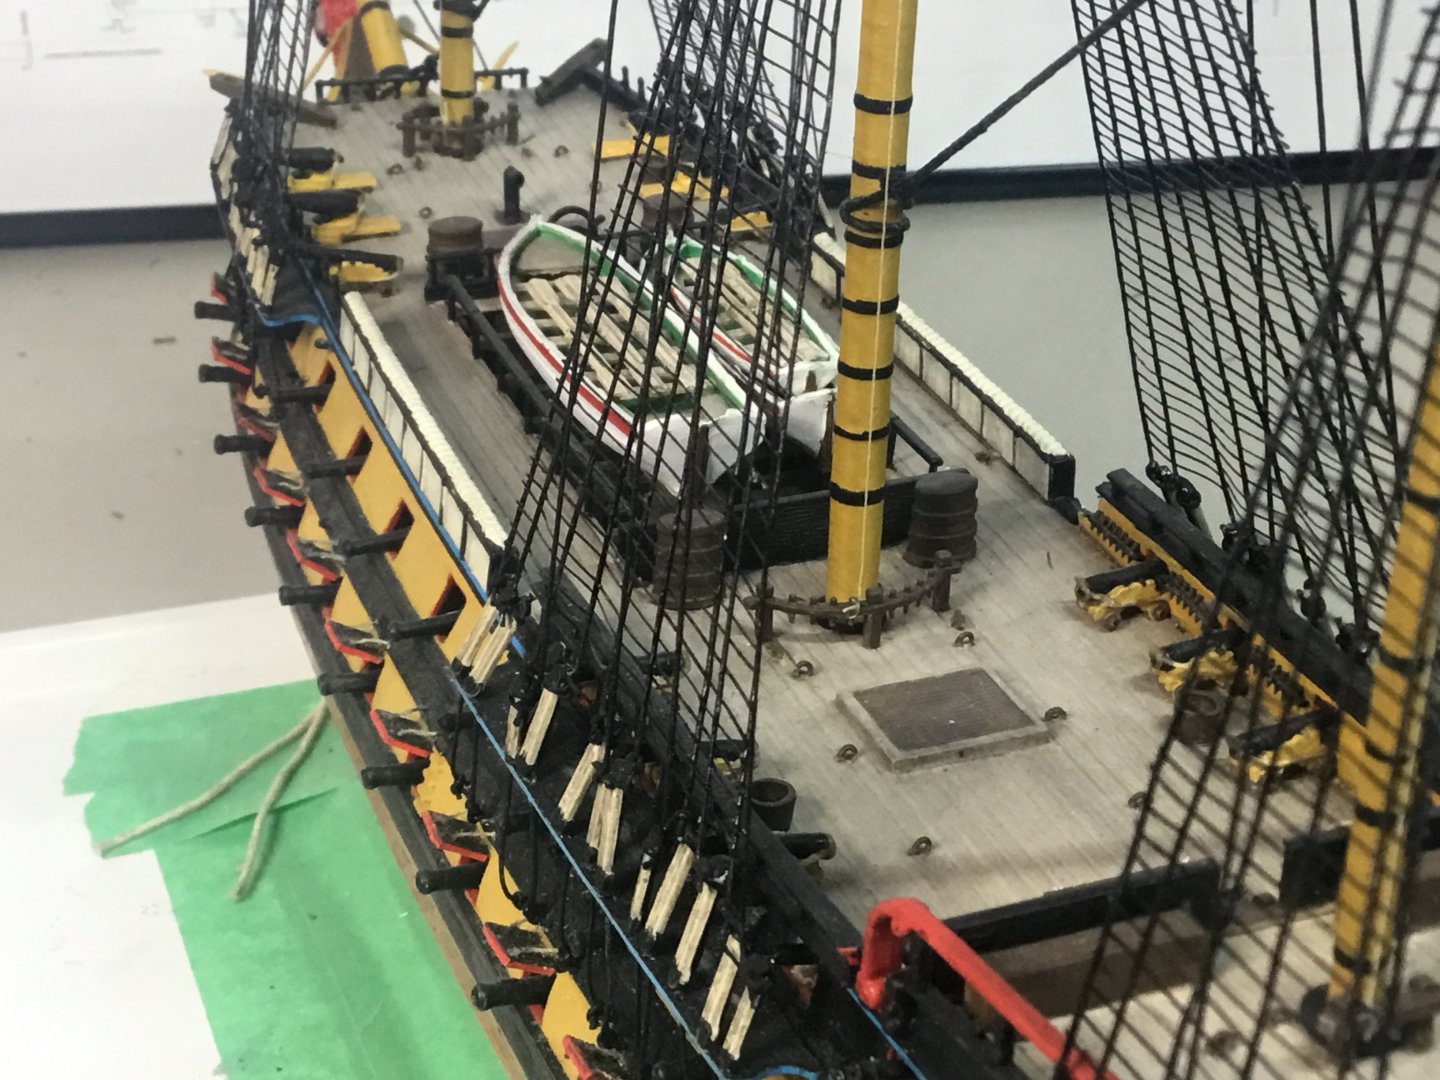
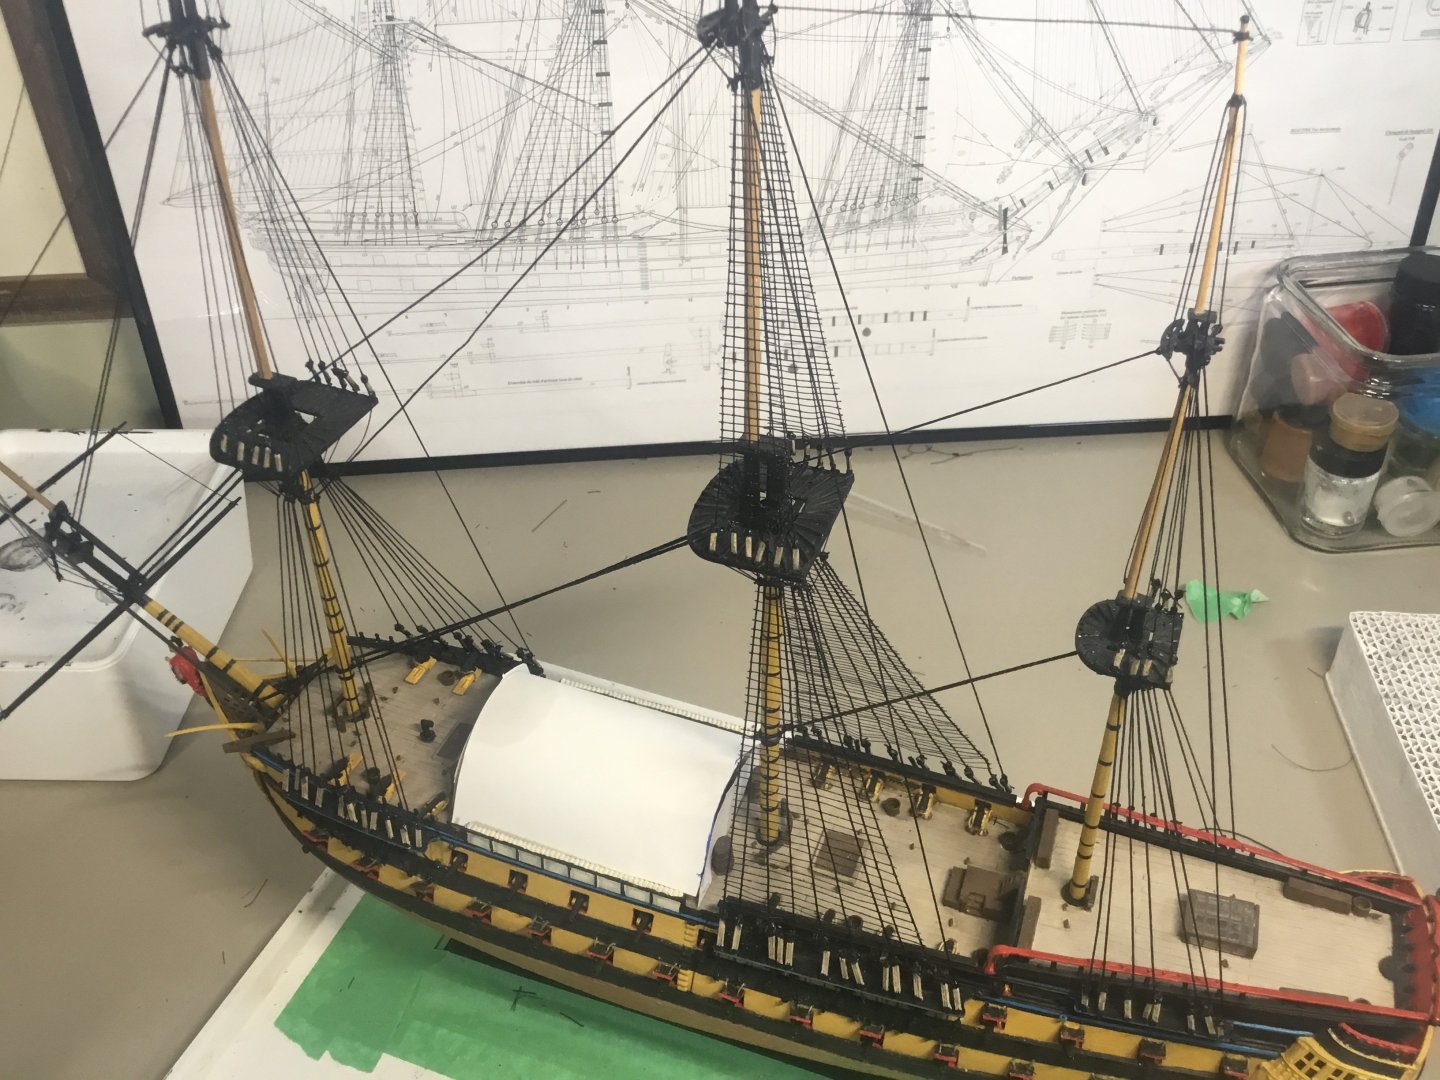
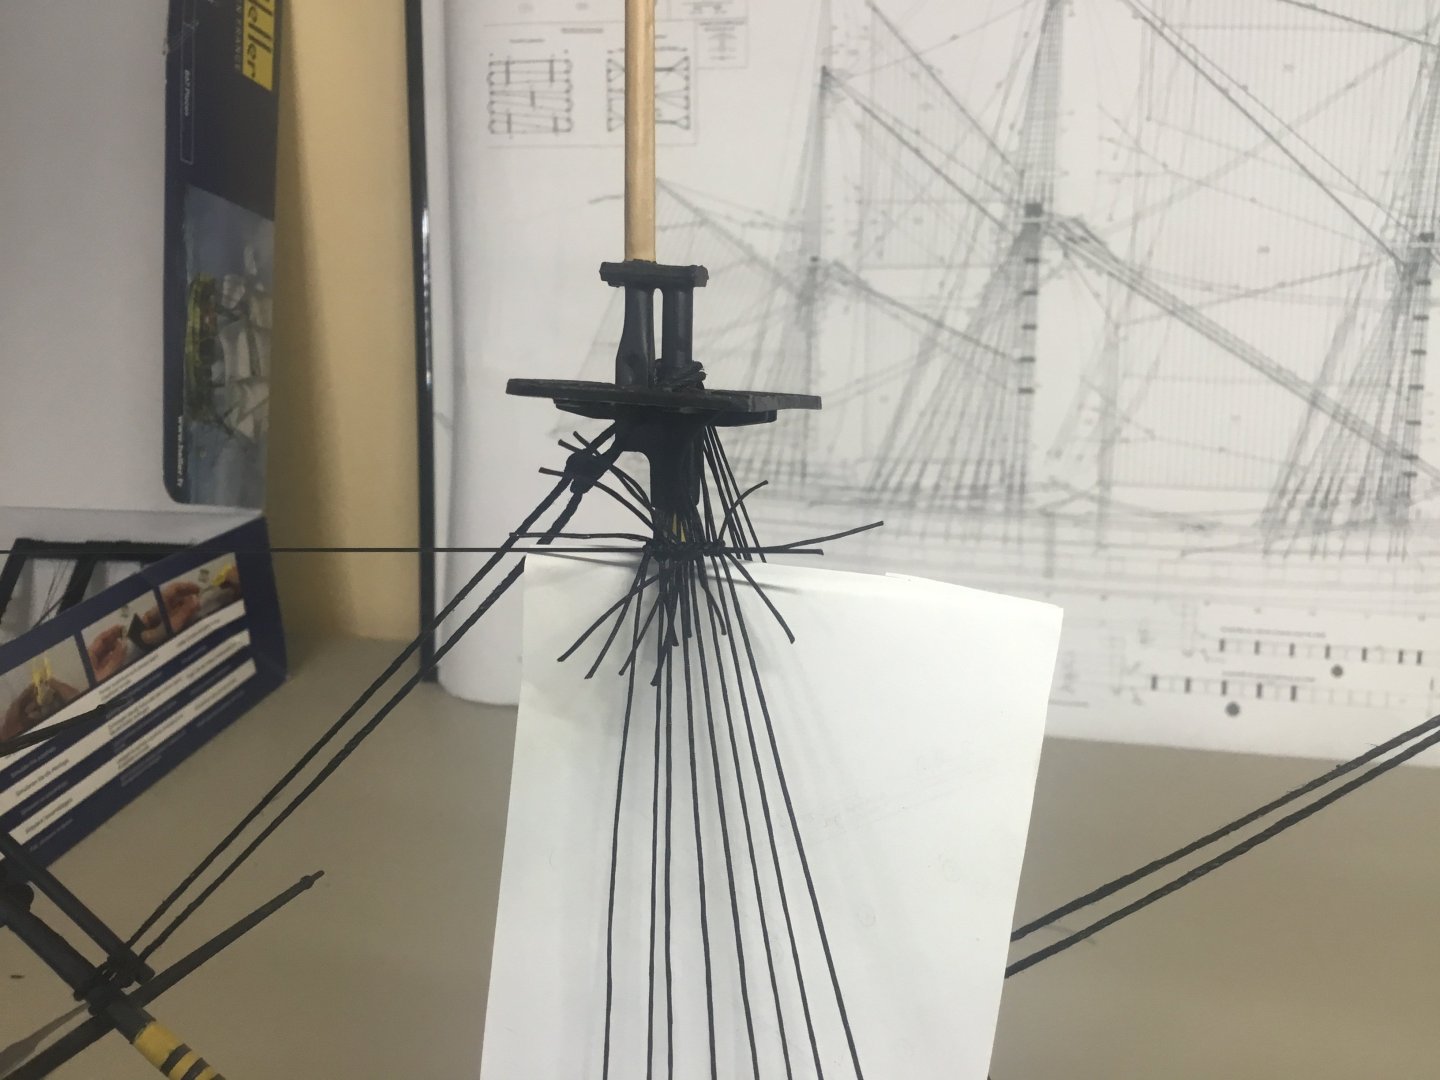
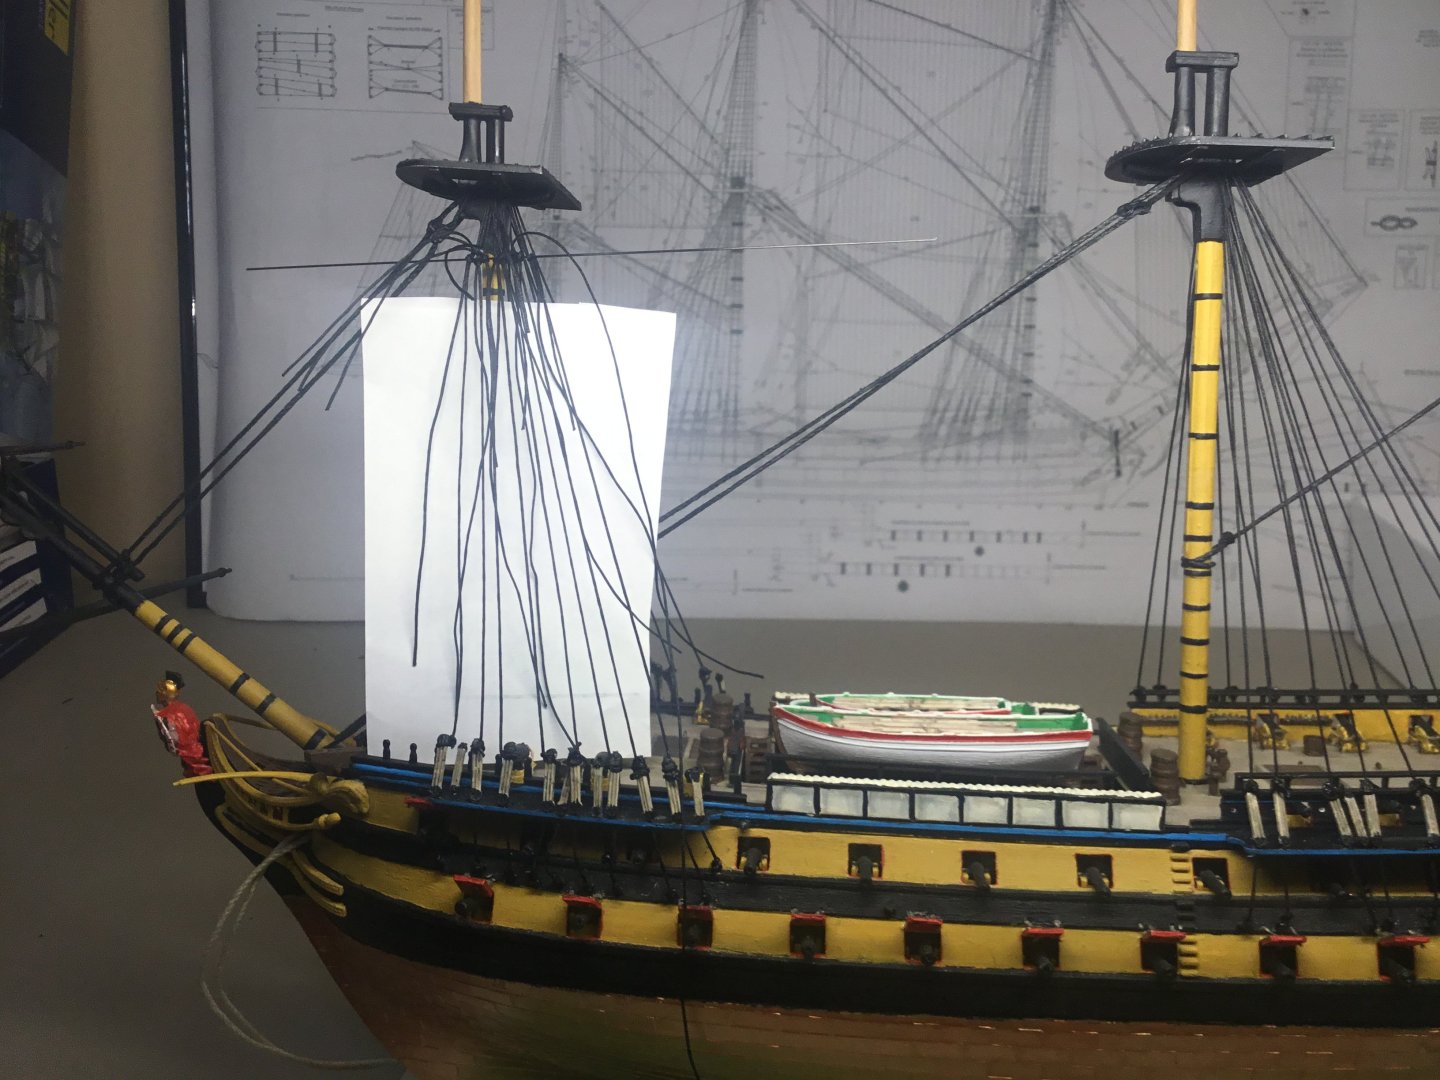
Some progress. Just eight more sets of rat lines to make. The white paper structure is to prevent ratline trimmings from falling into the waist.


-
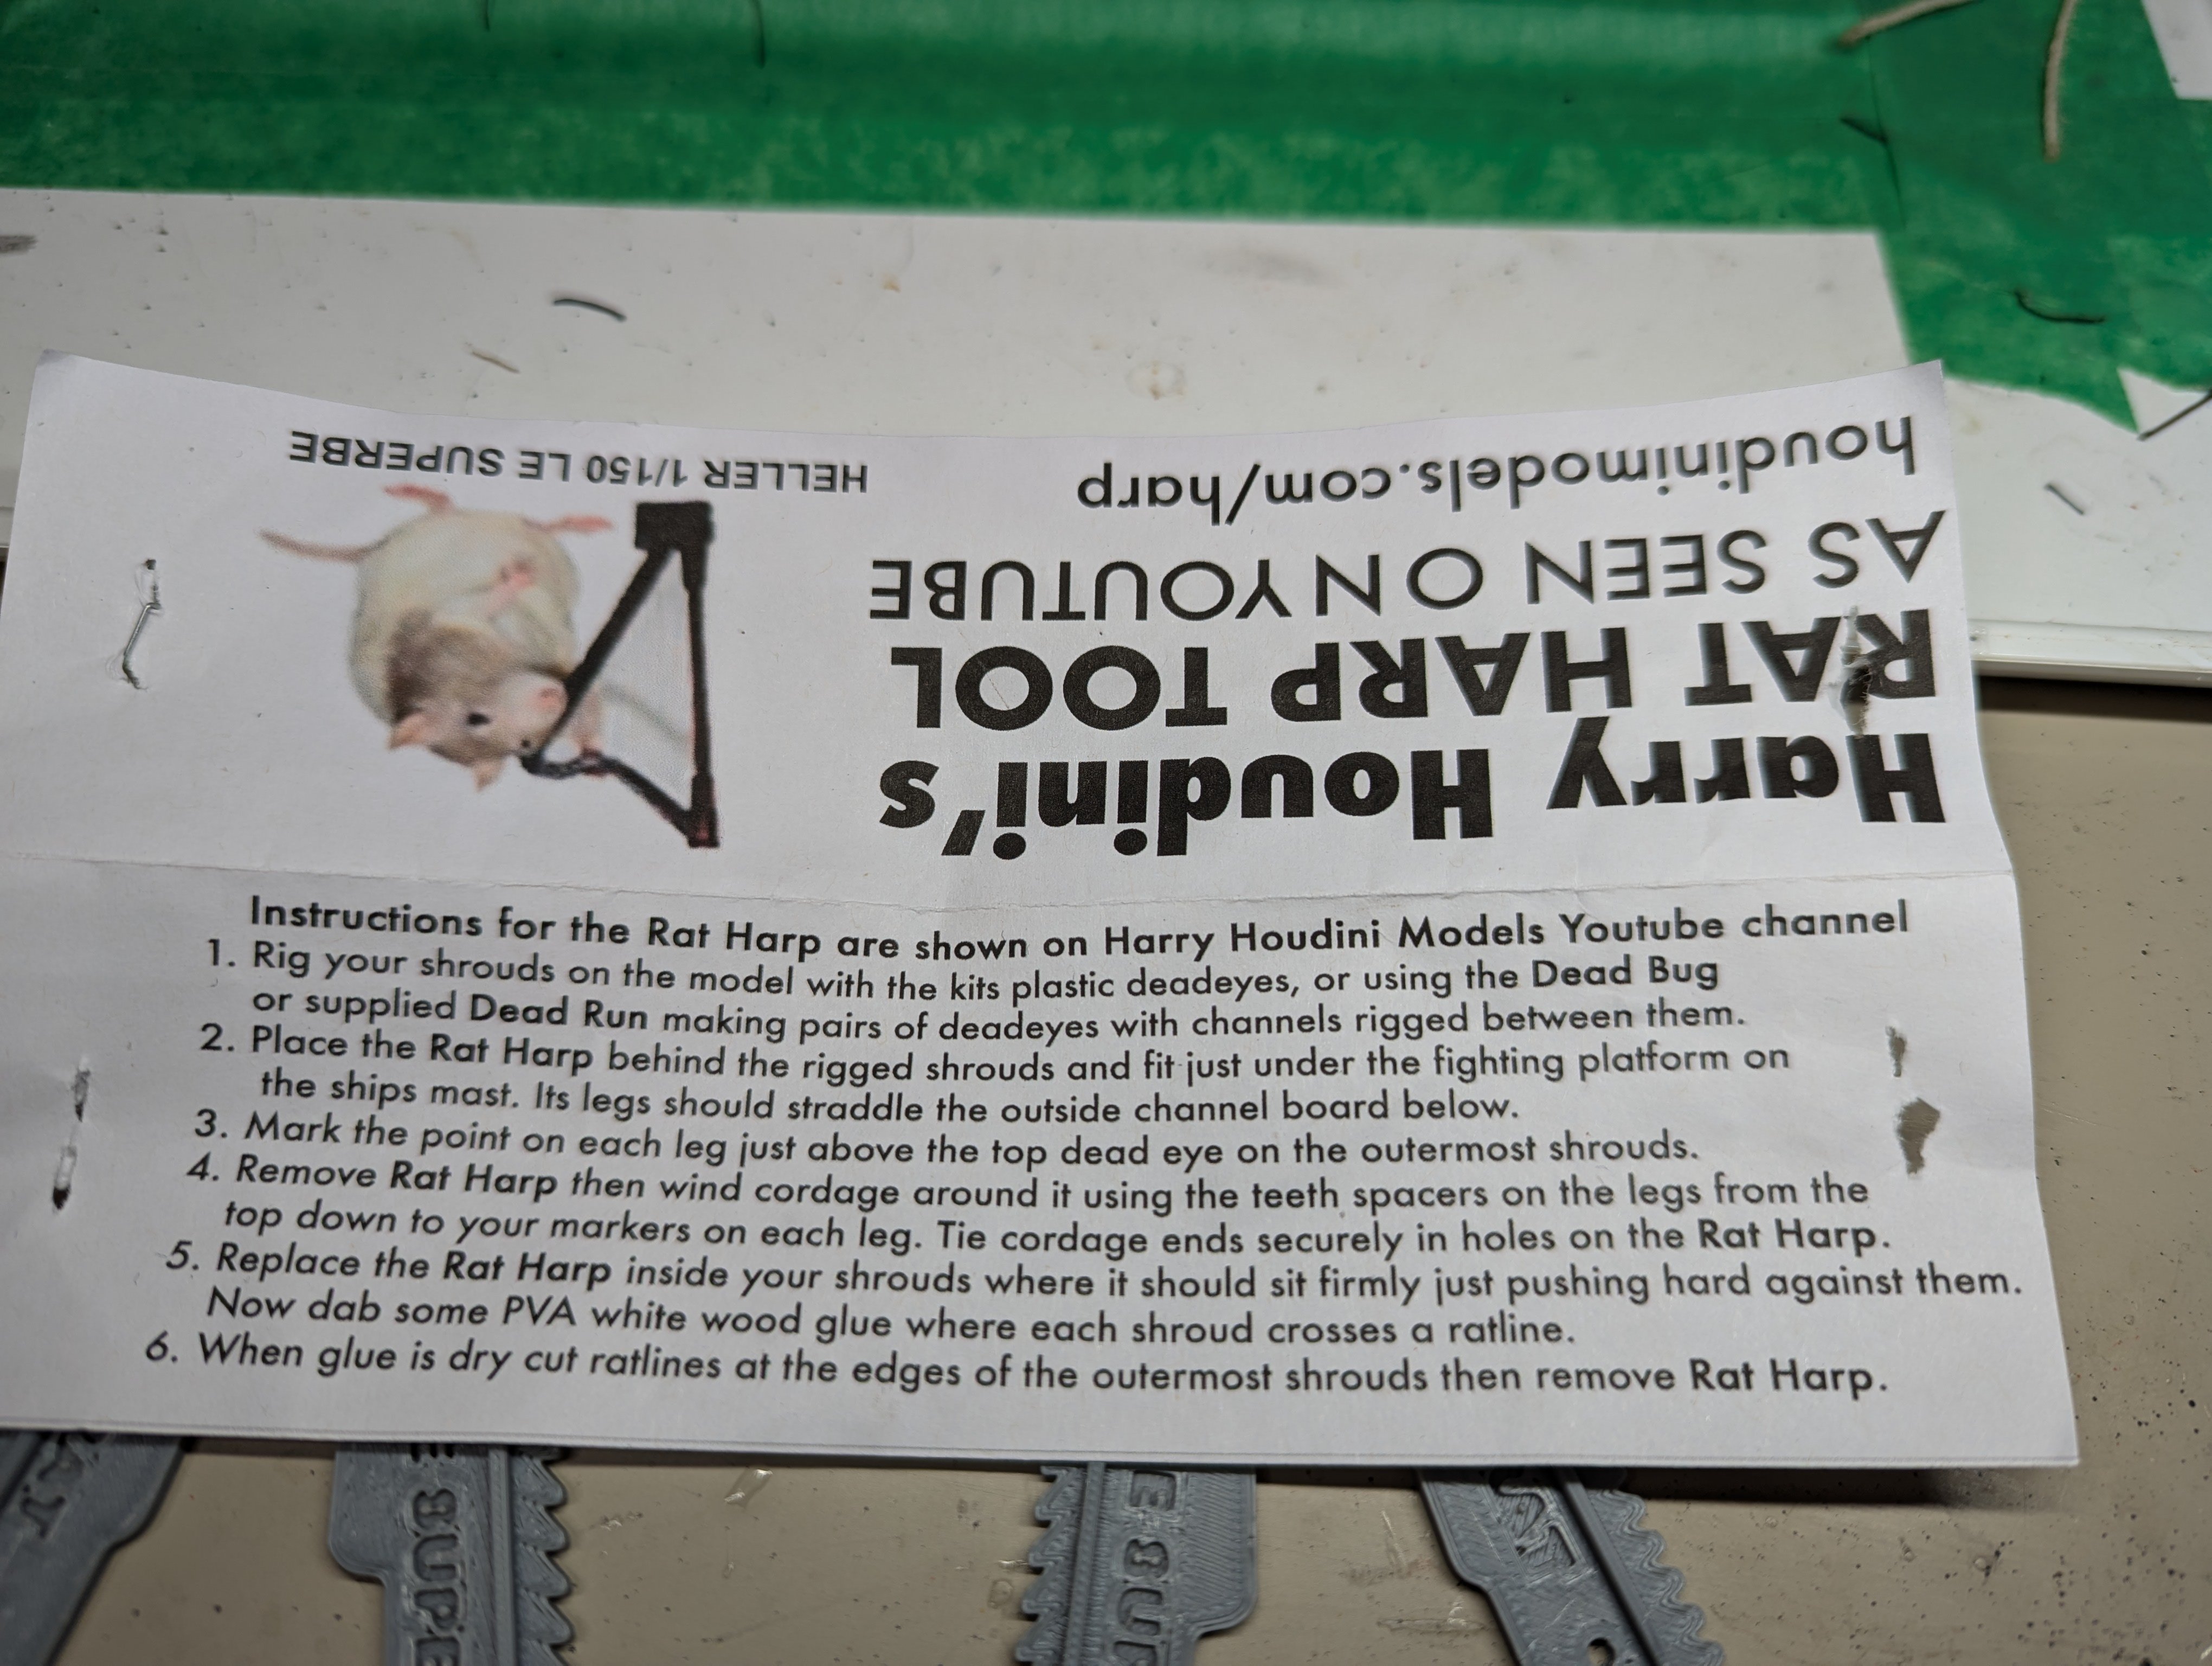
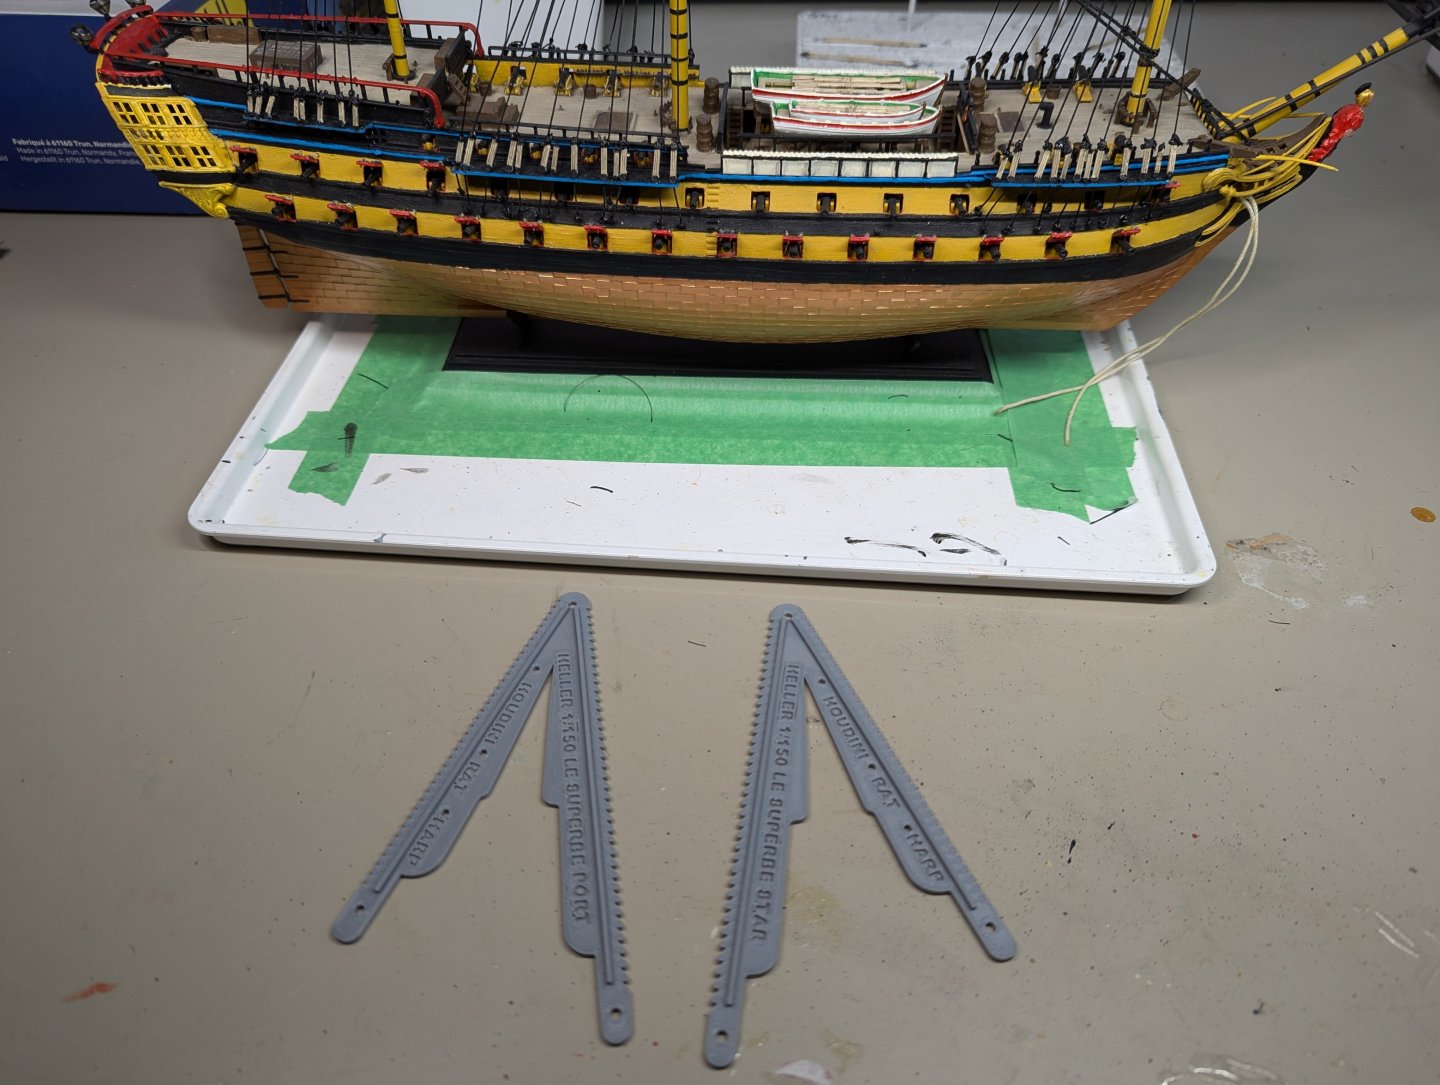
The ratline harp tool didn't work for me, perhaps because my shrouds are too wide at the top. If someone else would like this tool and would pay for postage you can have it. So, here's what I'm doing for my ratlines. I've taken the original Heller shroud tool, cut out the middle piece and then wrapped around this 0.25mm horizontal lines (the 0.4 mm vertical lines are already on the line). Then I coated all these lines with clear craft glue diluted with water. Then using a wide paint brush I covered the lines with the glue/water mixture and left it to dry overnight. In the morning I repeated this treatment, leaving it again overnight. On the next day the lines were now stiff with glue. I then cut these off and basketweaved them around the vertical shrouds, followed by each intersection get a dab of clear craft glue with an old paint brush. So far I am happy with the look and am pleased to have finally found a method that works for me, helping me to overcome the procrastination that's delayed this project for a year or more.
-
Alrighty, we've today received the ratline tool. I realize now that I should have waiting before tying the line between the port and starboard shrouds as now I must cut something to fit the ratline tool. Anyway, I shall report back.

-
Admiral Beez reacted to a post in a topic:
Main and Fore Preventor Stay
-
 Admiral Beez reacted to a post in a topic:
Main and Fore Preventor Stay
Admiral Beez reacted to a post in a topic:
Main and Fore Preventor Stay
-
Main and Fore Preventor Stay
Admiral Beez replied to Admiral Beez's topic in Masting, rigging and sails
Thanks. I don’t see the crows feet on most Napoleonic era models. Did HMS Victory ever have them? -
Admiral Beez reacted to a post in a topic:
Crowsfeet and euphroe block
-
Admiral Beez reacted to a post in a topic:
Main and Fore Preventor Stay
-
Admiral Beez reacted to a post in a topic:
Main and Fore Preventor Stay
-
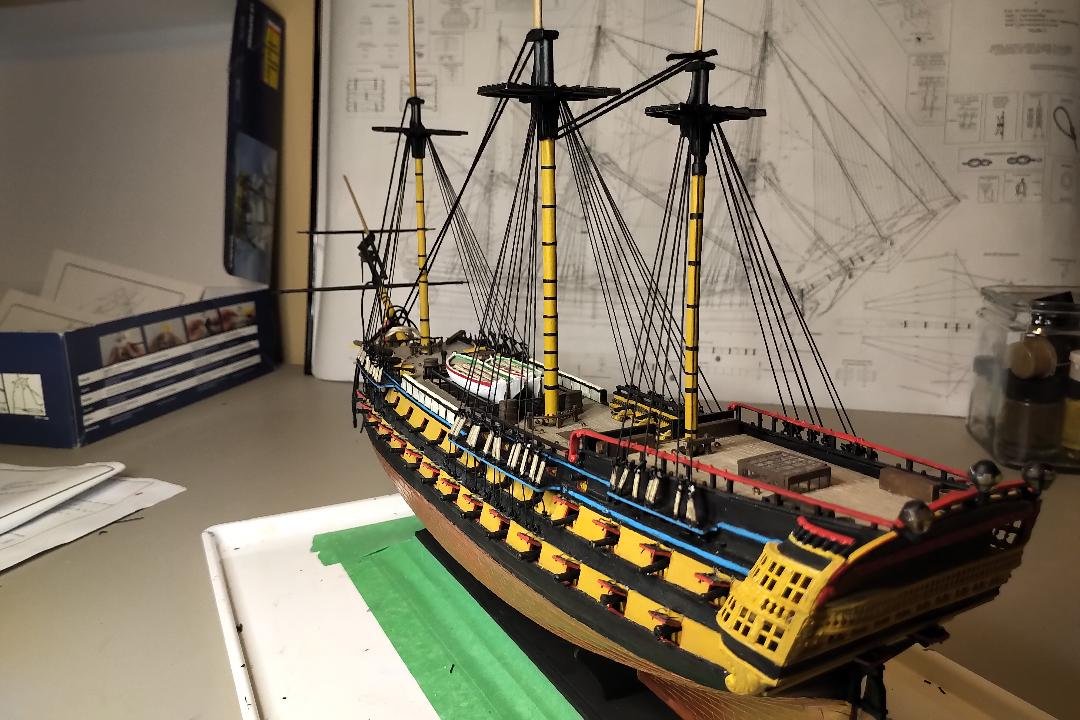
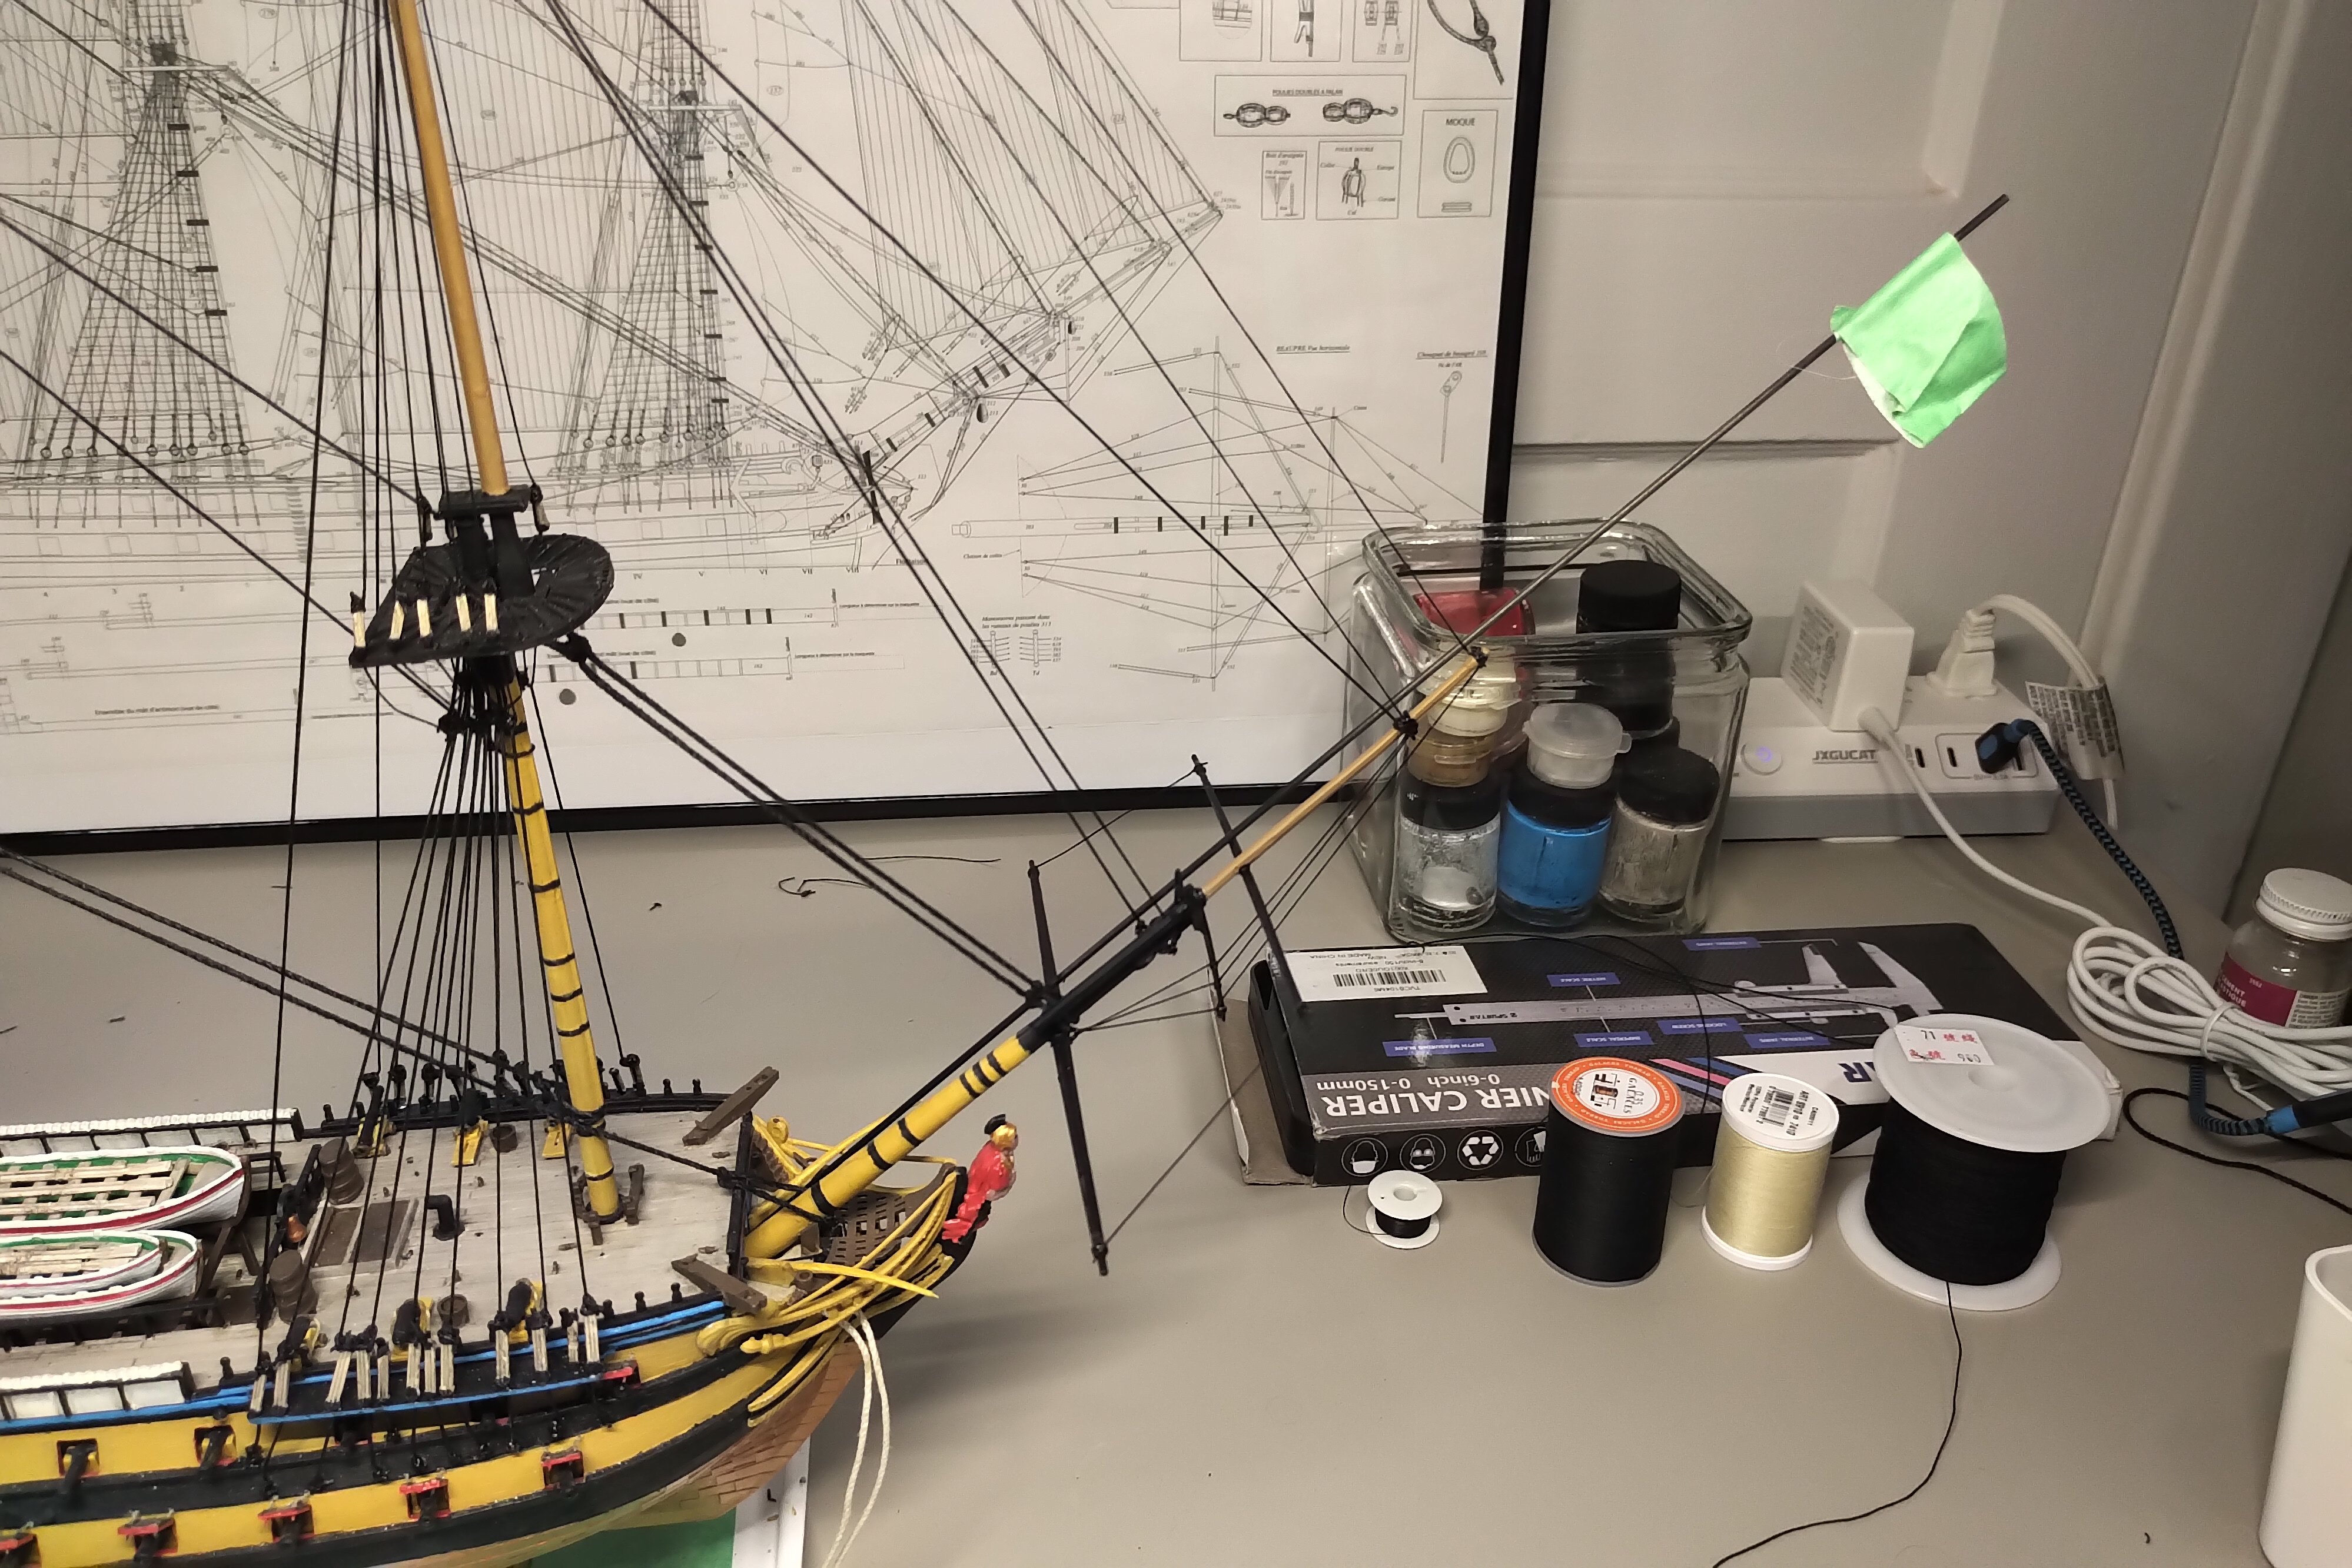
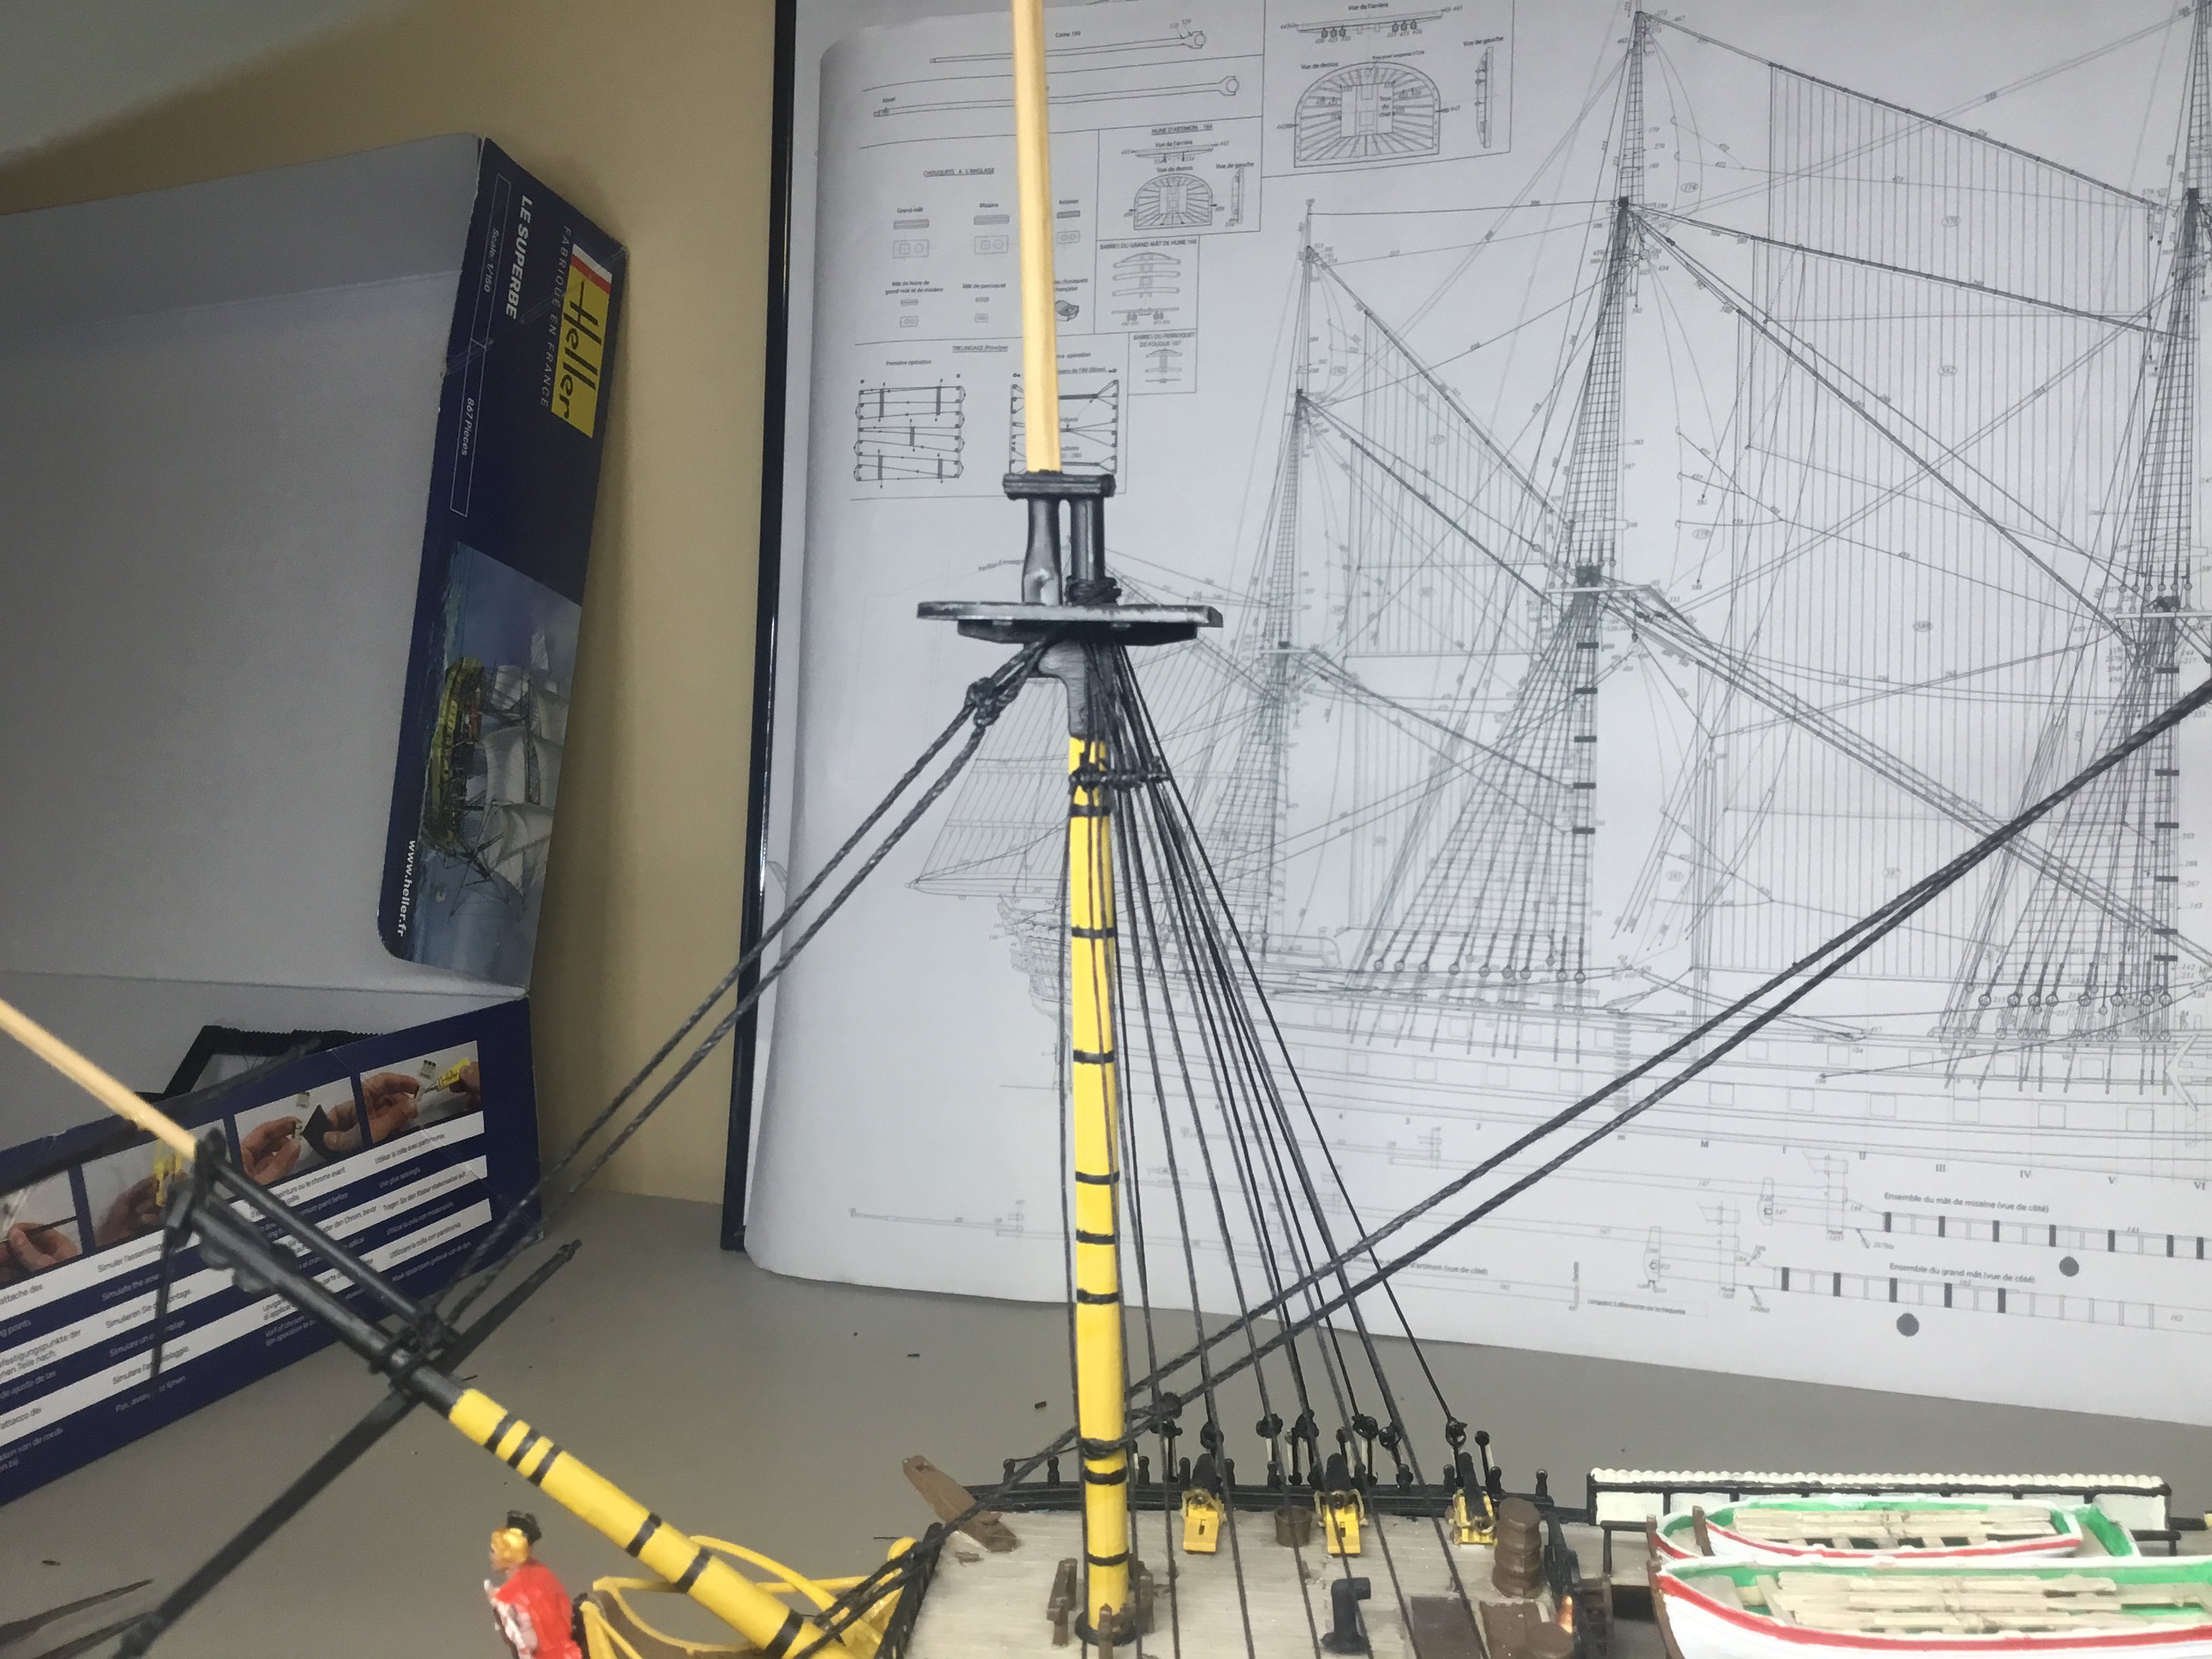
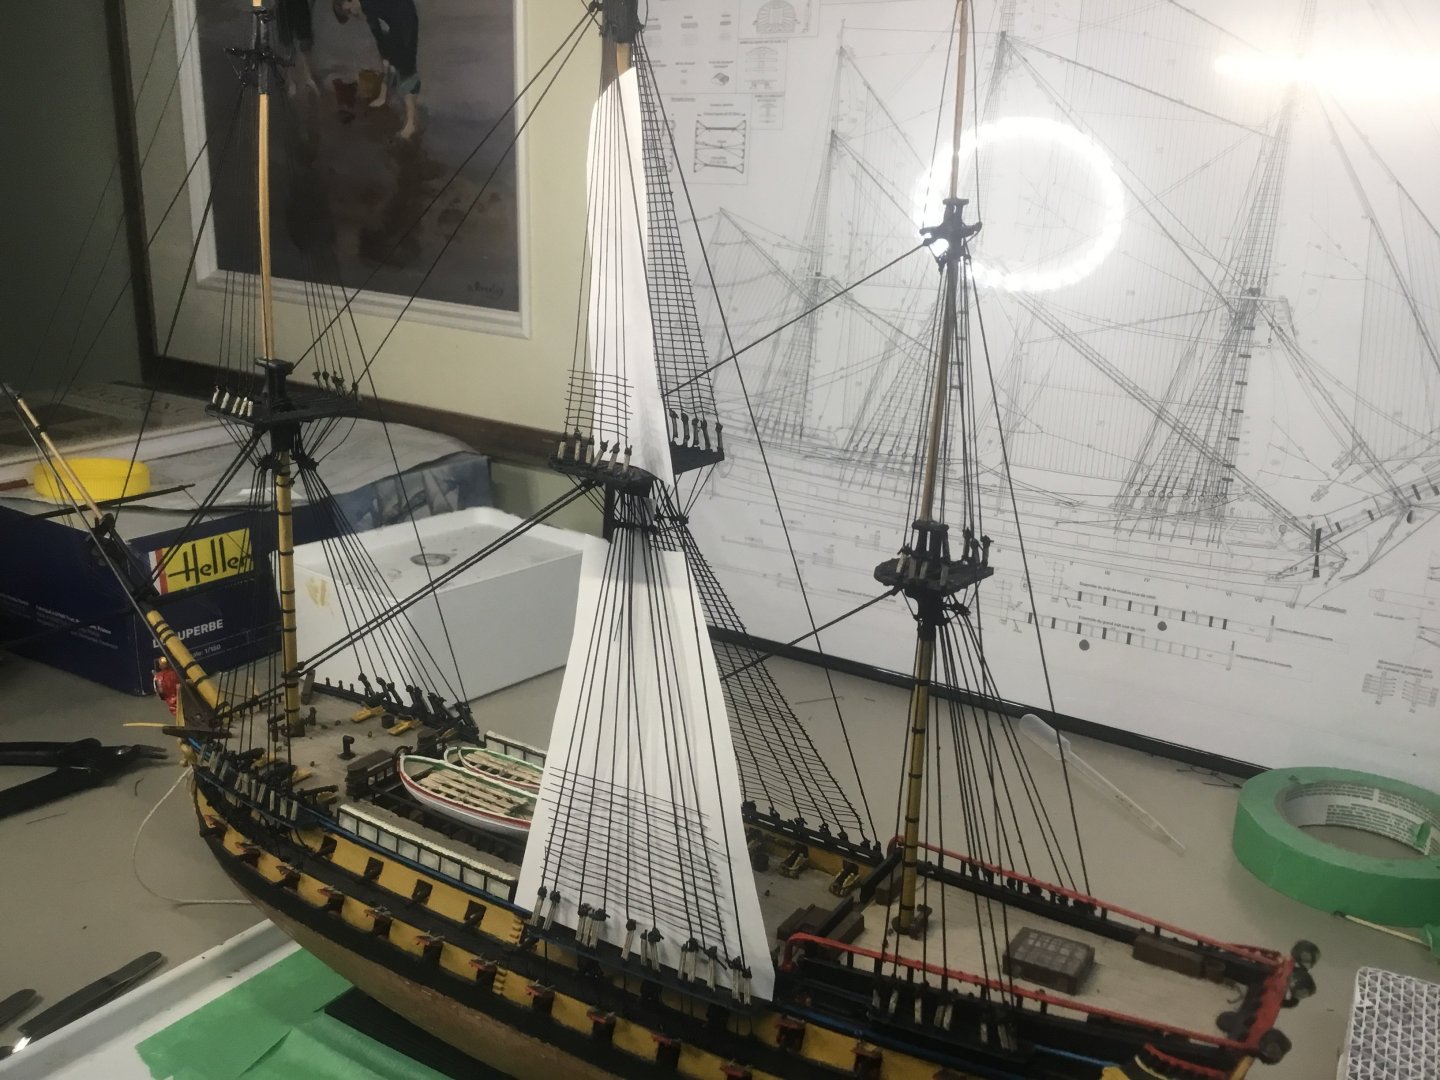
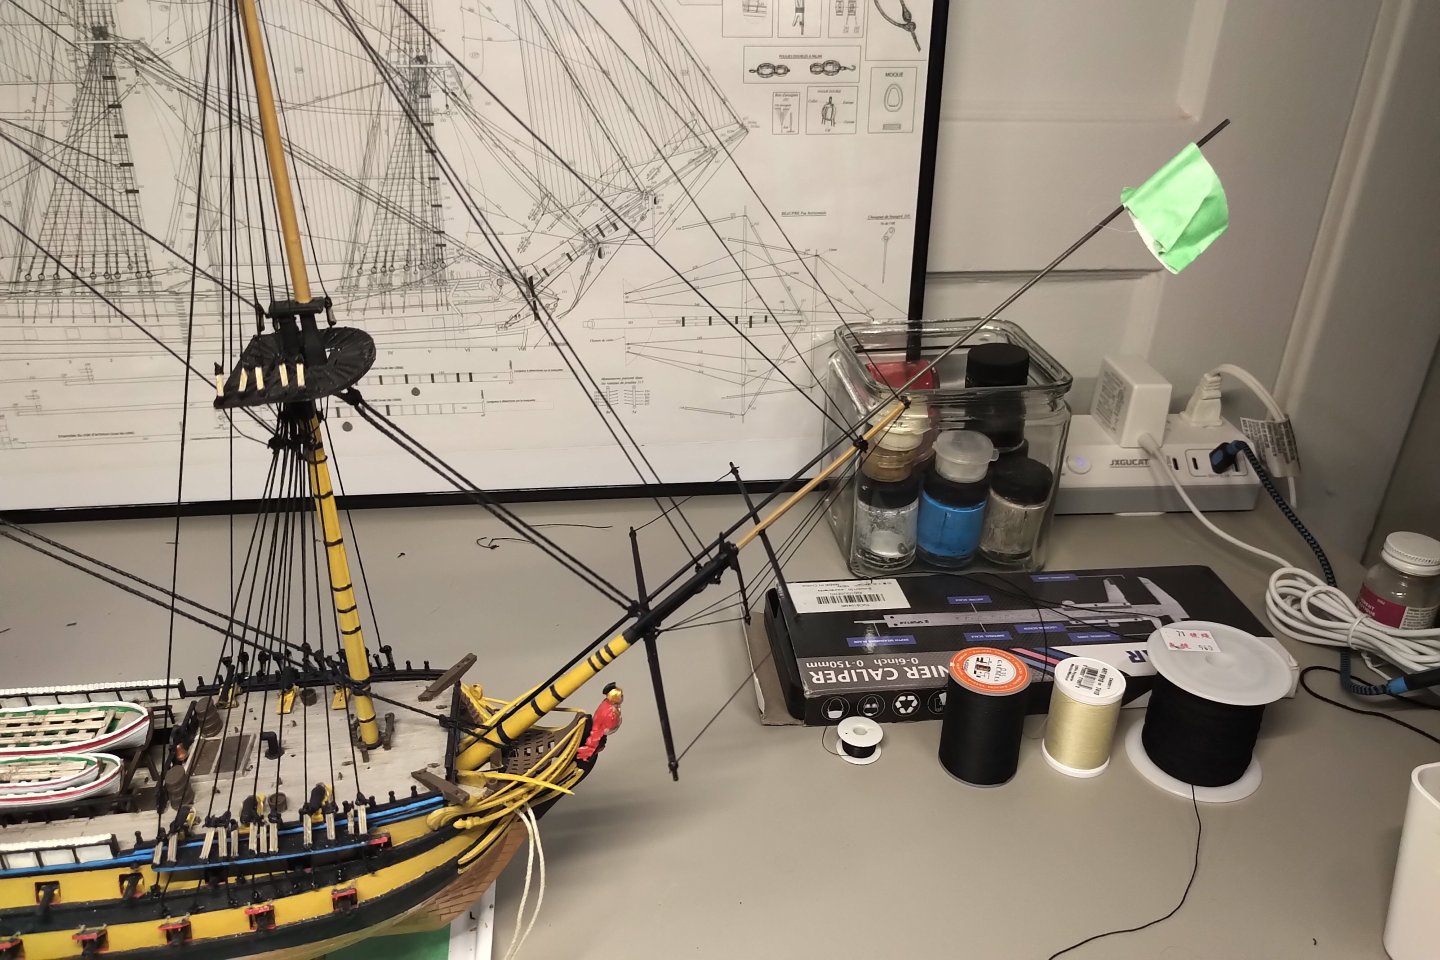
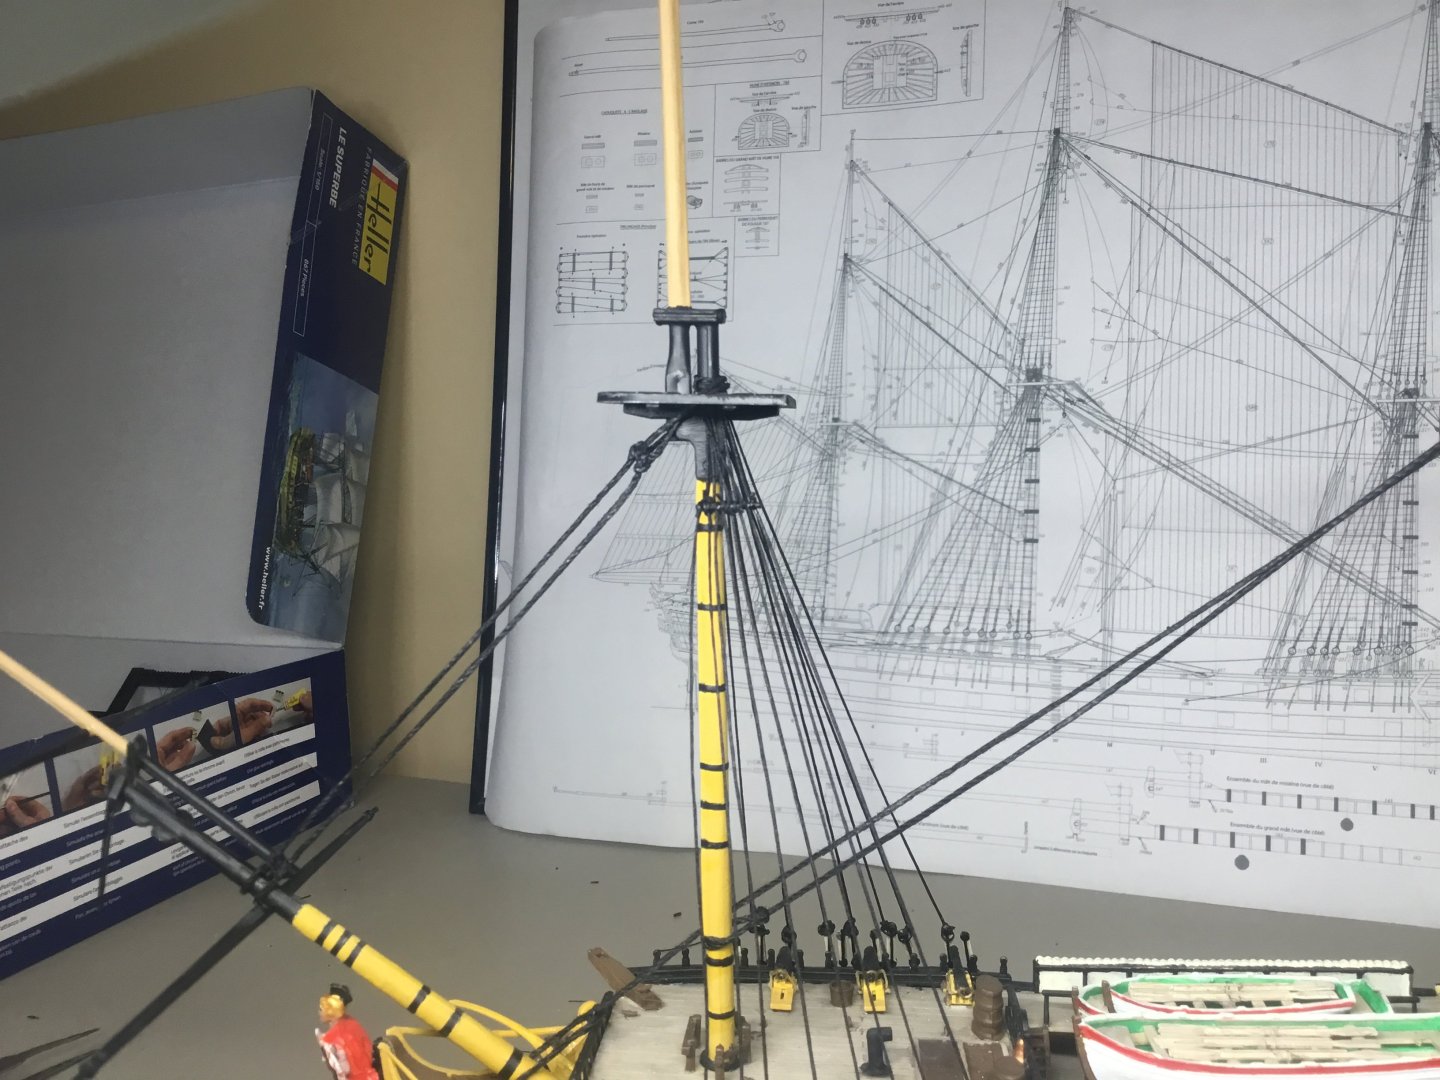
No, it did not work - it was just a mess of broken lines and a waste of thread. I therefore today ordered this tool to help make the ratlines https://houdinimodels.com/harp/ It's made for the 1/150 scale Heller model I'm building, and the videos online look easy enough. On the plus side, my stays are coming along nicely. Notice the last picture where I have placed a long carbon rod with a green tape flag at the end. That's to prevent me from, once again, breaking off the jibboom with my "jimmy hand" as I move around the model.
-
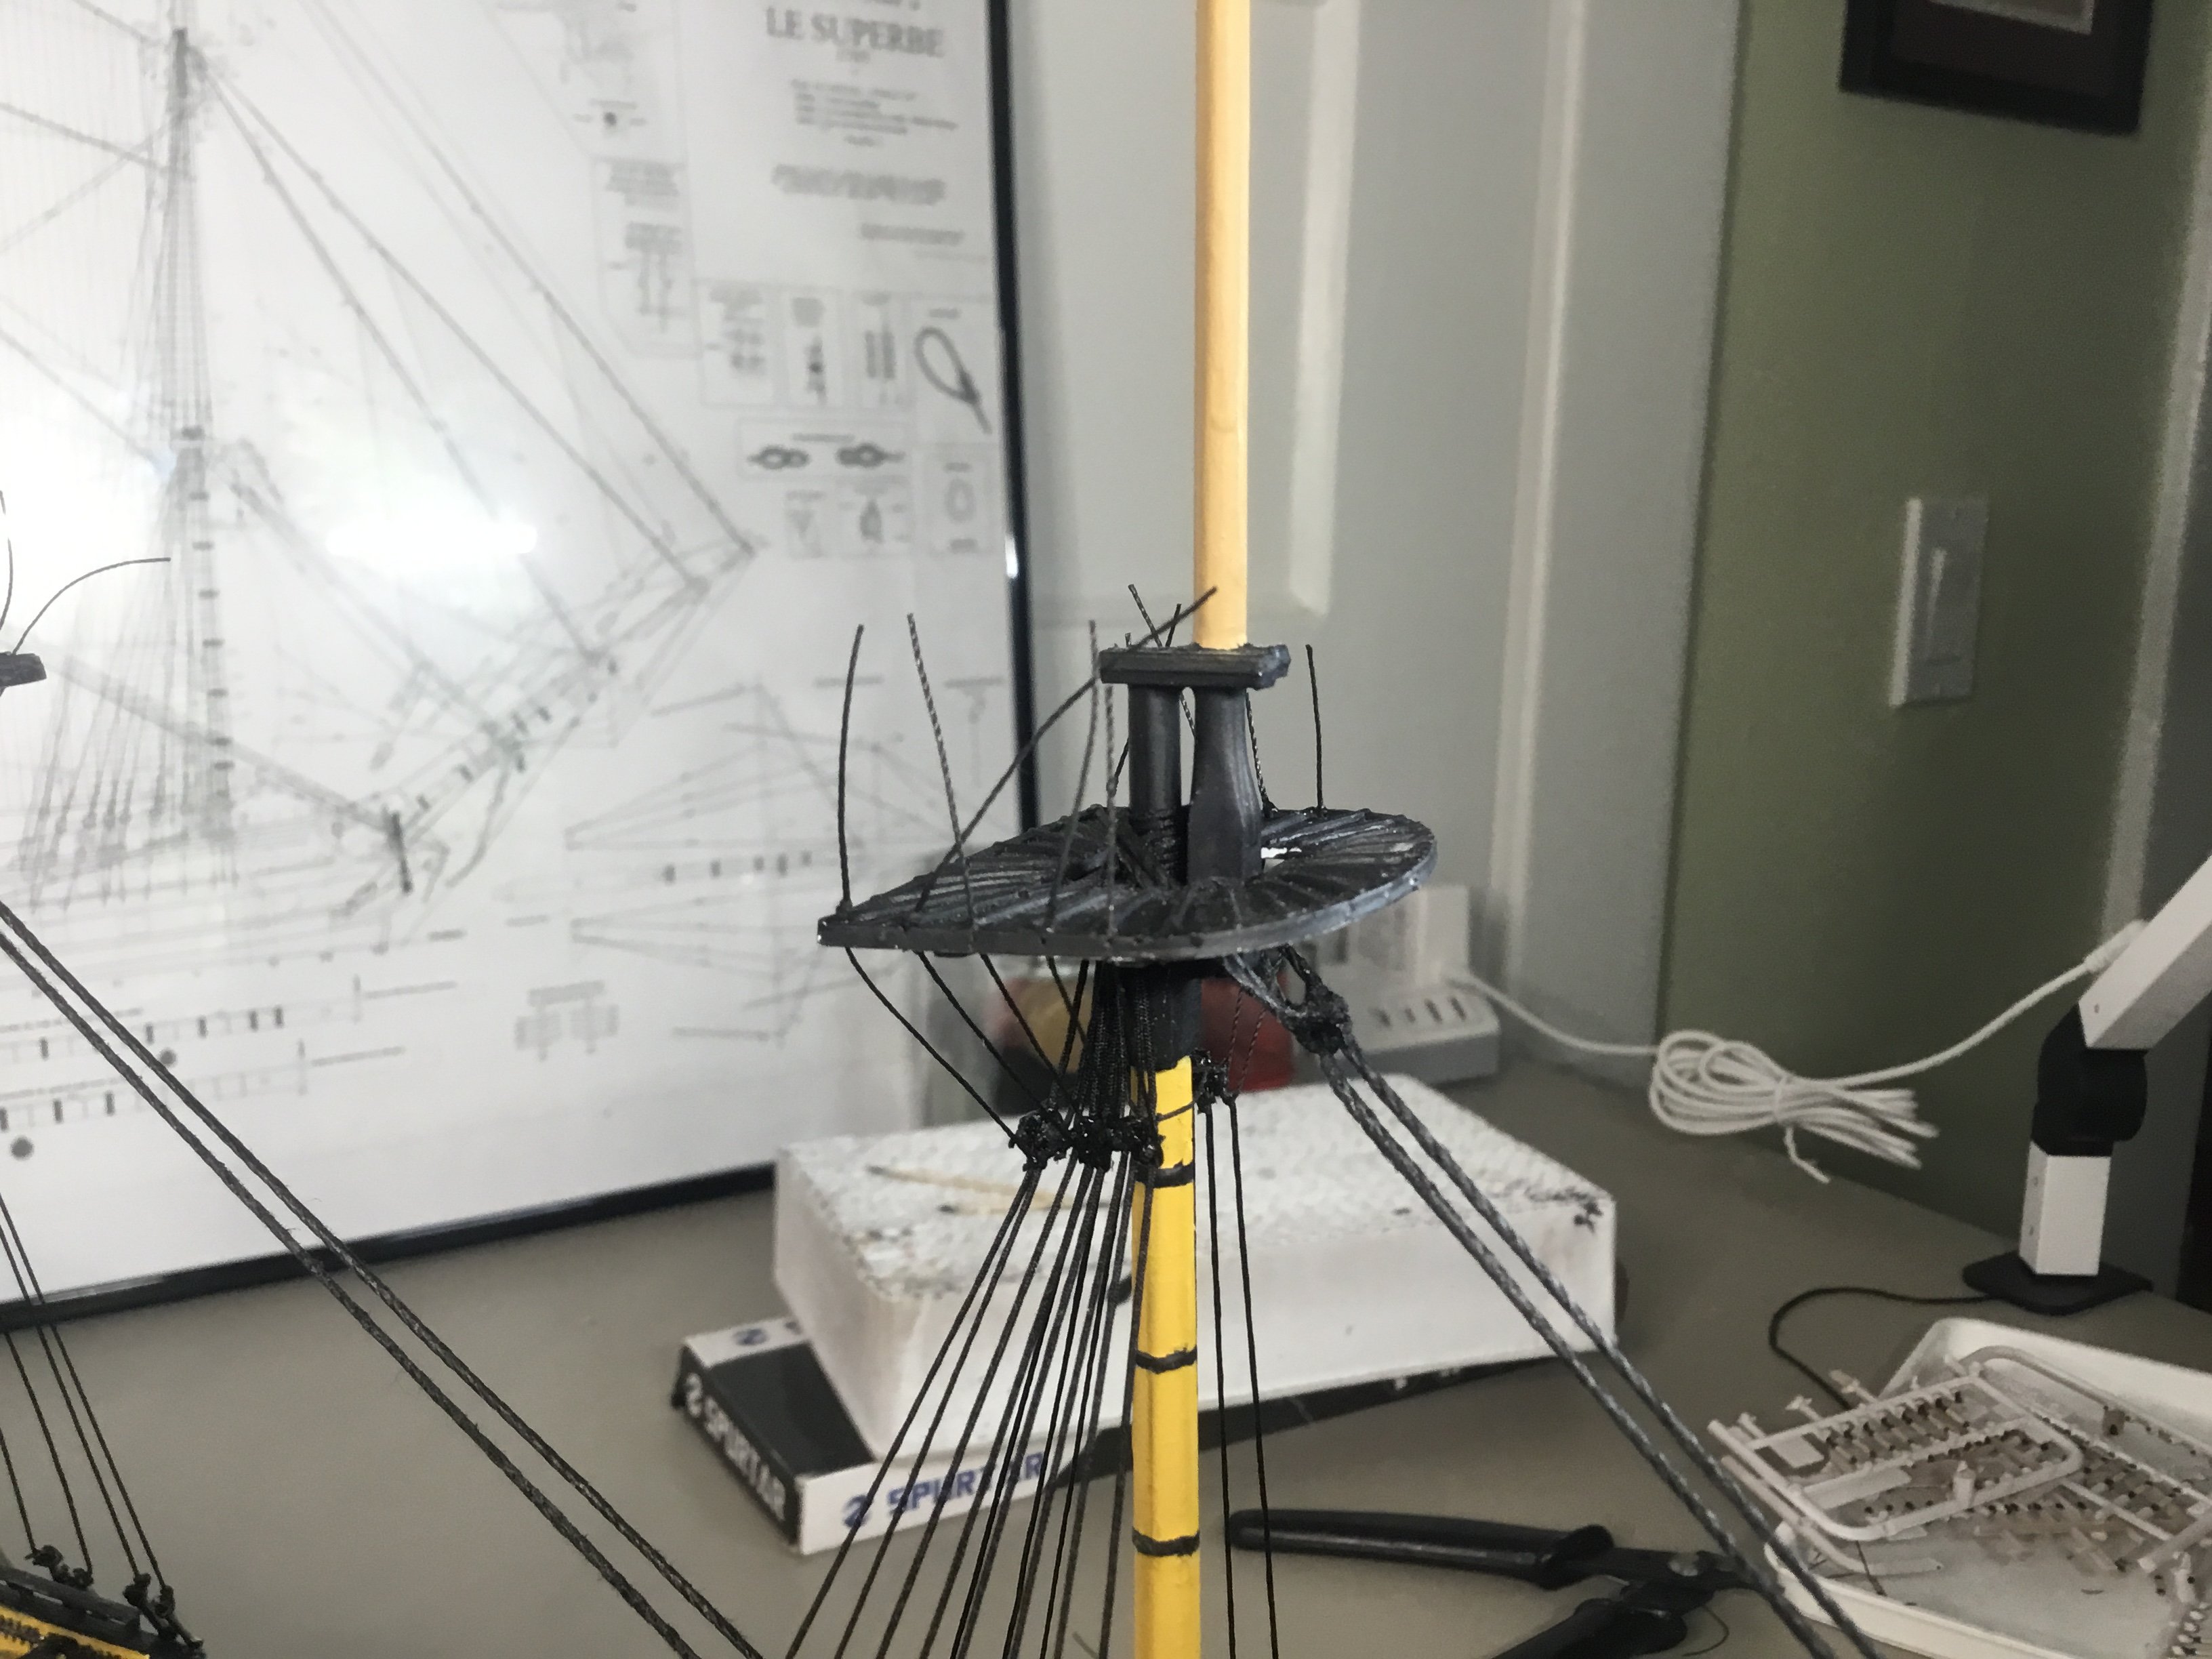
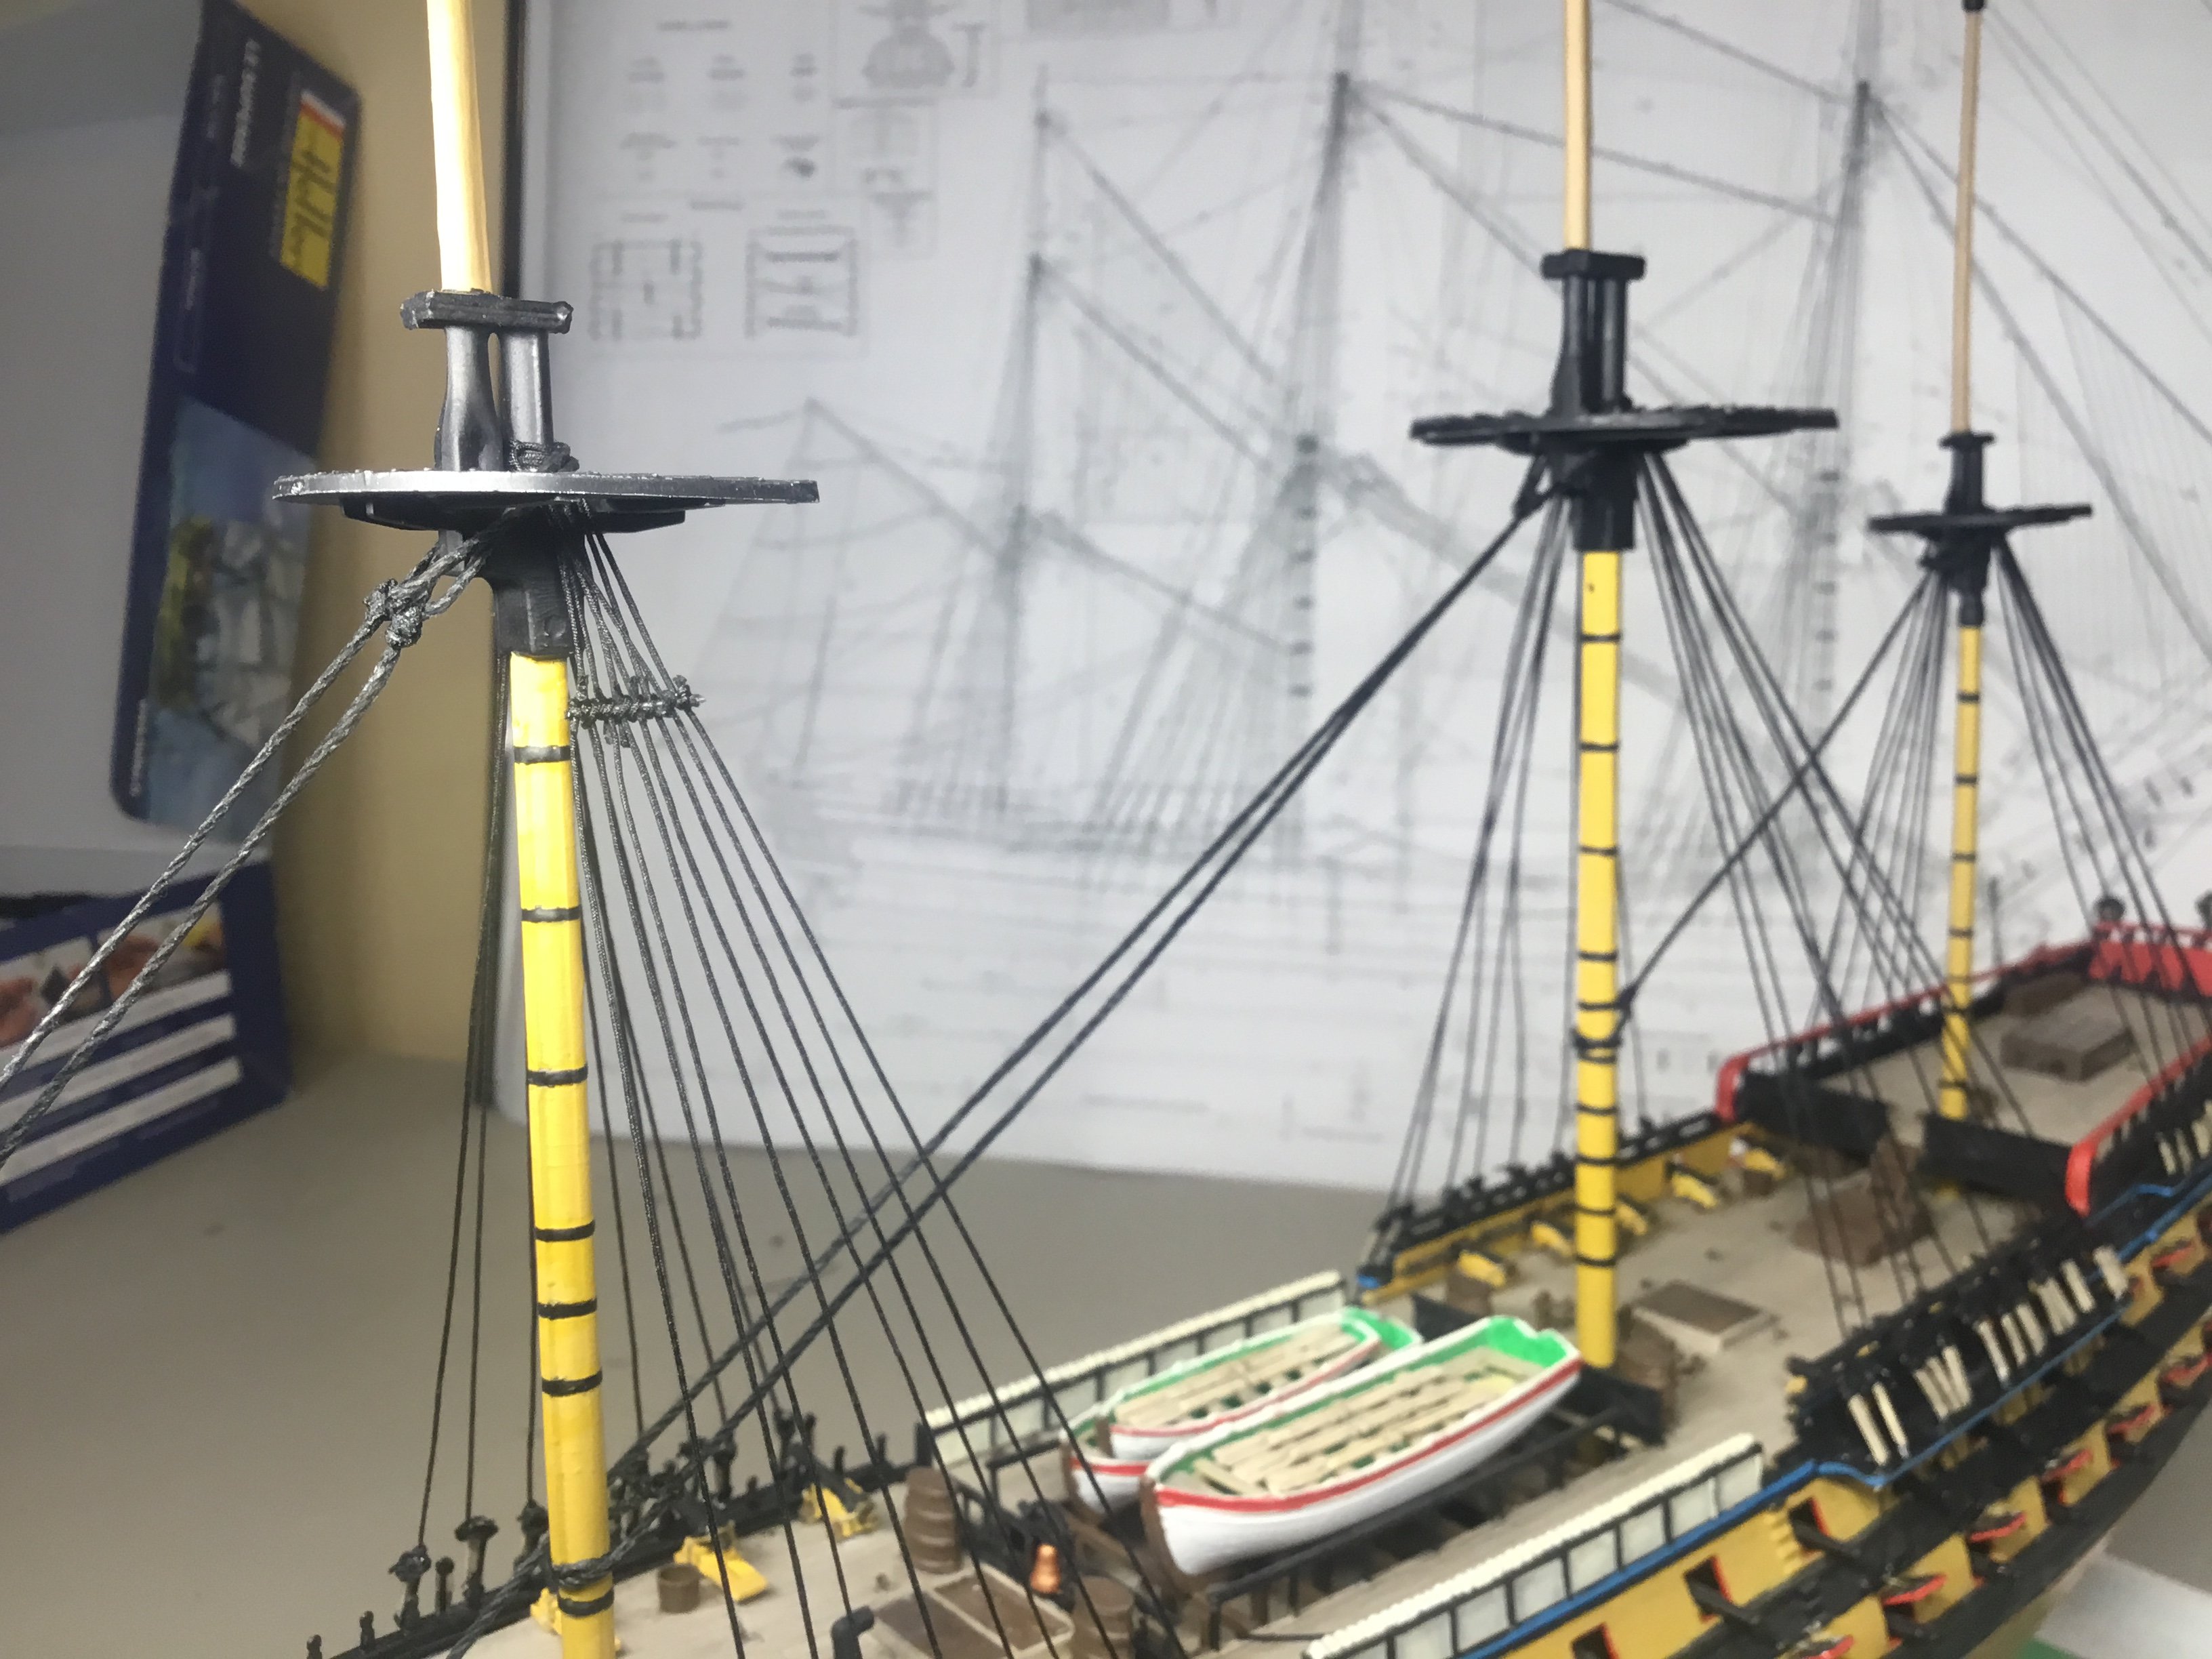
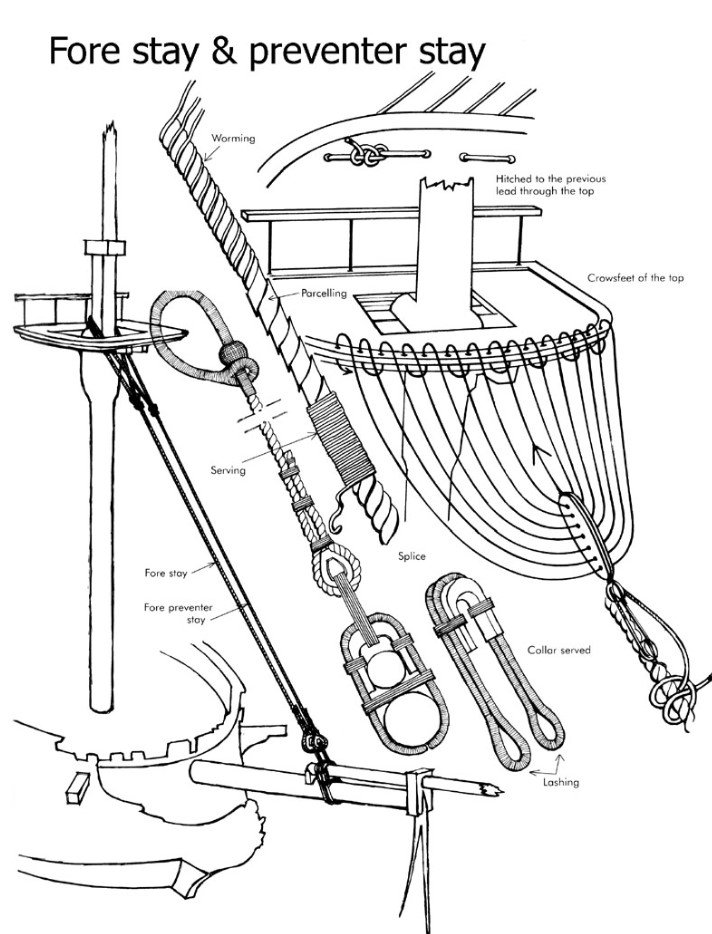
Newbie question here. On my model build (see here) of Heller's 1/150 Le Superbe (but built to a British fashion), the front of the main and foremast top platforms have a line of small holes. The image below says lines from these holes should connect with the fore and main preventor stays, but I do not see this feature on other models. Maybe it was a French feature I can ignore in my captured HMS vessel?
-
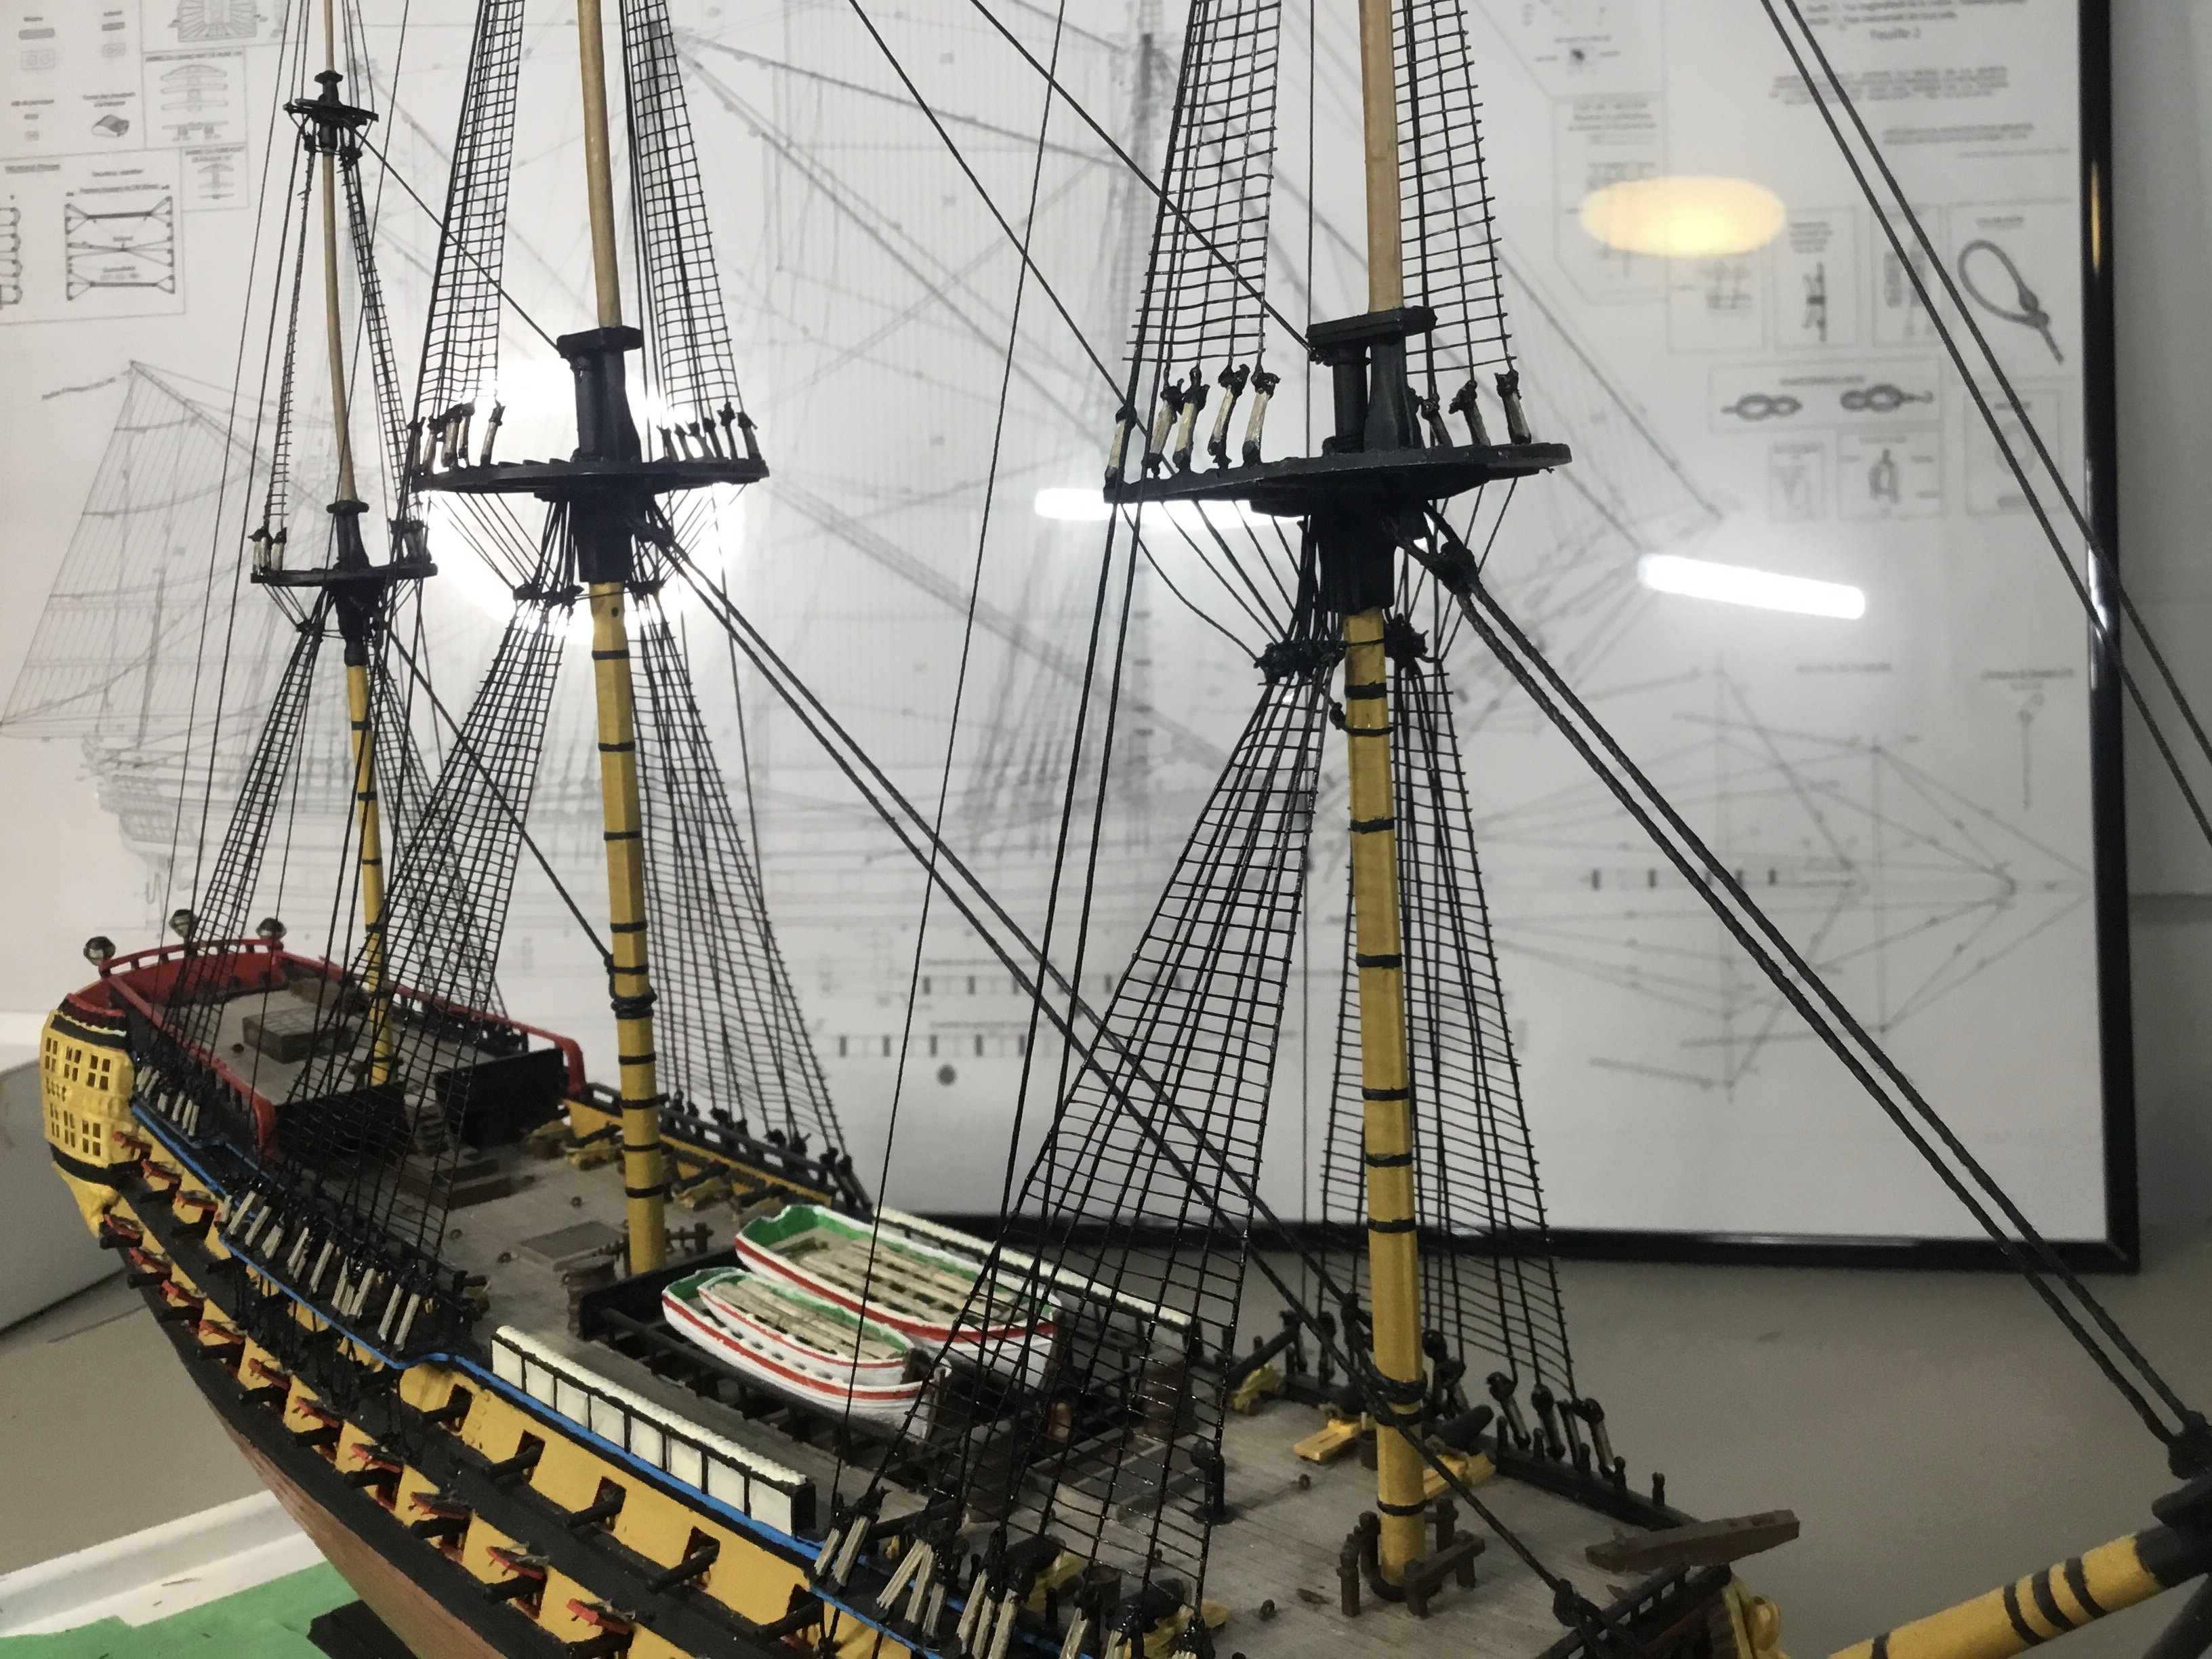
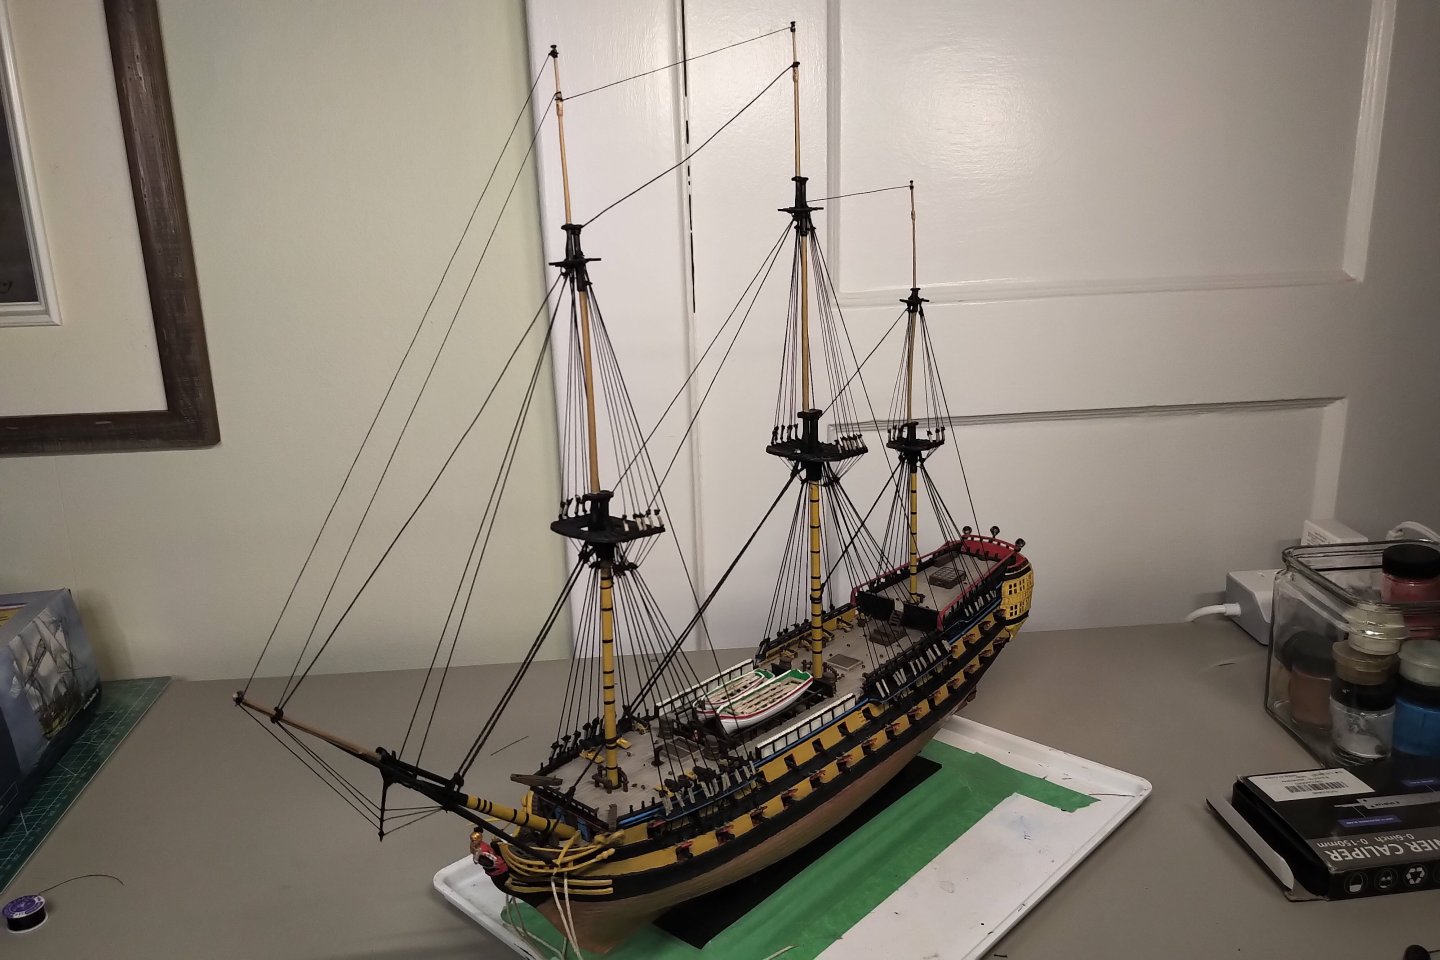
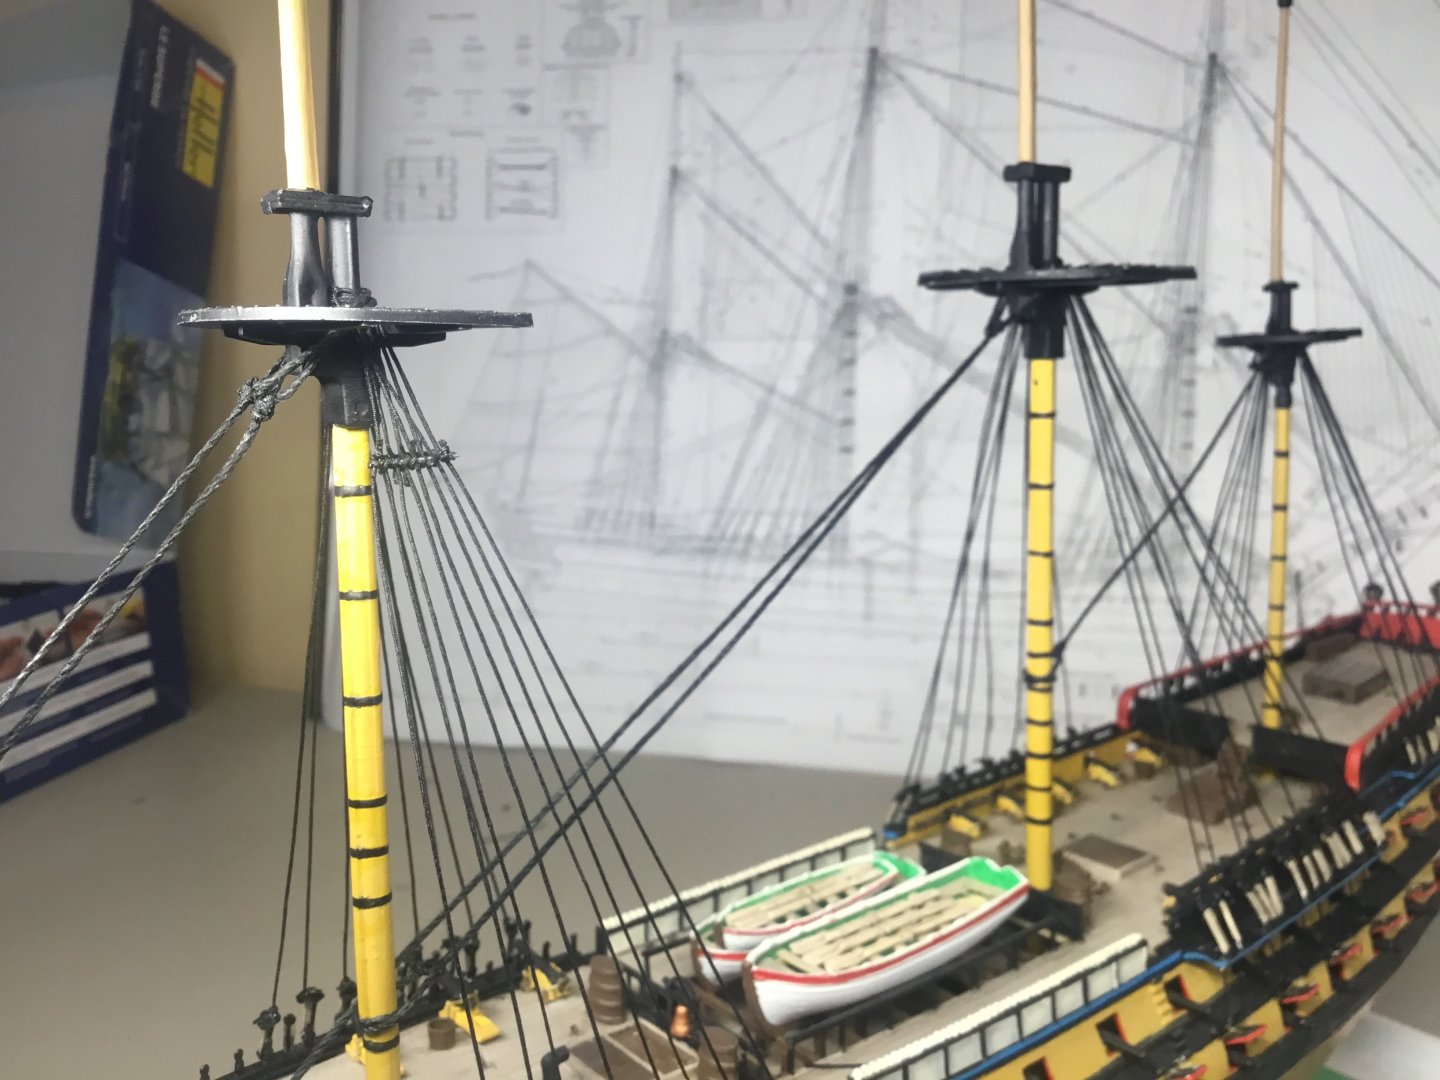
Topmast shrouds now complete. Ratlines are next. I’m considering using the Heller shroud loom for just the horizontal lines to create the ratlines without having to tie hundreds of tiny knots. If it works, I’ll CA glue the hardened horizontal lines to the shrouds.

-
Ready to begin the upper shrouds. The rigging around the tops was tricky, and when I had the window open in the rain, the damp caused all my lower shrouds and stays to droop. Thankfully when the weather improved they tightened again, but this made me think of the men on the high seas having to constantly adjust line tension with the weather. My ship will live in a sealed plastic case, so the weather outside shouldn’t impact the lines.
-
Fabricating the futtock shrouds using 0.4 mm chord and 1mm carbon rod. I tied them at the bottom near the deadeyes, and then pushed them up to just above the first ring on the mast, matching the blueprints. I then CA glued the knots to the shrouds, and trimmed off the excess chord.
-
Proper stays now installed. I was looking at the shrouds and thinking how to keep them spread for the ratlines. I then realized this kit does not include the lower futtock shrouds and catharpins needed to spread the shrouds and to secure the top platform deadlines from below the top. I suppose Heller didn't see these as necessary since their shroud tool does the job. So I can fabricate these myself.


-
I’ve decided to not use the Heller shroud tool and instead thread them myself. Here’s today’s update. Disregard the forestays, those are just temporary to prevent the shrouds from pulling the masts backwards during installation.