HOLIDAY DONATION DRIVE - SUPPORT MSW - DO YOUR PART TO KEEP THIS GREAT FORUM GOING! (Only 13 donations so far - C'mon guys!)
×

Reverend Colonel
-
Posts
35 -
Joined
-
Last visited
Content Type
Profiles
Forums
Gallery
Events
Everything posted by Reverend Colonel
-
 Thank you so much for this little bit on cutting a rabbet. I am also making a small model of a small boat and this technique is can be practiced and uses hand tools, which I prefer.
 -
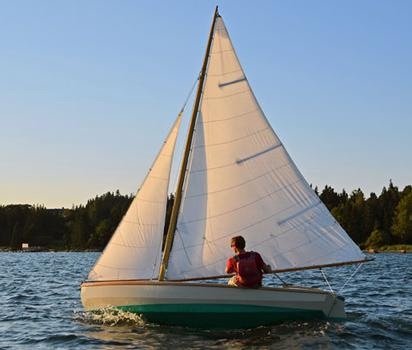
LJP I grew up on the Ohio river. A big fan of paddle wheelers. I have a feeling that my first “big boat” will be the Seawanhaka. A Long Island Sound steam ship with the wheels on the side. I believe it was built in 1860. Anyway, enough about me. I’m following this build. Very cool. By the way…how did you make the boilers? What materials, paint…and the rivets…small brass bits…all of the sudden the boilers appeared in all their glory...whatever the case, they look great. Thanks for sharing your build. RevCol https://modelshipworld.com/topic/30548-biscayne-bay-sailing-skiff-by-reverend-colonel-124-small-made-from-a-beech-log-ng-herreshoff-design/?do=edit
-
Roger & Keith: Thanks for the replies. I am thrilled to enter into these conversations with others who share the joy. I think problem solving and the way model making is all about the time in between the steps (not just the work of the steps) make it a great antidote for the “world’s” pressure to complete as much as possible as quickly as possible. Already, an application of hot water to the keel has relieved some of the bending pressure forward of station A and the stem is in the position necessary for attaching the stringers. This is all fodder for the next post. Which may make this a worthwhile point to mention the next steps, as way to invite some more considerations and speculations. Should I bother to carve a small rabbet in the stem to receive the planks? It seems like a toss up. If I was entirely confident I know it would be the best option. But is the pay off worth the risk for a first time builder? Otherwise, I’d have to bevel the planks to meet the stem with the most surface area. it’s a very detailed maneuver and in the end I’d like to rely on filler as little as possible. Ok. Talk again soon. JWL
-
Ccoyle & KeithAug, thank you for the likes and interest. I know that much of the first post (particularly the text) may seem very 101, but I’m focused on describing some of the basics for other first time builders in order to share info that I had been looking for when I first began scouring this forum. I do have some questions and maybe the two of you can help me answer them. The forward portion of the keel, which includes the stem, needs to be pulled down a bit, the curve beyond the first station needs to be a little deeper. I used waterproof wood glue to laminate the keel and attach the stem, transom and transom knee. To possibly assure some natural curve to the keel and take the eventual pressure off of the stringers and garboard plank I was hoping I could dampen the keel with a little water. Could this jeopardize the integrity of the keel? Model making appeared to be a low stakes entry into boat construction, but with each steps the stakes increase and I’d like to avoid ruining the work I’ve done. In a similar vain: can I use a PVA that is not water resistant to create a bond that I could detach later? By using water? Or rubbing alcohol. thanks.
-
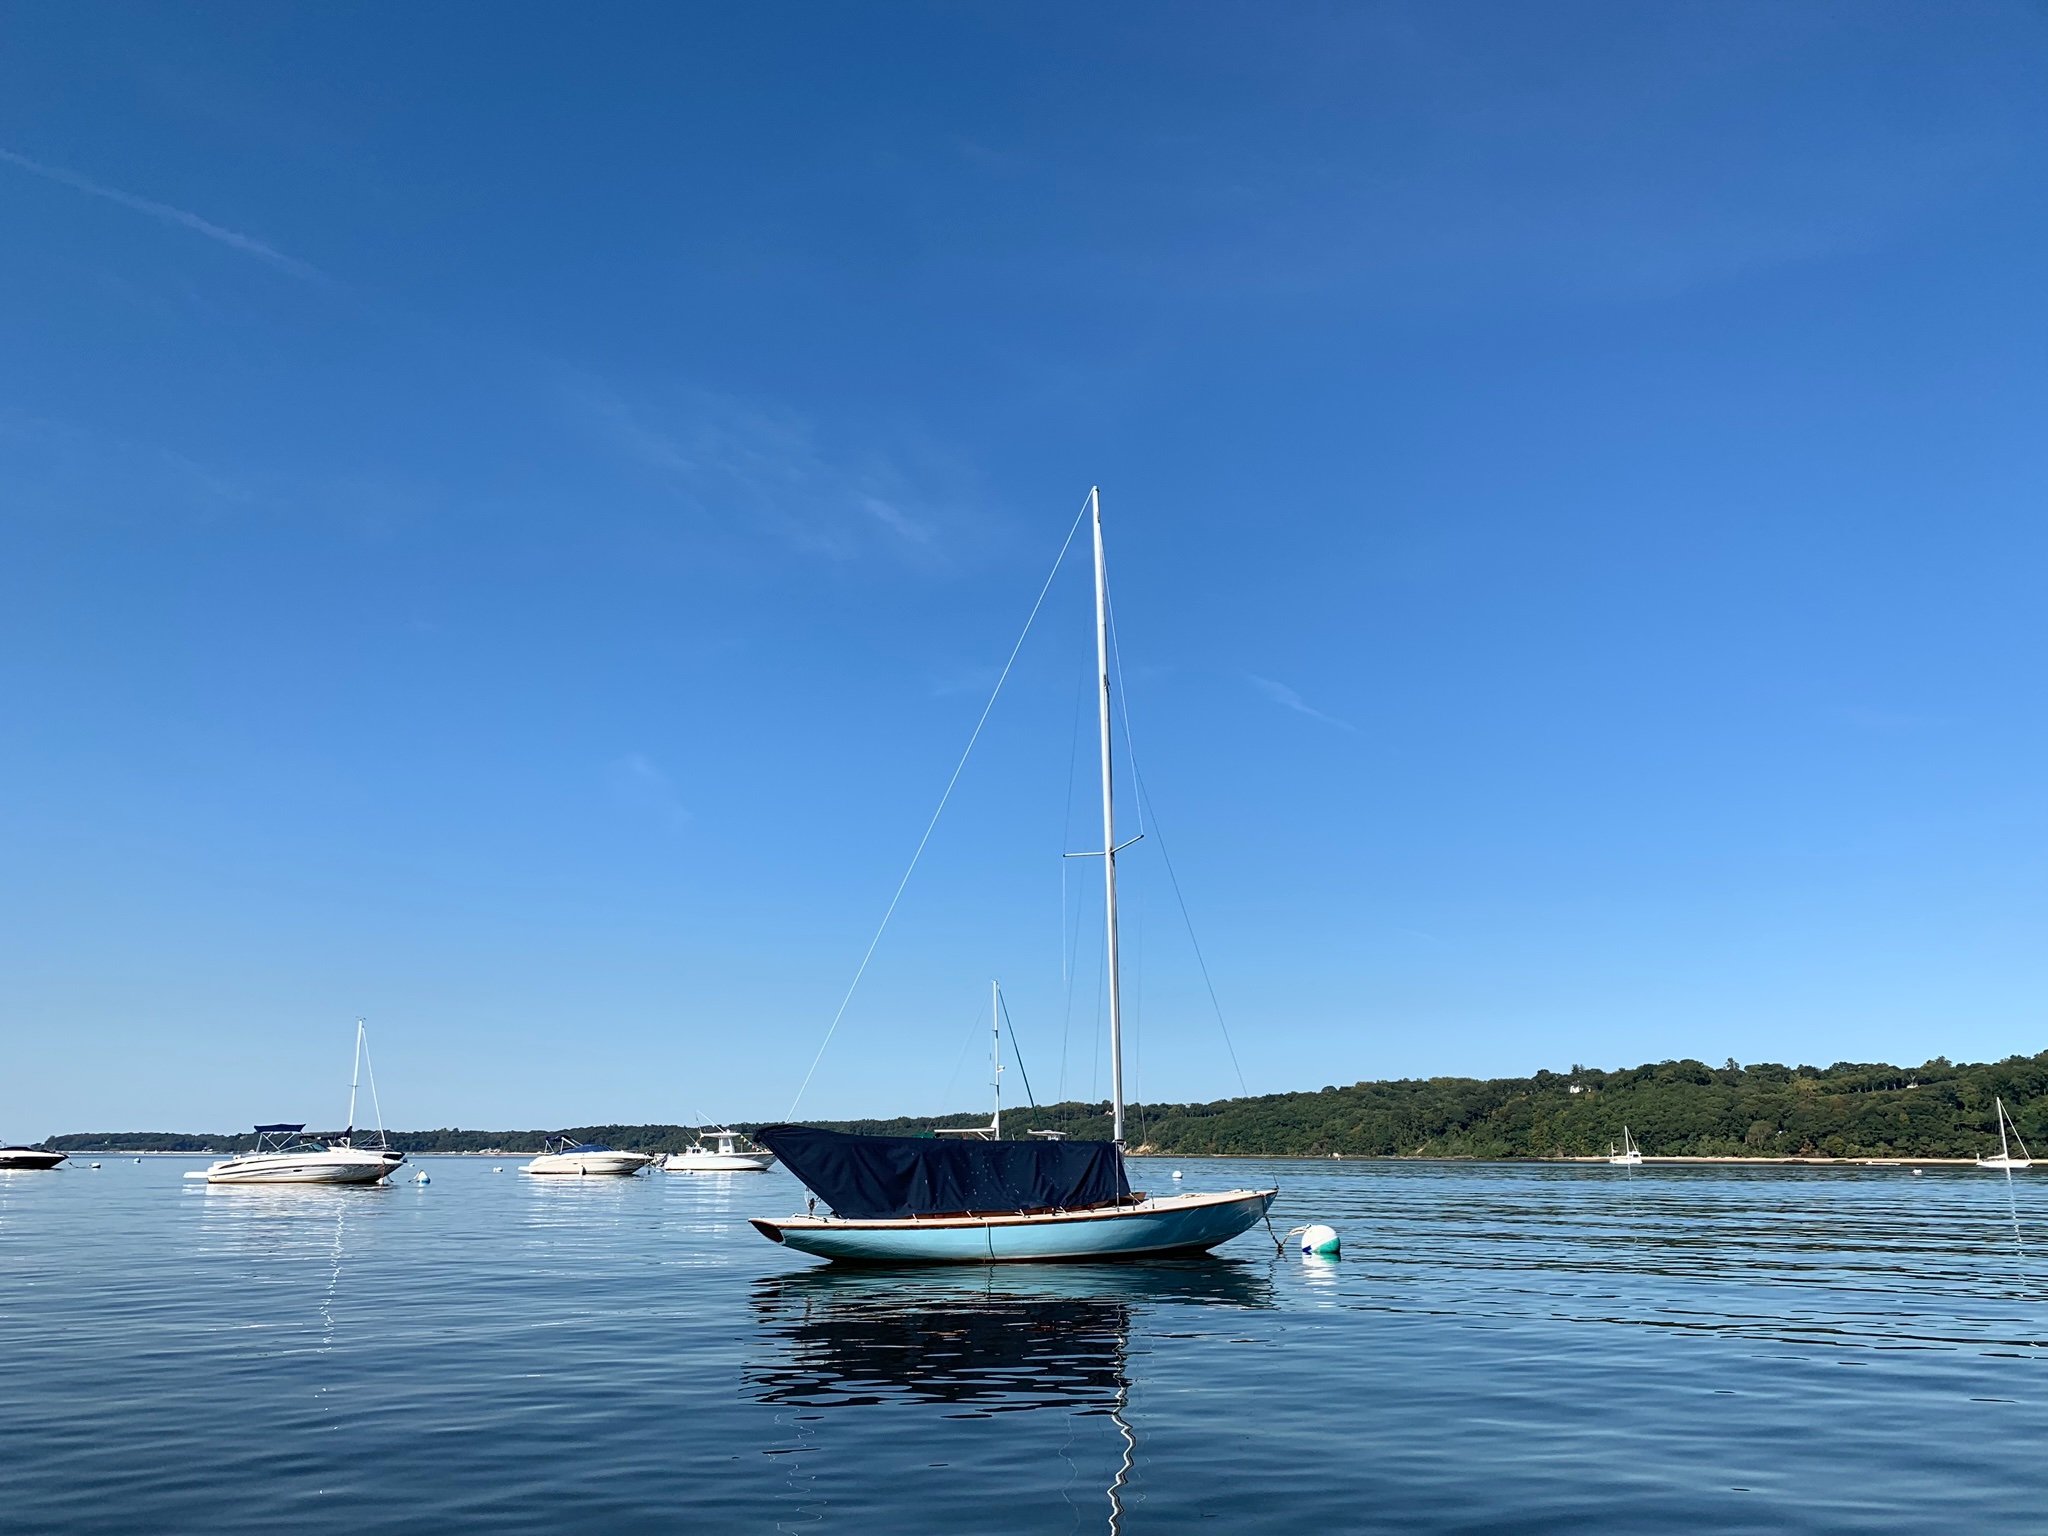
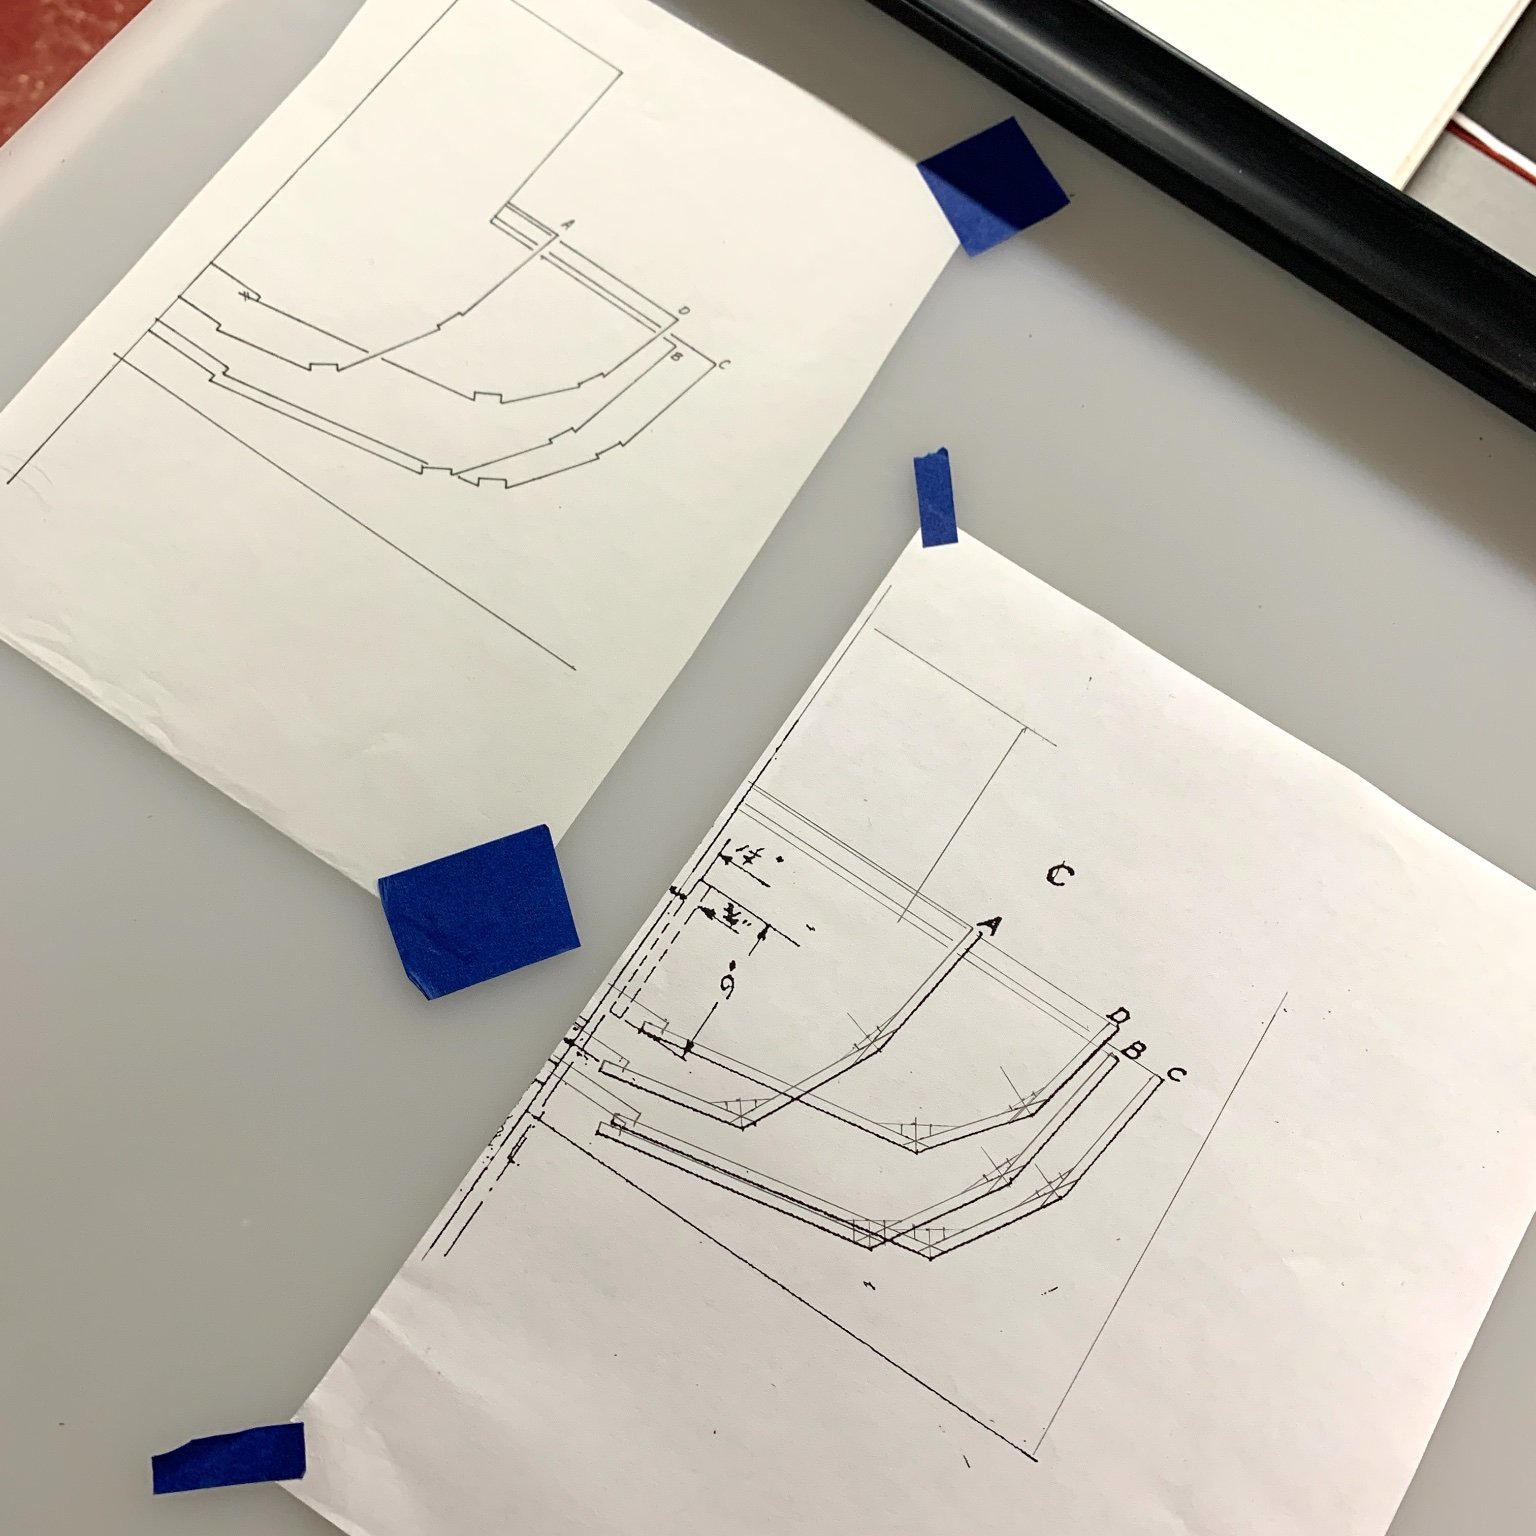
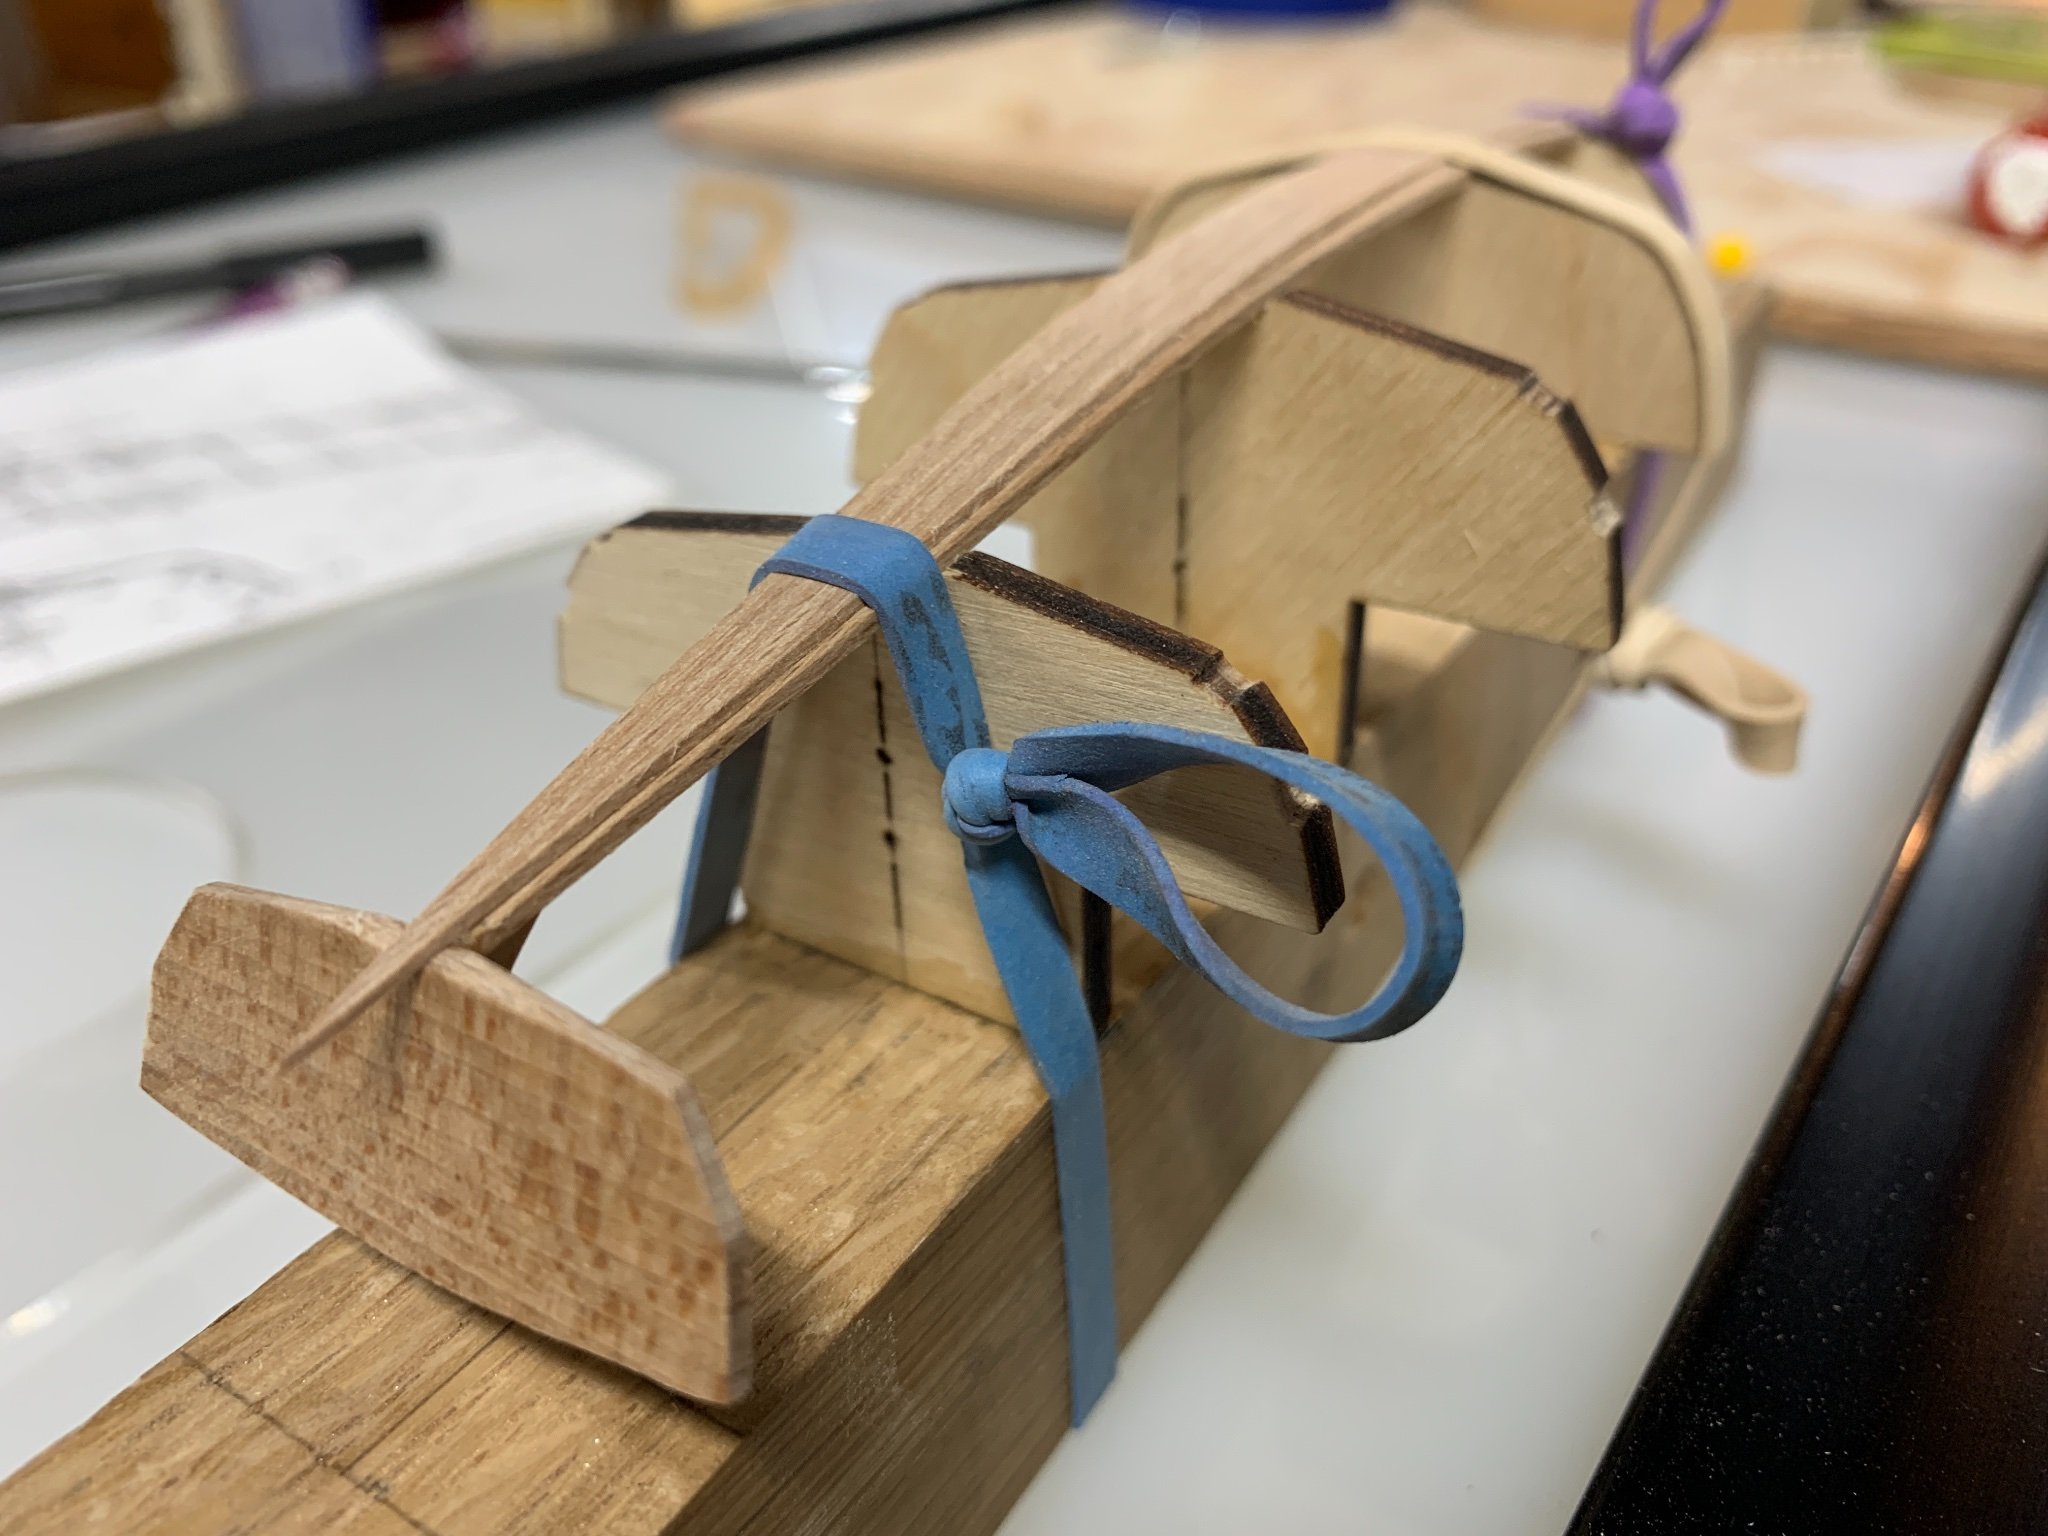
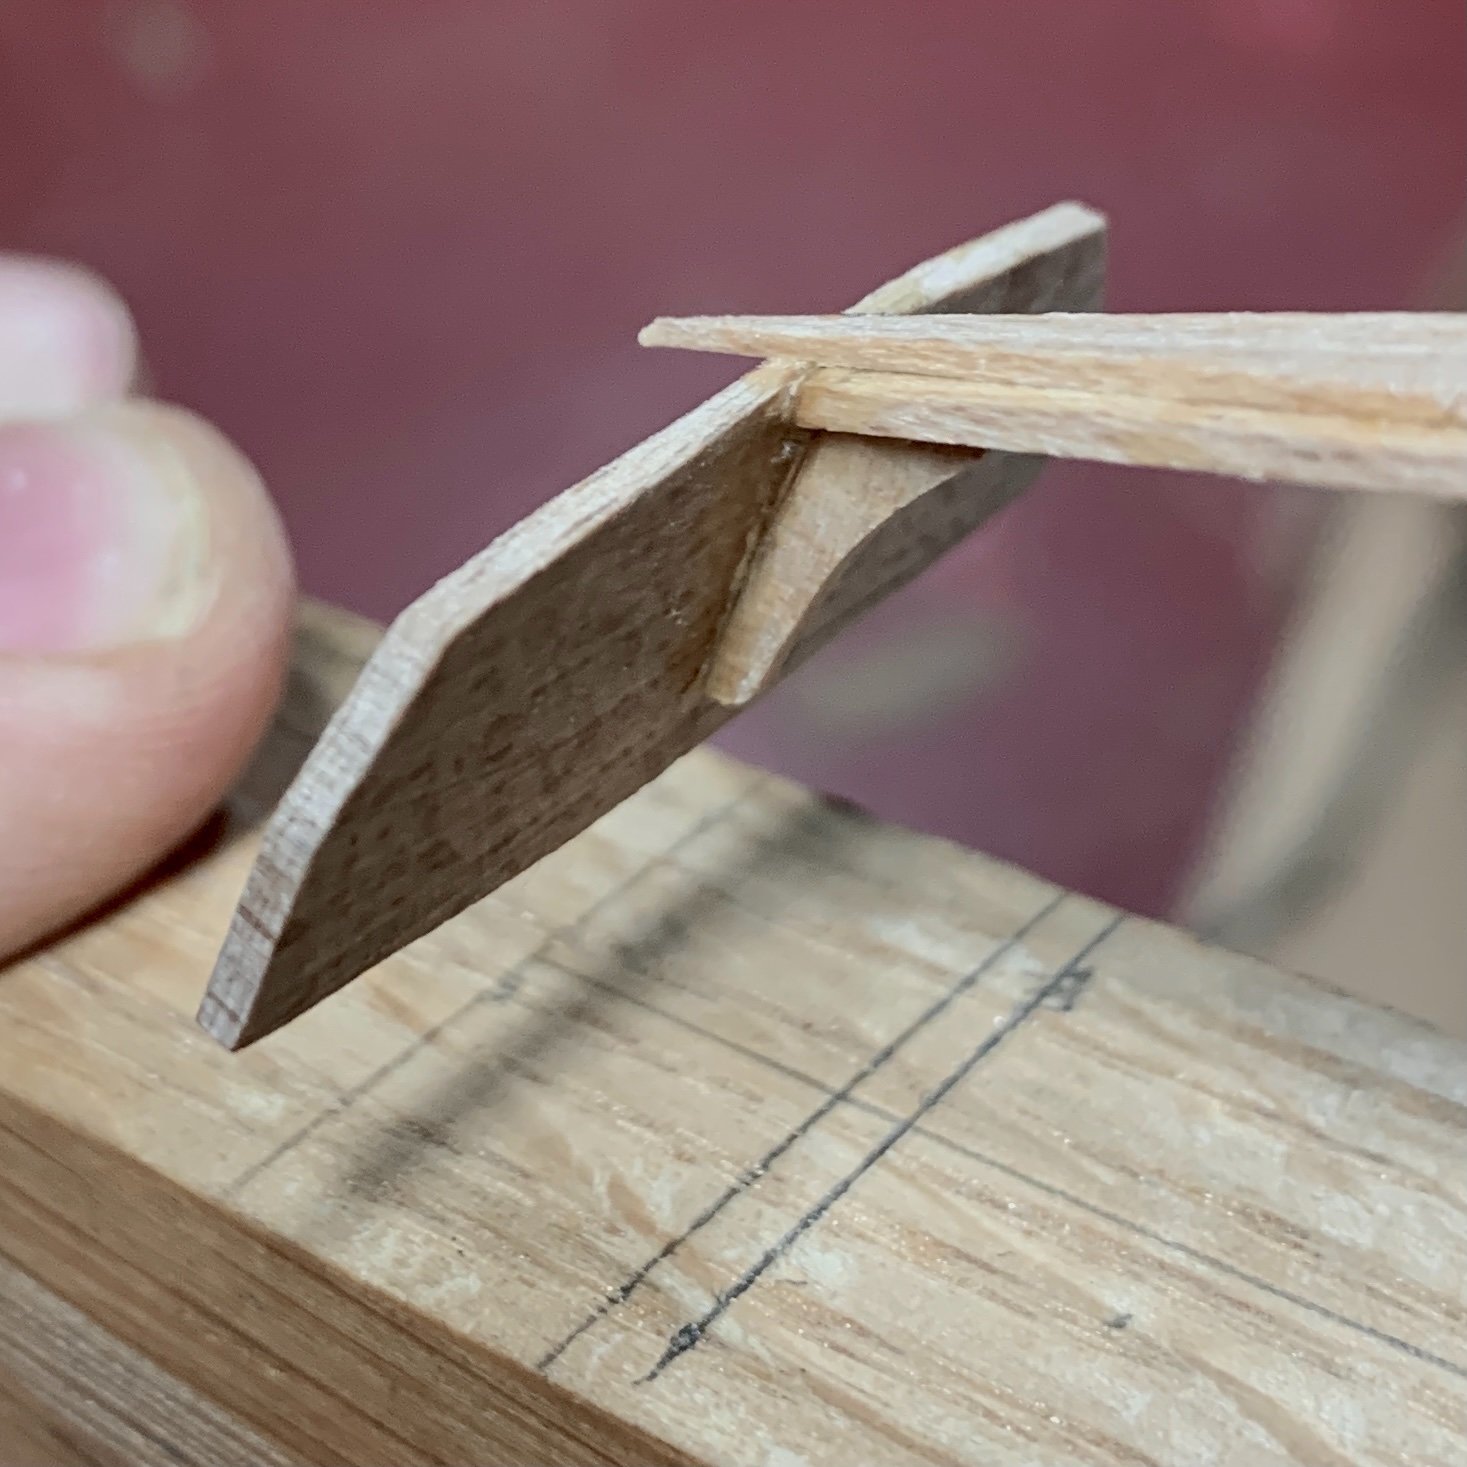
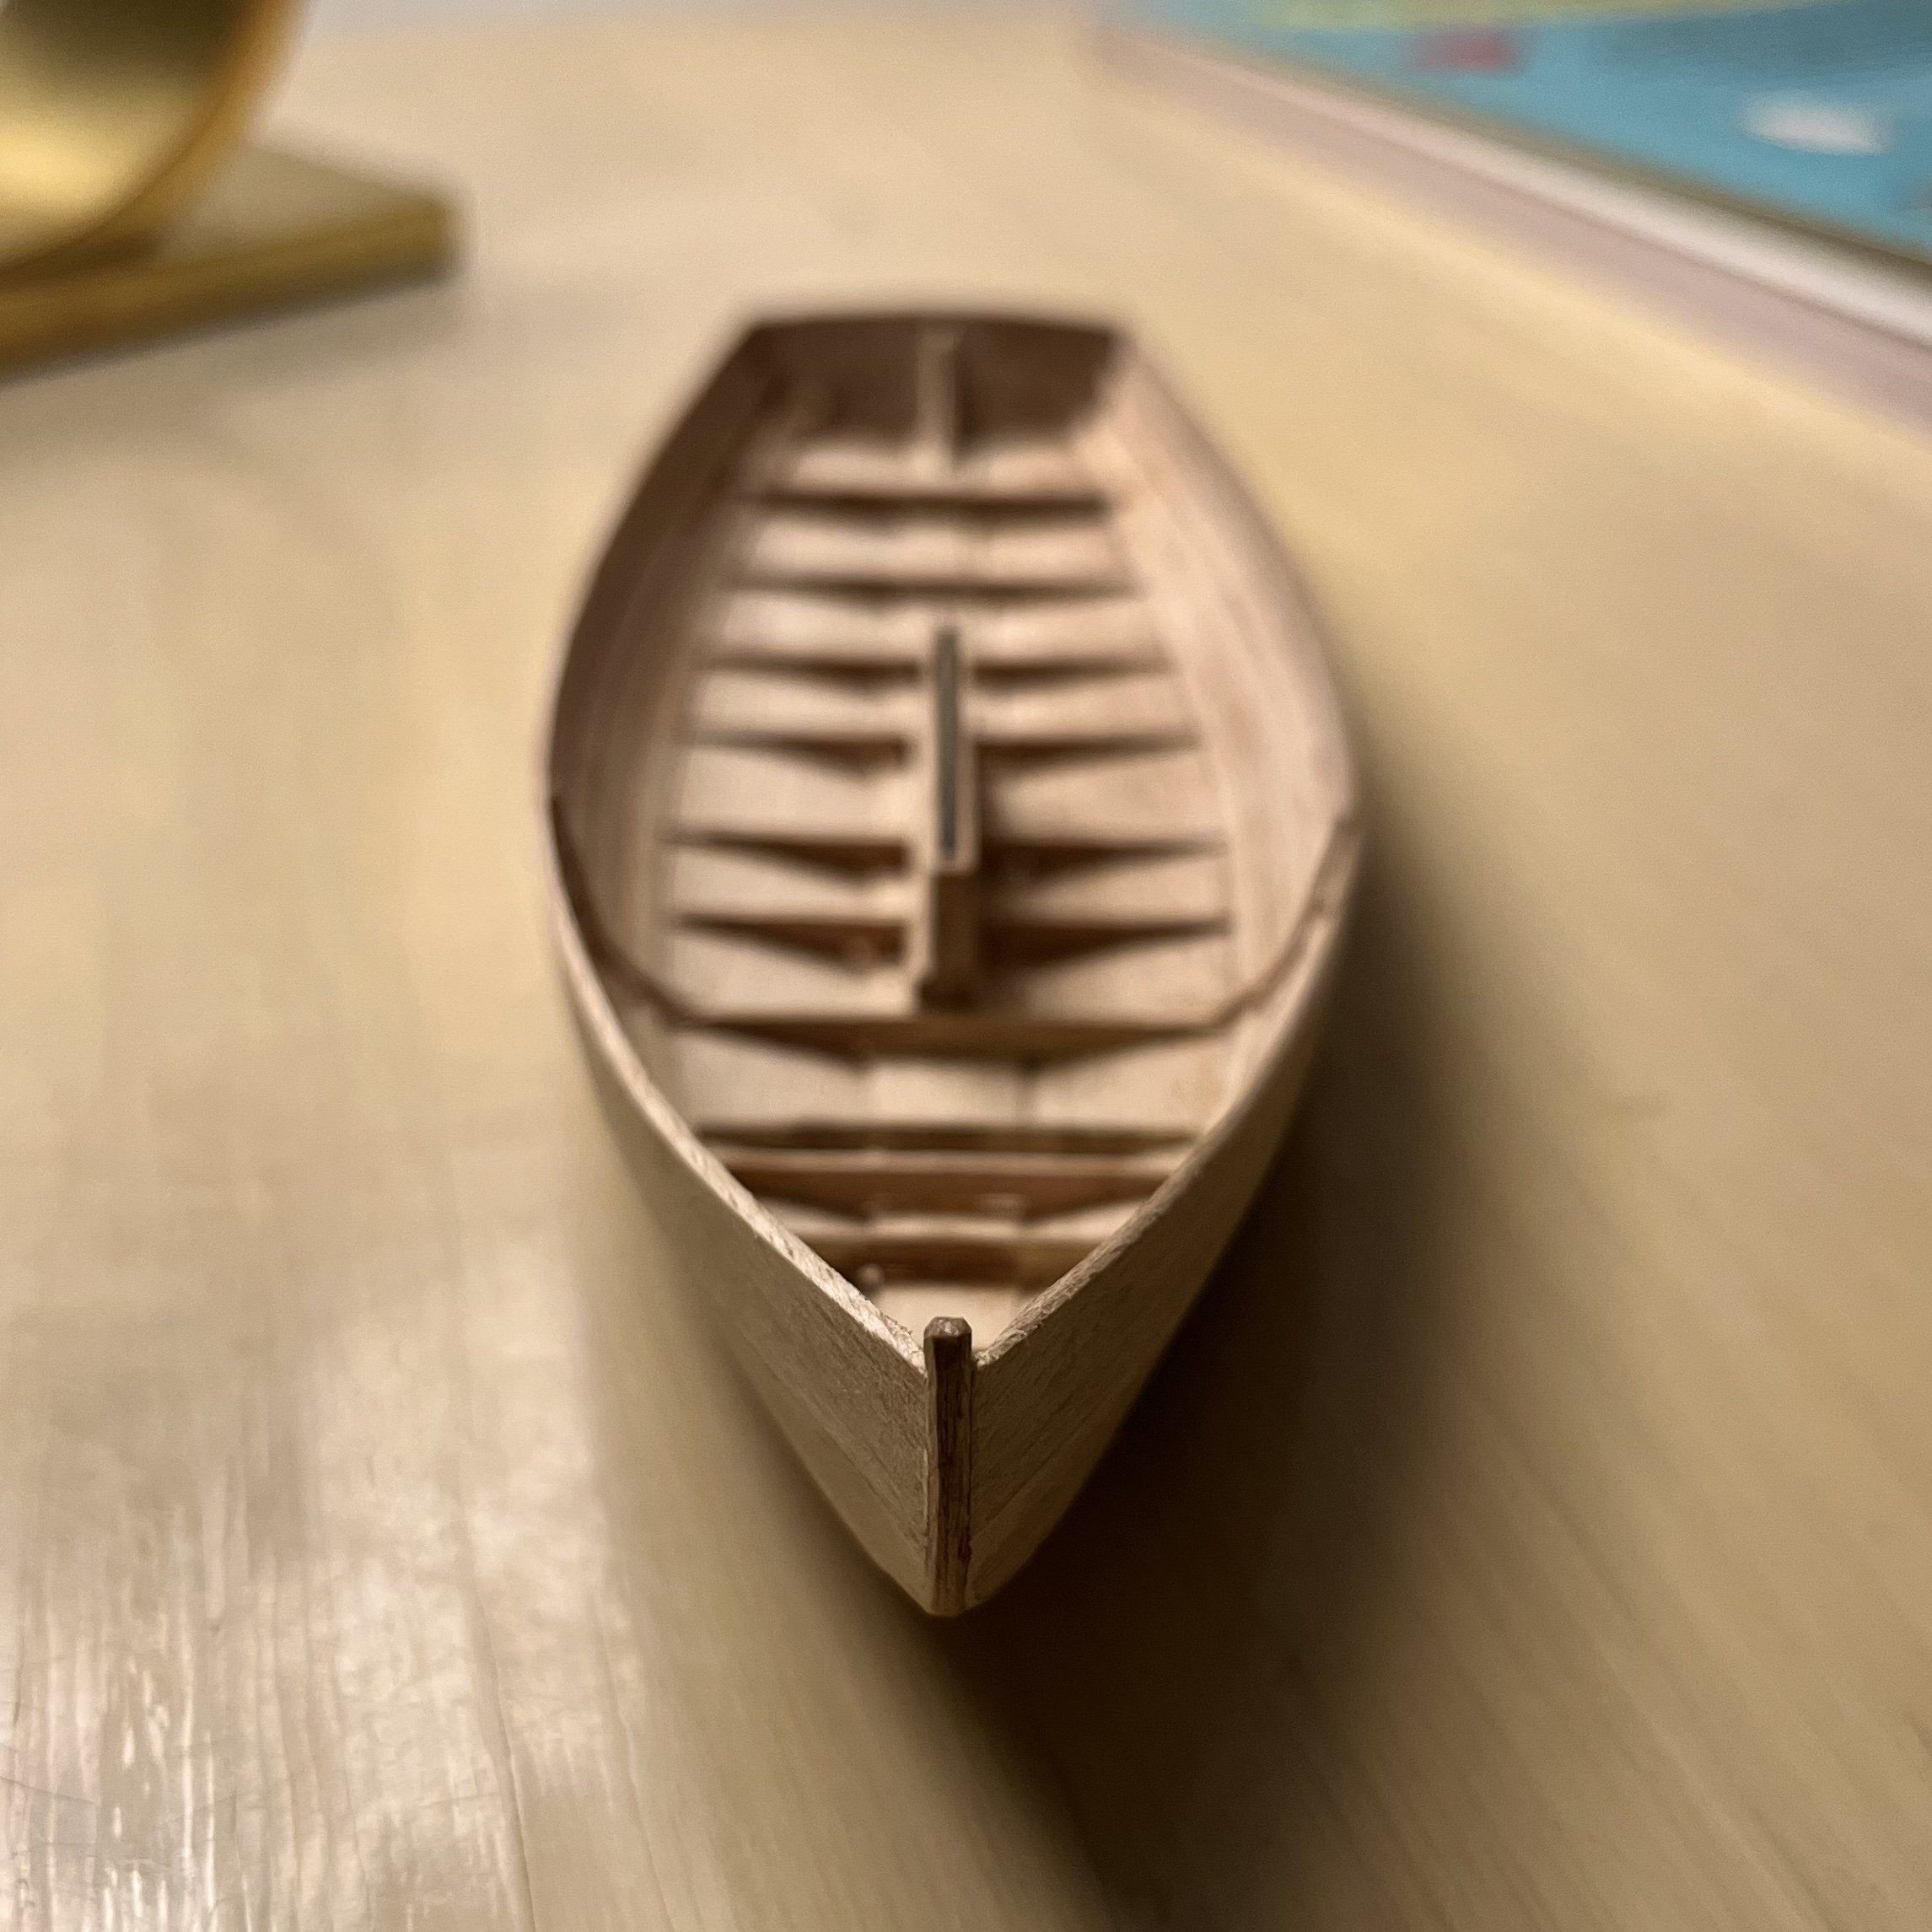
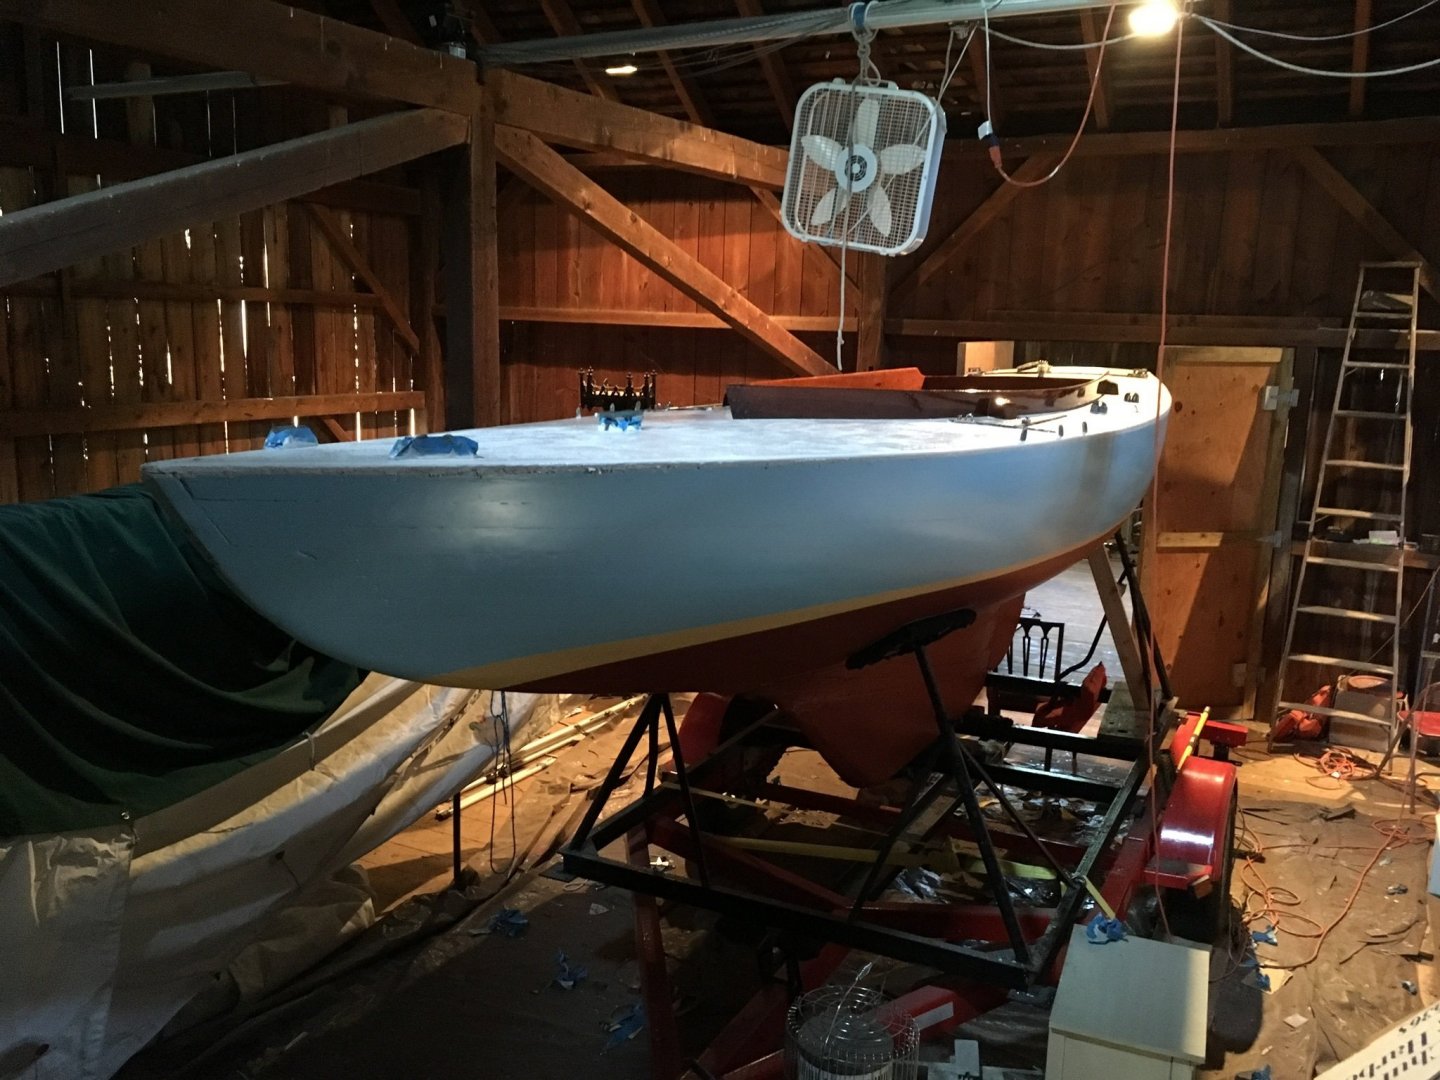
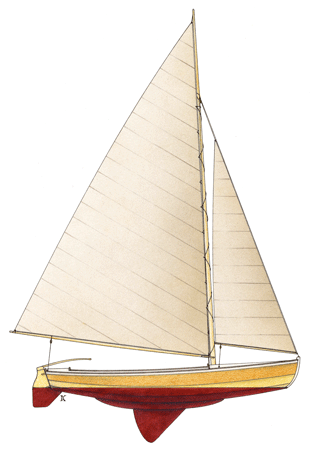
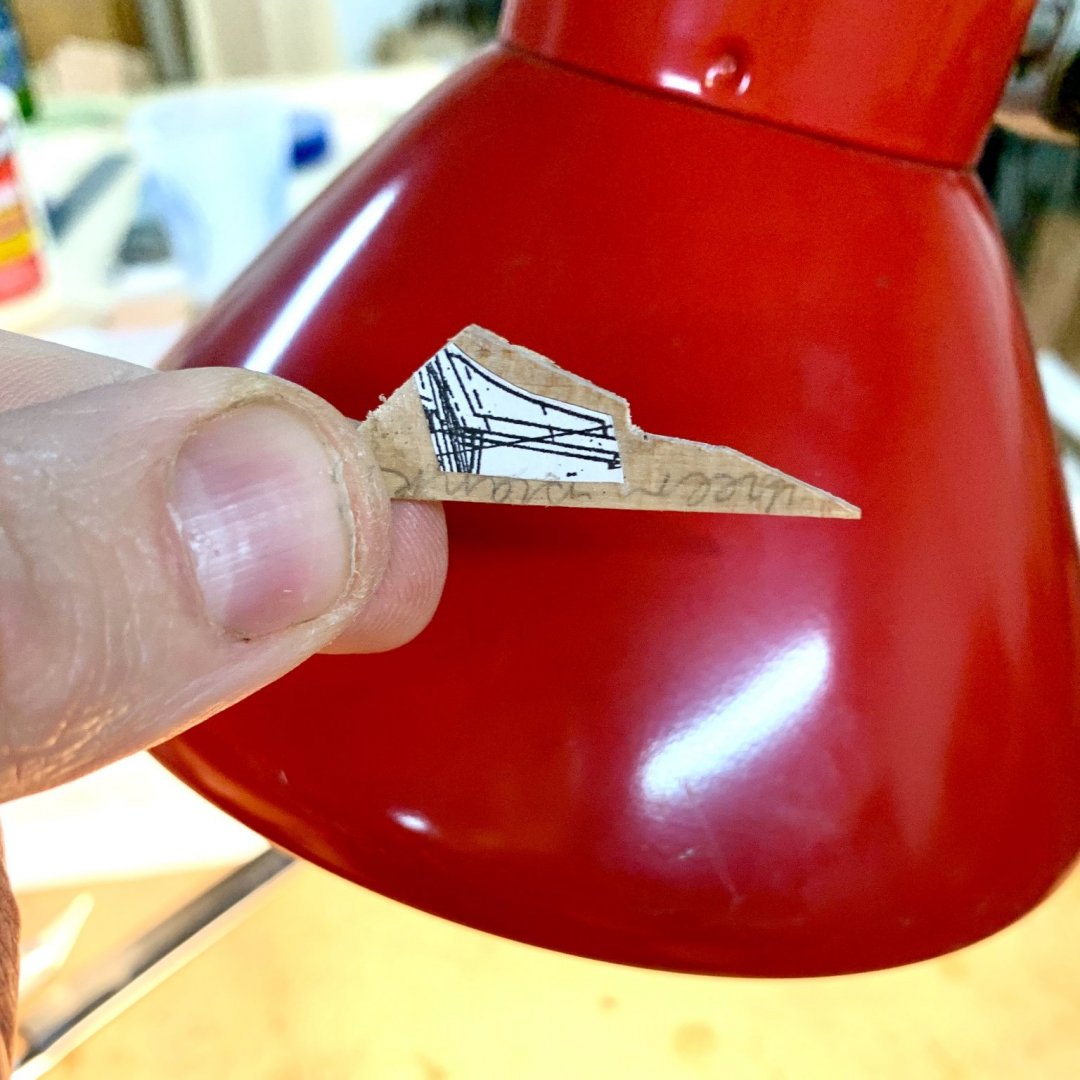
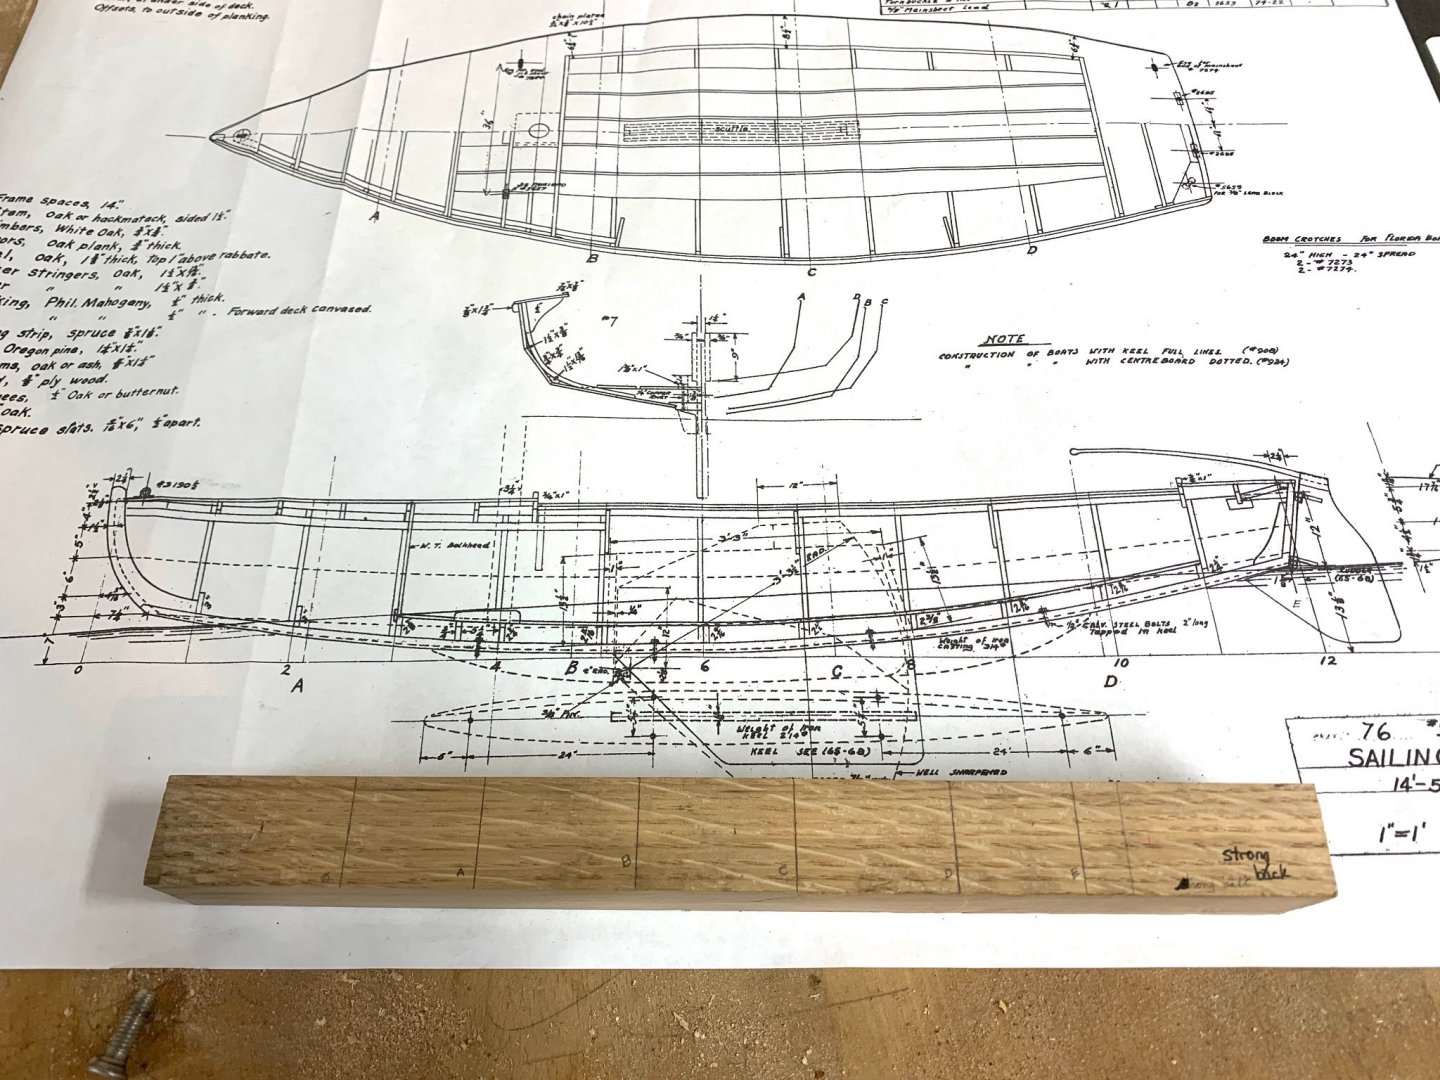
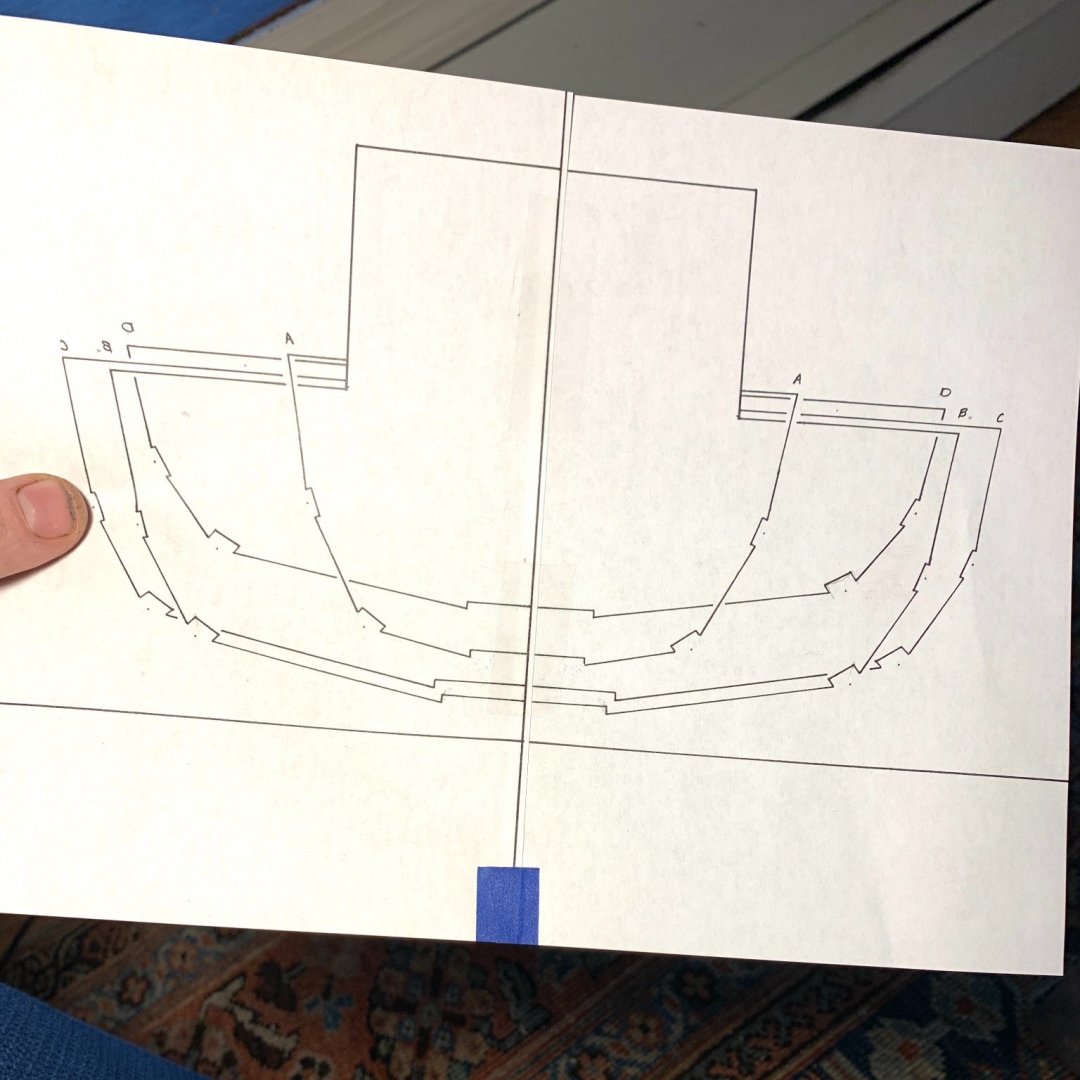
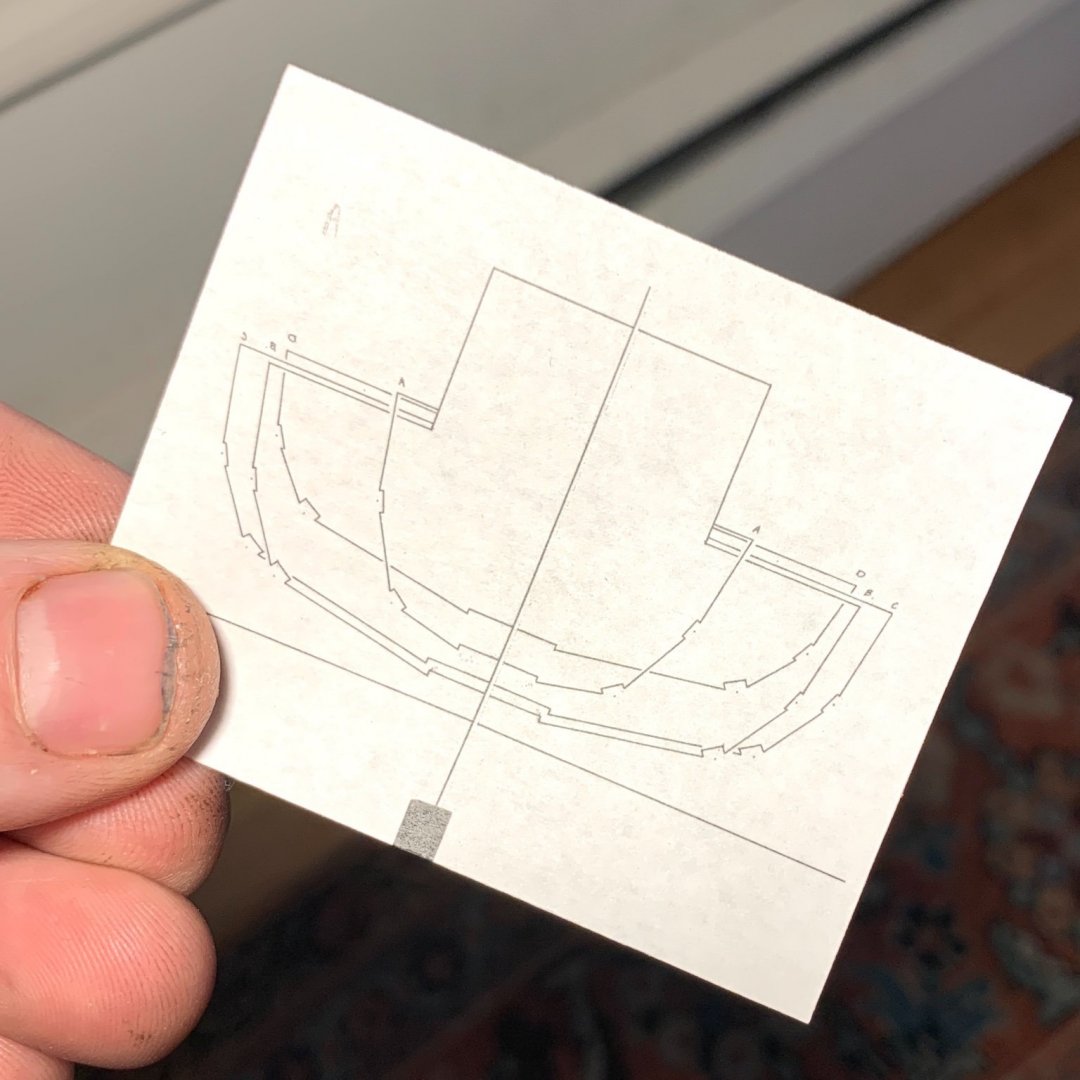
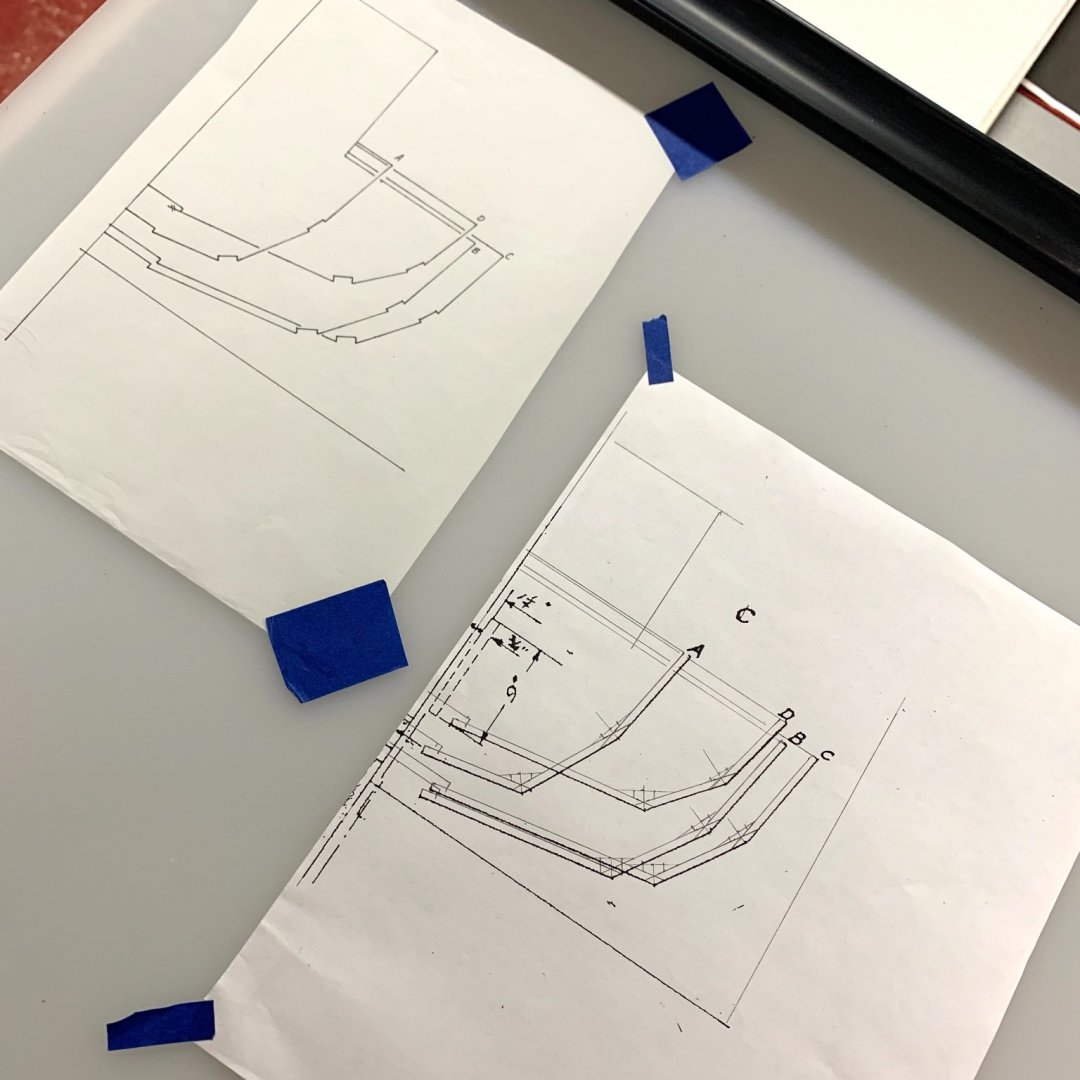
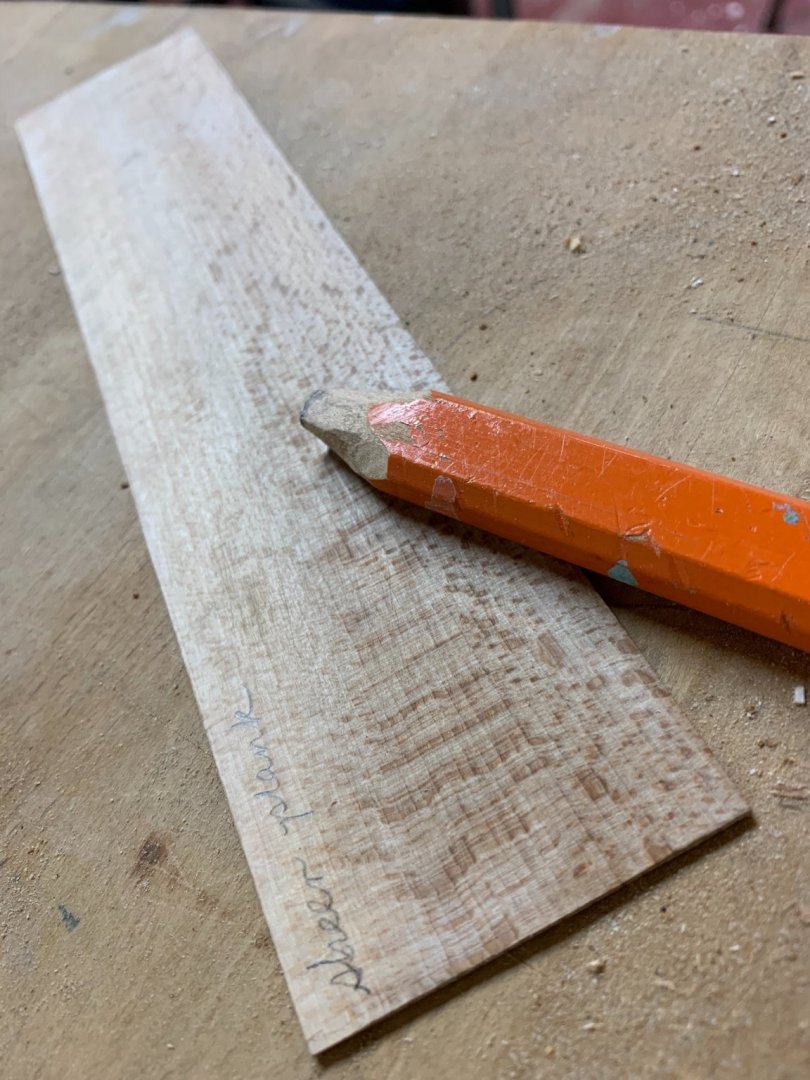
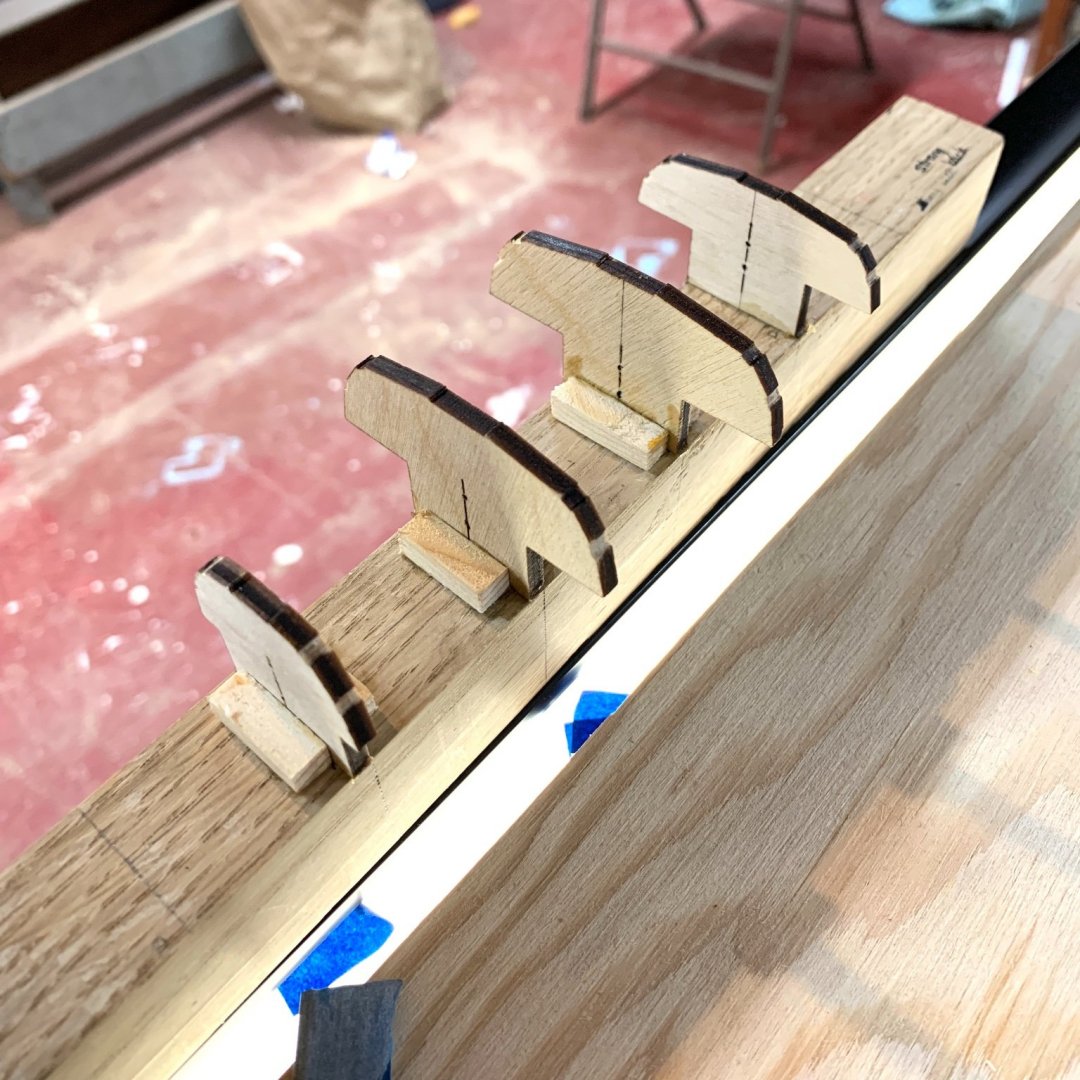
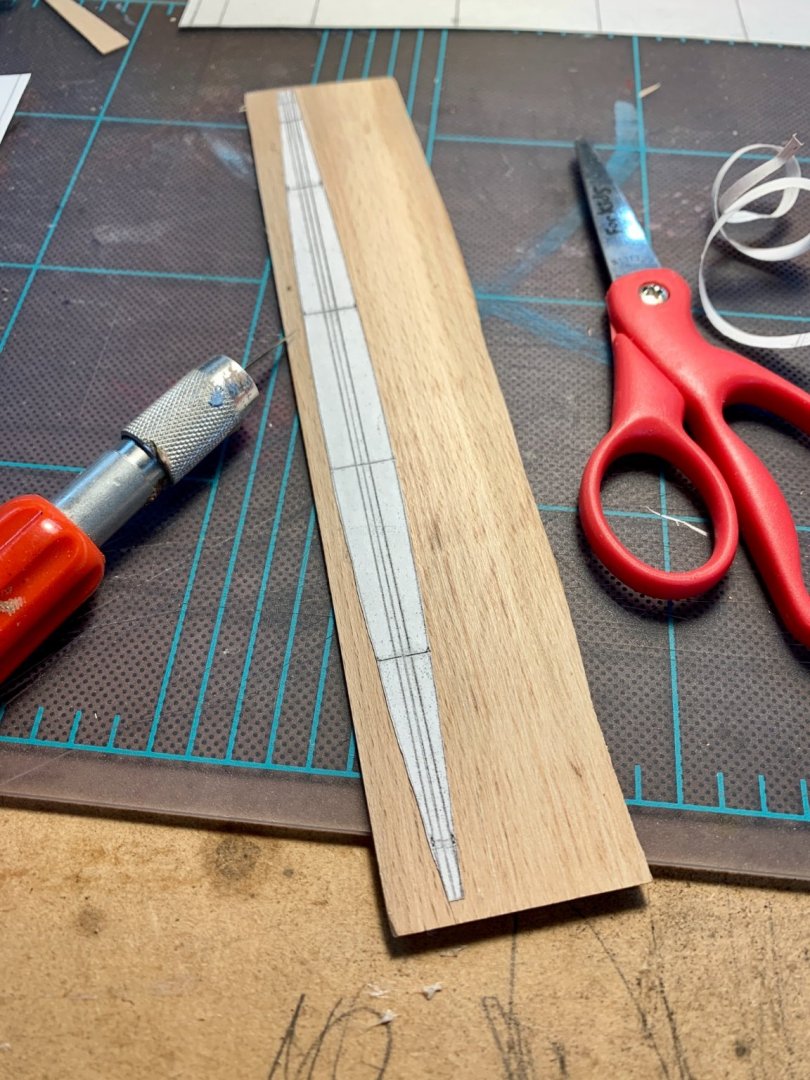
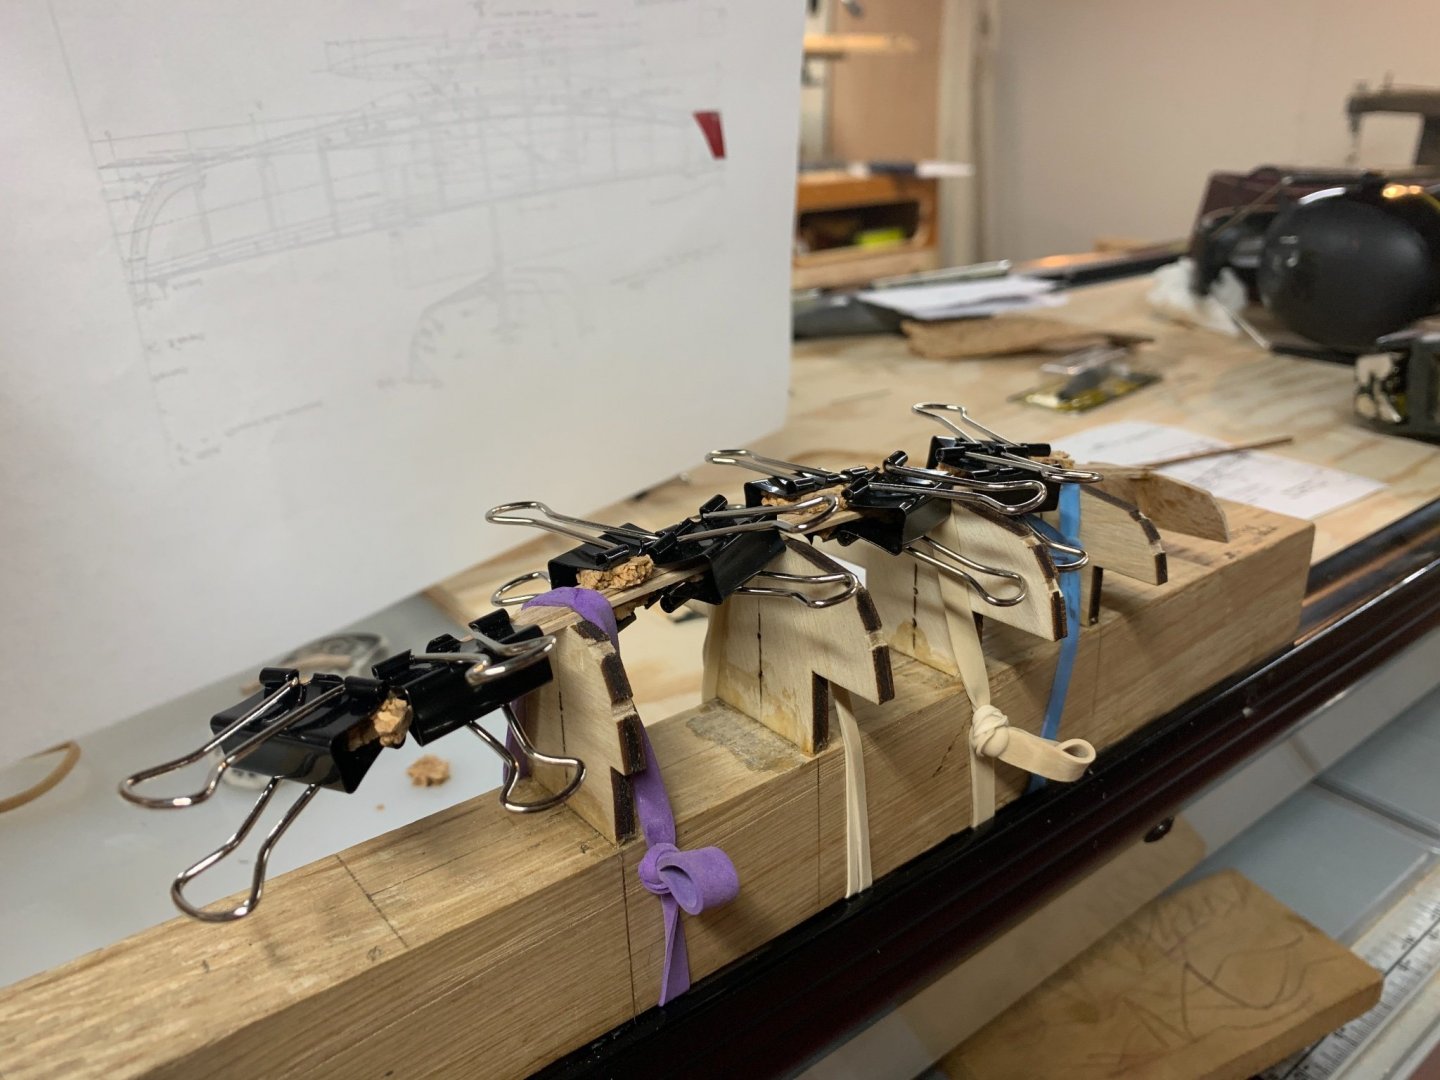
Greetings. Up until a month ago it had been 30 years since I’d made a model, and no disrespect, but it was just a plastic car; parts included. Maybe 20 years ago a friend invited me into the back of her parents’ garage where her father had set up a shop. Scratch builds upon scratch builds. Last year his work was displayed at a museum in our home town and the memories of his shop surfaced. There’s a video, too, which I’m sure you’ve all seen. Apart from the style of the documentary, which was lovely, the subject matter and the modeler’s philosophical approach pulled me deeper into the archetype. And then, I’m a sailor. A recent convert (6 seasons) but flush with zeal. Our first boat was a Manhassett Bay One Design, which I refit over the course of two winters. The pics of that boat, 23 SKIDDOO, follow I have also been harboring an interest in milling lumber, which occasionally rears its ugly head in hours long binging of sawmill videos, and has also lead to my small collection of logs from local trees: beech and apple. So many pieces of the puzzle were in place (more than I’ve illustrated here) that when I happened upon a copy of Thirty Wooden Boats and saw the Biscayne Bay Sailing Skiff I knew I wanted to make a model of it. I want to make a full size one, too, but there aren’t as many pieces of that puzzle falling into place. I believe this boat, which I’ve named Rigel, is a suitable first scratch build for a number of reasons. The plans are good. The hull is double chined. WoodenBoat magazine documented a build of this boat step-by-step in three installments (#s 96, 97, 98.) So, a relatively uncomplicated, beautiful design that comes with some directions. I harvested a beech log from the woodpile at Planting Fields in Oyster Bay, New York. It came from the limb of a tree that was part of an original copse. The landscape of that estate was designed by the Olmstead Brothers. Here’s a piece of quarter sawn beach that I milled, it would become the transom, transom knee and stem. Primary tool so far: photocopy machine. I intend to build the boat as it would be at full size, so using a photocopy machine, a digital caliper, a light table and some fine drafting pens I mocked up the molds. First I increased the size of the plans 200%. Then I traced the section lines, printed a mirror image, lined up the two sides and made a reduced copy until I got the scale I wanted, 1:24. One inch equals 24 inches or 2 feet. The section lines represent the outside of the hull so I had to compensate for the planking. This image is of the 1:1 plans with a squared piece of white oak that I’ve used as a strong back, to which I attached the molds, eventually. You know when I saw that this was the size of the molds I thought I had lost my mind. The notches seemed minuscule. I feared endless frustration as I began to try every method possible for cutting these shapes out of doorskin. Eventually, I called my neighbor who has a laser cutter. She definitely helped me out and I might have bailed on the project if it weren’t for that little boost. Accurate molds are crucial for a decent final product…I’ve heard. That being said, I am not sure I would feel comfortable using a laser printer to cut pieces that would actually be used on the boat. But that’s just me. After getting them cut I had to attach the molds to the strong back. There were a lot of steps to this. Drawing out station lines on the strong back, gluing the molds down, using legos to get right angles…starting over. Lining up the molds correctly, in relation to the station lines and the sweep of the keel…eventually I got it. With this part in place I was ready to start working on the keel, which is essentially a plank with a large rabbet removed from the edge to fit the garboard plank. How was I going to cut a rabbet into this plank? I wasn’t. I “lofted” the shape of the keel, used some photo copy magic and created two templates: one for the wide portion of the keel and on for the narrower rabbet piece.I glued them together to form one solid keel with a rabbet “cut out.” I used glue stick to attach the pattern. I rough cut then sand to shape. Here I’ve glued the transom (and knee) to the wider keel piece and dry fit the Rabbet with rubber bands. Glued and clamped. I use those office clips with bits of cork to dampen the squeeze. The rubber bands keep the keel bent. When the glue dried and the keel came off the molds, the curve was holding. . I’ll leave you with one image and then, until next time… peace. See you after Thanksgiving.


-
Good one! Great models, great display, great sentiment. It’s the a model made in the right spirit that always looks the best! Also a great inspiration for a model I’ve just begun.
- 84 replies
-
- 1
-

-
- nimblet
- knockabout
- (and 1 more)